How to Review a Project Setup: Verifying Activity Sets in Insightly & Billing in QuickBooks (Part 2 of 2)
Learn step-by-step how to review a project setup for Maeve Harper's wedding, including verifying activity sets in Insightly and checking invoices and bills in QuickBooks. Ensure all dates, descriptions, and amounts match for accurate project management.
In this guide, we'll learn how to review project setup in Insightly for activity sets. We'll also use QuickBooks to confirm that all invoices and bills match the event date and amounts, and ensure that both client and vendor records are accurate.
This process helps confirm that all billing details are correct before marking the task as complete.
Let's get started
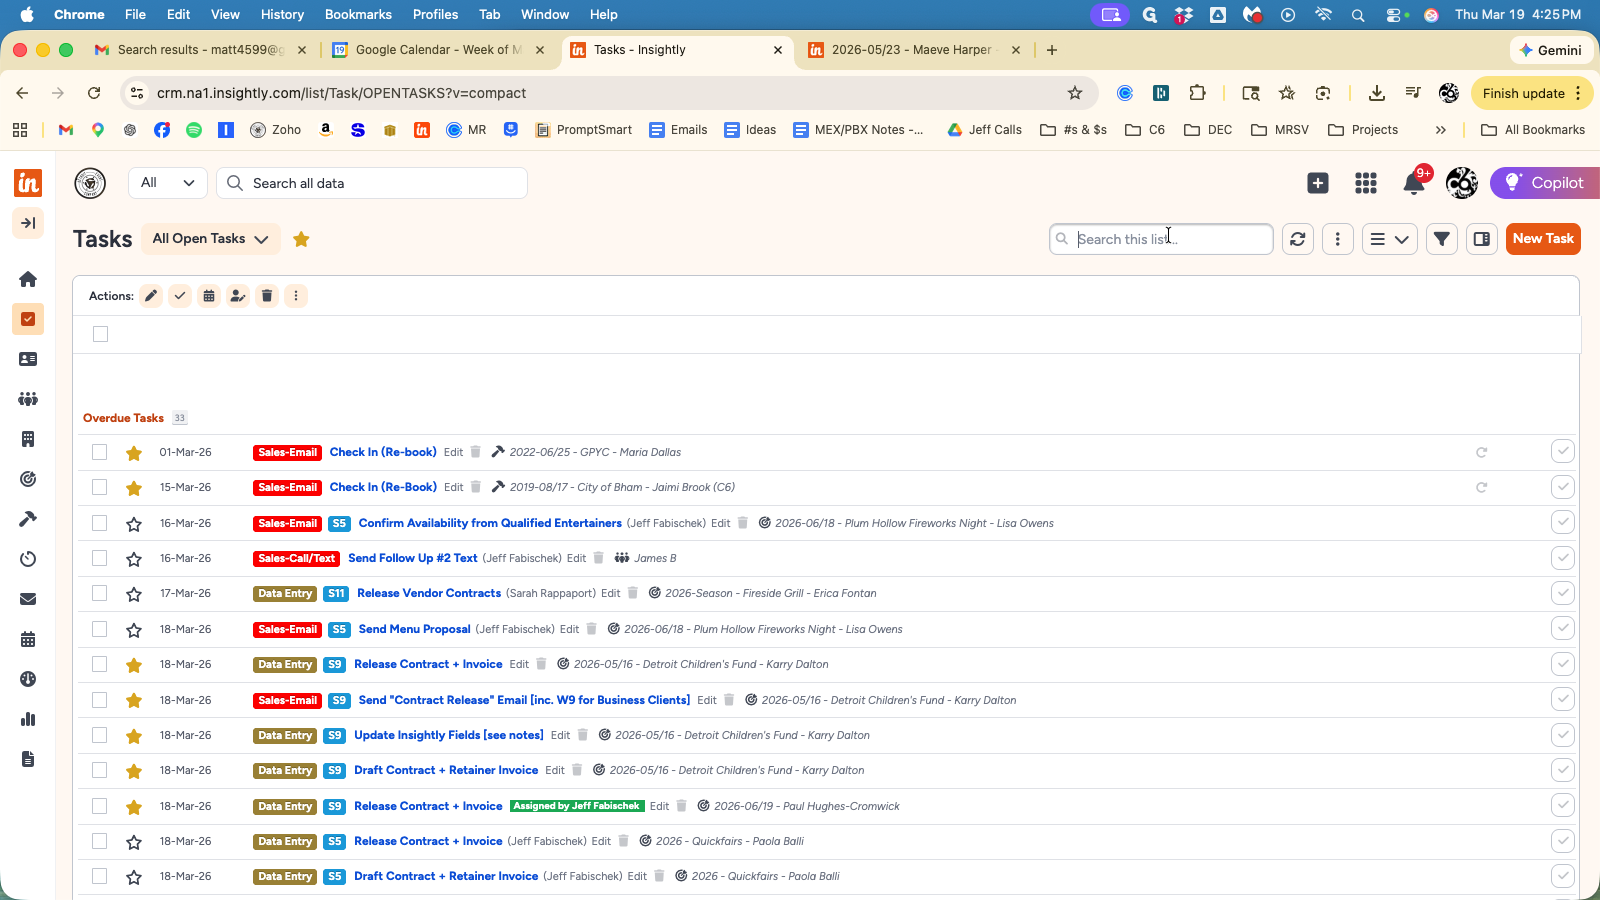
Go to the "All Tasks" filter to see everyone's tasks.
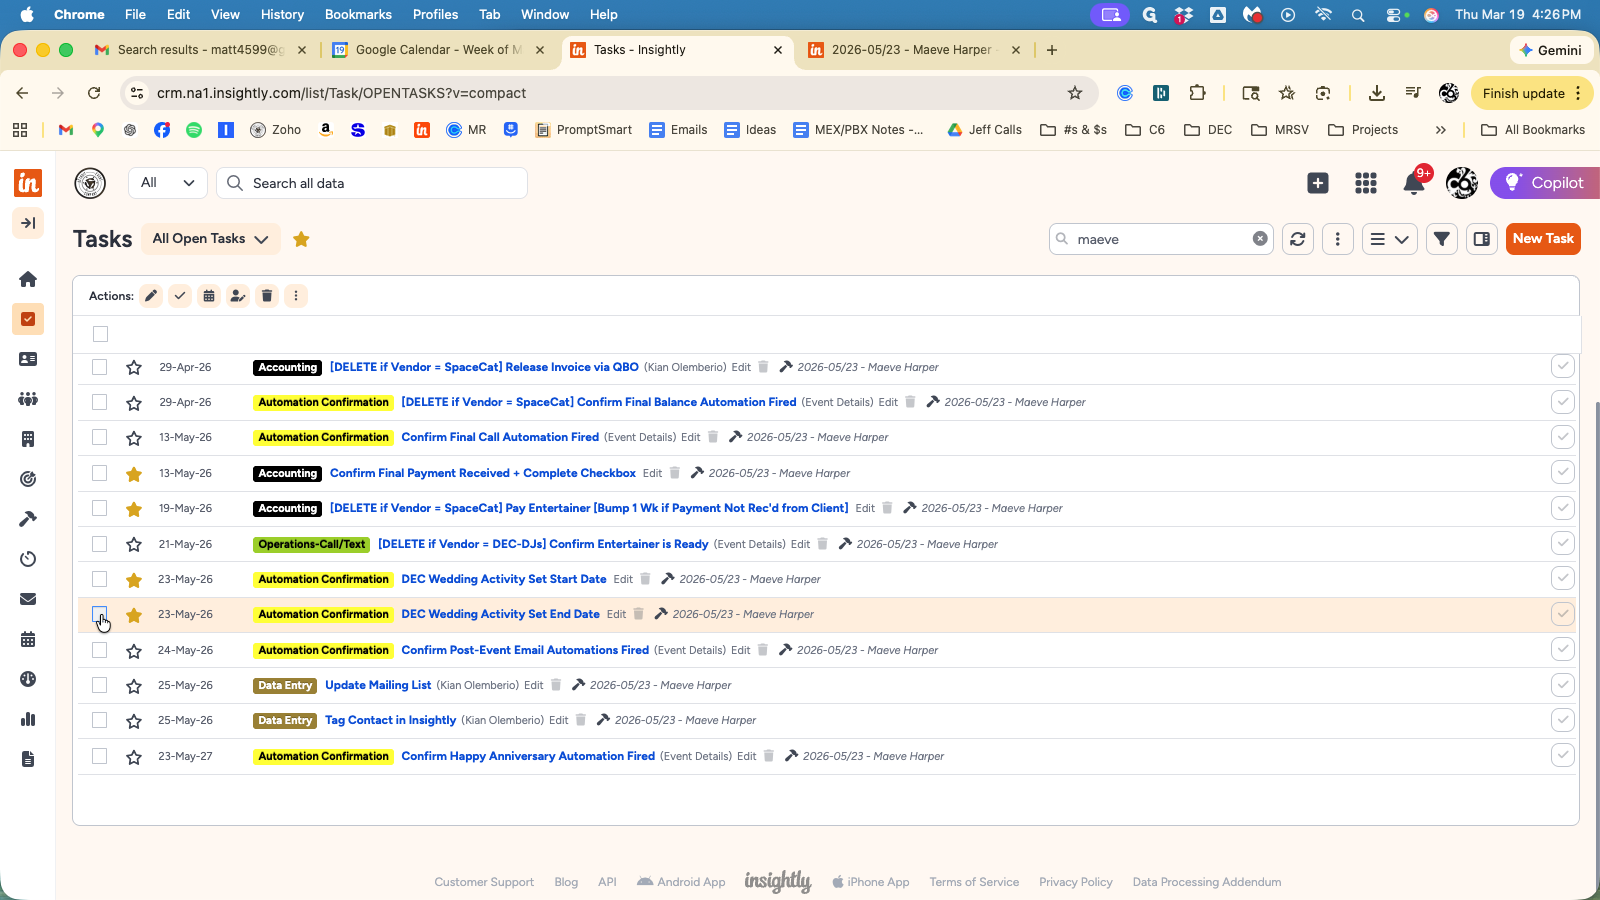
Scroll to the bottom and locate the activity set start and end date tasks, to verify: (a) the correct activity set was applied; and (b) the correct dates were used.
A) Correct Activity Set
For Projects with Vendor Name = Collision Six, the activity set should start with "C6."
For Projects with Vendor Name = DJDC, the activity sets should start with "DJDC."
For all other Projects, the activity set should start with "DEC."
Exception: For non-weddings with DJDC, we'll use the DEC activity set.
To determine the correct activity set, we'll want to check on the Project Category.
Weddings, Festivals, Clubs & Casinos, Mitzvahs & Private Event should all match a specific activity set. Use "Private Event" for nonprofit events.
If multiple vendors are booked for 1 event and multiple Projects are created, choose the appropriate "Secondary Vendor" activity sets for the 2nd, 3rd, 4th, etc. vendors for the projects. Typically, the Project for the main entertainment will get the regular activity set, and the additional services (like ceremony musicians) will get the "secondary vendor" activity set.
There are also activity sets for non-music services -- like photo booth, coordination, production, uplights, staging, equipment rental, etc.
If a Pro DJ was added as an upgrade, make sure to add the appropriate "Pro DJ" activity set.
If musicians are added to a DJ package, we should see the "DJDC - Add Musicians to Package" activity set.
B) The due dates for both the "Start Date" and "End Date" task should match the Event Date. This ensure that all tasks that happen for that Project are triggered at the correct interval. If these are not correct, all tasks related to the Project (not the Opportunity) need to be deleted and the activity set needs to be reapplied.
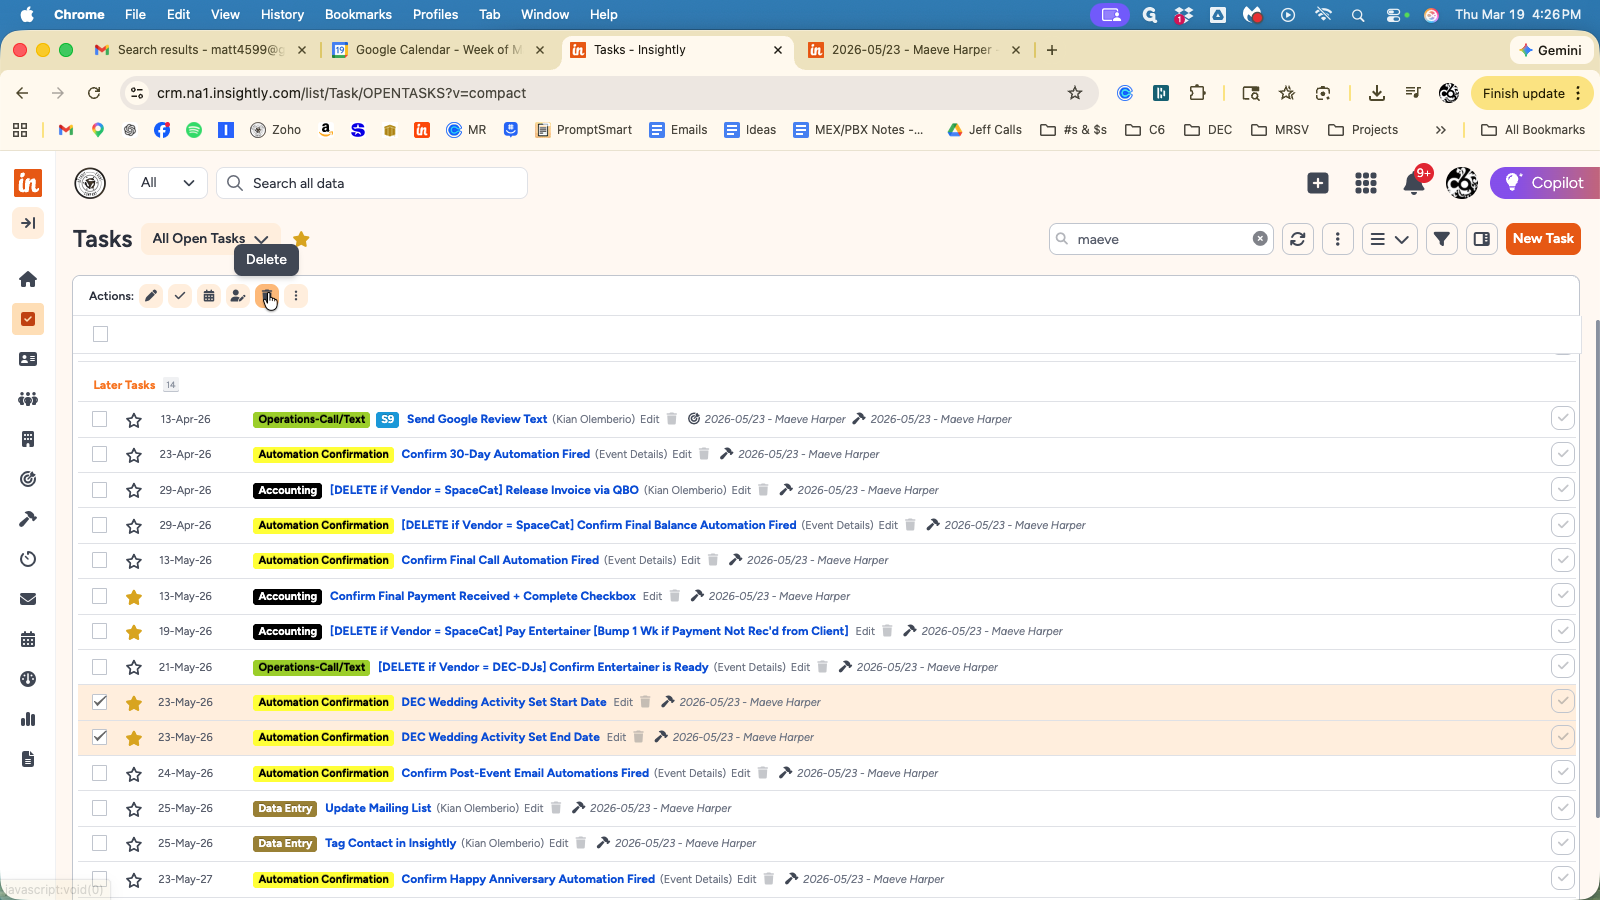
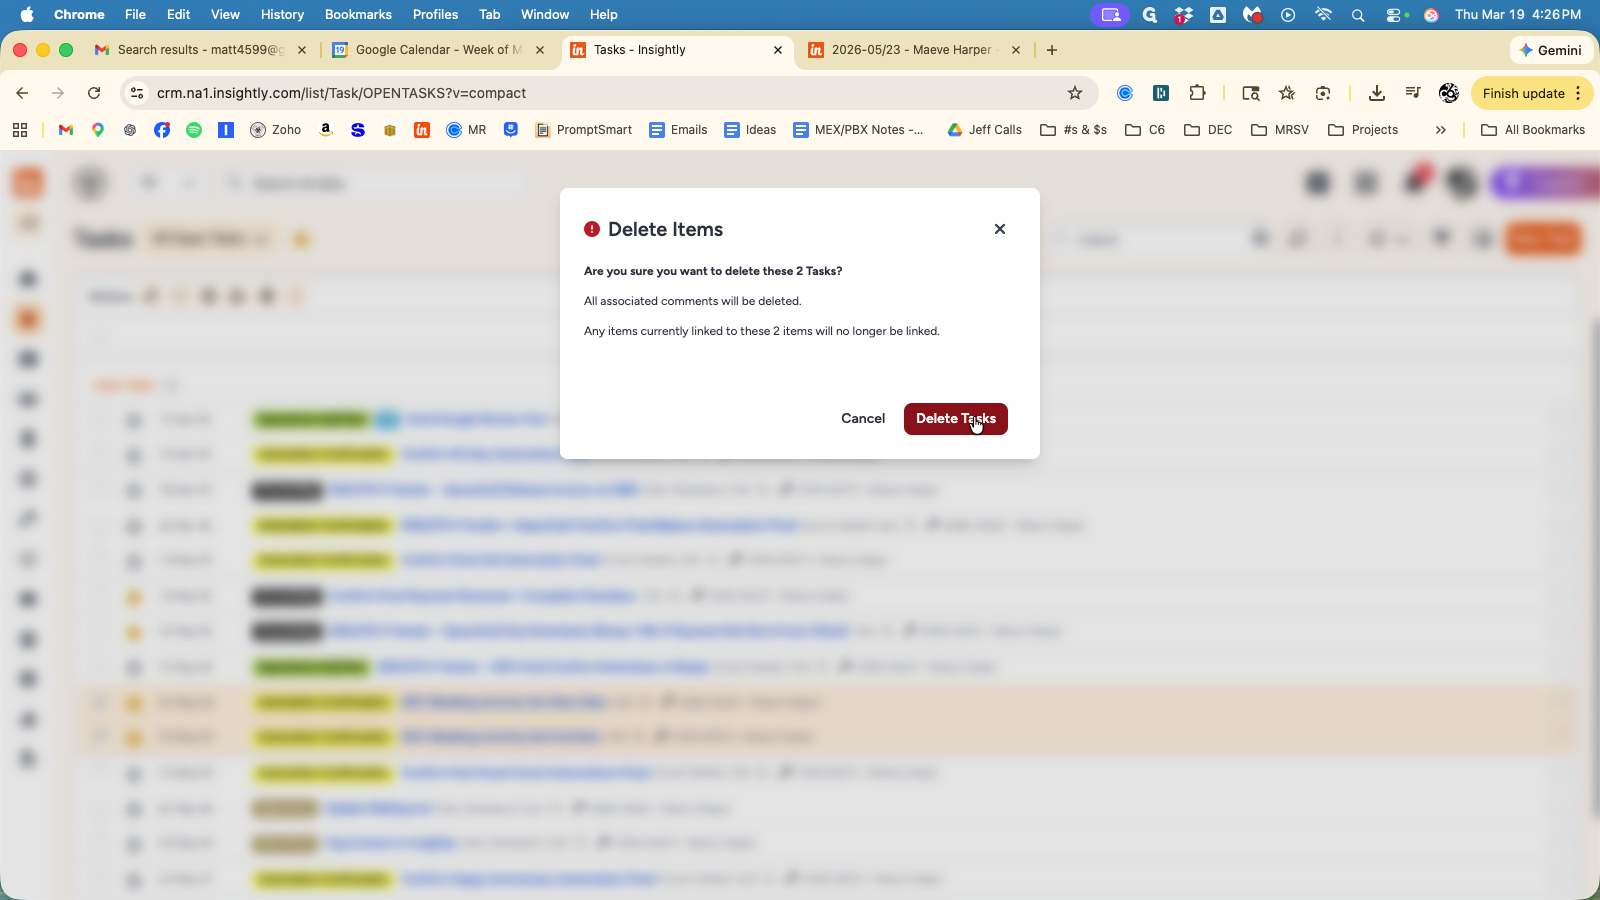
Once this is done, select both tasks and delete them.
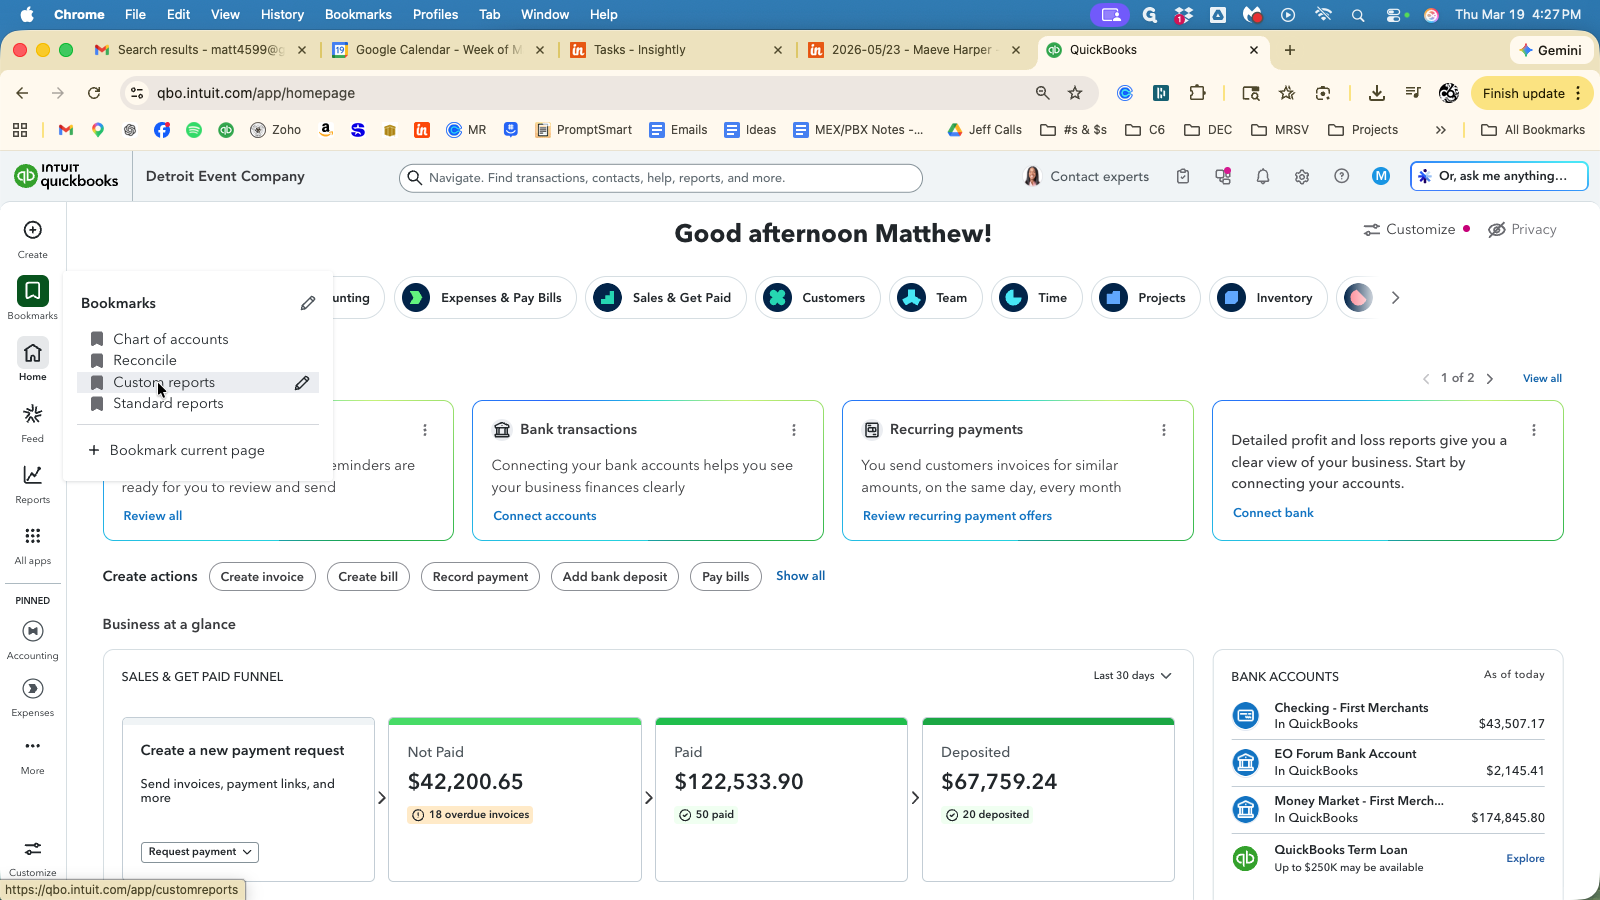
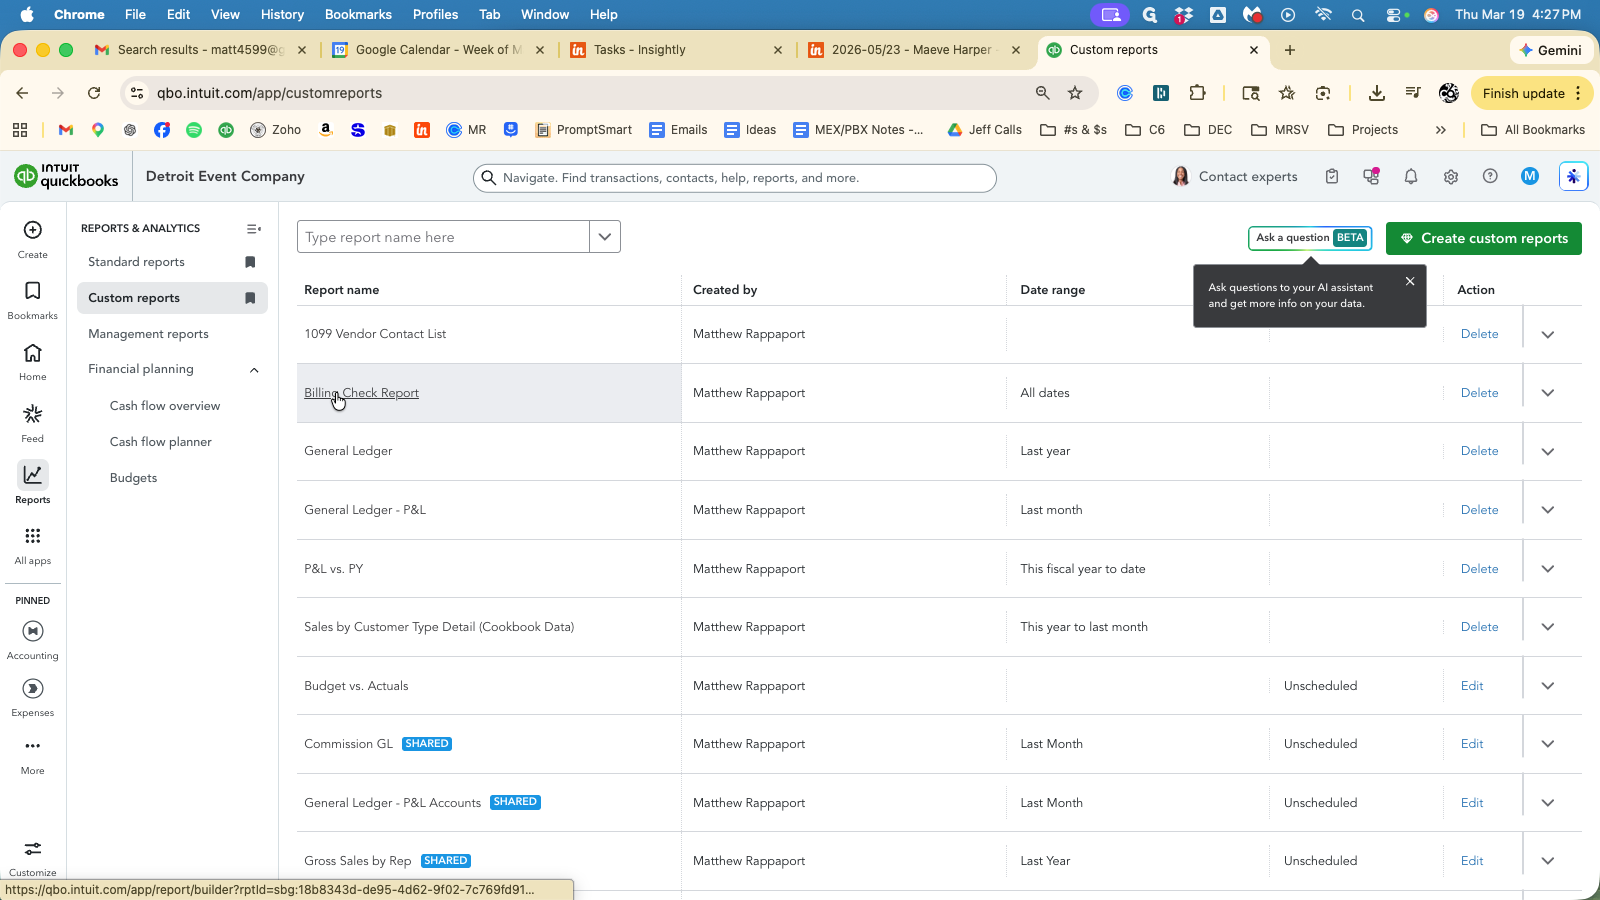
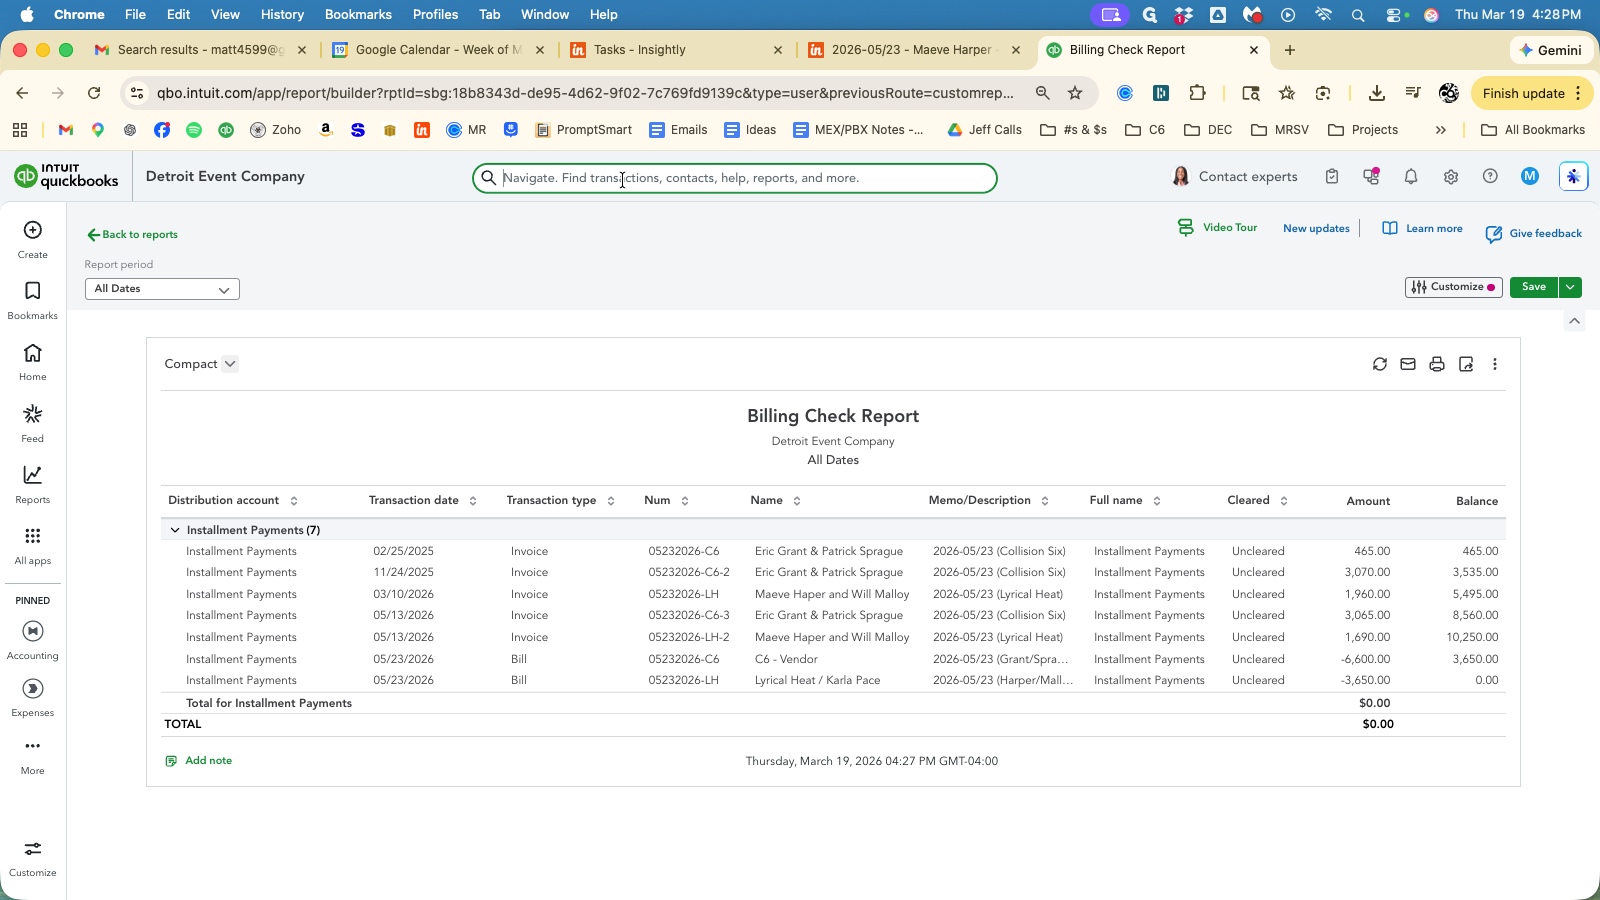
In QuickBooks, go to Custom Reports and locate the report called Billing Check Reports. This displays all bills and invoices for a specific day.
Click on "Customize" and type the date of the event you just reviewed and press Enter.
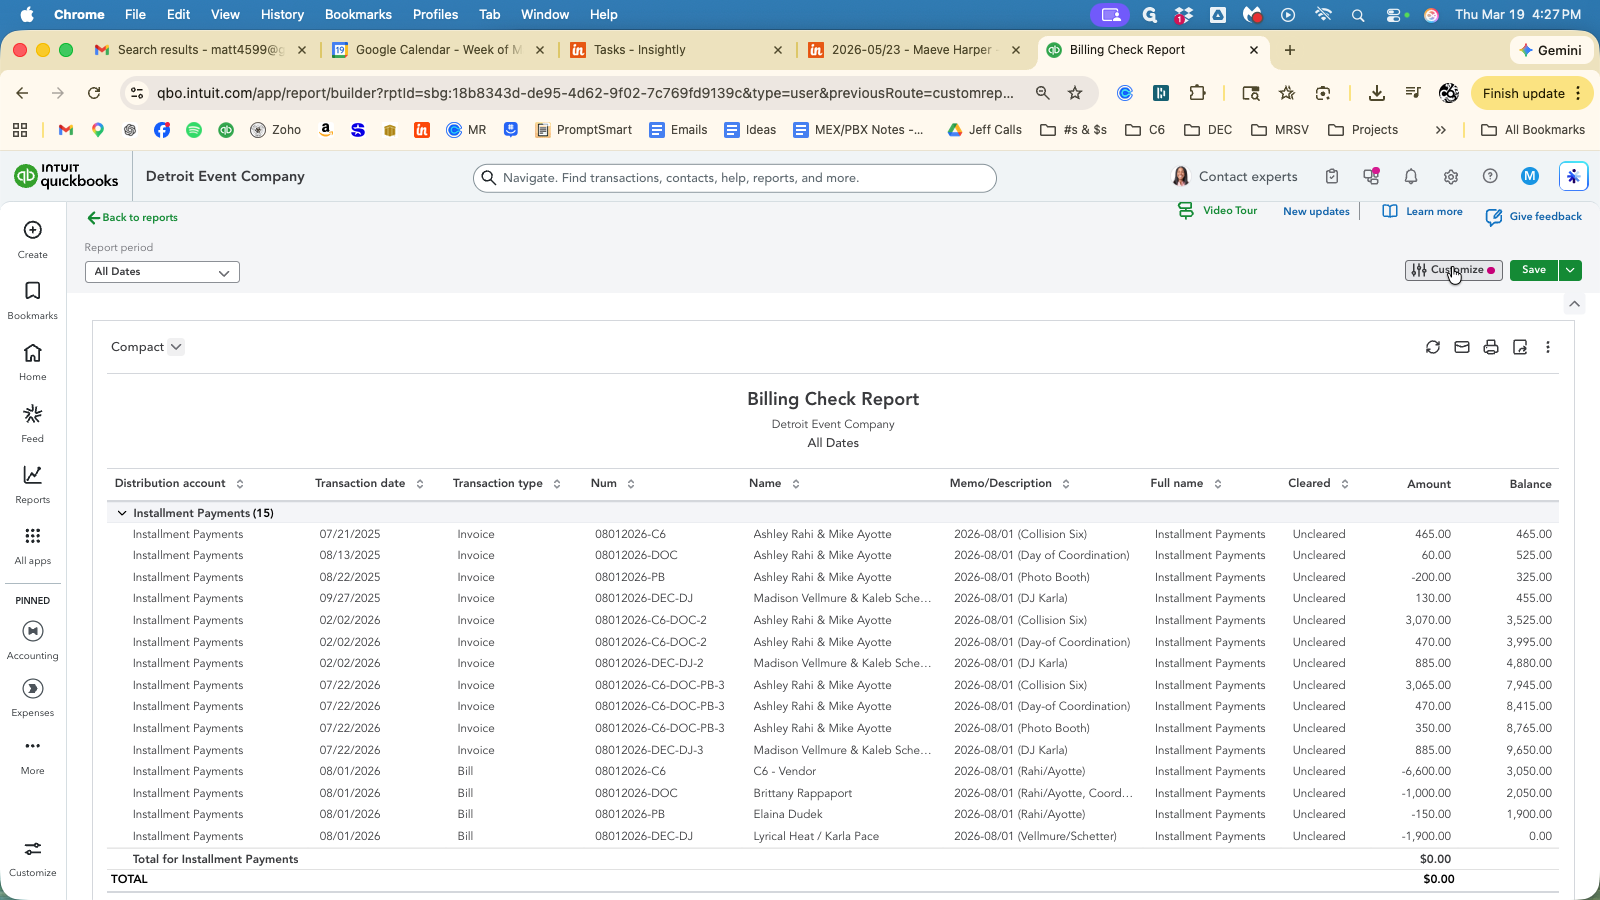
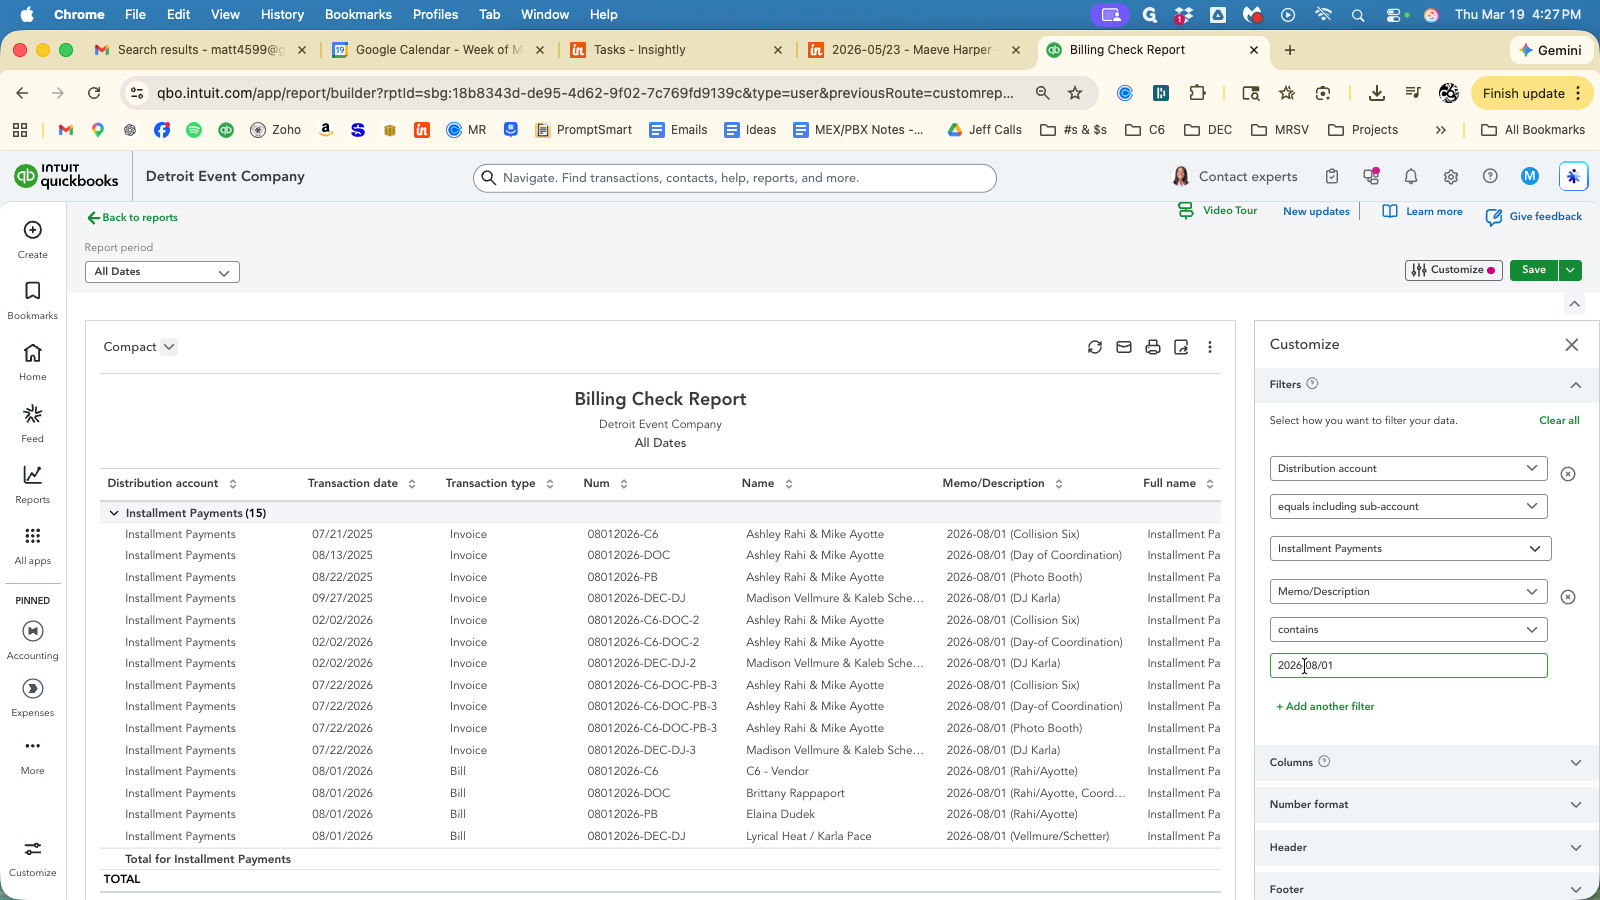
This now displays all the bills and invoices for events happening on that date.
Verify that the Invoices to the client match the dates and amounts in Insightly.
Verify the Bill due to the Artist/Vendor matches the event date and amount matches Insightly.
Verify the Report Total = $0.00.
If this amount does not balance to zero, it means that either one of the installment invoices to the client or one of the bills to a vendor is incorrect. That could mean the amount or the Memo/Description field.
Review the client invoices and then vendor bills for errors.
Click at the top, search for the Customer Name and select the Customer.
Here, you can see the entire history. We have the initial invoice here, and the second invoice here.
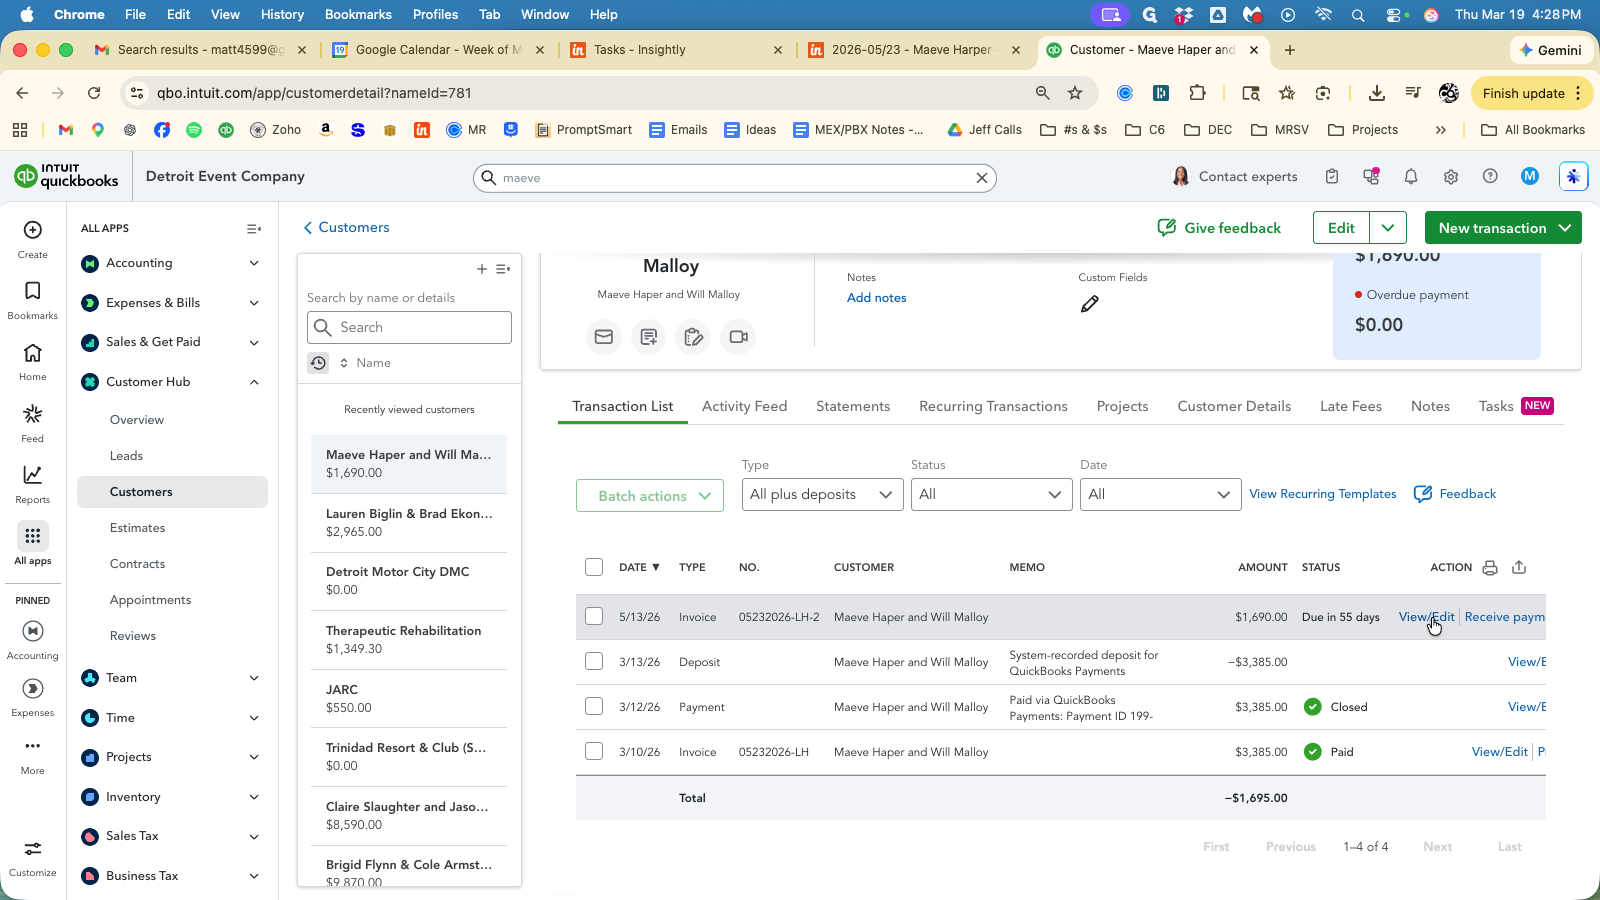
Repeat the search process to find all Bills for the Vendor Name. Click the "arrow" and select "View/Edit" for Vendor Bills.

That is the complete double-check point for the billing setup.
Once that's done, go back into Insightly and mark the task "Review Project Invoices and Bills" as complete.