How to manage your Payment List
Learn how to access, filter, and manage the payment list in your dealership tools. This guide covers filtering by status, creator, date, and more to streamline your payment management process.
By Dominik Black
In this guide, we'll learn how to access and manage the payment list for your dealership. We will cover how to filter payments by different criteria, view important details, and perform actions like marking payments as read or consolidating them.
This process helps you keep track of payment statuses and organize your records efficiently.
Let's get started
In this article, we will review the payment list.
1
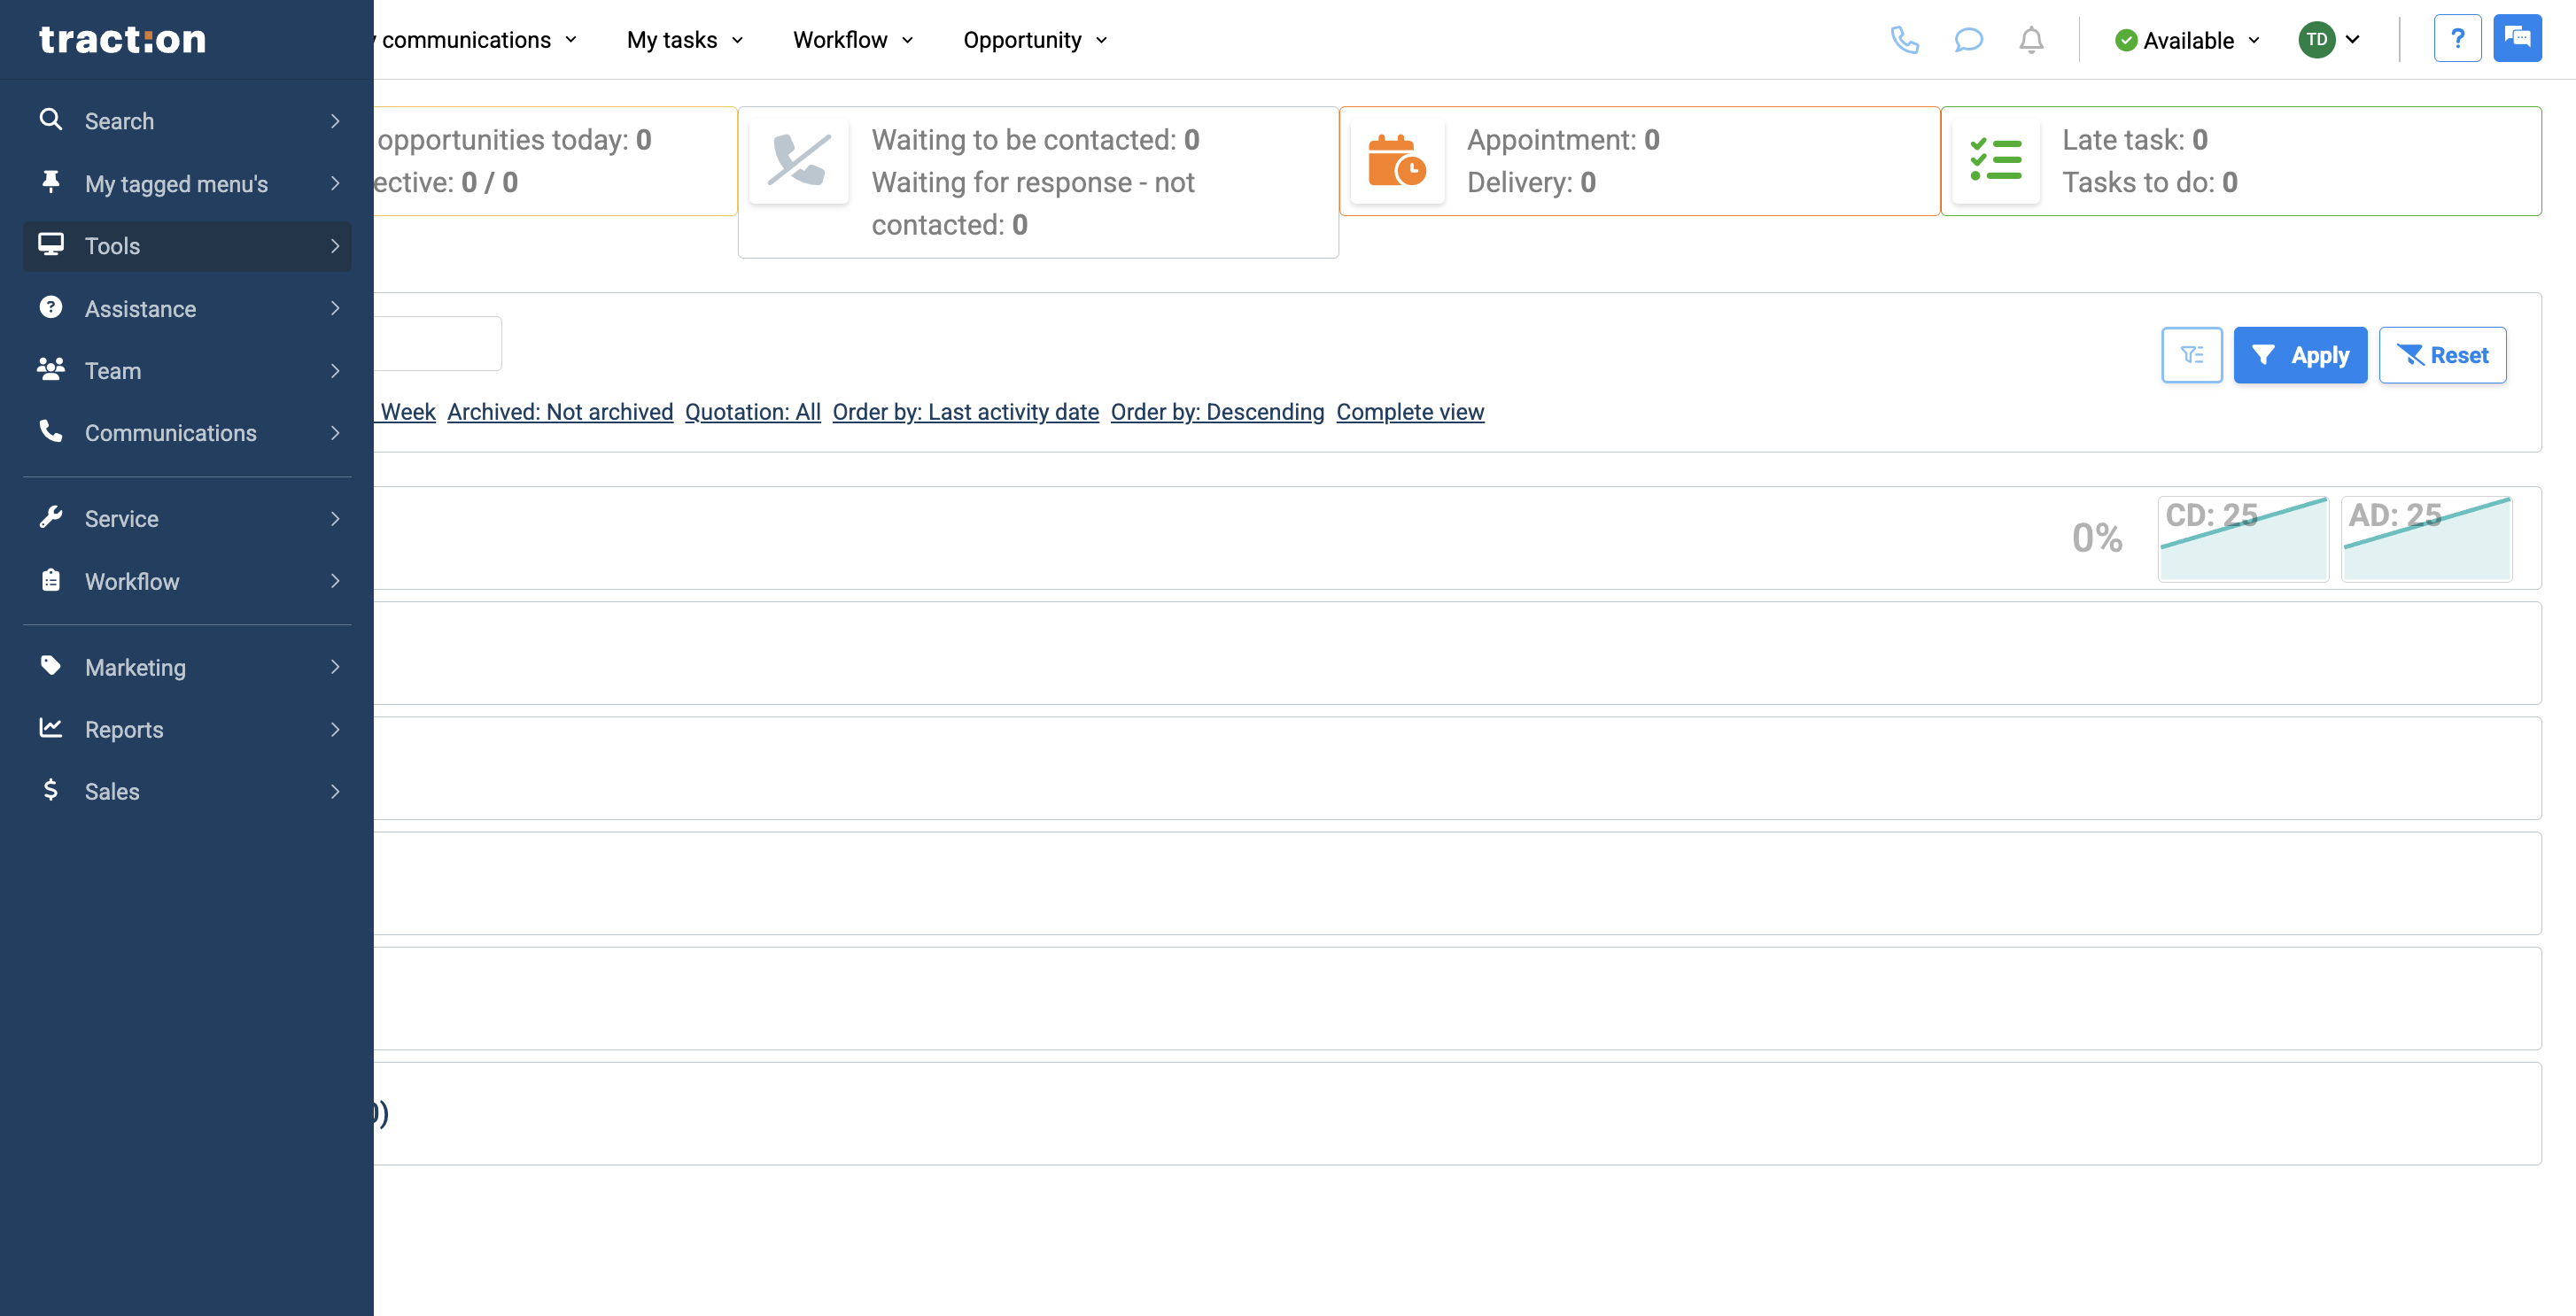
To access the payment list, go to Tools.
2
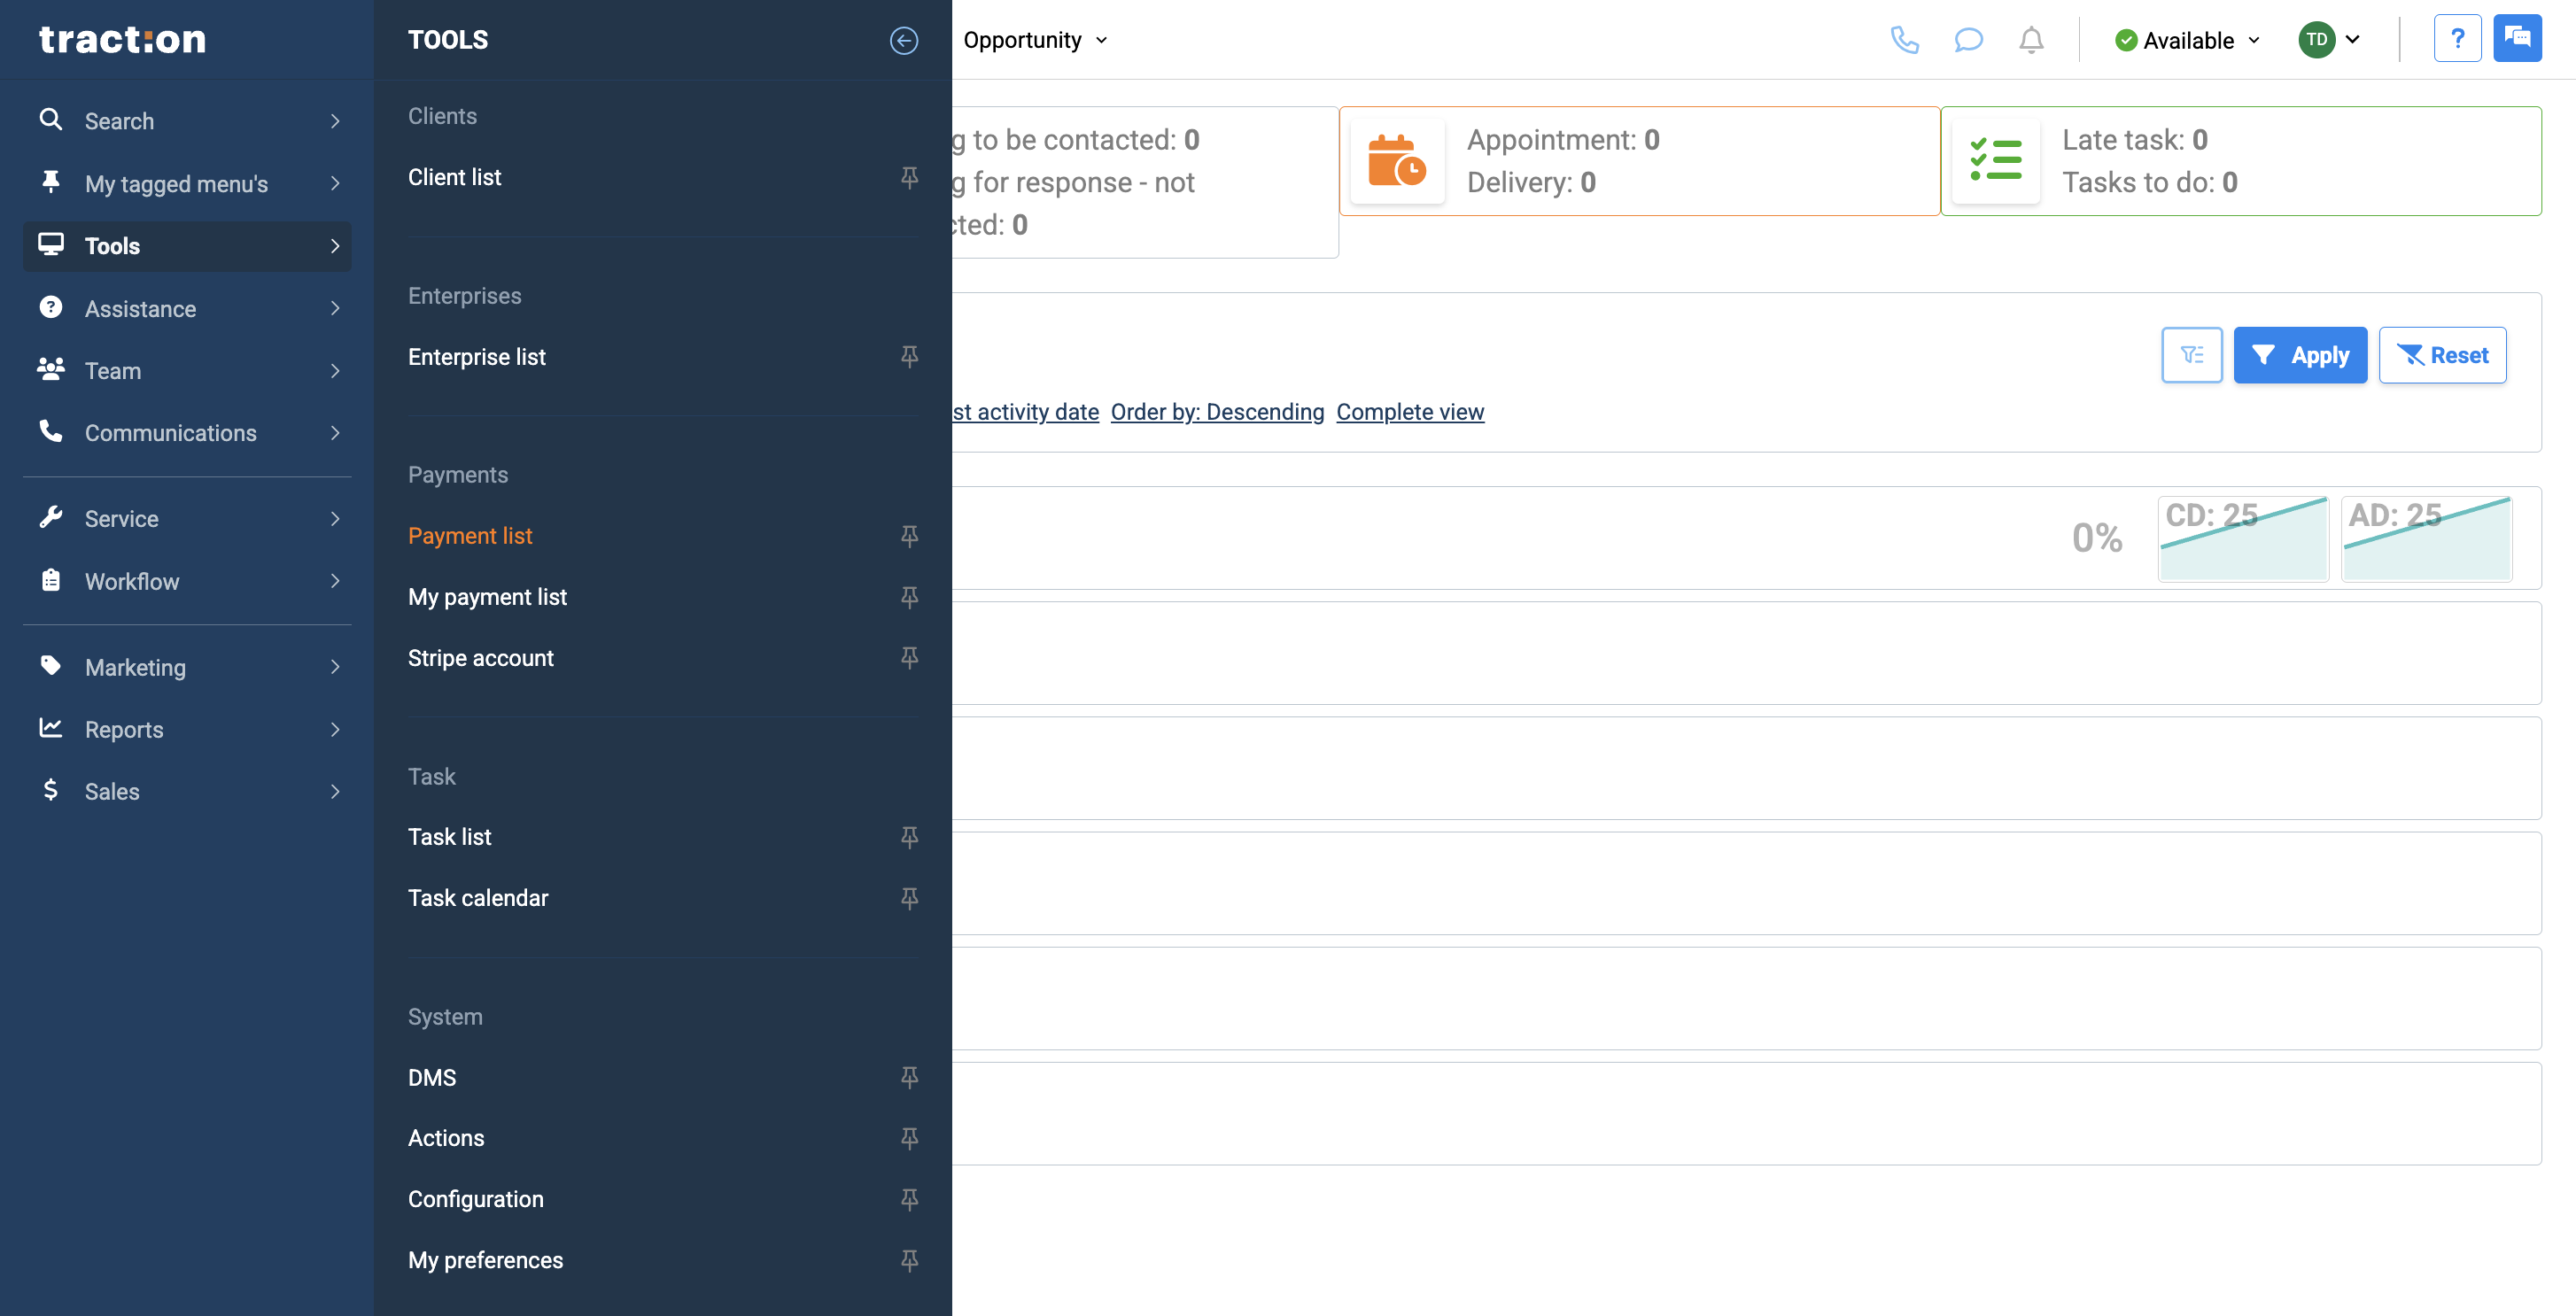
Click on Payment List.
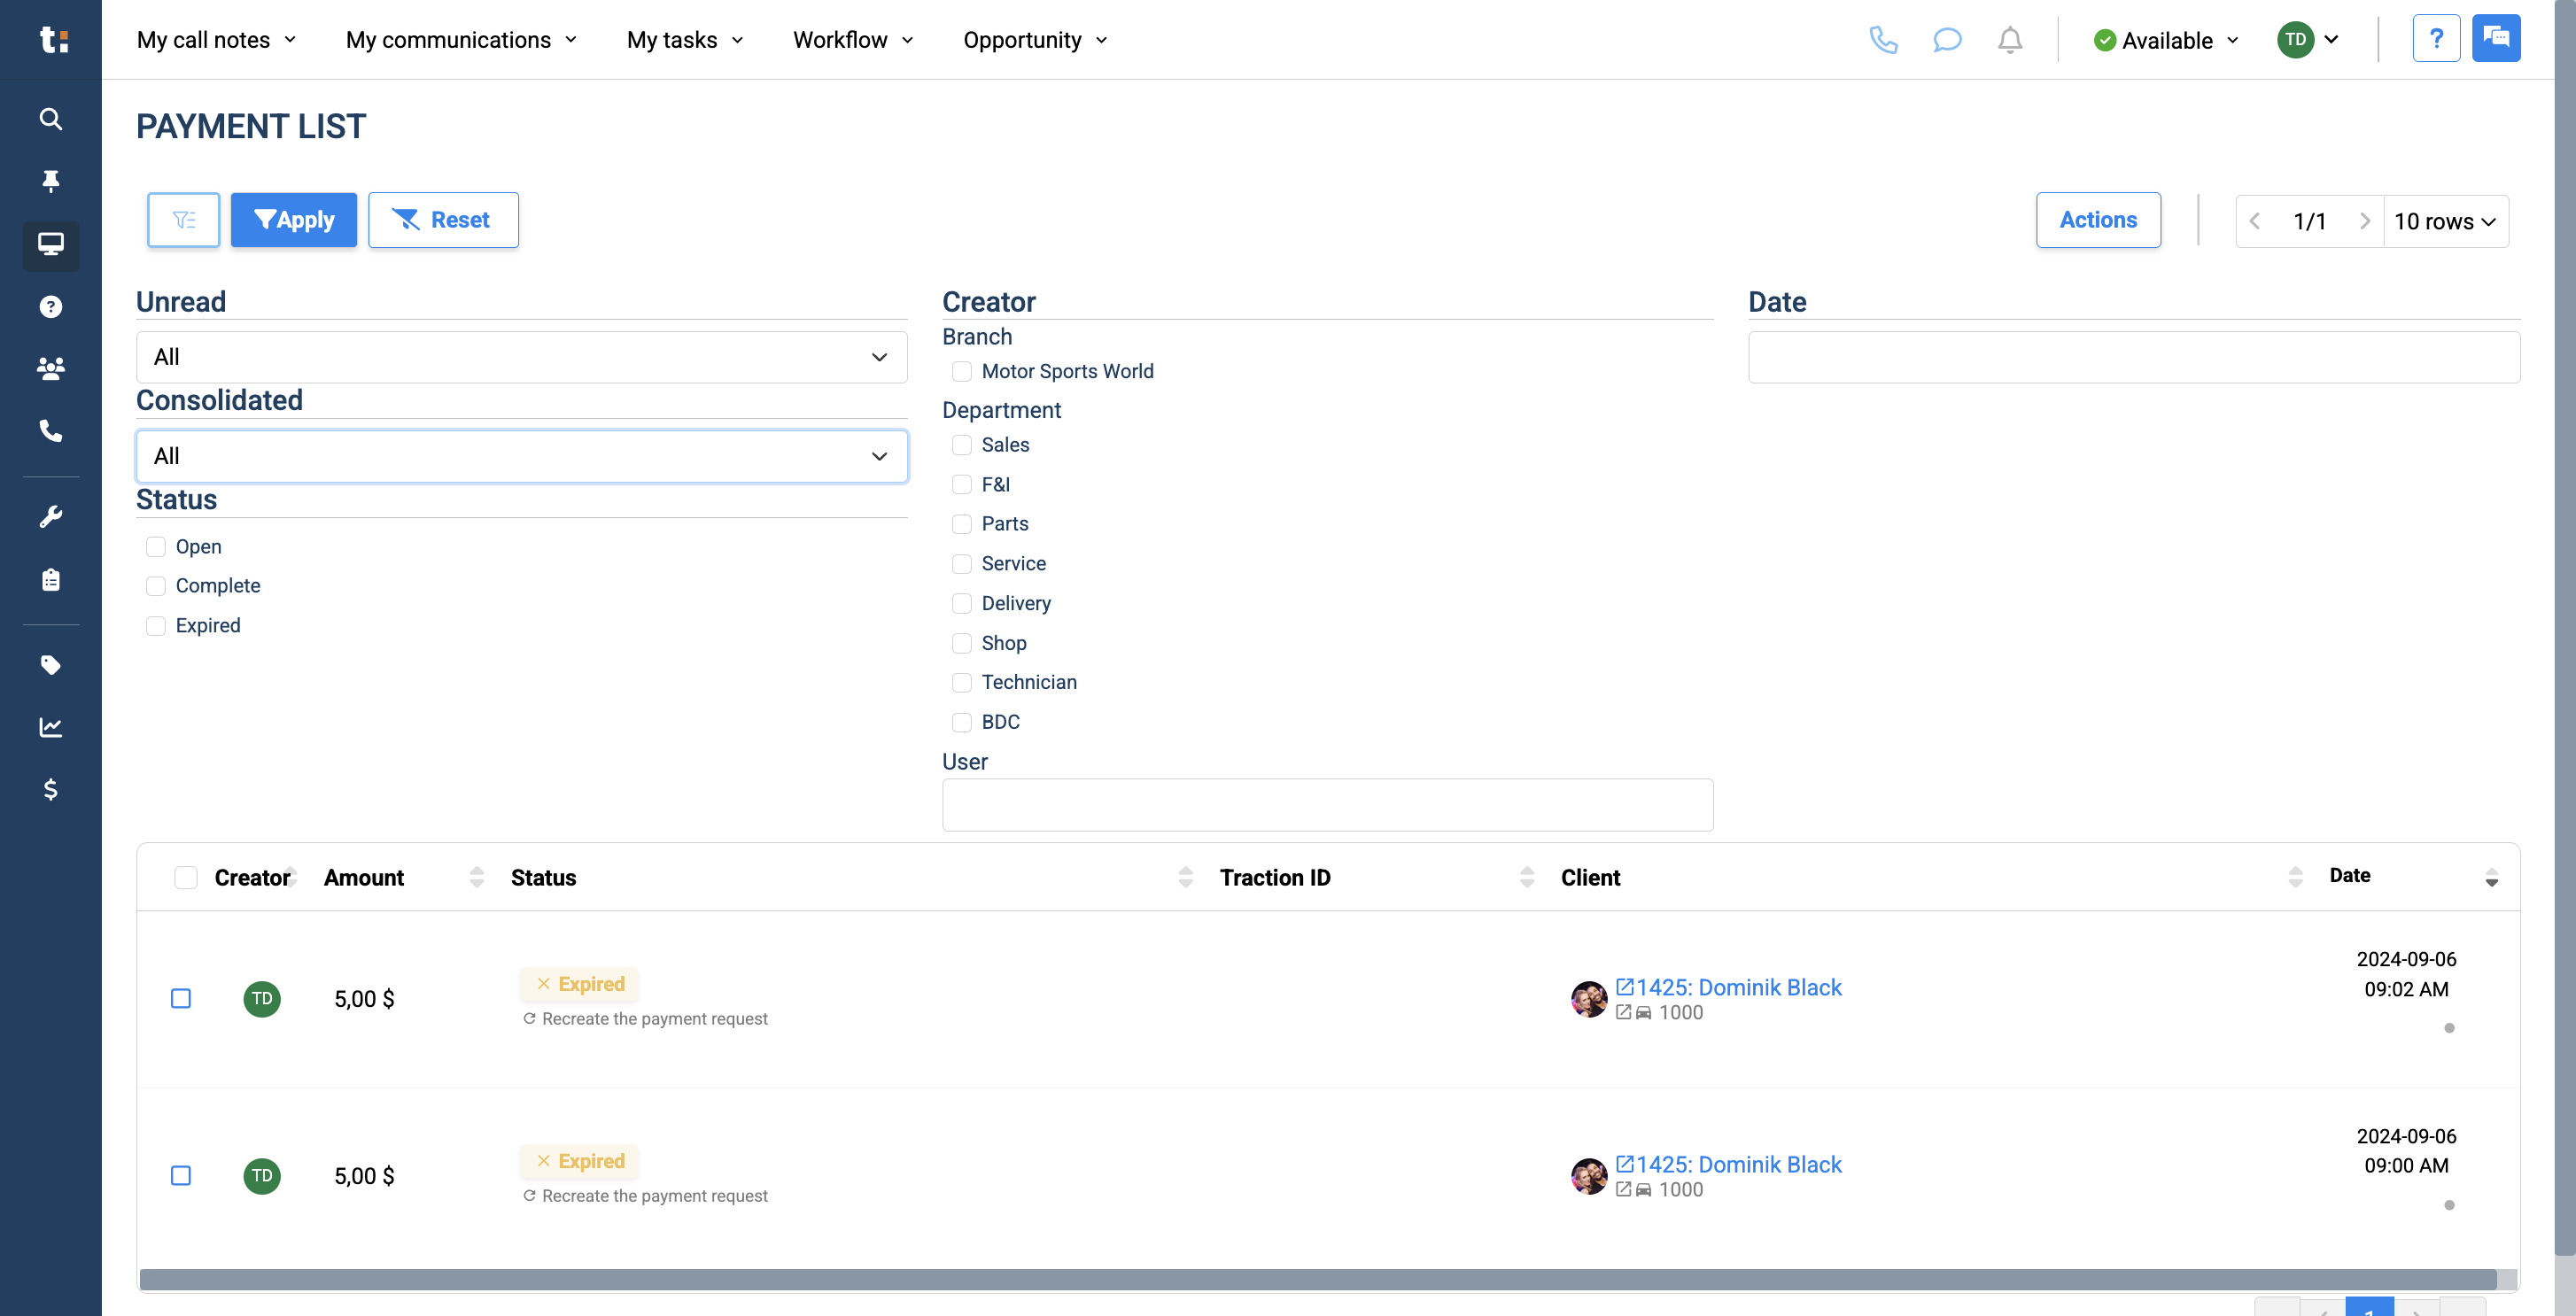
3
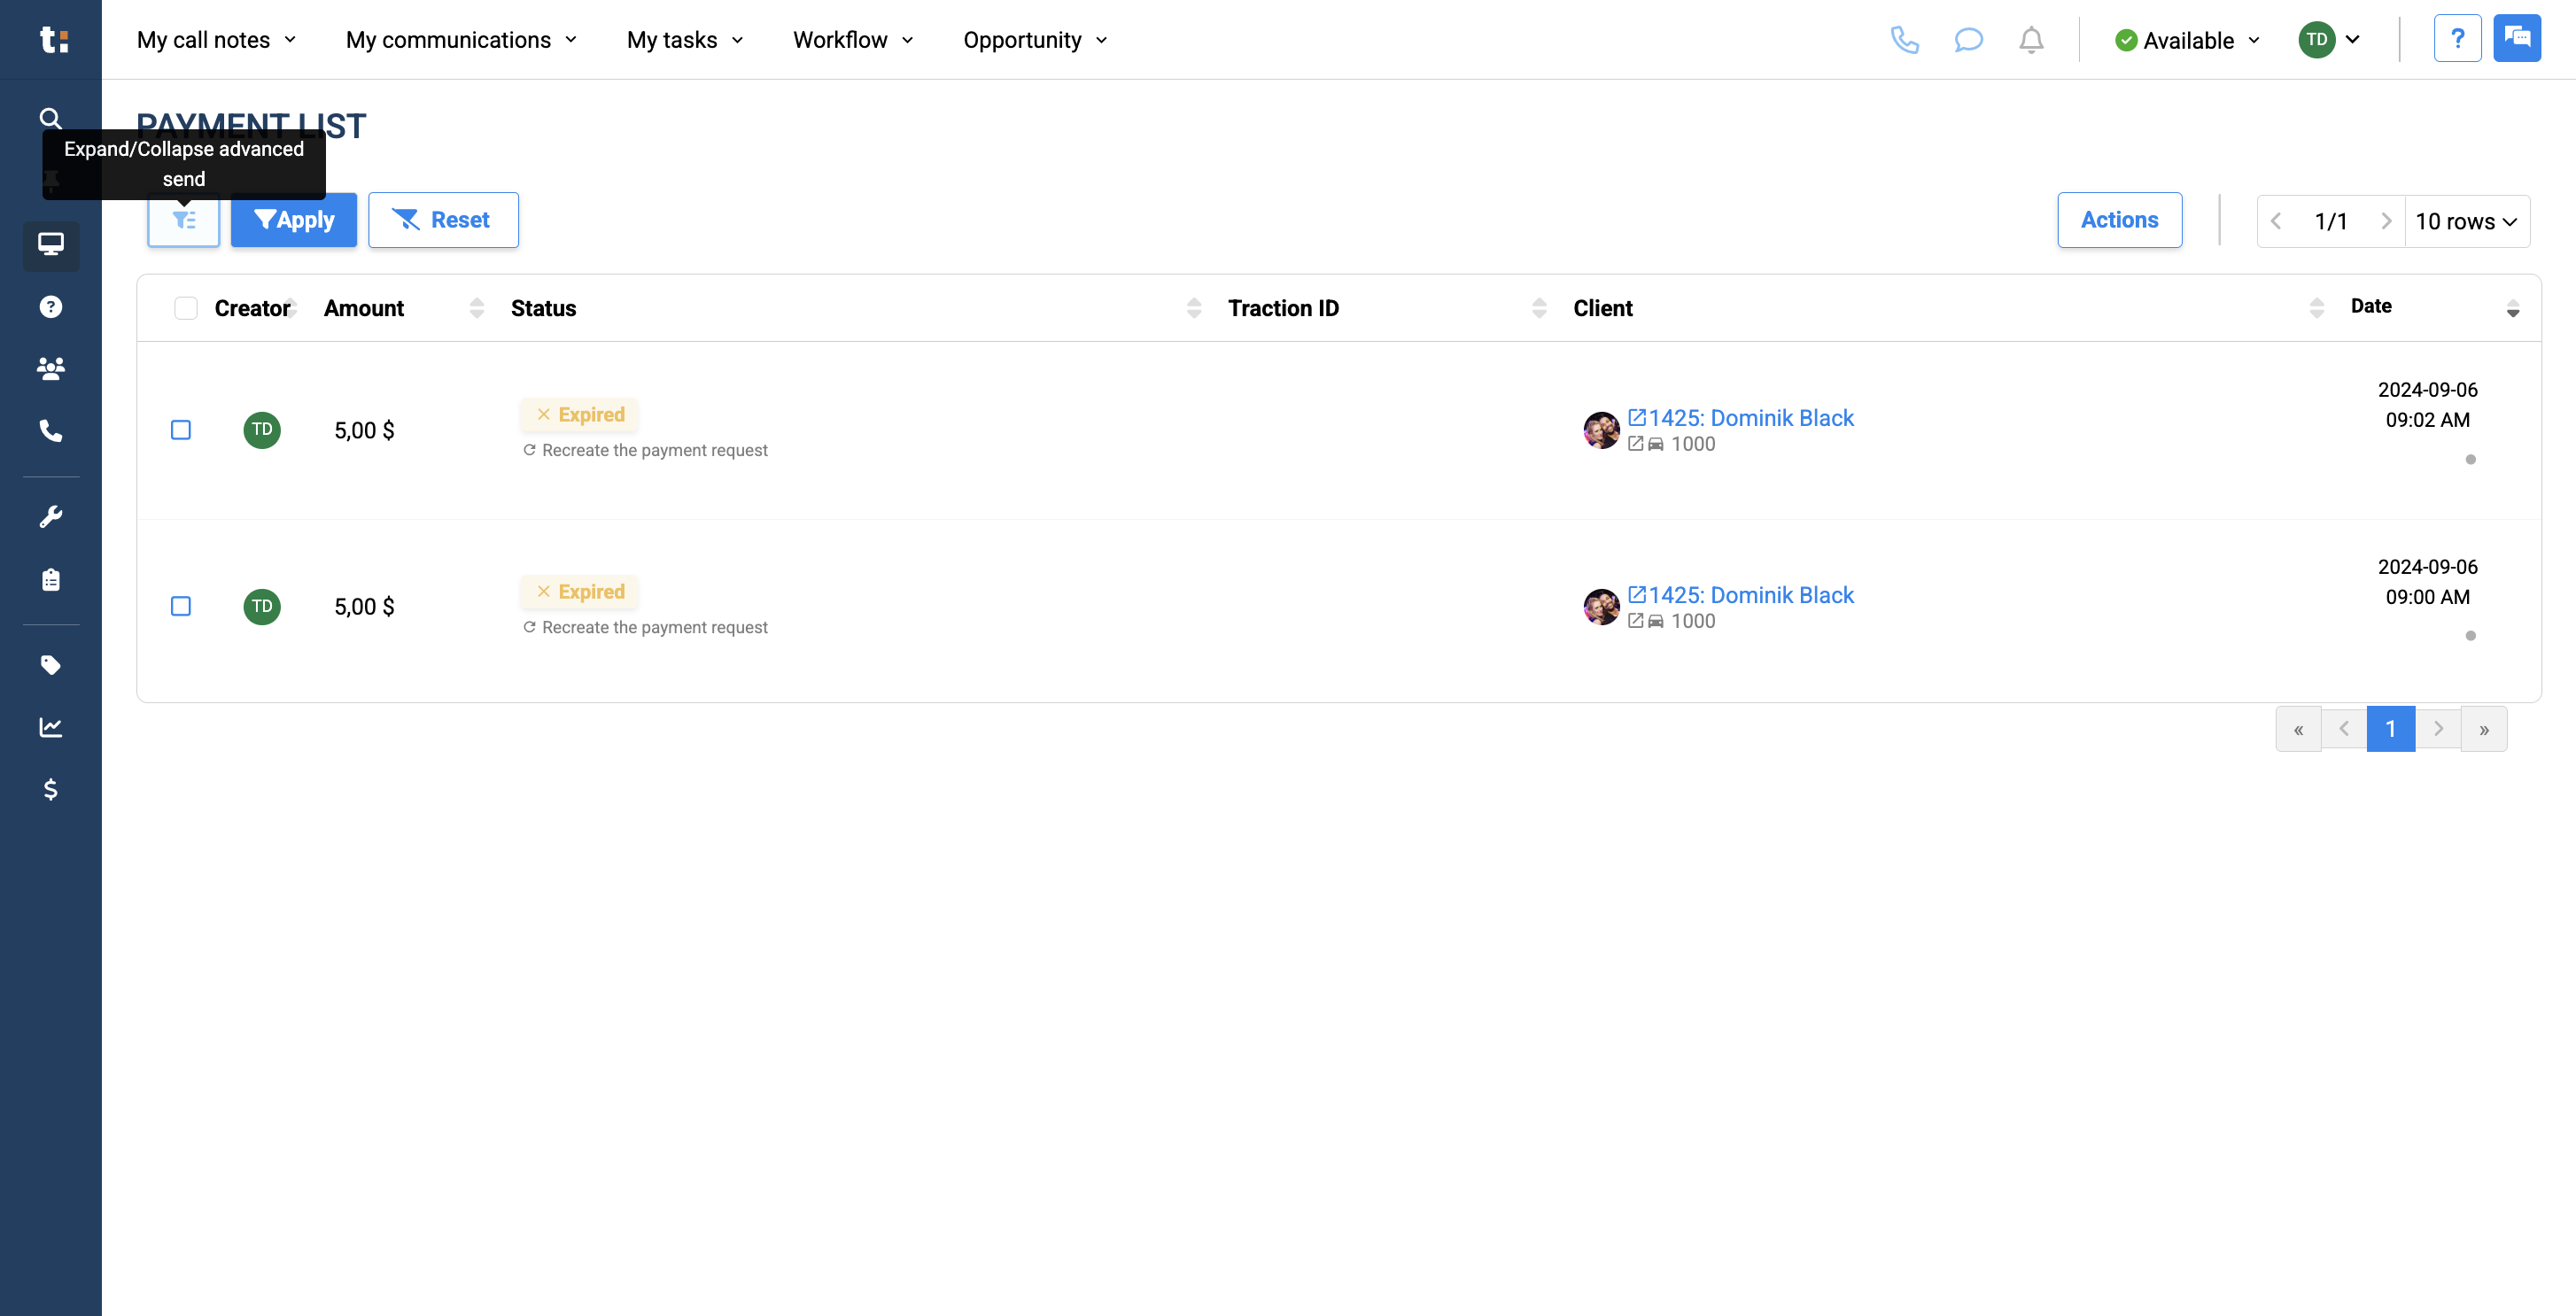
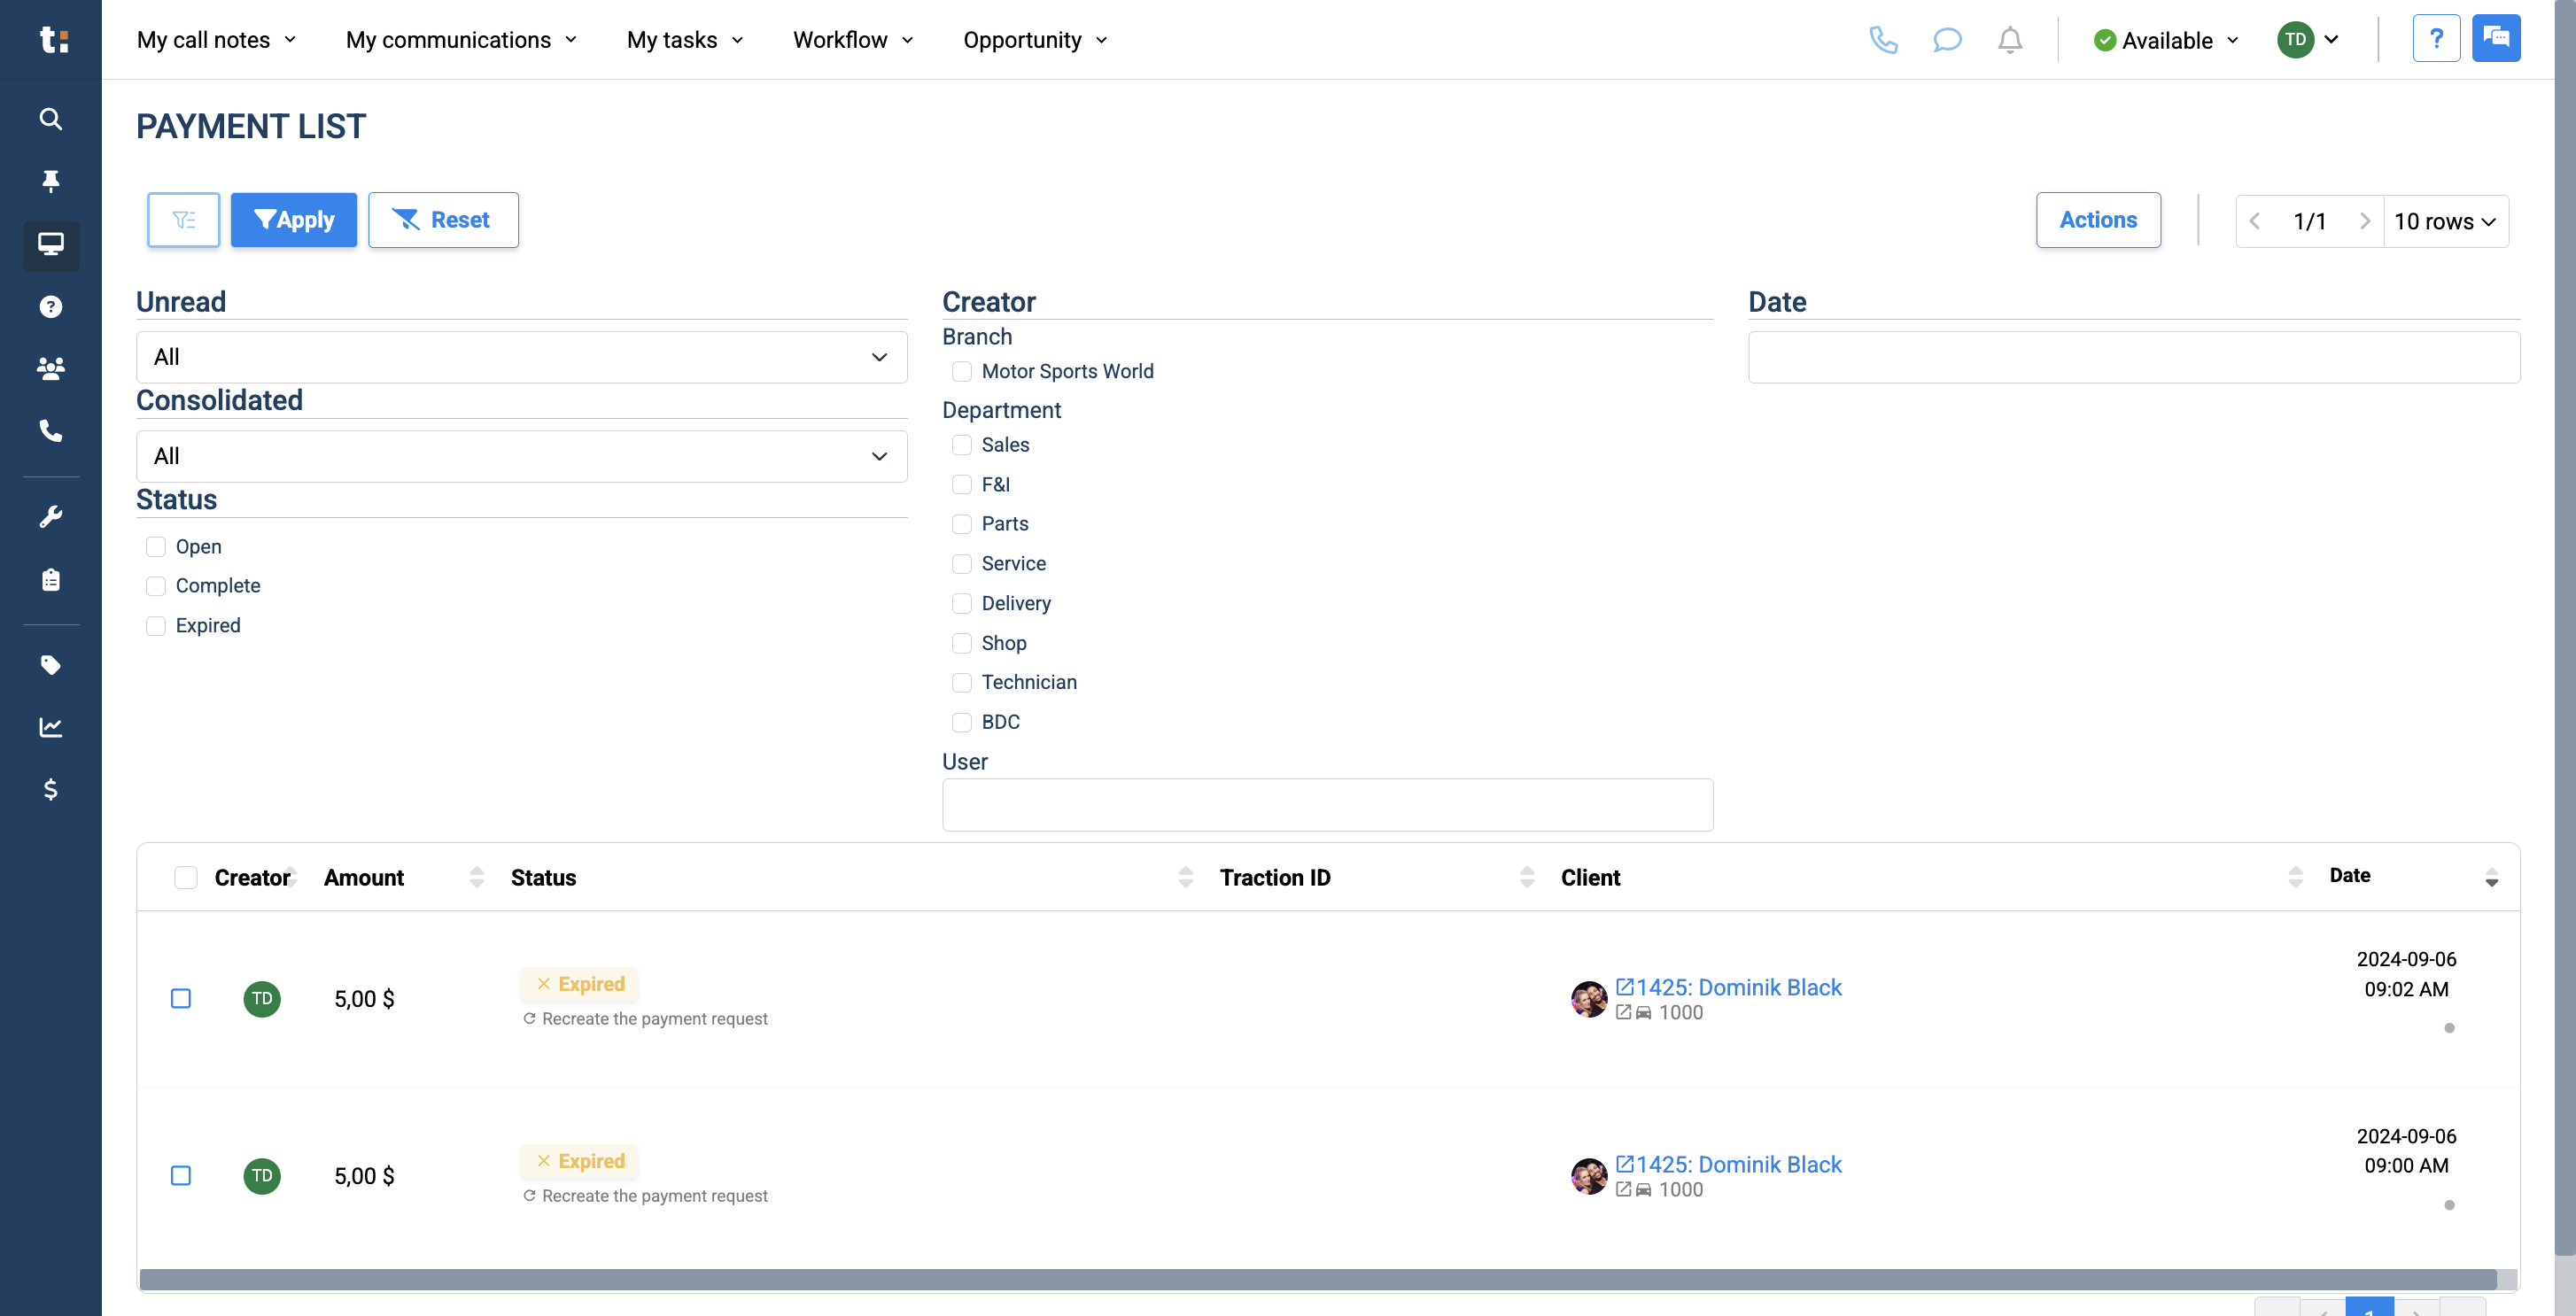
Once you're here, you'll see the full list of payments for the dealership. You can filter this list by clicking the Filter button.Click on "Expand / Collapse advanced"
4
In the filters, you can select either all unread or all read.
5
You can choose whether they are consolidated or not, and select the status: open, complete, or expired.

6
You can select the creator and the date it was sent.
7

8
After applying your filters, click the Apply button. To reset your filters, click Reset.

9

10
Your list will show the payment link creator, the requested amount, payment status, client, and the date it was sent.
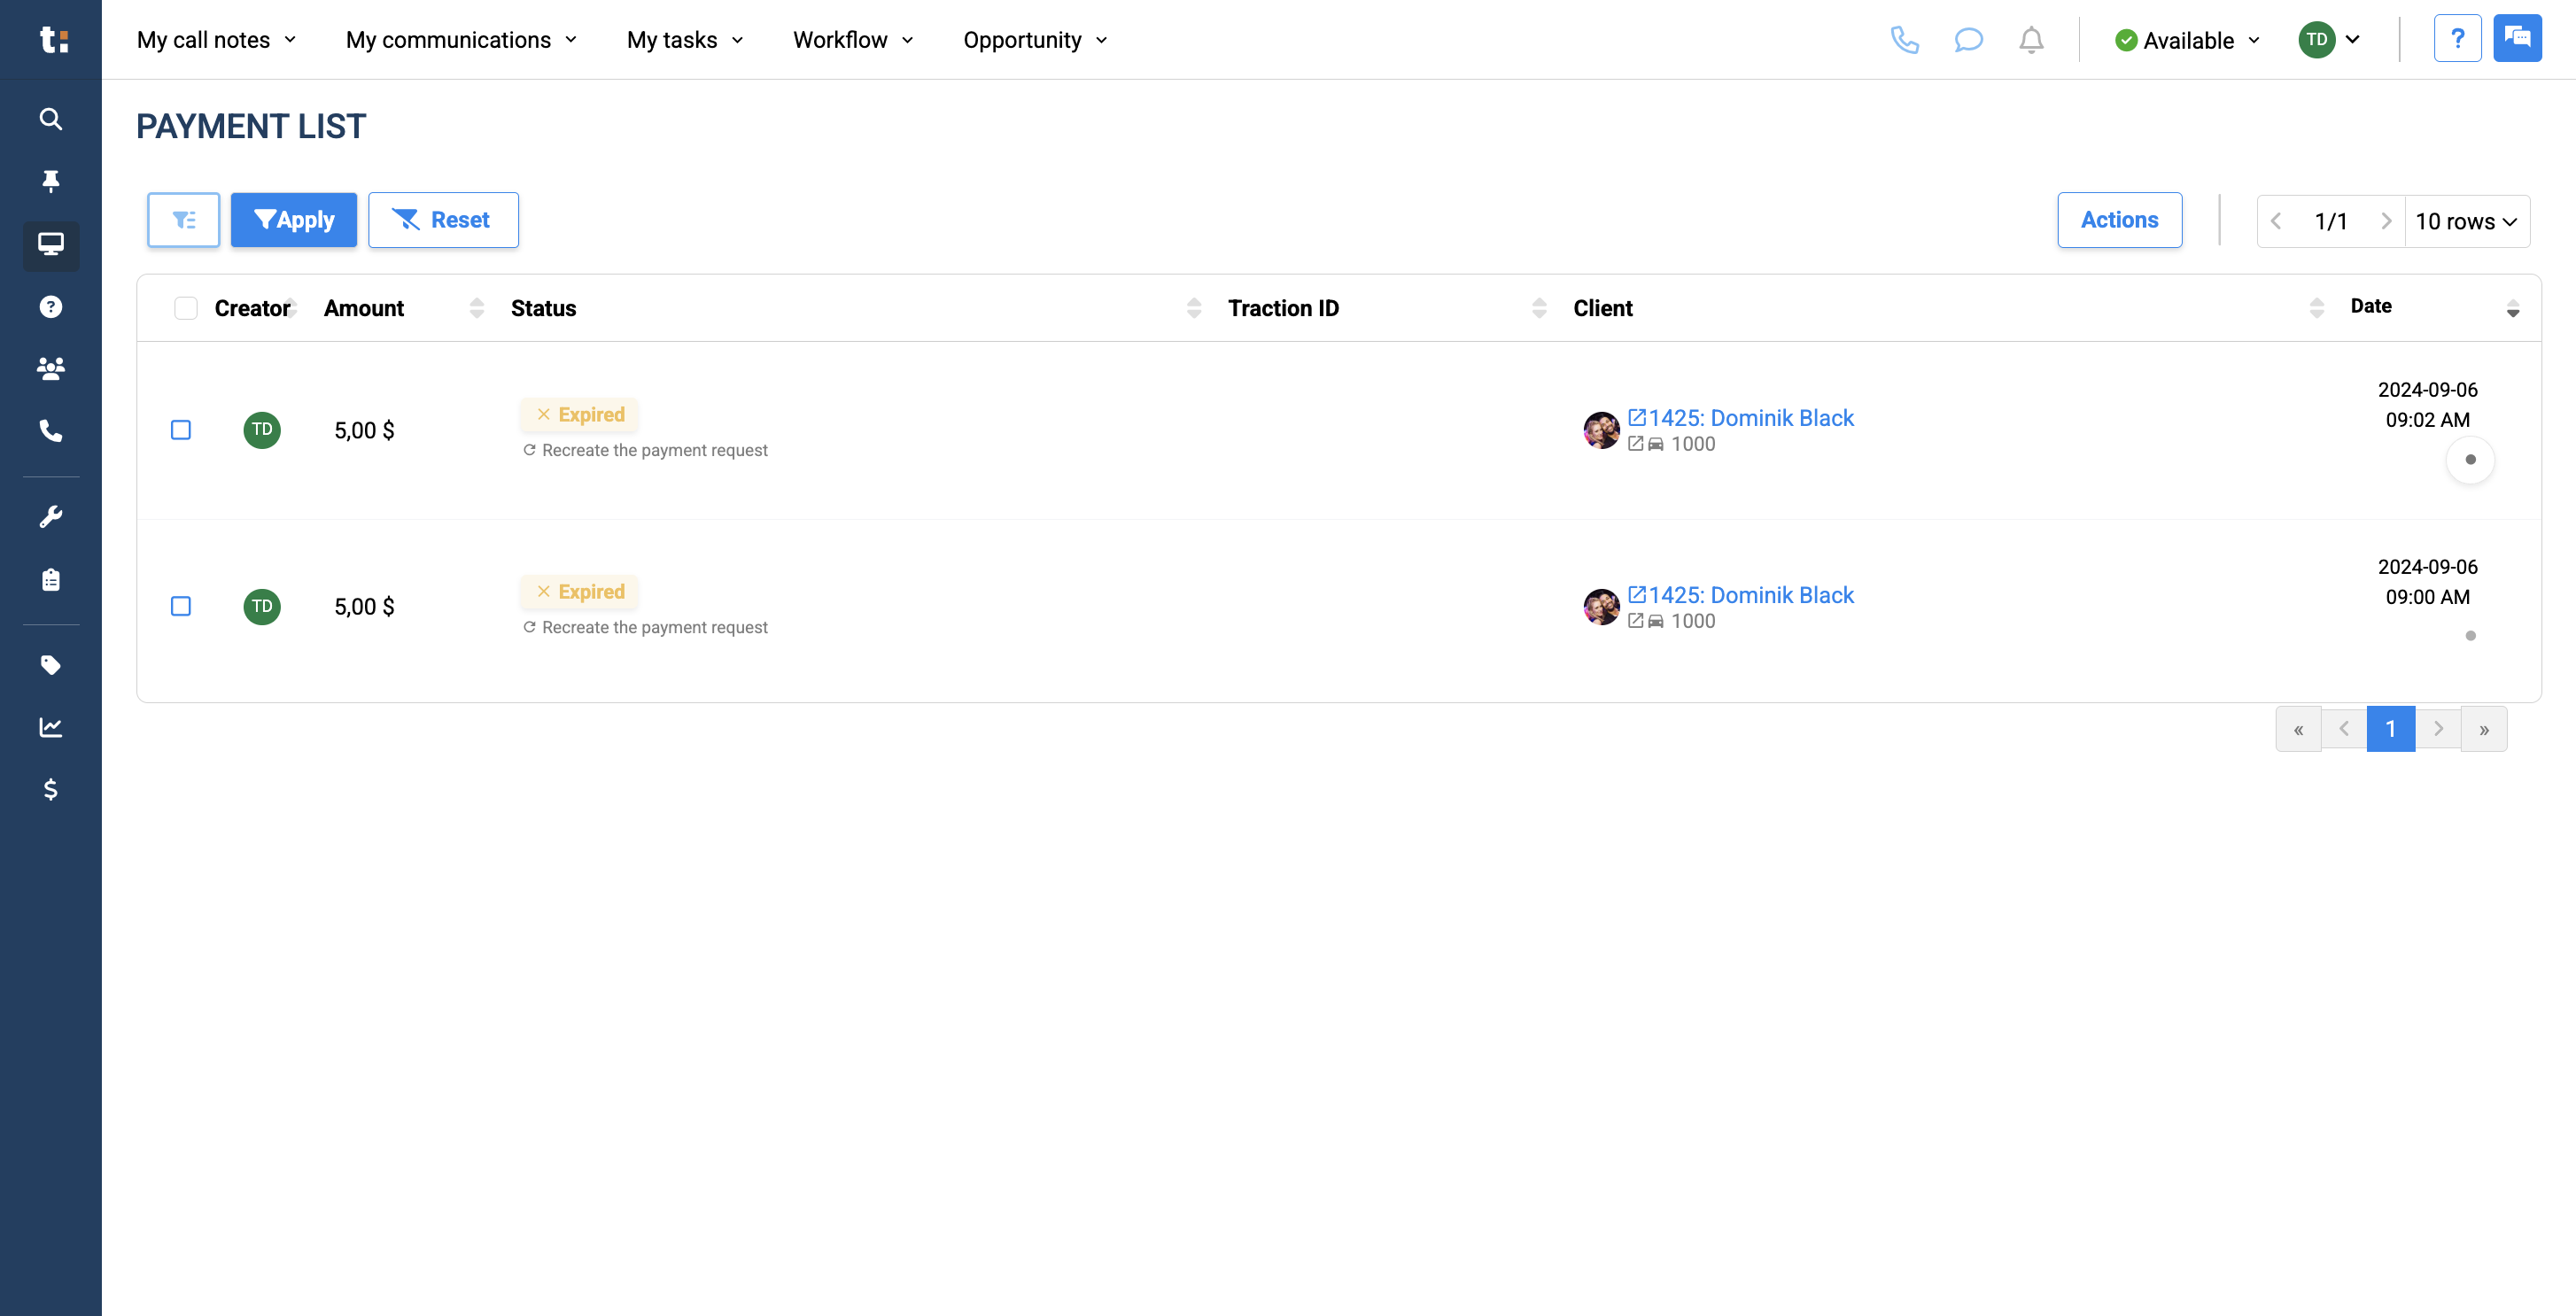
11
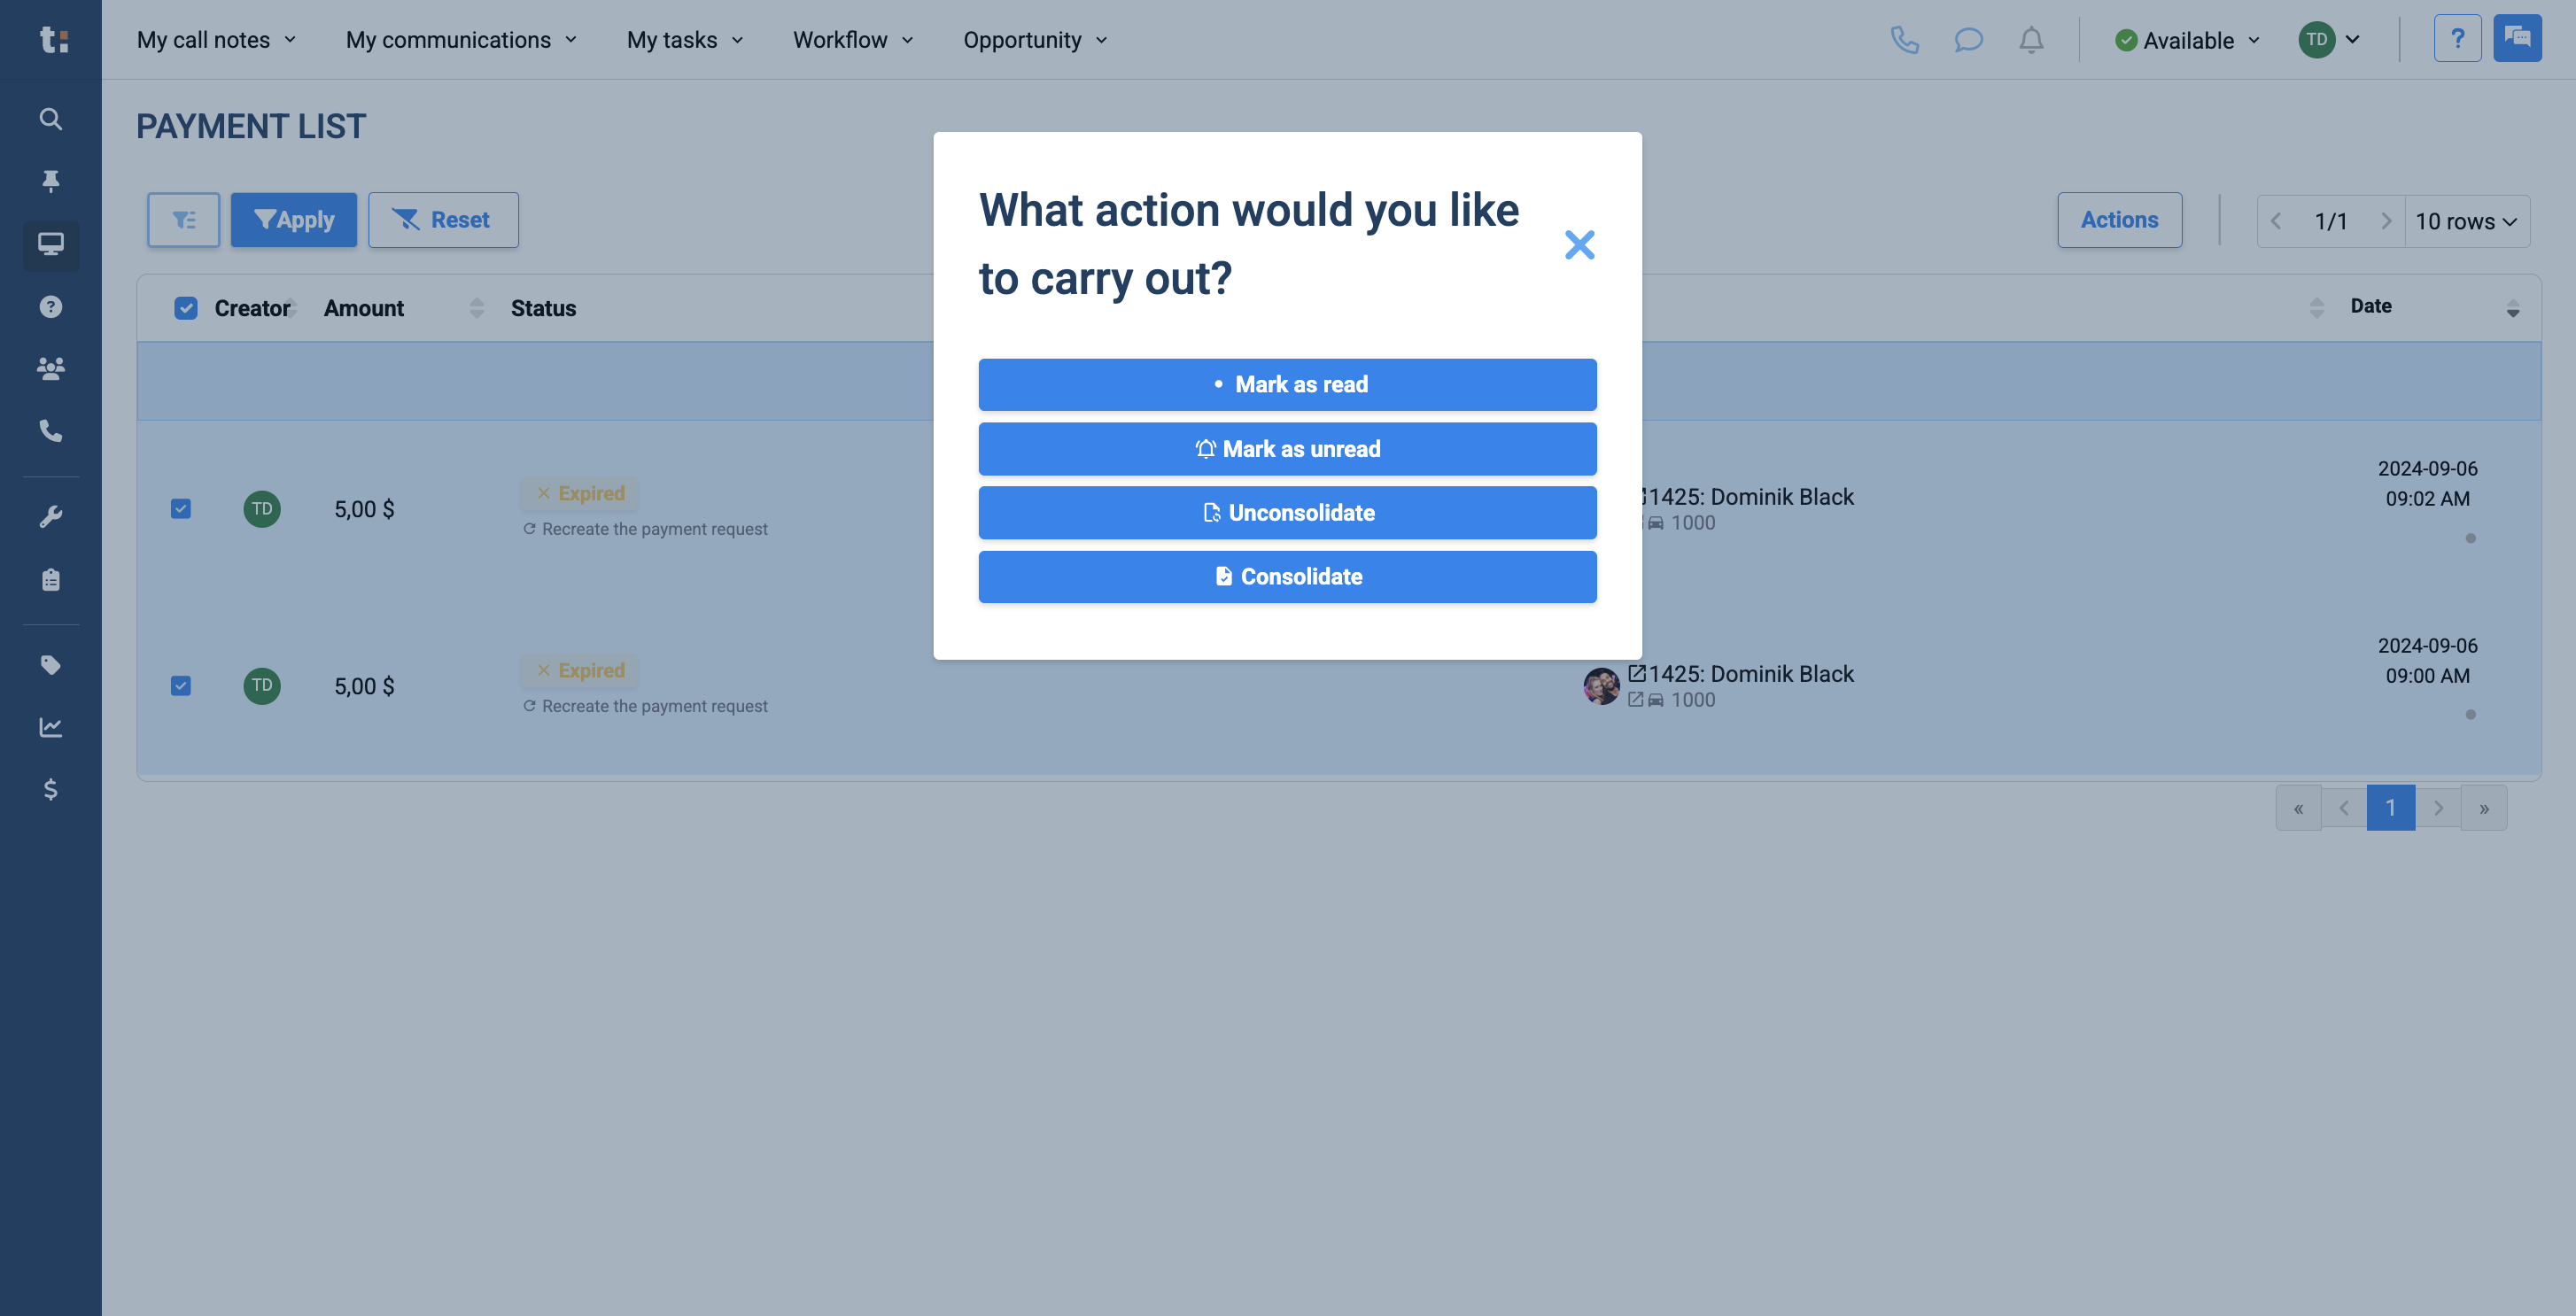
If you want, you can choose from your filtered list and click Actions.
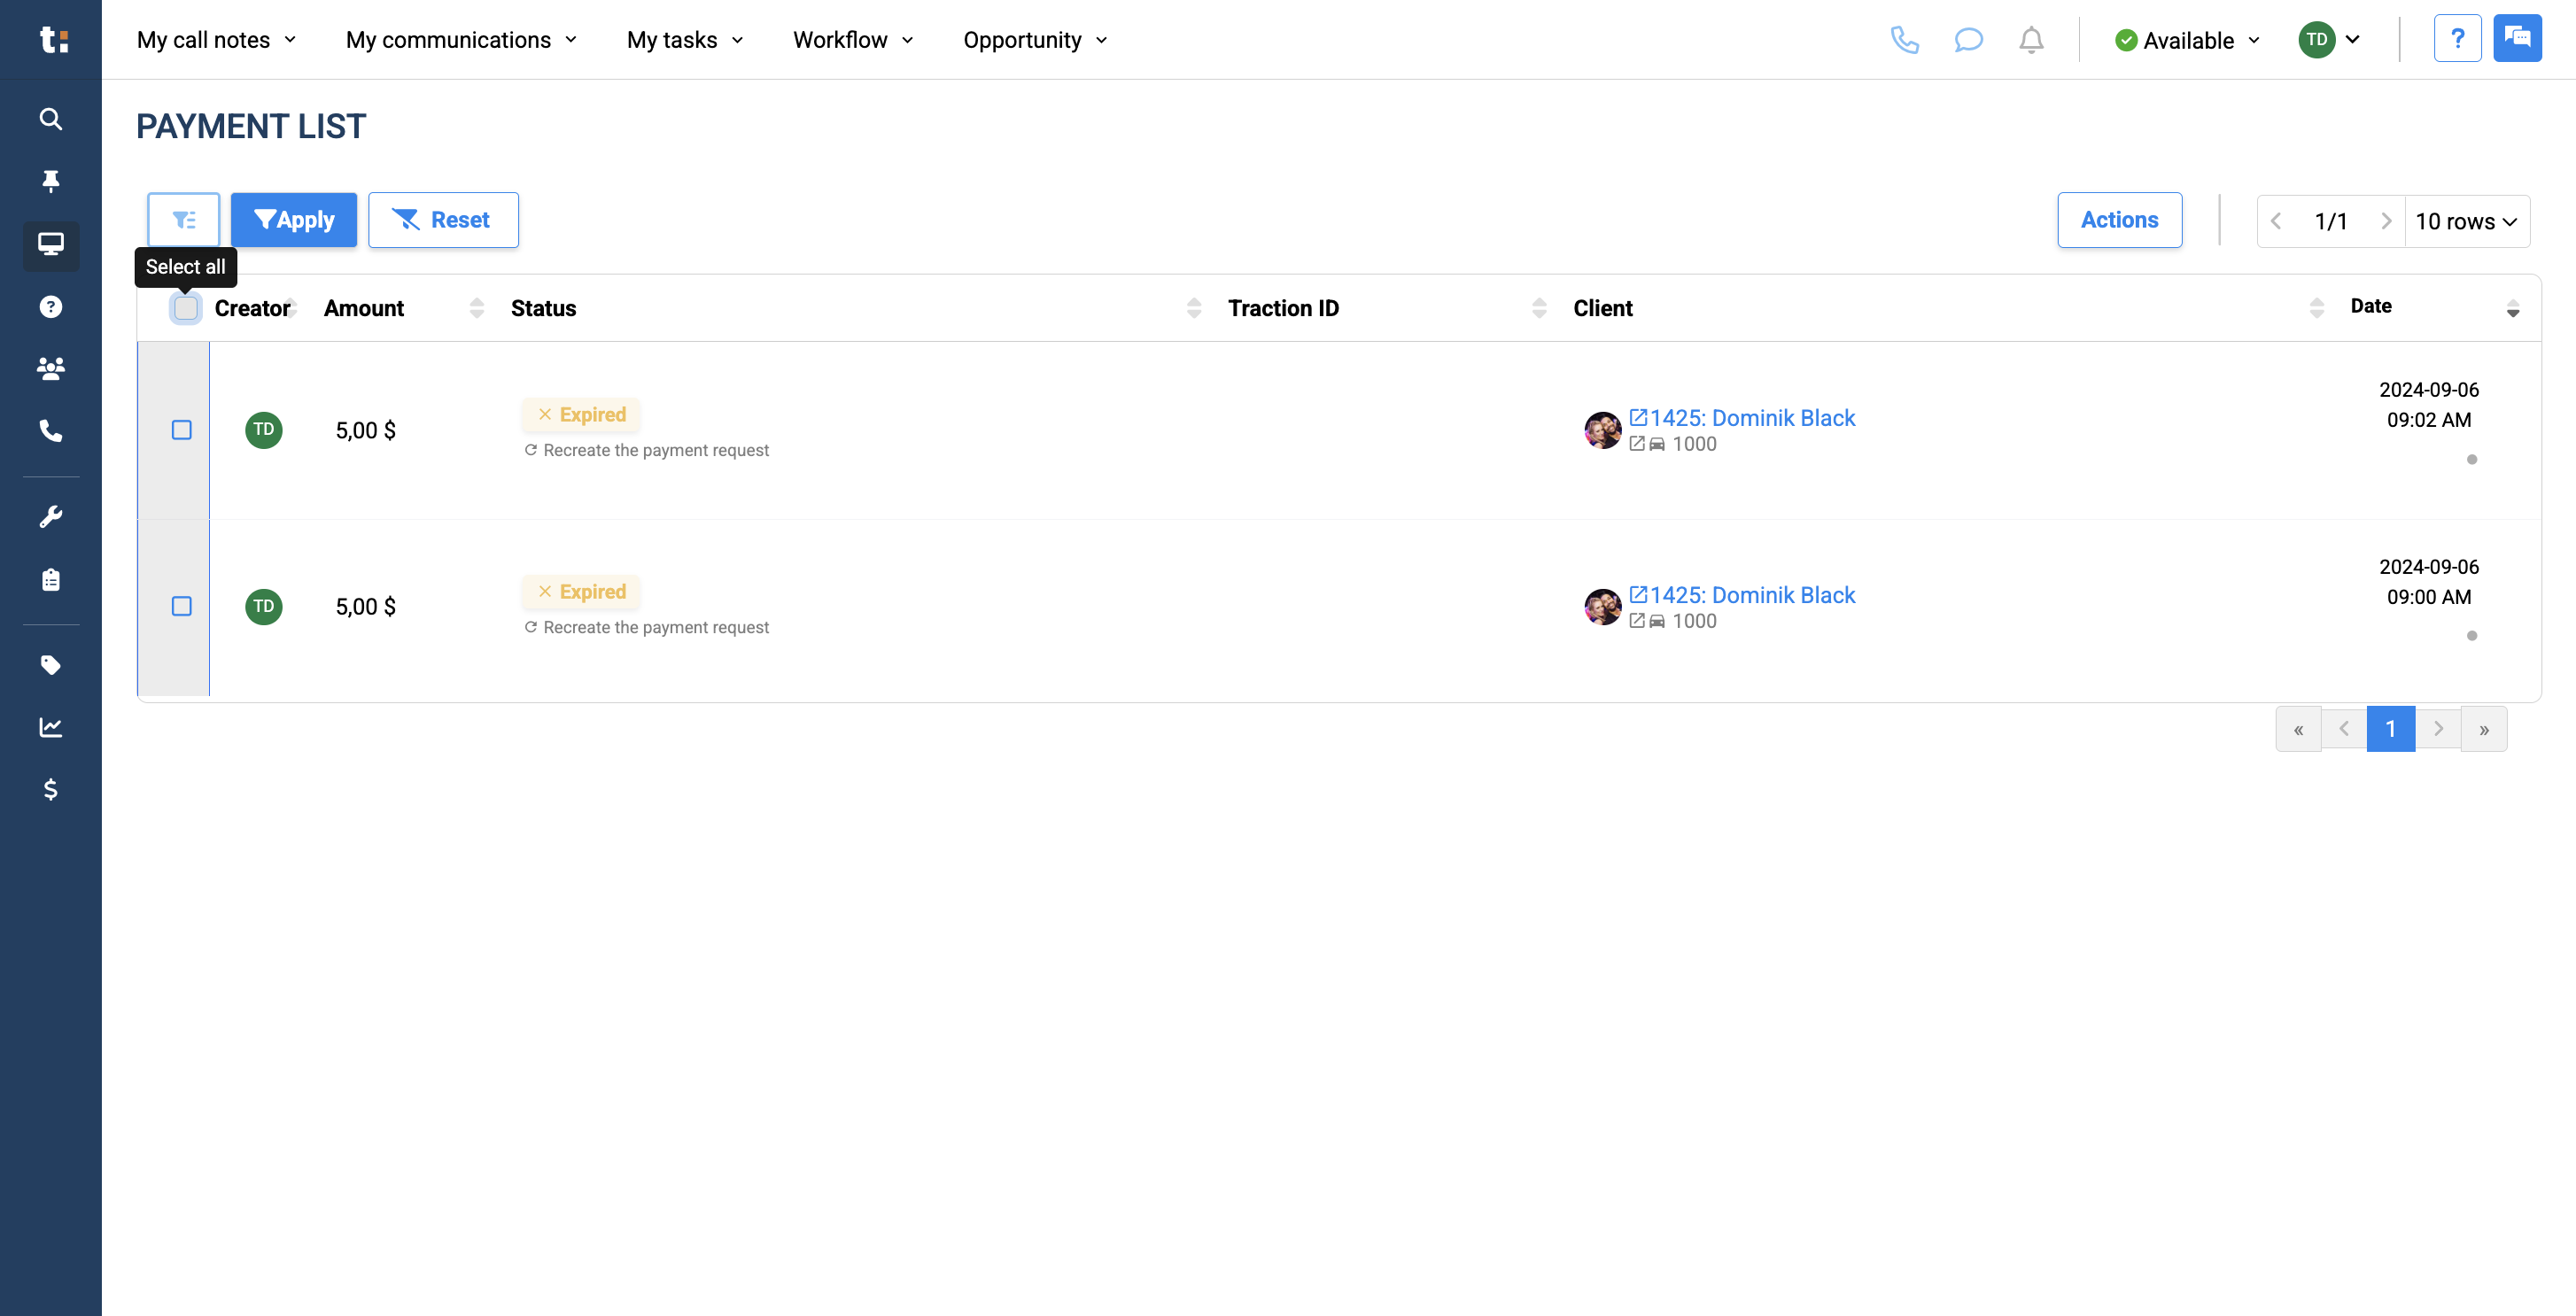
12
Click here
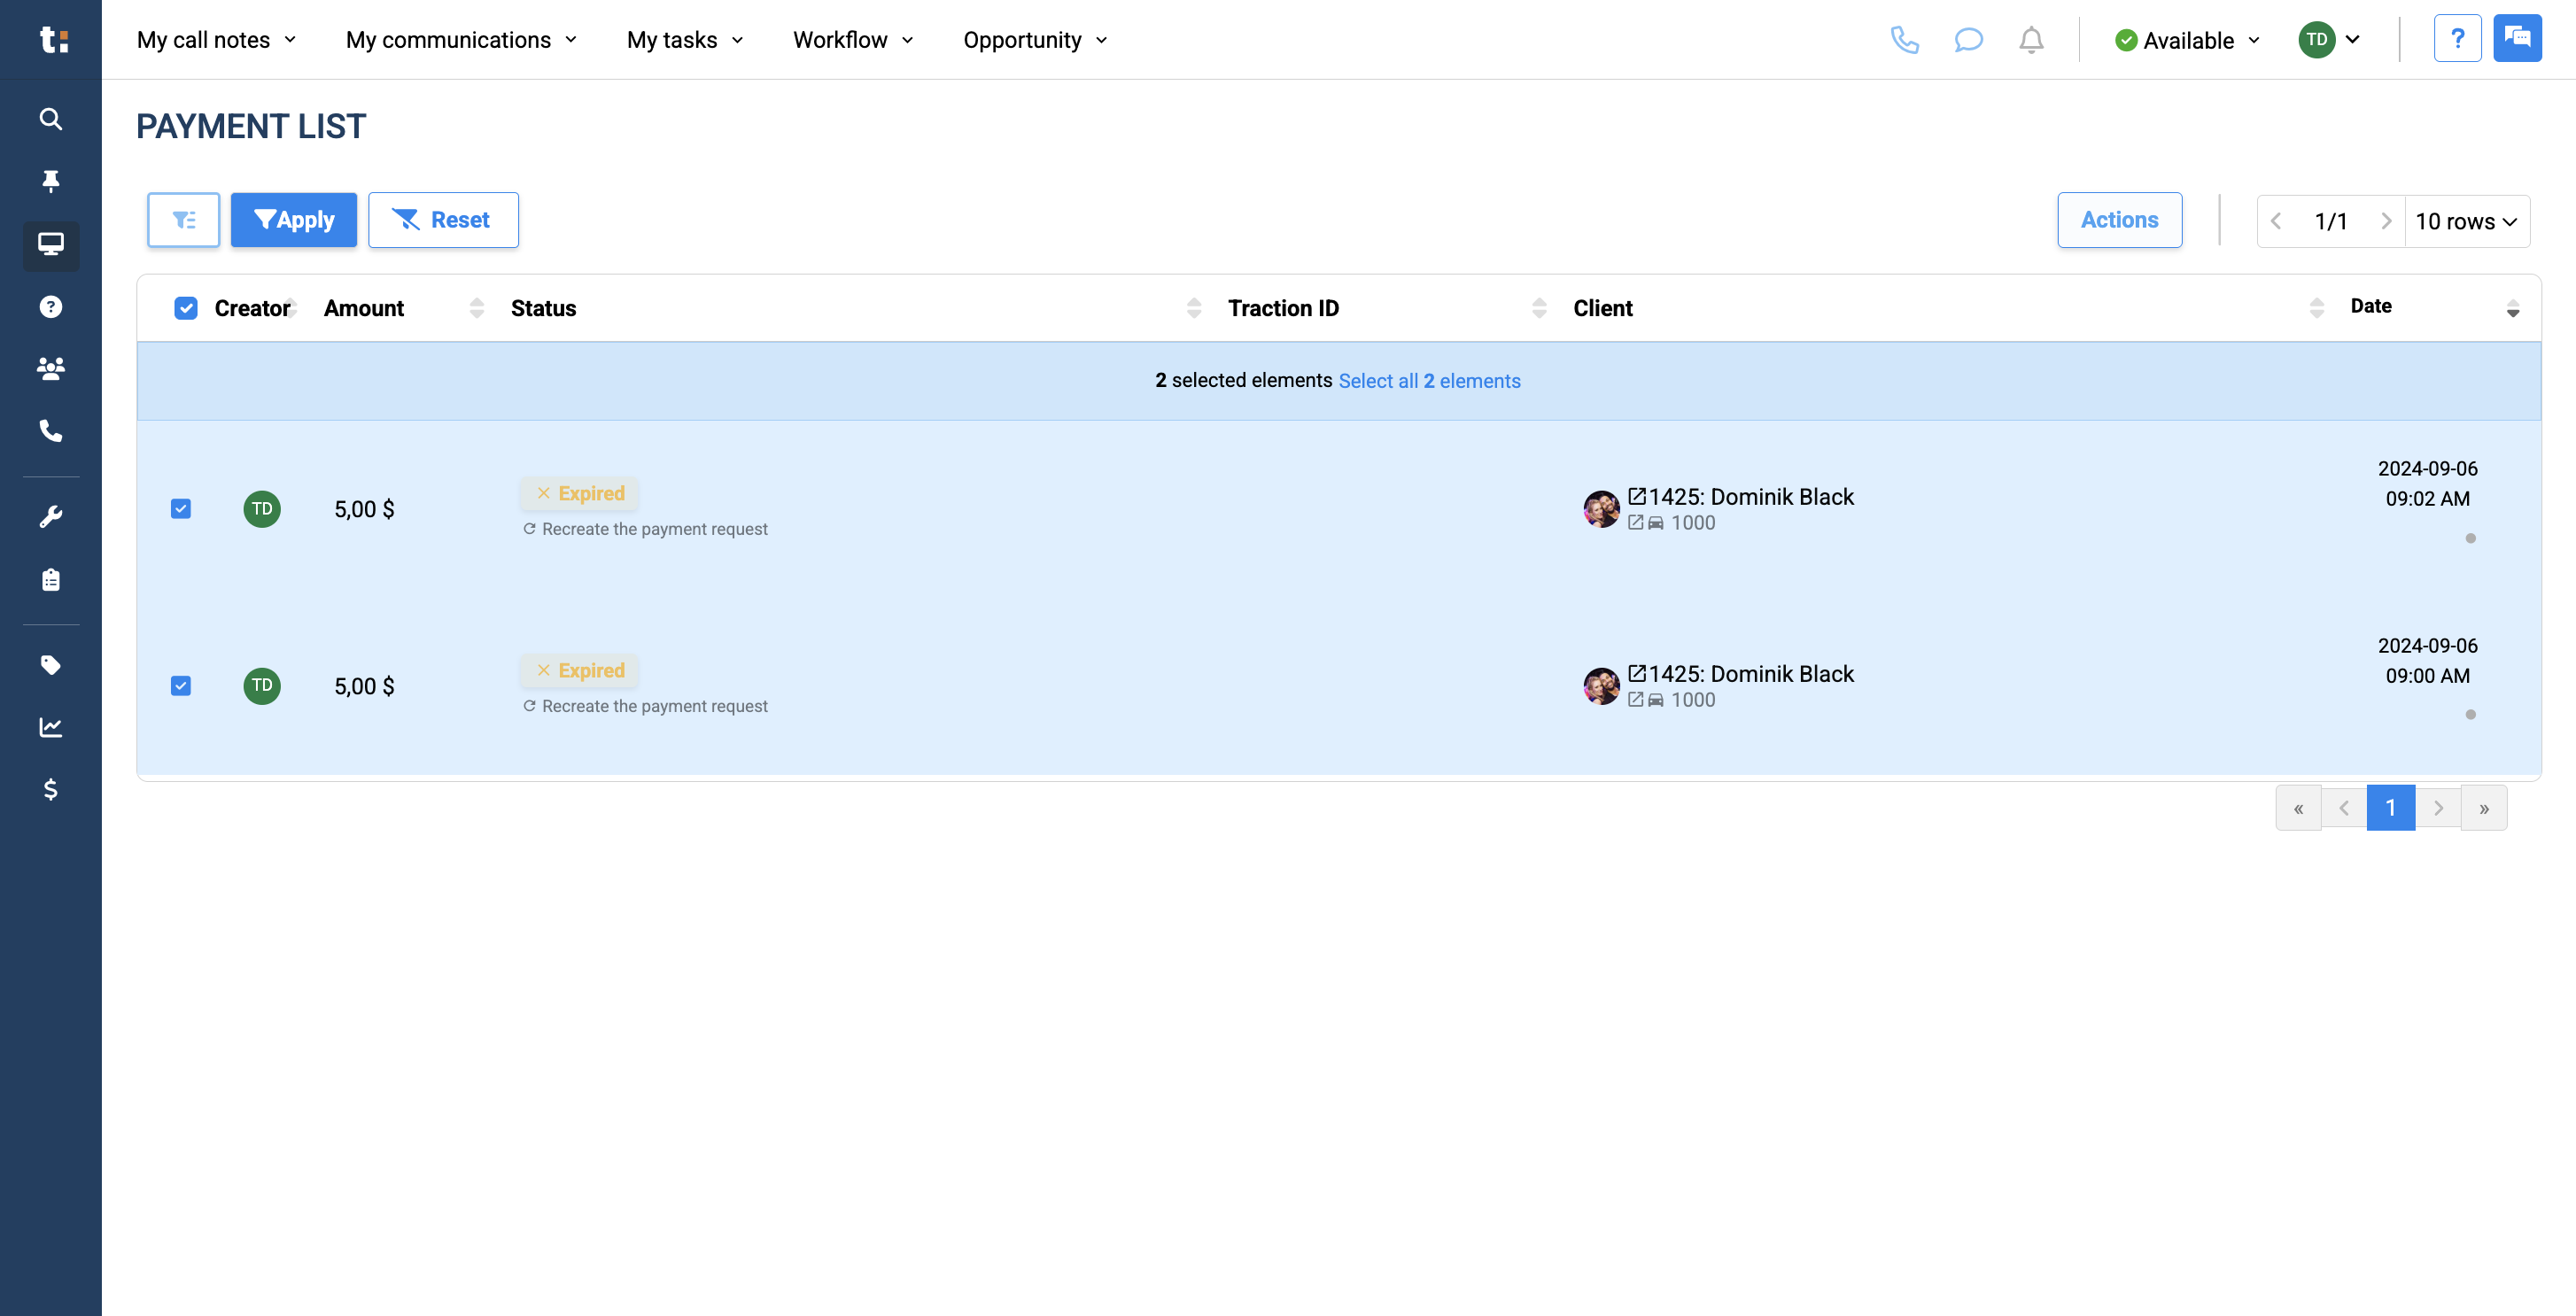
13
You can mark them as read or unread. You can also consolidate or unconsolidate them.
If you still have questions after consulting this article, please feel free to contact our support team at: support@tractiondk.zohodesk.com