Icon

How to Run Payroll Using ServiceTitan and Paycom: Step-by-Step Guide

Learn how to efficiently run payroll by exporting the Master Pay File from ServiceTitan and importing it into Paycom. Follow this step-by-step guide to ensure accurate payroll processing for all technicians and business units.

By Ted Schroeder

In this guide, we'll learn how to run payroll by exporting a Master Pay File from ServiceTitan and importing it into Paycom. This process includes preparing the file, making a required change, and ensuring the data matches the payroll period. The goal is to help you complete payroll accurately and efficiently.

Let's get started

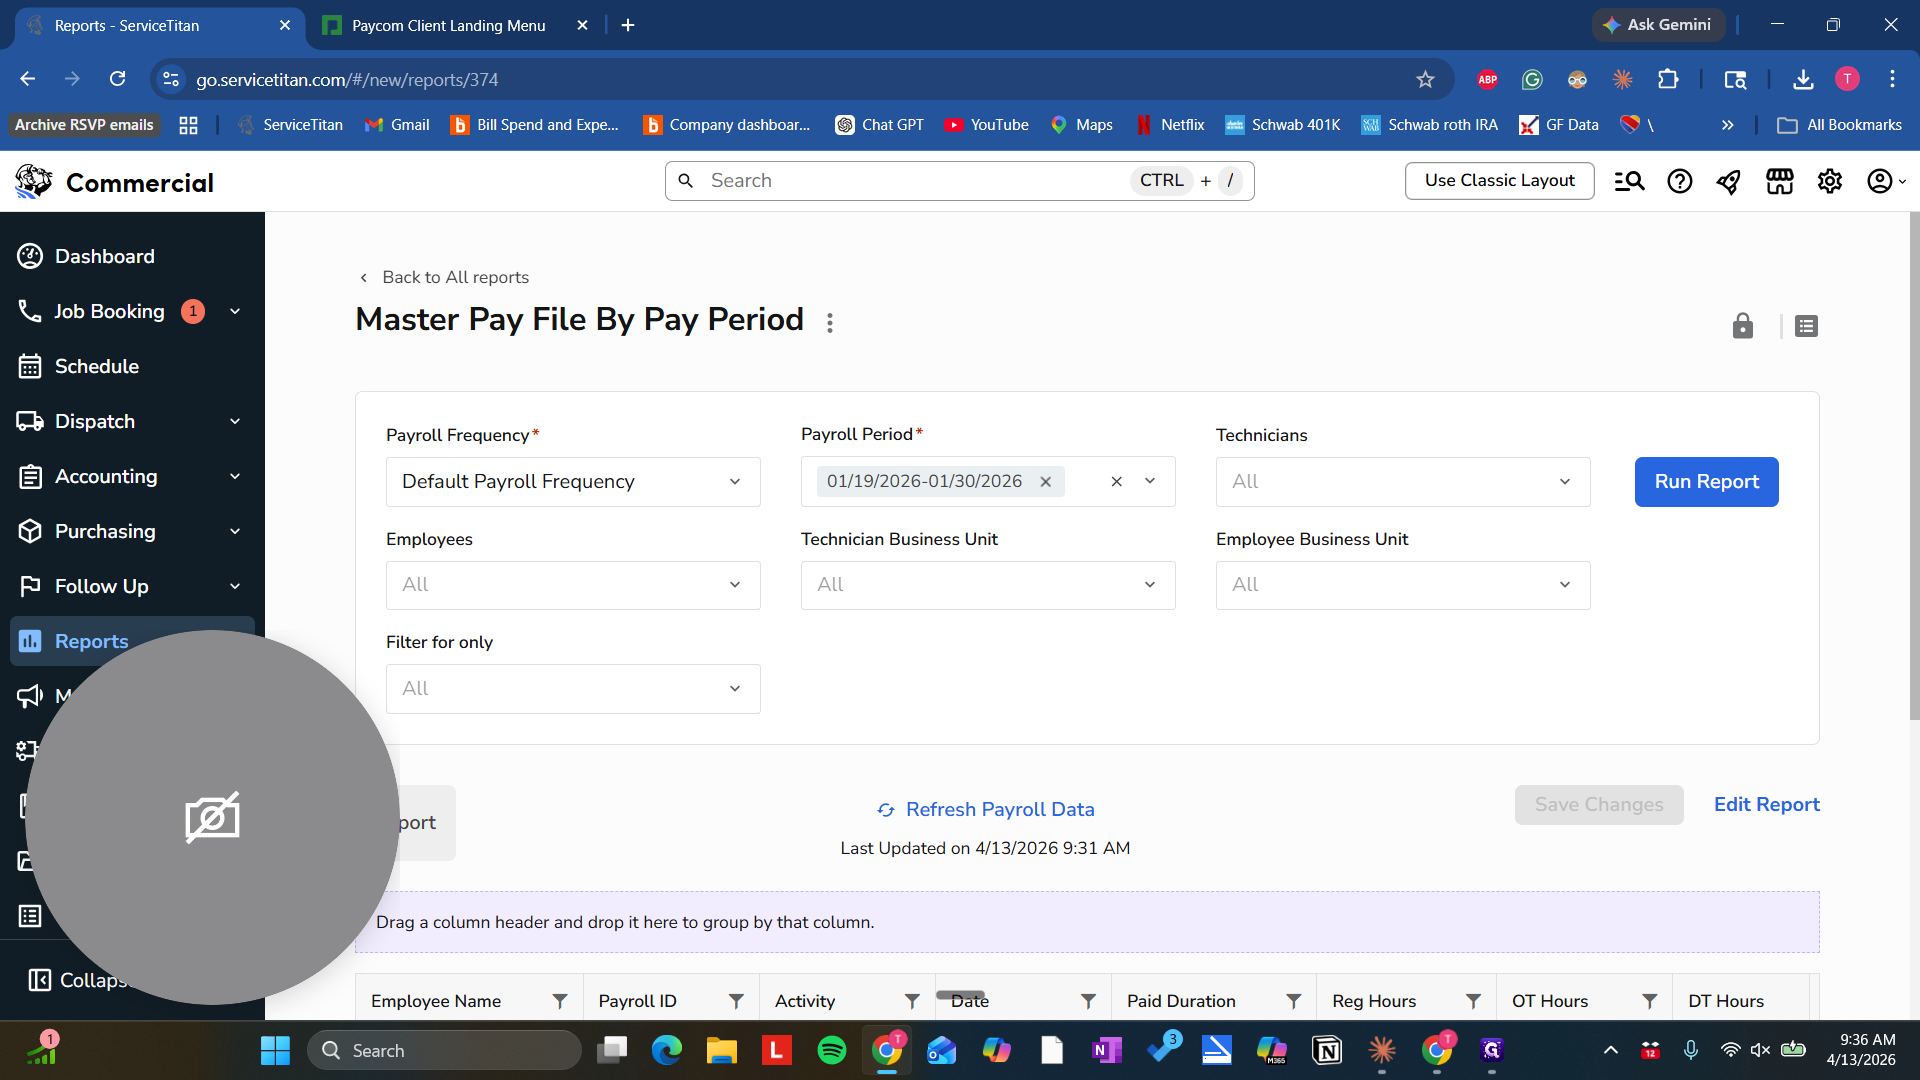
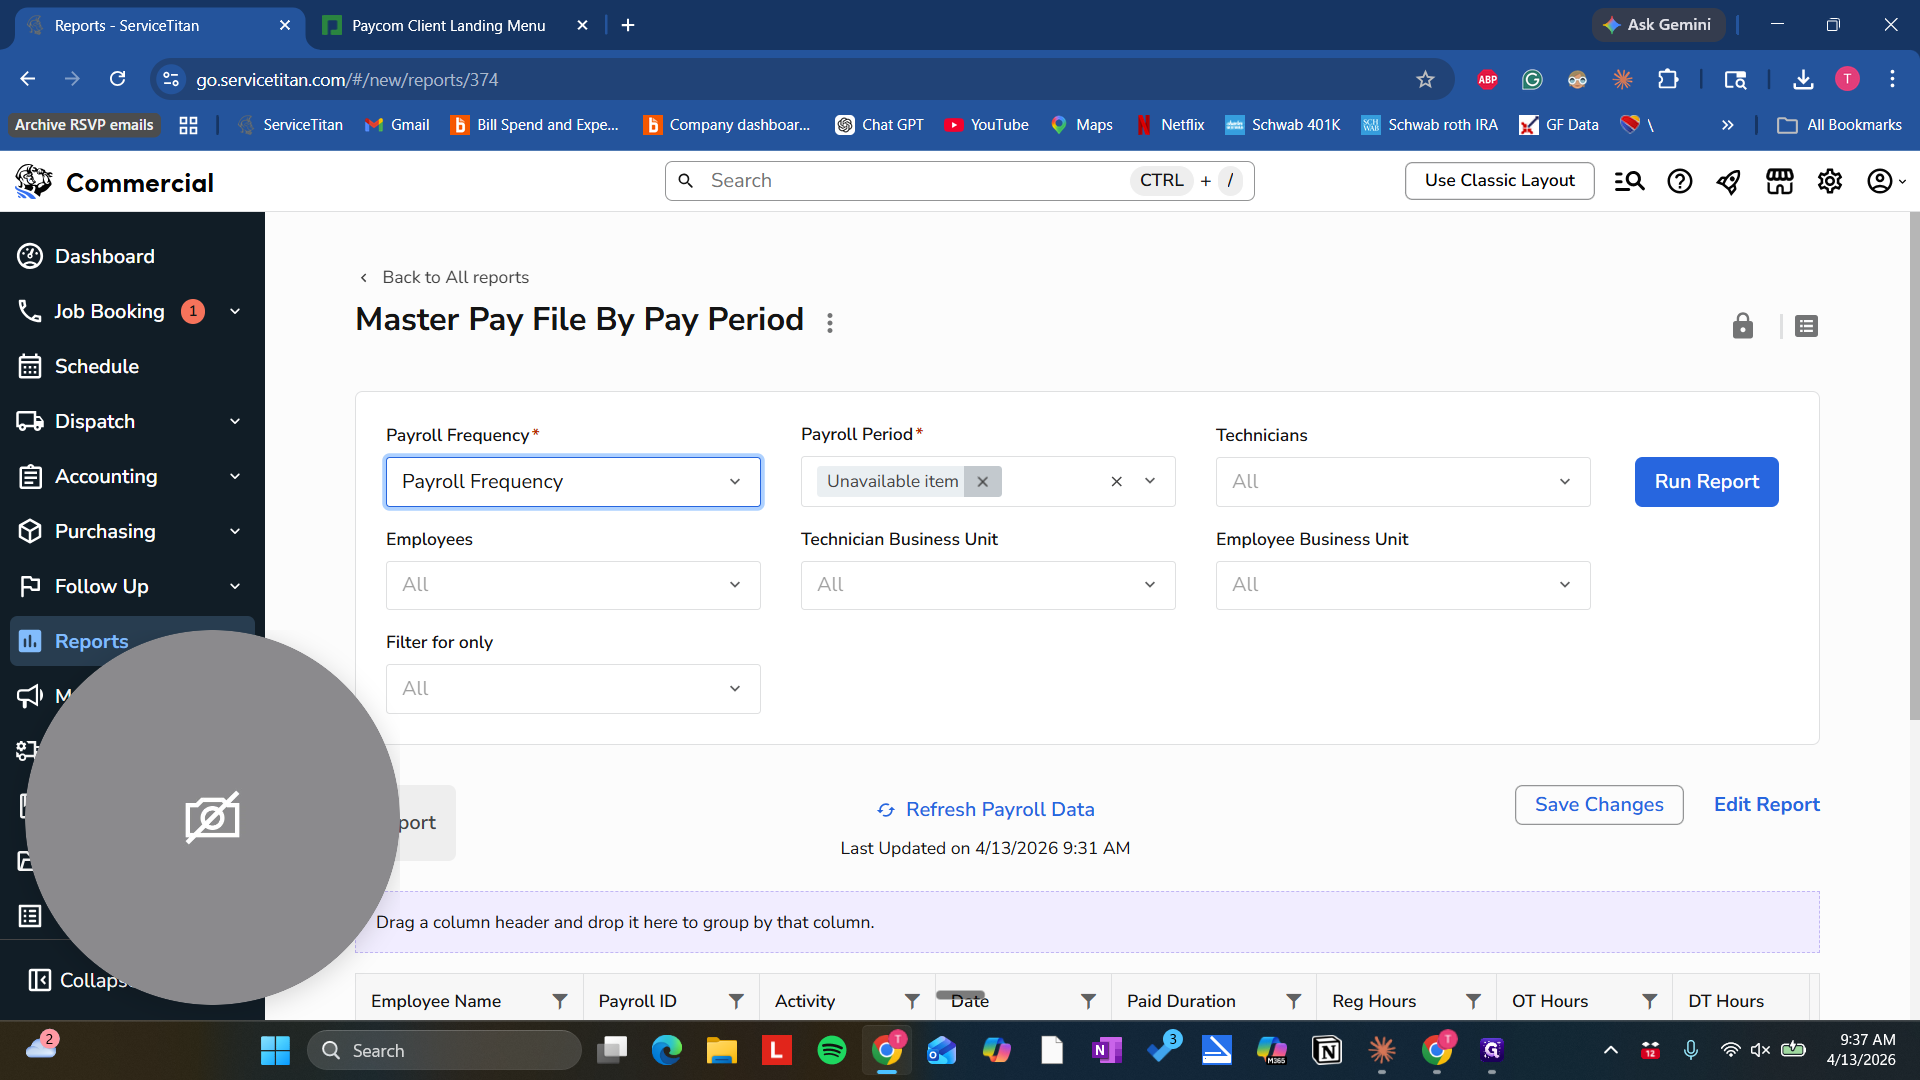
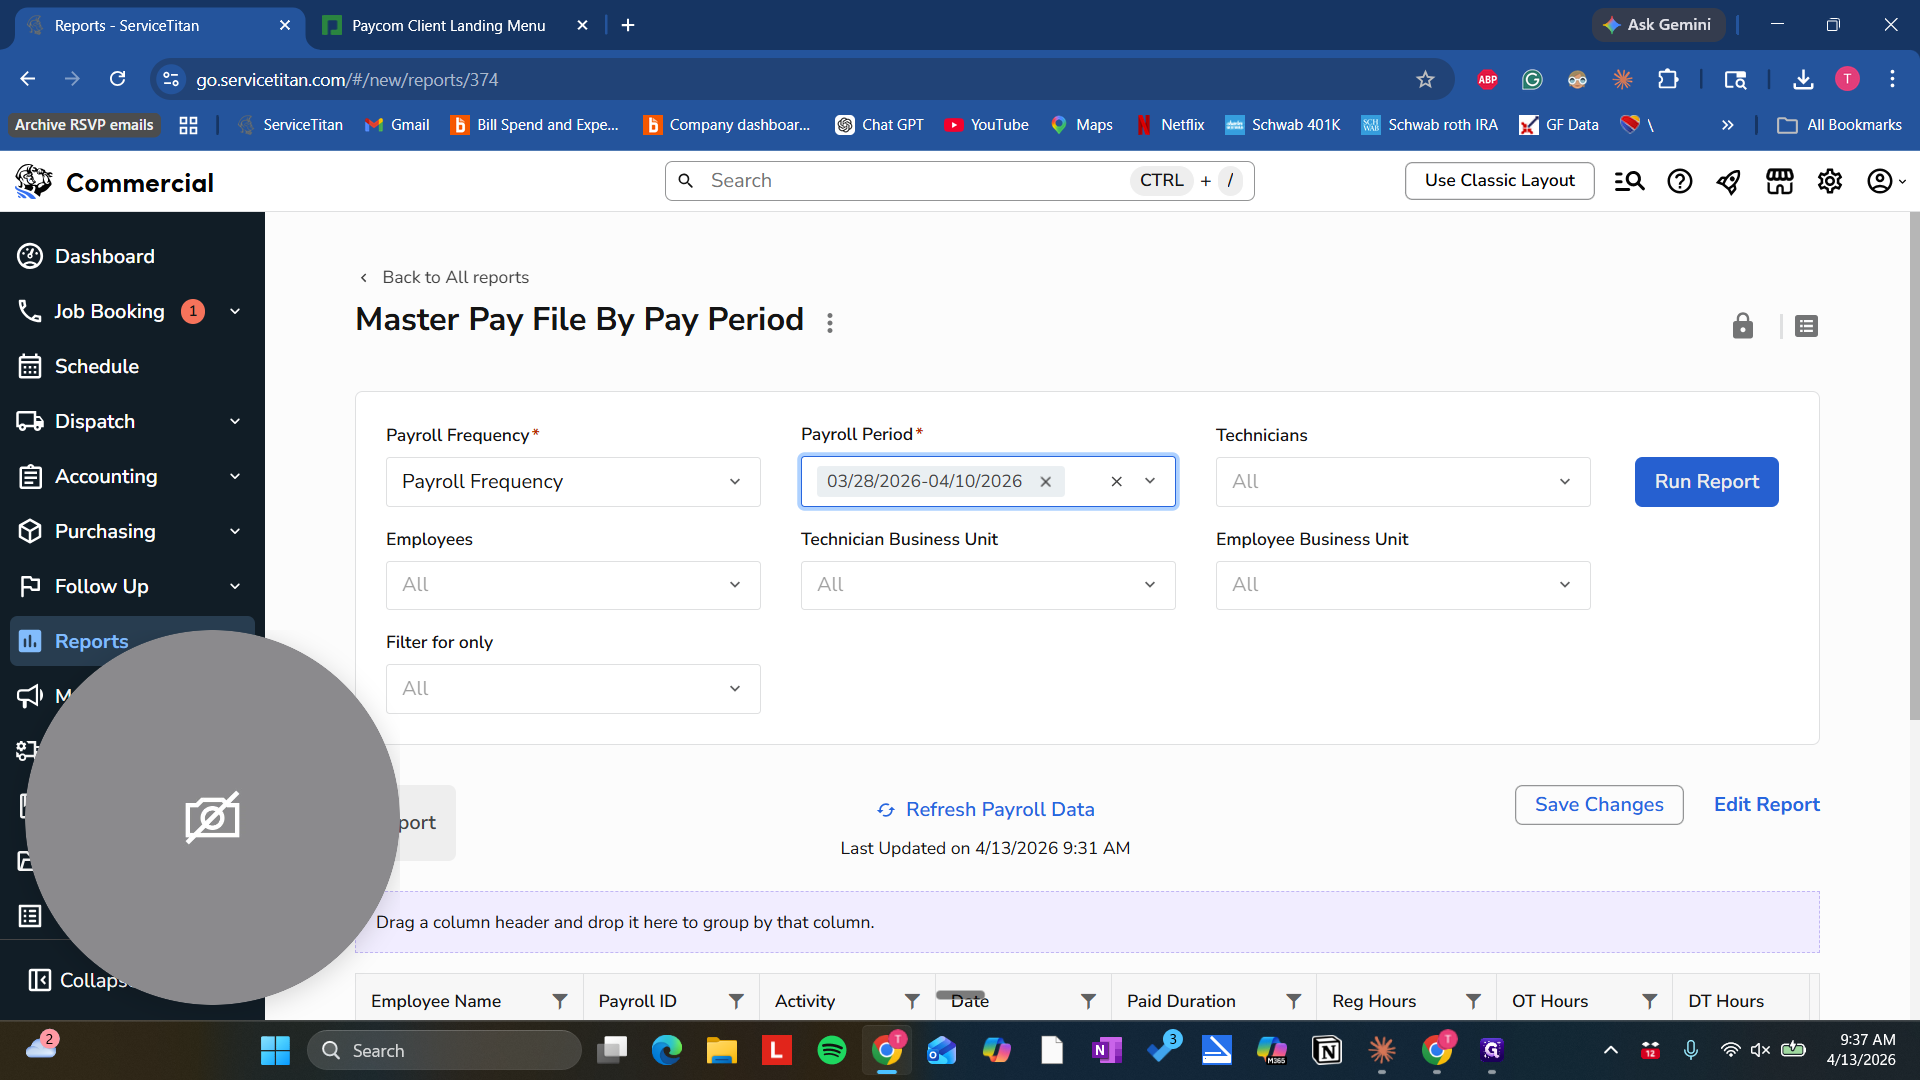
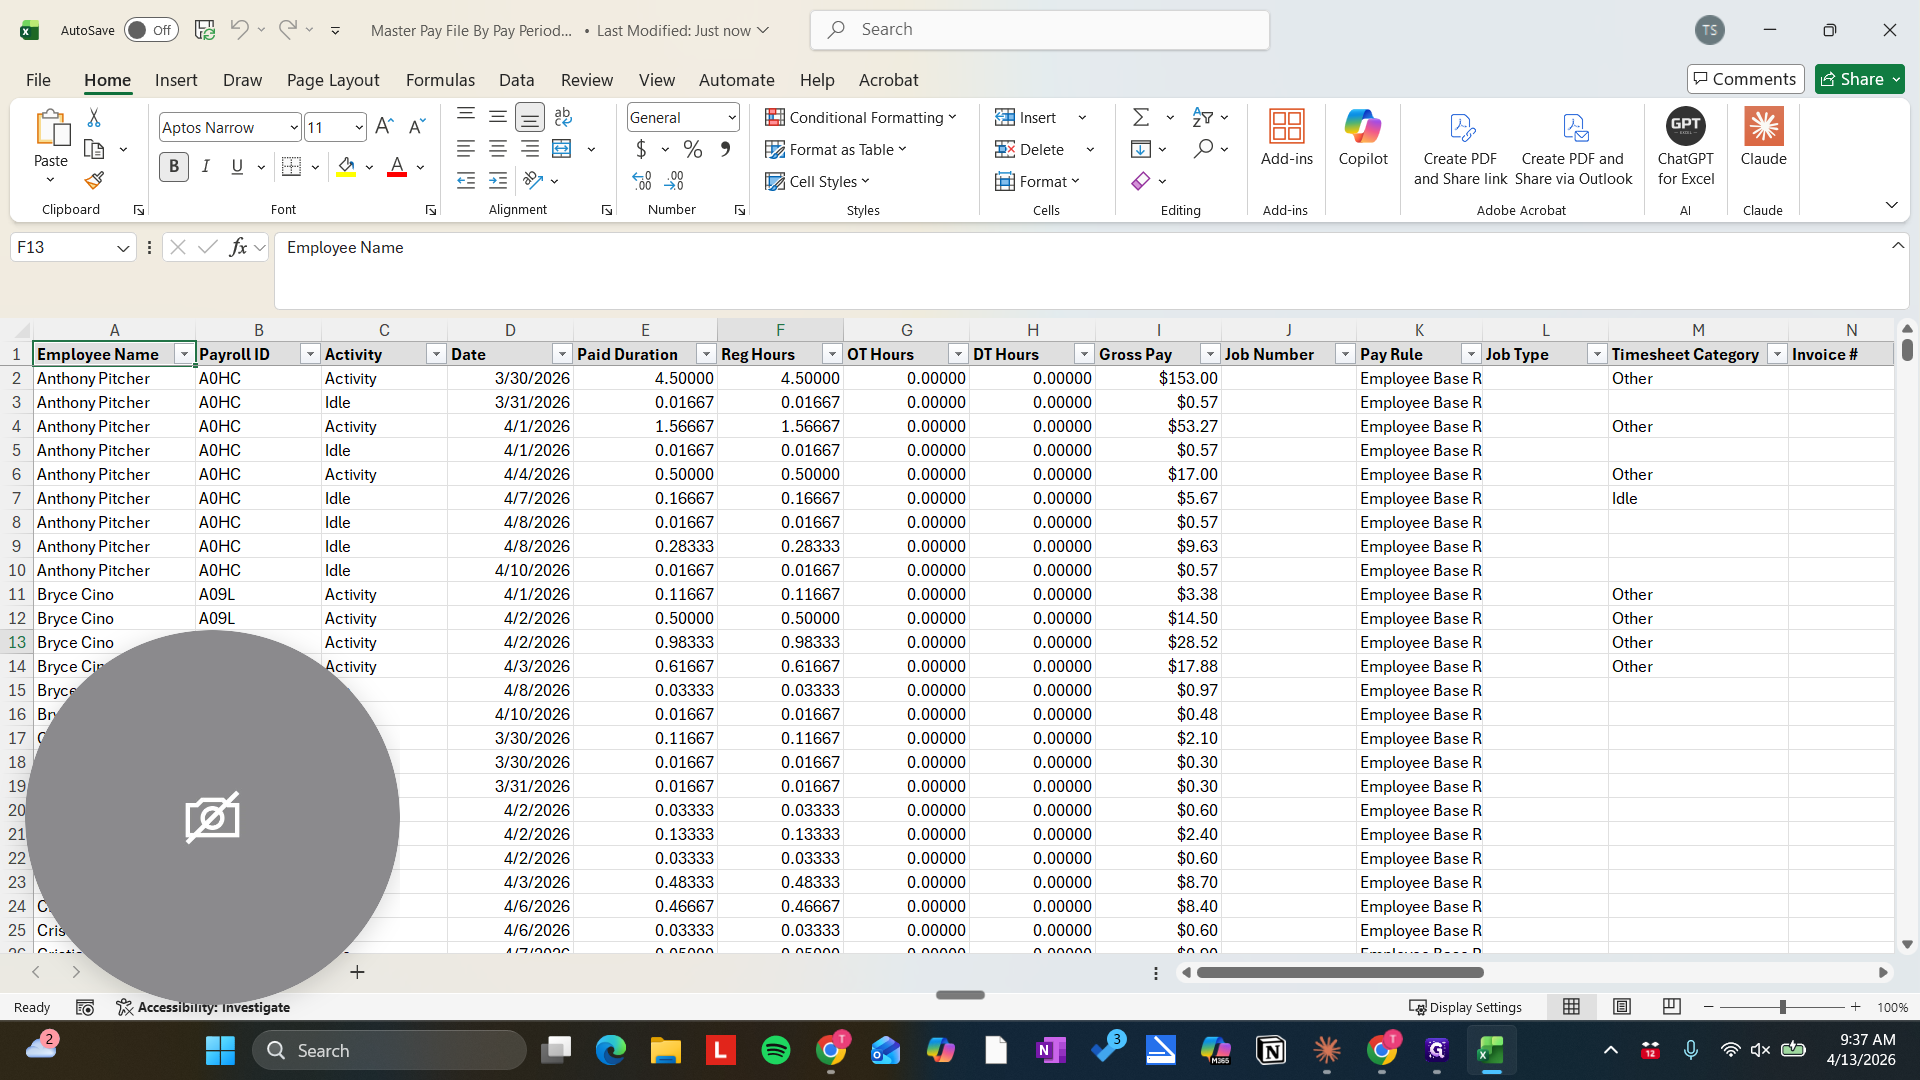
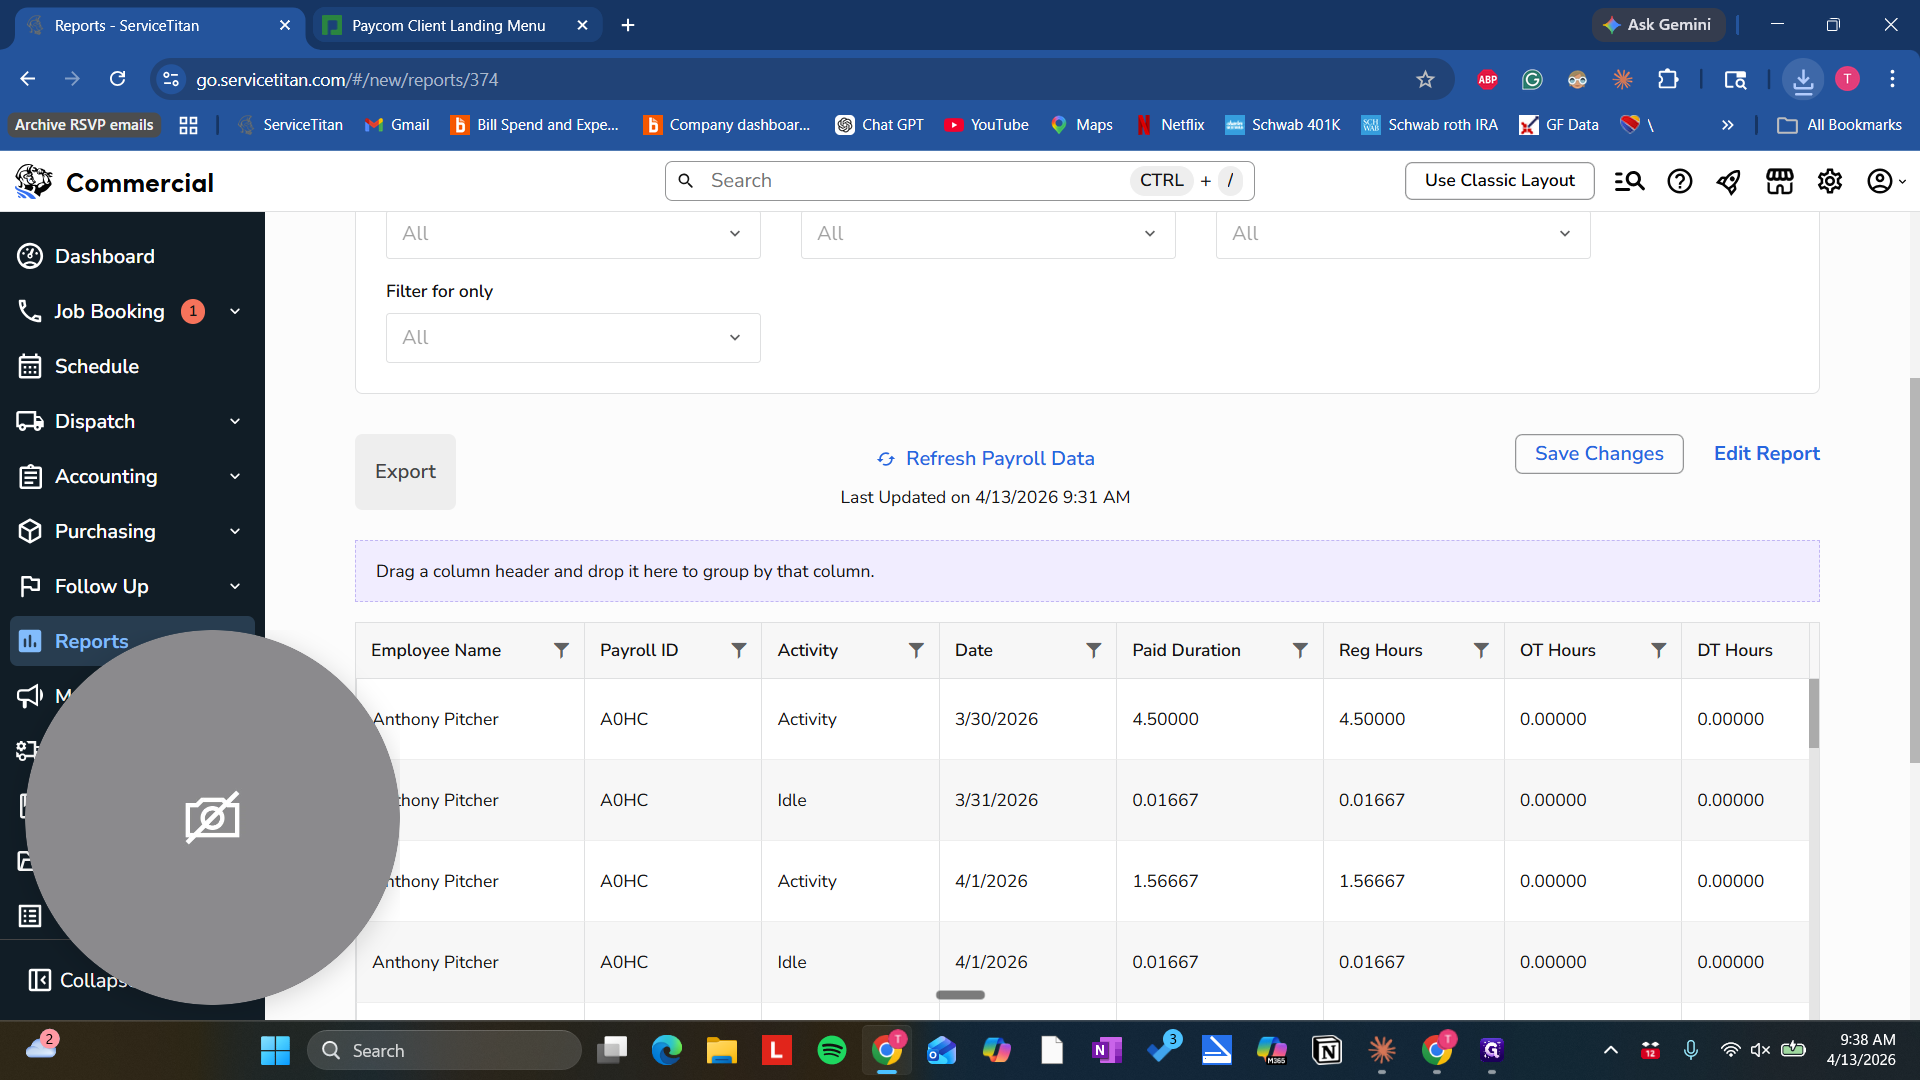
Okay. Start running payroll by locating the correct file in ServiceTitan, which is the Master Pay File by Pay Period. Select that.

1
Click here
Step #1: Click here

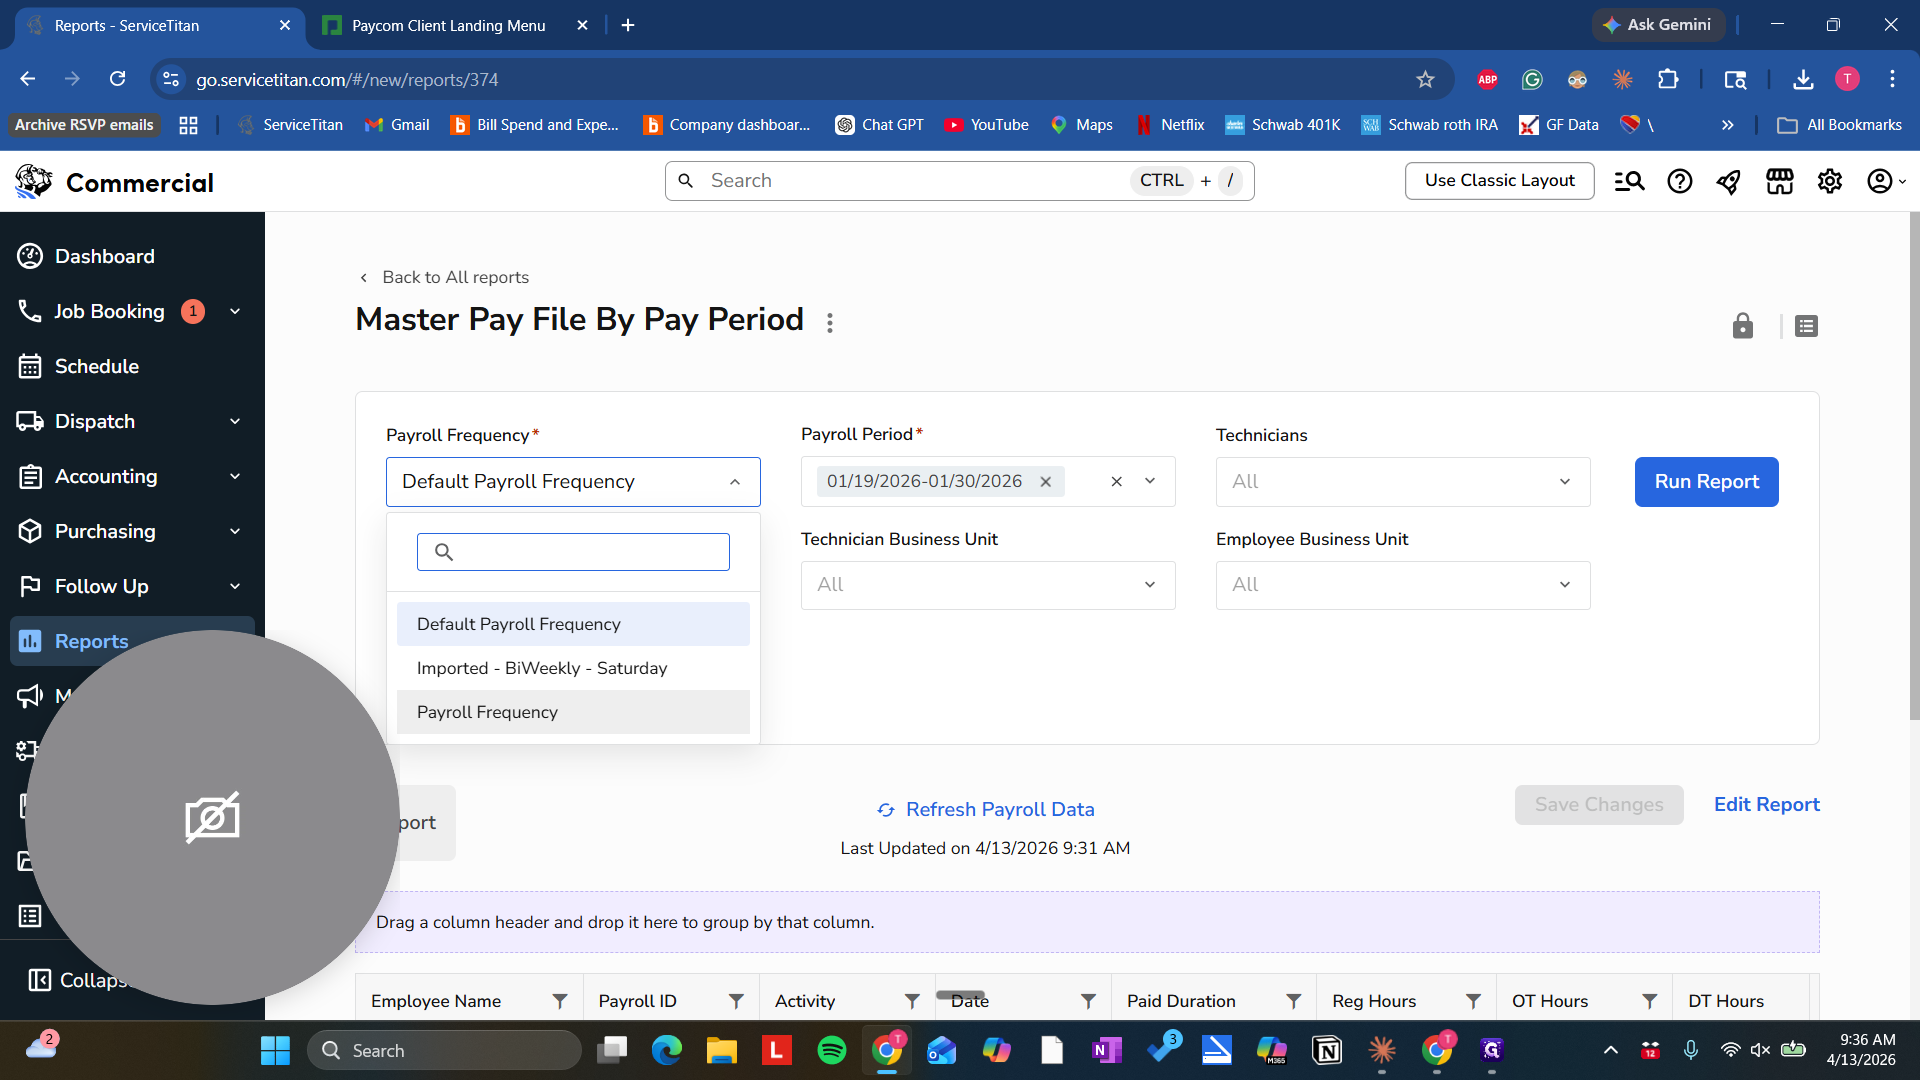
Make sure that Payroll Frequency matches in both places. These two should always be the same.

2
Click on "Payroll Frequency"
Step #2: Click on "Payroll Frequency"

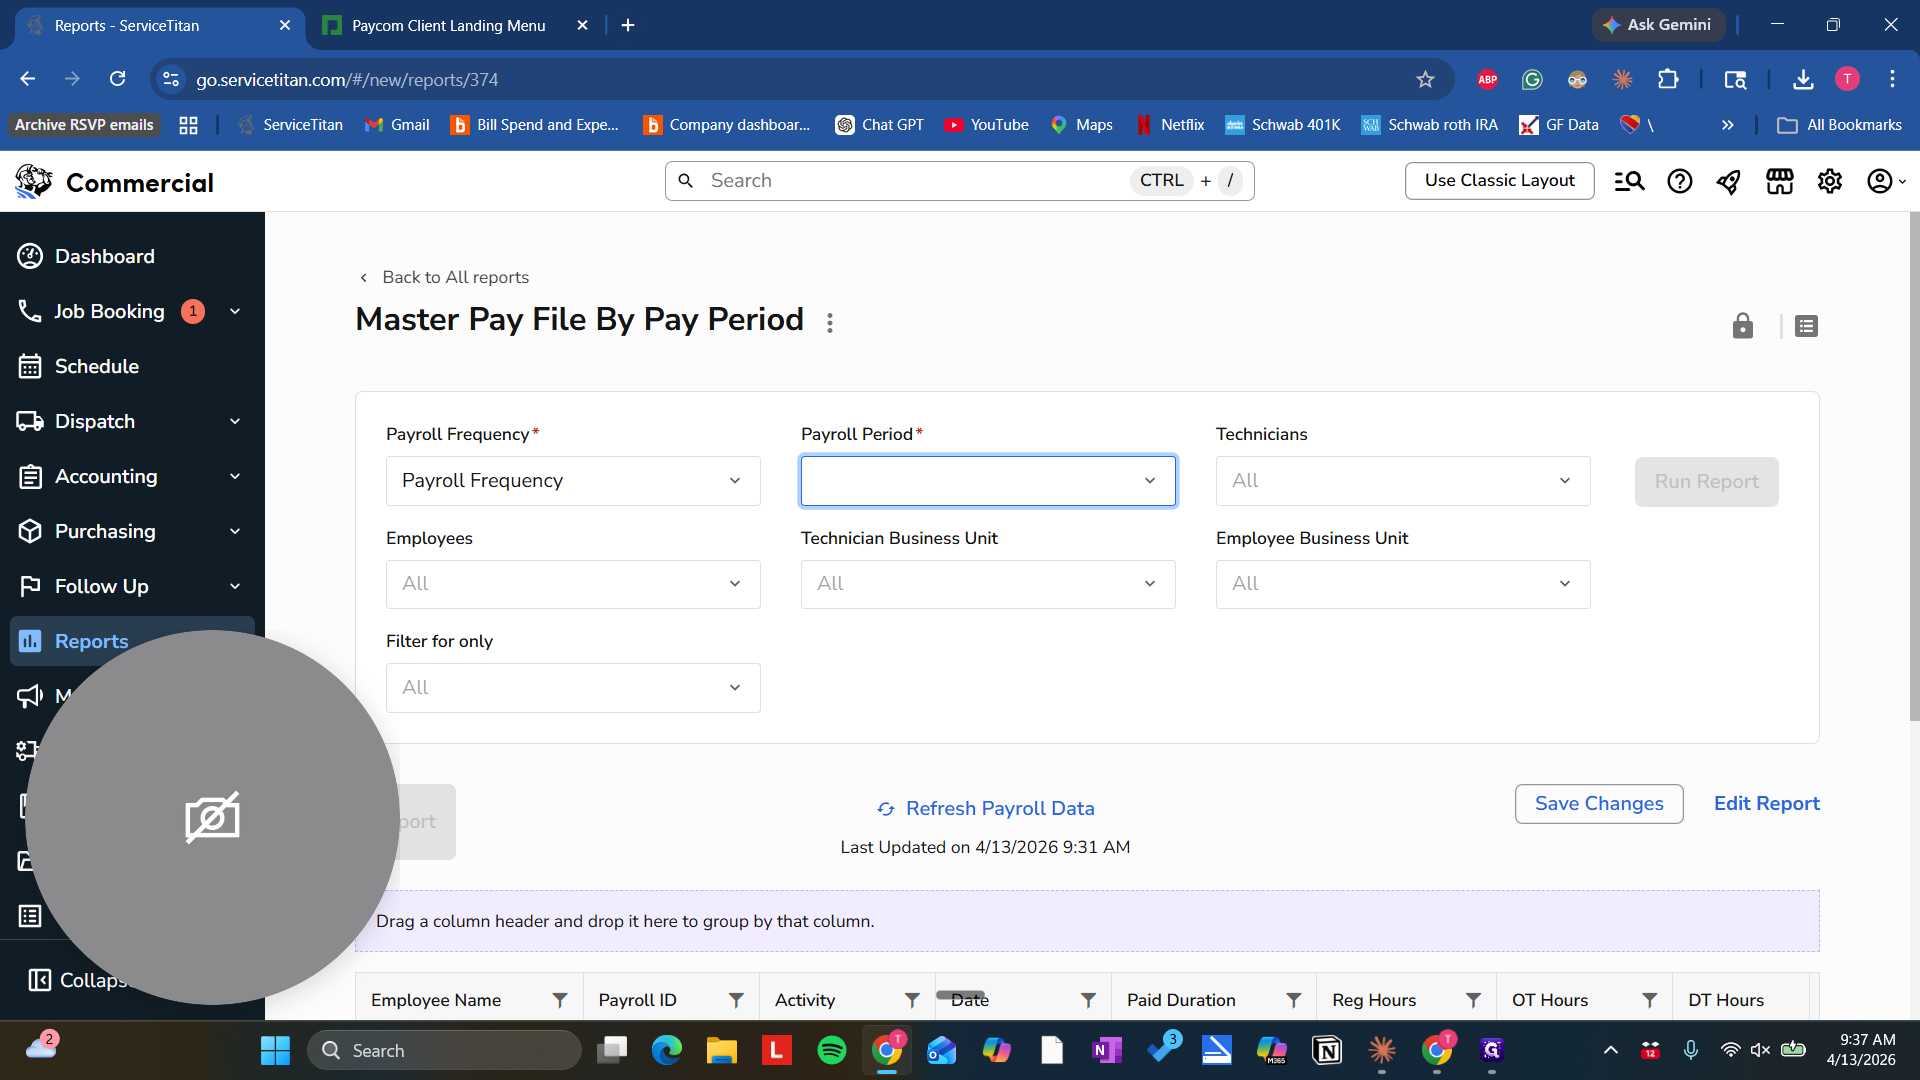
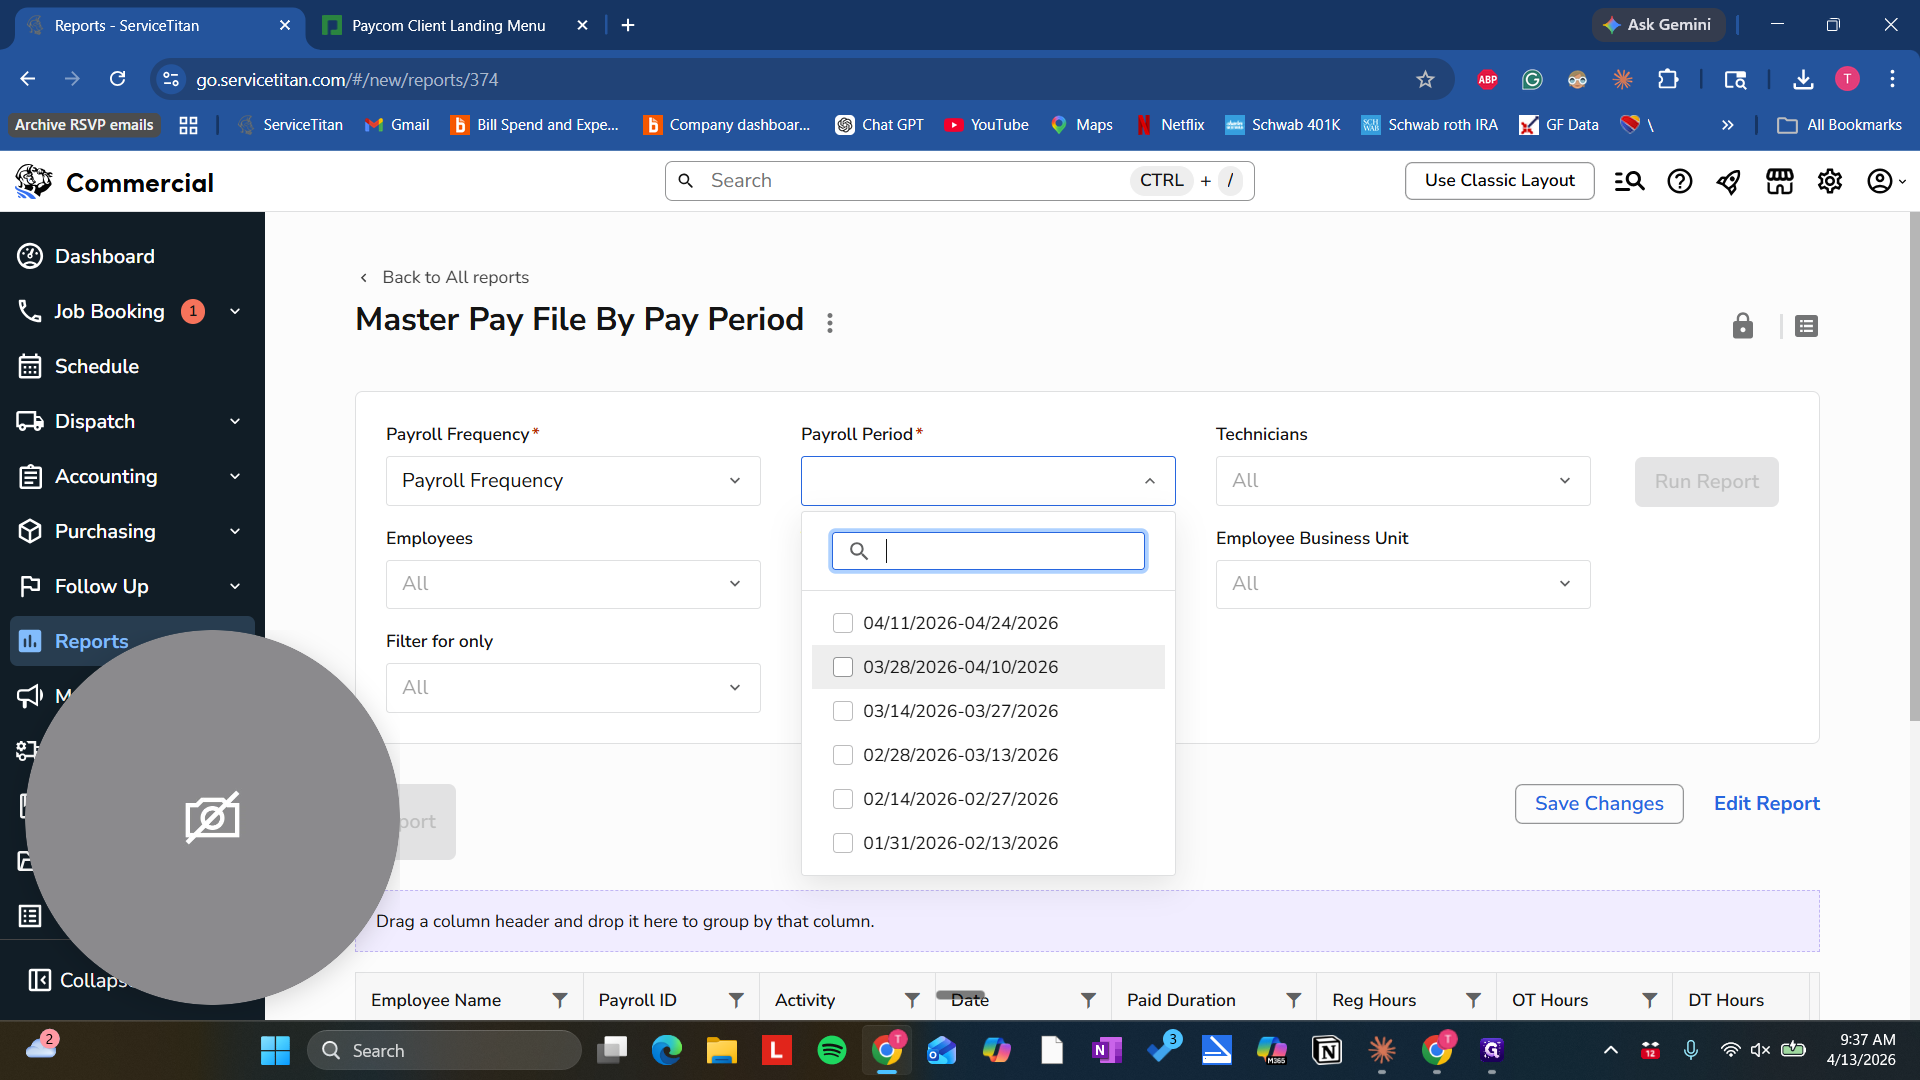
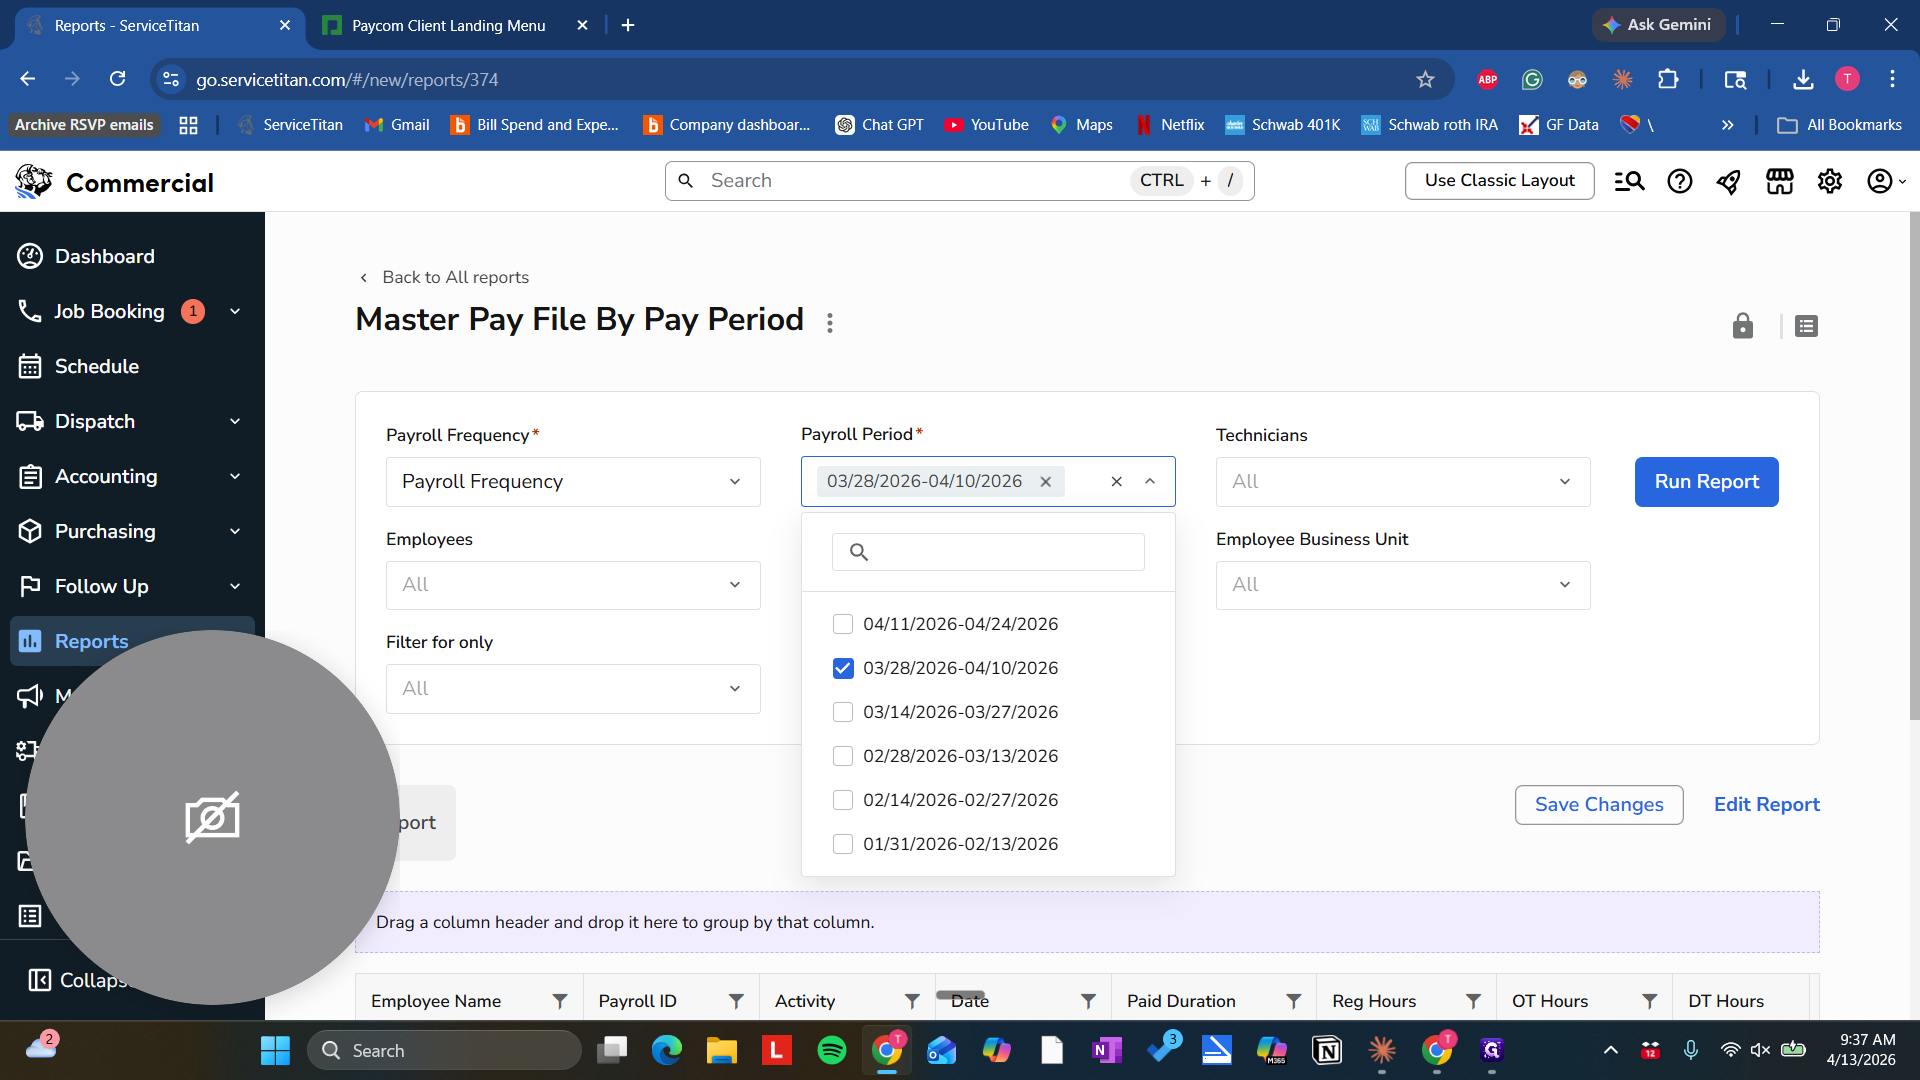
Make sure we are using the correct time period. Since we are running this on 4/13/2026, it will be for this payroll period.

3
Click on "Unavailable item ×"
Step #3: Click on "Unavailable item ×"
4
Click here
Step #4: Click here
5
Click on "03 / 28 / 2026-04 / 10 / 2026"
Step #5: Click on "03 / 28 / 2026-04 / 10 / 2026"

Make sure "All Technicians" and "All Business Units" are selected. Then click "Run Report."

6
Click here
Step #6: Click here
7
Click on "Run Report"
Step #7: Click on "Run Report"

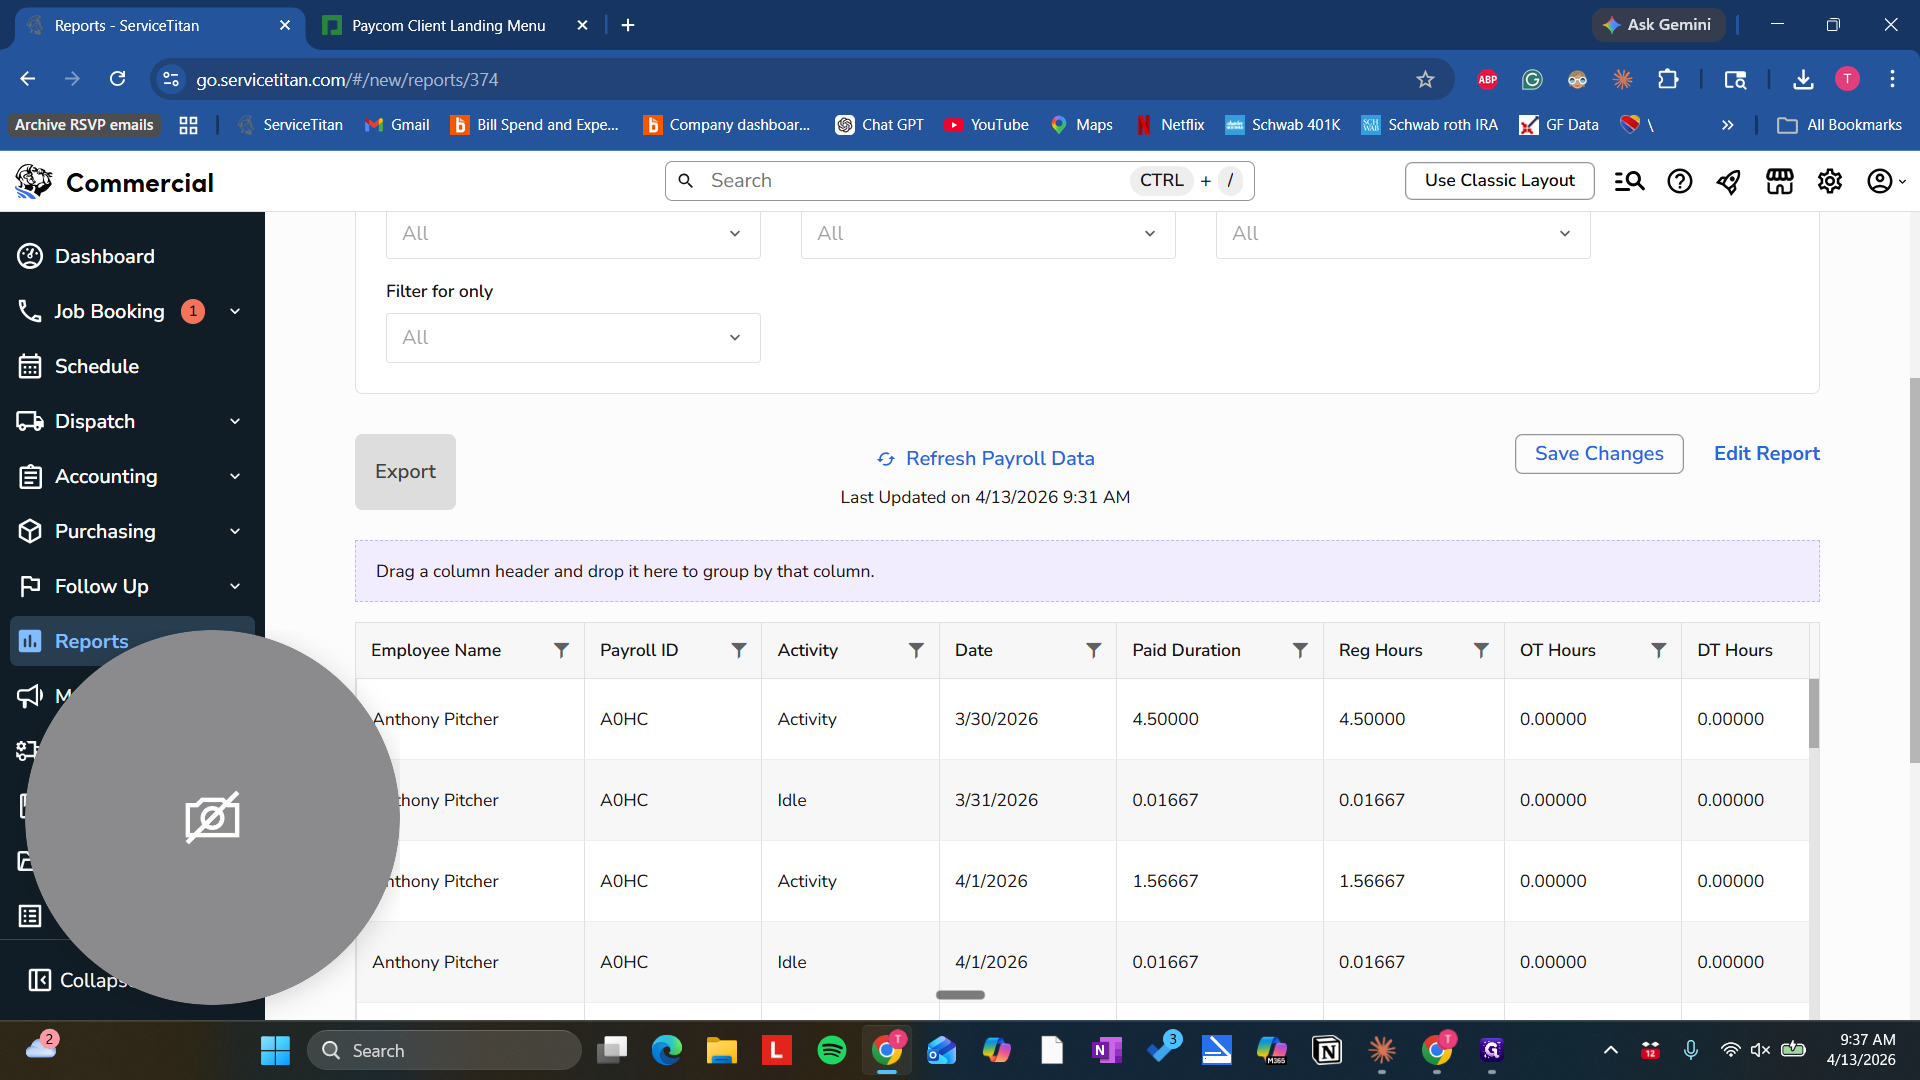
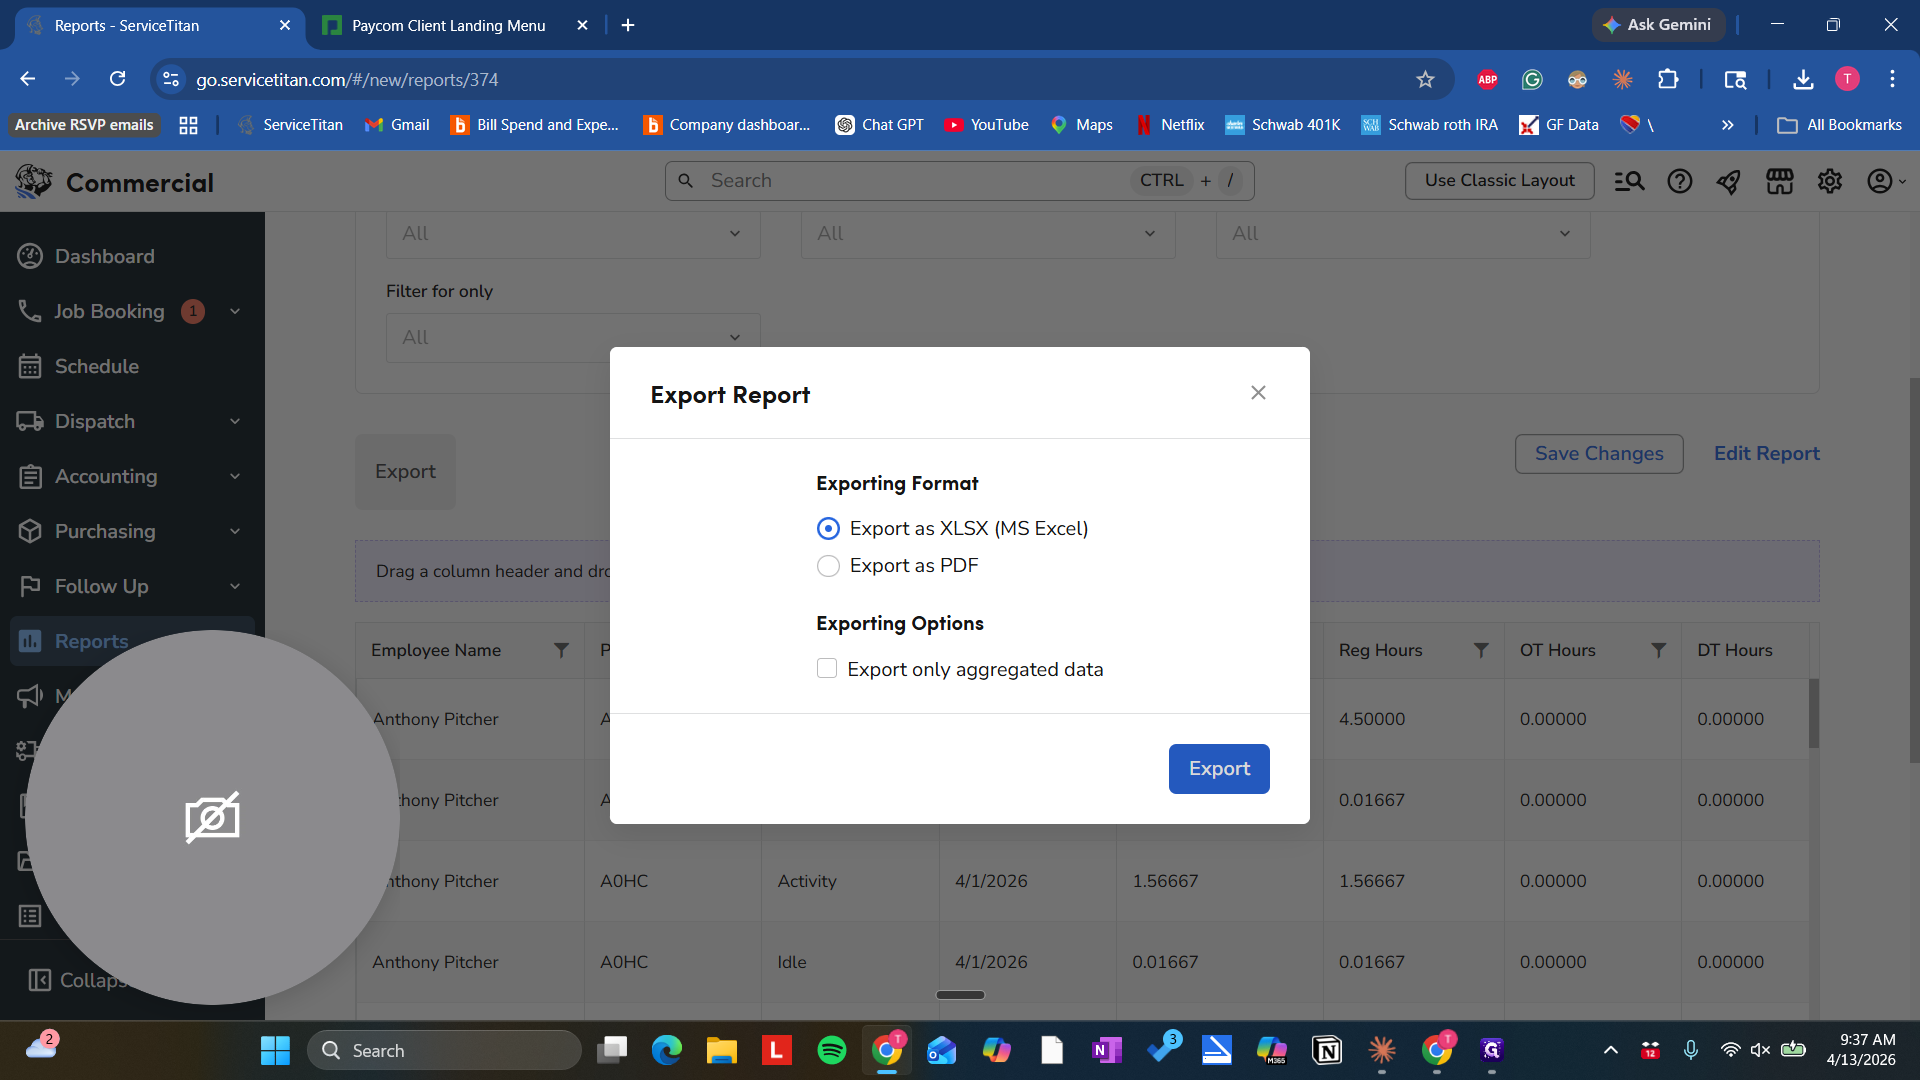
Now let's export this as an XLSX file.

8
Click on "Export"
Step #8: Click on "Export"
9
Click on "Export"
Step #9: Click on "Export"

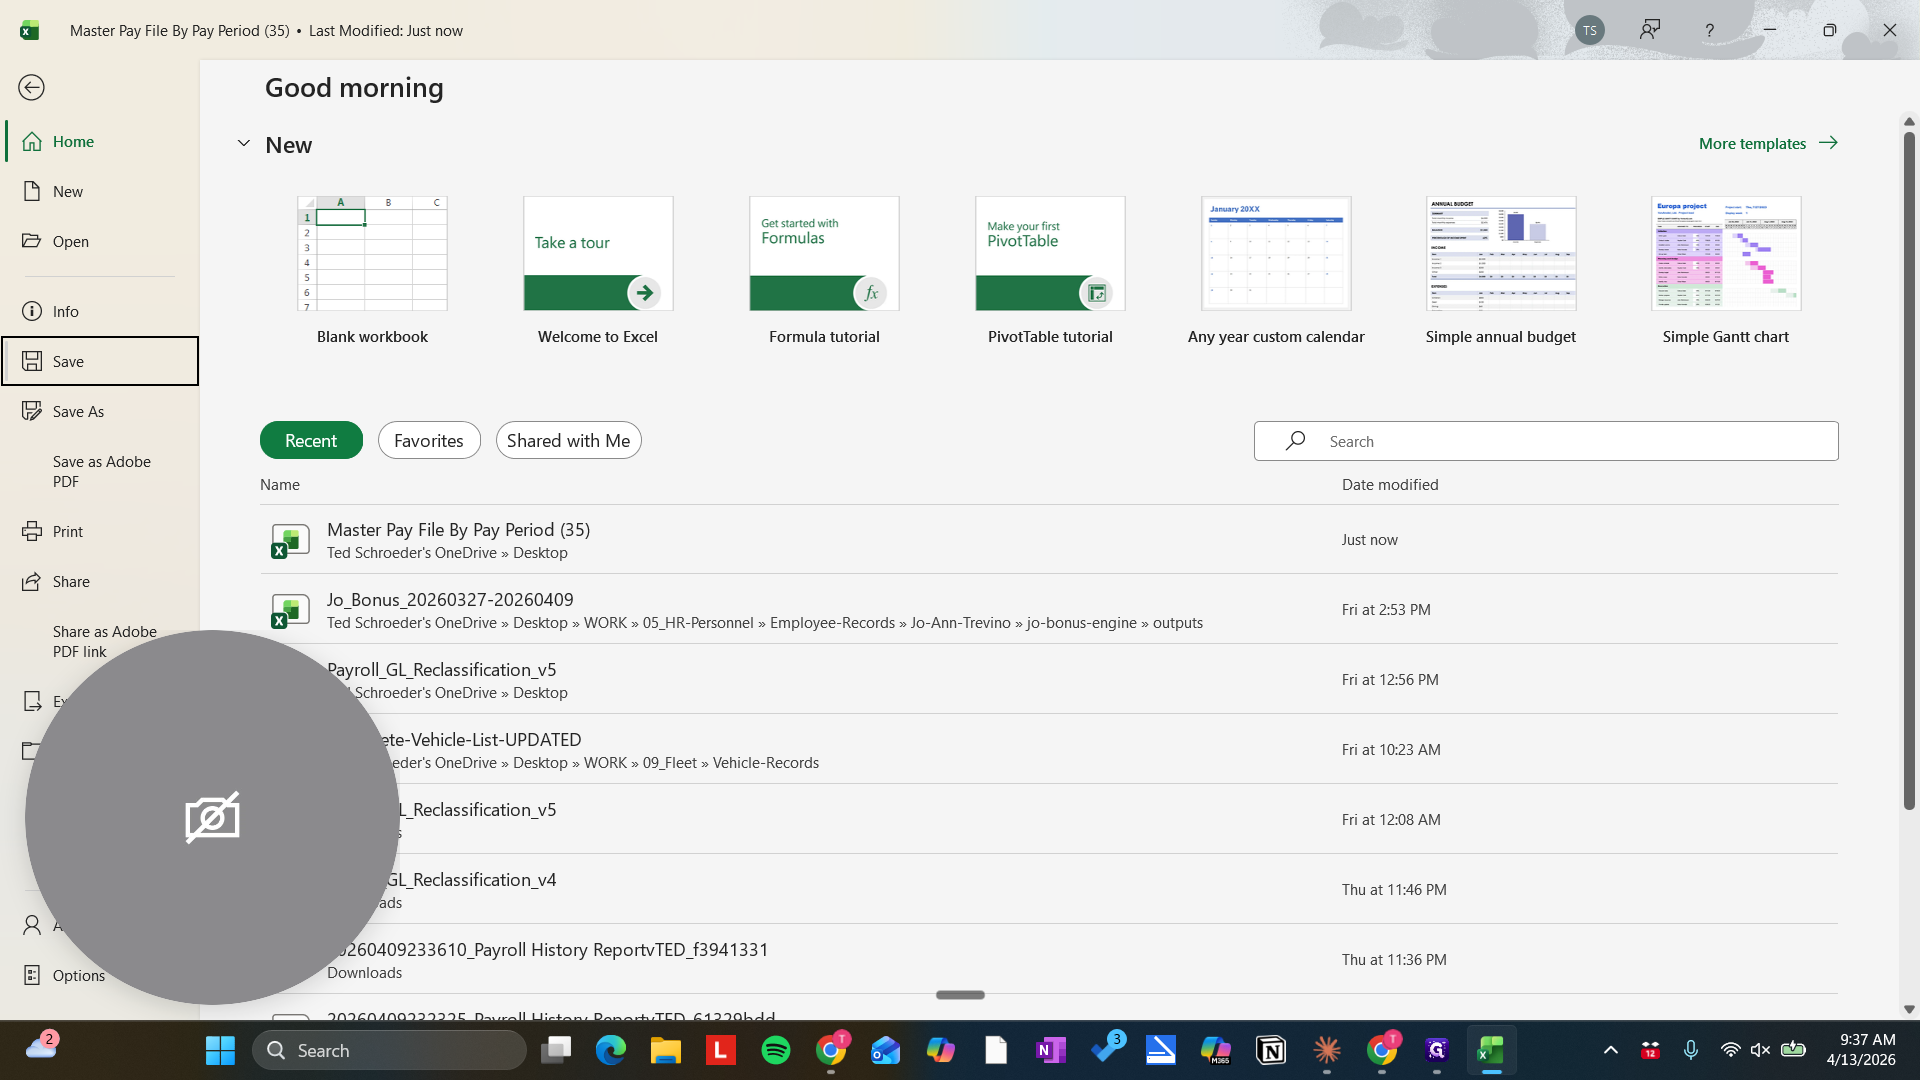
First, save it to the desktop.

10
Drag "Master Pay File By Pay Perioc"
Step #10: Drag "Master Pay File By Pay Perioc"

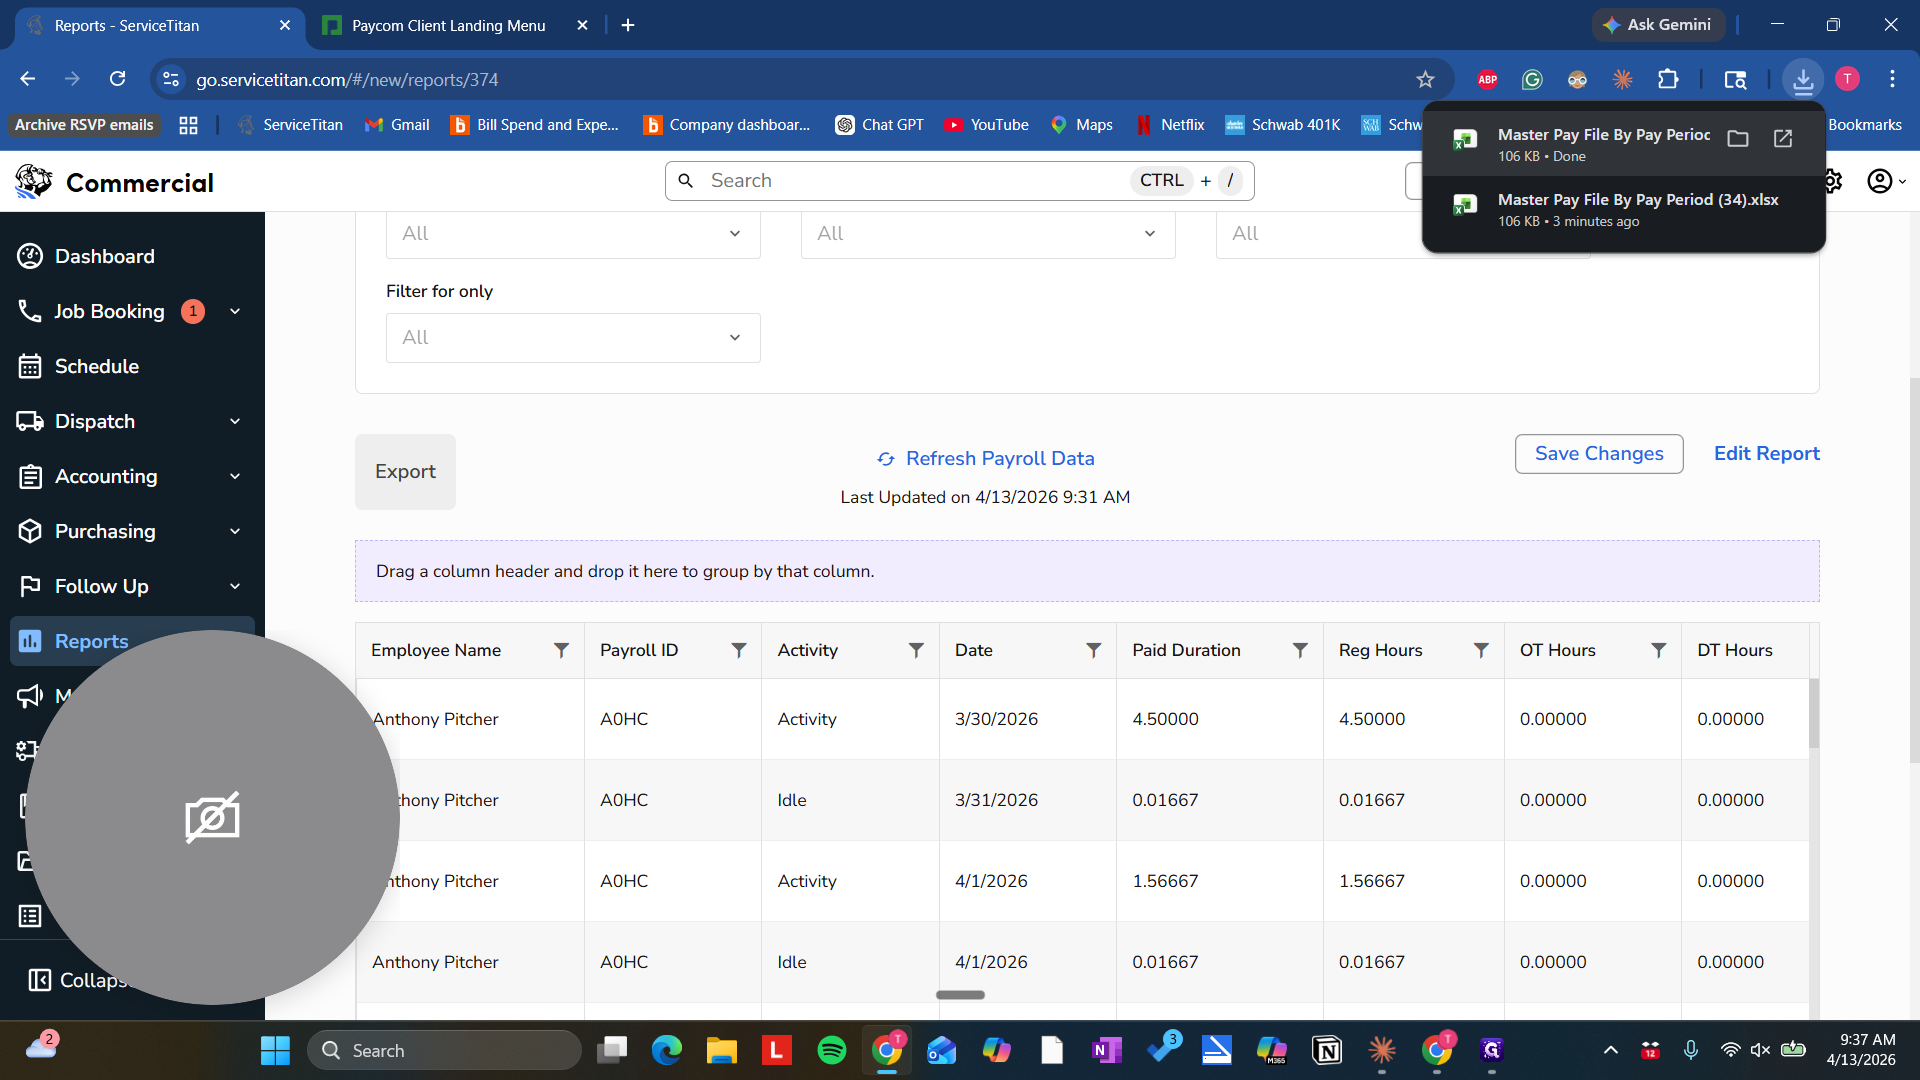
Then we will open the file. I'll... We only need to delete this tab.
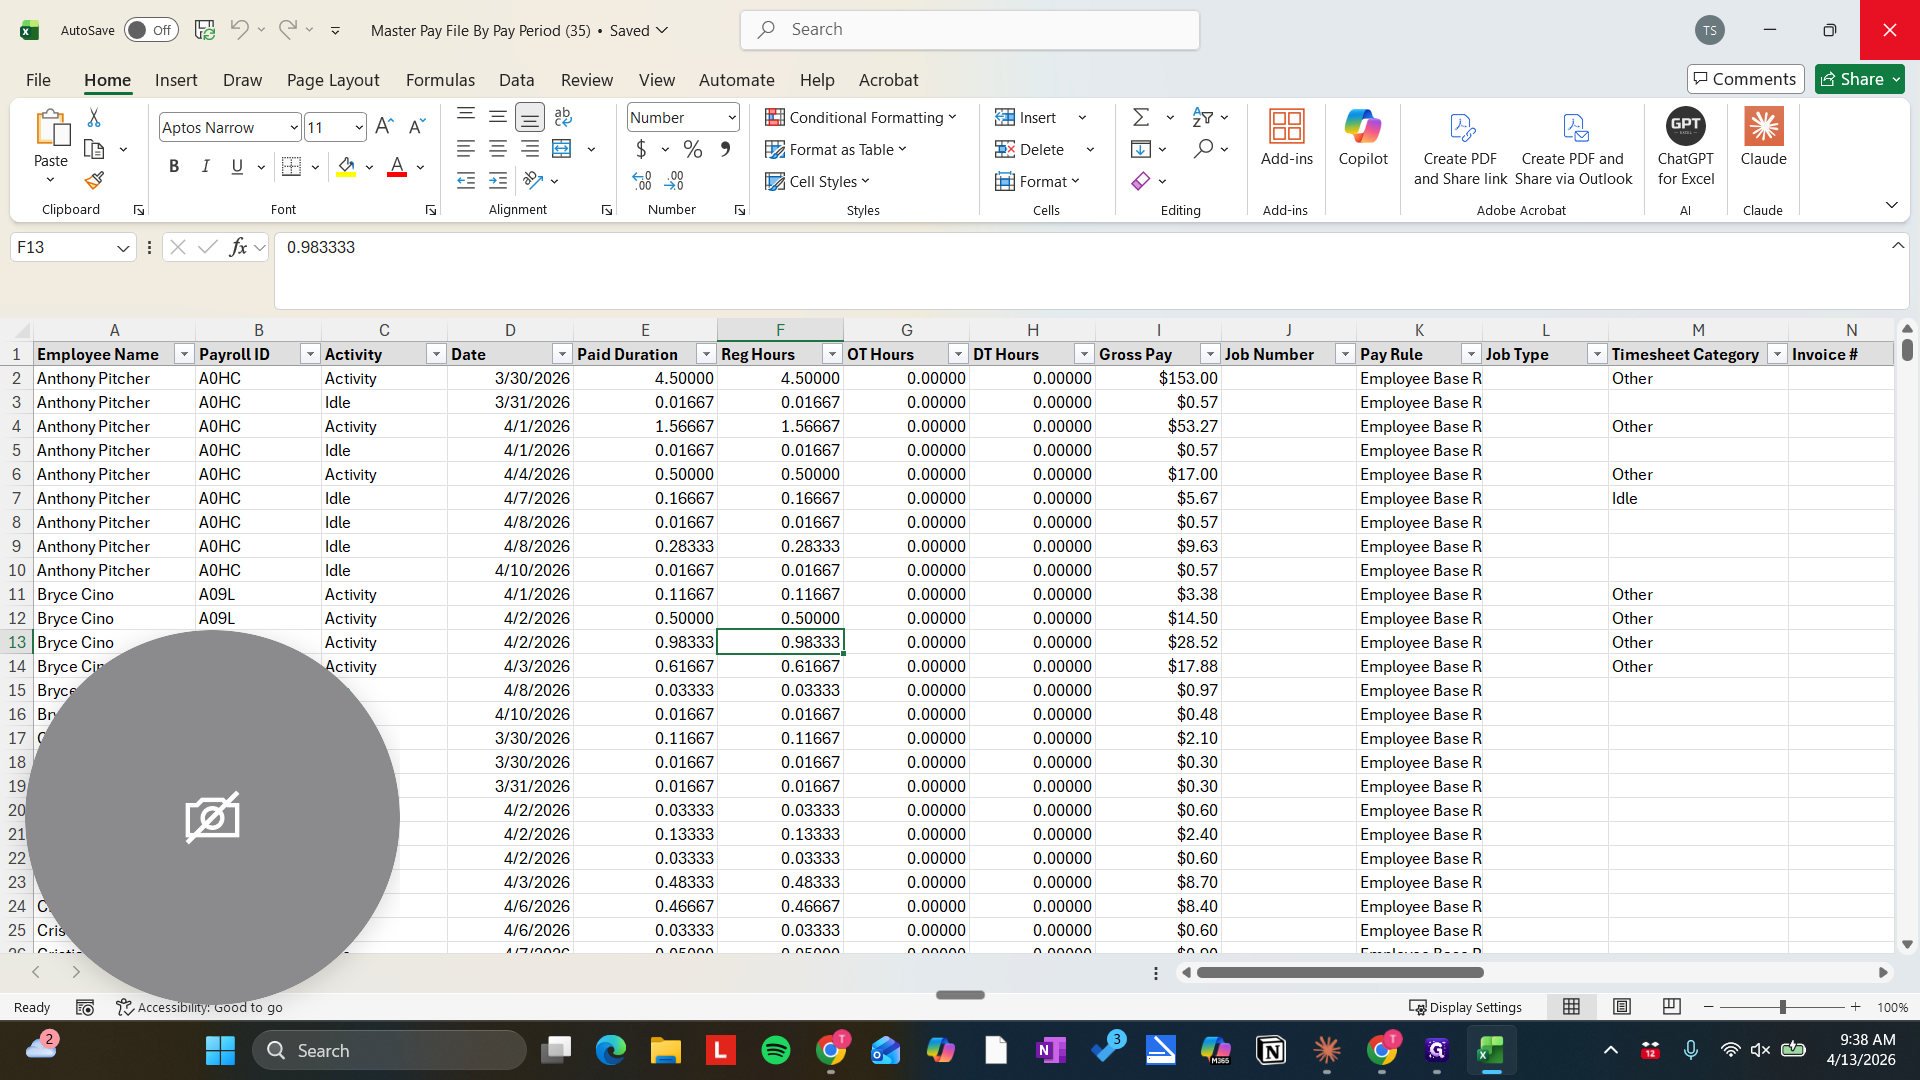
11
Delete the second tab tha thas just the file run details on it. NOT THE TAB WITH THE ACTUAL TIMESHEETS - THAT IS WHAT WE UPLOAD.
Step #11: Delete the second tab tha thas just the file run details on it. NOT THE TAB WITH THE ACTUAL TIMESHEETS - THAT IS WHAT WE UPLOAD.

Then we save it.

12
Type "hds + Enter"
13
Click on "File"
Step #13: Click on "File"

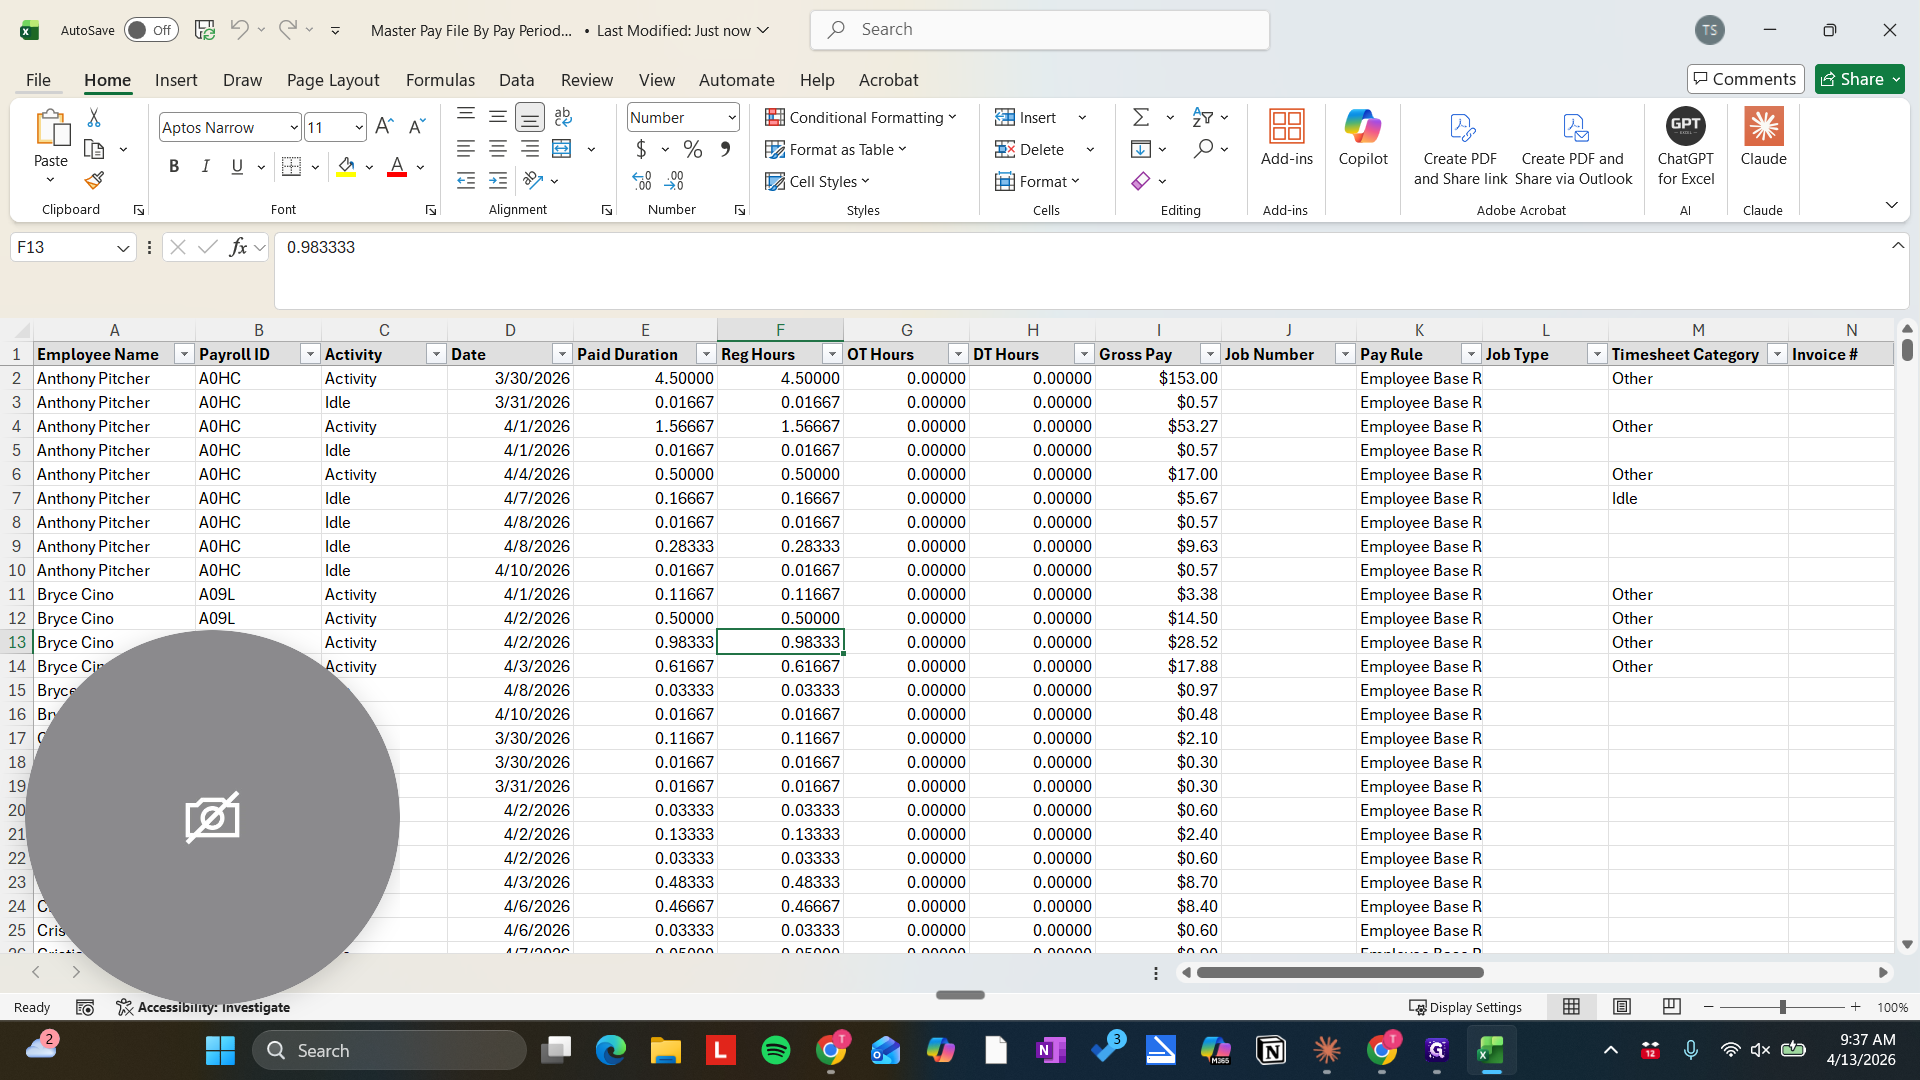
It's important to delete that tab. If you don't, Paycom won't register the file.

14
Click here
Step #14: Click here

Now, let's open Payroll in Paycom.

15
Click here
Step #15: Click here
16
Double-click on "Paycom Client Landing Menu"
Step #16: Double-click on "Paycom Client Landing Menu"

We will select Process Payroll.

17
Click on "Process Payroll"
Step #17: Click on "Process Payroll"

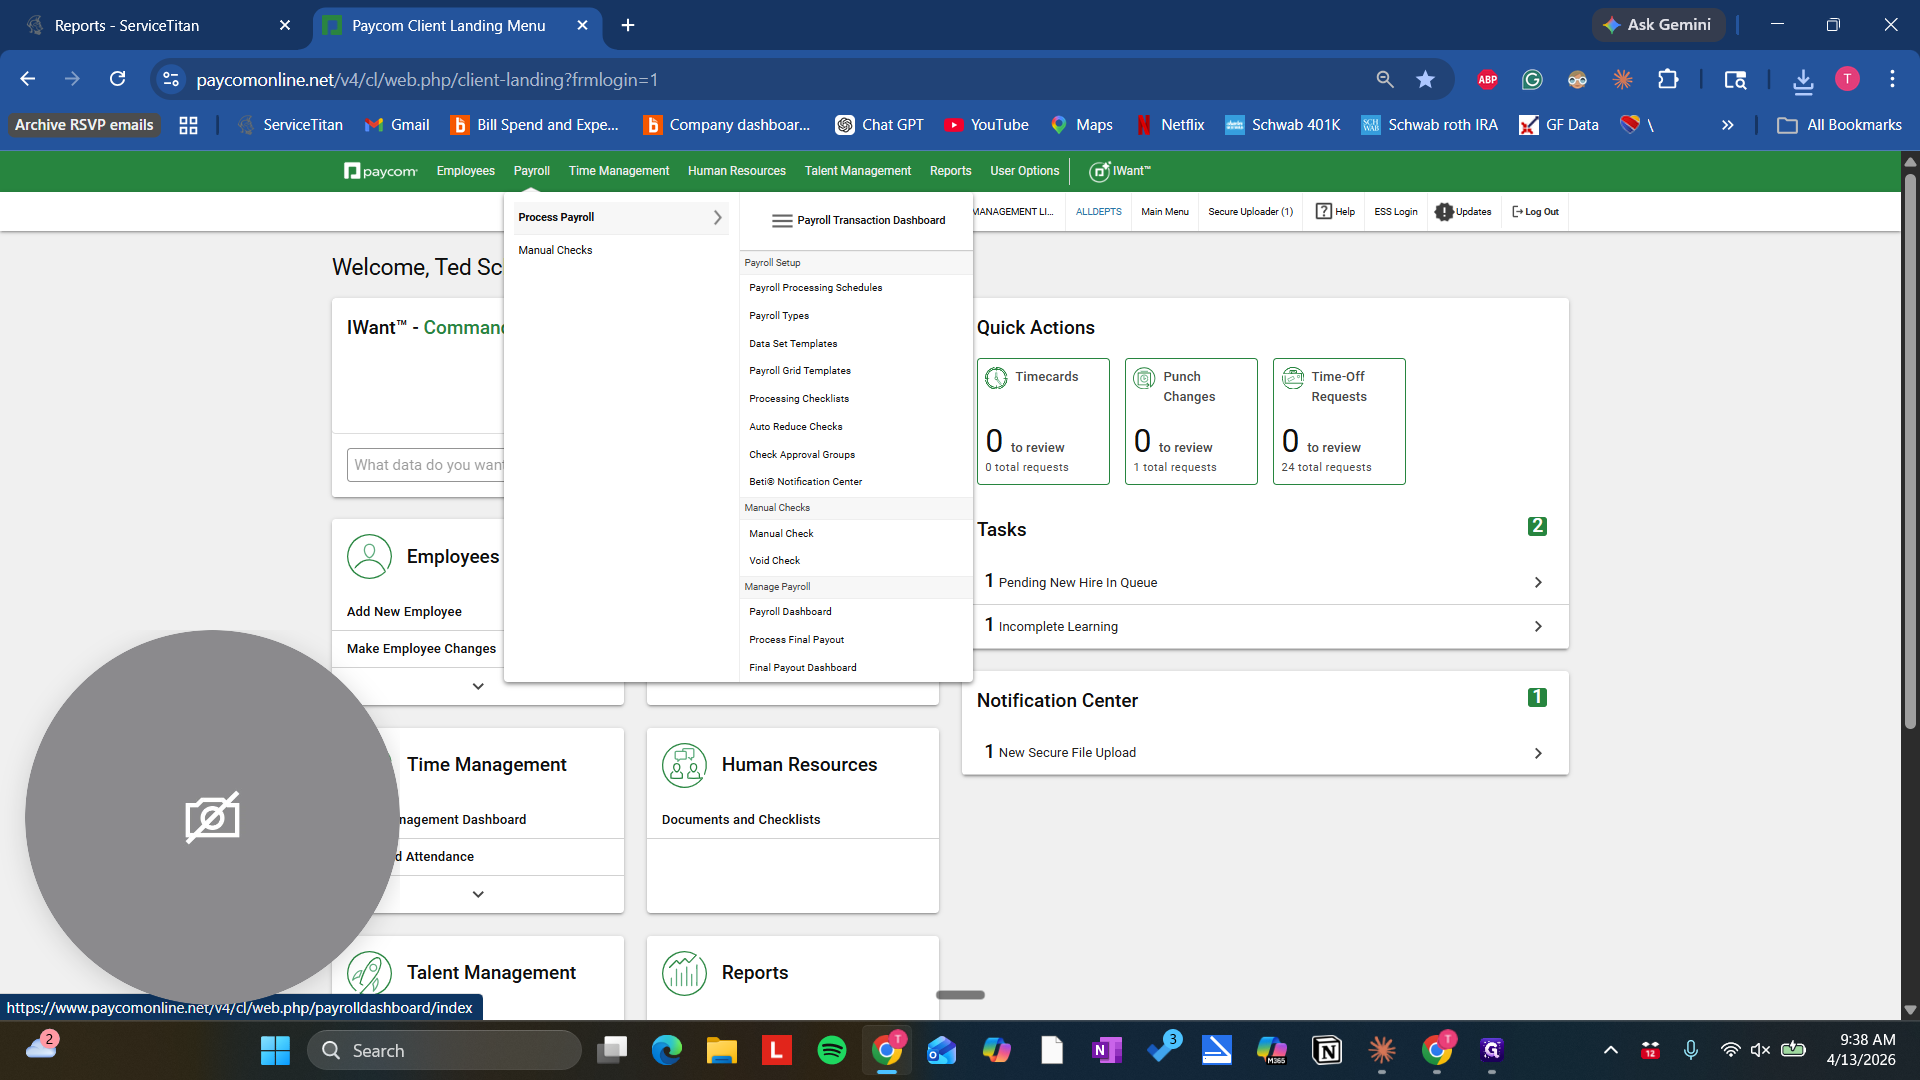
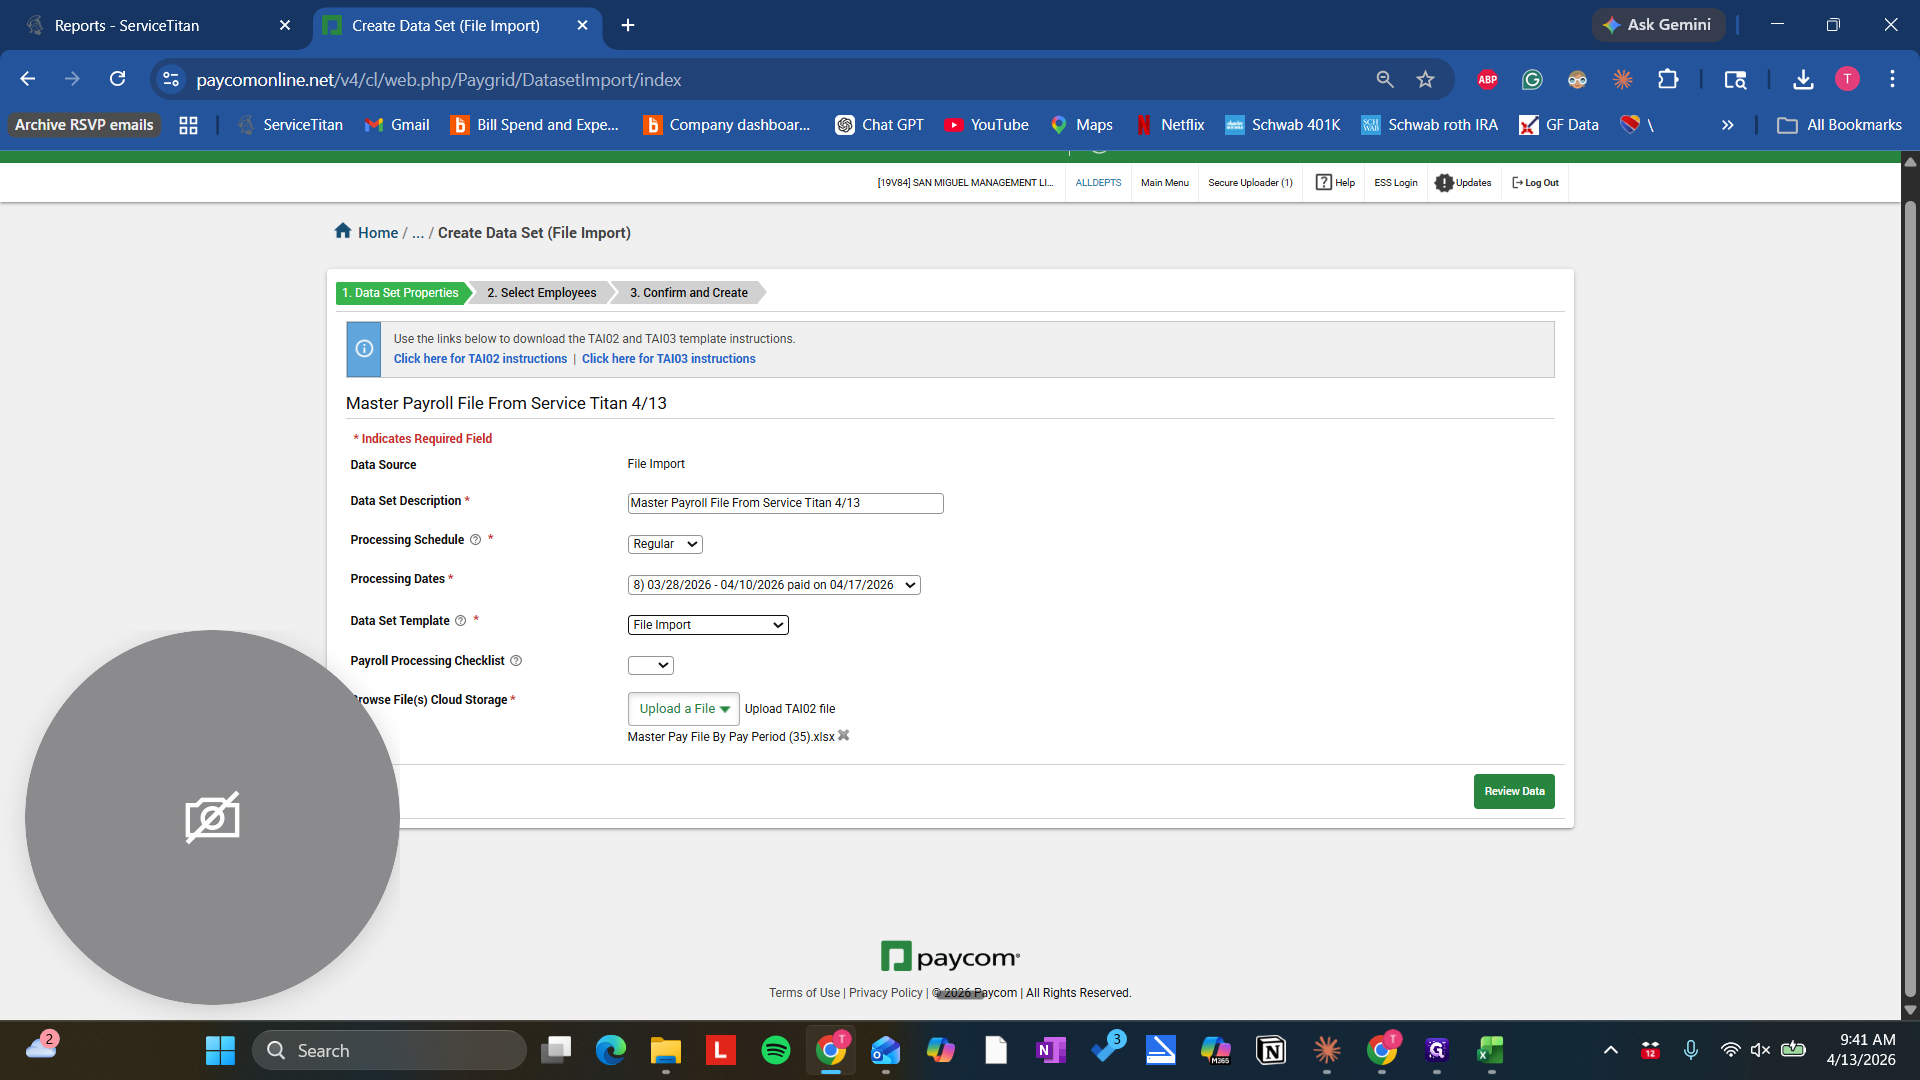
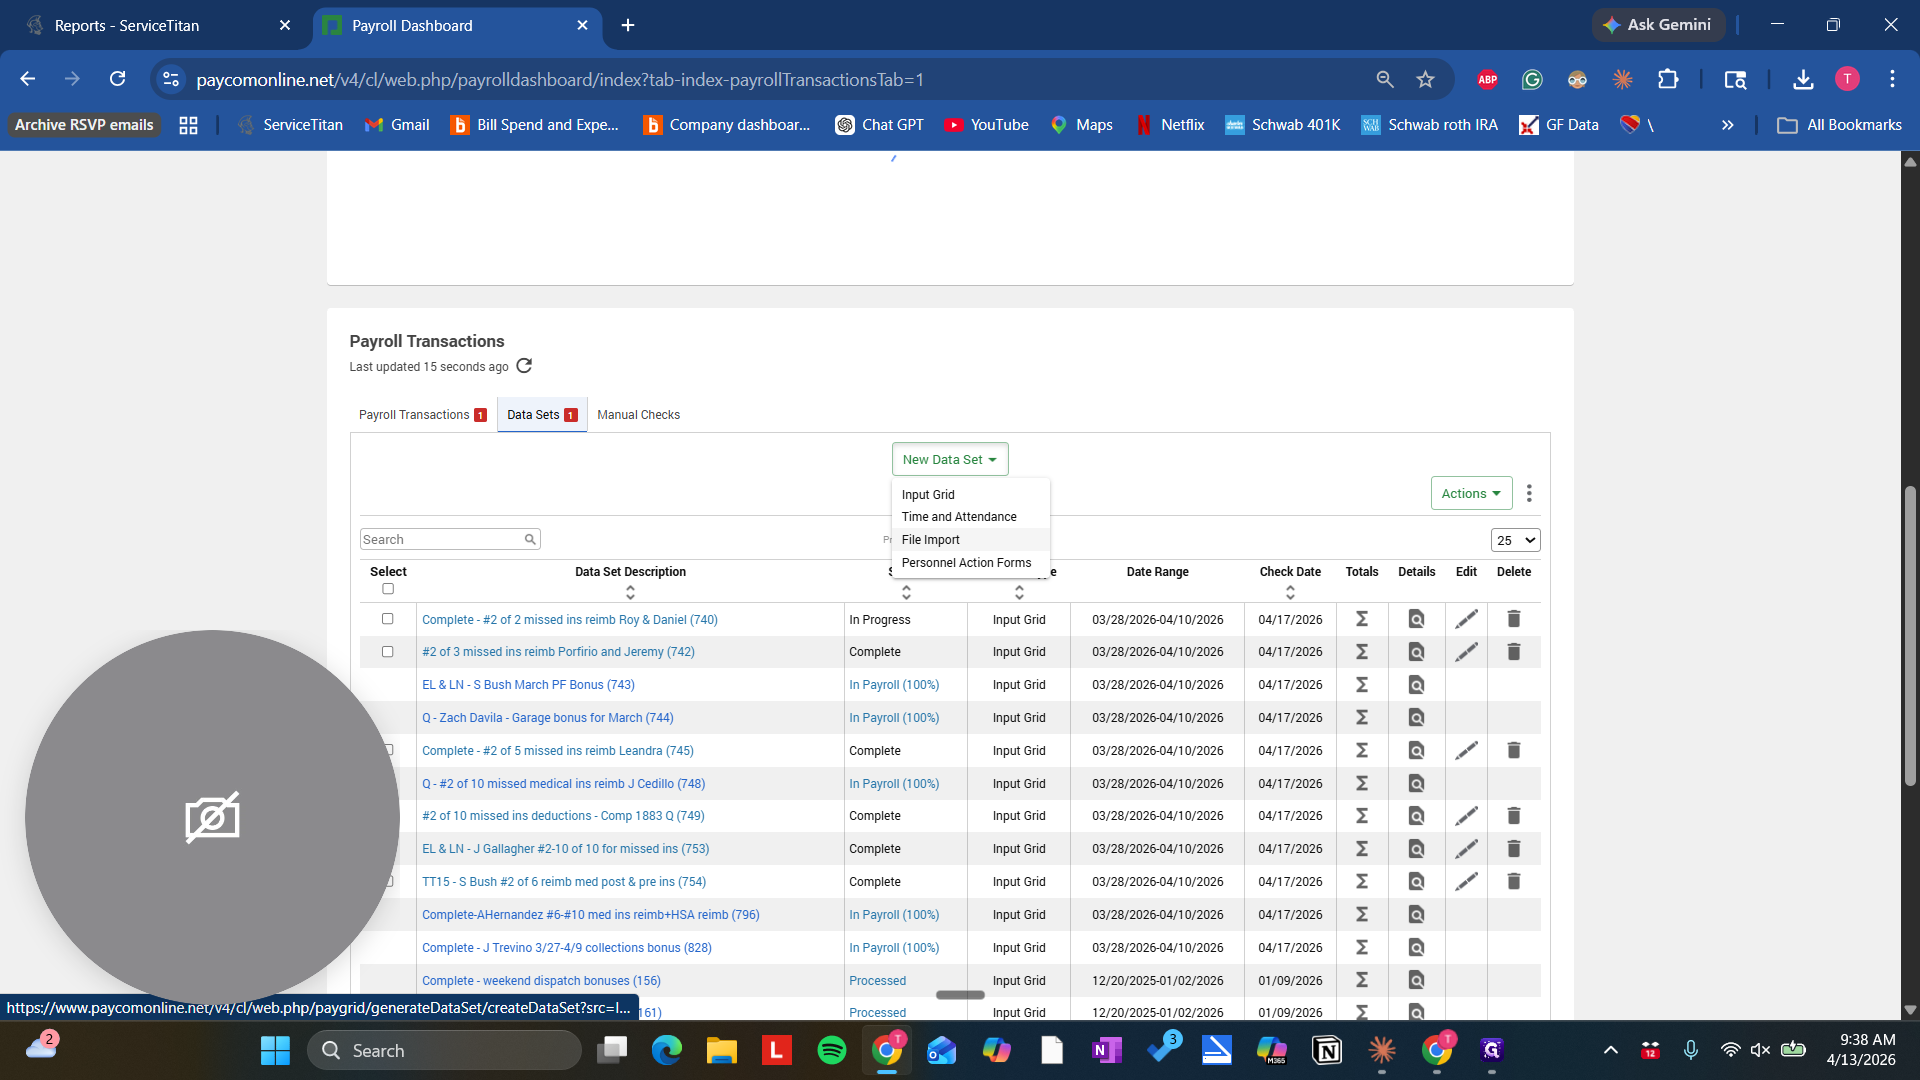
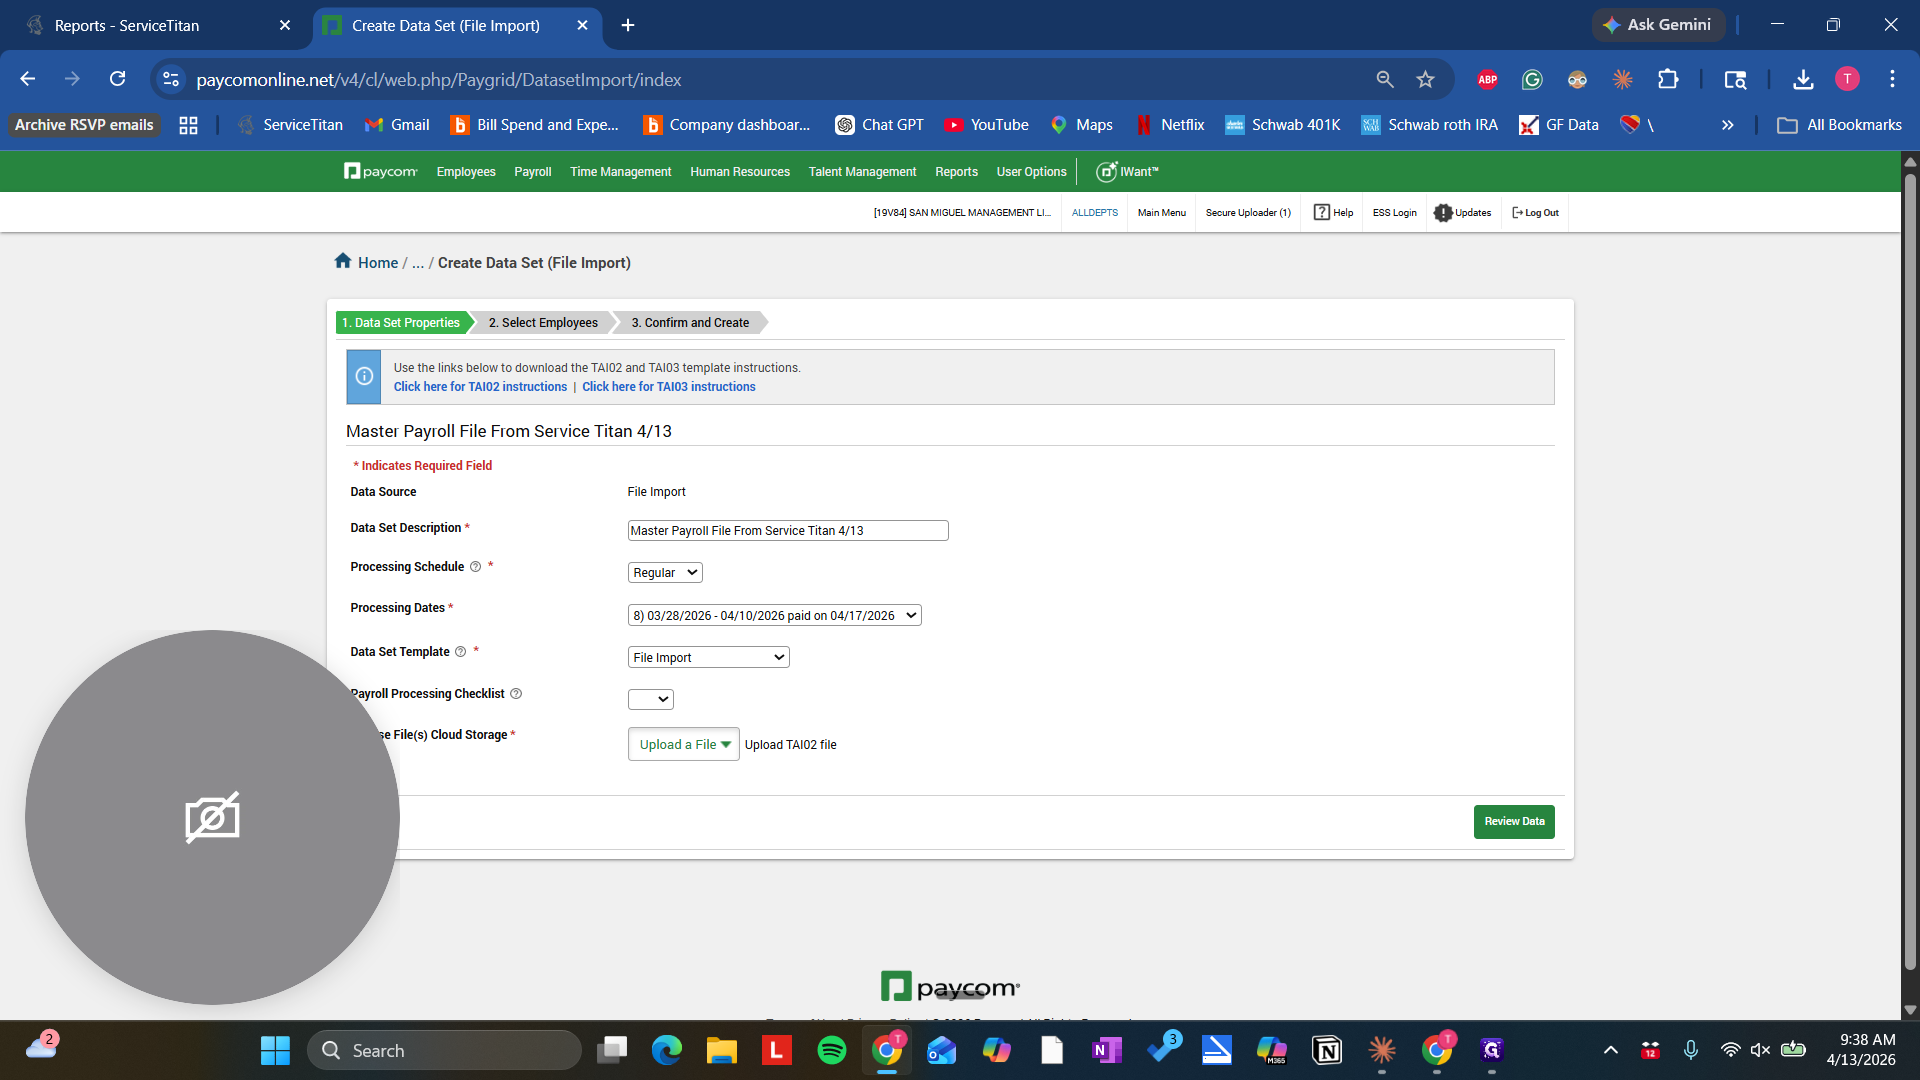
Let's create a new dataset and import a file.

18
Click on "Data Sets"
Step #18: Click on "Data Sets"
19
Click on "New Data Set ▾"
Step #19: Click on "New Data Set ▾"
20
Click on "Import"
Step #20: Click on "Import"

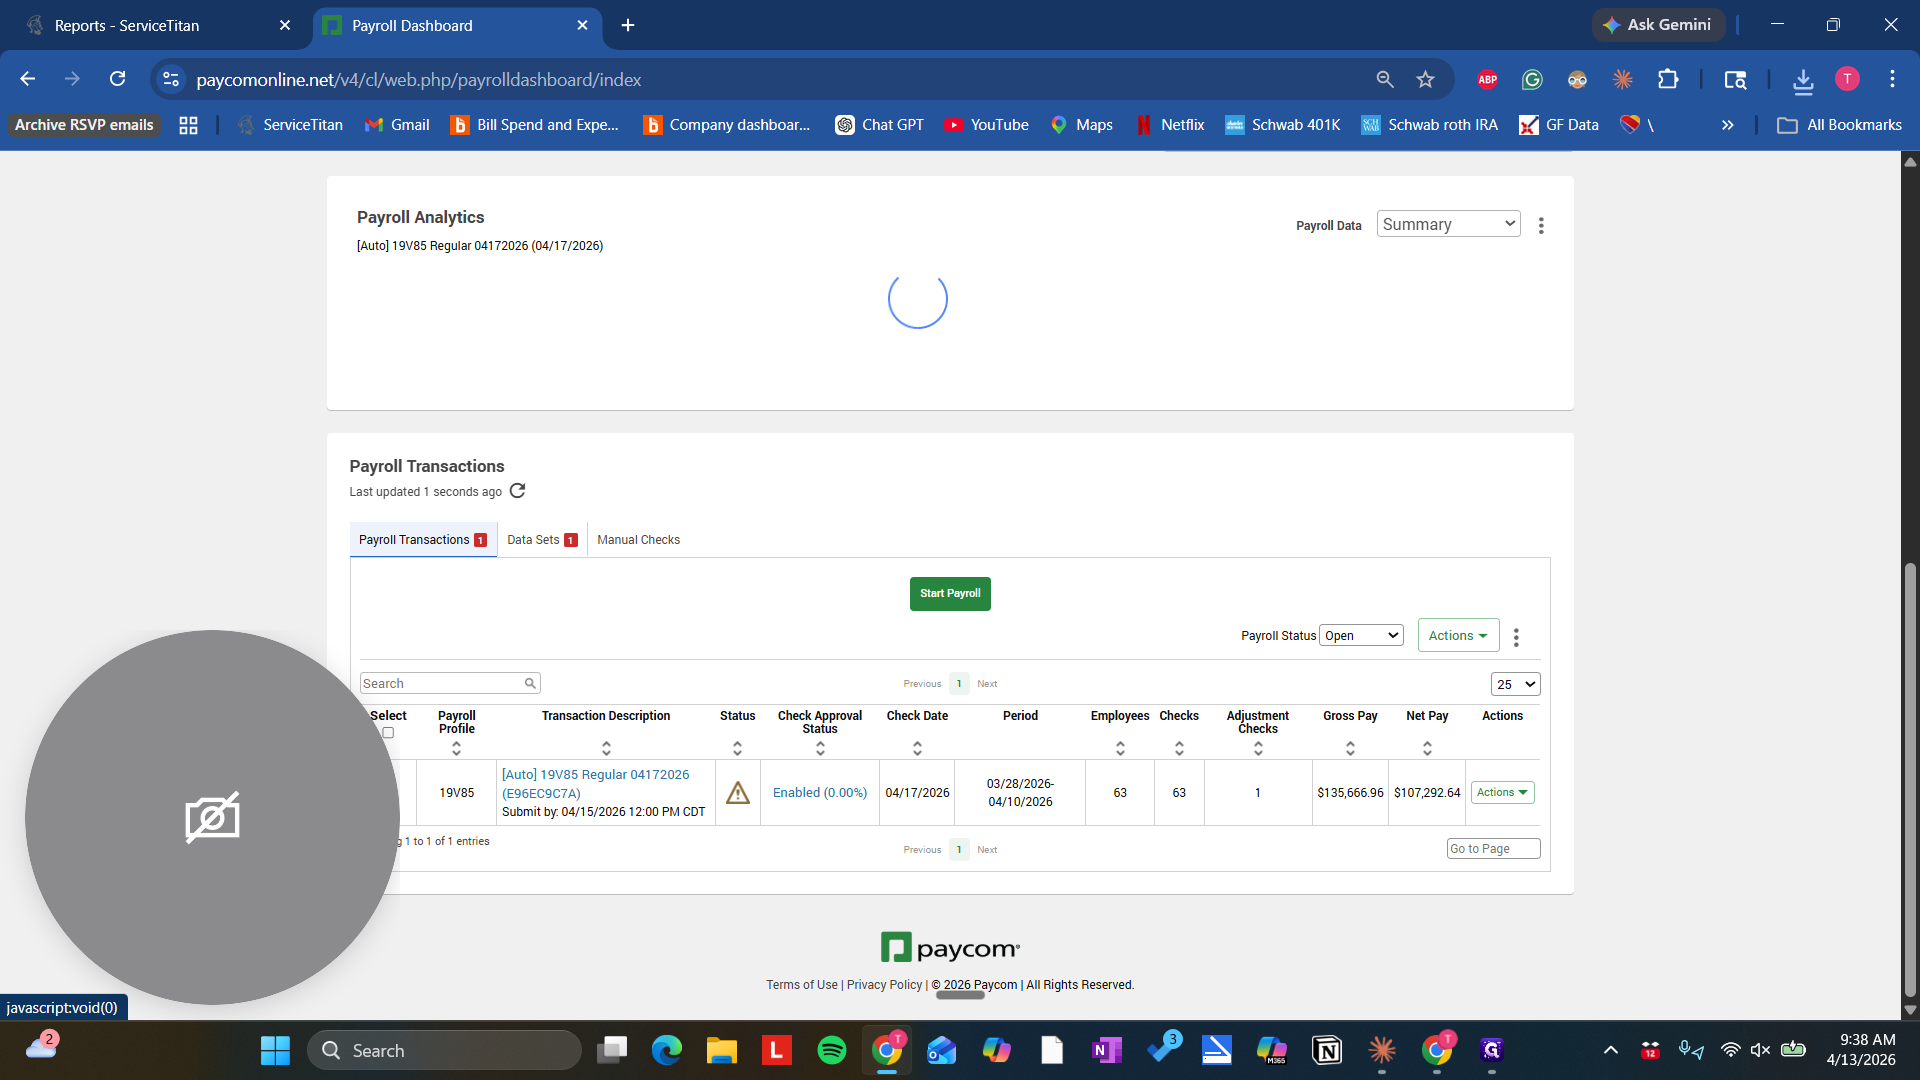
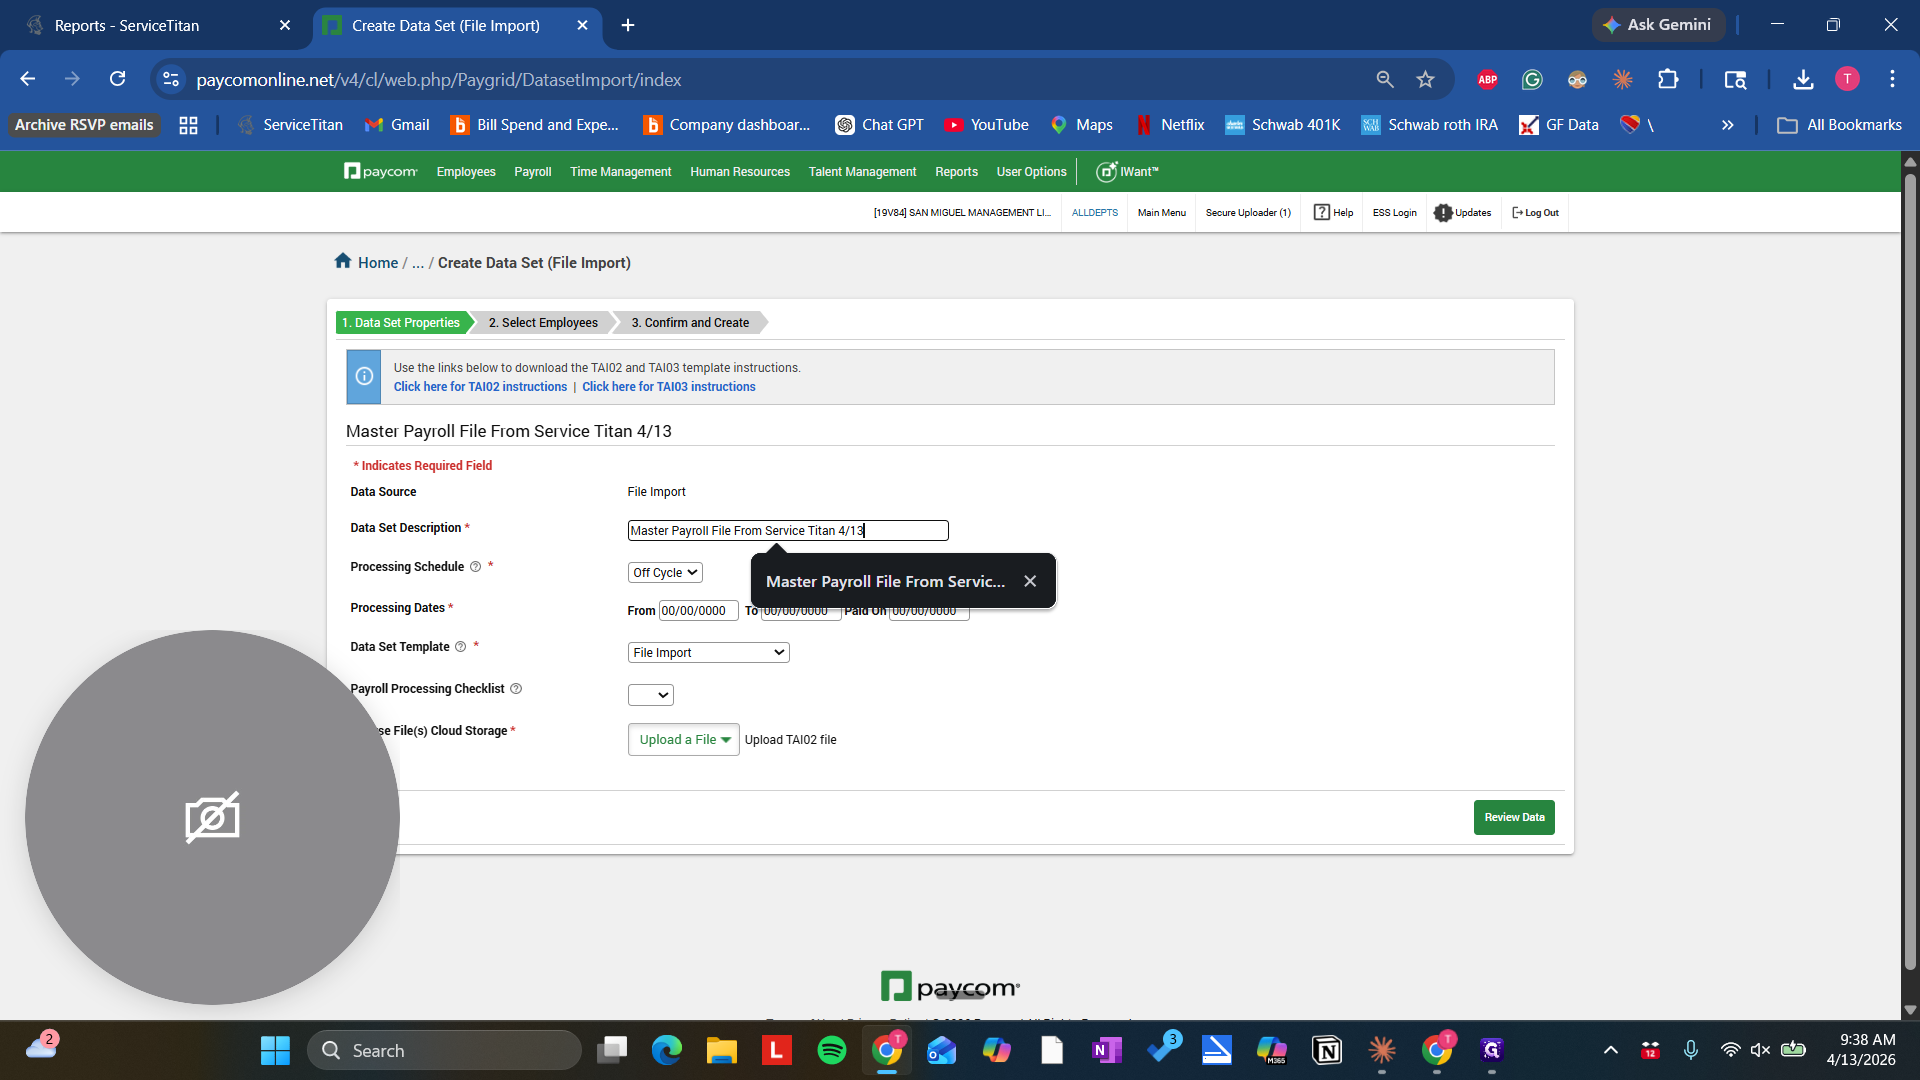
We will make sure this is the correct date.

21
Click here
Step #21: Click here
22
Give it a standard naming convention you can reference in the future to know the files origin.
Step #22: Give it a standard naming convention you can reference in the future to know the files origin.

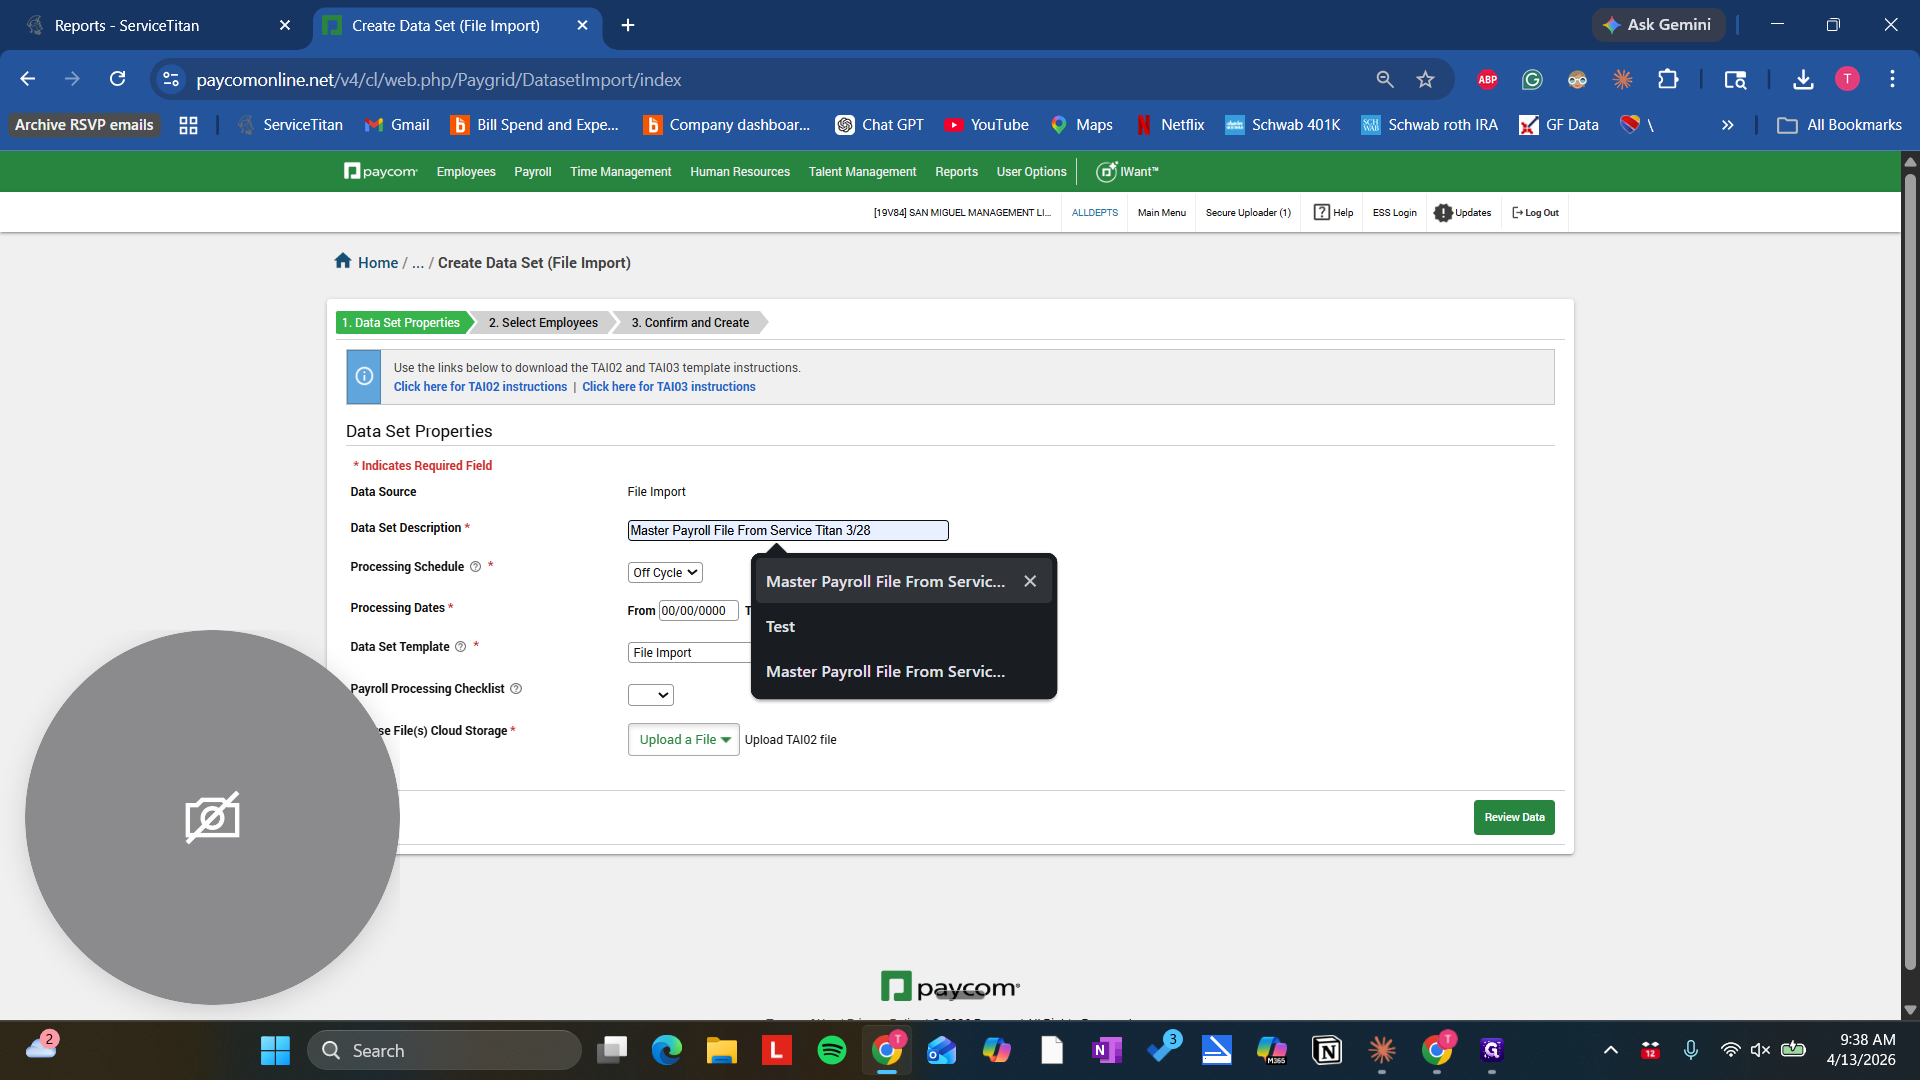
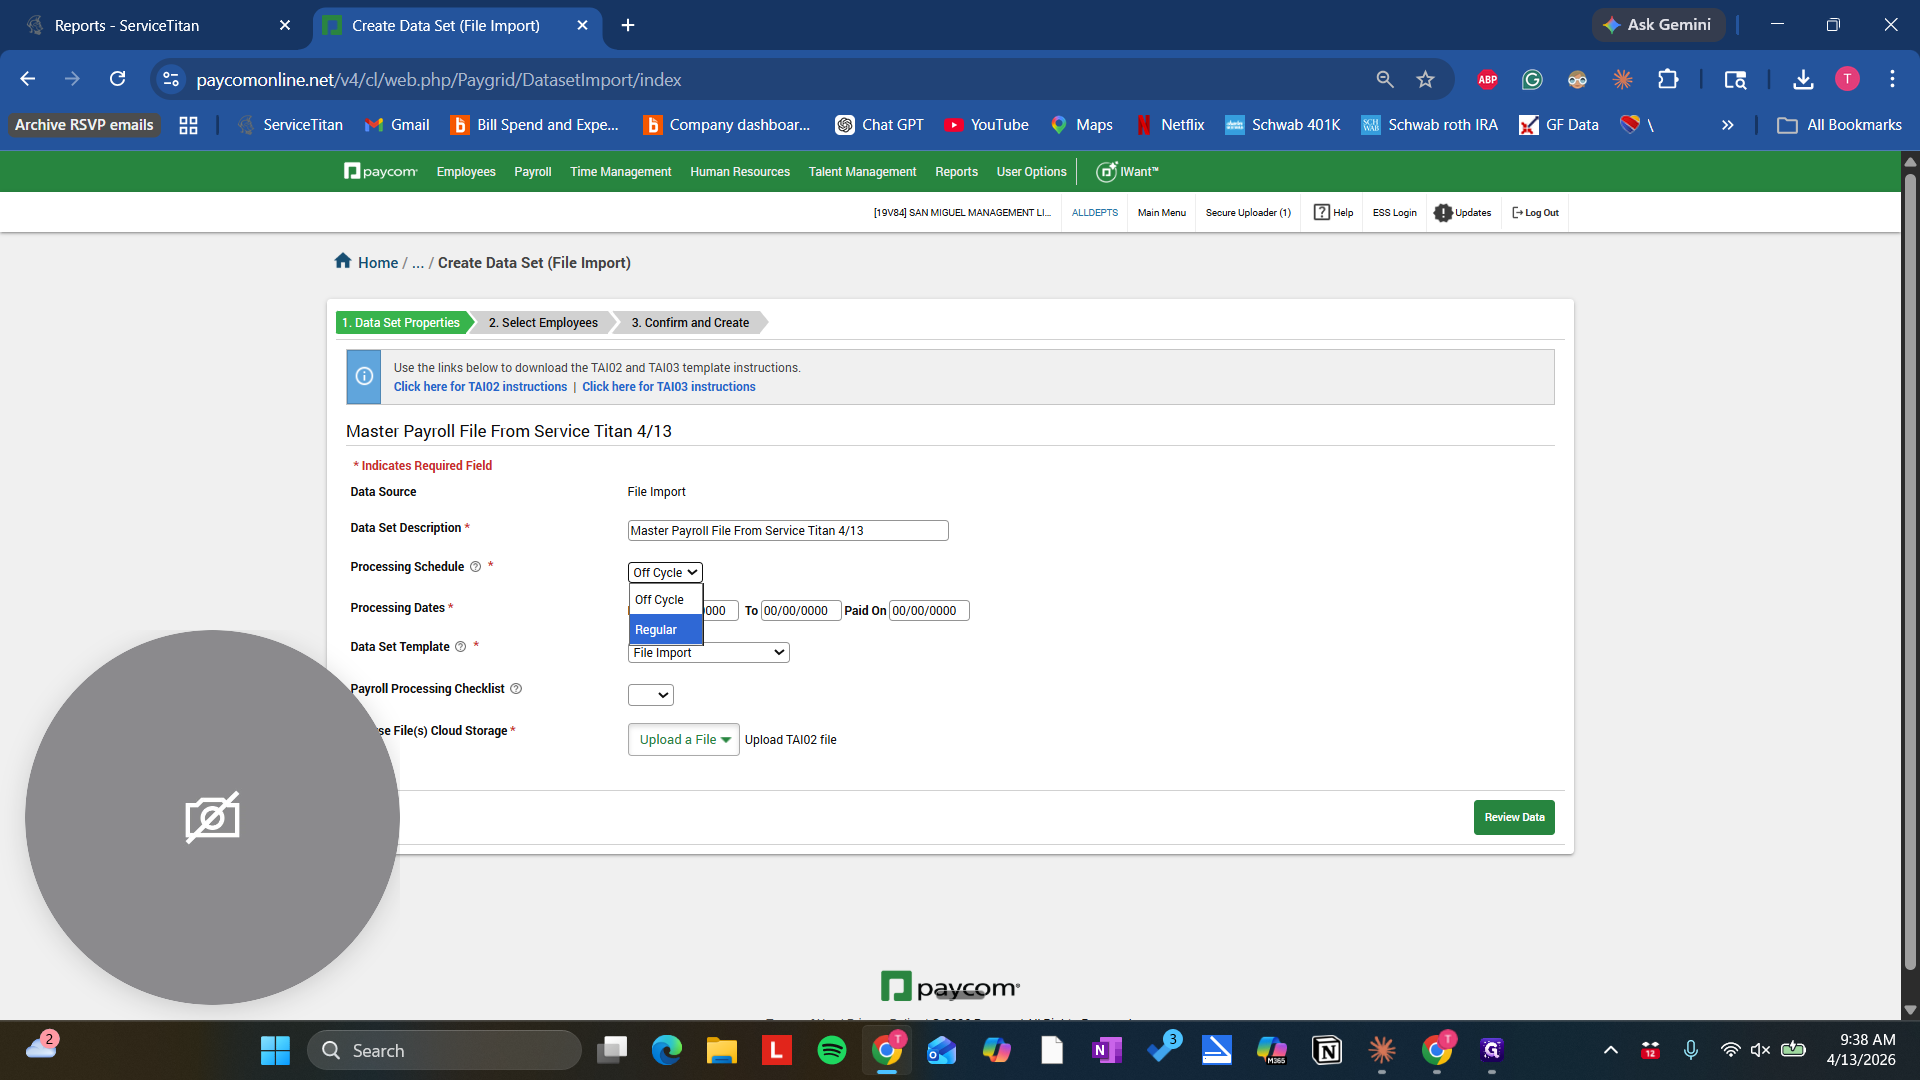
This is a good title to use, such as "This is what I've been doing." Use Regular, and make sure it matches the master payroll file dates.

23
Click here
Step #23: Click here
24
Click on processing schedule and select "Regular"
Step #24: Click on processing schedule and select "Regular"
25
Click on "Regular"
Step #25: Click on "Regular"

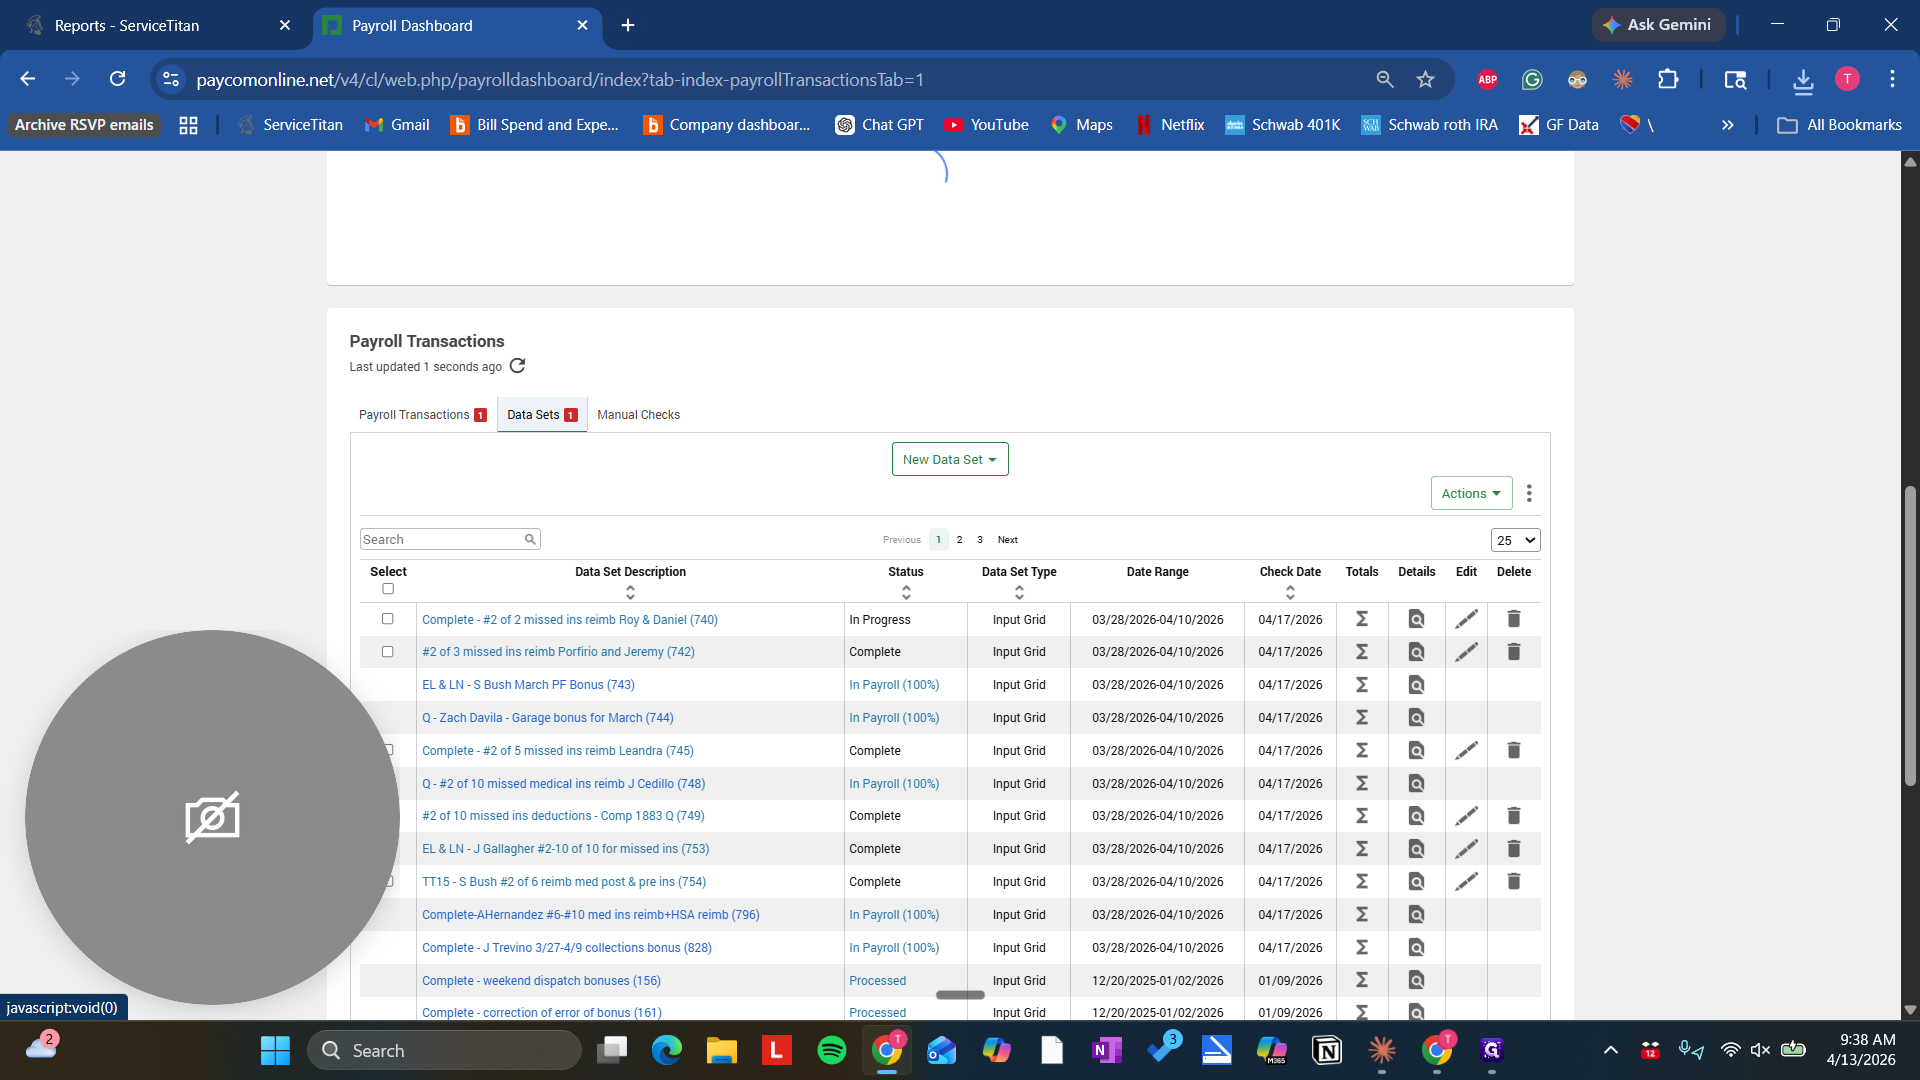
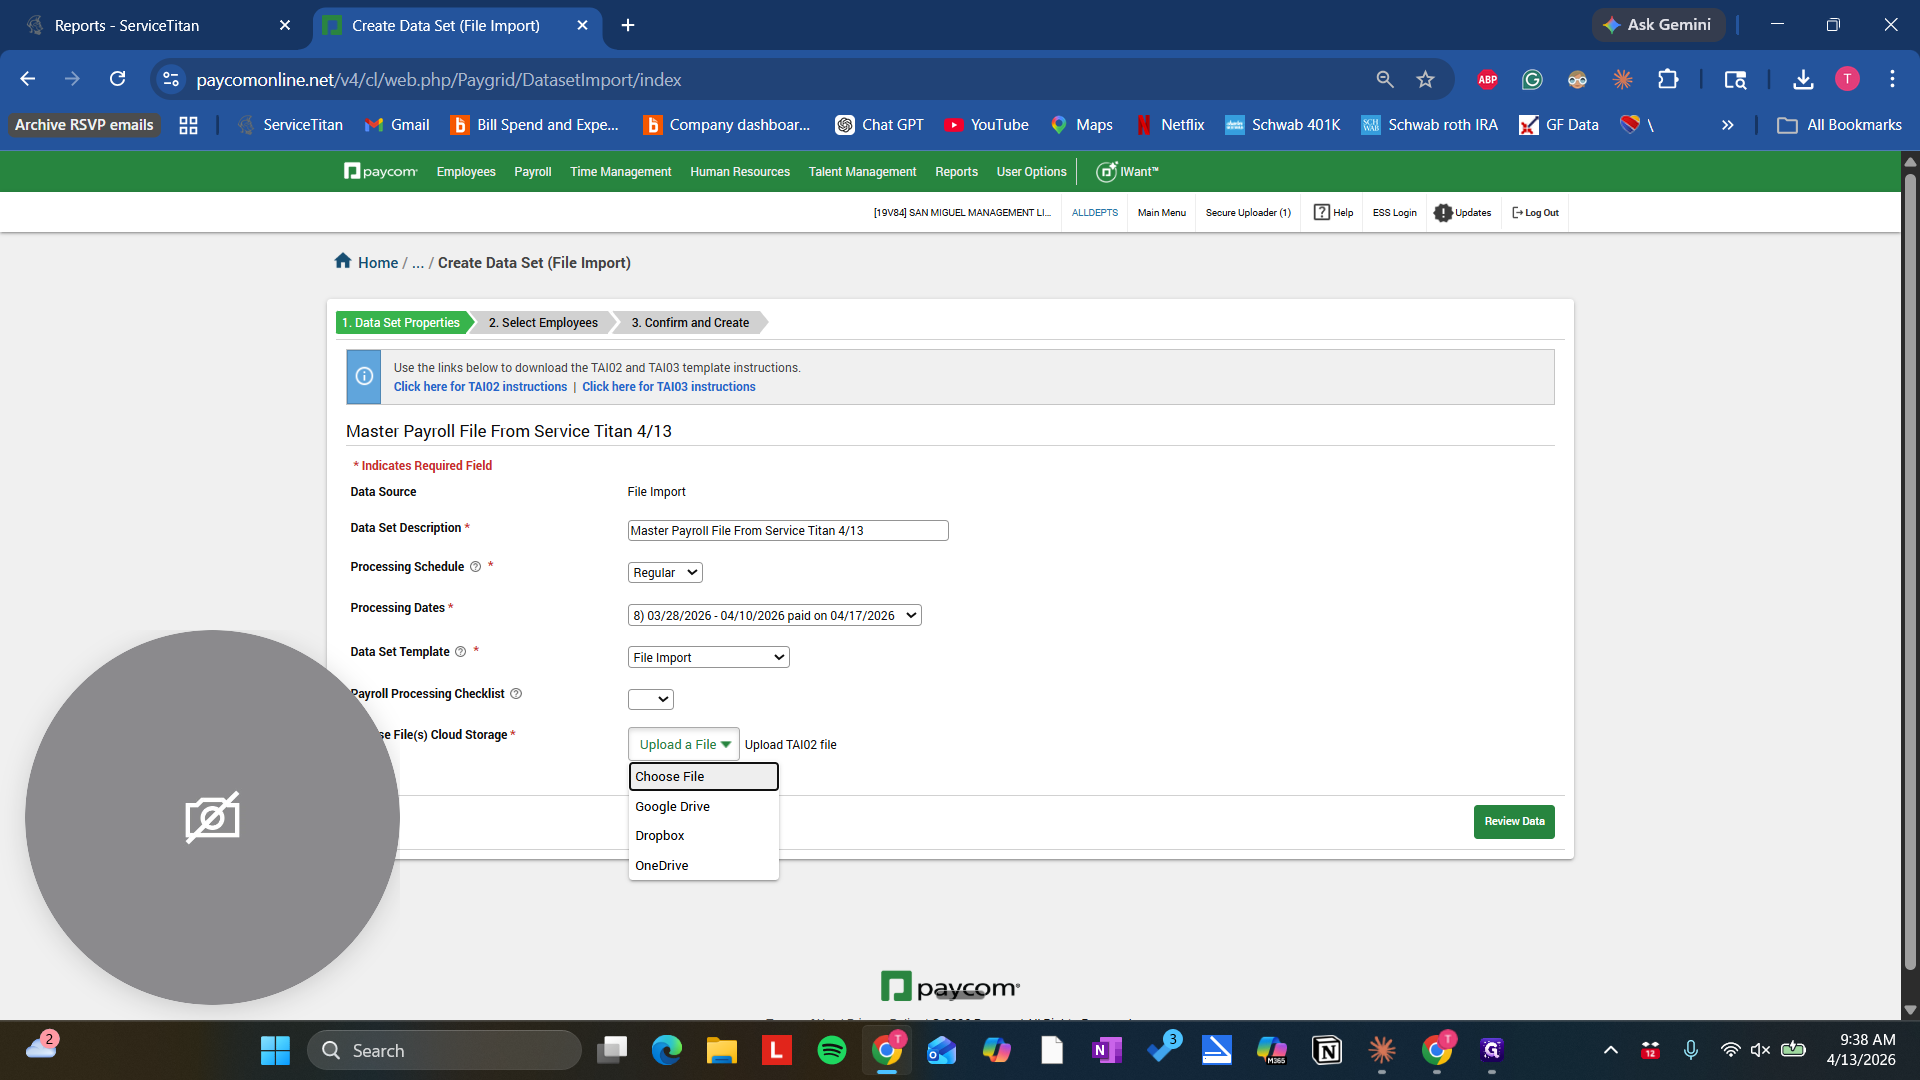
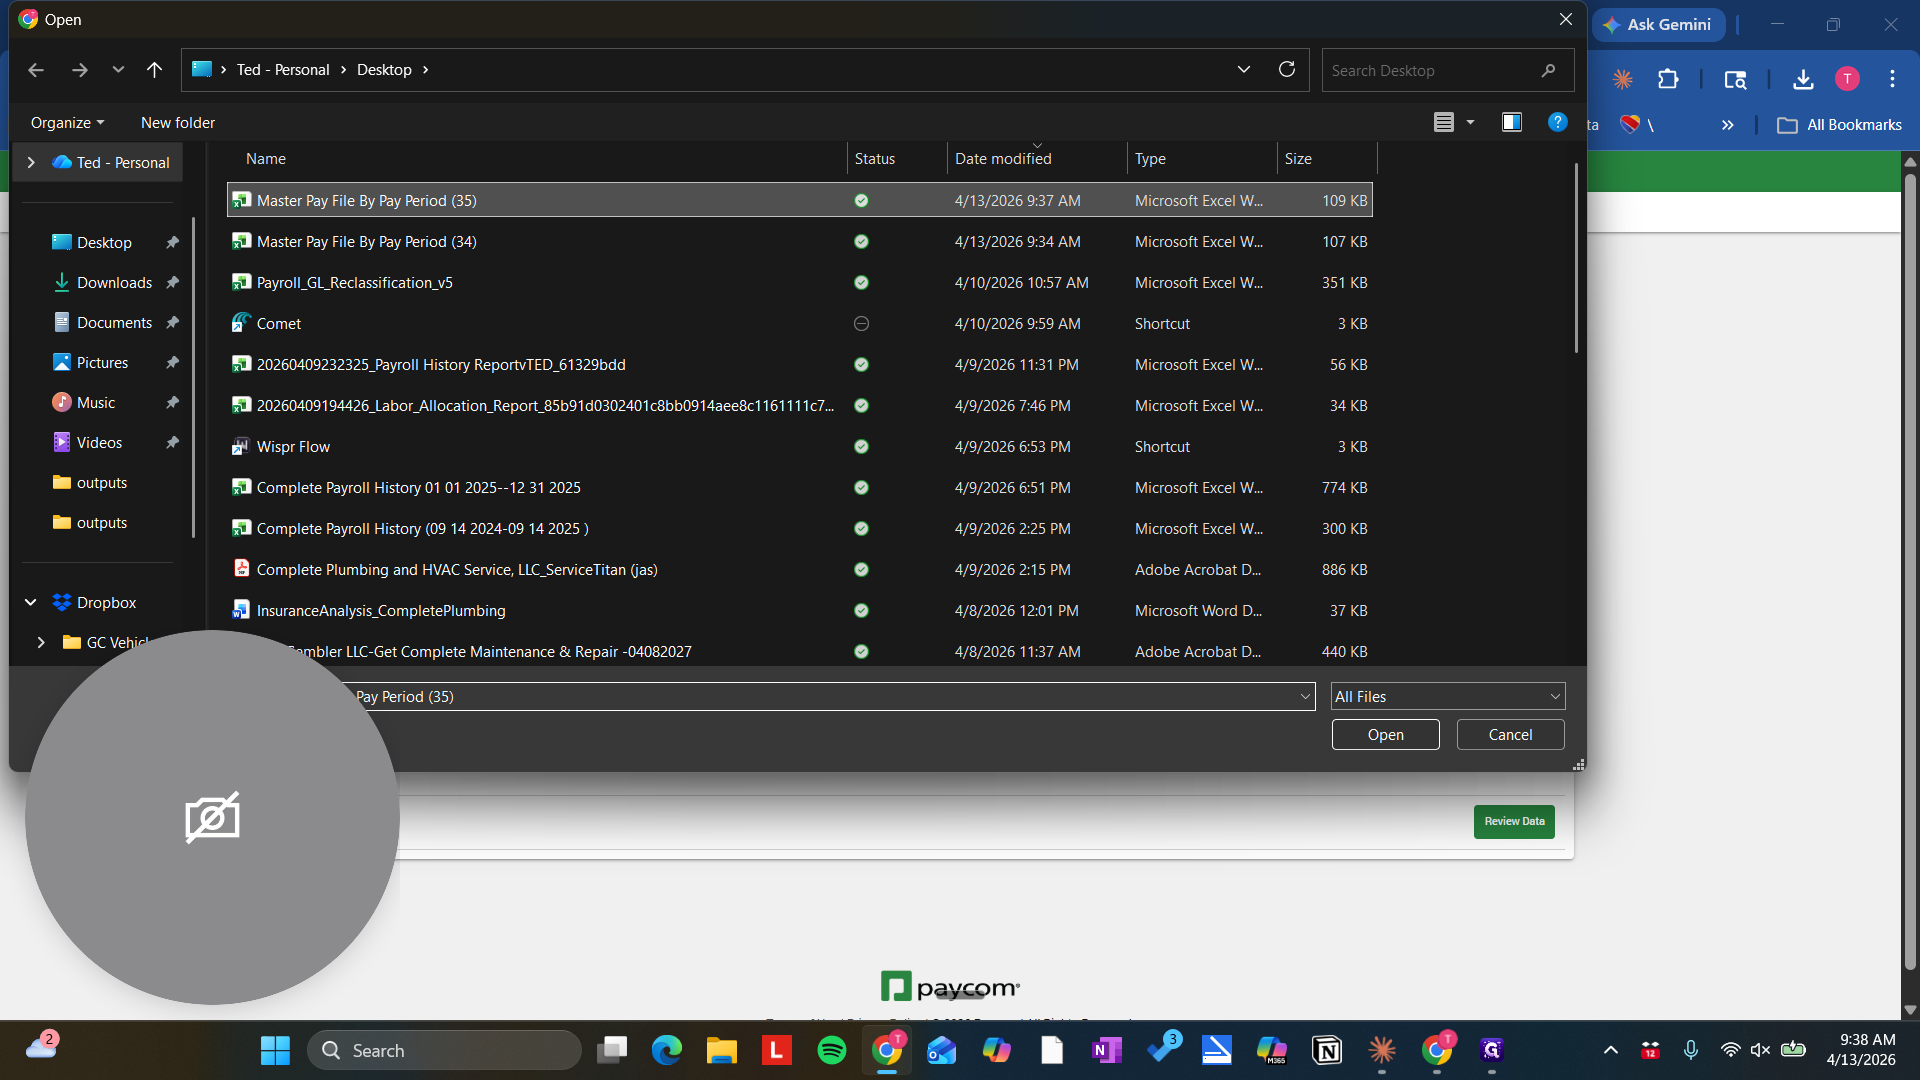
Select File Import, then choose the file you just created after deleting the extra tab.

26
Click on "▾"
Step #26: Click on "▾"
27
Click on "Choose File"
Step #27: Click on "Choose File"

It's my second attempt, so it's this one here.

28
Double-click here
Step #28: Double-click here

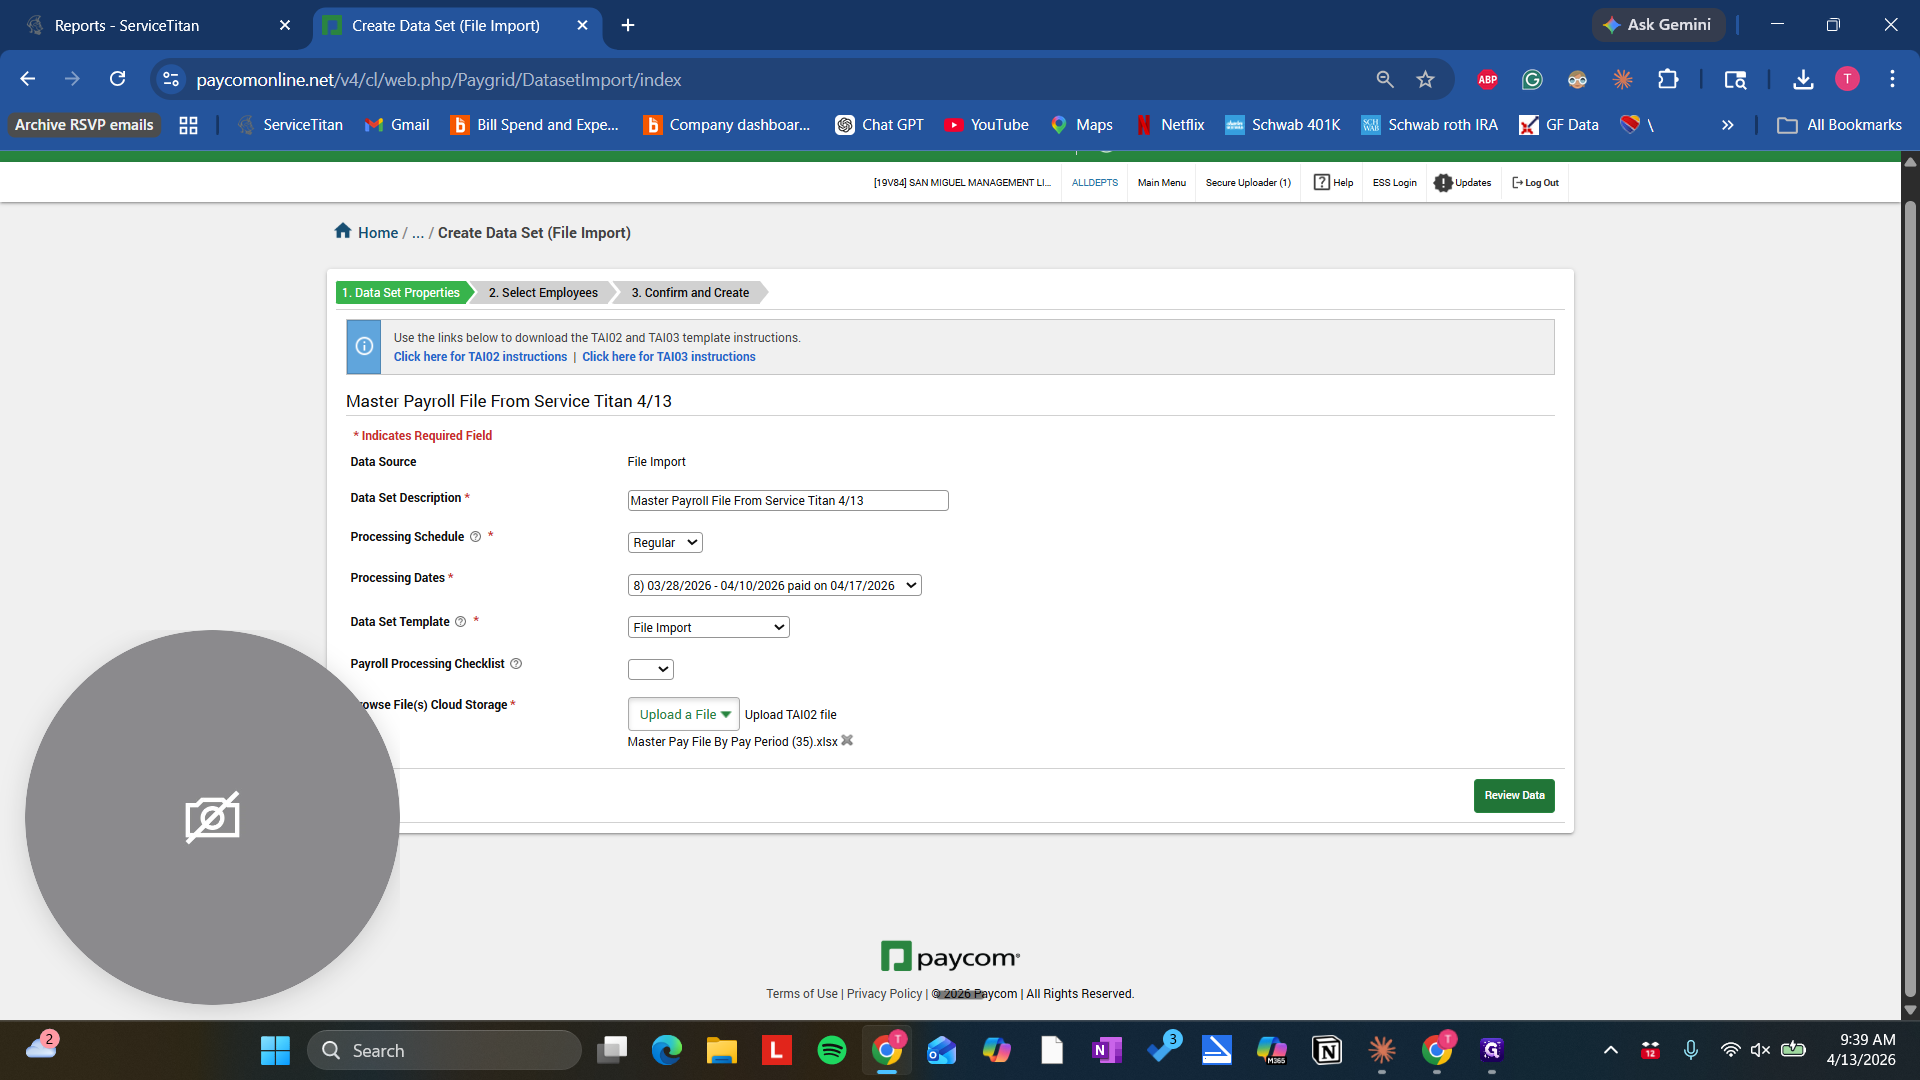
Now let's review the data.

29
Click on "Review Data"
Step #29: Click on "Review Data"

It usually takes a moment. Sorry, I hit the wrong button.

30
Click on "Click here to view errors"
Step #30: Click on "Click here to view errors"

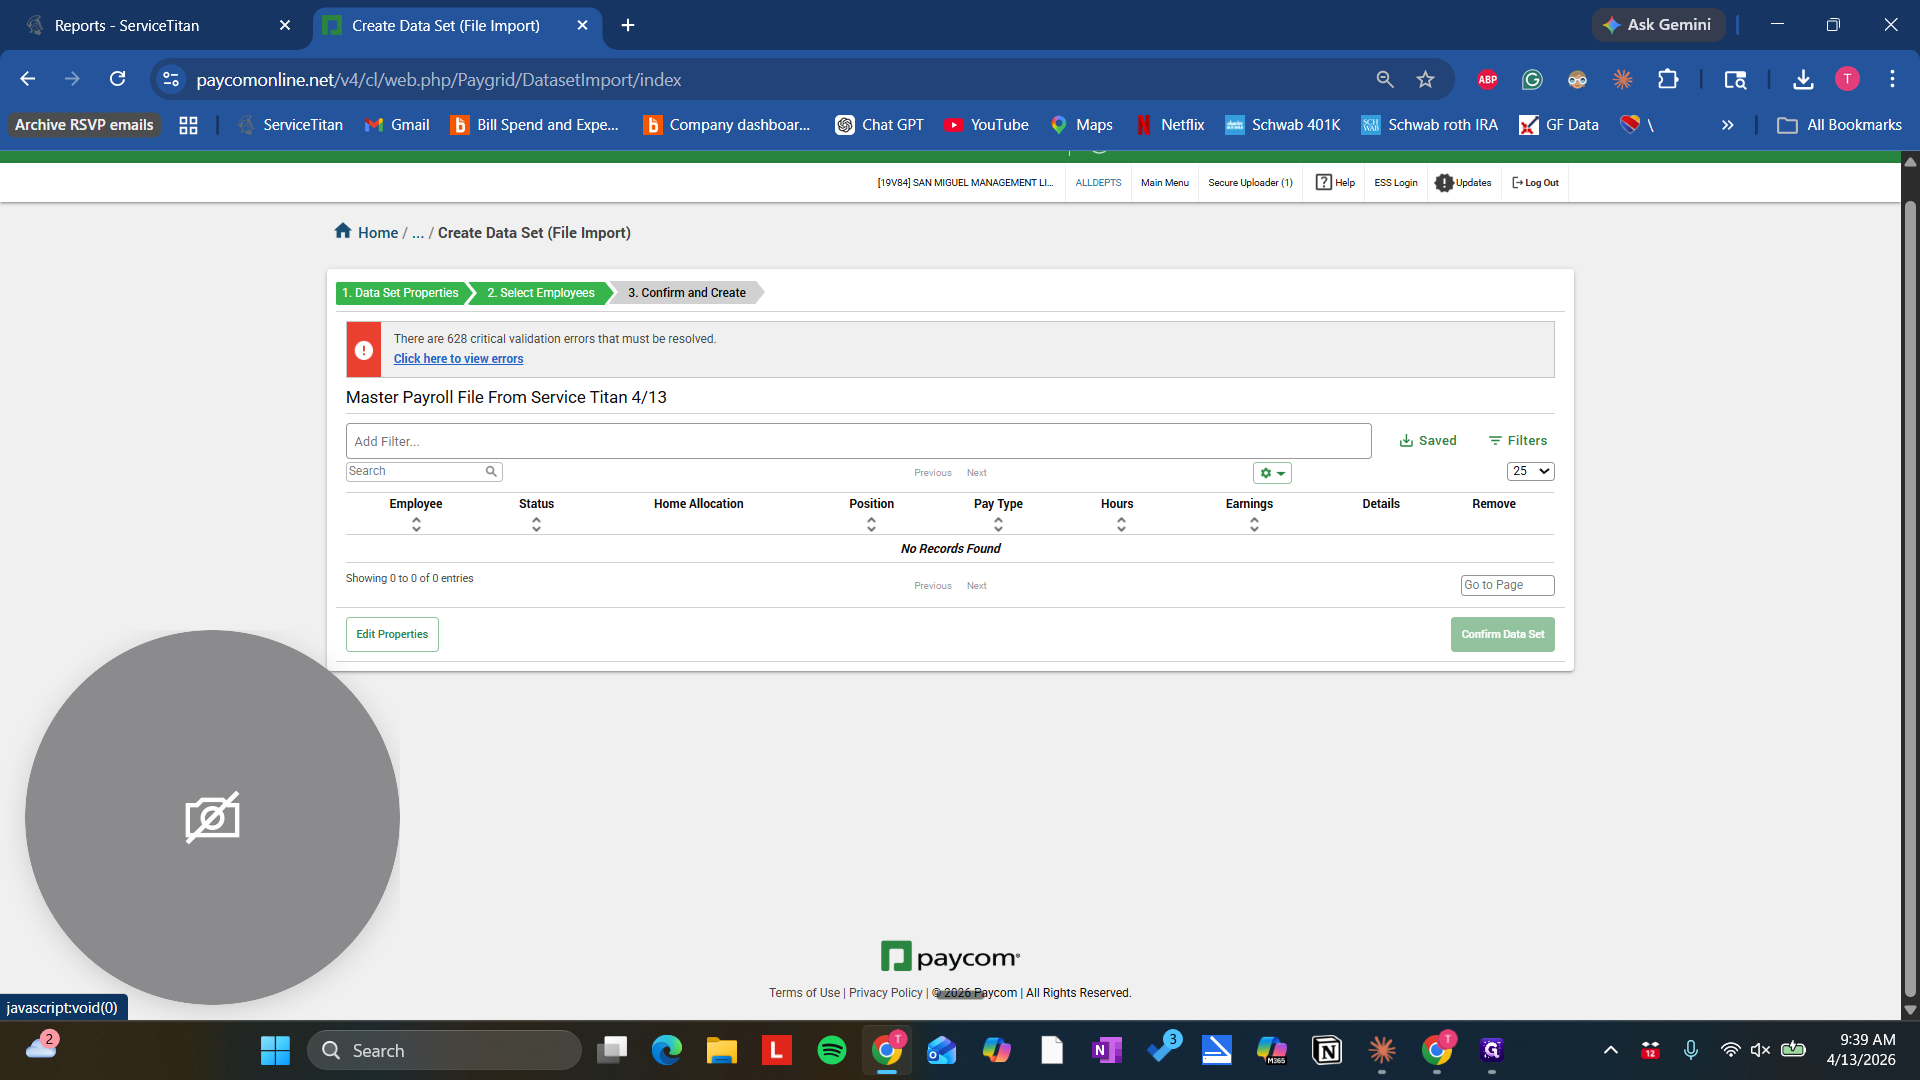
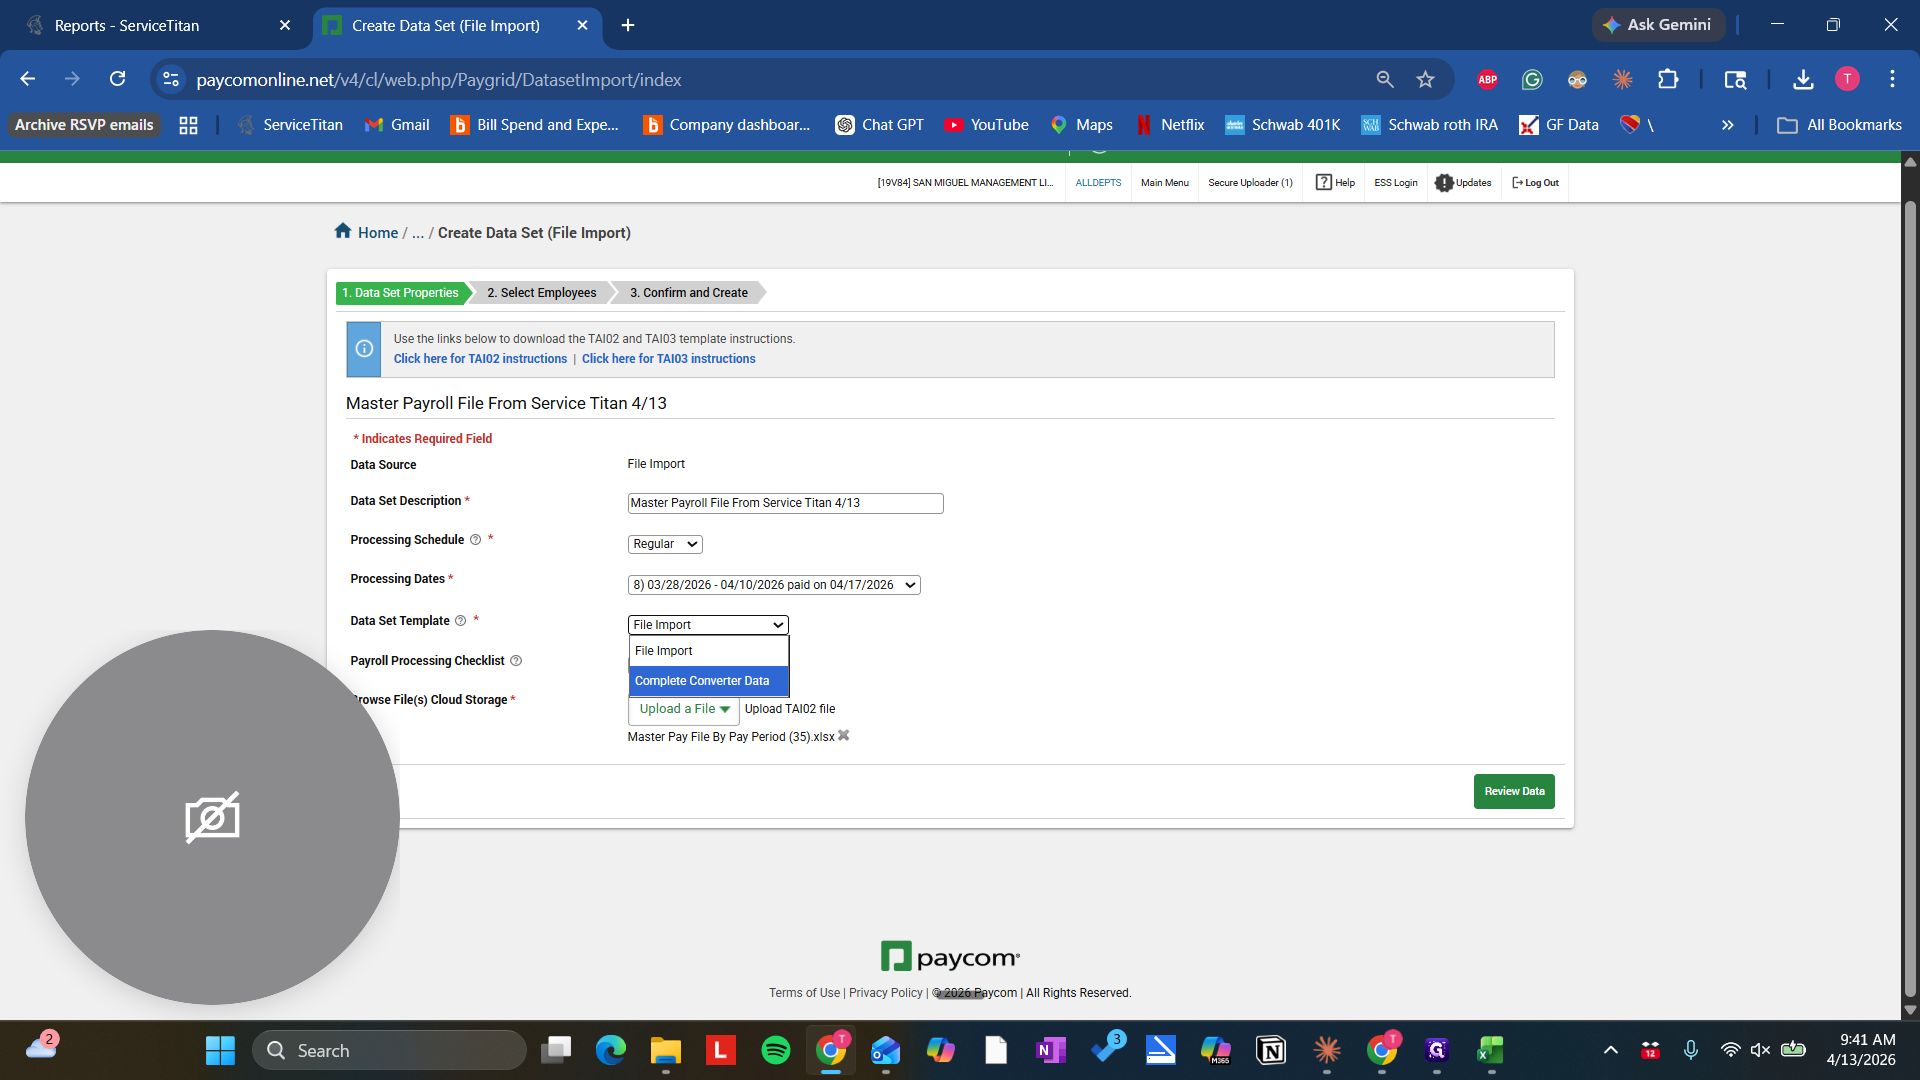
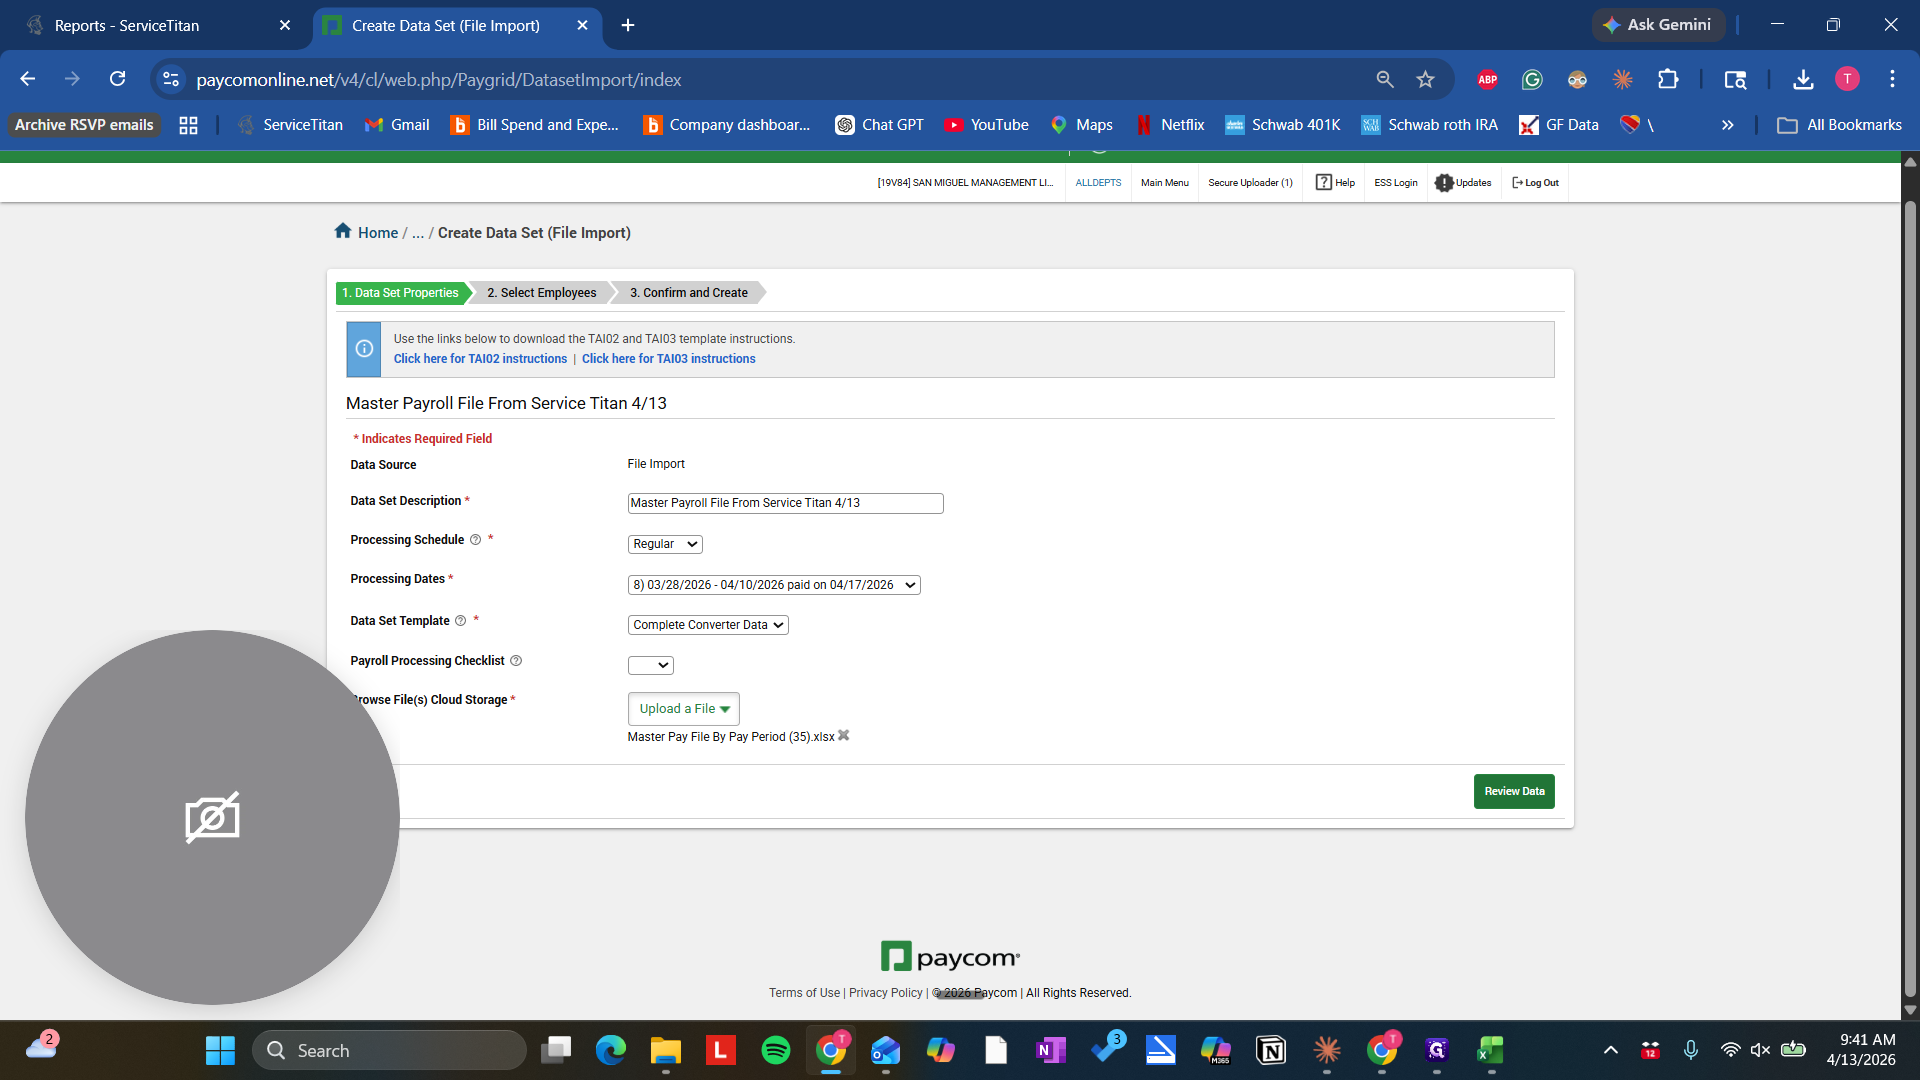
You need to go back and make sure this is Complete Converter. Review. That's an important step. After that, click Review Data. Usually takes about a minute. Nice.

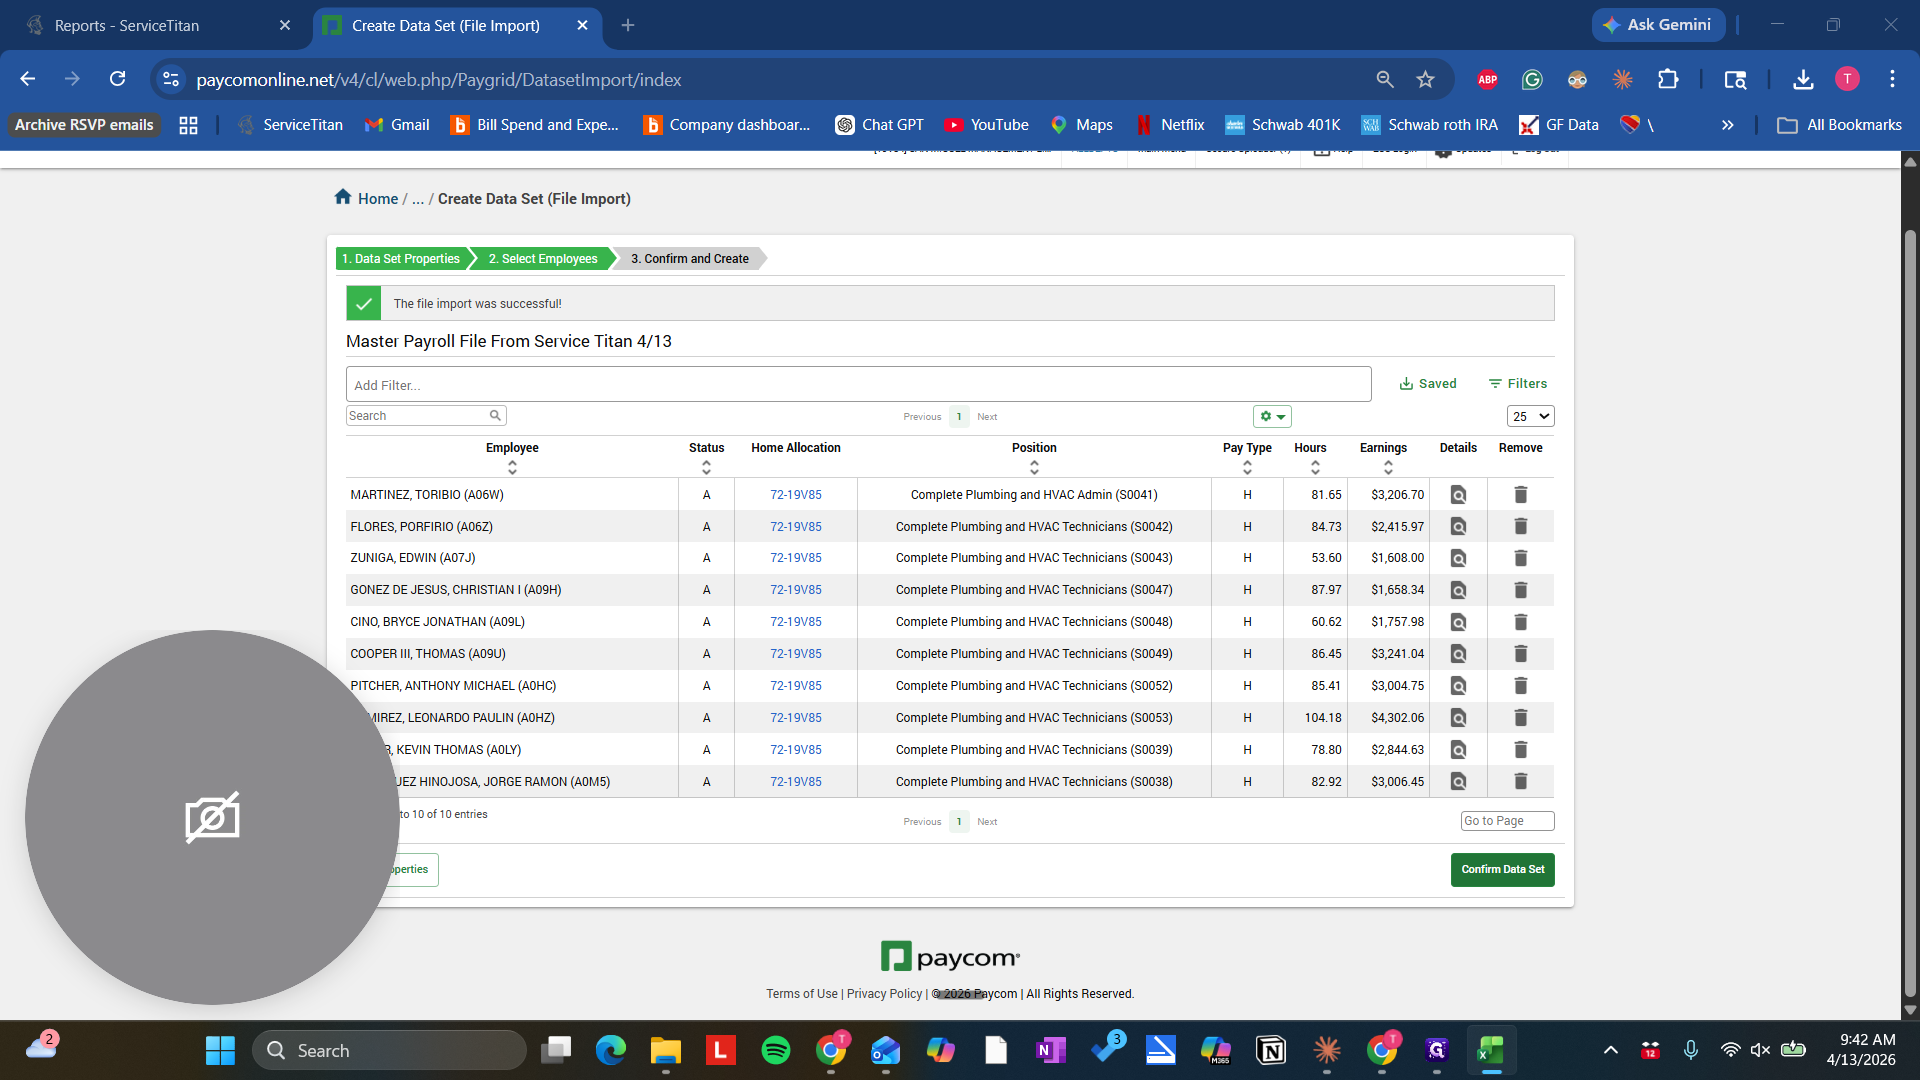
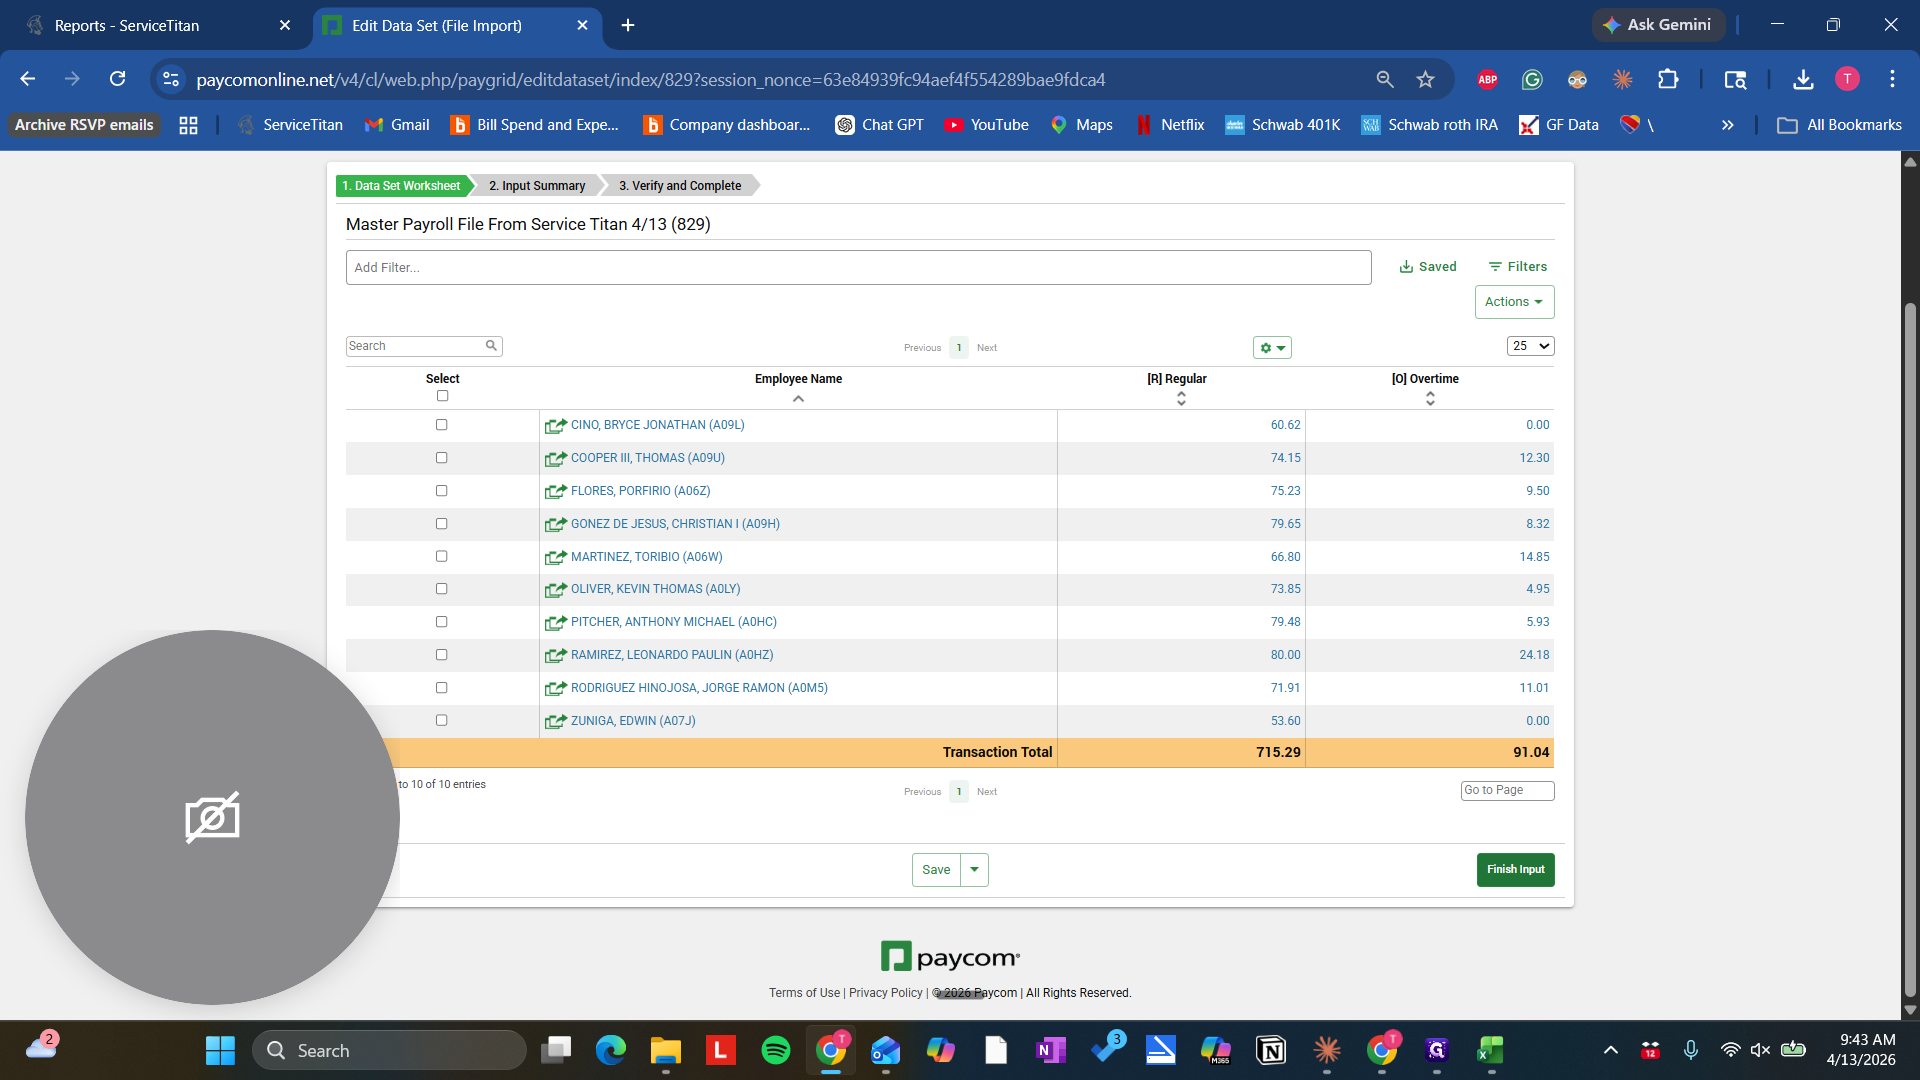
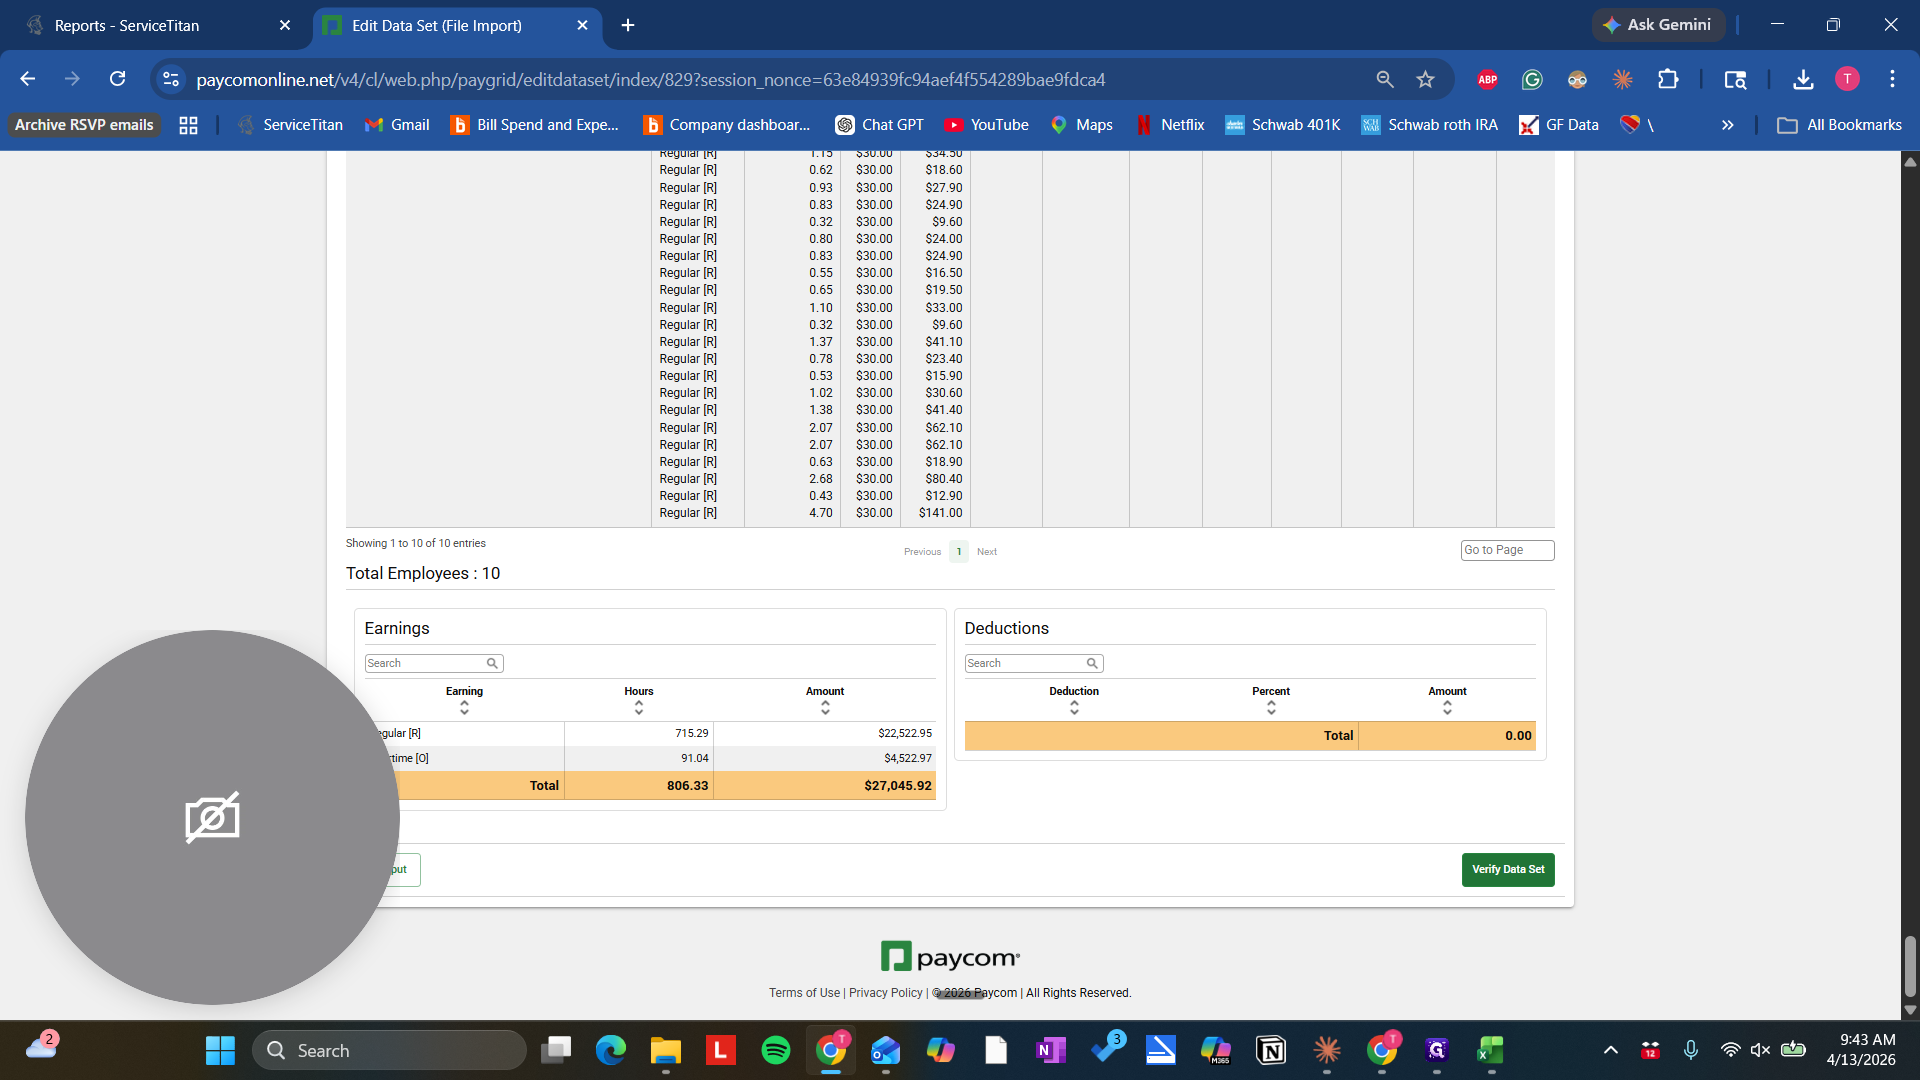
It appears that everyone's pay has been submitted. One, two, three, four, five, six, seven, eight, nine, ten technicians on this. Uh. This looks correct. Let's see here.

Let's select an individual and cross-reference it in the Excel file to confirm. Let's confirm the dataset. There we go. "" We will verify the dataset, and then we will—

31
Click on "File Import"
Step #31: Click on "File Import"
32
Click on "Complete Converter Data"
Step #32: Click on "Complete Converter Data"
33
Click on "Review Data"
Step #33: Click on "Review Data"
34
Click on "Confirm Data Set"
Step #34: Click on "Confirm Data Set"
35
Click on "Create Data Set"
Step #35: Click on "Create Data Set"
36
Click on "Finish Input"
Step #36: Click on "Finish Input"
37
Click on "Verify Data Set"
Step #37: Click on "Verify Data Set"

How to Run Payroll Using ServiceTitan and Paycom: Step-by-Step Guide