Icon

How to Run Two Instances of OBS on Mac

Learn how to record your screen and webcam simultaneously on macOS by launching two separate instances of OBS Studio using a simple Terminal command.

By Vishal Shyaman

Recording your screen alongside a separate, full-resolution video of your face gives you maximum flexibility when editing. On macOS, you can achieve this by running two separate instances of OBS Studio at the same time: one dedicated to screen capture, and the other dedicated to your webcam.

Launch a Second Instance of OBS

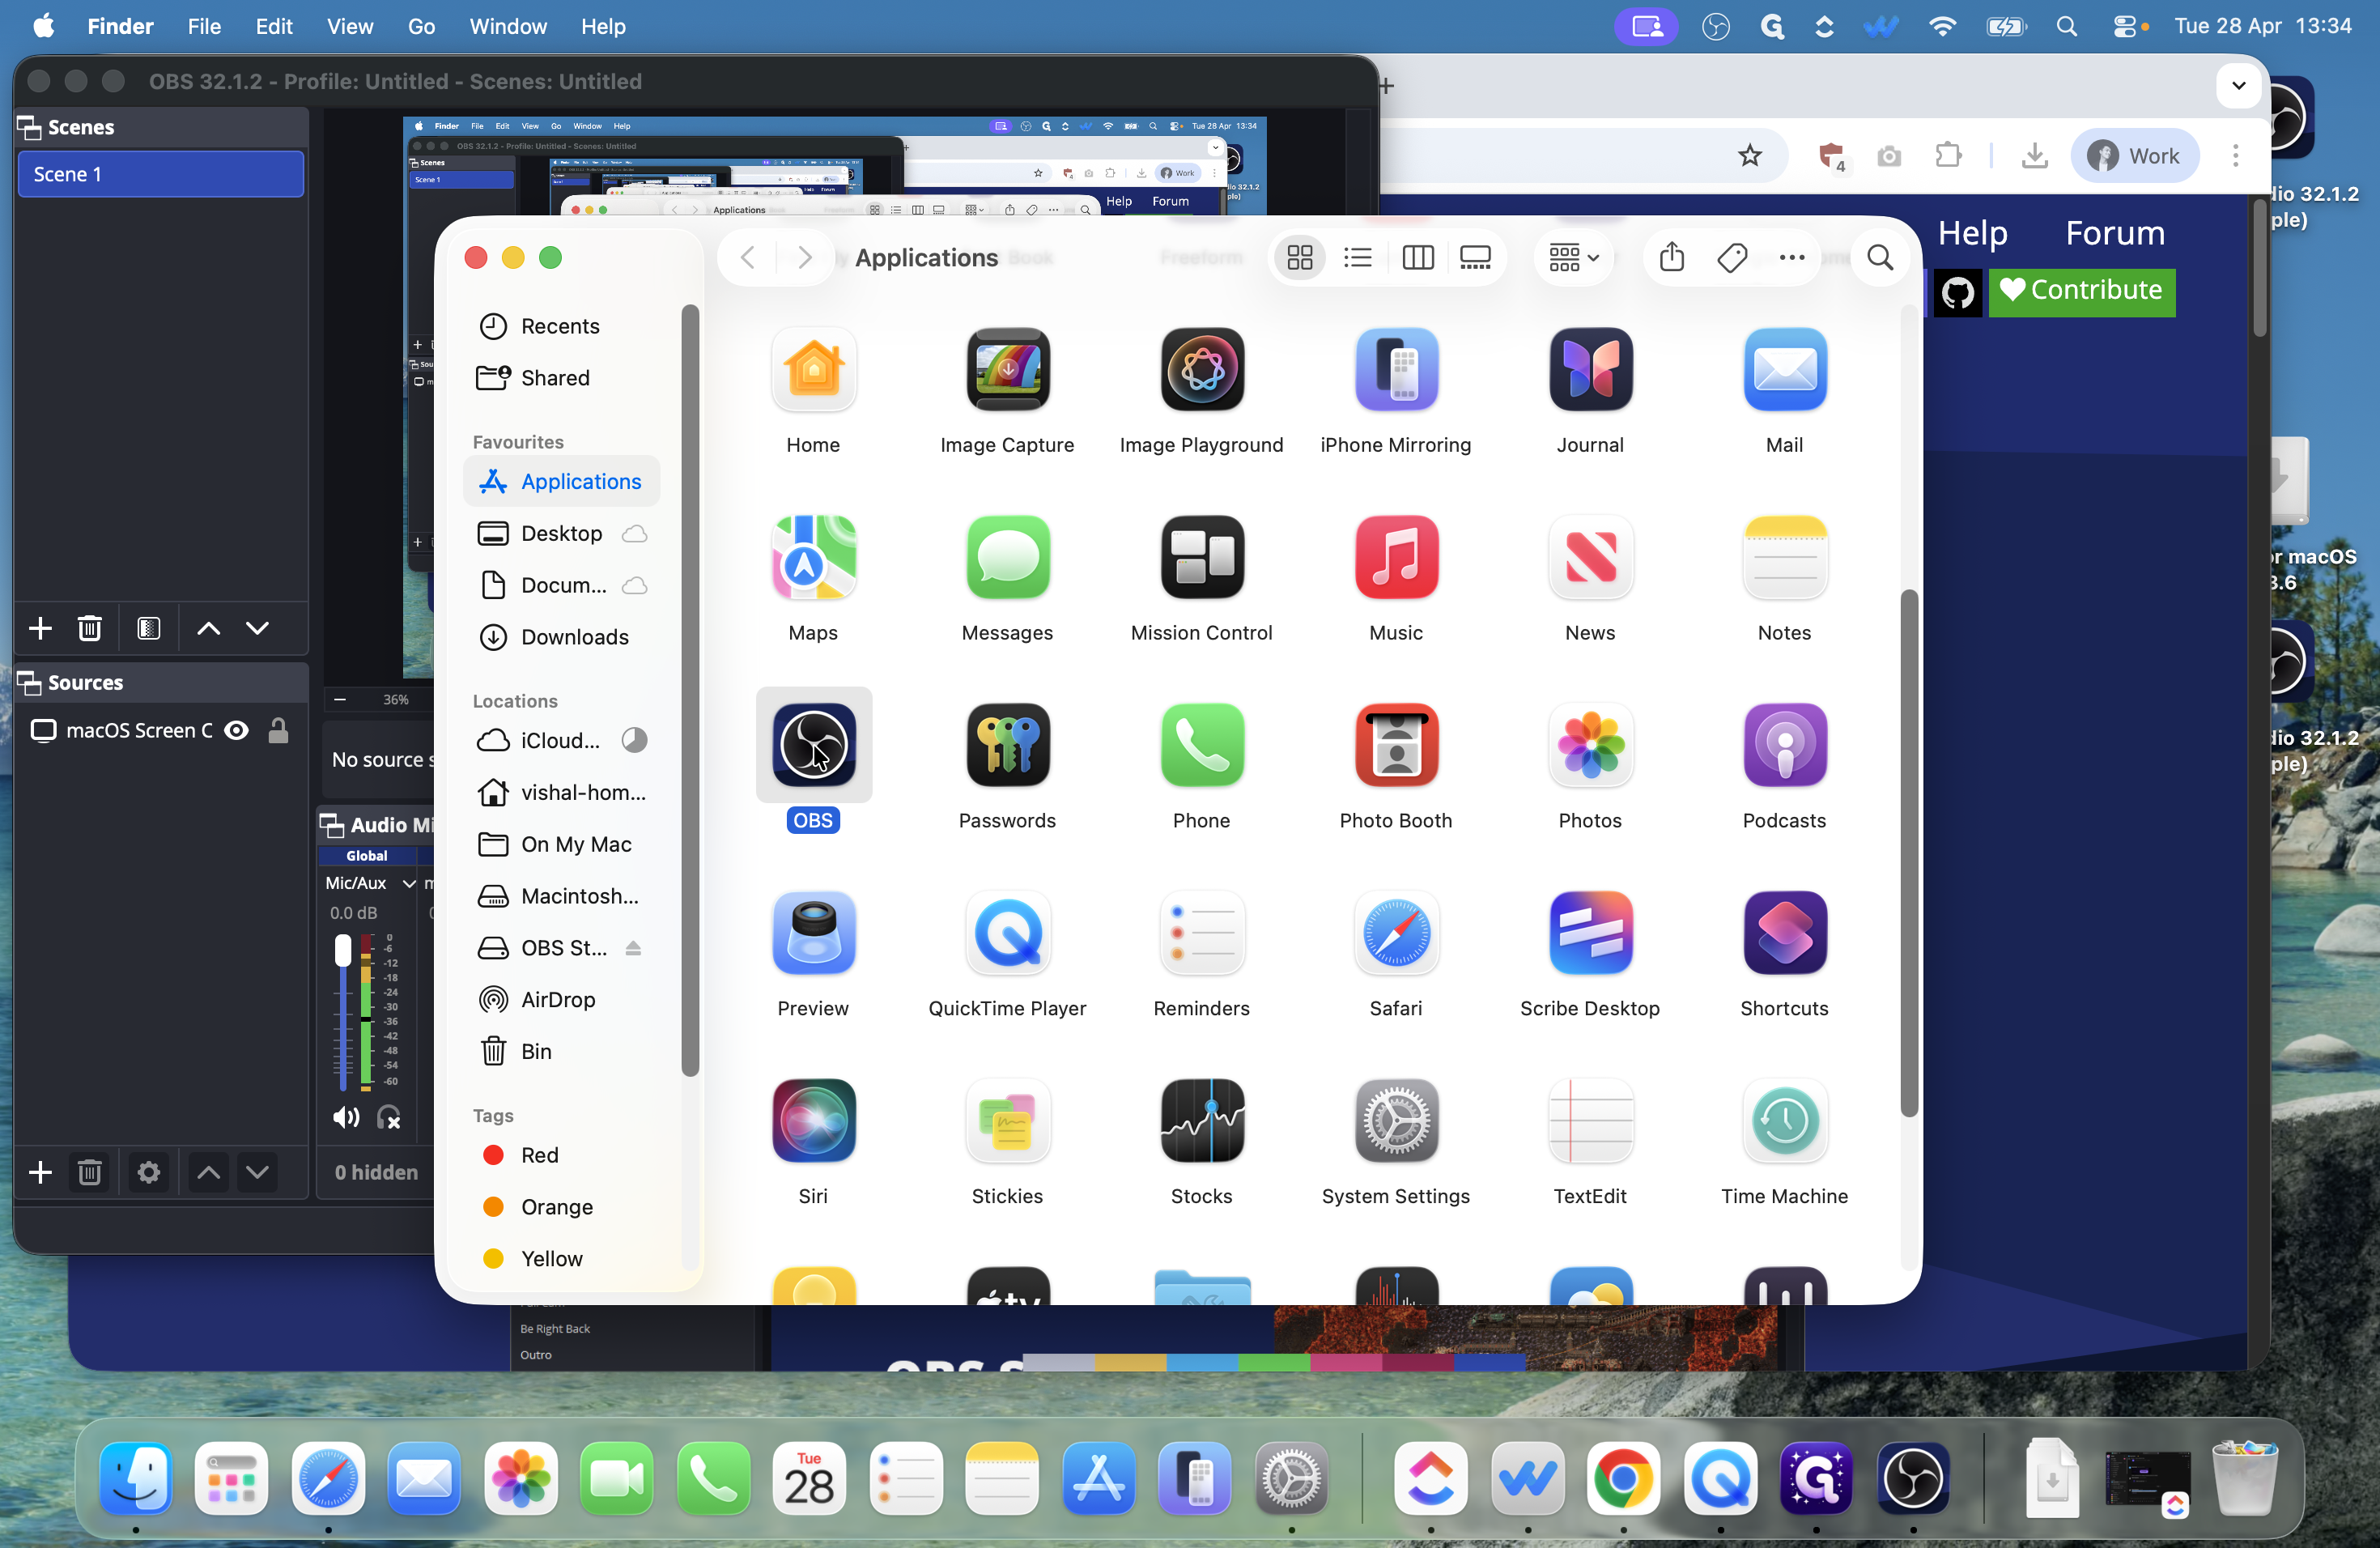
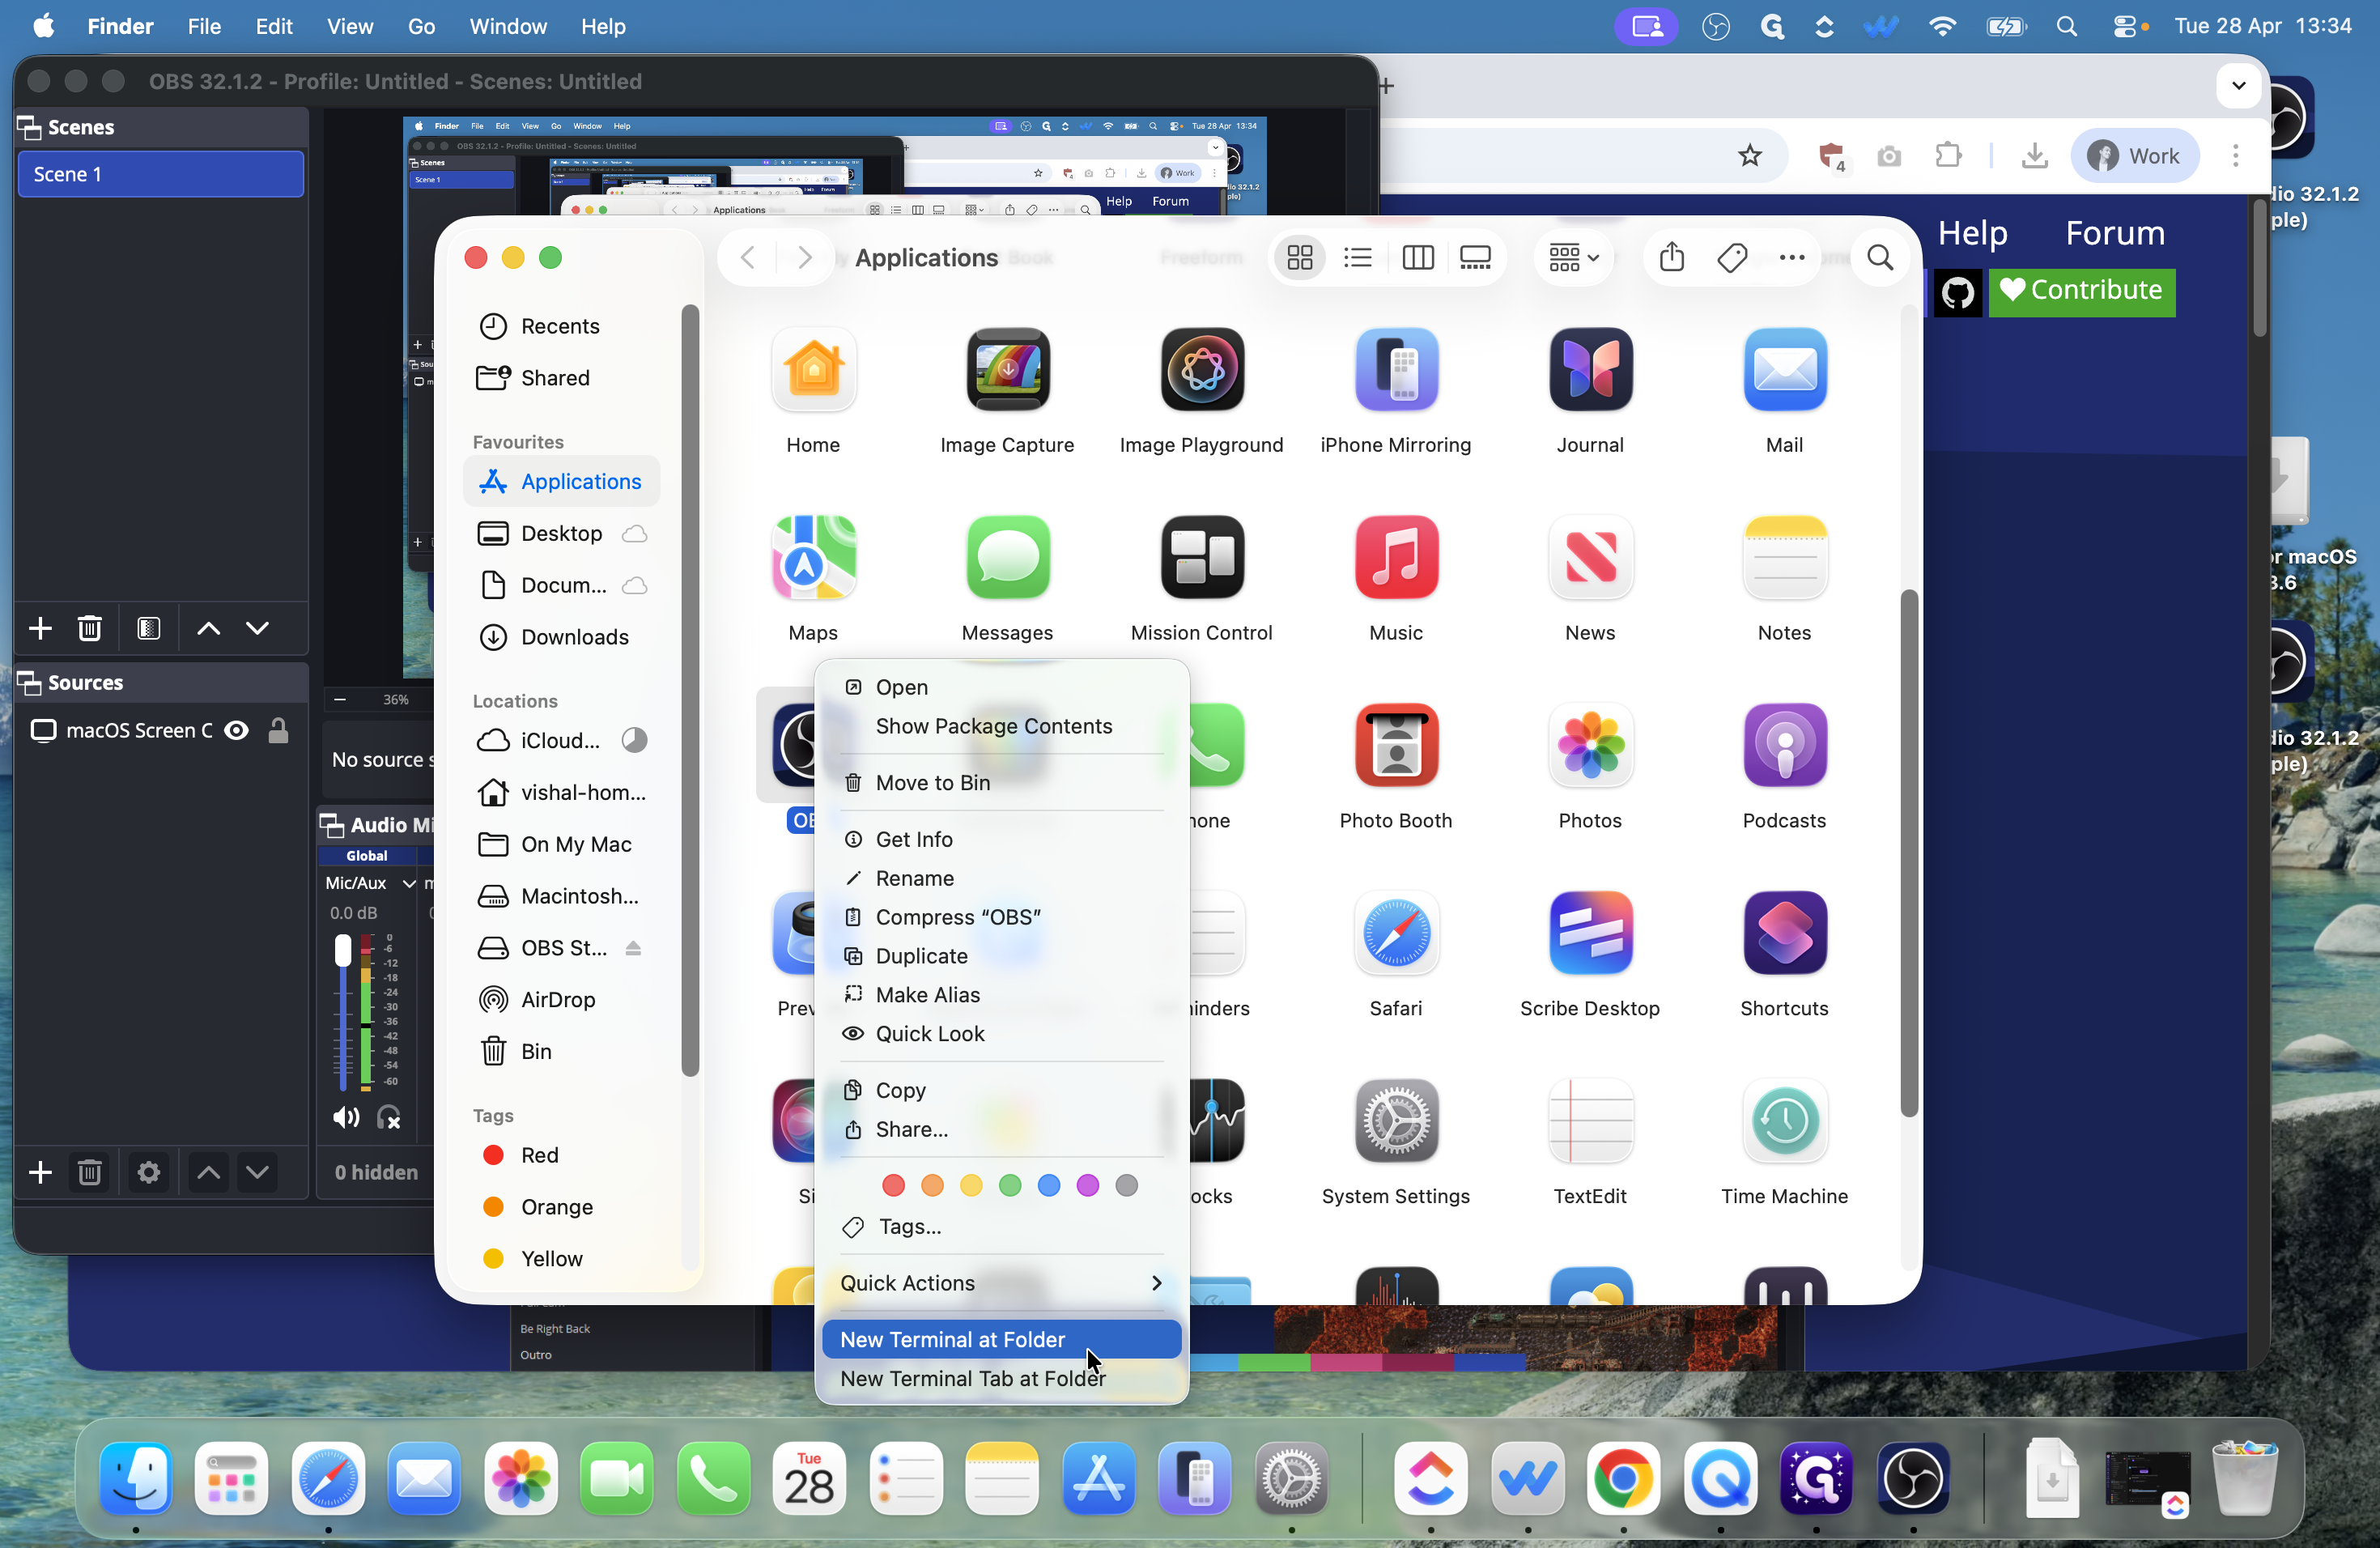
First, open your primary OBS instance and set it up for your standard screen recording. Then, use macOS Terminal to force a second OBS window to open.

1
Open your Applications folder in Finder, find OBS, and right-click on the app icon.
Step #1: Open your Applications folder in Finder, find OBS, and right-click on the app icon.
2
Select New Terminal at Folder from the context menu.
Step #2: Select New Terminal at Folder from the context menu.
3
In the Terminal window, type 
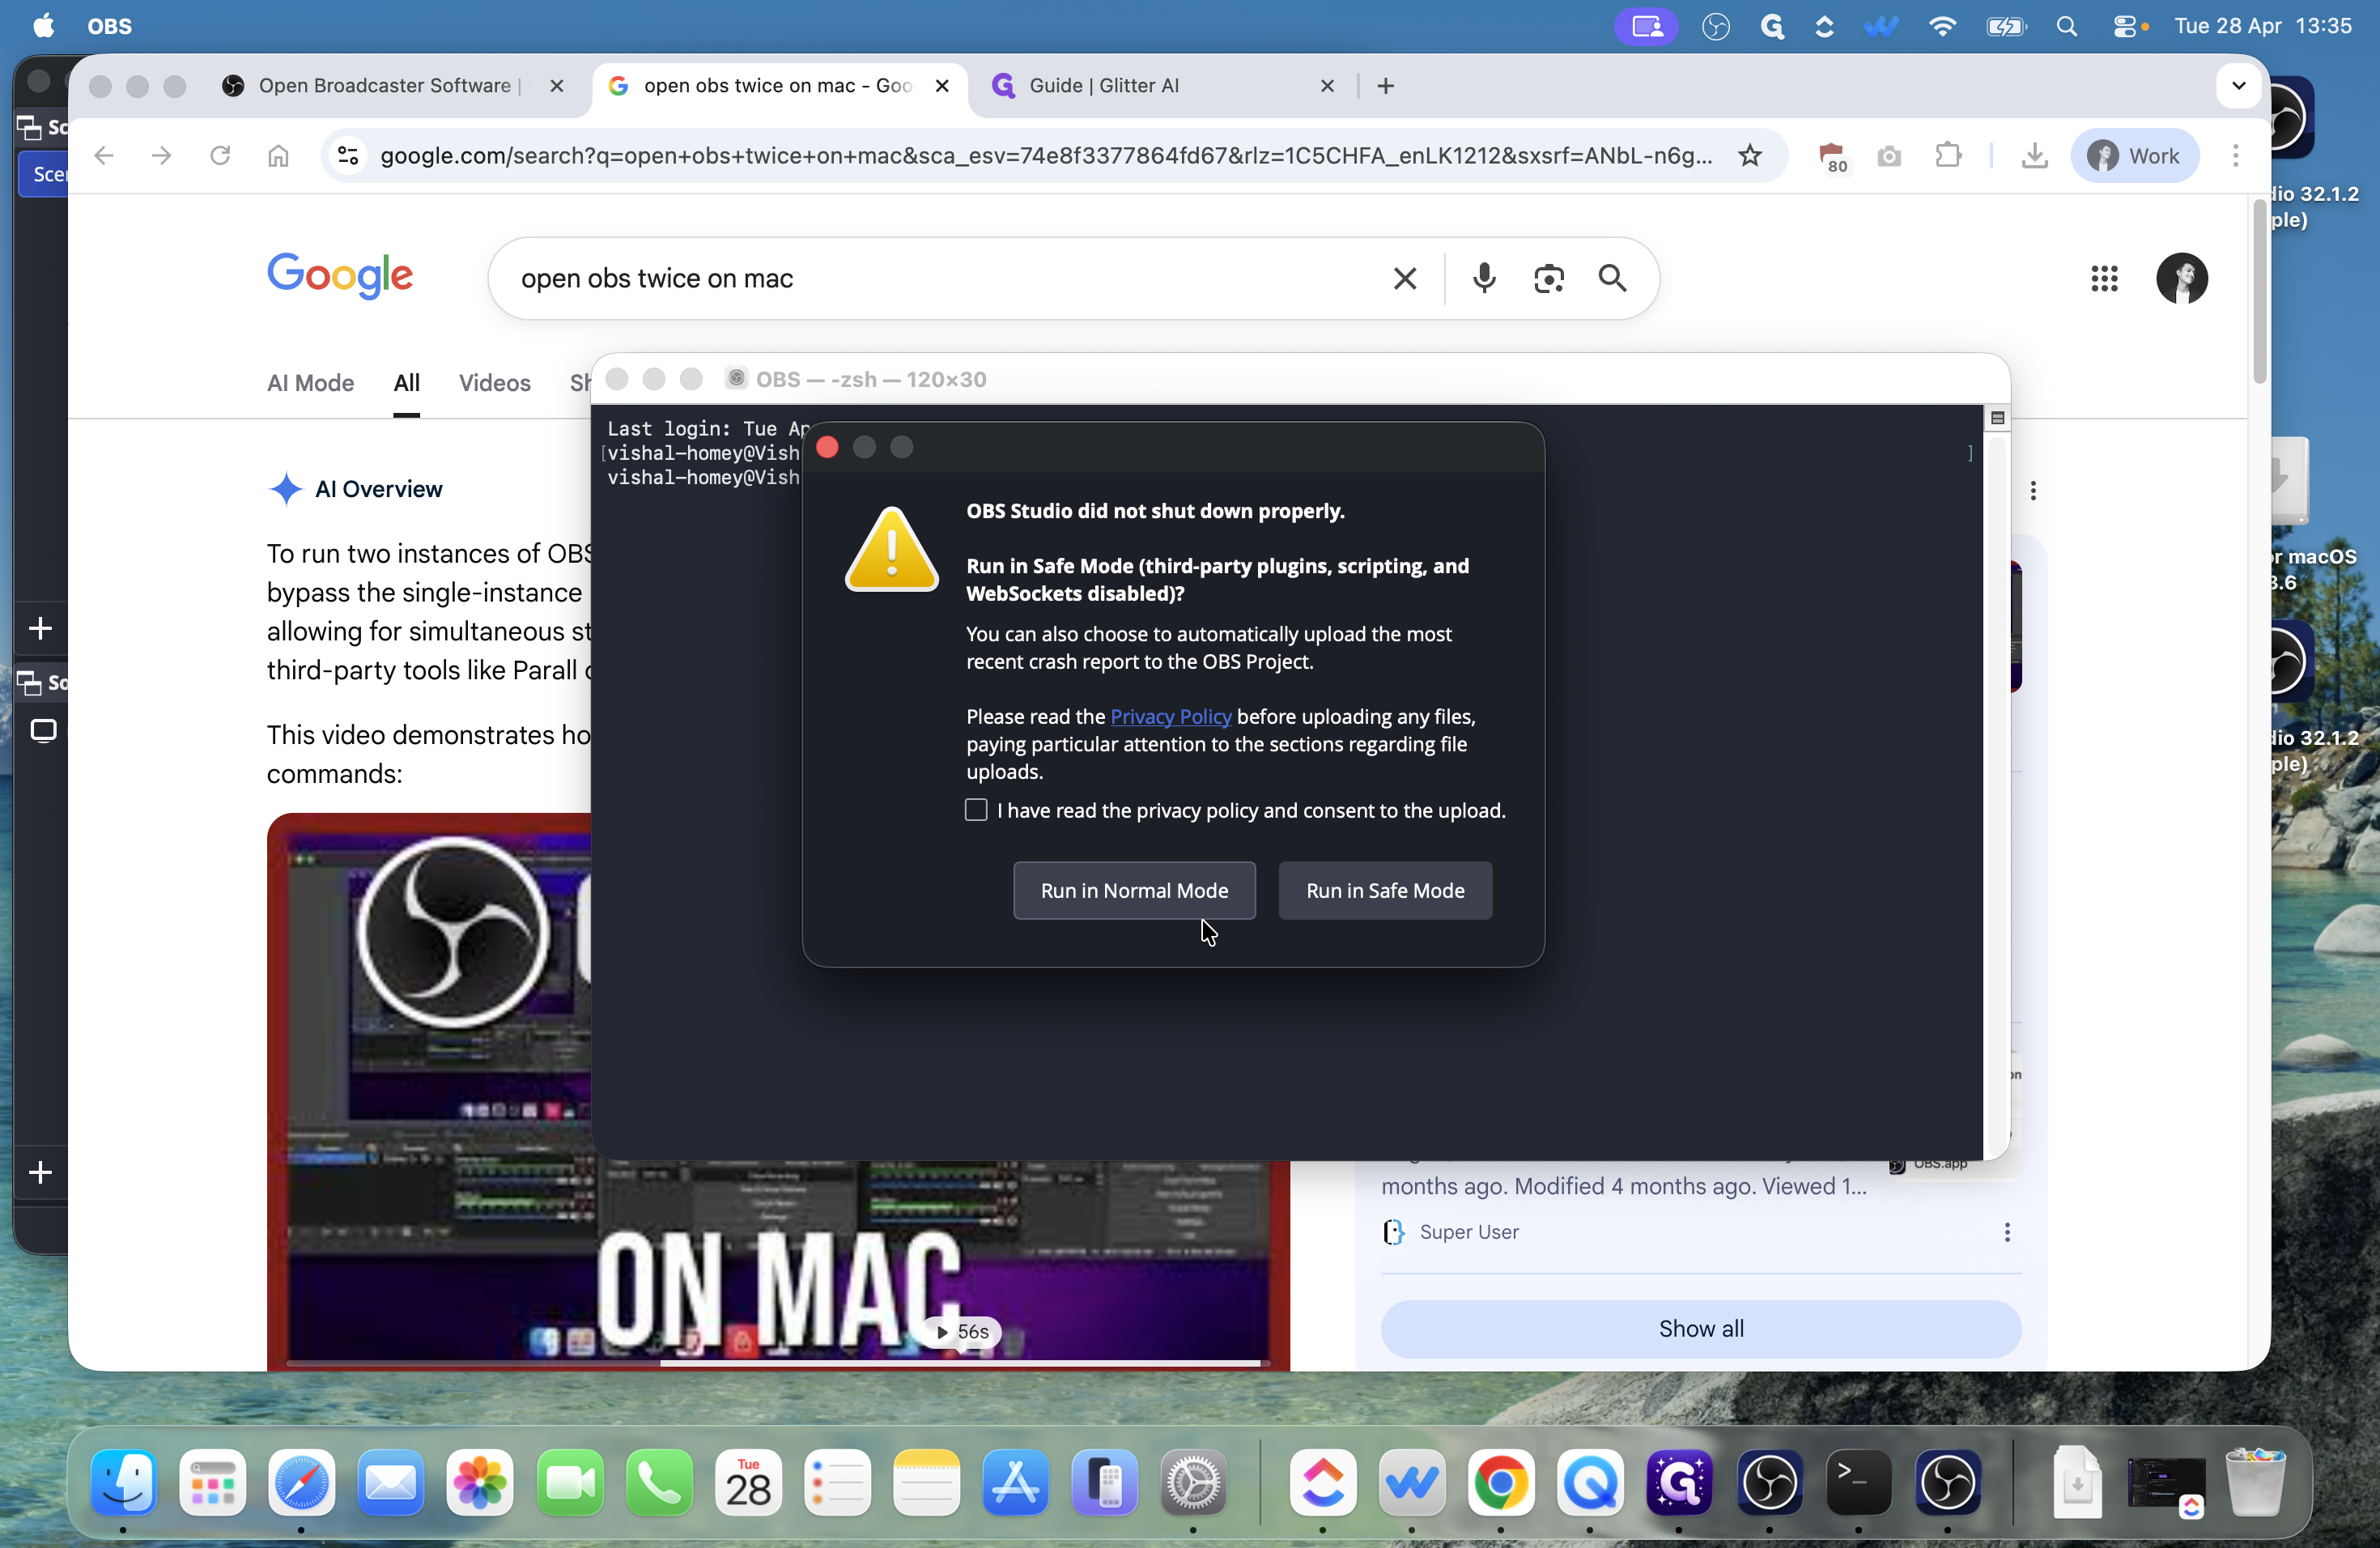
open -n -a OBS and press Enter.
4
A warning dialog will appear stating that OBS is already running. Click Launch Anyway.
Step #4: A warning dialog will appear stating that OBS is already running. Click Launch Anyway.
5
If you are prompted with an unexpected shutdown dialog, click Run in Normal Mode.
Step #5: If you are prompted with an unexpected shutdown dialog, click Run in Normal Mode.

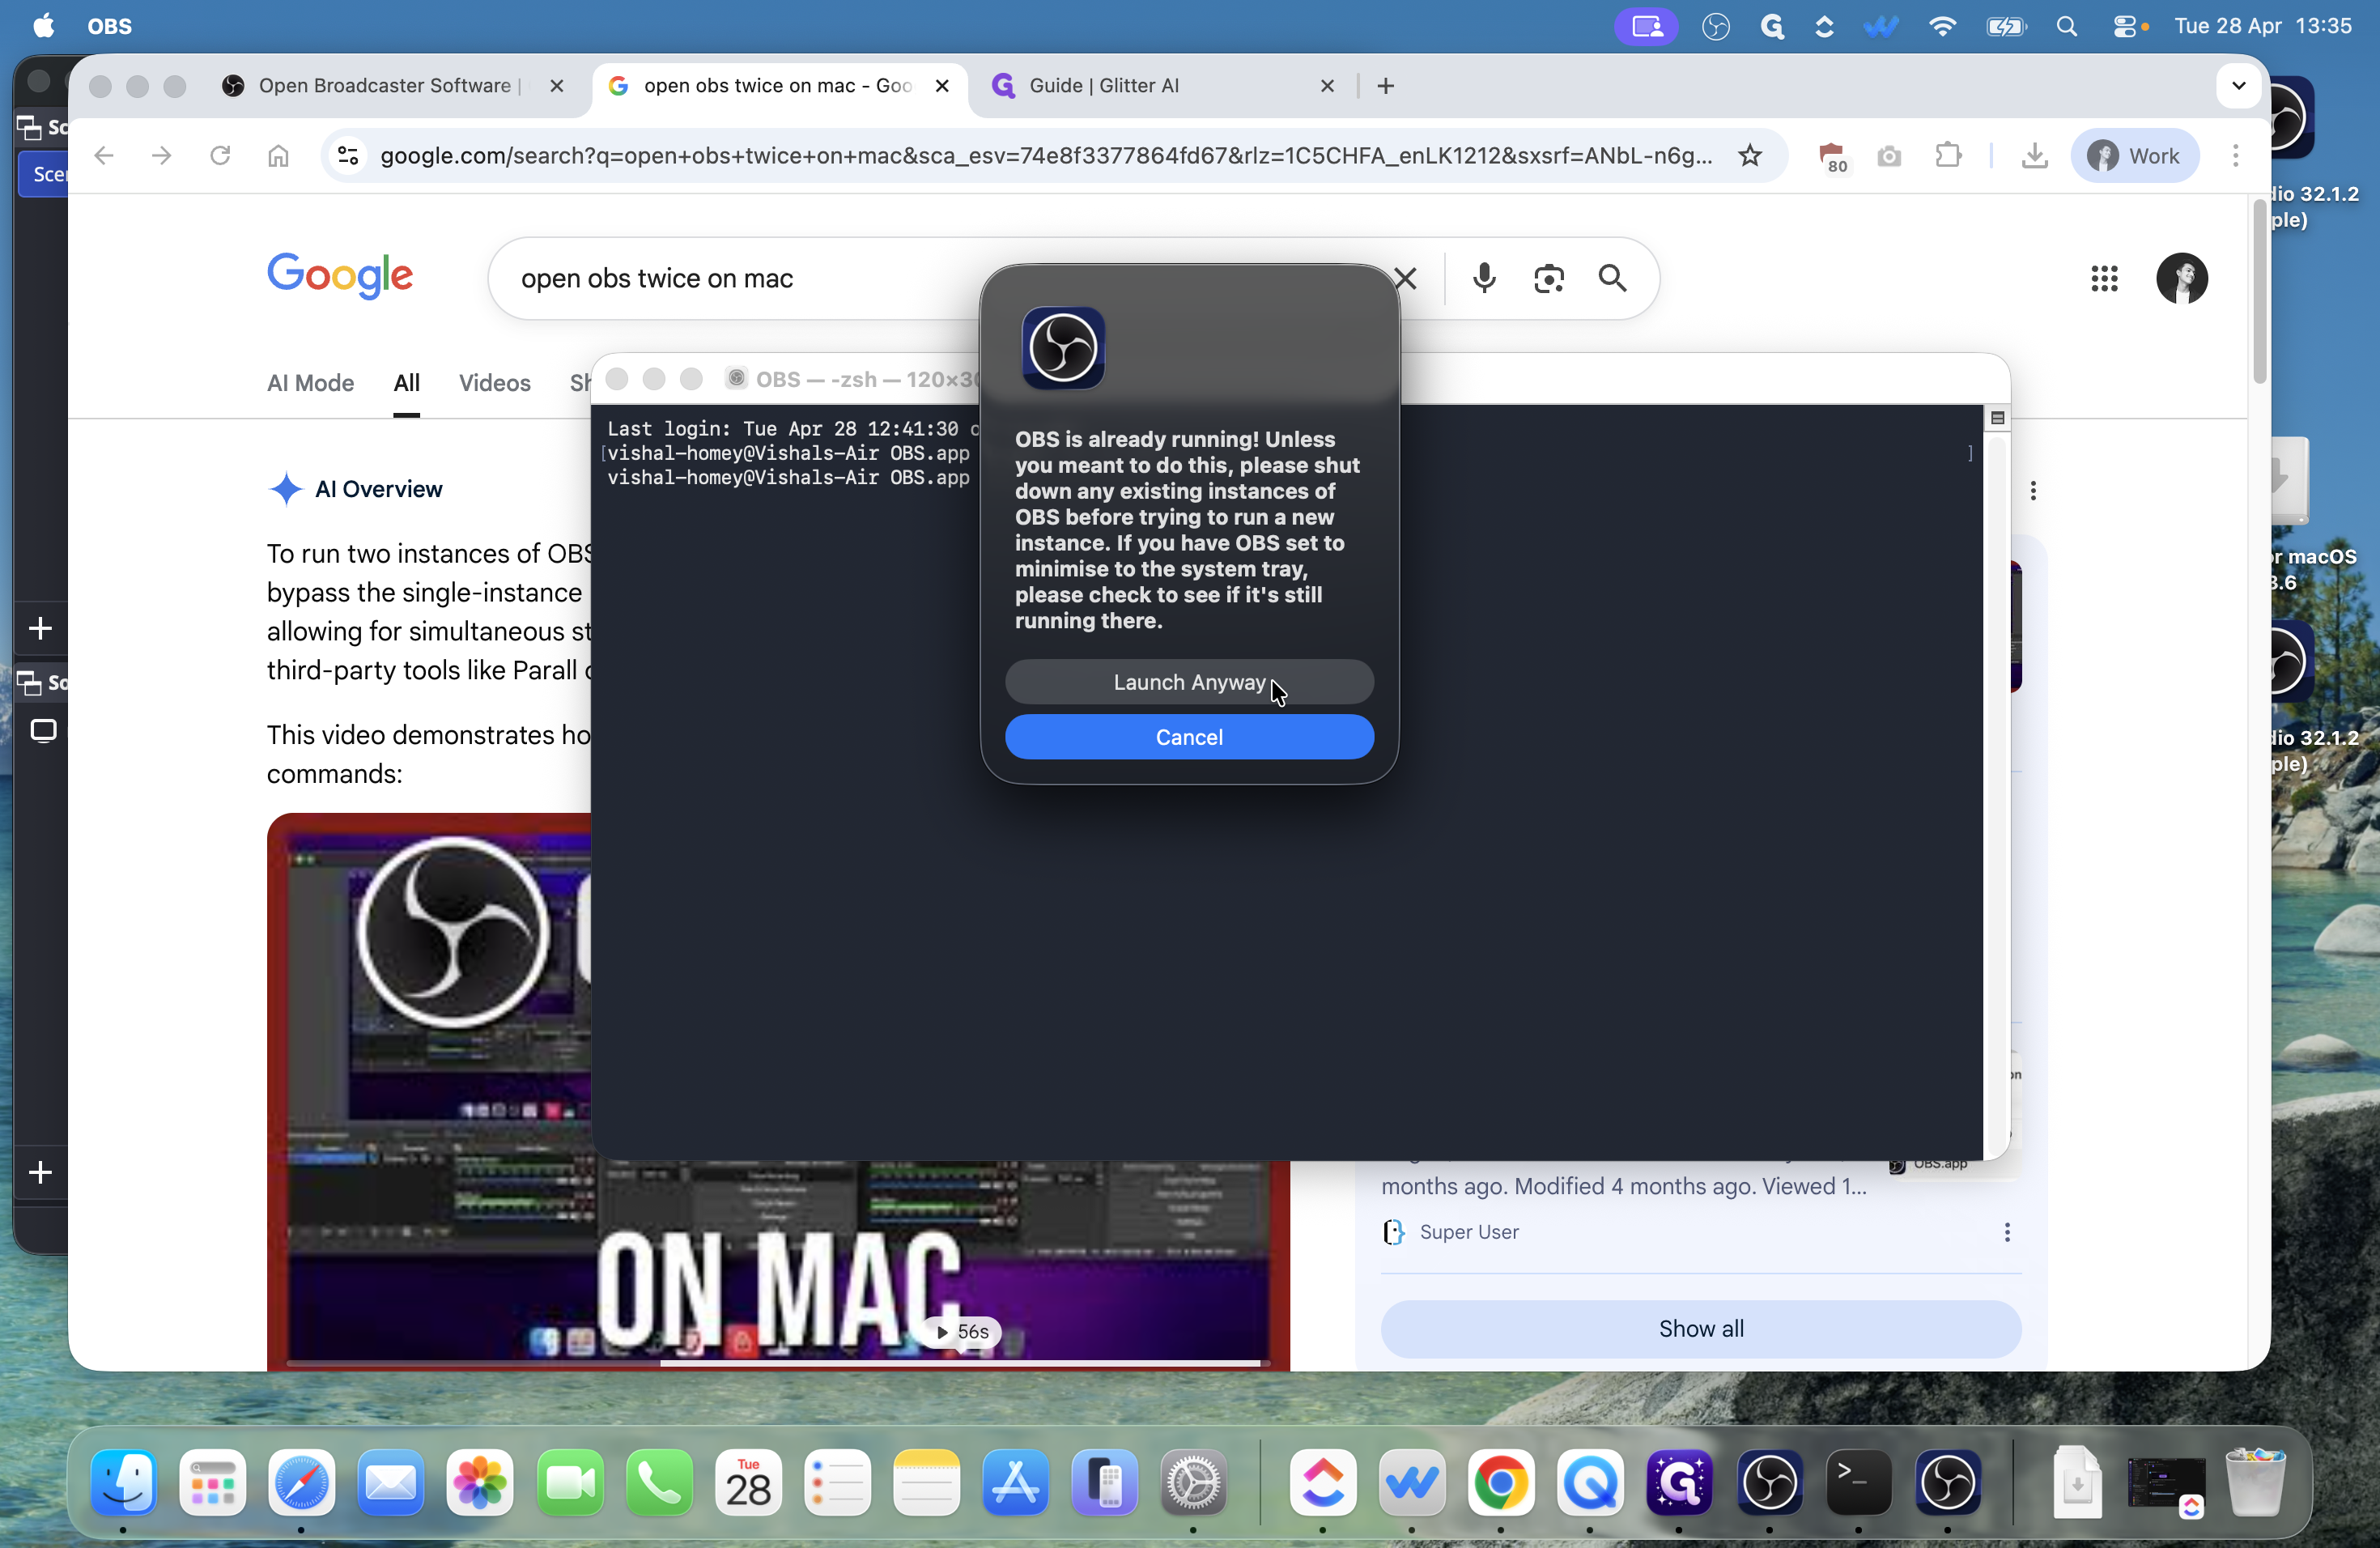
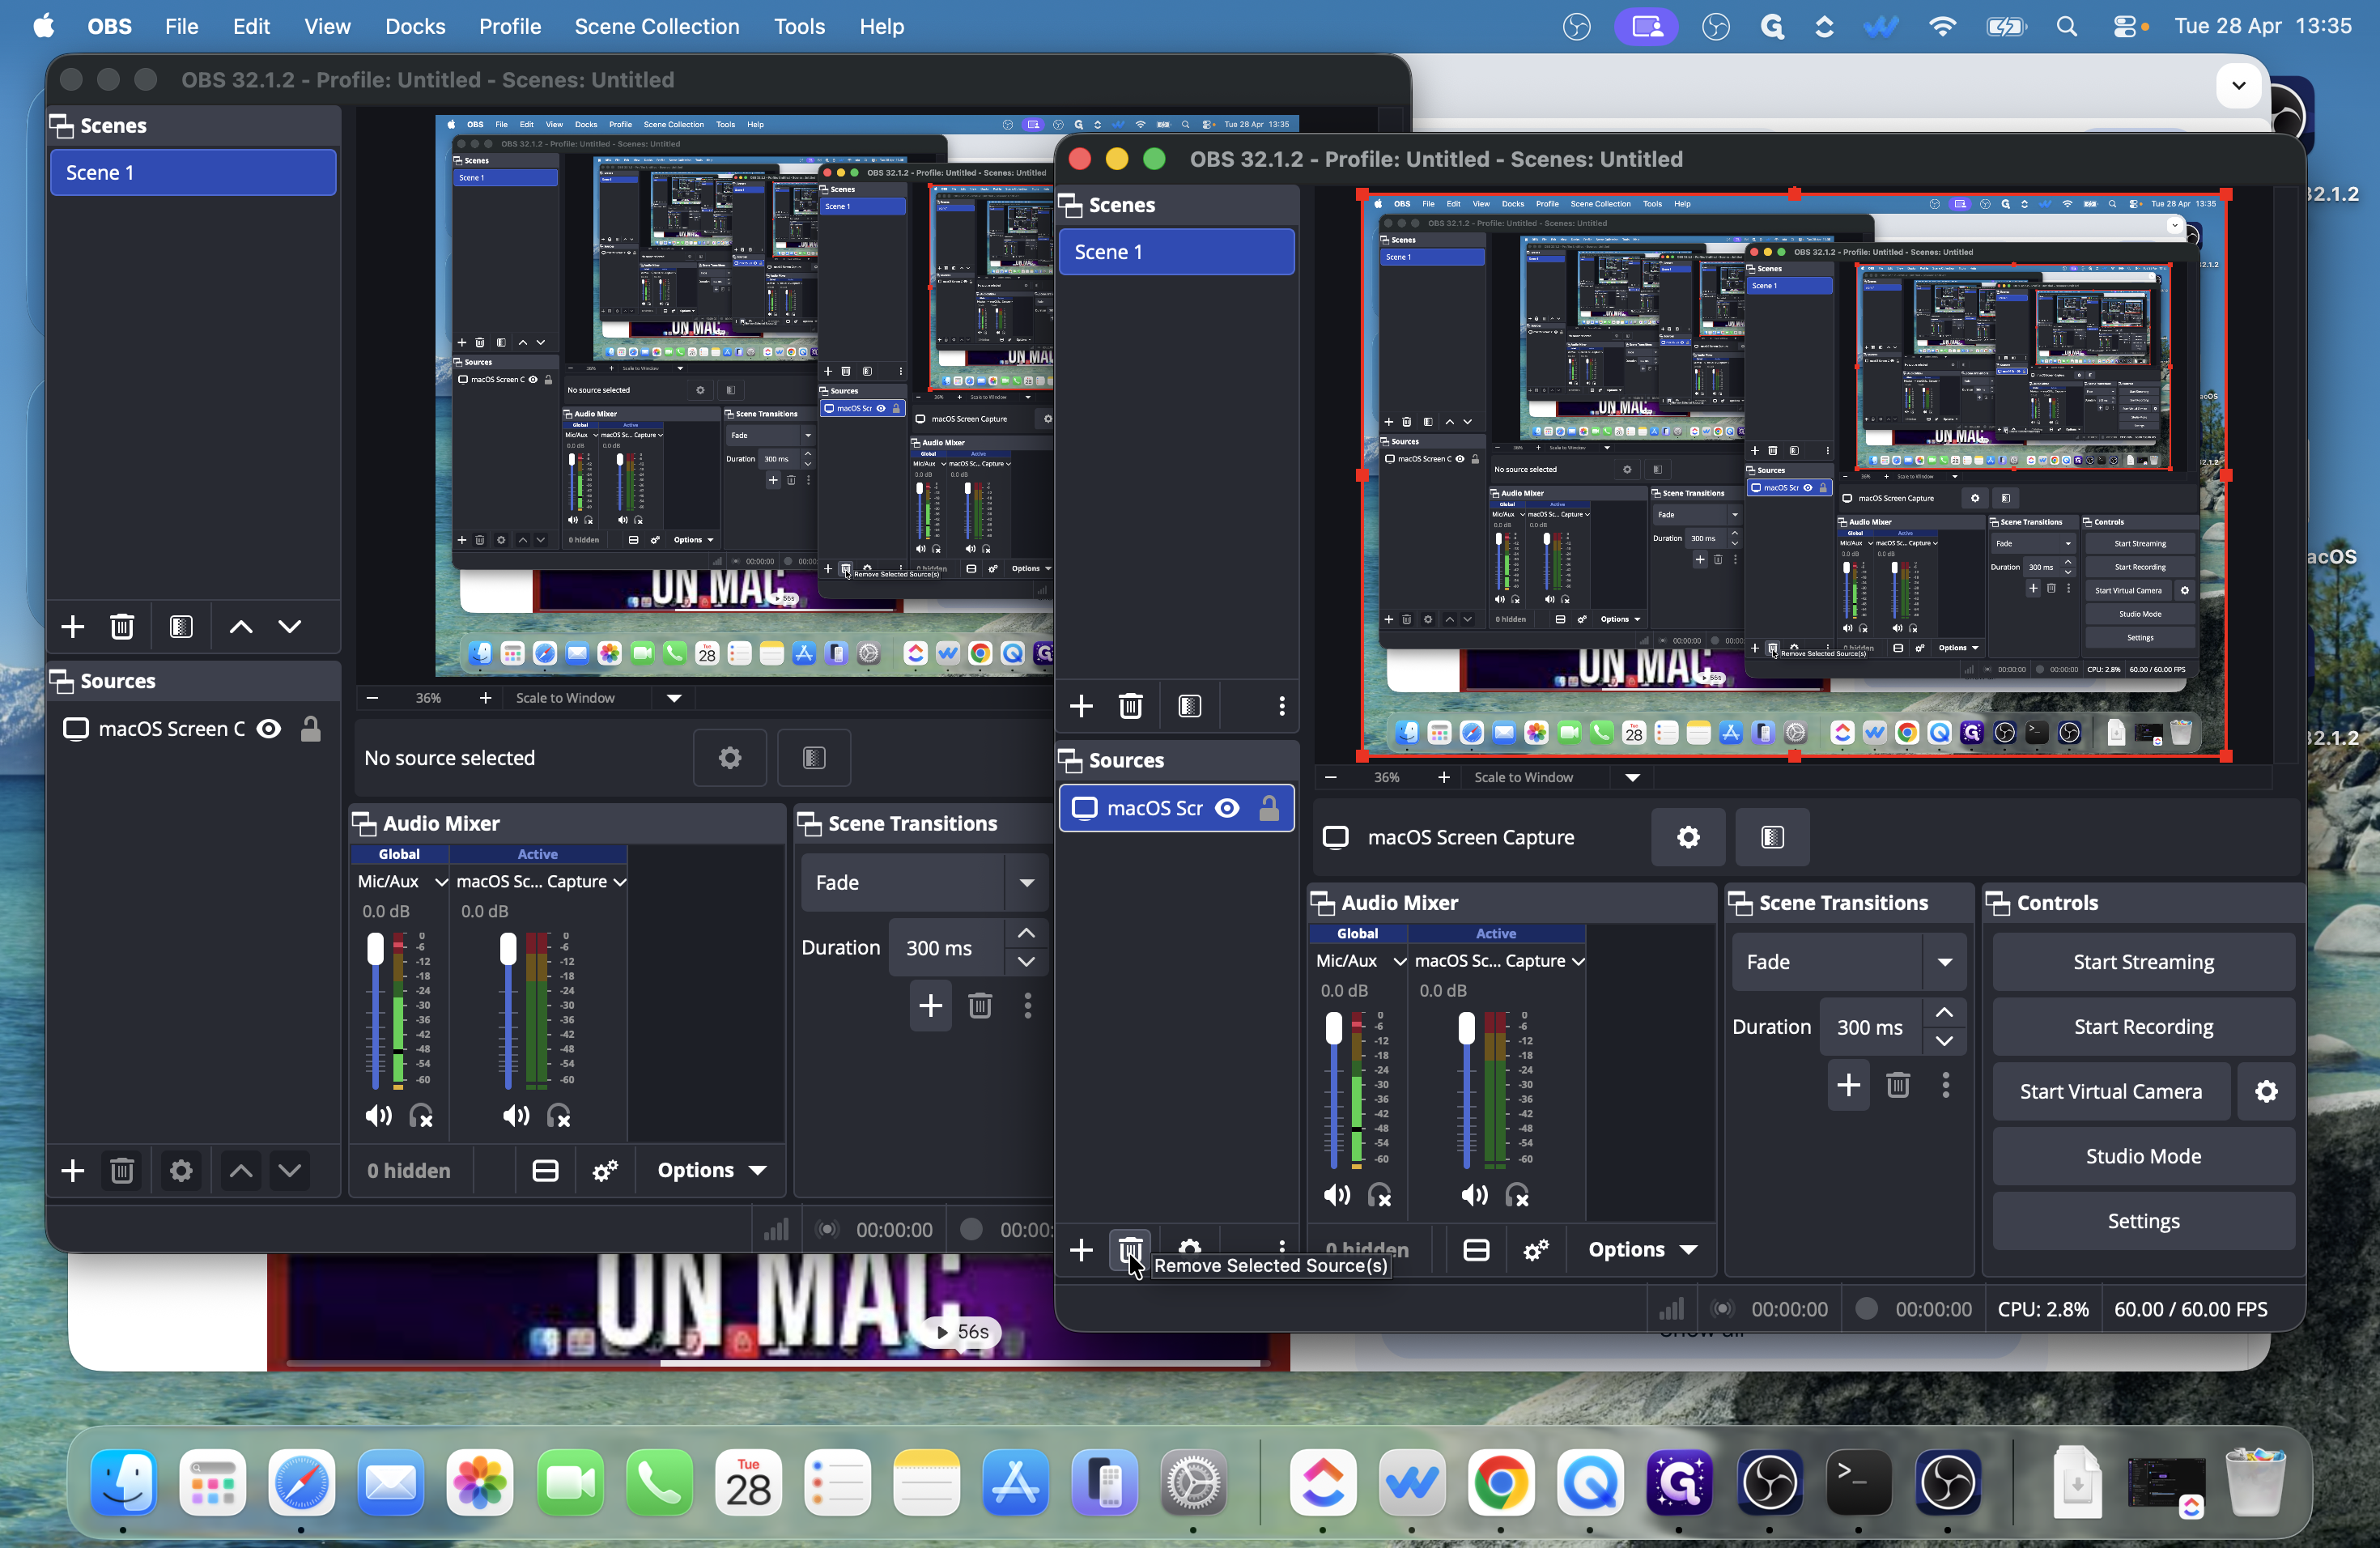
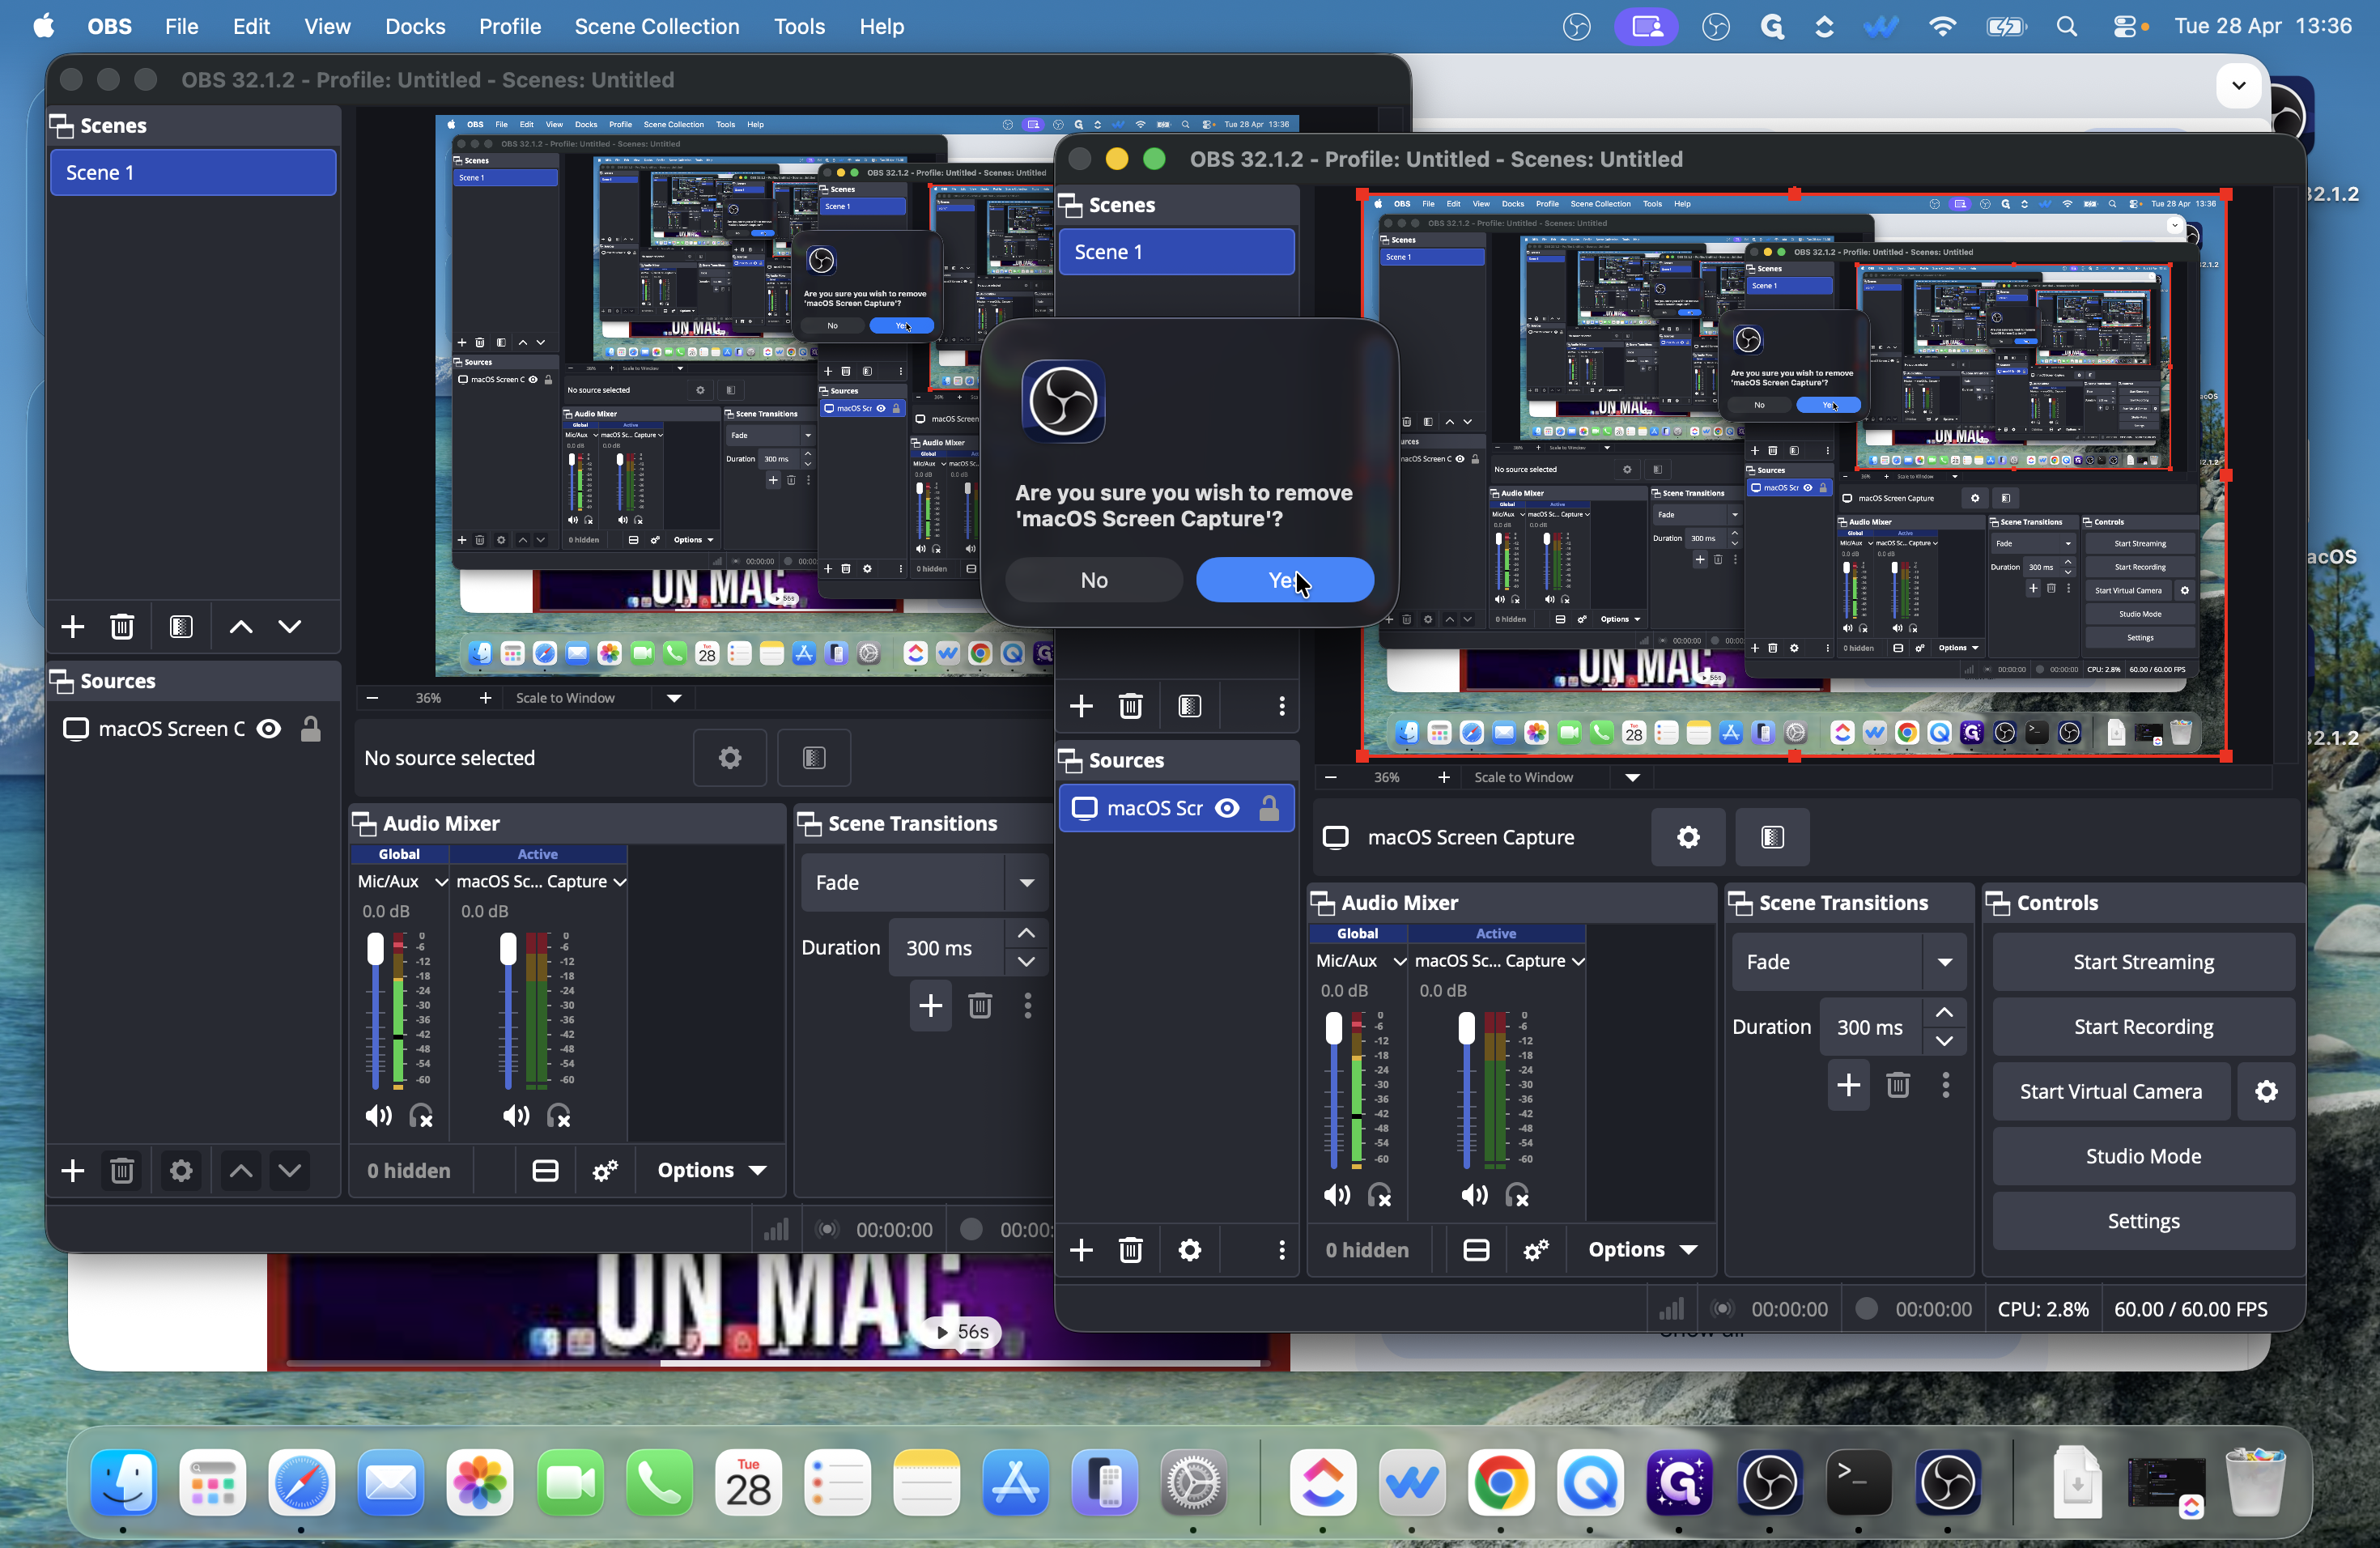
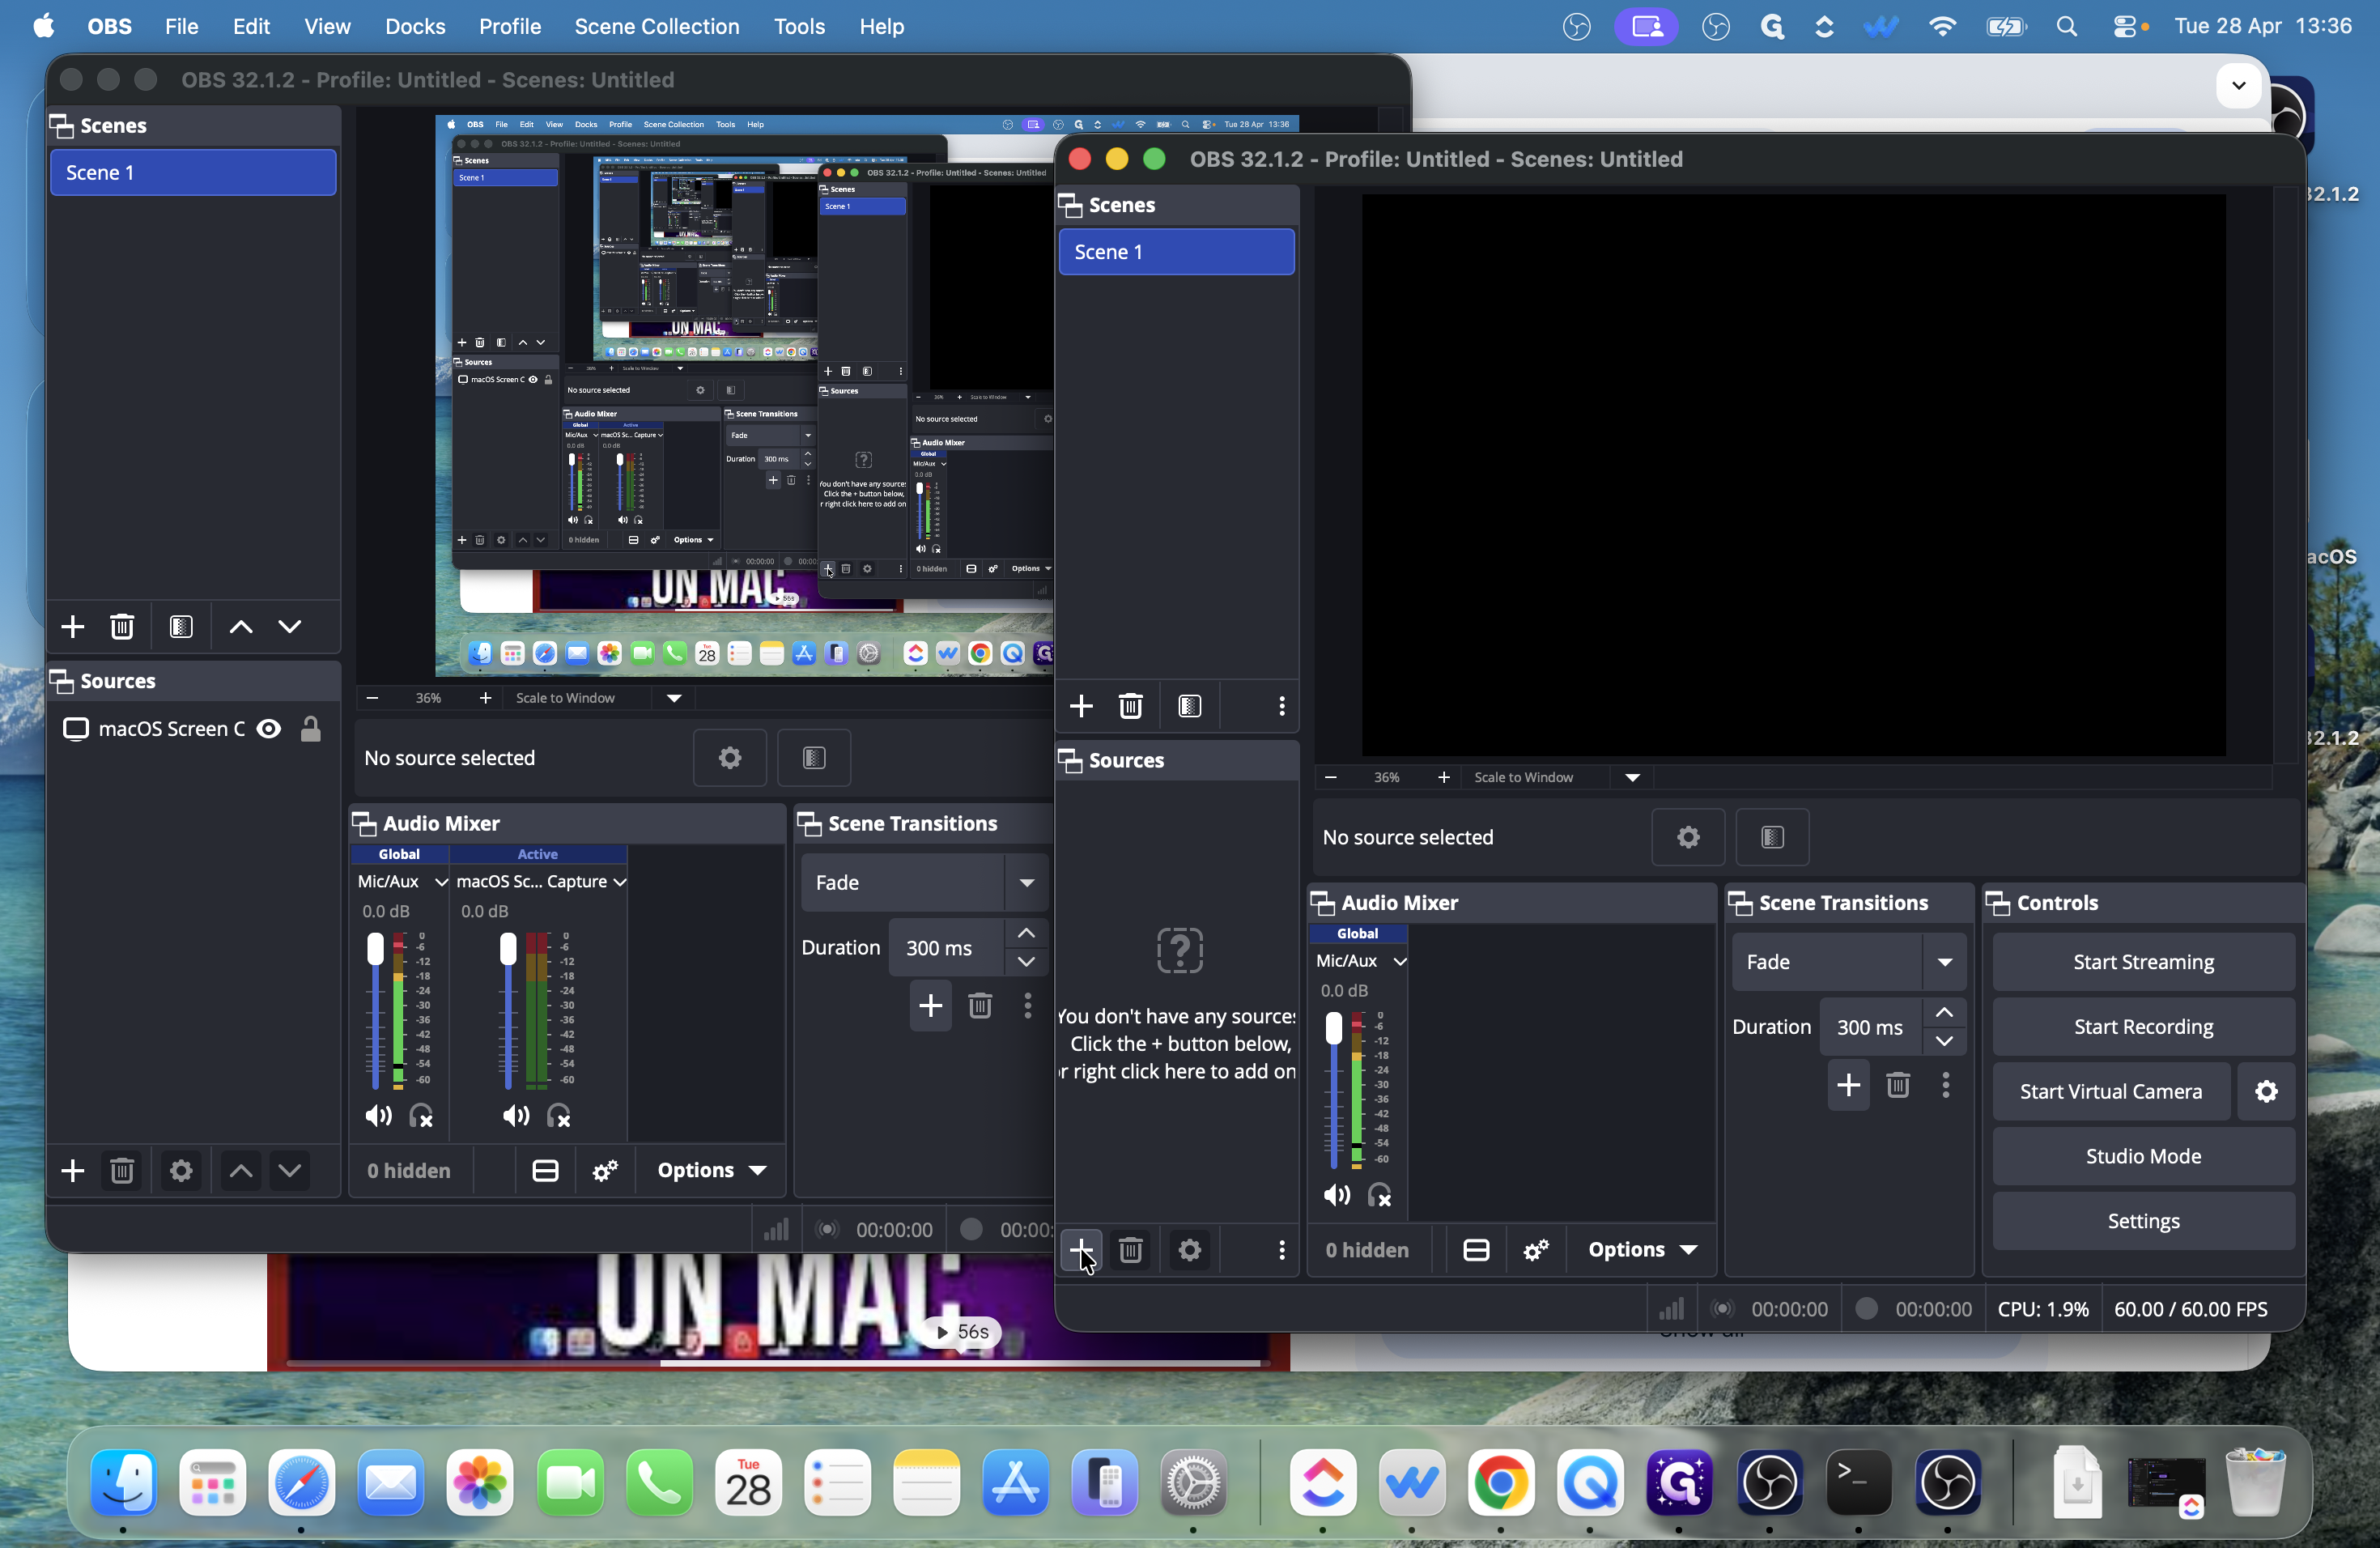
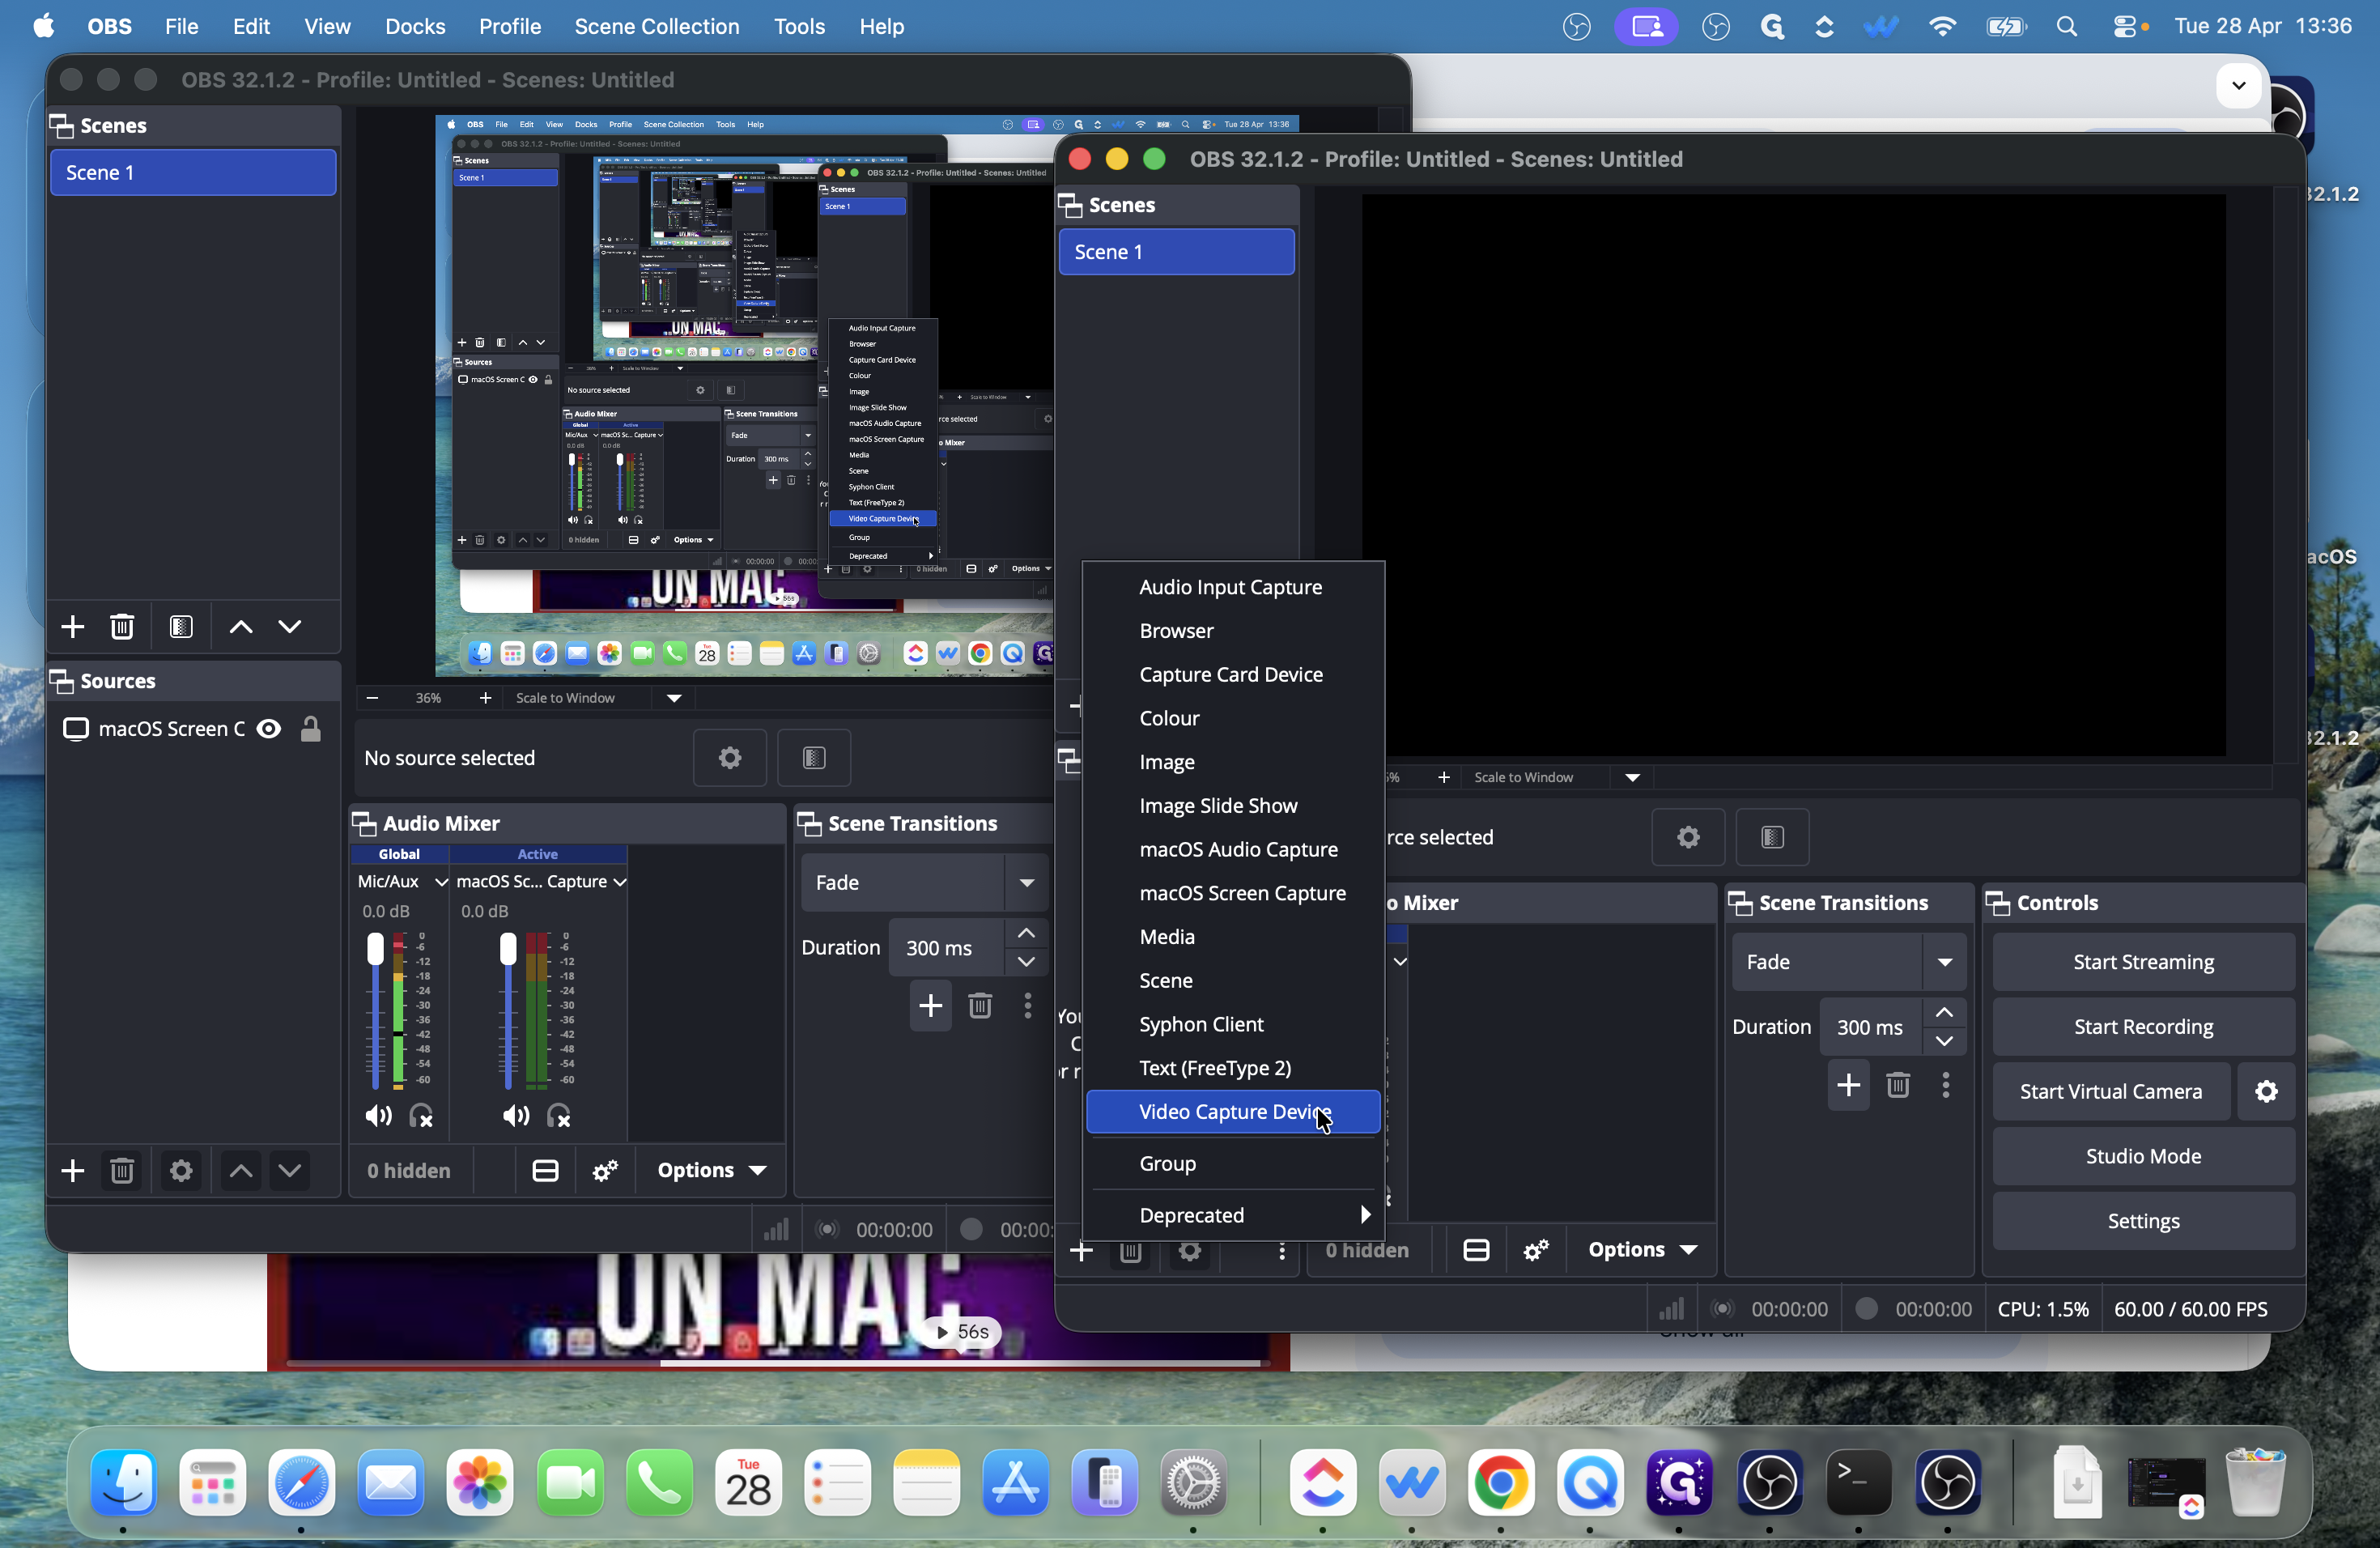
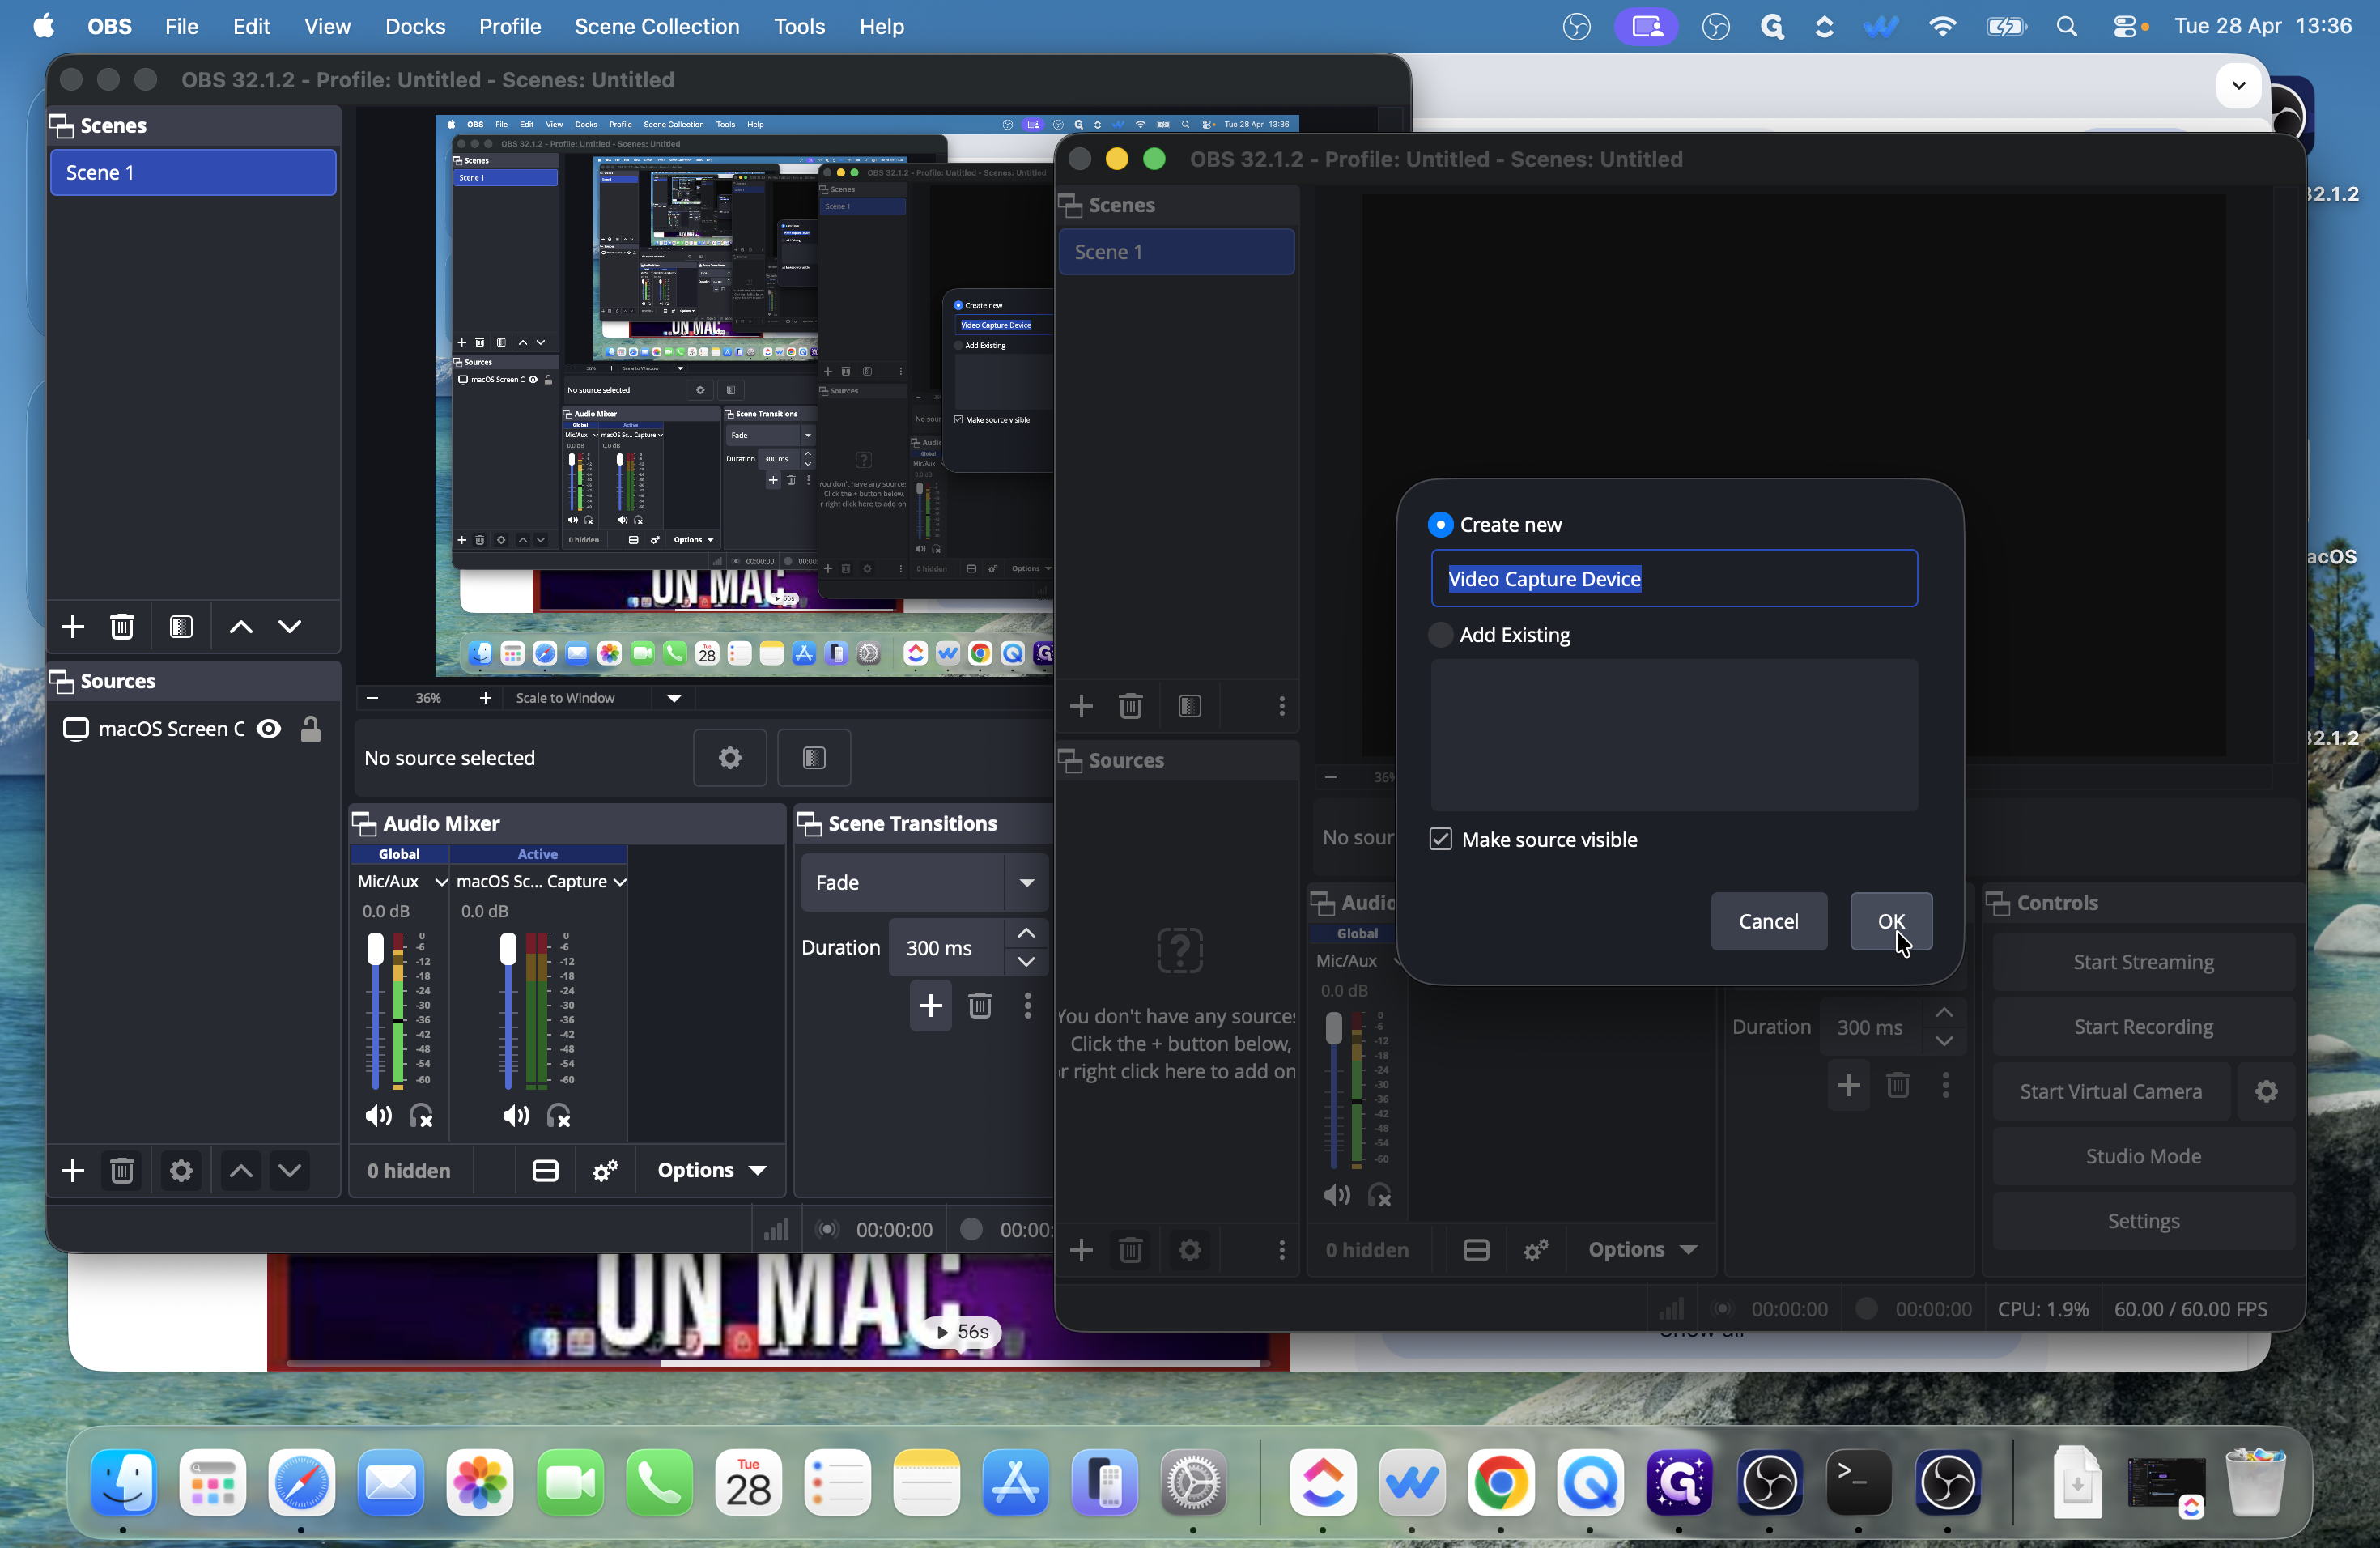
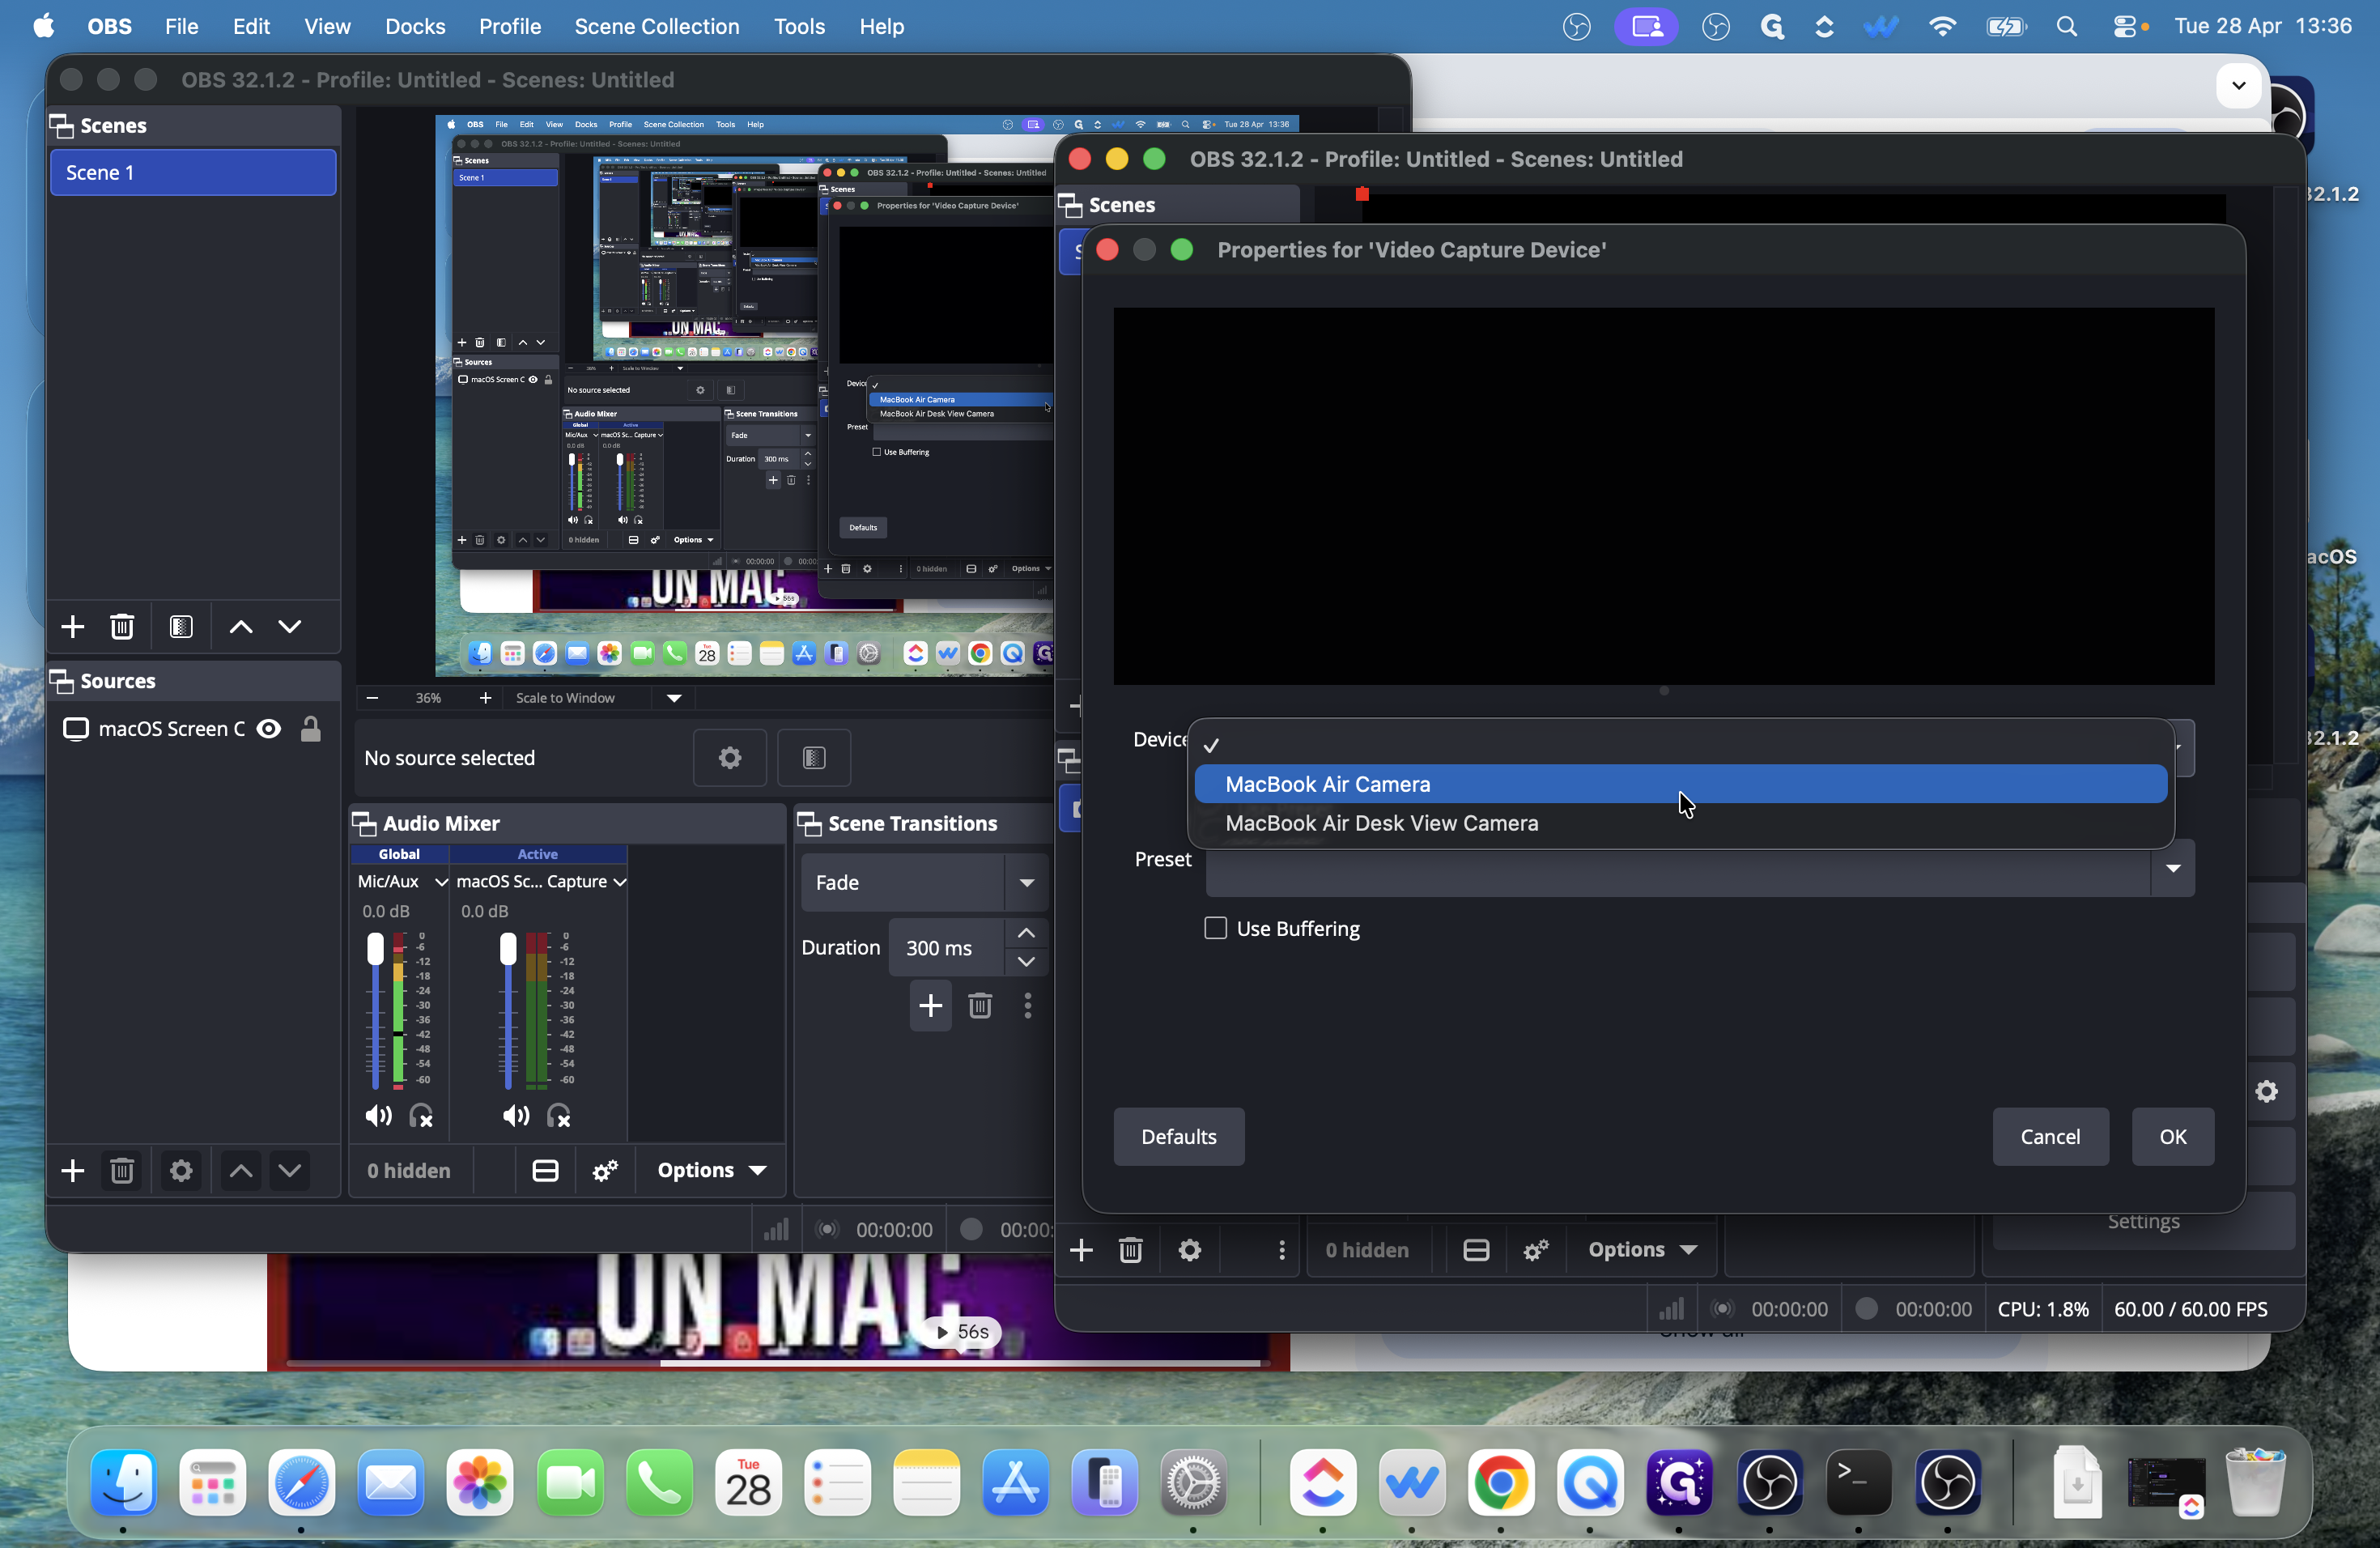
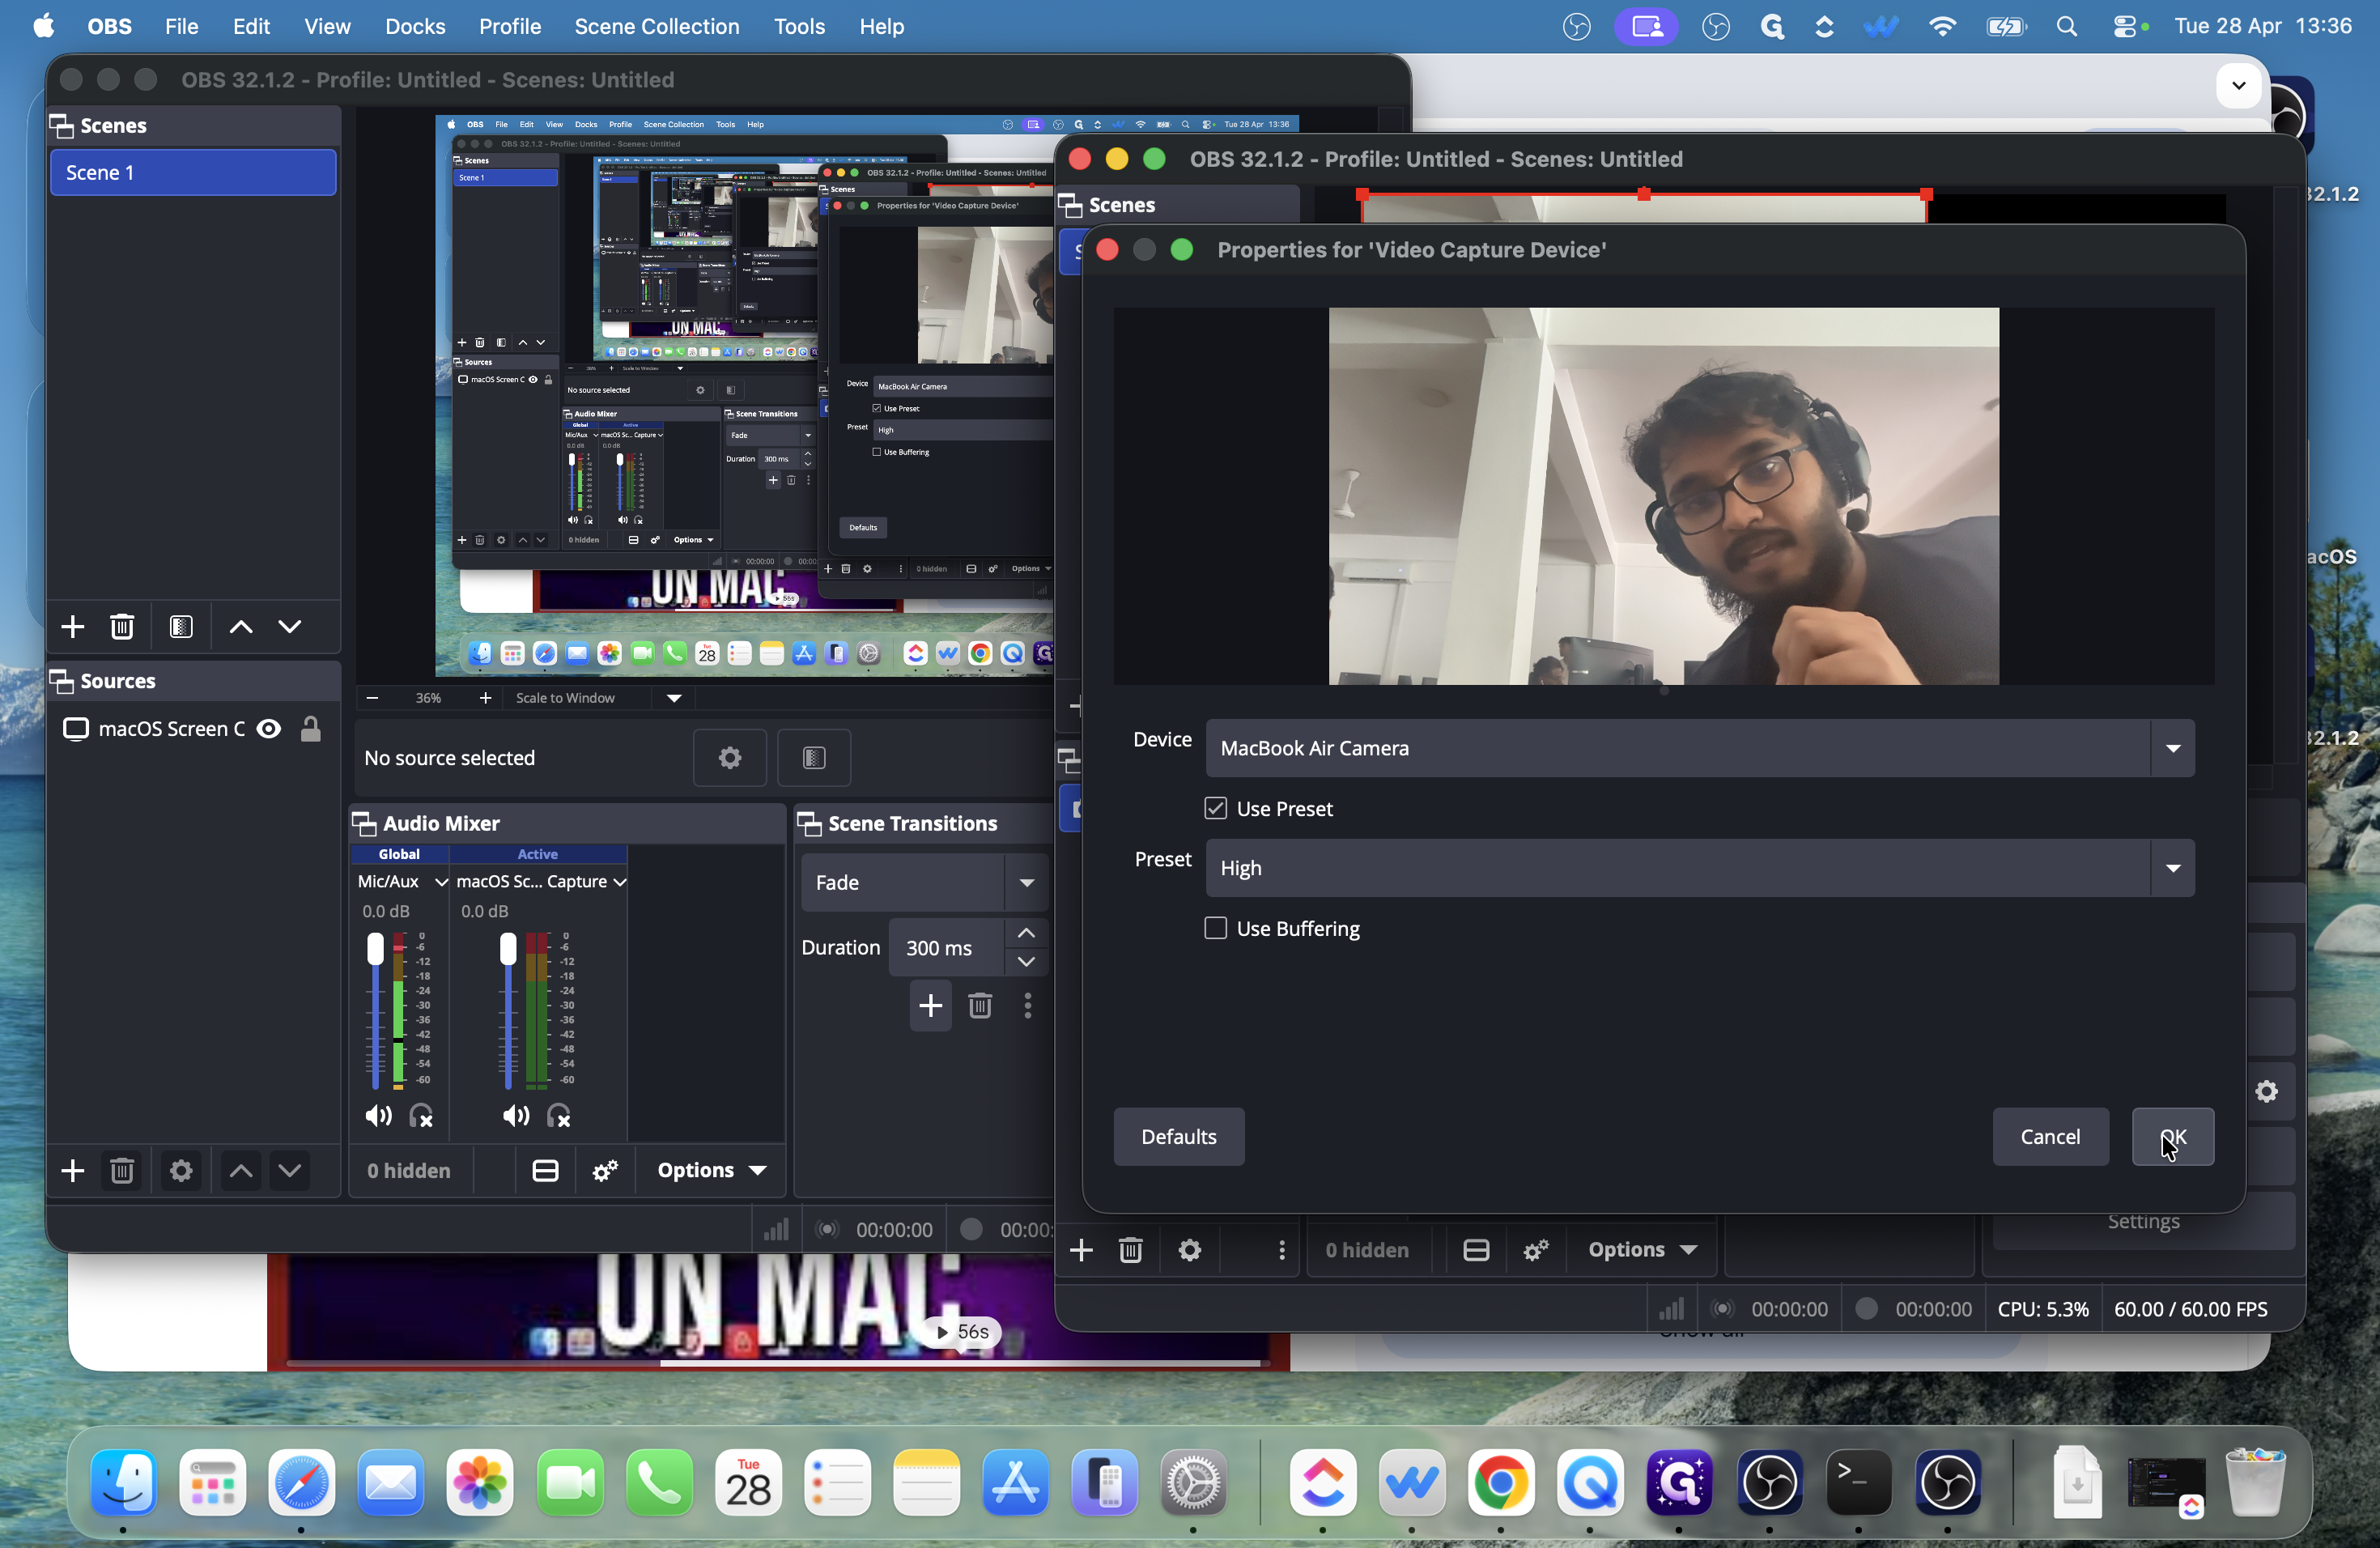
Configure the Camera Source

In the newly opened secondary OBS window, remove any duplicated screen capture settings and replace them with your webcam.

6
Select your existing macOS Screen Capture source in the Sources panel.
Step #6: Select your existing macOS Screen Capture source in the Sources panel.
7
Click the Trash icon at the bottom of the Sources list to remove it.
Step #7: Click the Trash icon at the bottom of the Sources list to remove it.
8
Click Yes to confirm the removal.
Step #8: Click Yes to confirm the removal.
9
Click the + (Add Source) button at the bottom of the Sources panel.
Step #9: Click the + (Add Source) button at the bottom of the Sources panel.
10
Select Video Capture Device from the menu.
Step #10: Select Video Capture Device from the menu.
11
Leave the default name or rename it, then click OK.
Step #11: Leave the default name or rename it, then click OK.
12
Open the Device dropdown menu and select your webcam (e.g., MacBook Air Camera).
Step #12: Open the Device dropdown menu and select your webcam (e.g., MacBook Air Camera).
13
Click OK to apply the camera settings.
Step #13: Click OK to apply the camera settings.
14
Drag the red corner handles to scale your webcam feed so it completely fills the OBS canvas. Ensure you are well-lit and centered in the frame.
Step #14: Drag the red corner handles to scale your webcam feed so it completely fills the OBS canvas. Ensure you are well-lit and centered in the frame.

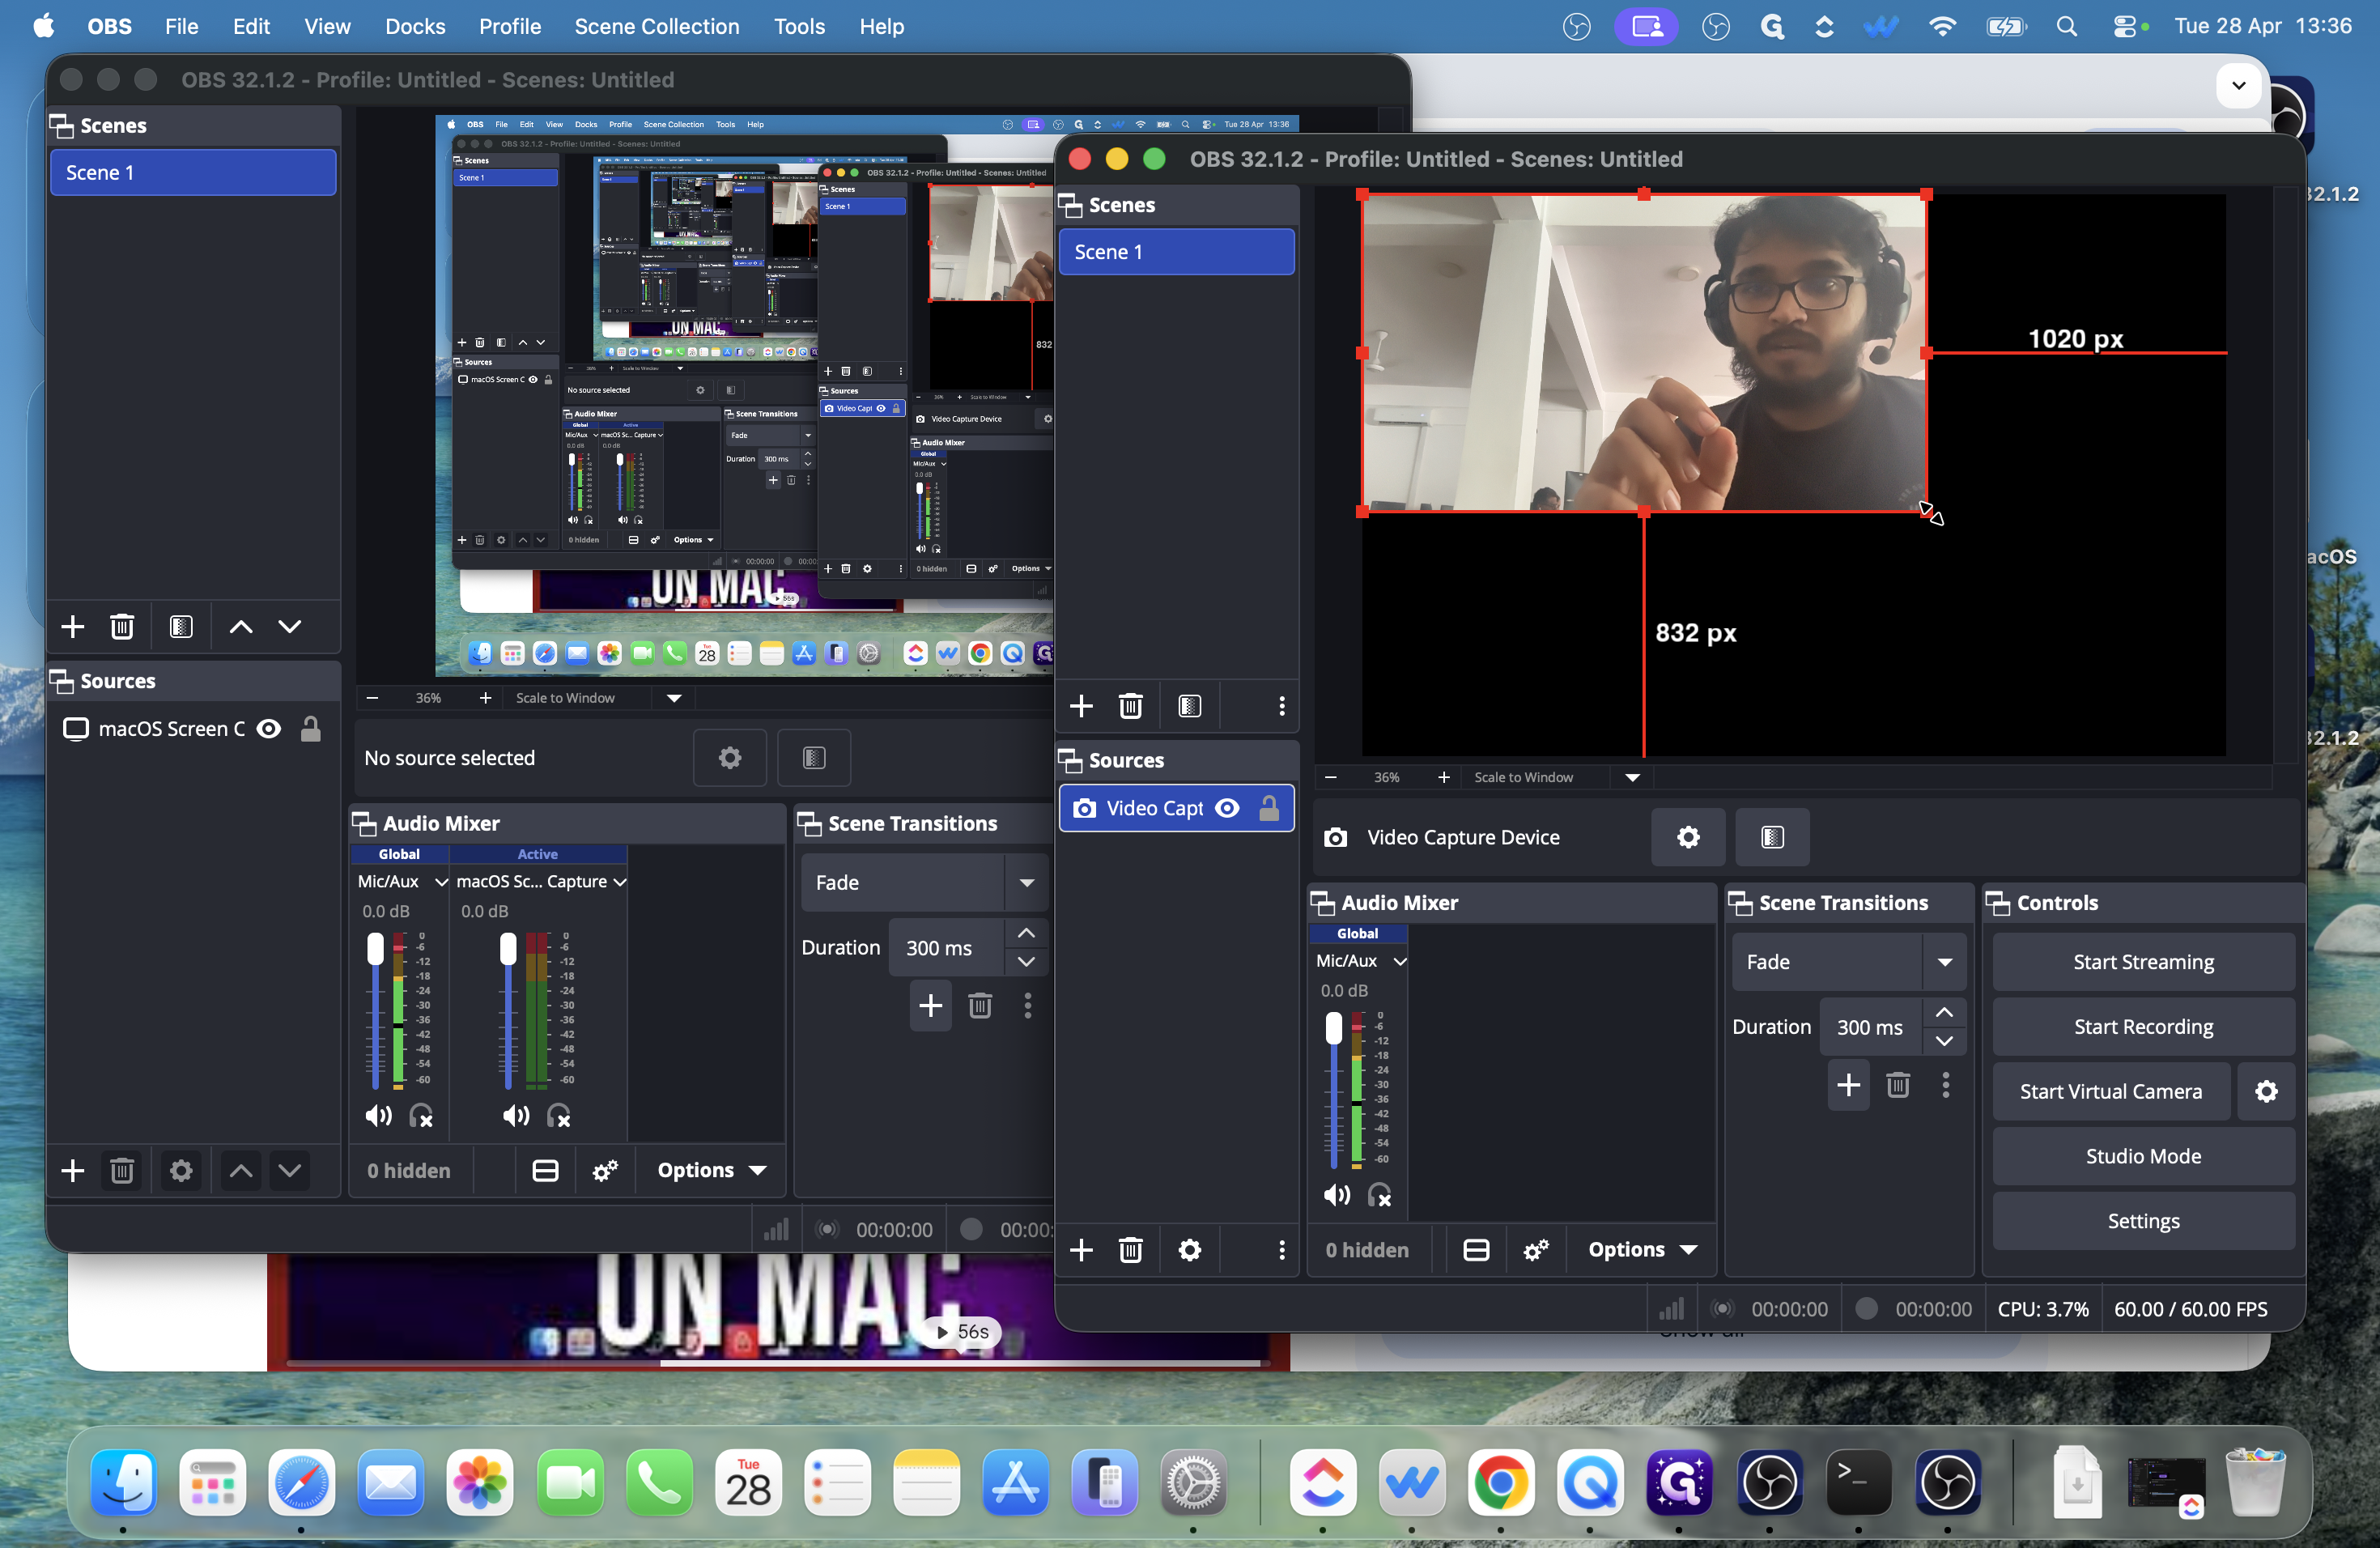
Record Your Presentation

Once both instances are configured—one capturing the screen and one capturing your camera—you are ready to start presenting.

15
Click Start Recording on your primary screen capture OBS window.
Step #15: Click Start Recording on your primary screen capture OBS window.
16
Click Start Recording on your secondary camera OBS window.
Step #16: Click Start Recording on your secondary camera OBS window.

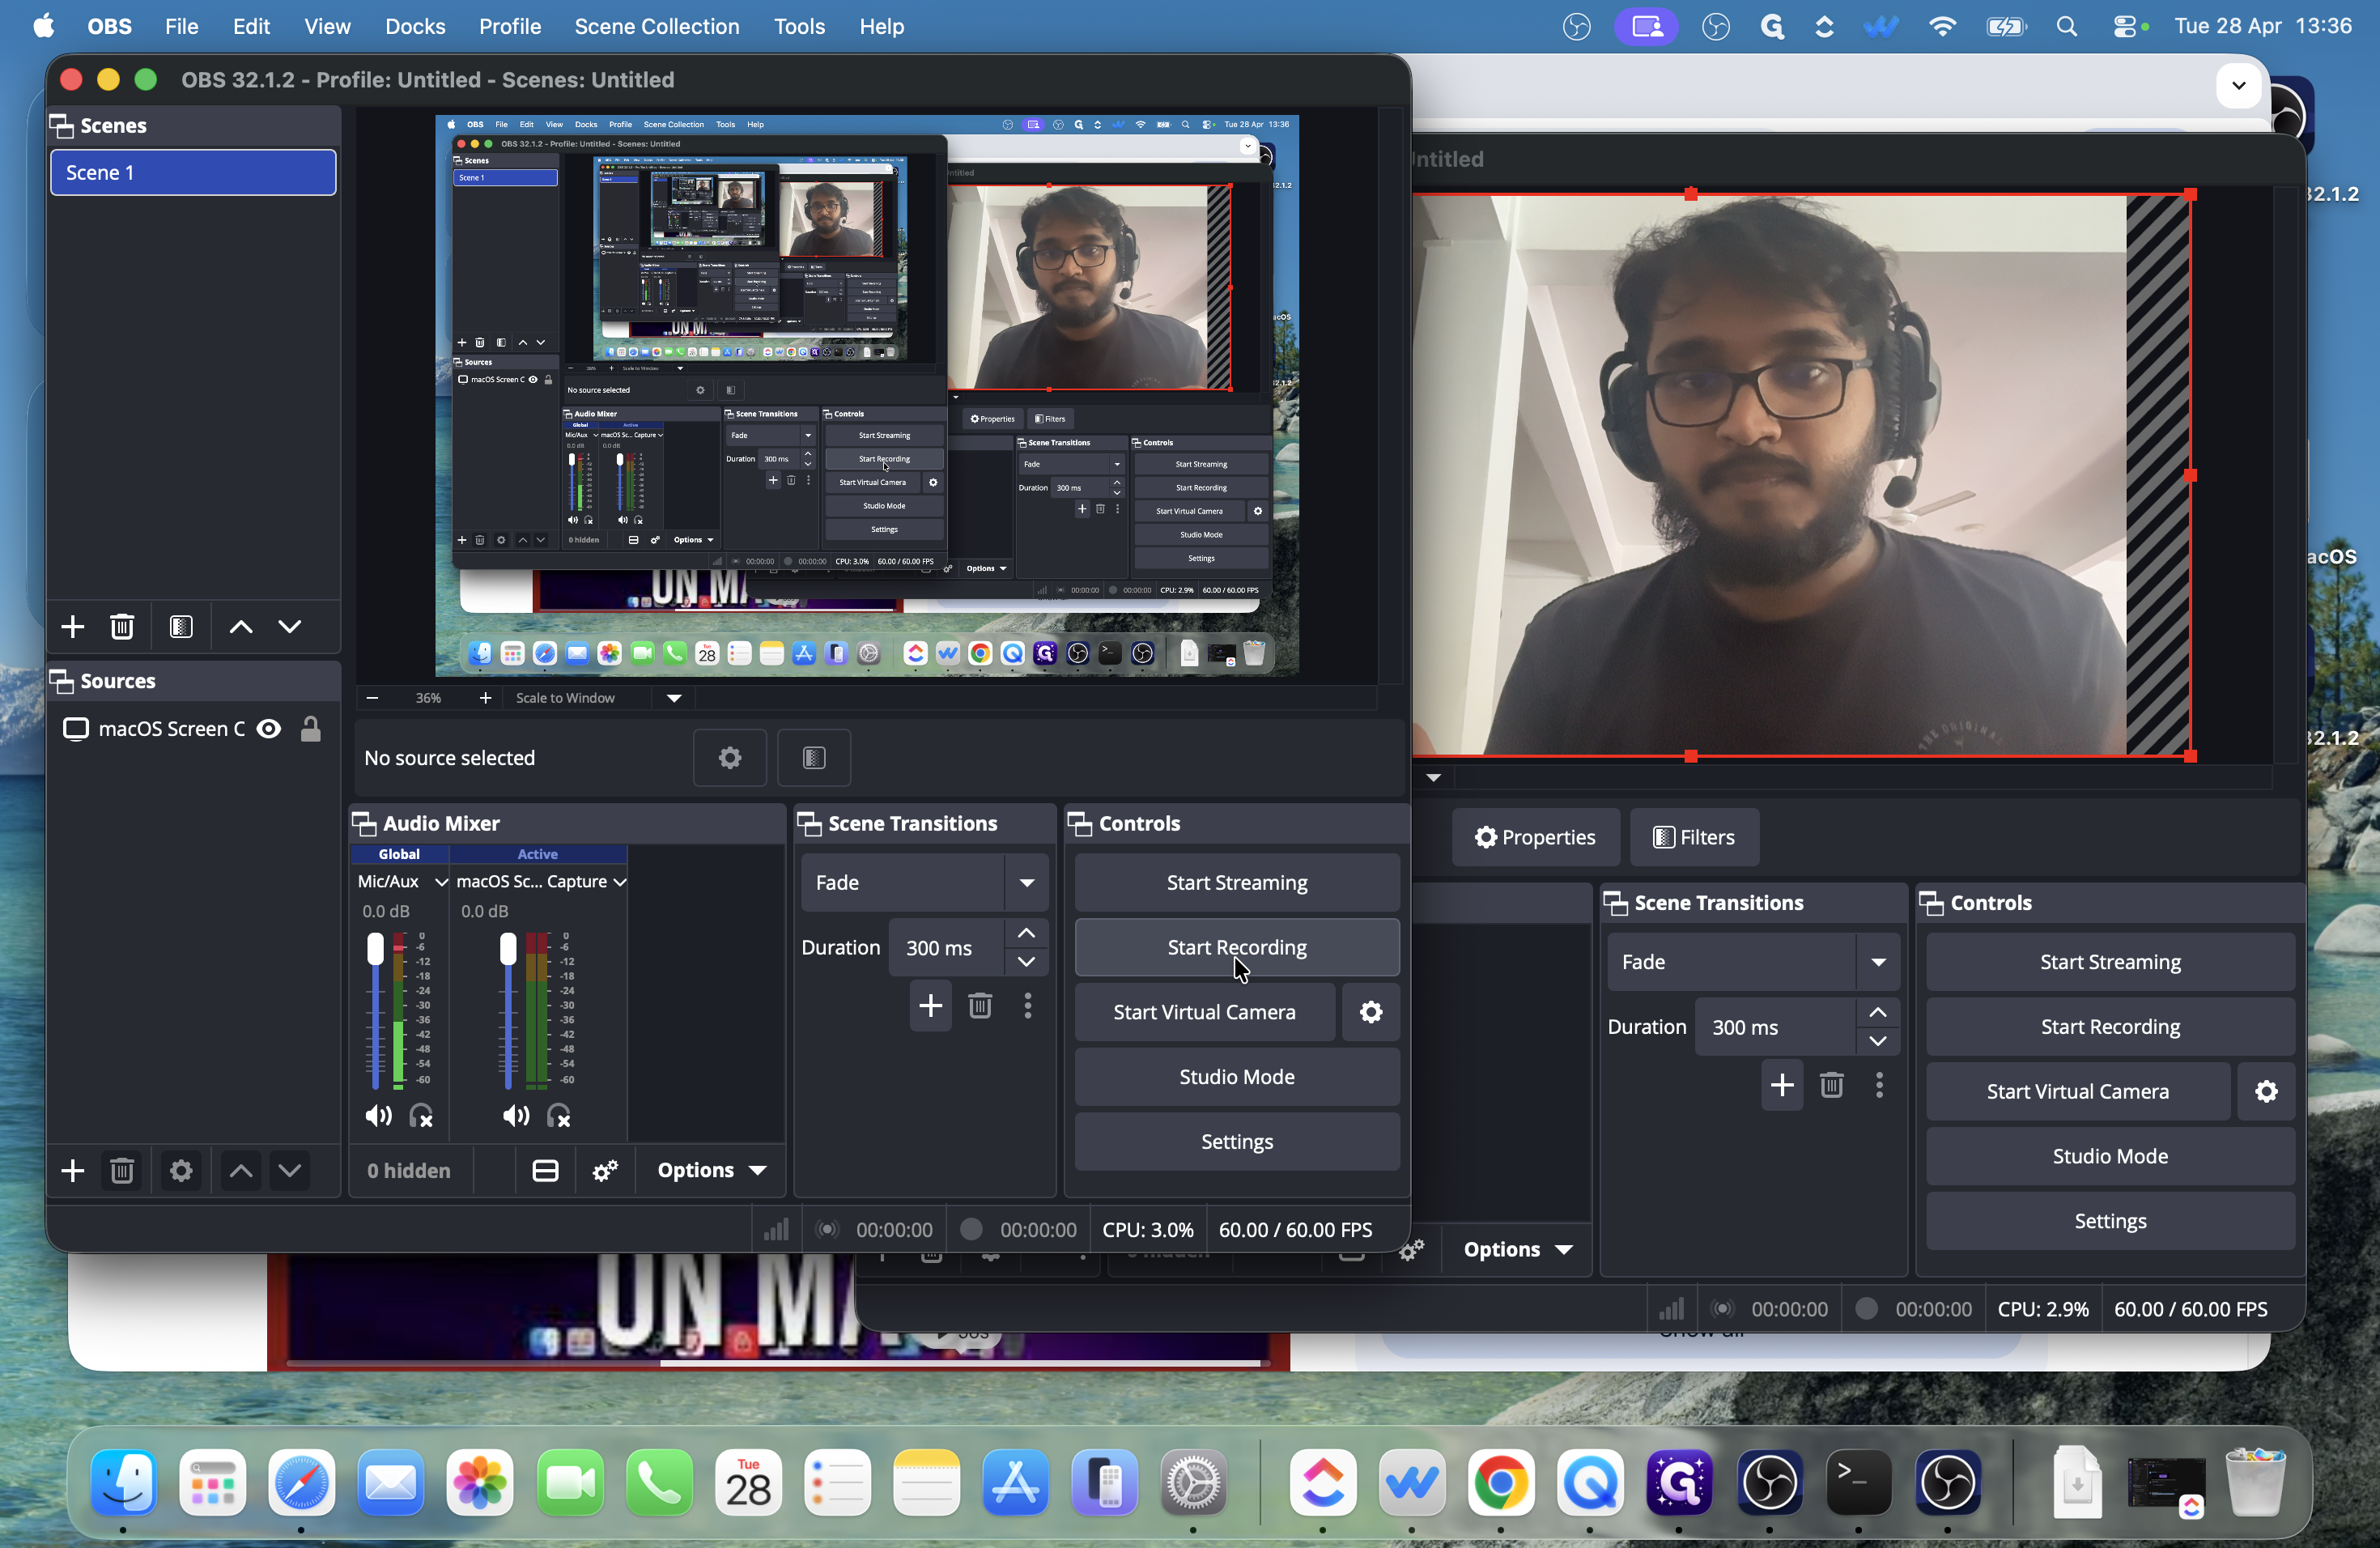
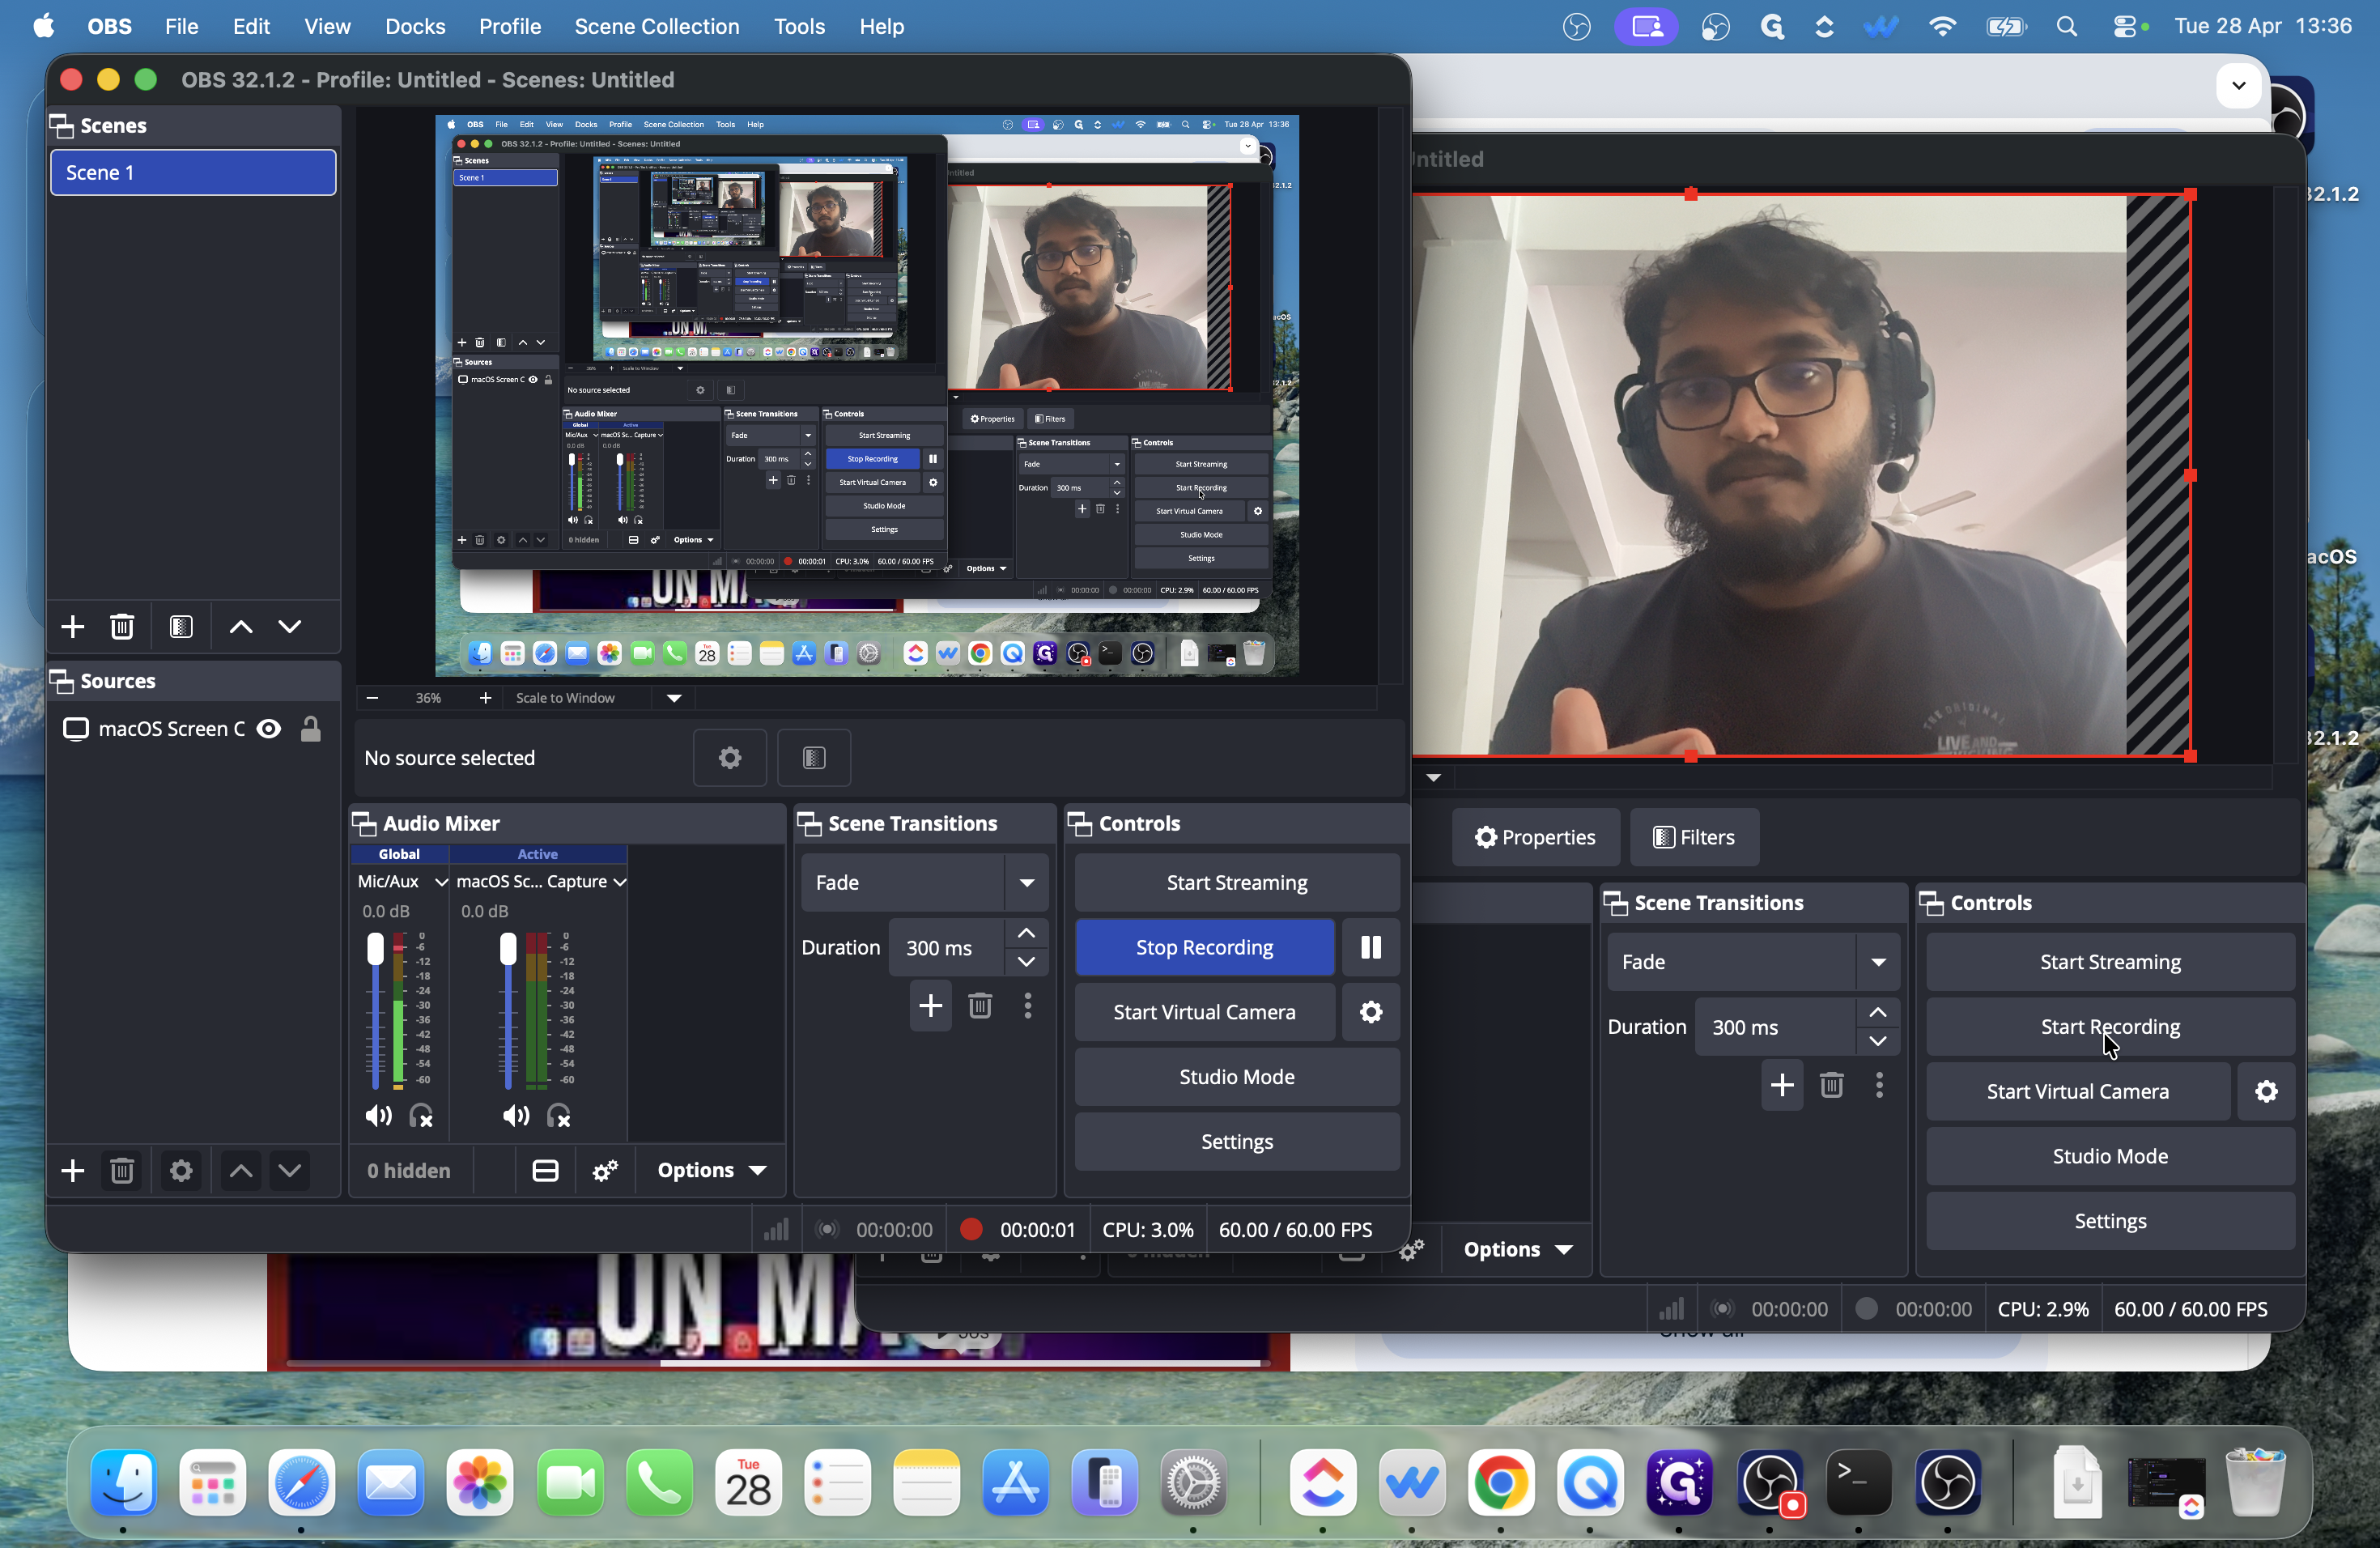
Minimize both OBS applications and perform your presentation as usual. Everything on your screen and your camera will be captured continuously in the background.

17
When you are finished, return to the first OBS window and click Stop Recording.
Step #17: When you are finished, return to the first OBS window and click Stop Recording.
18
Go to the second OBS window and click Stop Recording.
Step #18: Go to the second OBS window and click Stop Recording.

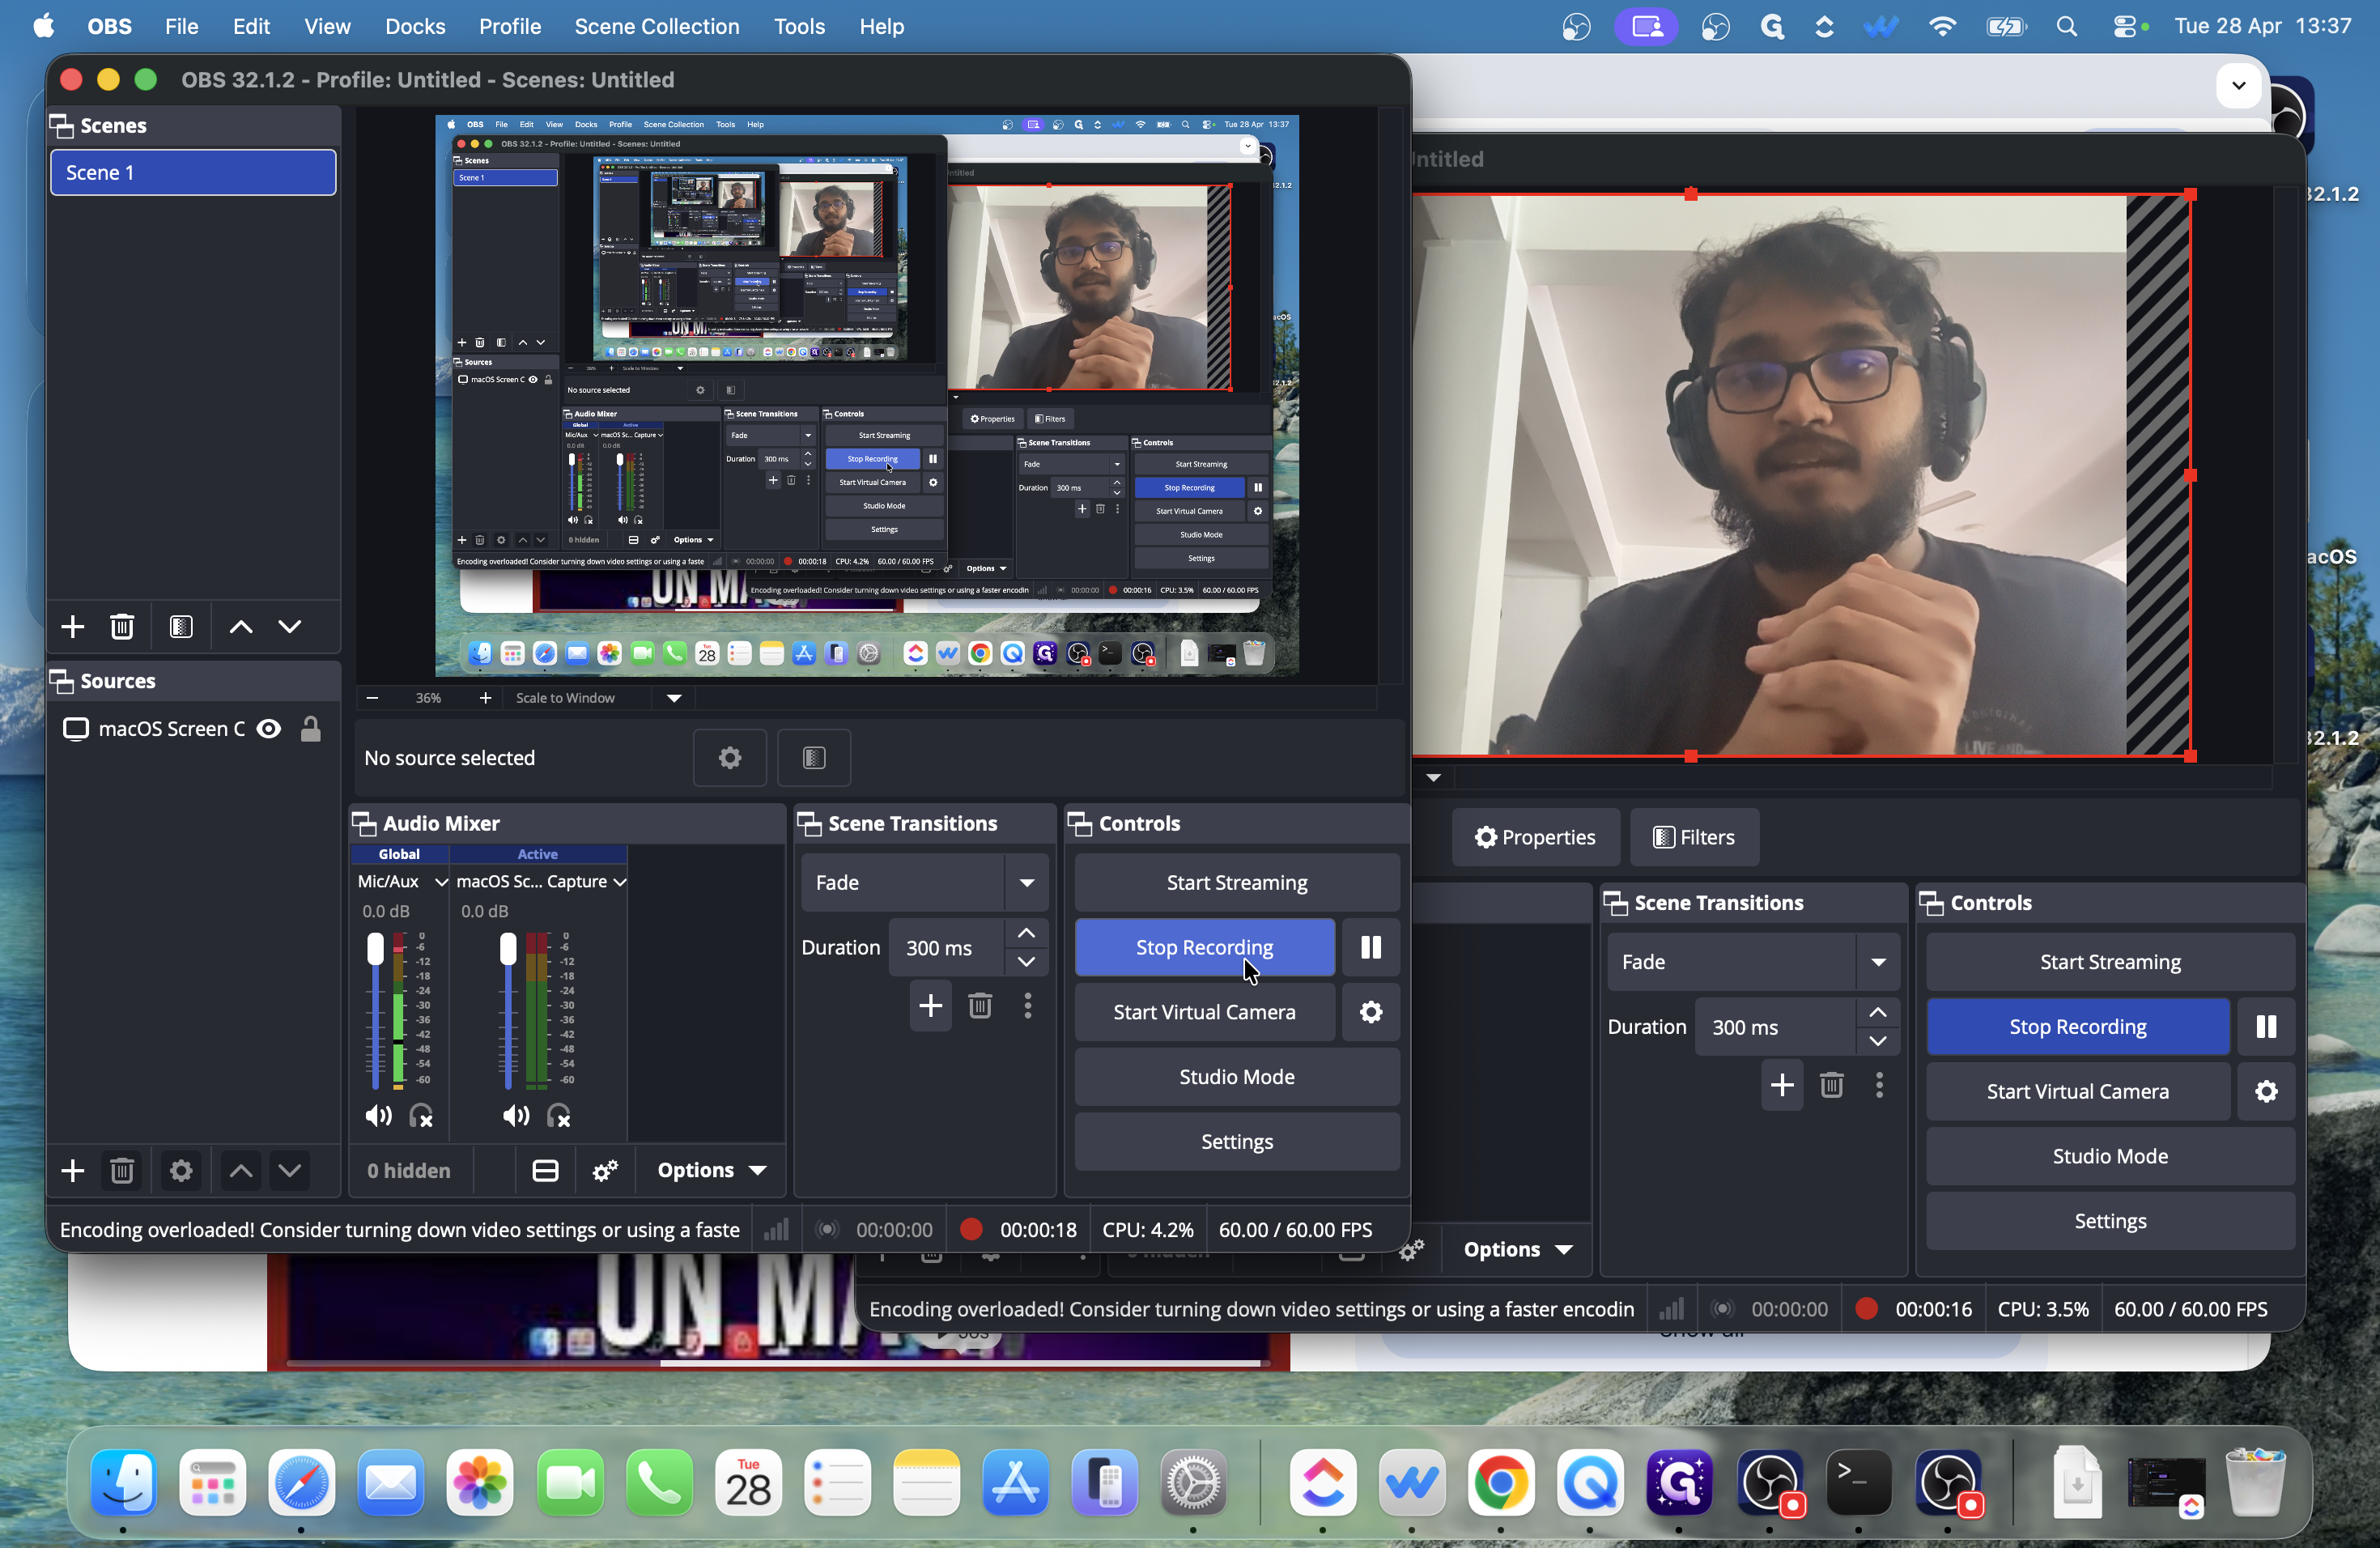
You now have two separate, high-quality video files ready to be synced and cut together in your video editor.