How to Safely Remove and Replace a PSU: Step-by-Step Guide
Learn how to identify a faulty PSU using status LEDs and follow a safe, step-by-step process to remove and replace your power supply unit. Tips for handling and connector orientation included.
In this guide, we'll learn how to safely remove a power supply unit (PSU) from a system when the status LED indicates a problem. Understanding the correct steps helps prevent damage to the equipment and ensures personal safety.
We'll focus on identifying the faulty PSU, unlocking it, and removing it with proper support.
Let's get started
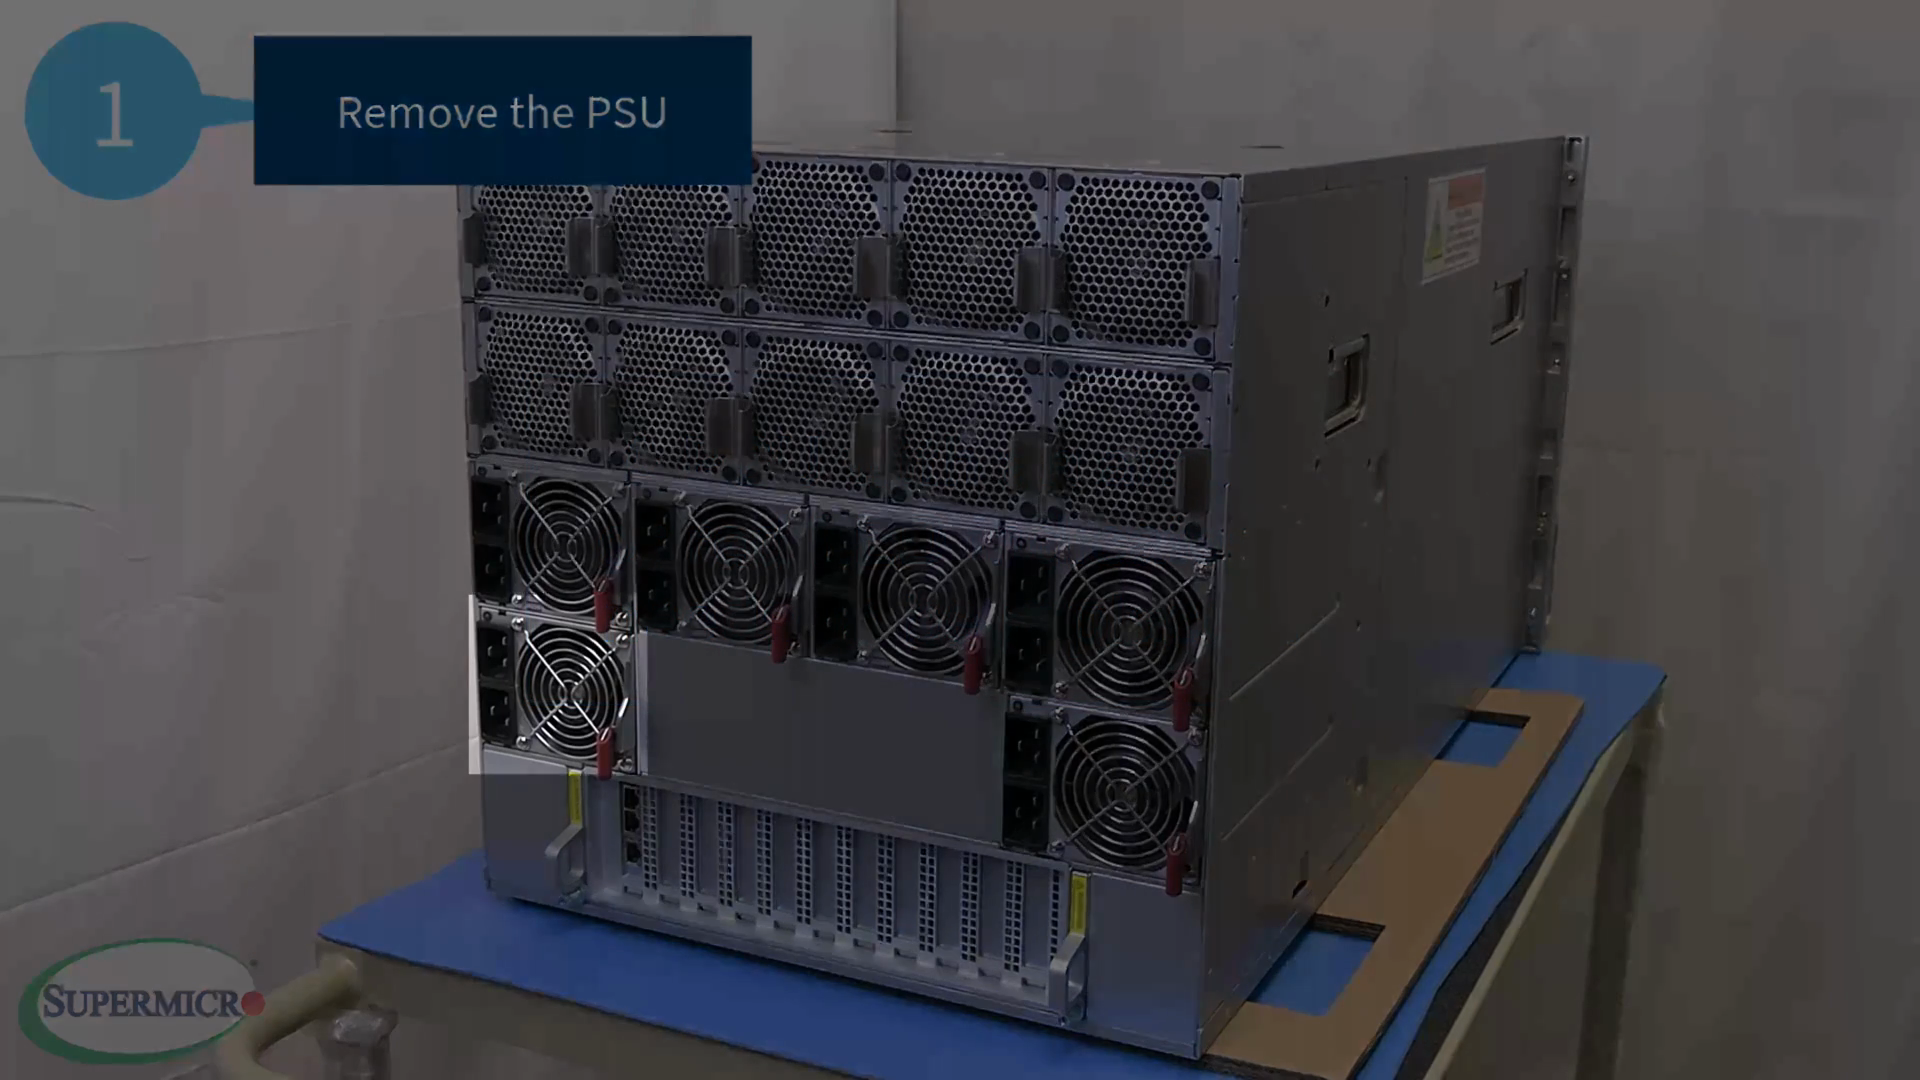
... Dependent power inputs and a status LED are located at the top left corner.
A PSU with an amber or red LED usually means it needs to be replaced. To remove the PSU, first locate the unit that needs to be replaced.
Press up on the release lever until it unlocks.
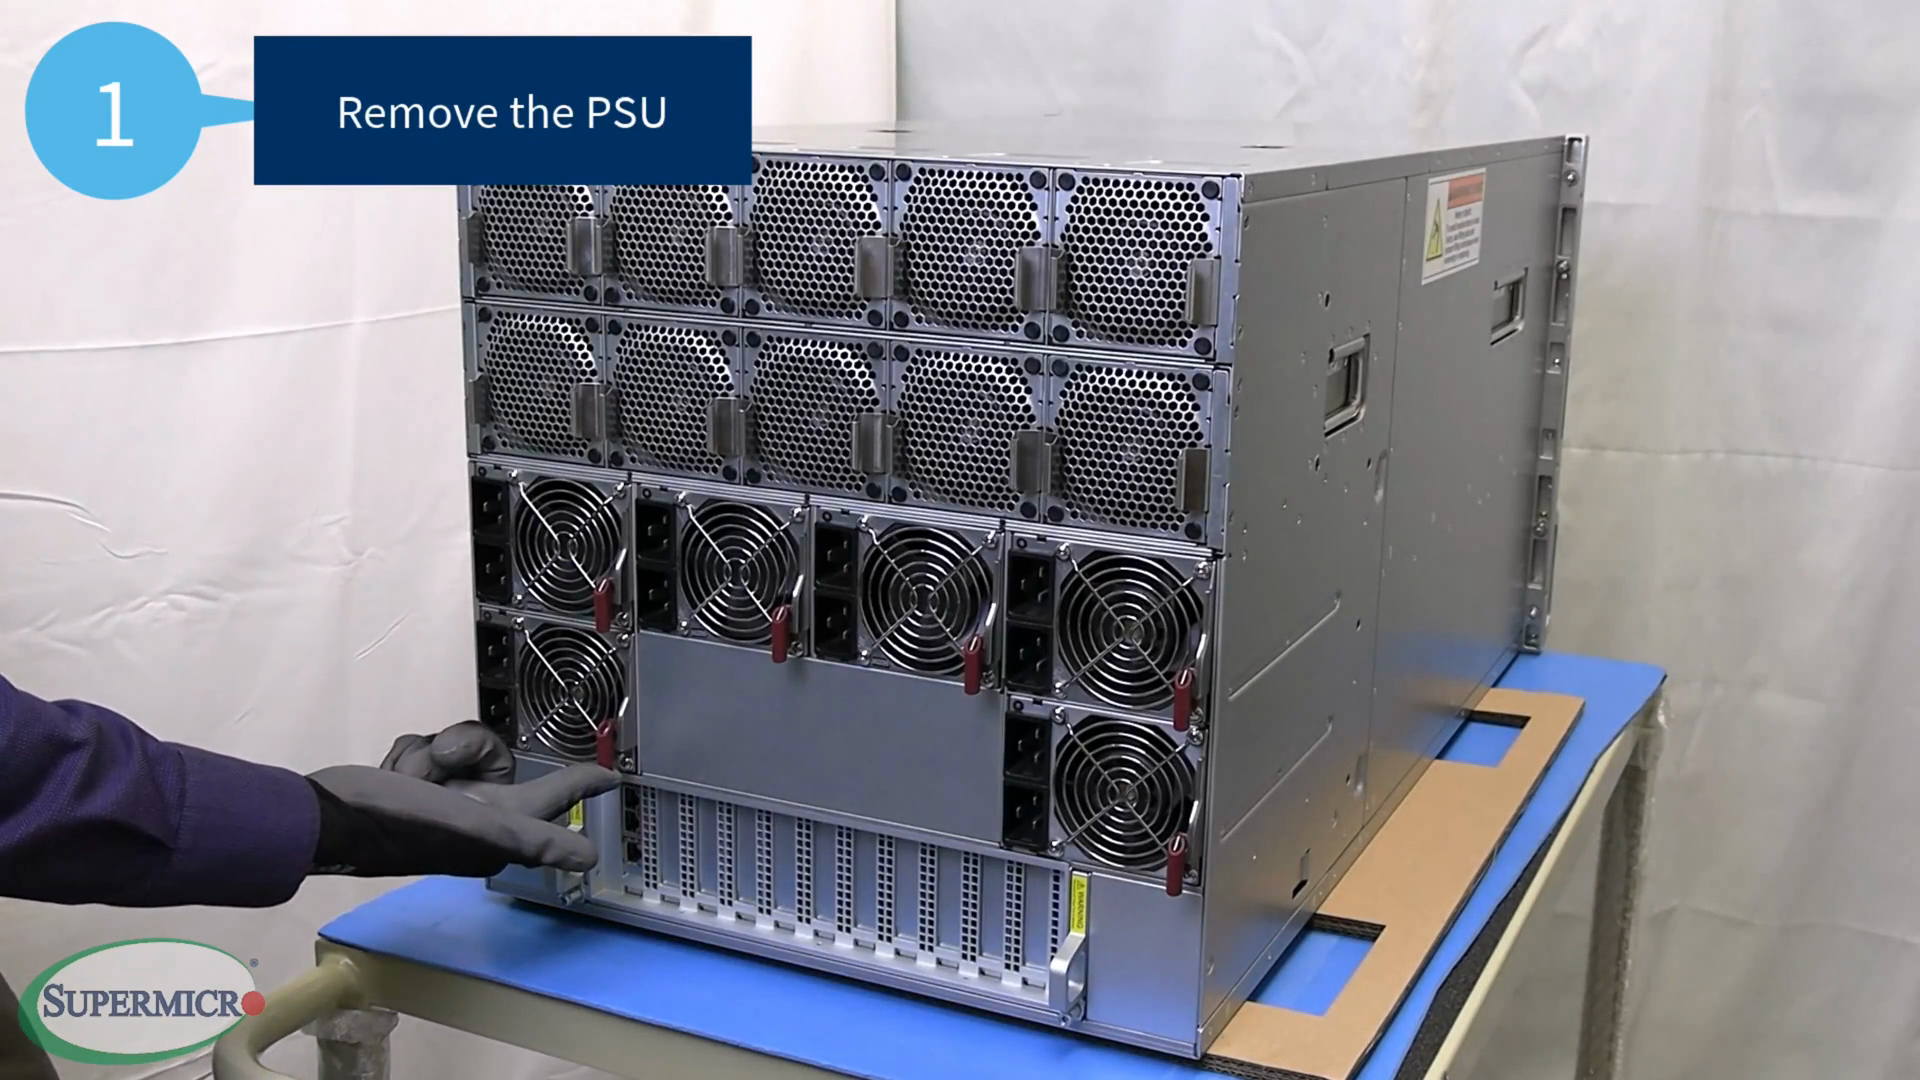
After disengaging the lever, keep pressing it upward until it is fully released.

Gently pull the PSU out of the system.
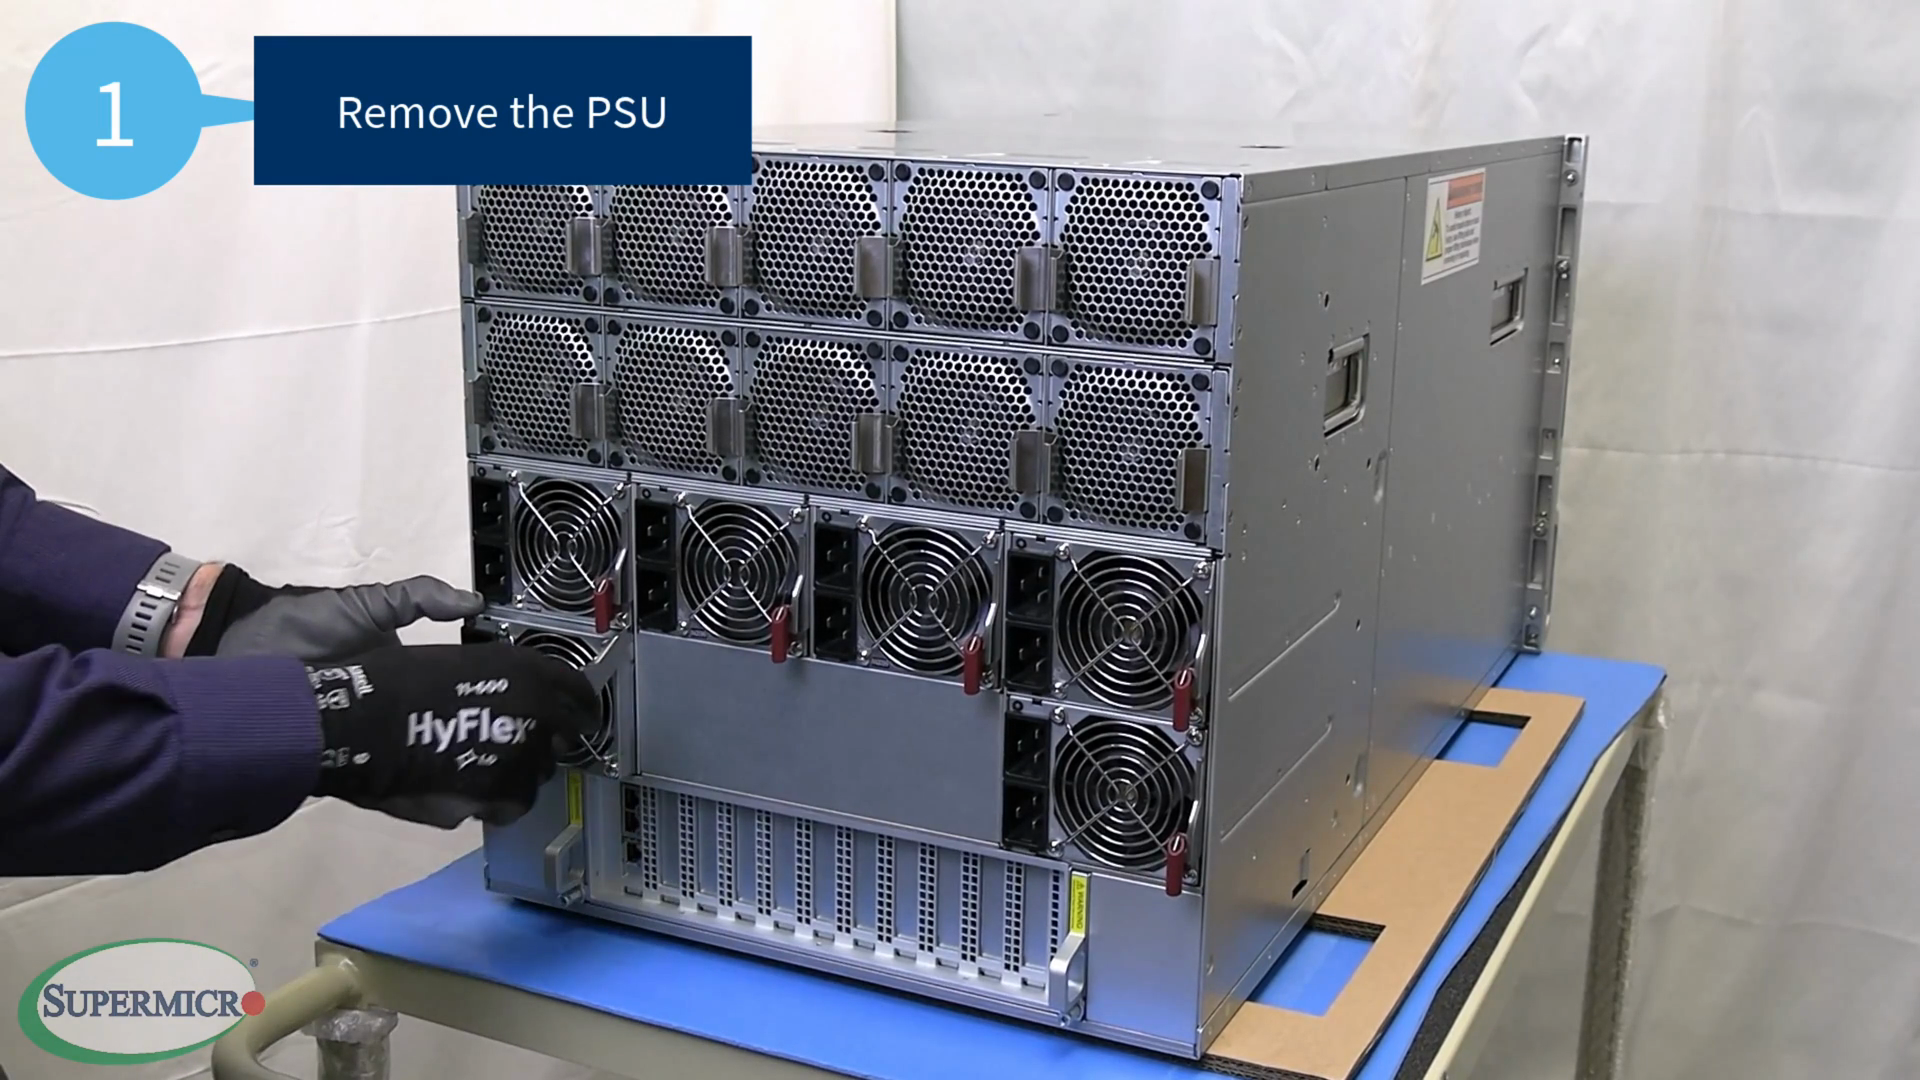
Use both hands to support the unit, as it weighs about 10 to 15 pounds.
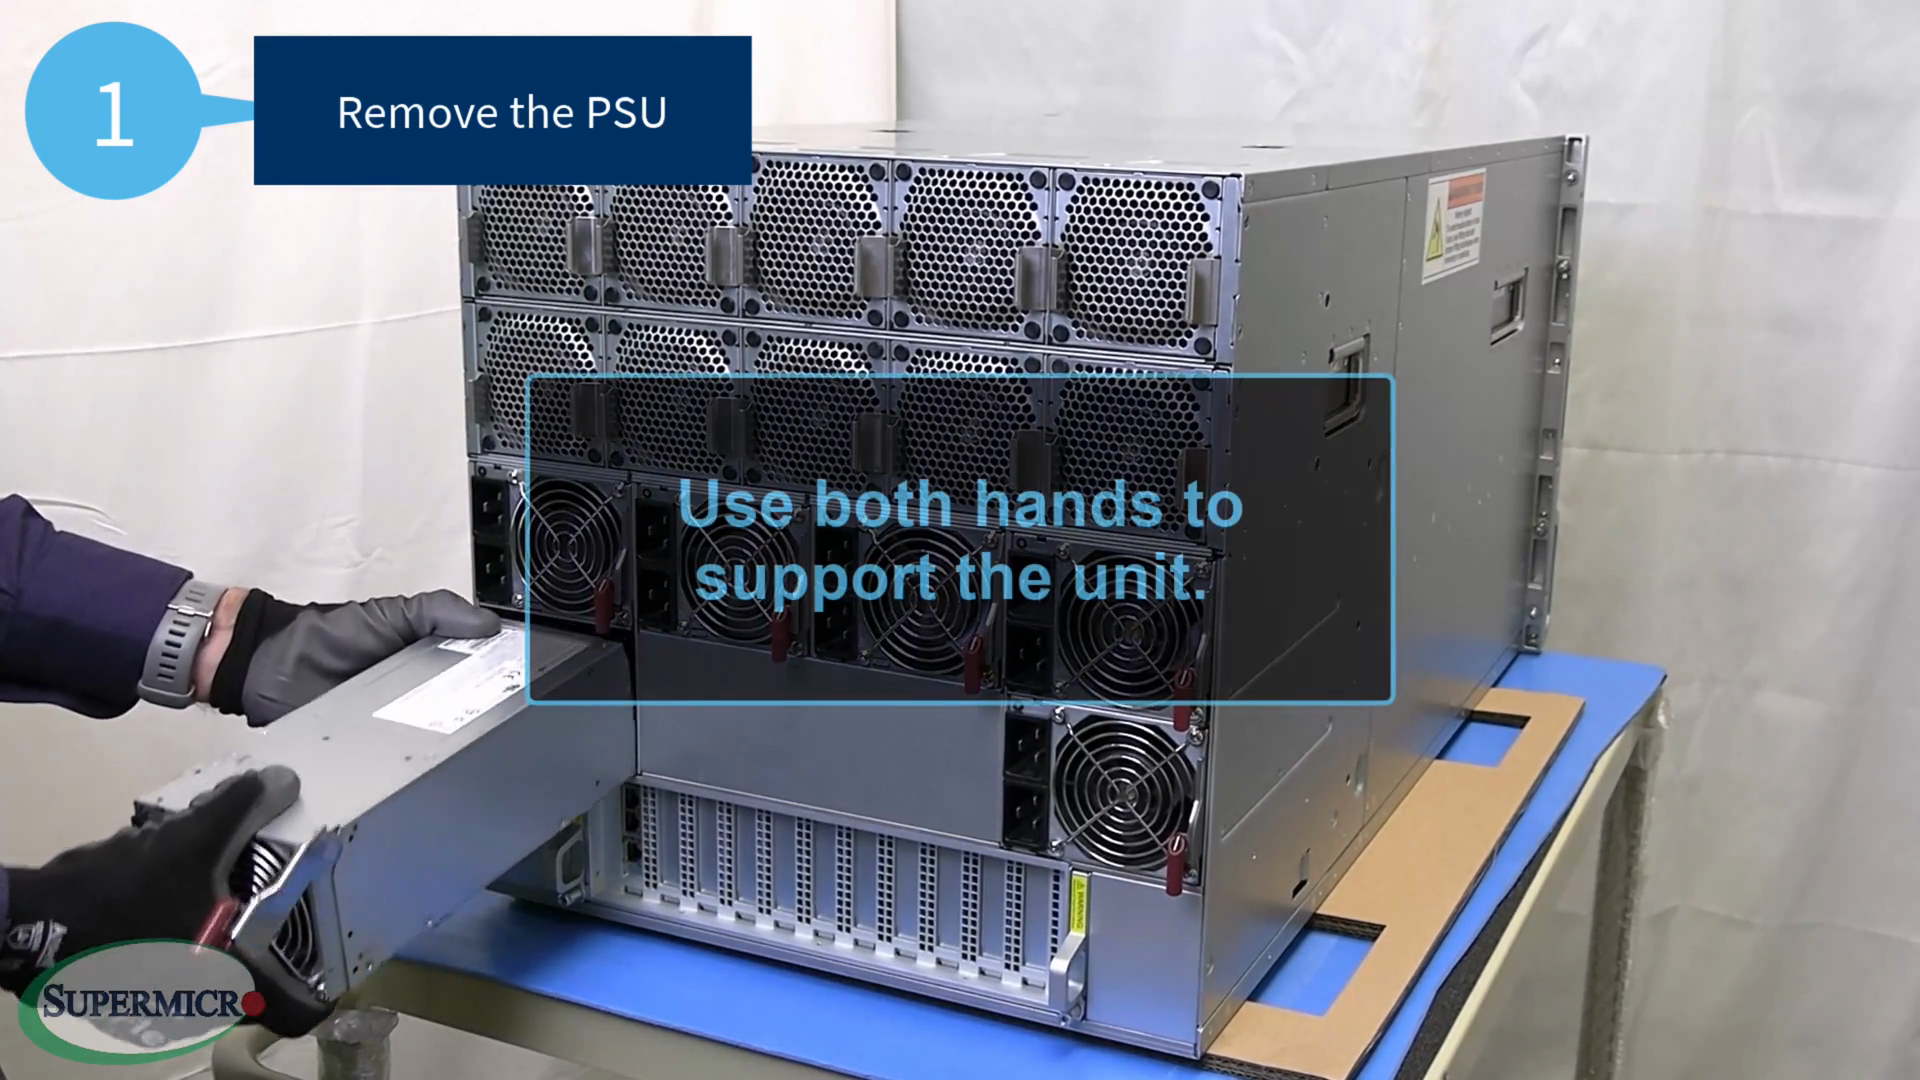
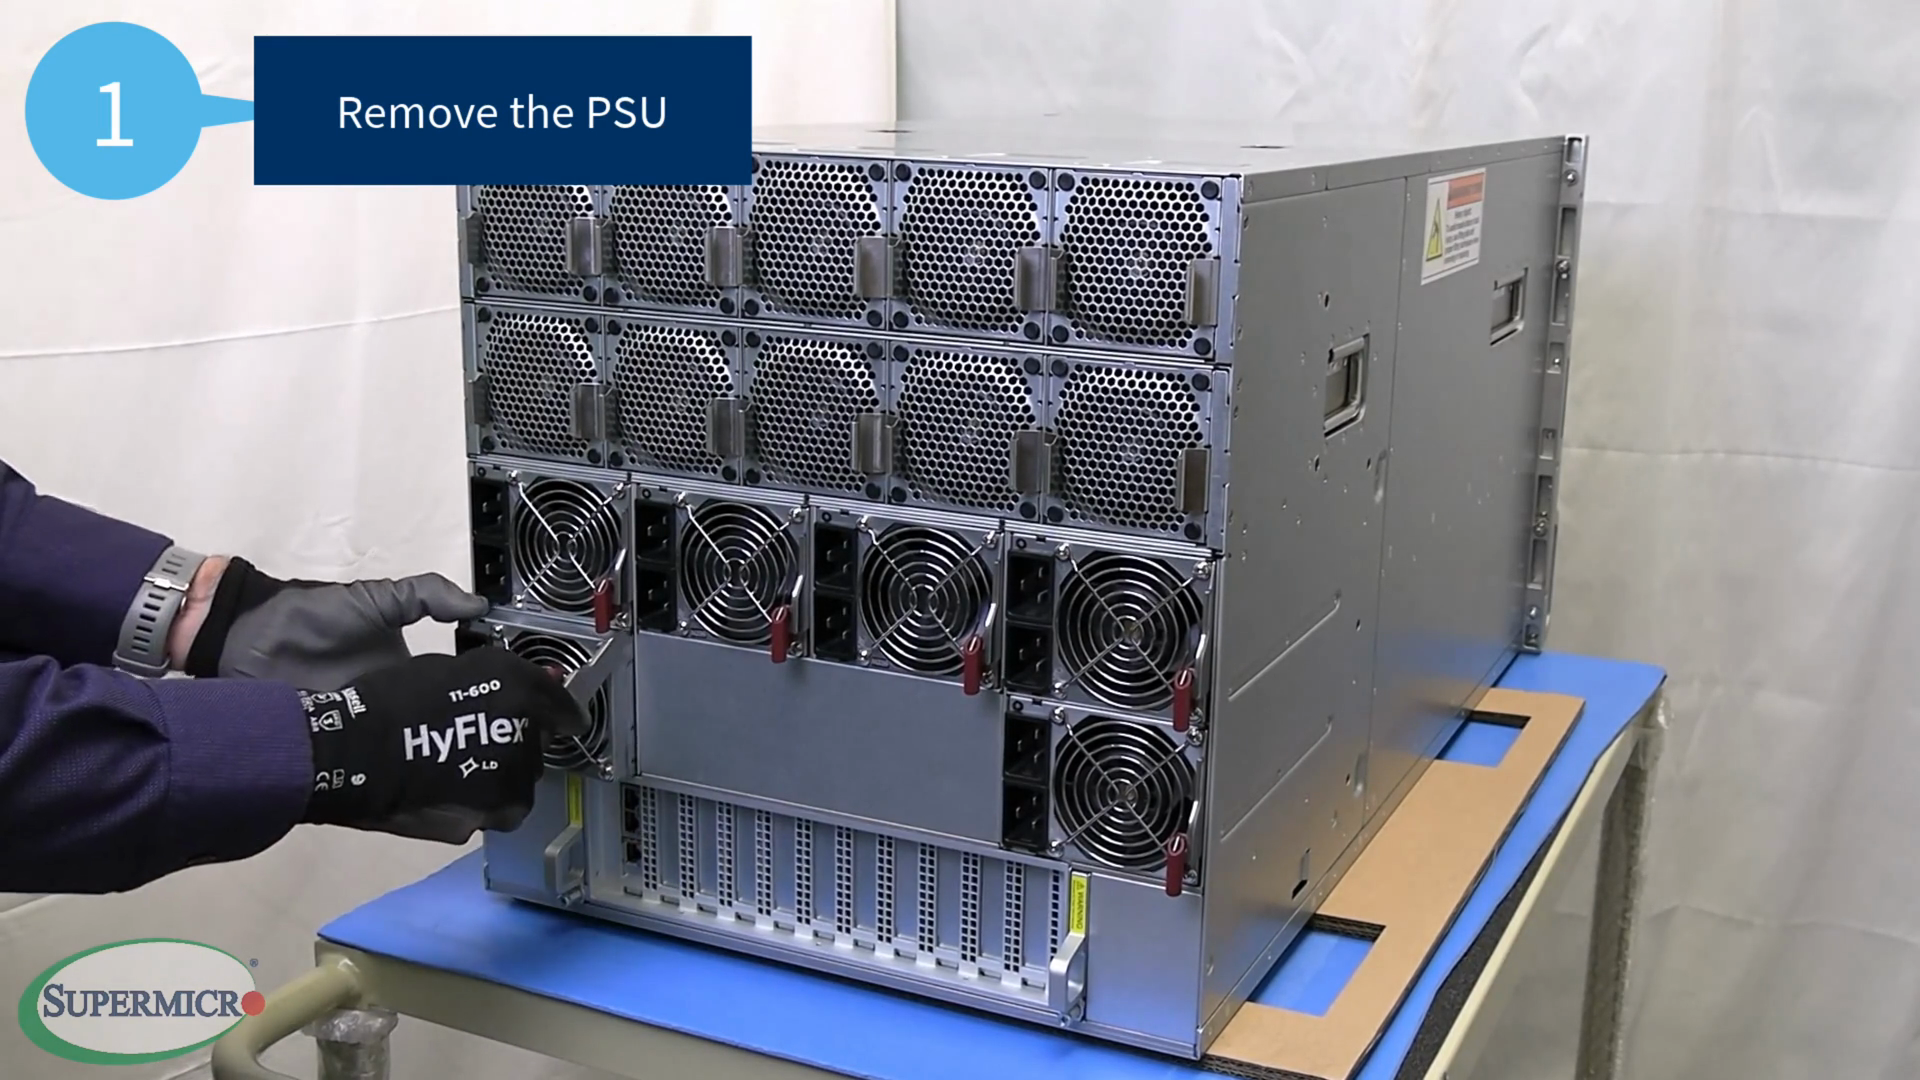
Take note of the connector's orientation.
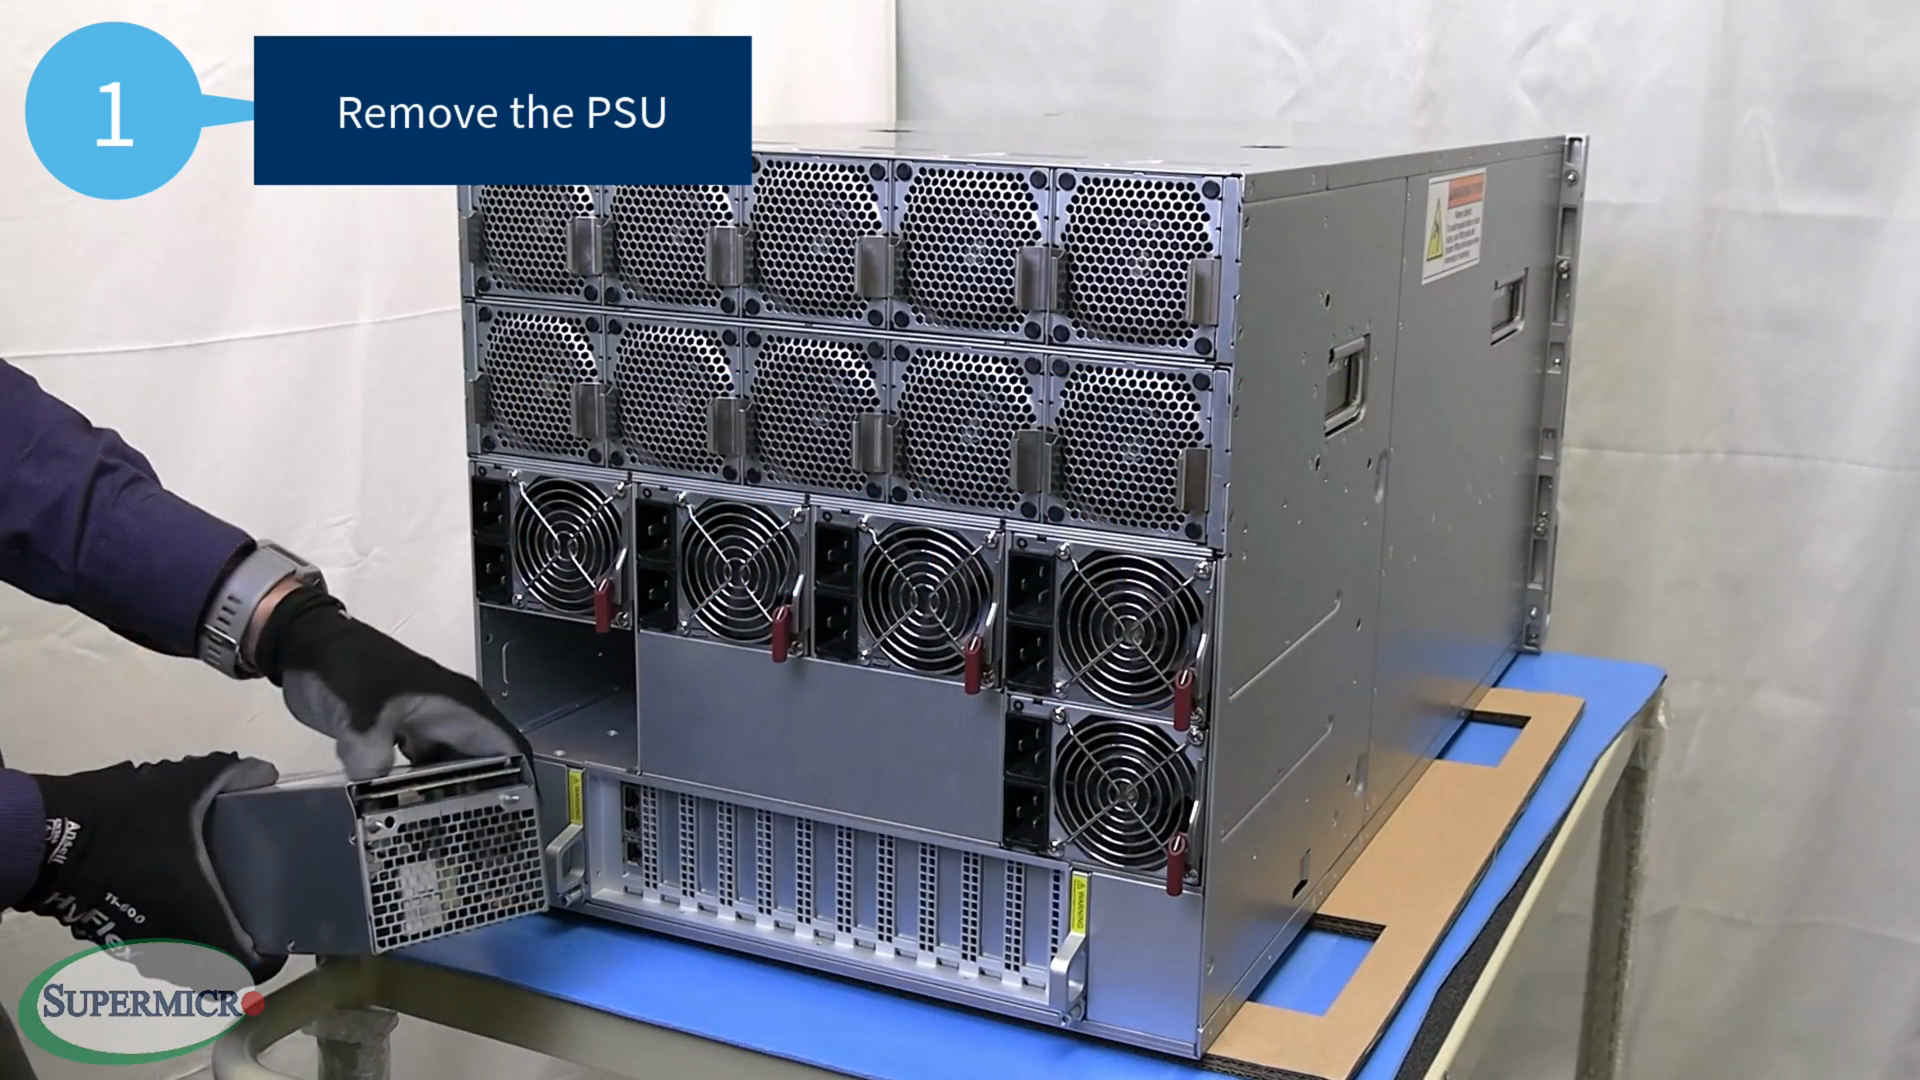
The power connectors are located at the top of the PSU.