
How to Scan and Save Documents Using Brother iPrint&Scan
Learn step-by-step how to scan, save, and email documents using Brother iPrint&Scan. This guide covers scanning, rotating, renaming, and attaching your scanned files.
In this guide, we'll learn how to scan a document using Brother iPrint&Scan and save it to your computer. We will also cover how to attach the scanned file to an email. This process helps you quickly digitize and share documents.
Let's get started
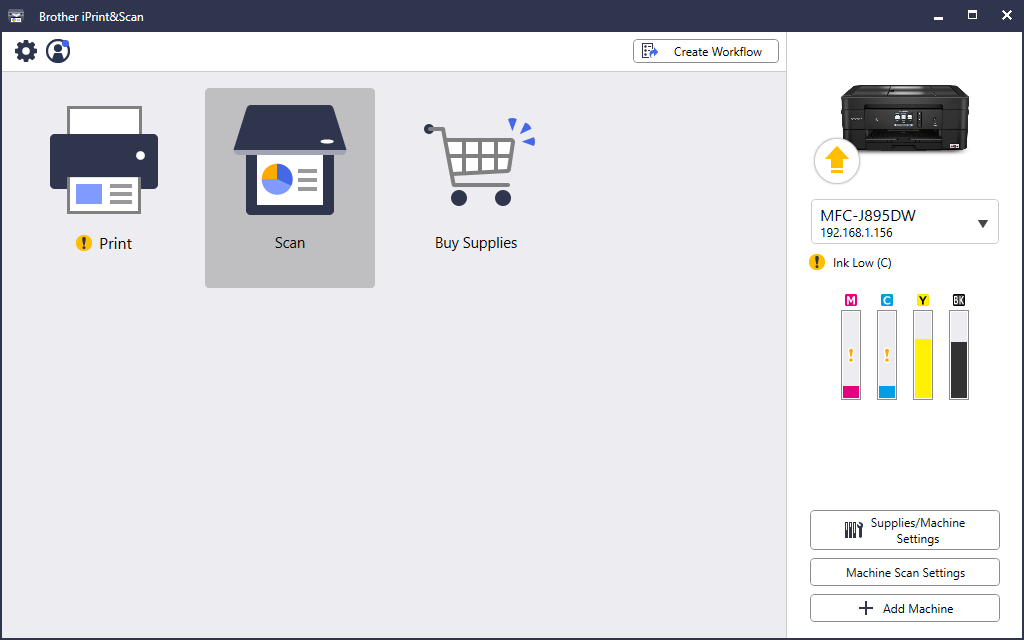
After opening Brother iPrint&Scan, click the scan button.
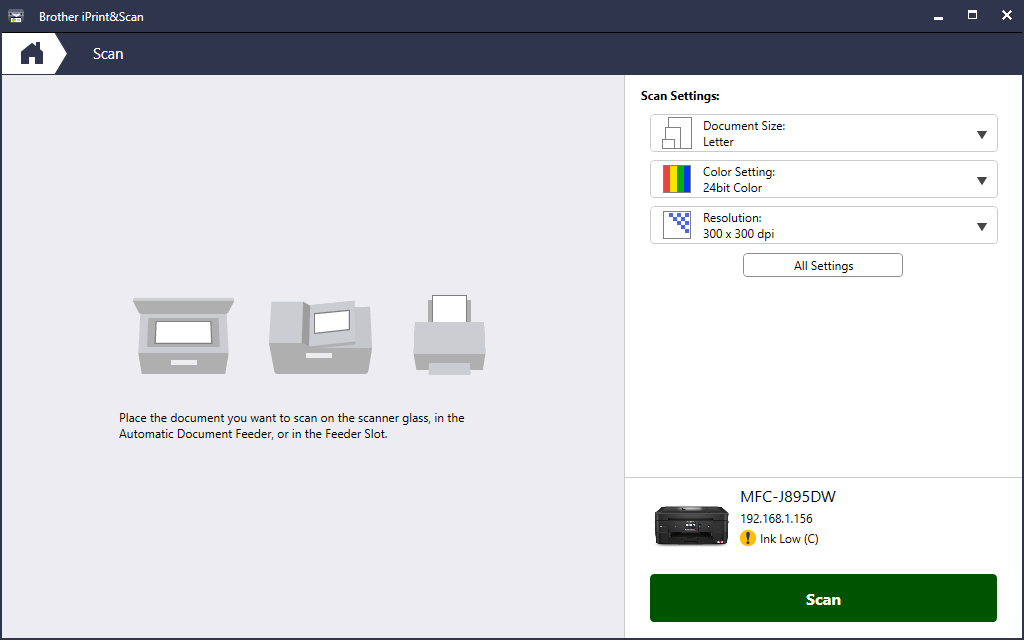
Leave all the settings as they are, then click Scan.
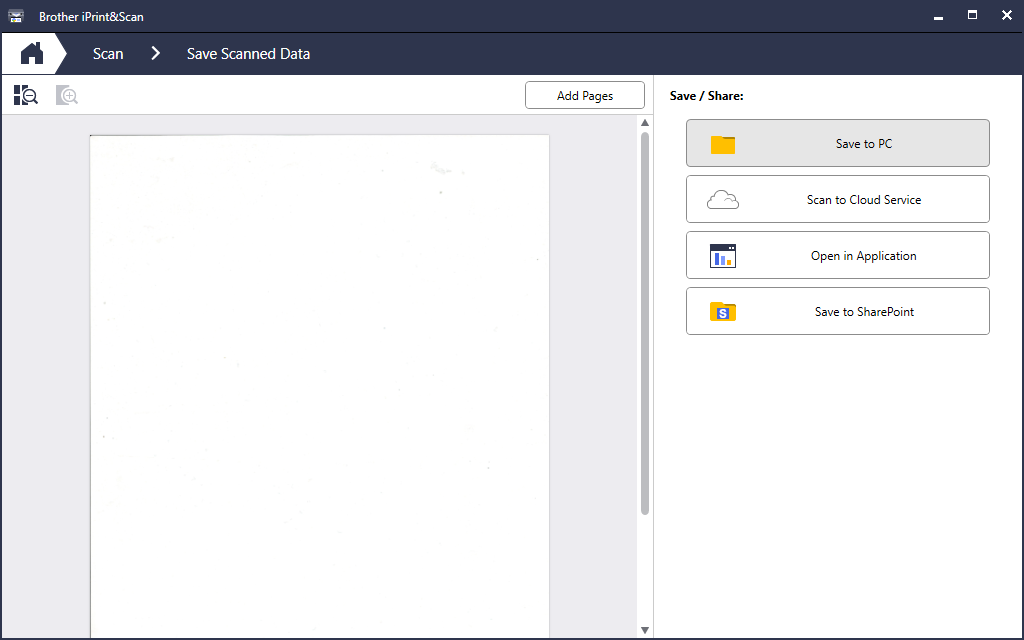
If there were a document on your scanning bed, it would appear here. You can rotate the document here if needed. The final step is to save it to your PC.
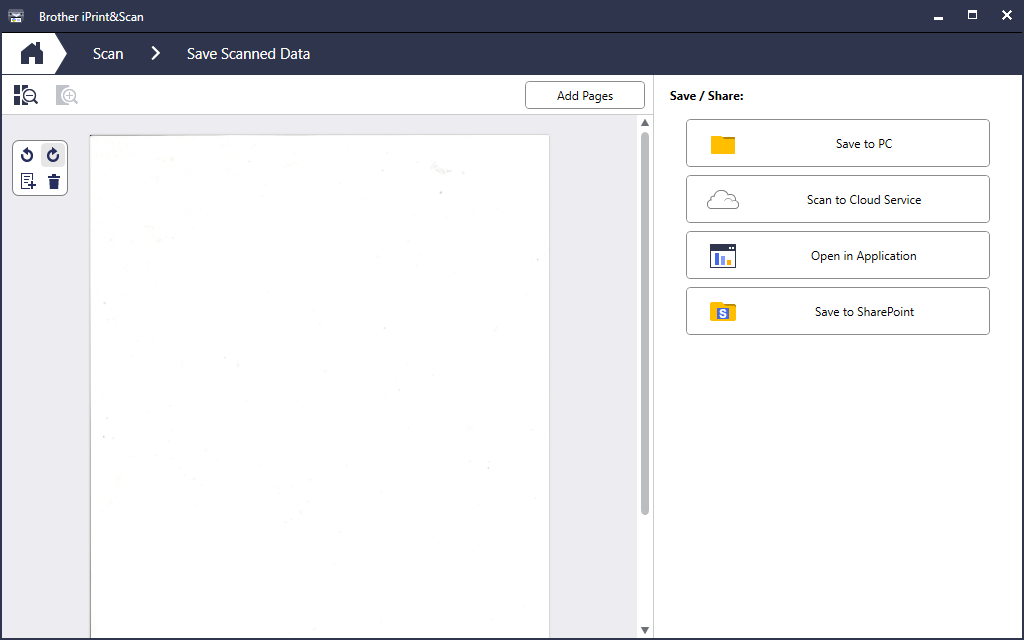
You can Rotate the Document here if needed
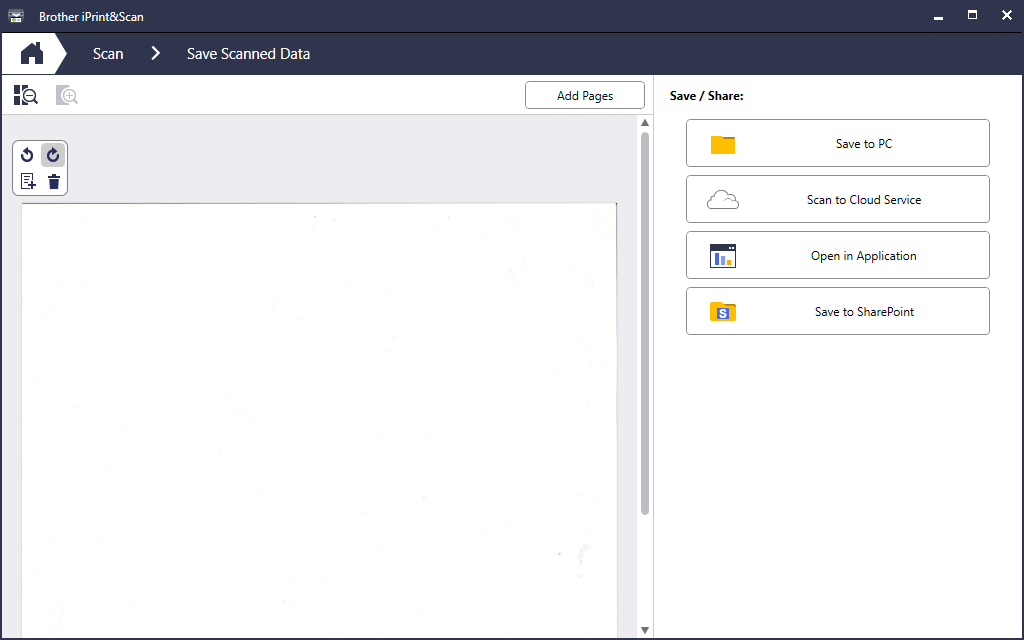
The final step is to save it to your PC.
You can rename it or keep it in its current location.
Your location is on the desktop, so it will appear behind your windows. Click Save, and you're done.

Next, open your email and use the attach button.