
How to Schedule Thanksgiving Pre-Orders From Square space to Toast: Step-by-Step Guide
Learn how to ring in and schedule Thanksgiving pre-orders in Toast POS. This guide covers order notifications, entering orders, scheduling pickups, and managing pre-orders for your restaurant.
In this guide, we'll learn how to process and schedule Thanksgiving pre-orders using Toast and monday.com. This includes checking notifications, reviewing order details, entering orders in Toast, and setting up the correct pickup date and time. The goal is to ensure all Thanksgiving pre-orders are managed and scheduled accurately.
Let's get started
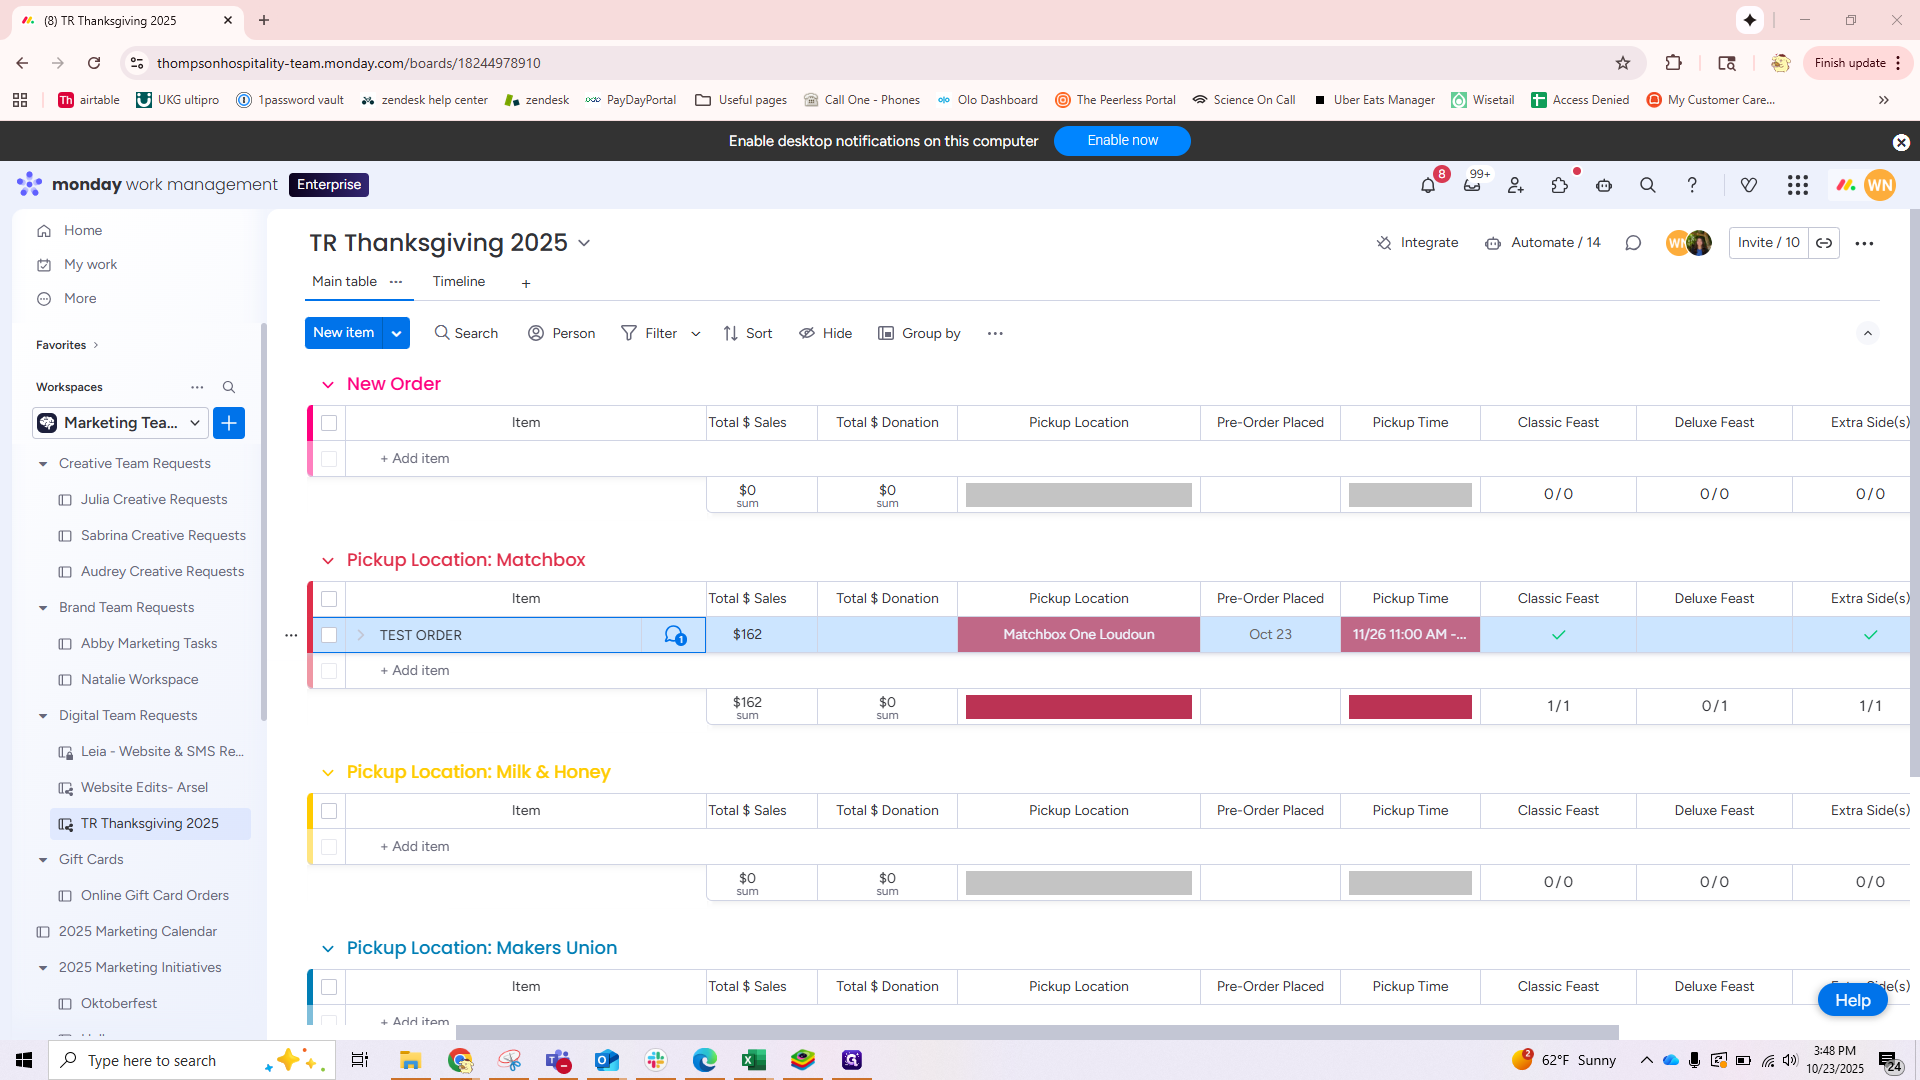
Hello, everyone. In this quick guide, I will show you how to ring in and schedule Thanksgiving pre-orders in Toast. When your store receives a Thanksgiving pre-order, you will be notified in two ways: by email and through monday.com. Clicking the link in your email will take you directly to the monday.com board. You can also access it by going to monday.com, clicking on the Marketing Team Workspace, and selecting the TR Thanksgiving 2025 board. Once you're on the Thanksgiving board, you can scroll to locate your restaurant and view your orders.
Click the comment icon to view more details.

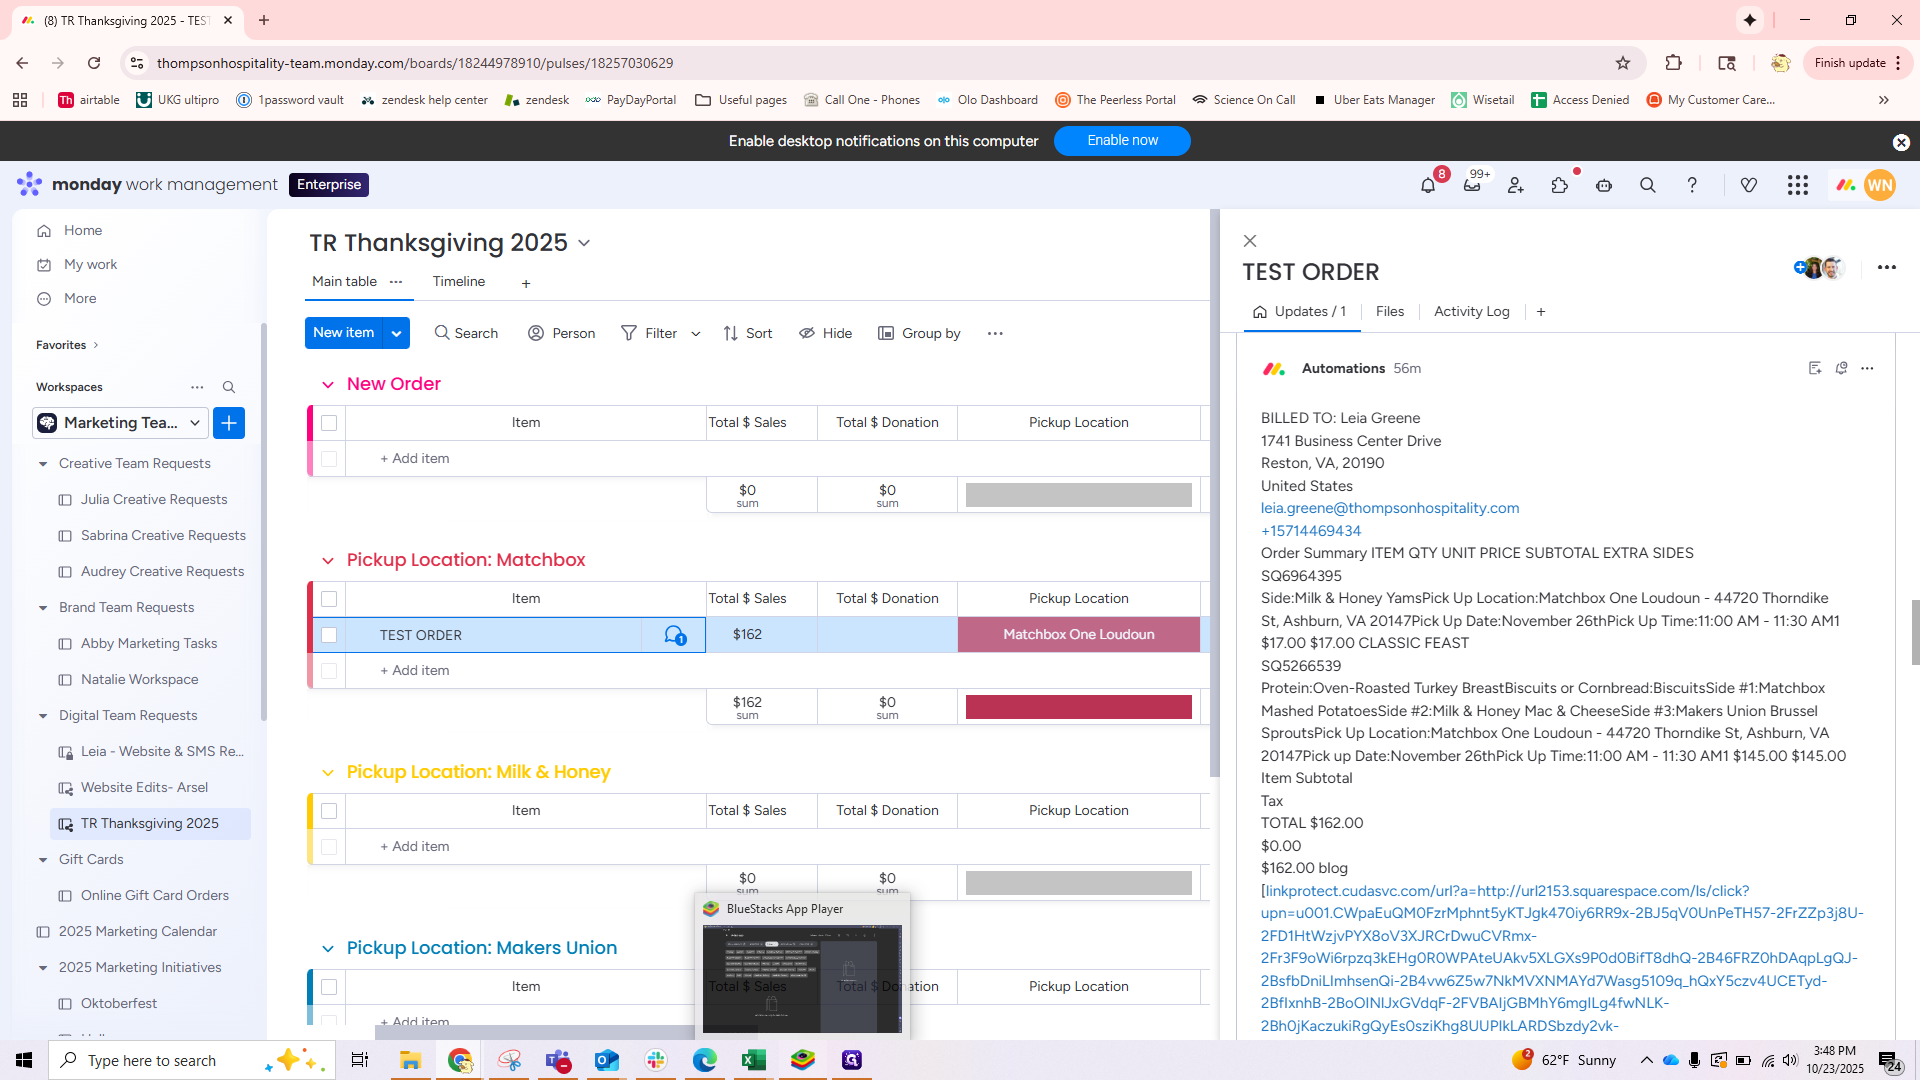
Click "See More" and scroll to the middle to find your order summary. In this example, the order was placed at Matchbox One Loudoun. The guest ordered an extra side of yams, along with the Classic Feast, which includes turkey, biscuits, mashed potatoes, mac and cheese, and brussels sprouts. The total was $162. Now that we know what was ordered, we will move to Toast to enter the order.
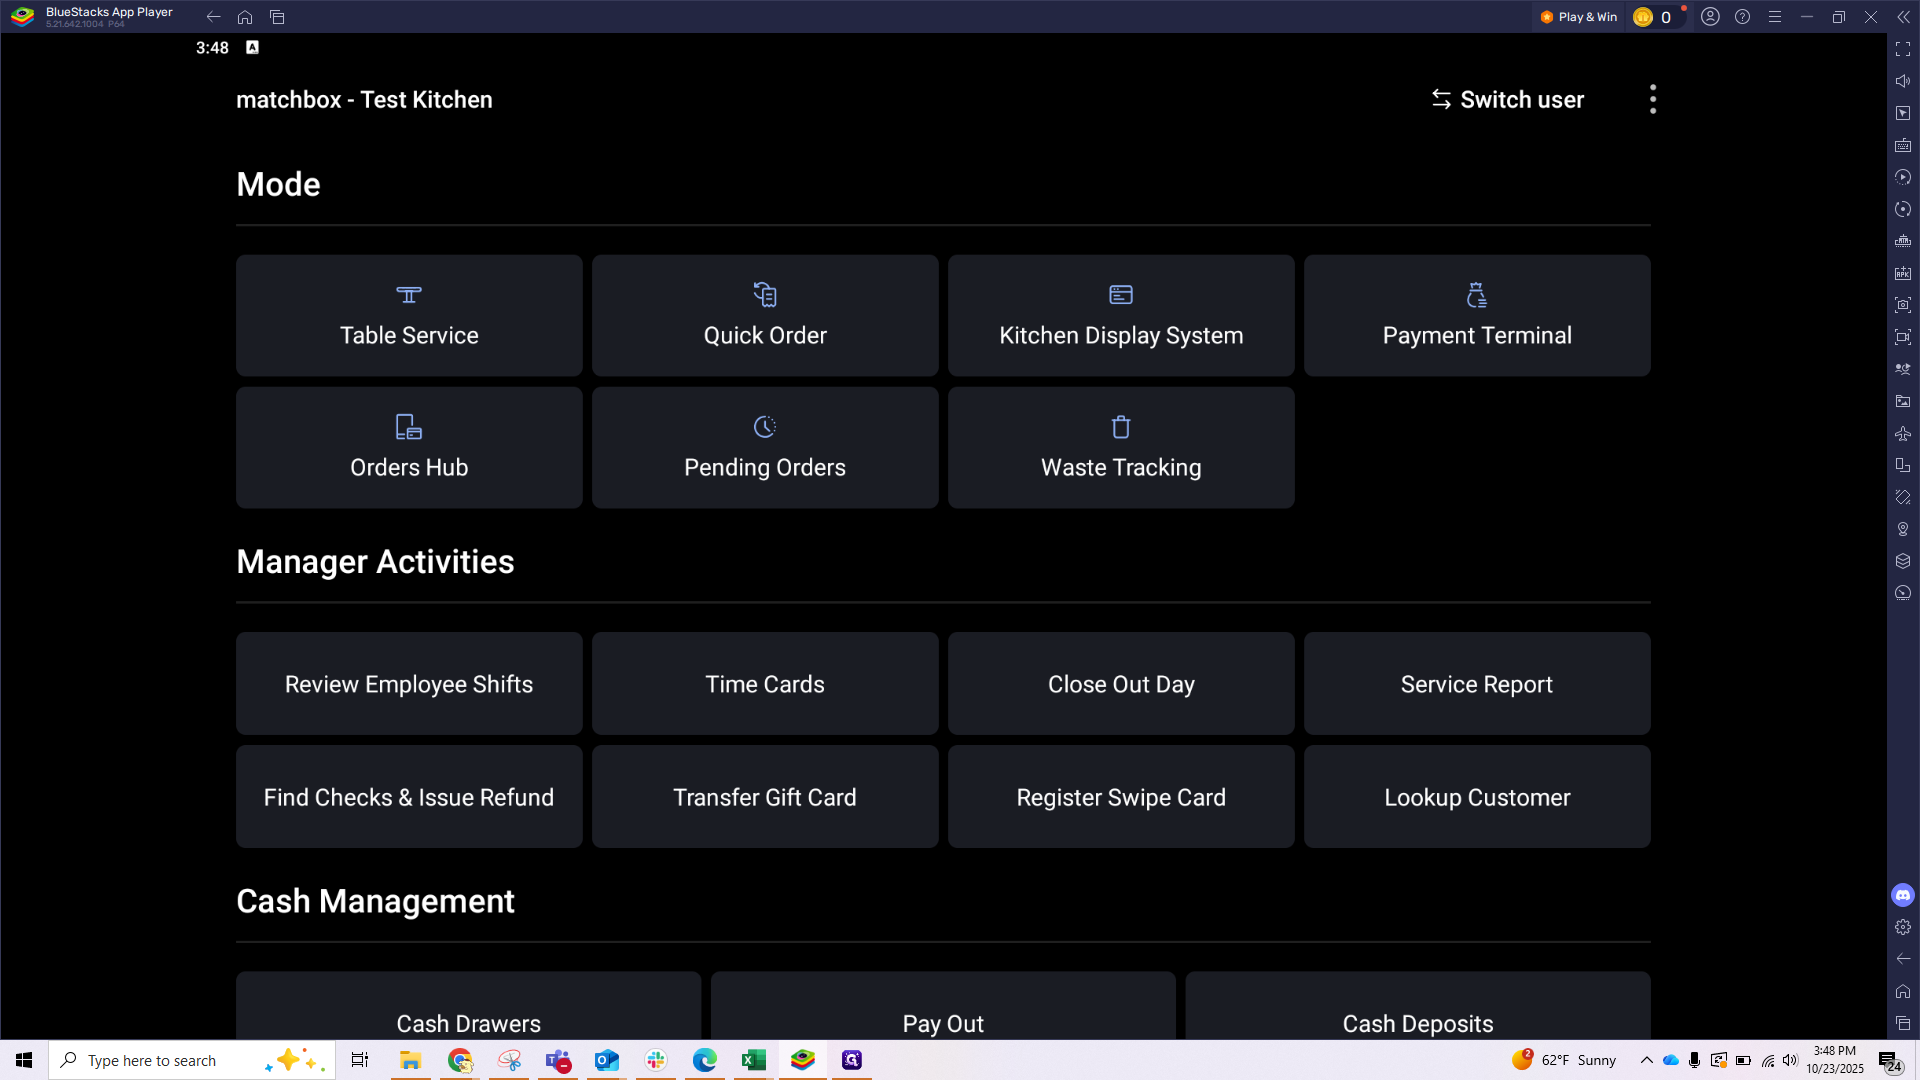
In Toast, from your mode screen, click on the Order Hub.
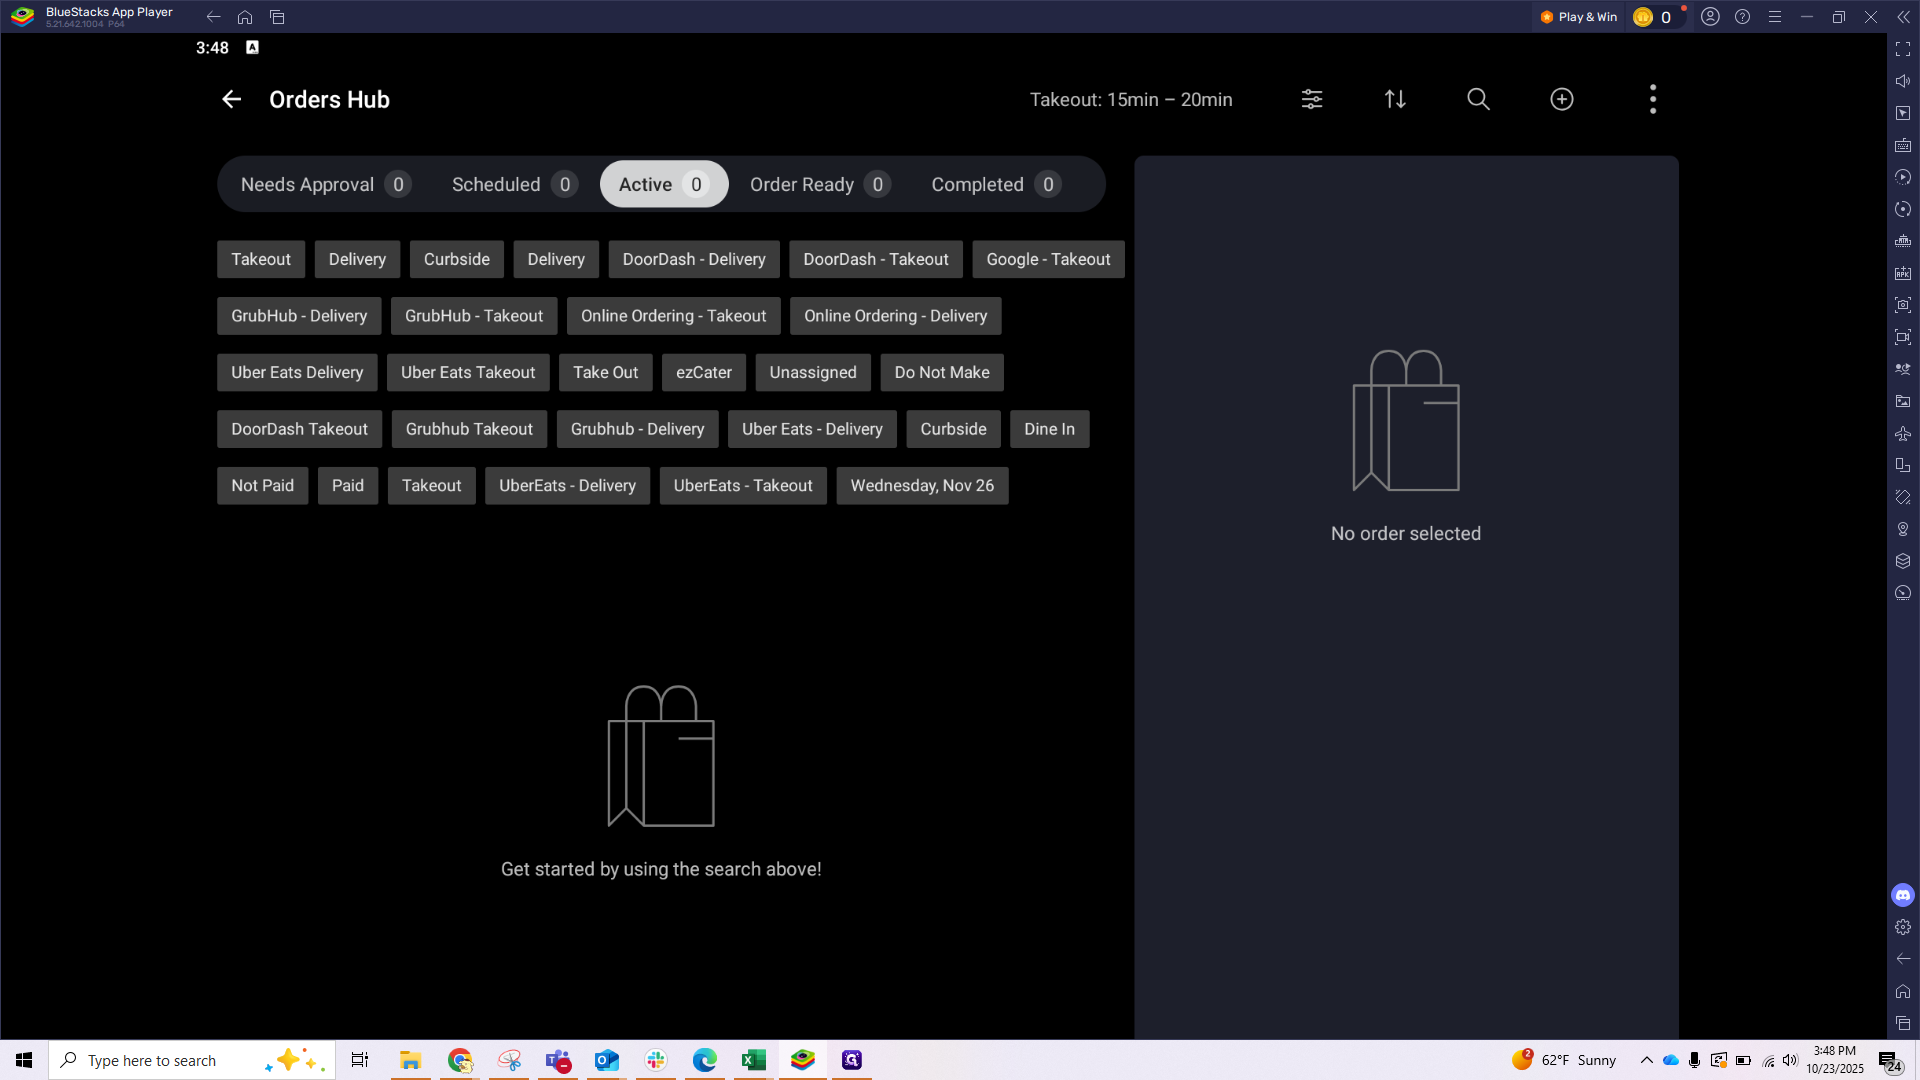
In Order Hub, click the plus icon in the corner to start a new order.
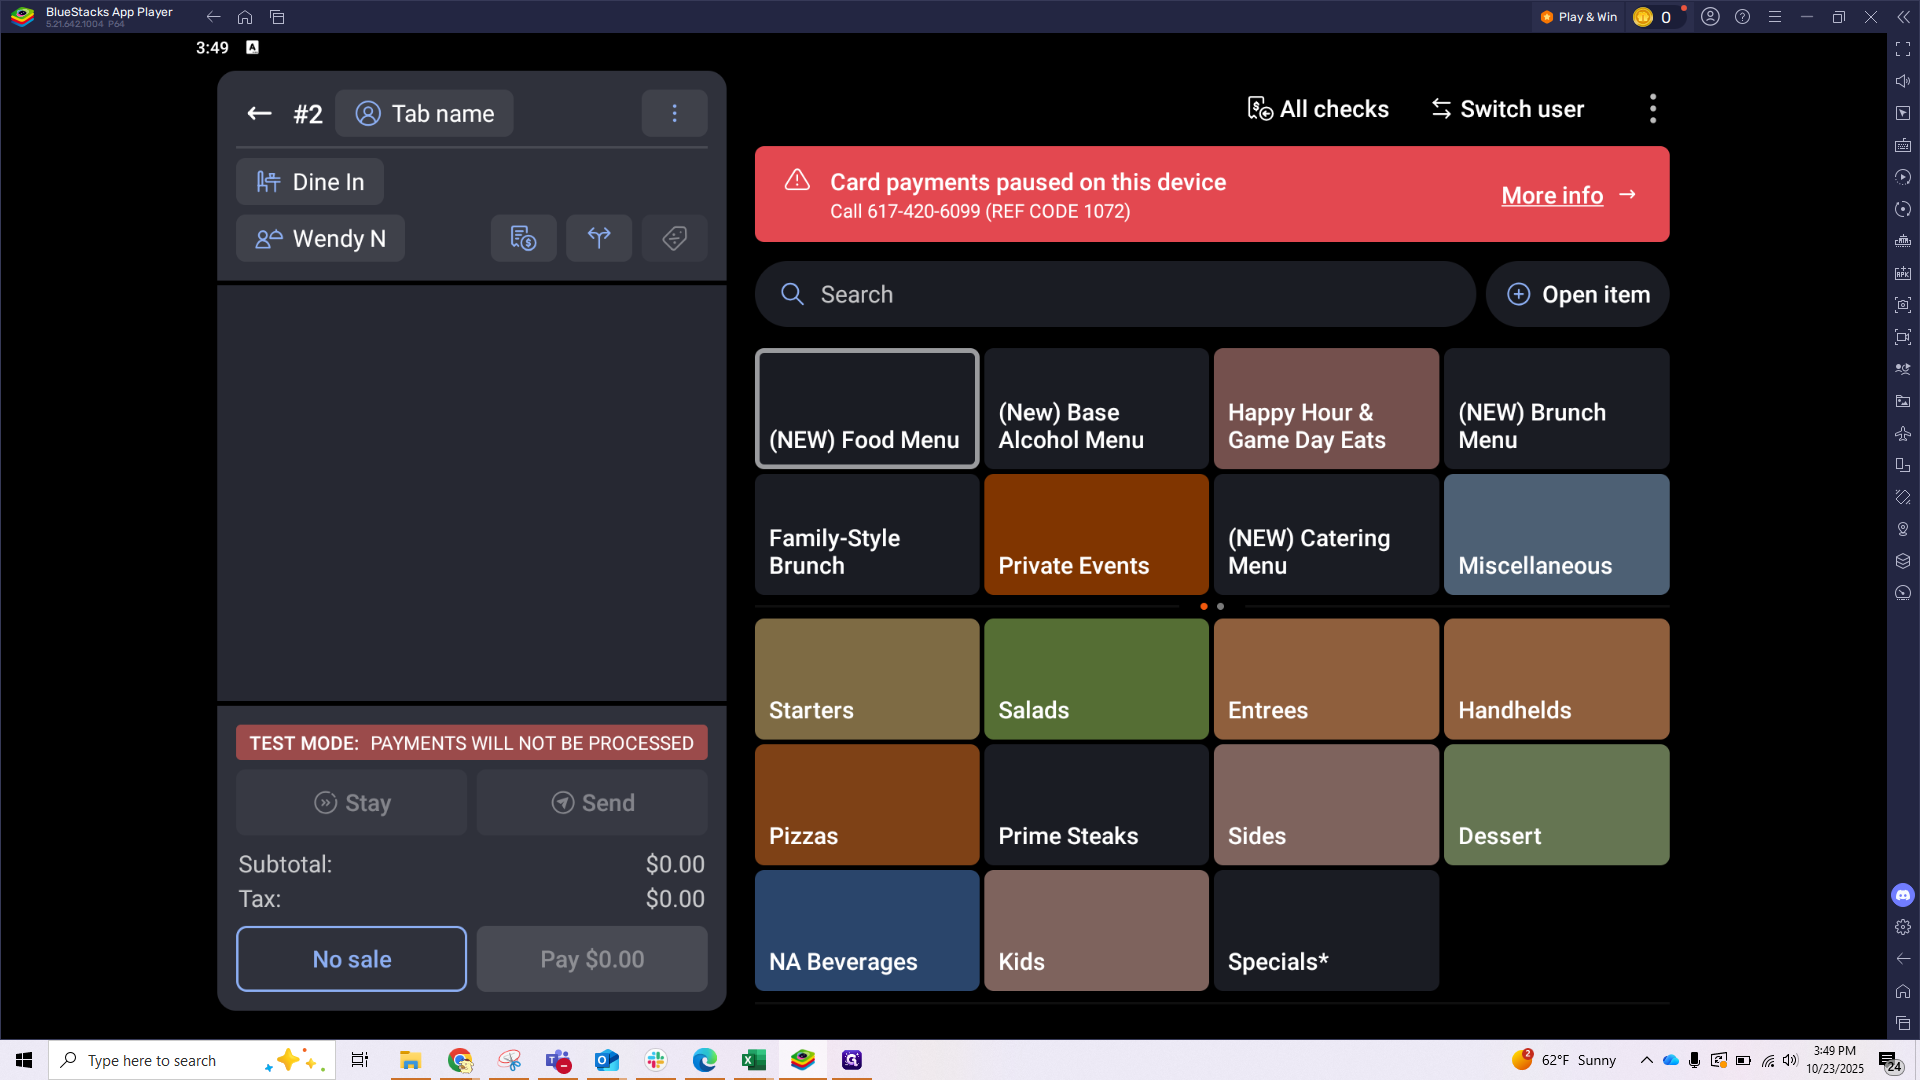
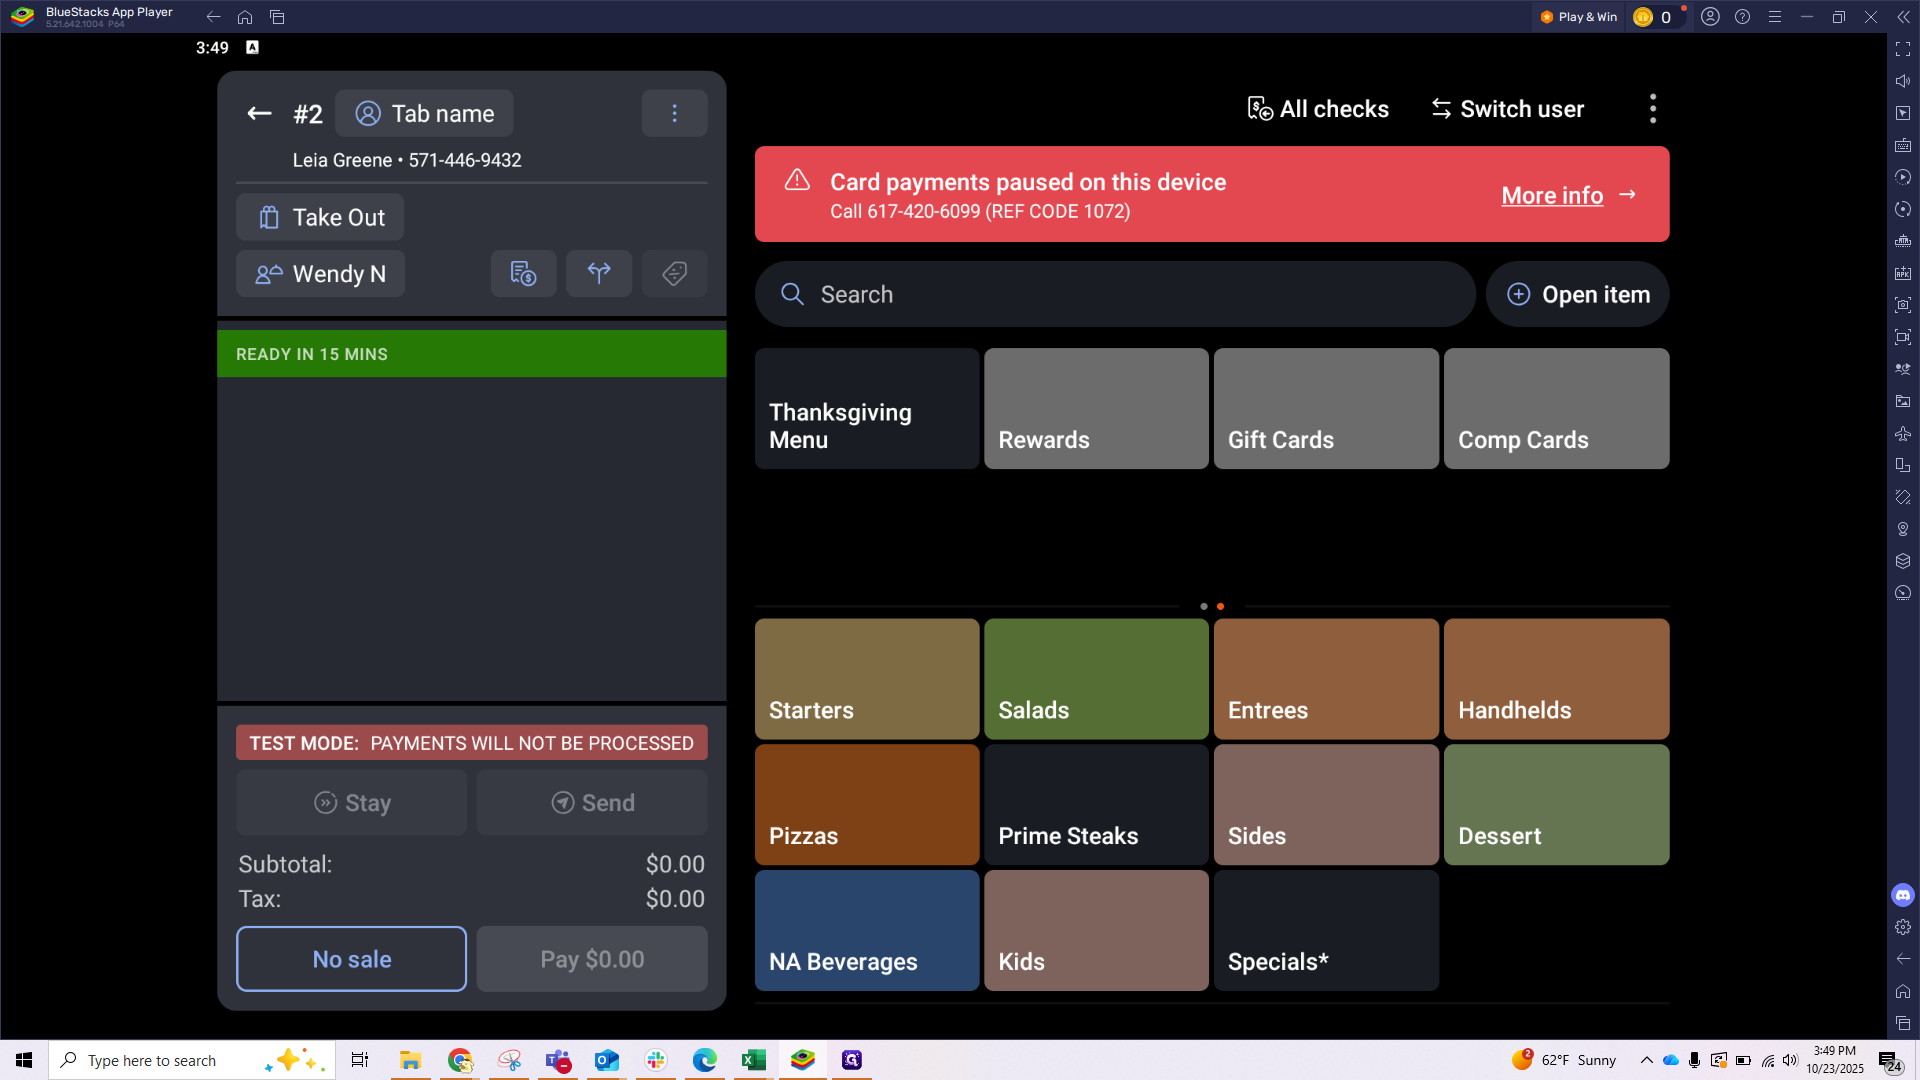
Toast only lets you schedule orders up to three weeks in advance. In this example, we'll use November 5th as our pickup date. After opening a new order, change Dine-In to Takeout. You will then be prompted to enter the guest's phone number and name.

If the customer already exists, their name will appear.
If not, fill in the Name field.

Now you can enter your order. Everything is located under the Thanksgiving Menu tab.
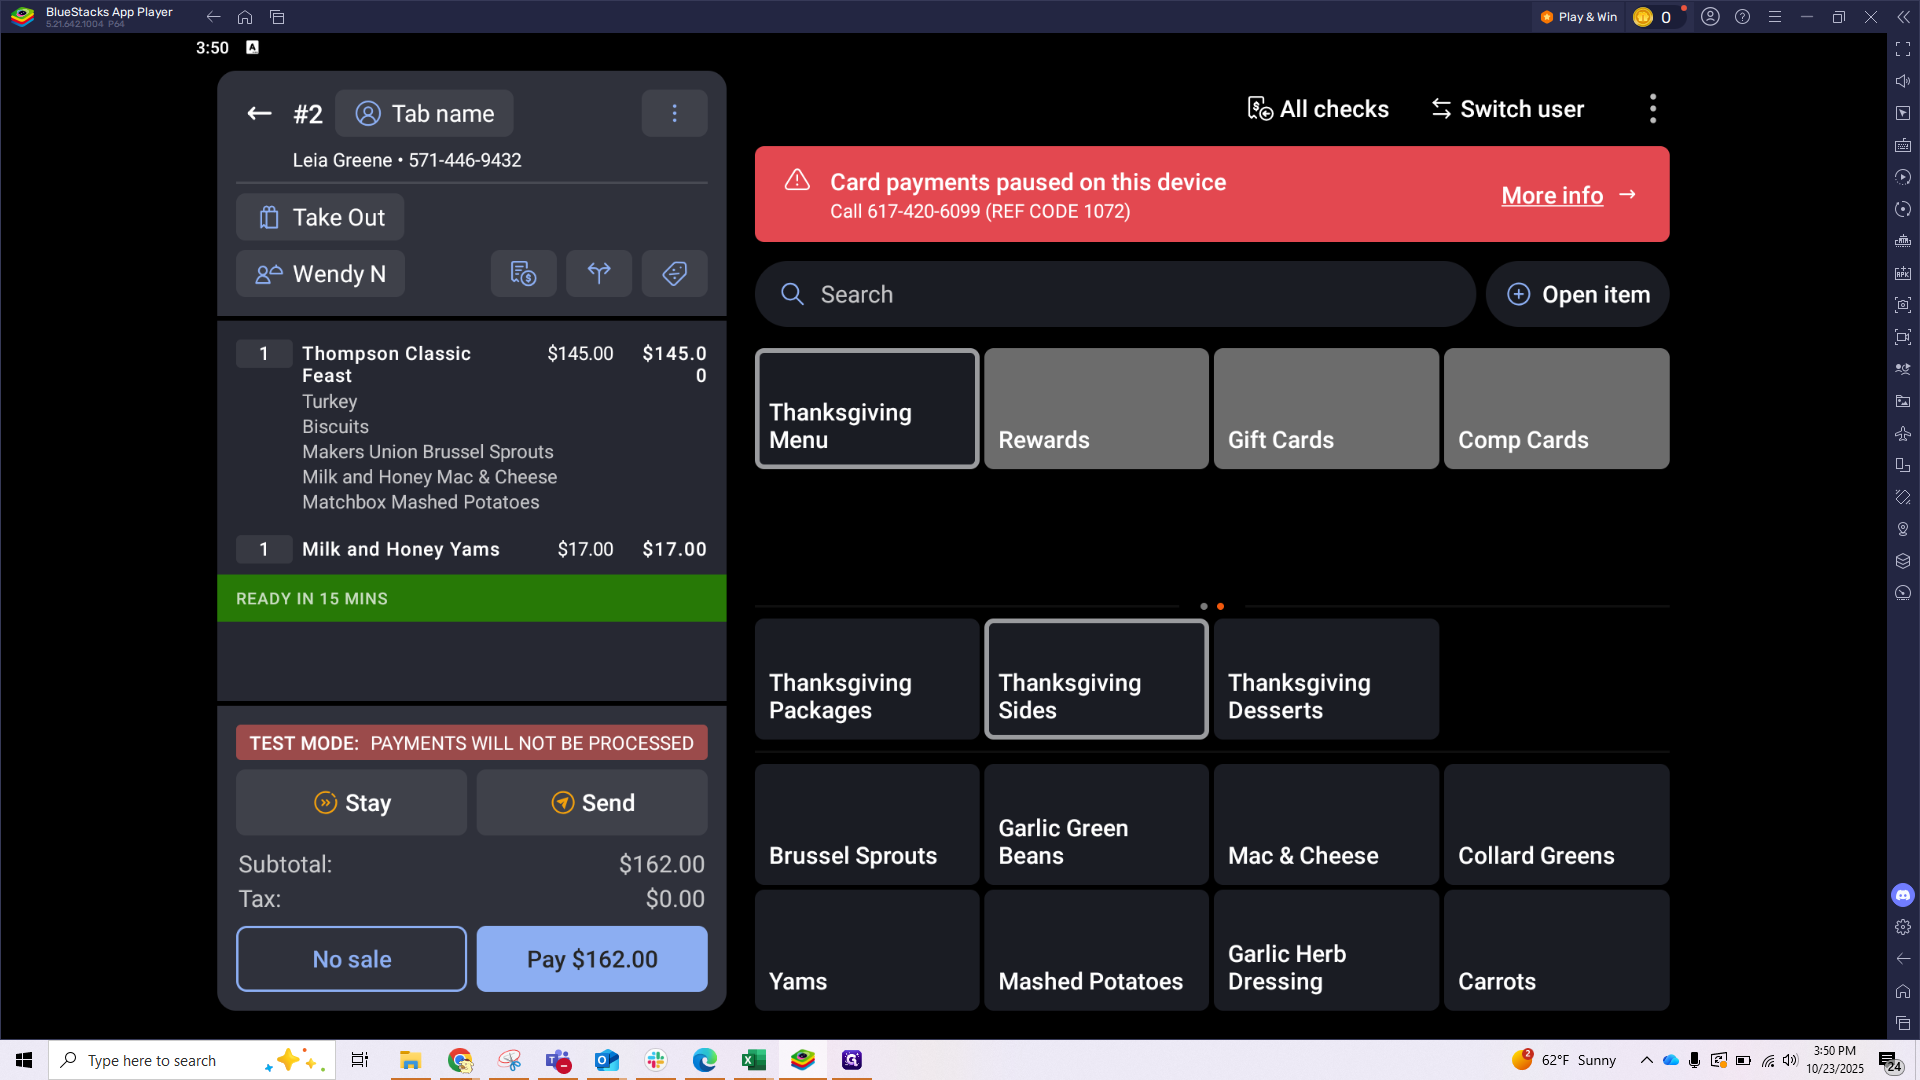
First, we'll add the Classic Feast: turkey, biscuits, Brussels sprouts, mac and cheese, and mashed potatoes.
Hit Done when you finish the Classic Feast, then we'll move on to the sides.
They also received an extra side of yams here.
We now have a total of $162, which matches the amount on the order sheet. Click the three dots in the top corner, to schedule a pick up date and time.
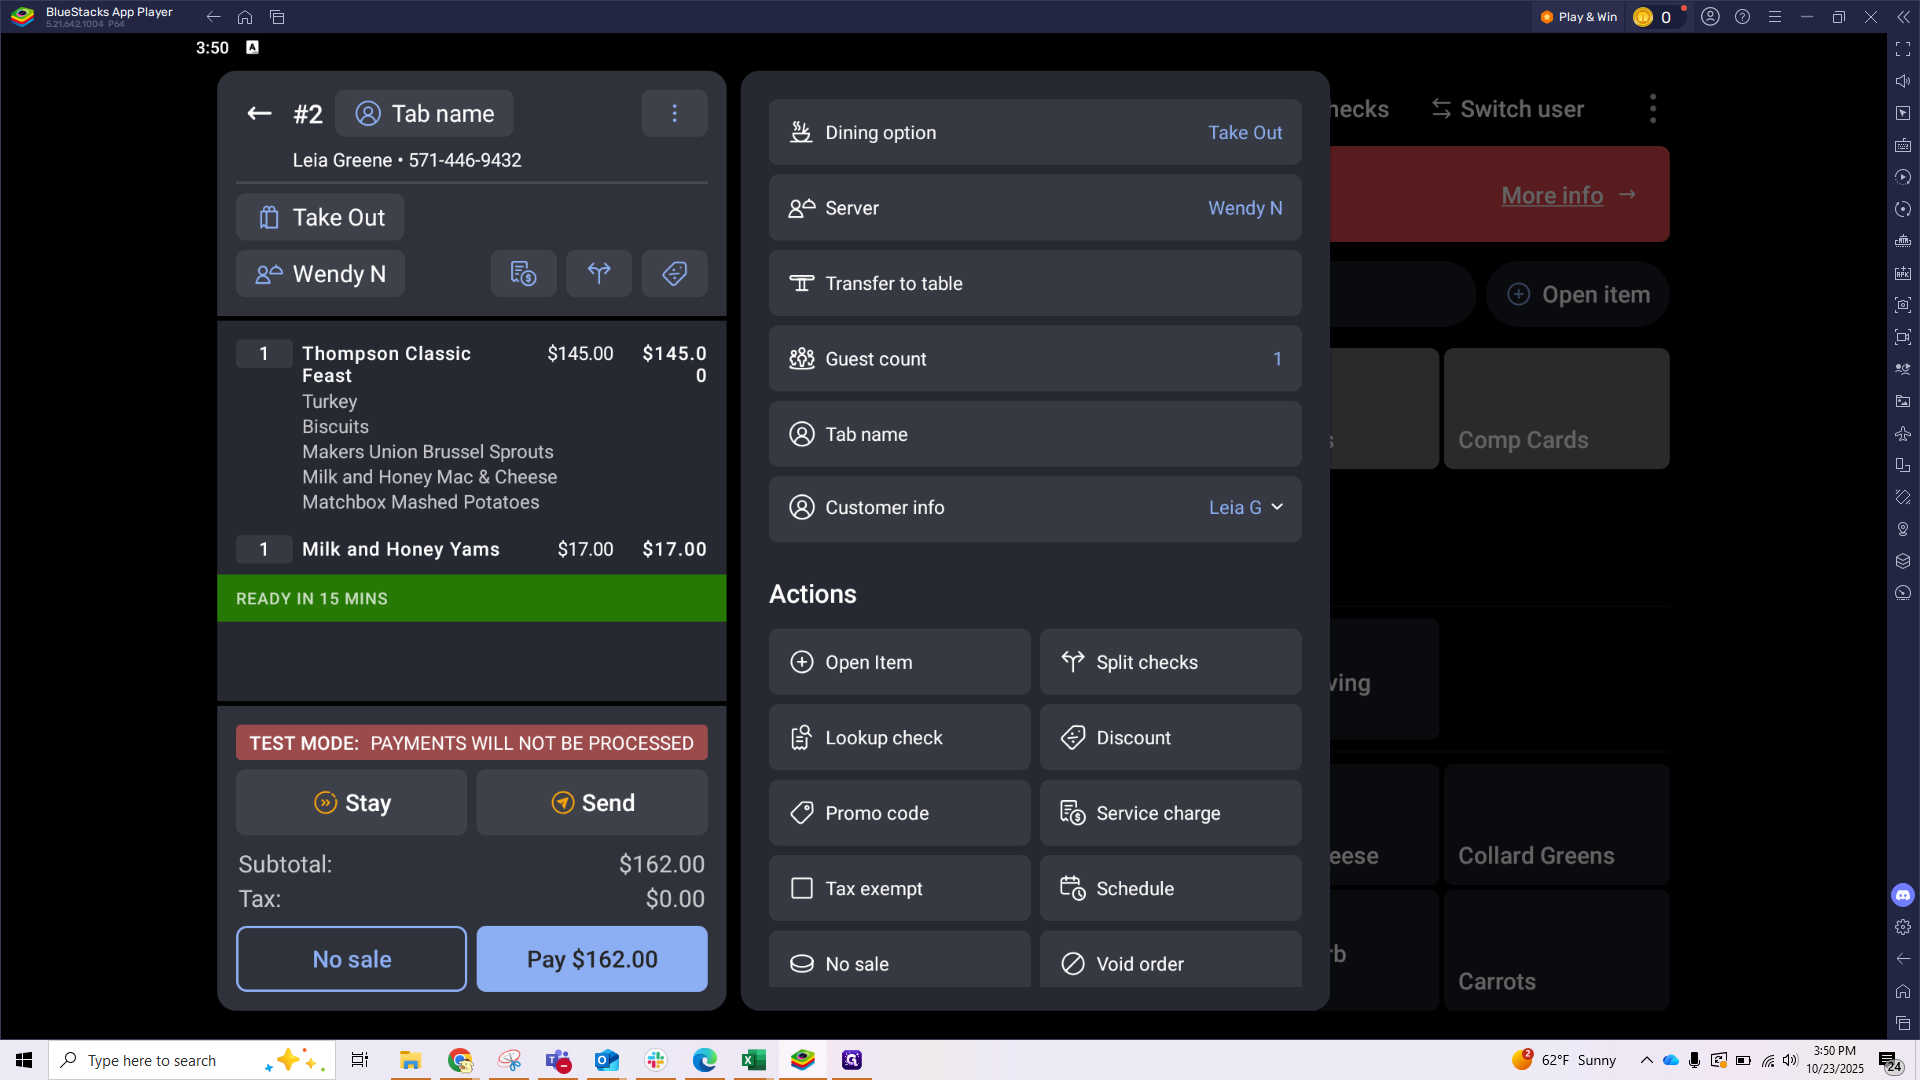
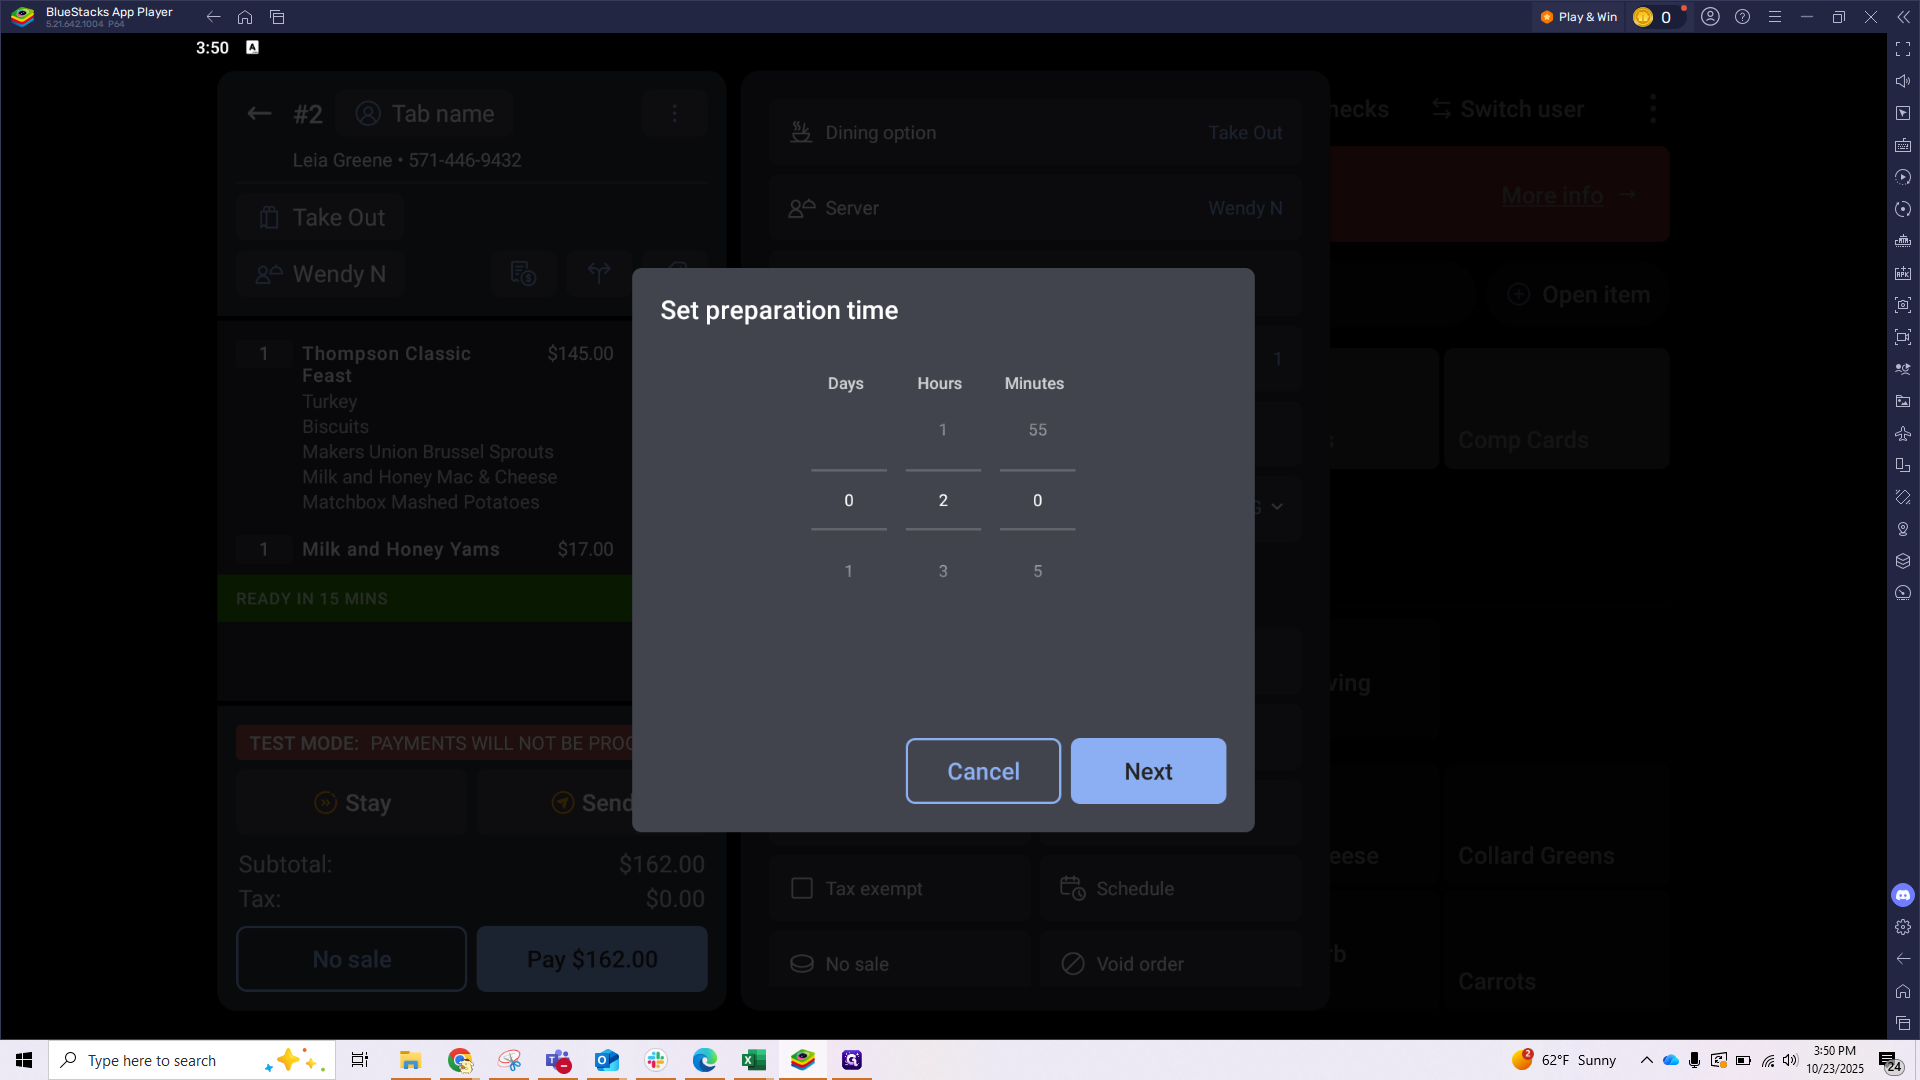
Toast will first ask you to set a preparation time. This tells the system how much time you need to complete the order. For example, if you set the prep time to two hours, the order will appear on your expo screen two hours before the scheduled pickup time.
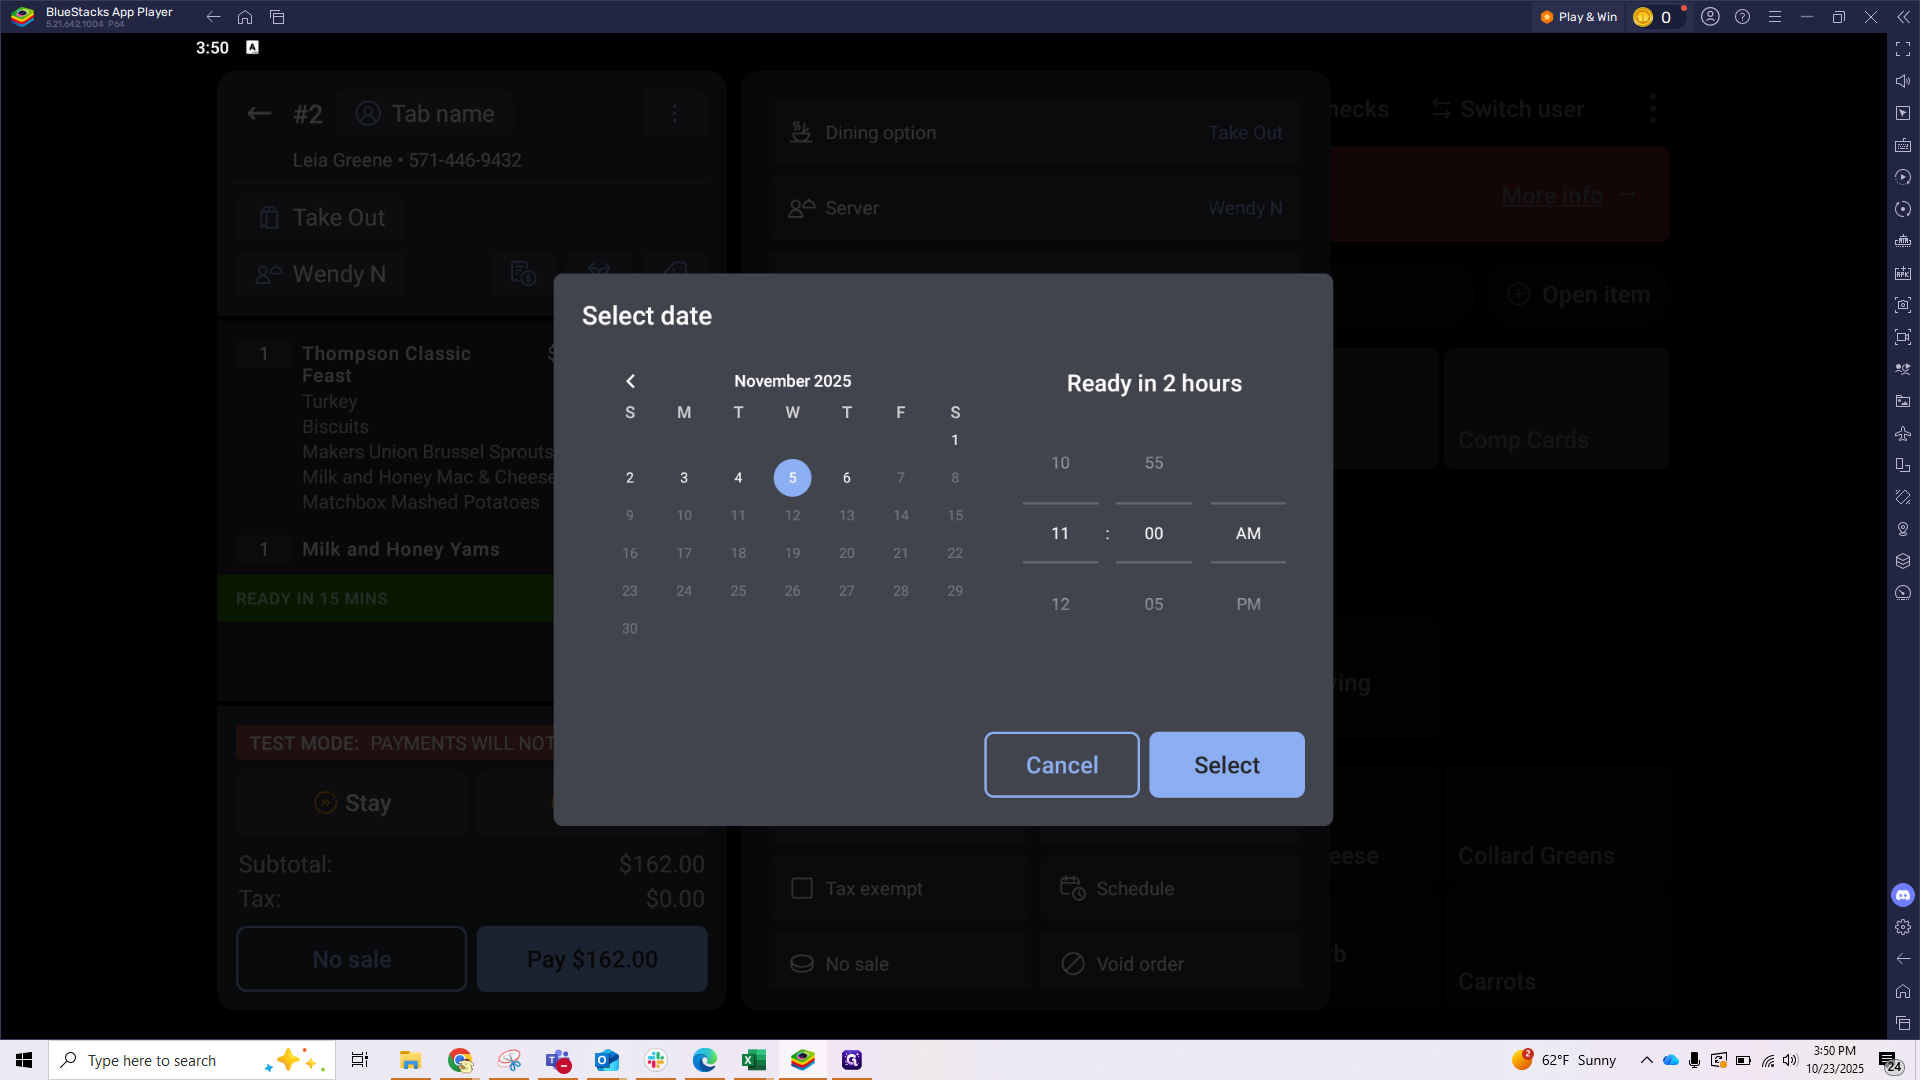
After selecting that, you can choose a pickup date and time.
Go ahead and select the desired date and pick up time. In this example we will use 11/5 at 11 am.
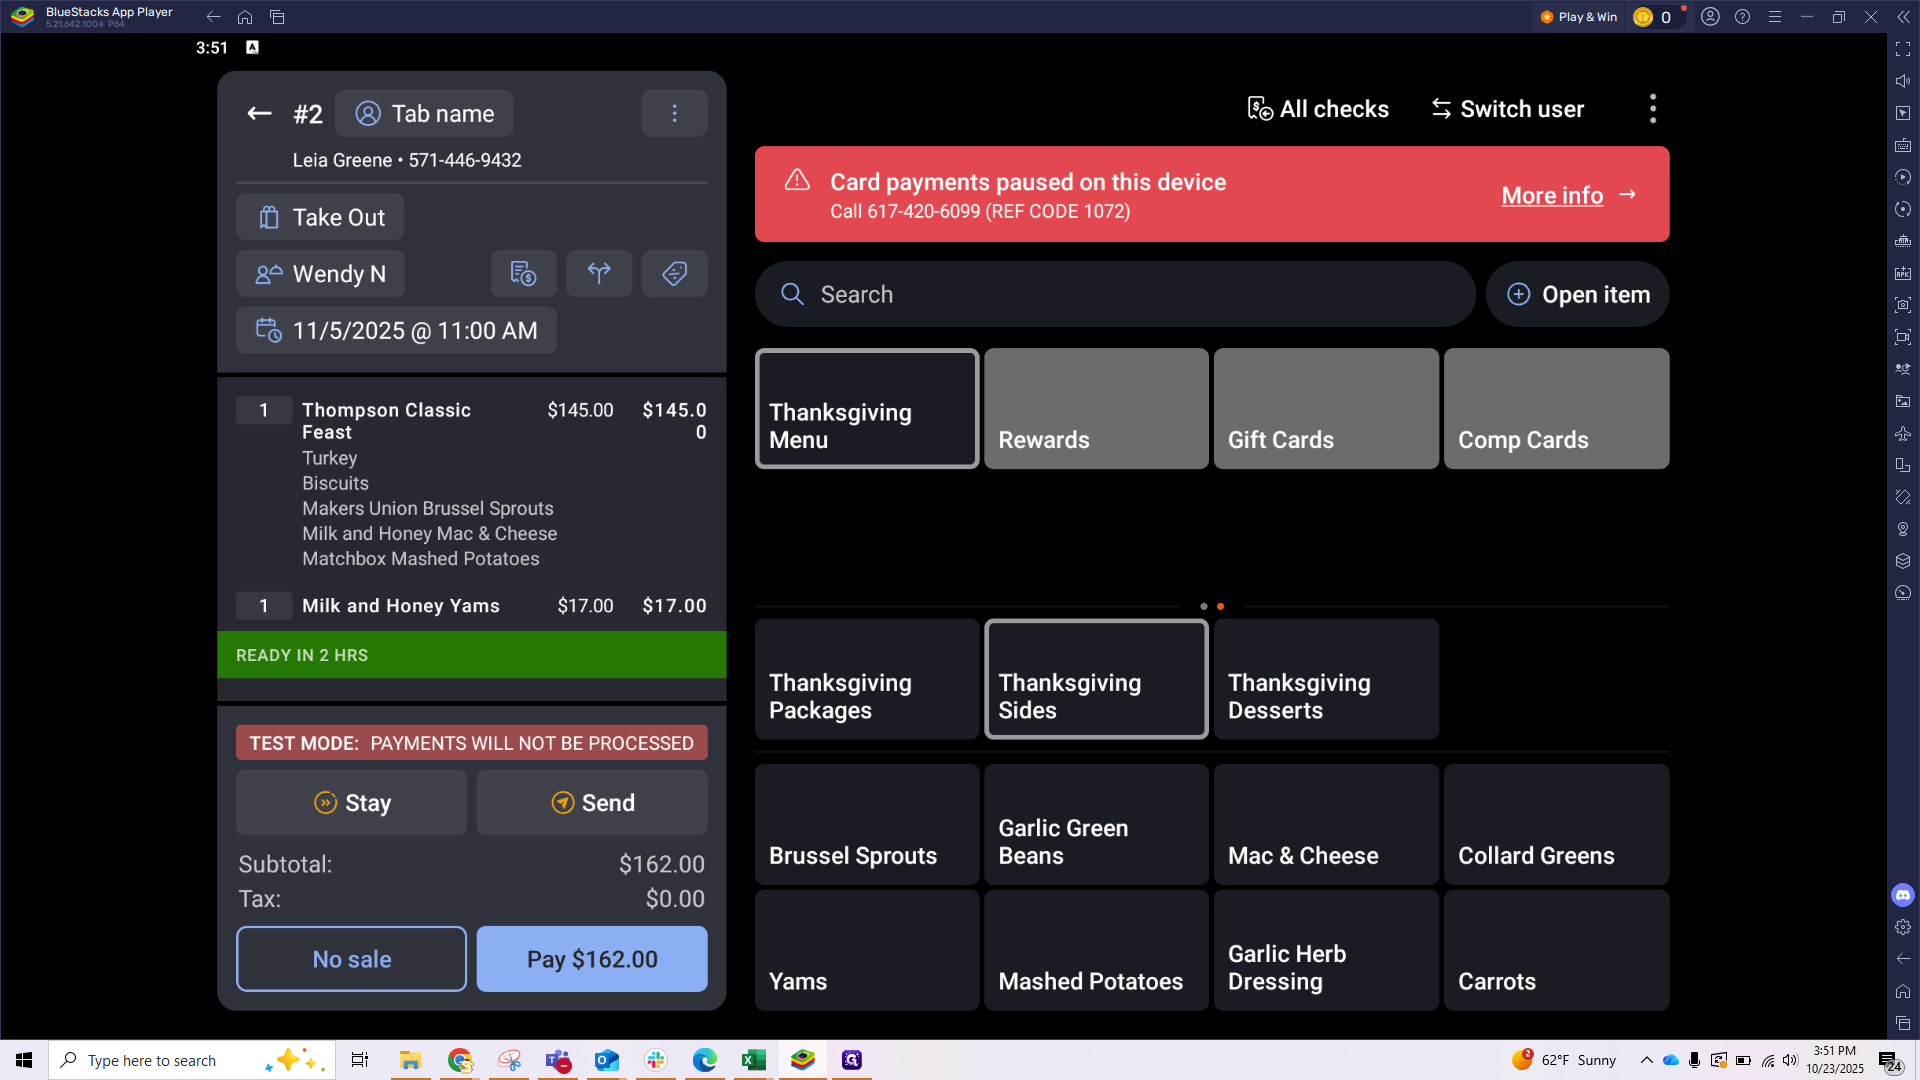
Take a moment to check that all your information is correct. We have the date, time, and the items ordered, along with our prep time shown here in green. You'll notice it shows tax as $0 here. However, when you check your receipts in the Toast backend, the actual tax is listed, and your total will be $162 with the subtotal and tax properly broken down.
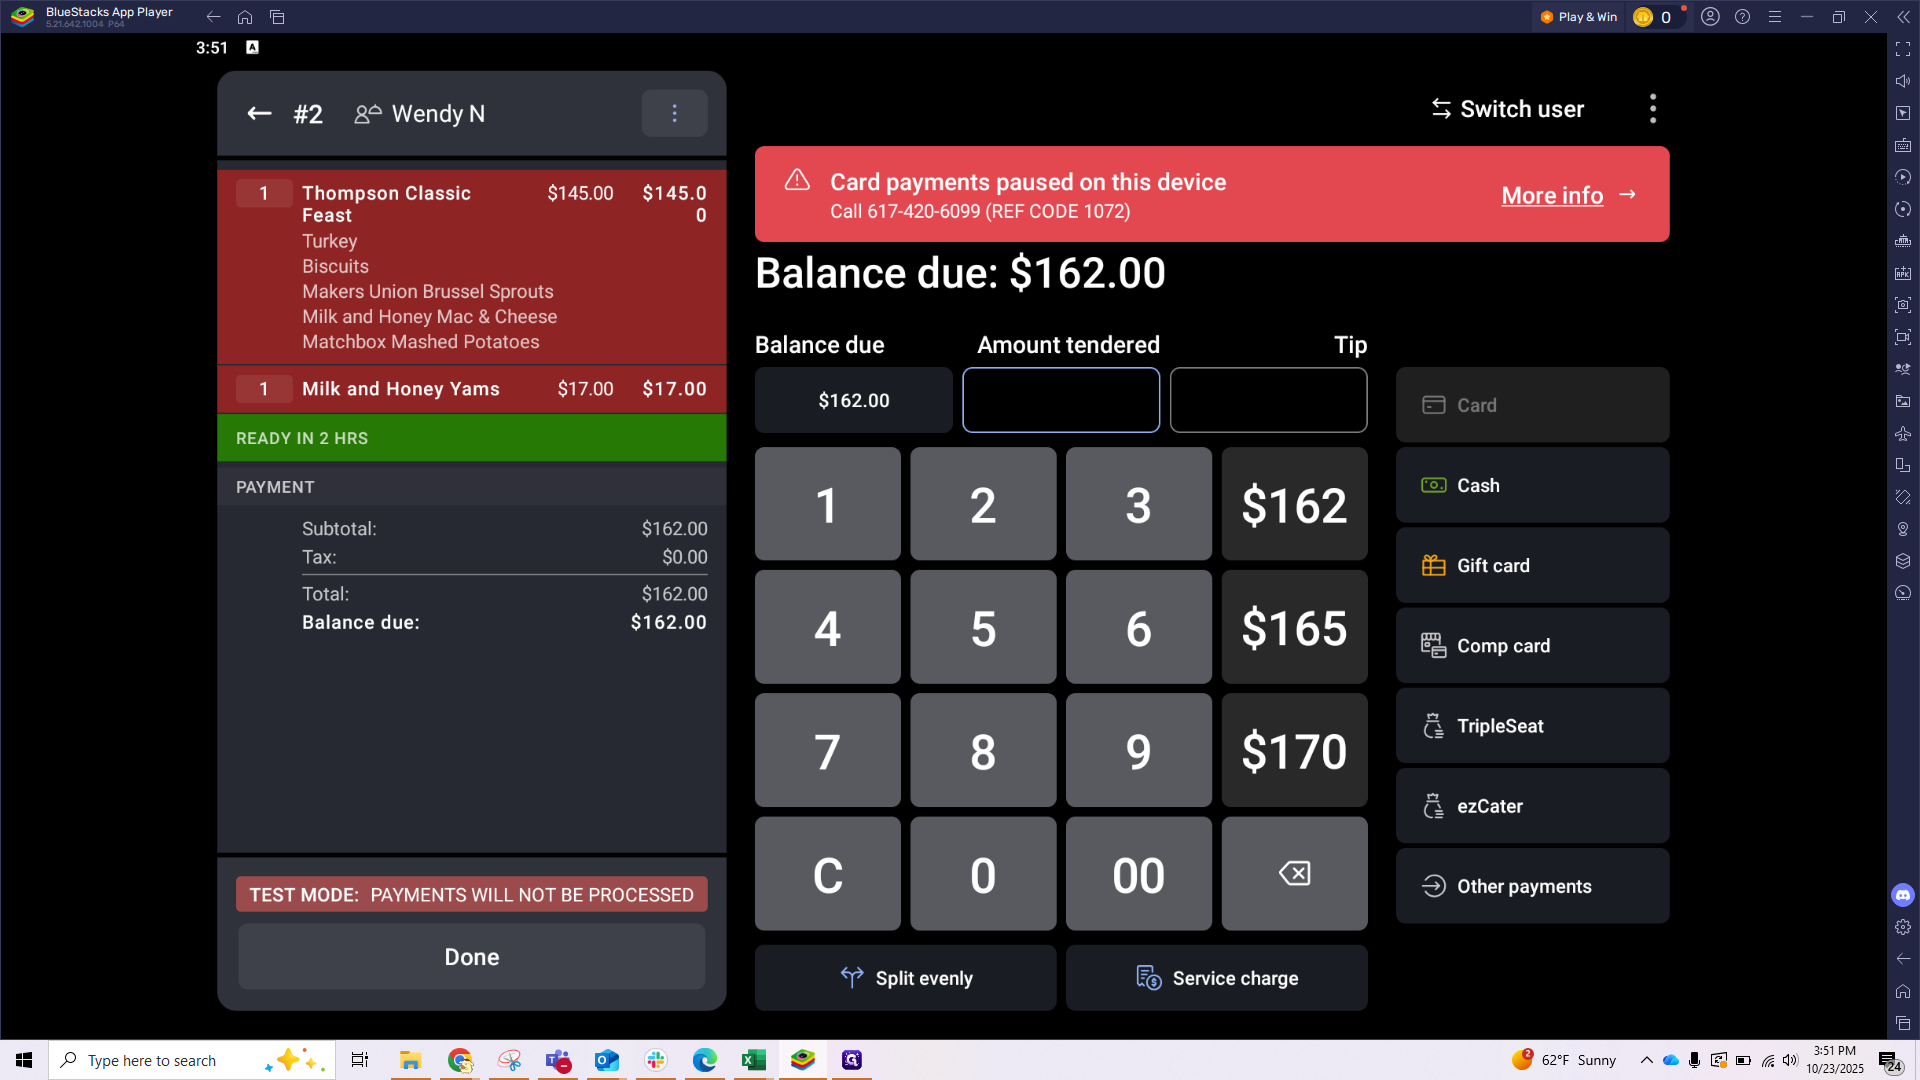
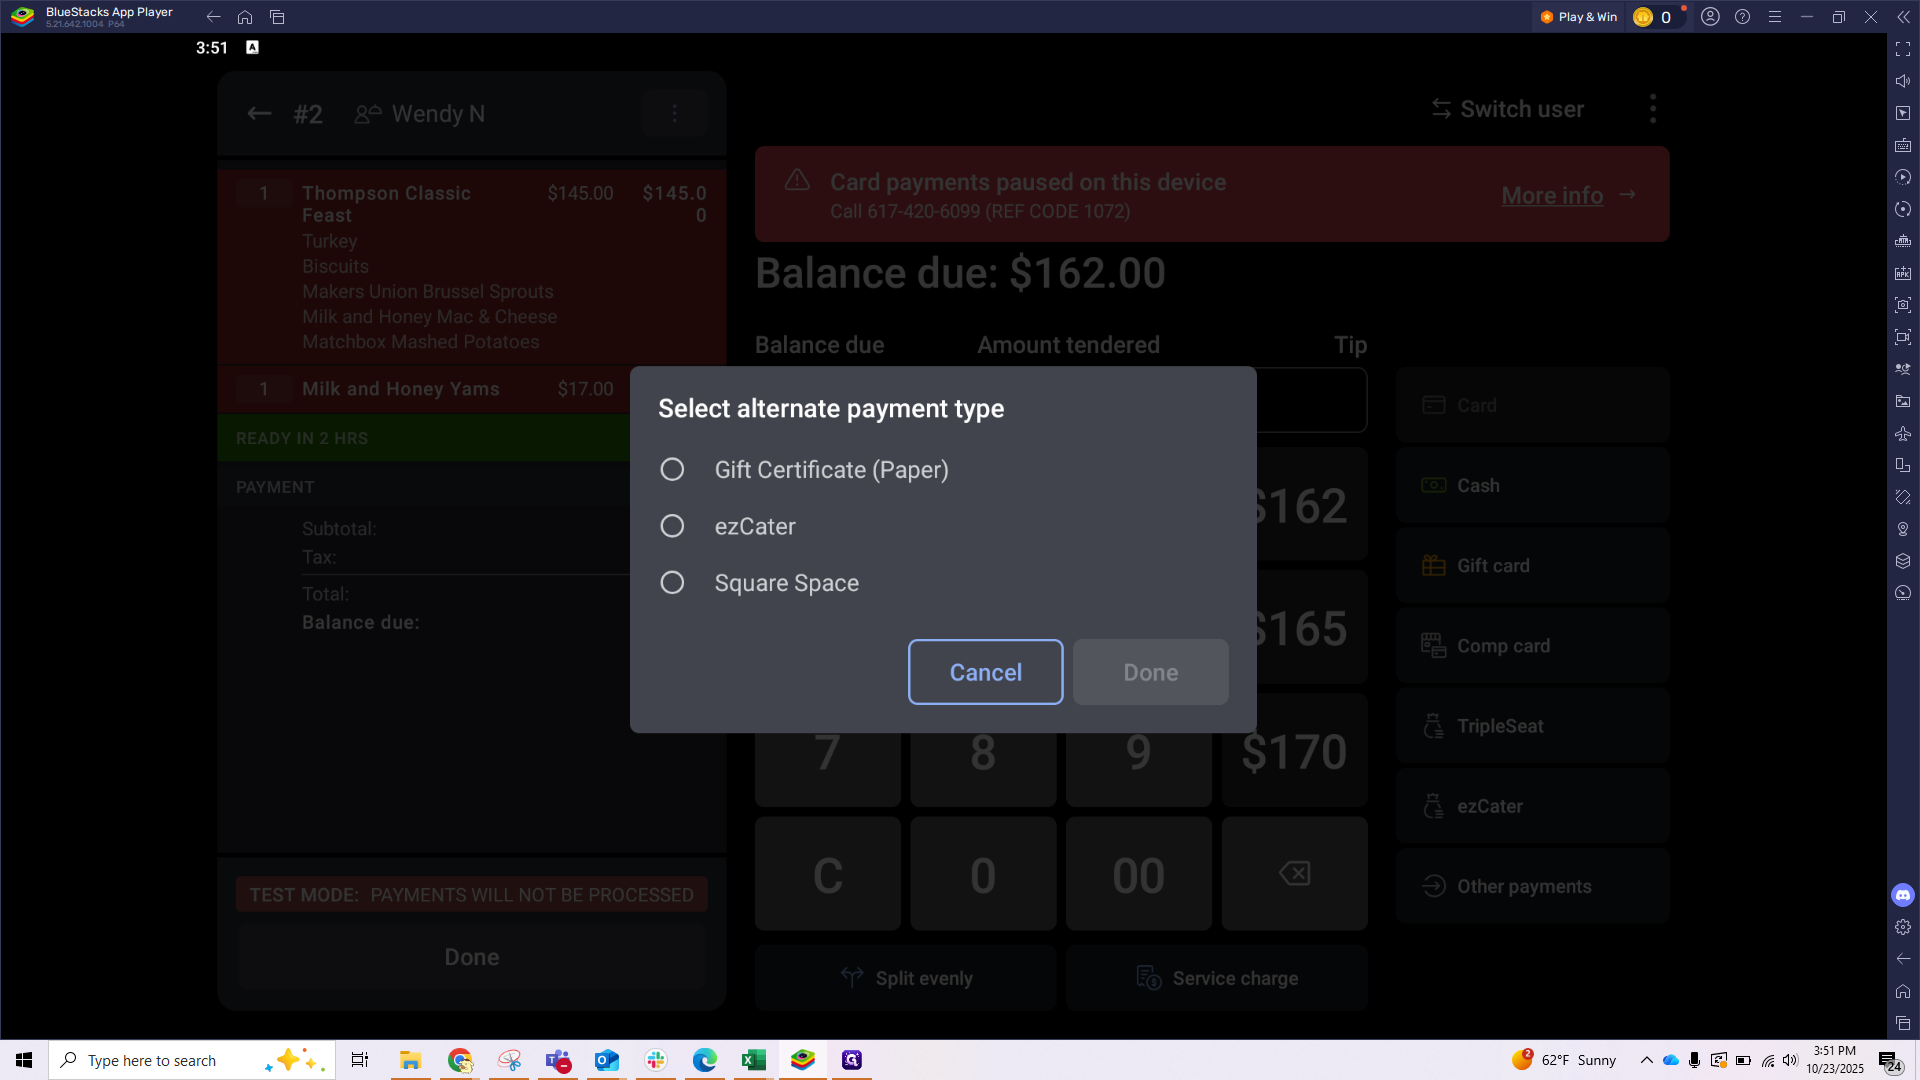
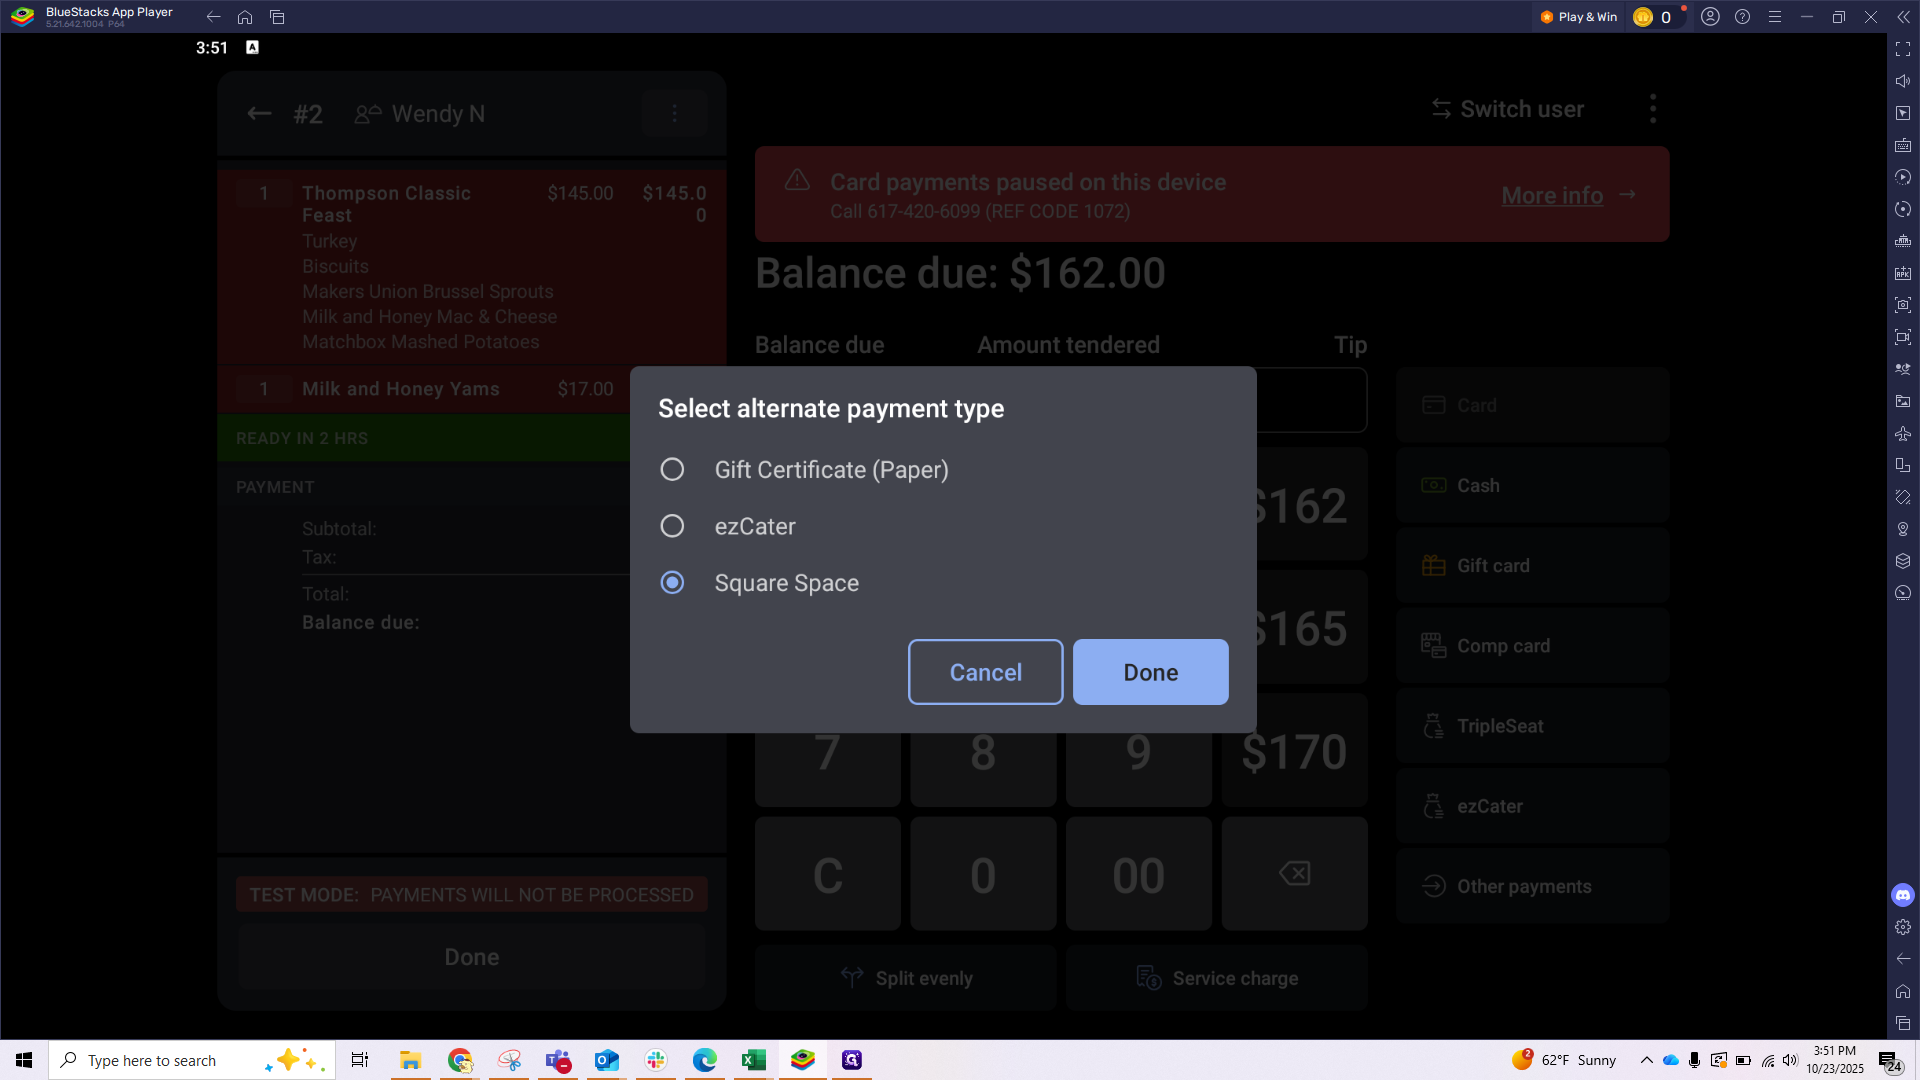
Click the Pay button, to head to the payment screen. Select Other Payments, choose Squarespace for your order, and click Done. And that's it! You’re all set.
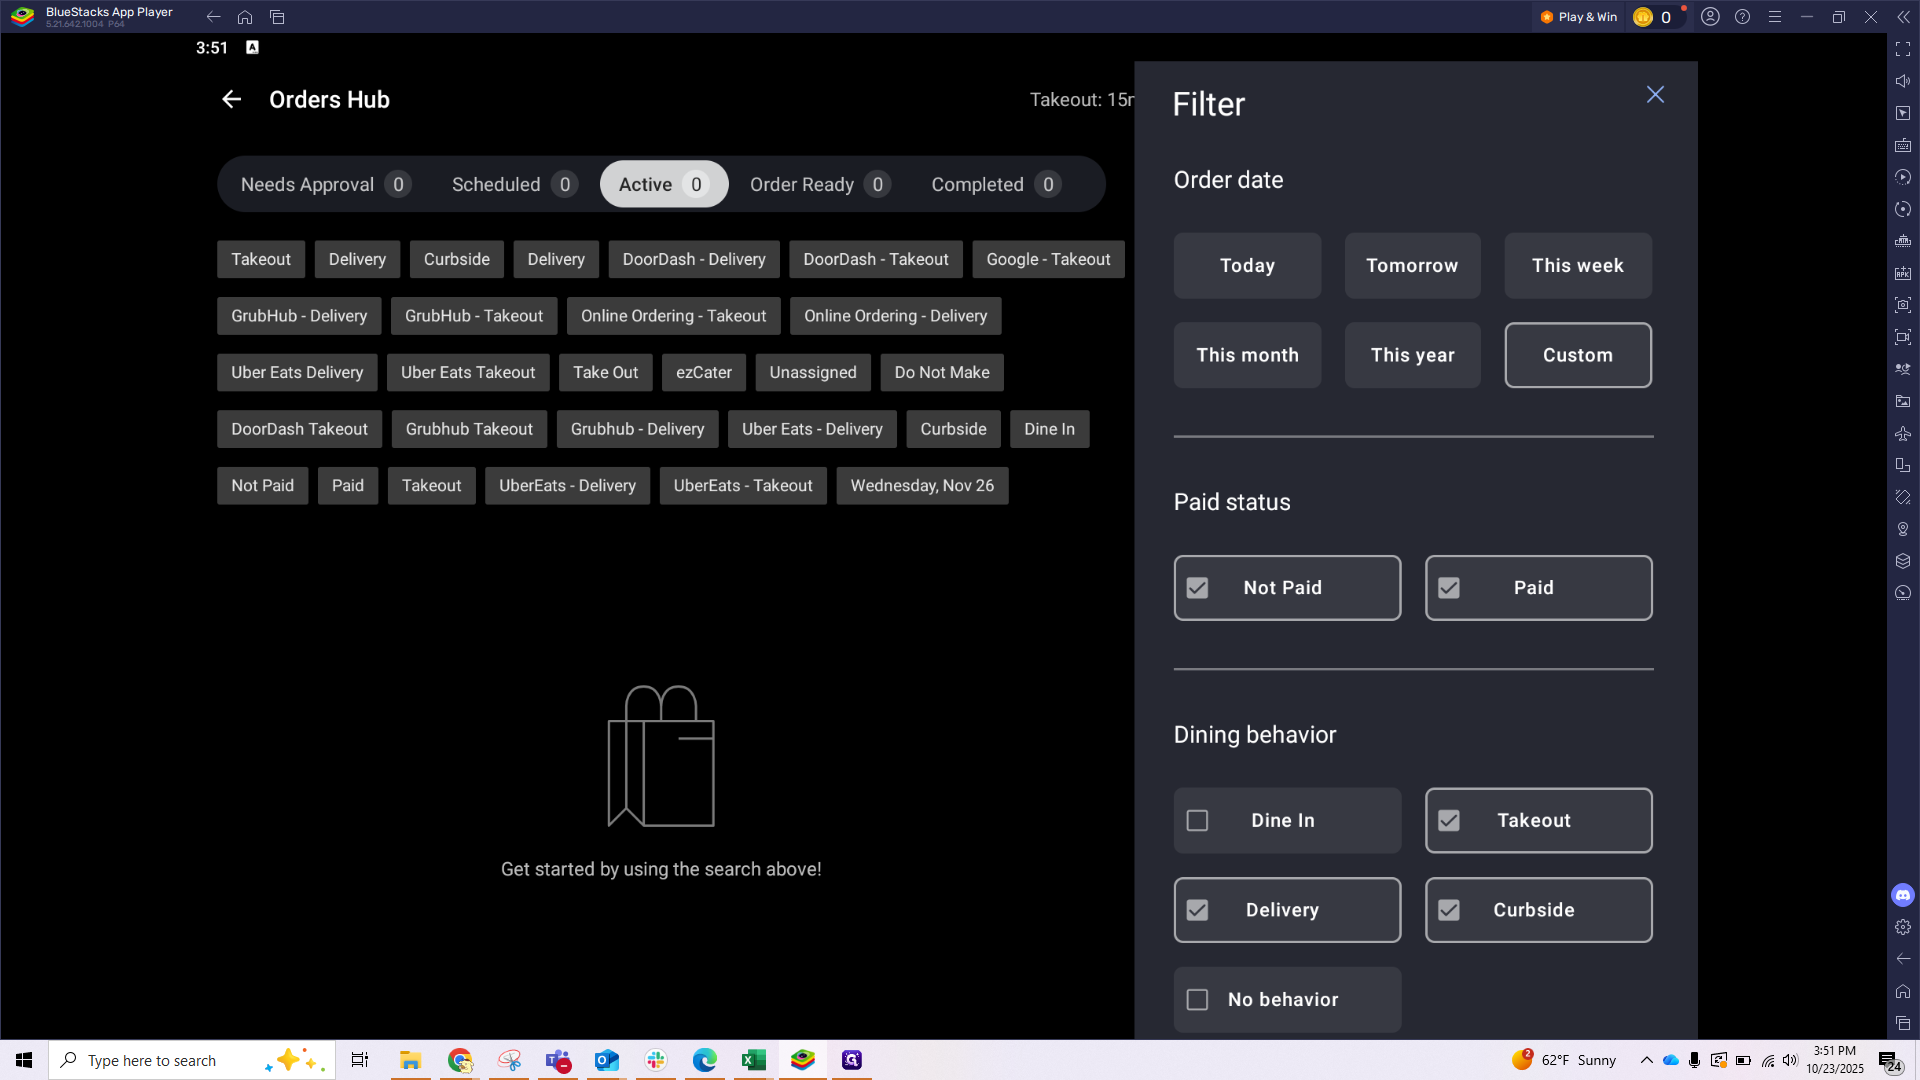
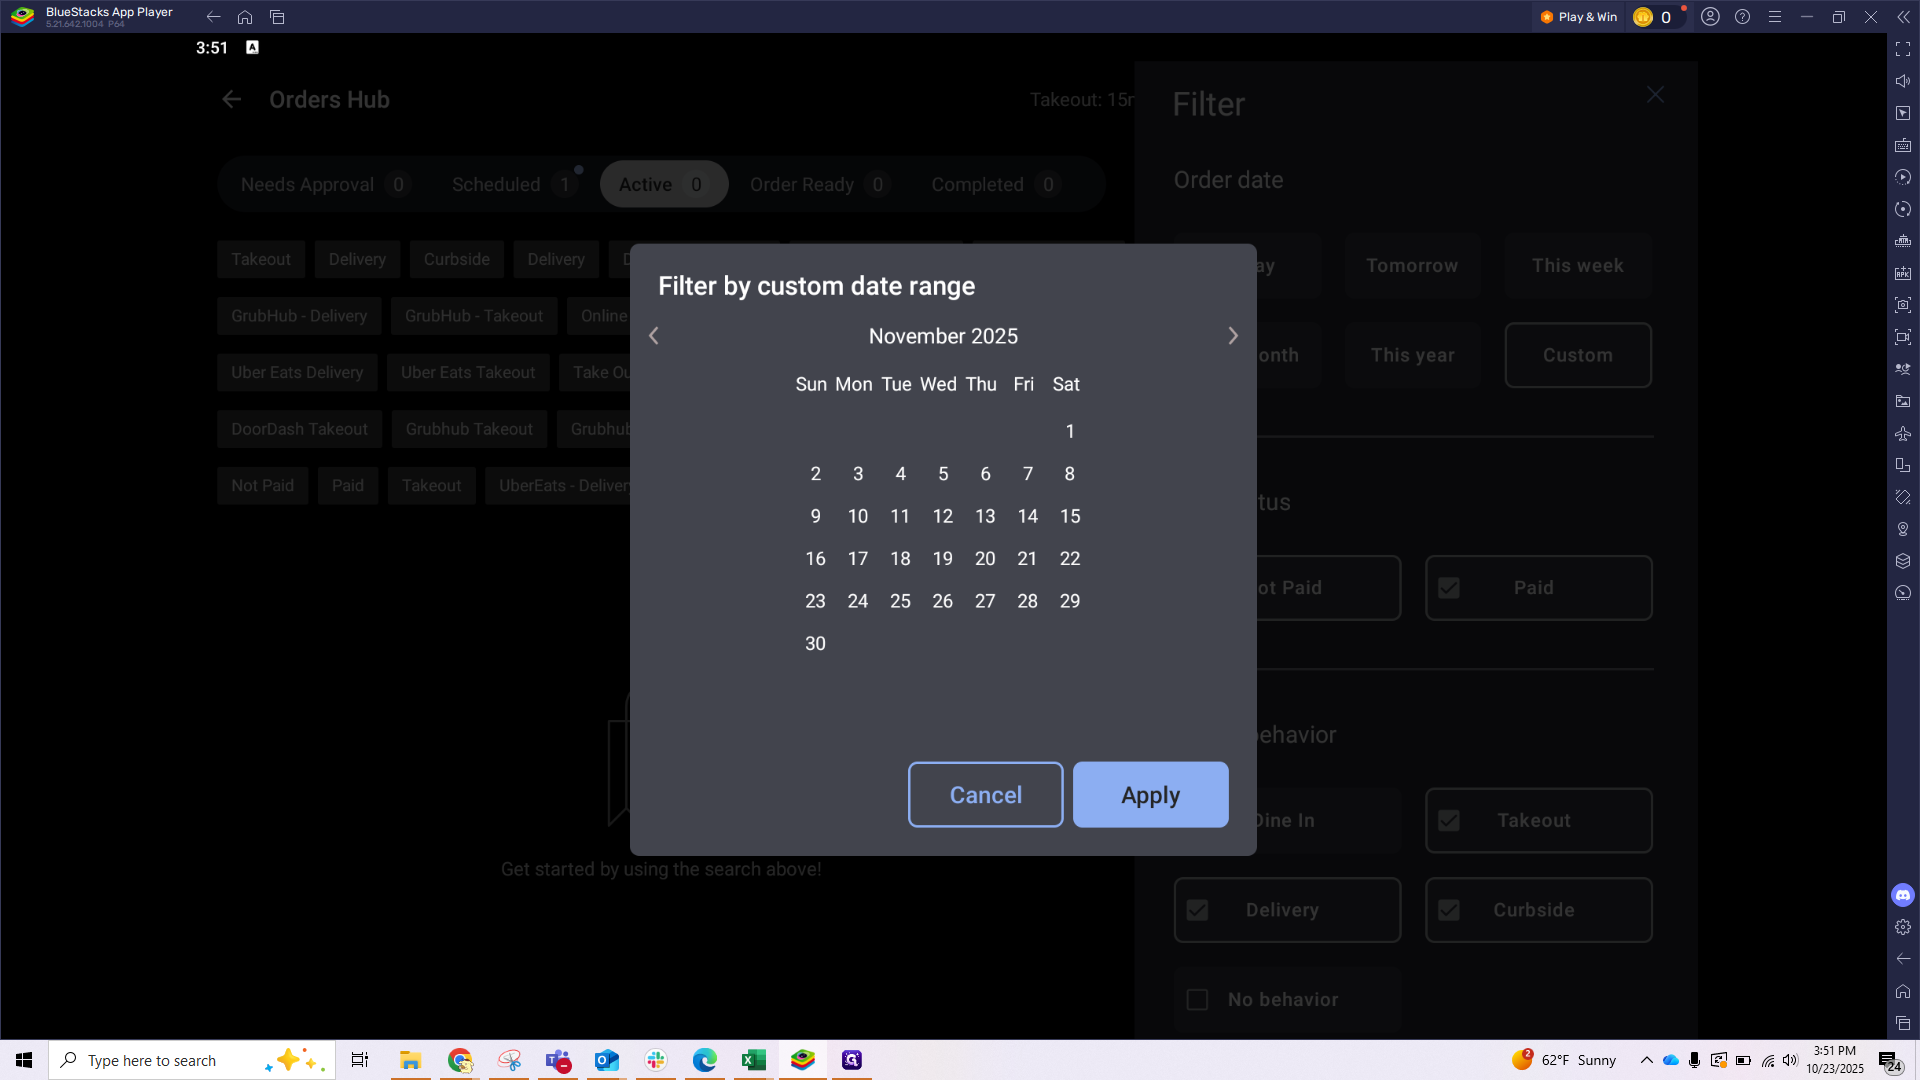
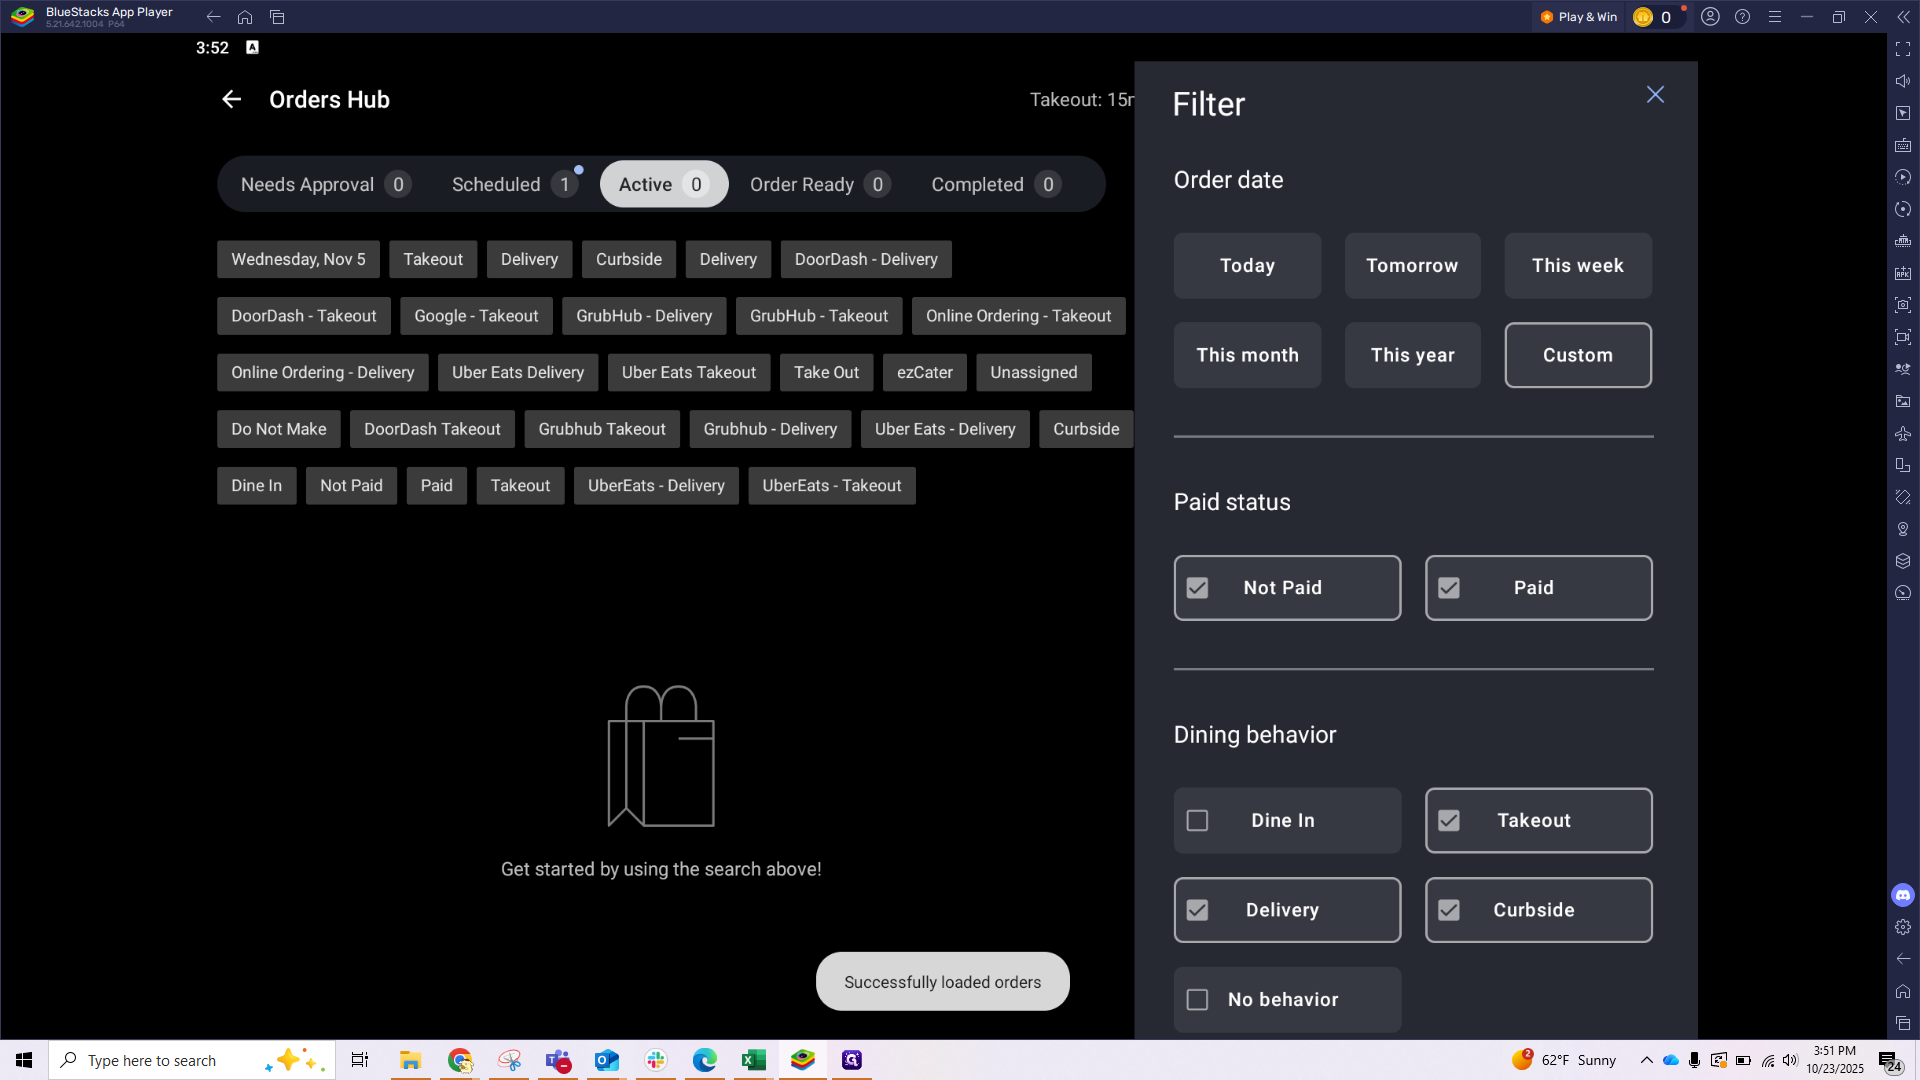
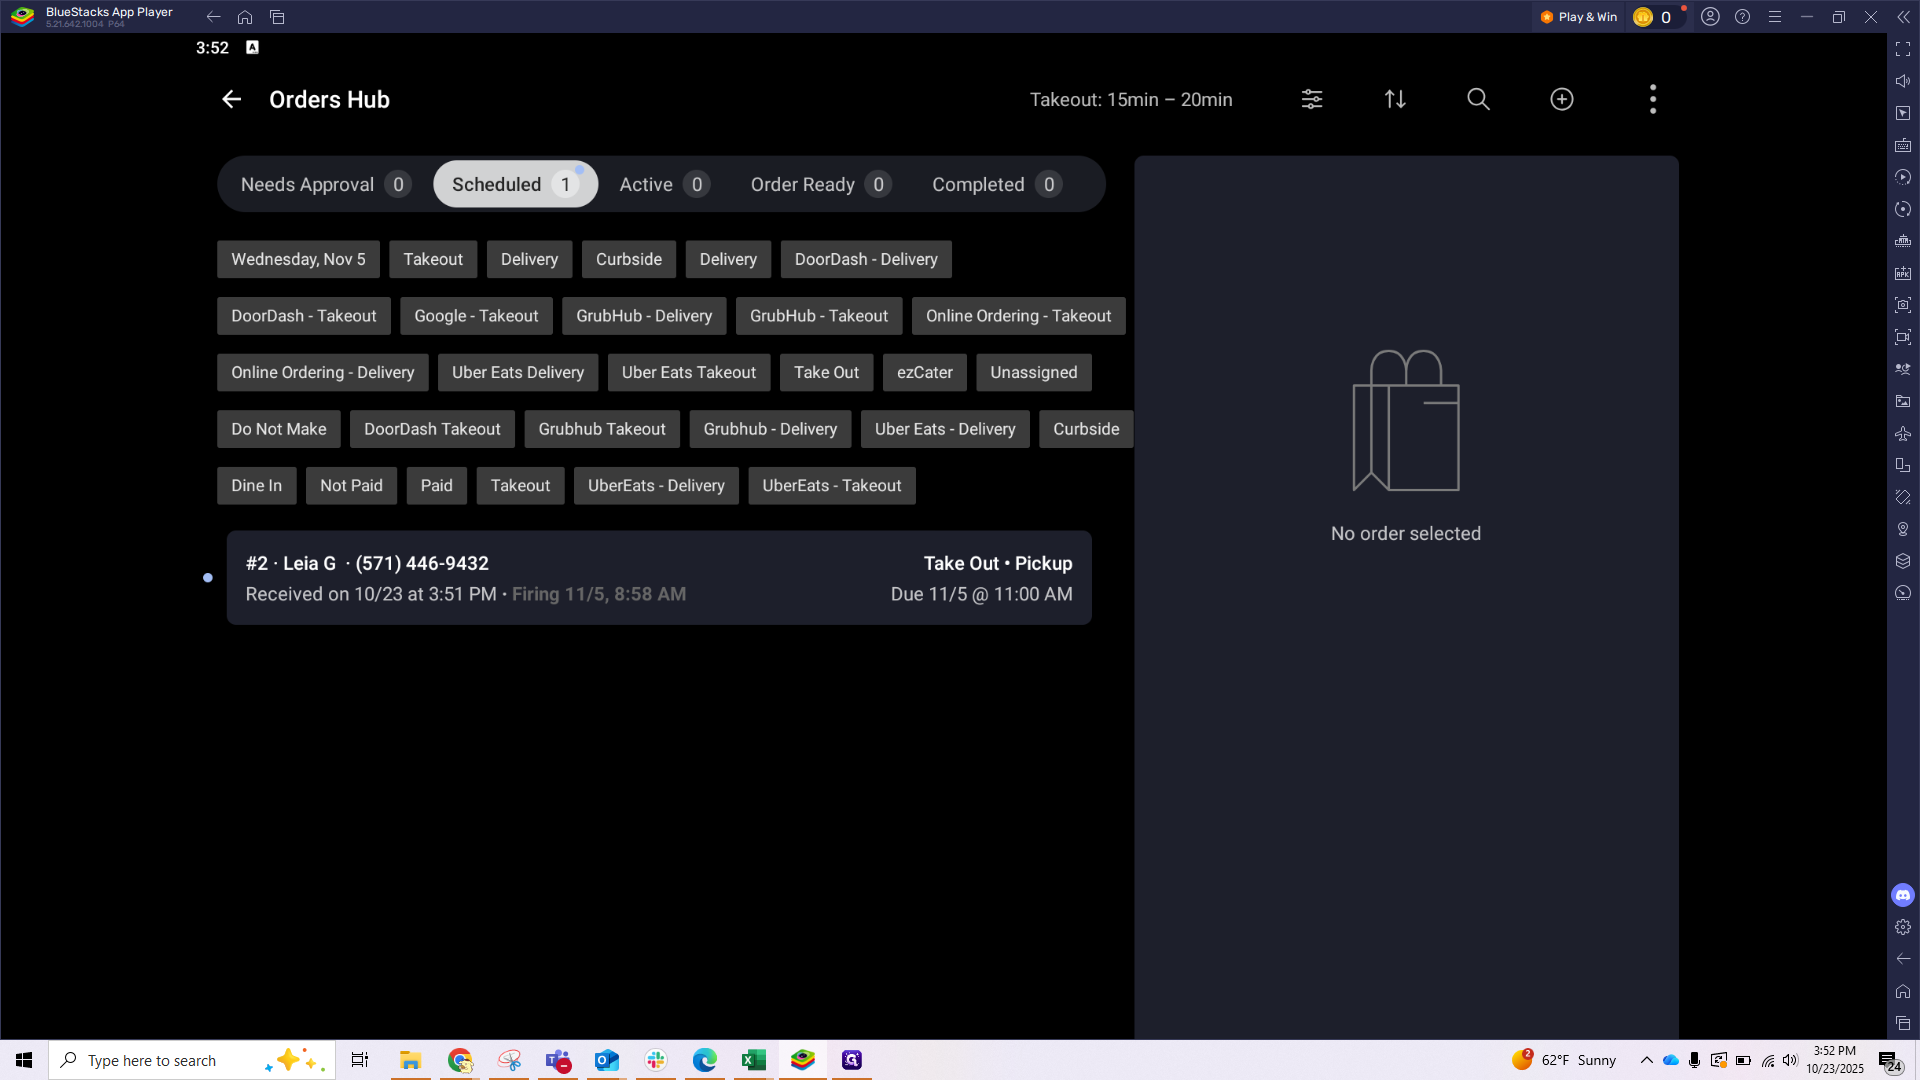
To check your orders for a specific day, go to the Order Hub screen. Change the filters from "Today" to "Custom." Select the desired date, to see how many scheduled orders you have for that day.


If anything seems off or you get stuck along the way, put in an IT ticket and we'll be happy to help!