How to View Posted Transactions Using the Date Range Filter
Learn how to filter and view posted transactions by selecting a custom date range in the Posted Transactions dashboard.
By Aasma Technology Solutions
This guide explains how to view posted transactions for a specific time period using the Date Range filter. By selecting a start and end date, you can quickly fetch and review the transactions posted during the selected period.
This workflow is useful for finance teams, accountants, and CFOs who need to review transactions for month-end closing, financial analysis, or routine transaction reviews.
1
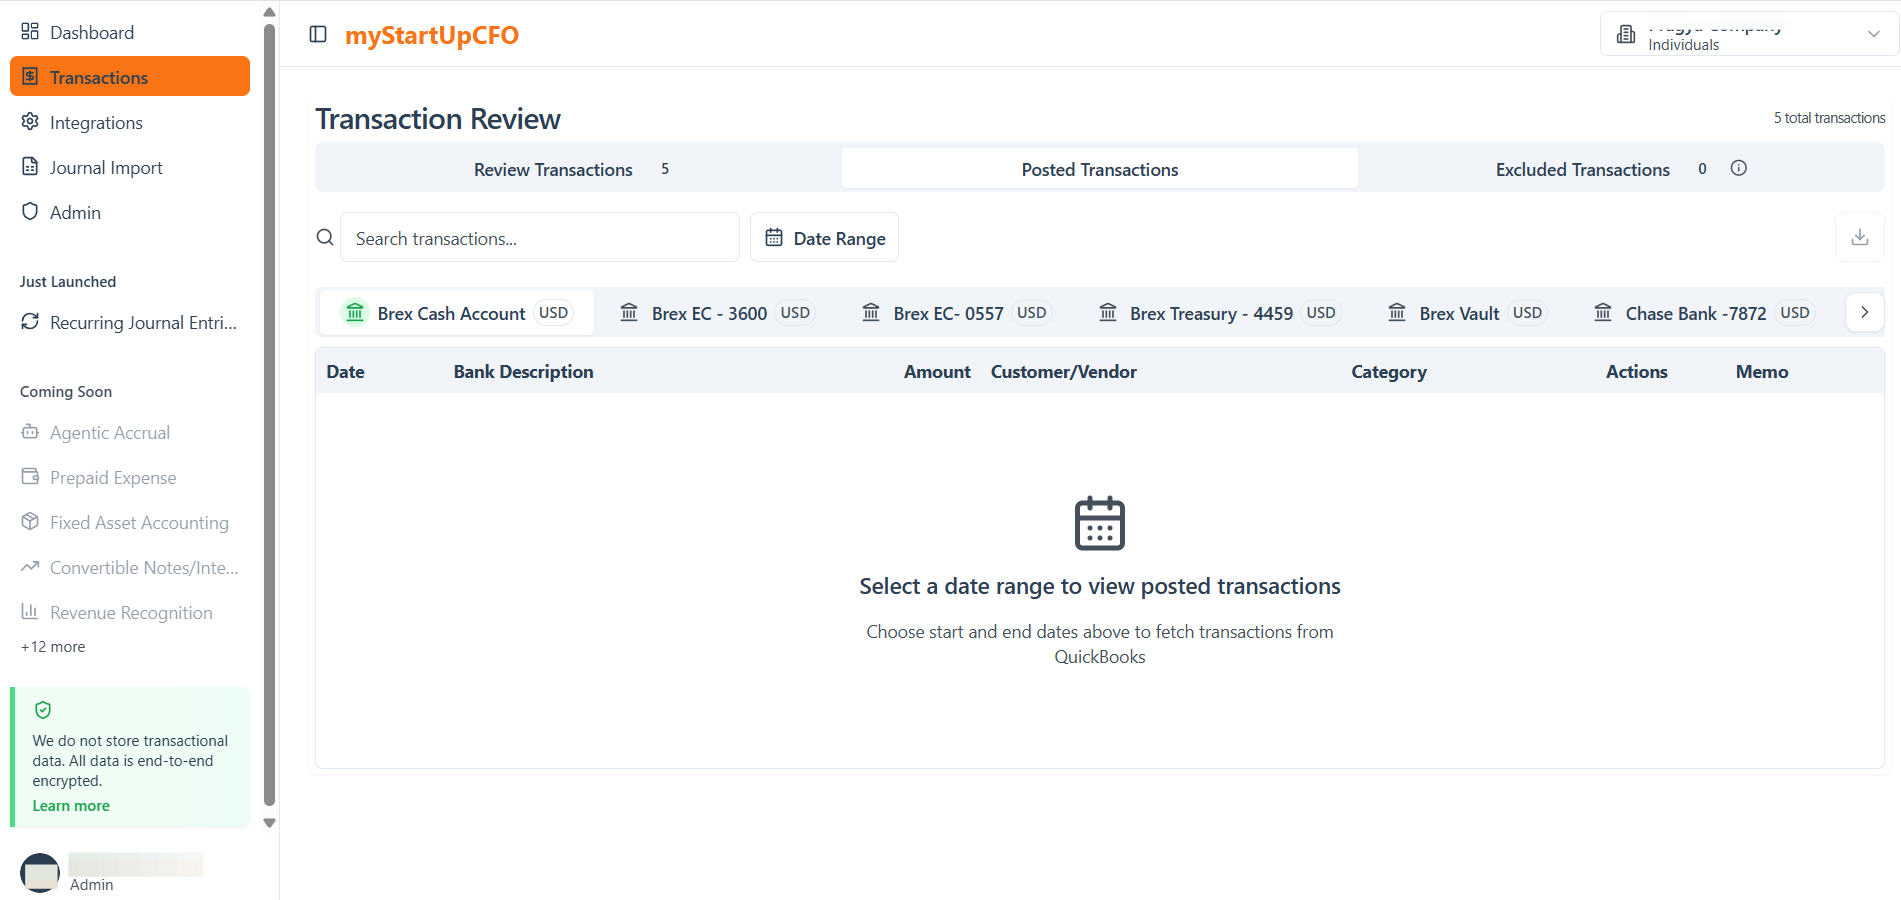
Go to the Transactions tab and open the Posted Transactions section.
2
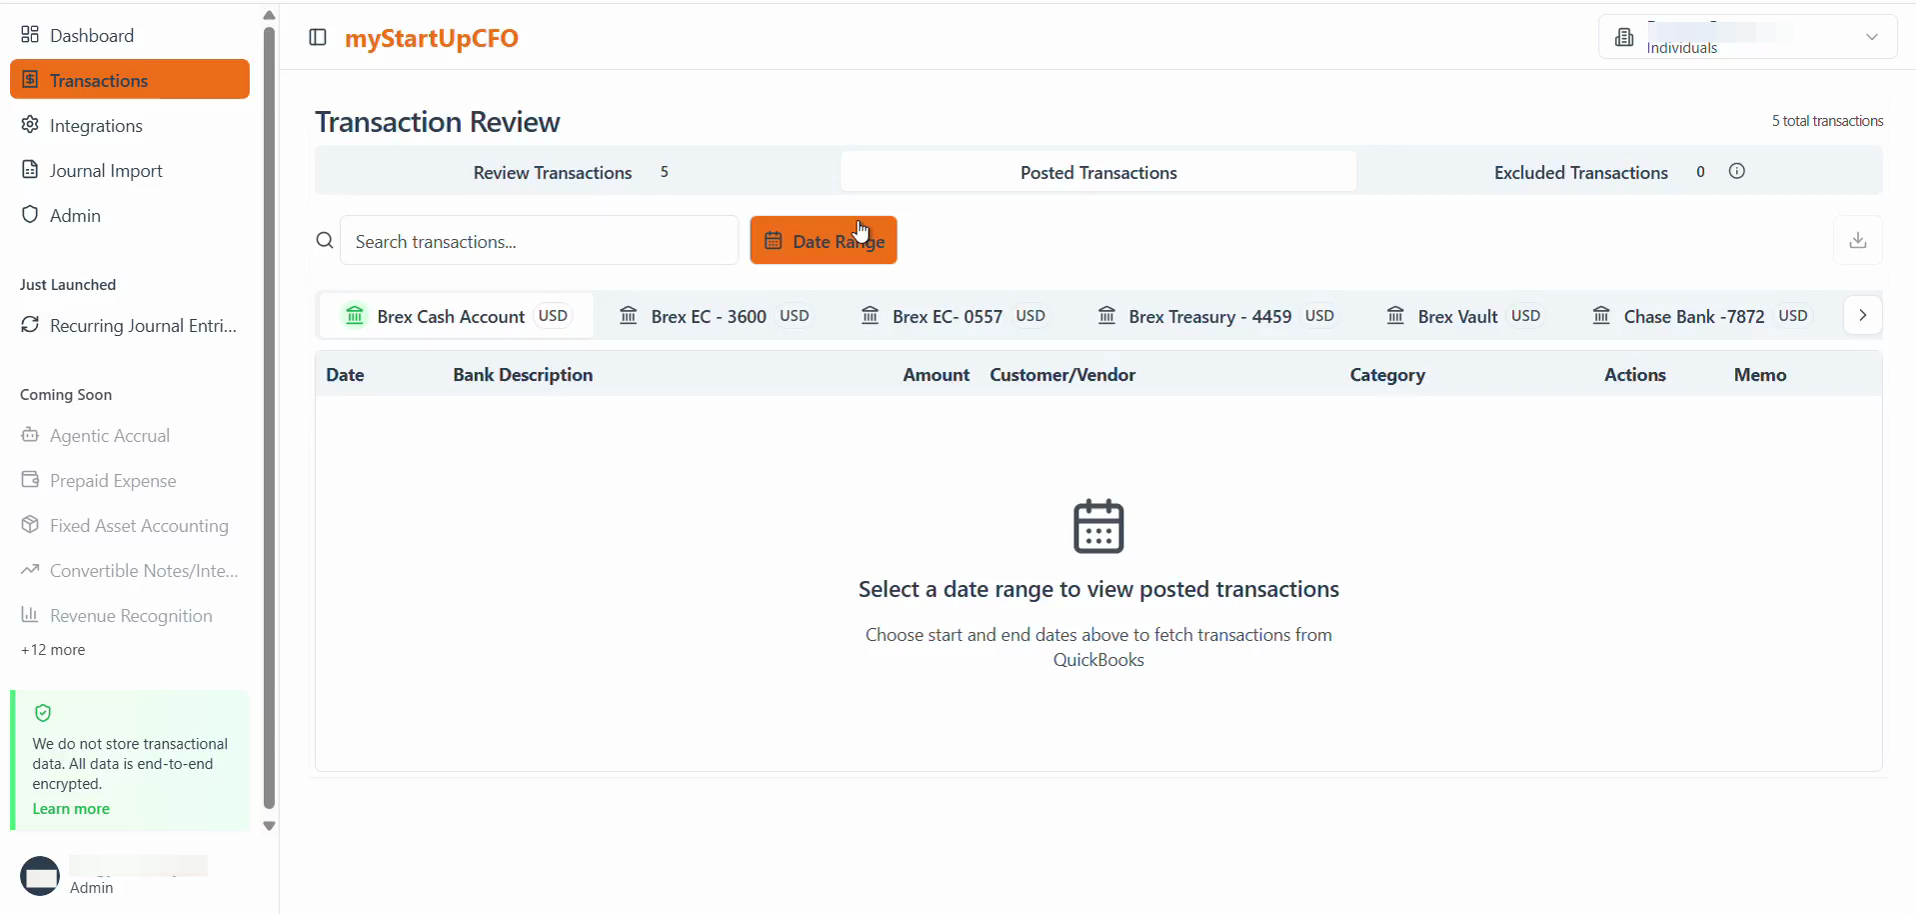
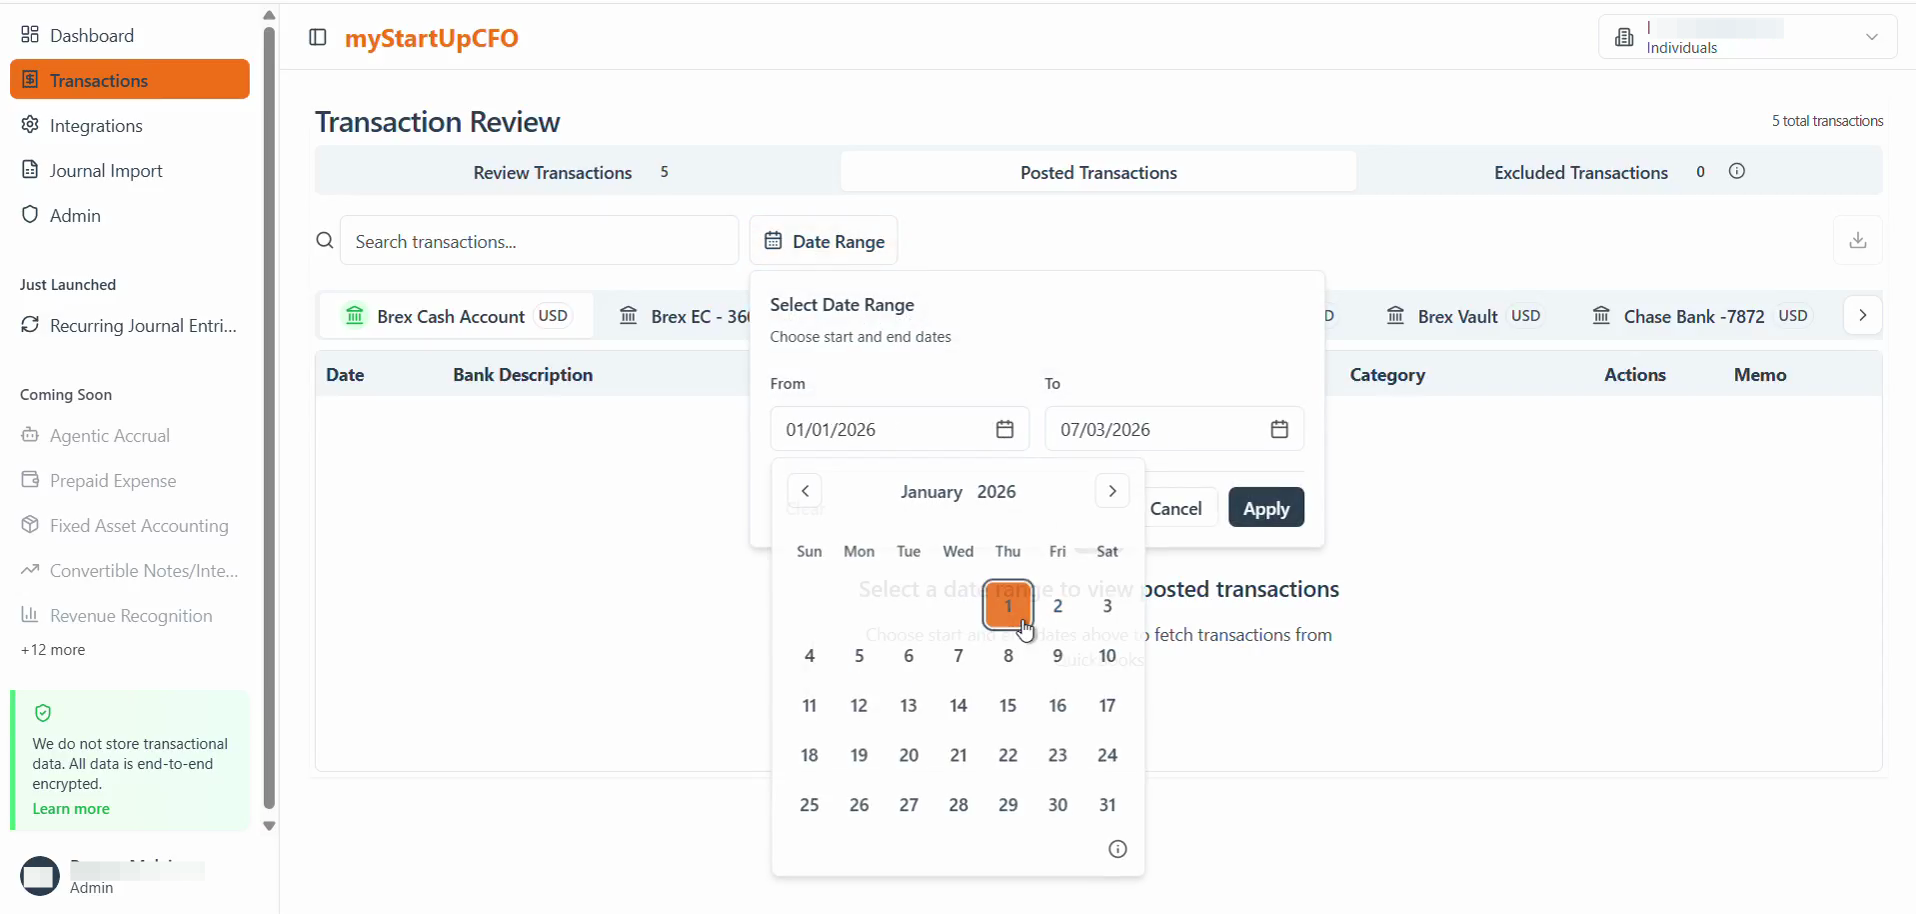
Click the Date Range button on the Transaction Review page to open the date picker.
3
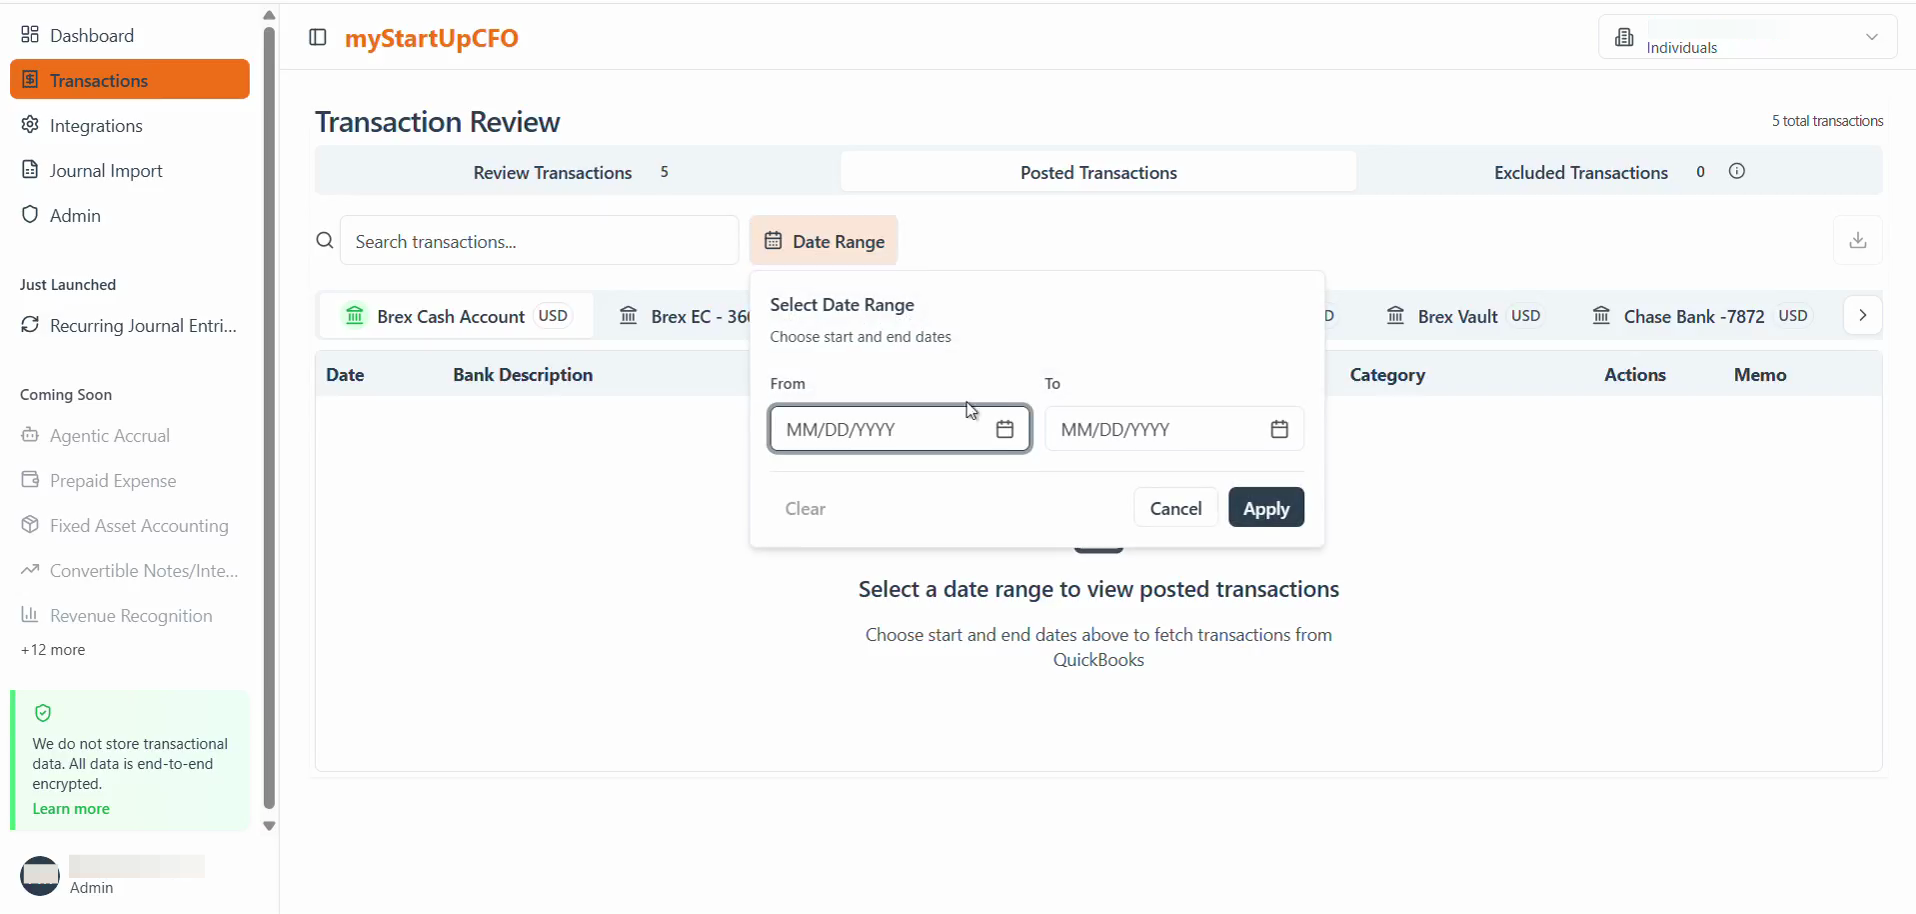
Click the From field to begin selecting the date range for which you want to view posted transactions.
4
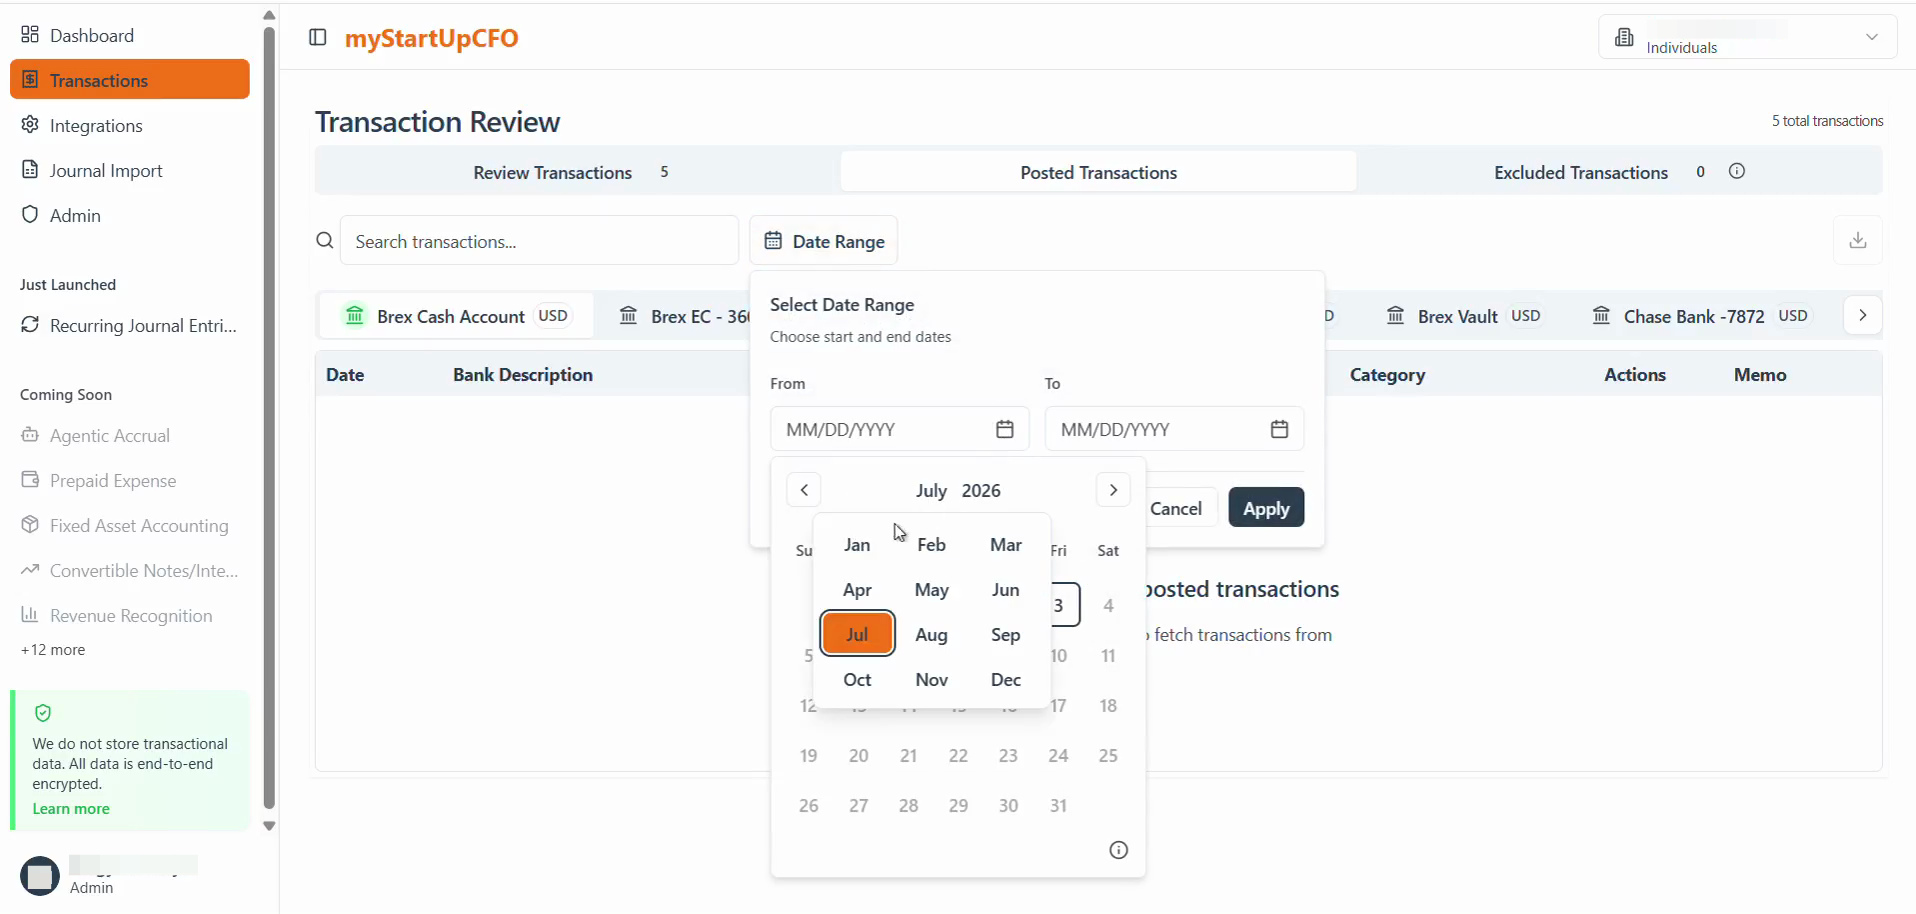
Choose the desired month from the calendar dropdown, then select the start date and end date from the calendar.
5
Click the Apply button to confirm the selected date range and filter the posted transactions.
6
The Posted Transactions list will now display all transactions that fall within the selected date range.
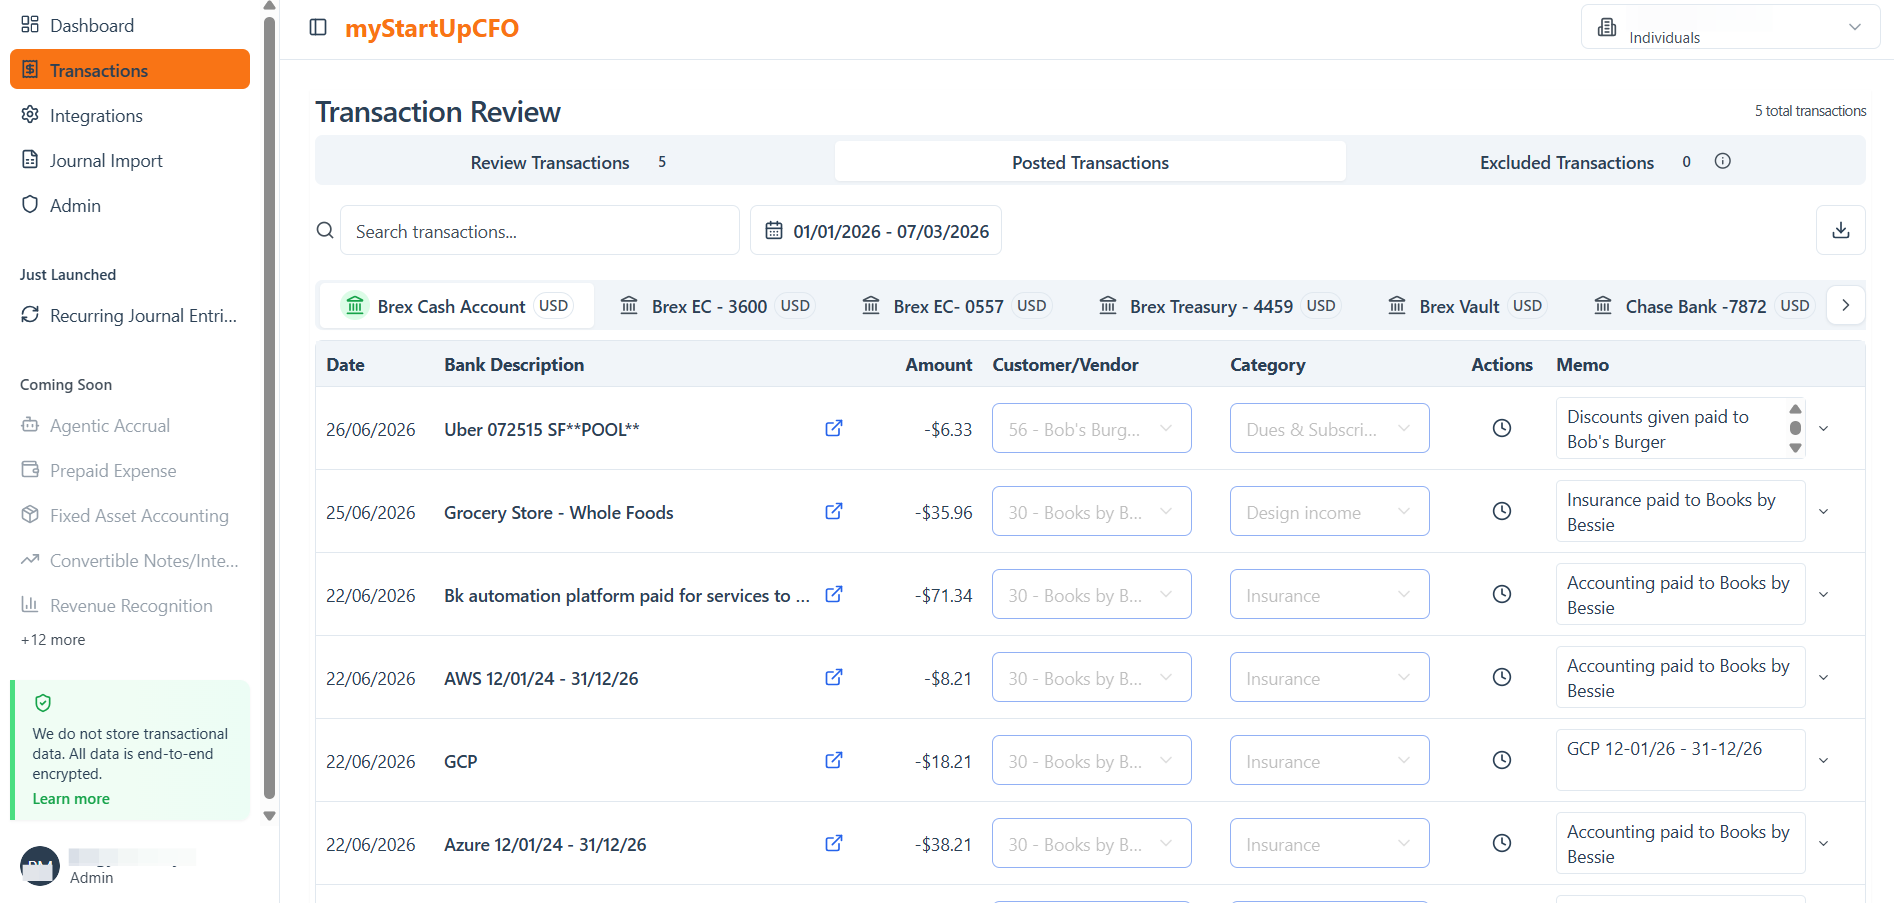
Applying the Date Range filter automatically fetches and displays the relevant posted transactions from QuickBooks for the selected period.