
How to Select and Clear Date Ranges for Viewing Transactions
Learn how to select, apply, and clear date ranges to view specific transactions, including setting due dates and viewing all transactions in your system.
By Aasma Technology Solutions
In this guide, we will learn how to select and use a date range to view transactions. You will see how to filter transactions by specific dates, apply a due date, and clear the date range to view all transactions.
Let's get started
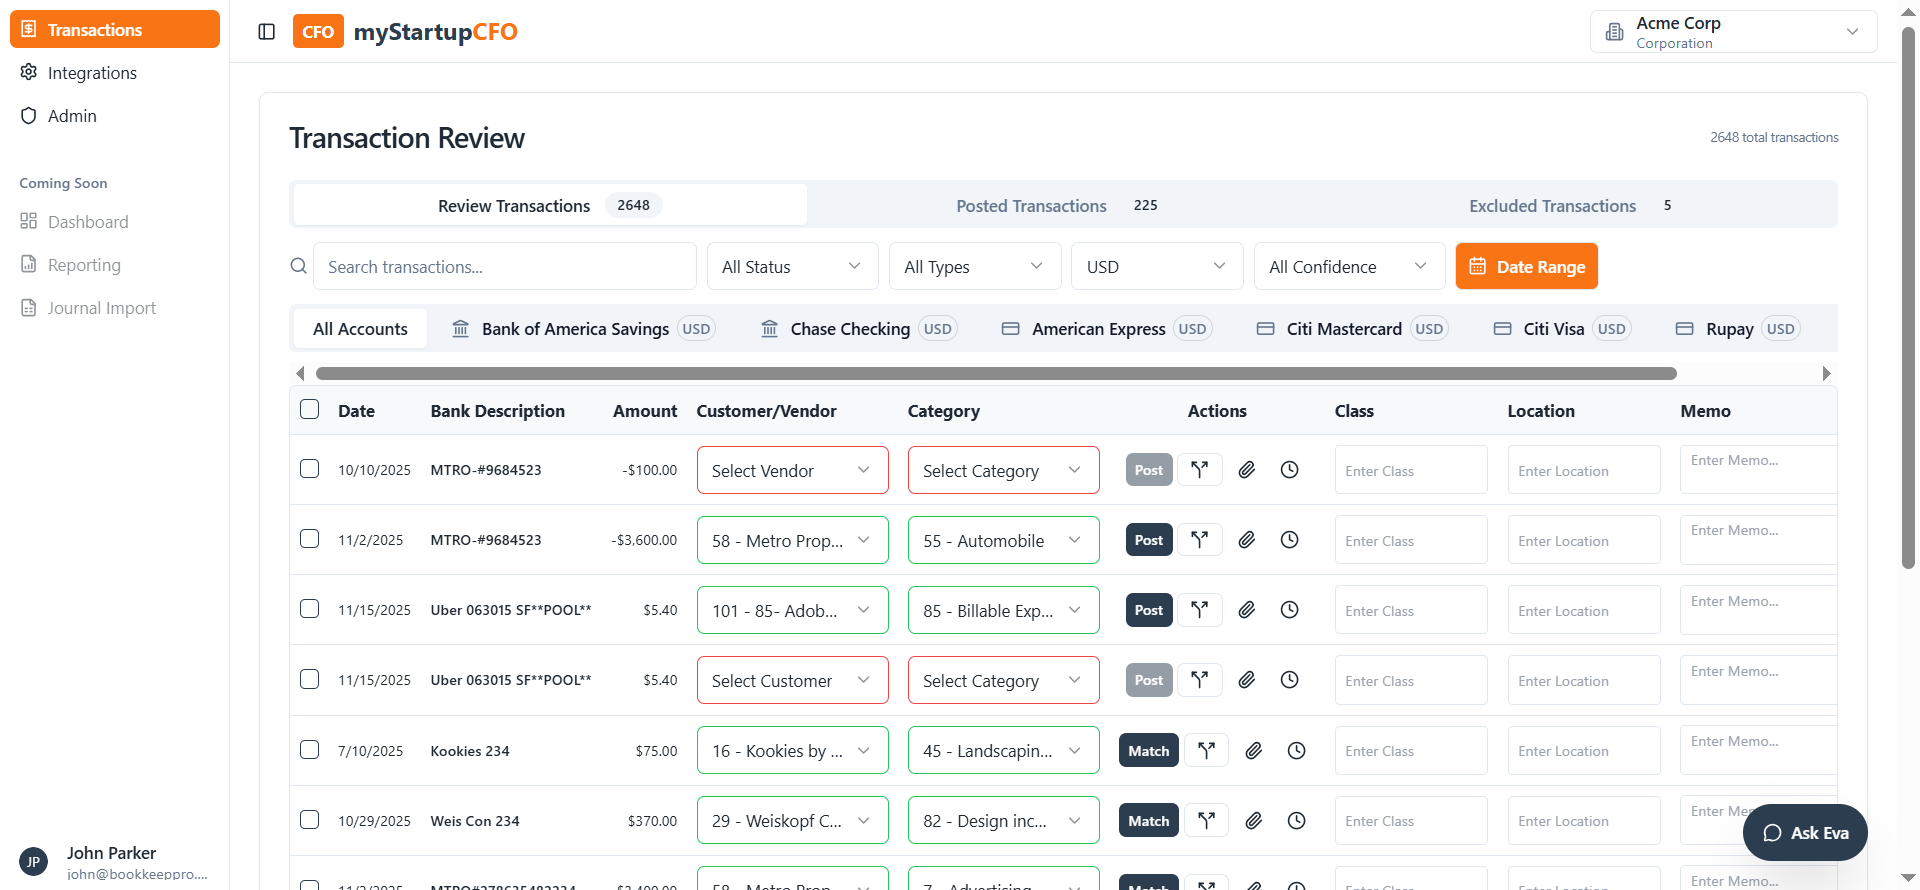
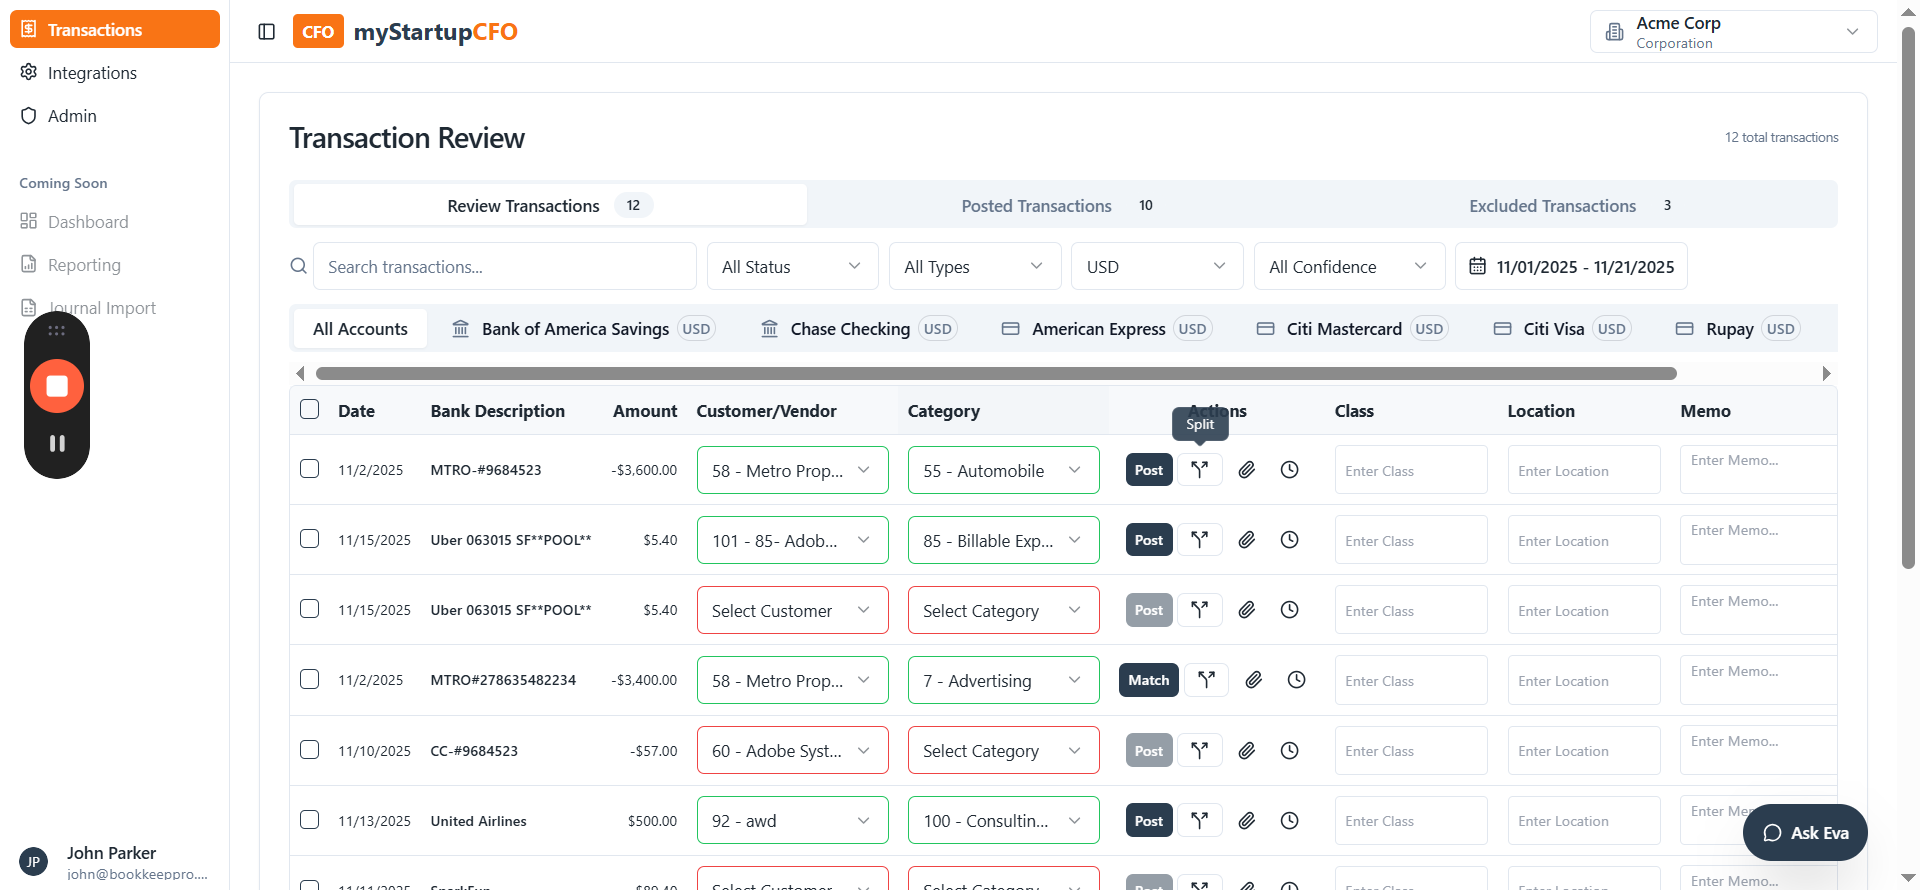
In this, we will see the date range.
2
Click on Date Range
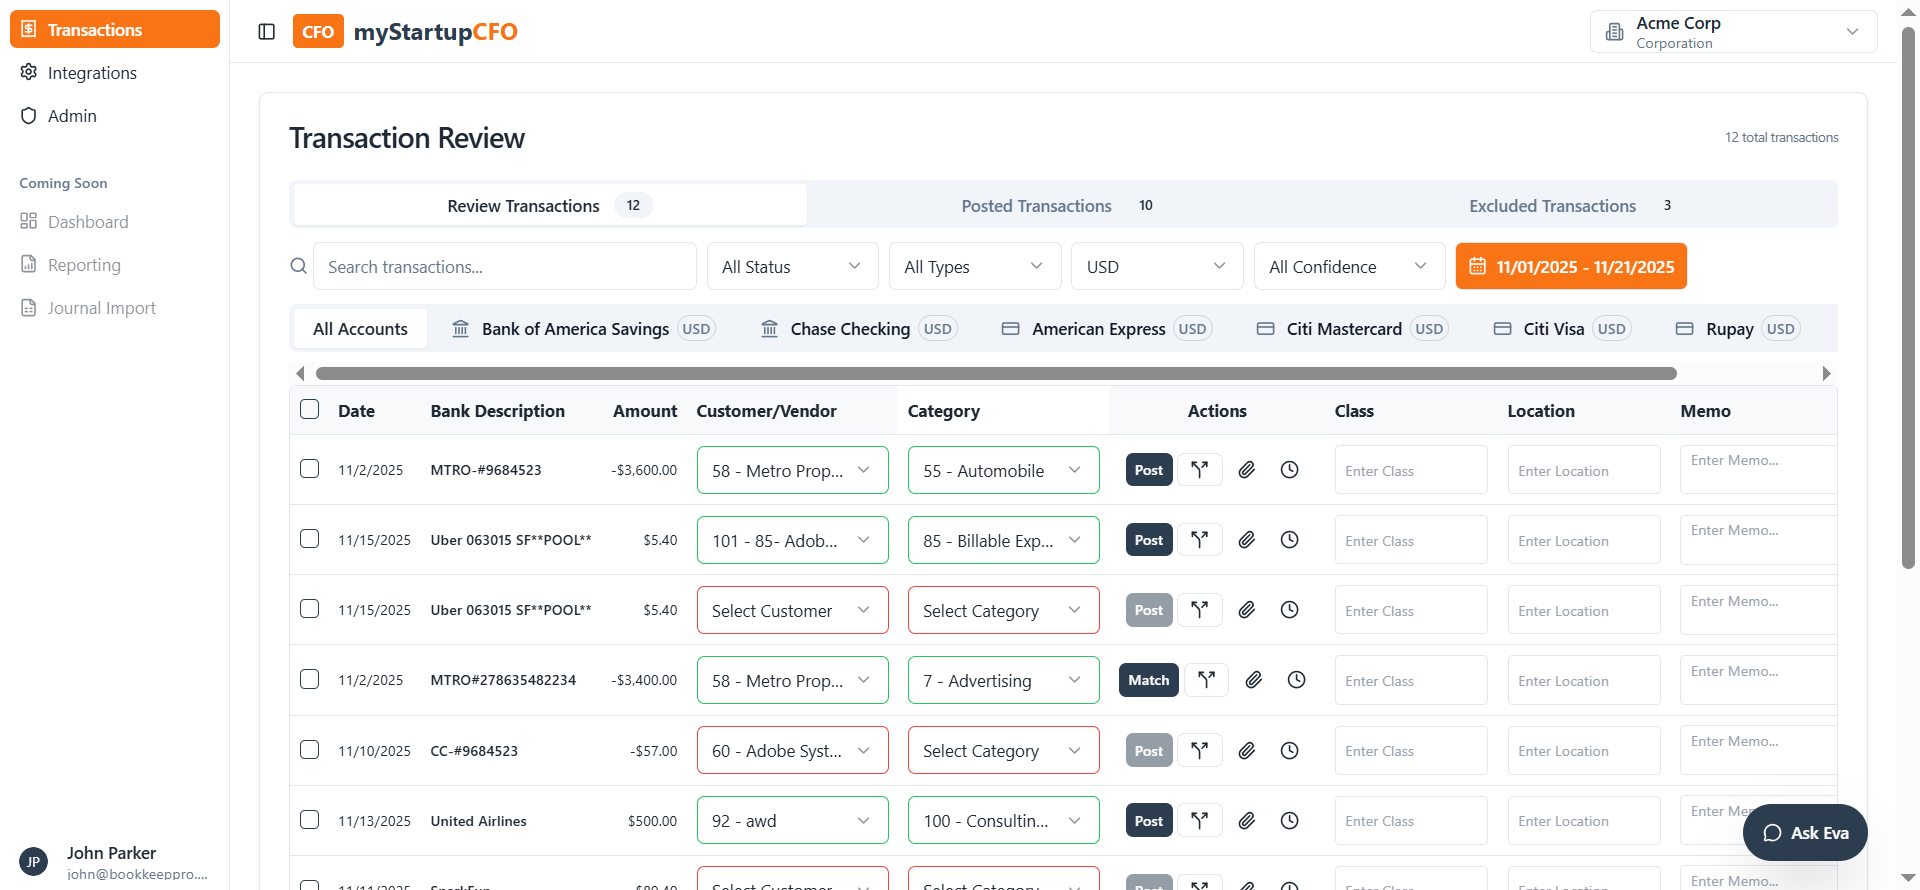
3
Click the calendar icon to choose the start date
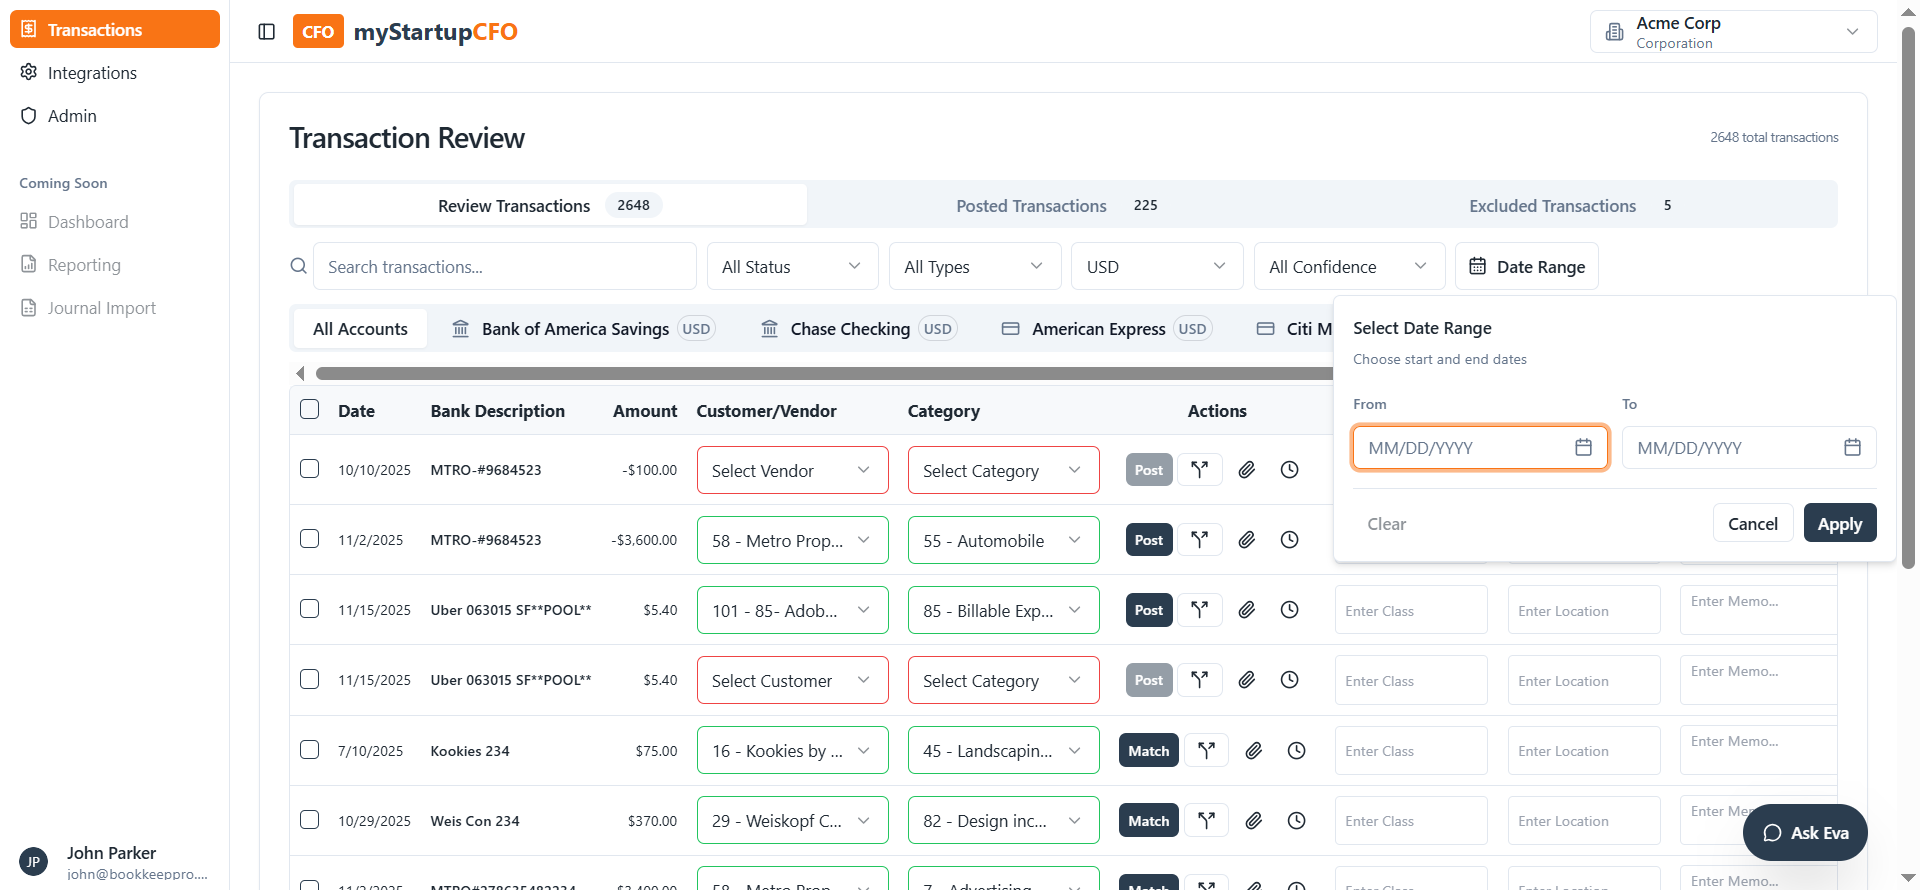
4
Select Date

5
Click the calendar icon to choose the end date.
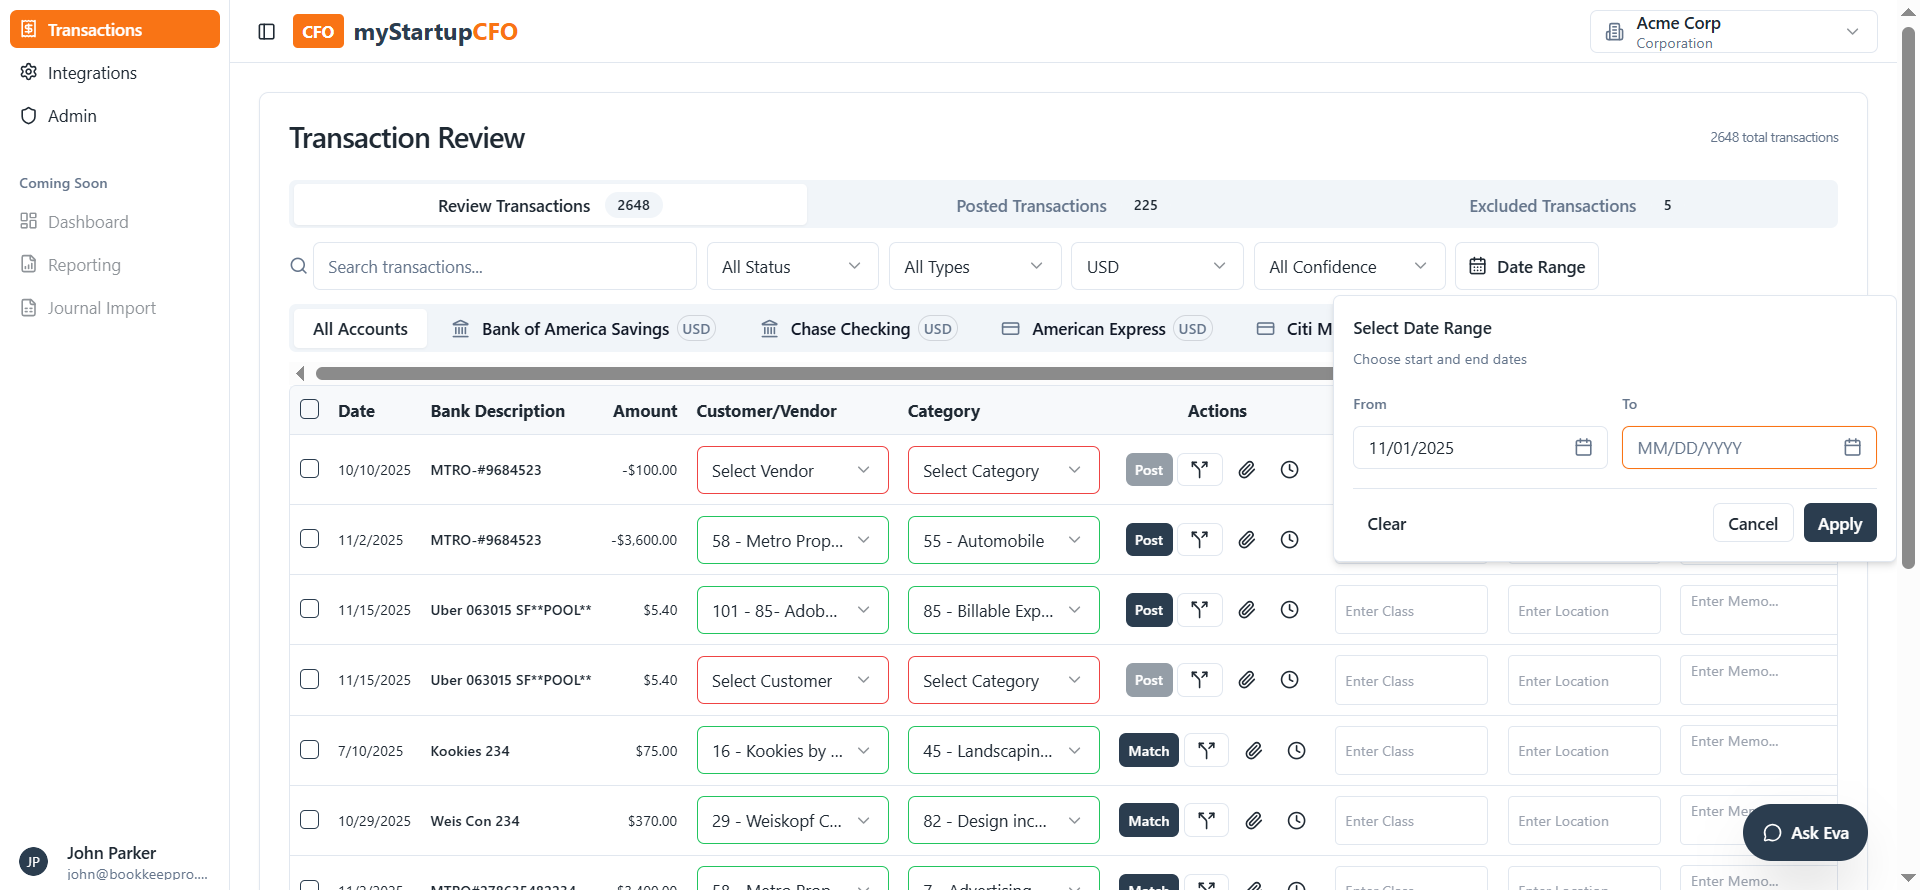
6
Select date
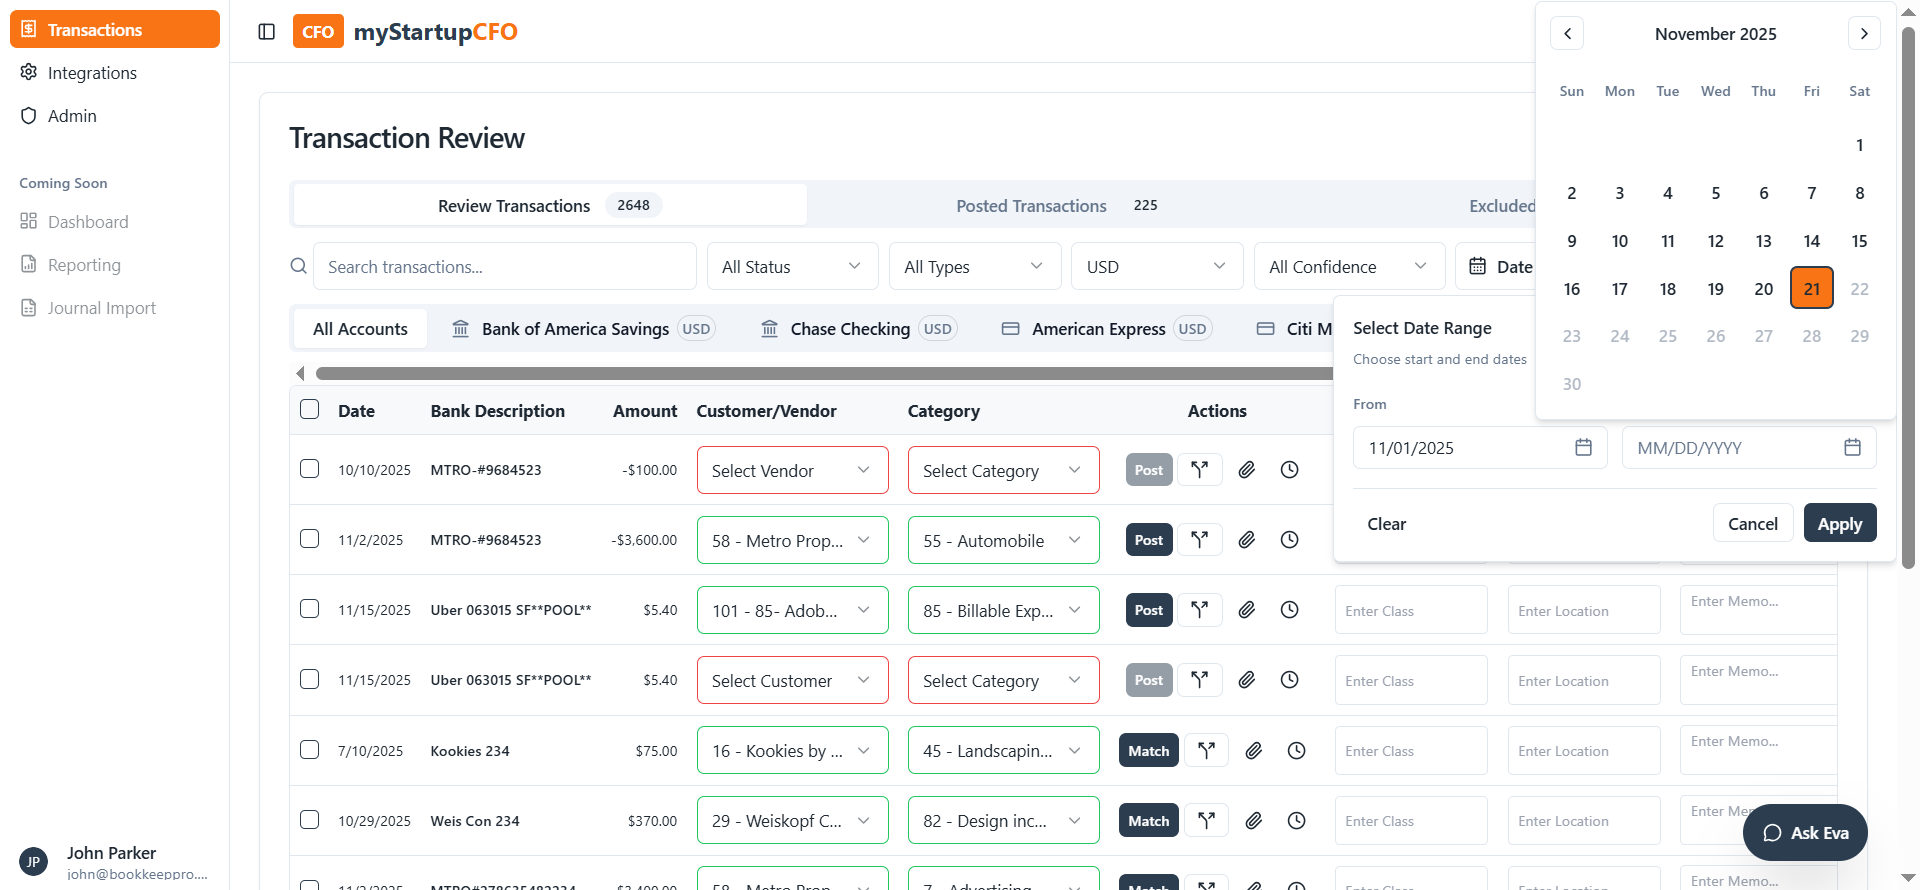
7
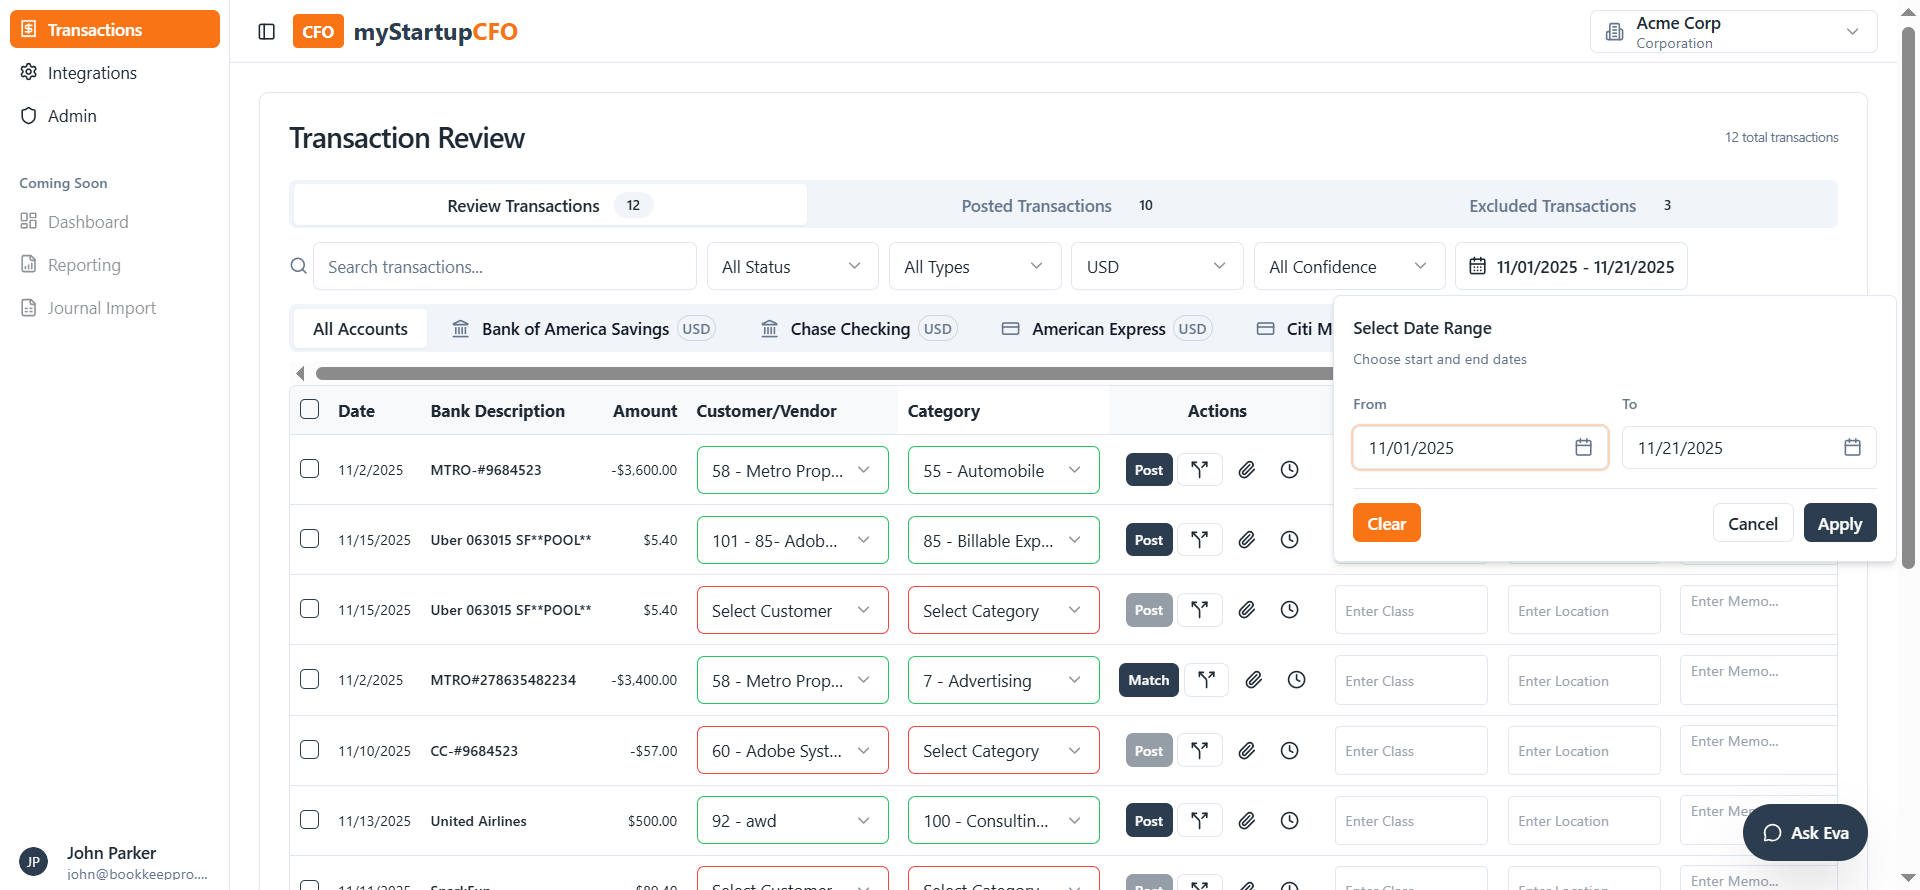
Click the Apply button to apply the selected date range.

8
All filterd transaction will be showing
You can also clear this date range.
9
Click on the date range filter
10
Click the Clear button to remove the applied filter from the transaction table.
This guide explains how to apply a date range filter and how to clear it.