How to Select and Filter Looks by Product: Step-by-Step Guide
Learn how to select, filter, and add looks by product using the blue bar navigation. Follow this easy guide to search, filter by shoots, and add images to your collection efficiently.
In this guide, we'll learn how to find and select specific looks by product using the blue navigation bar. We will cover how to search for a product, filter results, view look details, and add a look to your collection. This process helps you organize and manage your selections efficiently.
Let's get started
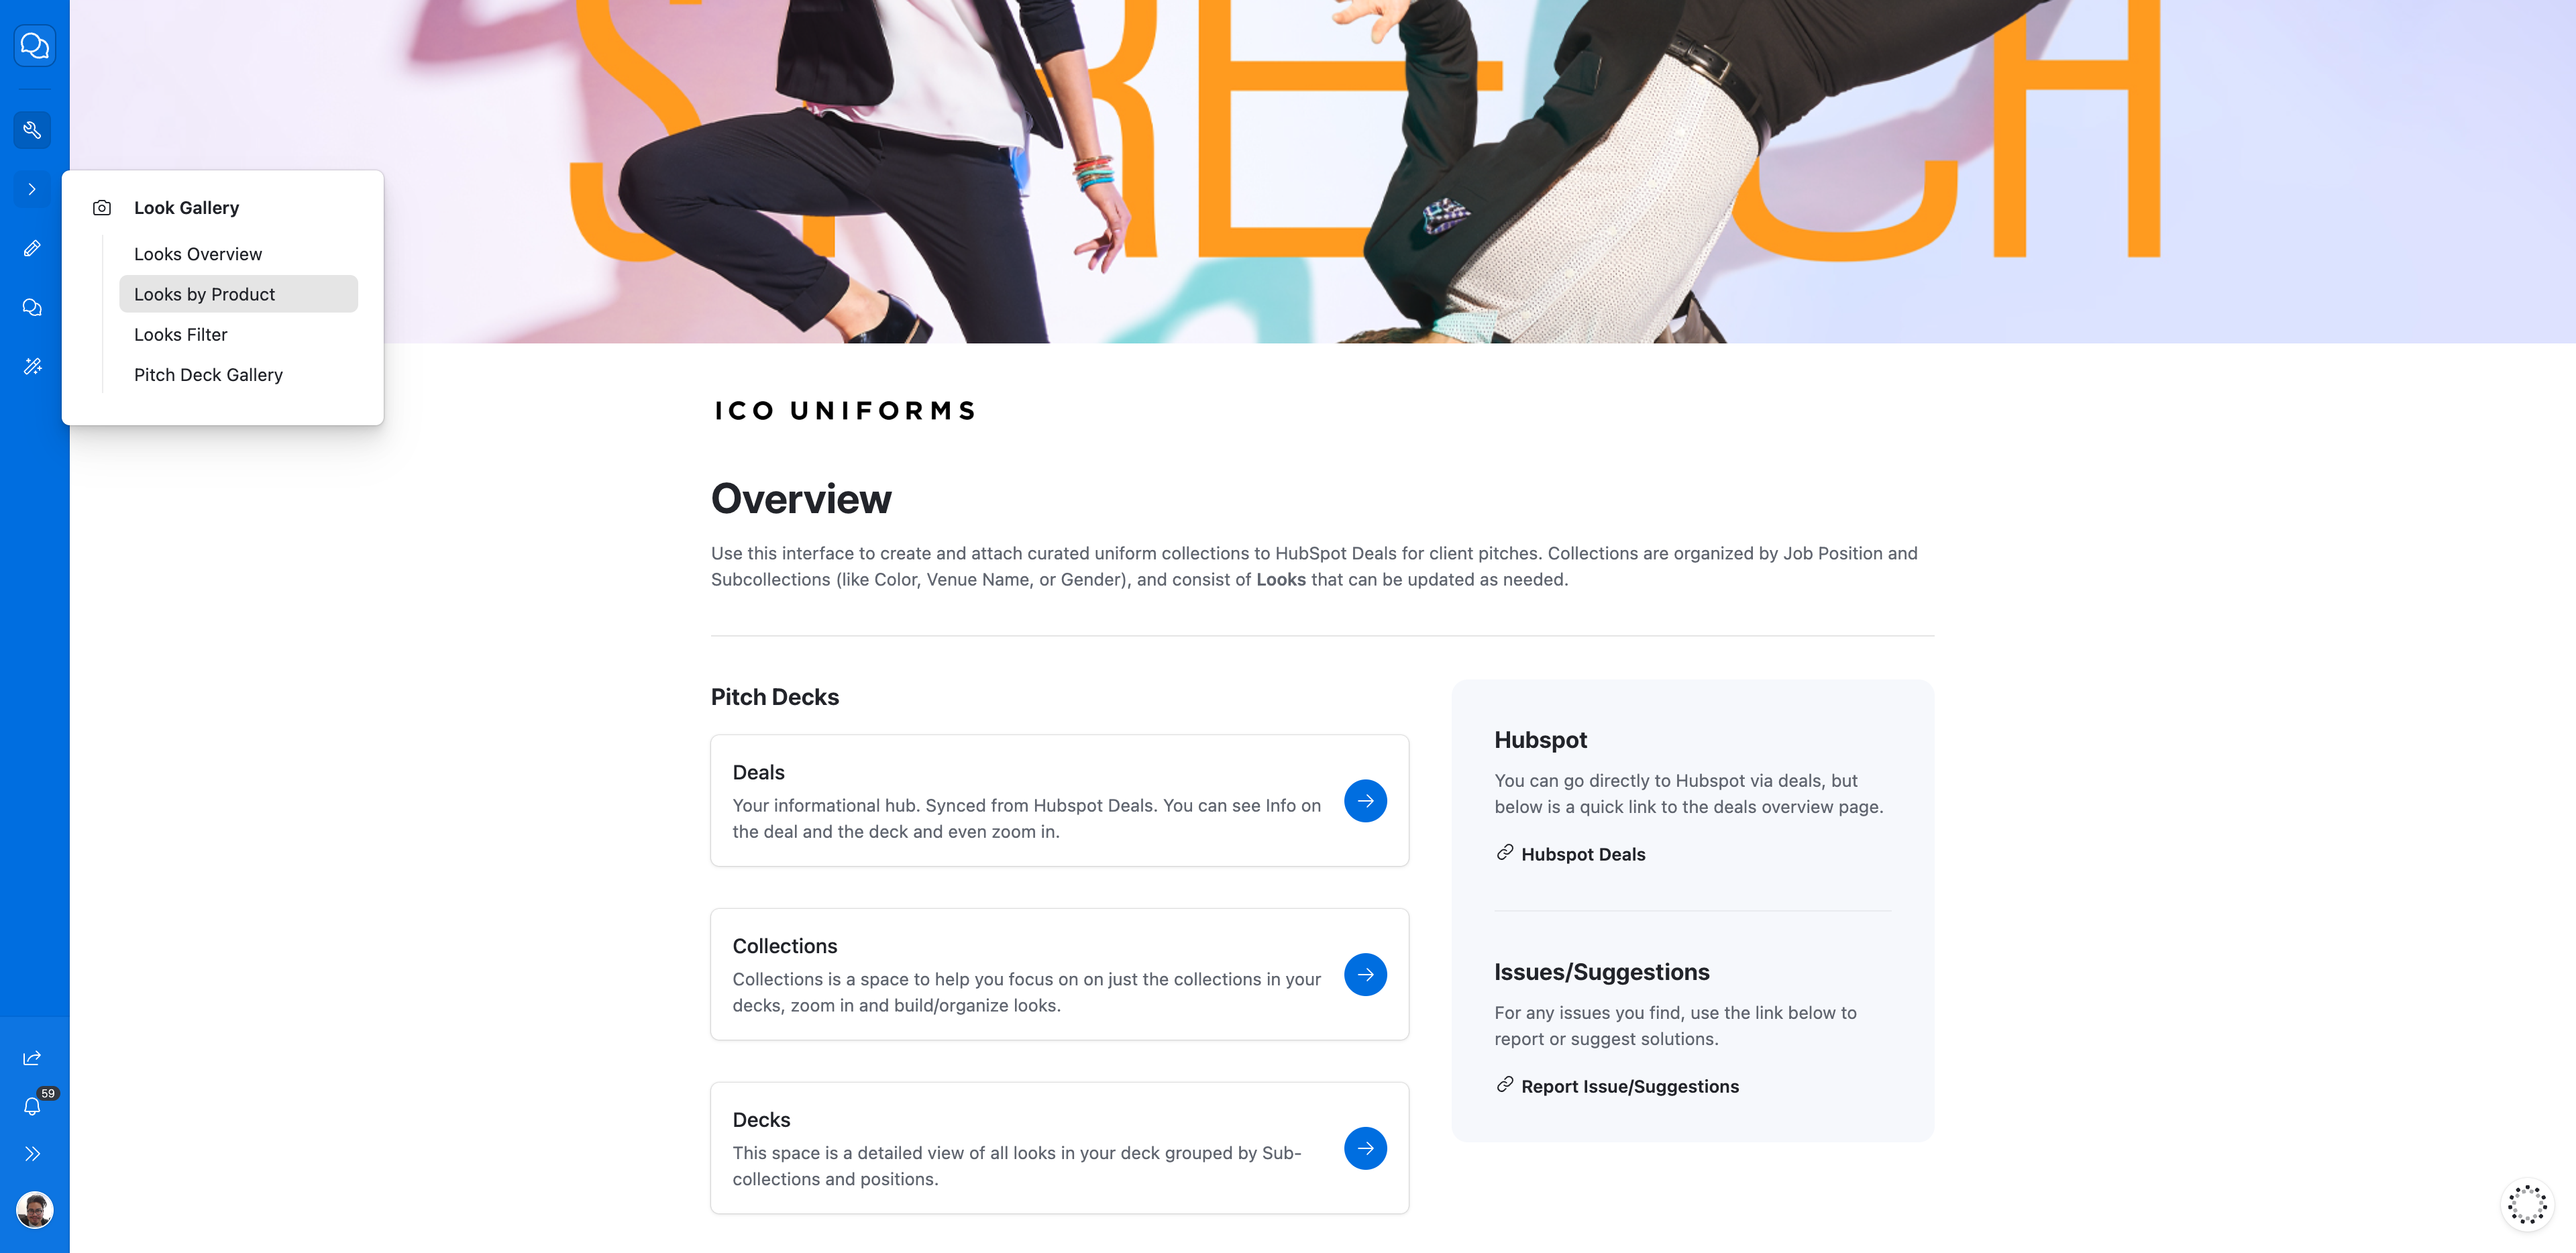
You need to go to... To select looks, click on the blue bar here. On the blue bar, hover over and click on "Looks By Product." Now that you are here, you have several options.
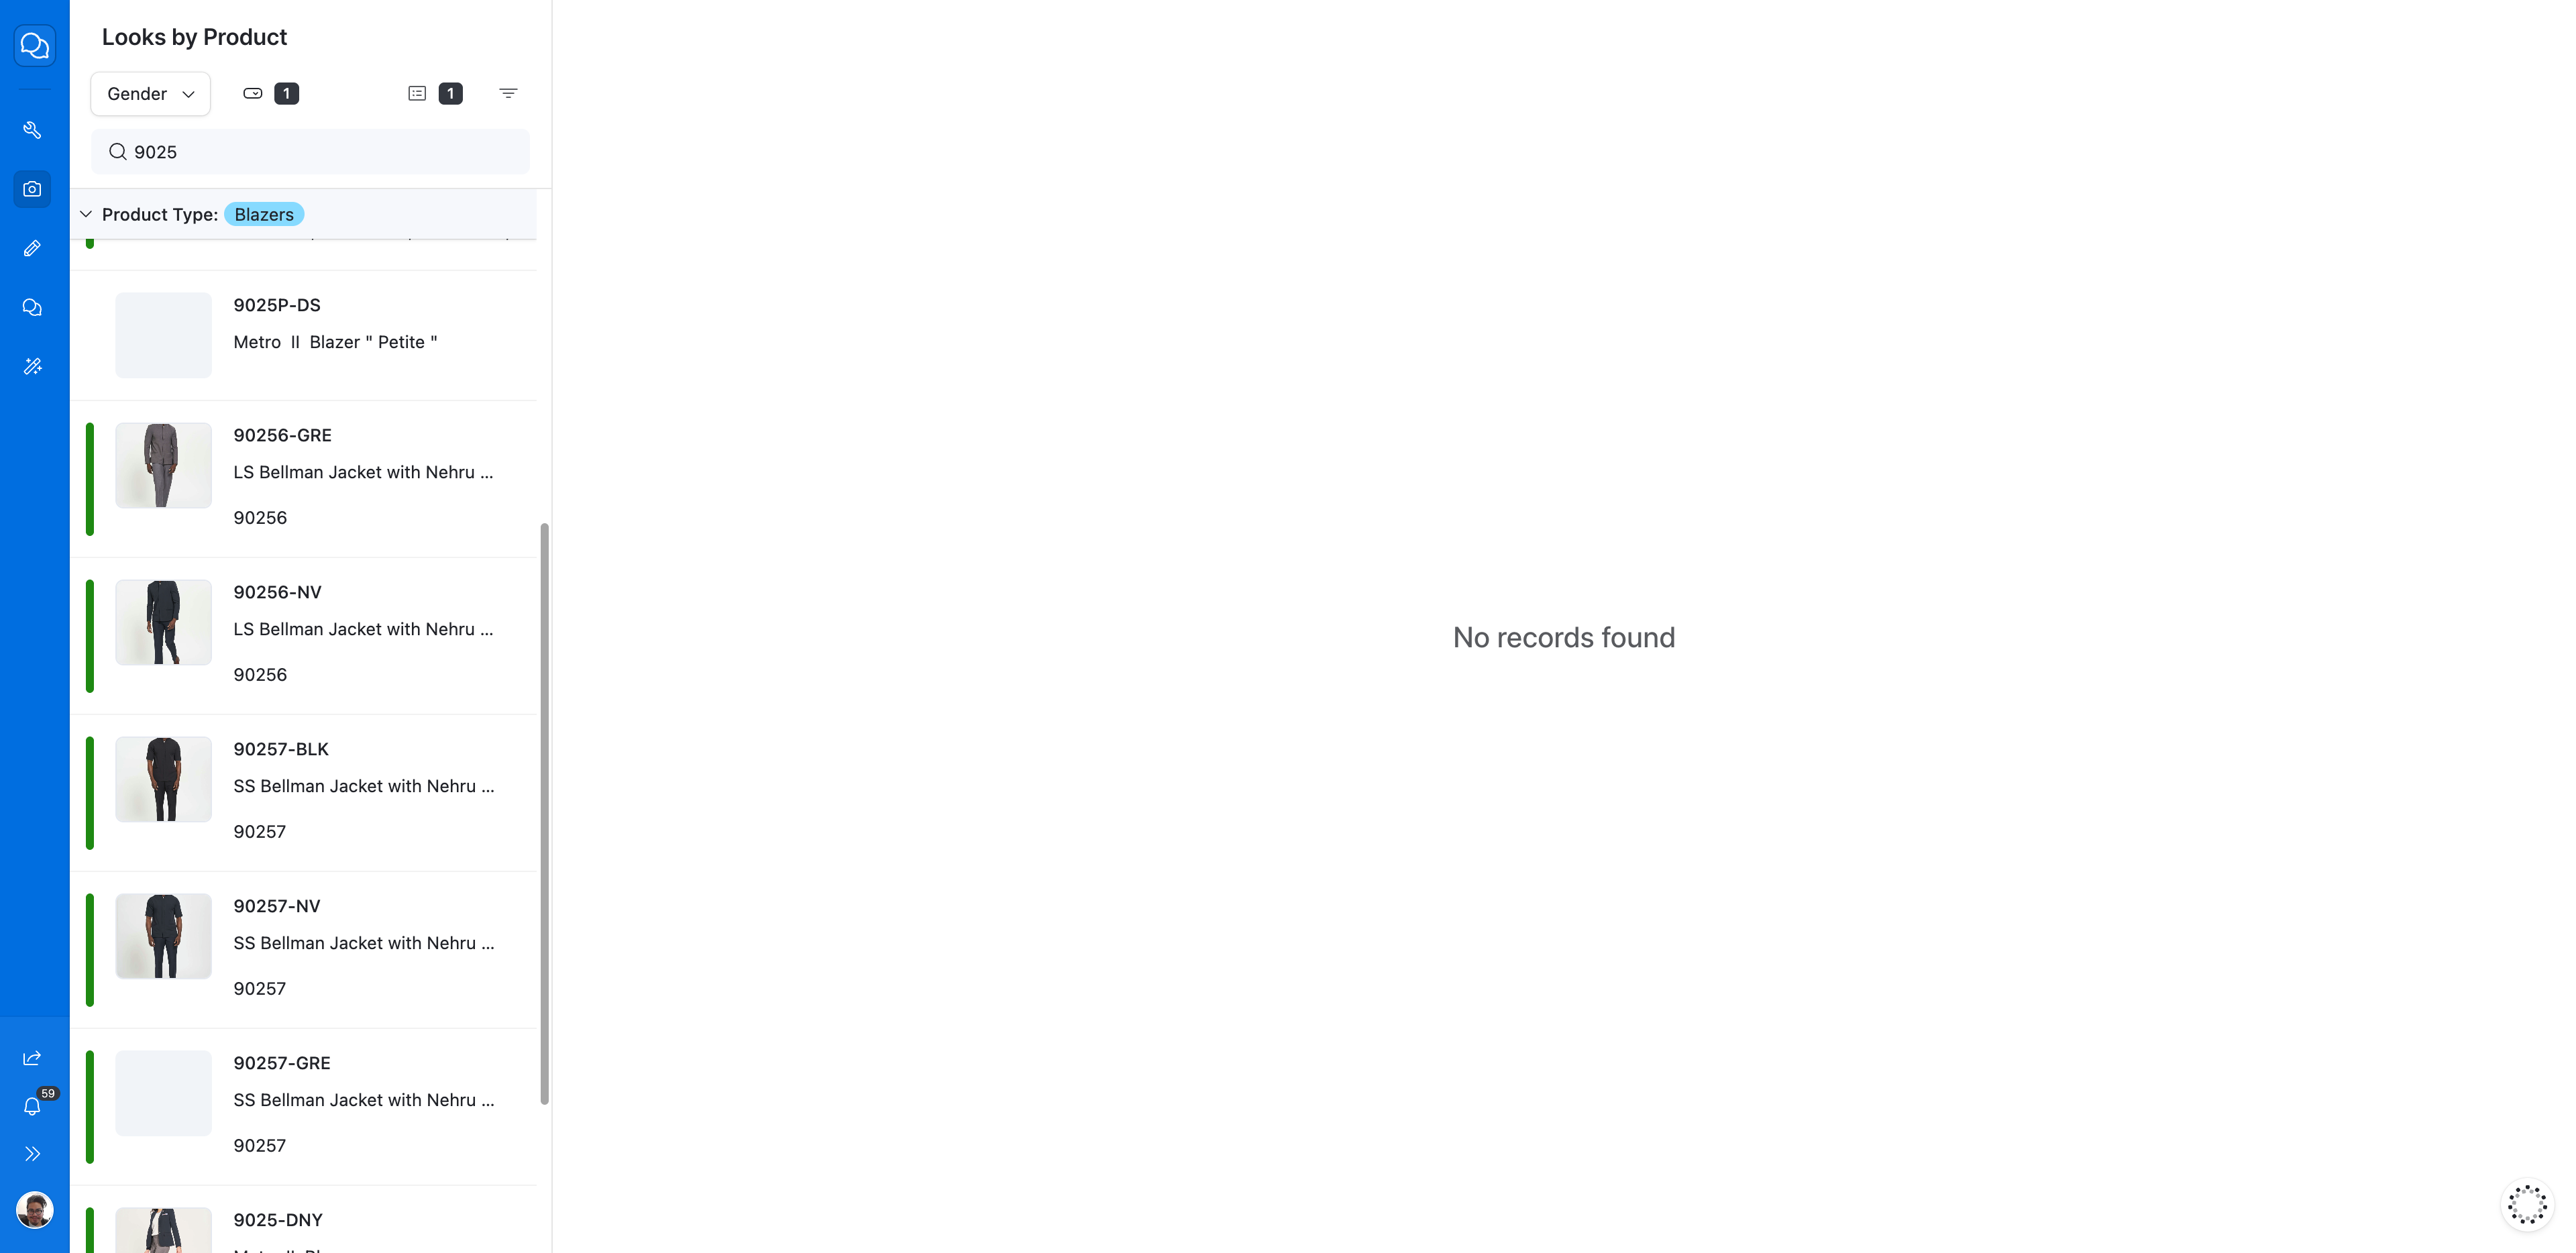
You can search for looks by product via the search bar
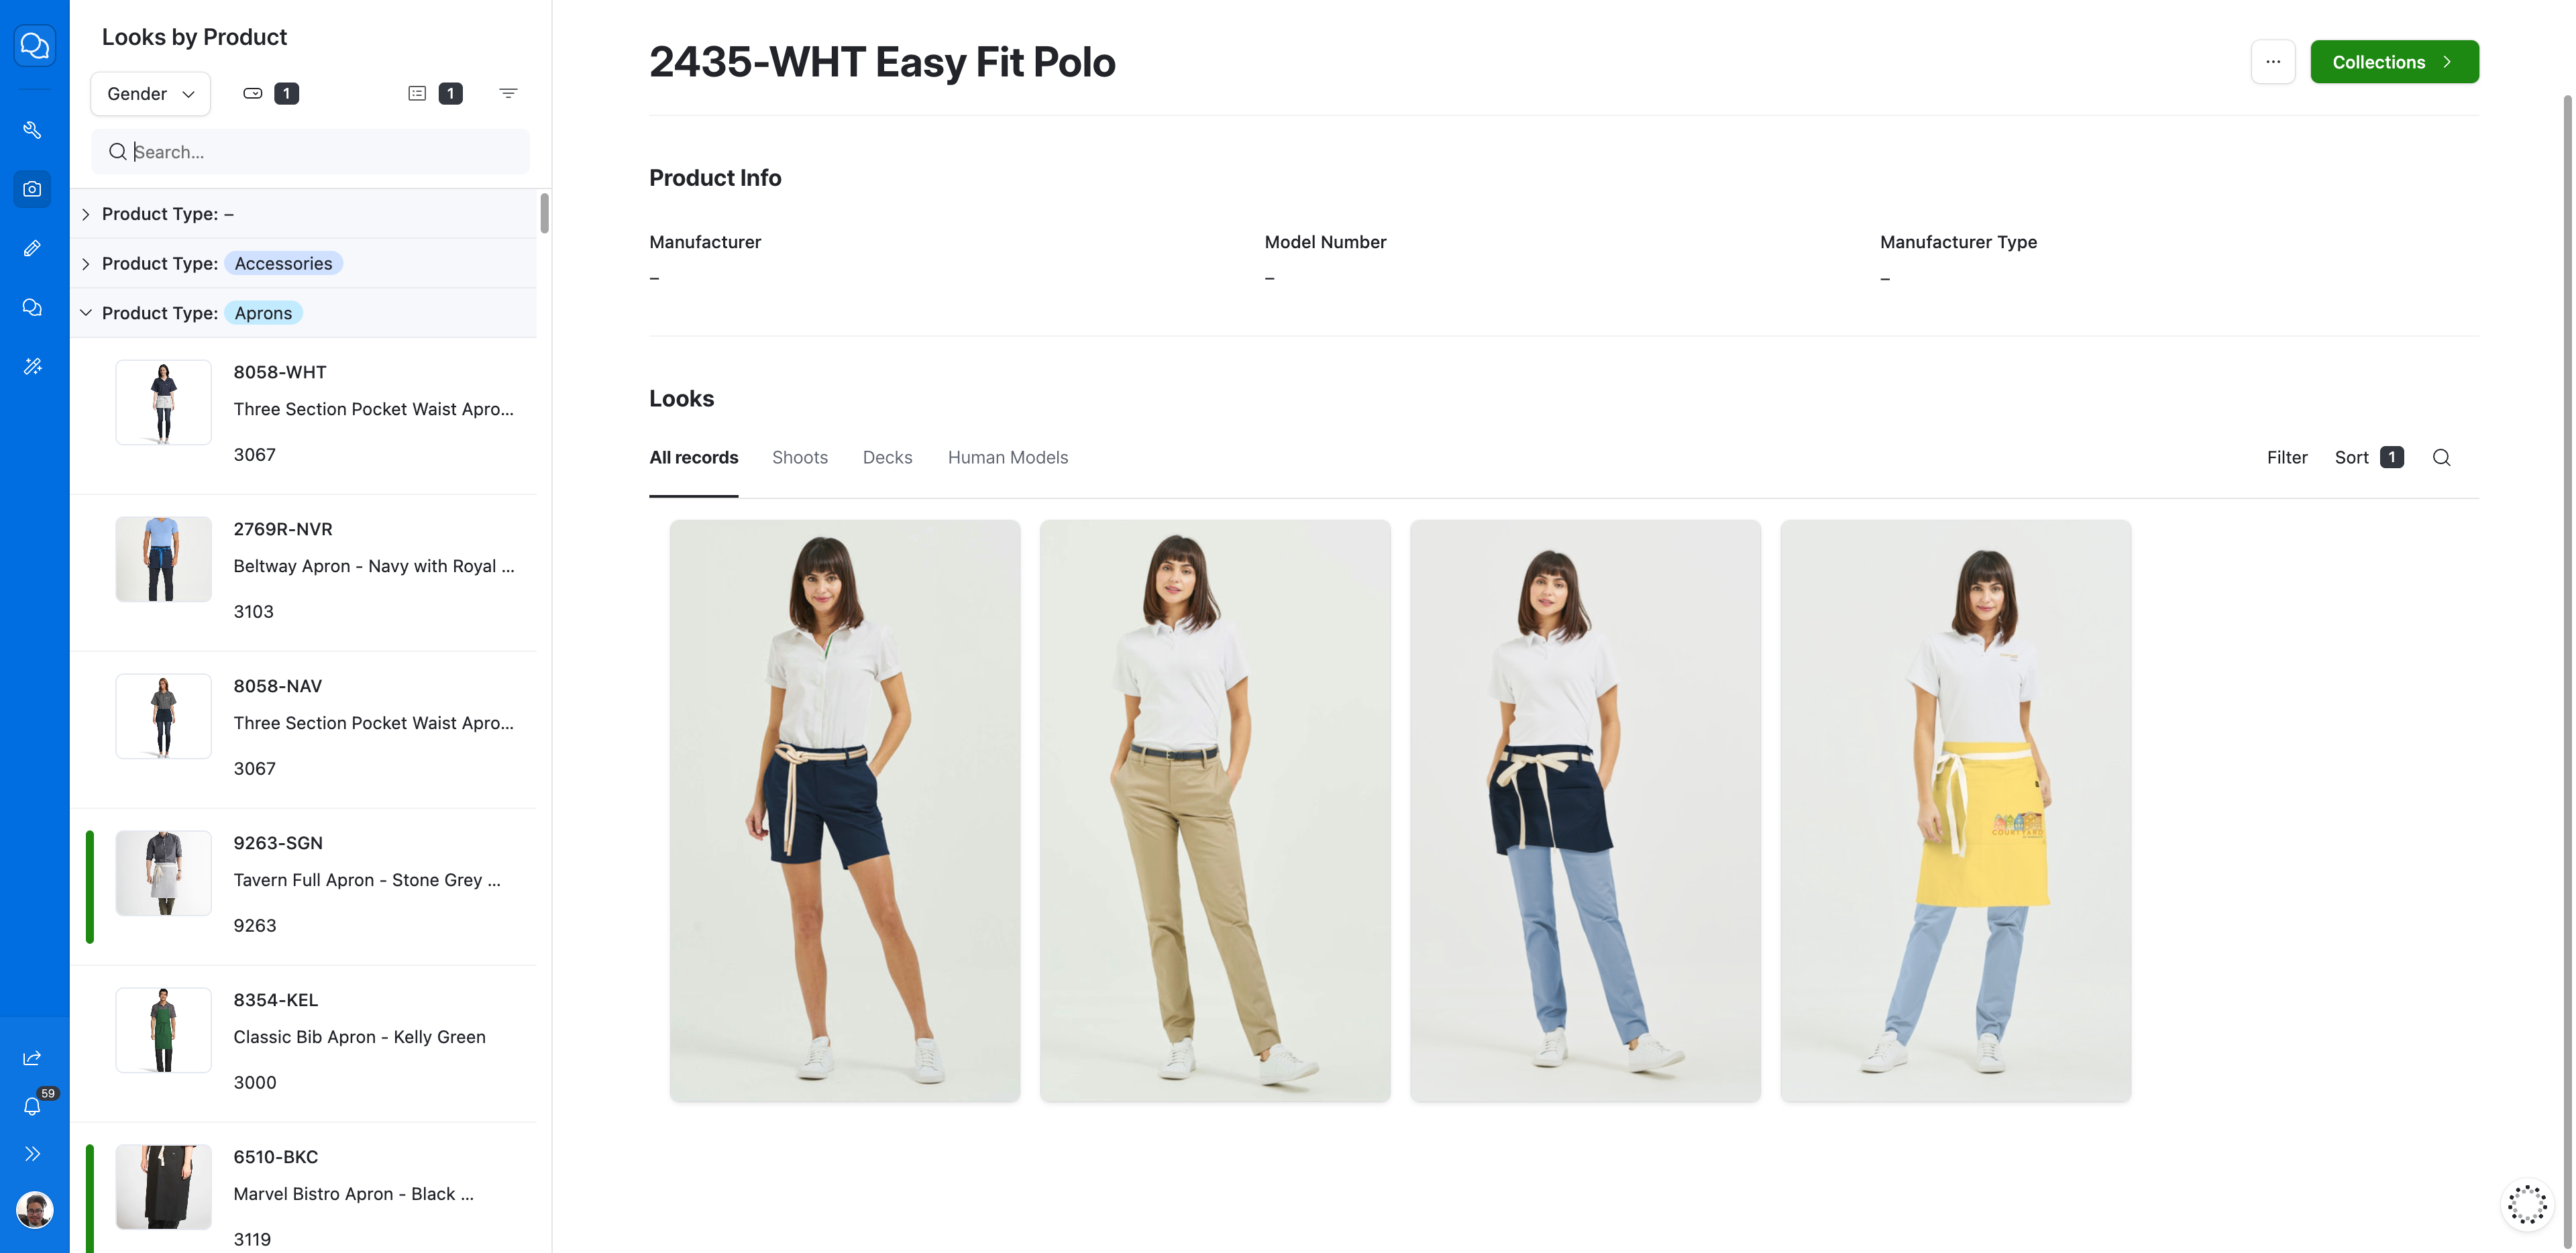

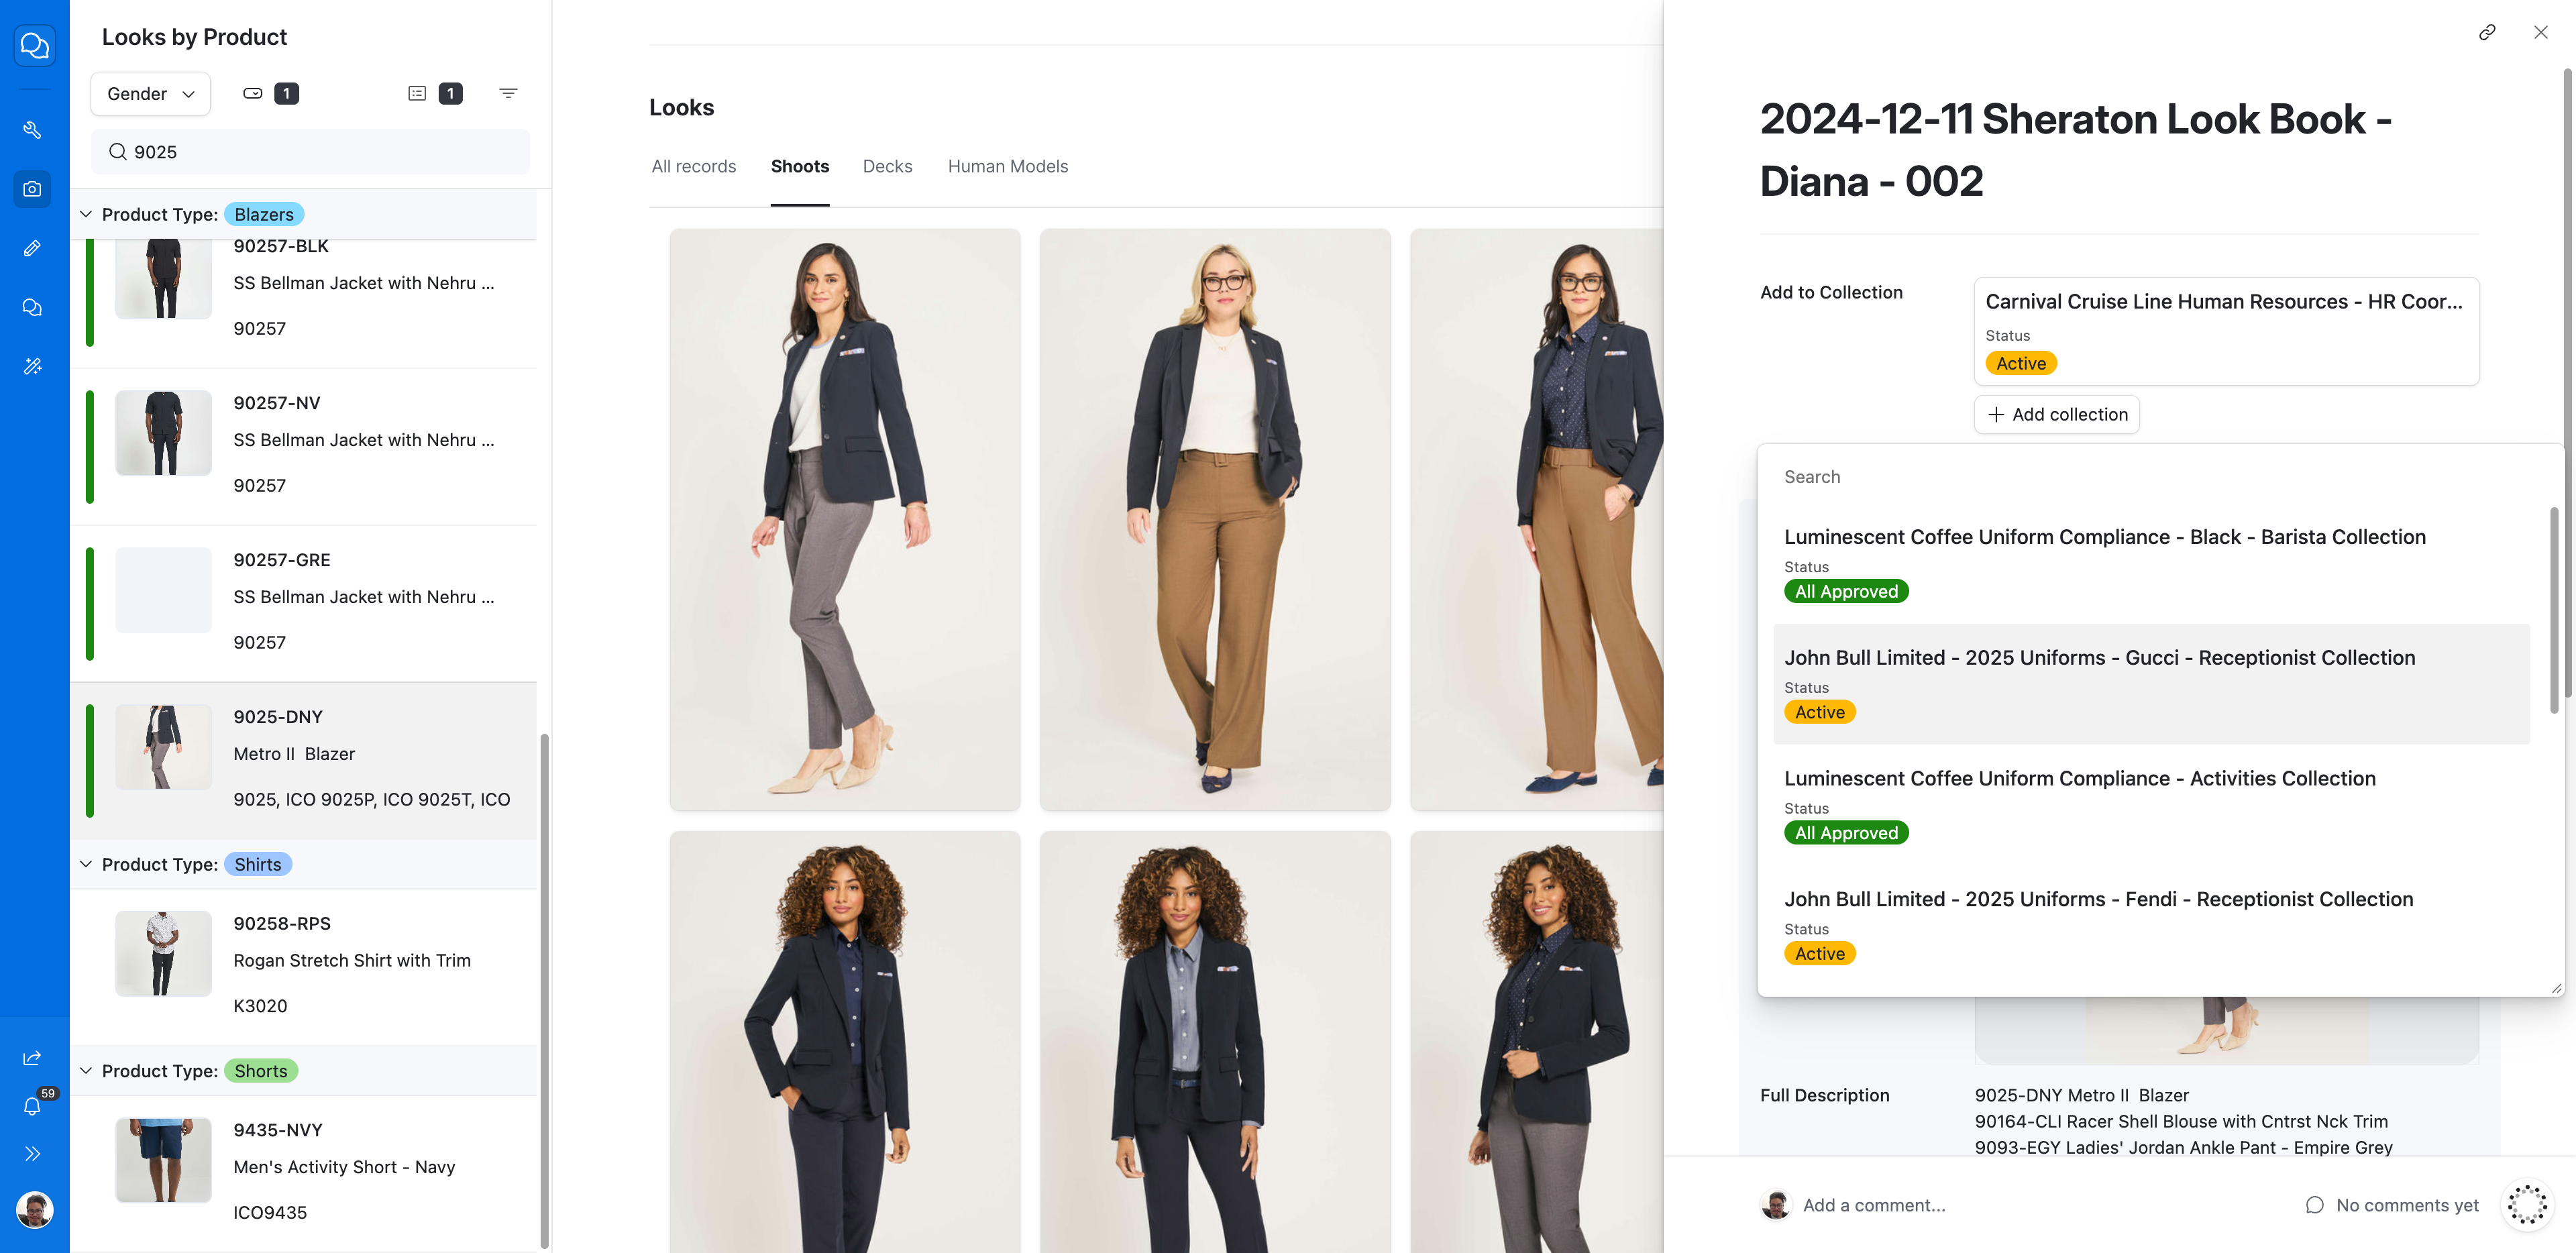
Here, you have only a few options. You can either open one of the looks, or you can use a filter. In this case, we can filter by shoots only. This way, we avoid dealing with modified garments or altered images. Select your image. Here, you can view details about its appearance.
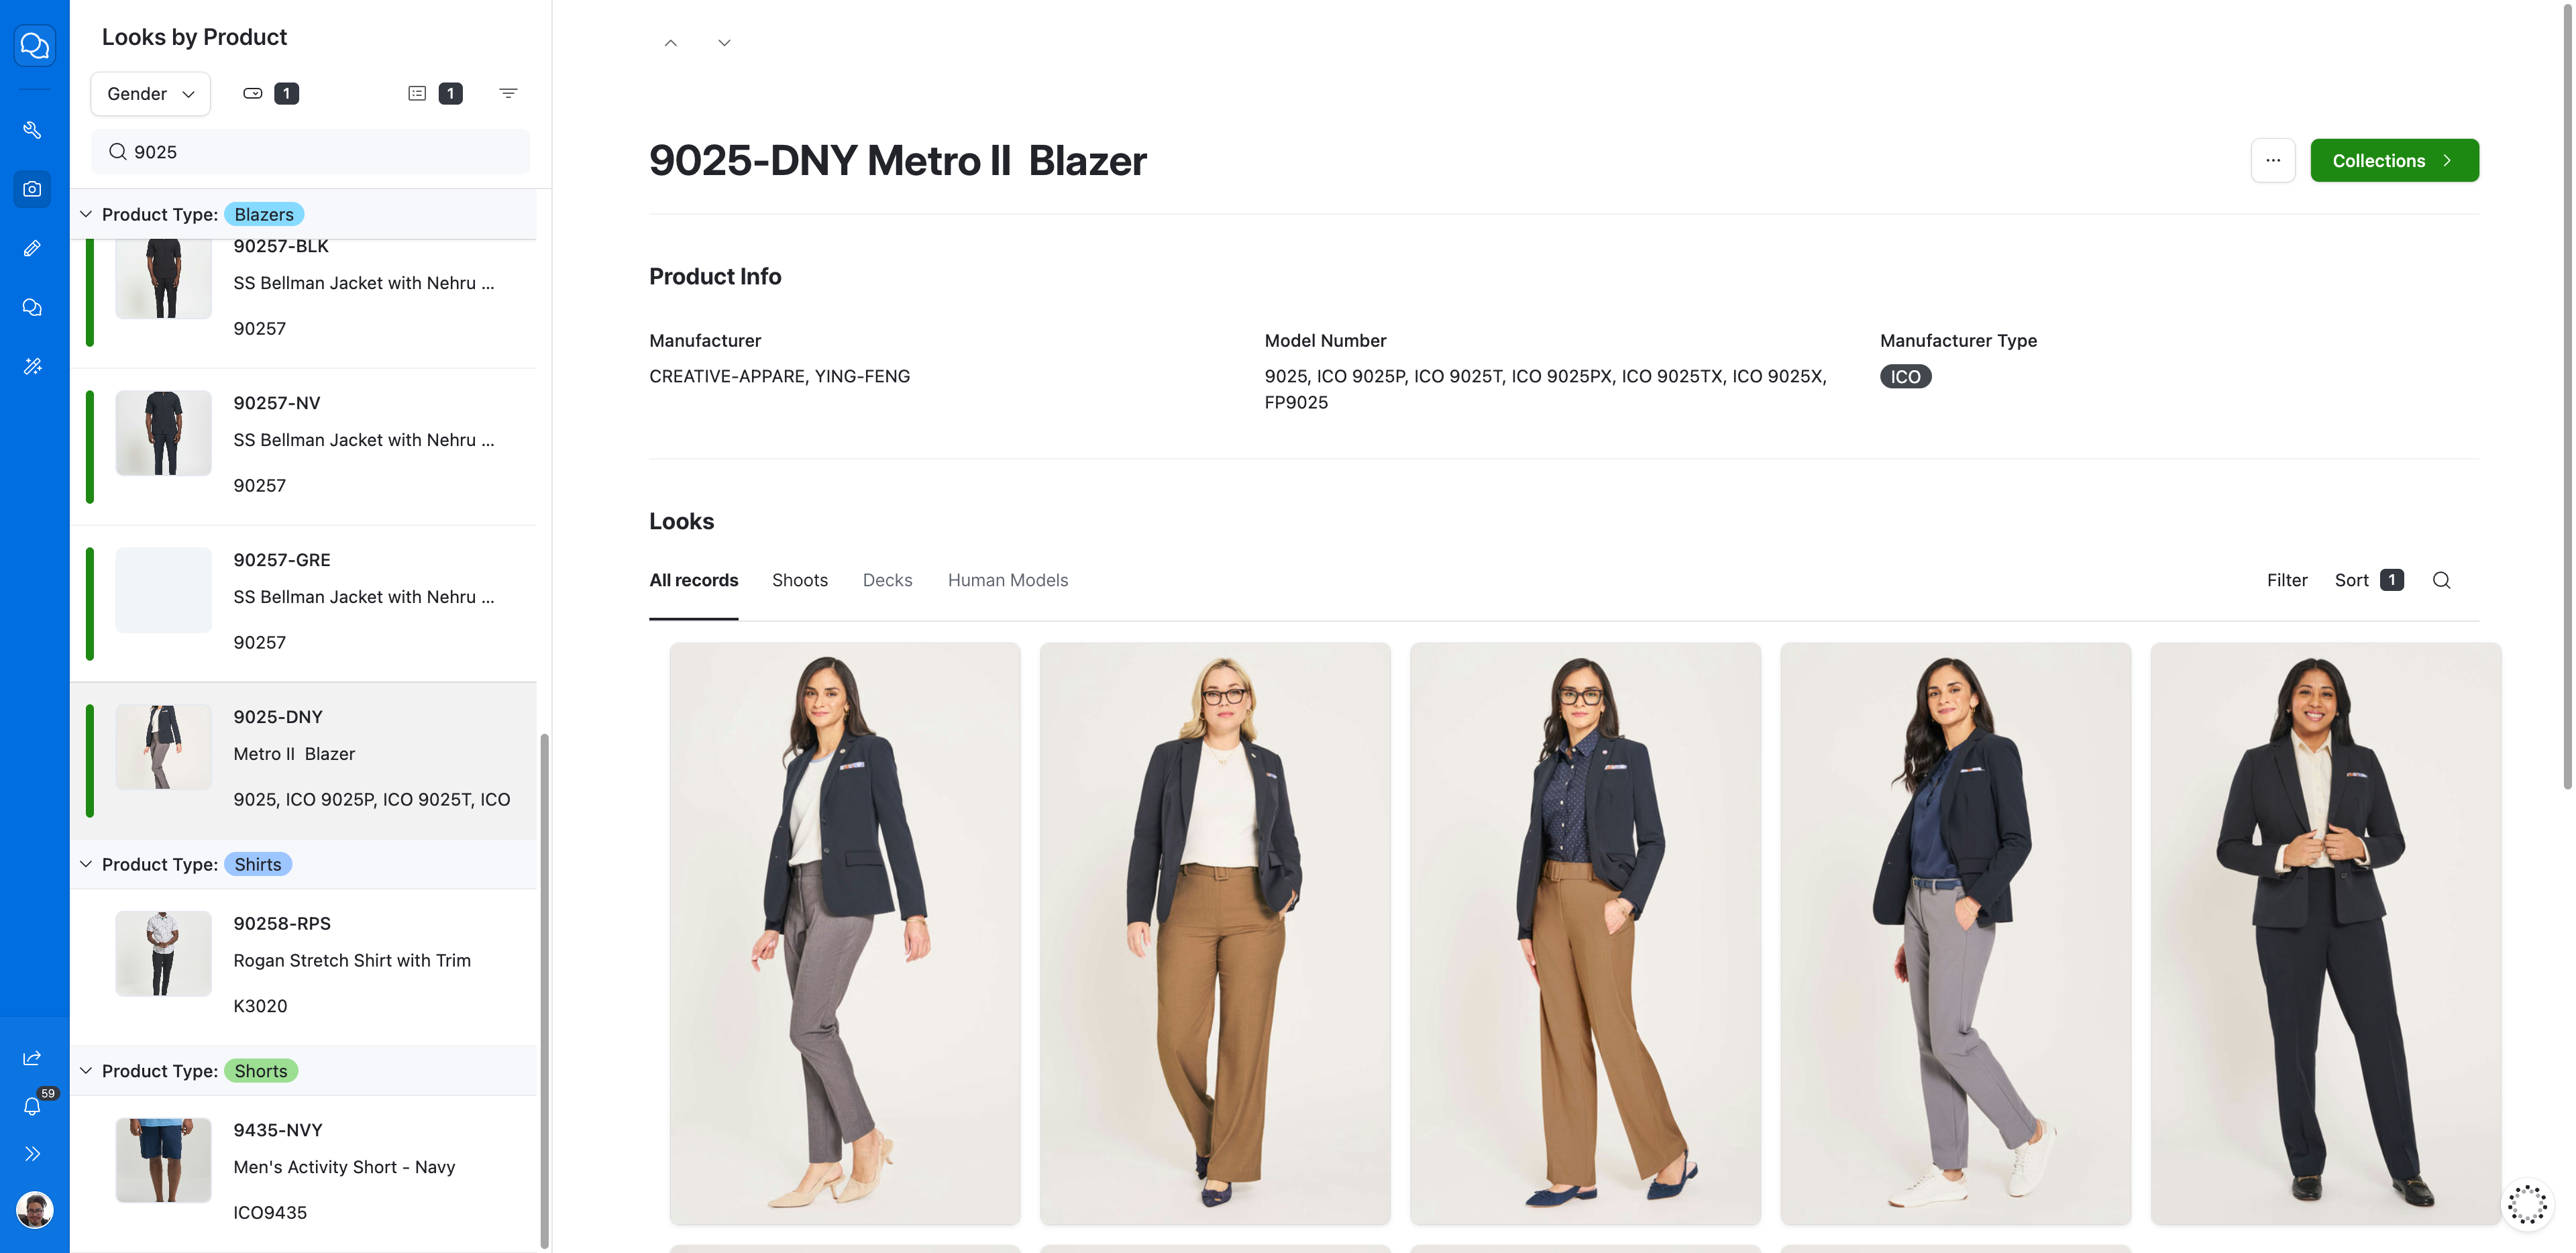

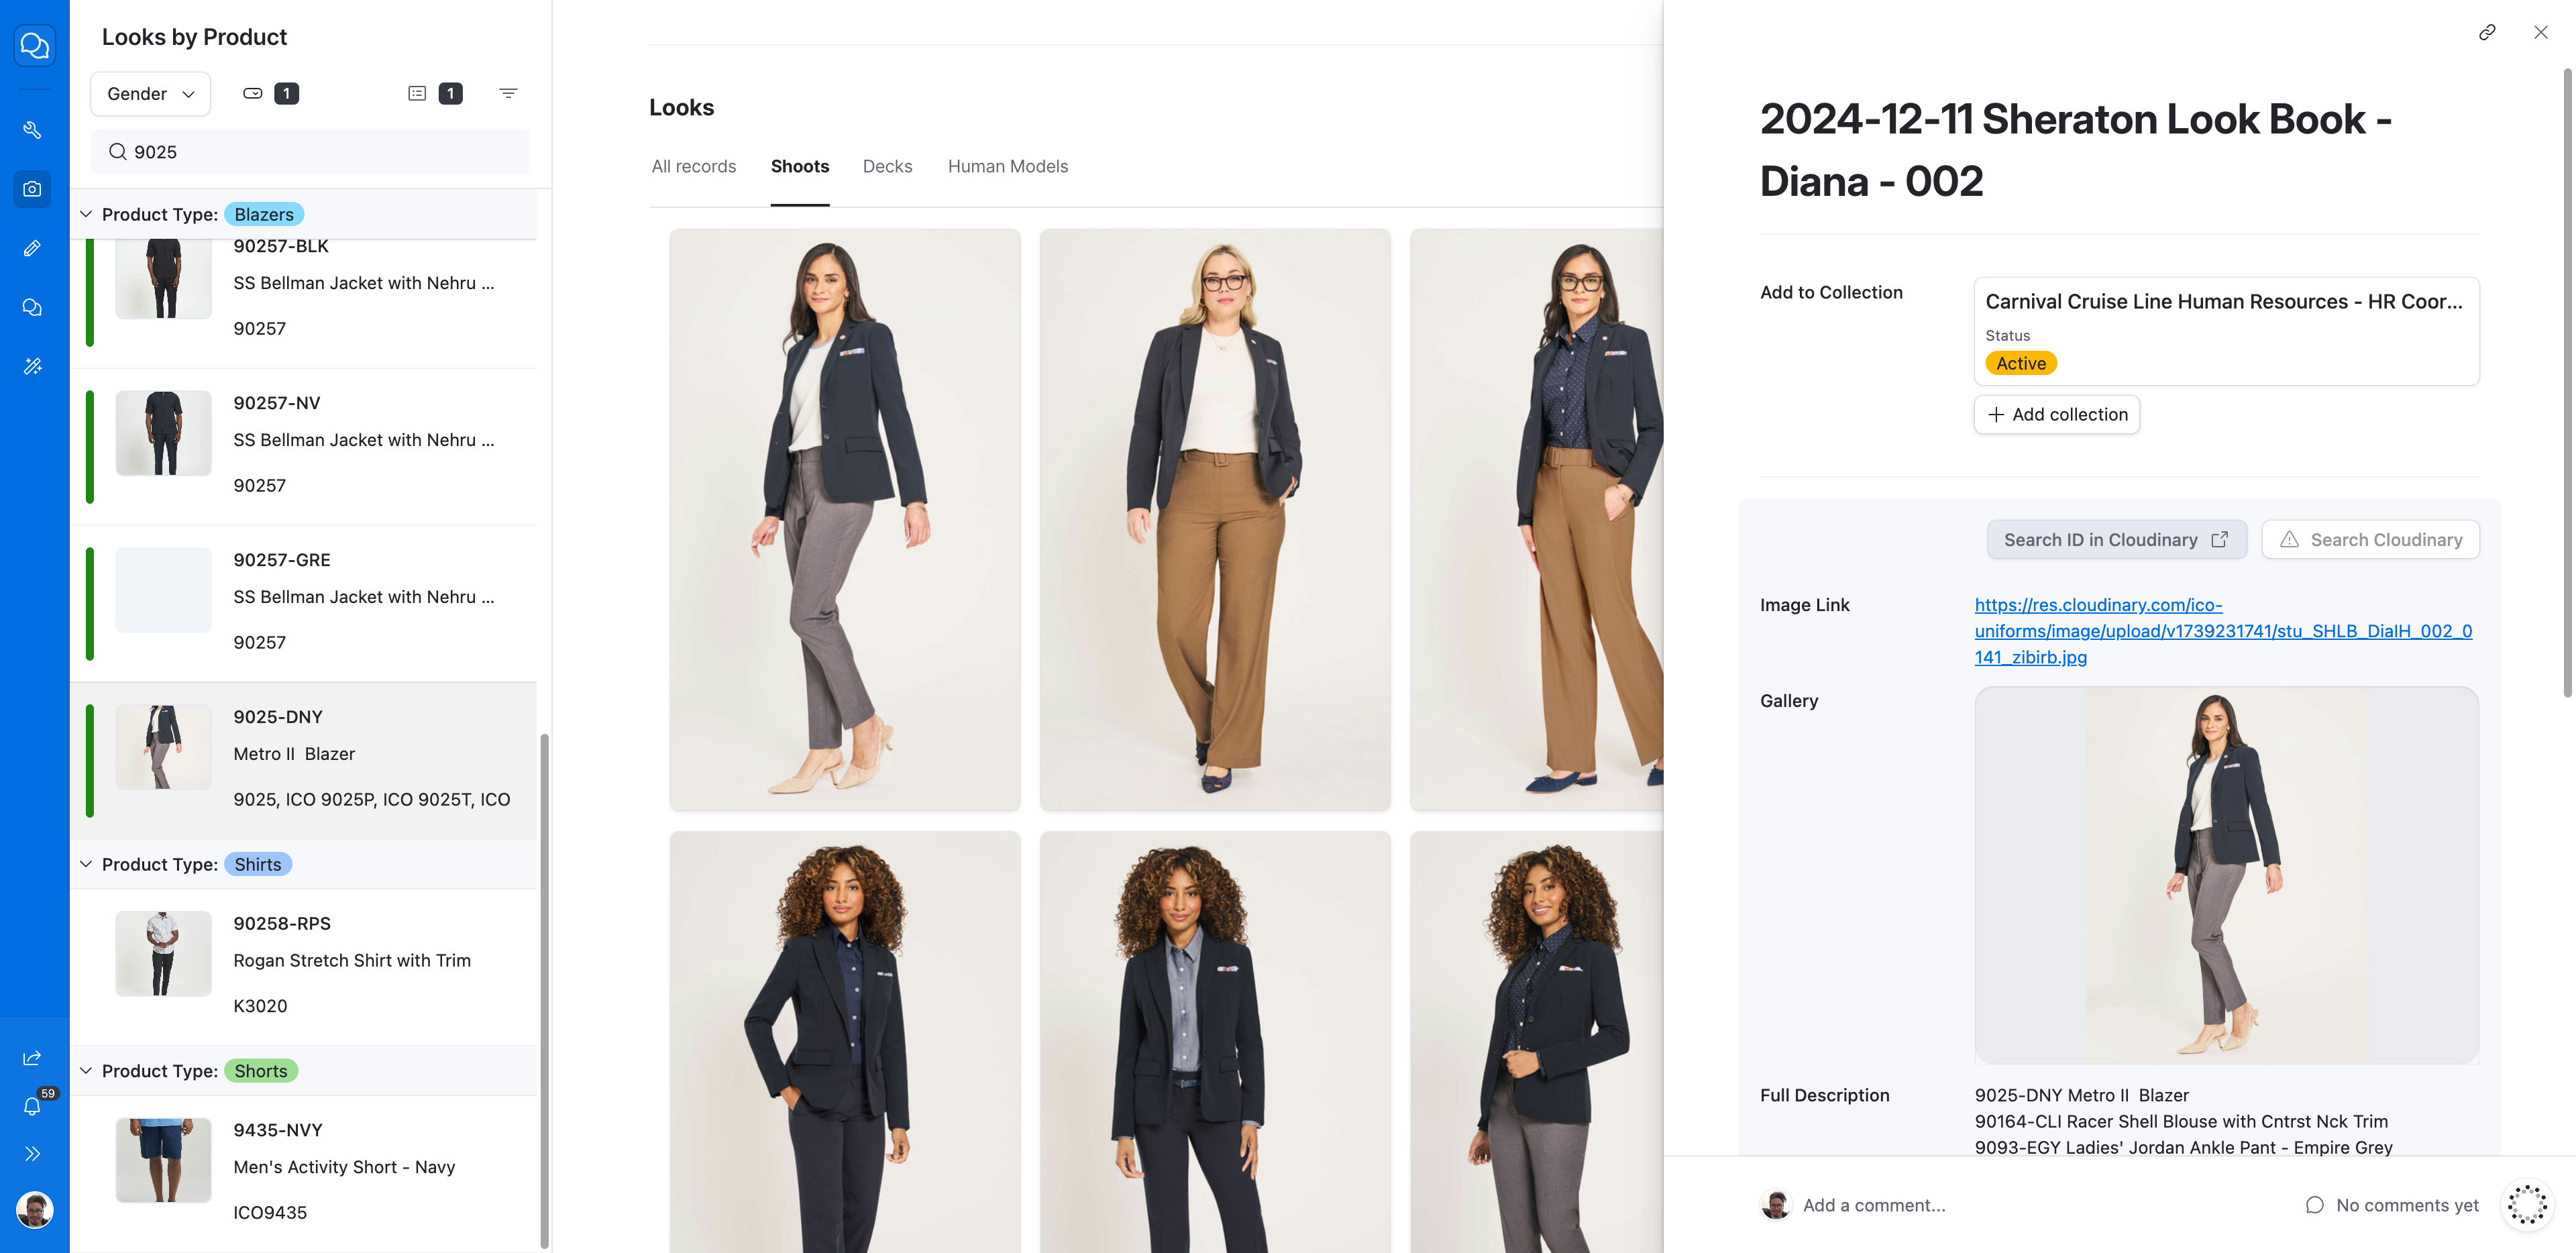
In this case, I will search for 9025. I will choose your product.