How to Select or Create a Location for a Transaction
Learn how to select an existing location or create a new location while reviewing a transaction.
By Aasma Technology Solutions
This guide explains how to assign a location to a transaction from the Review Transactions section. Users can select an existing location from the available options or create a new location when the required location is not available.
1
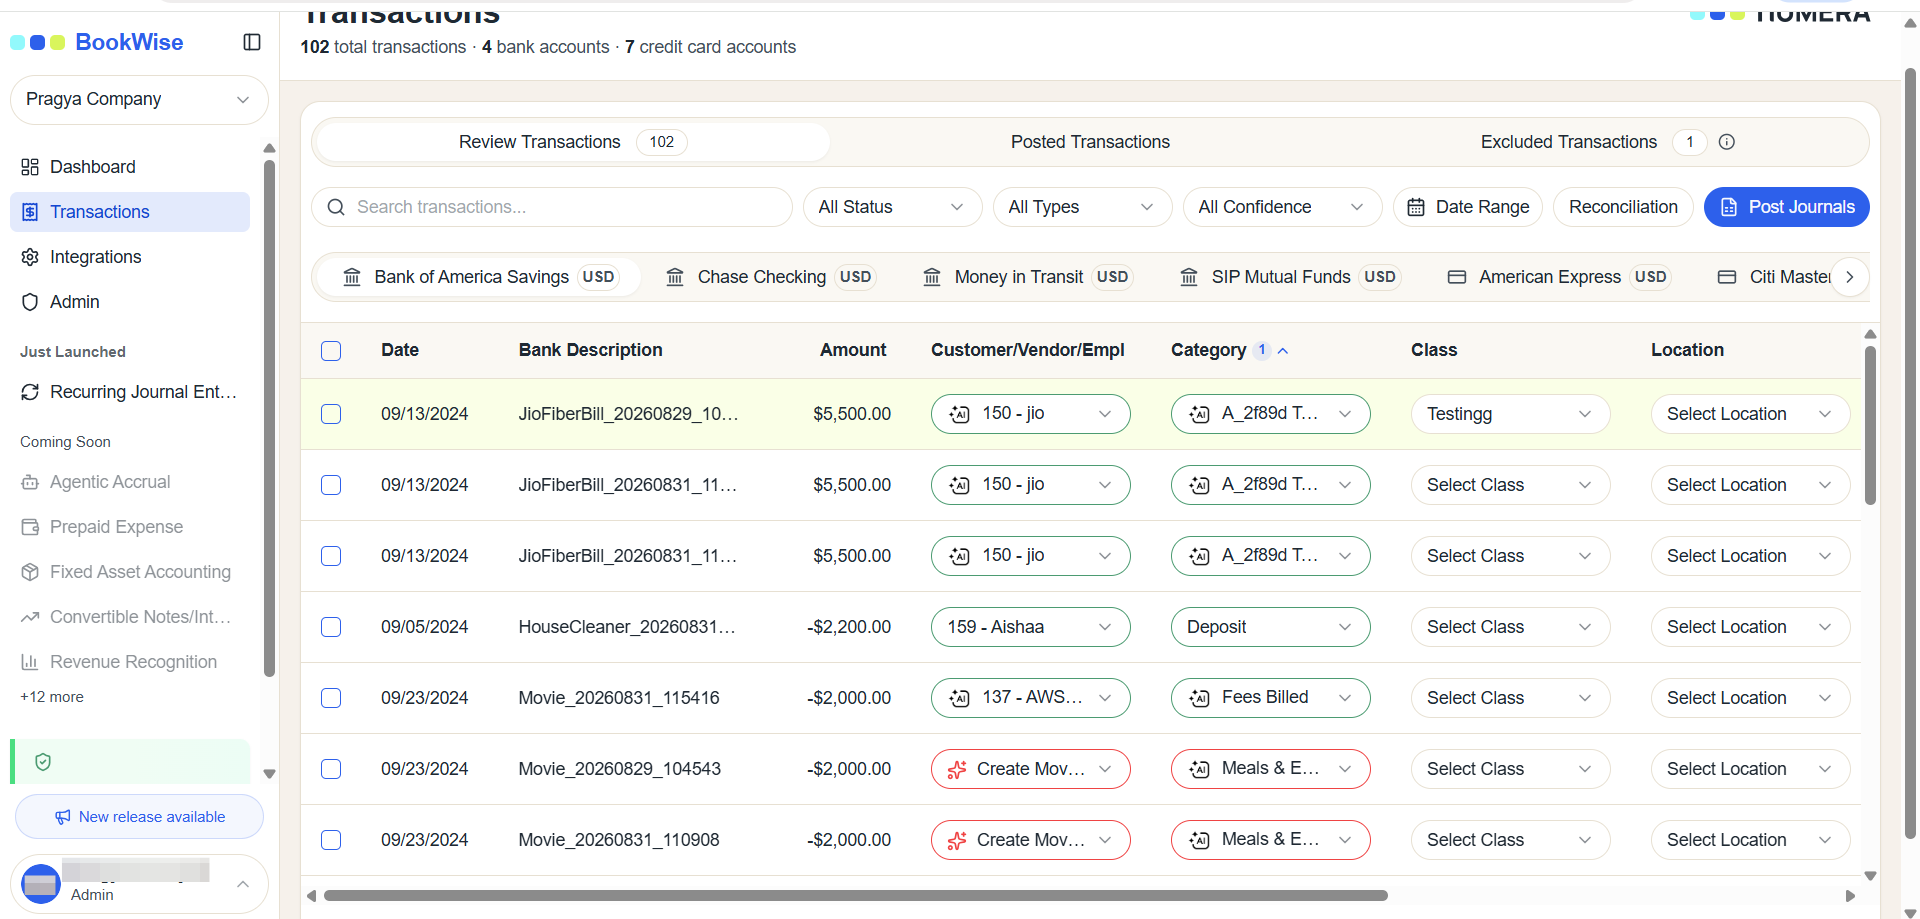
Go to the Transactions tab and open the Review Transactions section.
2
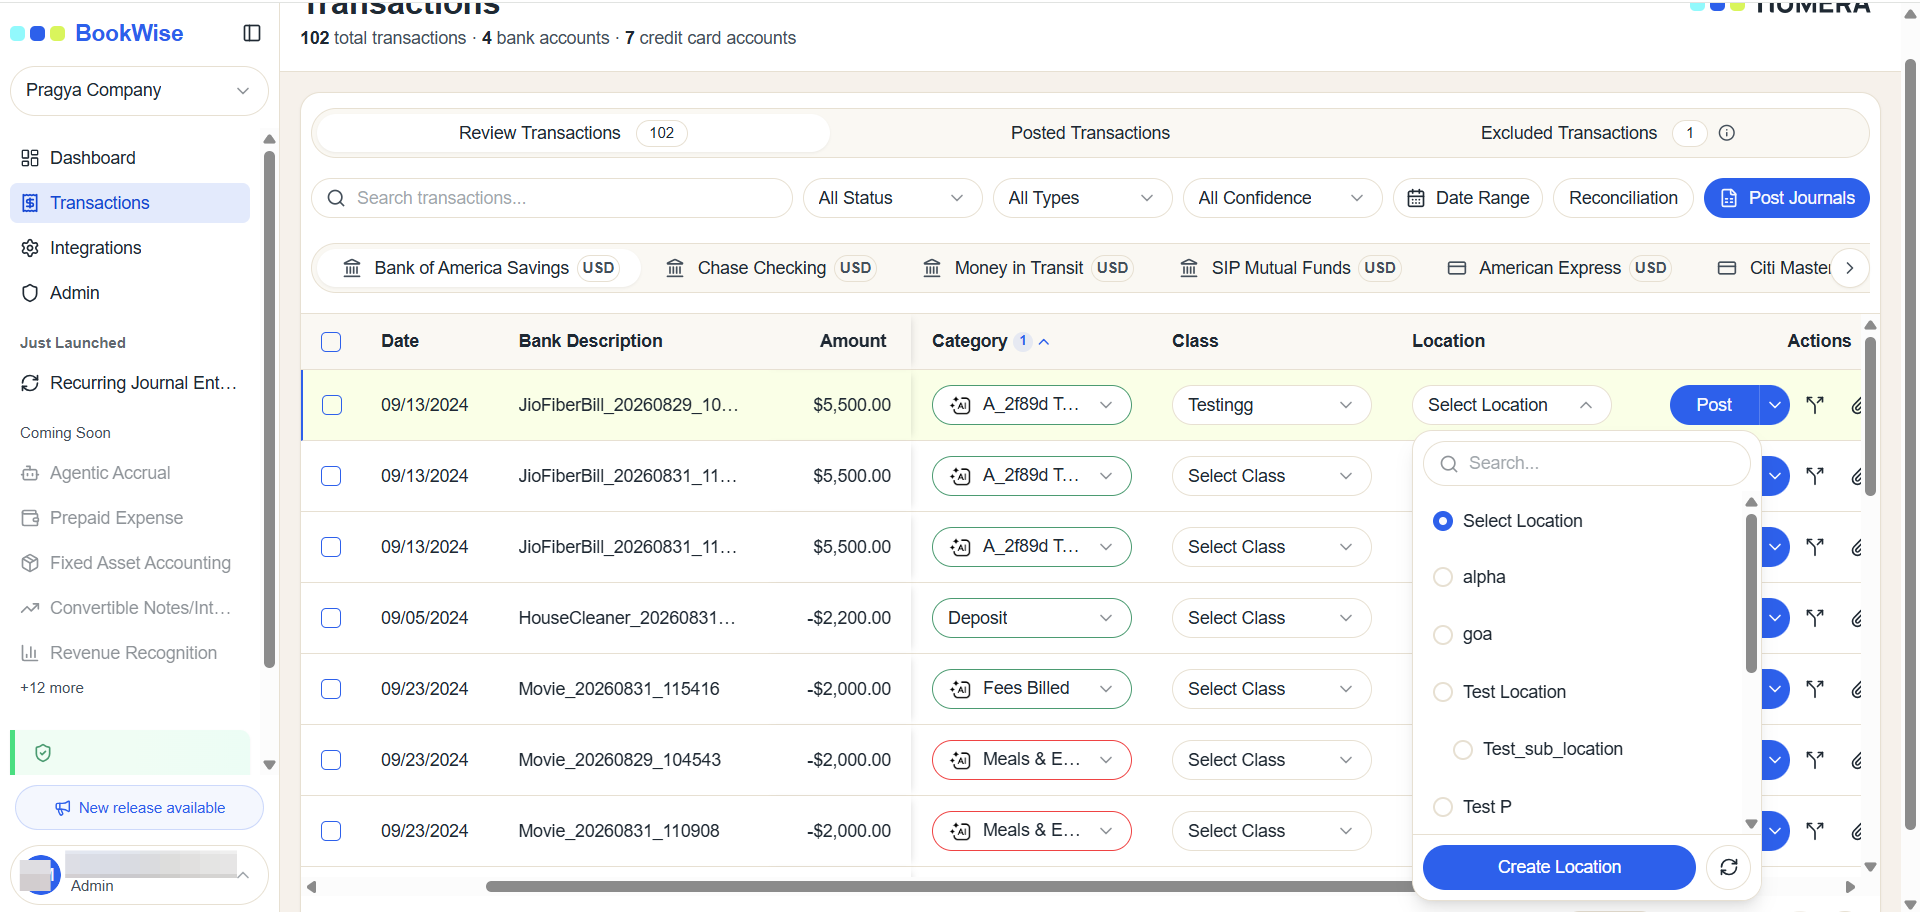
Locate the transaction you want to update and click the Location dropdown to view the available locations.
3
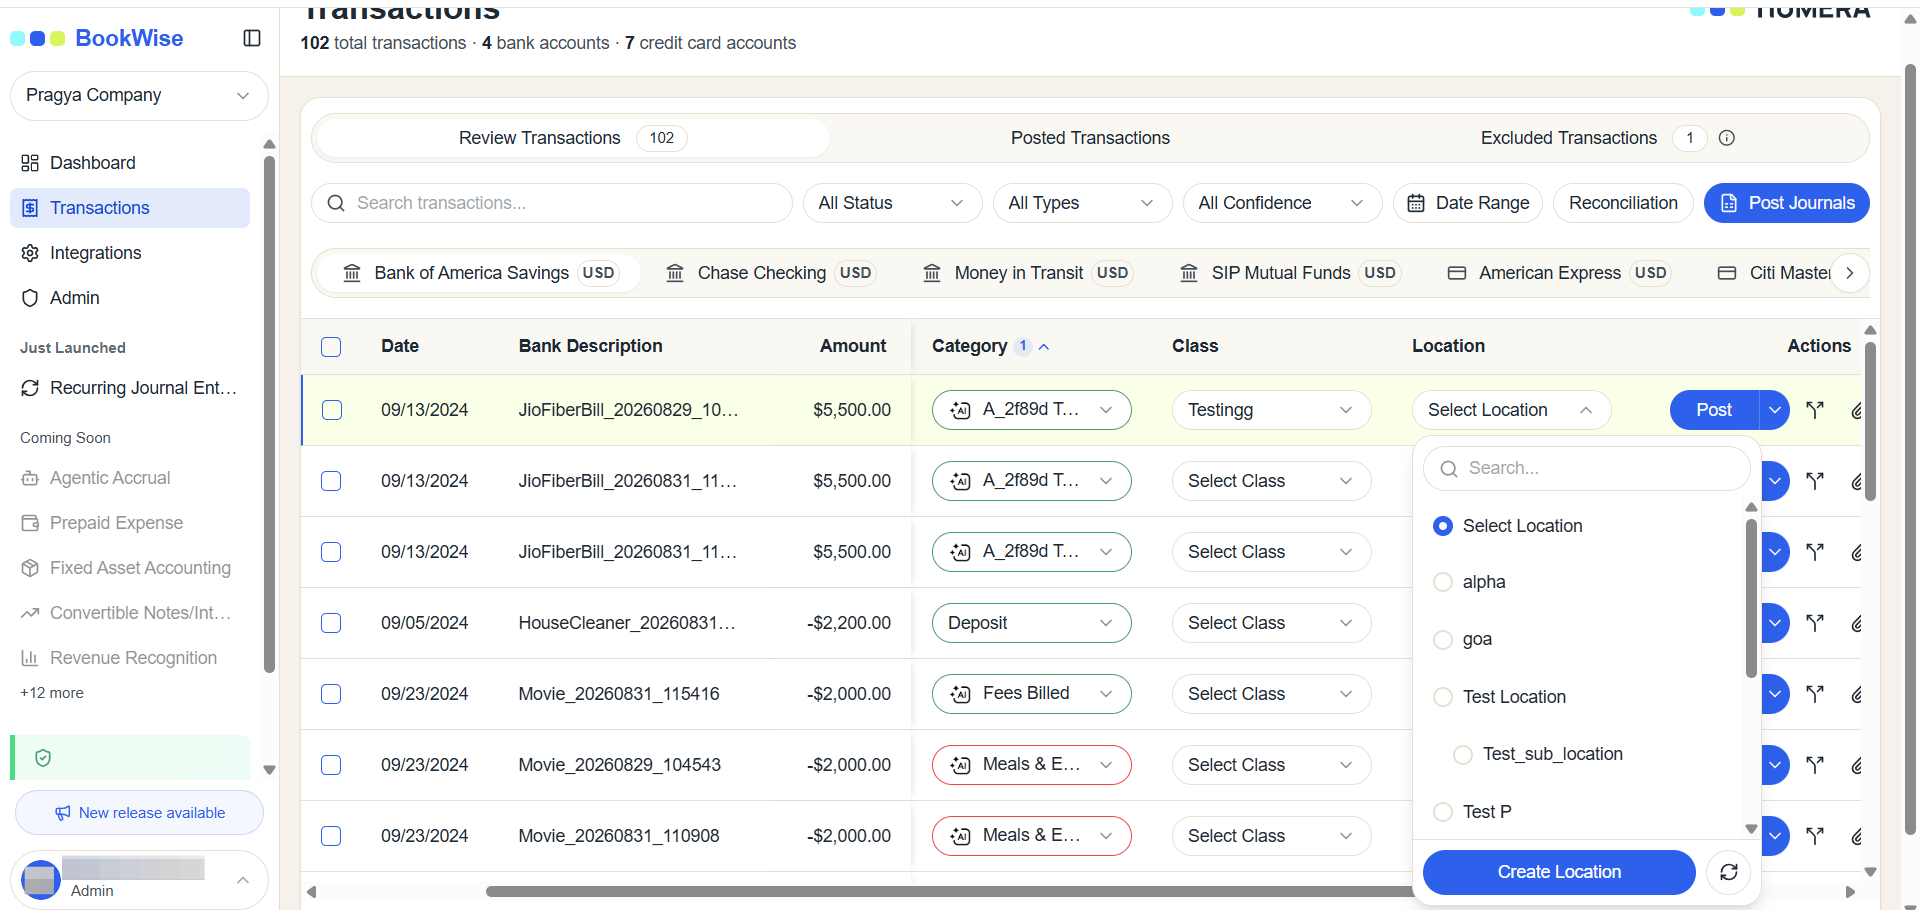
If the required location is not available, click Create Location to add a new location.
4
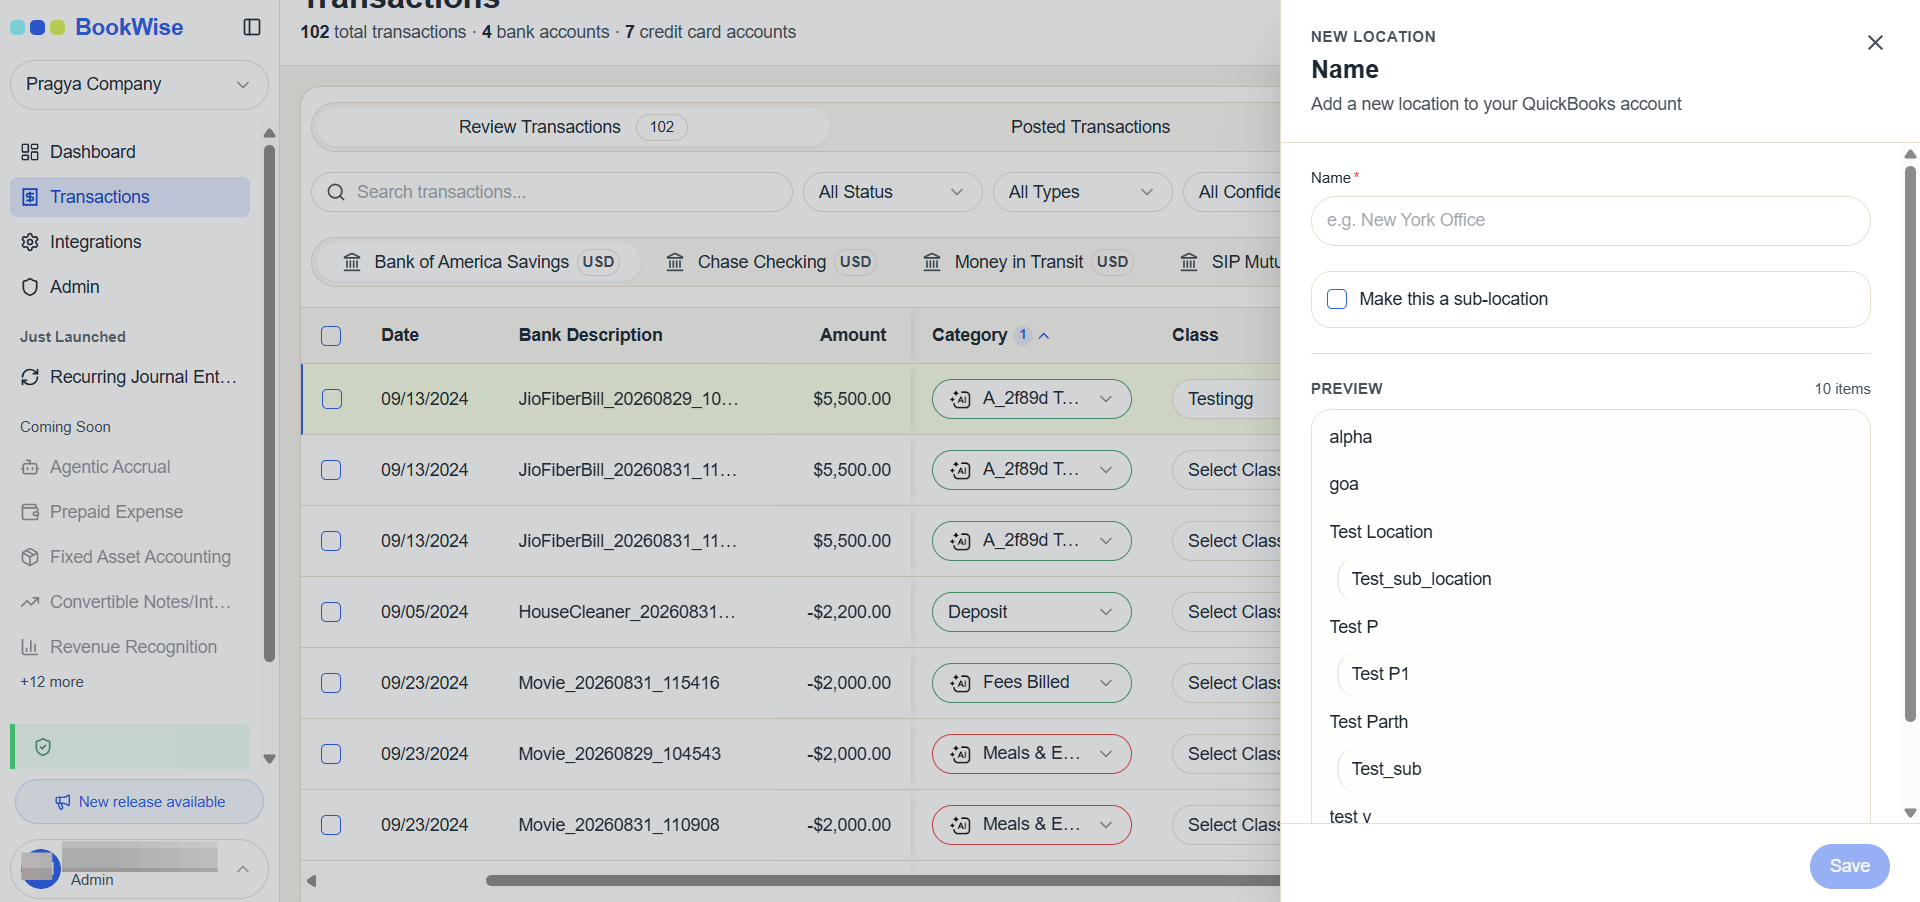
Enter the required location name in the provided field.
5
Click Save to create the new location.
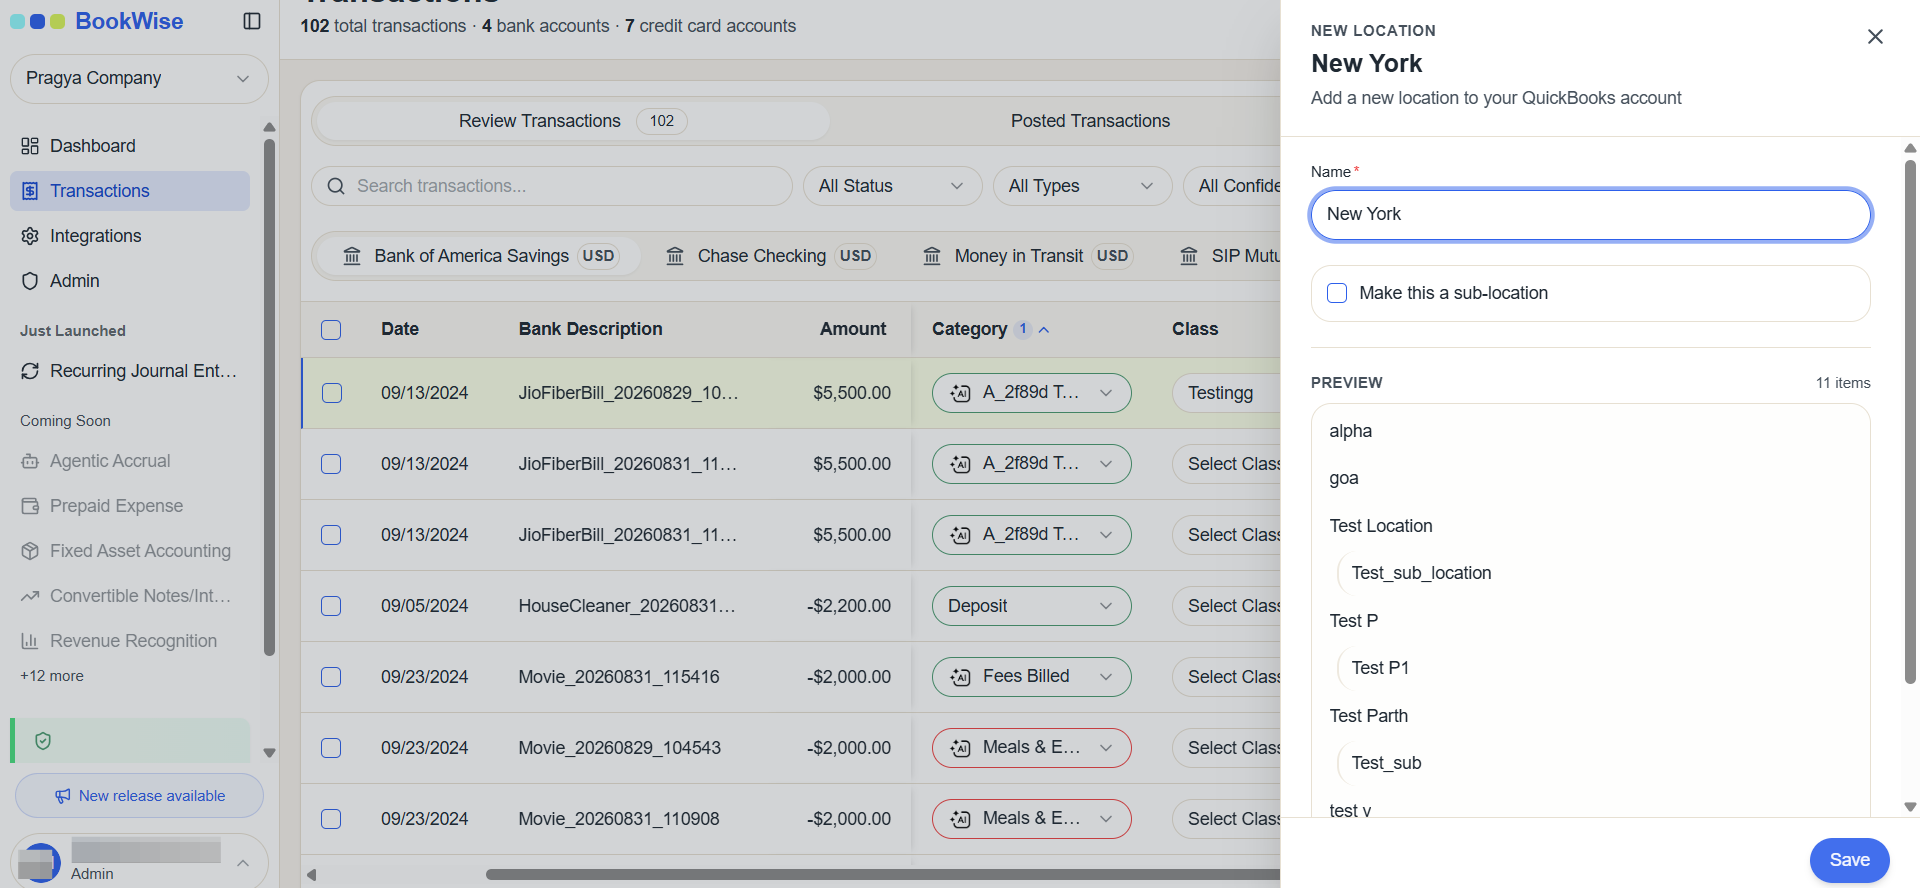
The newly created location will be added to the list of available locations.
Creating a sub-location is a great way to maintain an organized hierarchy, such as associating specific branch offices or departments with a main headquarters.
6
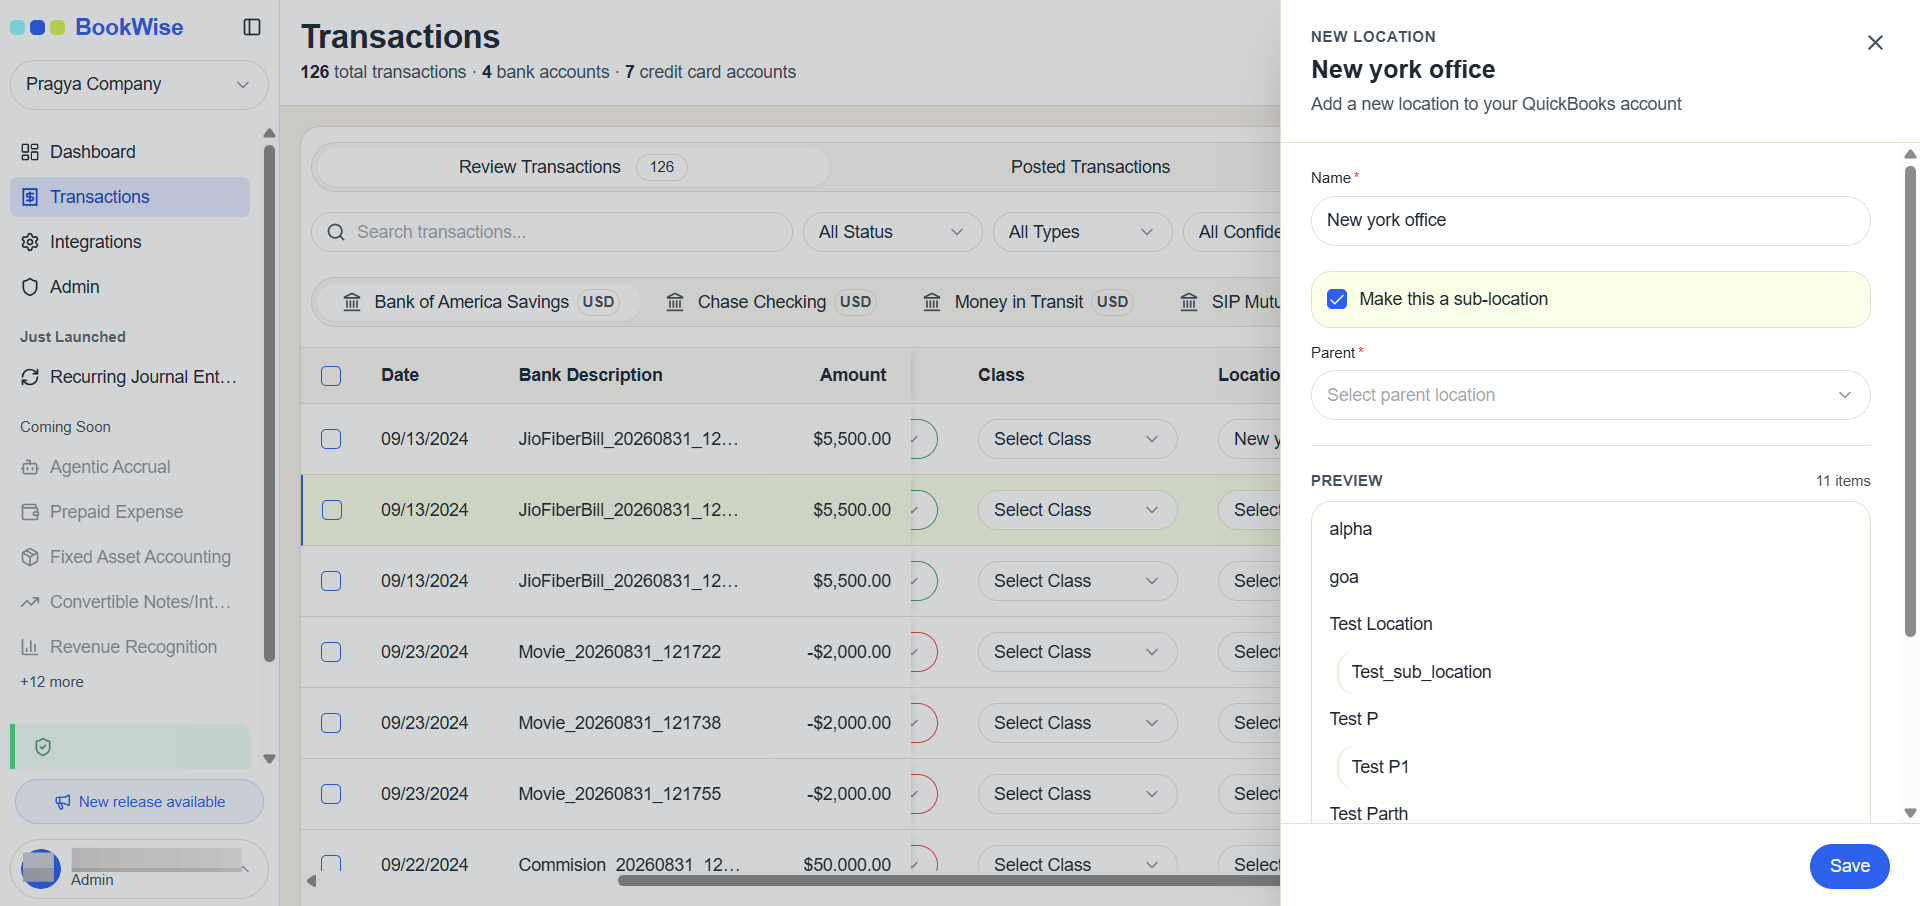
Type the name of your new sub-locationinto the Name field. Select the Make this a sub-location checkbox.
7
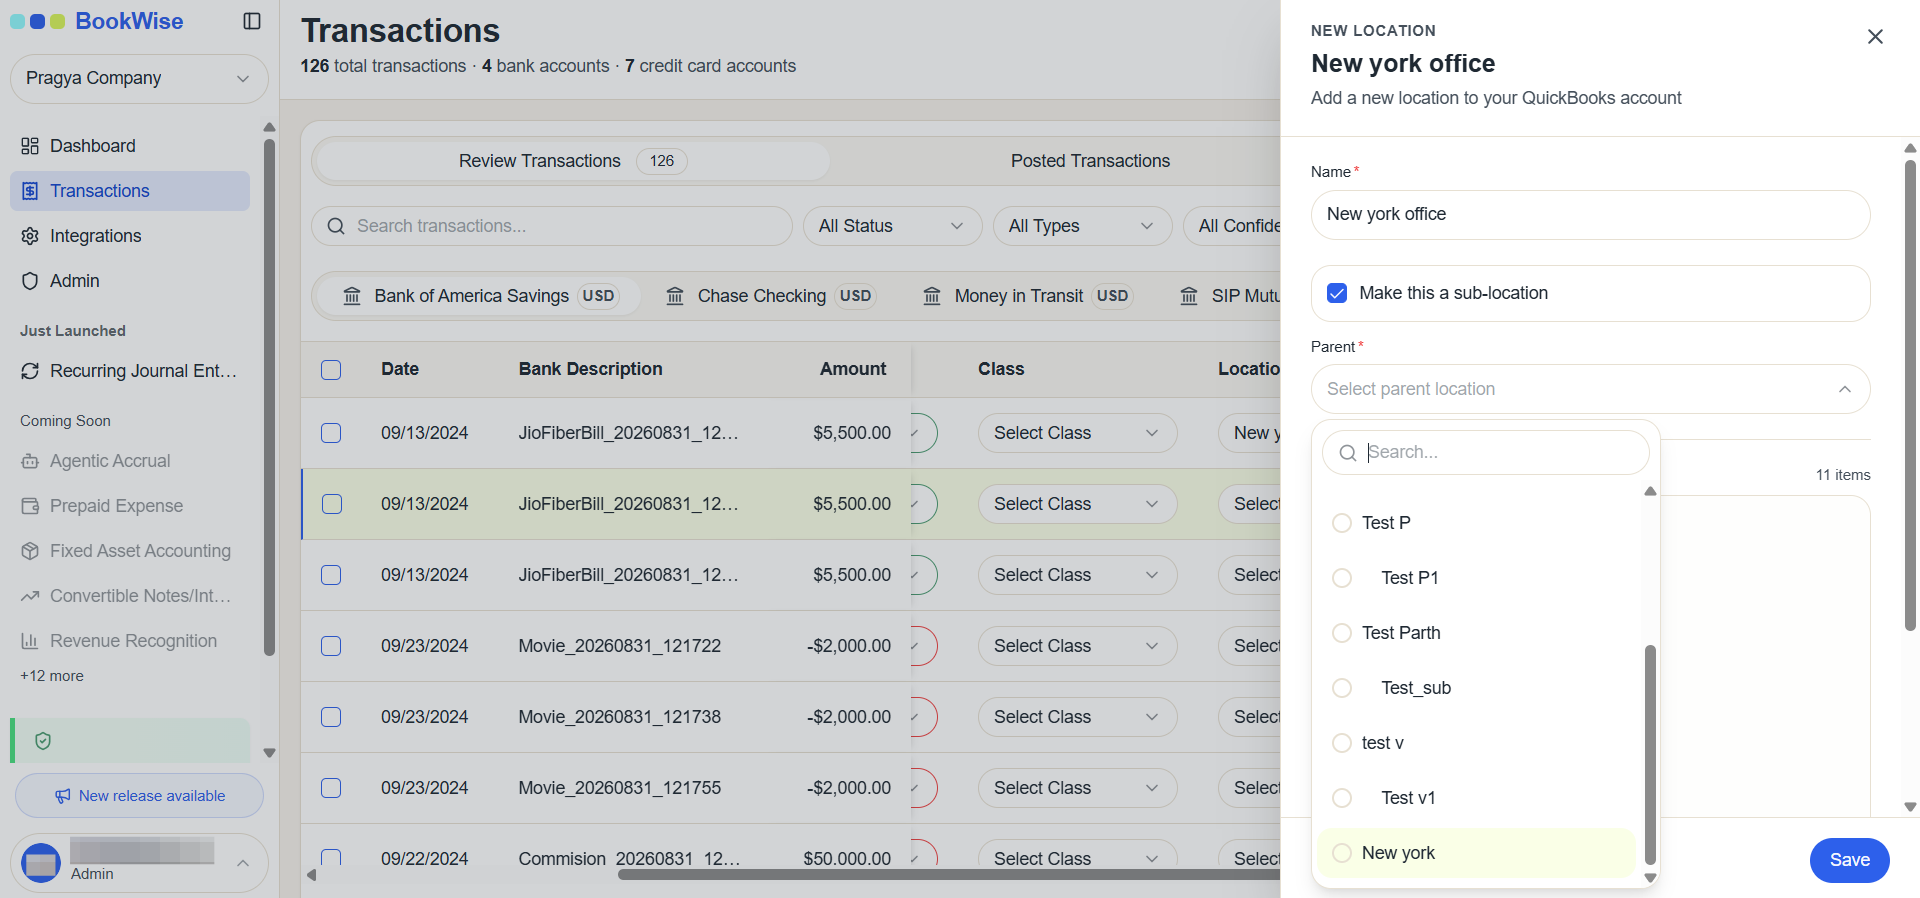
Click the Select parent location dropdown menu, search for your primary location, and select it from the results.
8
Click Save to finalize the sub-location.
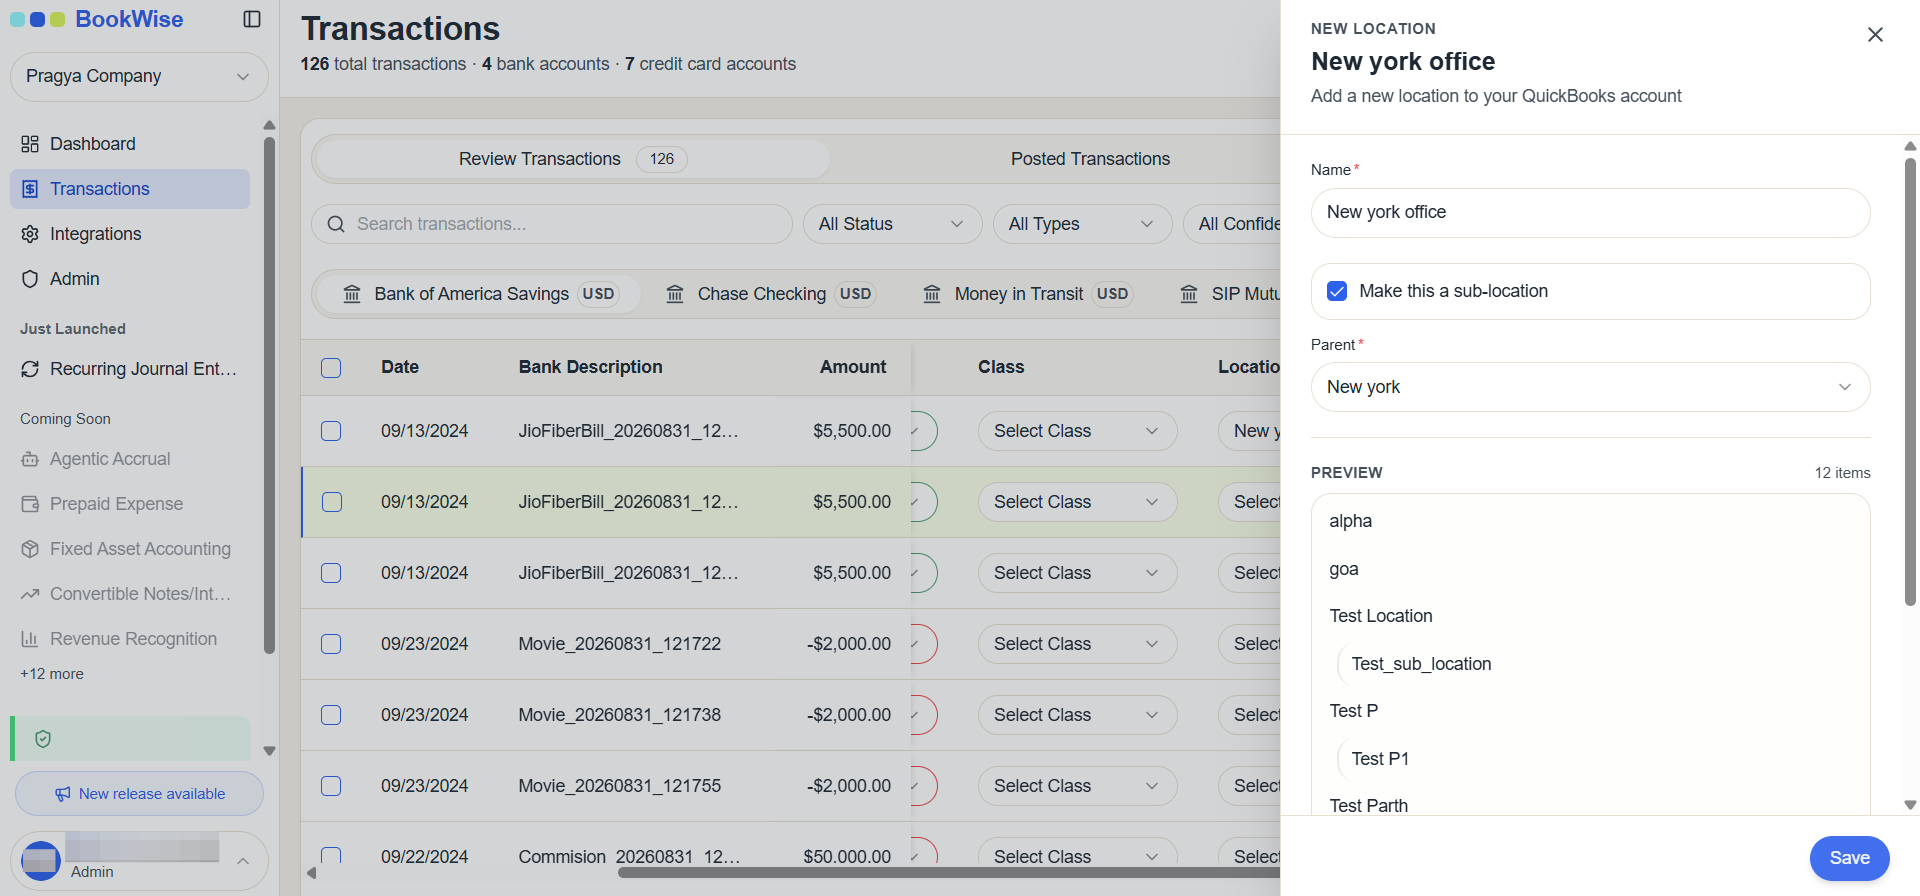
The Location feature allows users to assign existing locations or create new ones directly while reviewing transactions, making transaction categorization more convenient and efficient.