
How to Negotiate a Whole Loan Request as a Seller
Use this guide when a buyer’s access request has been approved and you’re ready to review, respond, and negotiate terms. It walks you through opening the request, reviewing details, communicating with the buyer, and submitting counteroffers or approvals.
Overview
Once a buyer’s request to view a whole loan has been approved, sellers can begin negotiations directly in Capstack. This guide shows you how to open an approved request, review loan details, communicate with the buyer, and finalize terms within the platform.
Before you start
Confirm the buyer’s request shows as Approved in Activity
Make sure your loan package and supporting documents are complete
Be ready to review offers and respond in a timely manner
Getting started
After approval, you’ll manage the negotiation through the Activity section. You can review loan data, share documents, answer buyer questions, and respond to offers — all tracked within Capstack for a complete audit trail.
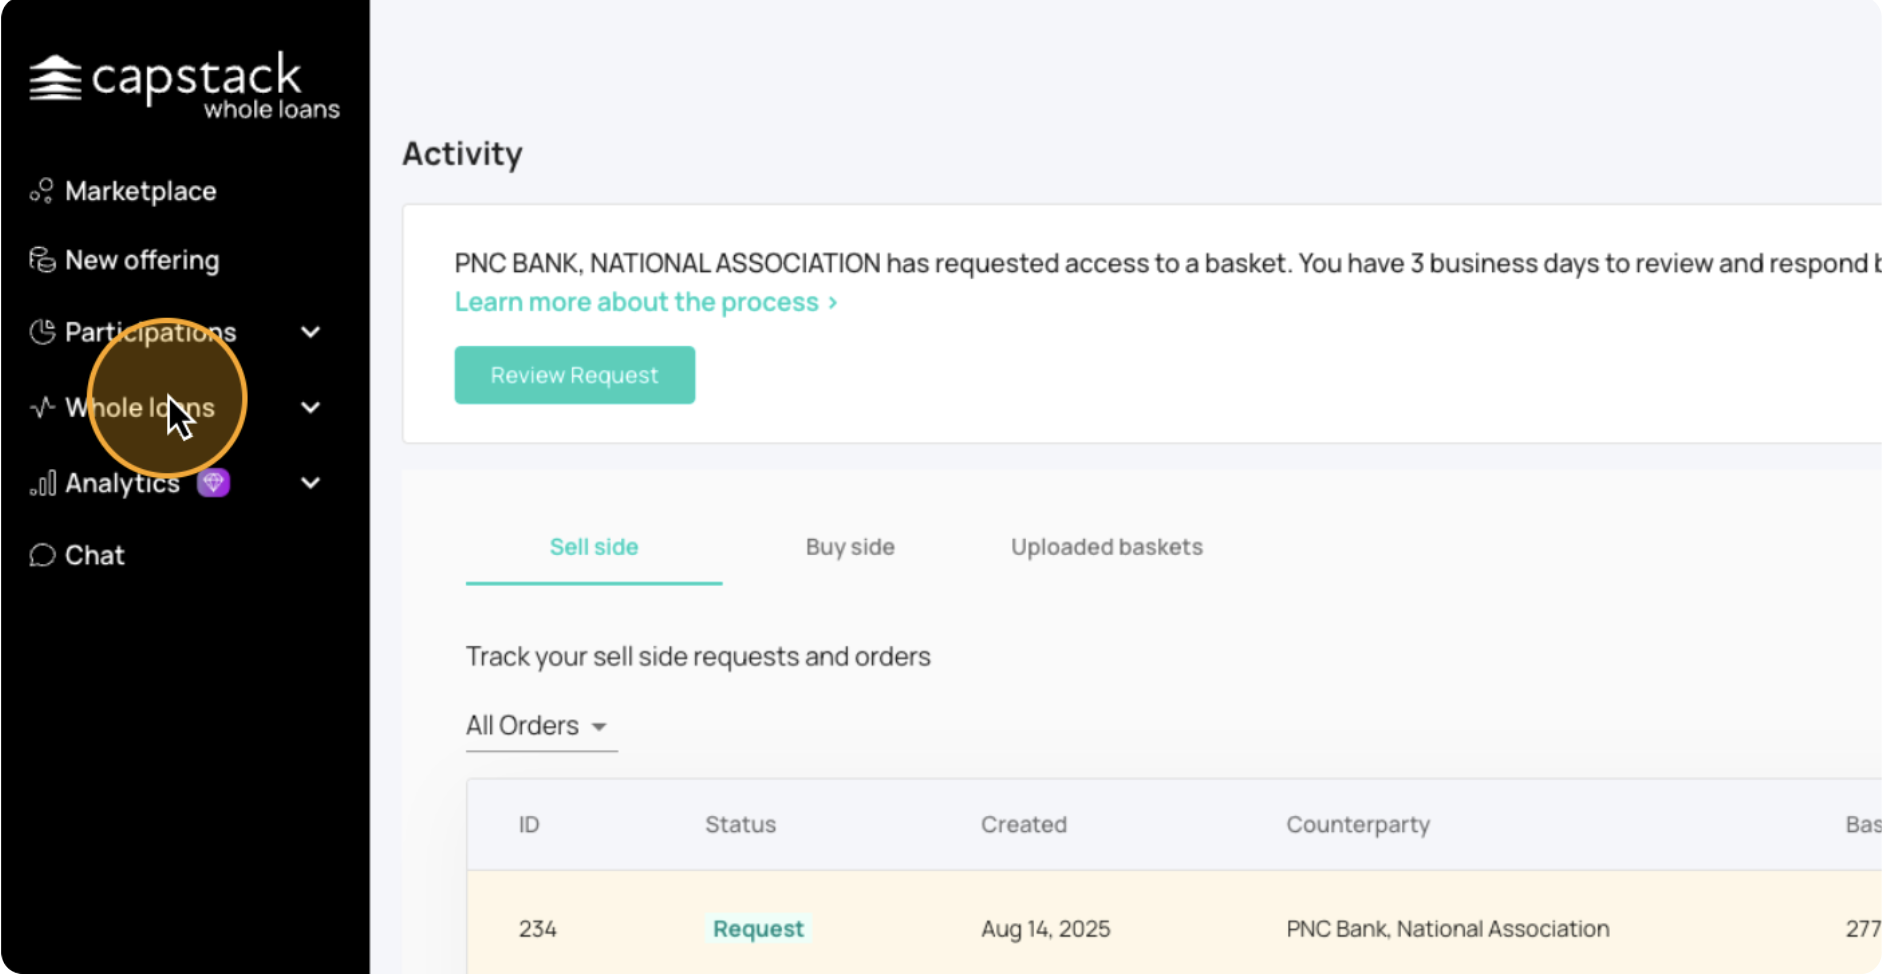
Go to the Whole loans section in the left sidebar to manage your active listings and requests.

Open the Activity section to see all requests, along with their current status.
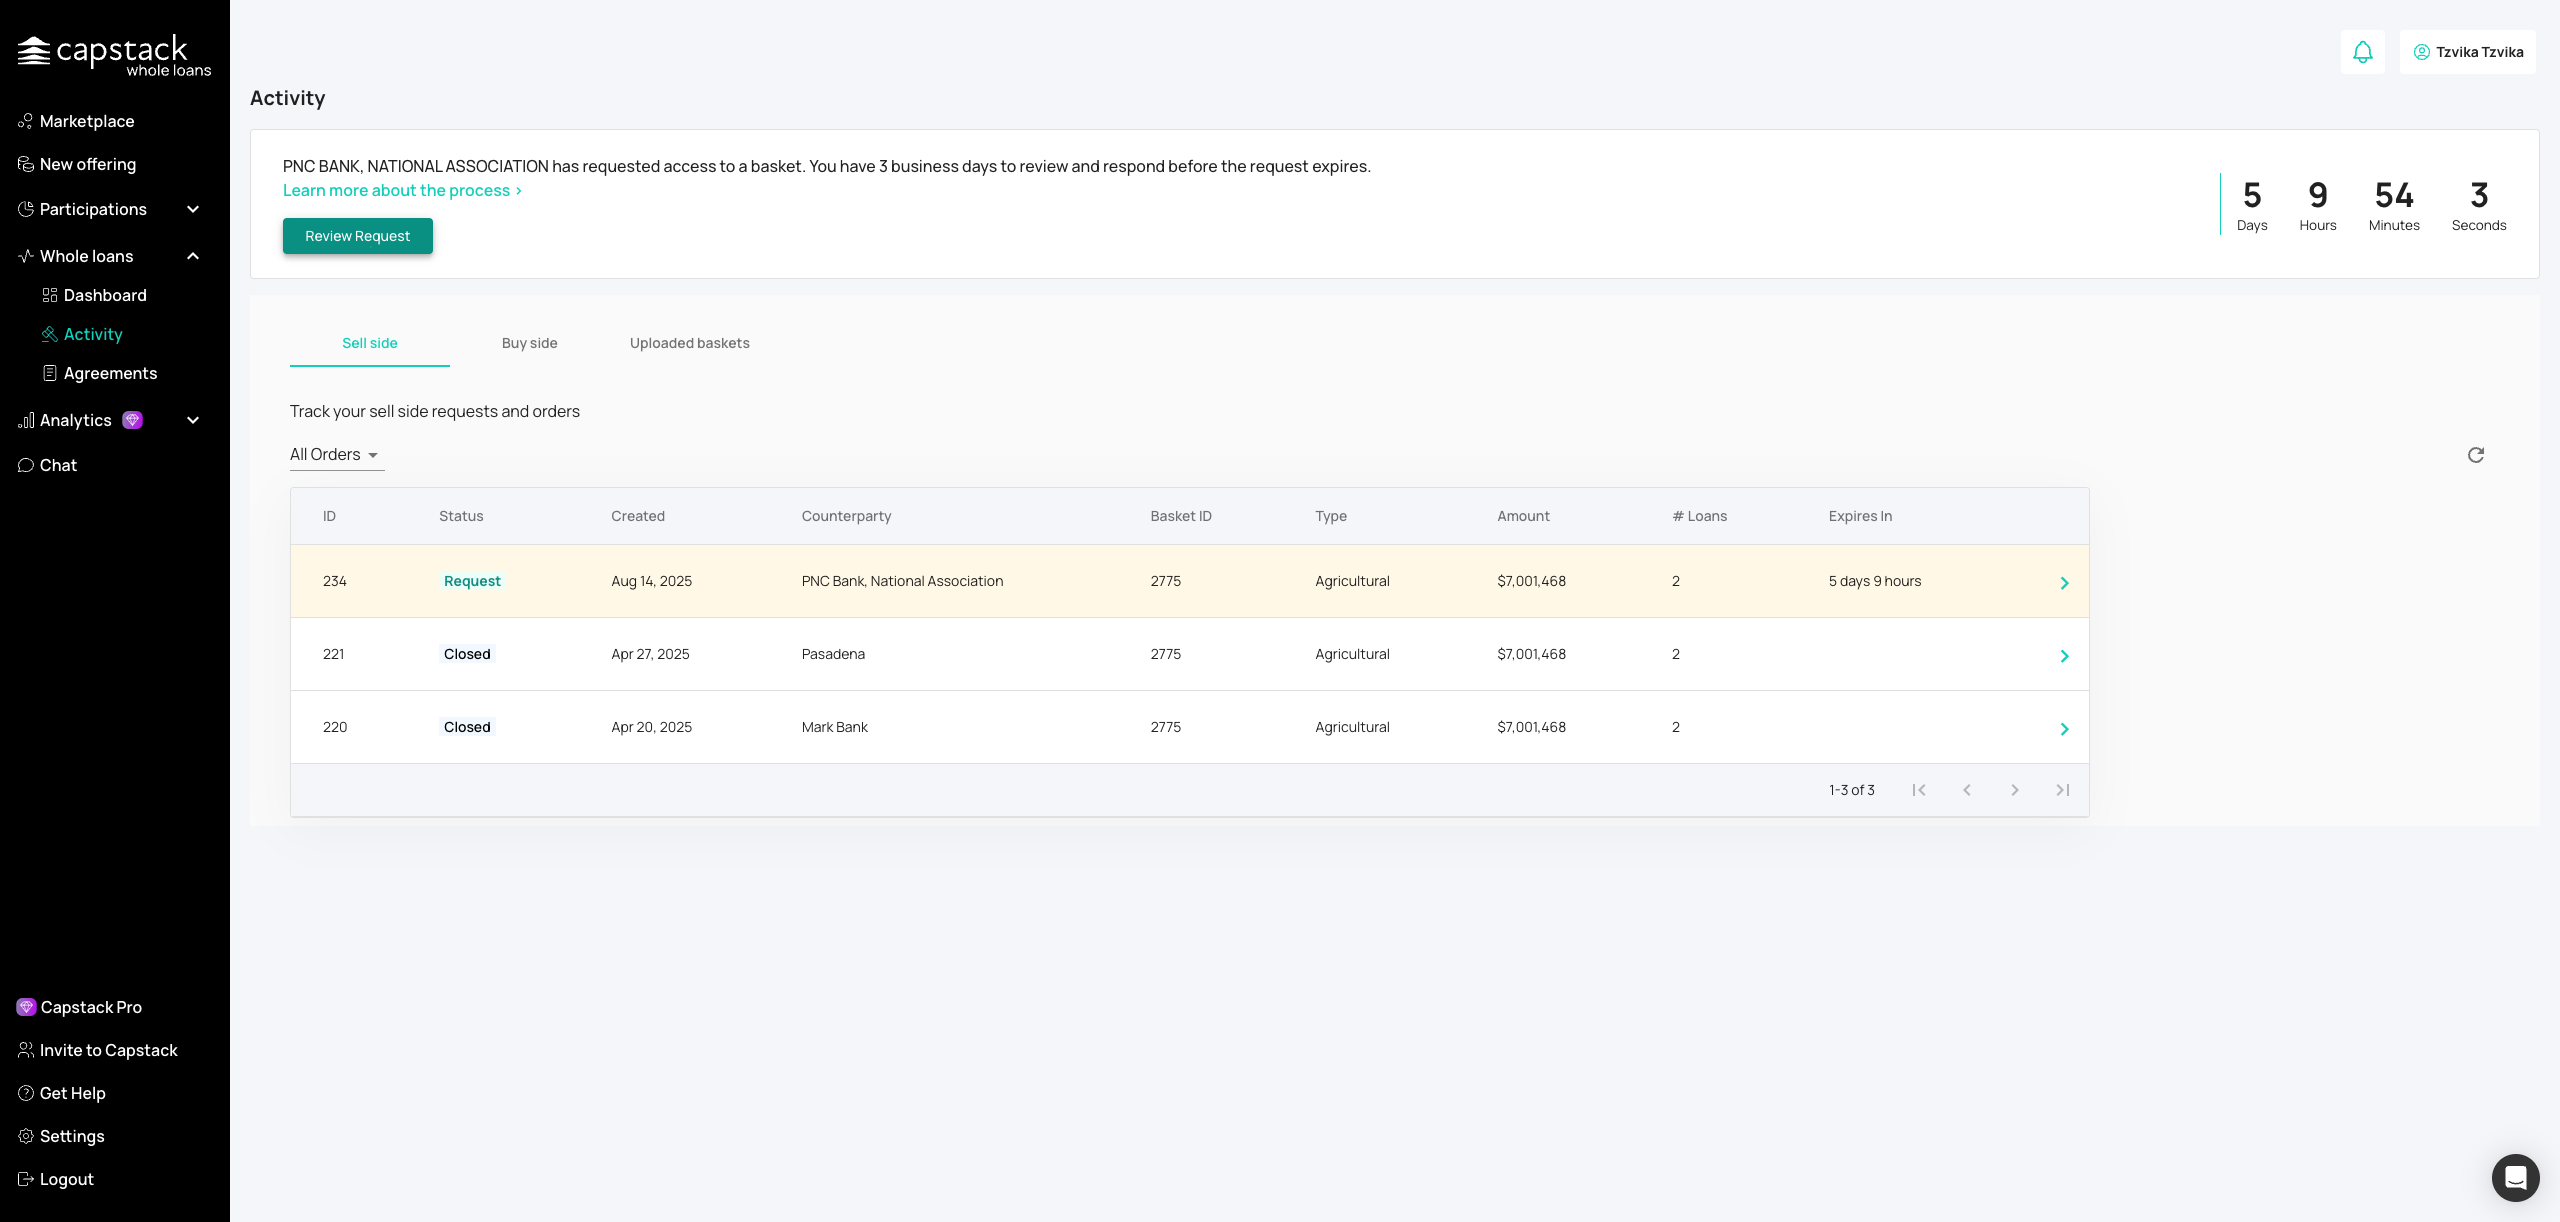
Select the approved request you want to negotiate. This opens the loan details page.
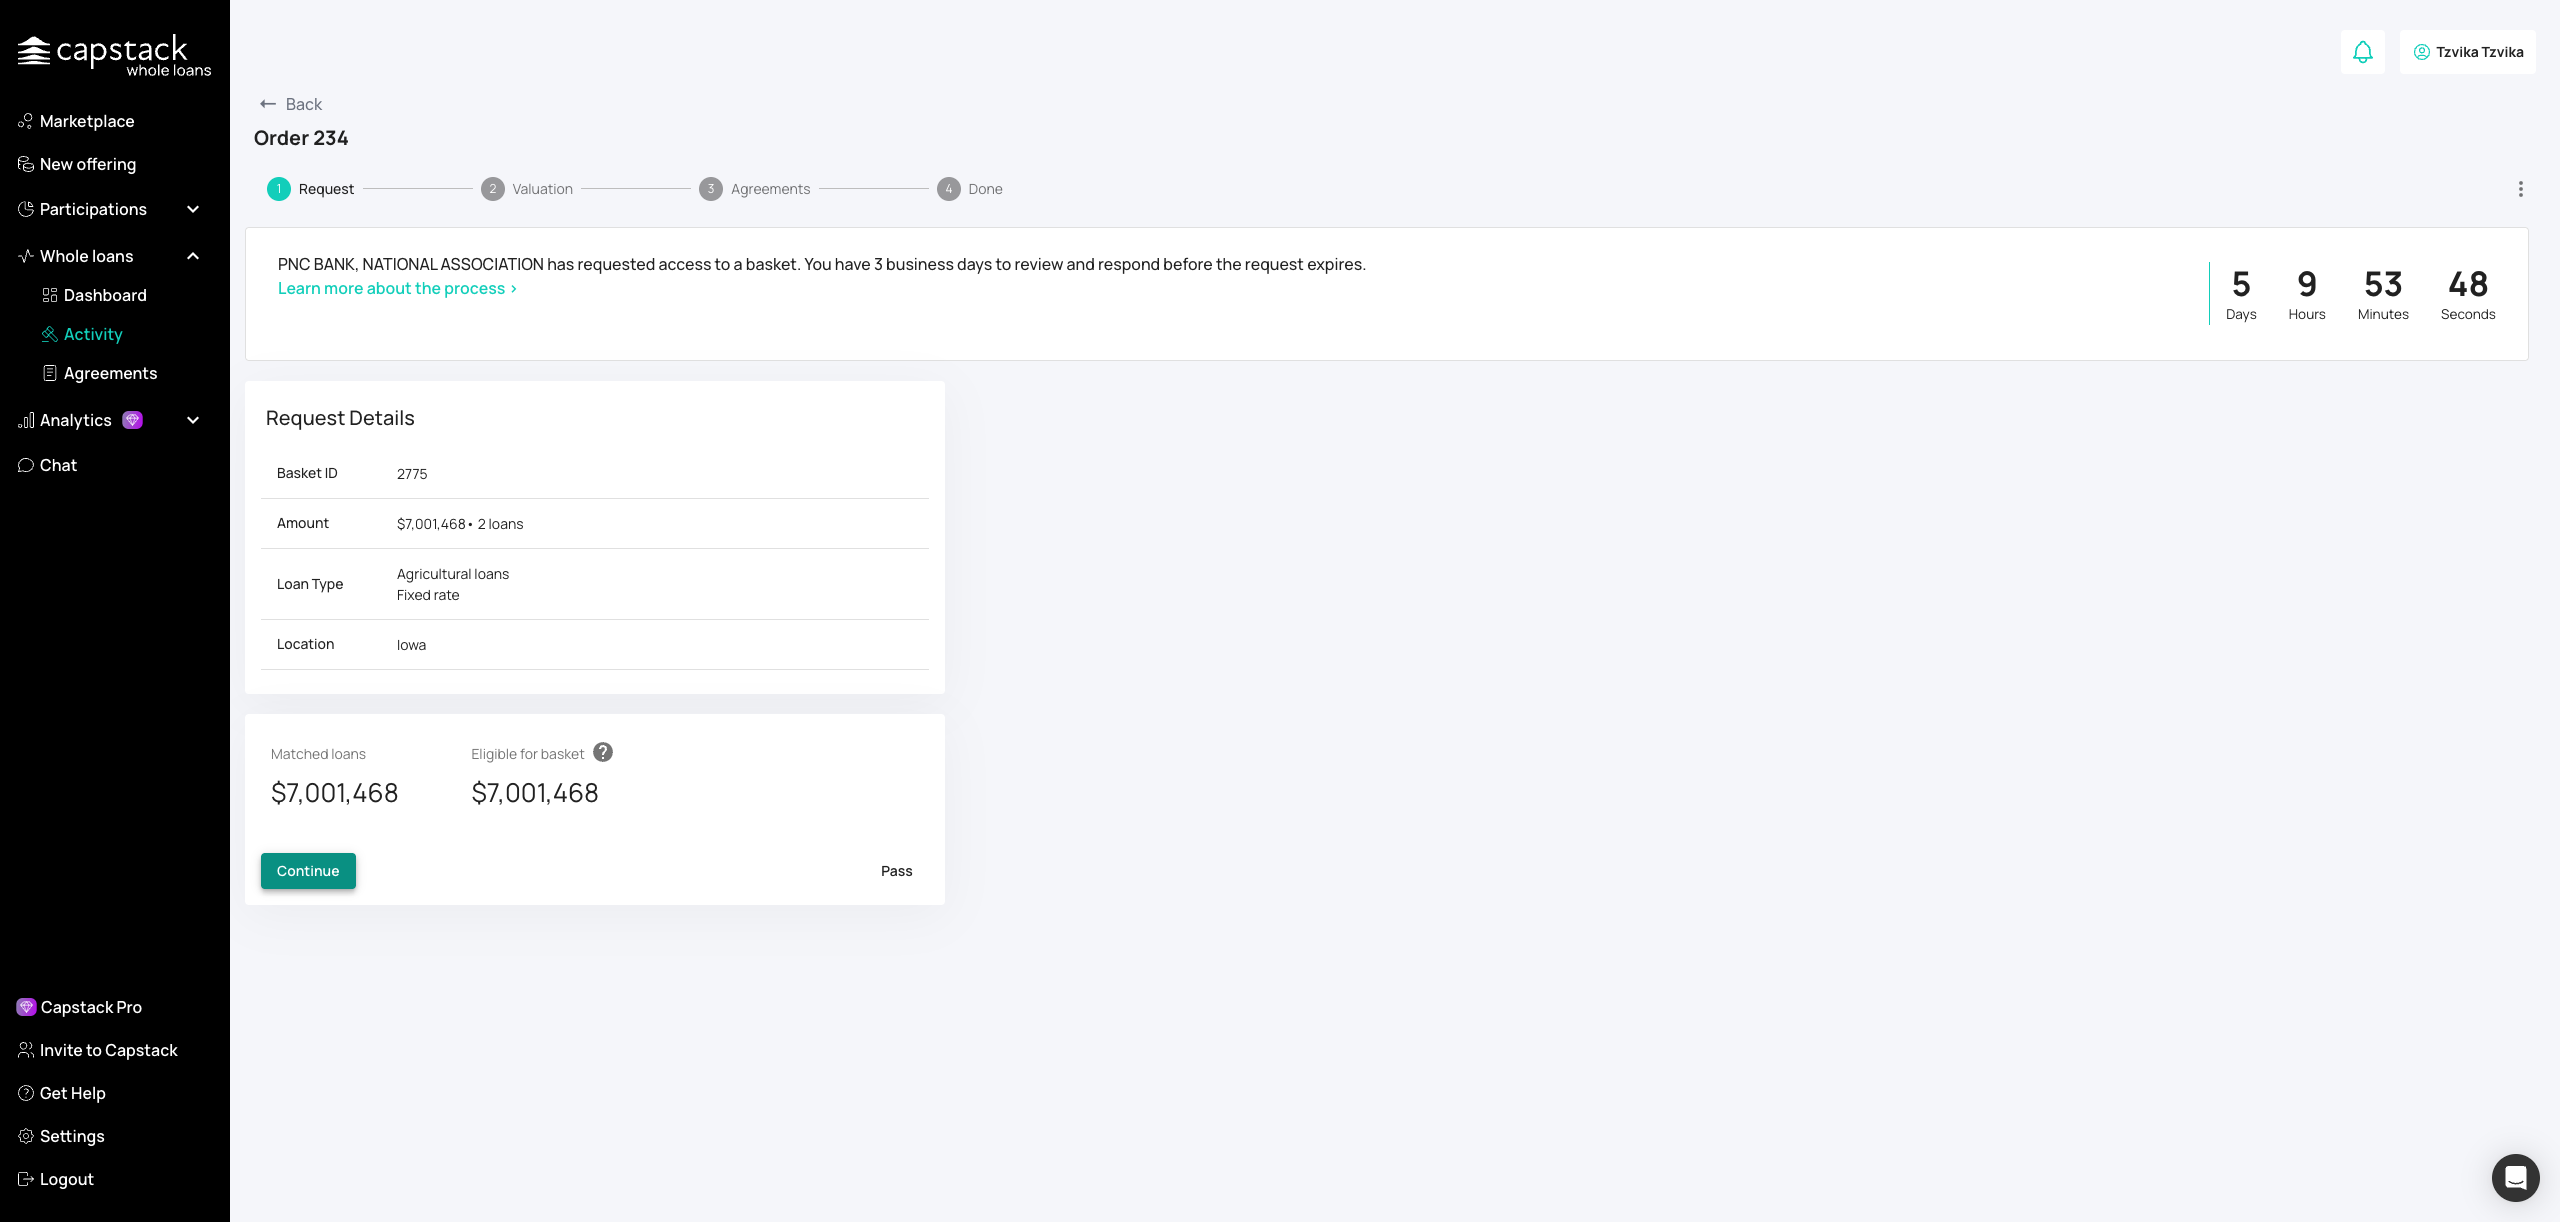
After reviewing the request summary, click Continue to access the detailed loan view.
Confirm the buyer’s request is approved and full loan details are accessible.
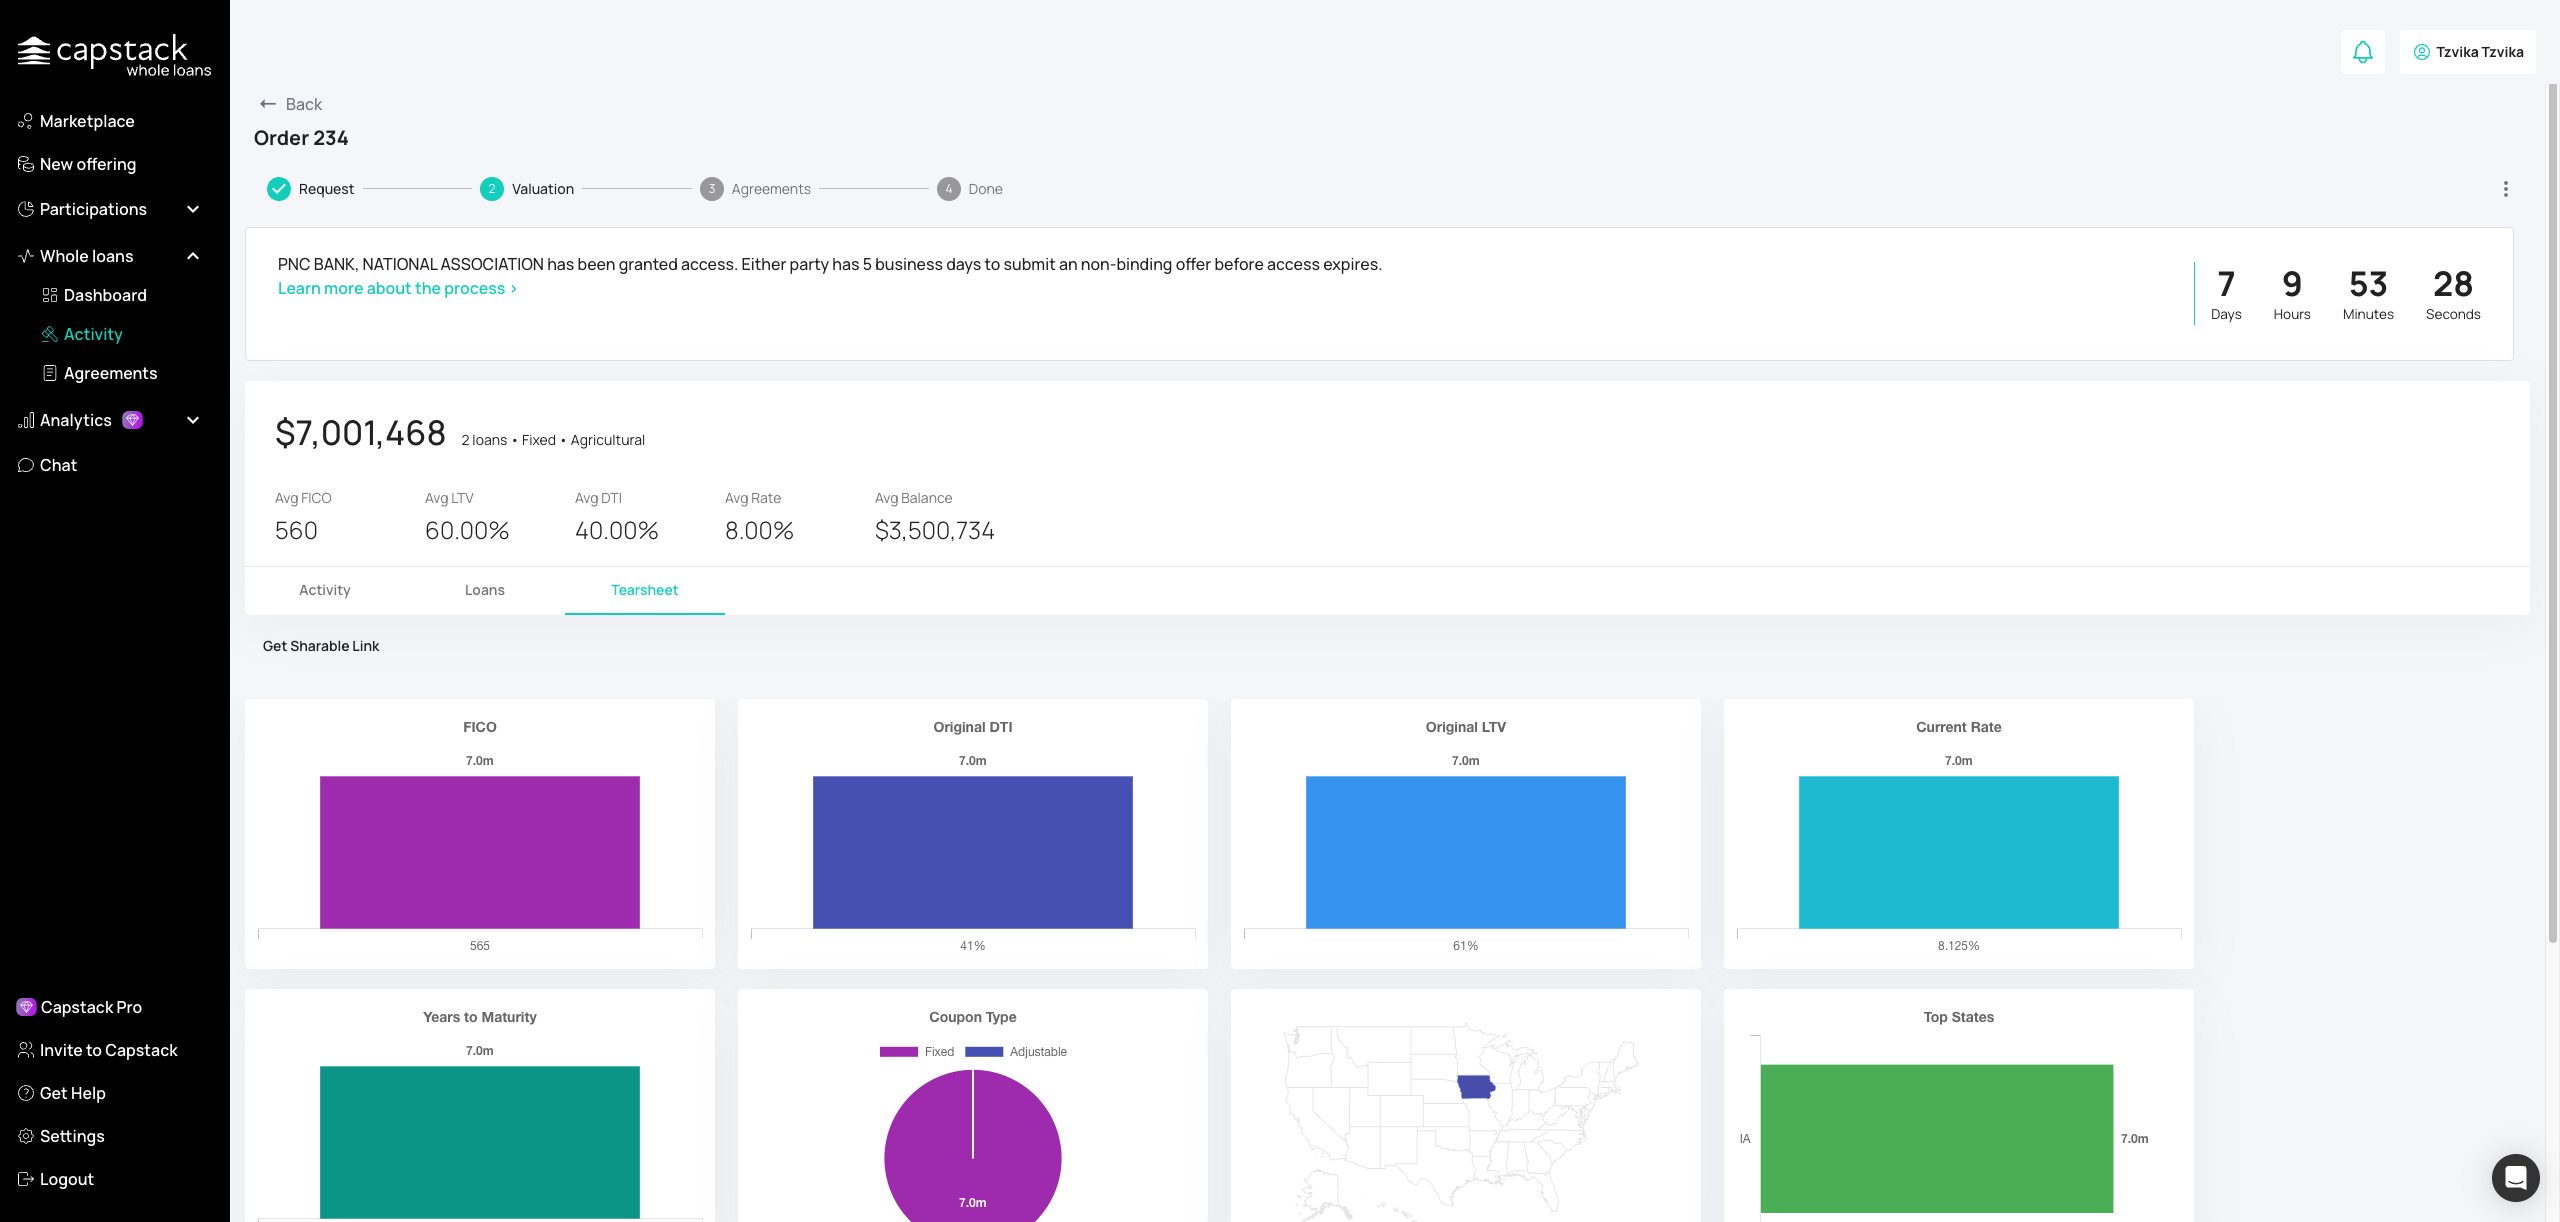
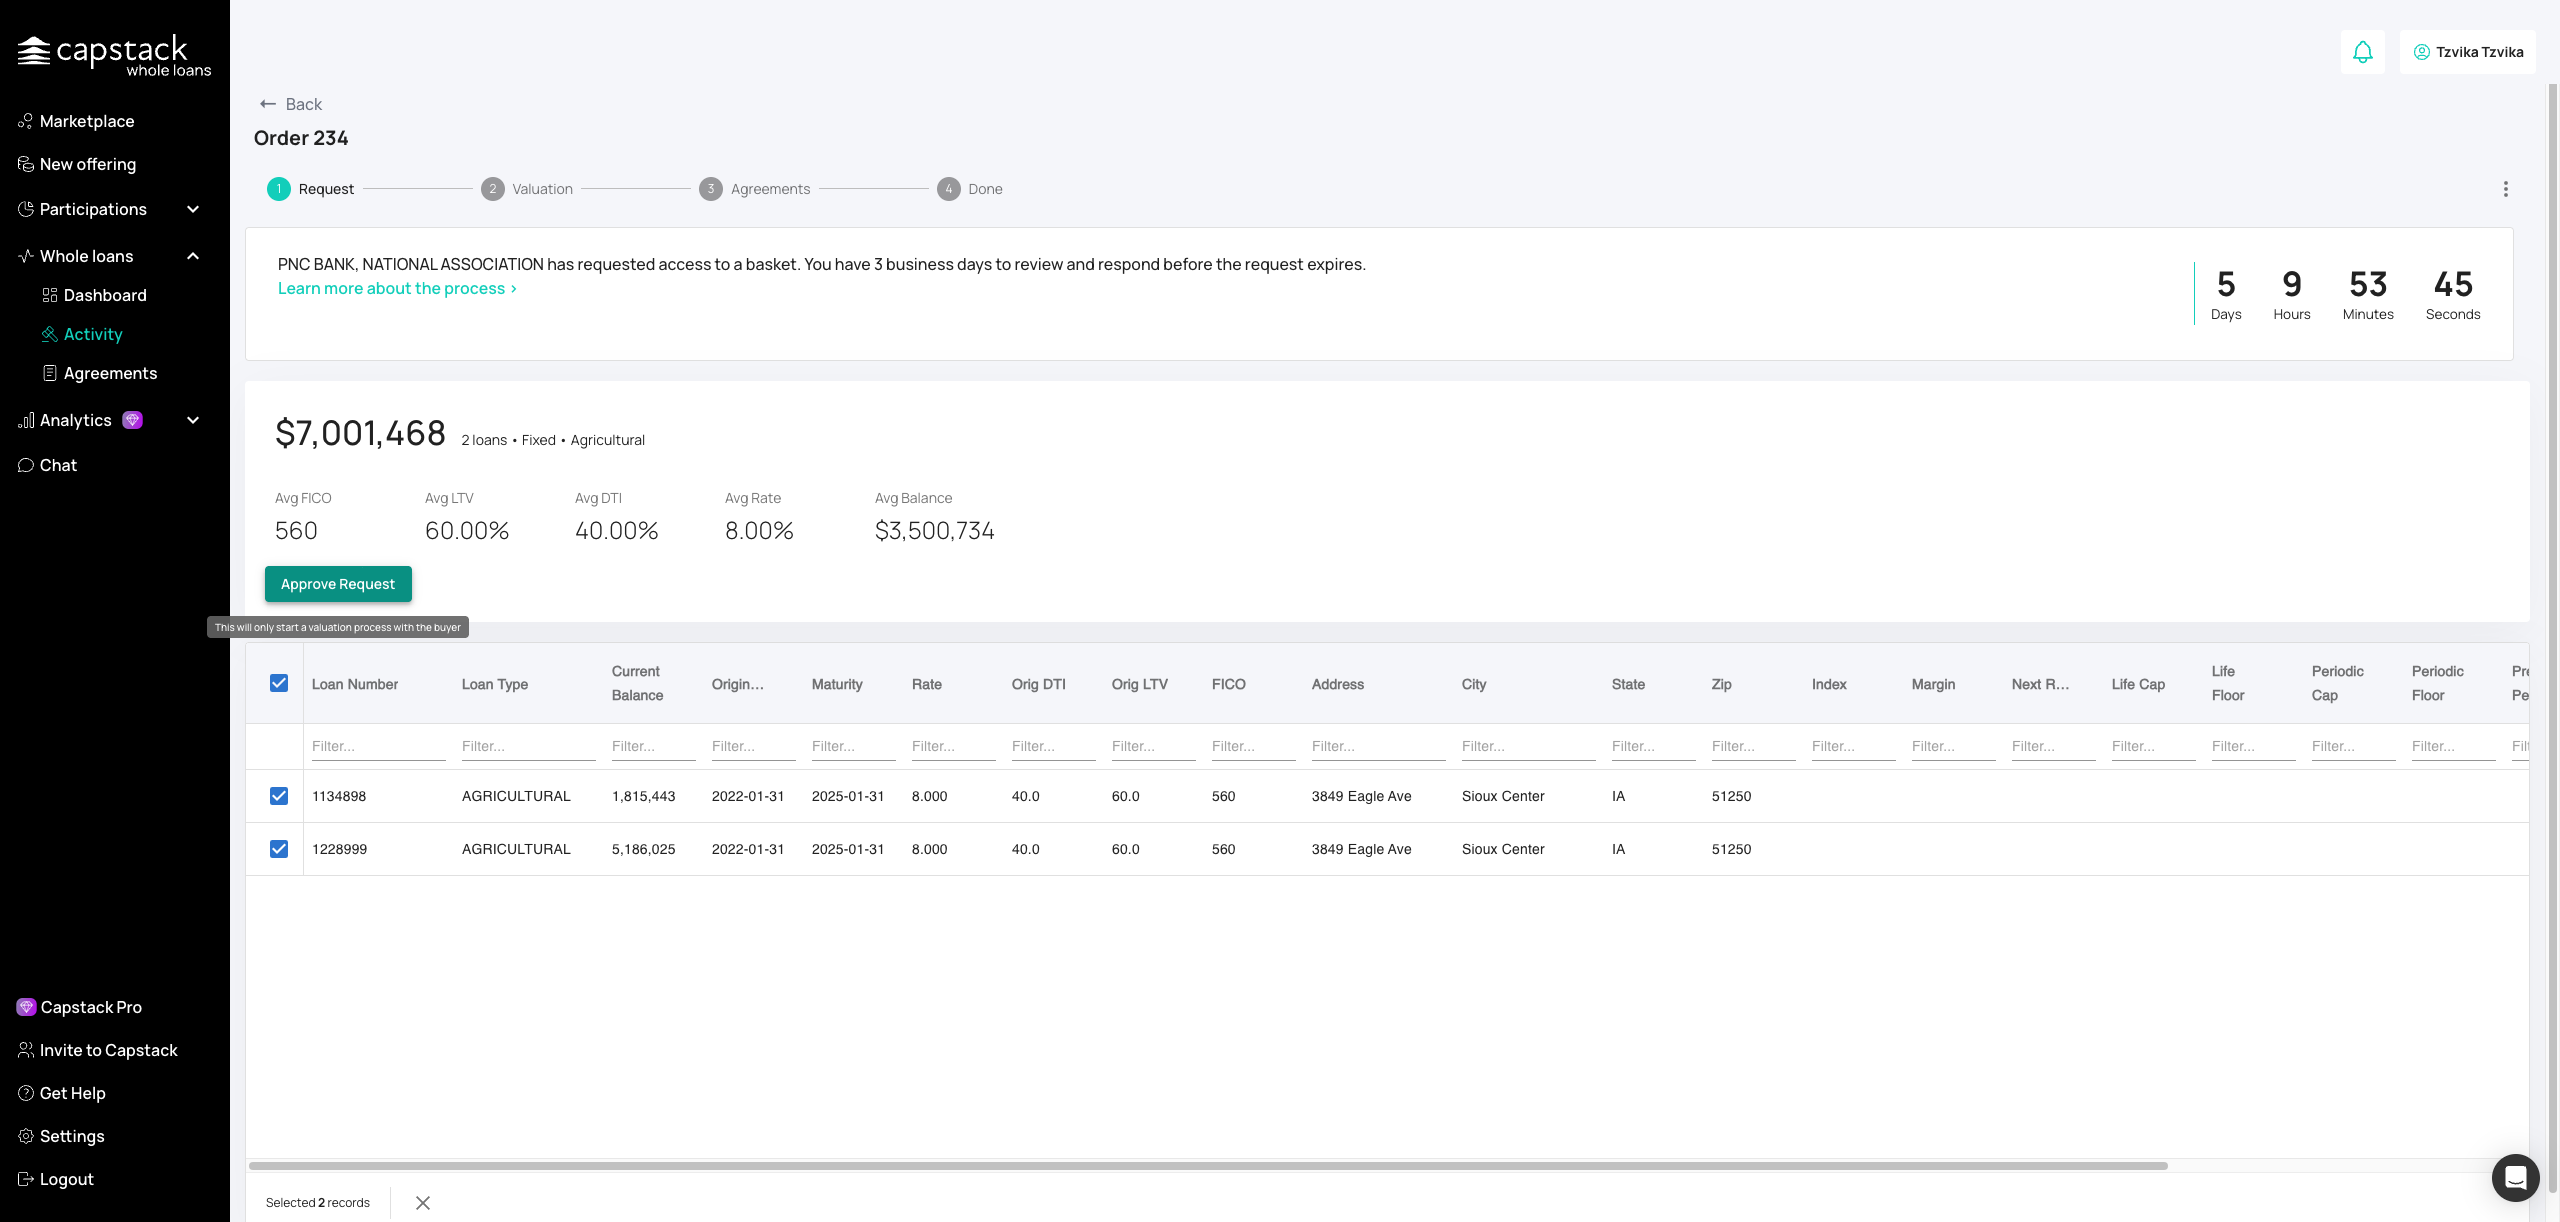
Check the loan tearsheet for aggregate loan metrics, performance data, and summary charts.
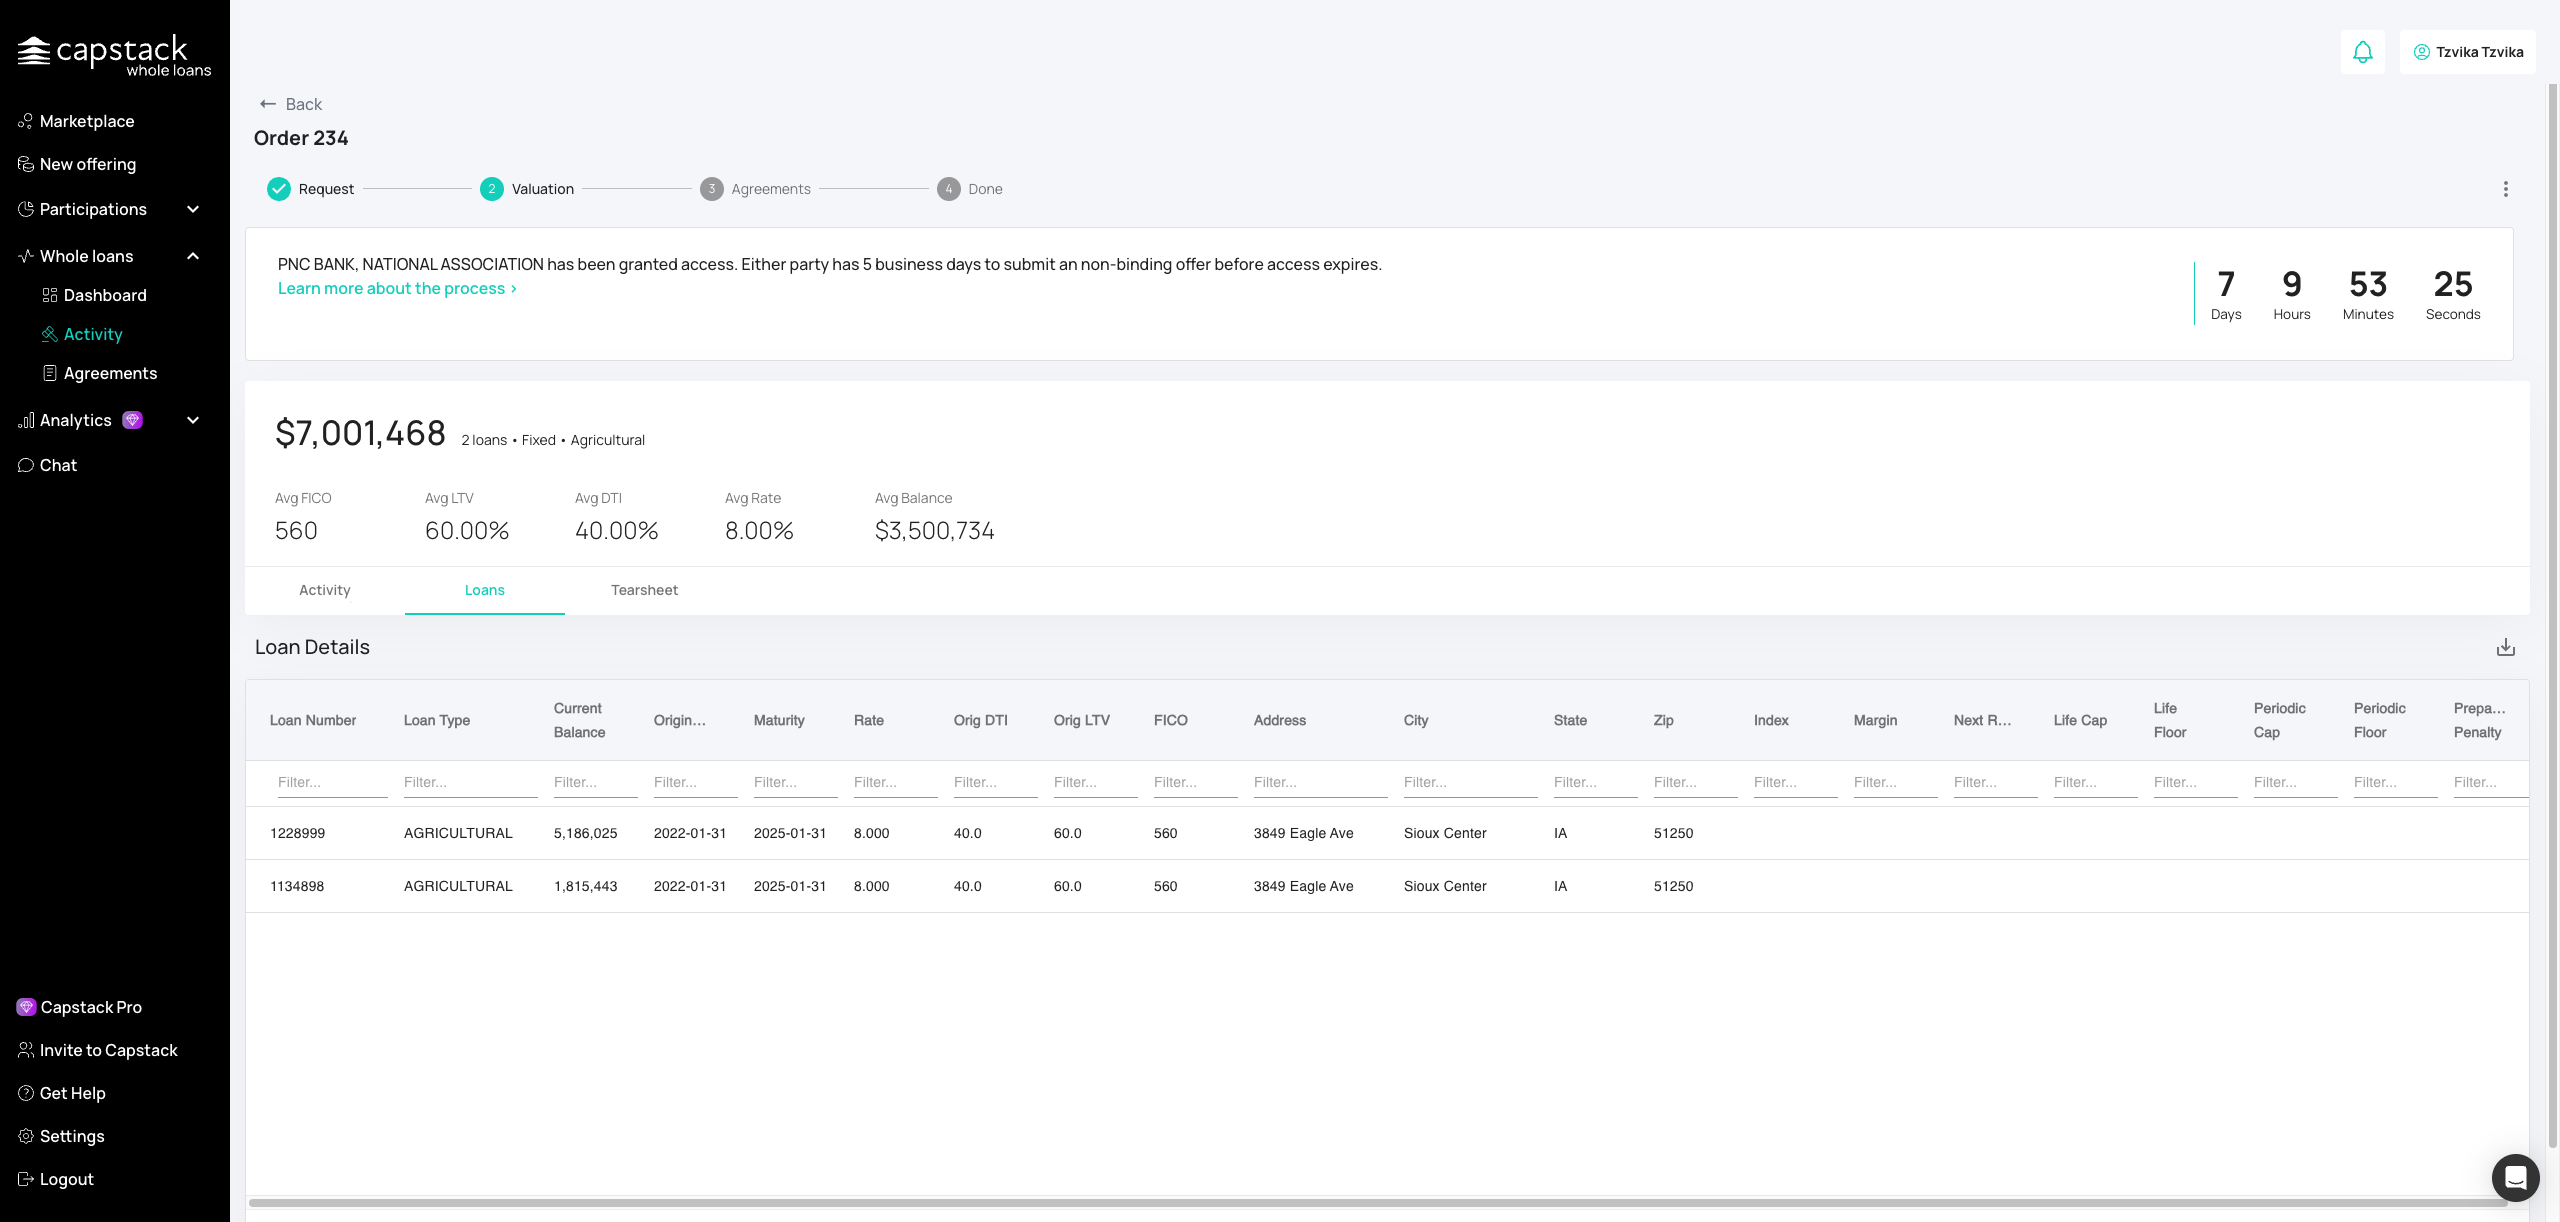
Review detailed loan-level information, including balances, terms, and collateral.
If needed, upload additional files (e.g., supporting documentation, servicing details) for the buyer.
Use the Q&A system to respond to buyer questions or start clarifying terms.
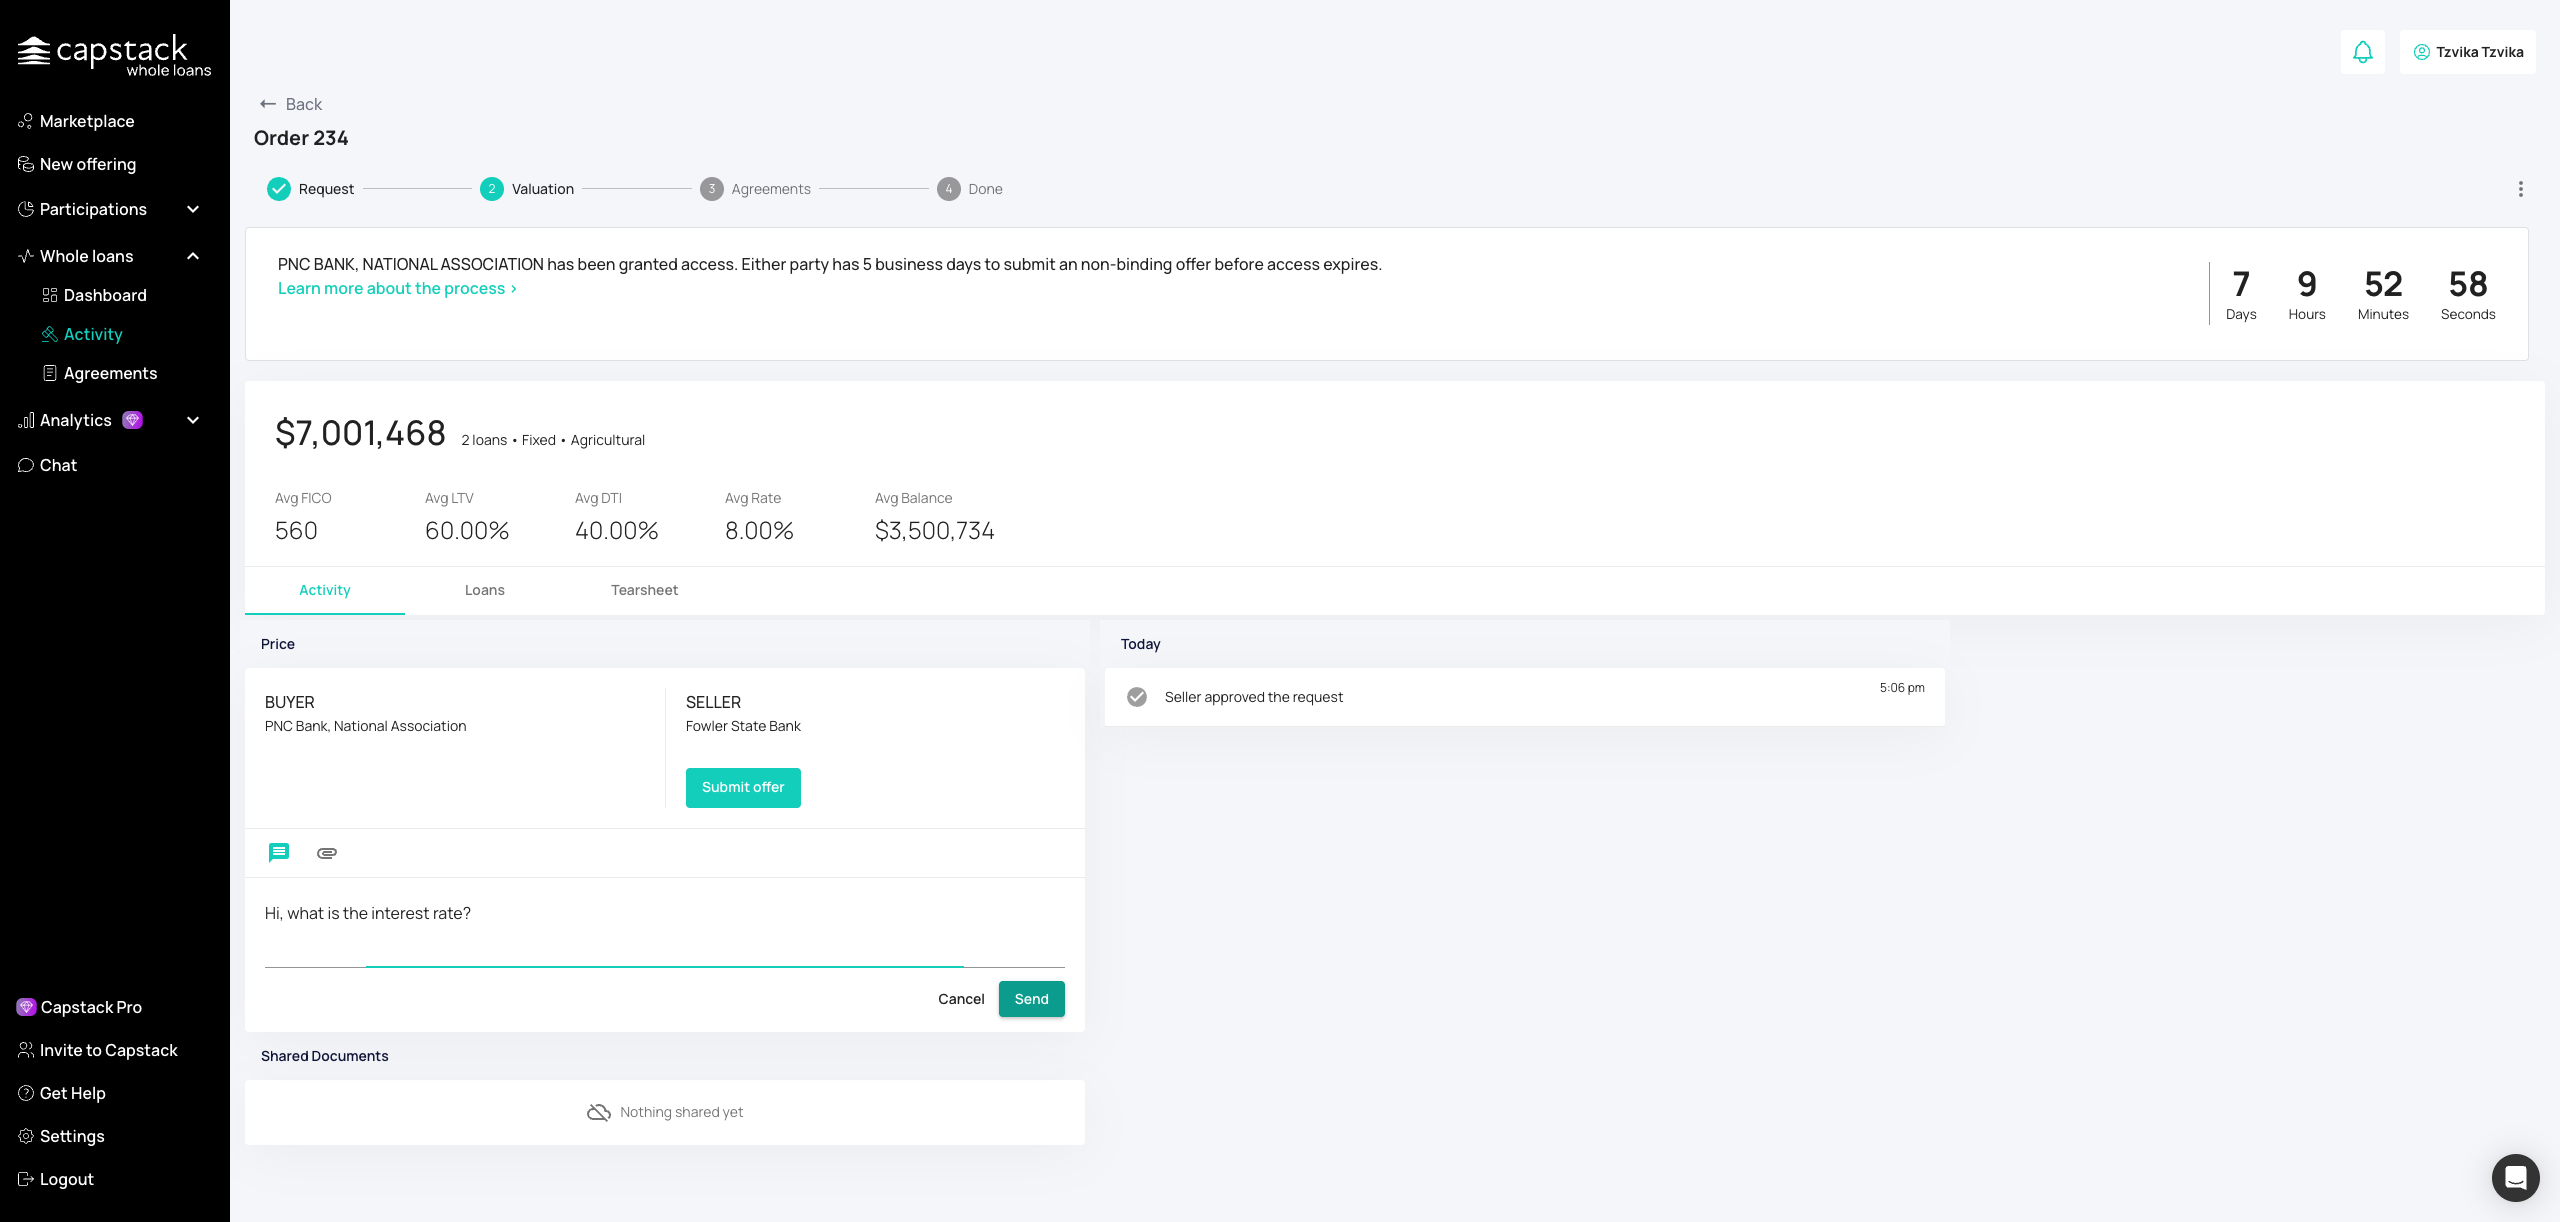
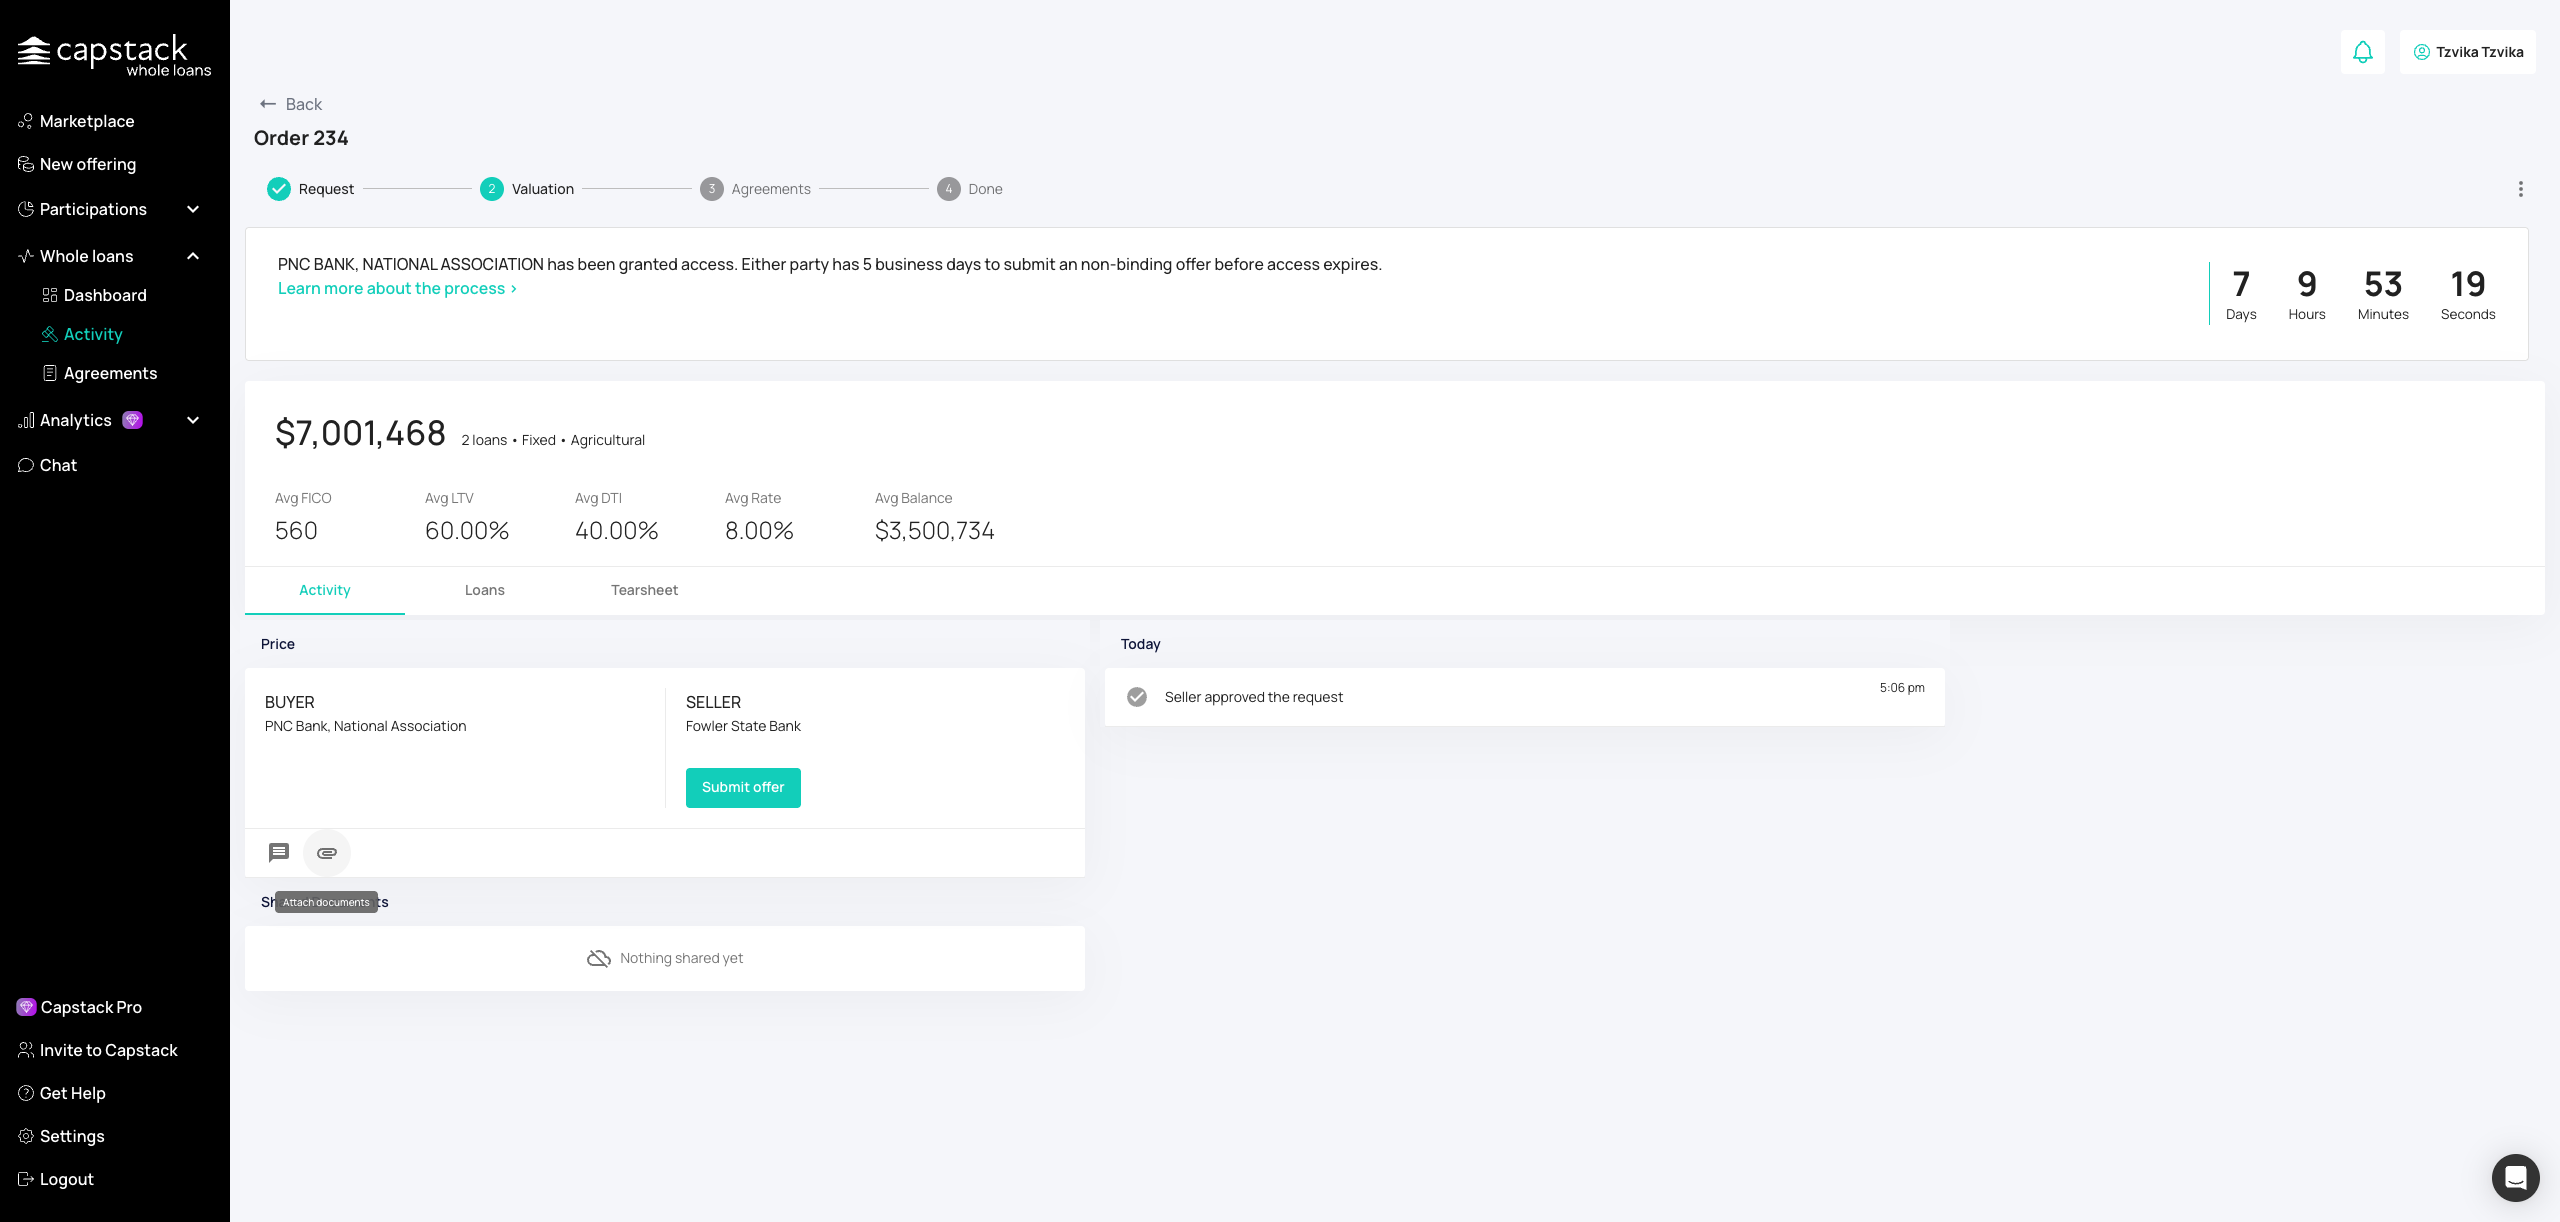
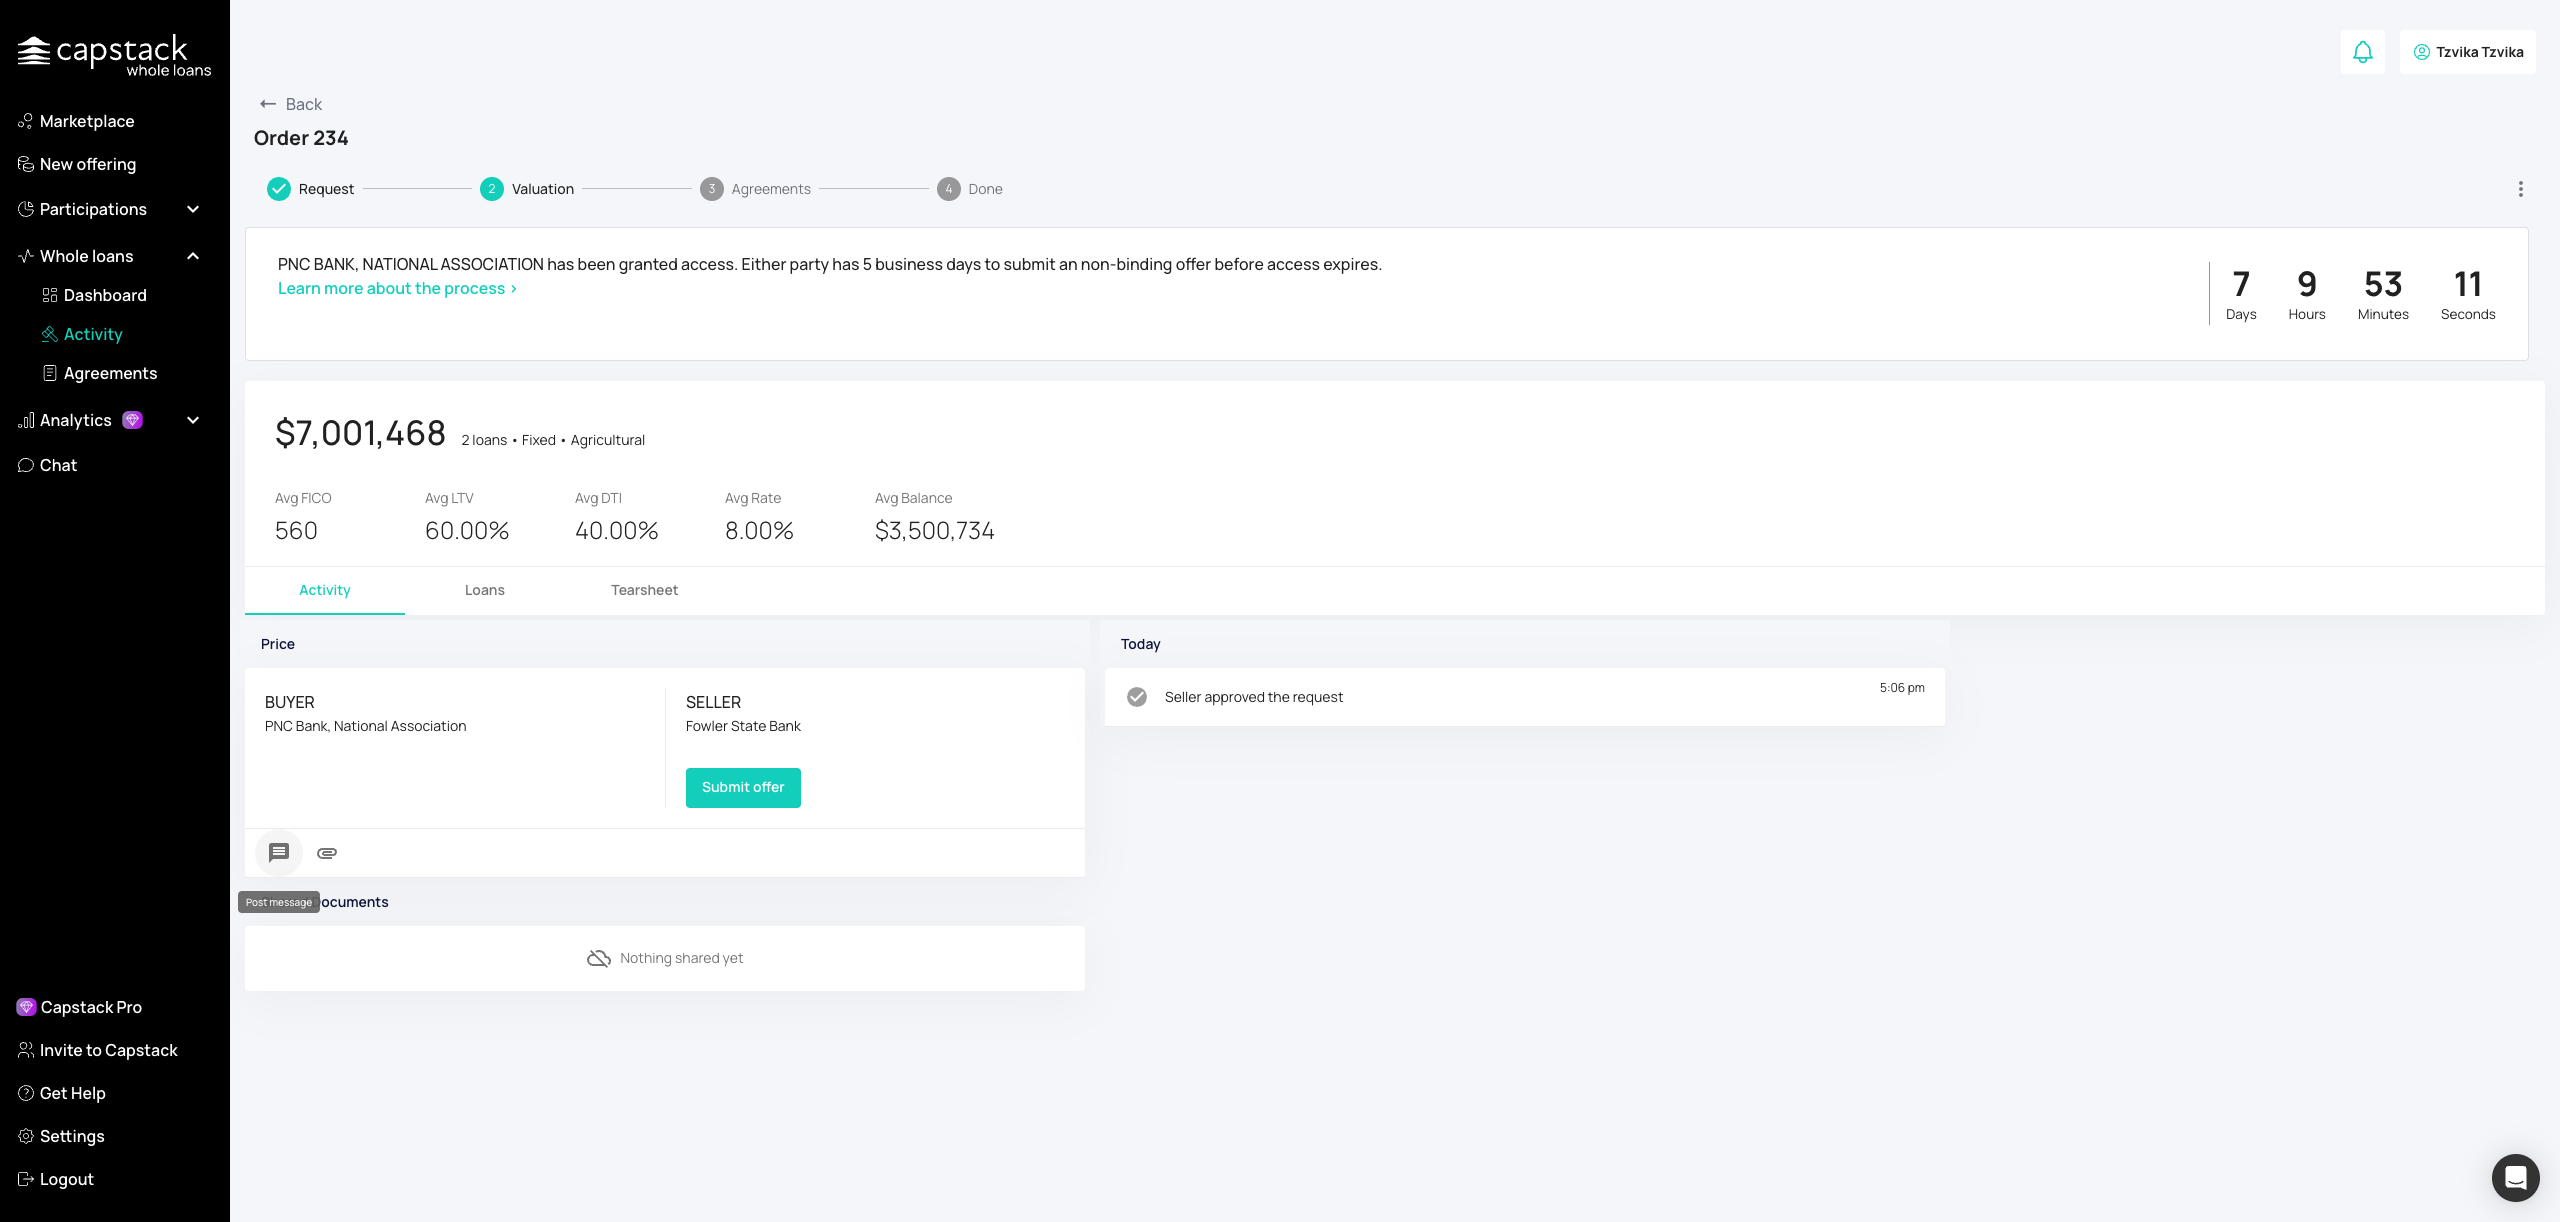
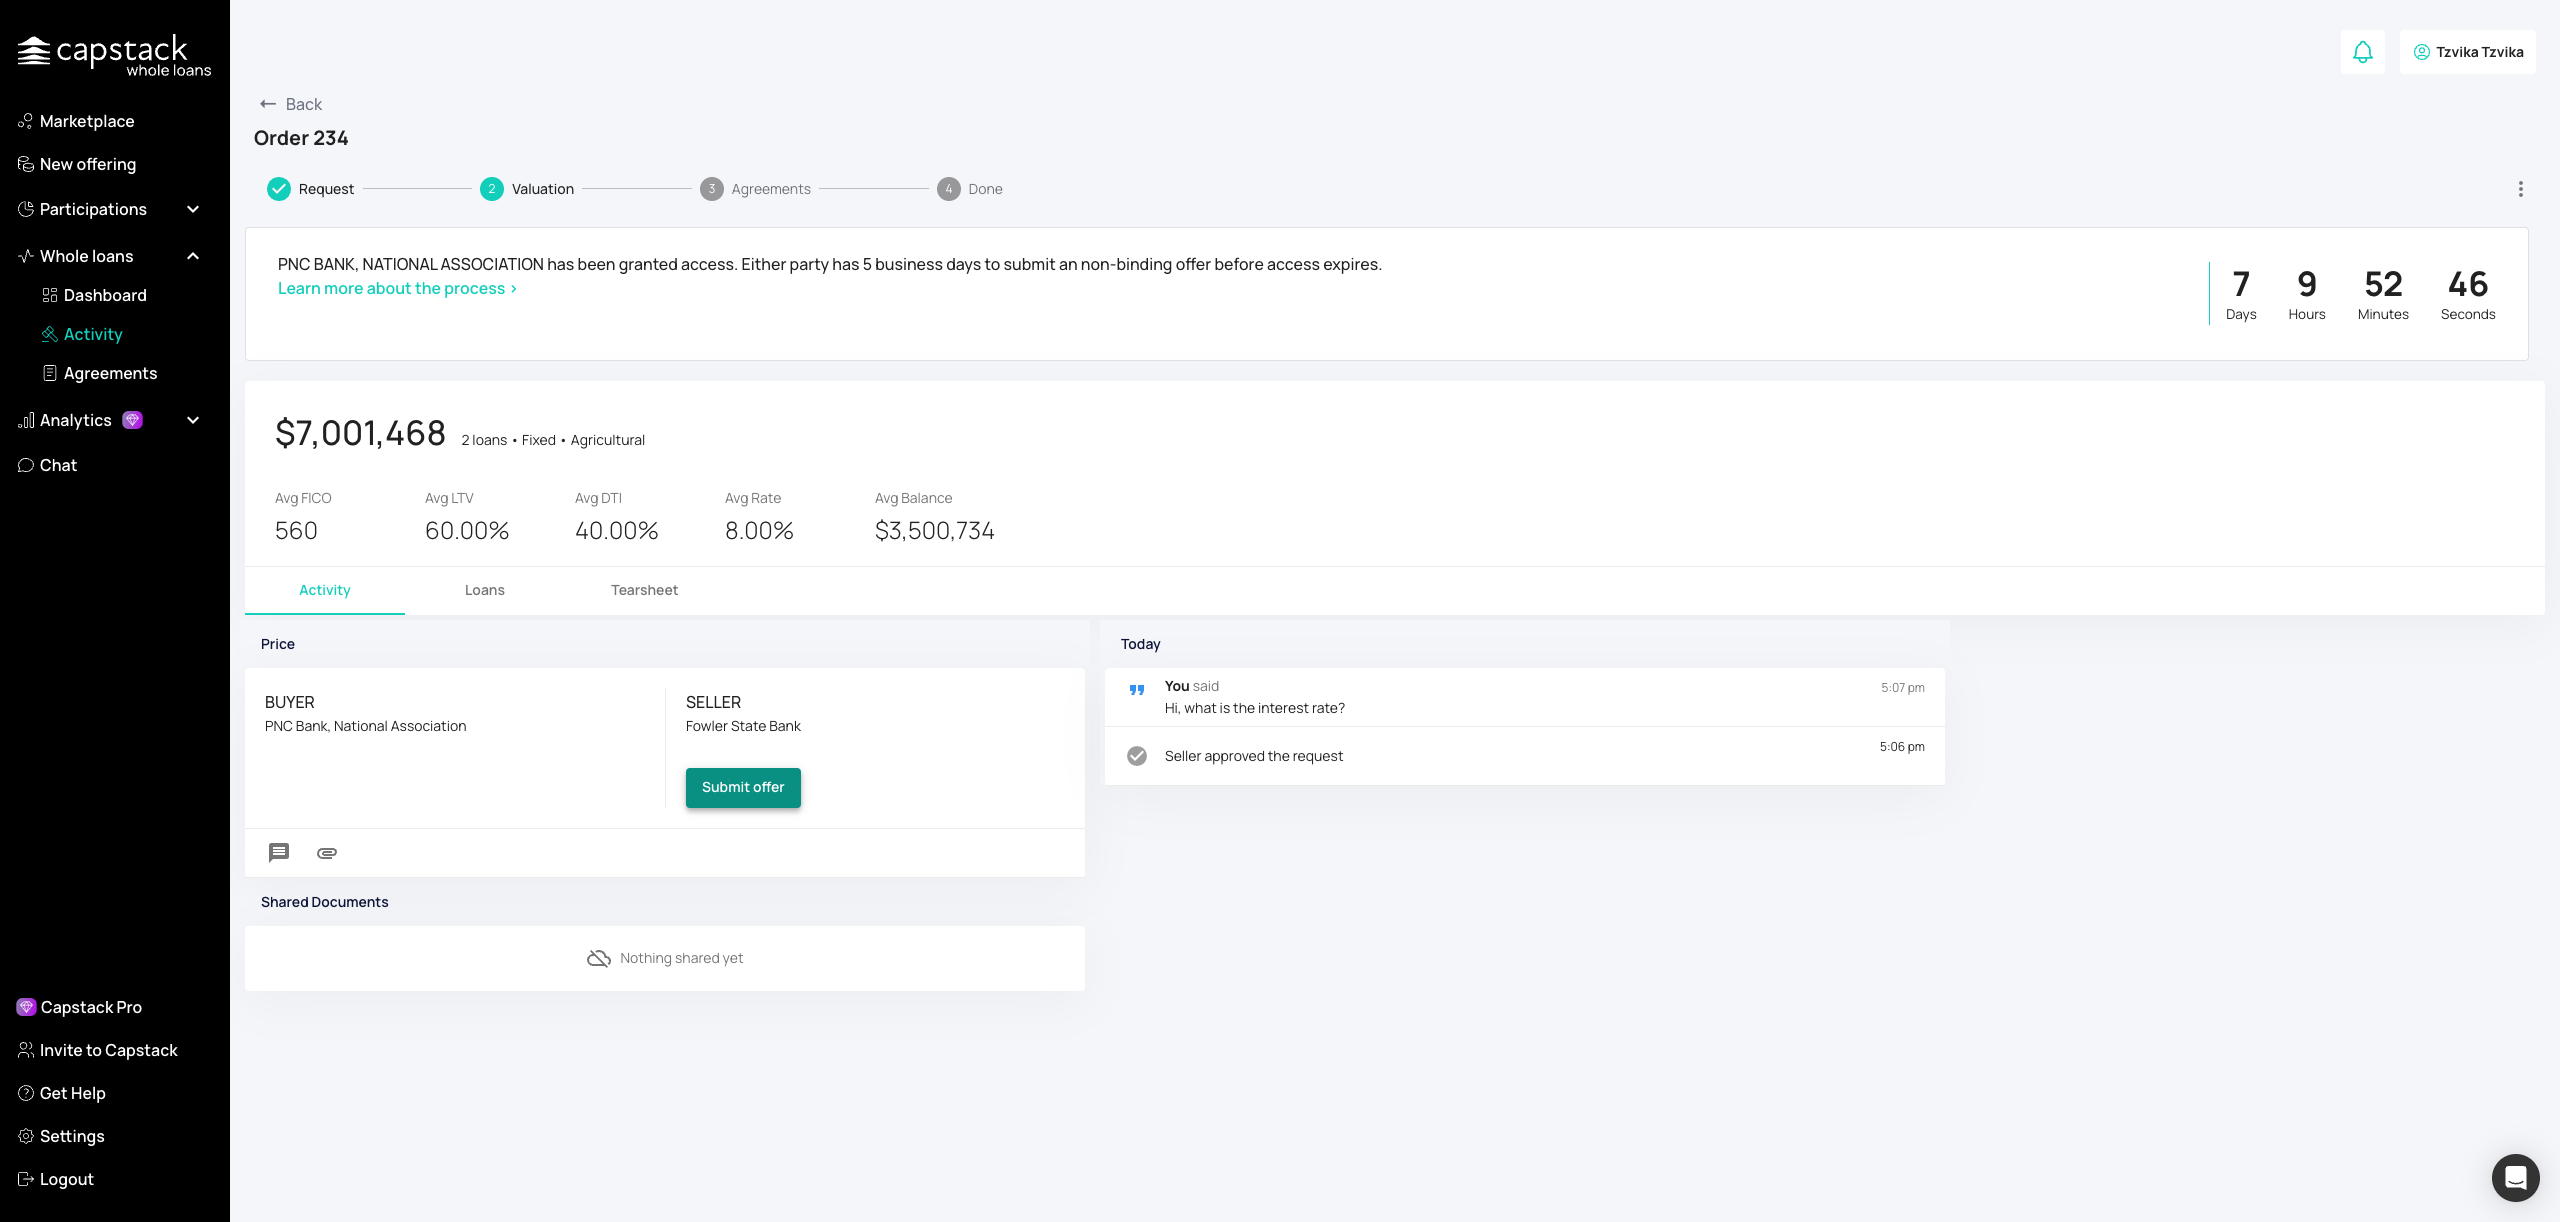
Communicate directly with the buyer through the messaging tool. Keep responses timely and professional.
When the buyer clicks “Submit offer,” you’ll be notified in Activity. Review the proposed terms, including price and structure.
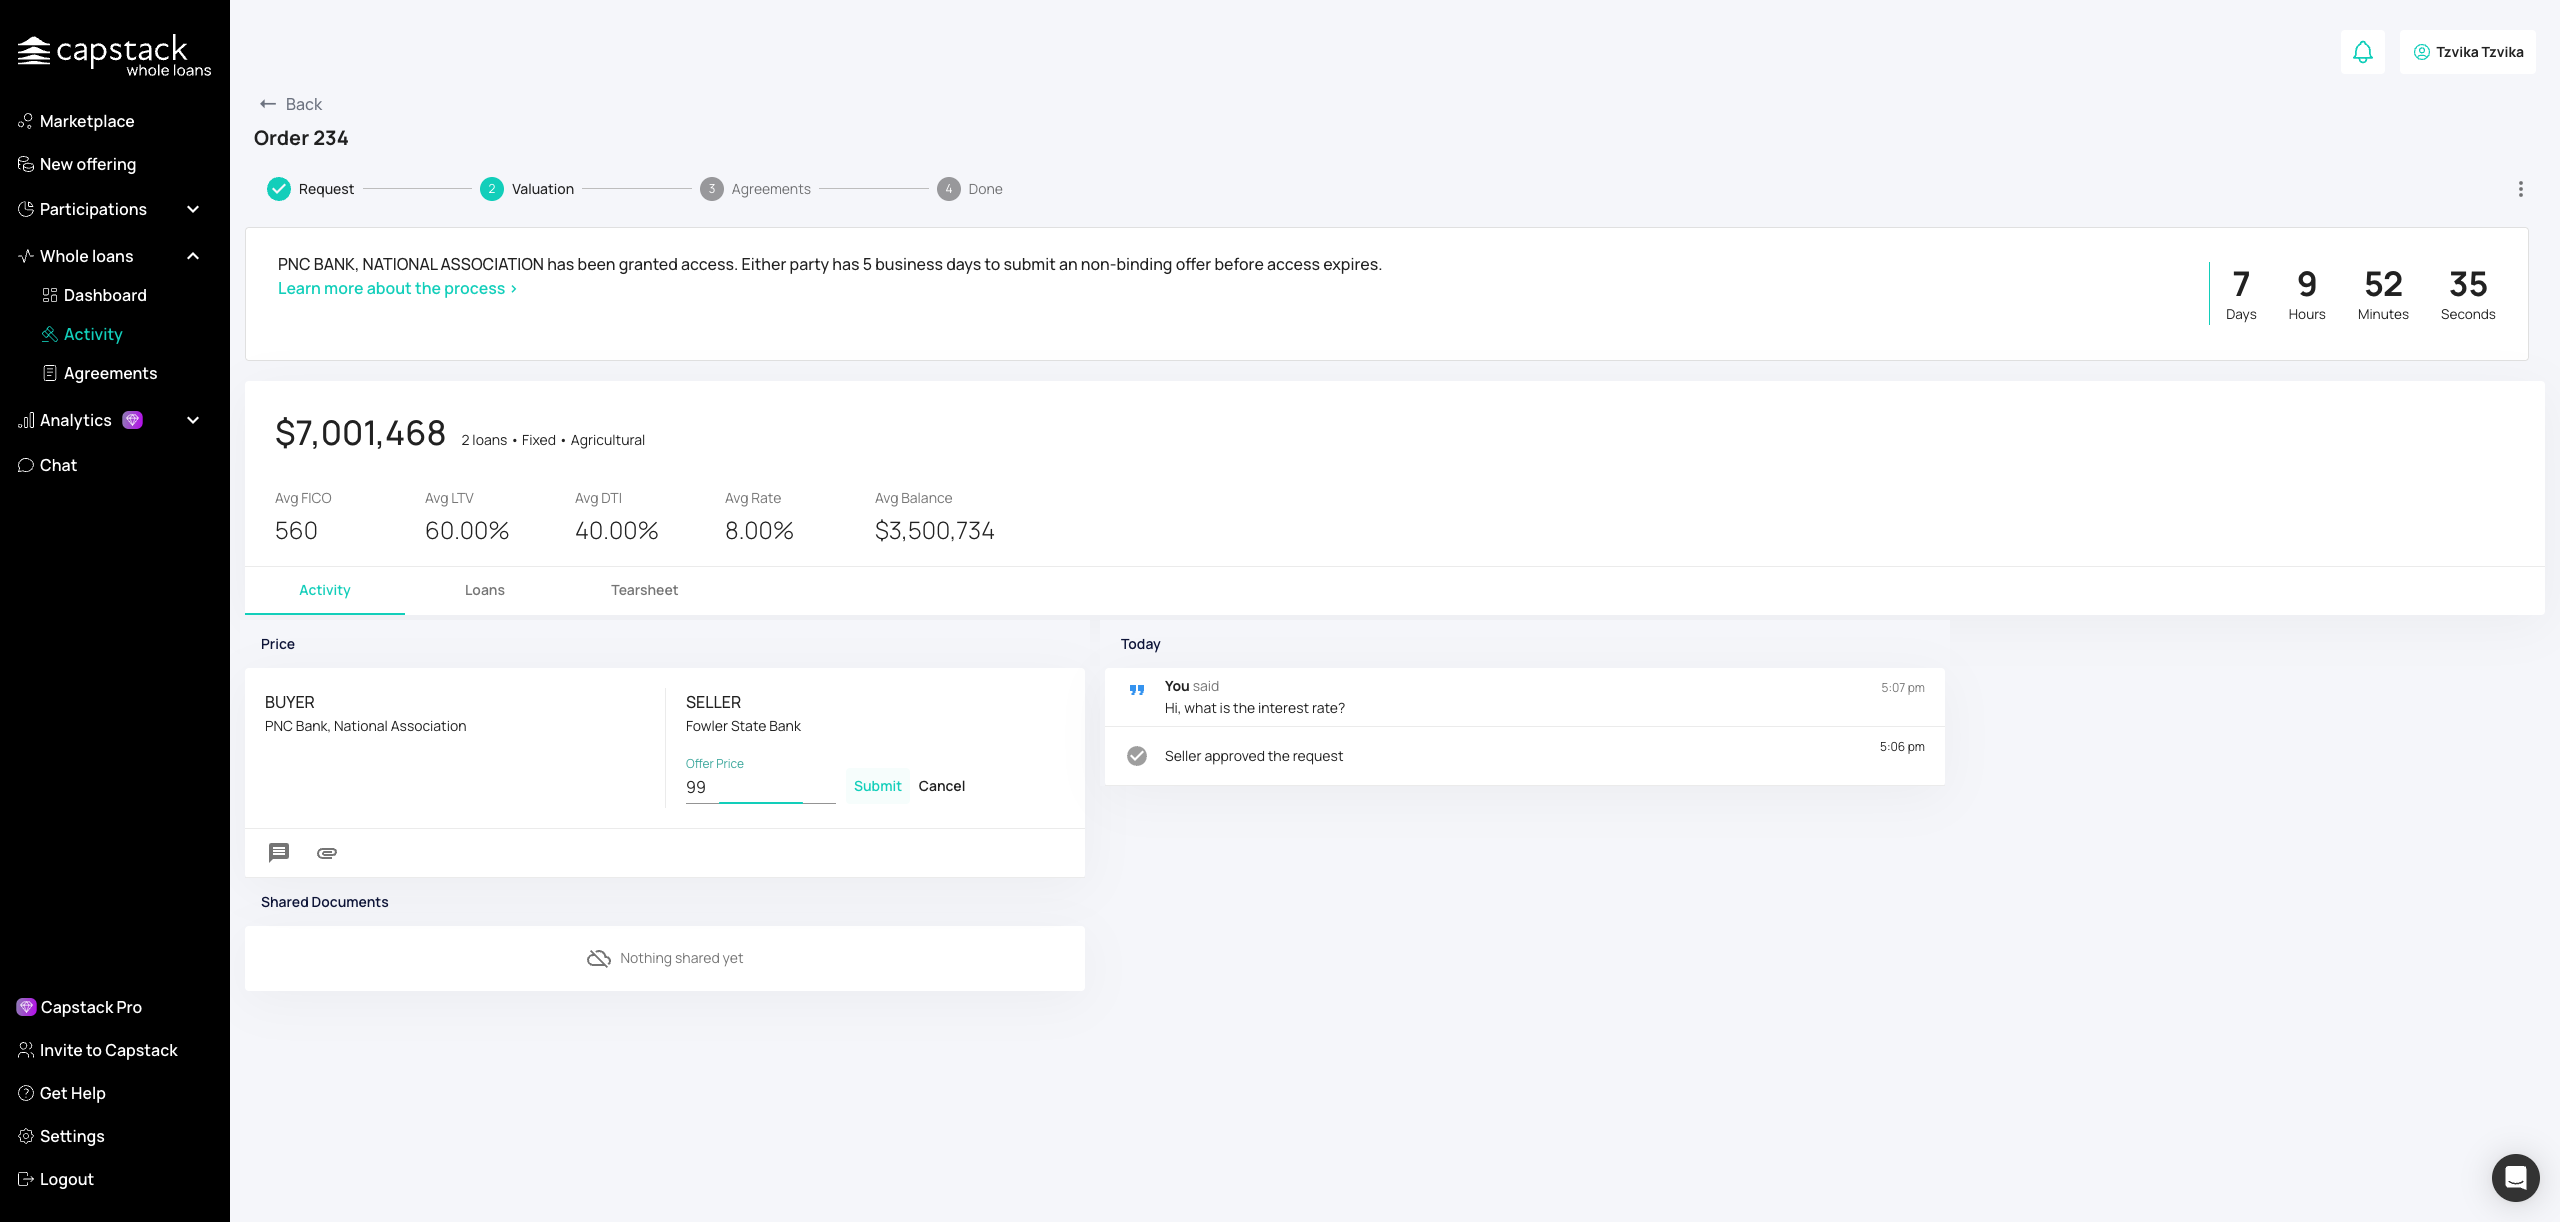
Enter your counteroffer in basis points or click Accept to finalize. Submit your response to continue the negotiation.
After you finish
Accepted offers move forward to documentation and closing
Counteroffers remain active until resolved by the buyer
All communication and activity is stored under Activity for reference
Troubleshooting
Request not showing as approved: Confirm status in Activity and check seller permissions
Documents won’t upload: Verify format and file size limits
Buyer not responding: Follow up through Q&A or Activity notifications
Best practices
Respond promptly to buyer messages and offers to keep momentum
Use Capstack’s built-in Q&A instead of email for a complete record
Share supporting documents early to reduce back-and-forth
Be clear and transparent in your counteroffers to speed agreement