Send an Invoice Before Receiving Payment: Step-by-Step Guide
Learn how to send an invoice before receiving payment, including setting up customer accounts, enabling early invoicing, and integrating payment portals like Stripe for easy online payments.
In this guide, we'll learn how to send an invoice to a customer before payment has been received. This process is useful if you want to provide customers with payment details and a payment link in advance. We will cover how to adjust customer settings, generate the invoice, and share it with your customer.
Let's get started
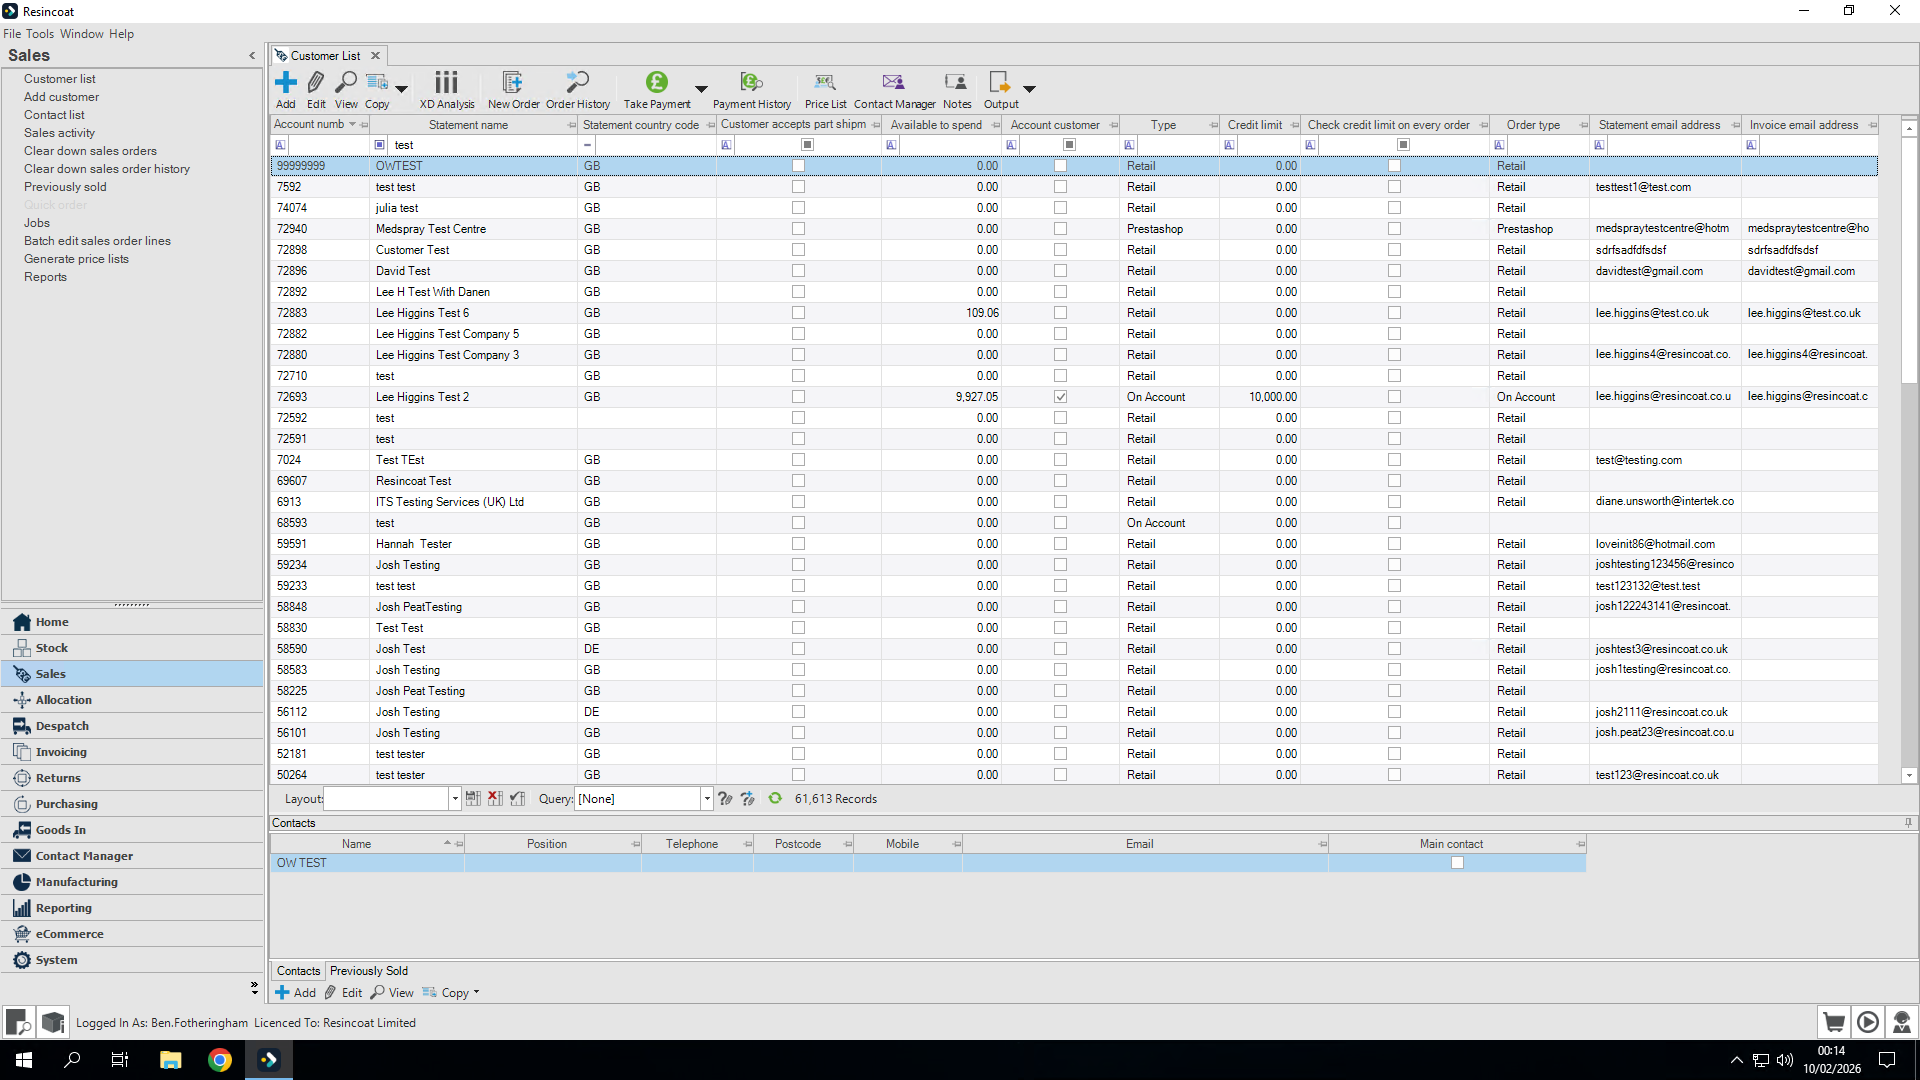
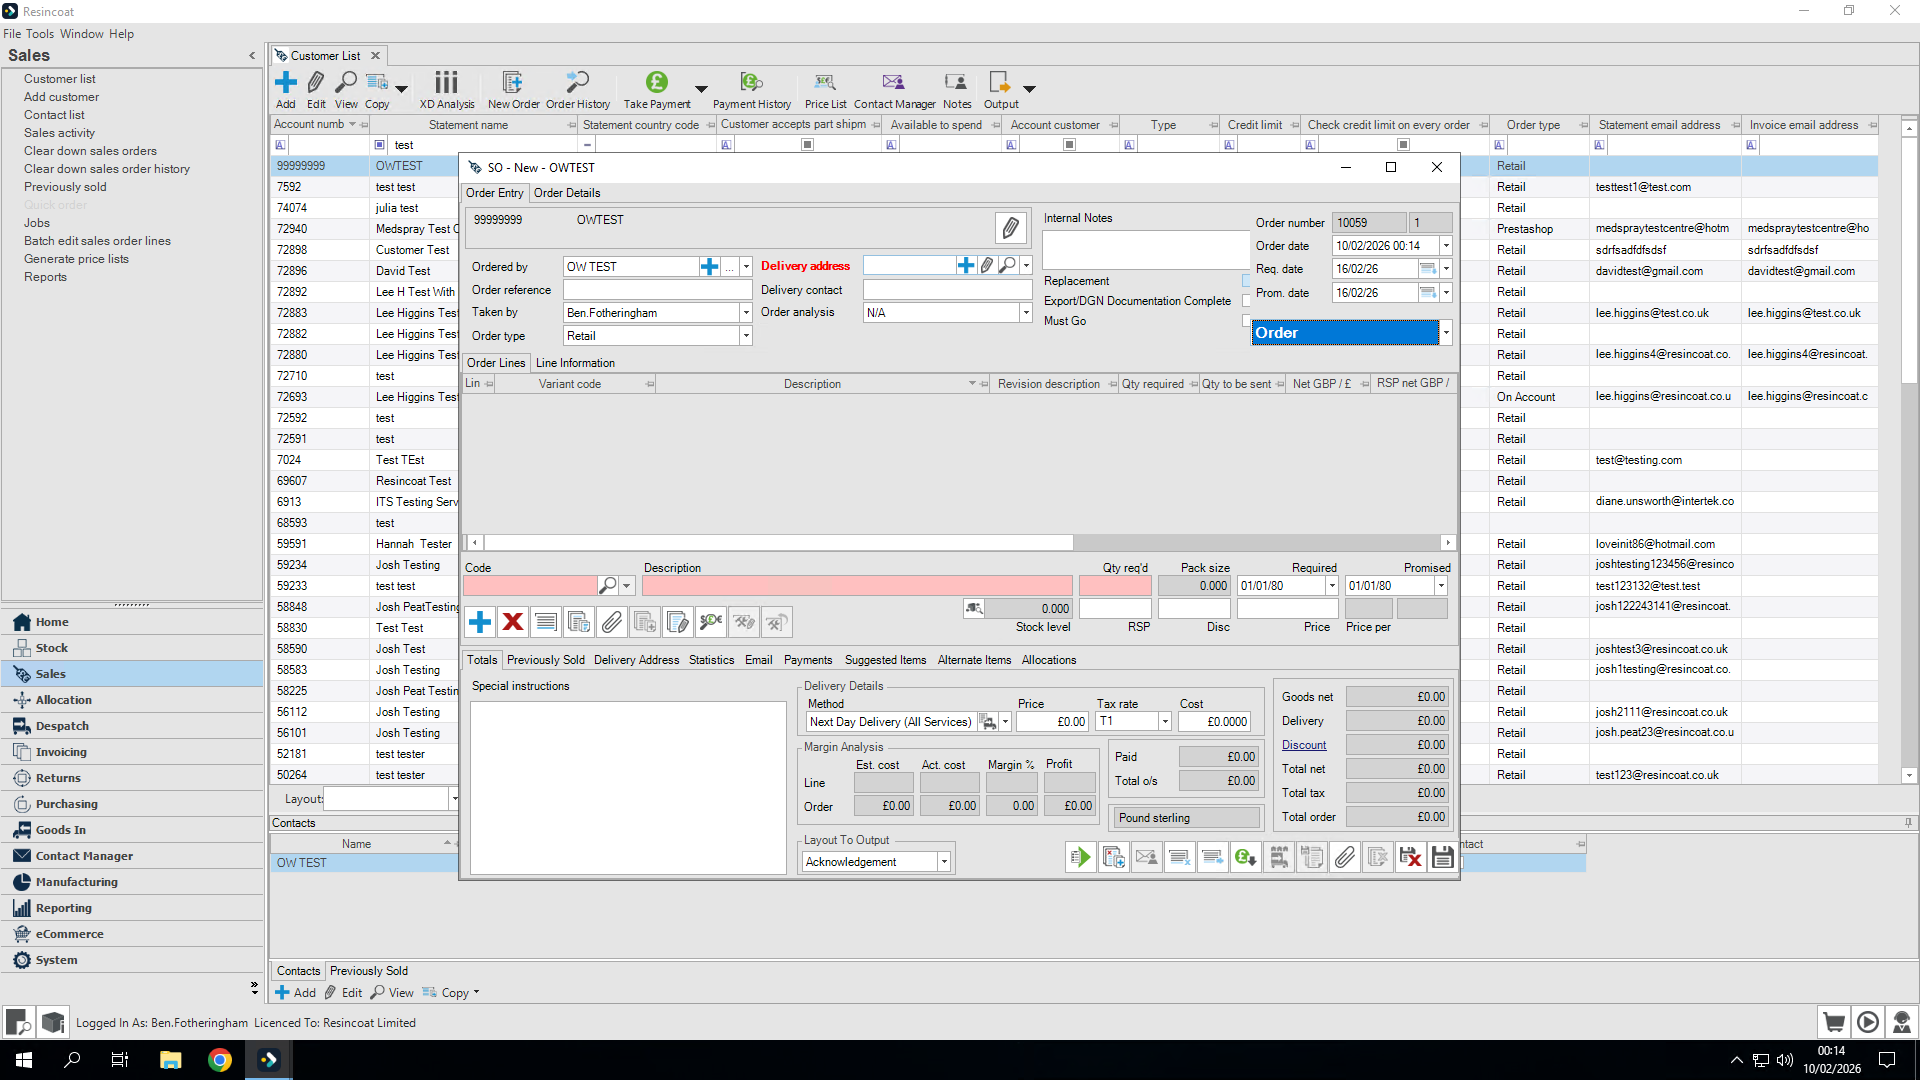
Okay. Let's look at how to send an invoice before receiving payment. First, I will click the Sales tab to open my customer list.
We will create an order to see the process from start to finish.
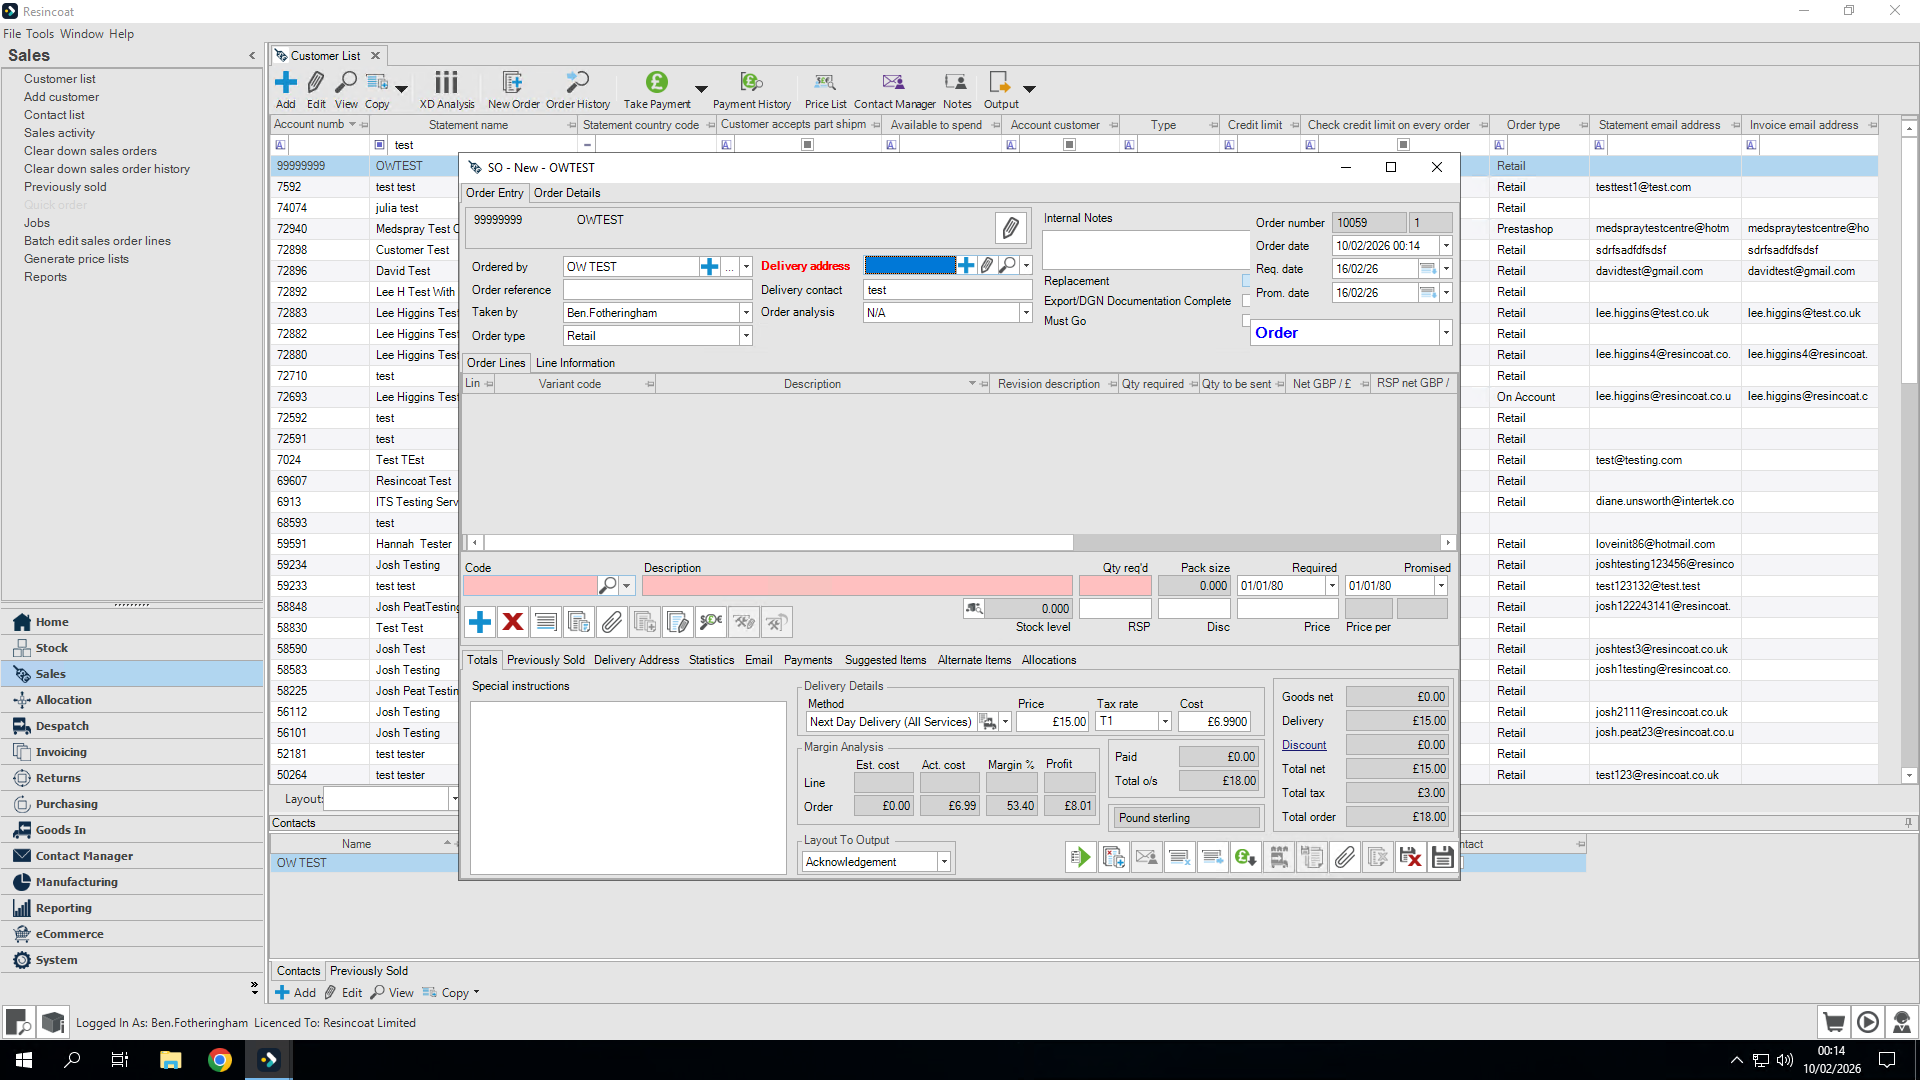
Let's add it to one of our test accounts.
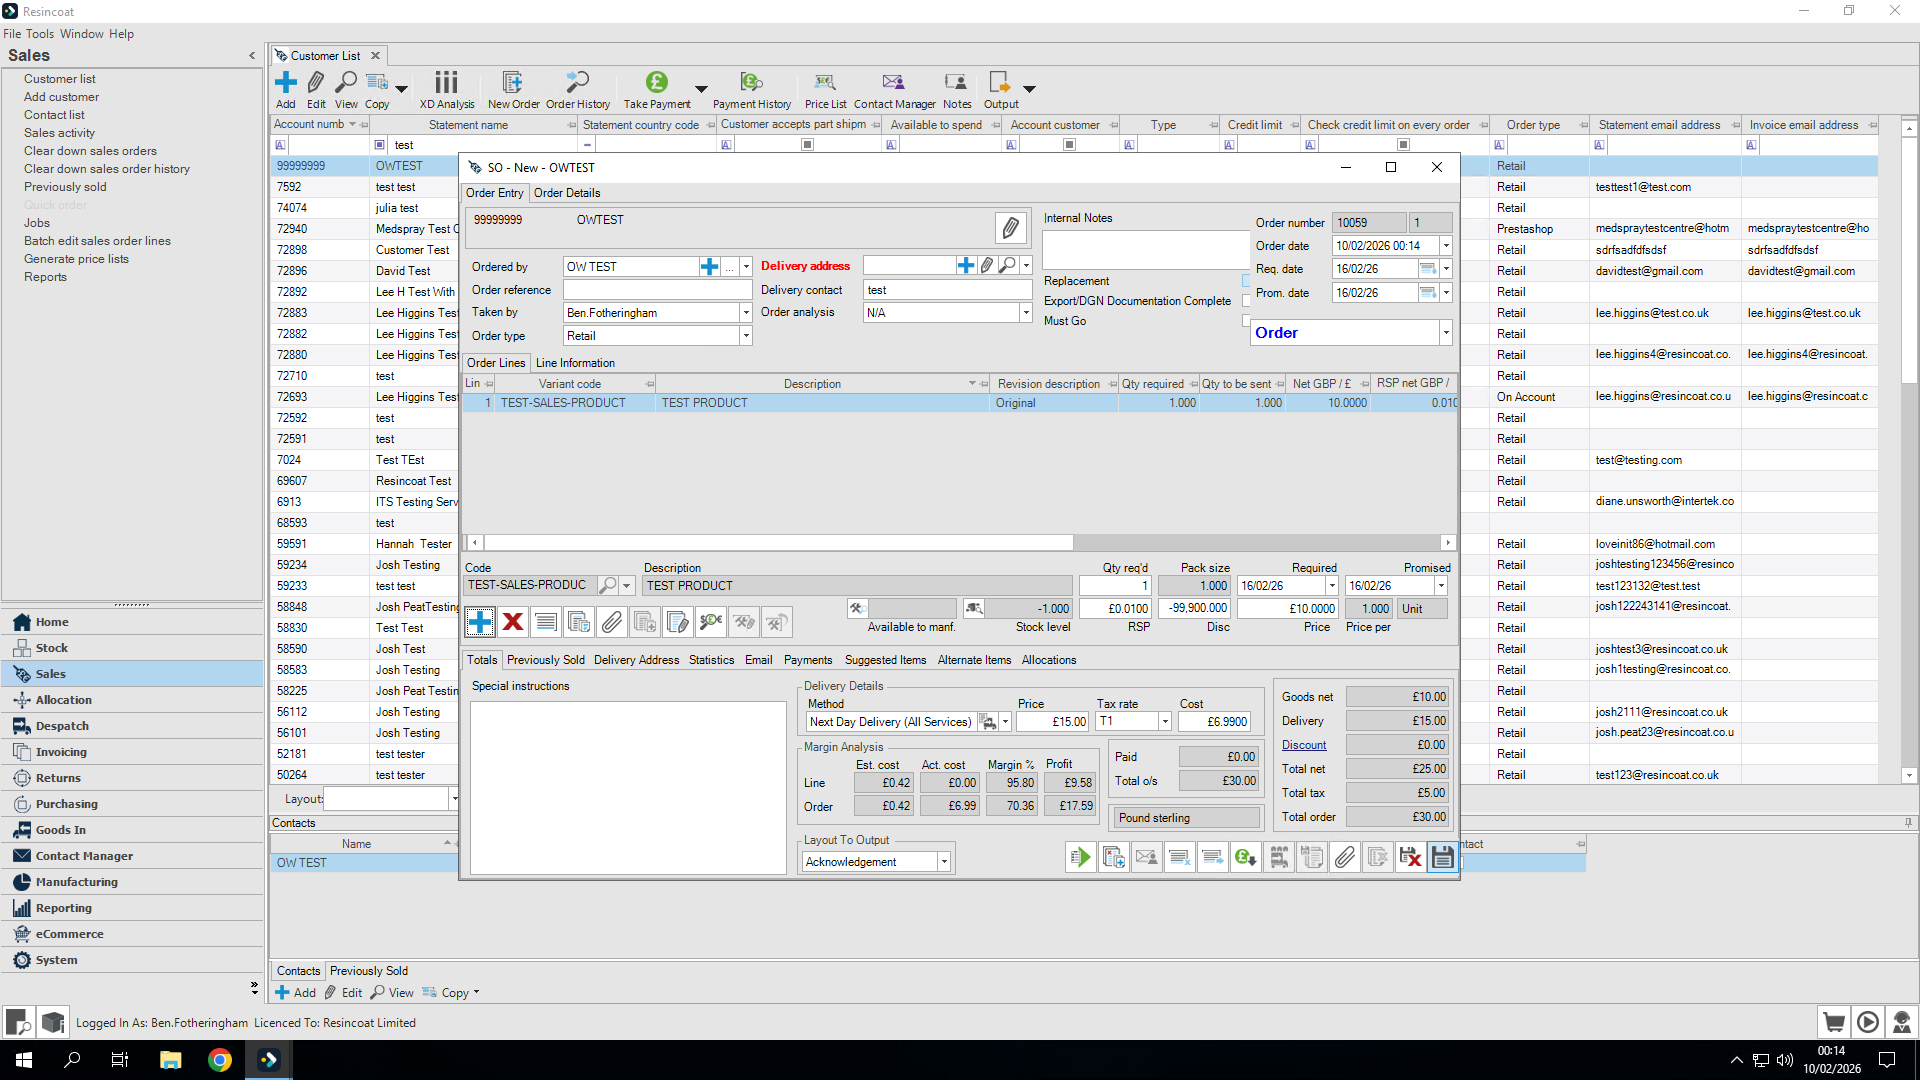
Let's set it to order instead of quote.
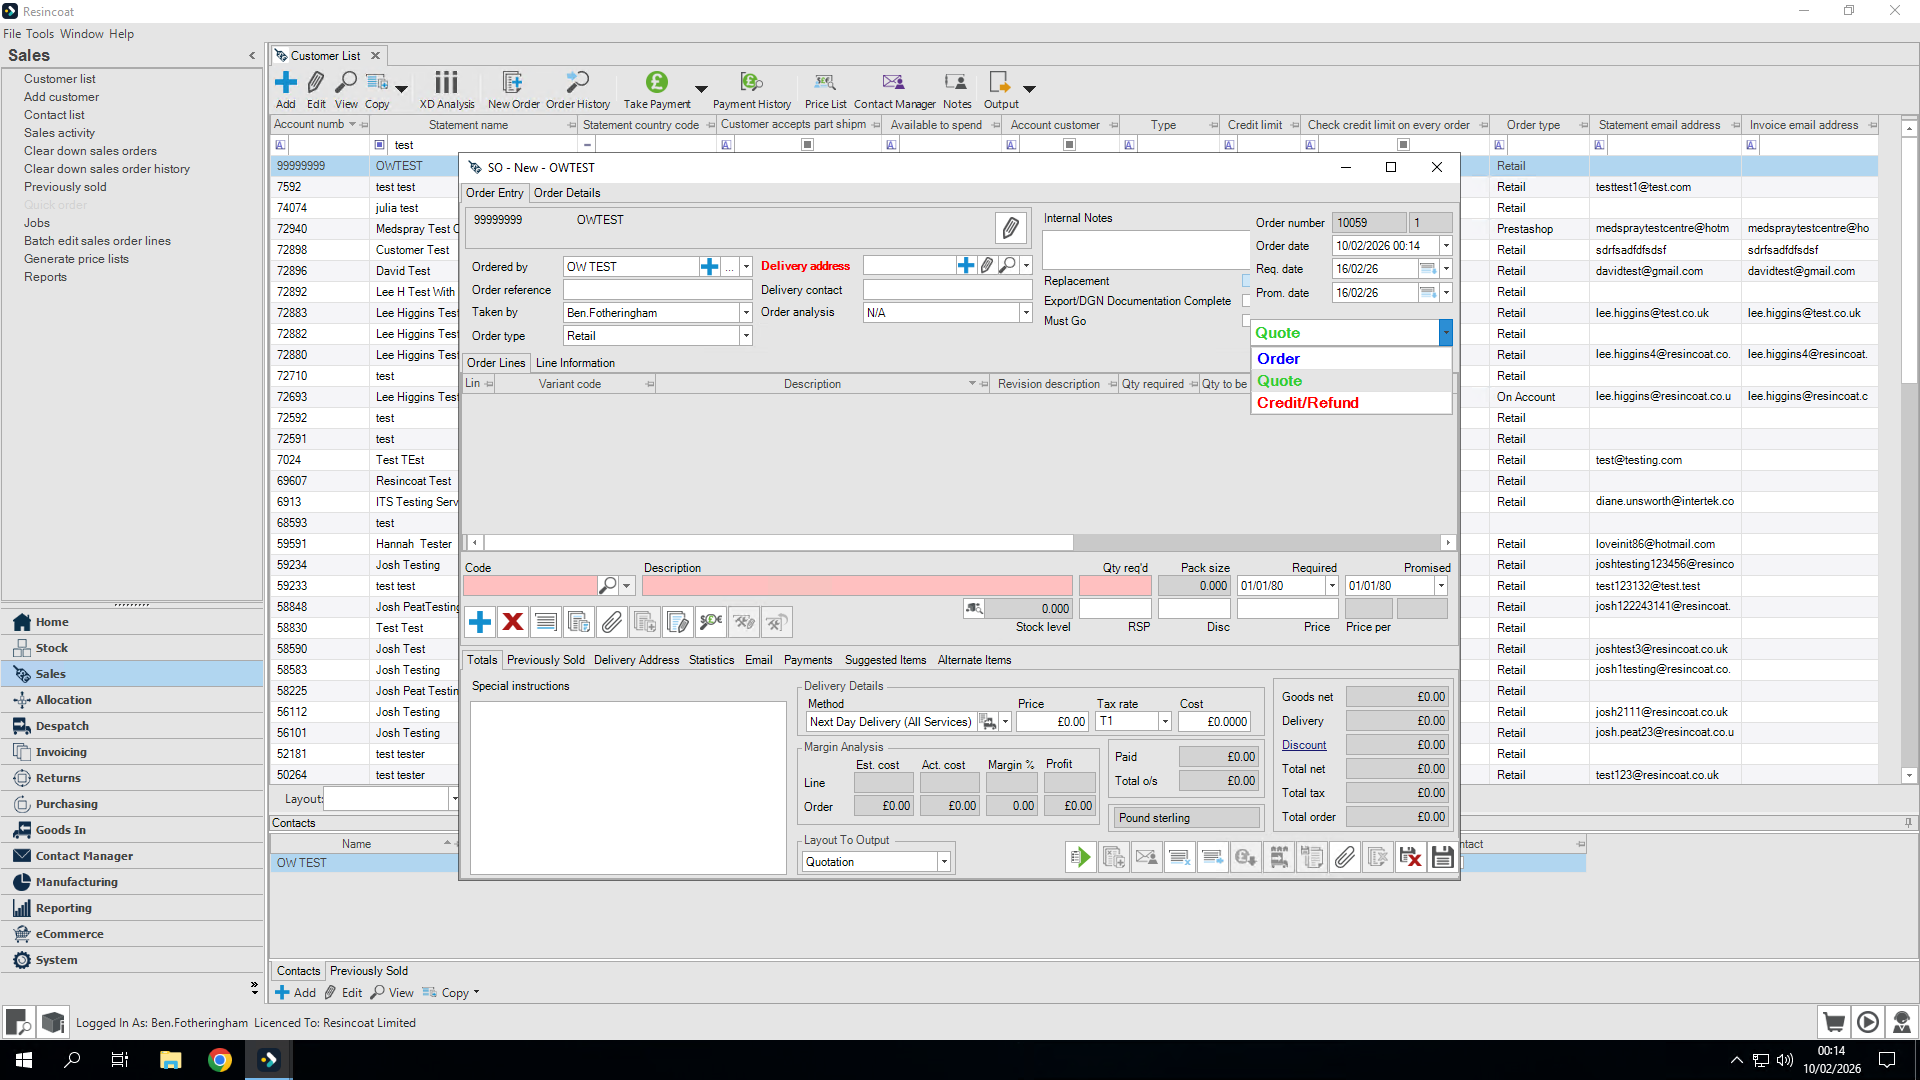
I'm happy with everything, so I'll save it. This will send the order through.
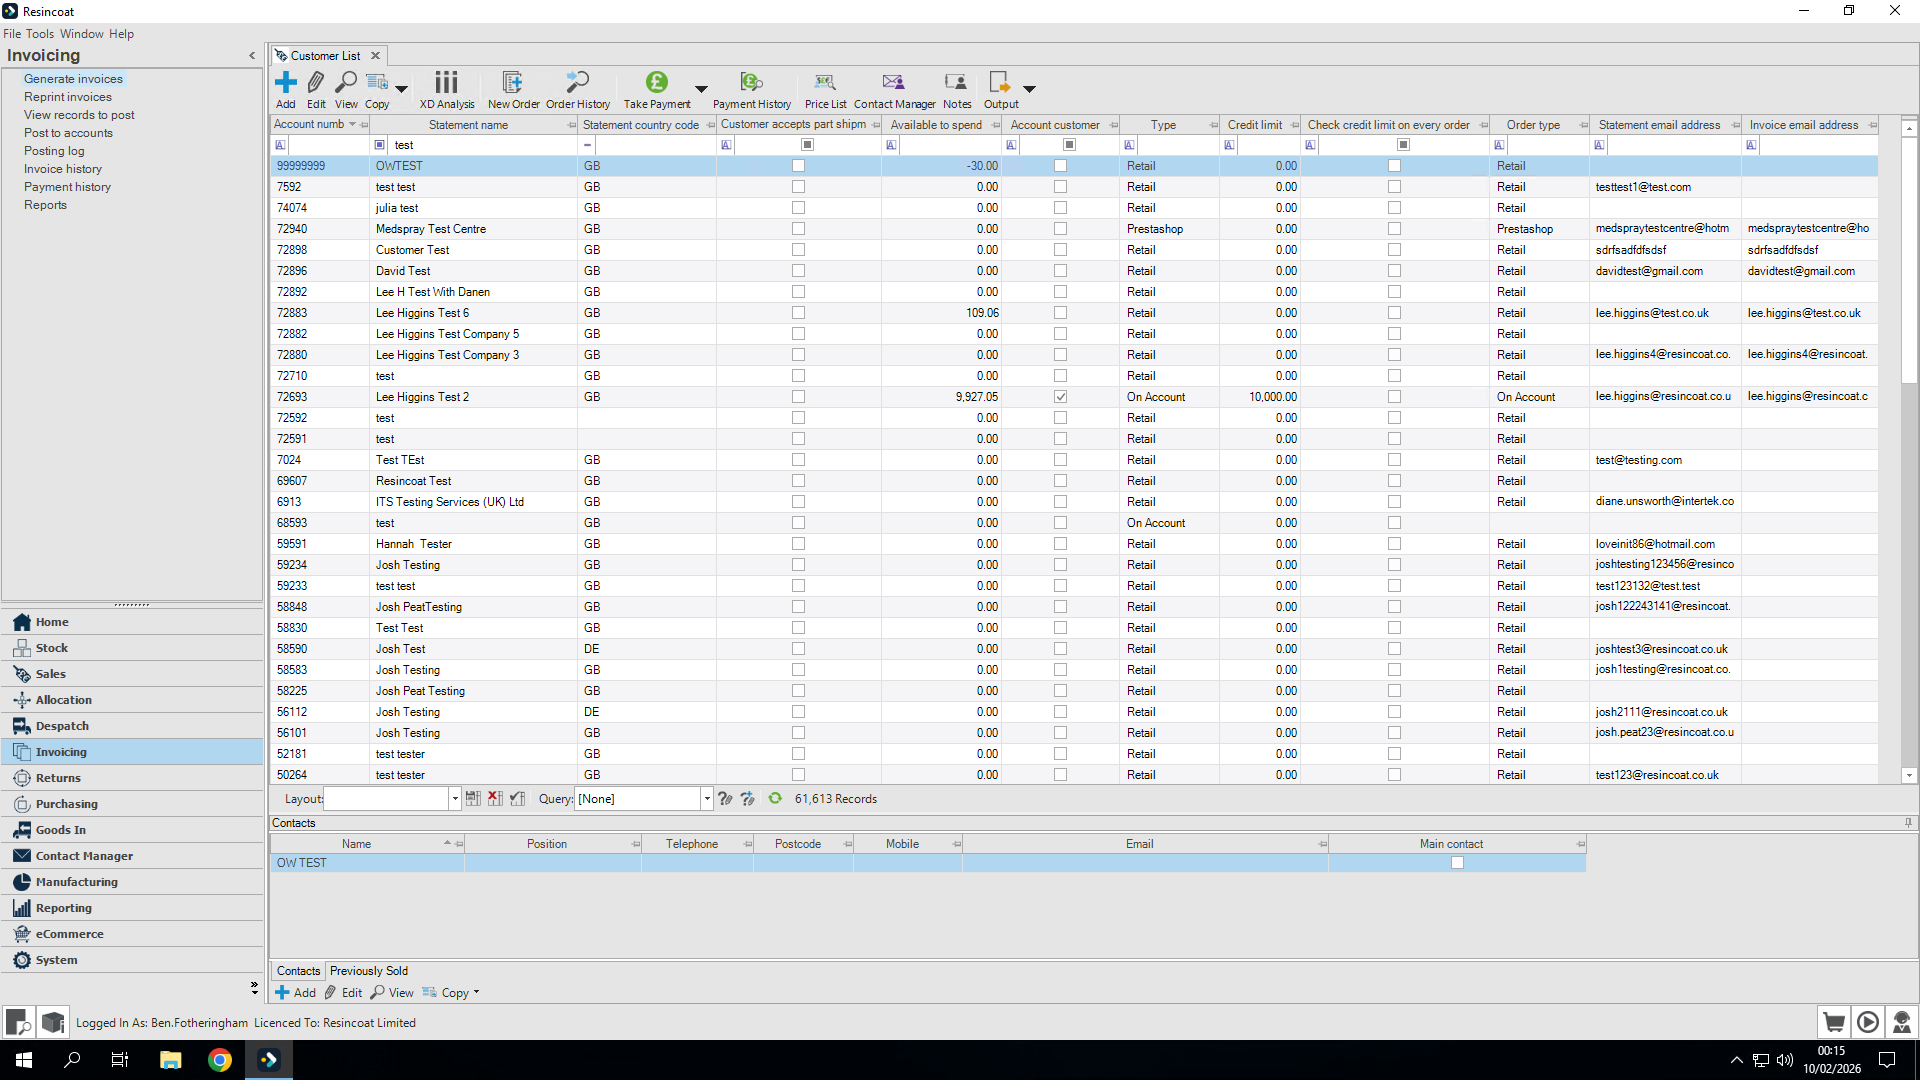
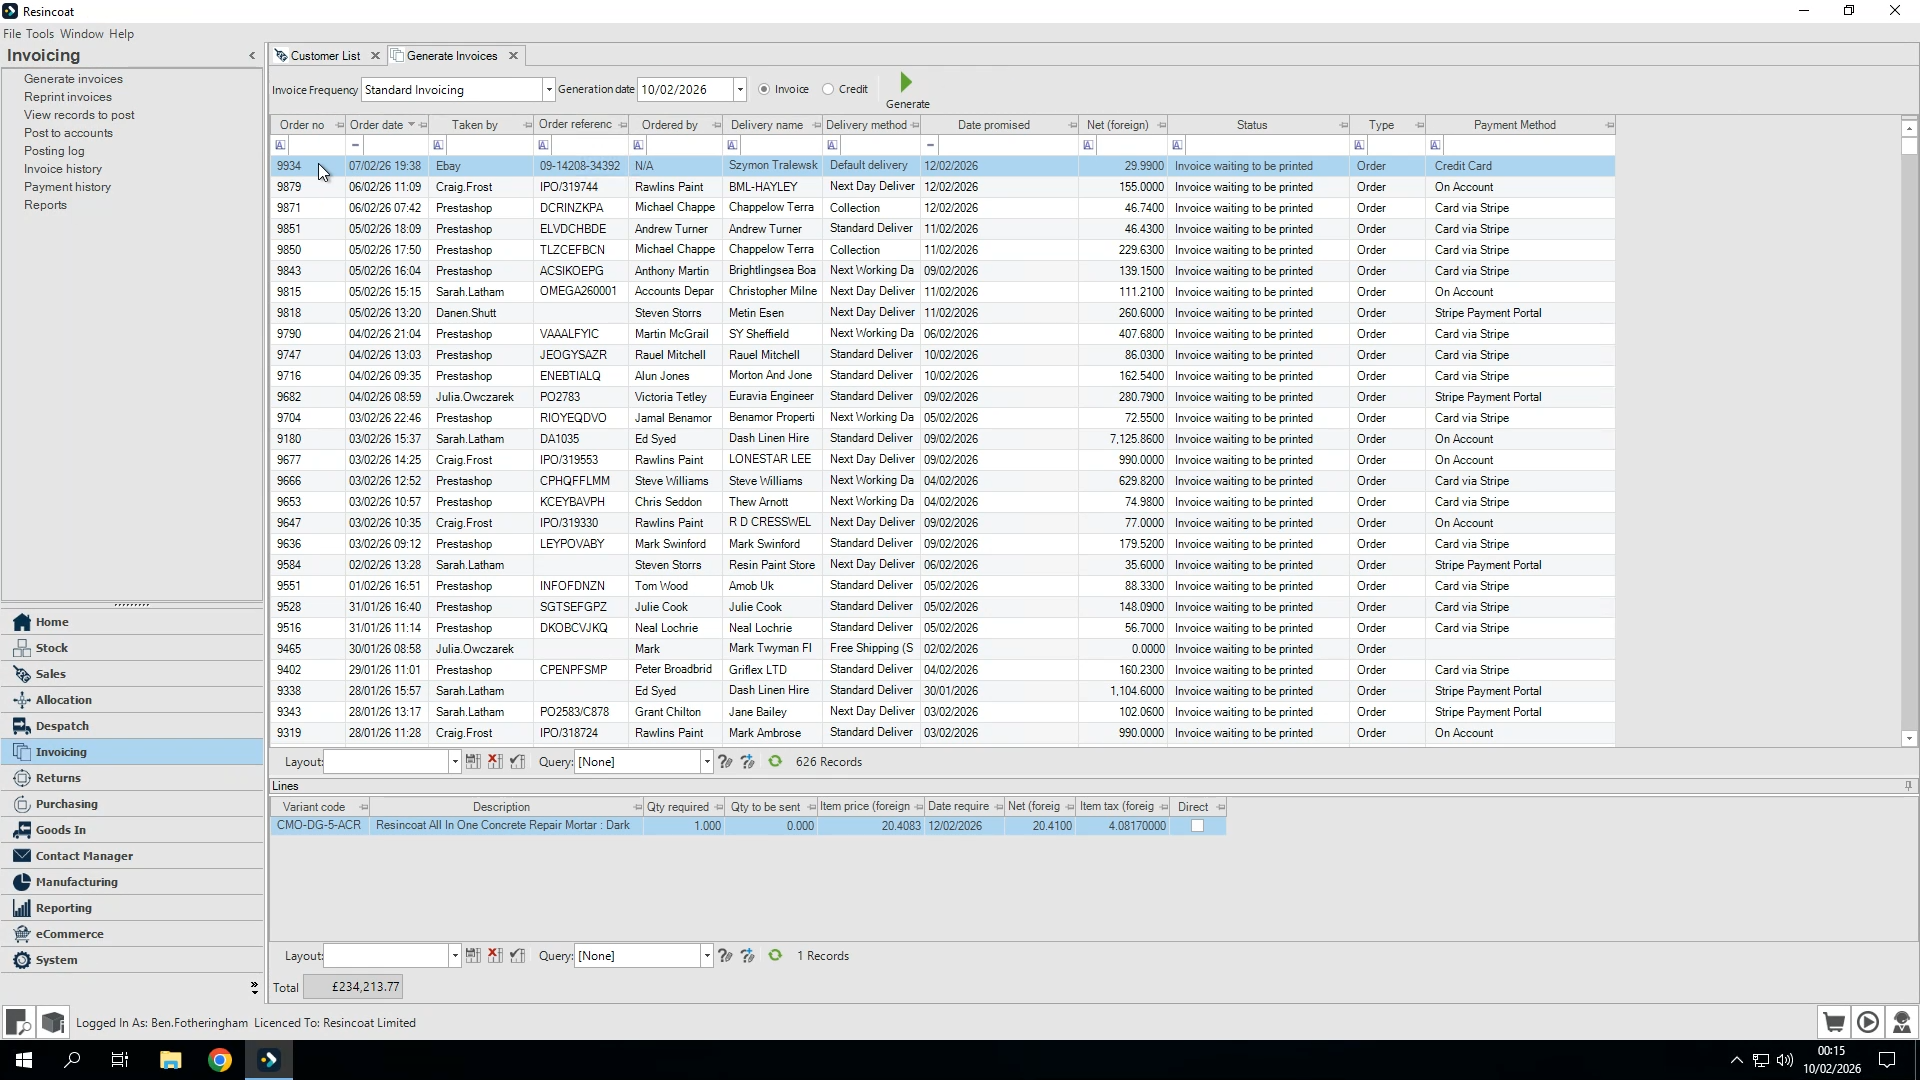
Okay. If I go to Invoicing and select Generate Invoices, you'll see there is nothing pending for that customer.
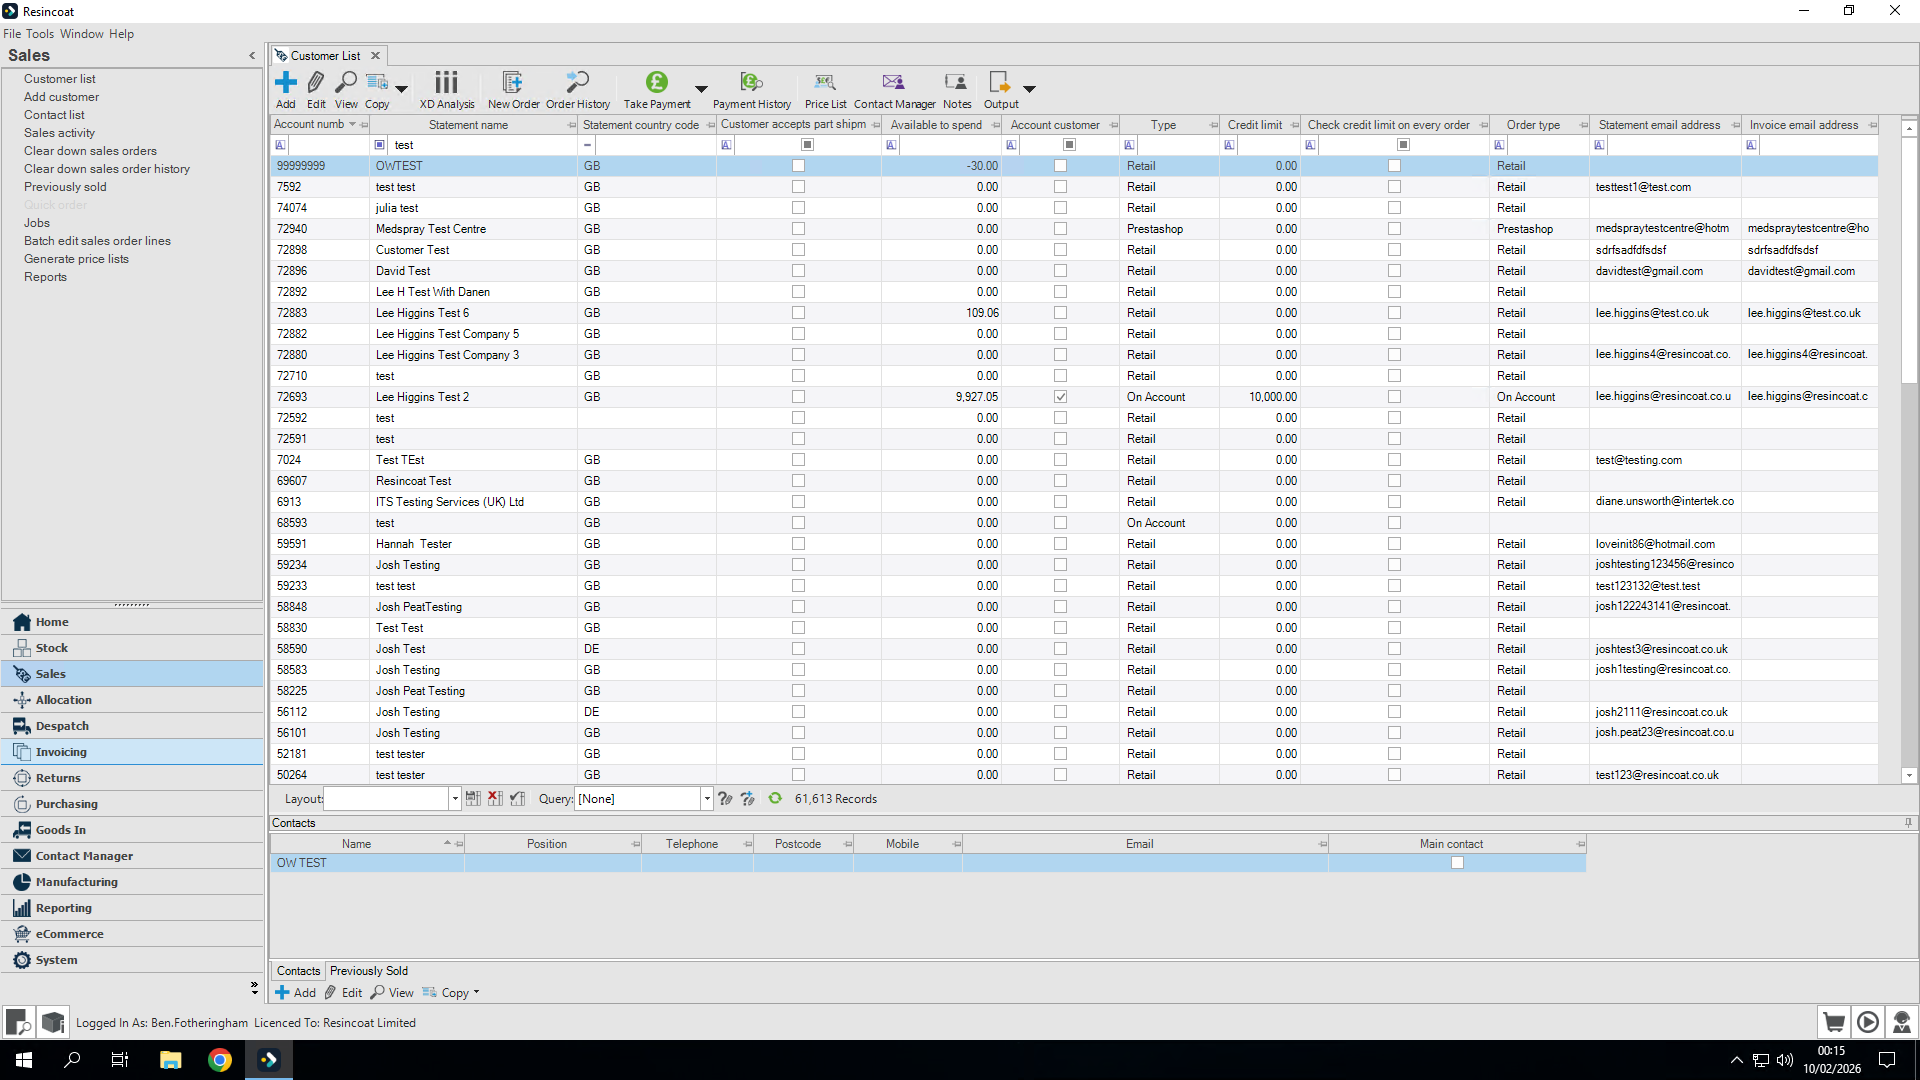
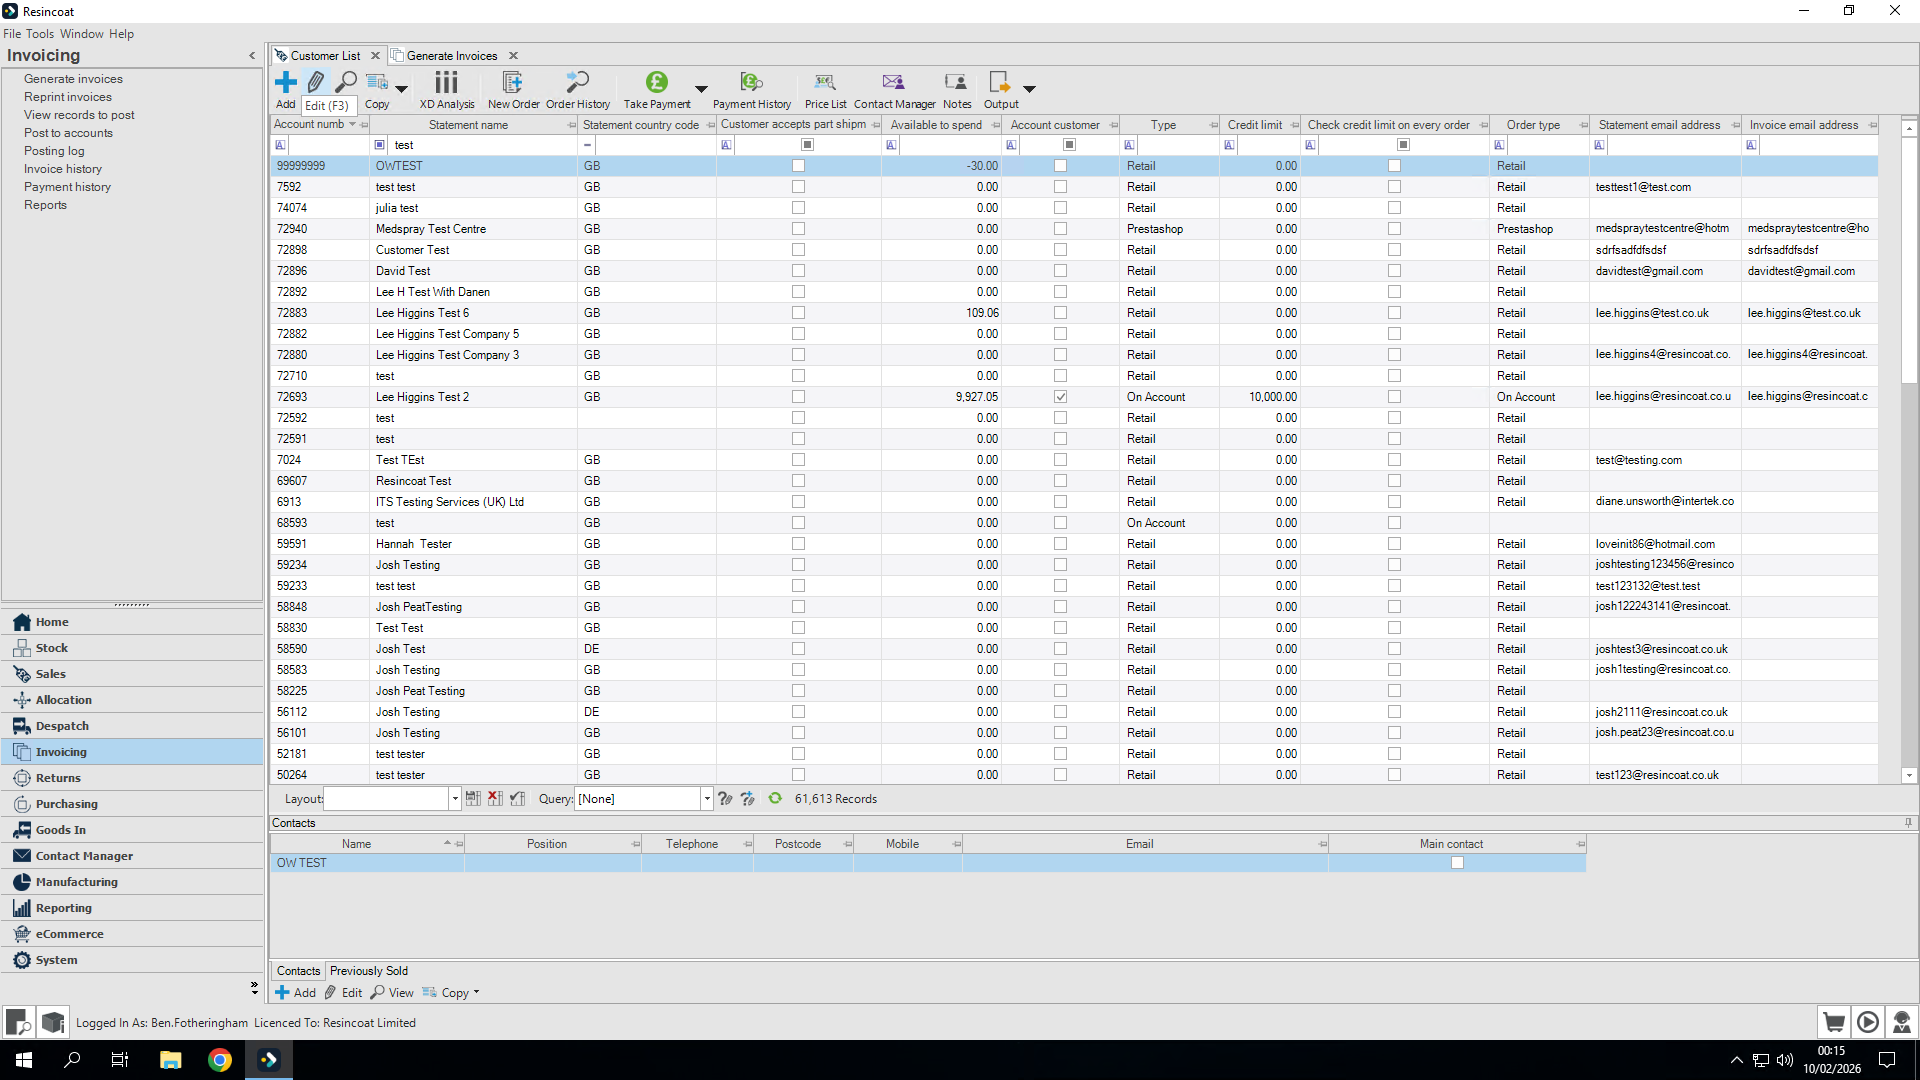
To fix that, go back to the customer list.
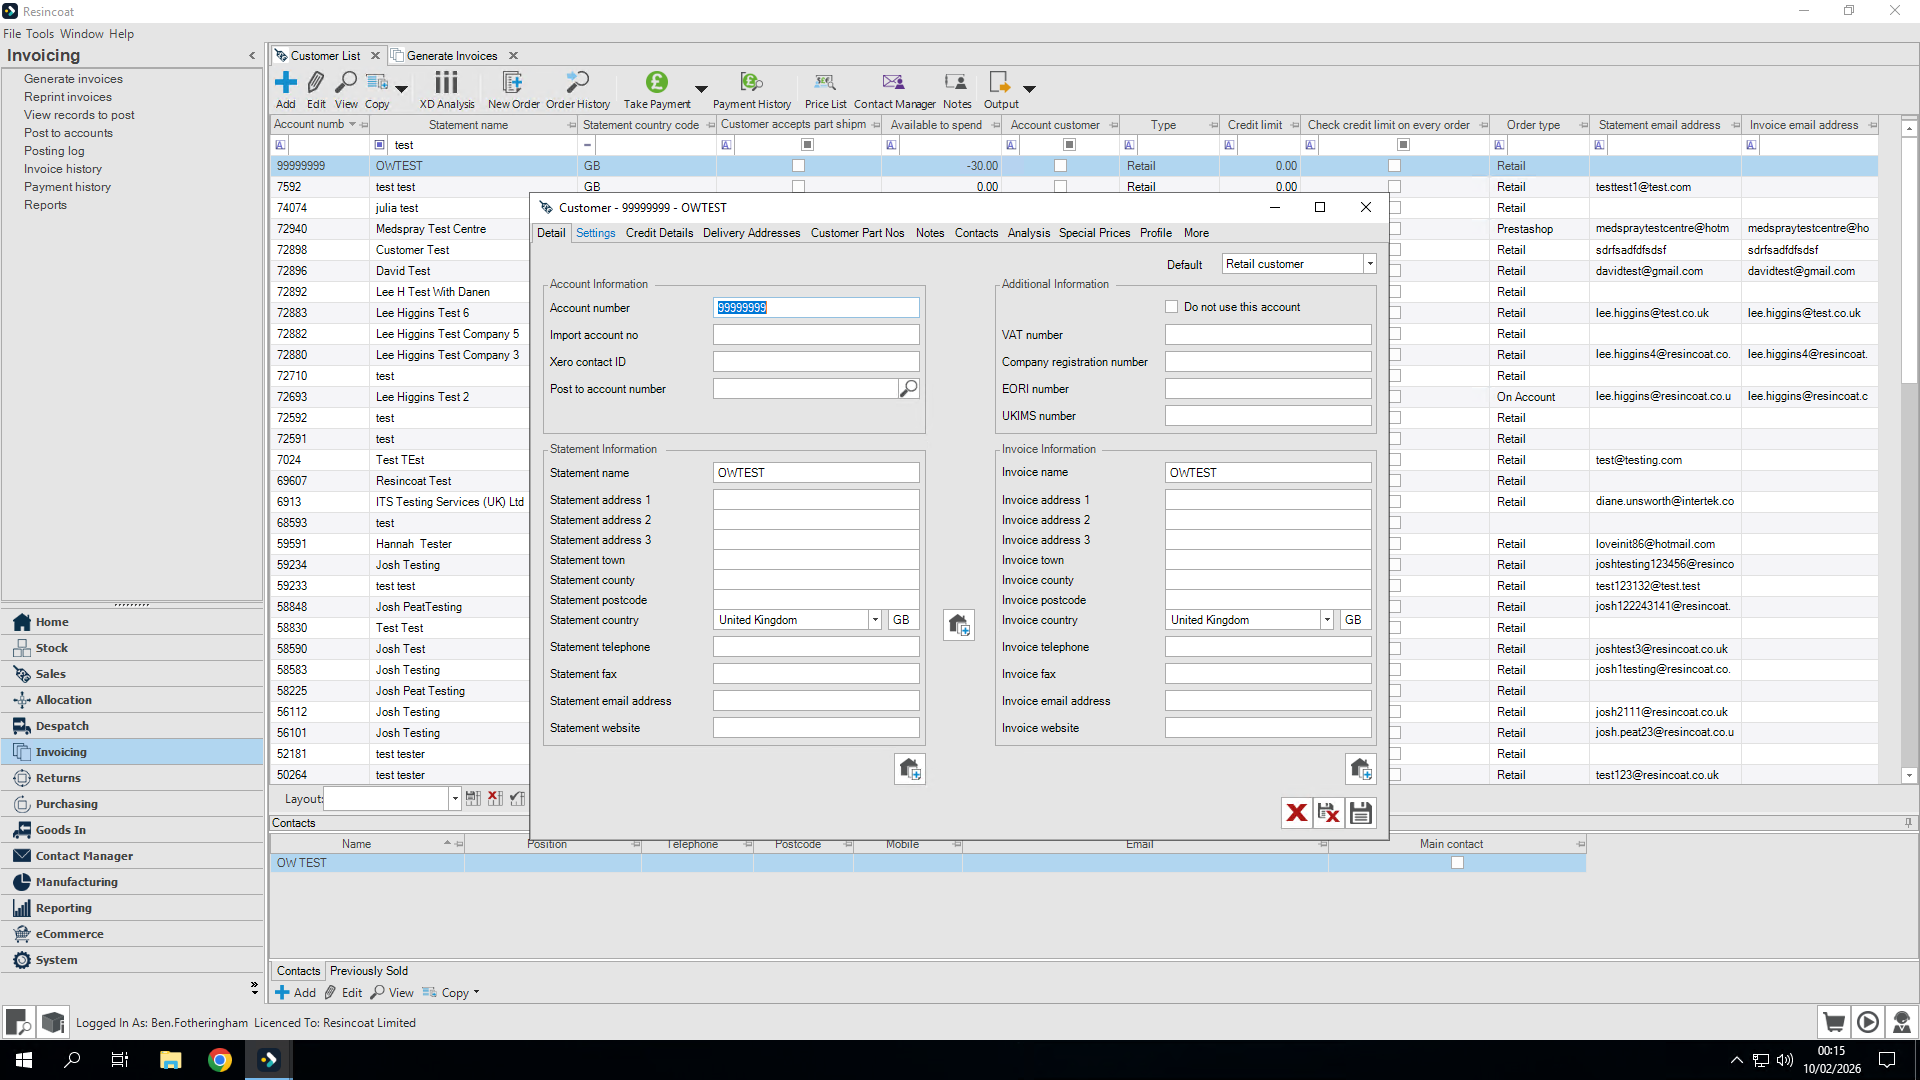
Find the customer, then click Edit.
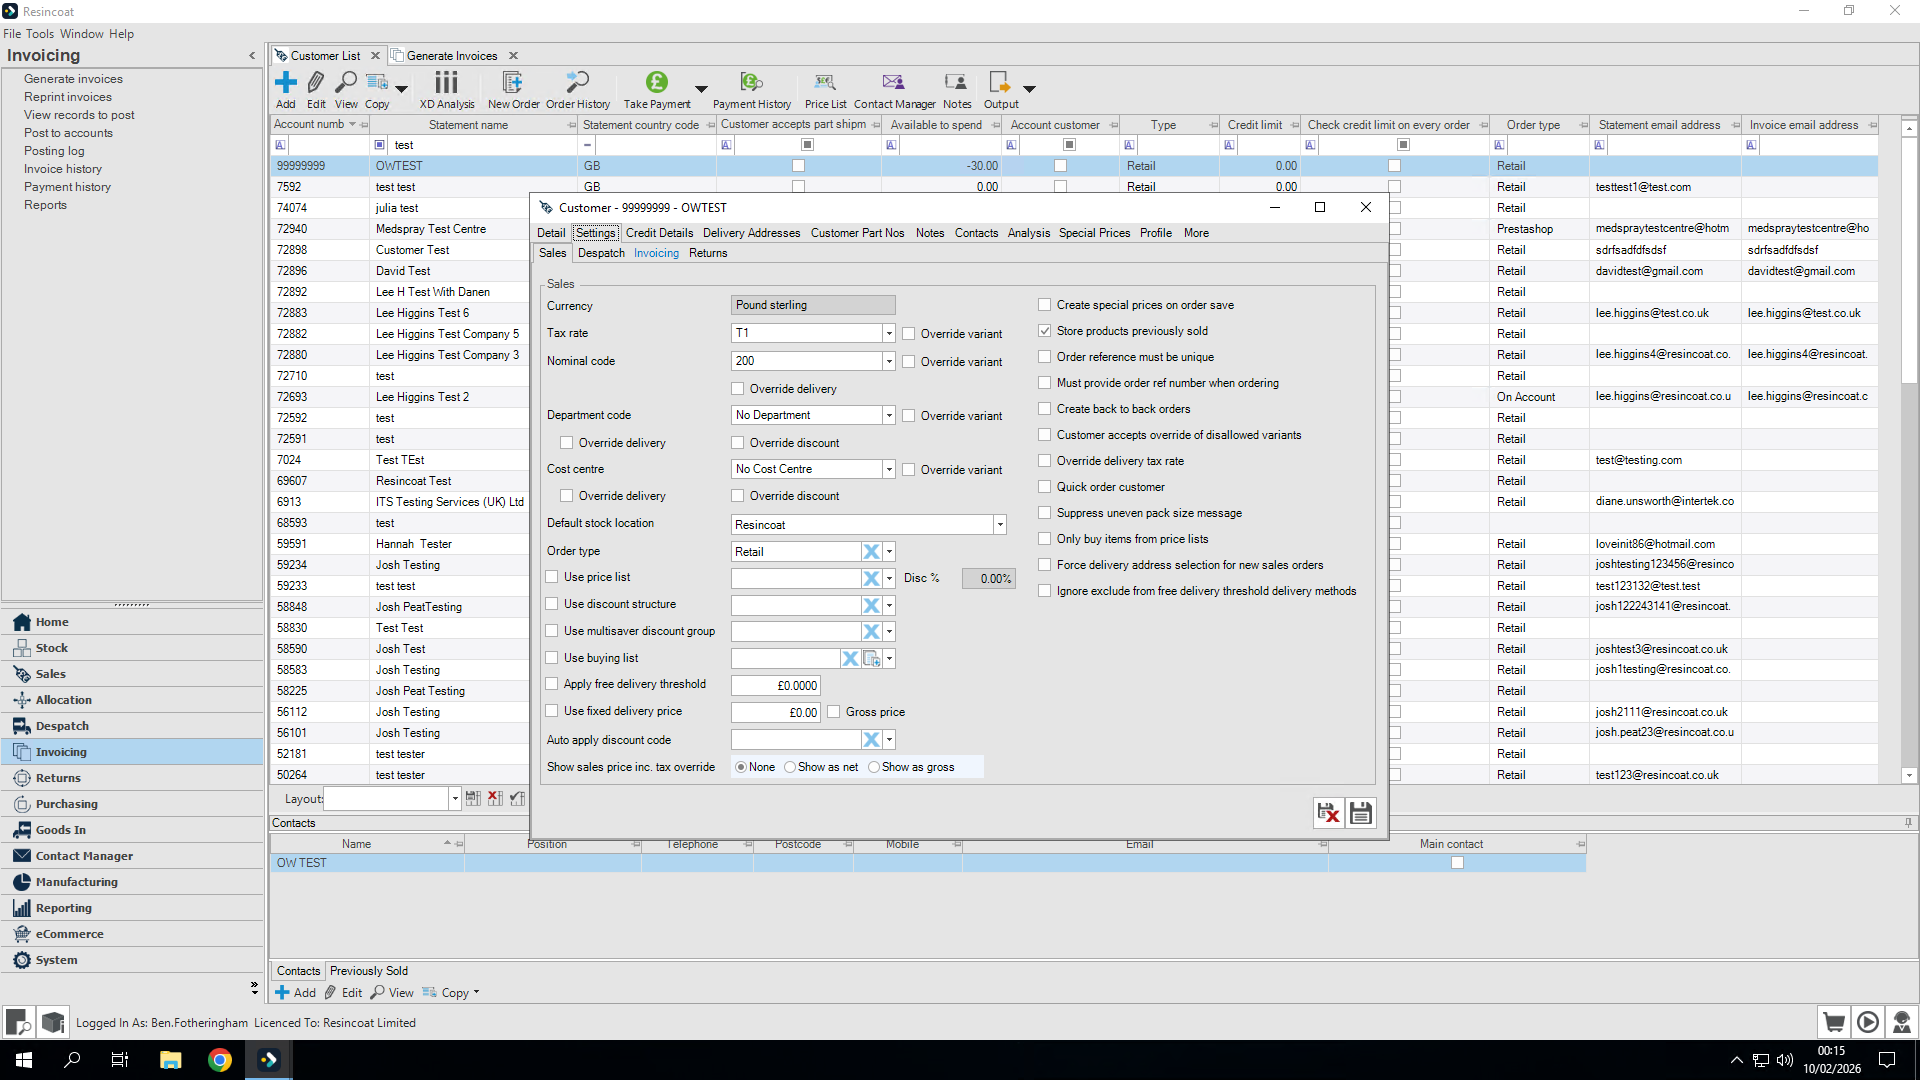
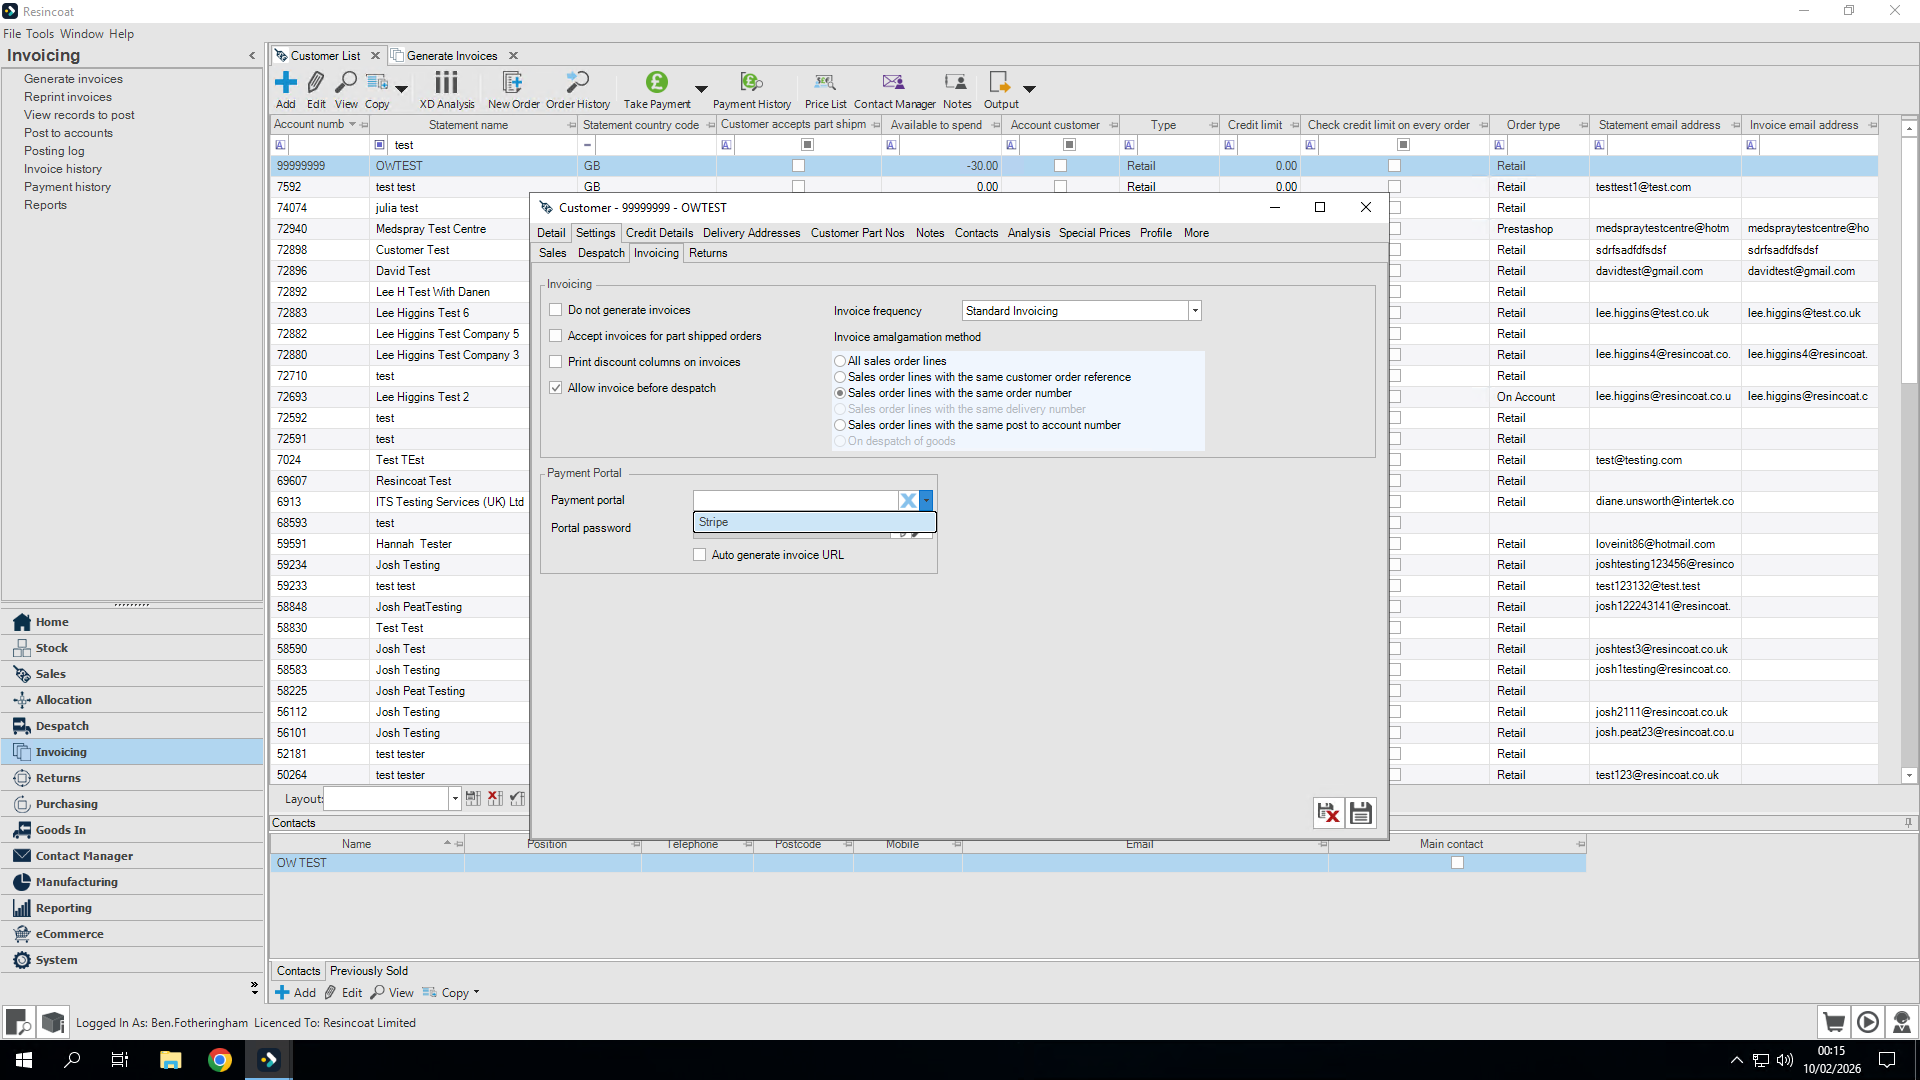
I'm going to go to the Settings tab and then to Invoicing.
We need to make sure that "Allow invoice before dispatch" is selected.
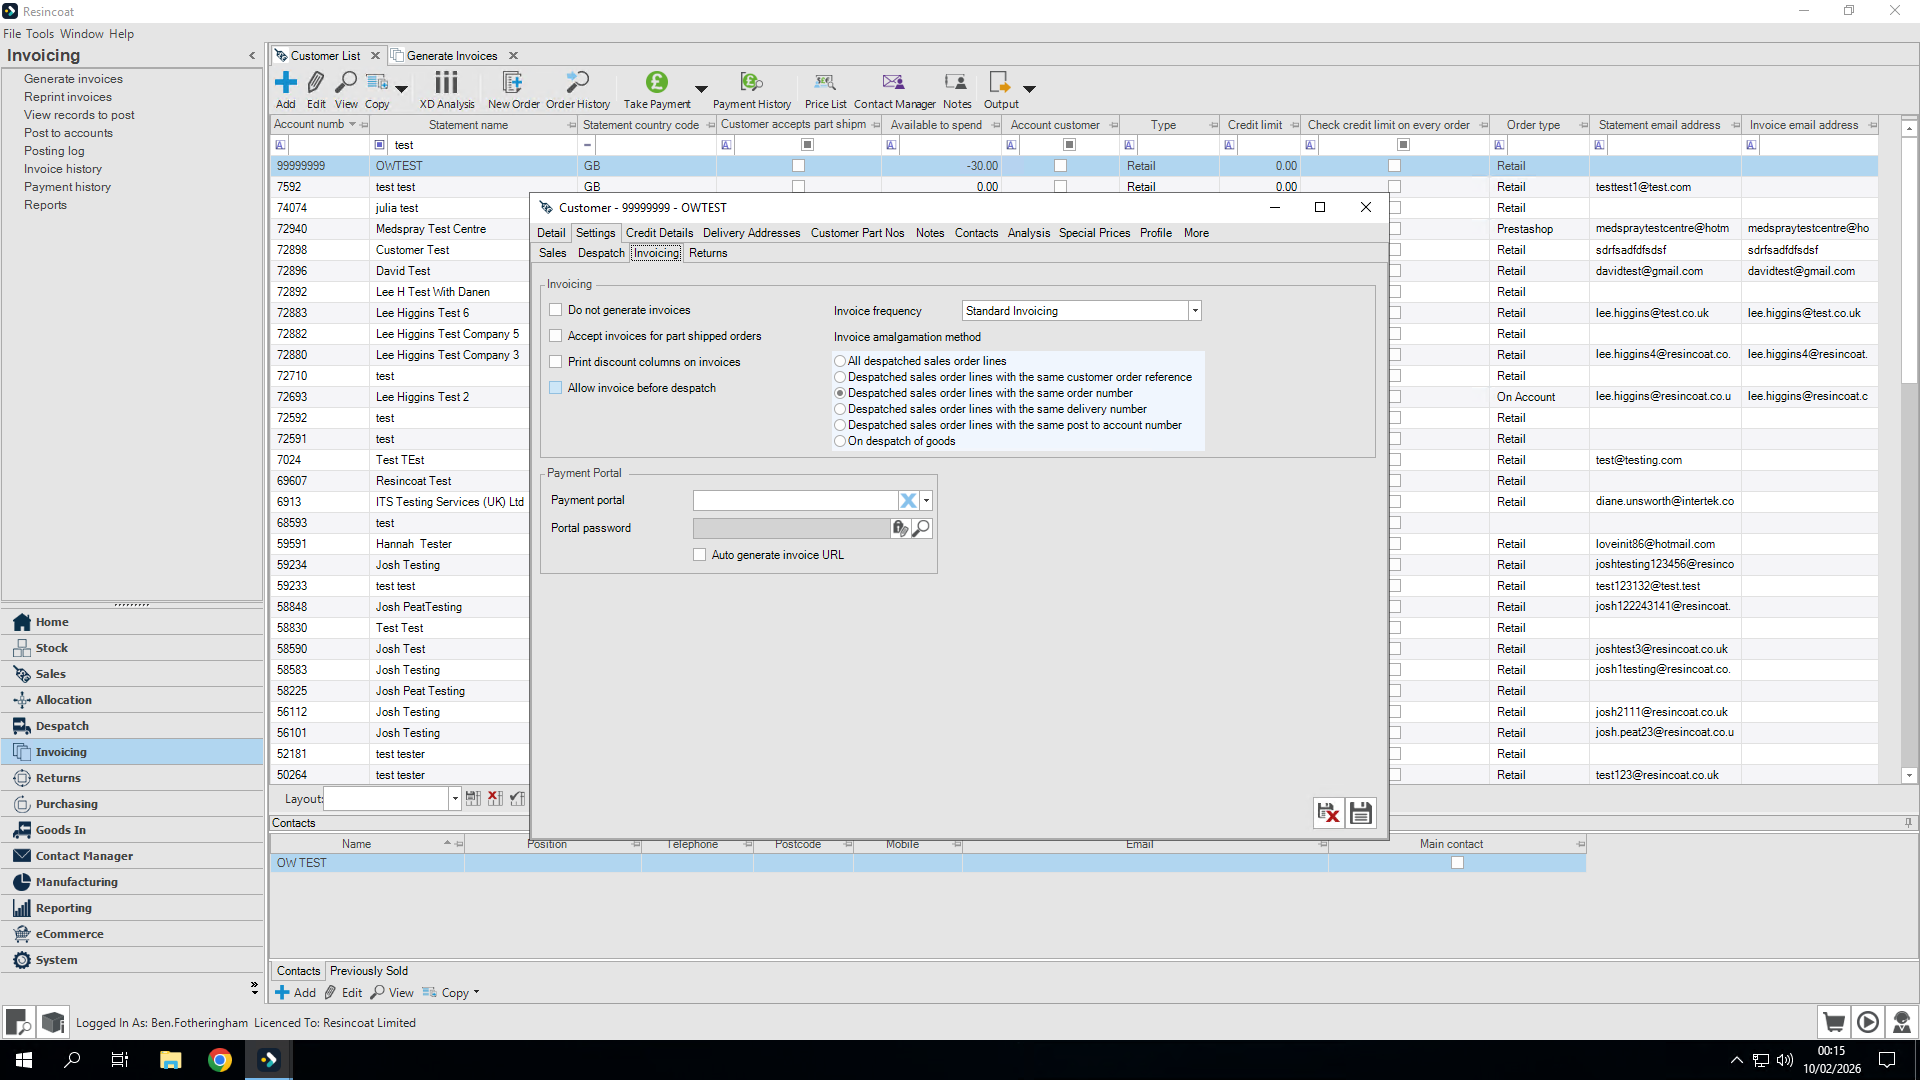
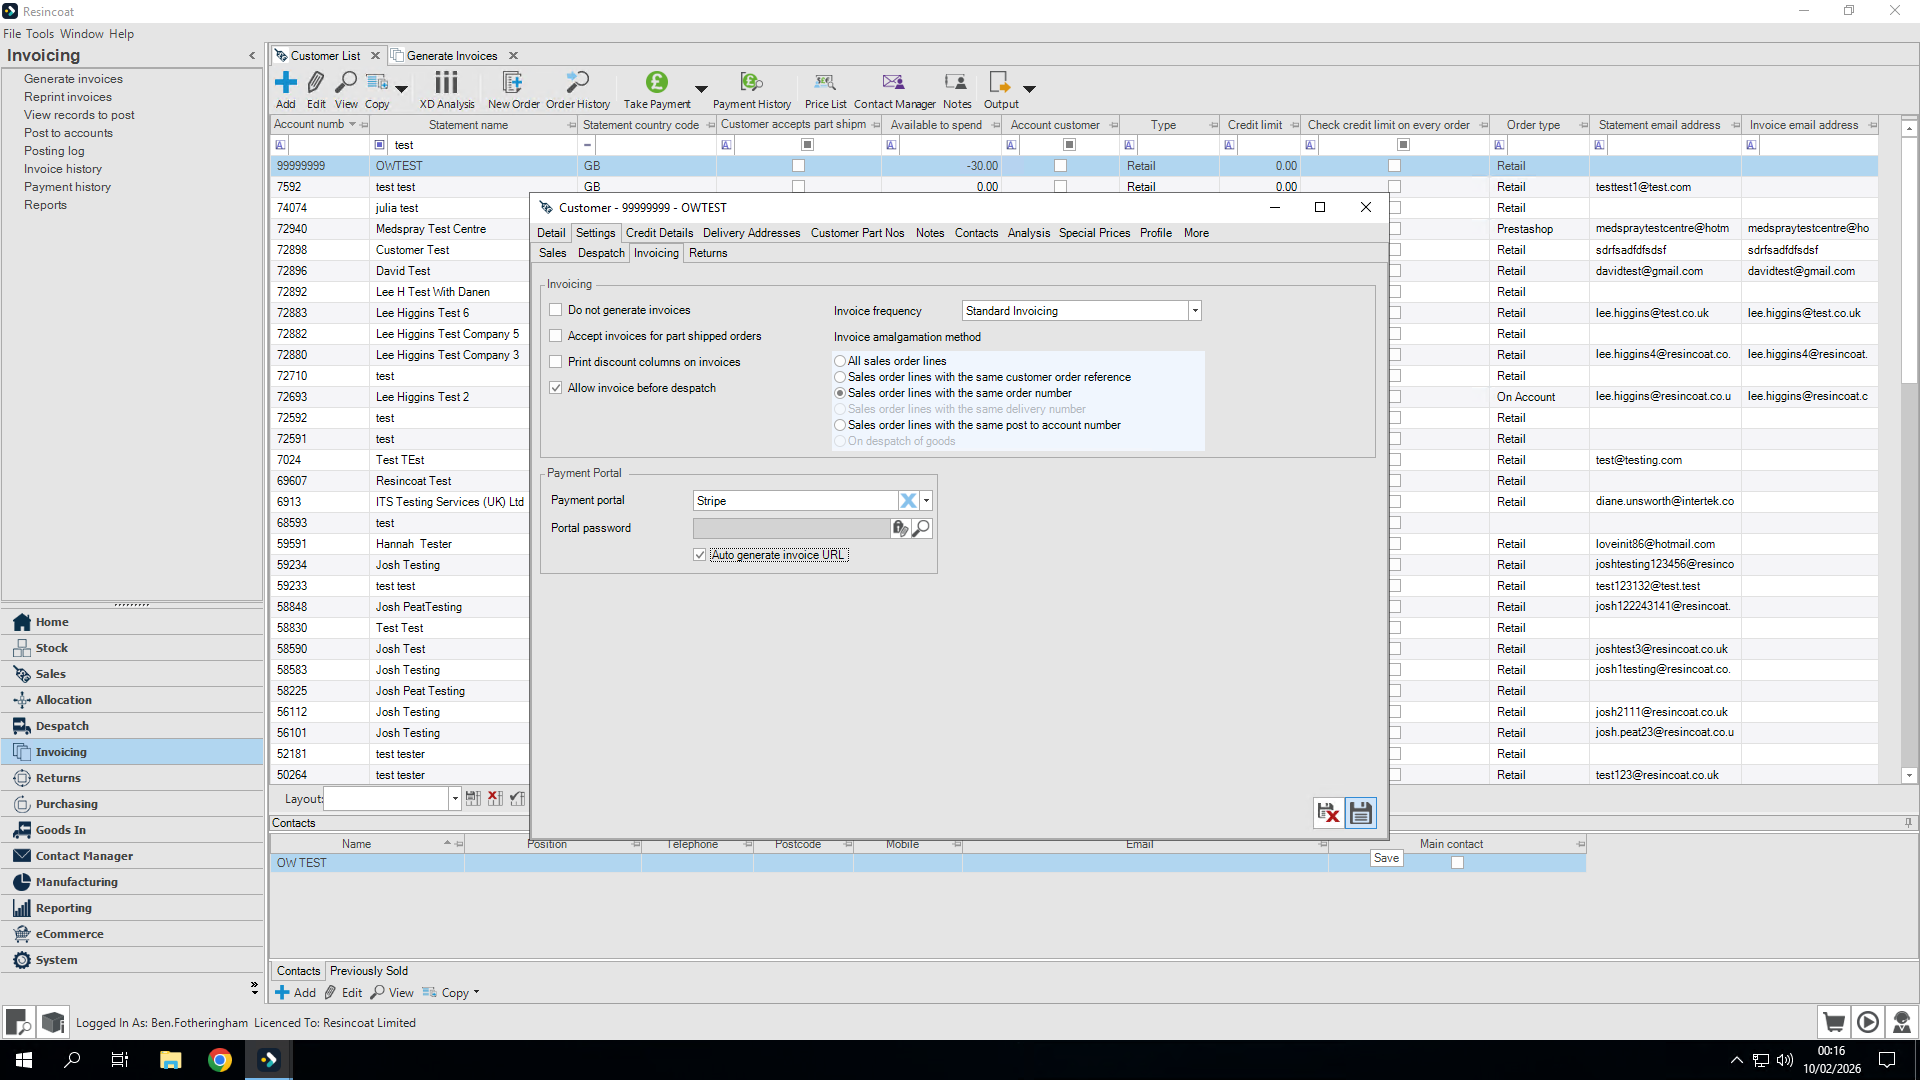
I will also set the payment portal.
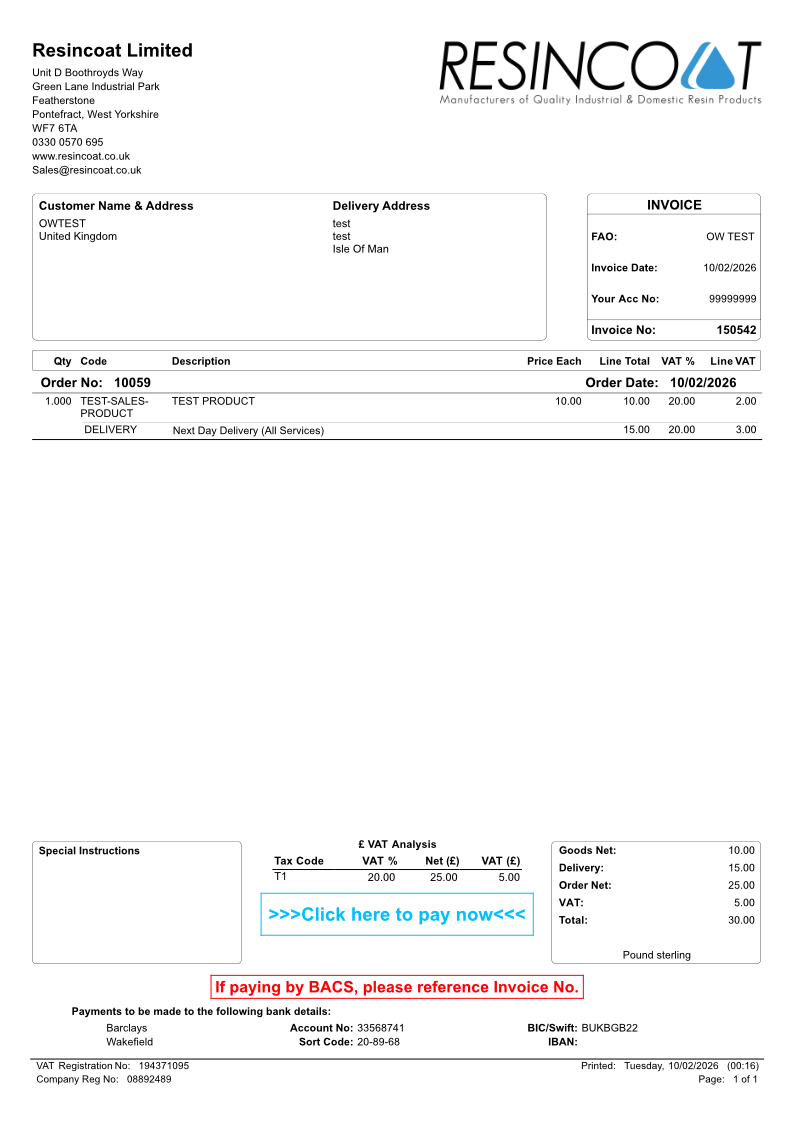
I will set it to Stripe and click Auto-generate invoice URL. This will give the customer a payment link on their invoice to pay with Stripe (should they wish to). BACS details are also provided on the invoice.

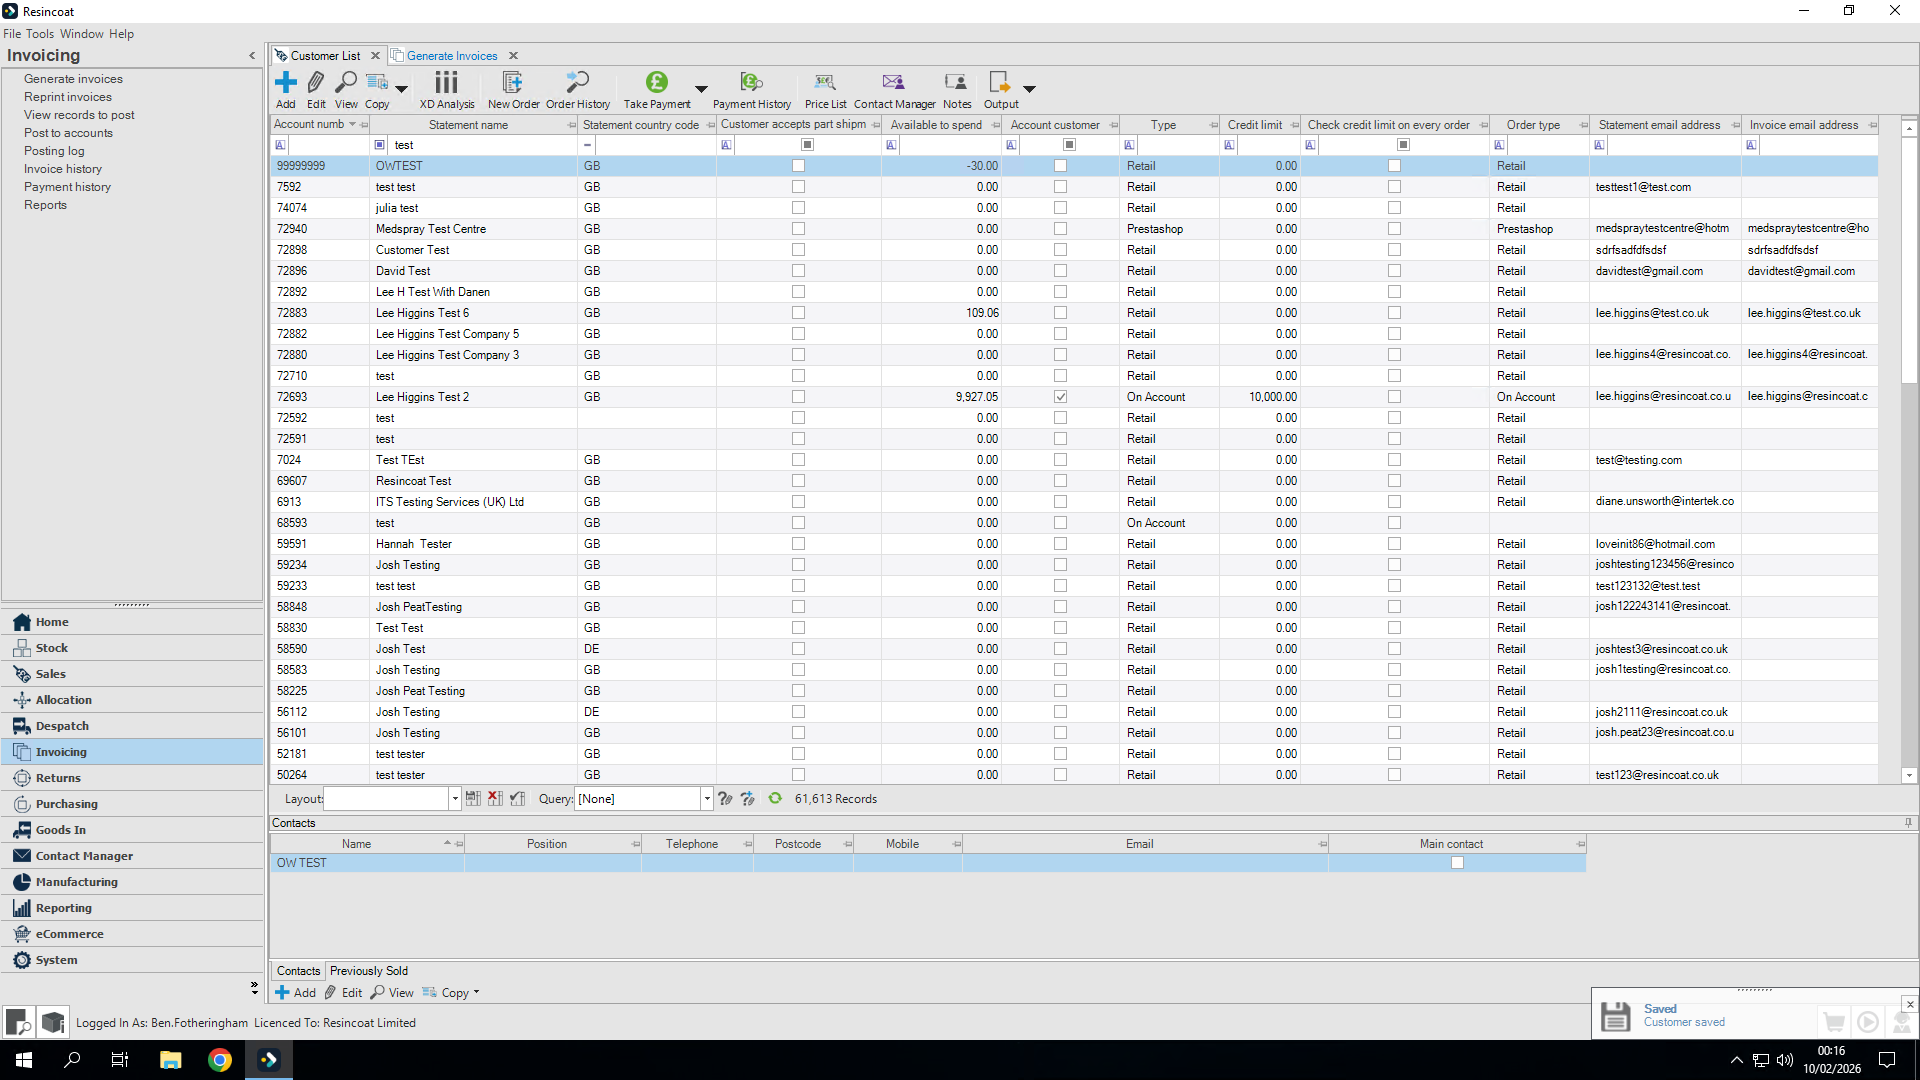
Once you're satisfied, click Save.
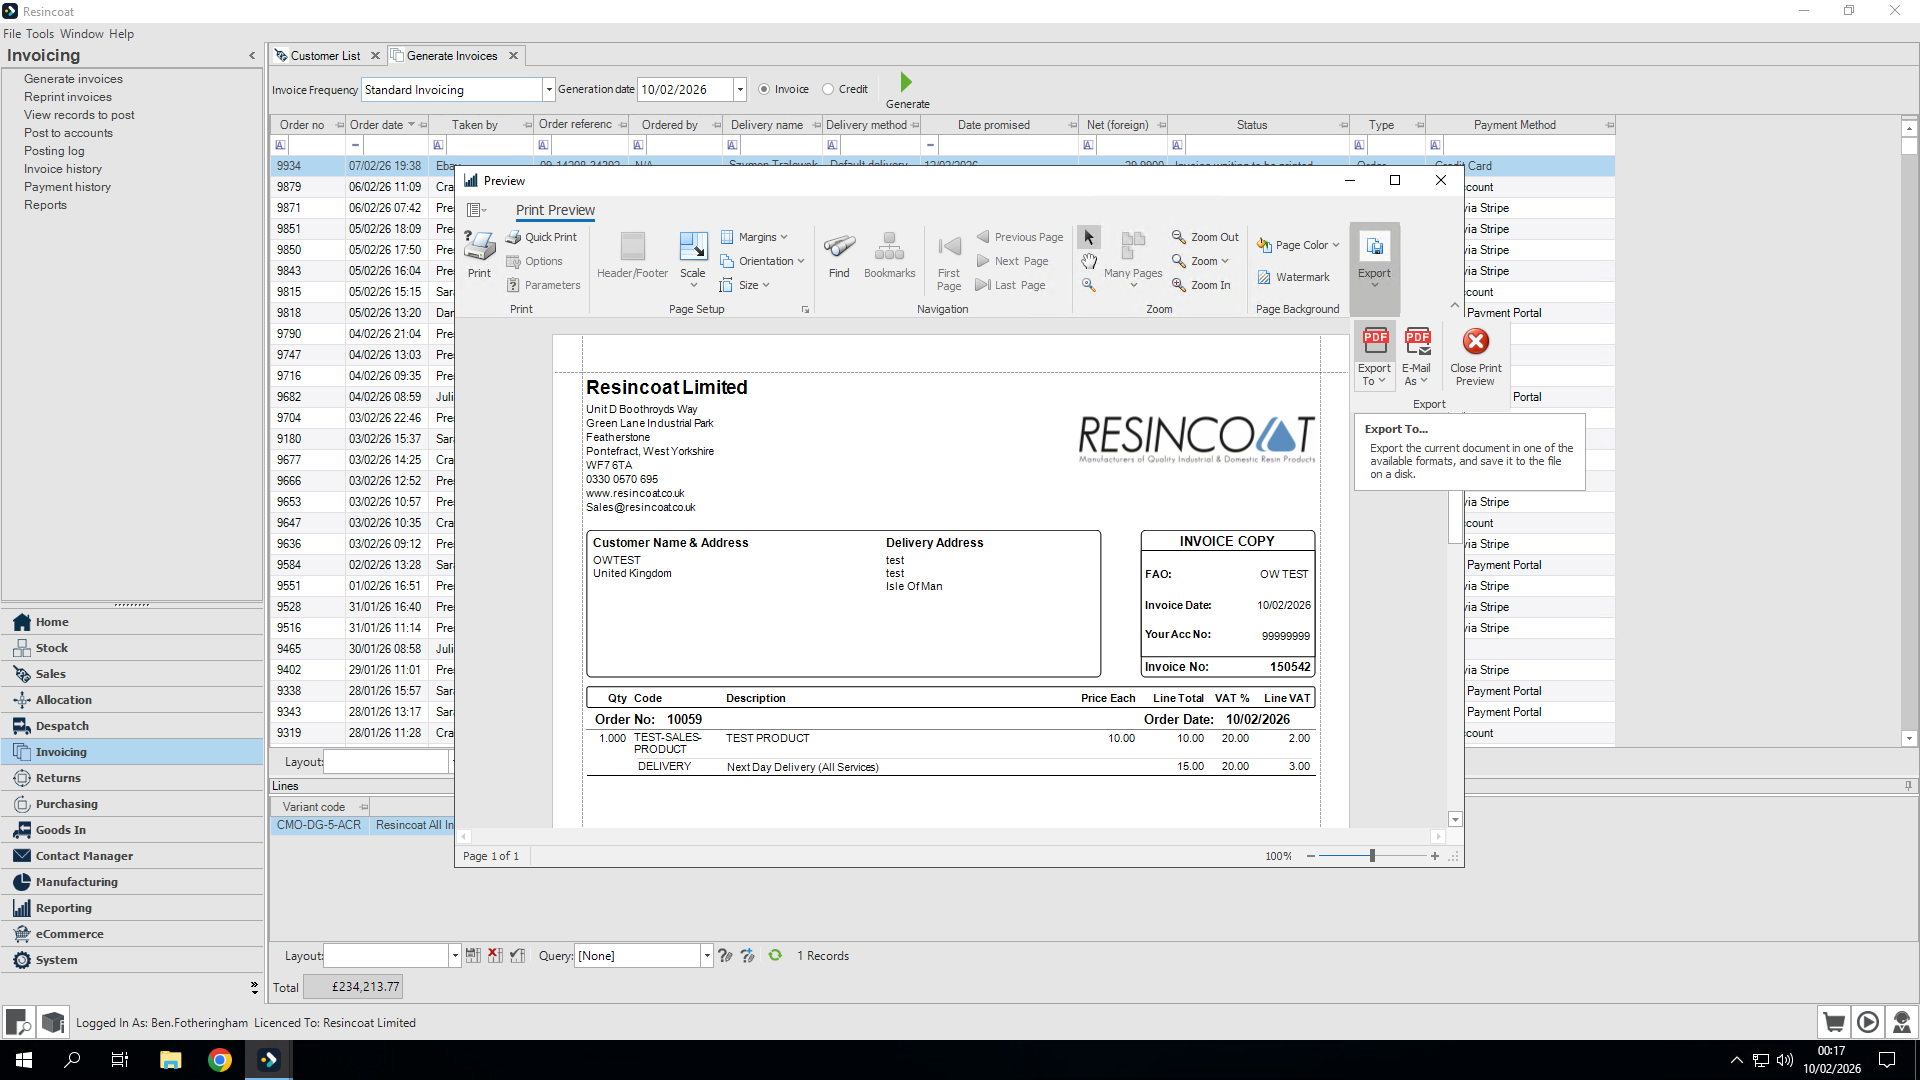
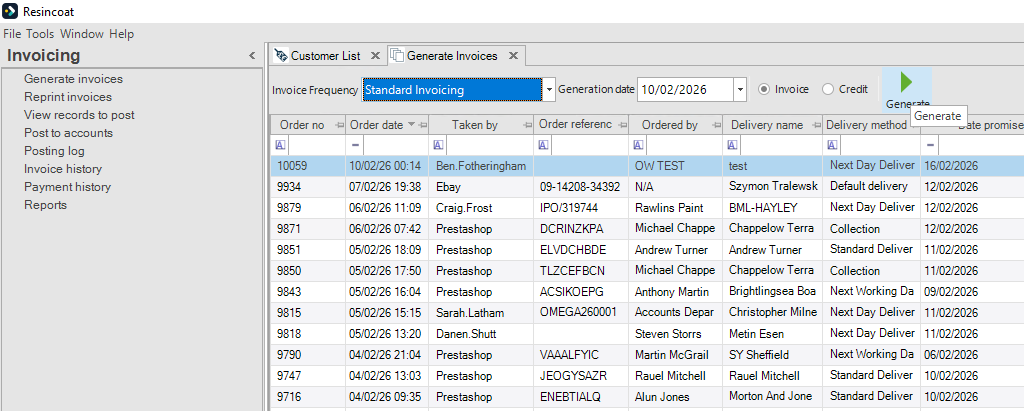
Go back to Generate Invoices.
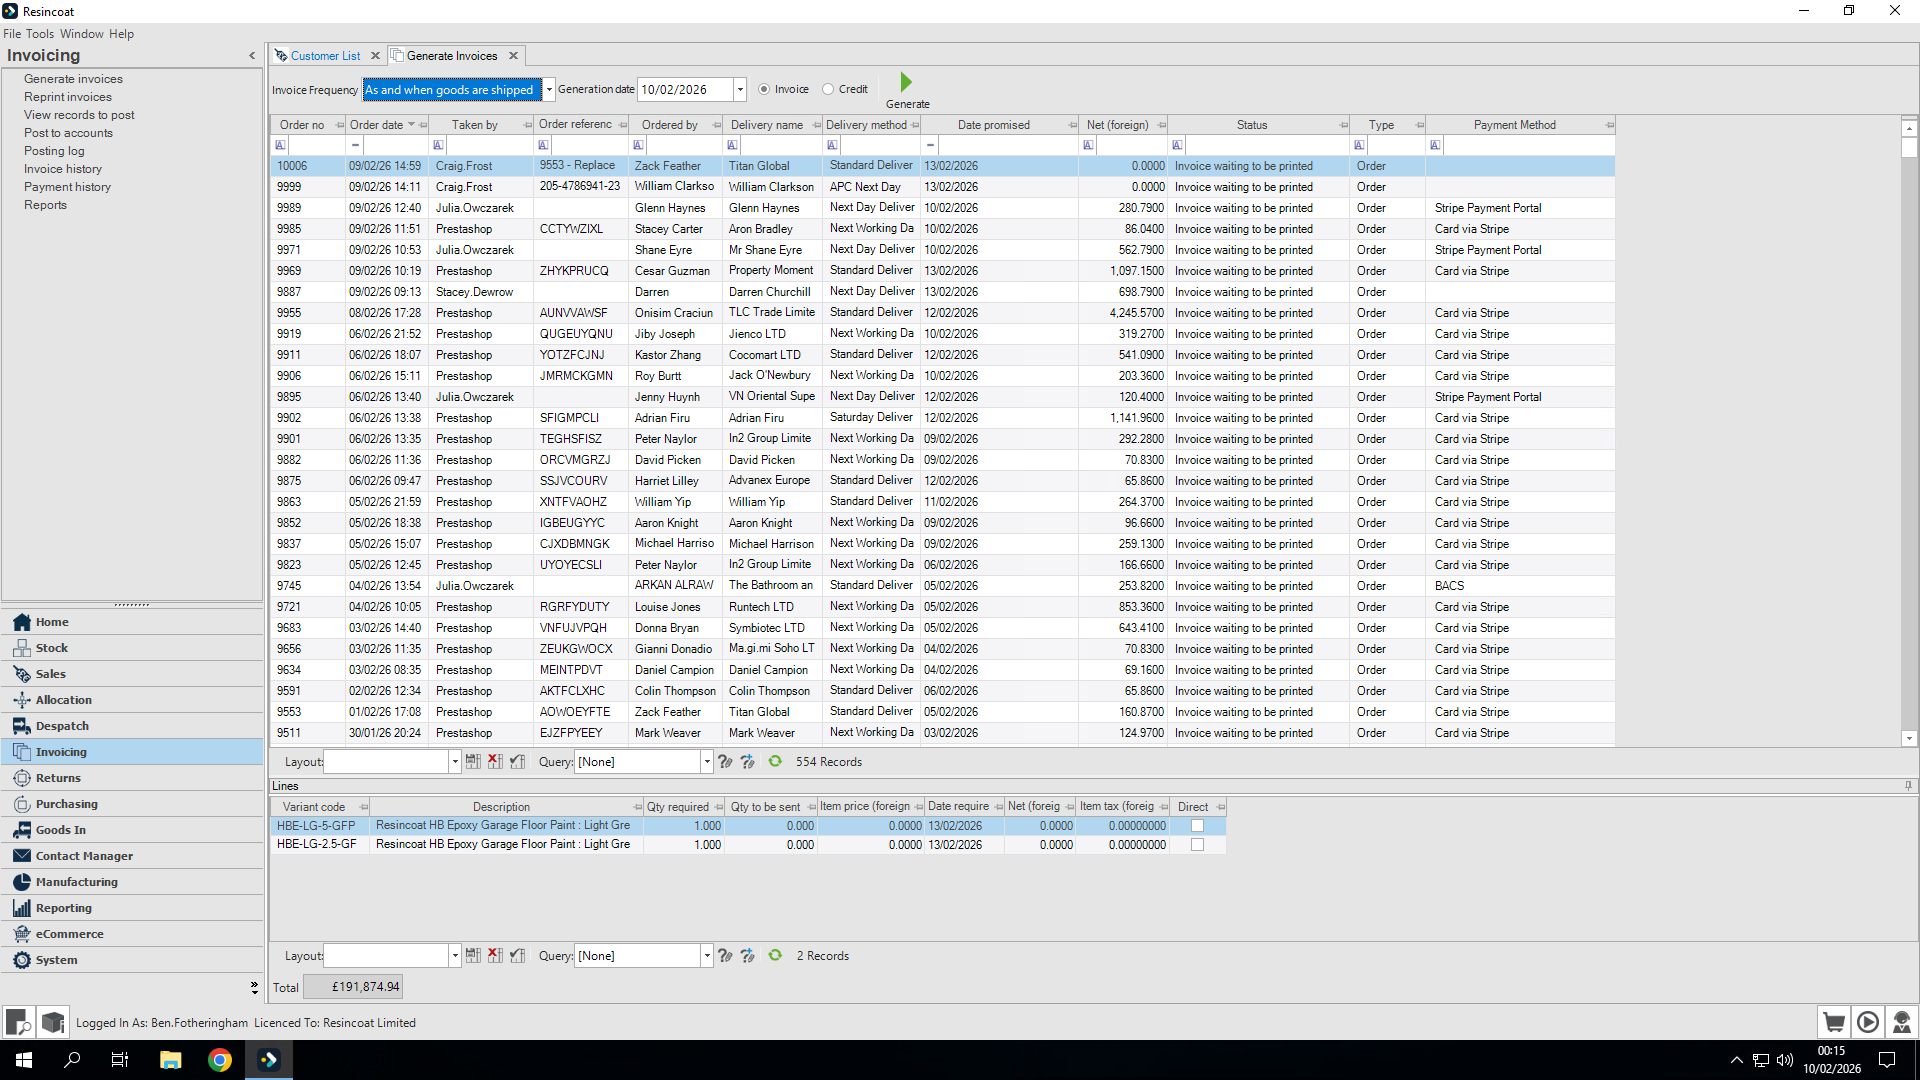
You may need to change Invoice Frequency until you find your customer.

Our customer has been found in 'Standard Invoicing'
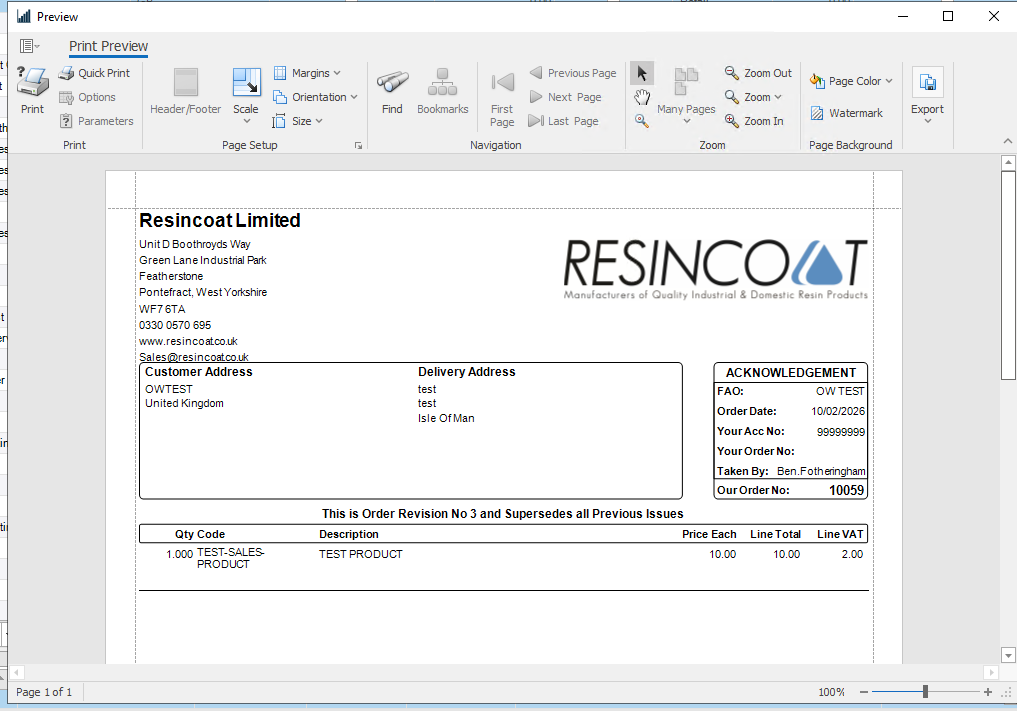
Customer's invoice is now generated which includes payment details at the bottom. There is also a "Click here to pay now" link, which takes you directly to the Stripe payment portal.
The invoice will either send by Email, if you are set to output emails, or you can export to save and forward as an attachment.

Export to PDF. This allows me to save the invoice and attach it to an email to send when I choose.