
How to Send Chaser Invoices for New Customers: Step-by-Step Guide for Accounts Receivable Teams
Learn how to send Chaser invoices to new customers using Xero and Chaser. This step-by-step guide covers invoice review, contact setup, recipient selection, and sending procedures for Accounts Receivable teams.
In this guide, we'll learn how to send a Chaser invoice to a new customer for their first invoice. We will use Xero to review and update invoice details, ensure customer contact information is correct, and then use Chaser to send the invoice and set up recipients.
This process helps ensure invoices are accurate and reach the right contacts, supporting clear payment expectations.
Let's get started
This instructional video is for the Accounts Receivable team on how to send Chaser invoices. We will do this with a new customer and their first invoice. First, open the billing email, Chaser, and Xero, our accounting software.
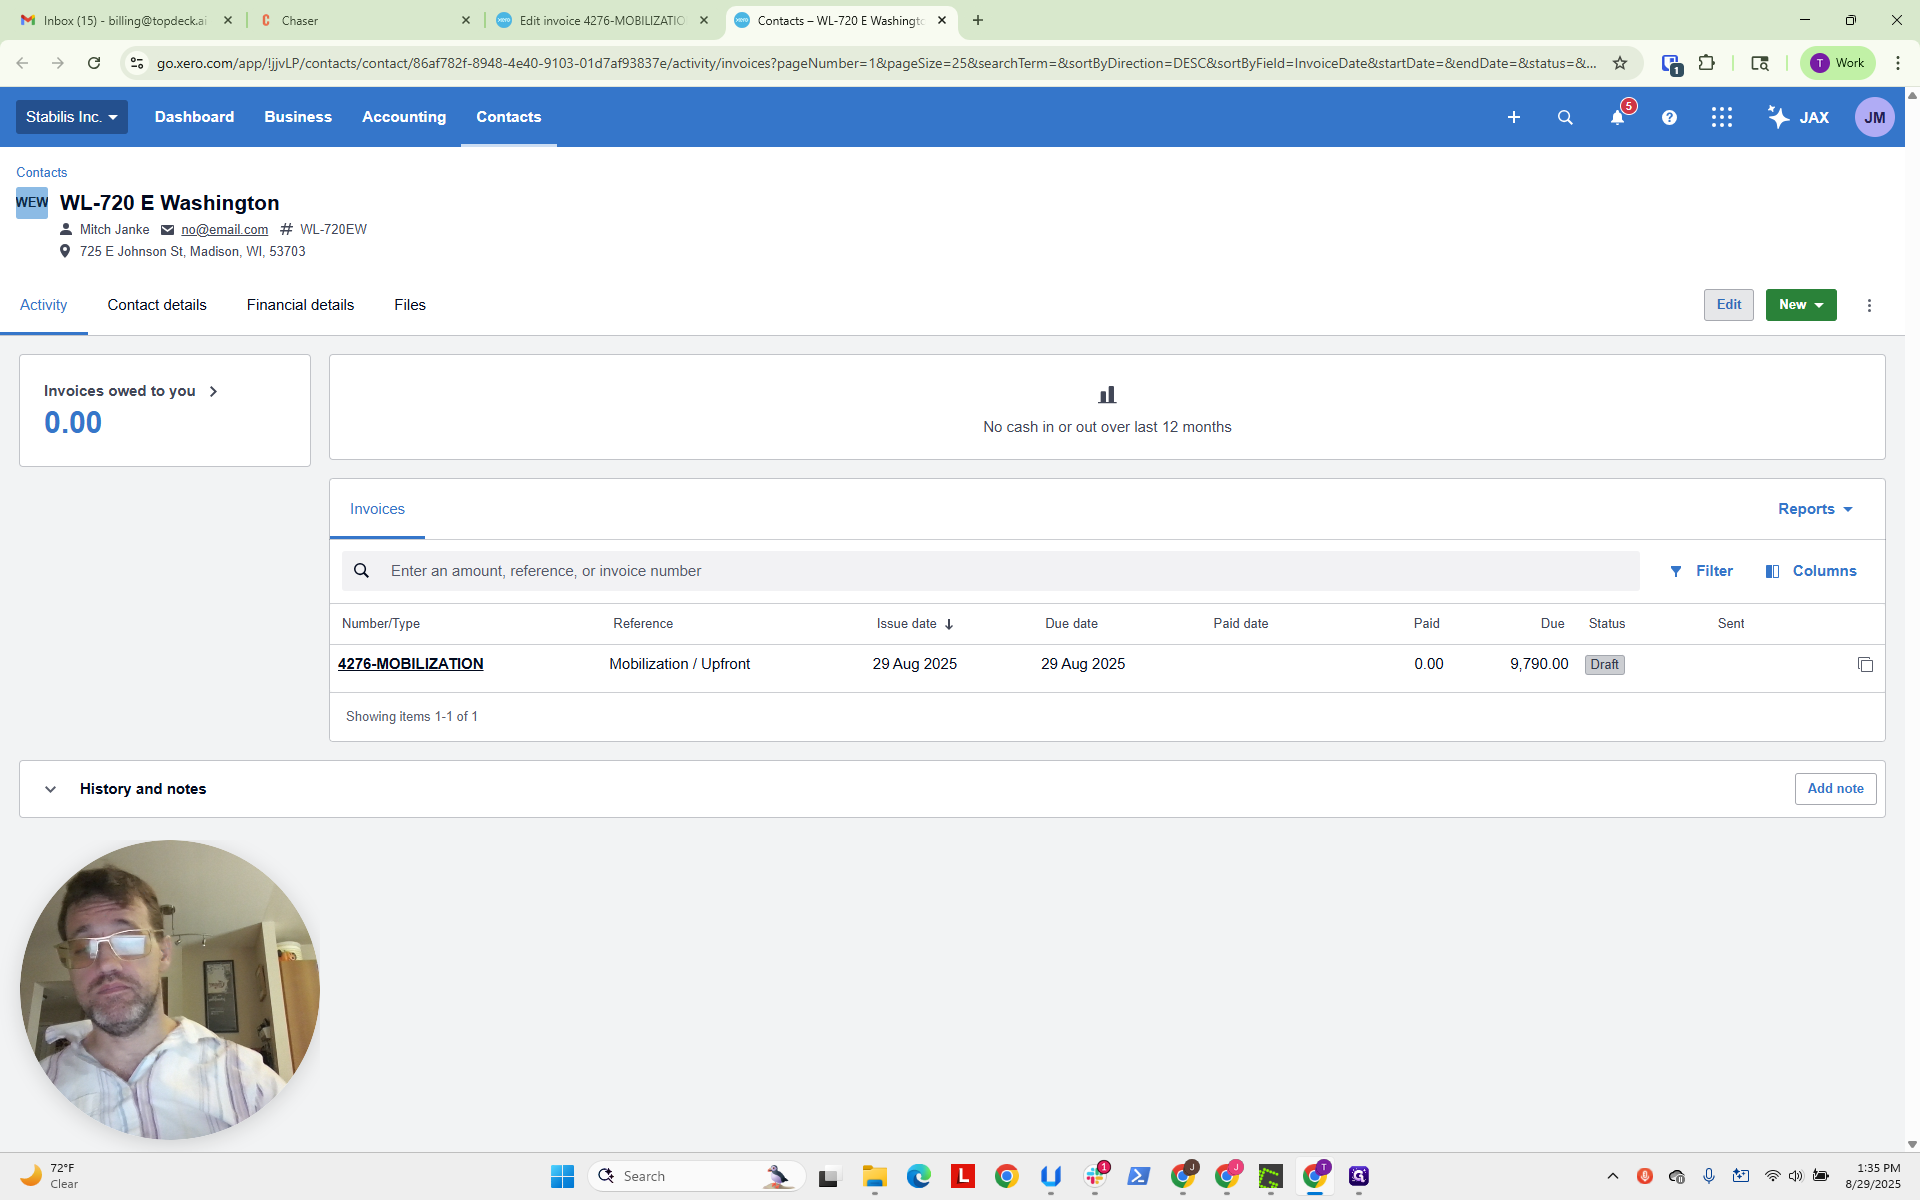
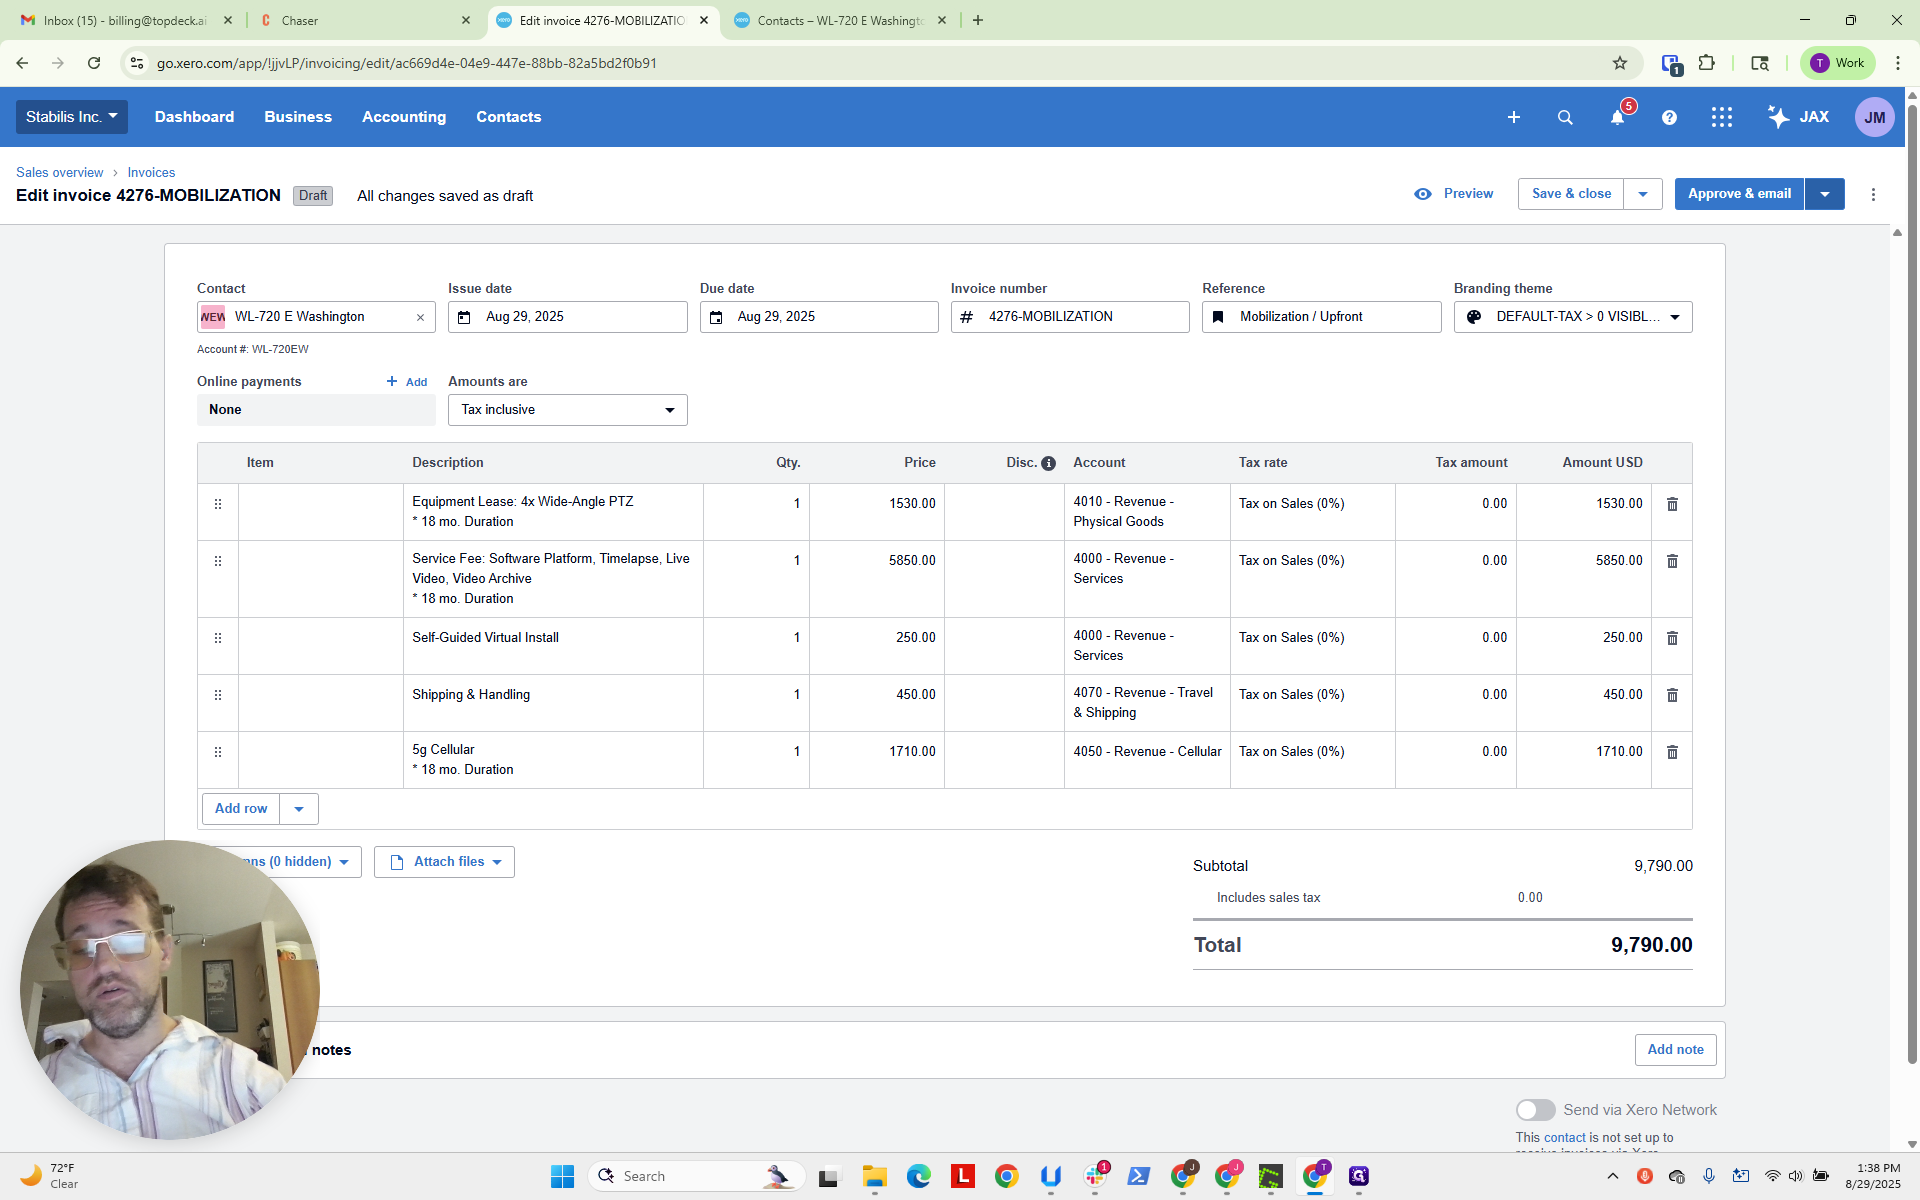
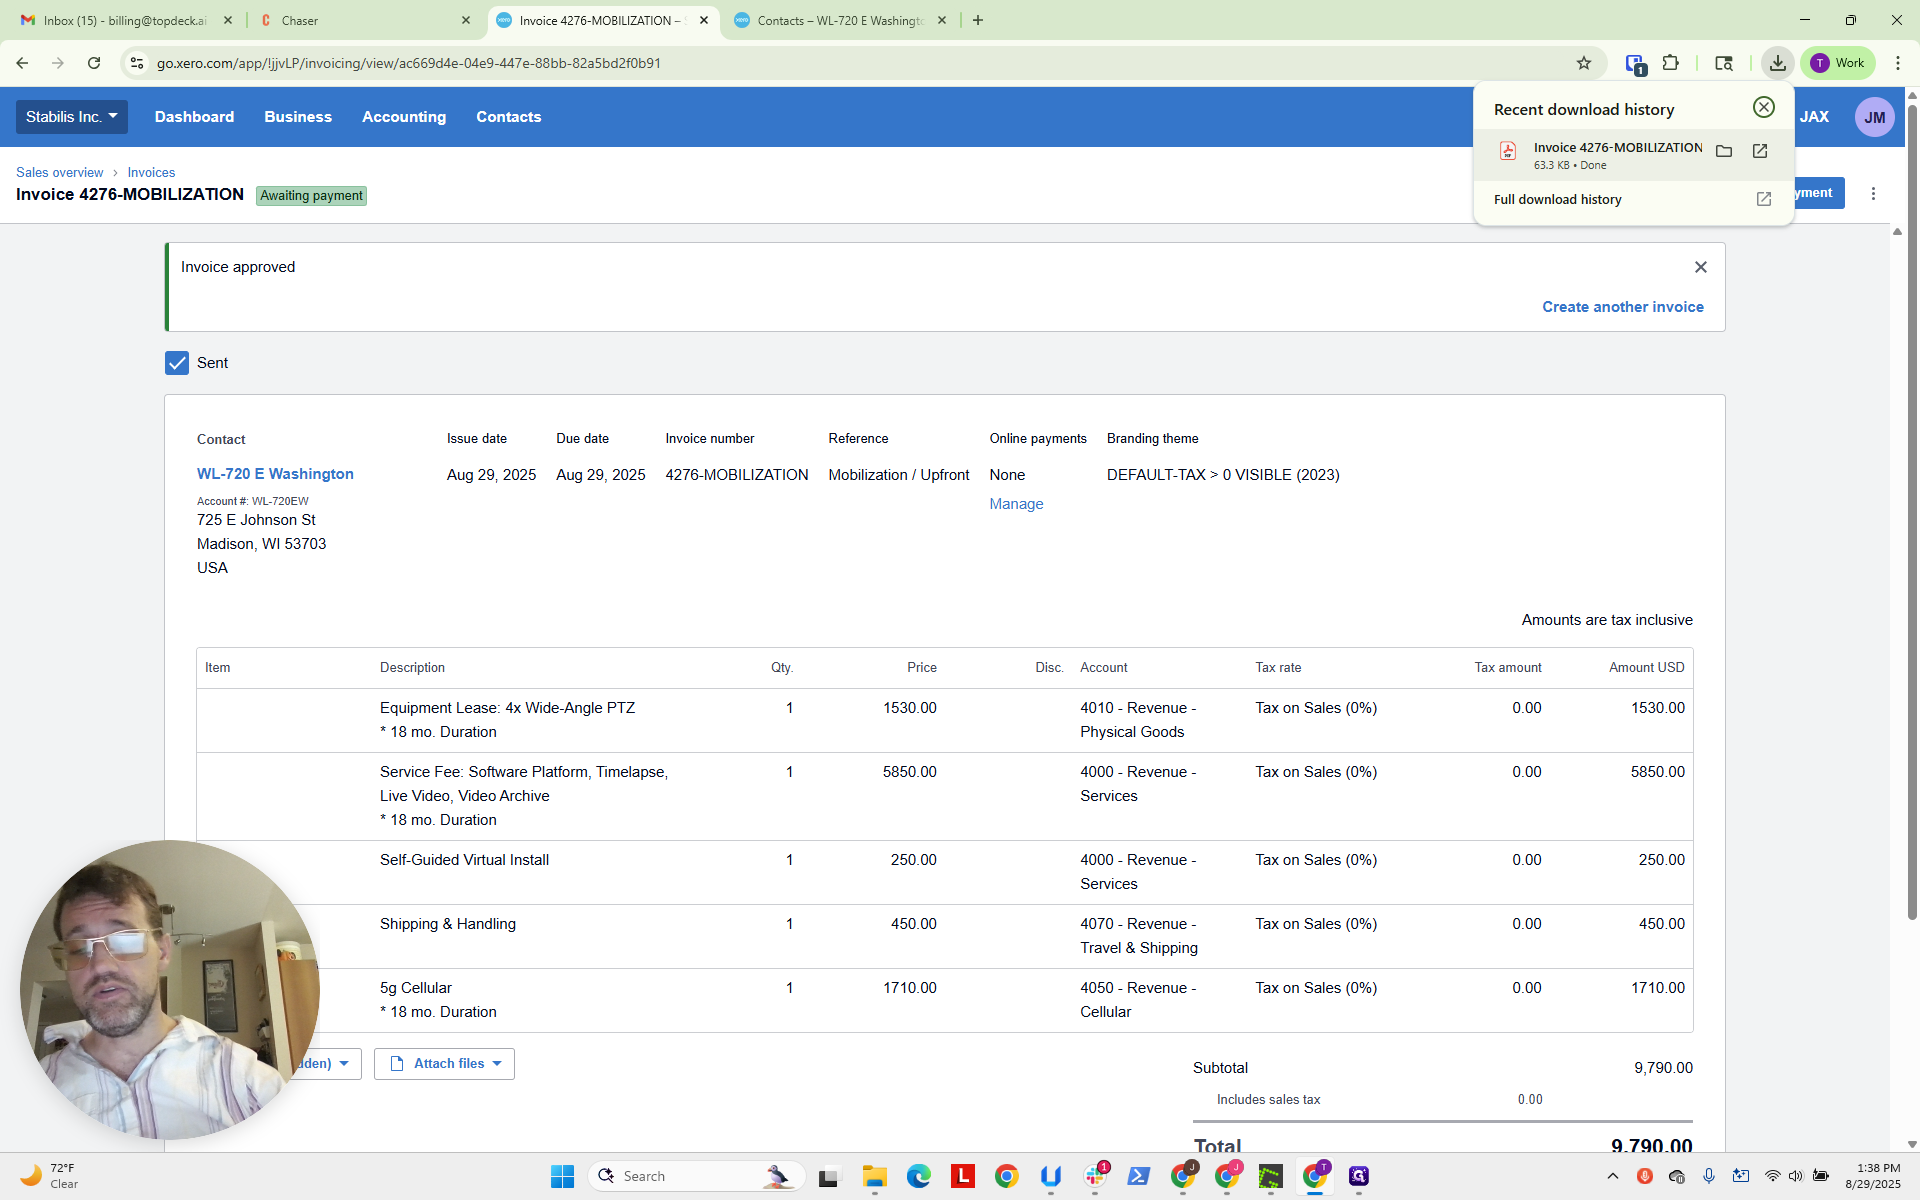
We will open Xero and review the invoice.

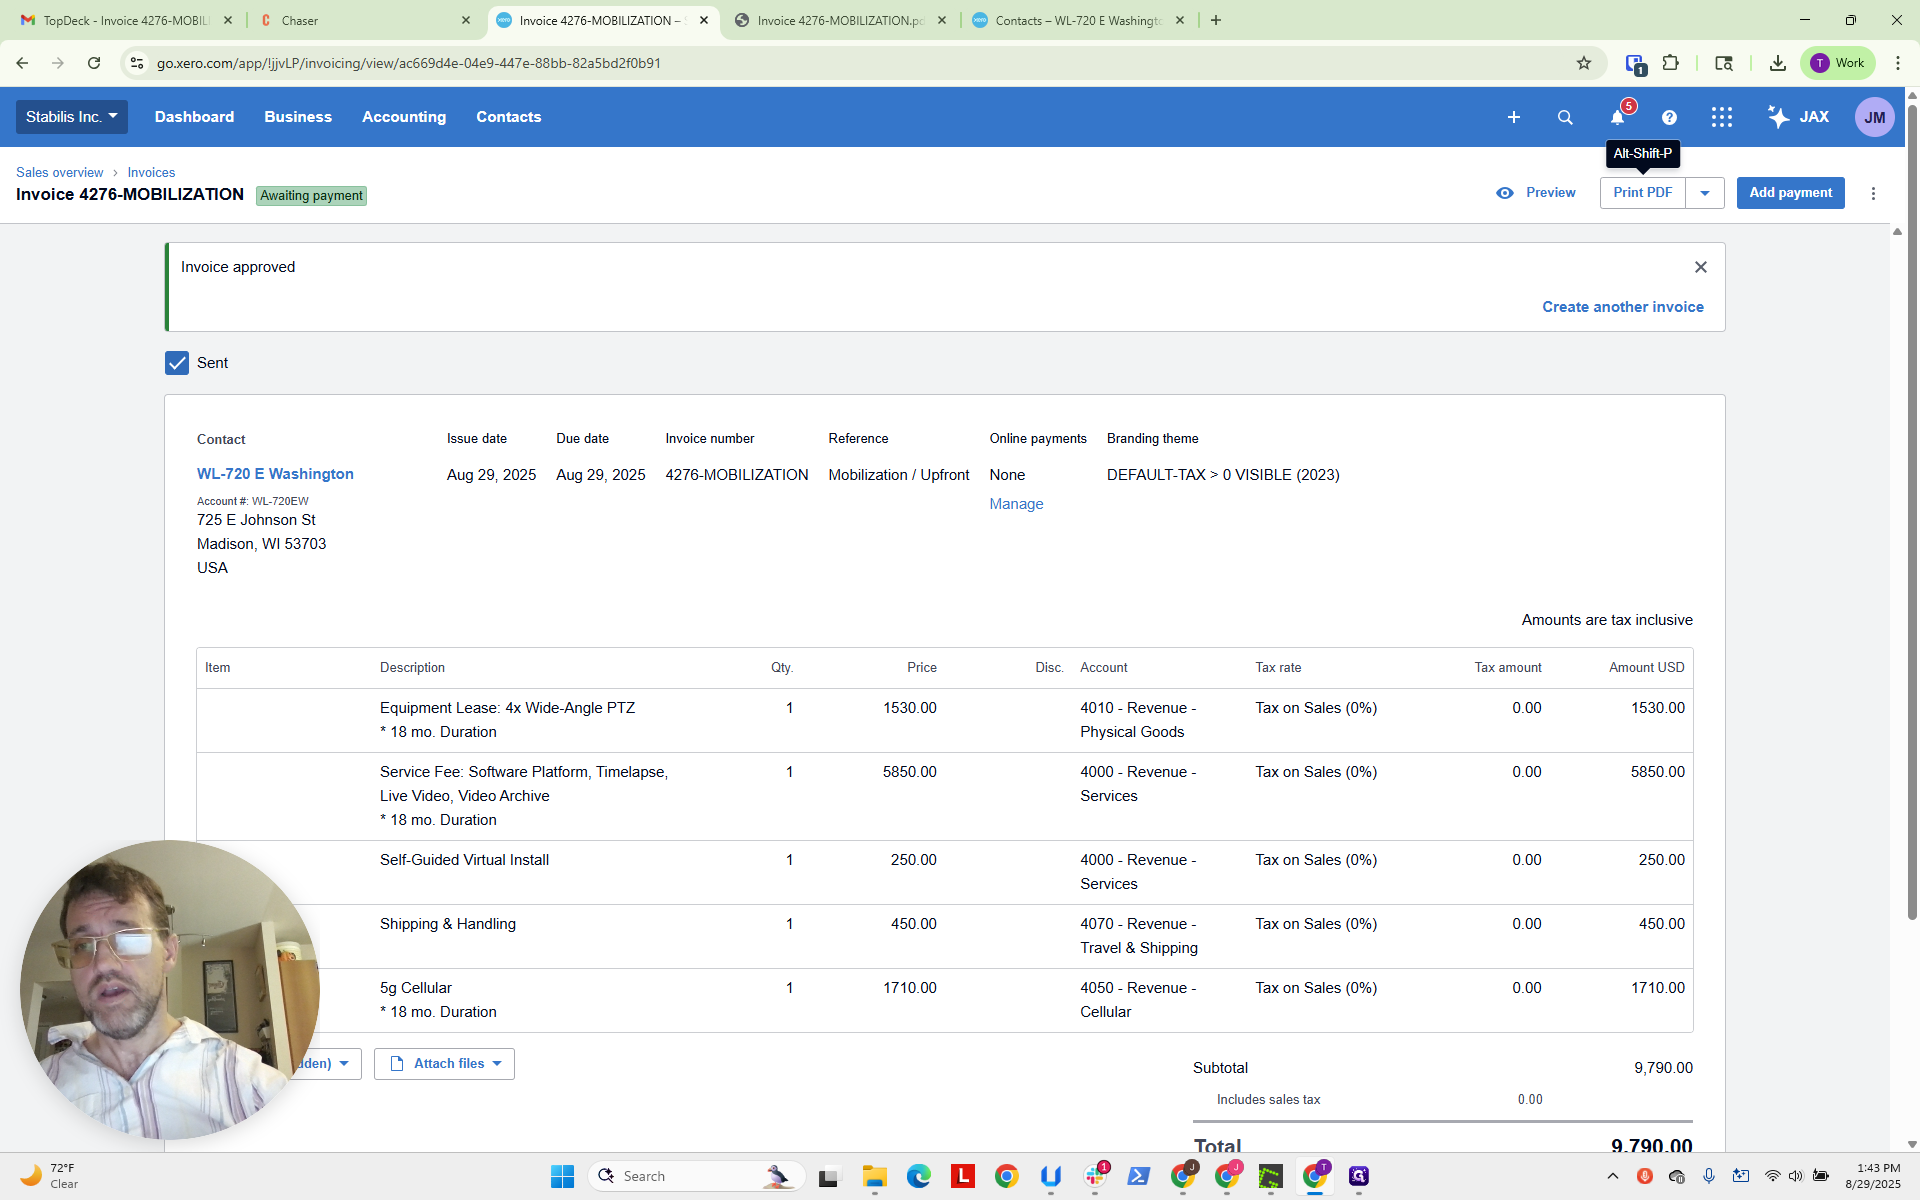
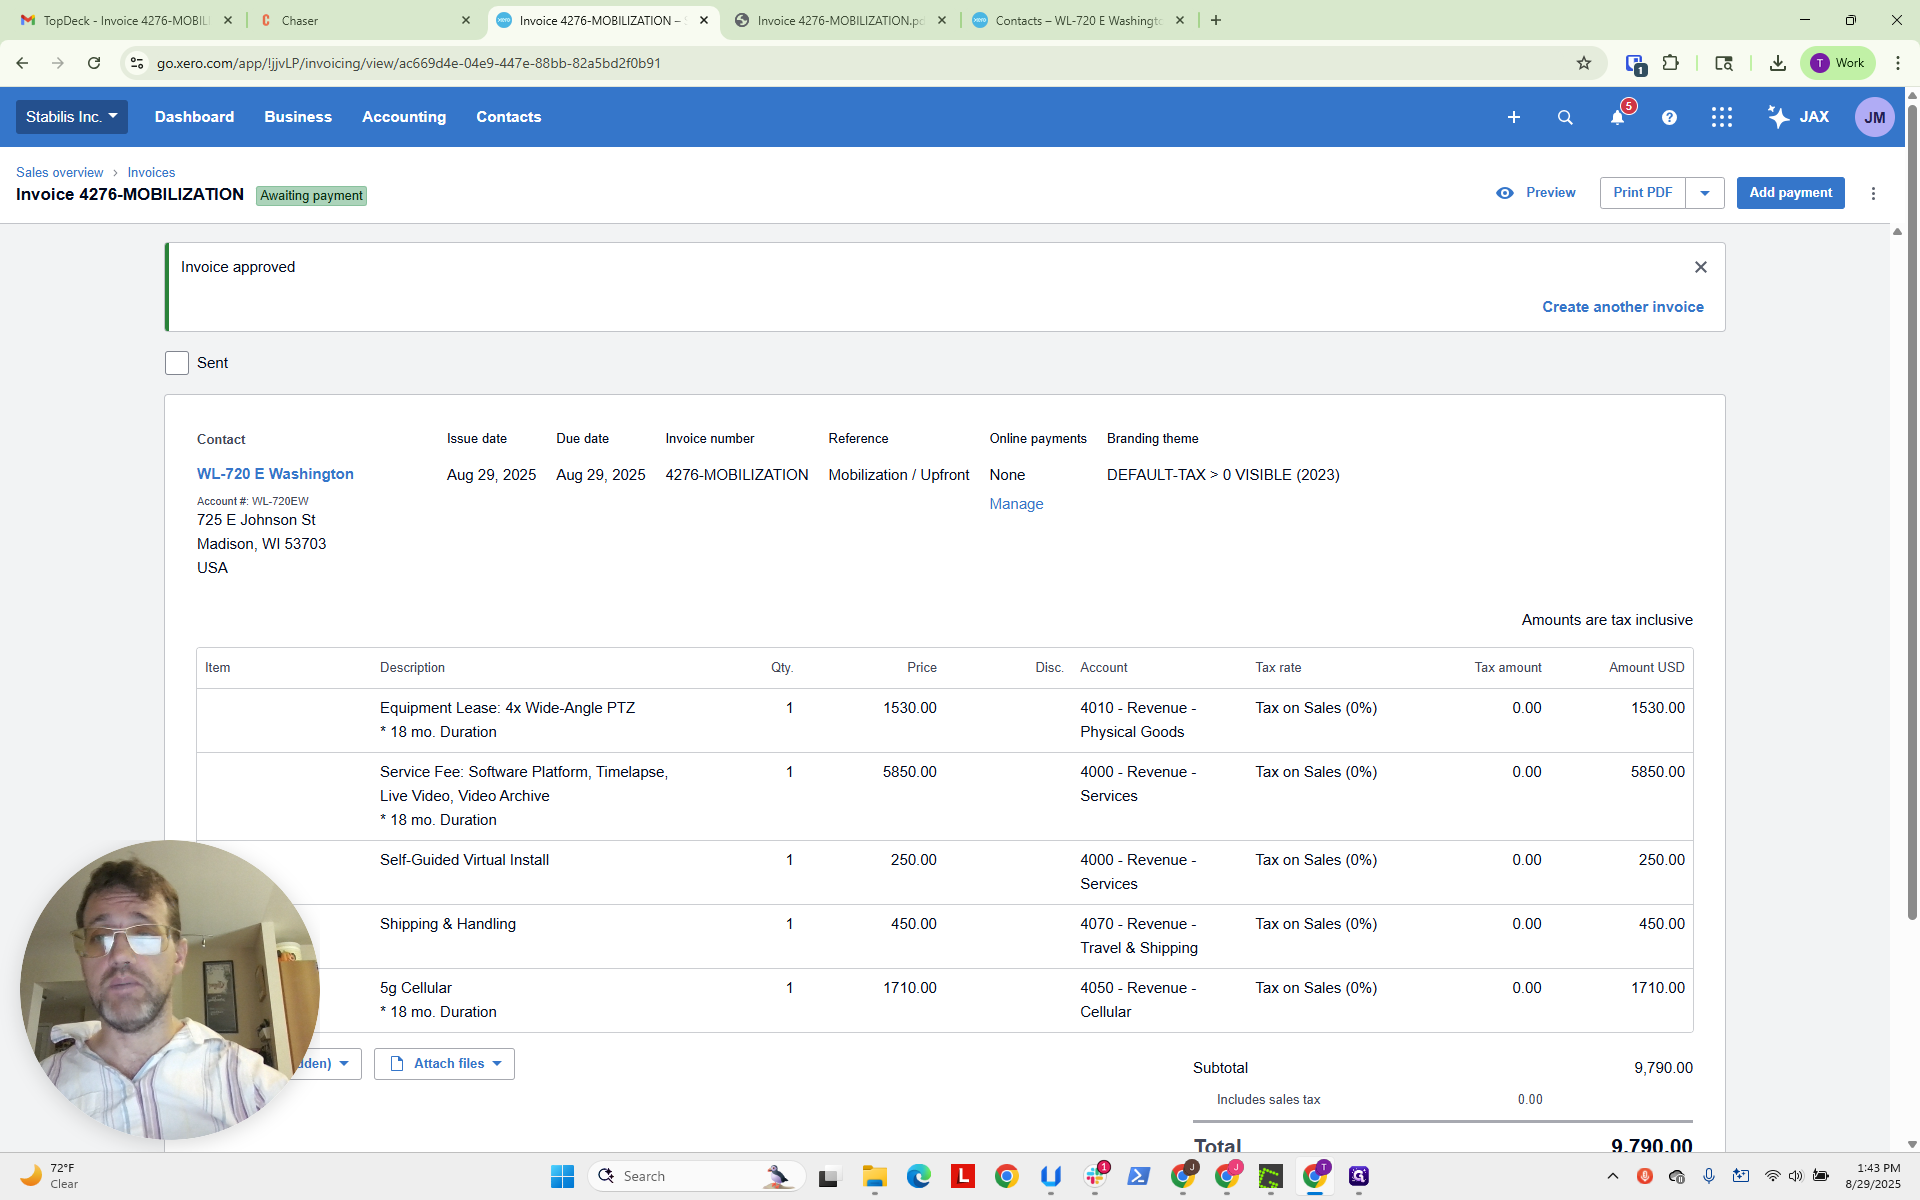
I have already navigated to the invoice. We see that it is set for today. We see that it is set as a mobilization invoice.
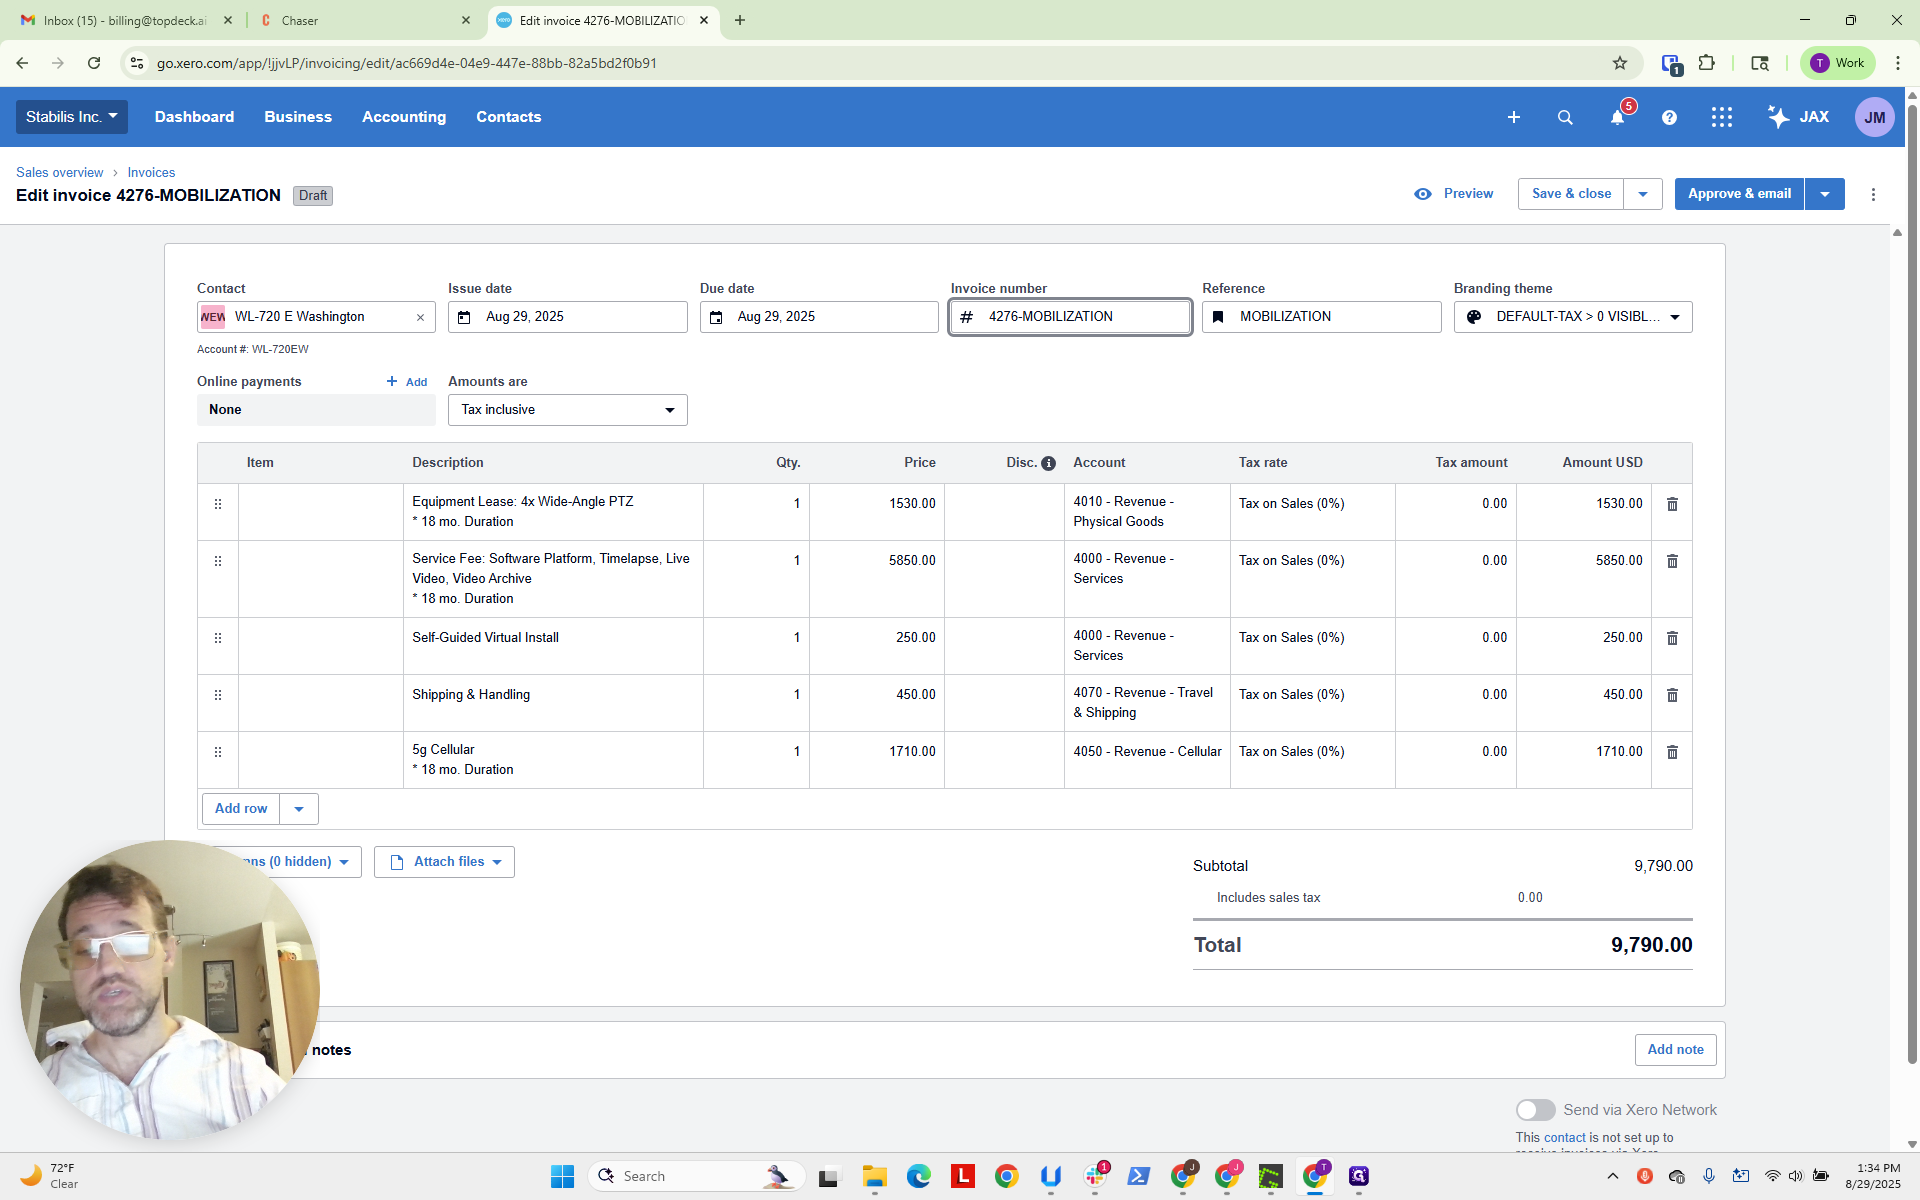
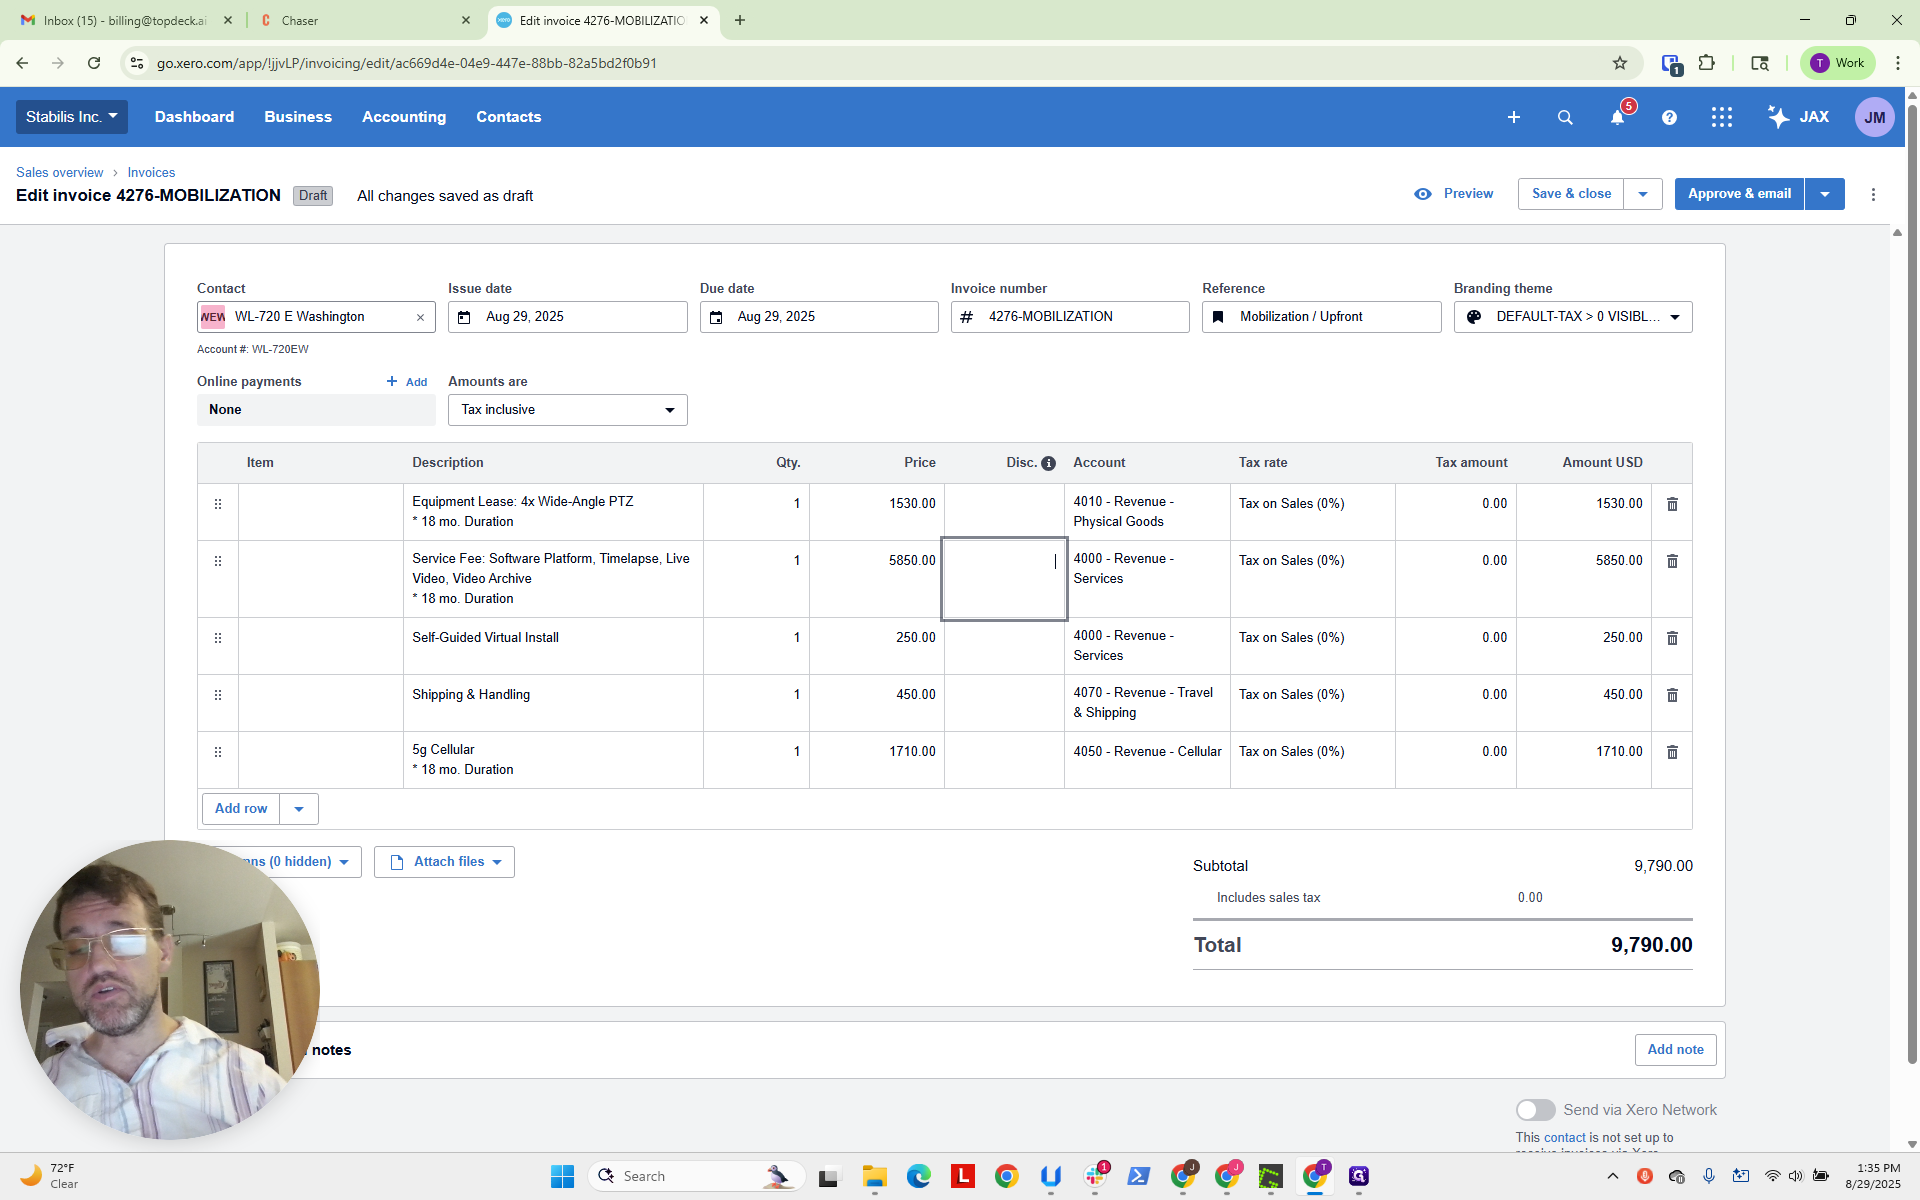
I’d like to update the reference to say “mobilization” and “upfront” to clarify the payment expectations.
This should be checked regularly. Ensure that accounts are set up for physical goods, services, revenue from services on installation, travel, shipping, and cellular for an 18-month duration.

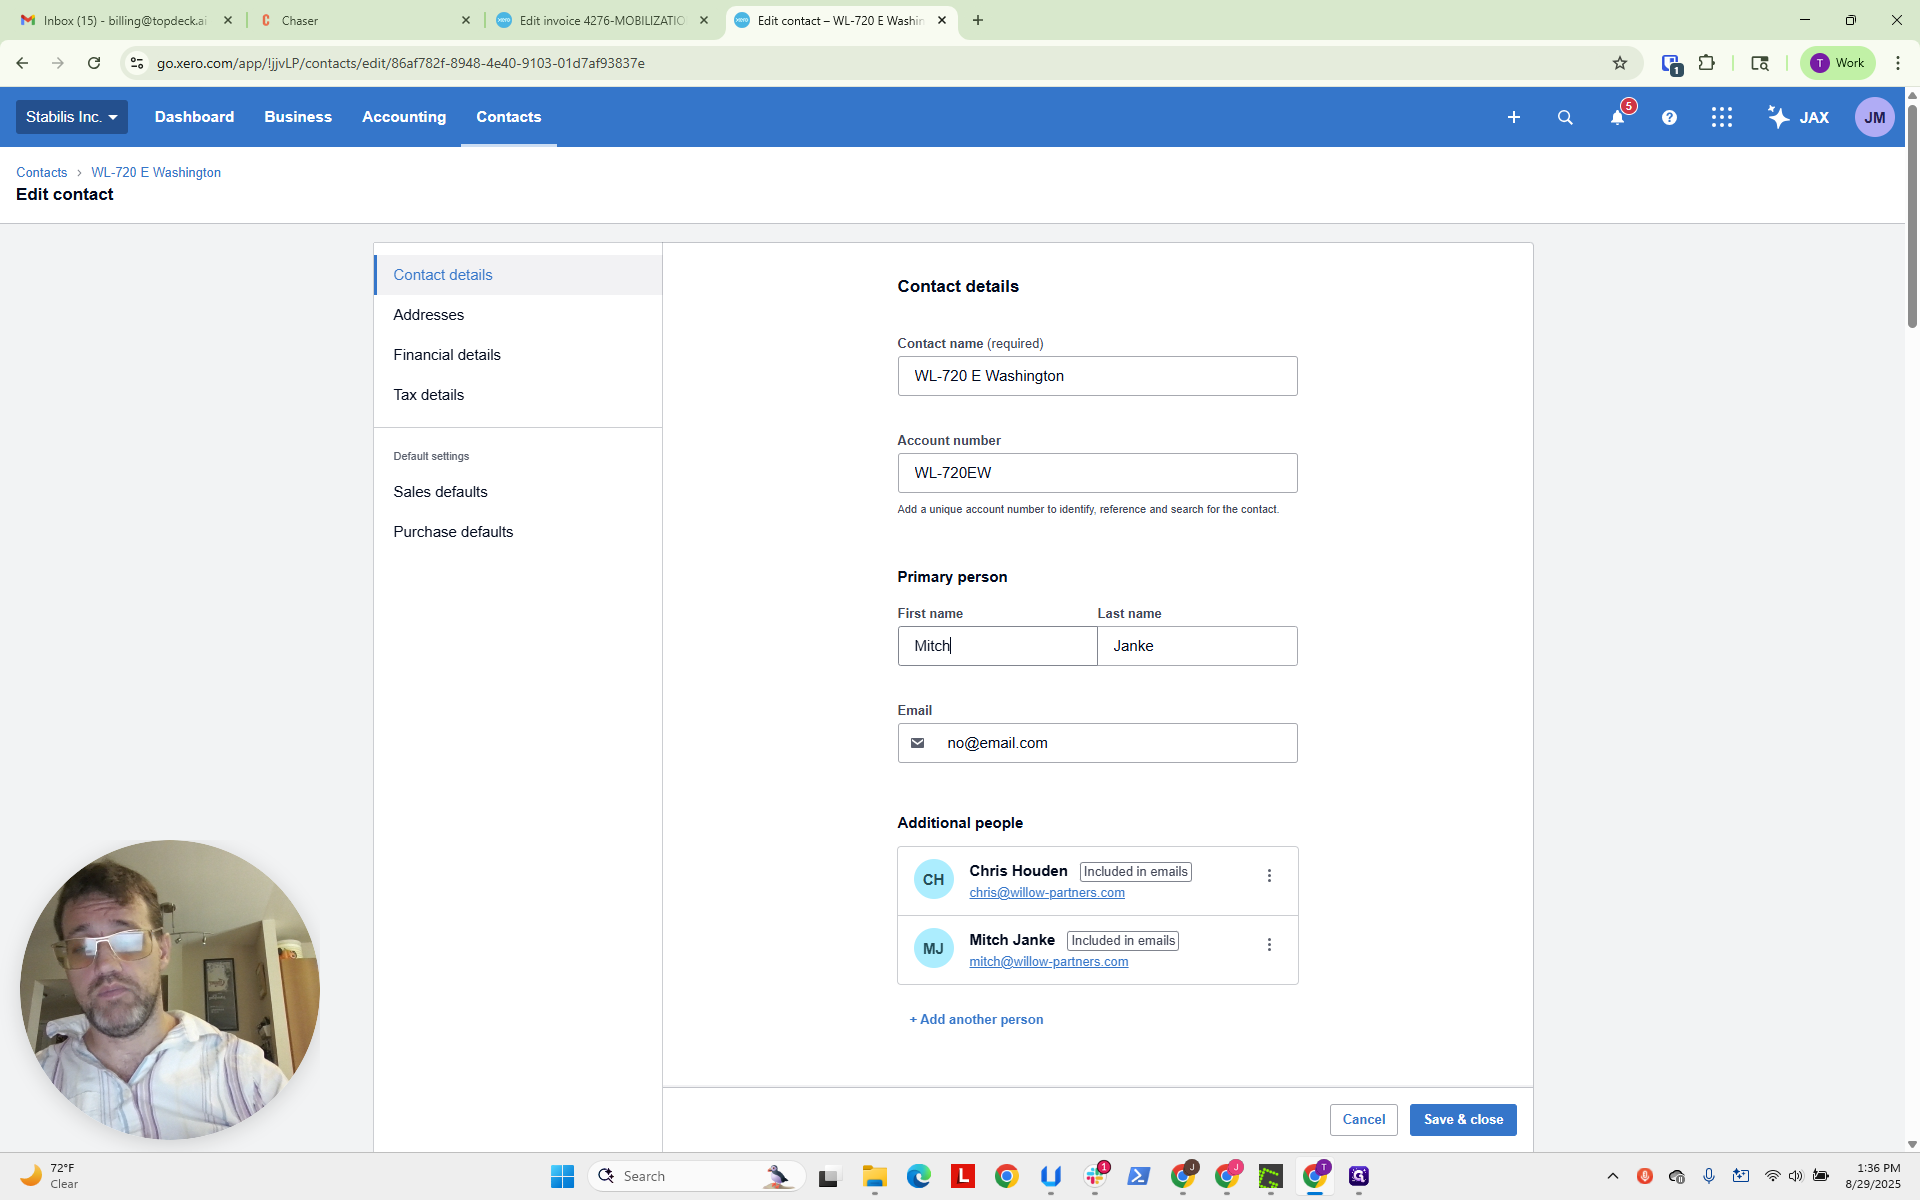
Typically, we prefer to include the multiplied cellular data, but that's fine. Let's check to make sure we have all the necessary information in the contact.
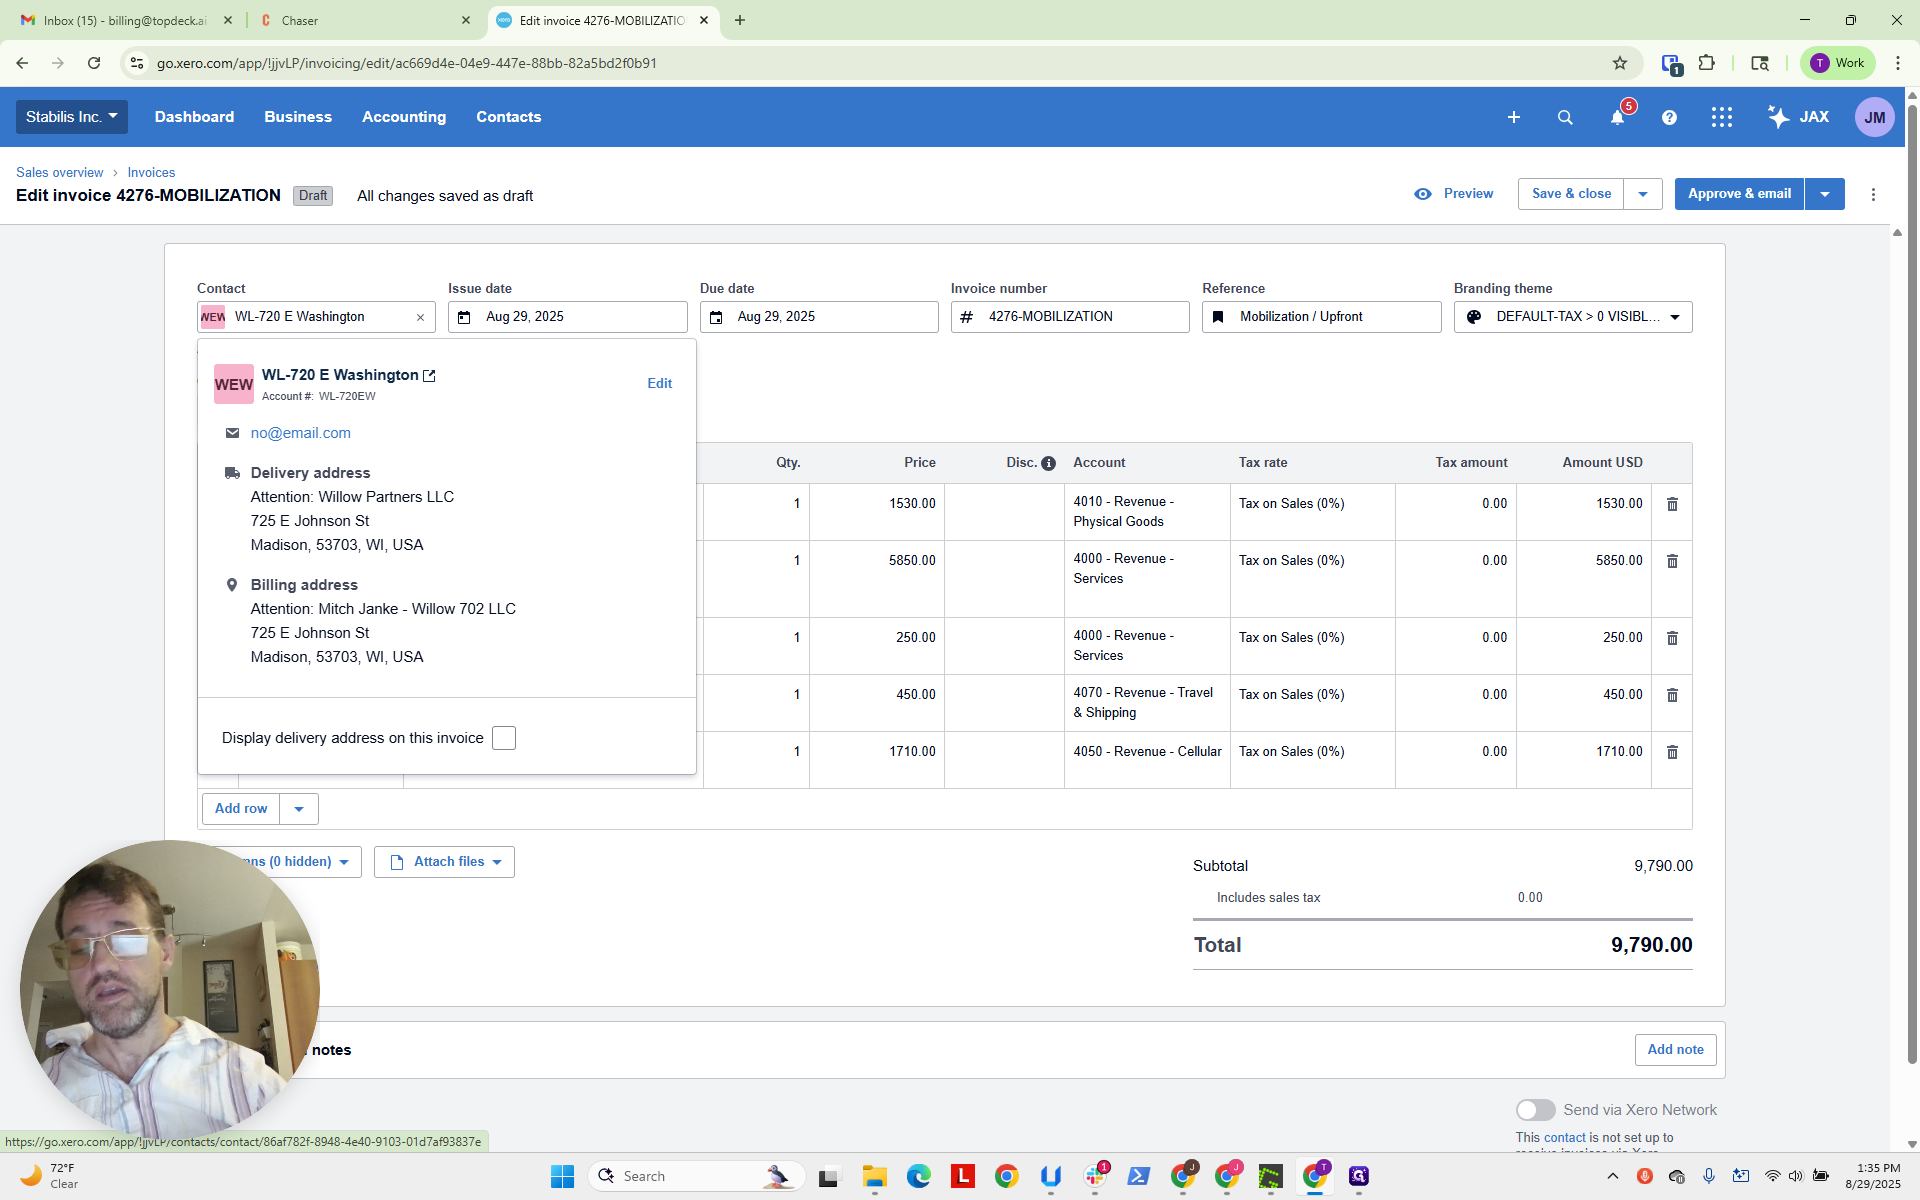
This is not filled out correctly.
Typically, for the primary person, the first name is the bill-to name of the company. The last name is the project name or their information.

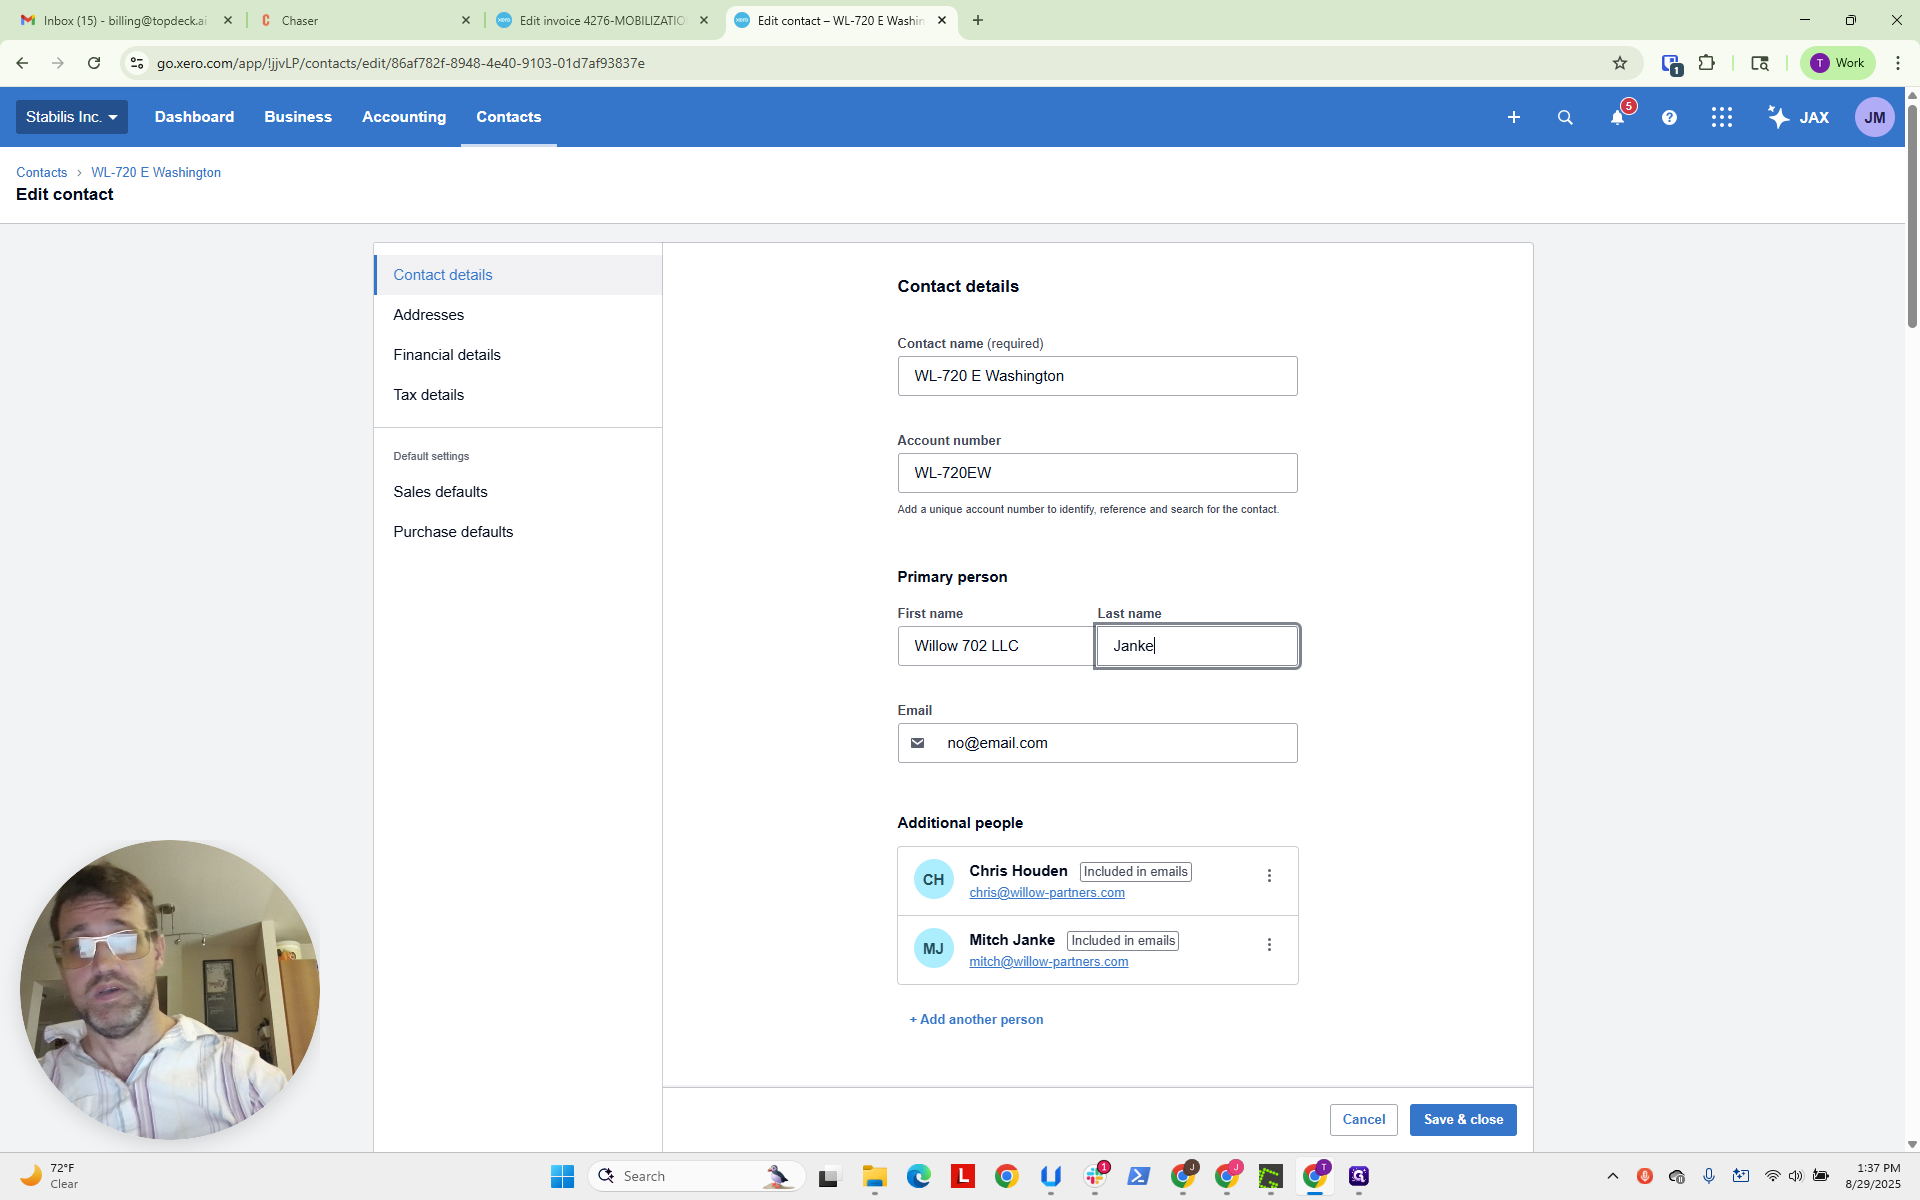
They have added Willow Partners LLC. We are going to edit this.
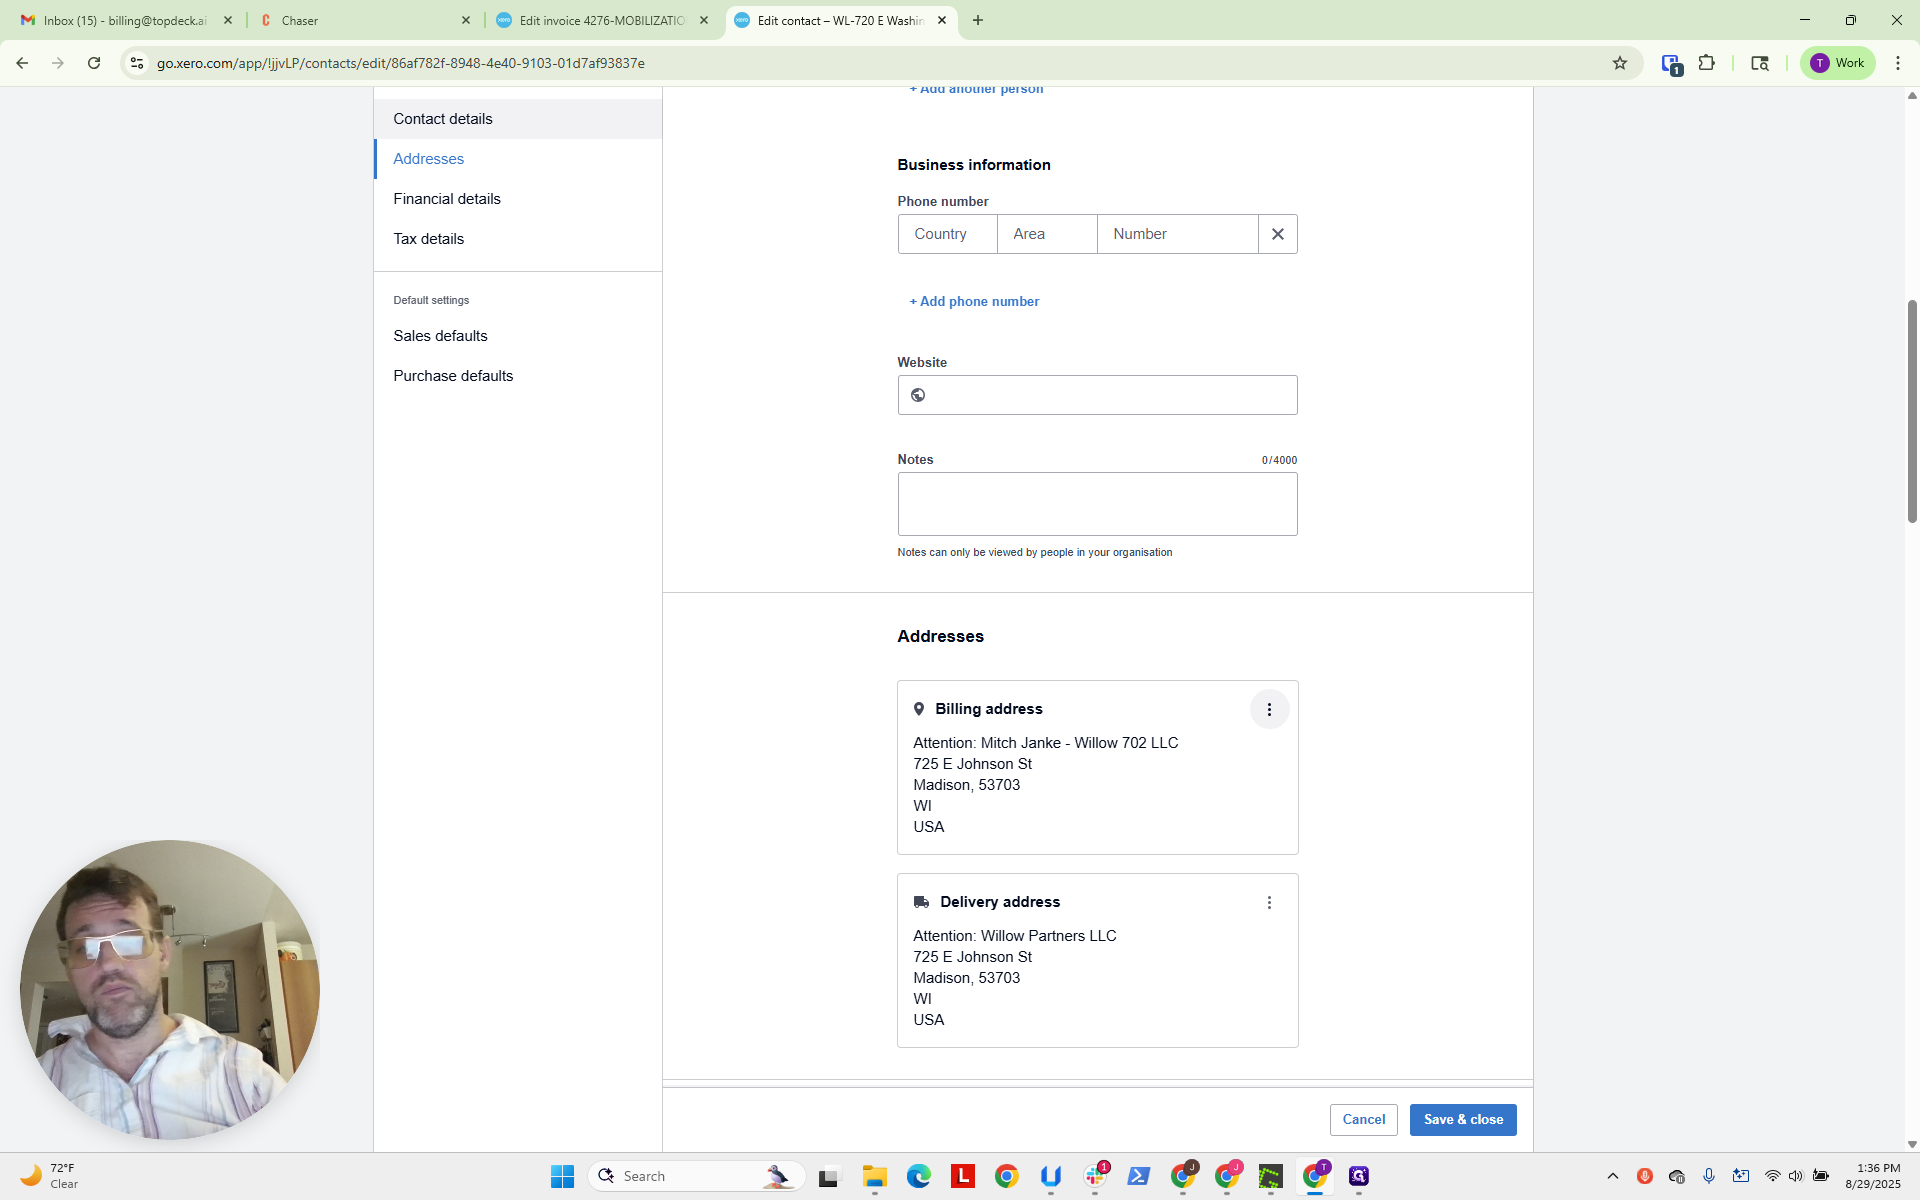
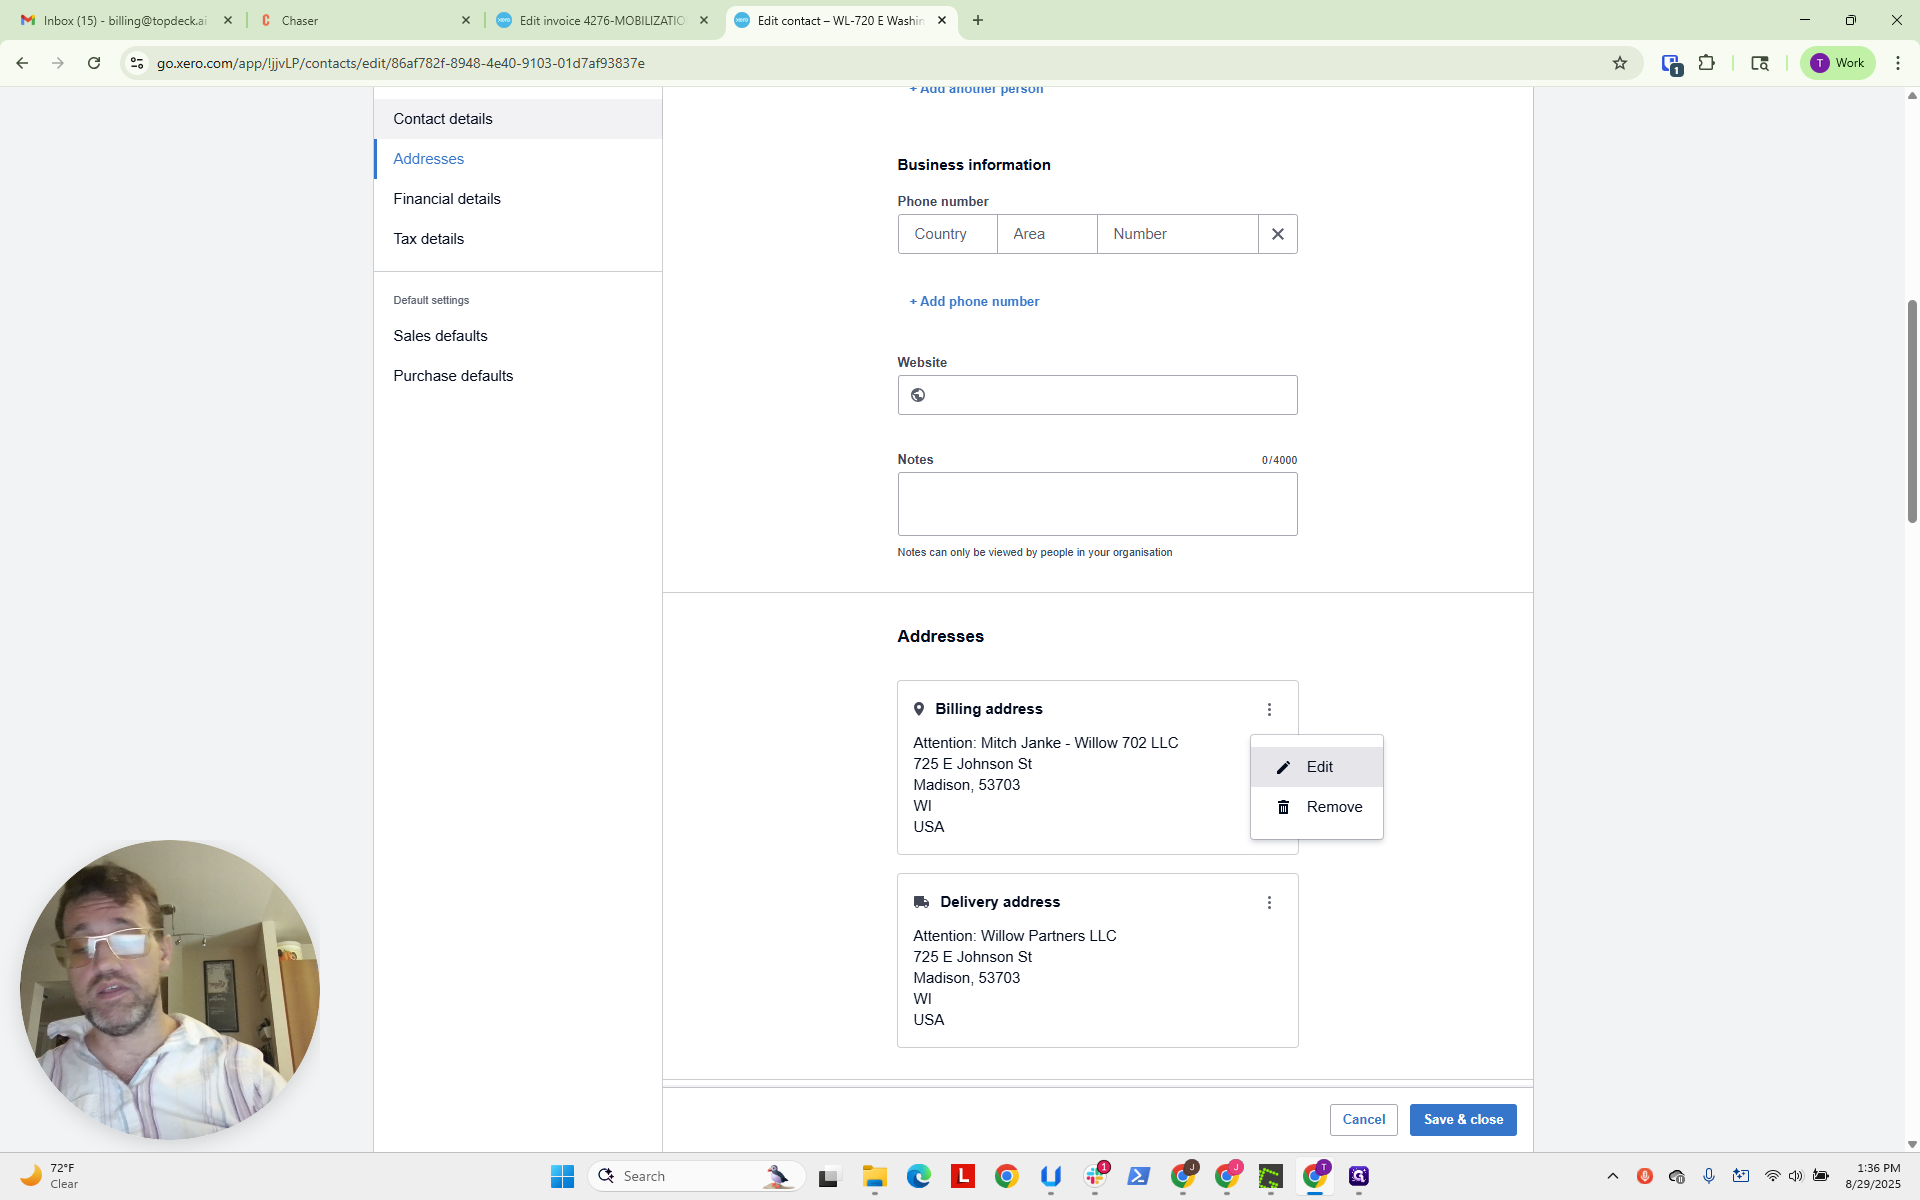
Take this out.
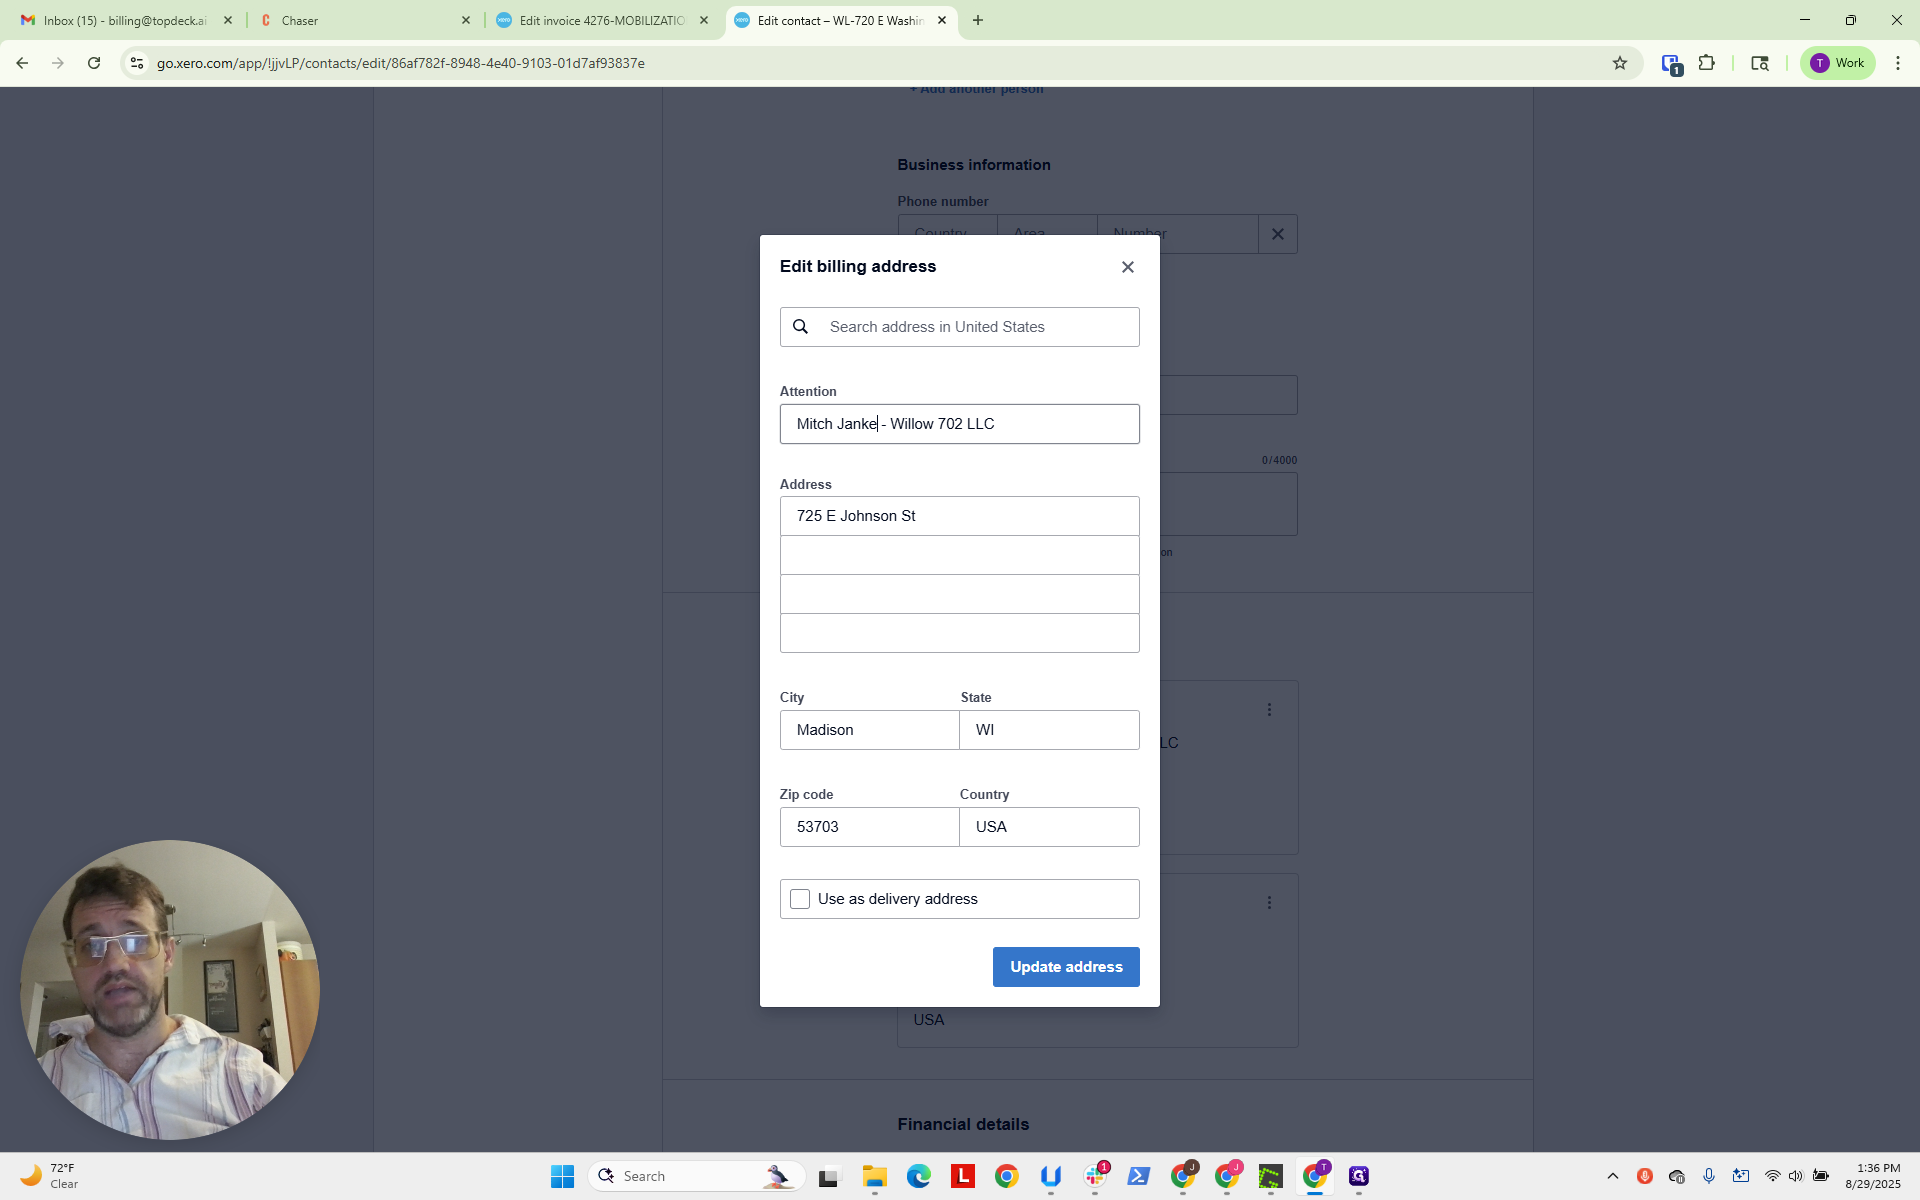
We'll leave the attention line to Mitch, as he is the primary contact. The address appears to be correct.

We will enter the bill-to name here.
Now, we will edit the ship-to information.

We will omit the attention field and instead use it as the ship-to address last name.
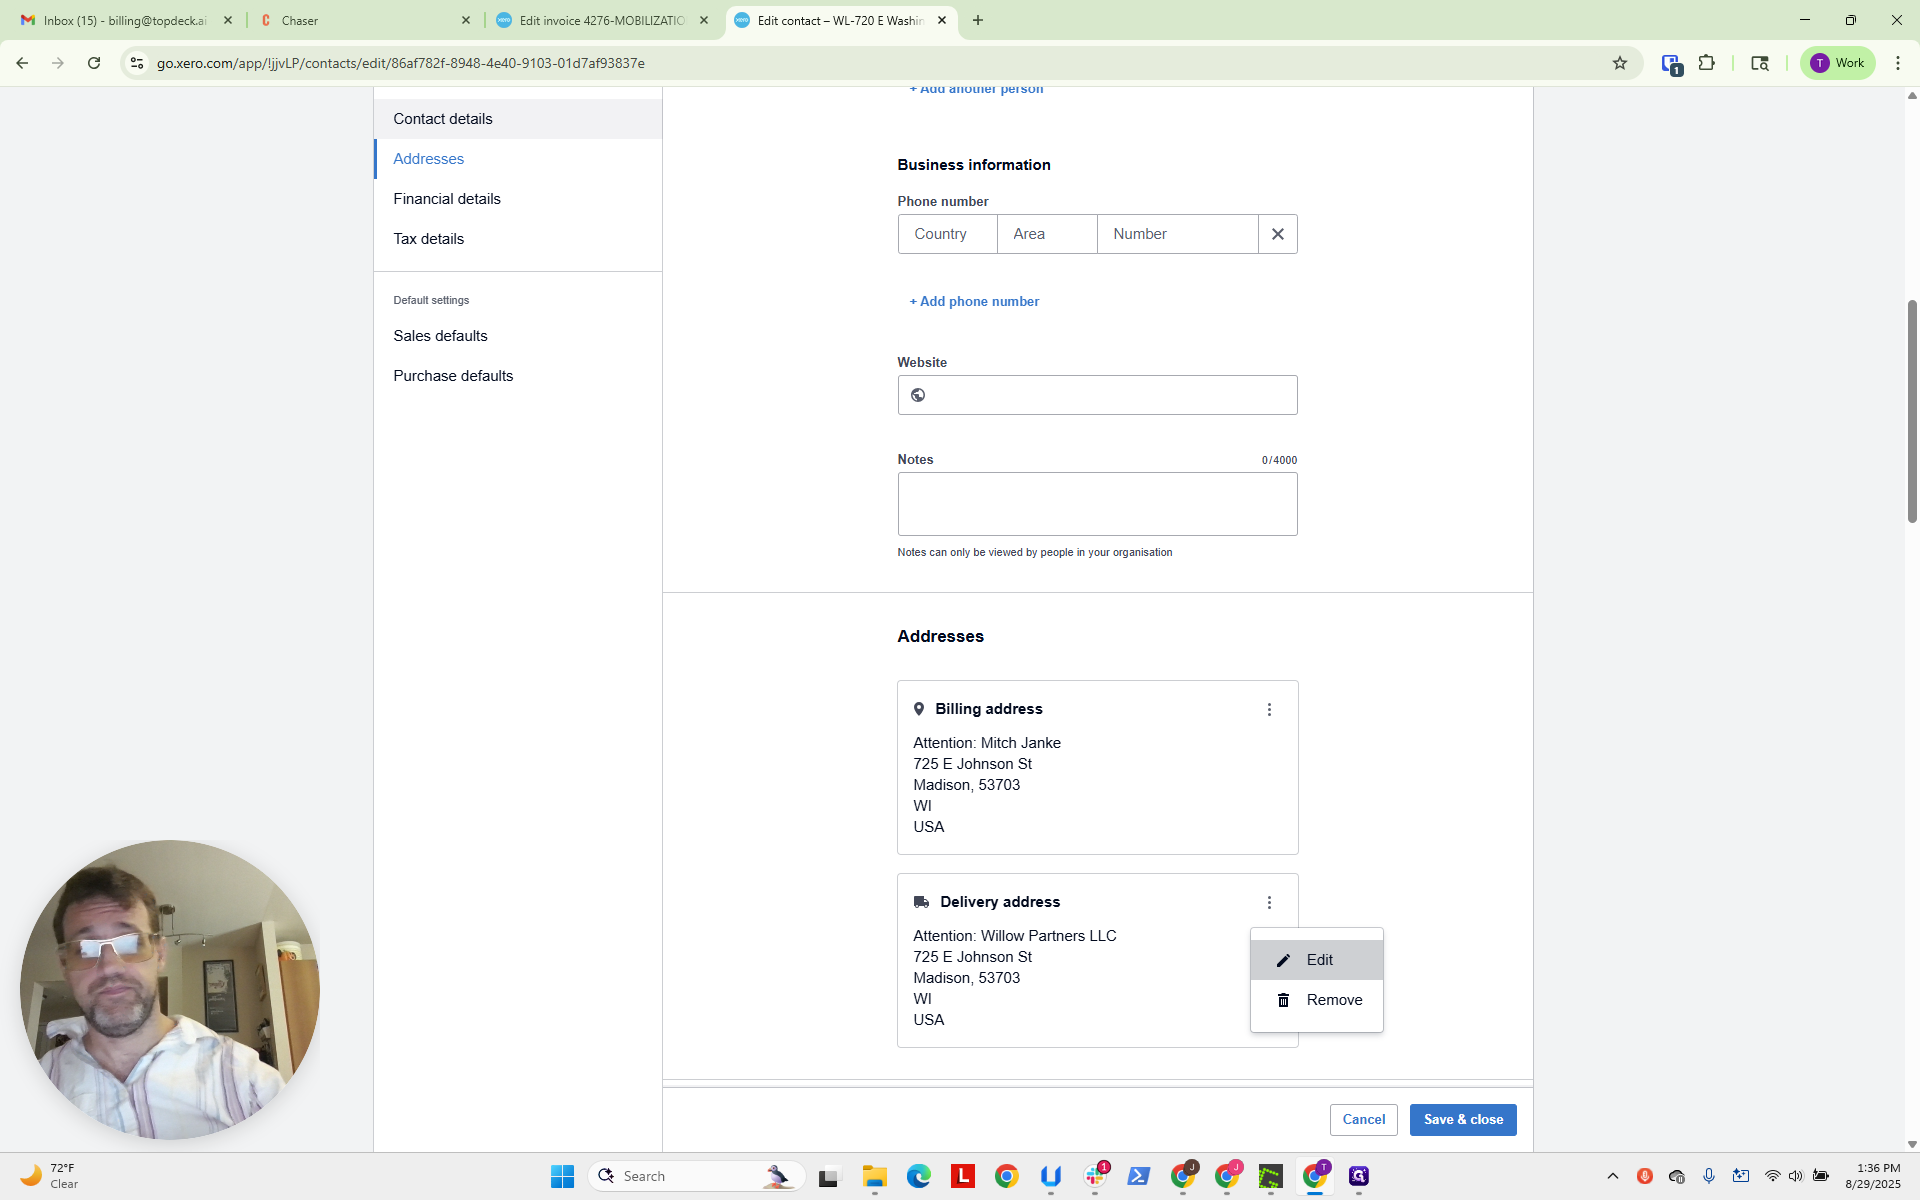

We are going to enter the name of the contract document.

This is anything that is signed and can be referenced. In this case, it appears to be 001 WPEW.

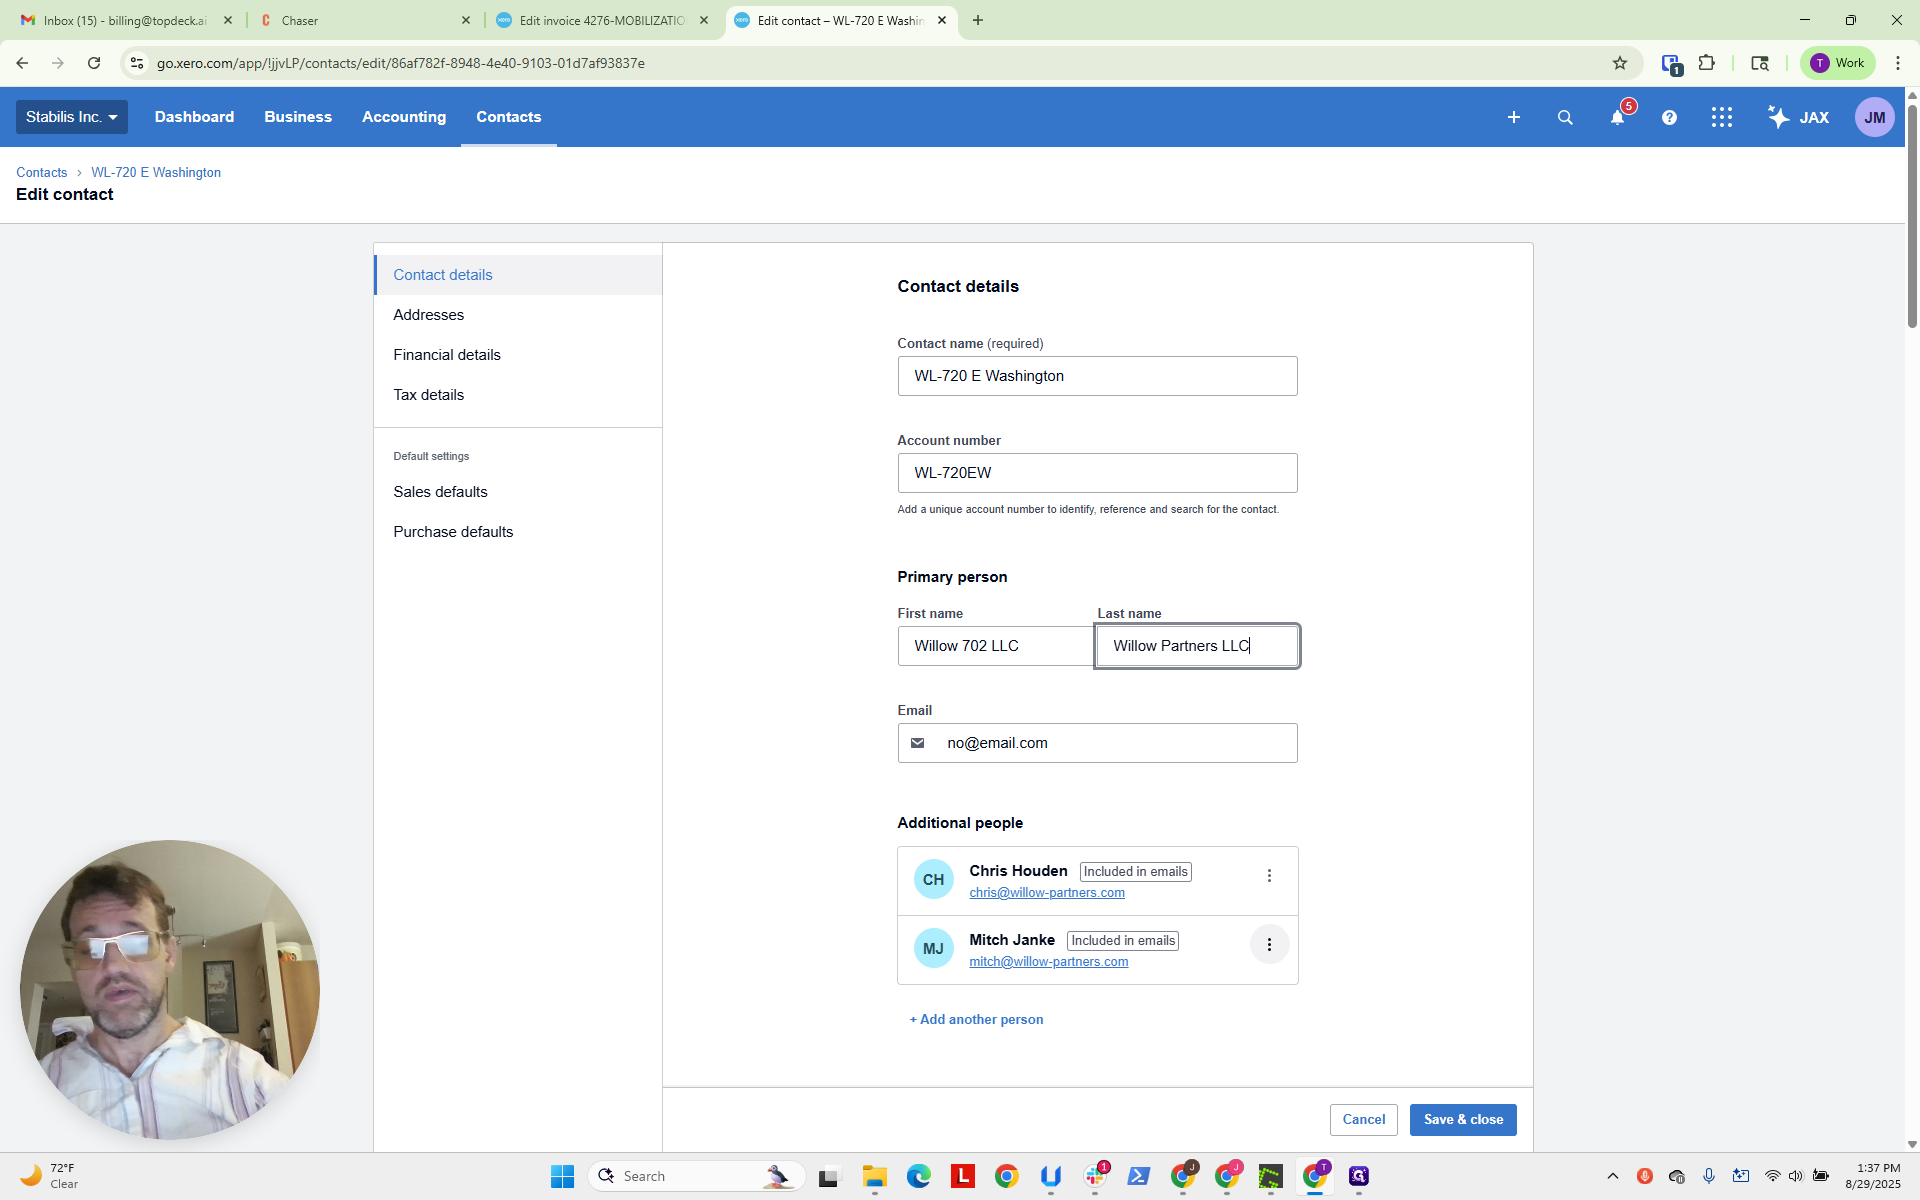
Now, we will replace the last name.

That is the ship-to address. "No@email" is completely accurate. I assume Mitch Janke is the primary contact, so he will be placed on the "To" line in Chaser.

We need to remember that. Now, going back to the invoice, you can...
now that the invoice...
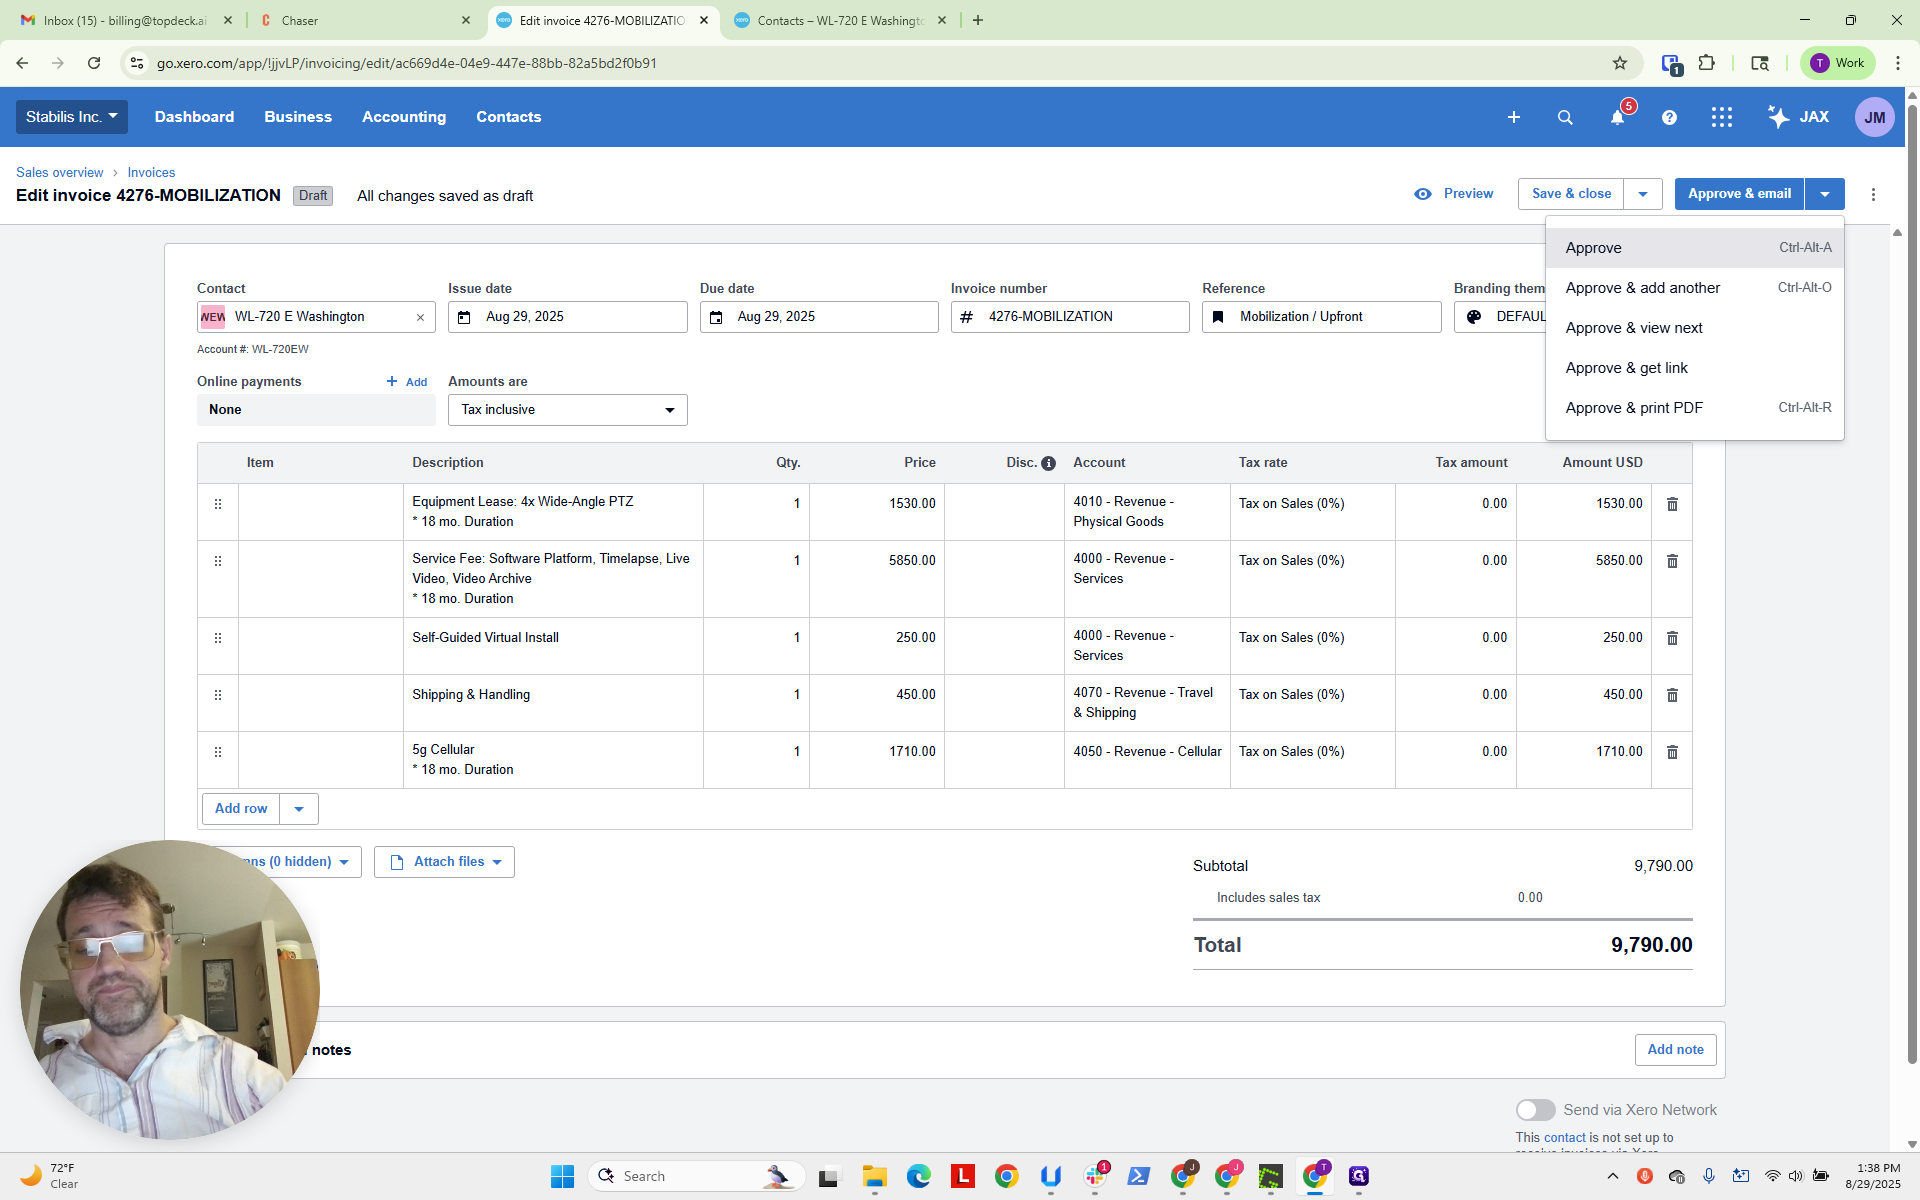
We assume all of this is accurate. I hope so. Next, we will approve the invoice.
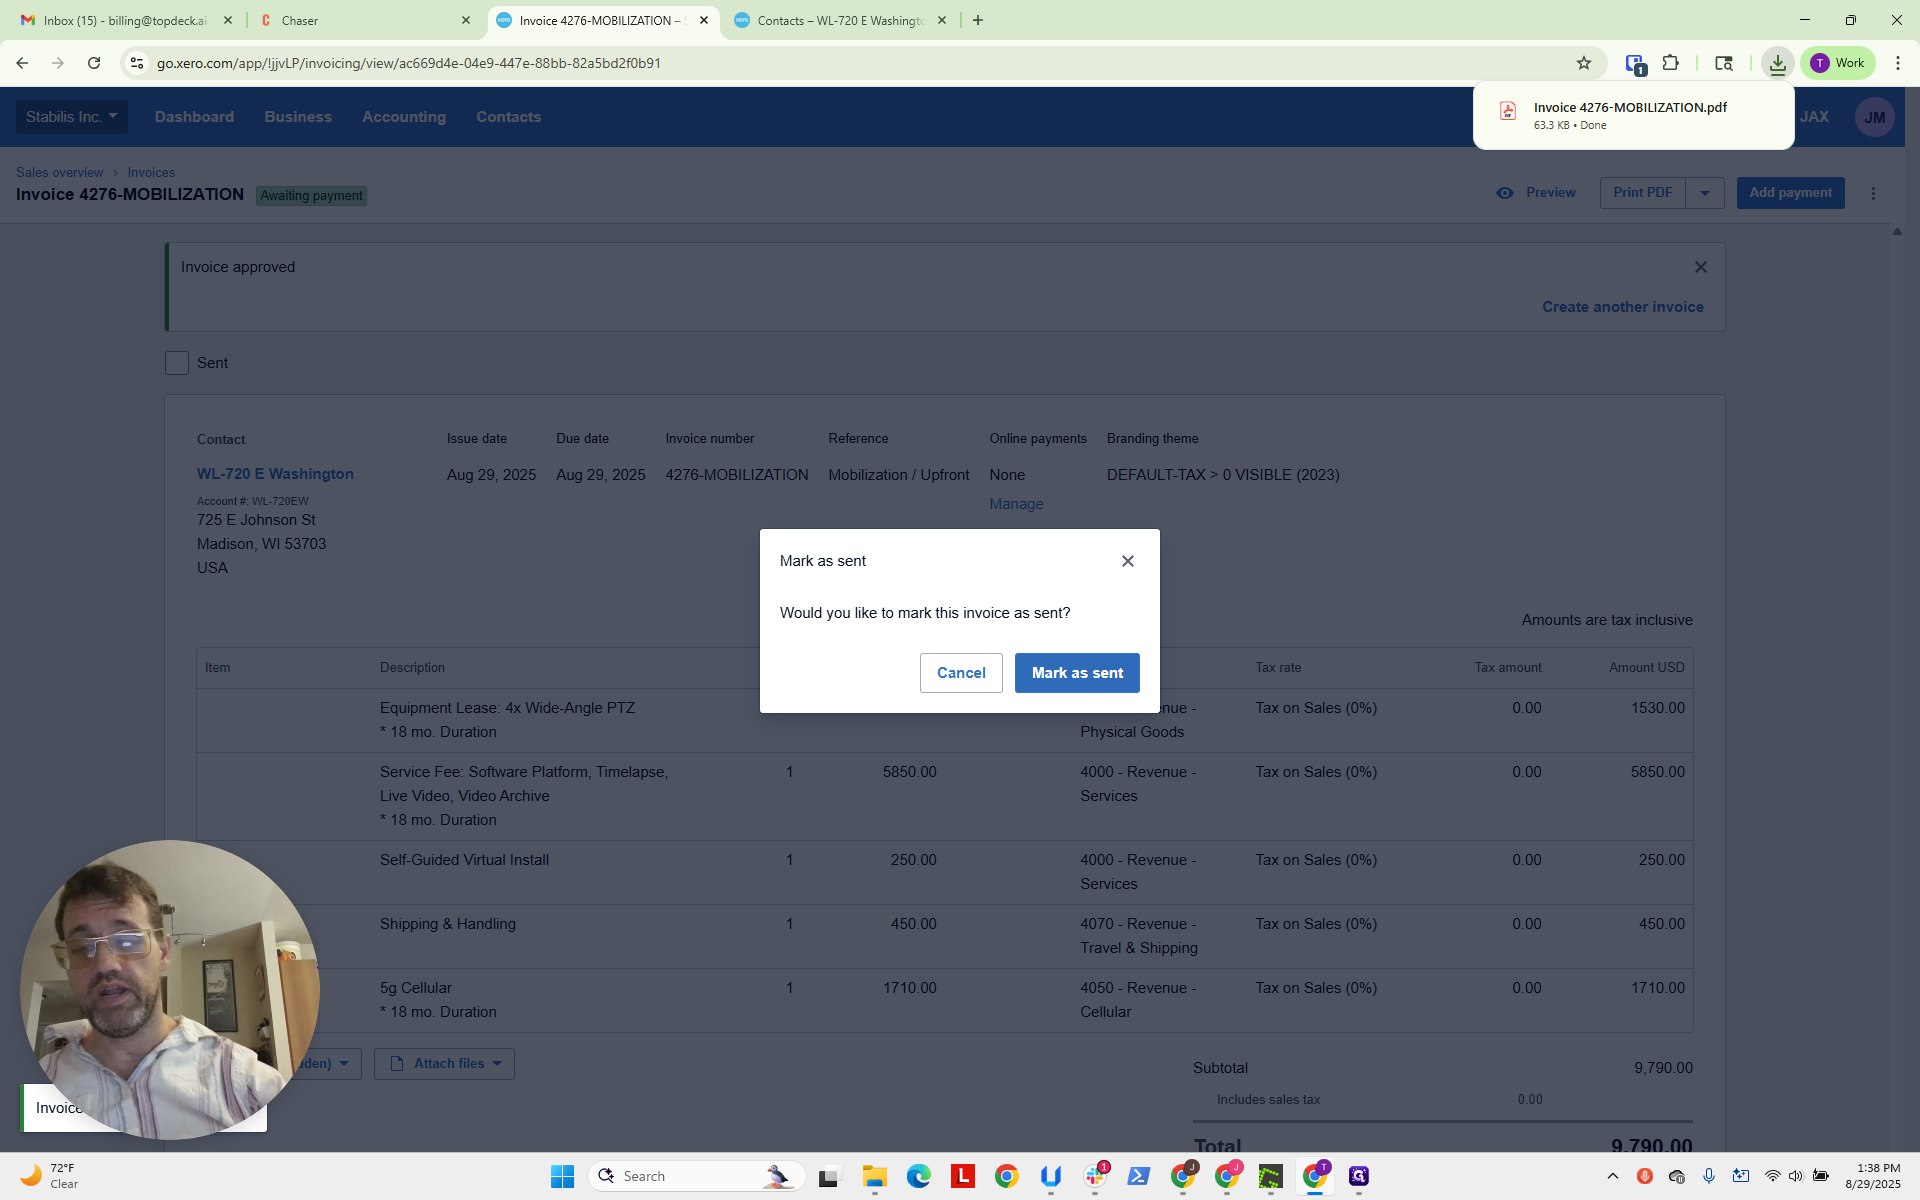
Next, we will print the invoice and mark it as sent.
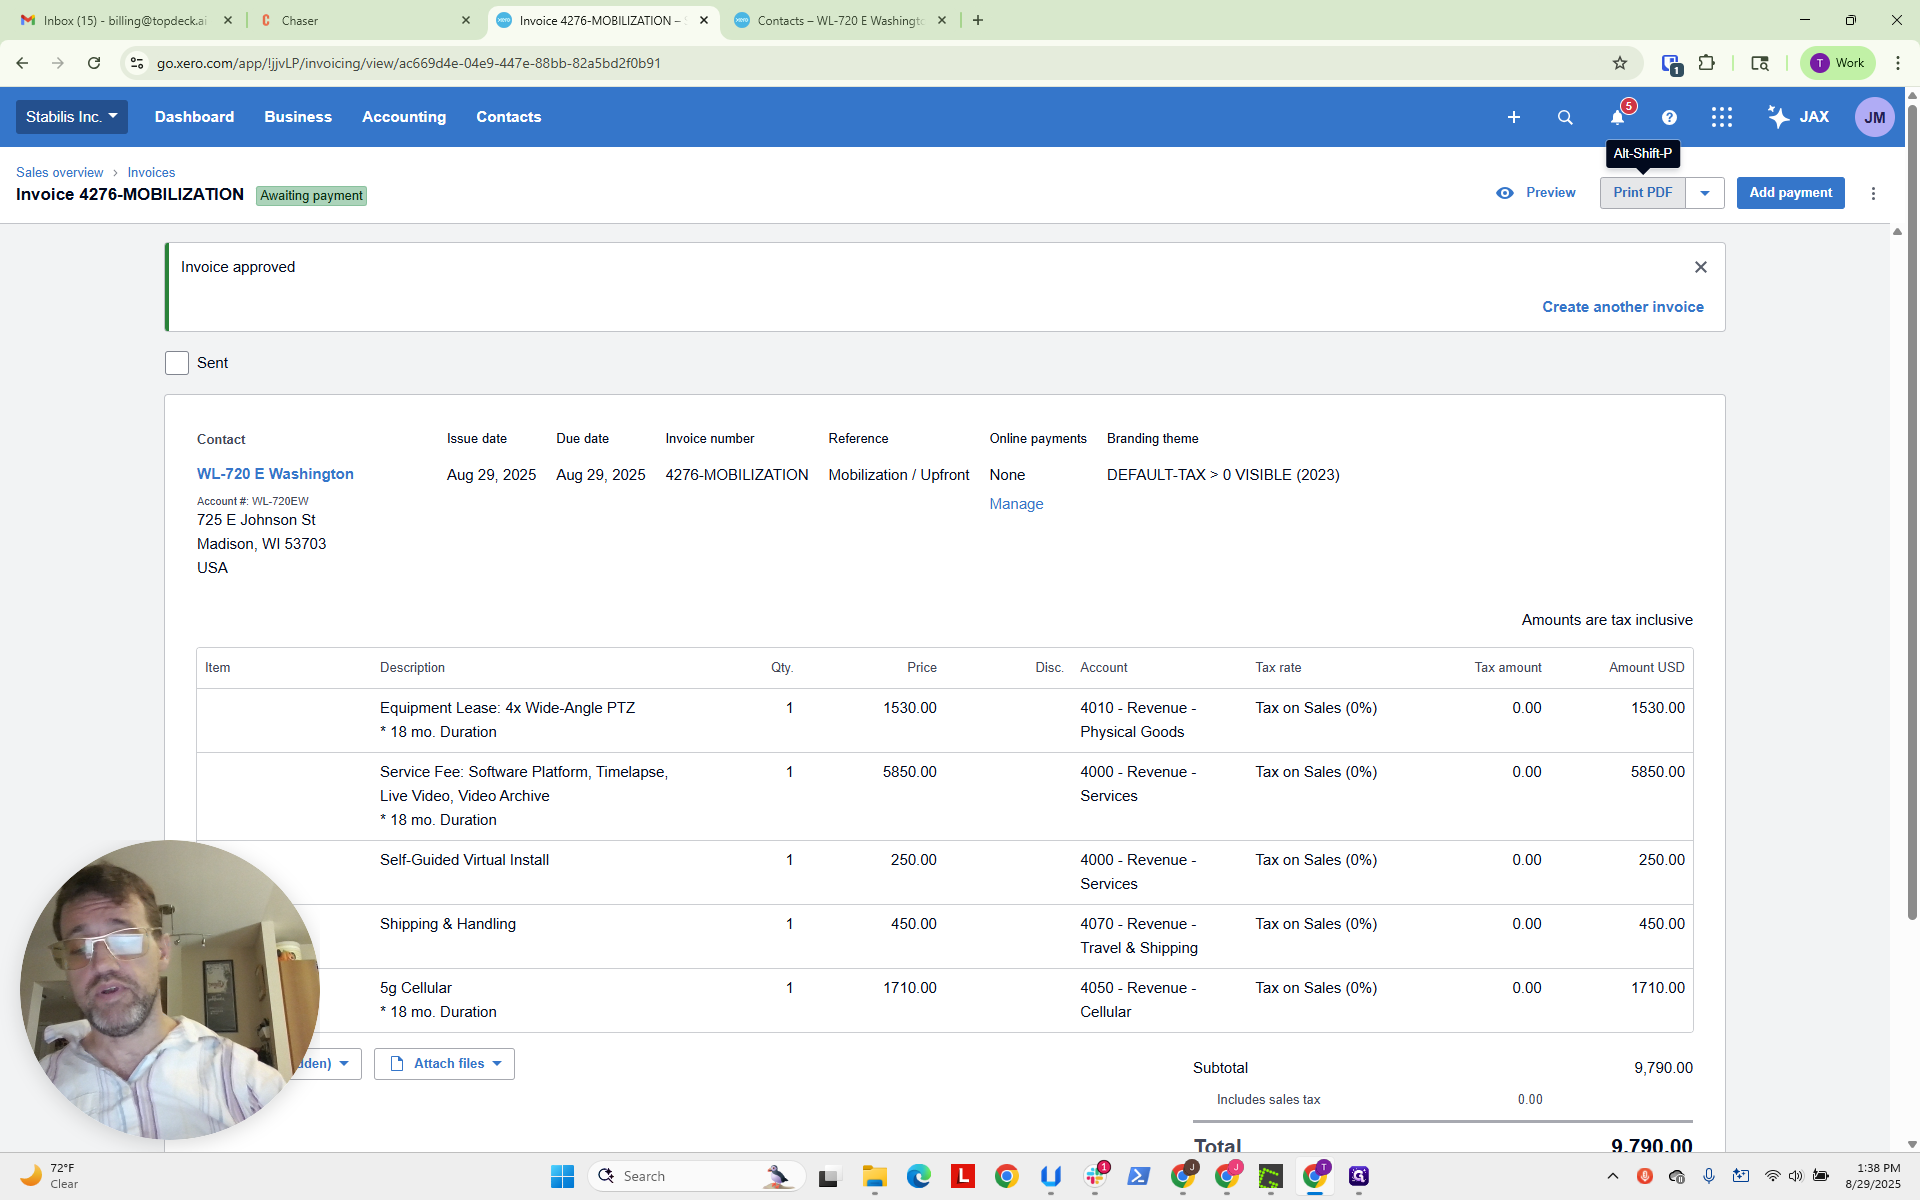
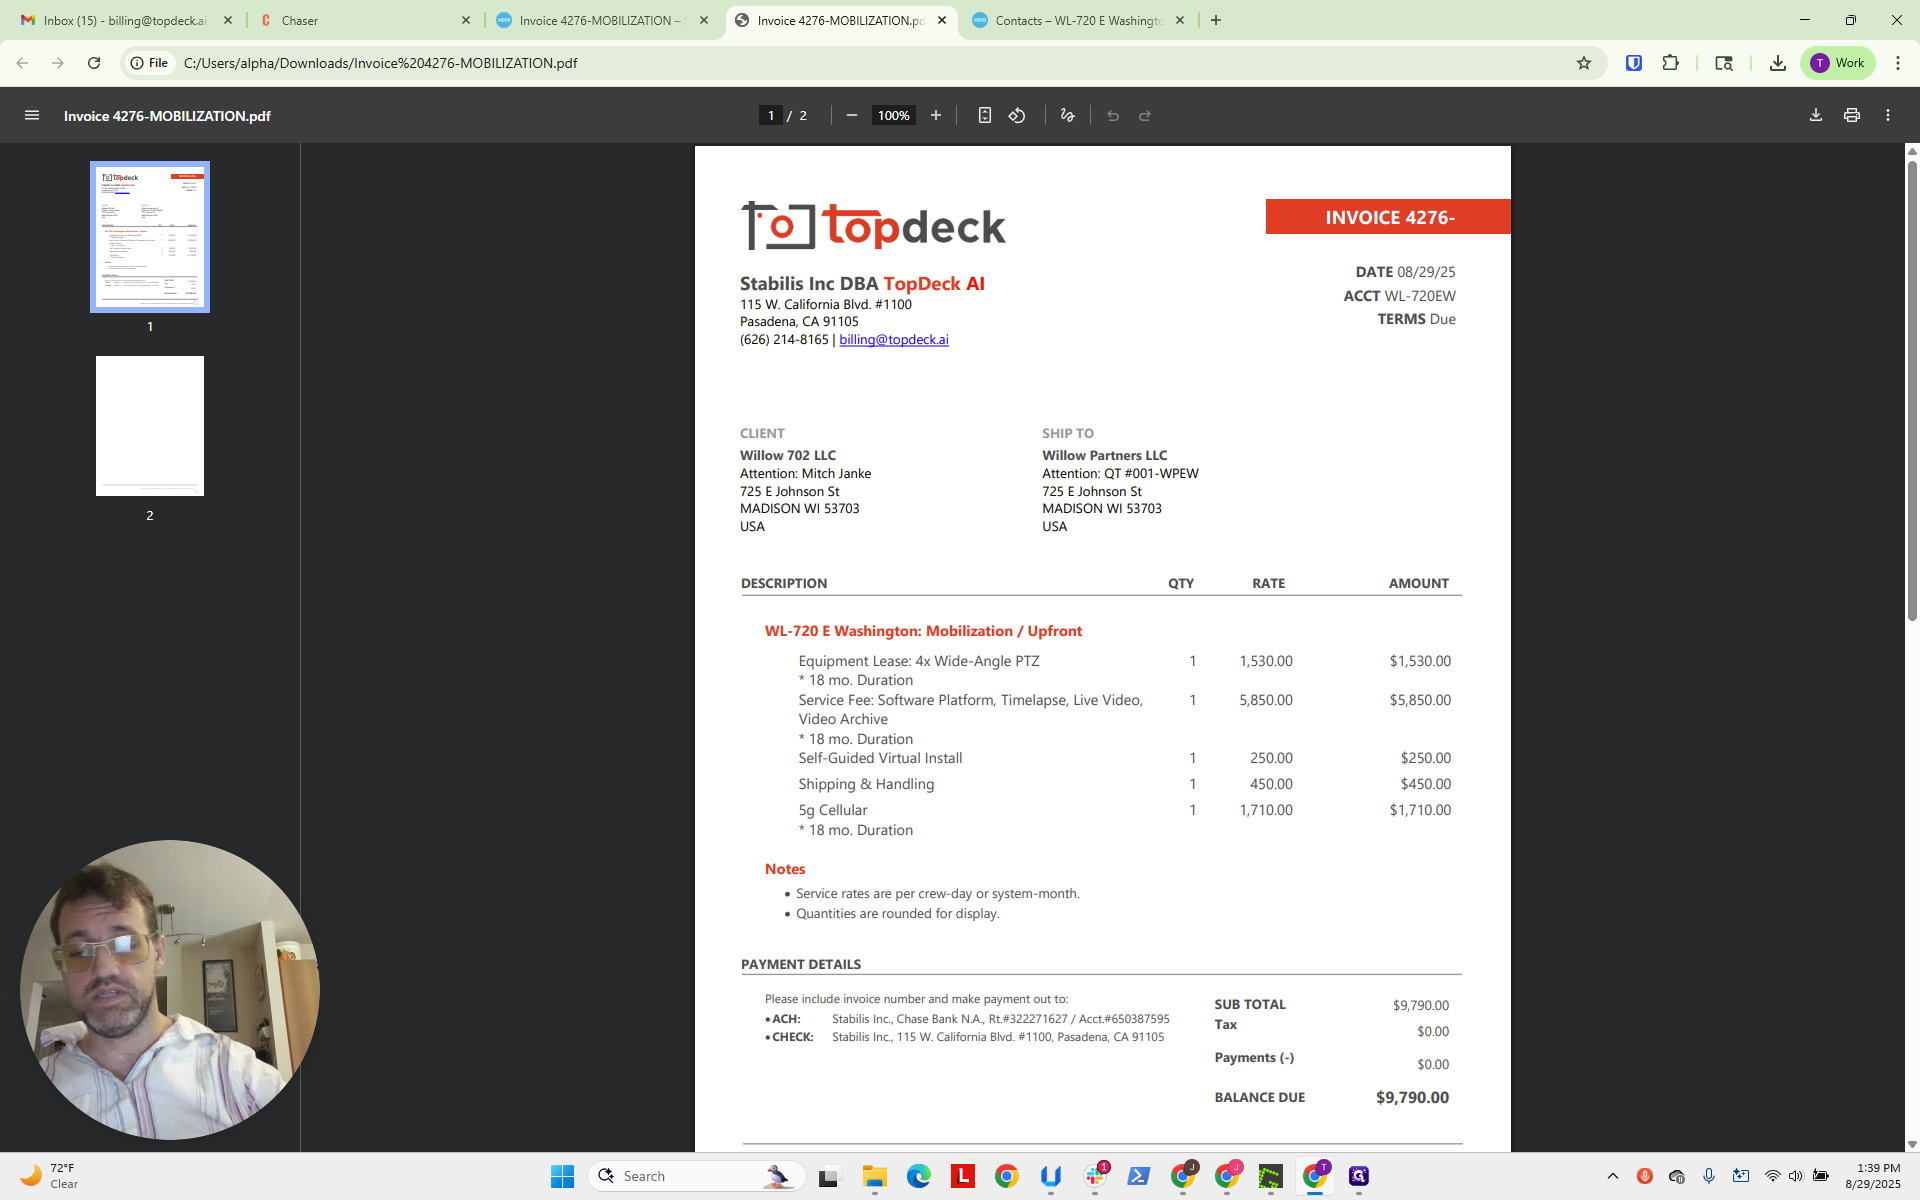
We will review the invoice now and ensure there are no issues.

Everything appeared, but it looks a bit off. Now, in the bill-to or ship-to fields, we have Willow 702 LLC, attention Mitch Janke, and in the ship-to, Willow Partners. We are referencing the quote for attention. This is the address they provided. We can see that 4276-mobilization breaks, but we will live with it for now. There is a blank second page.
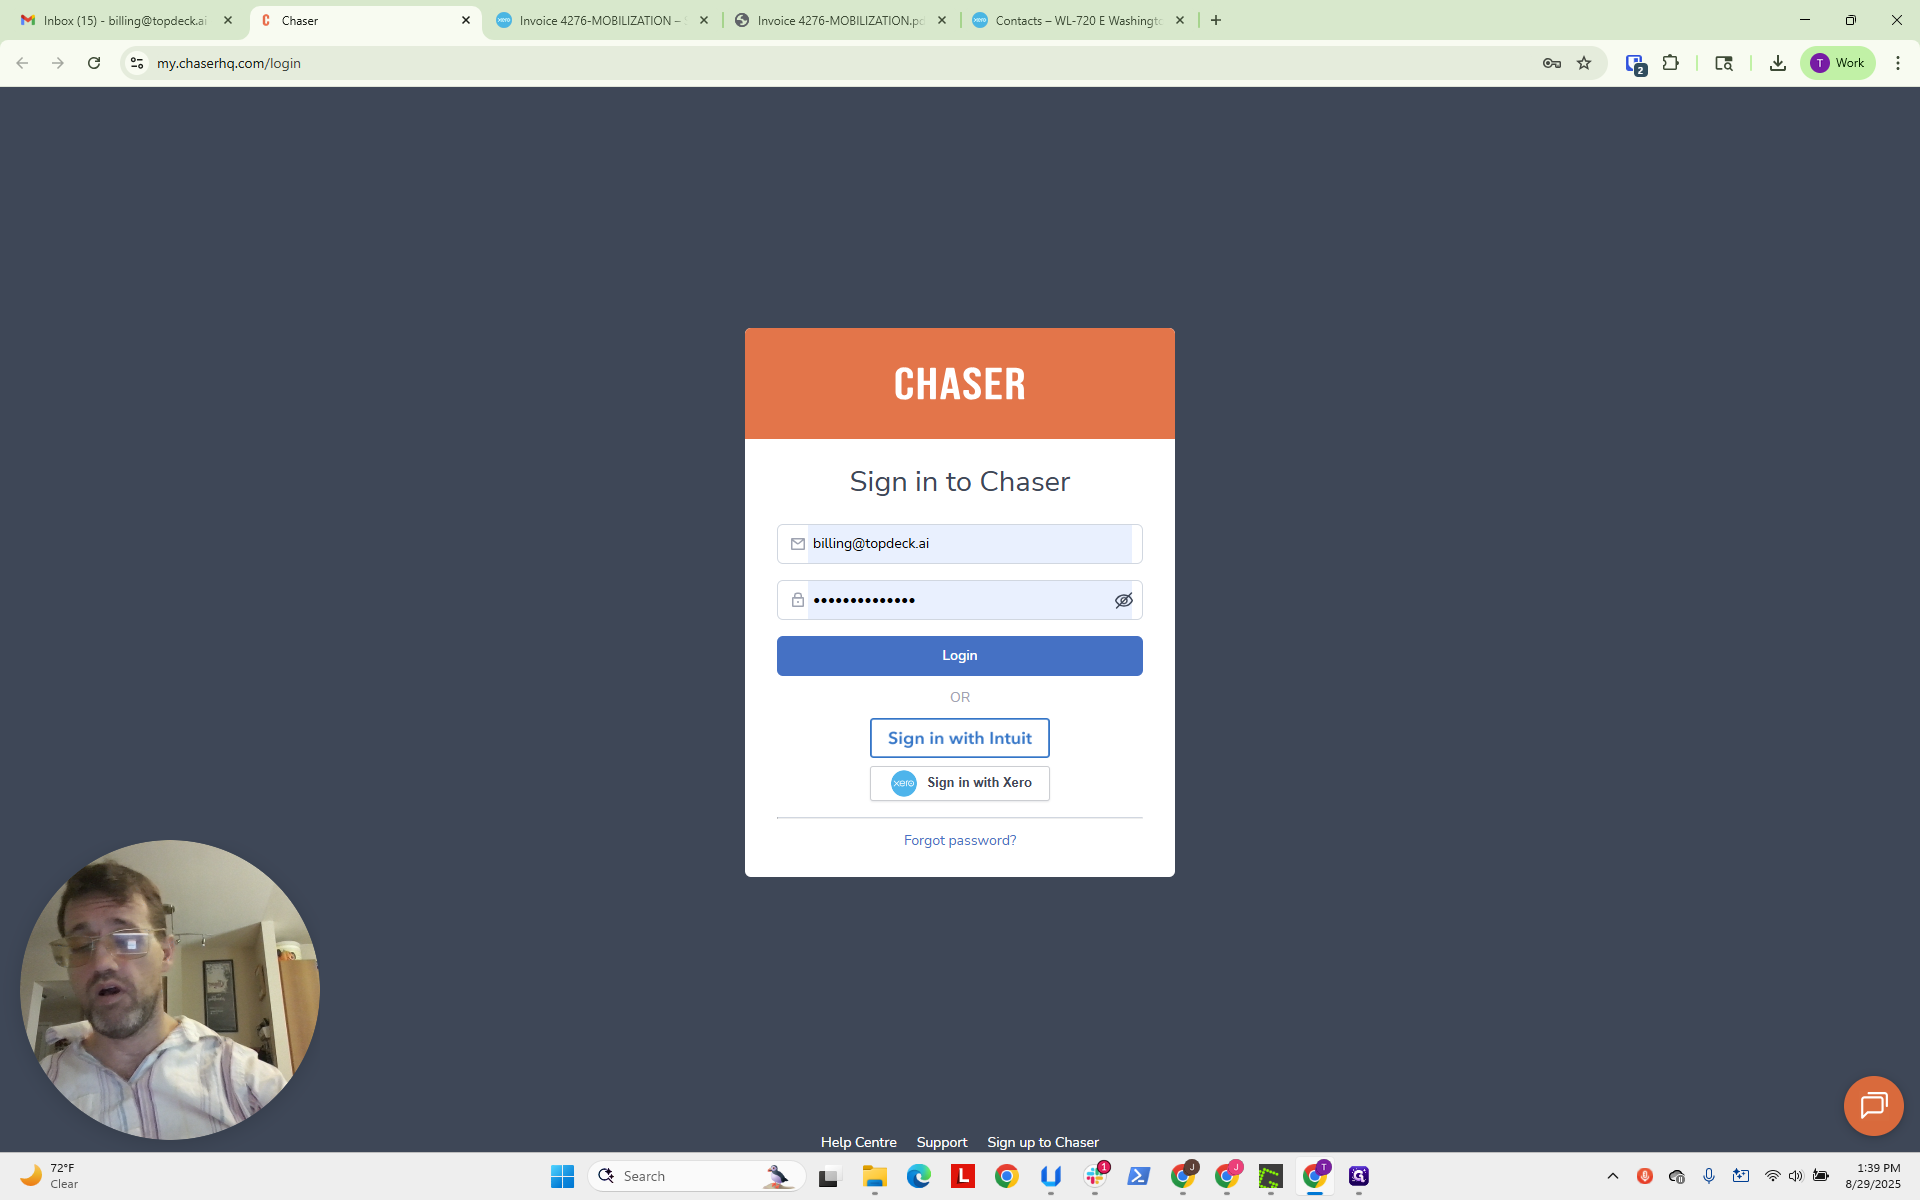
We will also accept that. Ideally, avoid this and do not do it this way. Now, go to Chaser and log in. Click on "Can't access the authentication app."
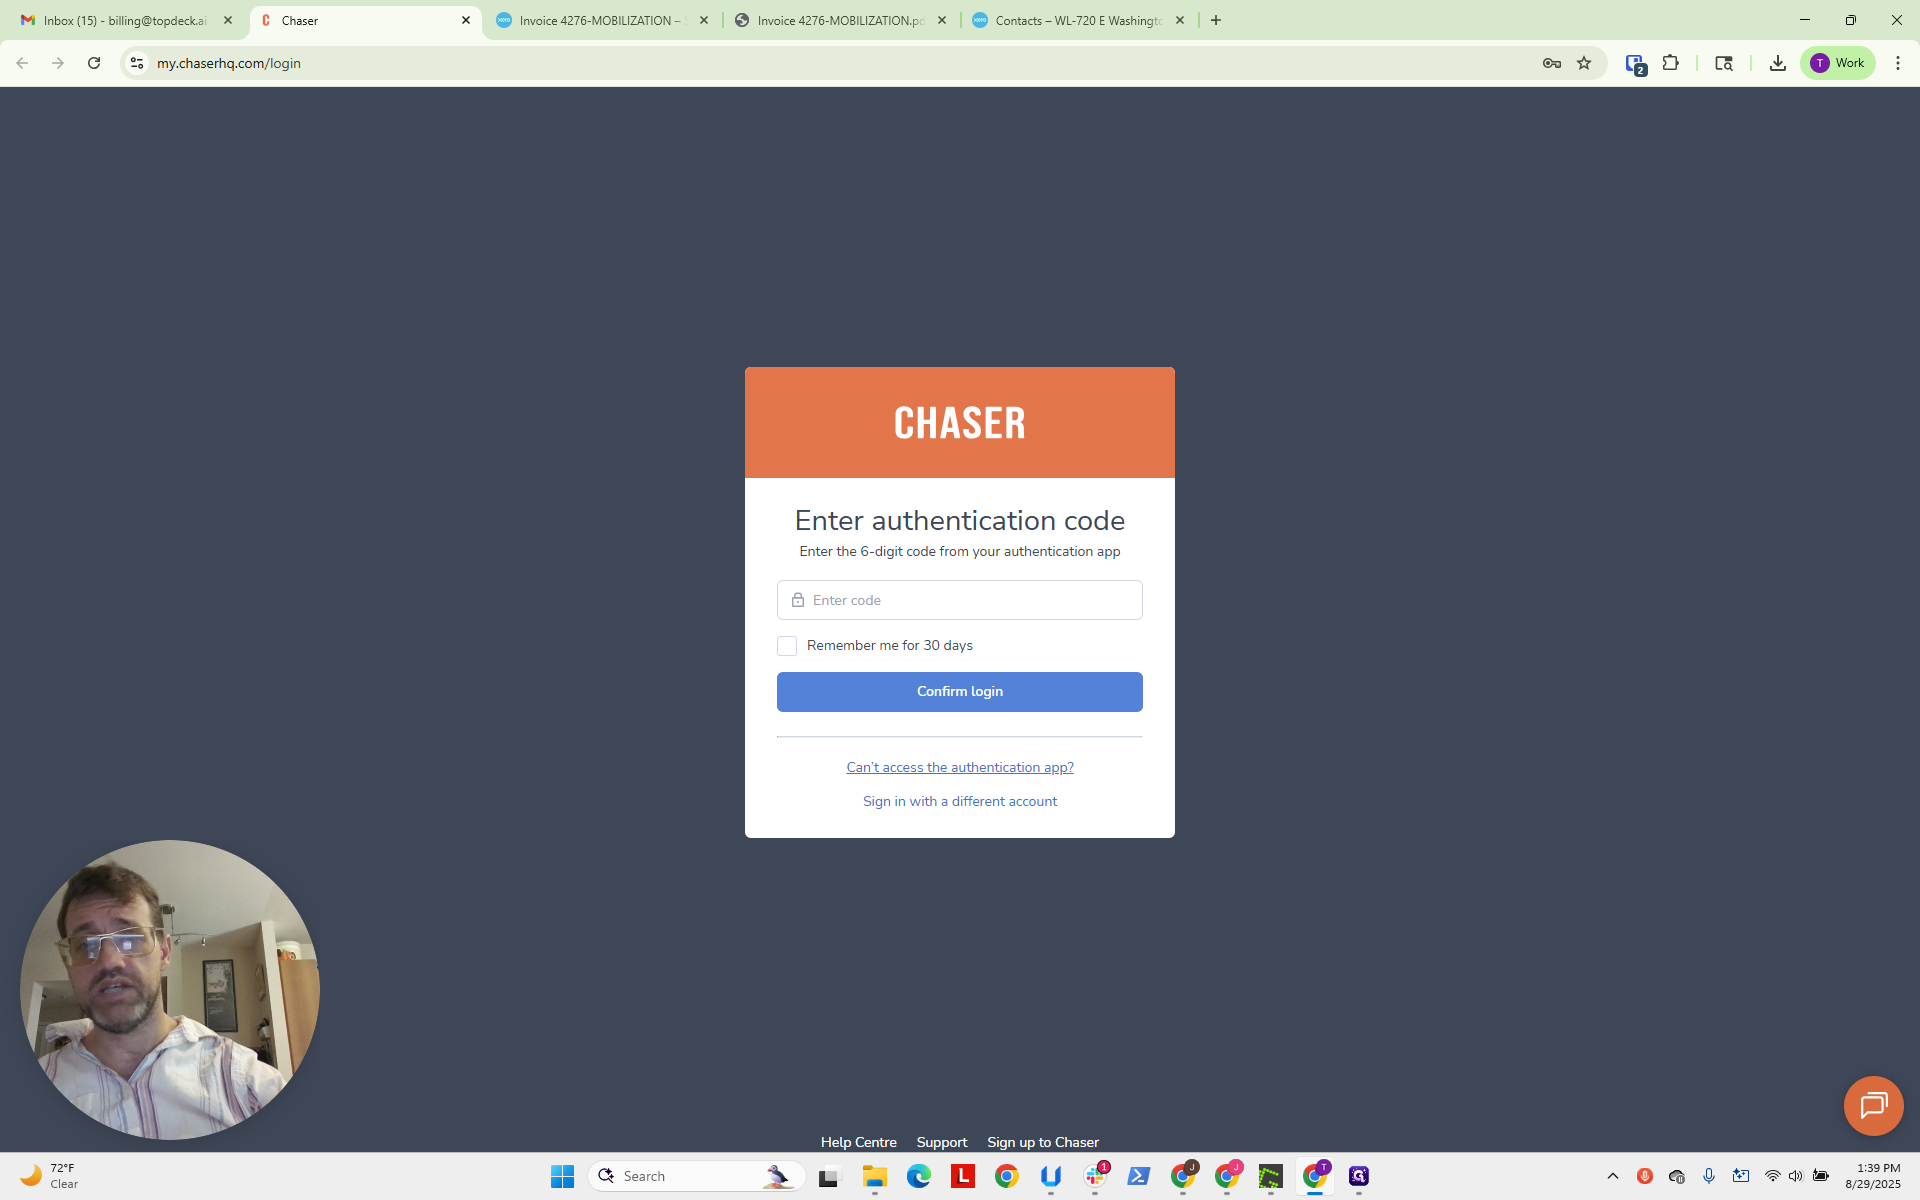
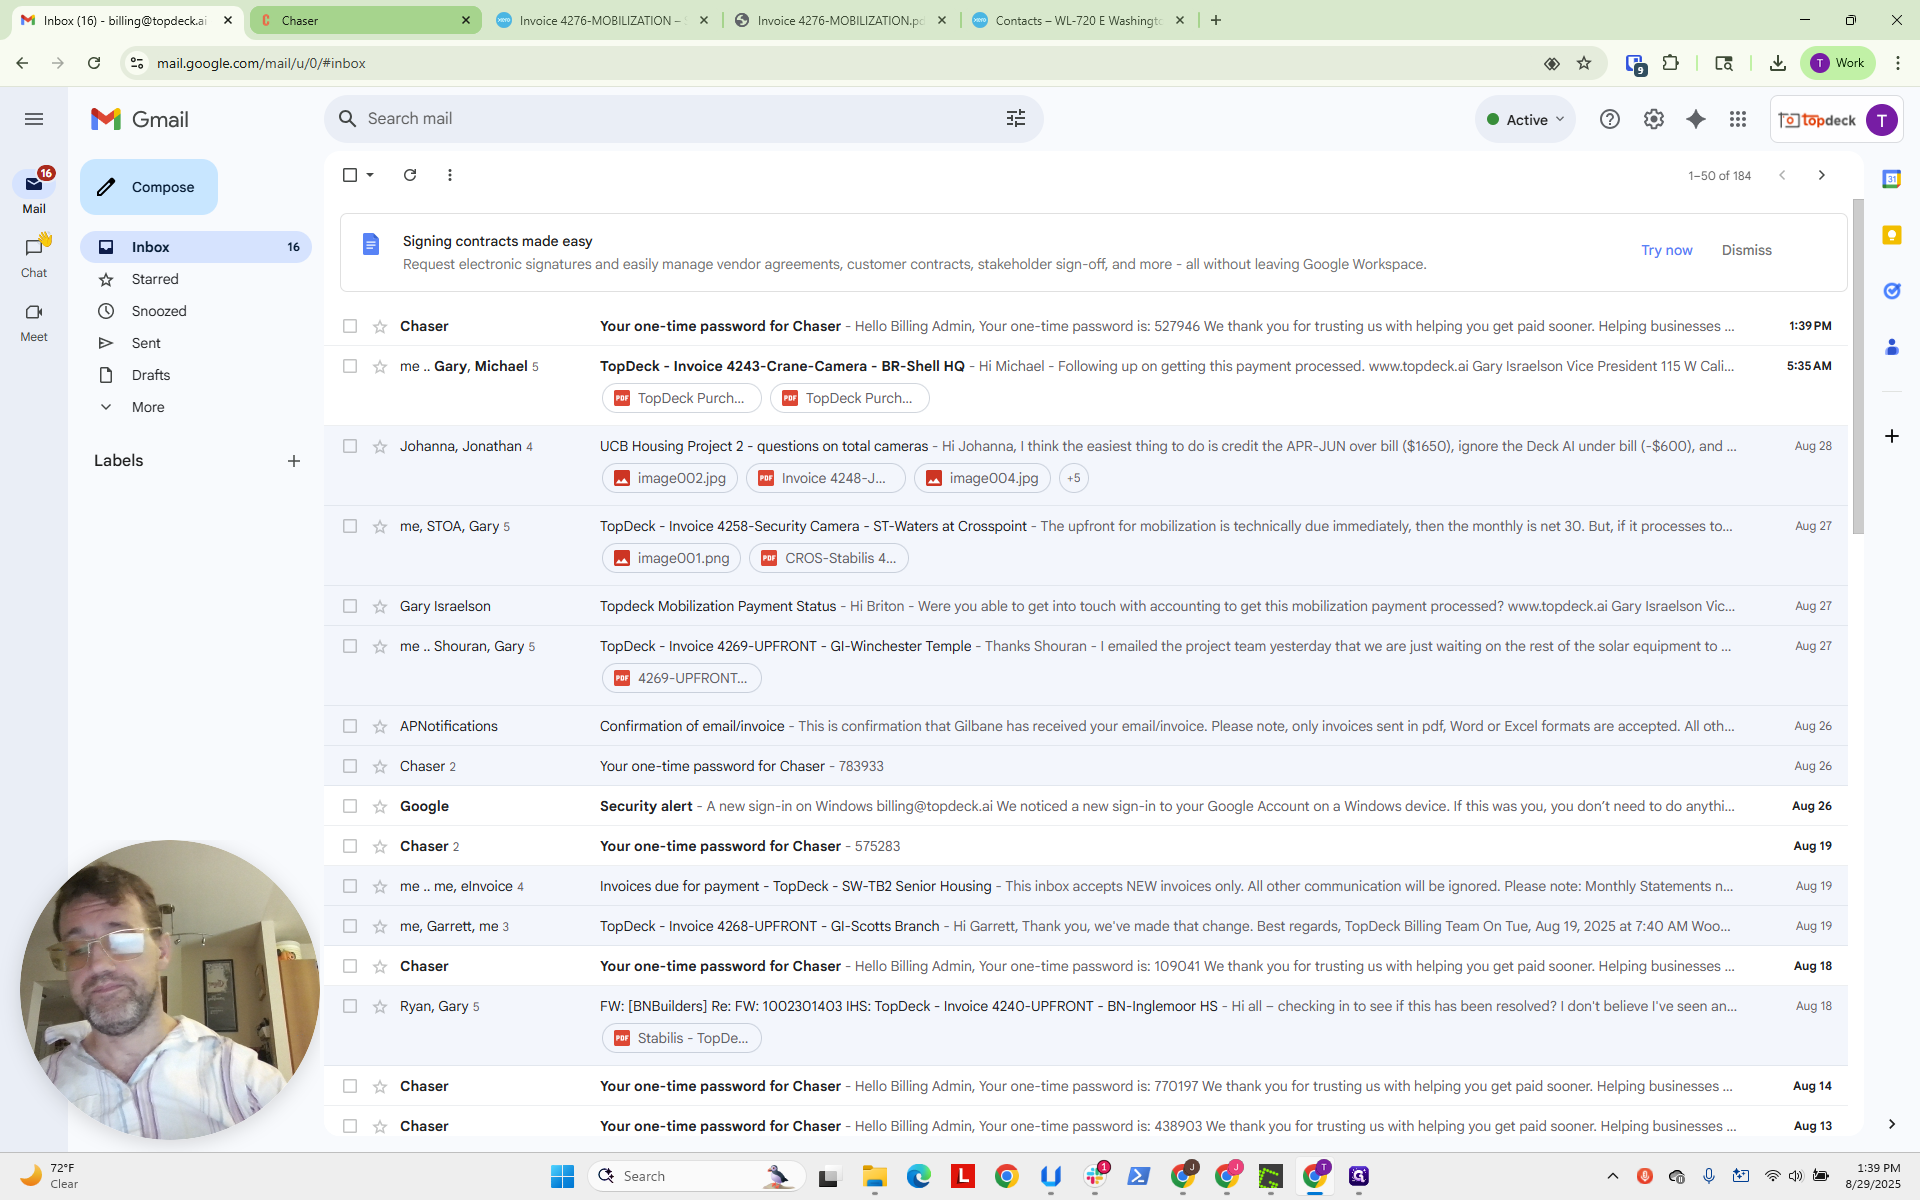
This will send a code to the billing email.
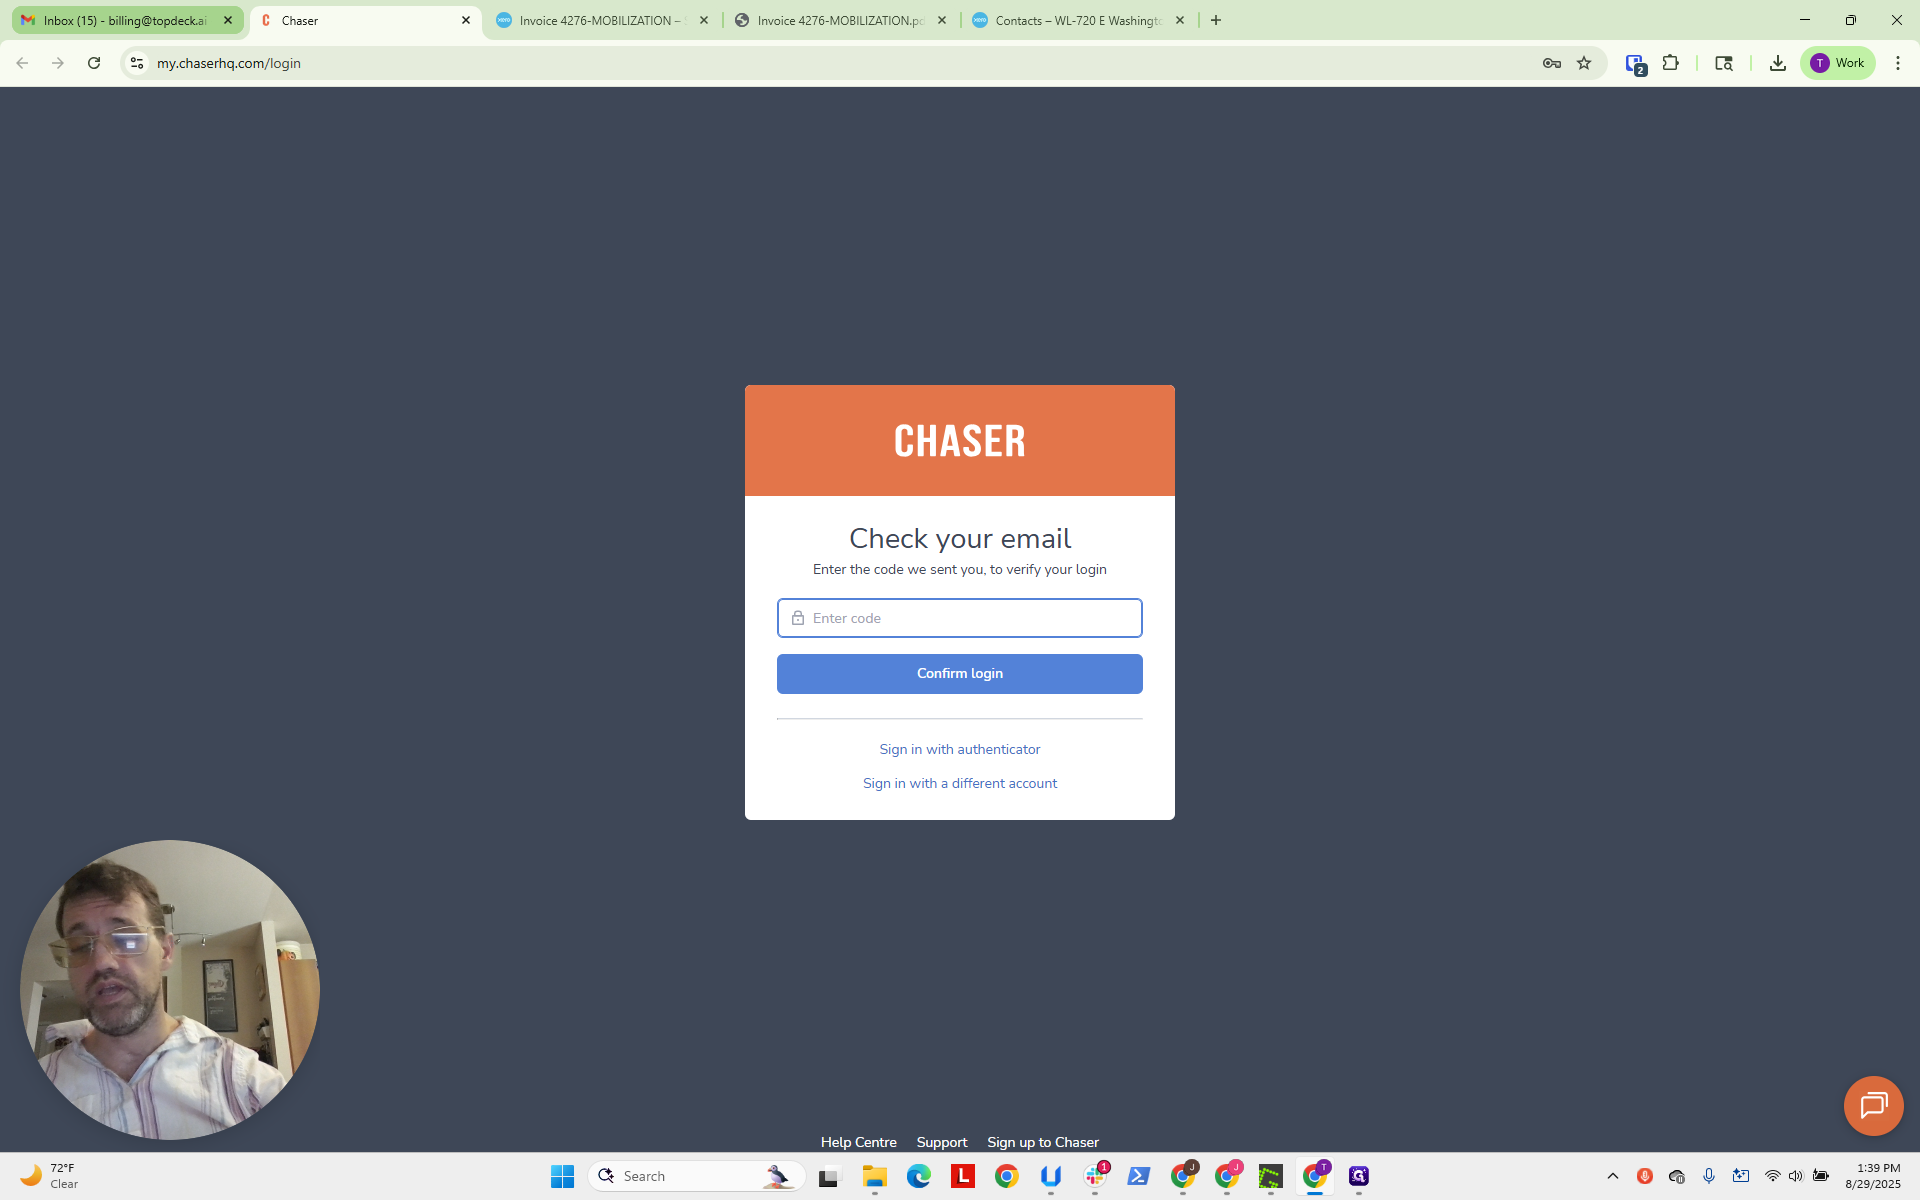
We now have 527946. We will click that to close it.
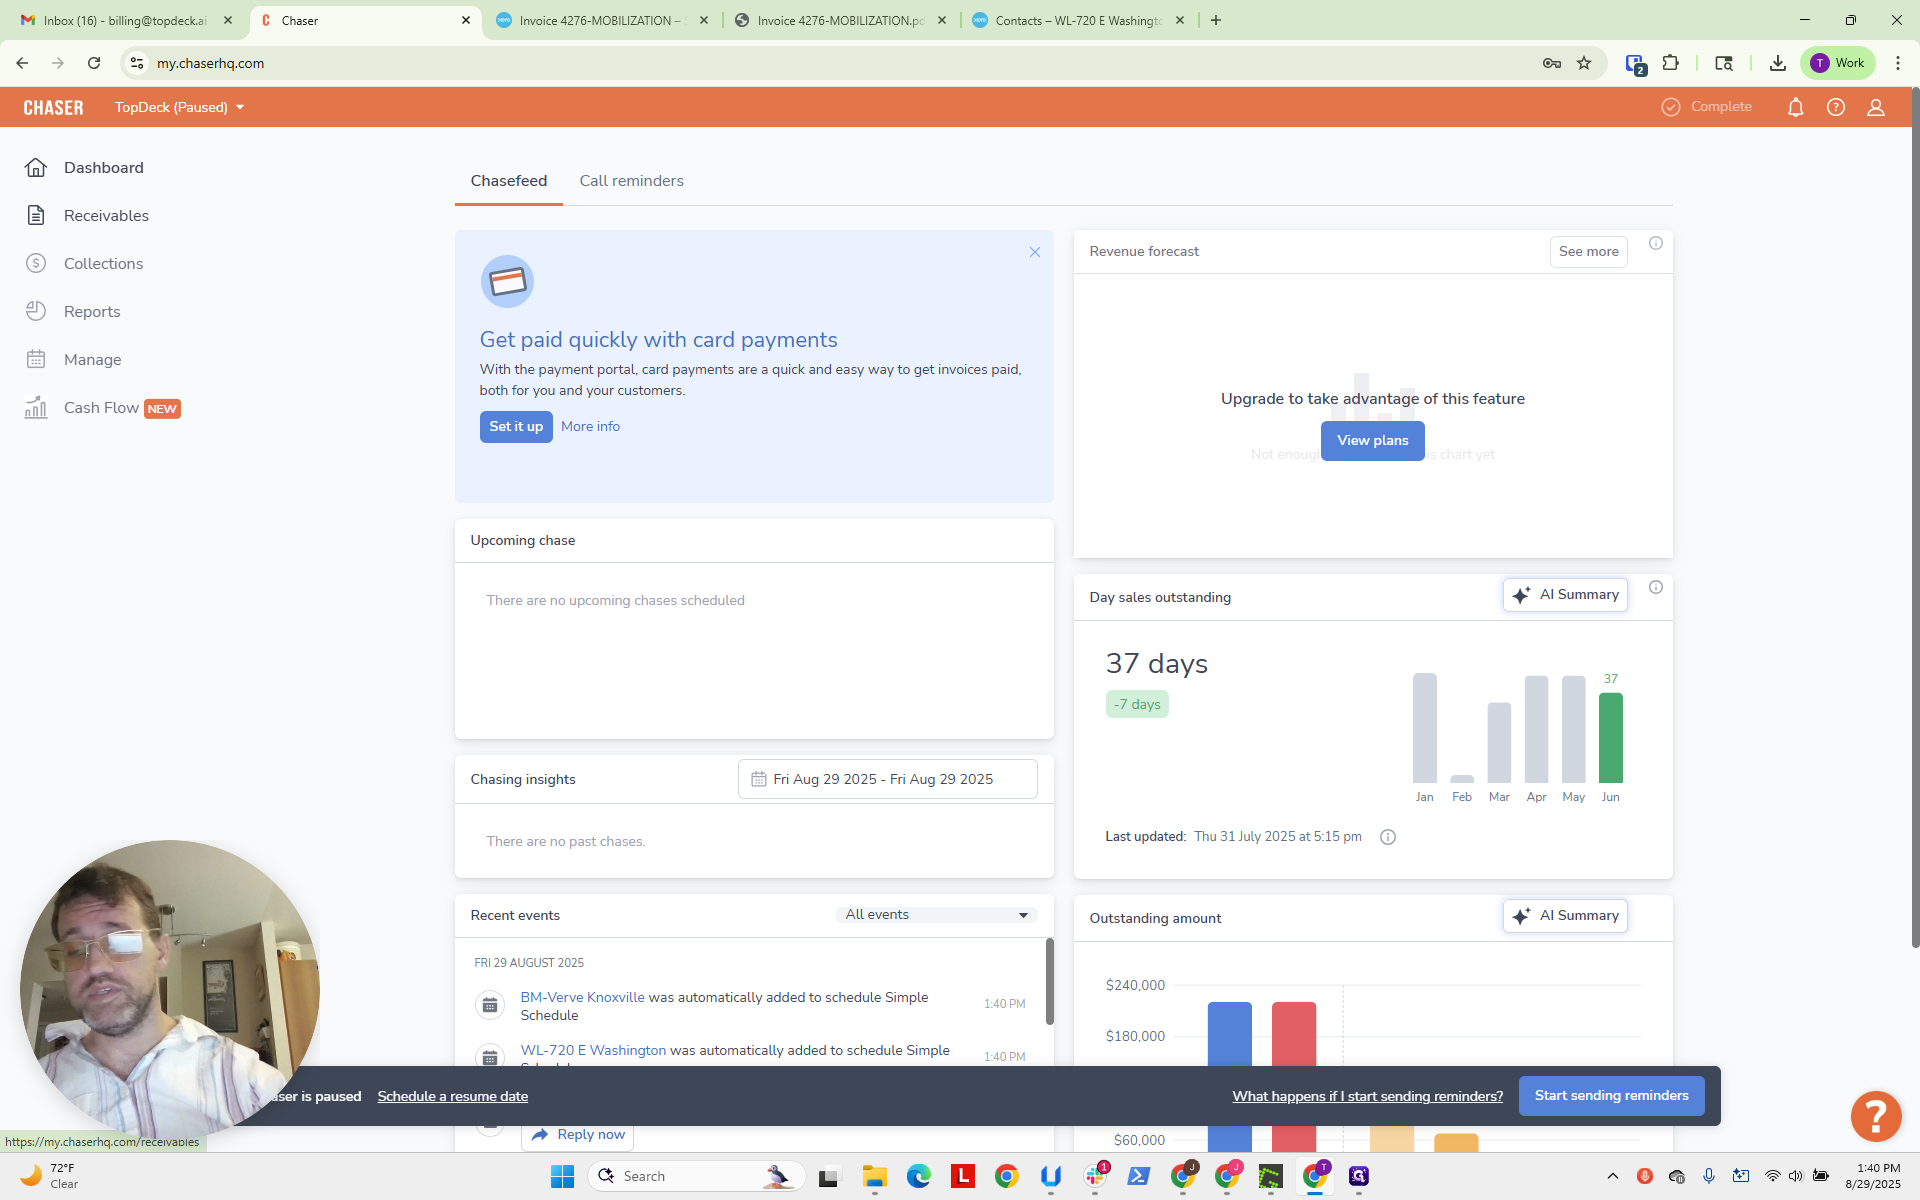
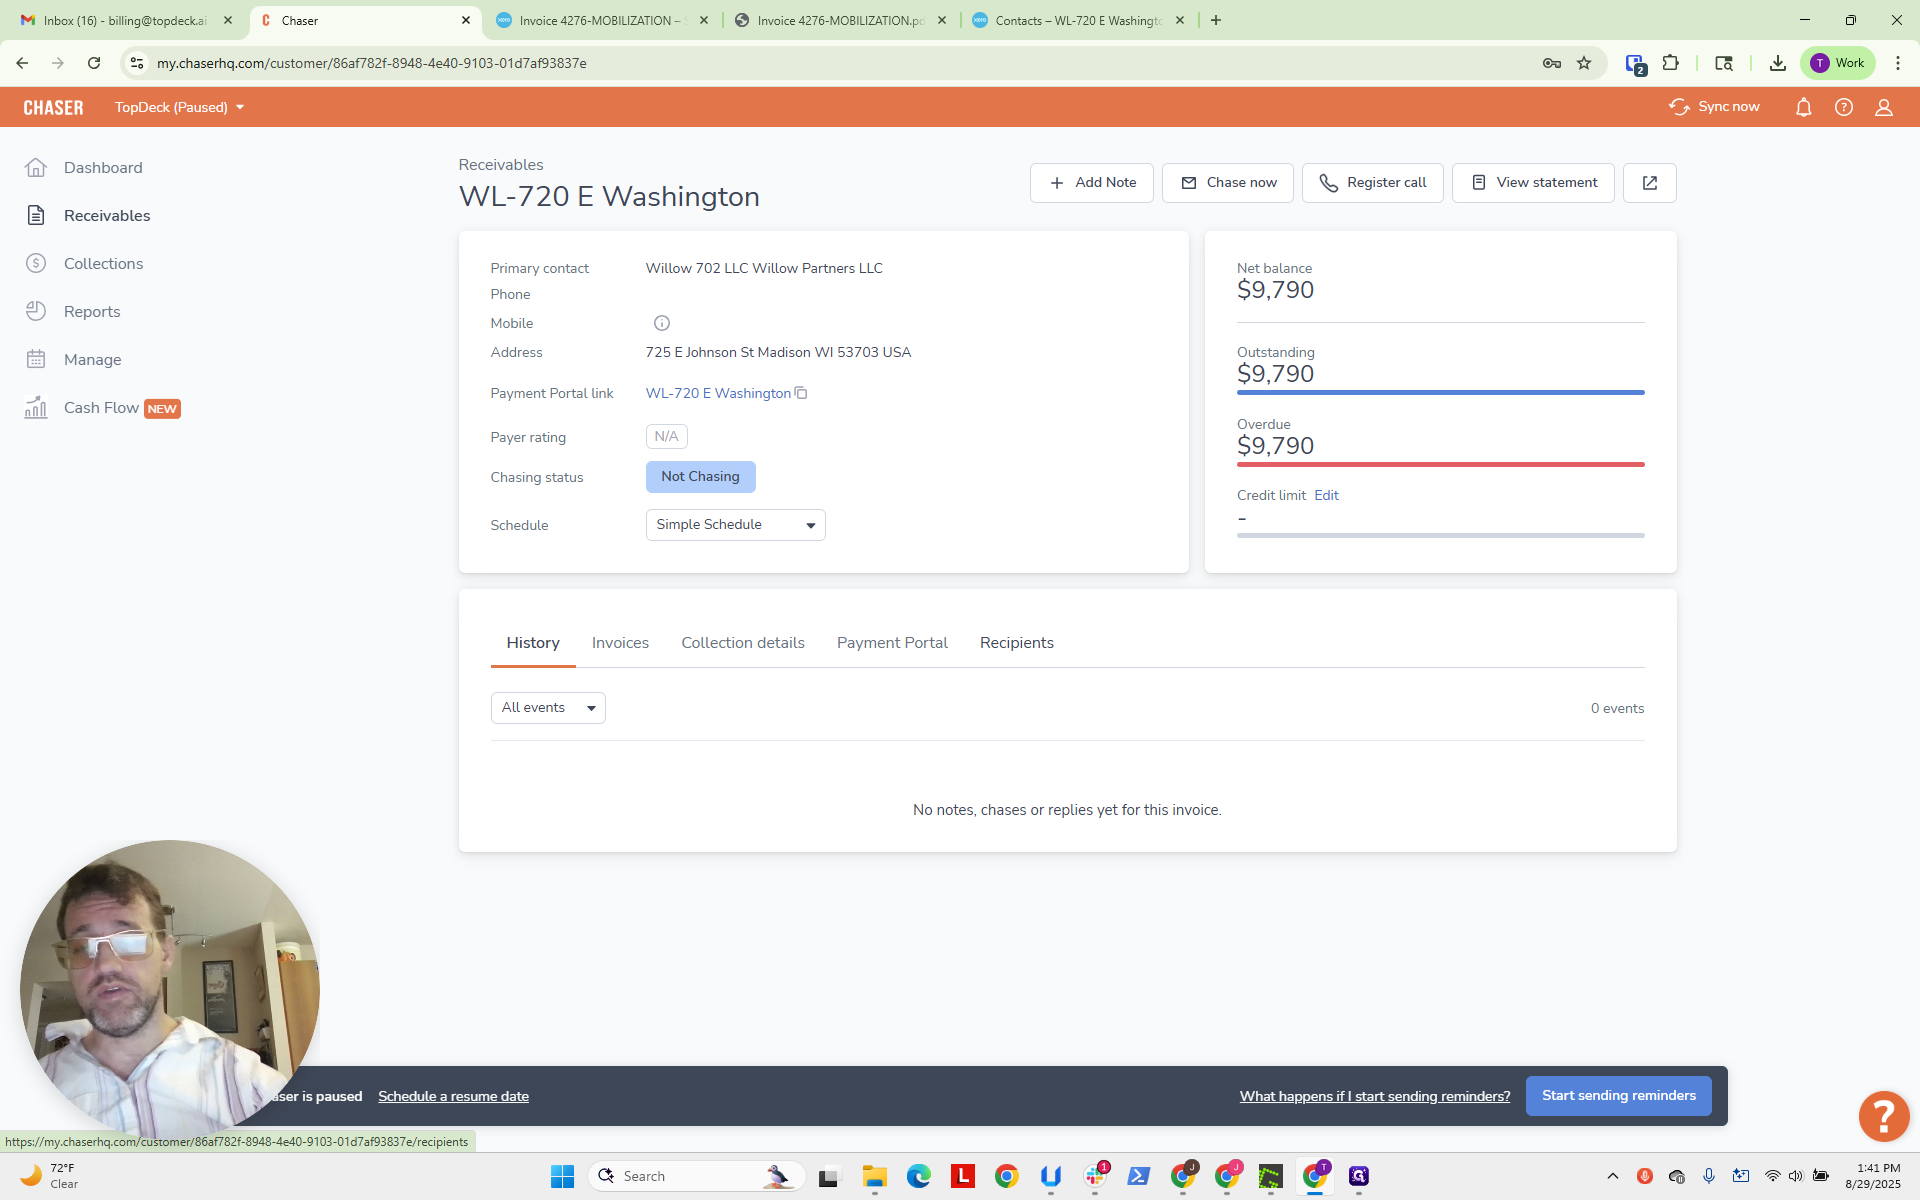
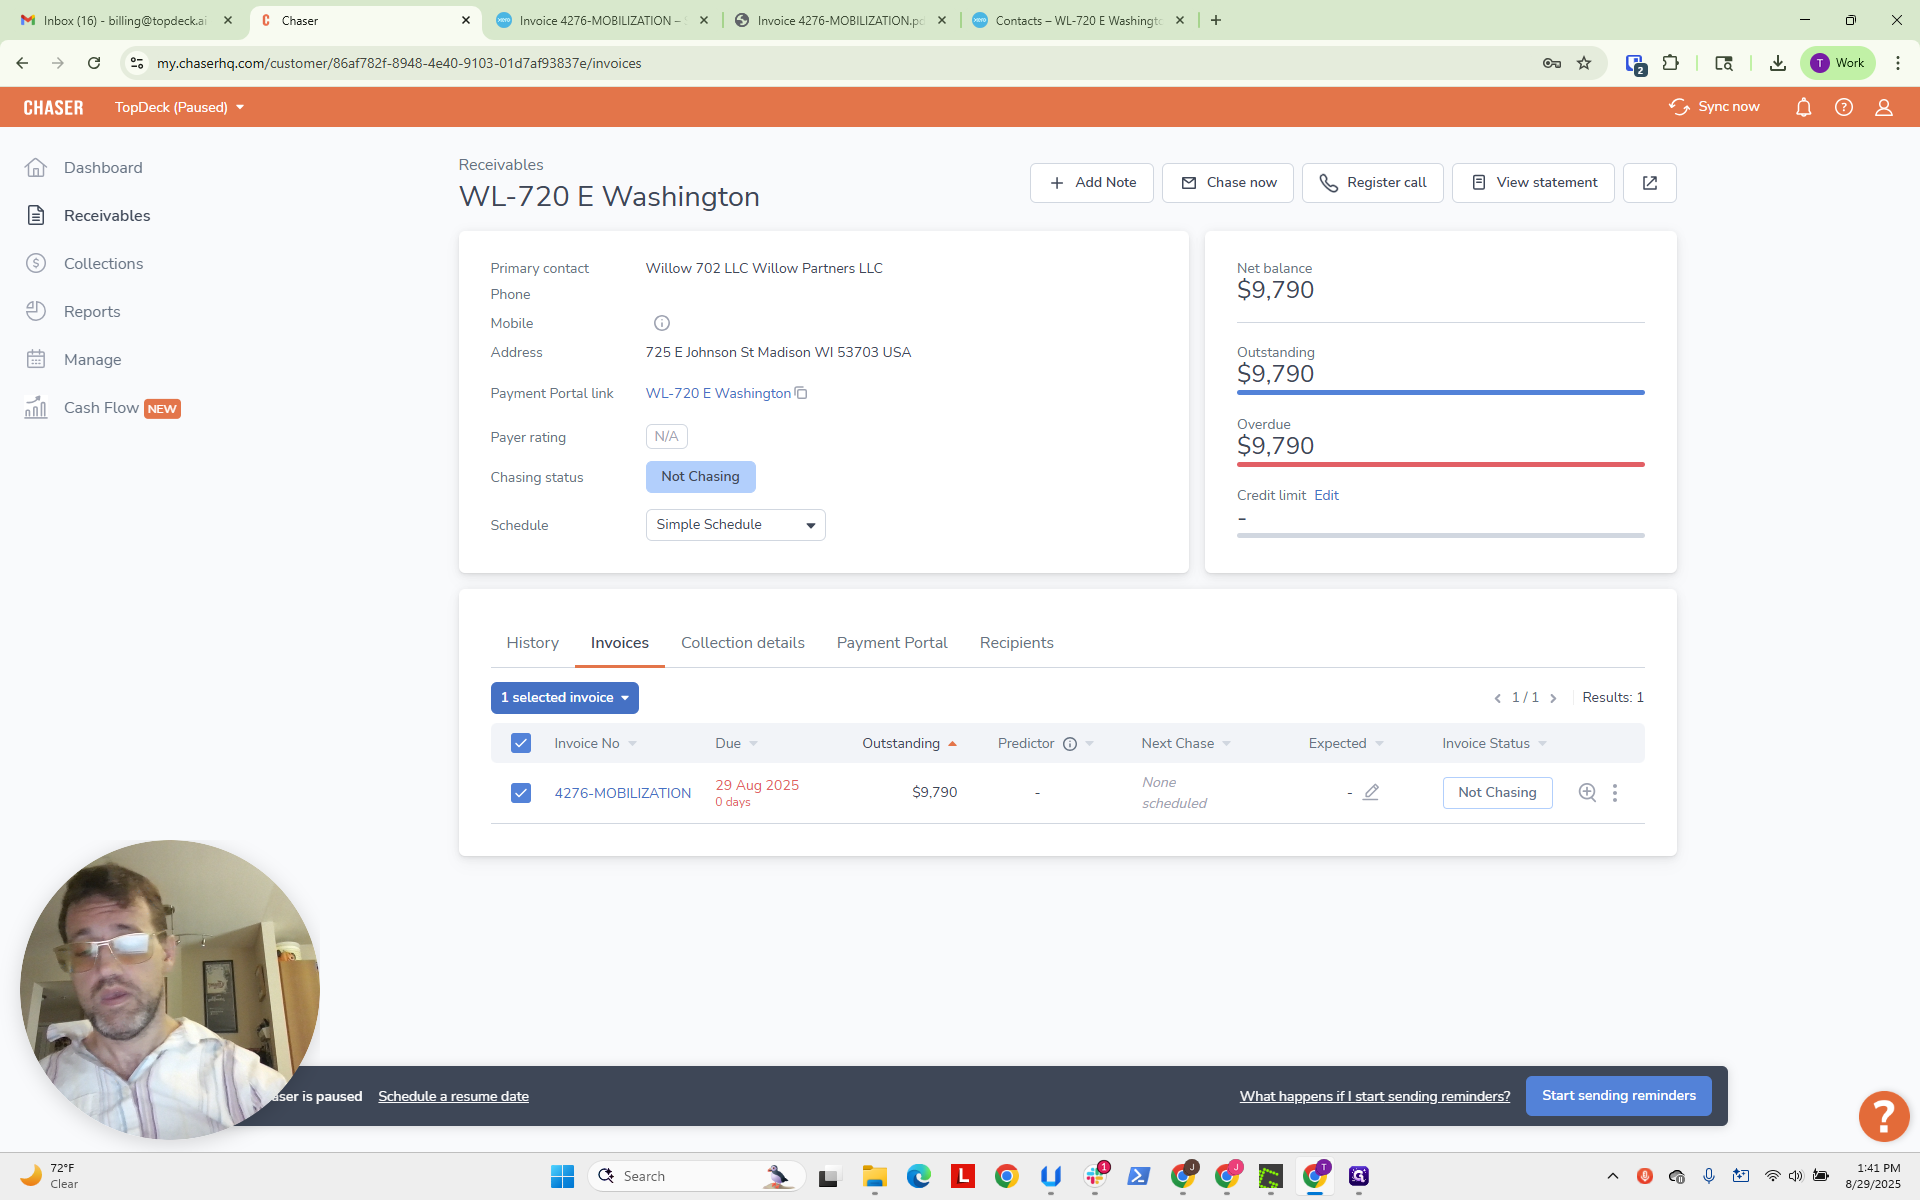
Now, click on Receivables.
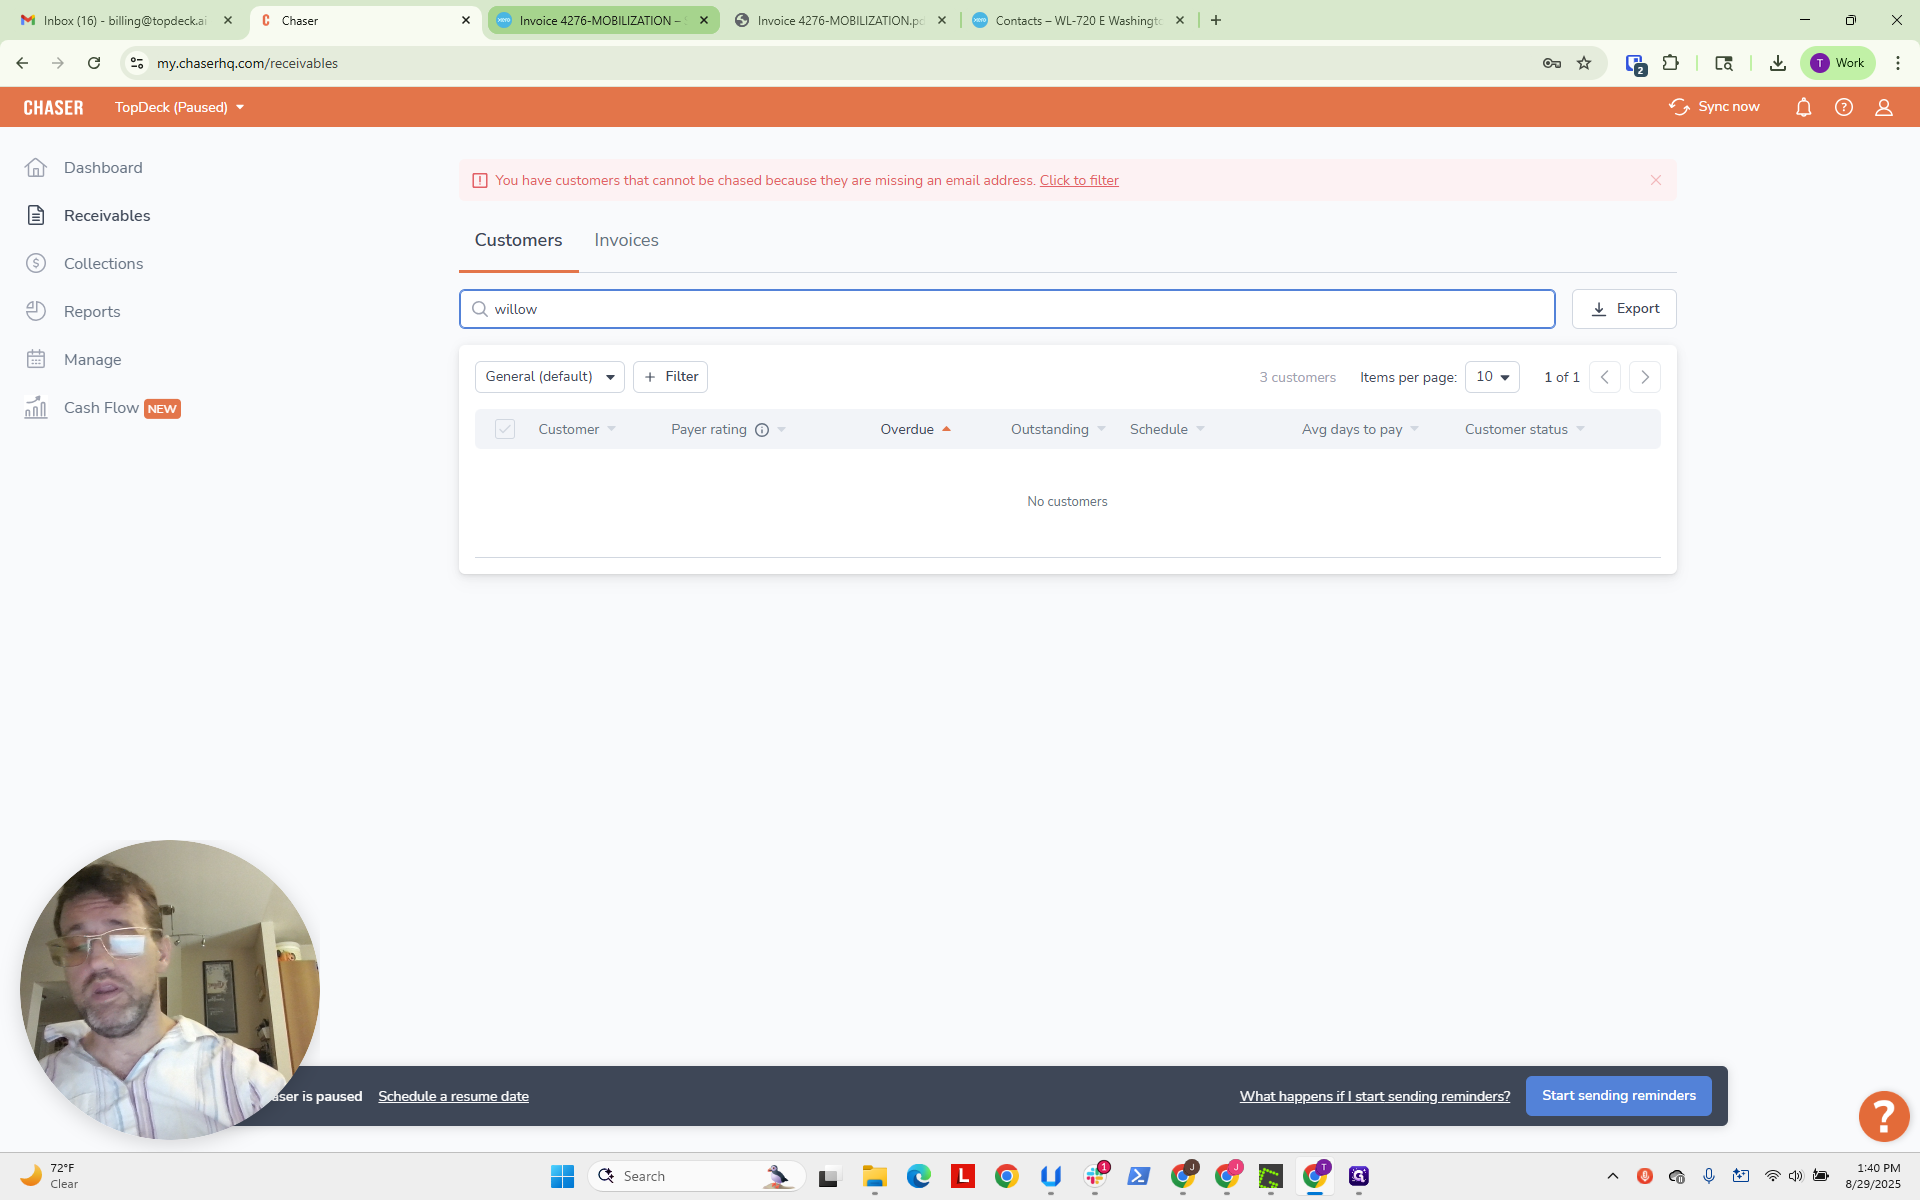
These guys are Willow.
I think that's W-I.
Just put that in. Nope. Let's try Willow.
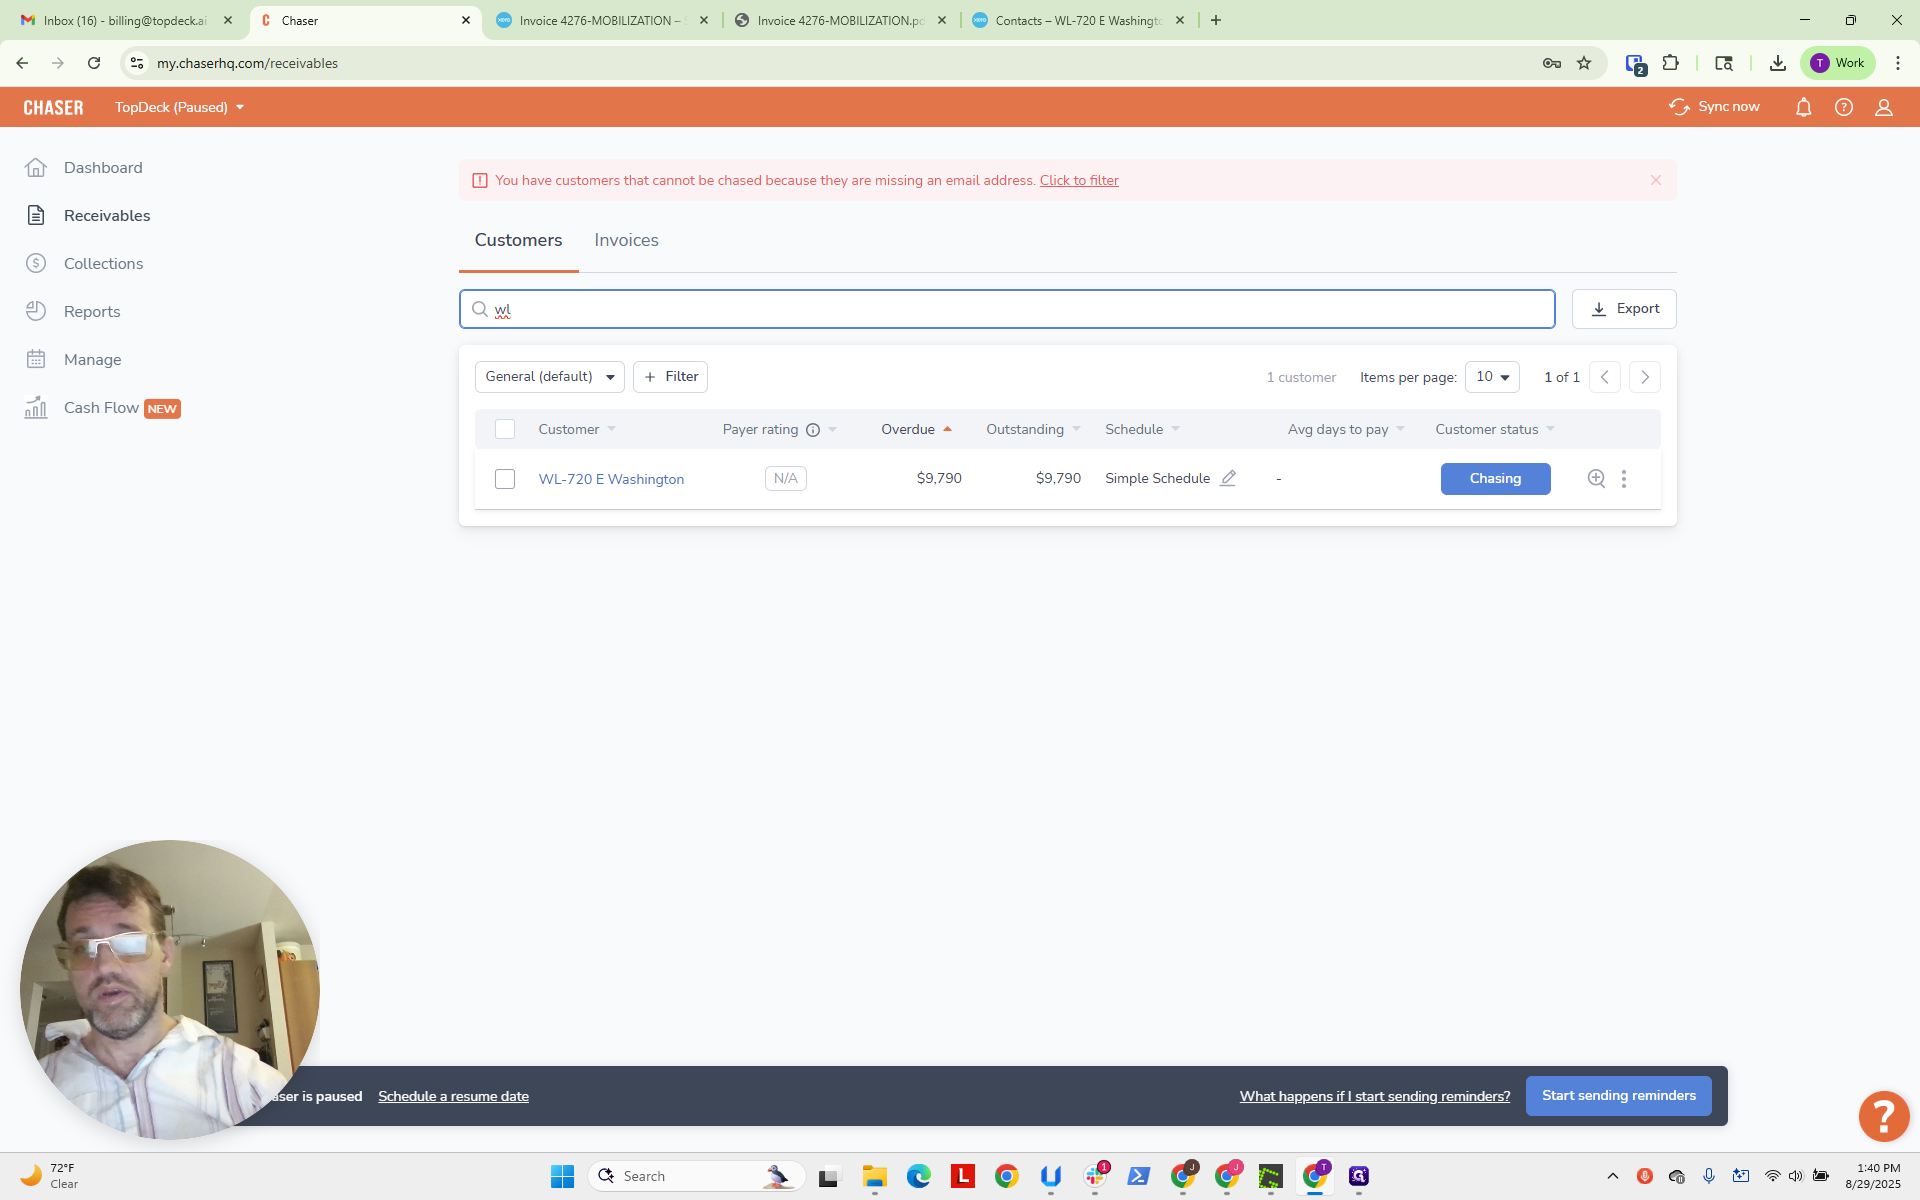
Okay. We know it's W-L based on the Xero contact here.
We’re going back, and here is the invoice.

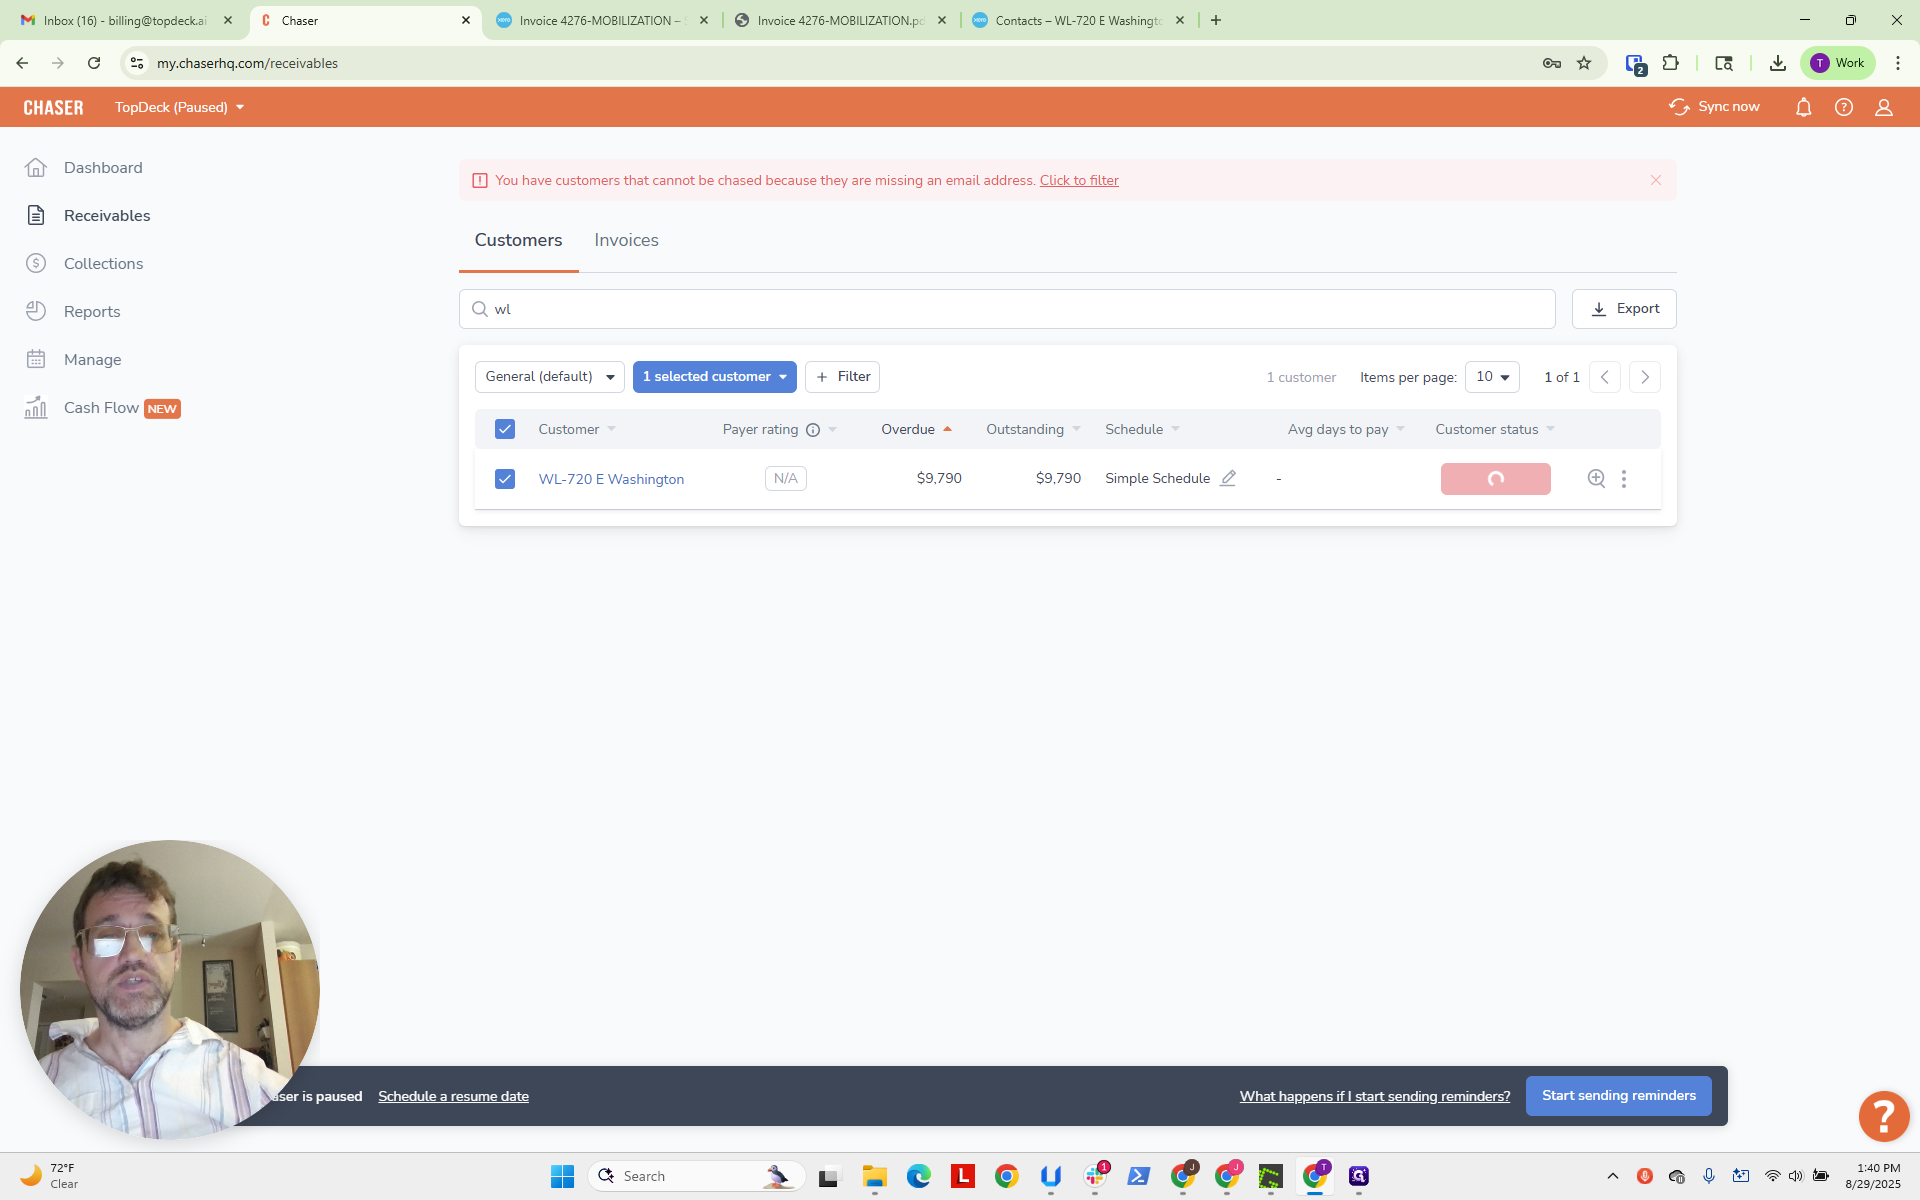
We will select it.
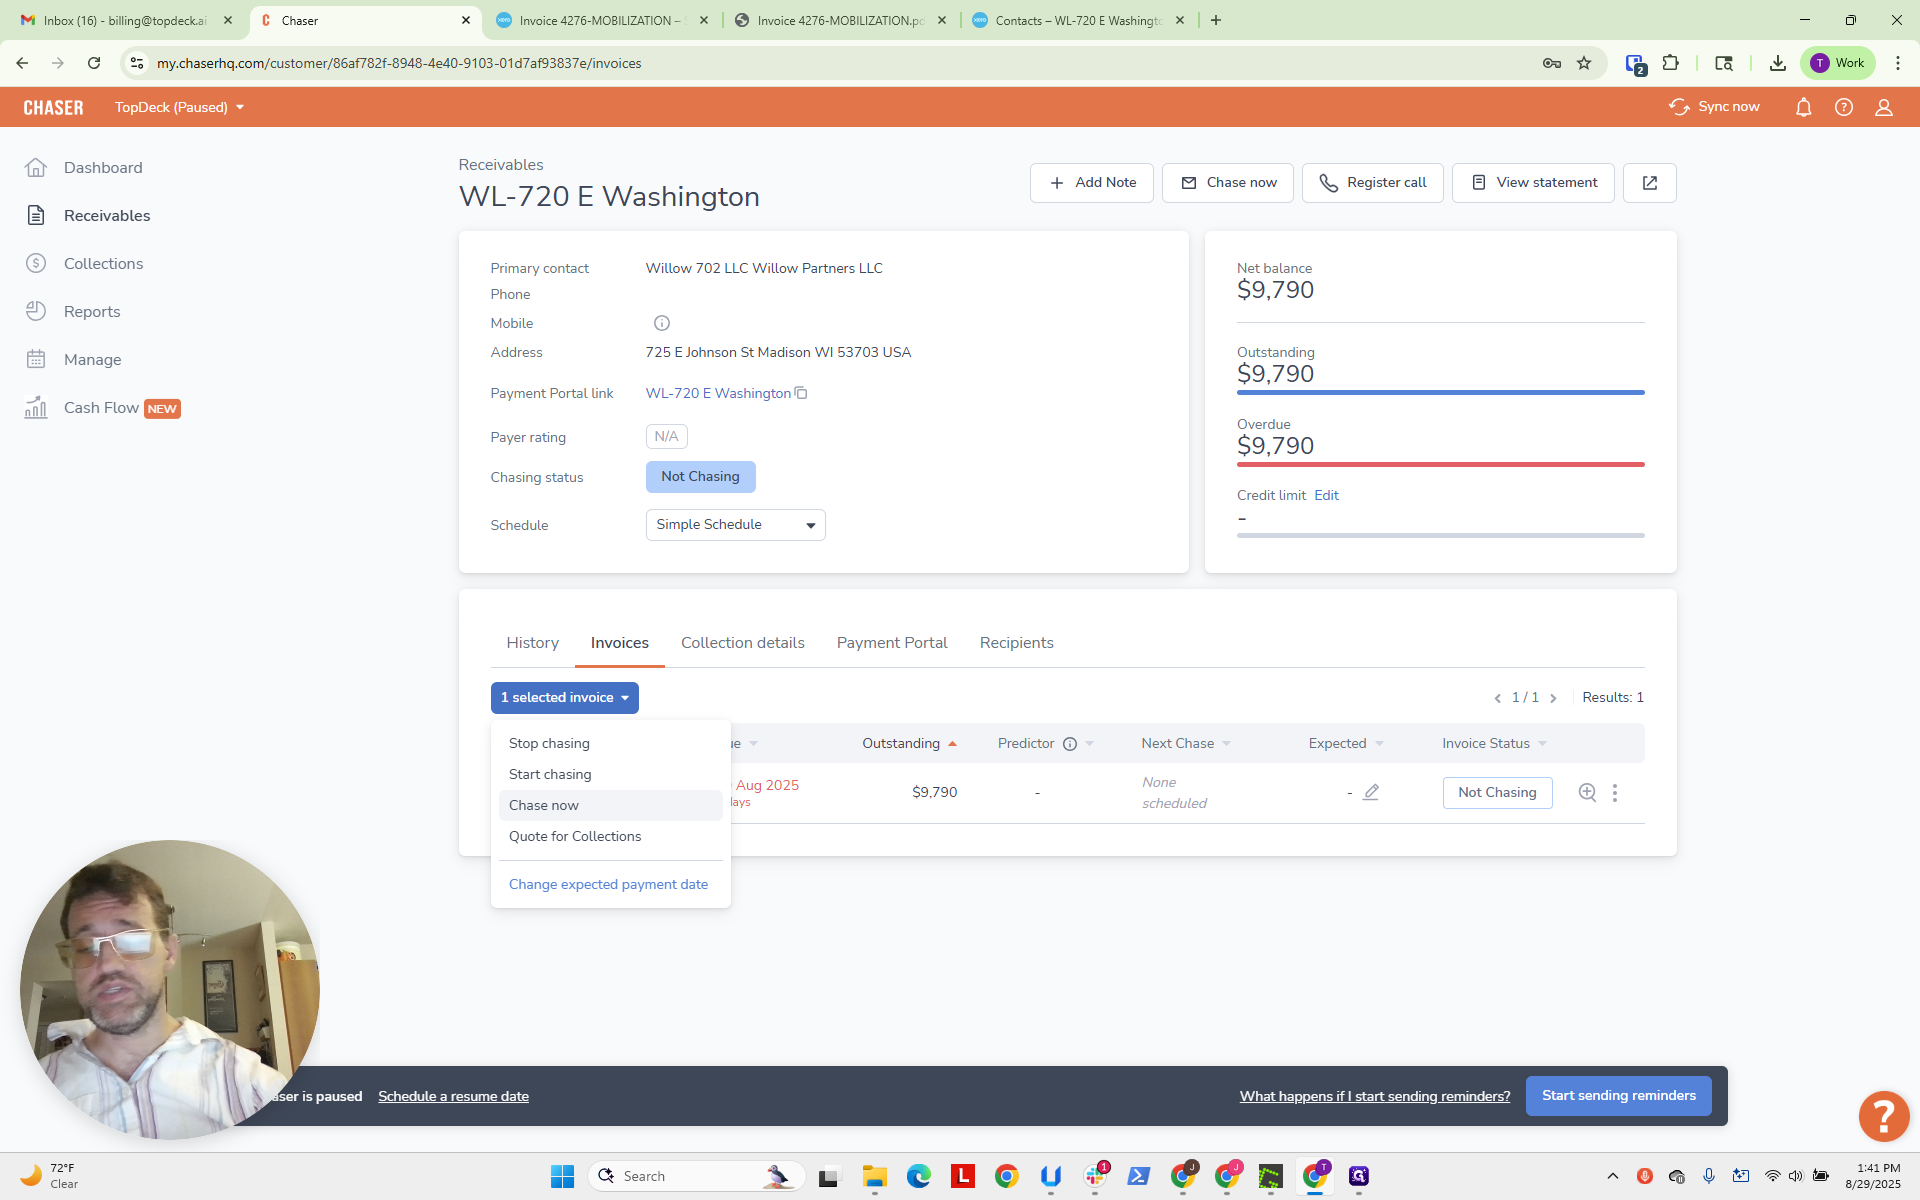
We're going to select...

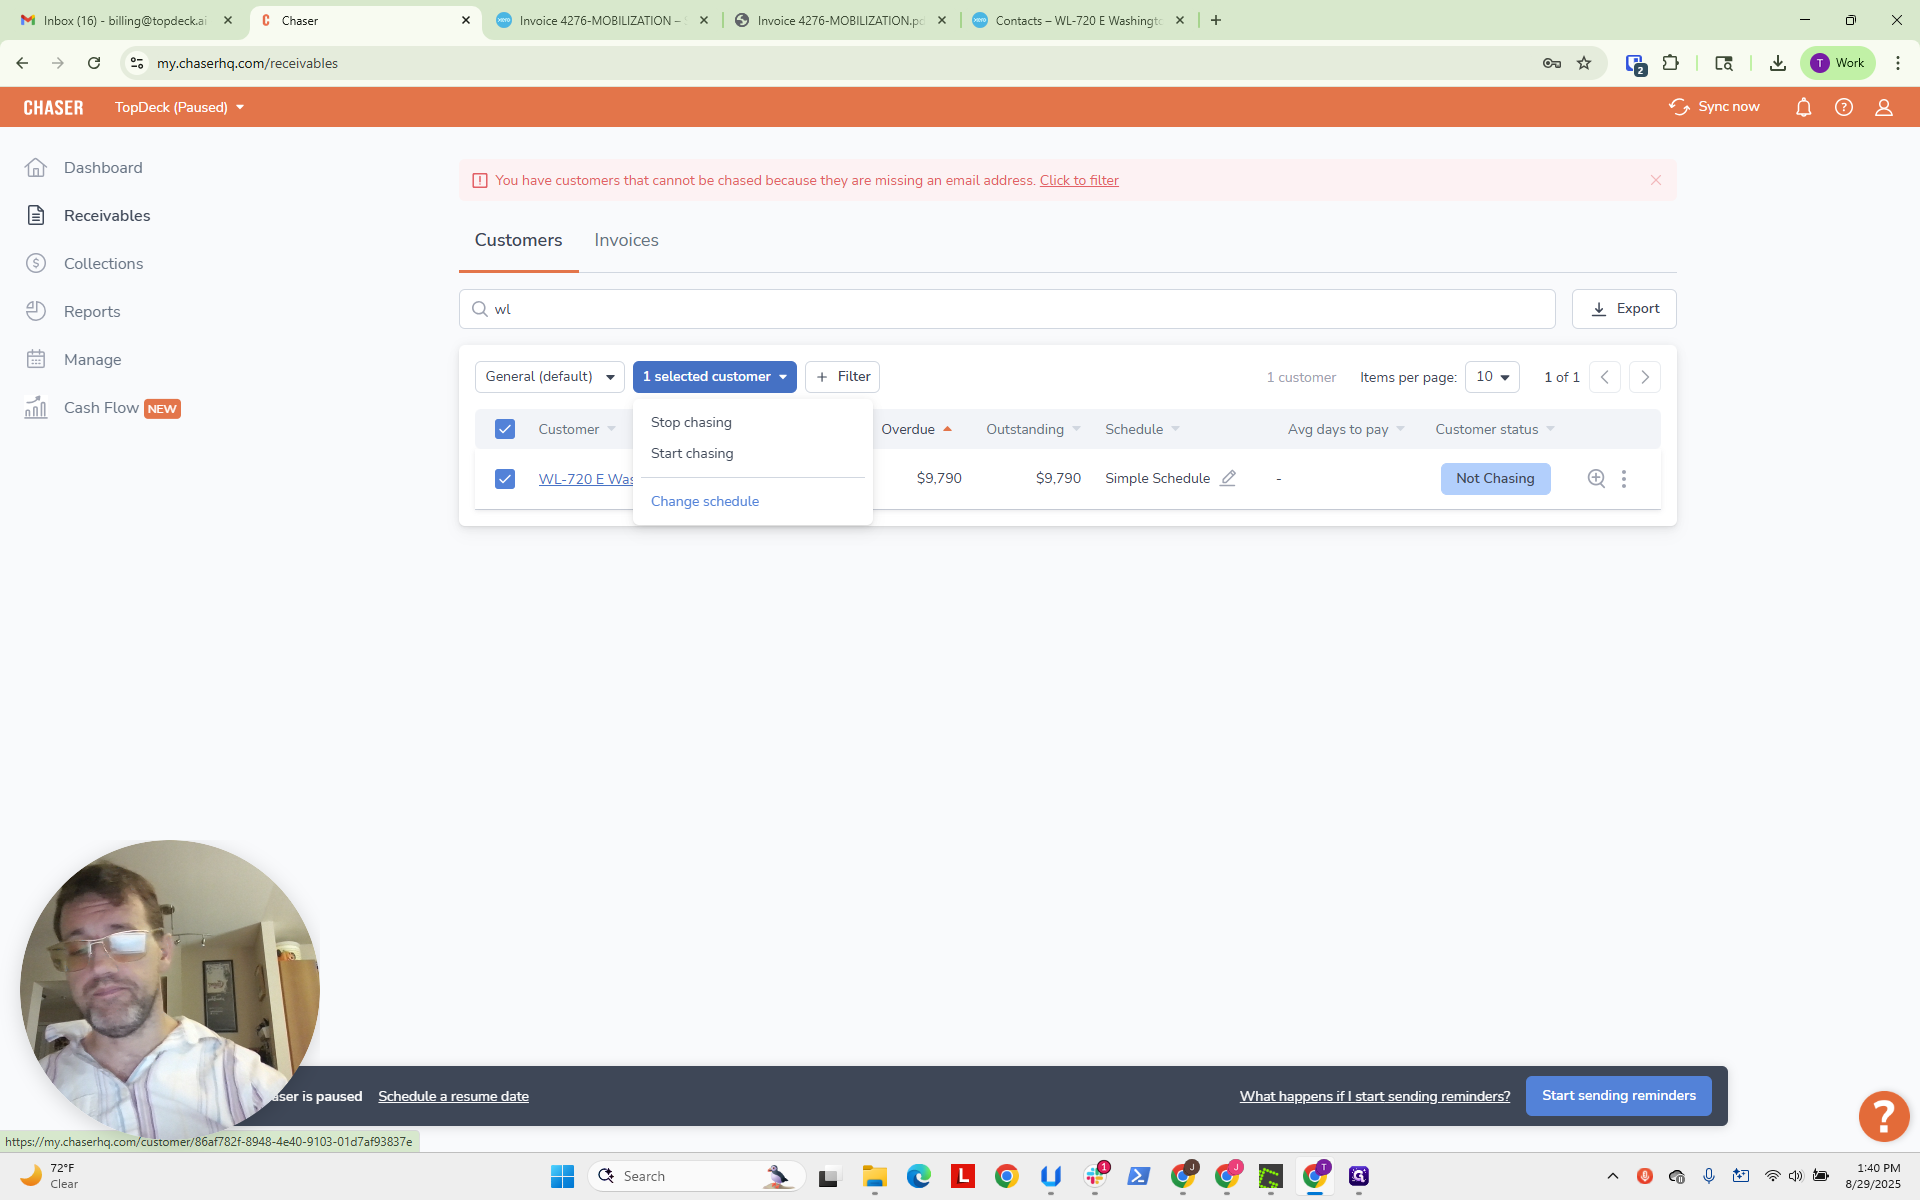
We will change the status to "Stop Chasing" because it is an automated status.

We're going to click on this customer.
Now we are in the customer pane. Now we need to set up the recipients.
As mentioned earlier, we will set Mitch as the recipient.


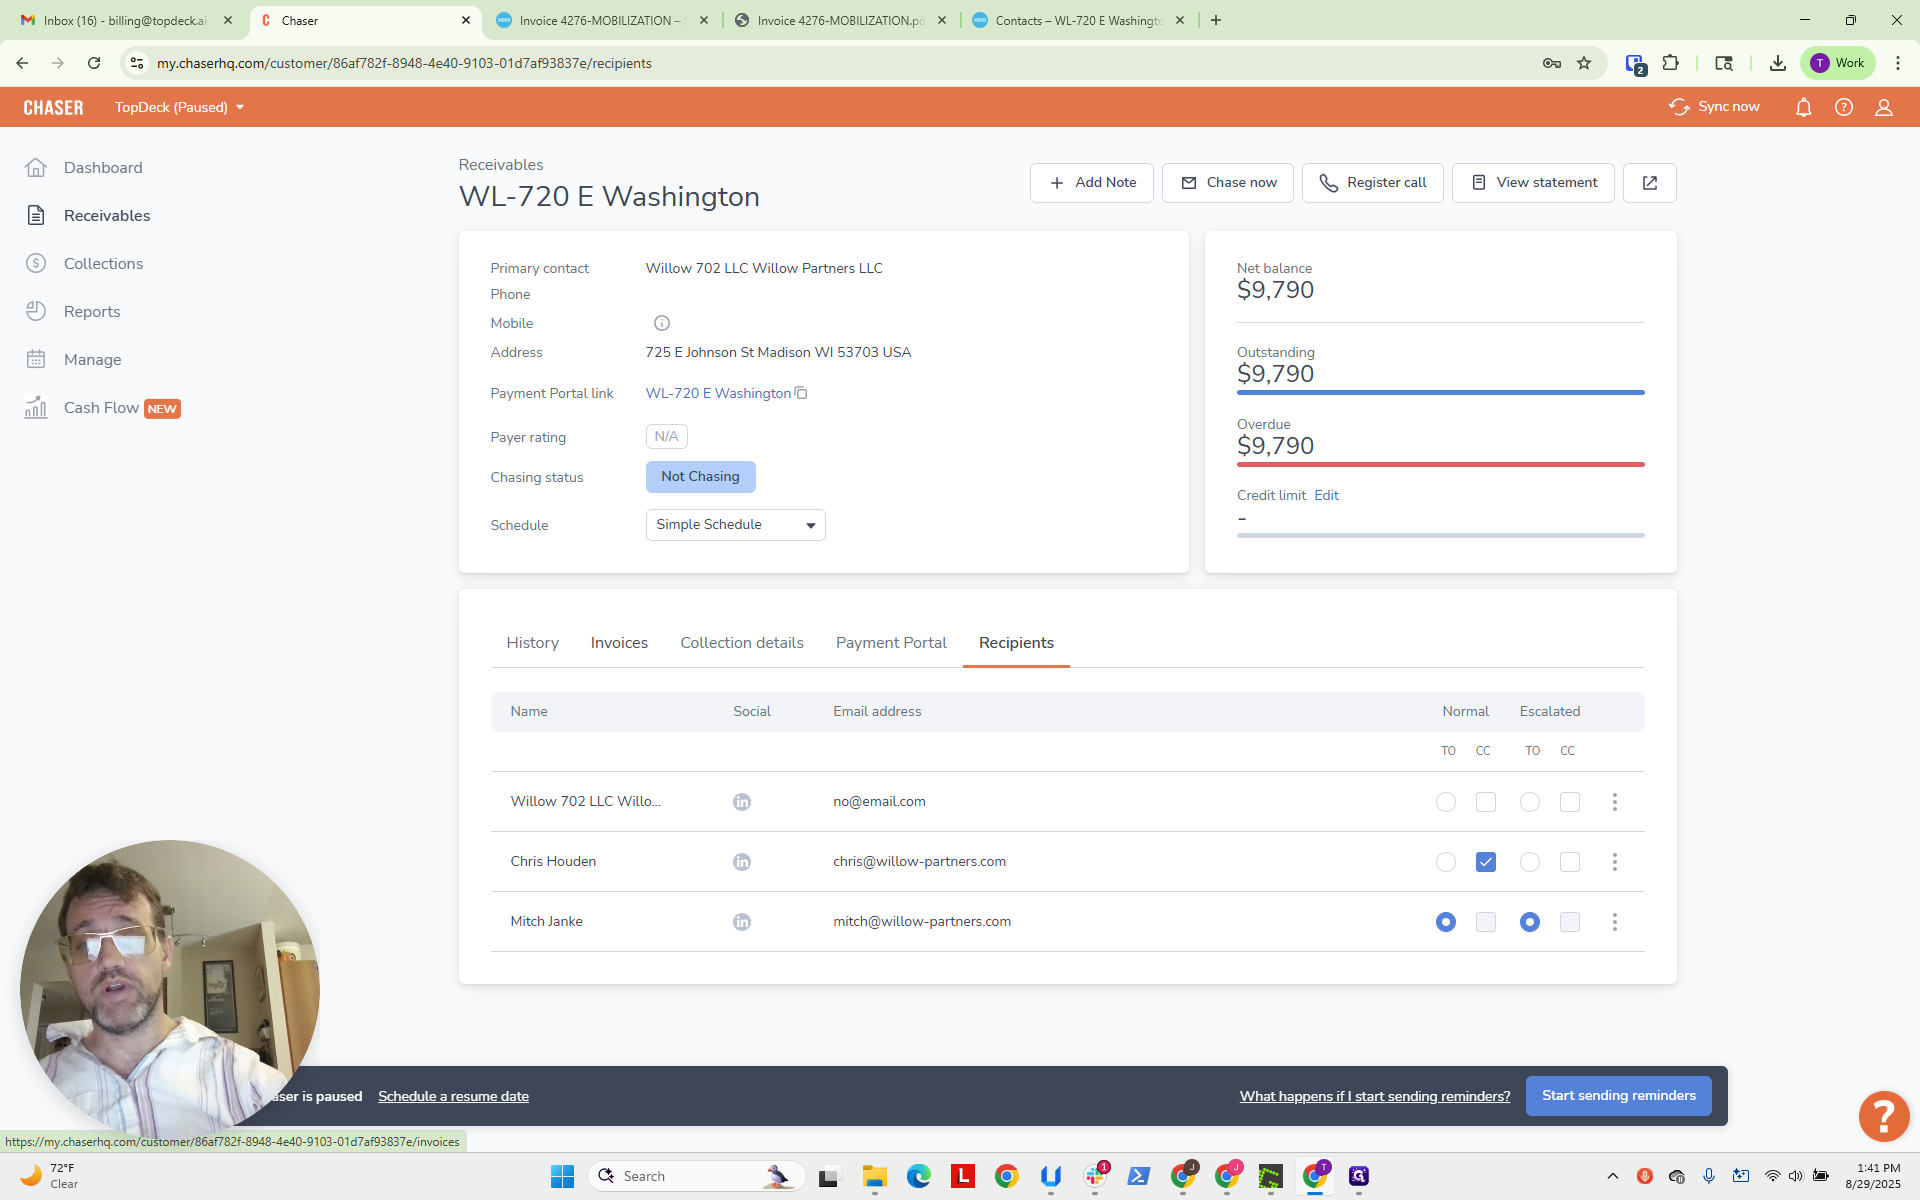
We will set Chris Hodan as the CC.
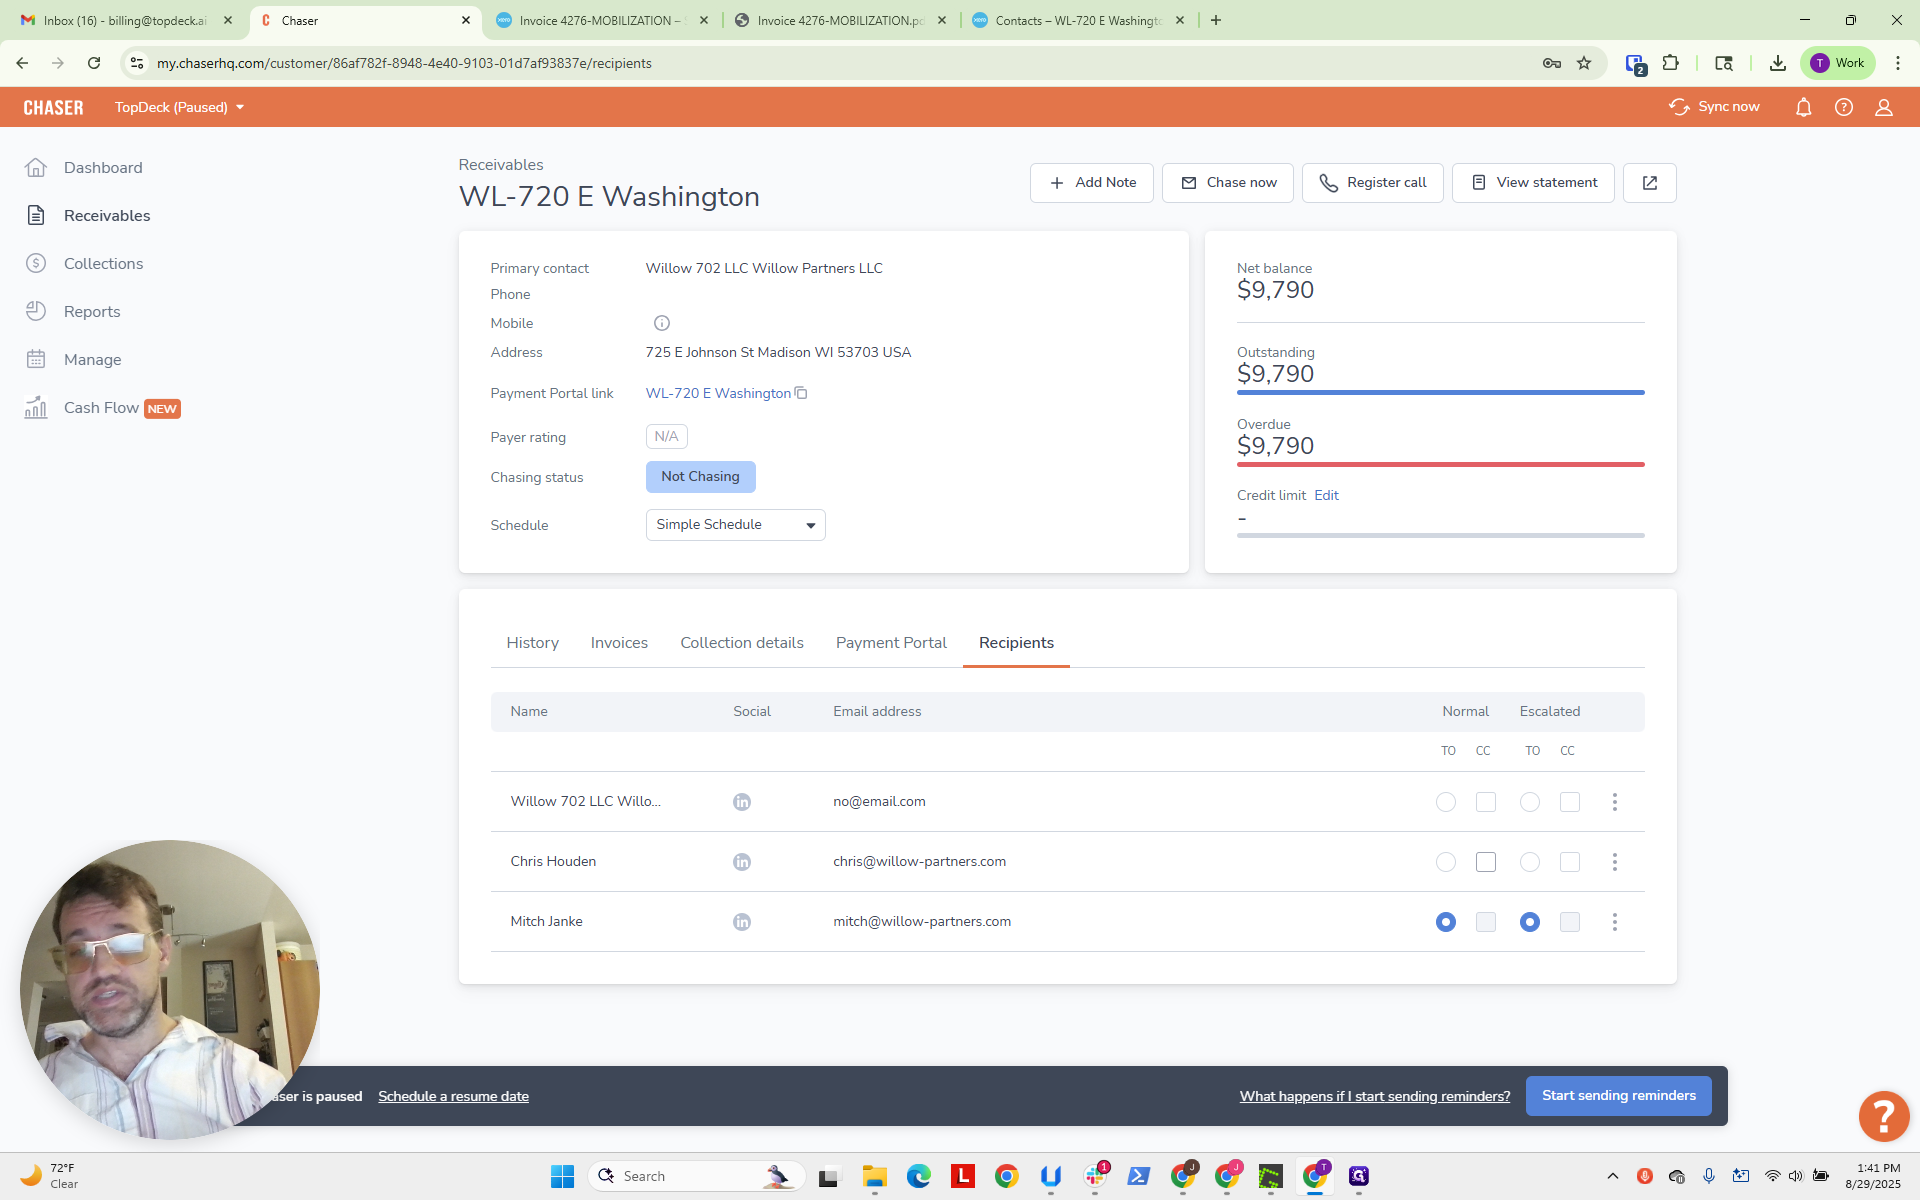
We will ensure that nothing is sent to no@email.com. Now, we will click on the invoices.
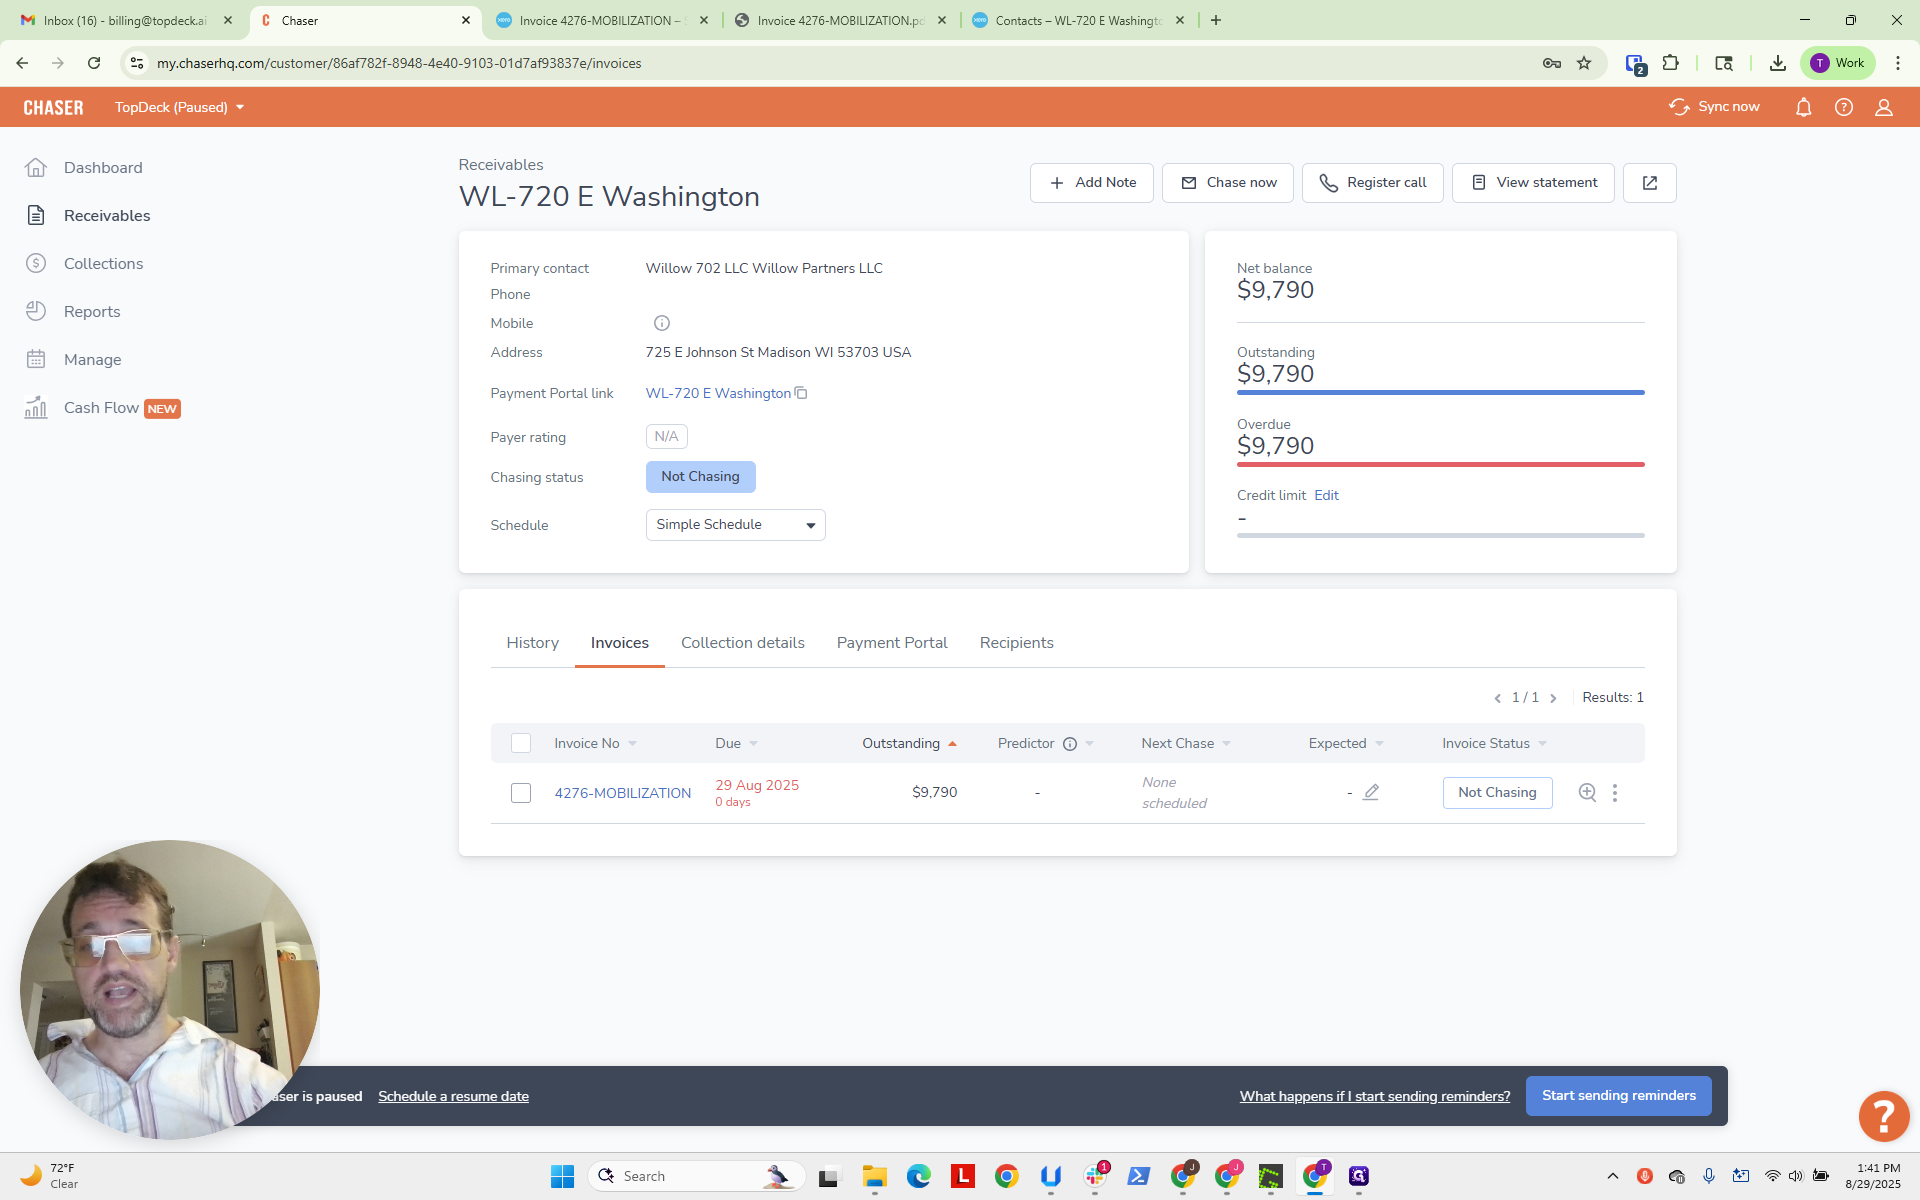
We will select this invoice and follow up now.
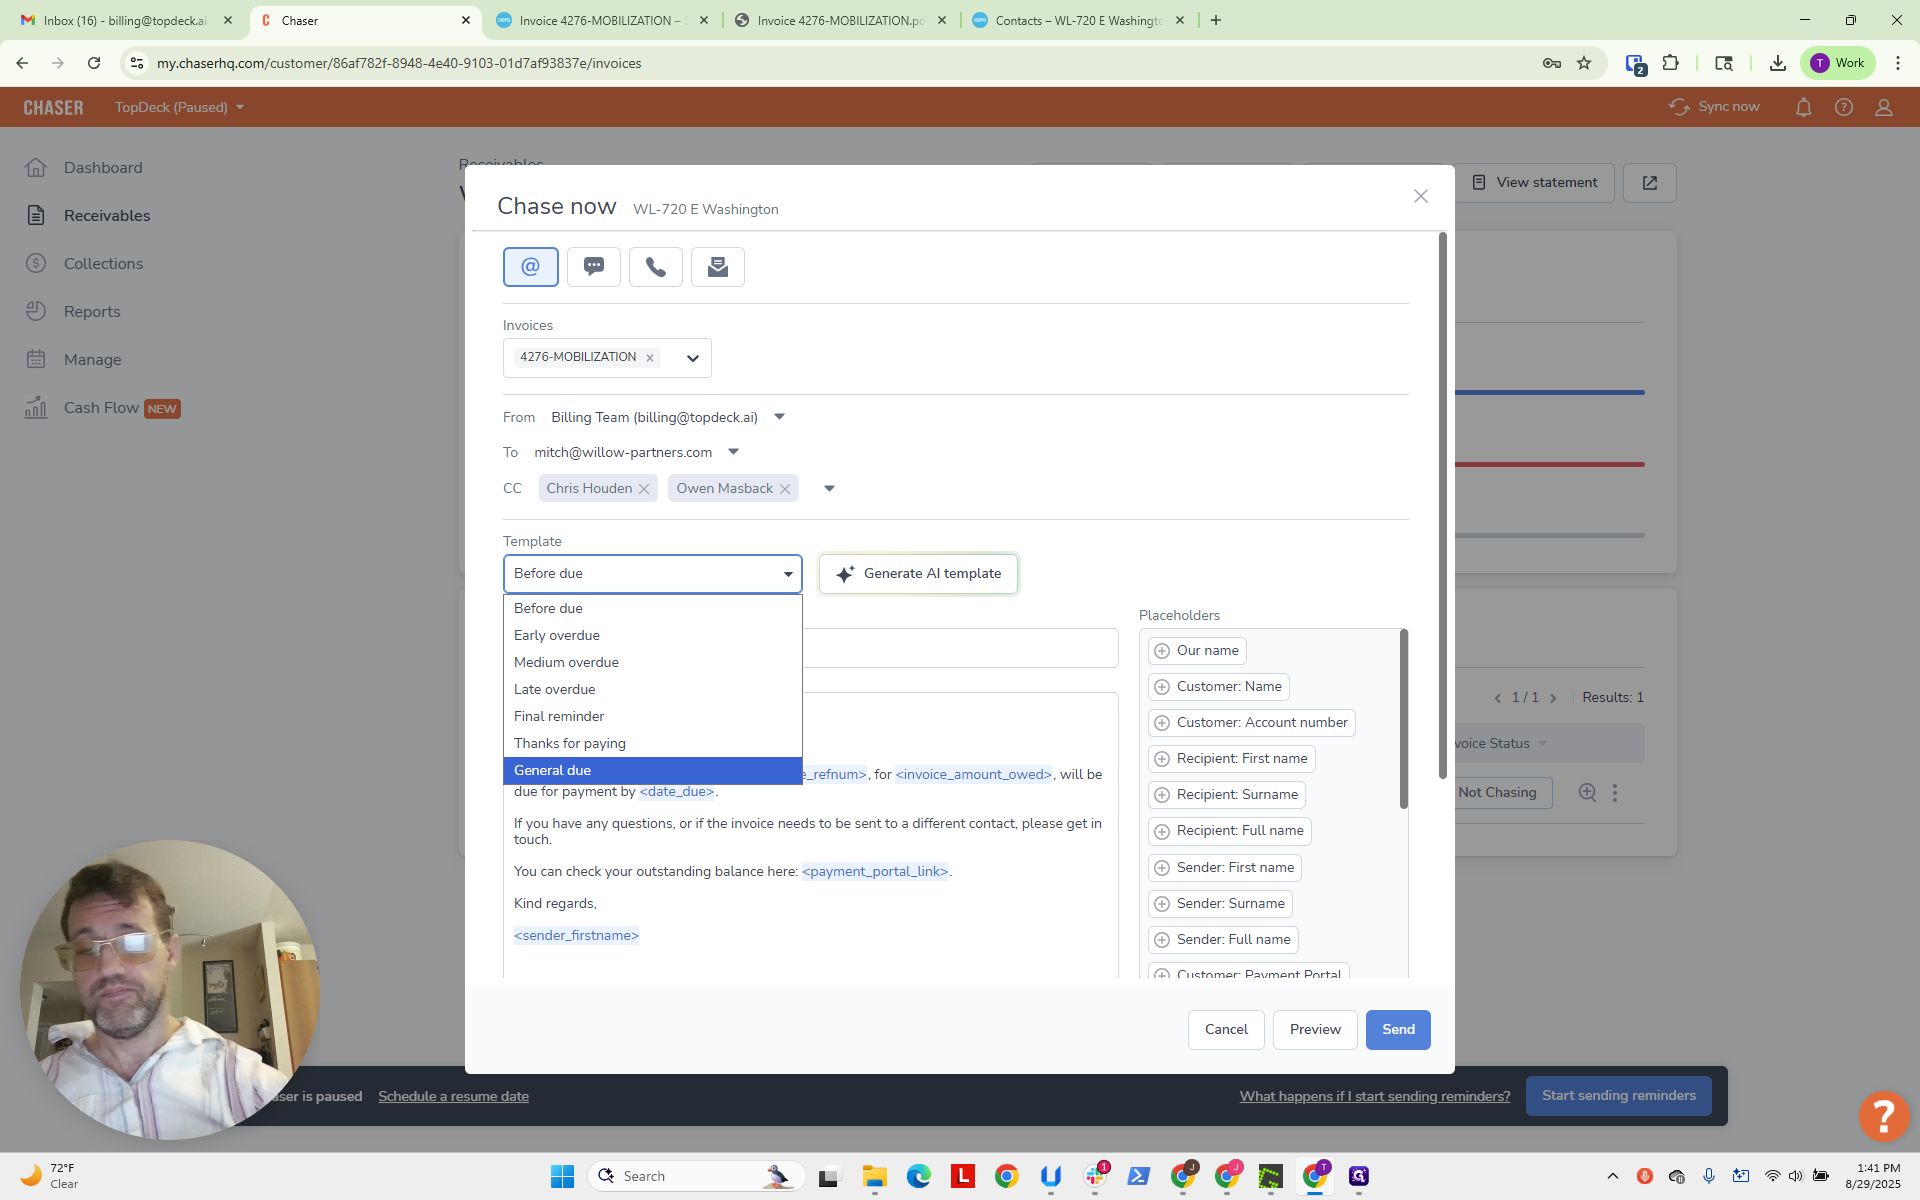
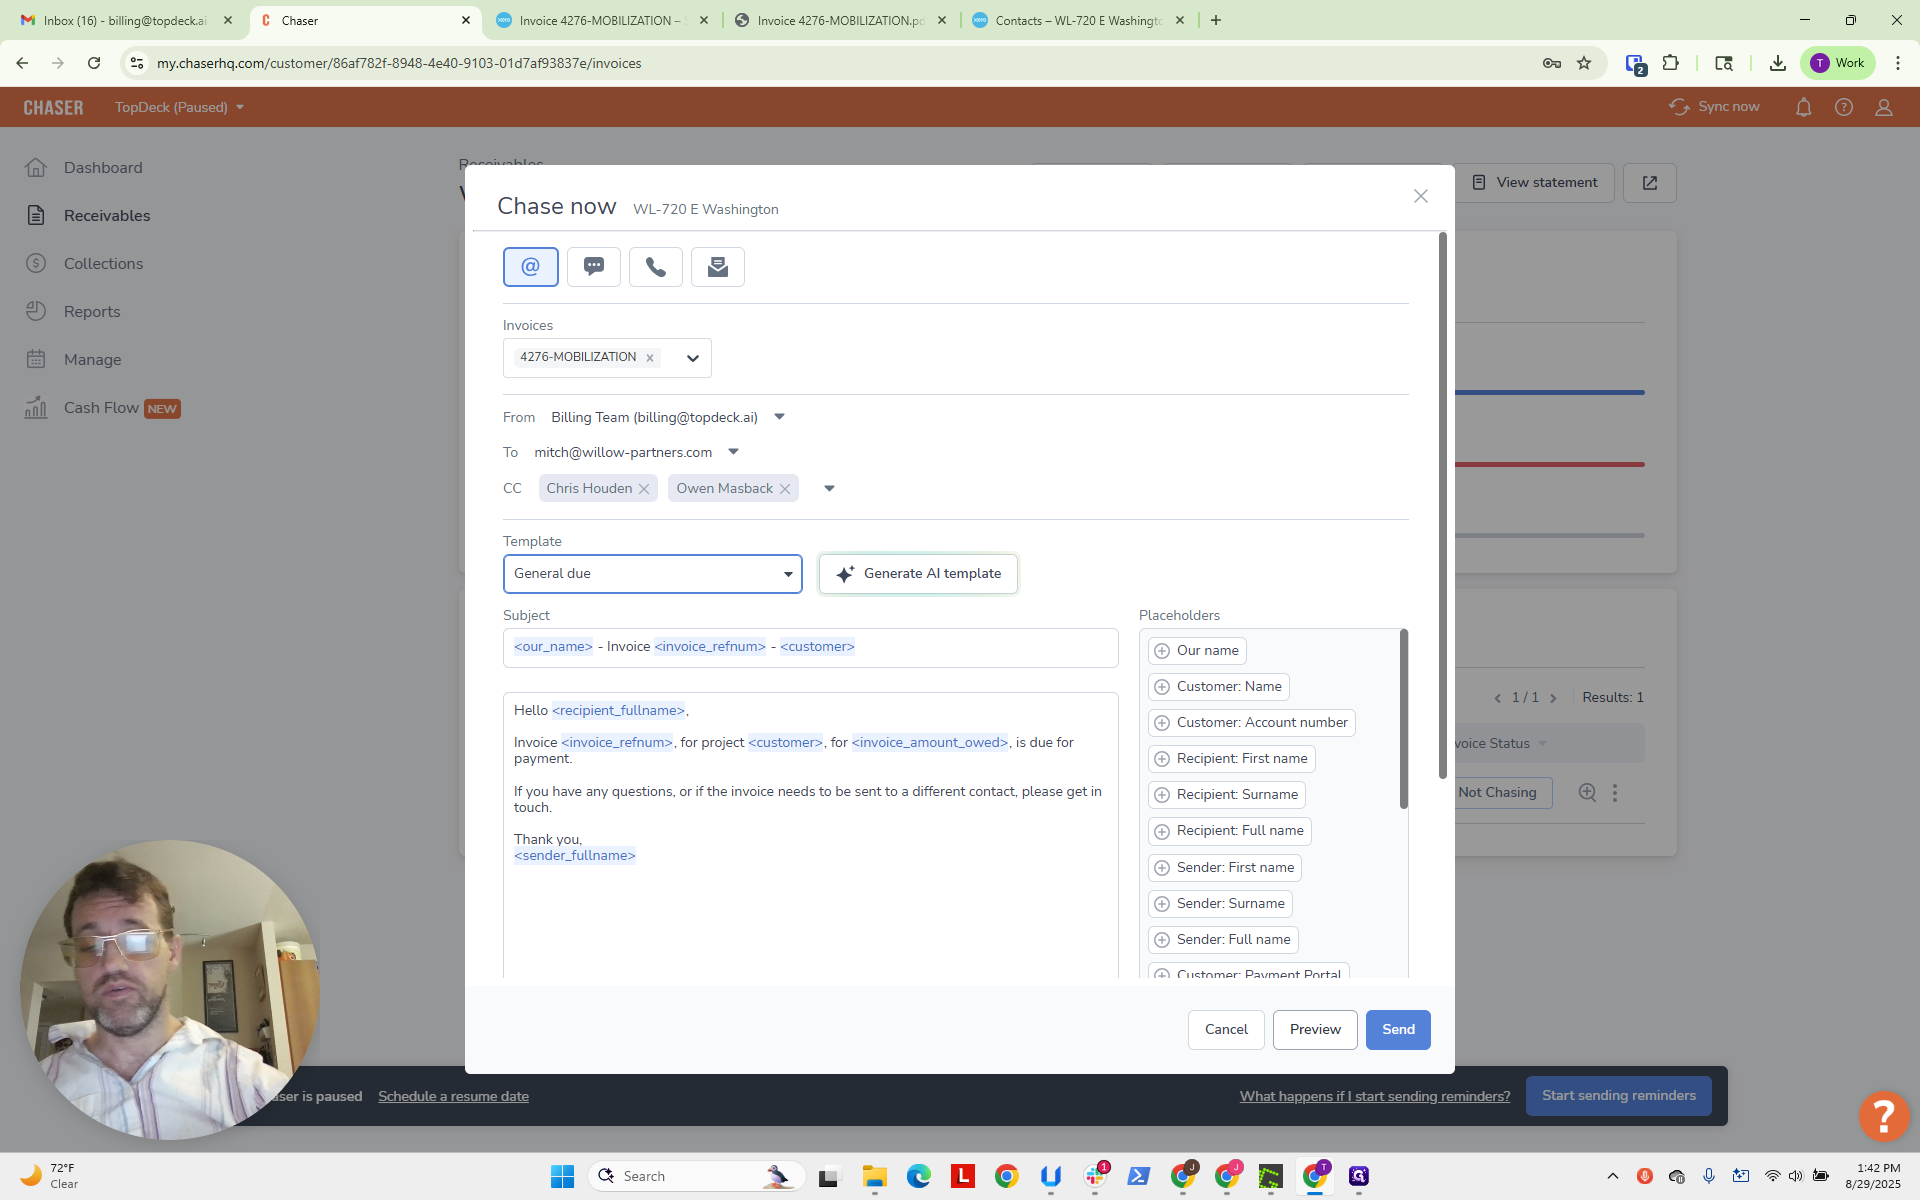
Now, in this pane, you'll see the layout. Here is the invoice. This shows the sender, the recipient, and the CCs. Owen is a default on these. This is important. Switch the template to General Due.
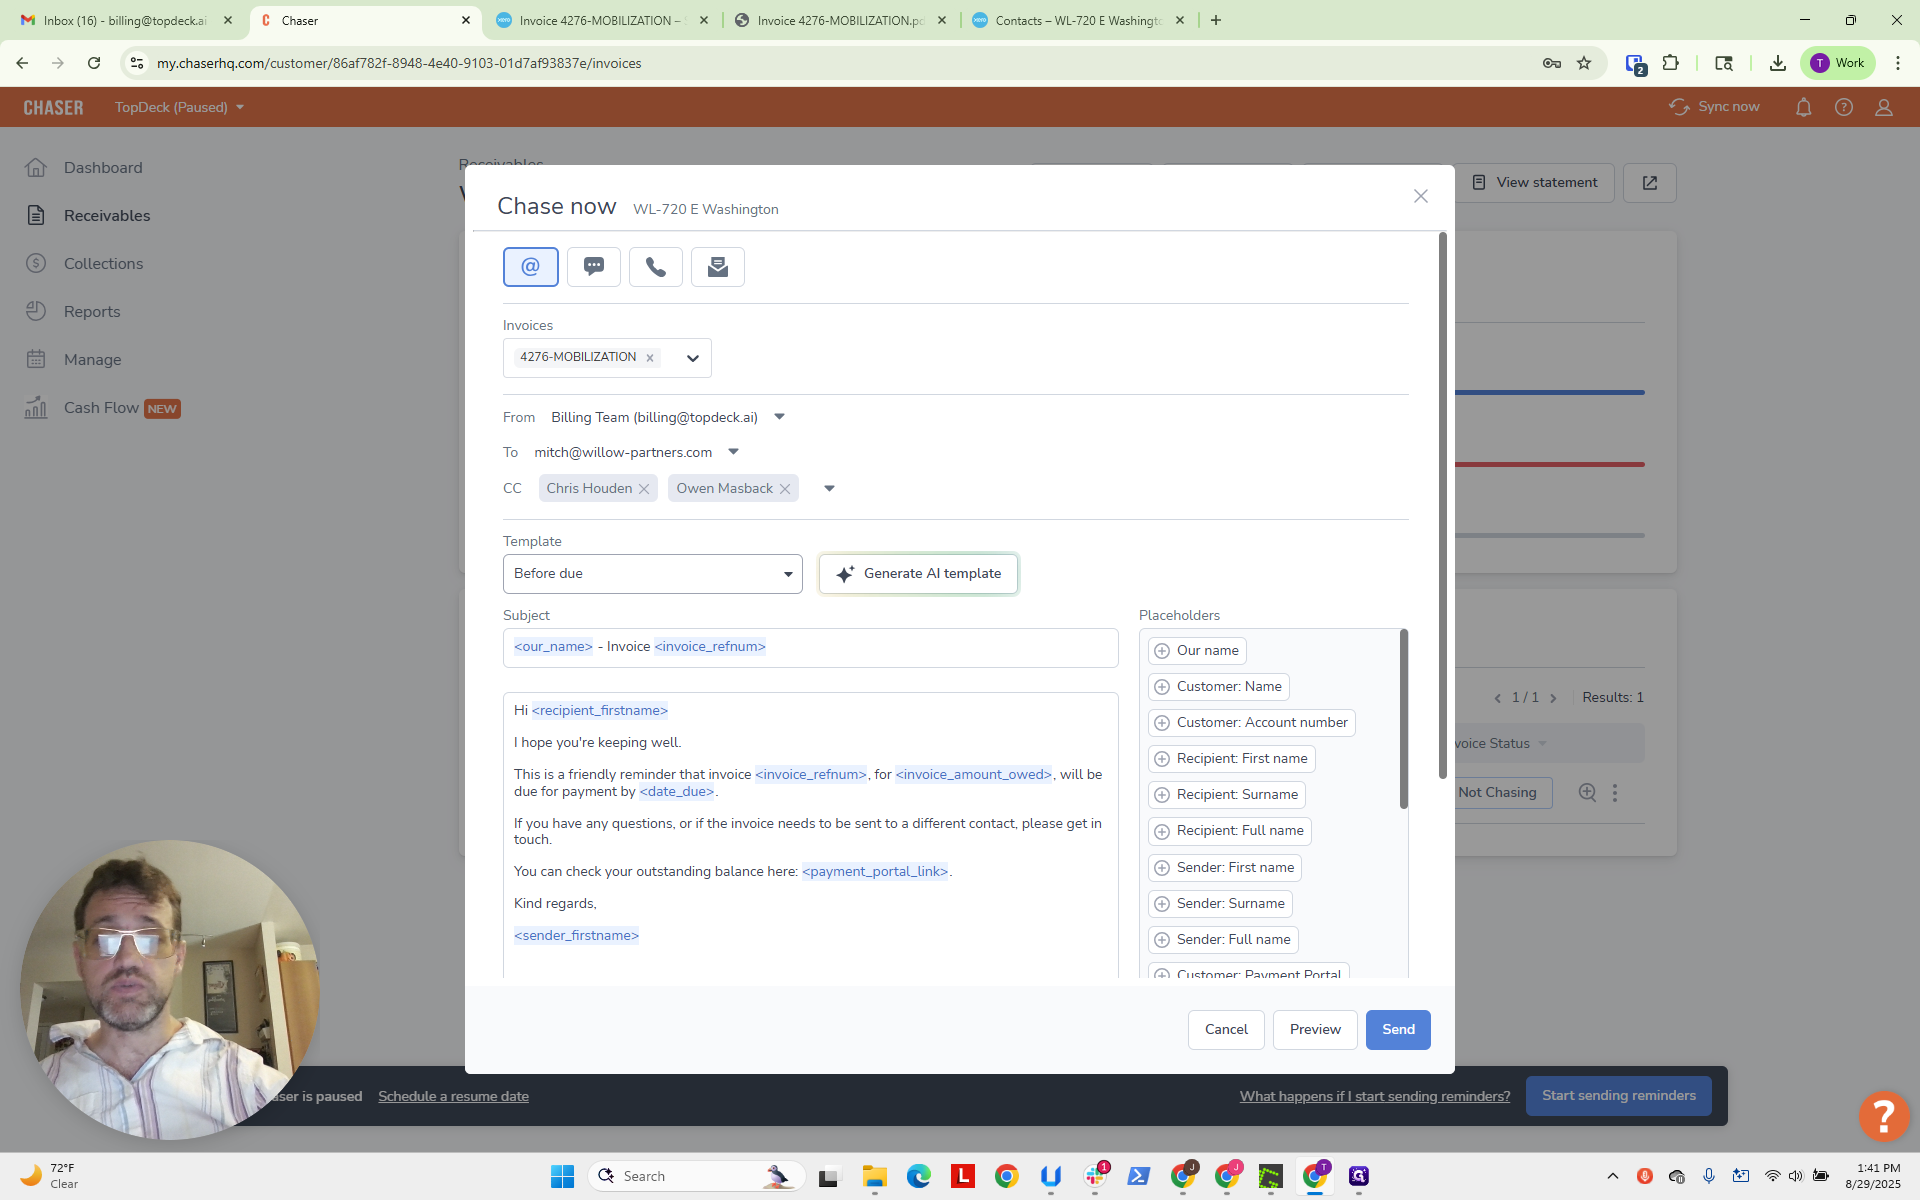
You can see it fills in with the desired language and other details.
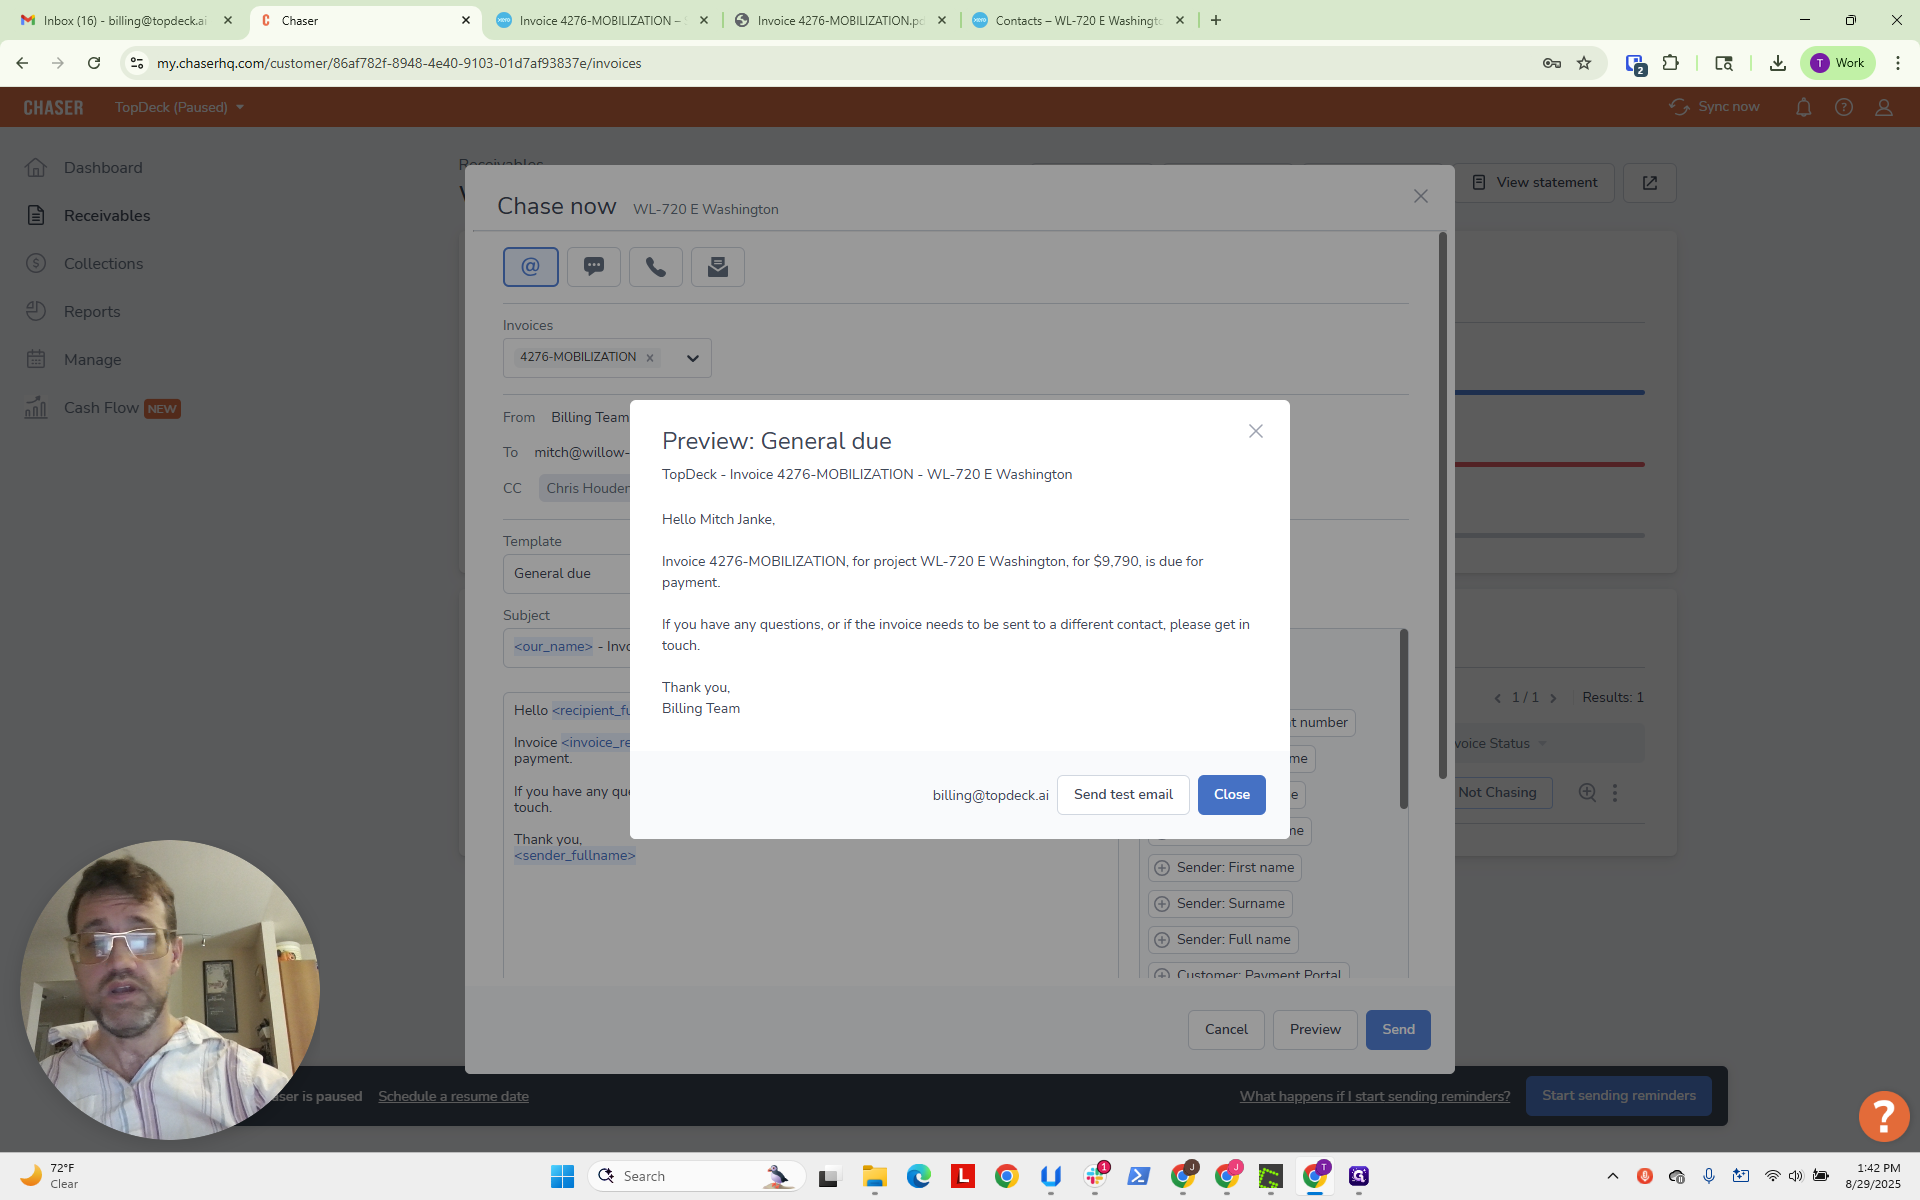
The final step is to preview how the email will look.
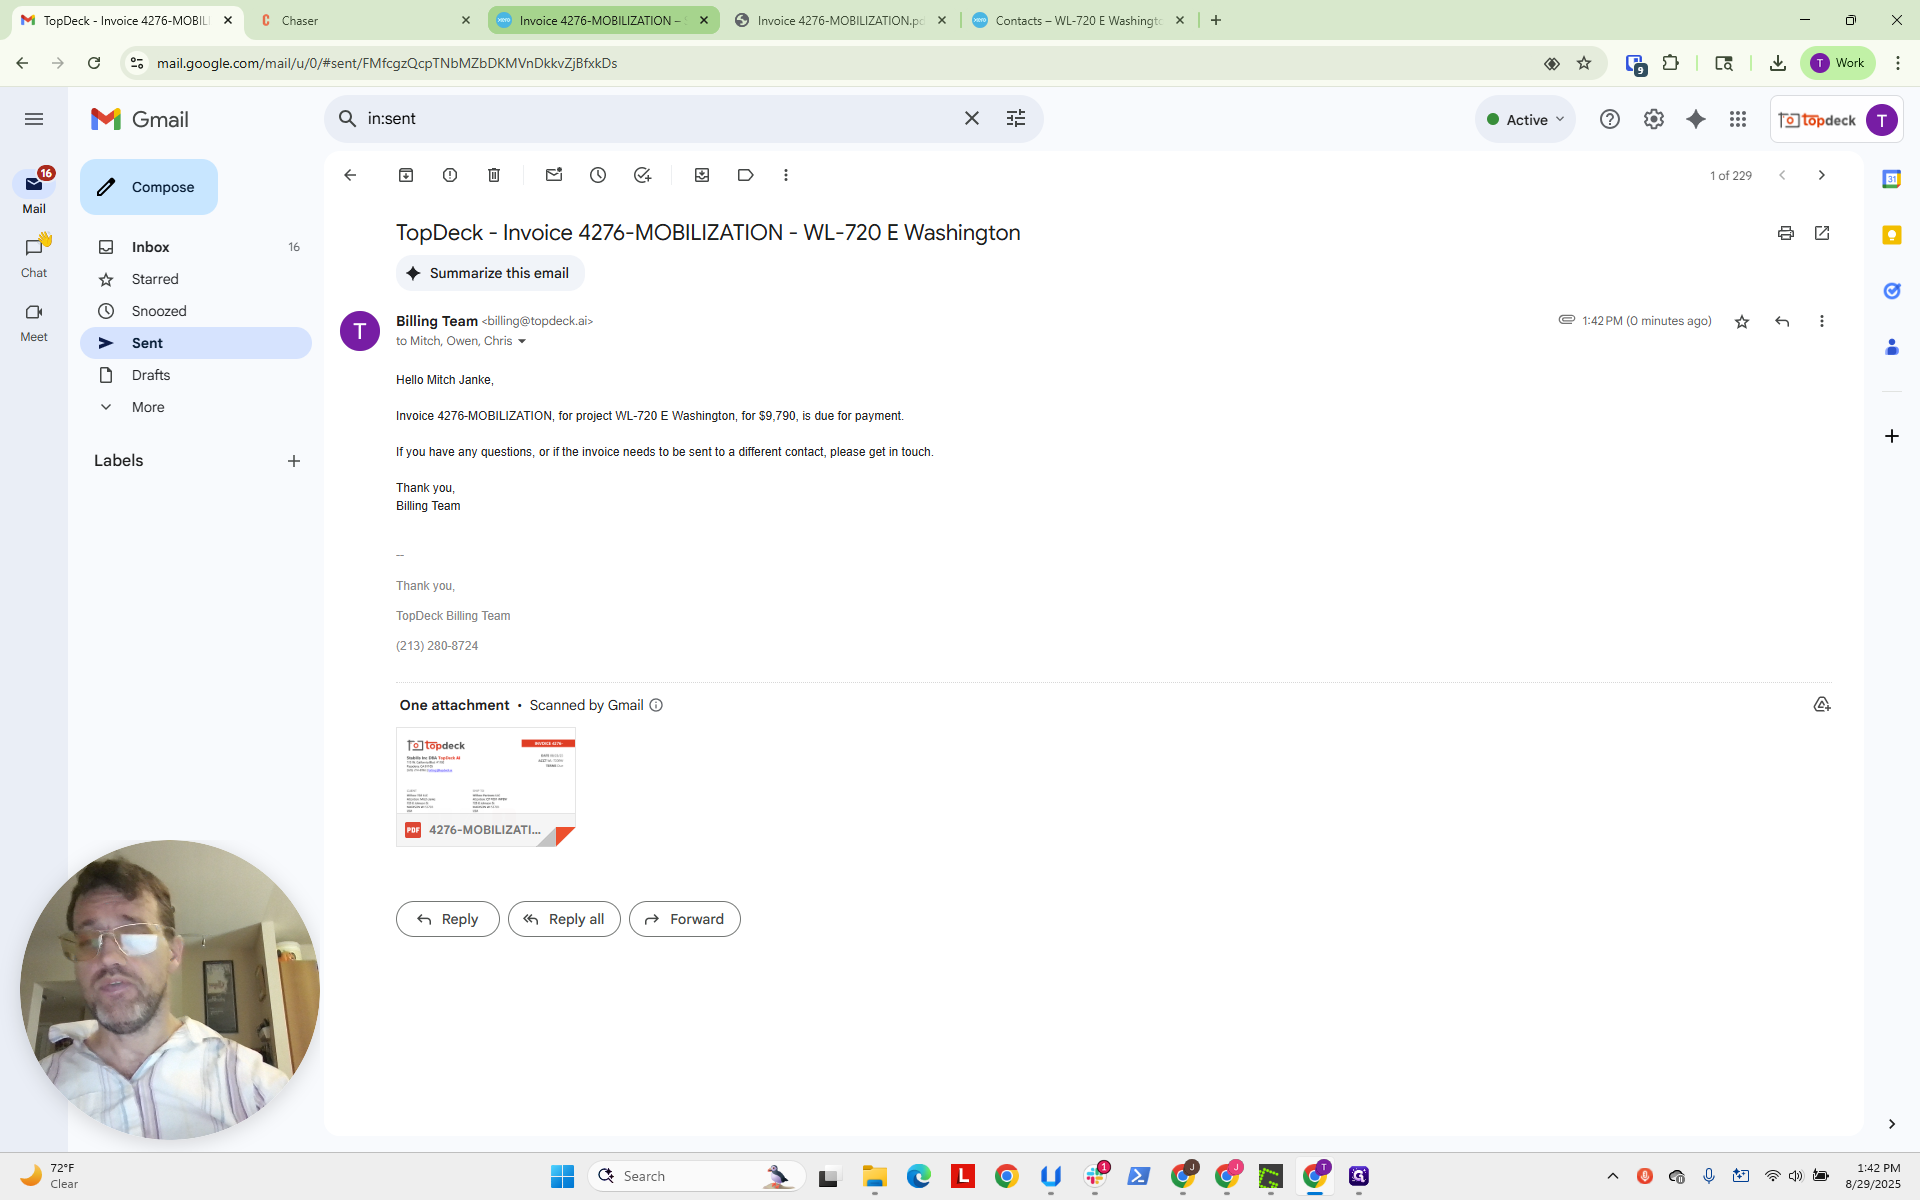
"Hello Mitch Janke, the invoice mobilization for the project in this amount is due for payment. If you have any questions, please get in touch. Thank you. Billing team." That looks good.
Click Close, then click Send.

It now says it was sent successfully.
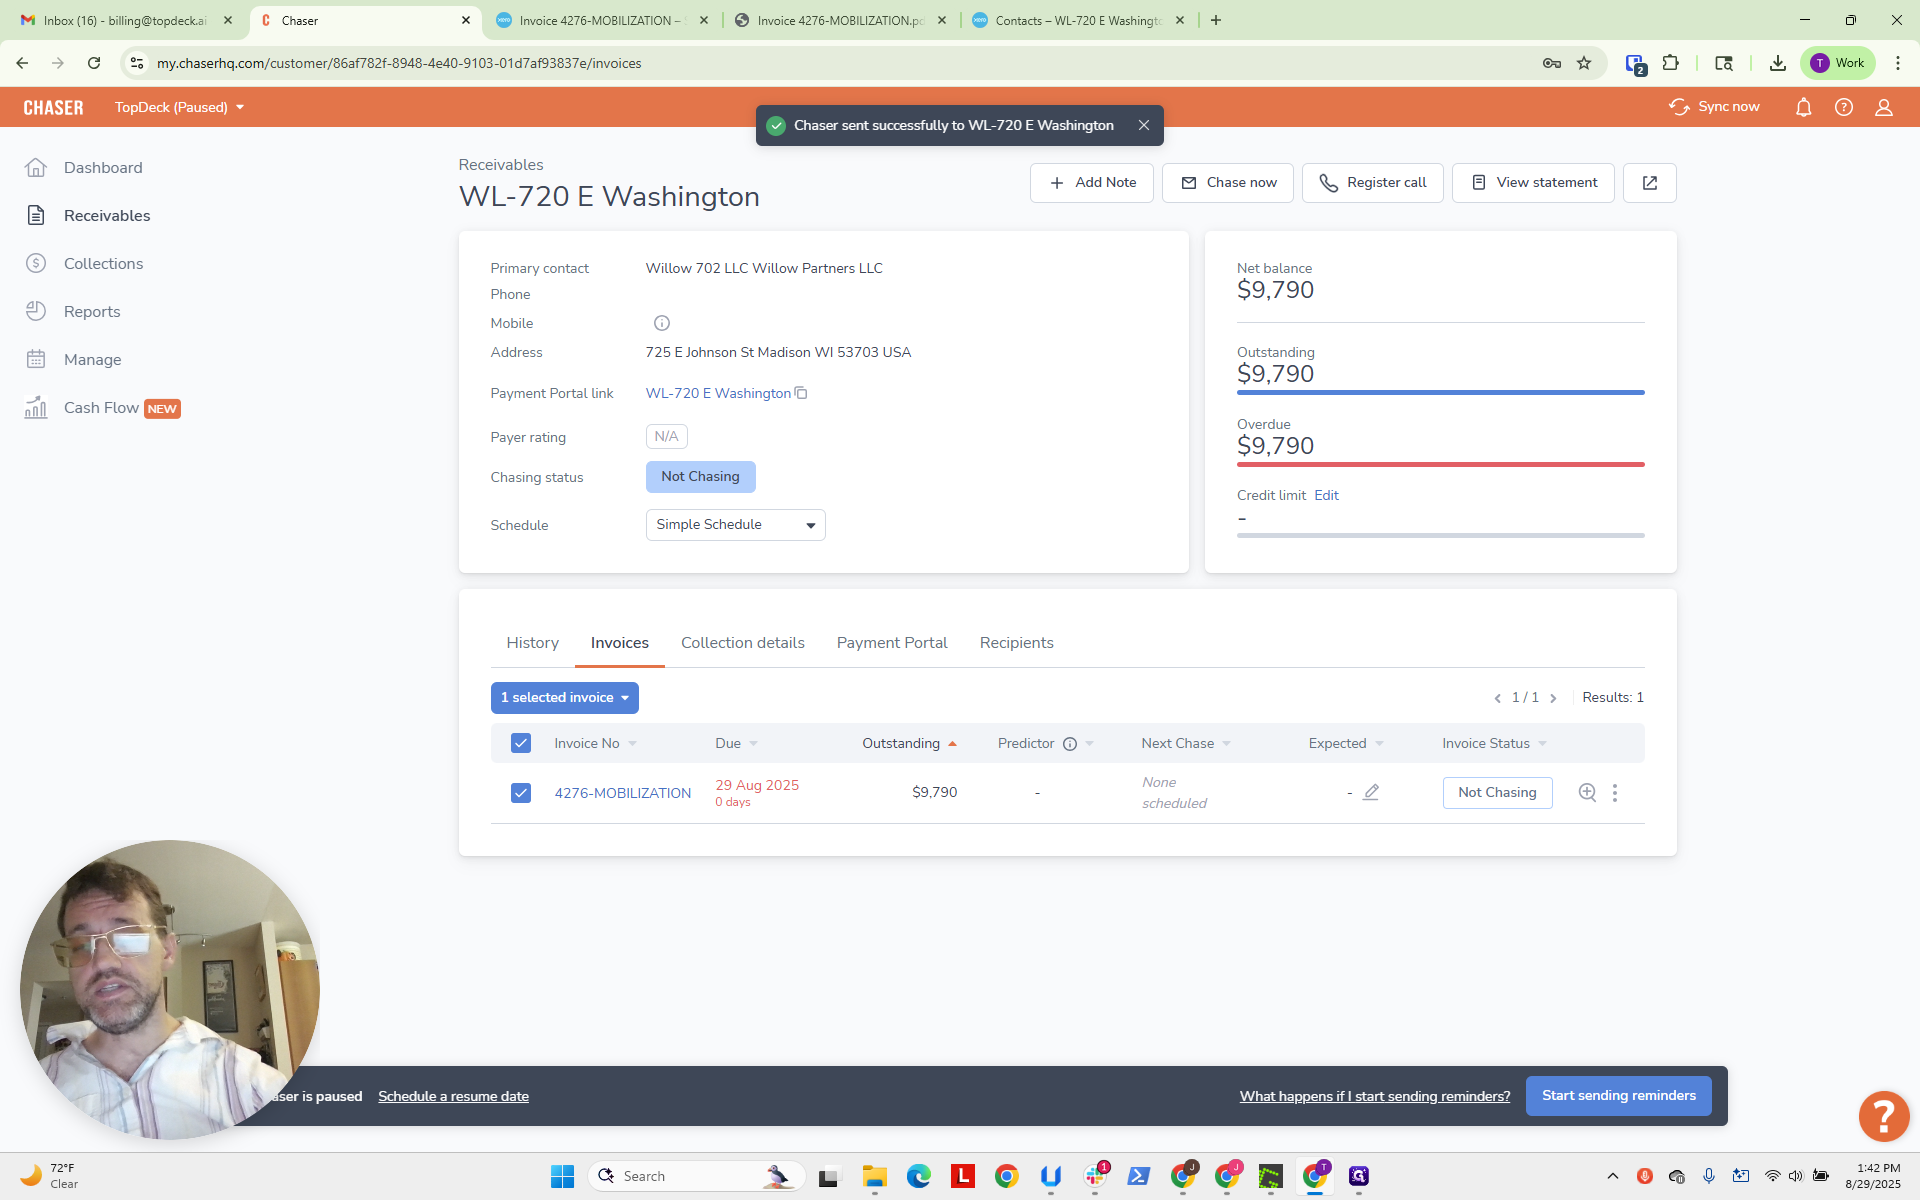
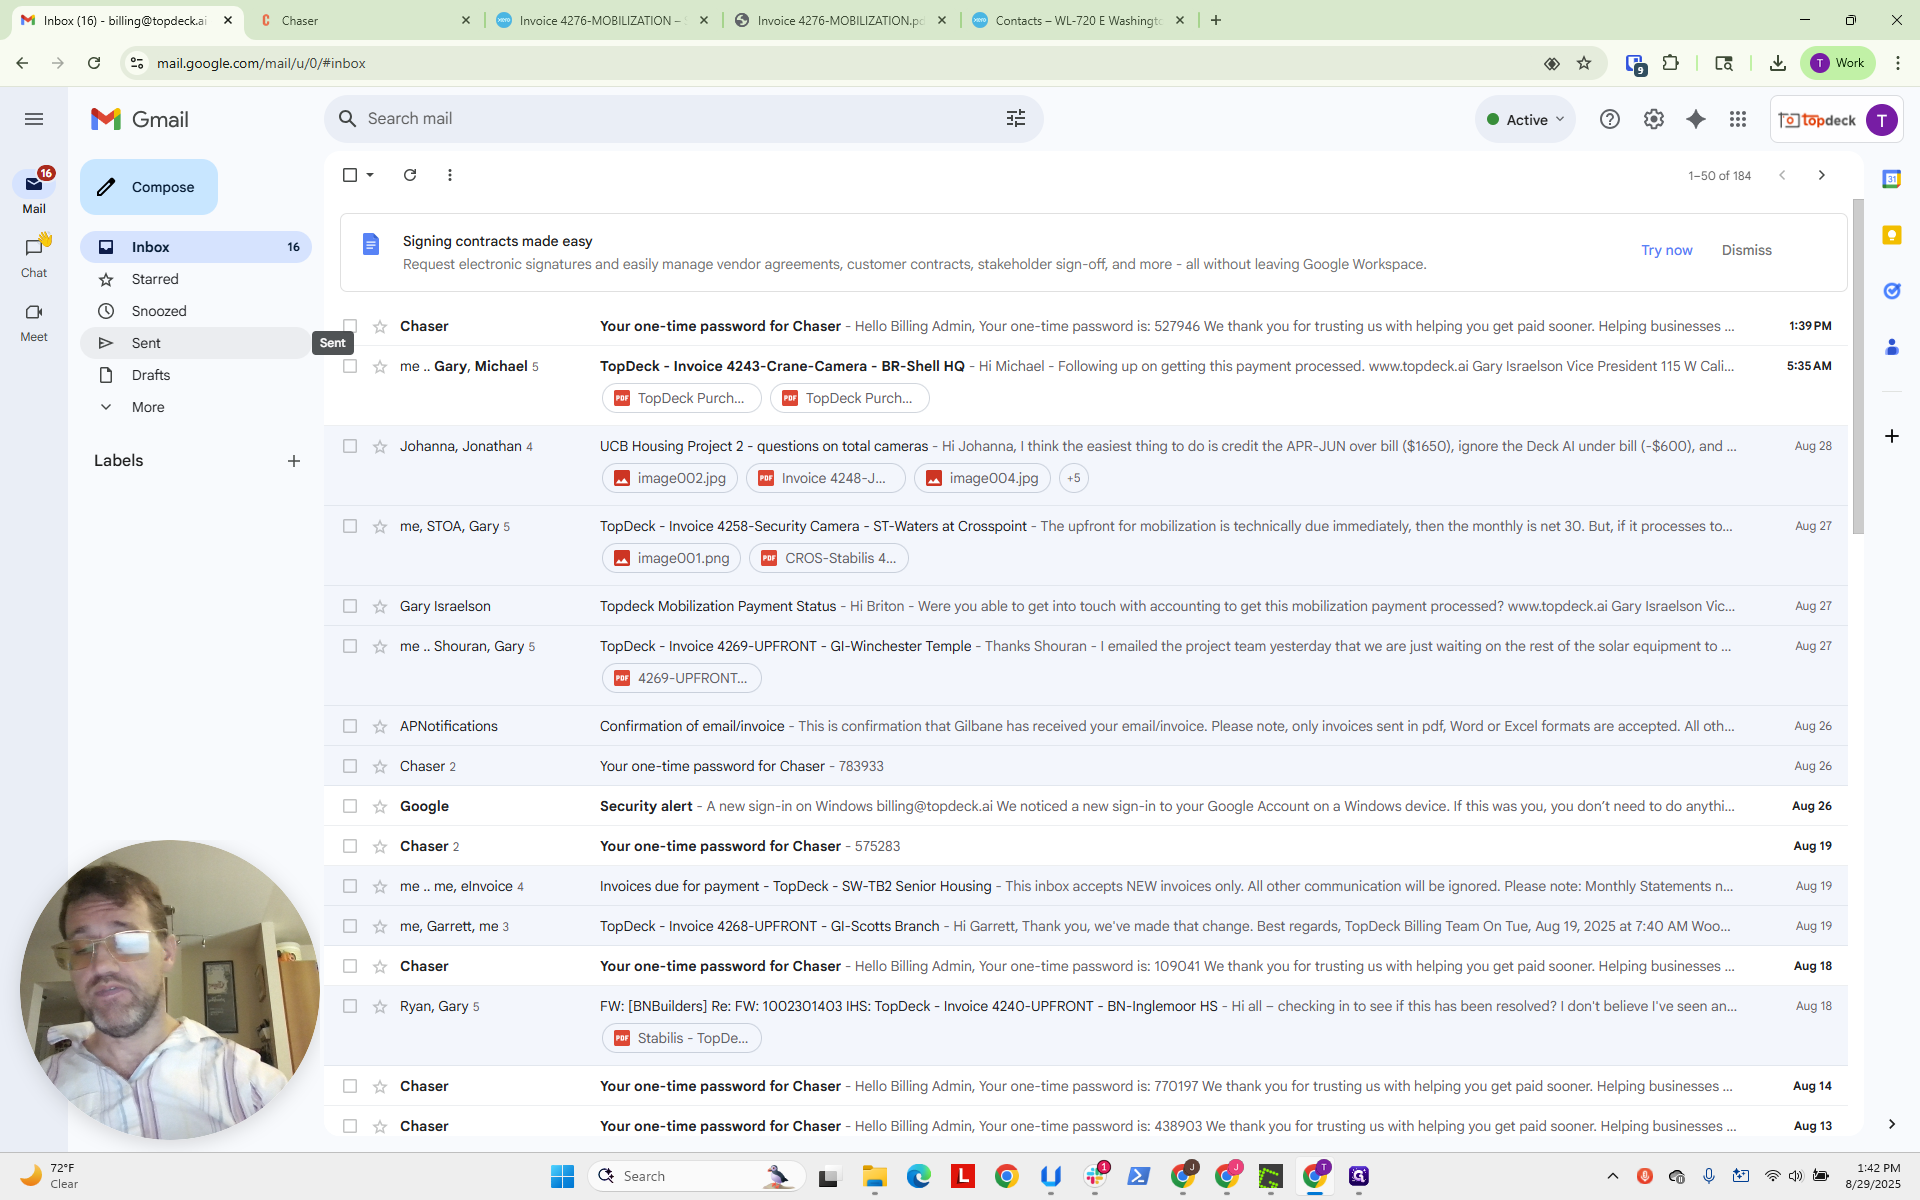
As a final check, go back to Billing.

If you click on "Sent," you should see it, and we do.
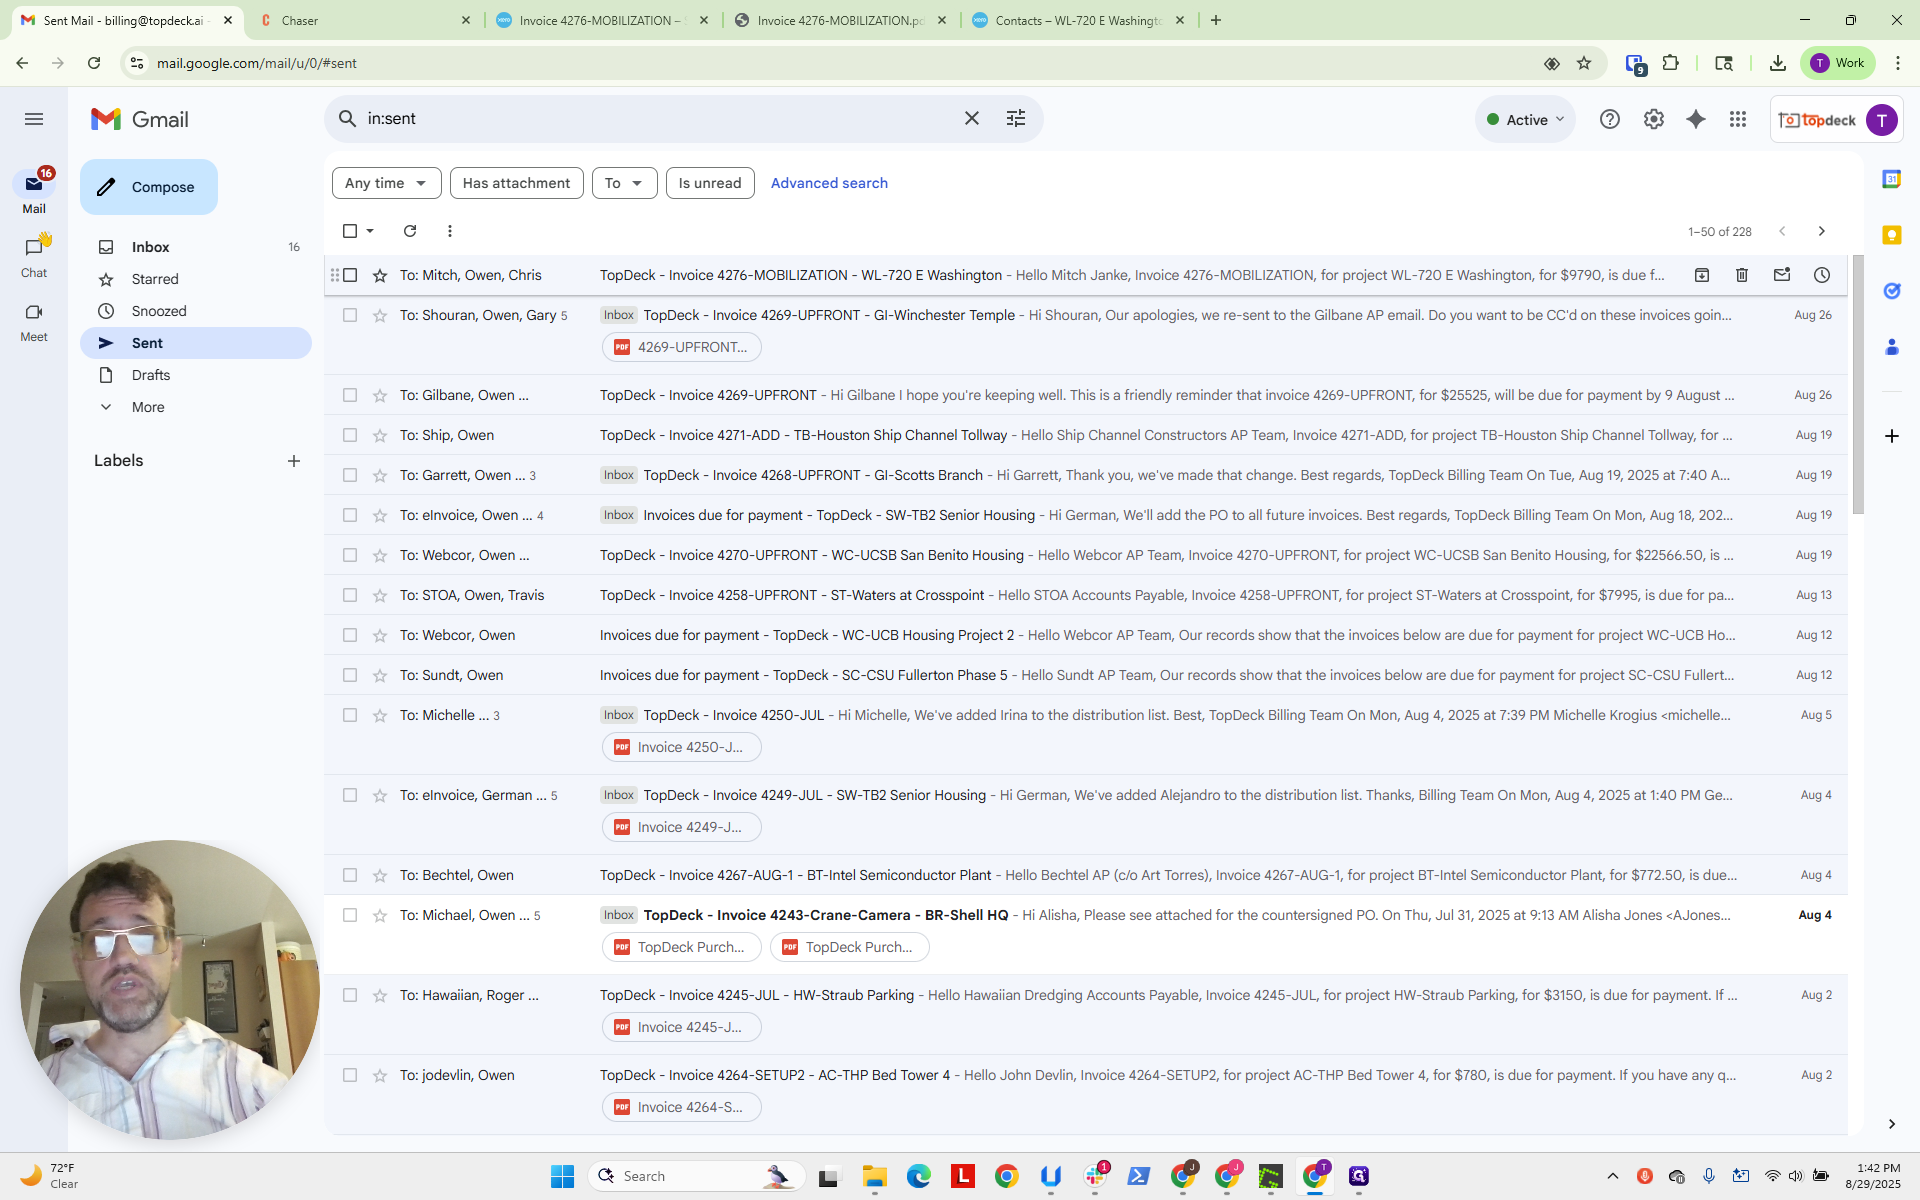
It includes the attachment. That is done. That is how you send an invoice to a customer. Because we already clicked Send before clicking Print, the message is marked as Sent here.
But if you haven't printed it, and you... Then you need to come back and click Send at this checkbox.
Okay. Thanks.