How to Send GIFs Using Snappy Dashboard for Q4 Spiff 2024
Learn how to effectively send GIFs using the Snappy dashboard for your Q4 Spiff 2024 campaign. Follow our step-by-step guide to personalize and manage your GIF campaigns.
In this guide, we'll learn how to send GIFs using the Snappy platform. We'll explore the process of logging into the Snappy dashboard via Google SSO, selecting GIF collections, and customizing the campaign for internal use. This guide will also cover how to manage budgets, personalize messages, and select recipients for your GIF campaigns. By the end, you'll be able to efficiently send and manage GIFs for your team's needs.
Let's get started
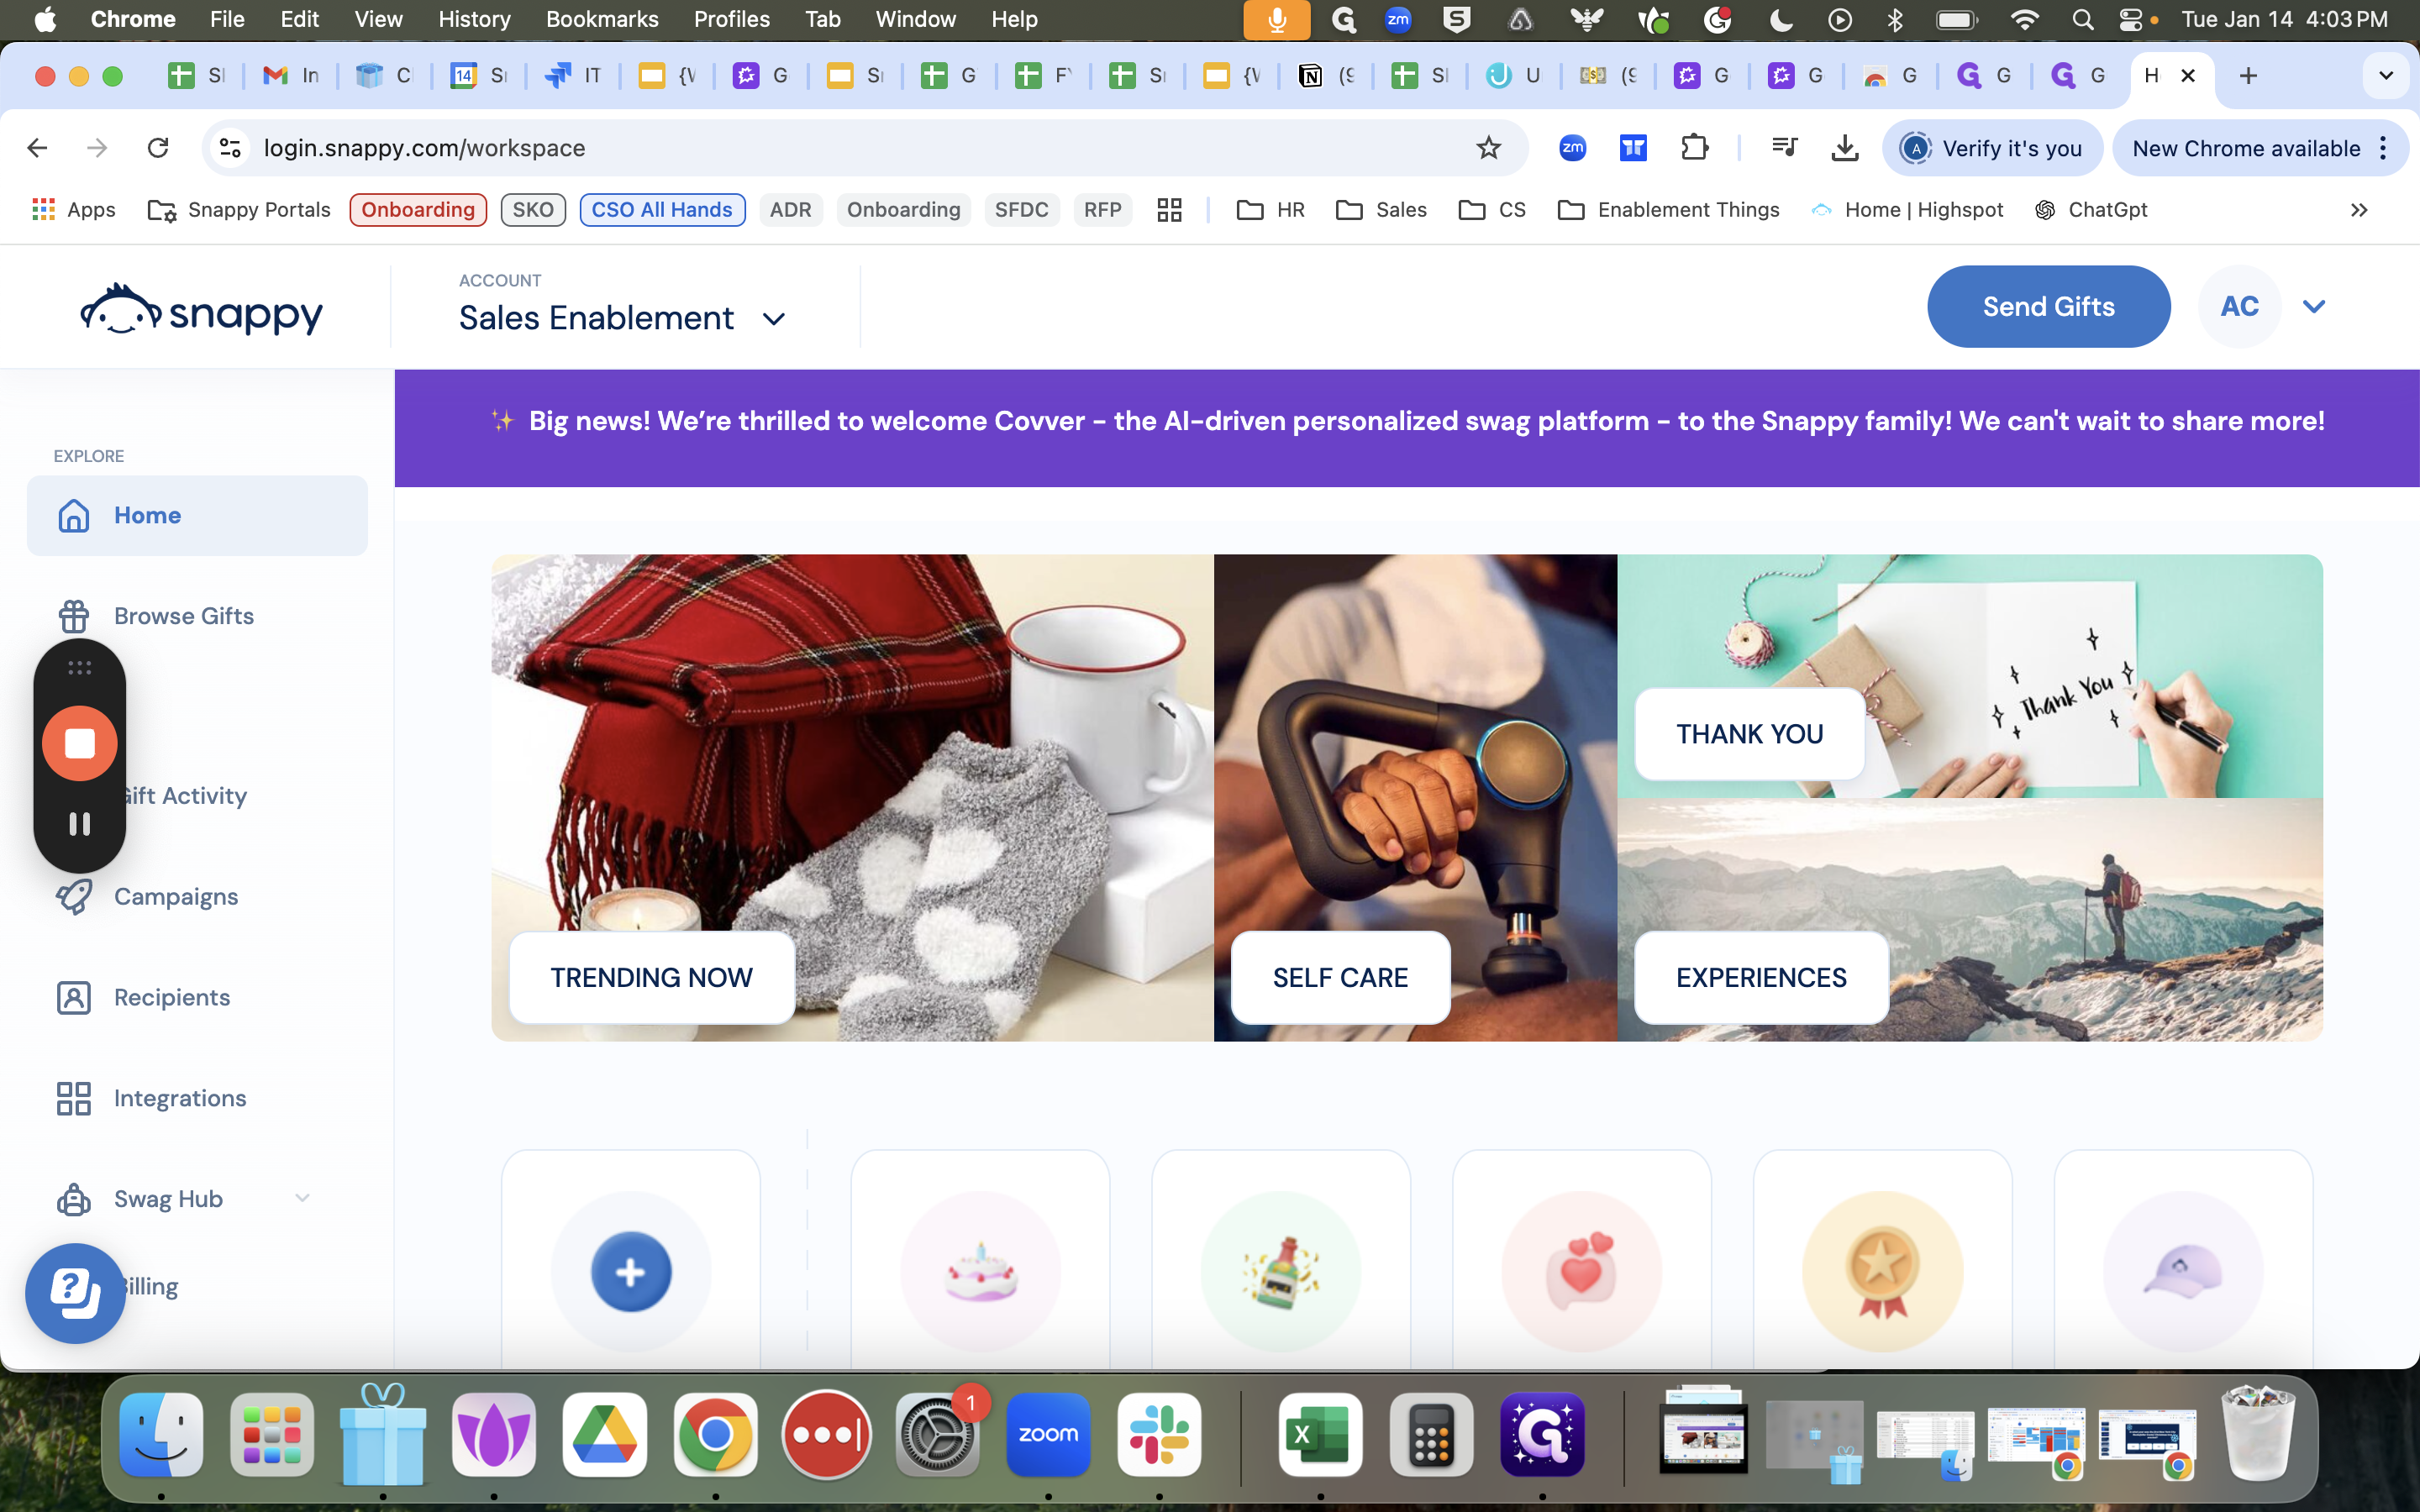
To send GIFs, log into your Snappy dashboard at login.snappy.com using Google SSO. After accepting the dashboard invite via email, you'll see Snappy on the internal website.
For sending internal gifts, we'll use the revenue operations dashboard you've been added to. However, I don't have access to the Revops dashboard, so I'll be using sales enablement as the example instead.
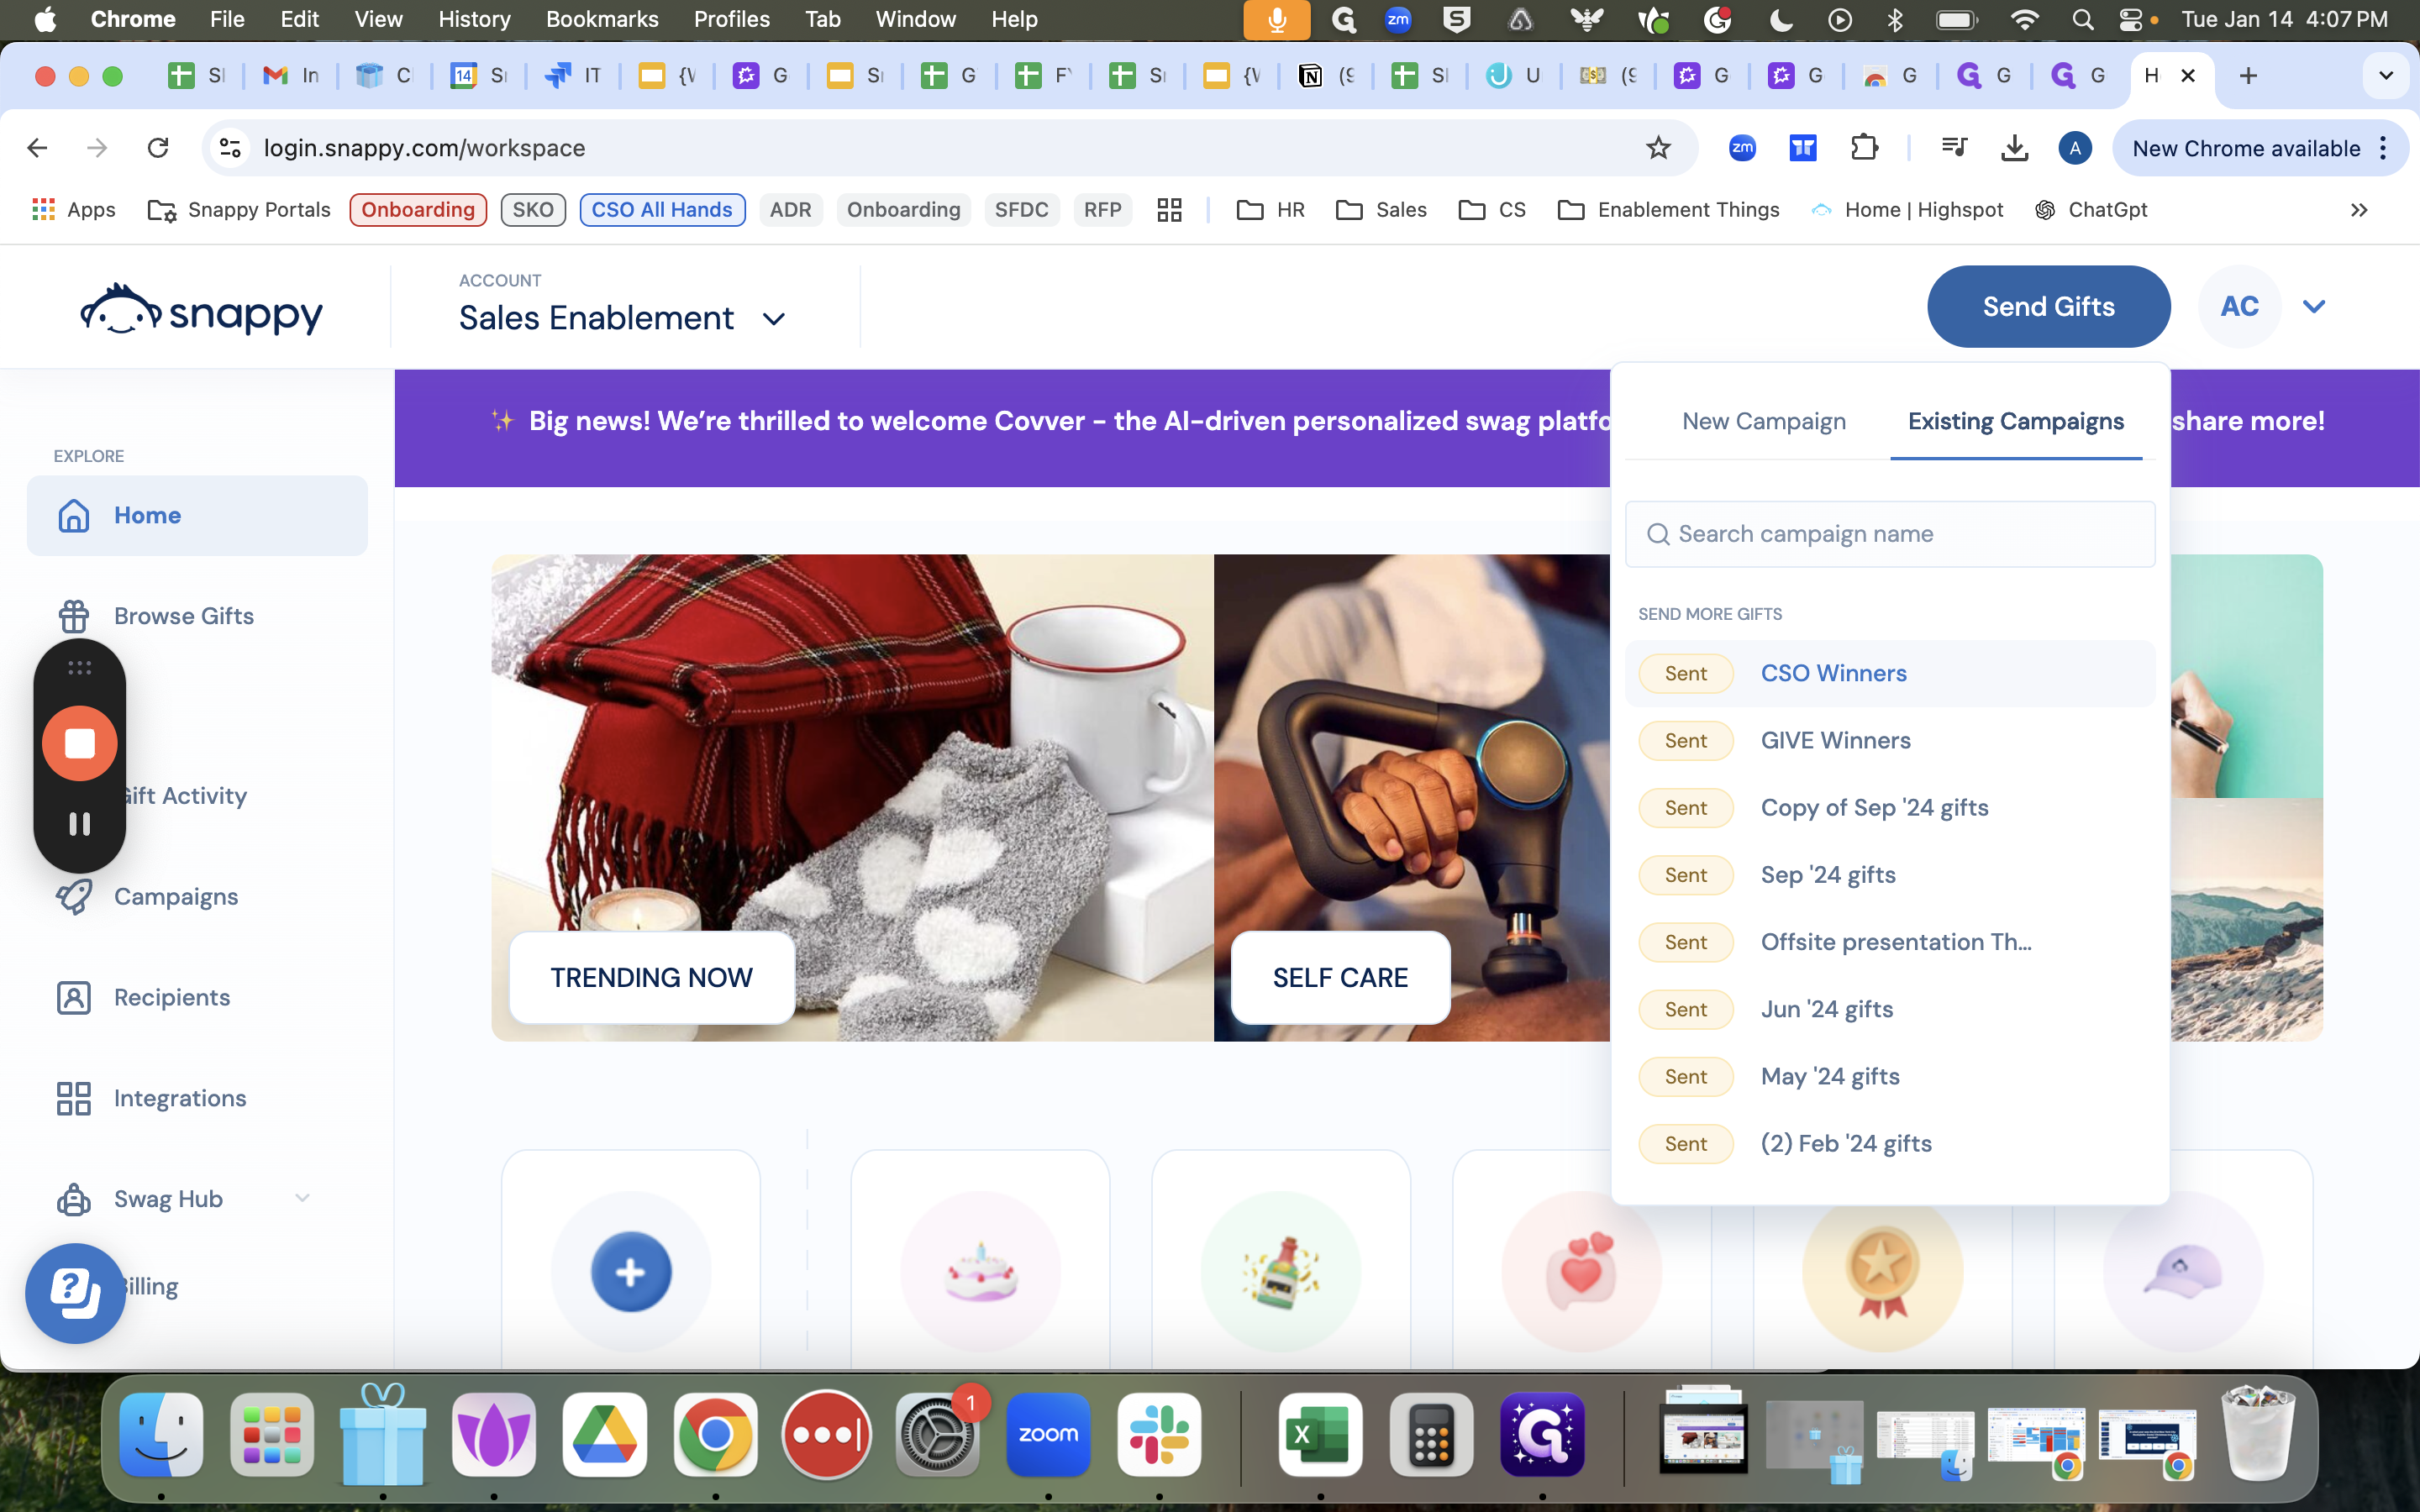
To start sending gifts, click "Send gifts" in the top right corner of your screen.
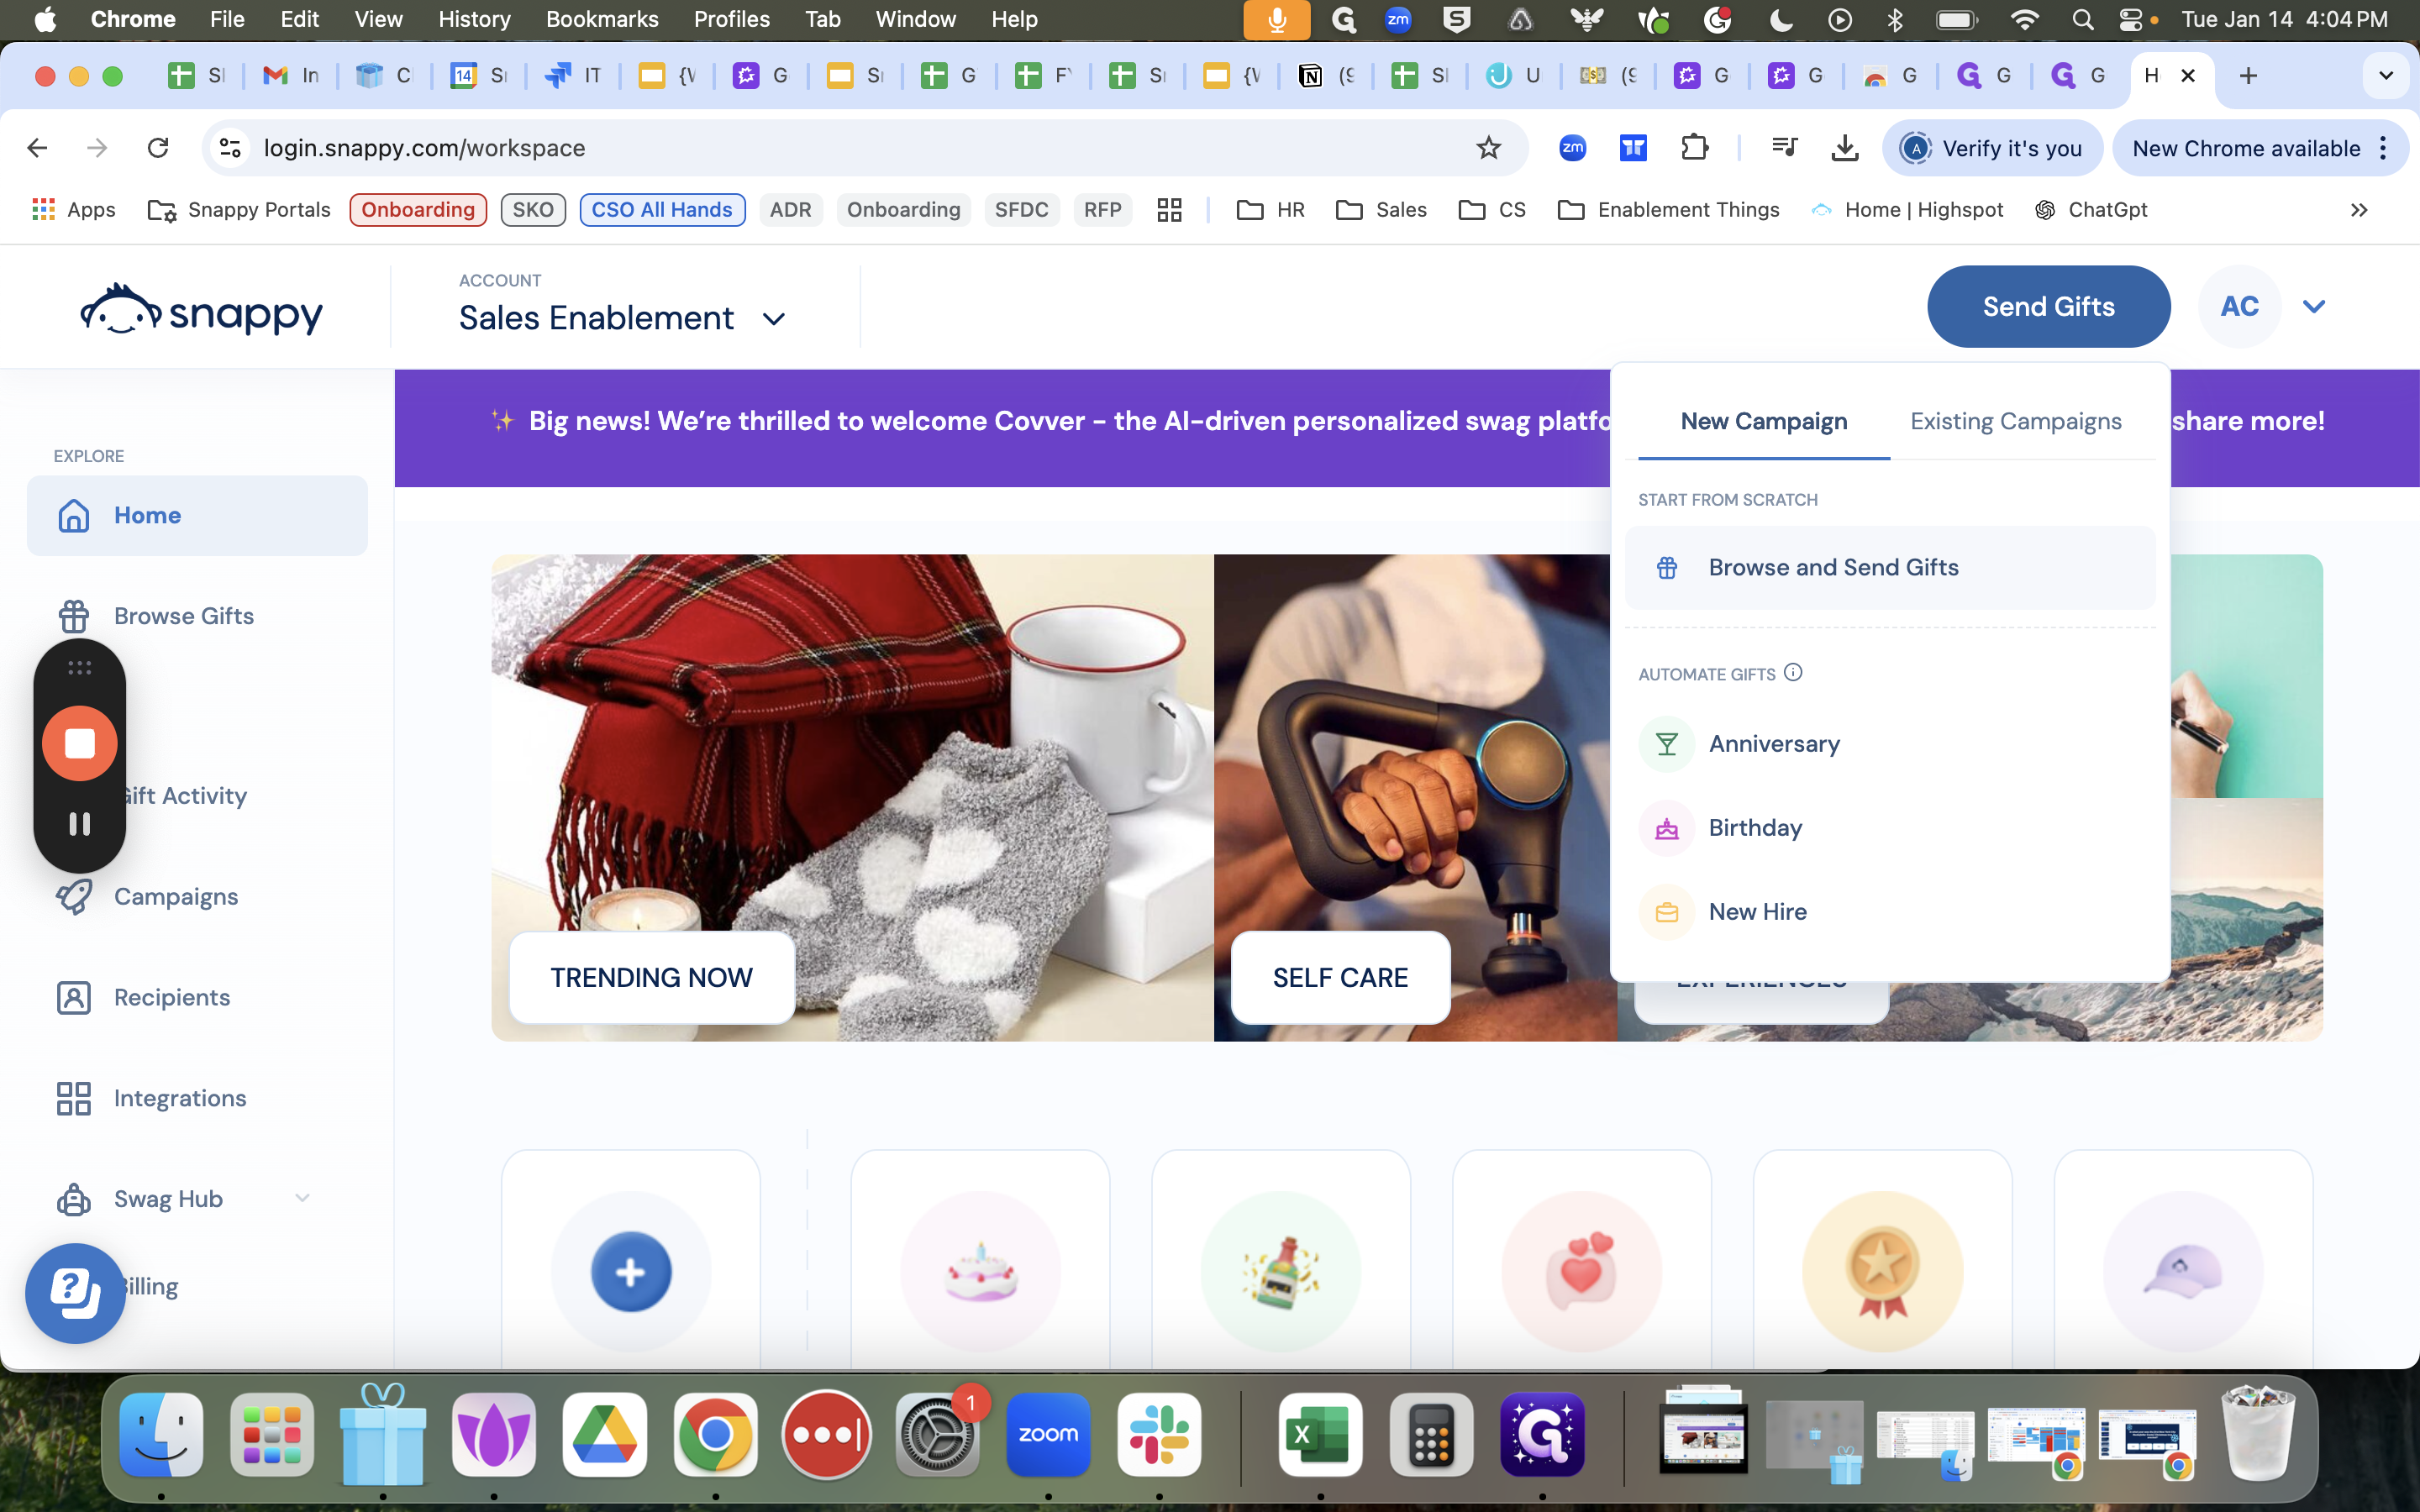
You'll see the option to browse and send gifts under "New Campaign," which is where we'll start.
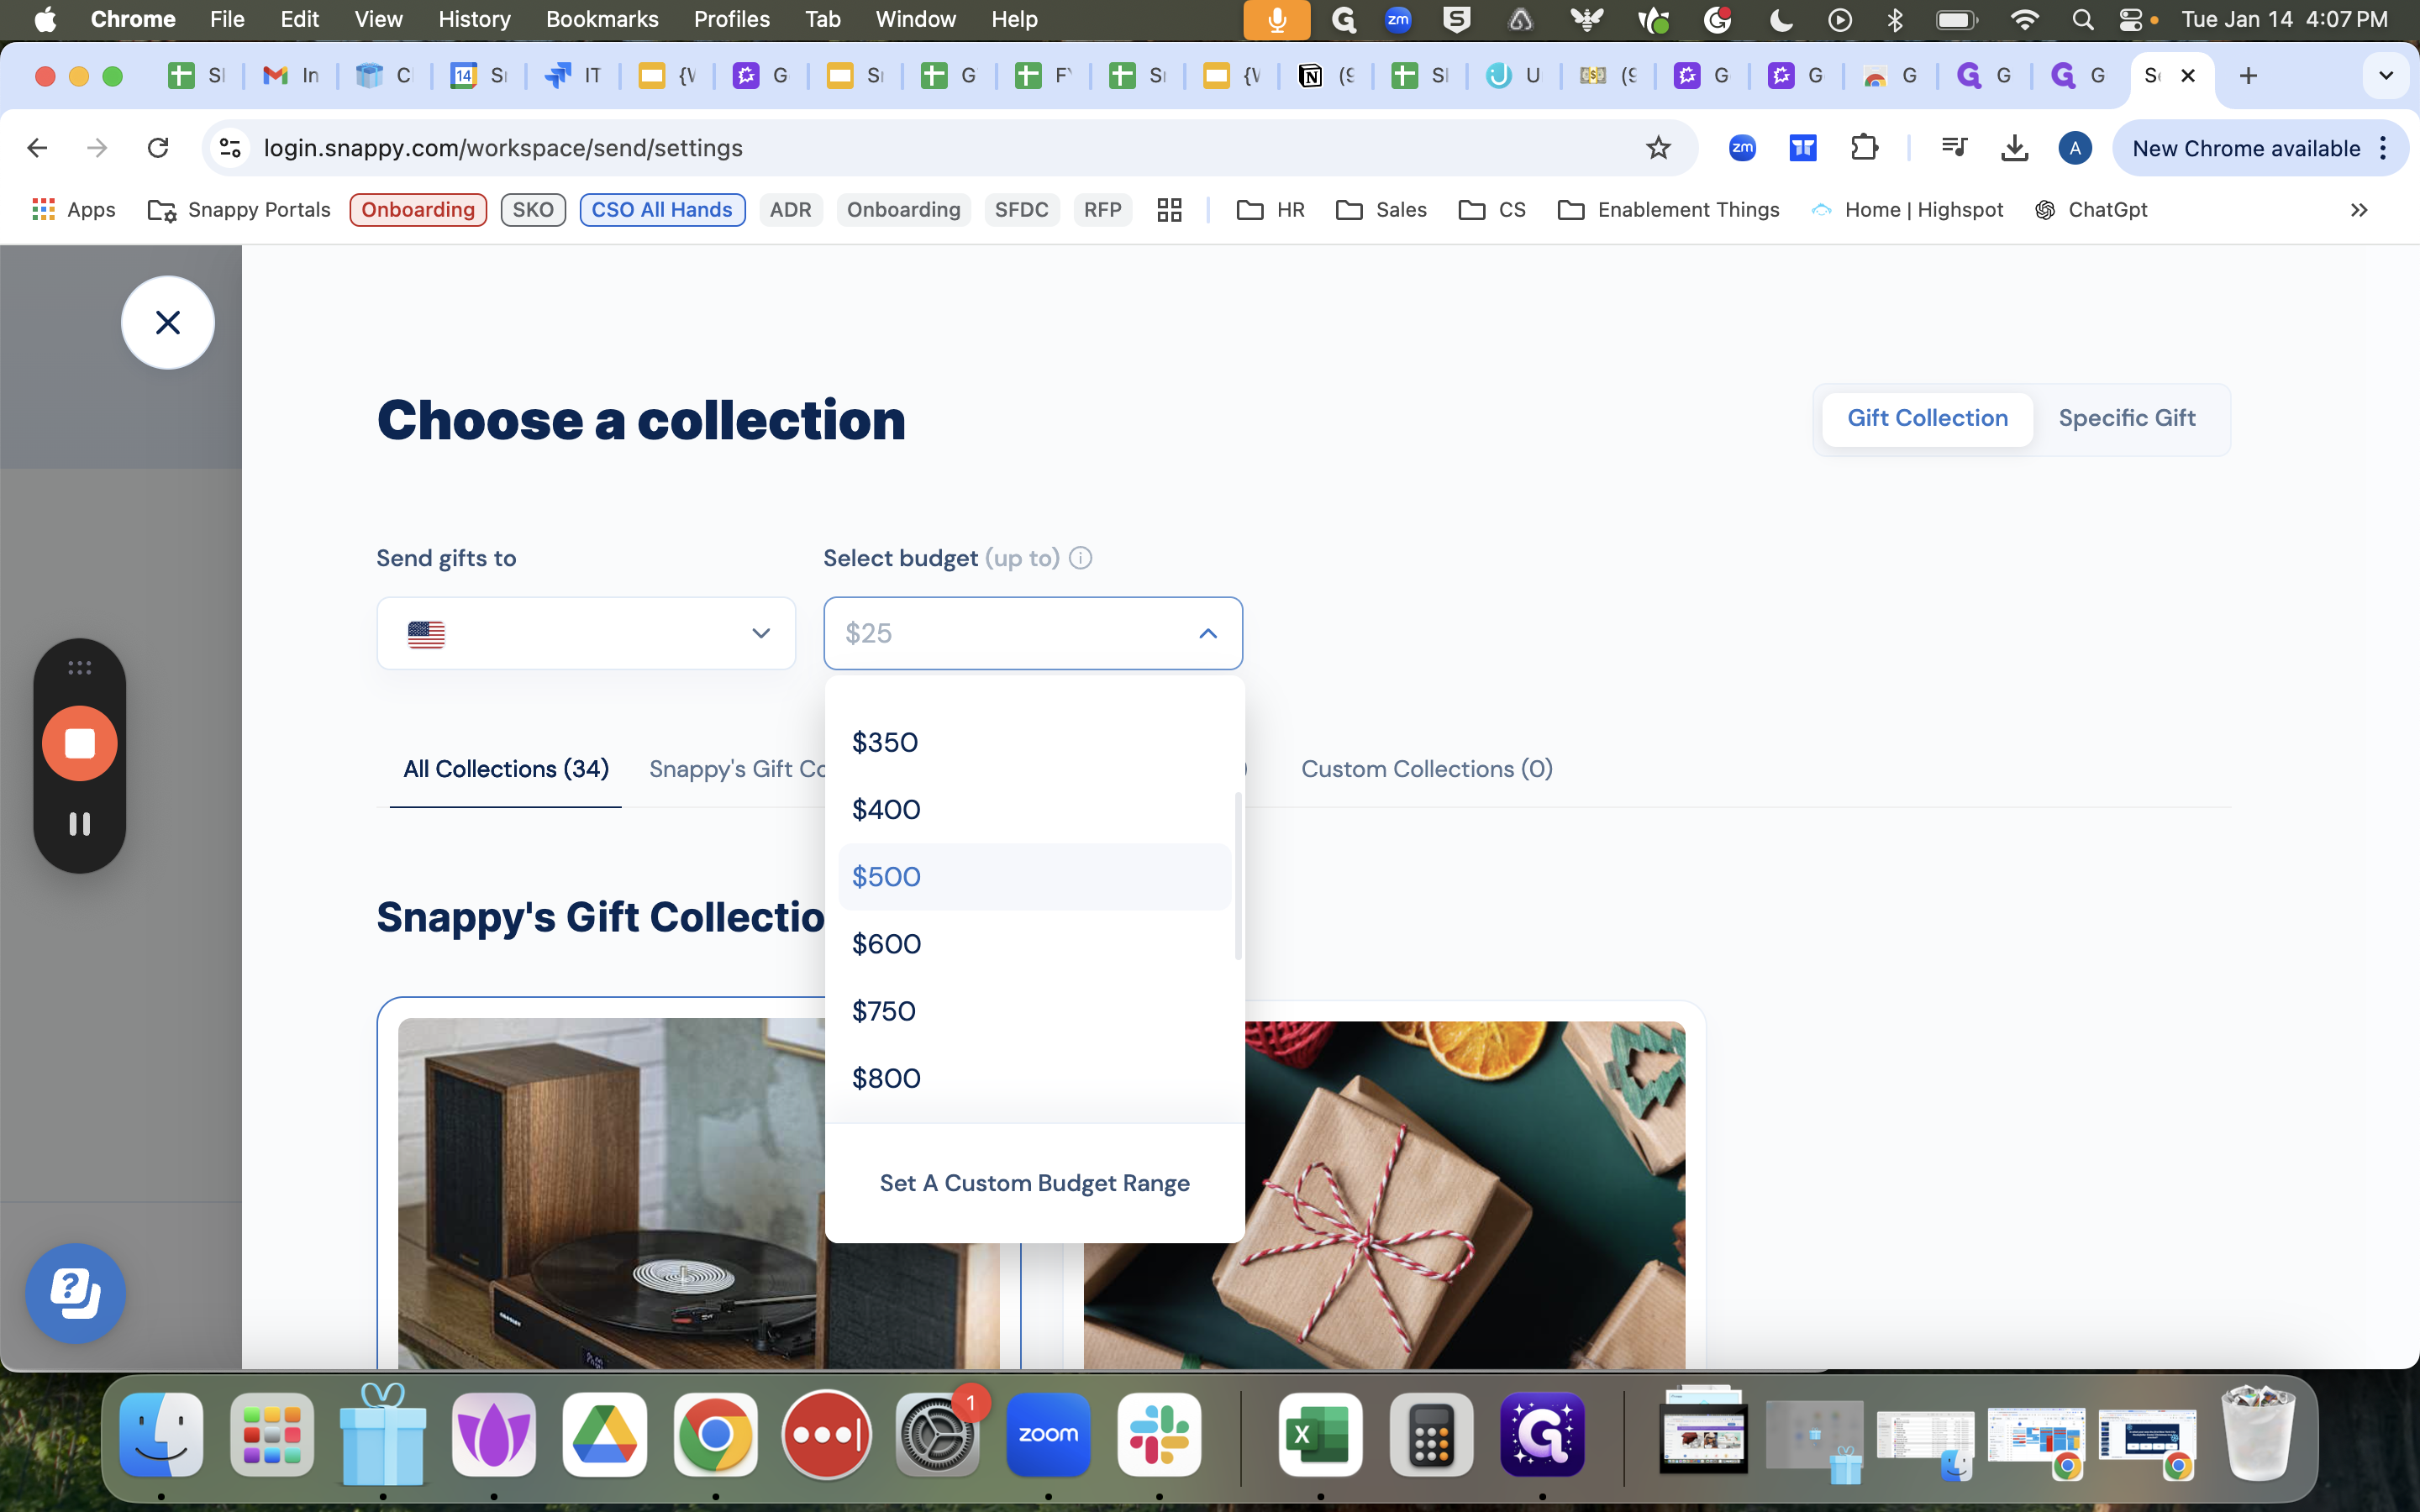
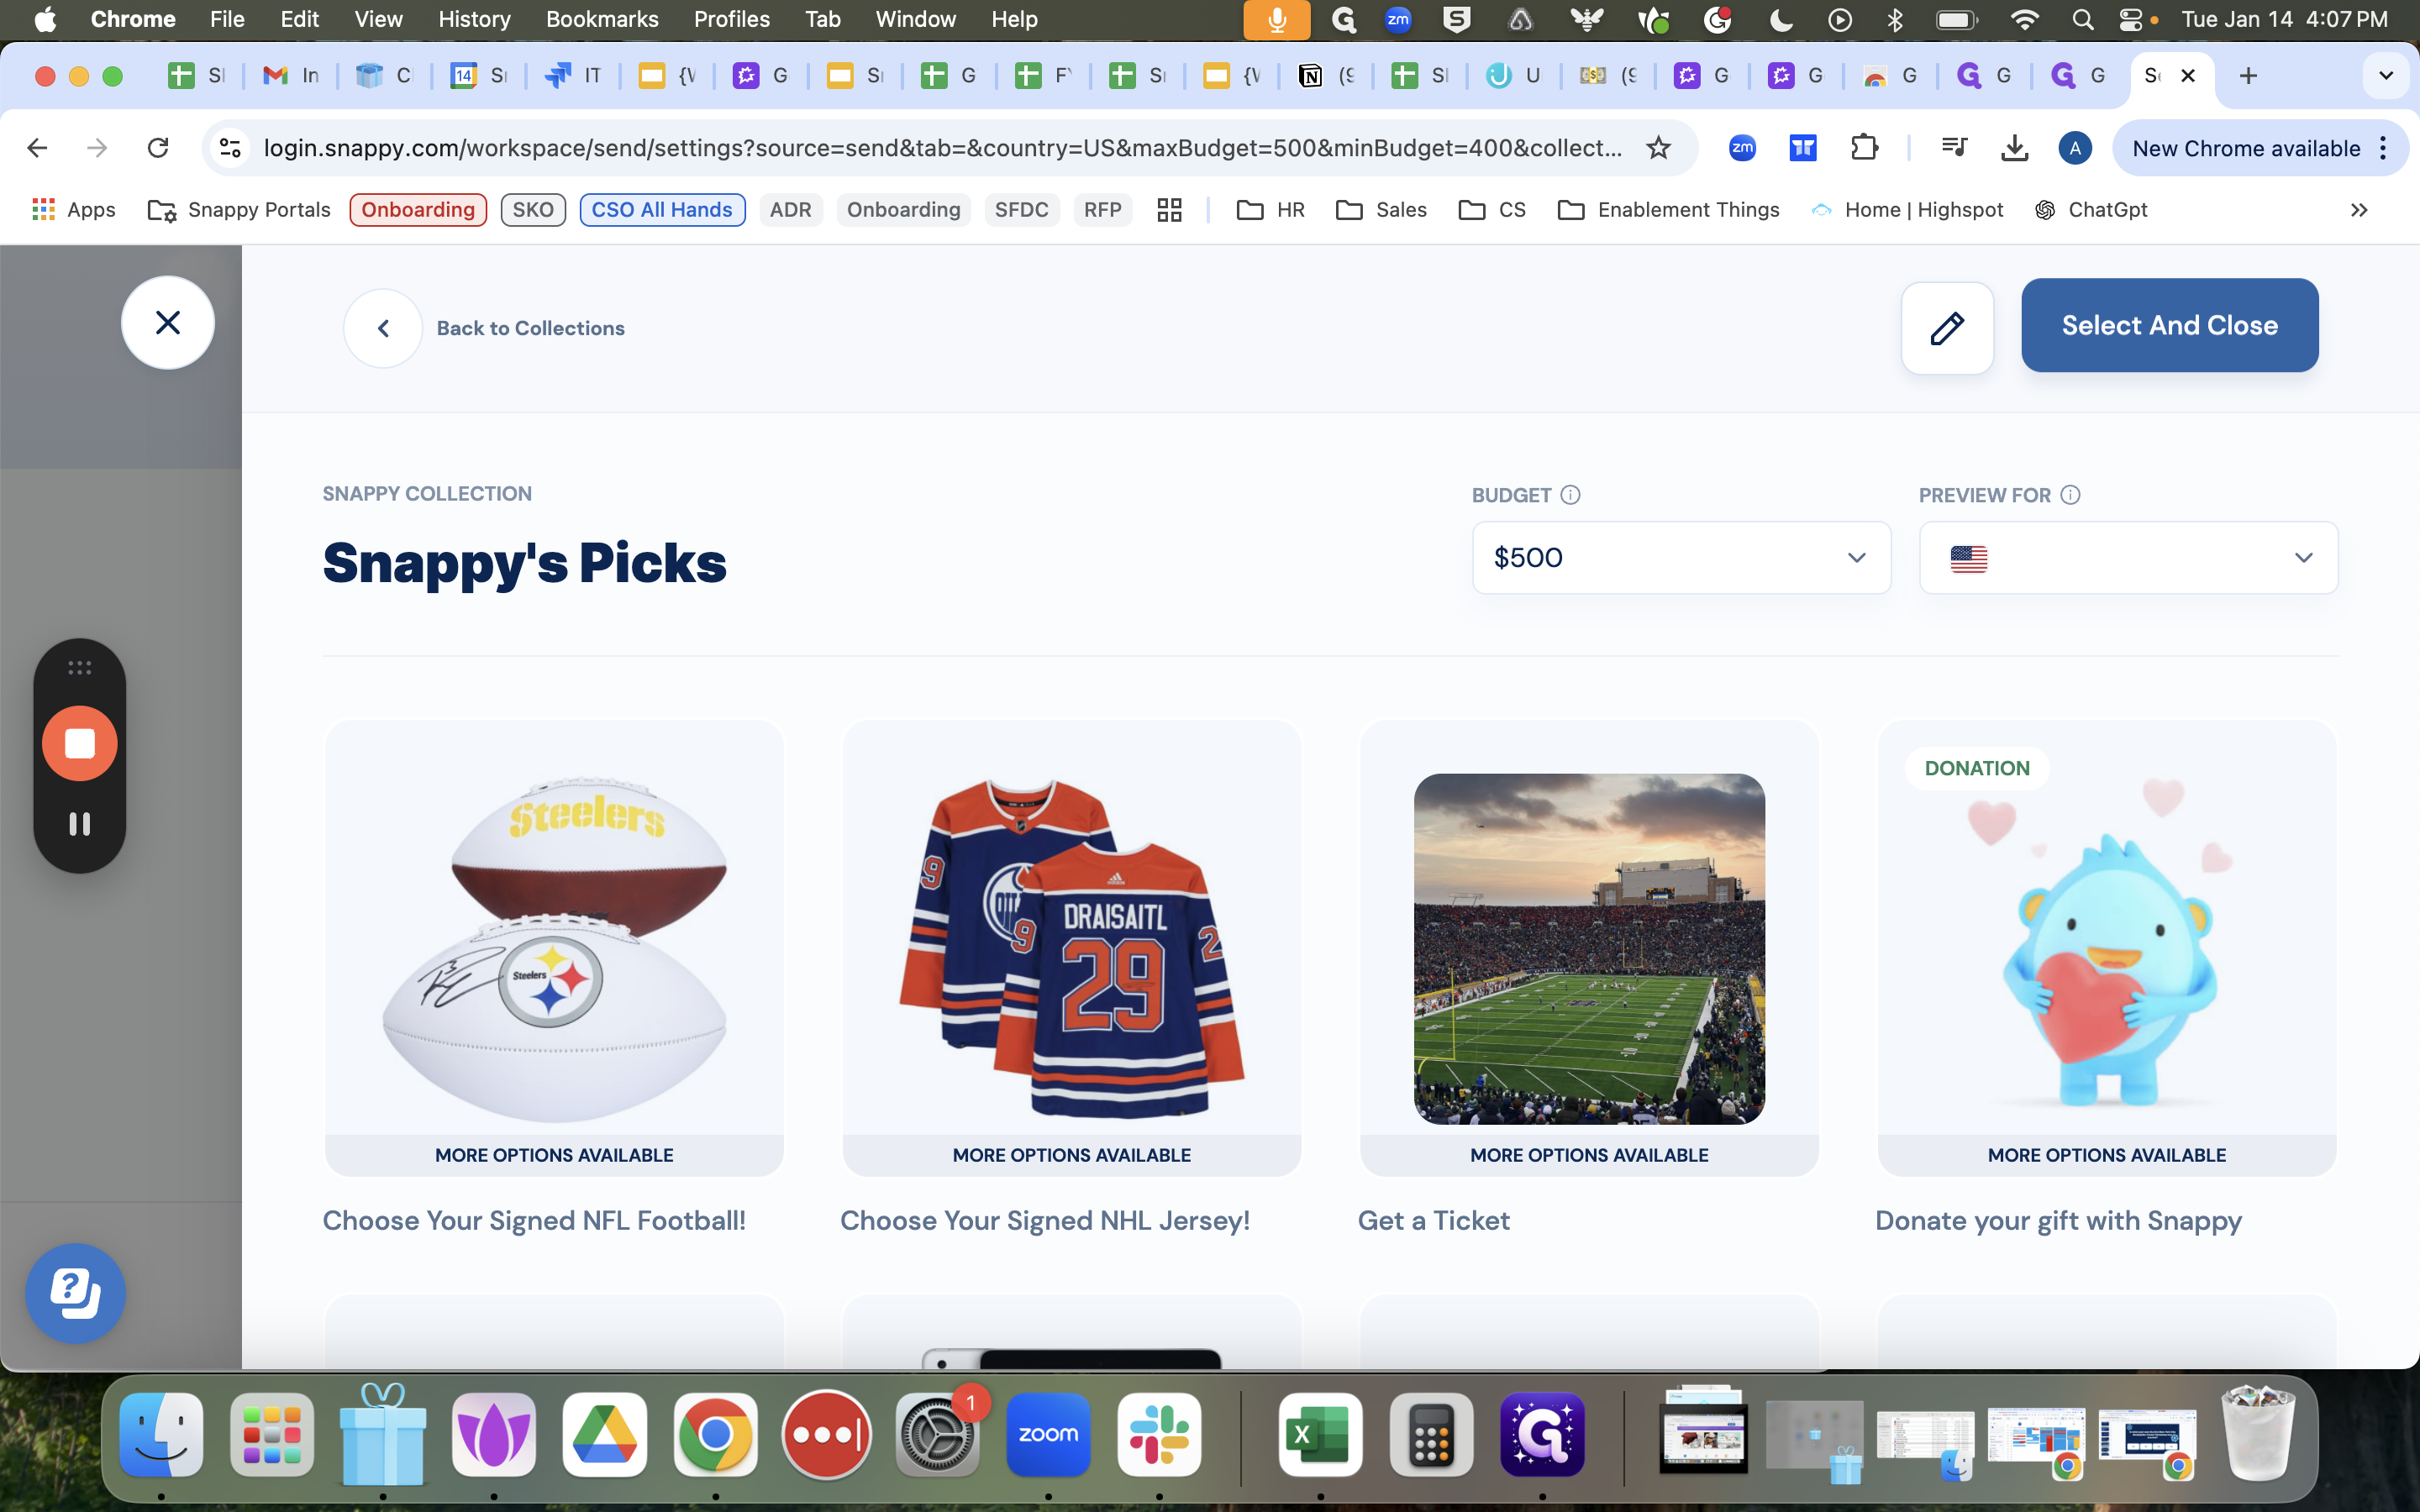
We'll select the first budget. Choose a collection, and we'll set our first set of gifts at $250, for example.
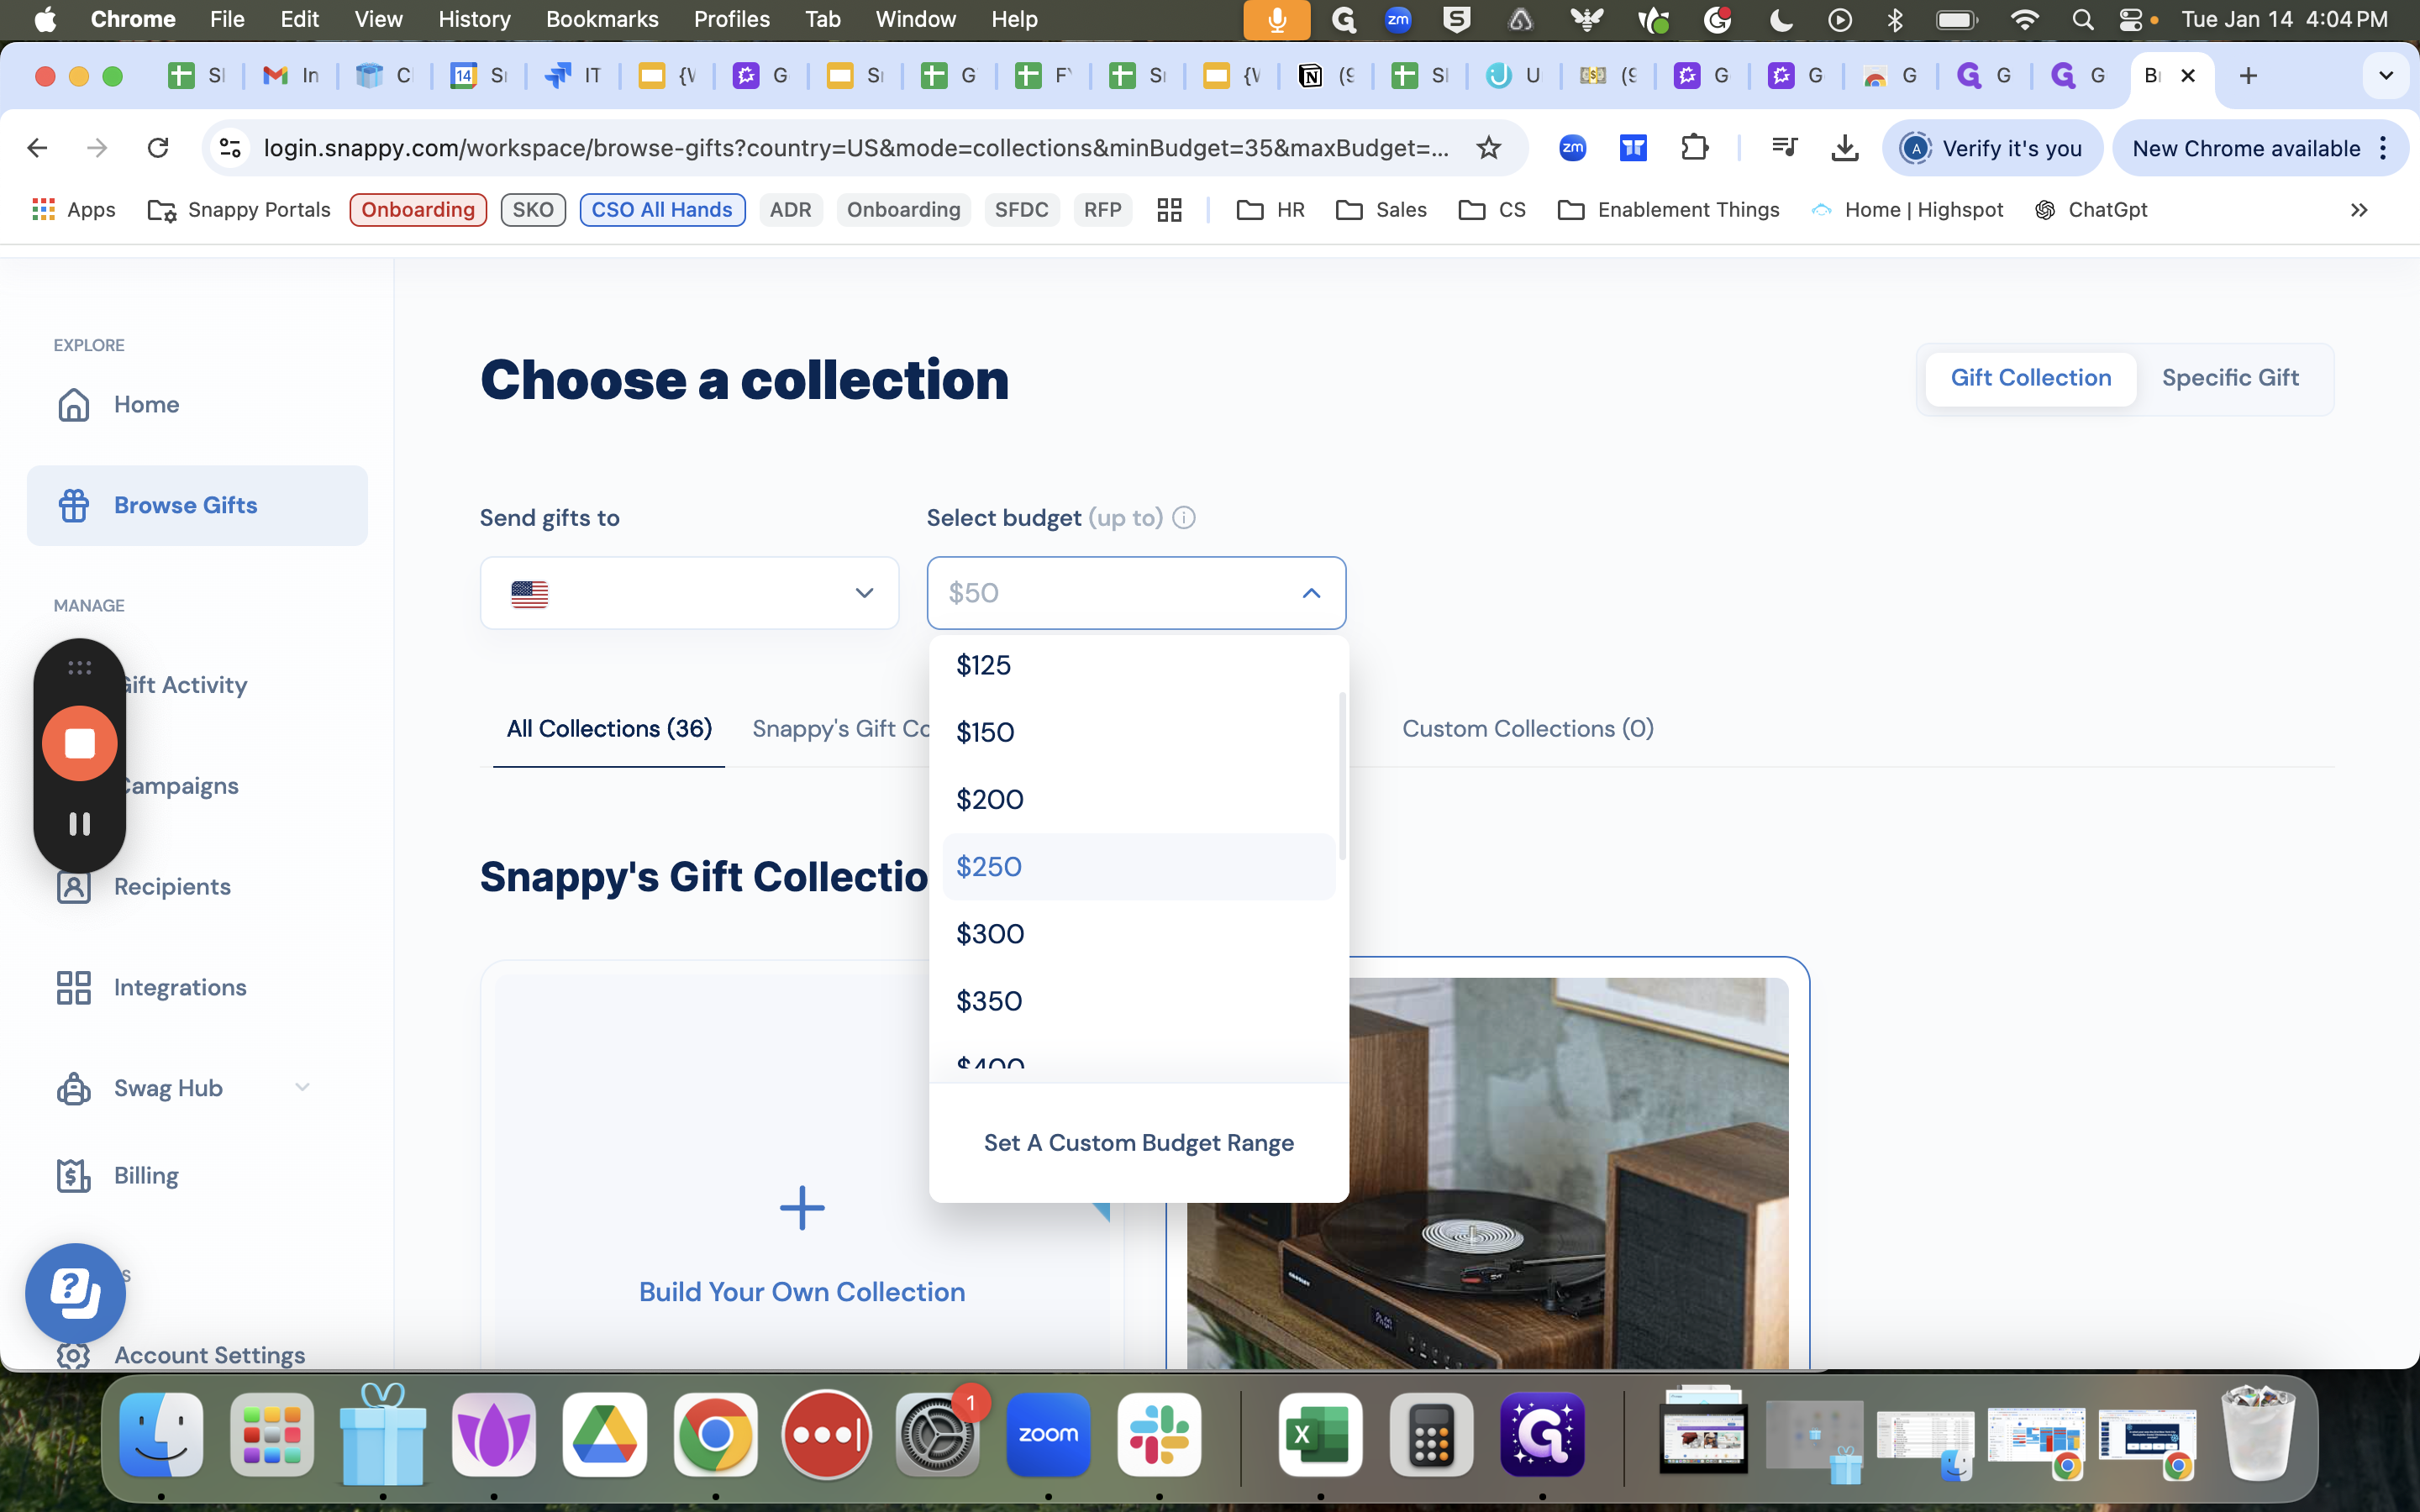
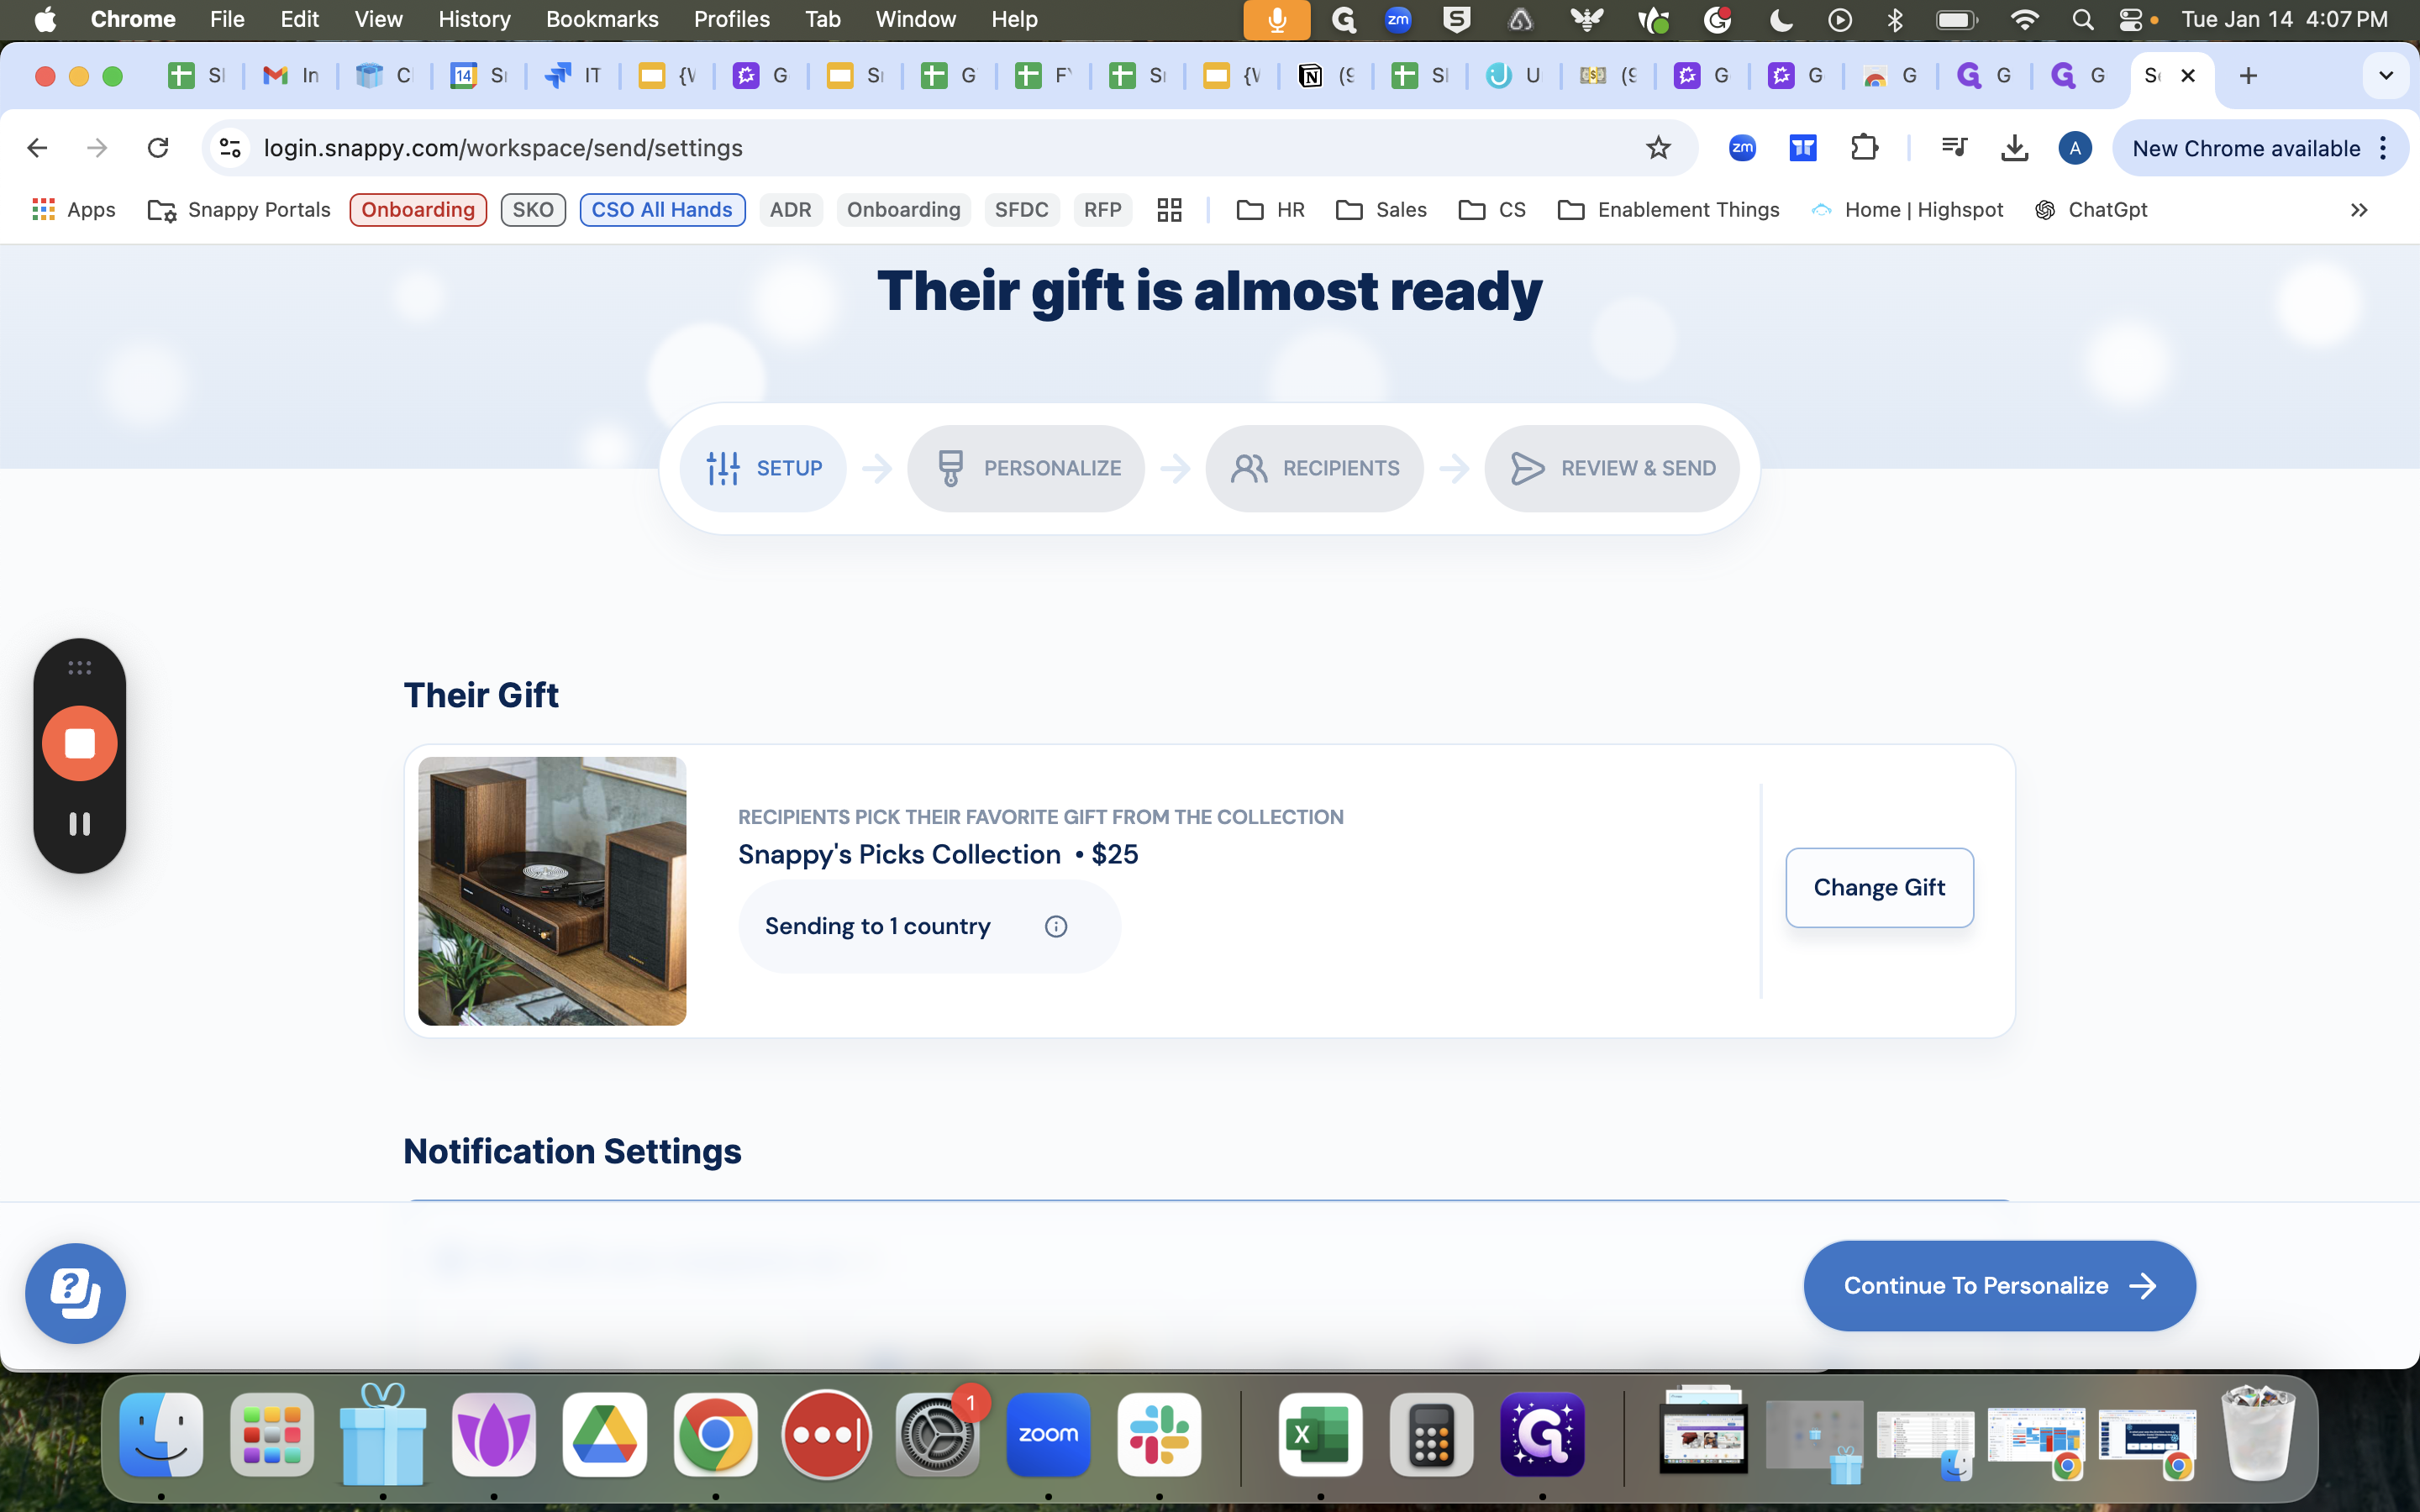
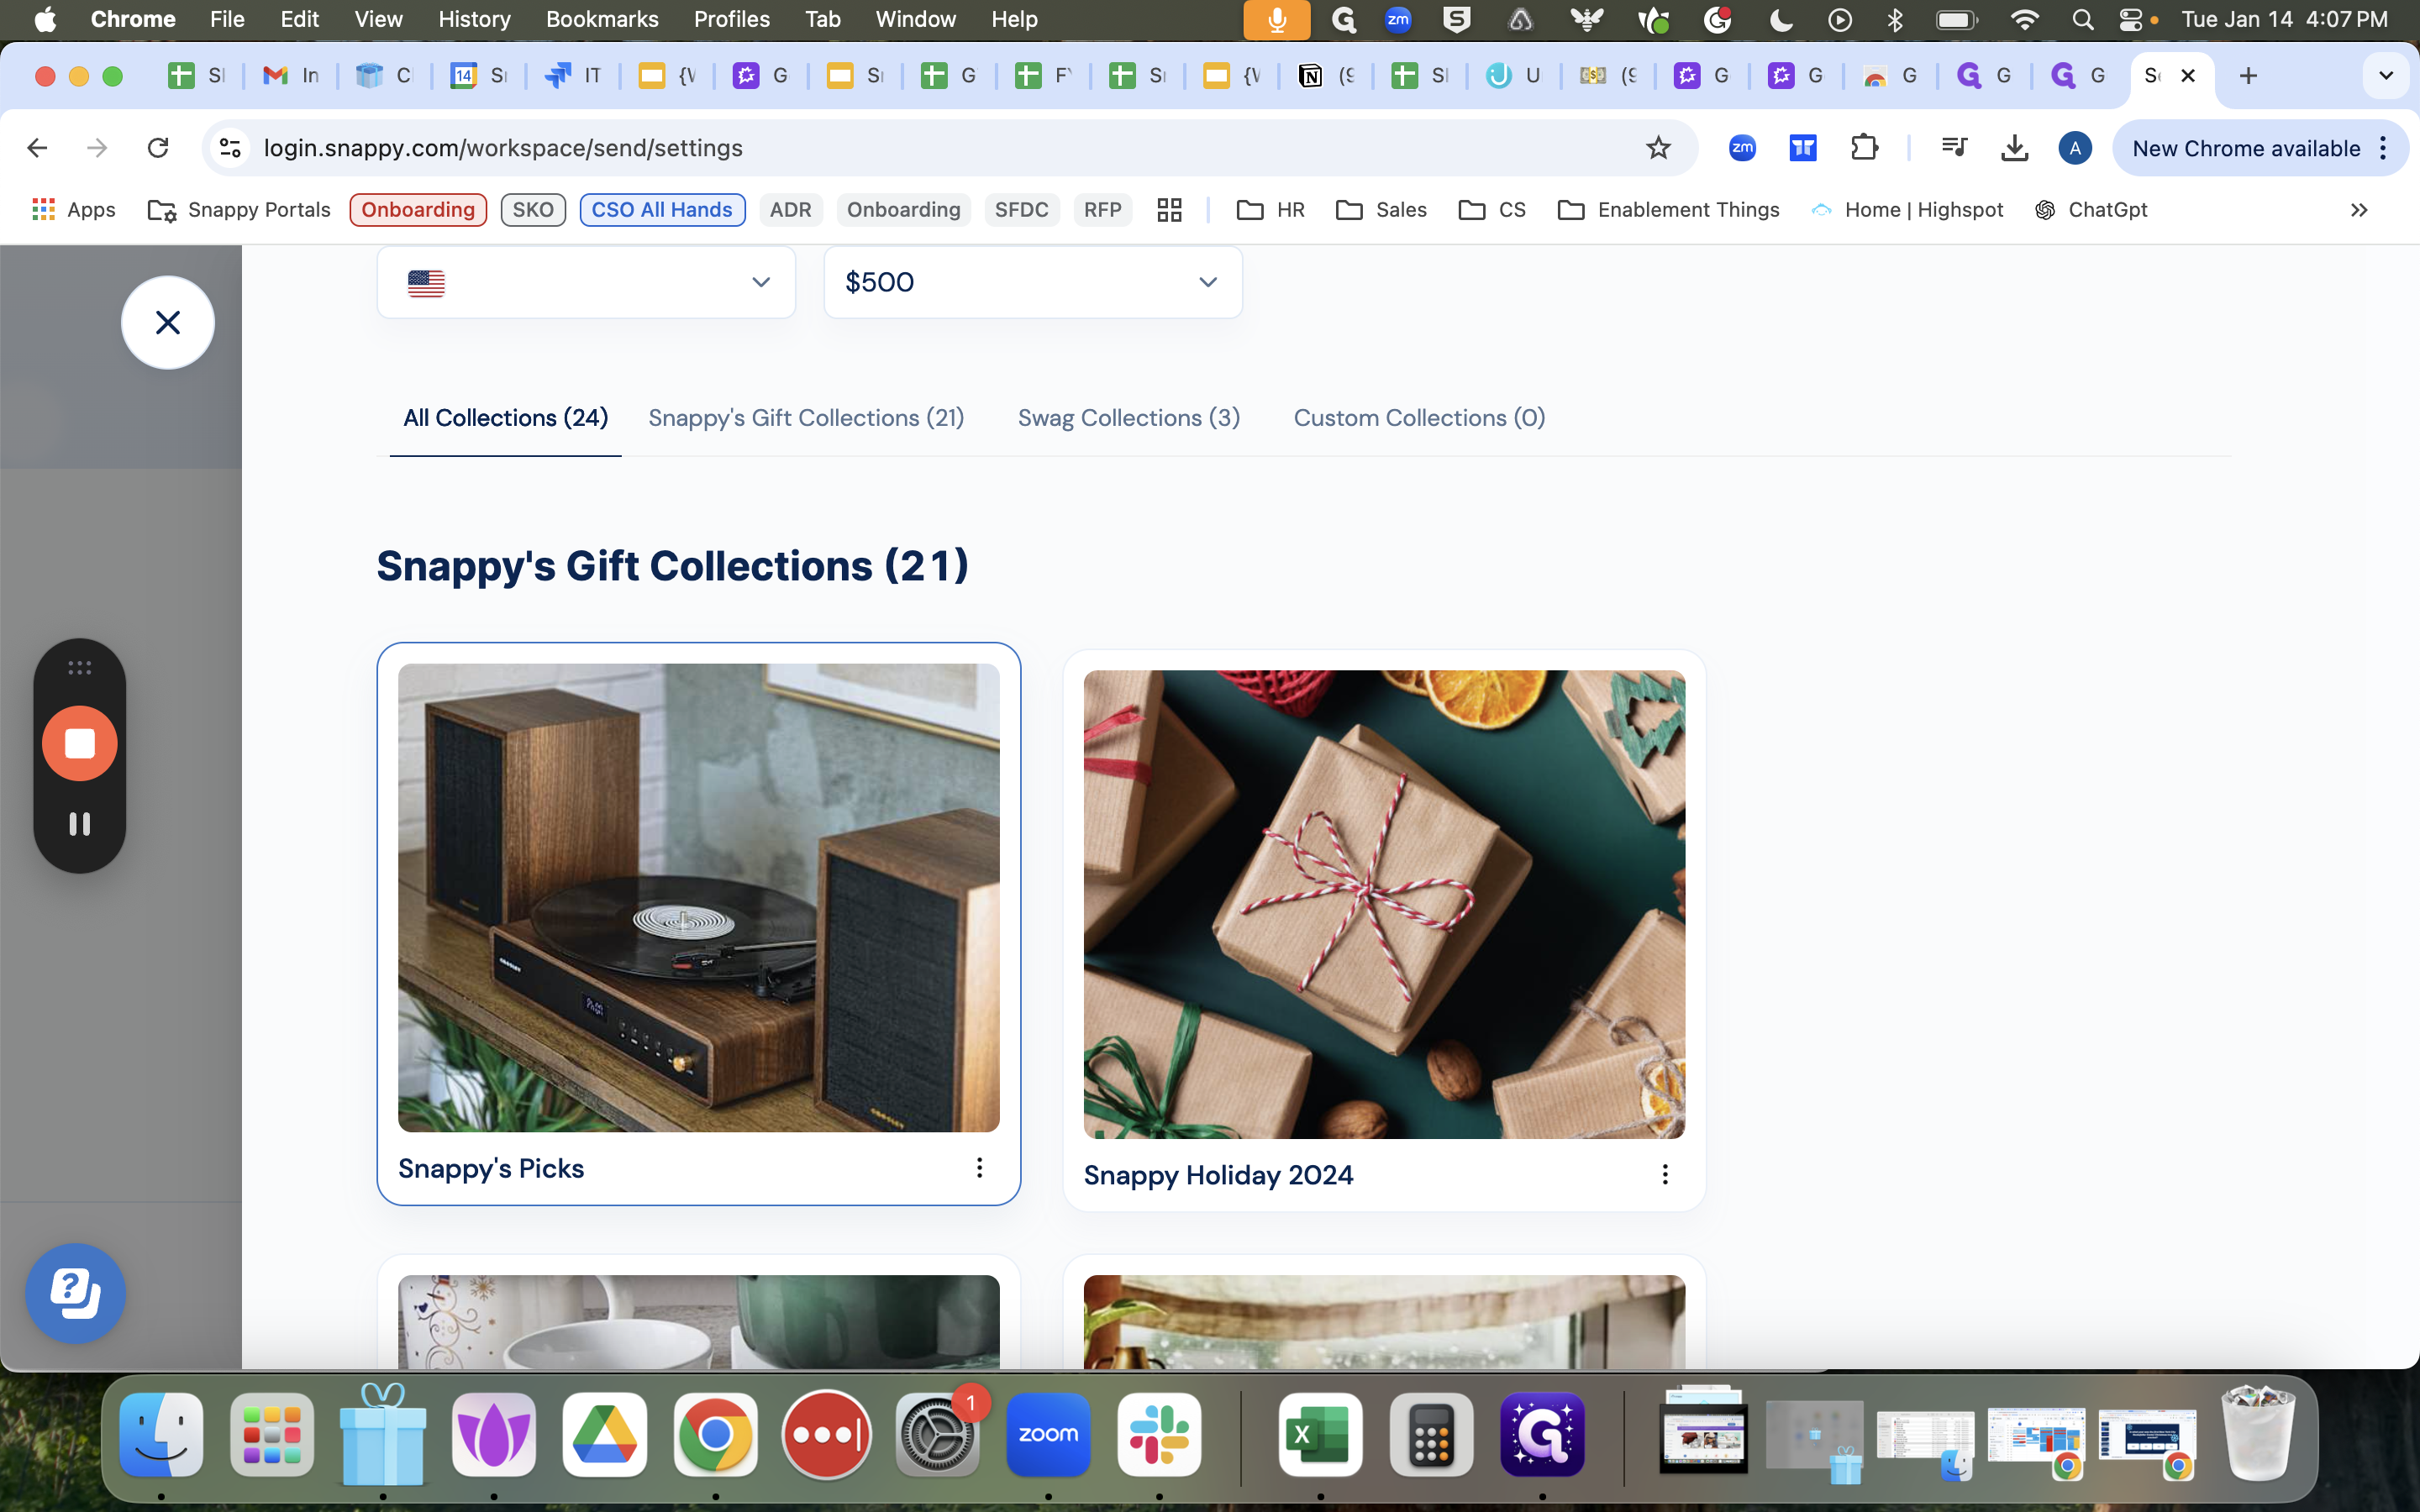
We will select Snappy's picks. There are other collections available, but it's easier to use Snappy's picks.
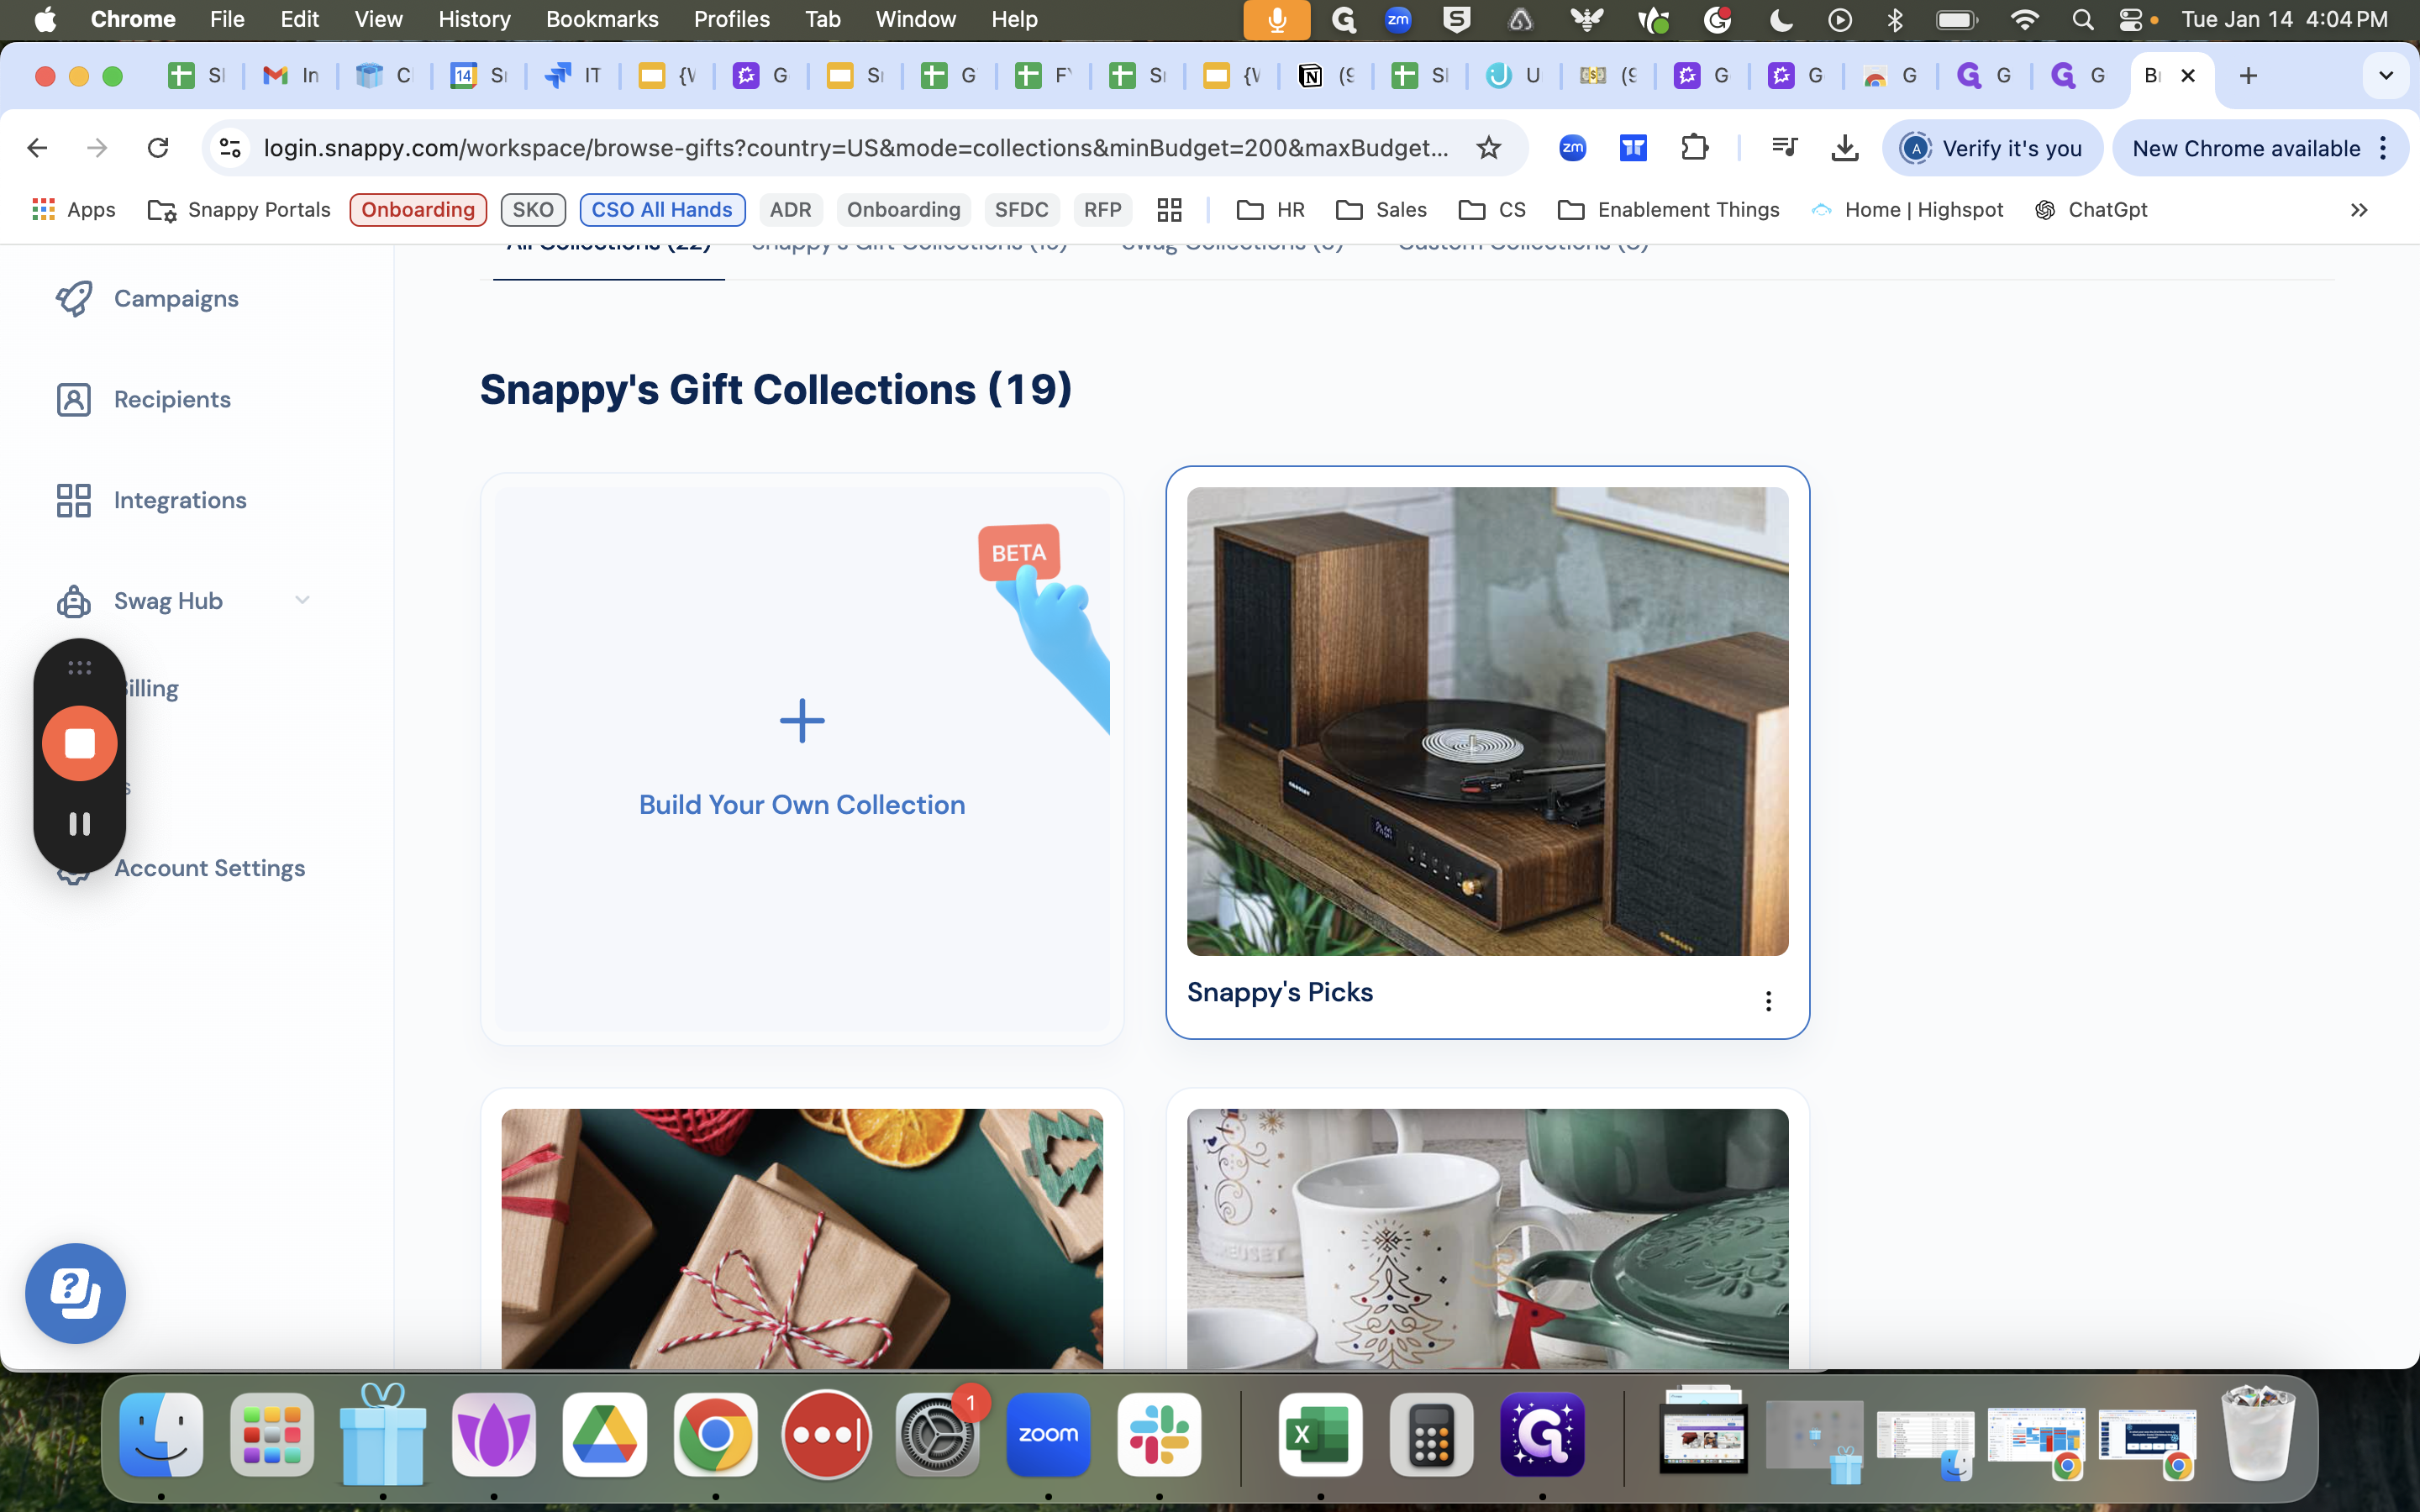
If someone wants to switch it for something different, they can contact our customer experience team.
Once you're here and looking at $250, we'll say to just continue with this collection.
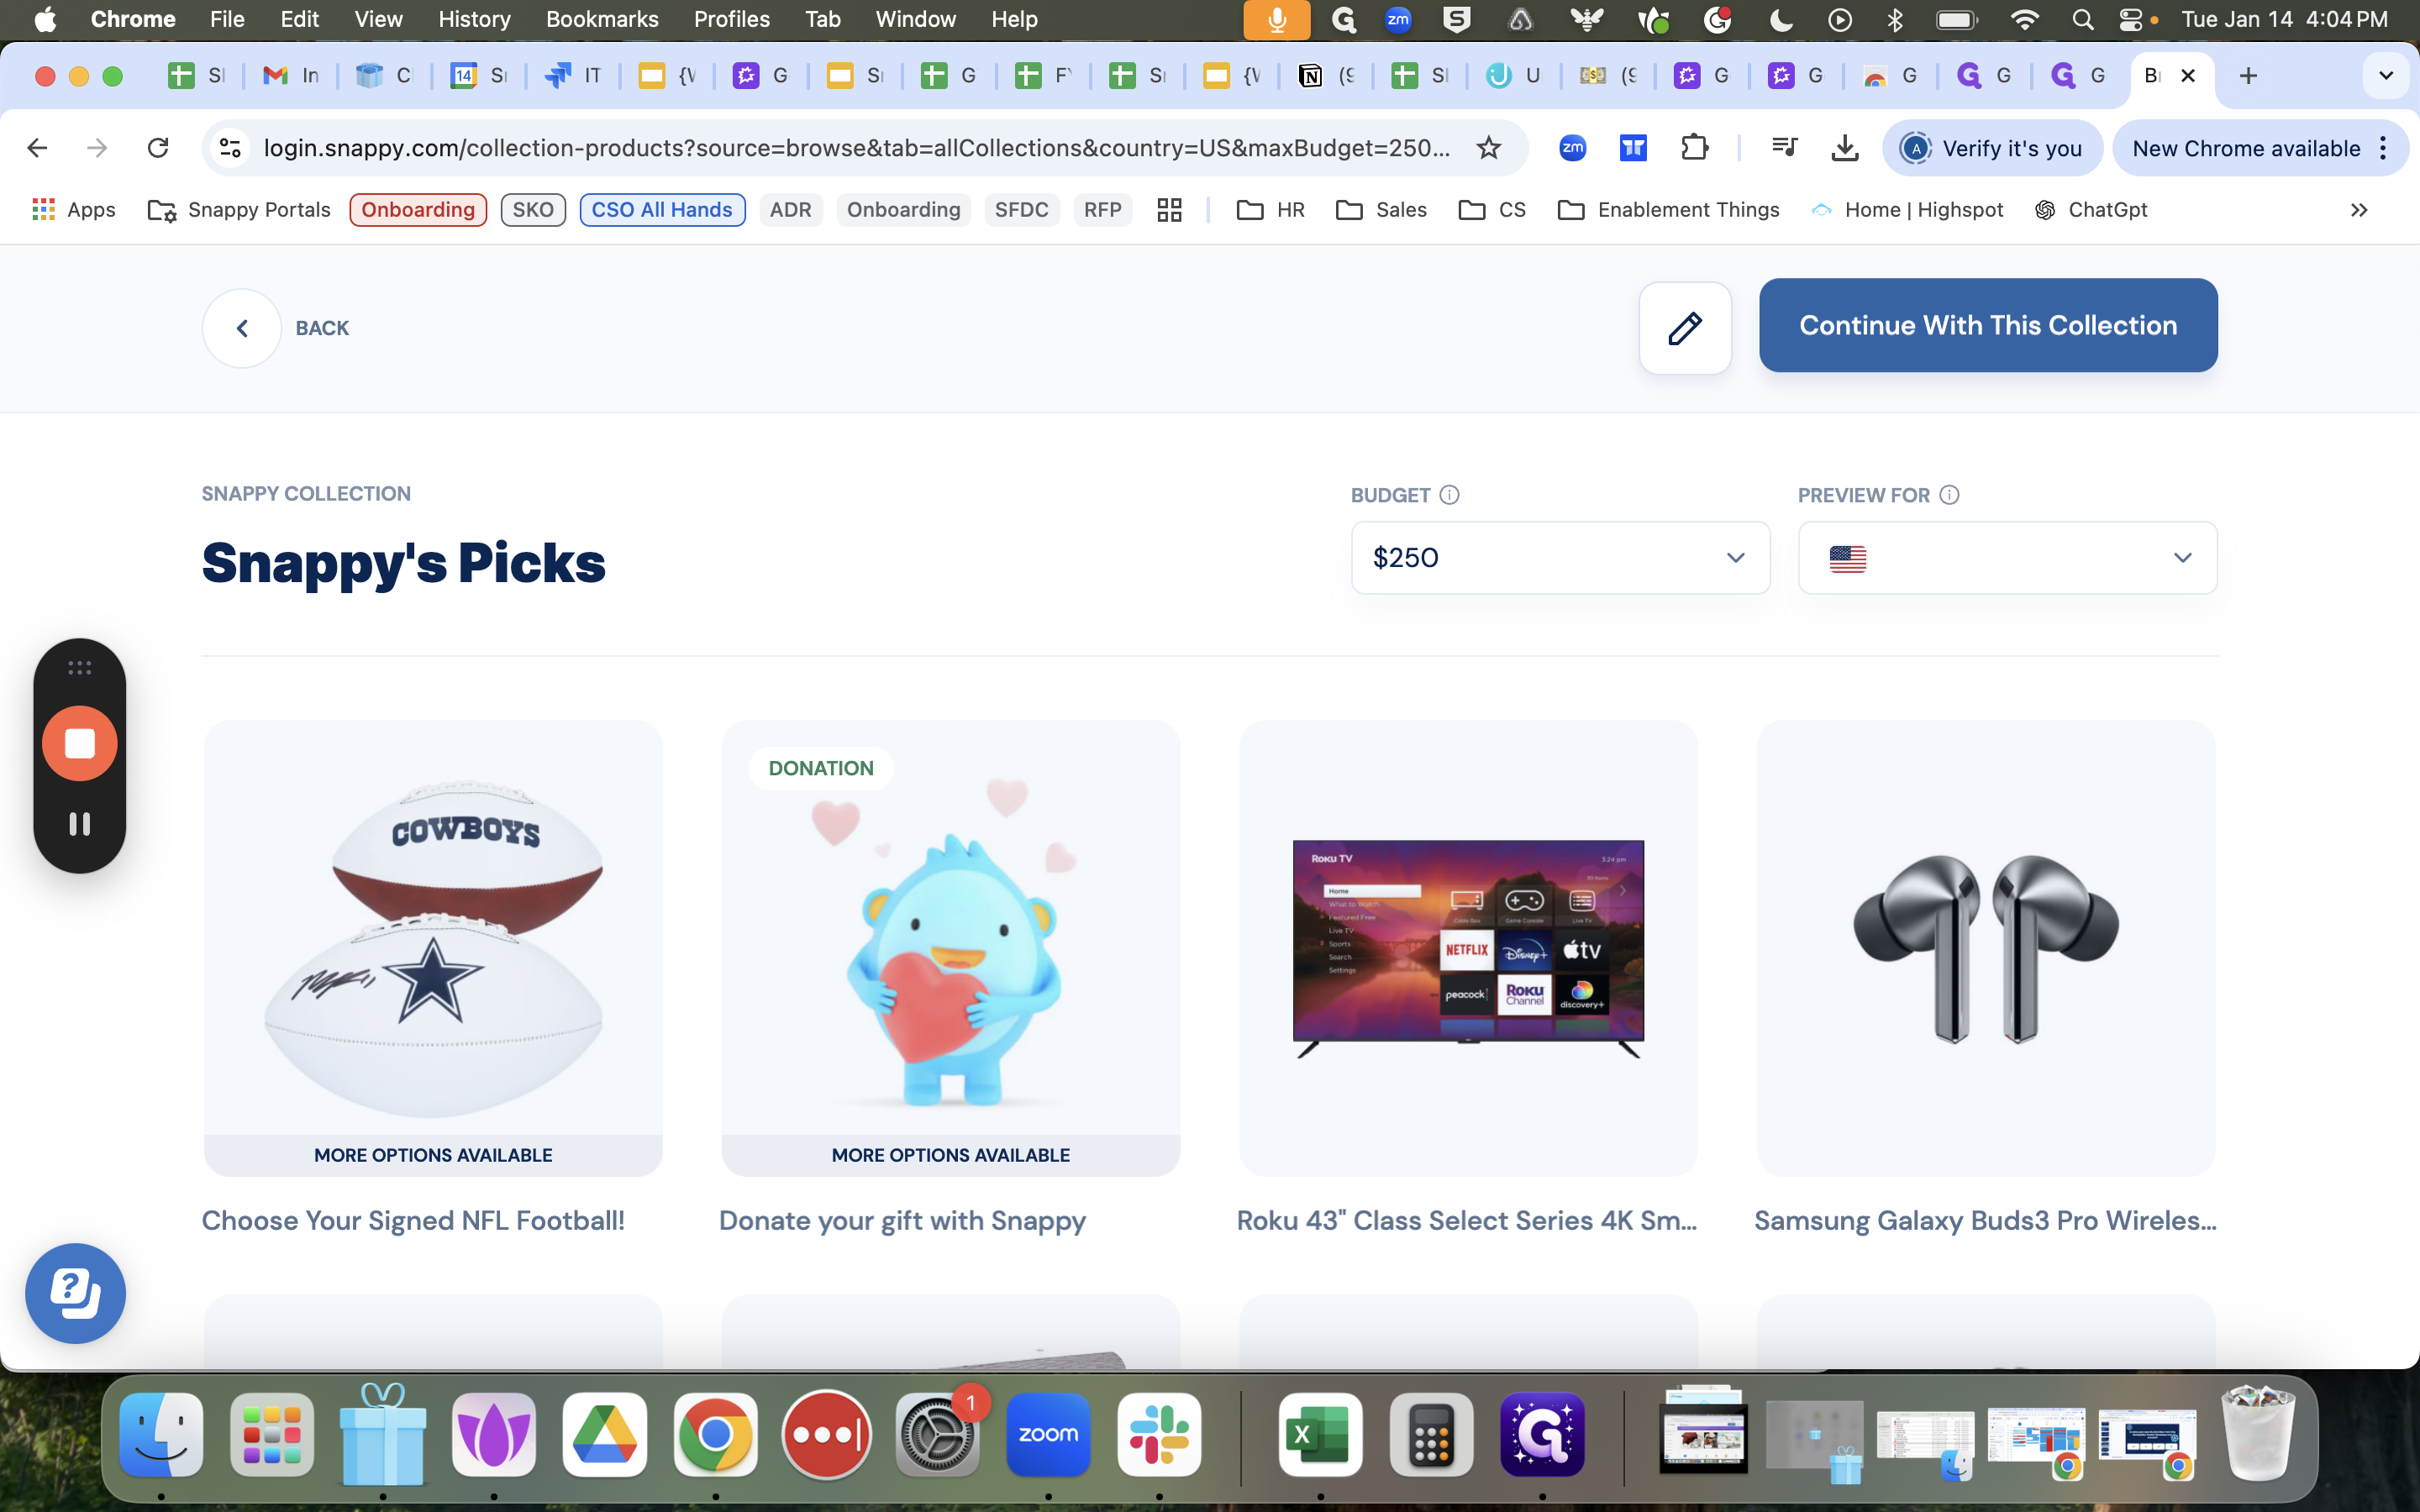
You'll see the $250 here, which you can change if needed. If it should be $300, just click save and change the gift here. The only important piece here is the campaign name.
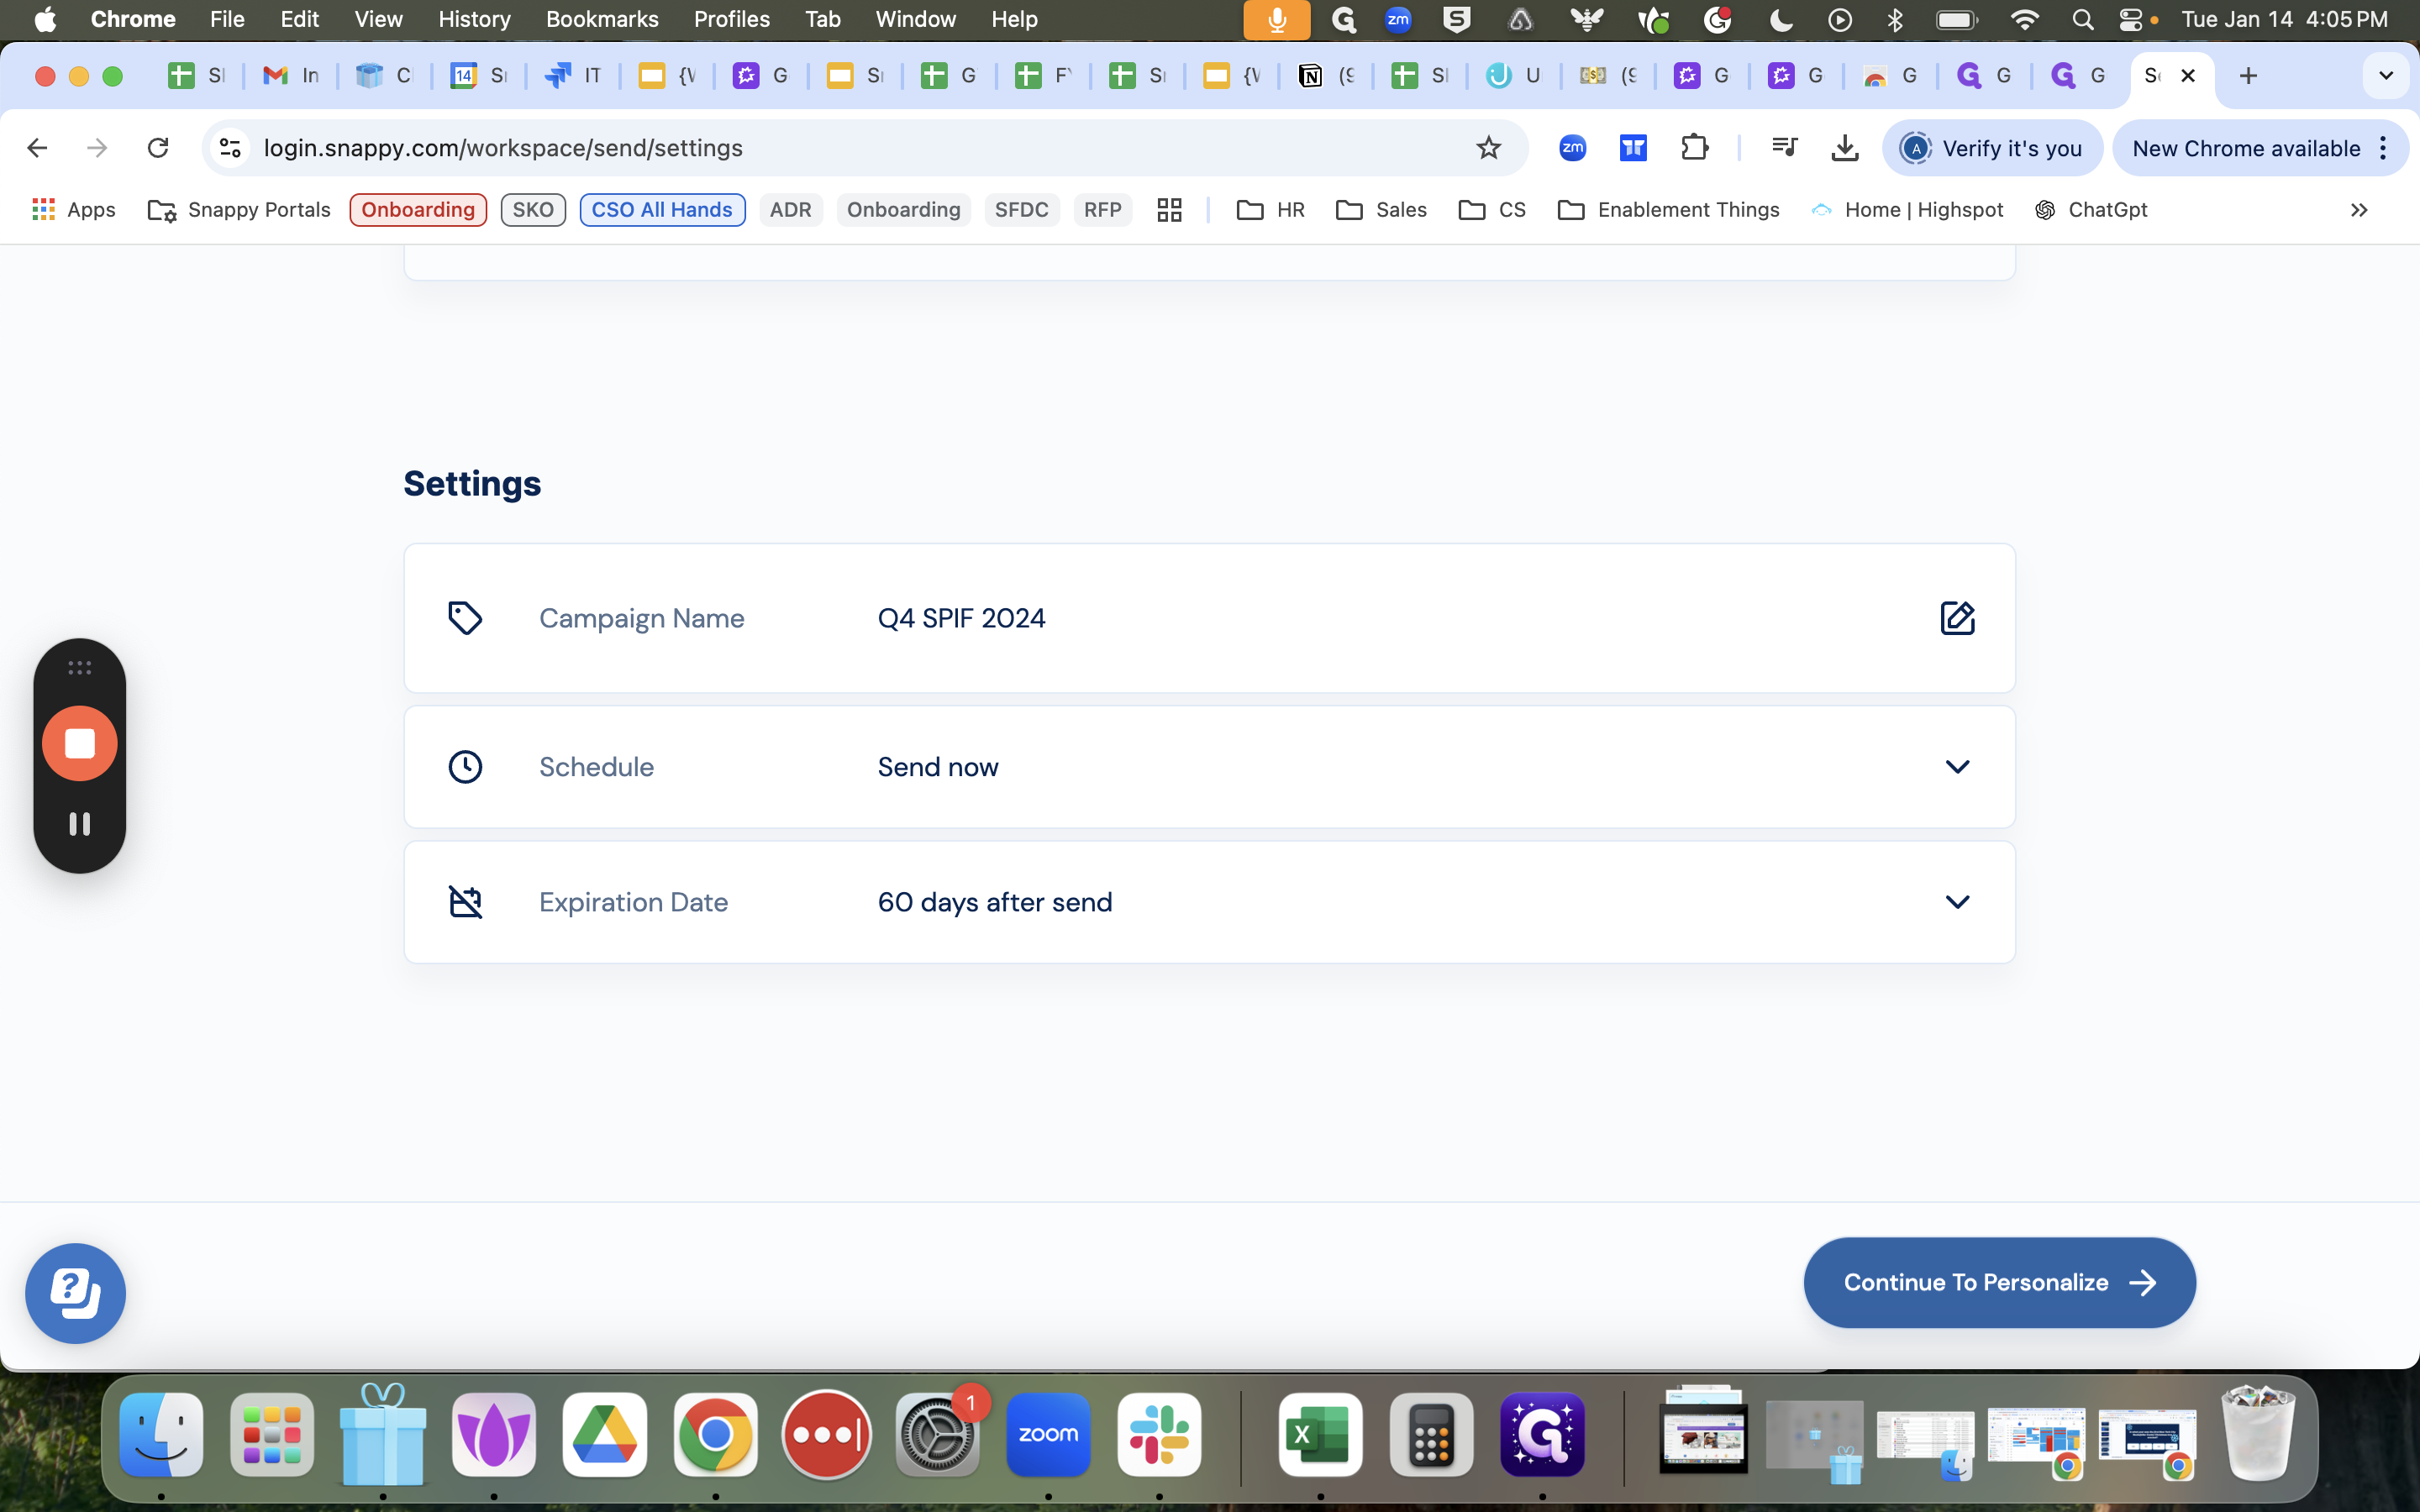
This is an important step. Click the pencil symbol and change it to "Q4 Spiff 2024" to easily track it for reporting purposes.
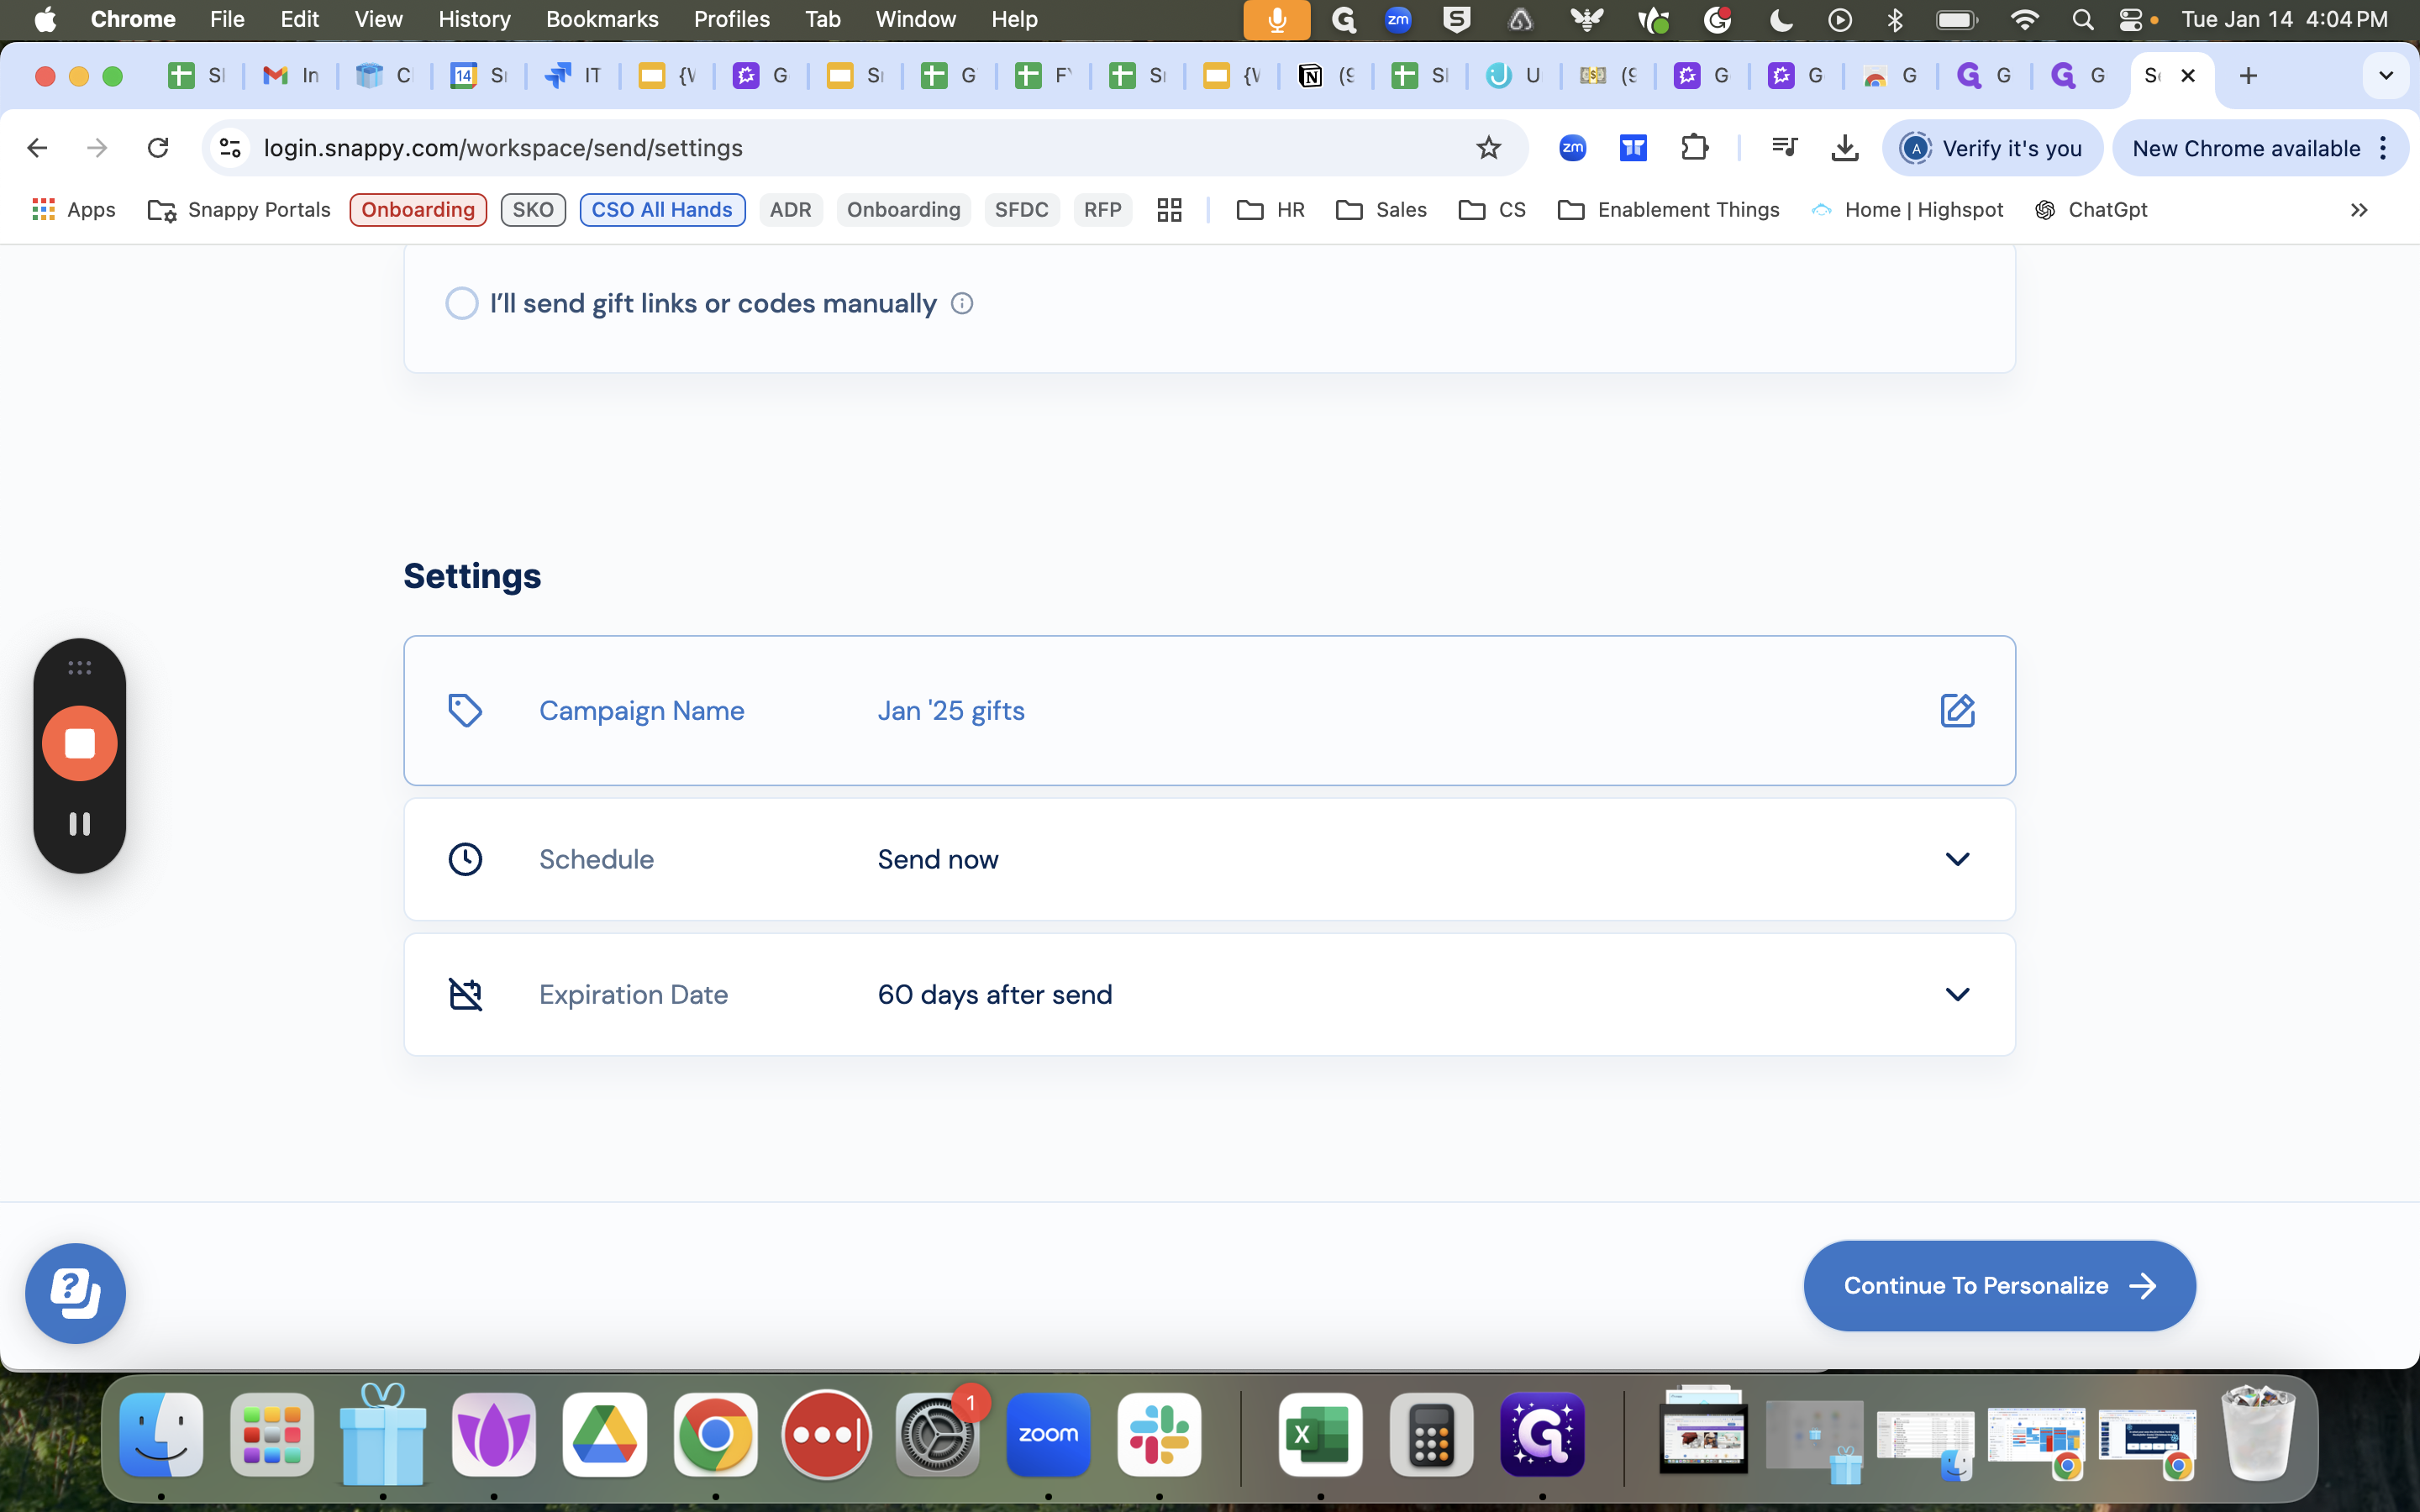
We'll leave everything else as default.
We will continue with personalization and keep the classic features.
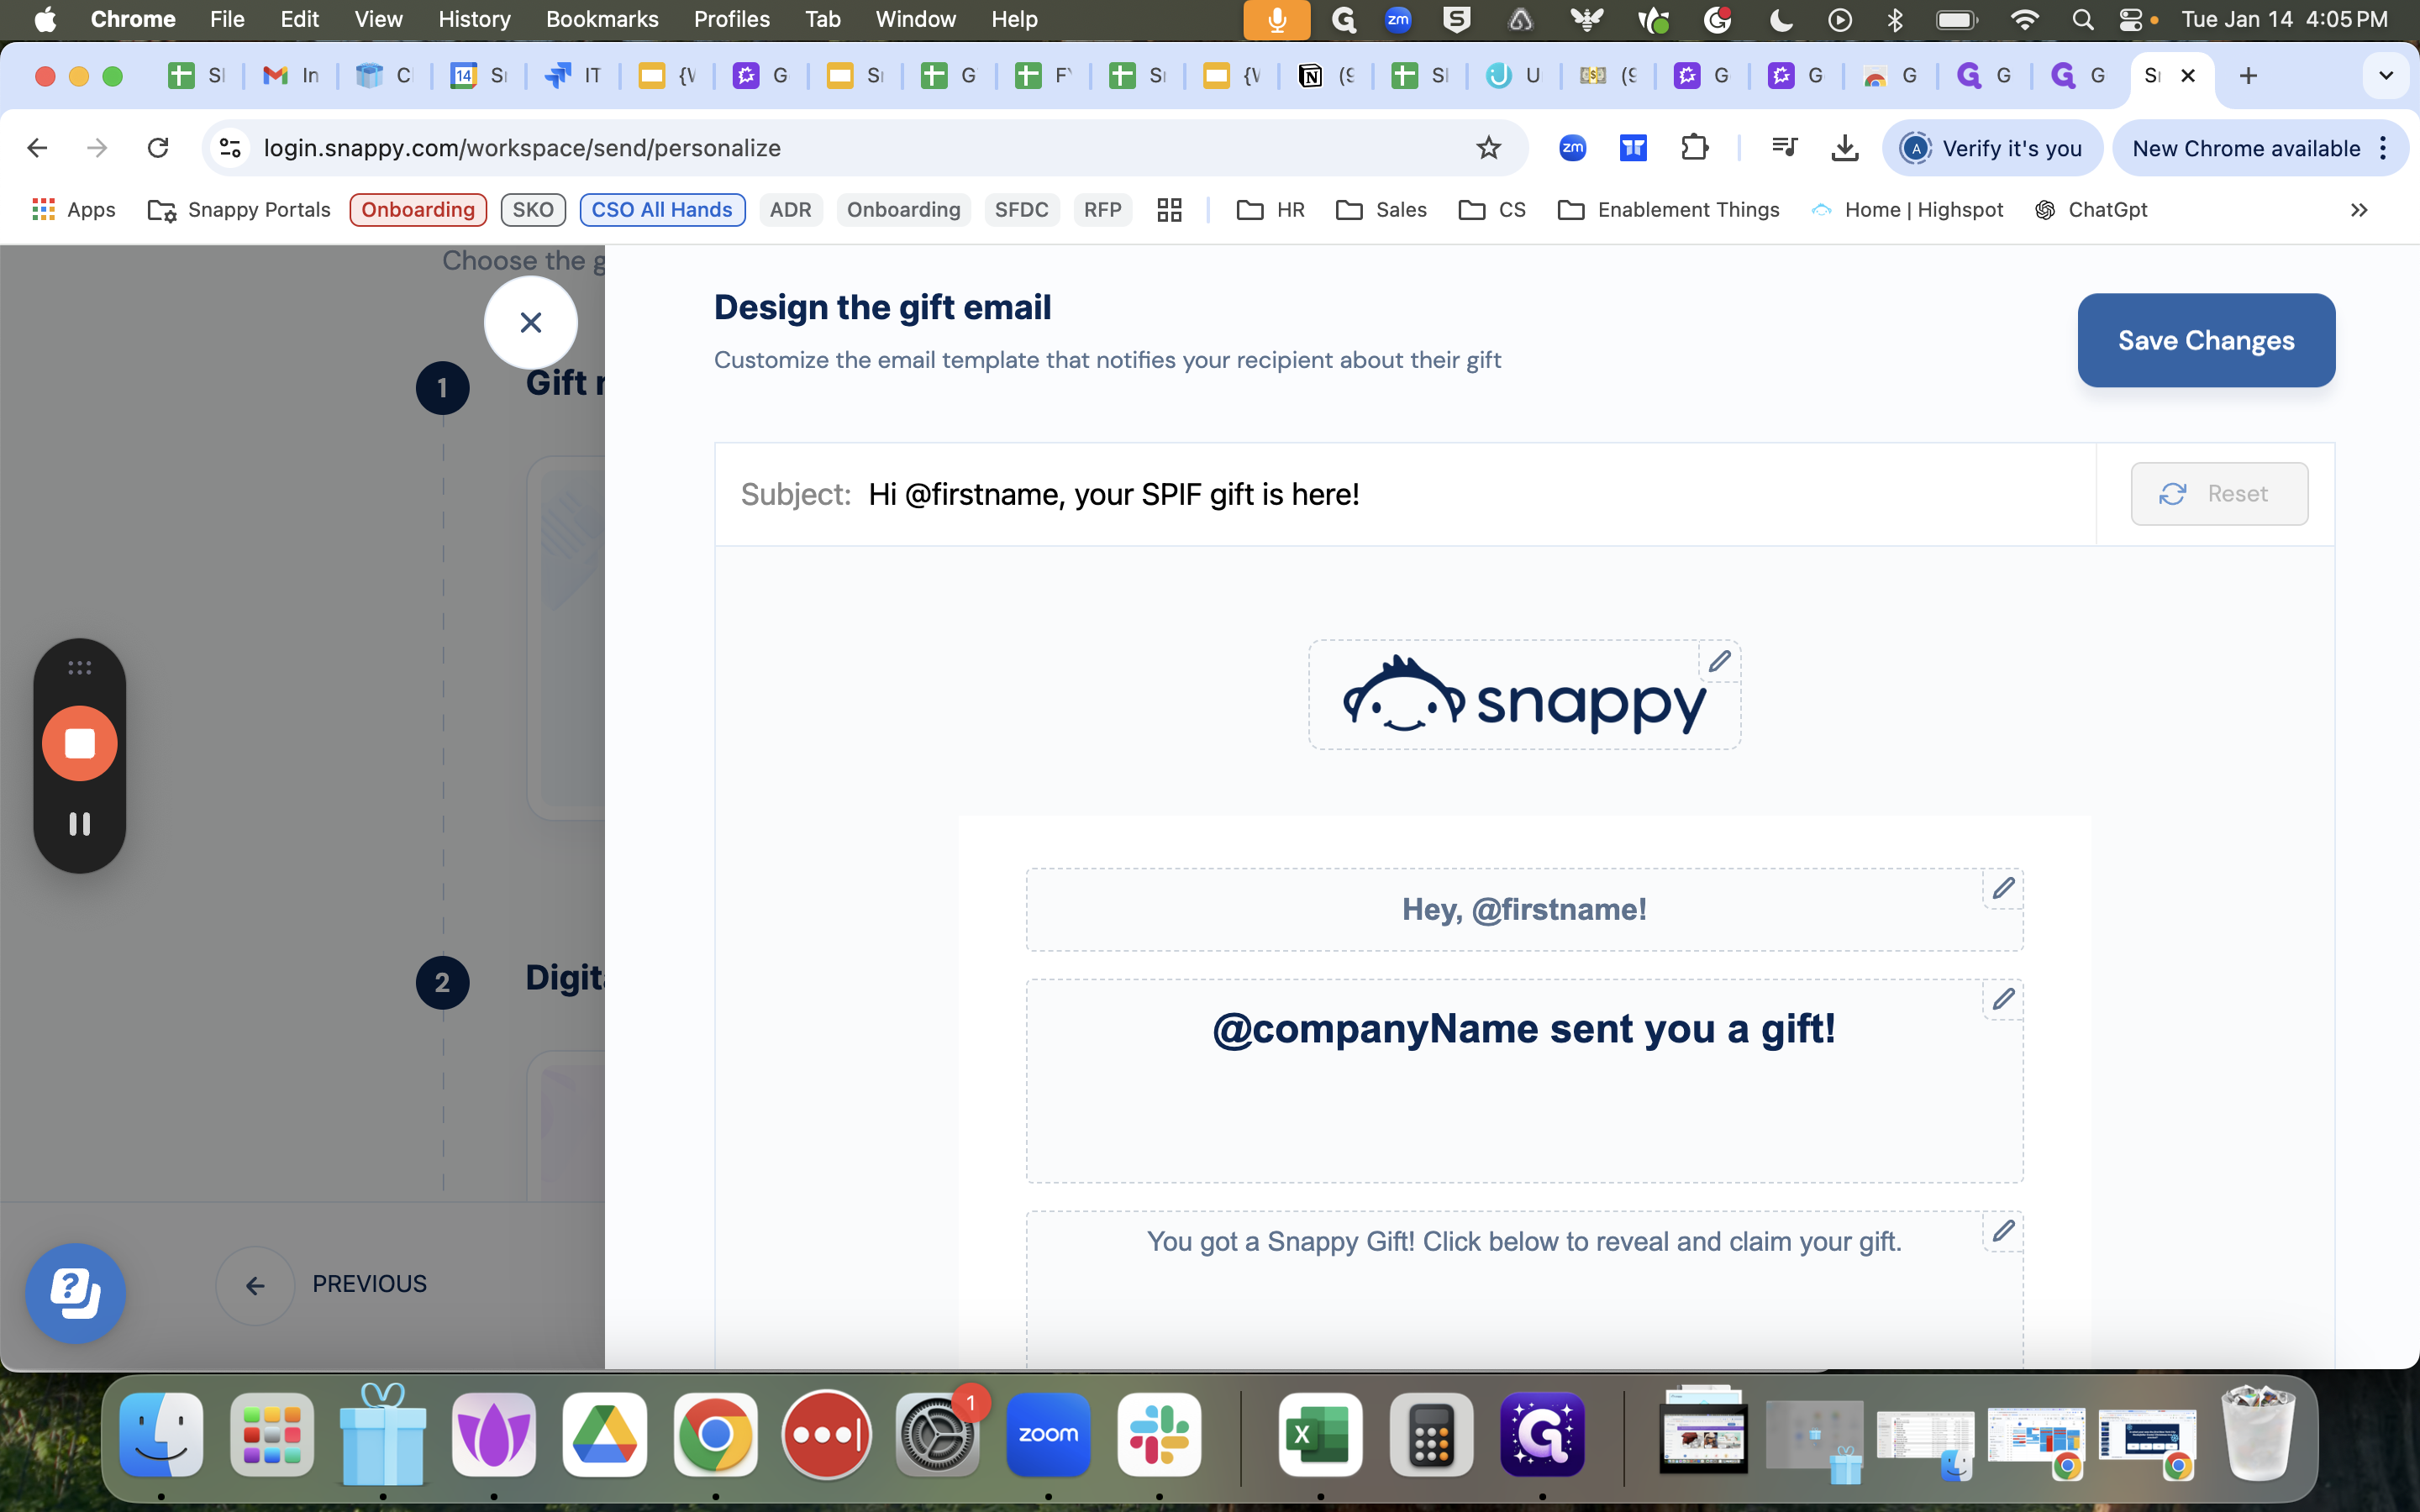
Keep it on classic features. If you switch to the new features, they won't be able to switch out for something different or combine with other gifts. Click edit on the email design.
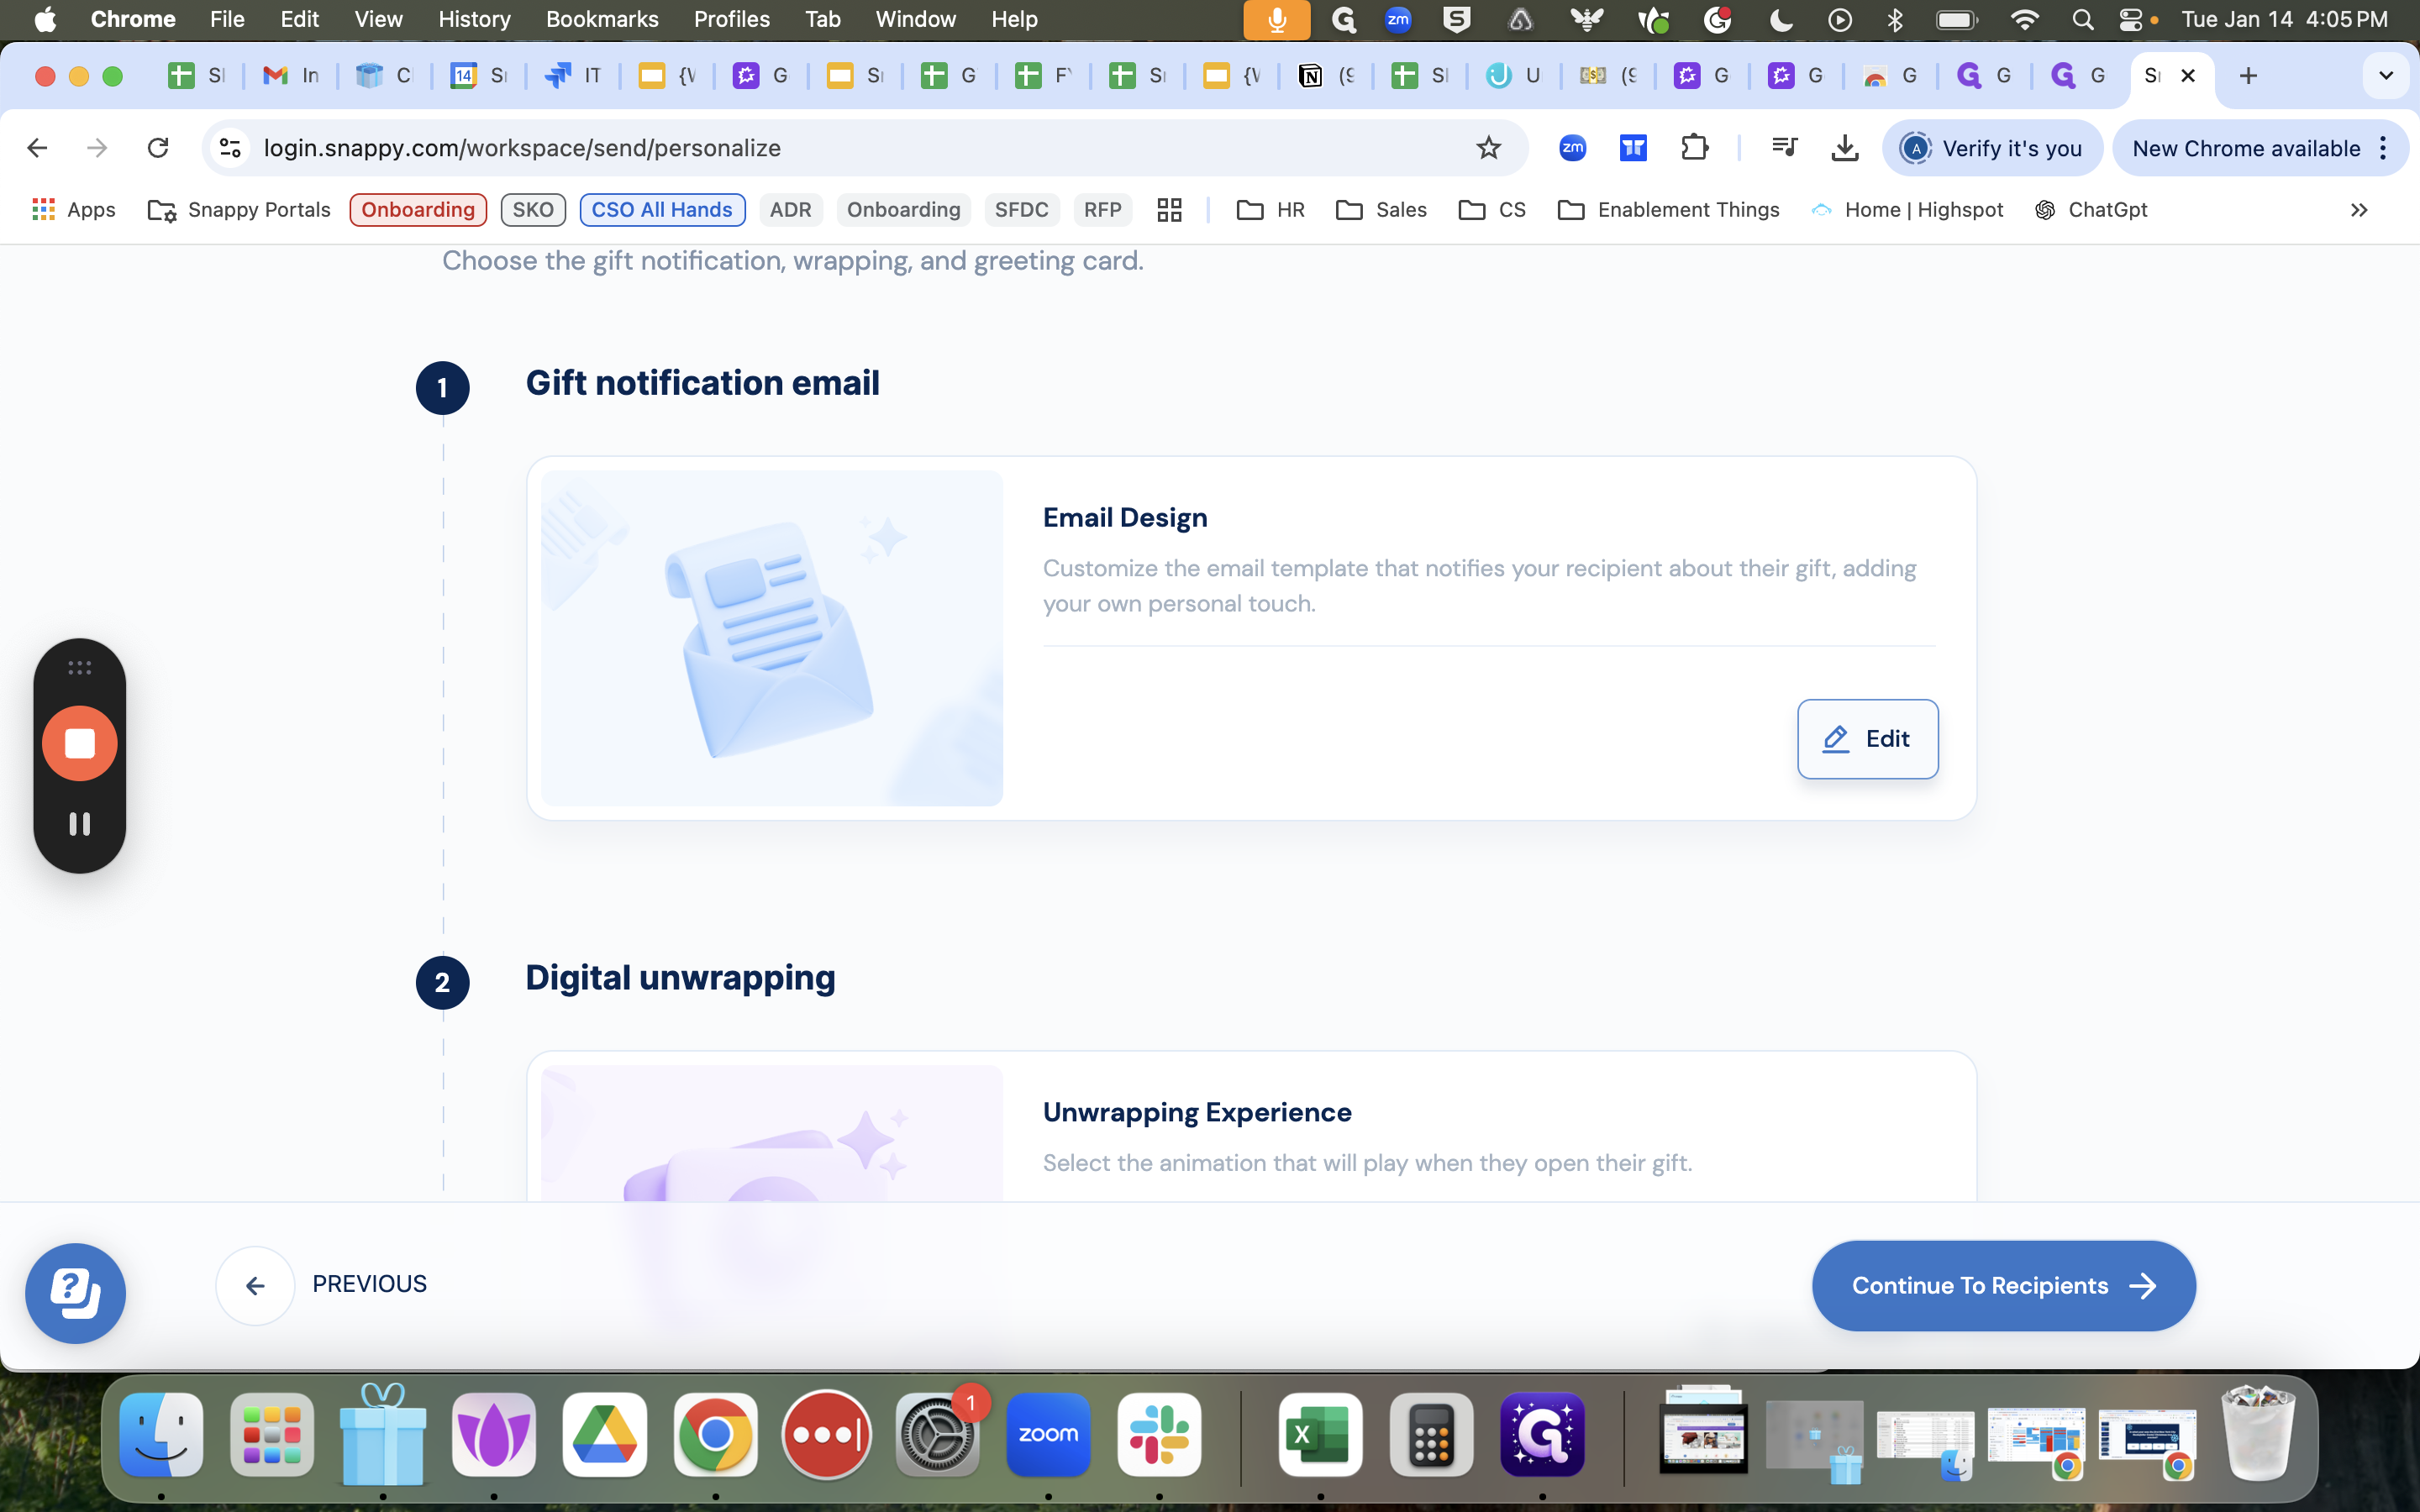
Instead of saying "Snappy got you a gift," we'll change it to "Your Spiff gift is here!" or something similar, so they understand what it's for.

You can keep the unwrapping experience the same, including the scratch screen, or update it if you prefer. You don't have to change it, but feel free to experiment.
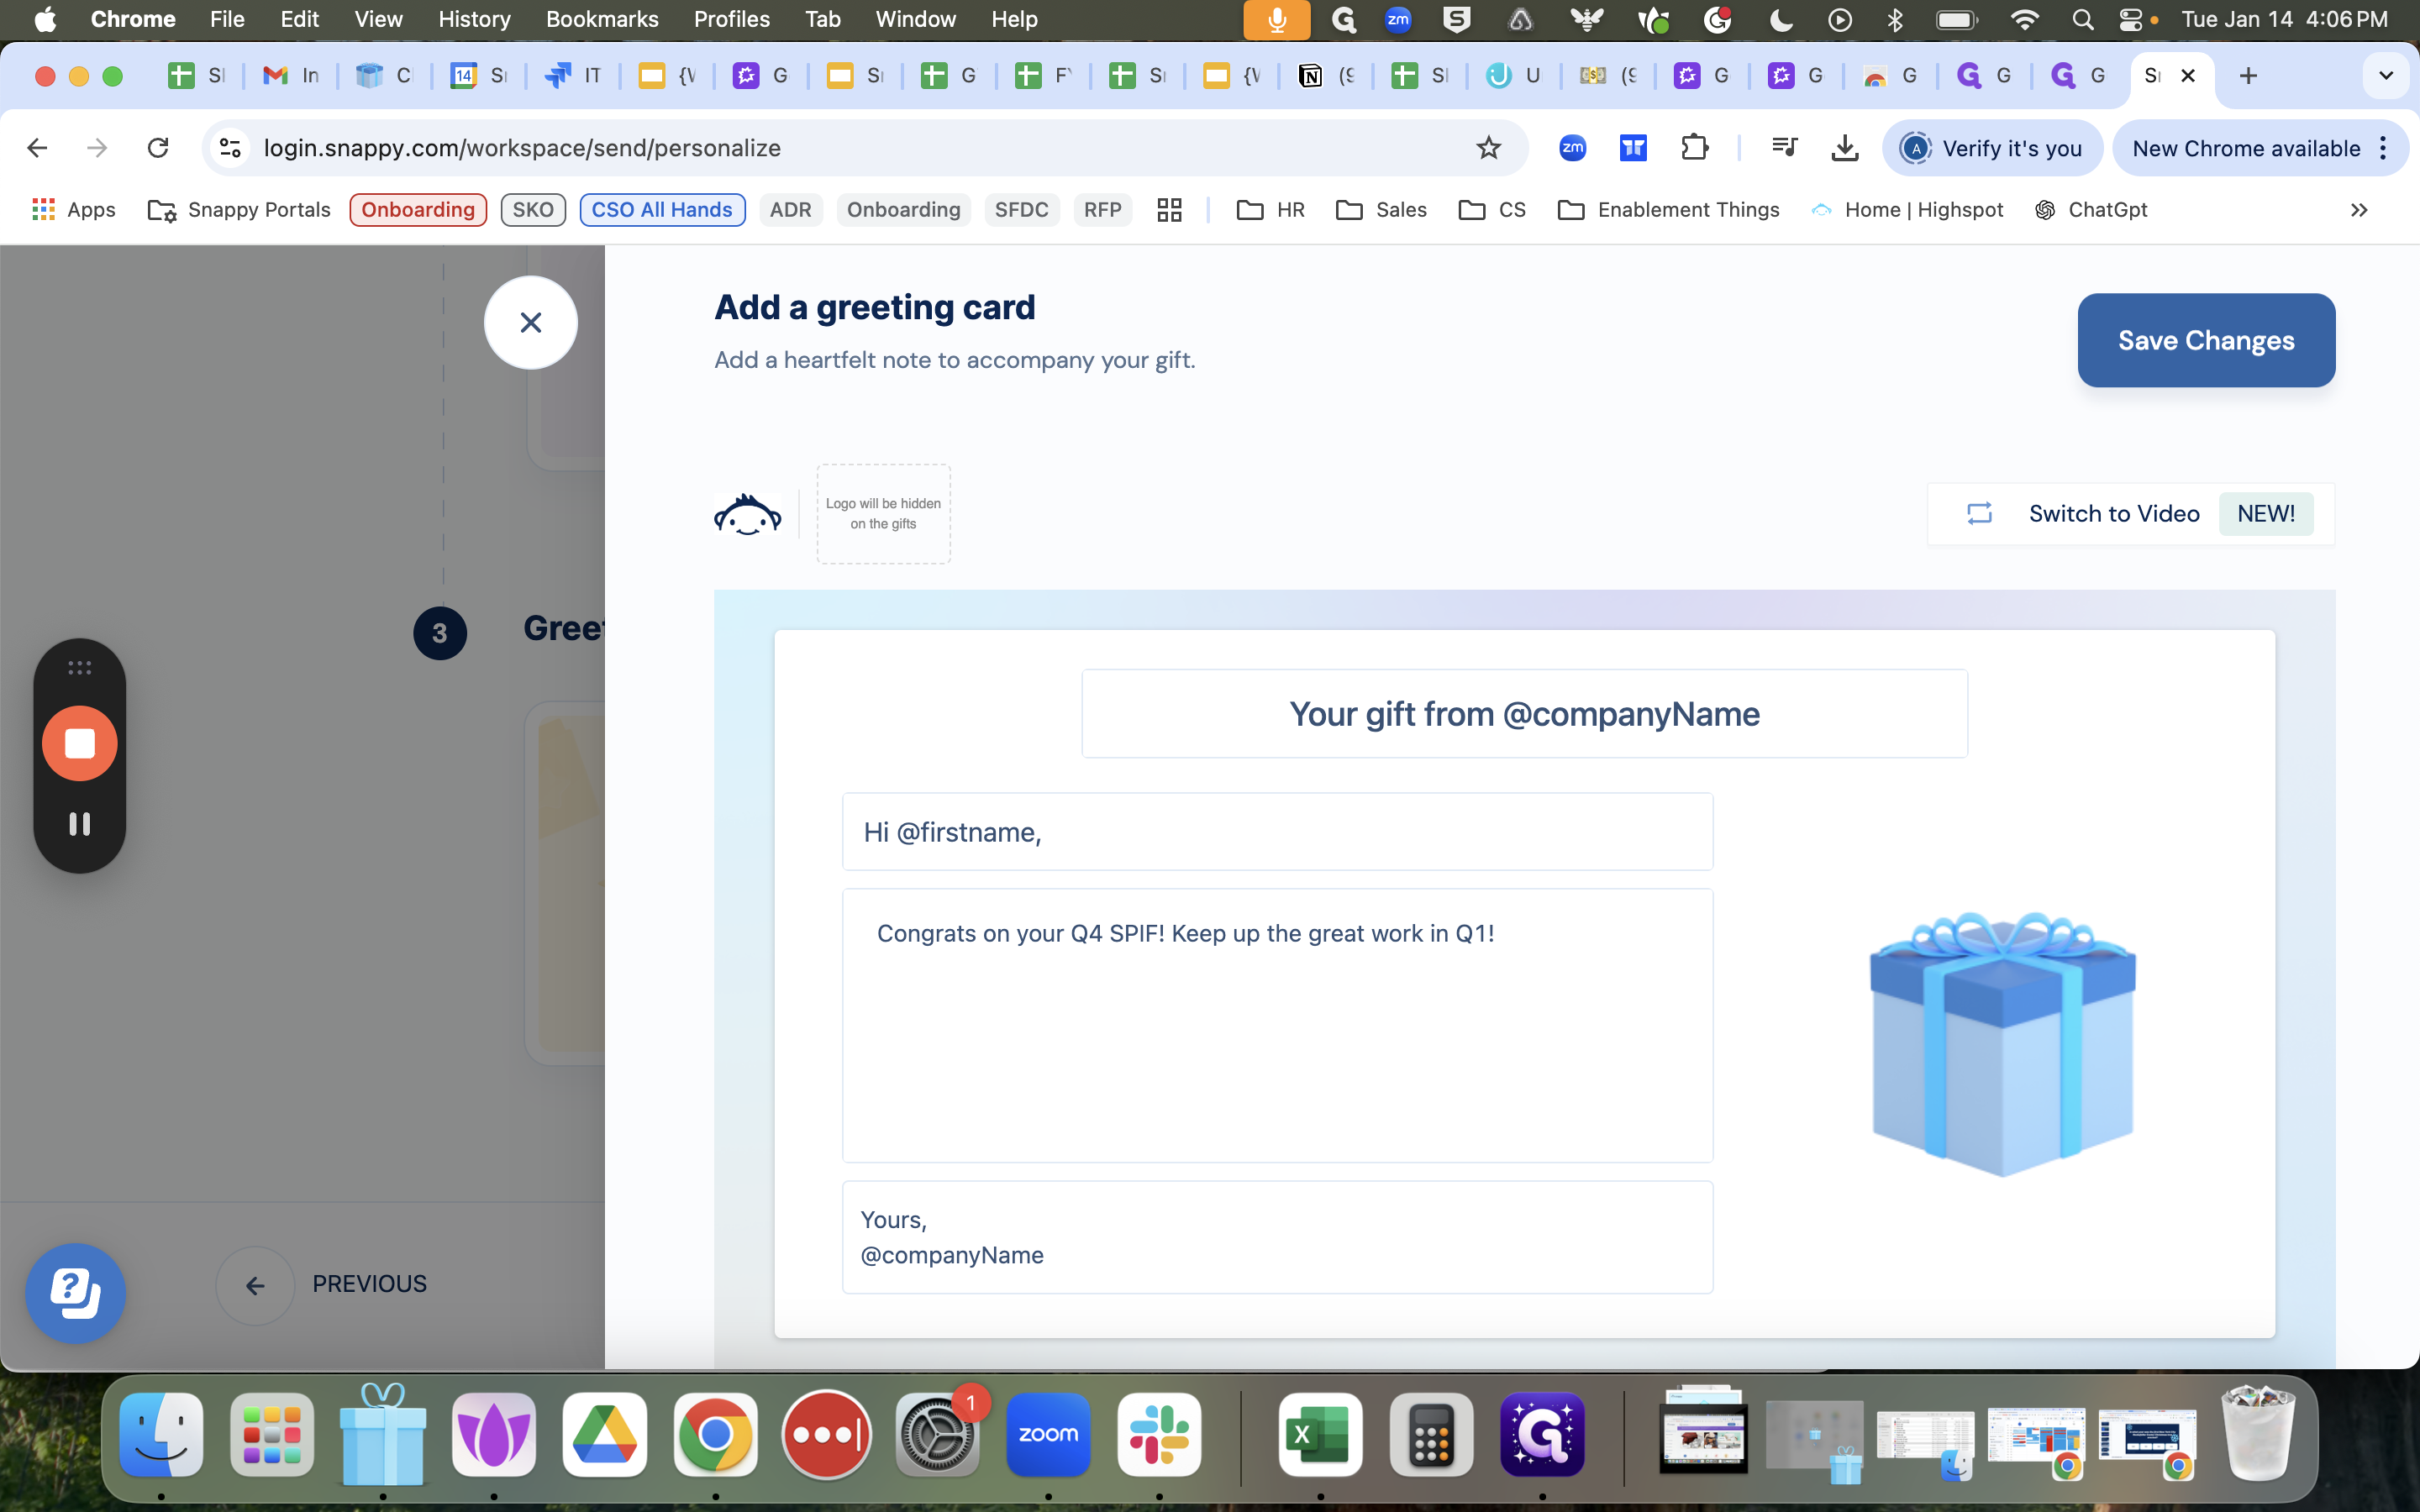
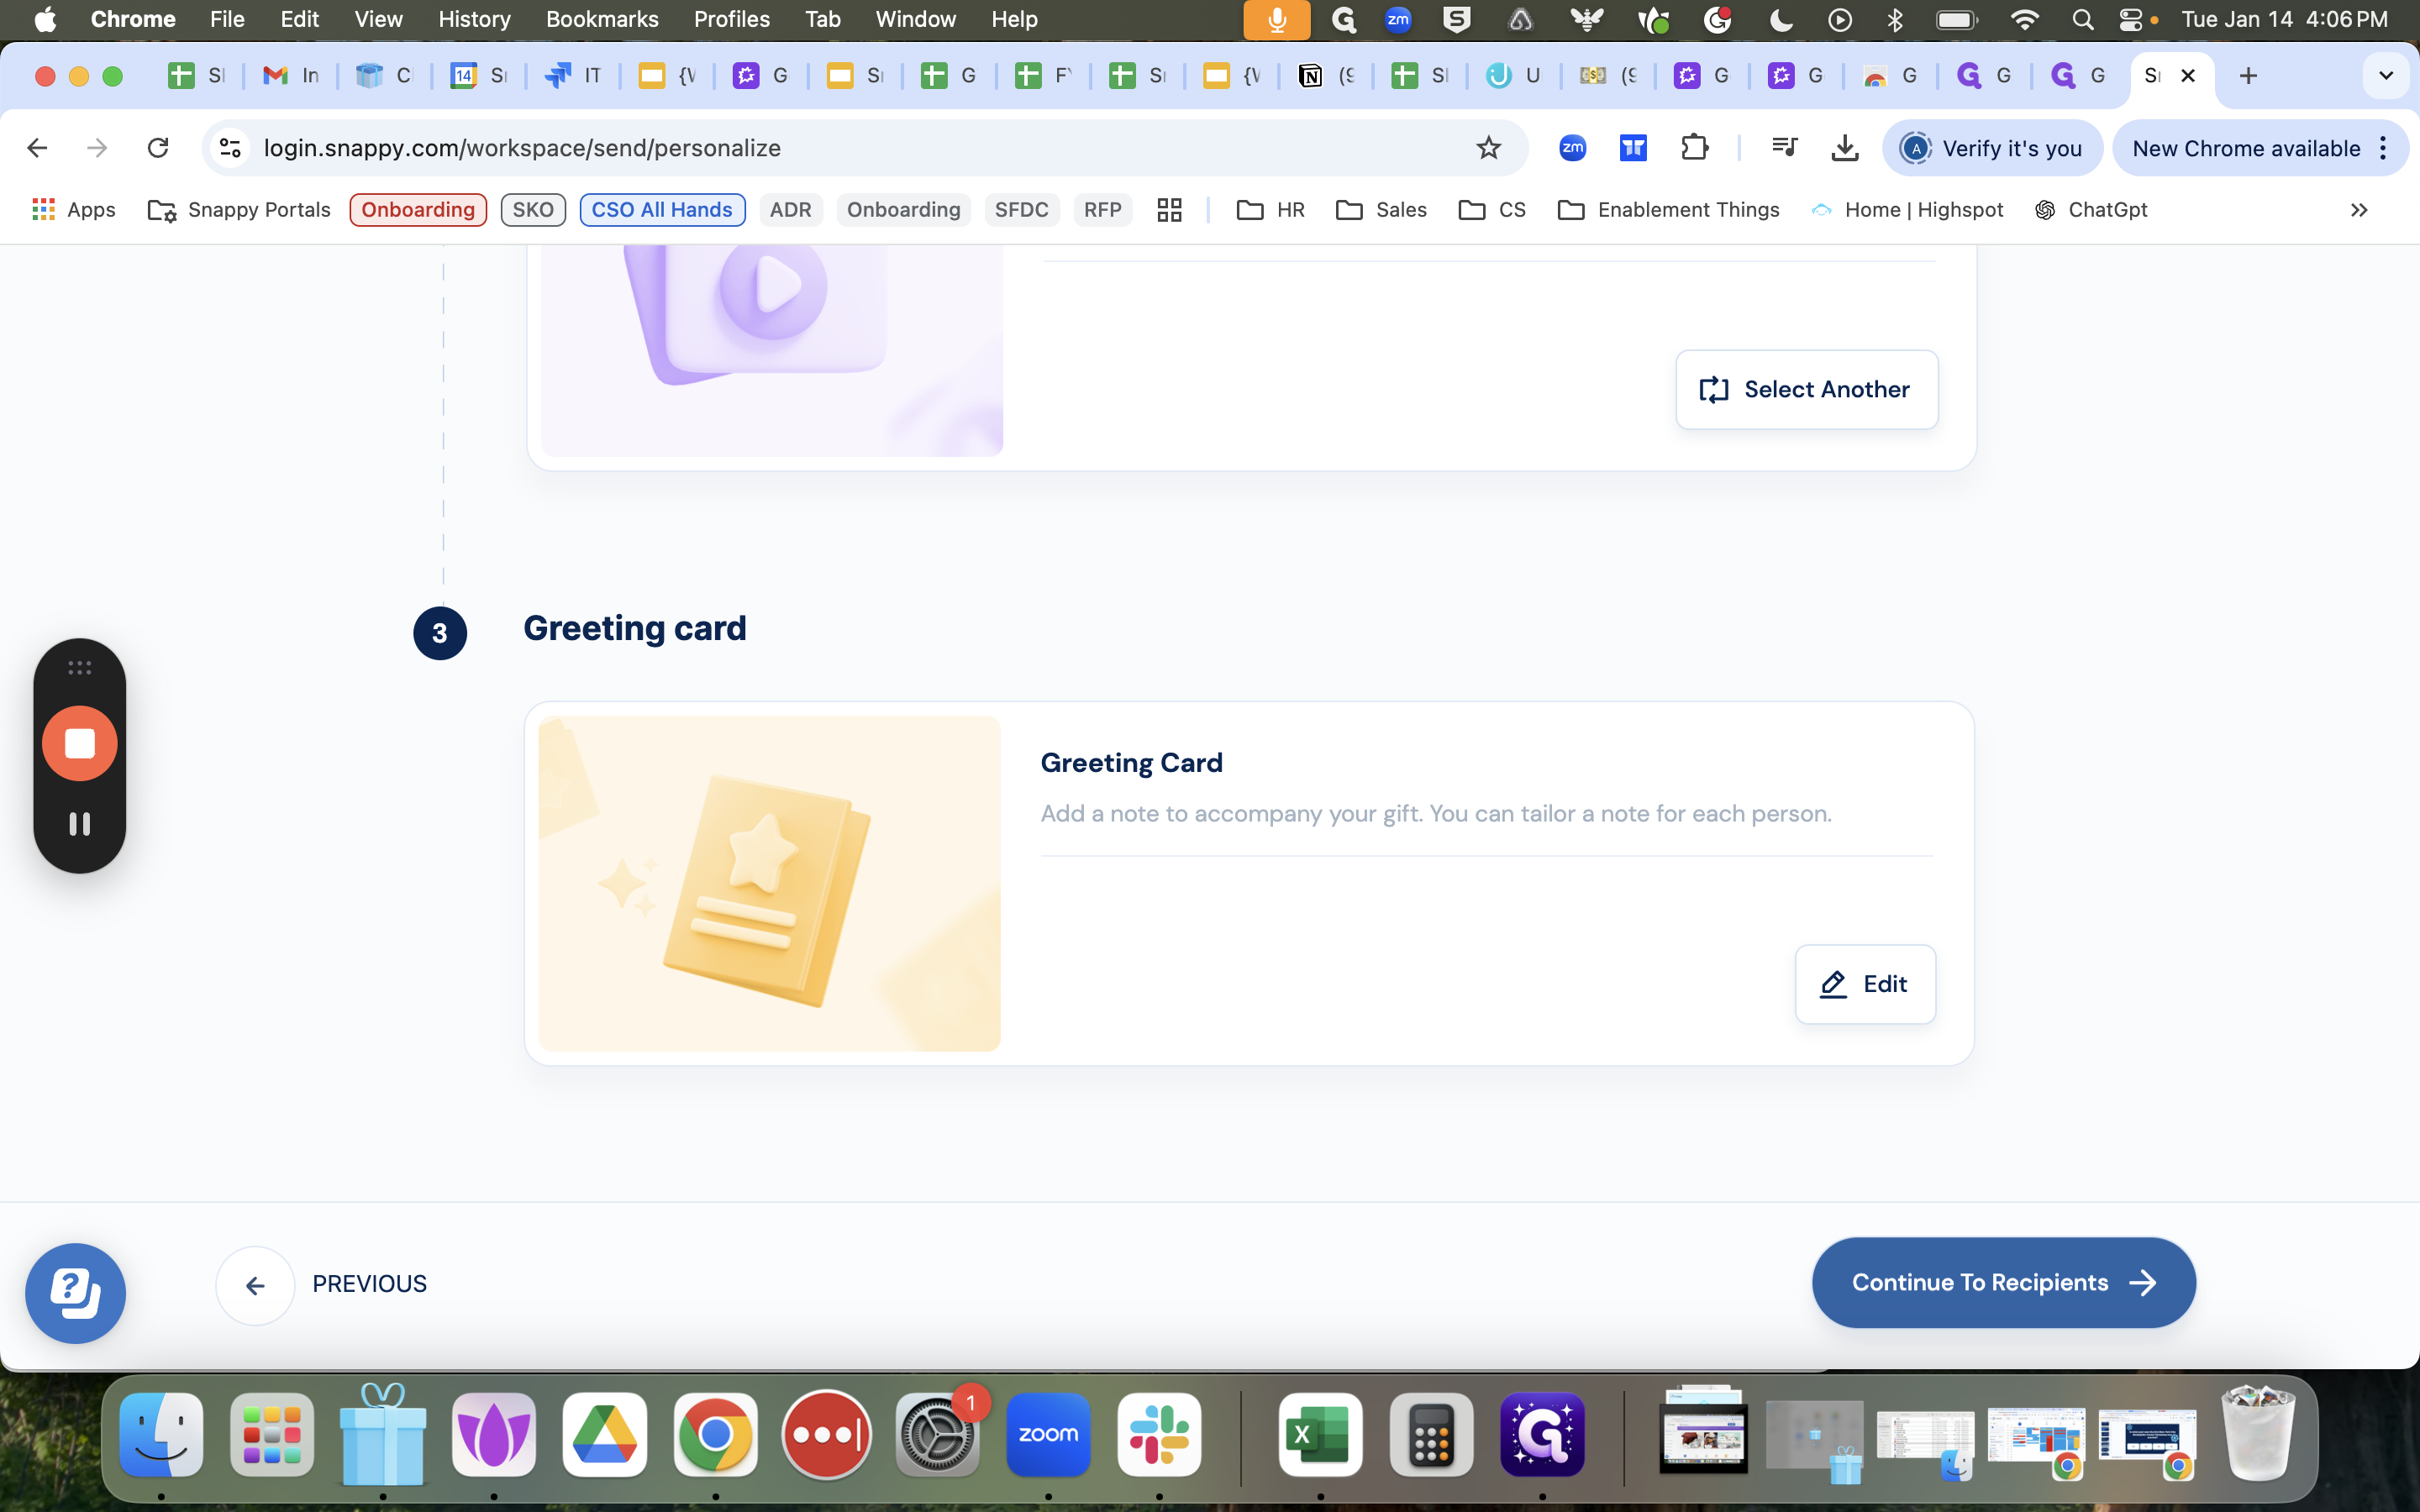
For the greeting card, I like to change it to say, "Congrats on your Q4 Spiff! Keep up the great work in Q4!"

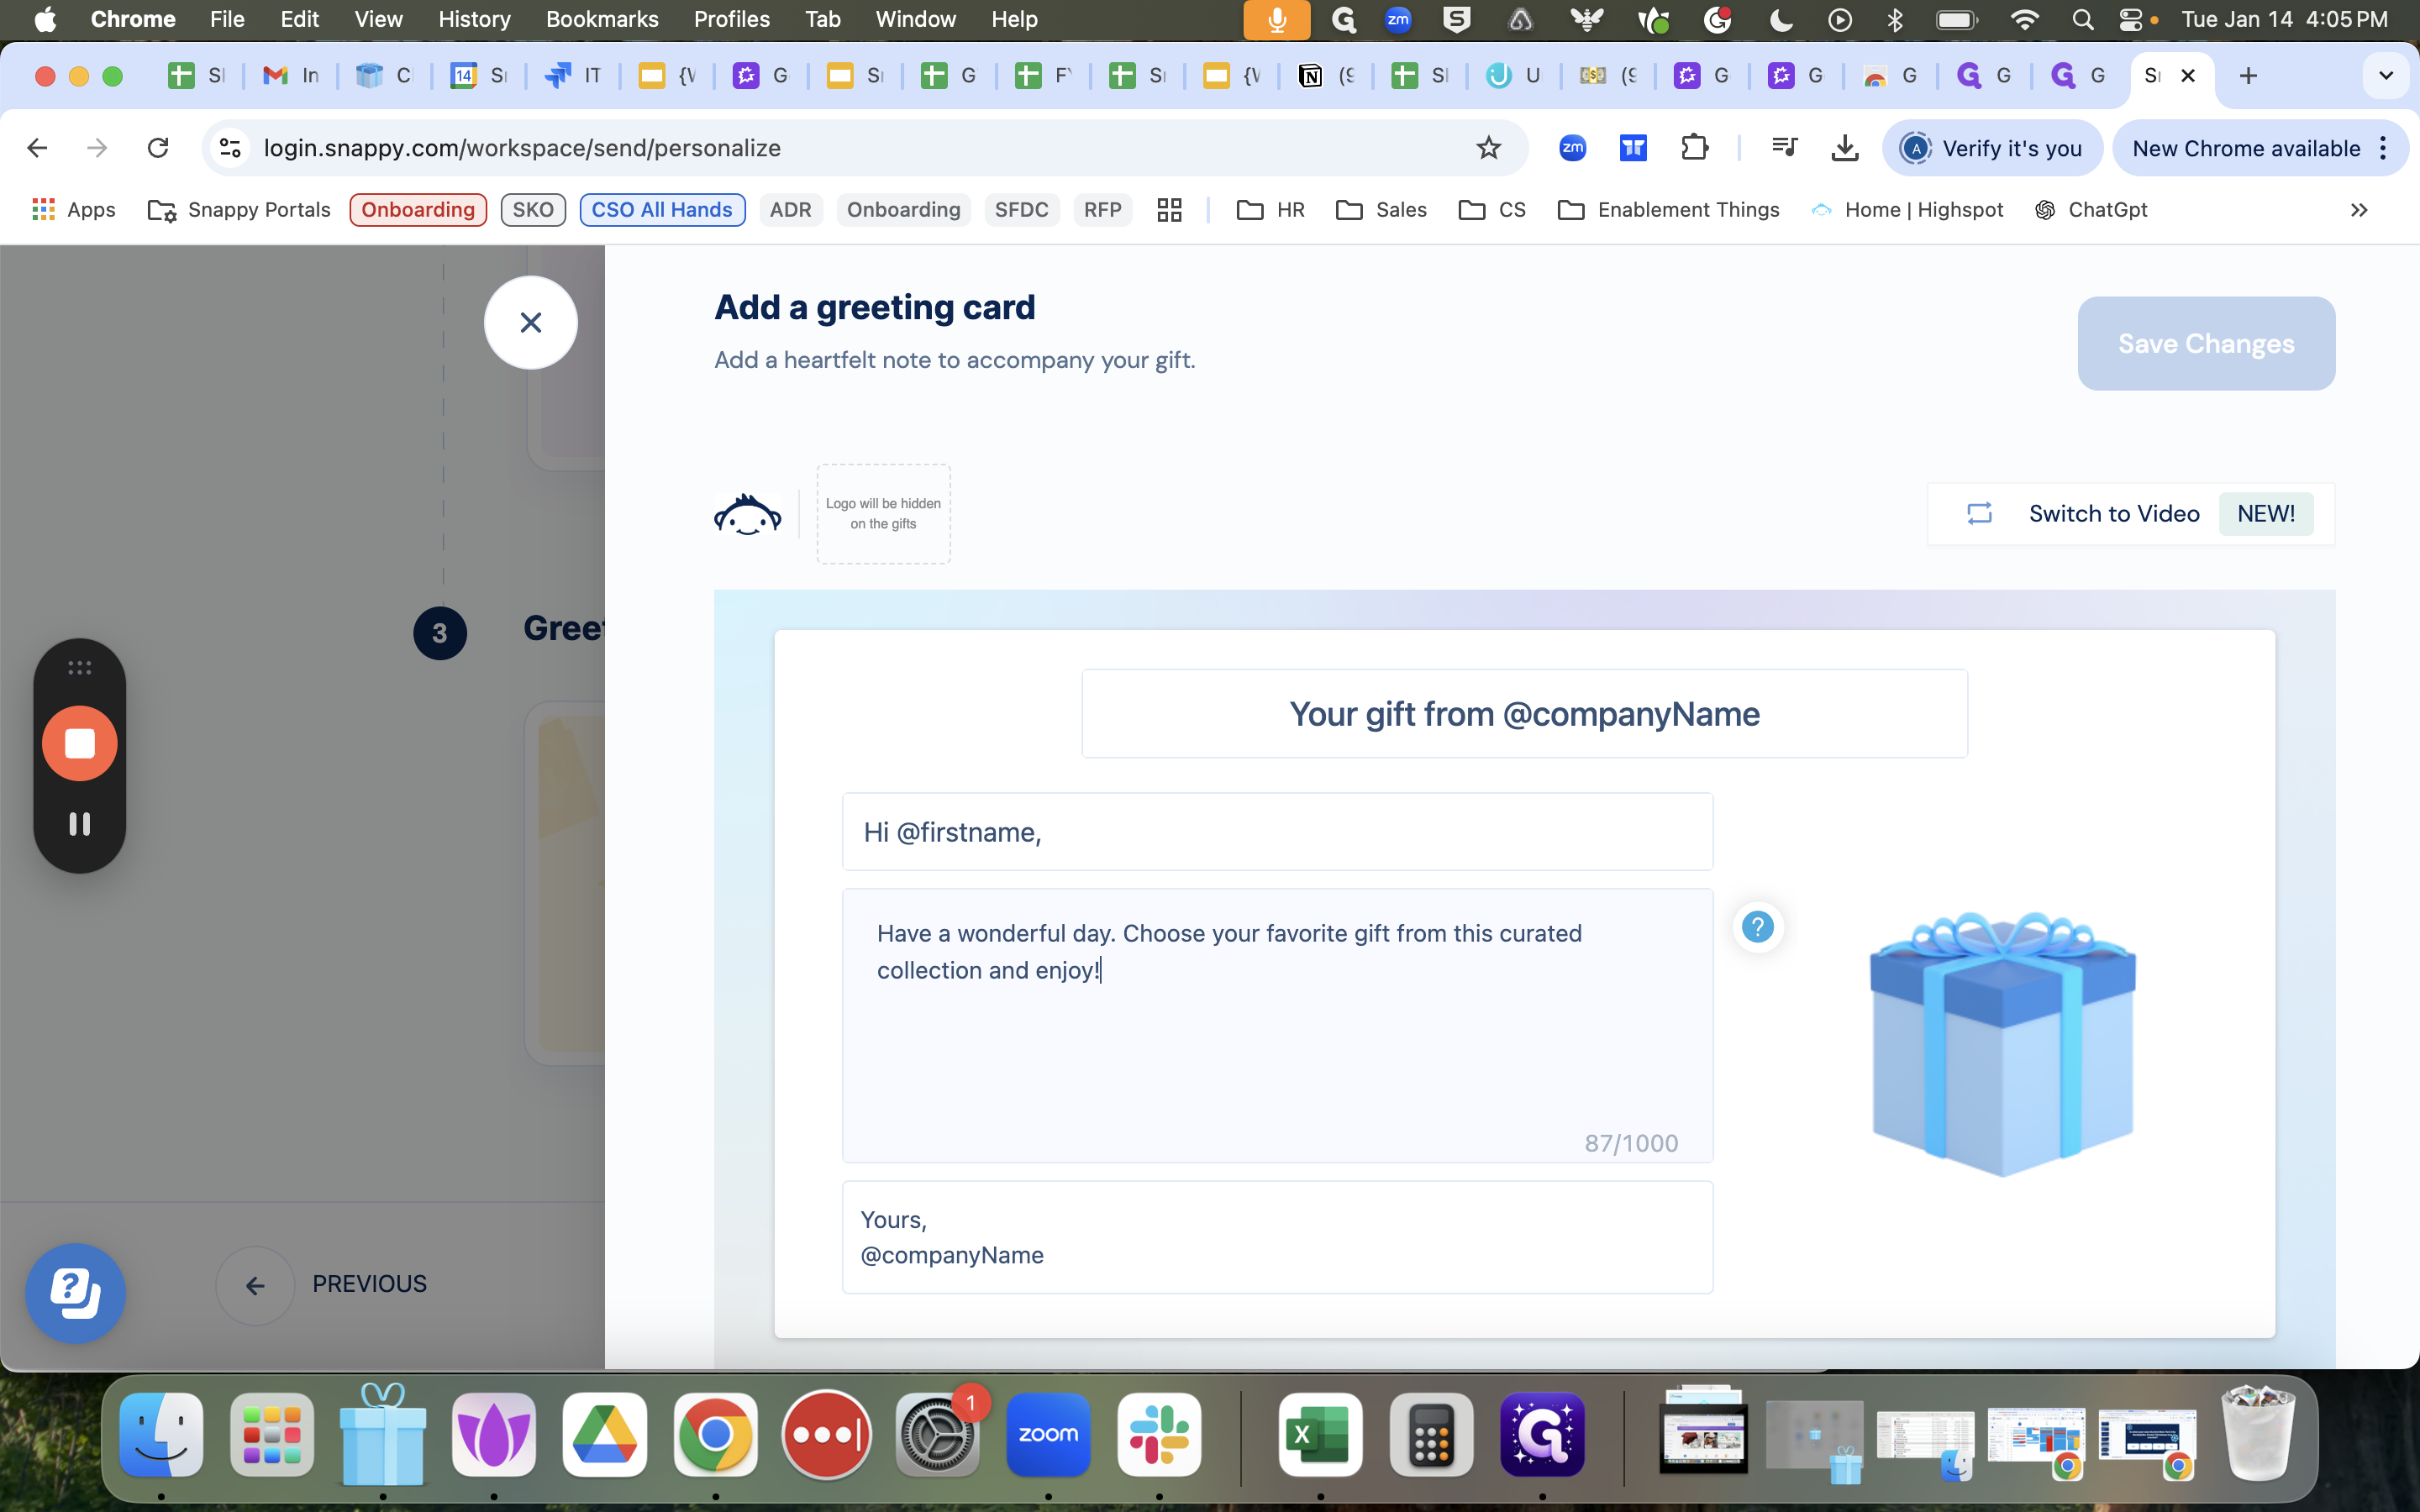
Once more, we're aiming to add that nice touch they worked for.
Click "Continue to Recipients."
From here, you can upload a file. It will only include the name, not the dollar values. I'll select from the existing options.
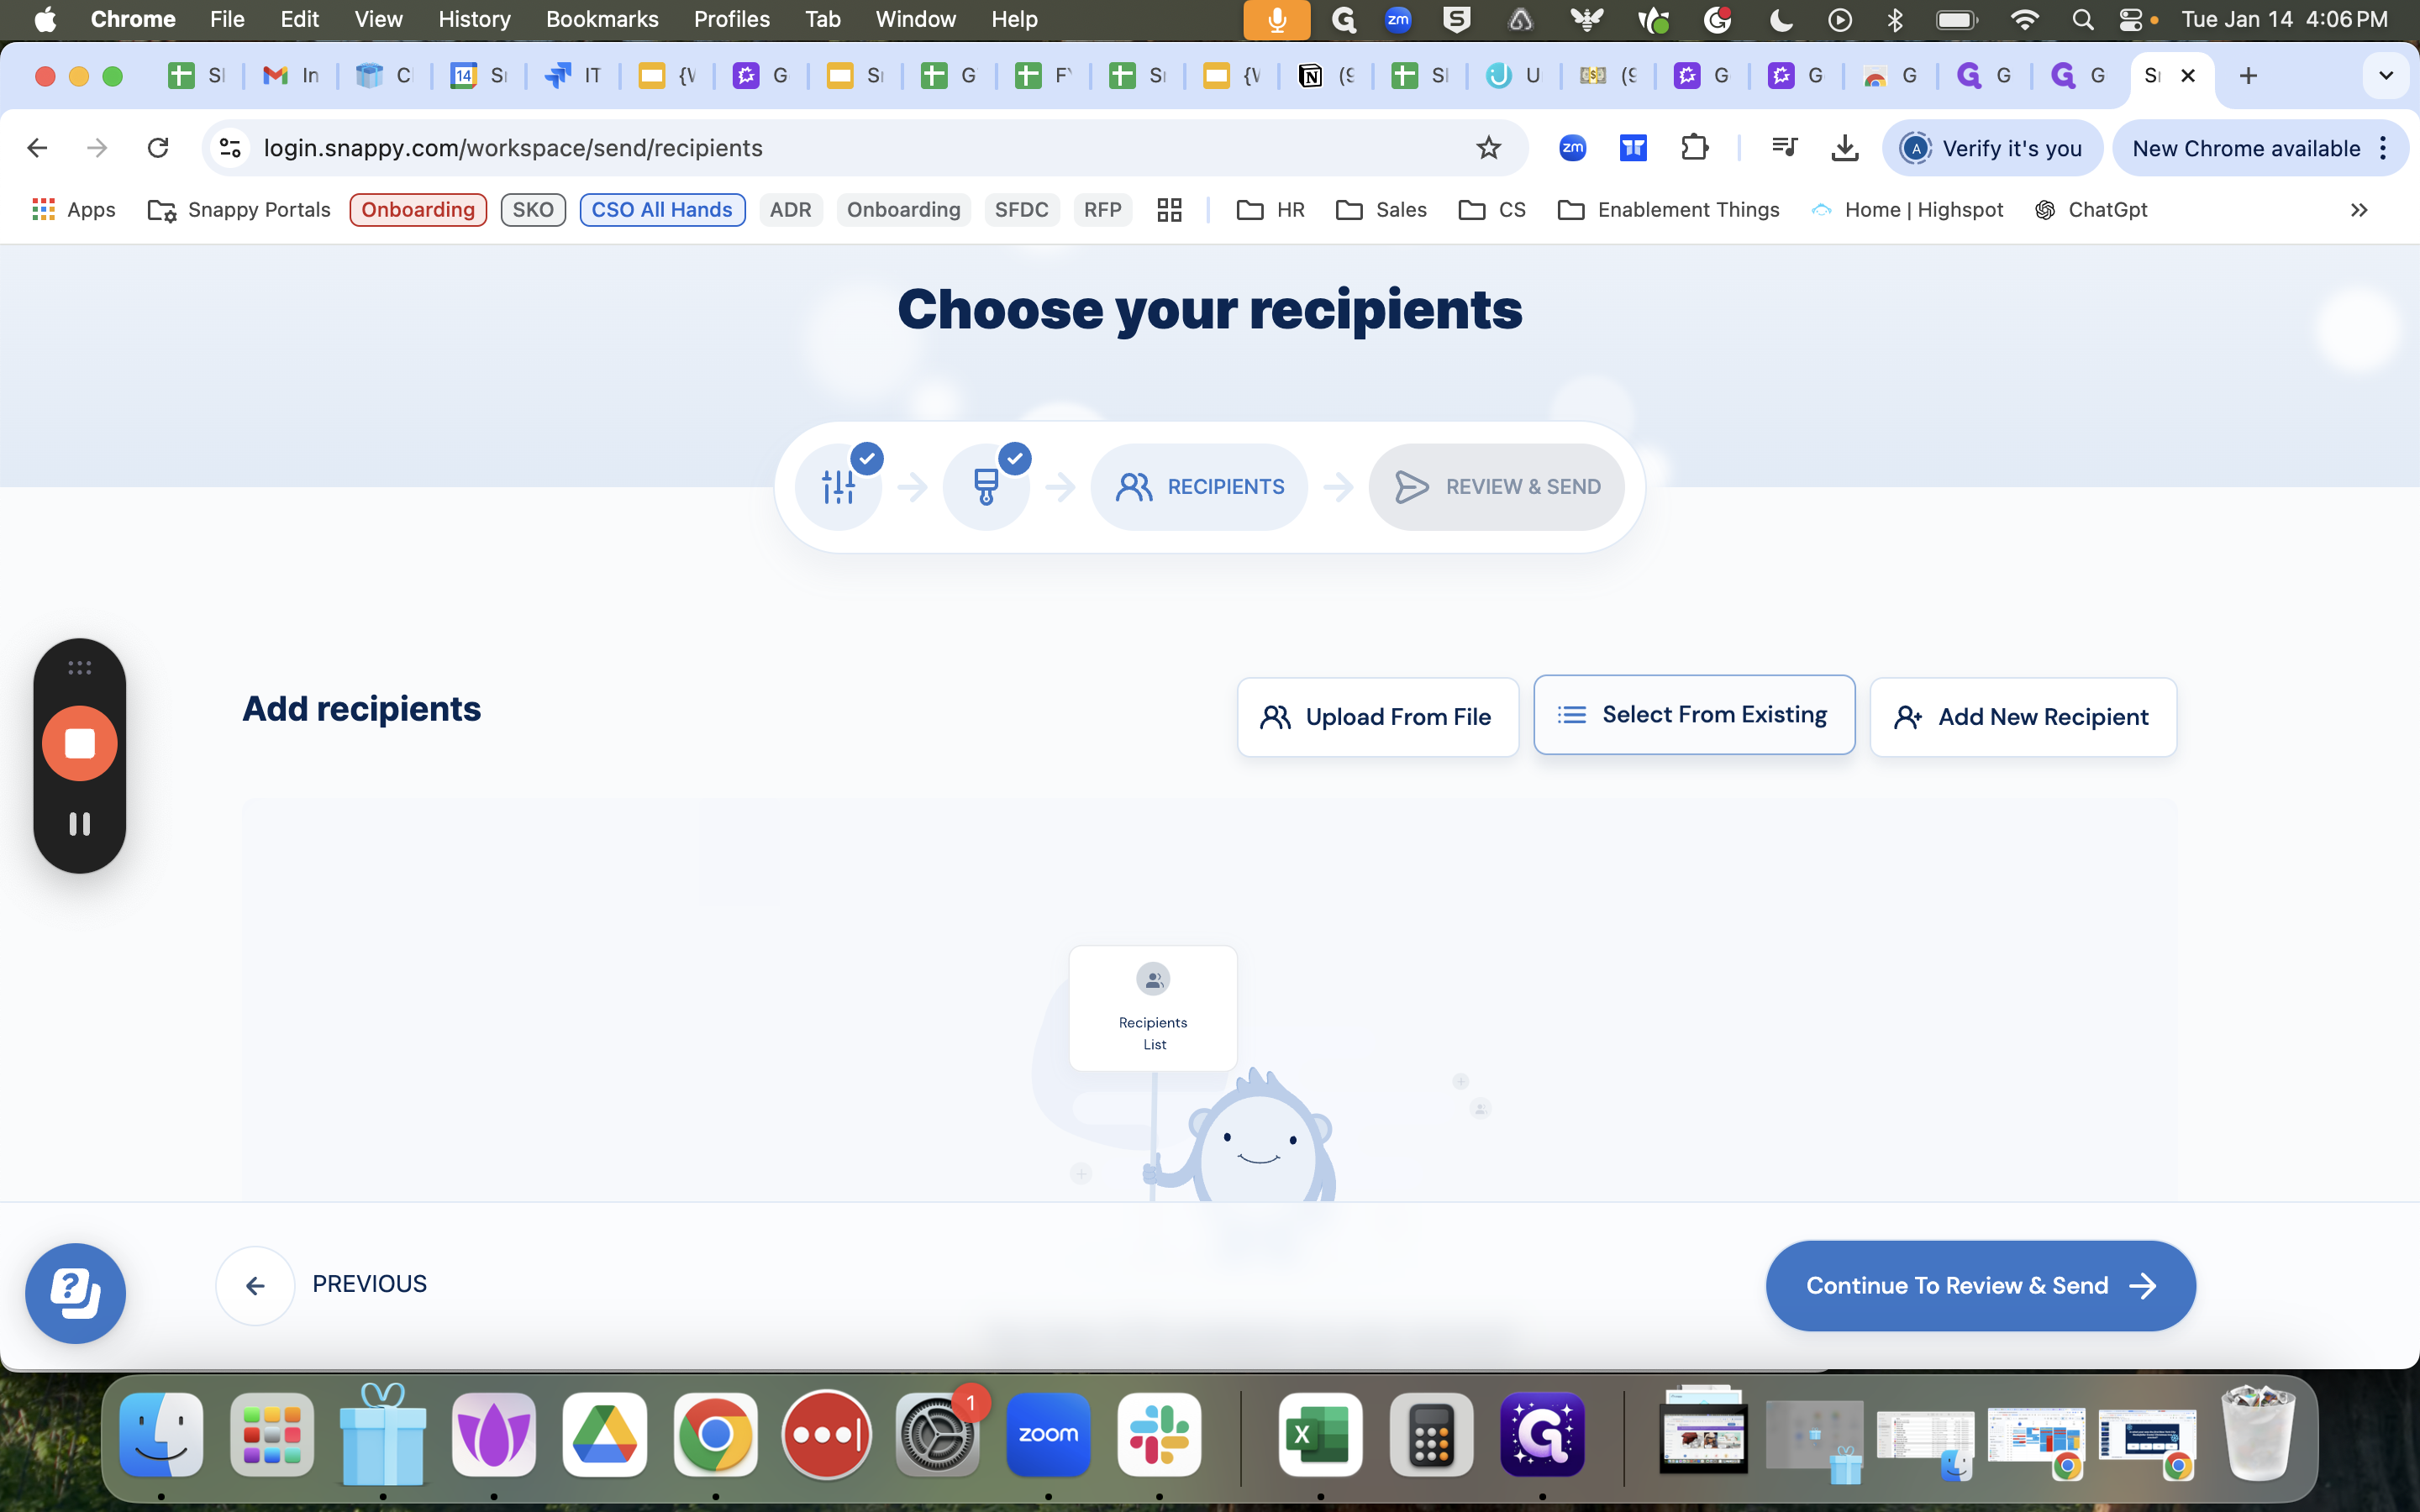
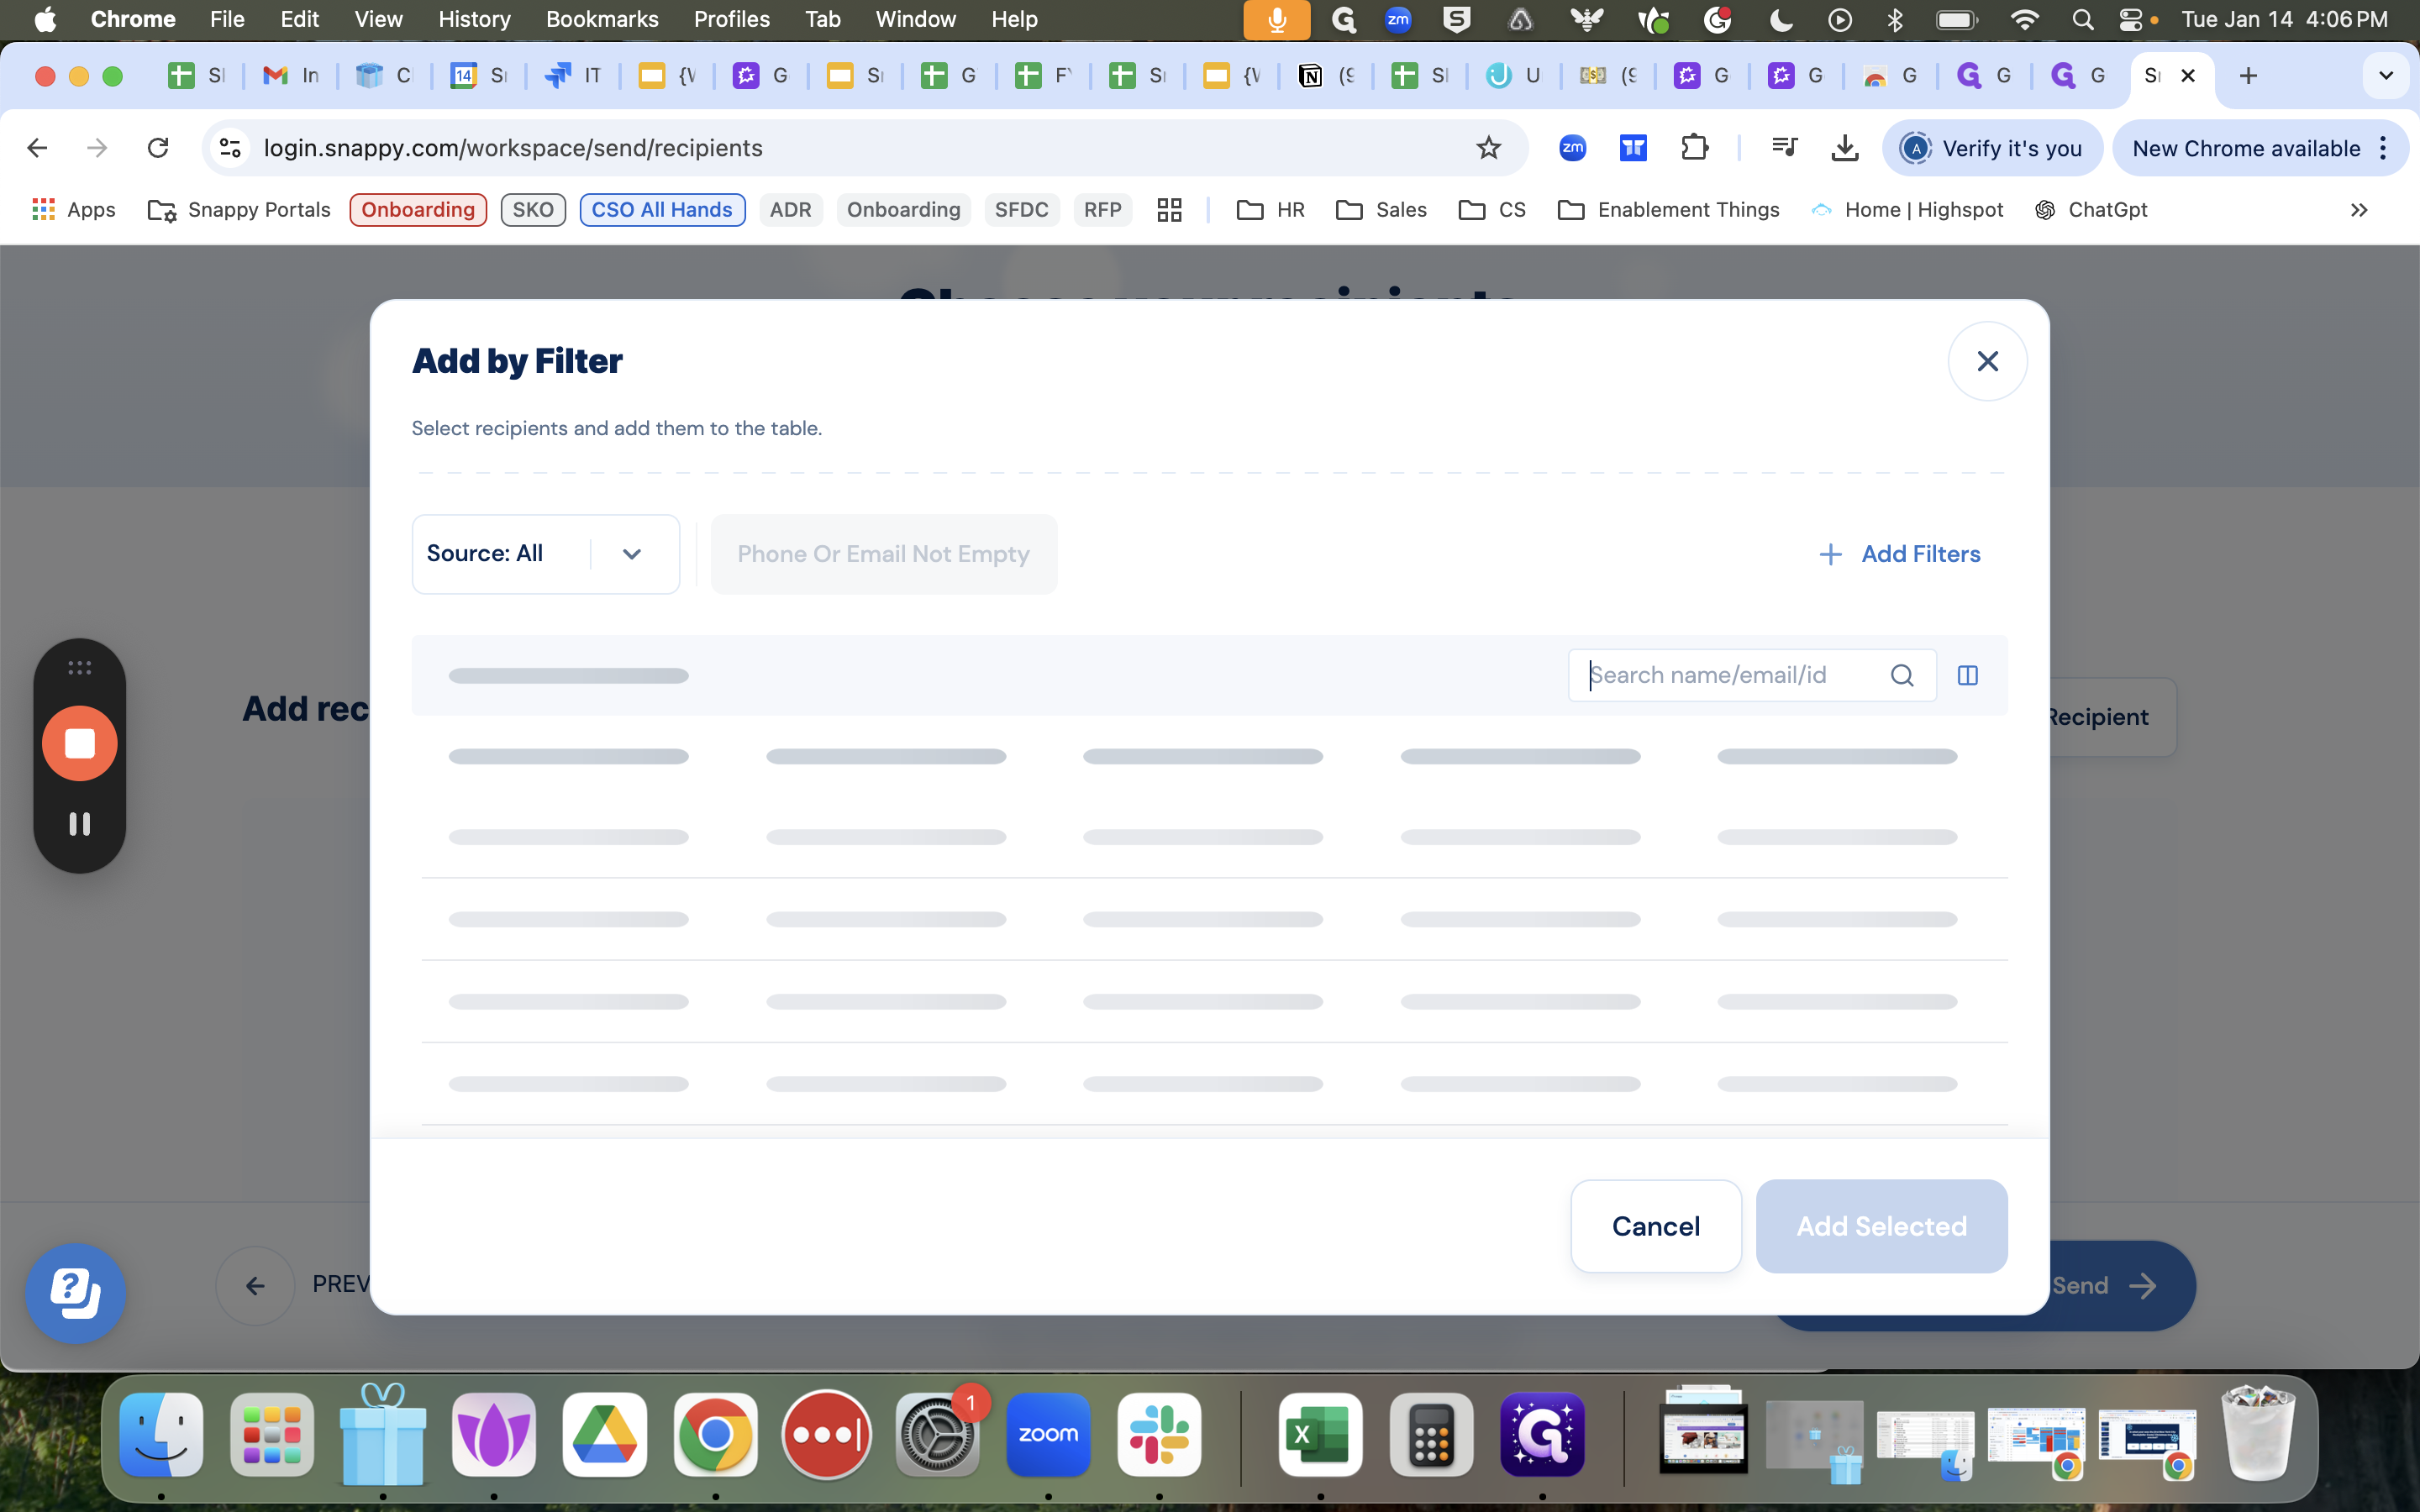
This will pull in names from Hi Bob. Here, I can search. For example, I can select Nora.
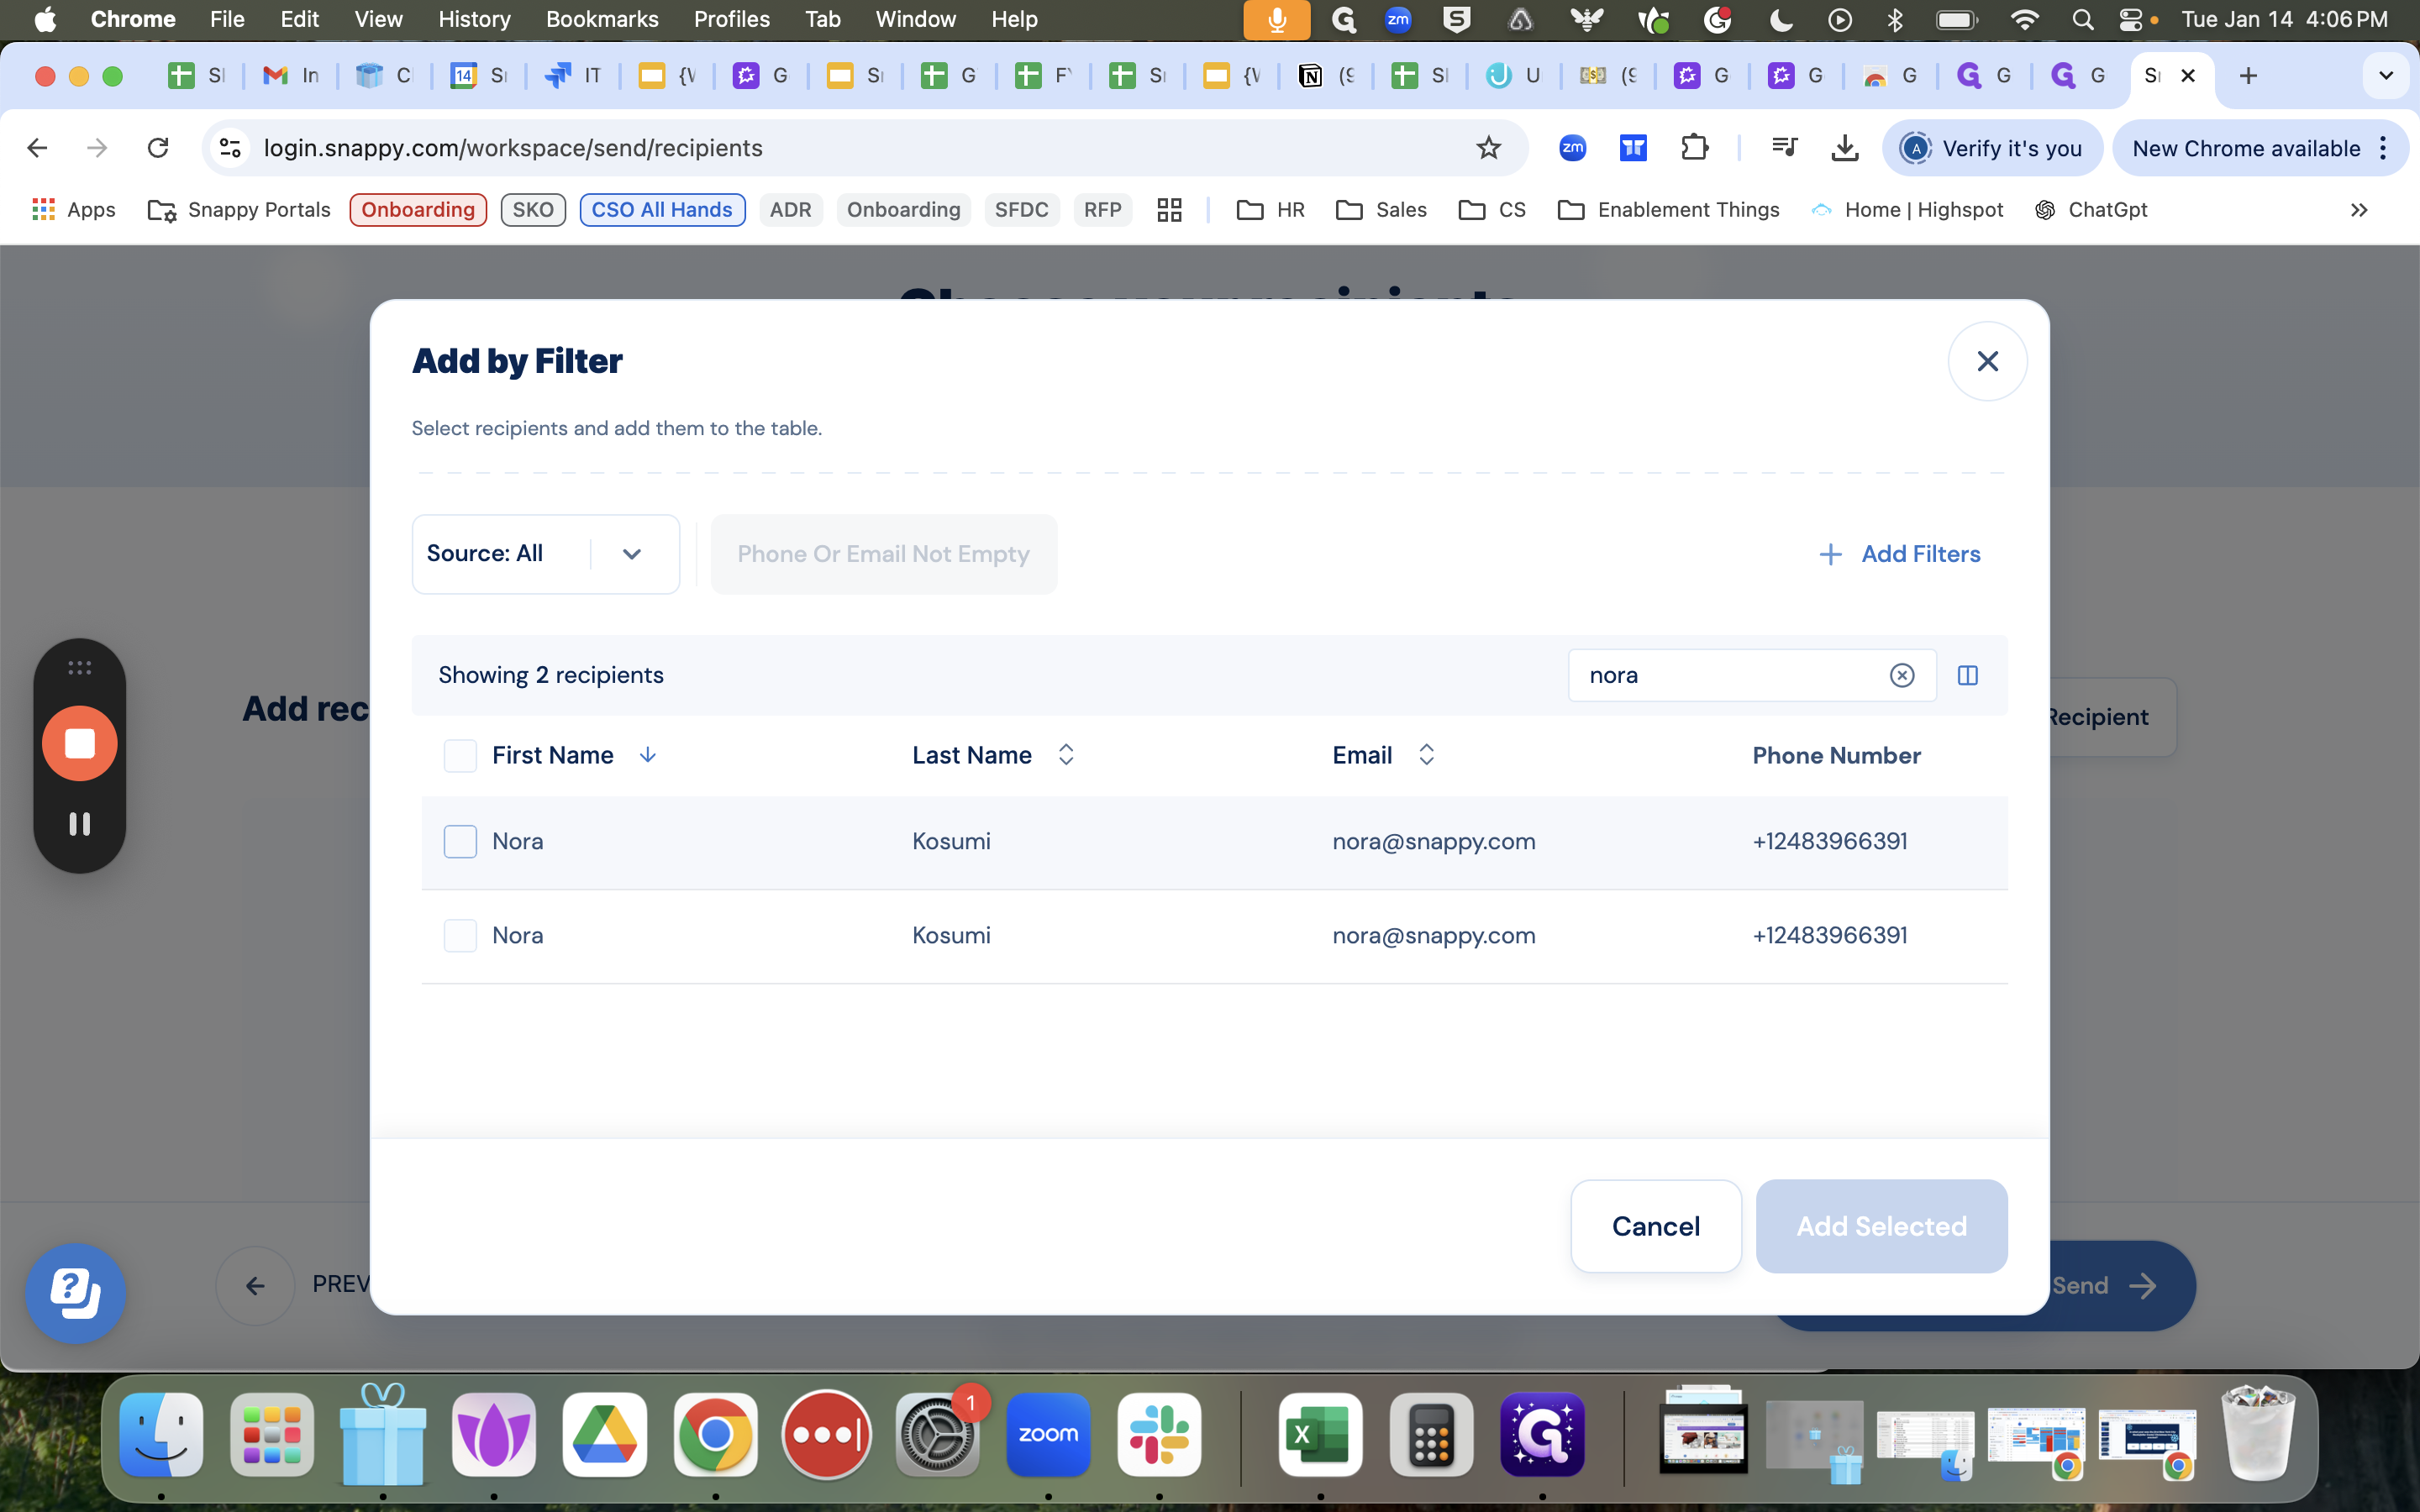
I can select as many people as I want here. Continue to review and send.
At this point, you can preview the gift experience and send yourself a test email. Validate the gift budget and similar tasks. Then, click "Send Gifts" here and a pop-up will inform you that it's being processed, followed by a confetti animation. Finally, you can return to the homepage.
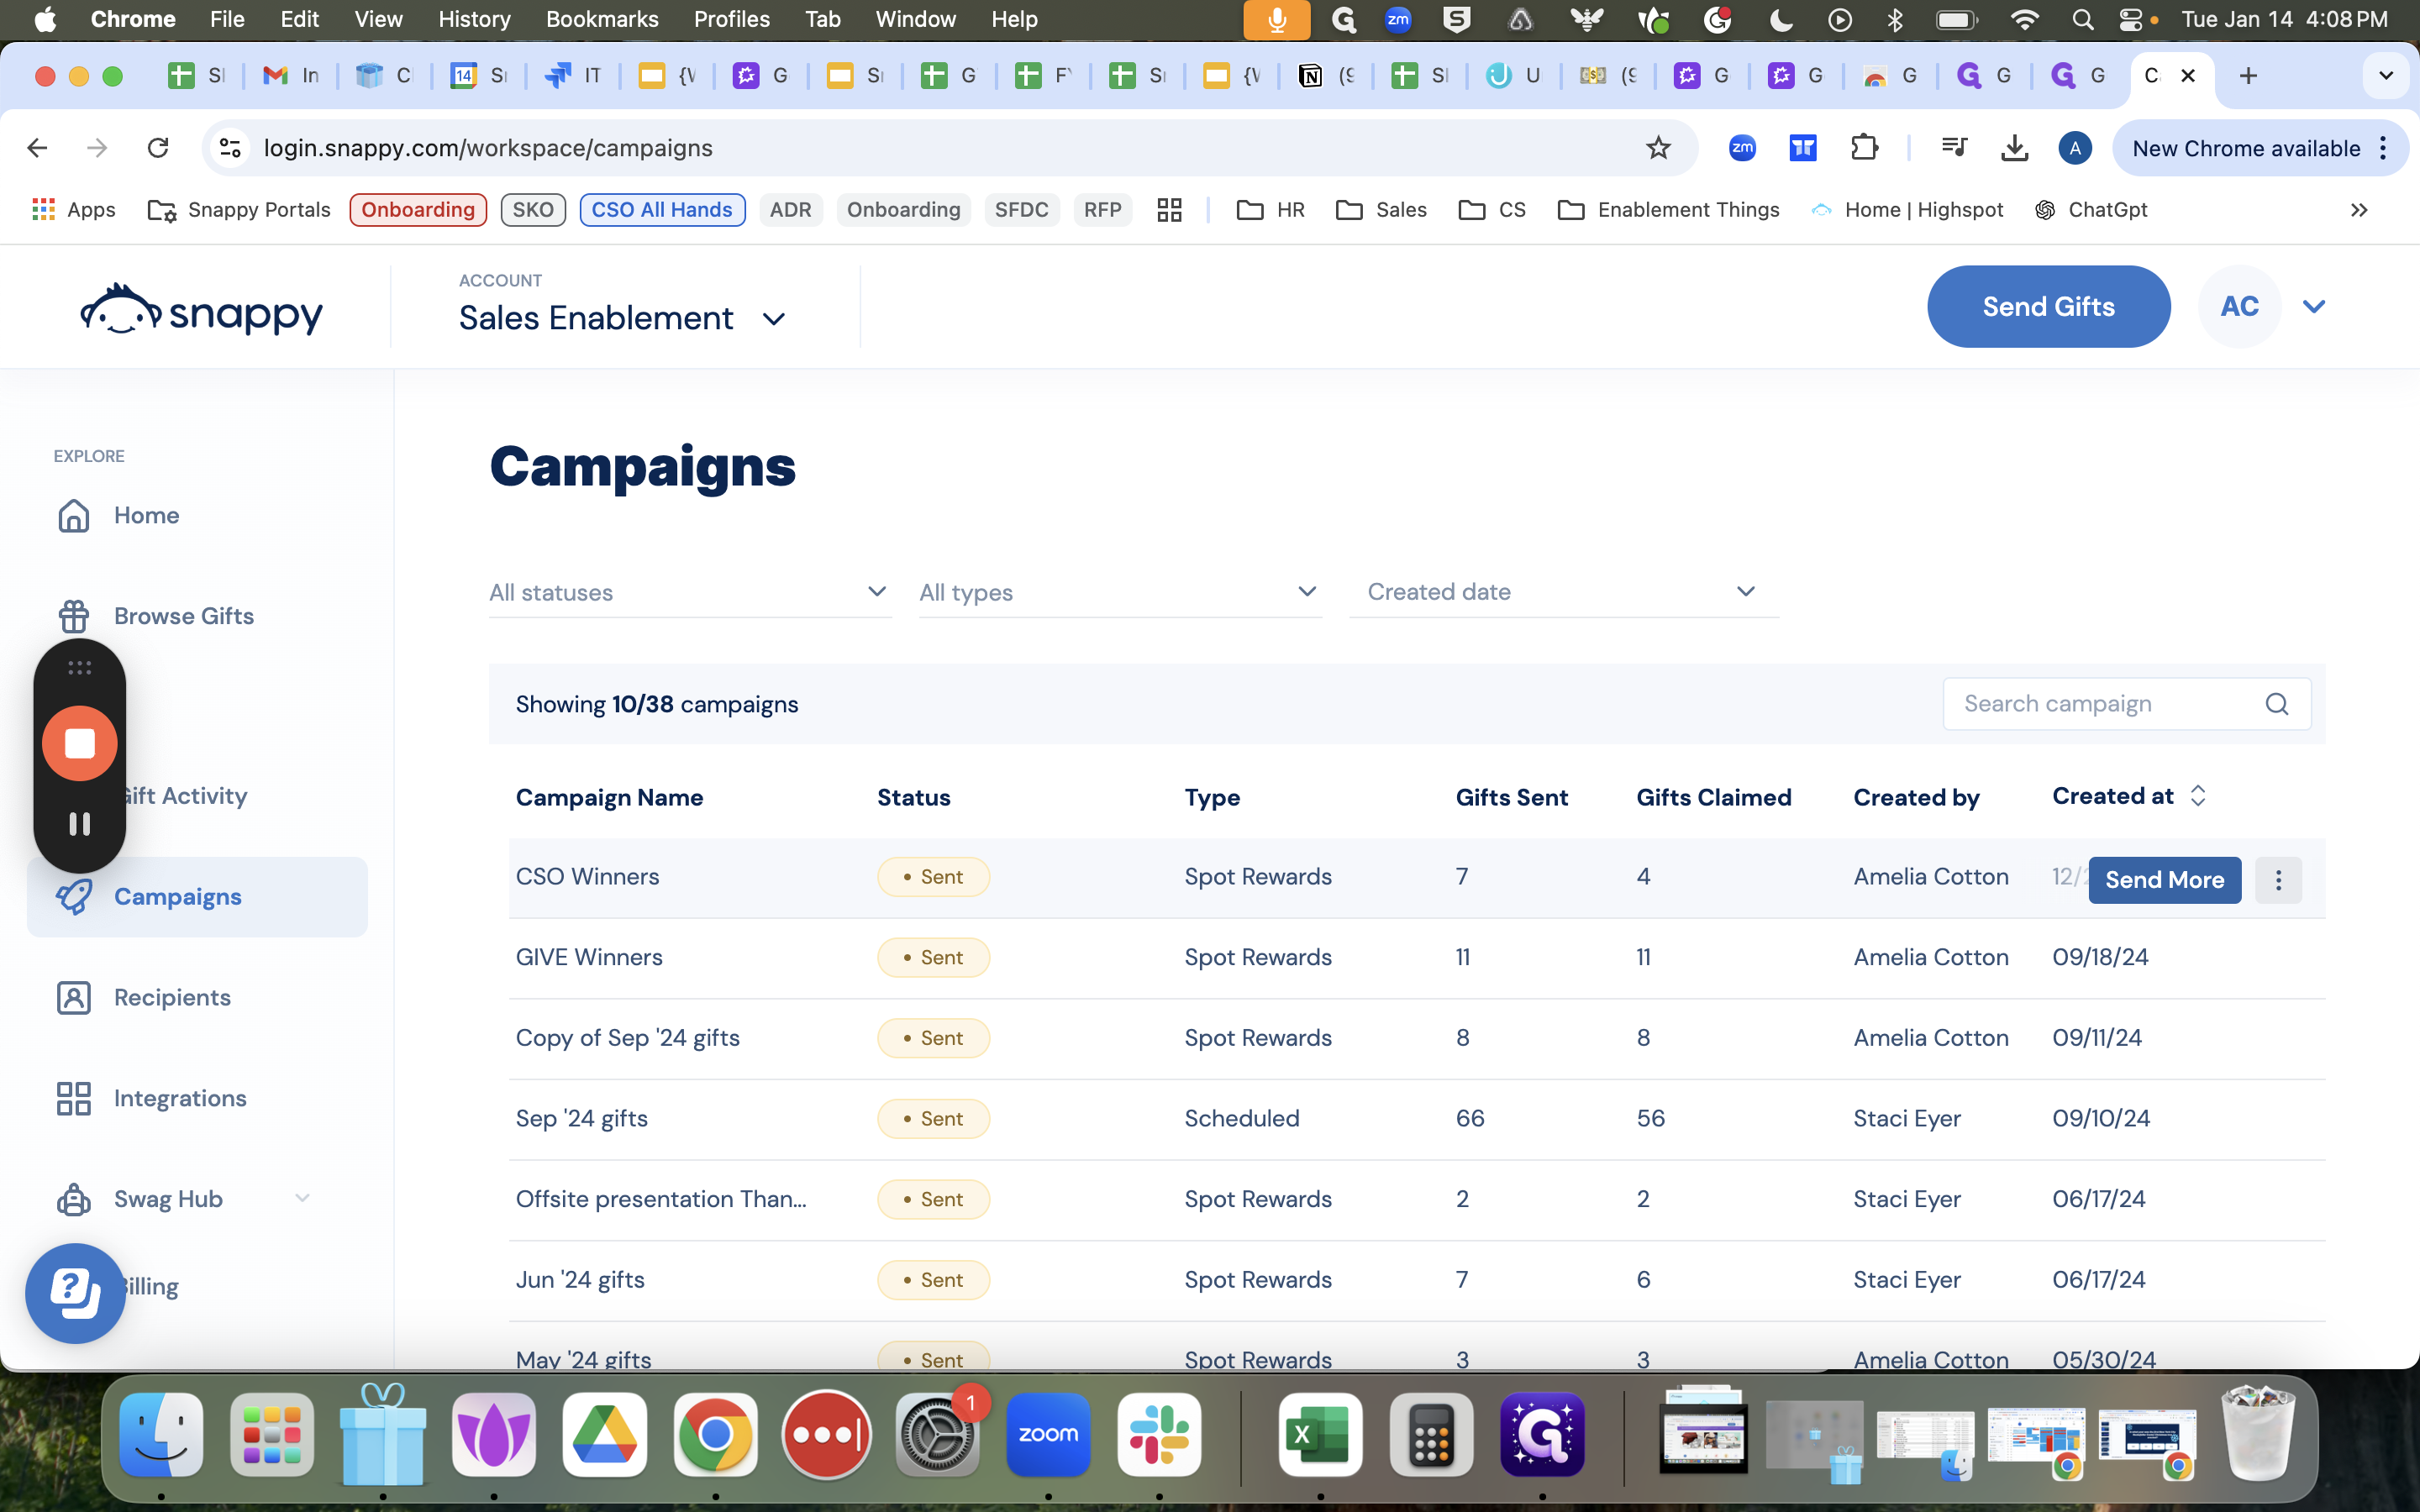
Once you're back on the homepage, there are two ways to send more gifts at a different budget.
To update the next dollar value, click on "Send Gifts" under existing campaigns.

The campaign you just created, the Q4 2024 Spiff, will be at the top.
You can select that, and then you'll see the collection we chose last time.
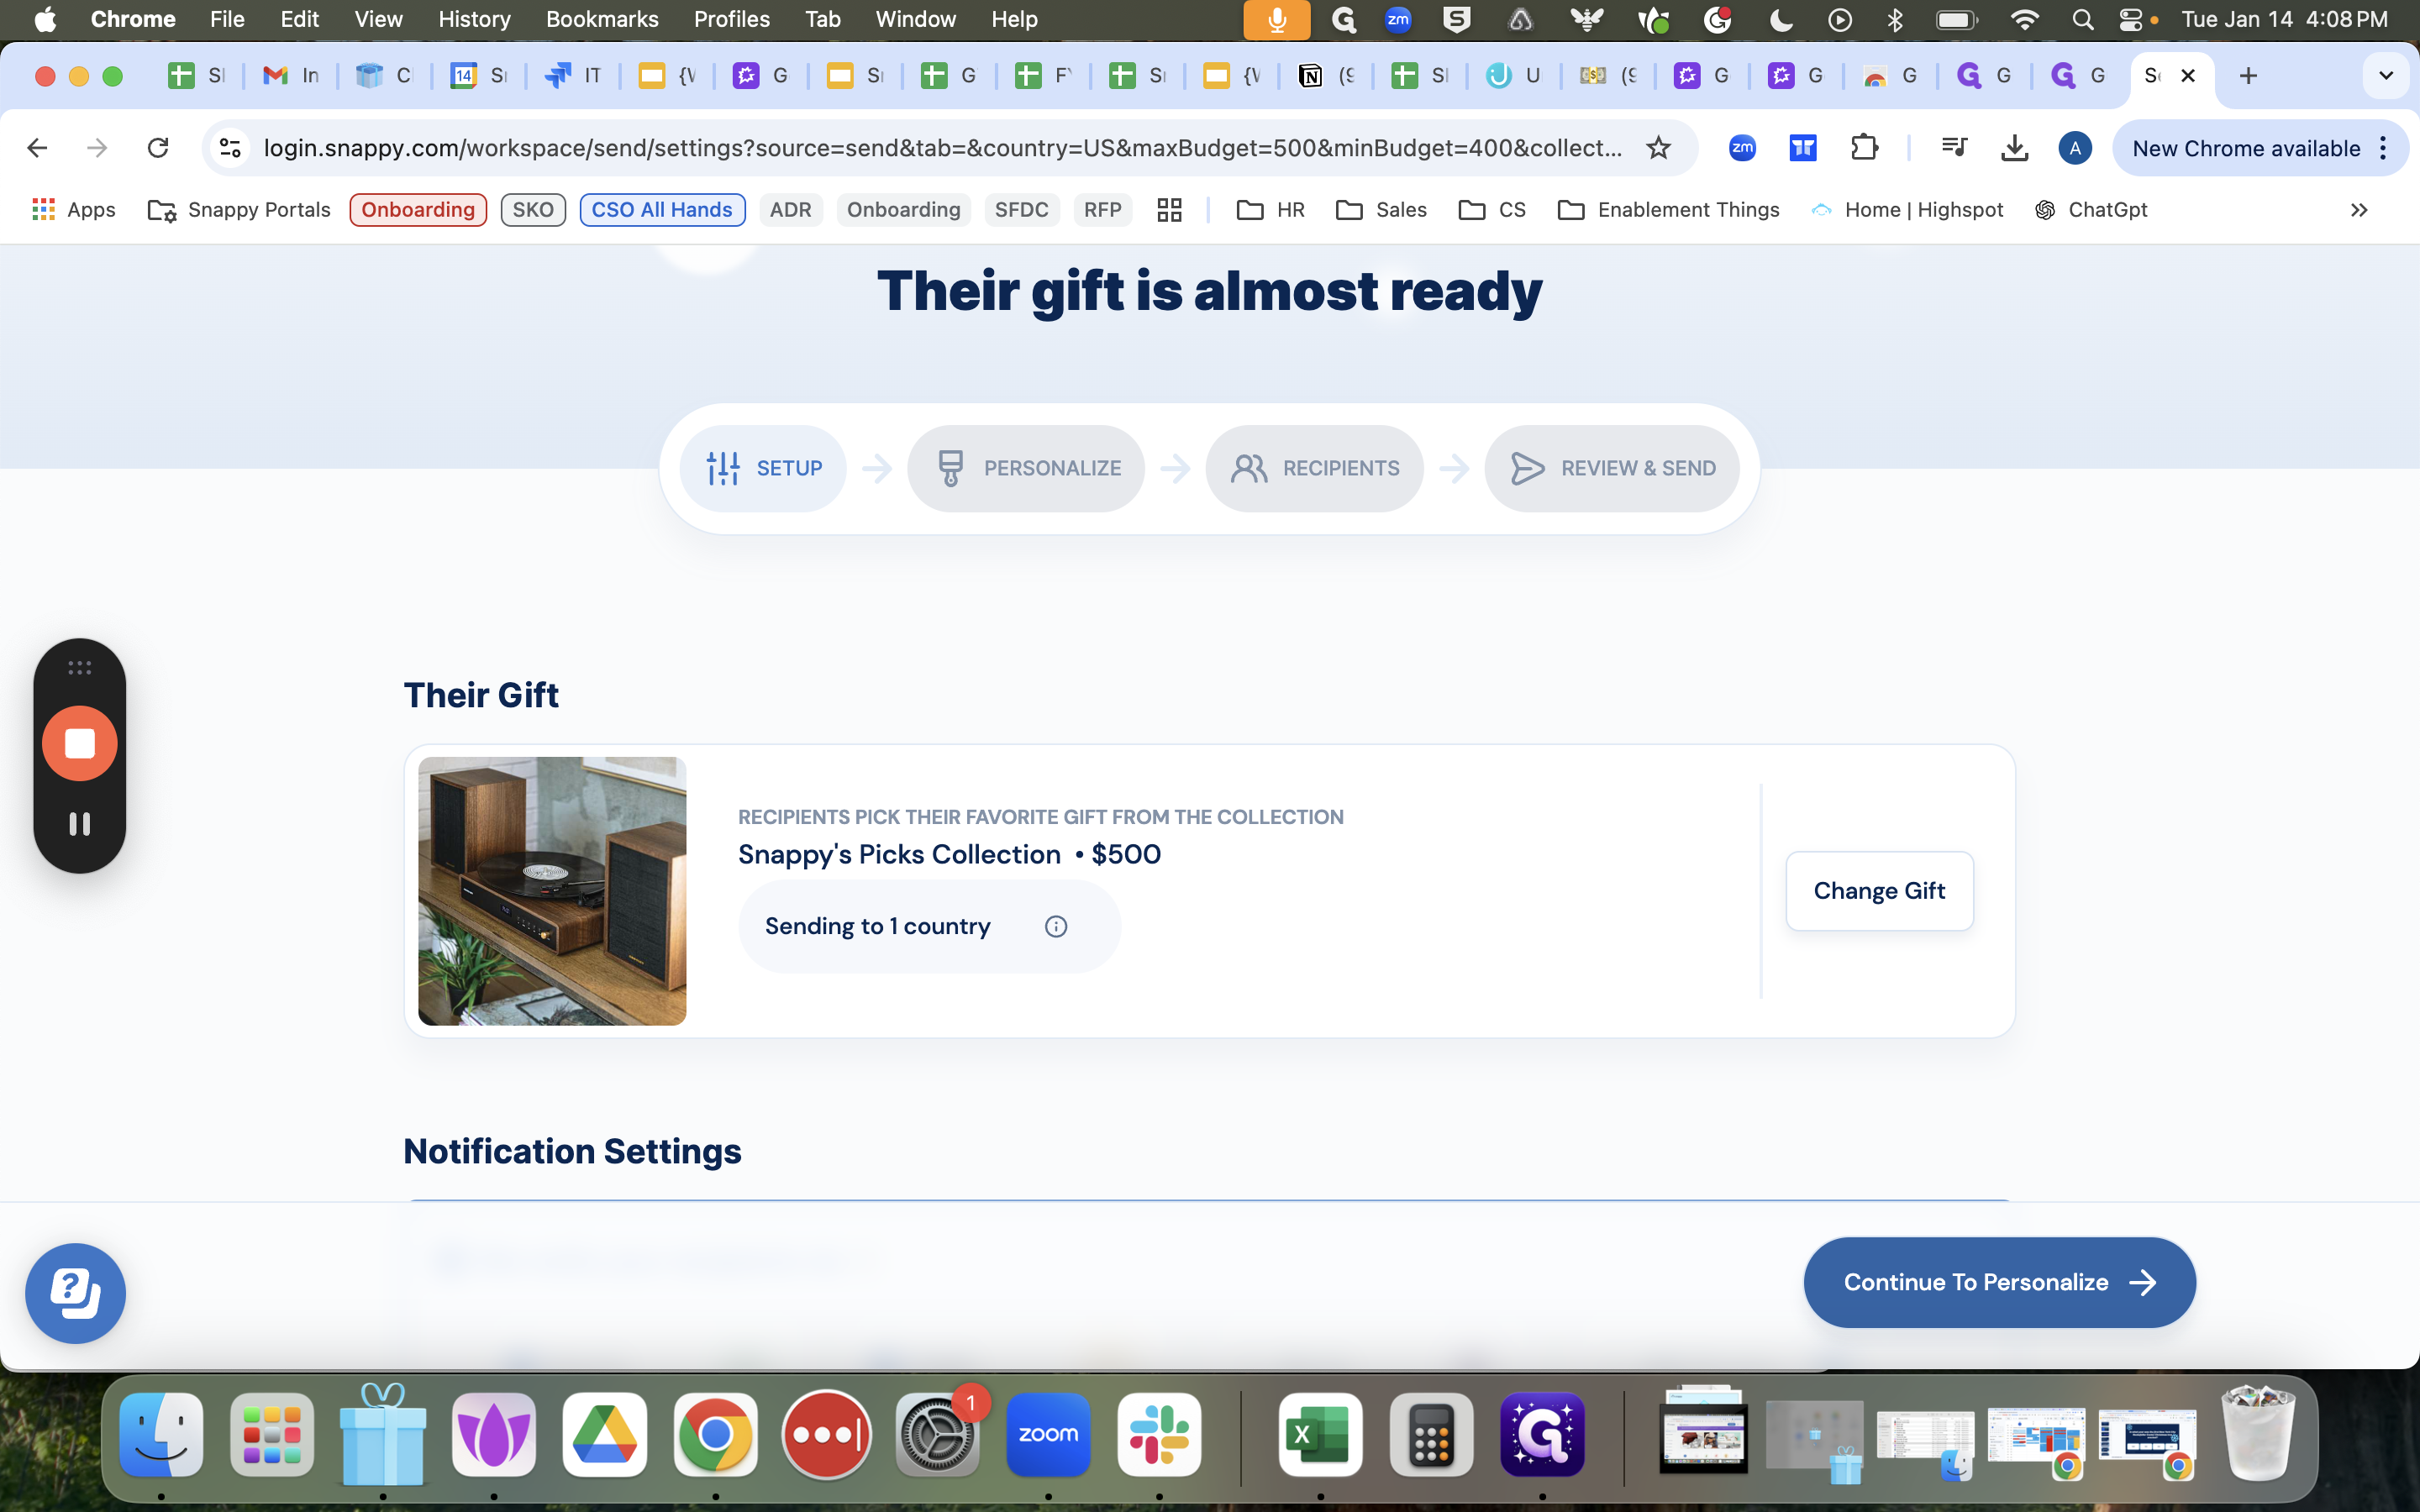
This would have been $250, but now I need to increase it to $500 for the next set.
I'm going to click "Change Gift."
I will update the dollar value to 500.
Select and close, then finish the process the same way as before.
Click "Continue" to personalize.
Everything will remain as you previously set it up. Click on "Х"
Select from existing options, and proceed from there. That's option one for sending out the next dollar value. Alternatively, you can go to campaigns on the left-hand side.
You'll see a "Send More" button when you hover over the campaign. The title will say "Q4 2024 Spiff." Click "Send More," and it will guide you through the same process.