
How to Send Incentives After Survey Completion Using Dscout and Amazon Corporate Account
Learn step-by-step how to send incentives to research participants after survey completion using Dscout and an Amazon corporate account. Includes template setup, eligibility criteria, and payment process.
In this guide, we'll learn how to send incentives to research participants after they complete a survey using PLIC and Dscout. We will use an Amazon corporate account to distribute gift cards, ensuring that only eligible participants receive their rewards.
You will see how to prepare the participant list, fill out the required template, and upload it to Amazon. We will also cover how to review and finalize the gift card order.
Let's get started
If you need to send out incentives after a participant completes a survey or research study within PLIC, here's how to do it. Our use case today focuses on leveraging Dscout and paying out those incentives from our own resources.
Once you are set up, go to this URL.

You'll arrive at this page.
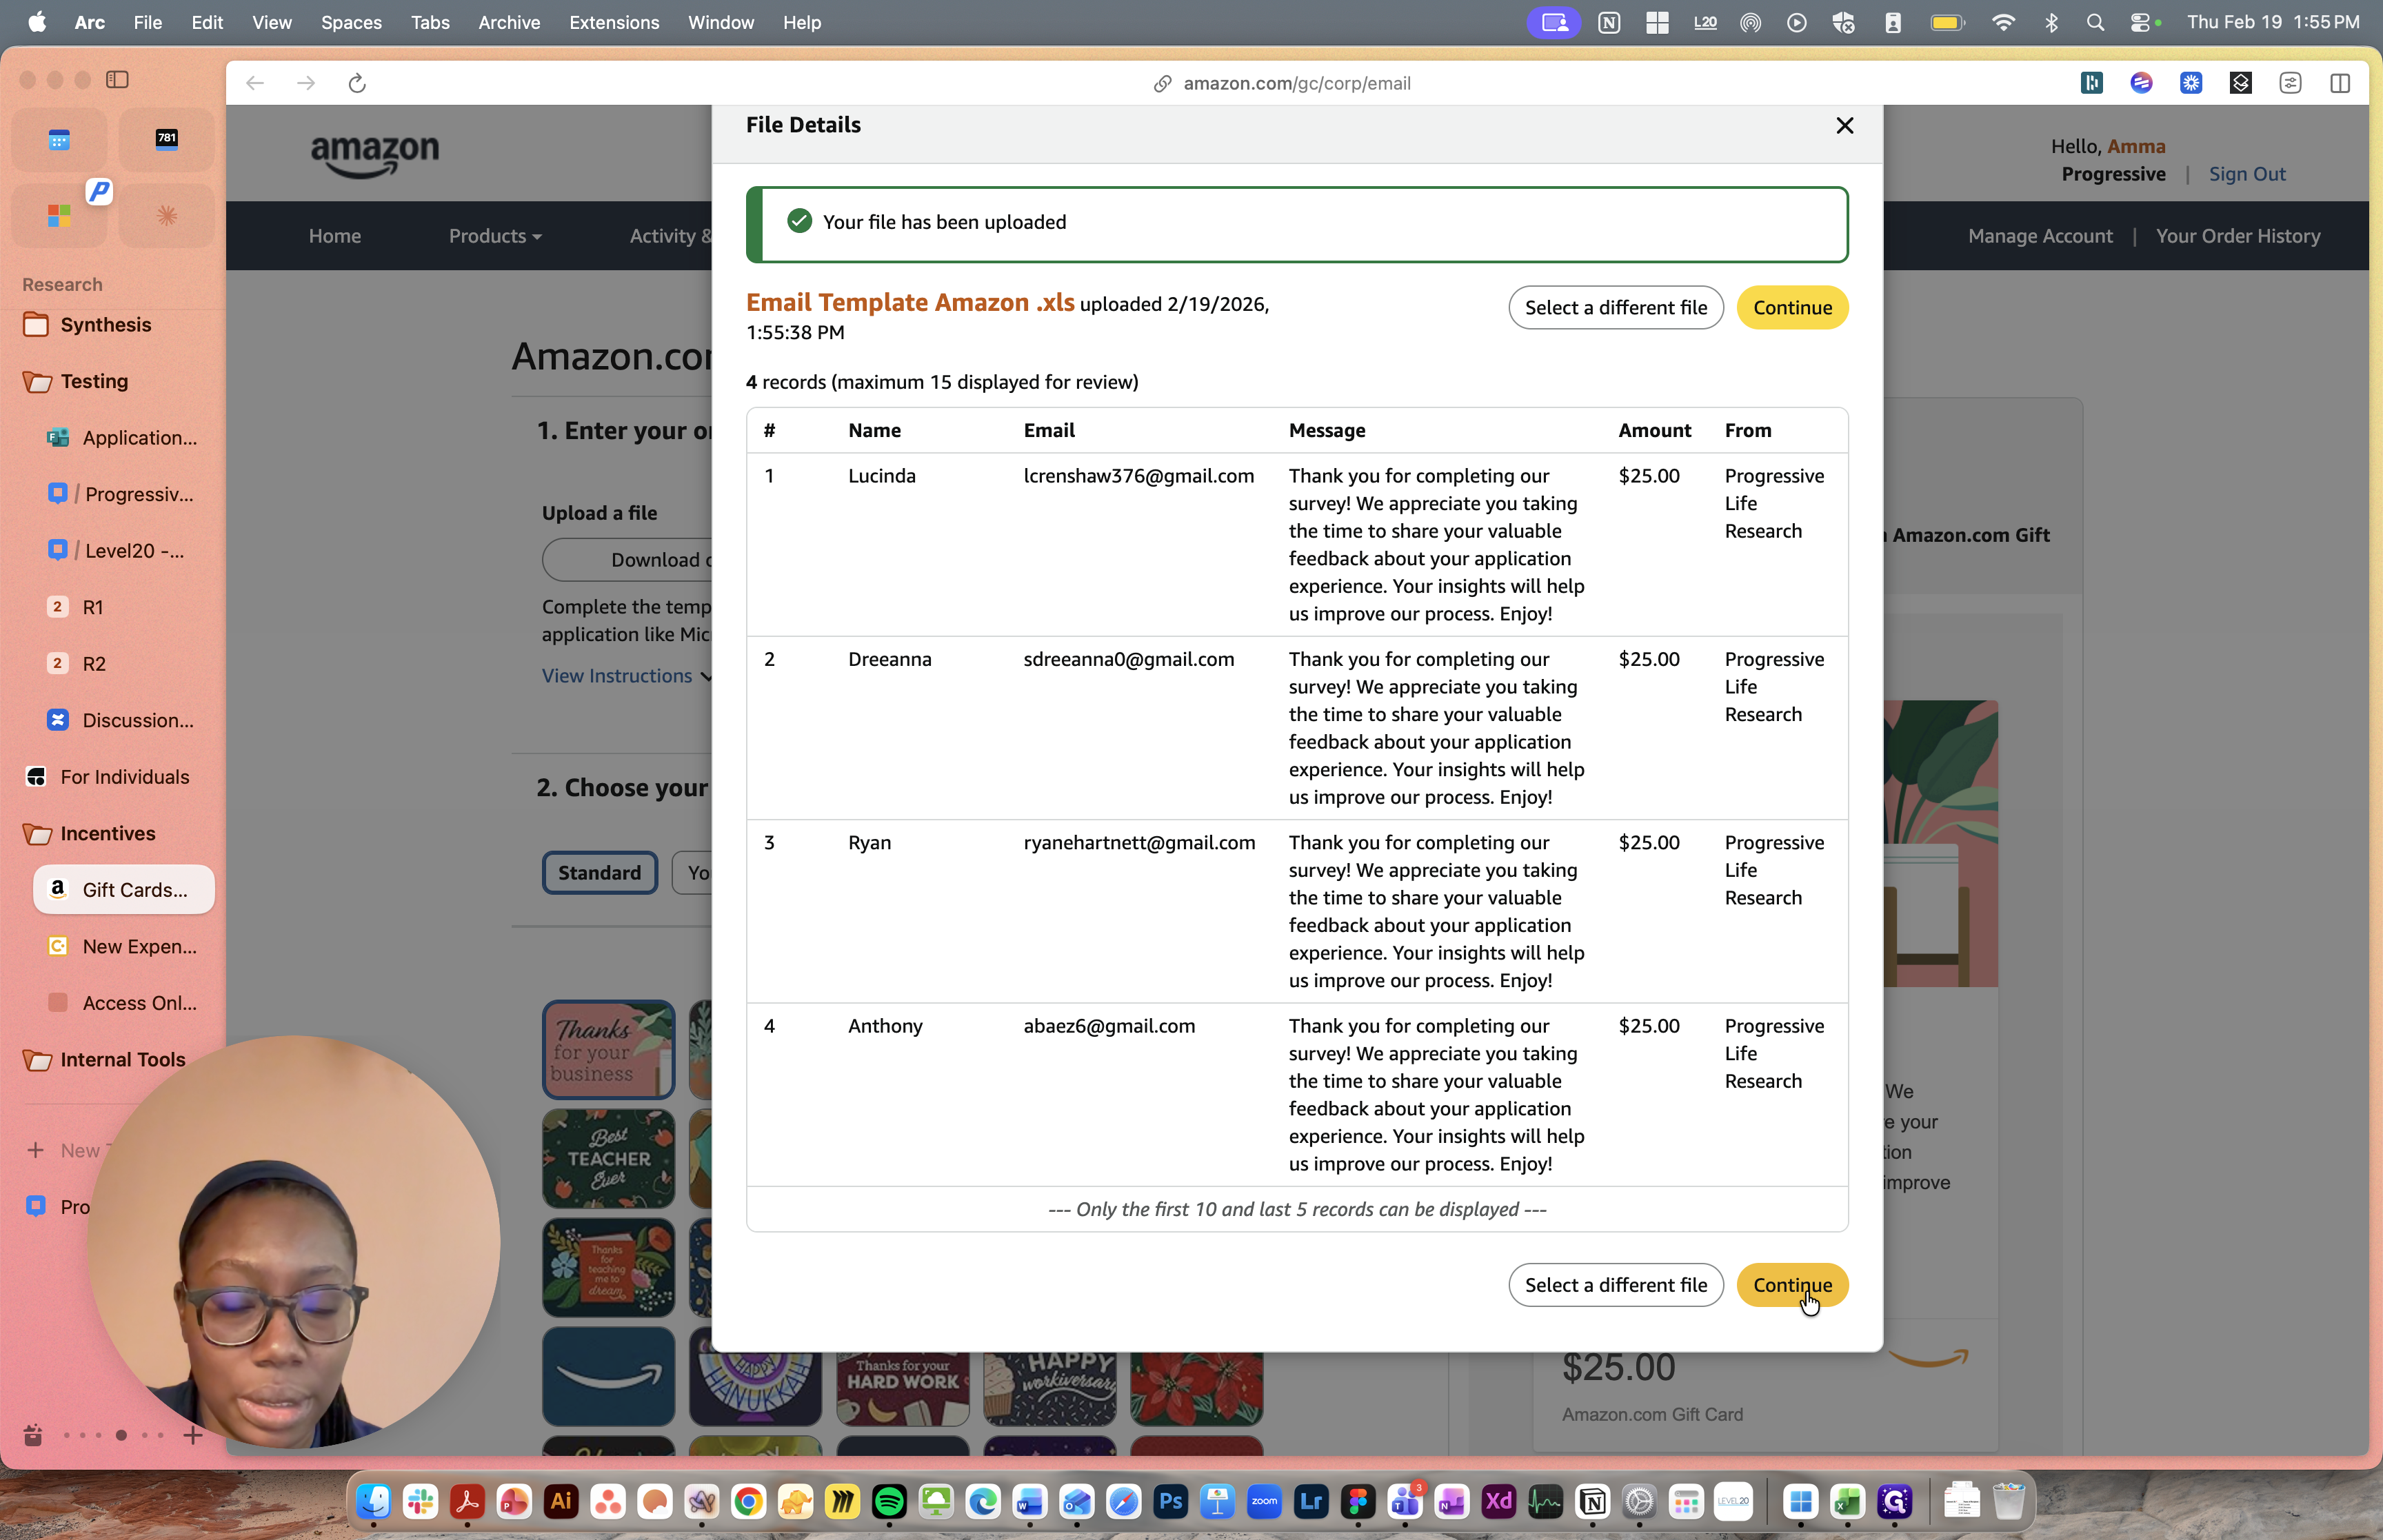
A template is available for you to download. The process is simple. Fill it out, upload the information, and choose your design. Assuming I have already downloaded the template, it should look like this. You’ll see the amount, name, email, a preset message, and the sender.
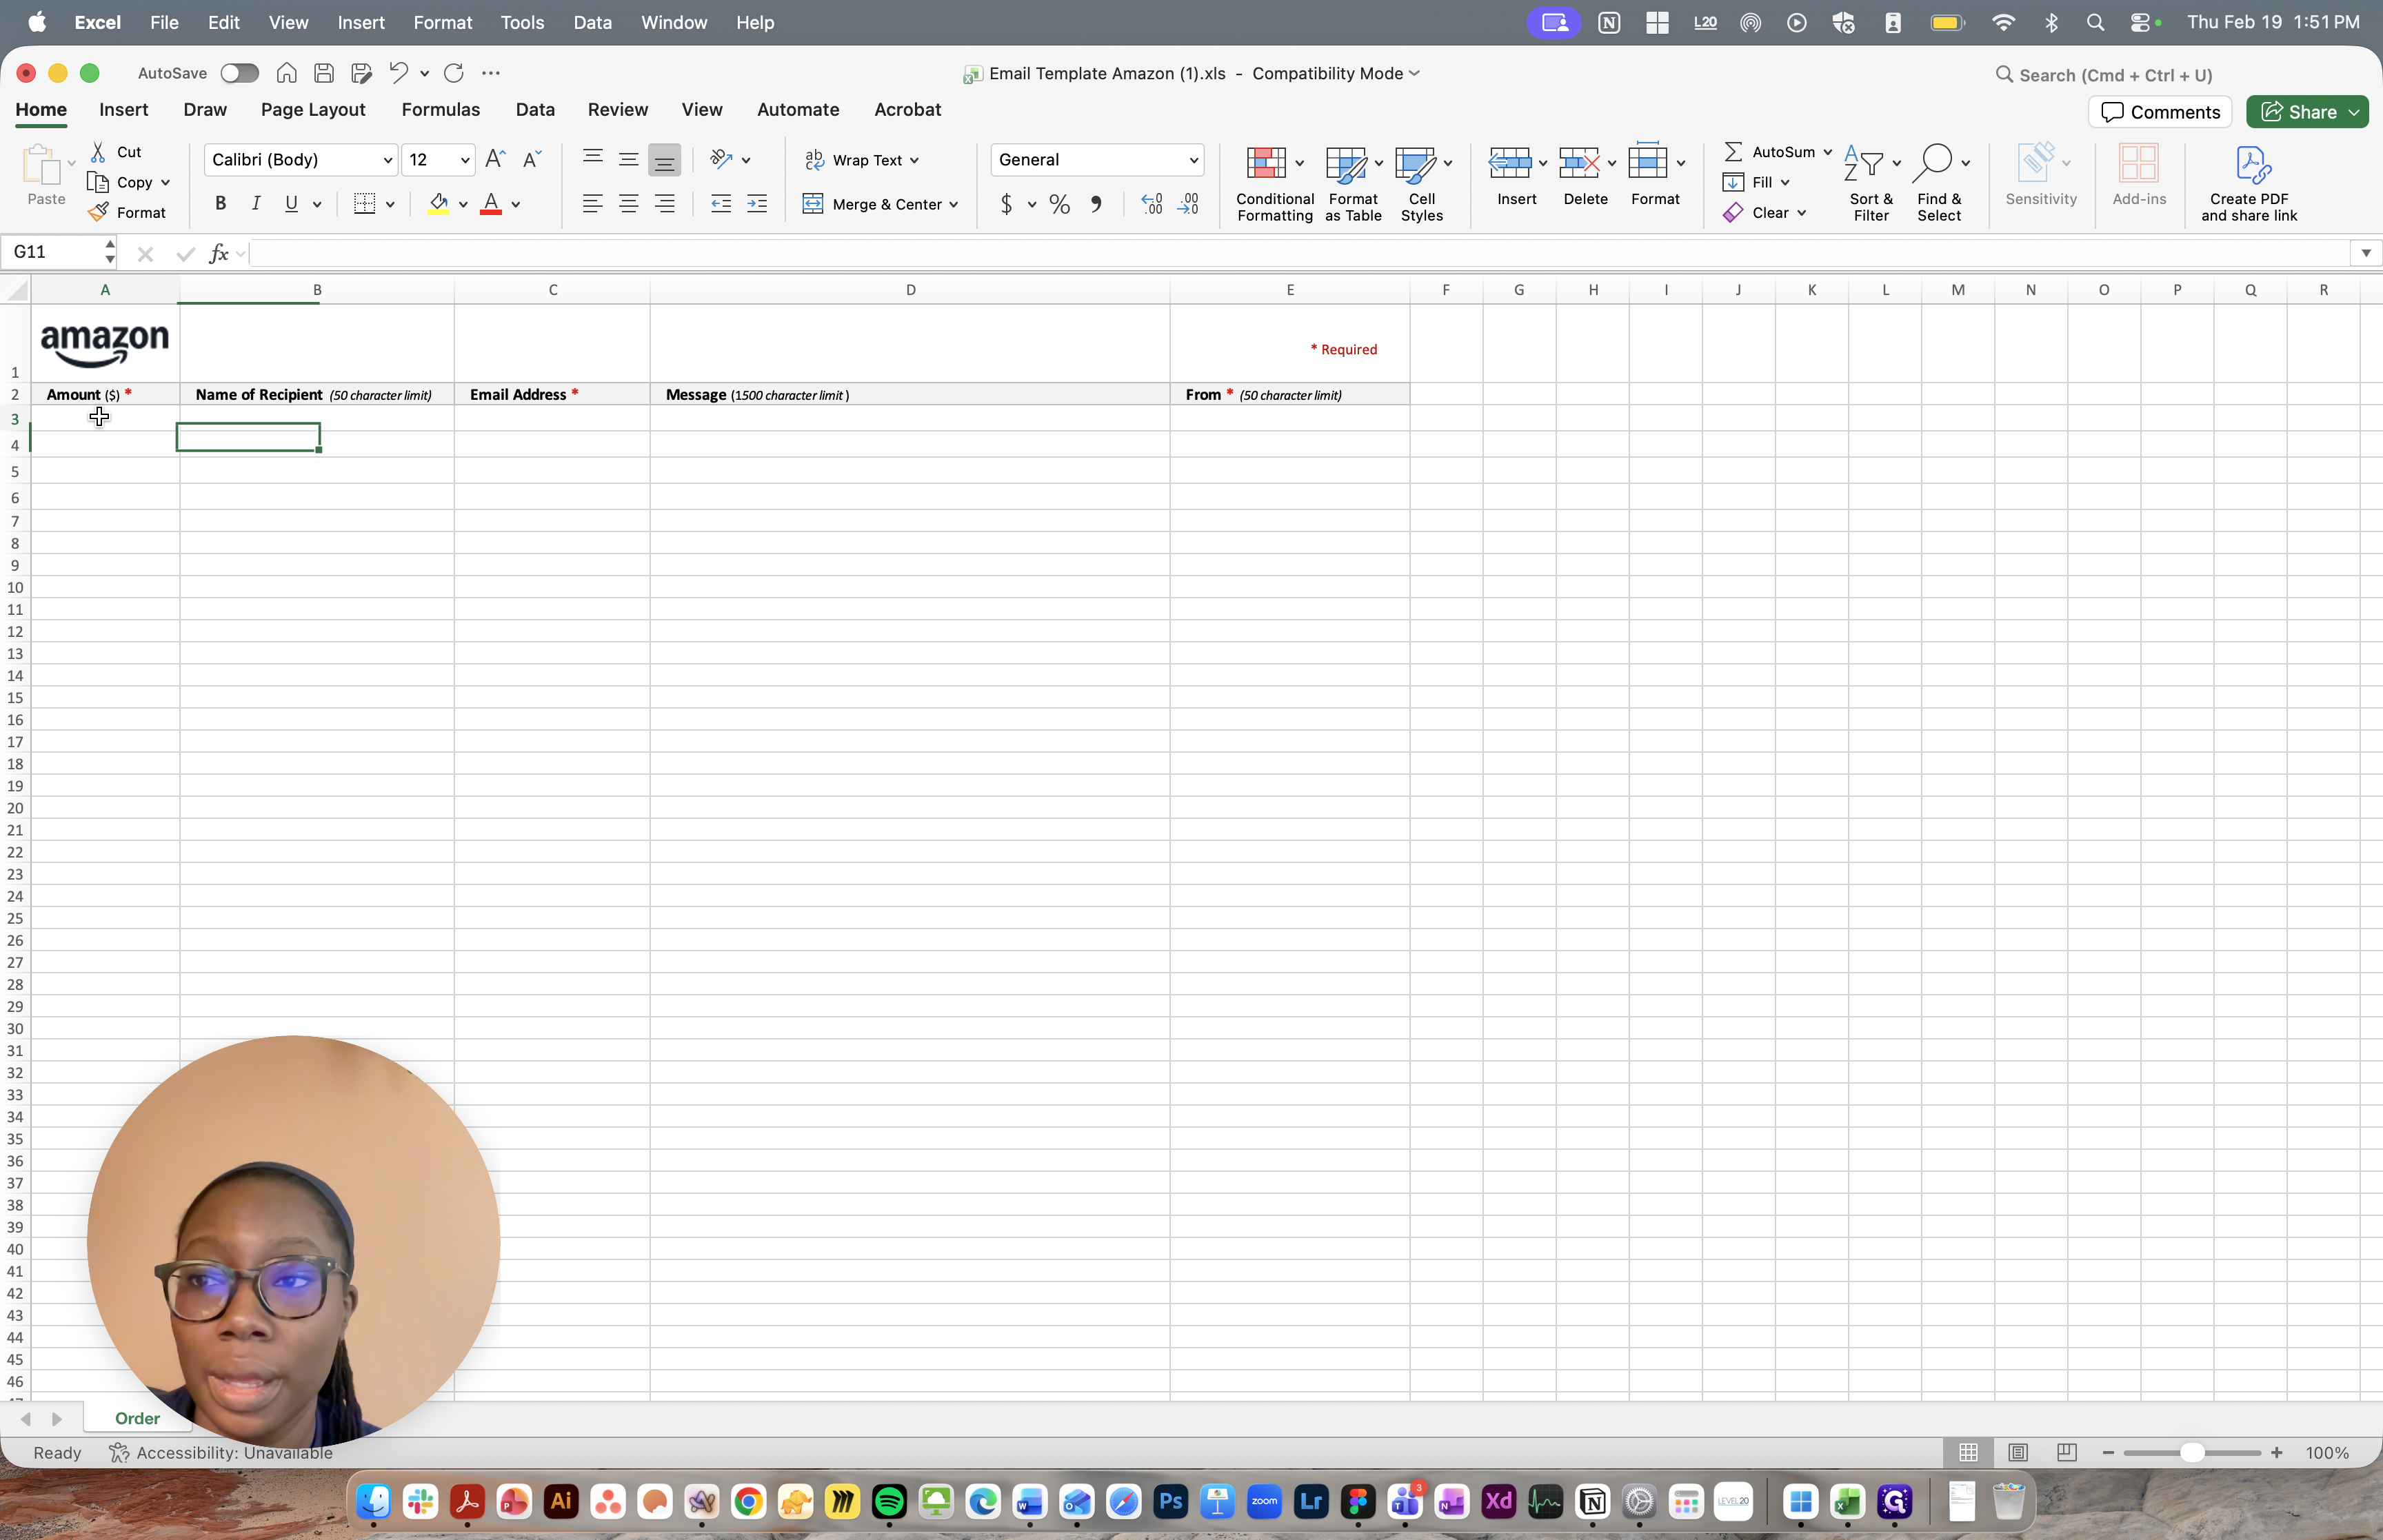
This shows a list of the most recent participants. You'll see we only provide the first name. Our incentive for this study was only $25. We will capture the email address and the message we provide, which is pre-written. I'll include that as well. The information is from Progressive Life Research.
It shouldn't display our individual information.
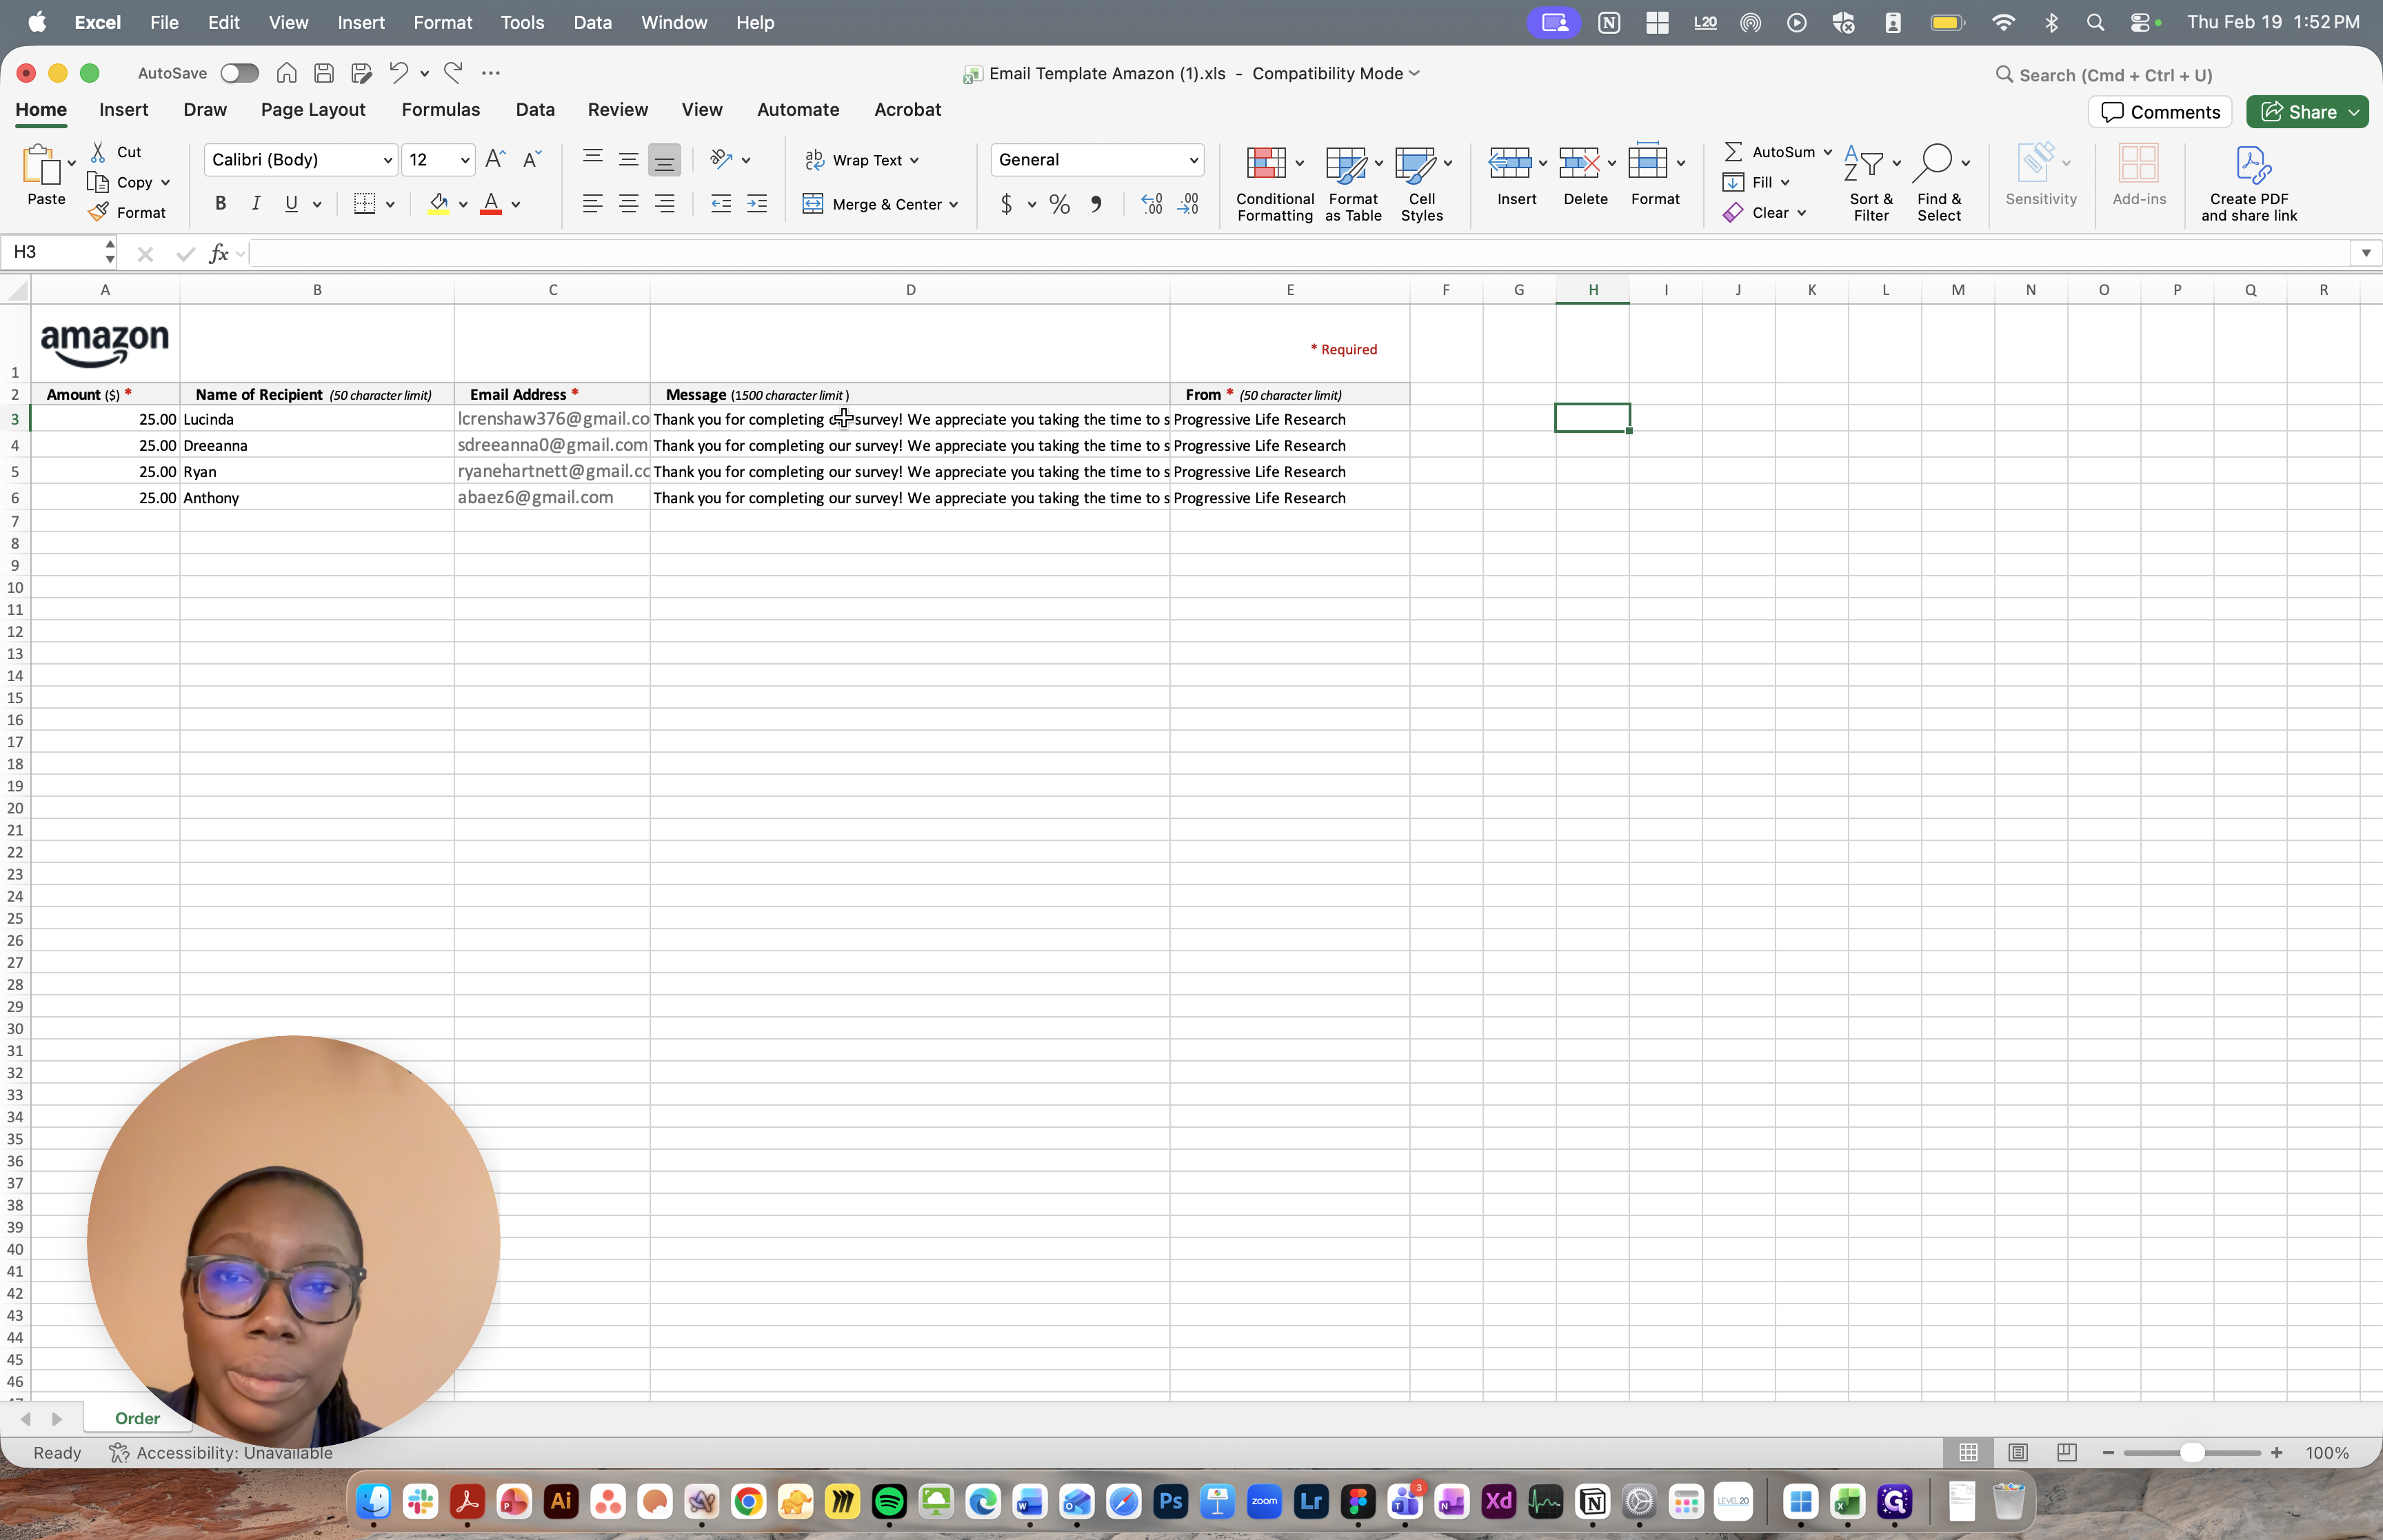
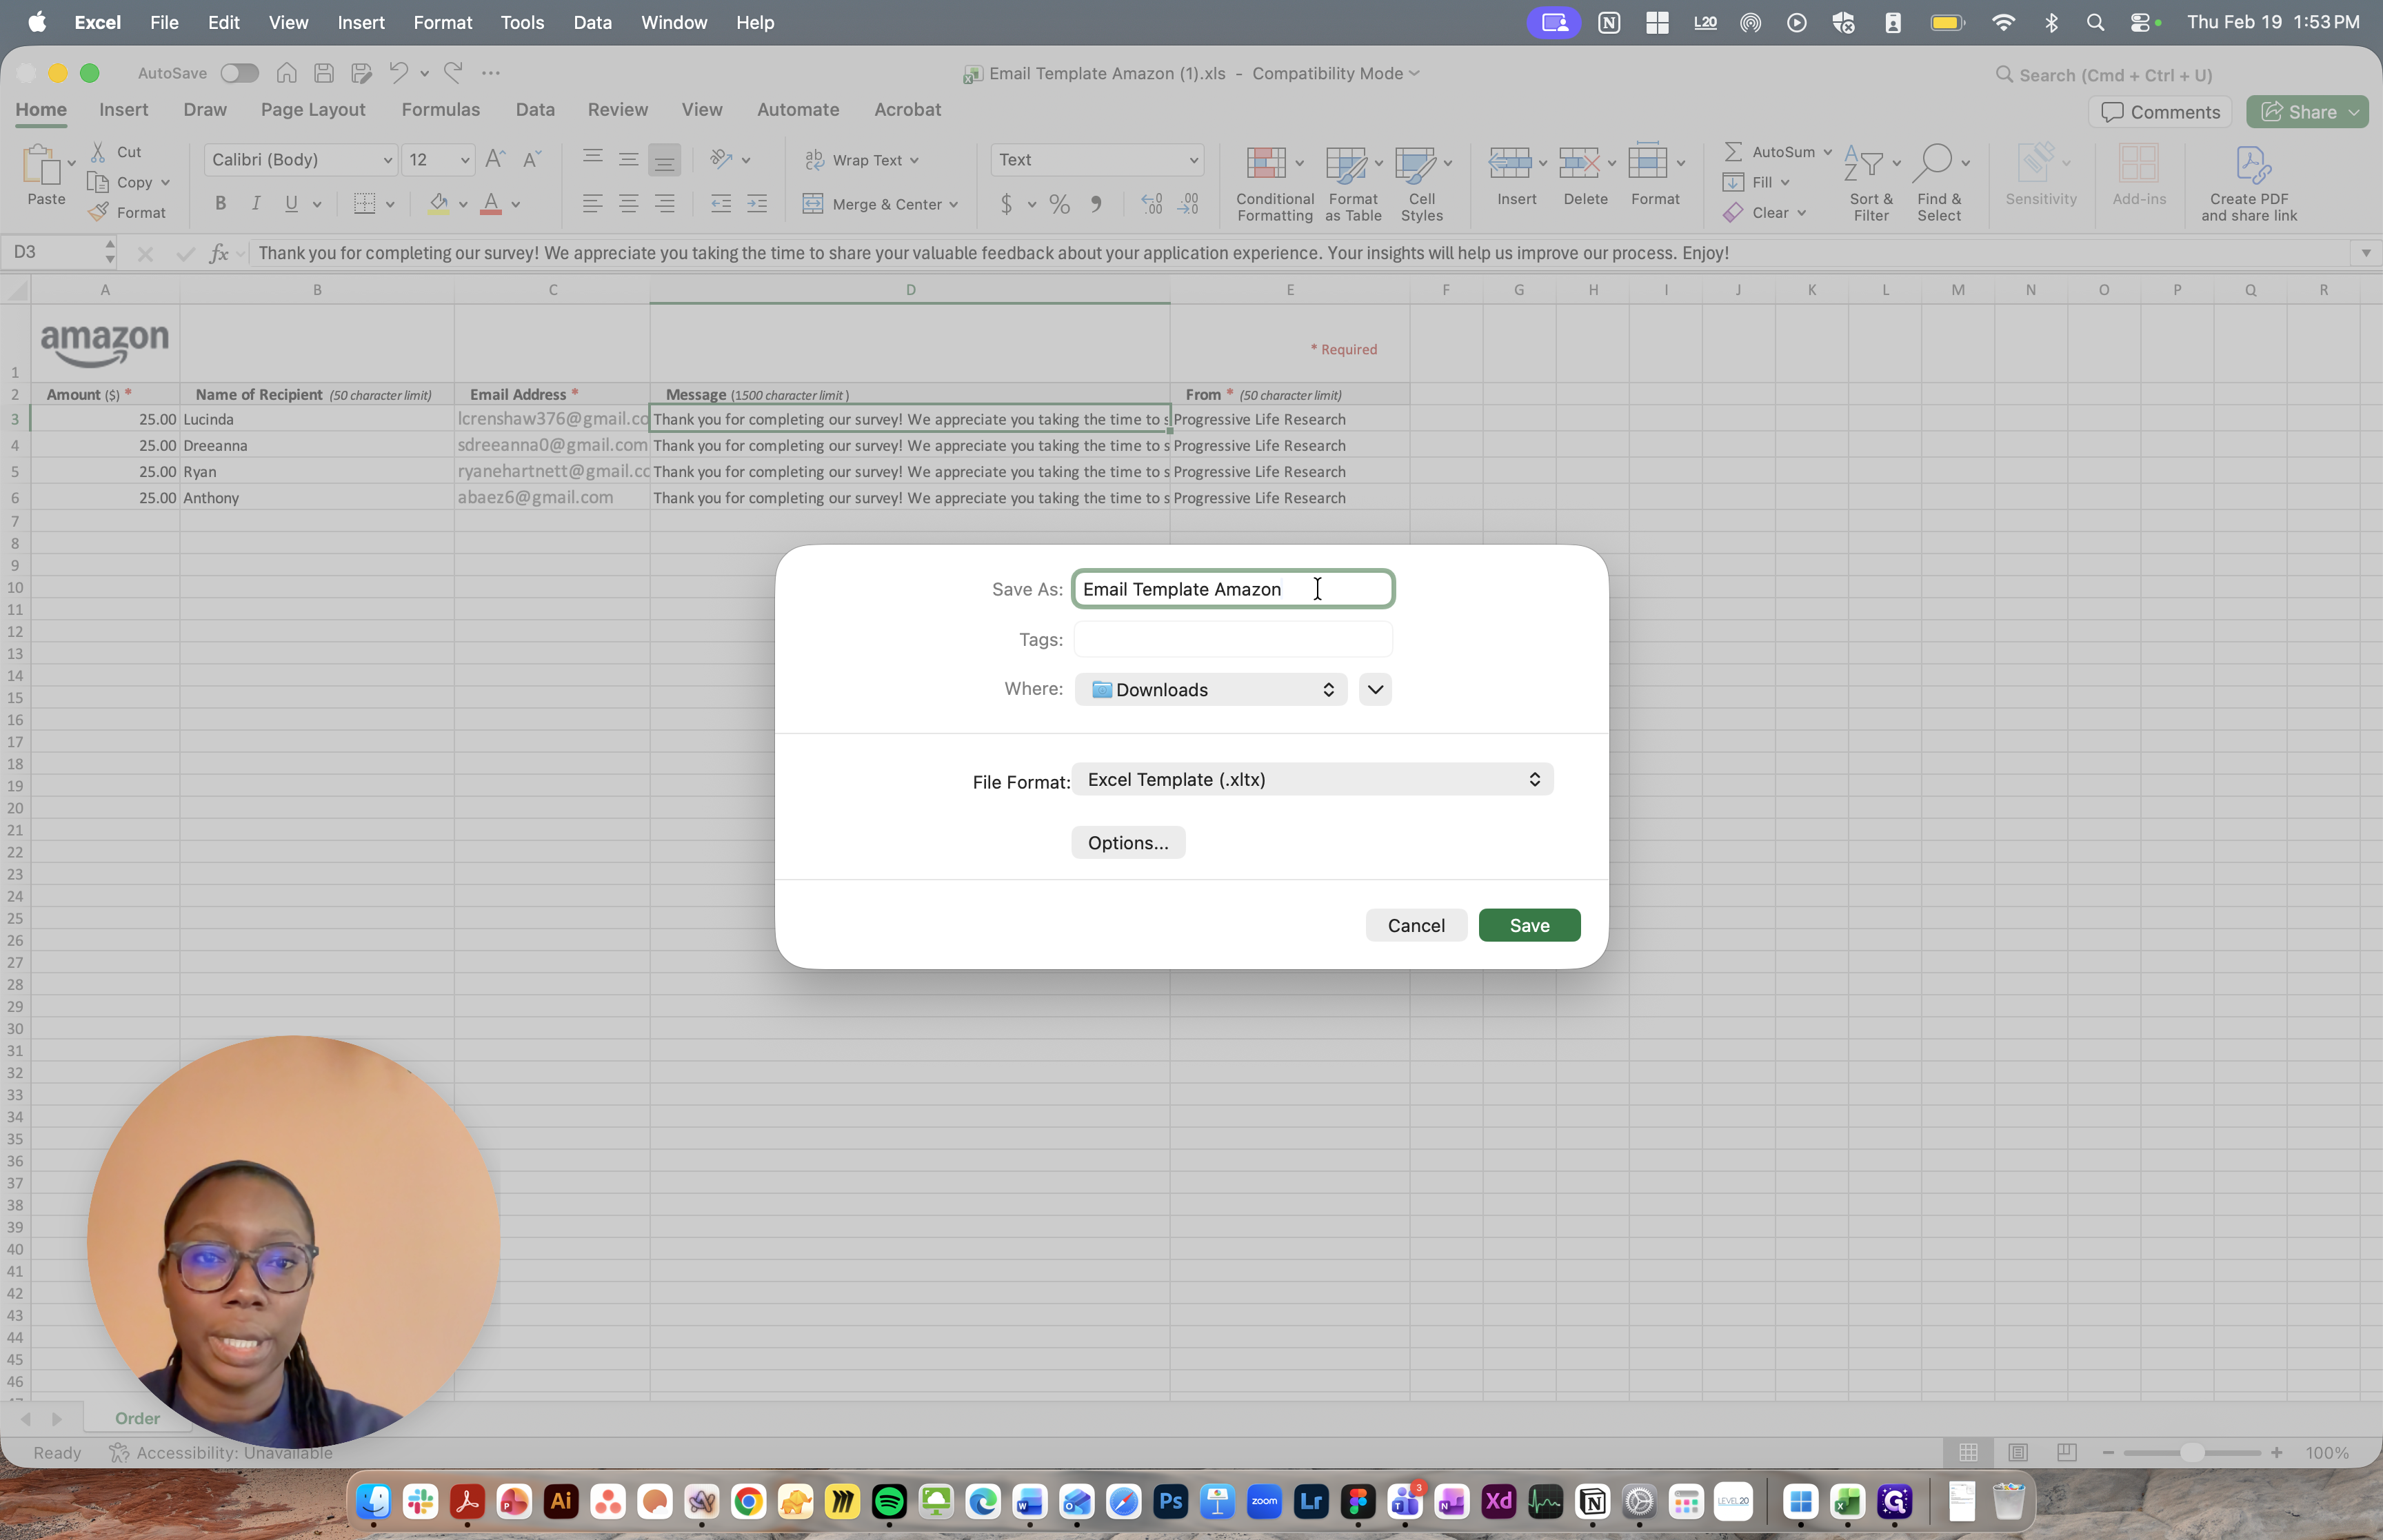
To determine who is eligible for the incentive, we check if the participant took the time to provide a thoughtful response, not just a quick click-through, and if they met all the required criteria. In Dscout, I double-click to capture and copy the email, then paste it into the template. Once finished, I simply add the title.

On the Amazon page, you will see an option to upload your file. Click on that, then select the most recent one and open it. You should see a preview of all the records you just added. Review them to ensure all the information is correct. I will select Continue.
We kept it fairly light.
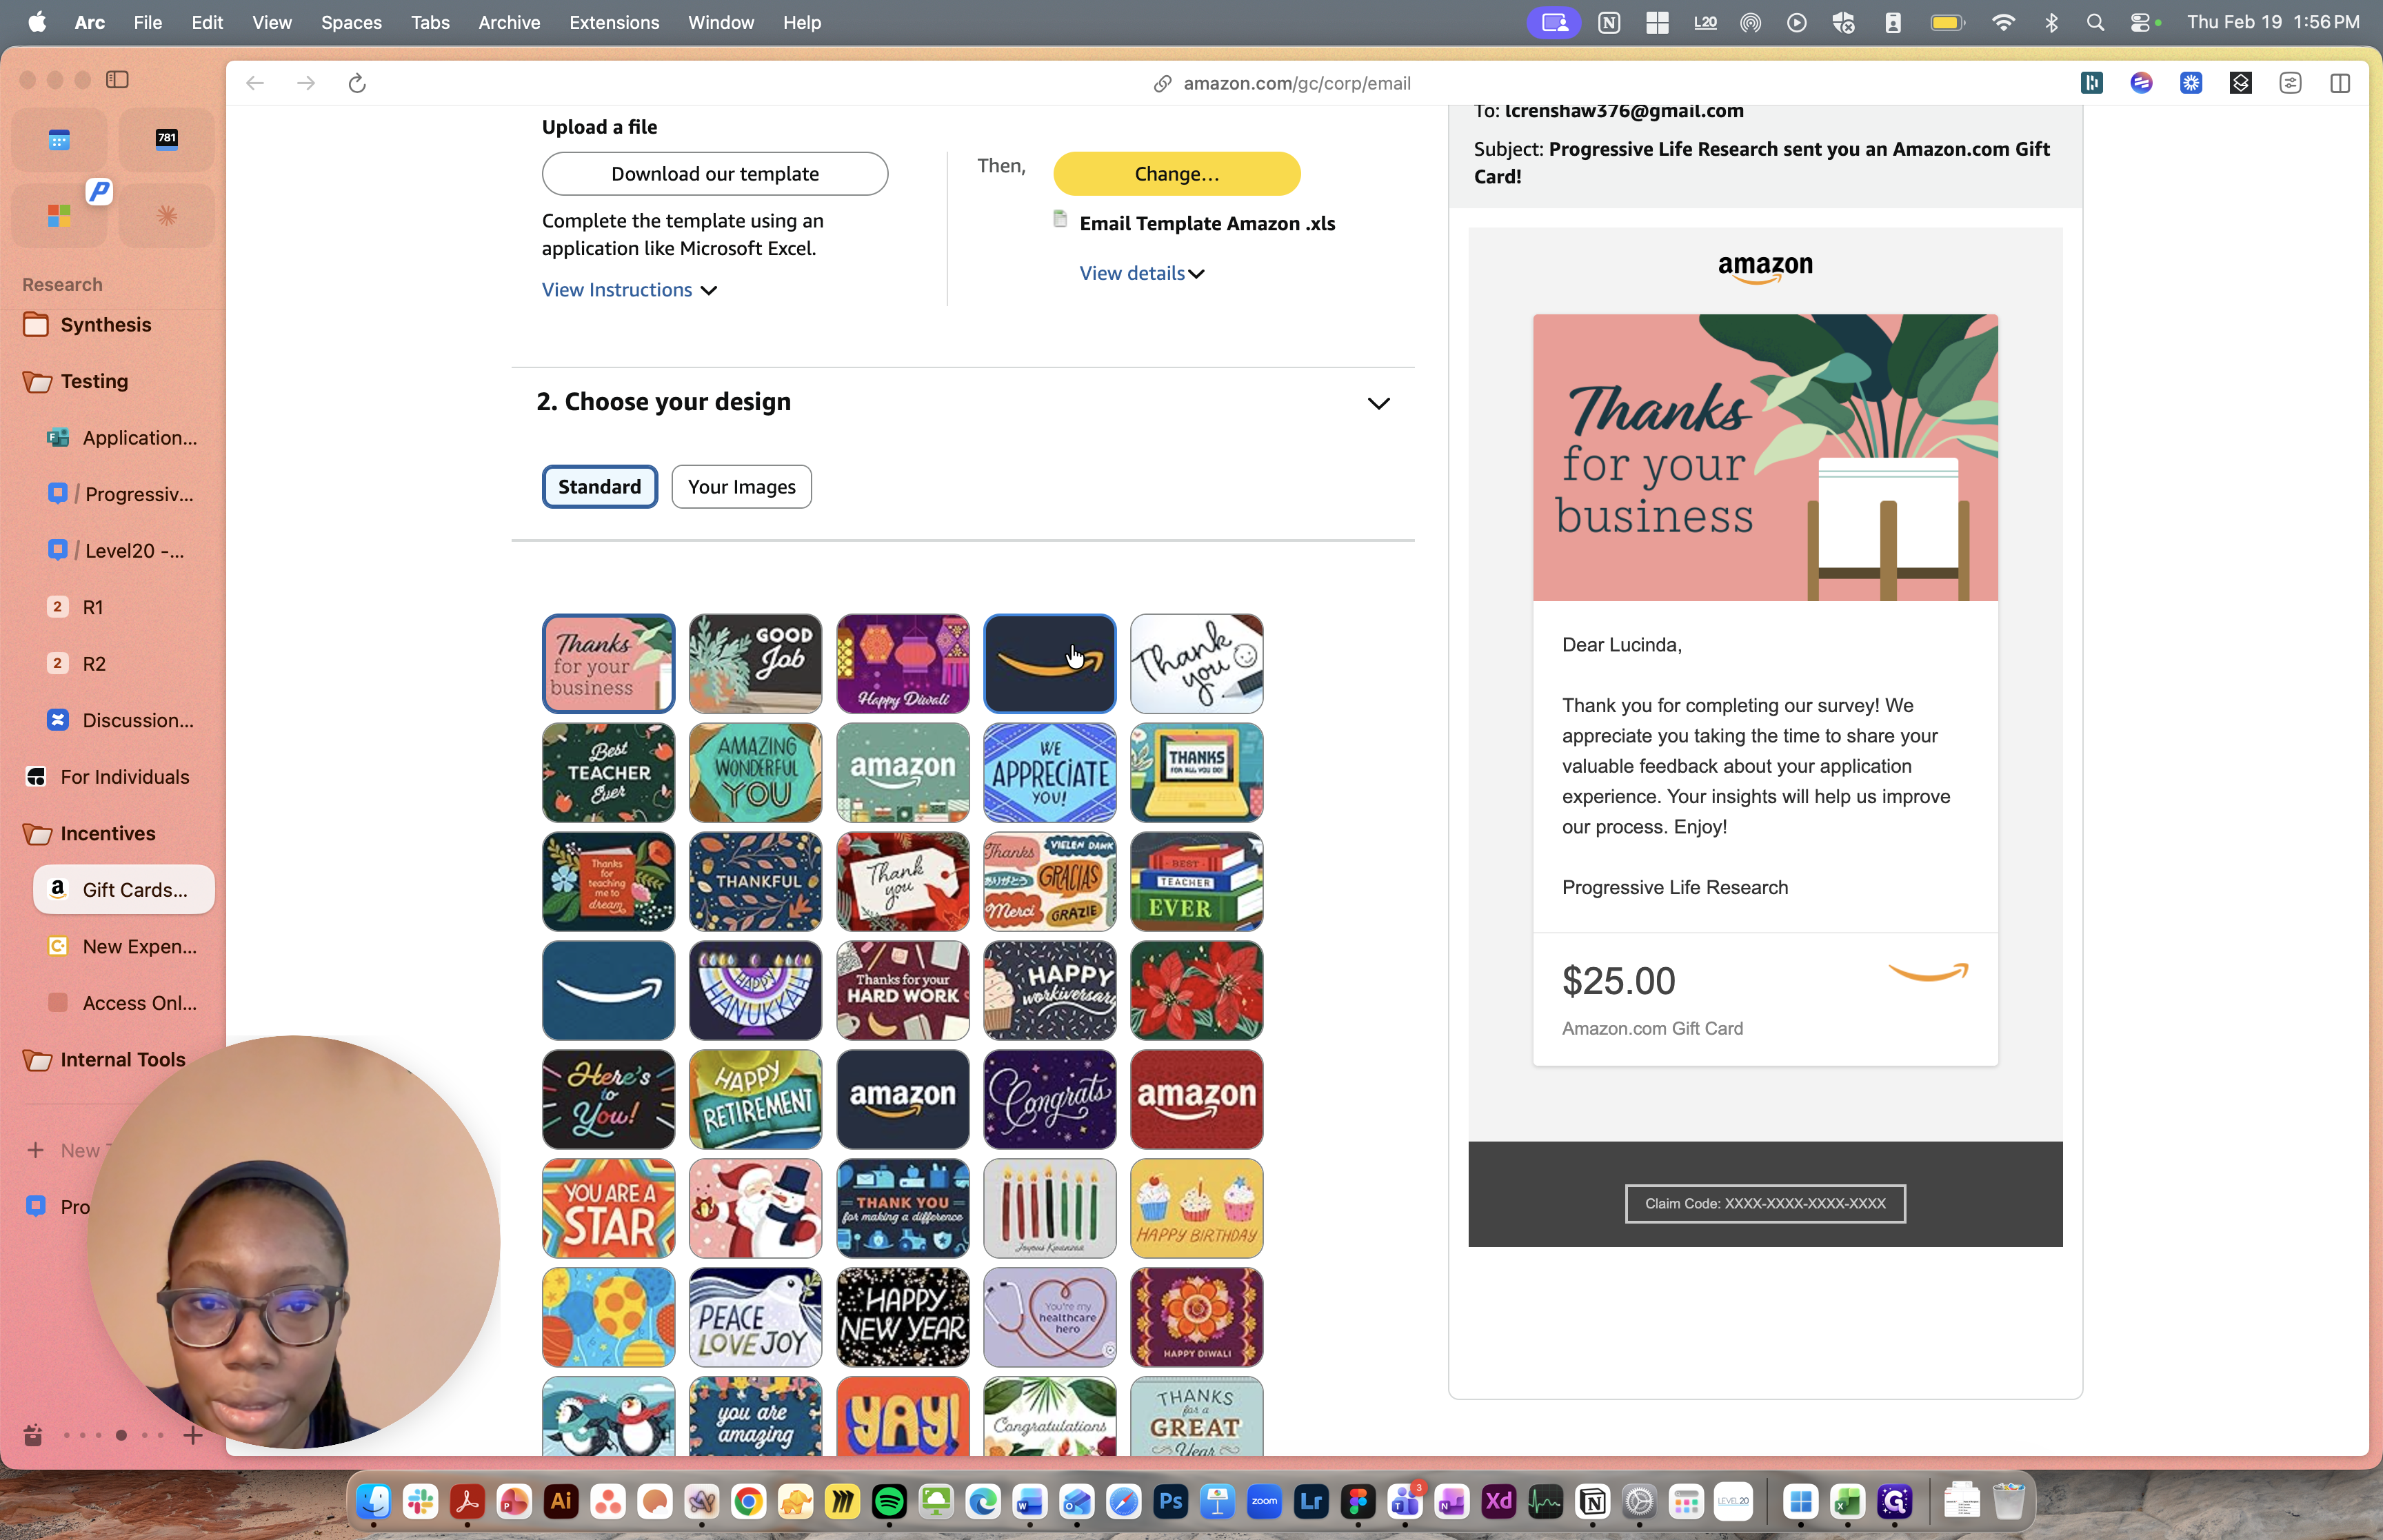
You can see a preview of the entire gift card.
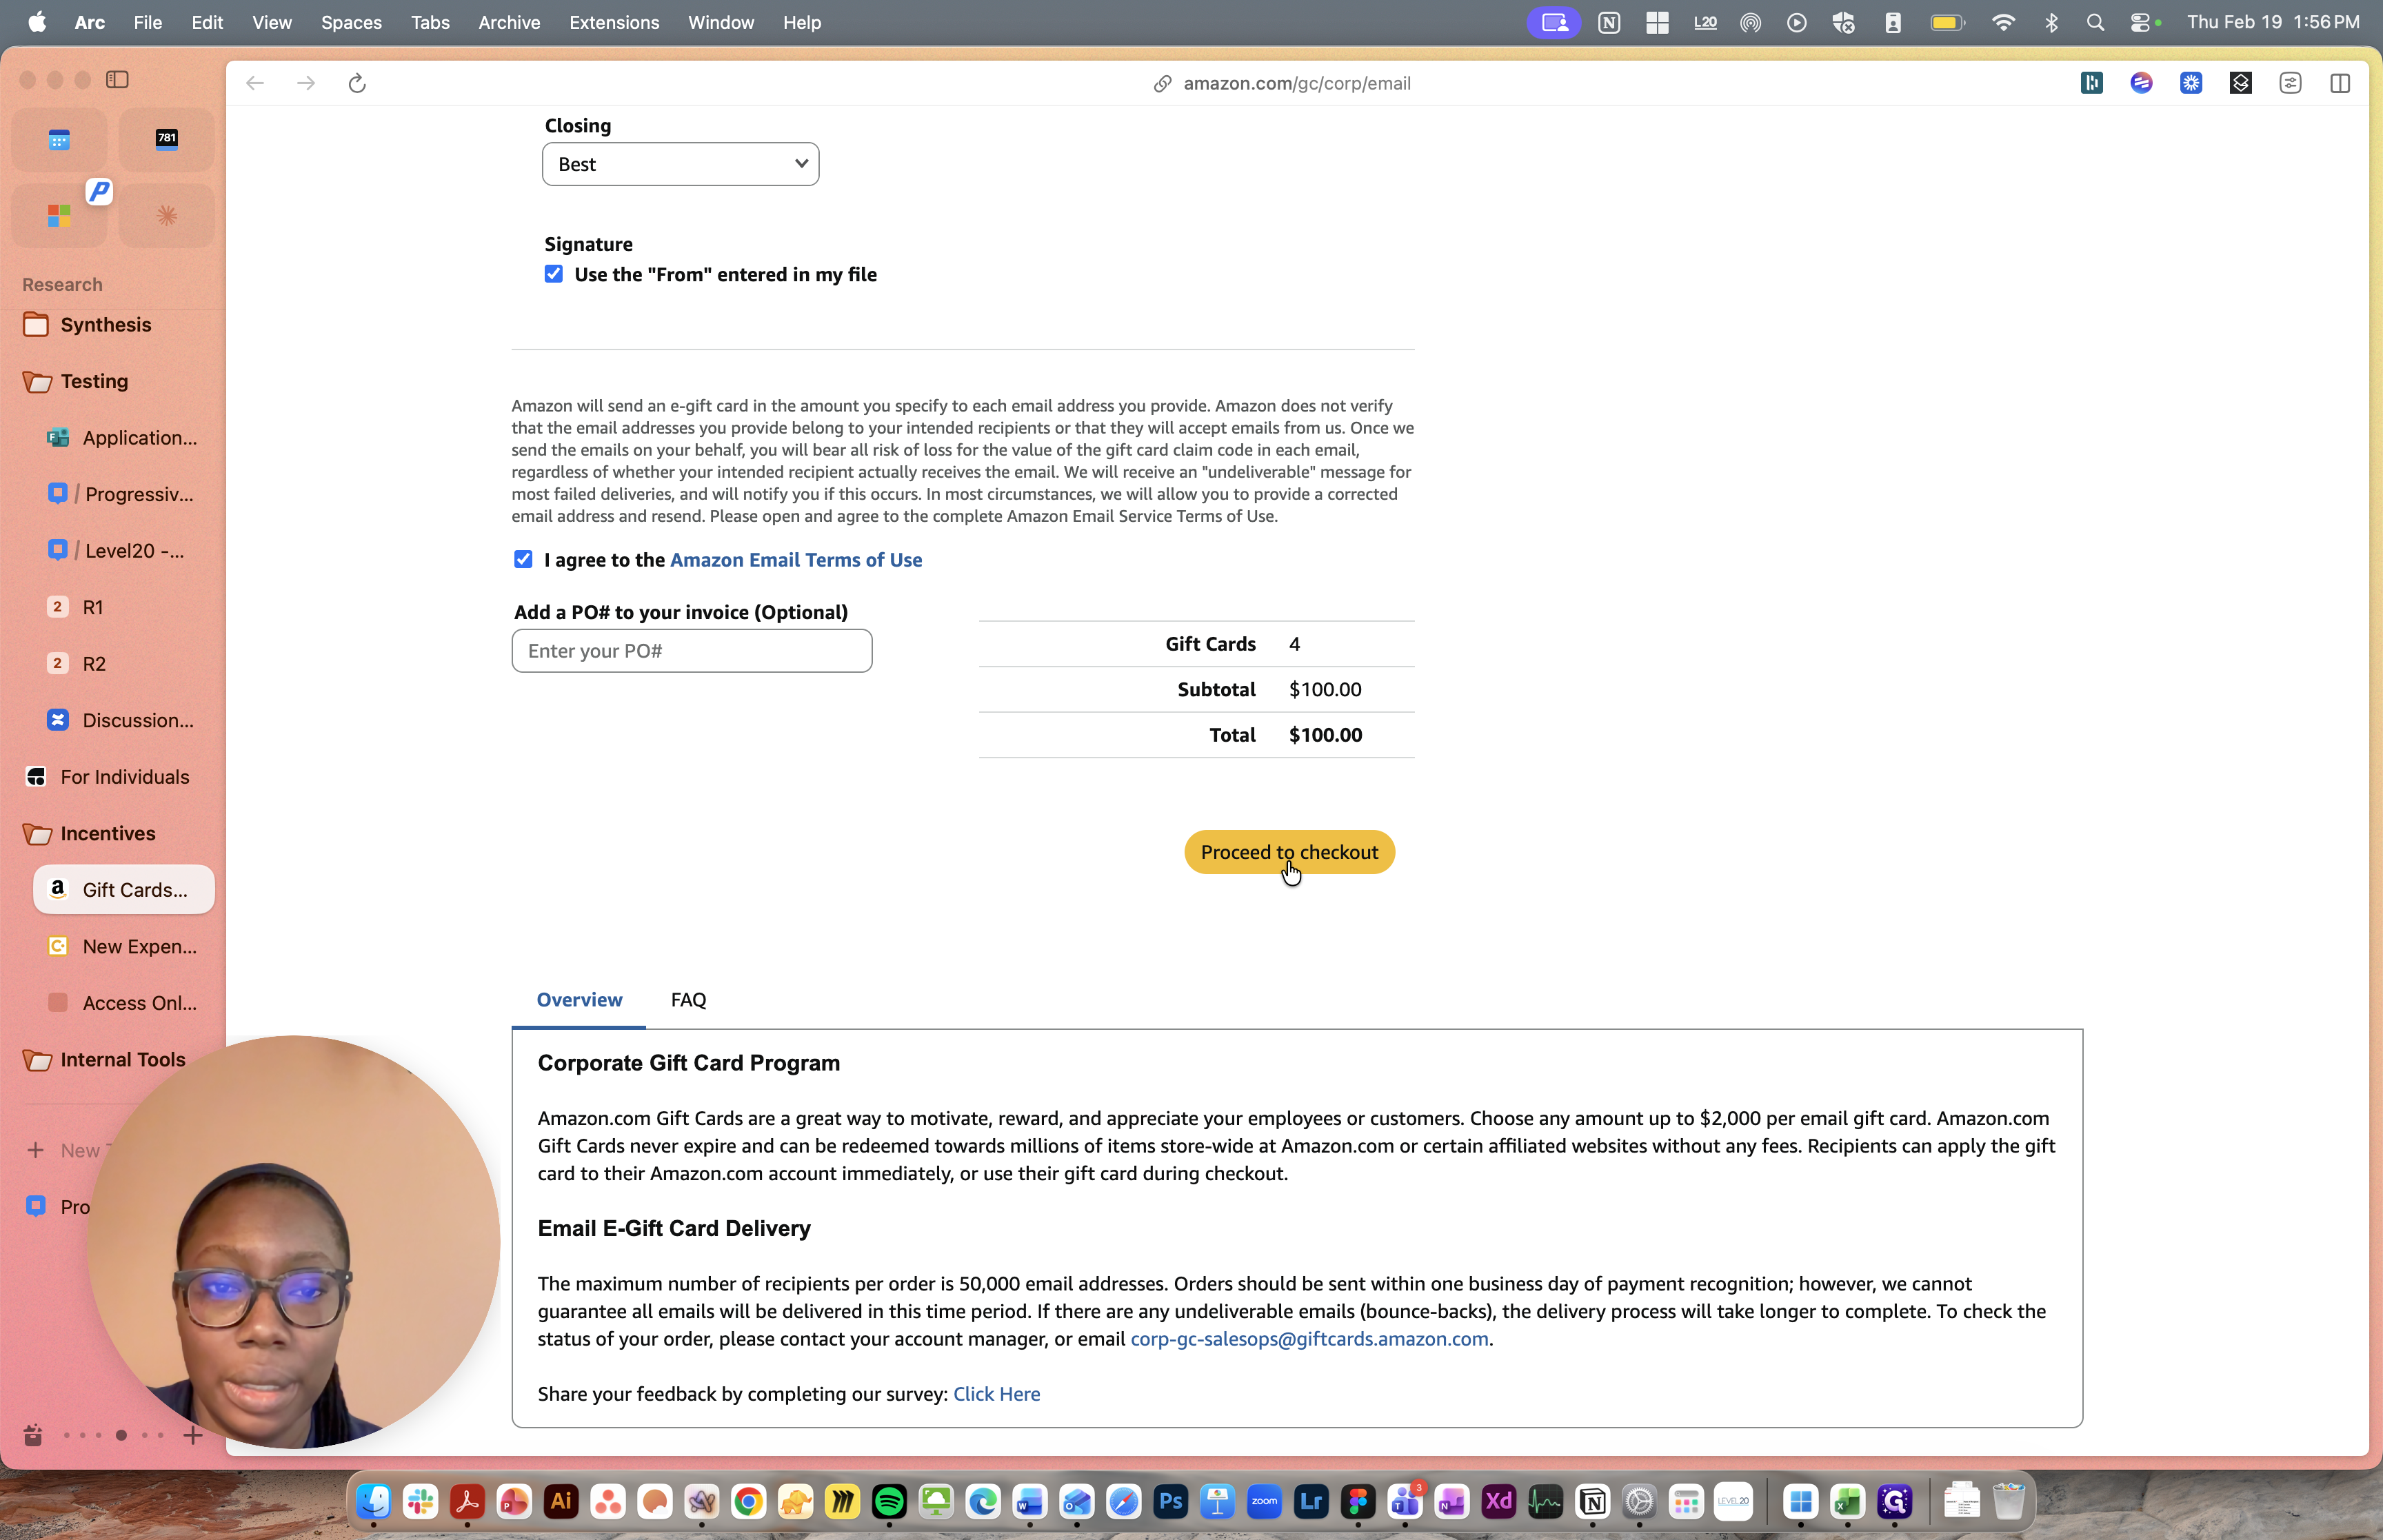
Finally, you need to accept the terms of use. We do not have a PO number to enter here. You can proceed to check out.
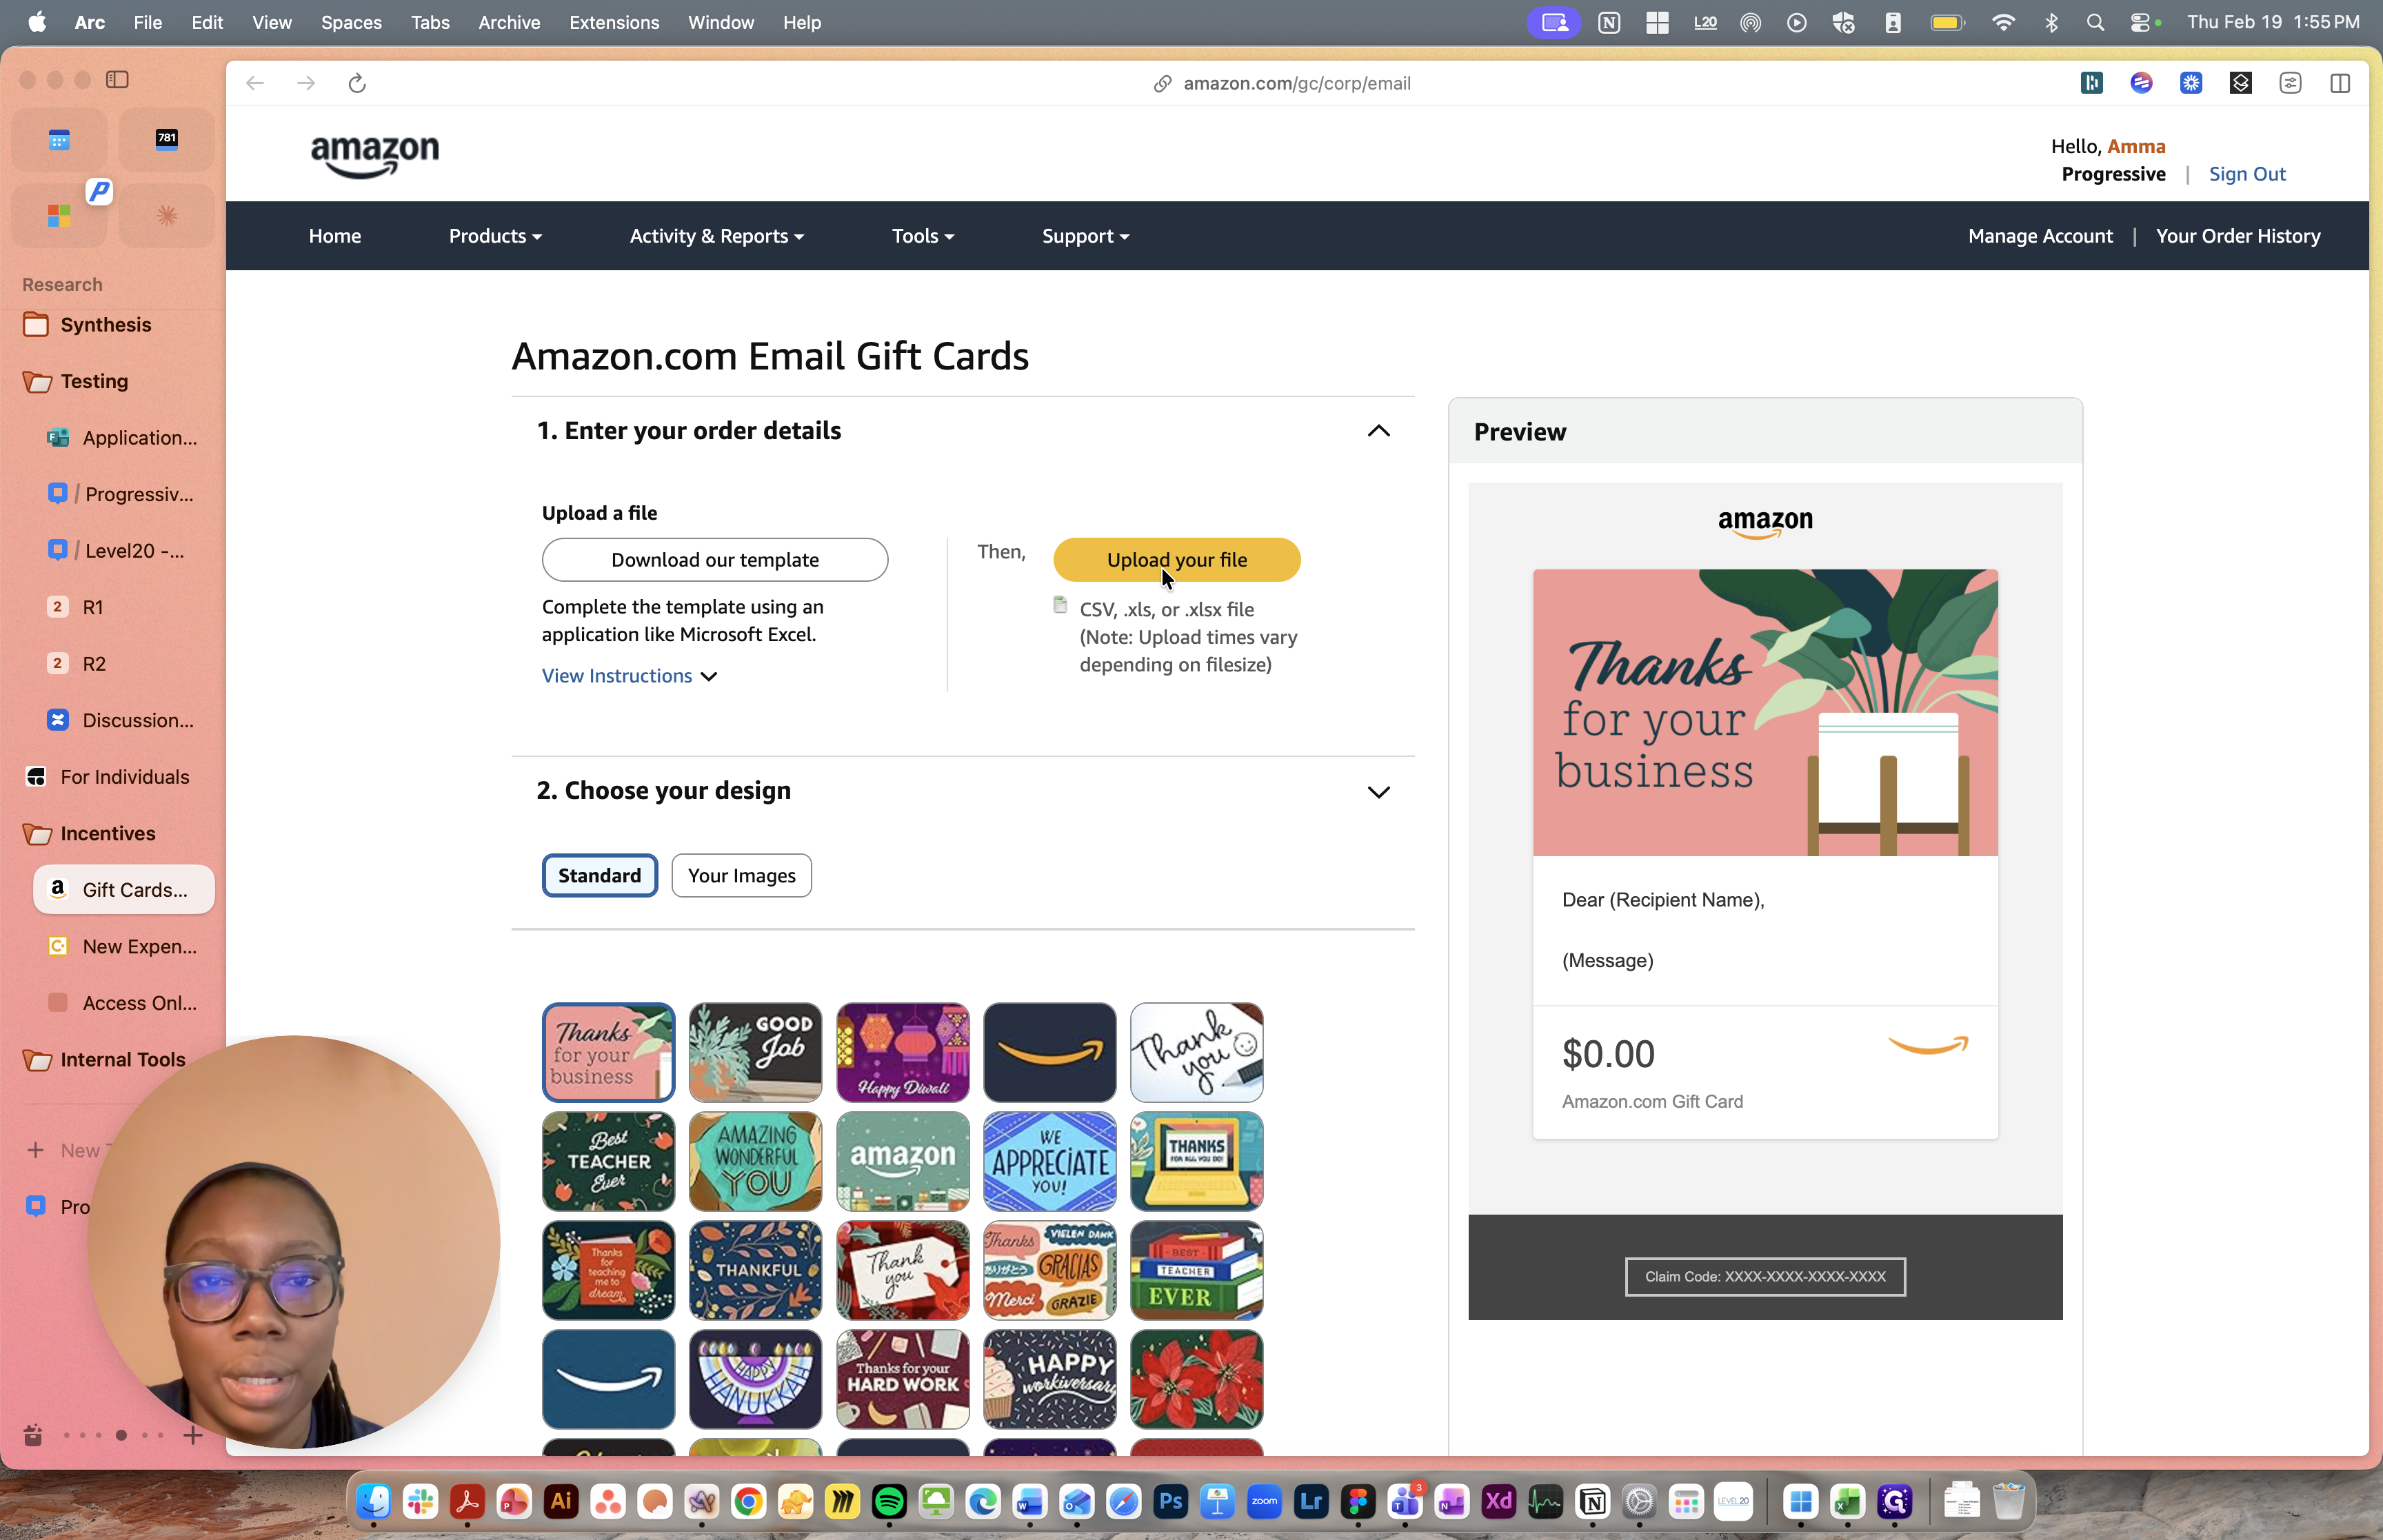
We kept it simple and chose the classic Amazon Smile branded option. Including a salutation or closing is straightforward.

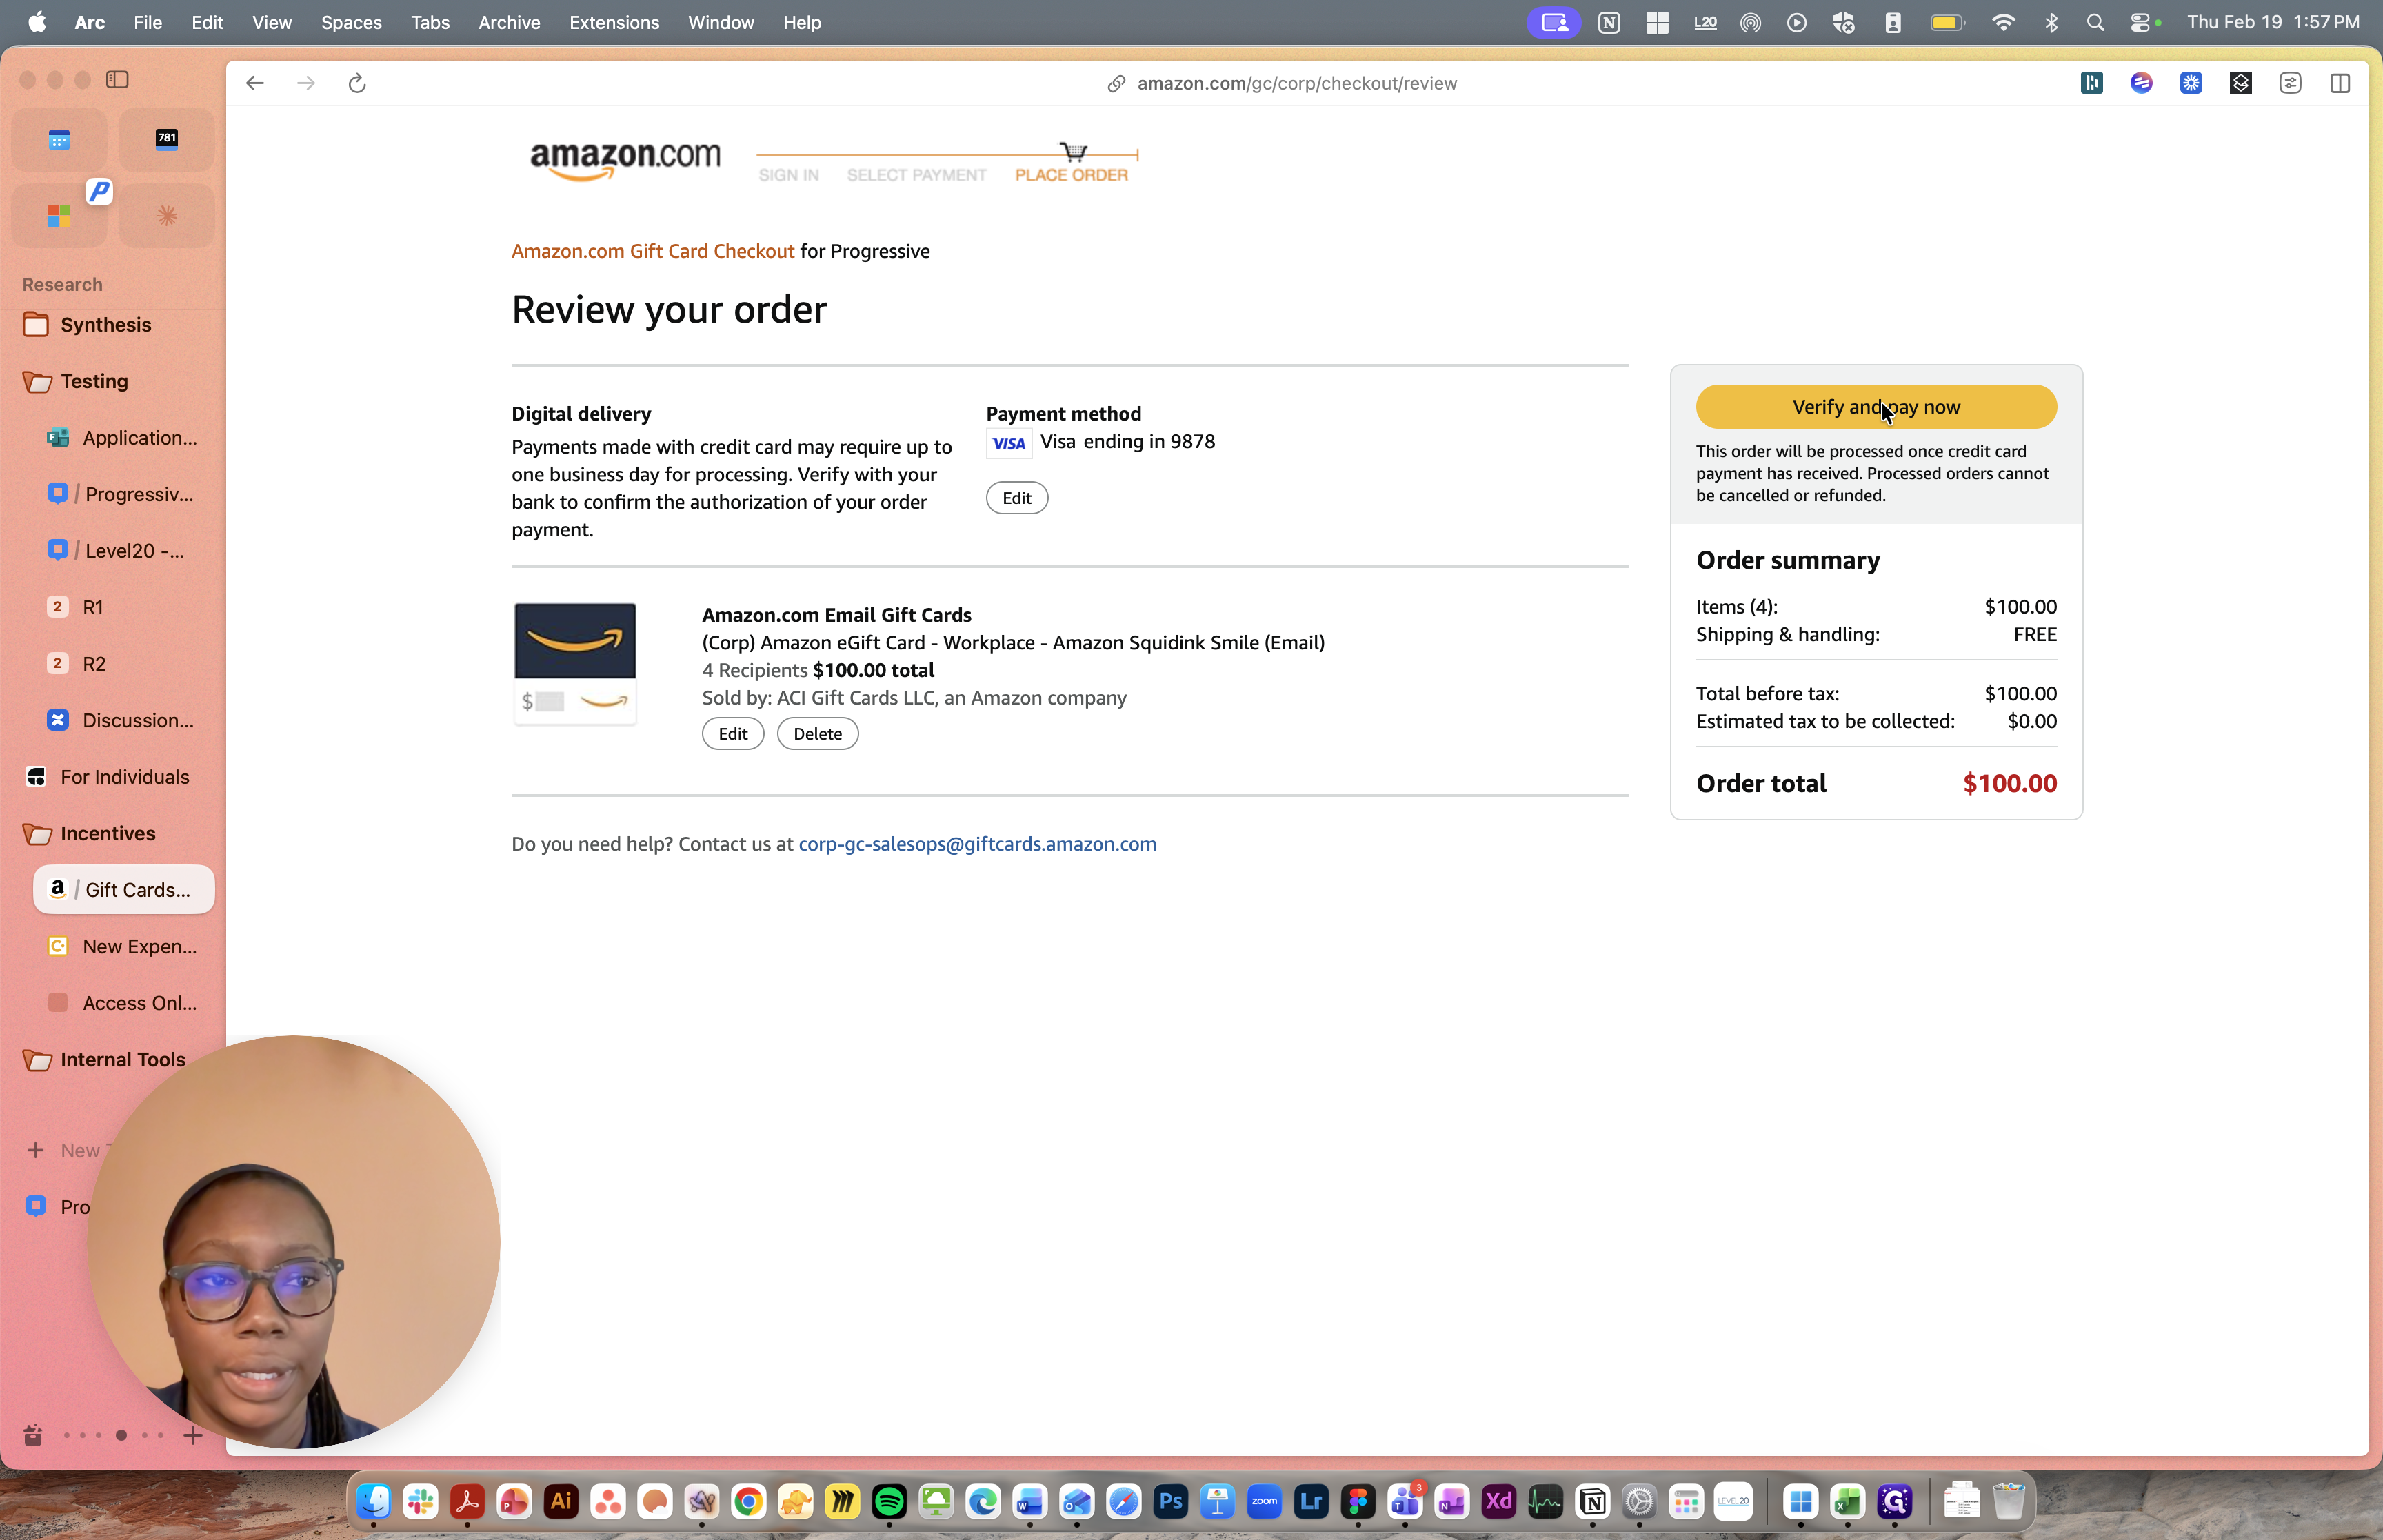
Your corporate card information should display. Click "Continue." You'll verify and pay.
This should complete the process. Amazon will disperse the gift cards. That should complete the process. The gift cards have been ordered.