
How to Send an Invoice via the Holi Website
Step-by-step guide on how to send an invoice using the Holi website. Learn how to input recipient details, operator ID, VAT ID, and invoice details, and how to select the appropriate sending date.
In this guide, we'll learn how to efficiently send an invoice using the invoicing feature on Holvi. The process involves entering specific details about the recipient company, such as the e-invoice address, operator ID, and VAT ID. Additionally, you'll customize the invoice with a subject and choose the desired sending date. Ensuring clarity and accuracy in the invoice details is crucial for effective communication with the client. Let's get started.
Let's get started.
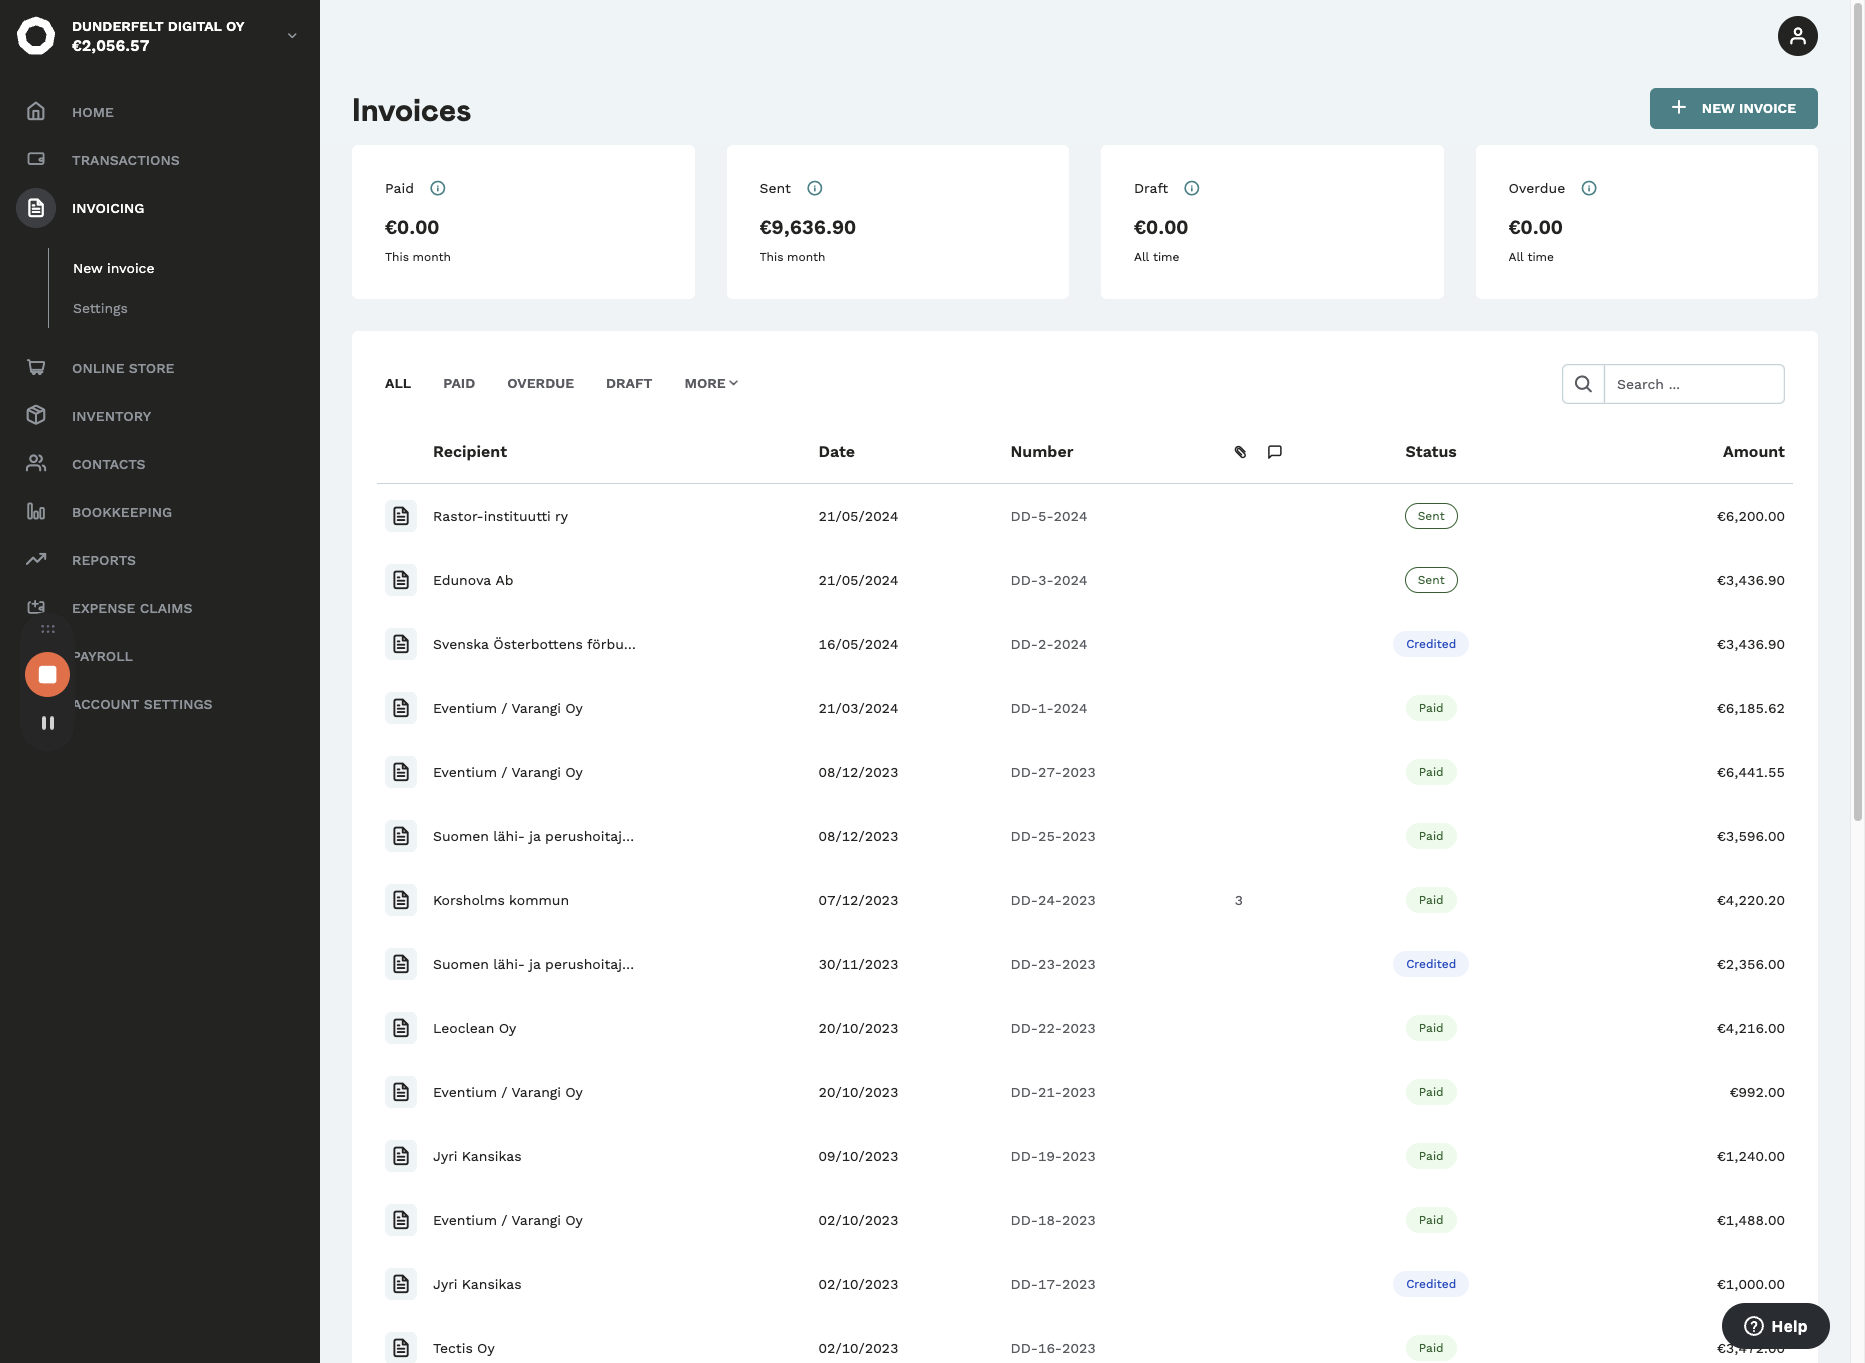
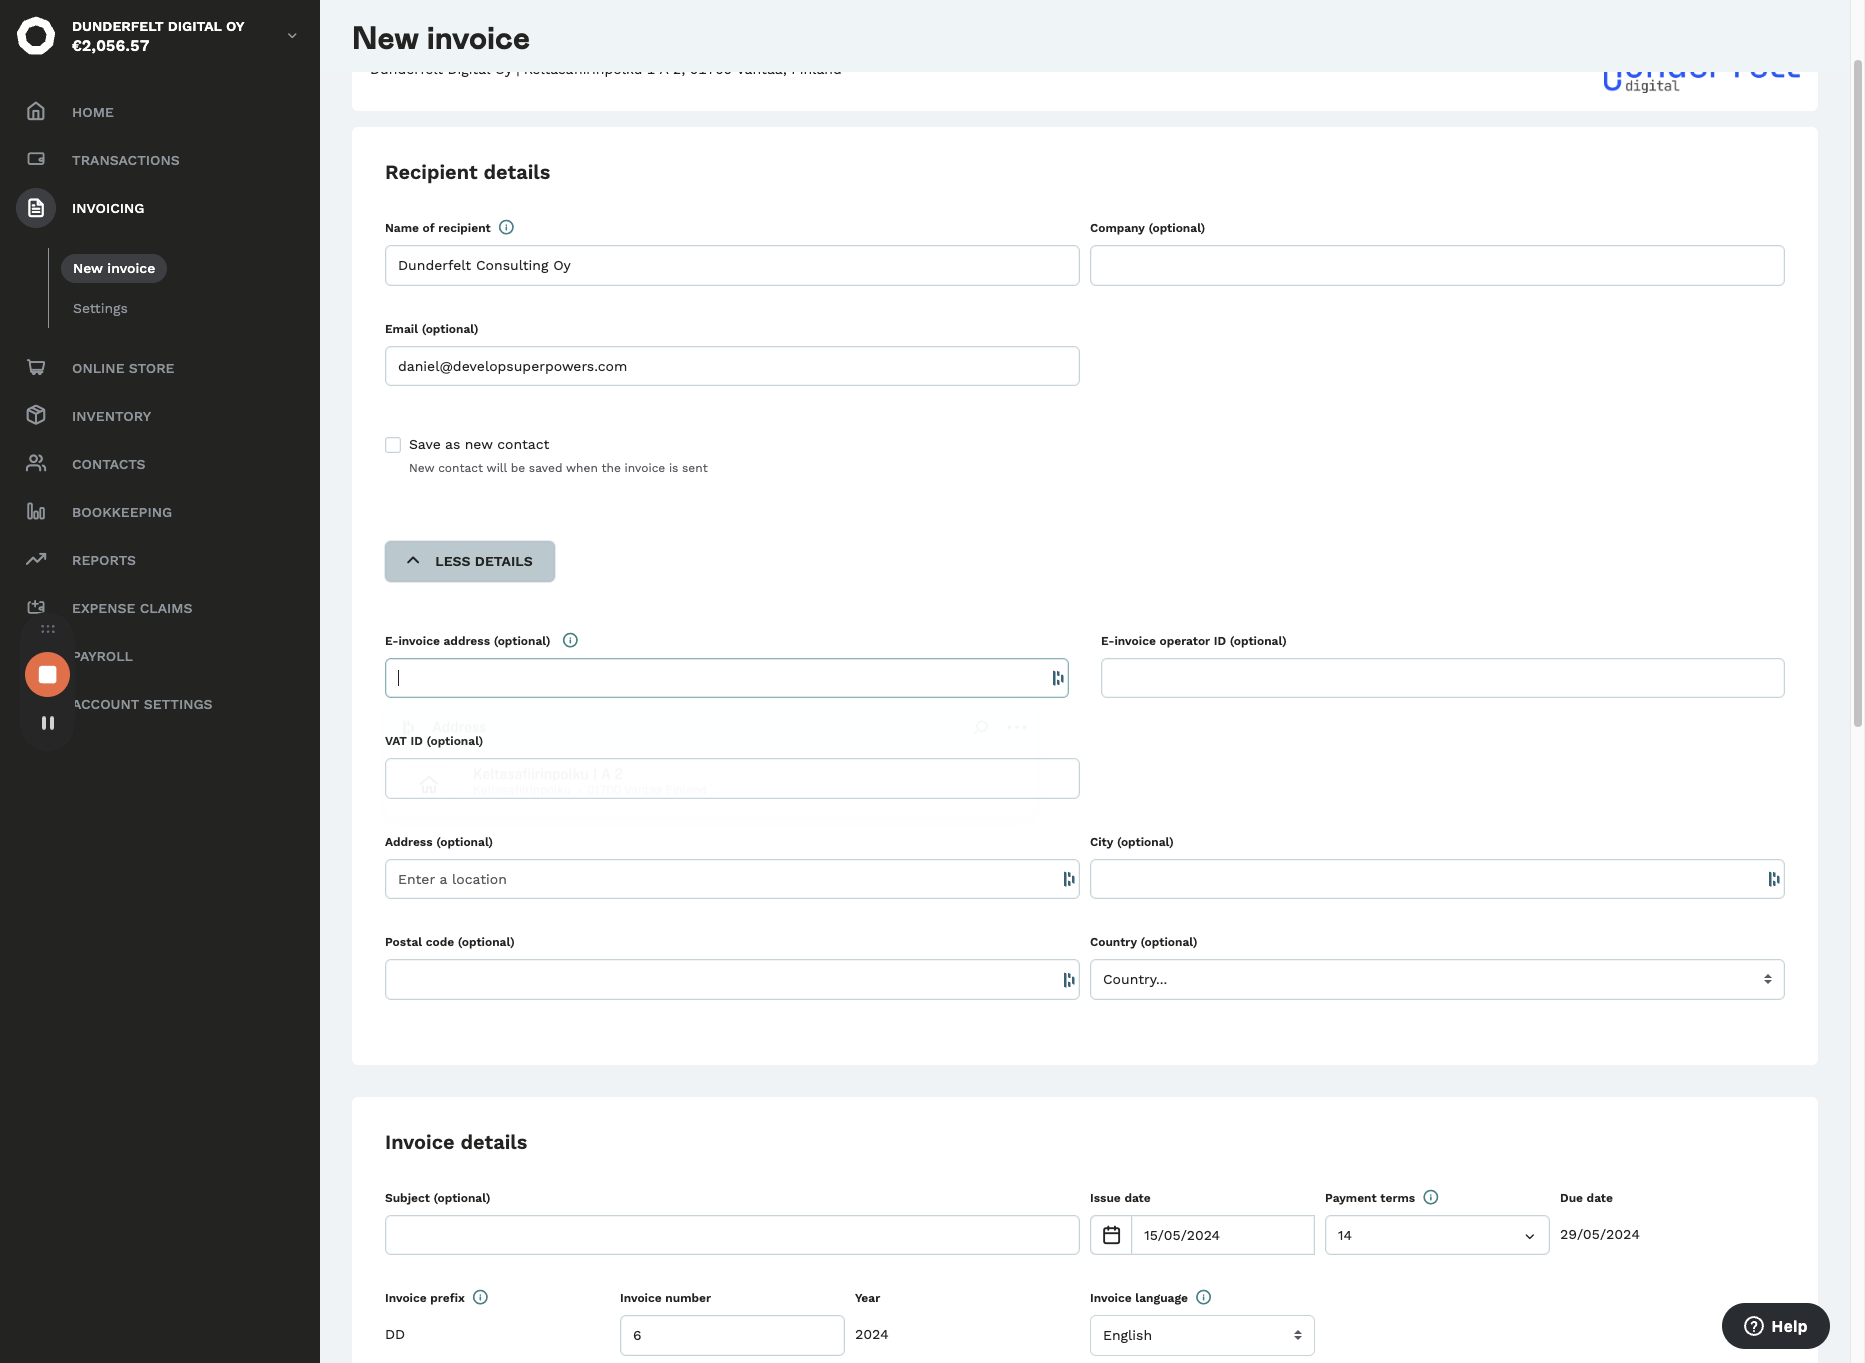
To send an invoice, go to the invoicing tab on the Holvi website.
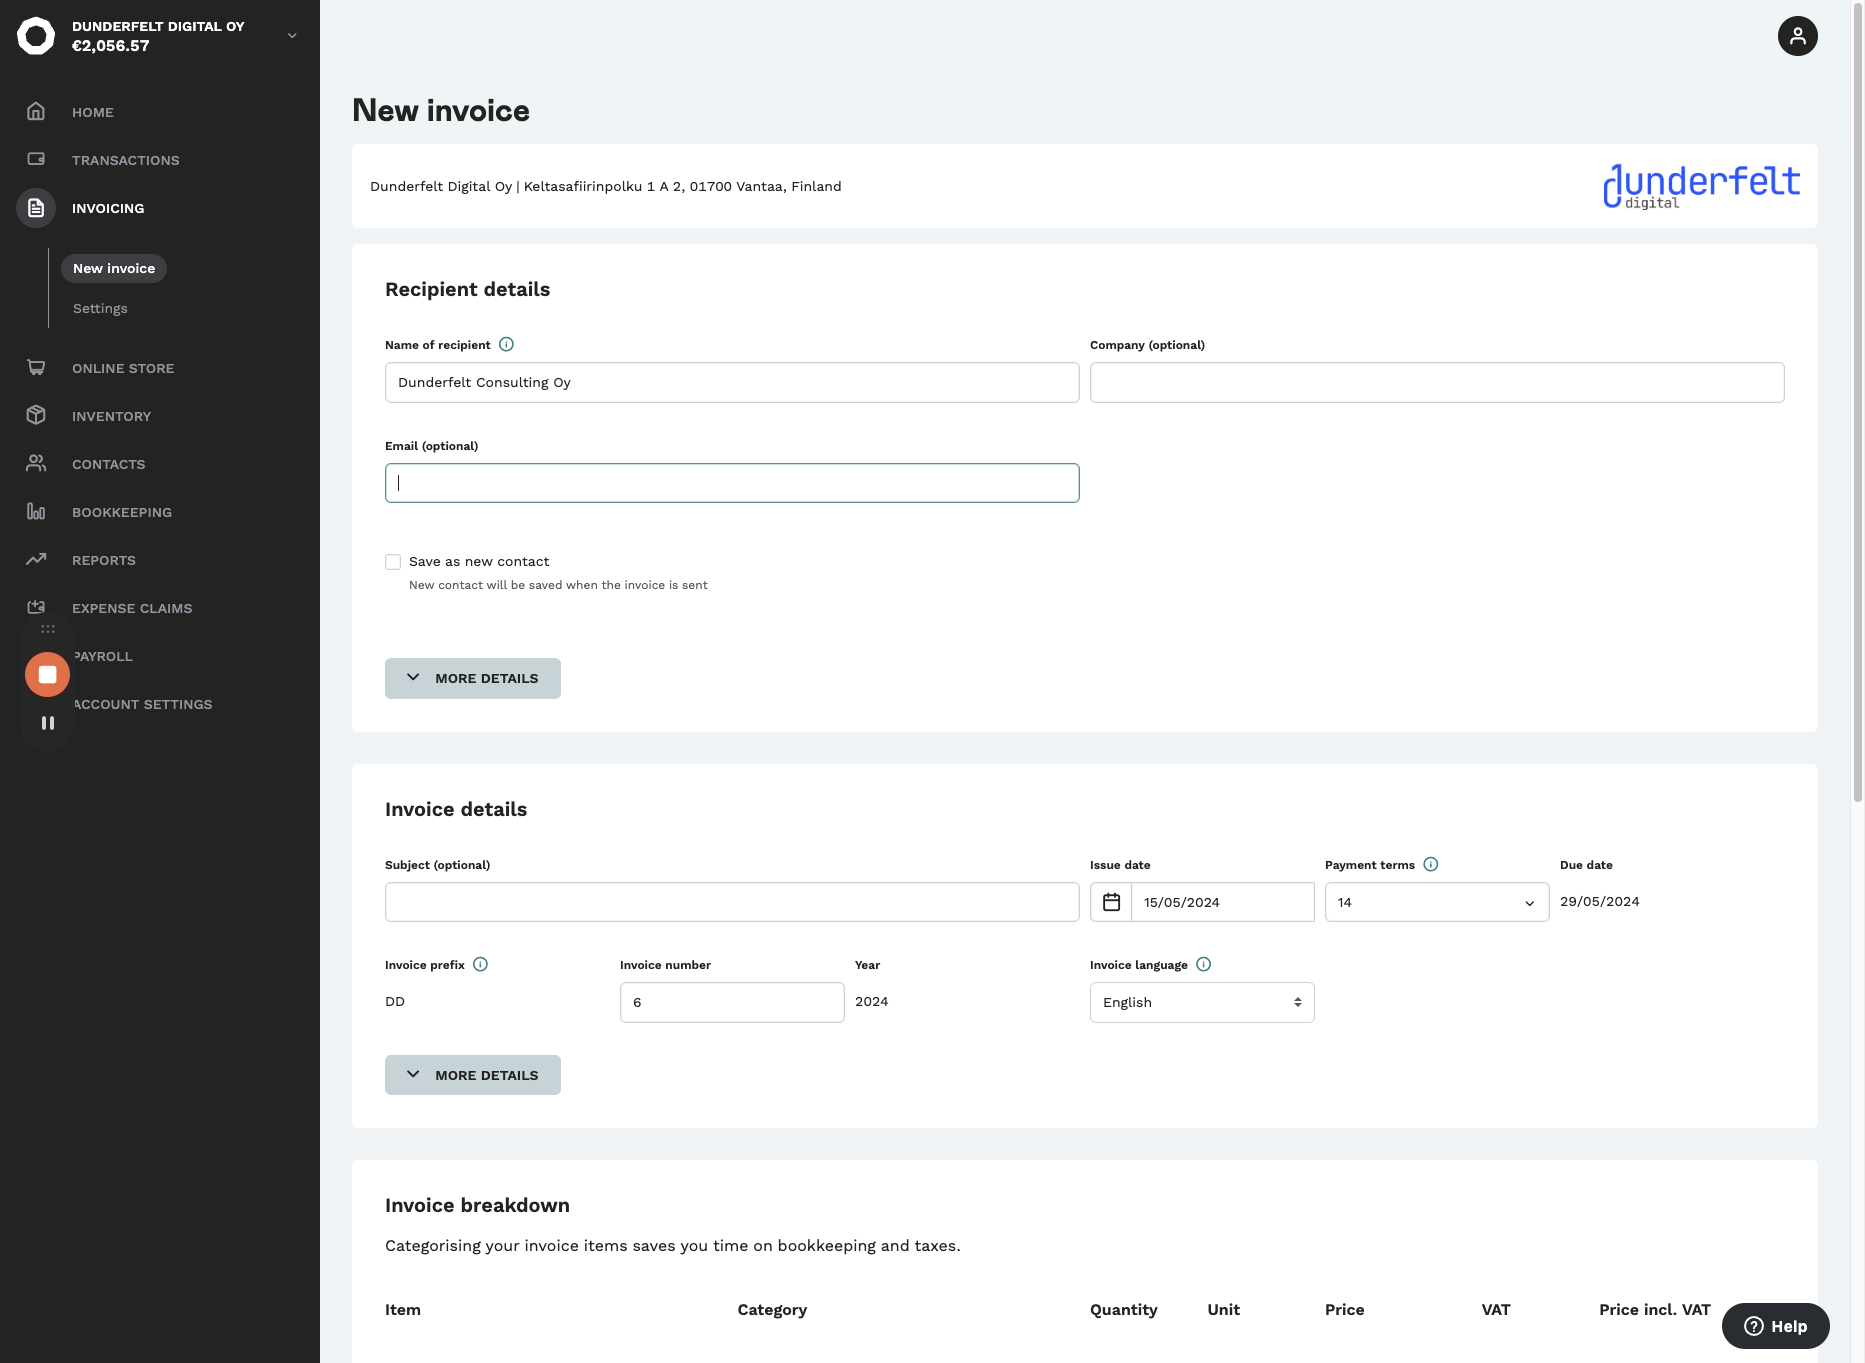
Insert the name of the recipient company

Using my company as an example.
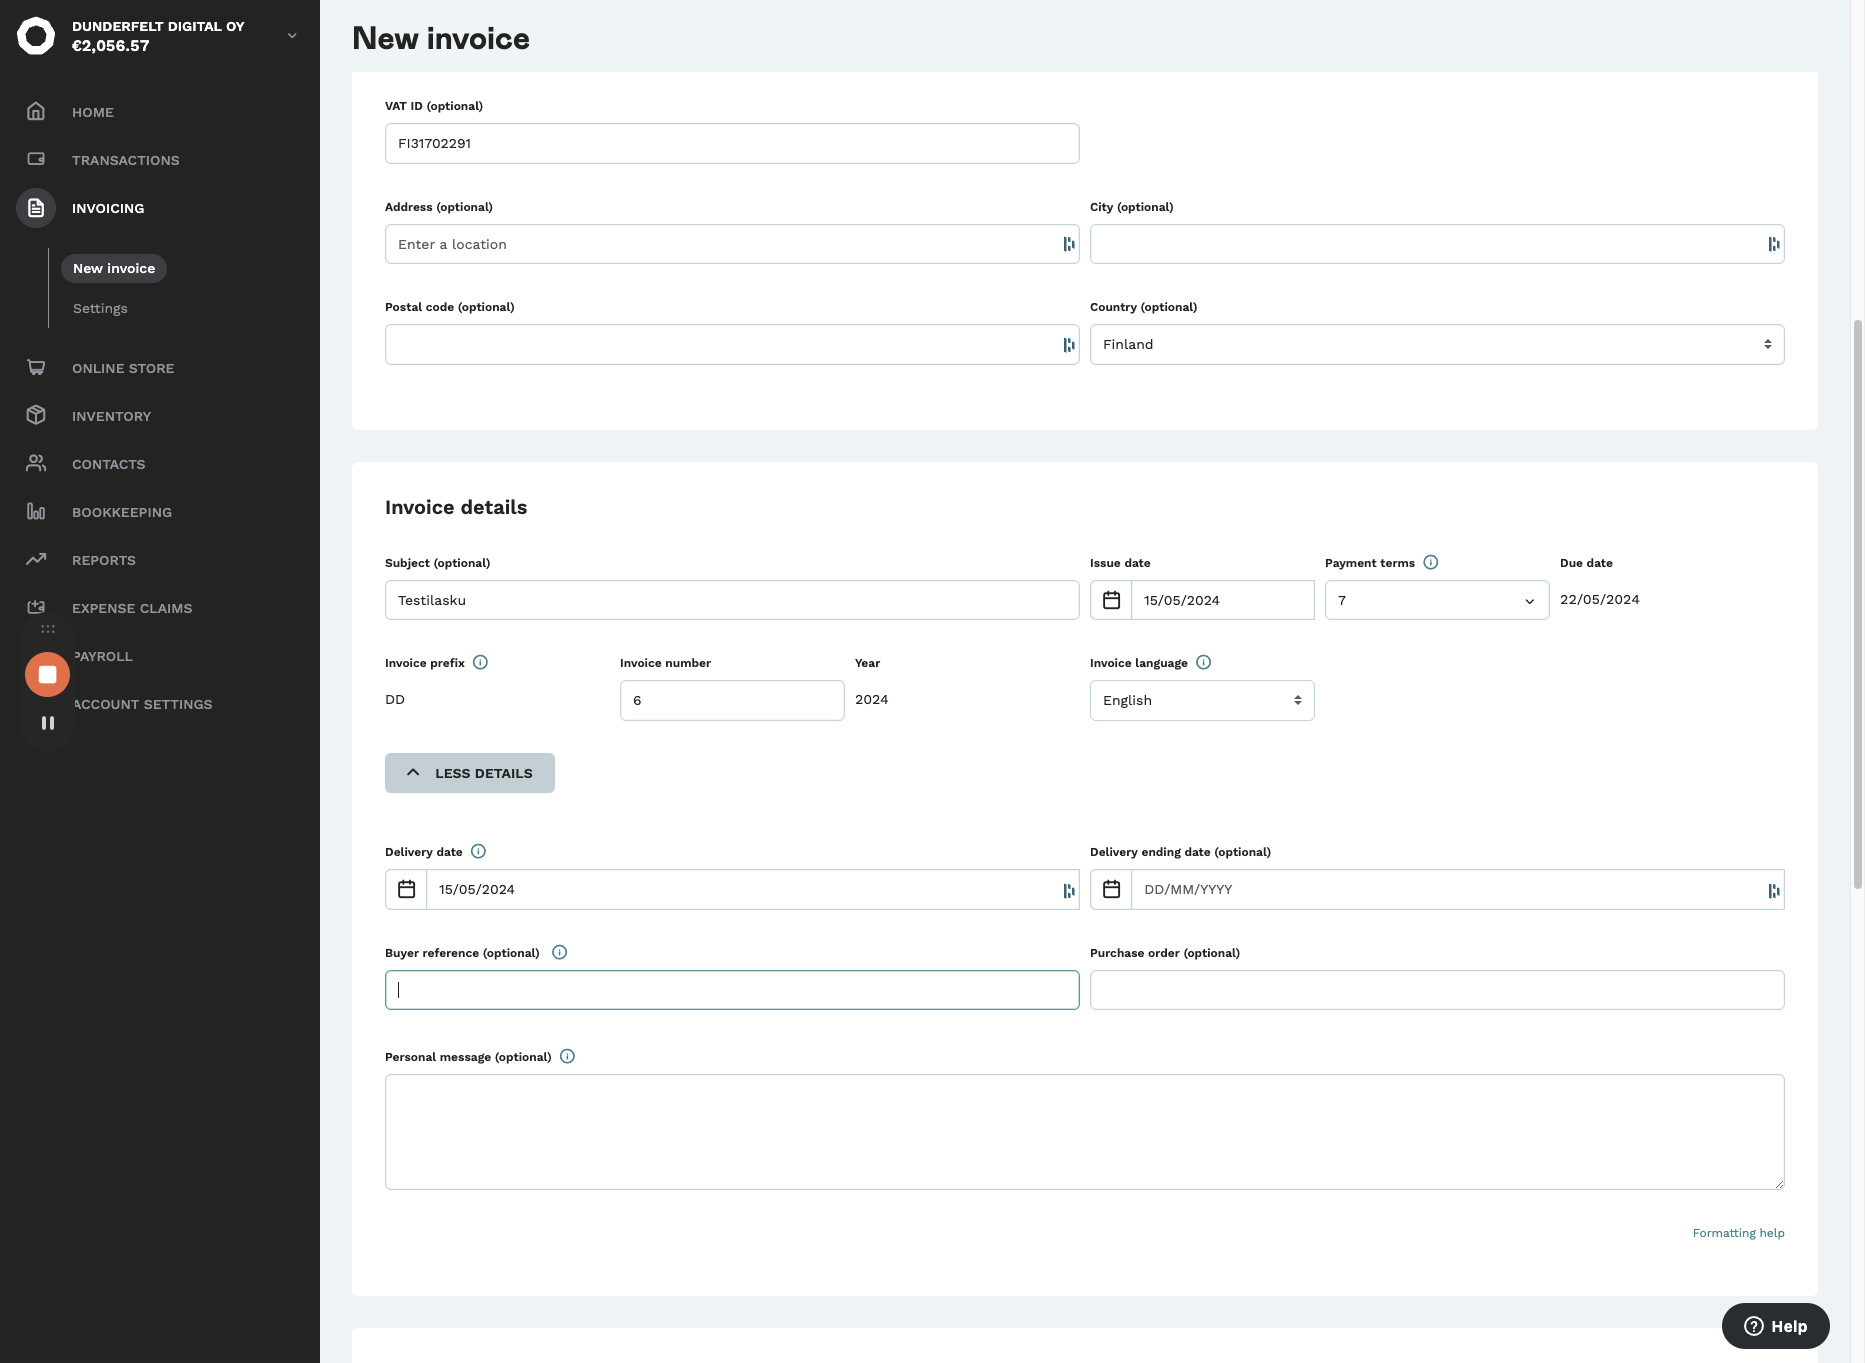
Enter the e-invoice address and additional details
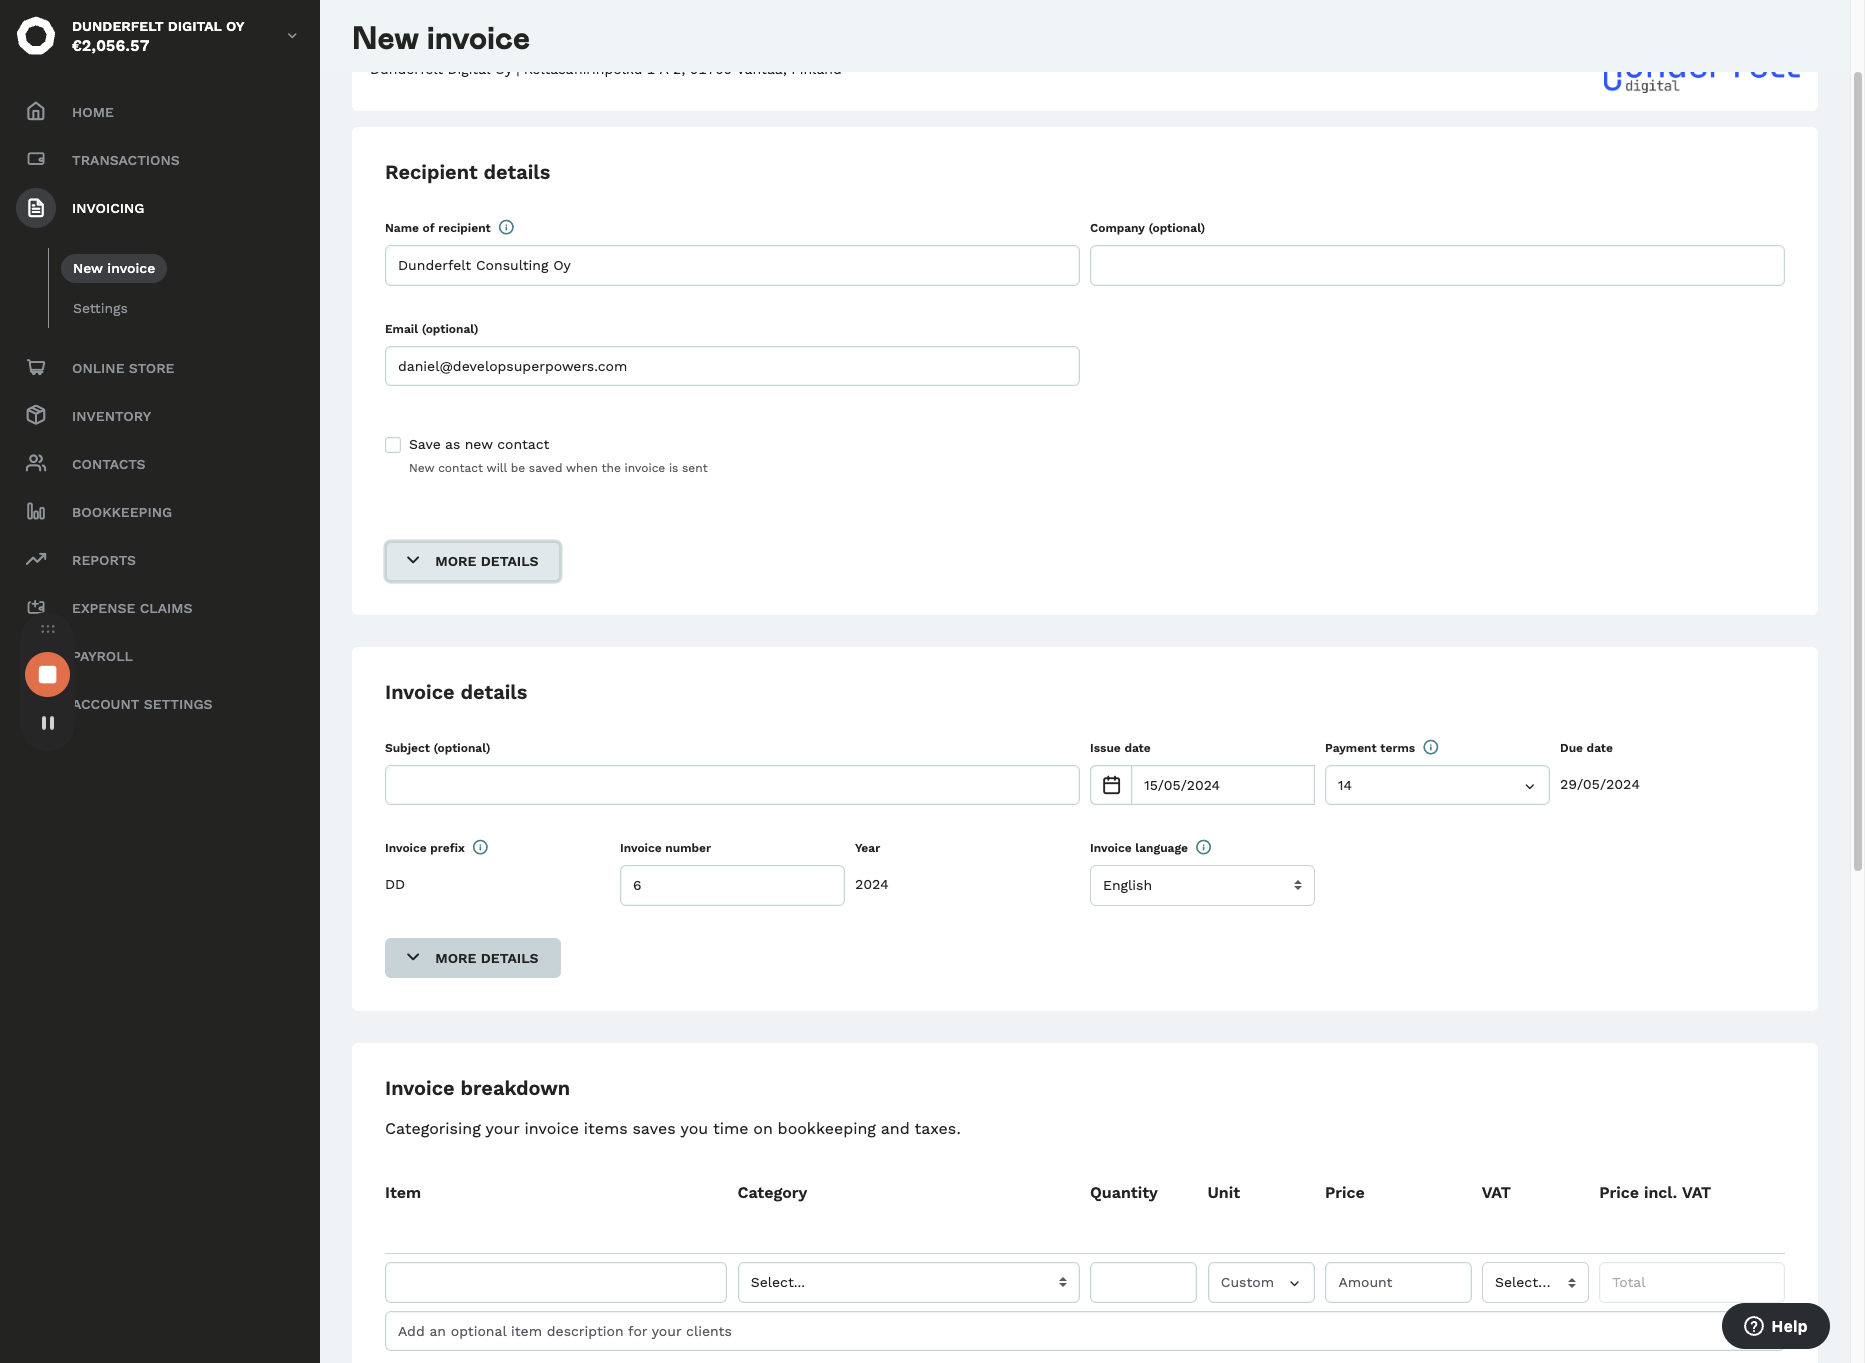
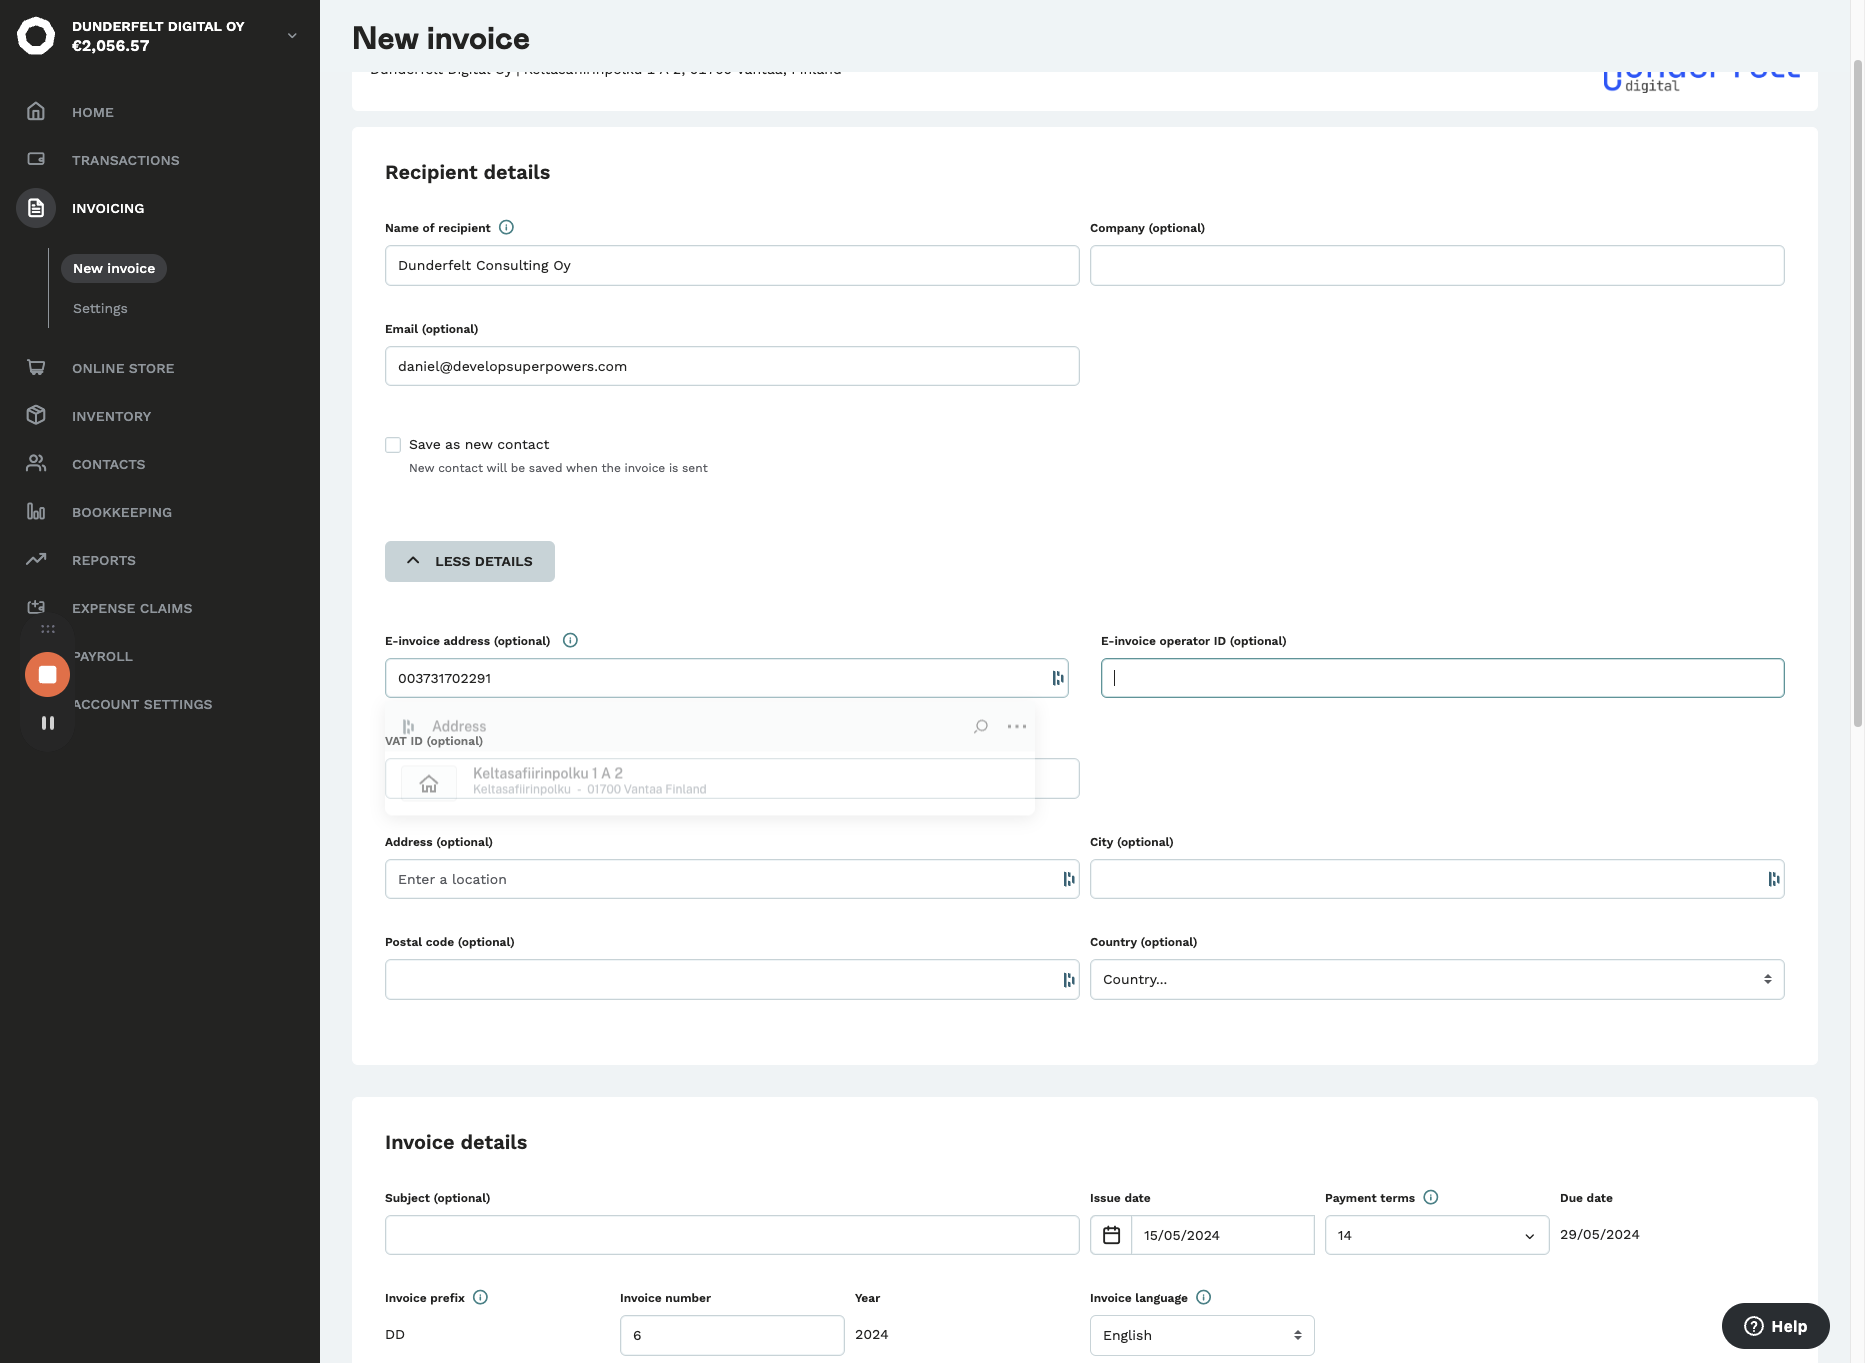

Using the VAT ID for my company as an example. The VAT ID is the y-tunnus without a dash and prepended with "FI". My y-tunnus 3170229-1 becomes VAT ID FI31702291.

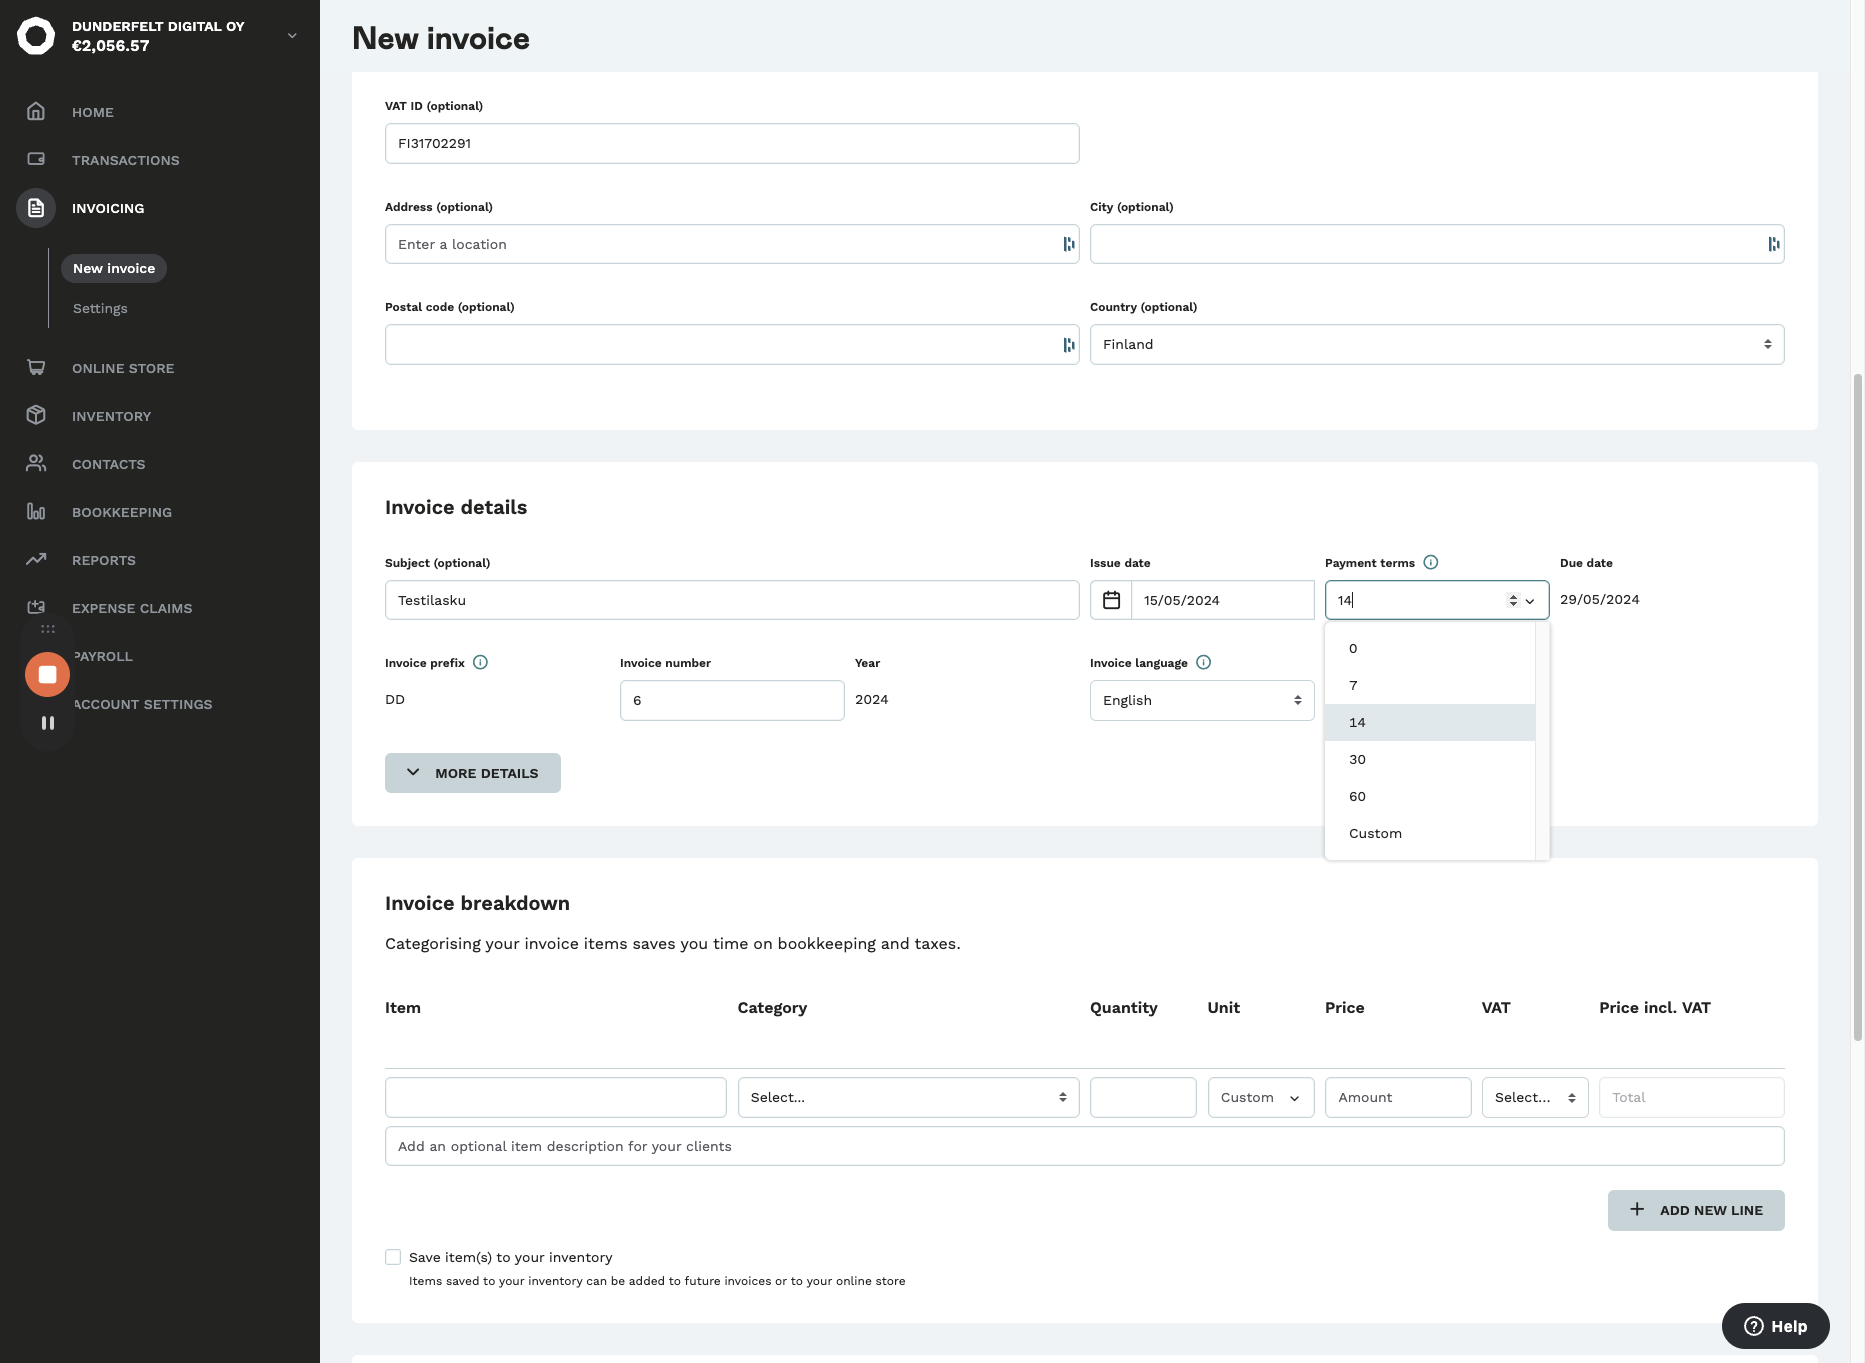
Invoice details

And it can also be on another day. For example, if we want to set the invoice for the next month, we can choose a different day here.
Buyer reference (viite)
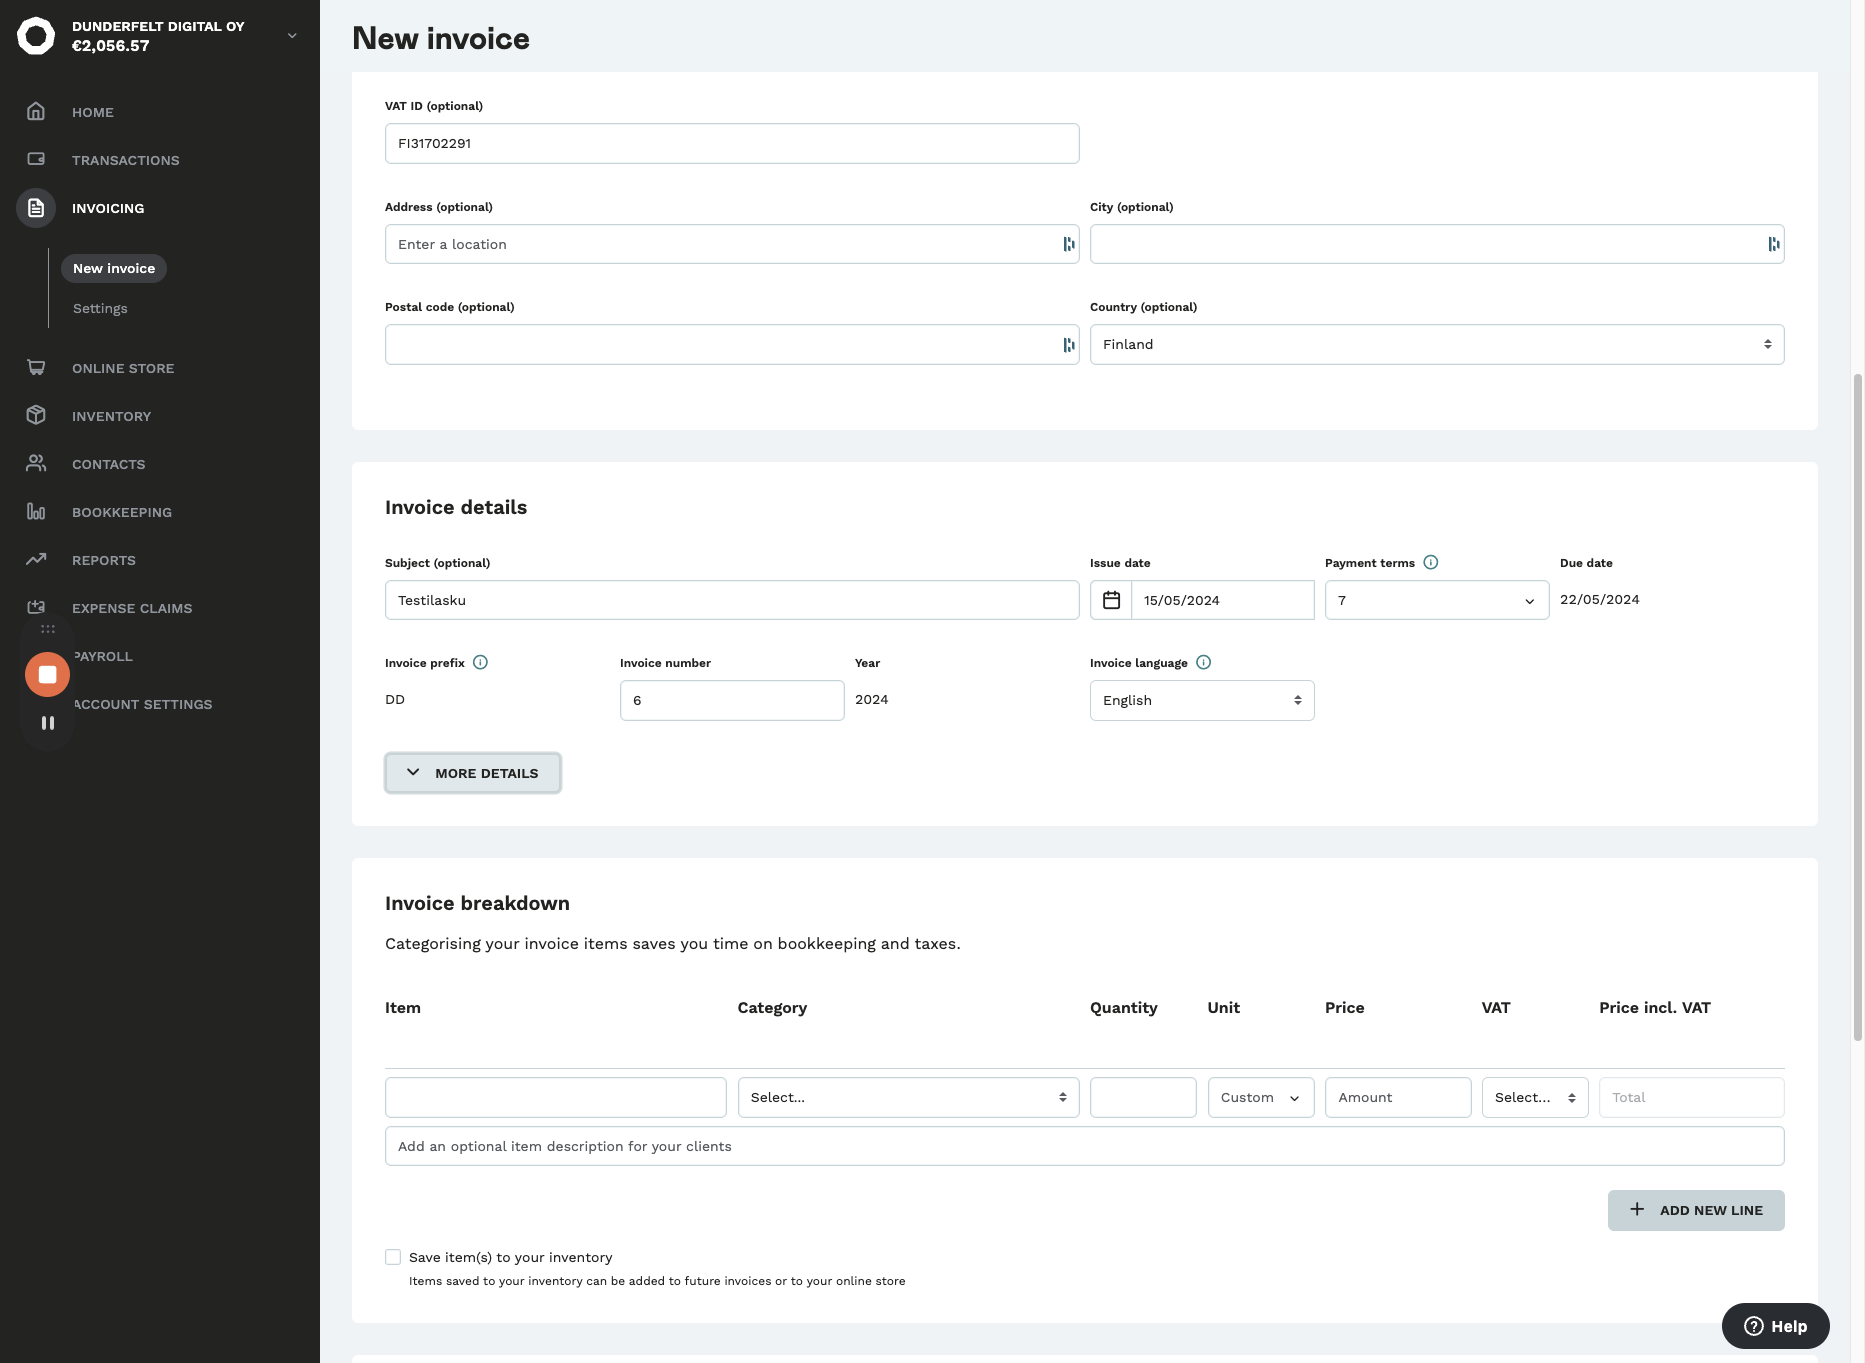
Invoice items
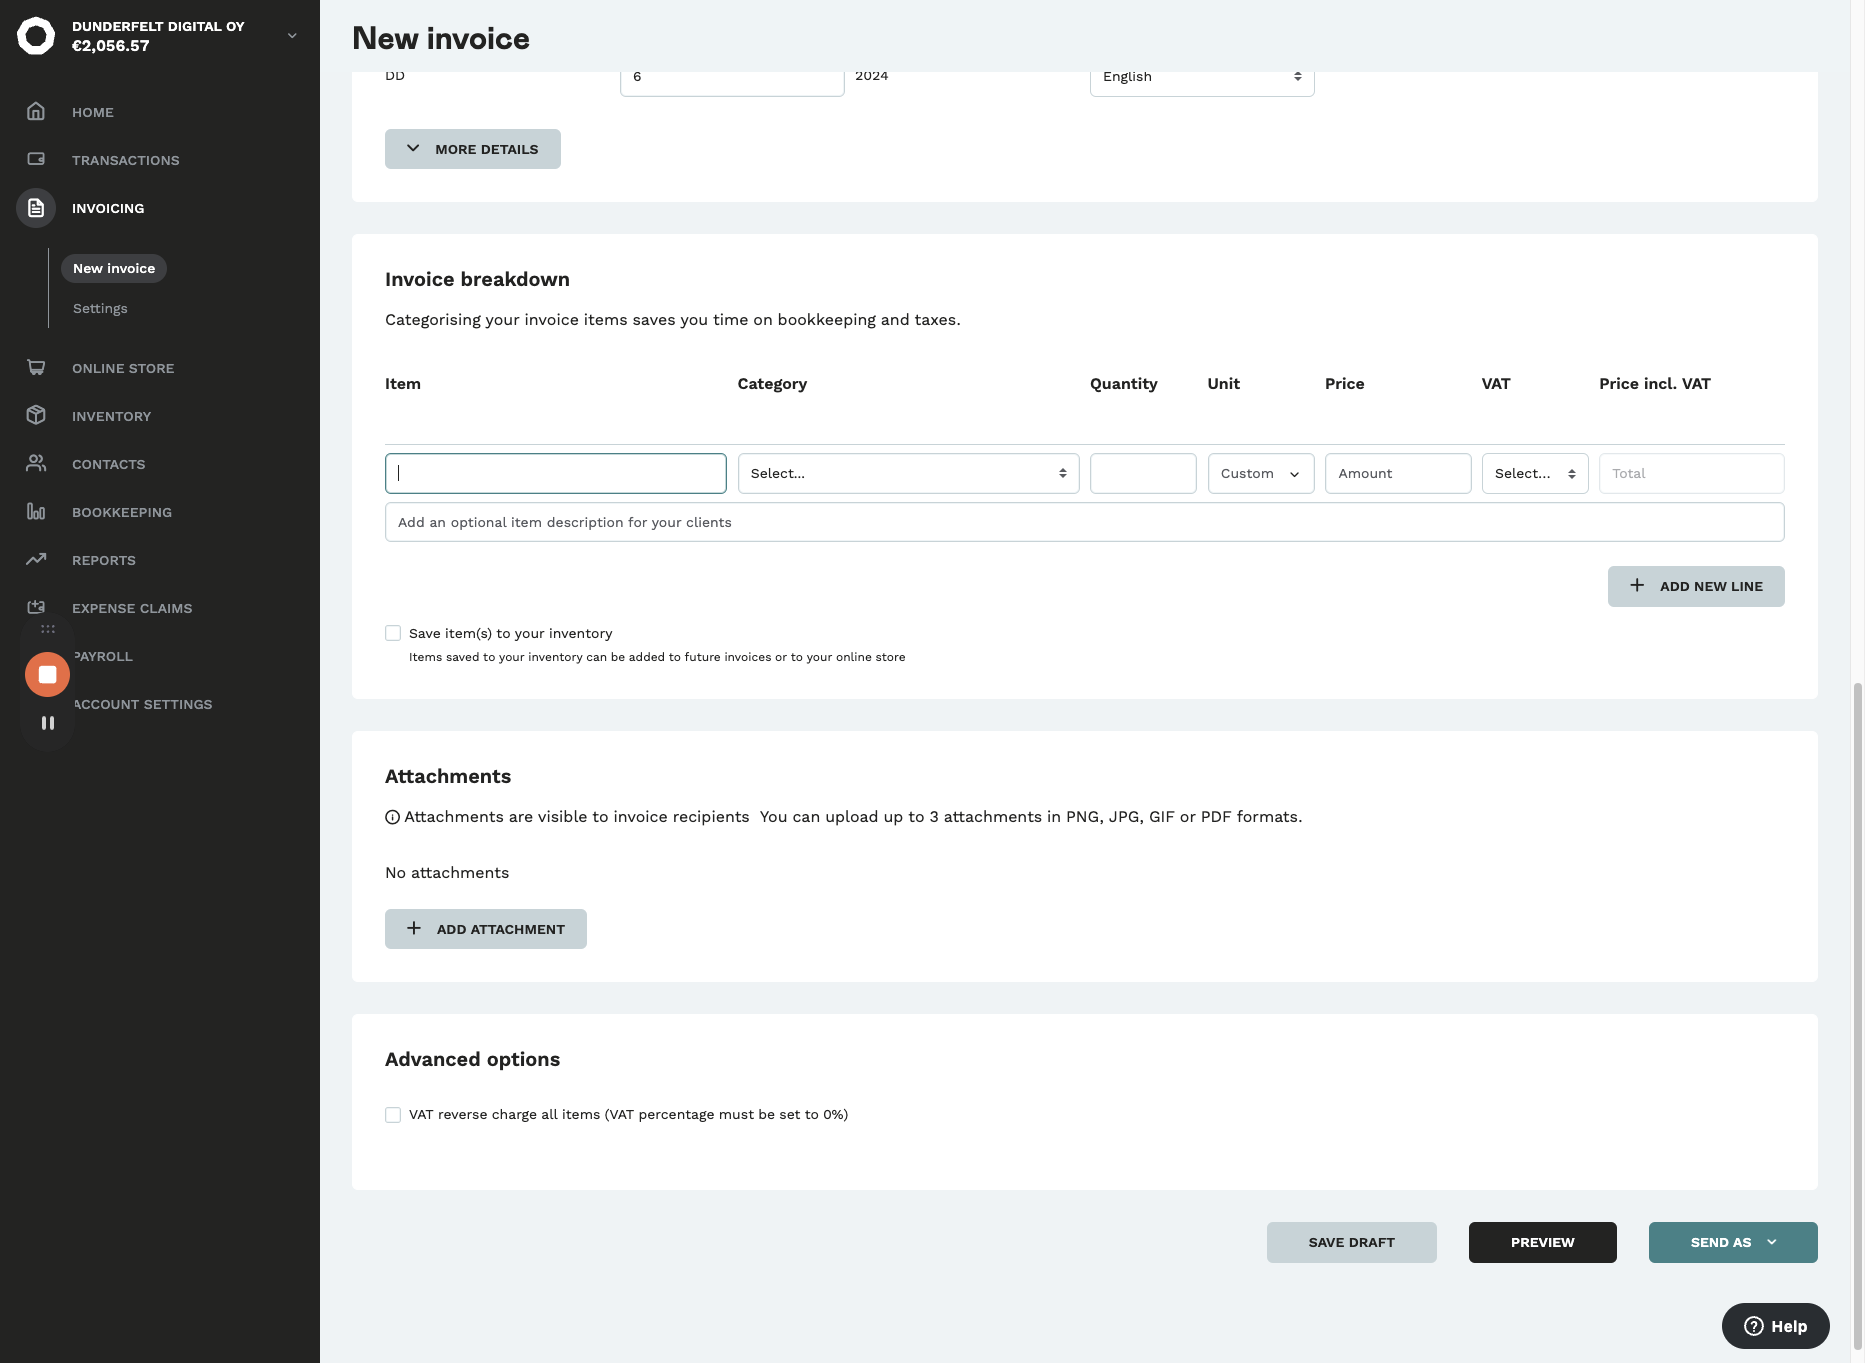


Send the invoice
