How to Serve an Arrest Warrant and Complete Required Paperwork
Learn the step-by-step process for serving an arrest warrant, updating case status, and completing all necessary paperwork for arraignments or docket sounding. Includes tips for handling VOP and bench warrants.
In this guide, we'll learn how to serve an arrest warrant and complete the necessary paperwork for a first-time arrest. We will cover each step, from updating the warrant status to entering arrest details and scheduling the arraignment. This process ensures that all information is recorded correctly and the case is ready for the next court hearing.
Let's get started
Hi, everyone. Today, we will learn how to serve an arrest warrant and complete the necessary paperwork. In another slide, I will include a served VOP warrant because it requires an additional step. This will cover basic re-arrest procedures for arraignments or docket sounding. If it were a PTS warrant, they would return to a docket sounding. However, since this case has never had an arraignment, it will be set for an arraignment.
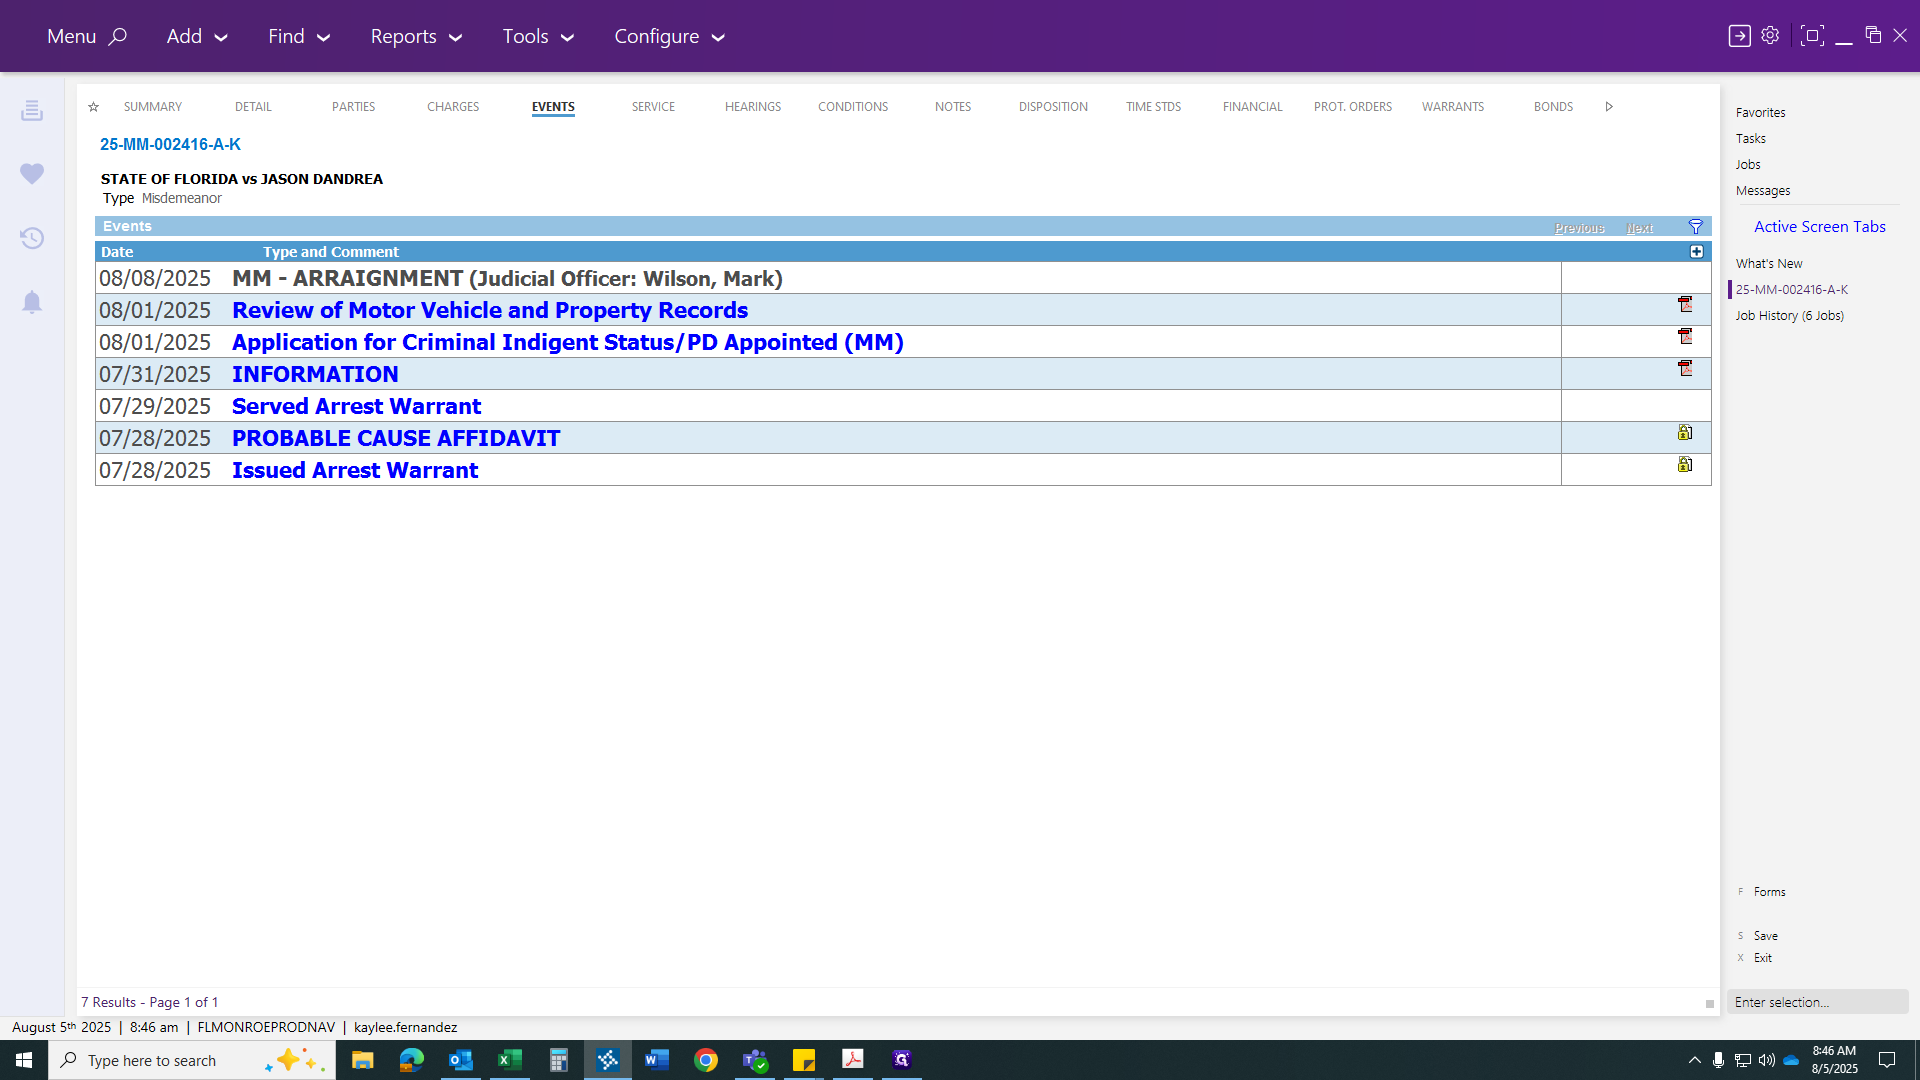
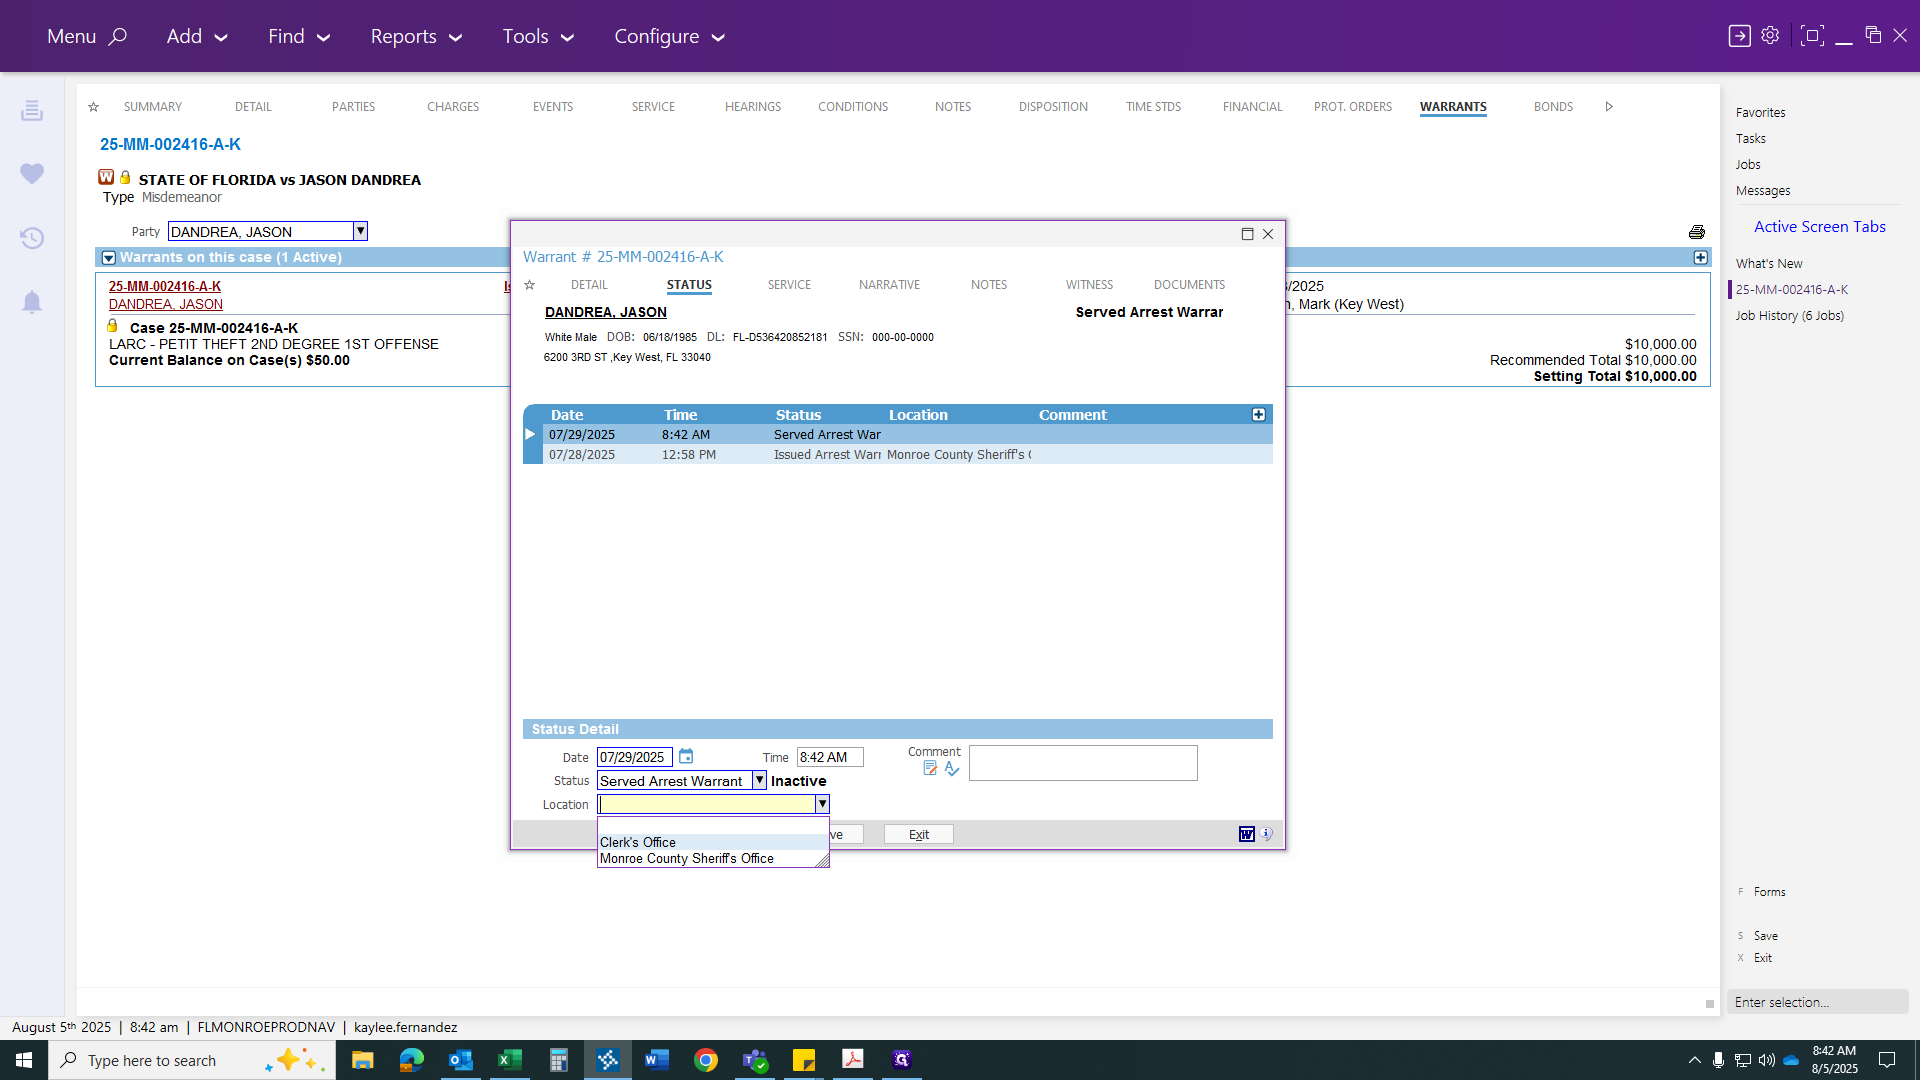
First, go to the warrants tab to serve the warrant. Then, click the red "Issued Arrest Warrant" link.
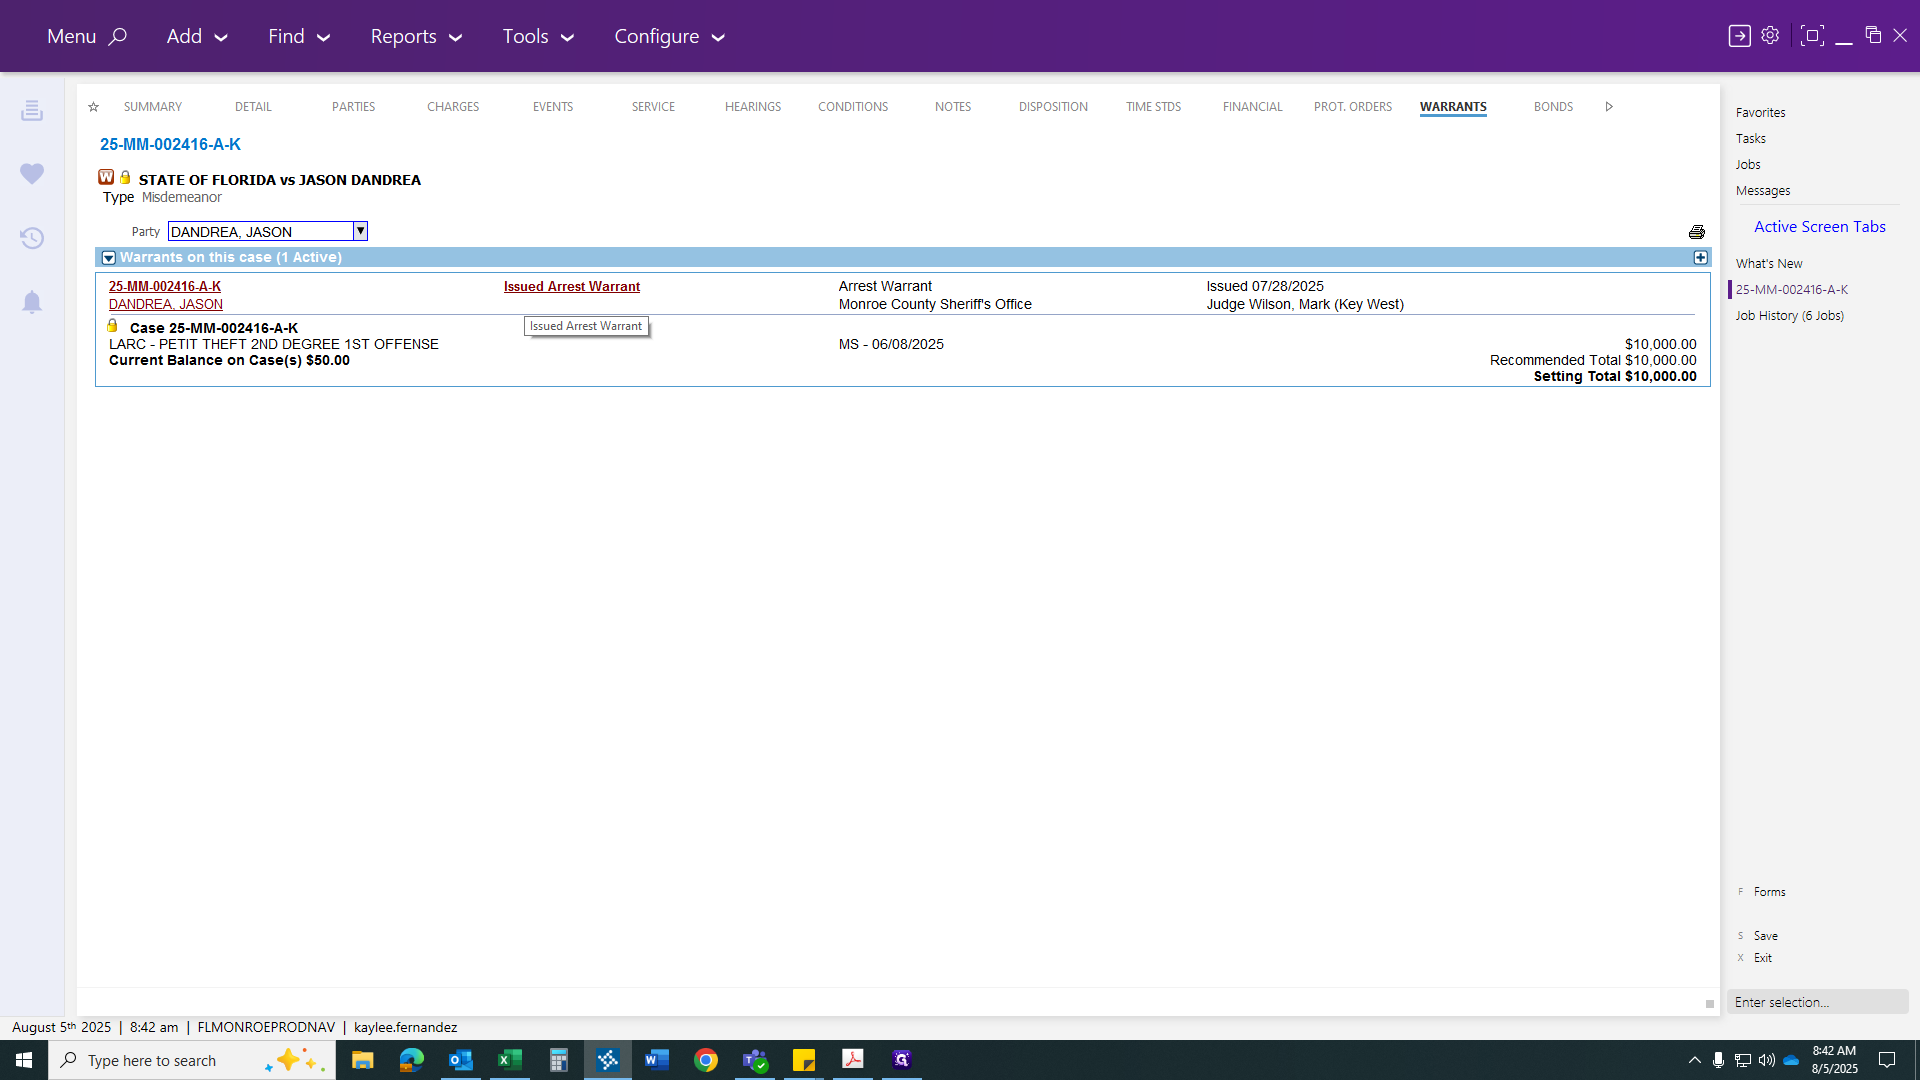
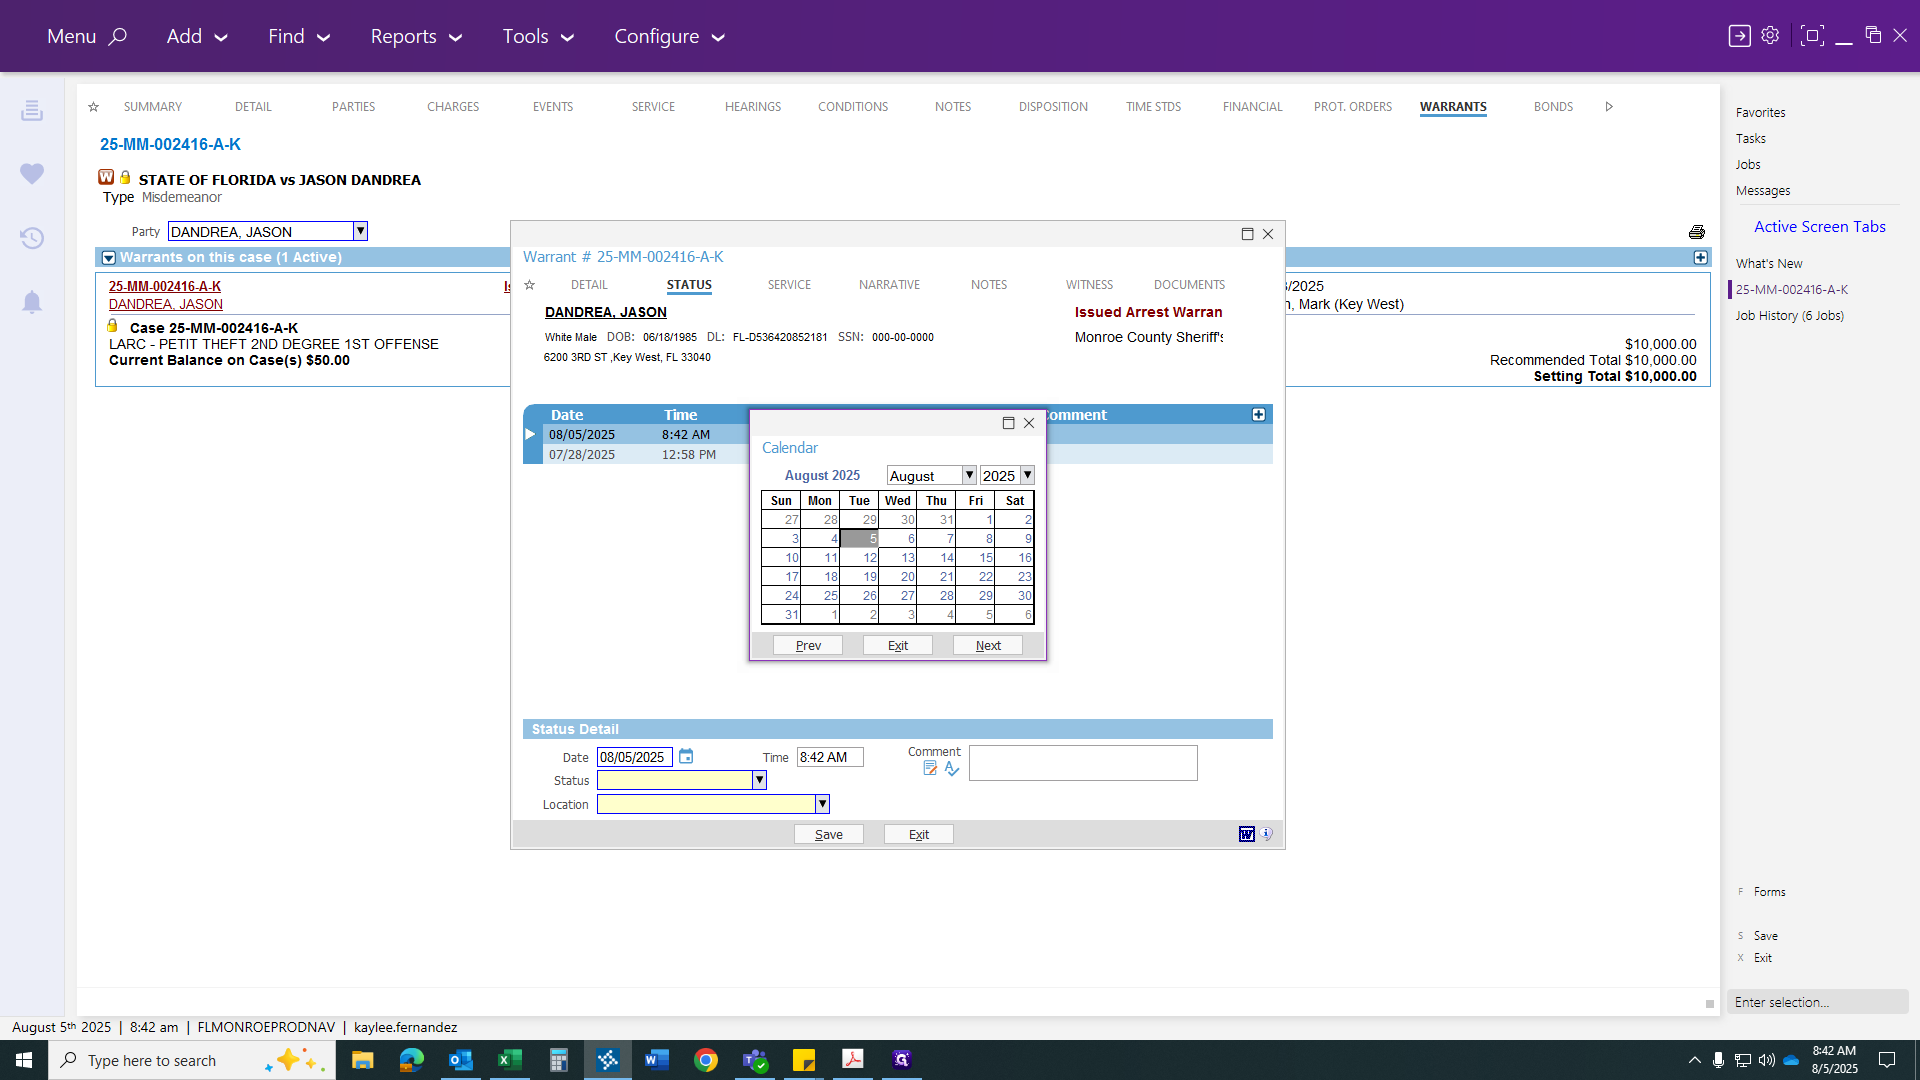
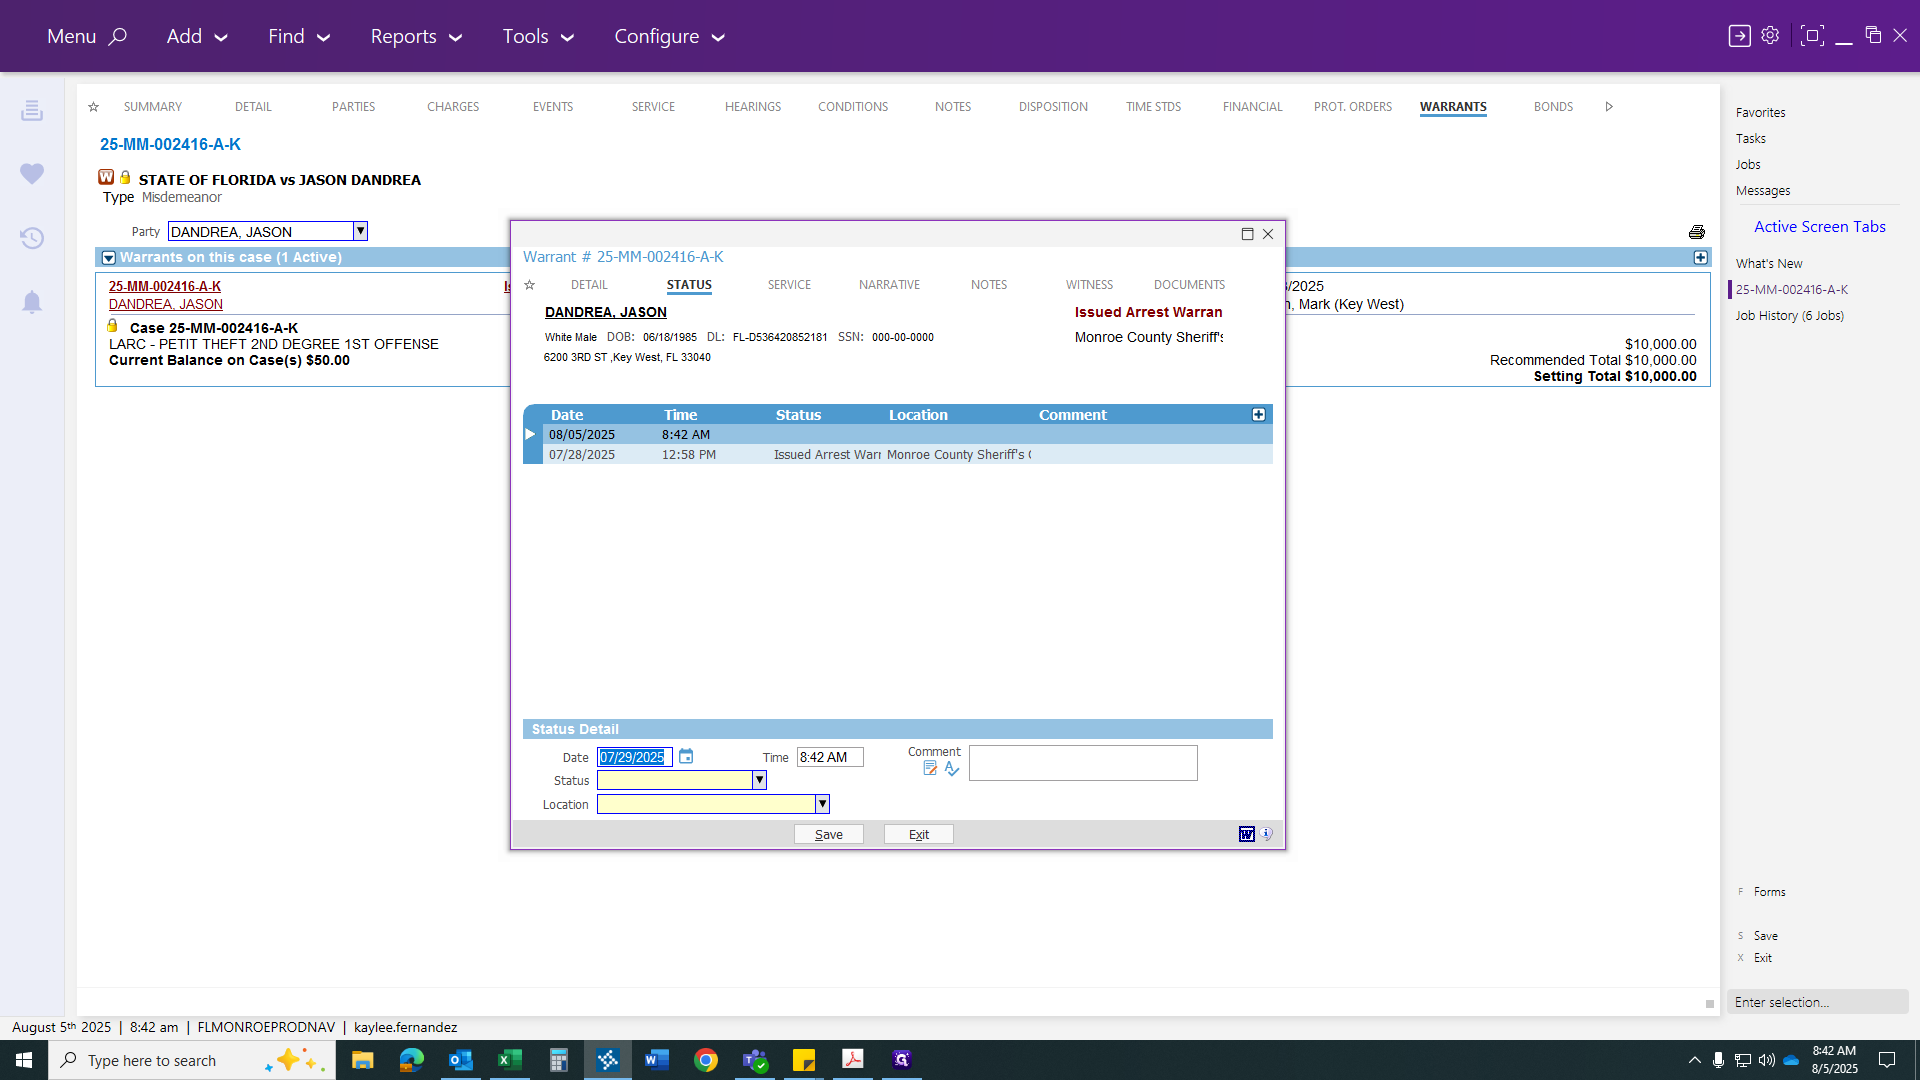
Once the link appears, click the plus sign. Serve it as of the warrant arrest date, which was the 29th.
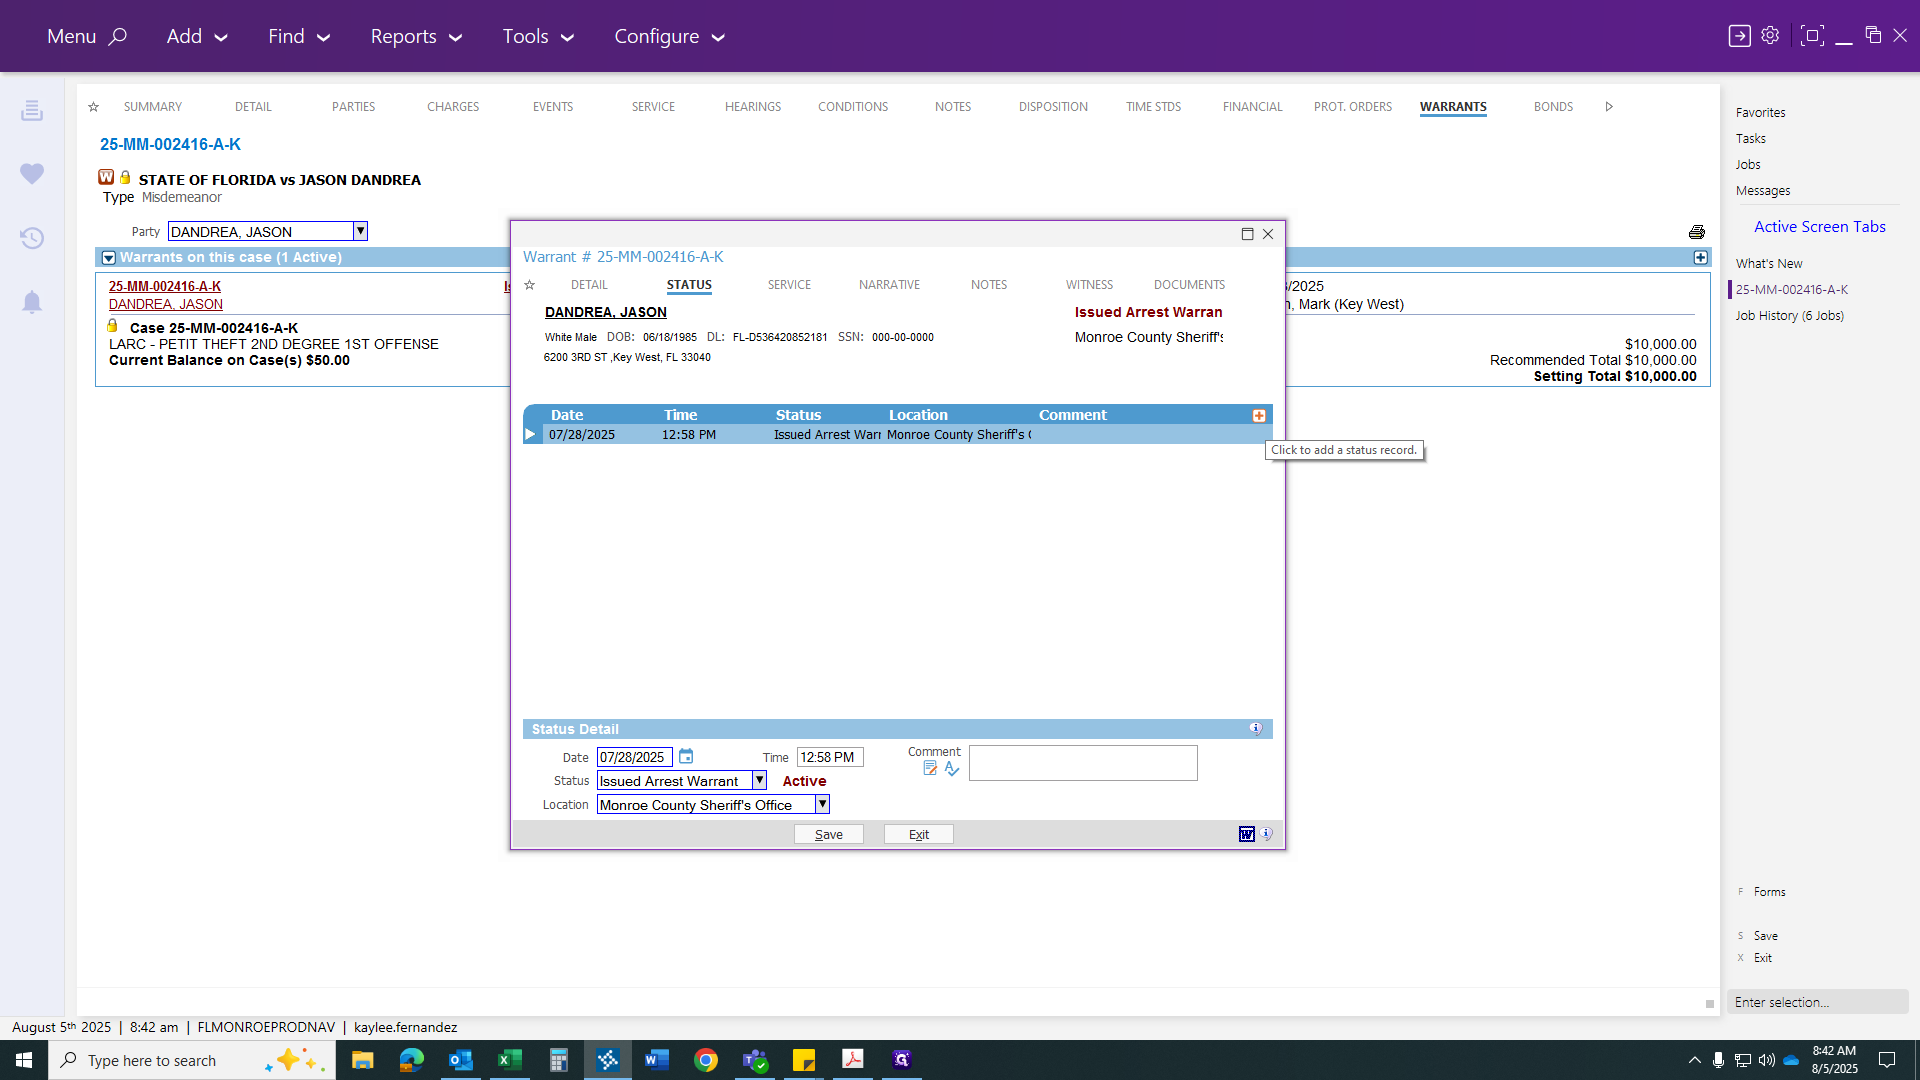
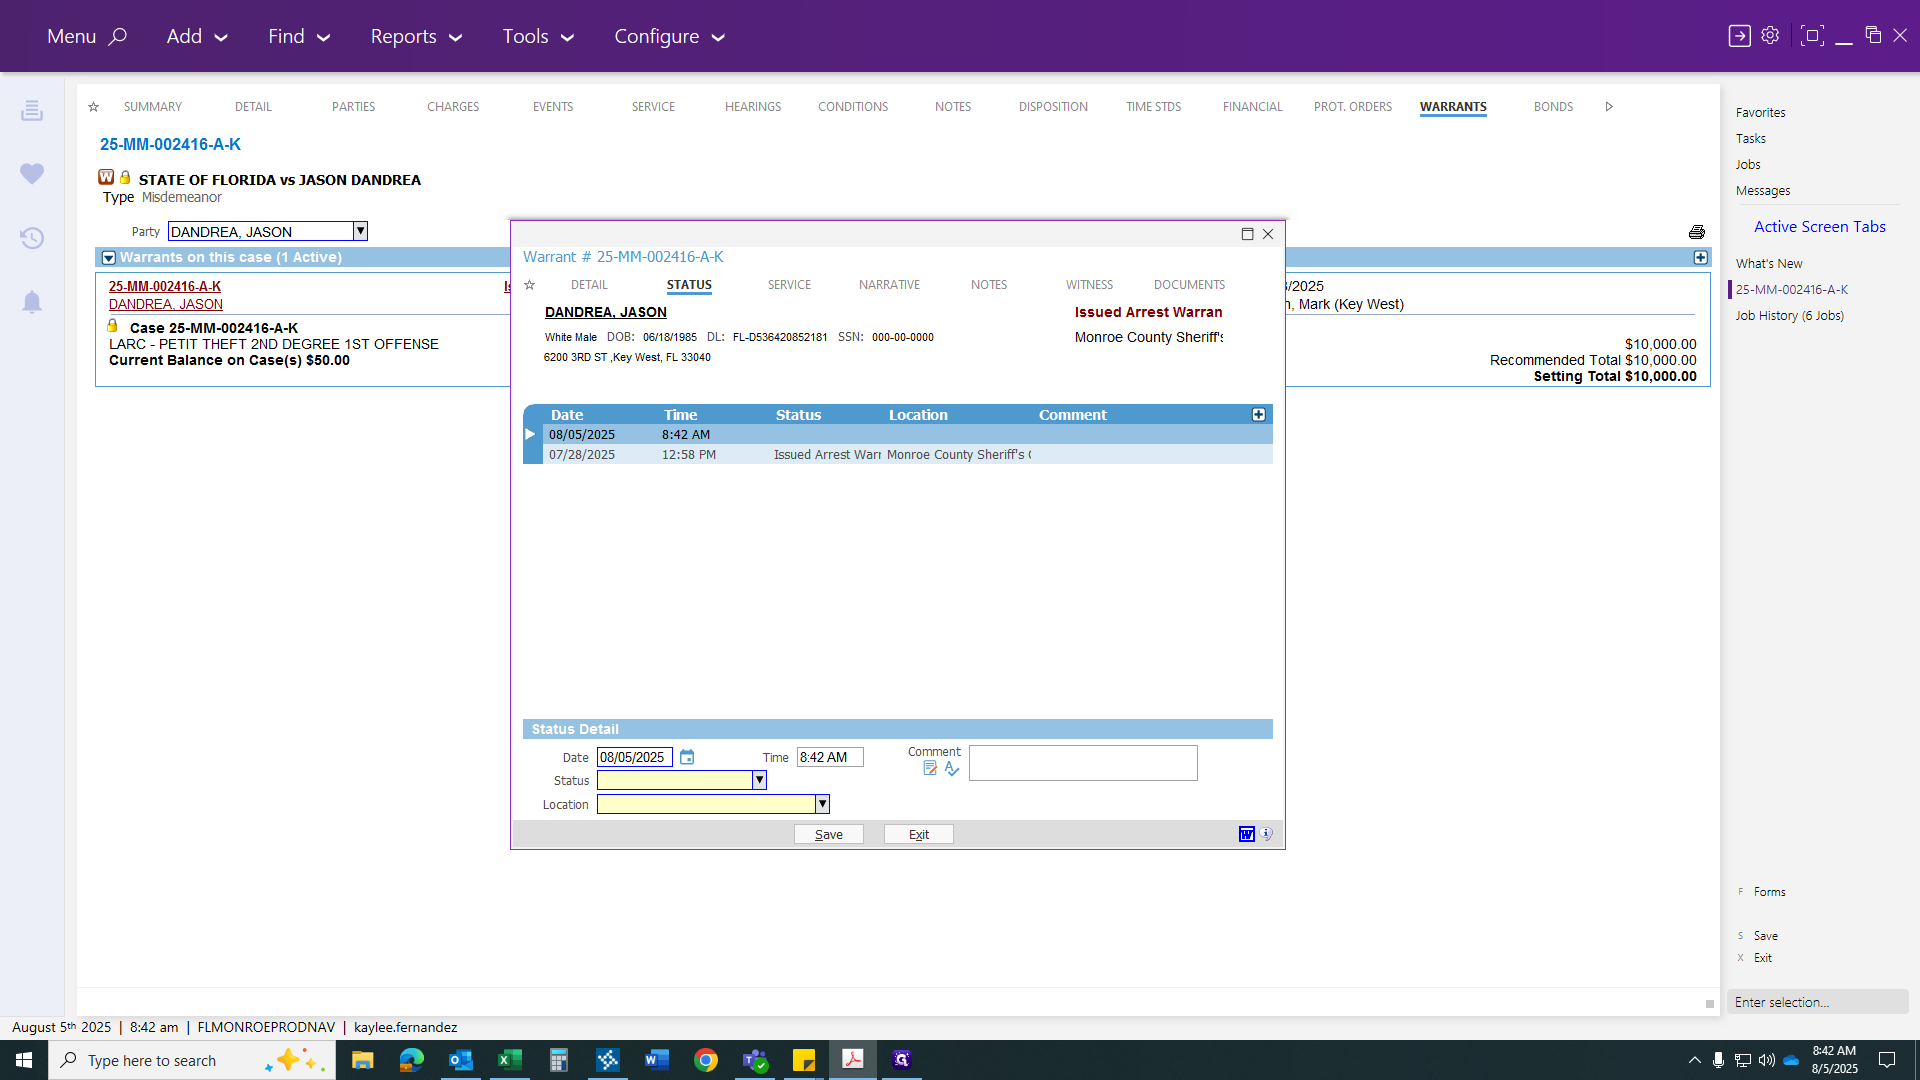
Status location refers to where your arrest warrant was served.
You want to match it to the correct status you are serving.
Here's a tip: if you see an issued arrest warrant, look for the served arrest warrant as well, and vice versa. If it says "issued bench warrant," you would process the bench warrant and so on. Today, we will handle the served arrest warrant.
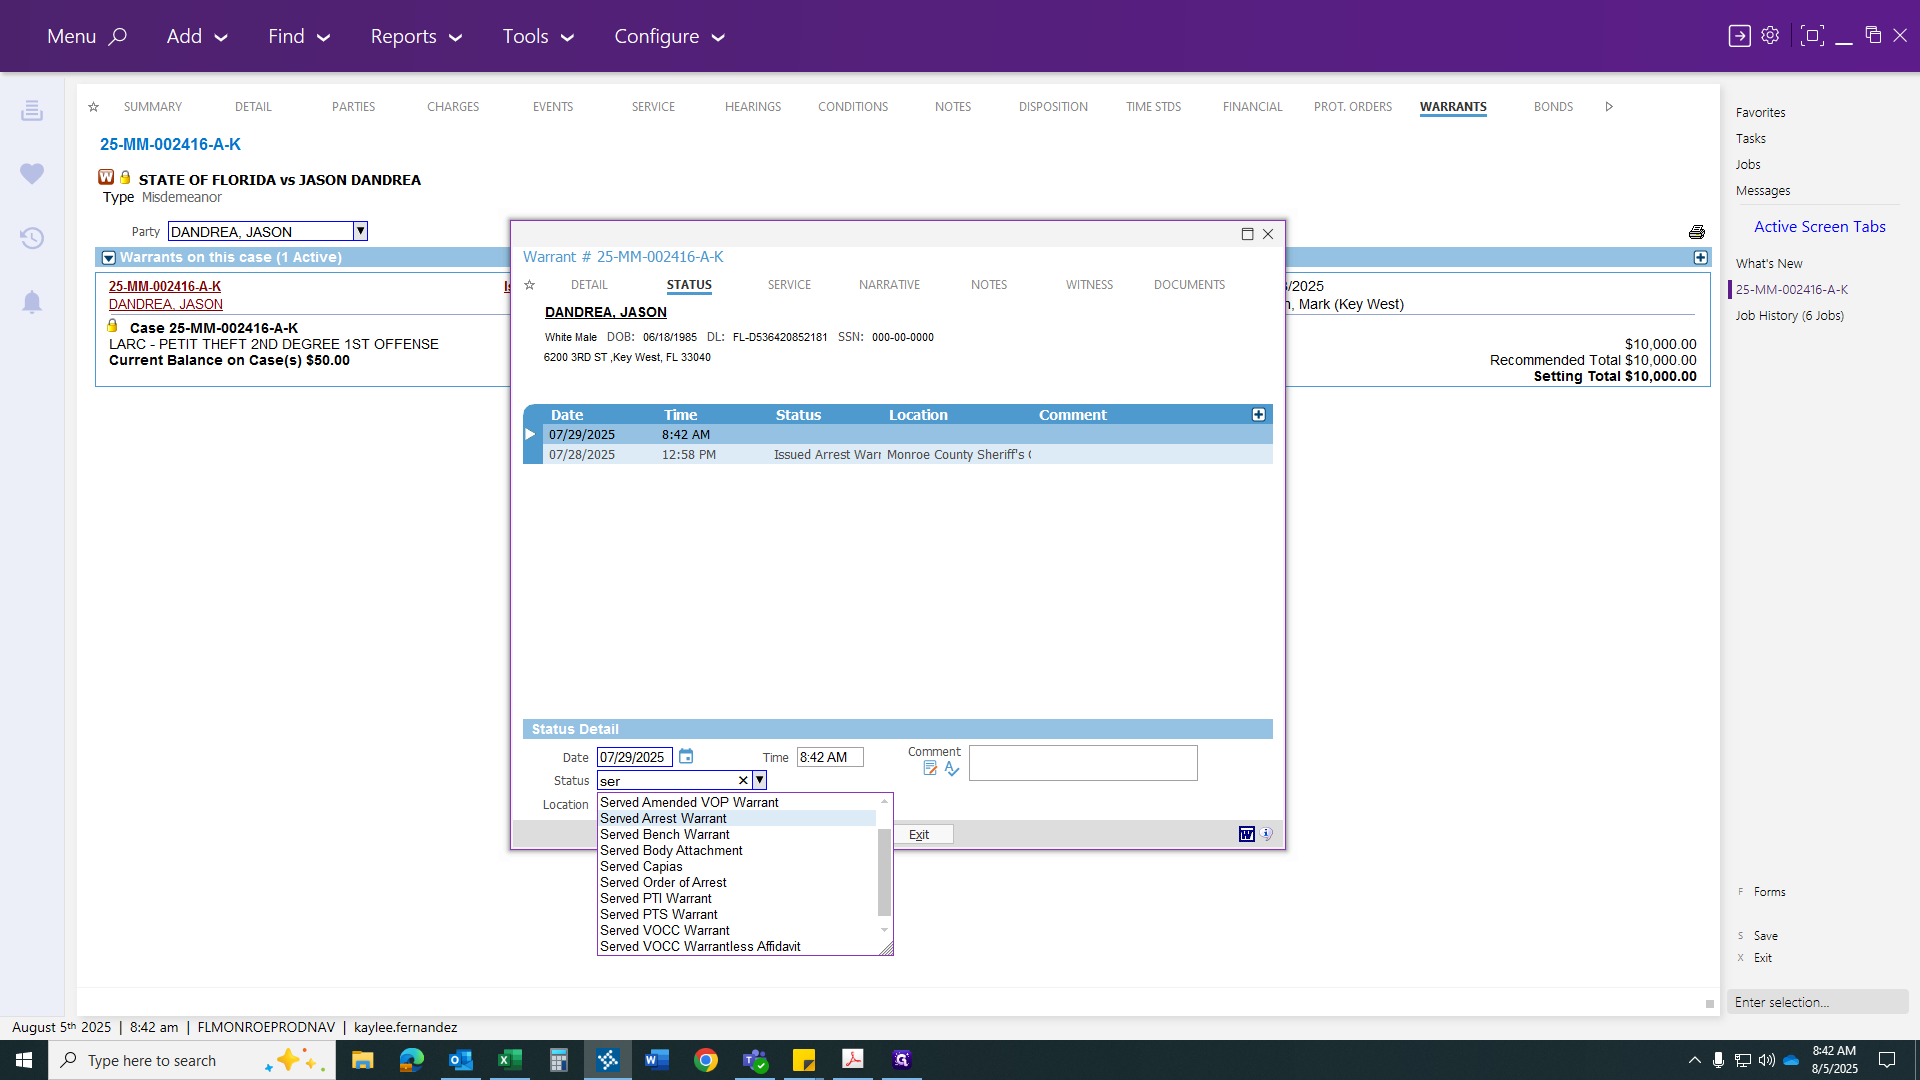
The location will be the clerk's office. Next, click save.

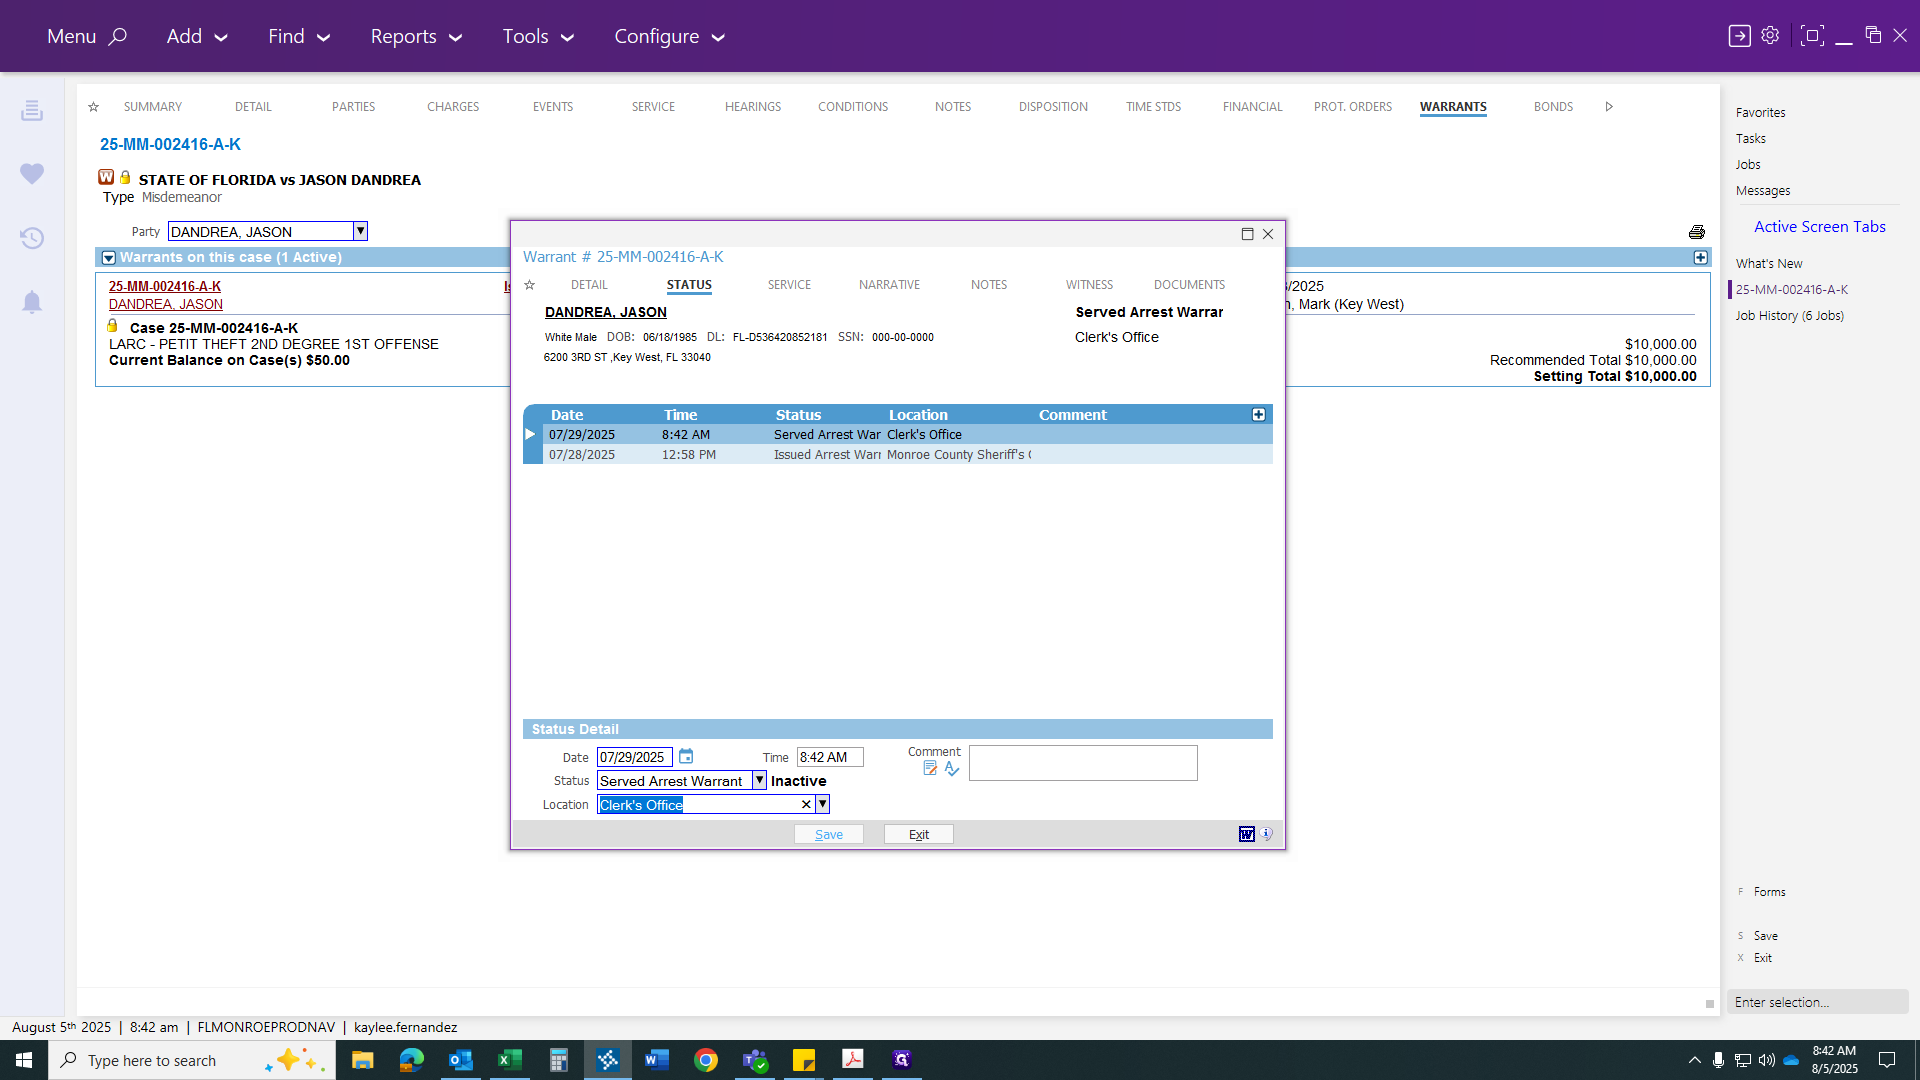
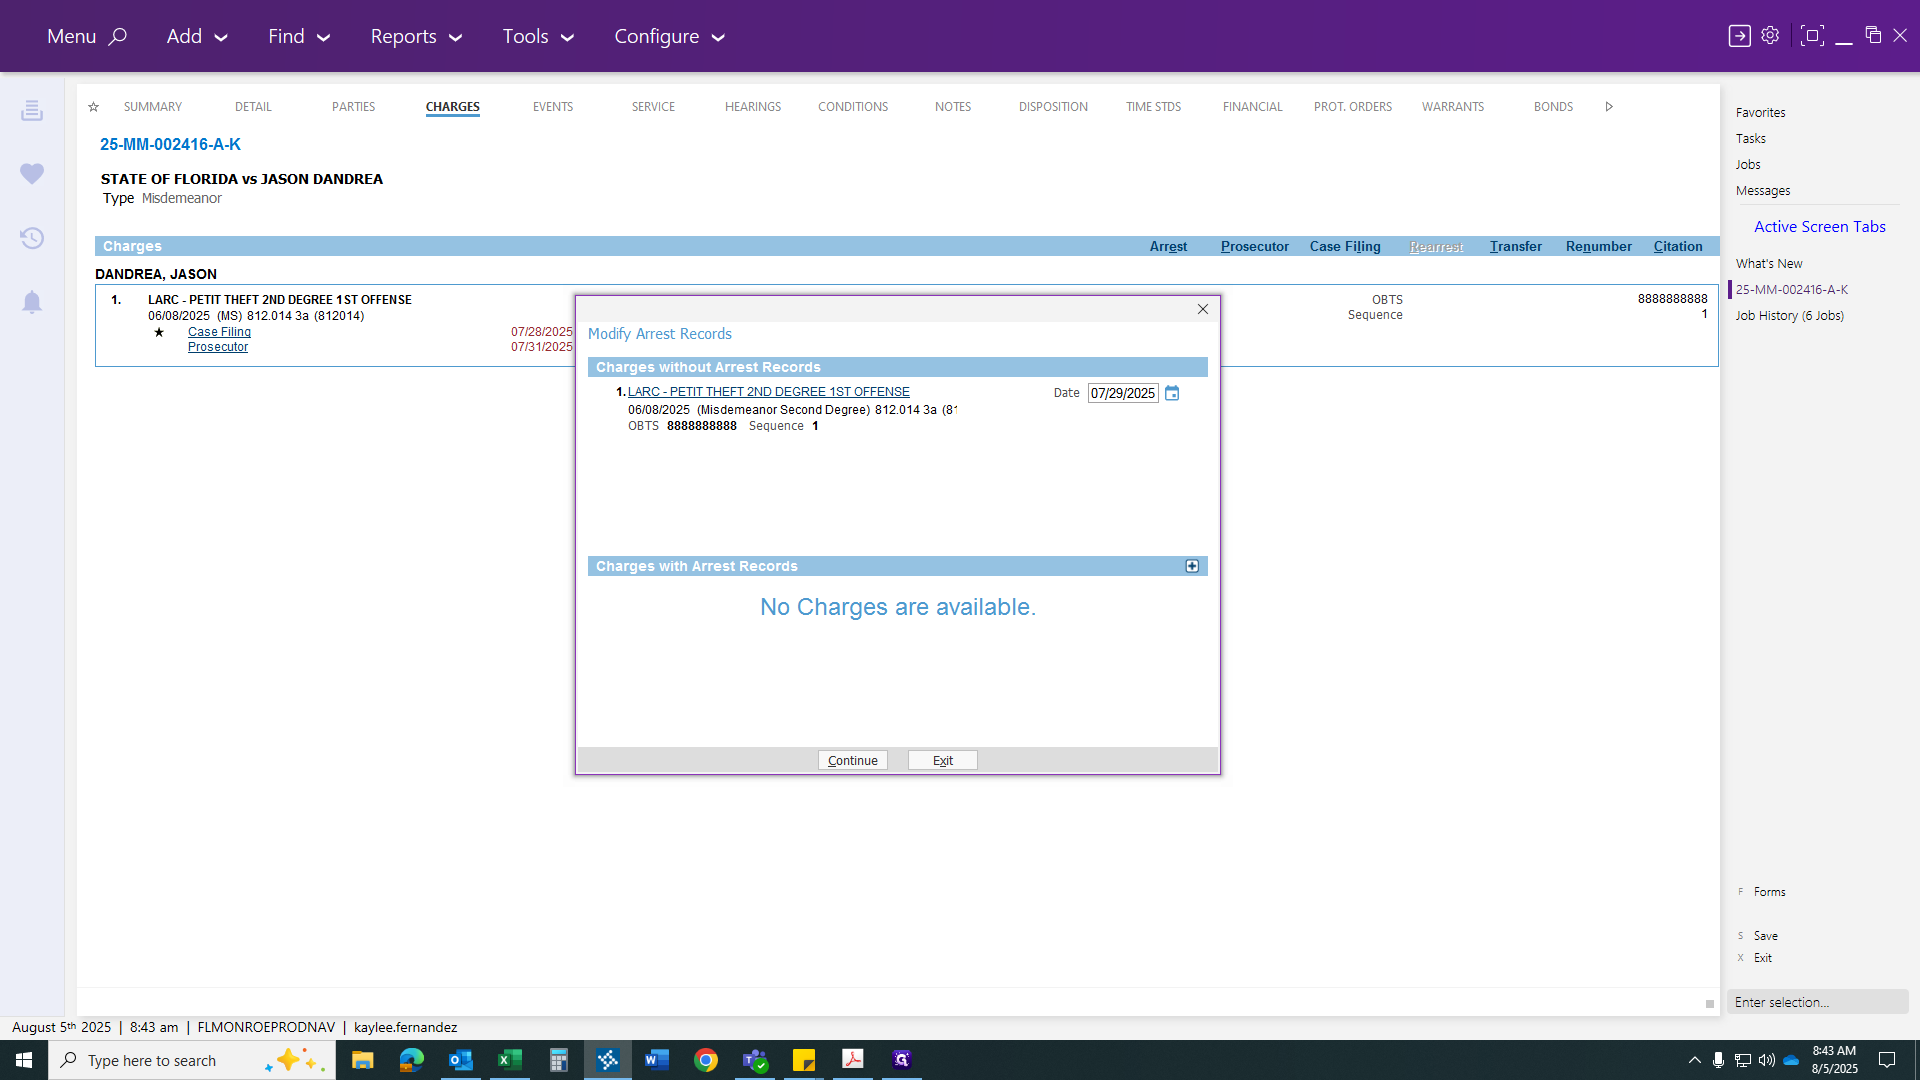
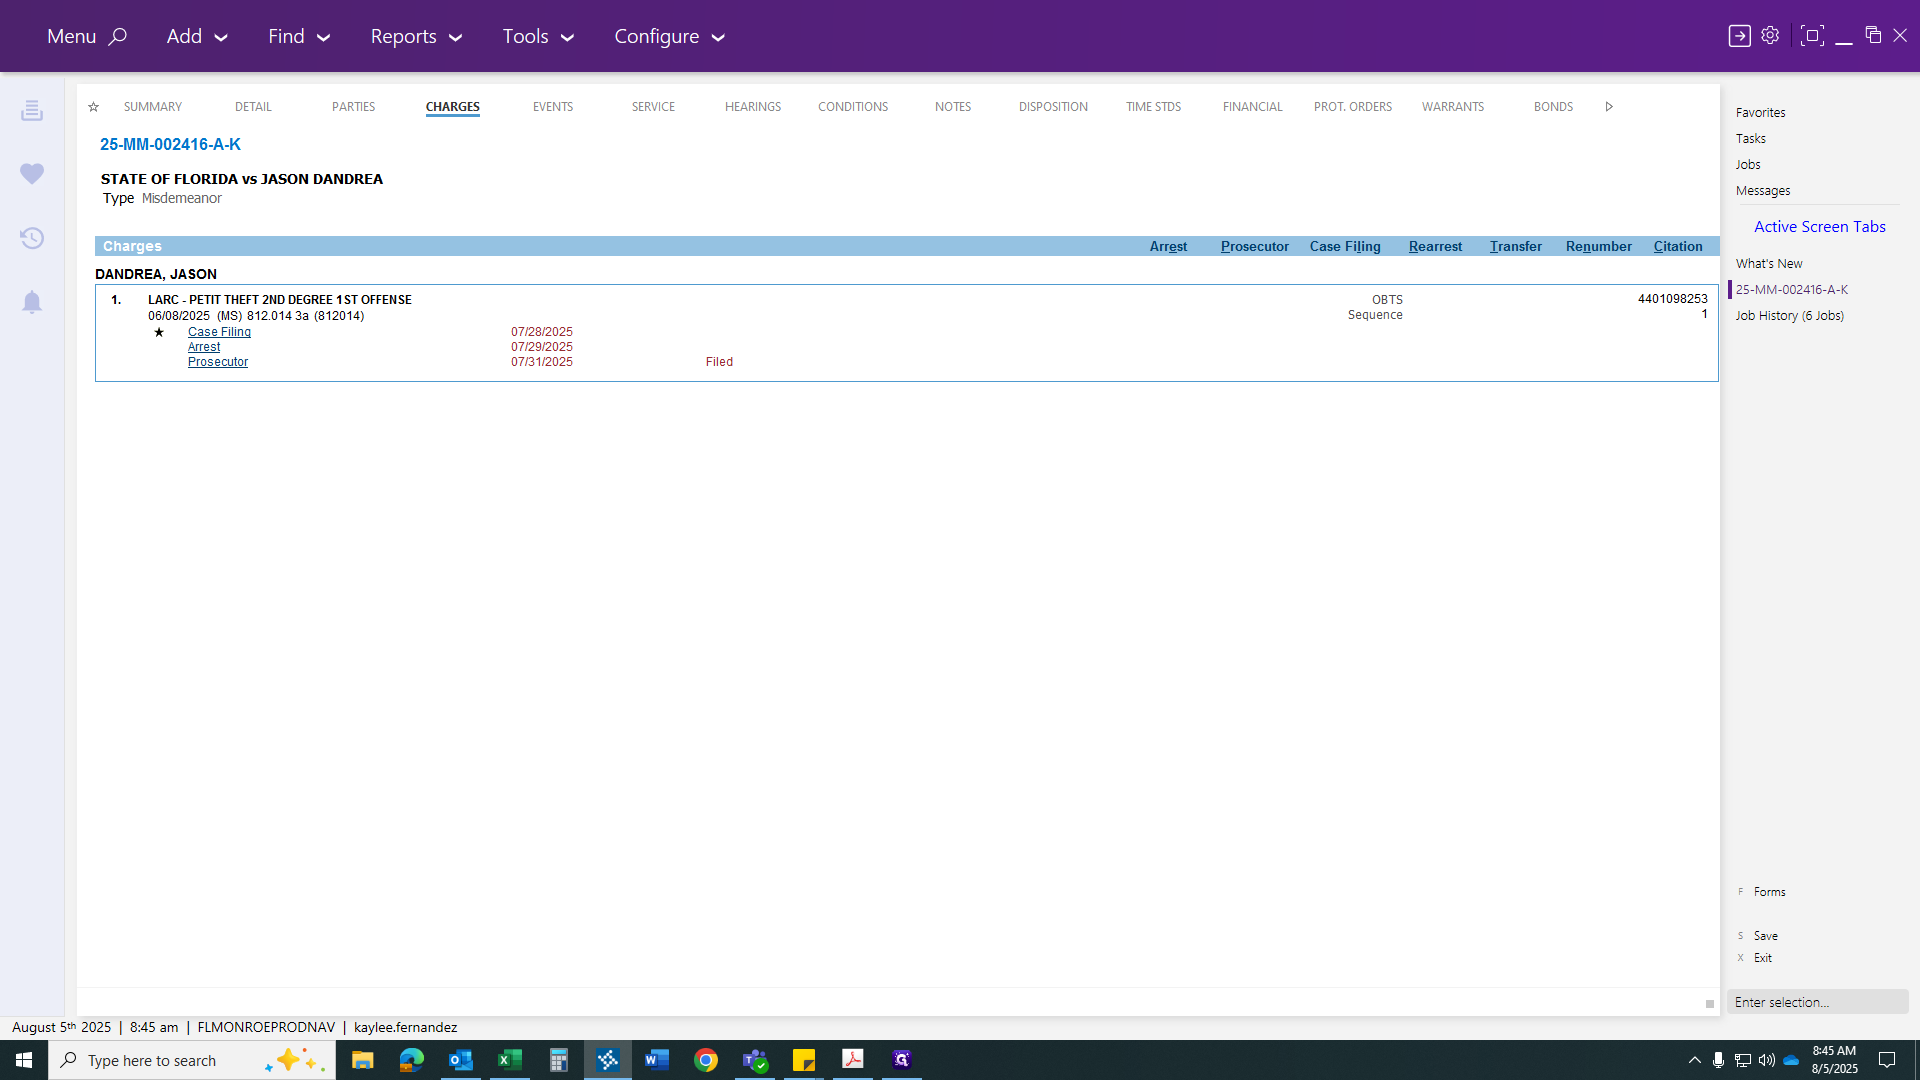
That will remove the red warrant symbol from the case, like this. Next, go to your charges to make the arrest.

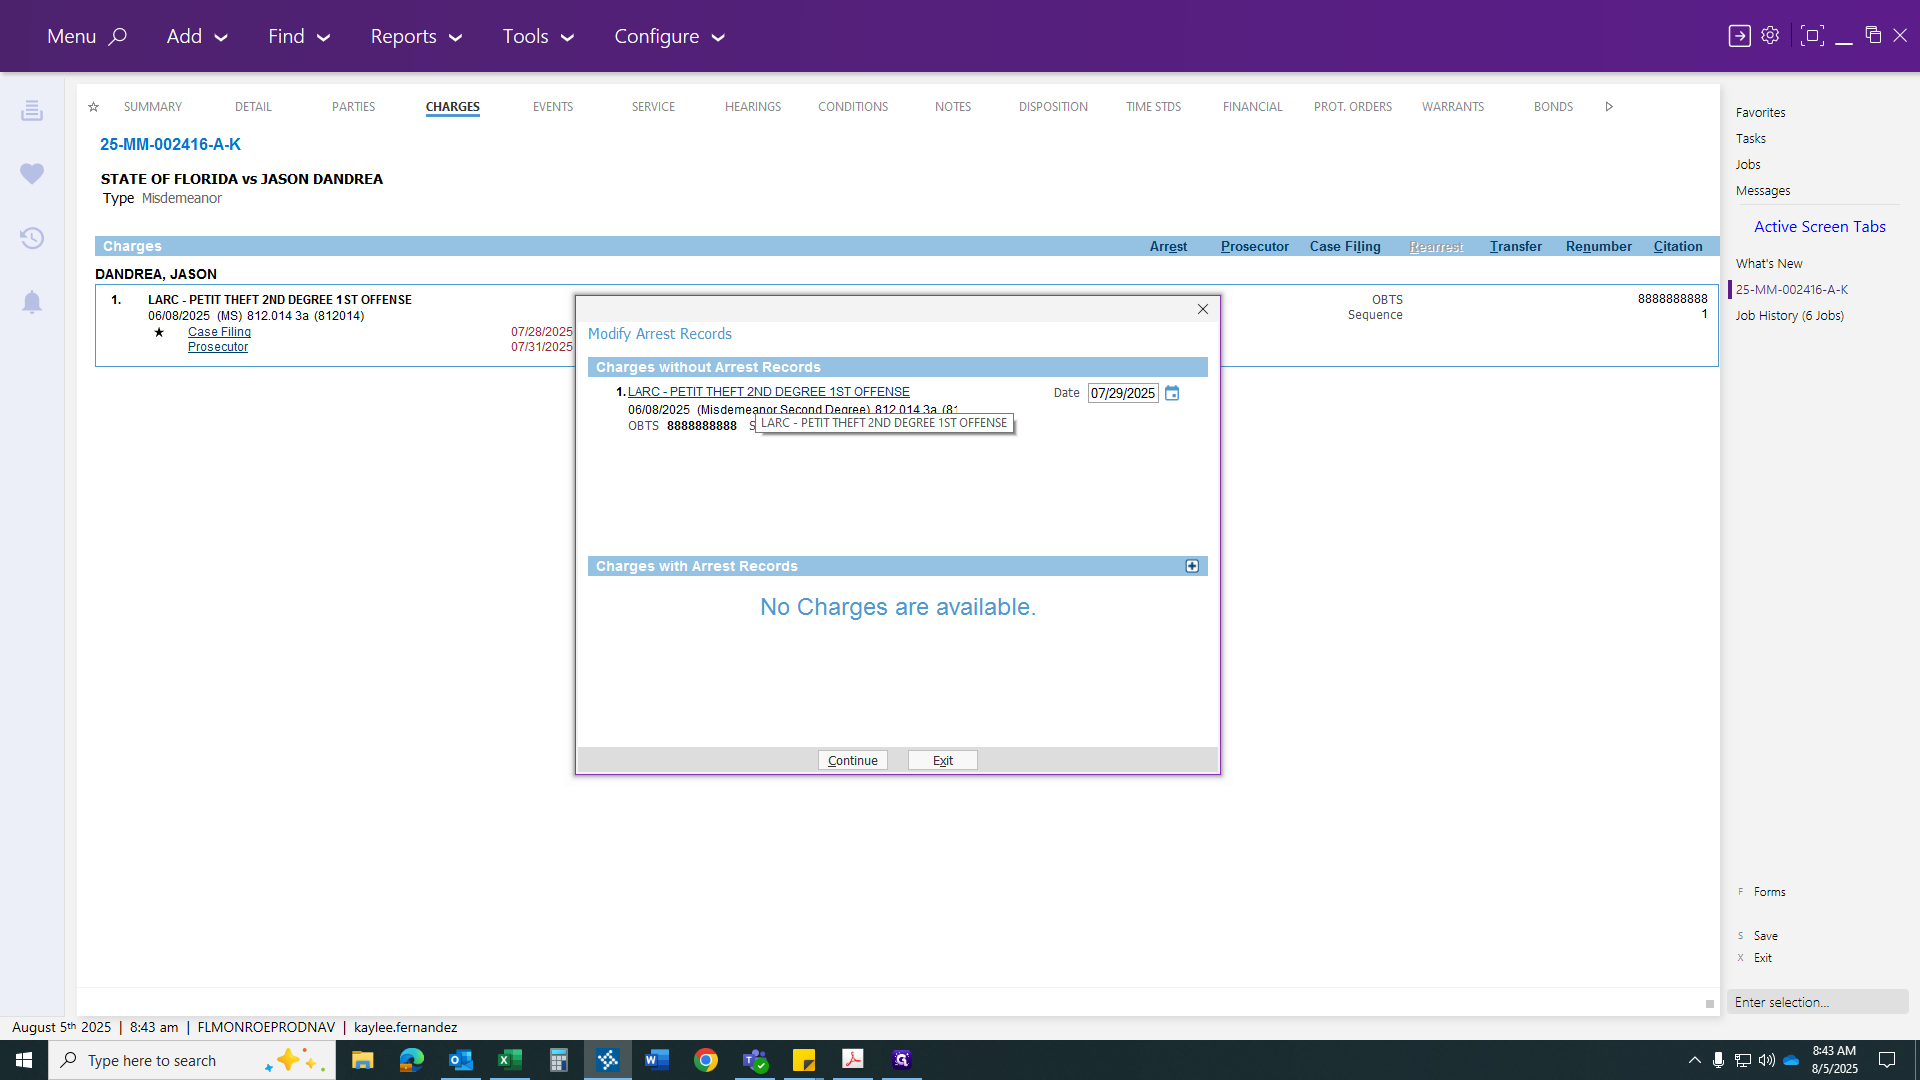
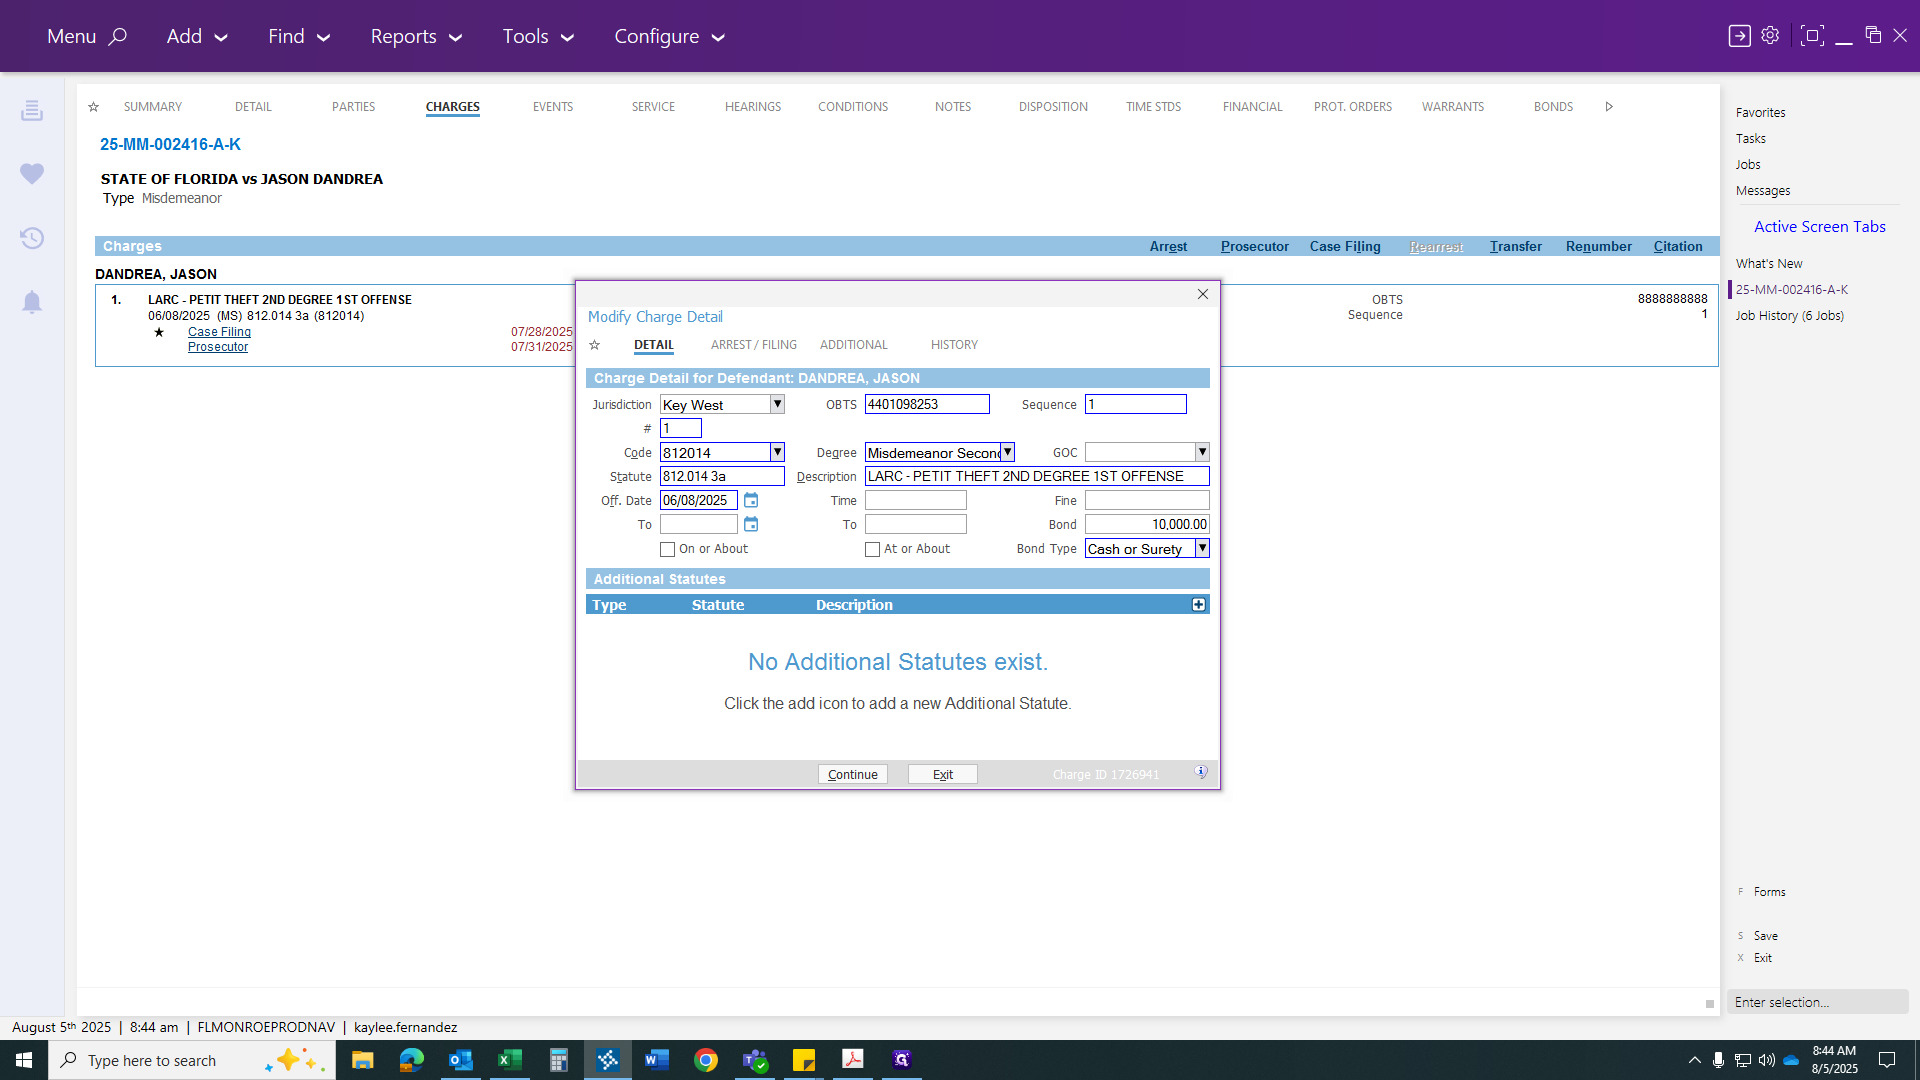
Since this case came in as a warrant, there is no previous arrest. This is a first-time arrest, not a re-arrest. If this were a re-arrest, there would be an arrest section here with the offense date. You could then click on the re-arrest. For now, we'll proceed with a standard arrest. Click on the arrest and enter the arrest date, which was the 29th. Then, click on the degree to update your OBTS number to match the one on your arrest report.


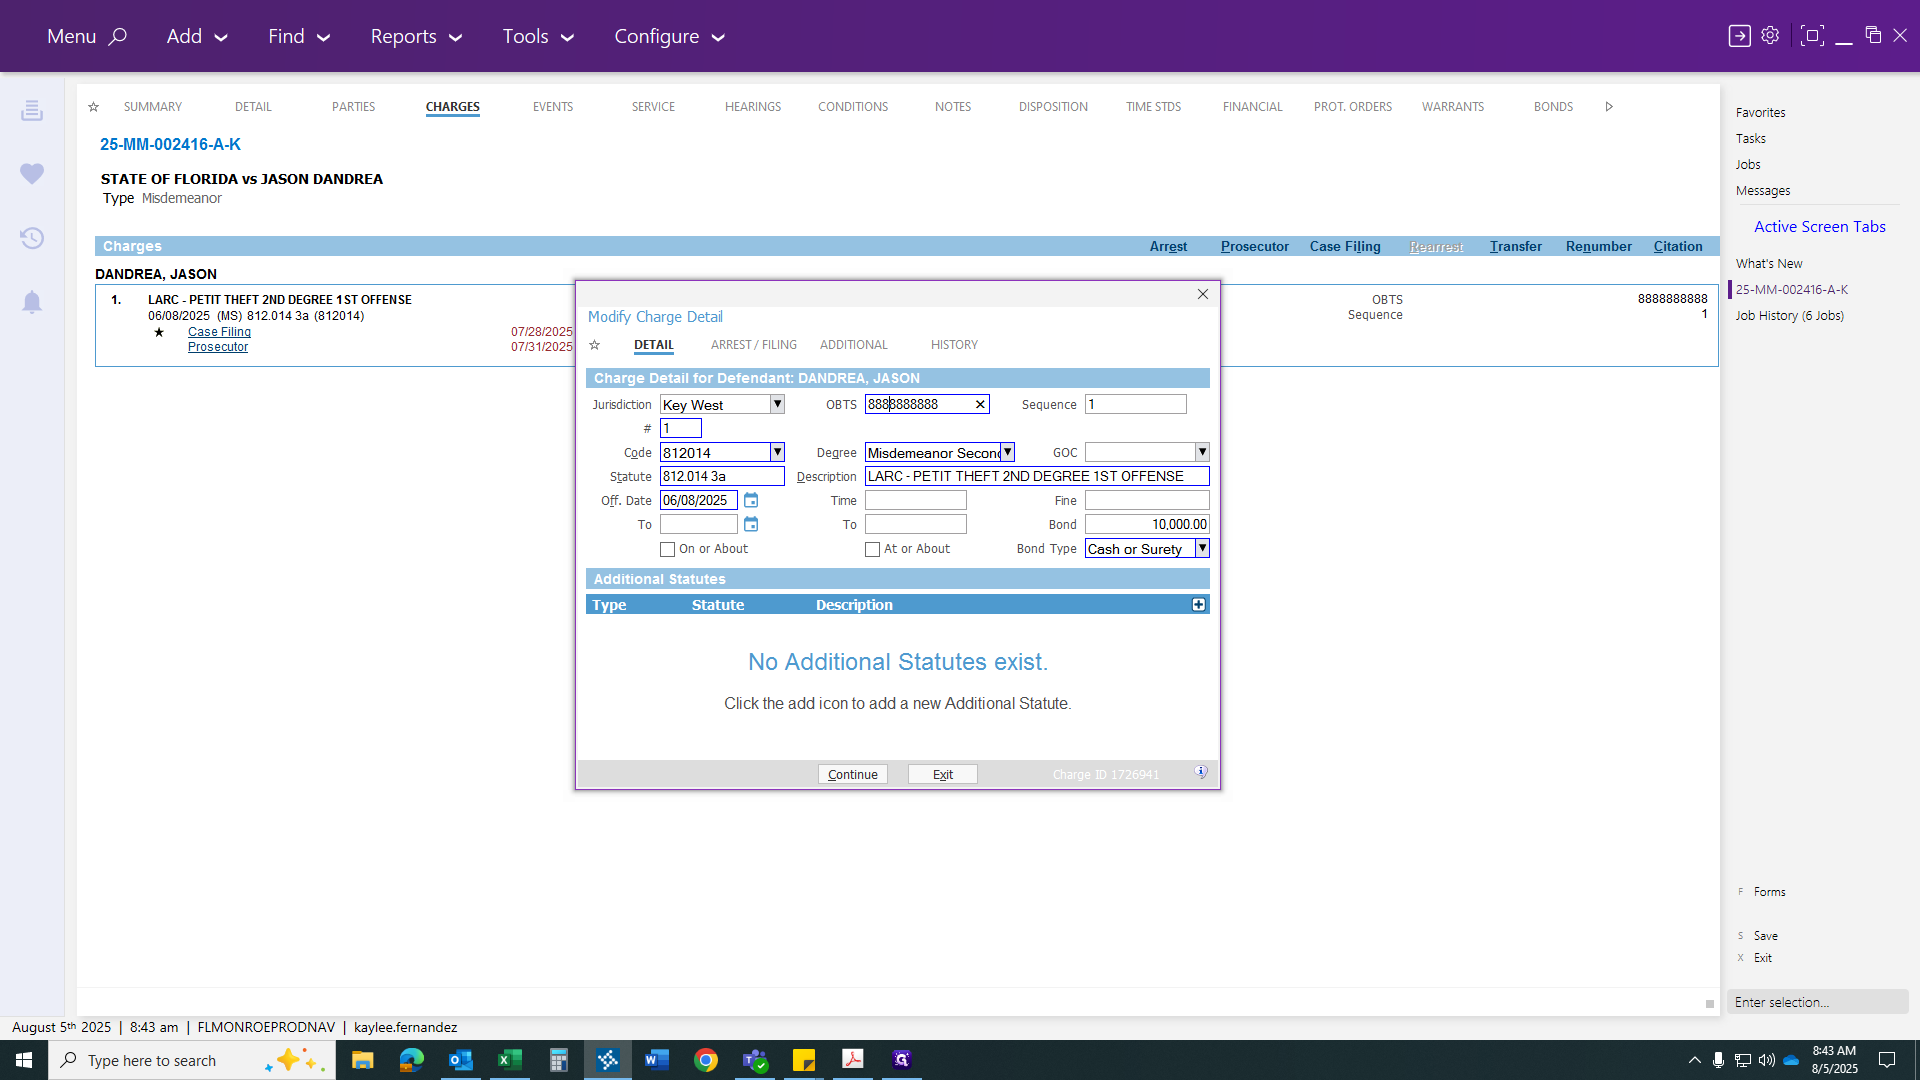
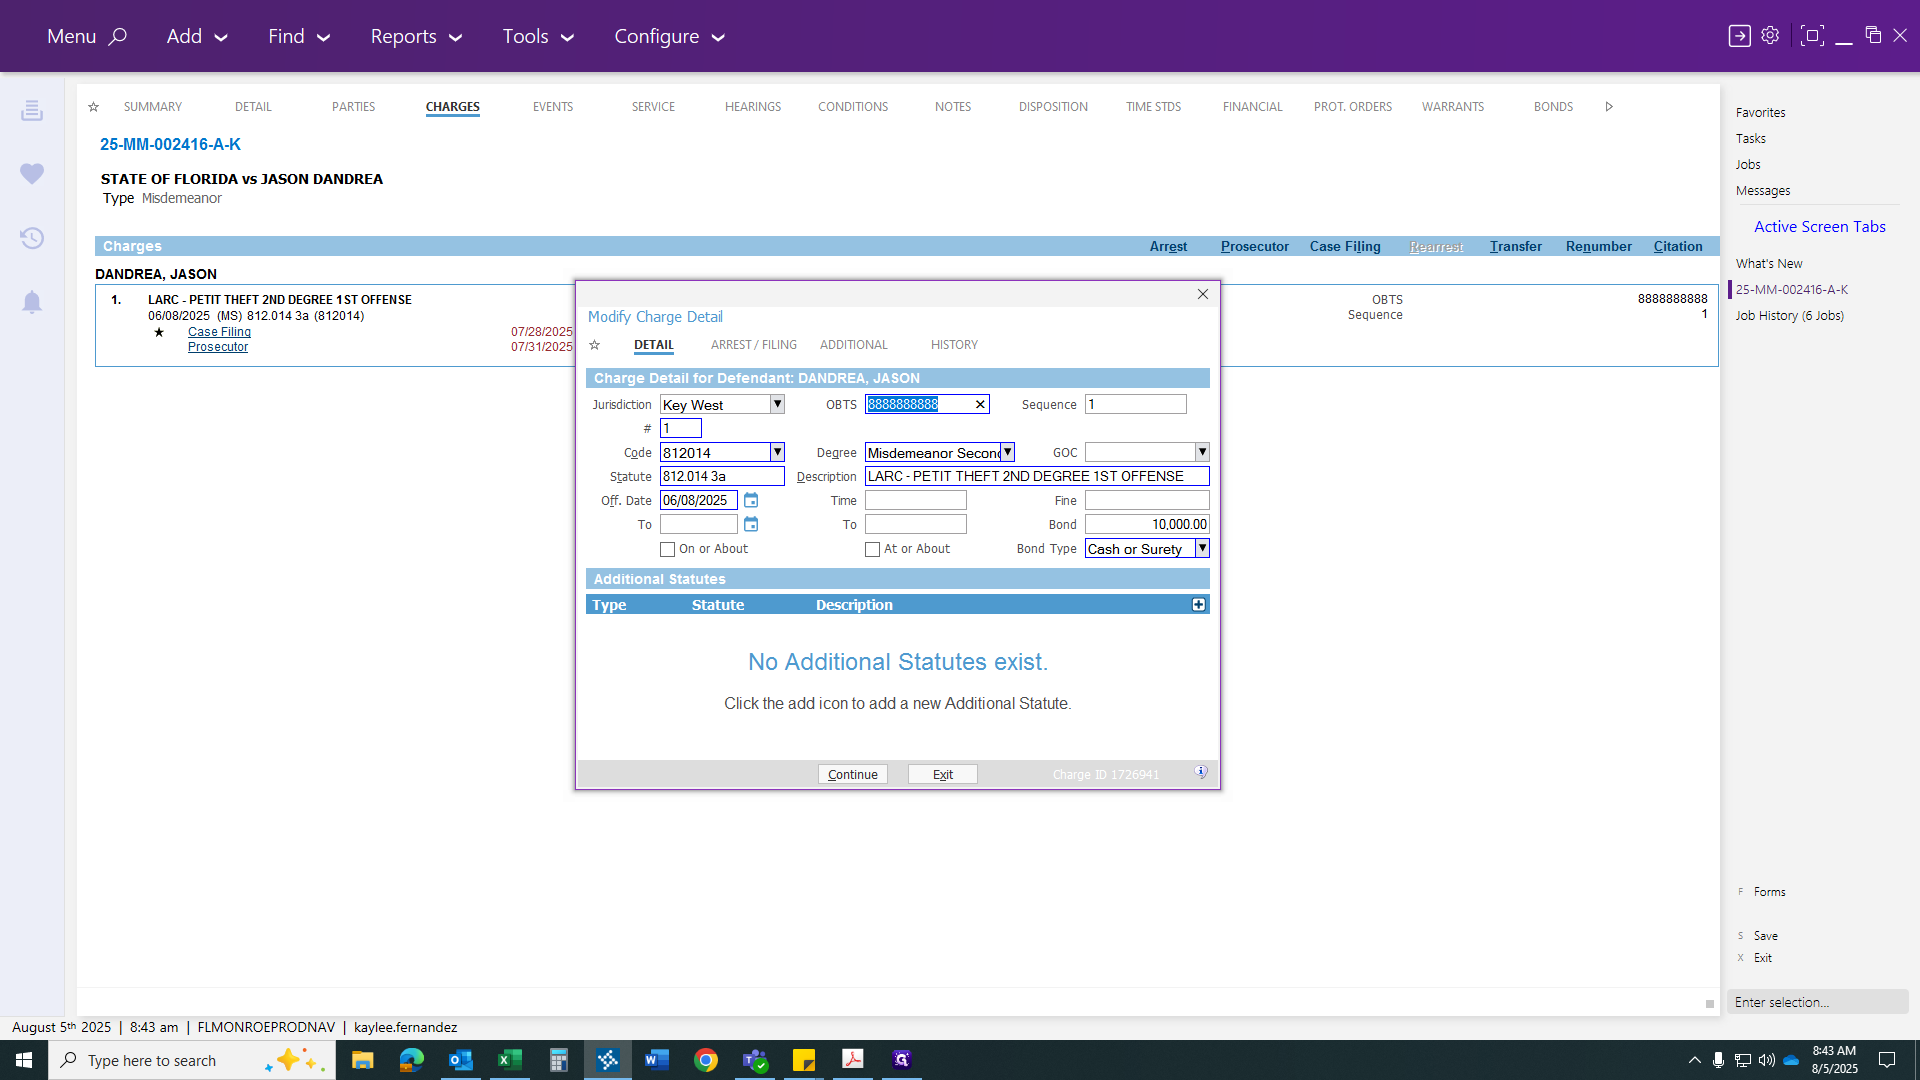
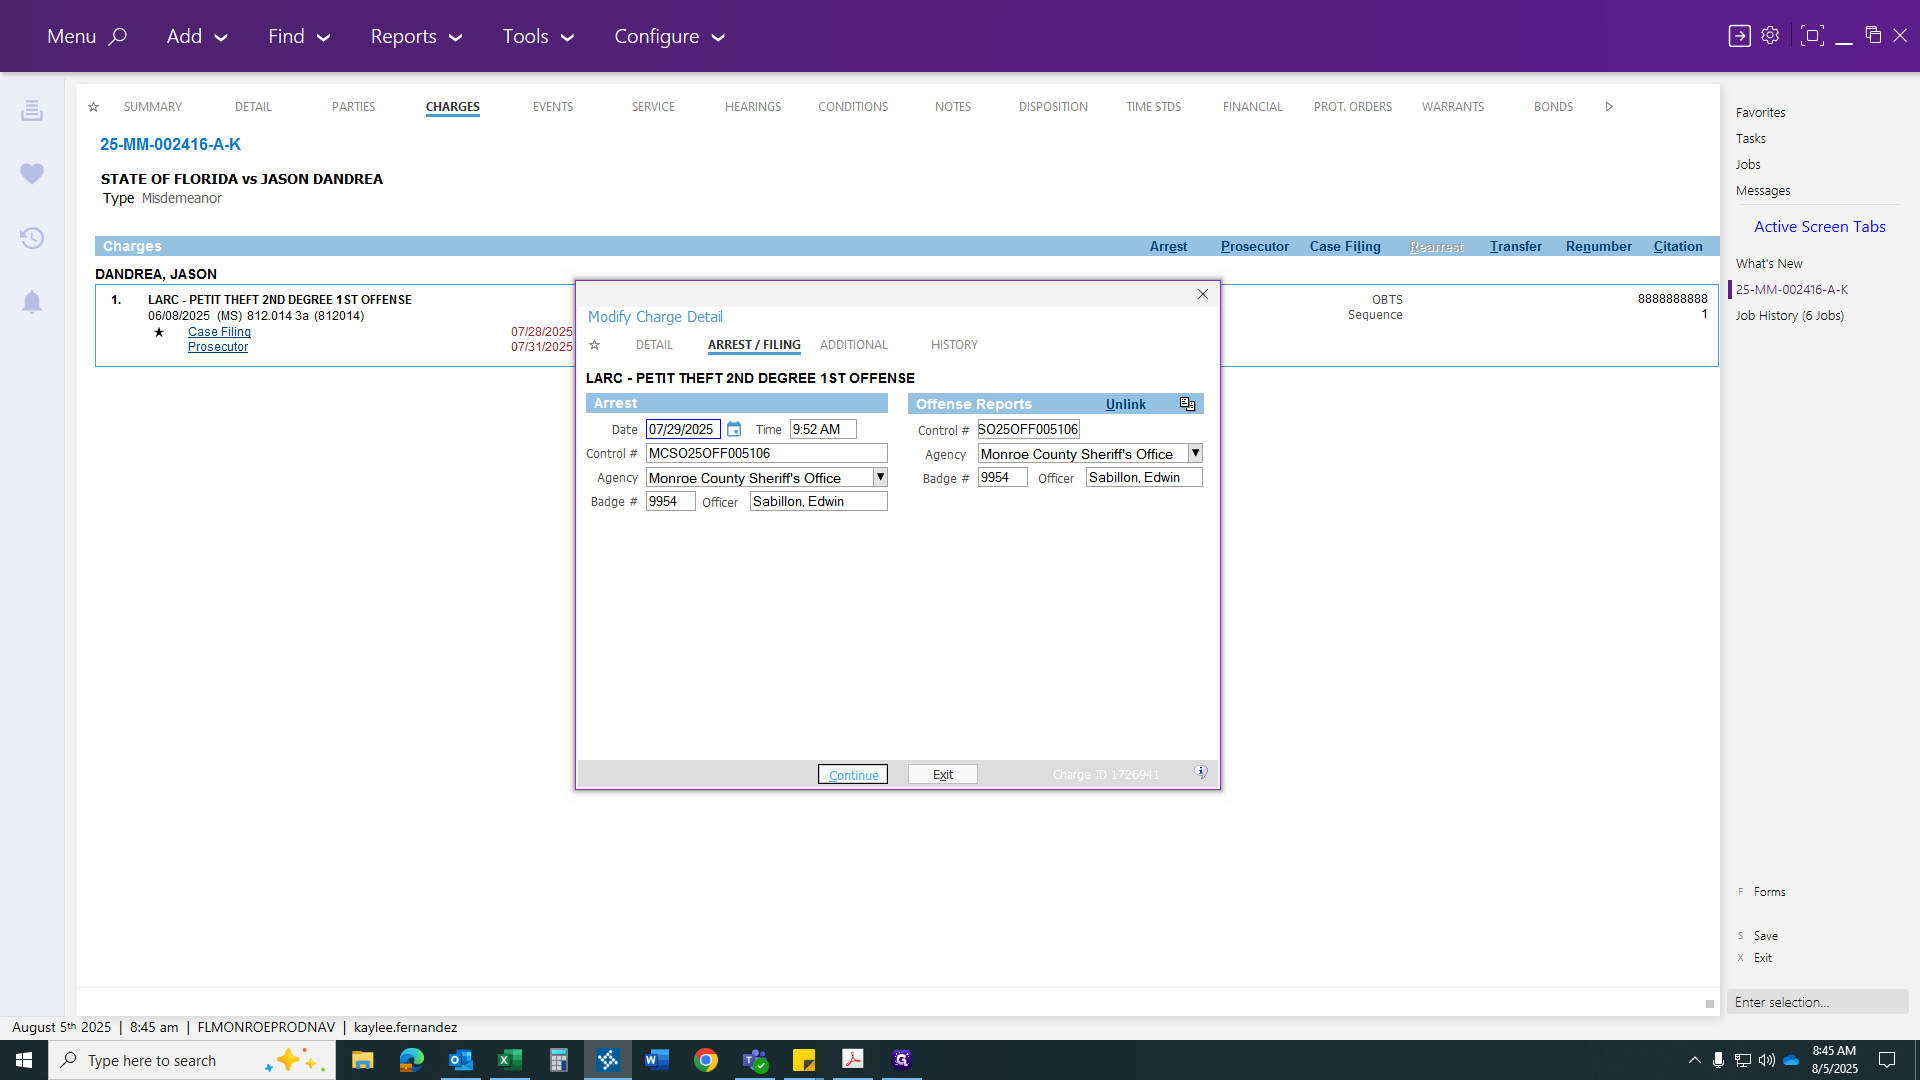
It should be at the very top, in their section. After entering the OBITS number, go to the re-arrest section and fill in the missing details, such as the actual arrest date and time, the agency number, and the control number. If there is a search warrant and only the control number is provided, it becomes easier to find once you start entering control numbers.
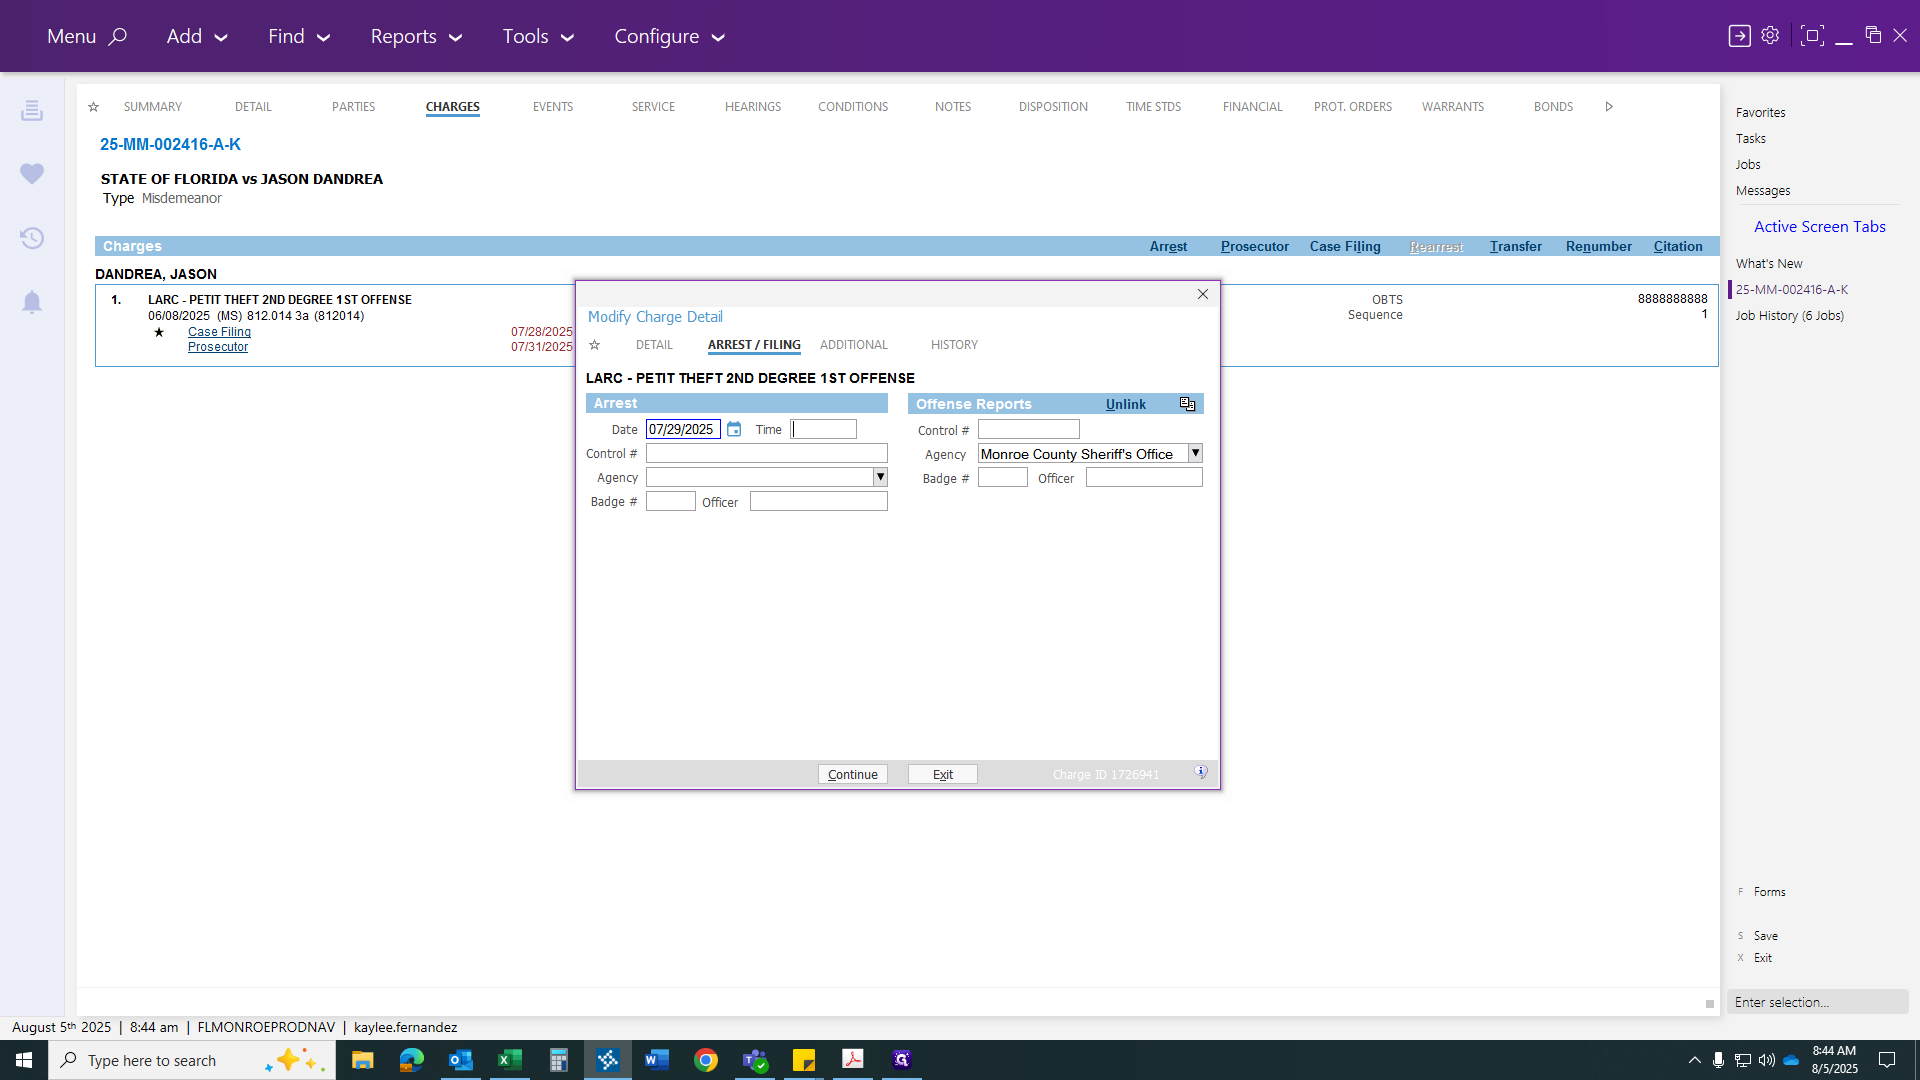
Right now, I'm following the arrest form and entering all previously unknown variables. Okay, don't click that.
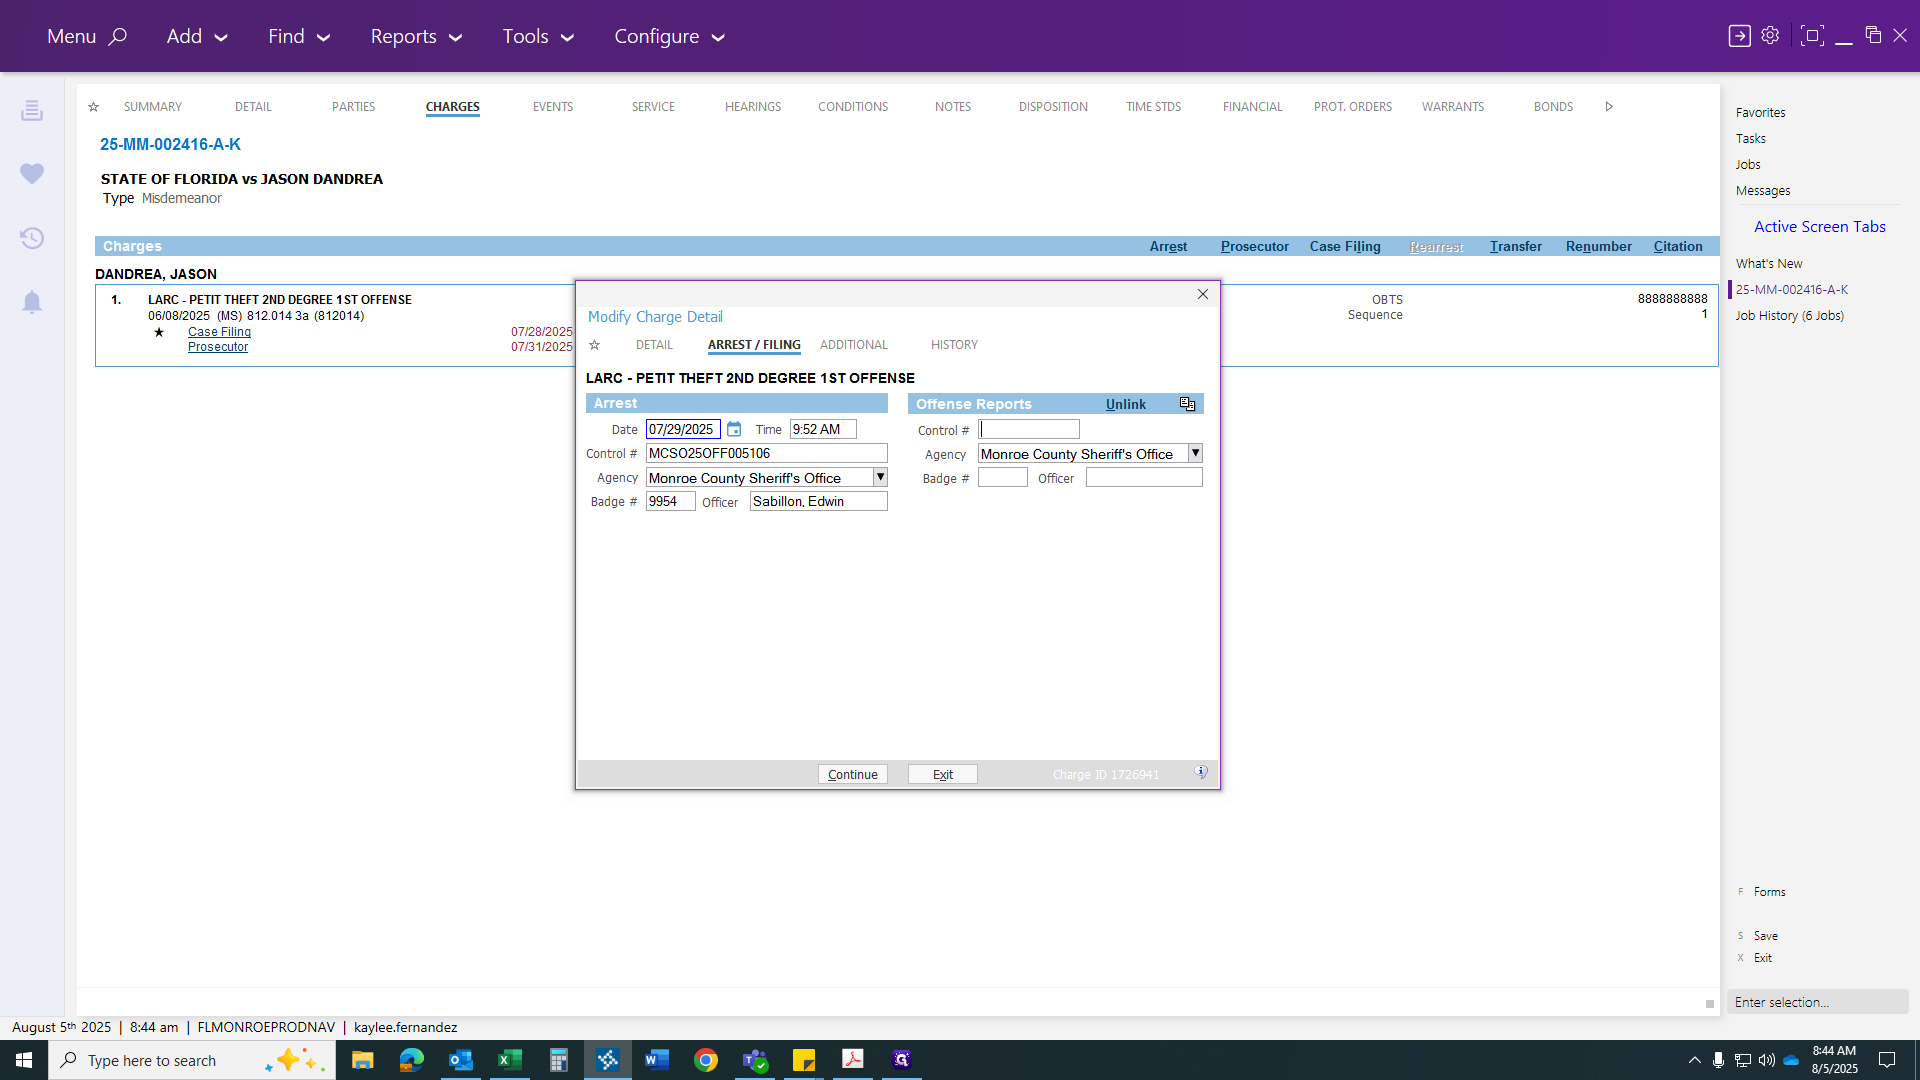
I'm just adding what I see missing from the arrest report. After you finish entering all your criteria, click "Continue." This will show the arrest being filed. The OBITS number will update, and you will see both the new OBITS number and the sheriff's office number.

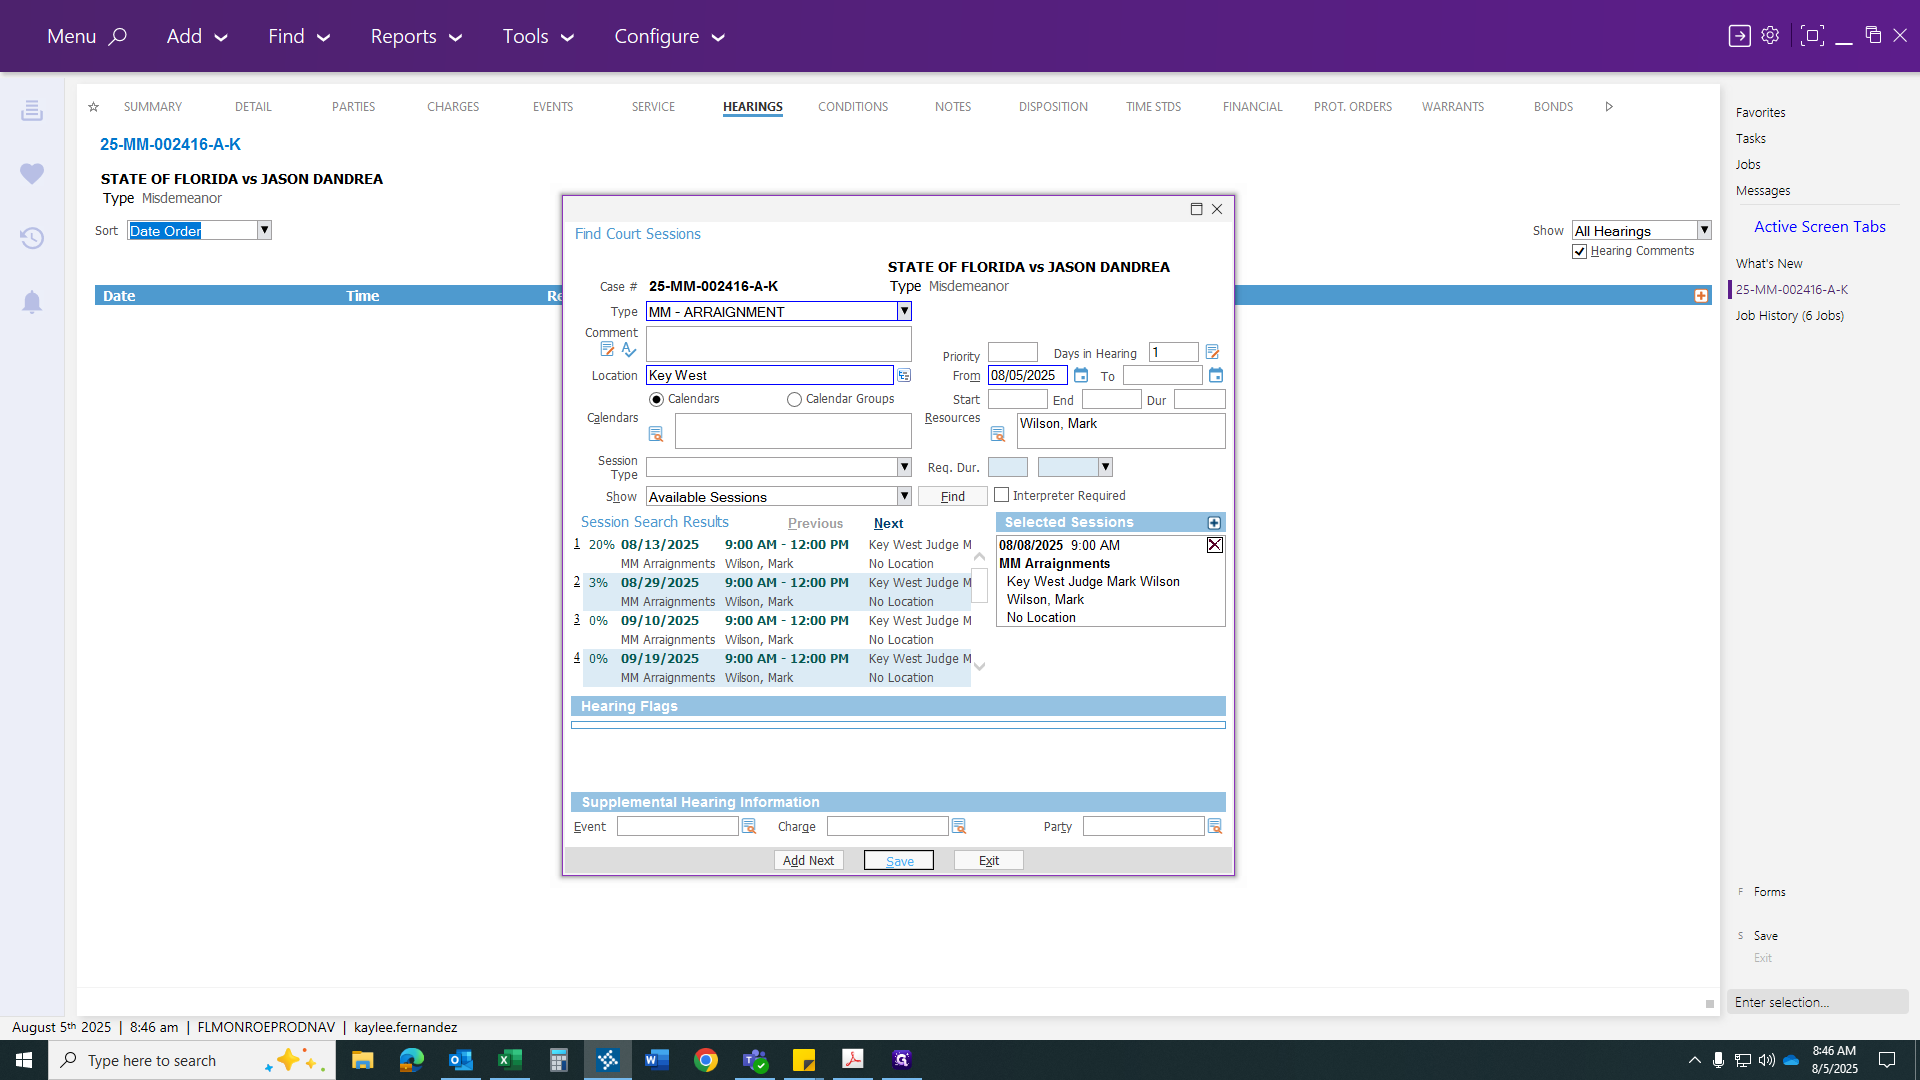
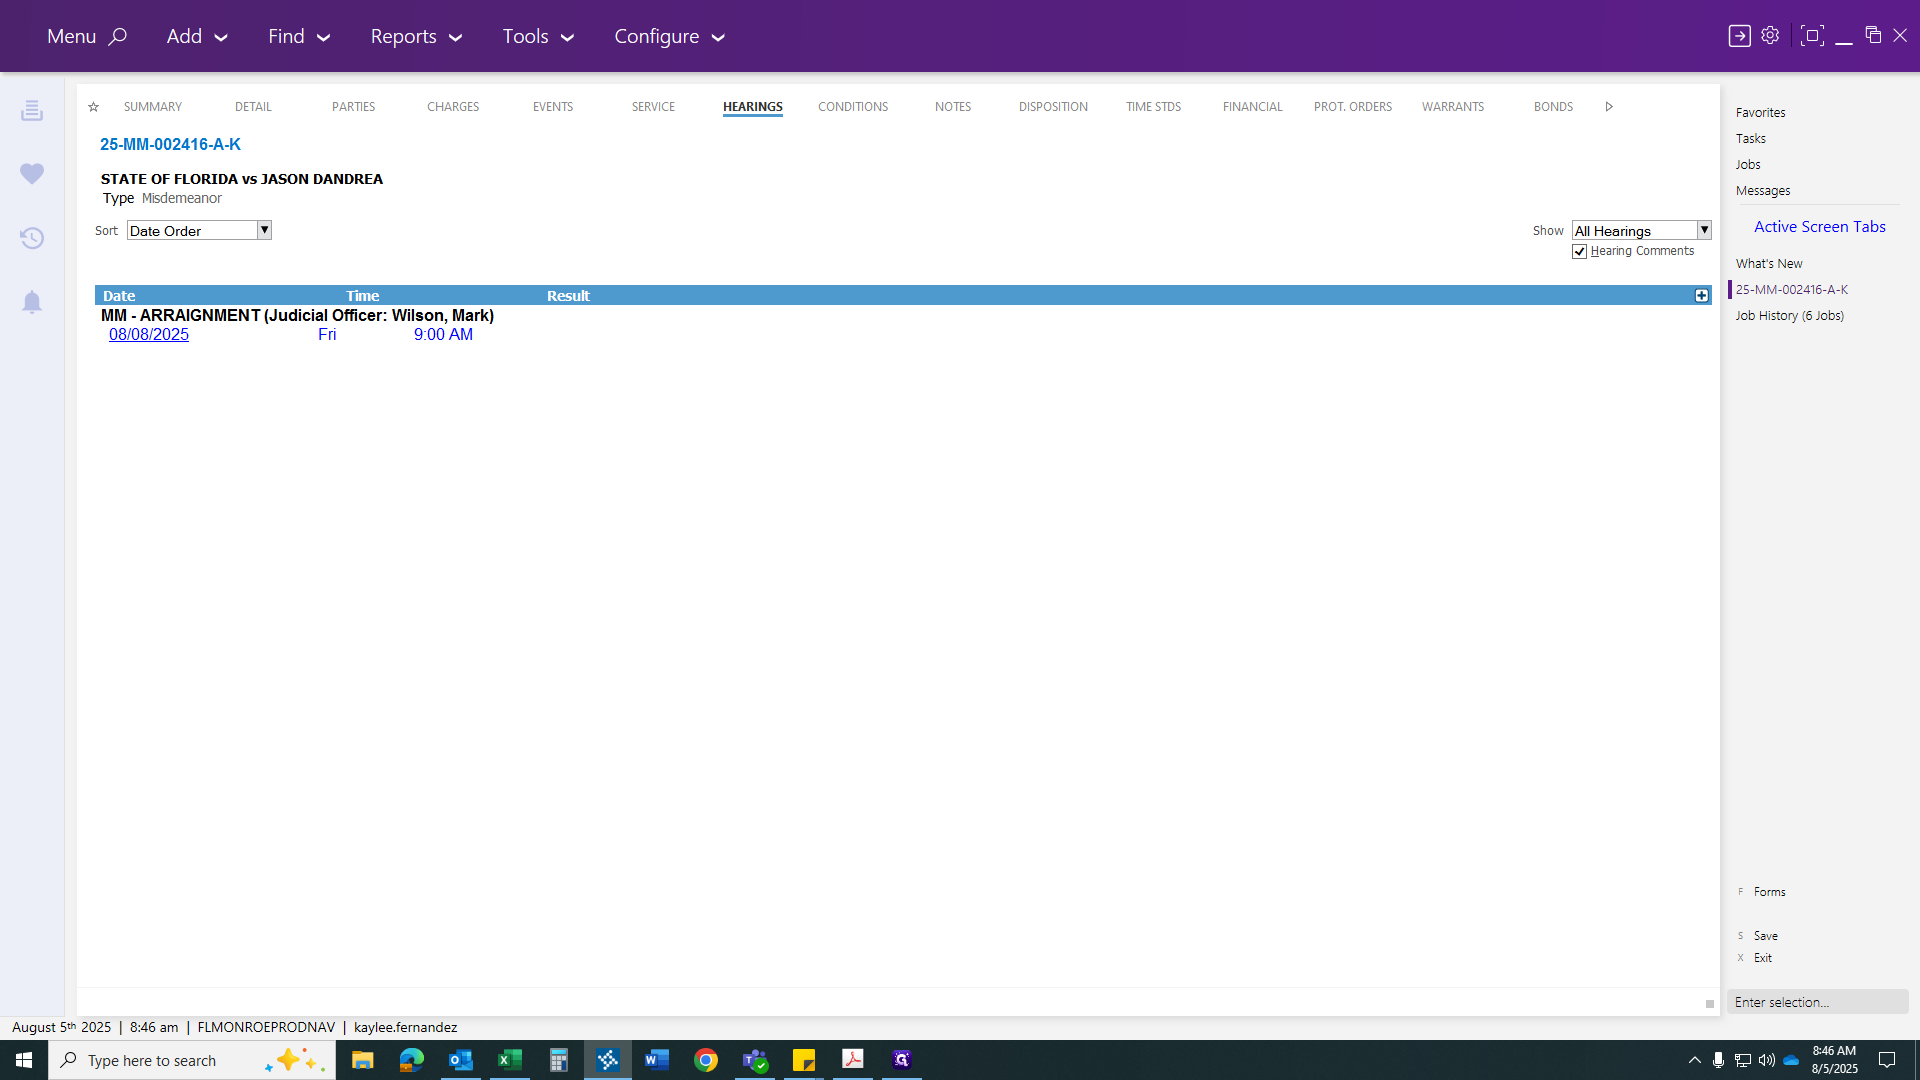
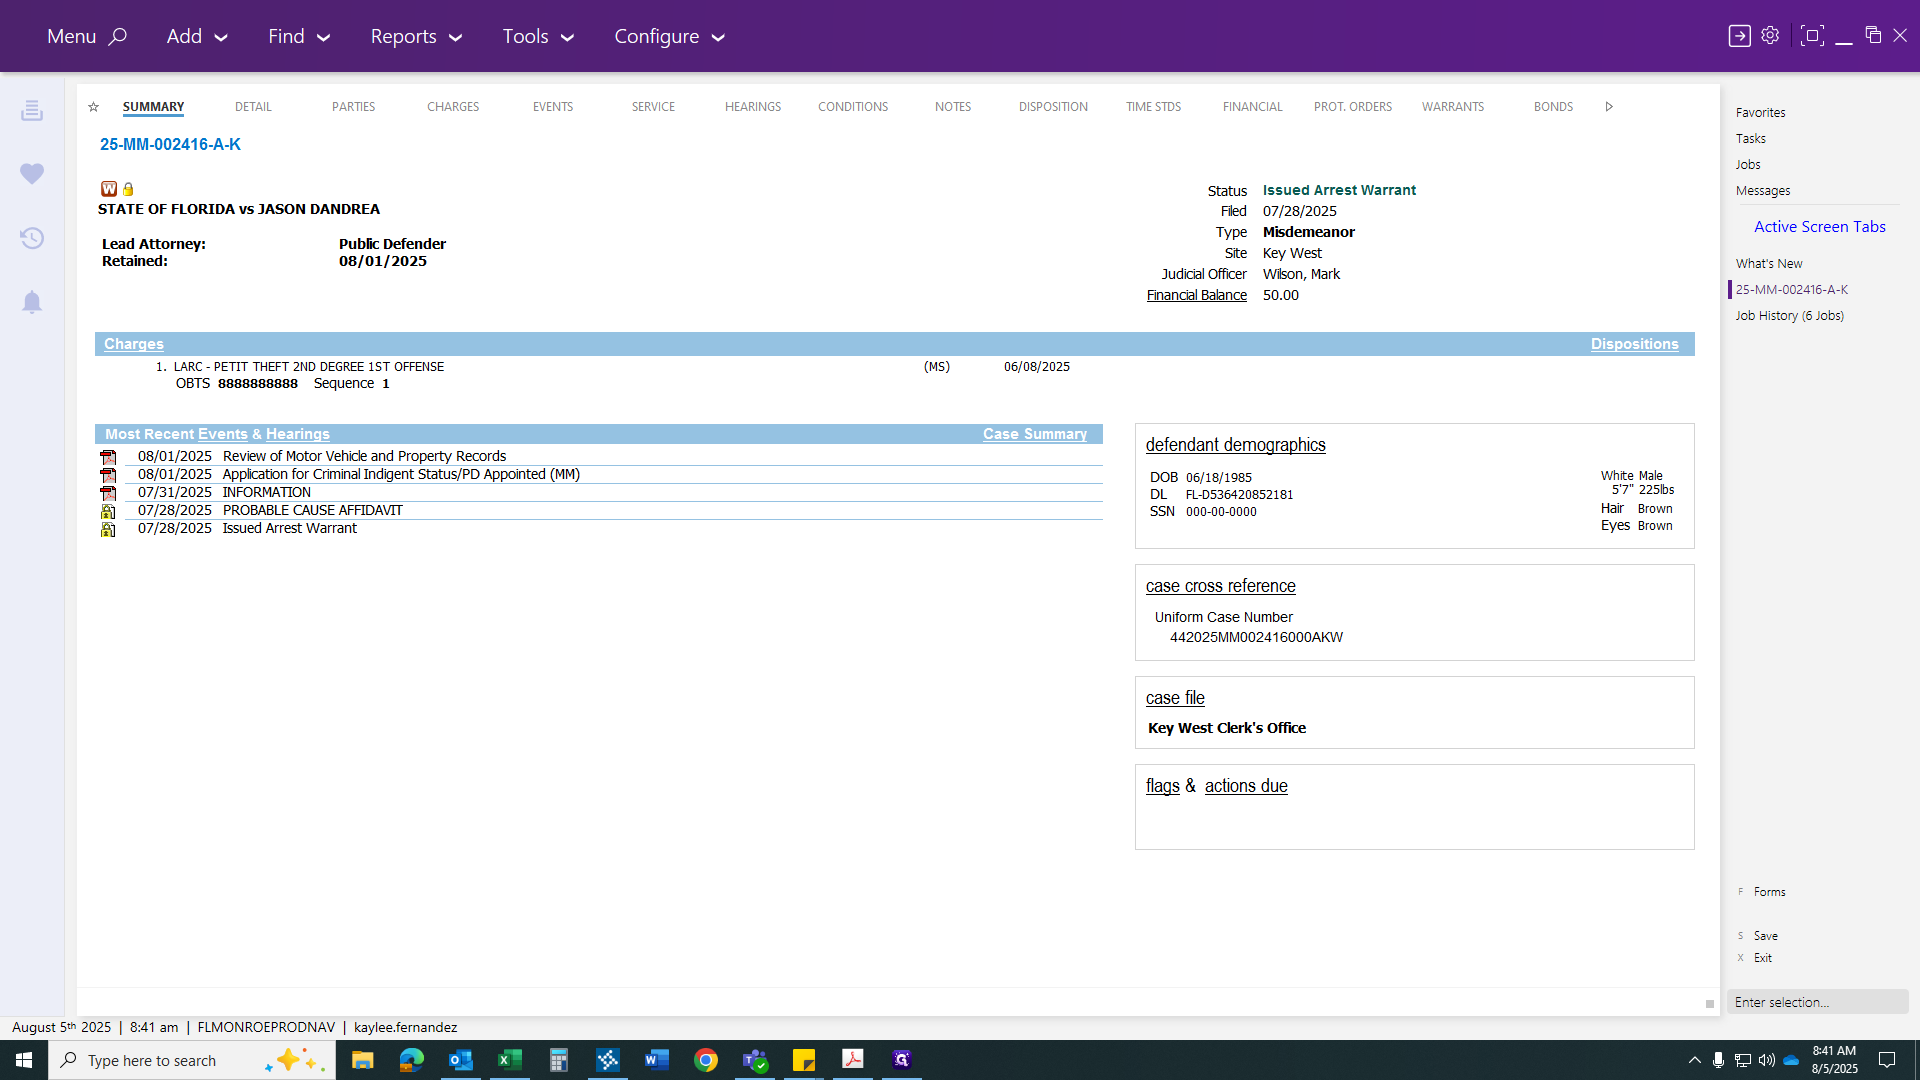
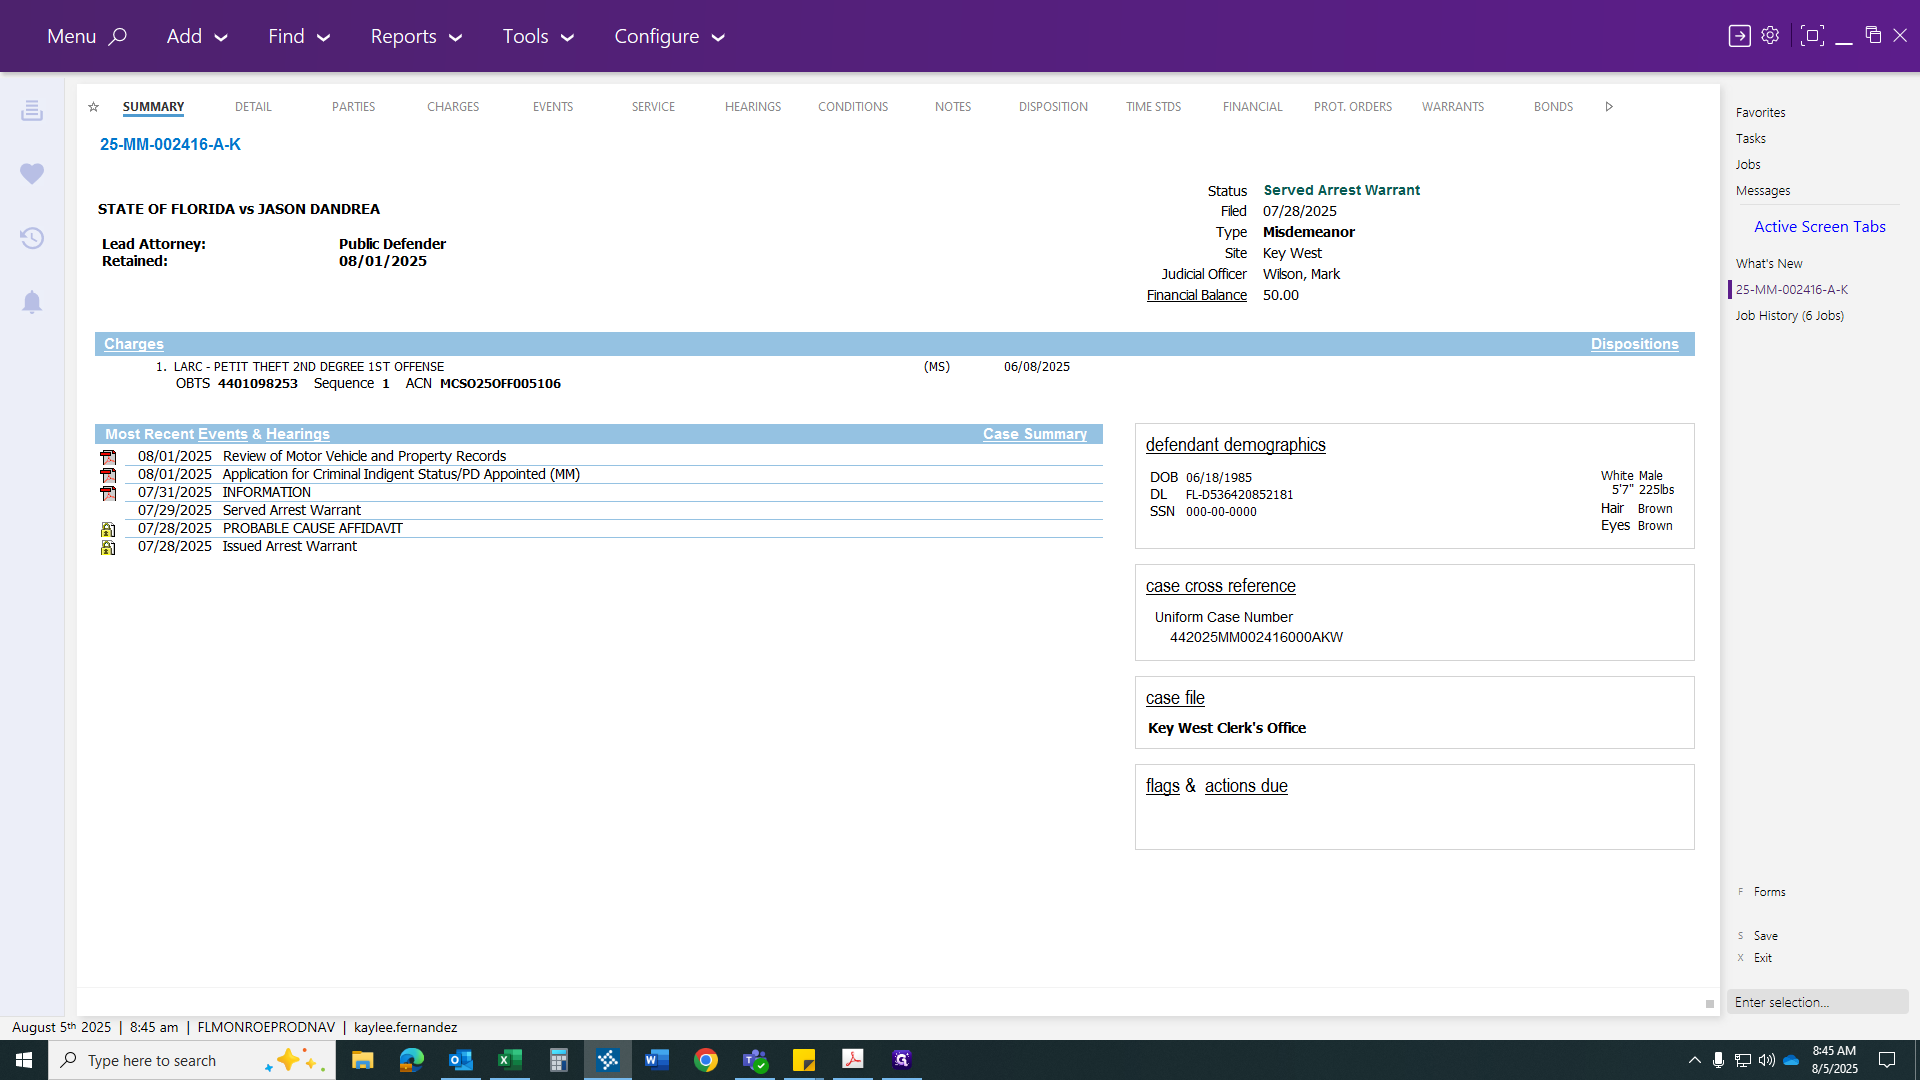
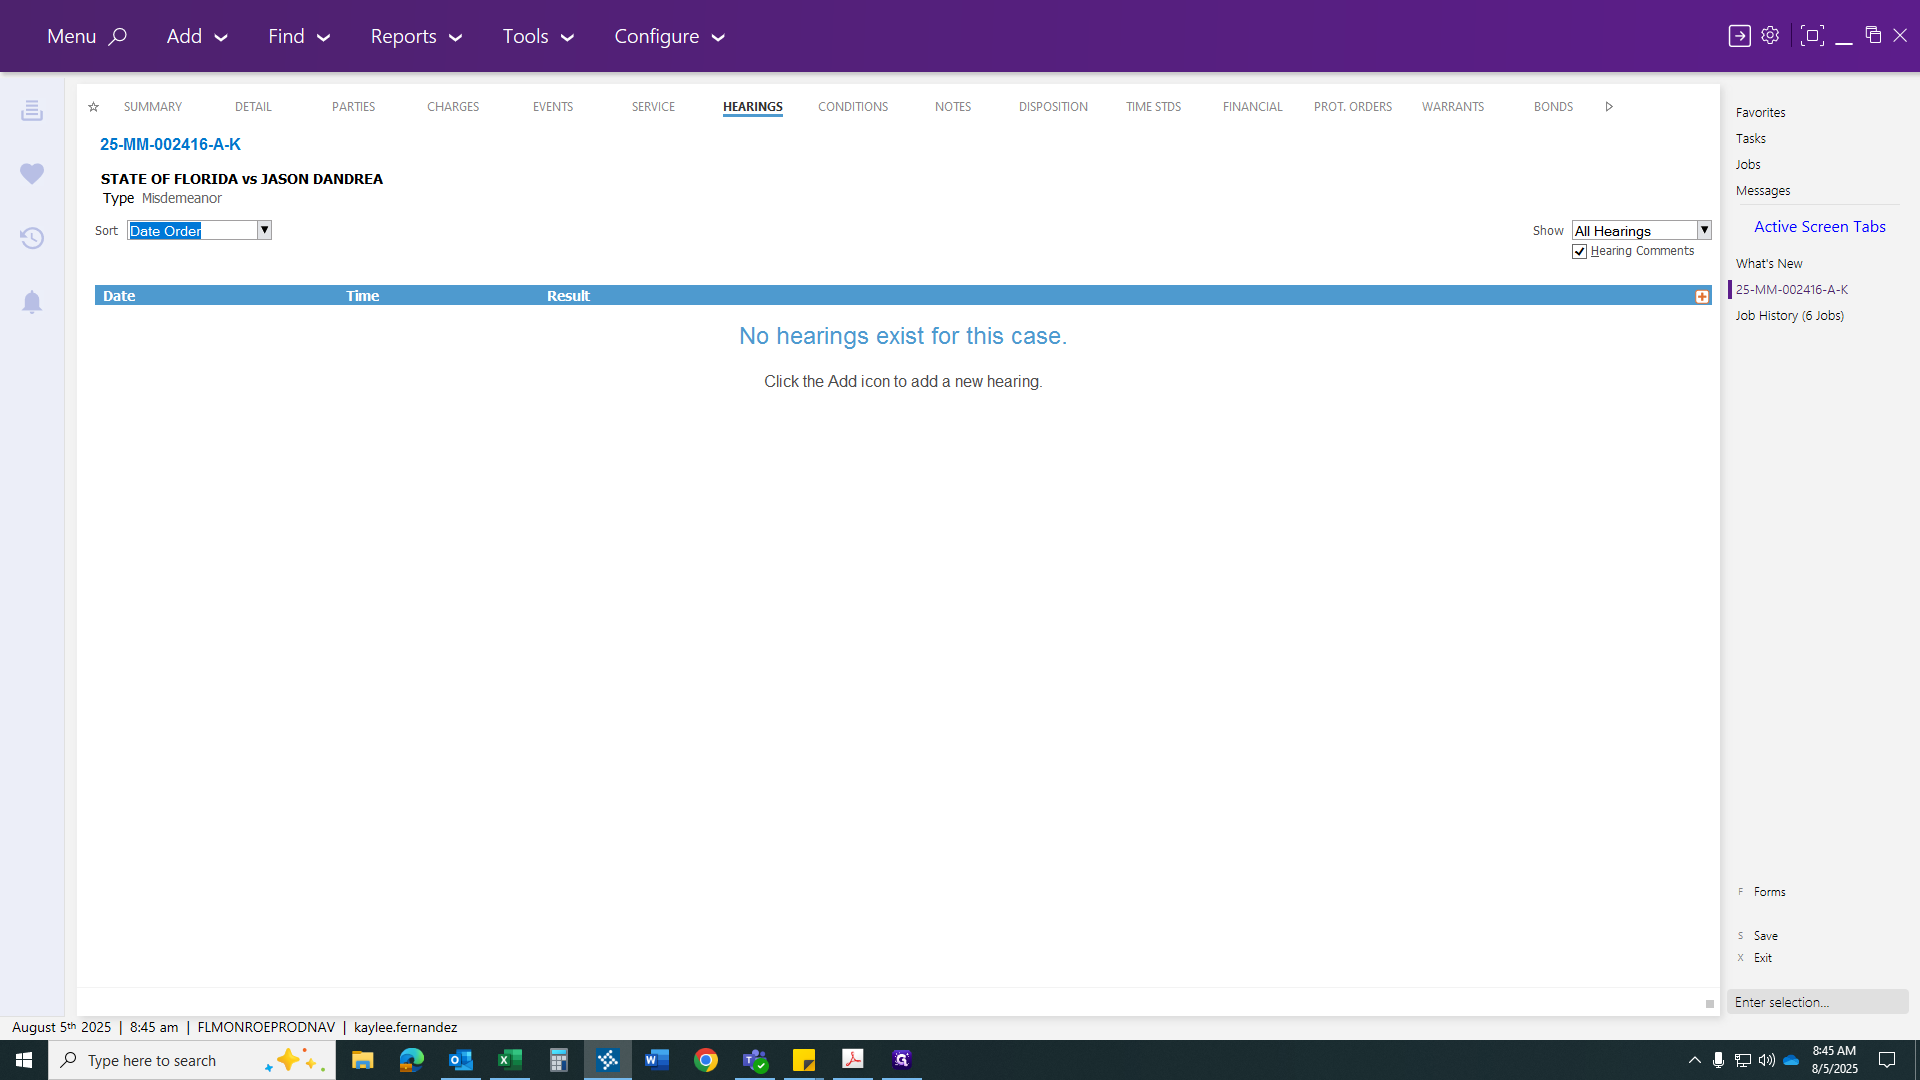
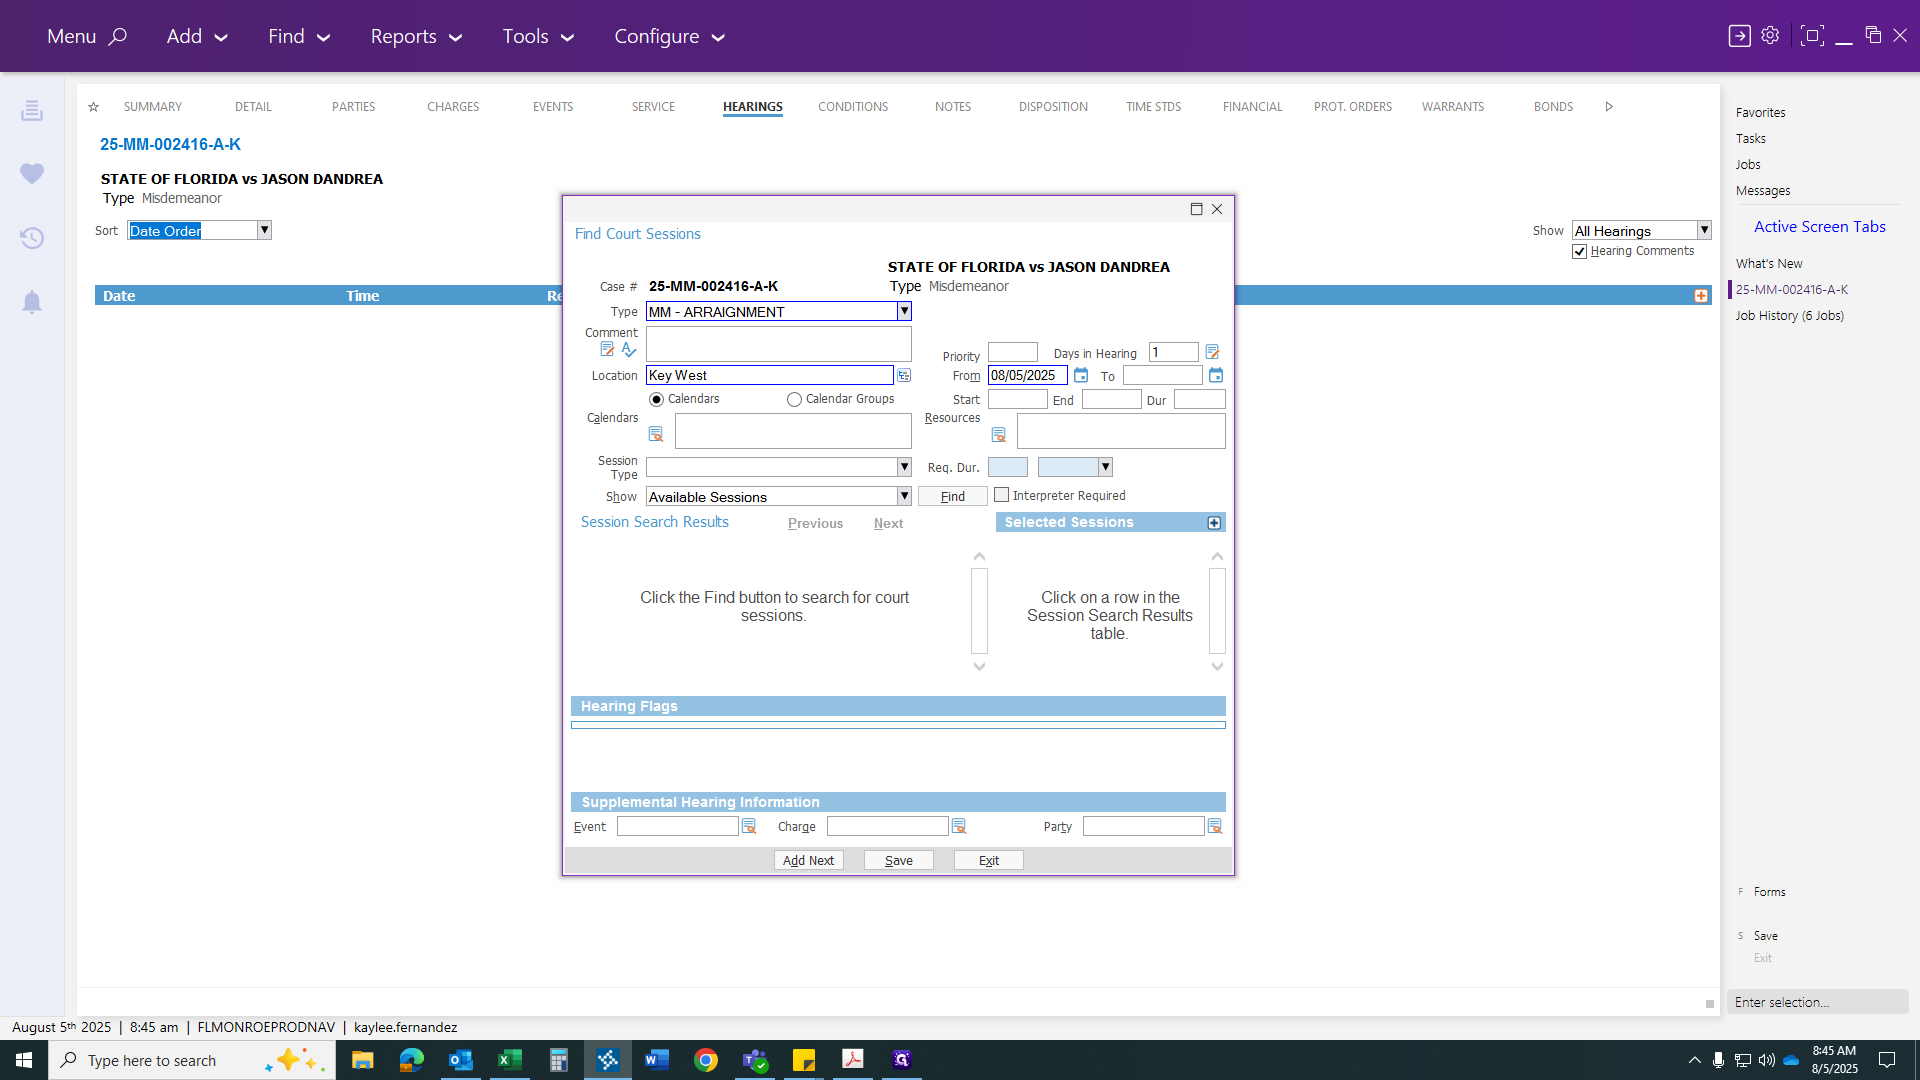
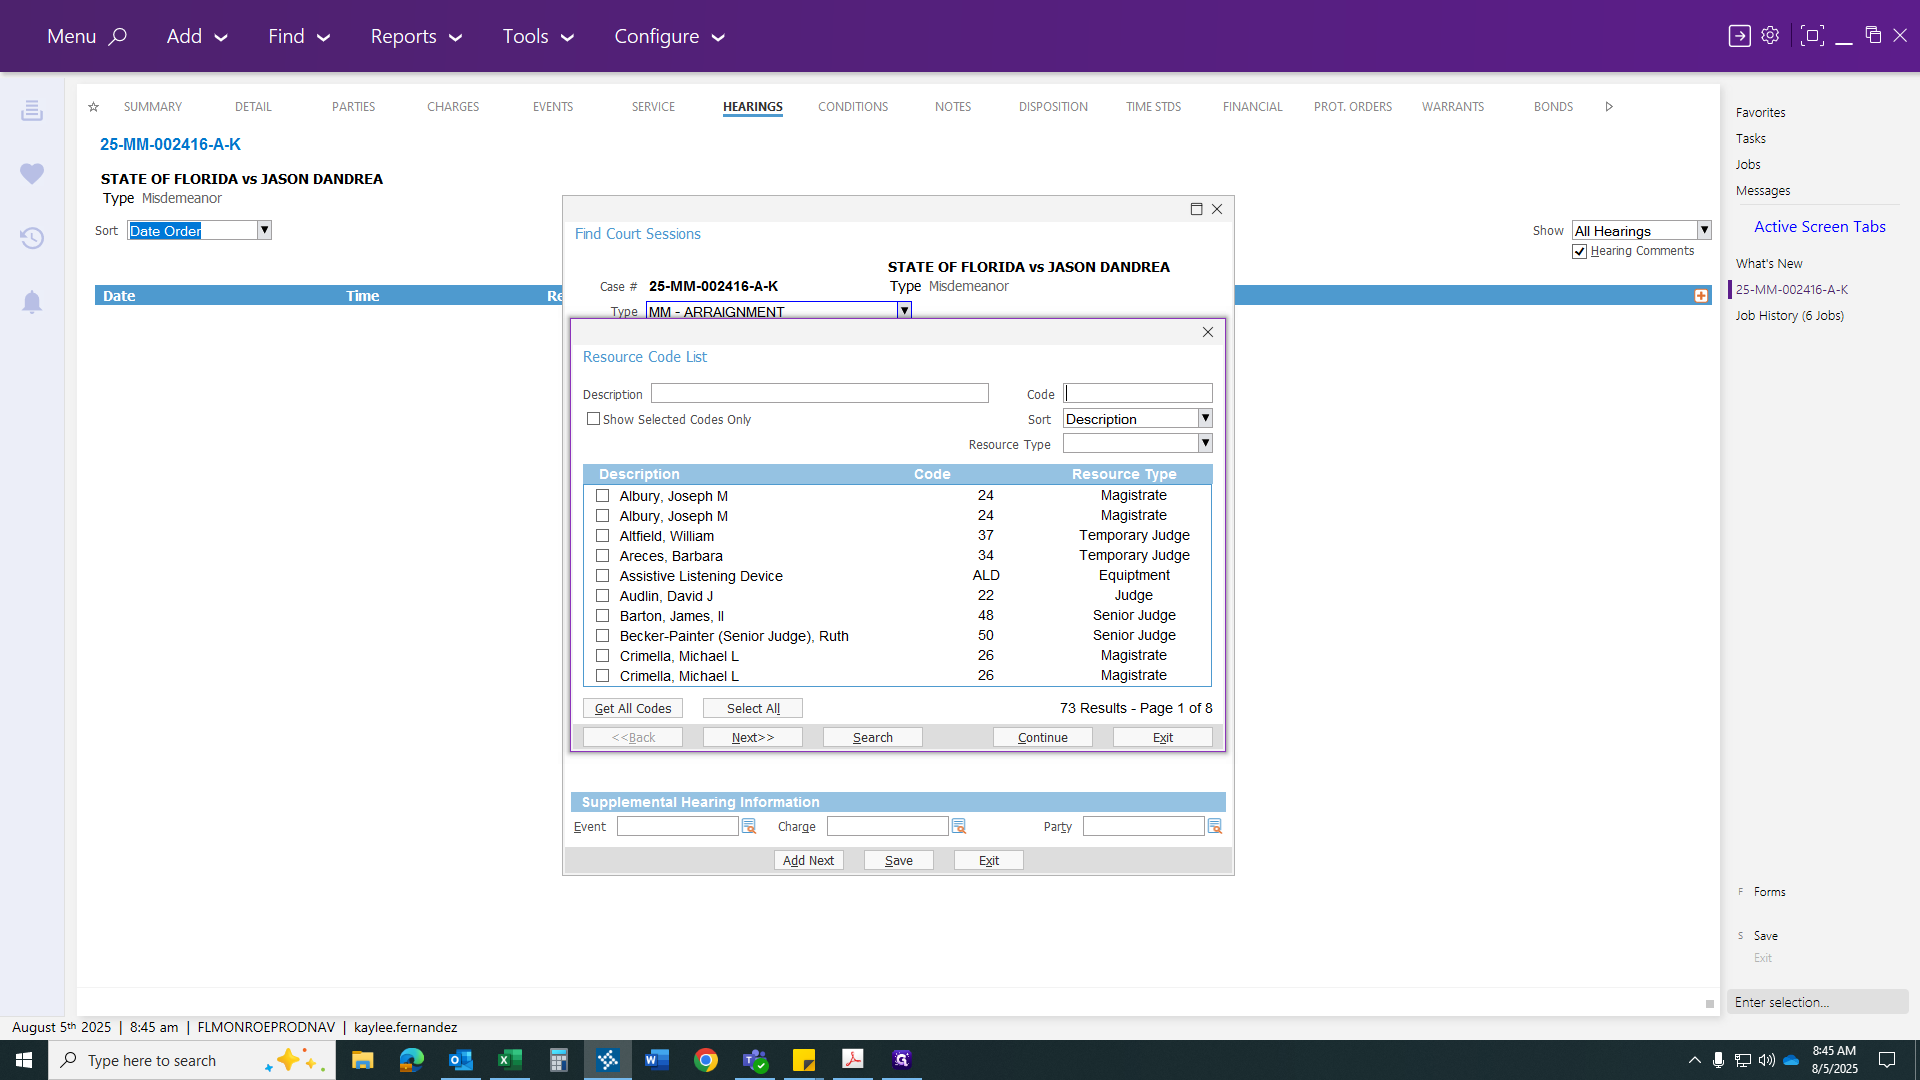
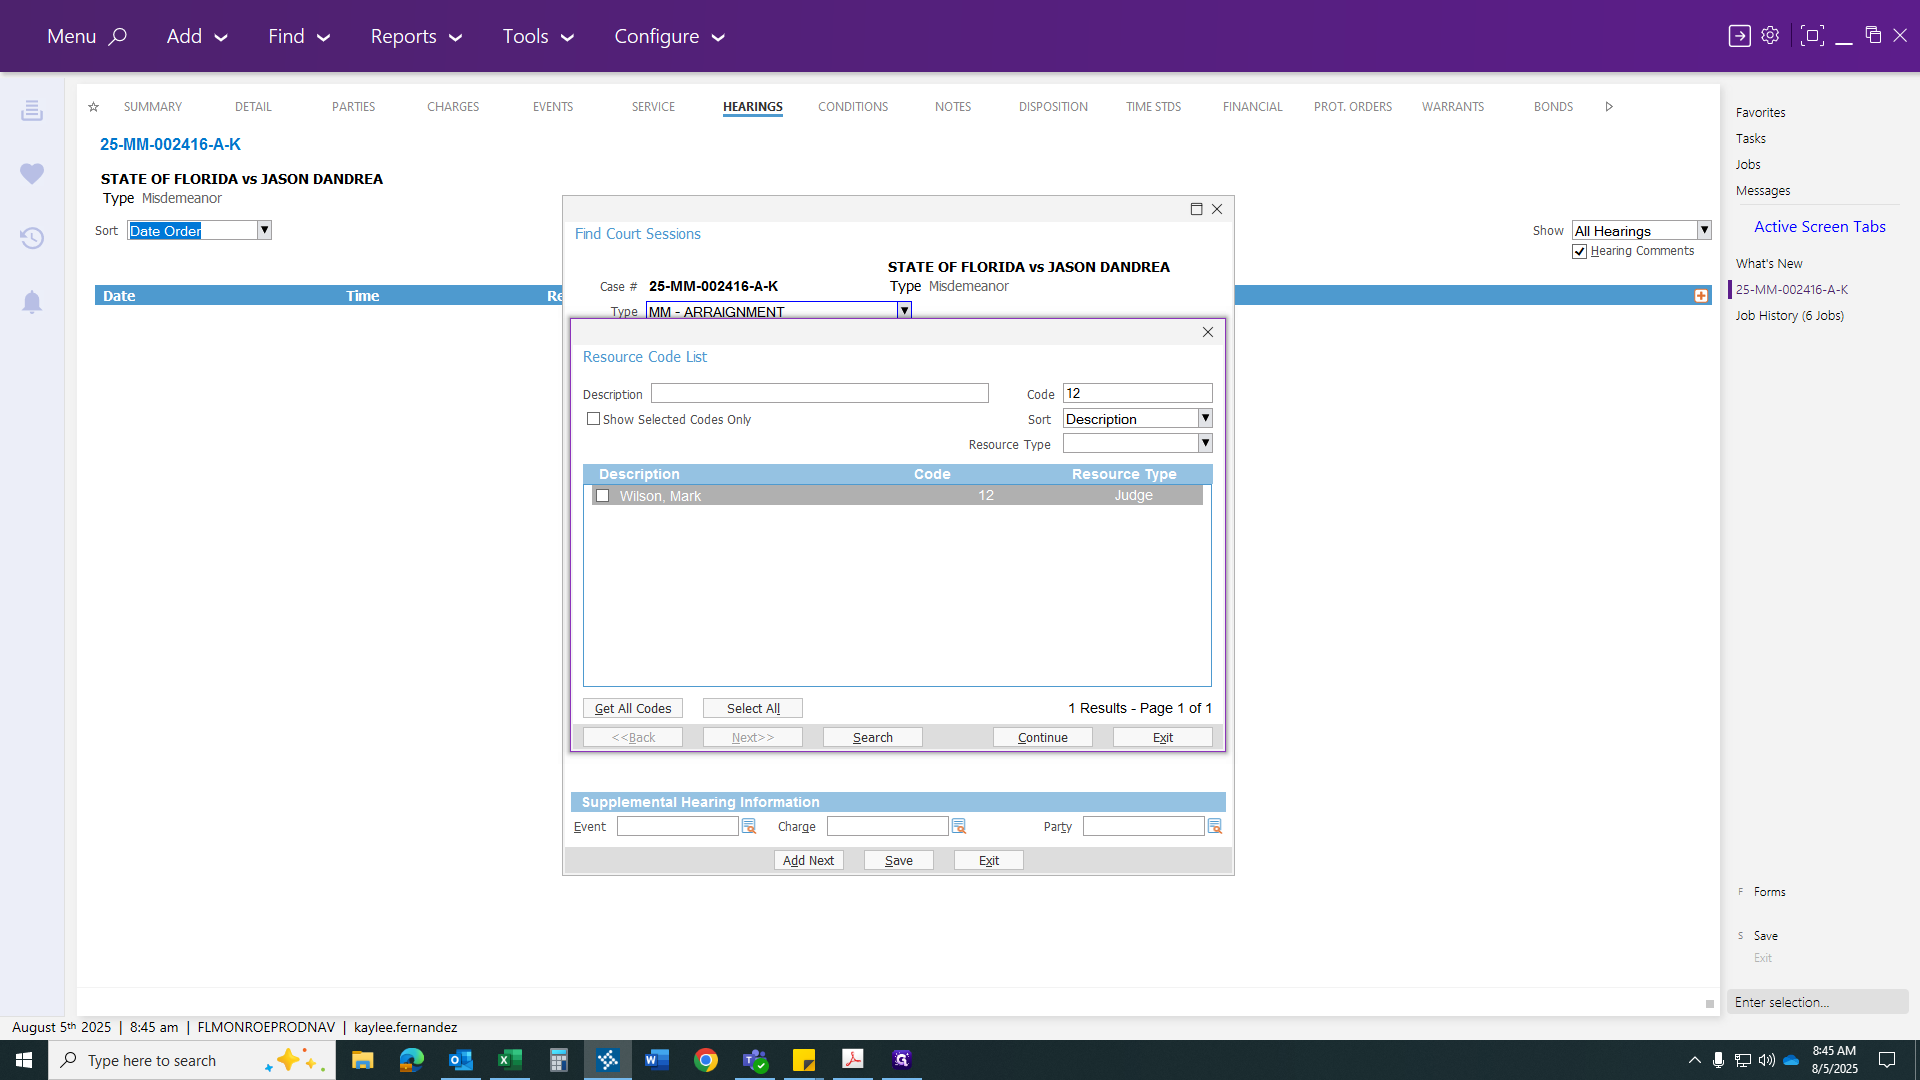
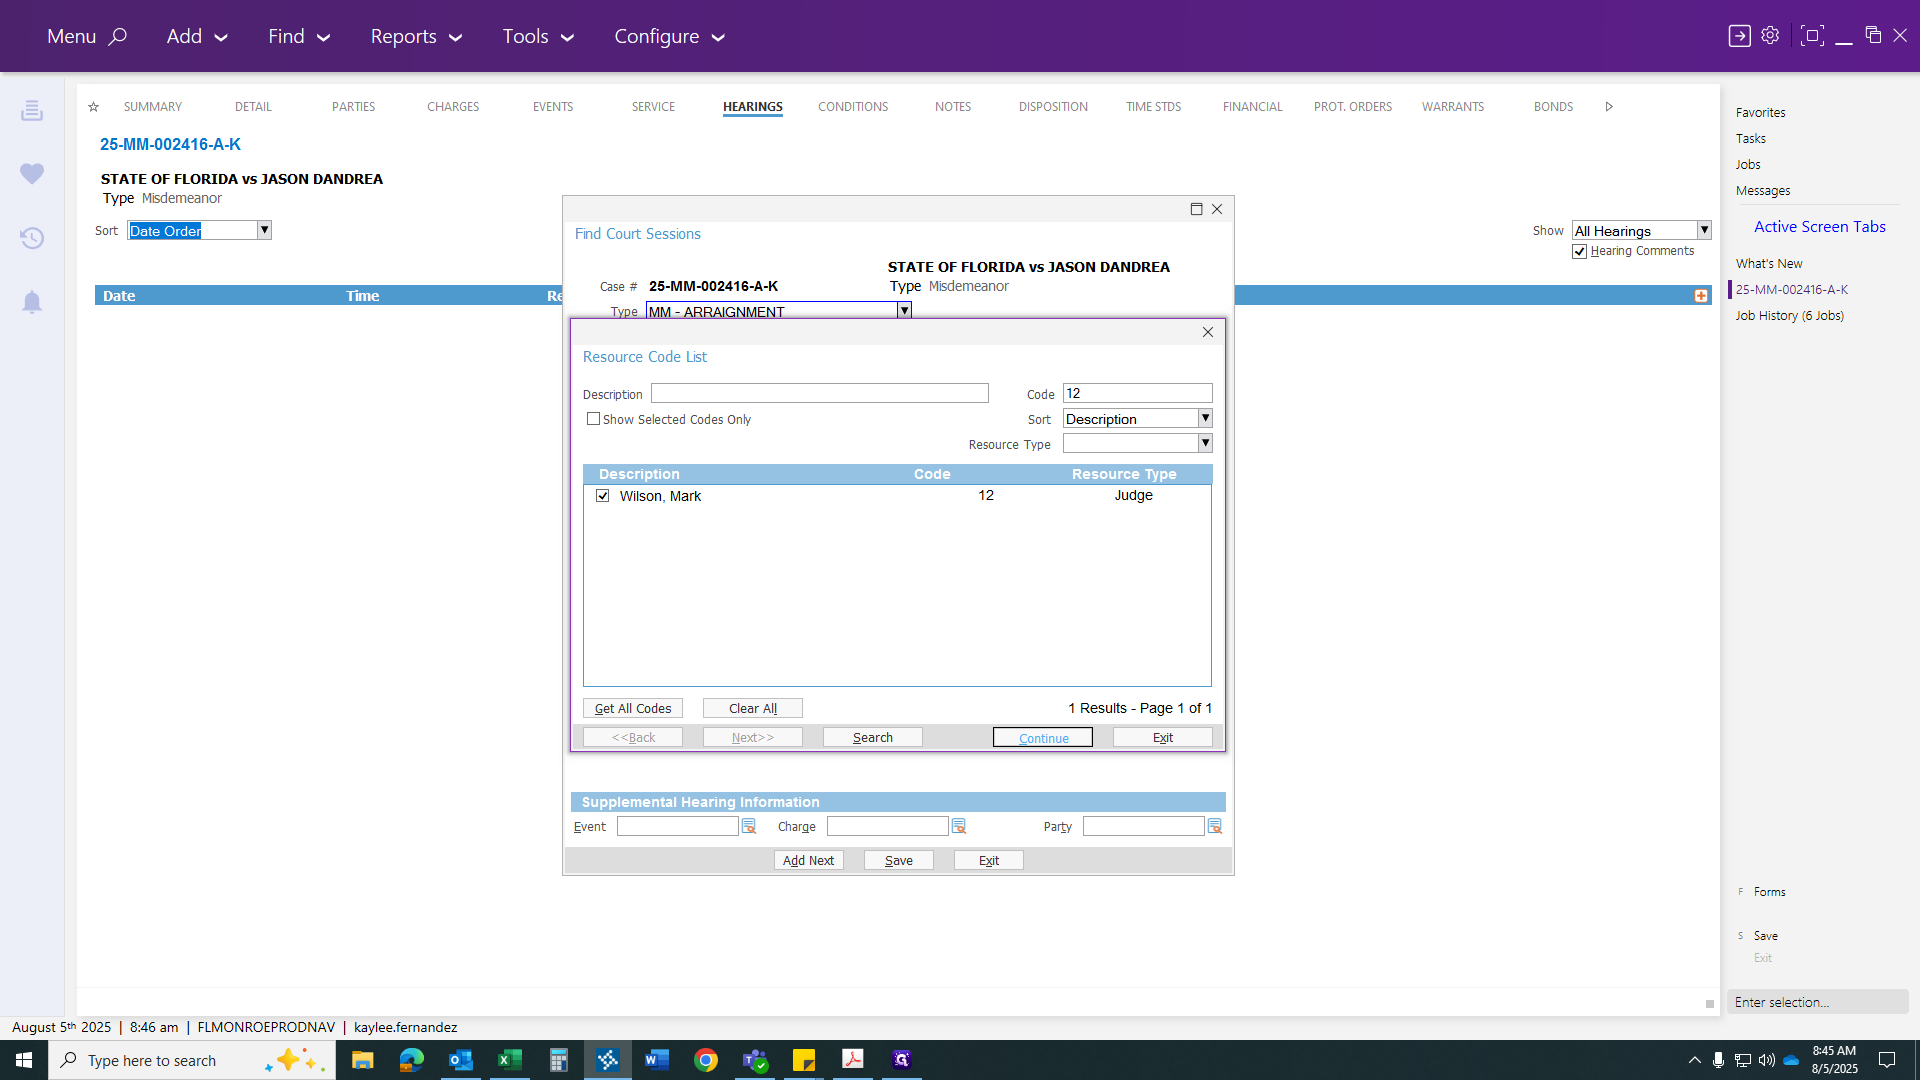
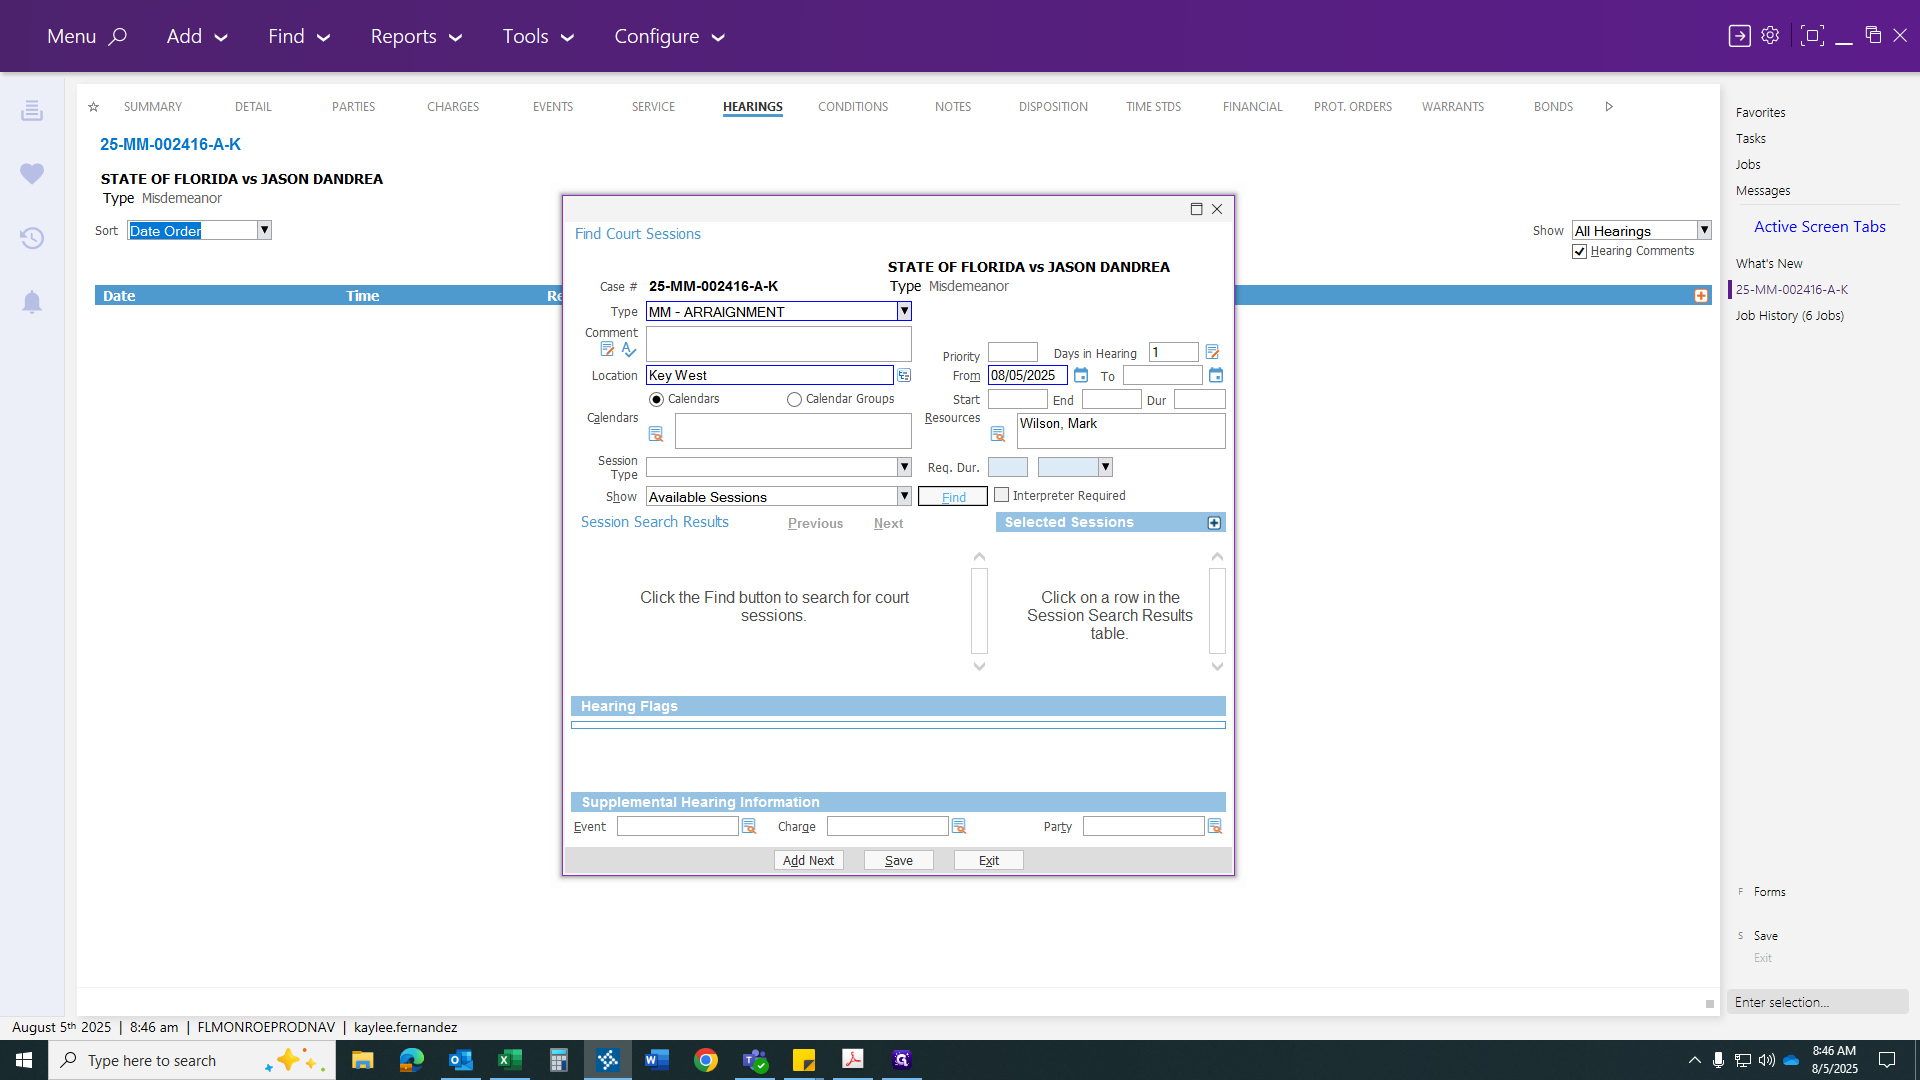
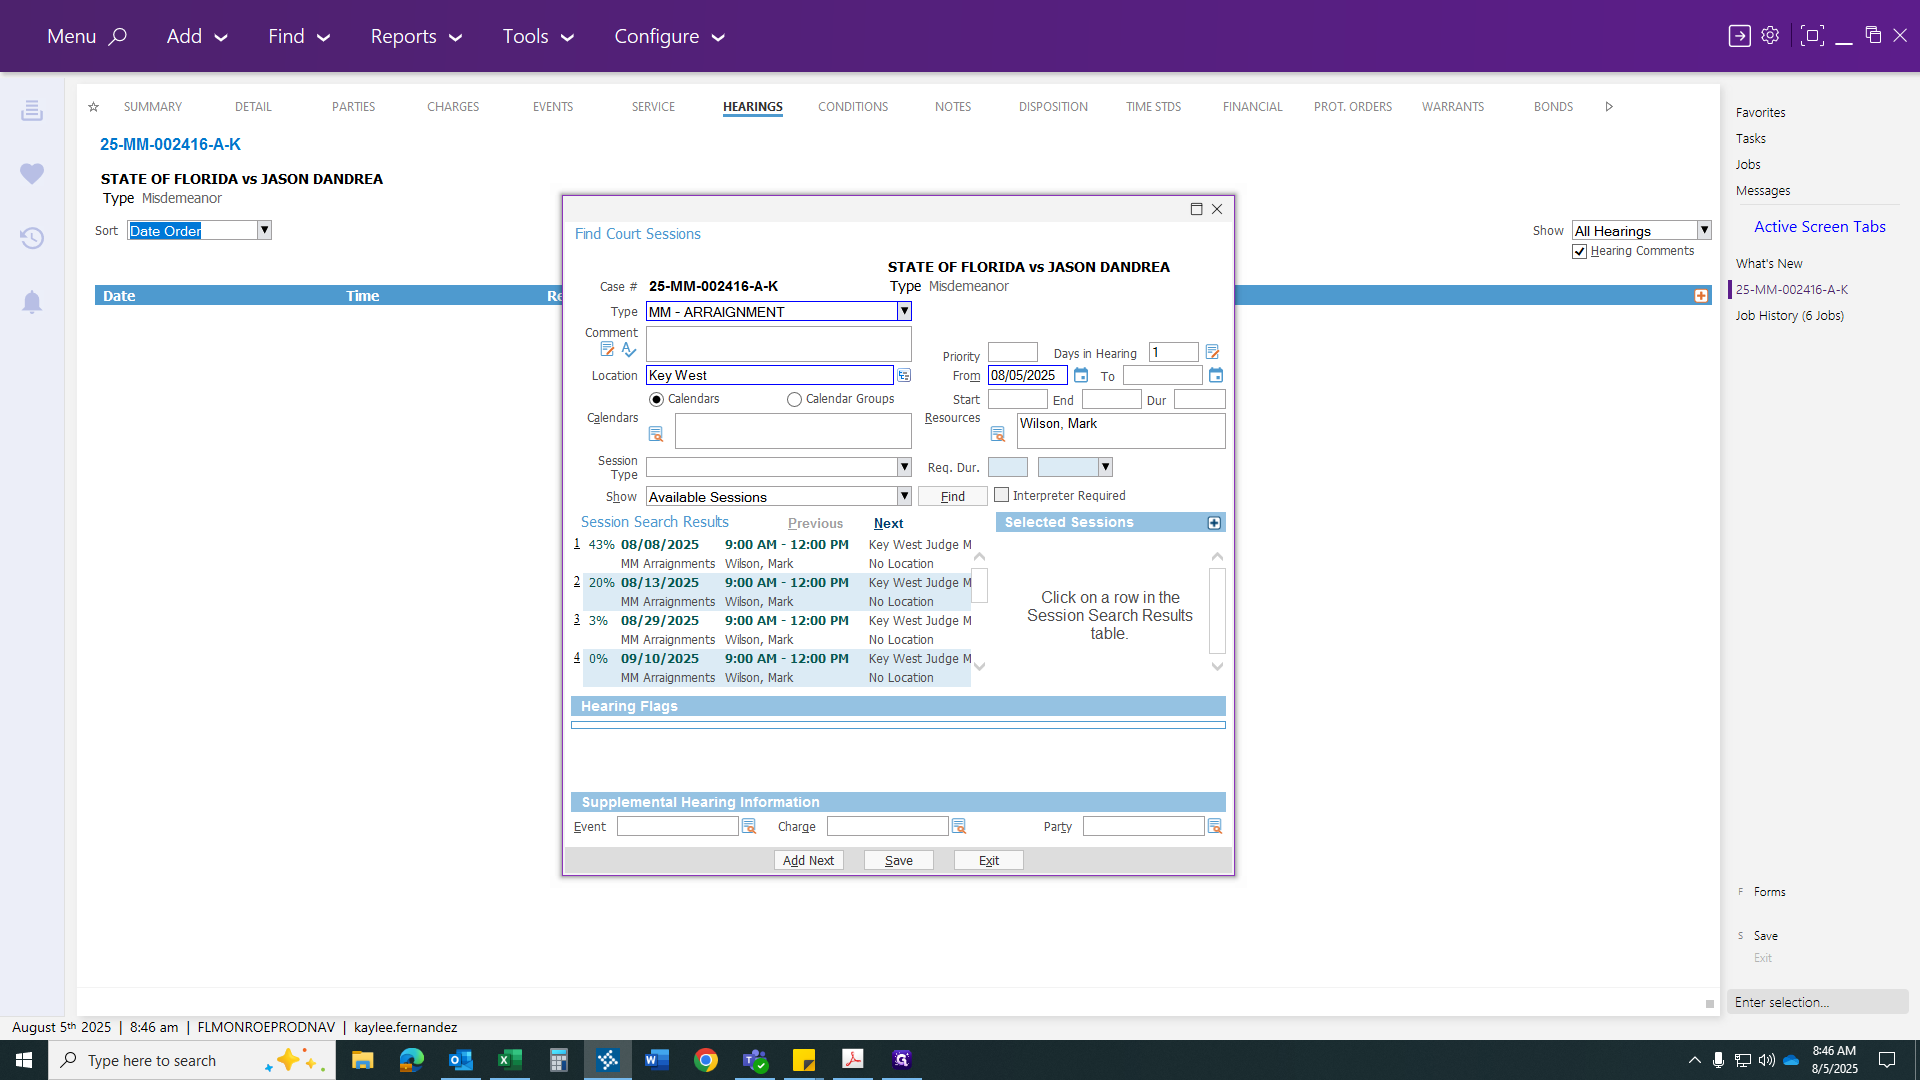
Once you have served your arrest and warrant, you can attend your hearings. These will include a misdemeanor arraignment. Since the last name is D, Judge Wilson will preside. The hearing is scheduled for the 8th.

Judges Codes:
Judge Jones - 03 | Judge Wilson - 12 | Judge Kelley - 49
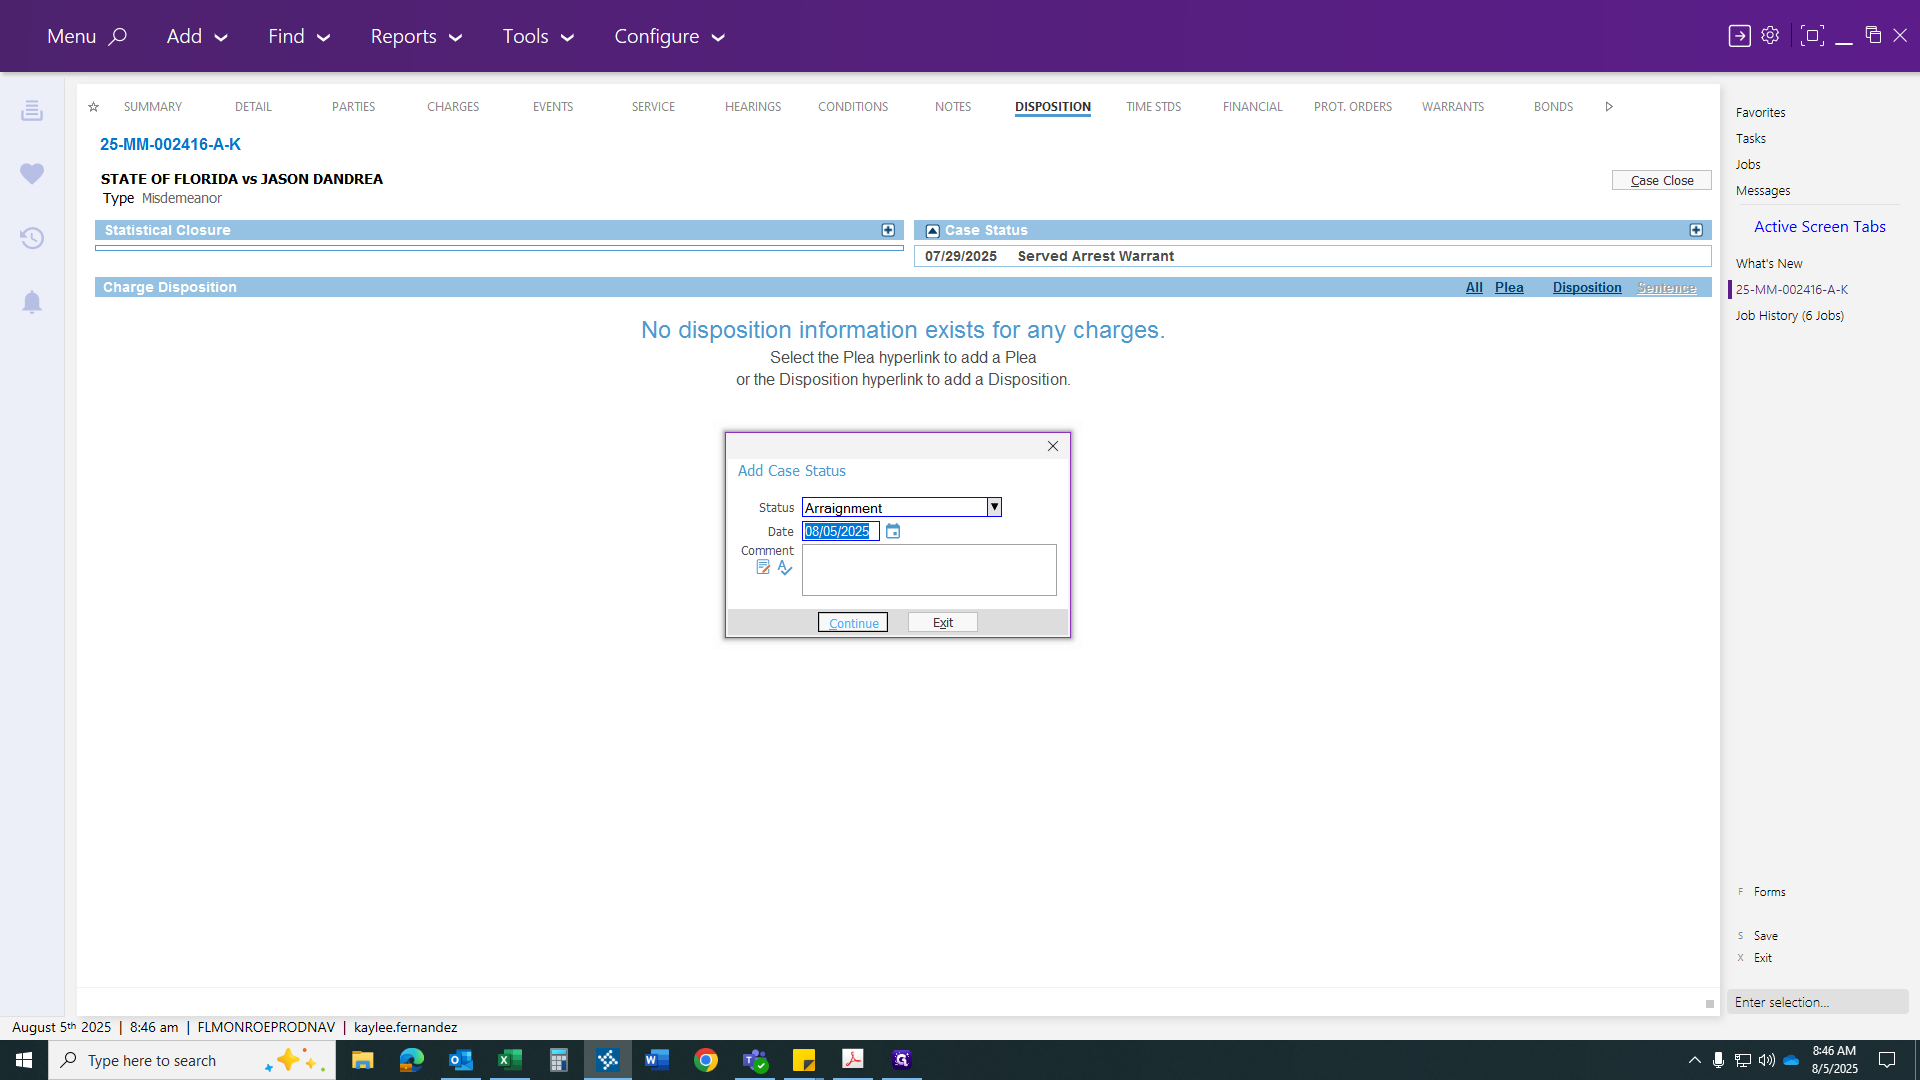
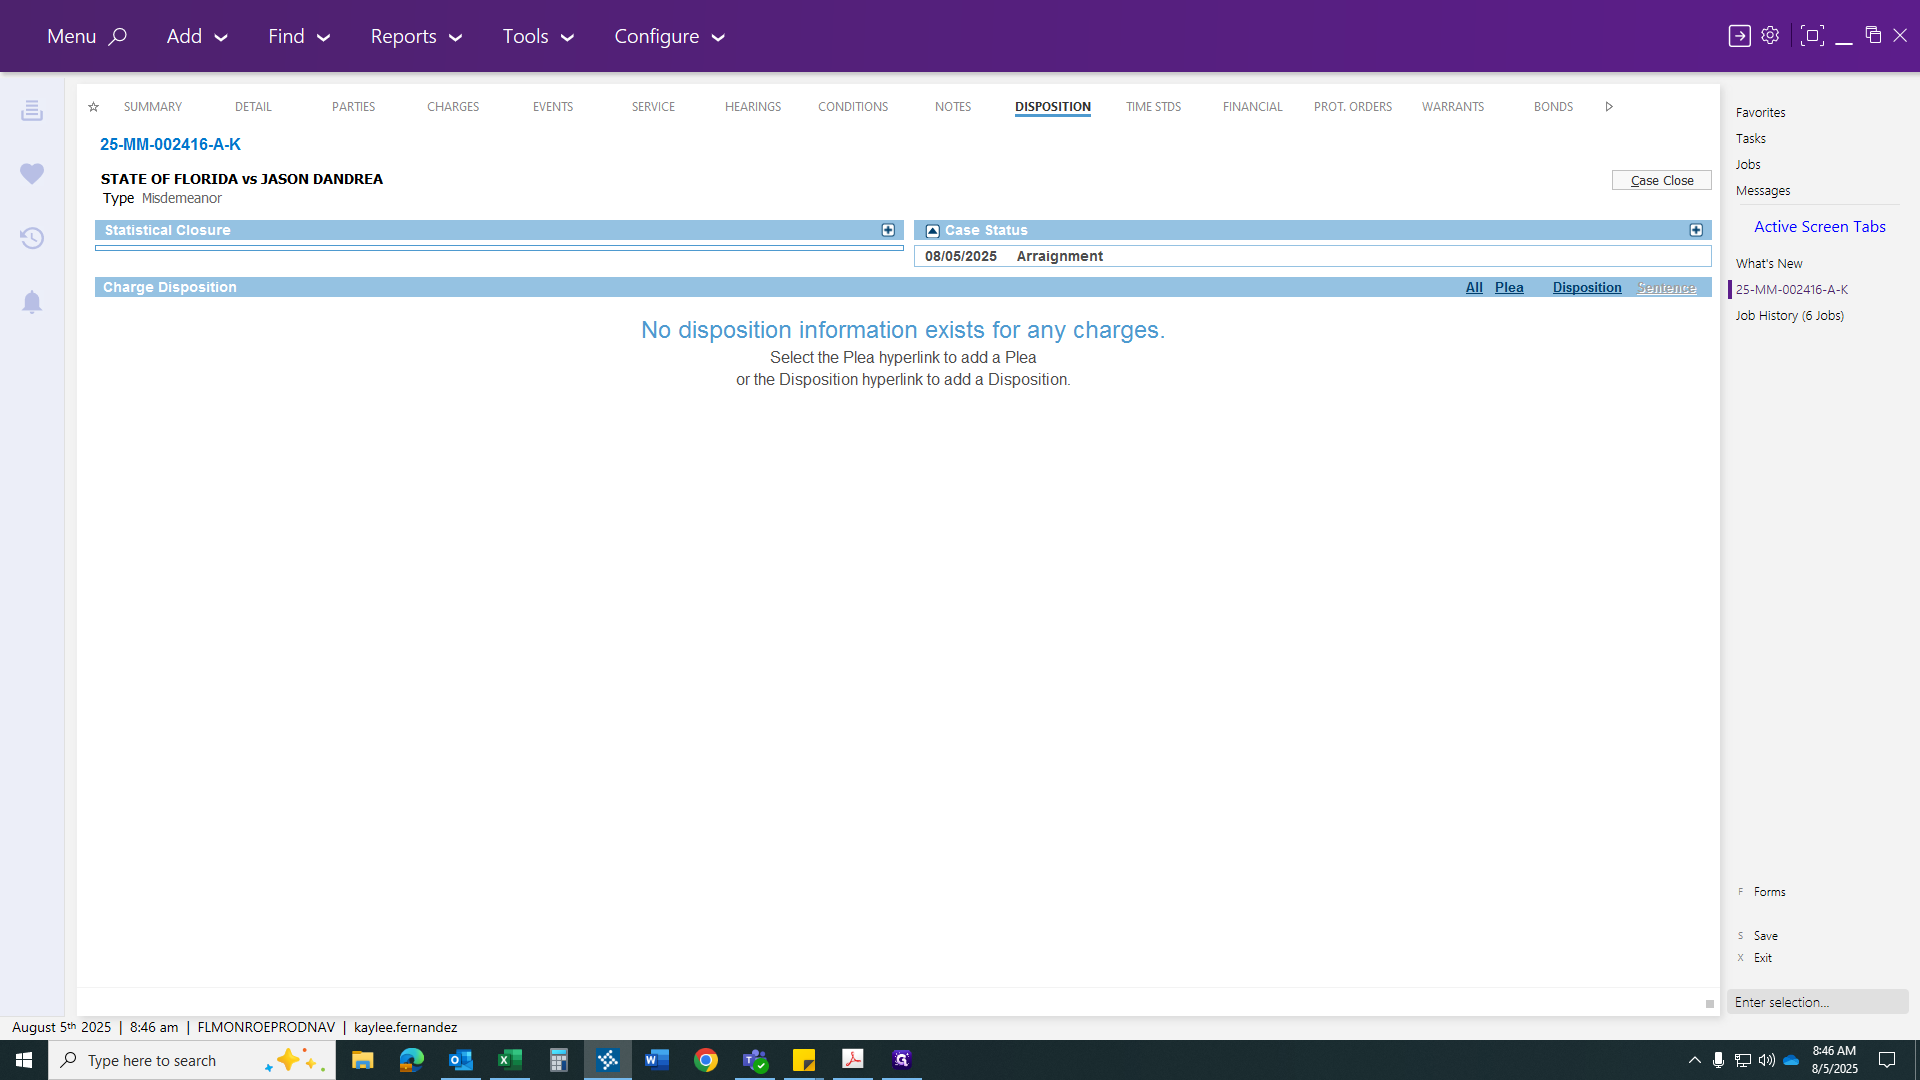
Click save. Now, change the disposition to indicate it's going to an arraignment. Your agreement will be saved, so you just need to complete your paperwork to show the warrant has been served.