How To: Set and Manage Personal Tasks
Learn how to set and manage tasks, edit task details, filter statuses, and optimise your workflow.
By Josh
Introduction
The Task portal is used for logging personal tasks similar to a to-do list to keep all relevant information and actions contained within your main workflow location. With access to a Kanban Board, List, and Grid view, there's a solution for you.
Workspace Navigation Options
Depending on your daily needs, you can visualise your workload through several distinct layouts.
View Option | Purpose |
|---|---|
Kanban View | Visually drag and drop tasks across columns like "To Do", "Doing", and "Done". |
Grid View | Display tasks in a dense table layout, ideal for bulk filtering and sorting. |
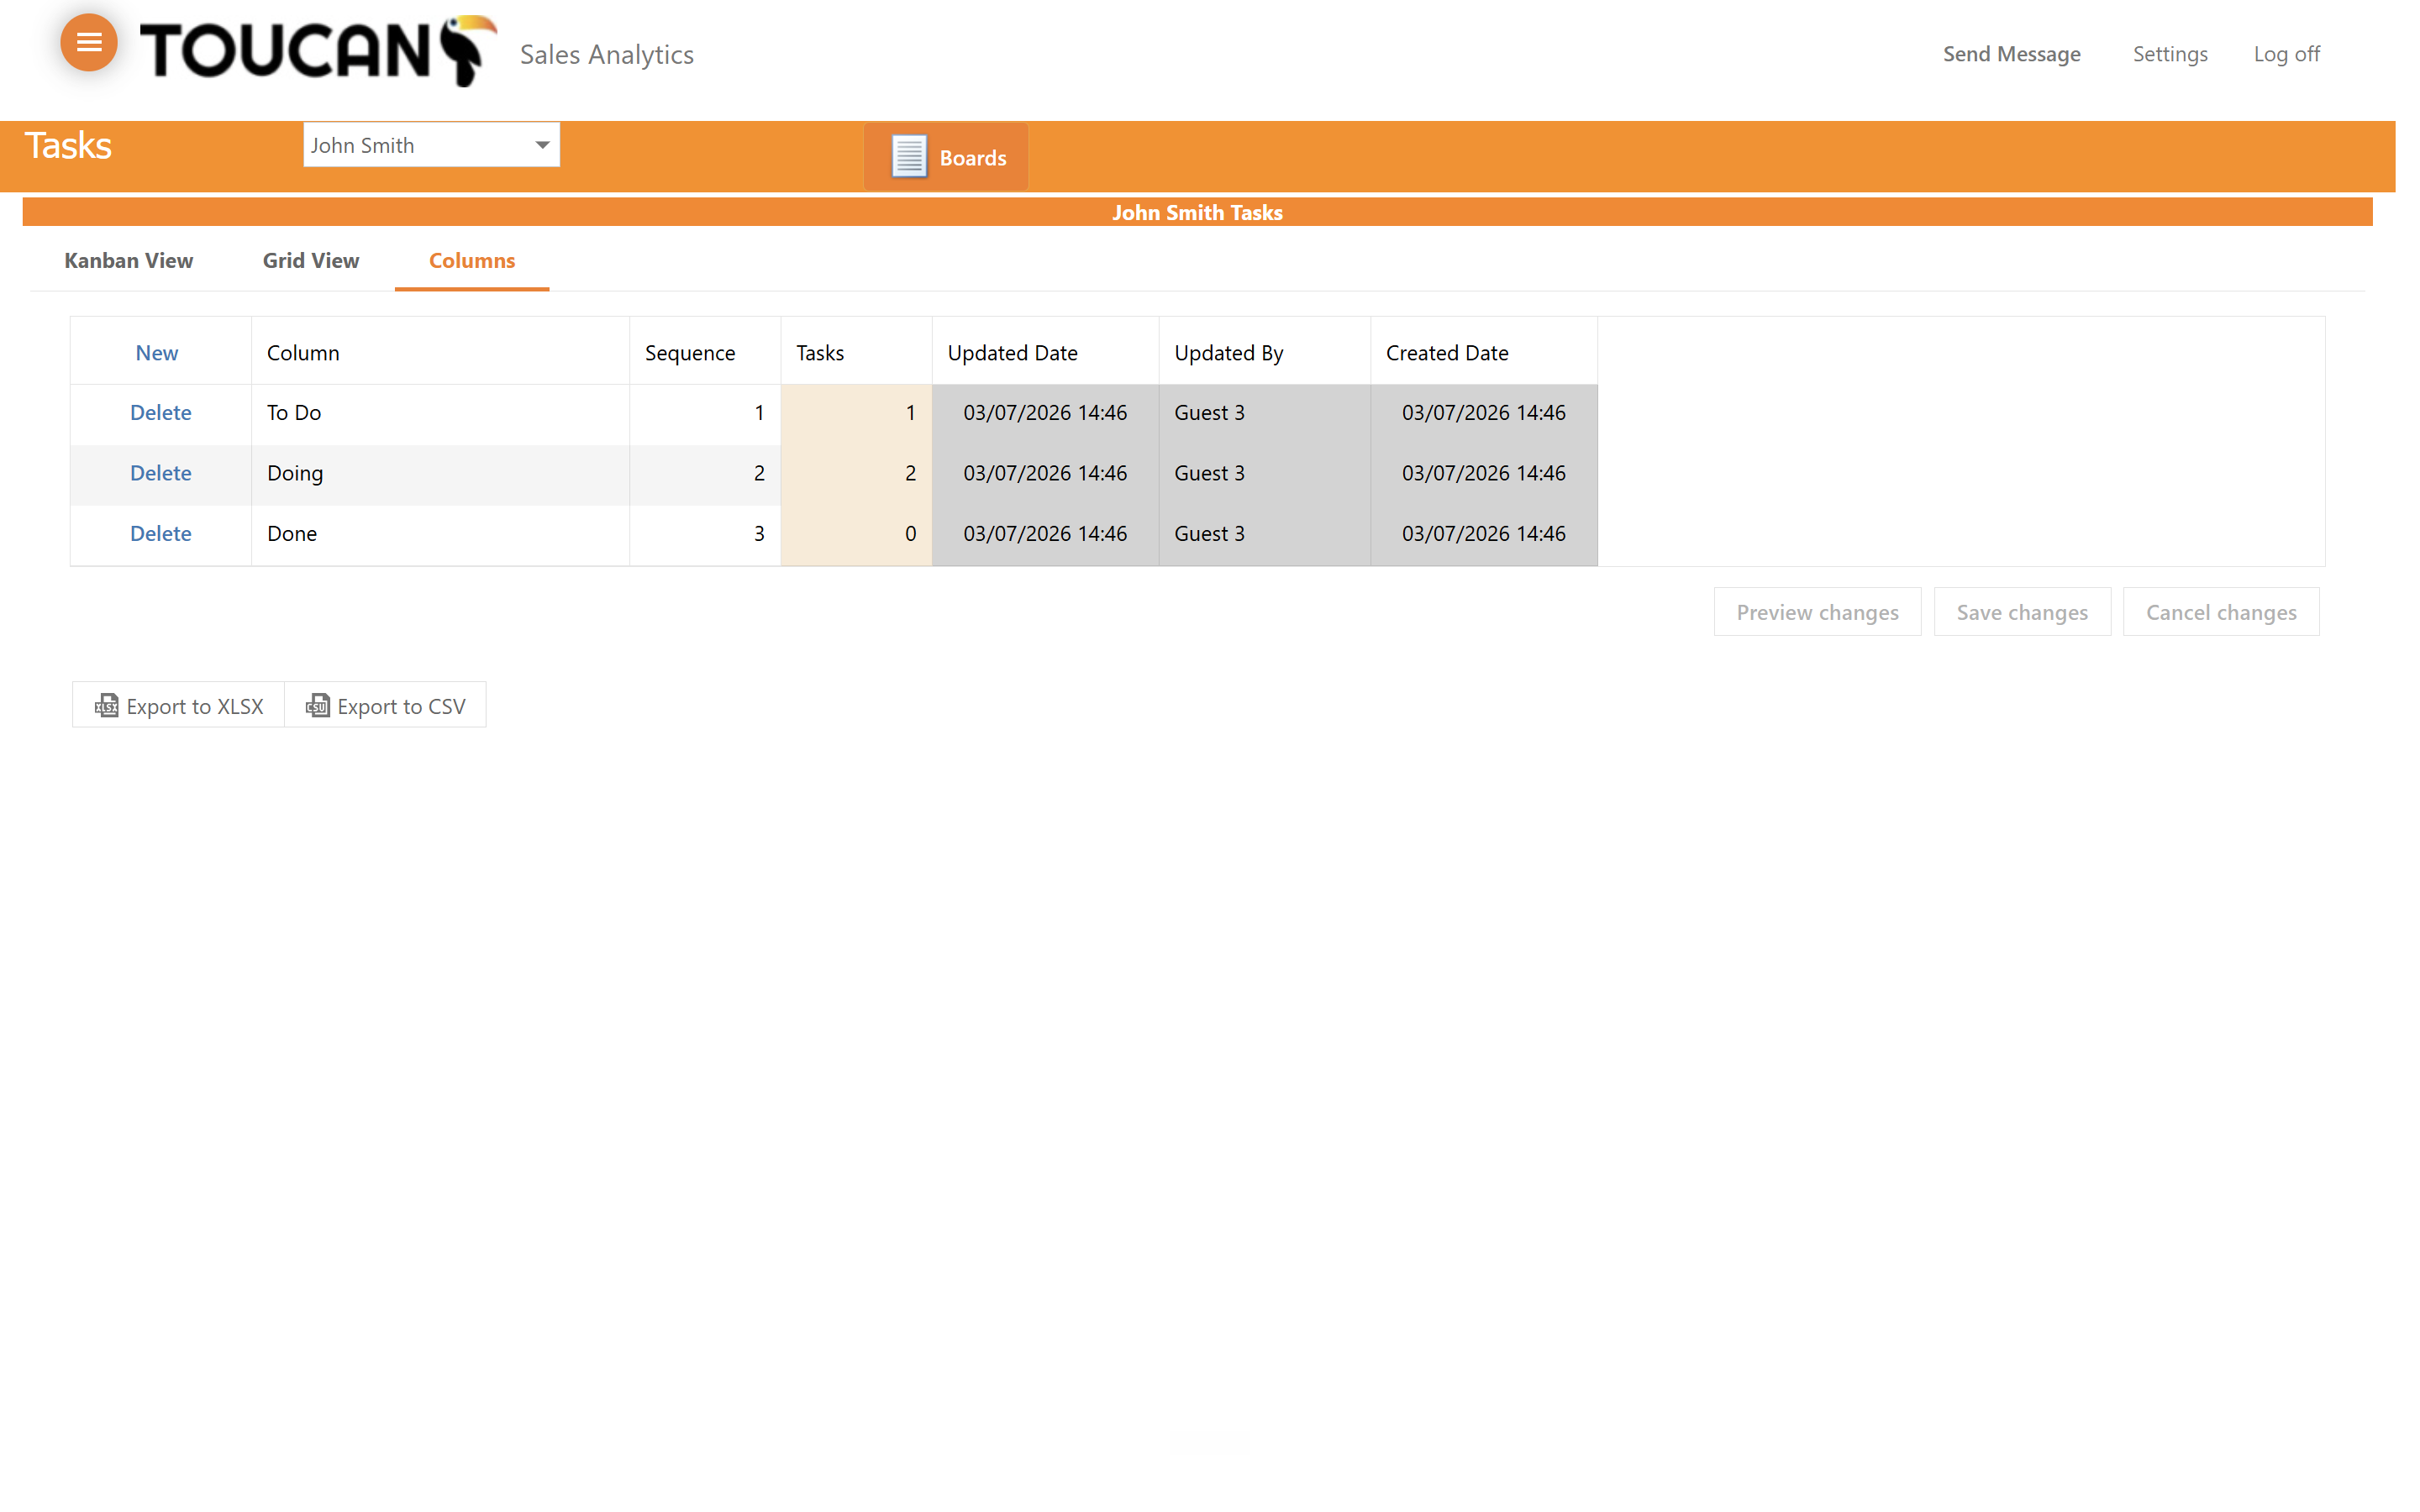
Columns | Manage and customise the specific data categories tracked within your board. |
Editing and Organising Tasks
1
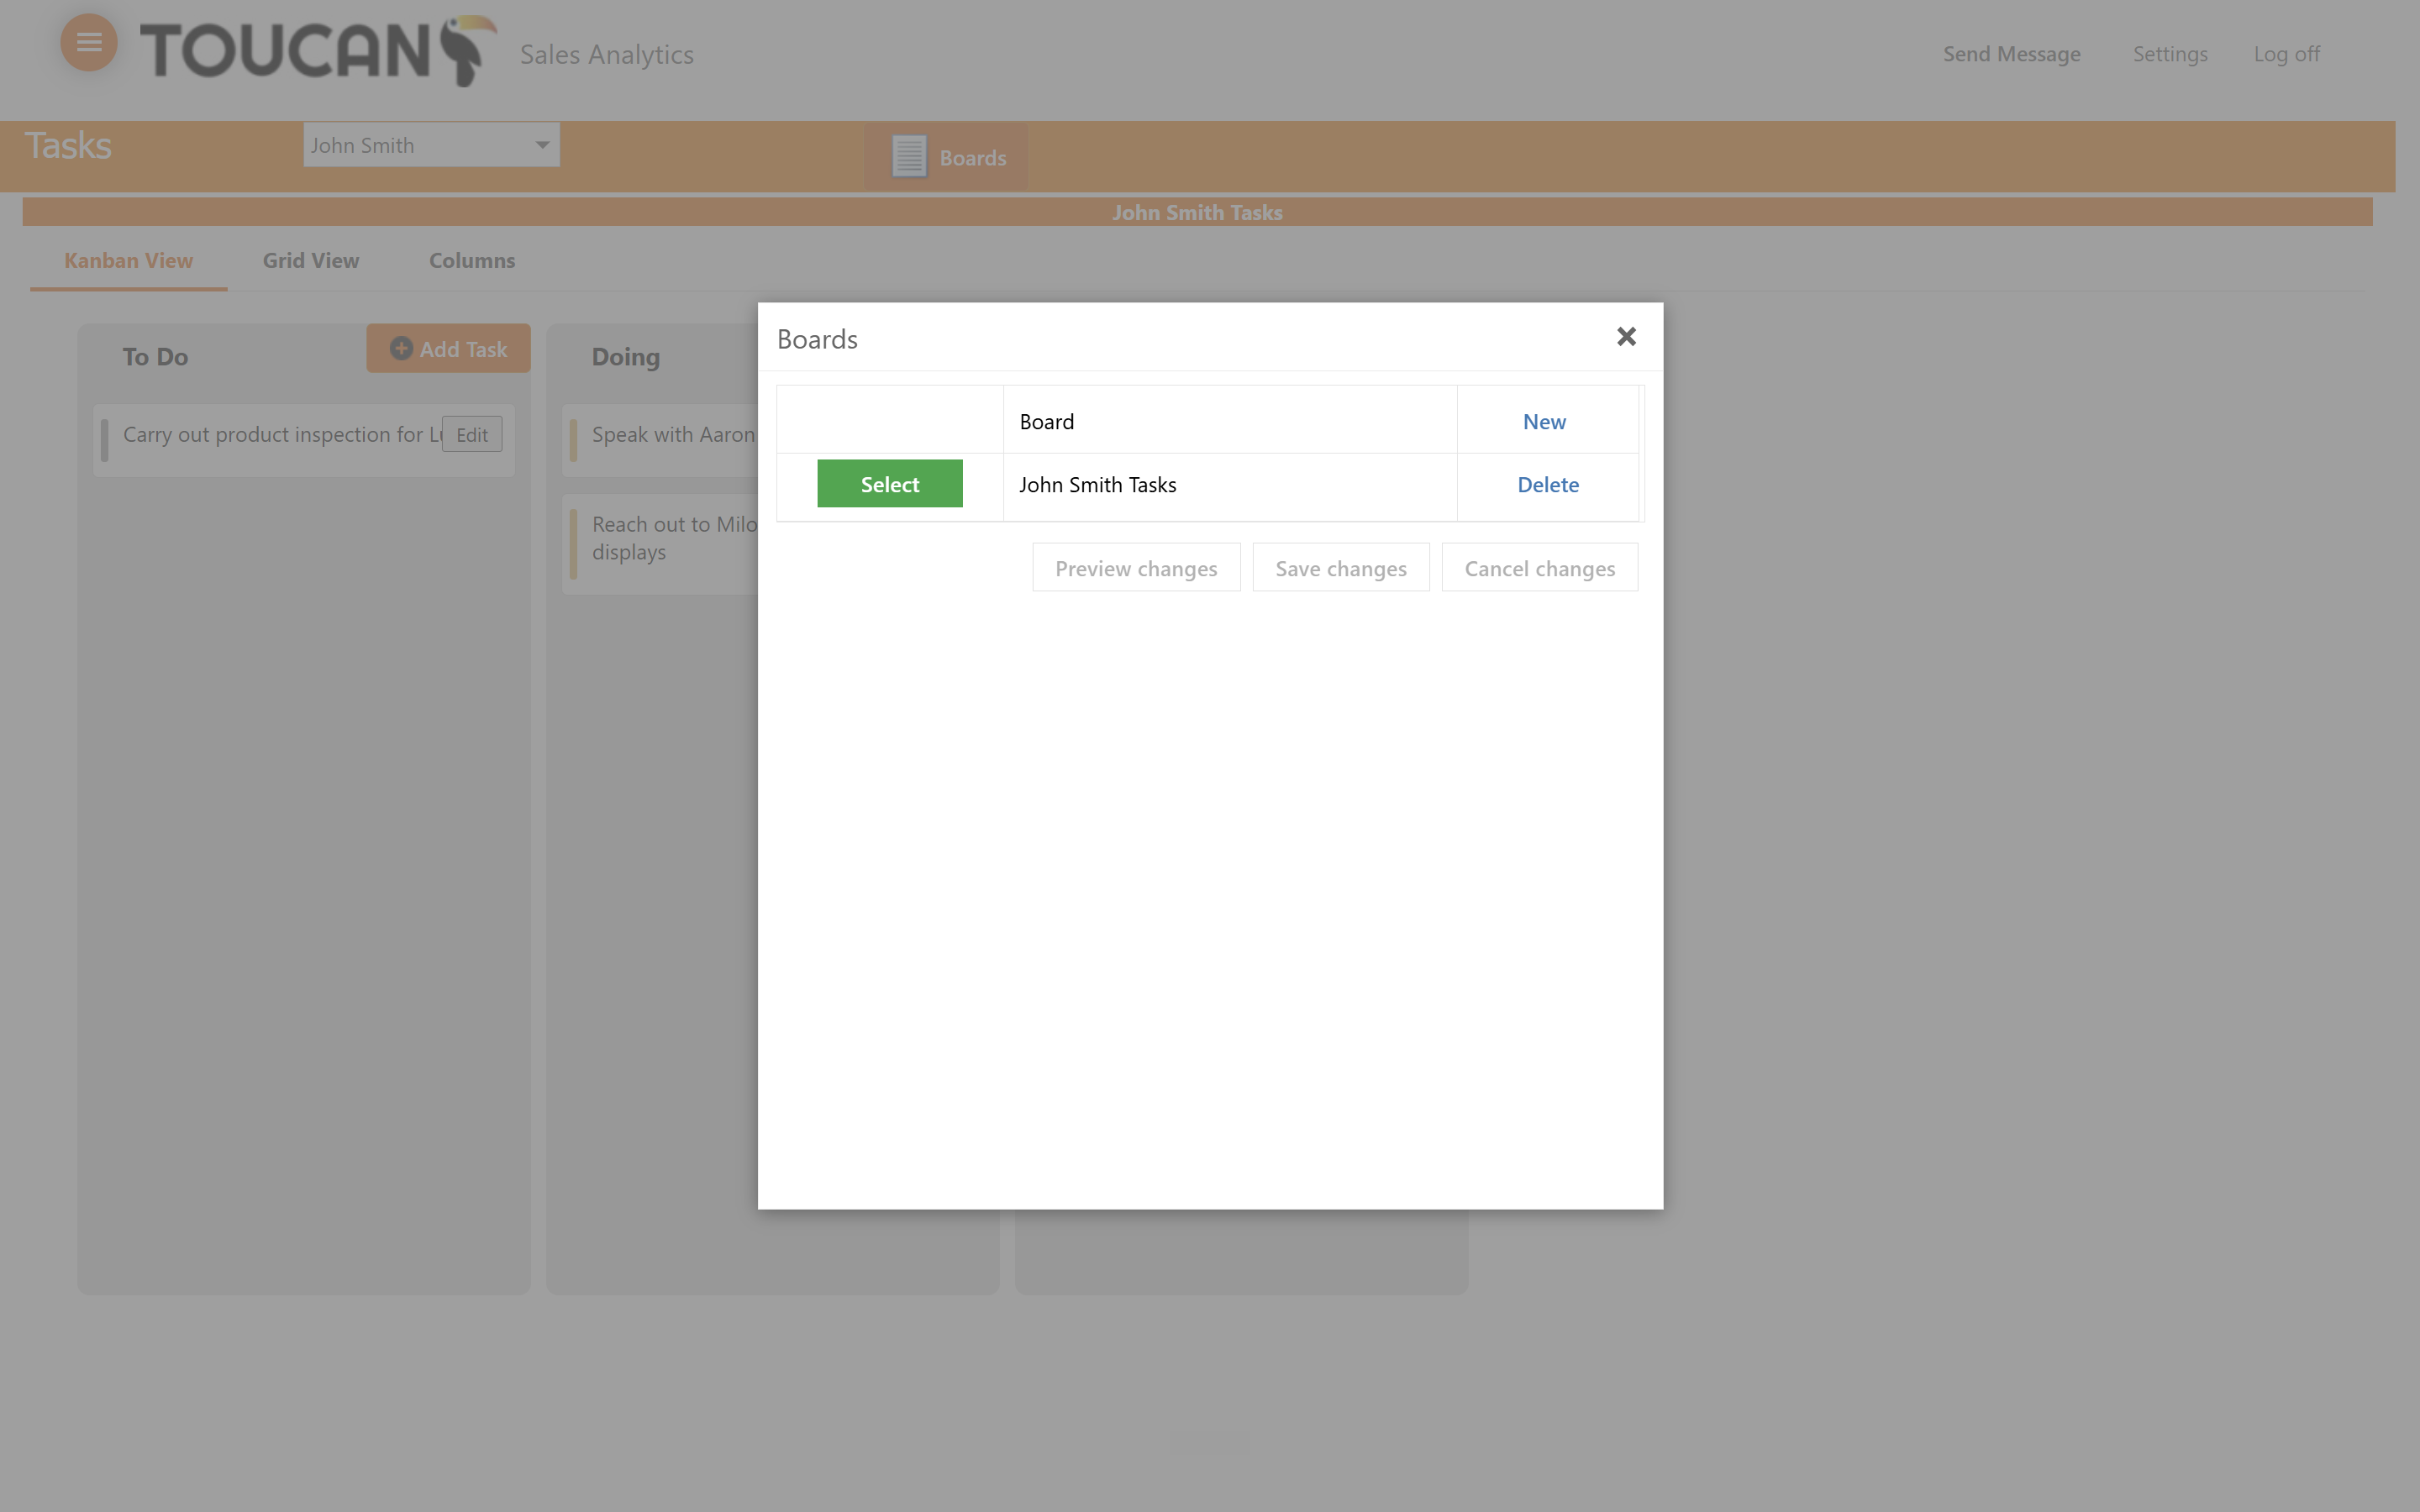
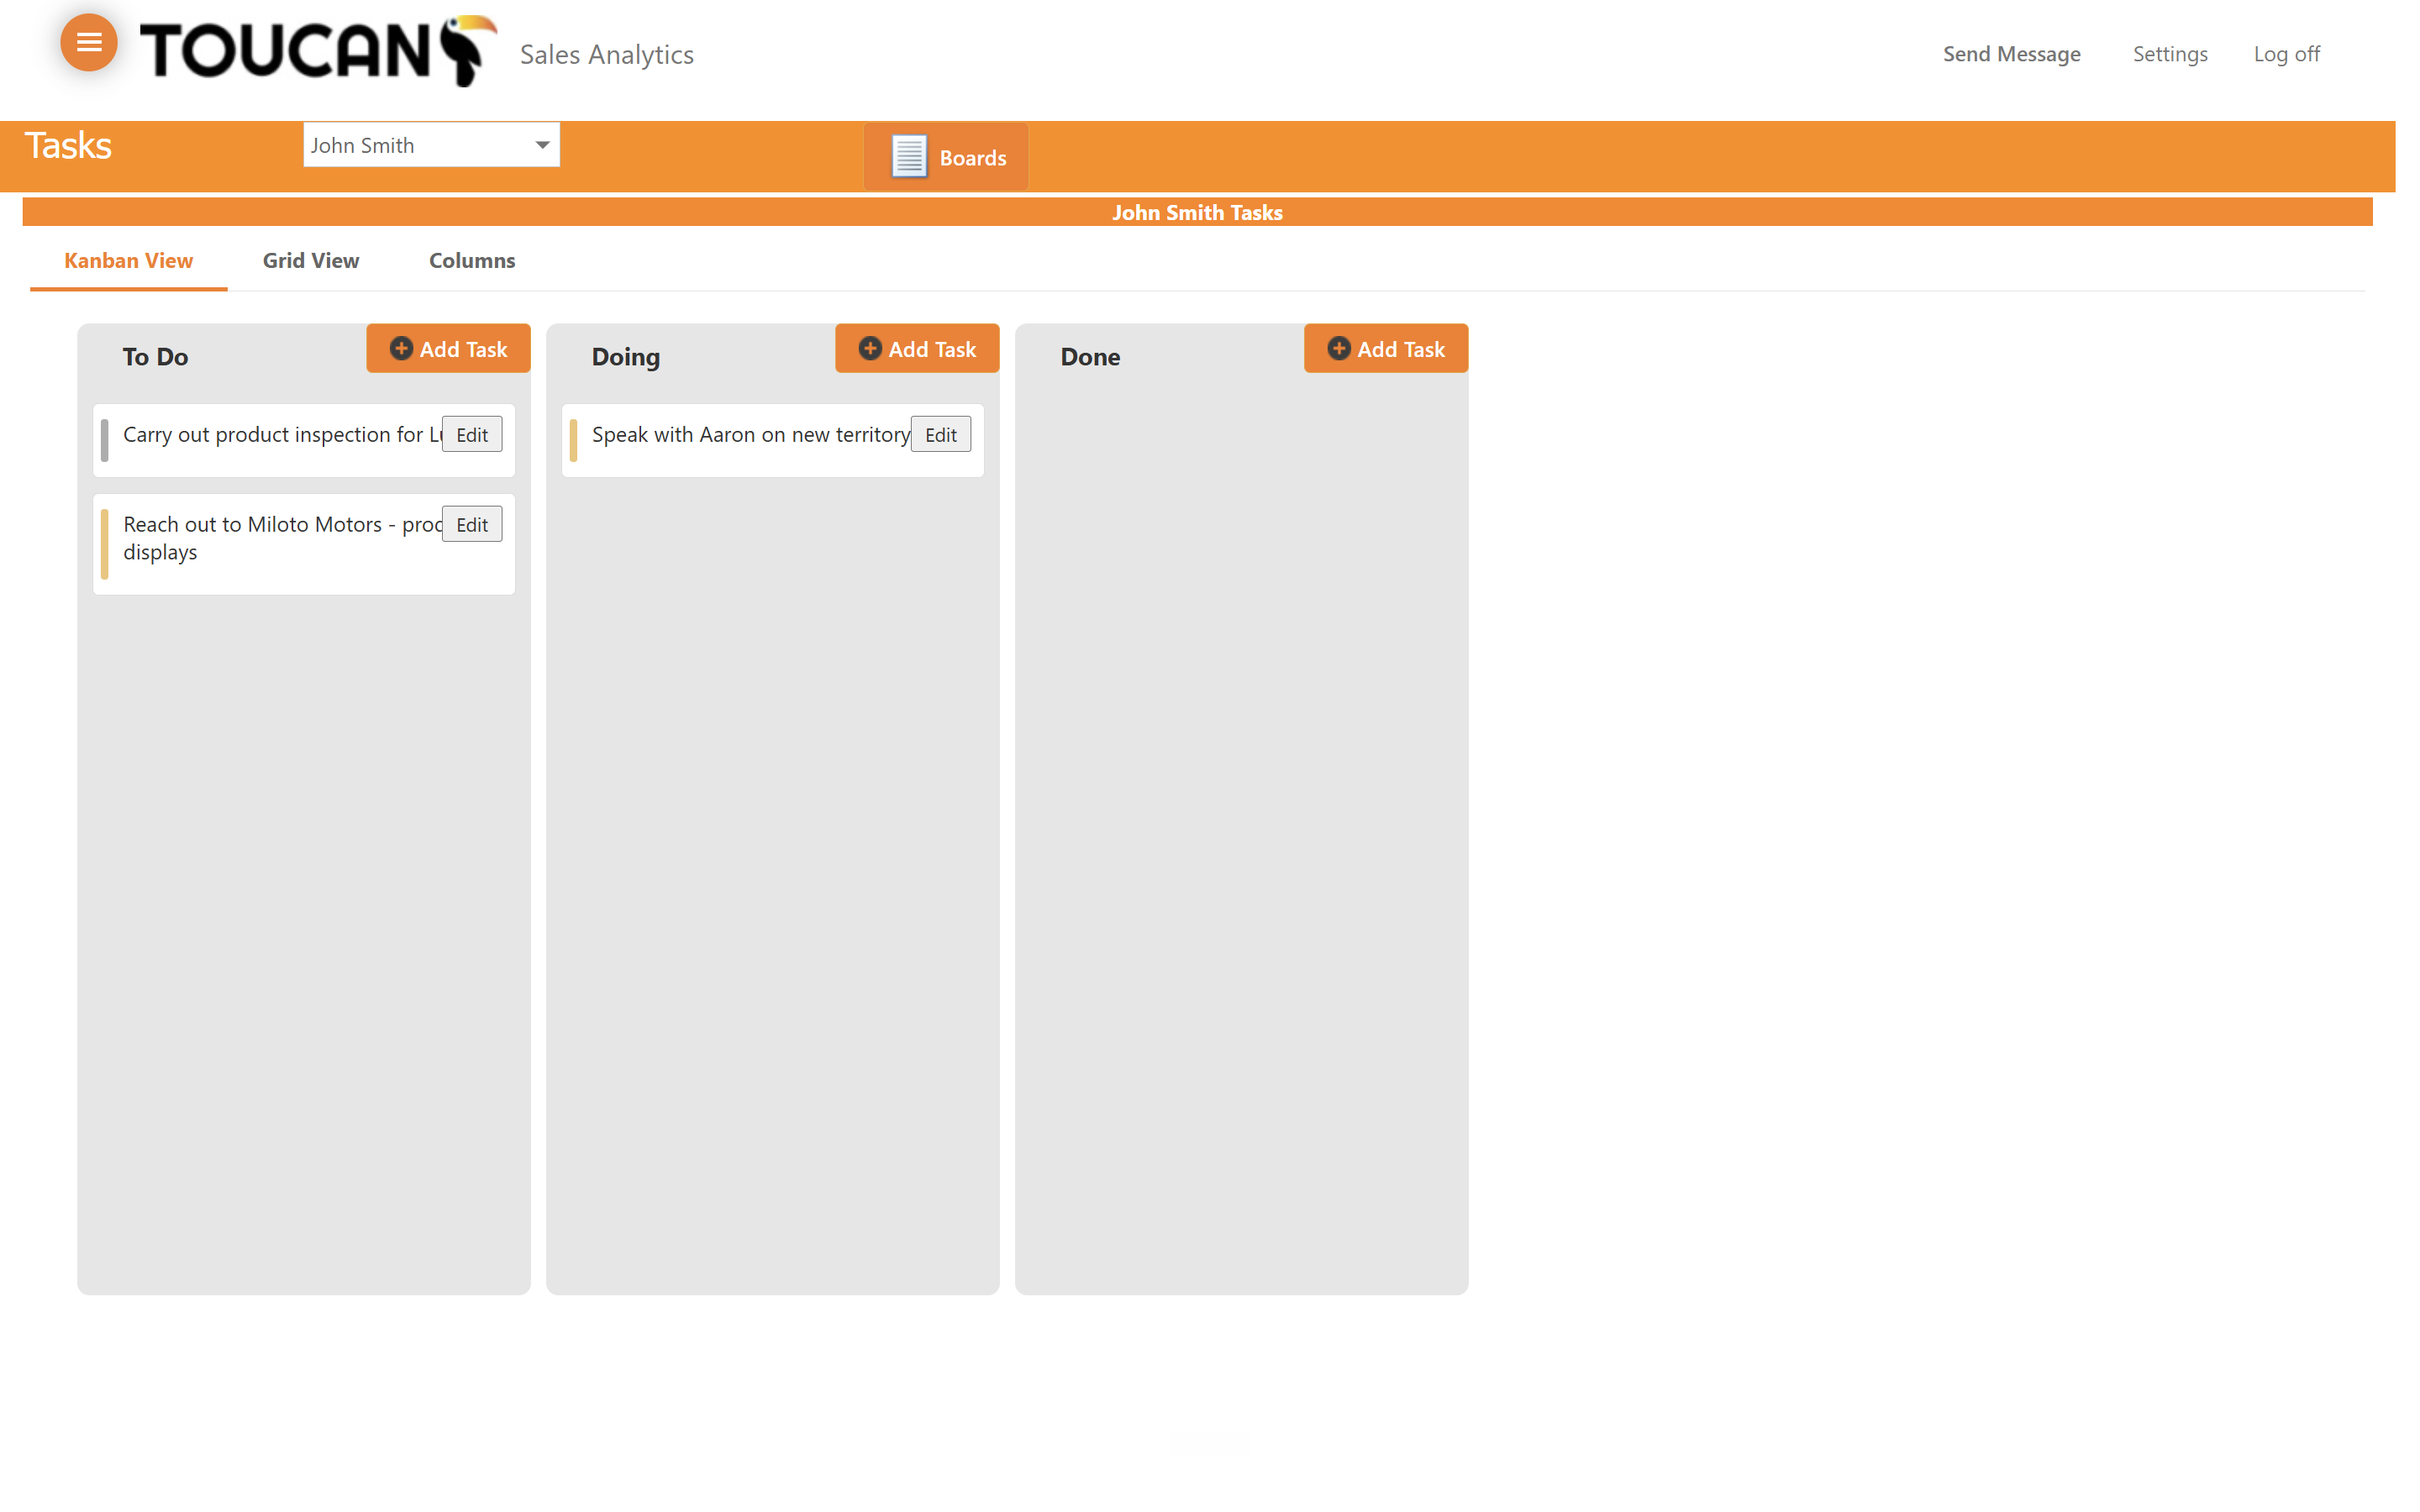
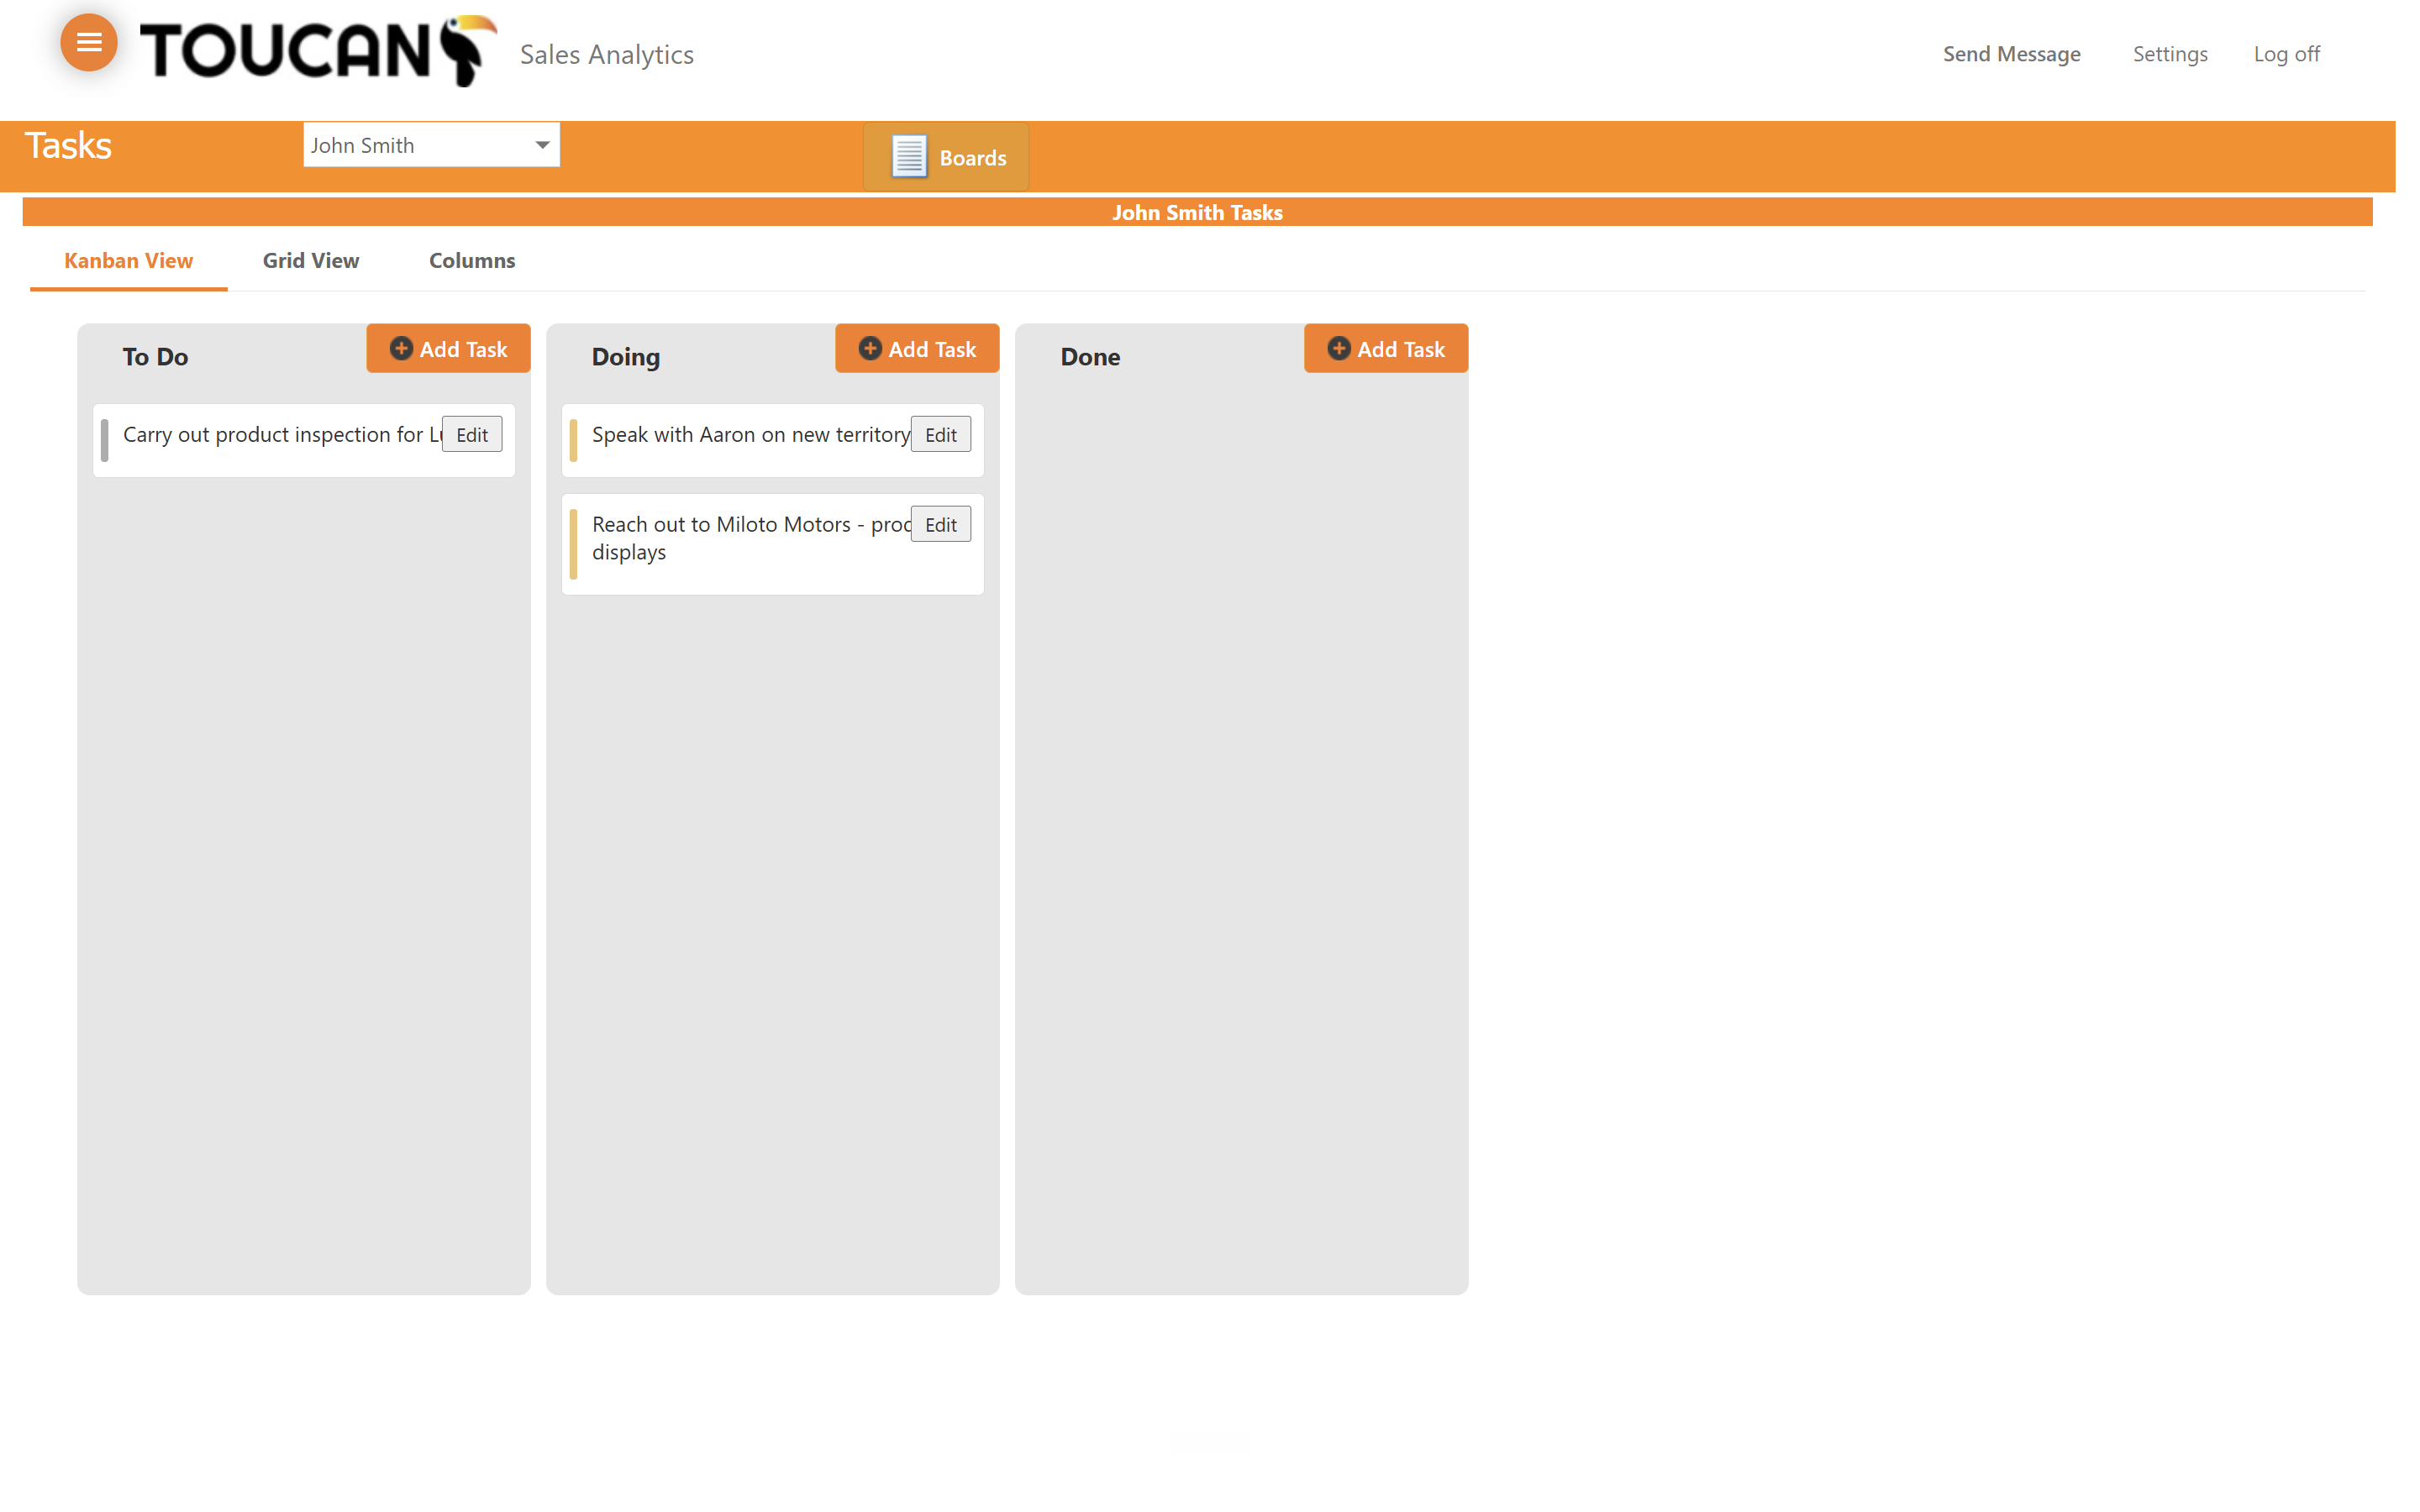
Click Kanban View to open your visual task board.
2
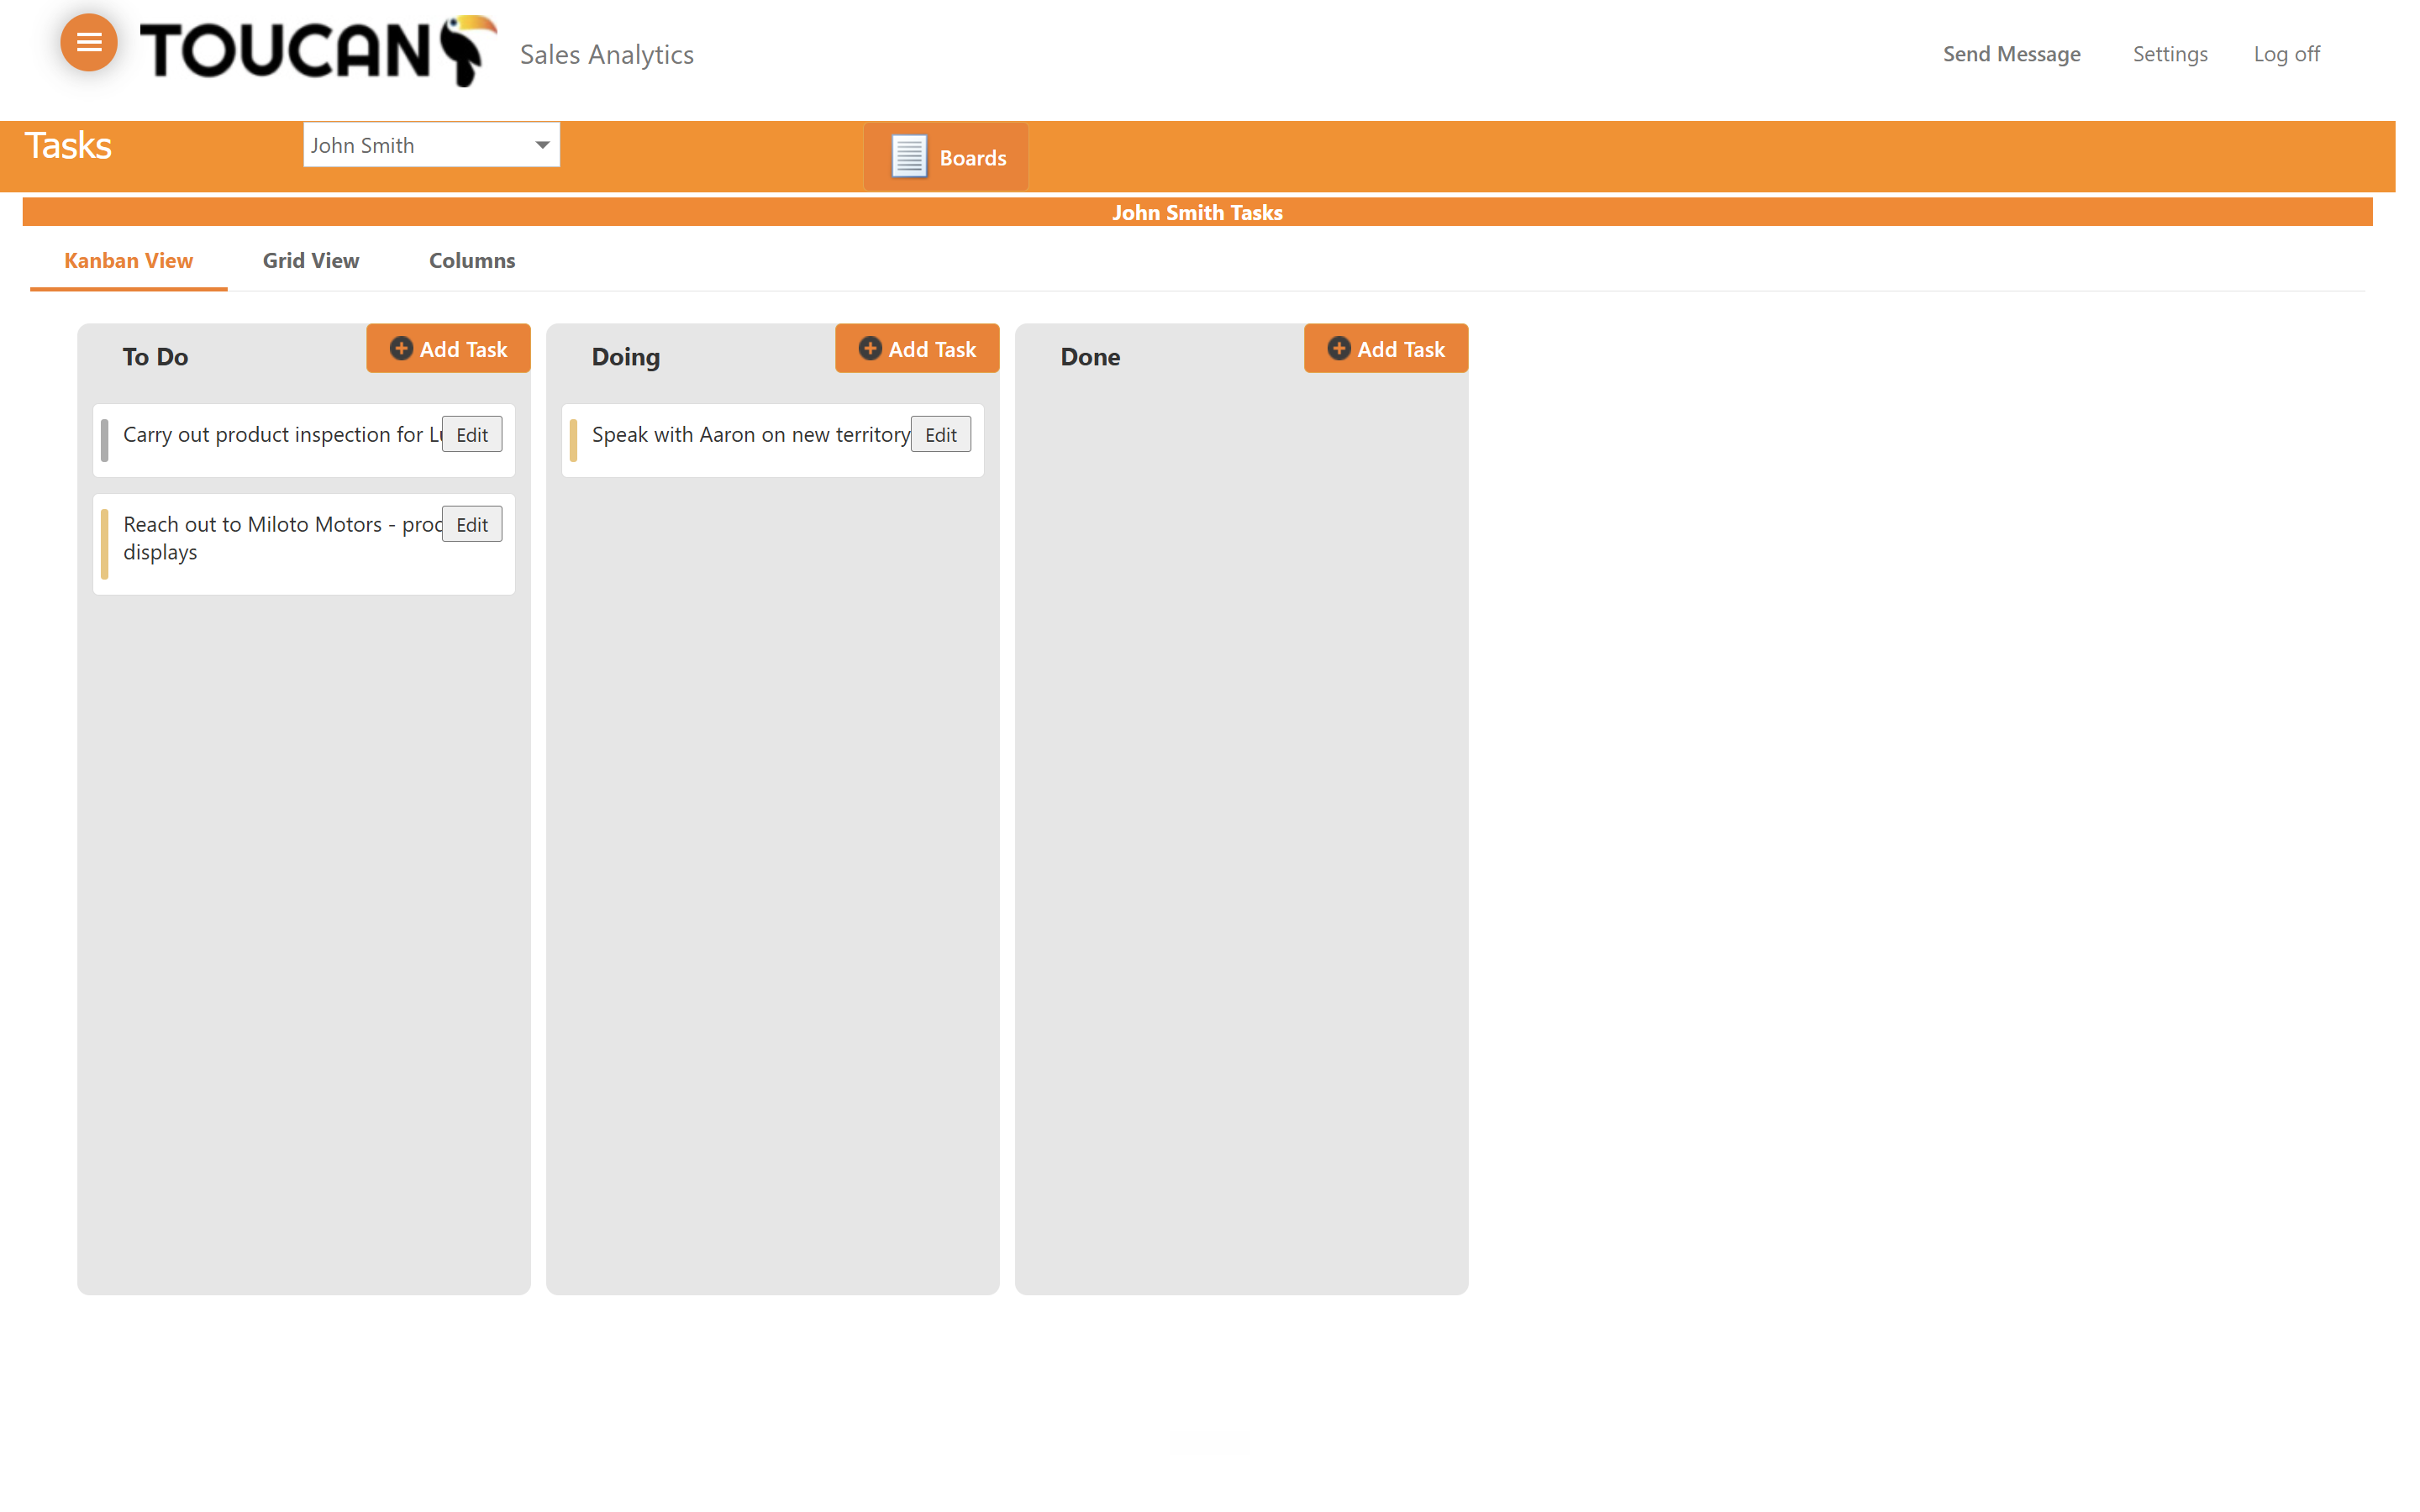
Click + Add Task at the top of any column to create a new task directly in that status.
3
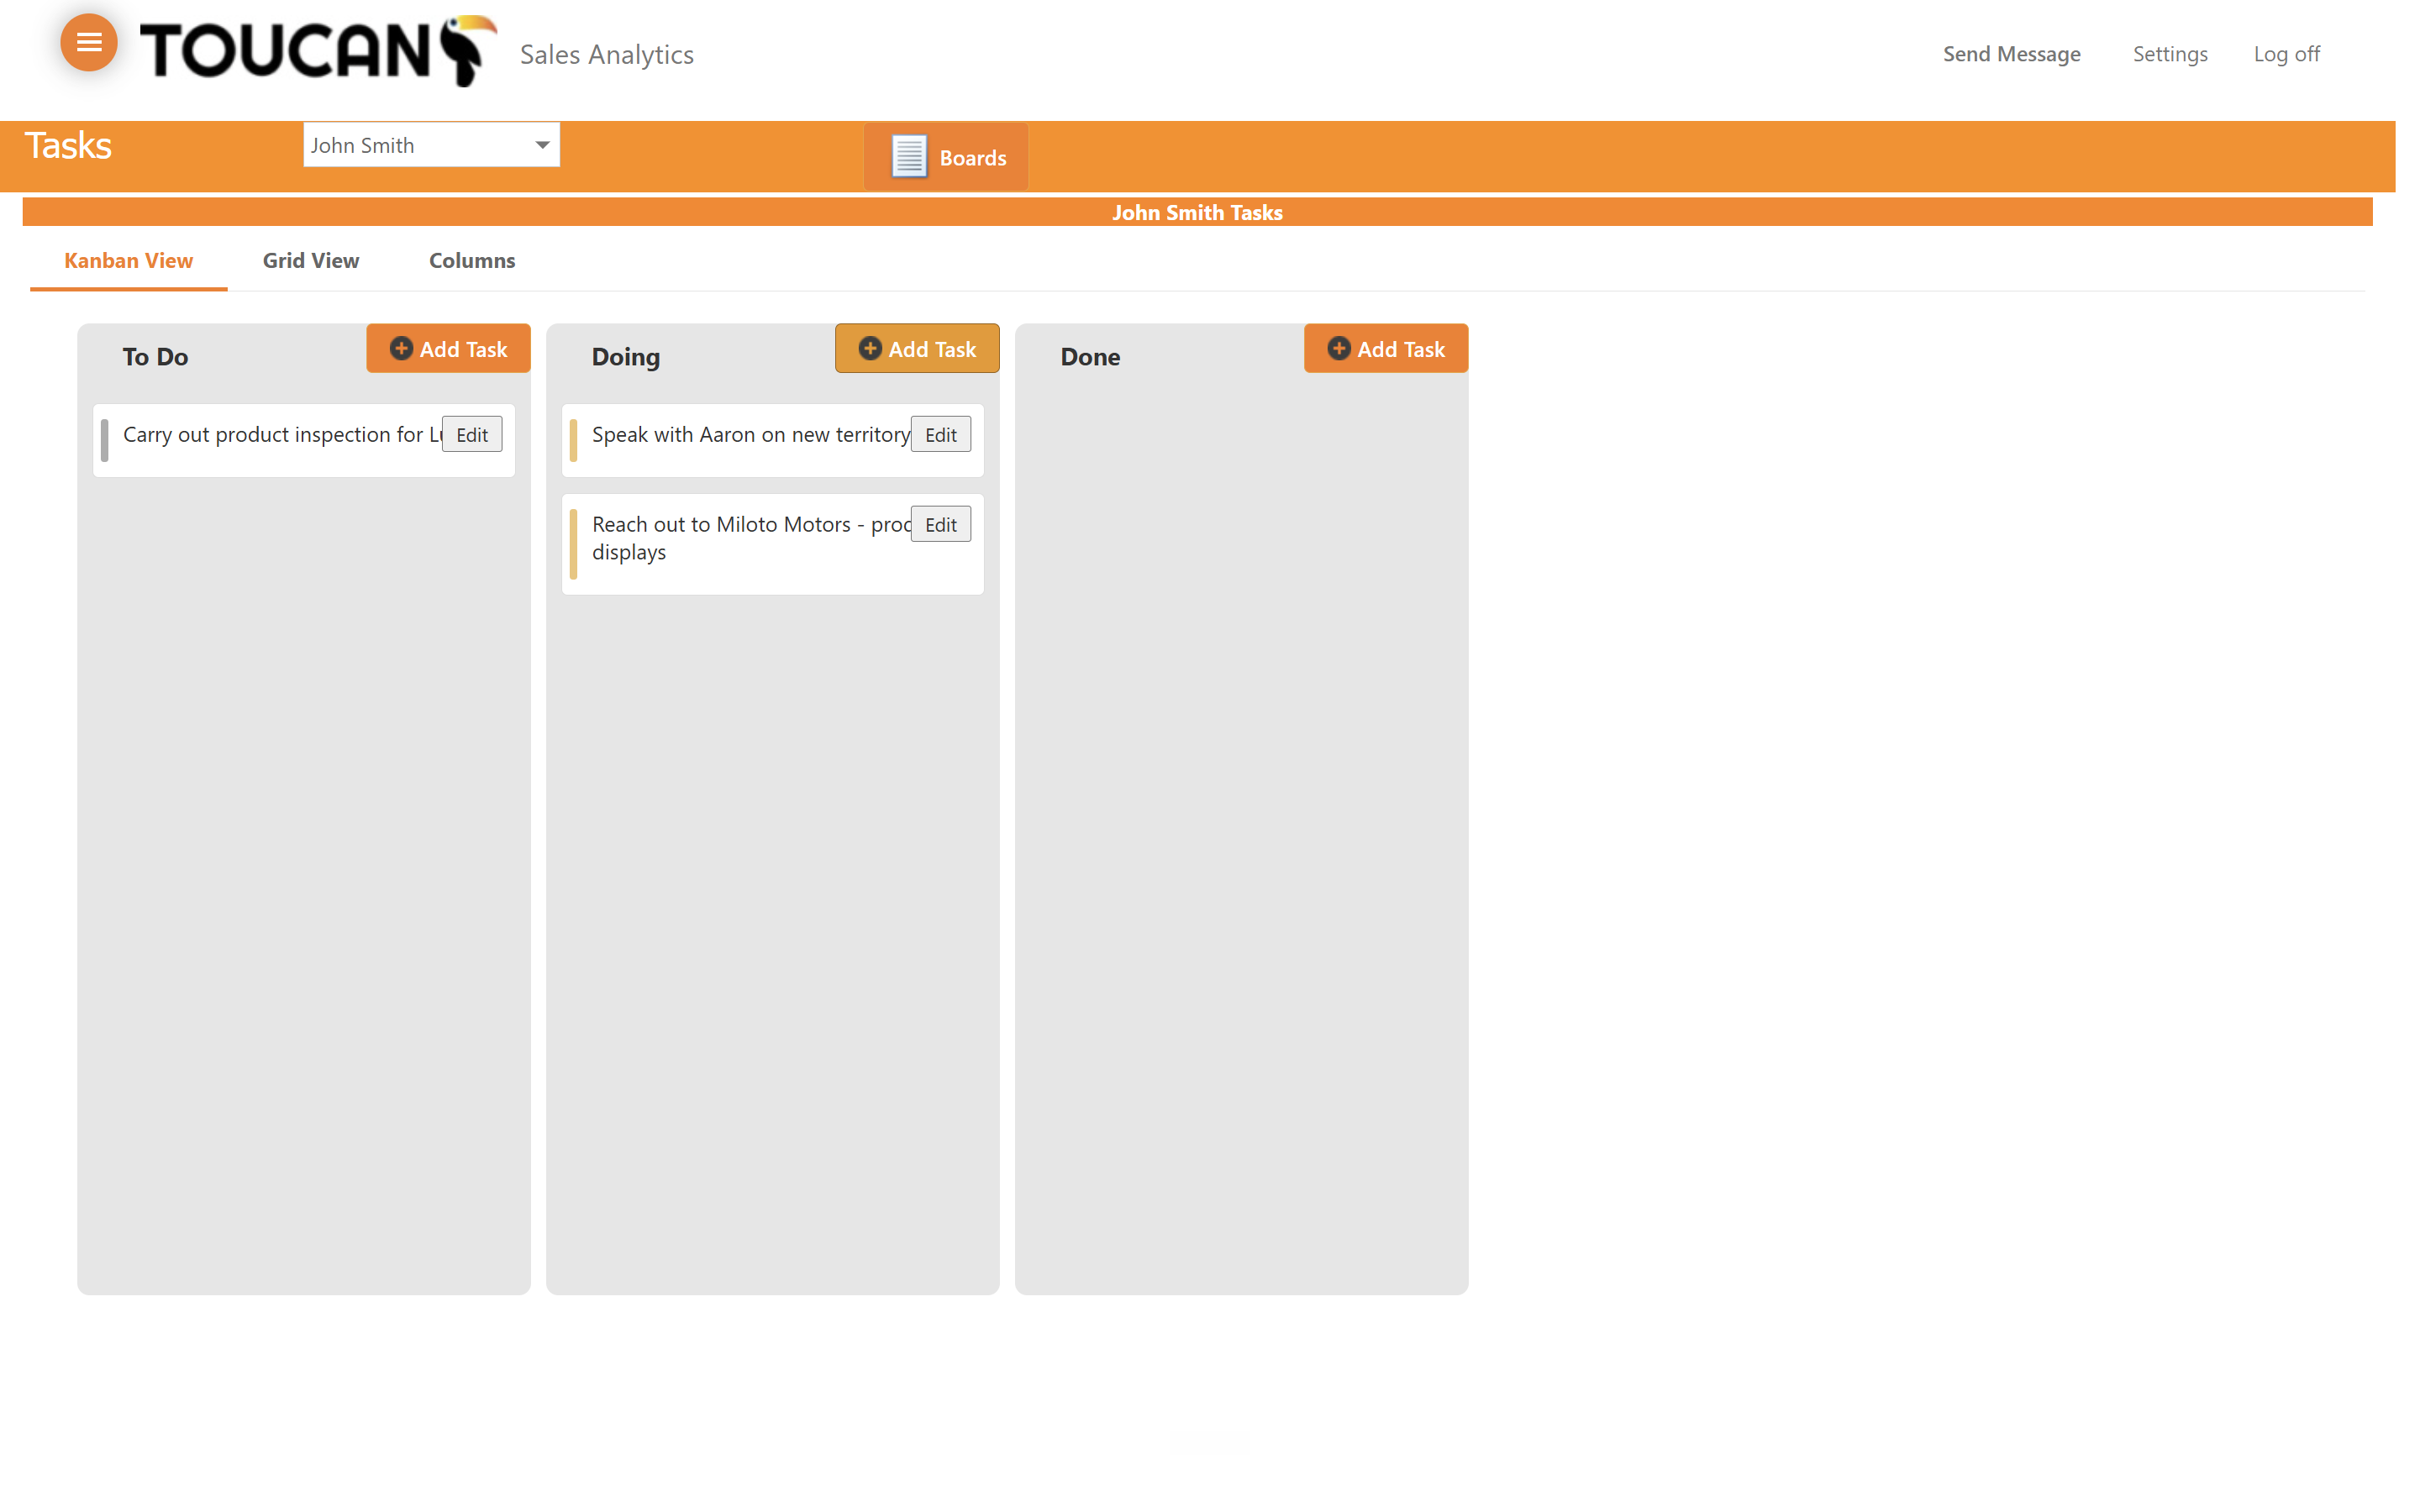
Fill out the new task's information such as title, description, priority and due date for completion using the task configuration form. Click OK to save your task.
4
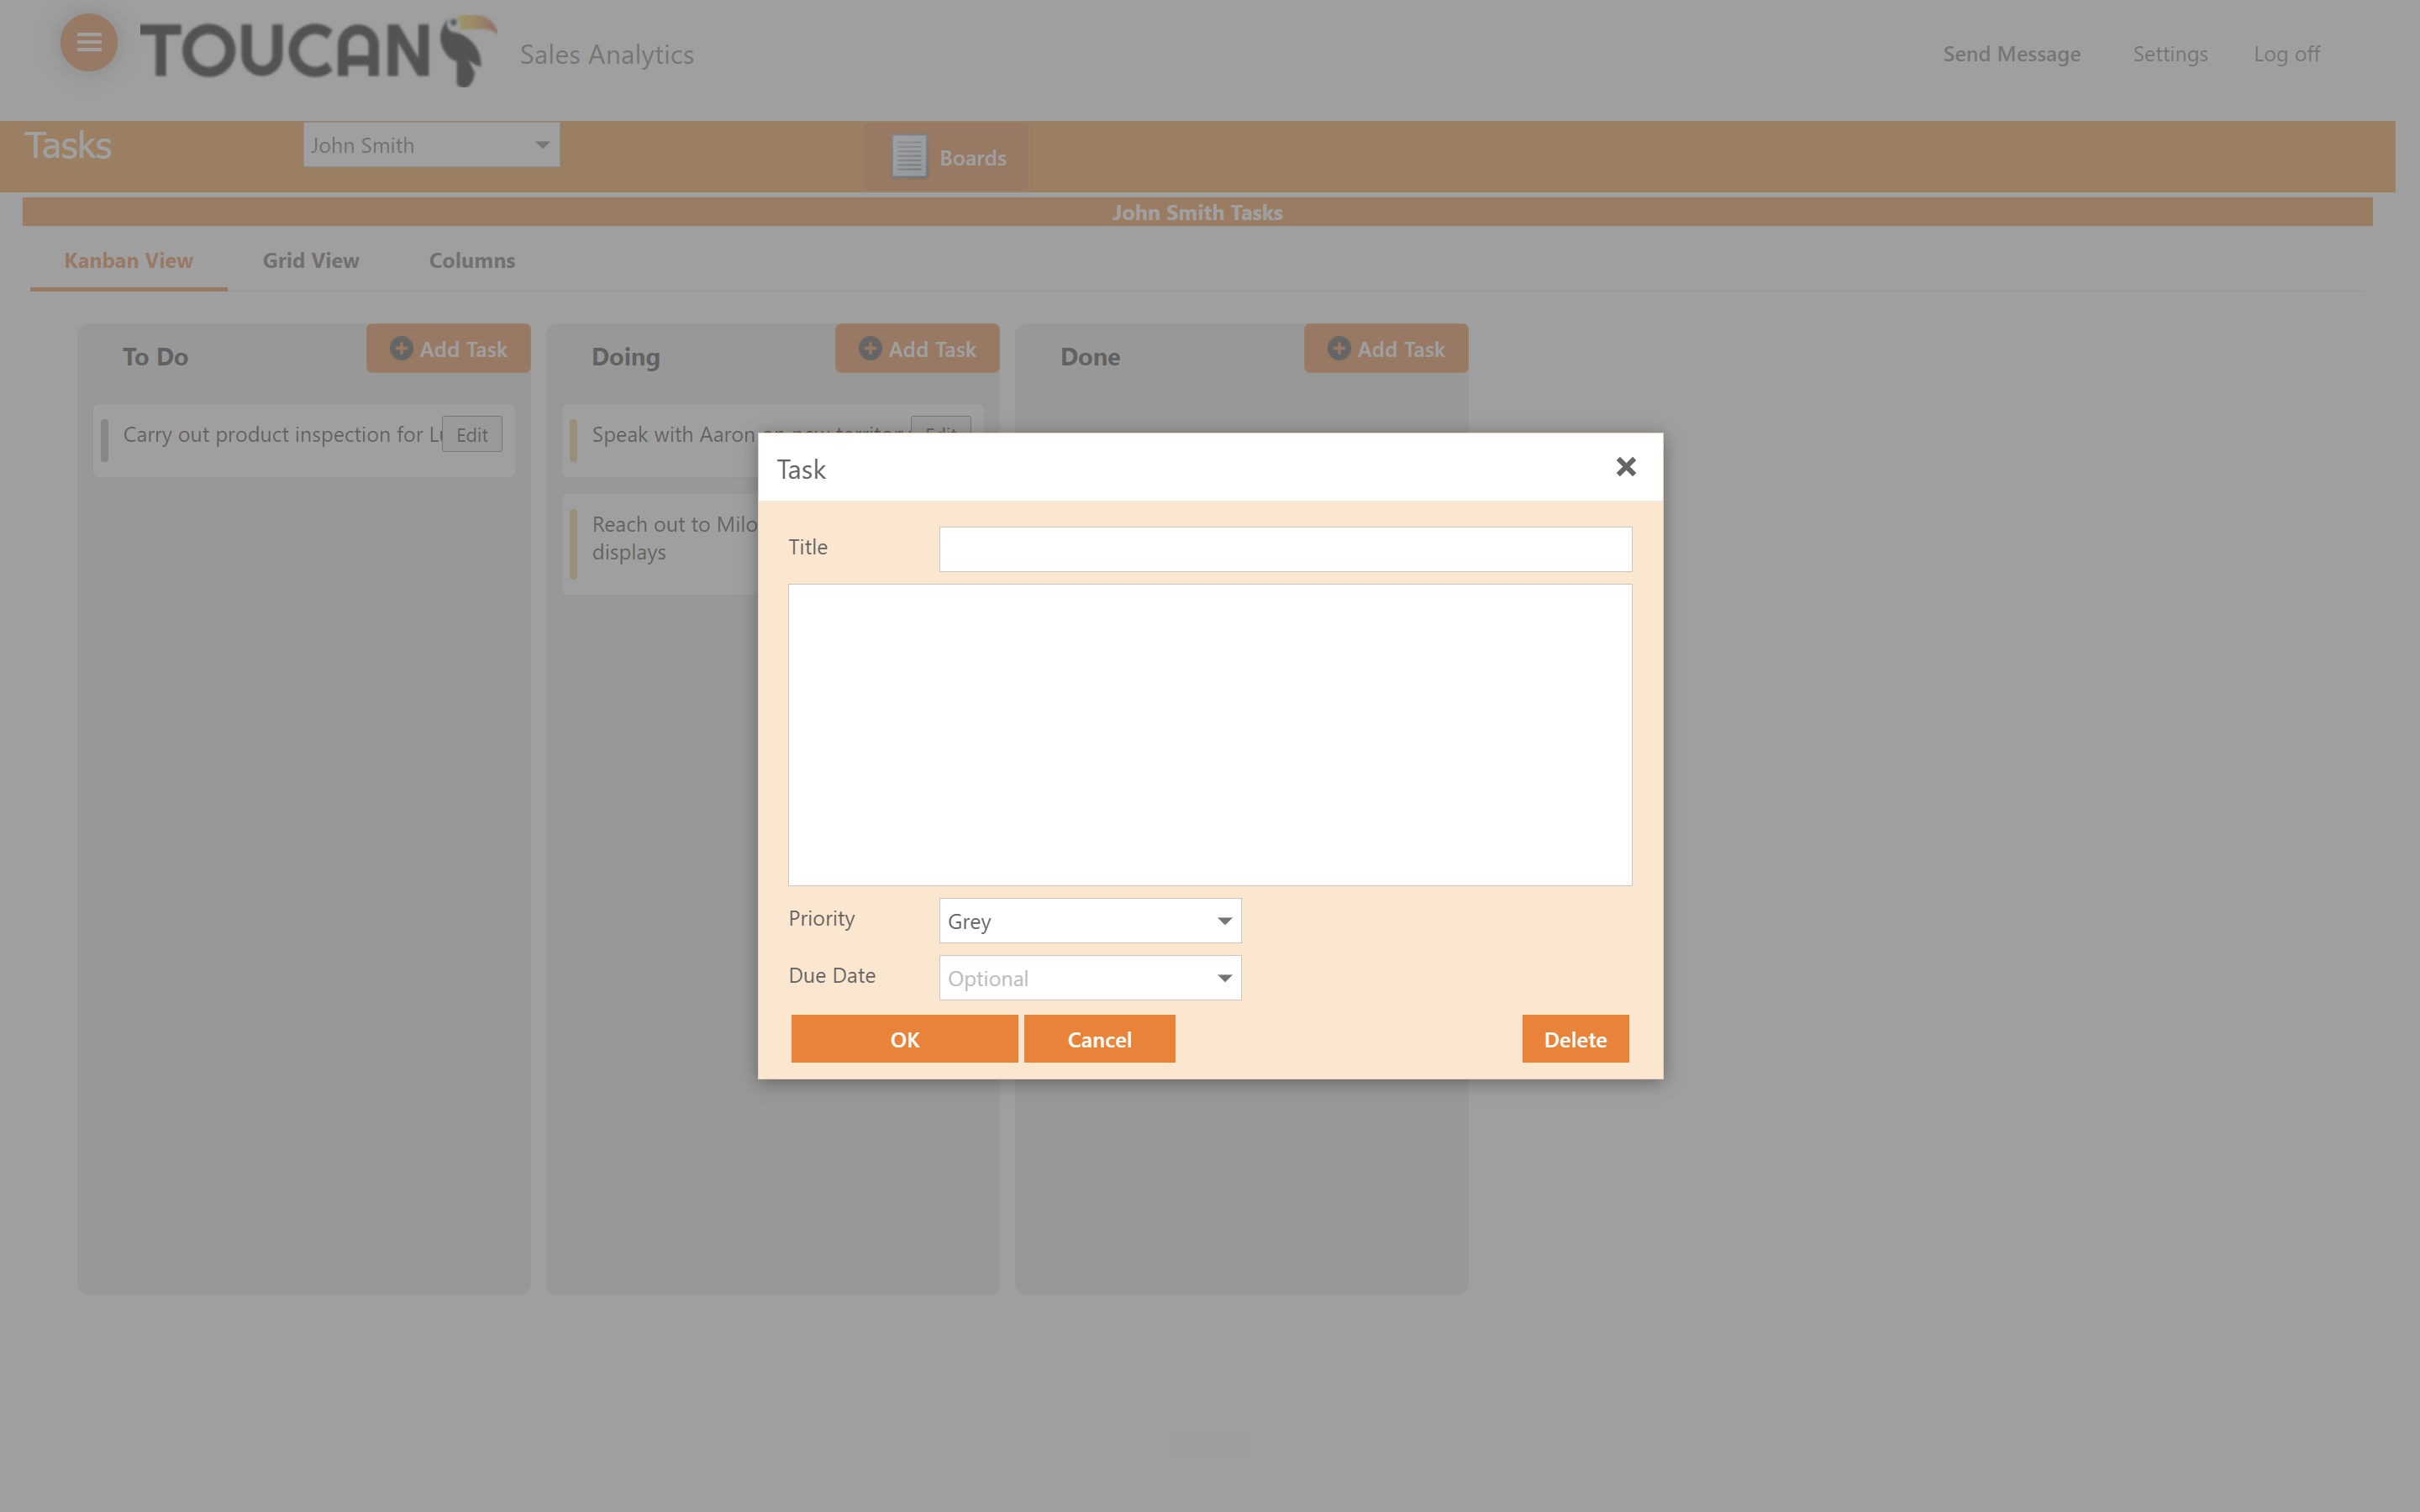
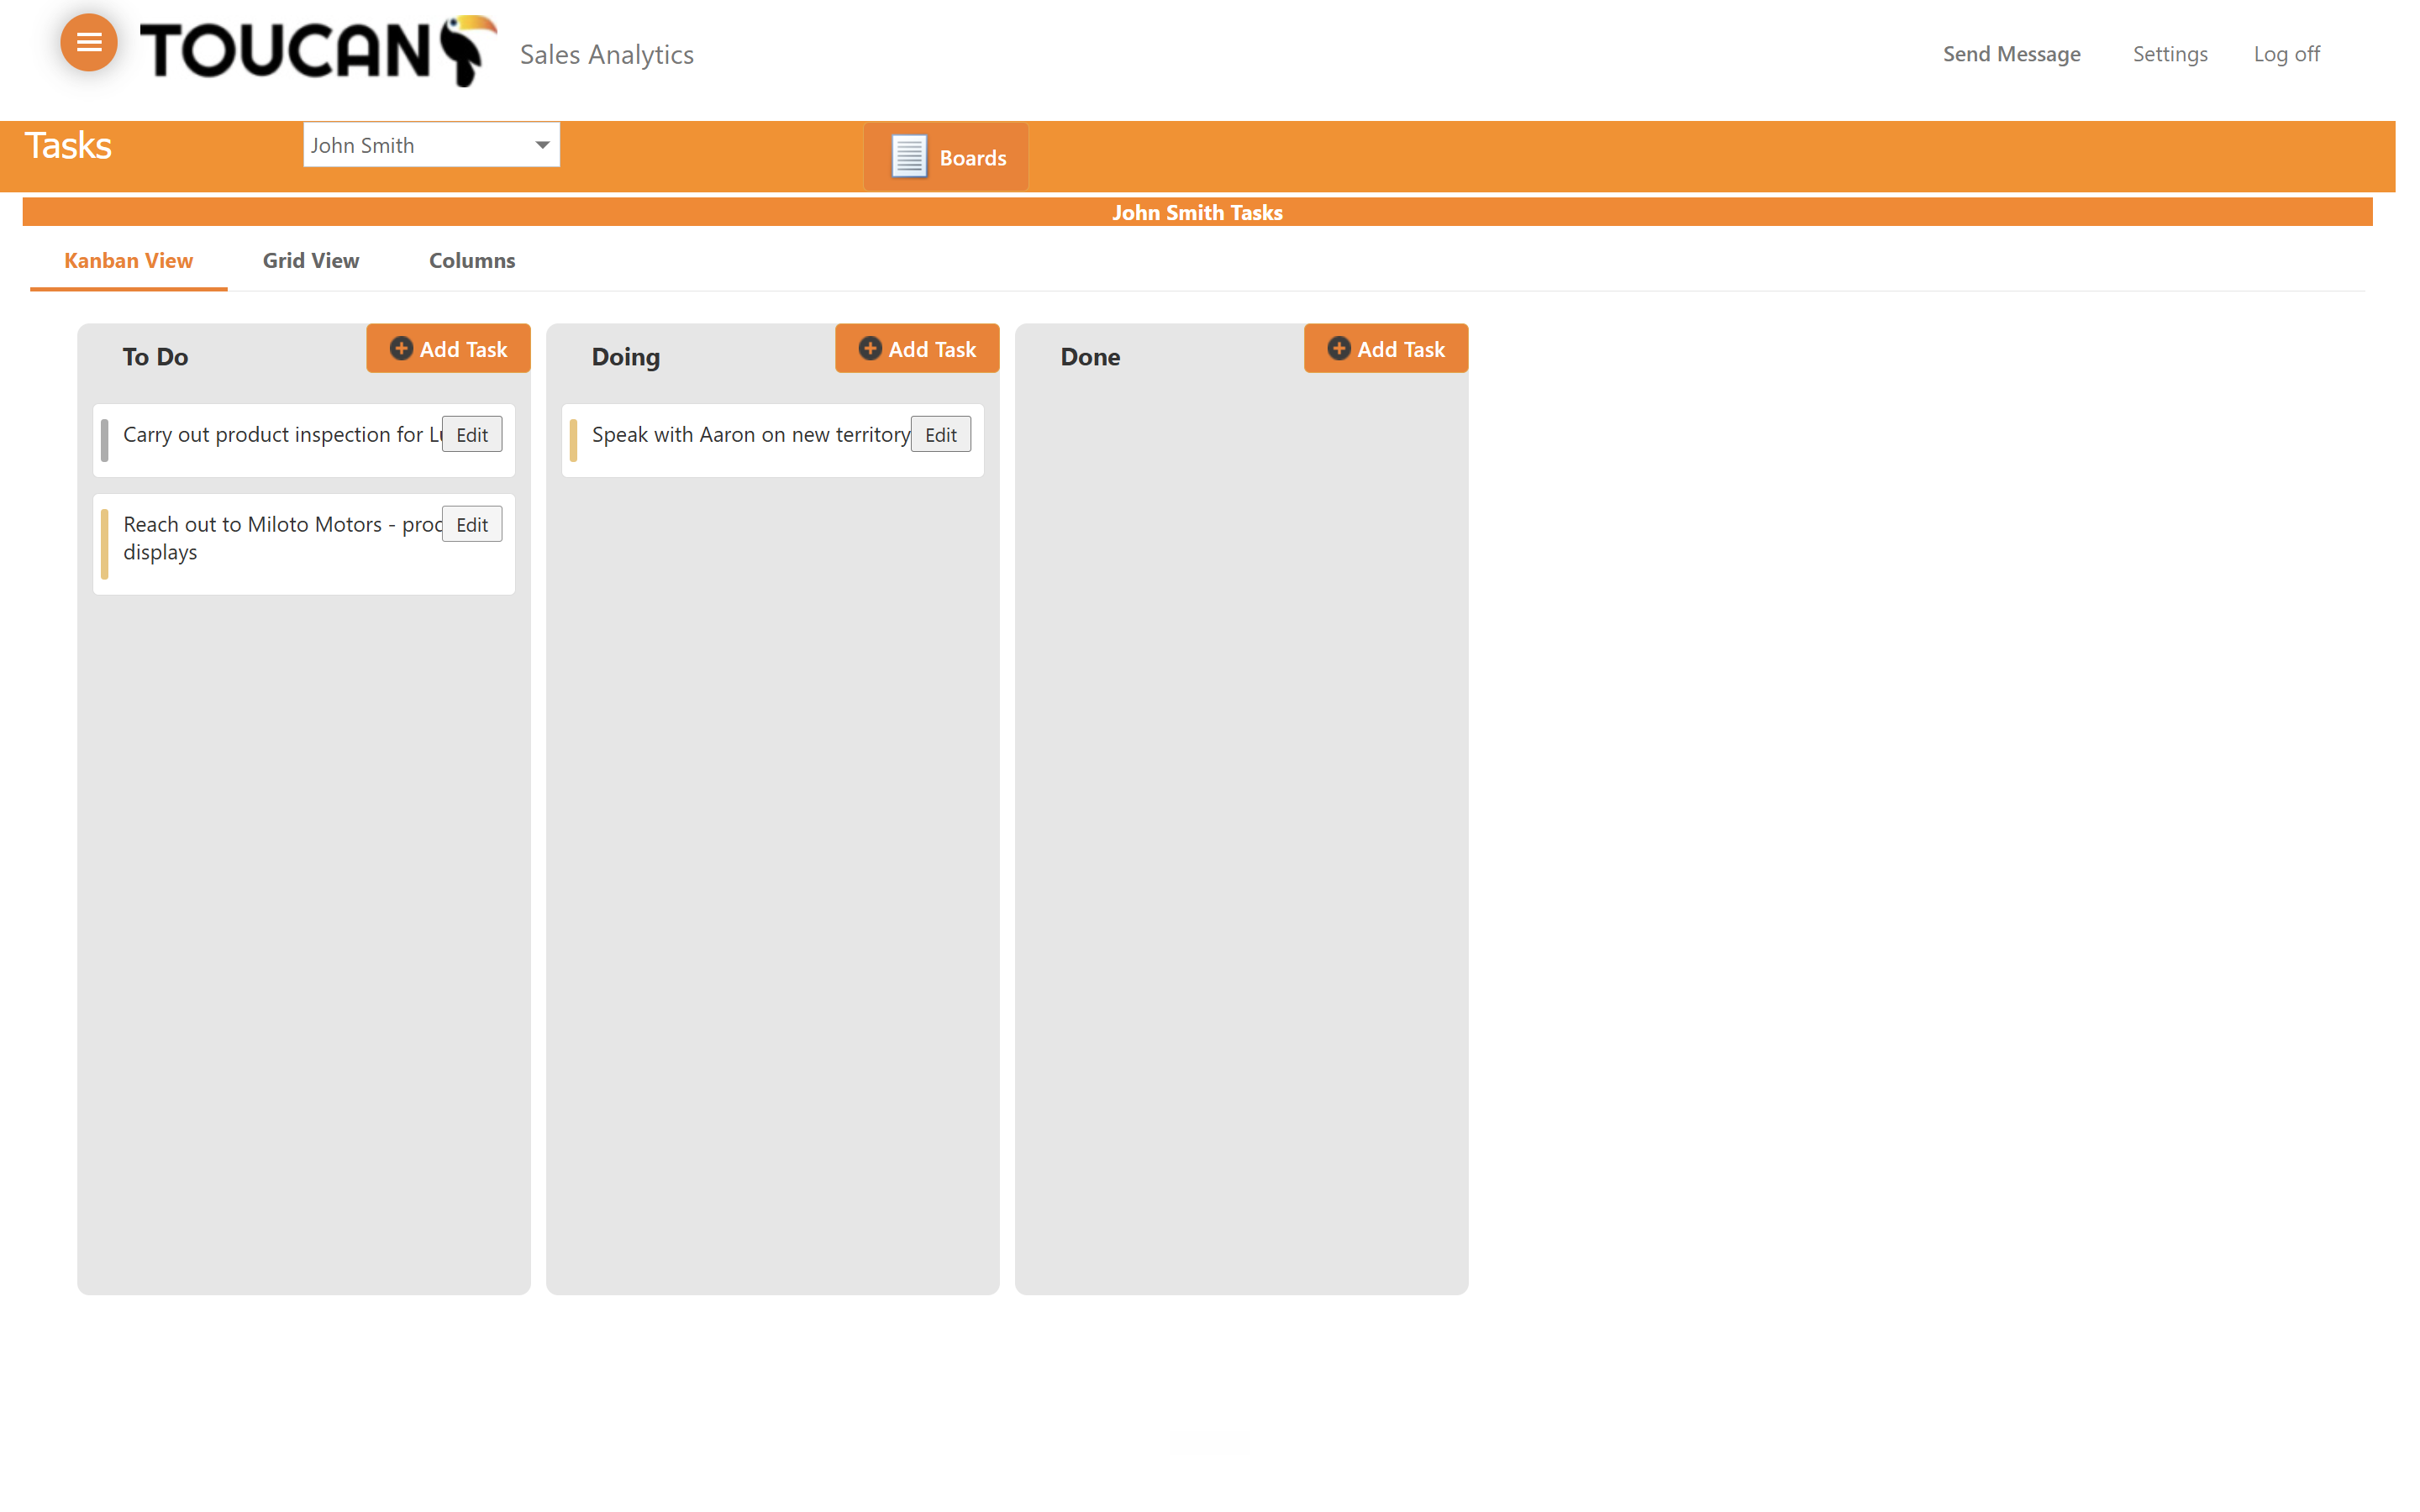
Click on a specific task card to open its editing window.
5
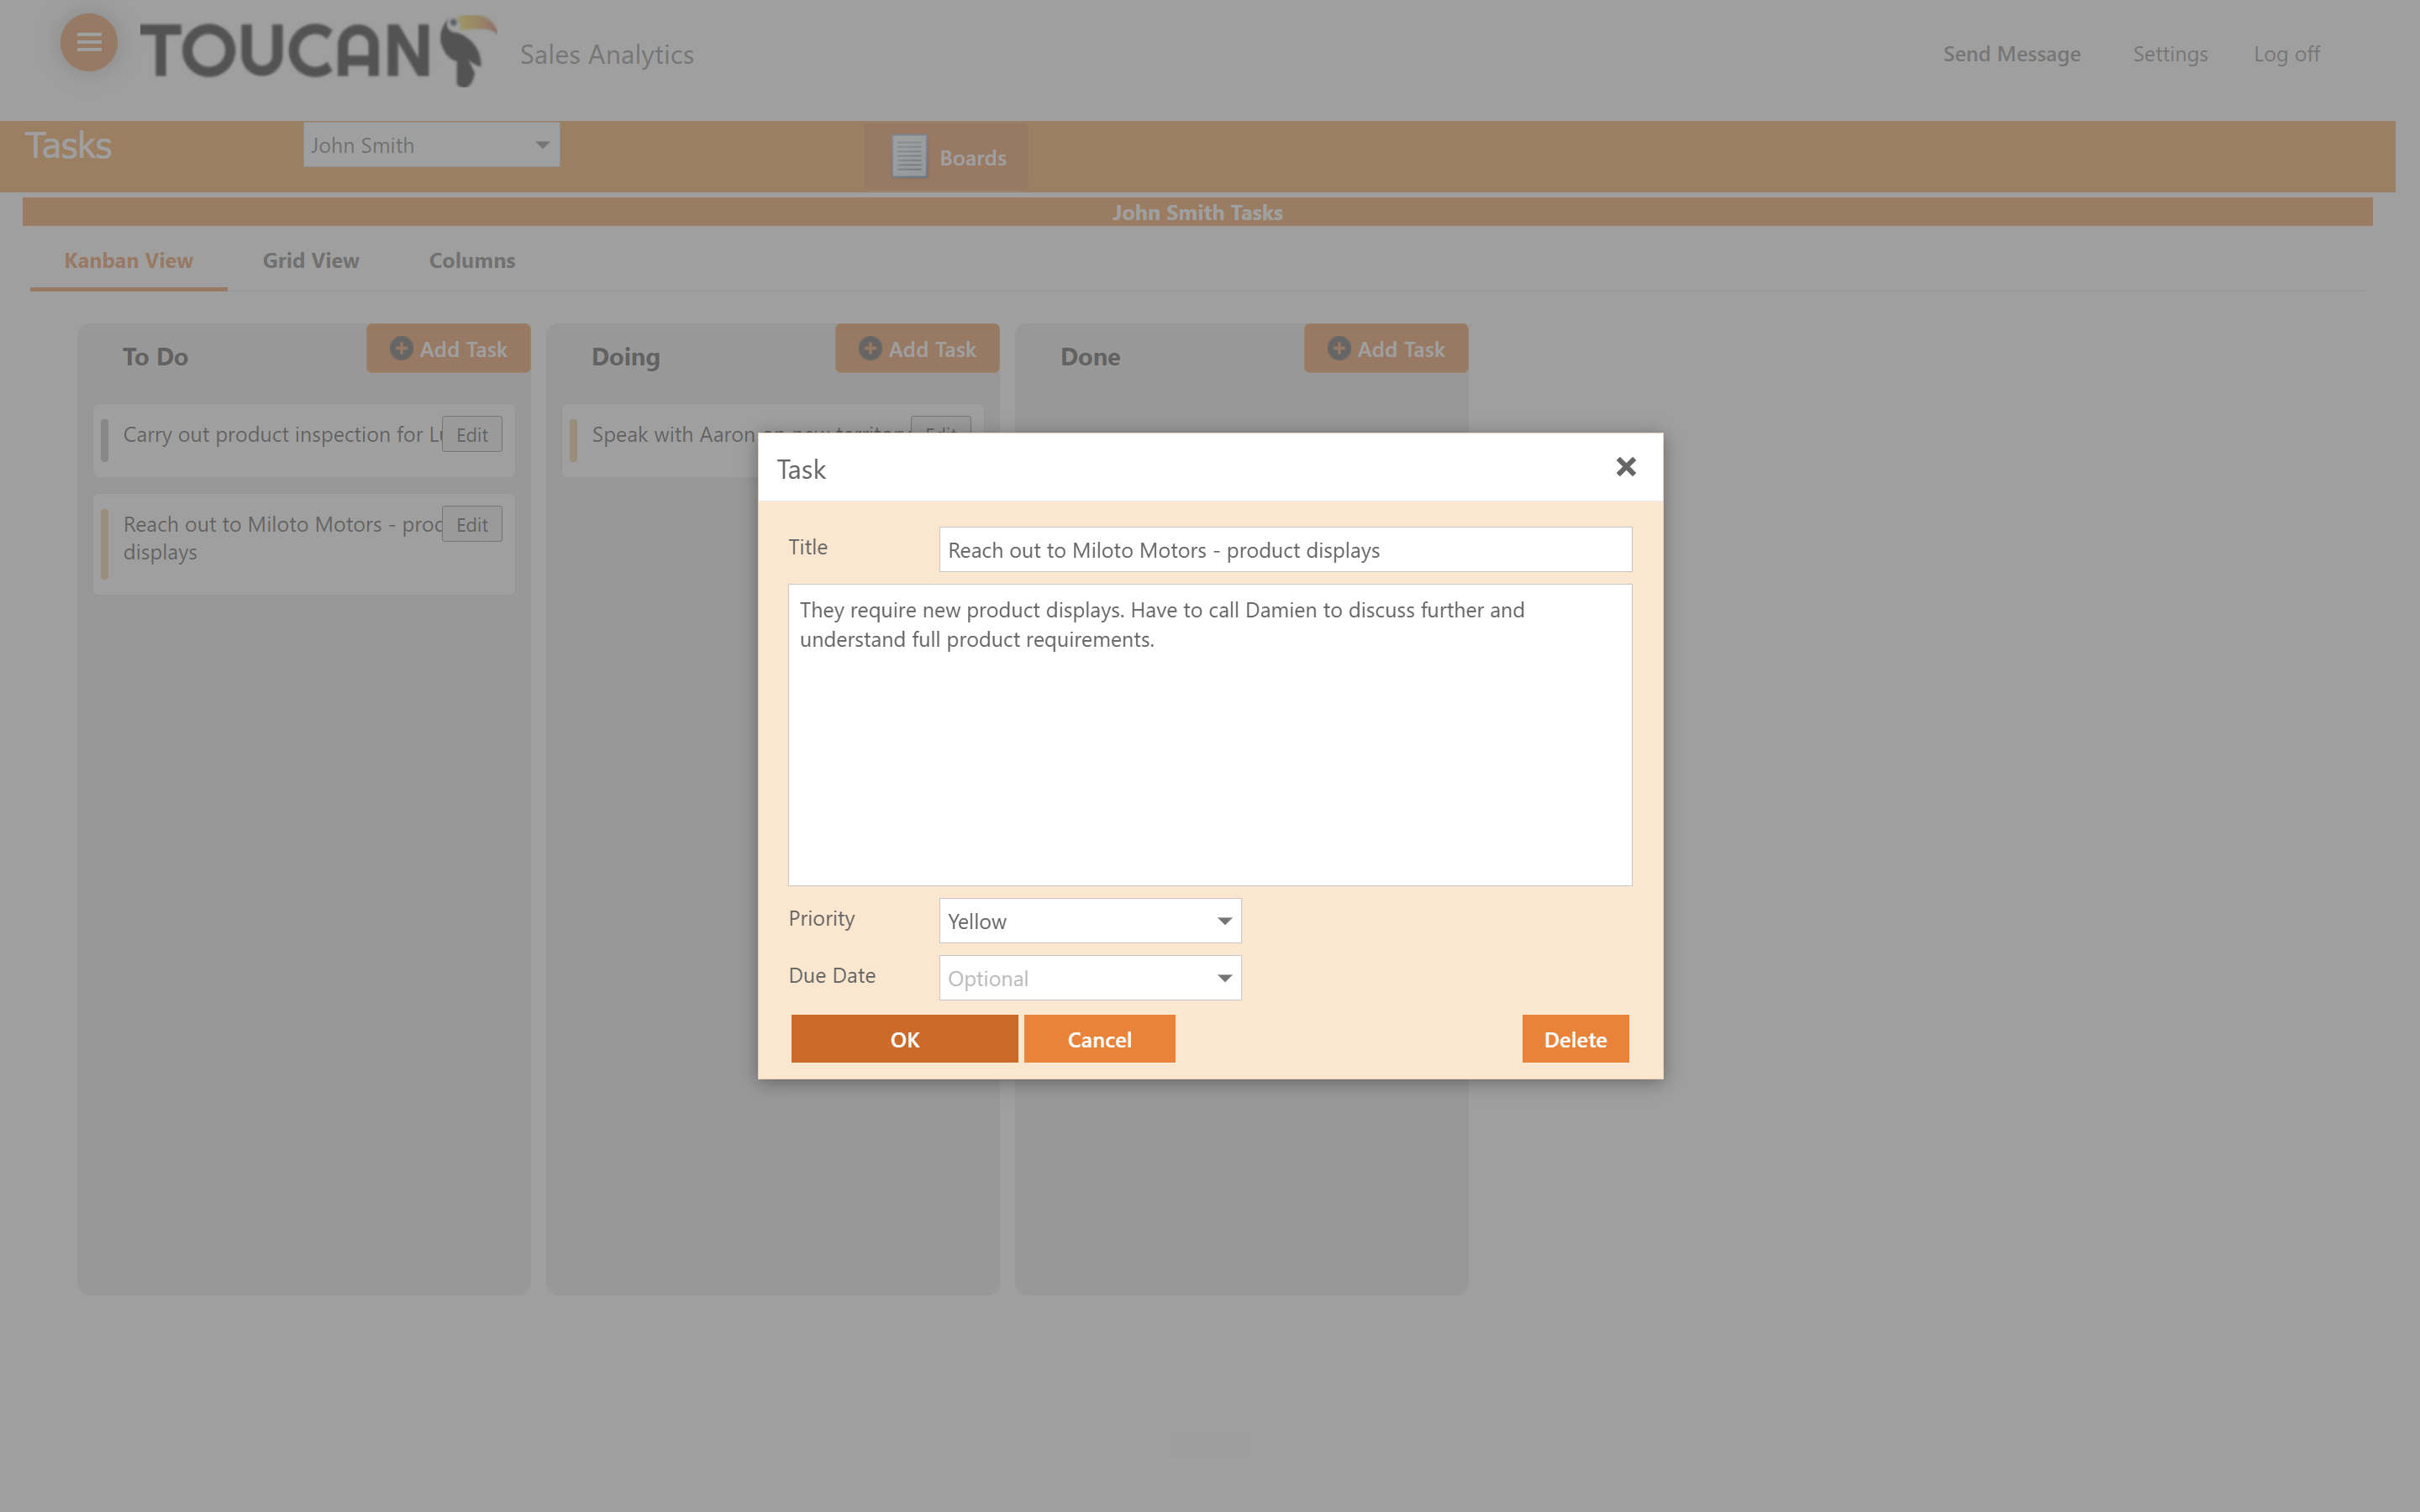
Each task's title, description, priority and due date can be edited.
6
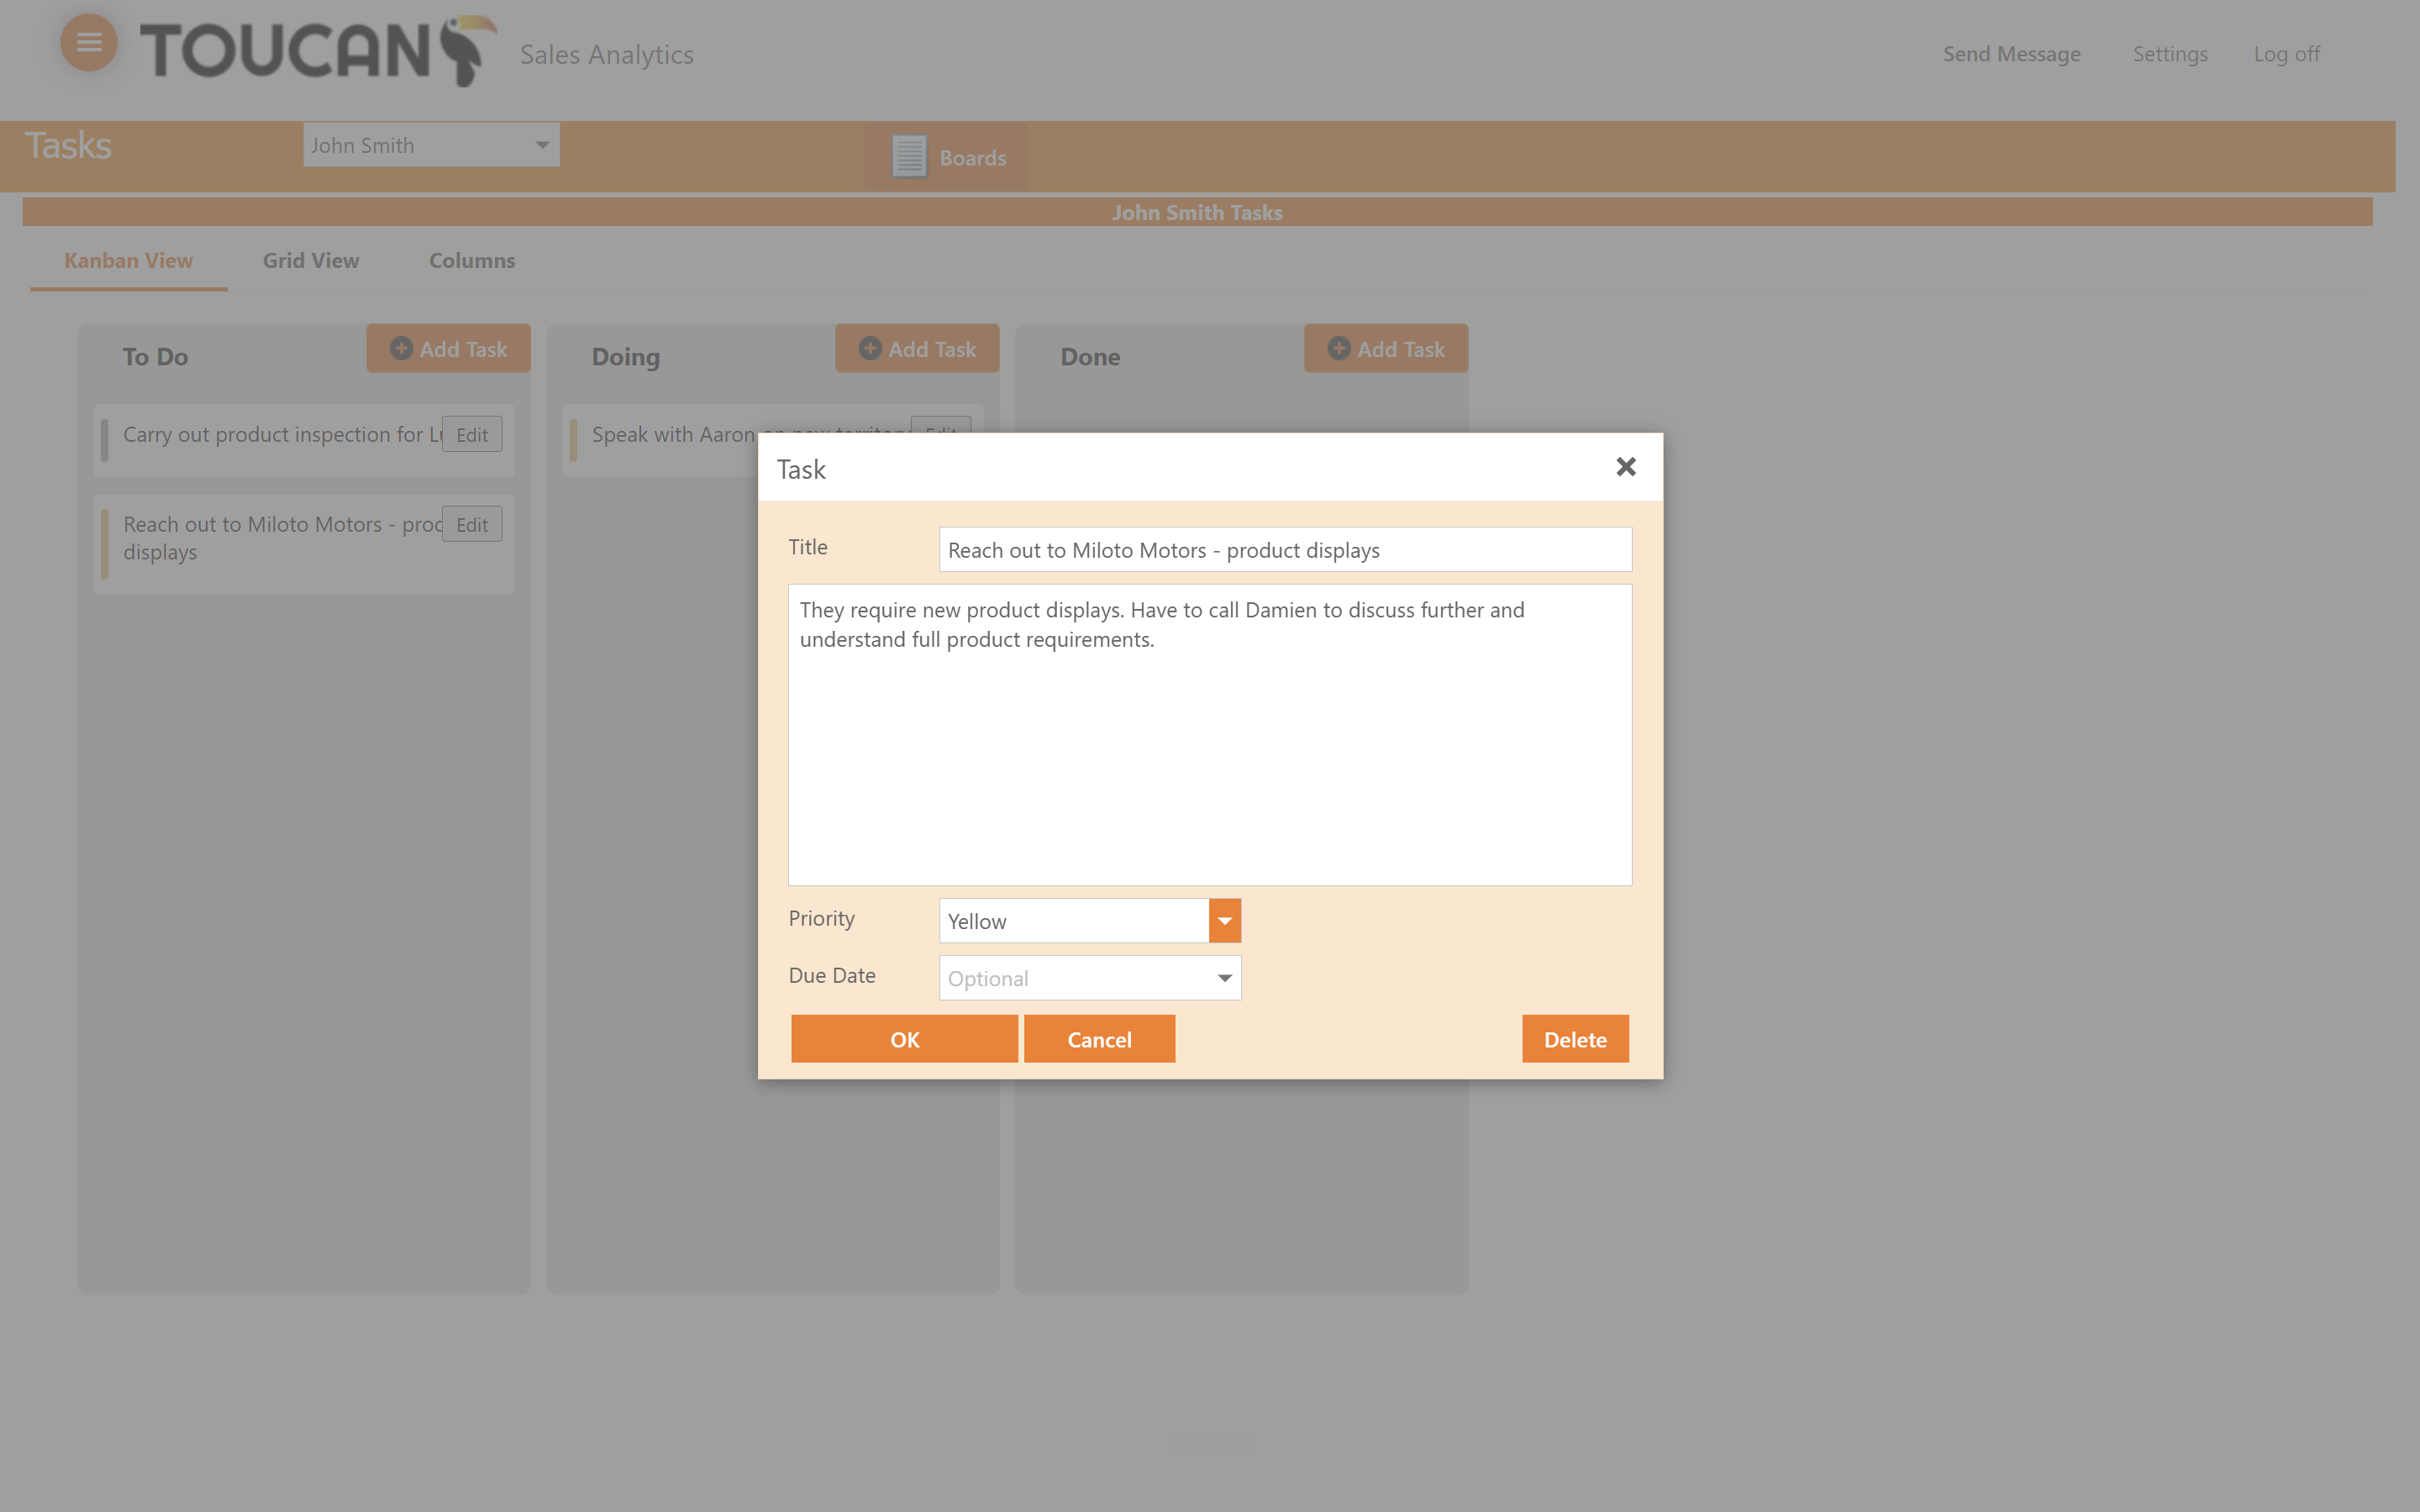
Select an appropriate color-coded priority level for the task (e.g., Red, Yellow, Green, or Grey).
7
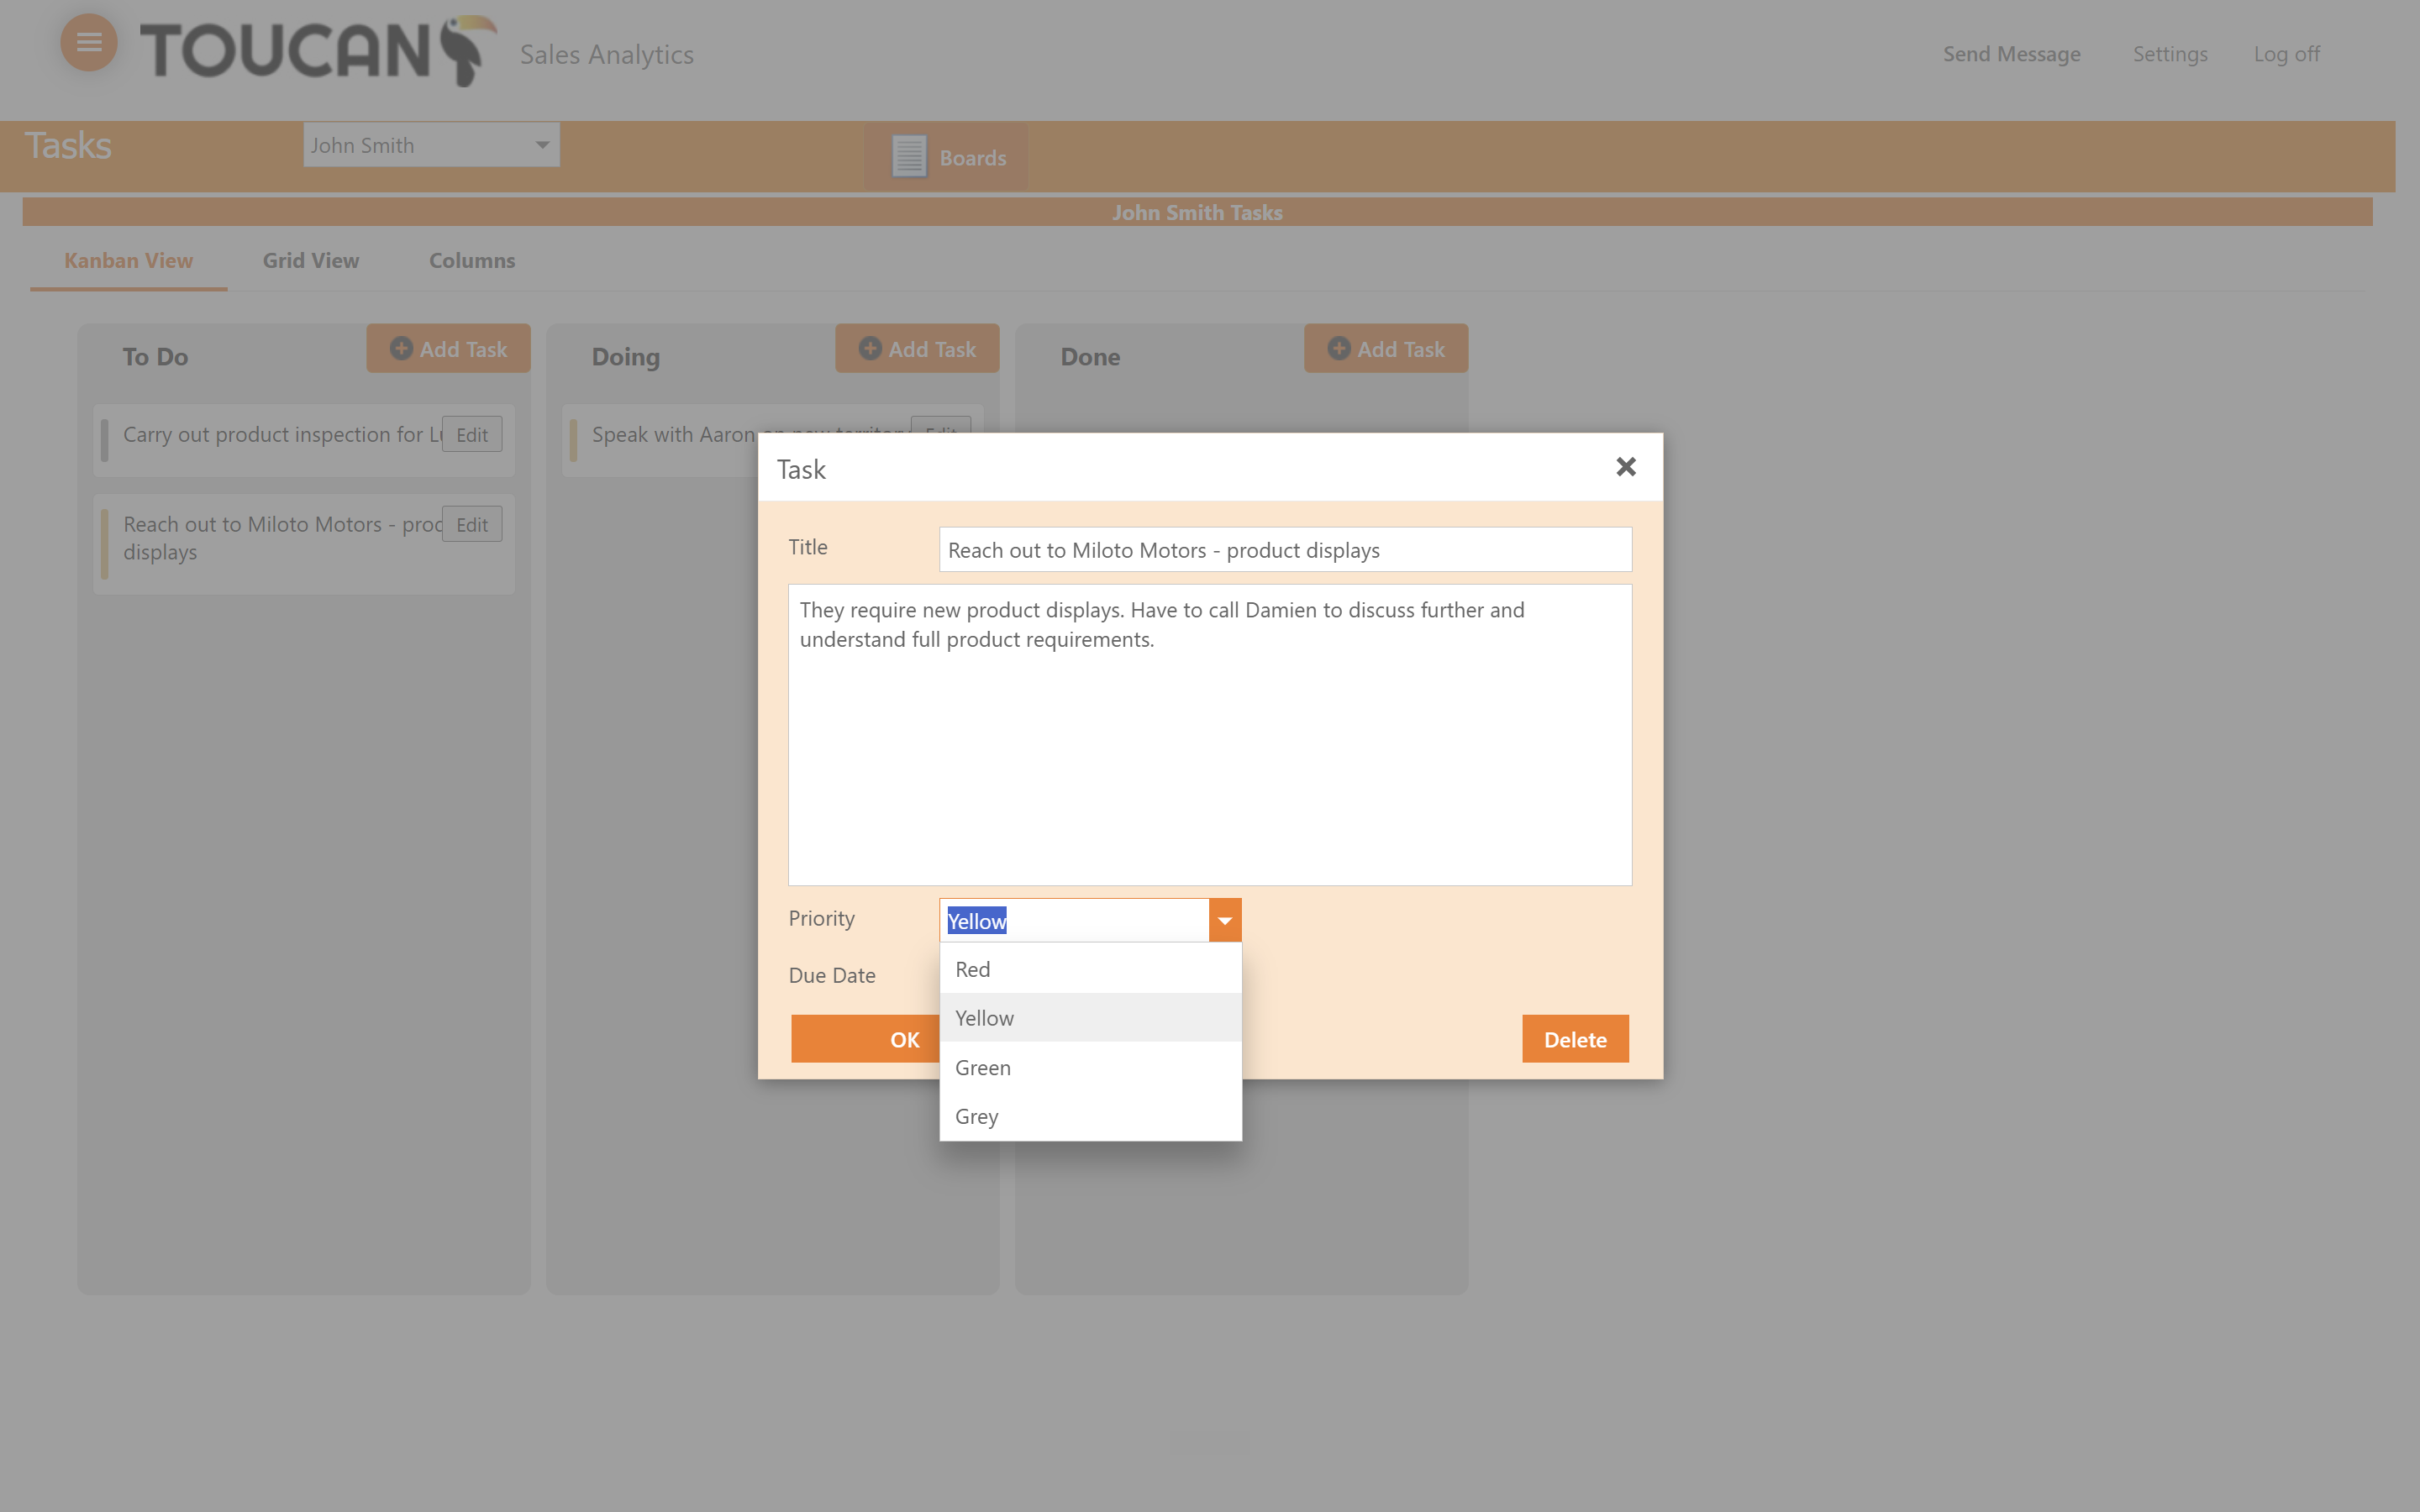
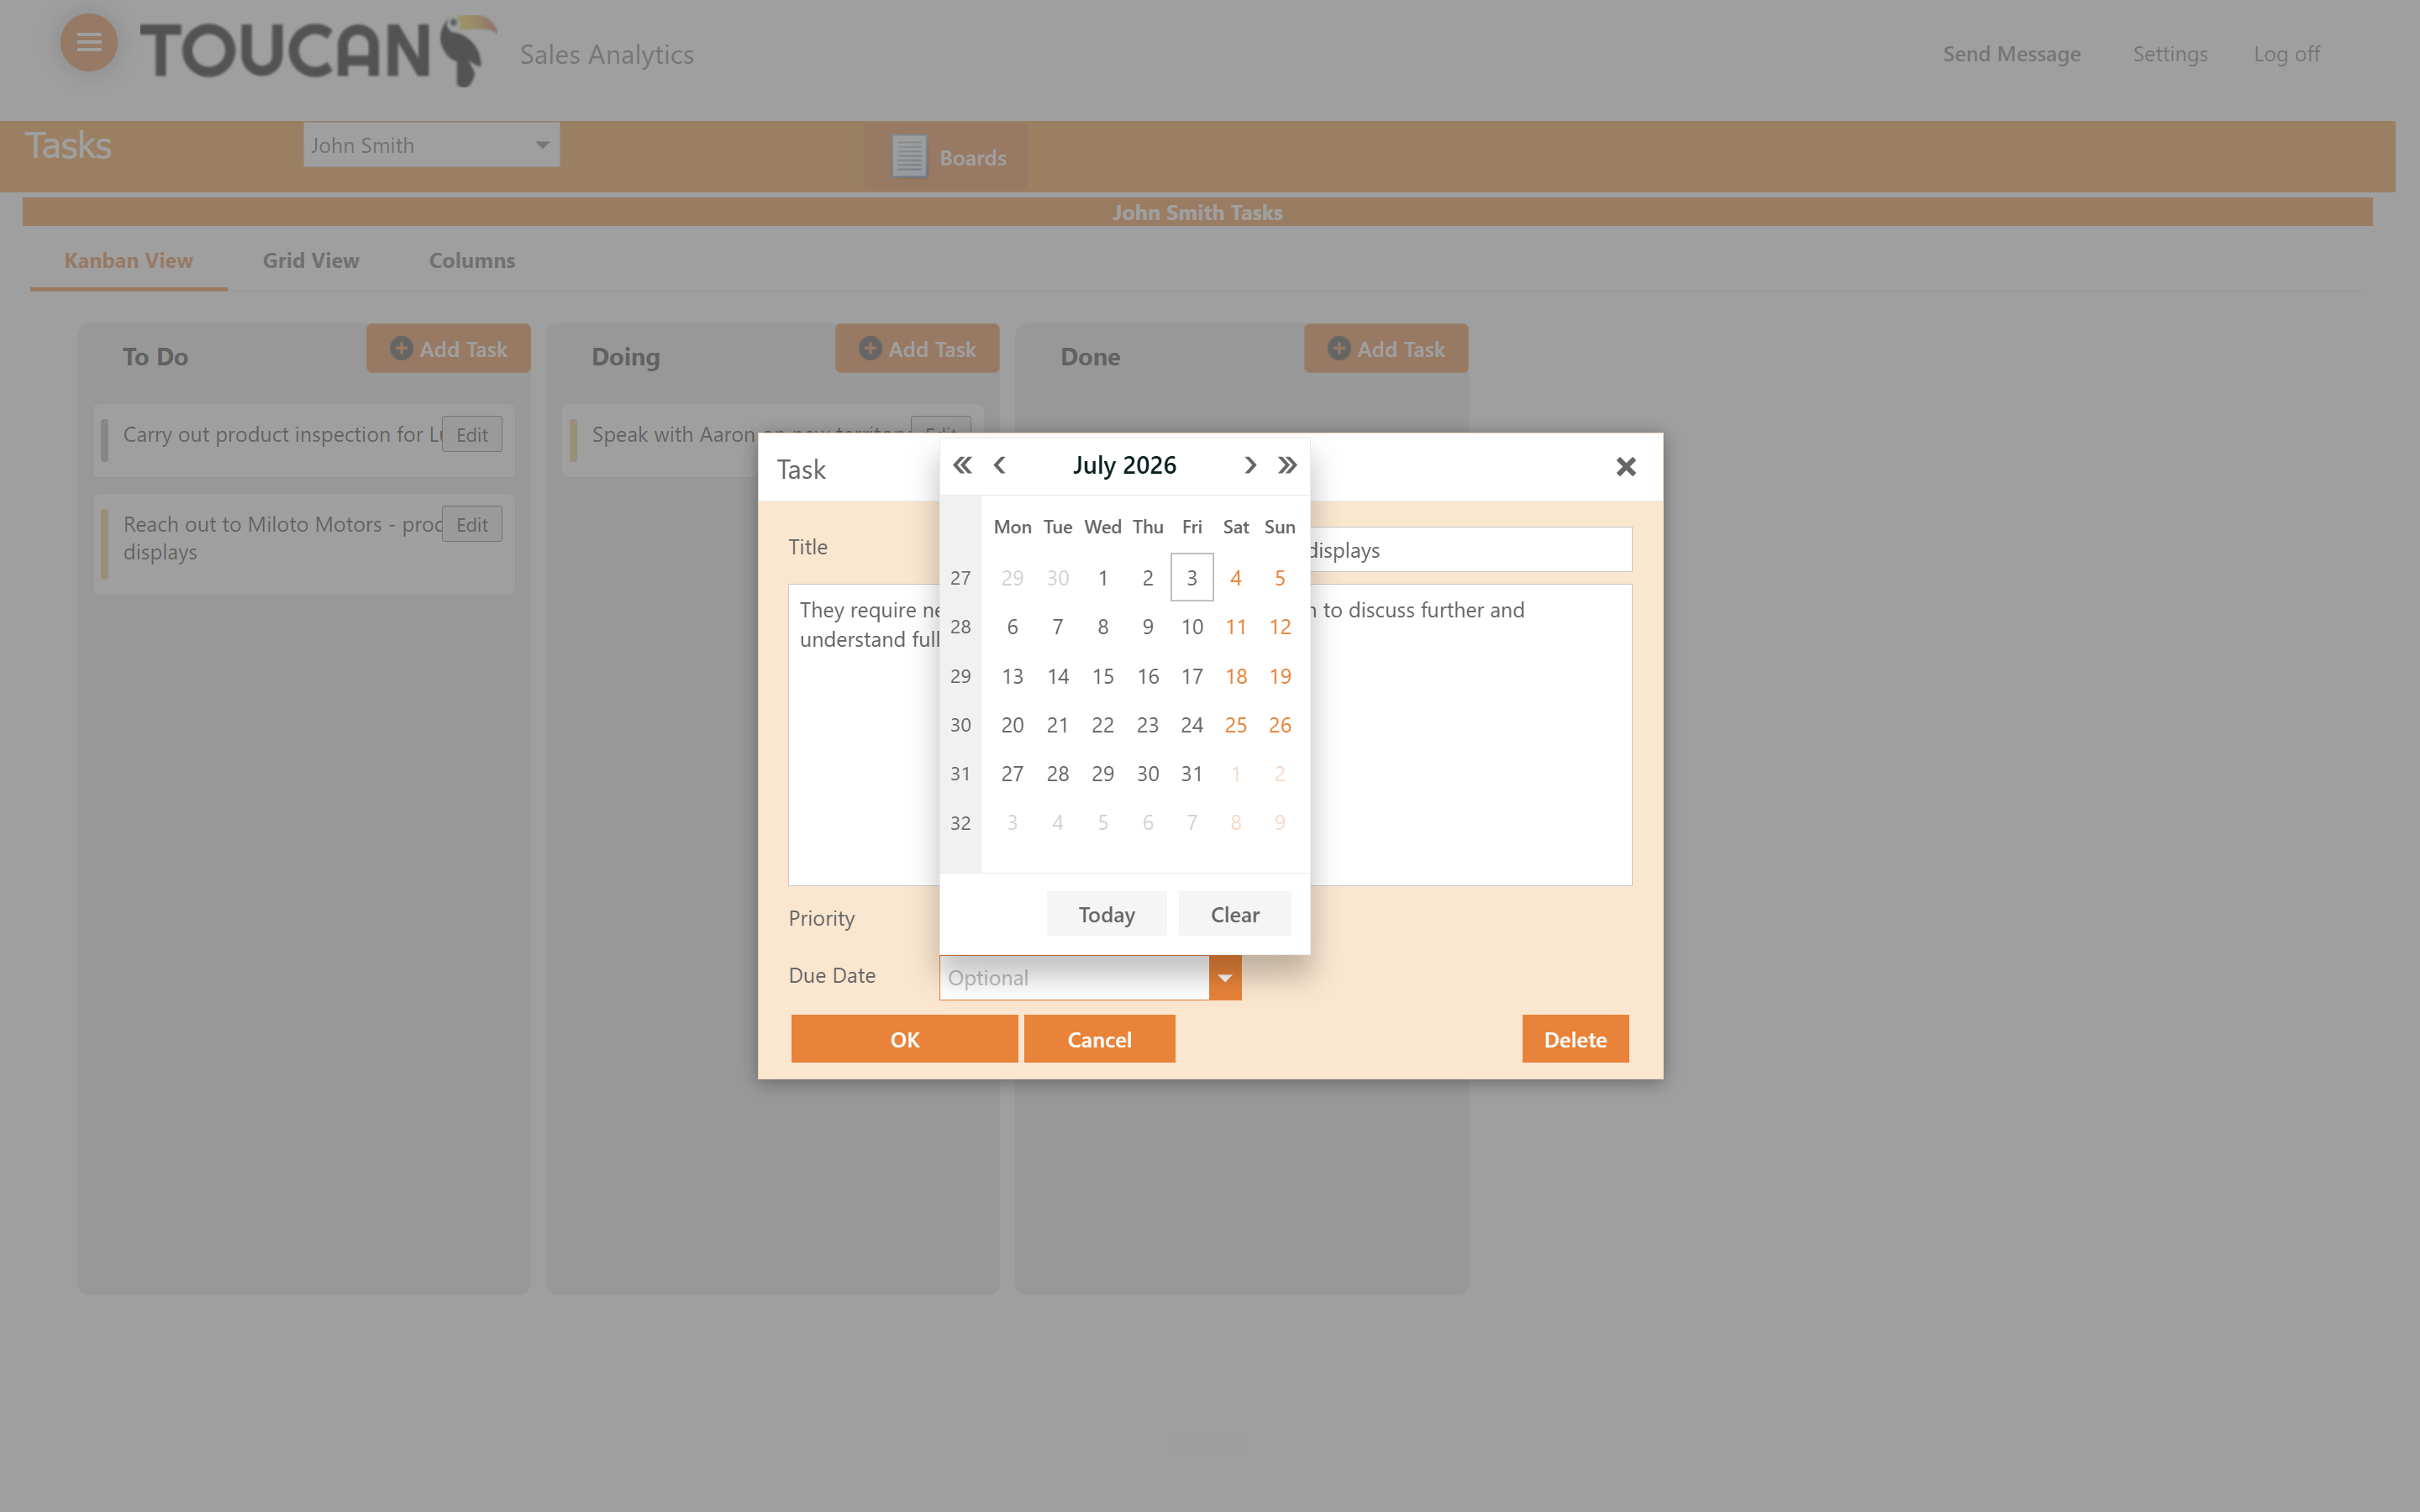
Click the Due Date field to open the calendar selector.
8
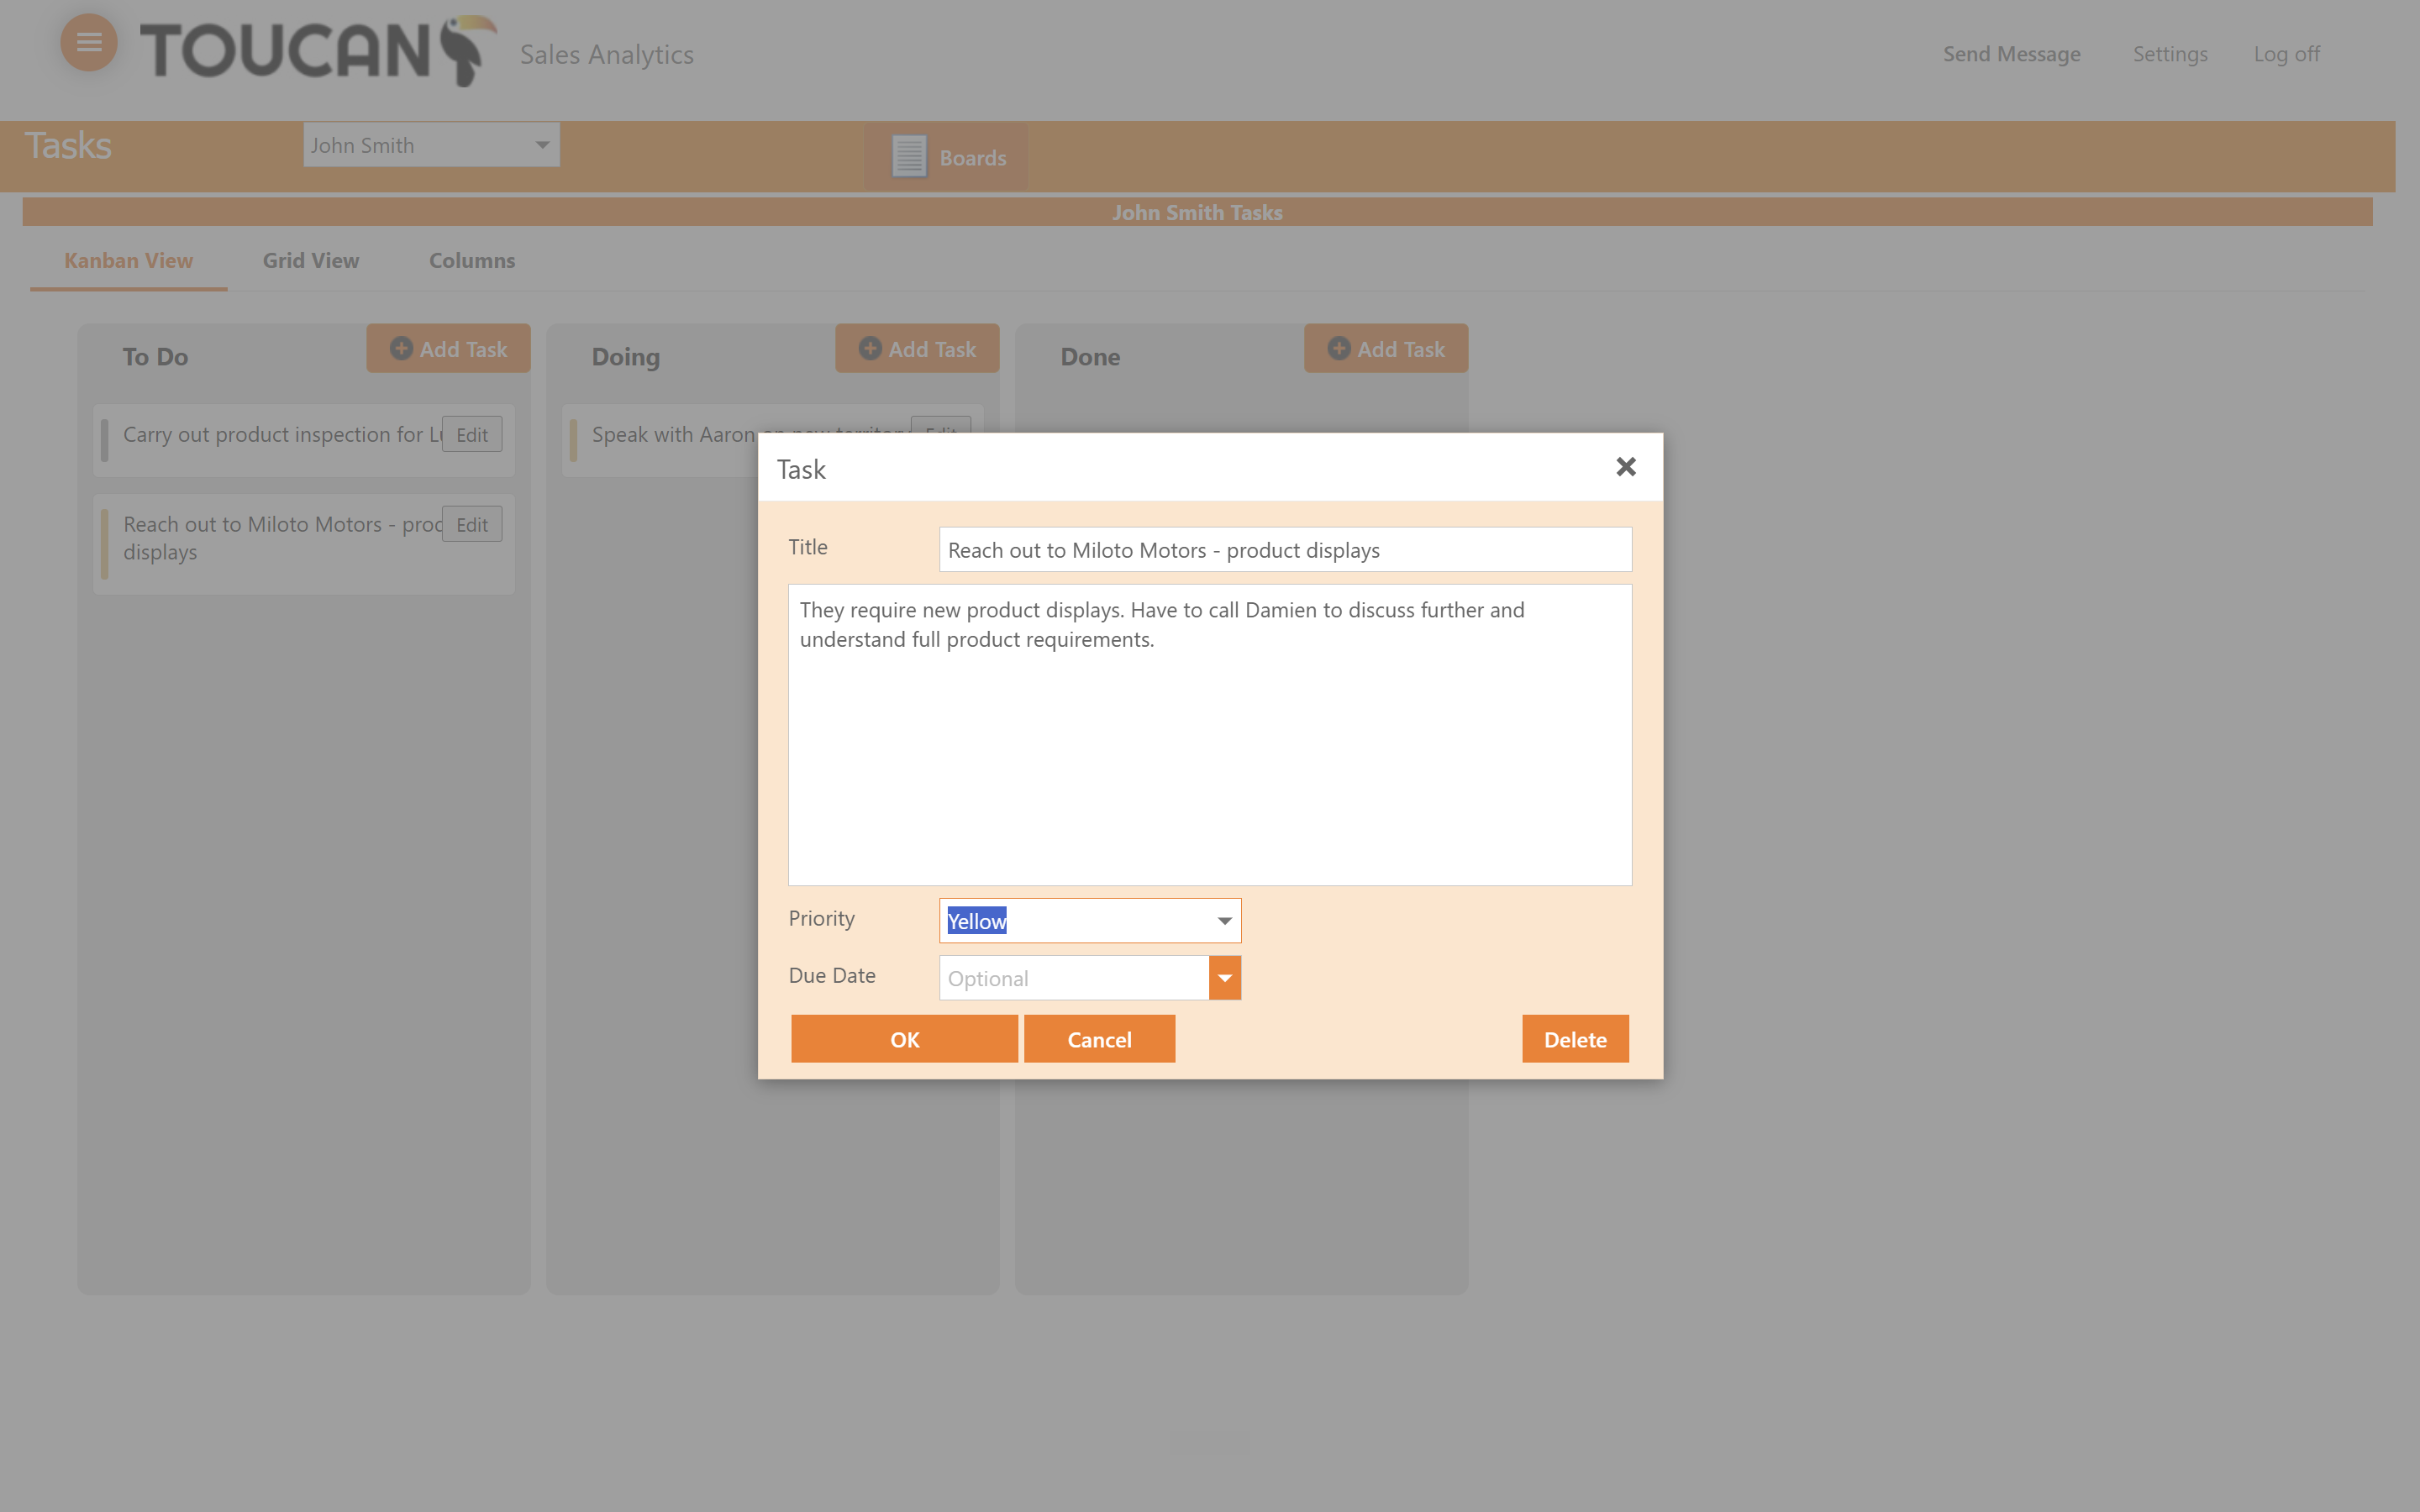
Select the target completion date for your task.
9
Click OK to save your task details.
10
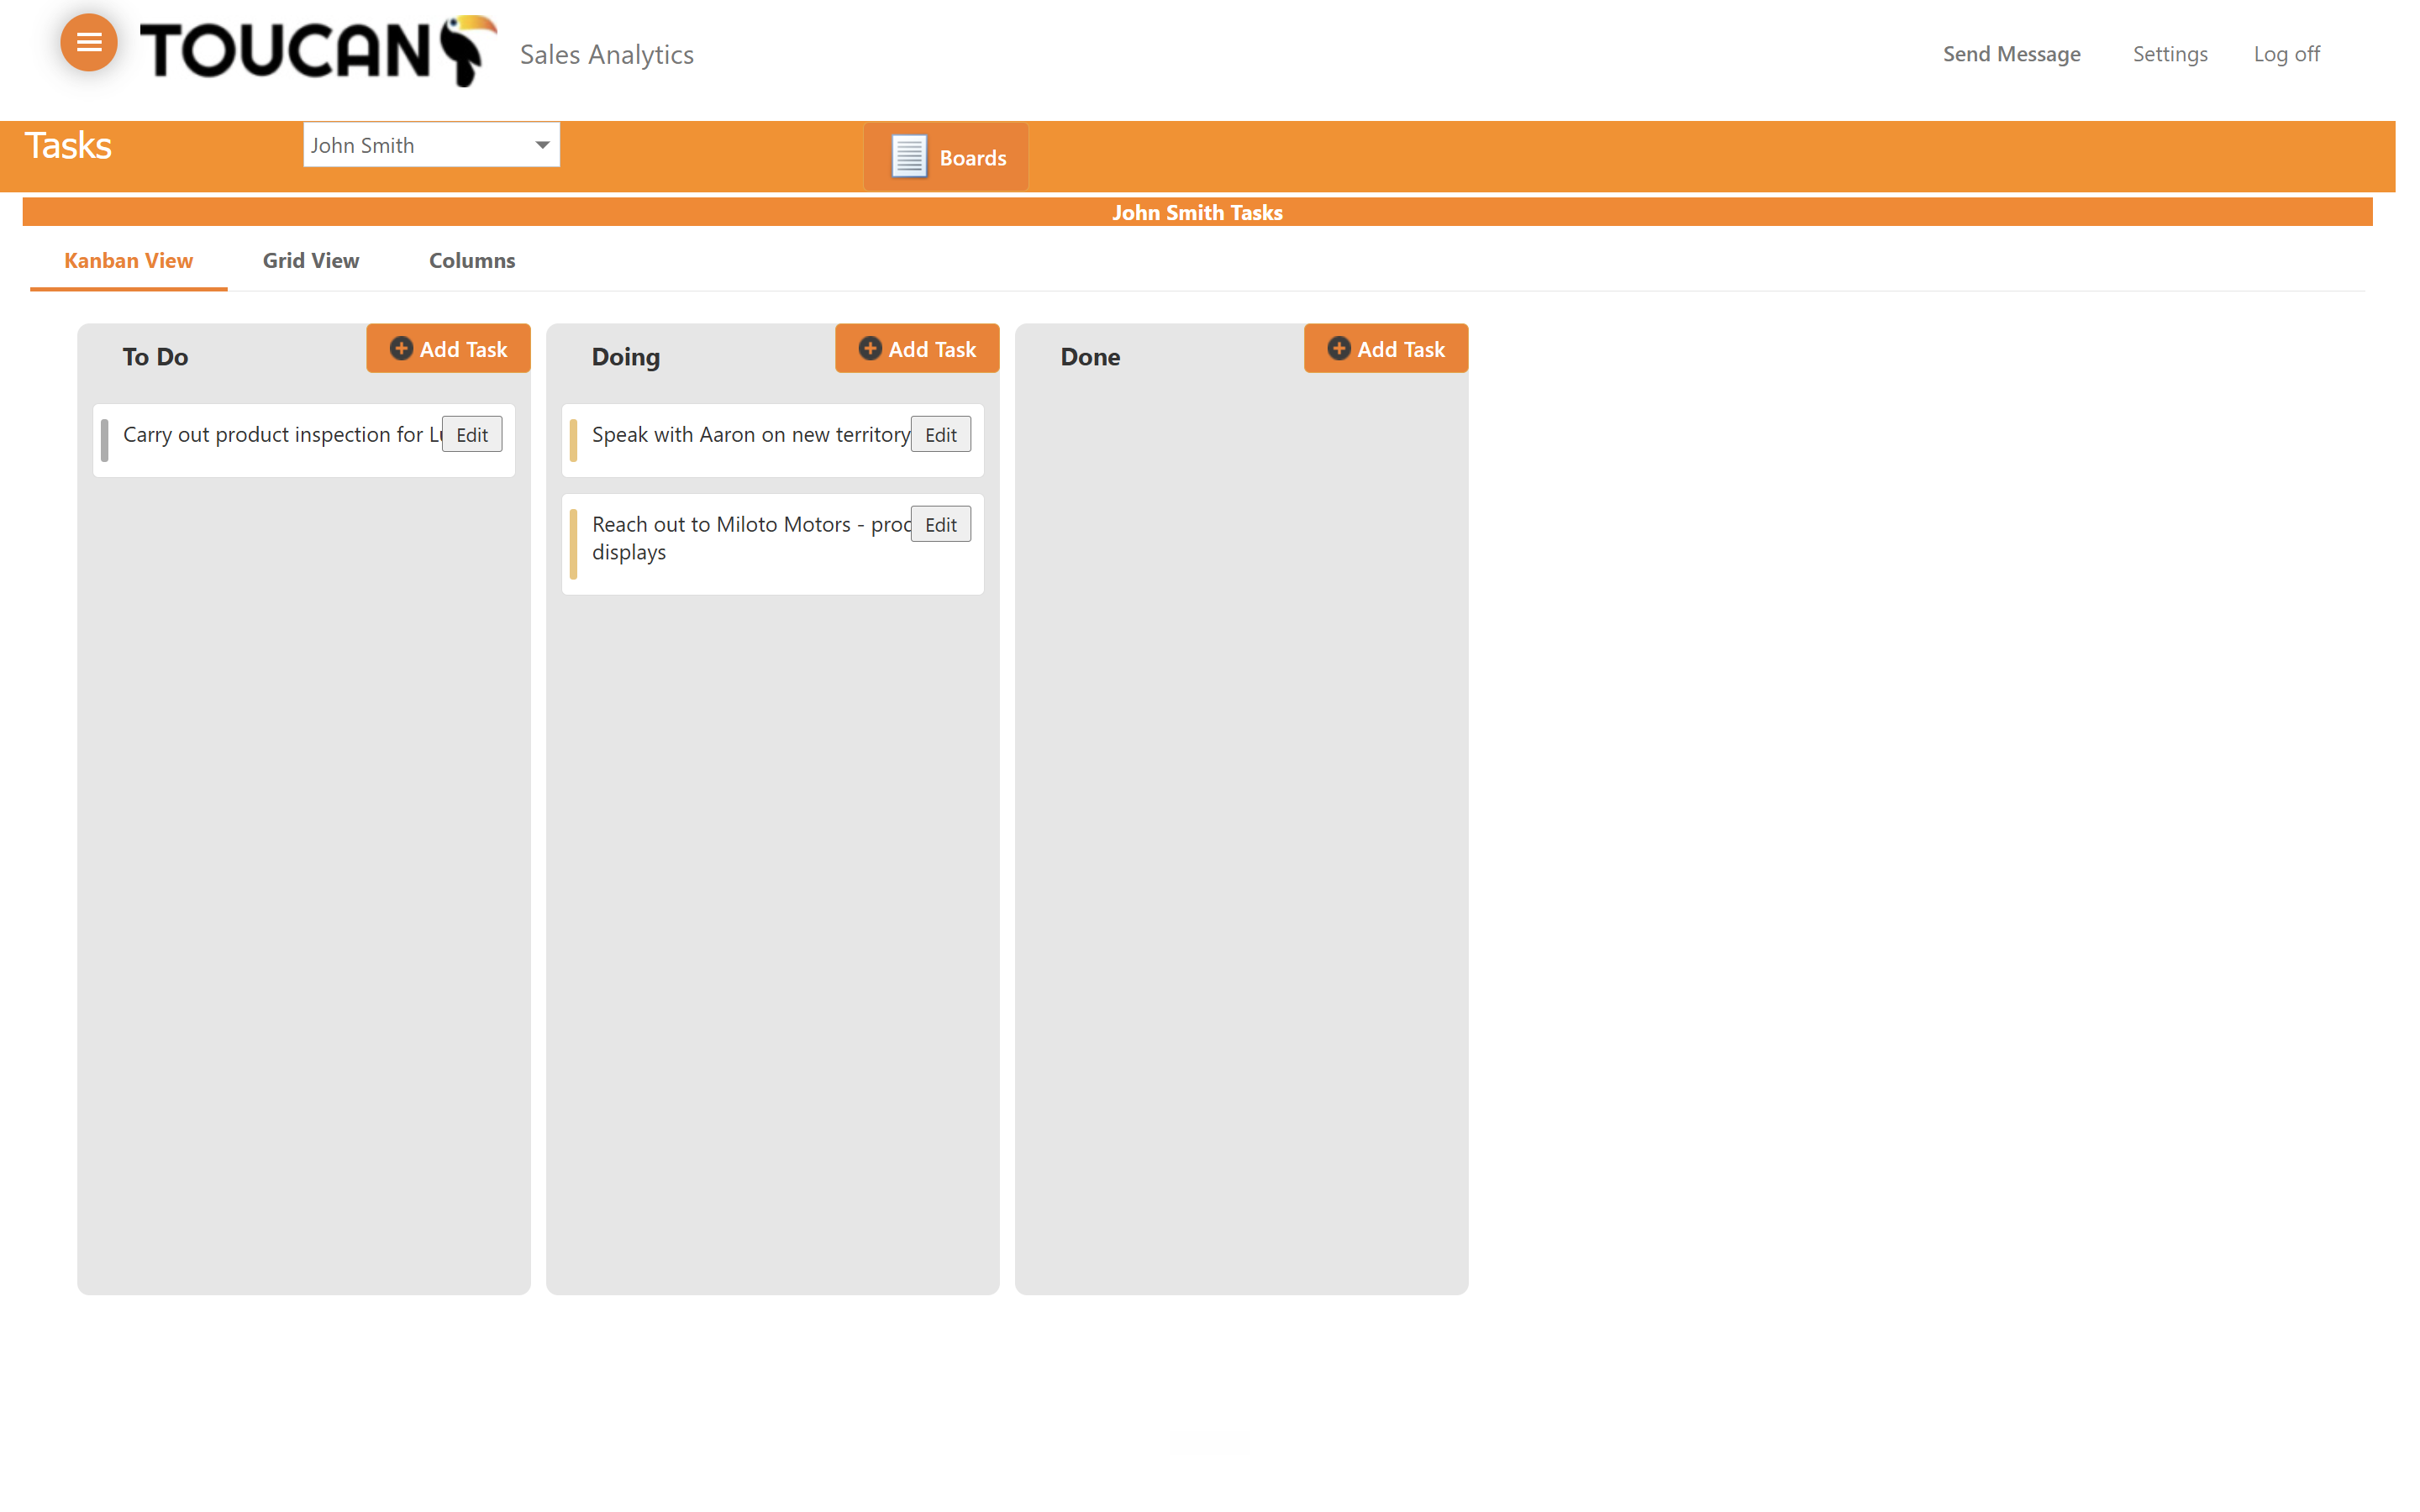
The Kanban view works with drag-and-drop functionality for easily progressing tasks.
Filtering Data in Grid View
If you need to filter multiple tasks or review your workload in a spreadsheet format, switch to the grid interface.
11
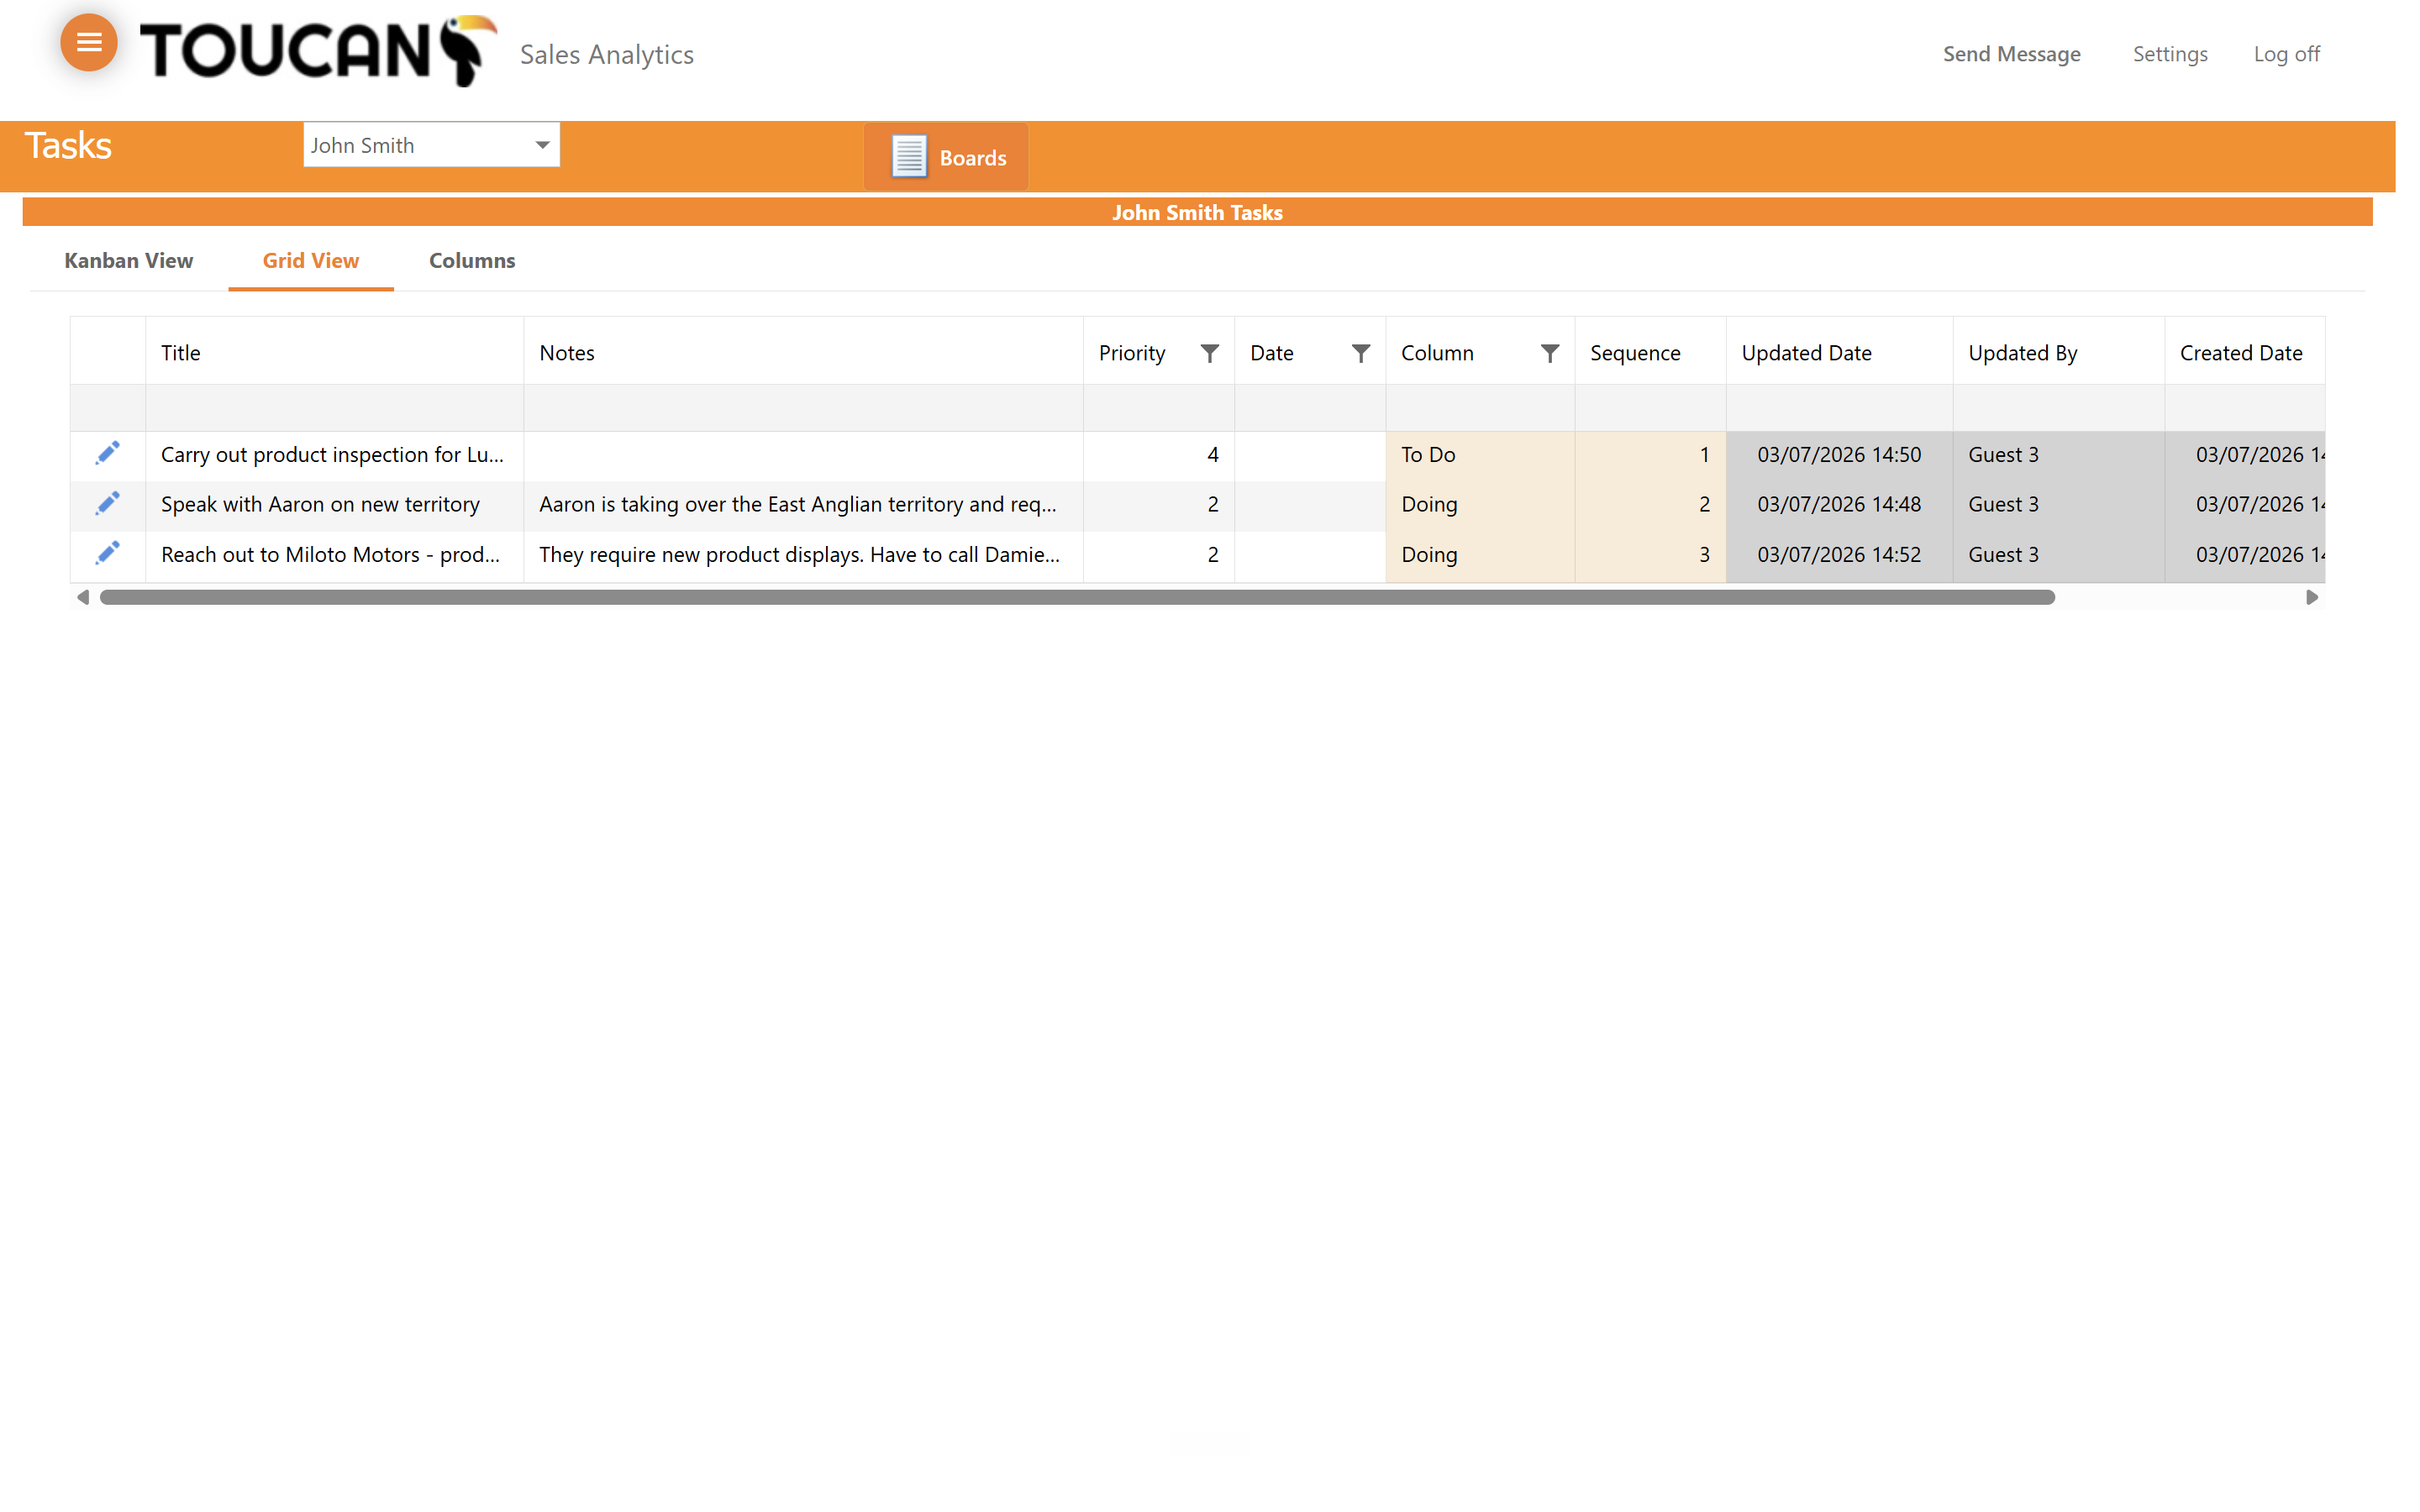
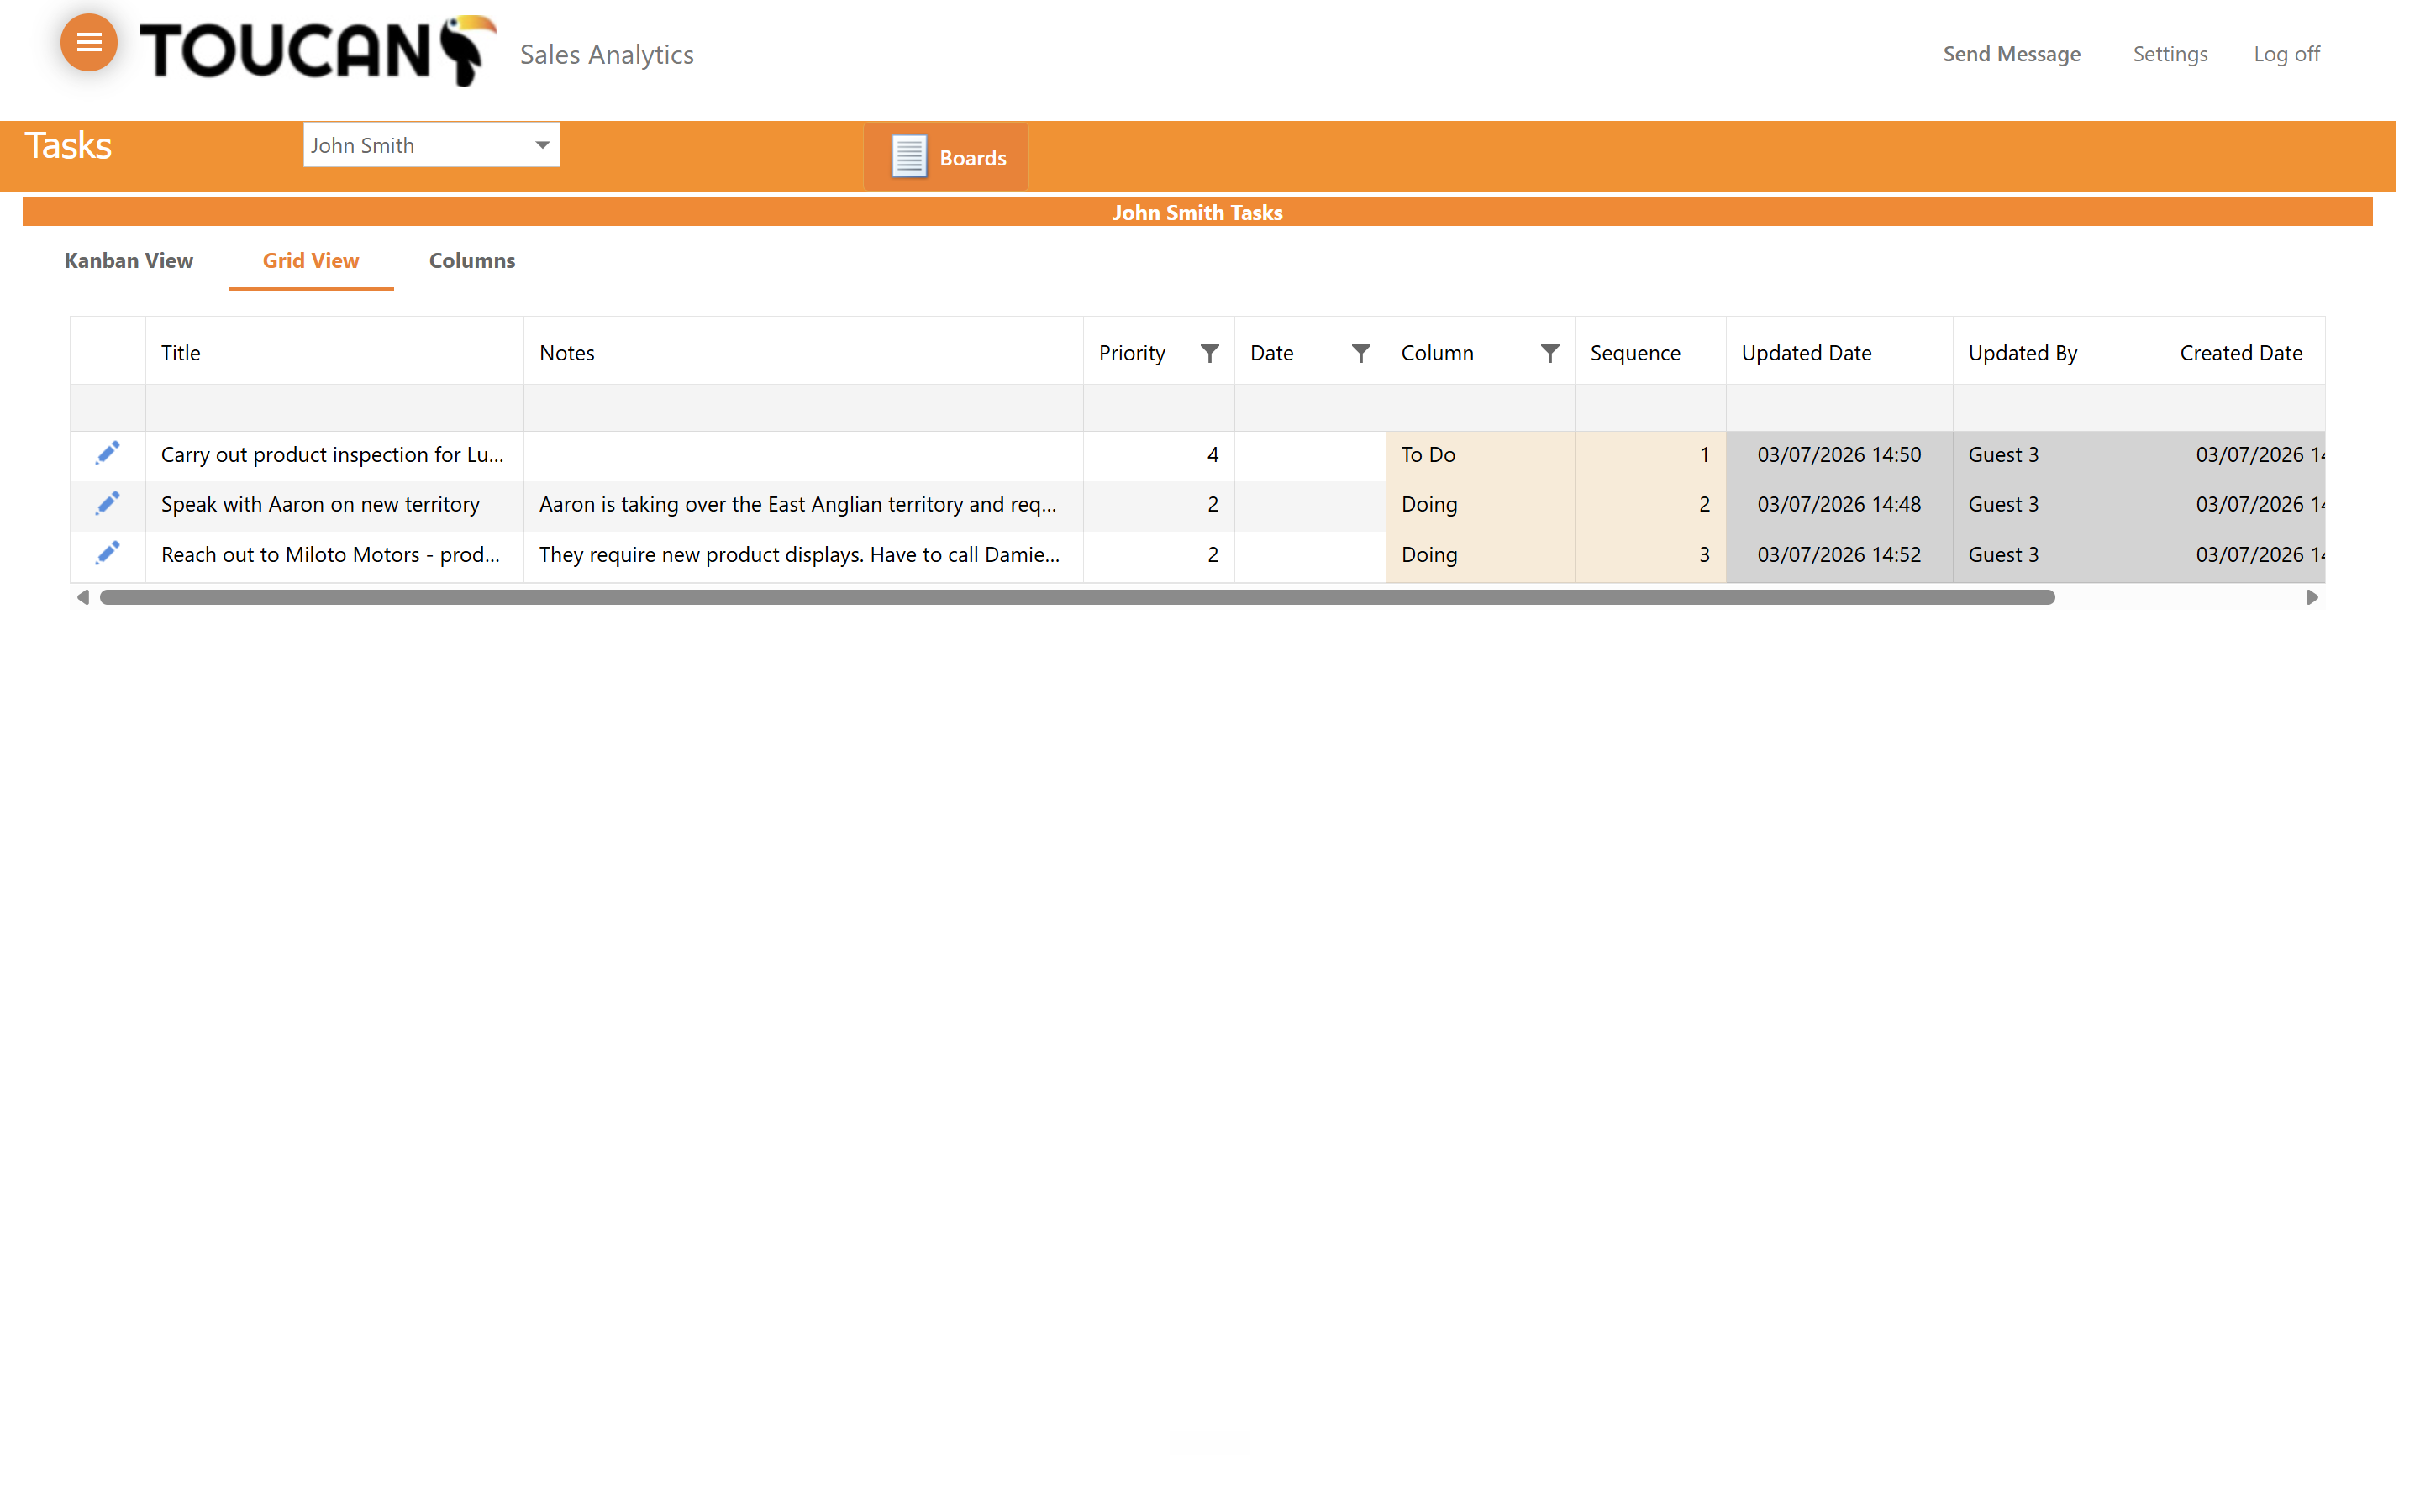
Click Grid View to display all your tasks in a table format.
12
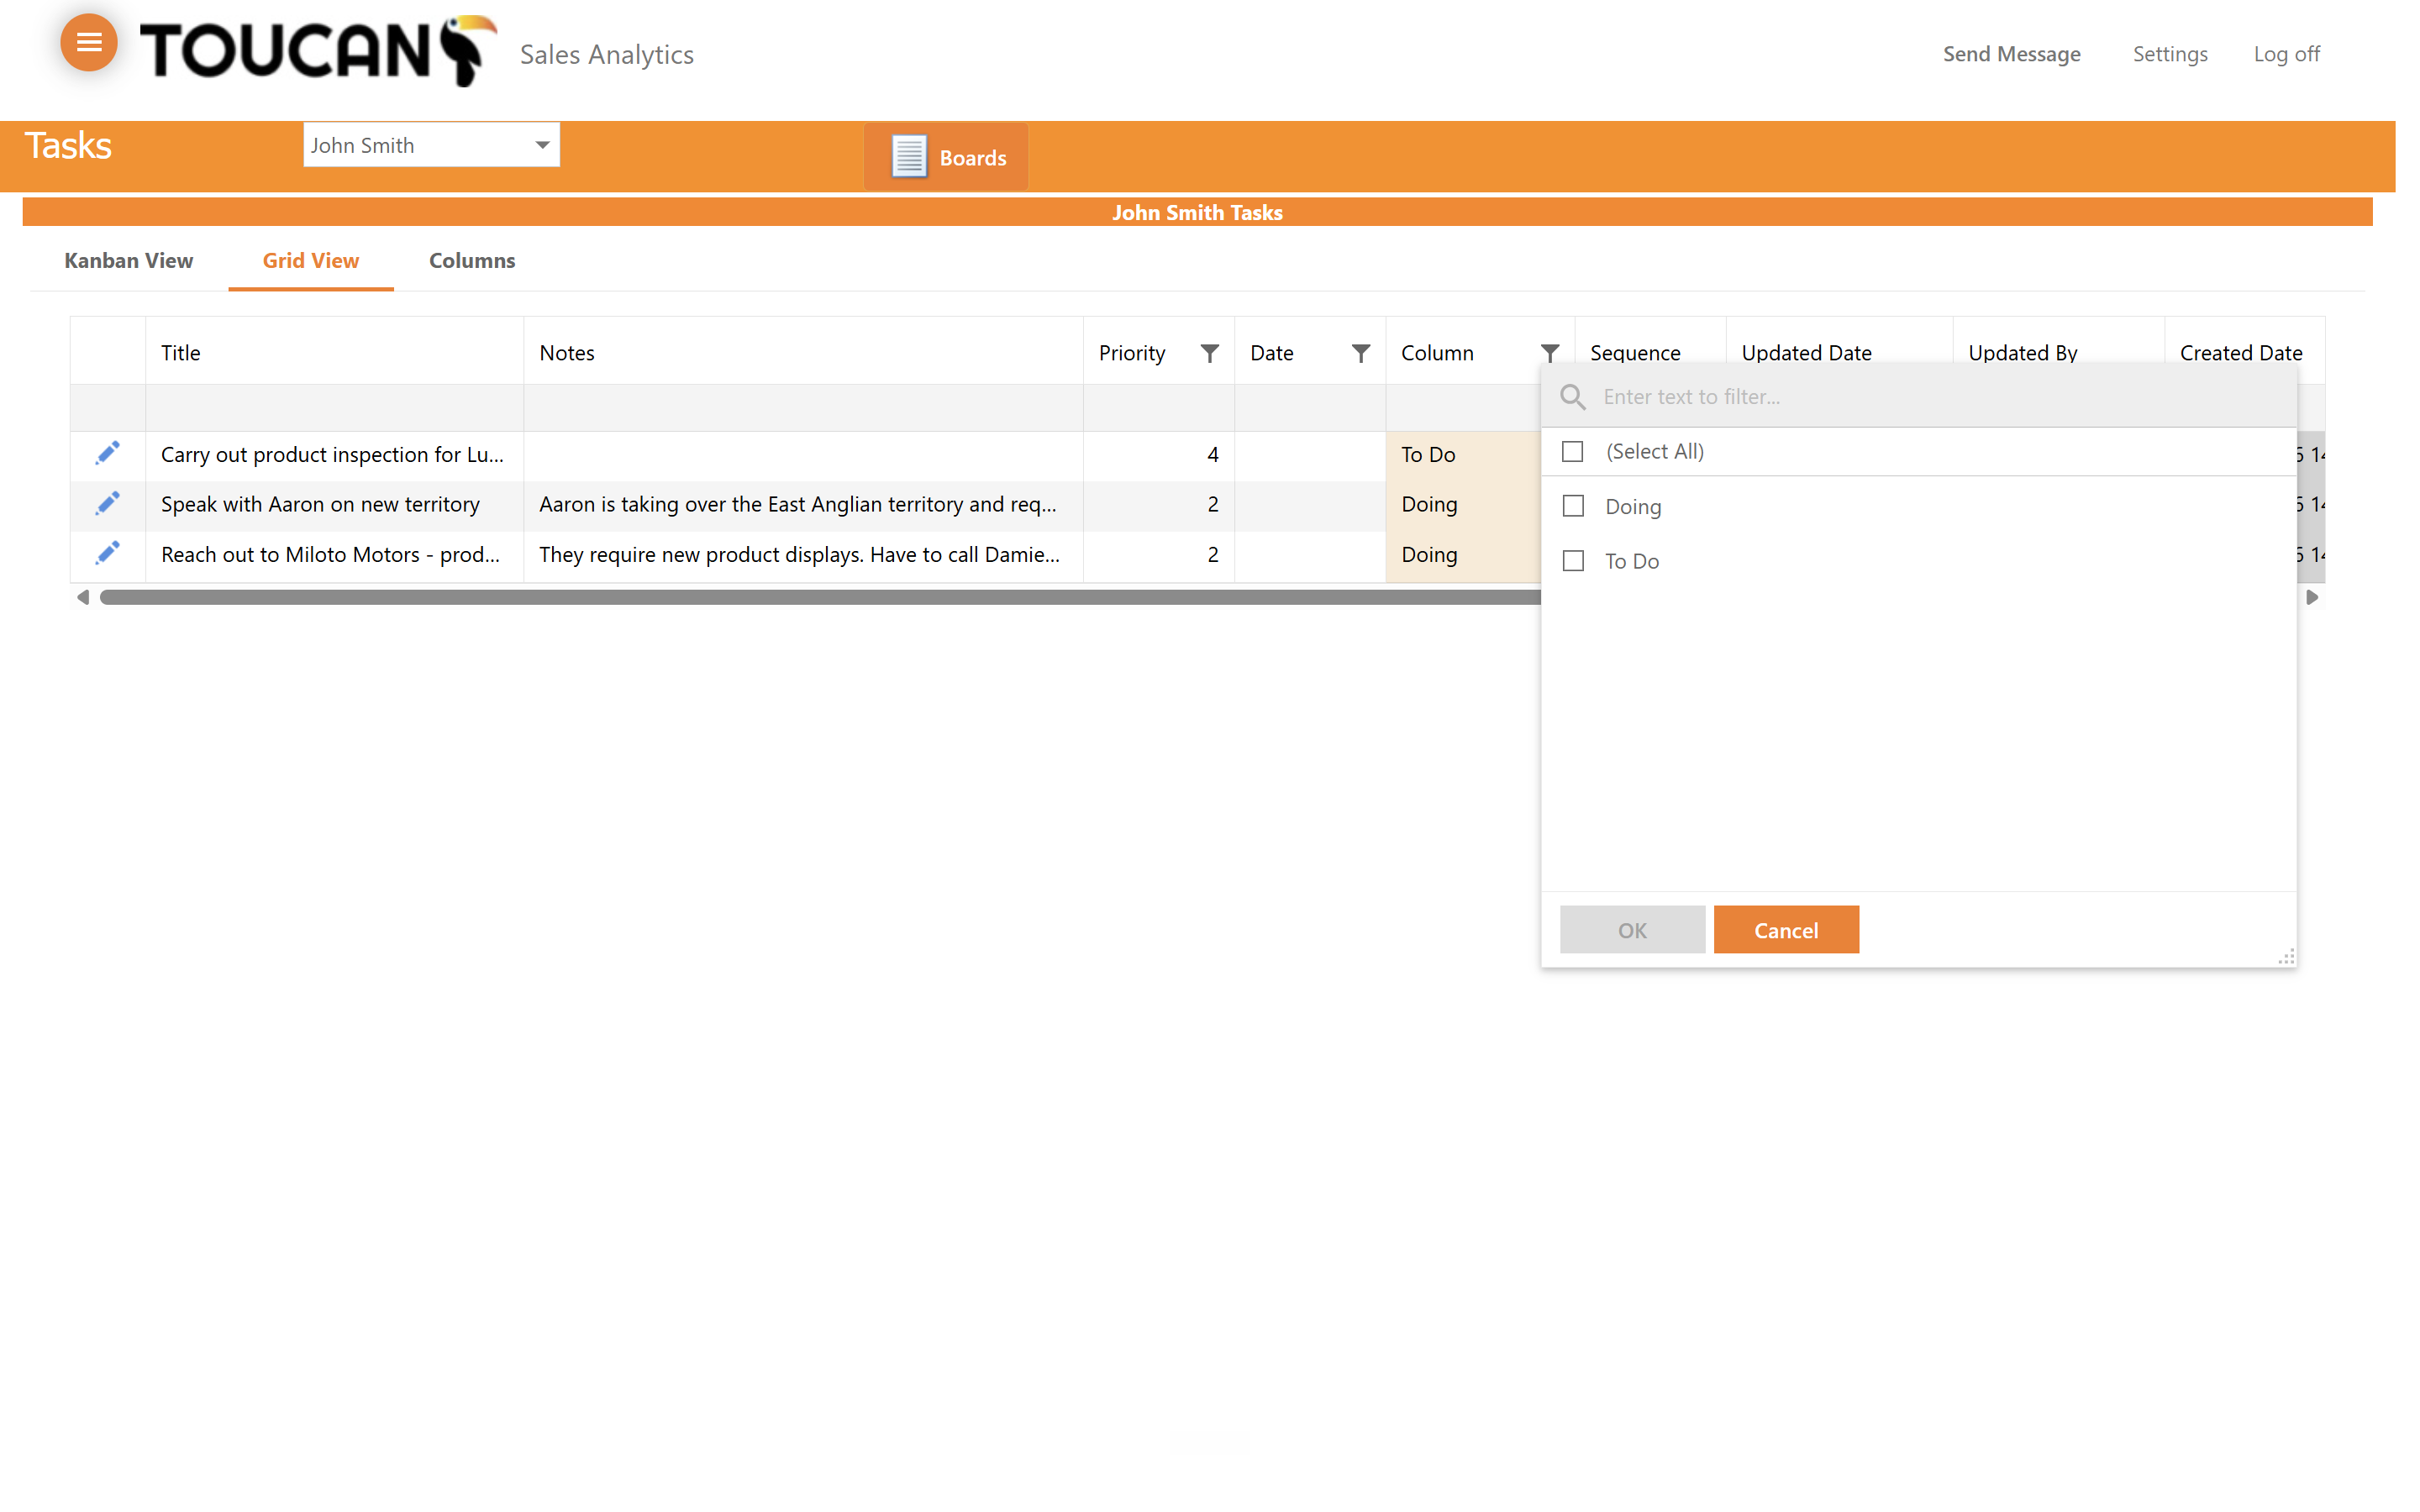
Click any column header to open its sorting and filtering menu.
13
Use the search bar or checkboxes to filter tasks by their current status.
14
Click the Columns tab to add or remove specific data fields from your grid view.
Managing Your Boards
15
Click Kanban View to return to your primary visual workflow.
16
Click Boards to open the workspace menu.
17
Select another workspace, create a new board, or manage existing ones directly from the list.