How to Set Camera Speed Settings for Photosphere Scans (Hikvision Tutorial)
Learn step-by-step how to configure your Hikvision camera's speed settings to support photo sphere scans. This guide covers accessing PTZ controls, adjusting speed, and verifying successful scans for projects like Broadmoor Shell HQ.
In this guide, we'll learn how to set the speed settings on a Hikvision camera to support photo sphere scans. This process ensures the camera moves at the correct speed when receiving remote commands, which is important for capturing accurate photo spheres.
We'll also cover how to access the camera's controls using Microsoft Edge in Internet Explorer mode, update the speed setting, and verify that the scan completes successfully.
Let's get started
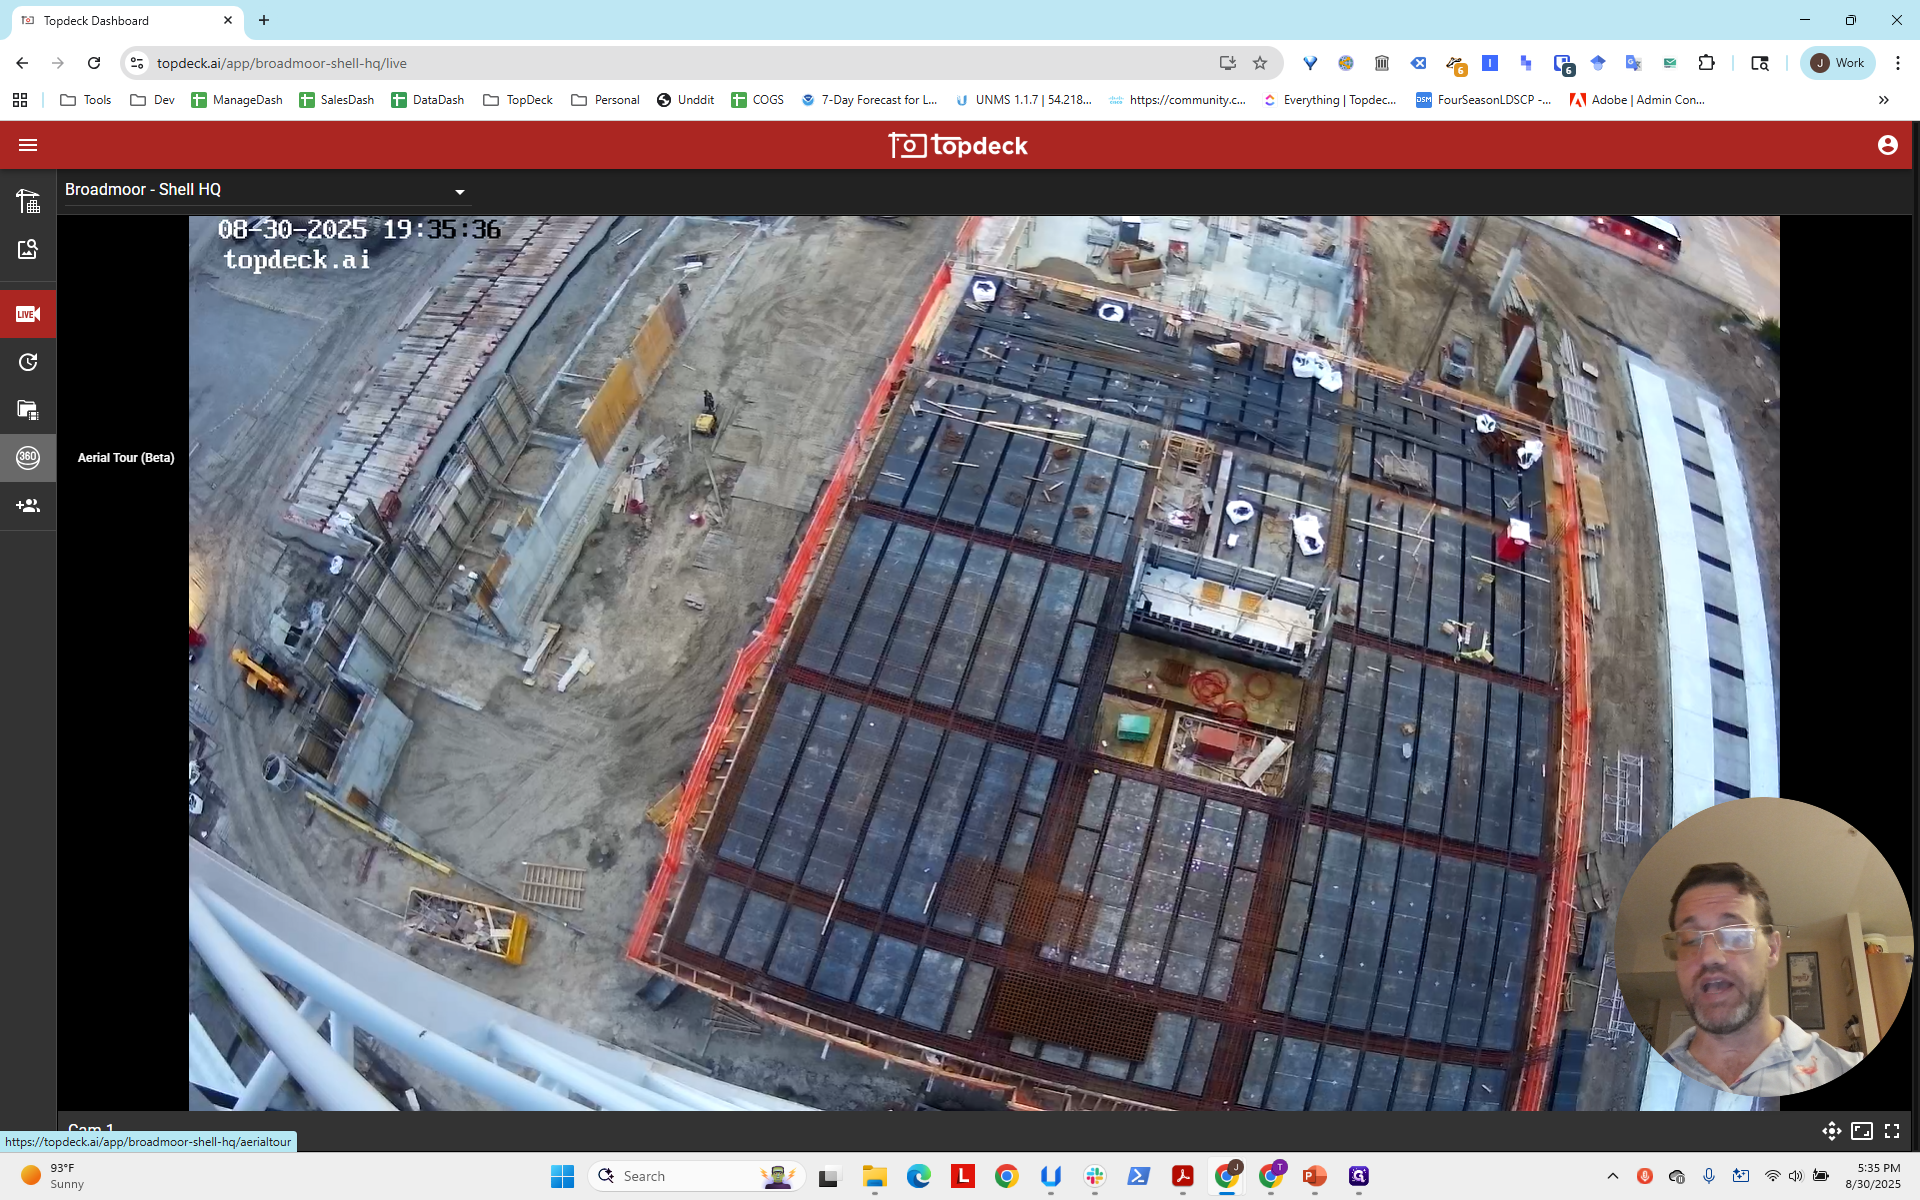
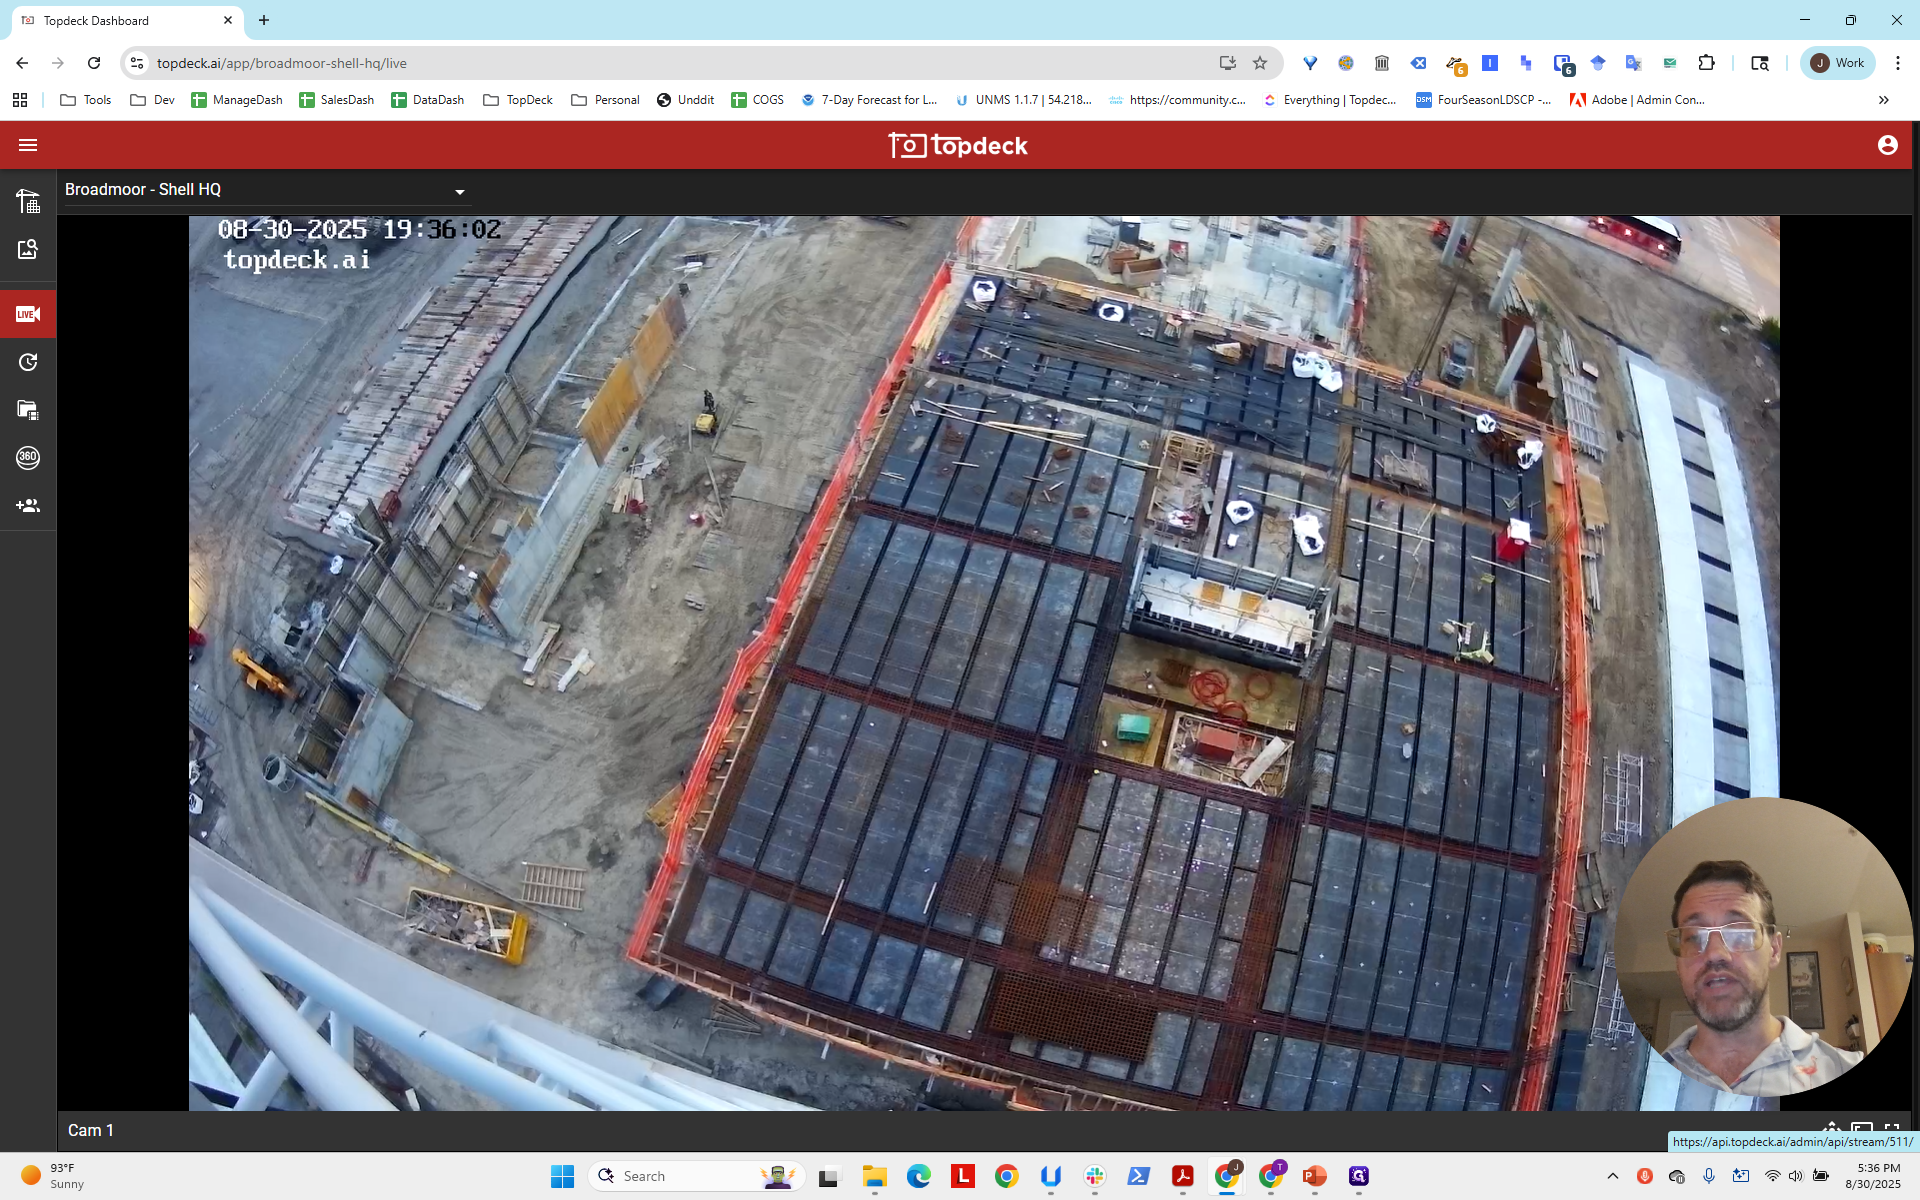
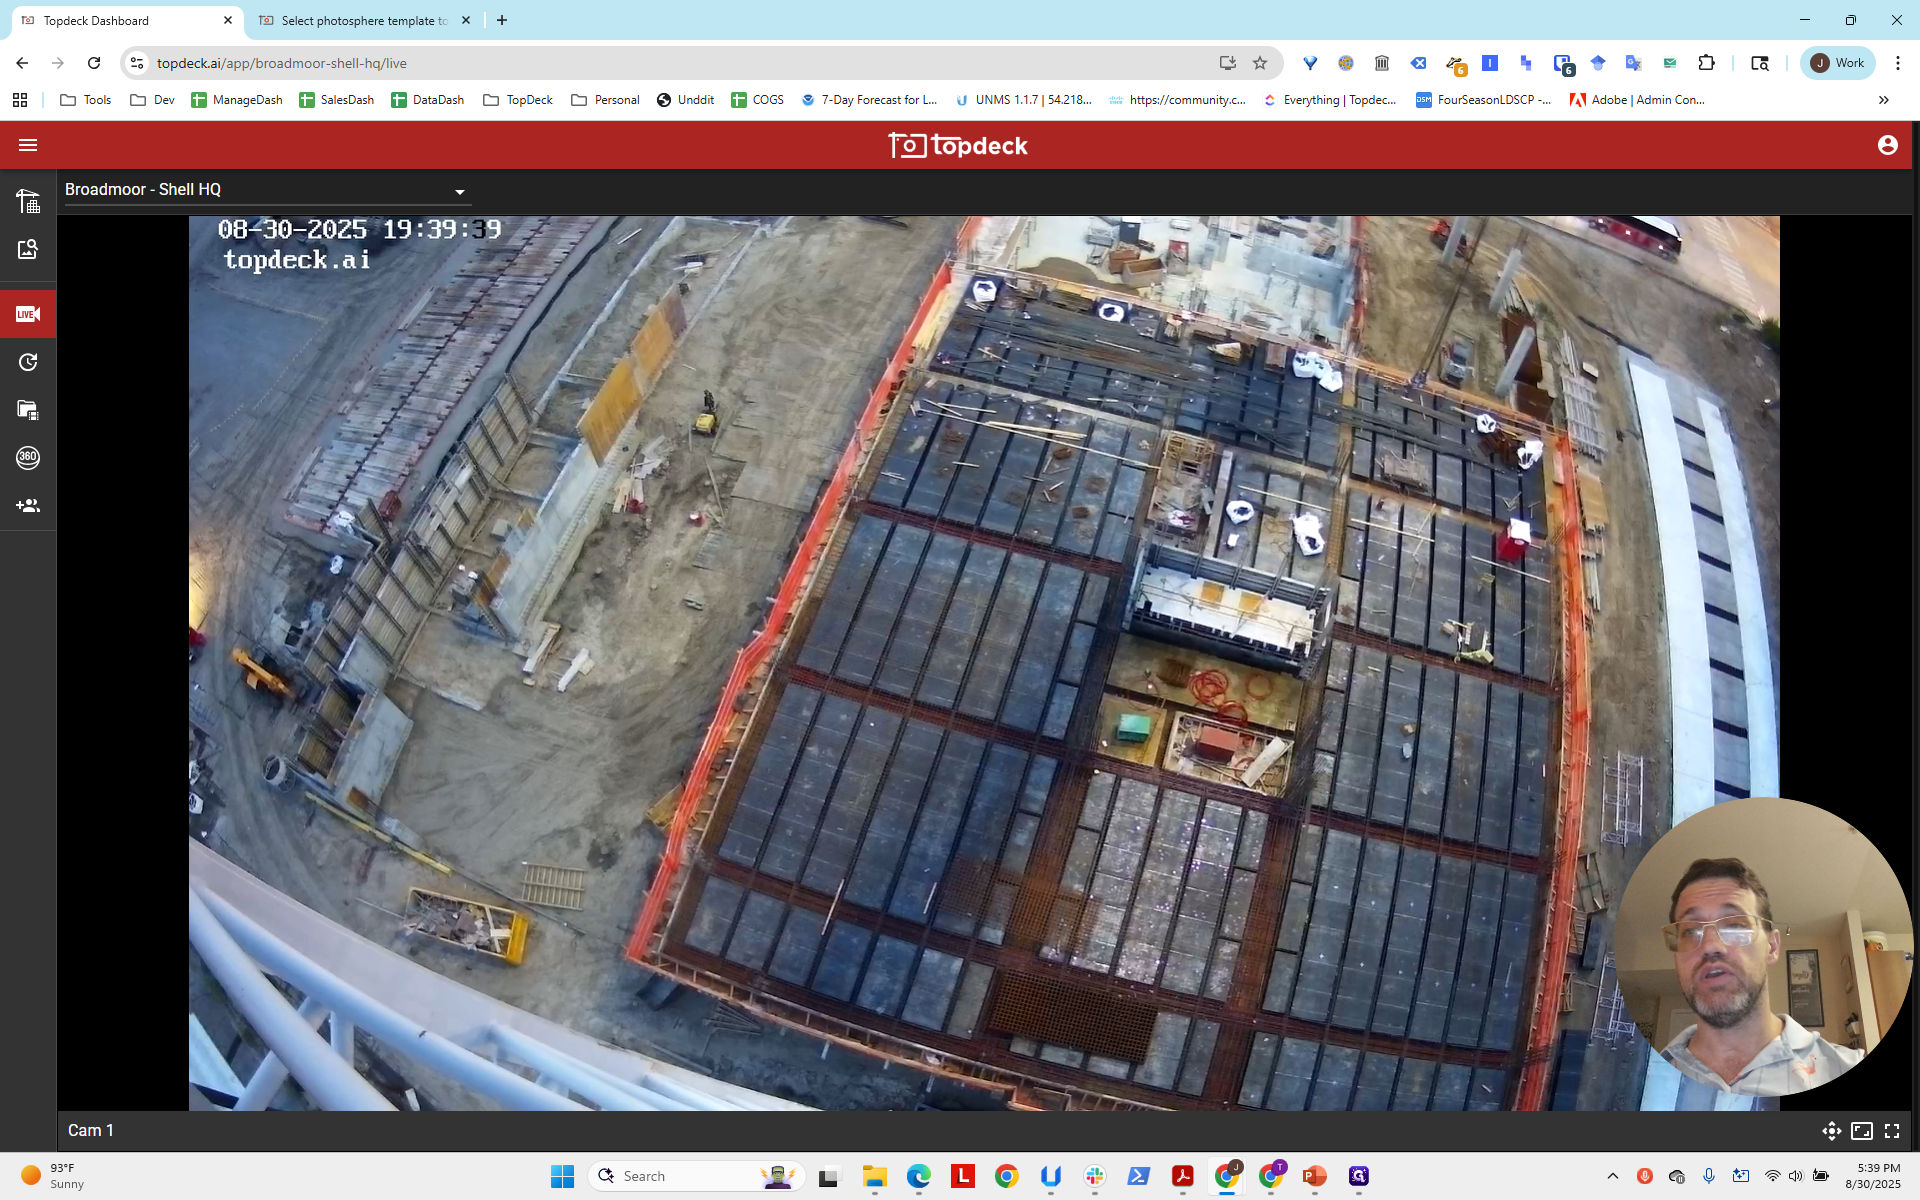
Hello, everyone. This video tutorial explains how to set your camera's speed setting to support the photo sphere scan. This ensures the camera can move quickly enough based on remote commands when instructed to create a photo sphere. First, we open the project called Broadmoor Shell HQ.
It's Saturday—a good time to experiment since no one is watching the cameras. No one is on the work site. This template is already set up, but it hasn't scanned yet since nothing is here.
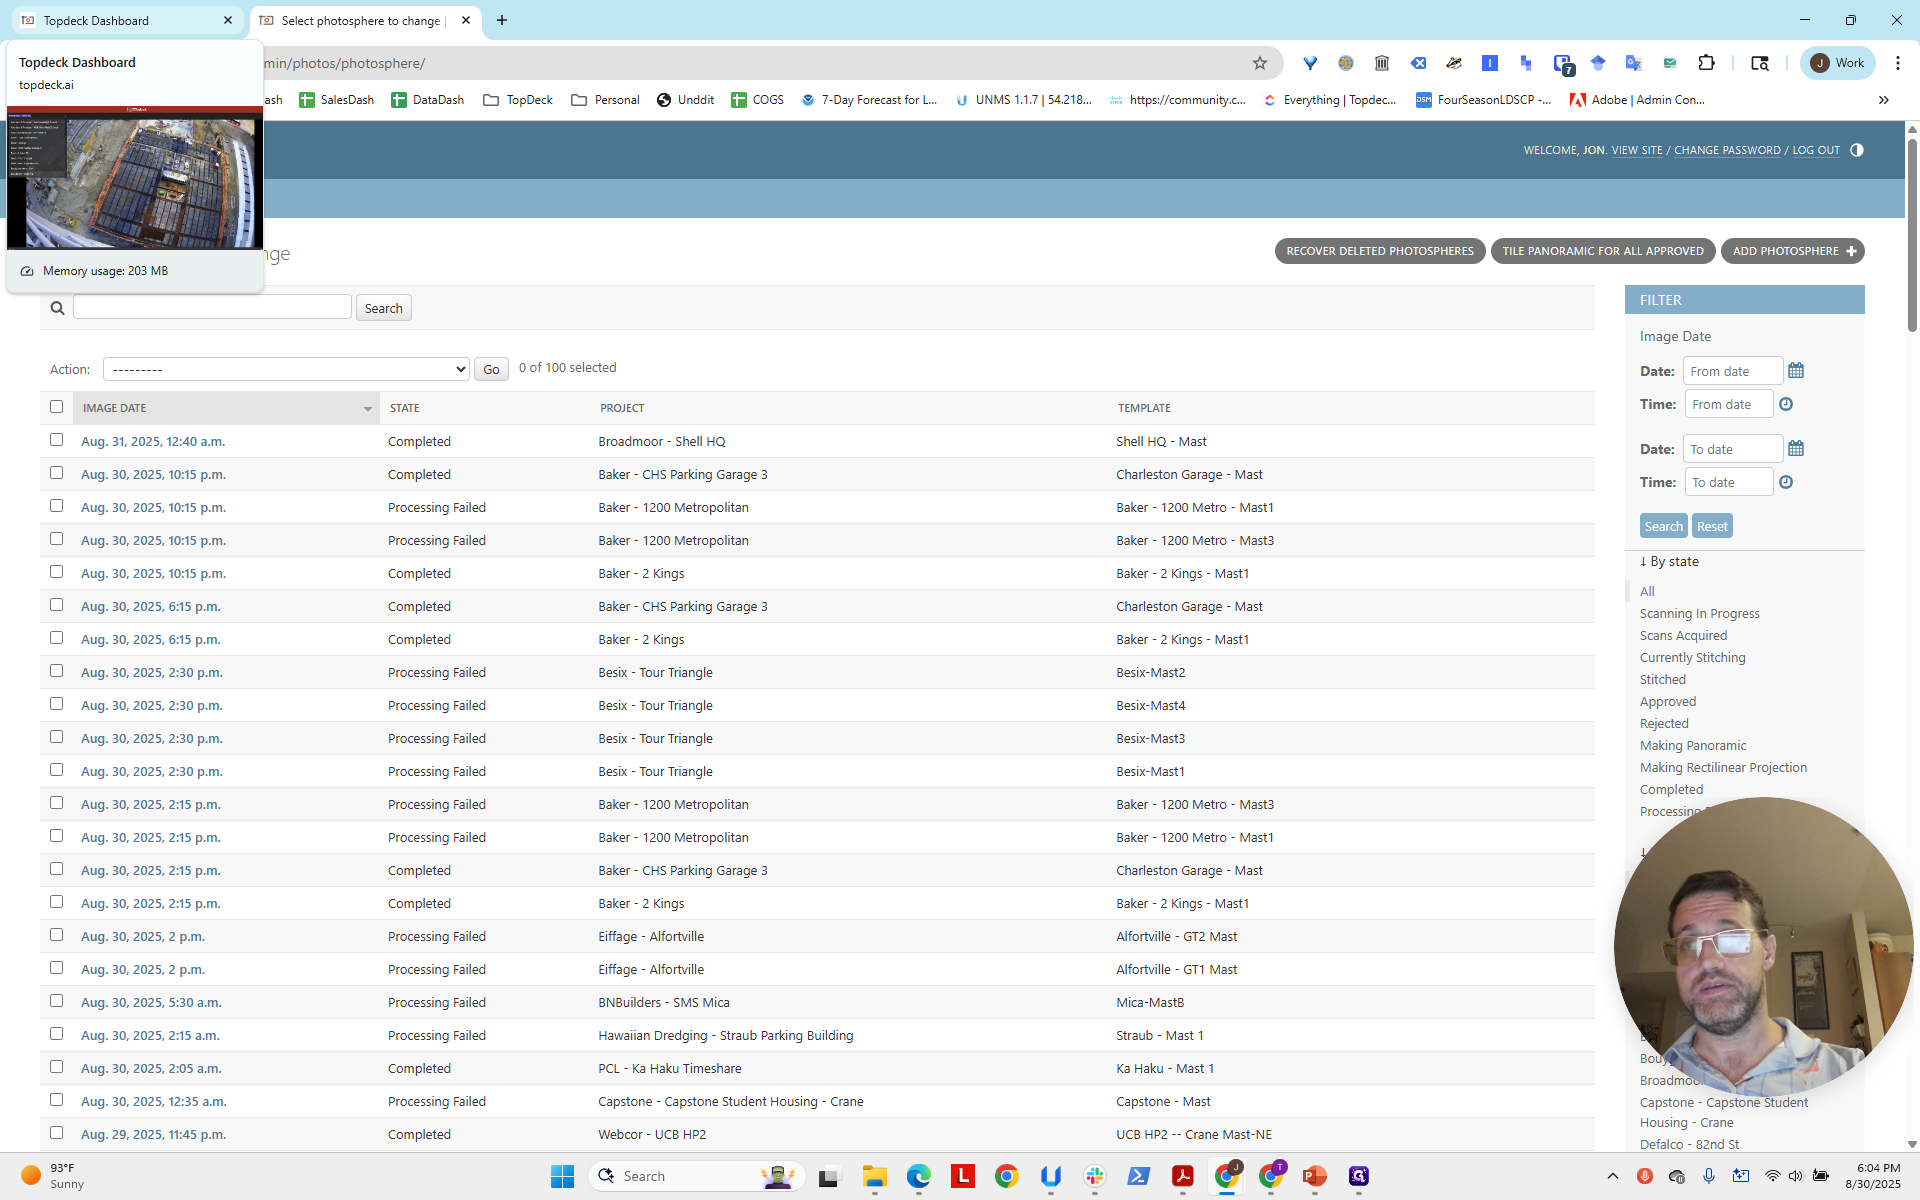
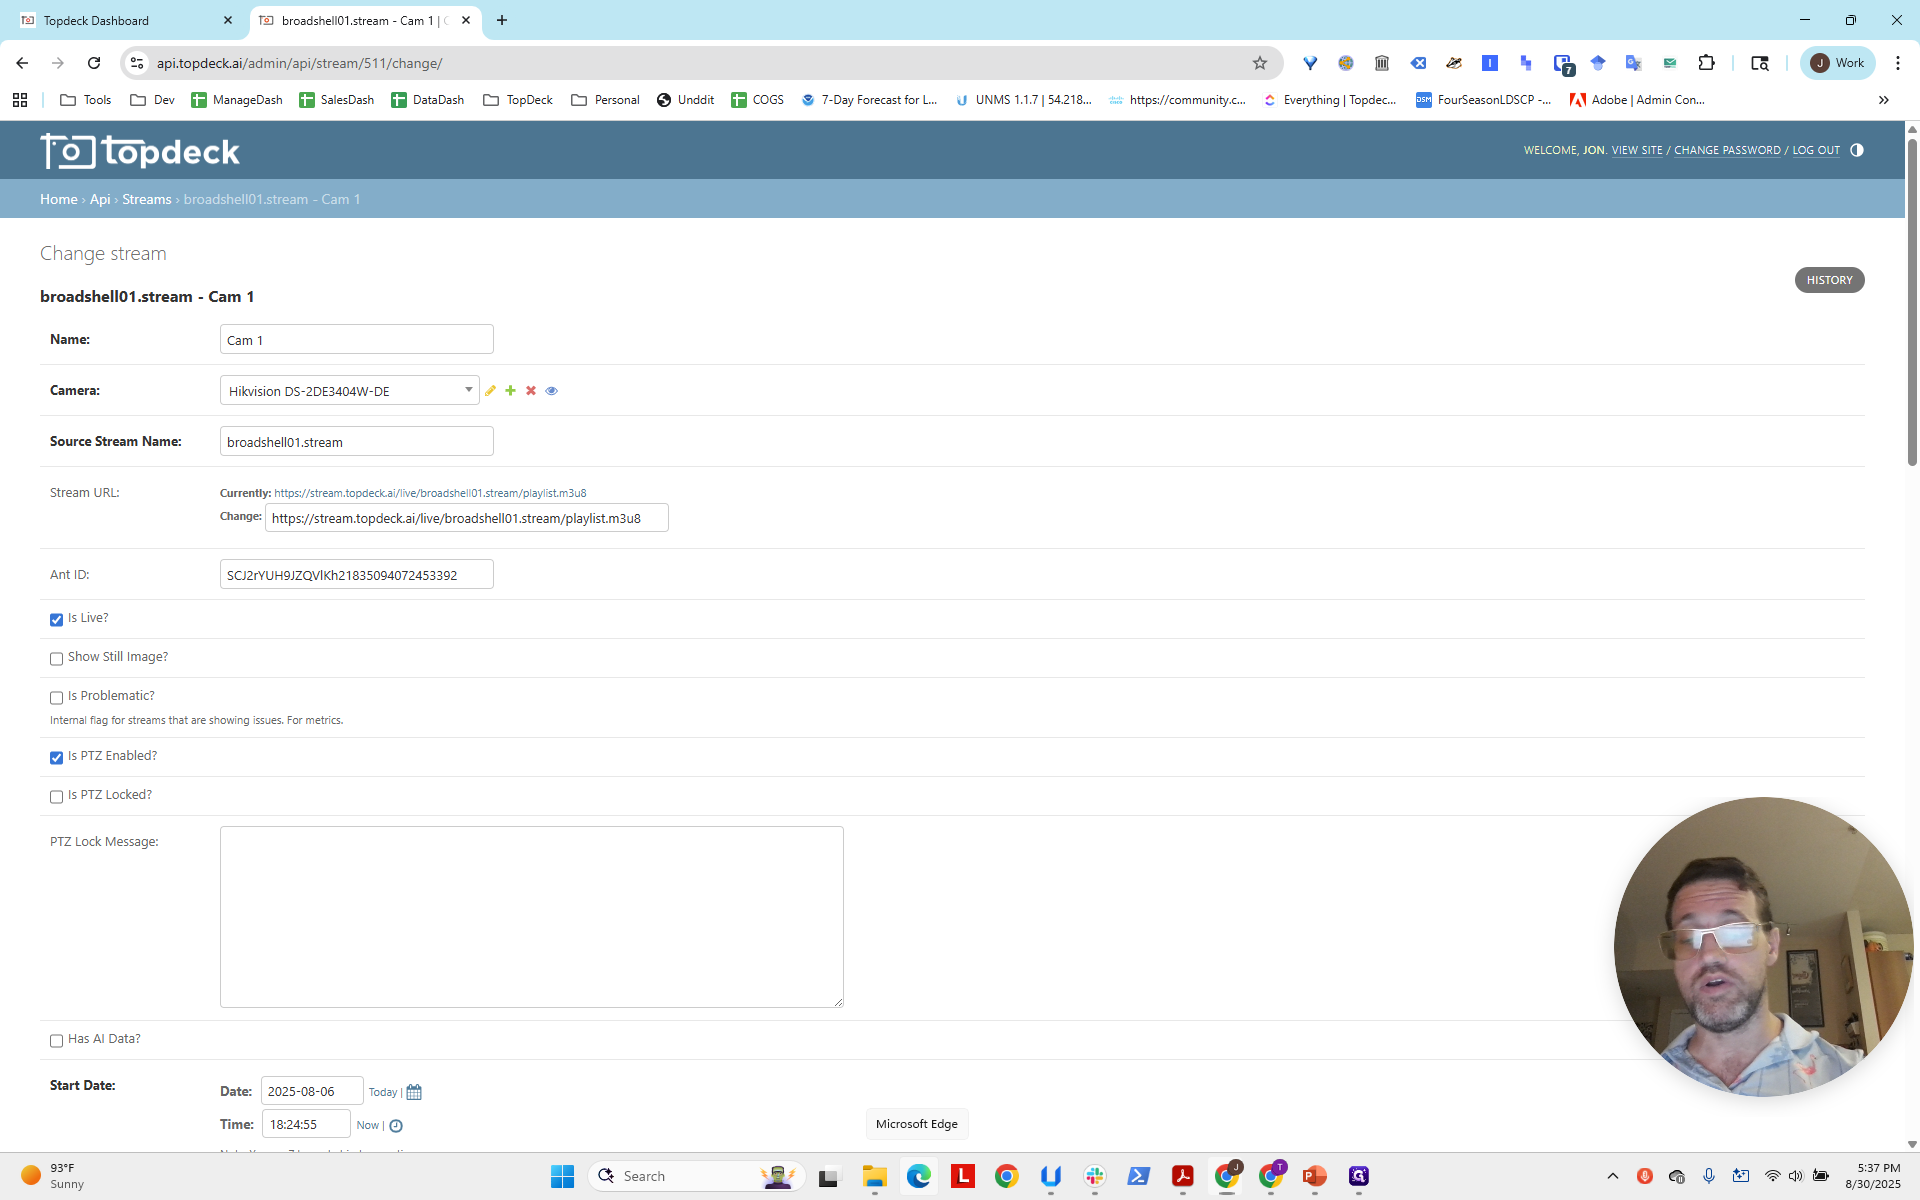
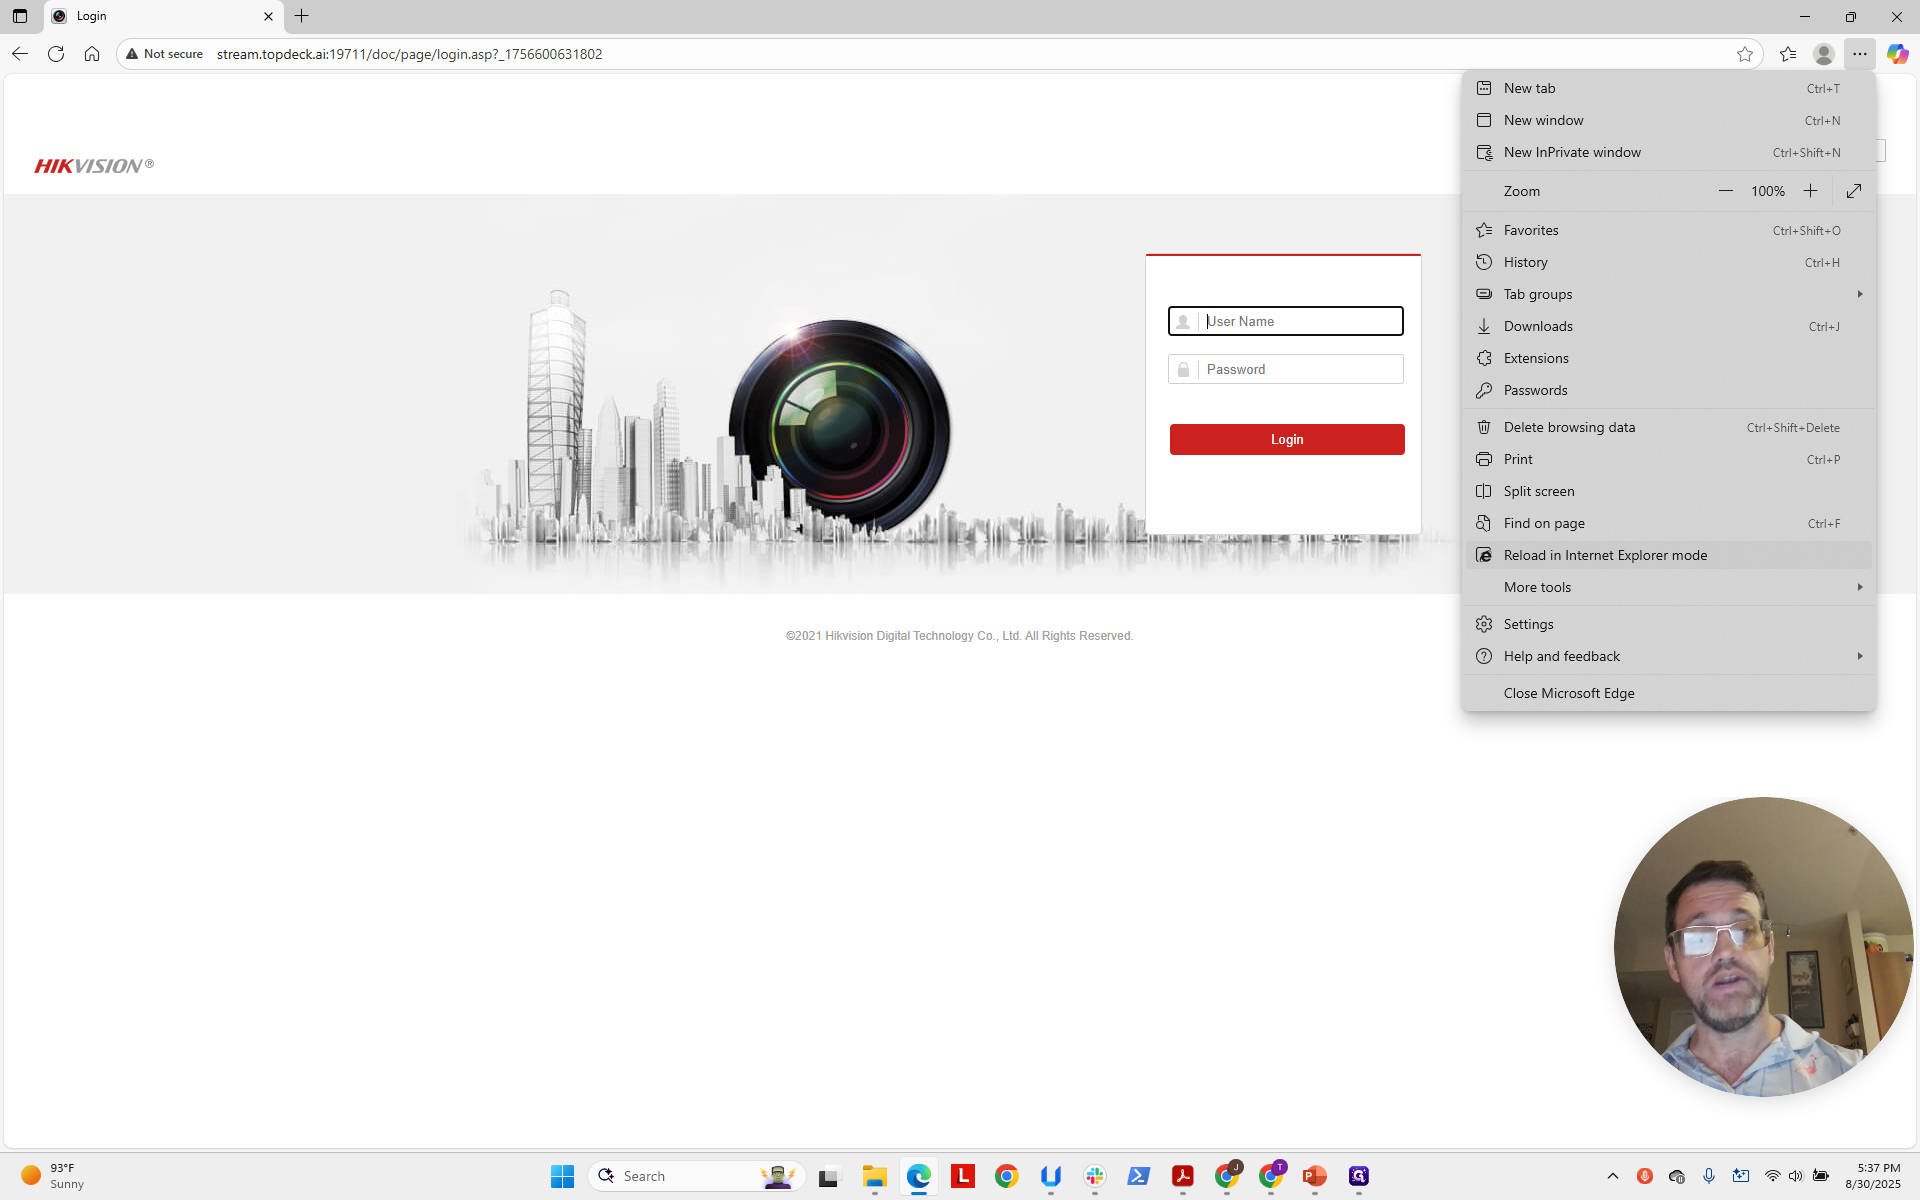
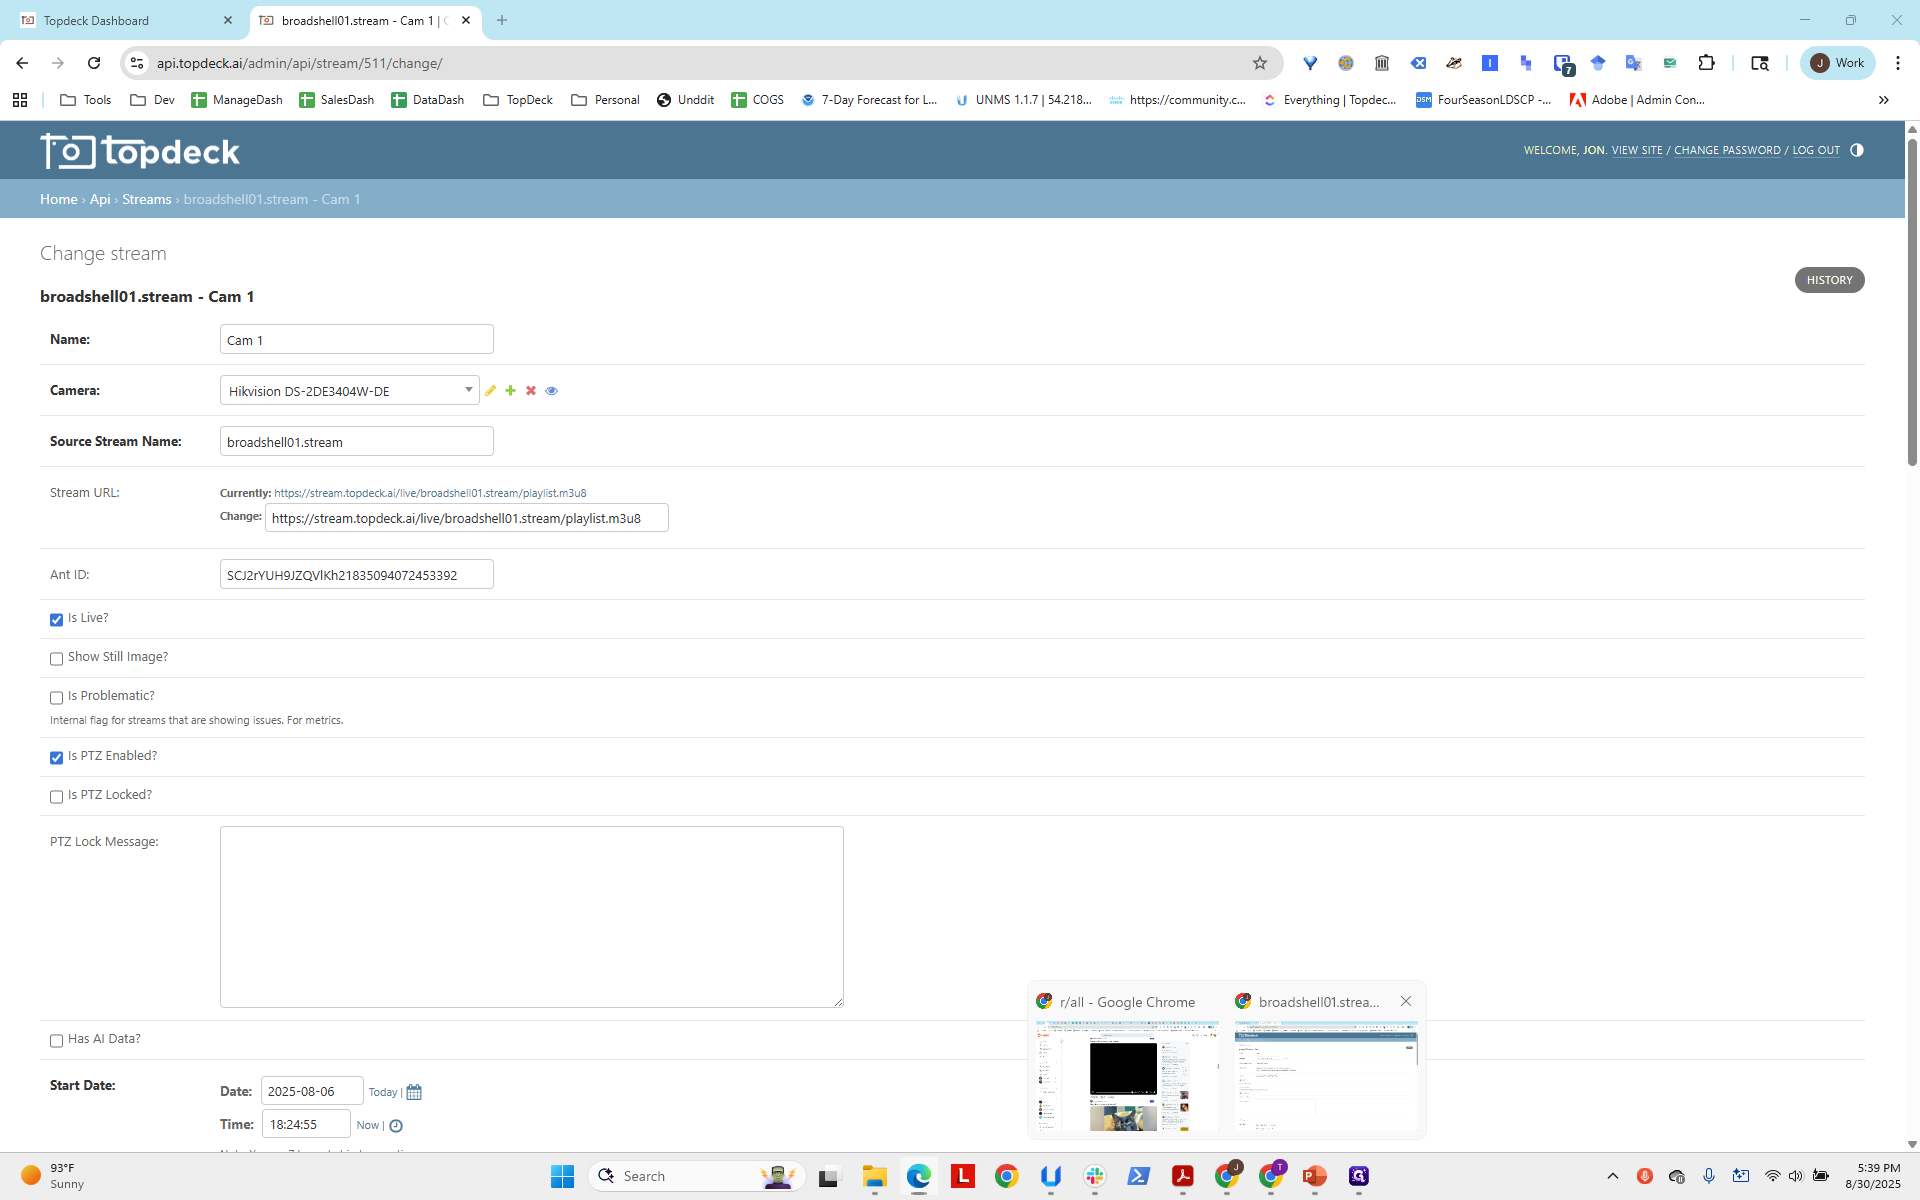
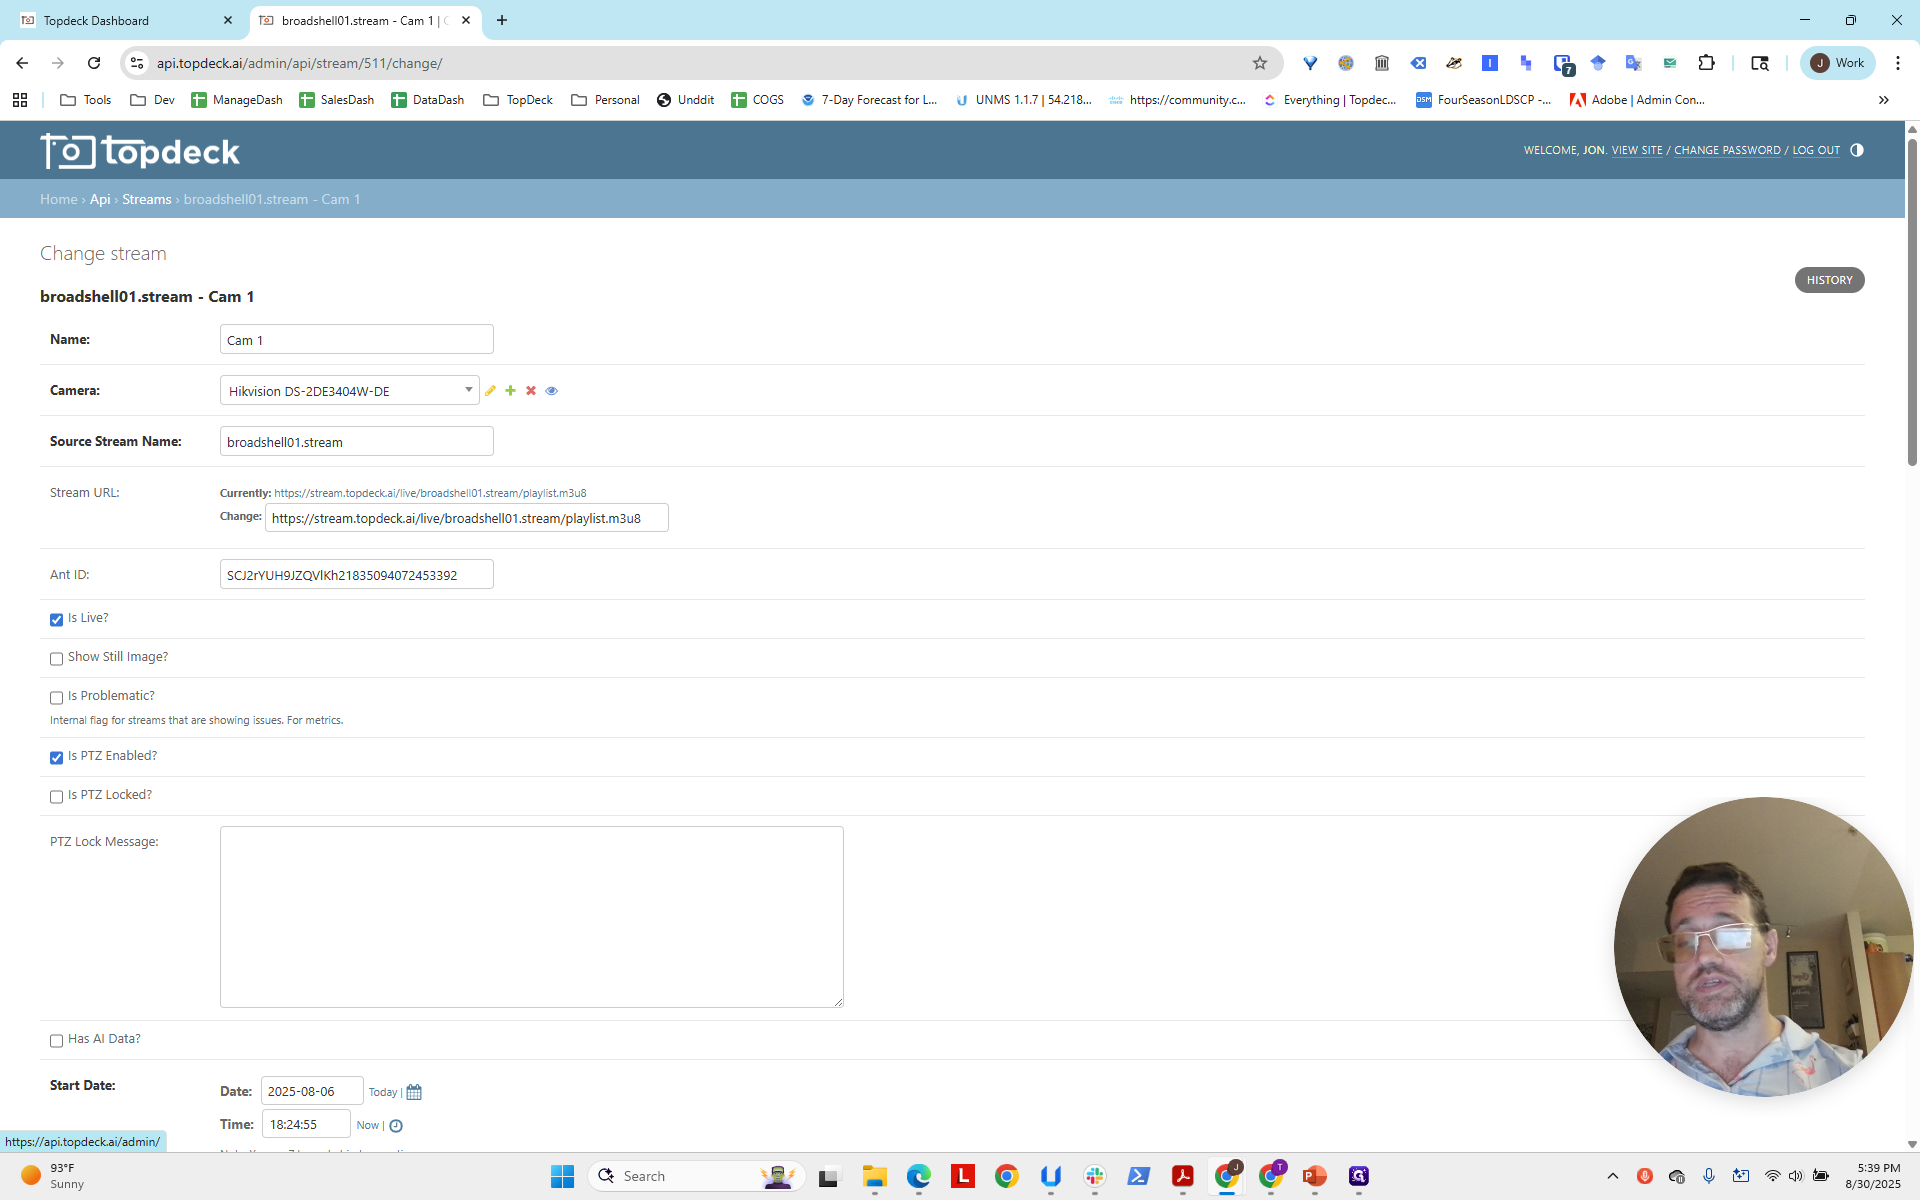
We will check that the speed settings are correct and adjust them if necessary. We need to do this for each photo sphere template you set up. First, click on the single video in the project. This indicates it is the camera. Click in the lower left corner to go to the admin page, then log in.
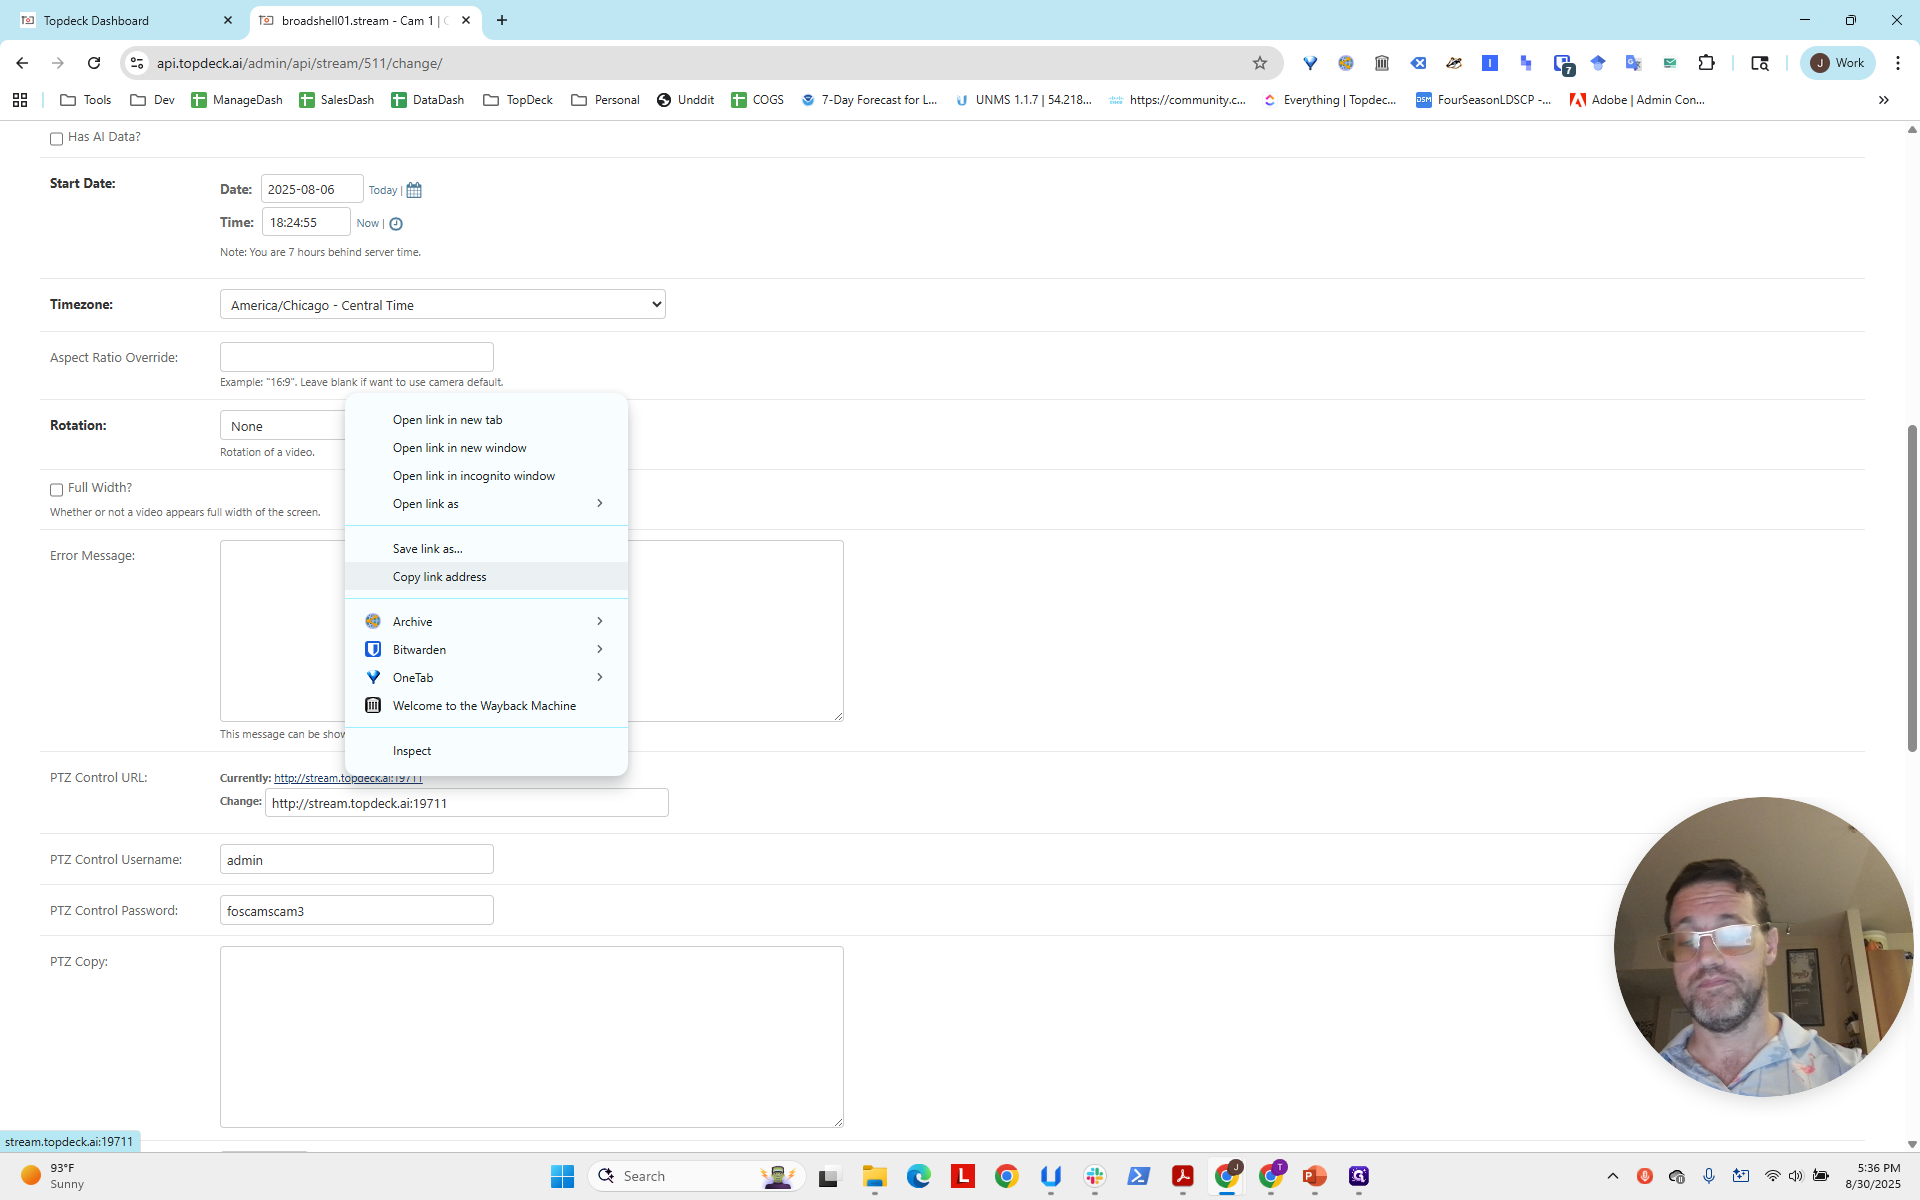
This will now provide us with the stream named Broadshell01.stream. Now, scroll down to find the PTZ control URL.
This is a shortened URL to our server that lets you access the camera directly.
We will copy this URL address.

Now, we'll open Microsoft Edge. Since this is a Hikvision camera, you can only access it using Microsoft Edge in Internet Explorer mode.
We're going to open Edge.
We will paste the URL into the address bar.
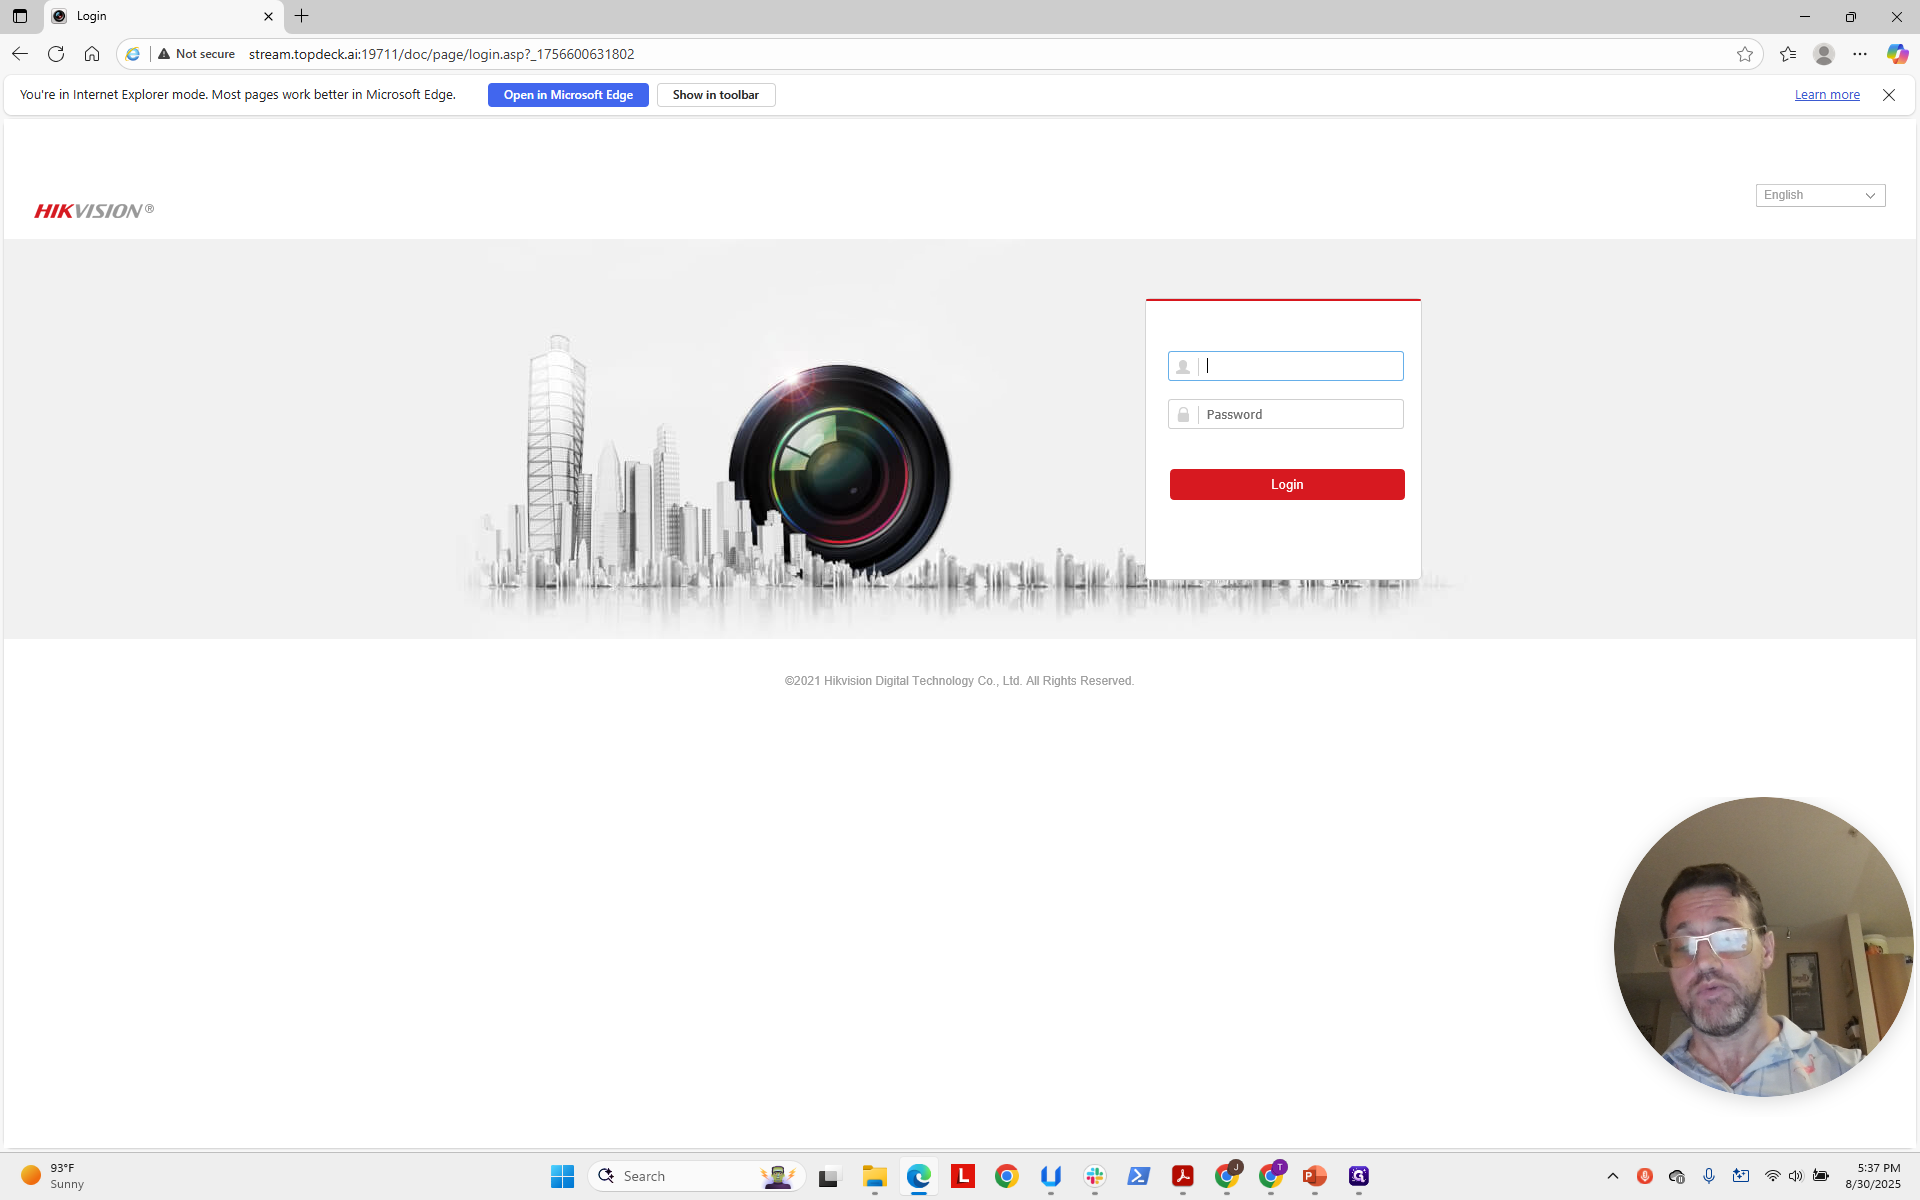
Now, the page will load, but you still need to go here and reload it in Internet Explorer mode.
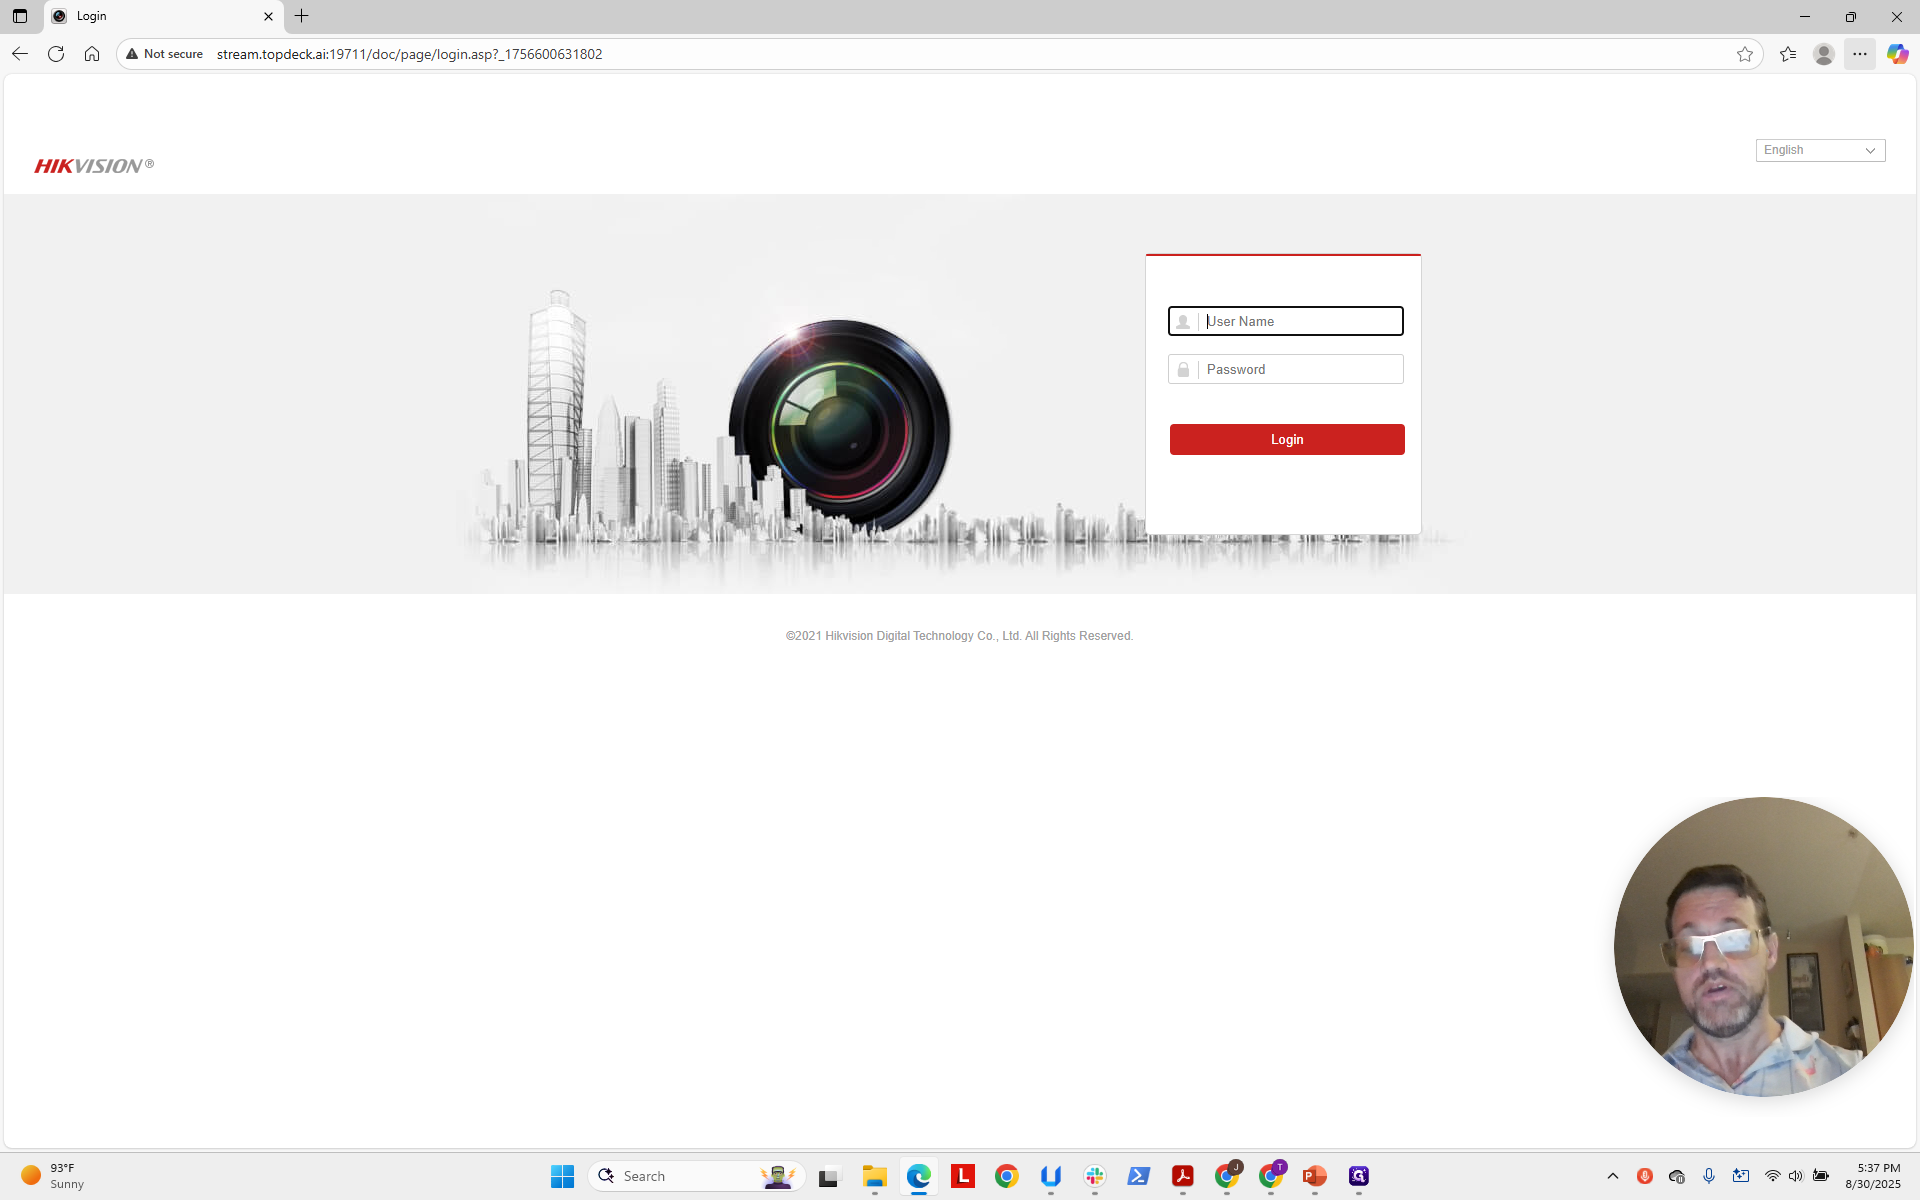
Then click Done to exit.
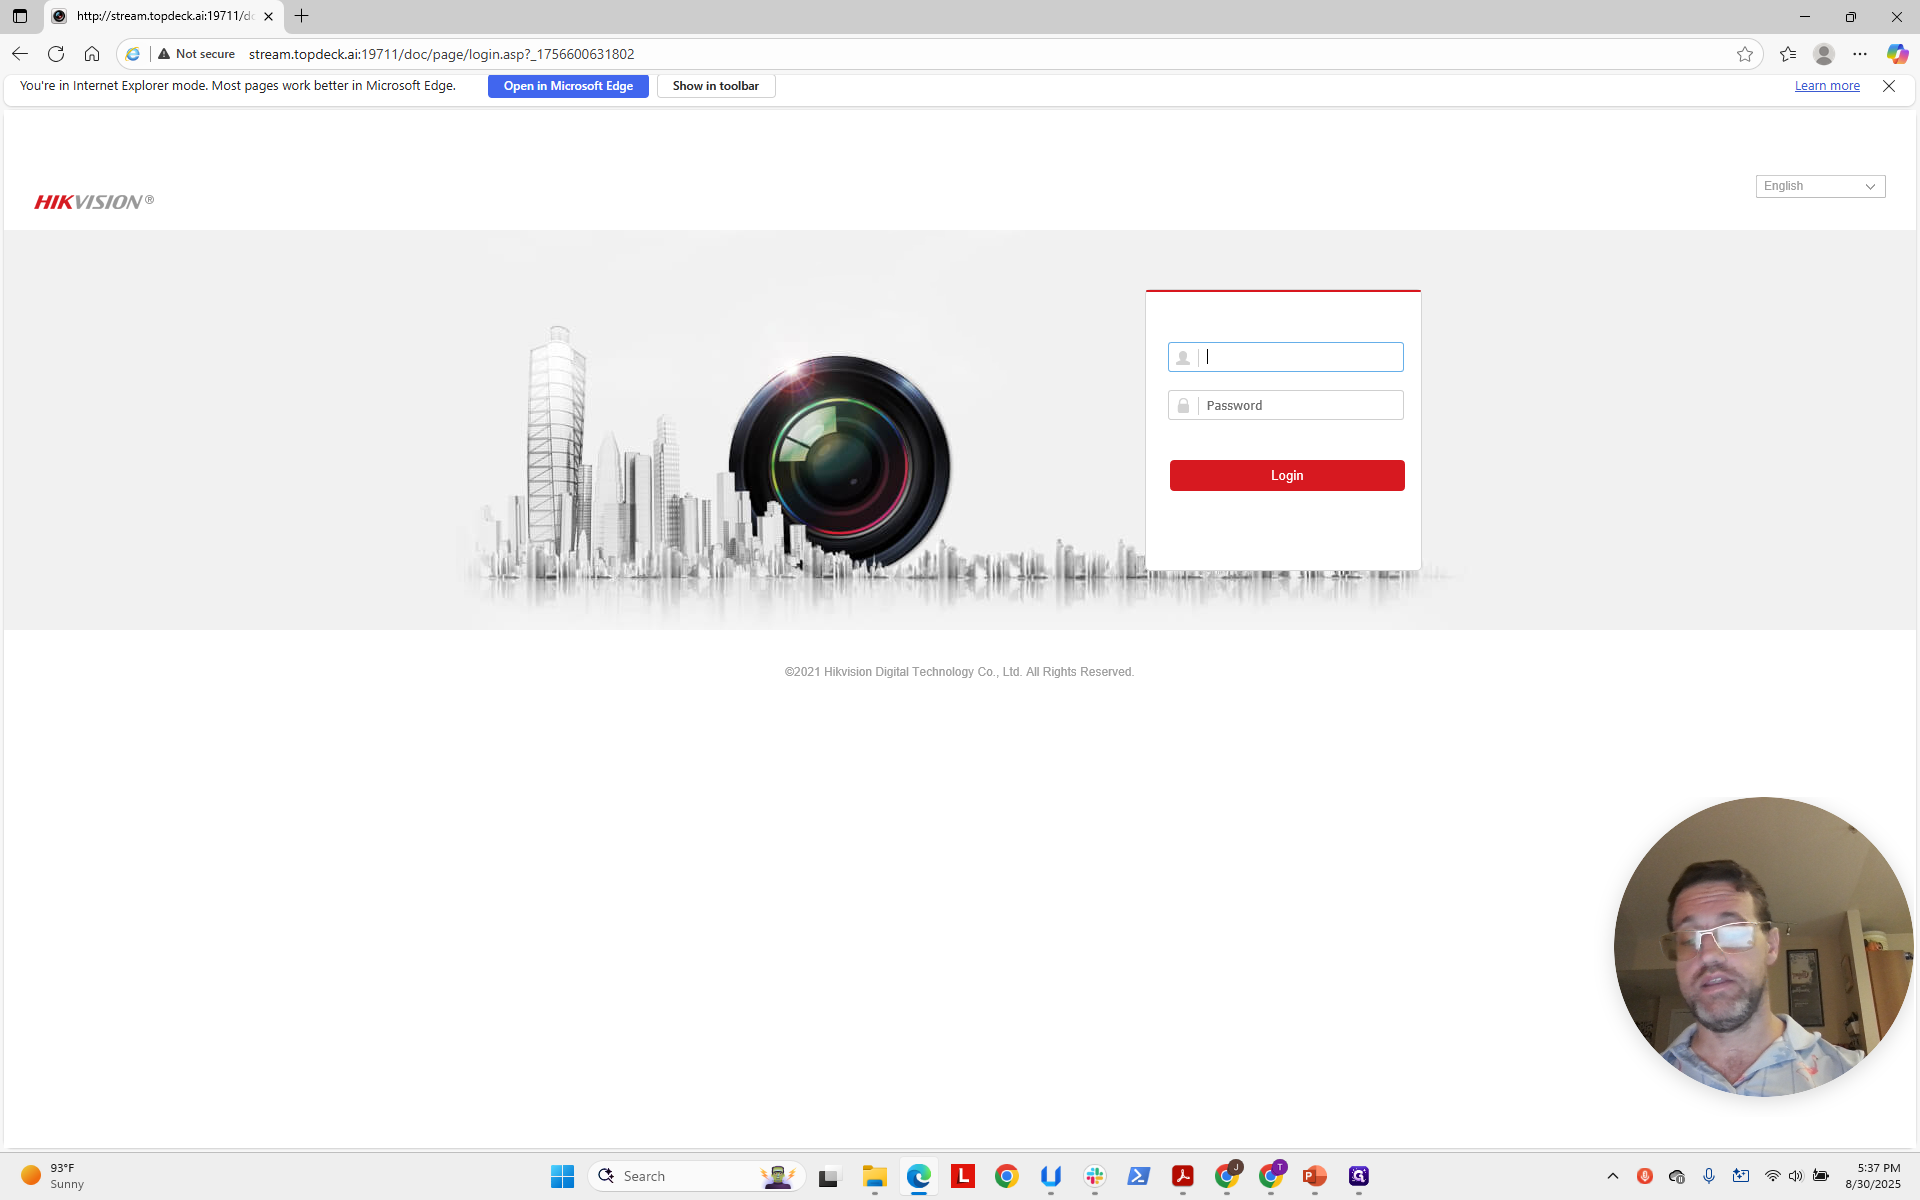
Now we are on the correct page. Enter "admin" as the login and "foscamscam3" as the password.
as the password.
We press Enter, and now we have direct access to the camera's Hikvision controls. It usually takes a moment to connect and load, so please be patient. We will go to Picture.
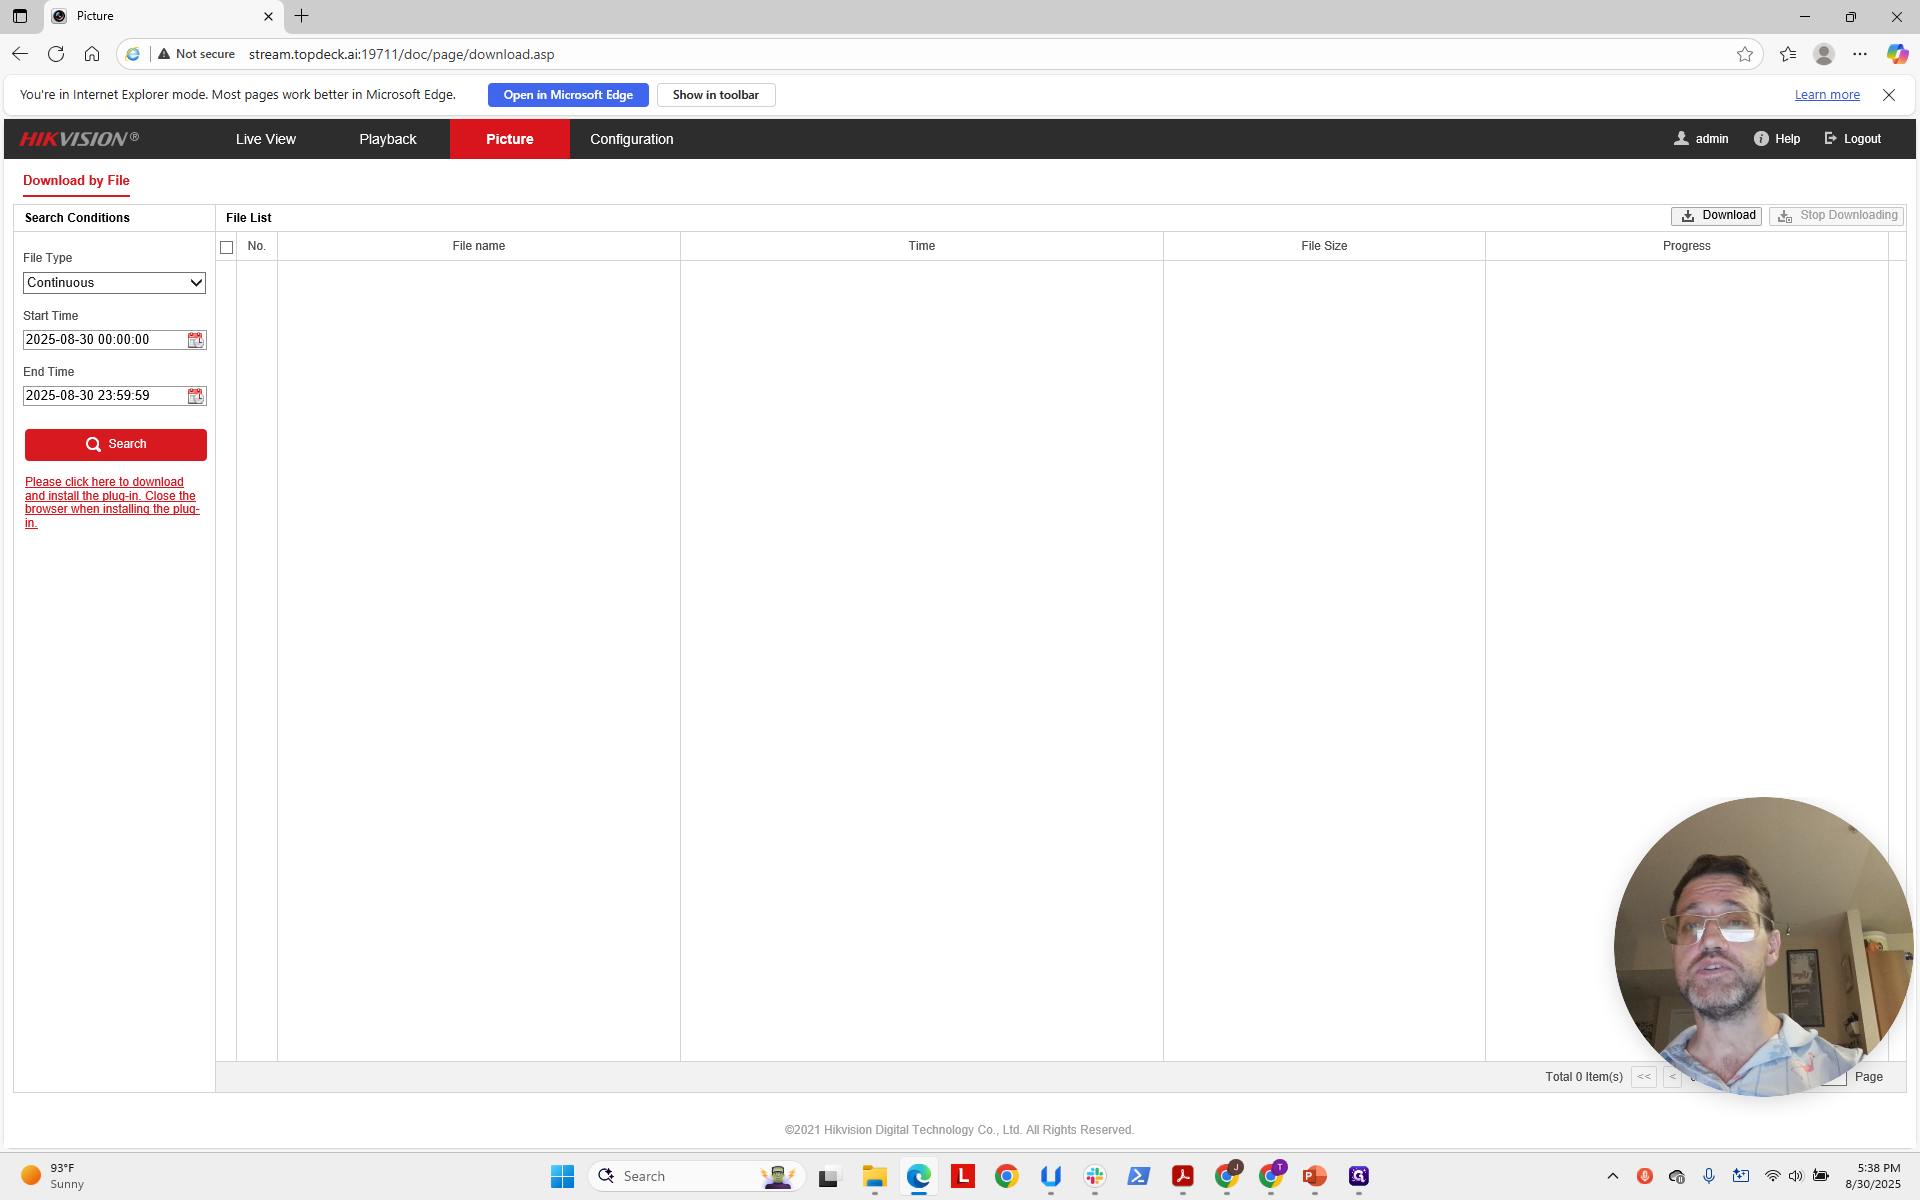
We are going to Configuration. As you can see, it usually takes some time to connect. Now, we will select PTZ.
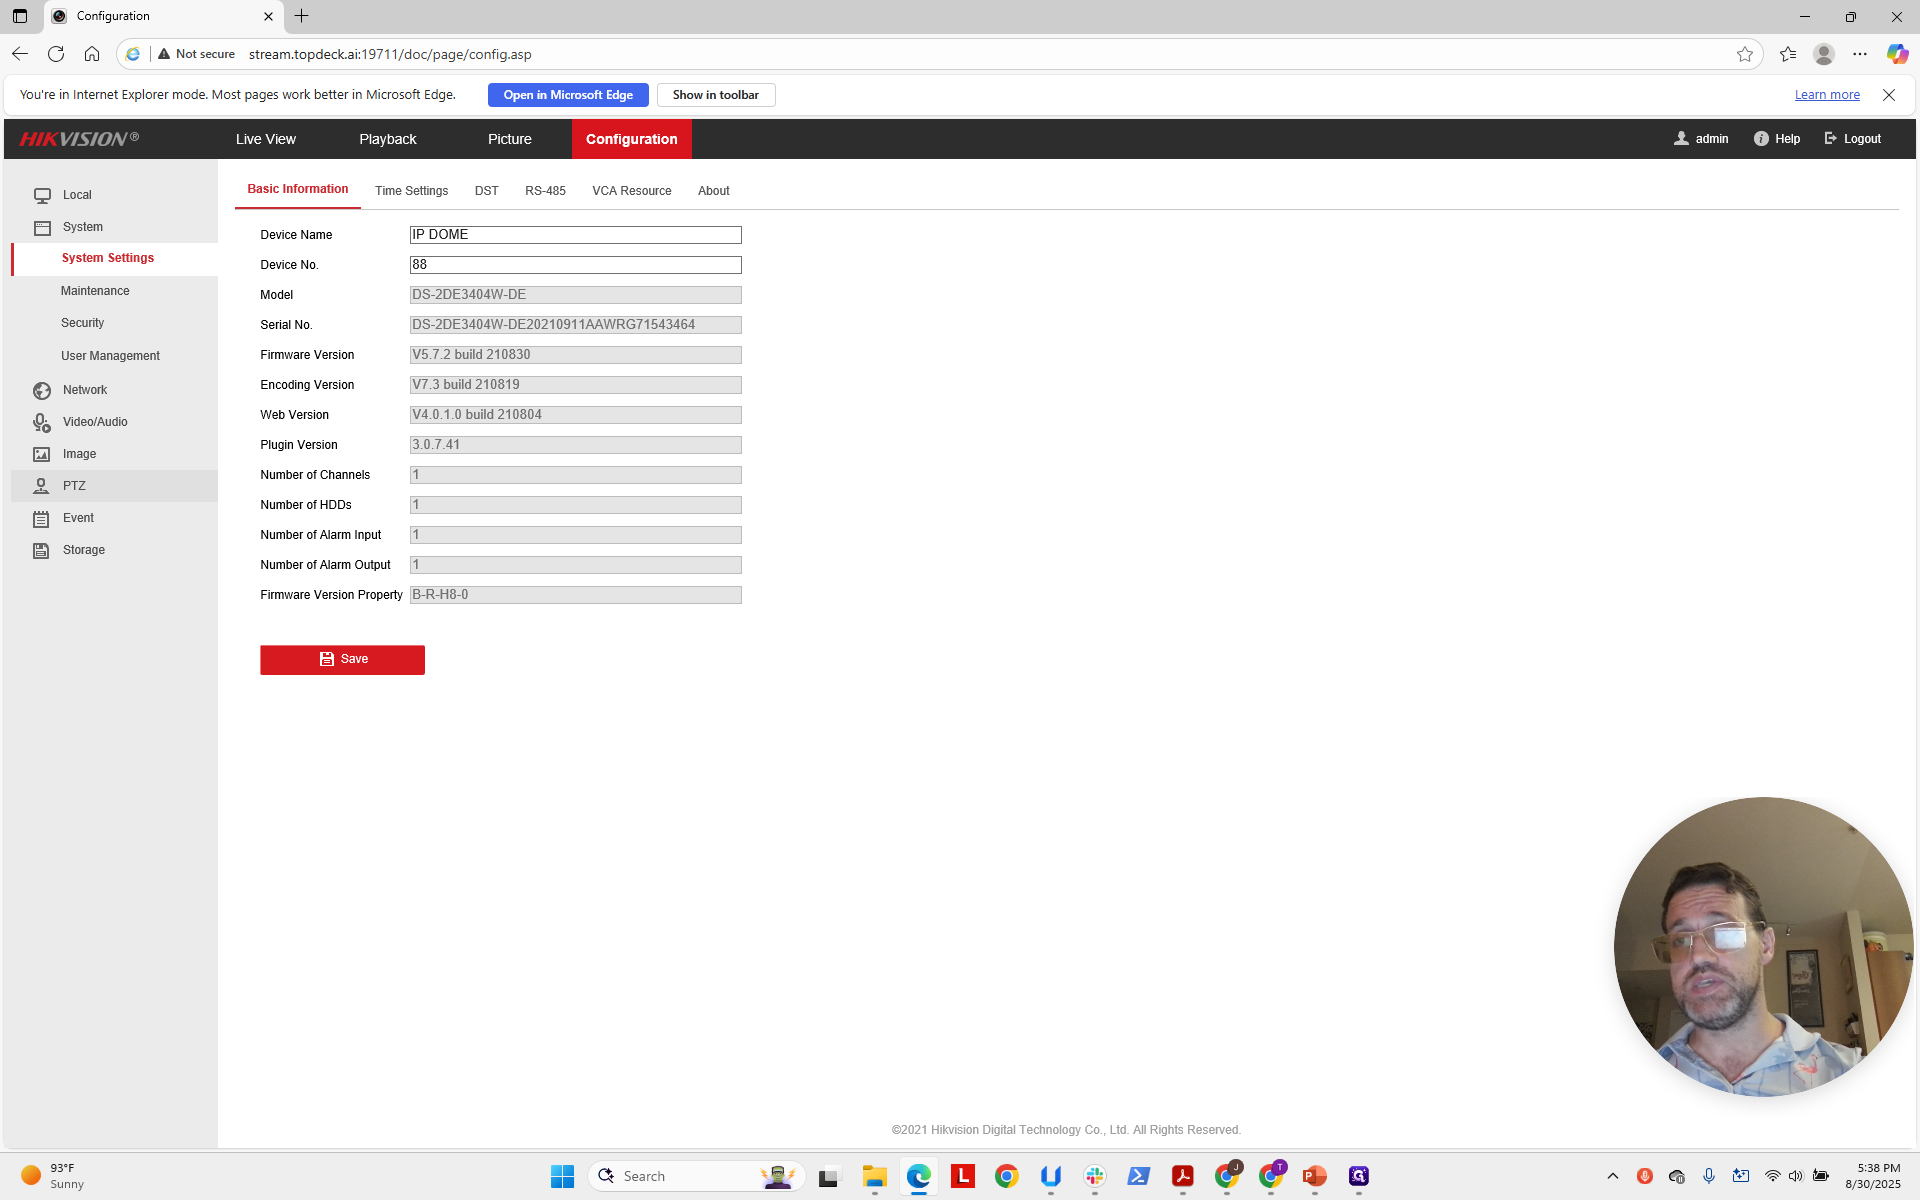
Now, note the preset speed. Now, this speed is set correctly.
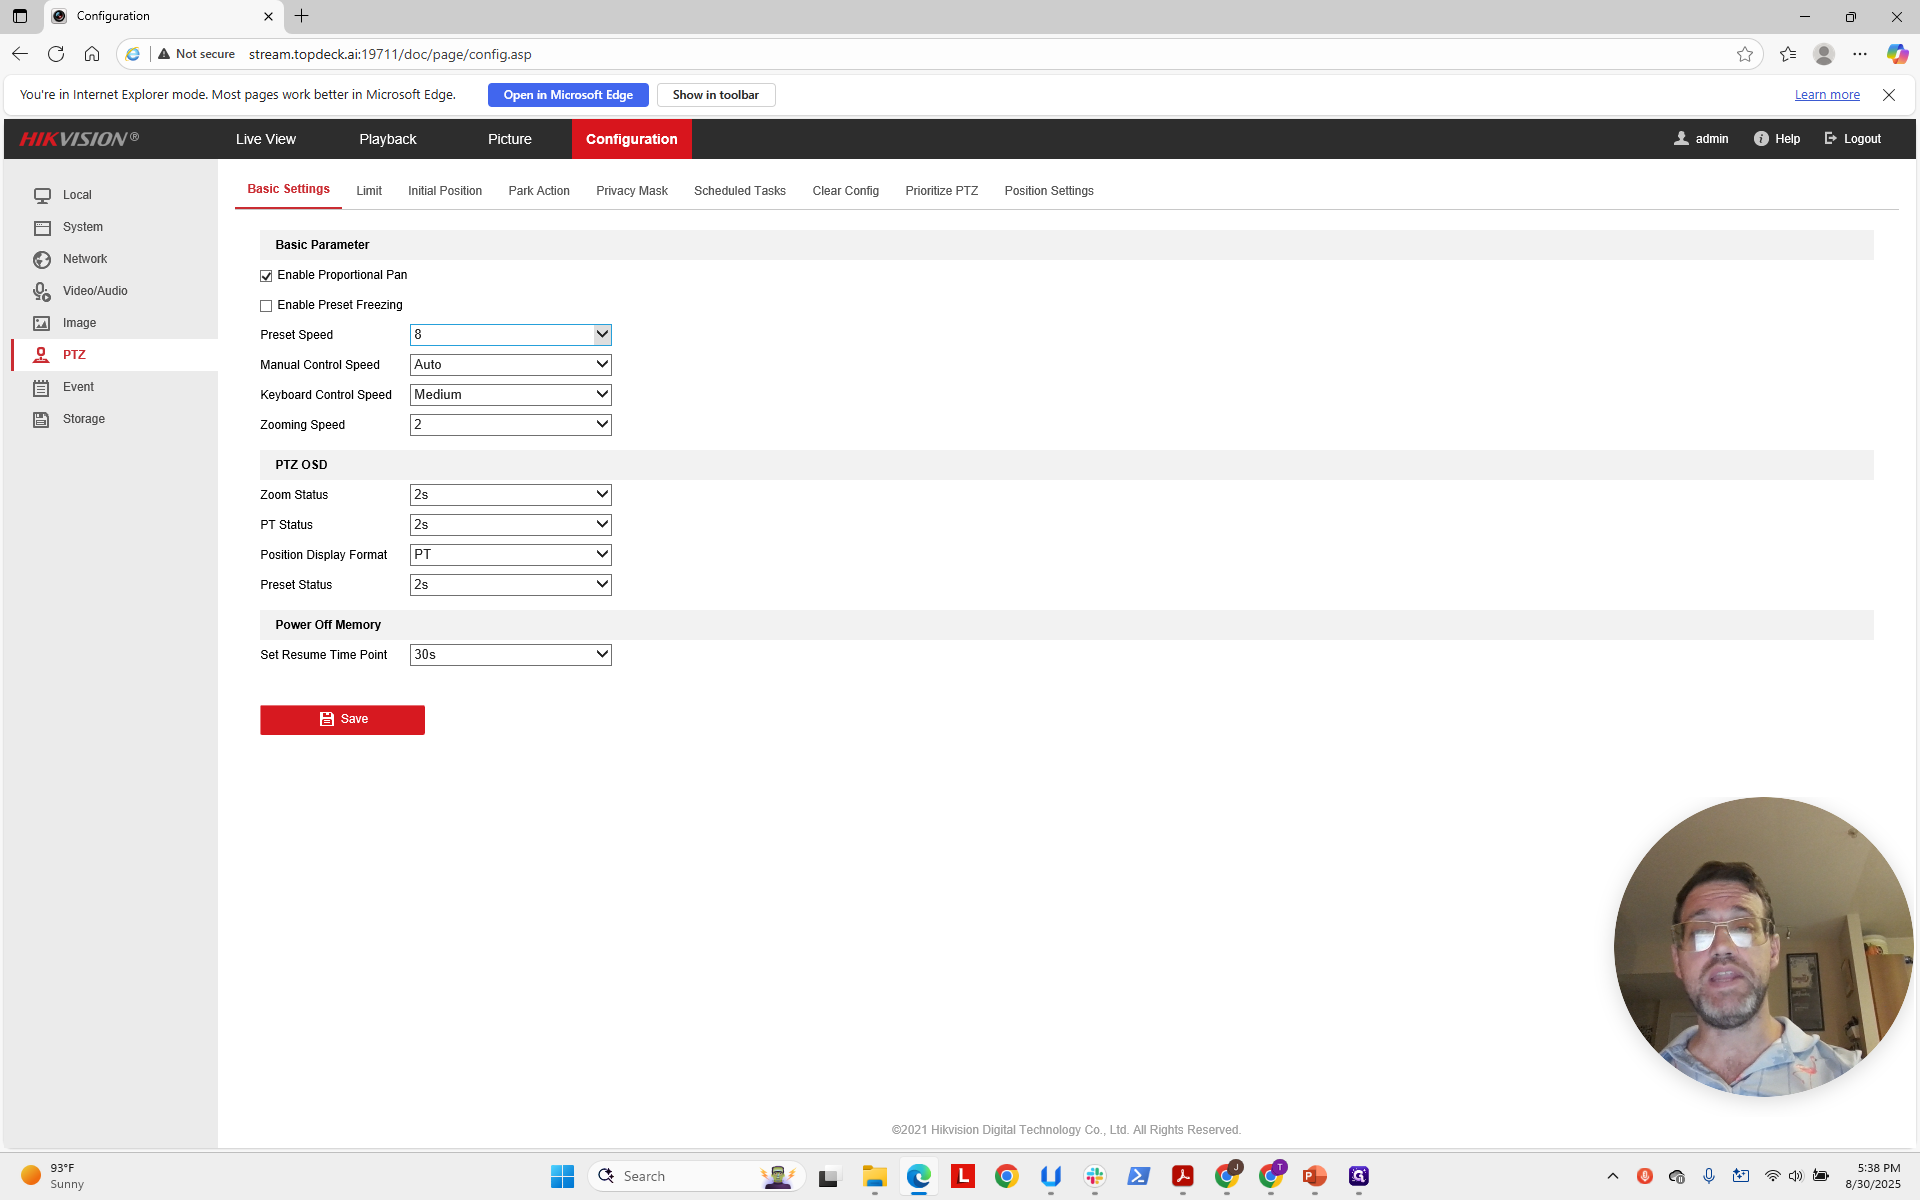
The default speed setting is "4".
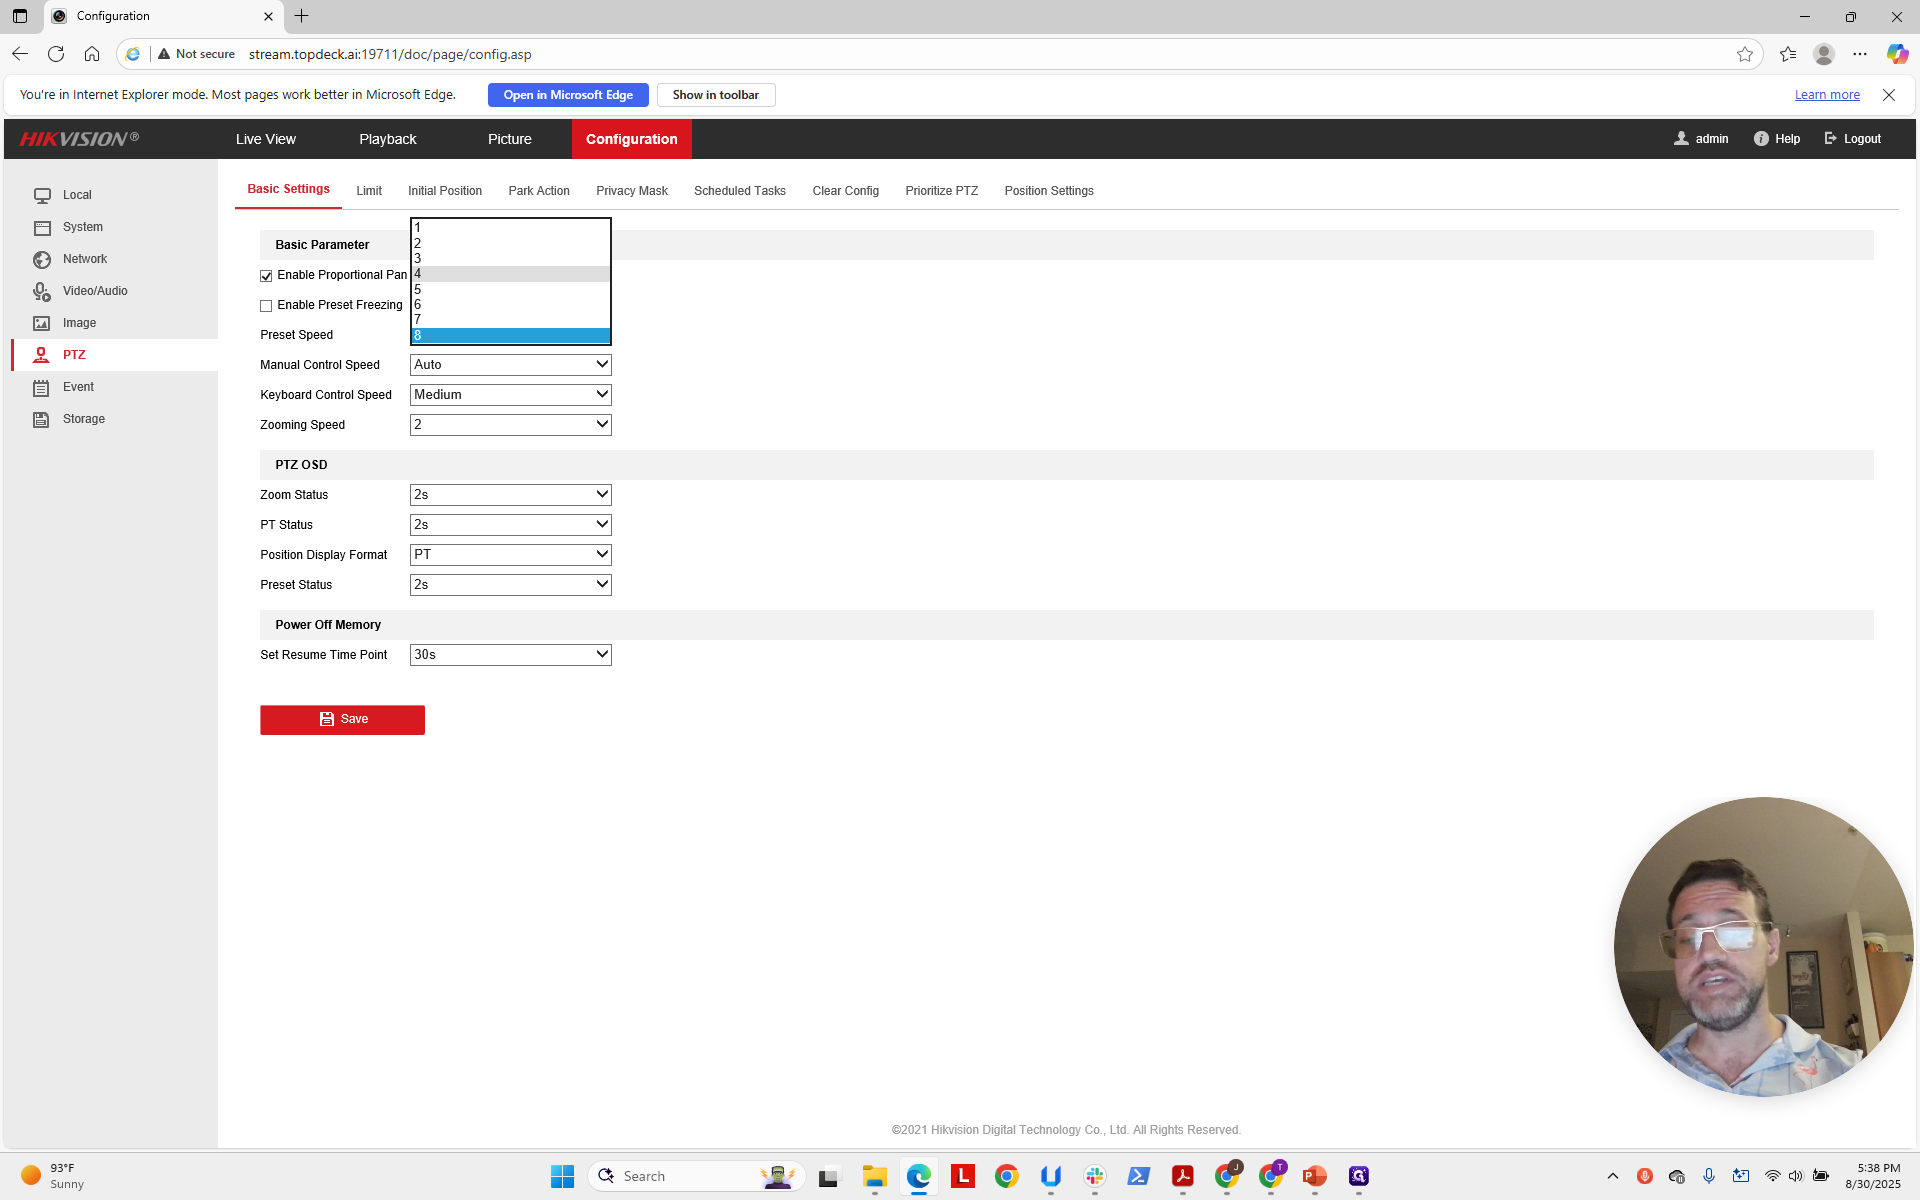
Click here and make sure it is set to "8".
You need to click Save.

That updates the camera. To verify this worked, go back to our API.
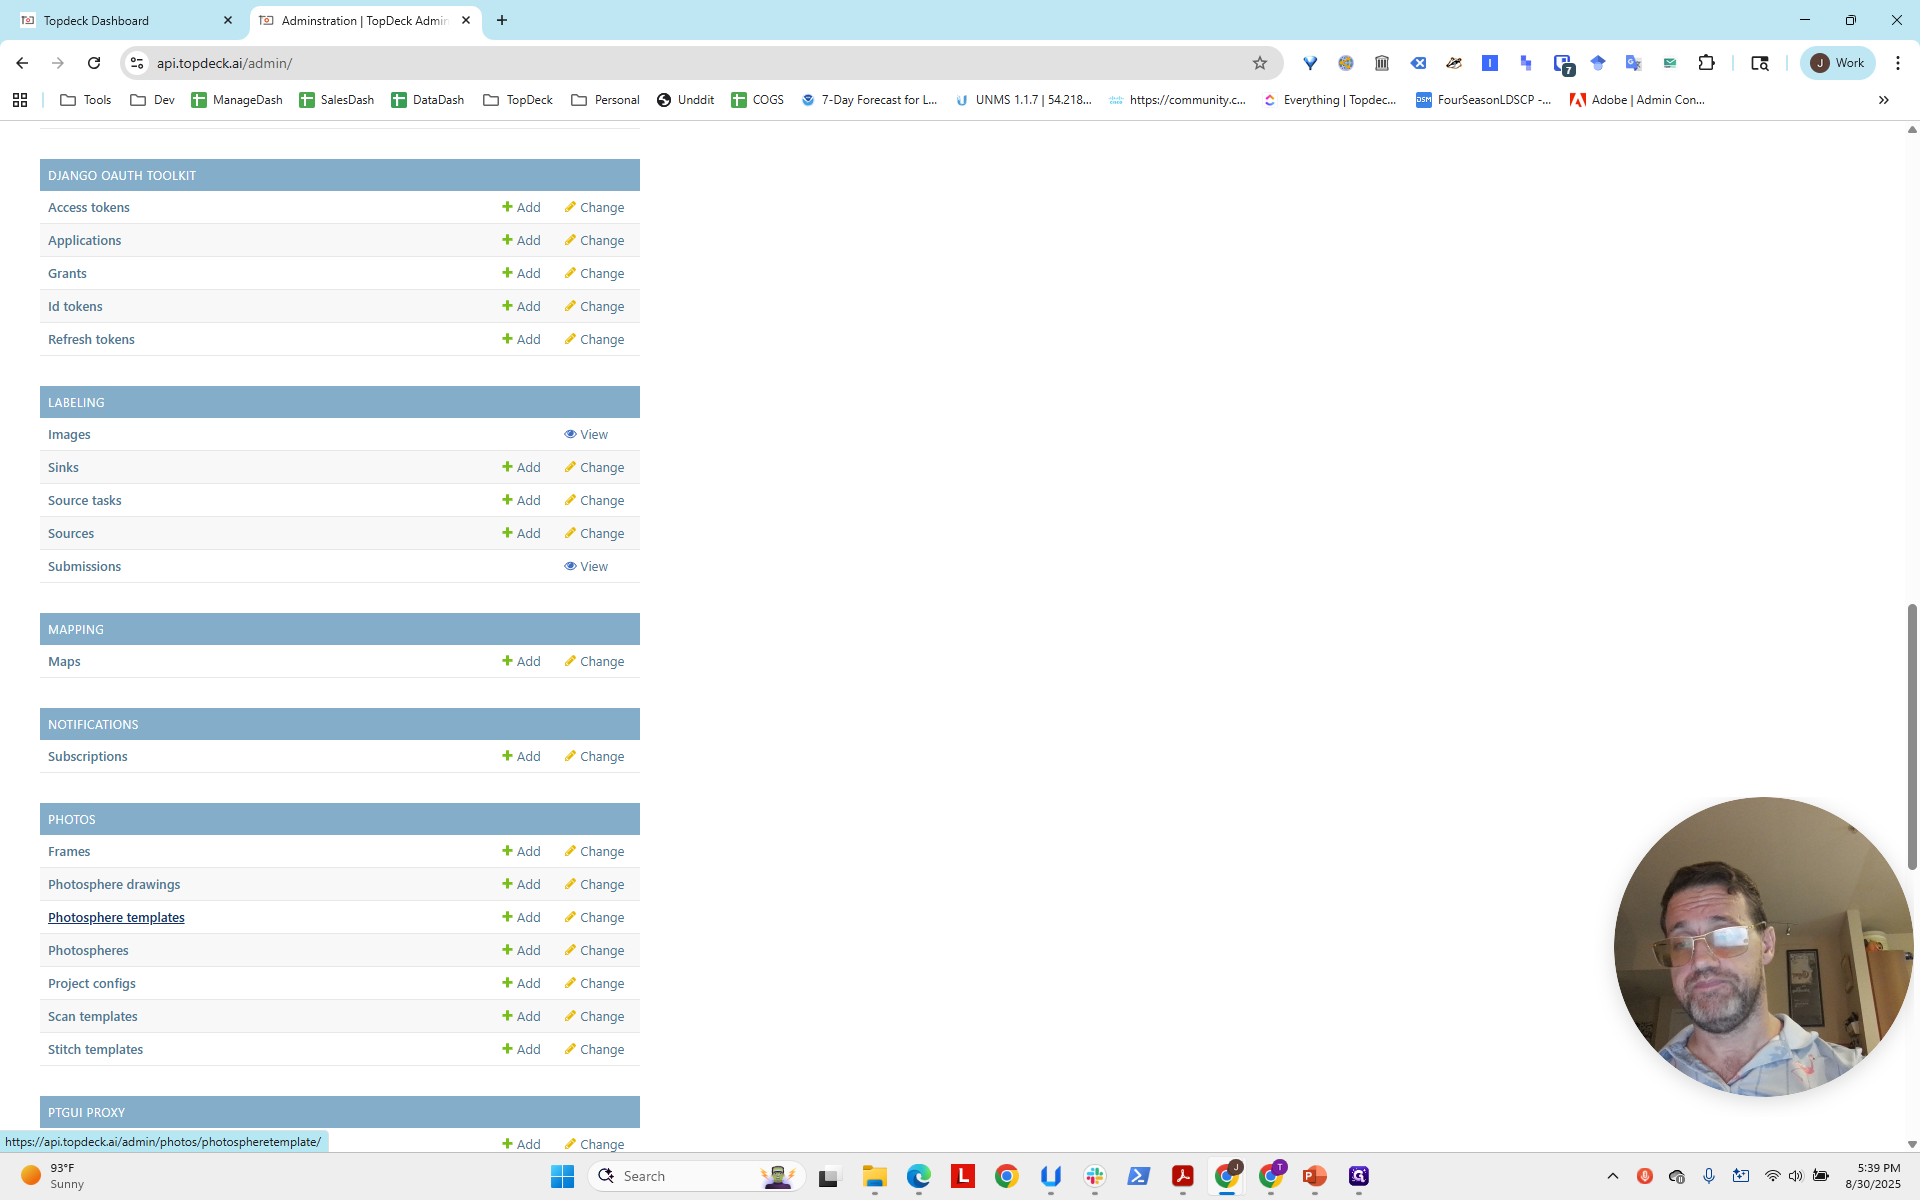
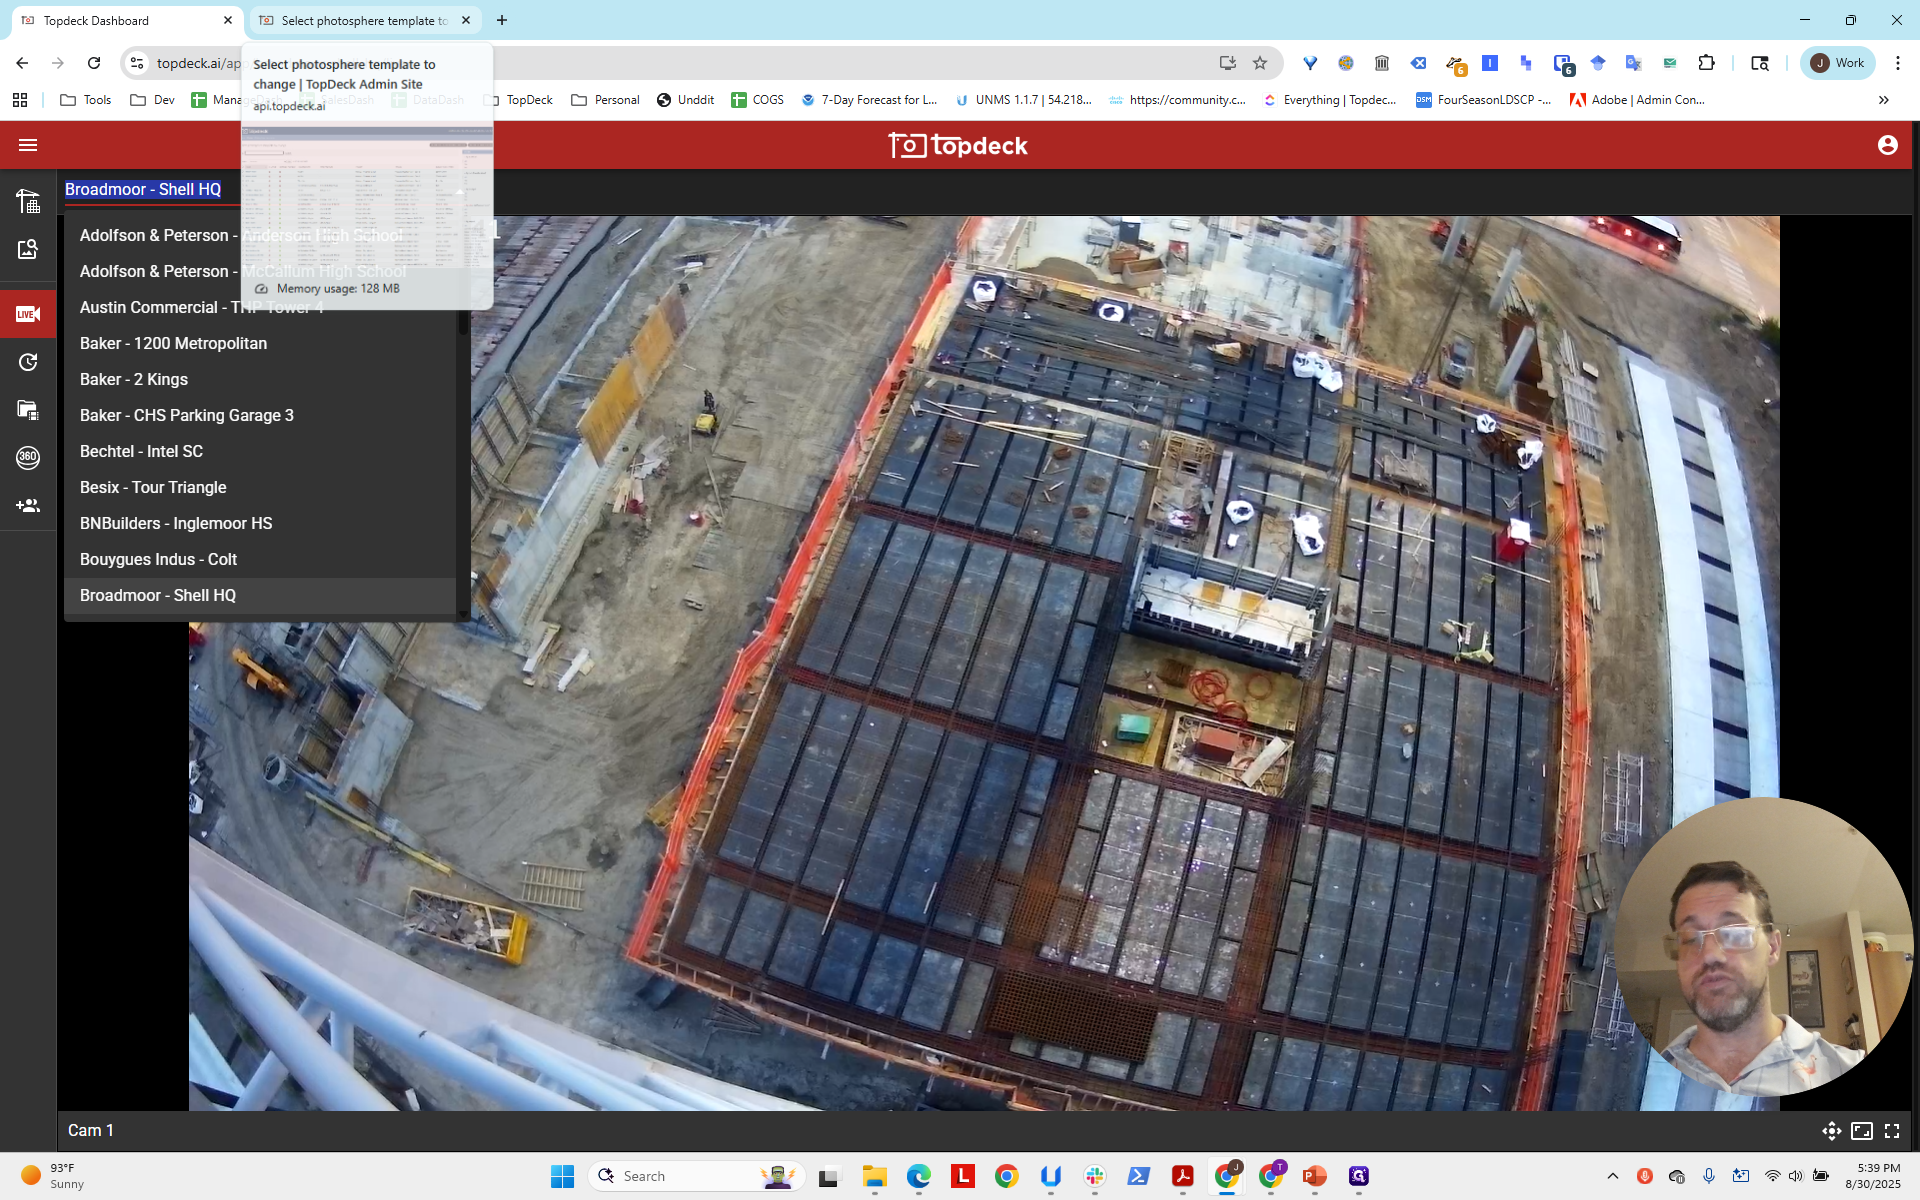
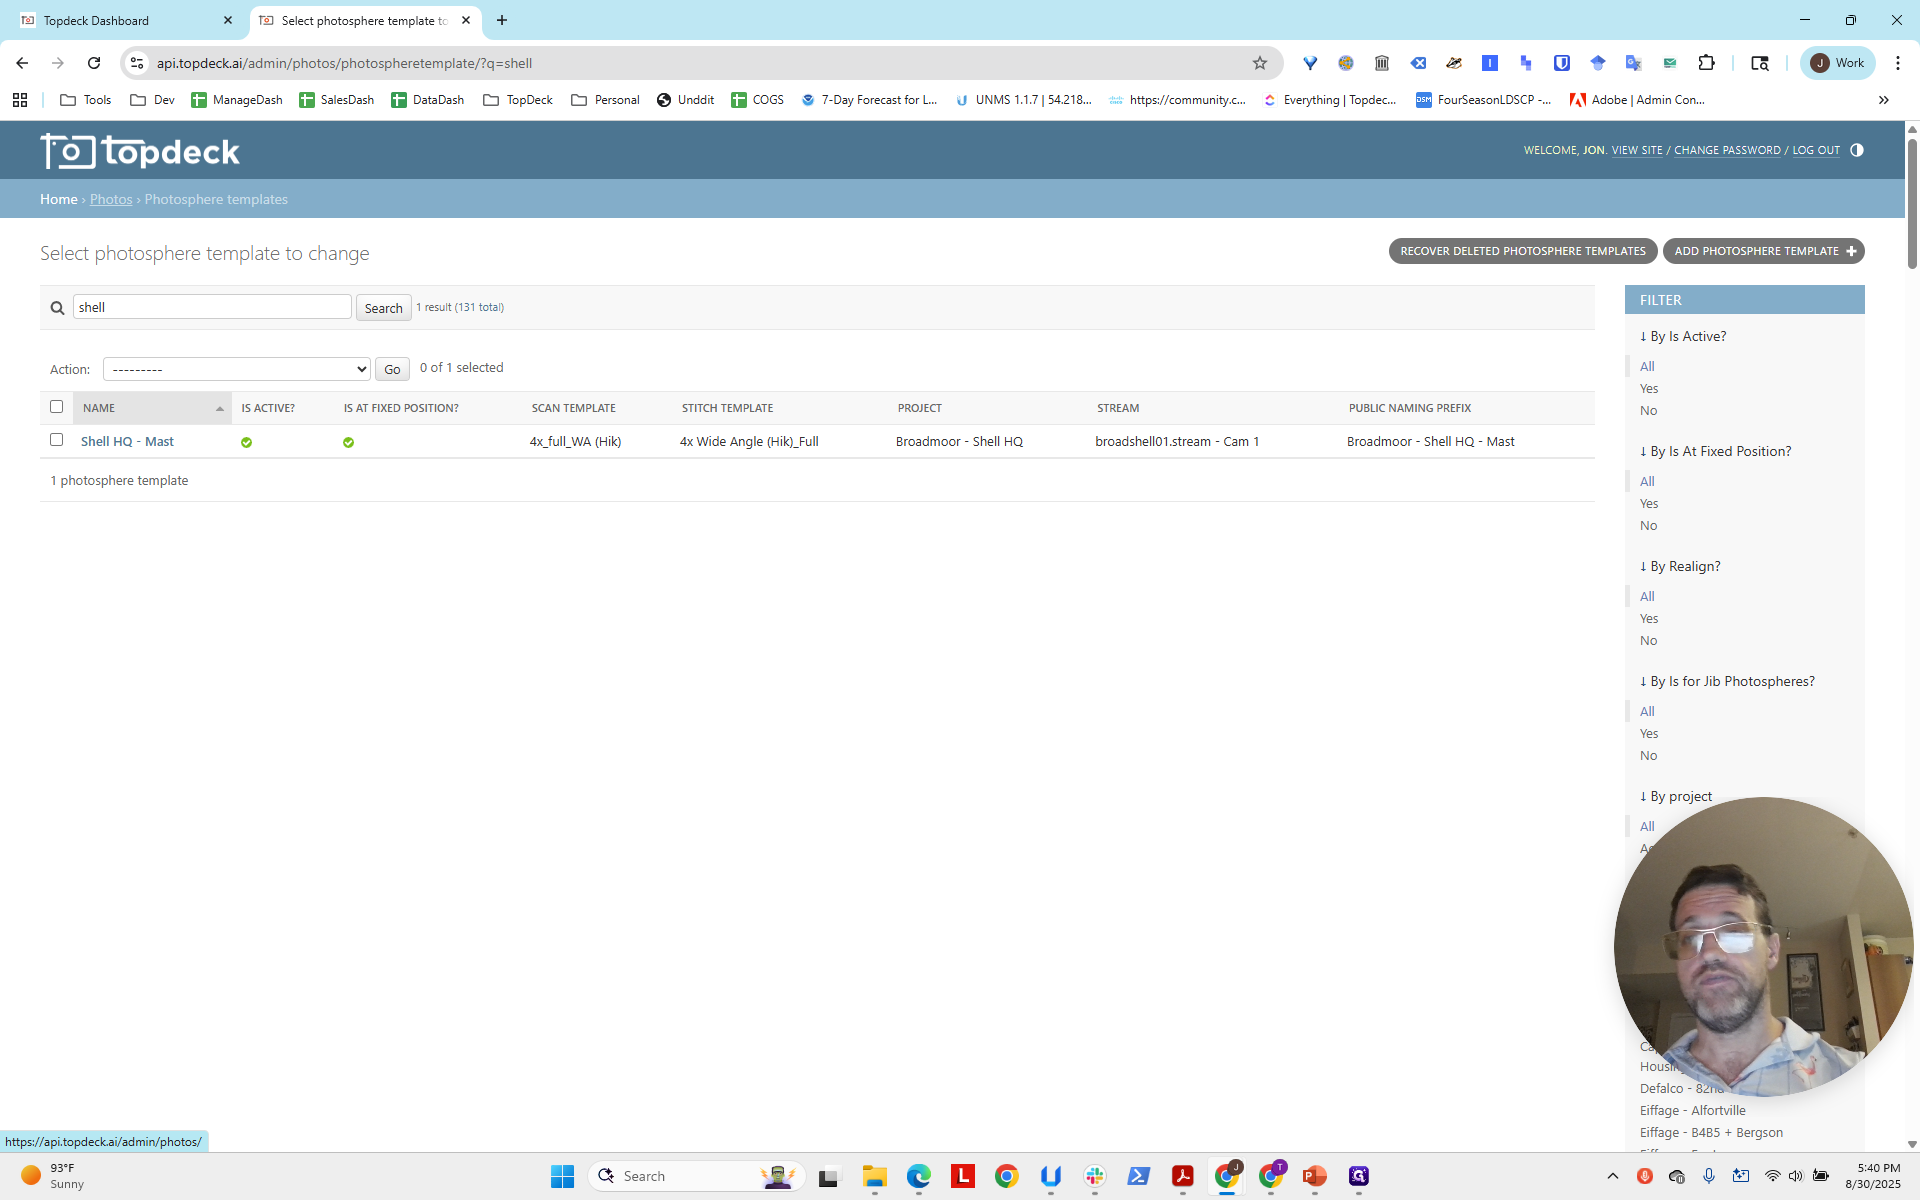
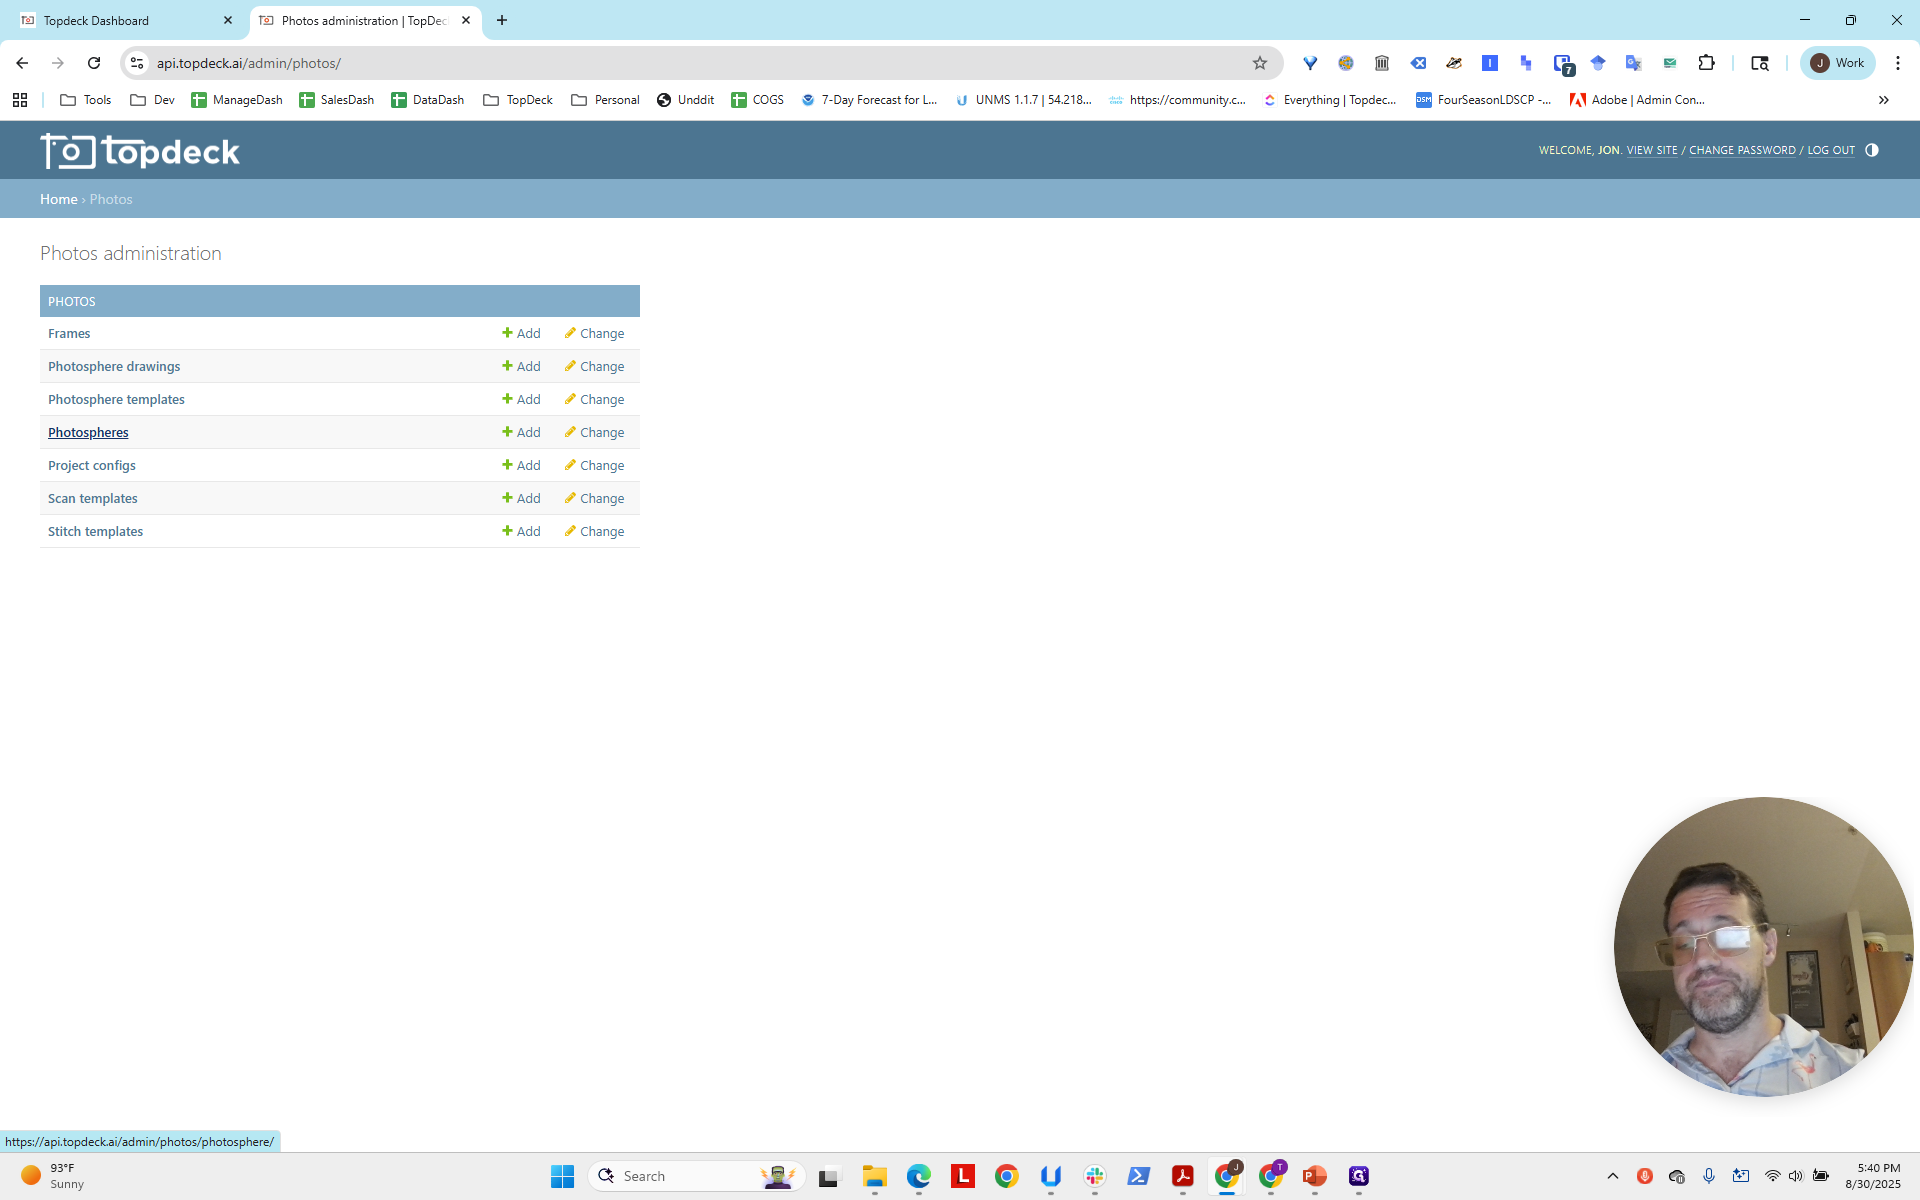
Click Home, then scroll down to Photos under Templates.
Remember, the naming convention for templates is simply the name of the project.
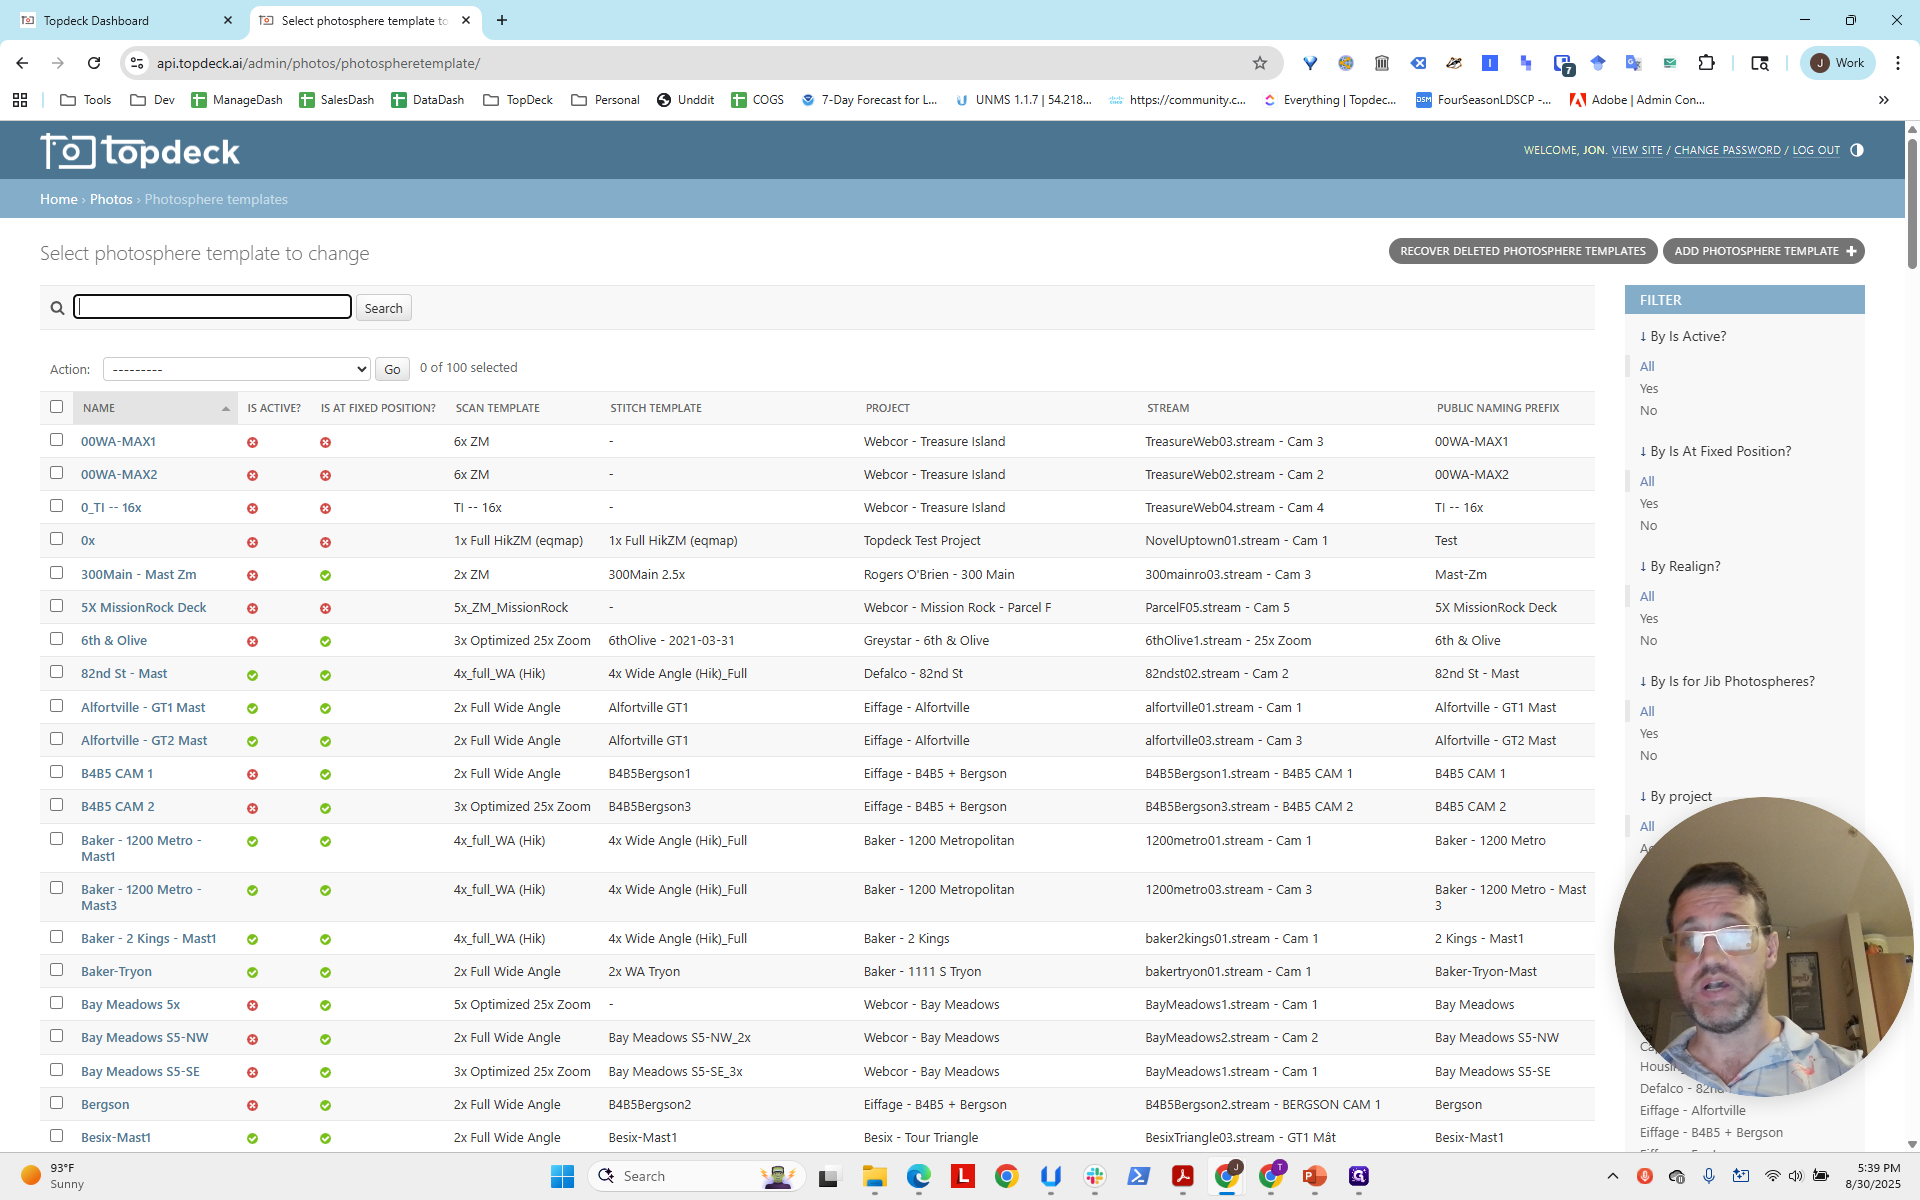
In this case, the project is Shell HQ, so we will enter "Shell HQ."
We will select it, then start the scan.


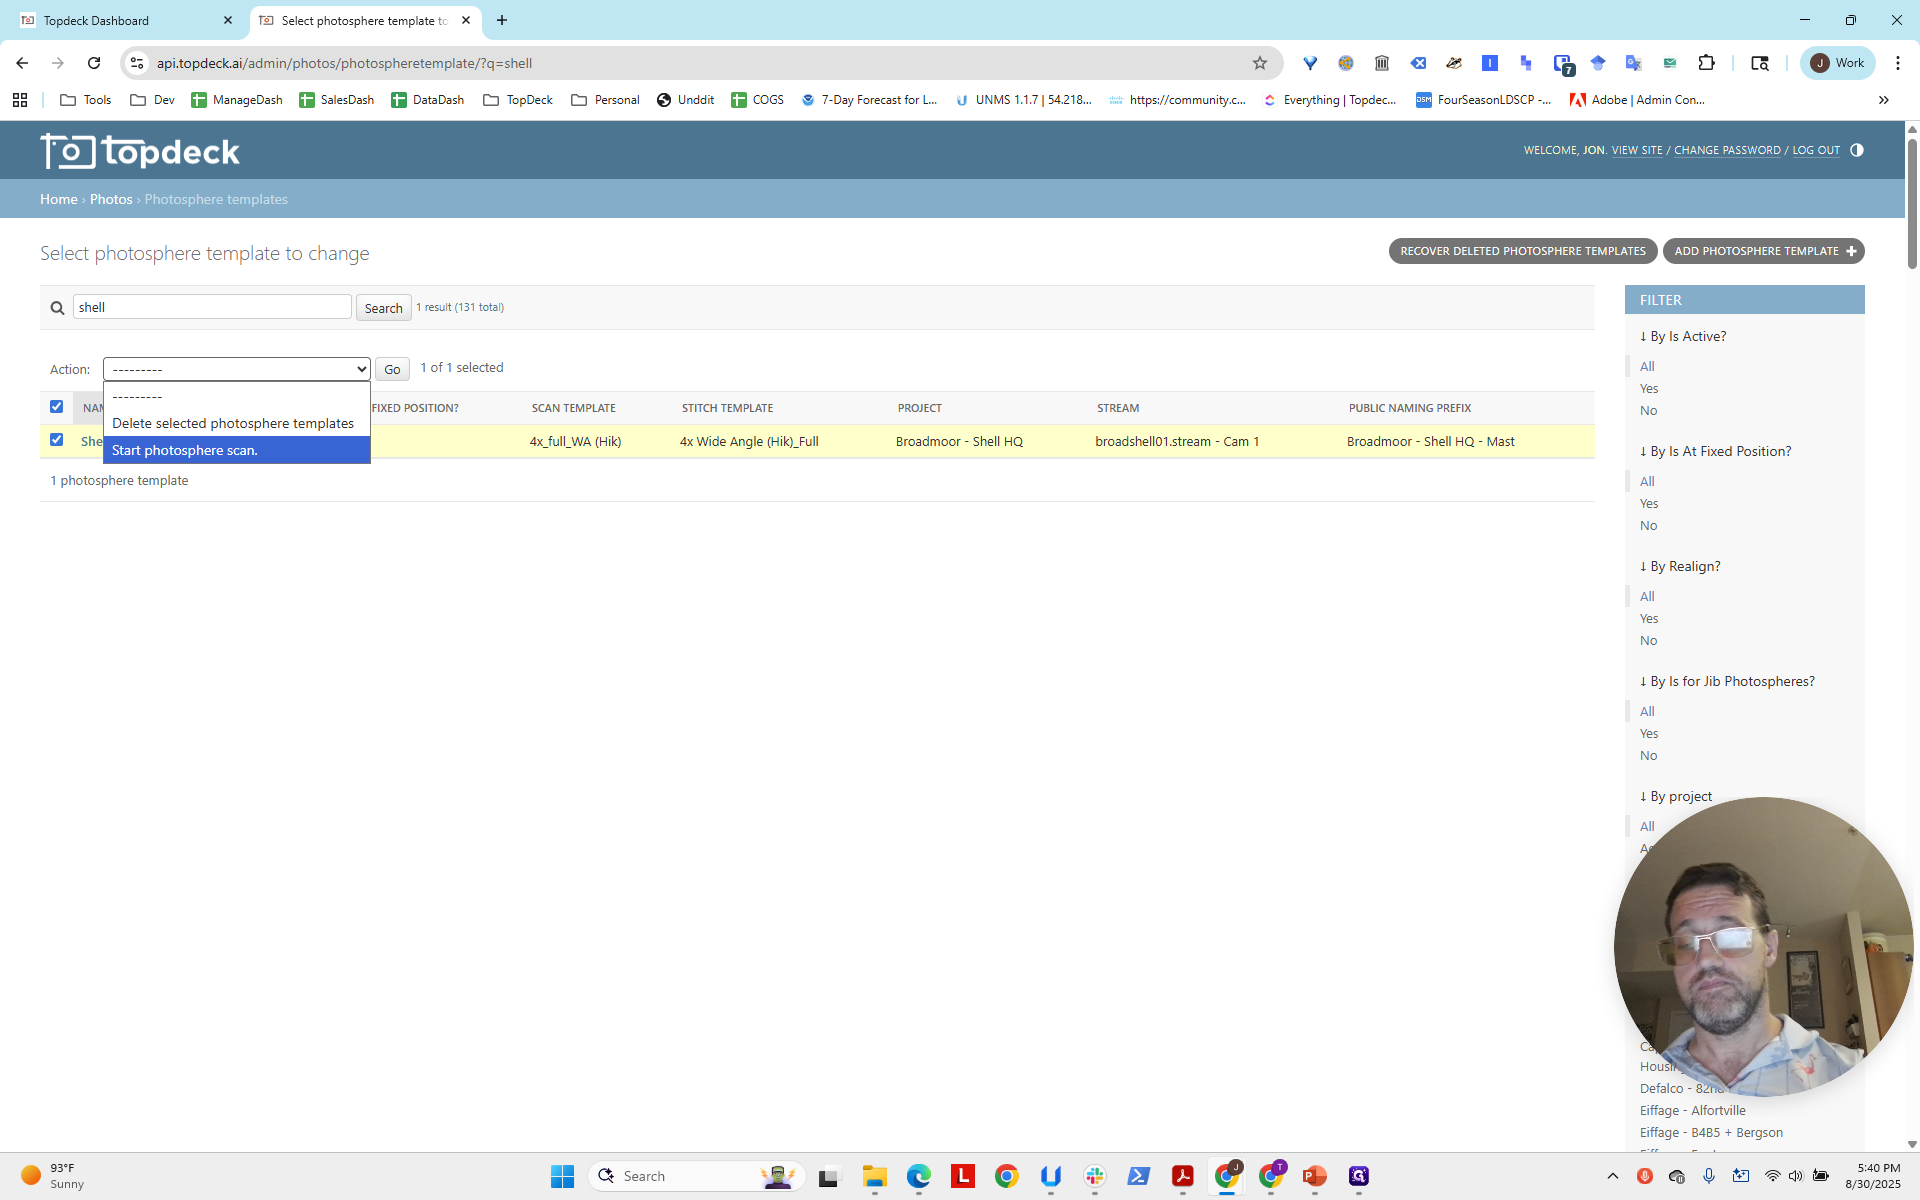
Now, click Go.
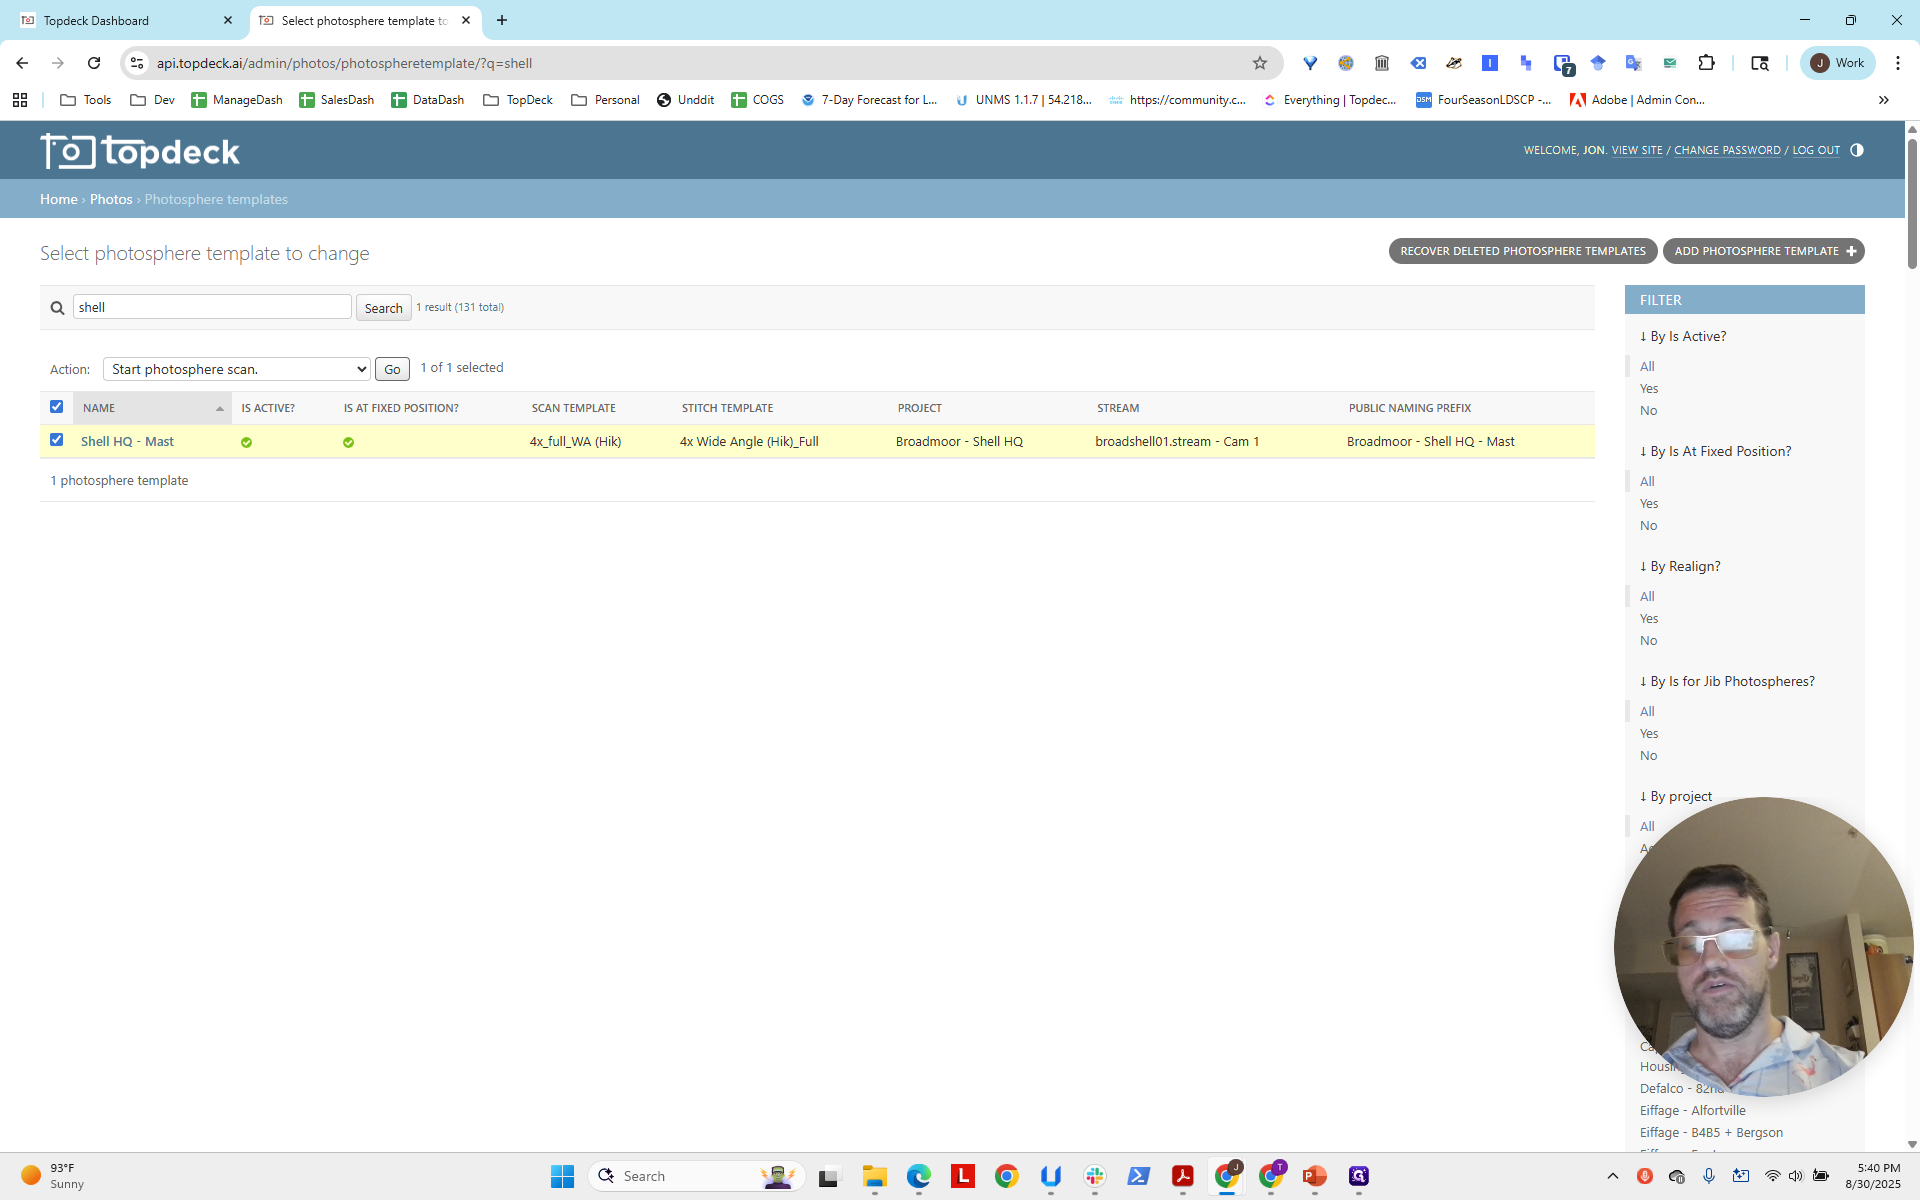
We can then verify that it is scanning.
Scanning in progress.
It usually takes about nine minutes for a 4X scan, as shown in the template. It will take another three to five minutes to complete processing. I'll pause here. We'll return in 15 minutes to verify that this worked. Hello, everyone. We're back. As you can see, it took quite a while—about 14 minutes processing in total.
It's 6:04 now. It started at 5:40 and lasted for about eight and a half minutes, ending around 5:50. Then, it took another 15 minutes to process. Now it shows as completed. If you return to the project page, you can see your photo sphere is available. You can look around to check that it's stitched correctly and there are no strange artifacts. It's actually a cool place, especially with the view at night or in the evening.
That will complete the photo sphere. You may also want to determine the best zoom level or angle to set as the default. We will cover how to configure this in a separate video. That is how you set up the speed settings, generate a photo sphere, and verify it worked.