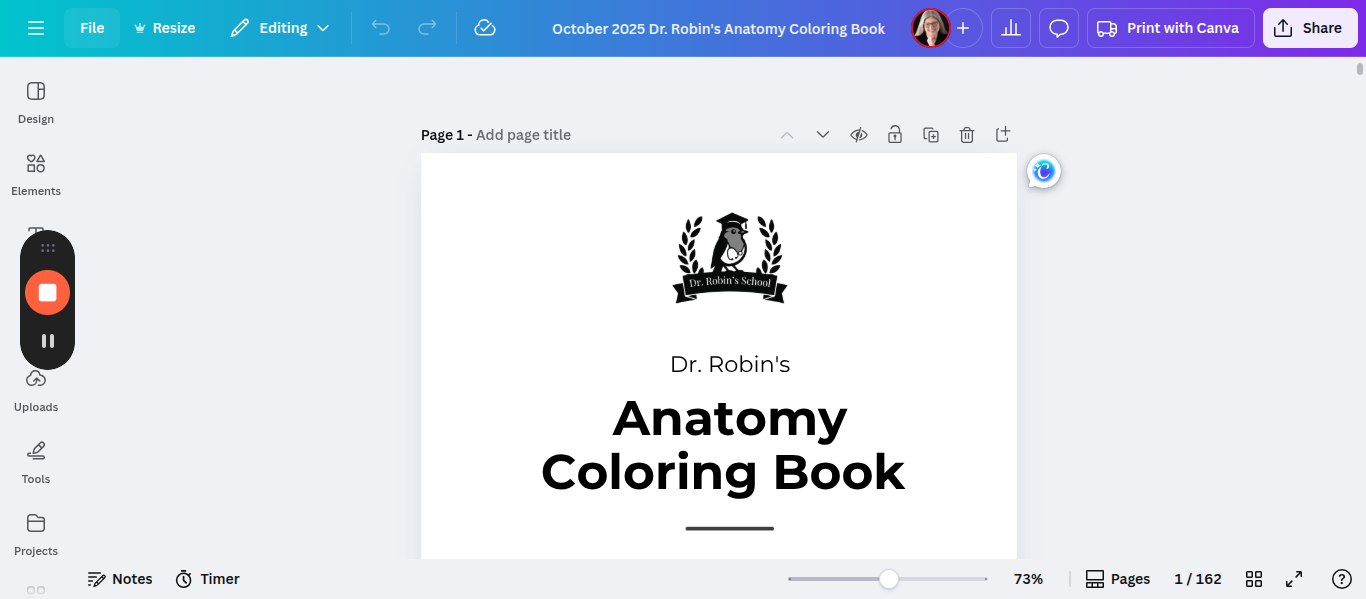
How to Set Margins and Bleed for Books on Amazon: Step-by-Step Guide
Learn how to set up margins, guides, and bleed for book formatting on Amazon. This detailed tutorial covers odd and even page alignment, gutter margins, and best practices to avoid common printing issues.
In this guide, we'll learn how to set up margins, guides, and bleeds for book layouts intended for Amazon. The goal is to ensure that each page has the correct gutter and margin settings, so content is properly aligned for printing and binding. We will also cover how to alternate page elements like numbers and copyright information between left and right pages, and how to use guides to keep everything consistent.
Let's get started
Here is how we set margins for books on Amazon.
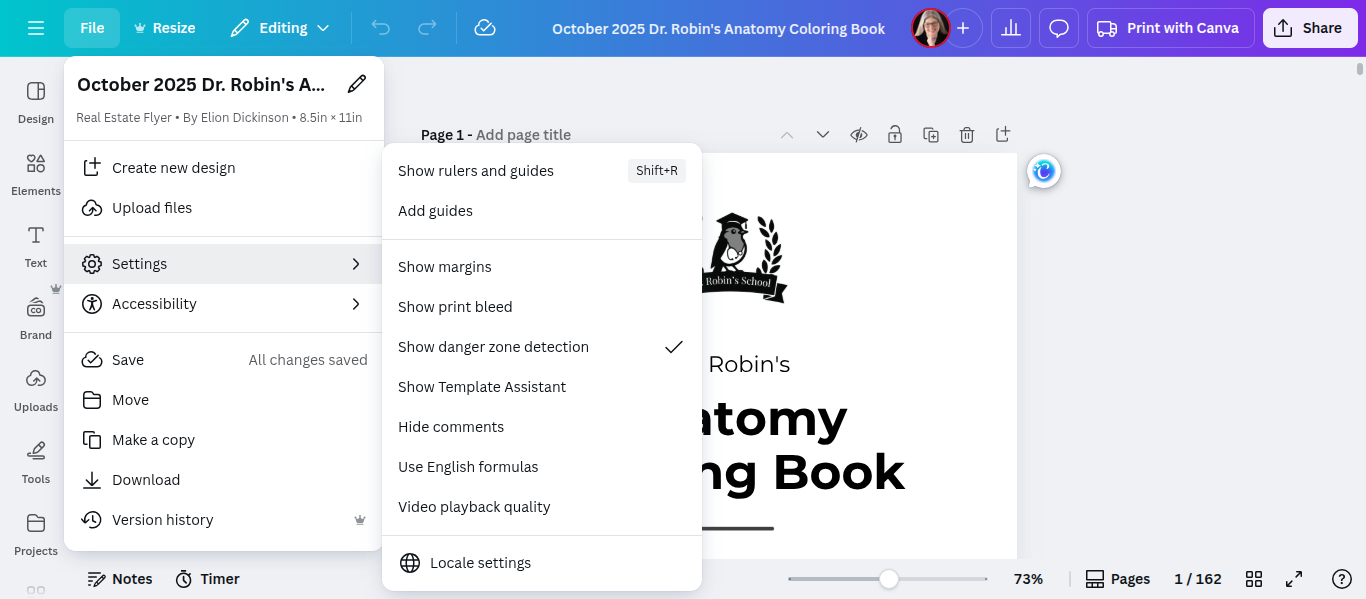
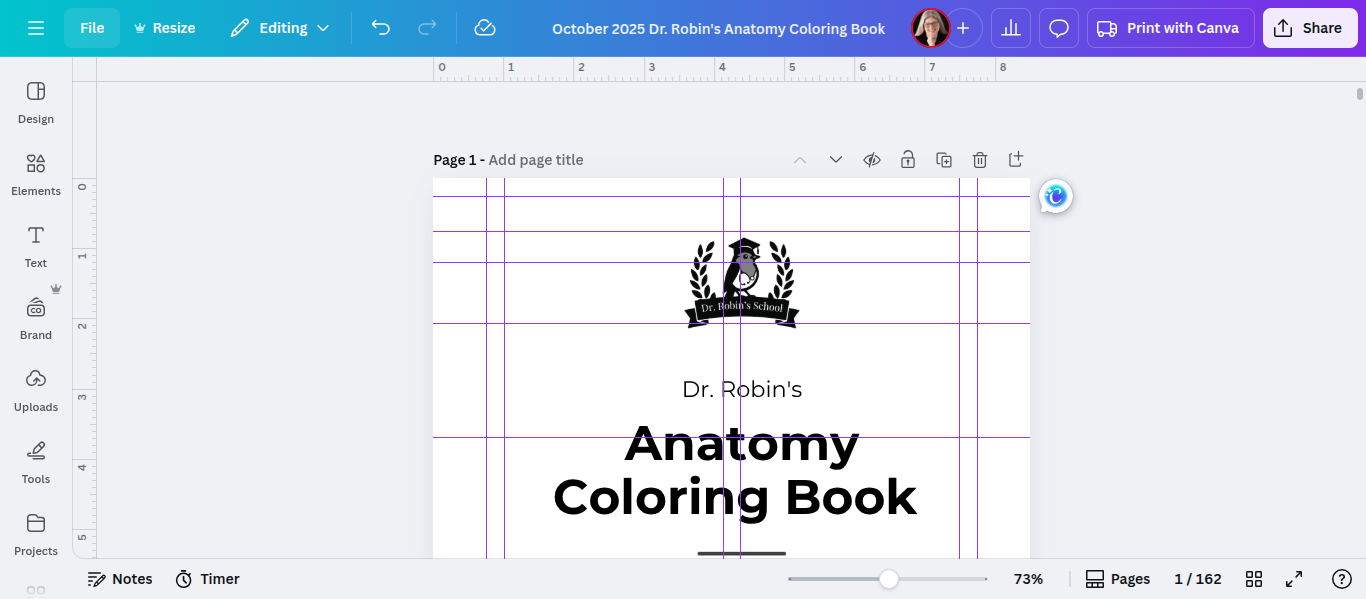
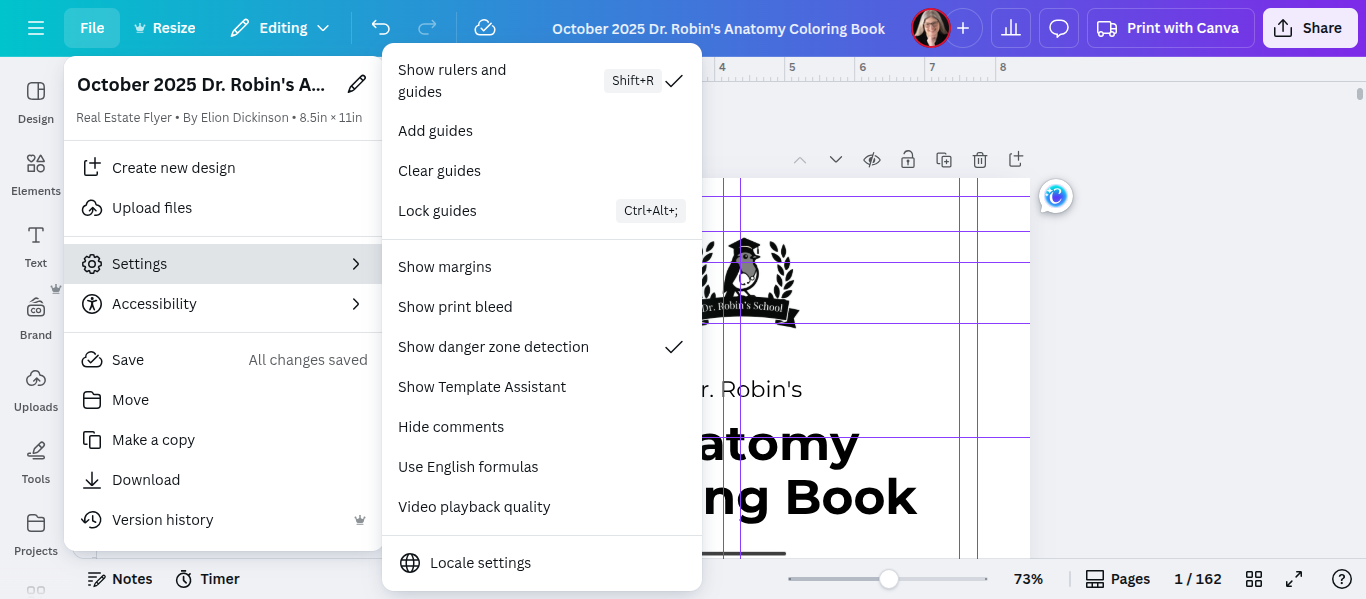
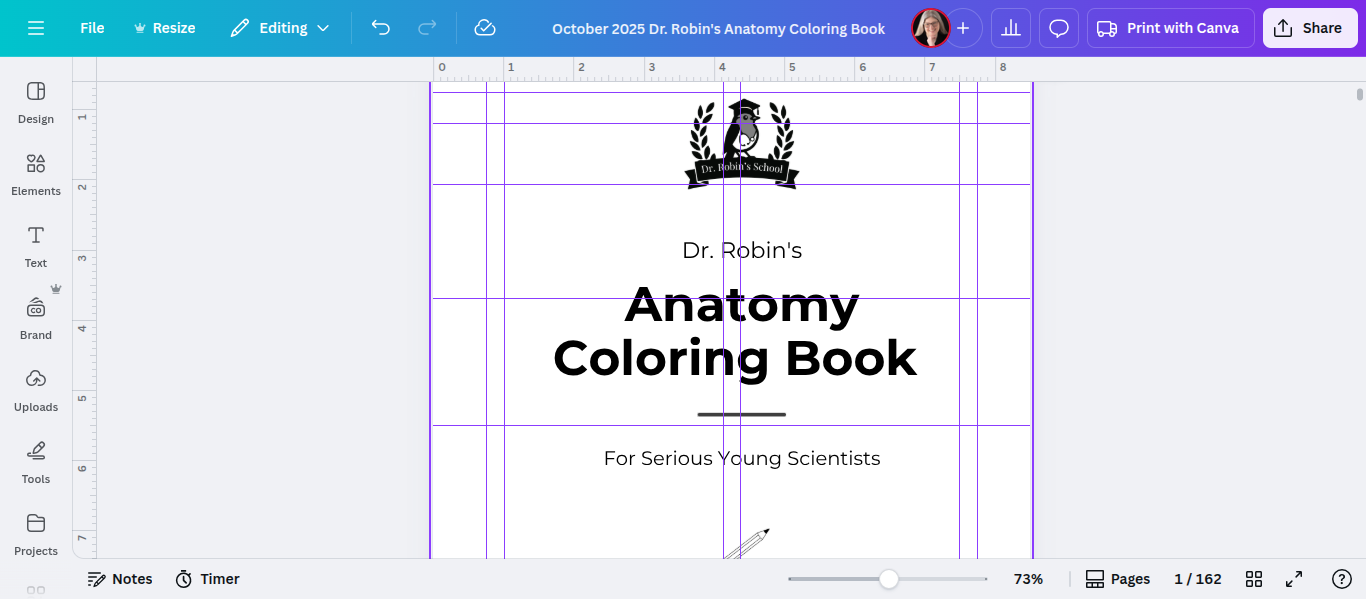
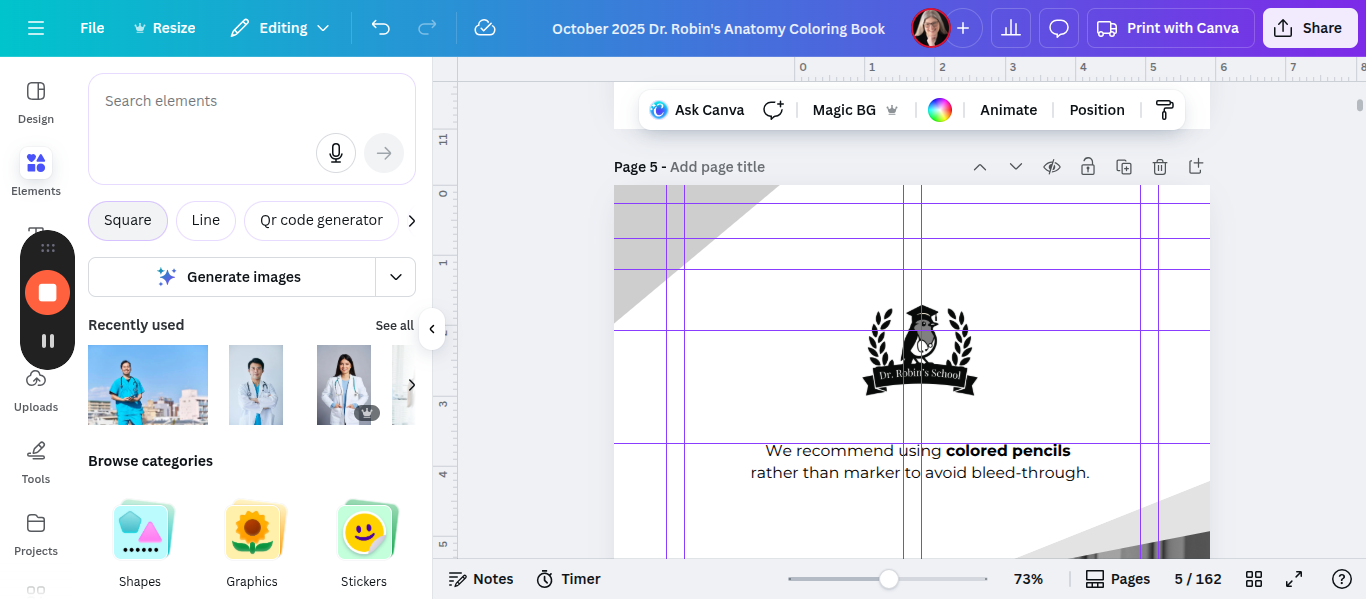
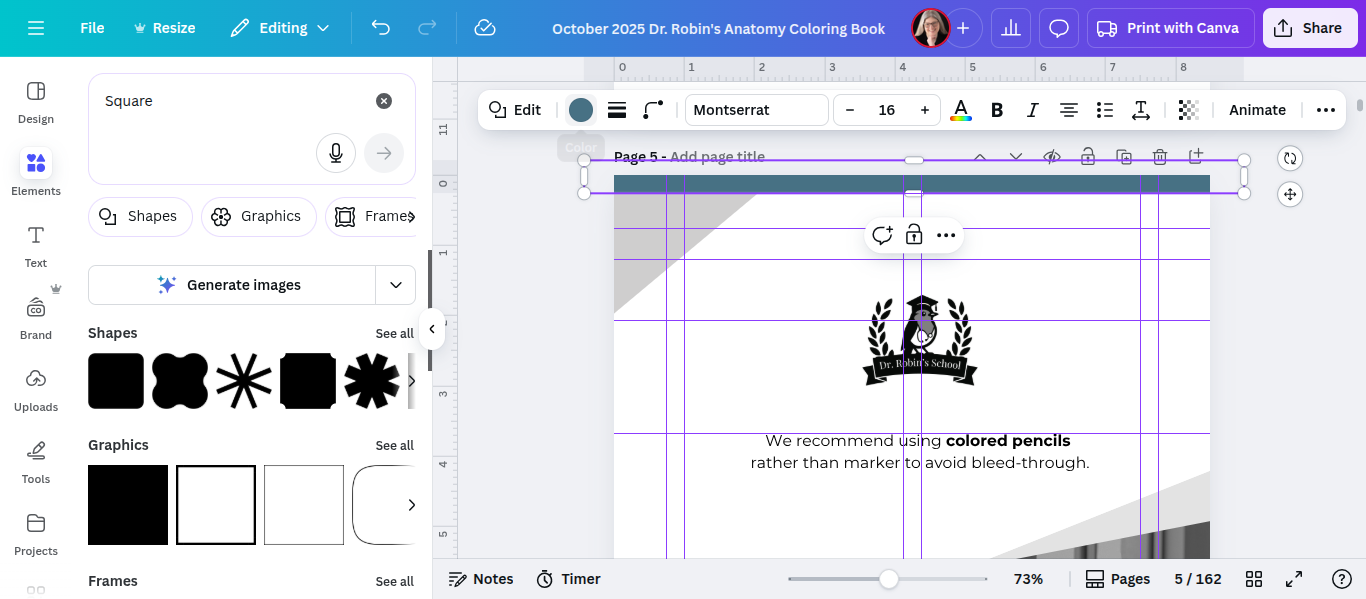
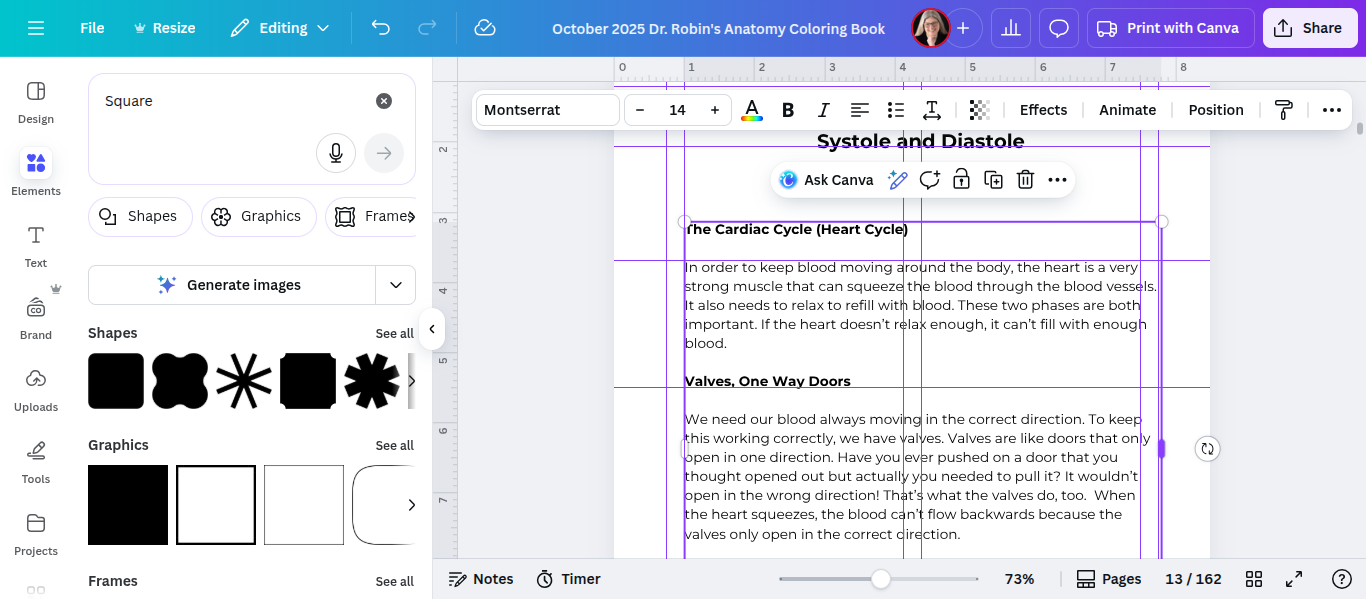
The first important step is to turn on the guides.
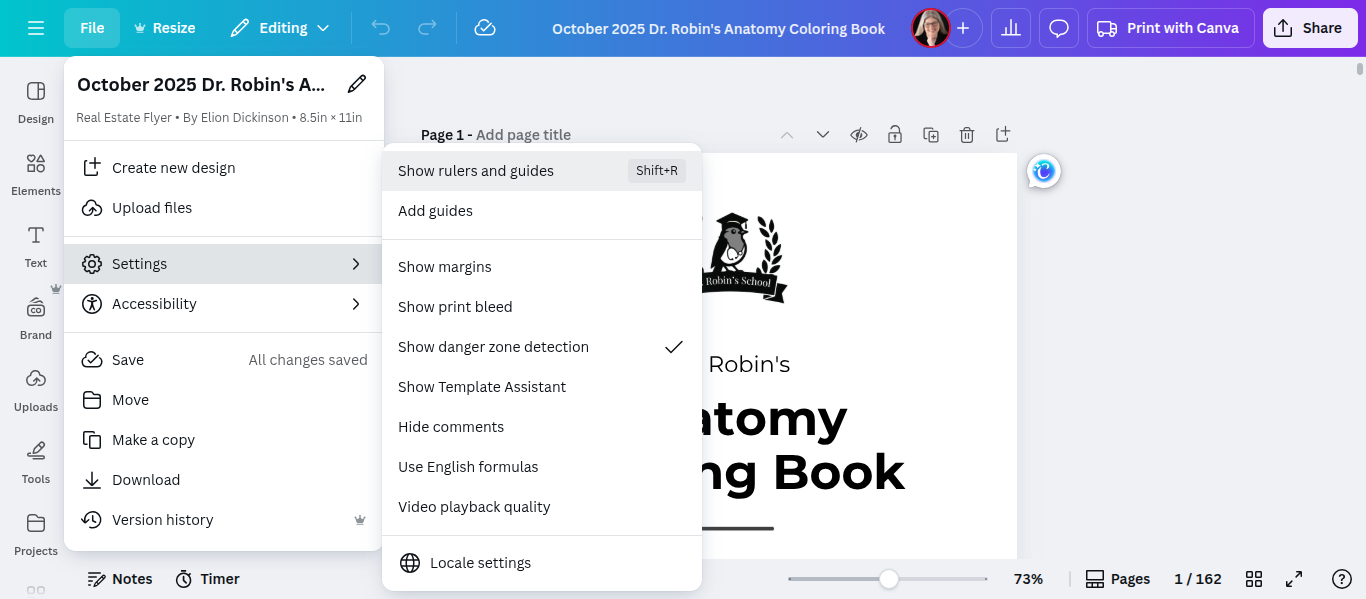
Now, I have these presets for you. To see what they are, you have to unlock them.


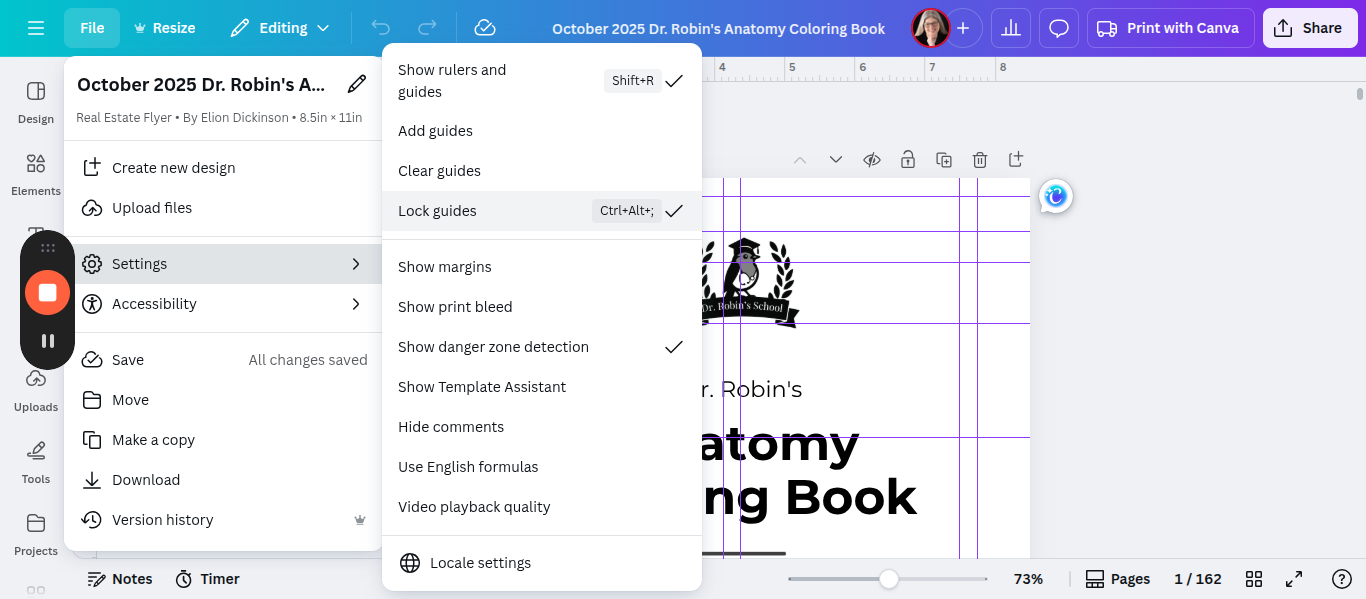
I have them set at 0.75 and 1. Do the same thing on the right side. I recommend keeping them locked so you don't accidentally move them. To do that, repeat the same process. Go to File, then Settings, and select Lock Guides.

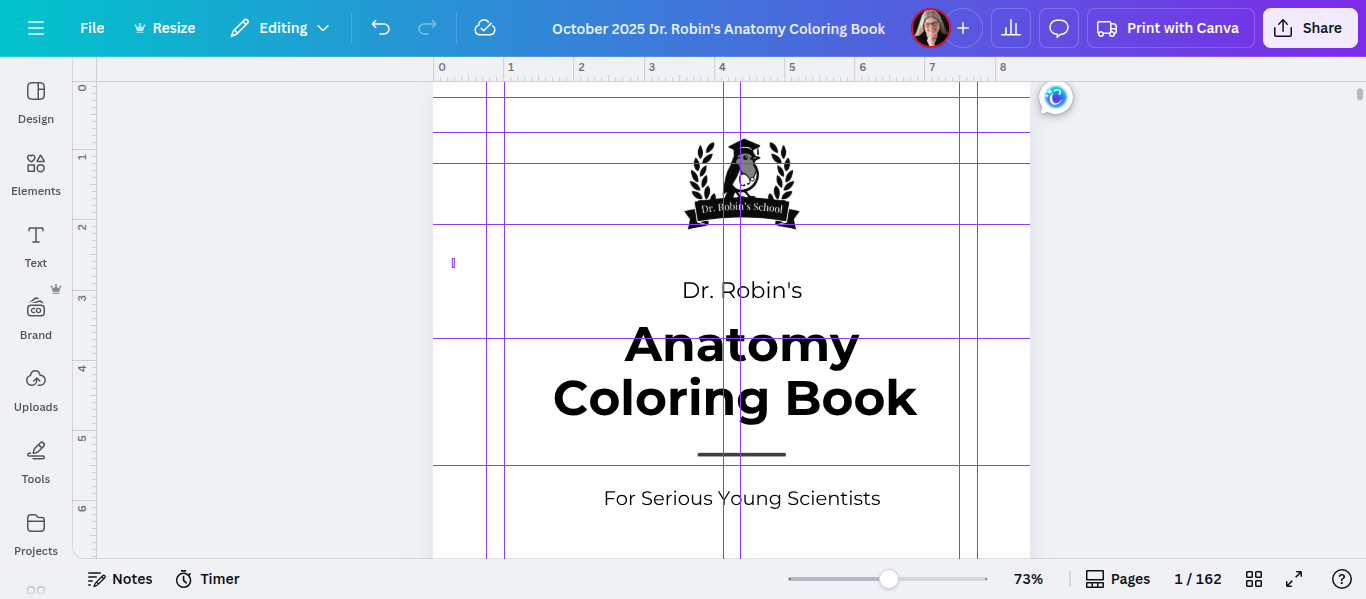
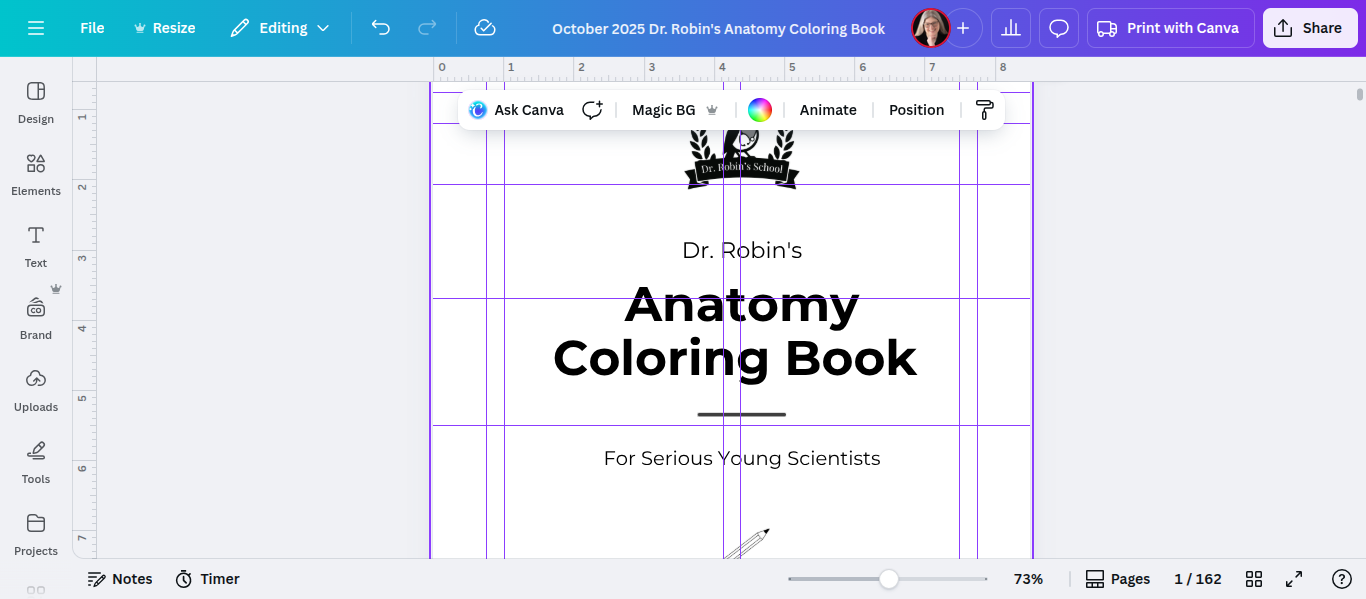
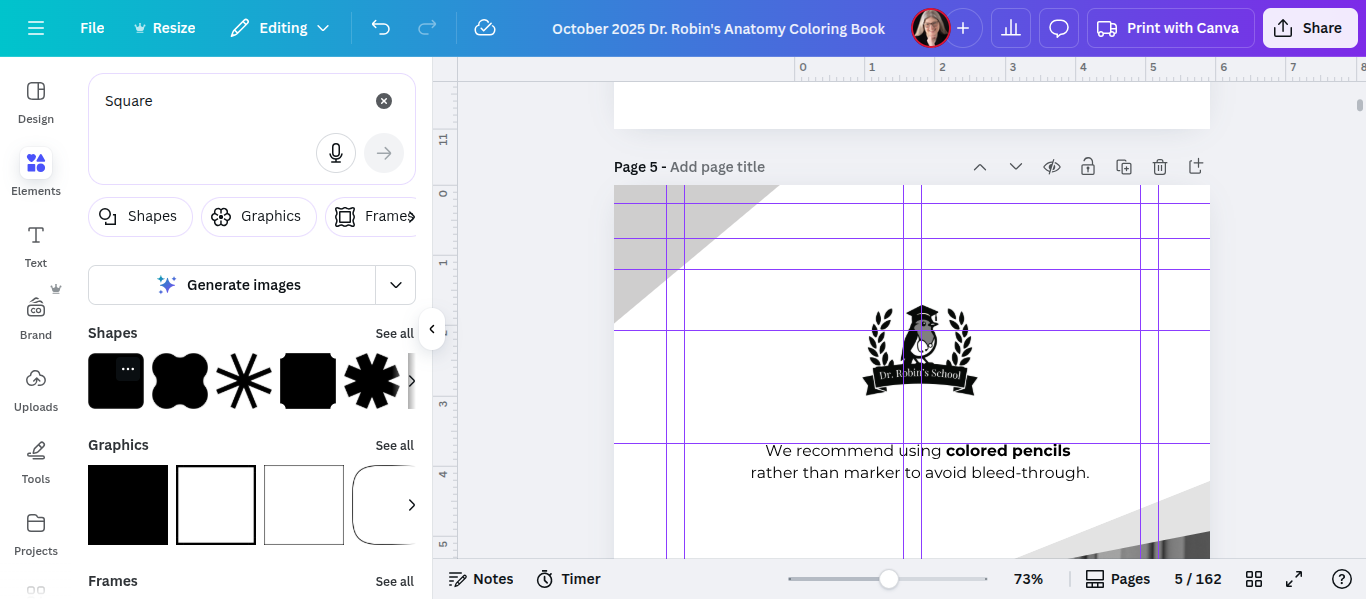
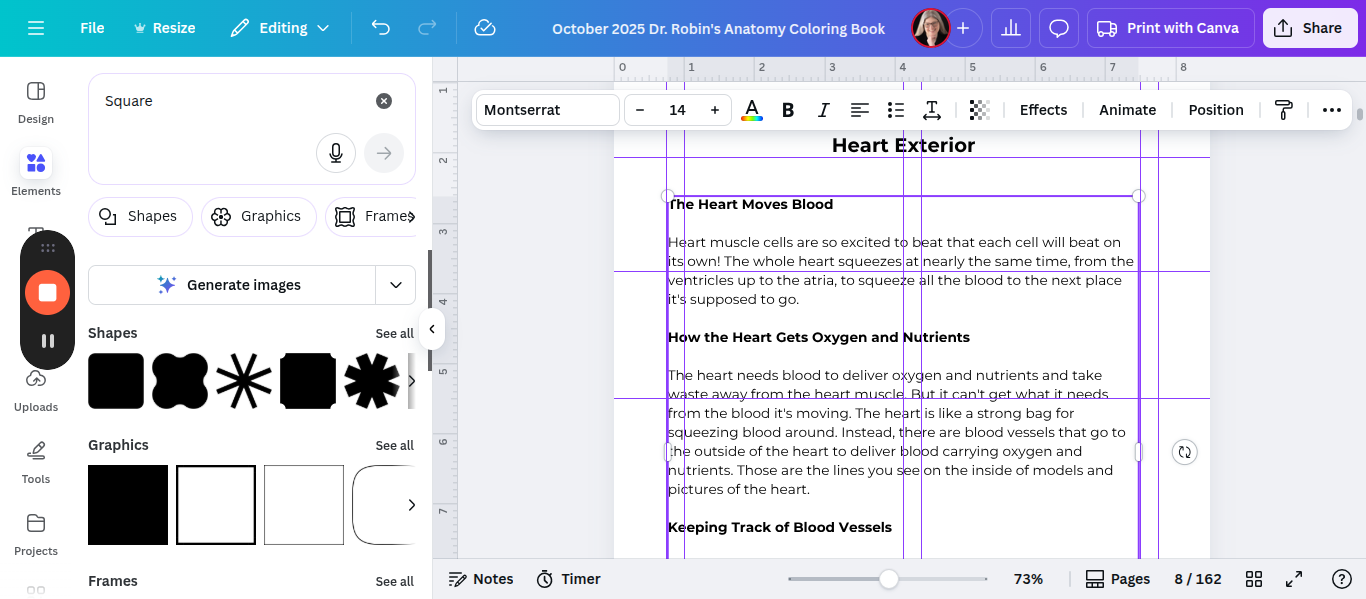
You need a larger margin on the left for right-hand pages, and a larger margin on the right for left-hand pages. A simpler way of saying this is that right hand pages are shifted to the right and left hand pages are shifted to the left.
To remember which is which, I remember that there are an even number of letters in the word left so even pages shift left. There are an odd number of letters in the word right so odd page numbers shift right.
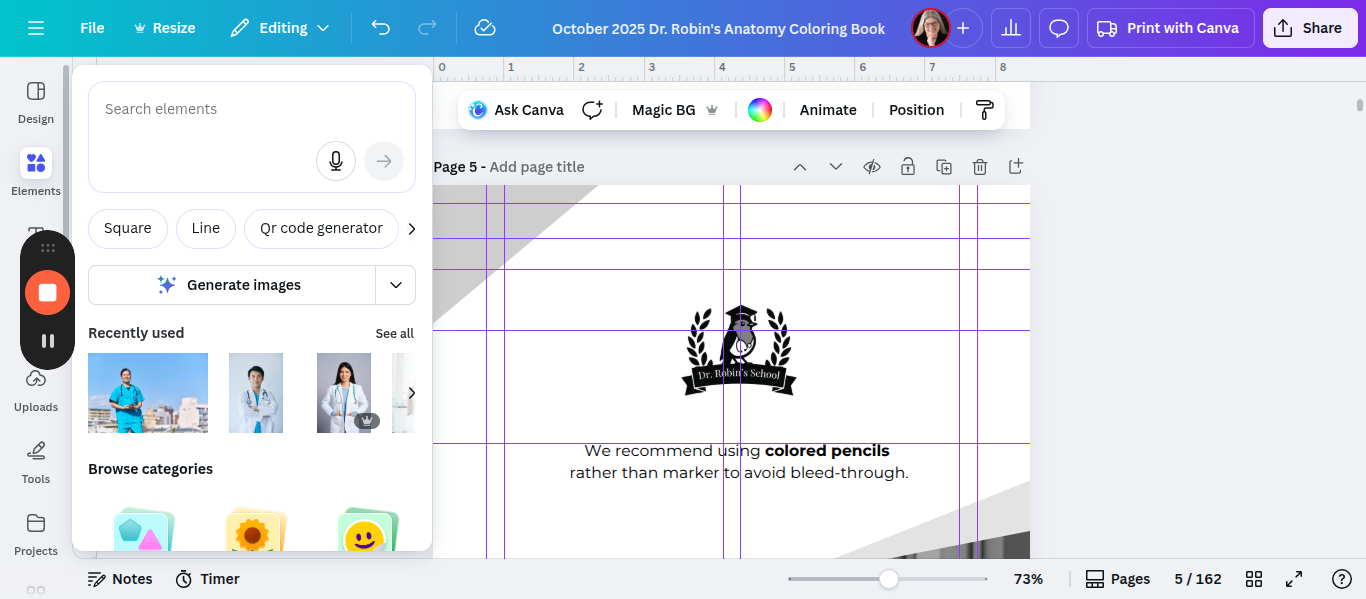
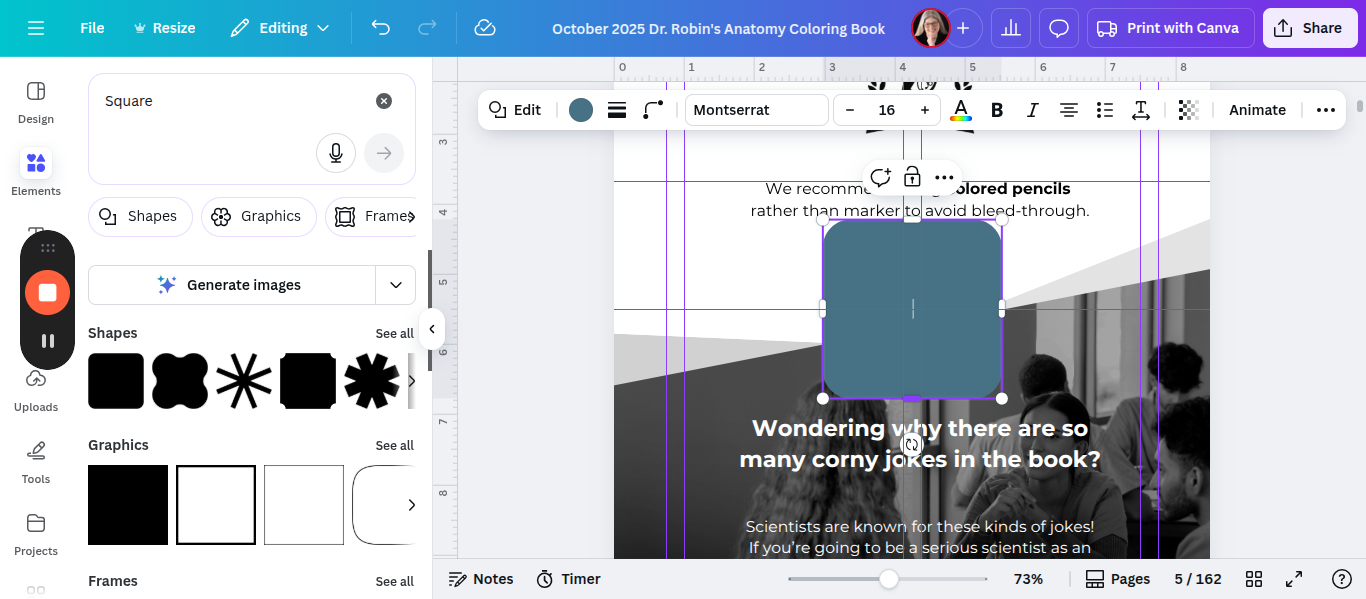
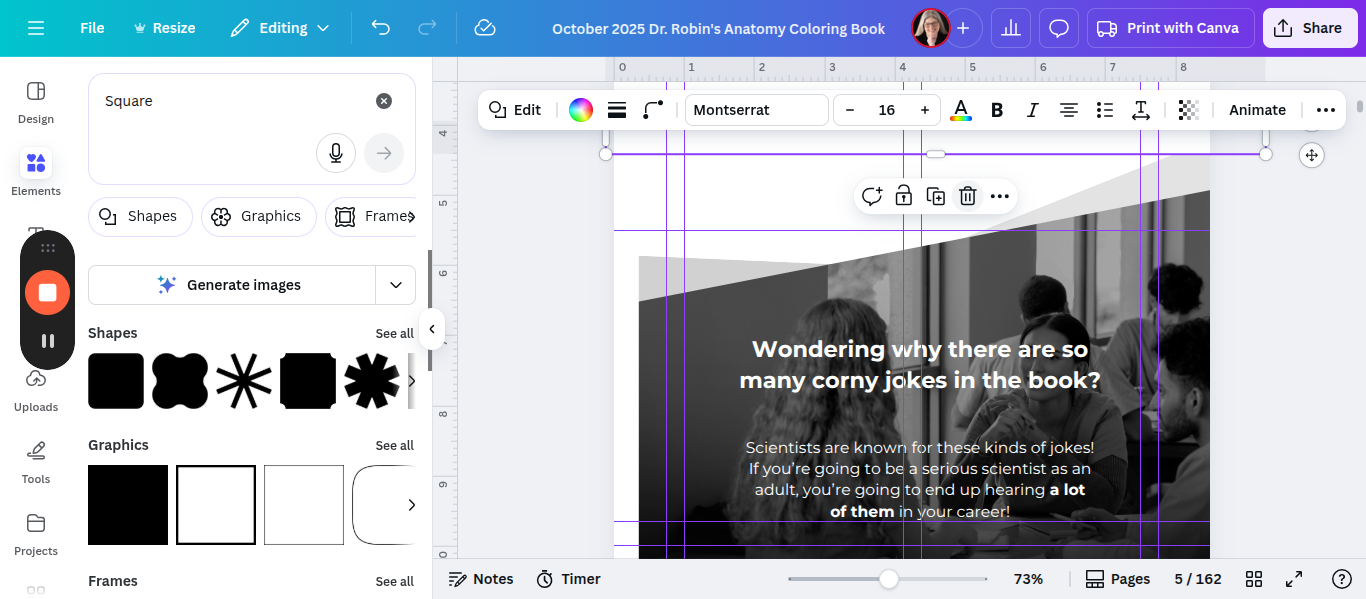
Next, duplicate that to make more pieces and cover all the edges.
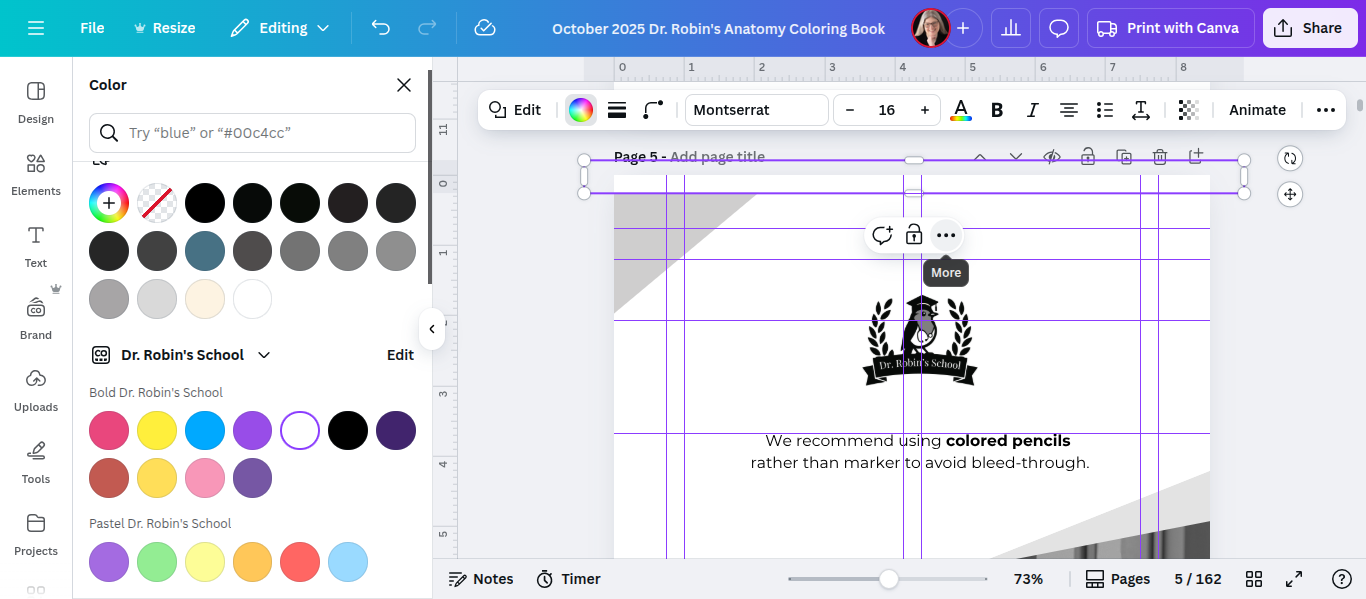
You can rotate it 90 degrees to cover the vertical direction here.
That one also needs to be 0.25 inches from the edge. You can add more guides if needed.
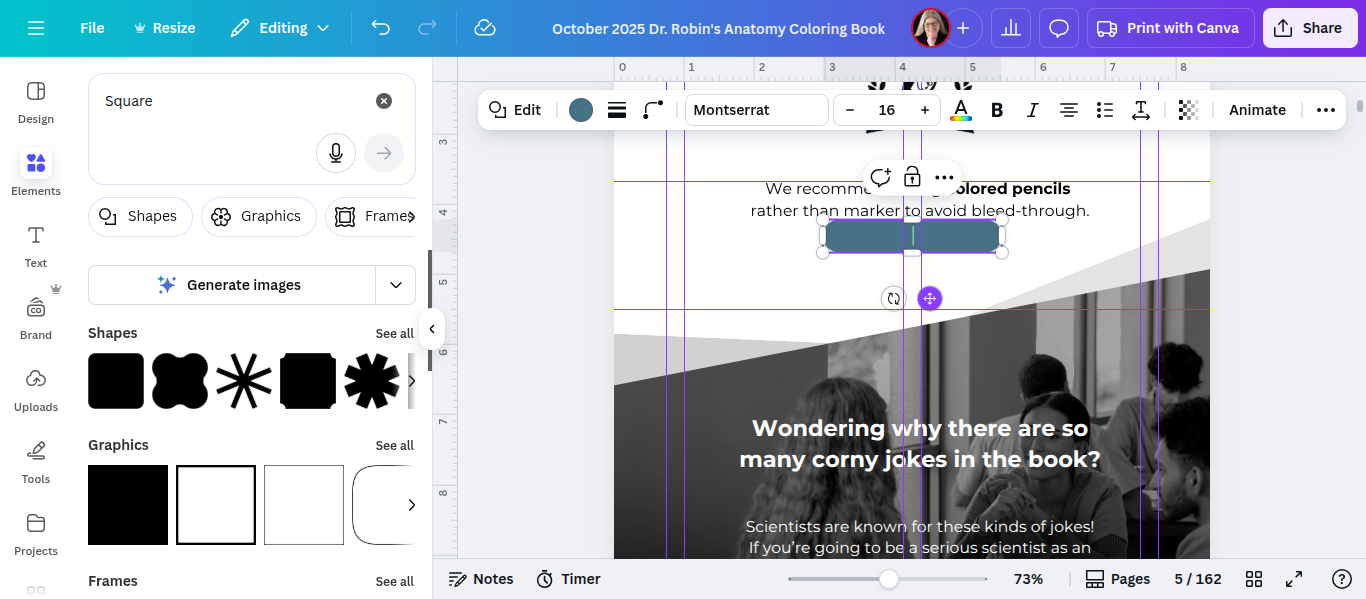
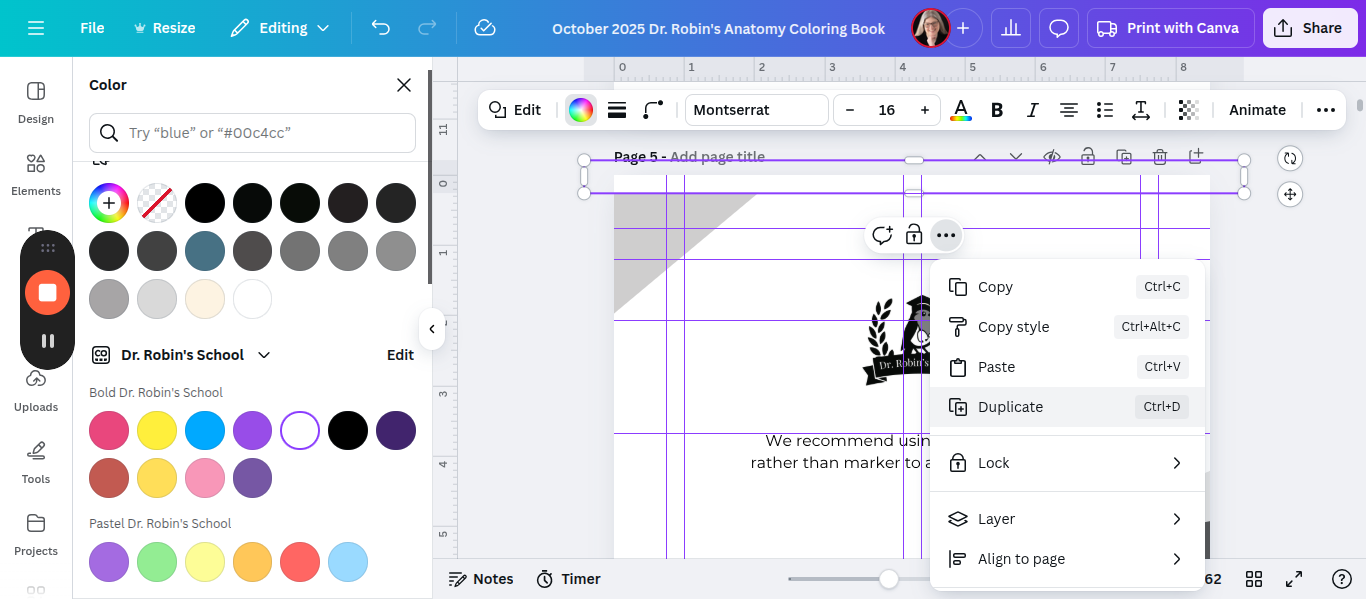
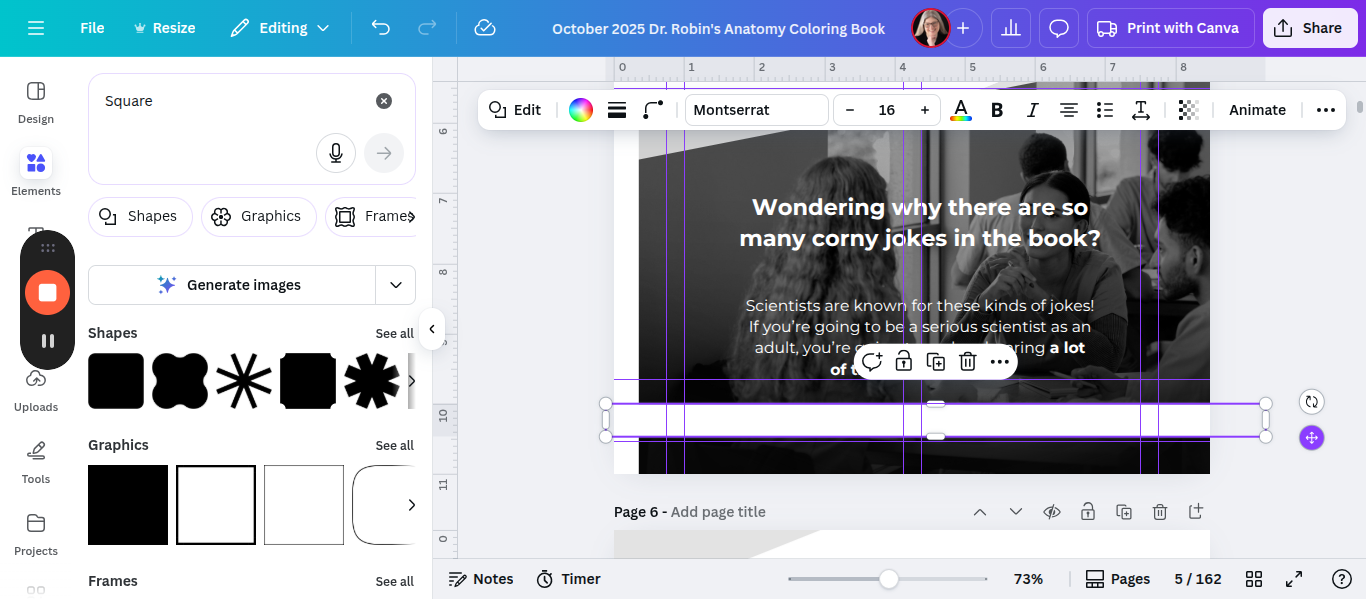
We will take this, duplicate it, and move it to the bottom.
There we go. Move it down to cover the bottom 0.25 like this.

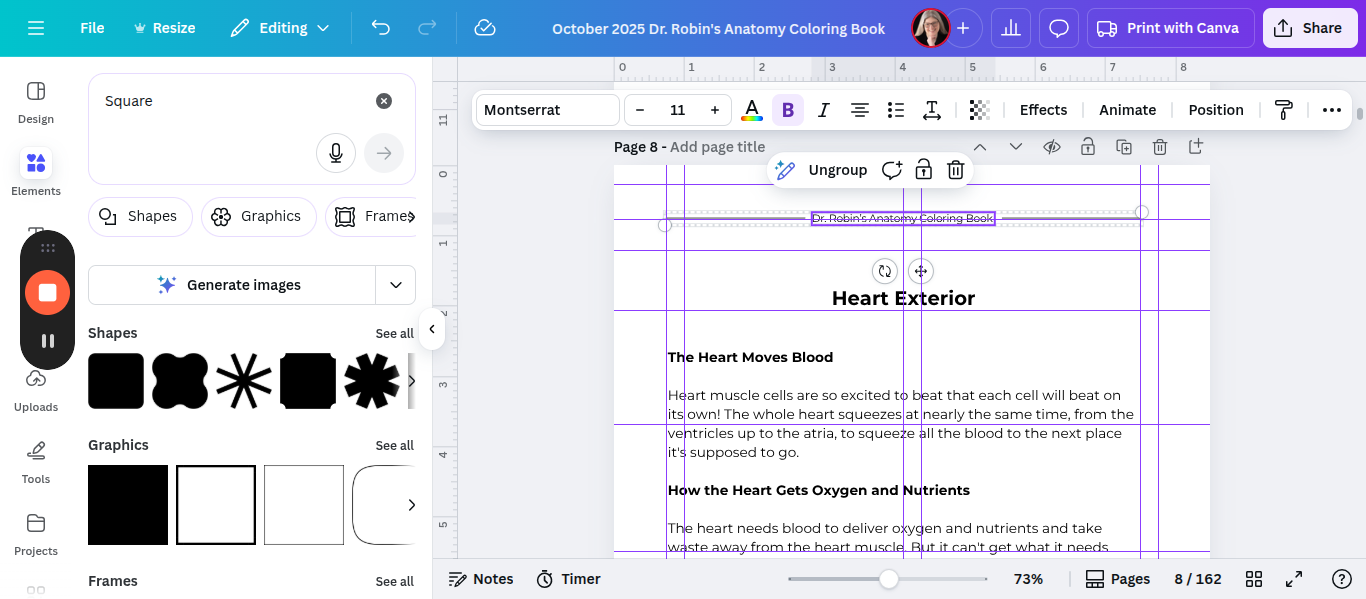
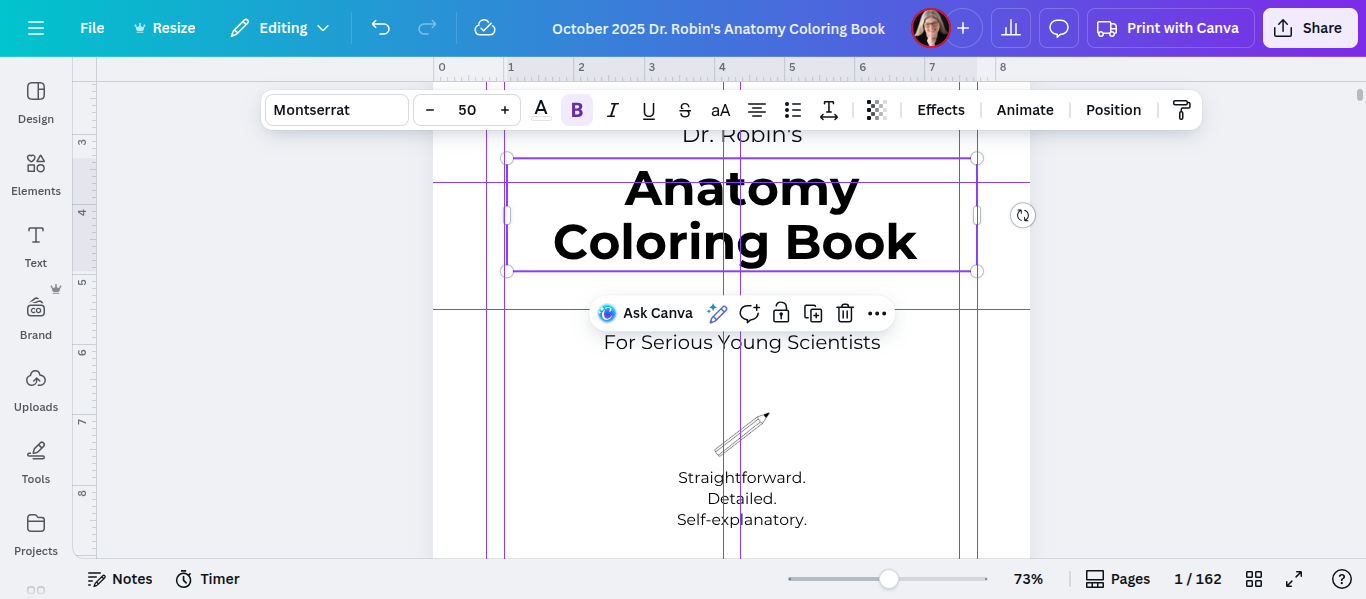
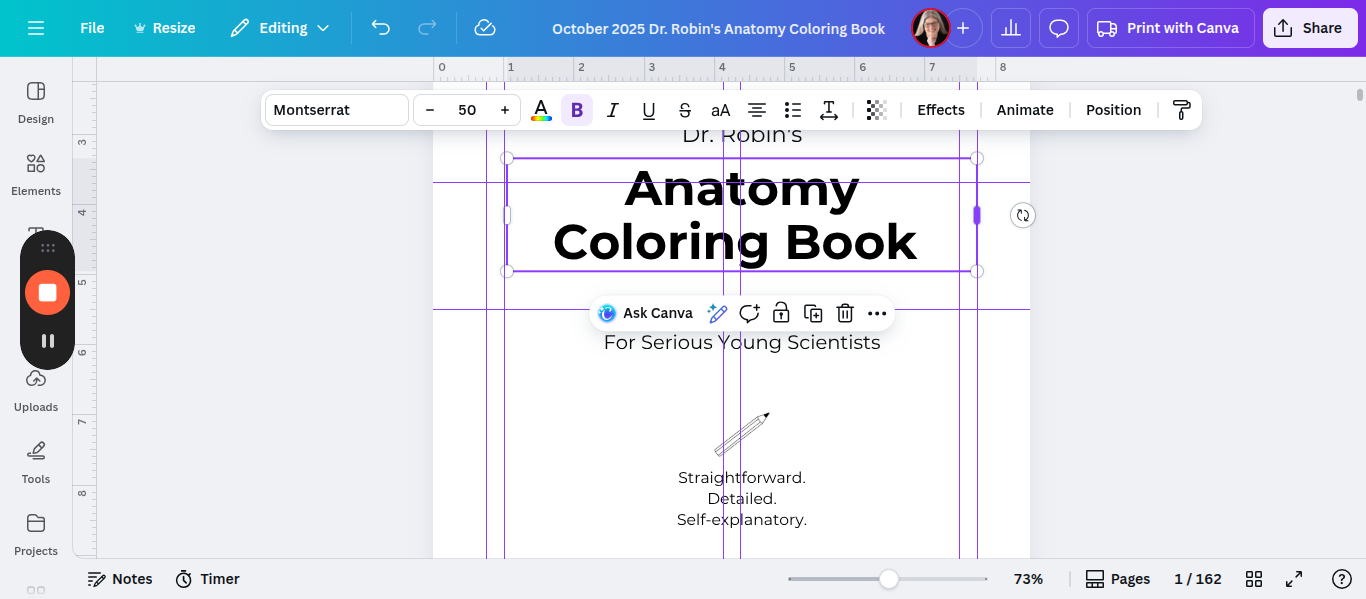
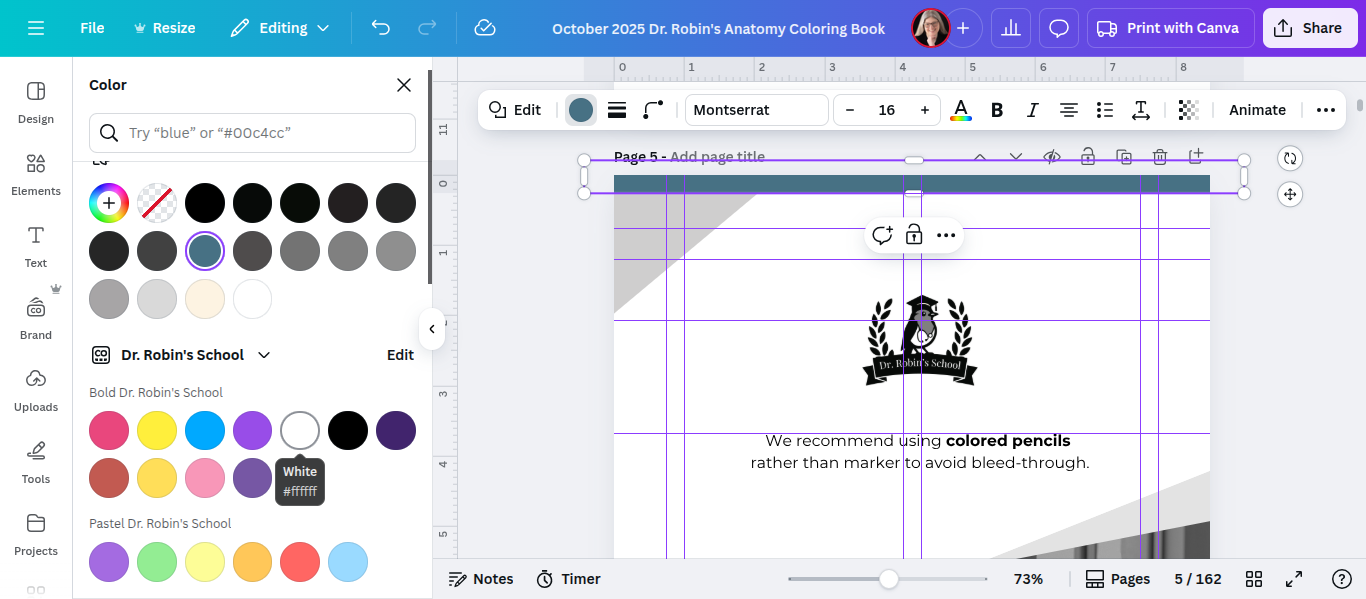
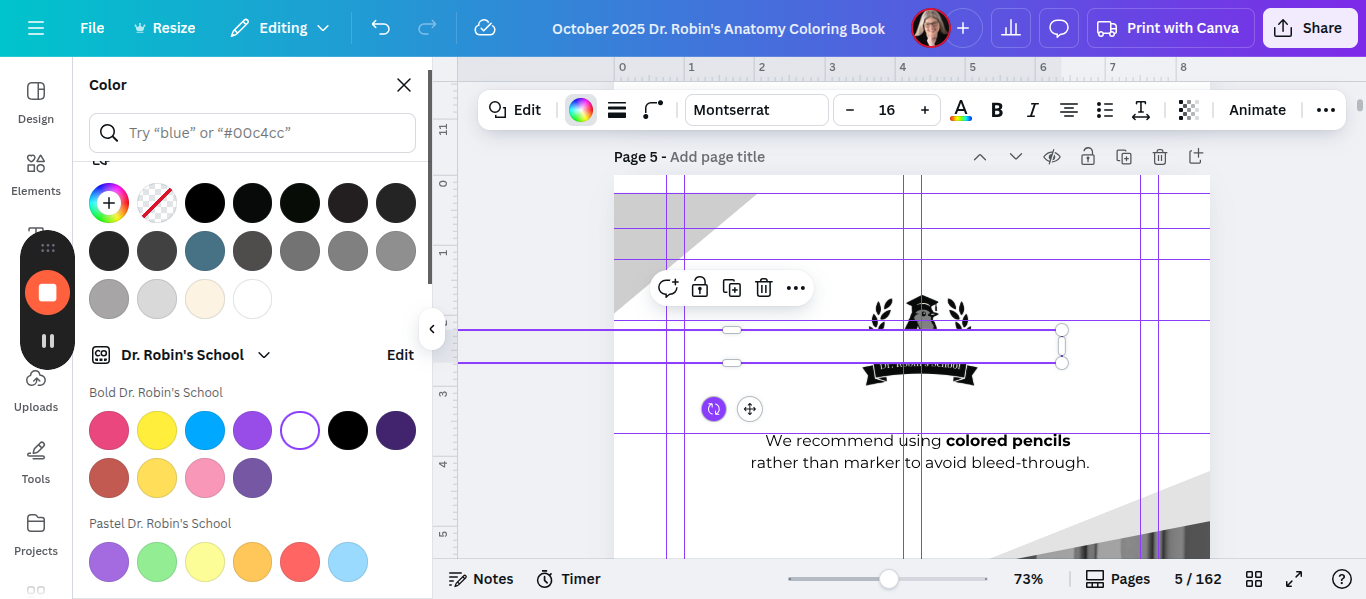
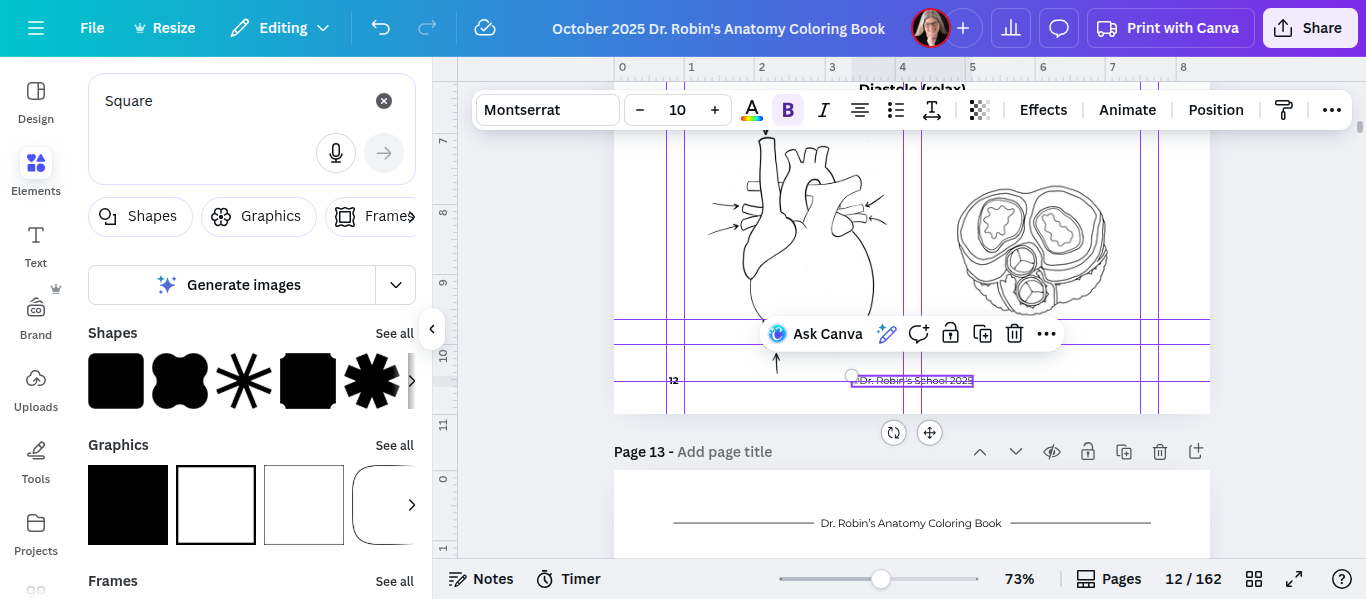
The page, heading, page number, and copyright are all shifted
You can estimate it visually or group them in different ways. However, they should be centered on the left, not the right.
The page number should go on the left.
I think what we did here should be the same on every page. The copyright should be aligned to the left. That's it.
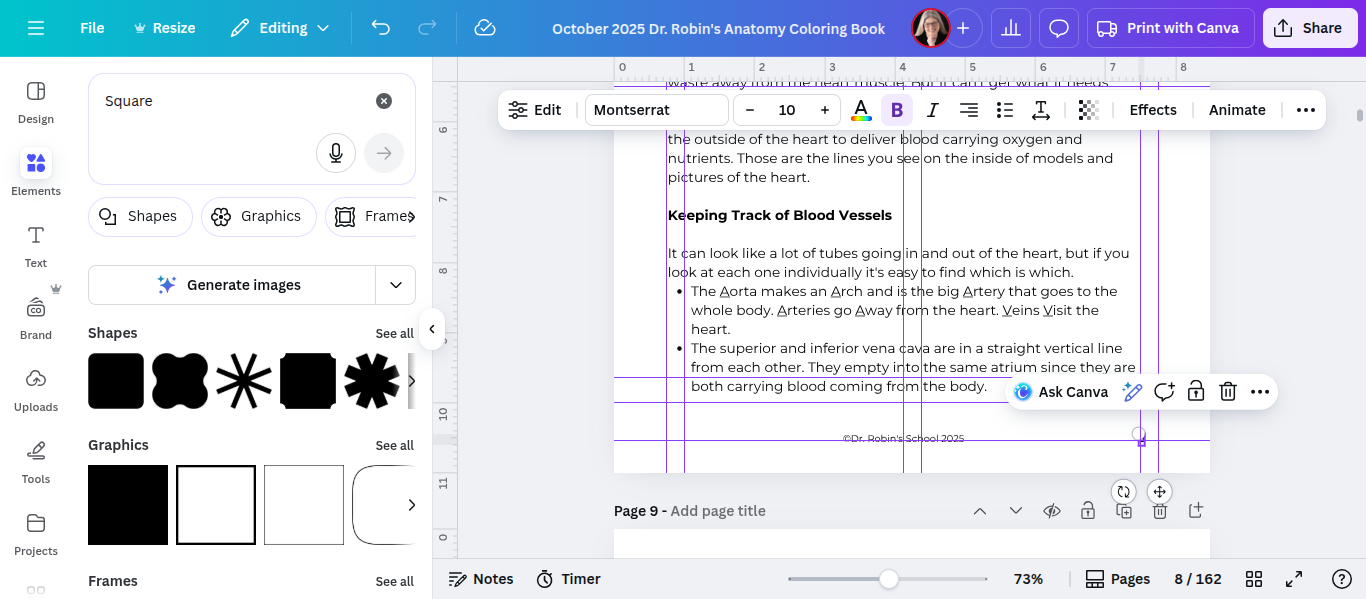
And you just go back and forth repeatedly for the entire book. When I'm done, I always do a final check where I just check a couple elements at a time. So I check just the copyright and page number and just scroll through the whole thing saying aloud "left, right, left, right, left, right" to make sure the page numbers switch back and forth. And I'll do the same with the headings/titles. And with the stuff in the middle. It's tedious! But in the end, the product is so much nicer because of it!
If something goes beyond the correct guideline, it will be down in the gutter/binding.