Icon

2 - Scheduling Client Appointments in Reliatrax

Learn step-by-step how to schedule client appointments, manage recurring sessions, and write session notes in ReliaTrax. Includes tips for handling no-shows, rescheduling, and discharging clients.

By Eleonora

In this guide, we will learn how to schedule a client appointment in ReliaTrax. You will learn how to schedule various appointment types, update details, and manage changes like rescheduling or cancellation. This process helps you keep accurate records and stay organized when working with clients.

Let's get started

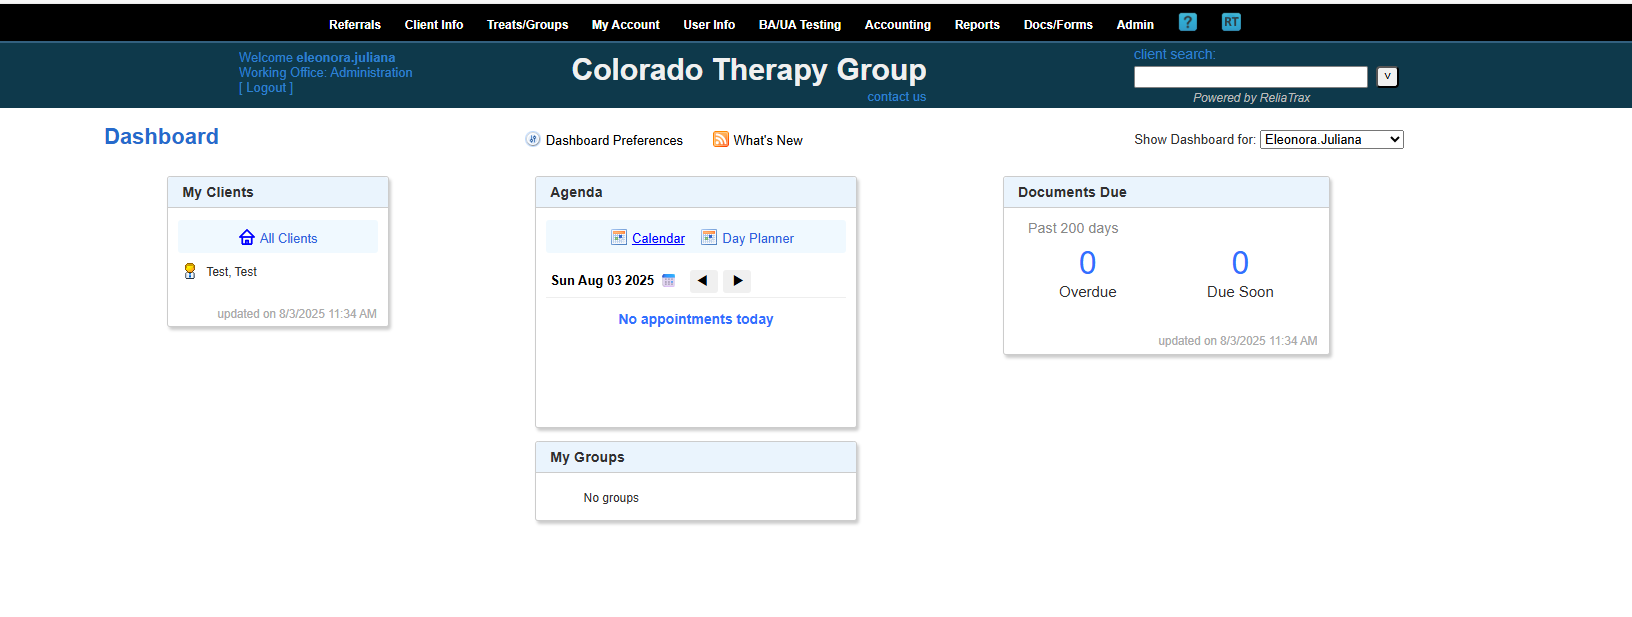
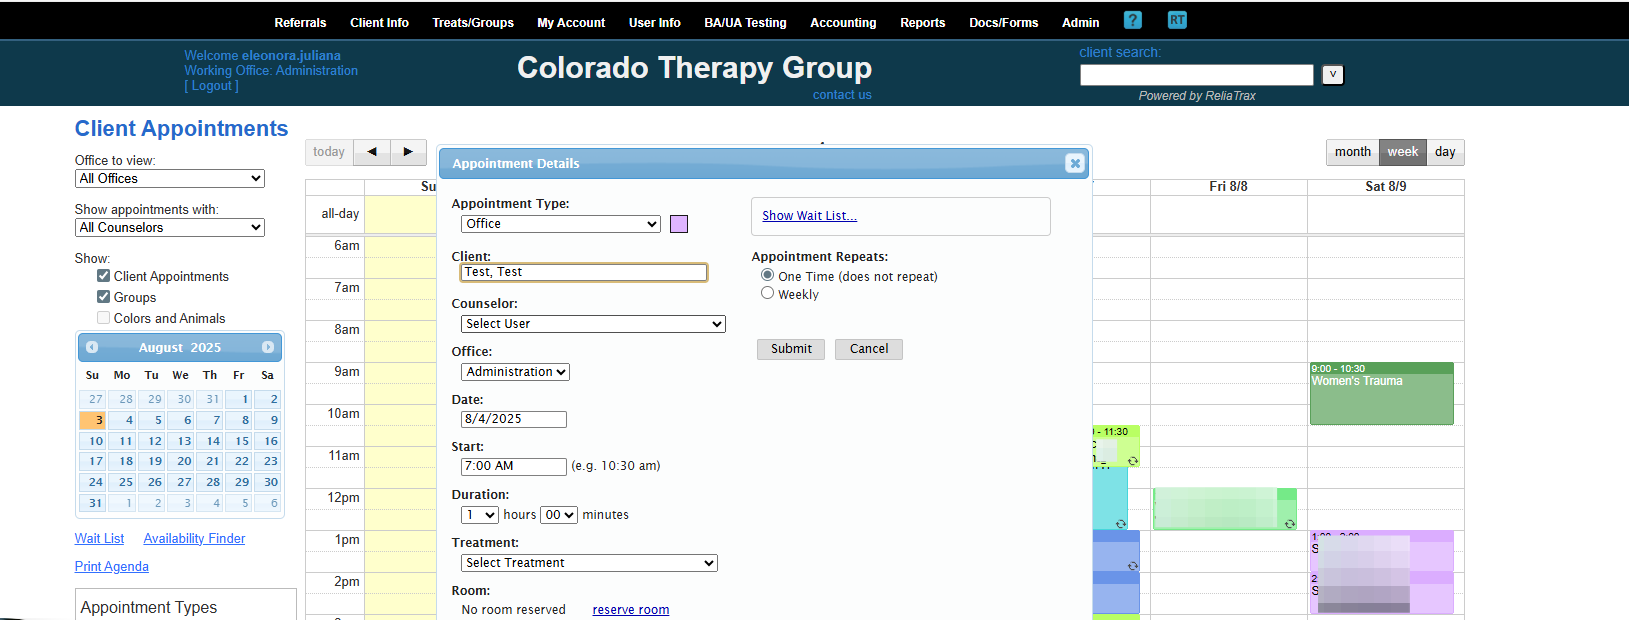
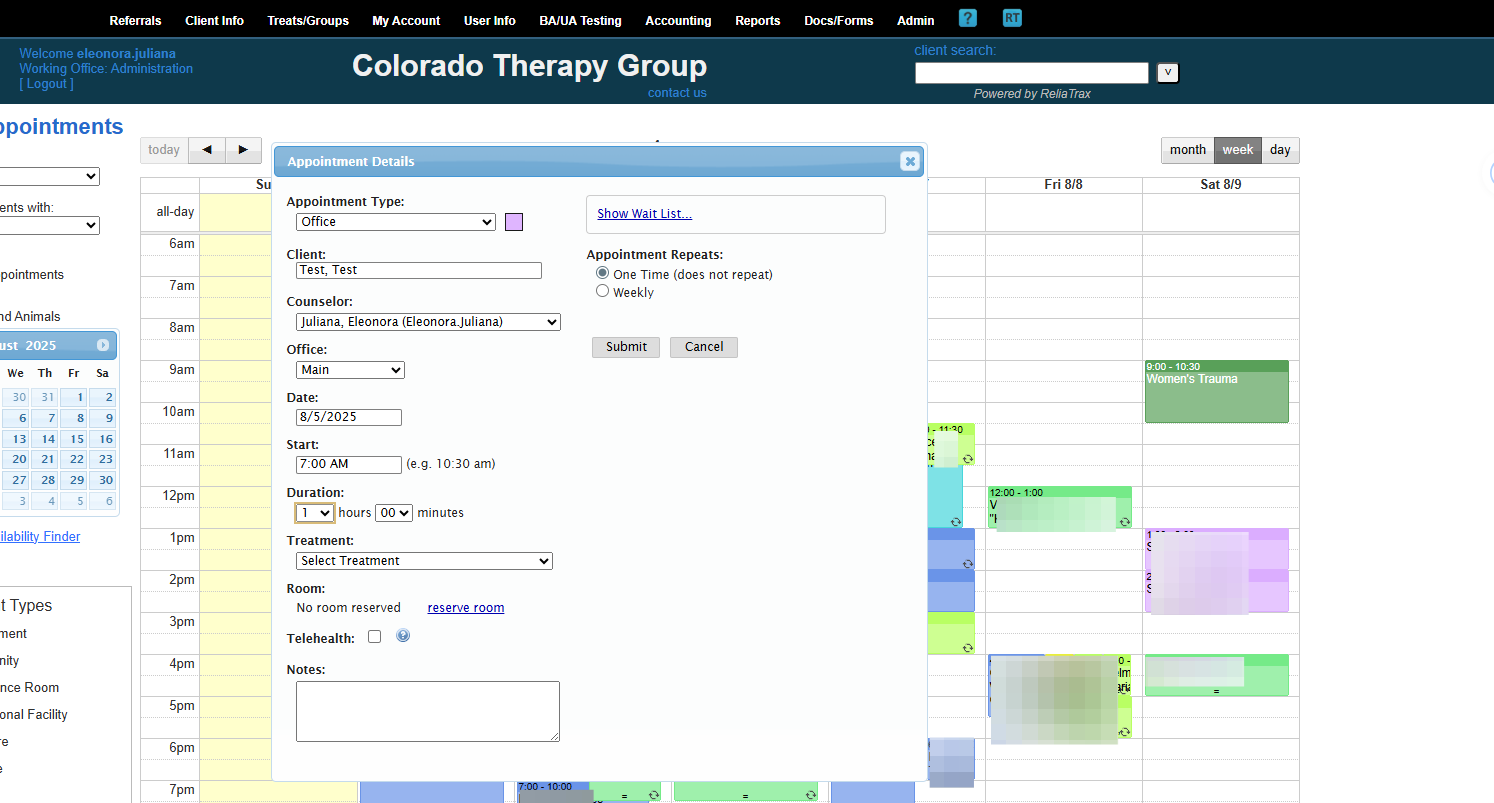
To schedule a client appointment in ReliaTrax, go to your Dashboard. In your Dashboard, click on the Calendar link in the Agenga box.

1
Click on "Calendar" in the Agenda box
Step #1: Click on "Calendar" in the Agenda box

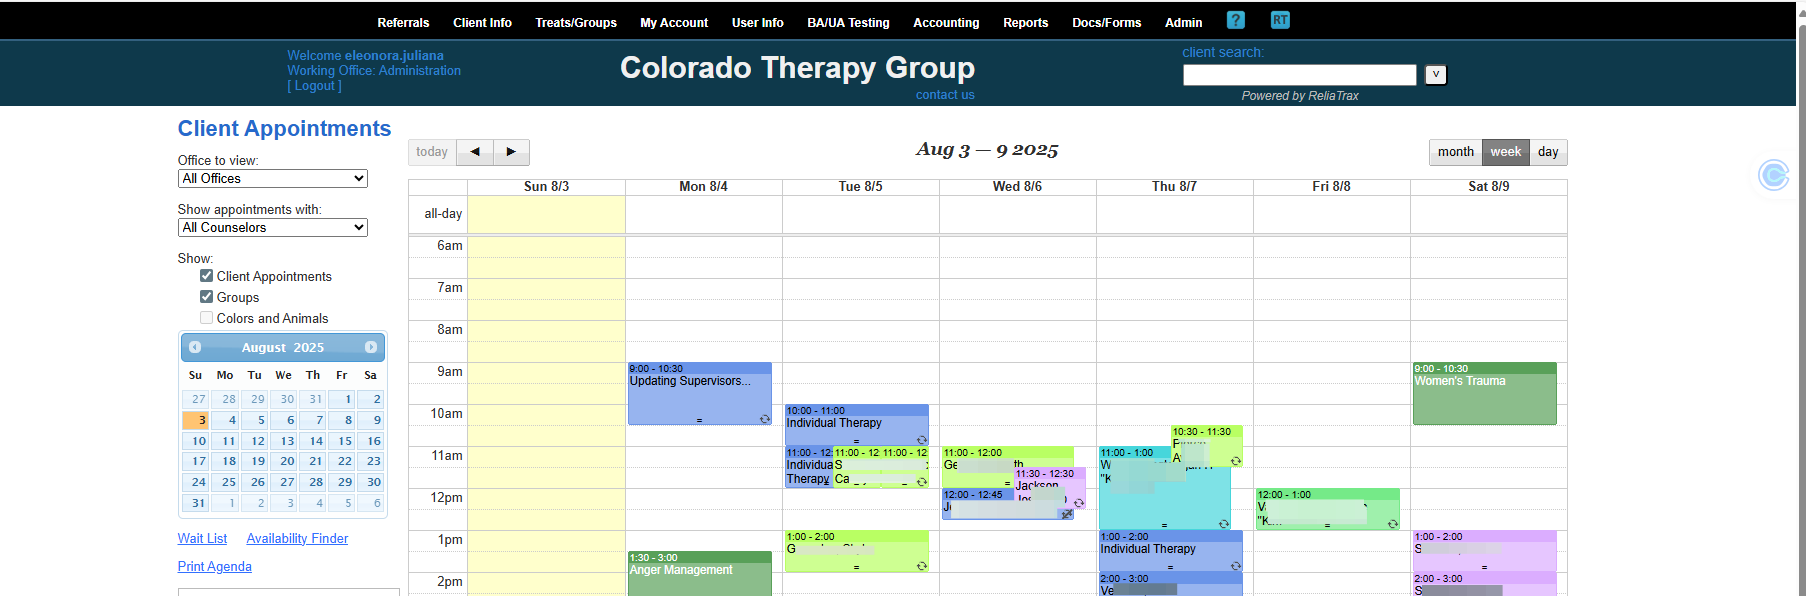
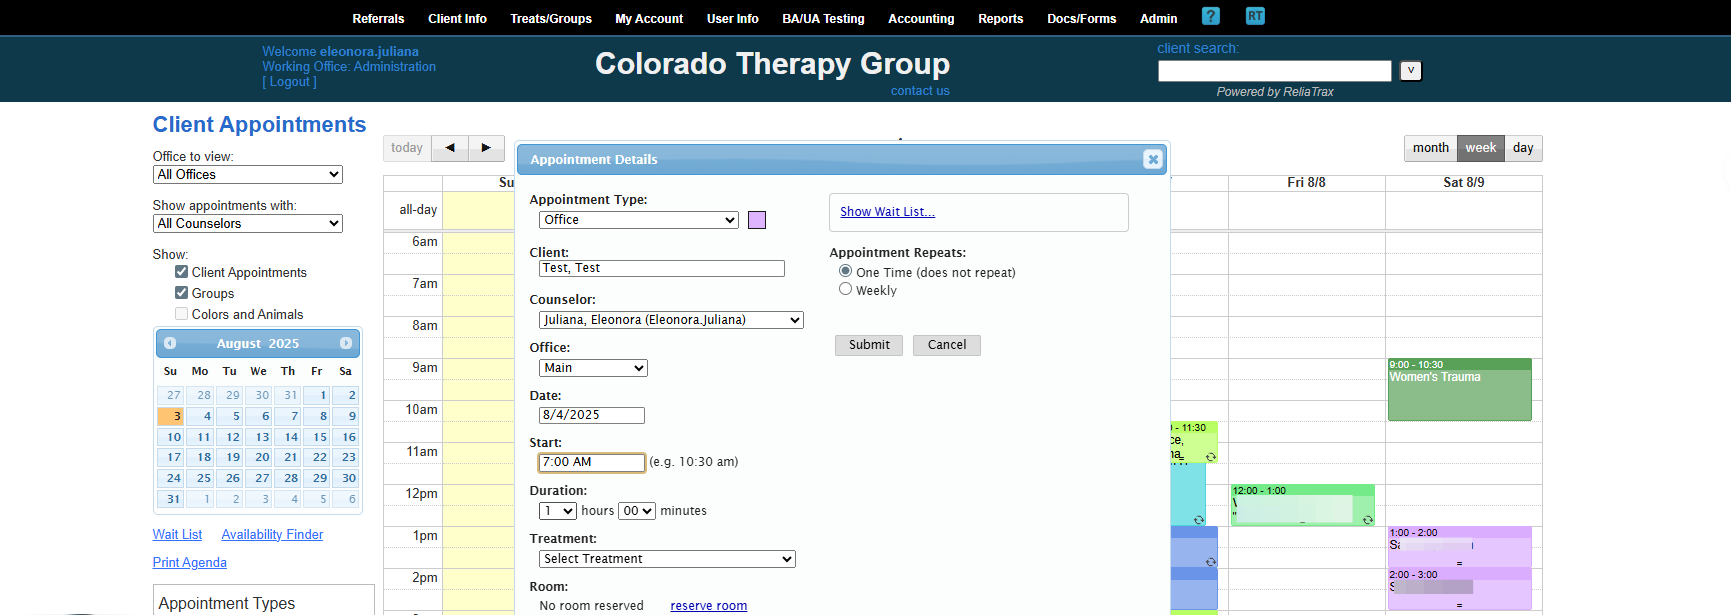
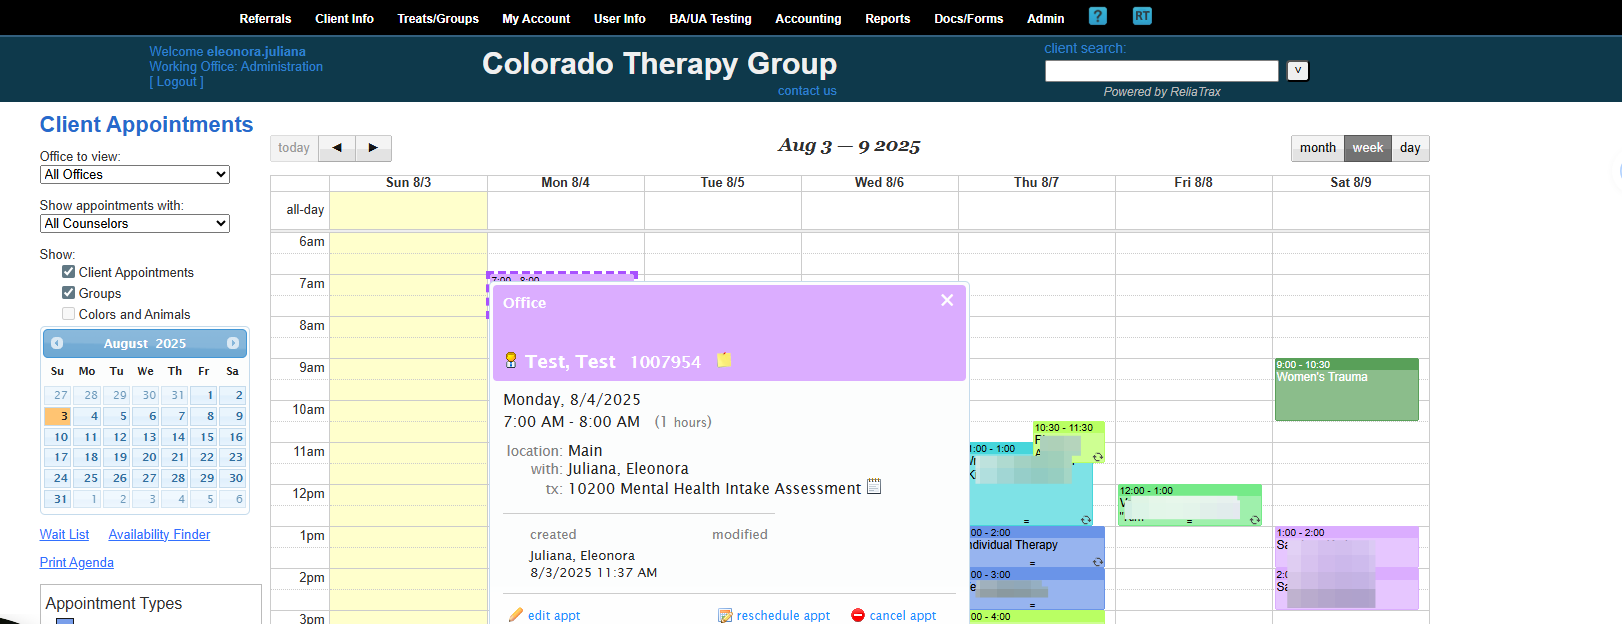
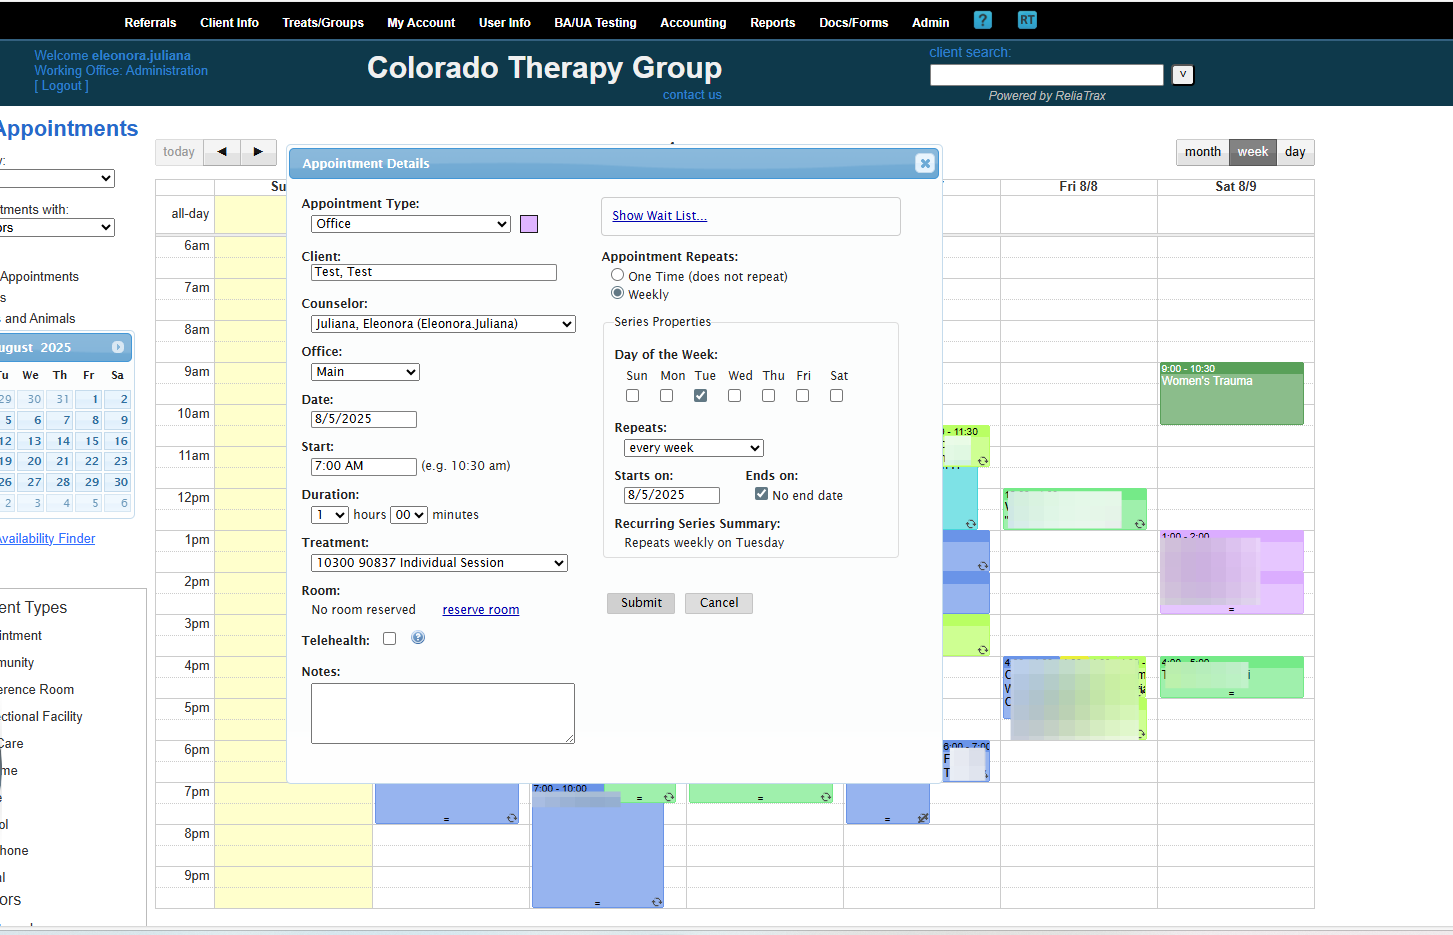
Suppose you have an appointment at 7:00 A.M. on August 4th. I will go on Monday, August 4th, at 7:00 A.M to enter the client's appointment.

2
Click on the "Date"
Step #2: Click on the "Date"

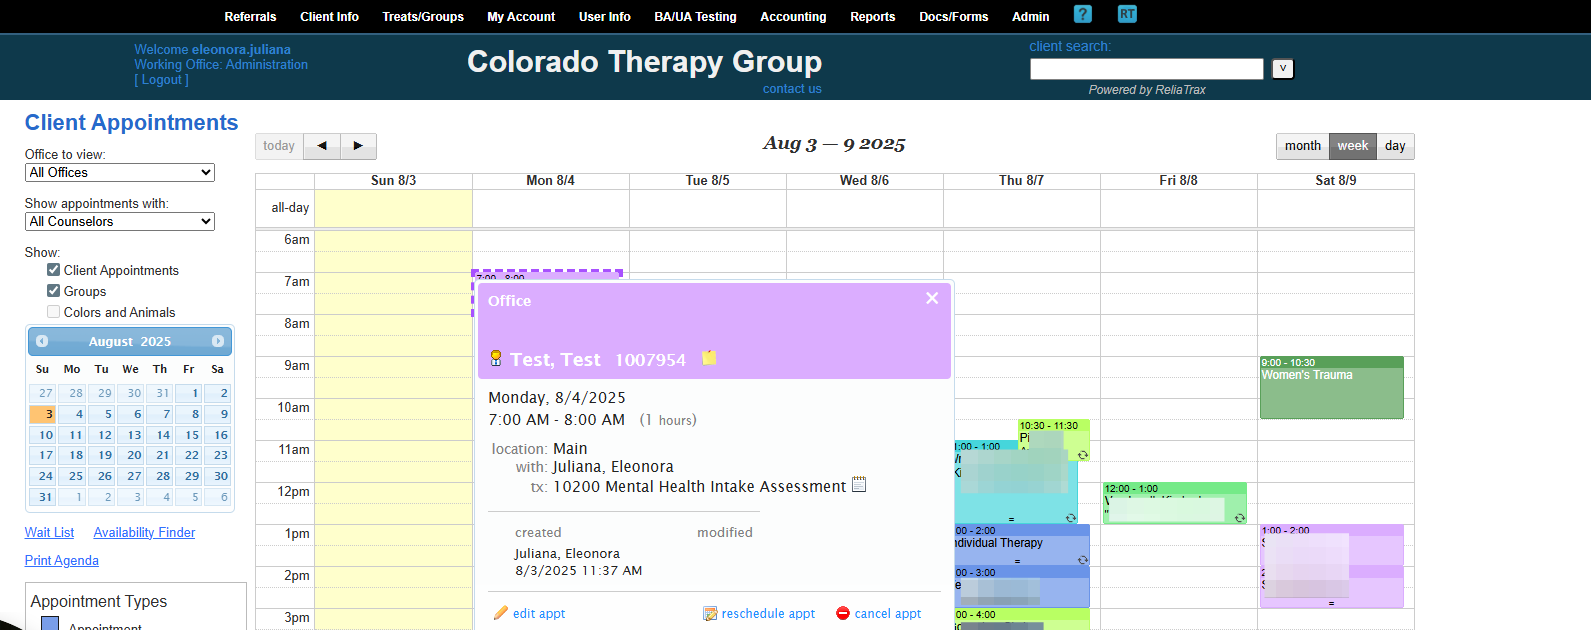
The Appointment Details link will open.

3
Click "Appointment Type"
Step #3: Click "Appointment Type"

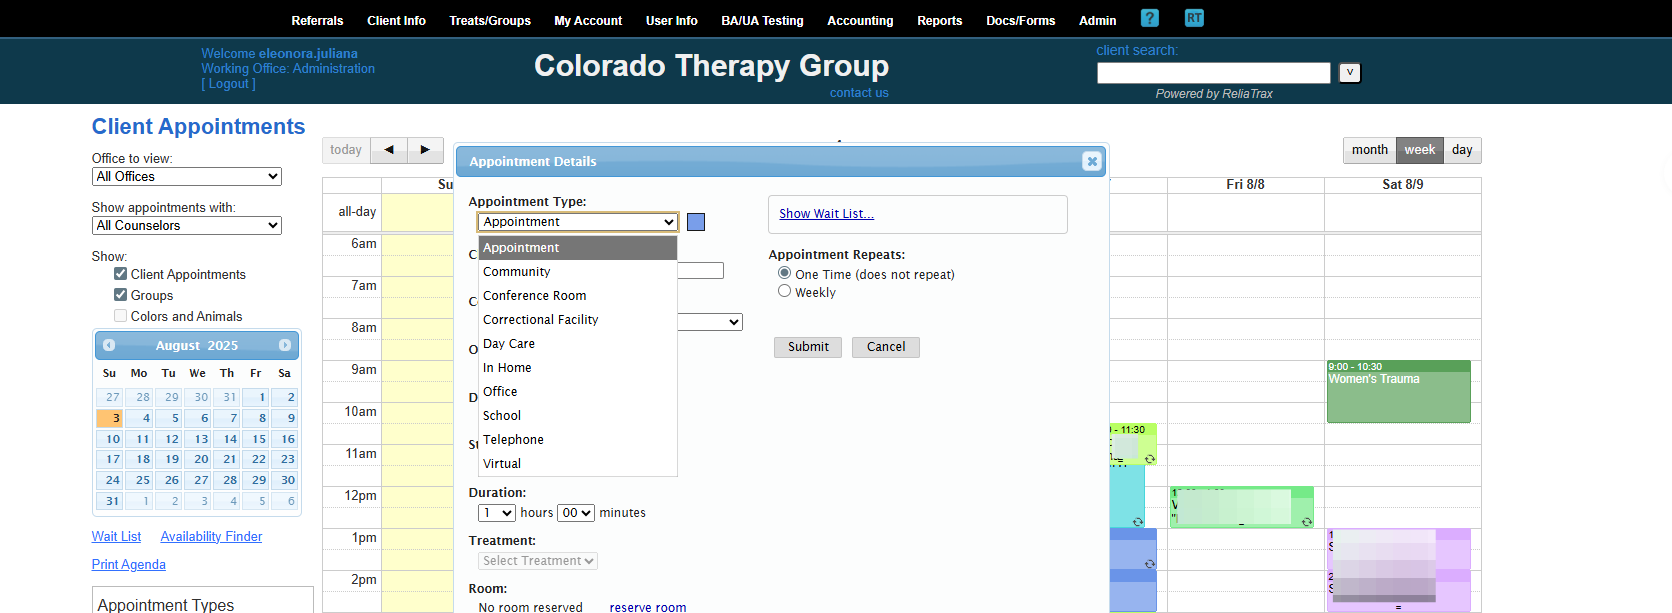
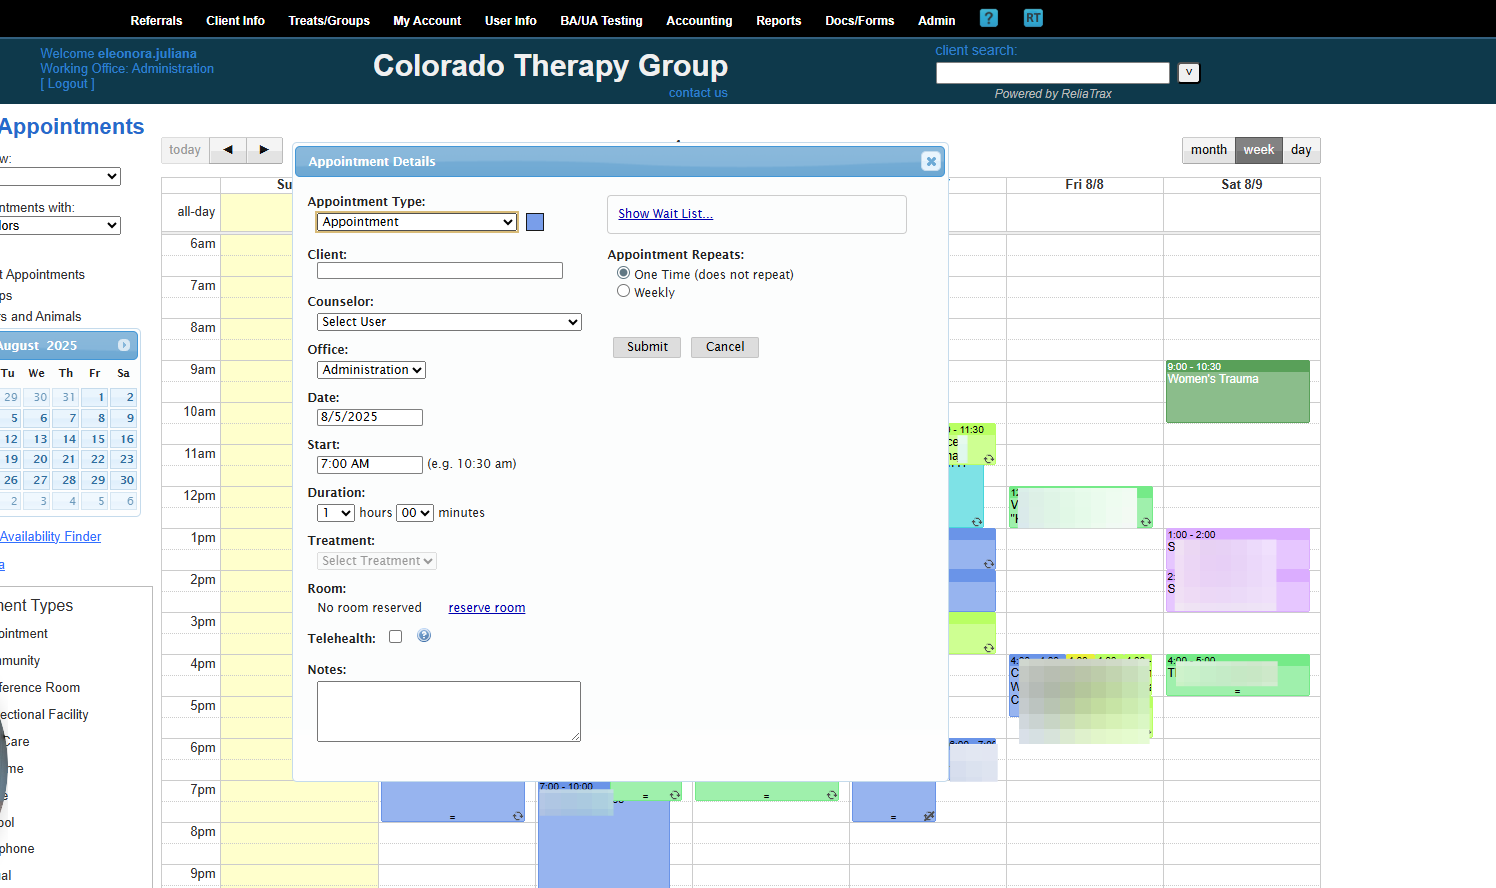
The Appointment Type is the Place of Service (POS): School, Office, In-Home, Telehealth, etc.

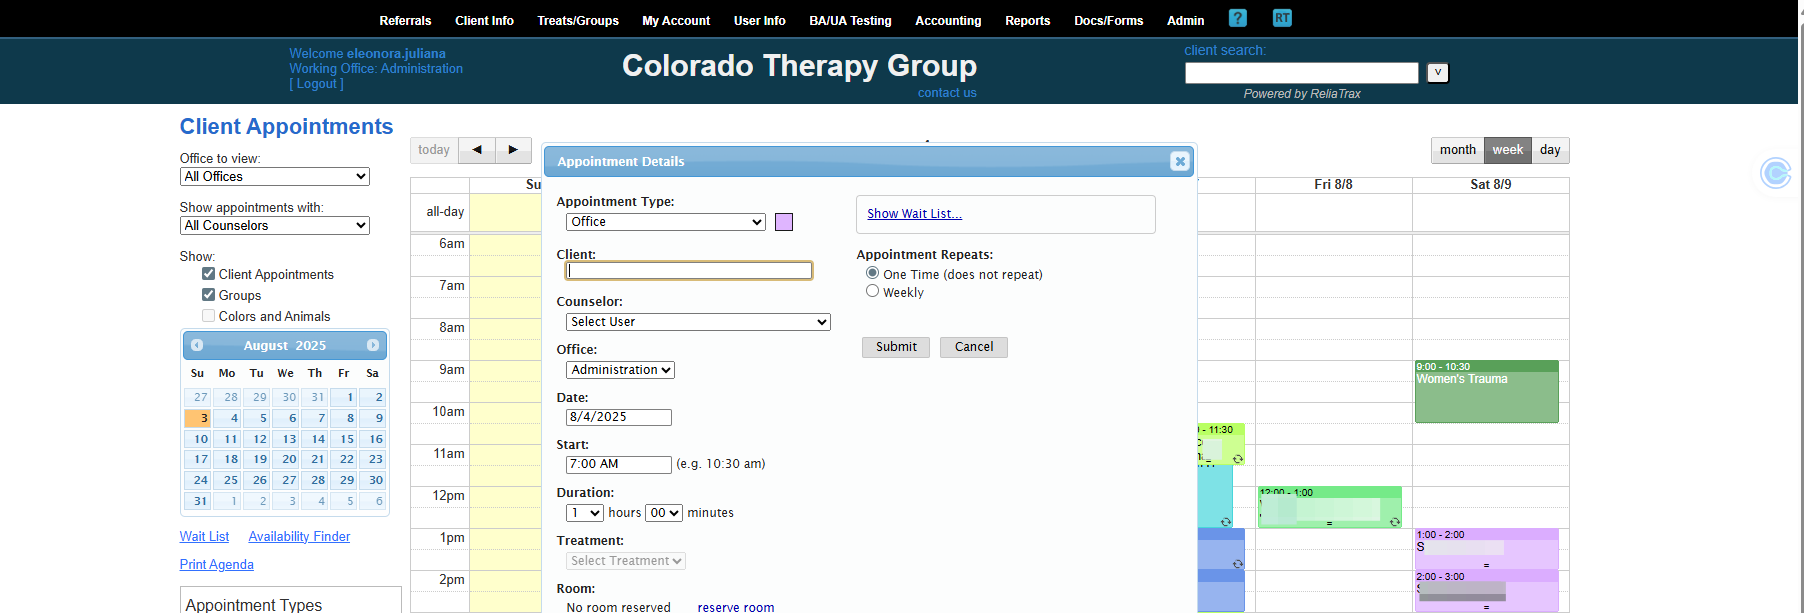
I will hold this appointment in the office with my client, Test.

4
Add "Client"
Step #4: Add "Client"
5
Add "Your Name" as Counselor
Step #5: Add "Your Name" as Counselor
6
Click "Main"
Step #6: Click "Main"
7
Add Date
Step #7: Add Date
8
Add Time
Step #8: Add Time
9
Add Duration of Session
Step #9: Add Duration of Session

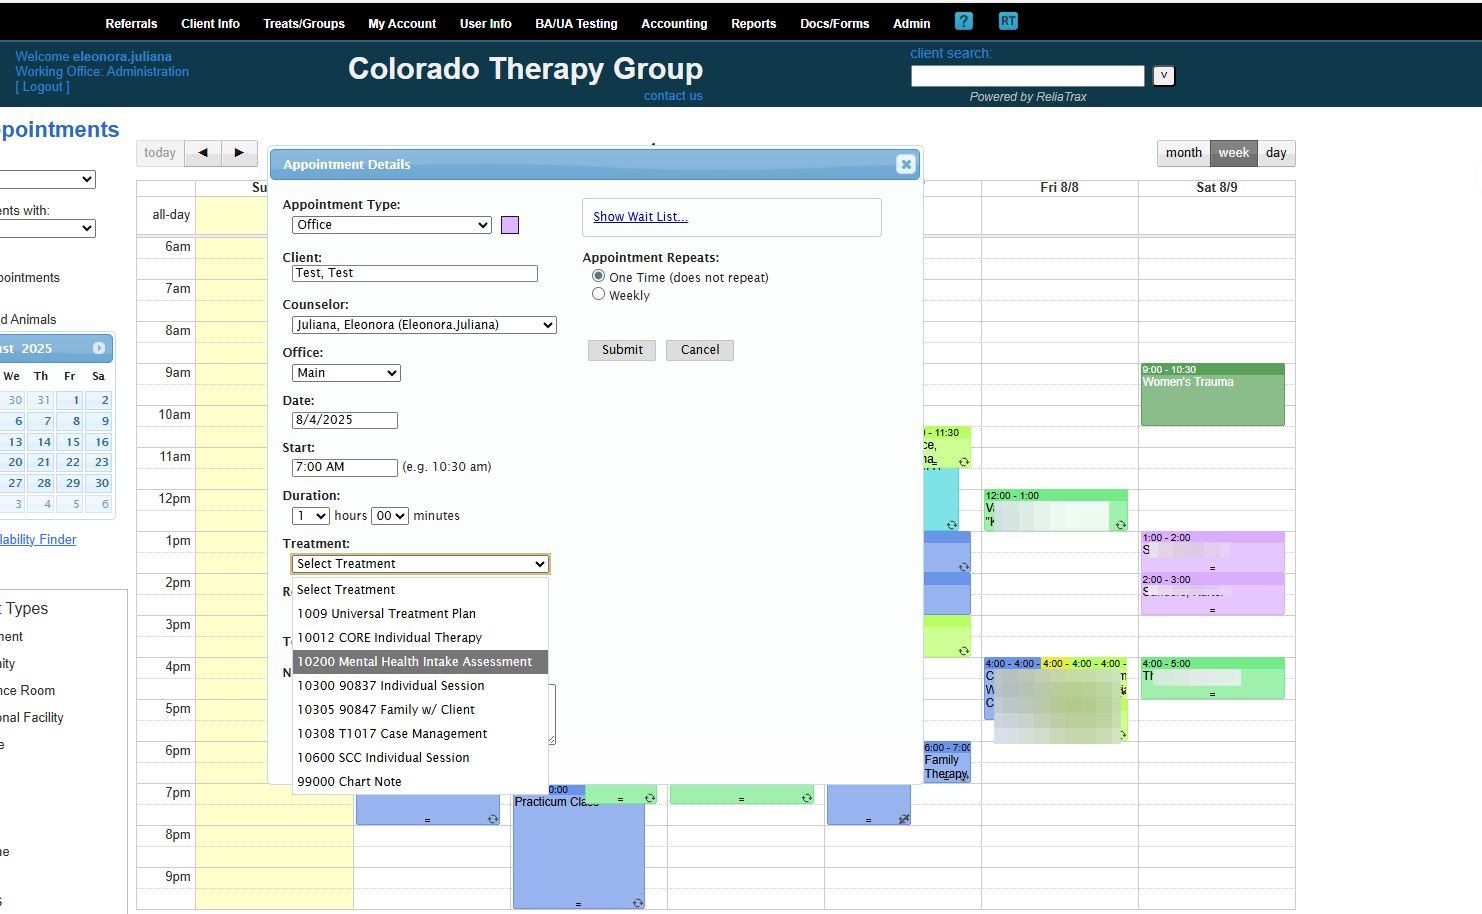
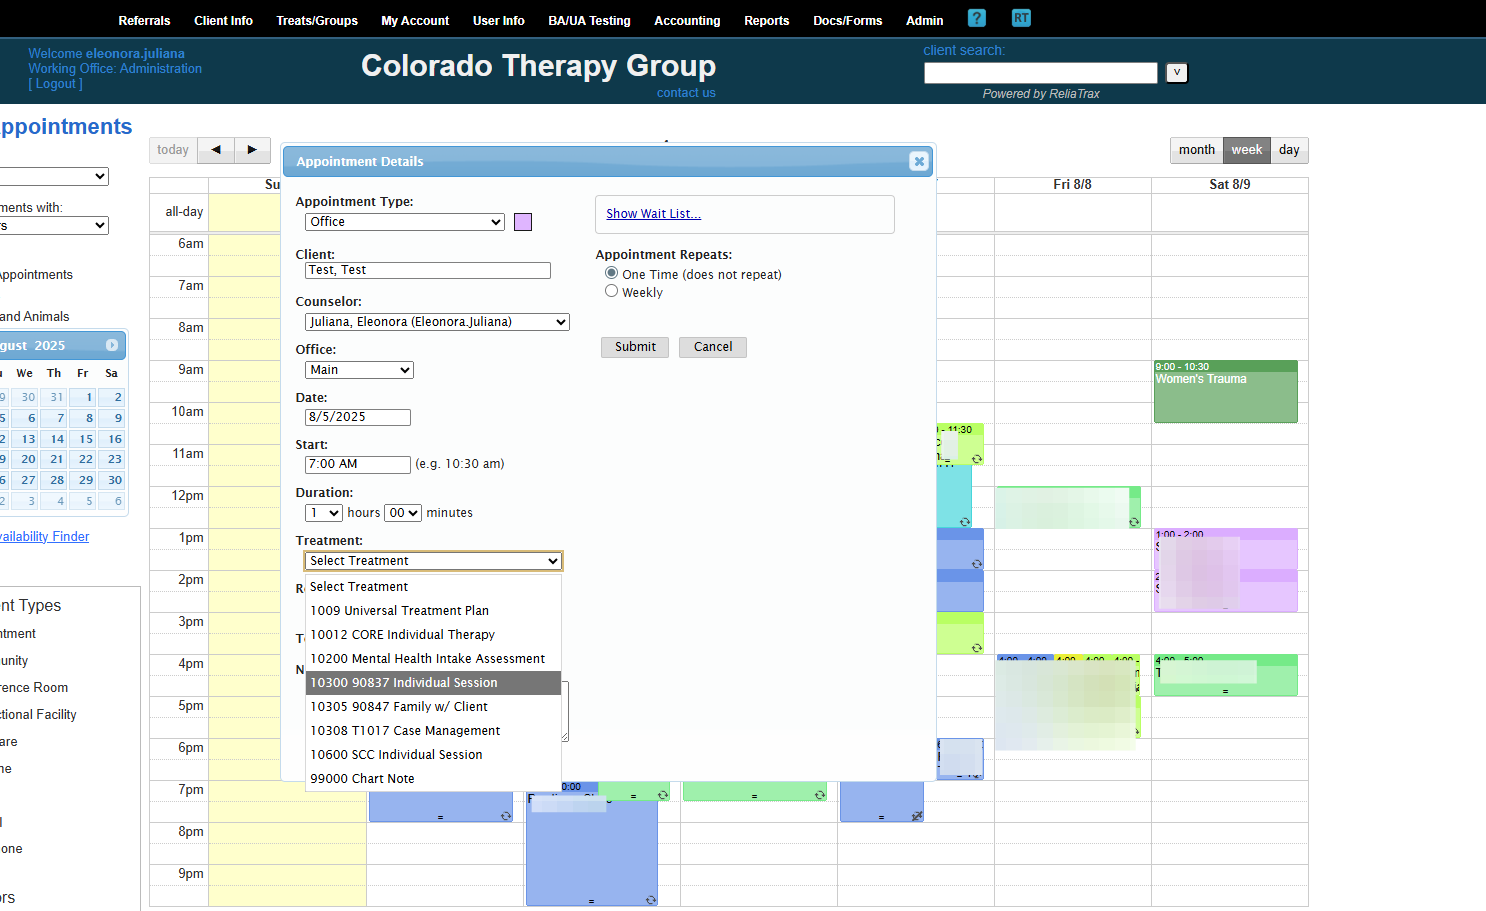
This is how to schedule an Intake Assessment.

10
Select Treatment Type
Step #10: Select Treatment Type
11
Click "Submit"
Step #11: Click "Submit"

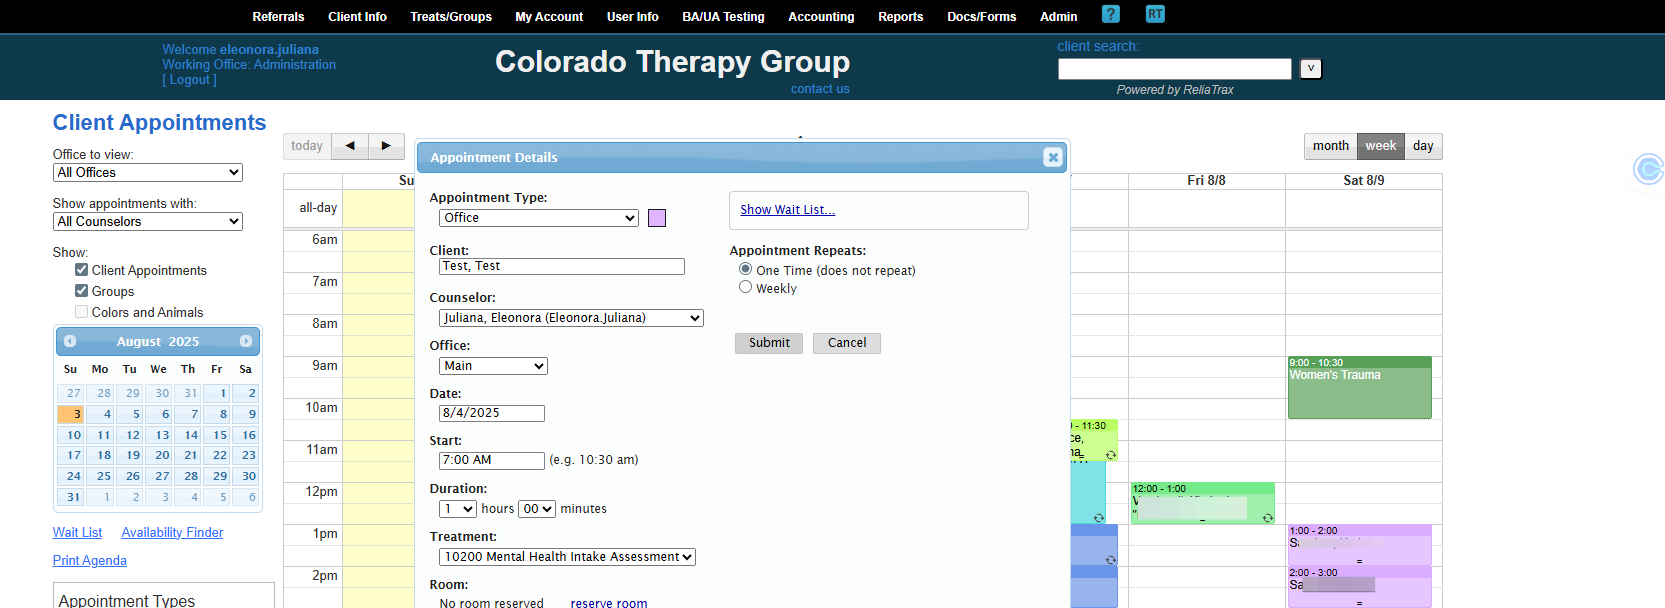
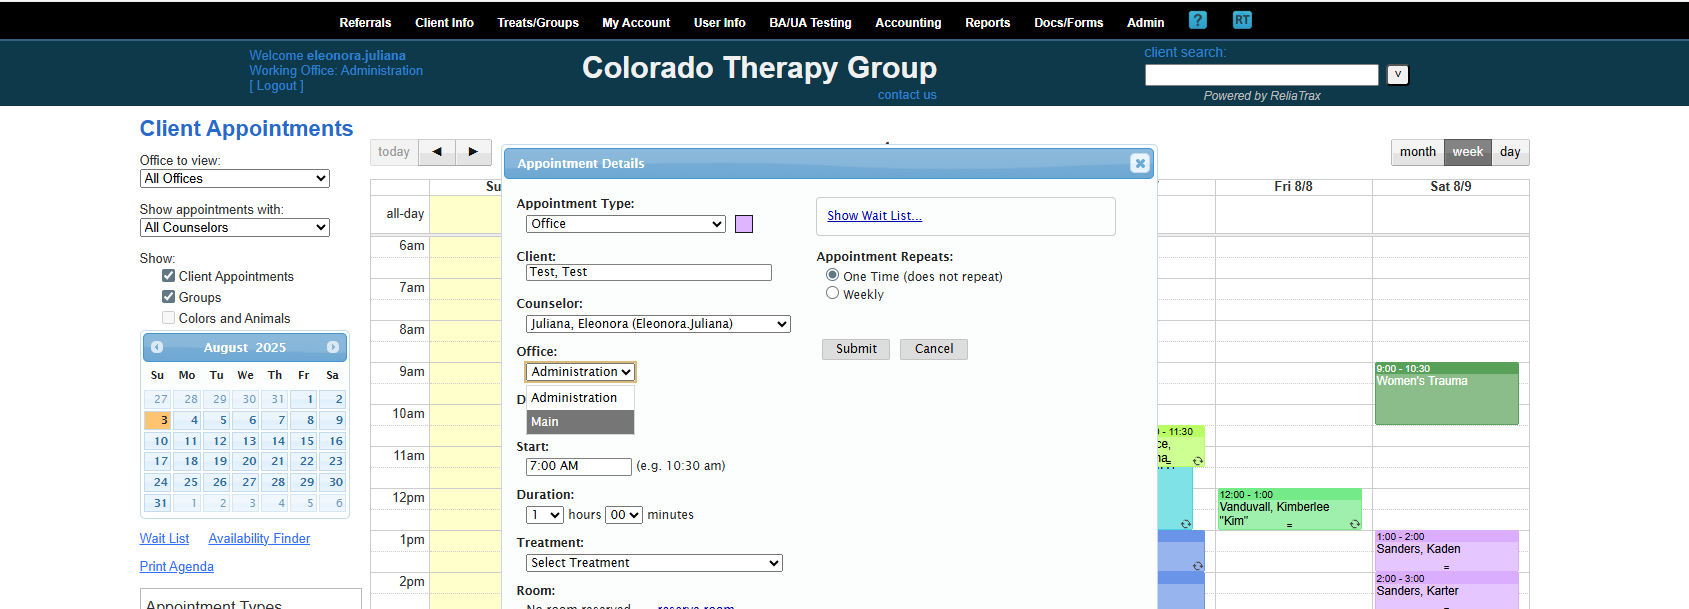
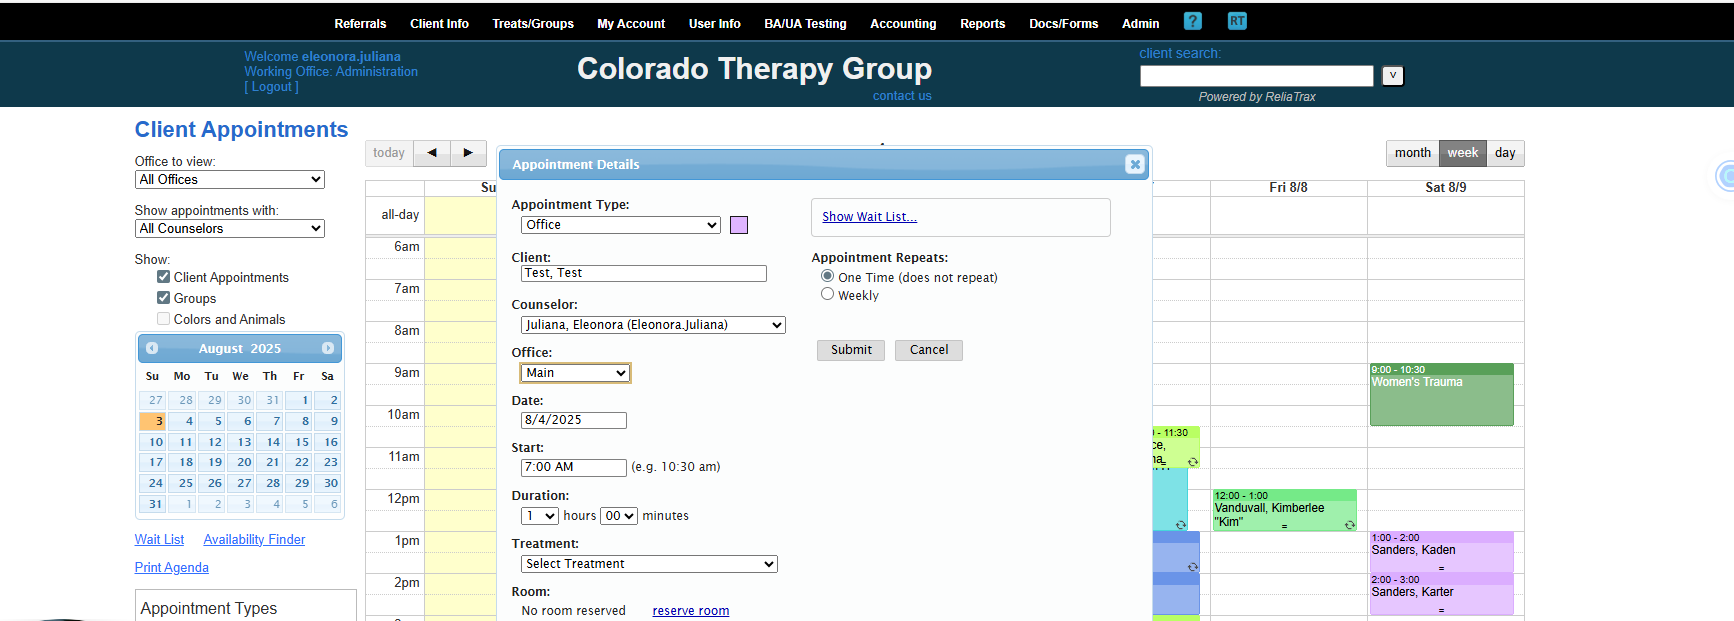
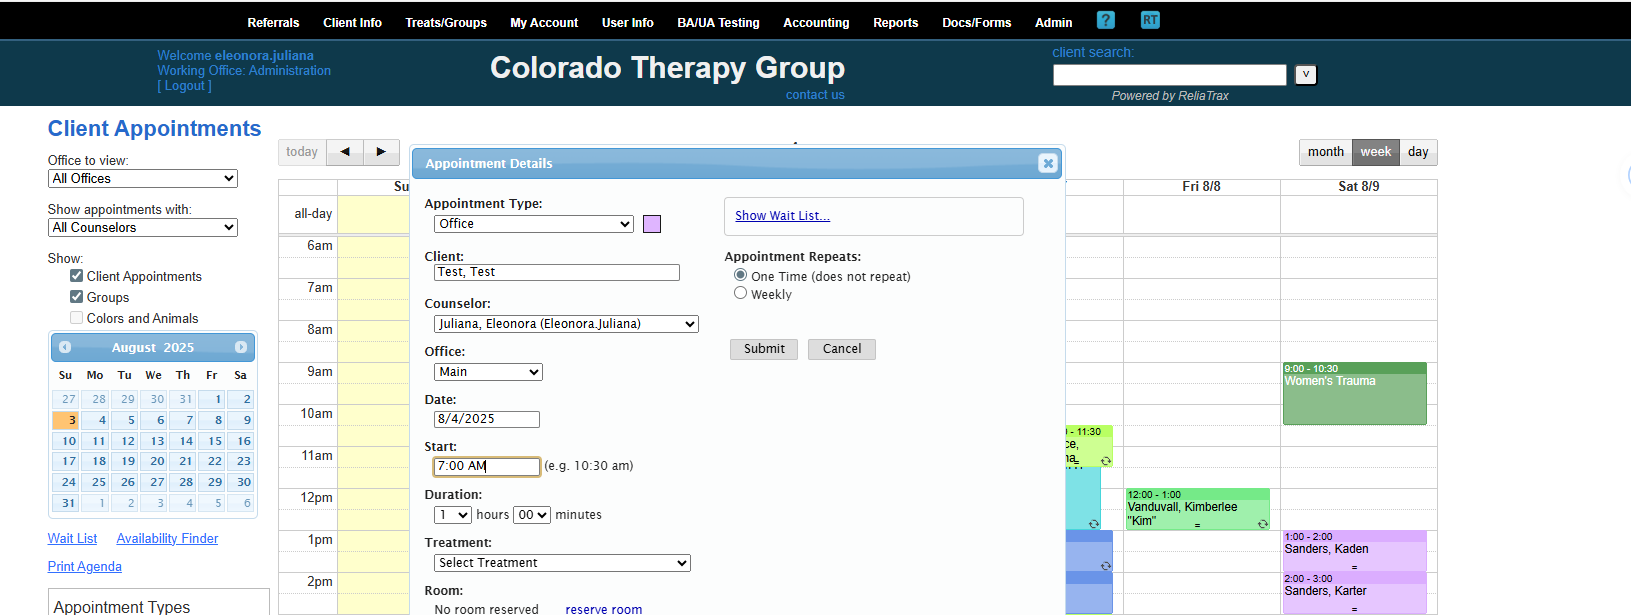
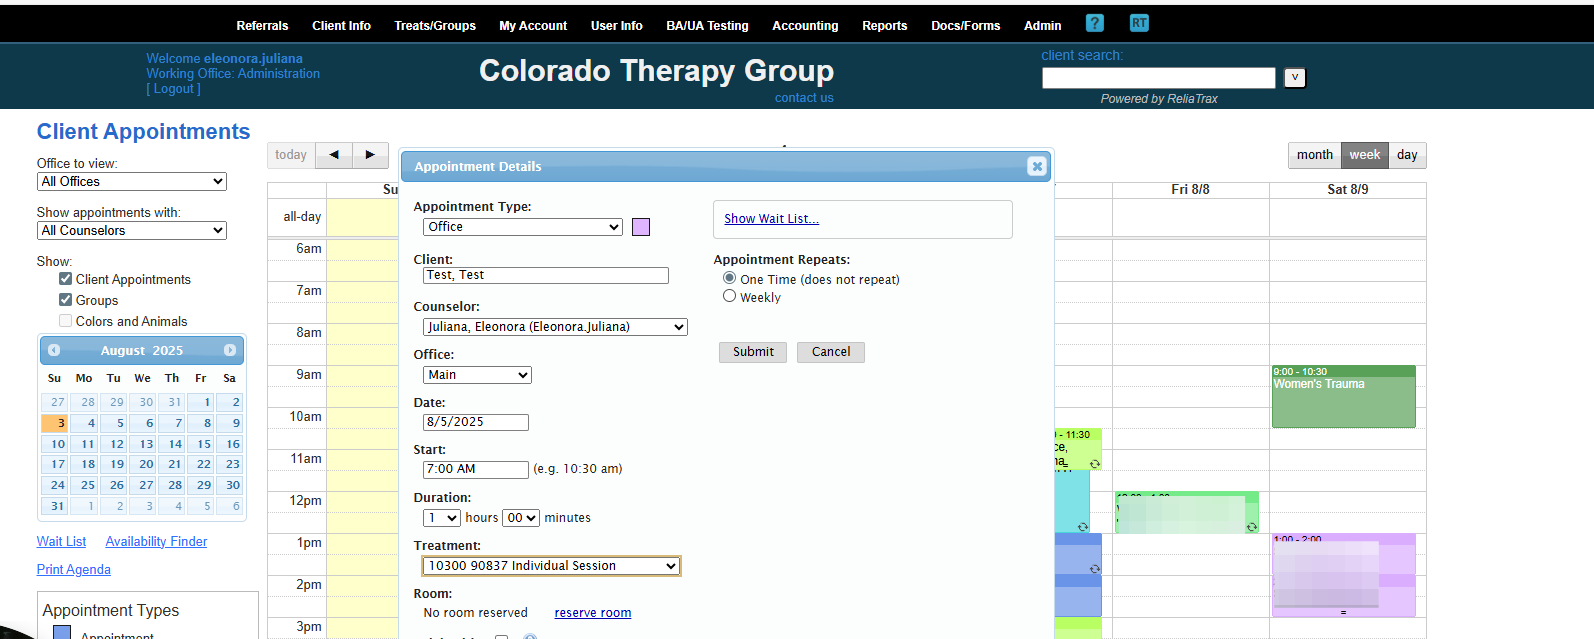
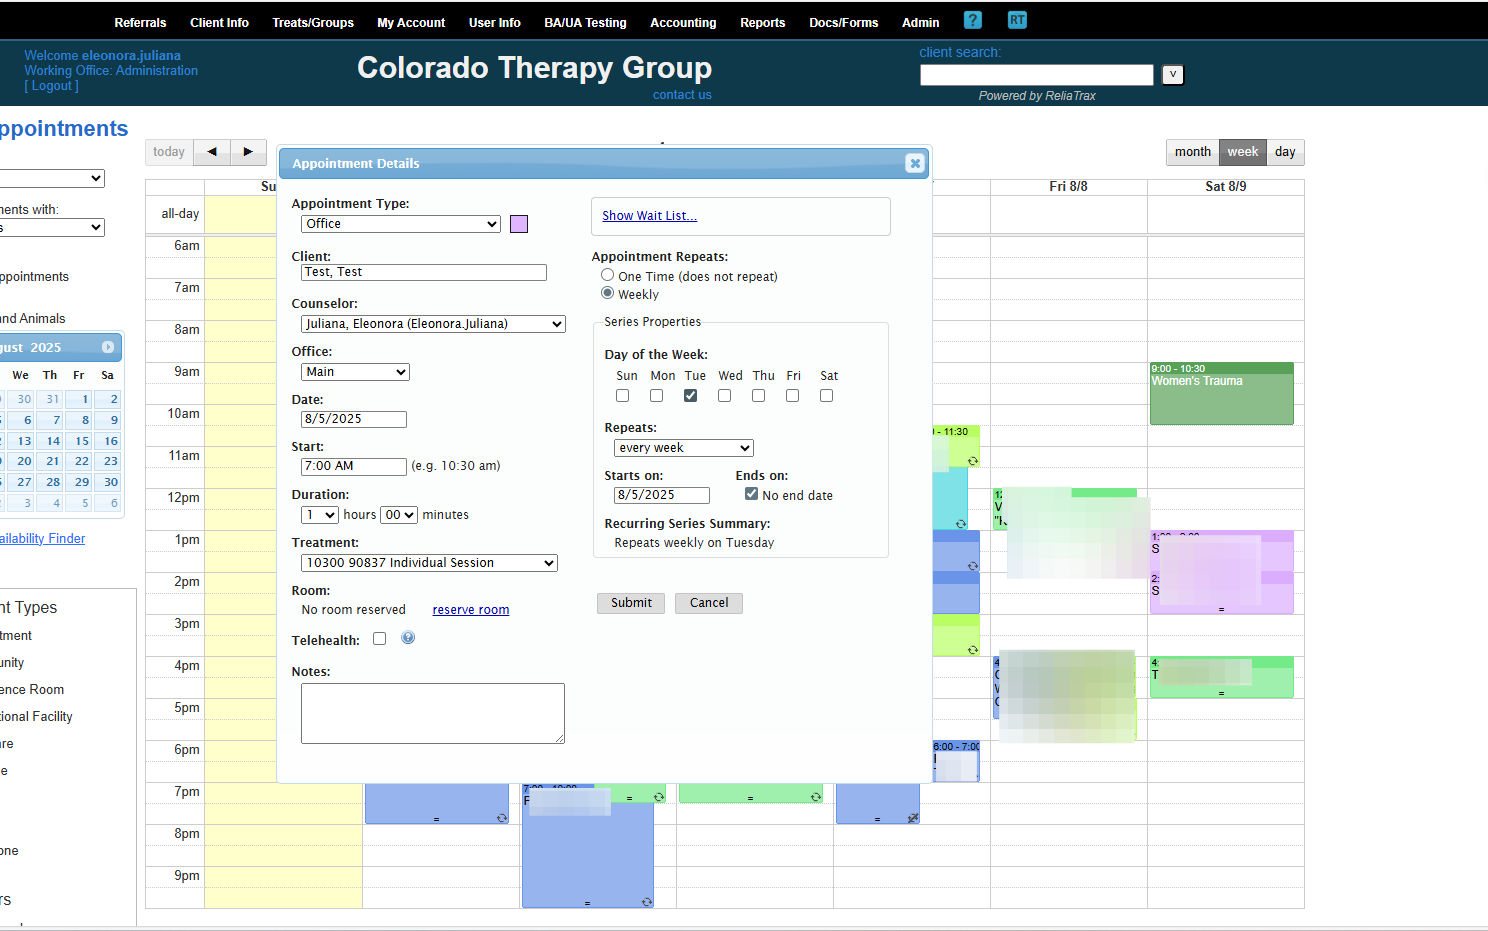
You can cancel, reschedule, or edit the appointments here. You also can create Appointment Repeats.

12
Your Appointment is created. Click "Appointment" to make changes.
Step #12: Your Appointment is created. Click "Appointment" to make changes.
13
Edit, Reschdule, or Cancel Appointment
Step #13: Edit, Reschdule, or Cancel Appointment
14
Take Note: This is an "Intake Assessment" apointment" (always 90 minutes)
Step #14: Take Note: This is an "Intake Assessment" apointment" (always 90 minutes)
15
Now we'll schdule an "Individual Mental Health Session" Click on Date...
Step #15: Now we'll schdule an "Individual Mental Health Session" Click on Date...
16
Add information as above...
Step #16: Add information as above...
17
Therapy Apointment are 1 Hour in Duration
Step #17: Therapy Apointment are 1 Hour in Duration
18
Click on appropriate "Treatment"
Step #18: Click on appropriate "Treatment"
19
Indicate "One Time" or "Weekly"
Step #19: Indicate "One Time" or "Weekly"
20
You will be prompted to schdule Weekly Appointment
Step #20: You will be prompted to schdule Weekly Appointment
21
Click on "Submit"
Step #21: Click on "Submit"
22
Click Scheduled Appointment to modify
Step #22: Click Scheduled Appointment to modify
23
Click on "reschedule appt, cancel or edit appt"
Step #23: Click on "reschedule appt, cancel or edit appt"

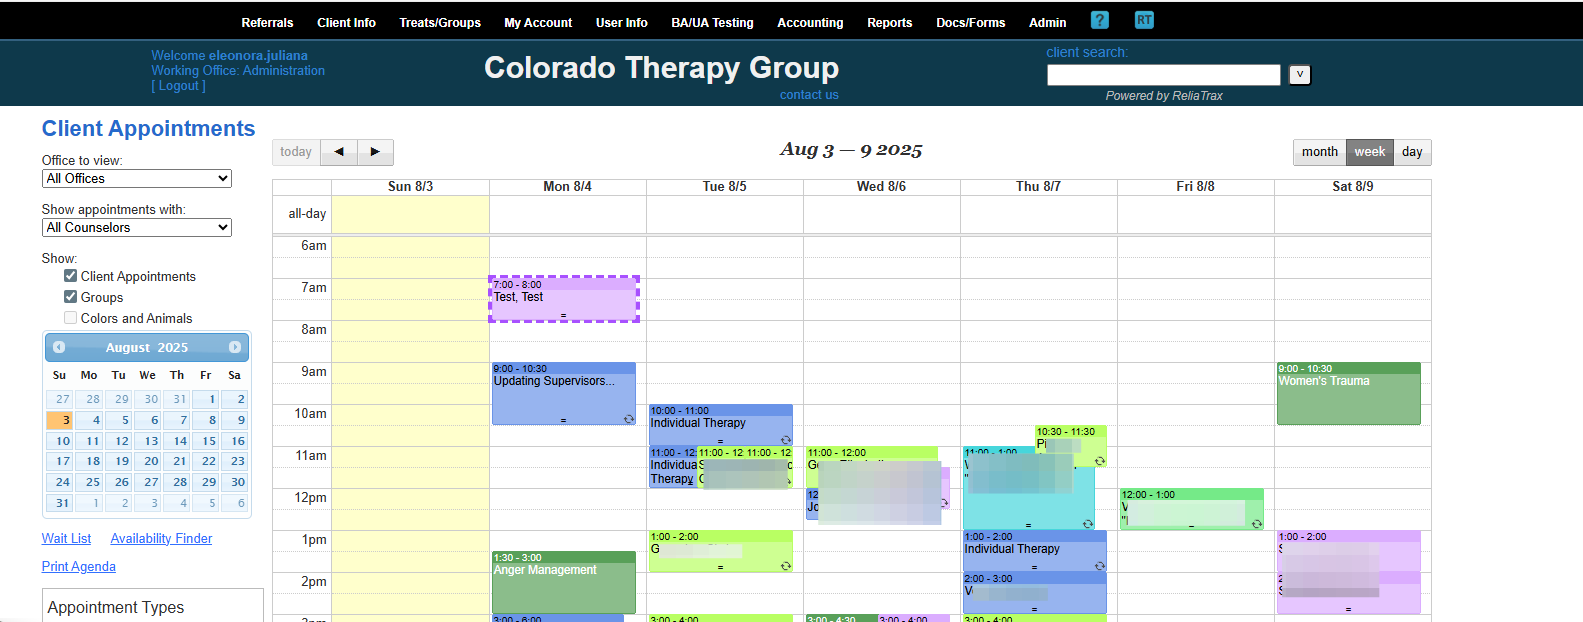
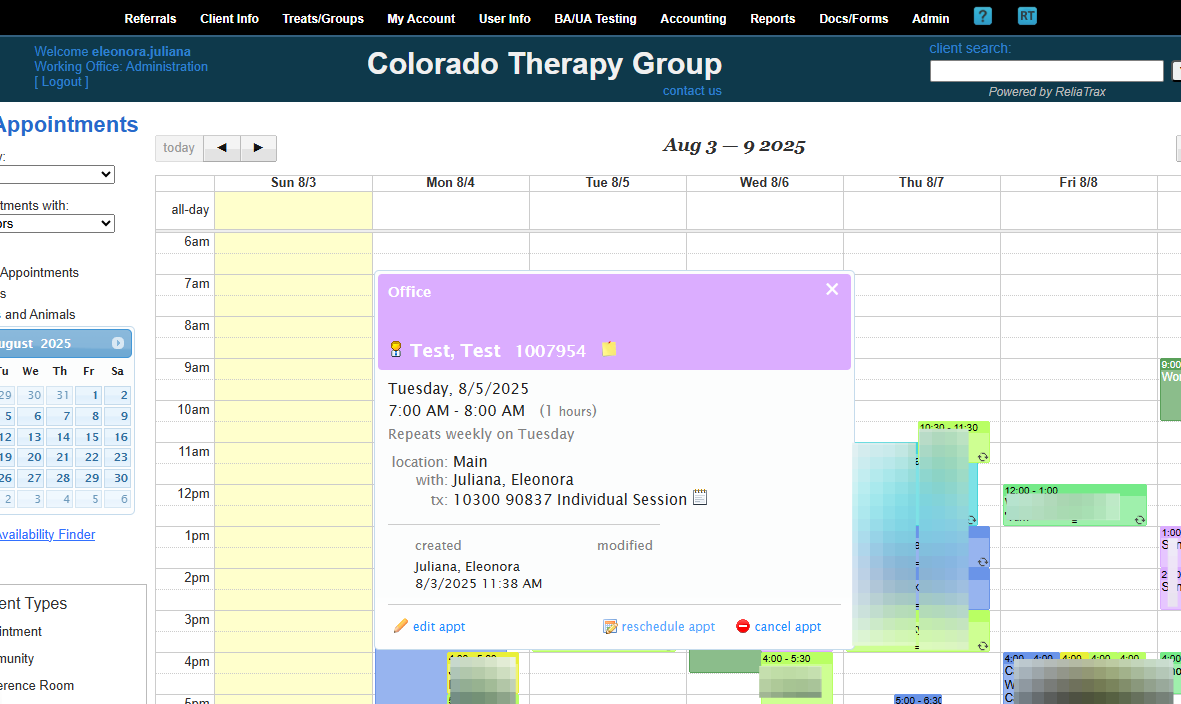
If your client No-Shows, cancels, or reschedules, this is where you will indicate that information.

24
Click on appropriate item
Step #24: Click on appropriate item

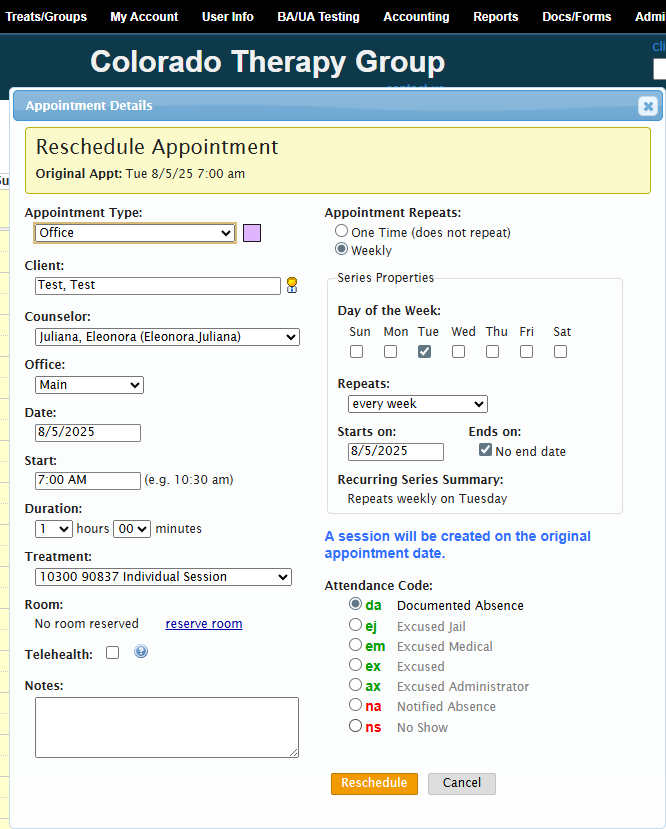
Be sure to update your appointment repeats if it no longer applies.

You can do this by setting the appointment for a single occurrence. If you see the client once a month or every other week, adjust the settings so the appointment does not keep appearing on the calendar when you are not meeting with the client.

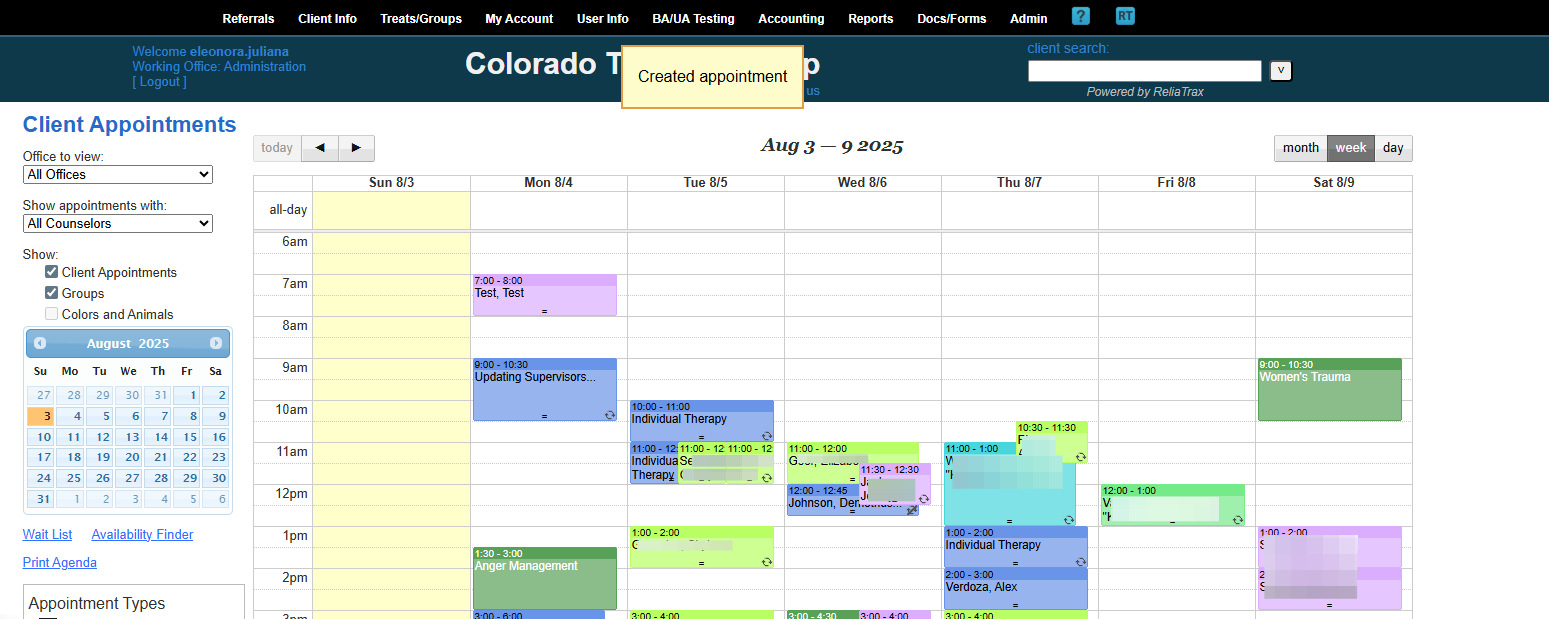
That is how to set up a client appointment.