How to Set Up a Google Search Console Profile: Step-by-Step Guide
Learn how to set up a Google Search Console profile for your domain, including step-by-step instructions for adding your property, verifying with Cloudflare, and ensuring all domain data is captured.
In this guide, we'll learn how to set up a Google Search Console profile for your domain. This process helps you track and manage your website's presence in Google Search results. We will cover how to add your domain, verify ownership through Cloudflare, and complete the setup.
Let's get started
Okay. To set up a Google Search Console profile, go to search.google.com. Click the dropdown menu, then select Add Property. Once the page is open, we will see something like this.
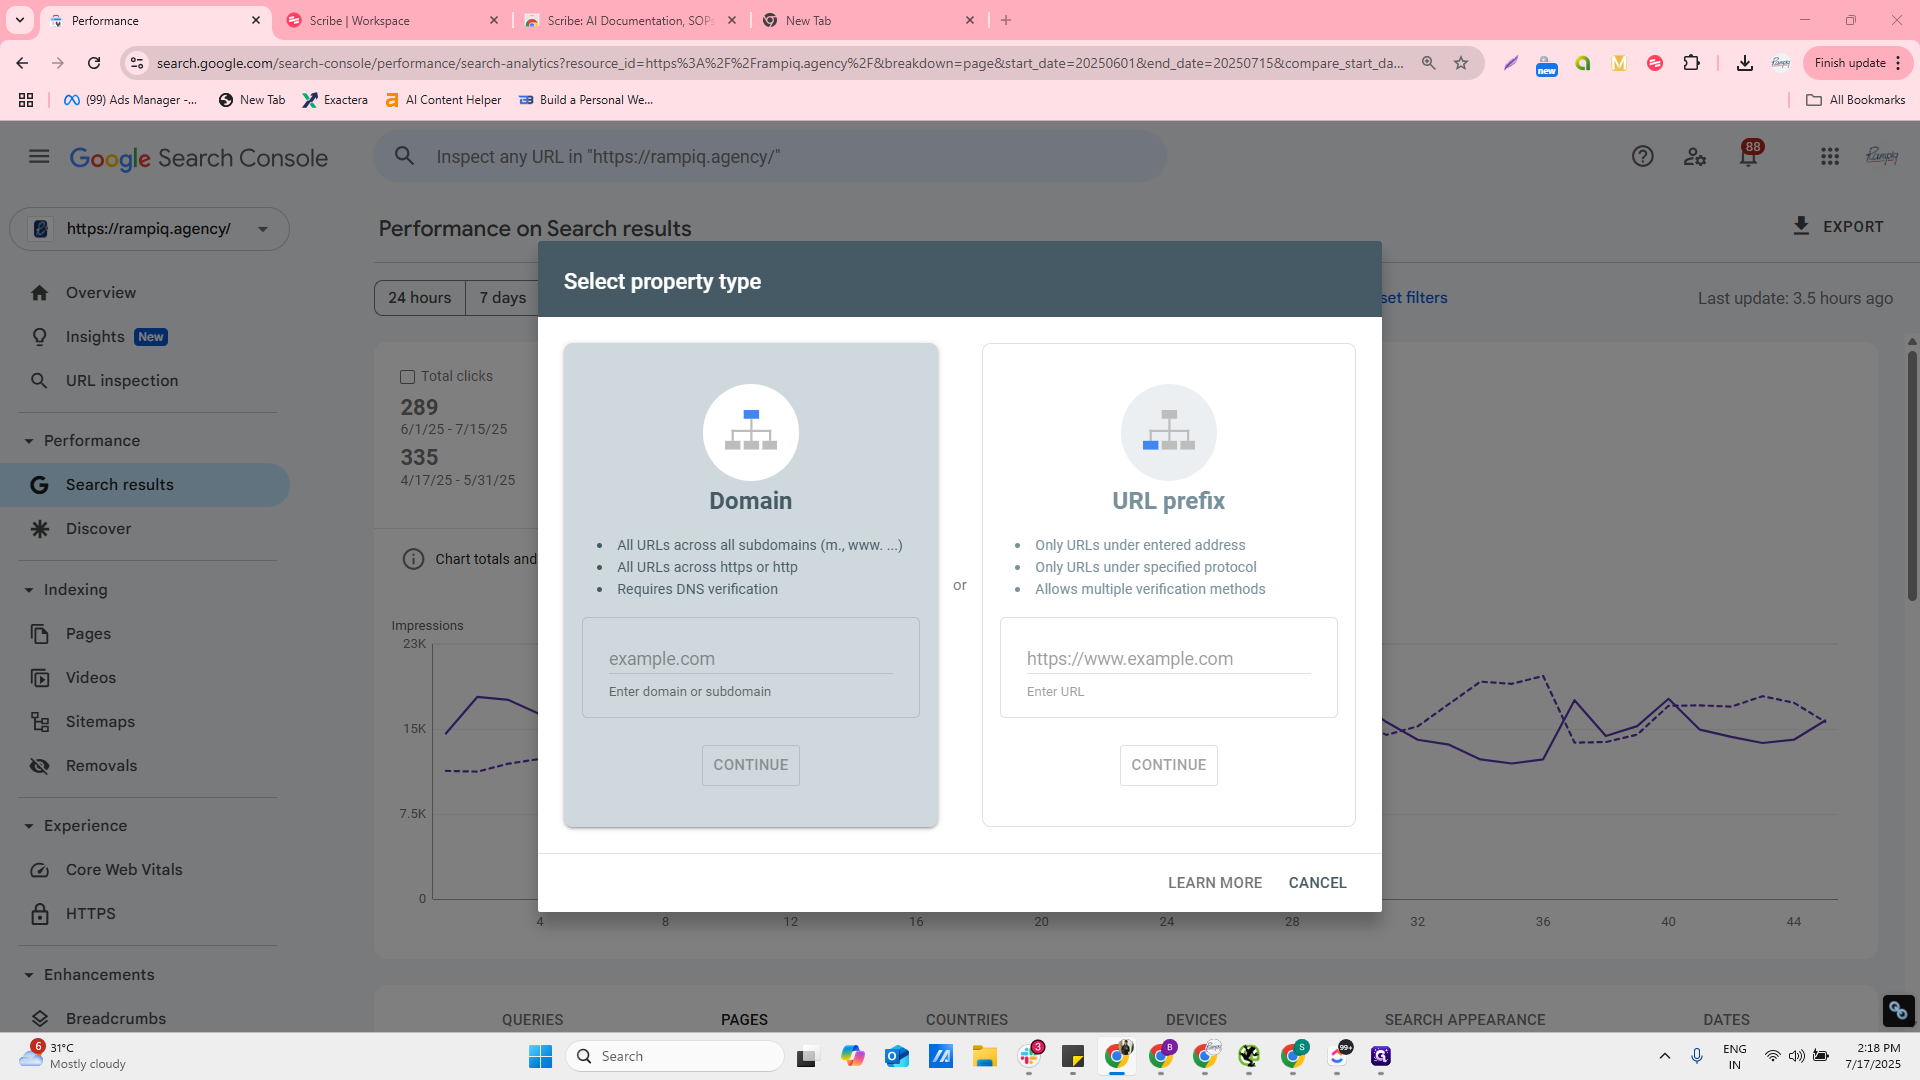
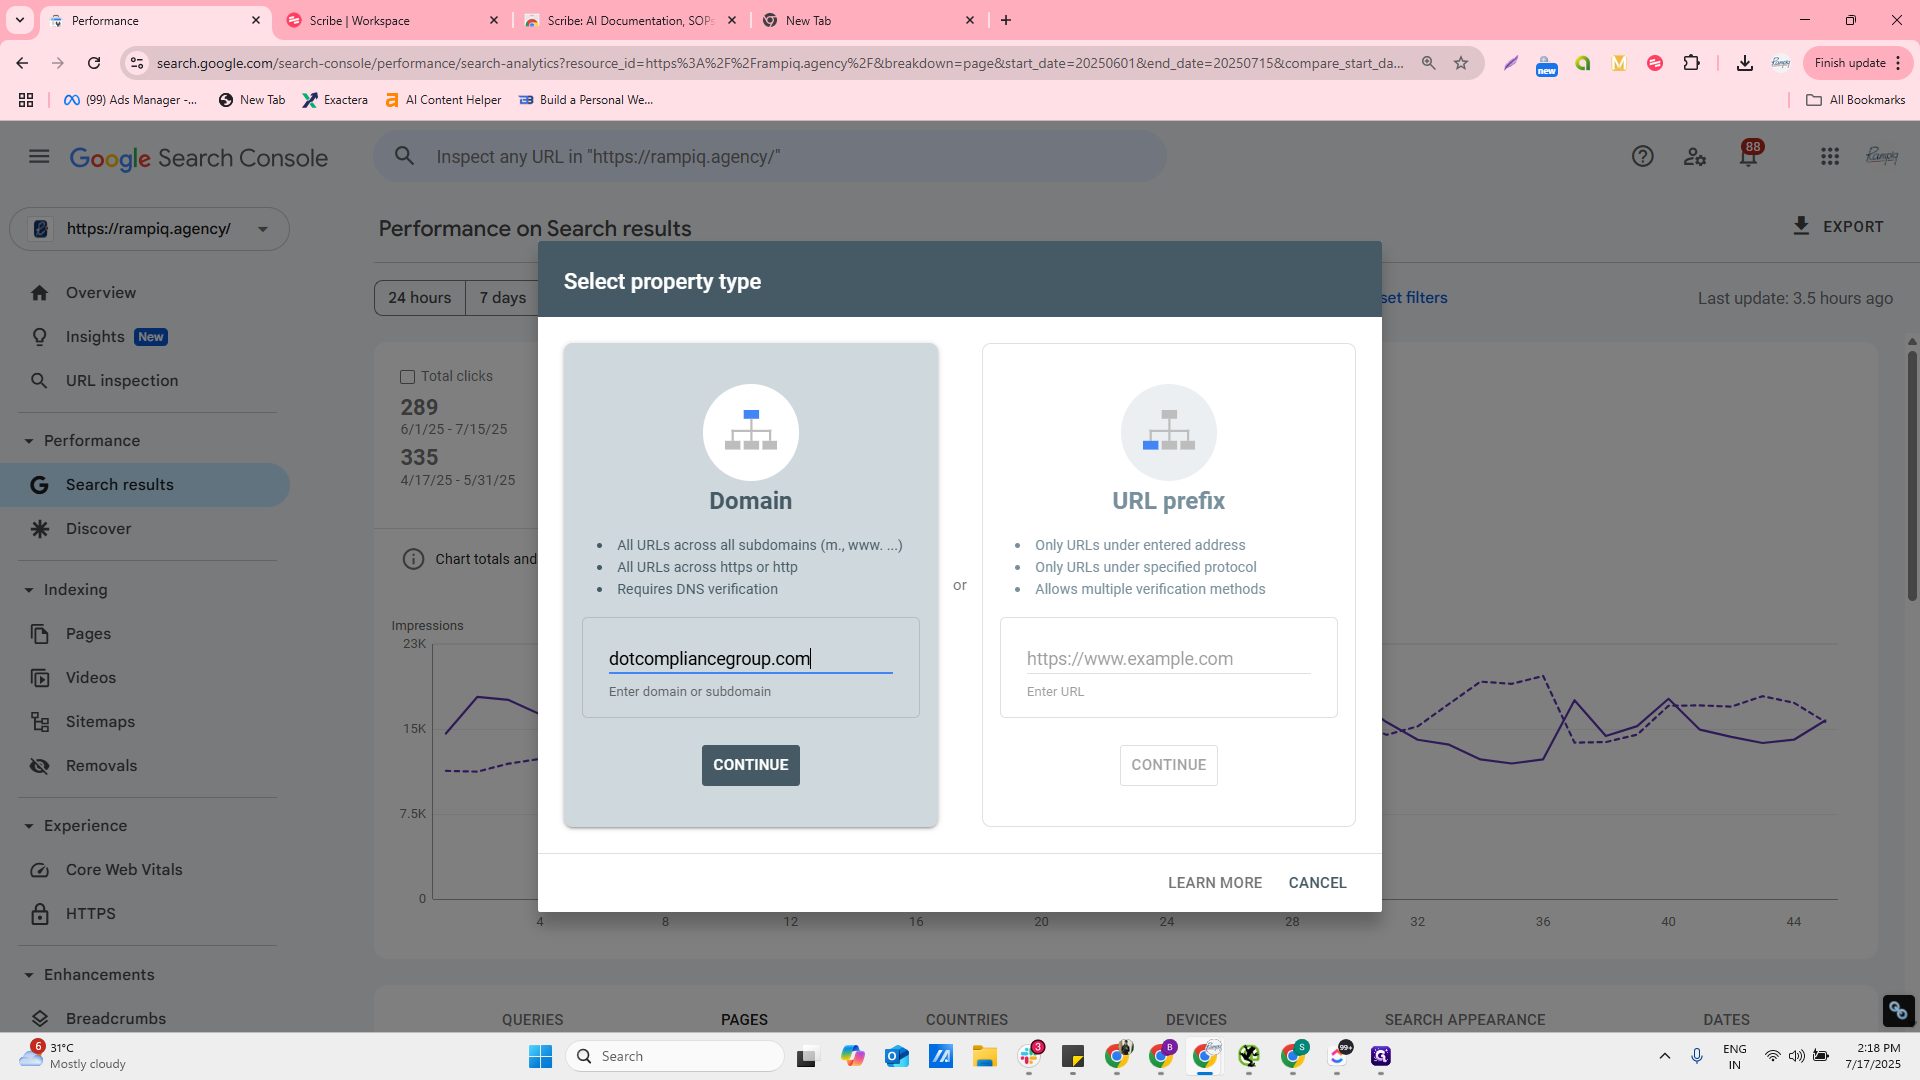
A window will open. Select the property type. Here, select "domain" as the type. This ensures we capture all data, regardless of whether the URL prefix is https, https www, or any variation.
We want to capture everything happening on the domain.
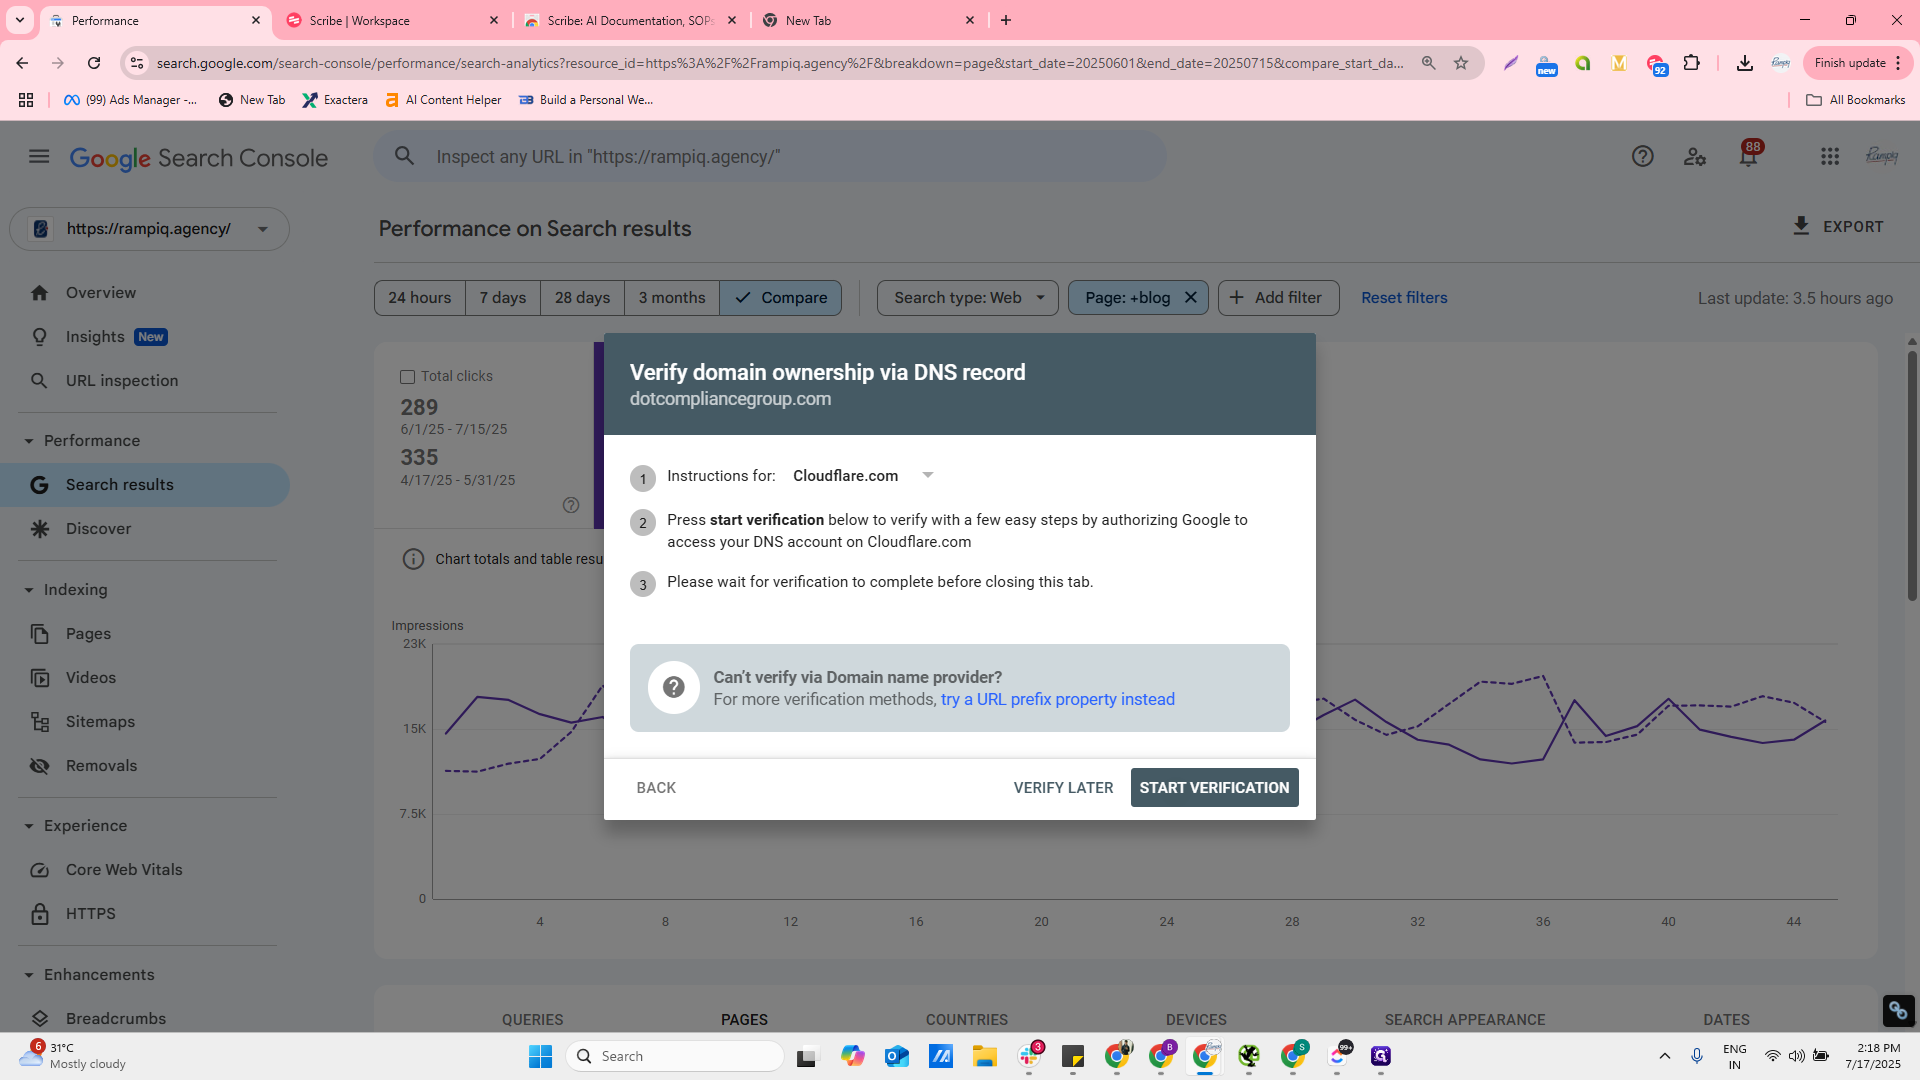
Click Continue. You will then see a screen like this. It has automatically detected that the domain is under Cloudflare. You will now have the option to start the verification. Click Start verification.
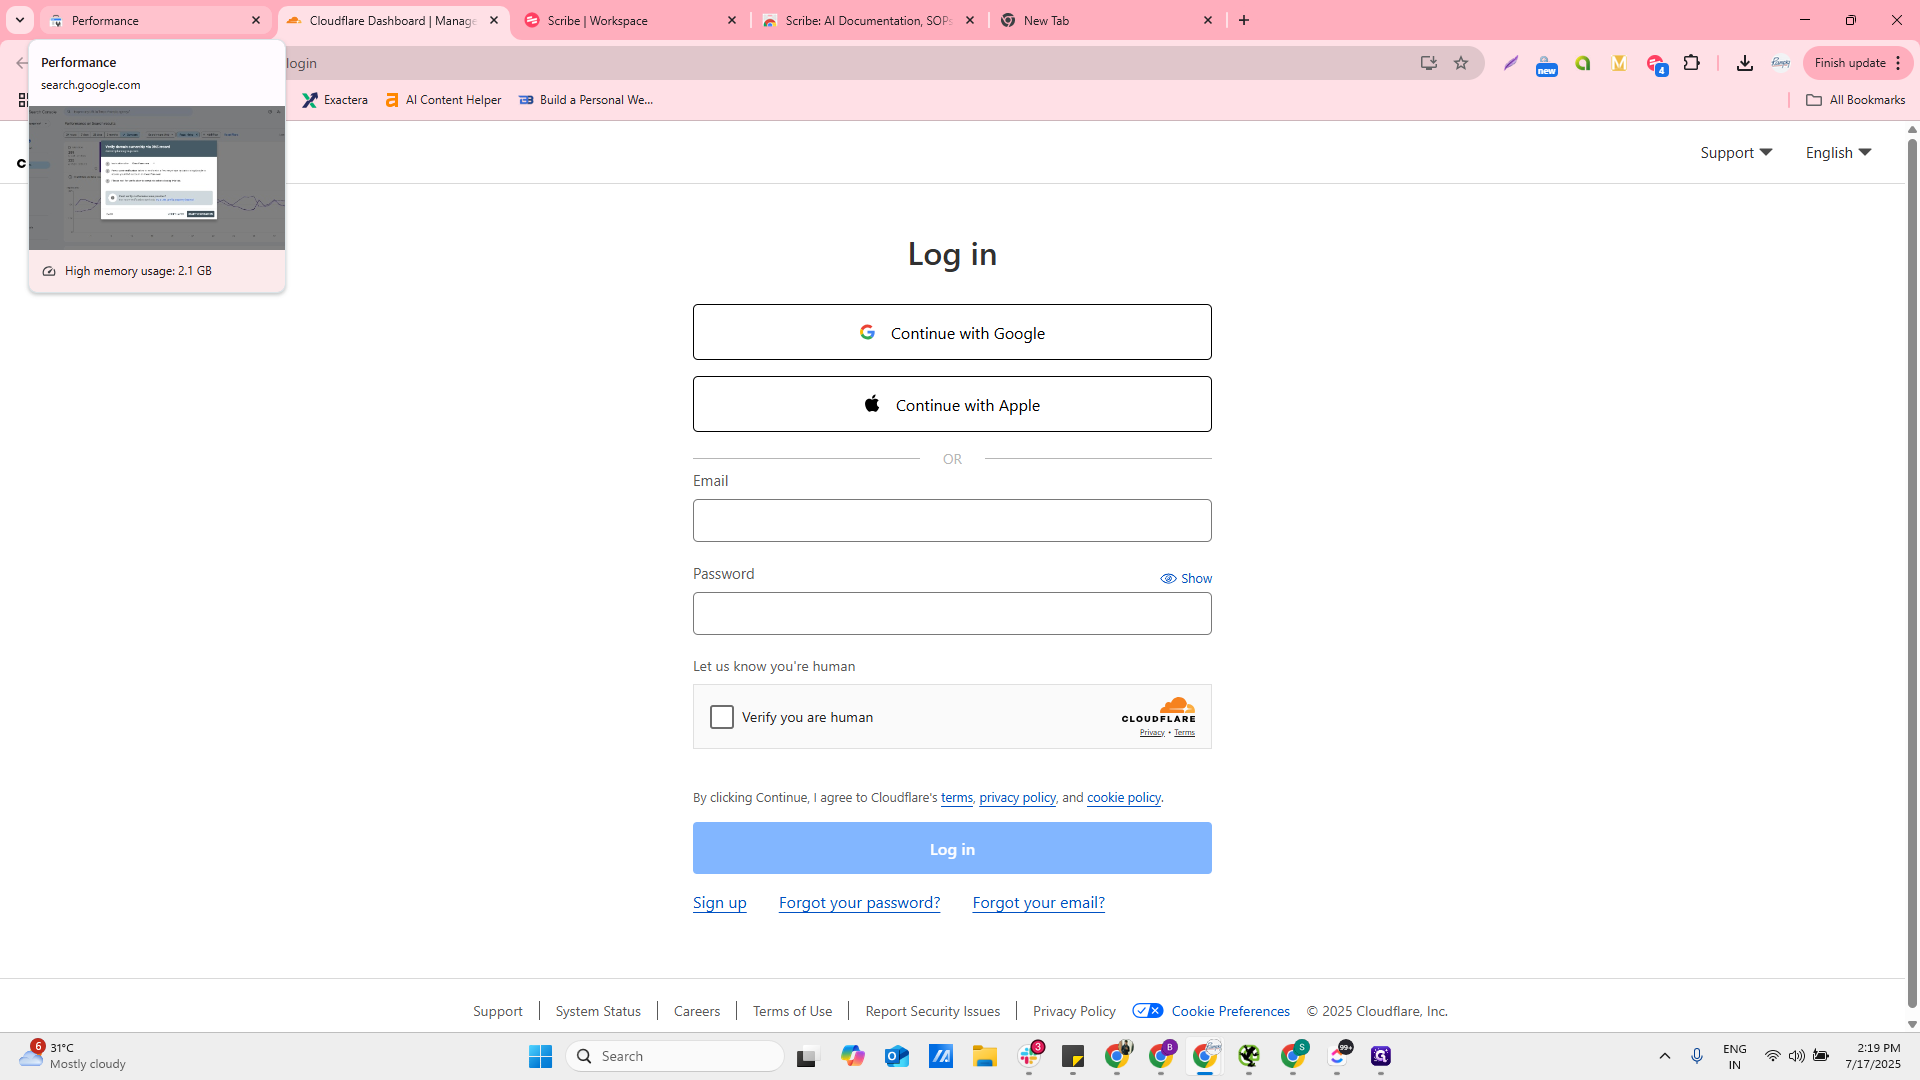
Now, the login panel will open. Once you open it, you will see this. Enter your credentials or log in with Google, whichever is easier. A window will open showing a TXT record. Authorize it, and it will be added to your DNS record file automatically. Google Search Console would be... Google Search Console will be ready for verification.
Next, return and click on Start, then select Start verification once that is complete.