How to Set Up a New Sermon Series and Livestream Branding in Subsplash

Learn step-by-step how to start a new sermon series, update branding, and manage livestreams in Subsplash and Planning Center. Includes tips for media uploads, scheduling, and YouTube integration.

By Brad Claunch

In this guide, we'll learn how to manage sermon series and livestream branding using Subsplash and Planning Center. This process includes updating media series, uploading artwork in the correct sizes, and ensuring that livestreams reflect the right branding for each event. We will also cover how to schedule and update livestreams so that your content is consistent across platforms.

Let's get started

When starting a new sermon series in Subsplash, first go to Planning Center. Open Weekend Services and check the Sunday Morning folder.

1
Click on "Weekend Services"
Step #1: Click on "Weekend Services"

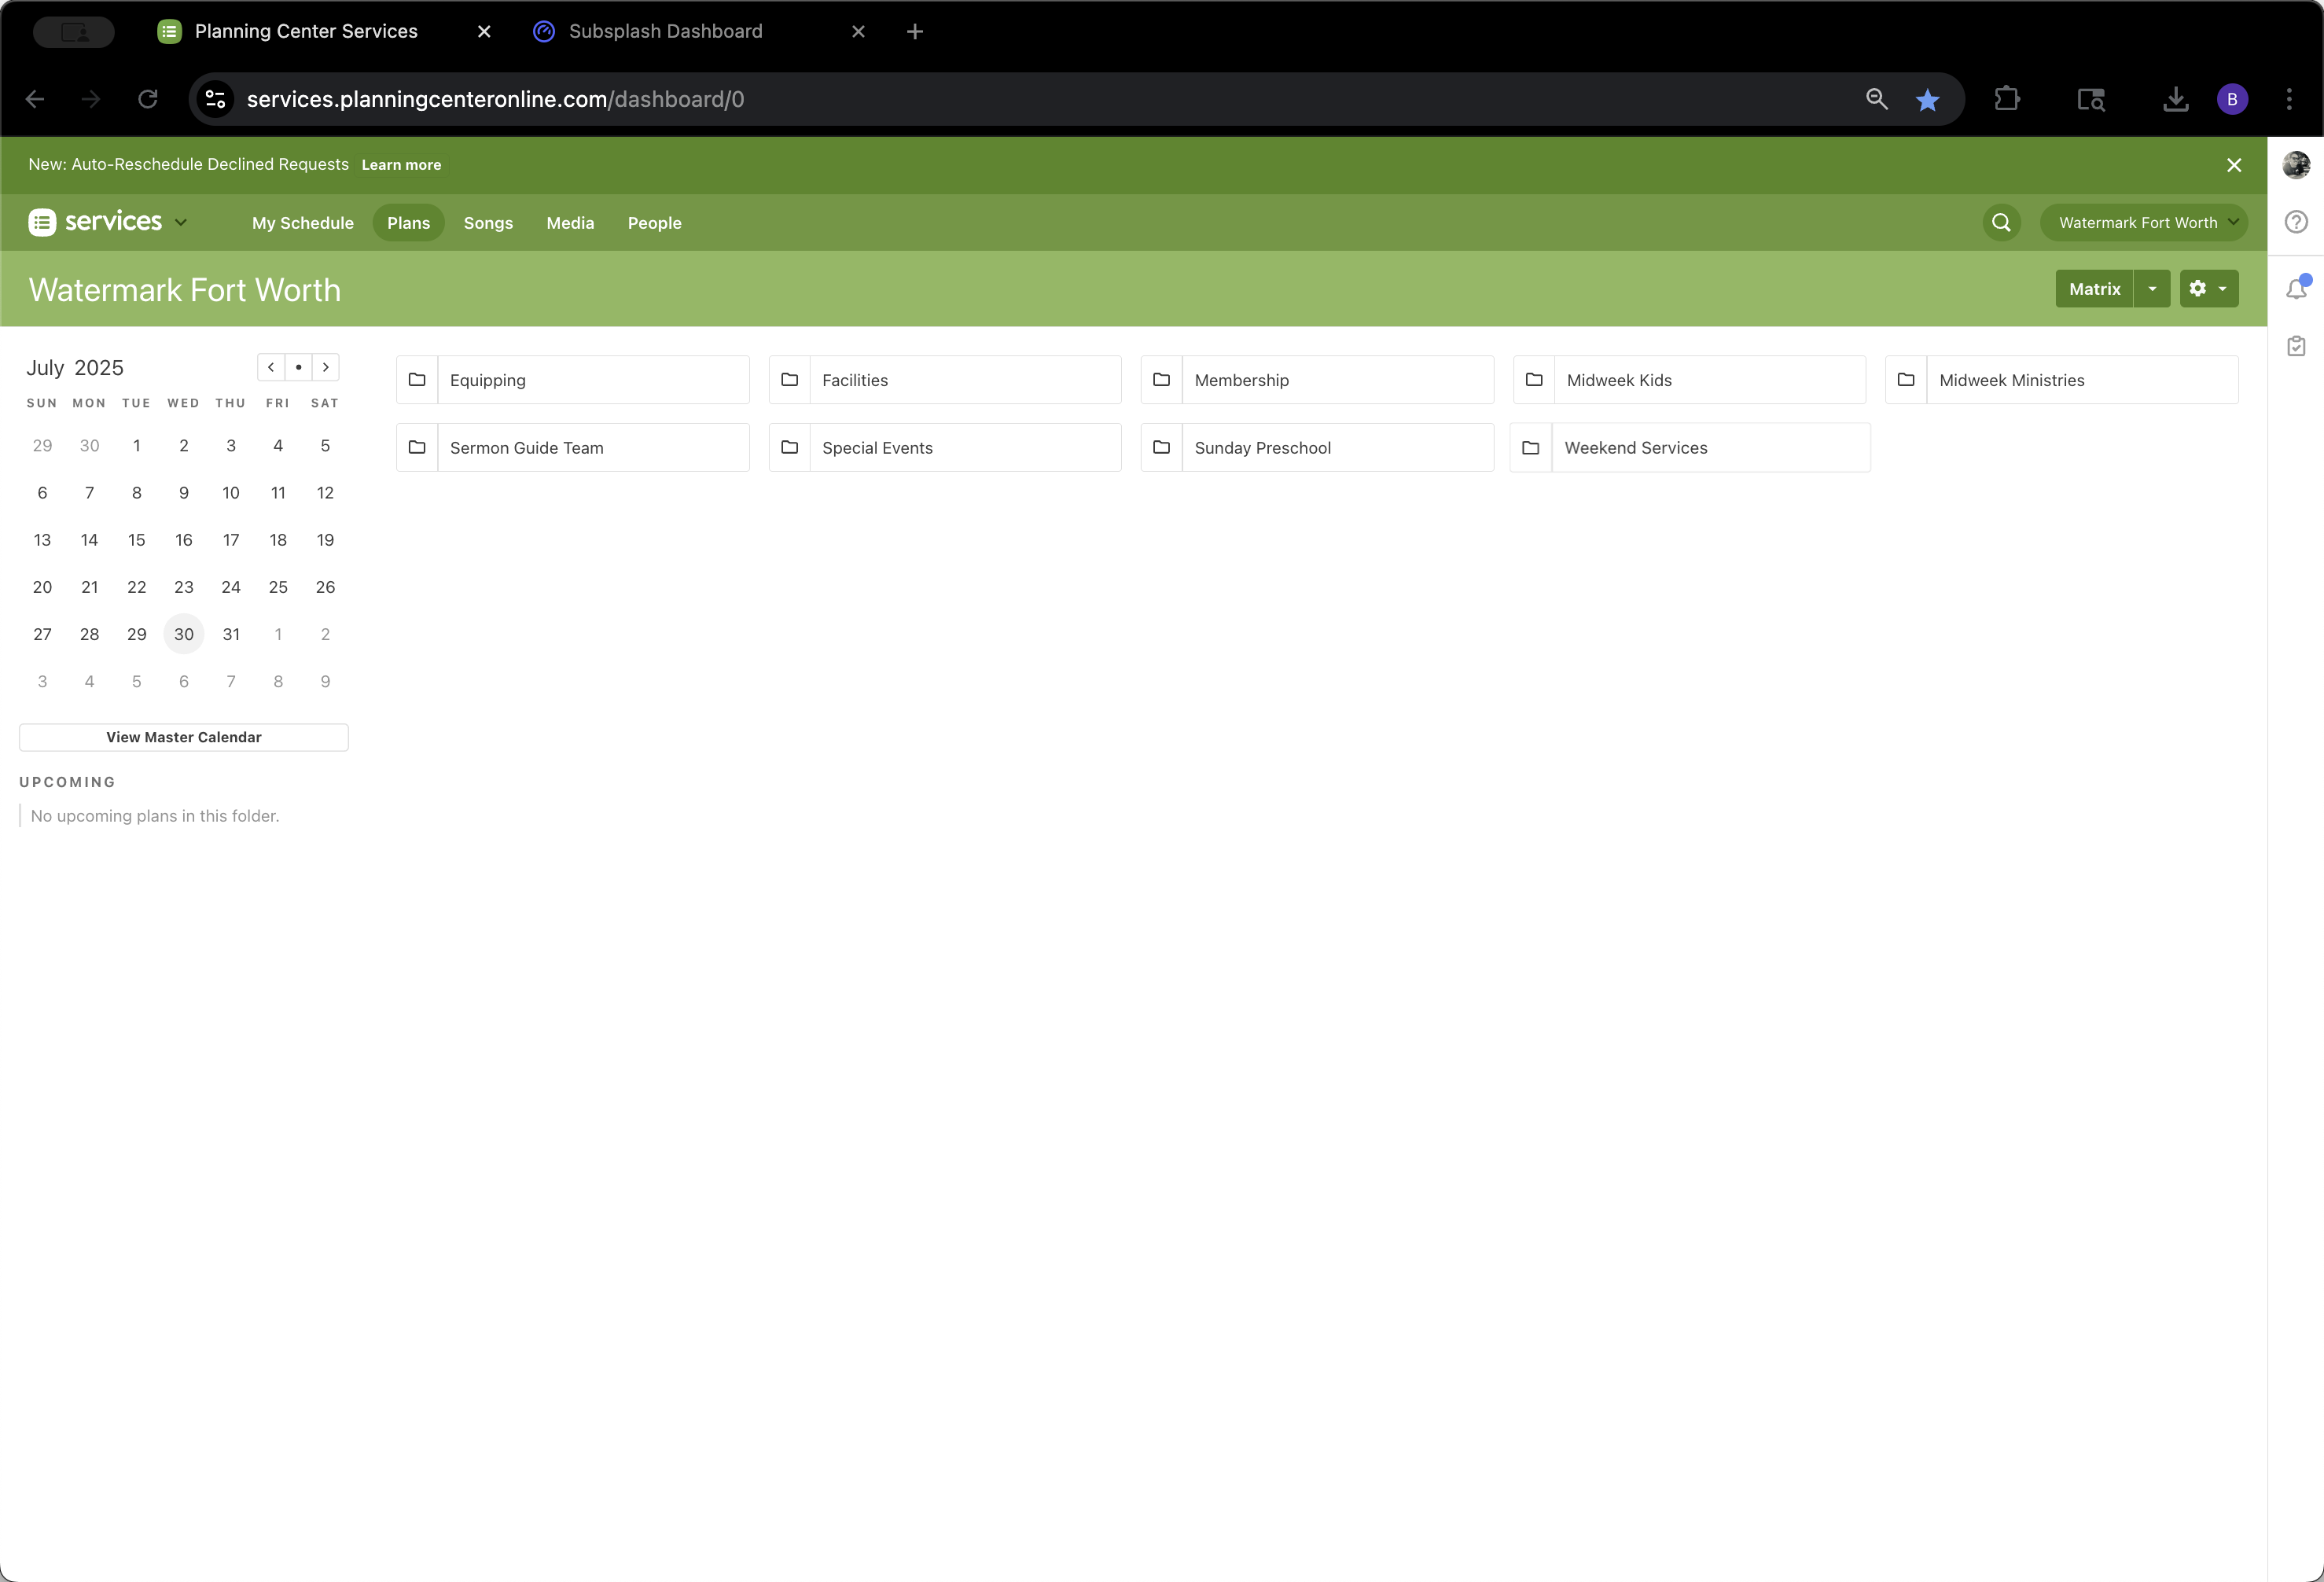
Our current series, The Minor Prophets, ends on August 10. After that, we have a One-Off and Celebration Sunday scheduled, as far as we know at this time. We'll use generic branding for both the One-Off and Celebration Sunday. We'll load that in now and discuss the new series later when we have more information. We're going to switch back to our Subsplash dashboard.

2
Click on "Subsplash Dashboard"
Step #2: Click on "Subsplash Dashboard"

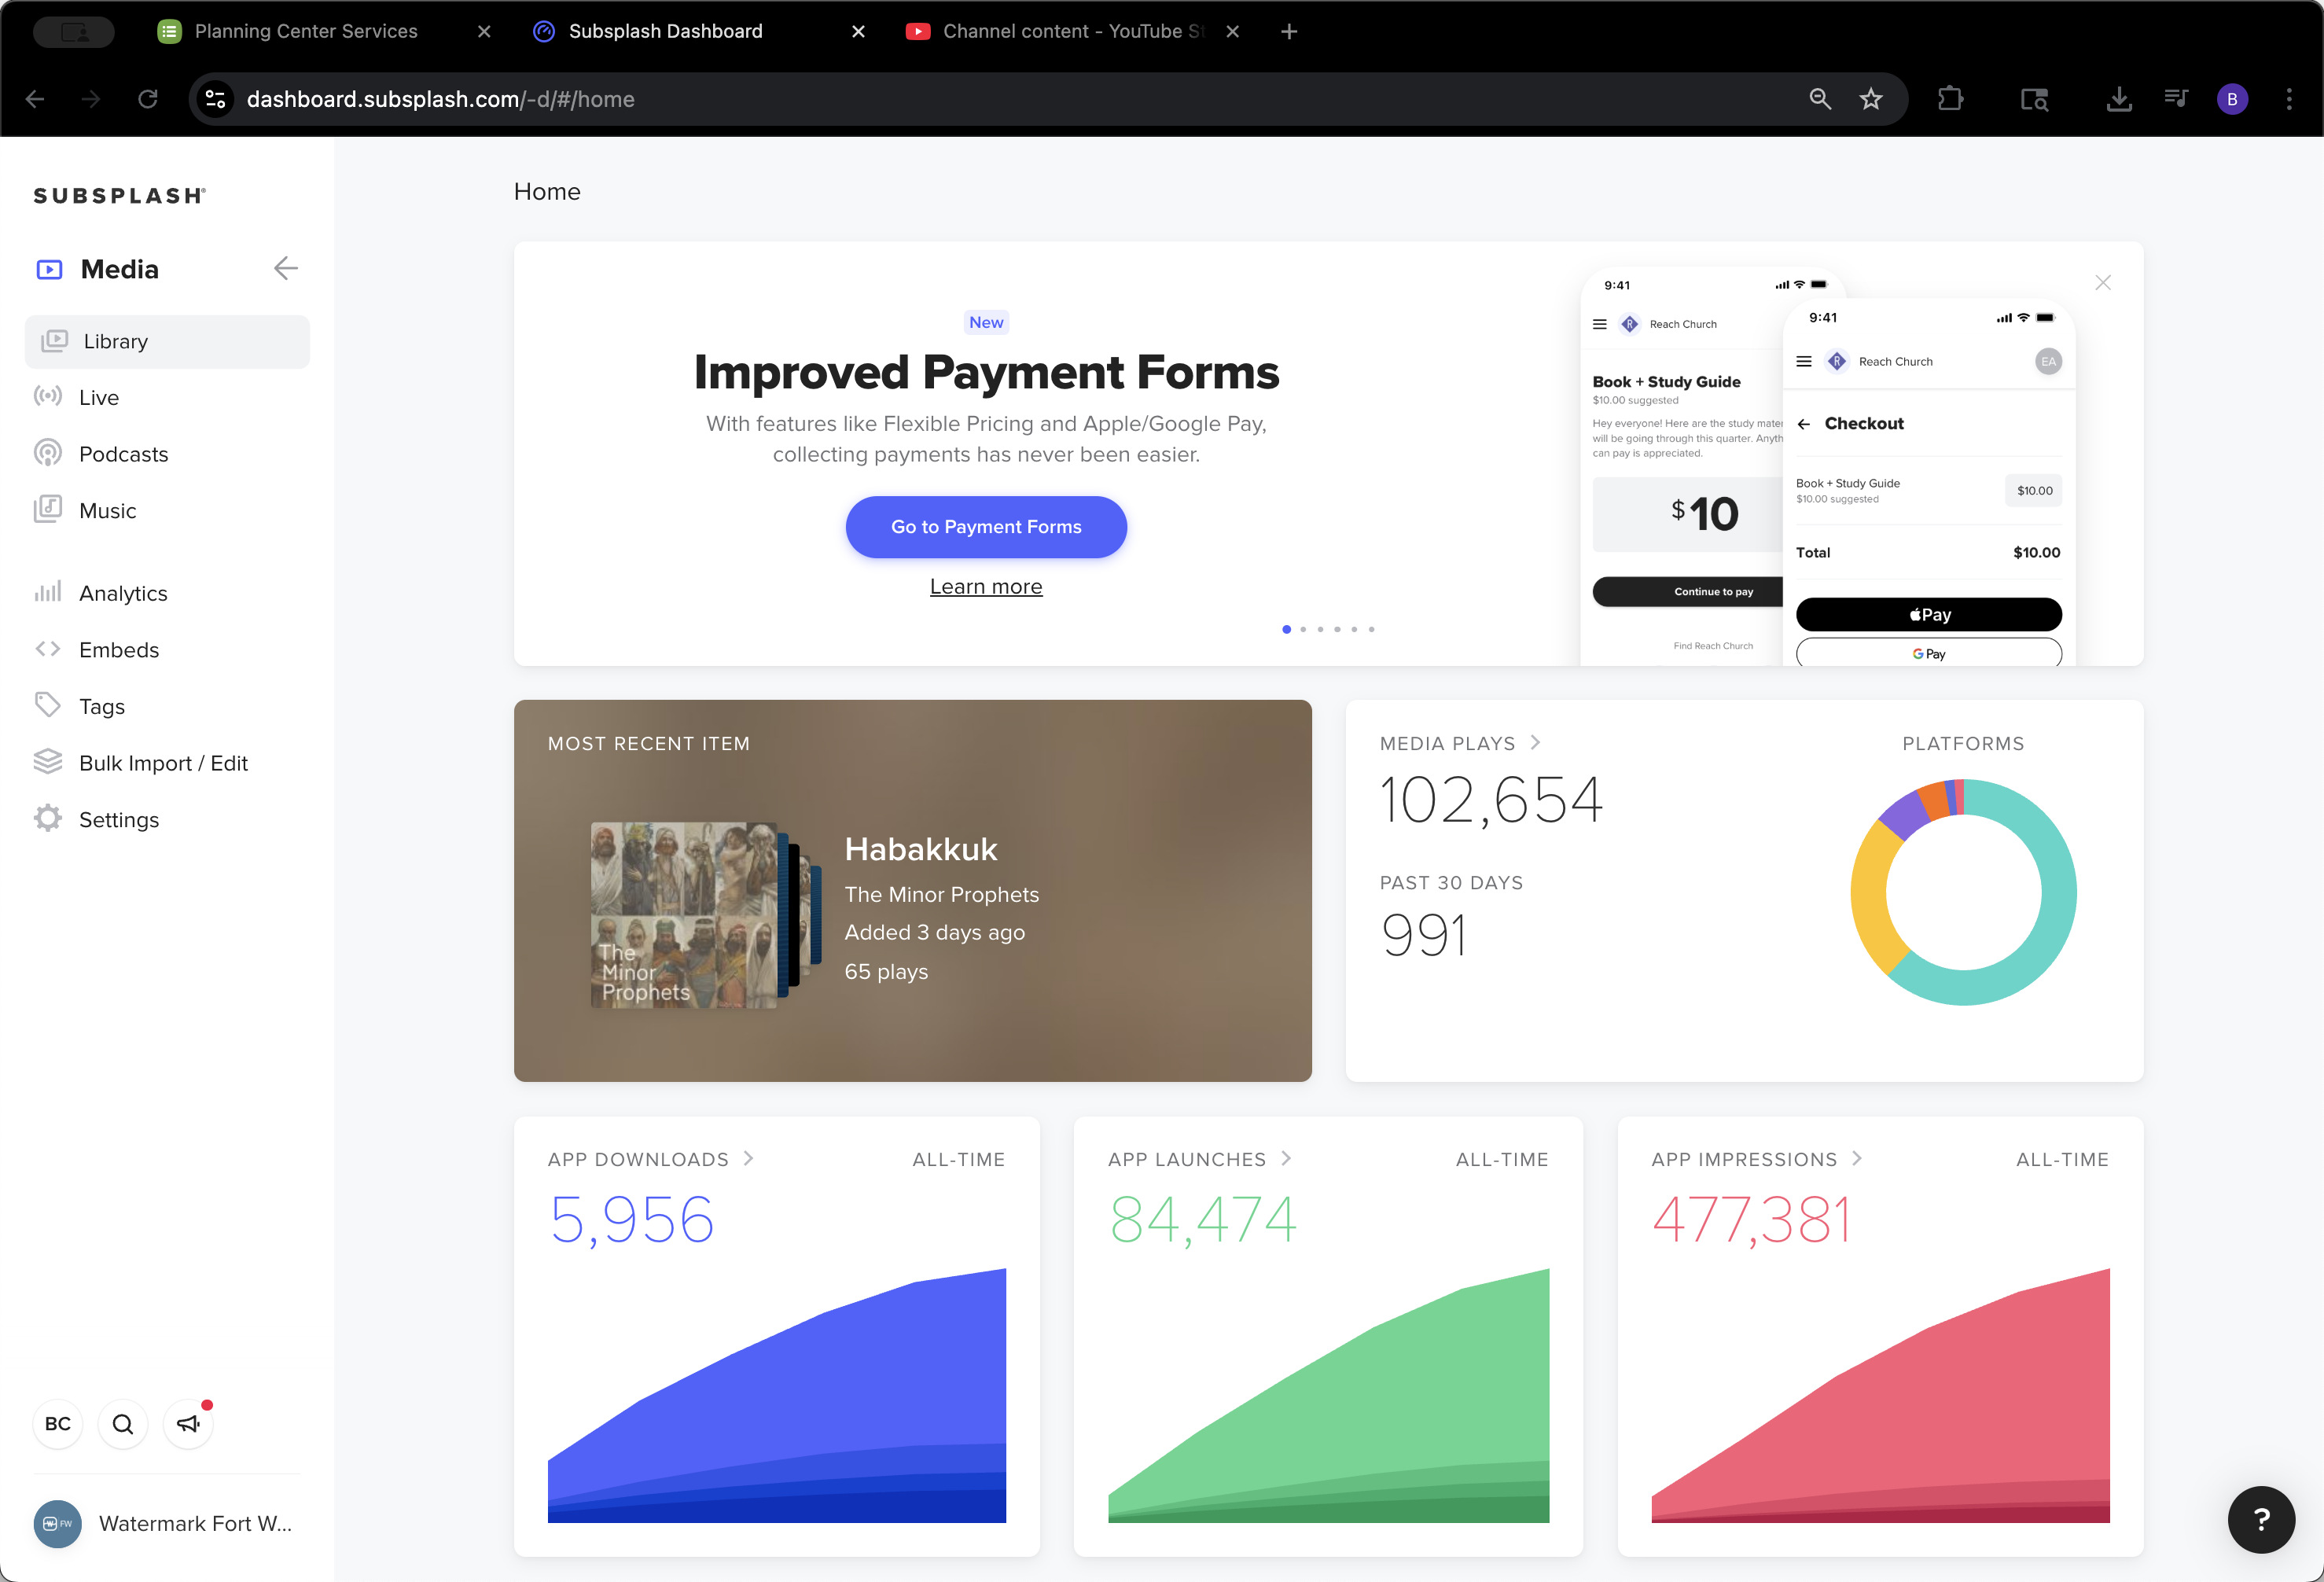
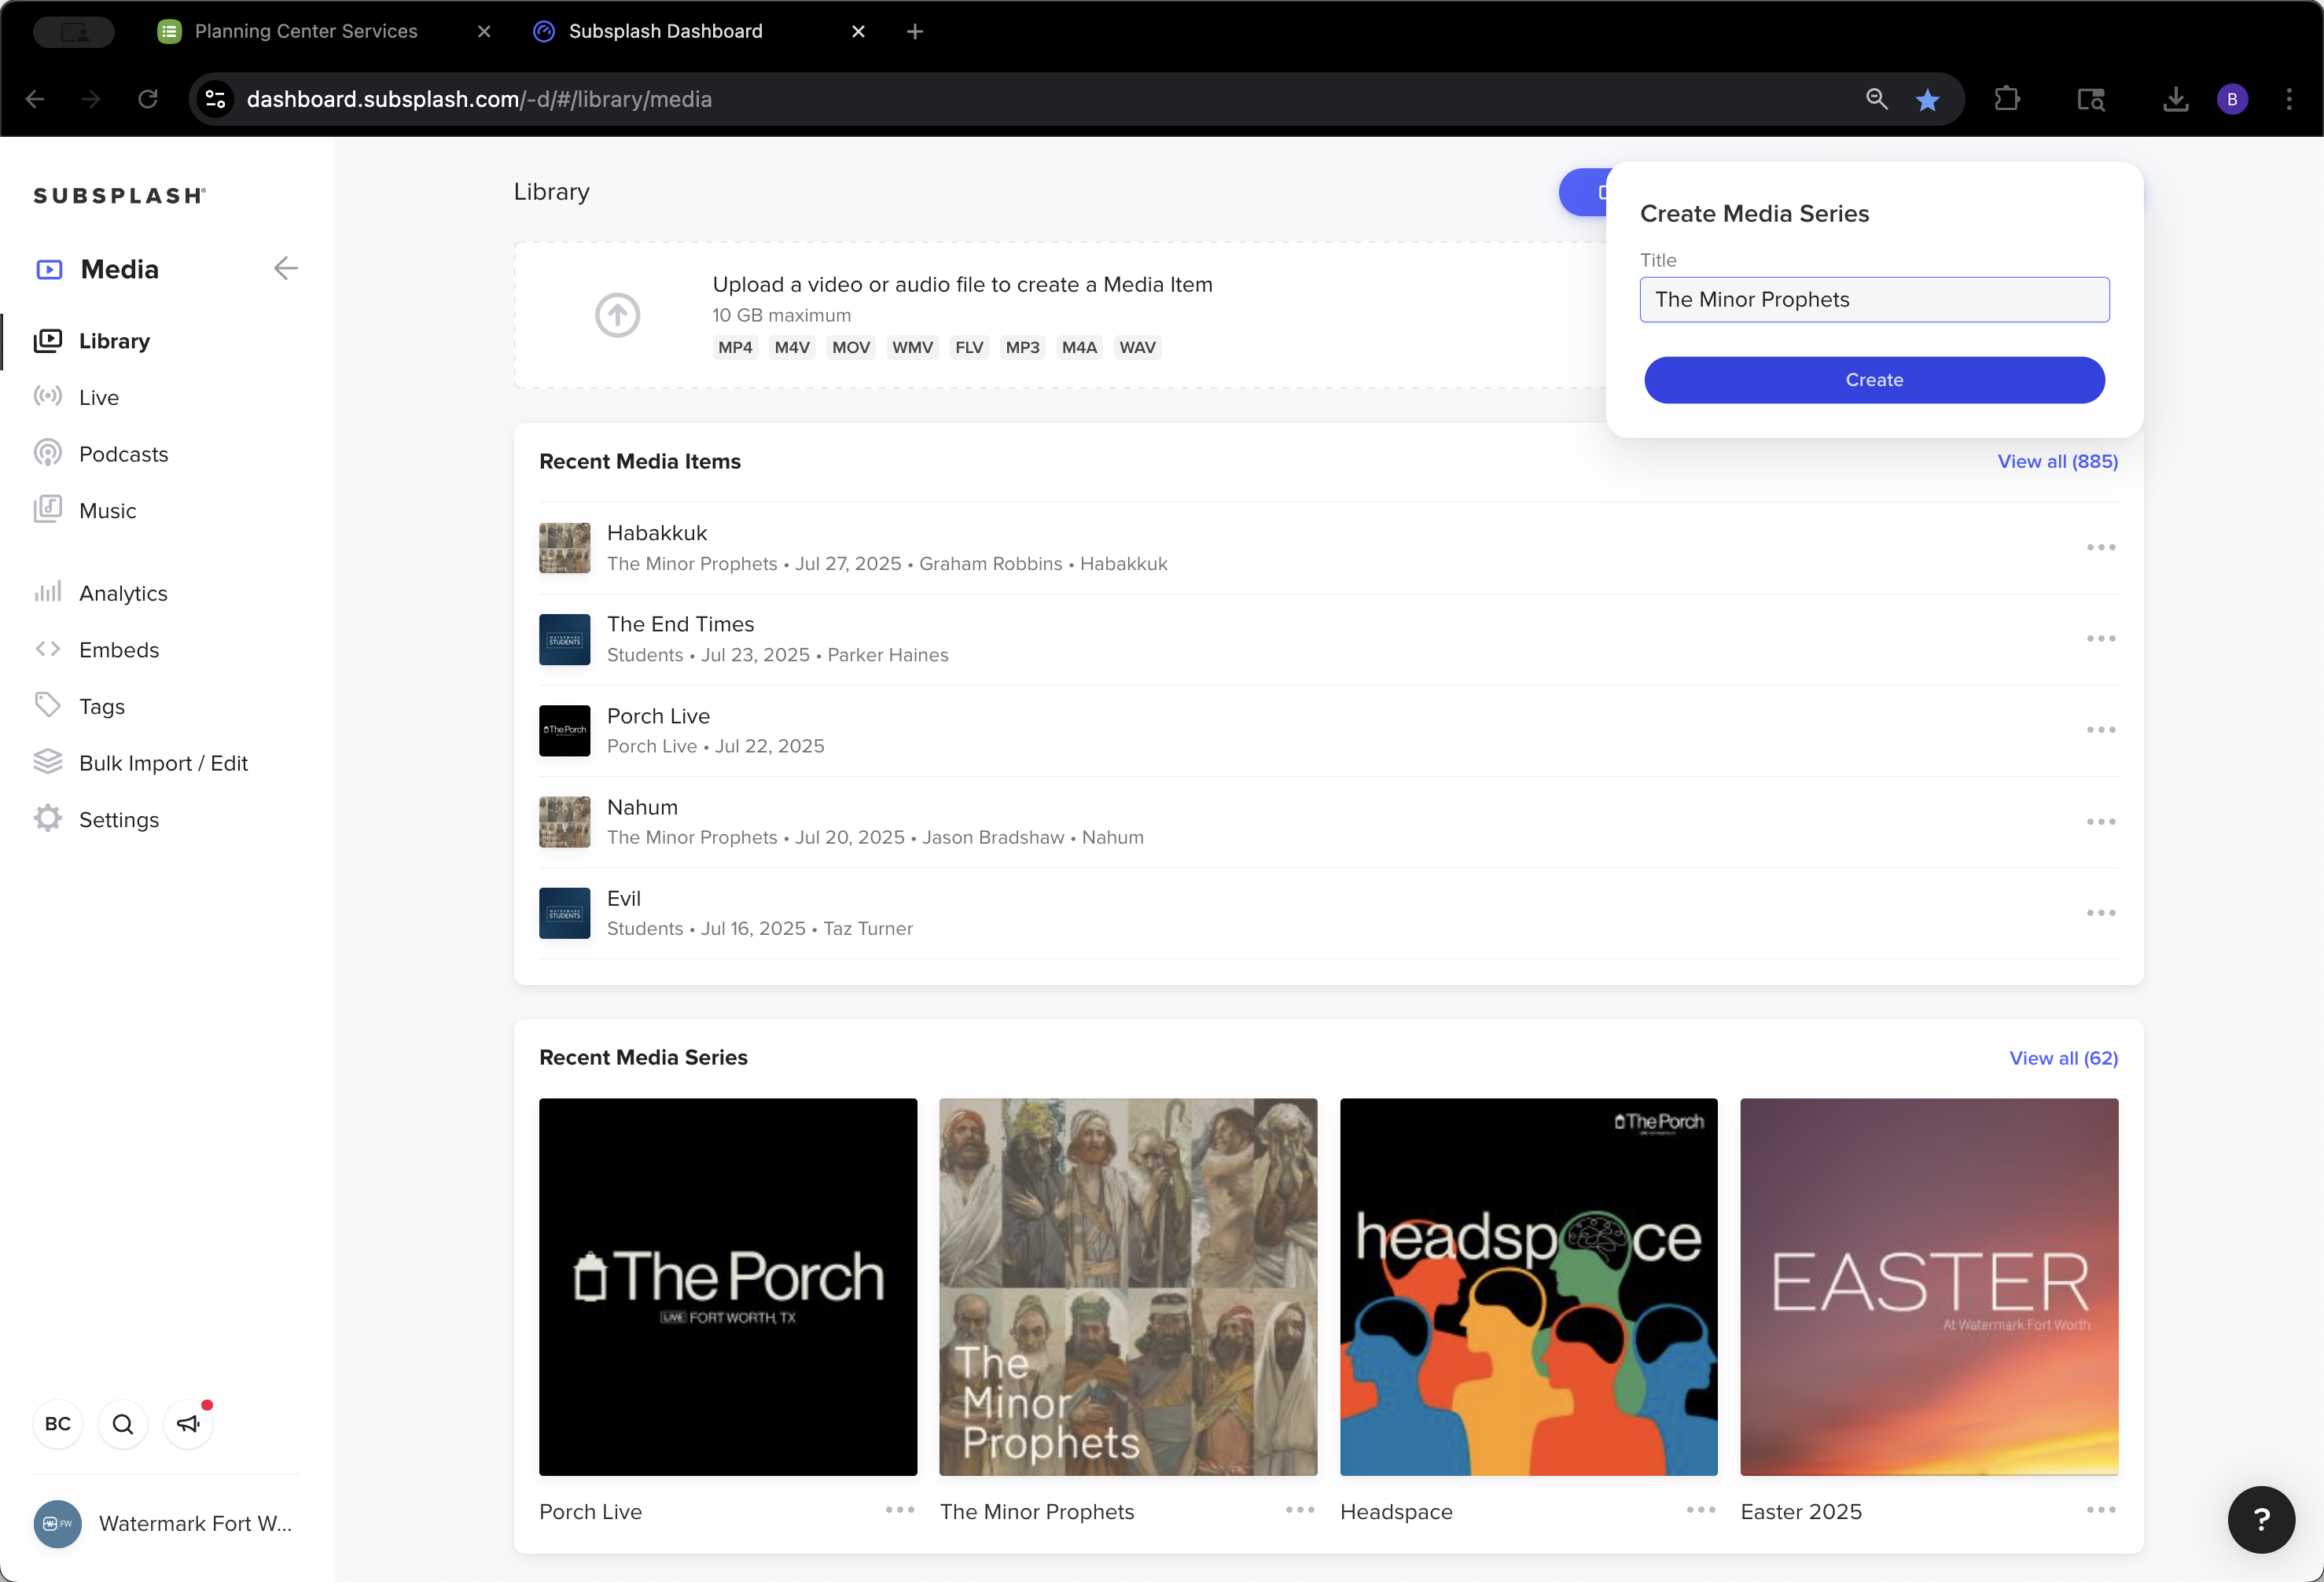
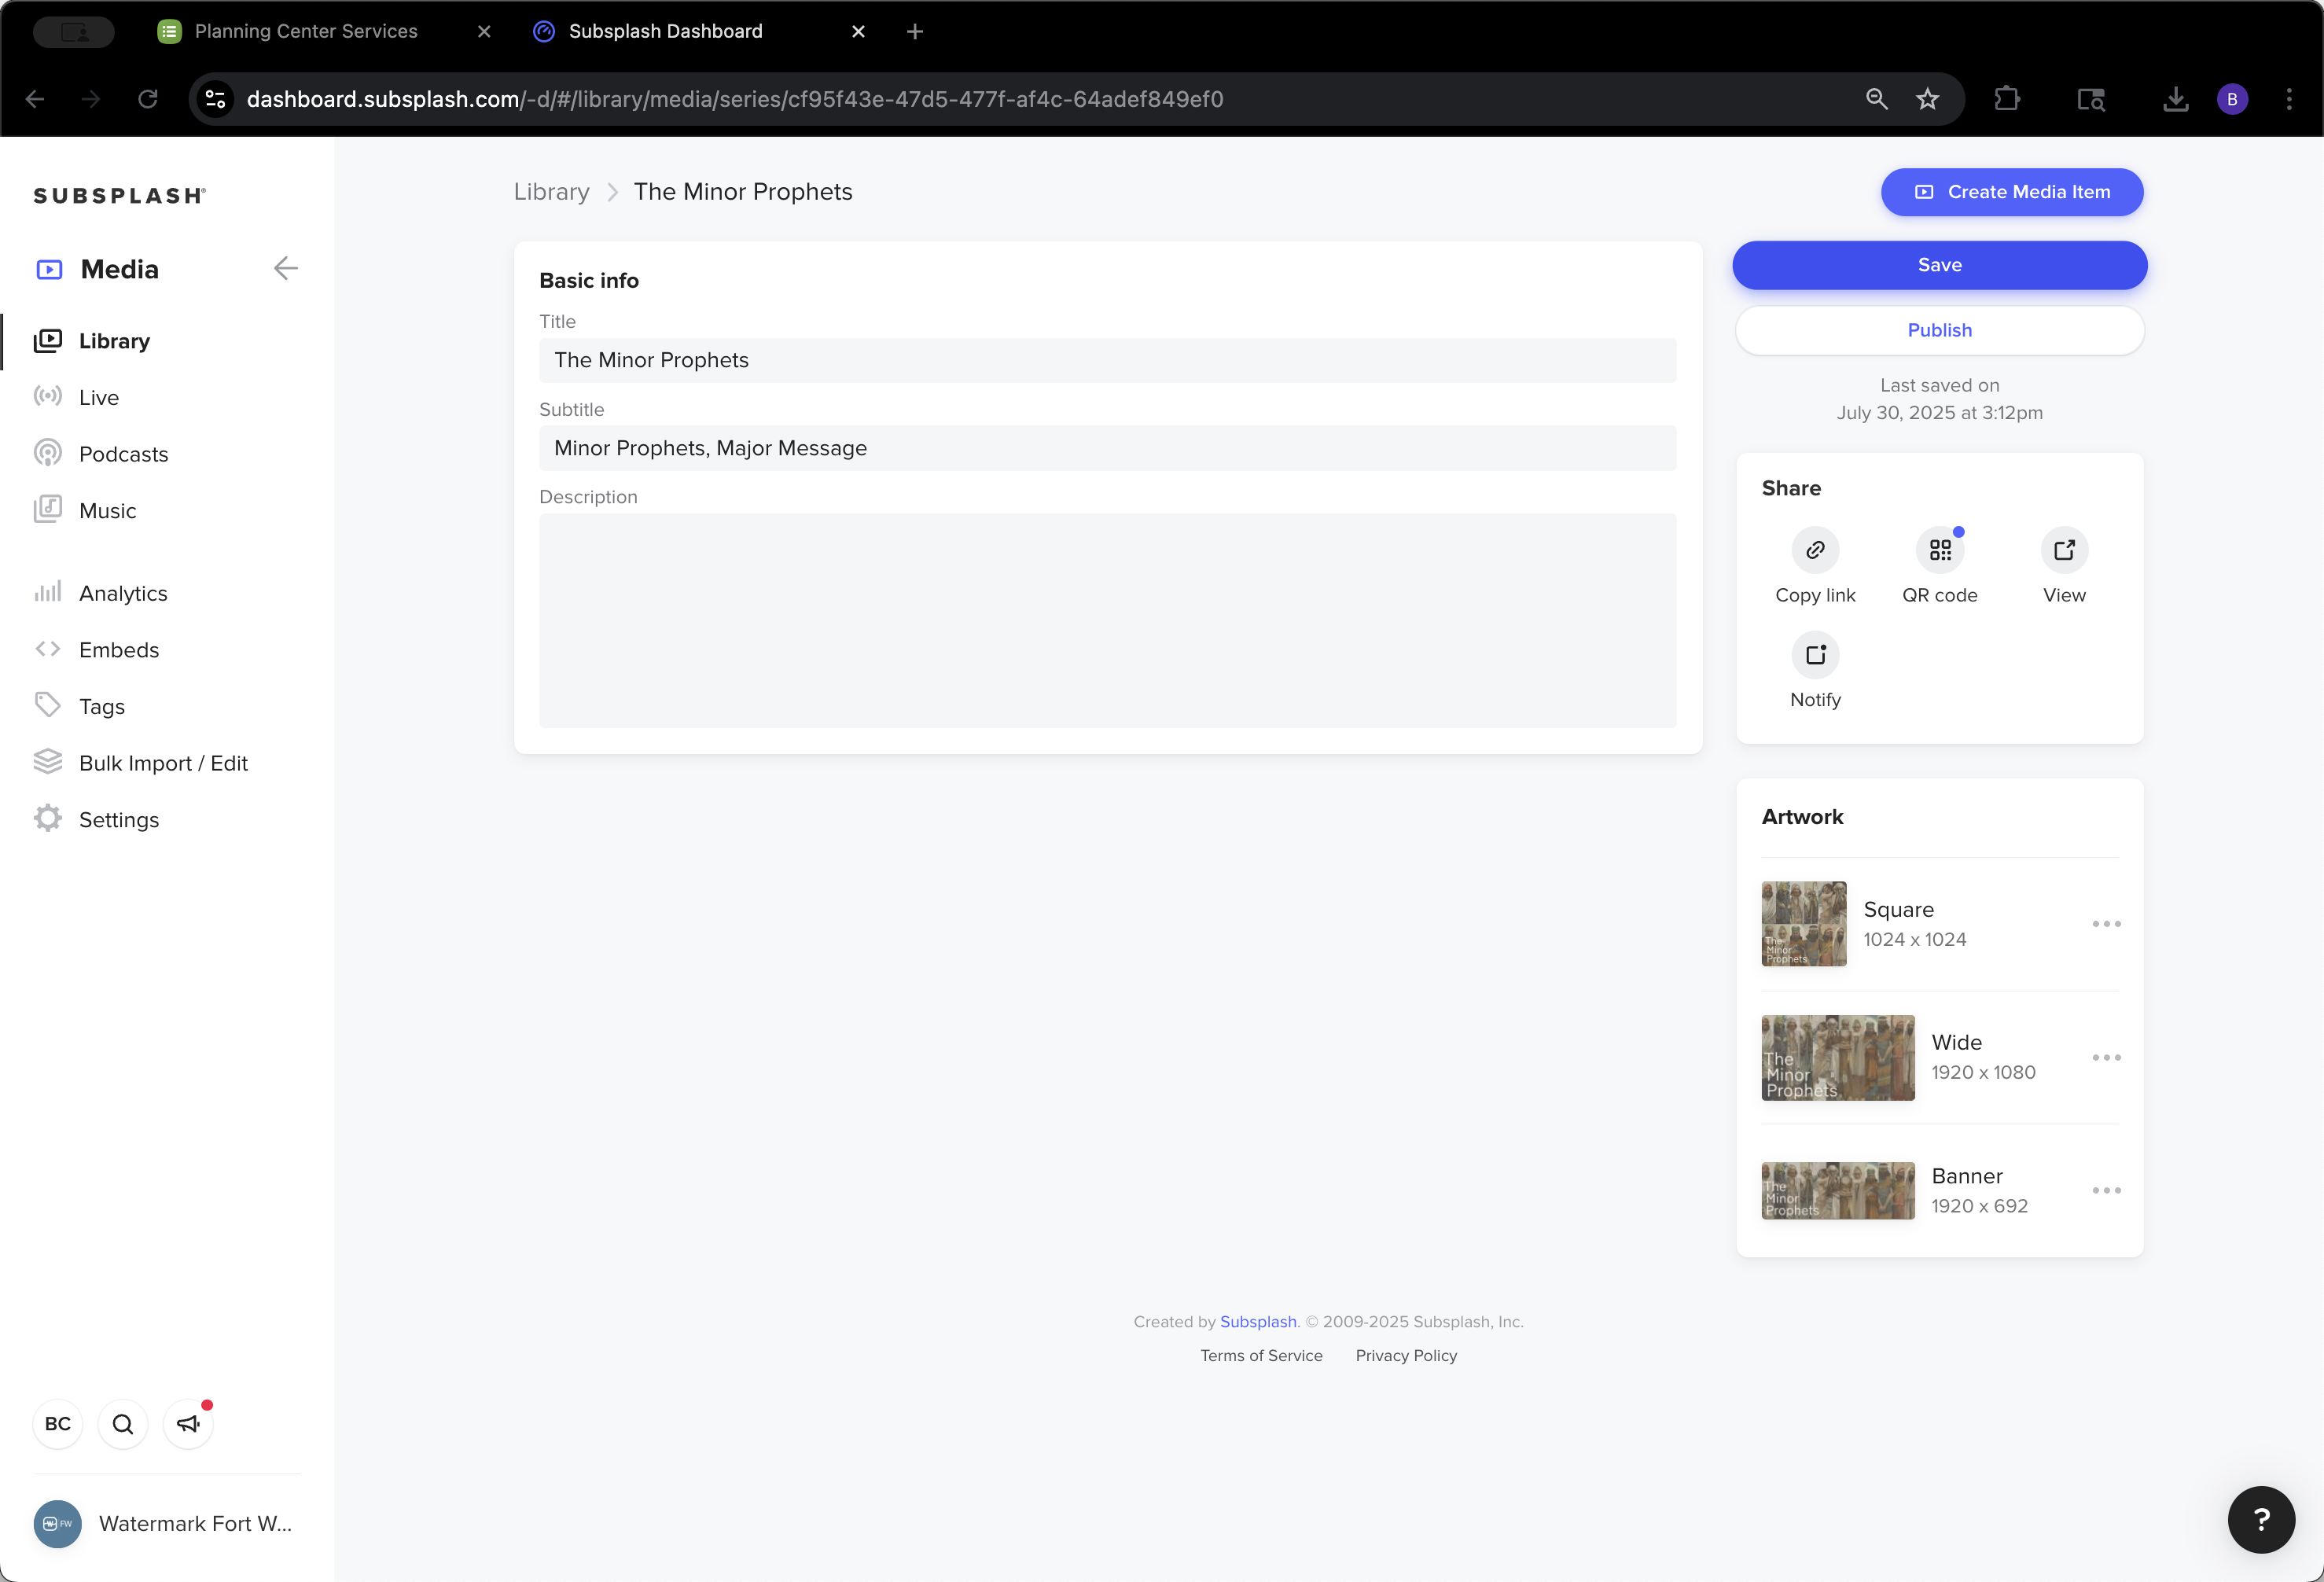
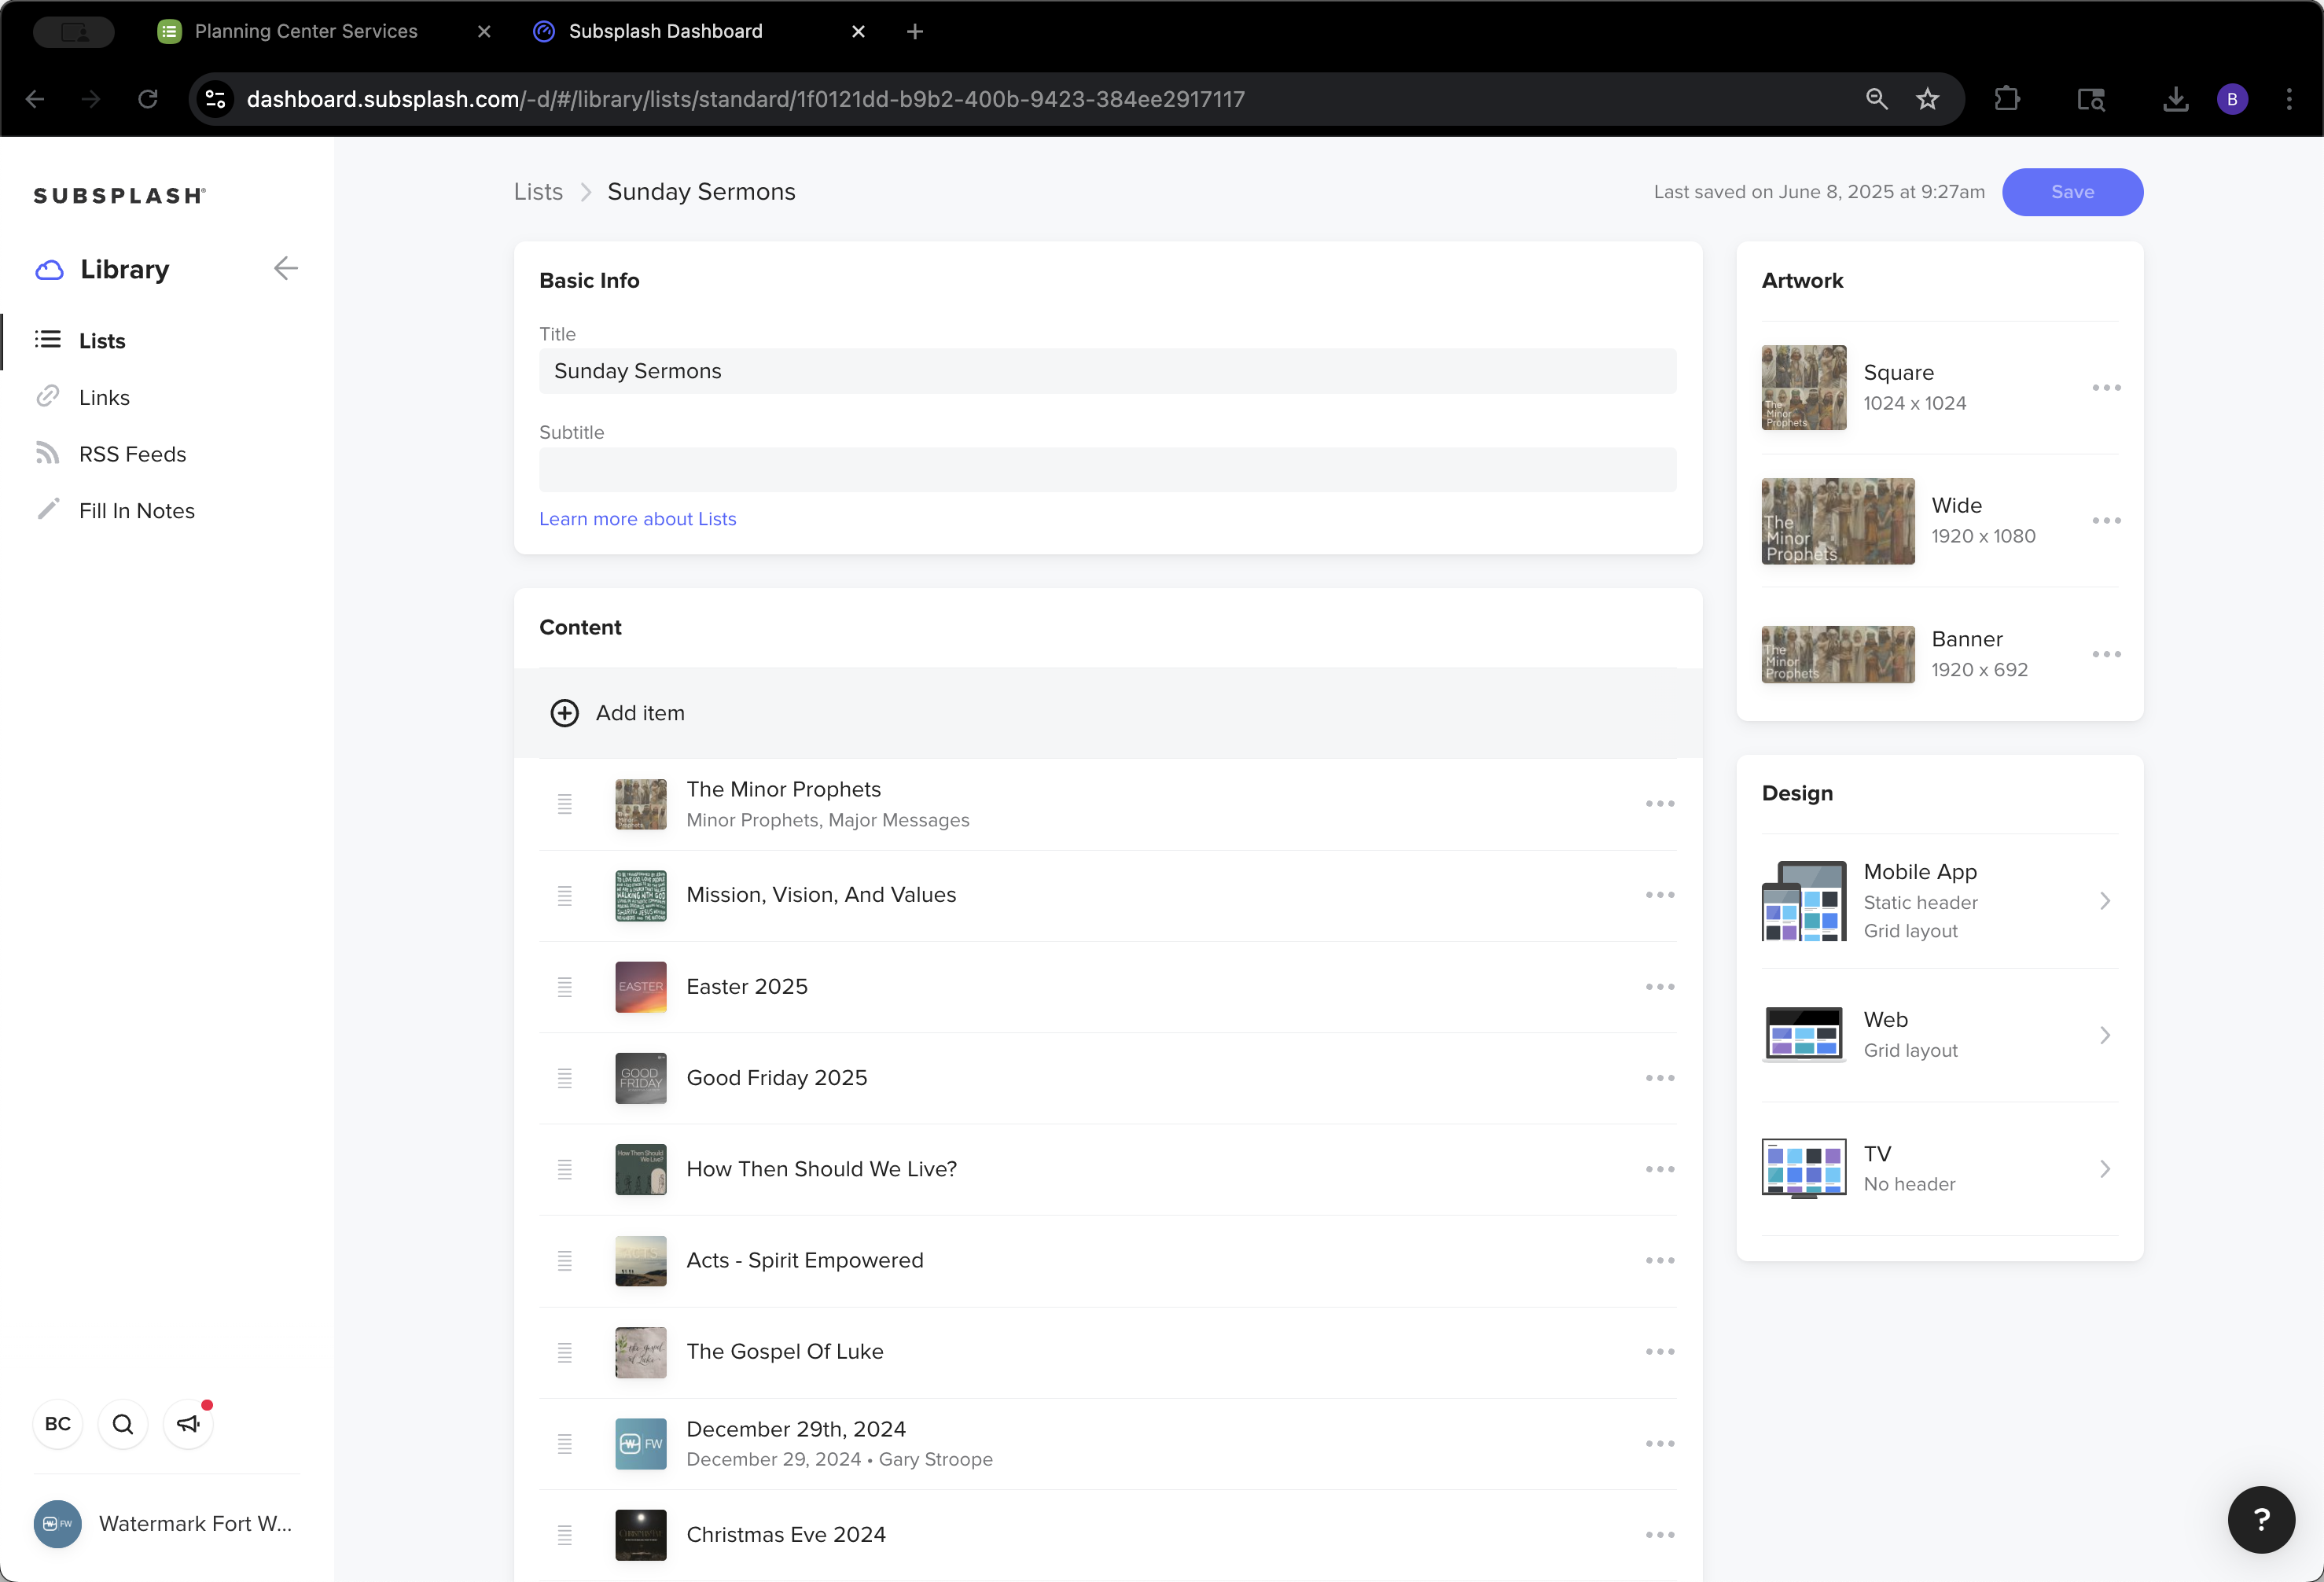
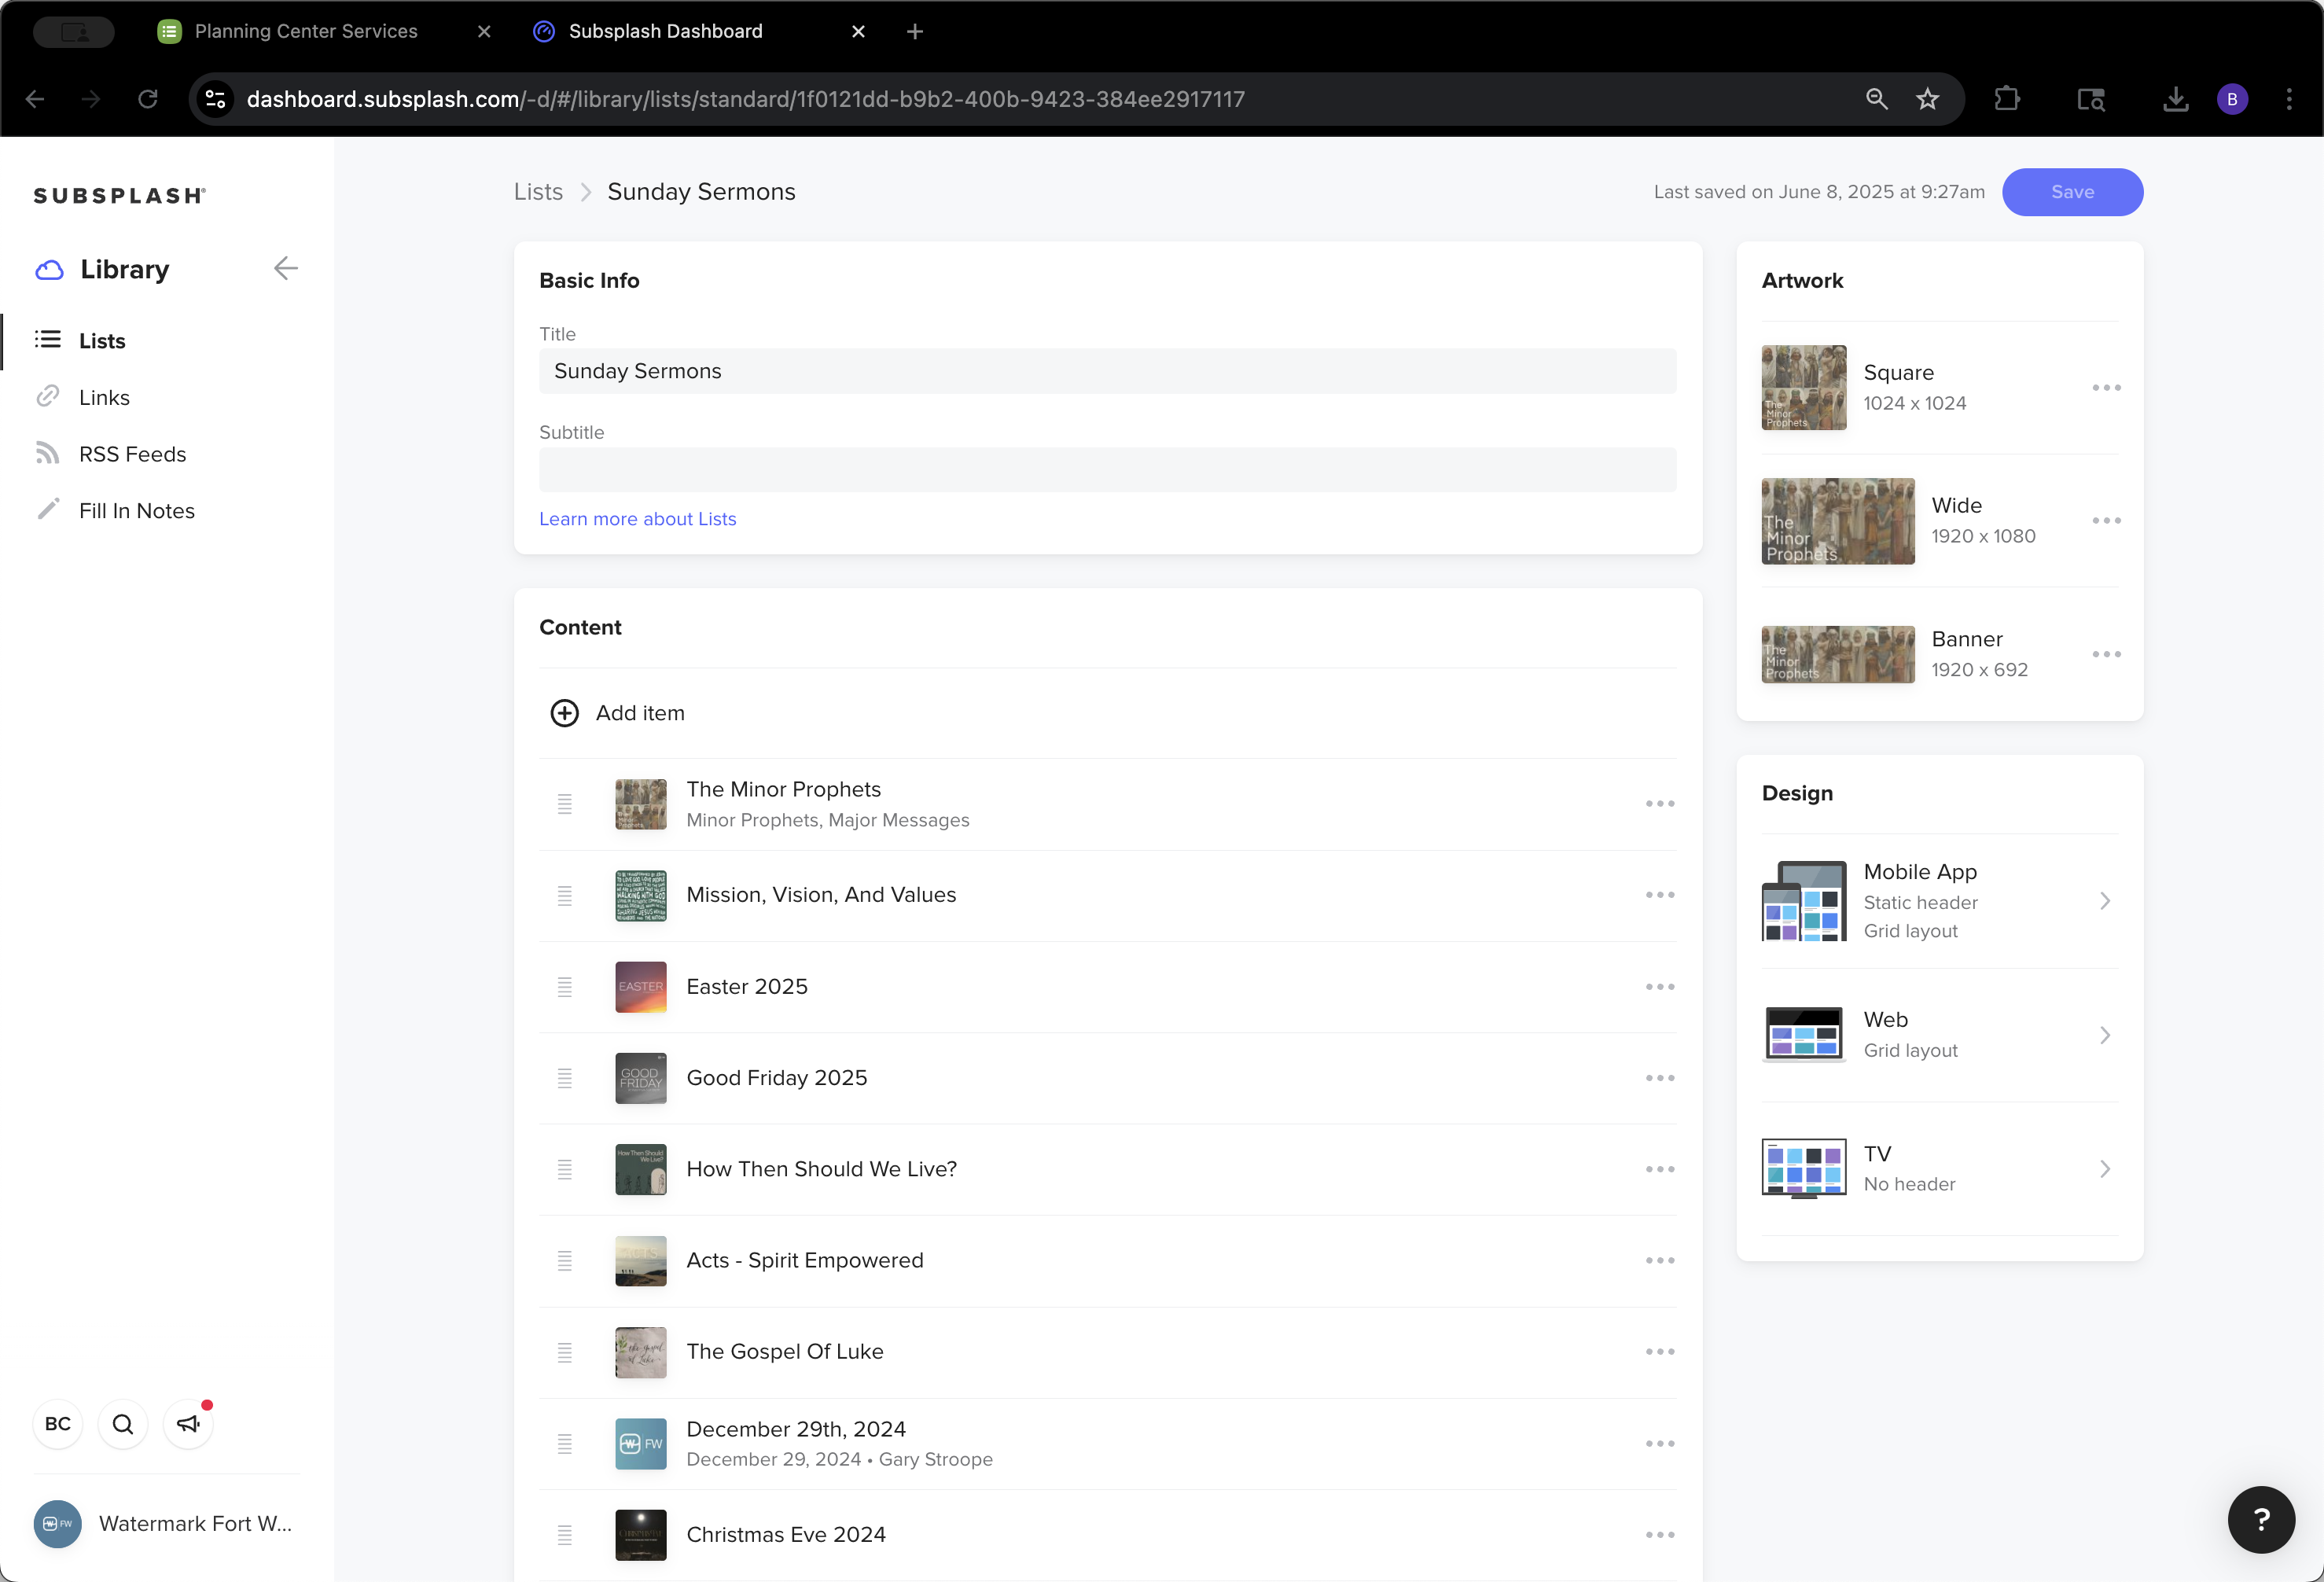
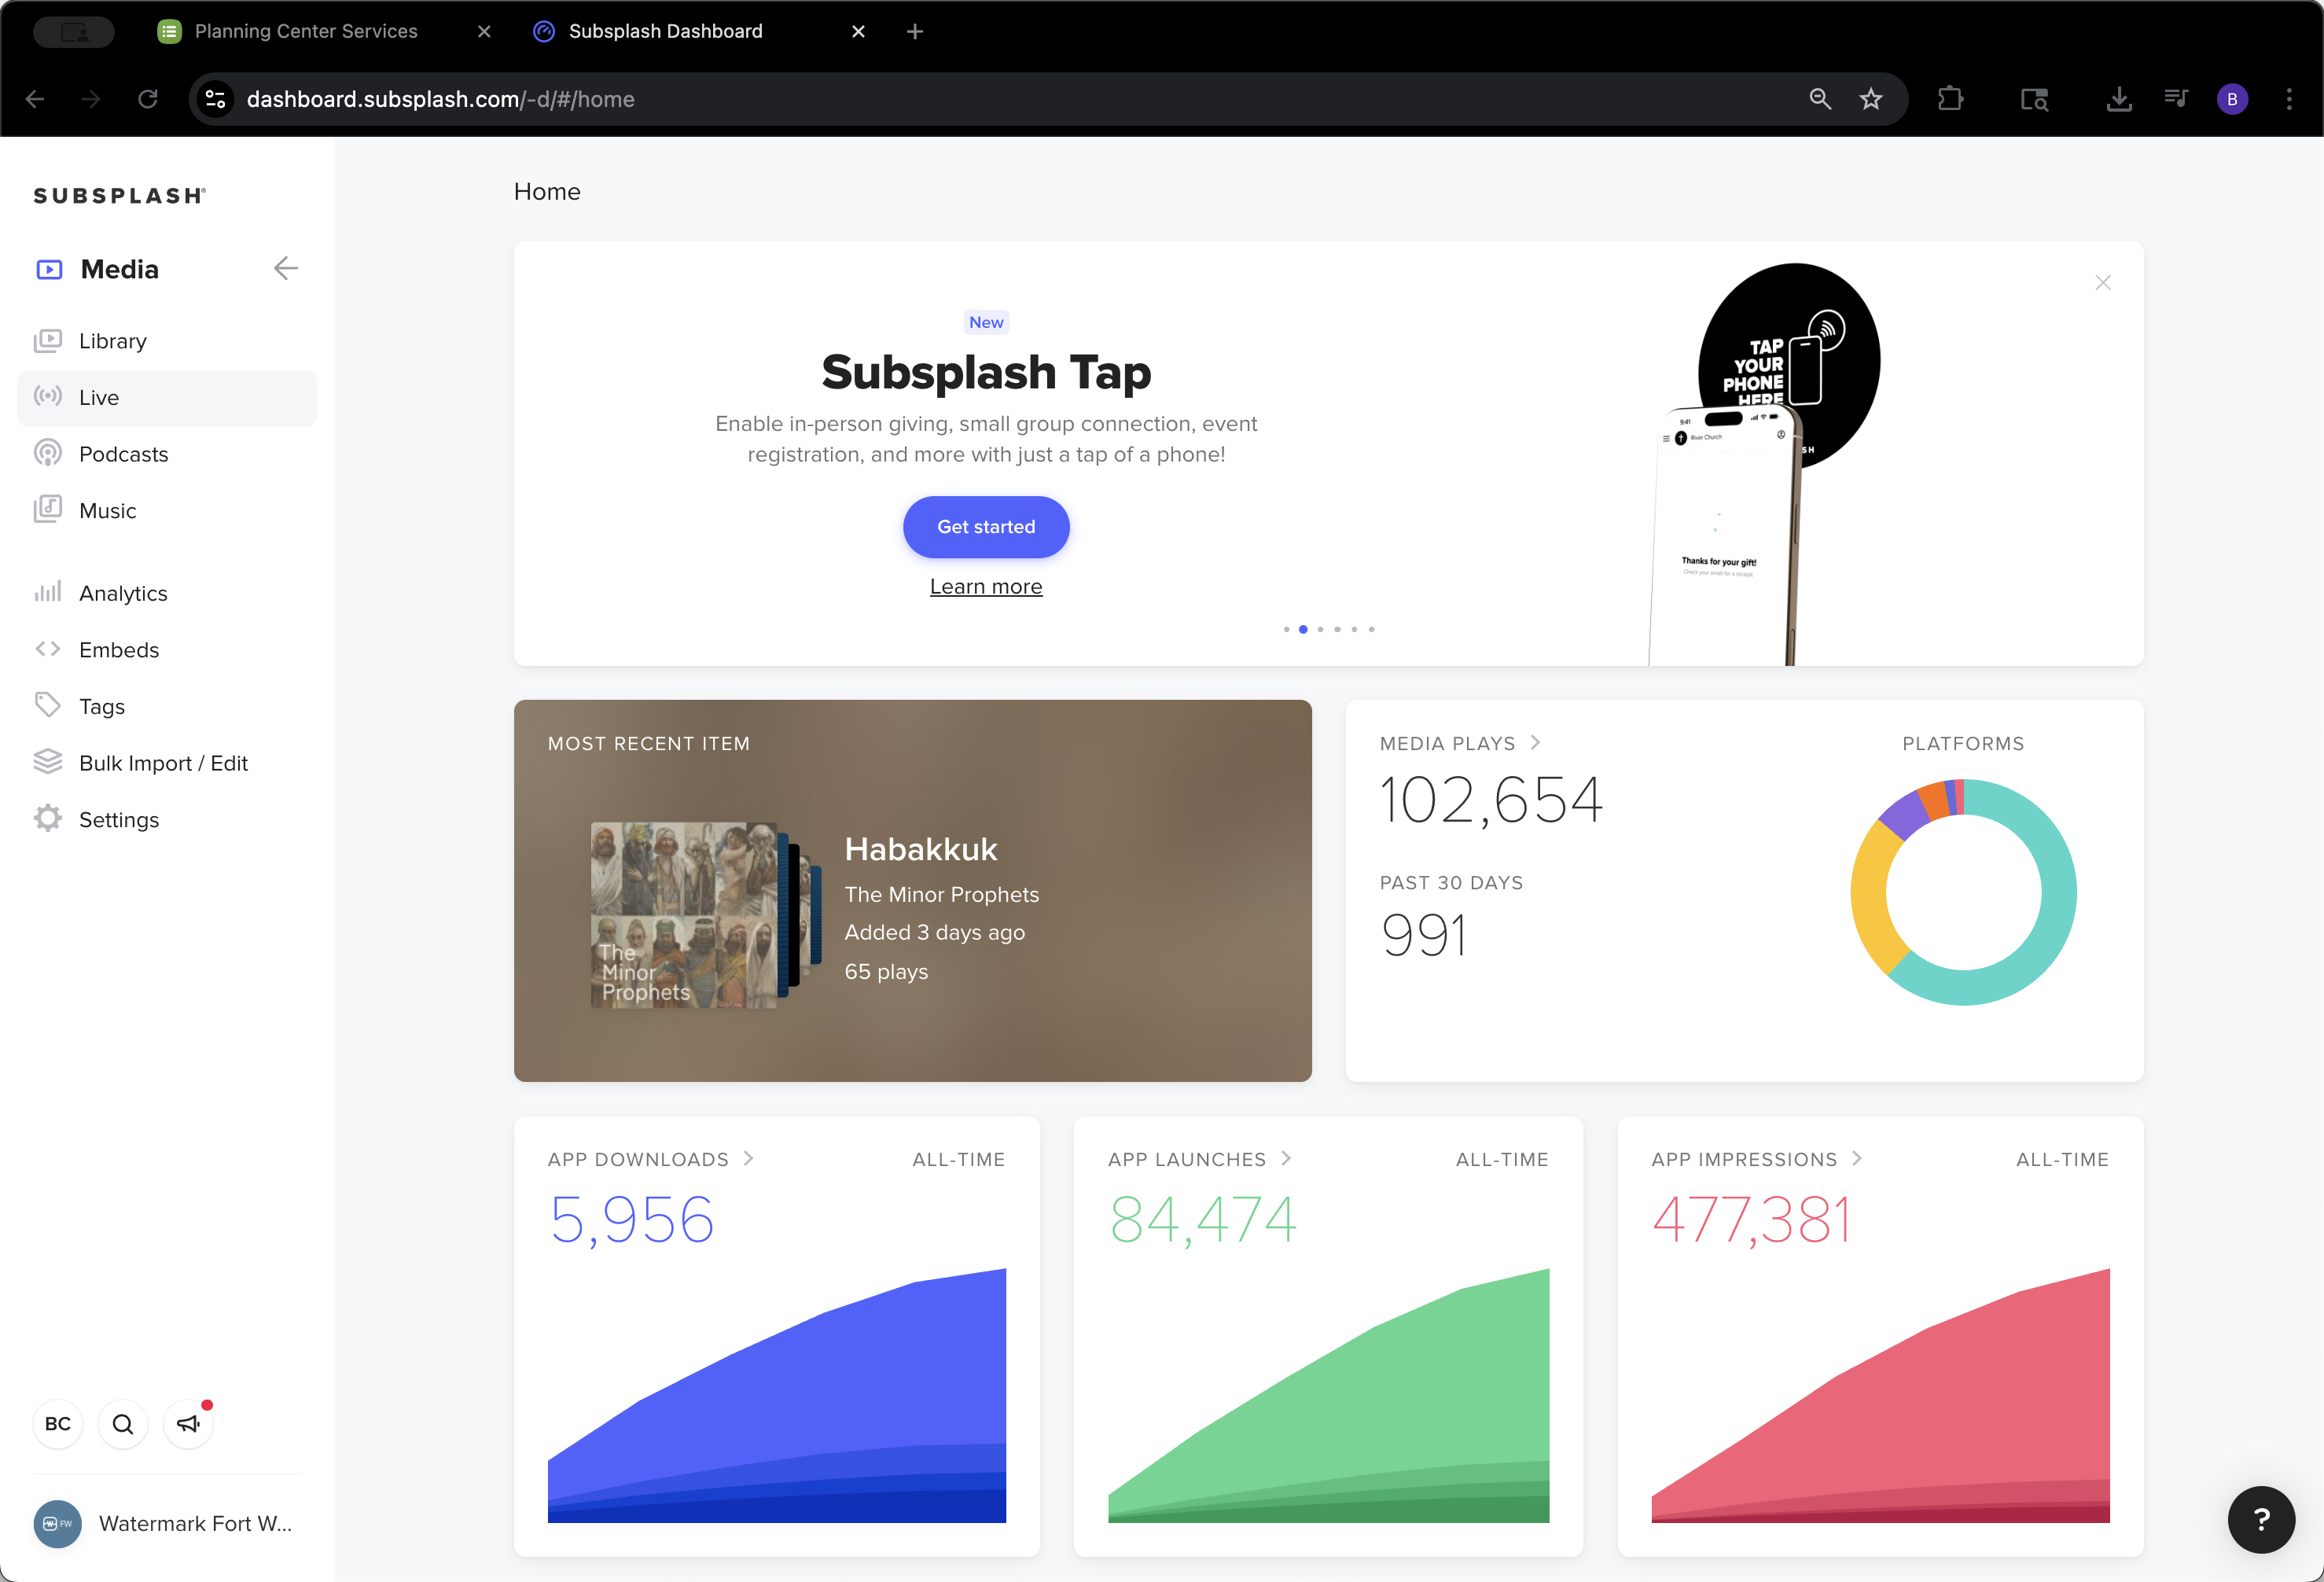
Once you sign in, this is what you see. For each sermon series, we will create a new media series. This is how we will edit each sermon series.

3
Click on "□ Create Media Series"
Step #3: Click on "□ Create Media Series"
4
Click here
Step #4: Click here

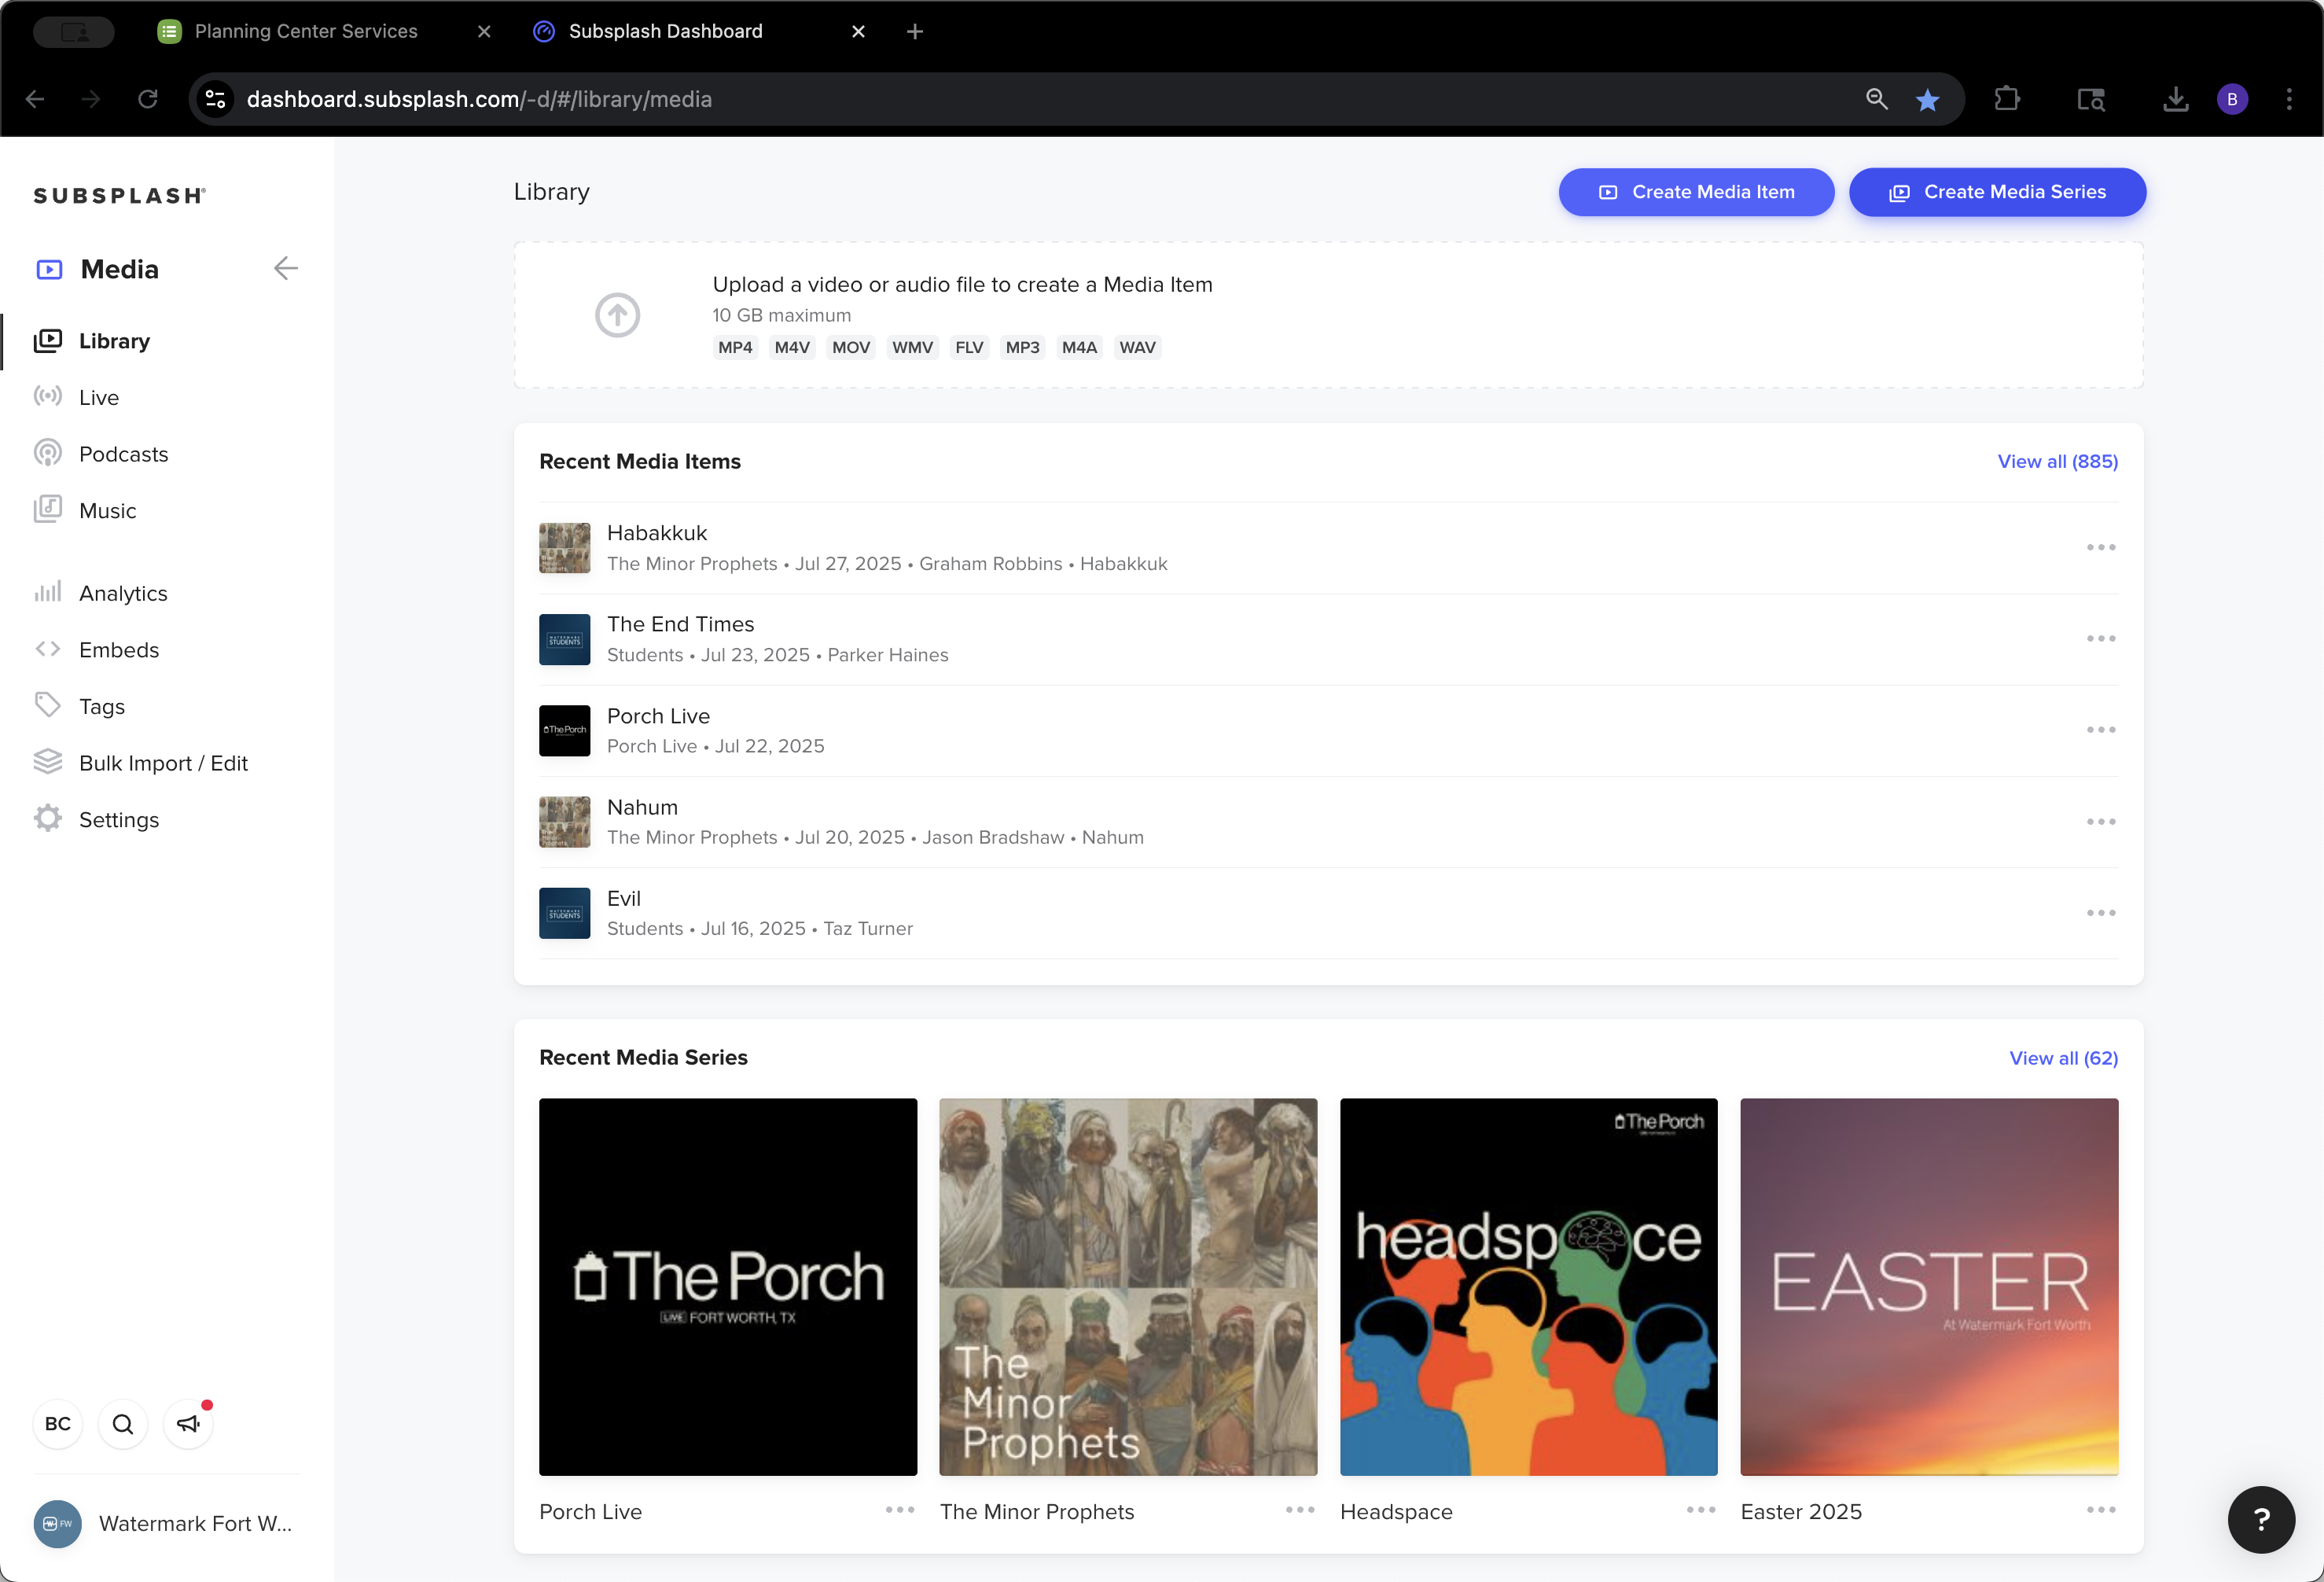
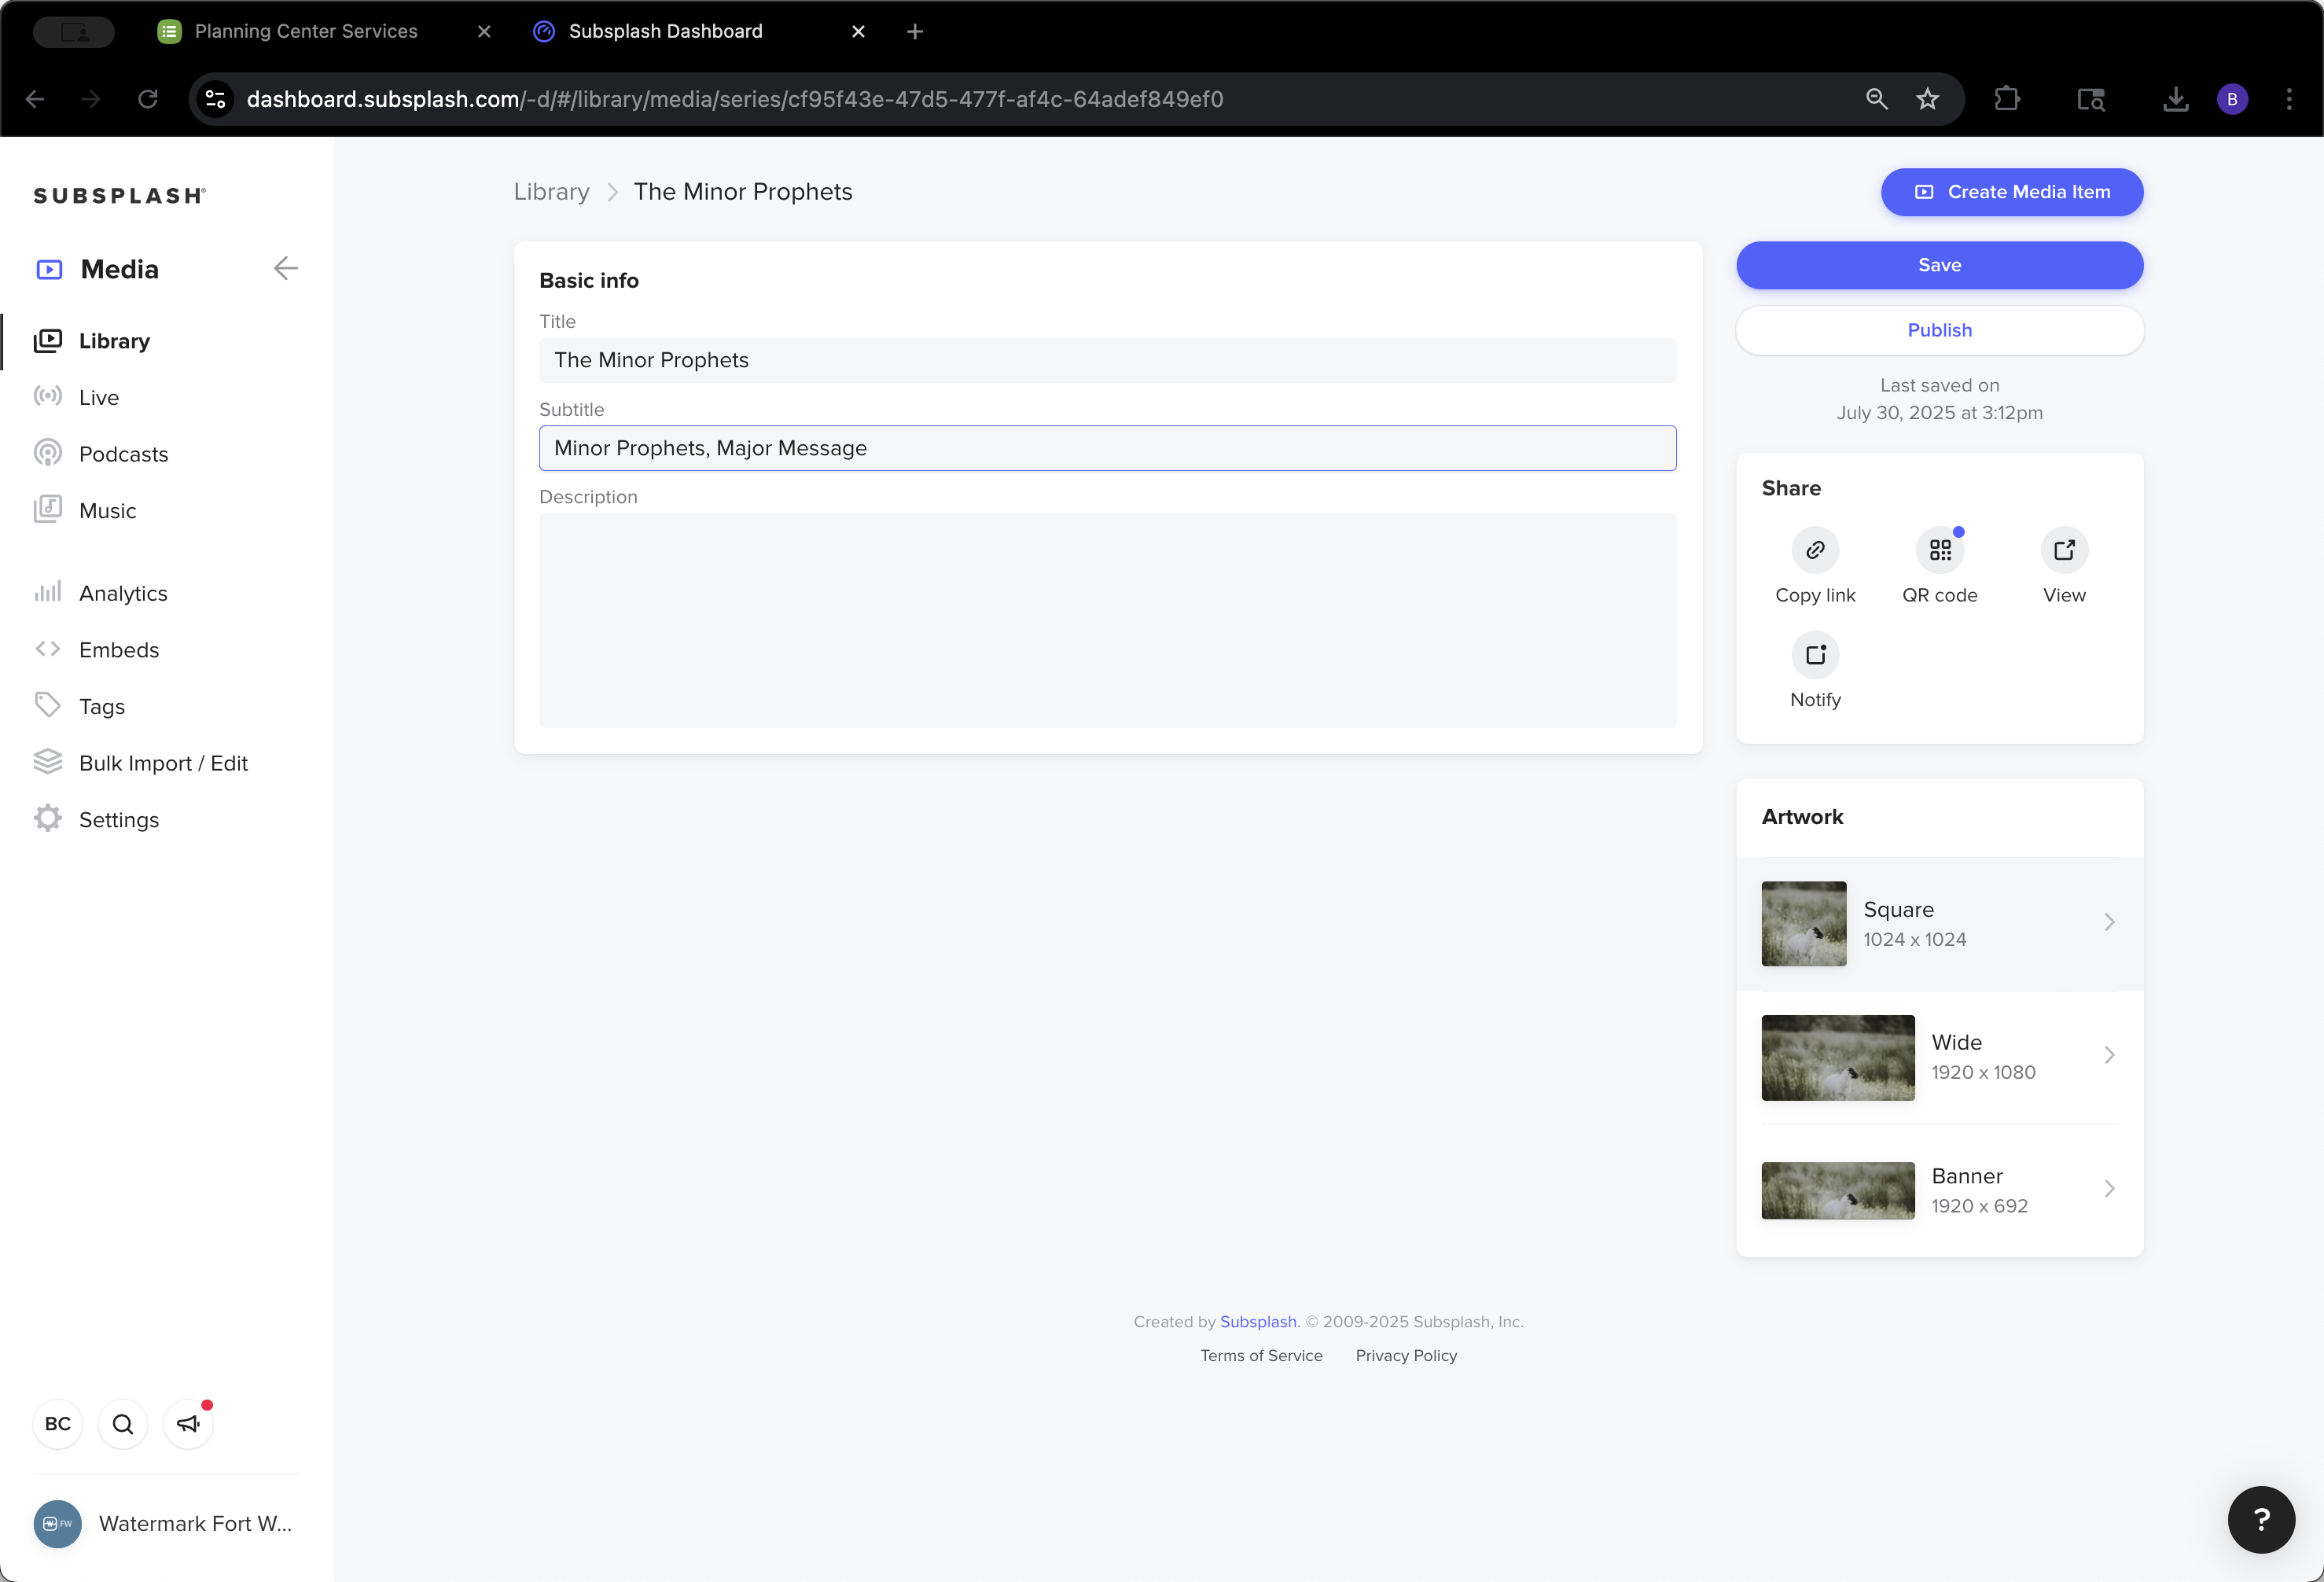
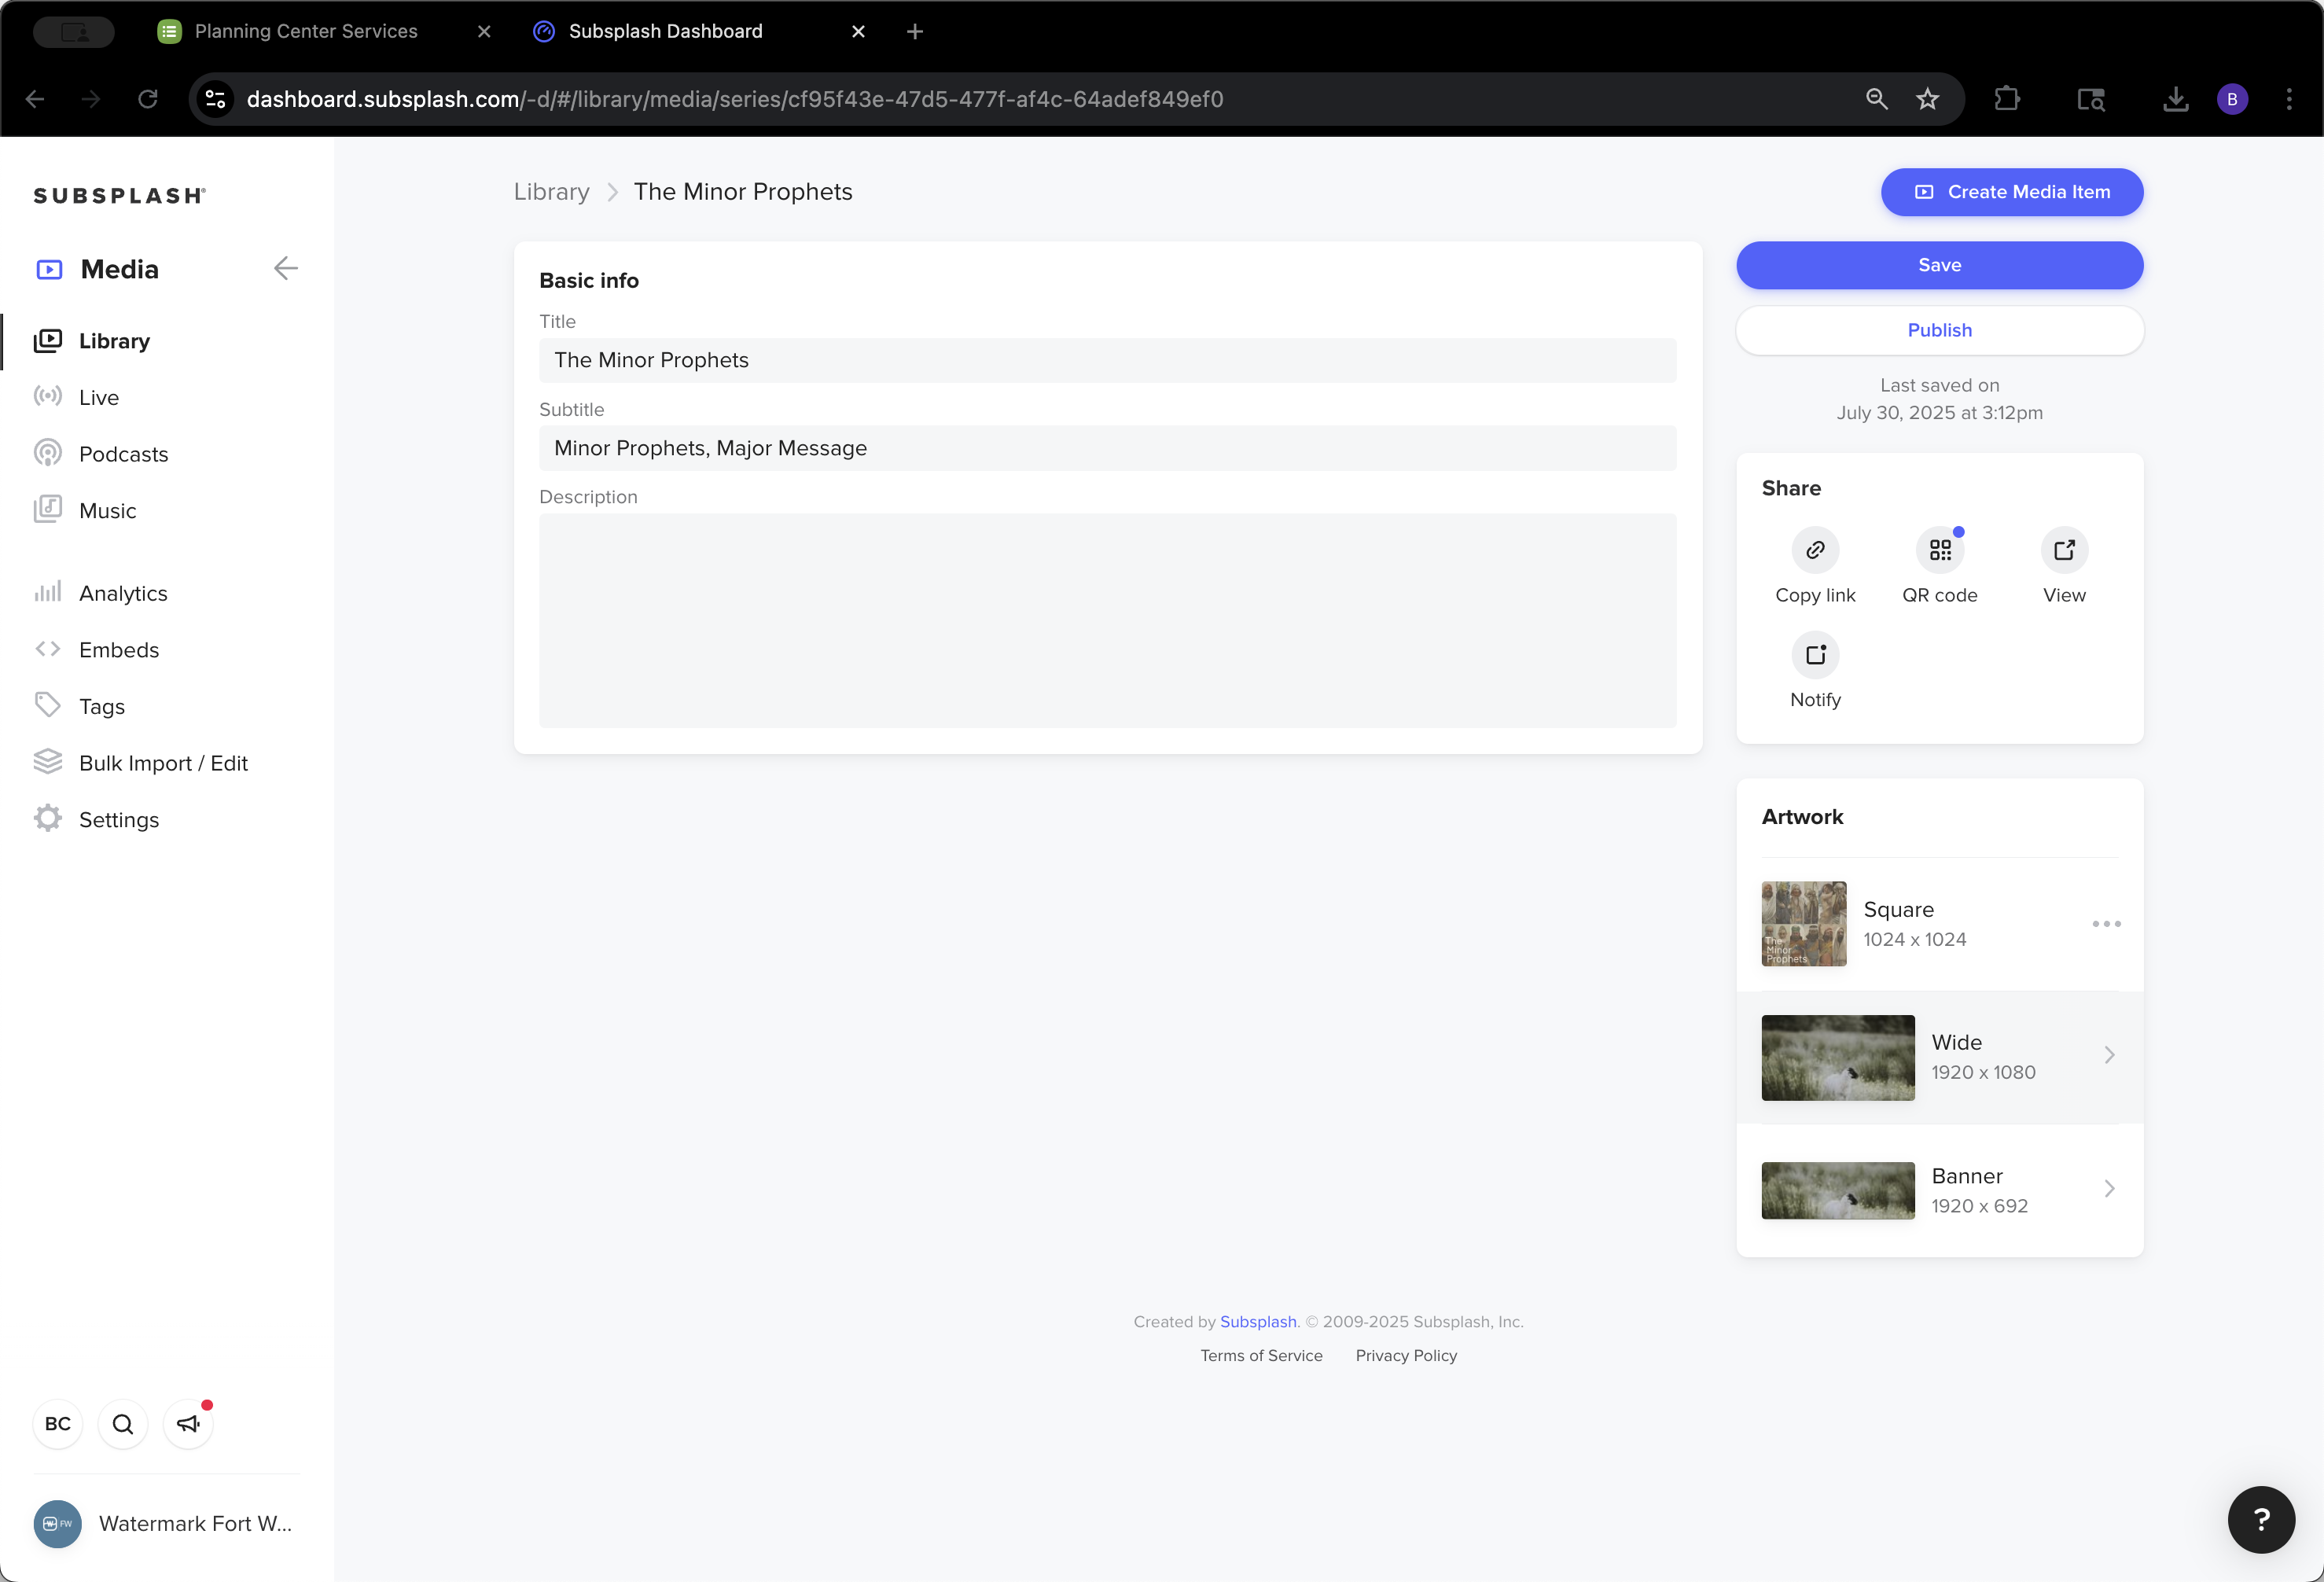
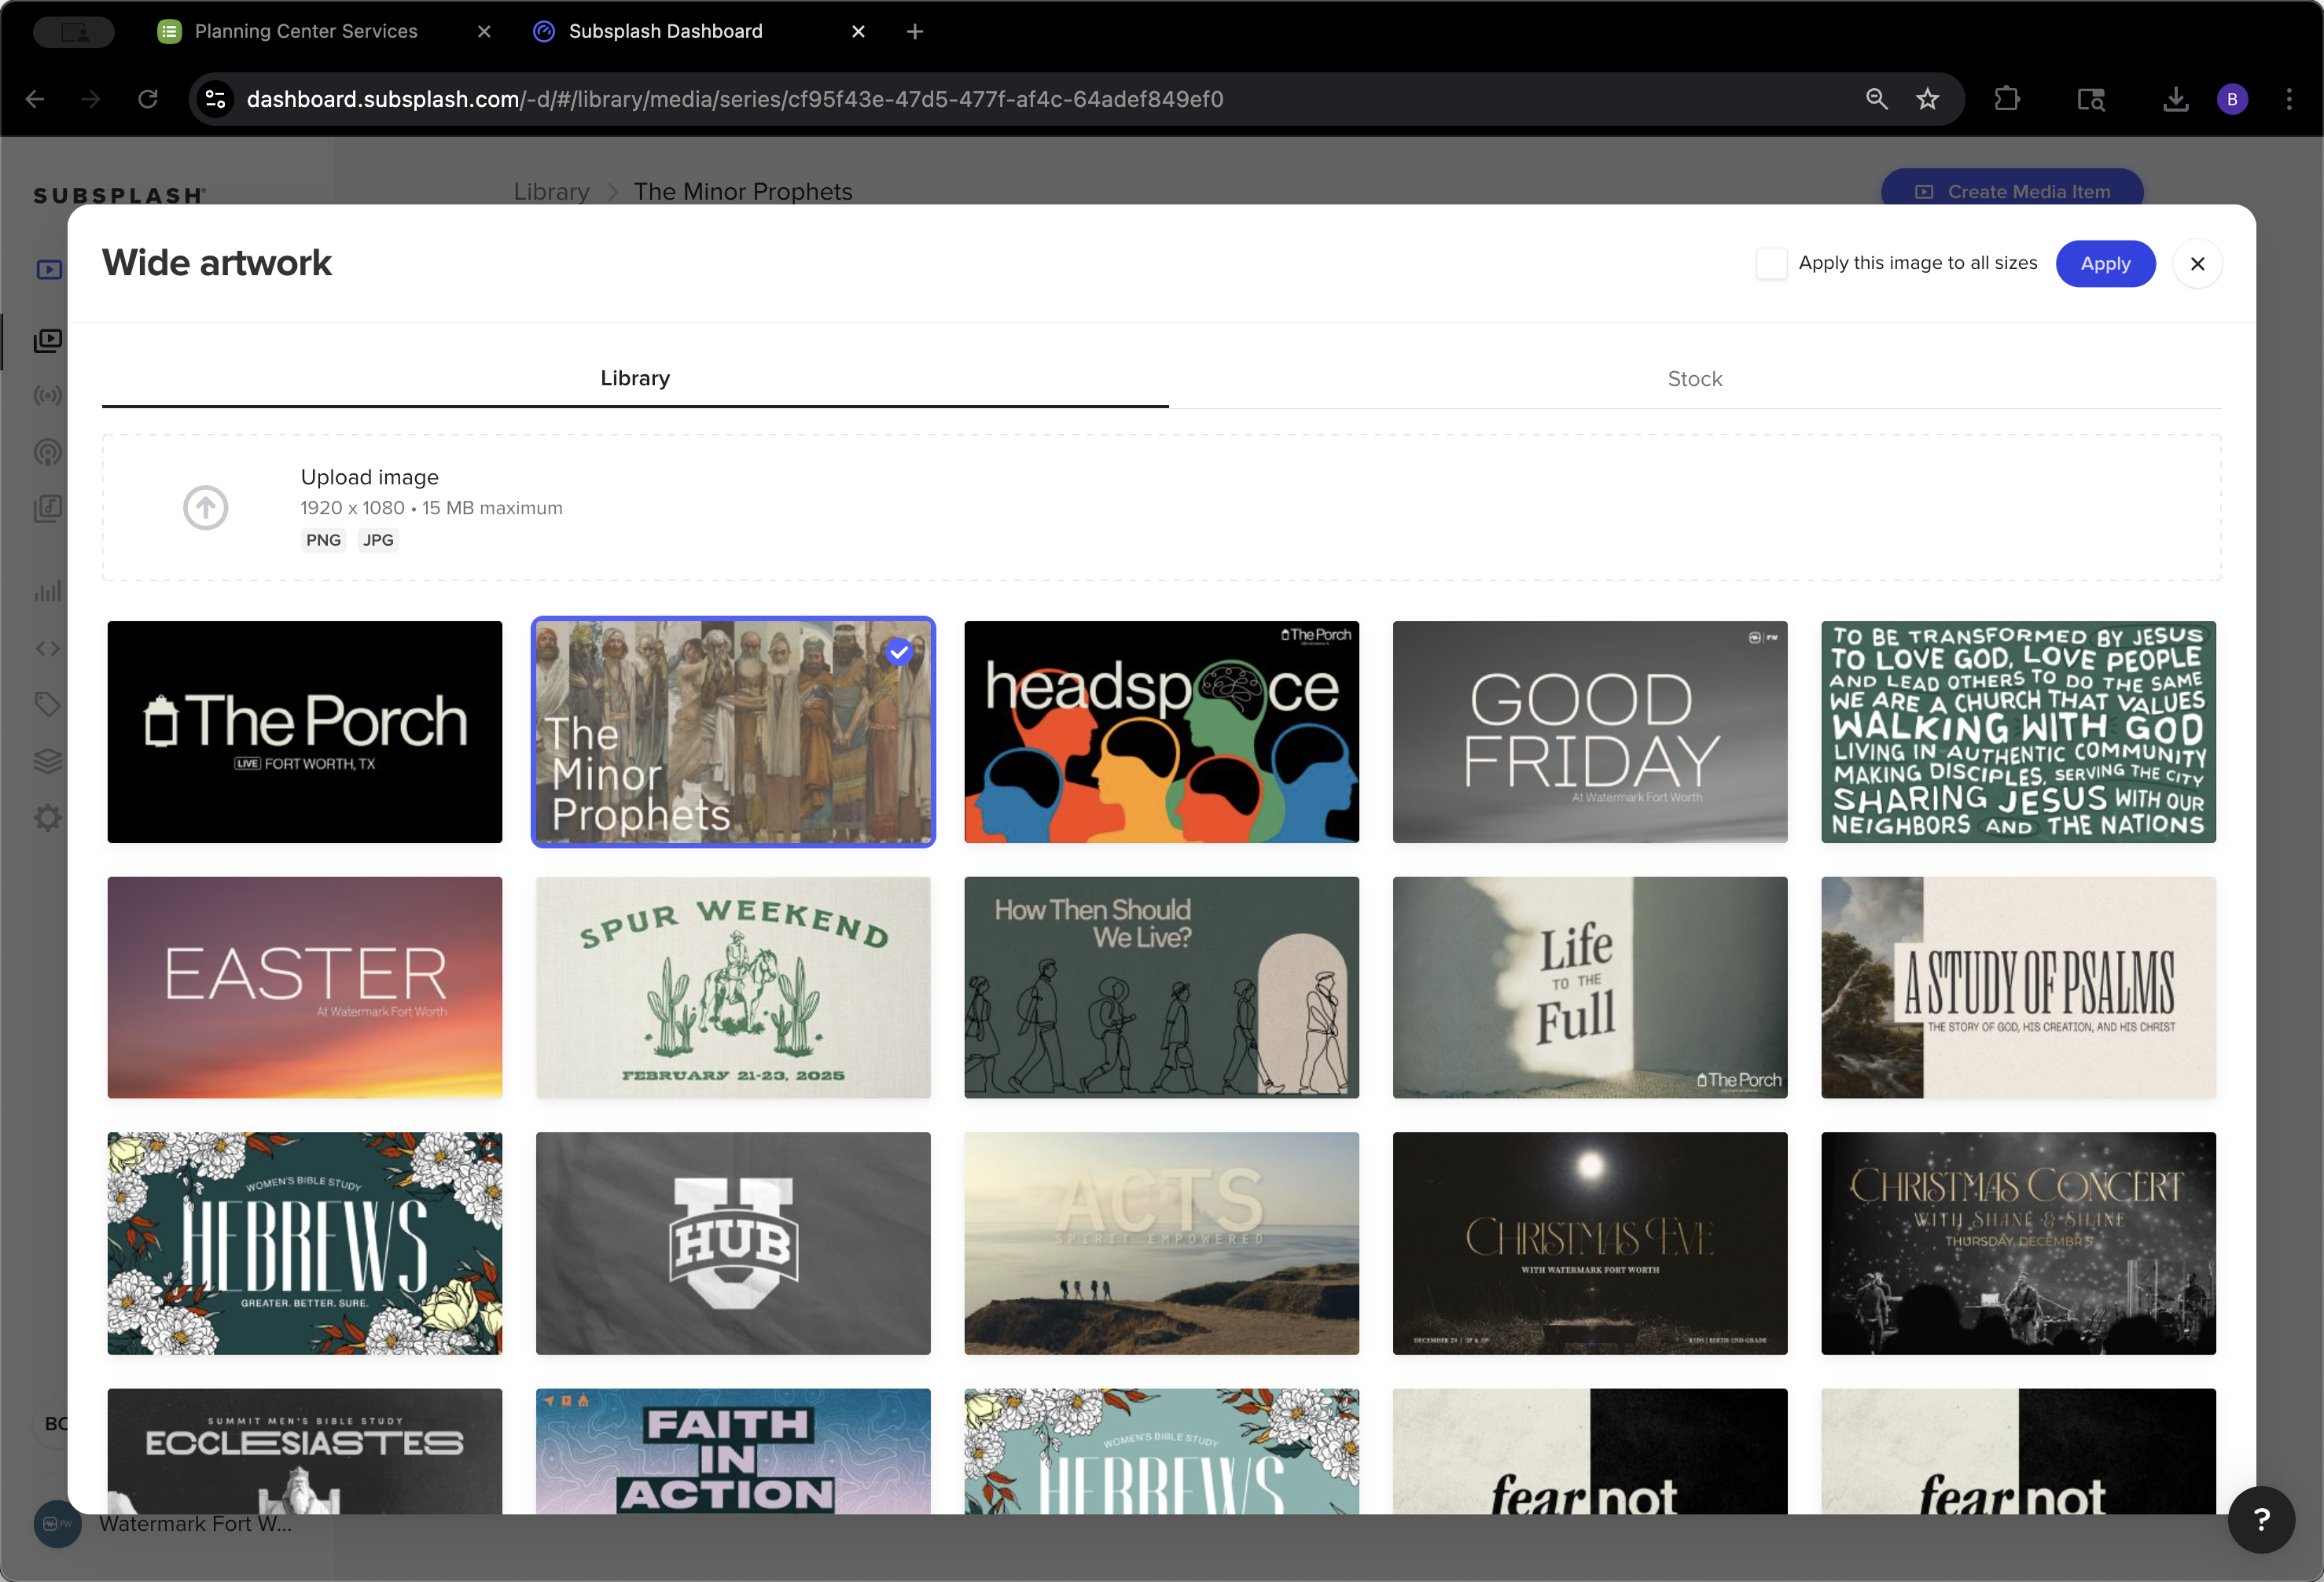
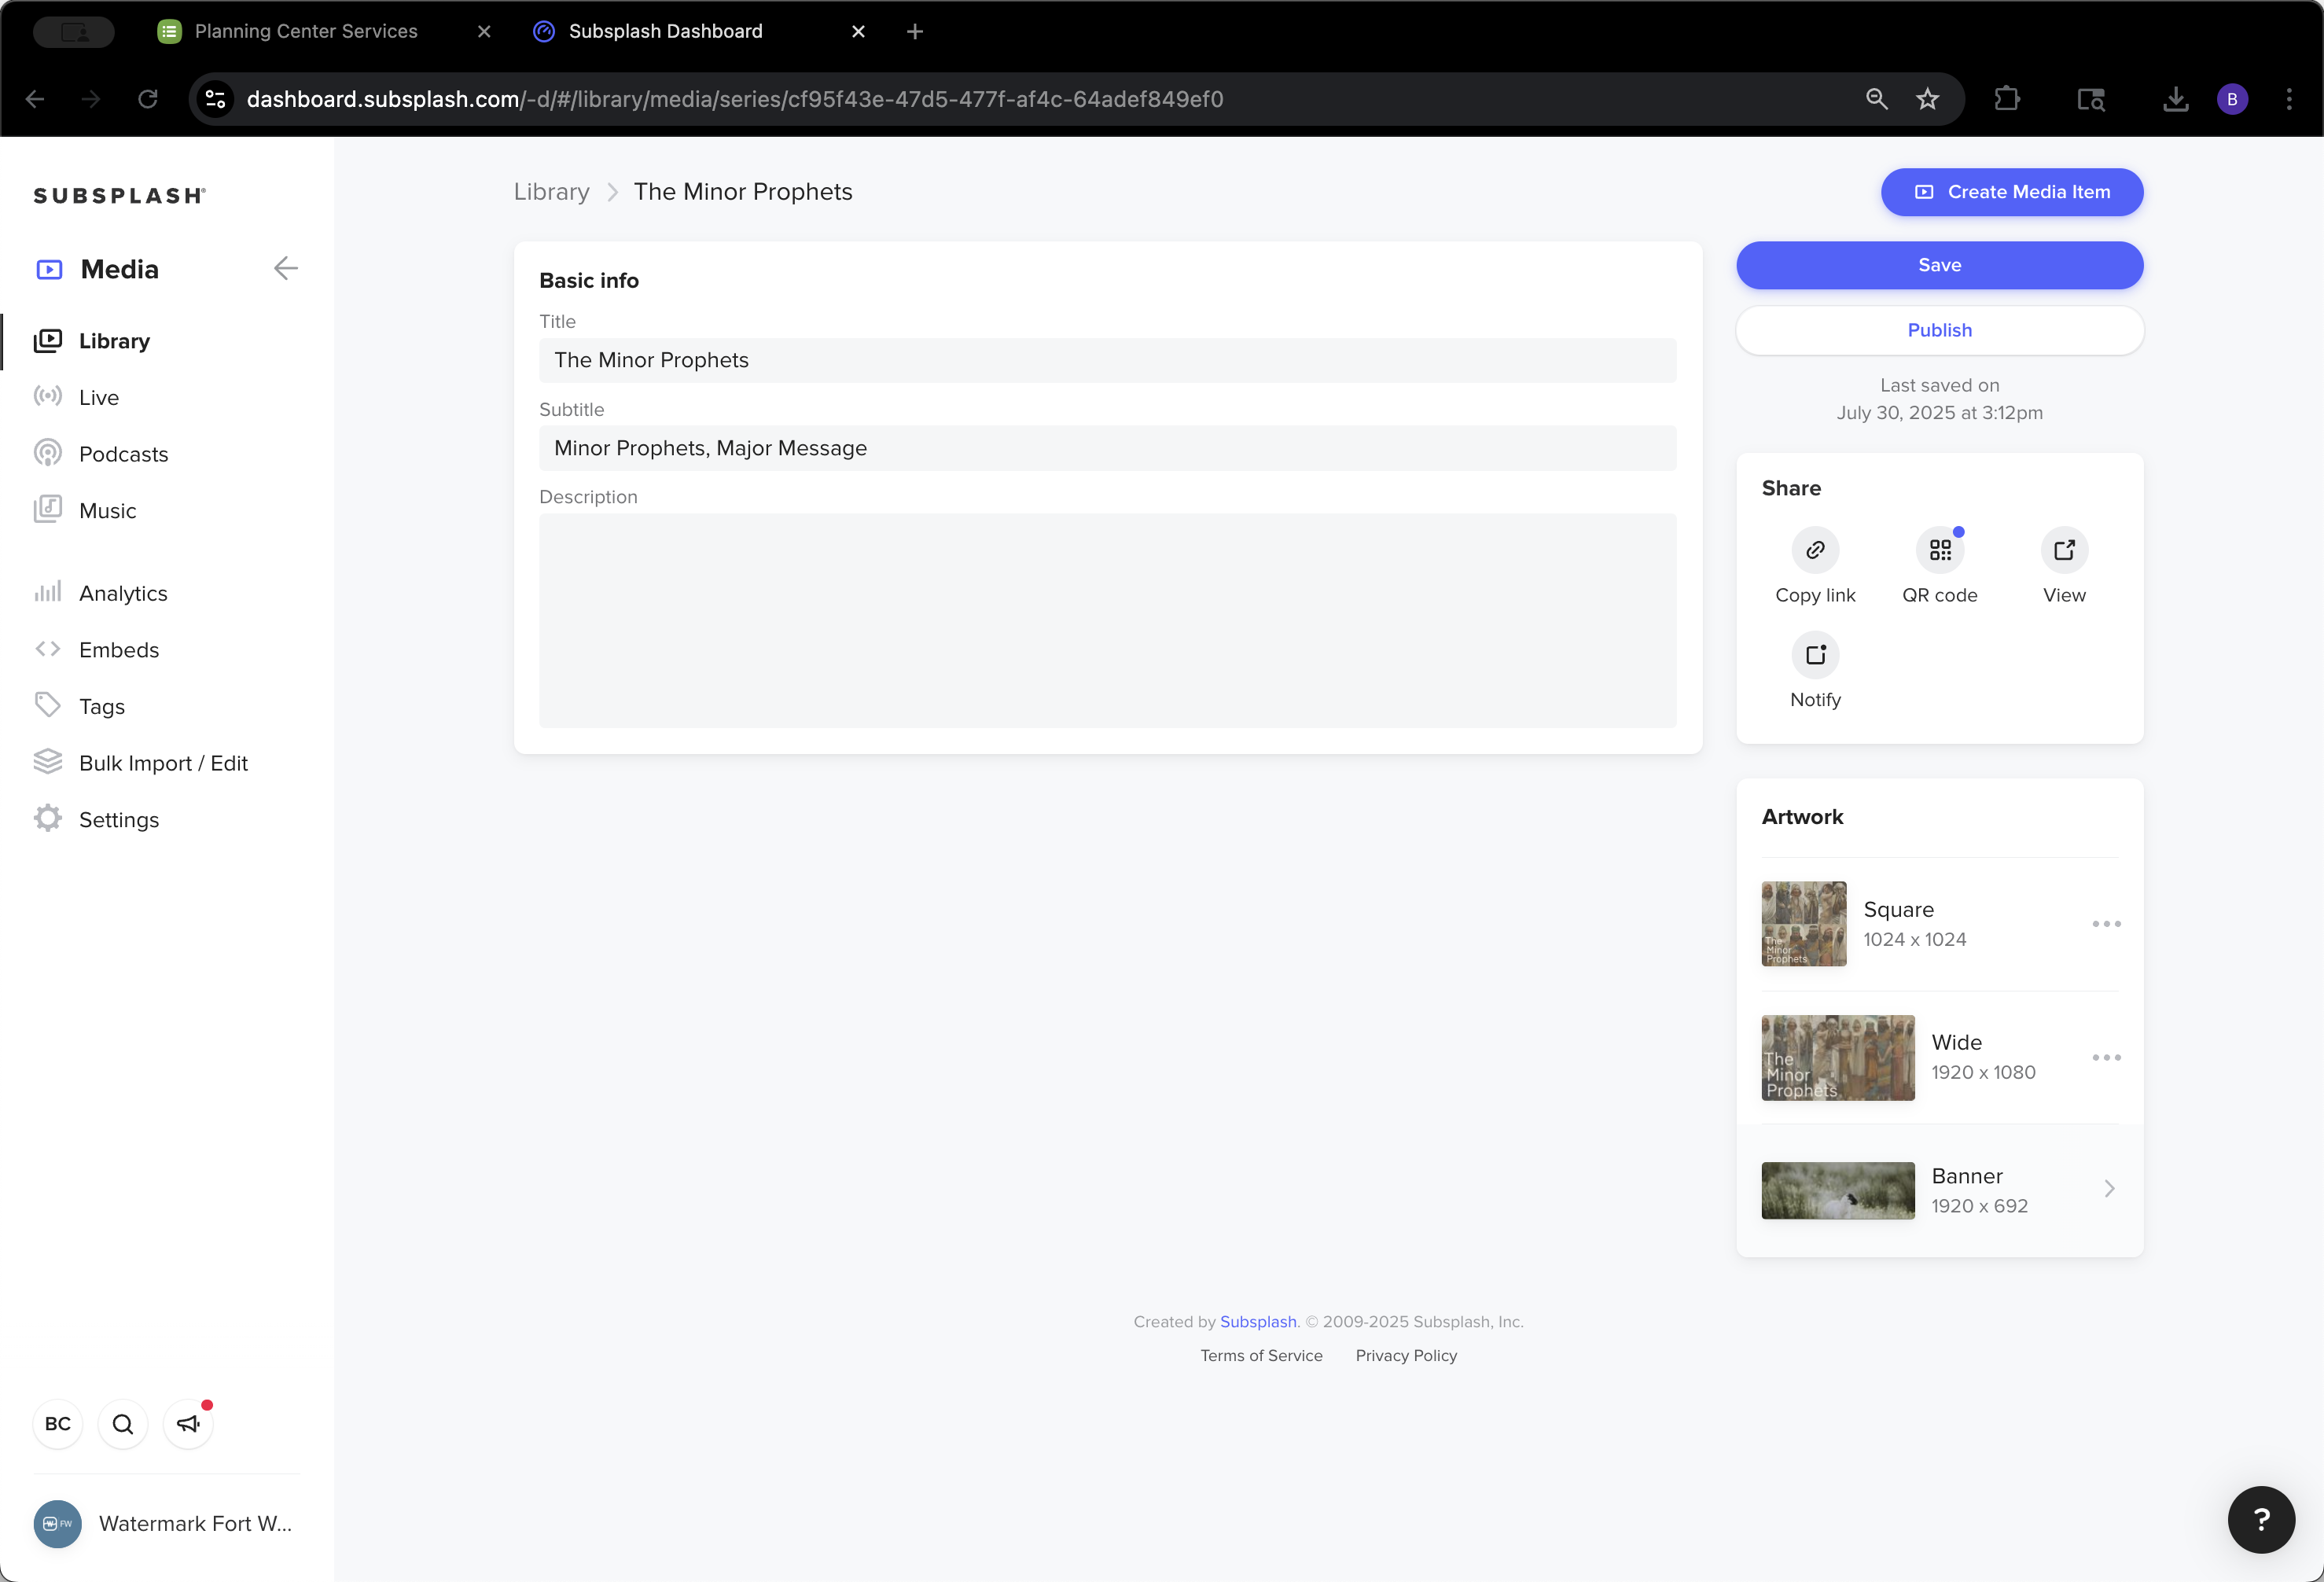
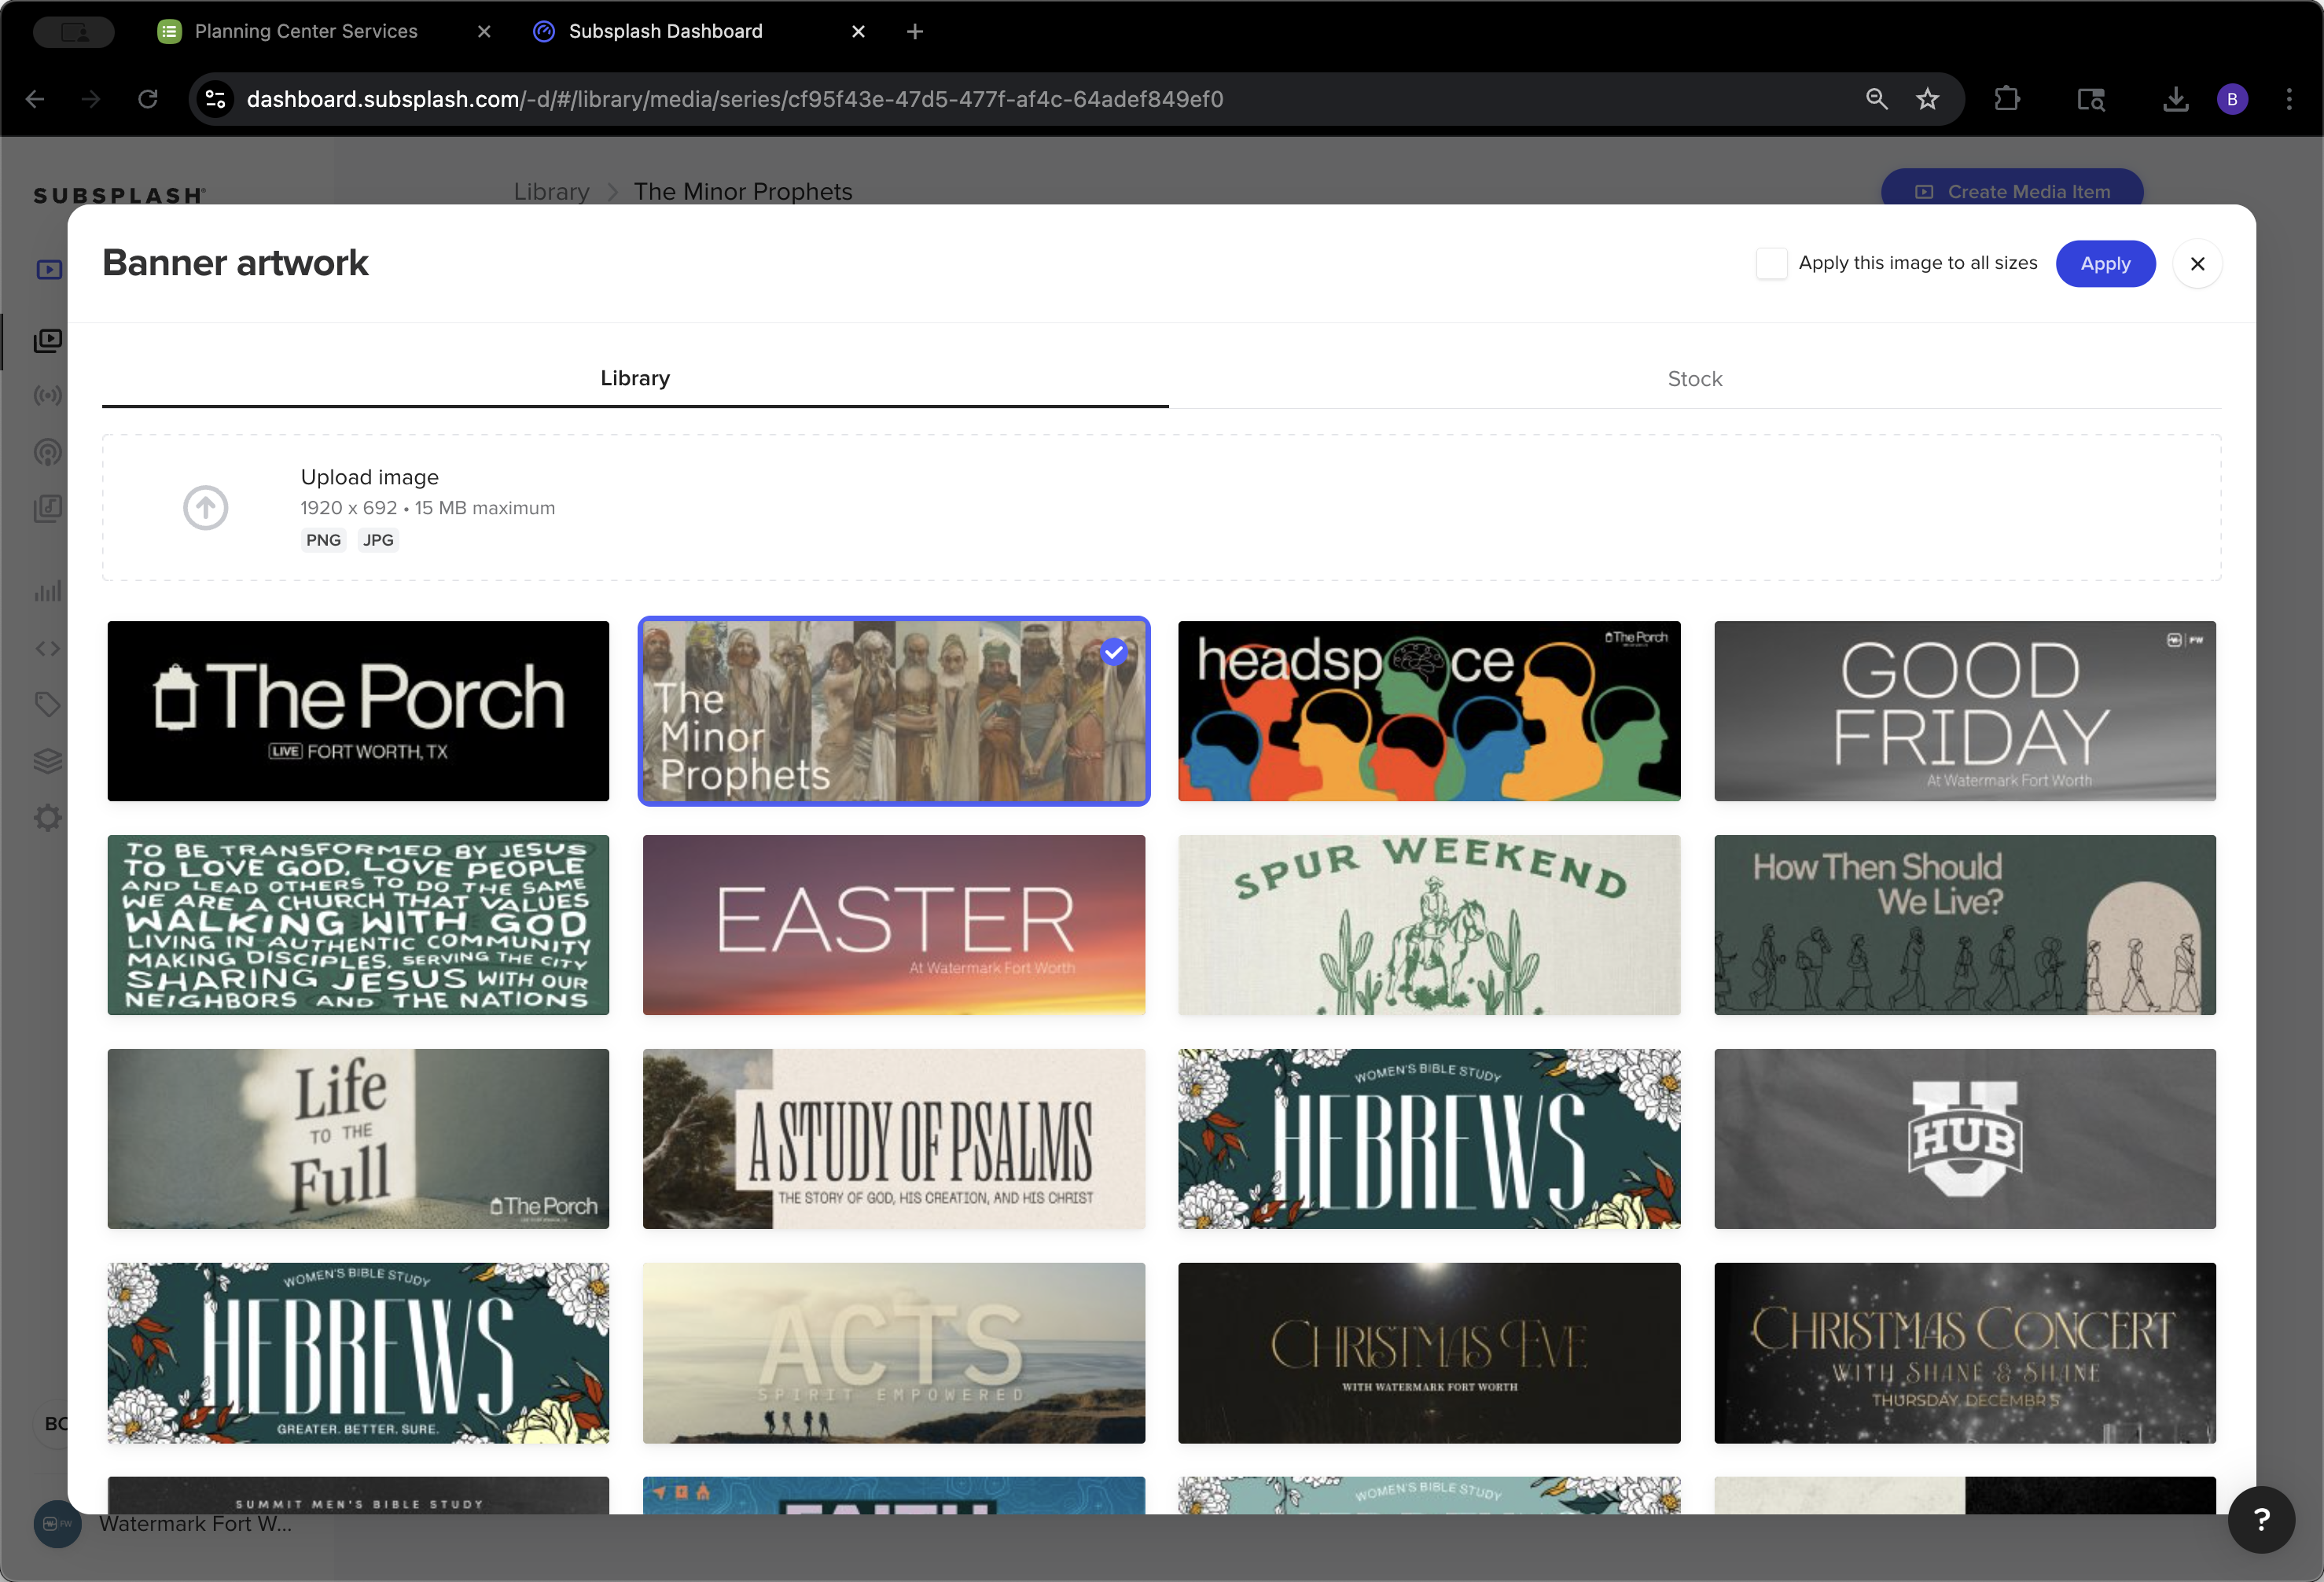
We created The Minor Prophets and added a tagline.

5
Click on "Create"
Step #5: Click on "Create"
6
Click here
Step #6: Click here

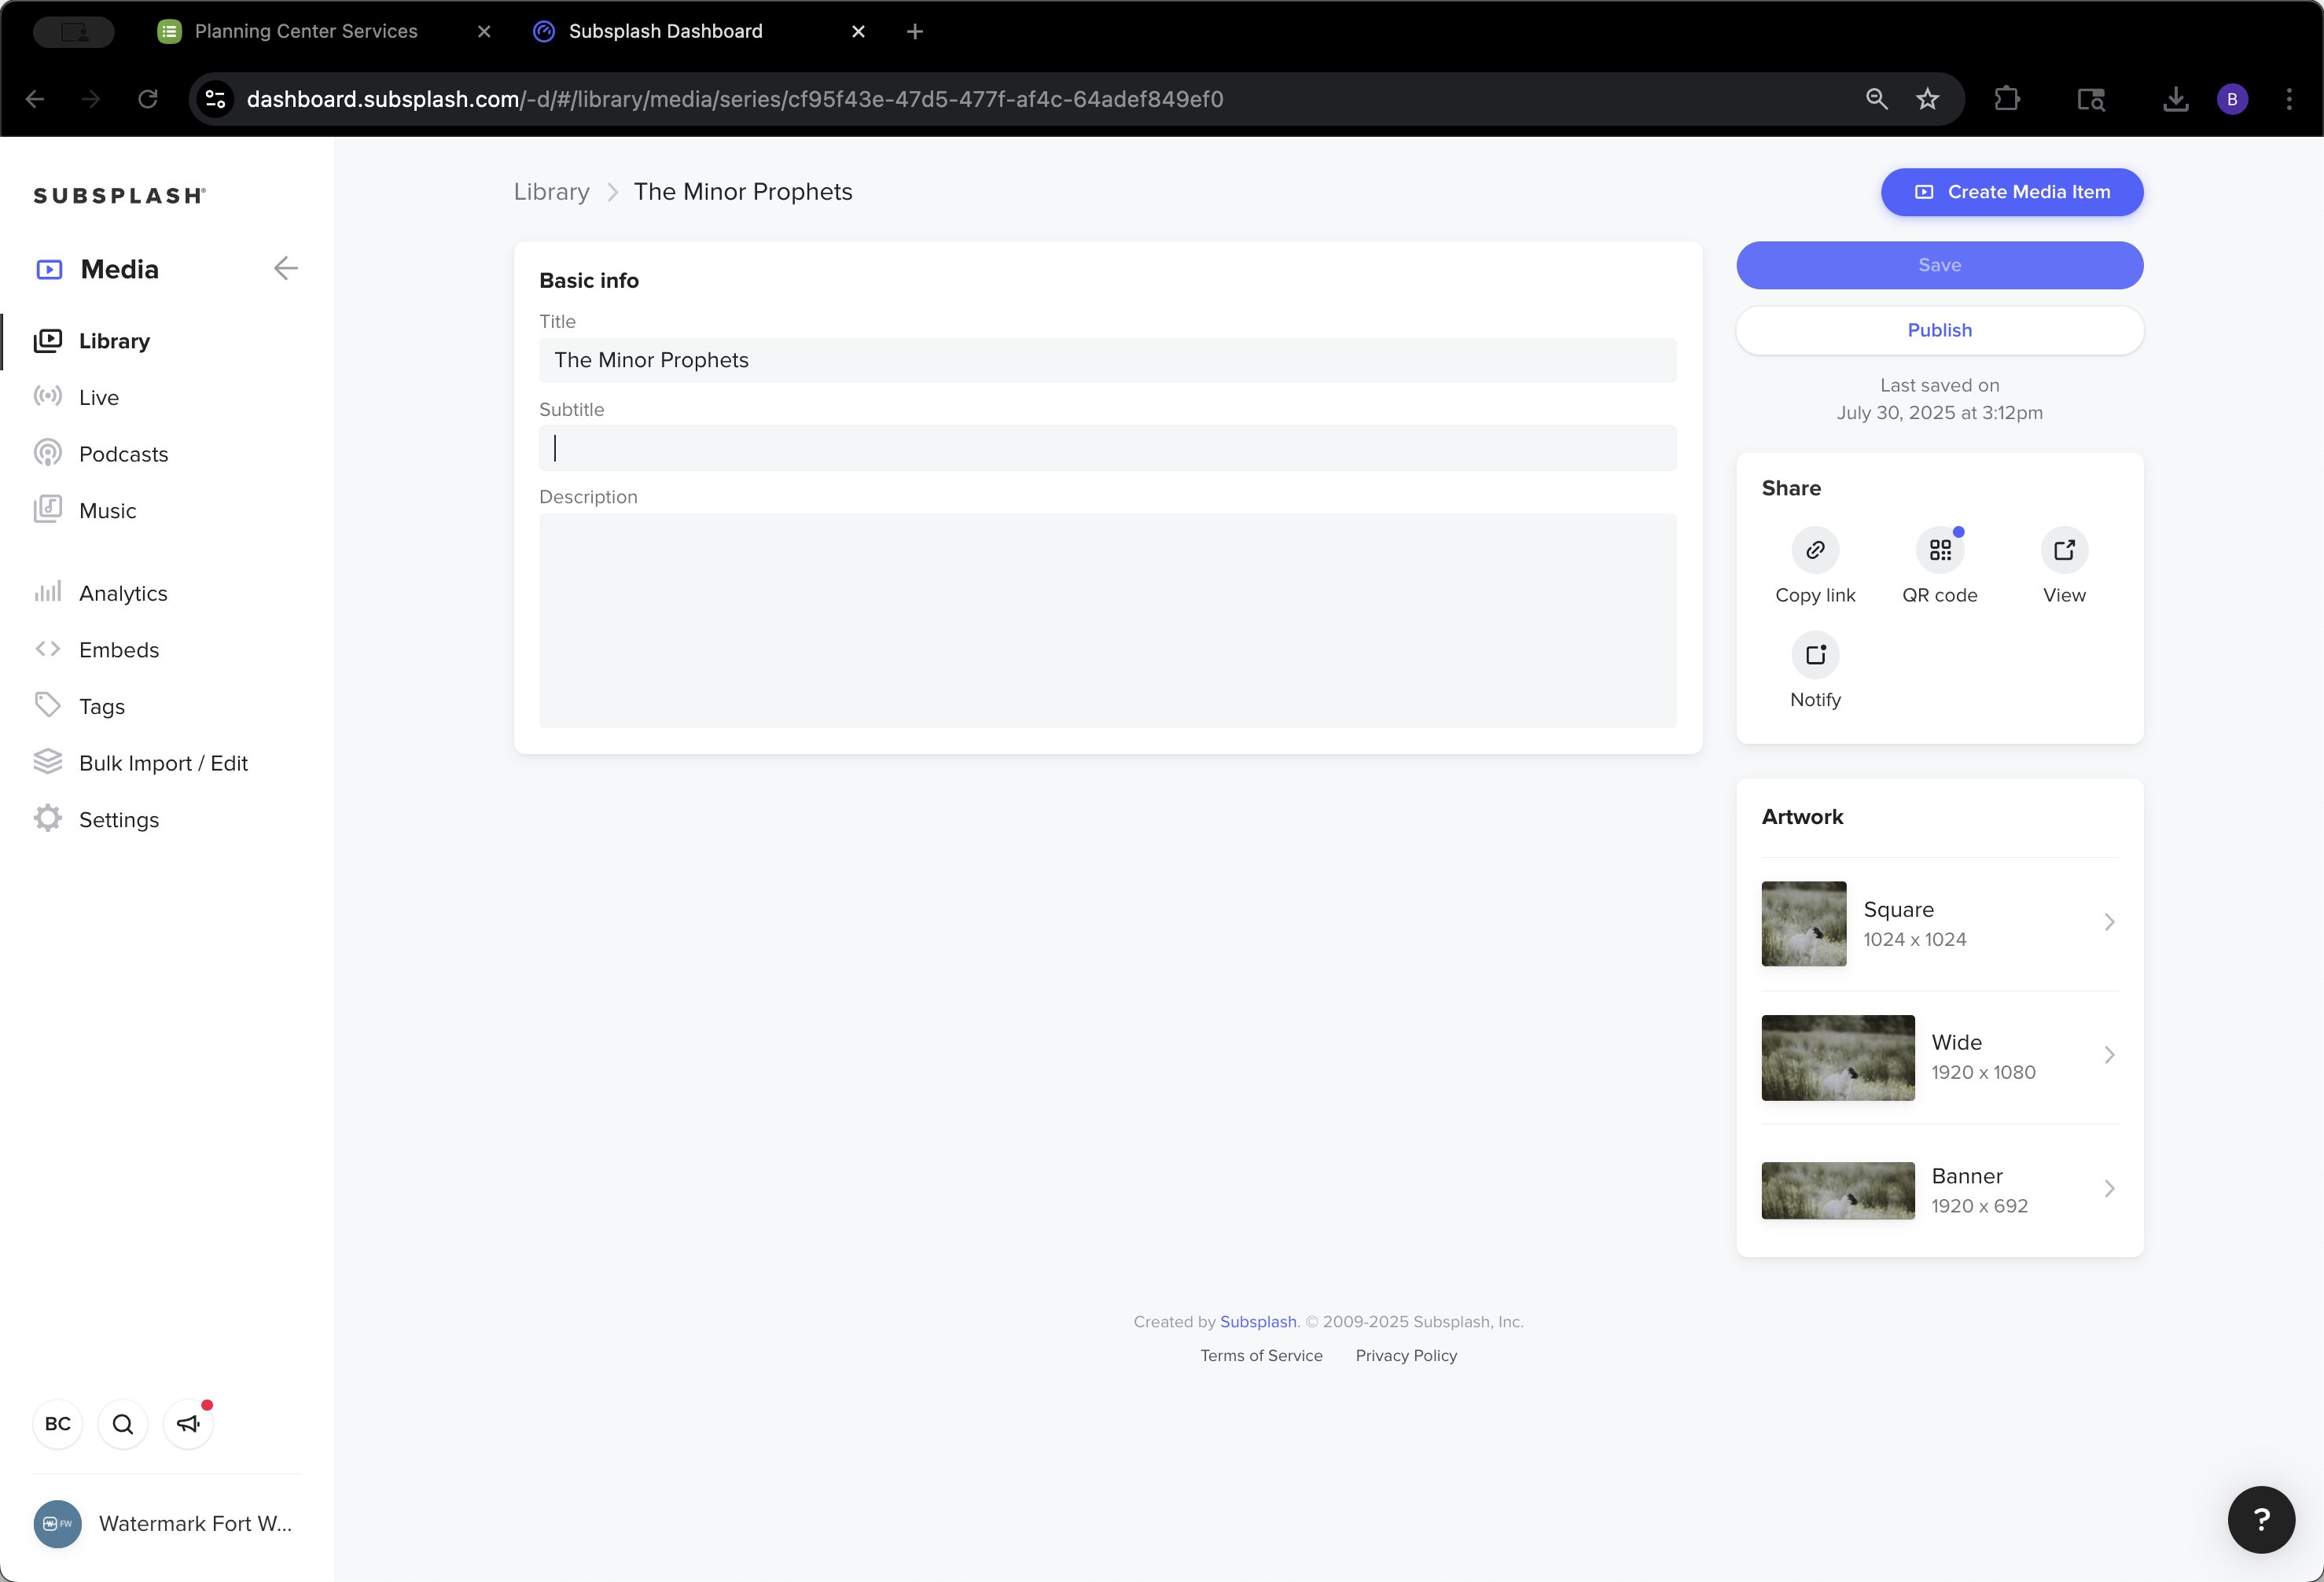
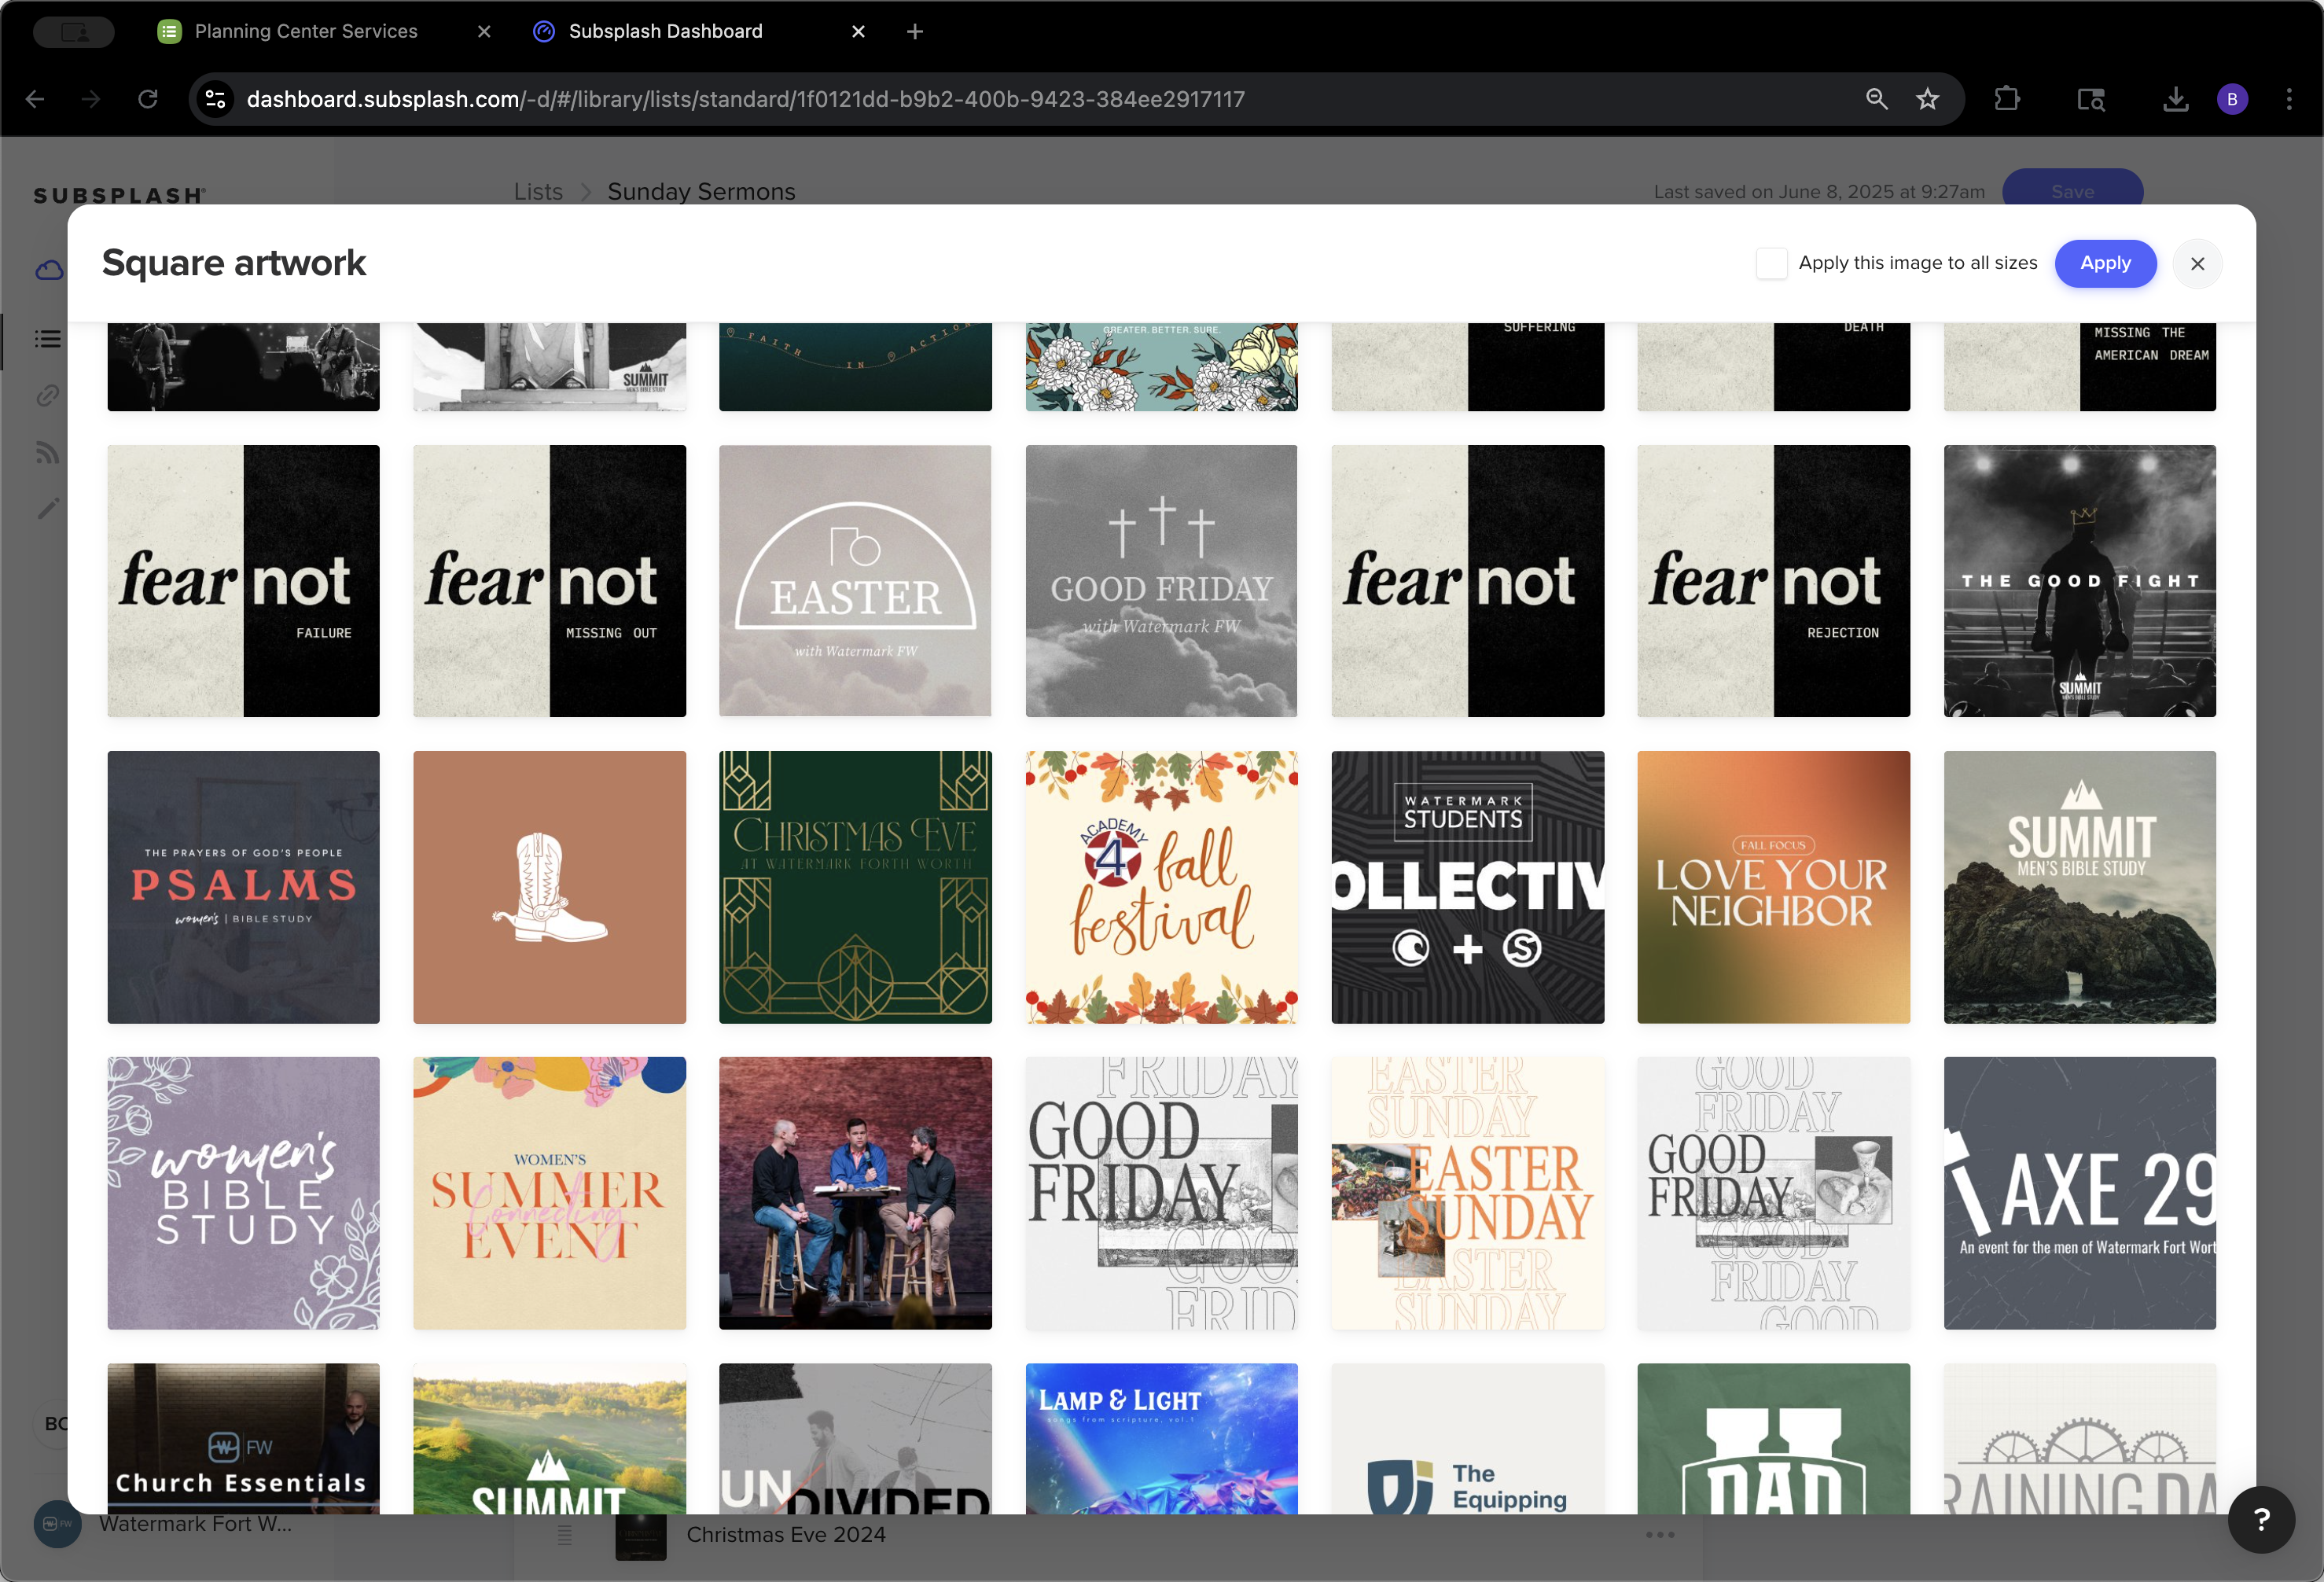
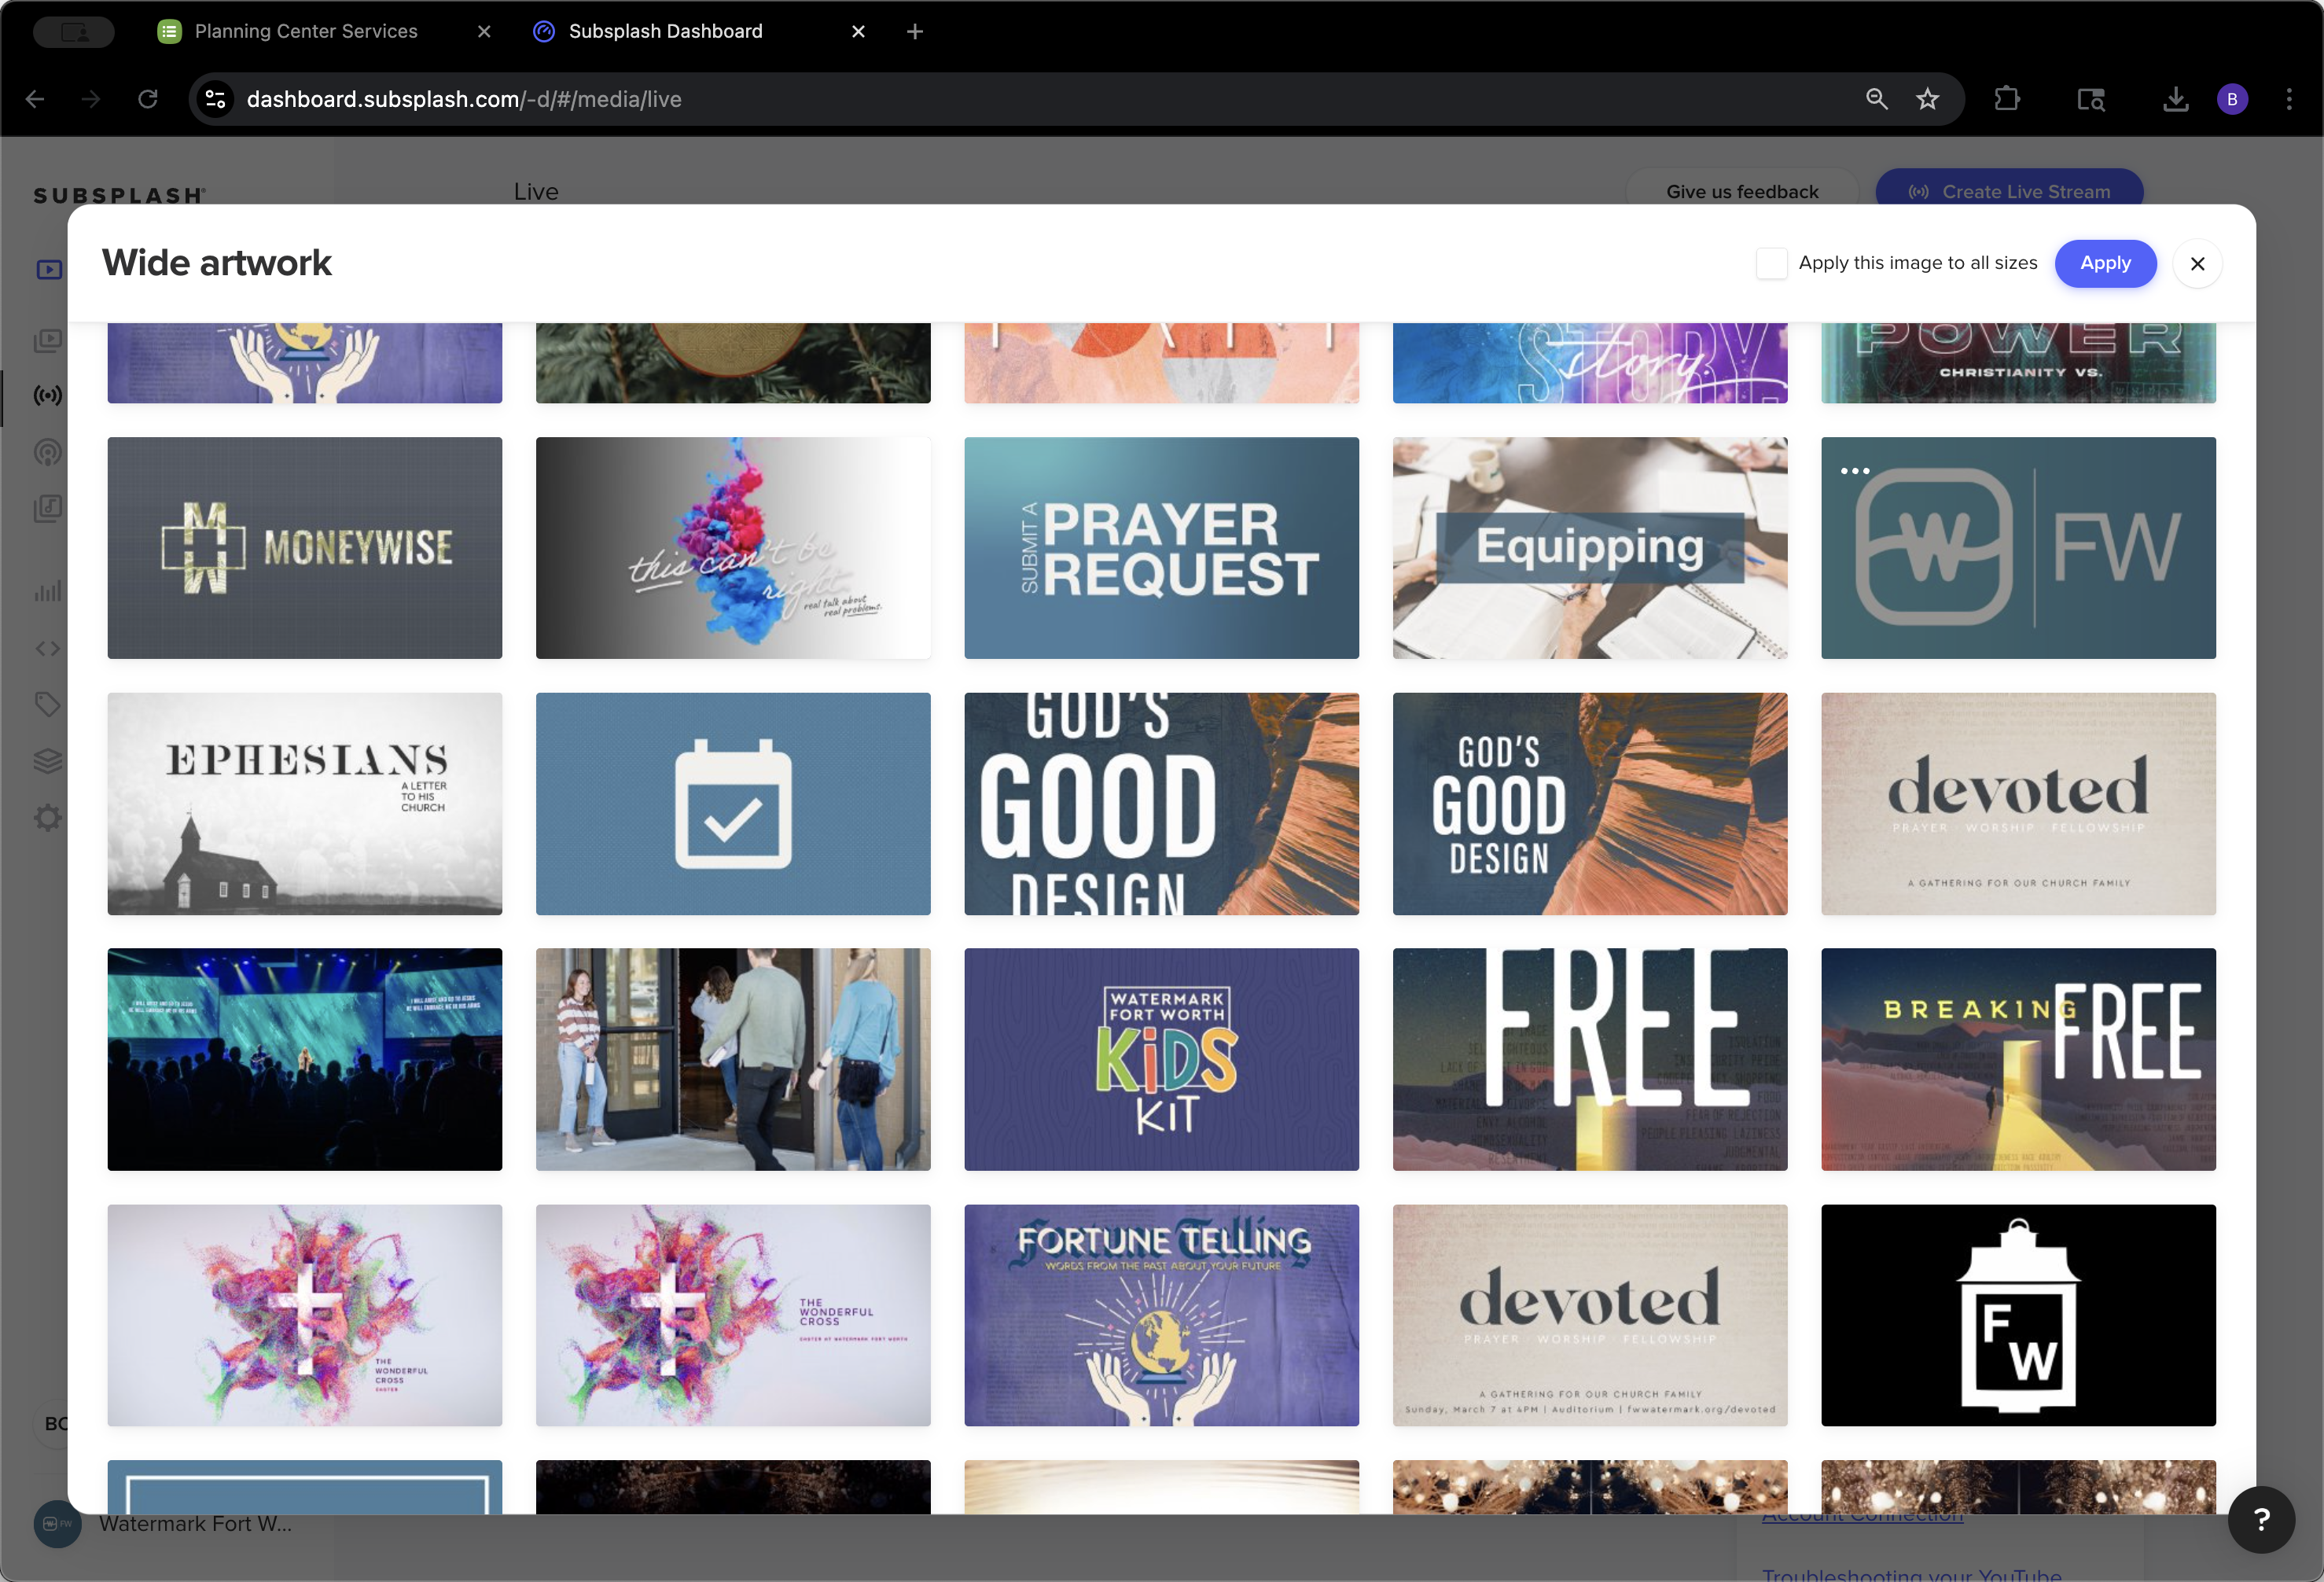
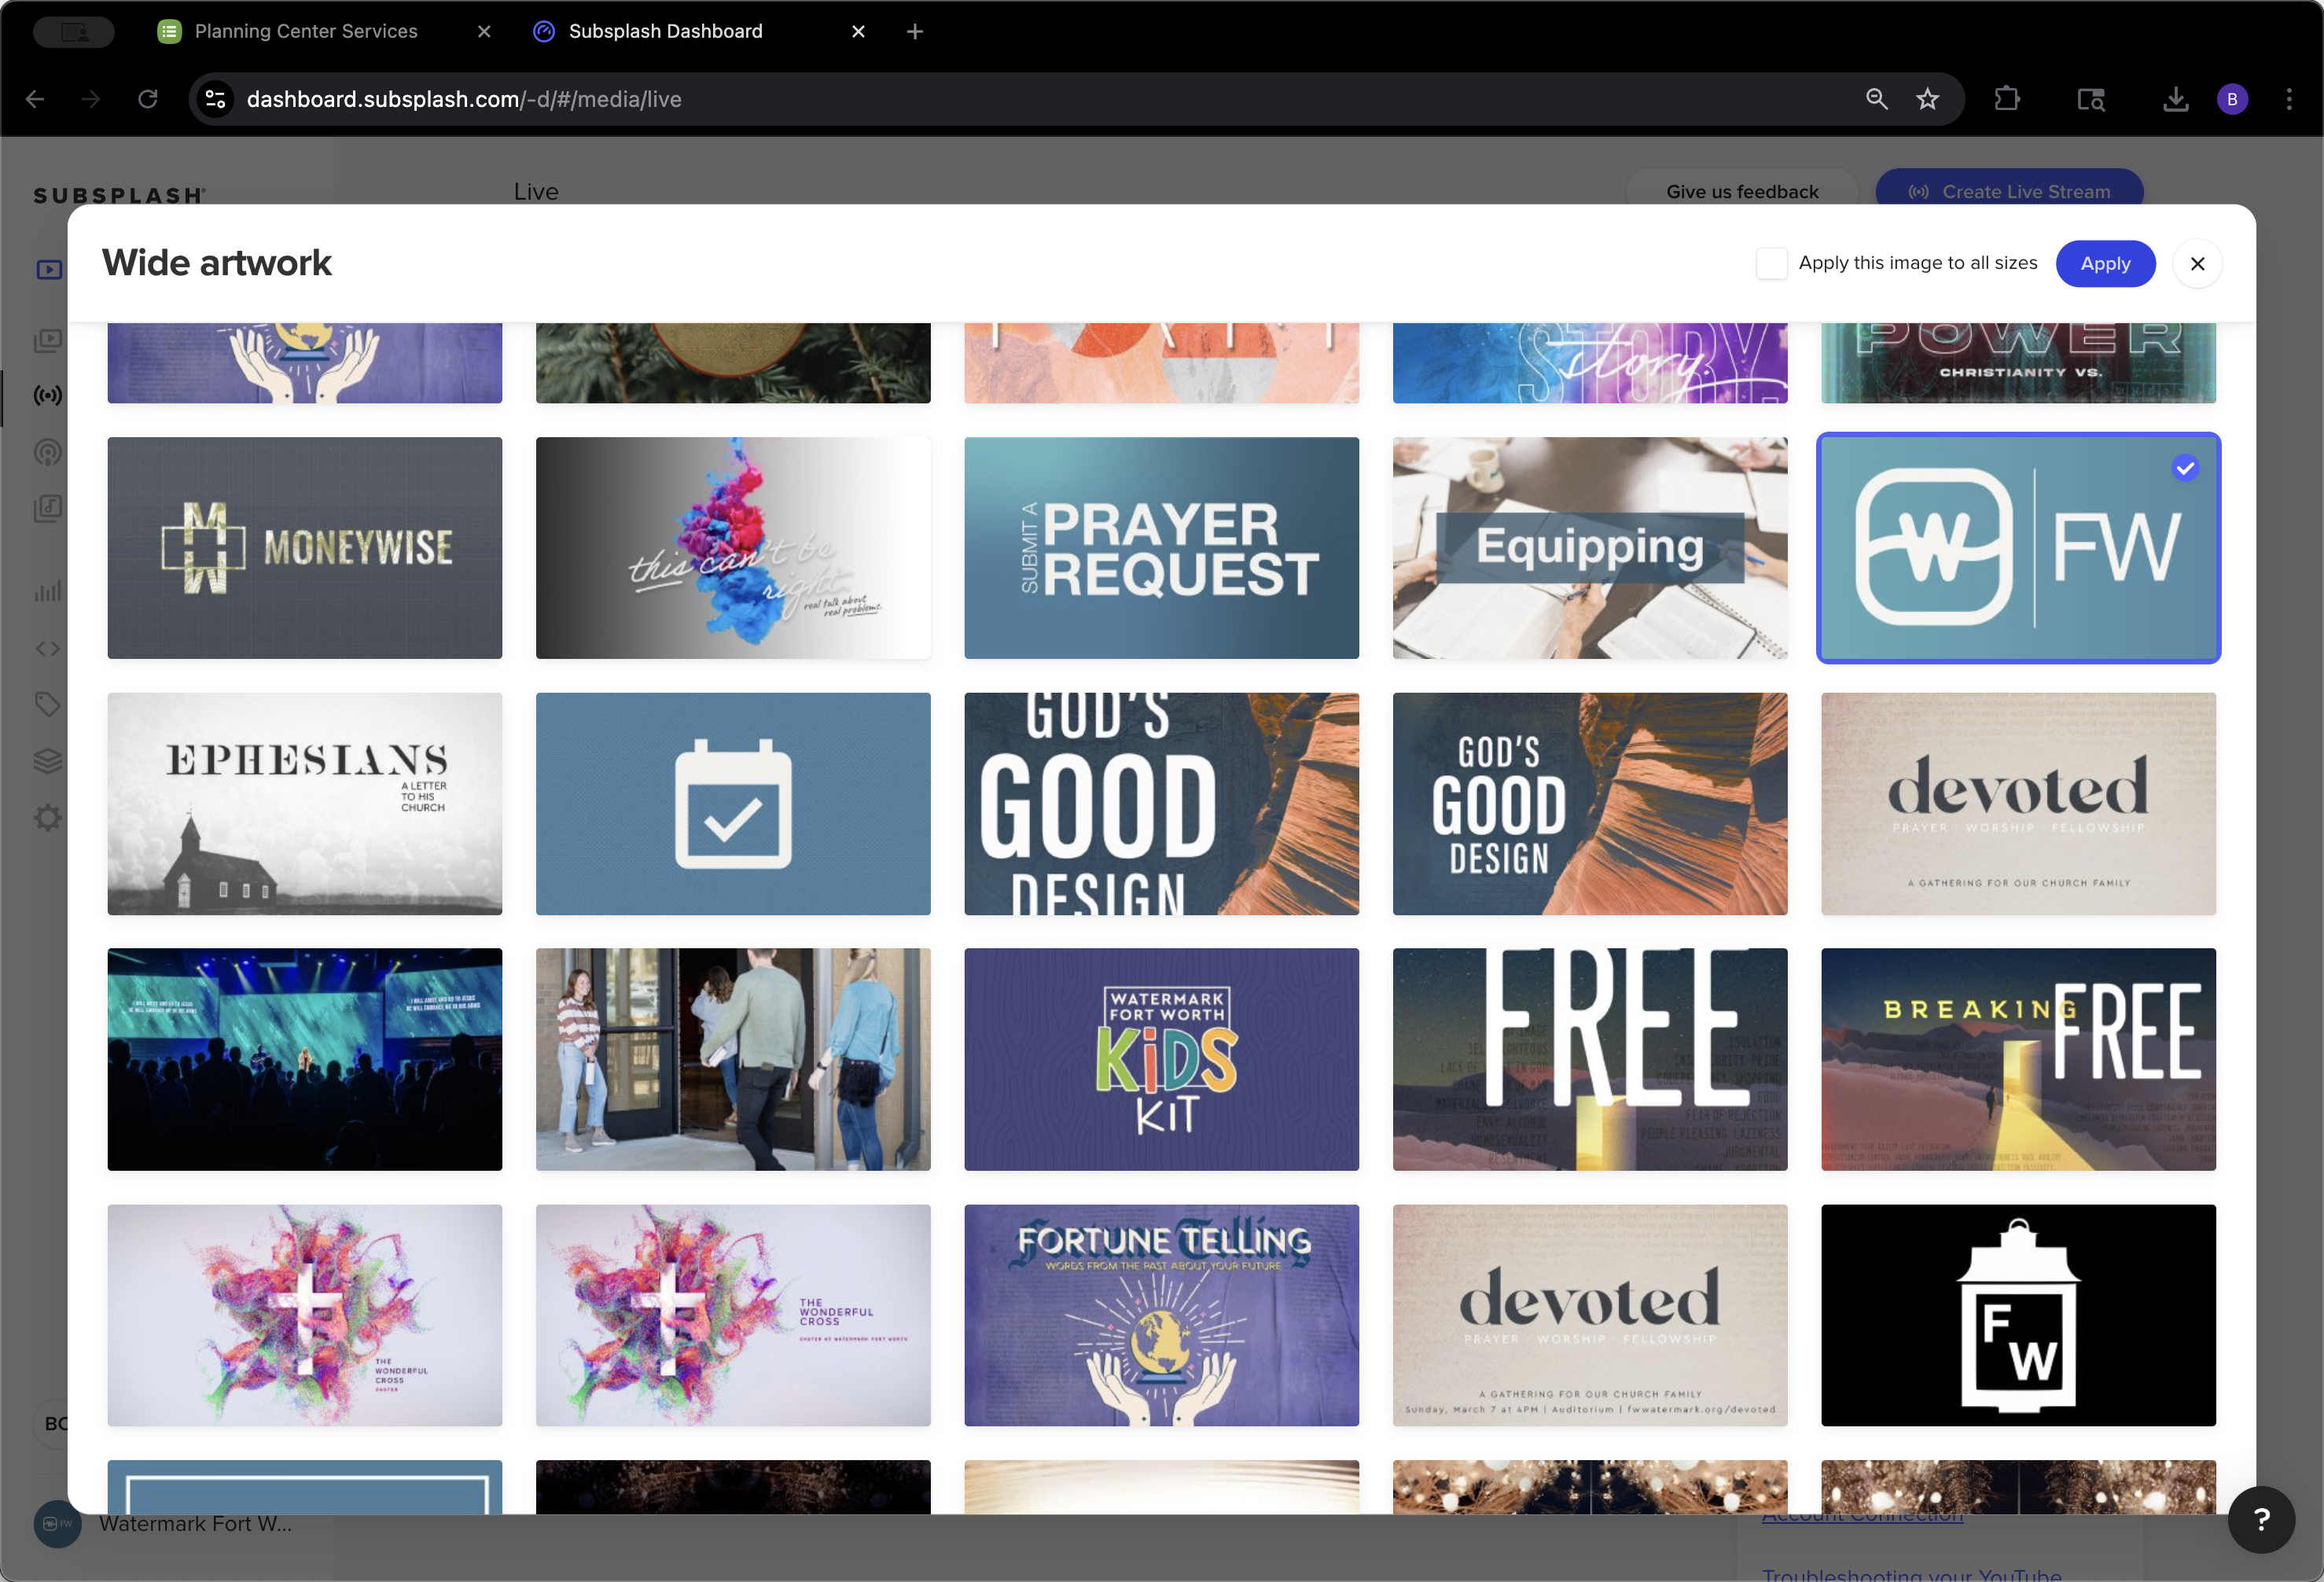
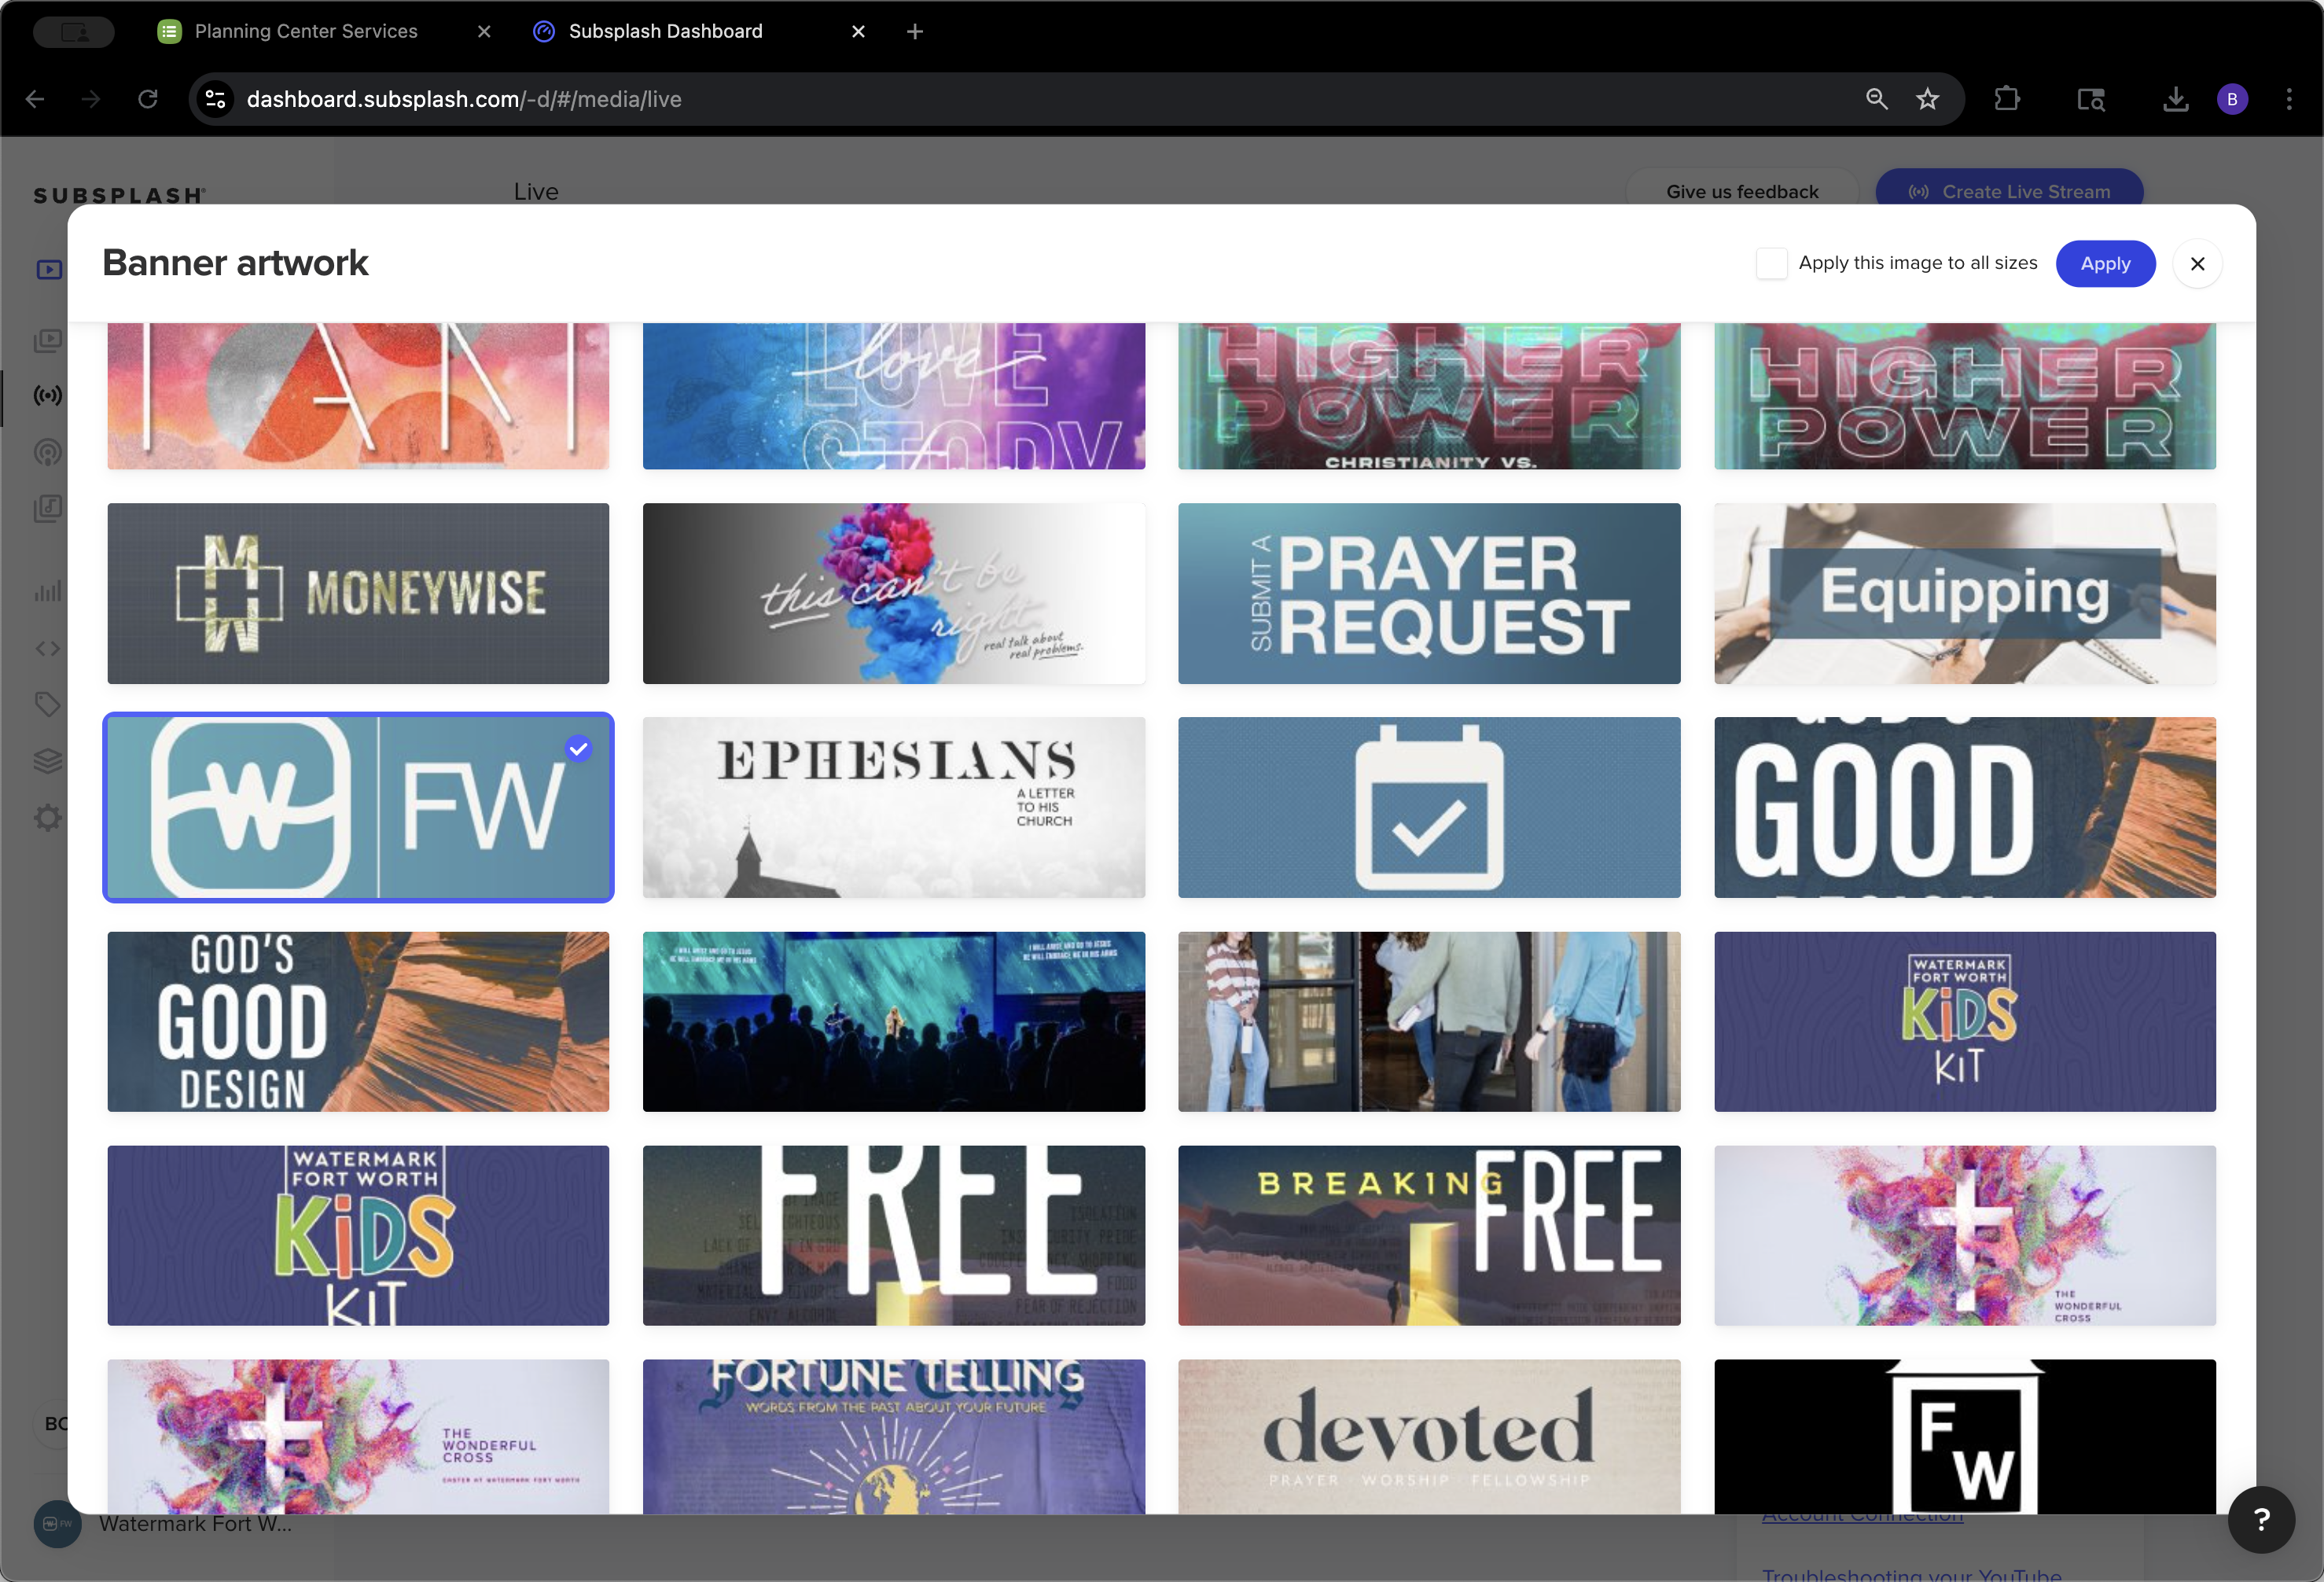
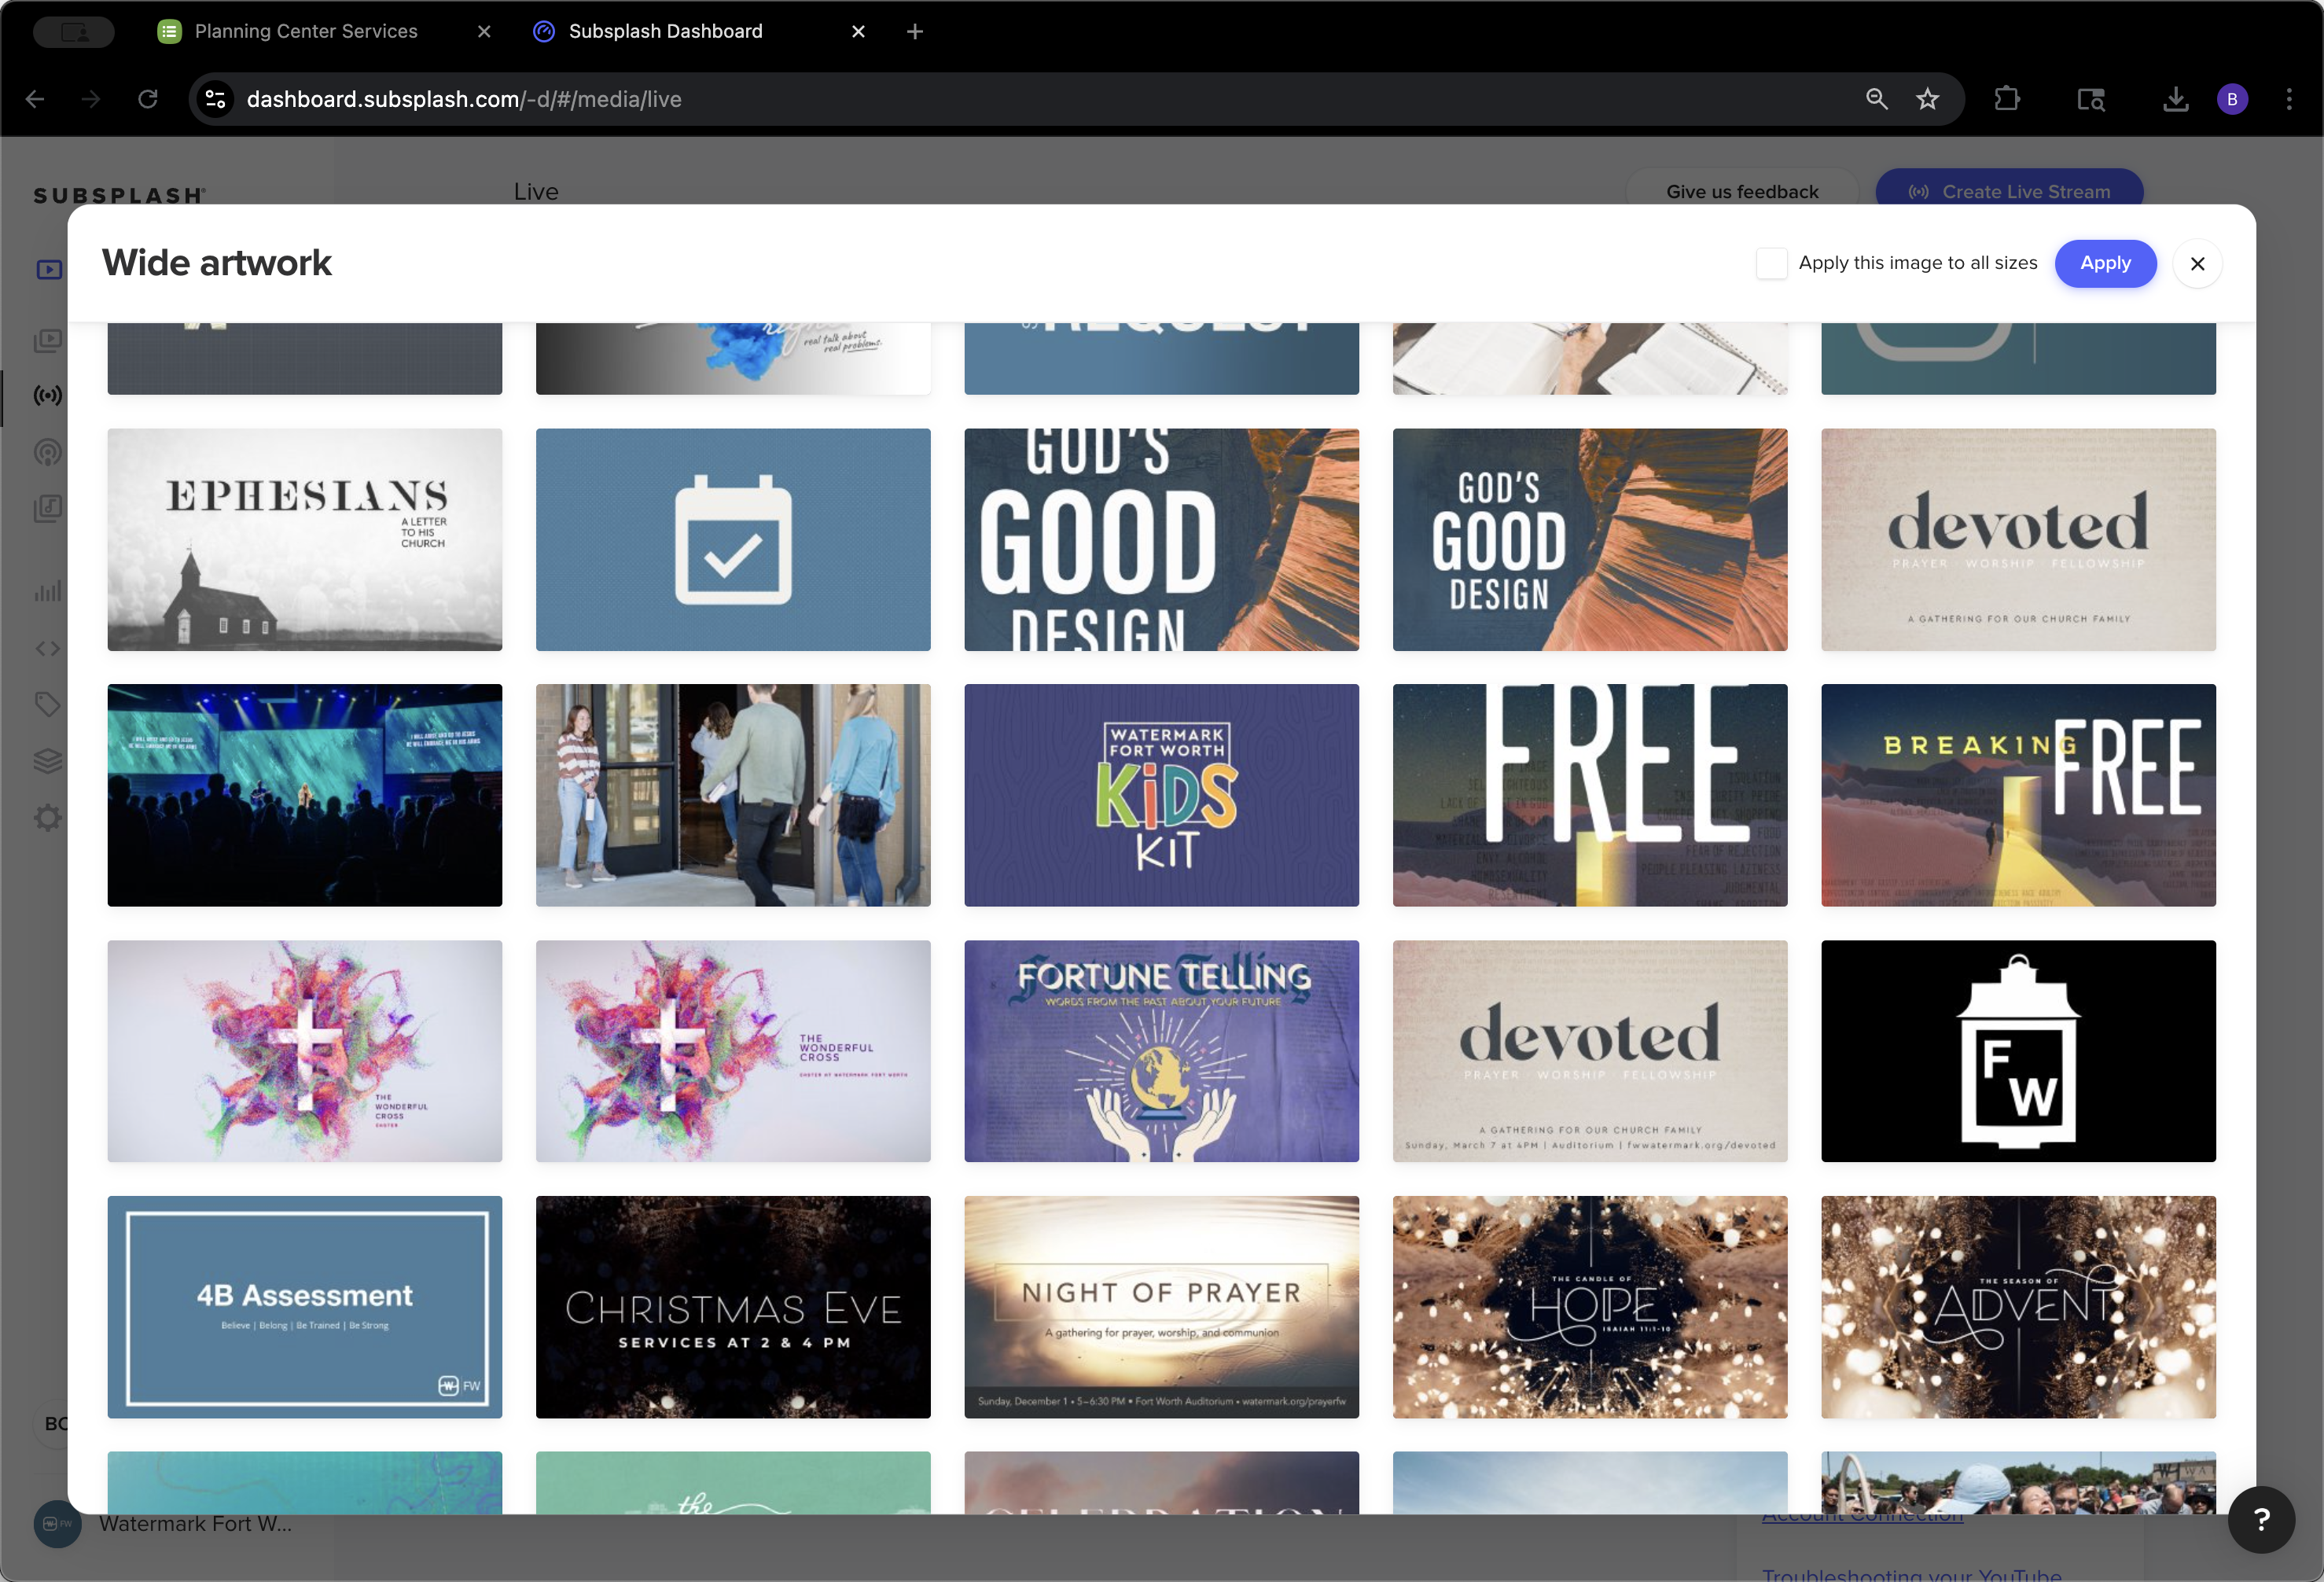
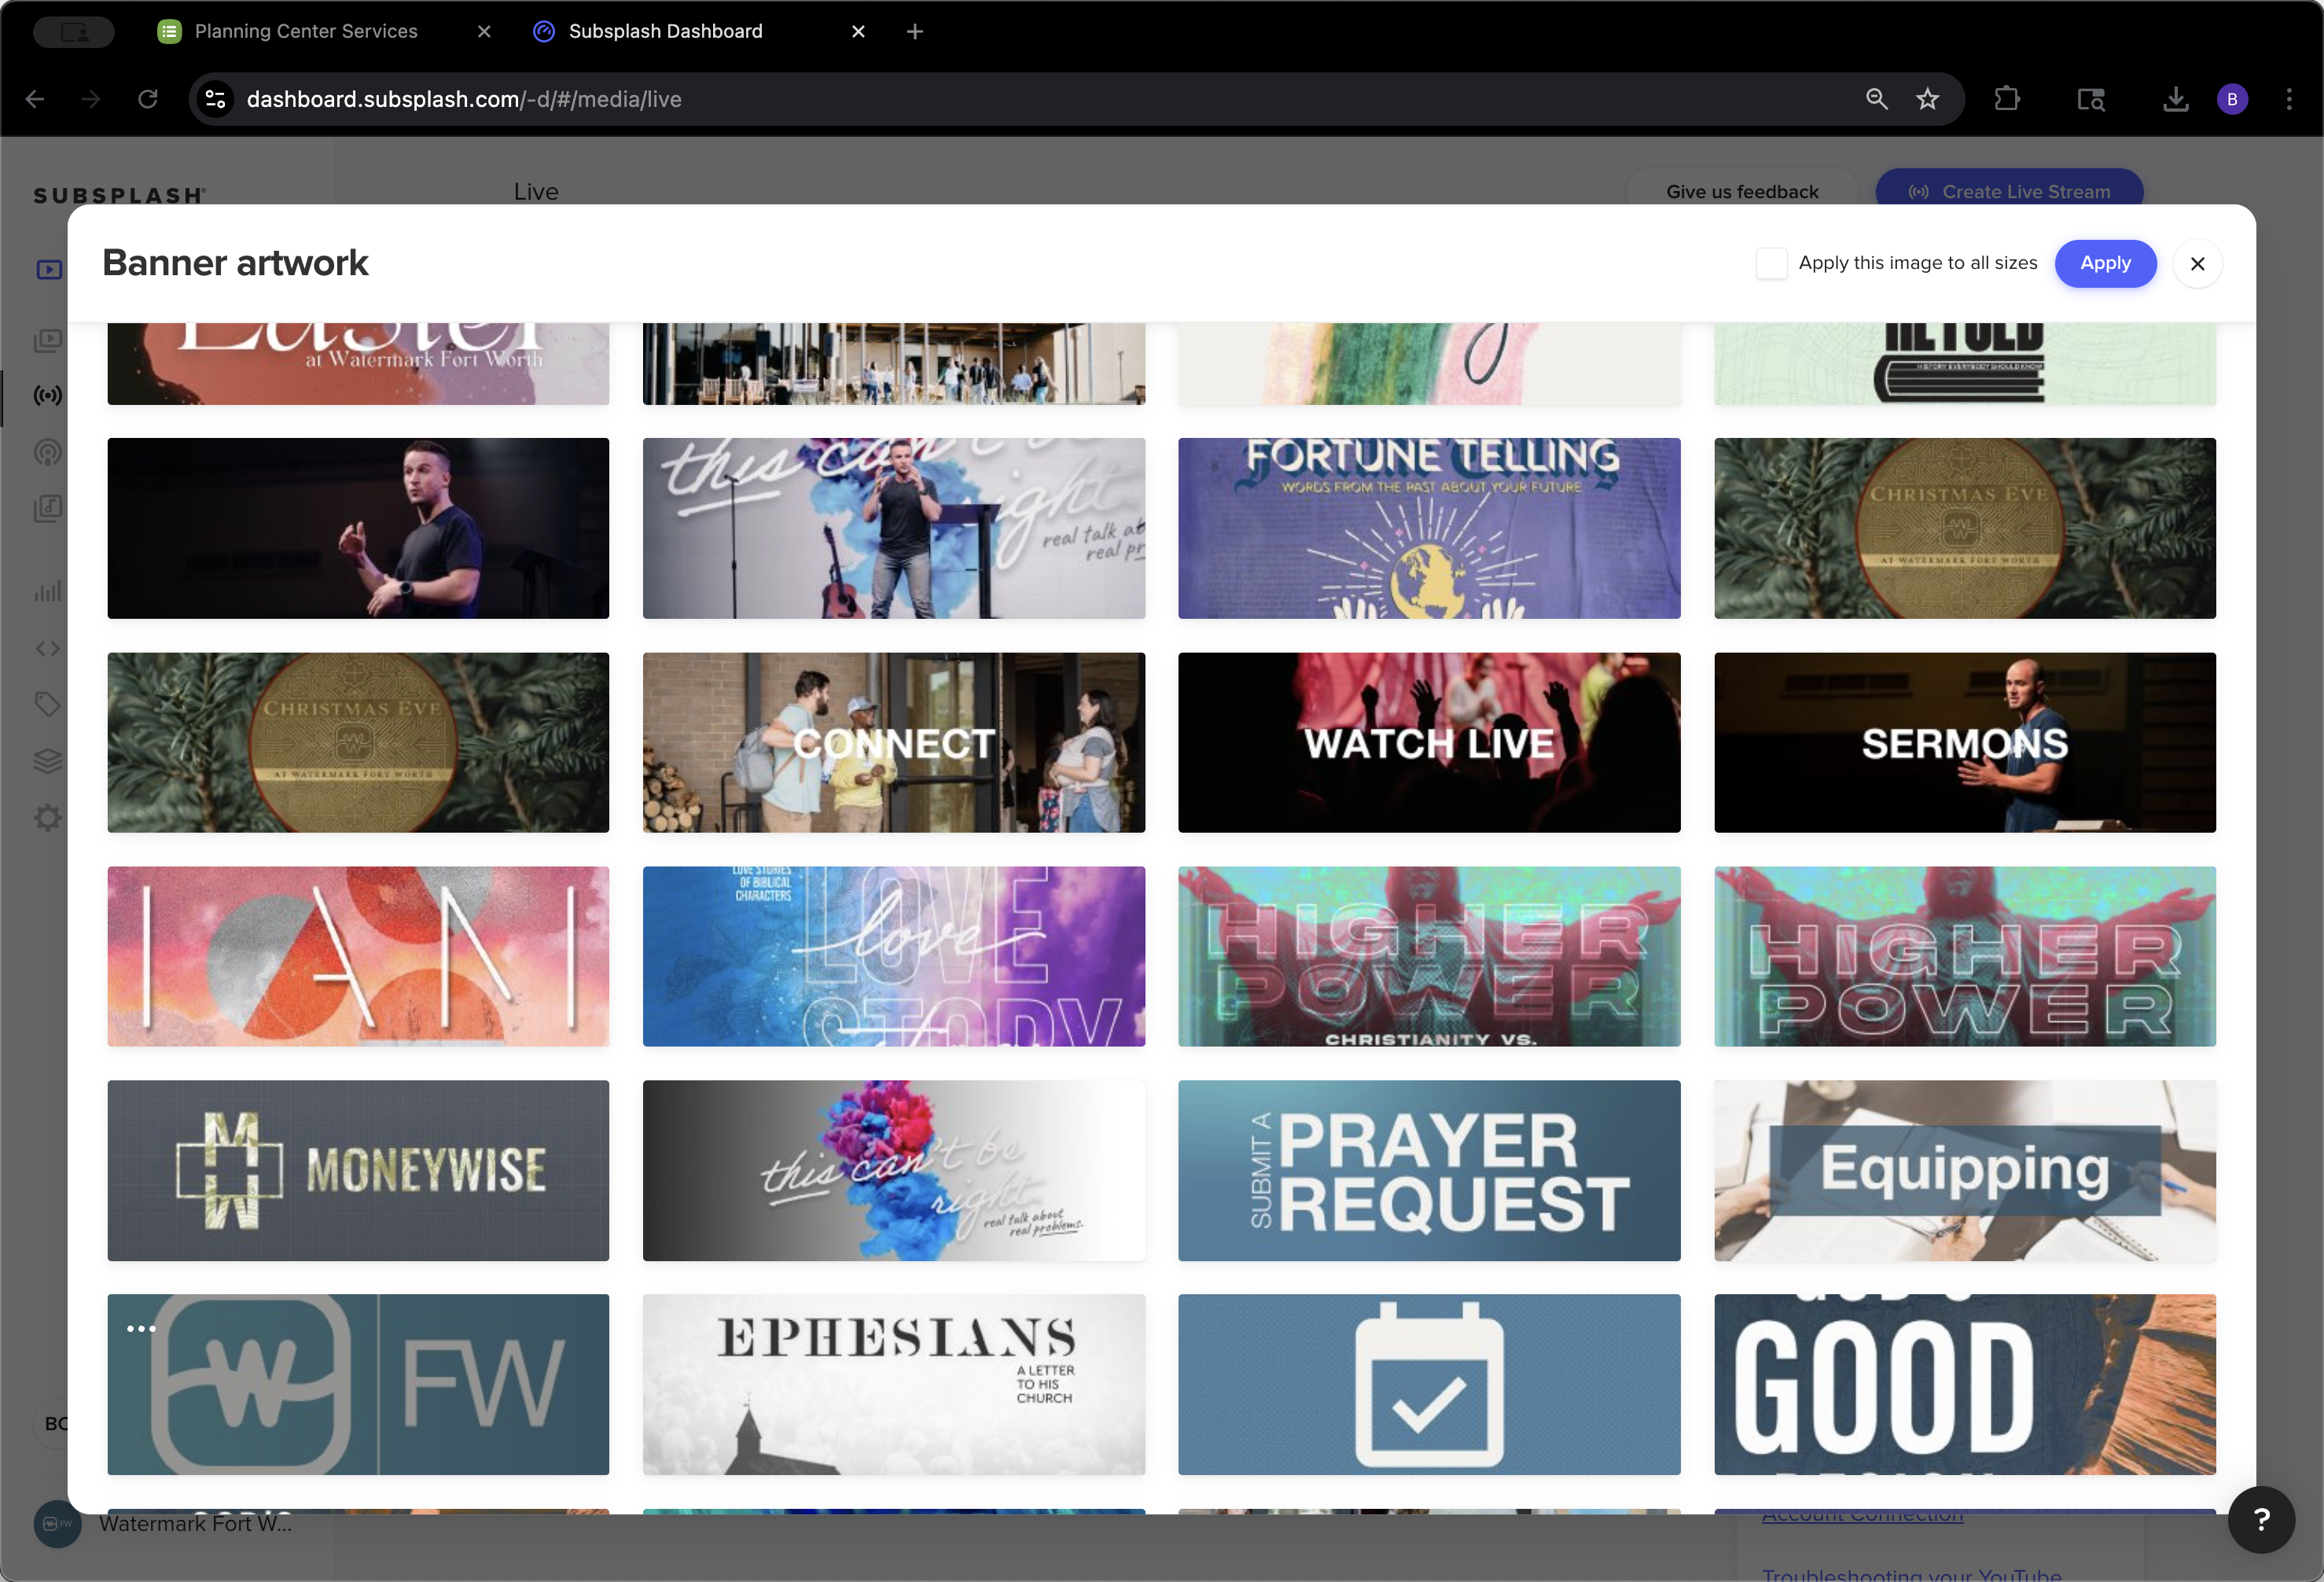
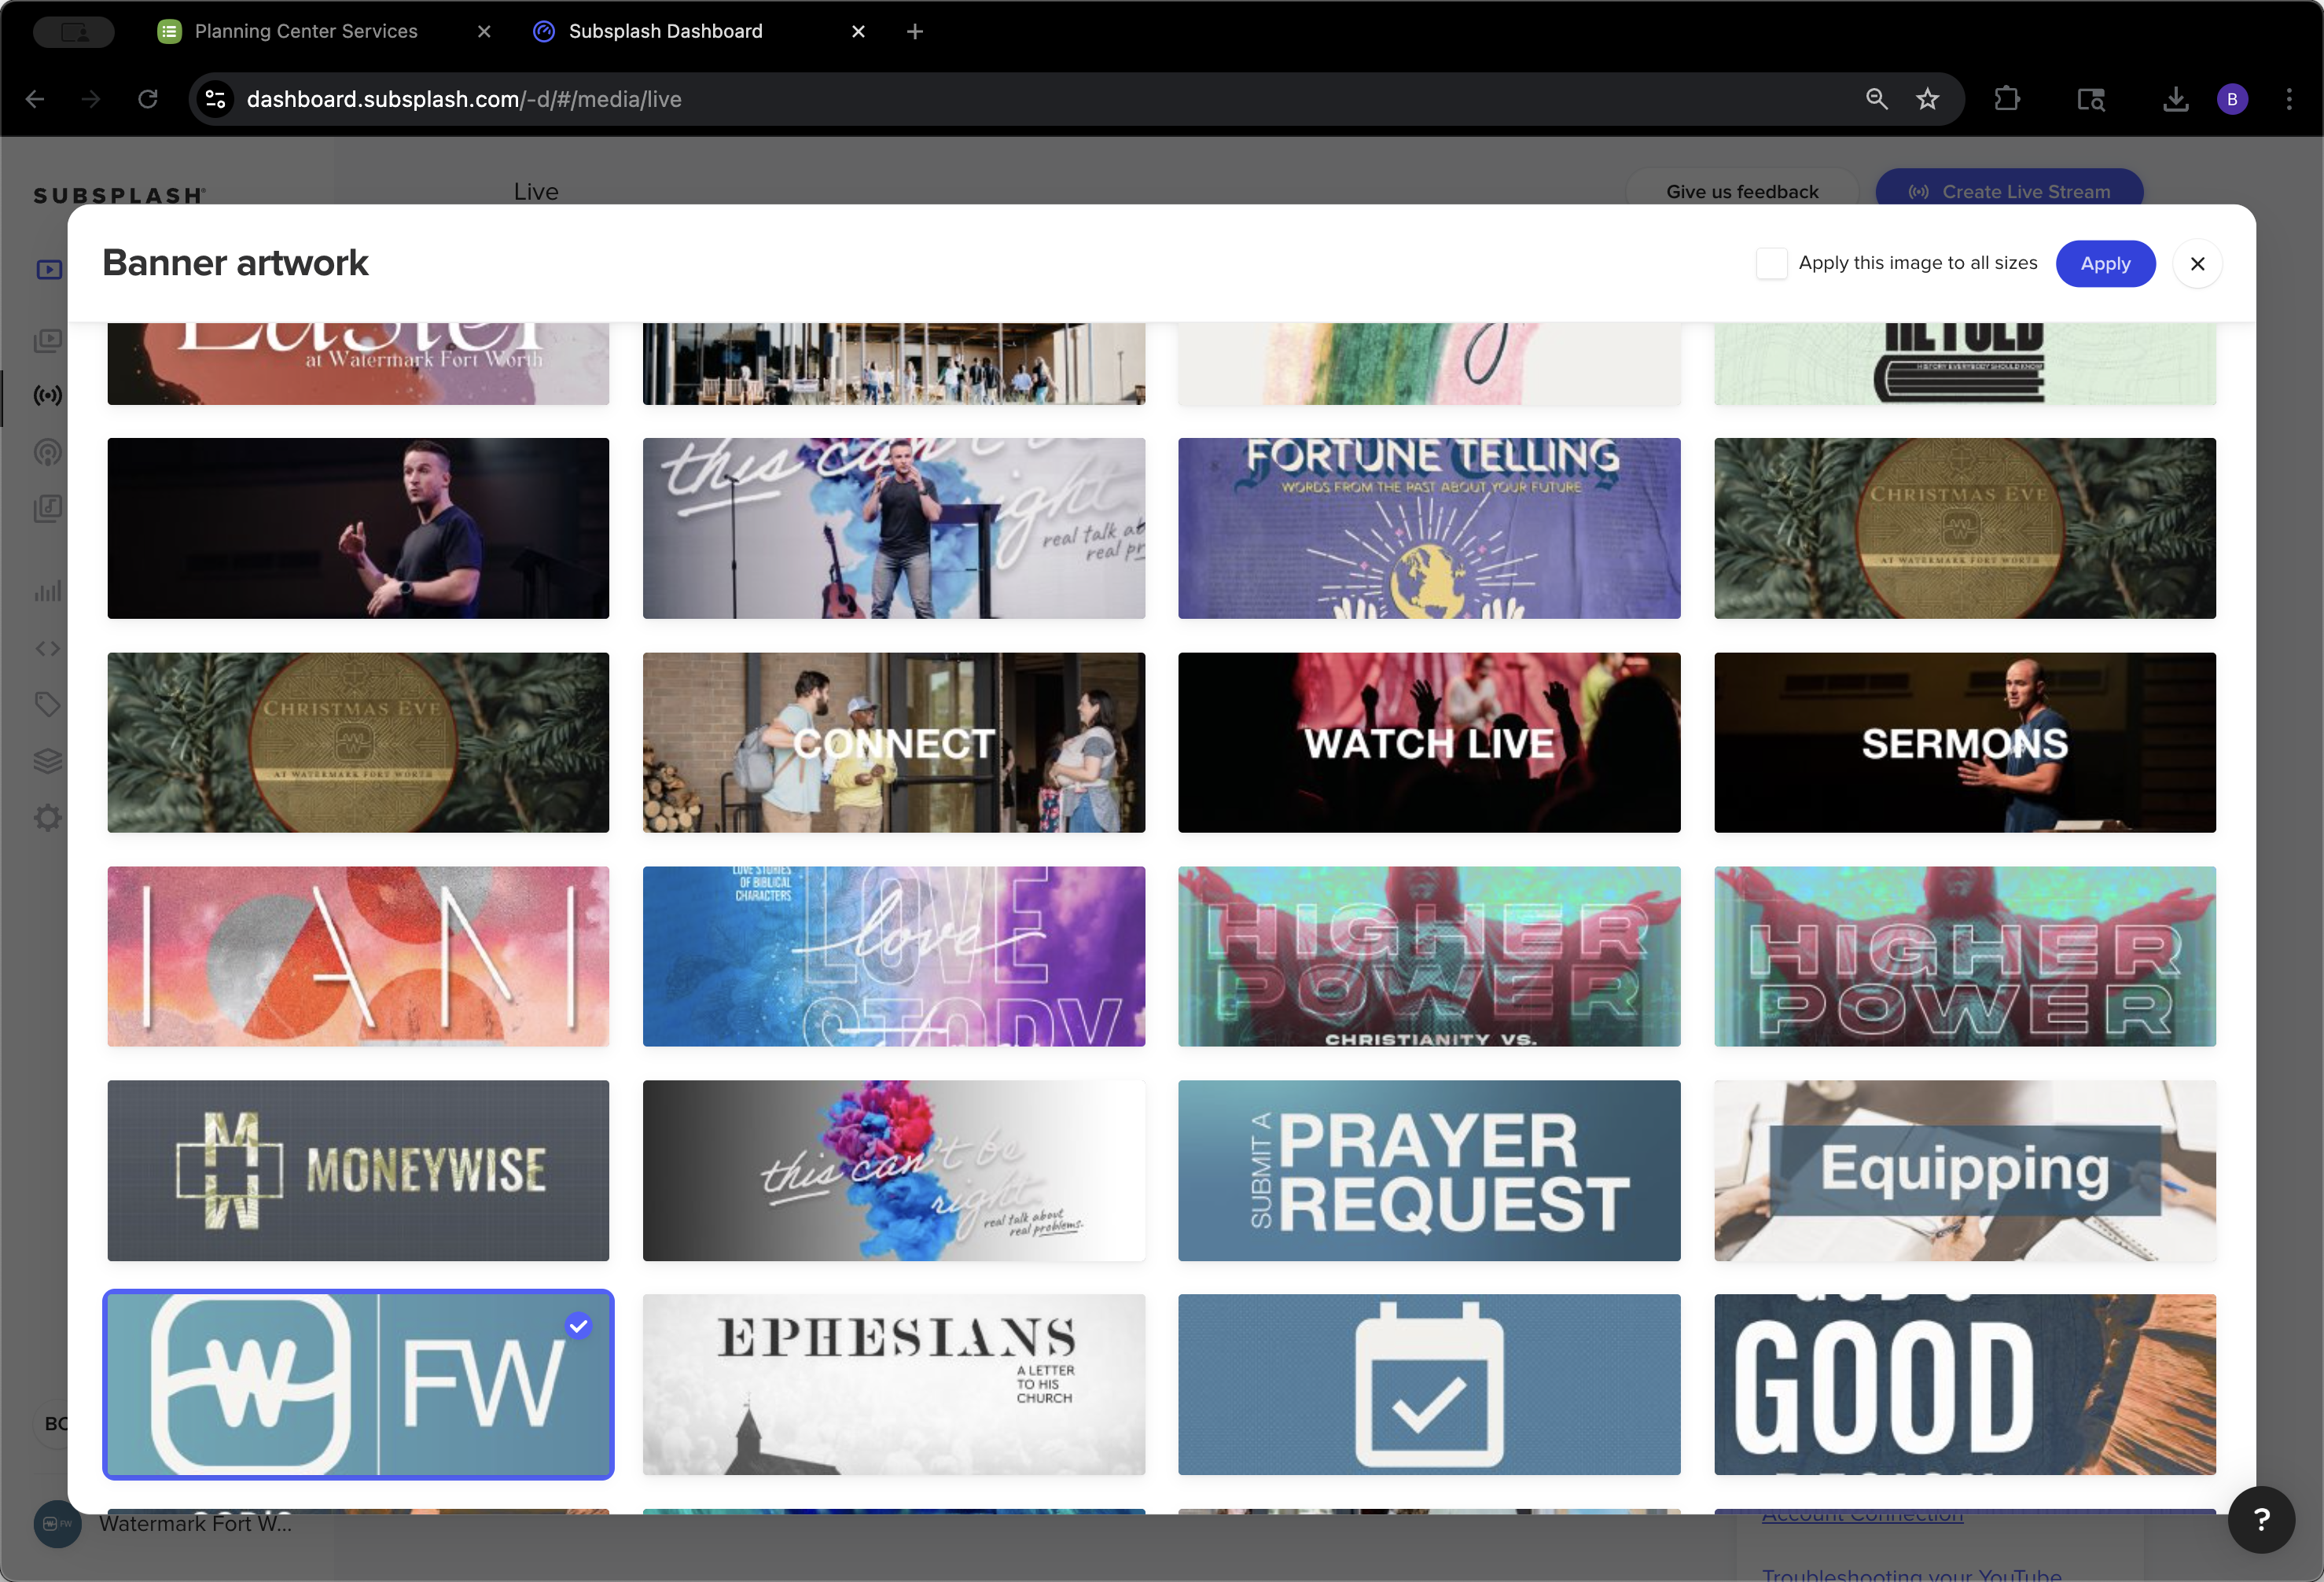
We uploaded all the branding in the correct sizes.

7
Click here
Step #7: Click here
8
Click on "Library"
Step #8: Click on "Library"
9
Click here
Step #9: Click here
10
Click on "Apply"
Step #10: Click on "Apply"

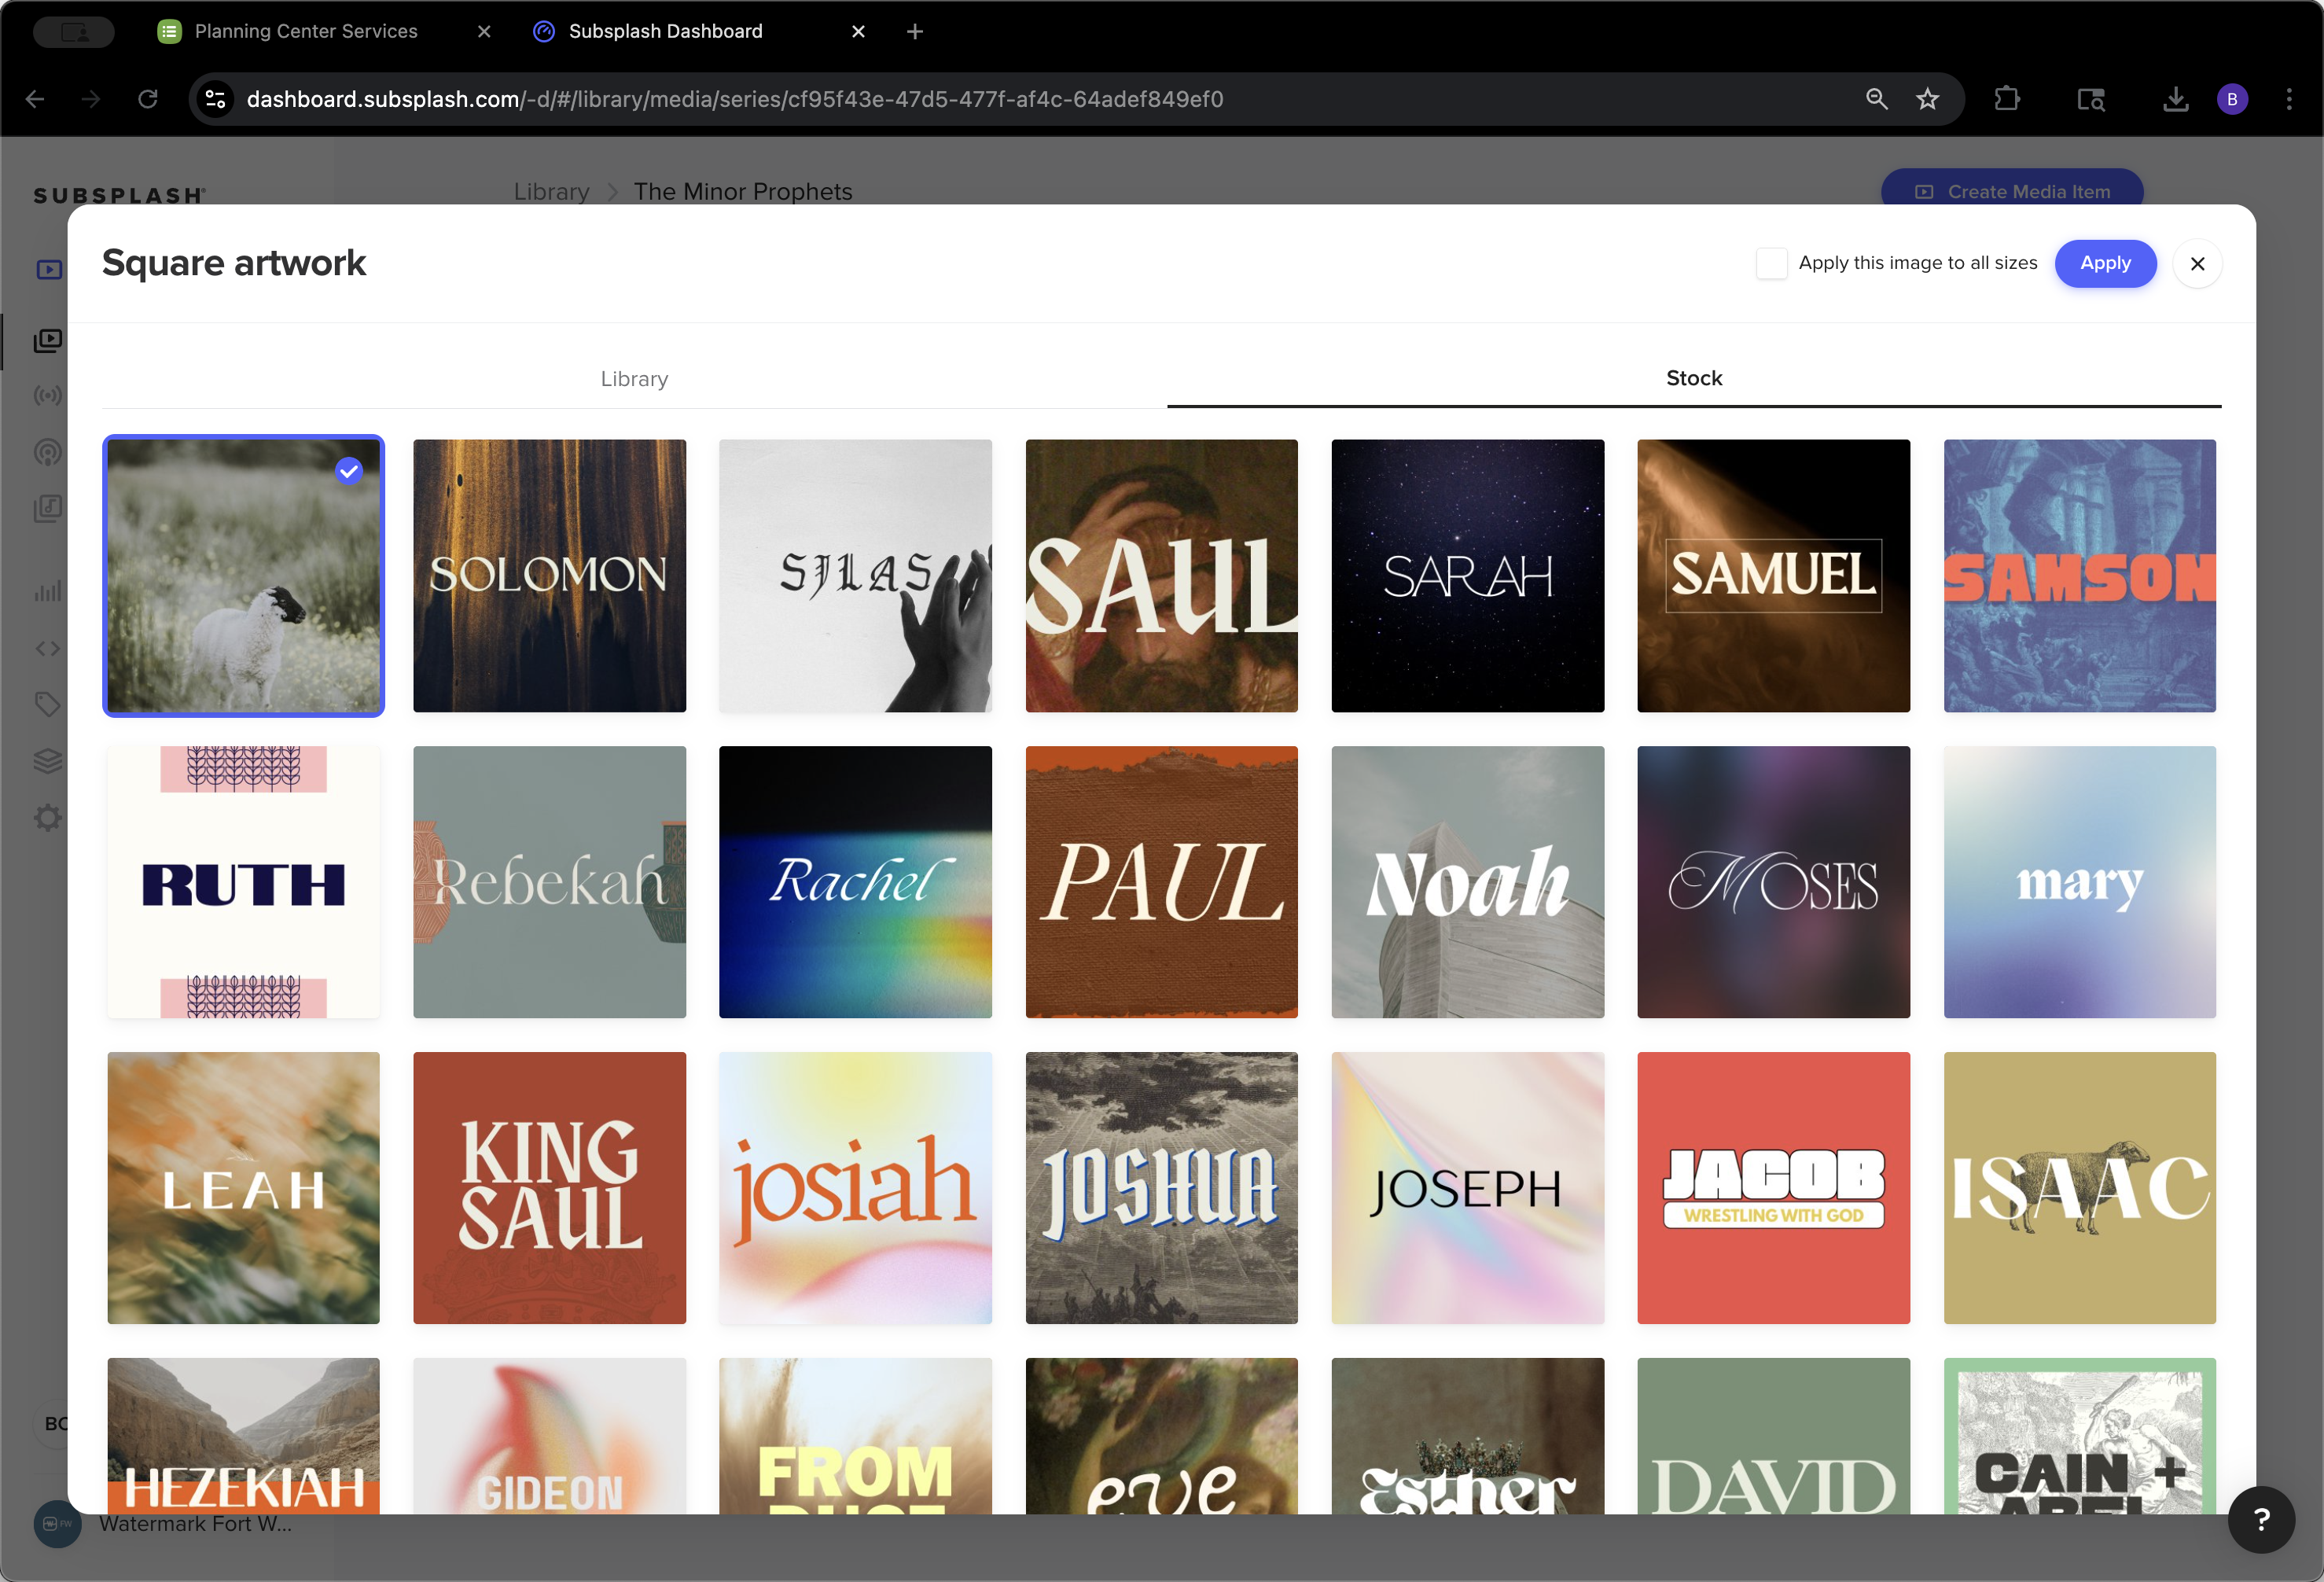
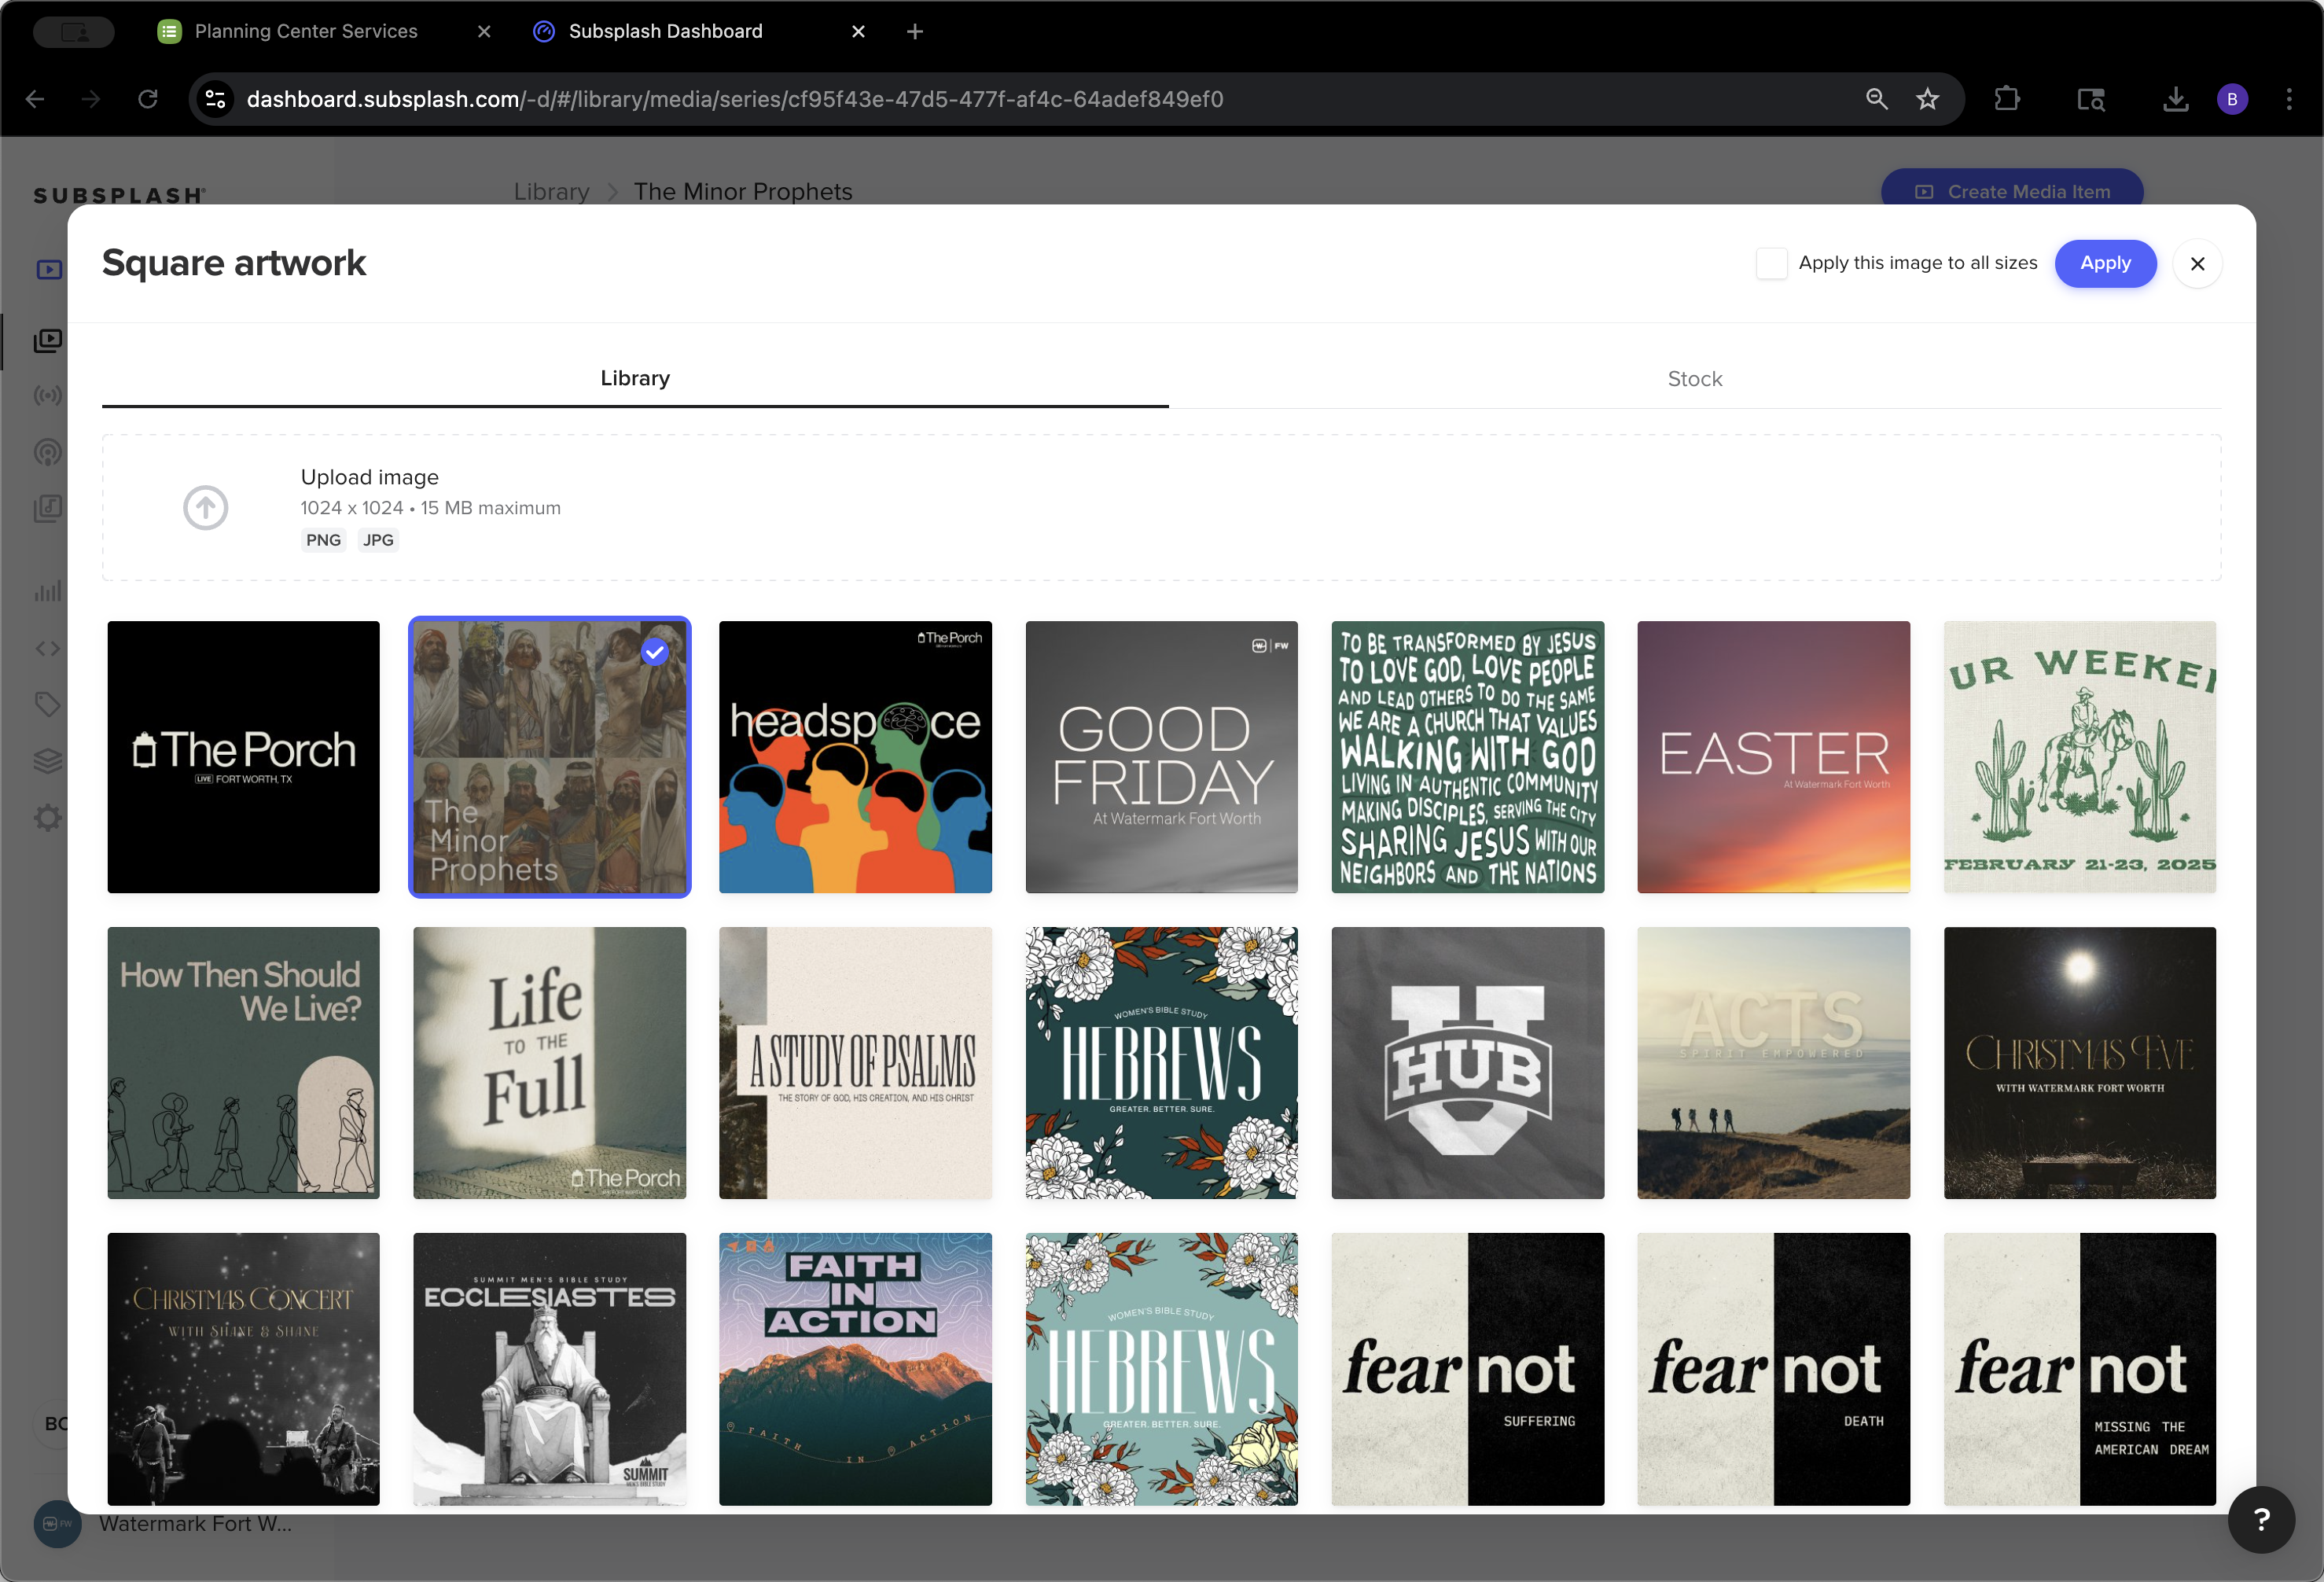
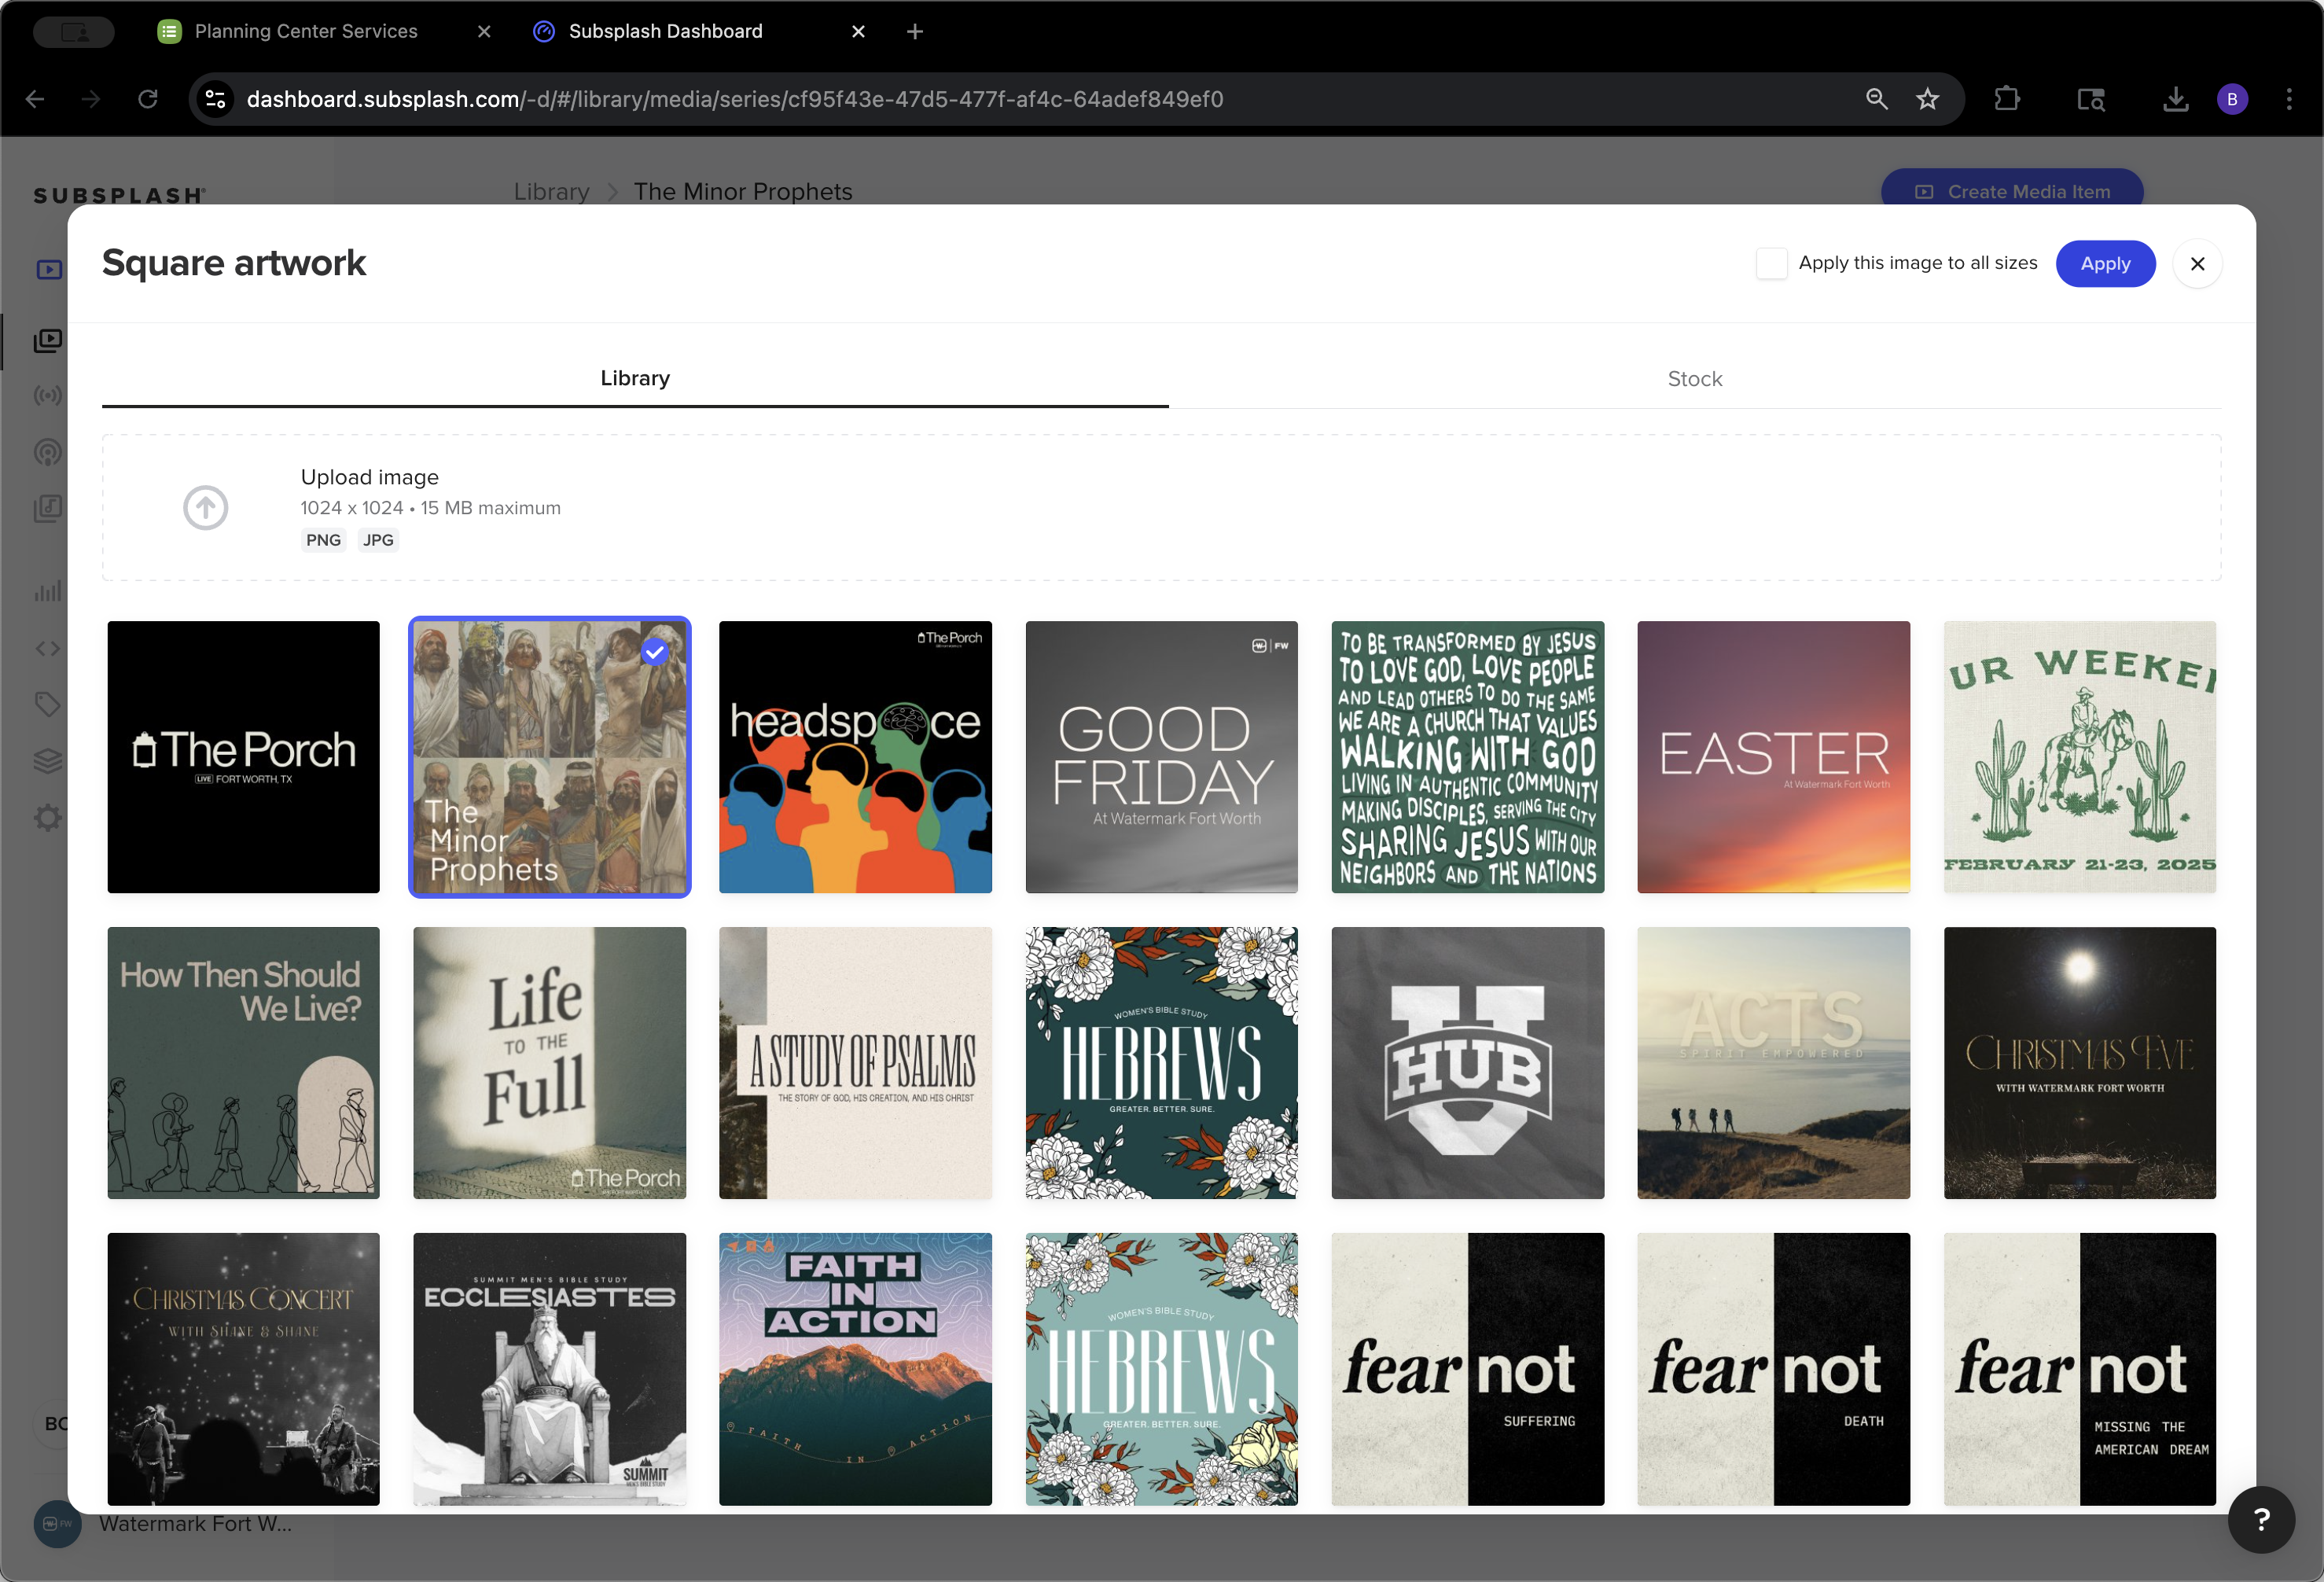
Make sure to upload each file individually. Do not click "apply to all sizes."

11
Click here
Step #11: Click here
12
Click here
Step #12: Click here
13
Click here
Step #13: Click here

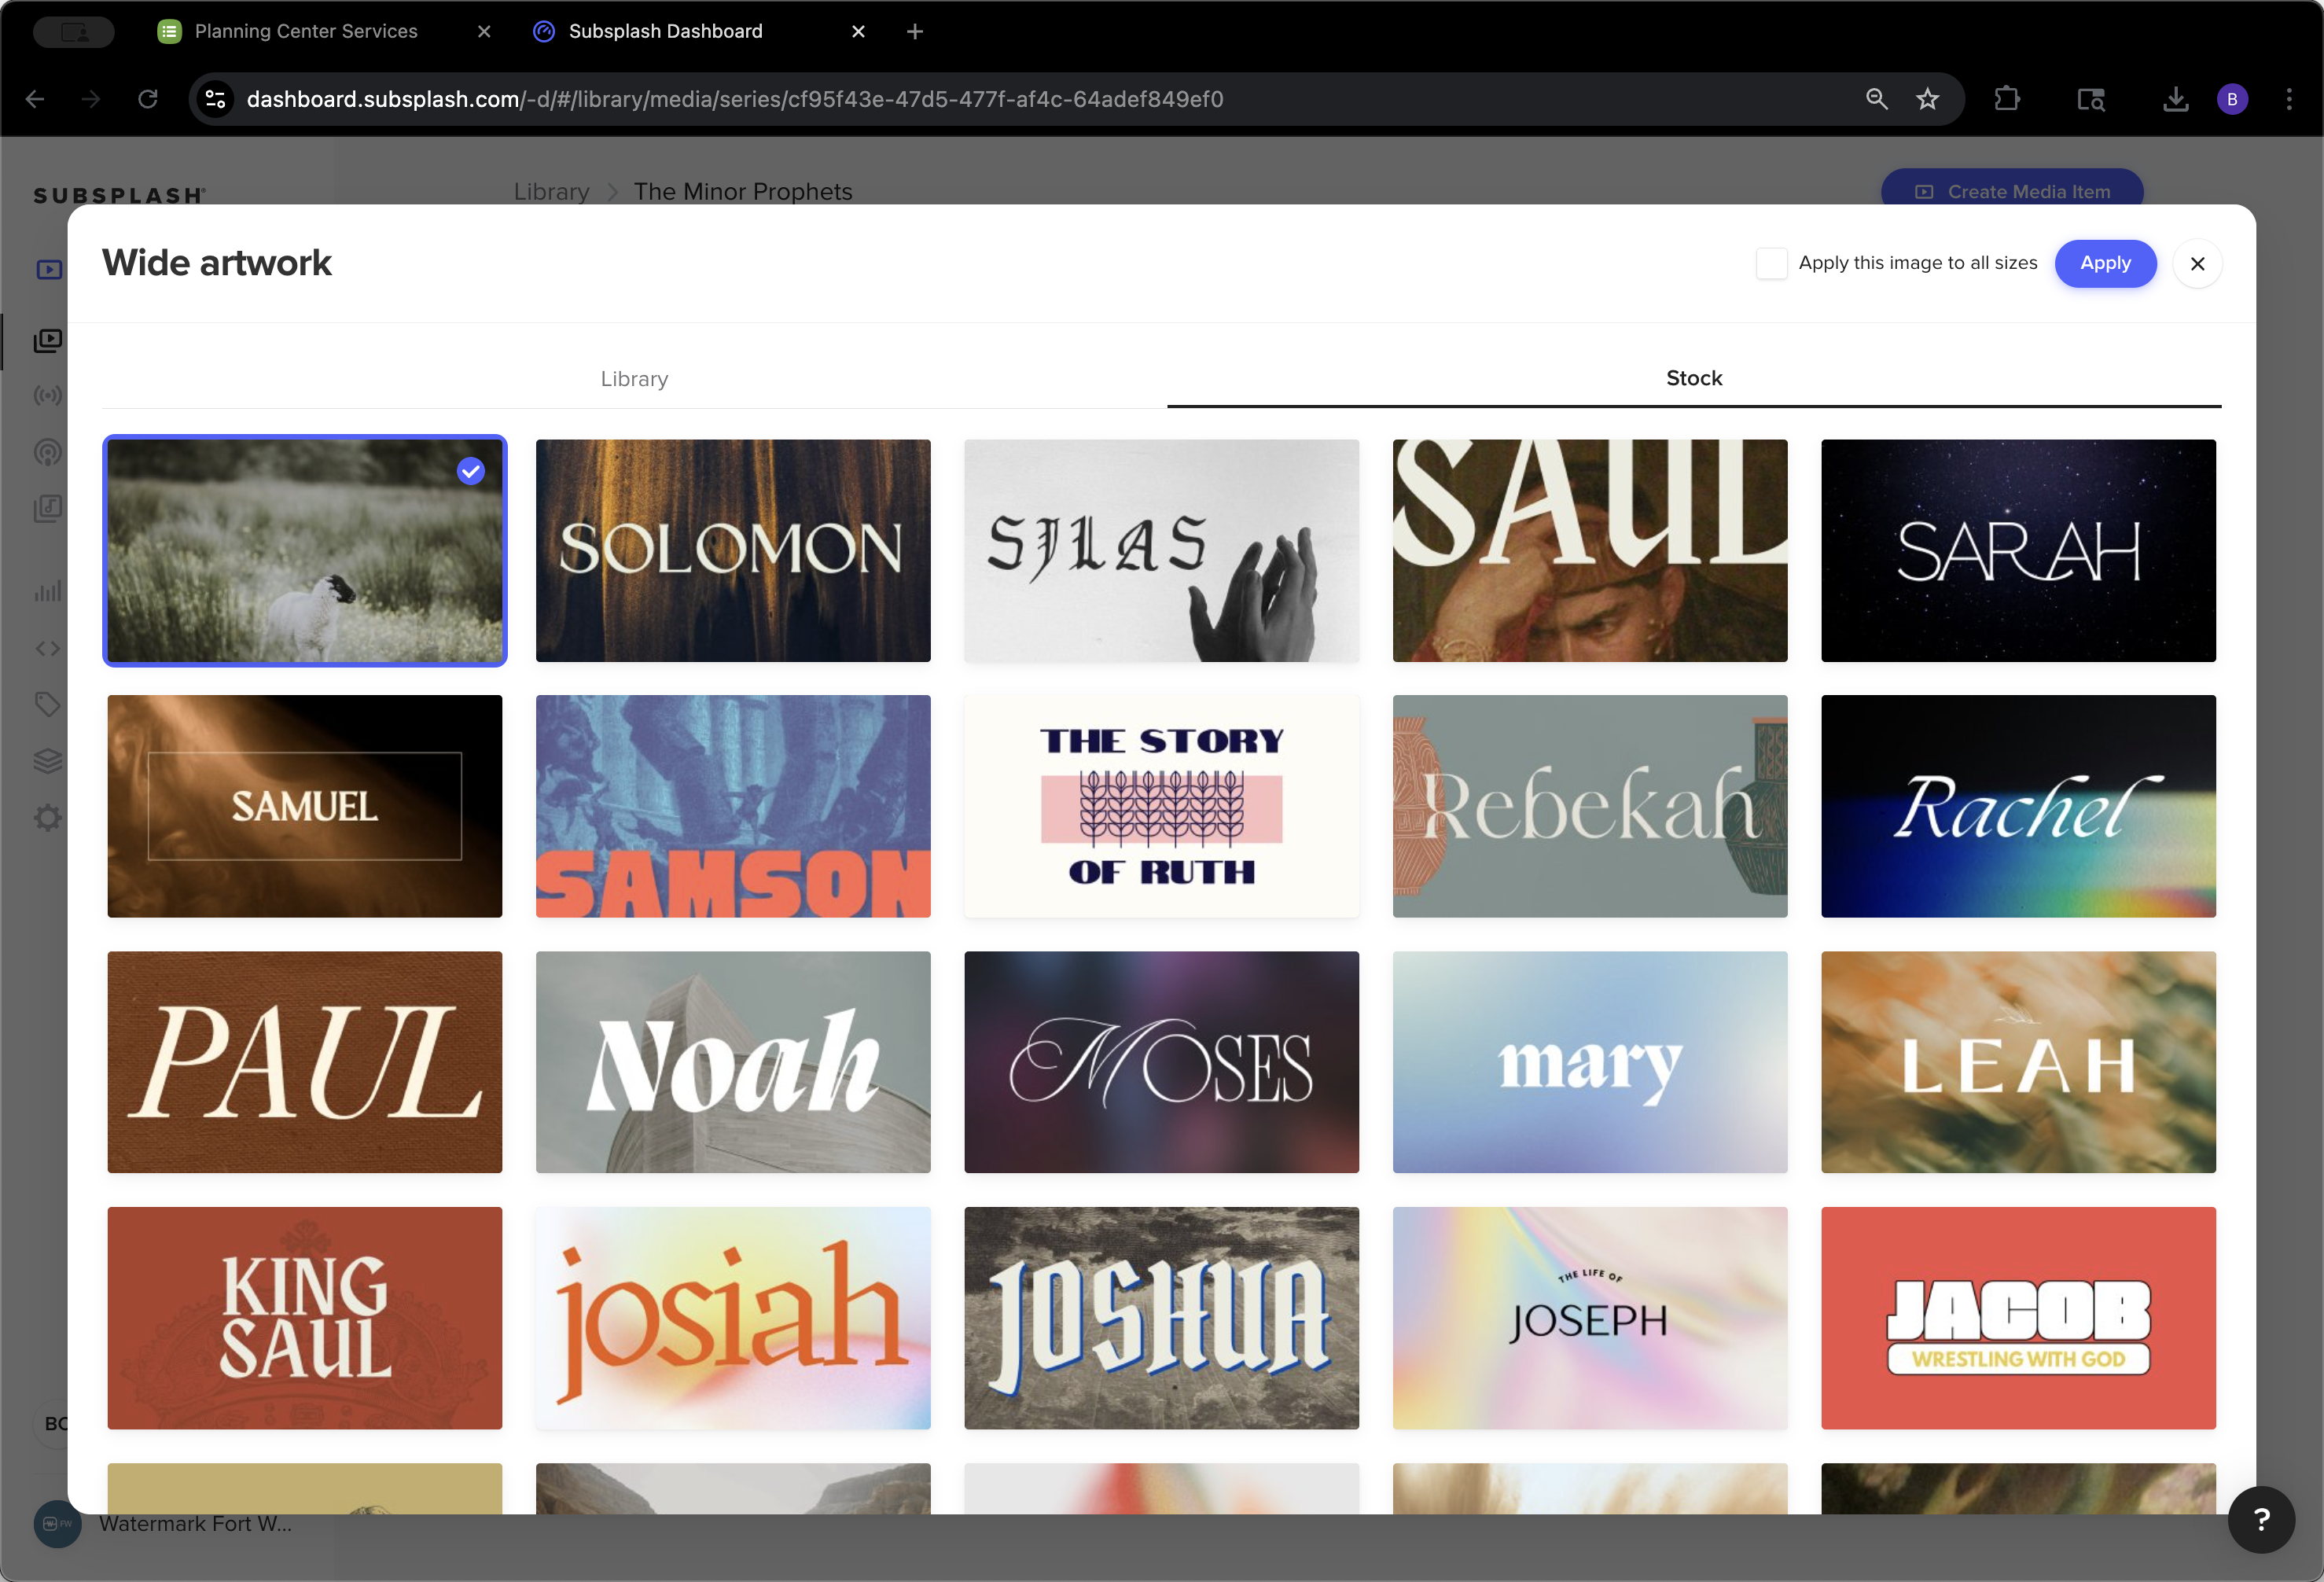
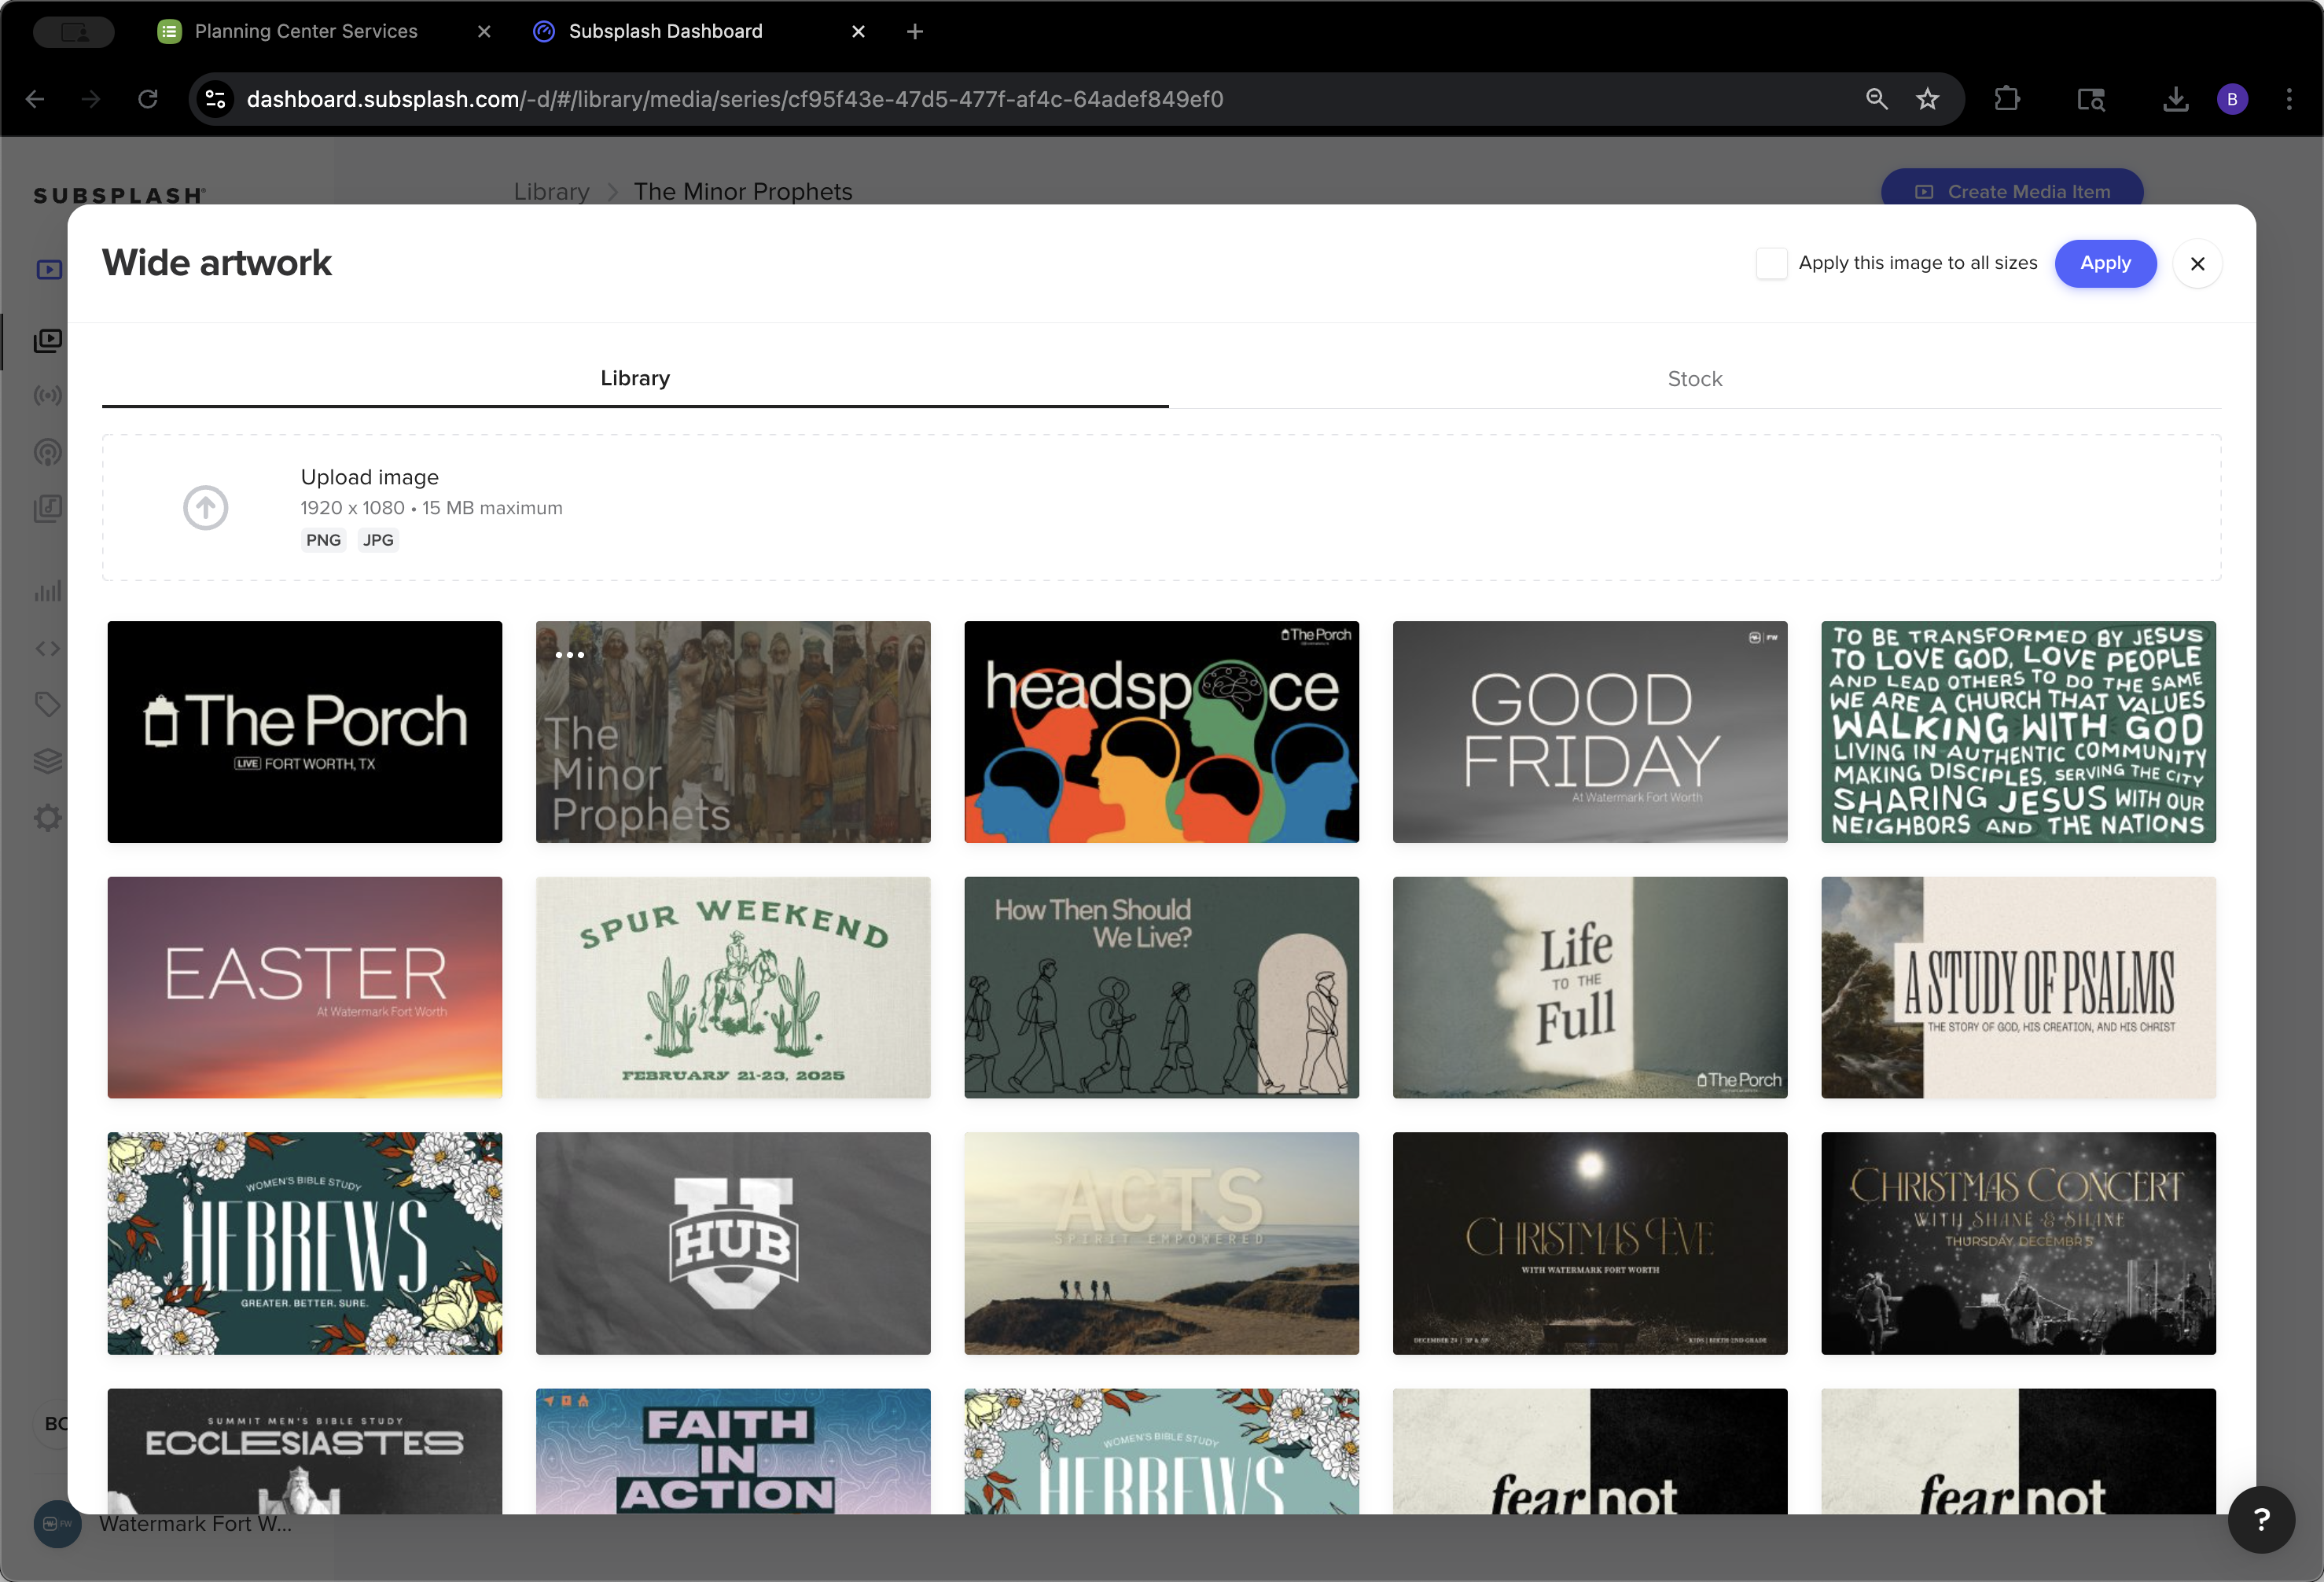
It ensures the correct proportion and size.

14
Click on "Apply"
Step #14: Click on "Apply"

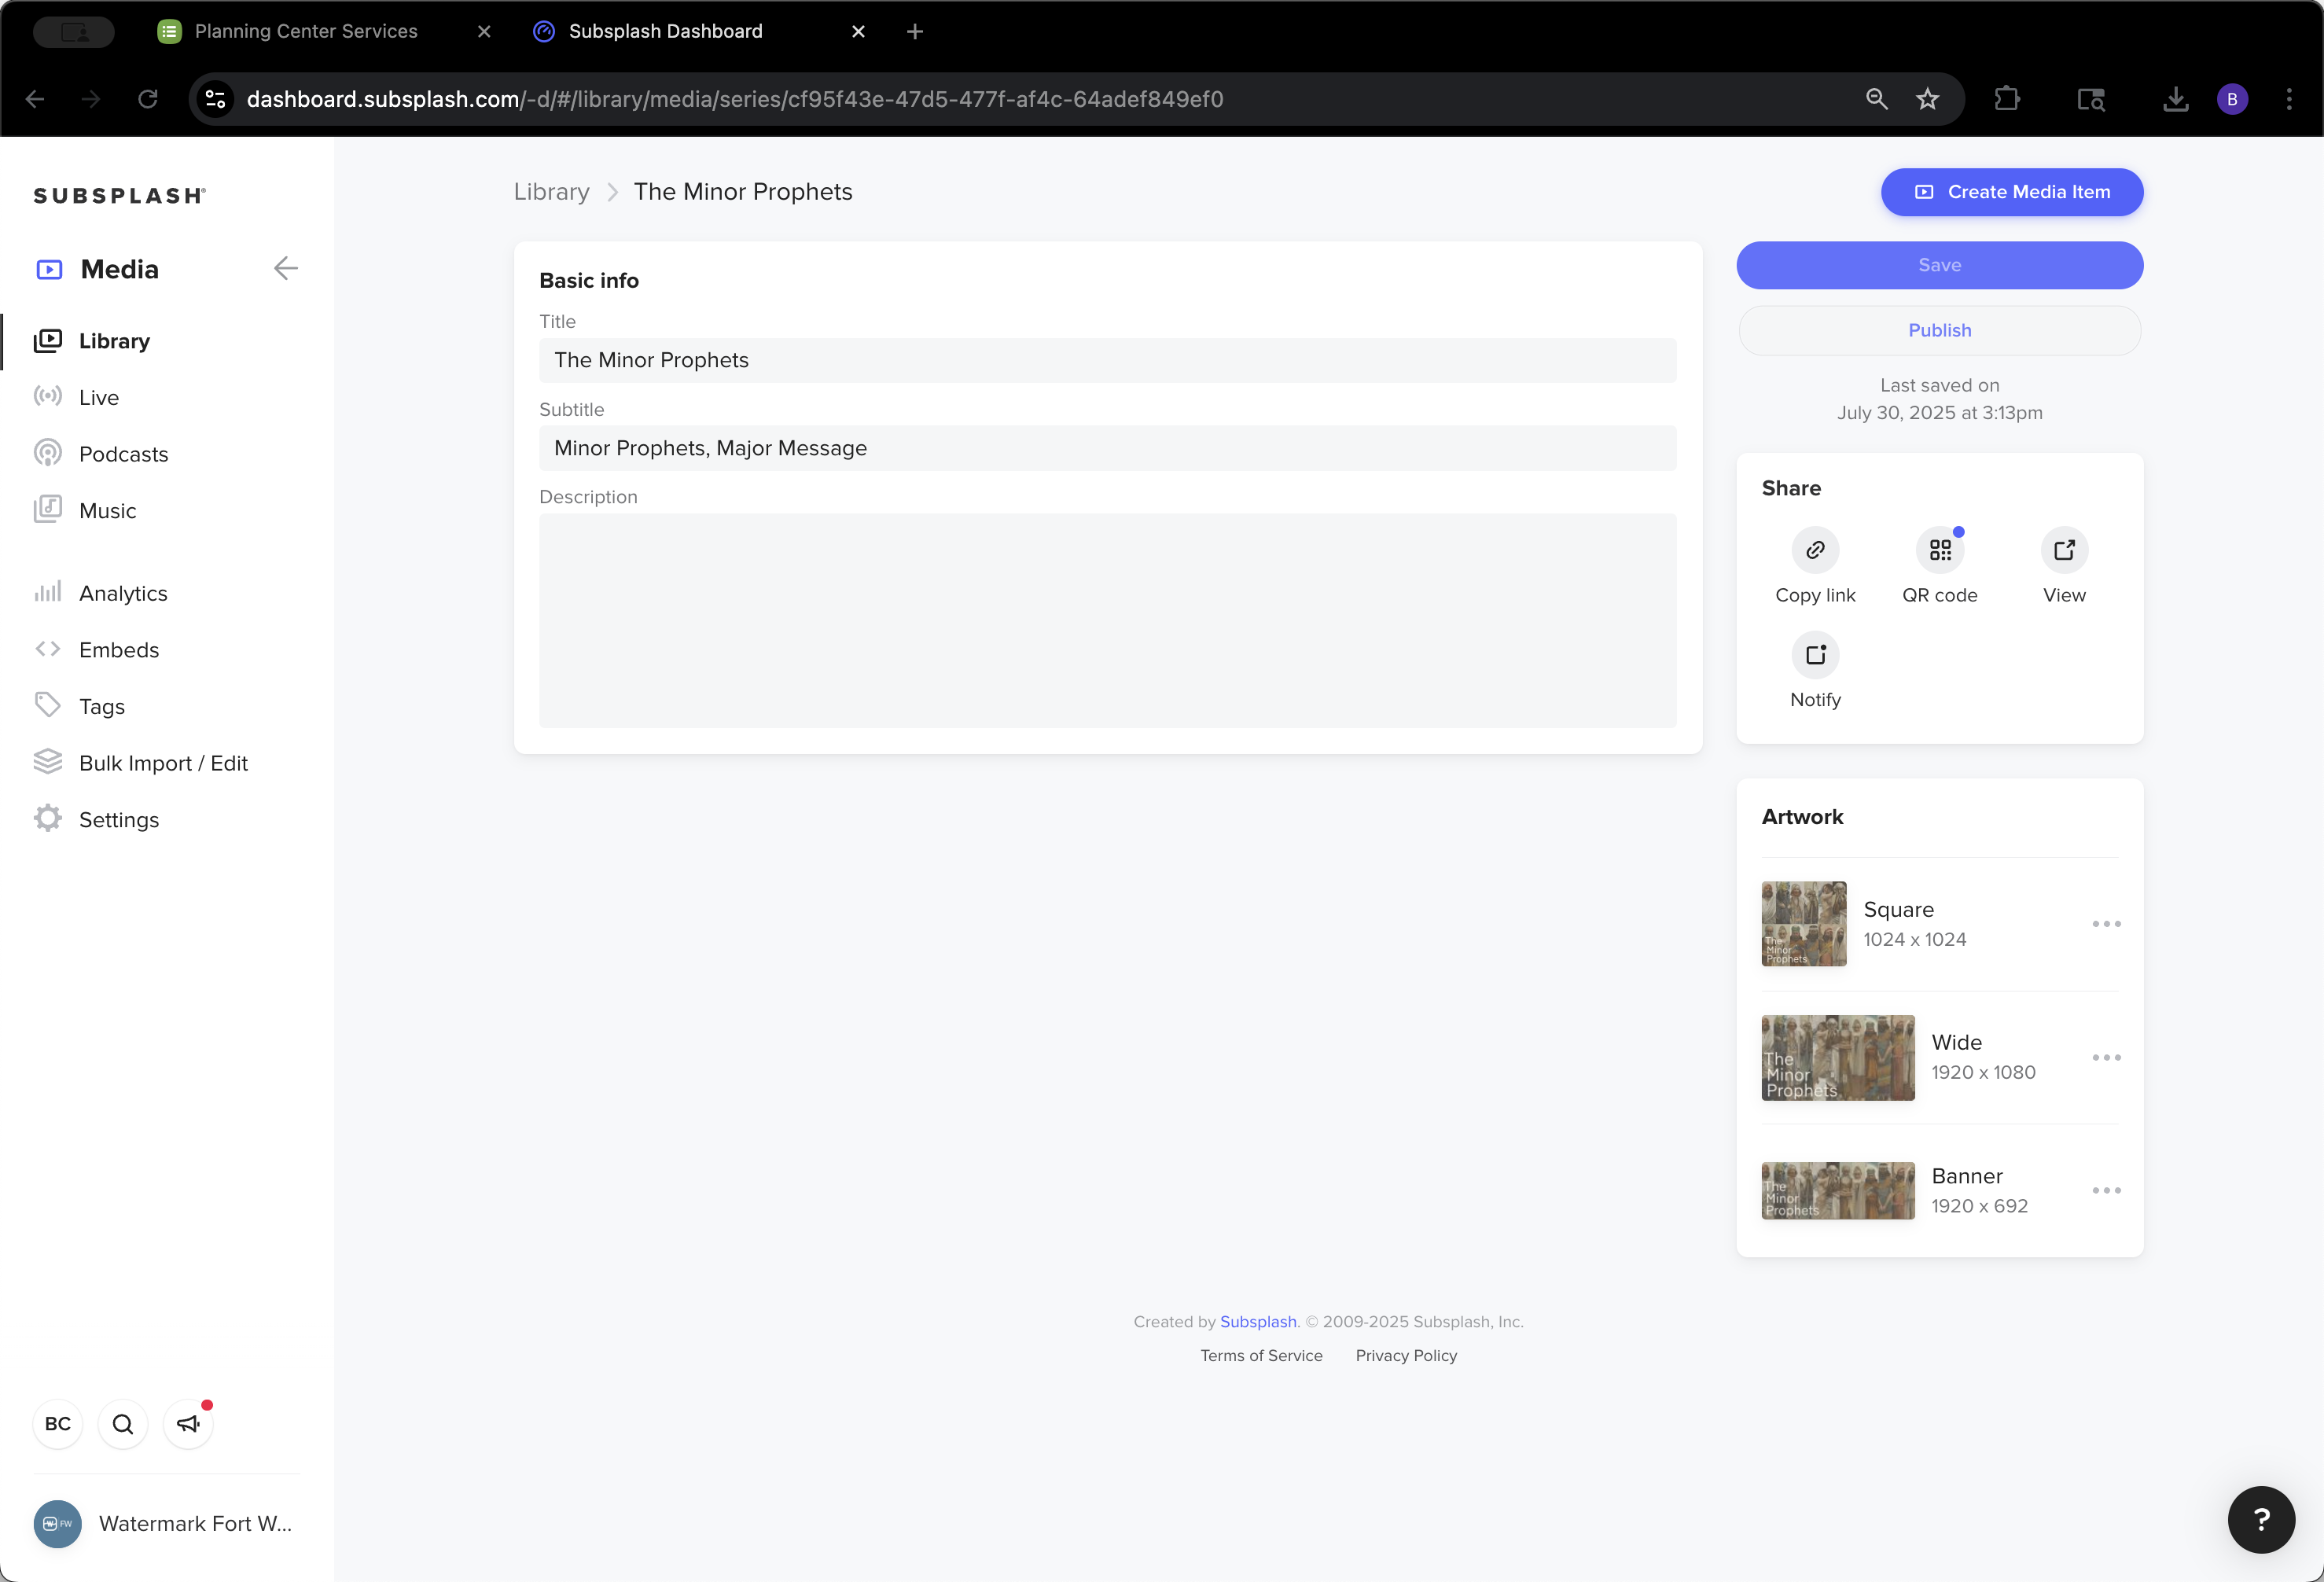
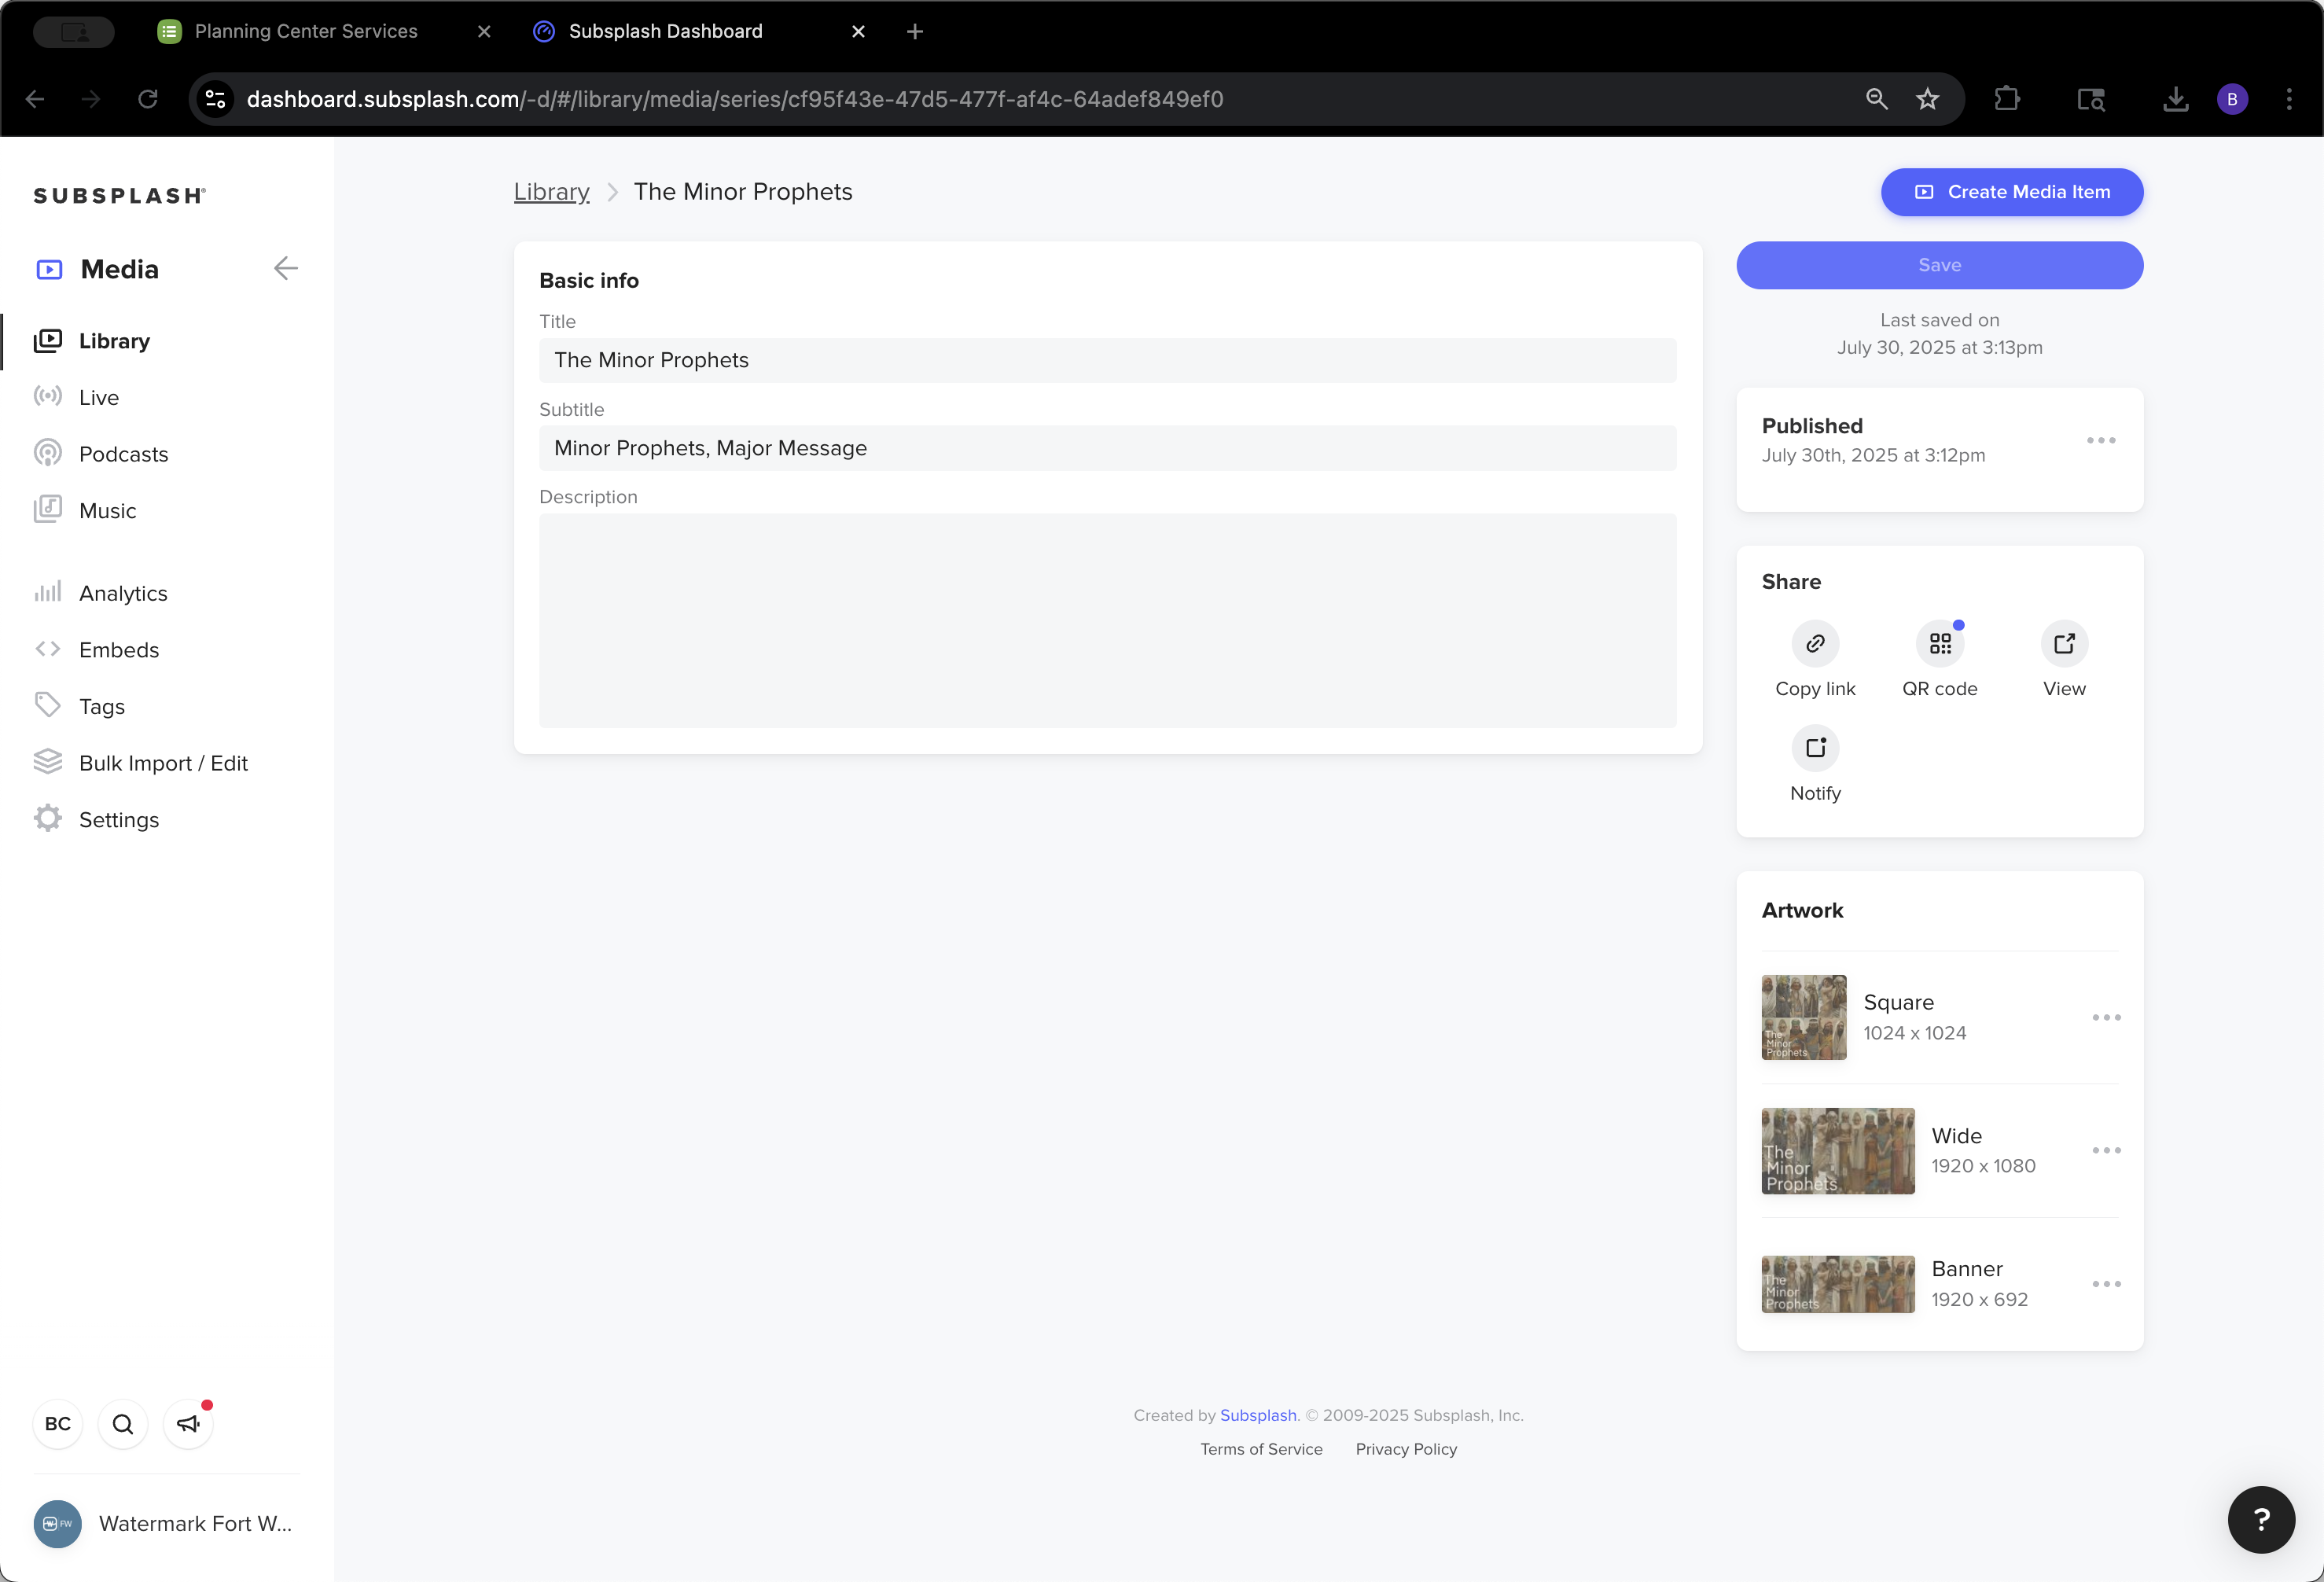
We can save it, then publish it.

15
Click on "1920 x 692"
Step #15: Click on "1920 x 692"
16
Click here
Step #16: Click here
17
Click on "Minor"
Step #17: Click on "Minor"
18
Click on "Apply"
Step #18: Click on "Apply"
19
Click here
Step #19: Click here
20
Click here
Step #20: Click here

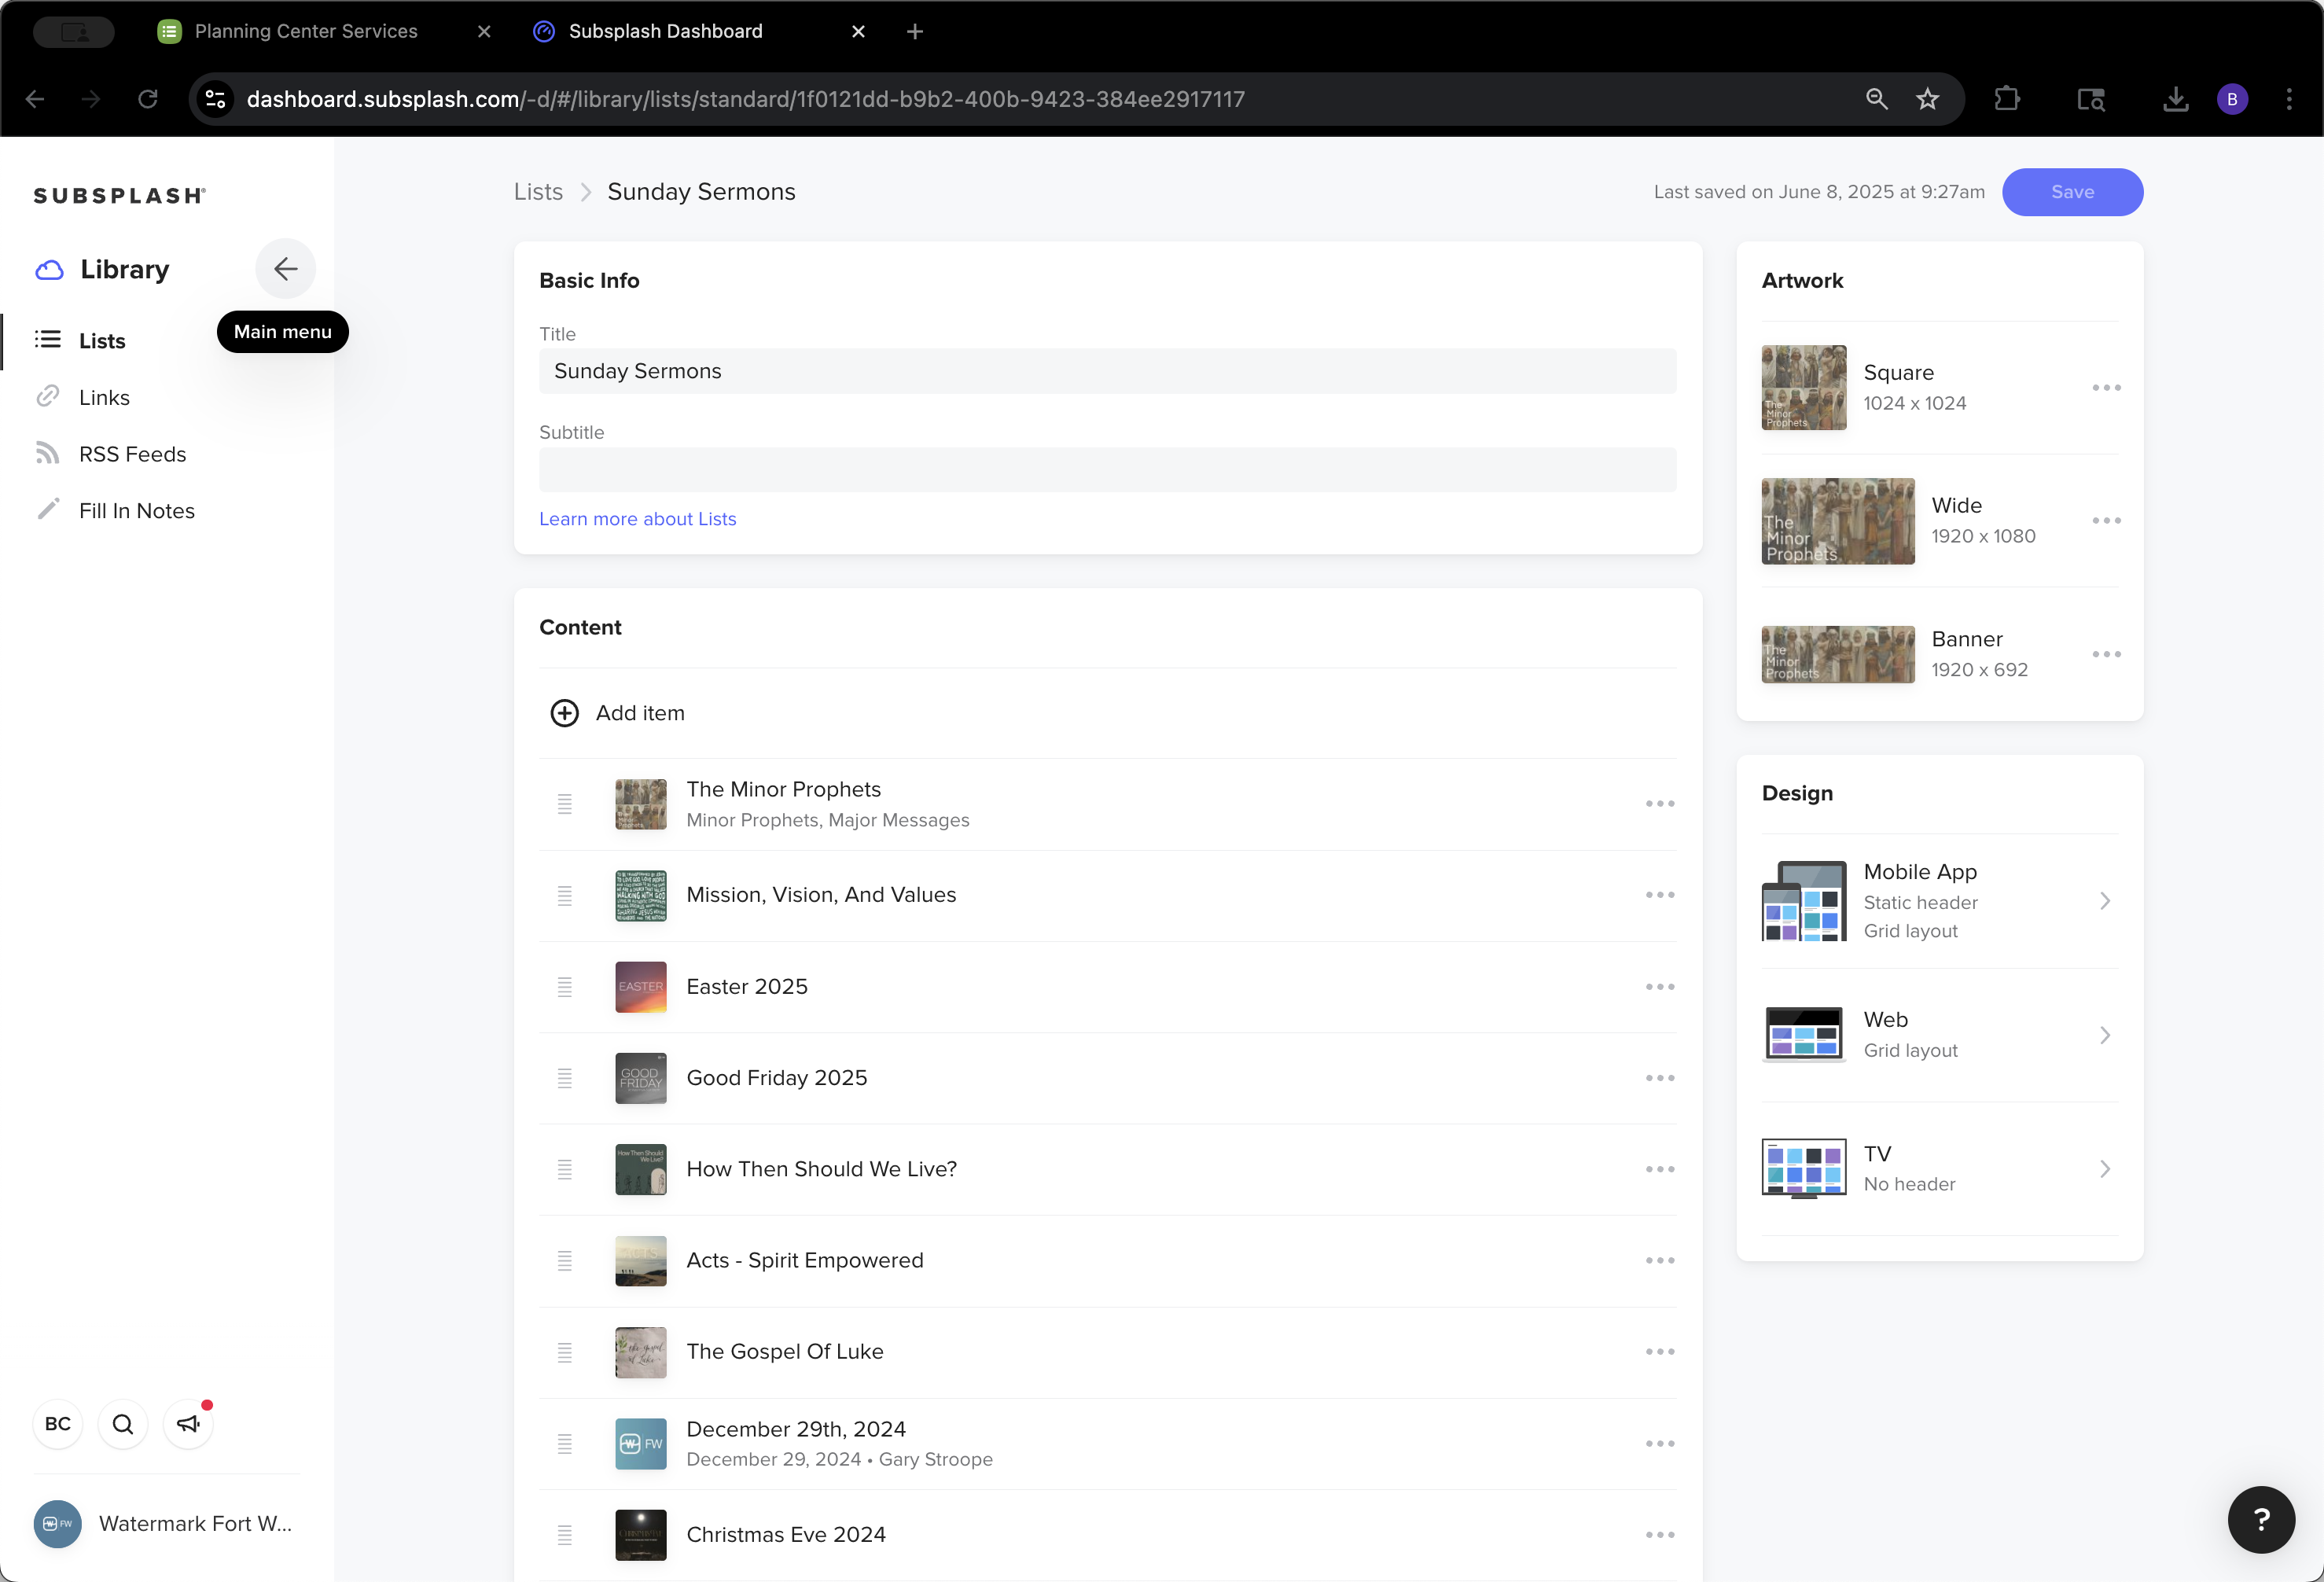
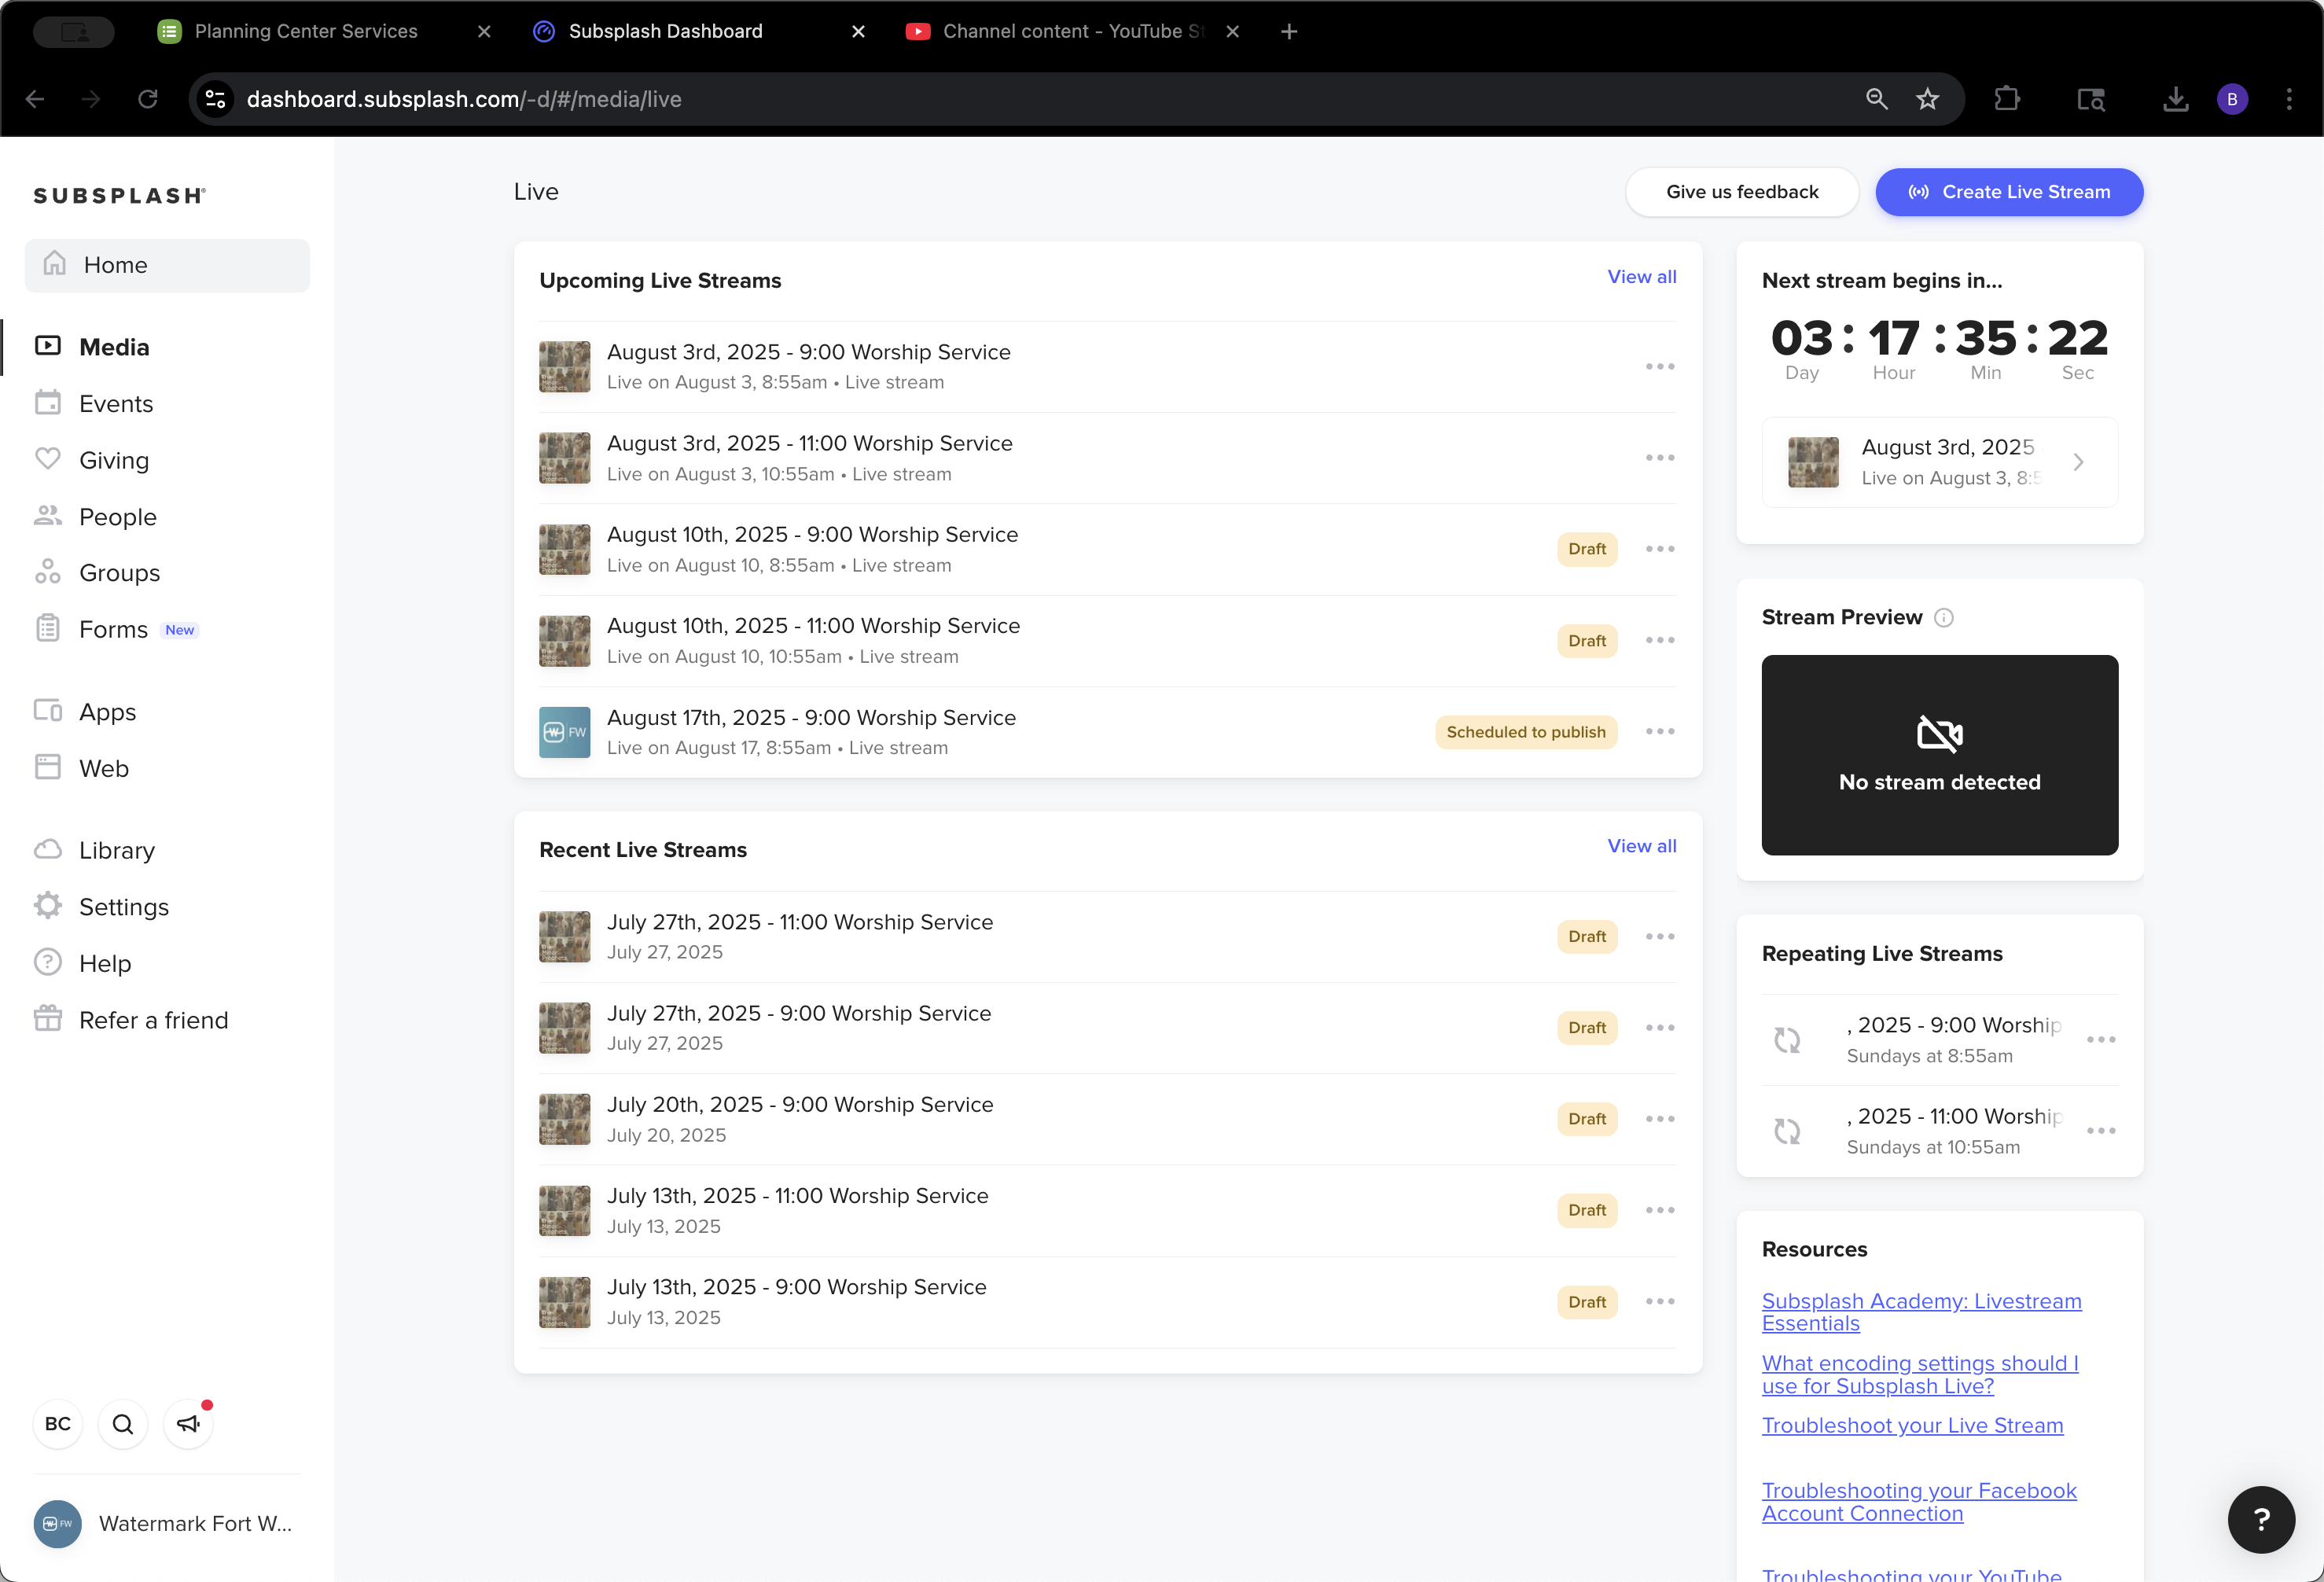
Next, go back to your library. Then, open the main menu.

21
Click on "Library"
Step #21: Click on "Library"
22
Click here
Step #22: Click here

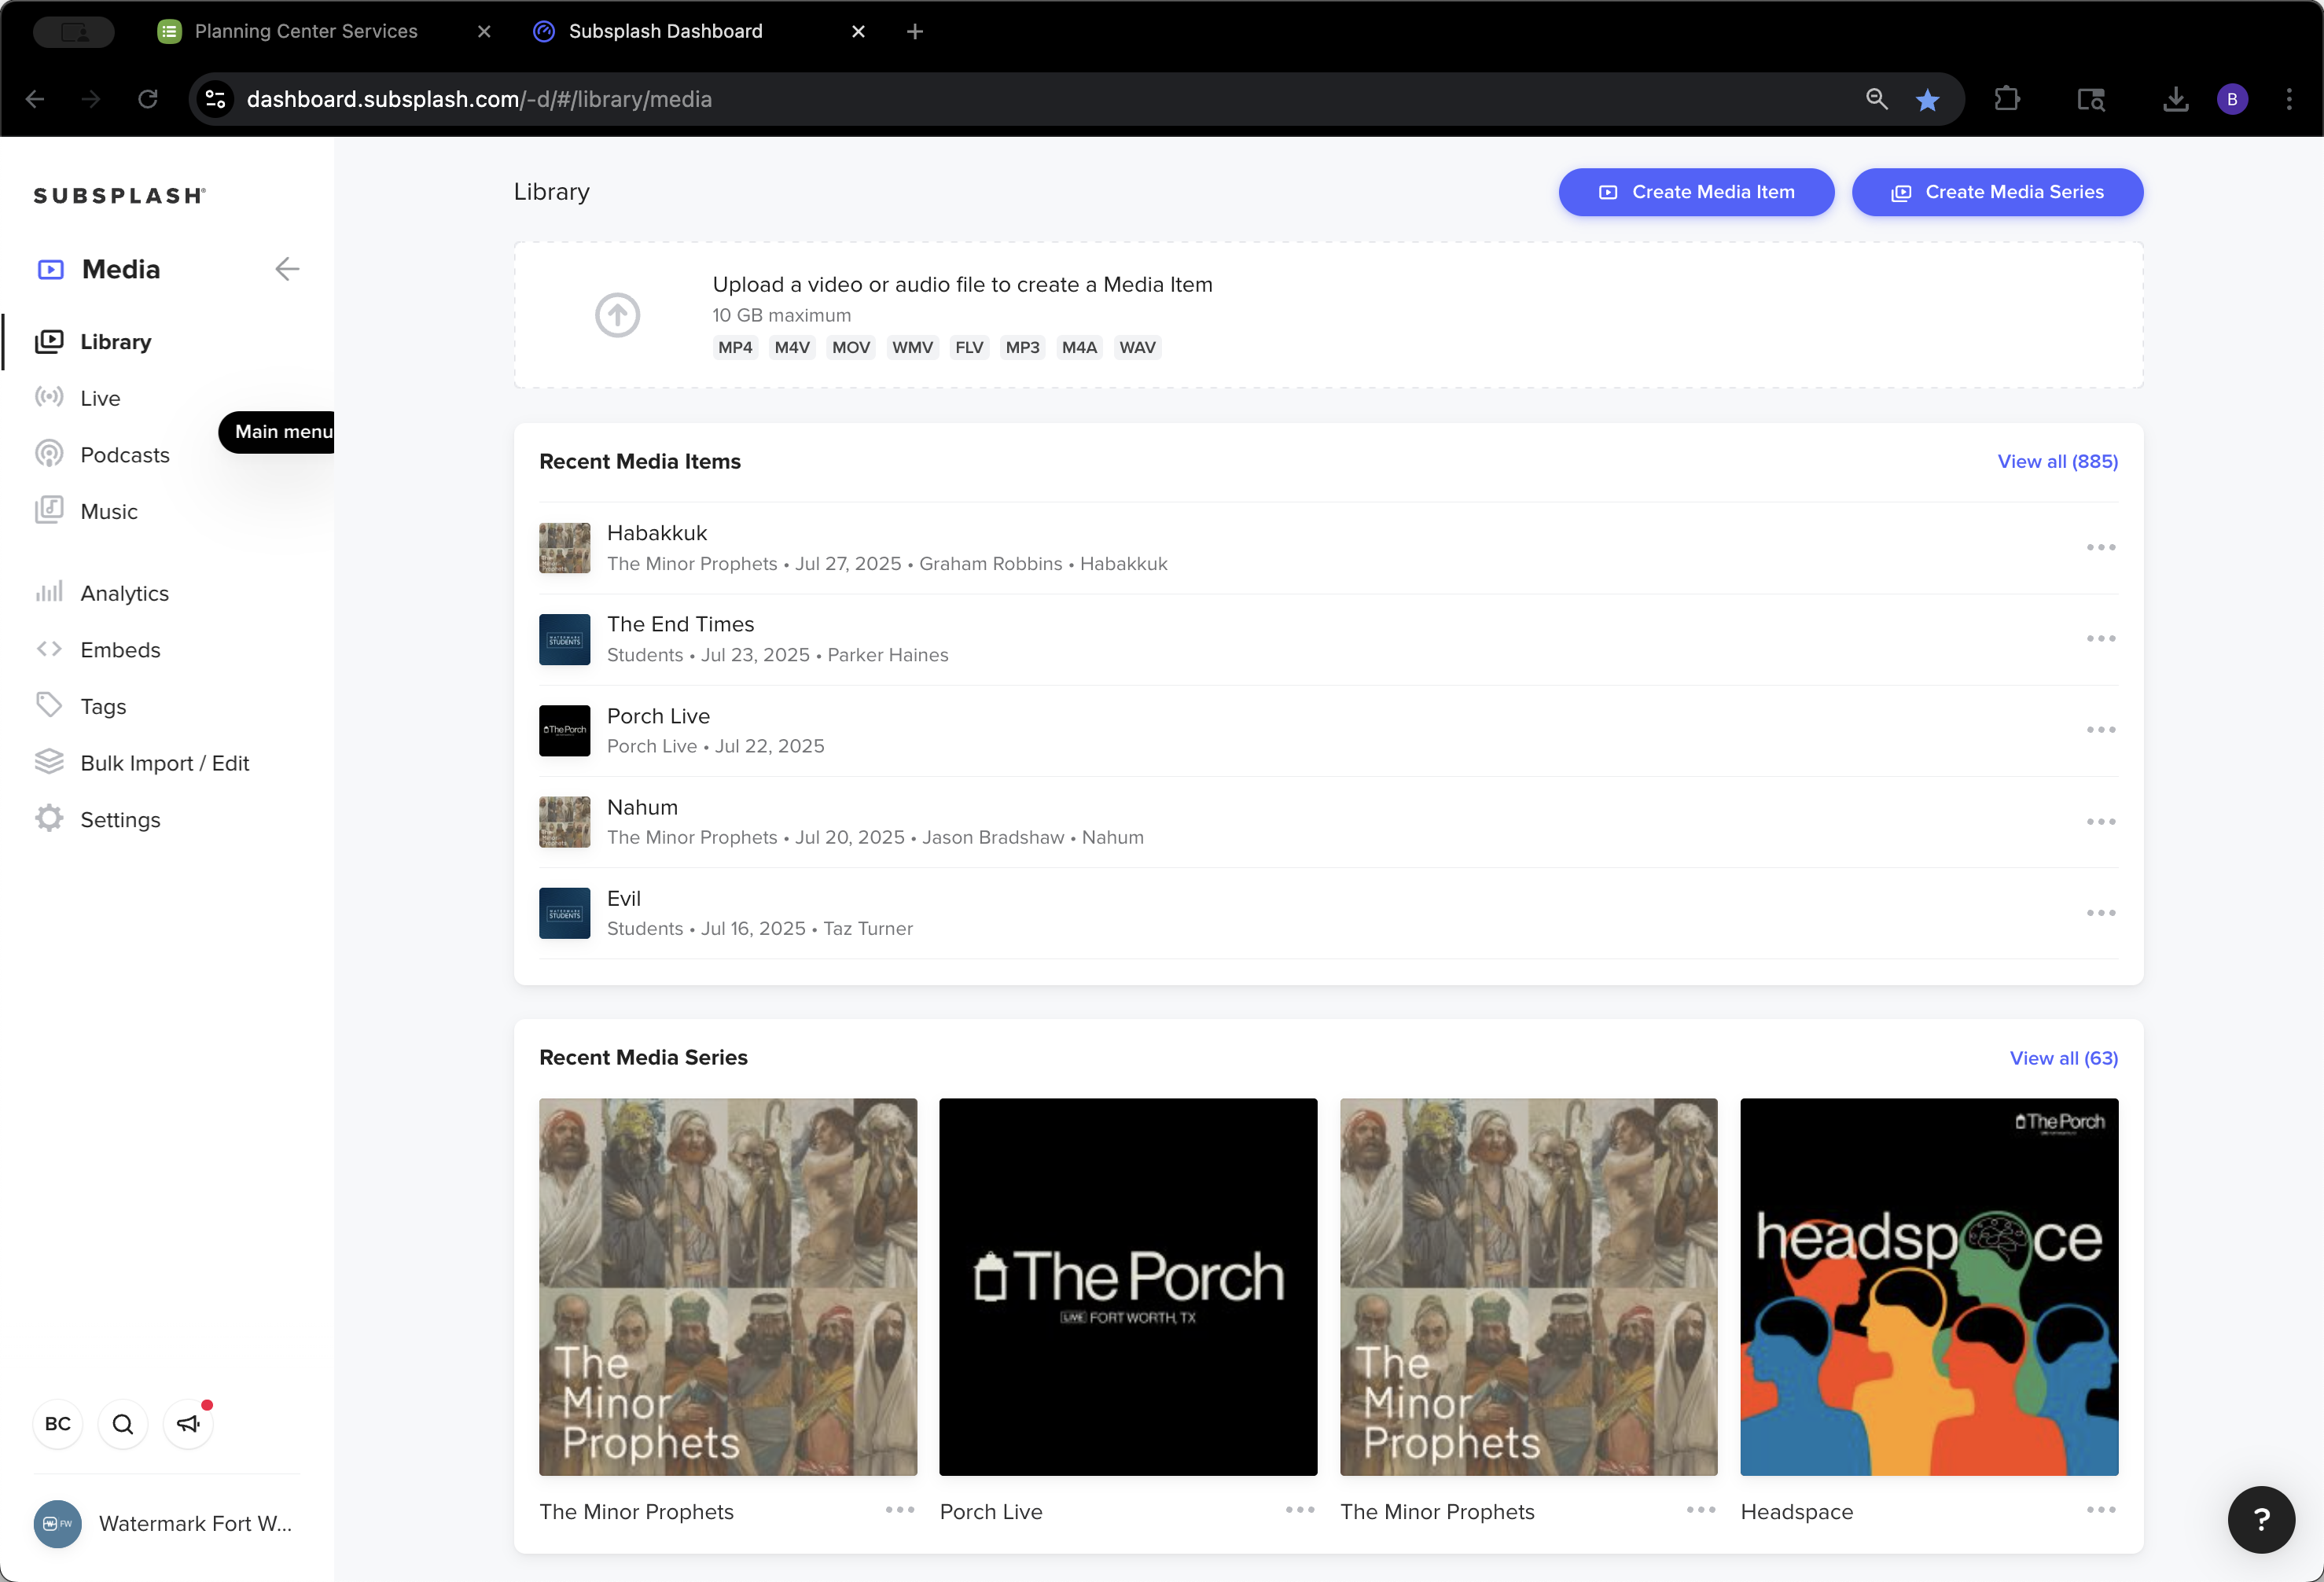
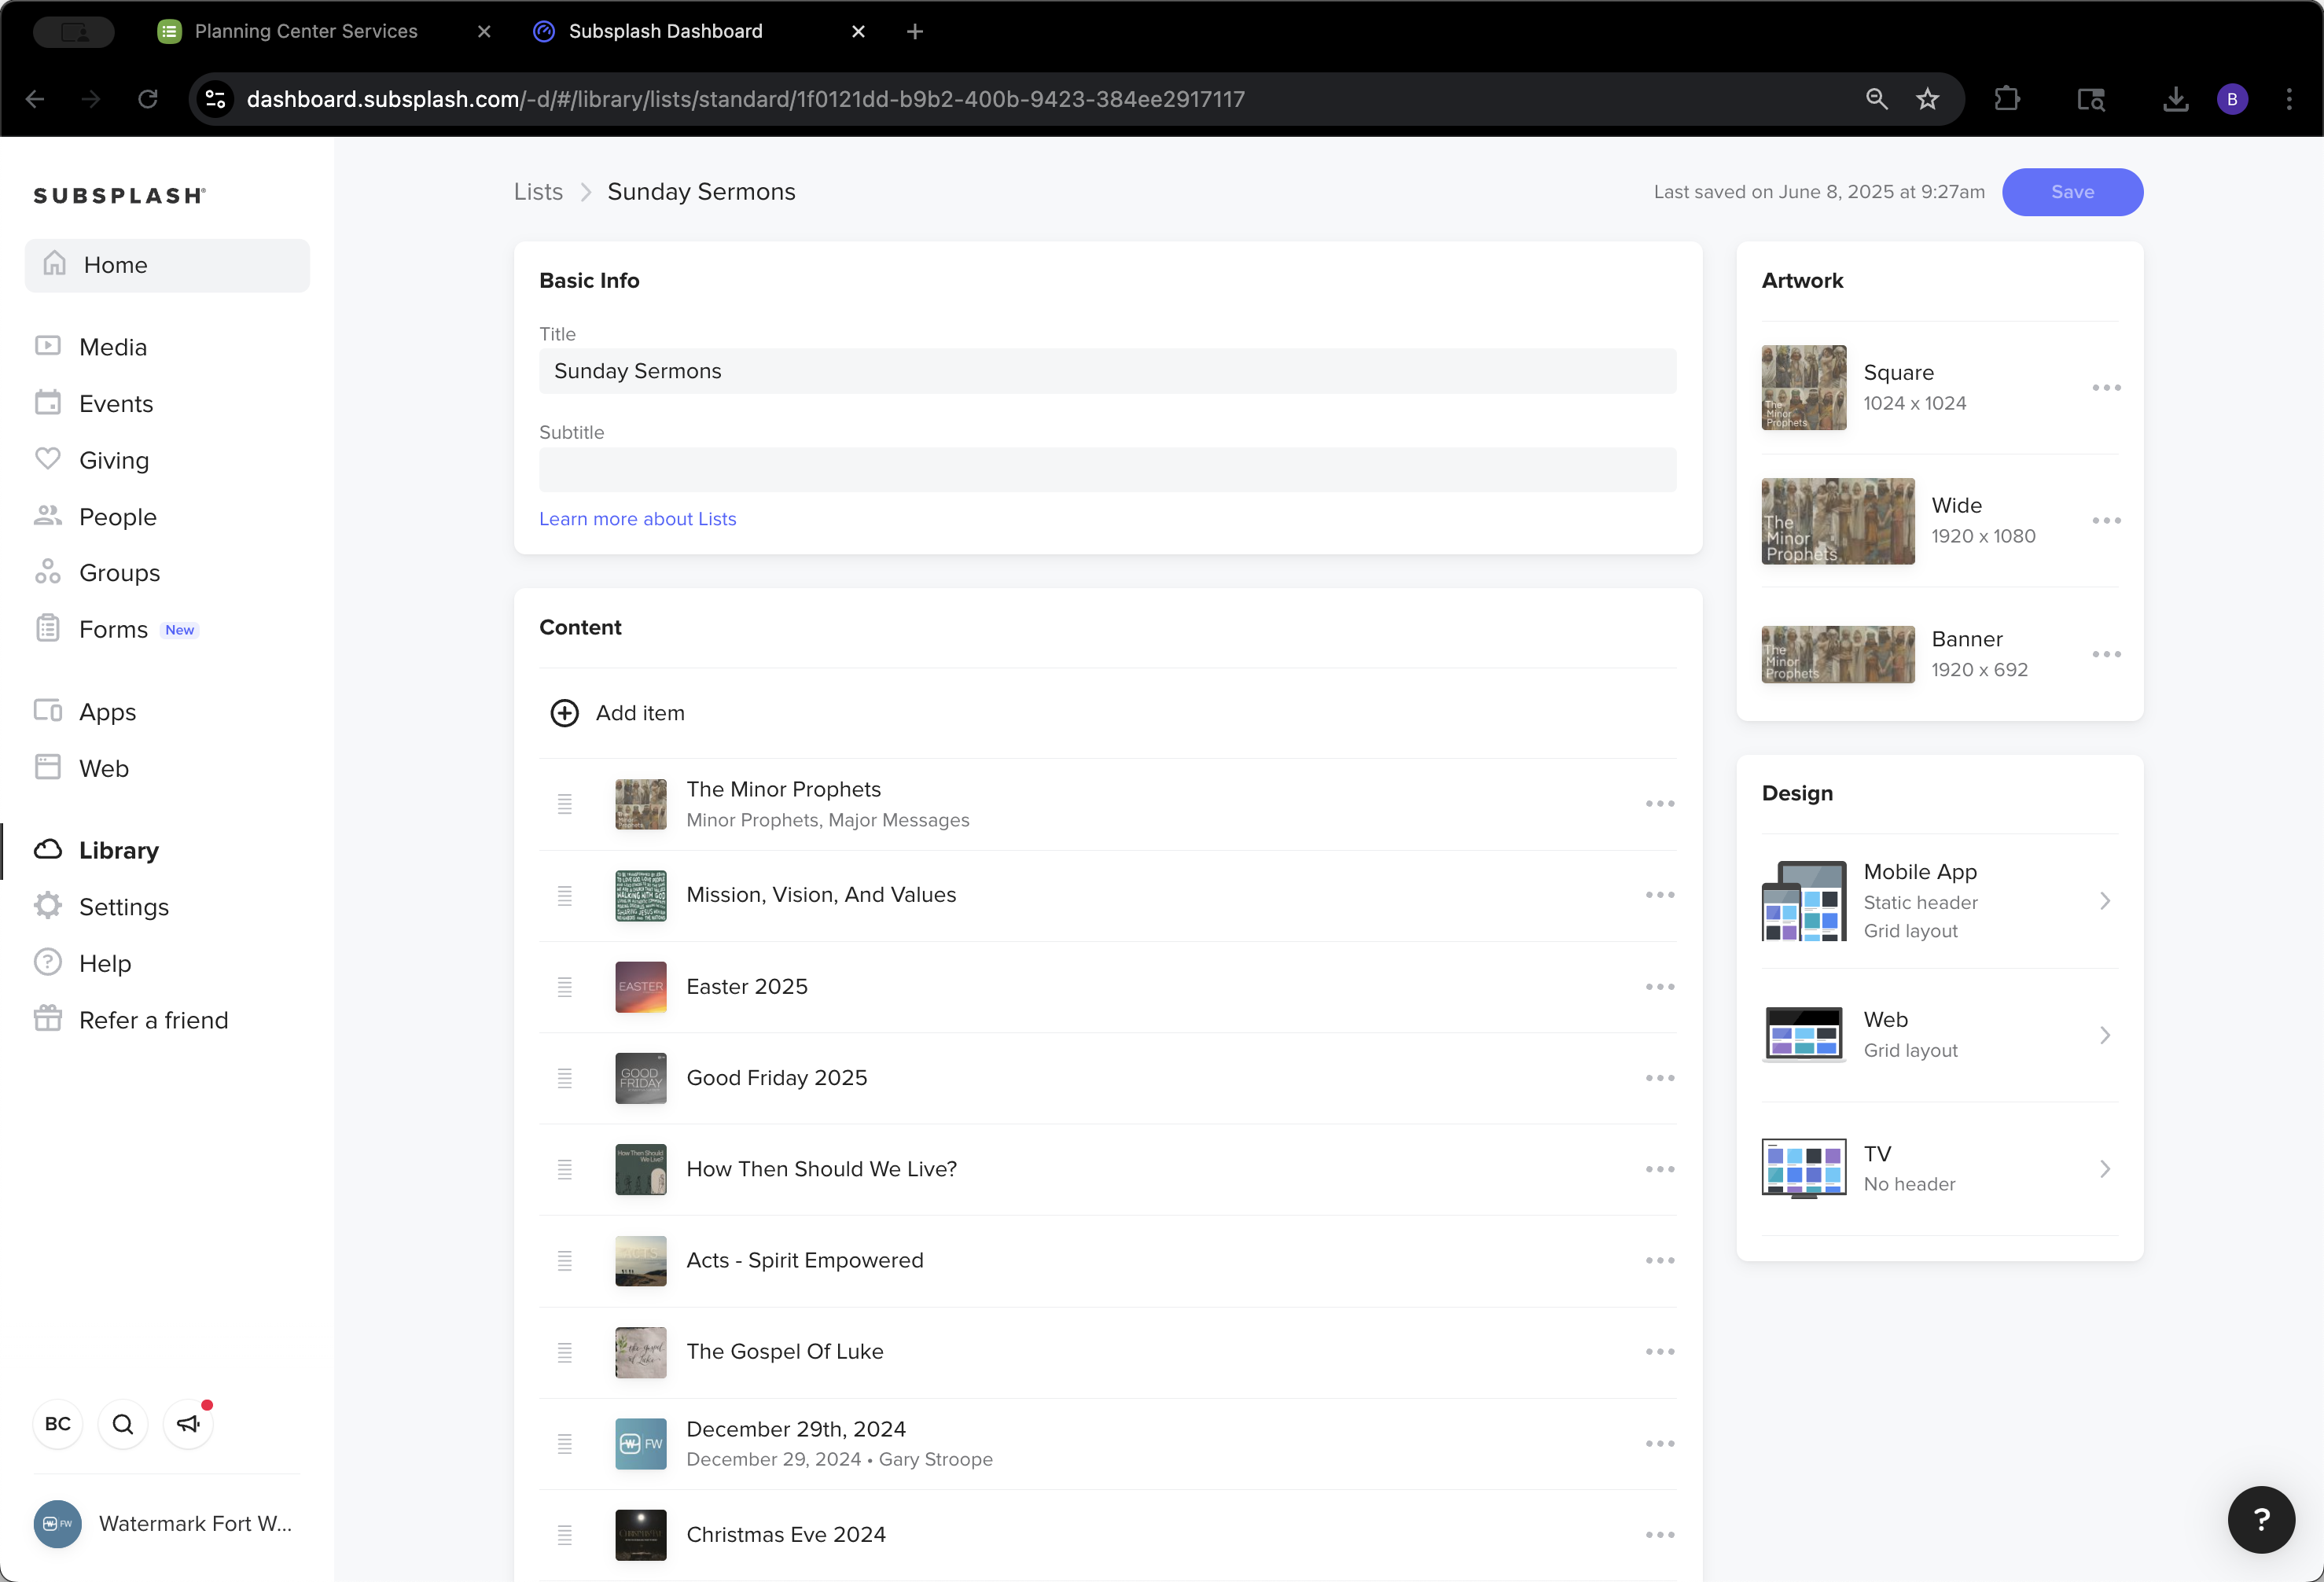
Go to Library and Lists.

23
Click here
Step #23: Click here
24
Click here
Step #24: Click here

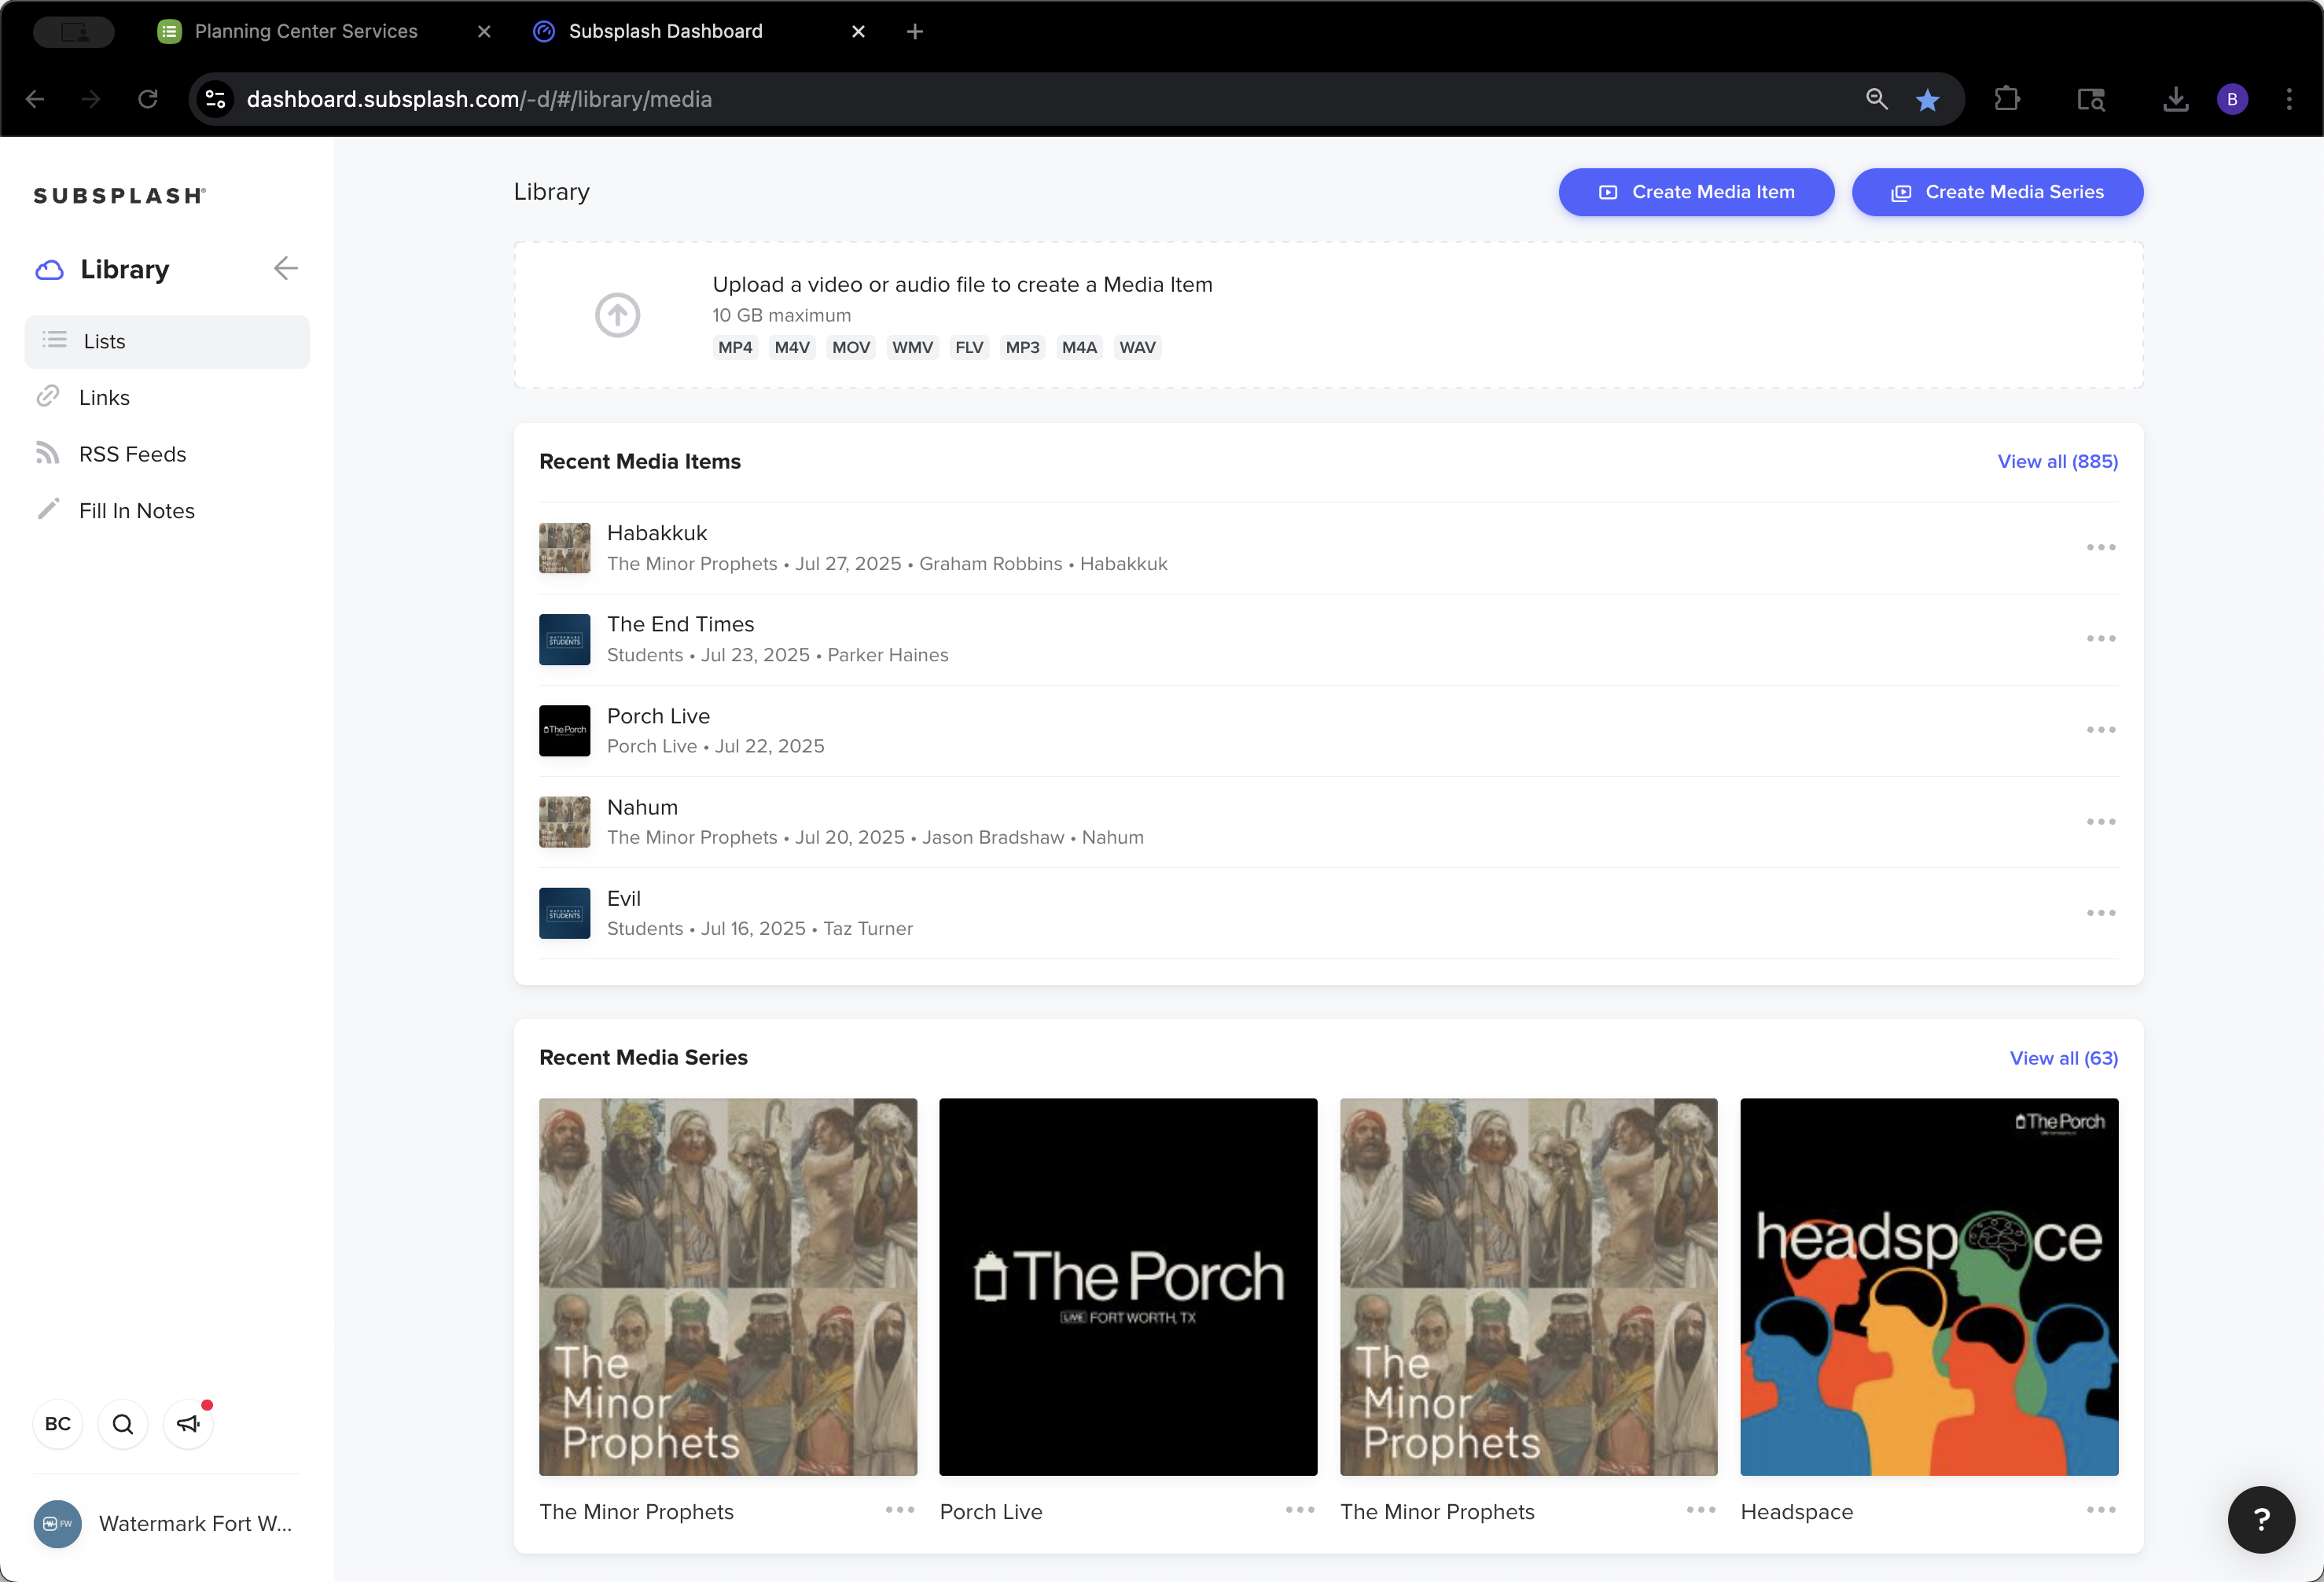
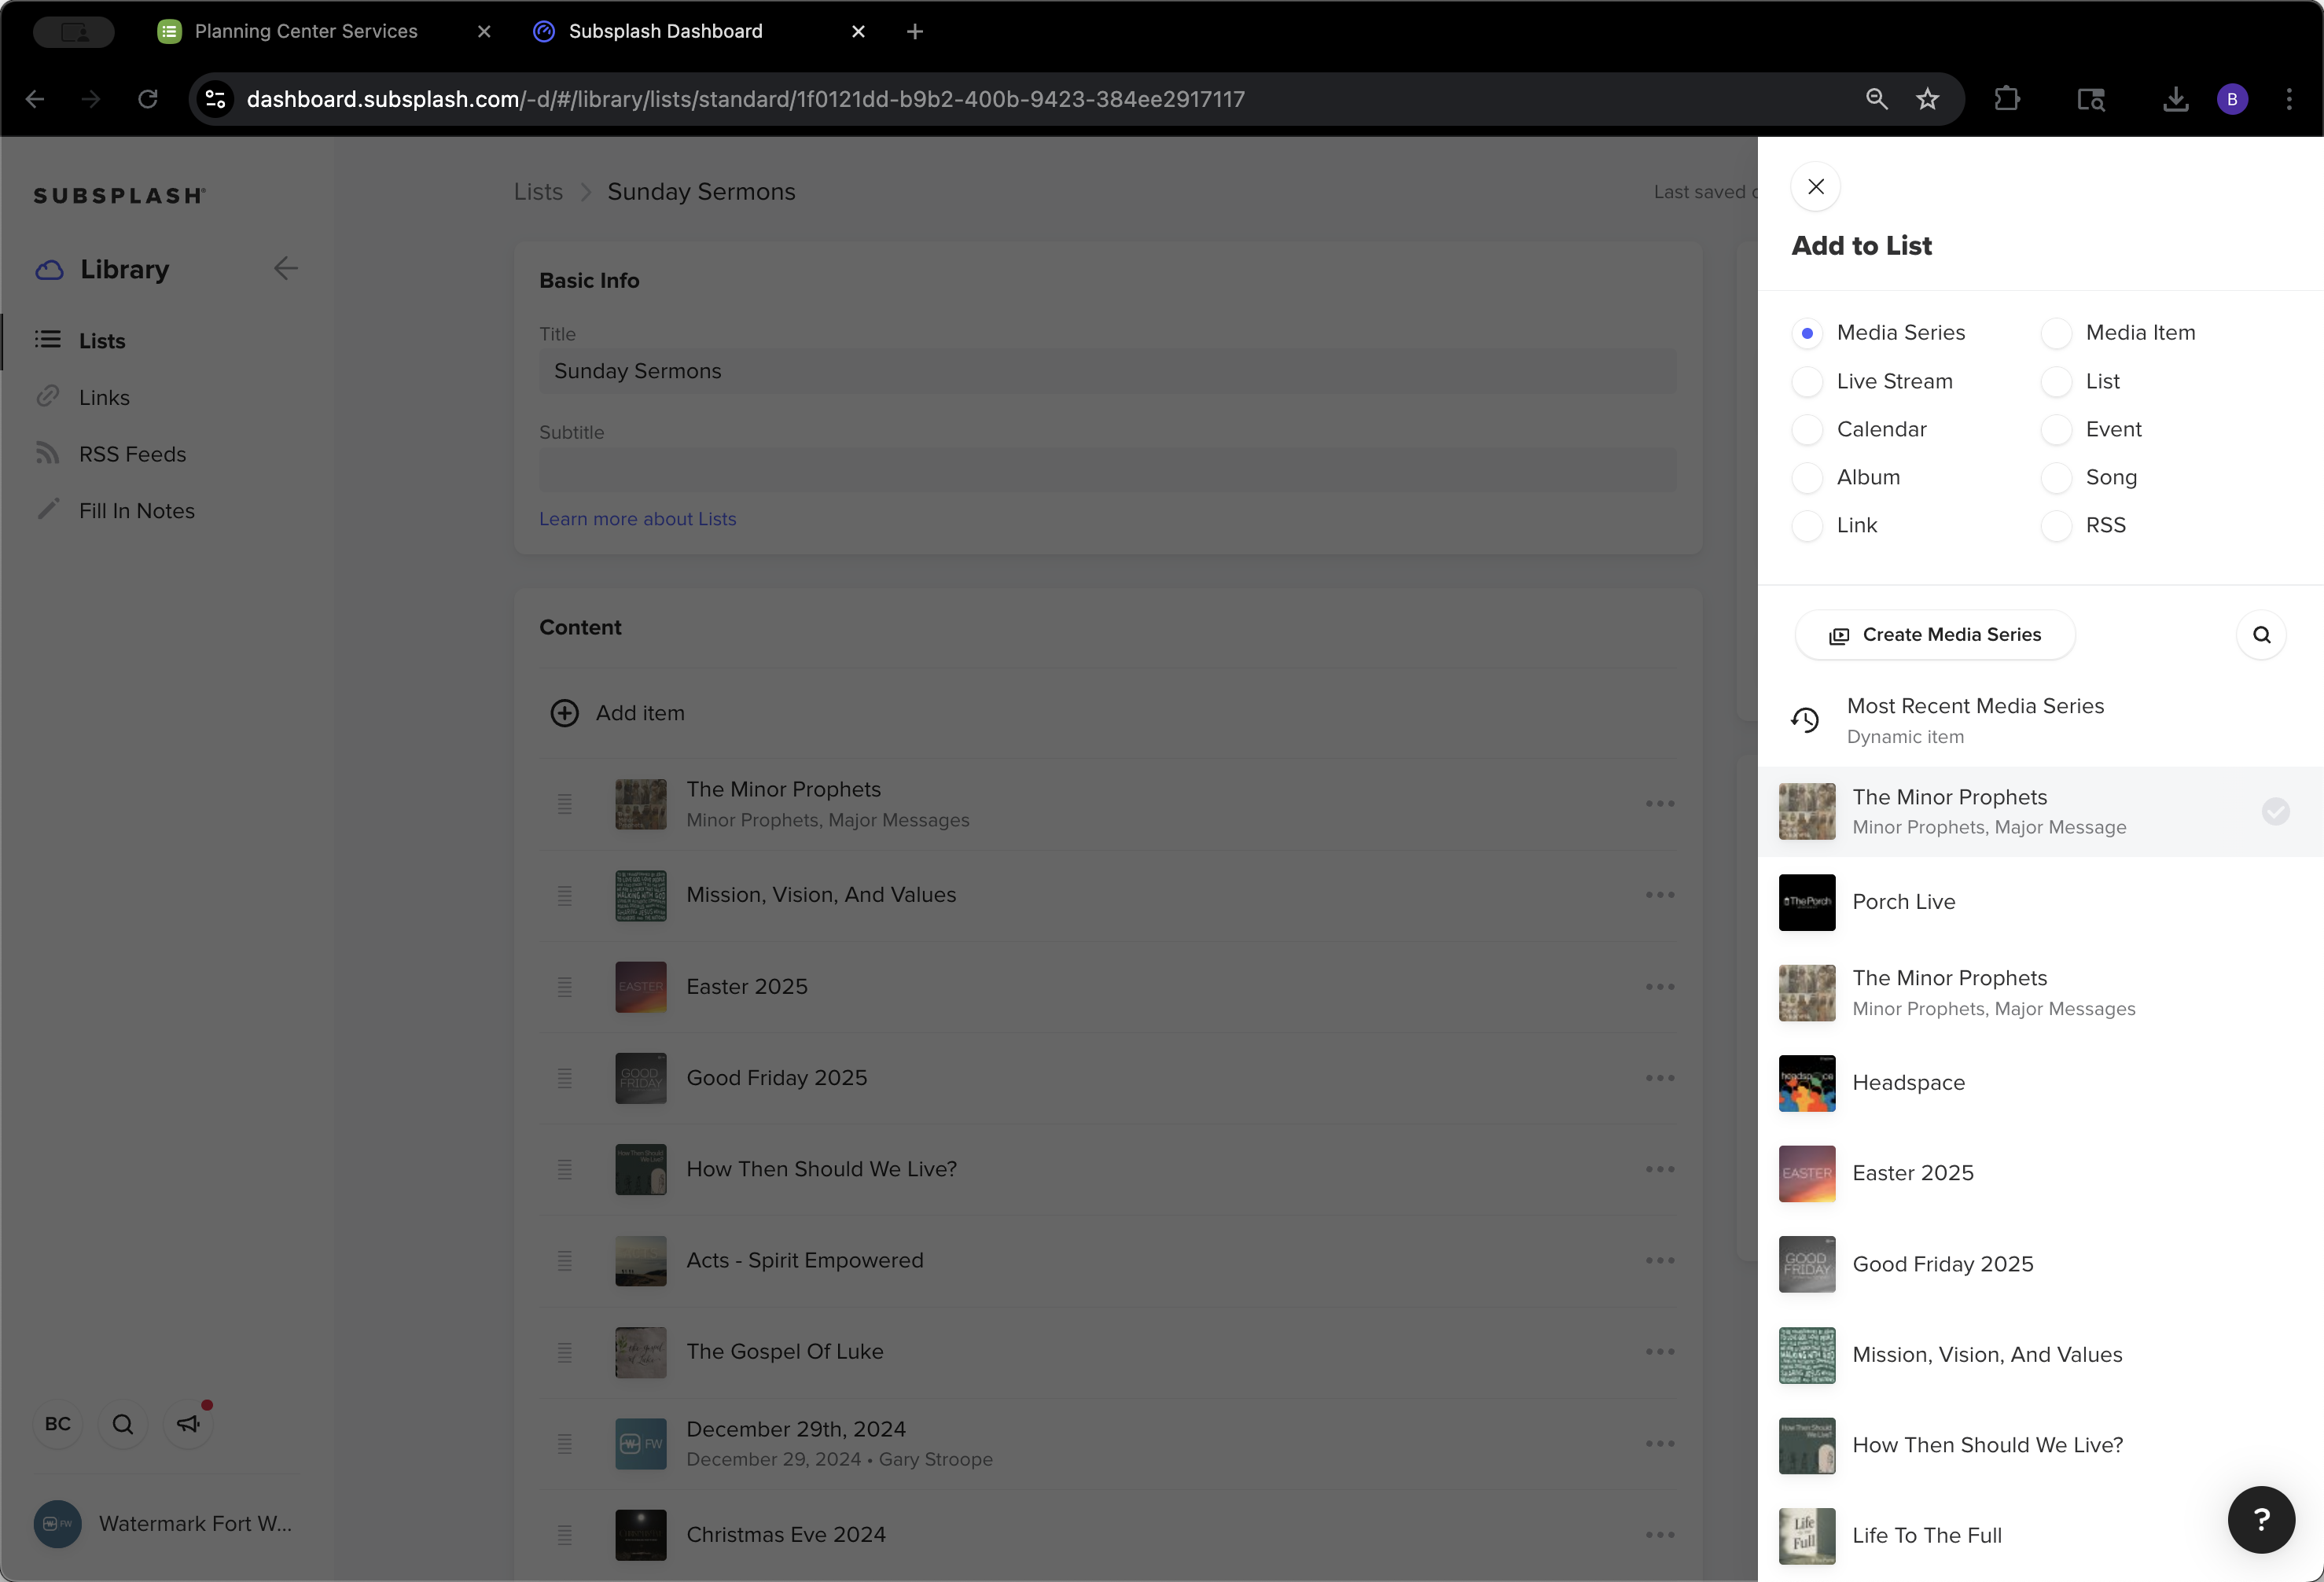
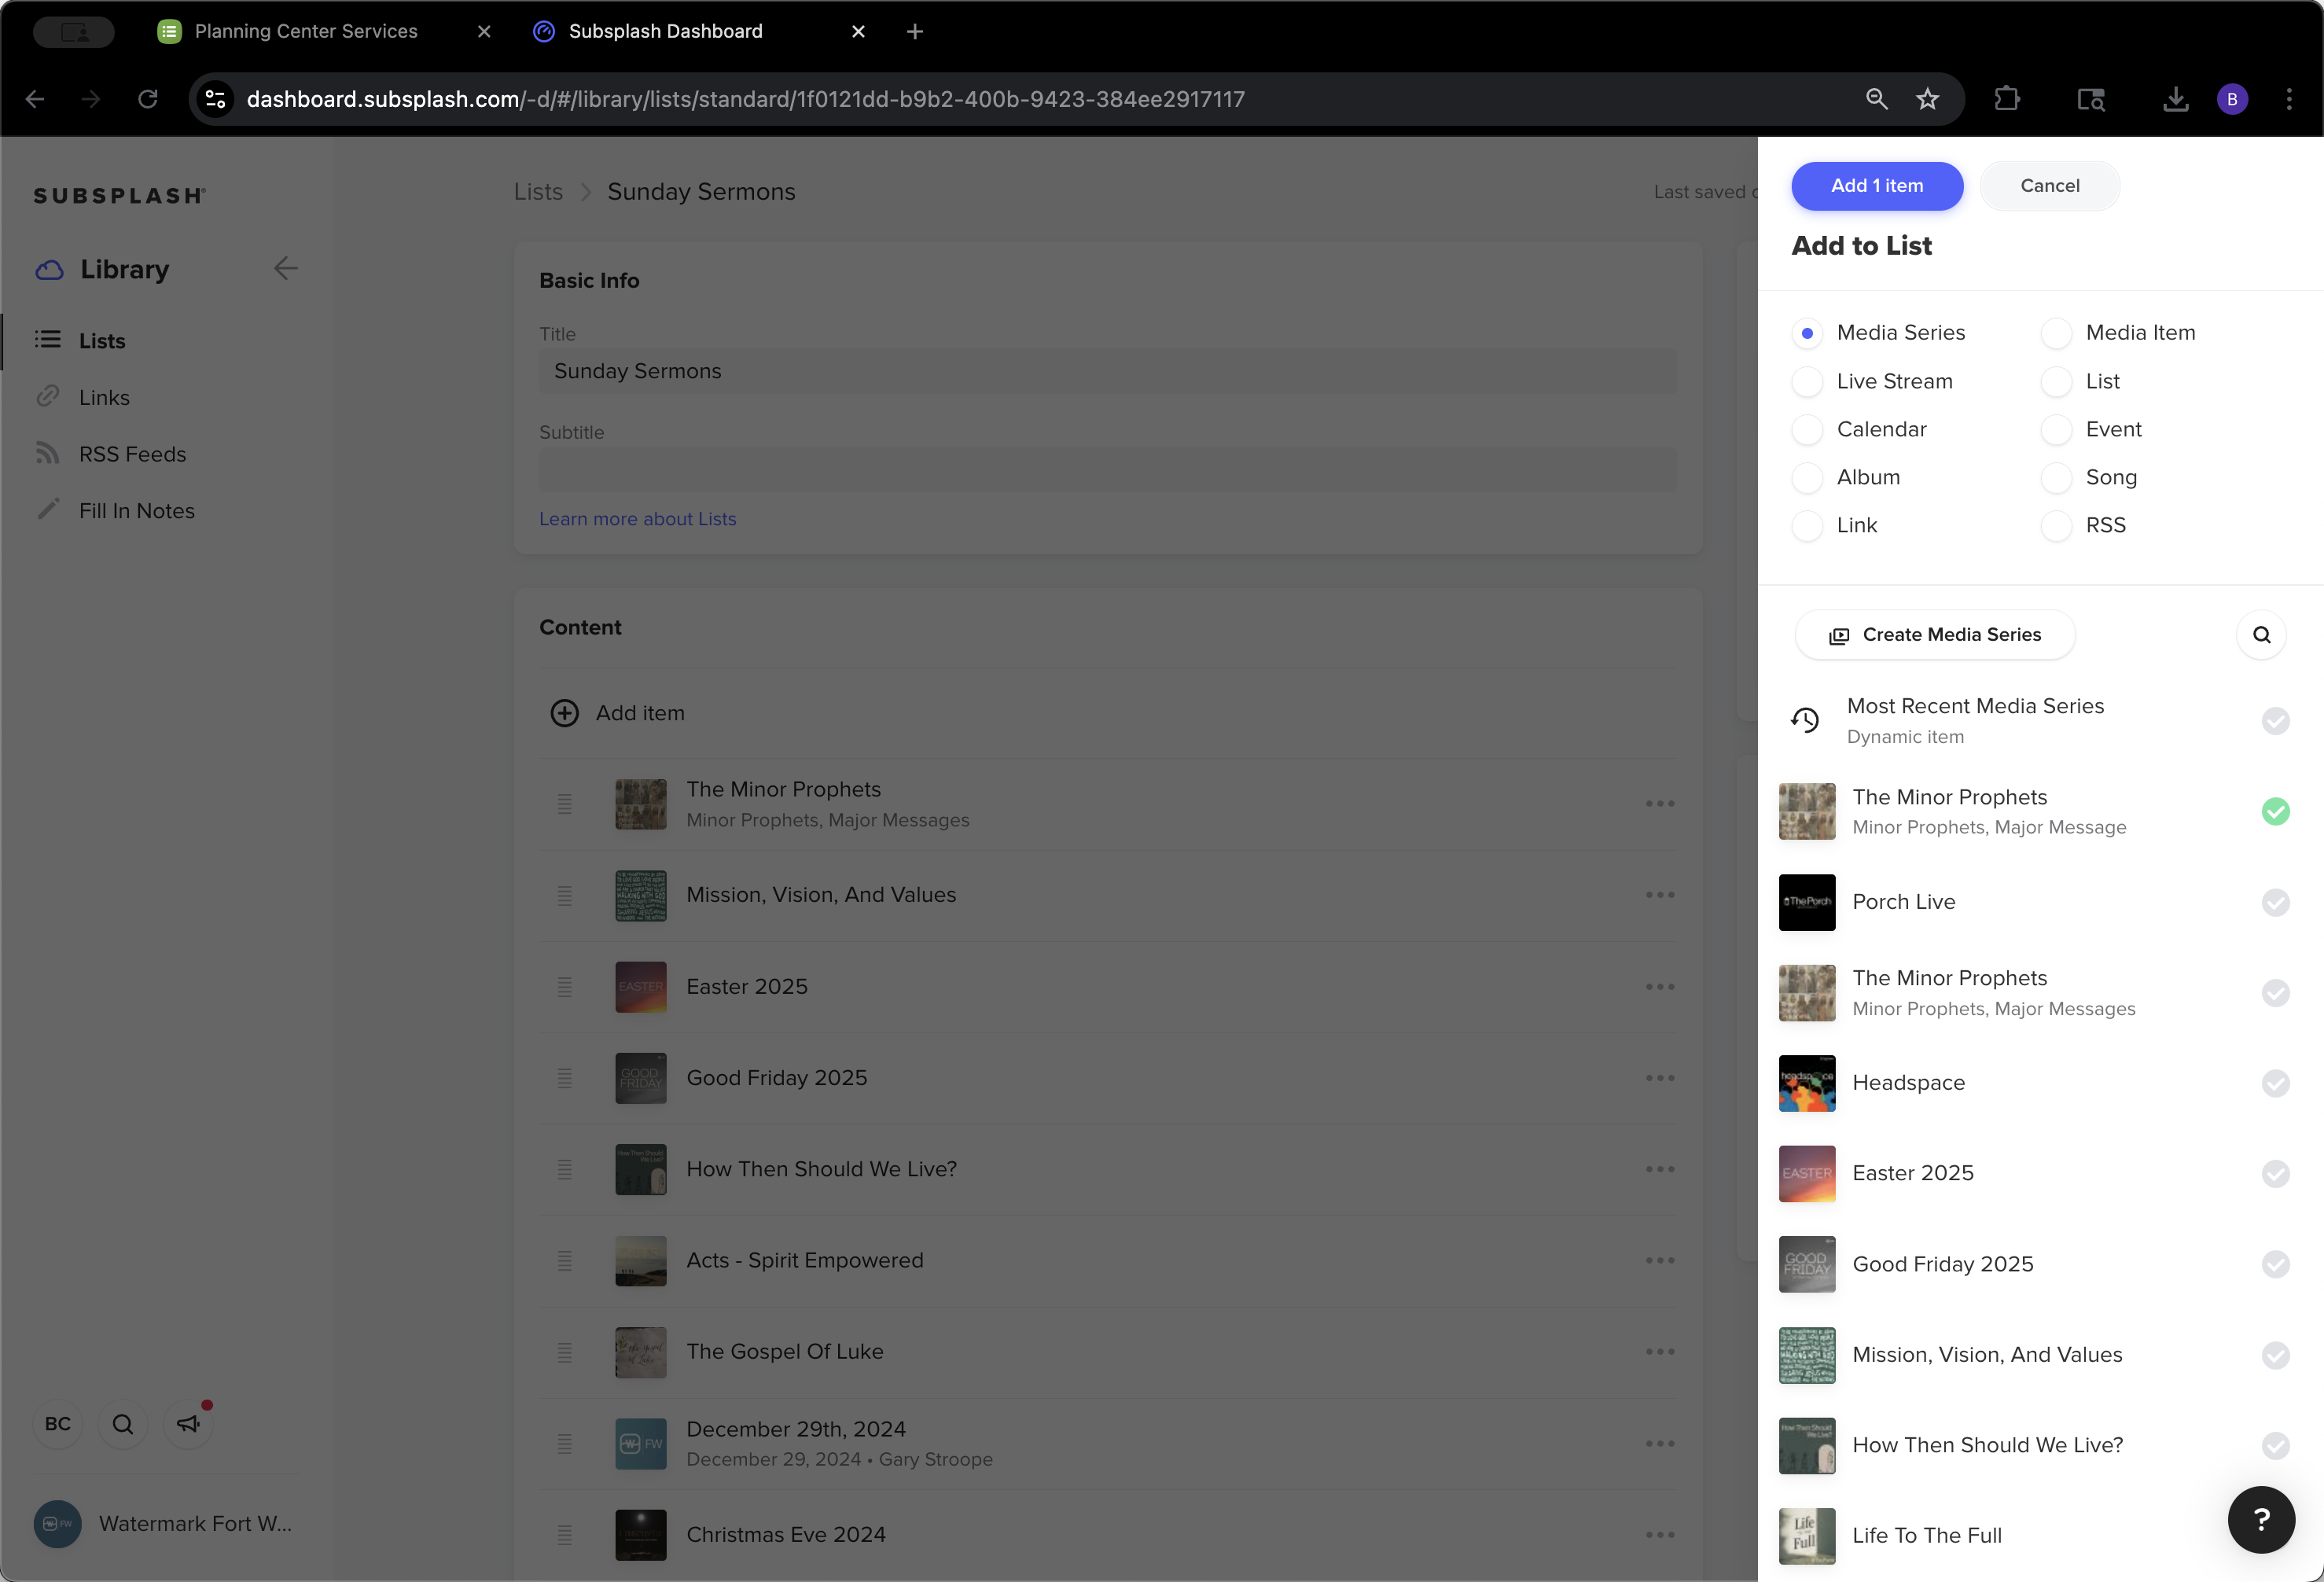
Here we have Sunday Mornings and The Porch. This process is the same for both. We will do Sunday Sermons. Then, go to Add Item. It will show the most recent media series, The Minor Prophets.

25
Click here
Step #25: Click here
26
Click on "+ Add item"
Step #26: Click on "+ Add item"

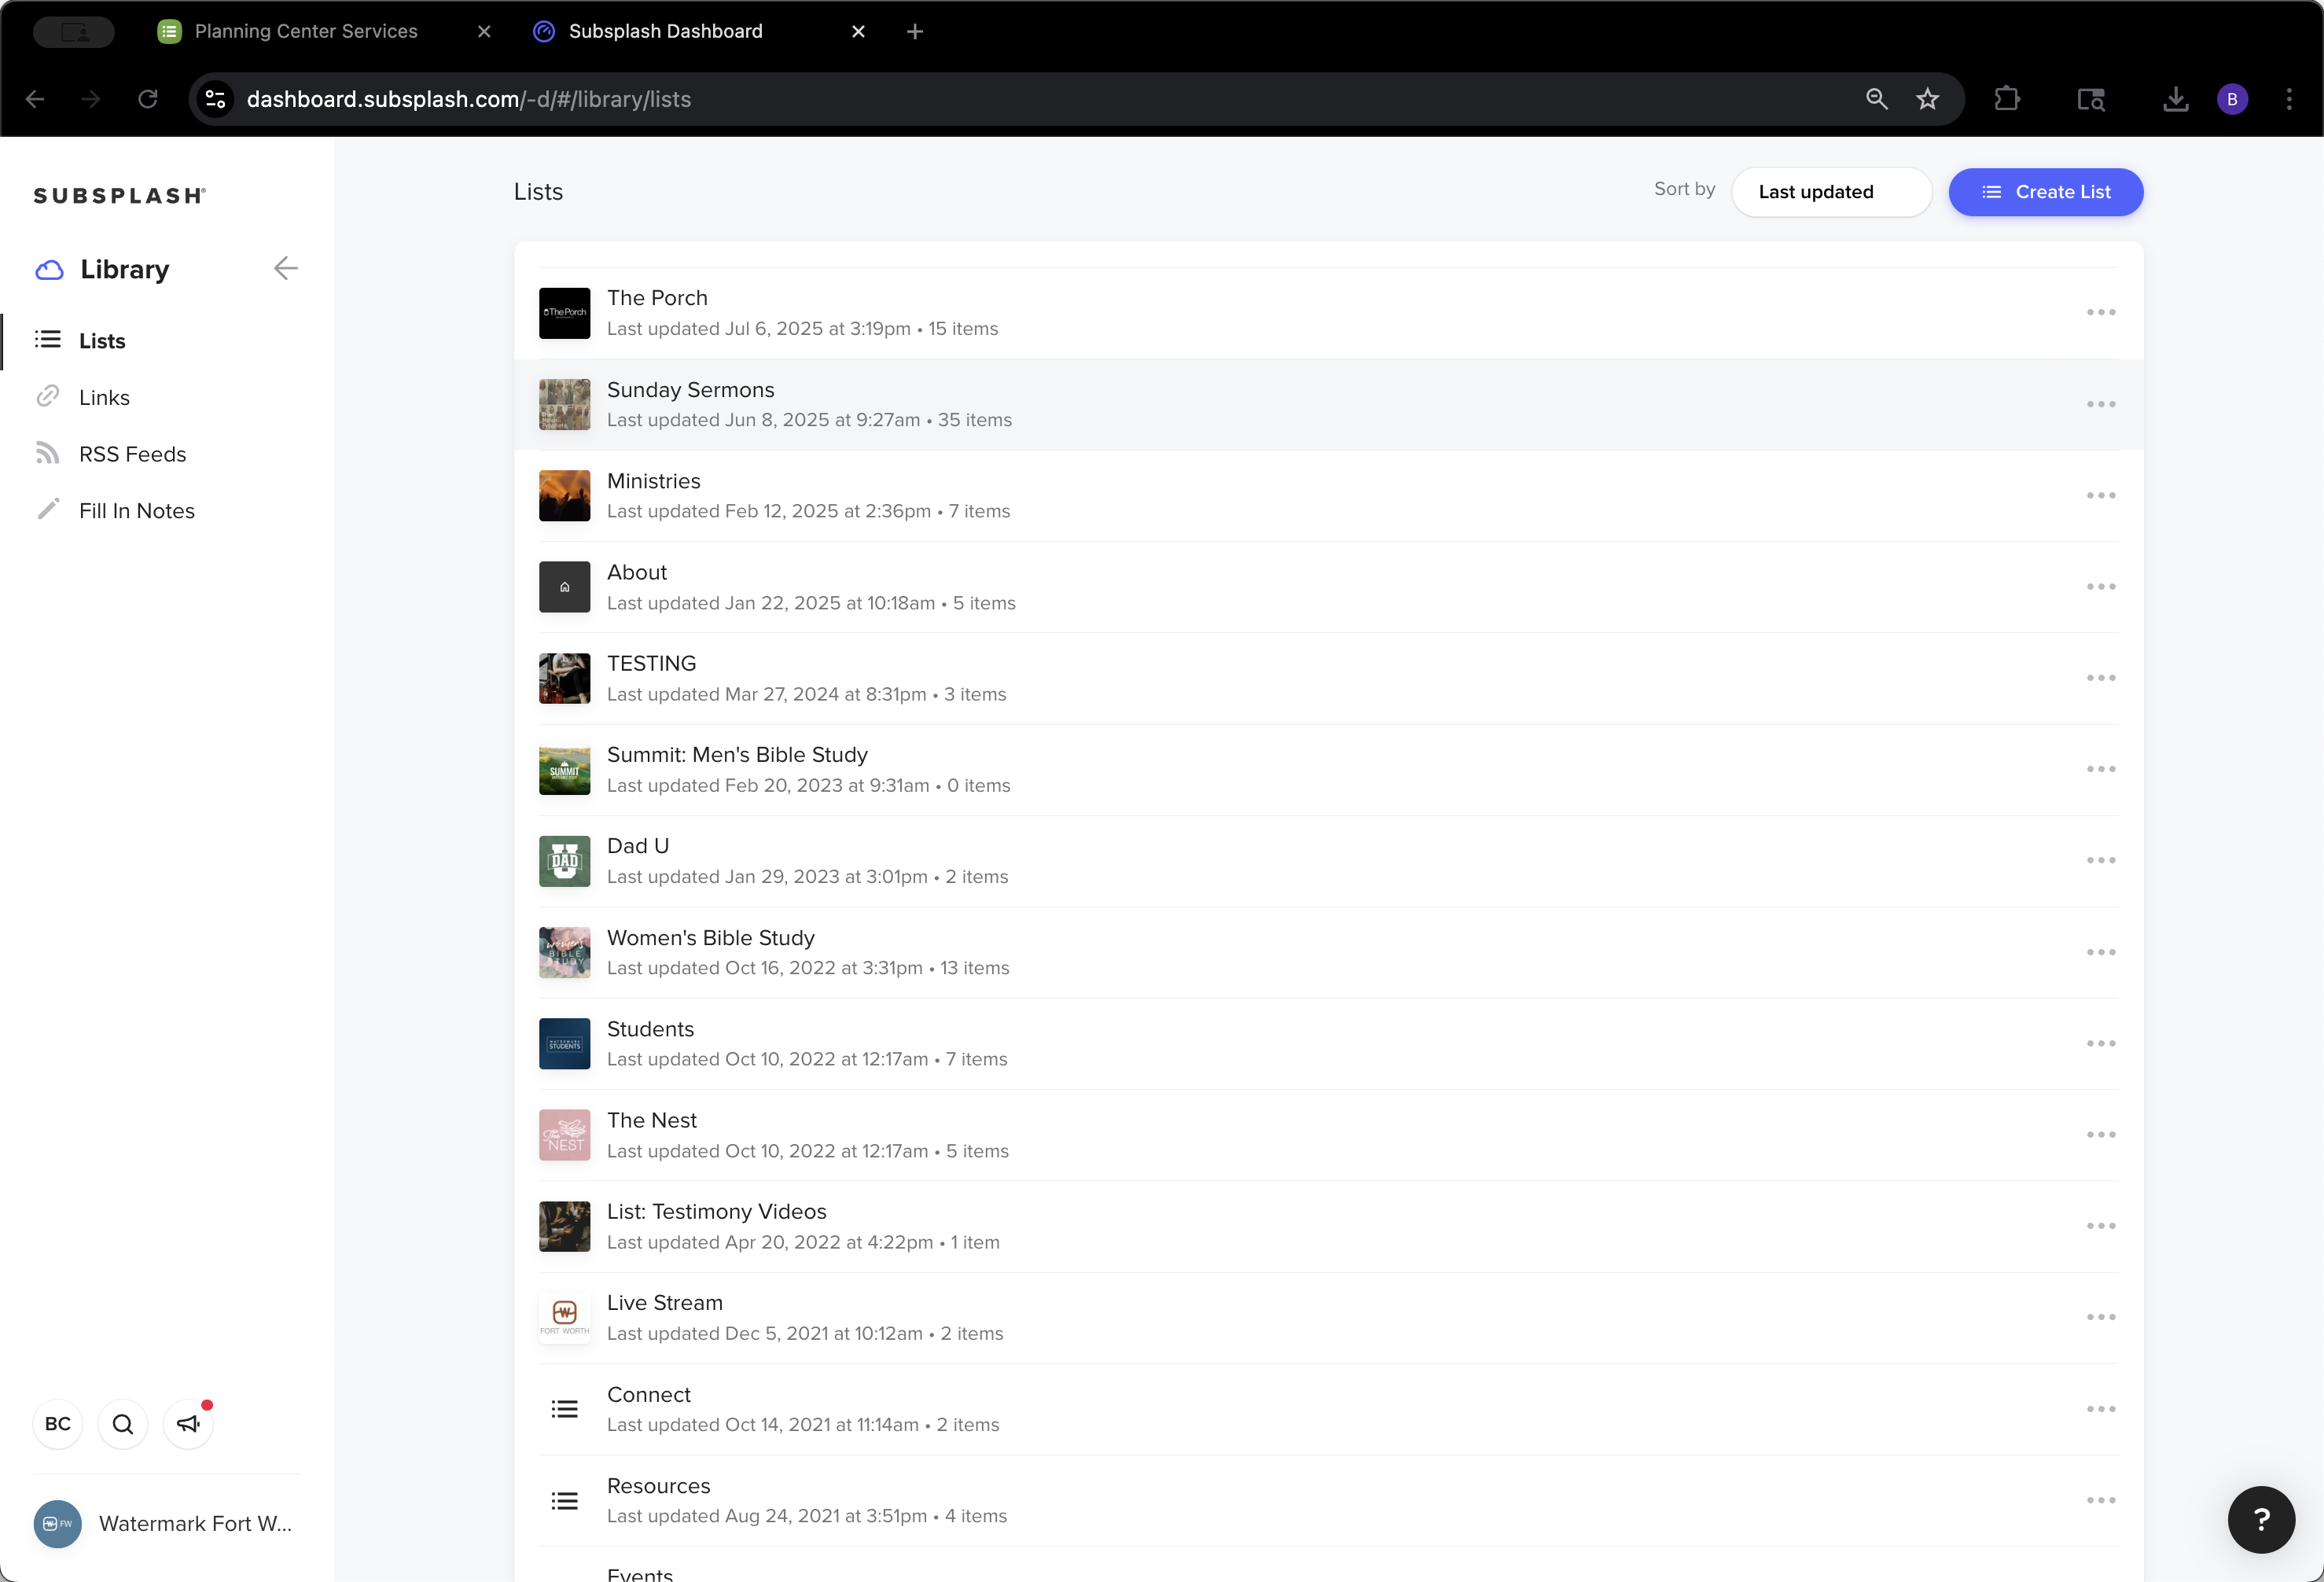
Here is the original, and next to it is the one we just created. We won't add it now, but to do so, simply click Add. That's it.

27
Click on "Major Message"
Step #27: Click on "Major Message"
28
Click on "Cancel"
Step #28: Click on "Cancel"

Also, ensure that the Sunday after a new series begins, all branding is updated to match The Minor Prophets or the appropriate theme.

29
Click here
Step #29: Click here
30
Click on "Square"
Step #30: Click on "Square"
31
Click on "✗"
Step #31: Click on "✗"
32
Click here
Step #32: Click here

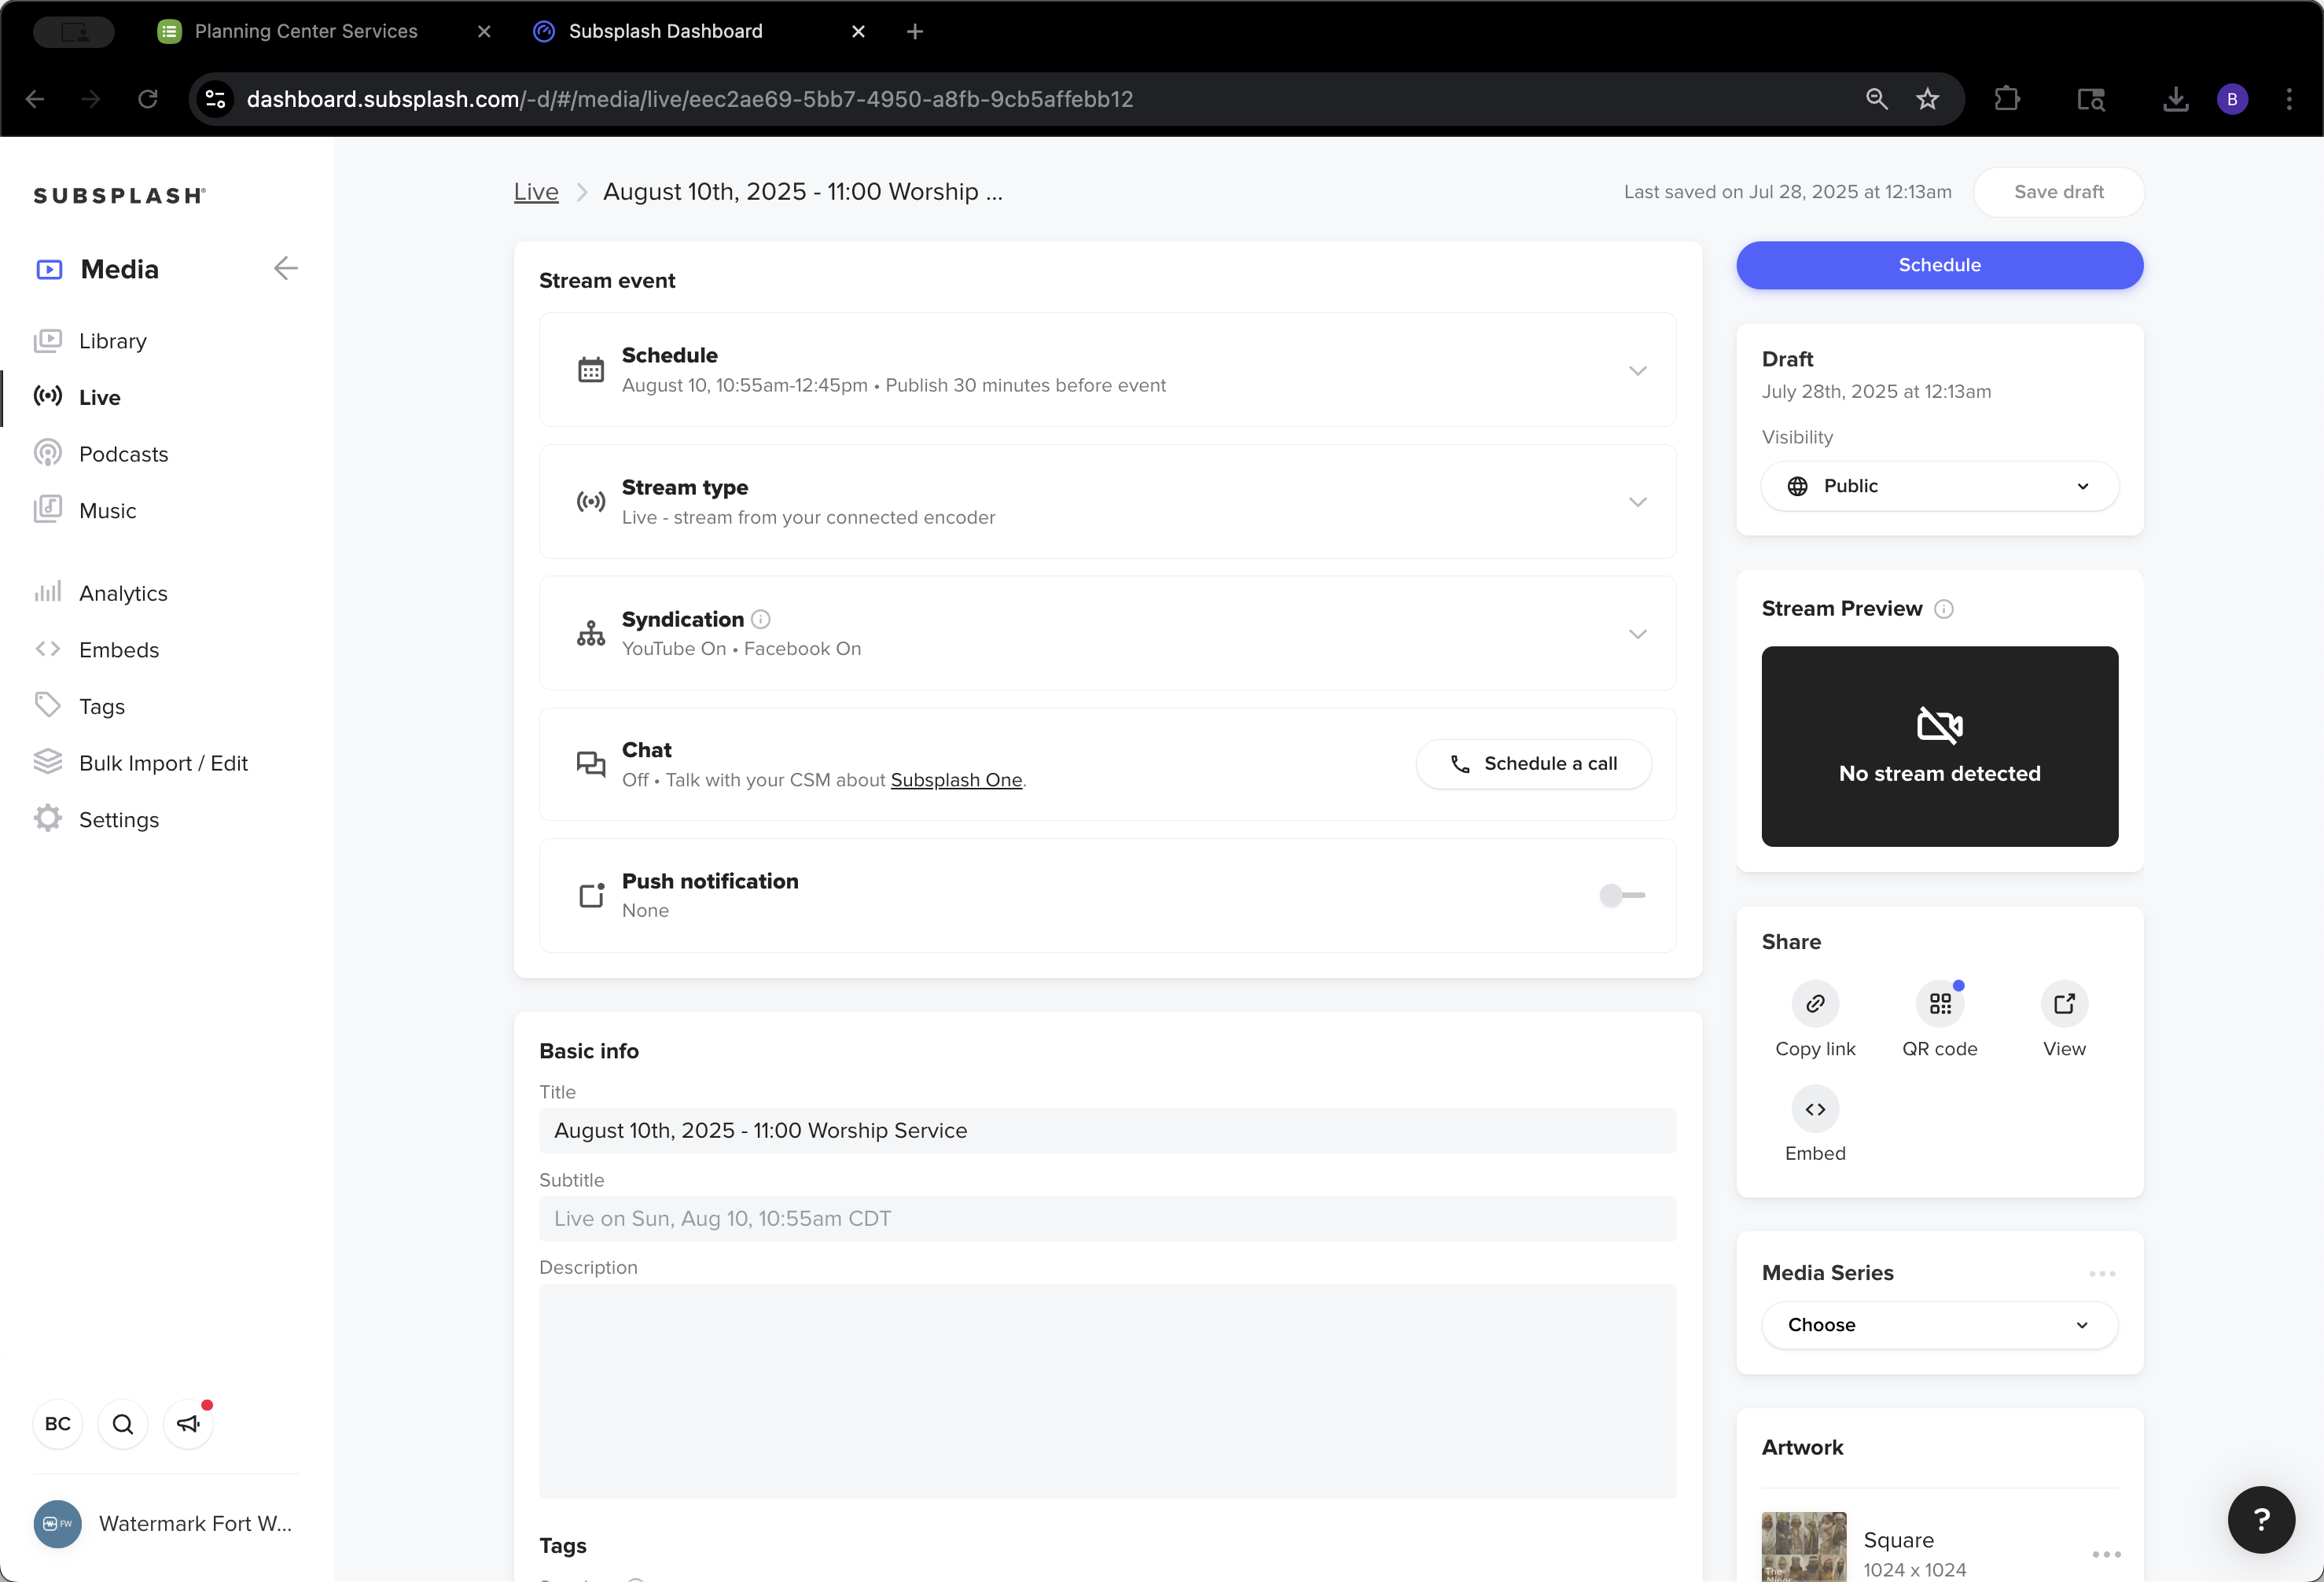
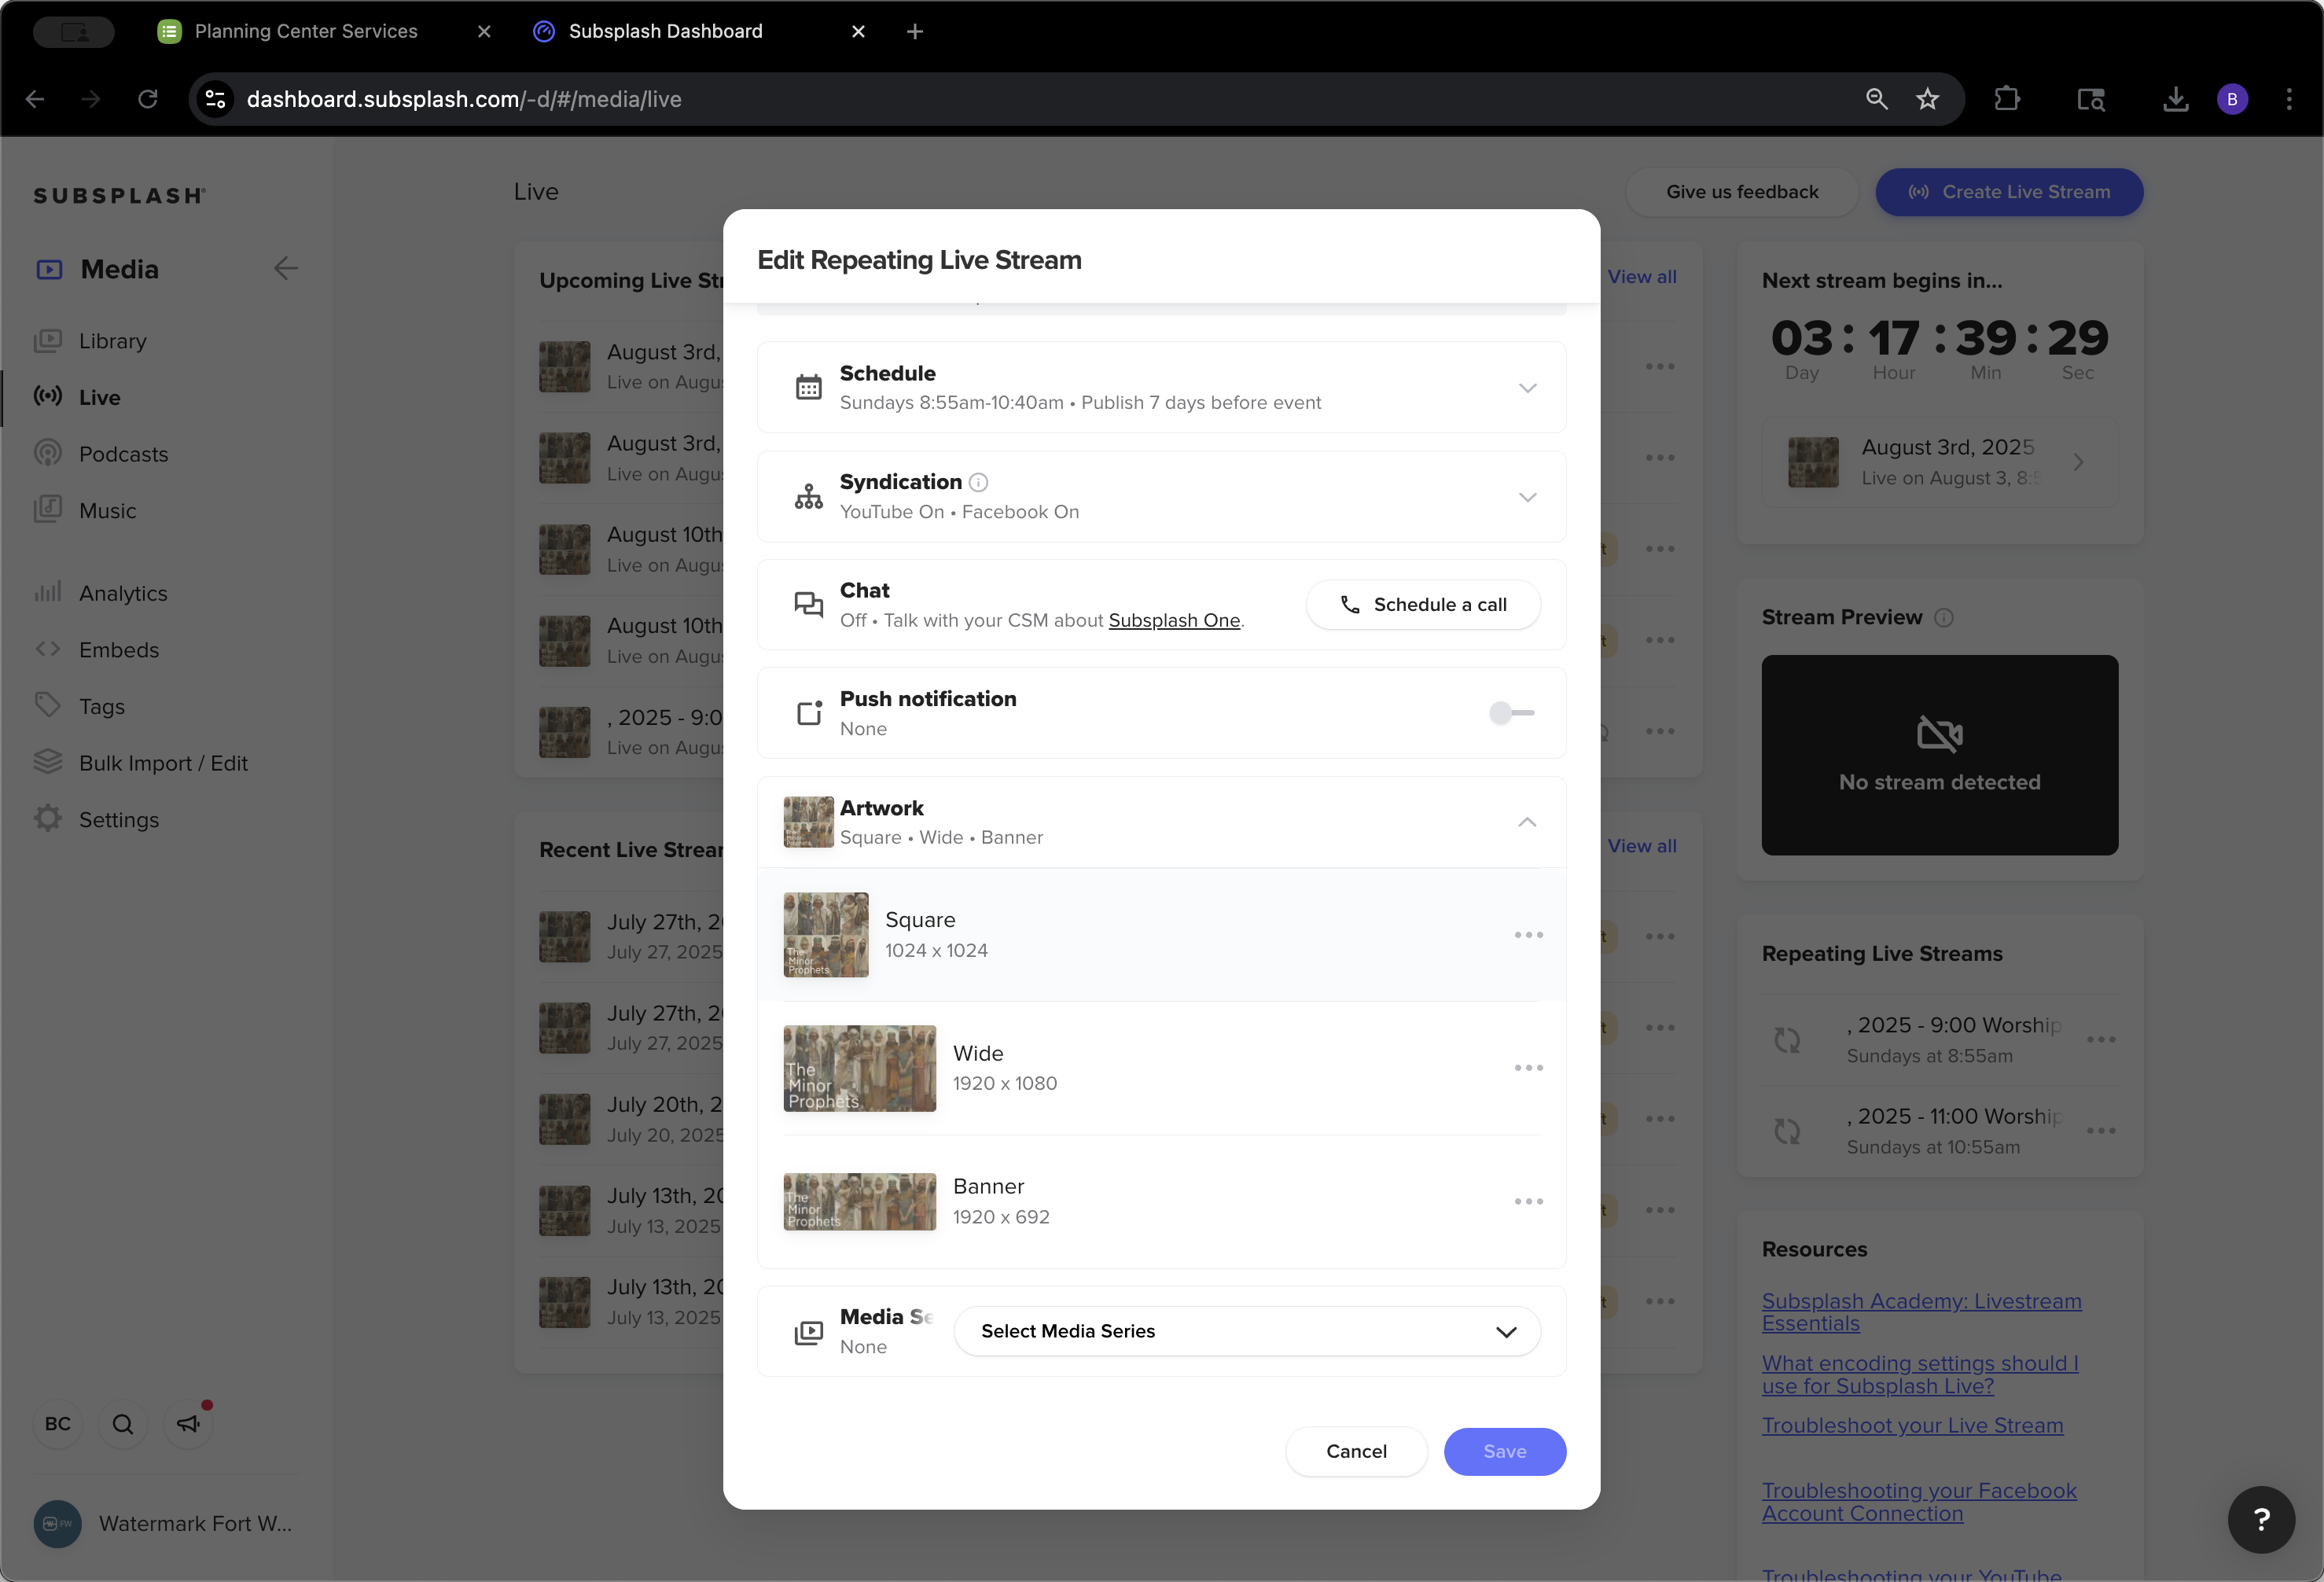
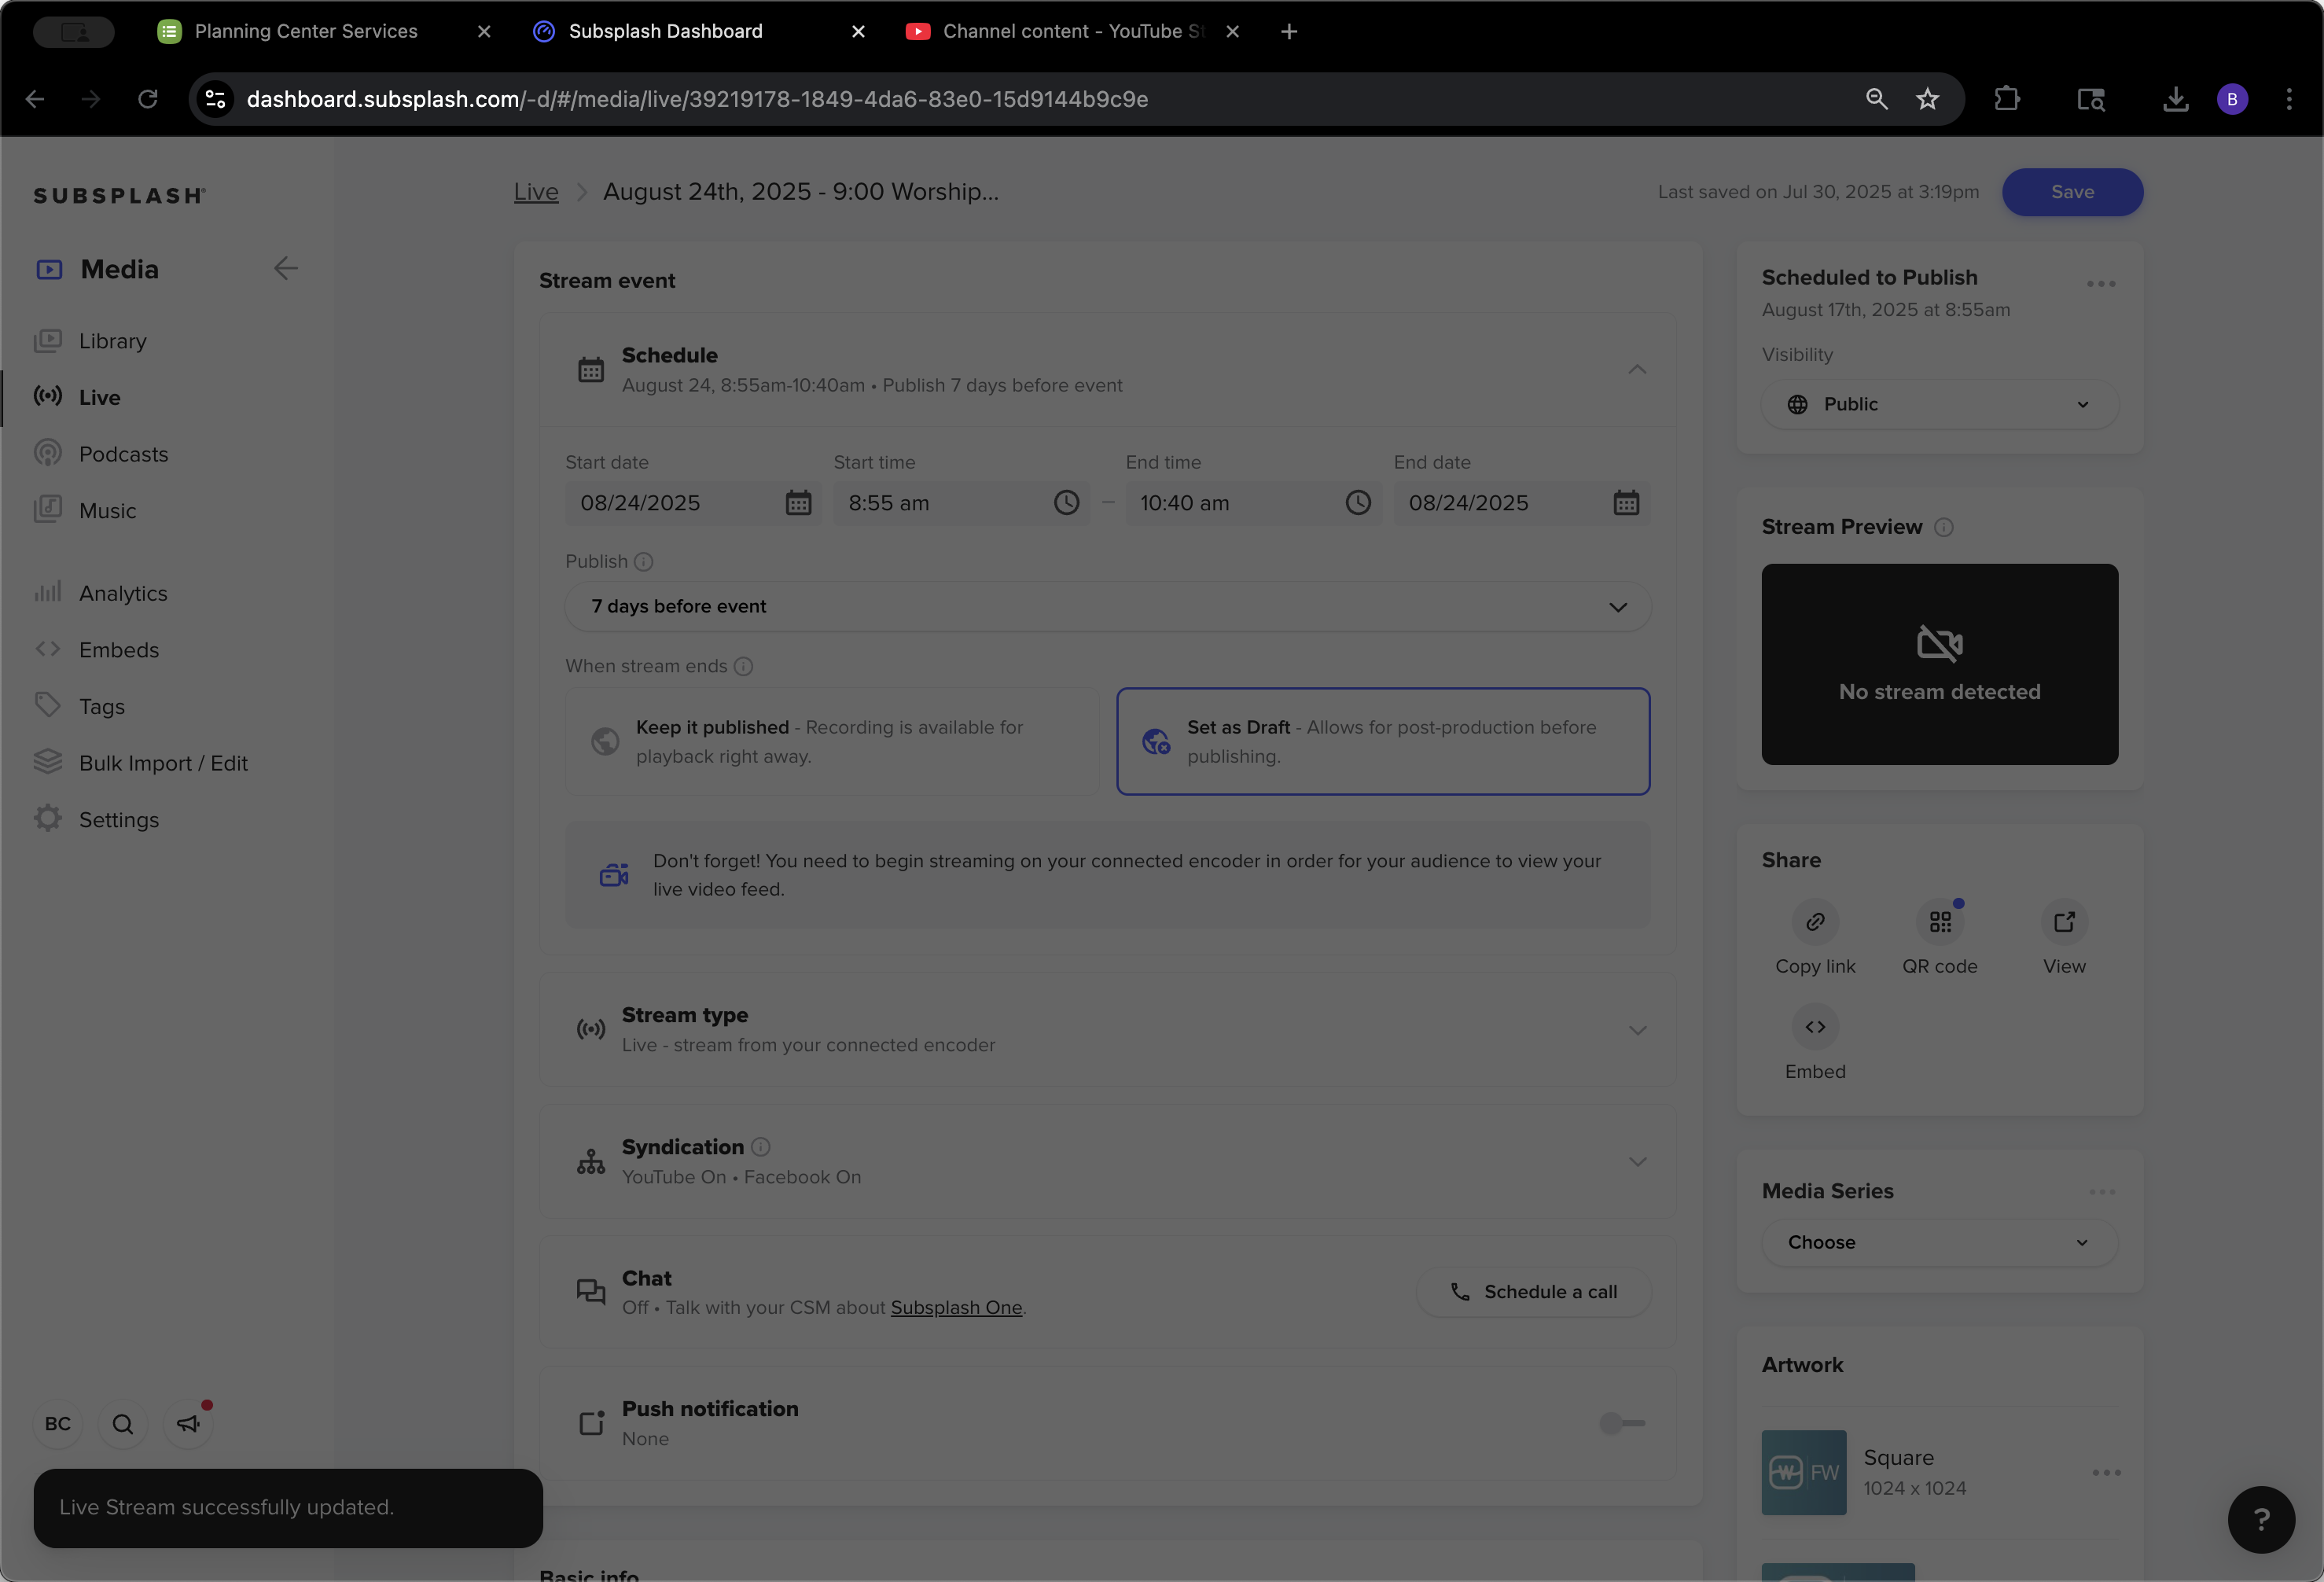
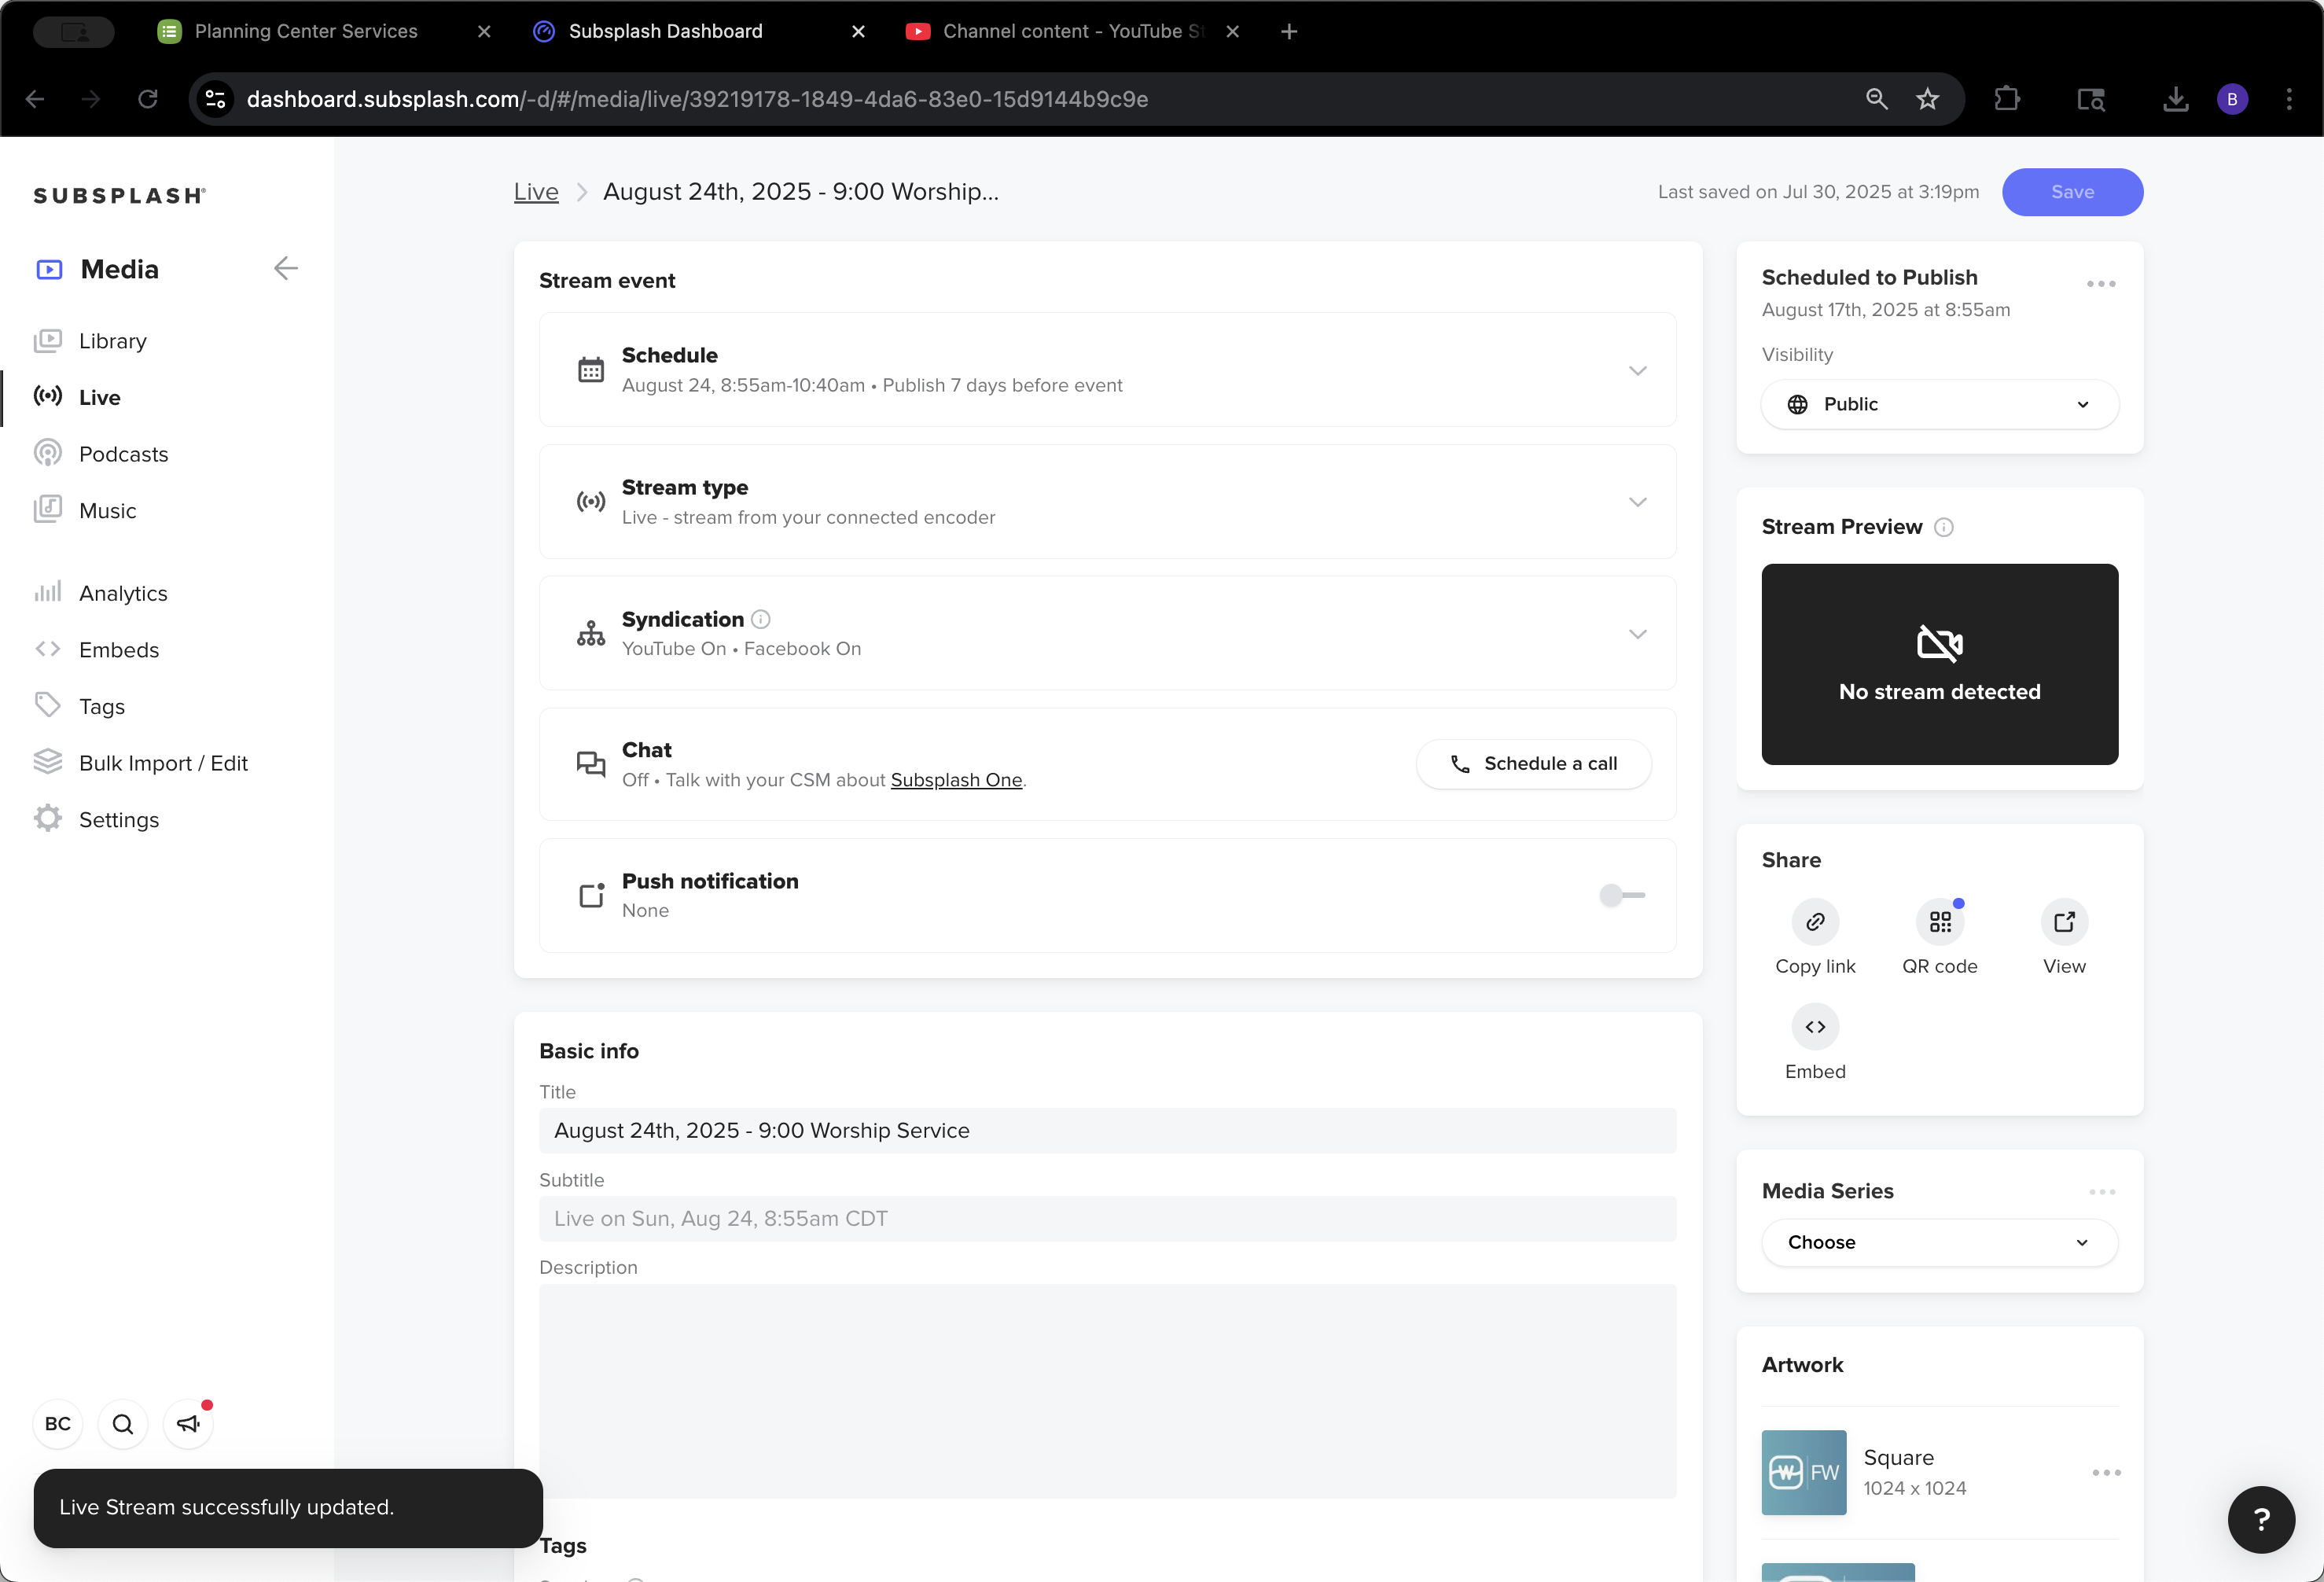
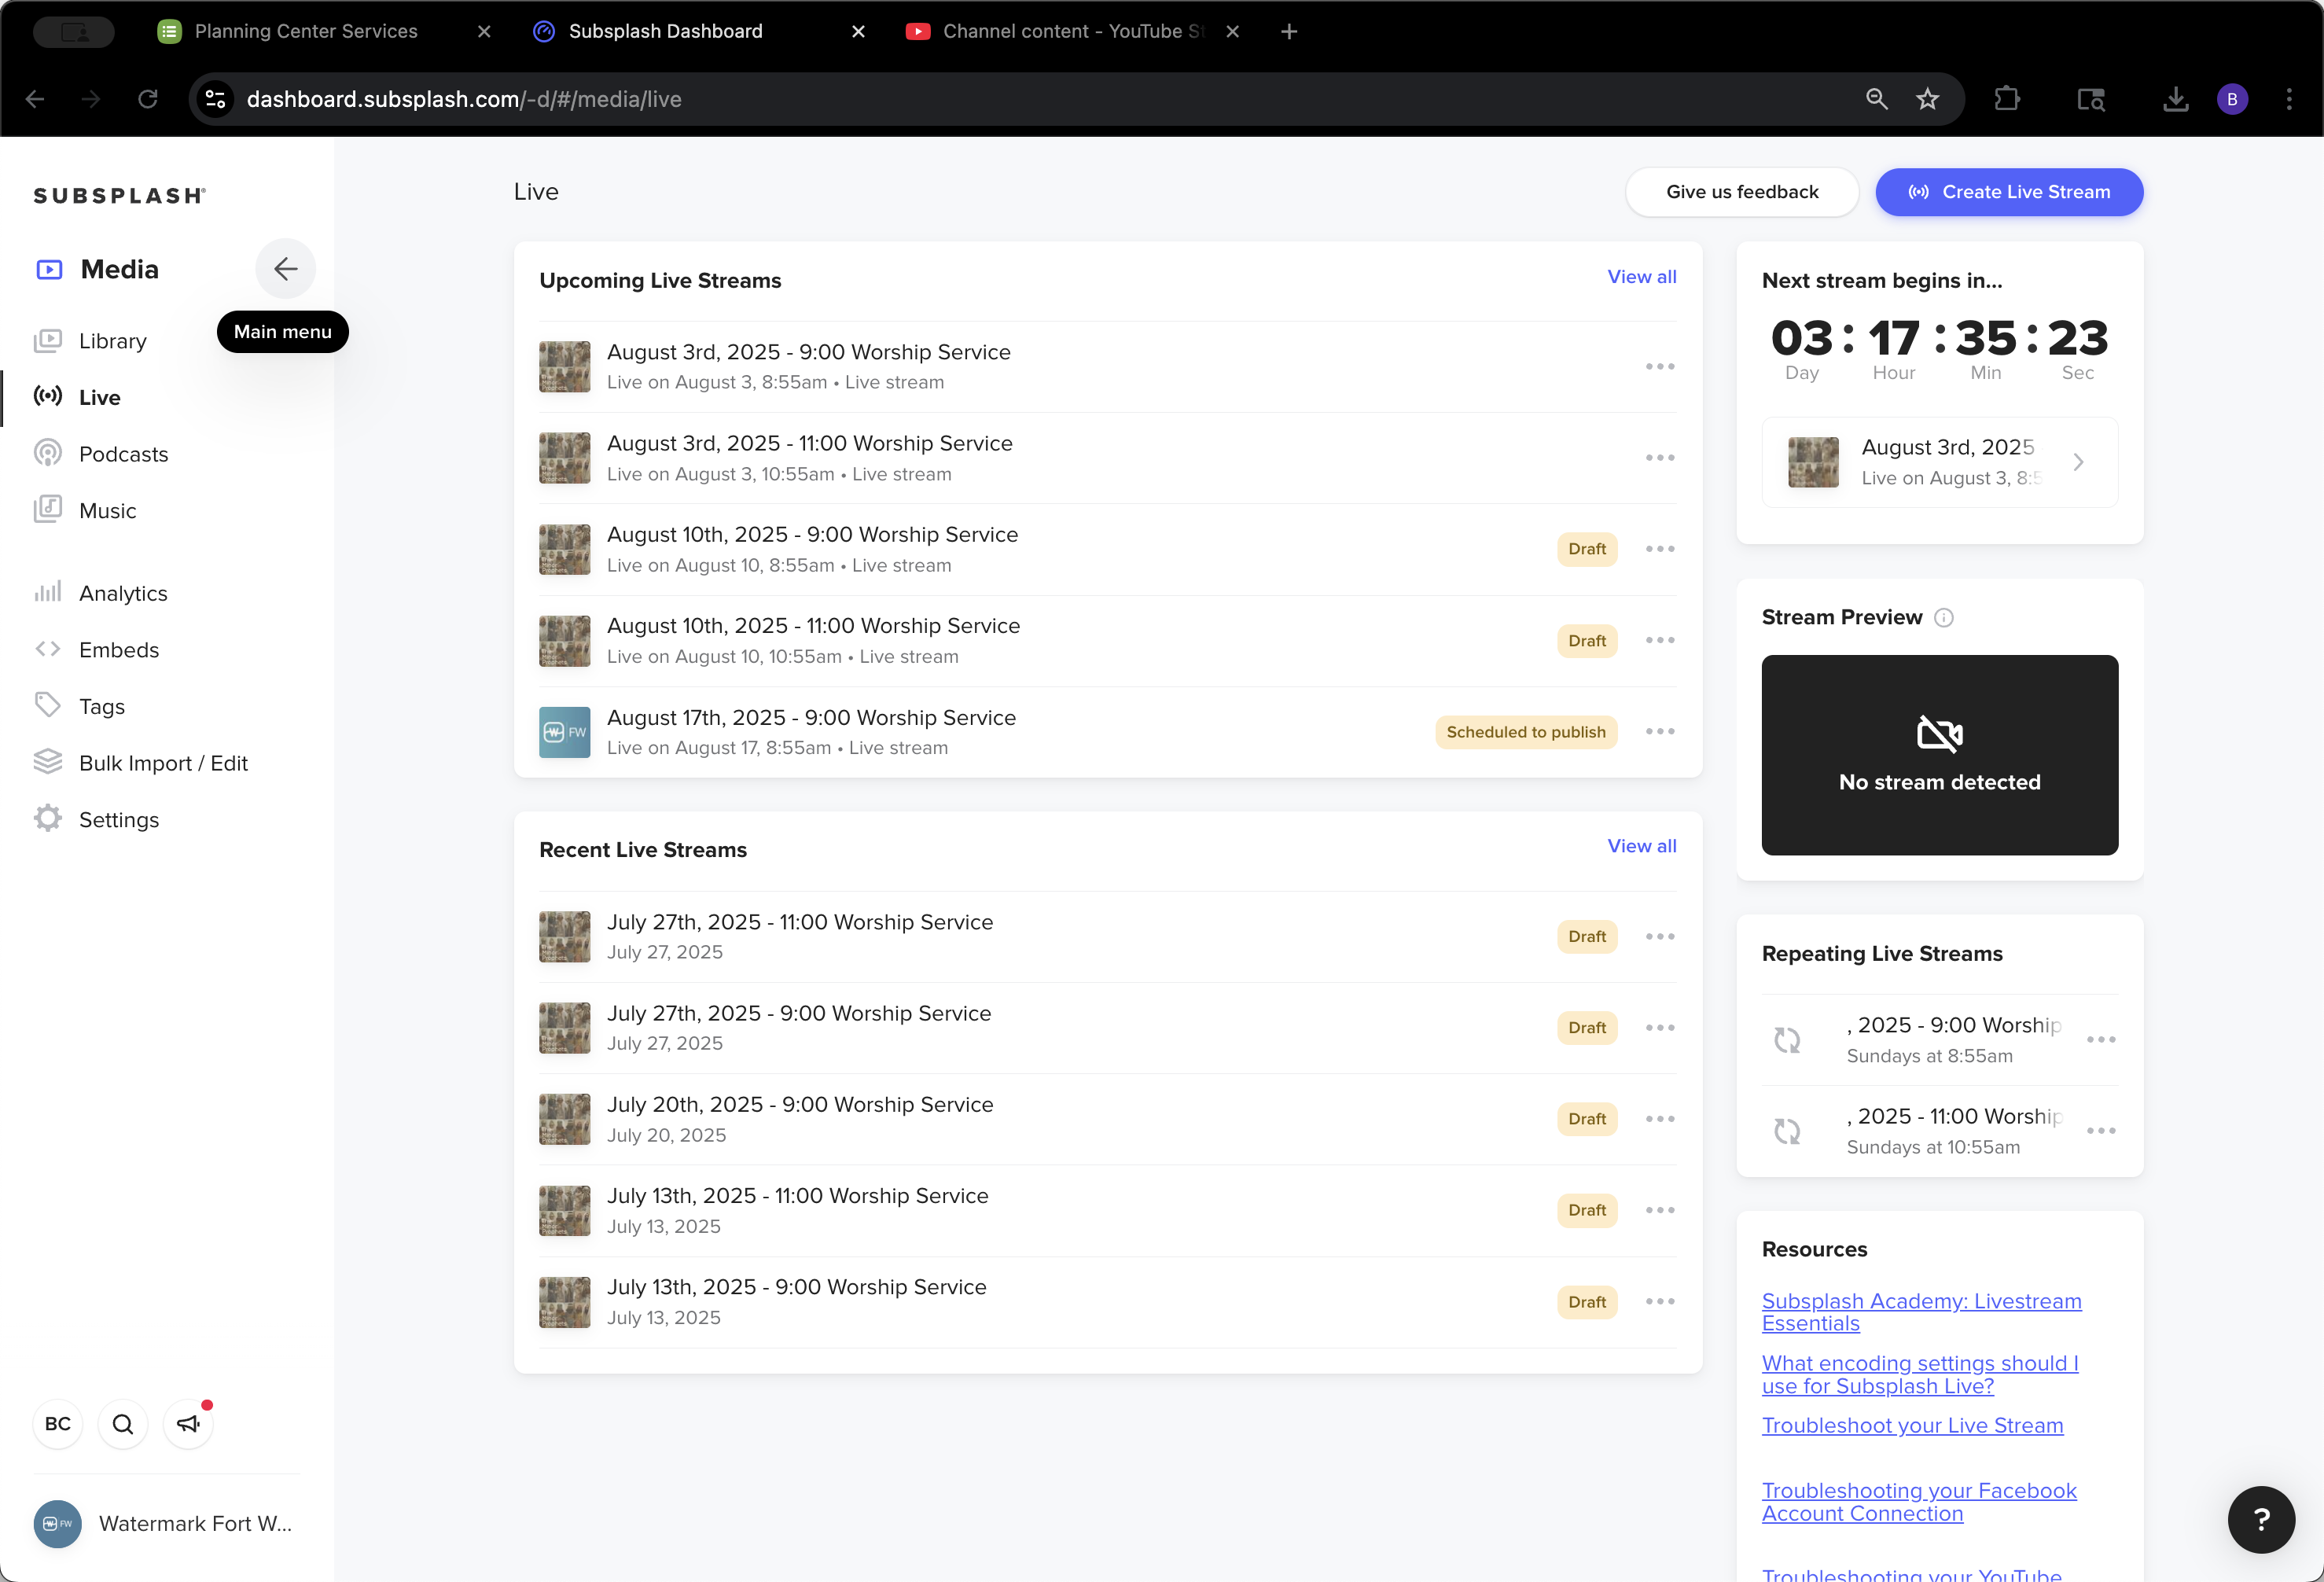
All right, now we will edit the livestream.

33
Click here
Step #33: Click here
34
Click here
Step #34: Click here

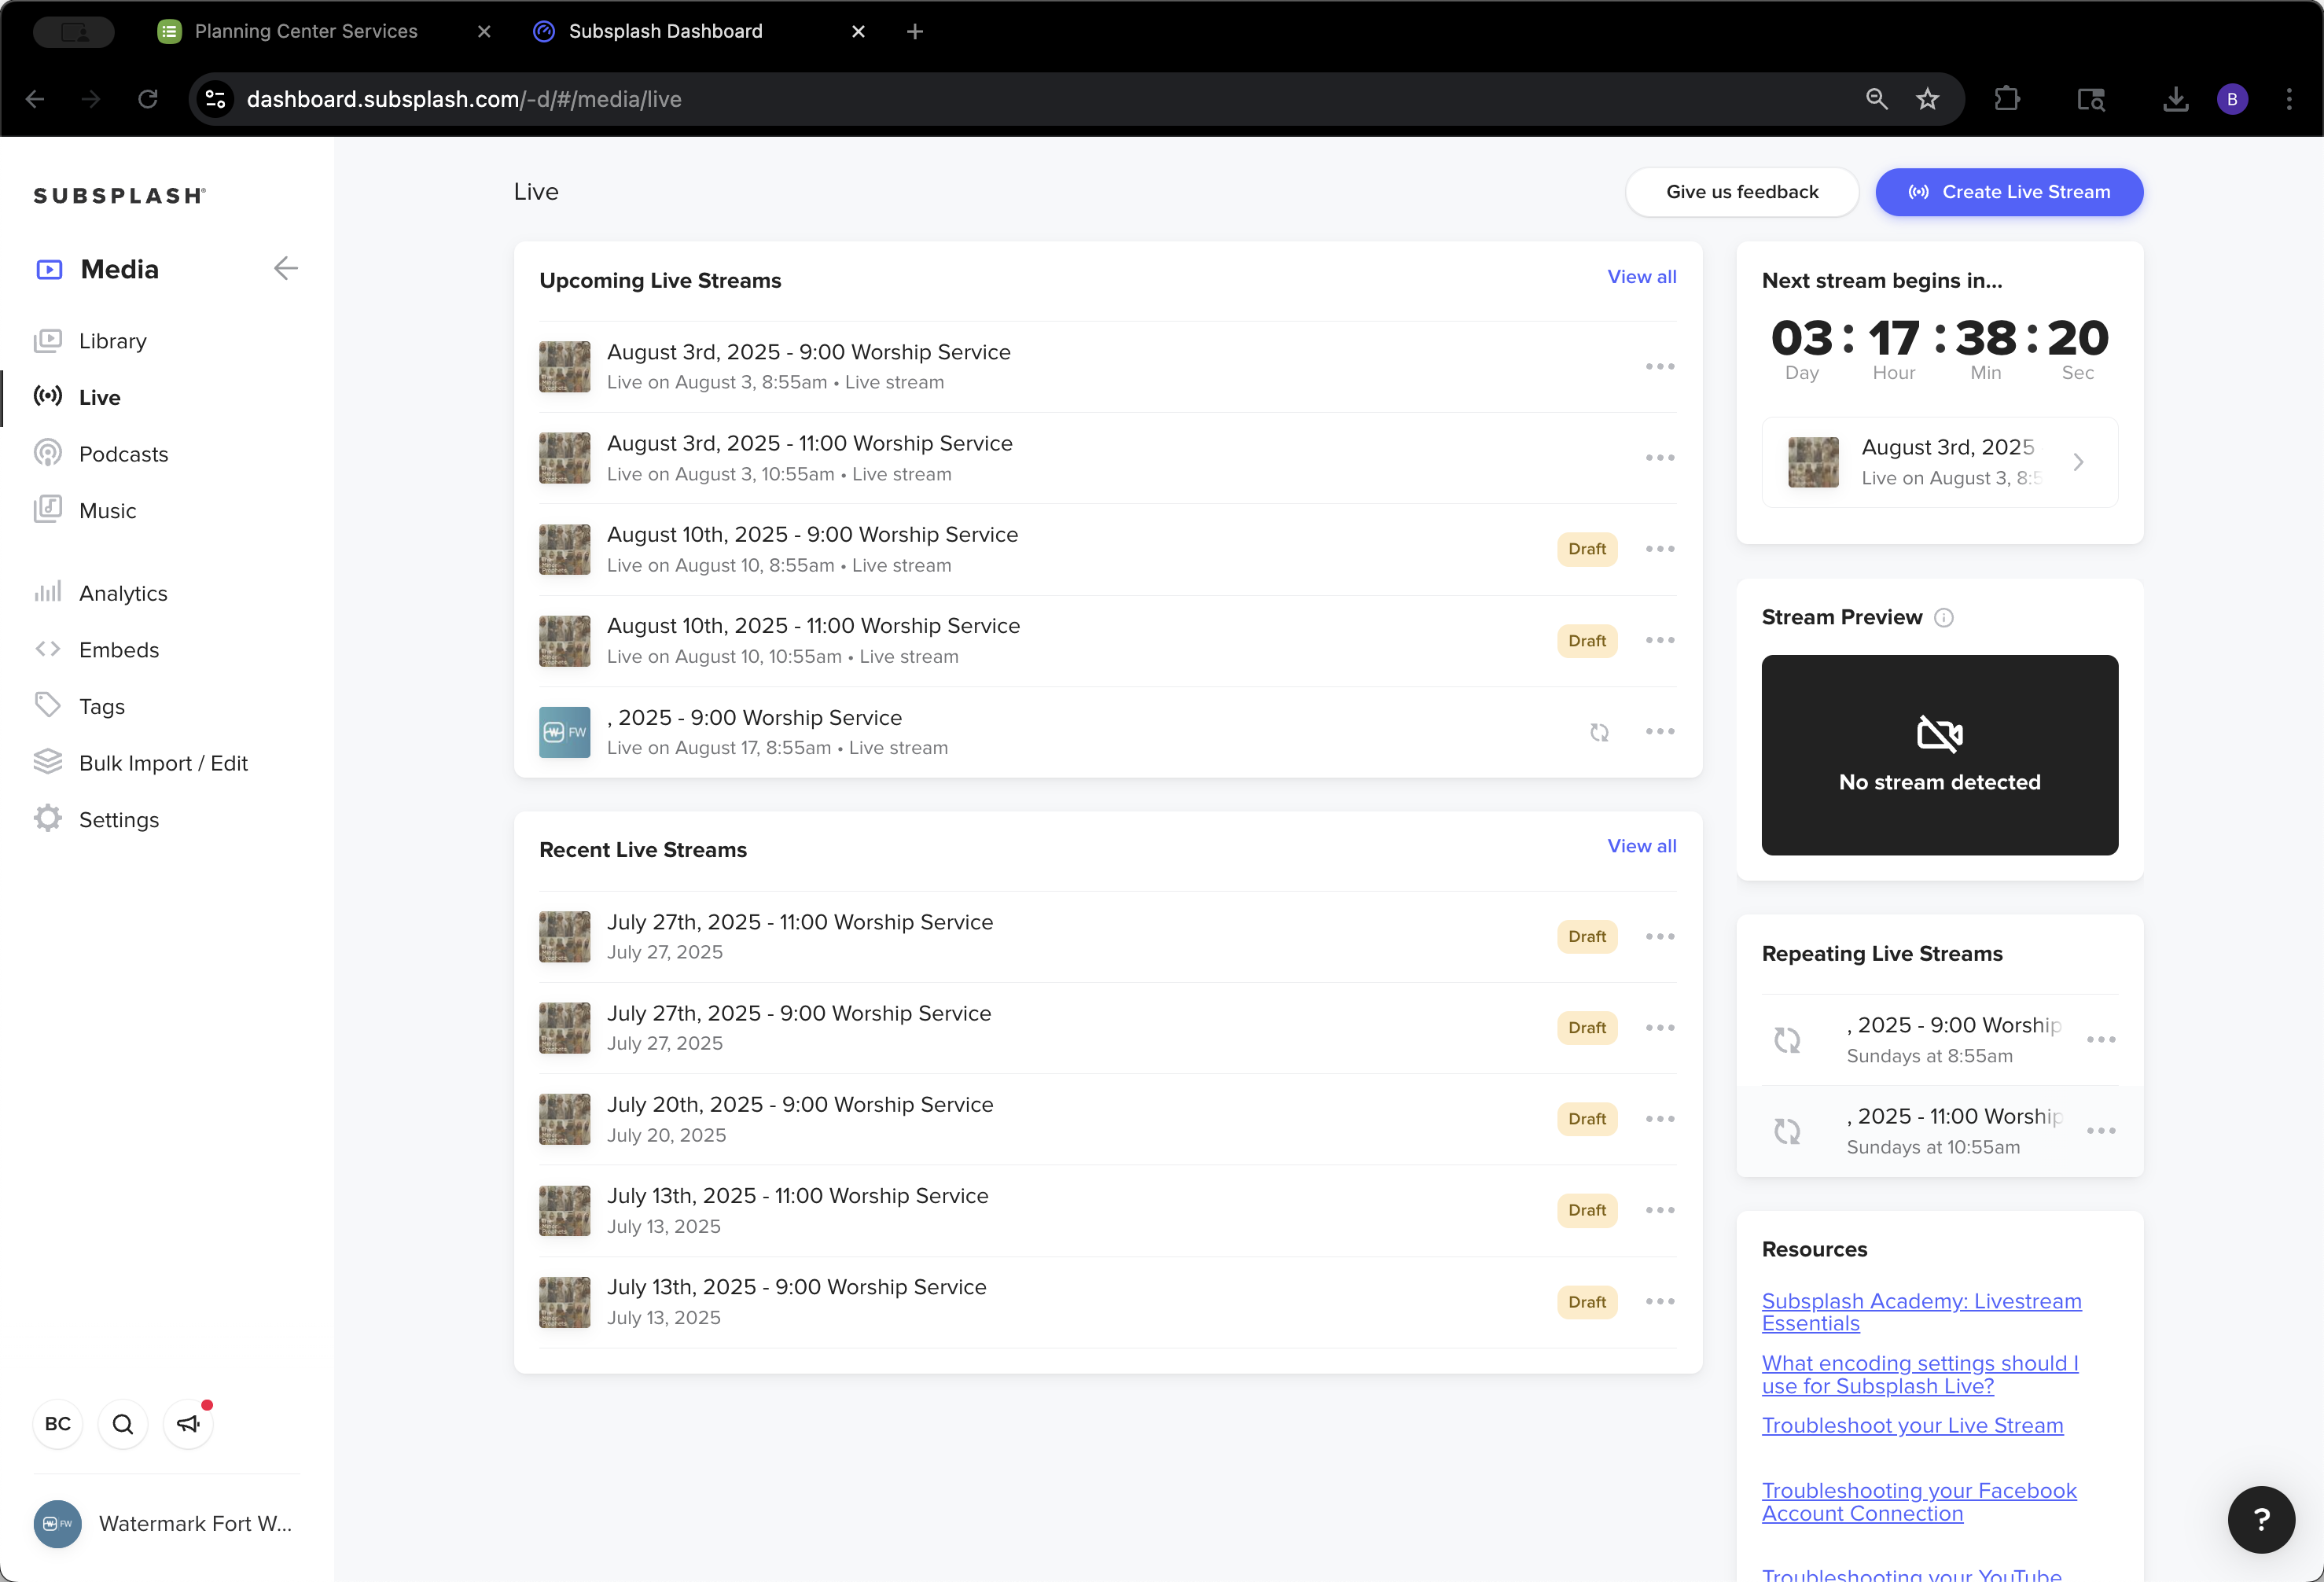
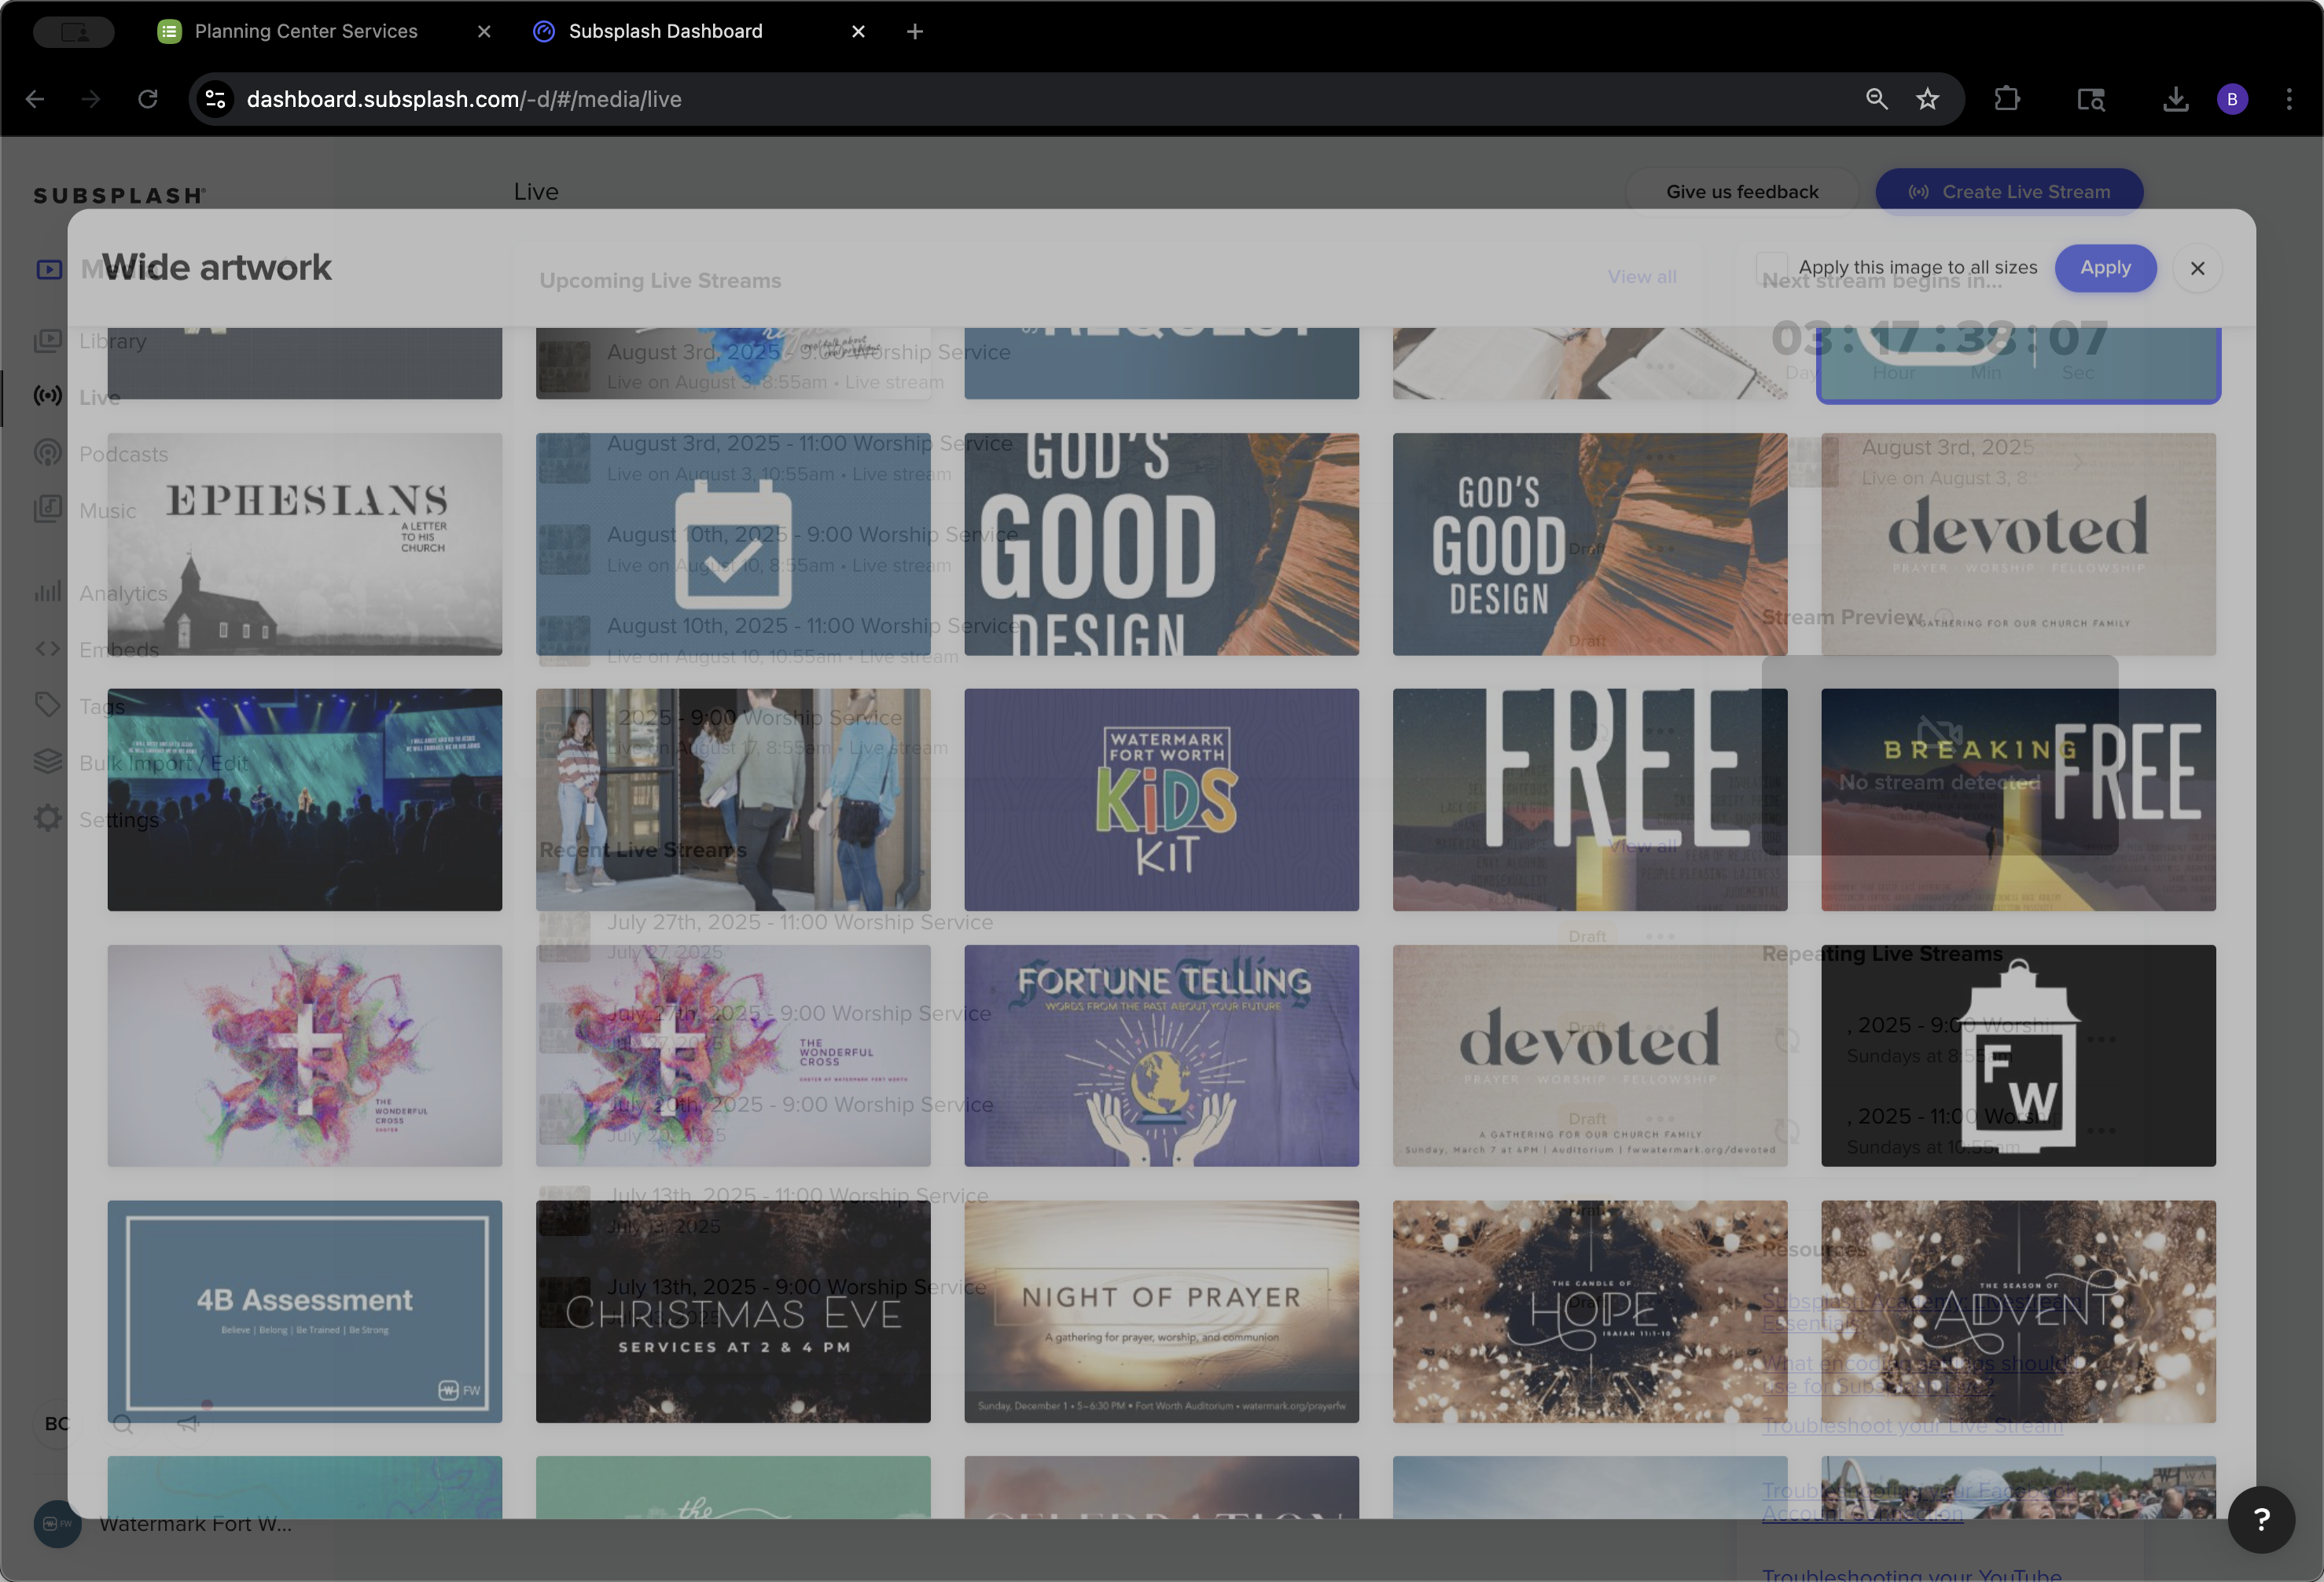
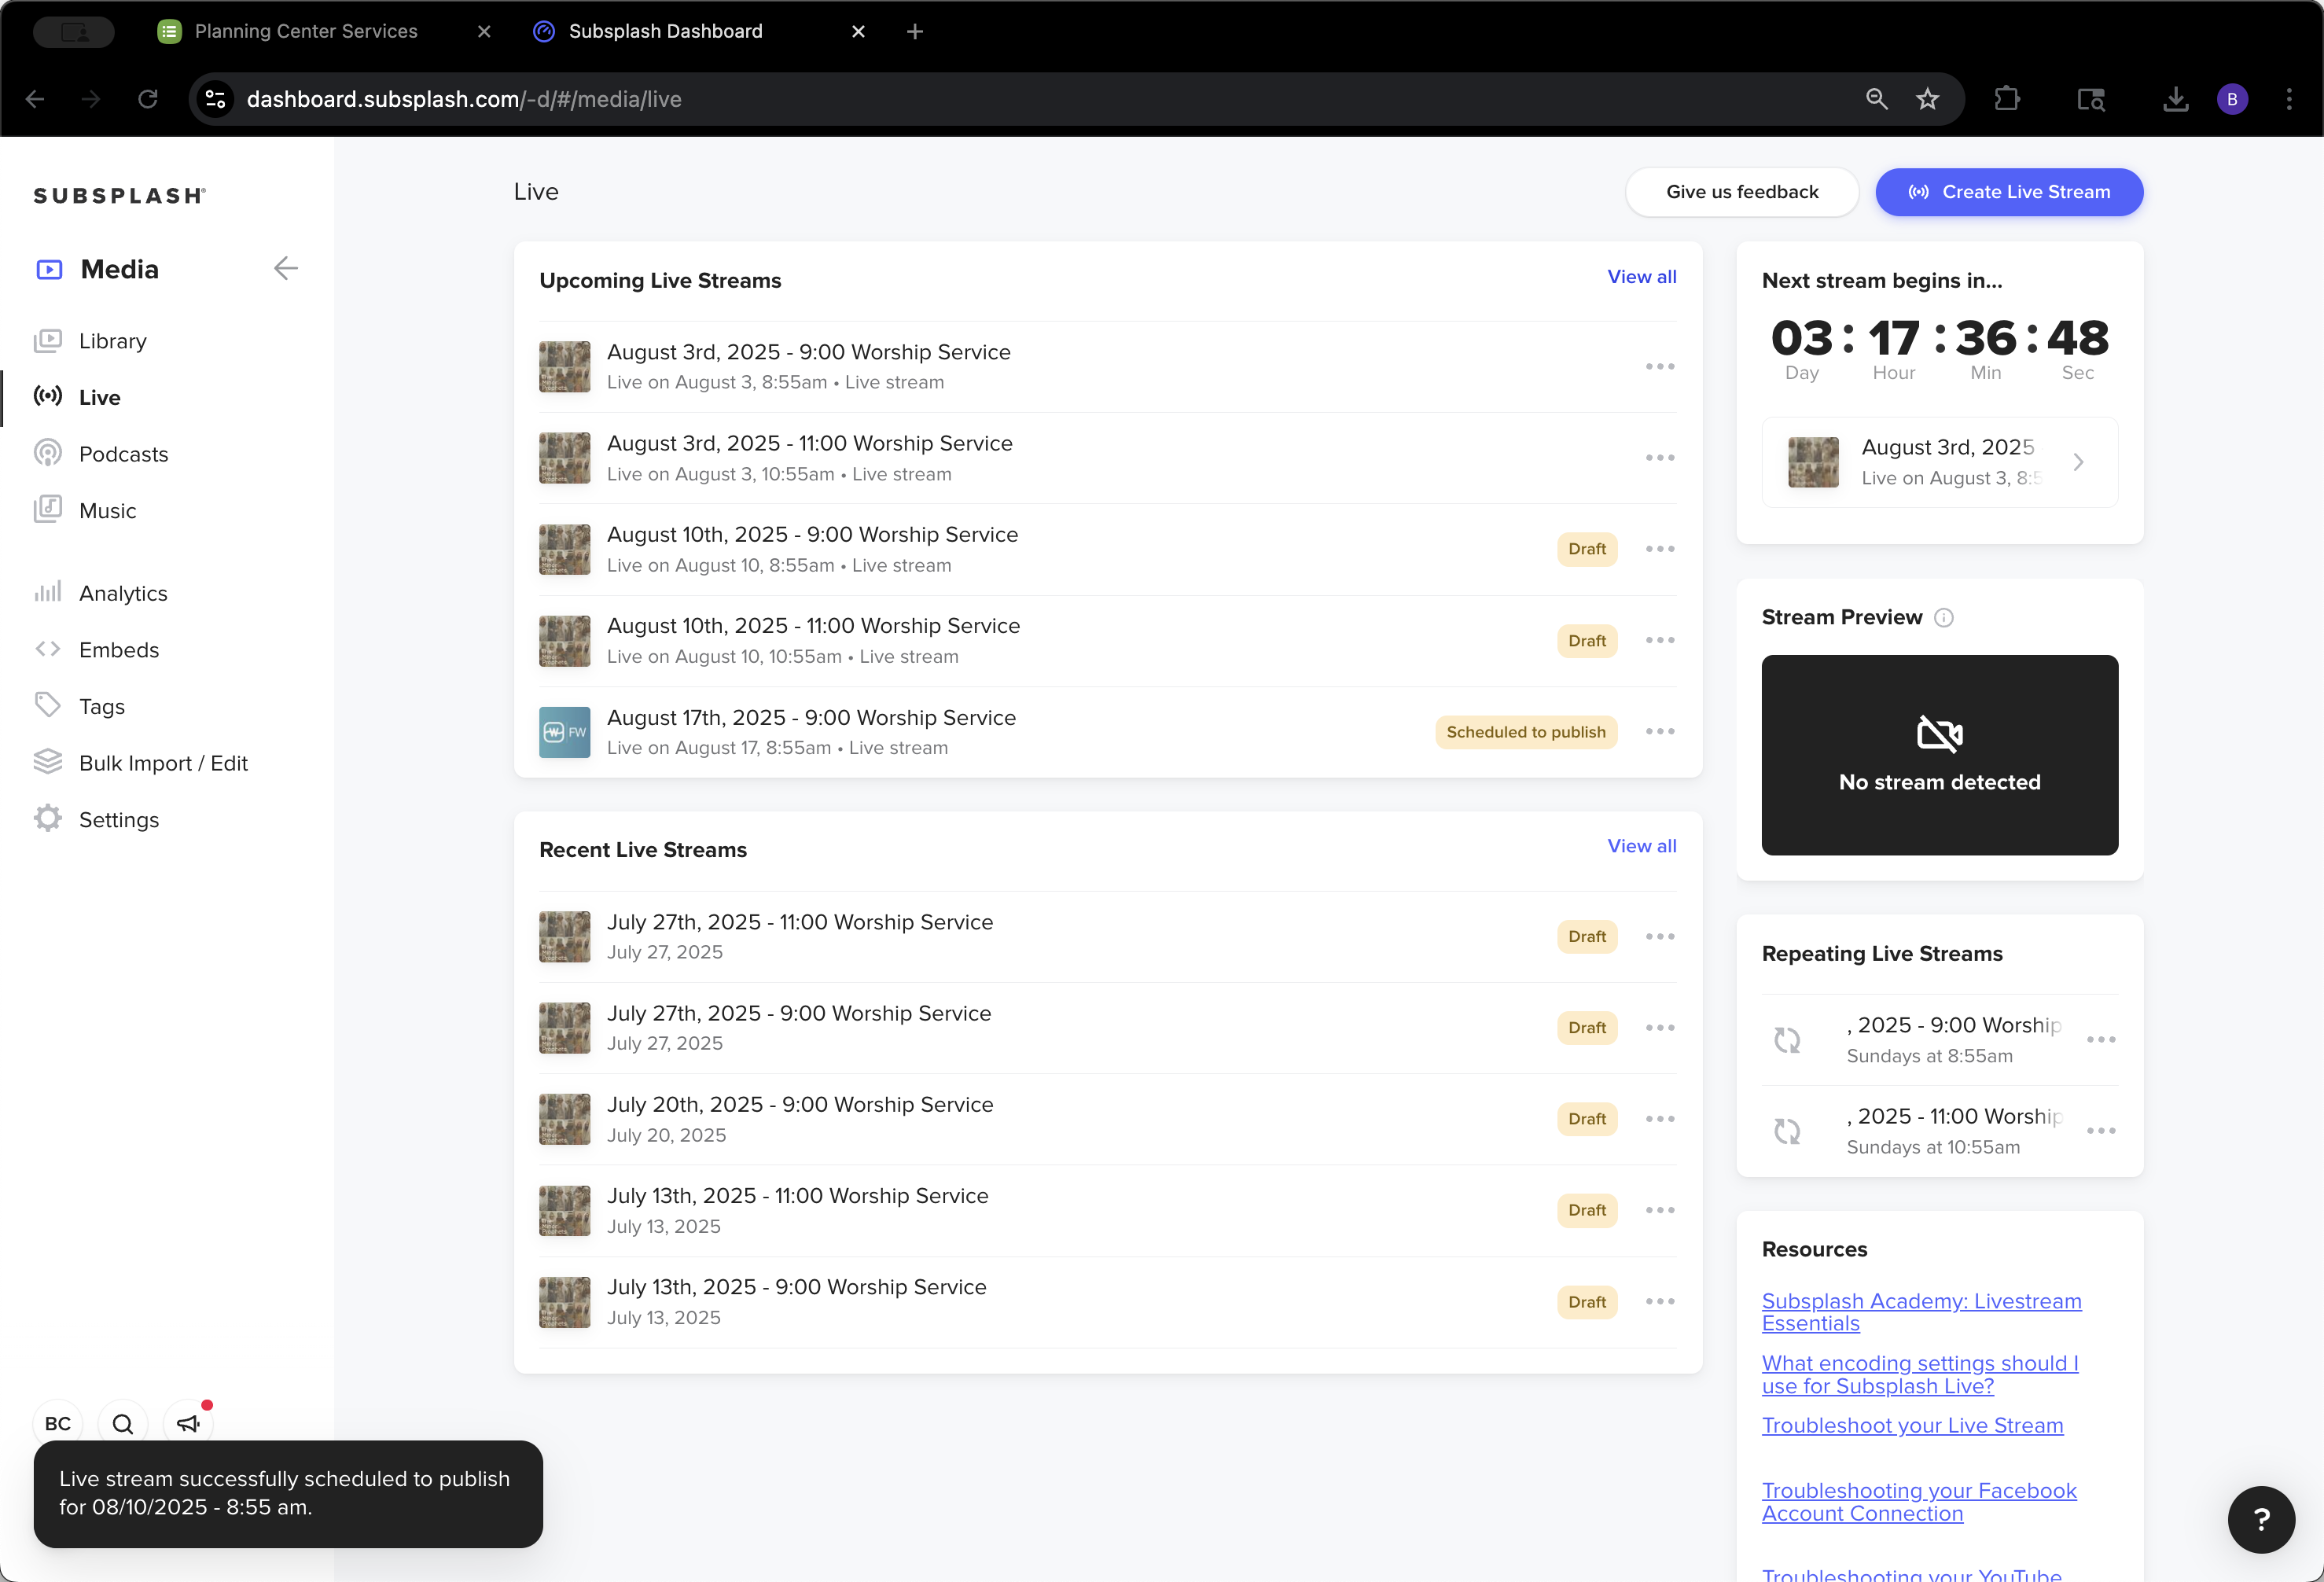
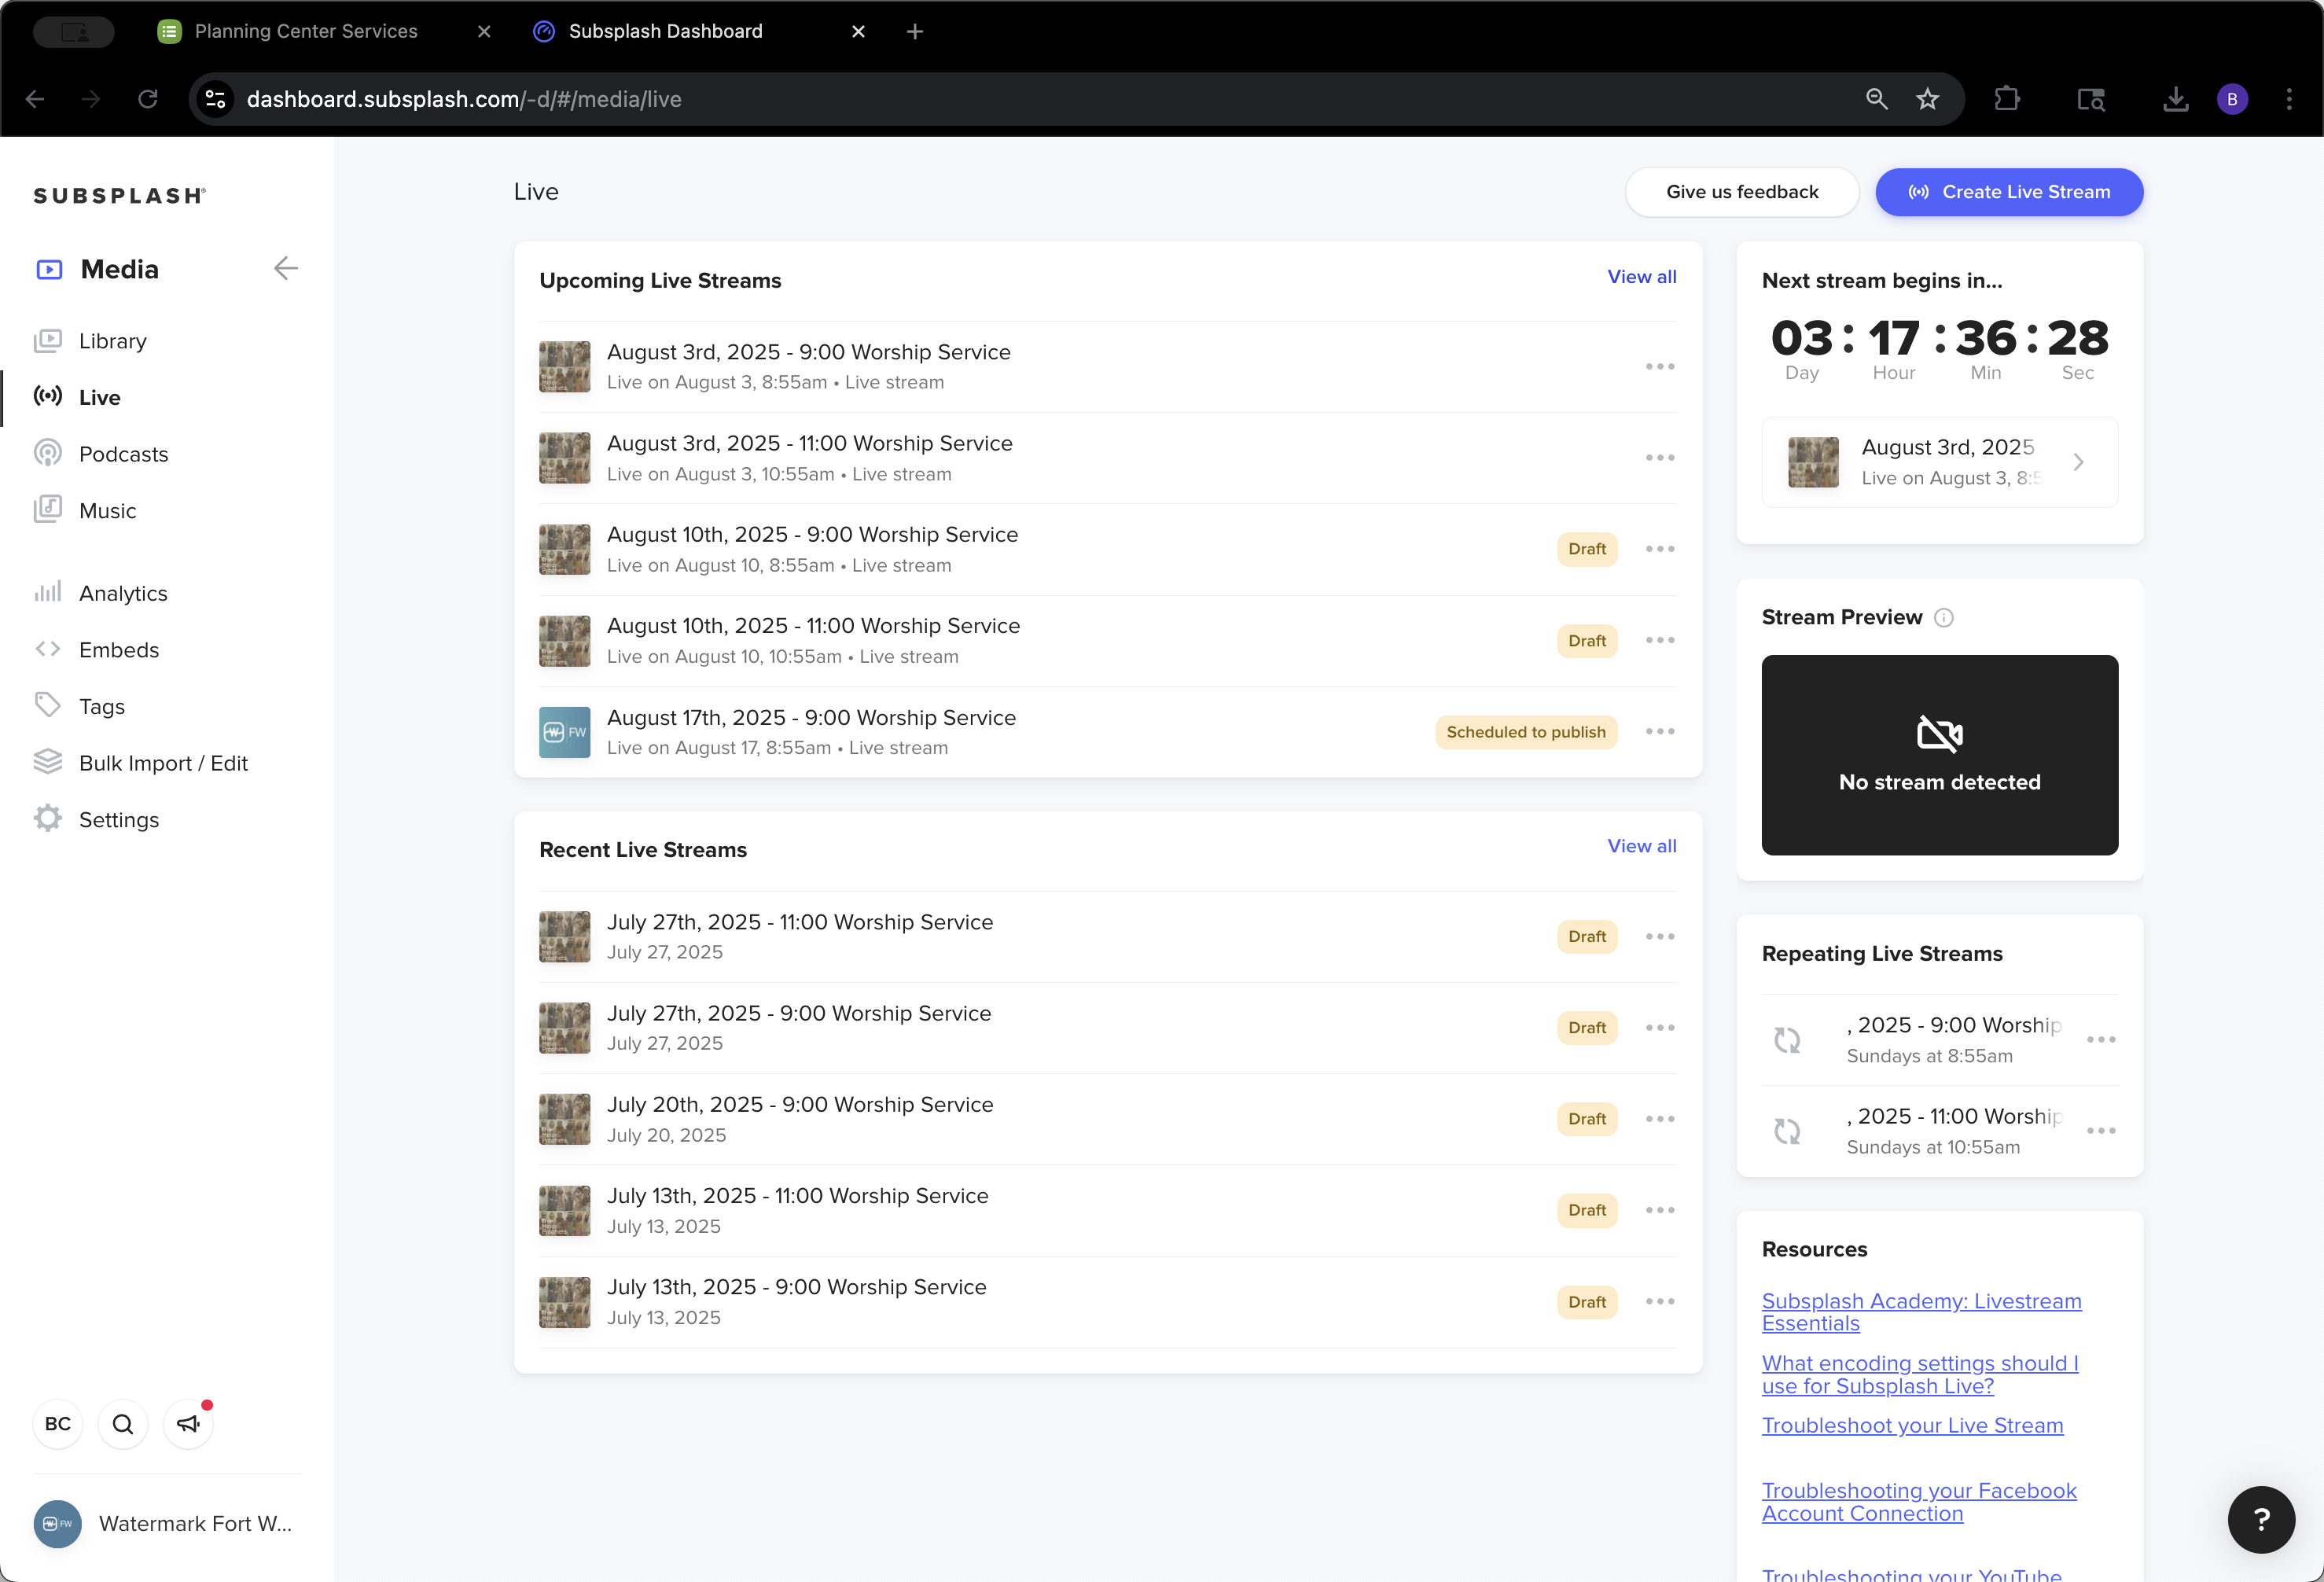
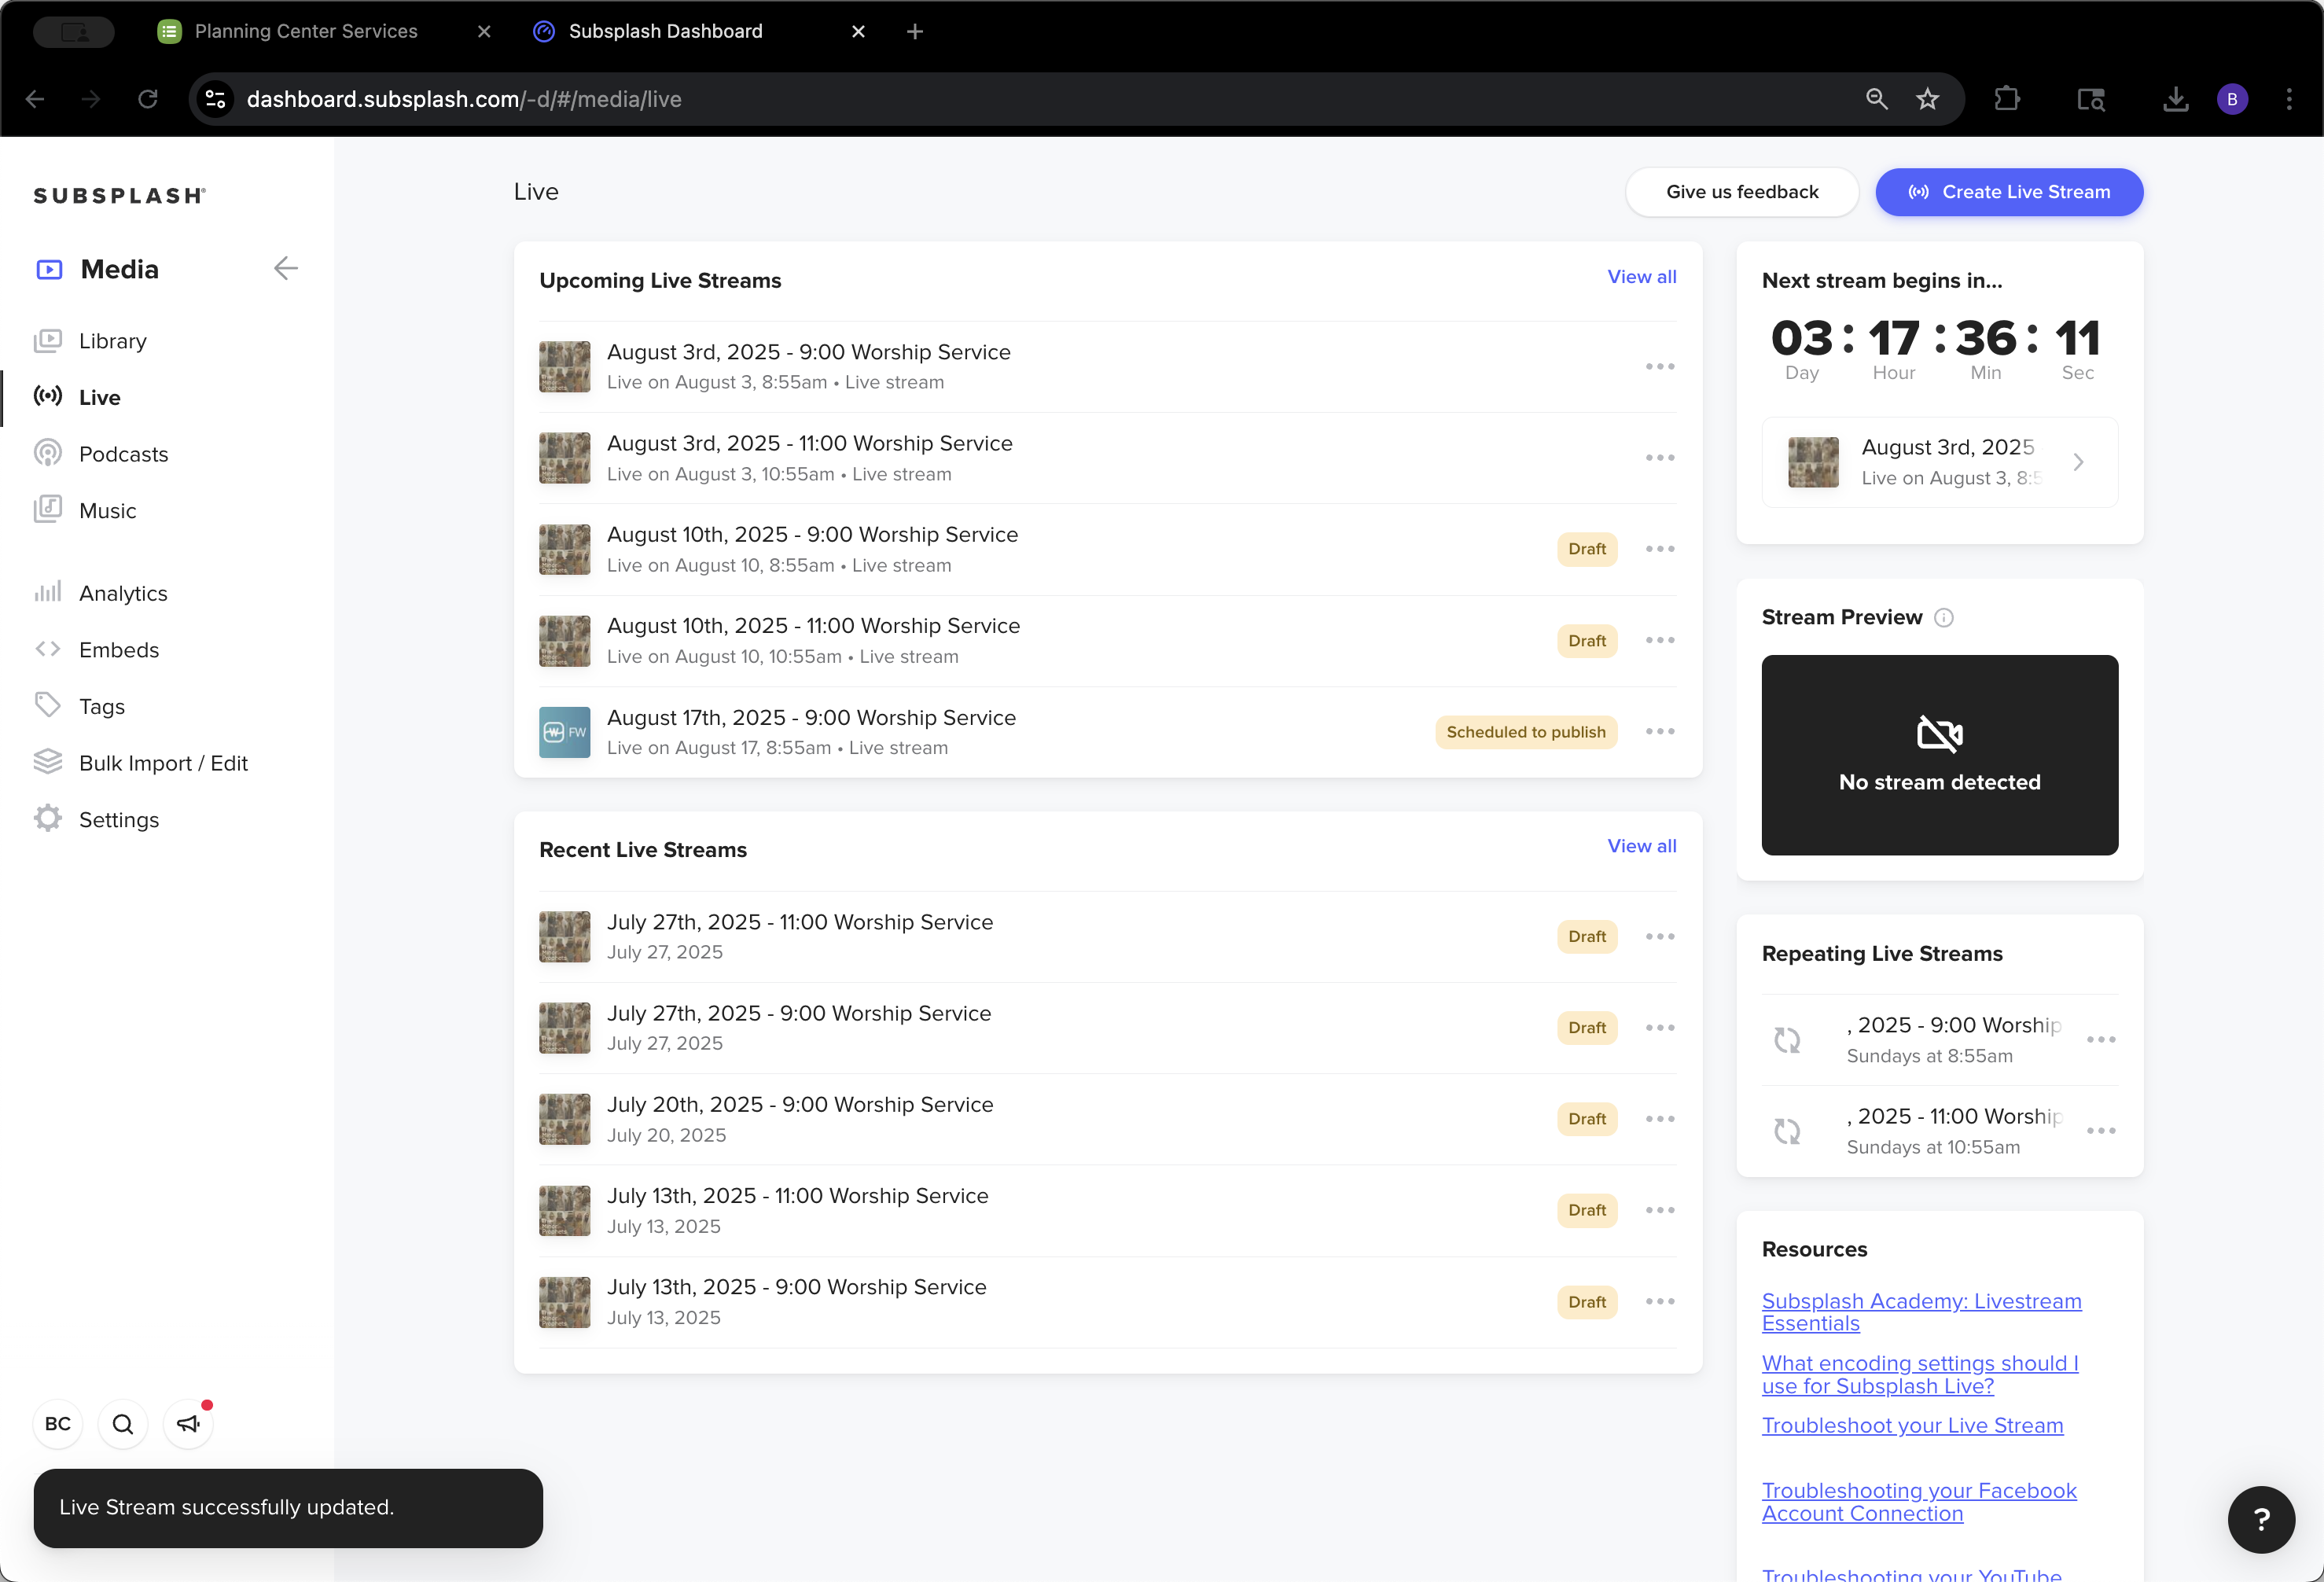
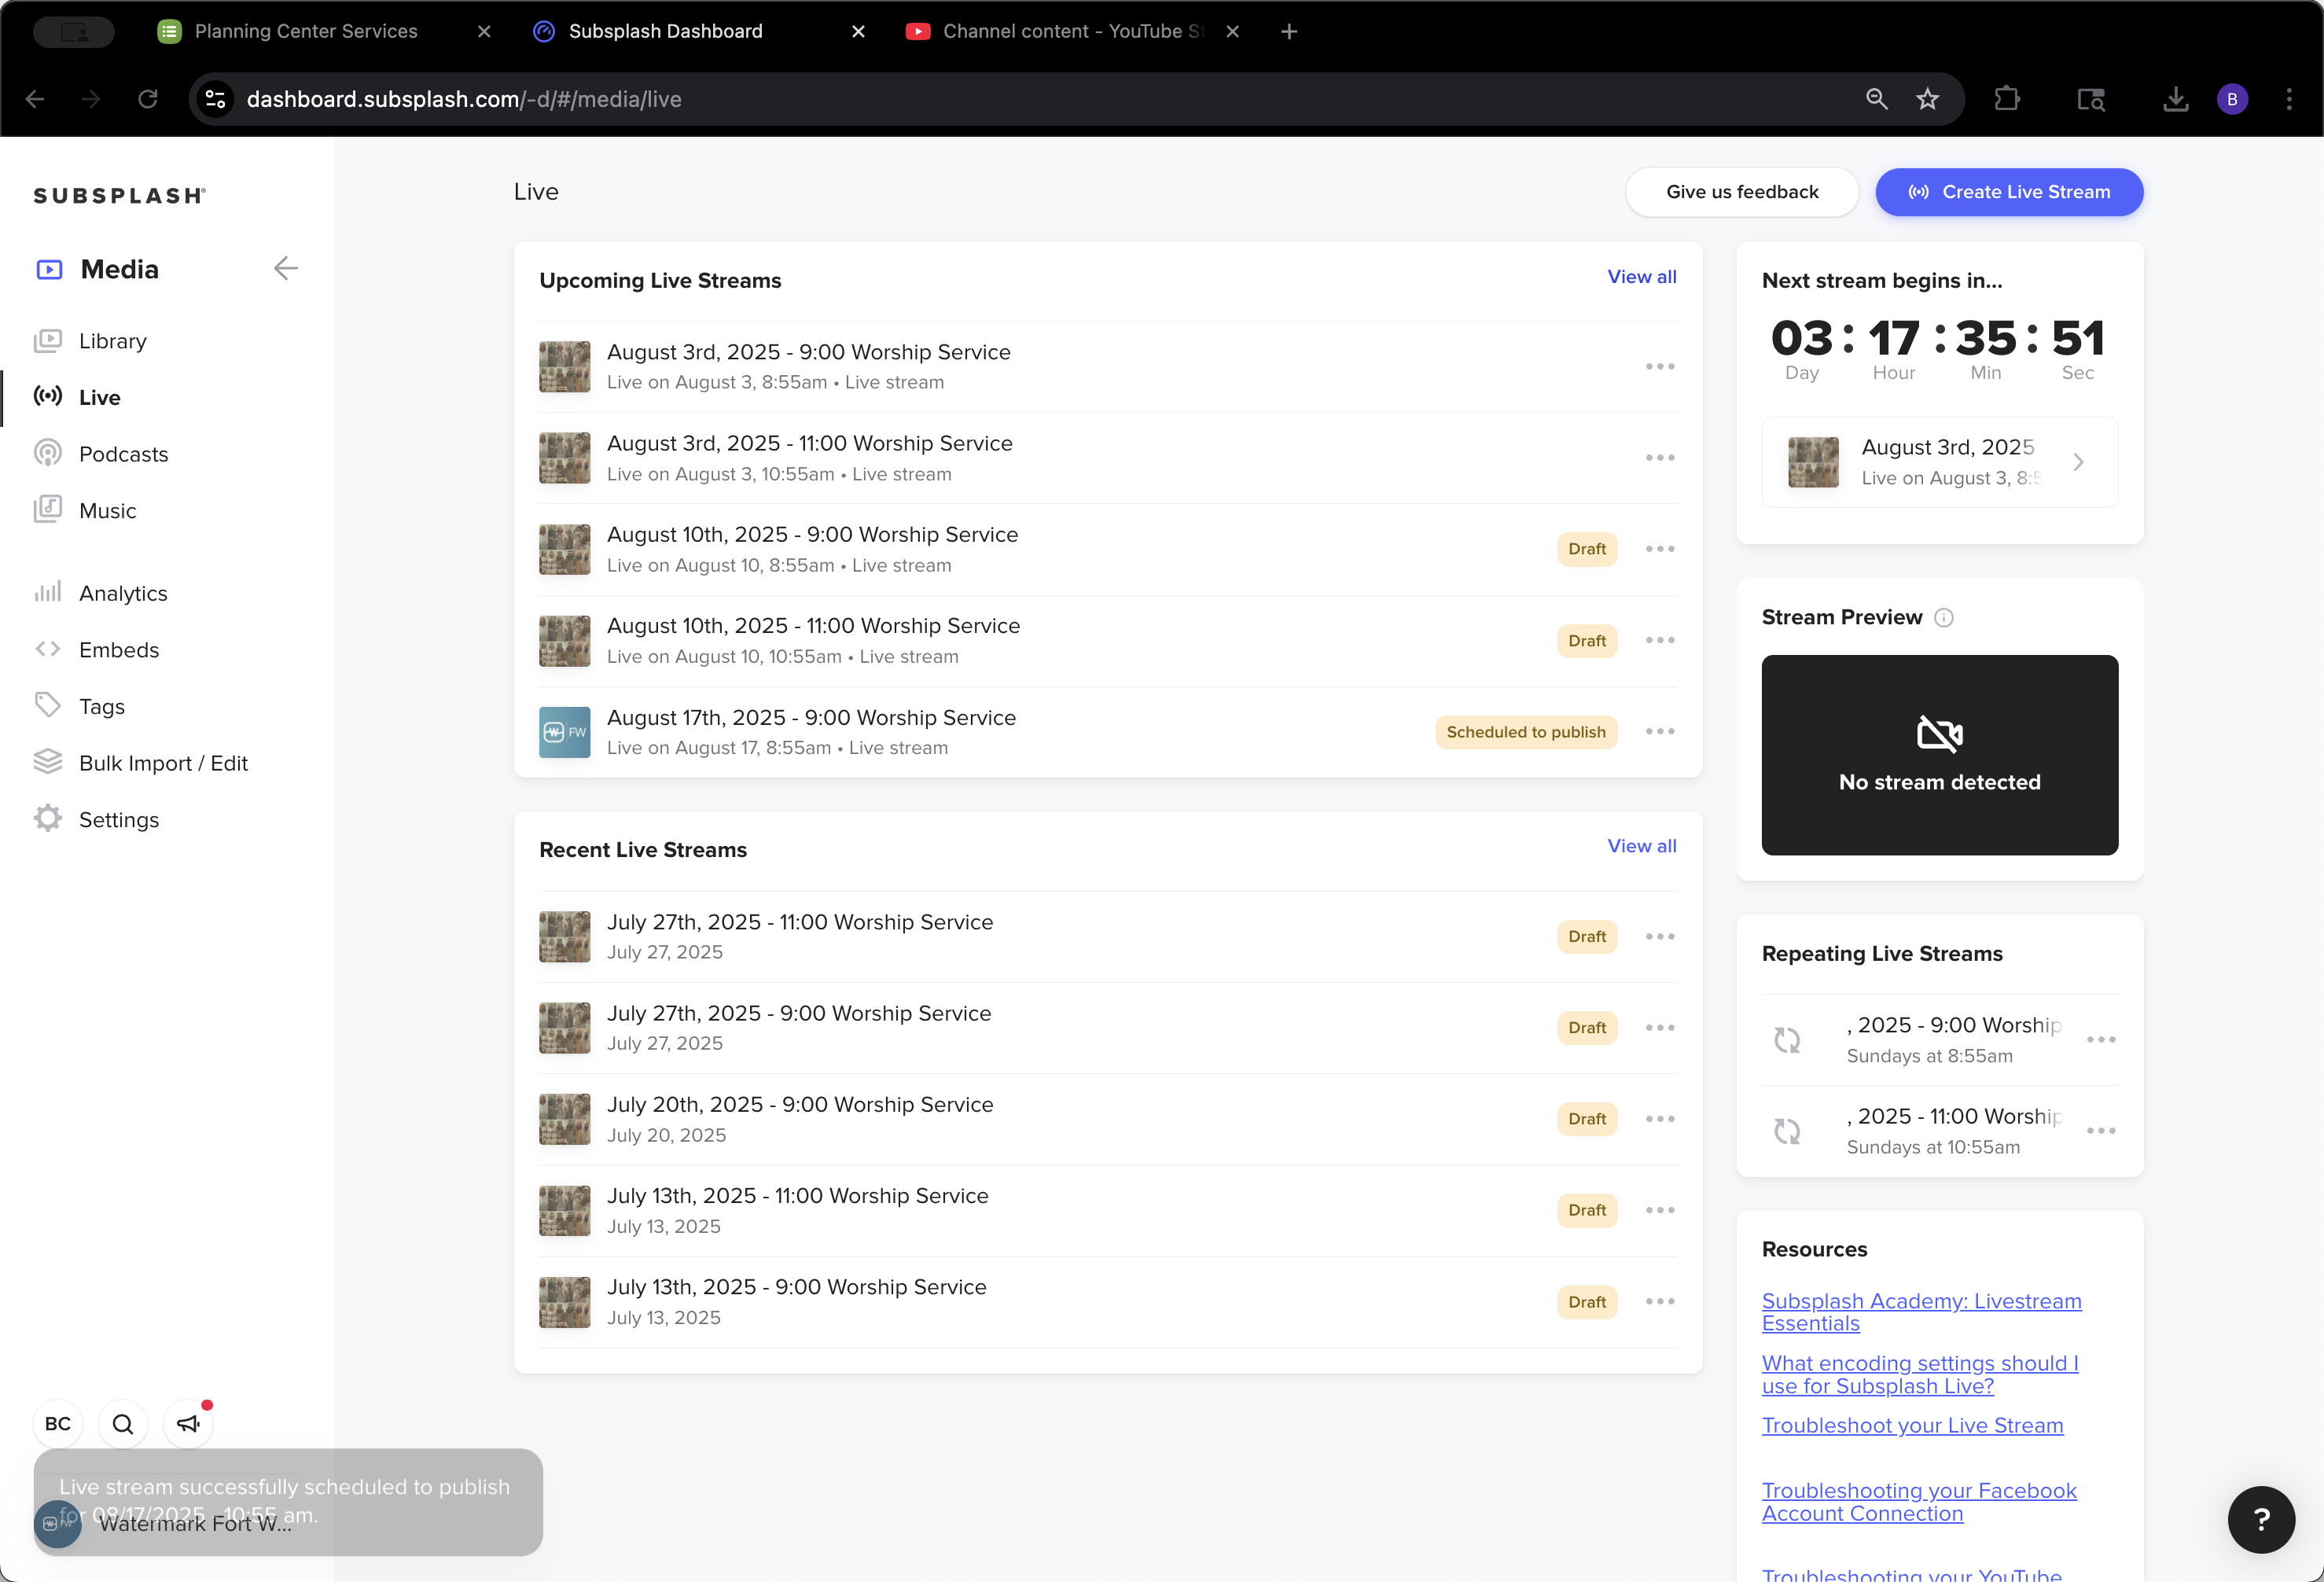
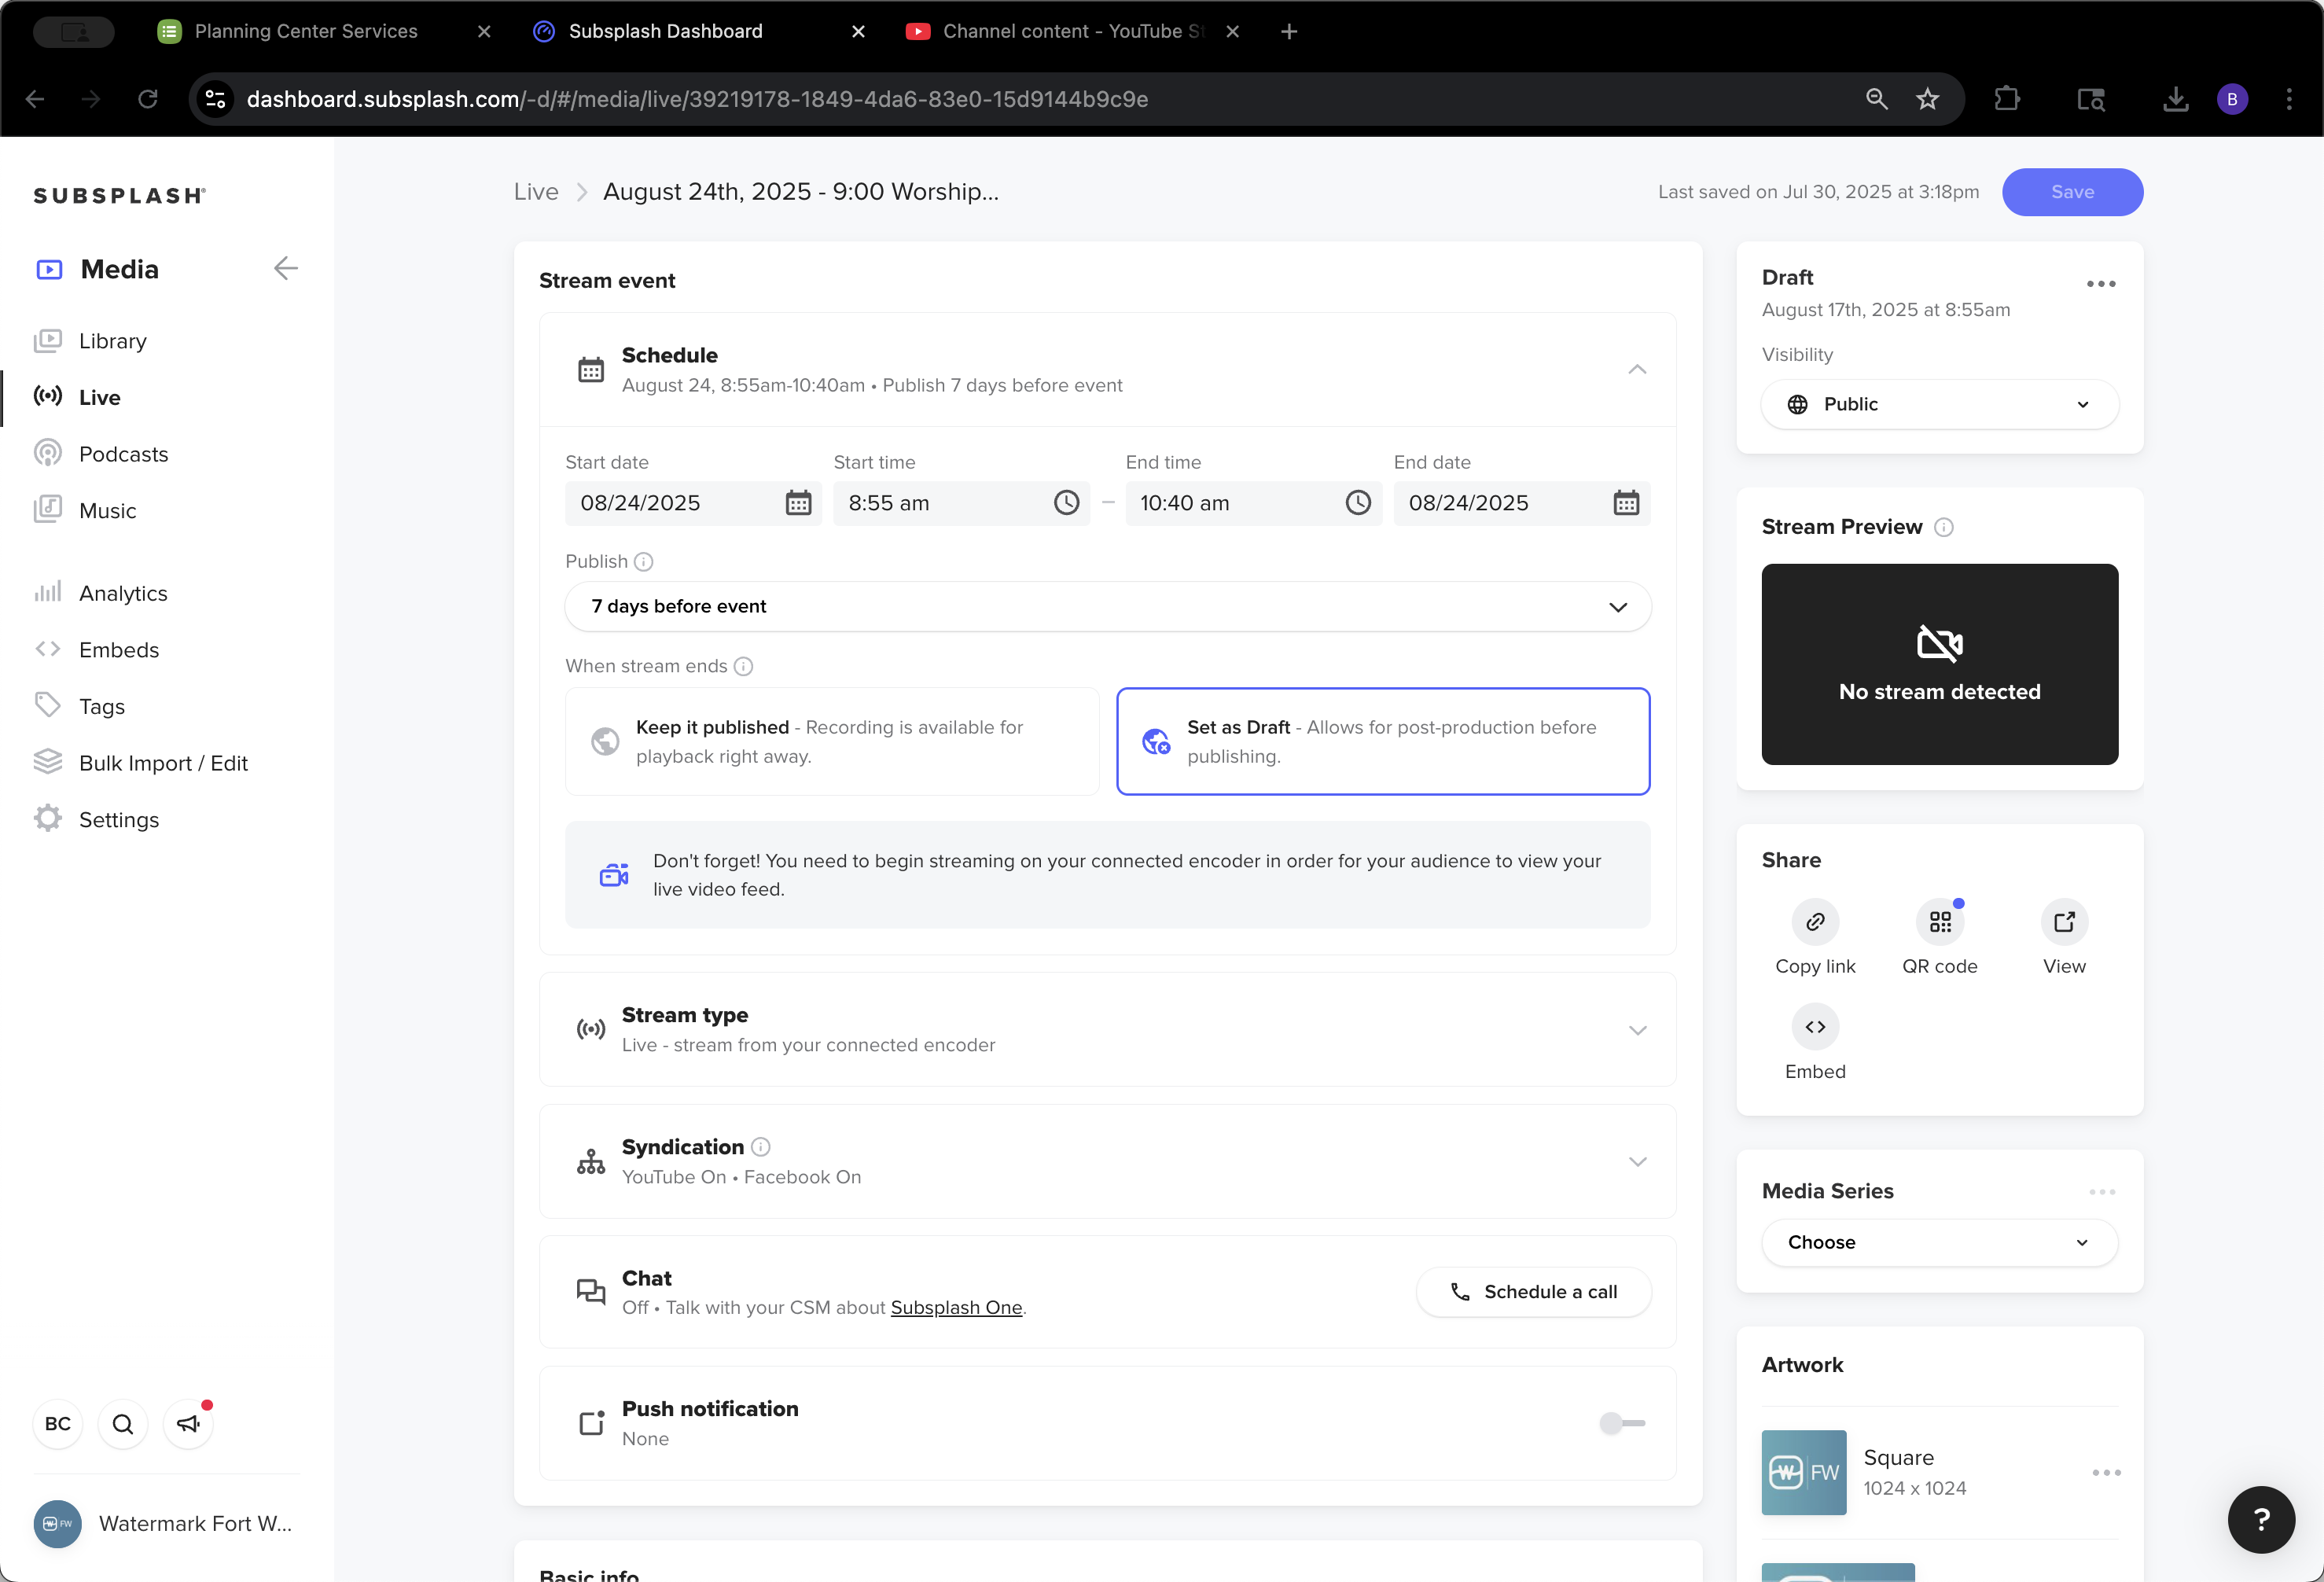
Go to the Media section in the Live tab.

35
Click here
Step #35: Click here
36
Click here
Step #36: Click here

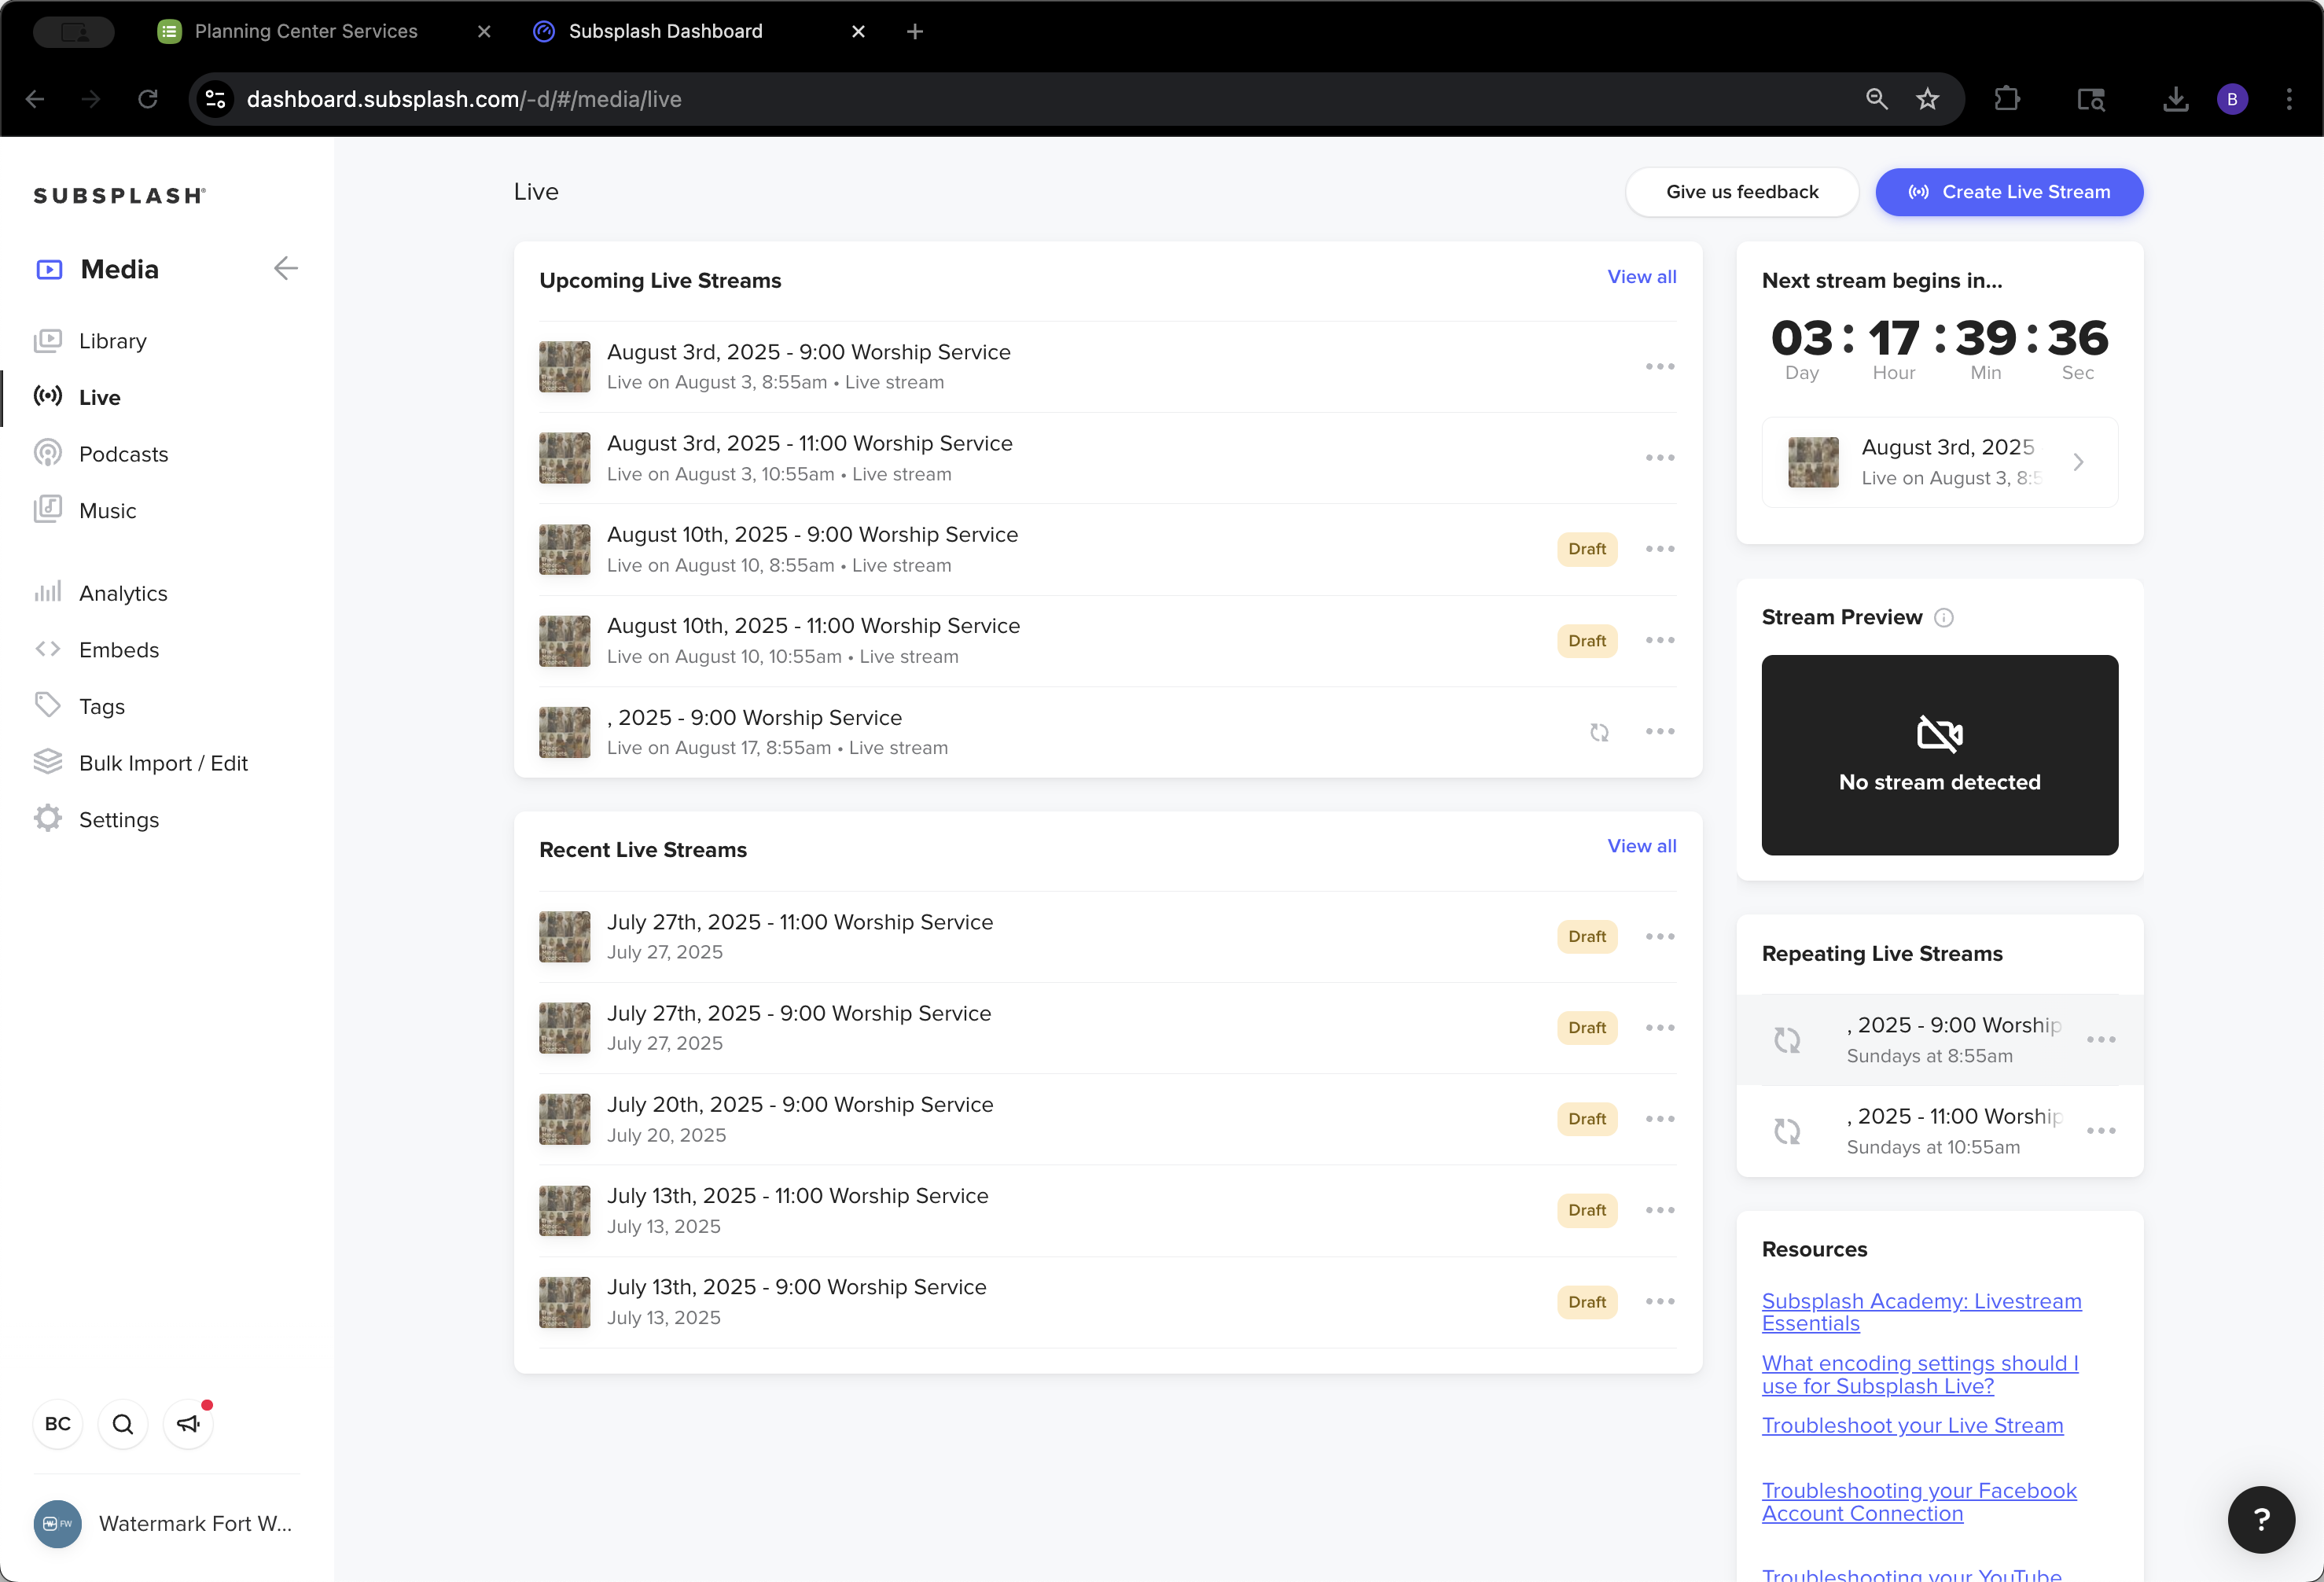
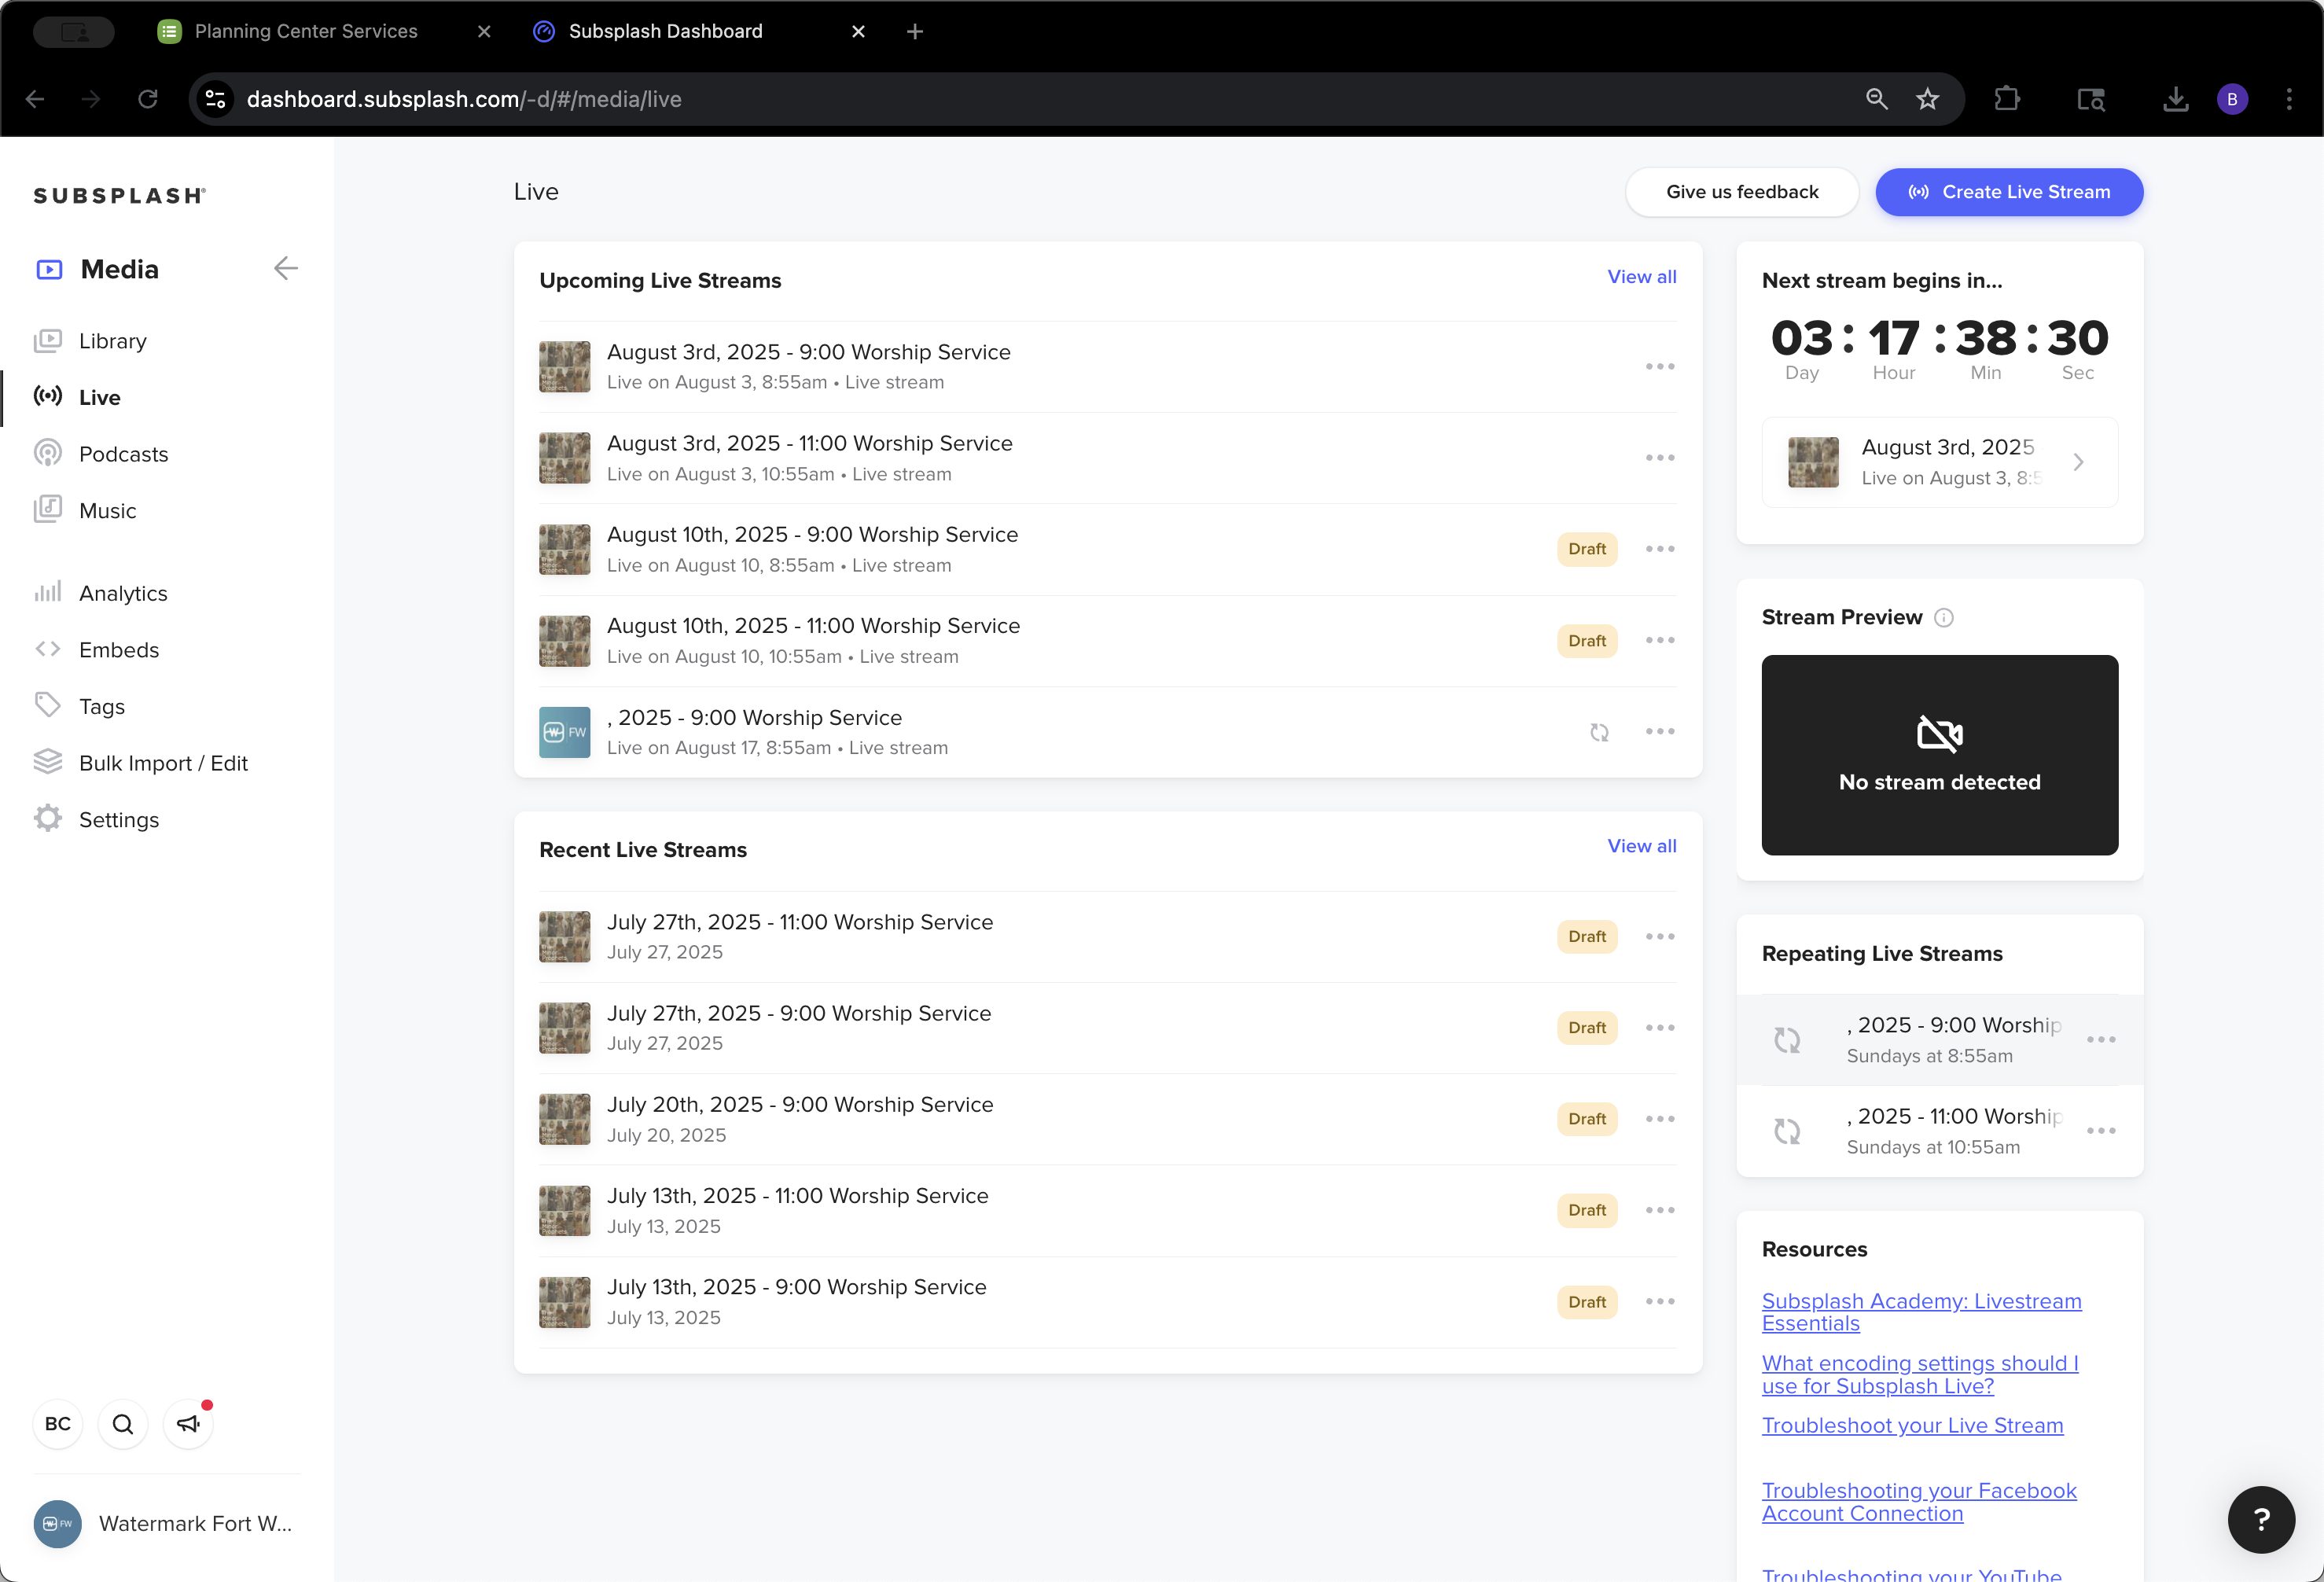
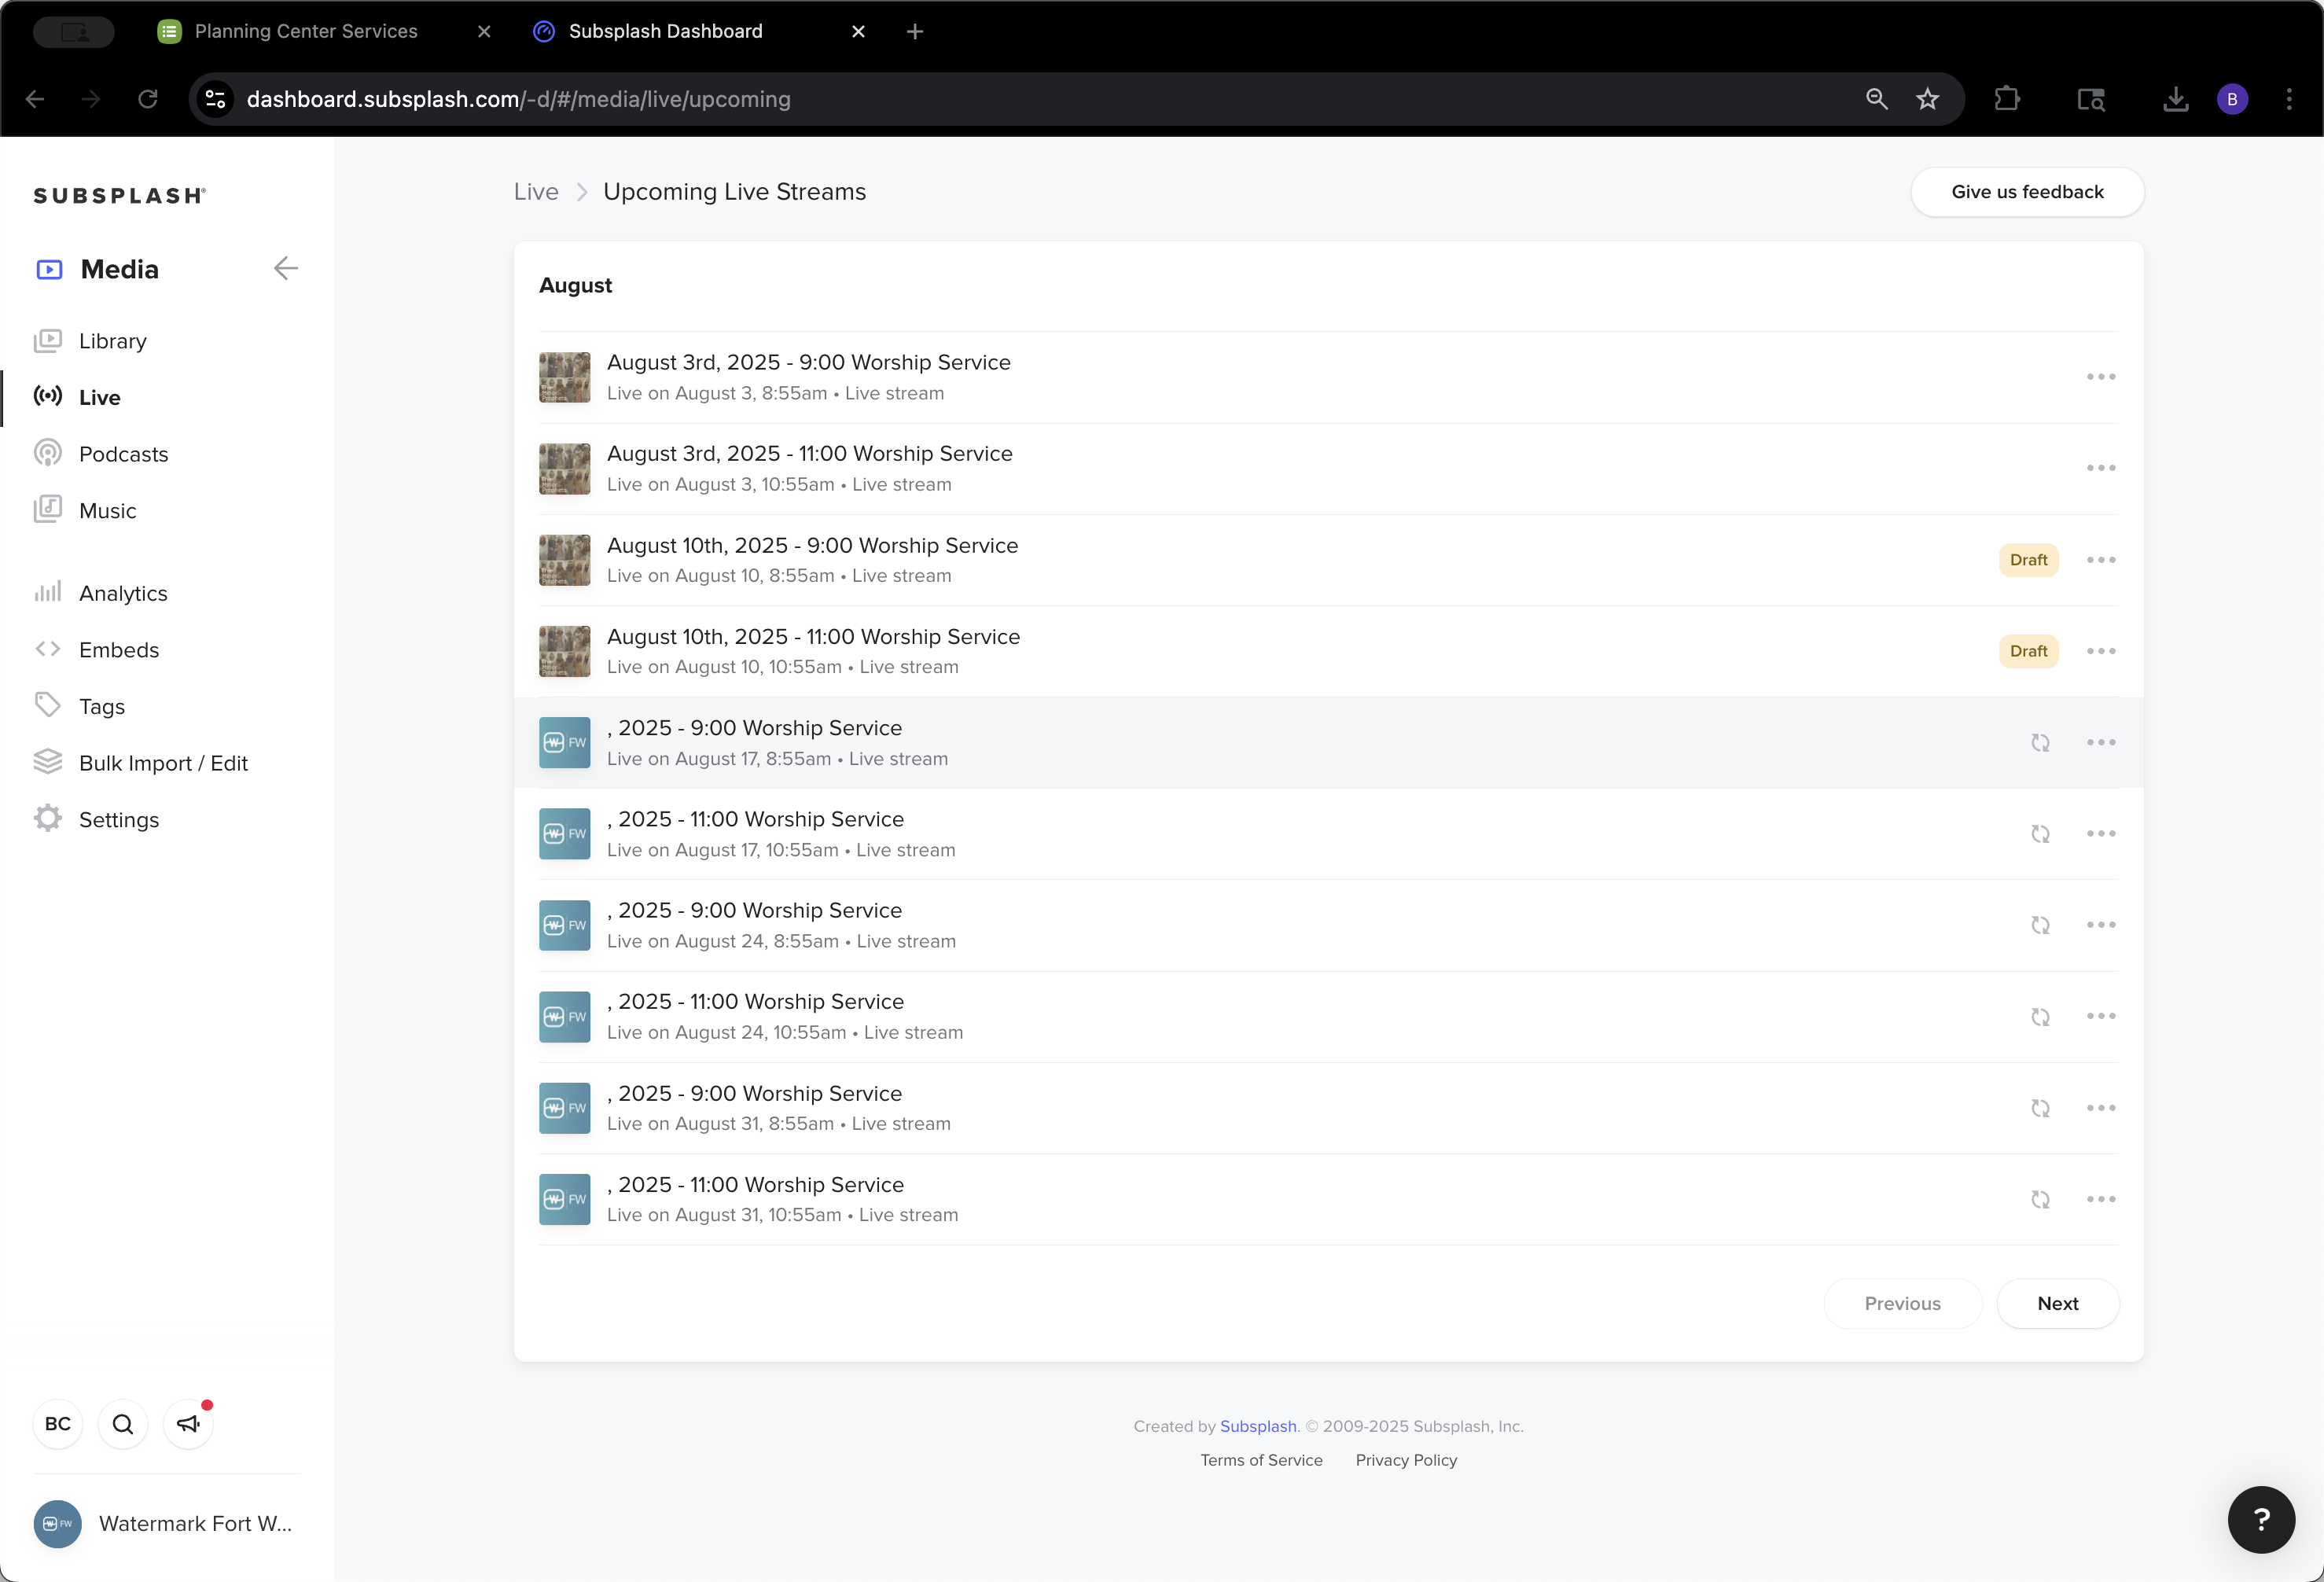
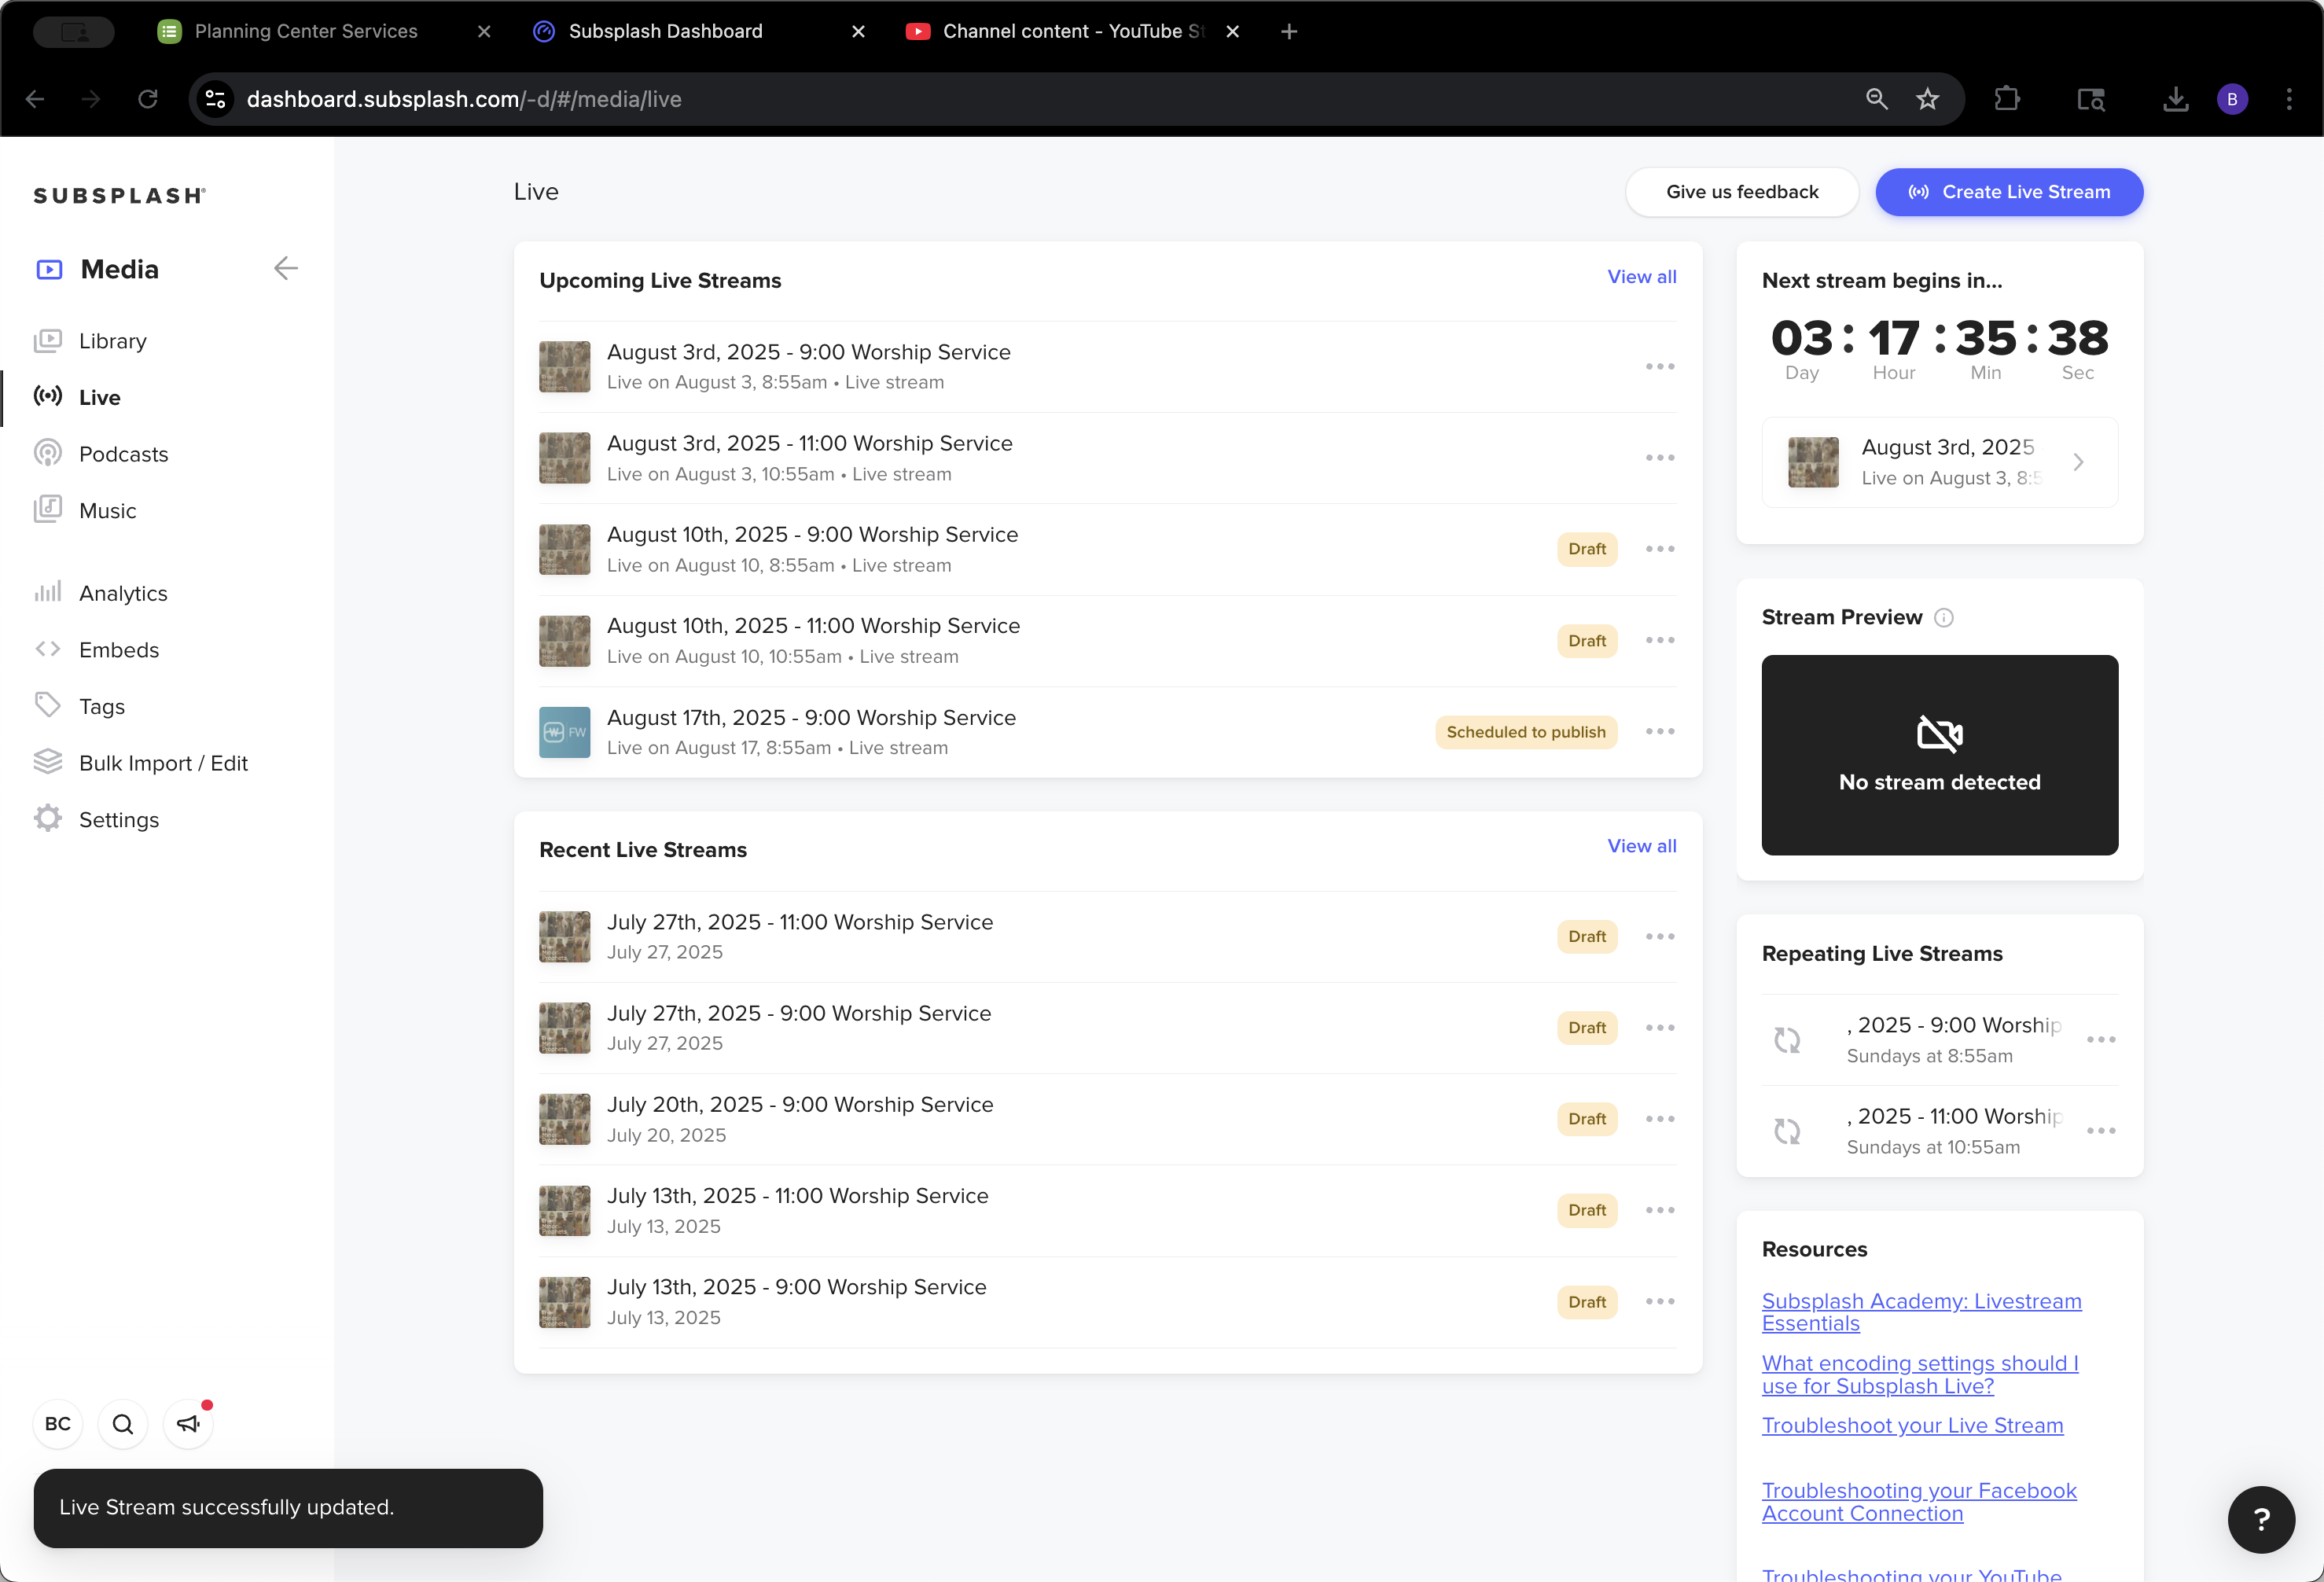
As you can see, these are already named with the date, year, and time of the service. They are all appearing.

37
Click on "2025 - 11:00 Worship Service"
Step #37: Click on "2025 - 11:00 Worship Service"

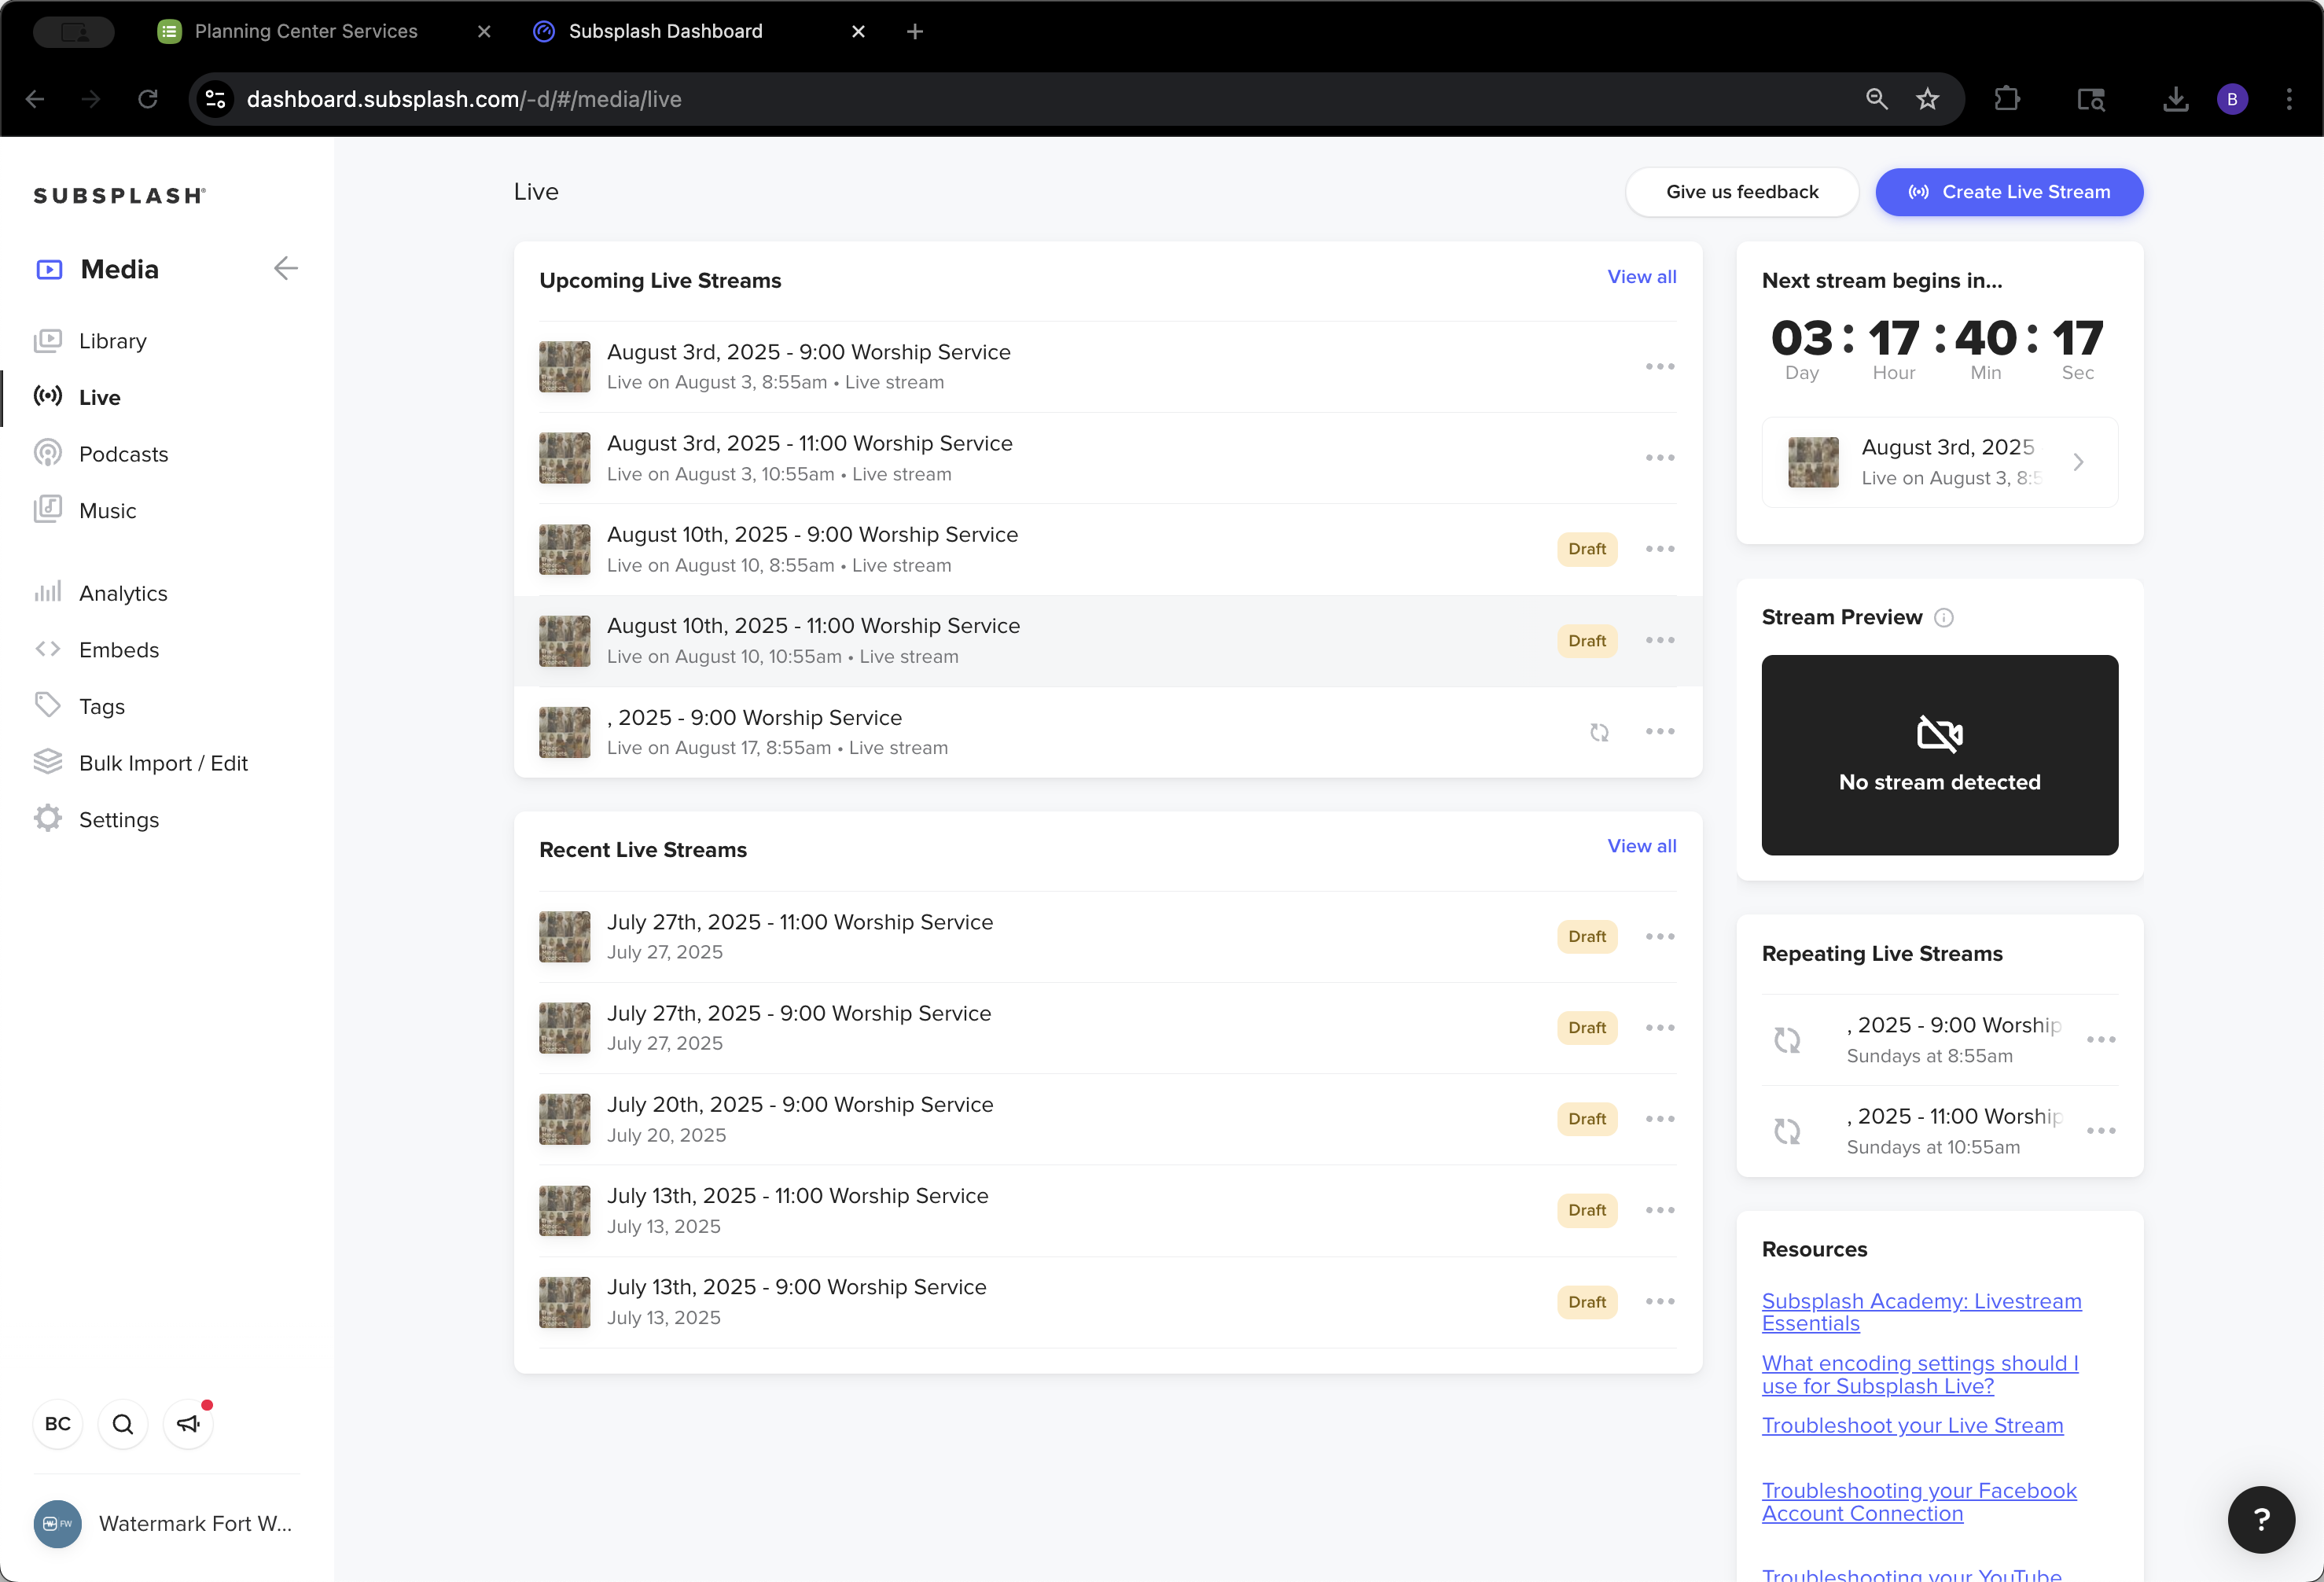
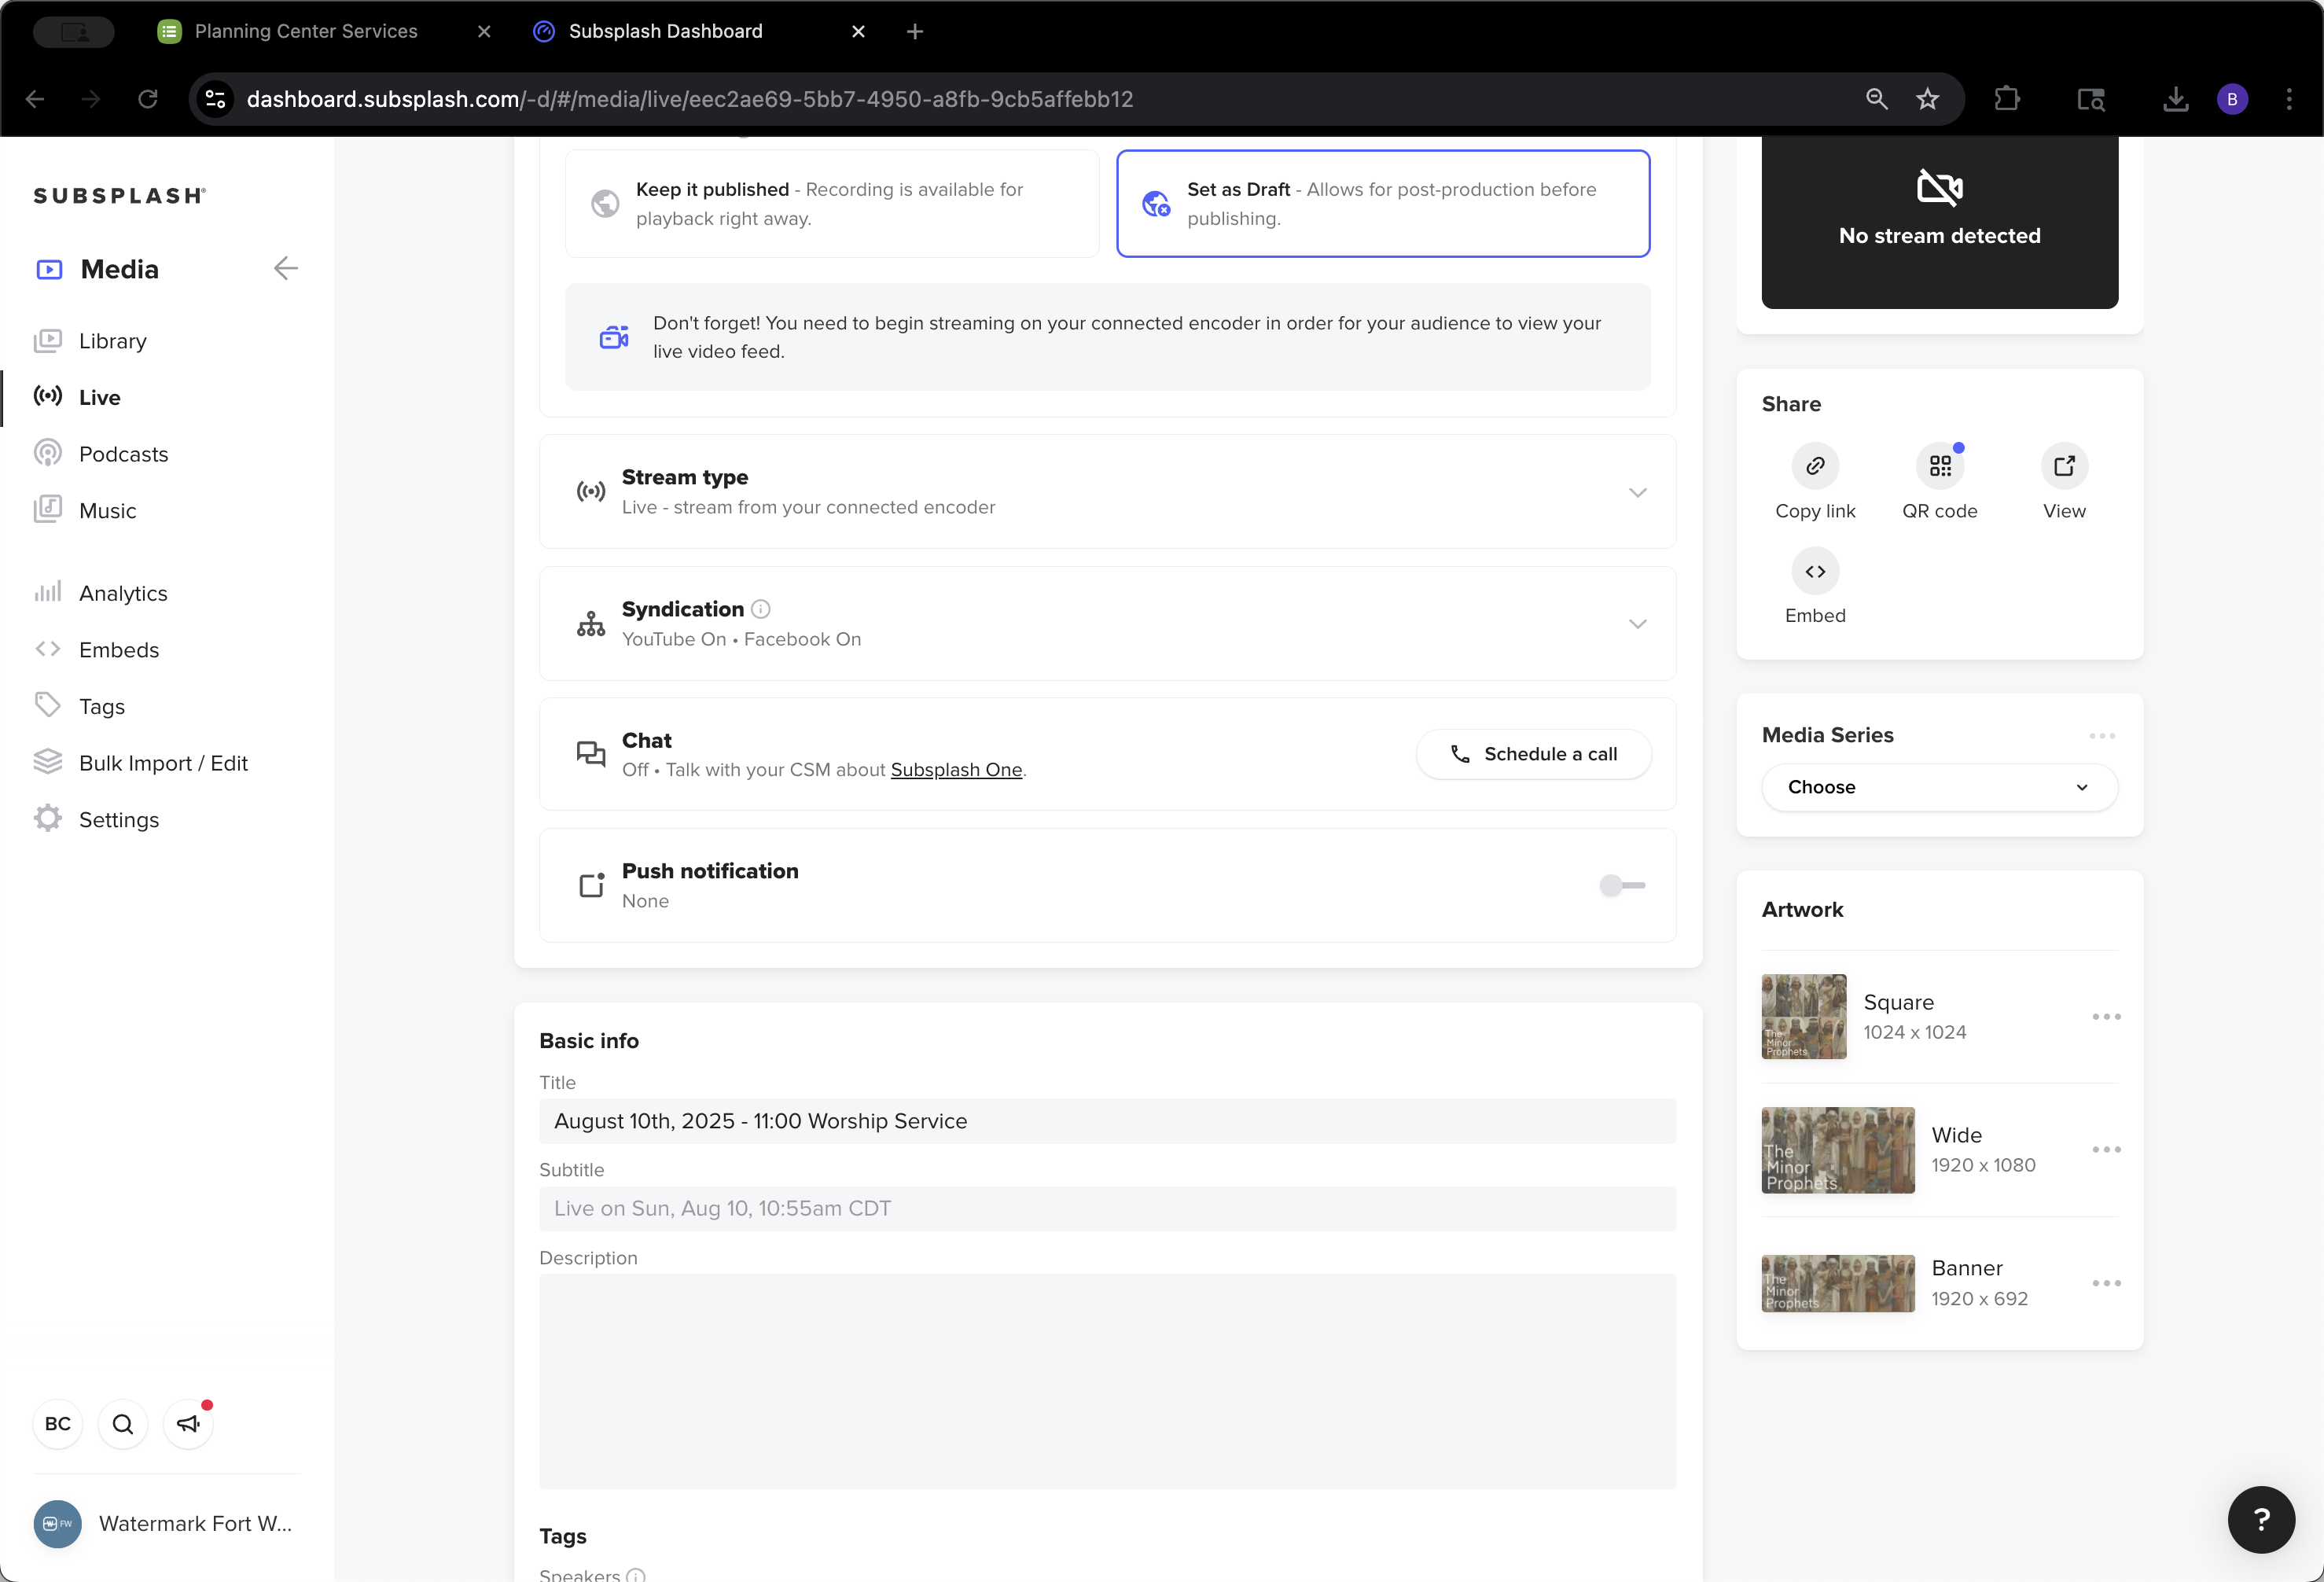
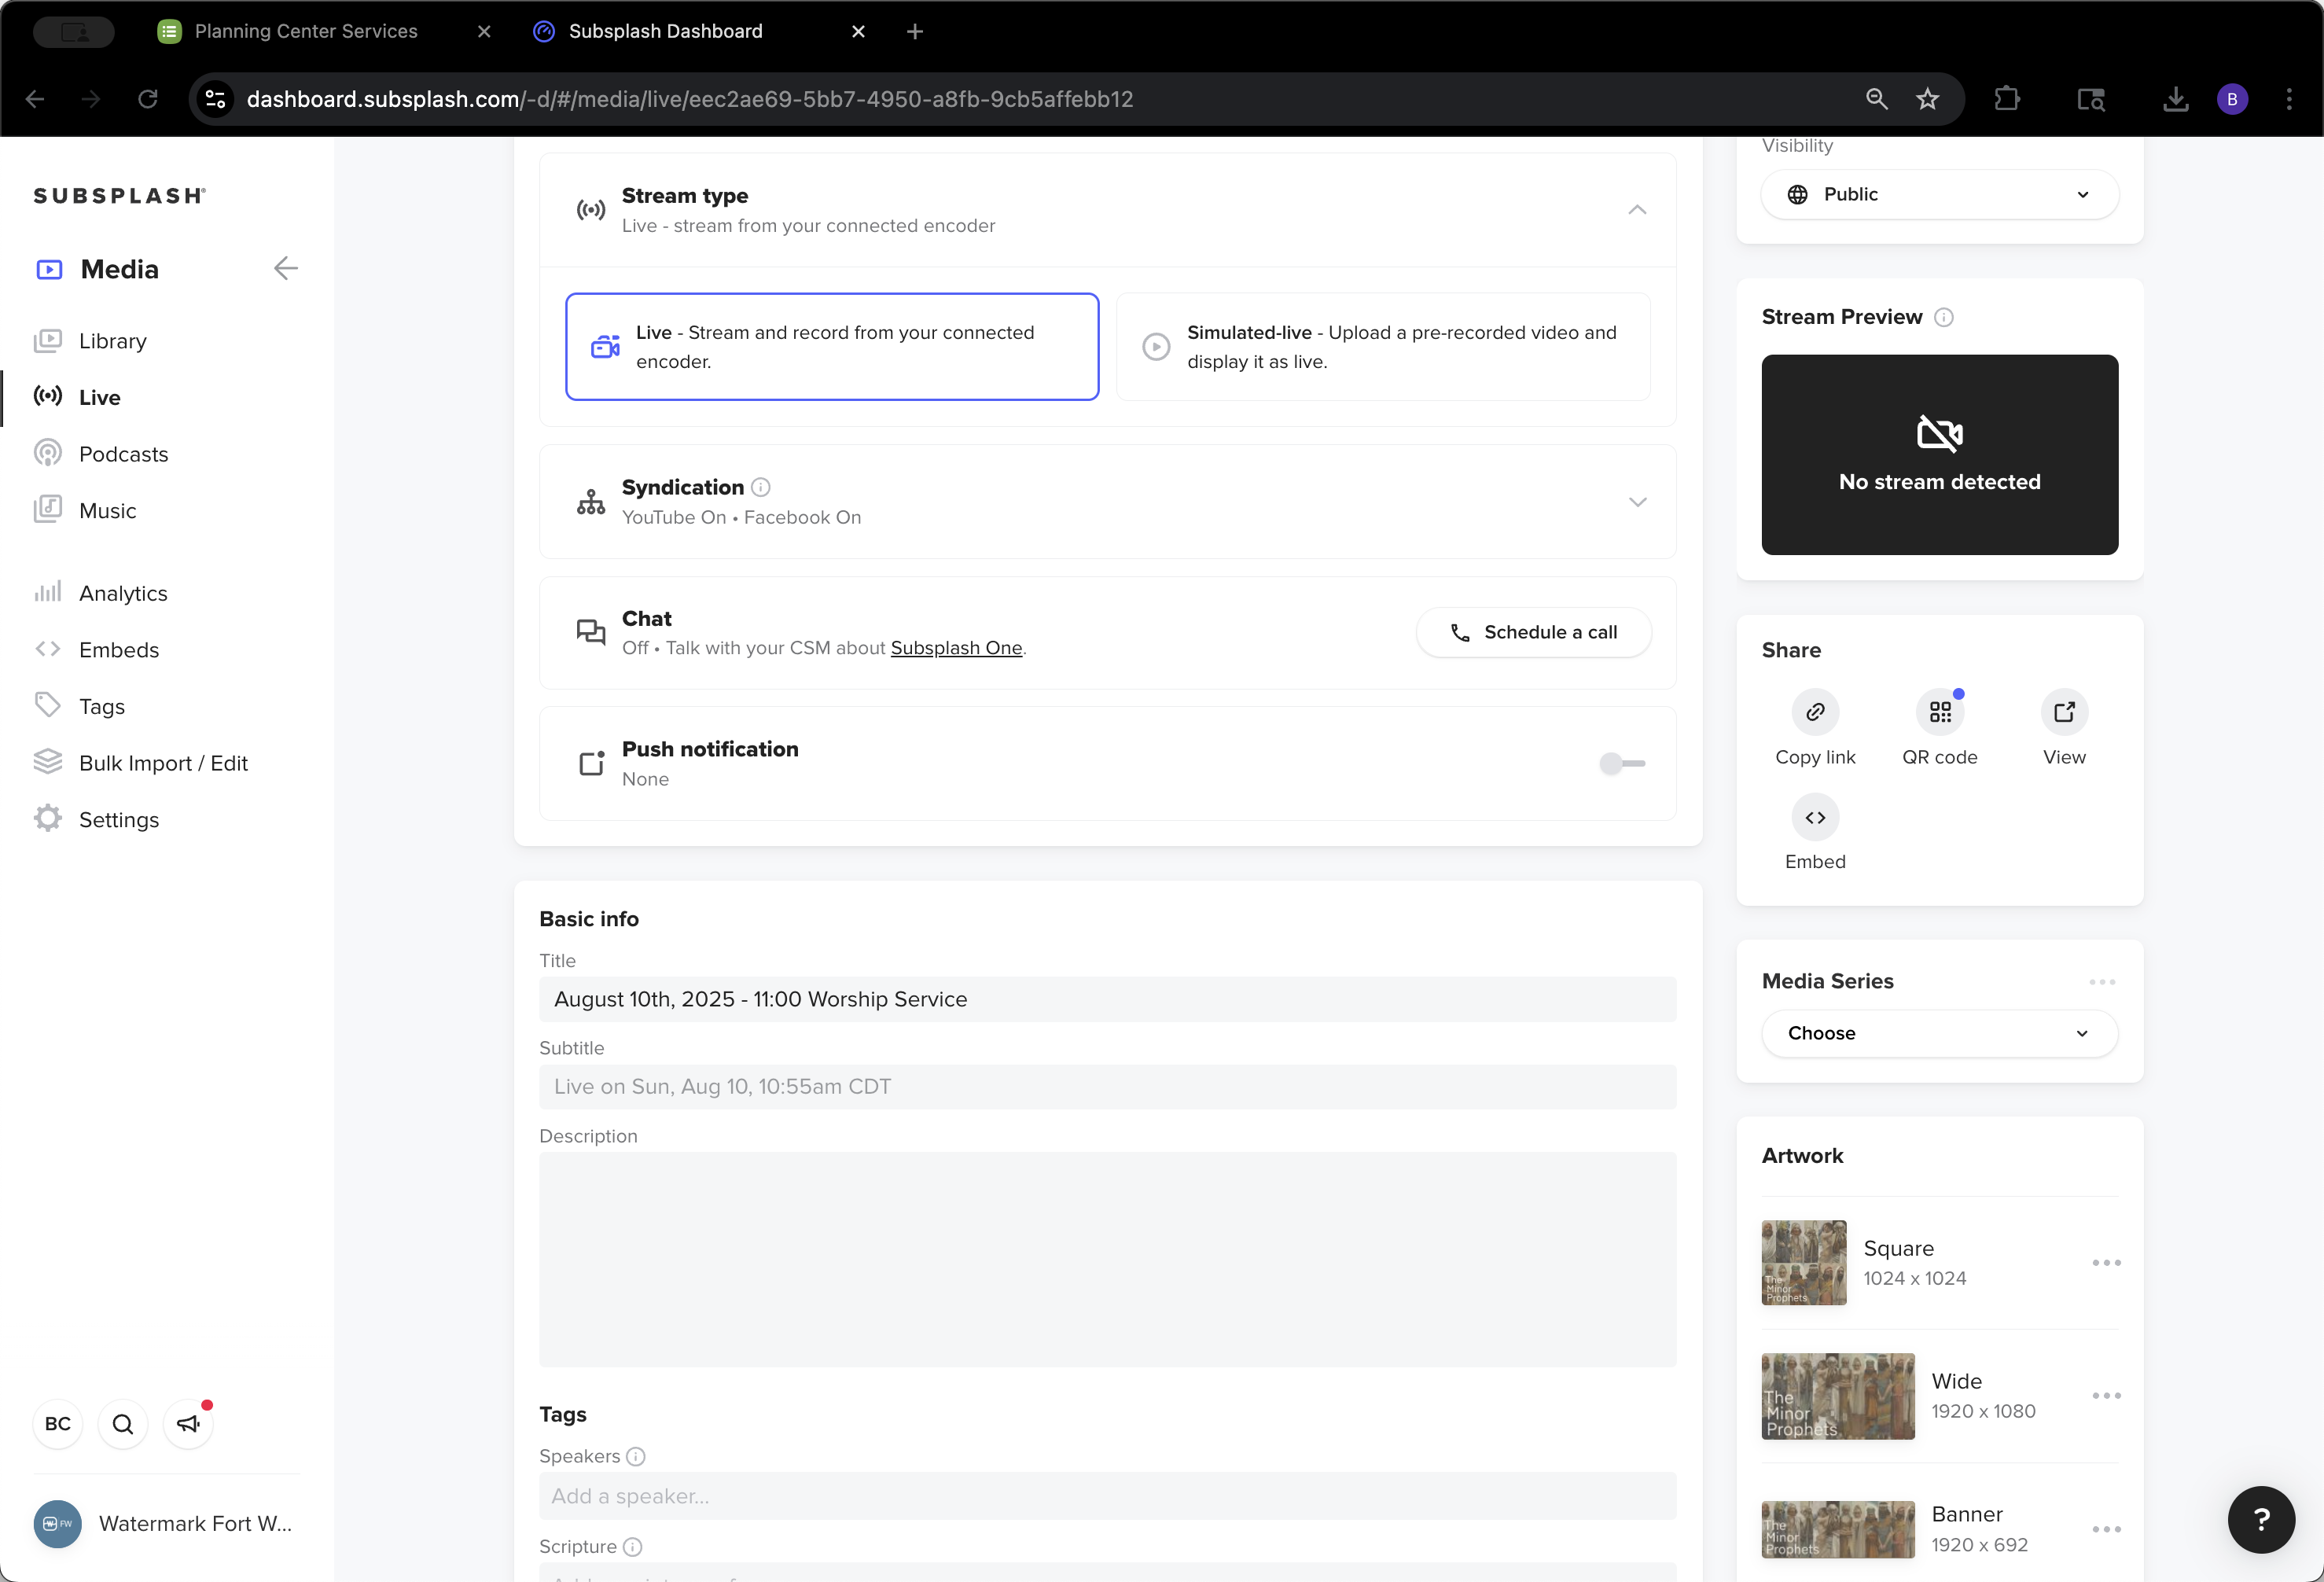
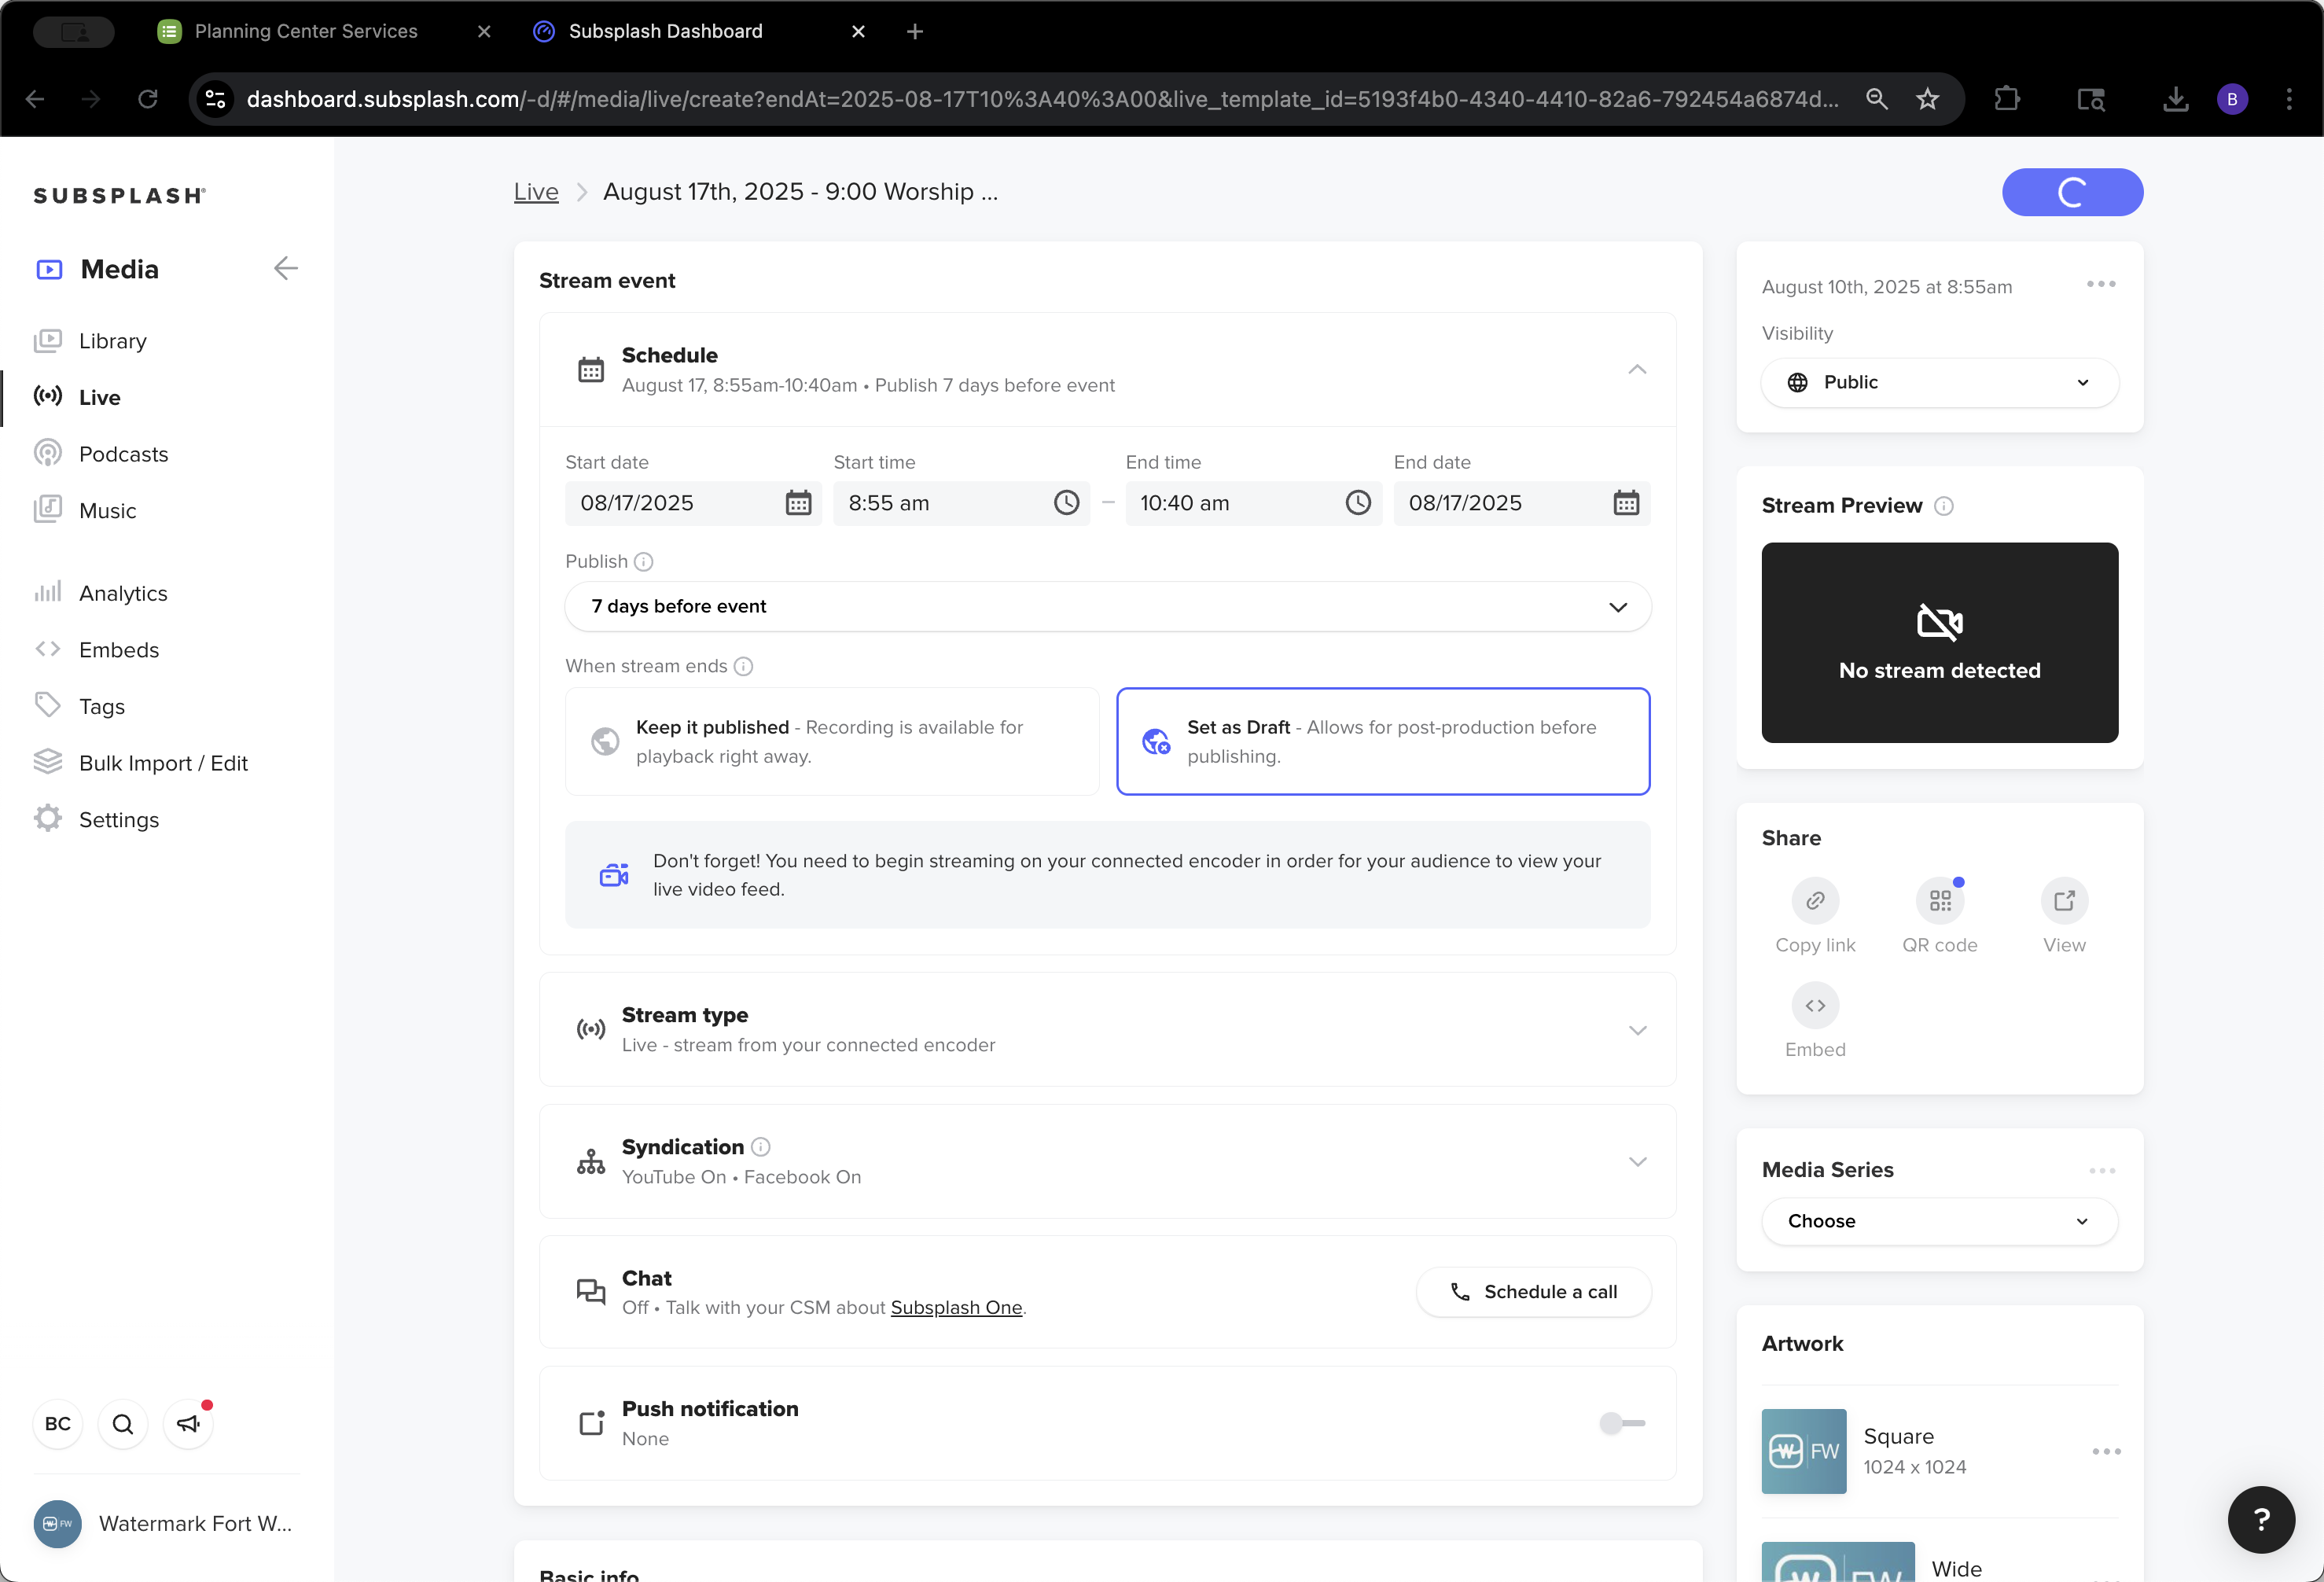
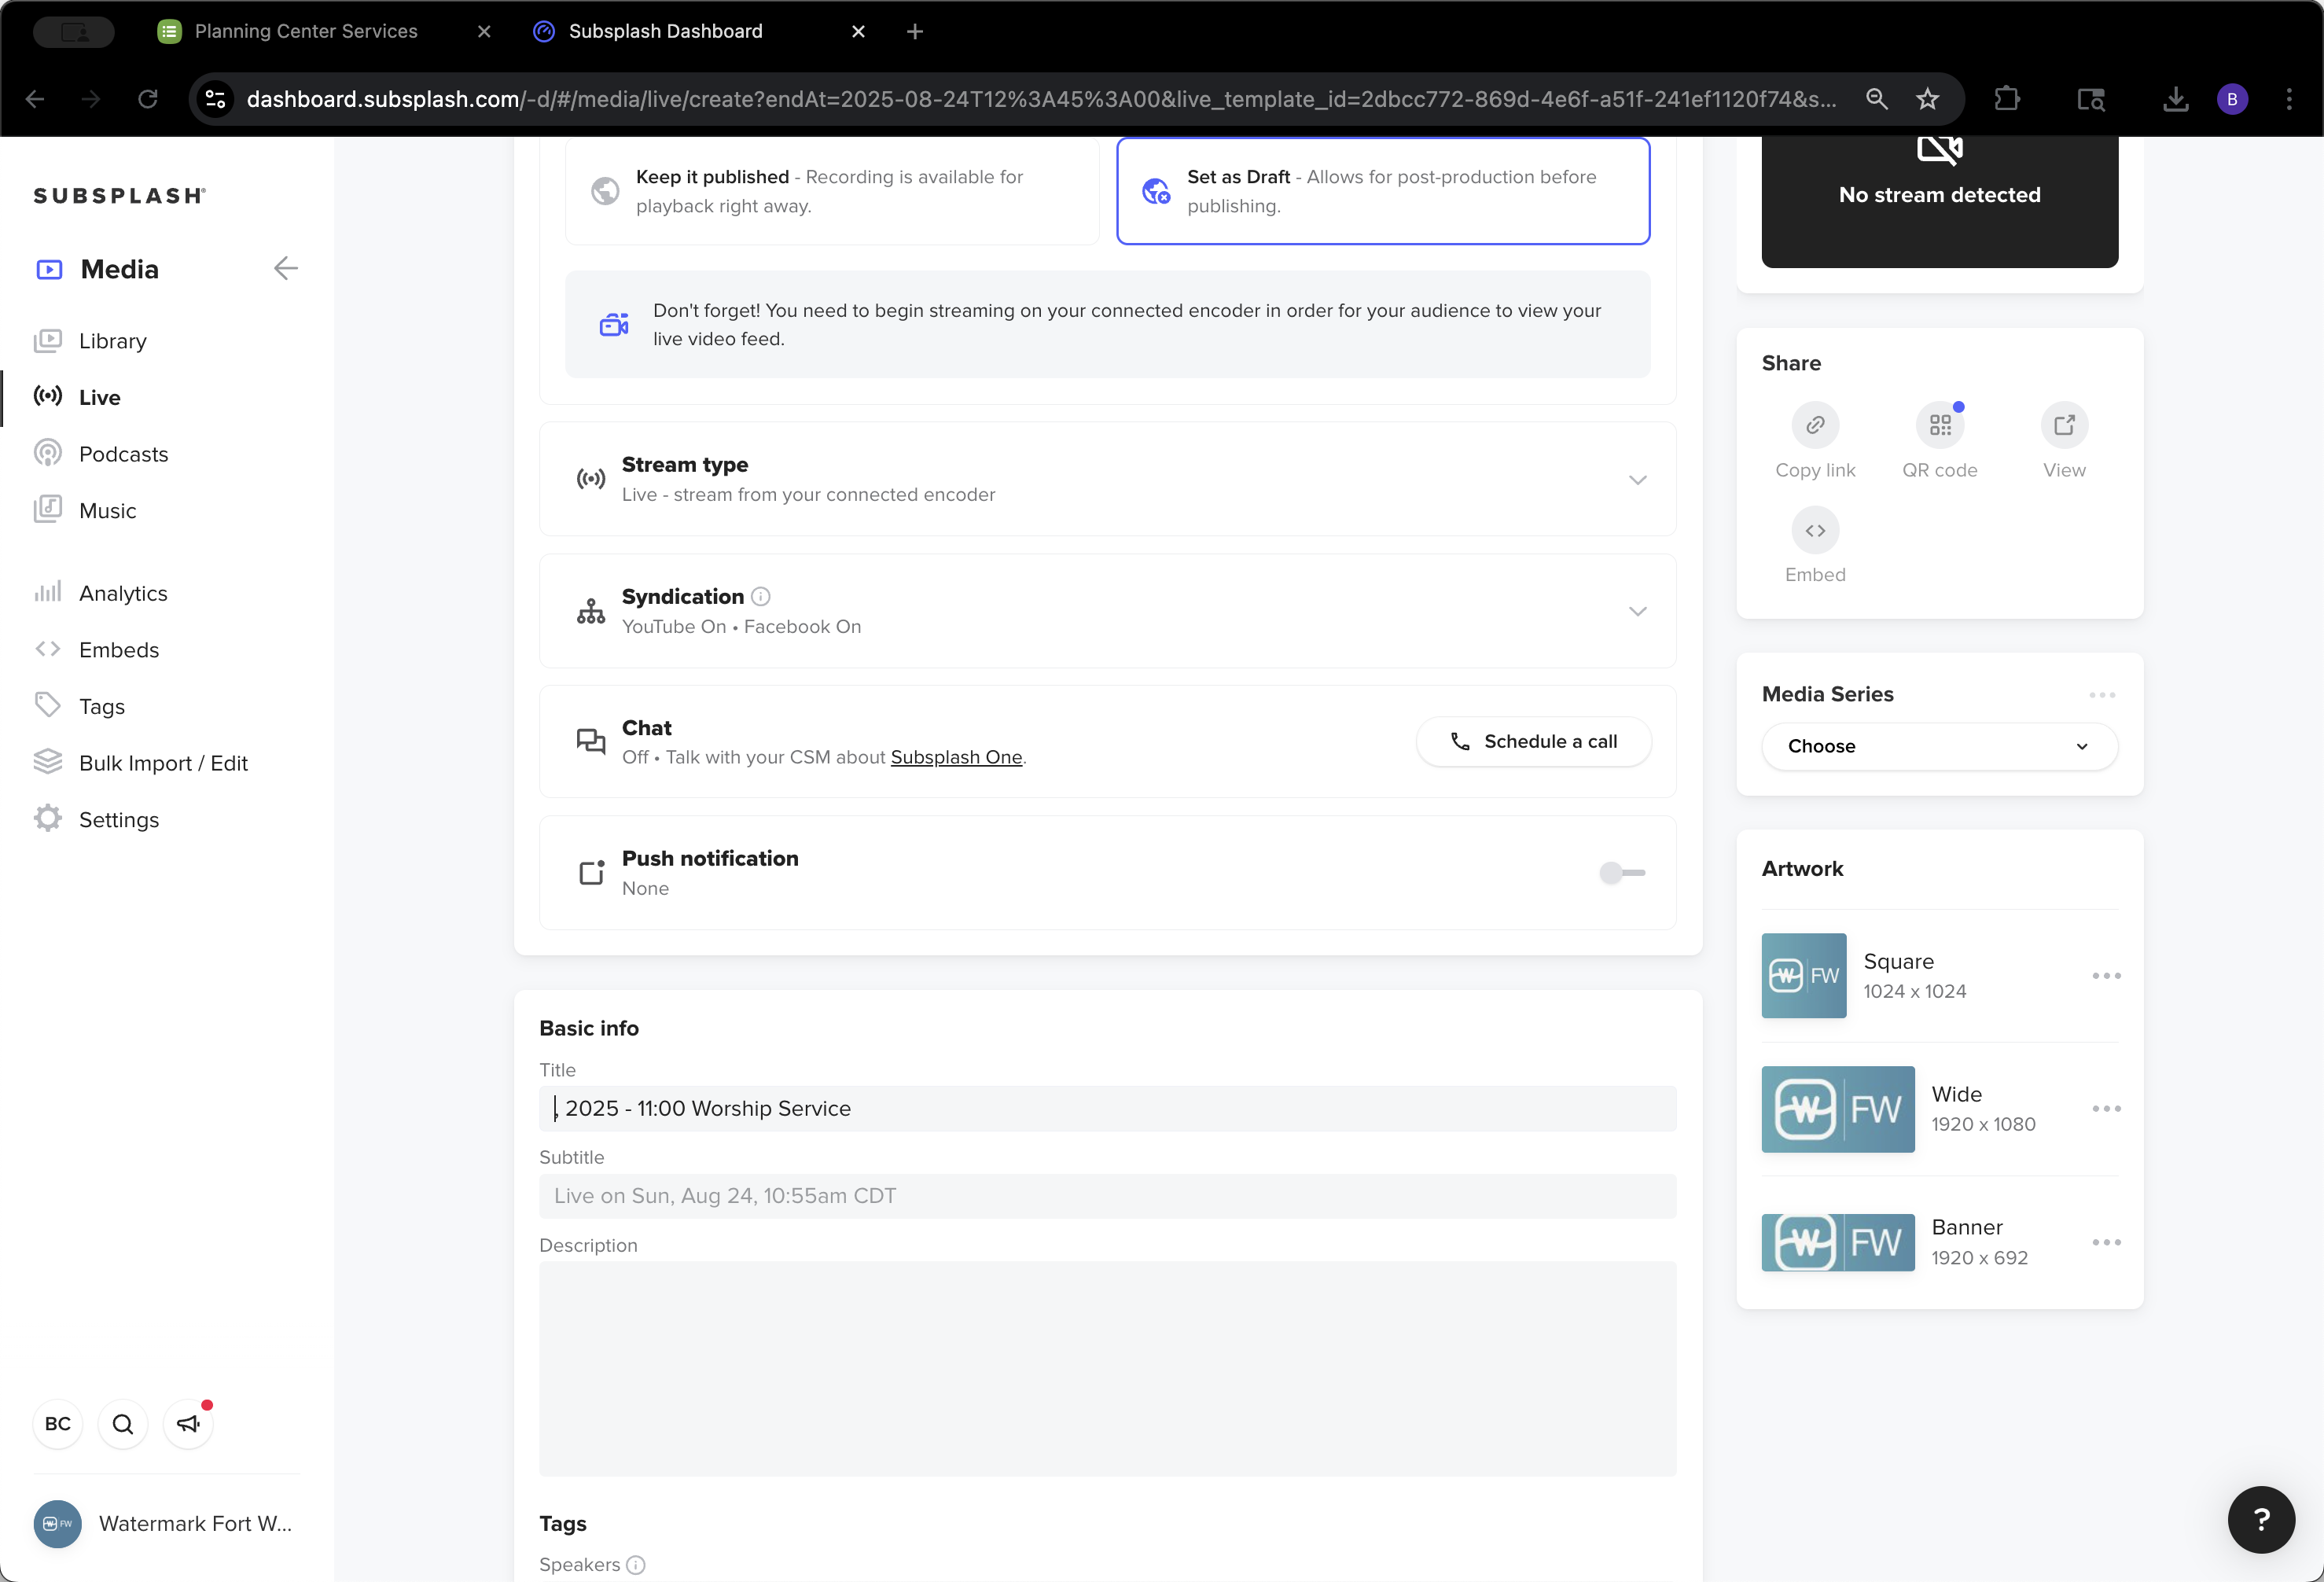
They are set as drafts. Connect an encoder. Syndication is enabled for Watermark Fort Worth, YouTube, and Facebook pages. Chat and push notifications are currently off.

38
Click here
Step #38: Click here
39
Click here
Step #39: Click here
40
Click here
Step #40: Click here

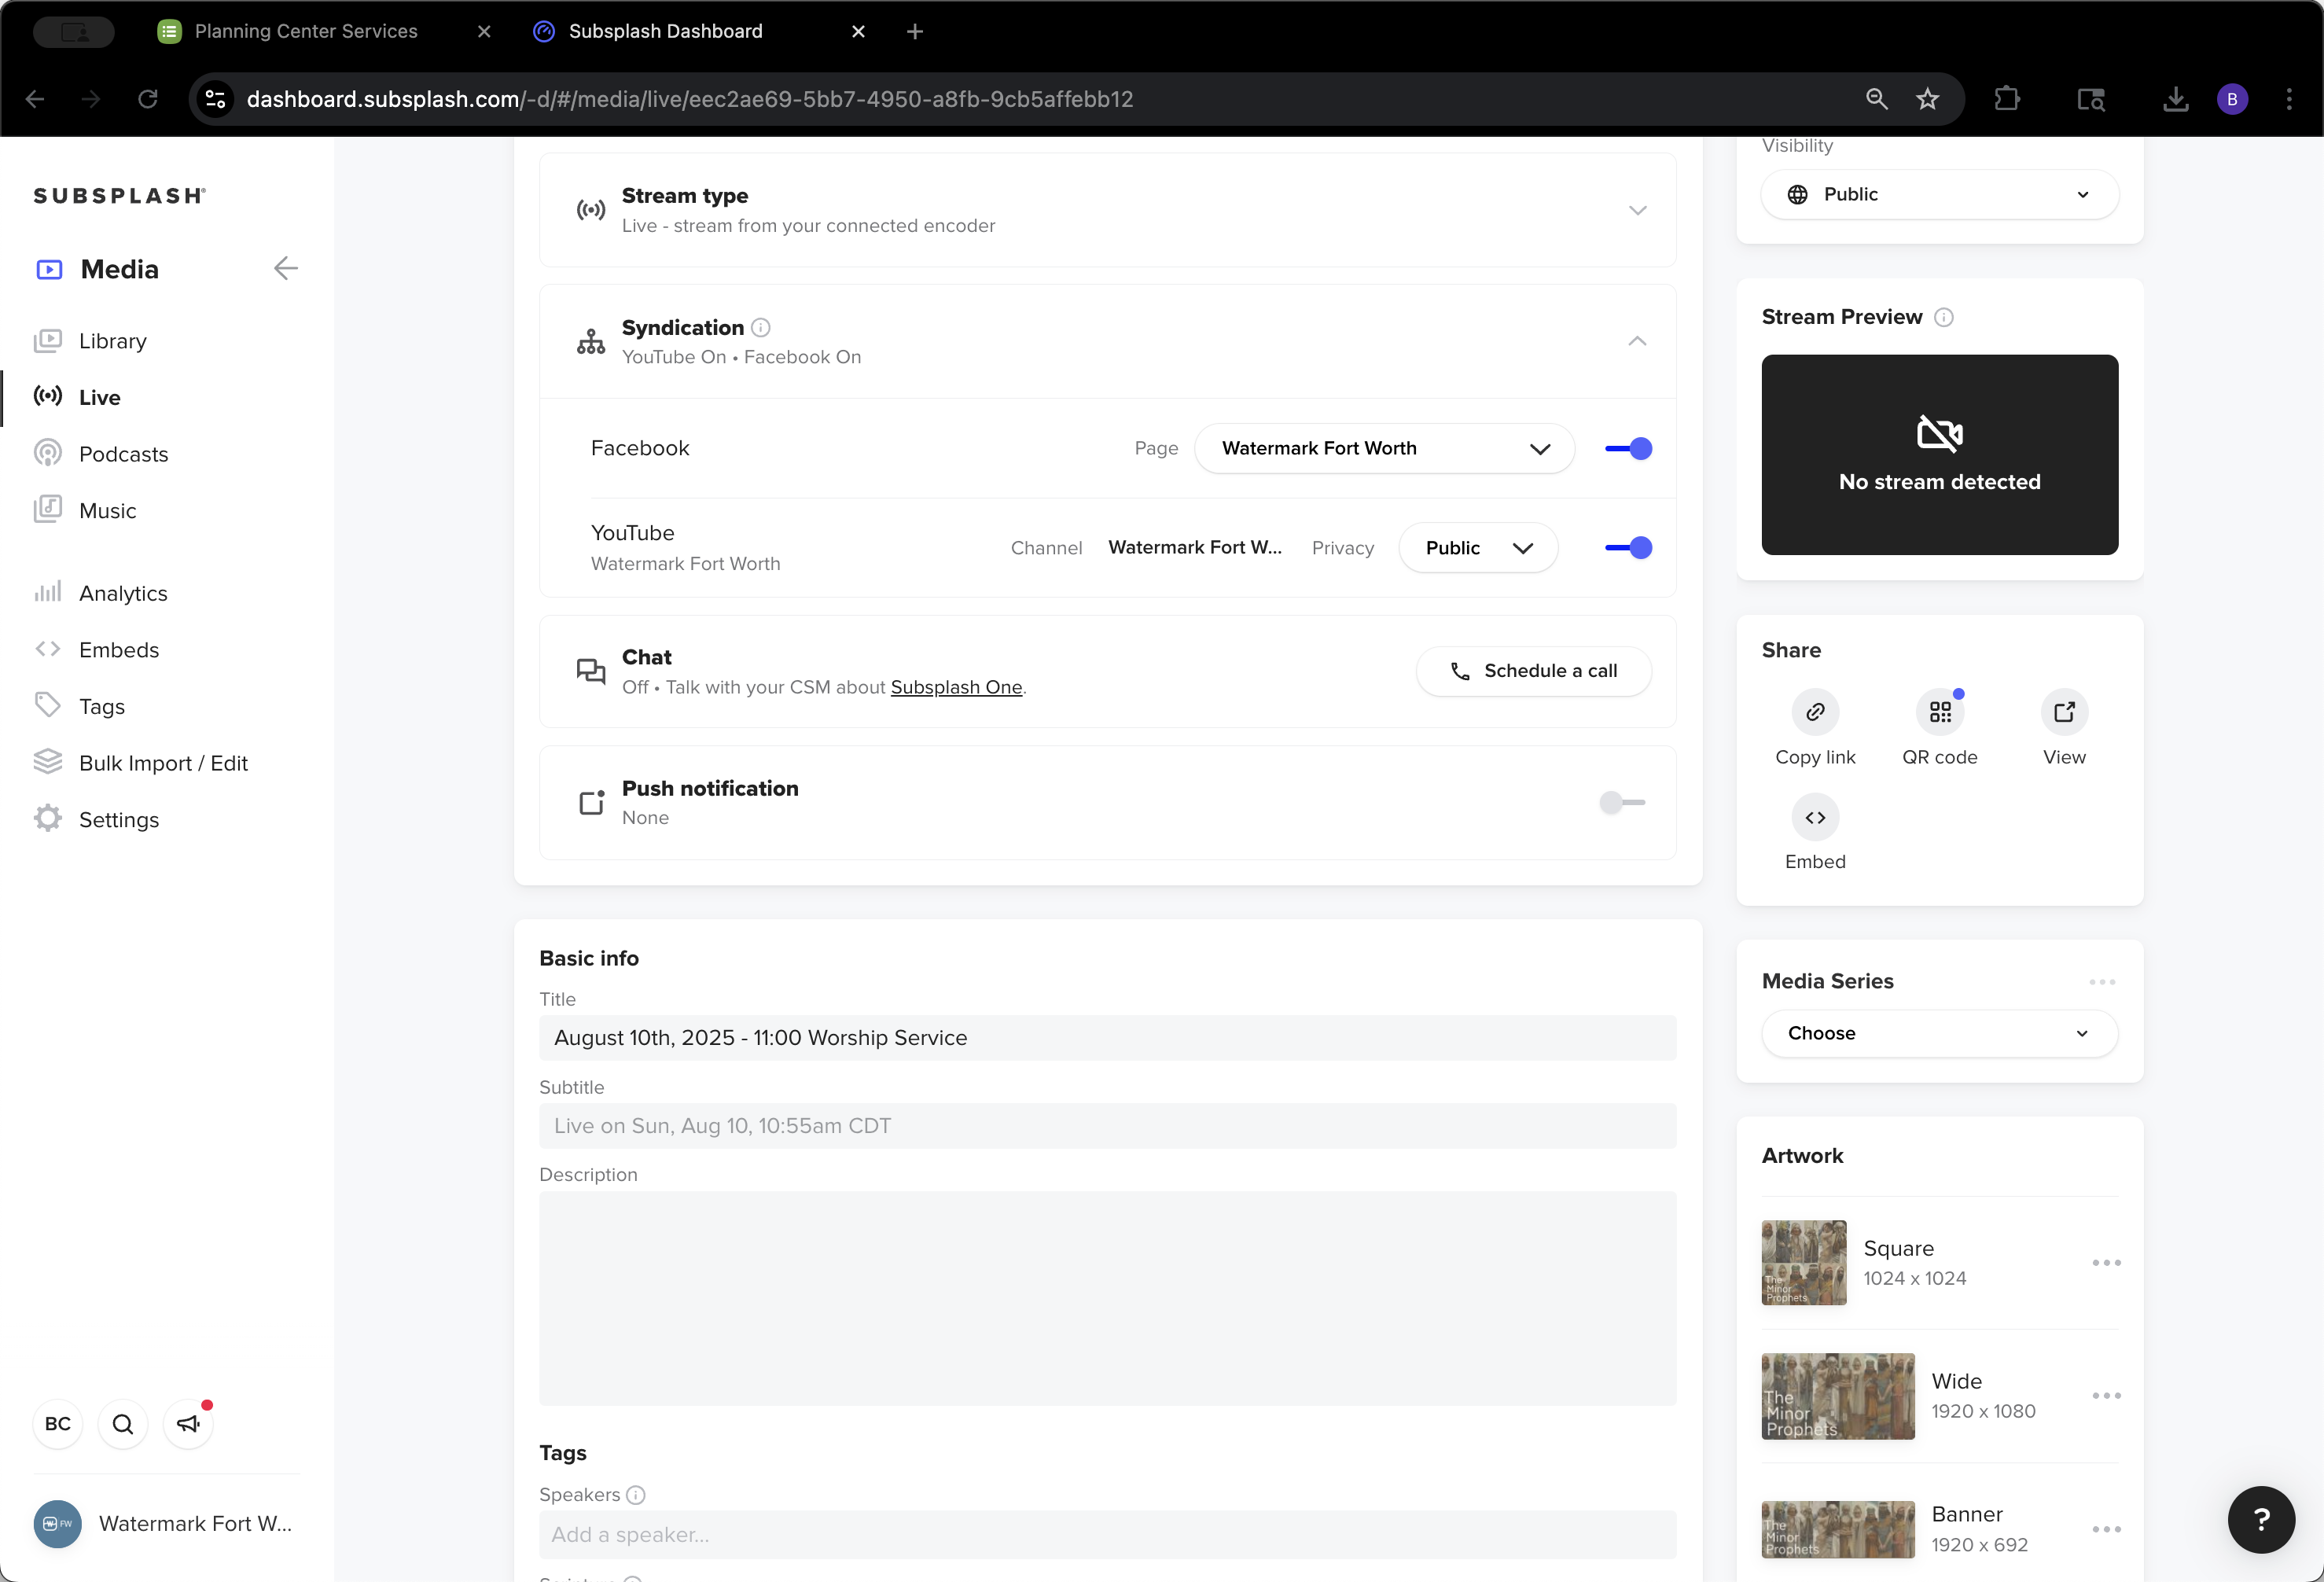
We do not add any of this information at this time. That could change at any time. However, right now, we do not do that.

41
Click on "Live"
Step #41: Click on "Live"

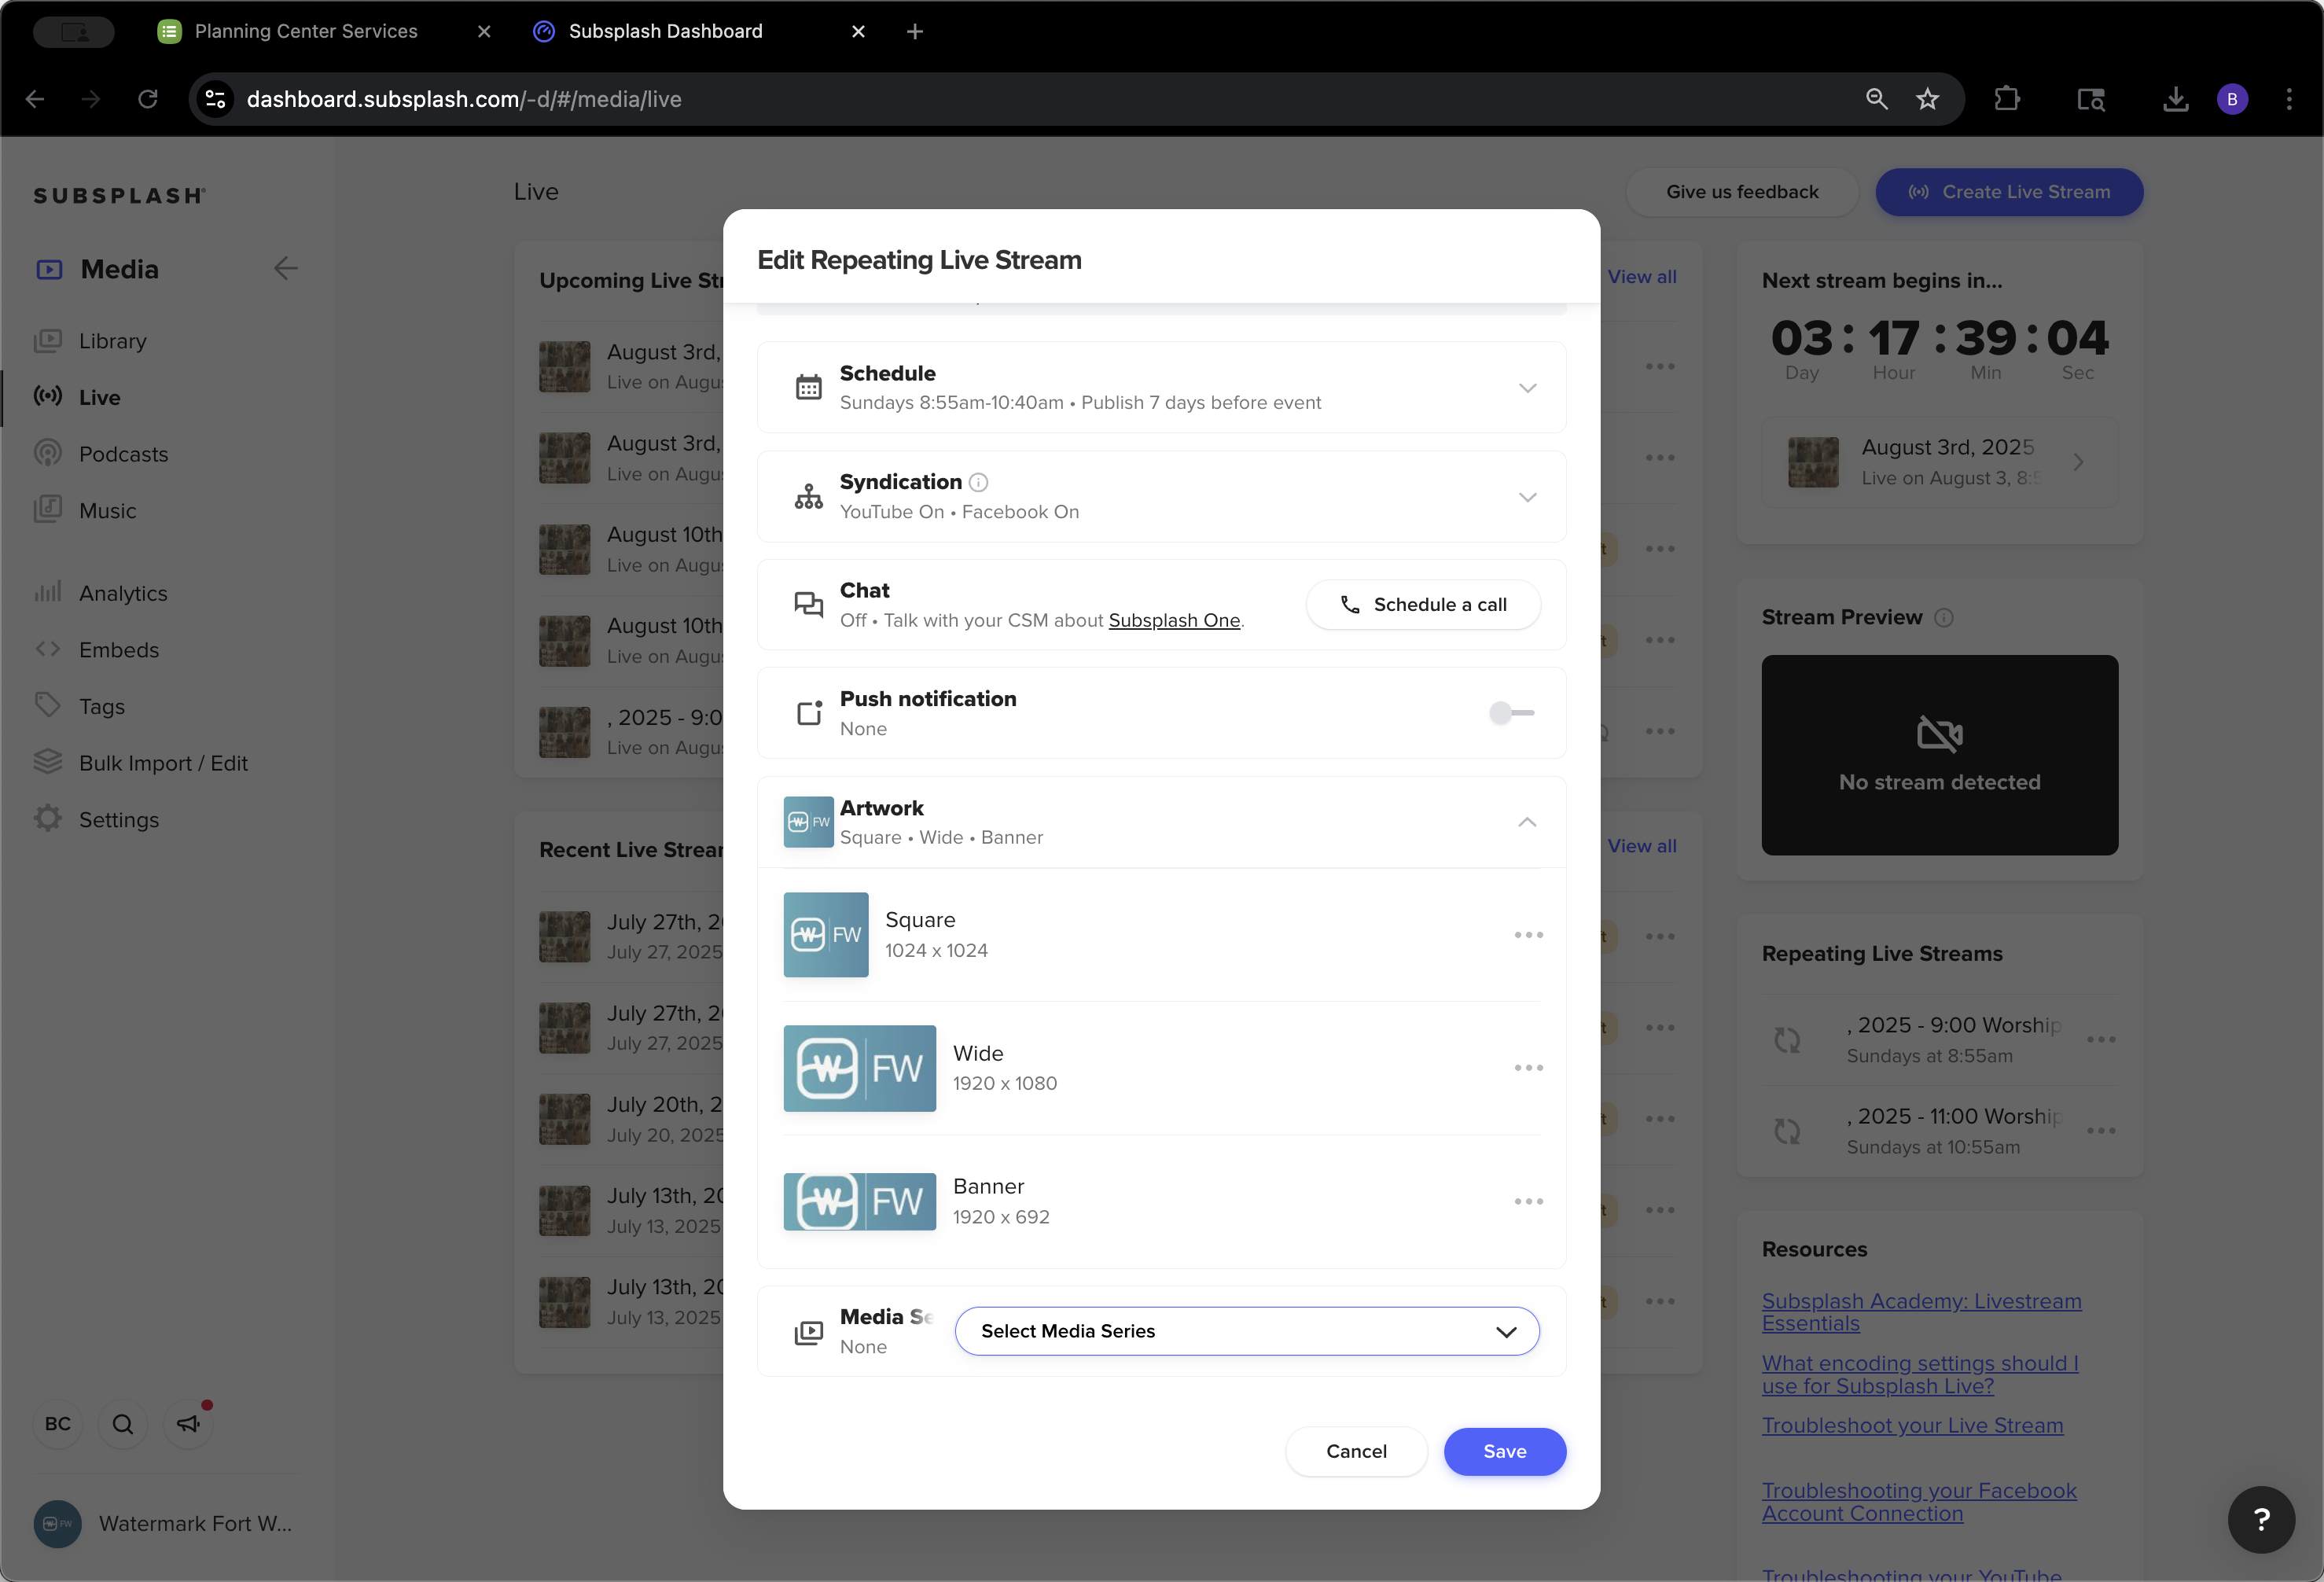
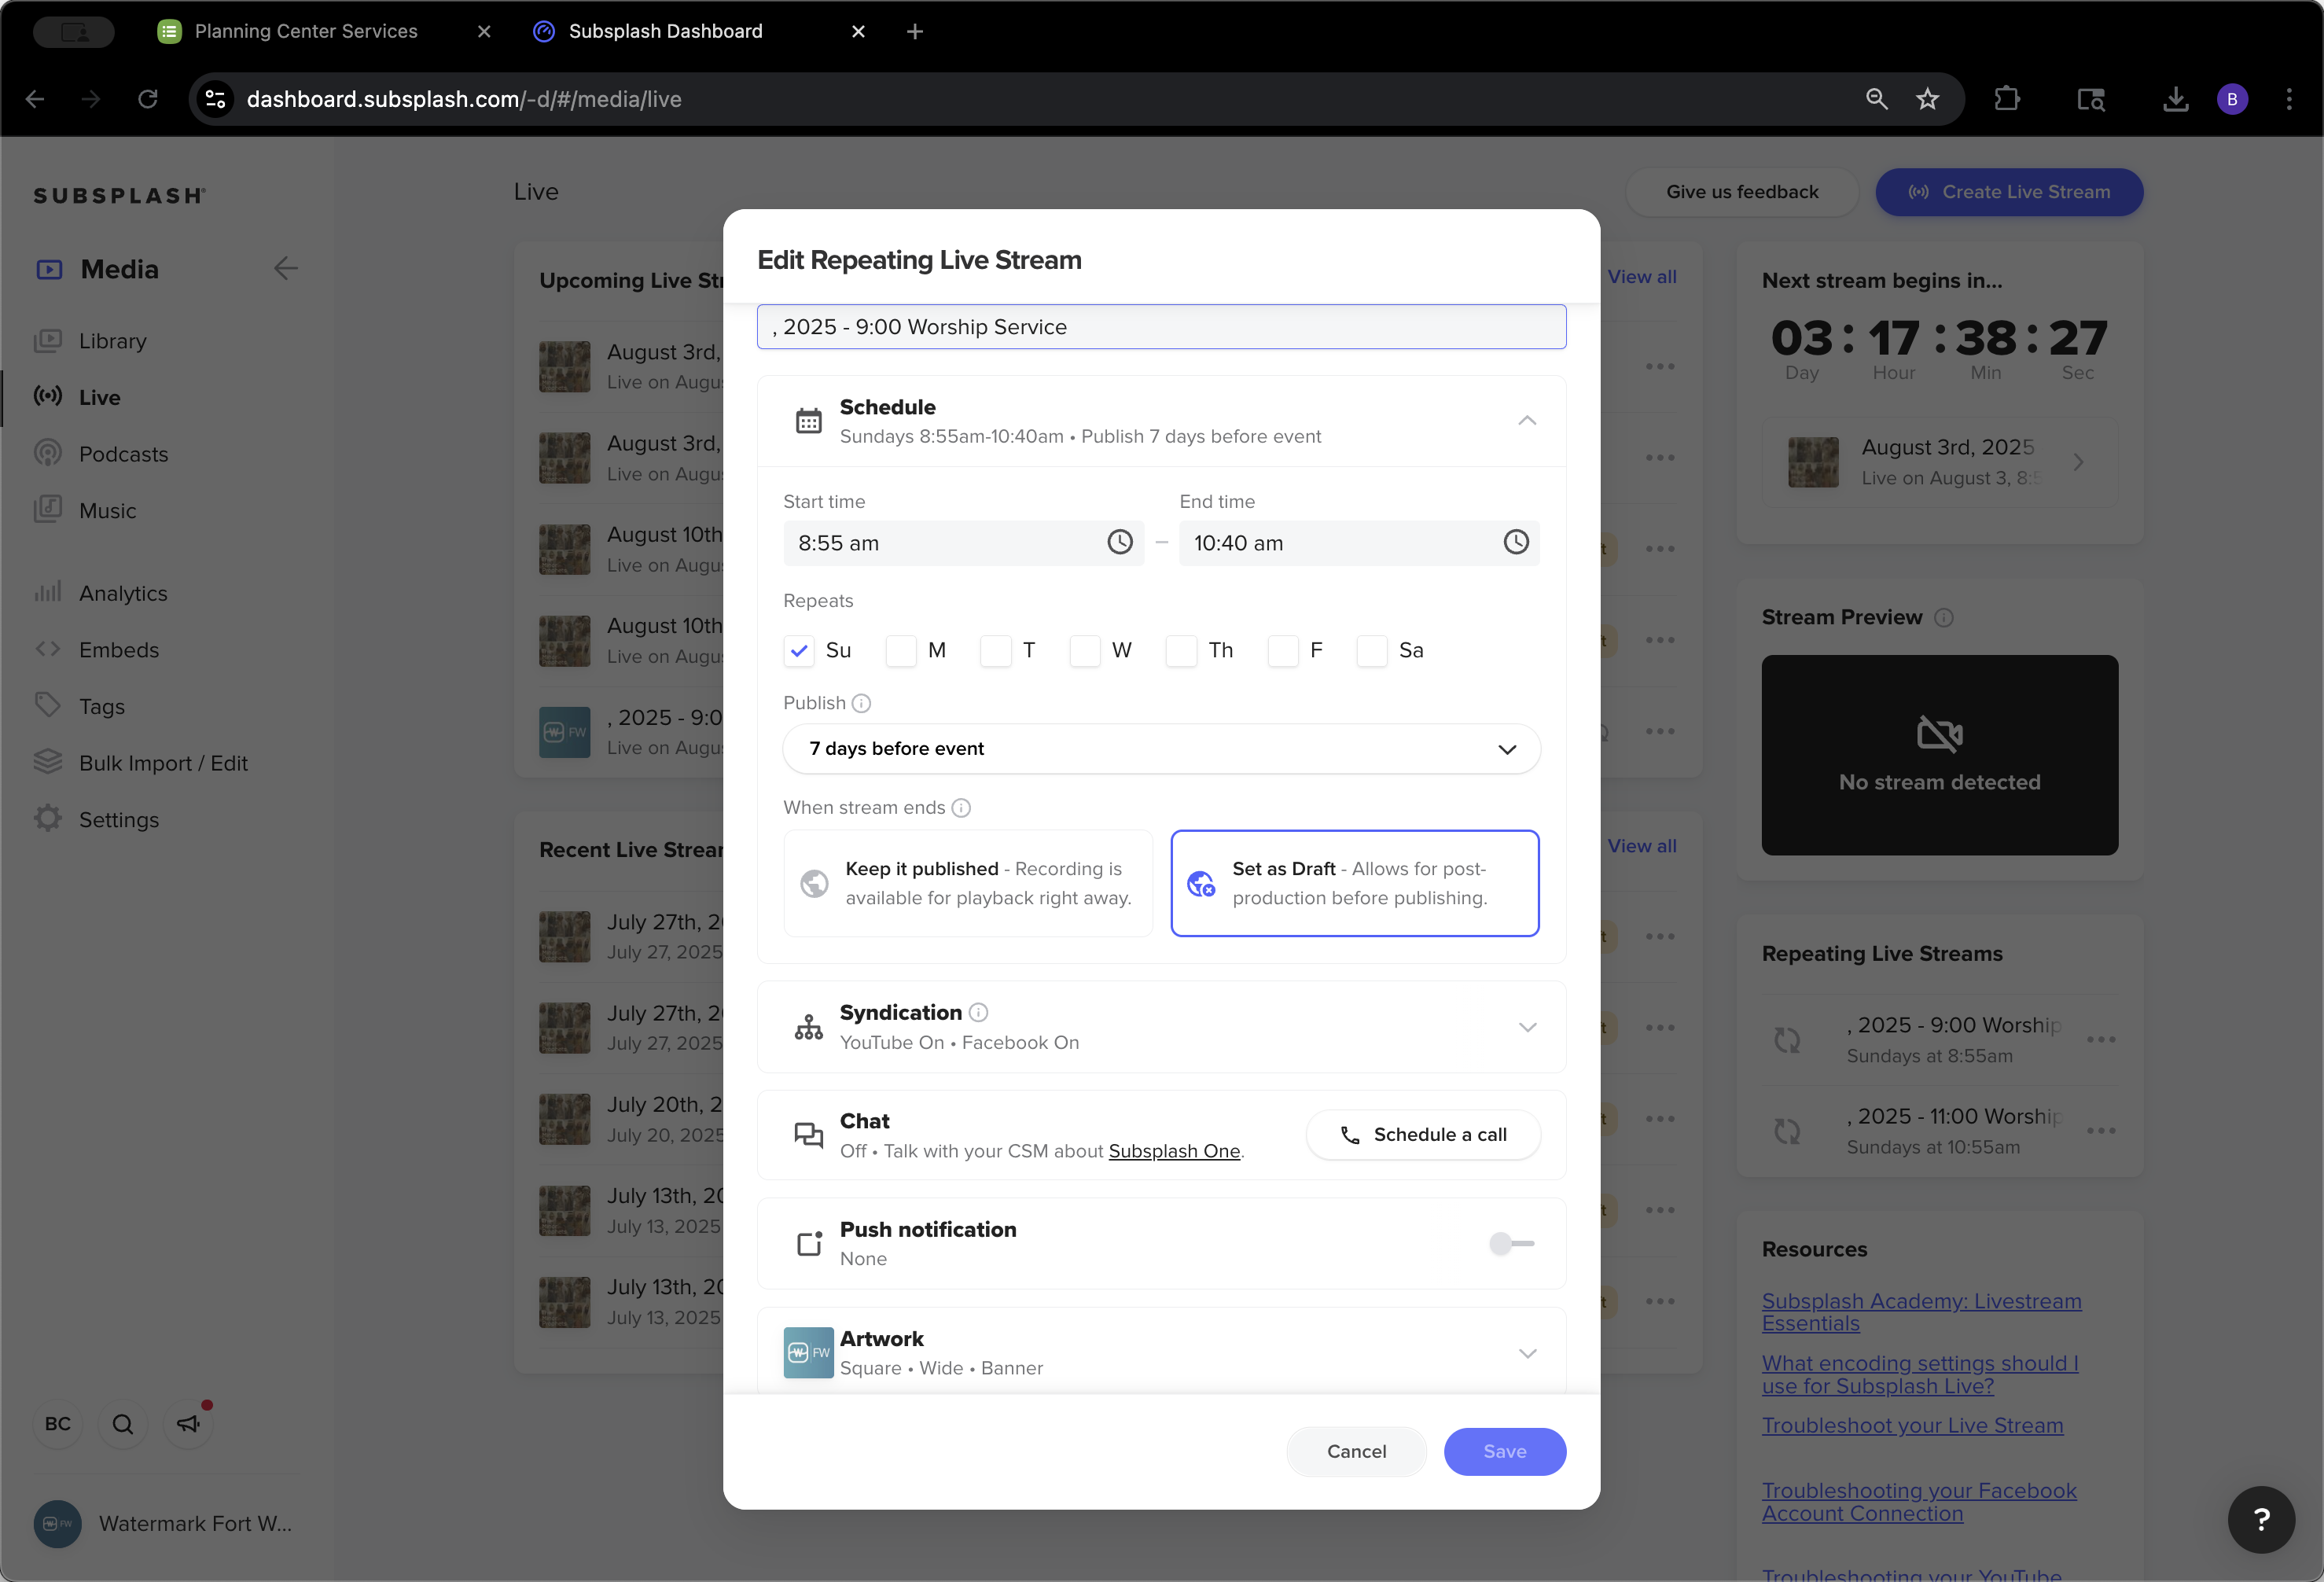
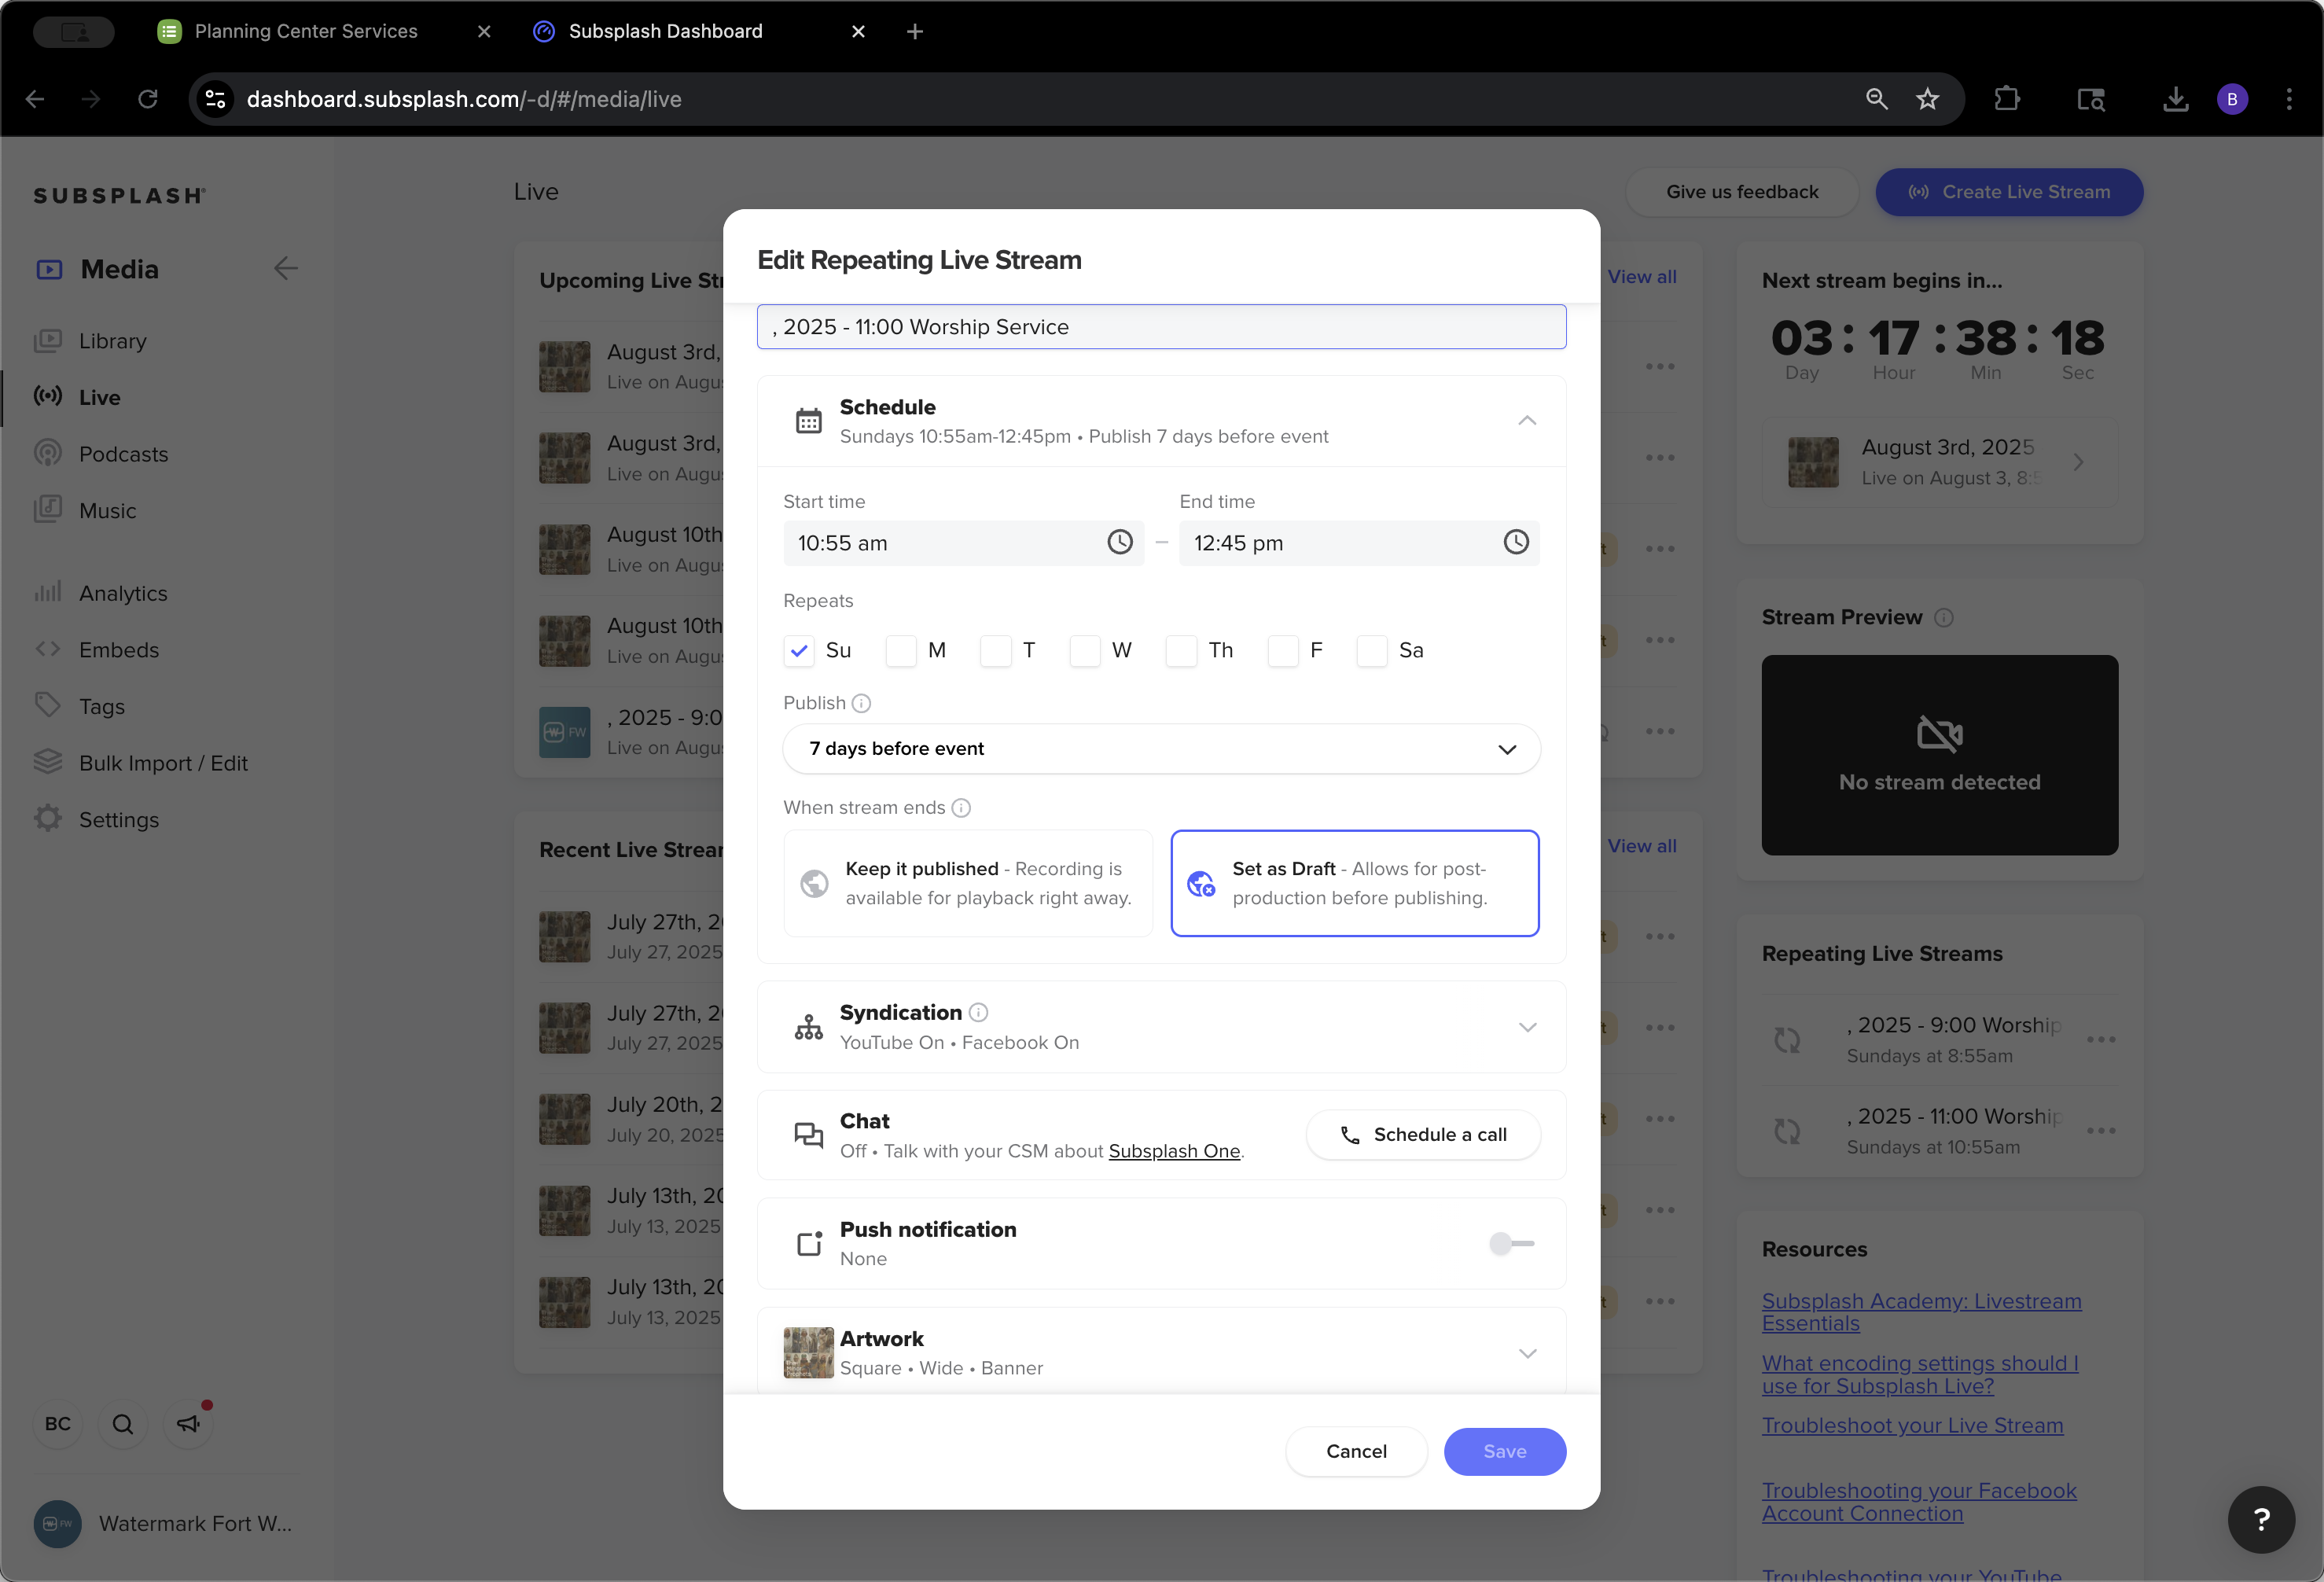
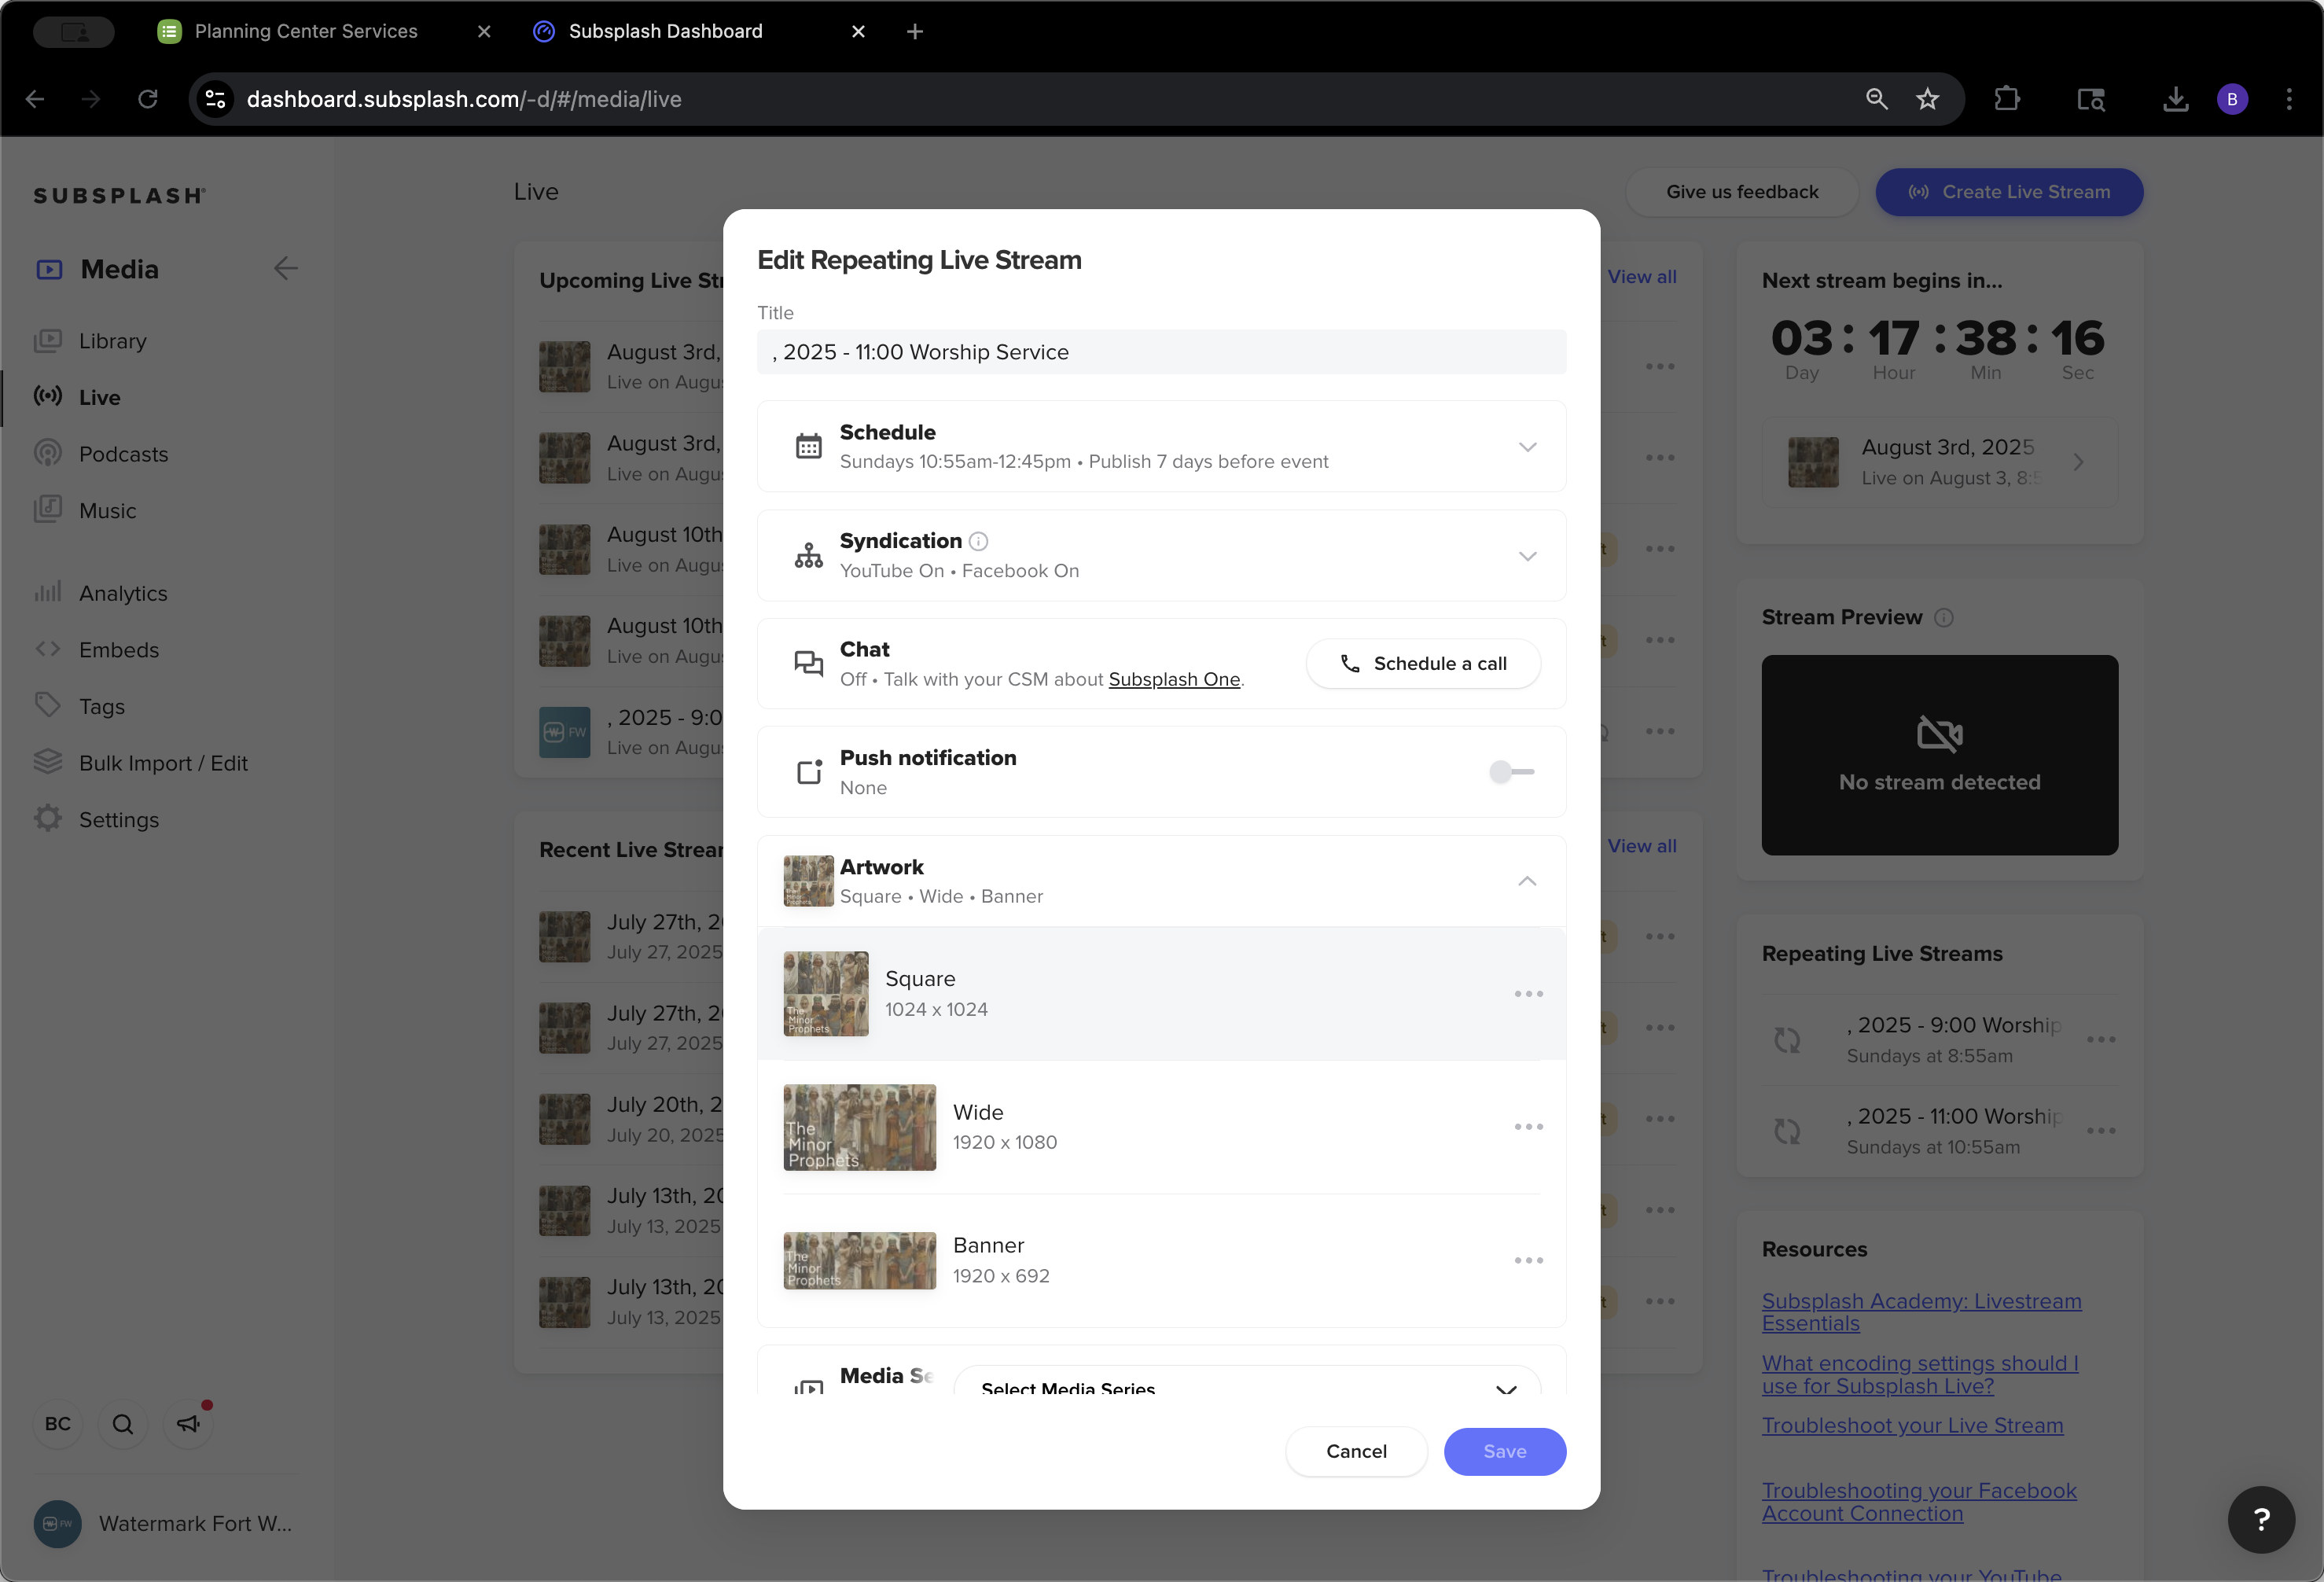
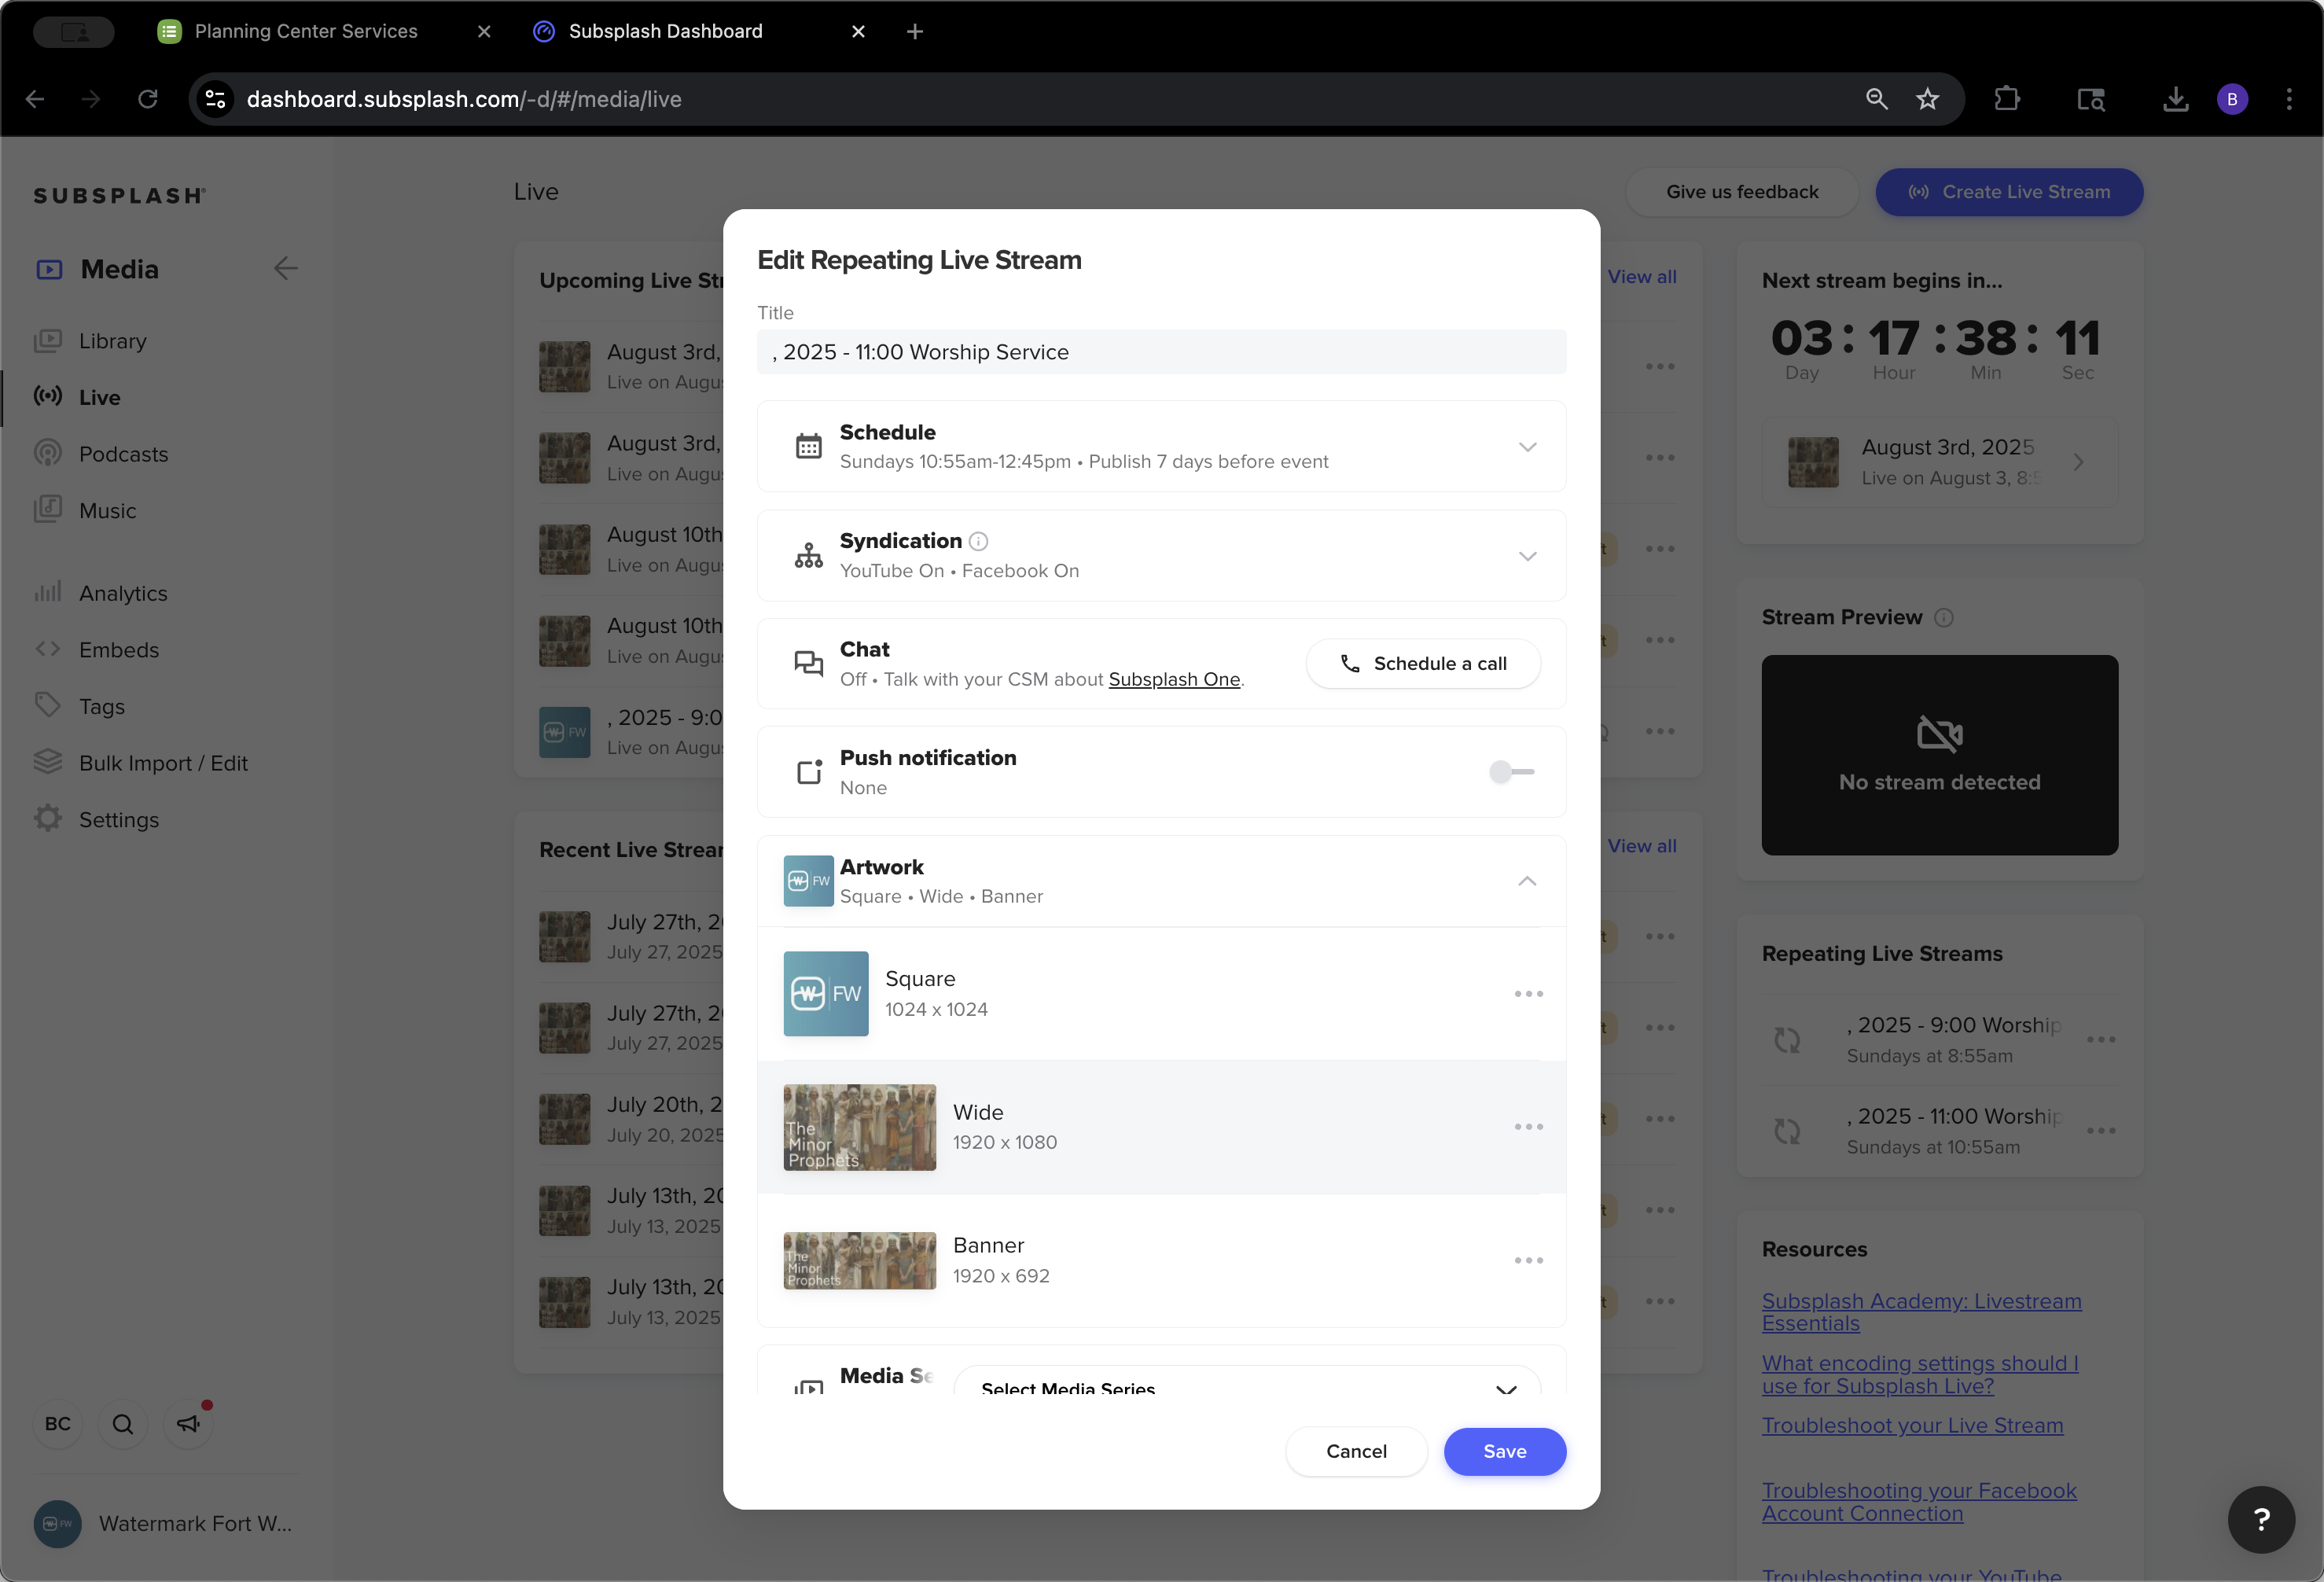
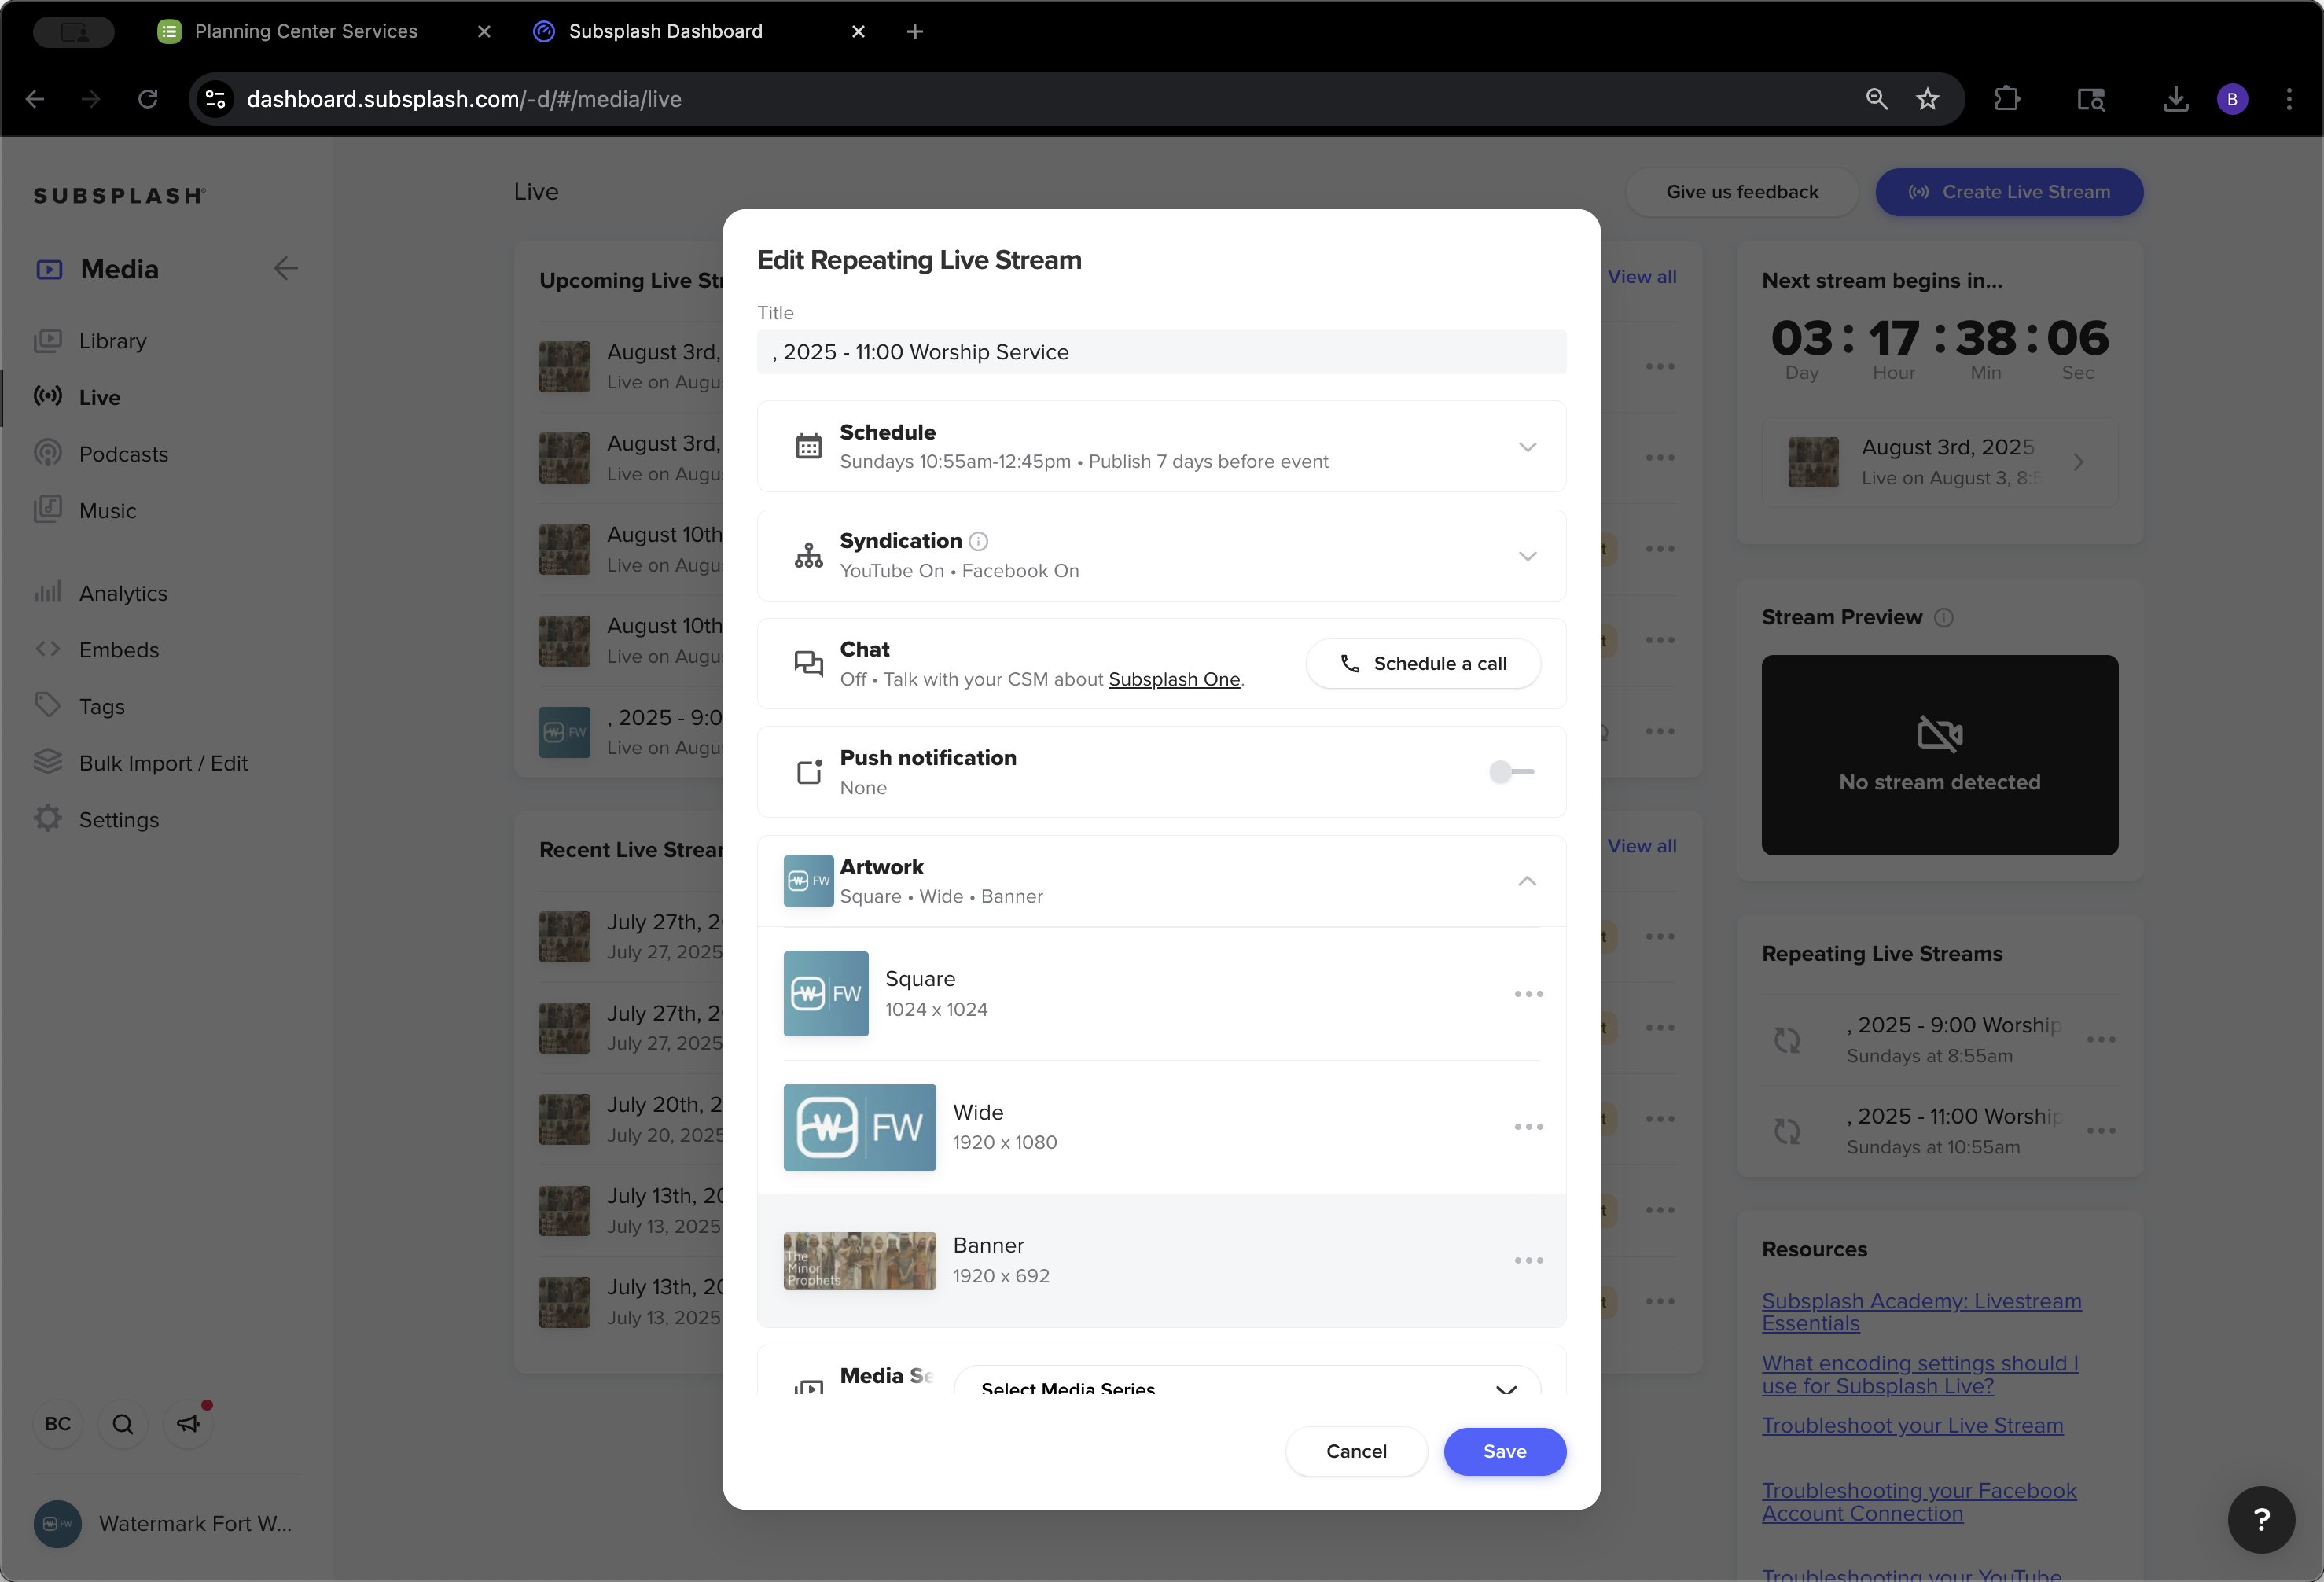
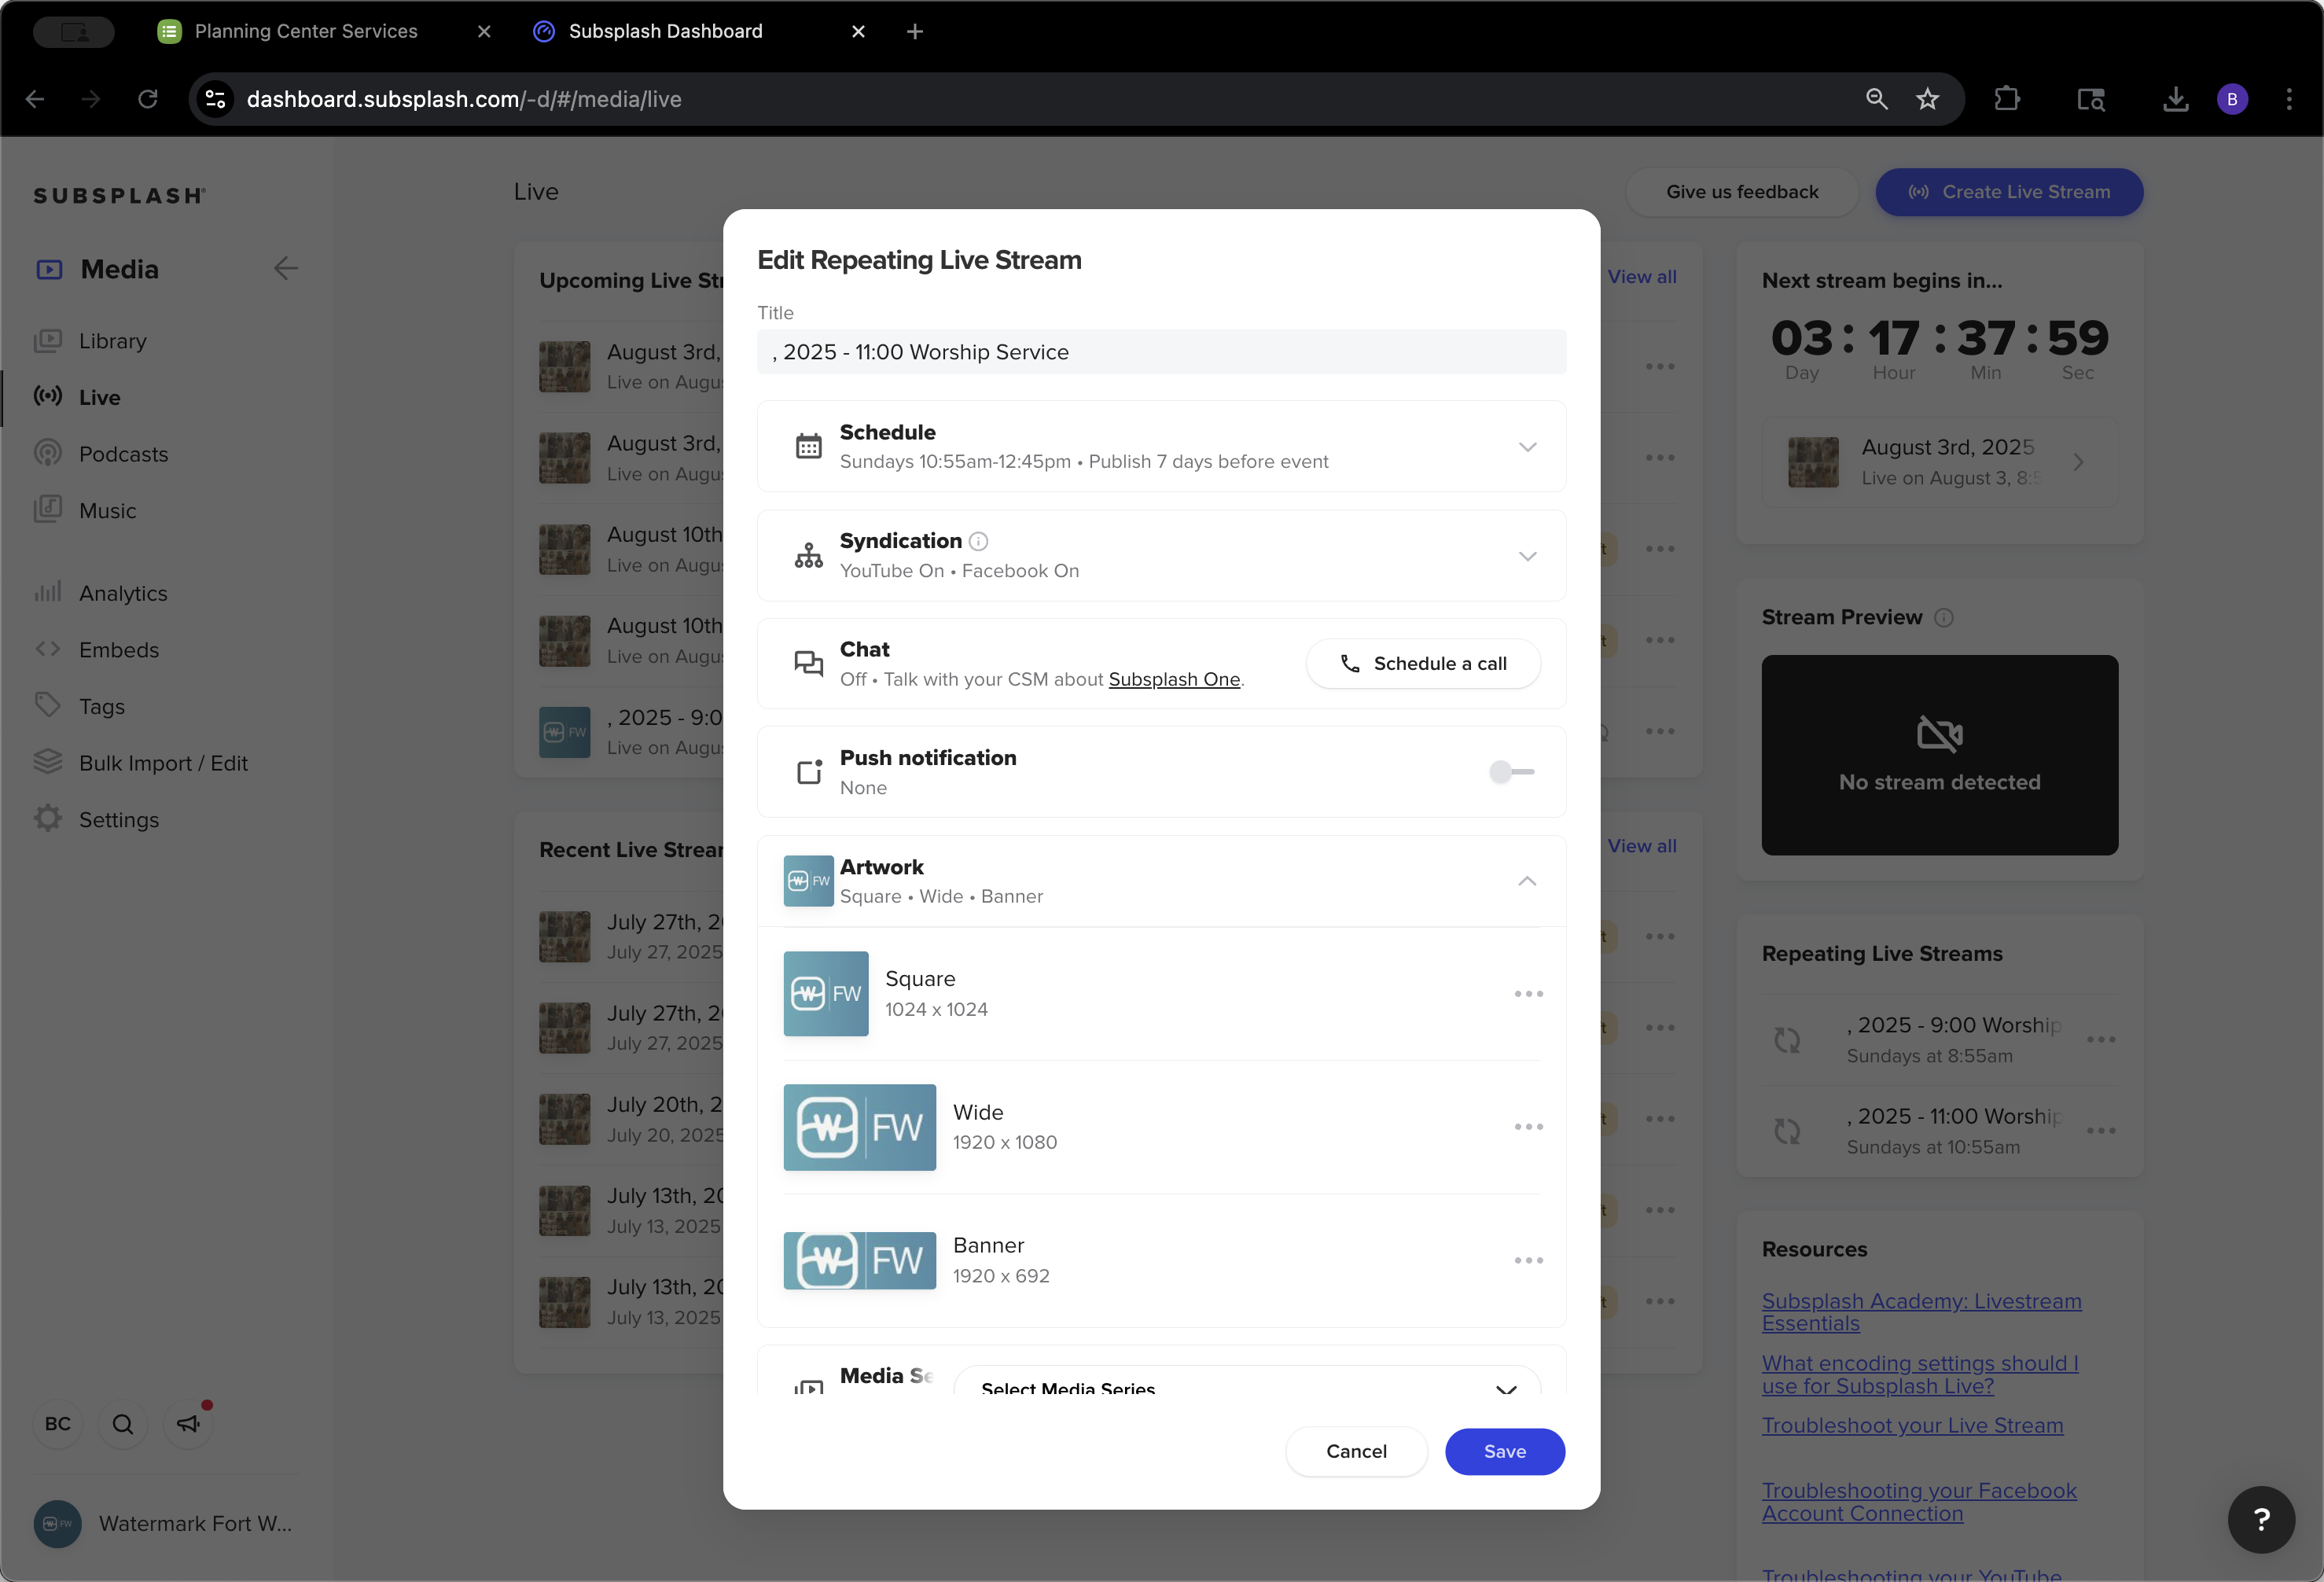
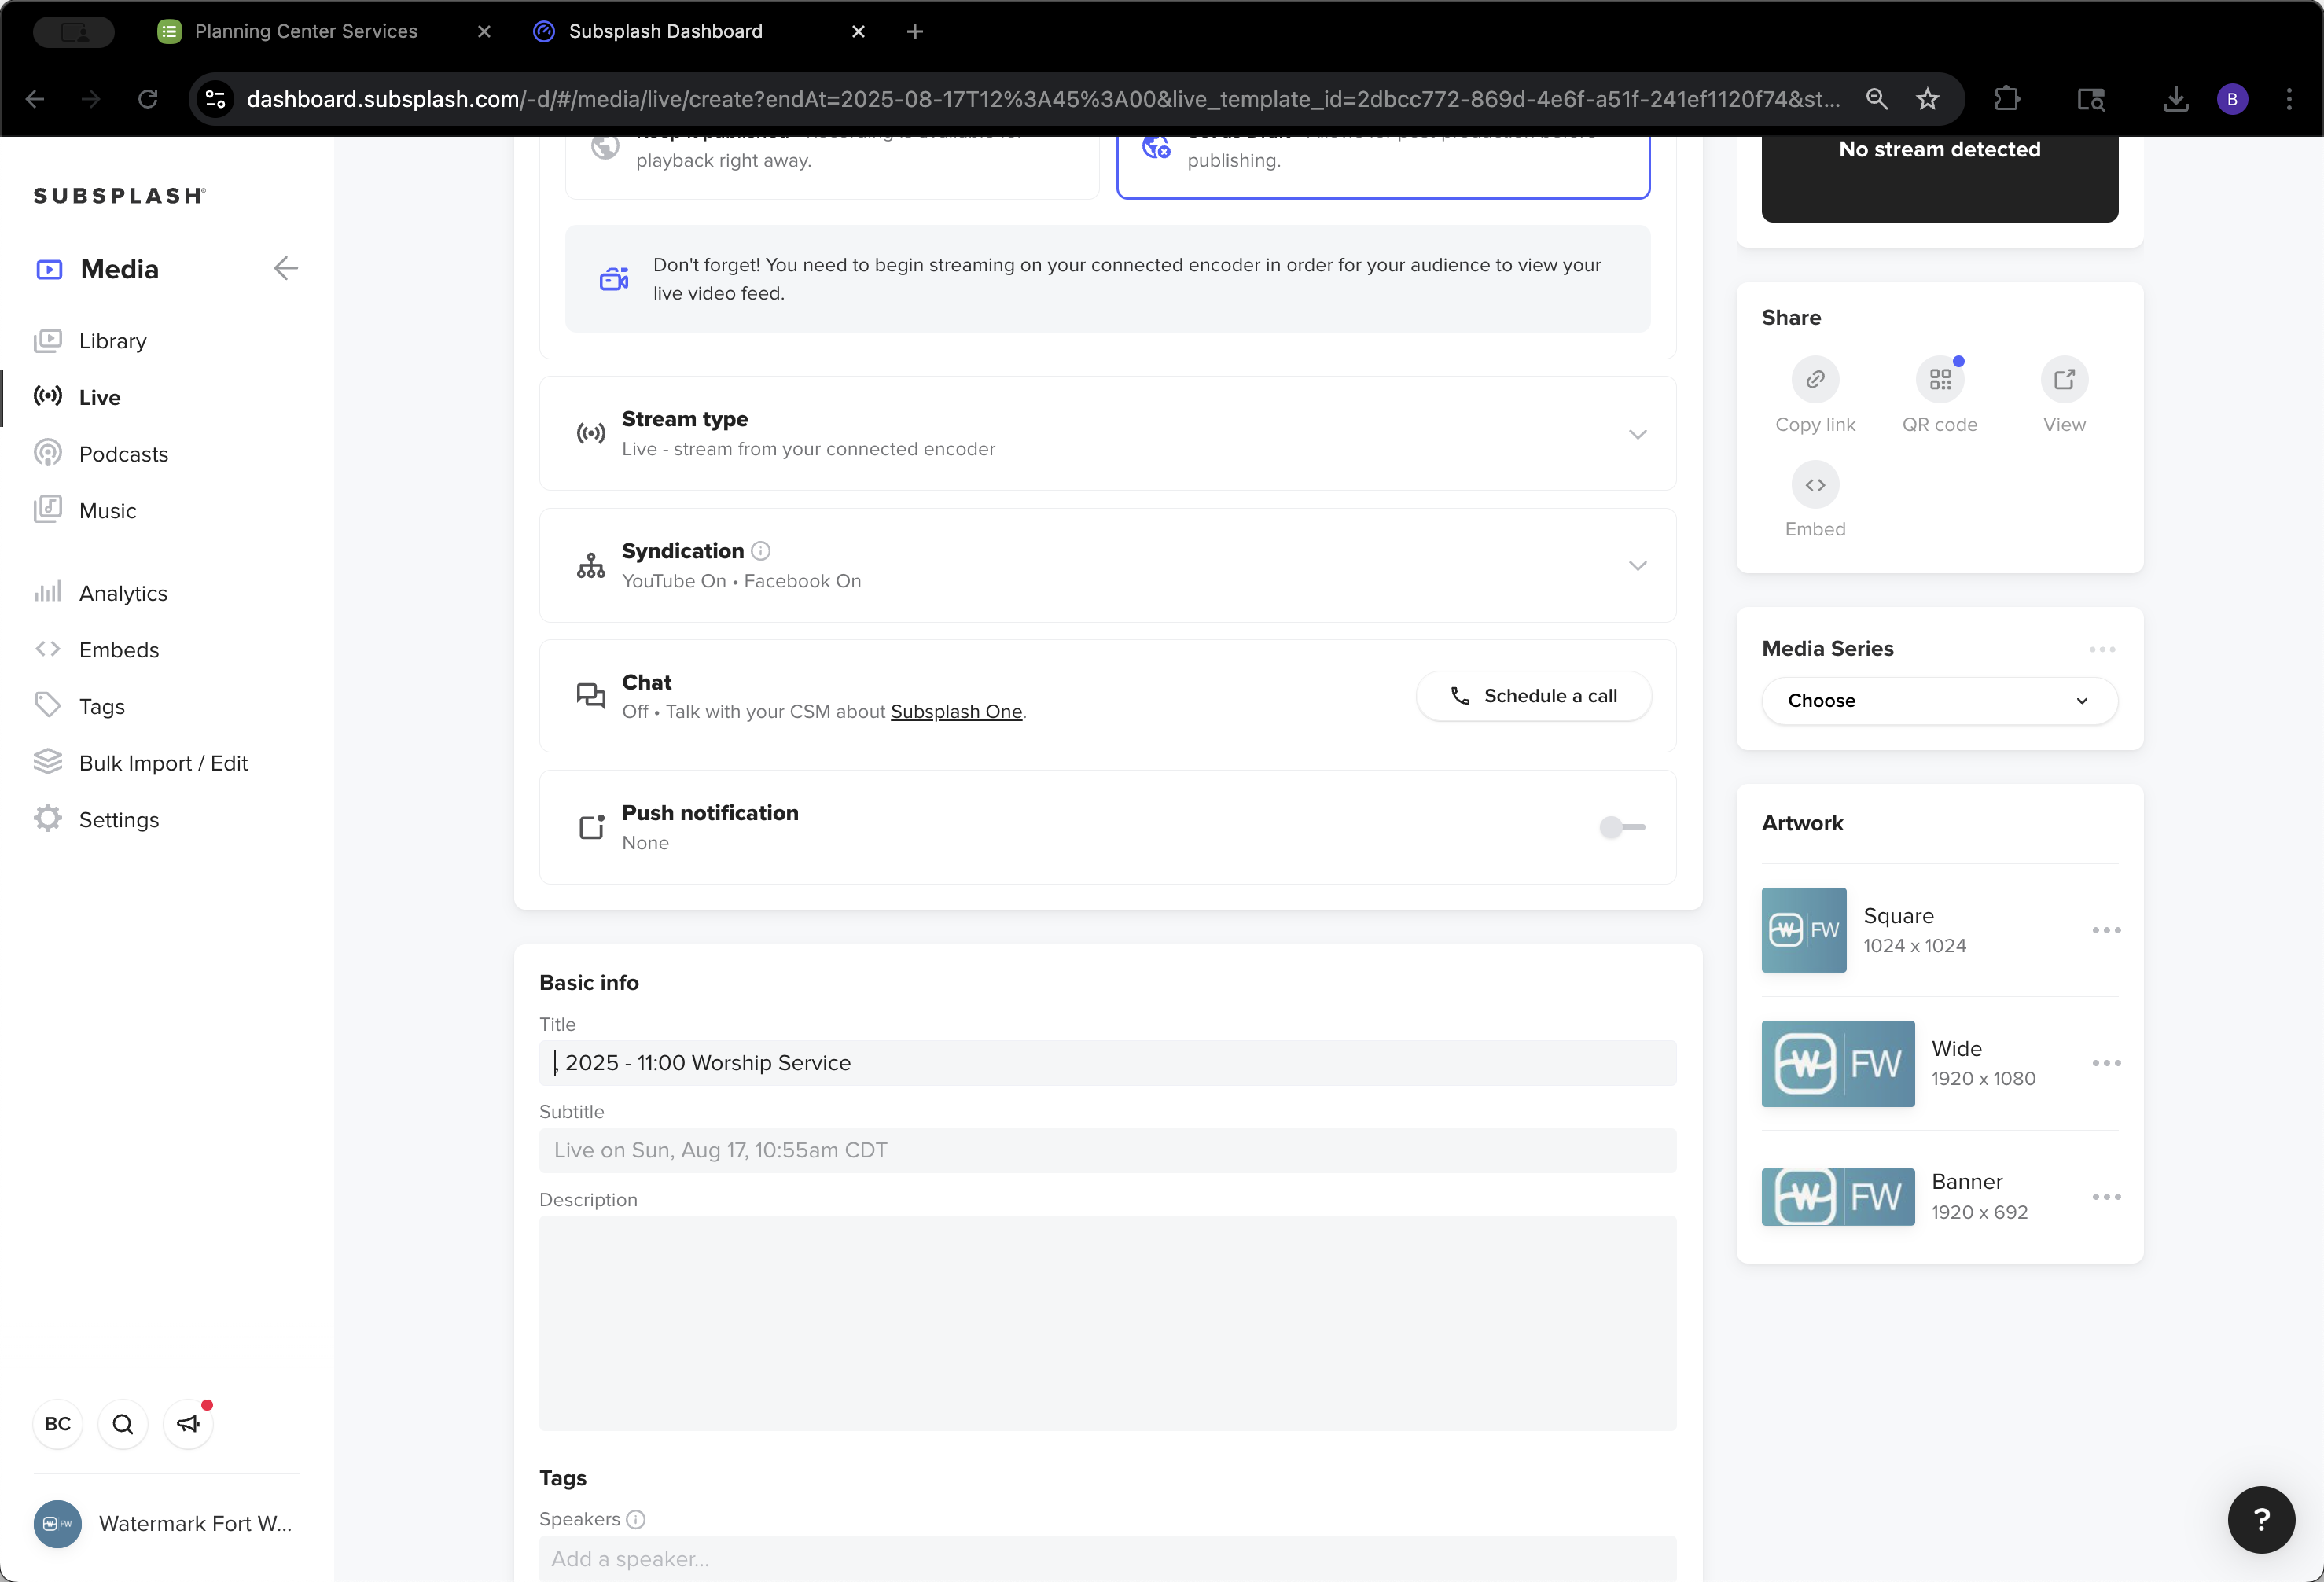
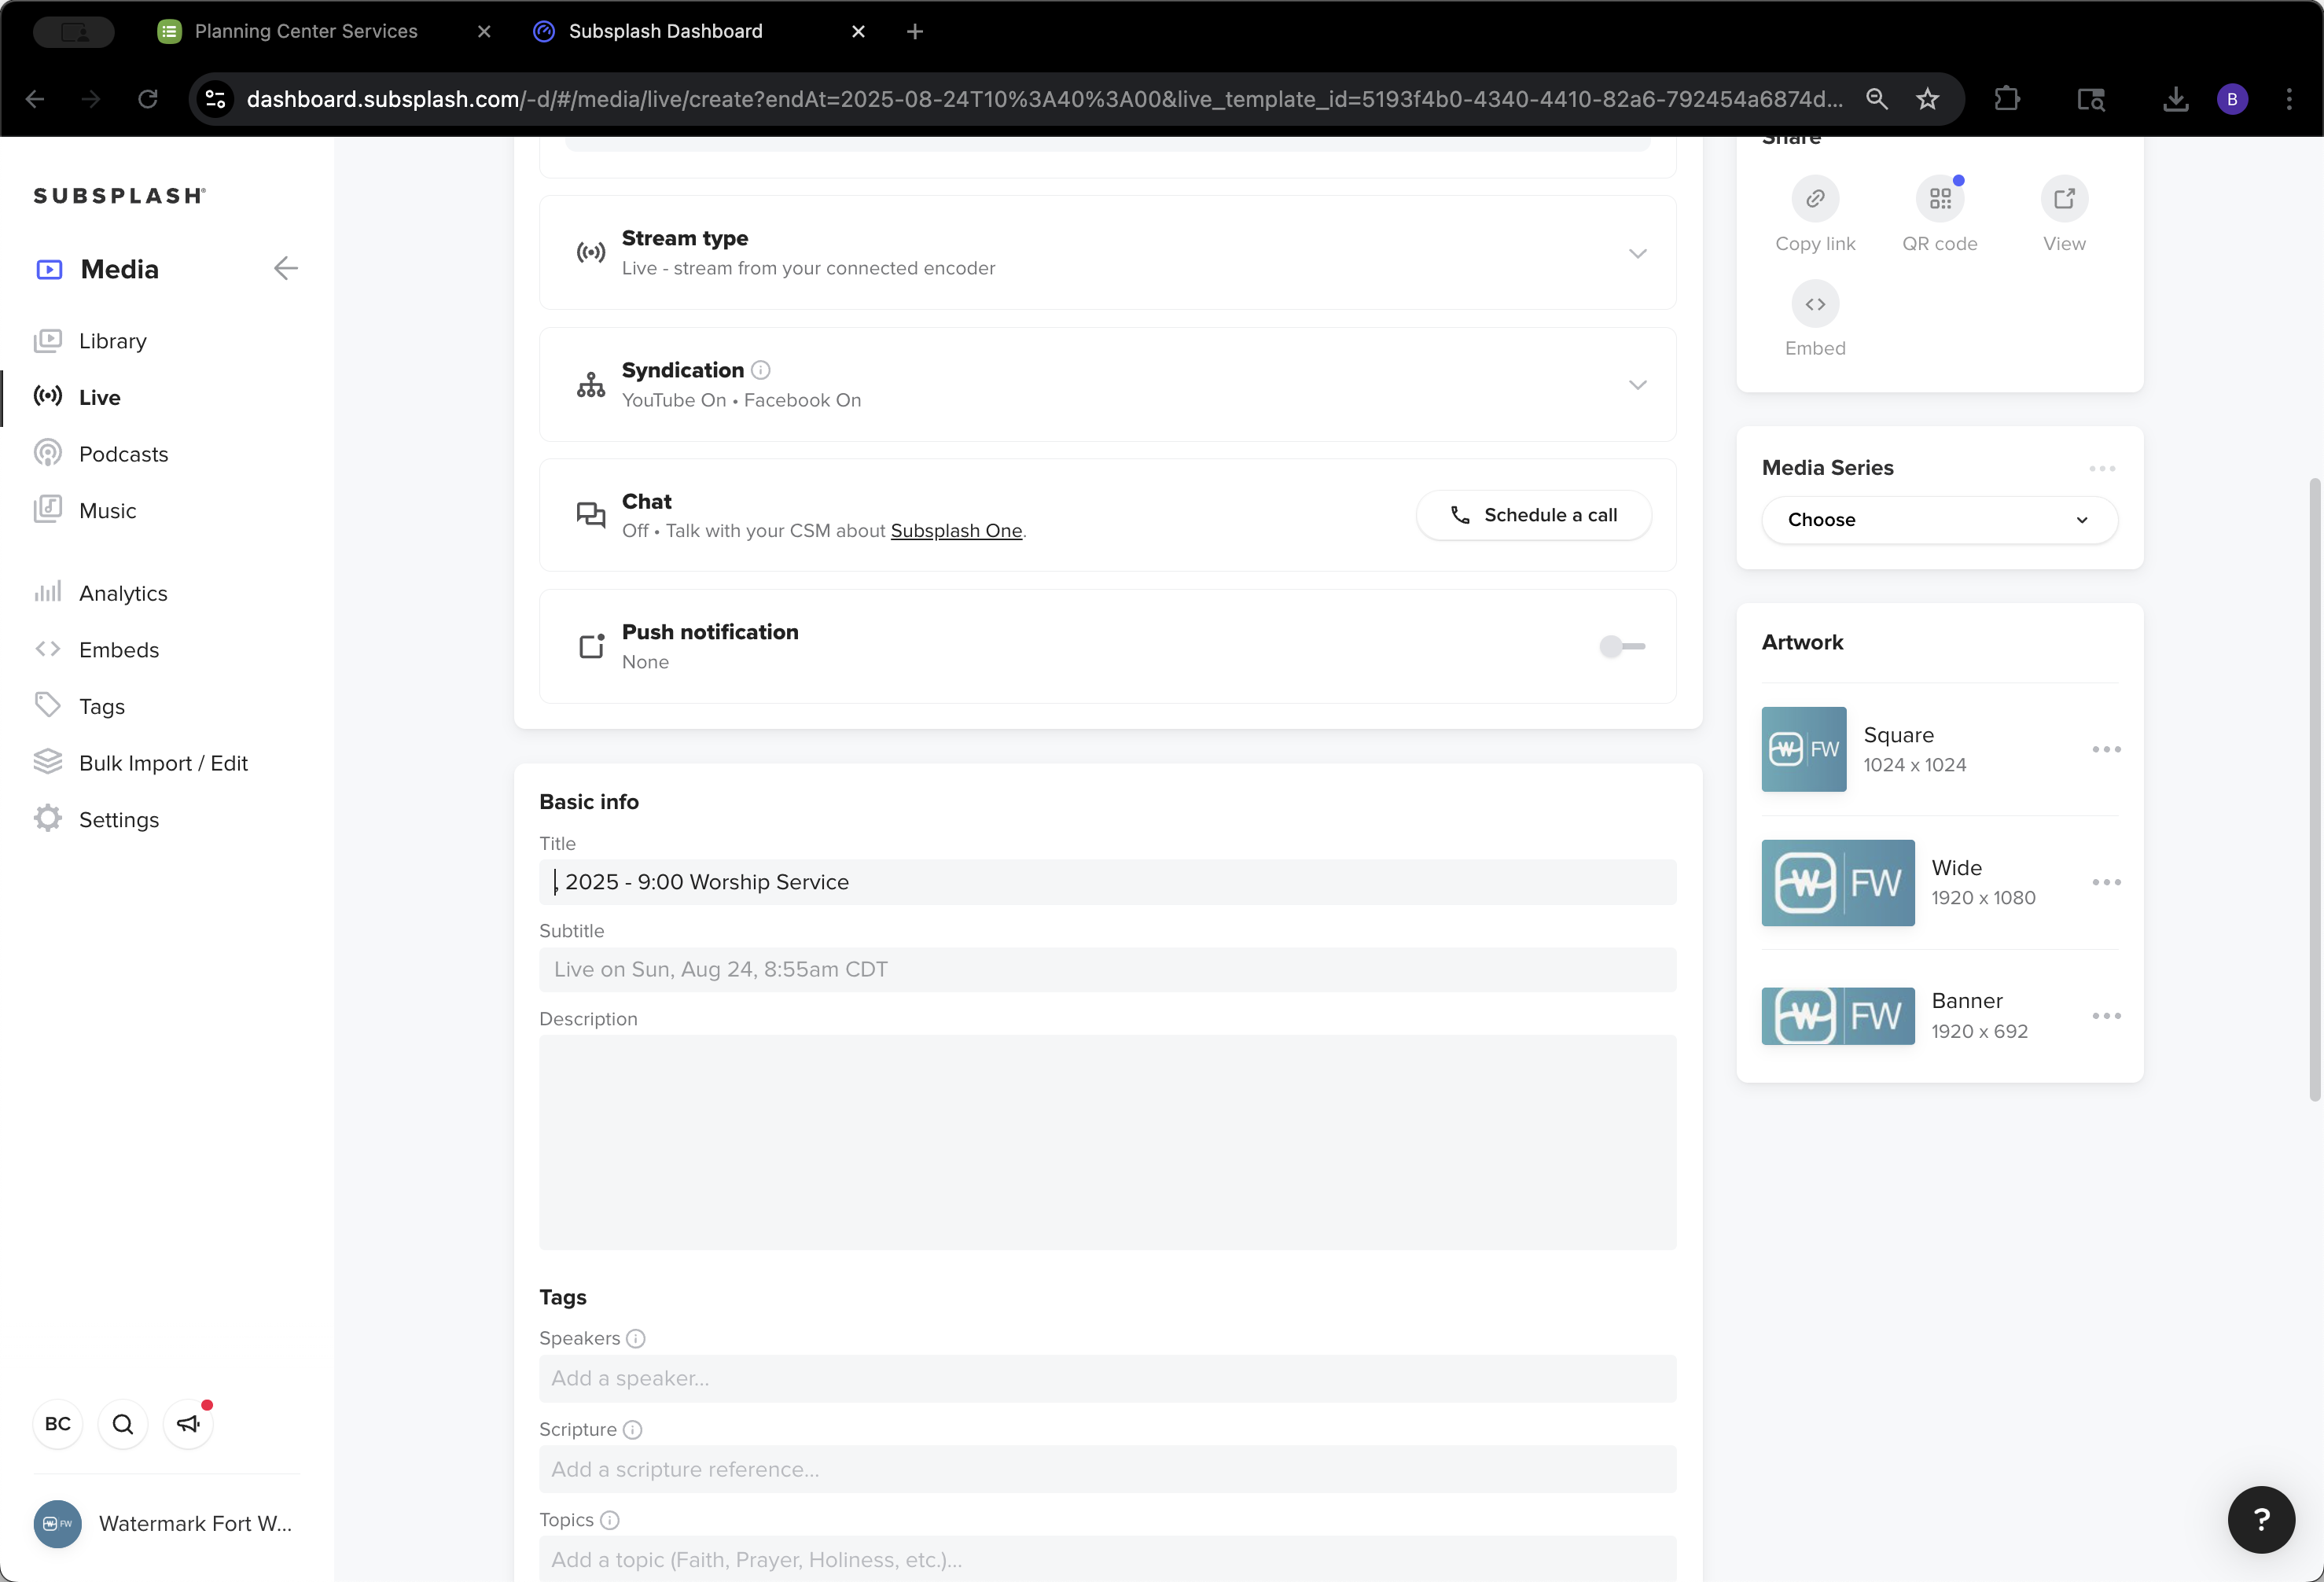
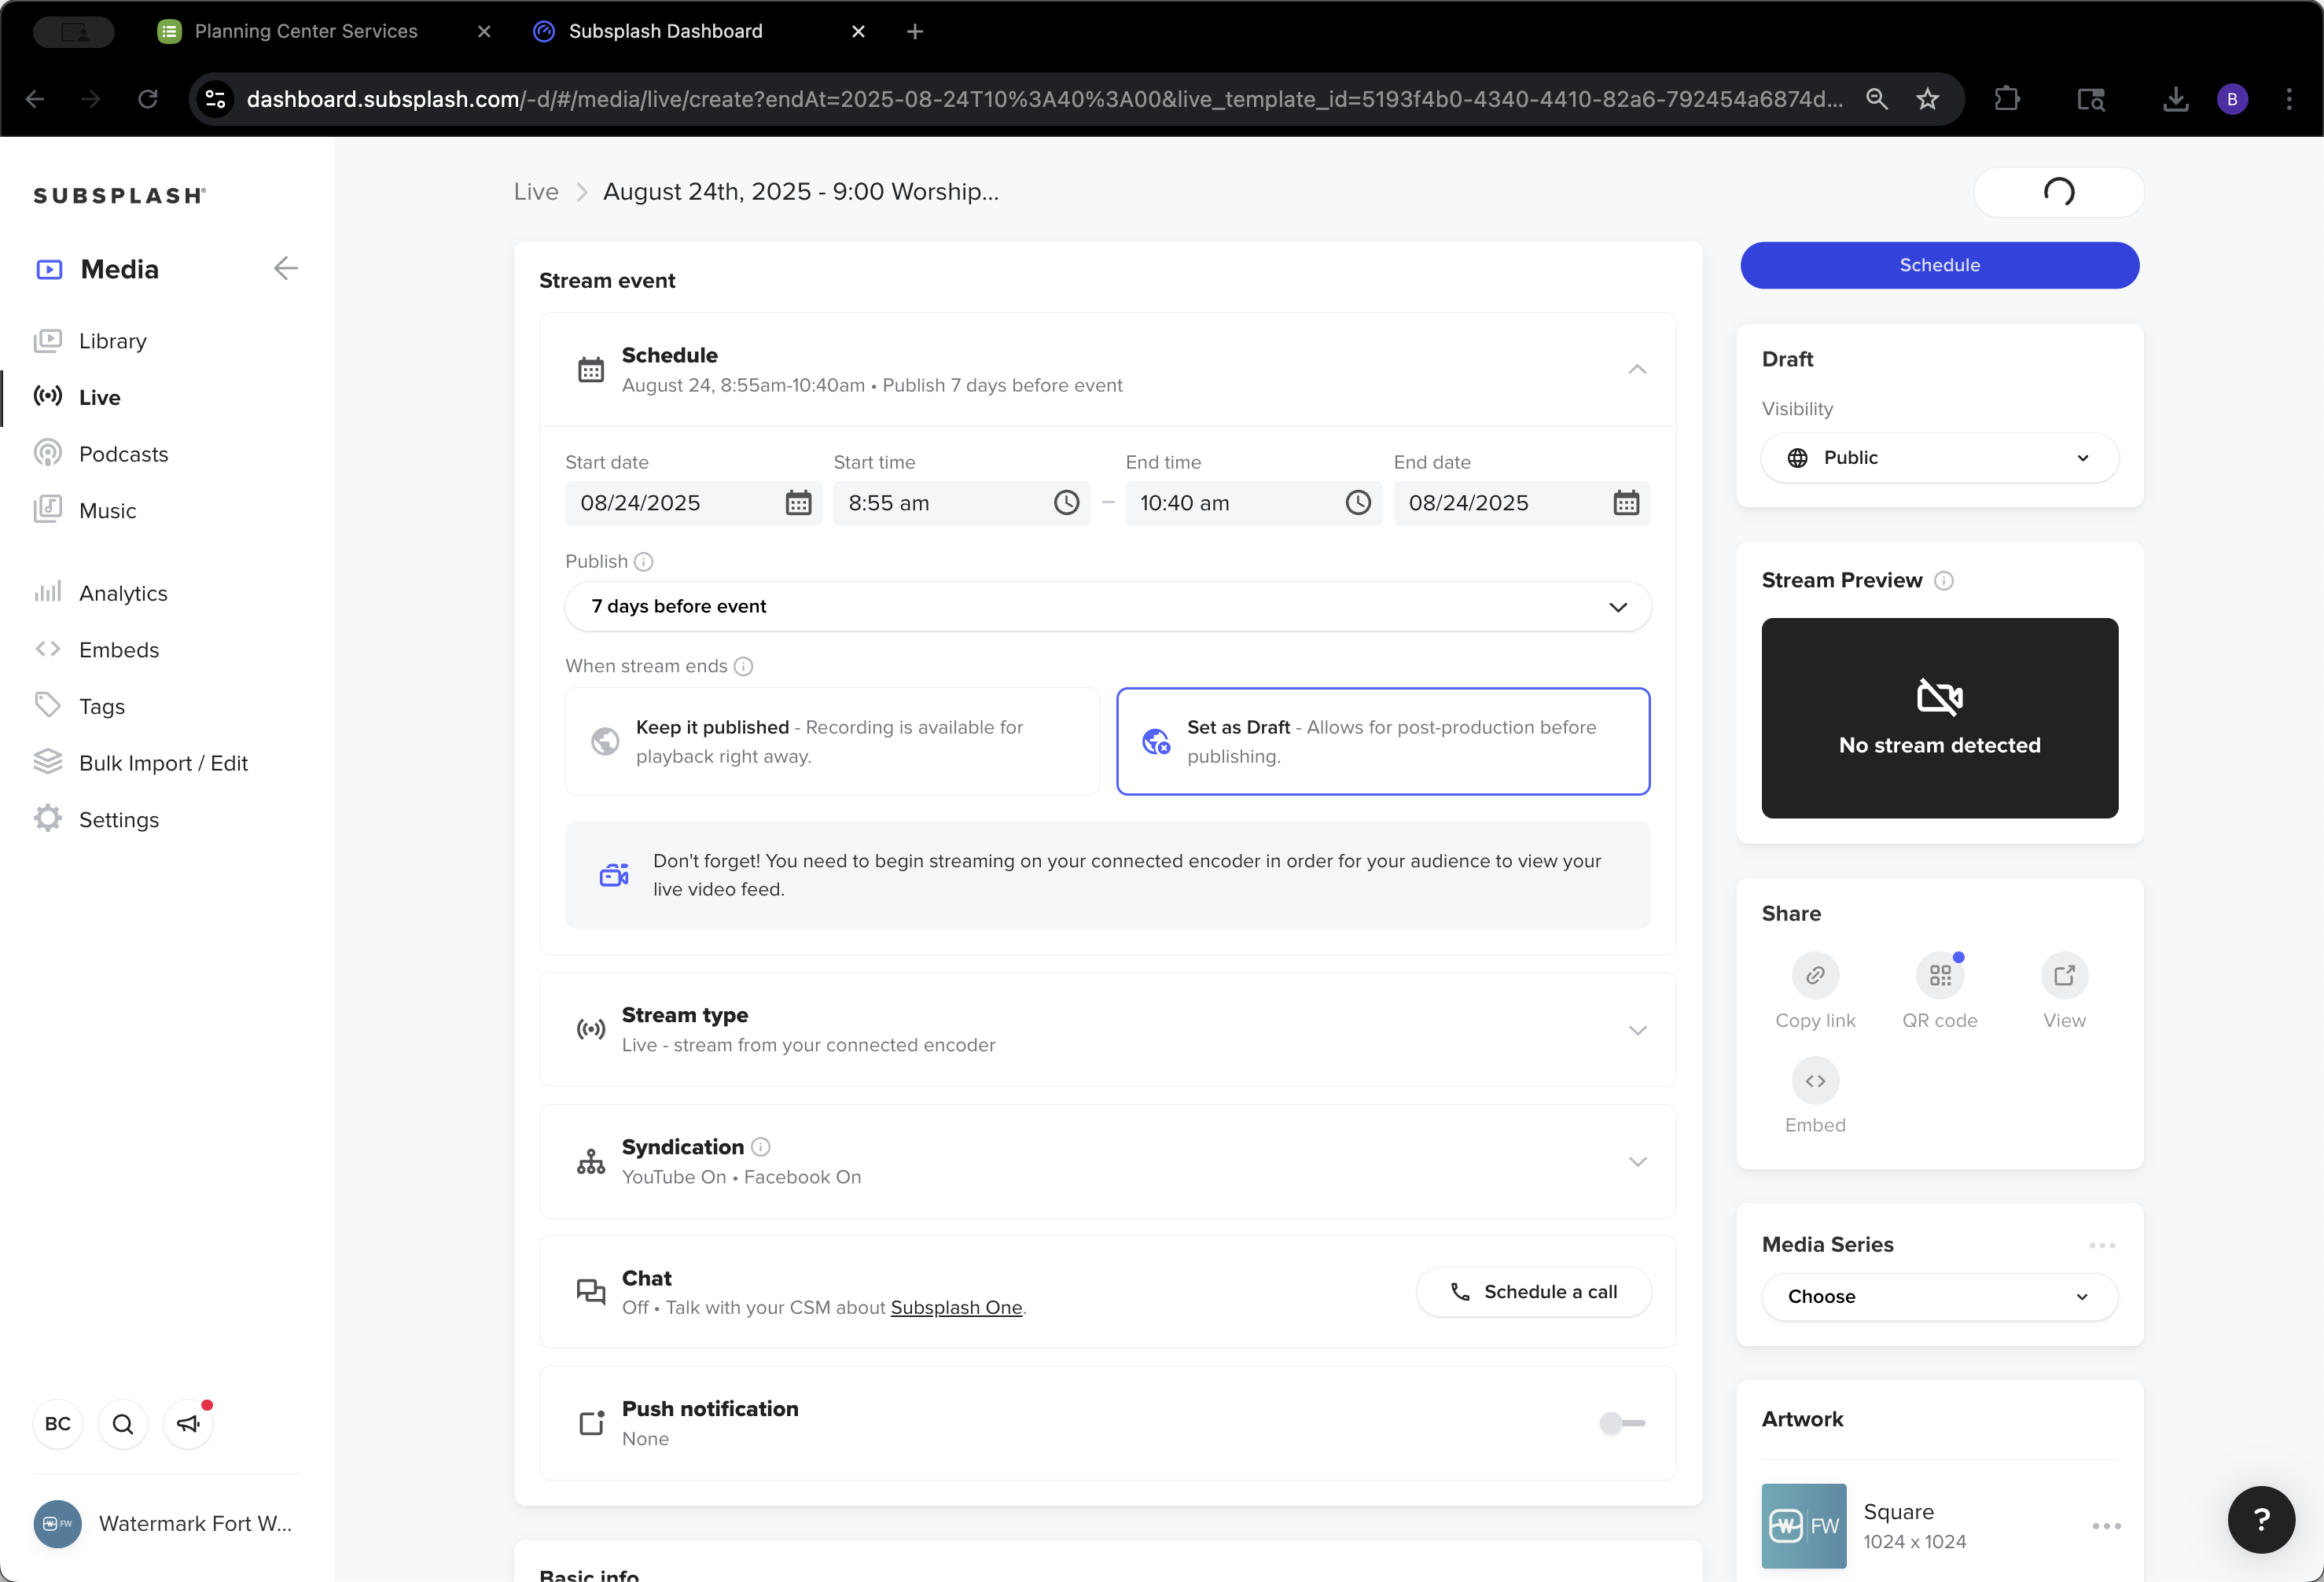
We want to start switching to generic branding effective August 17th, which is this one here. I have the template. It creates an entry with a comma, the year, and then either the 9:00 AM service or the 11:00 AM worship service. We’ll go to the repeating livestreams and click on the 9:00 AM option first.

42
Click on "Sundays at 8:55 am"
Step #42: Click on "Sundays at 8:55 am"

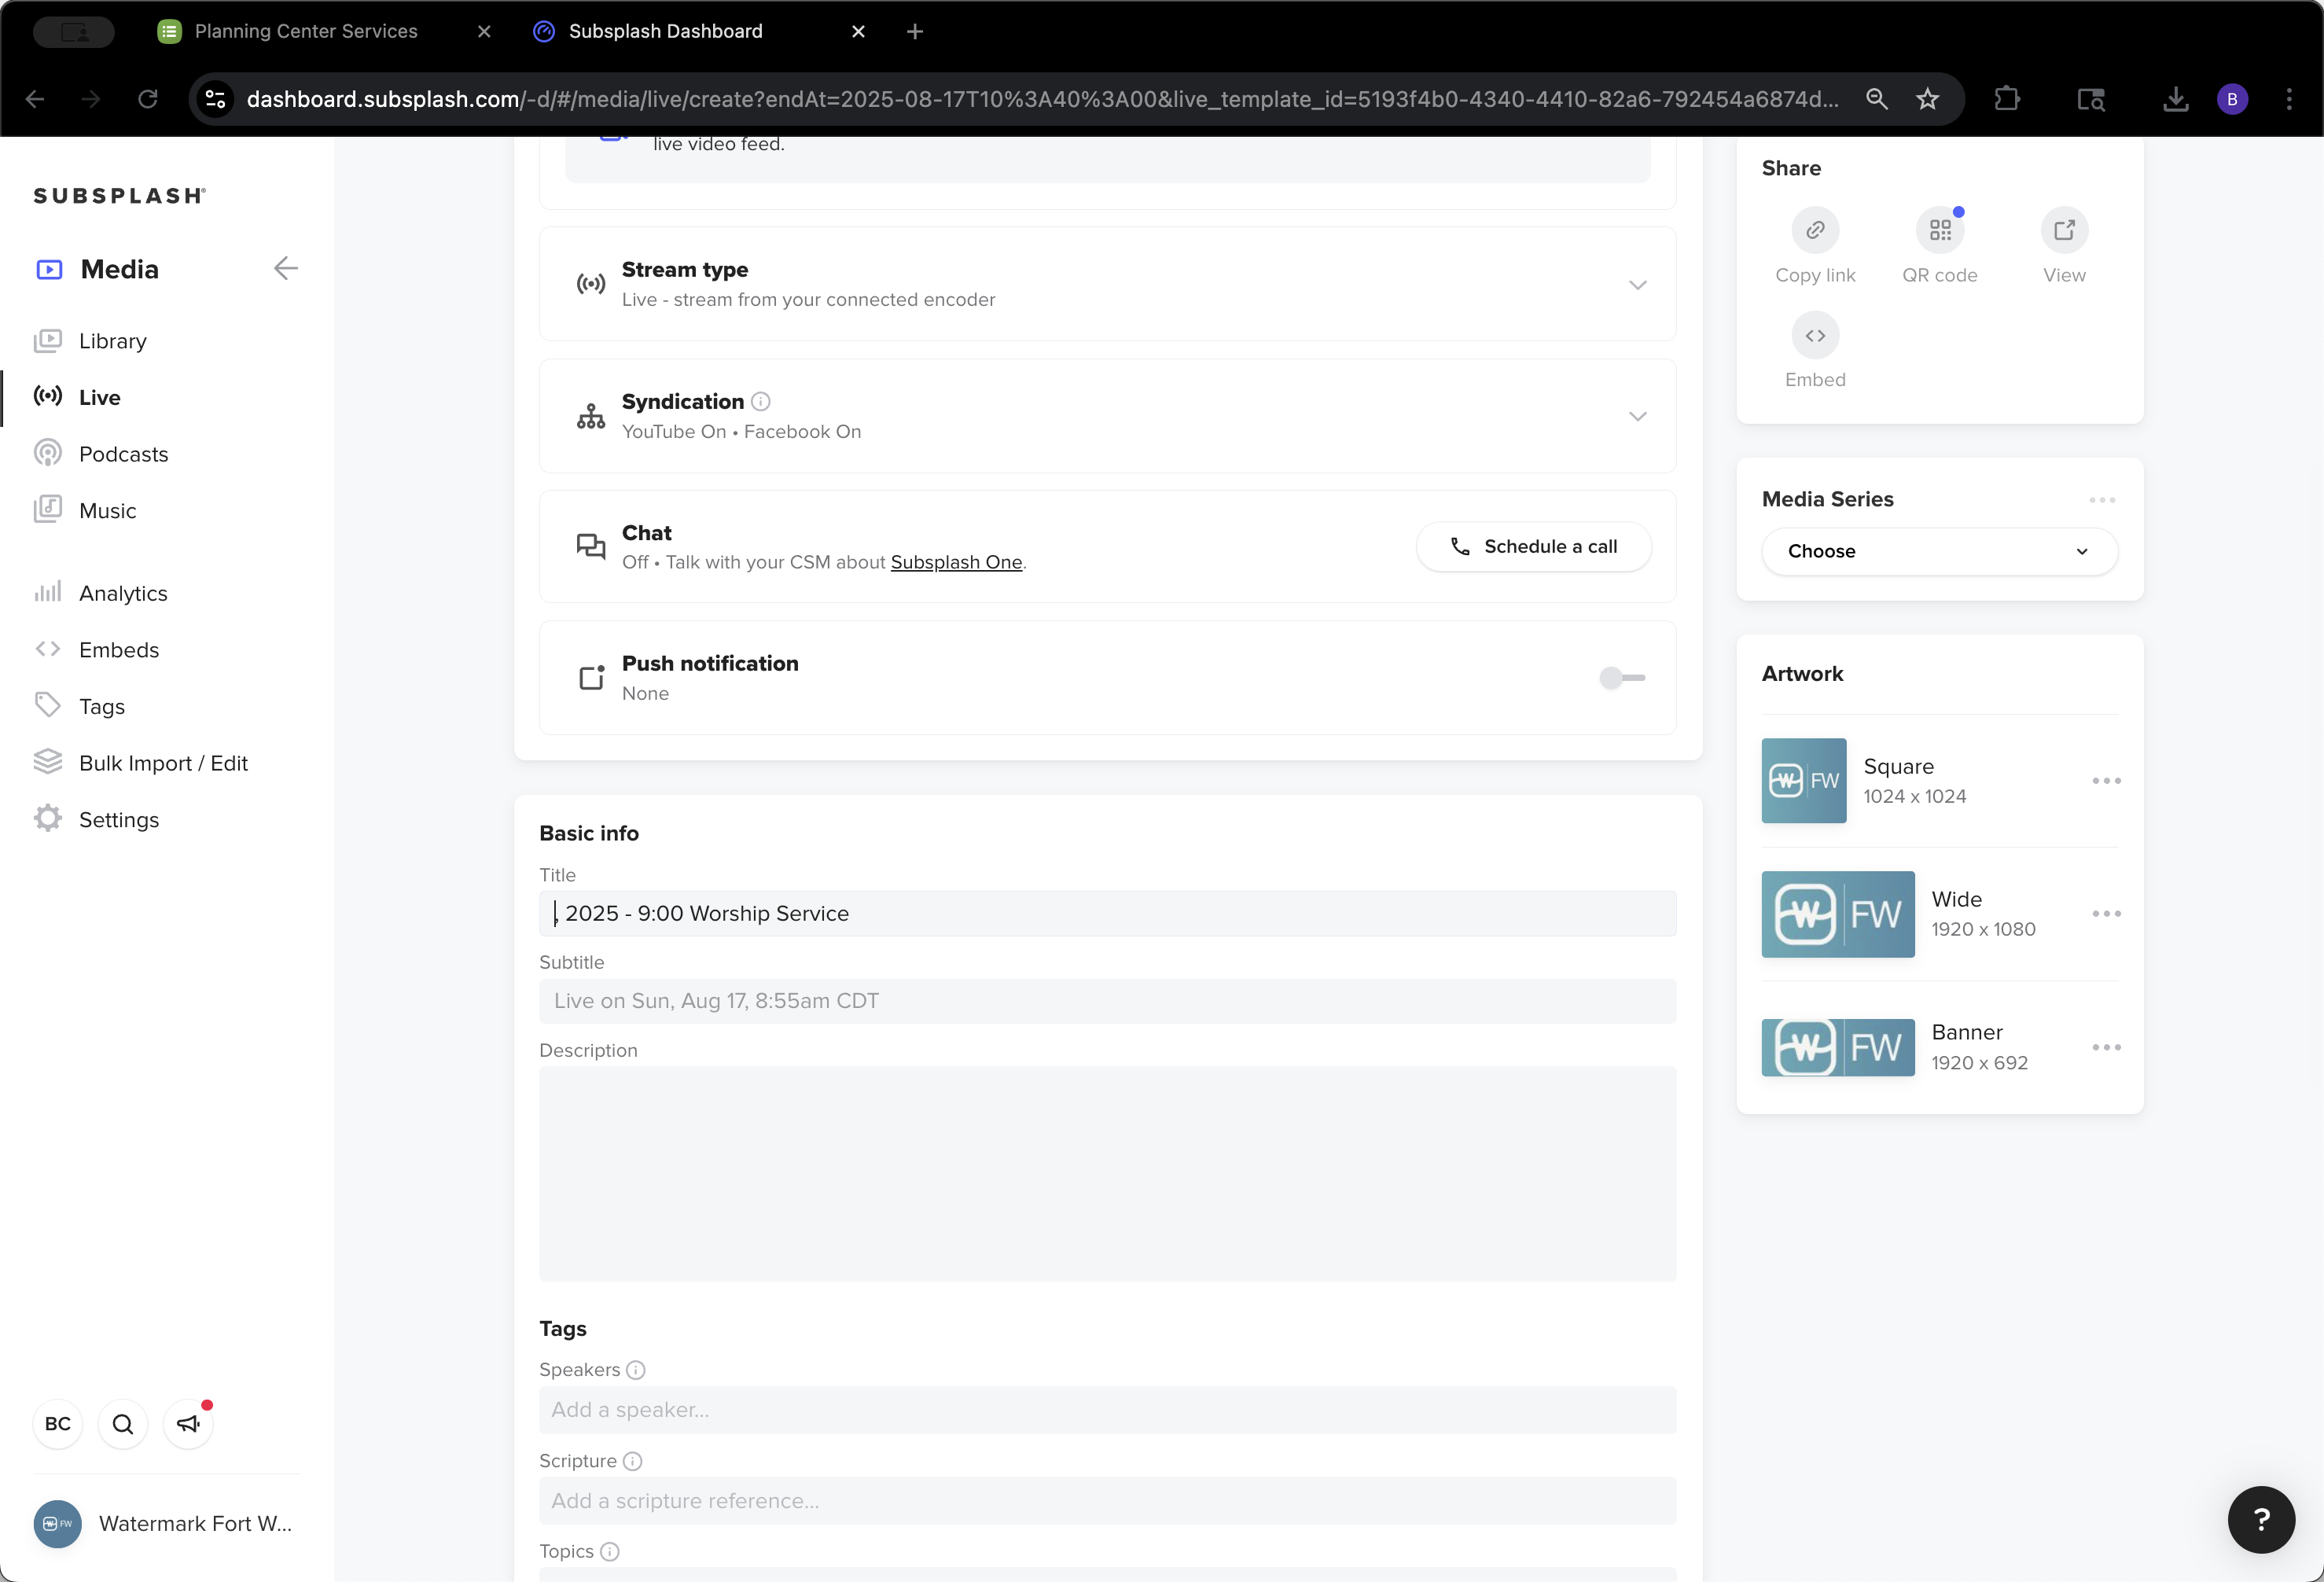
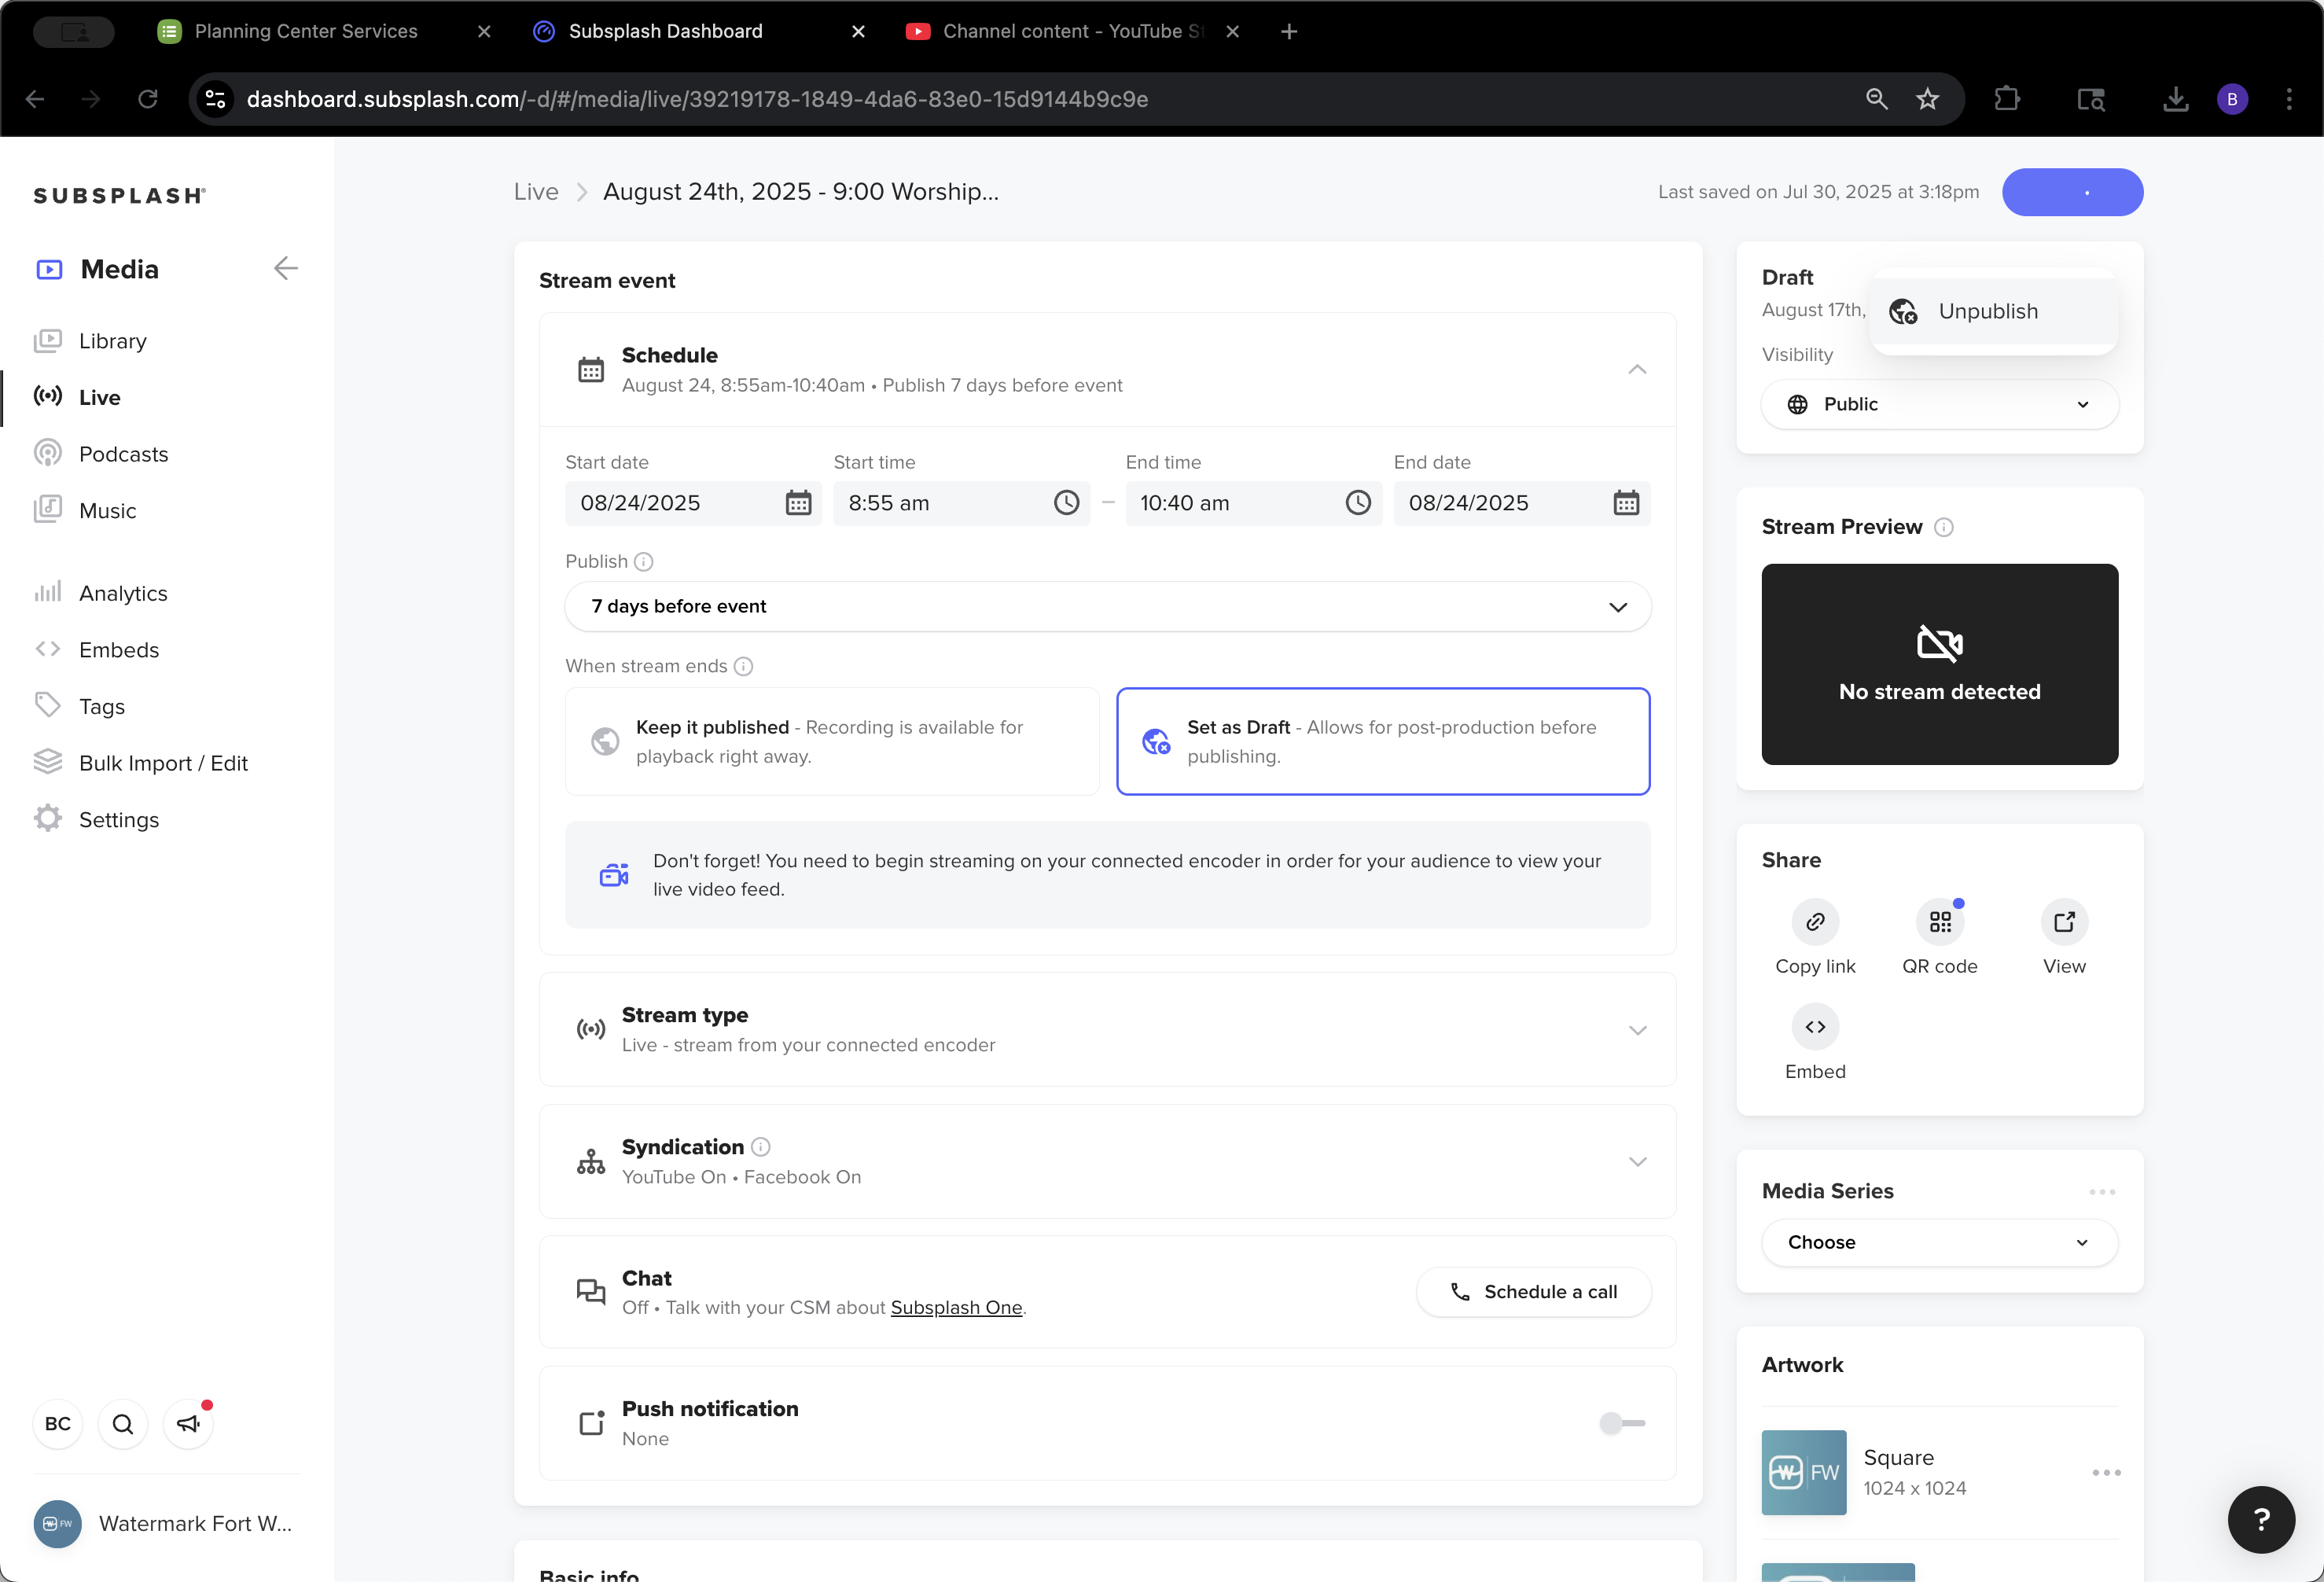
We're going to keep the name, right? We want it to auto-populate and only change the artwork.

43
Click here
Step #43: Click here

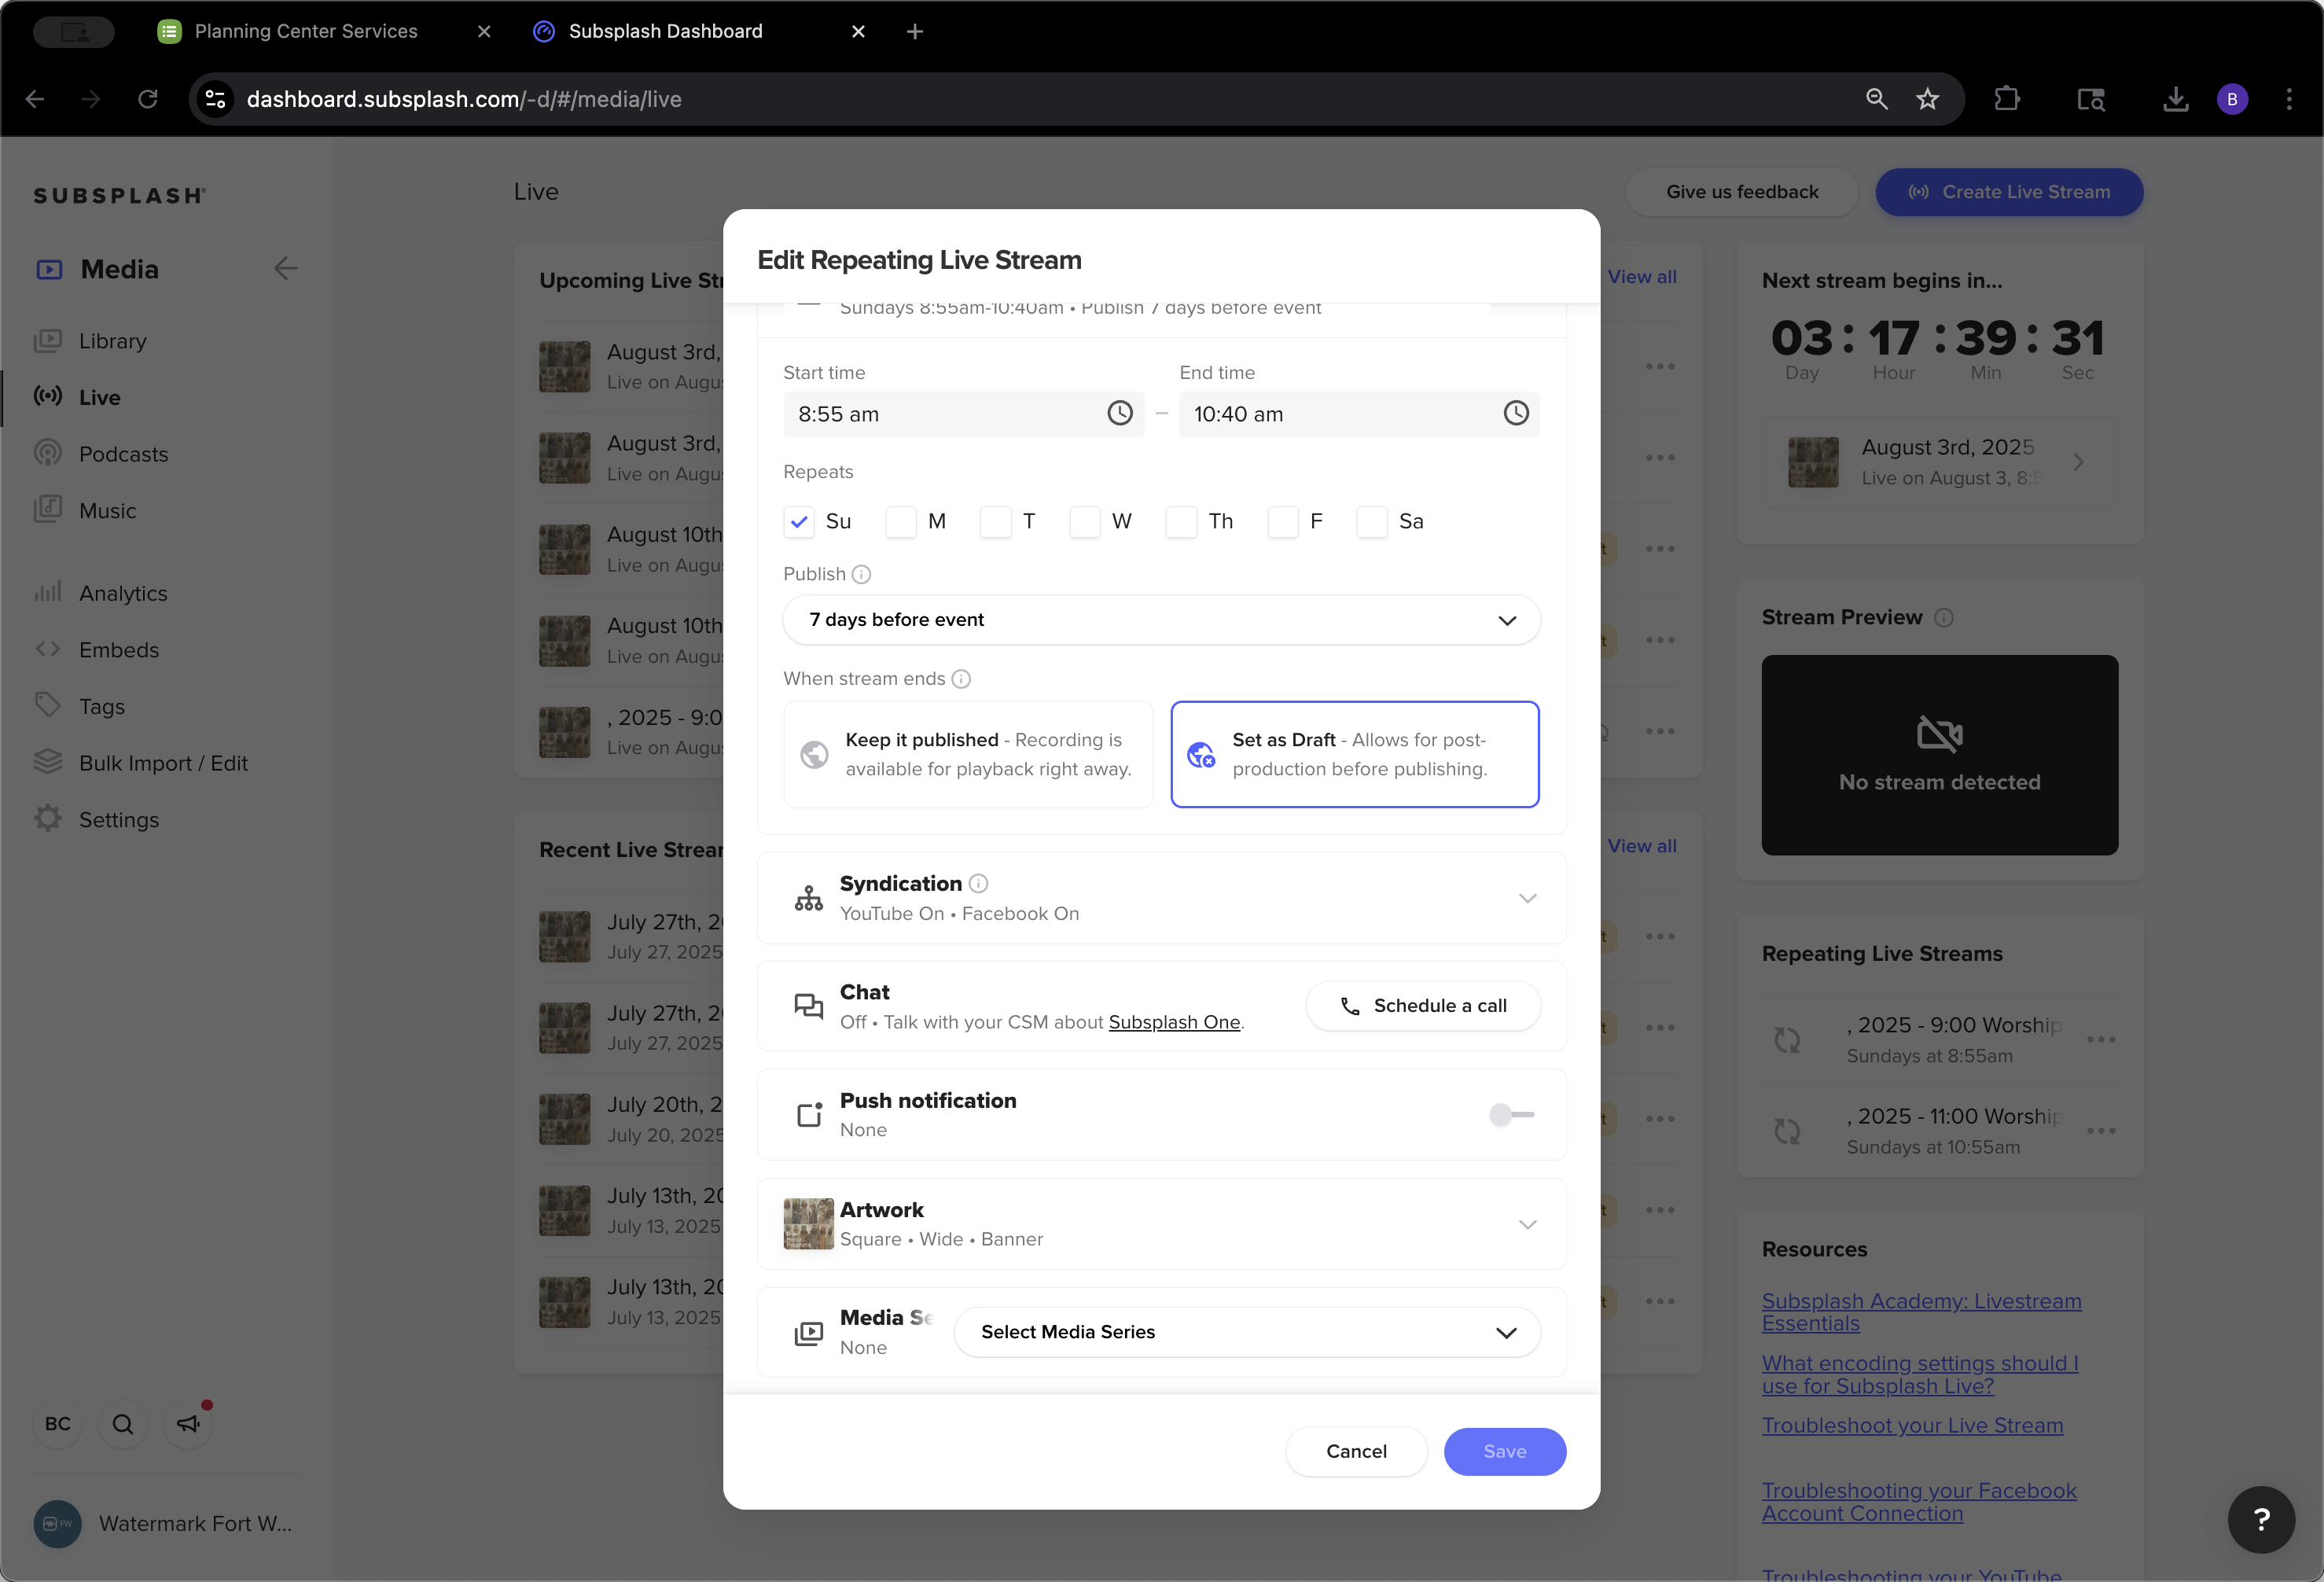
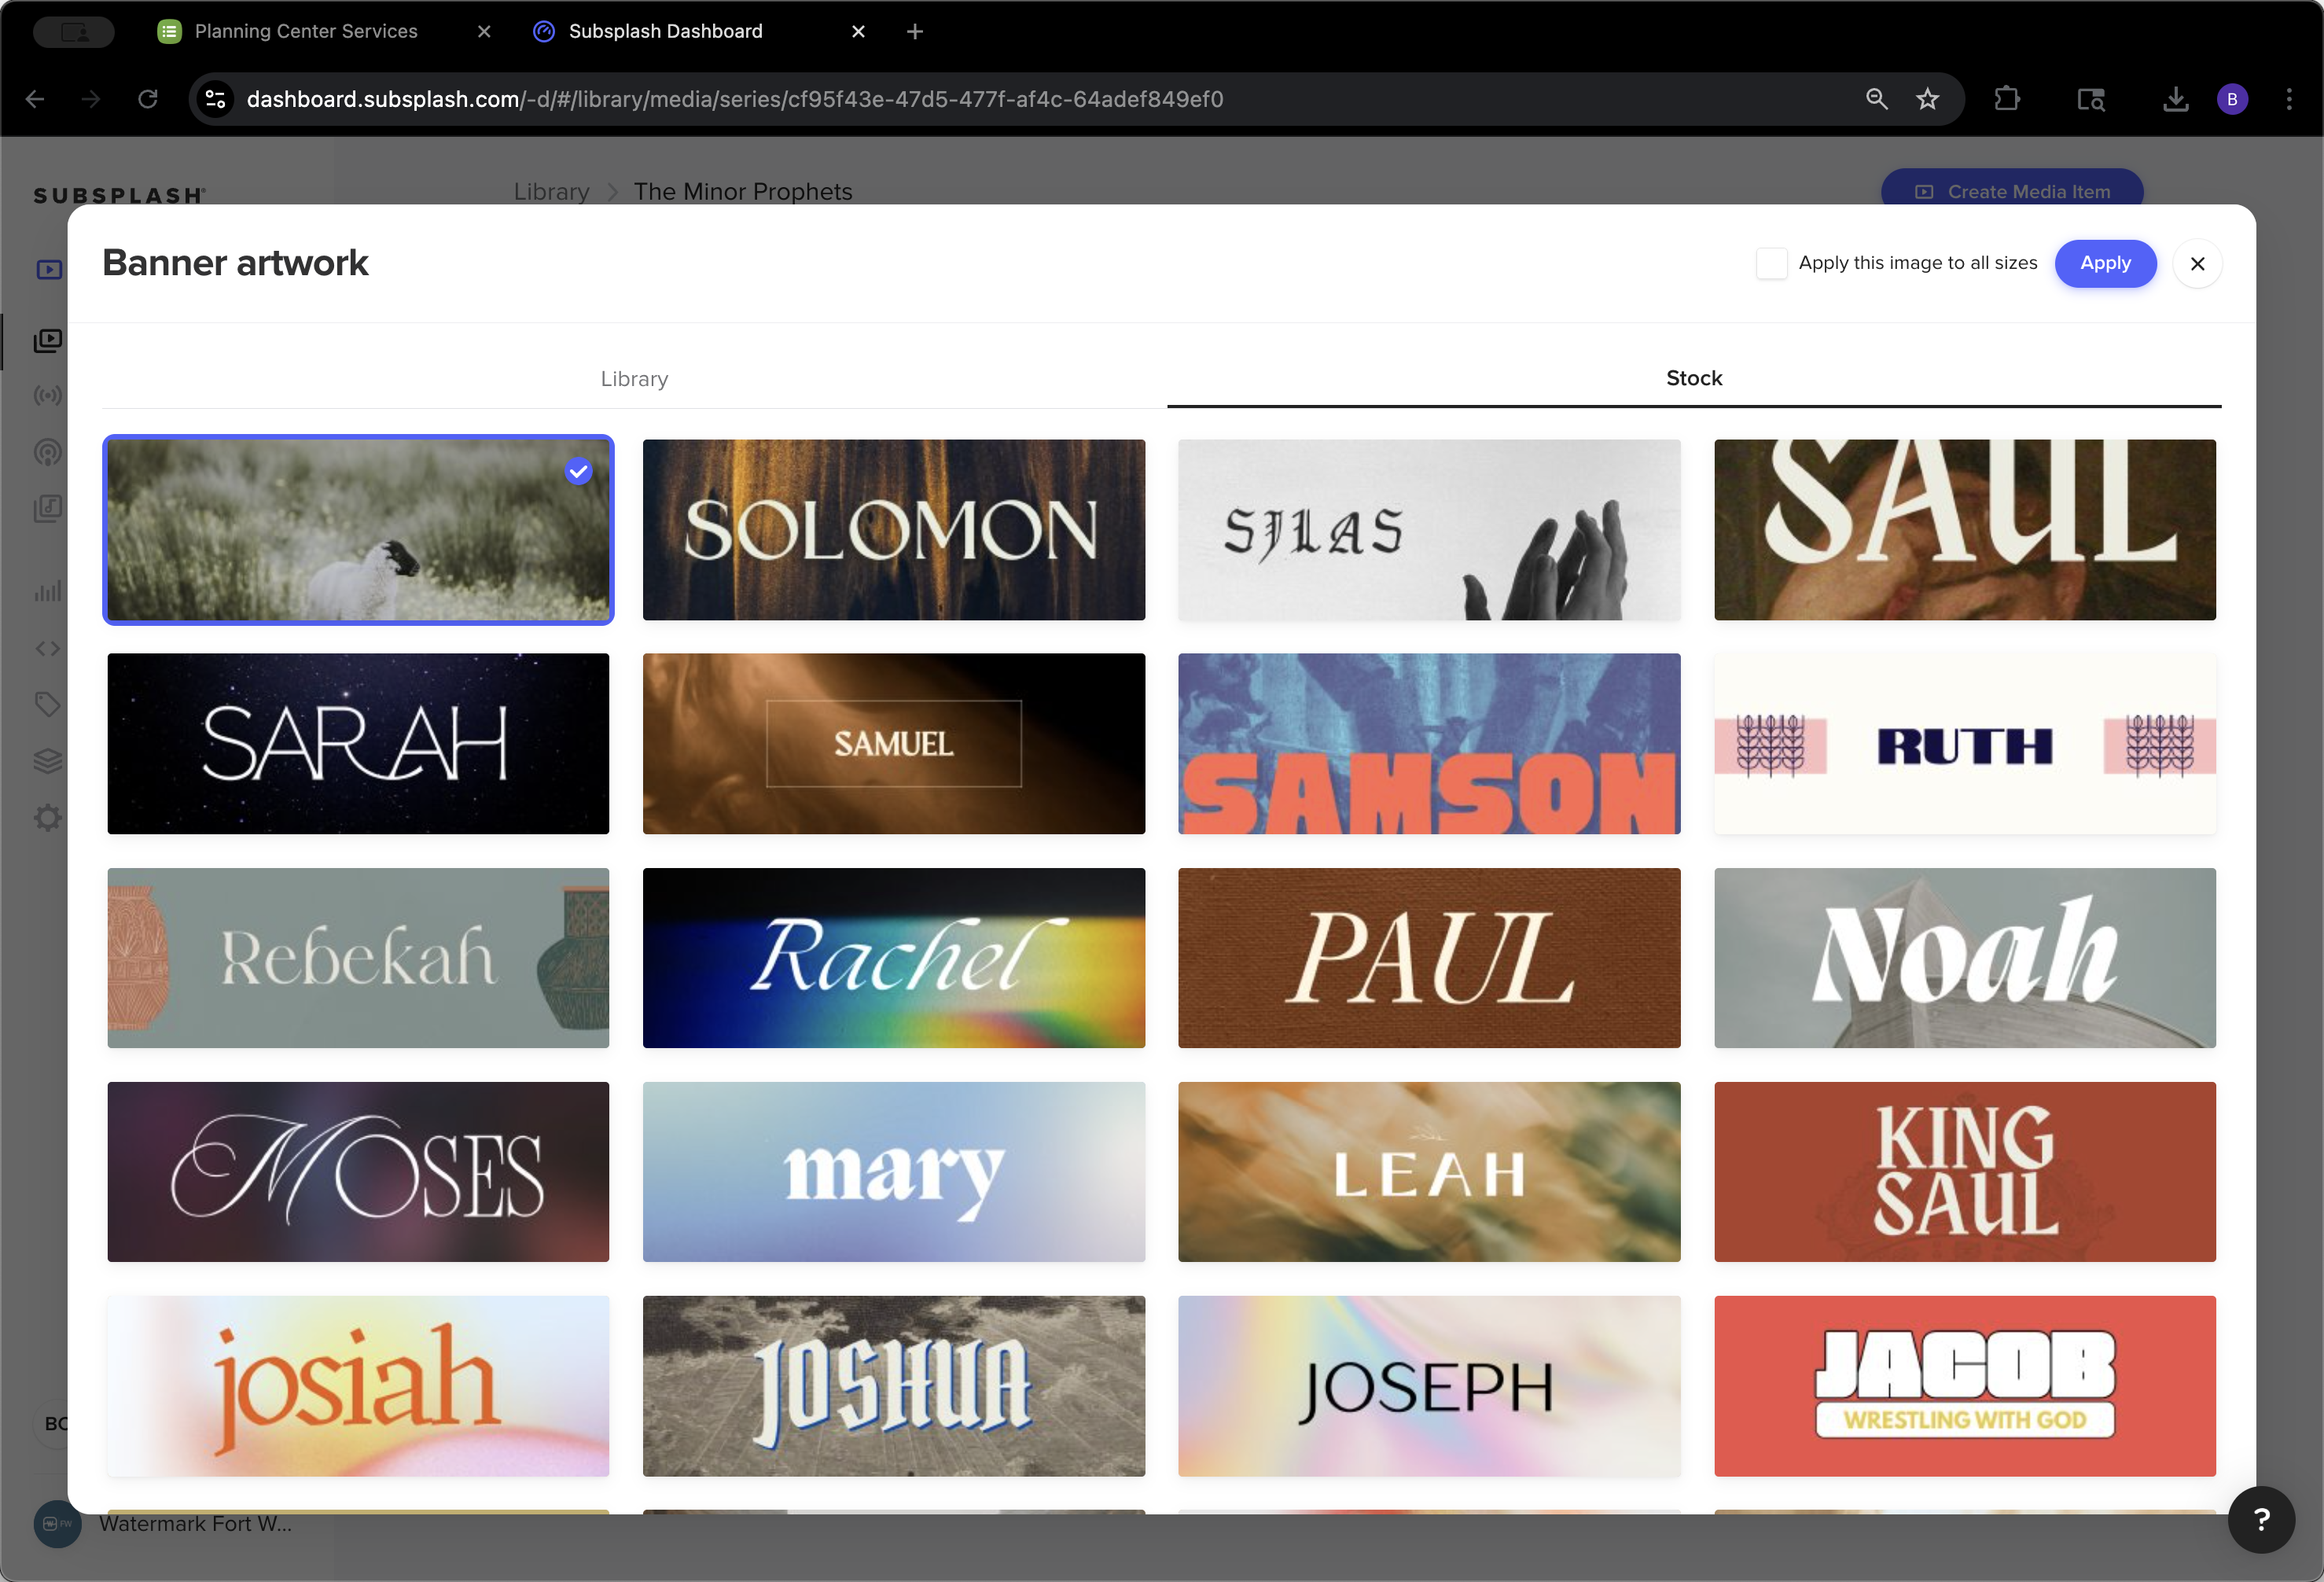
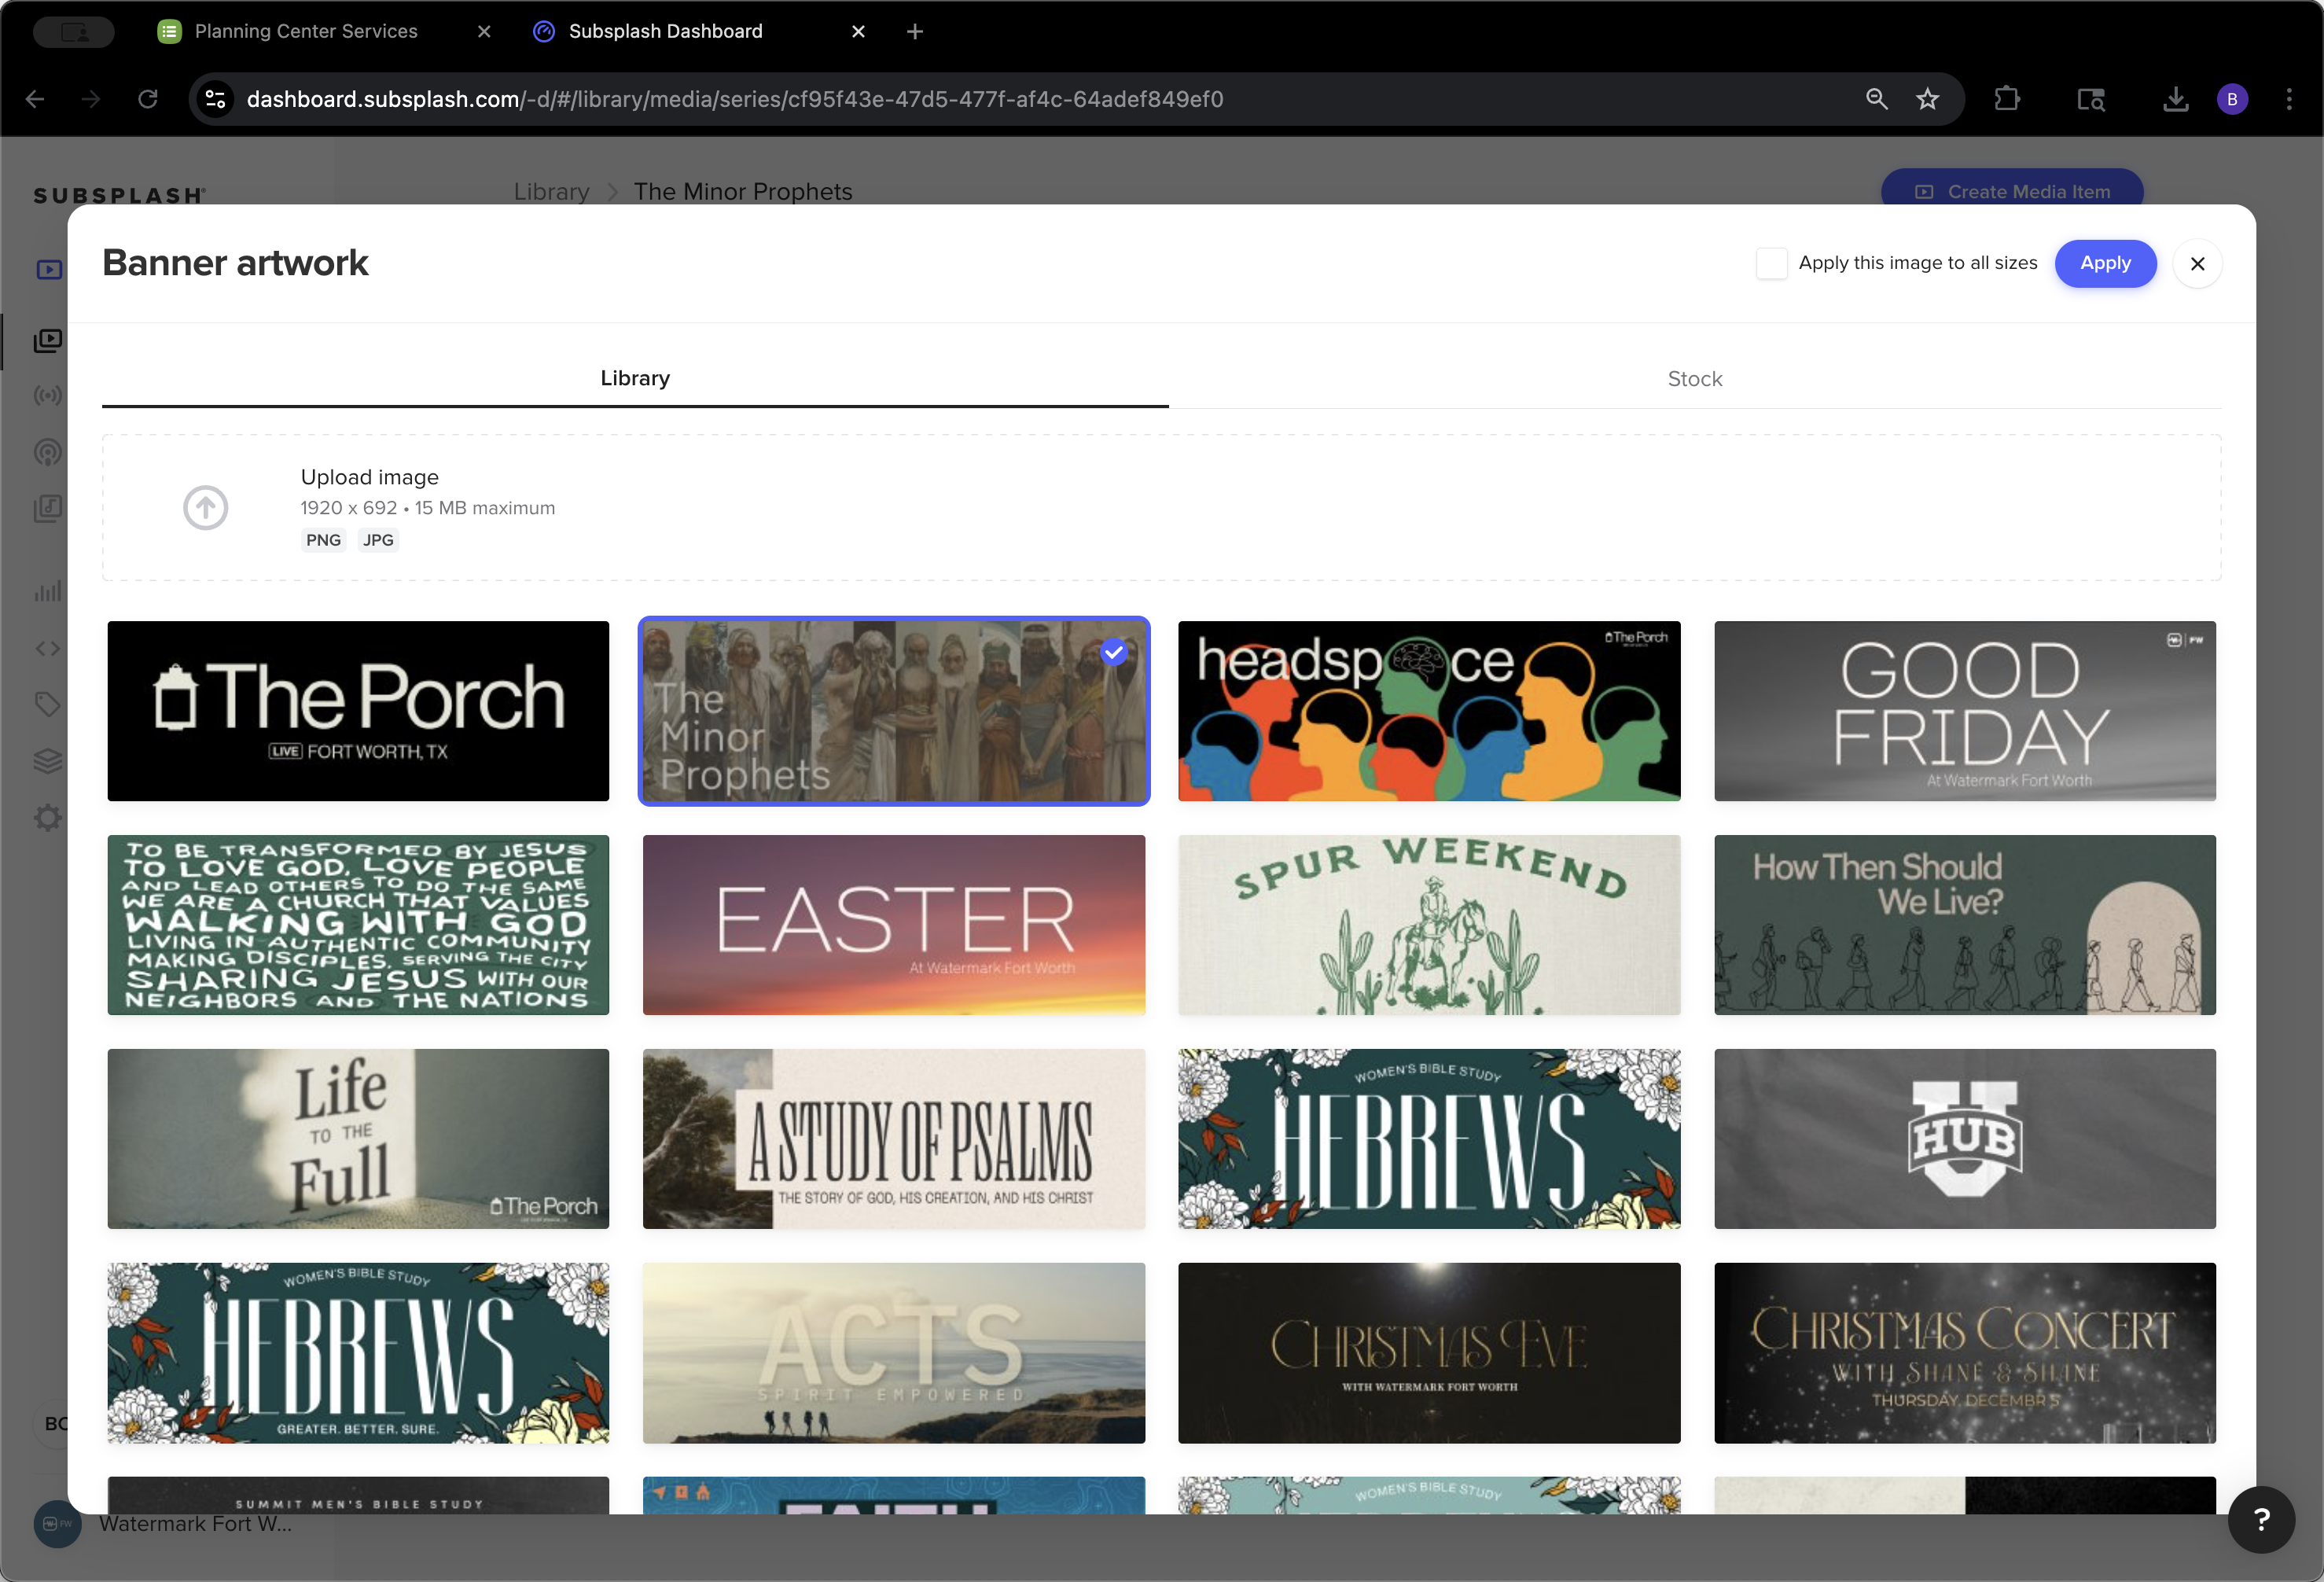
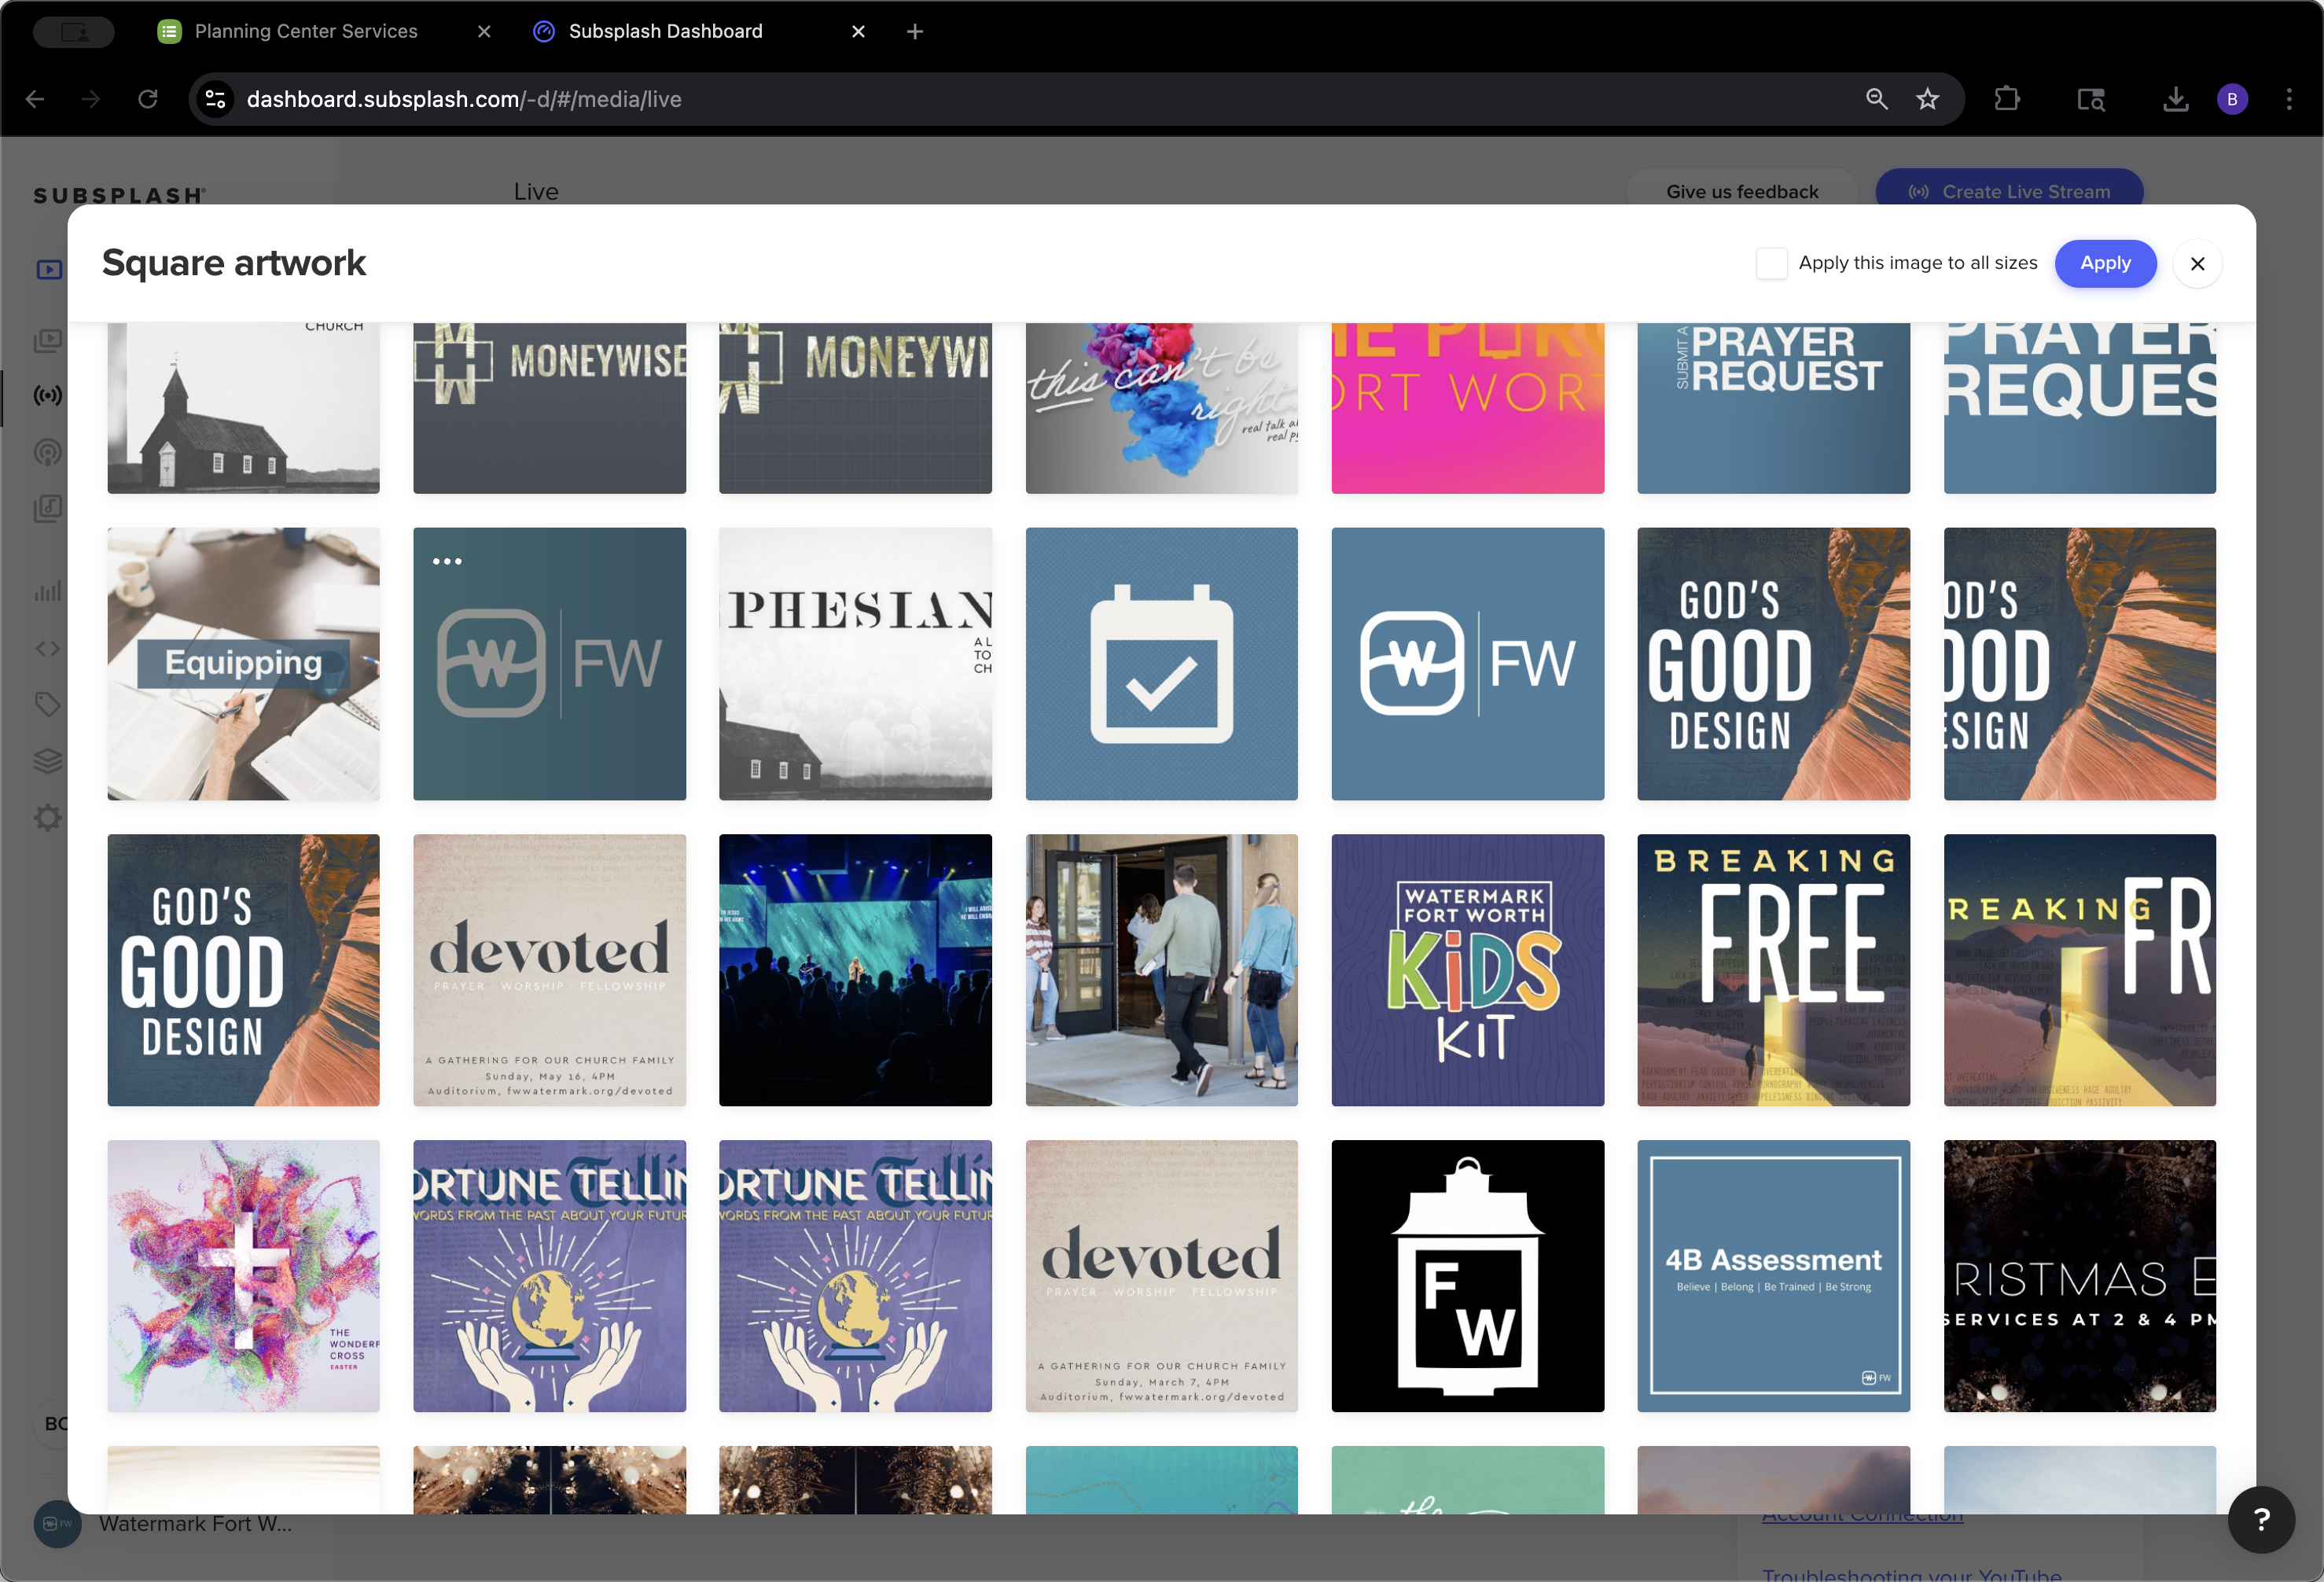
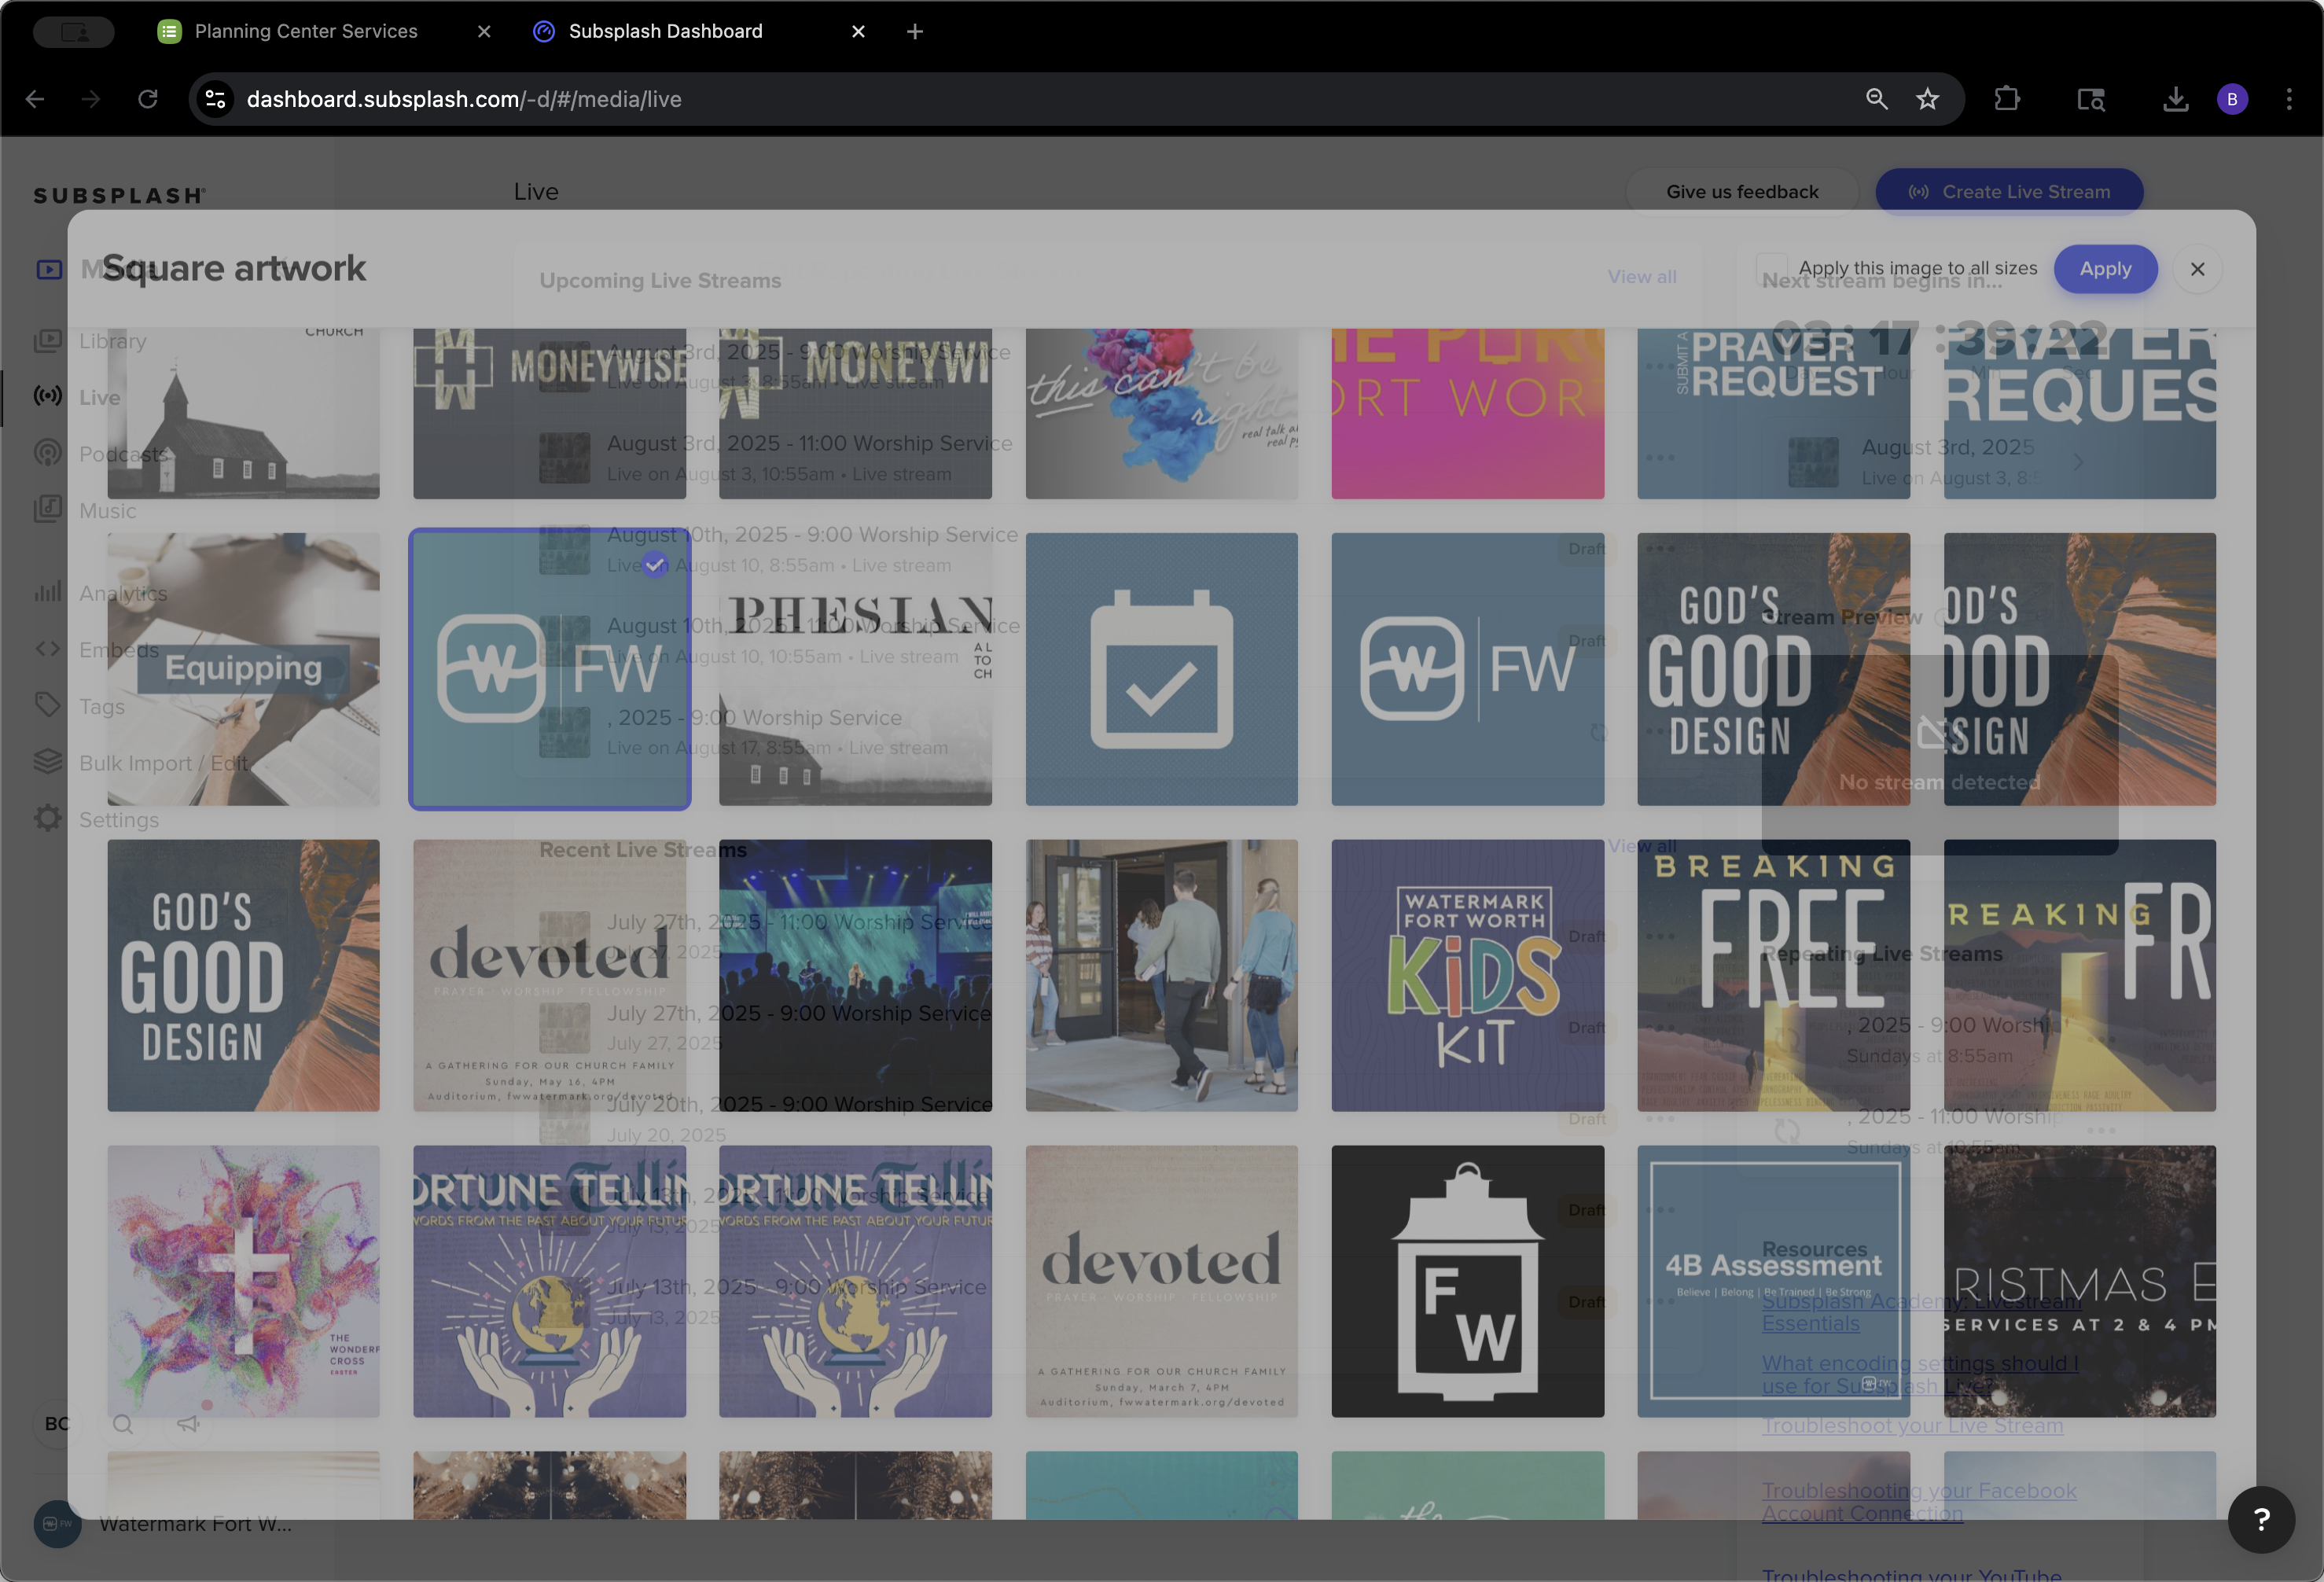
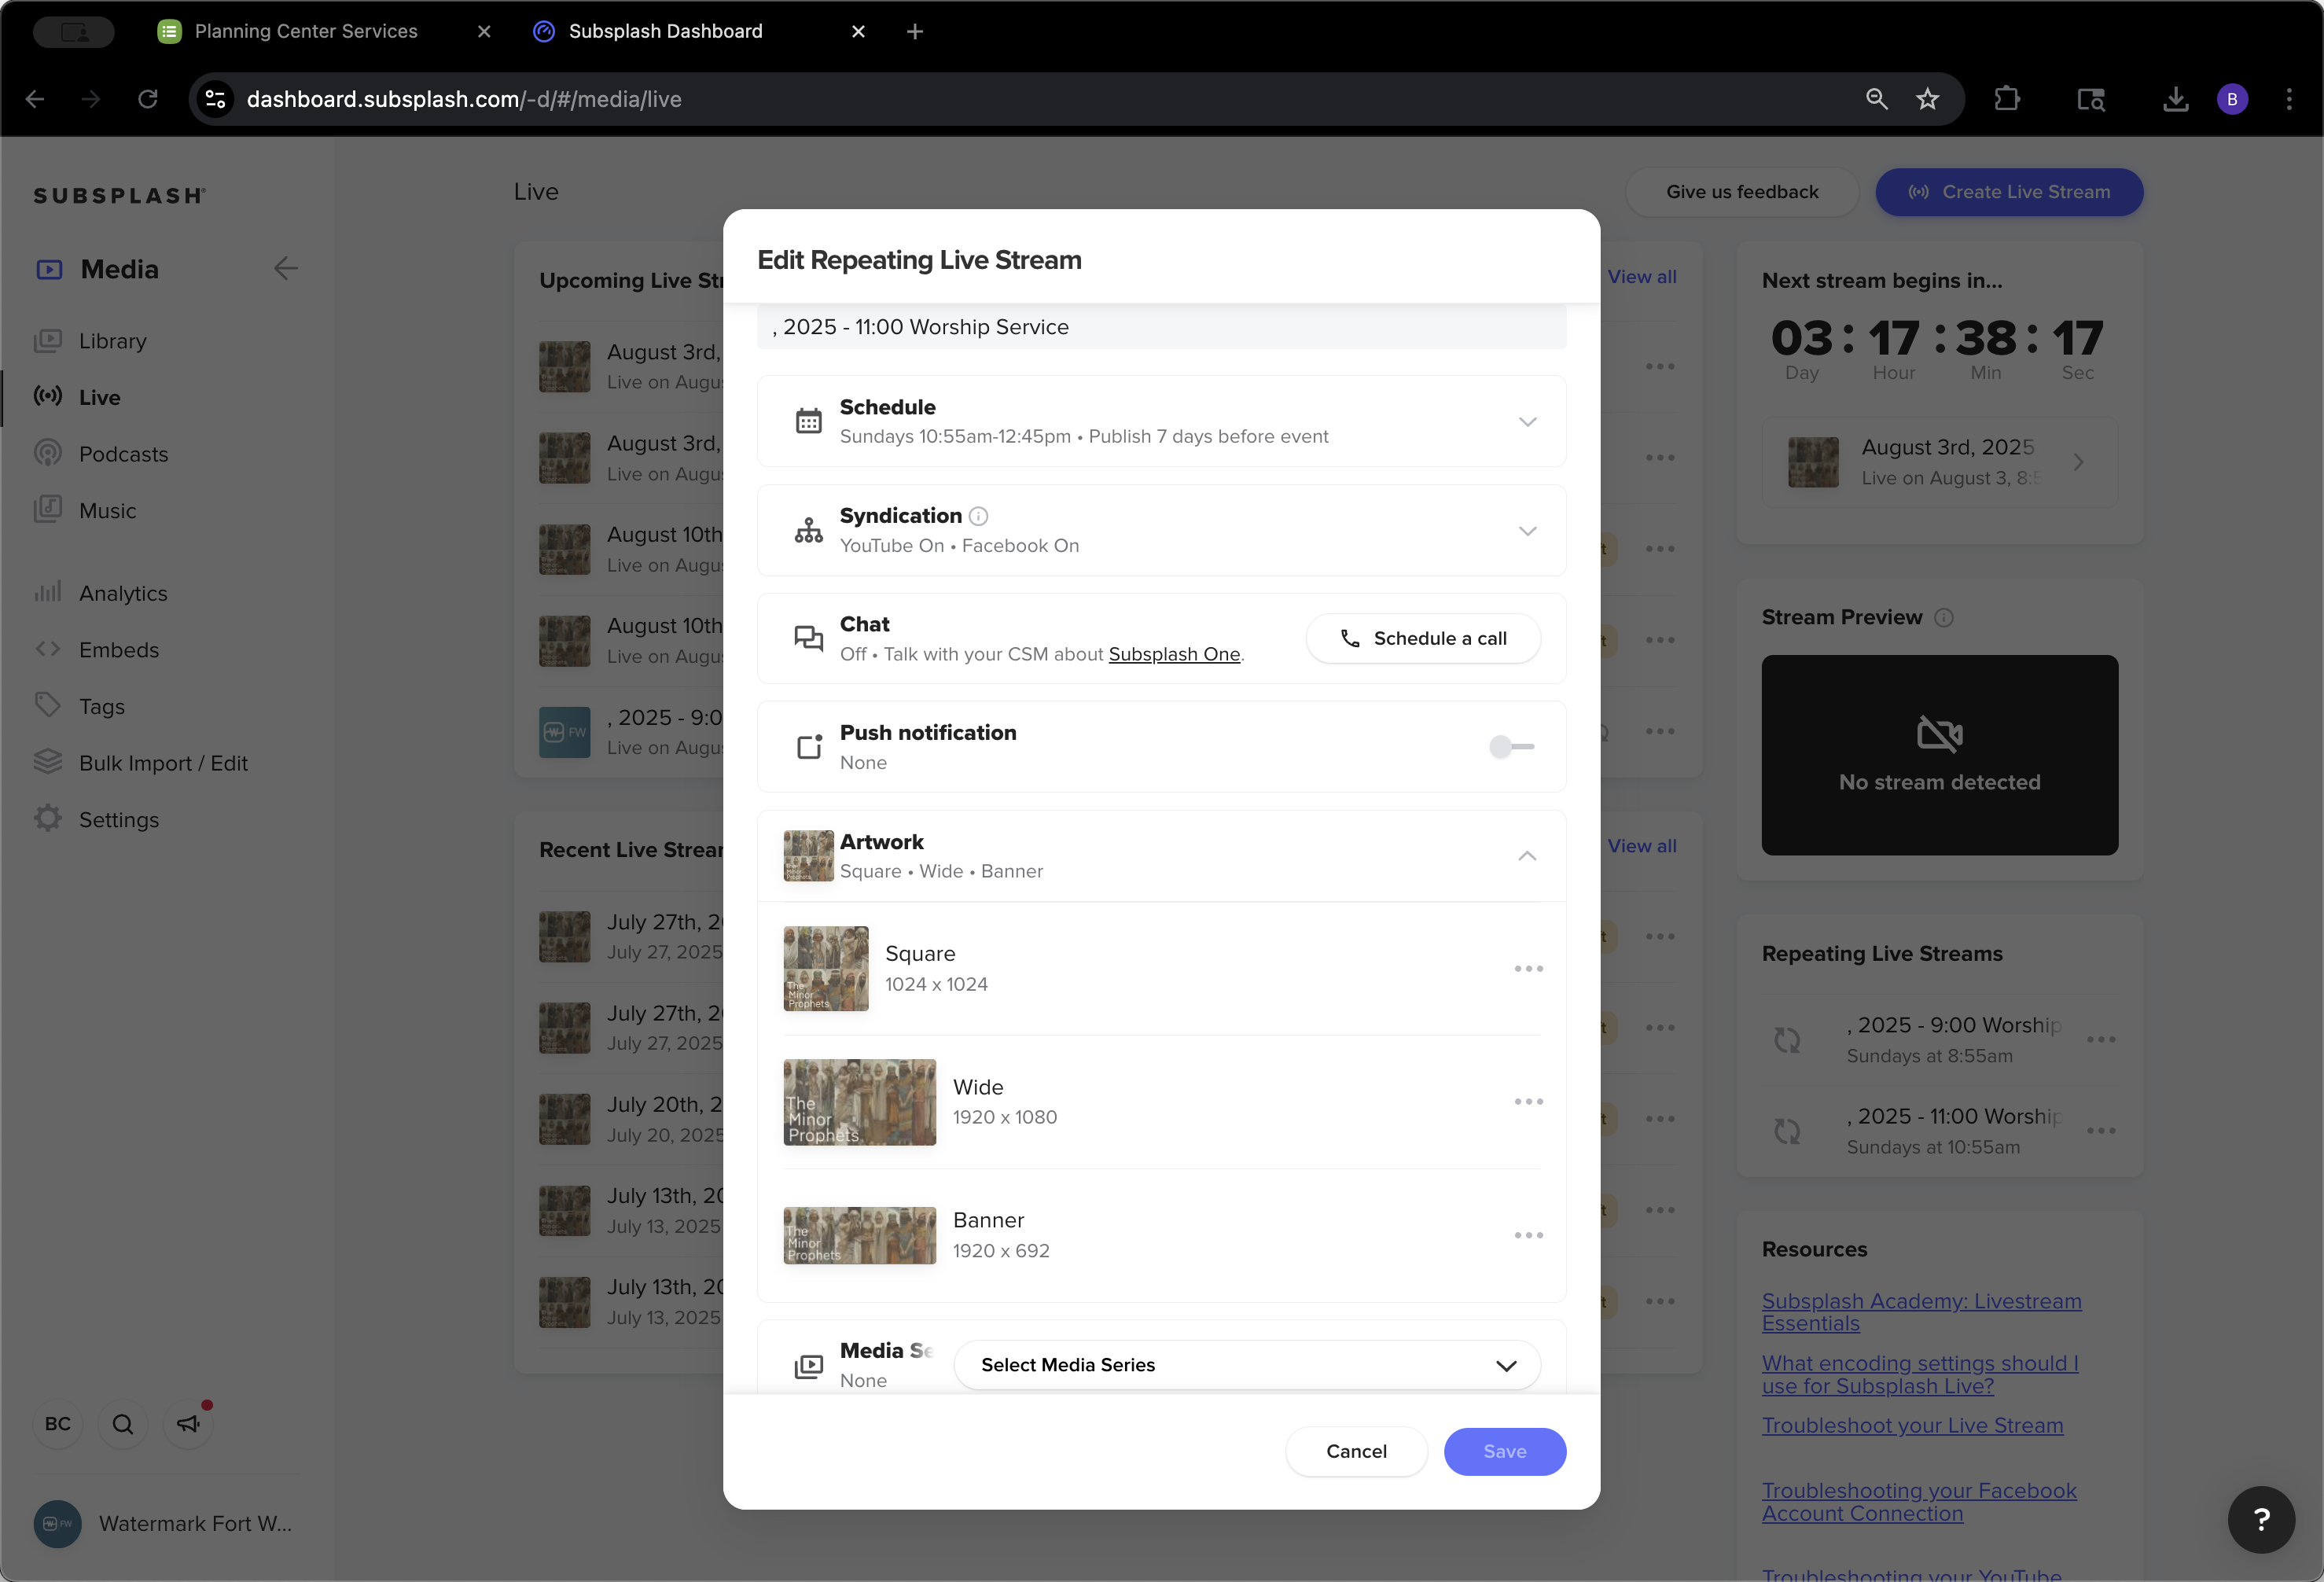
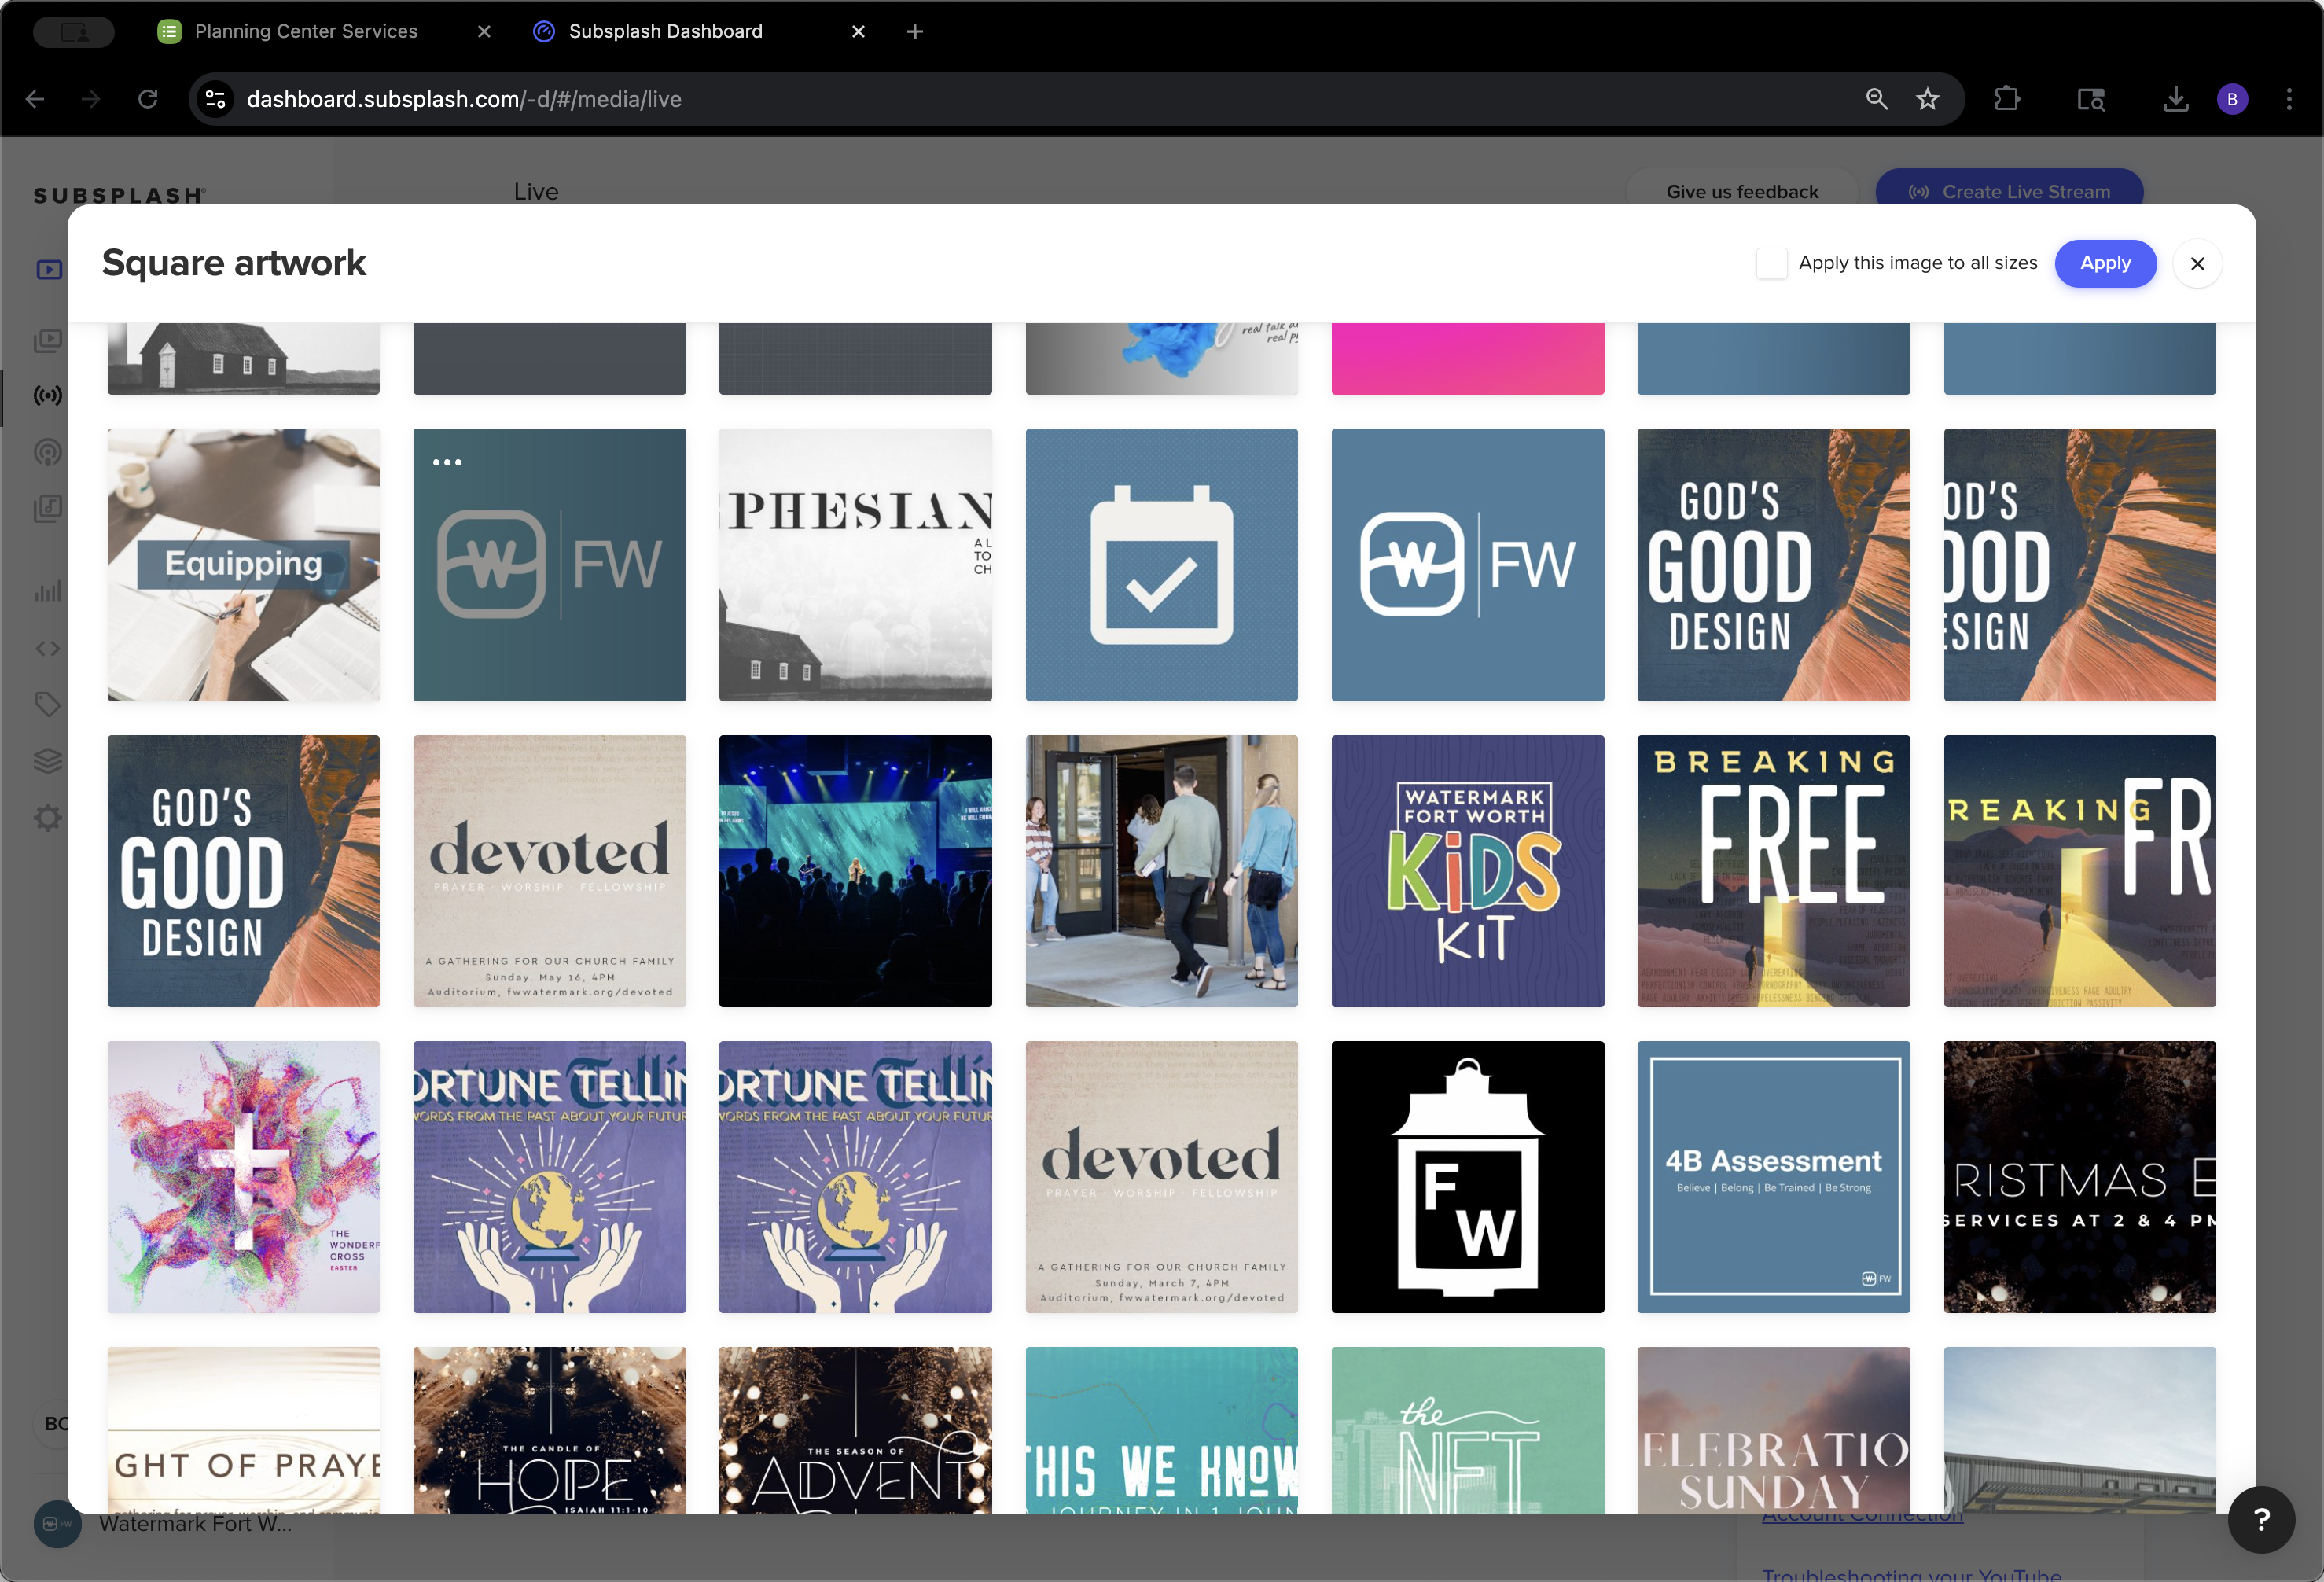
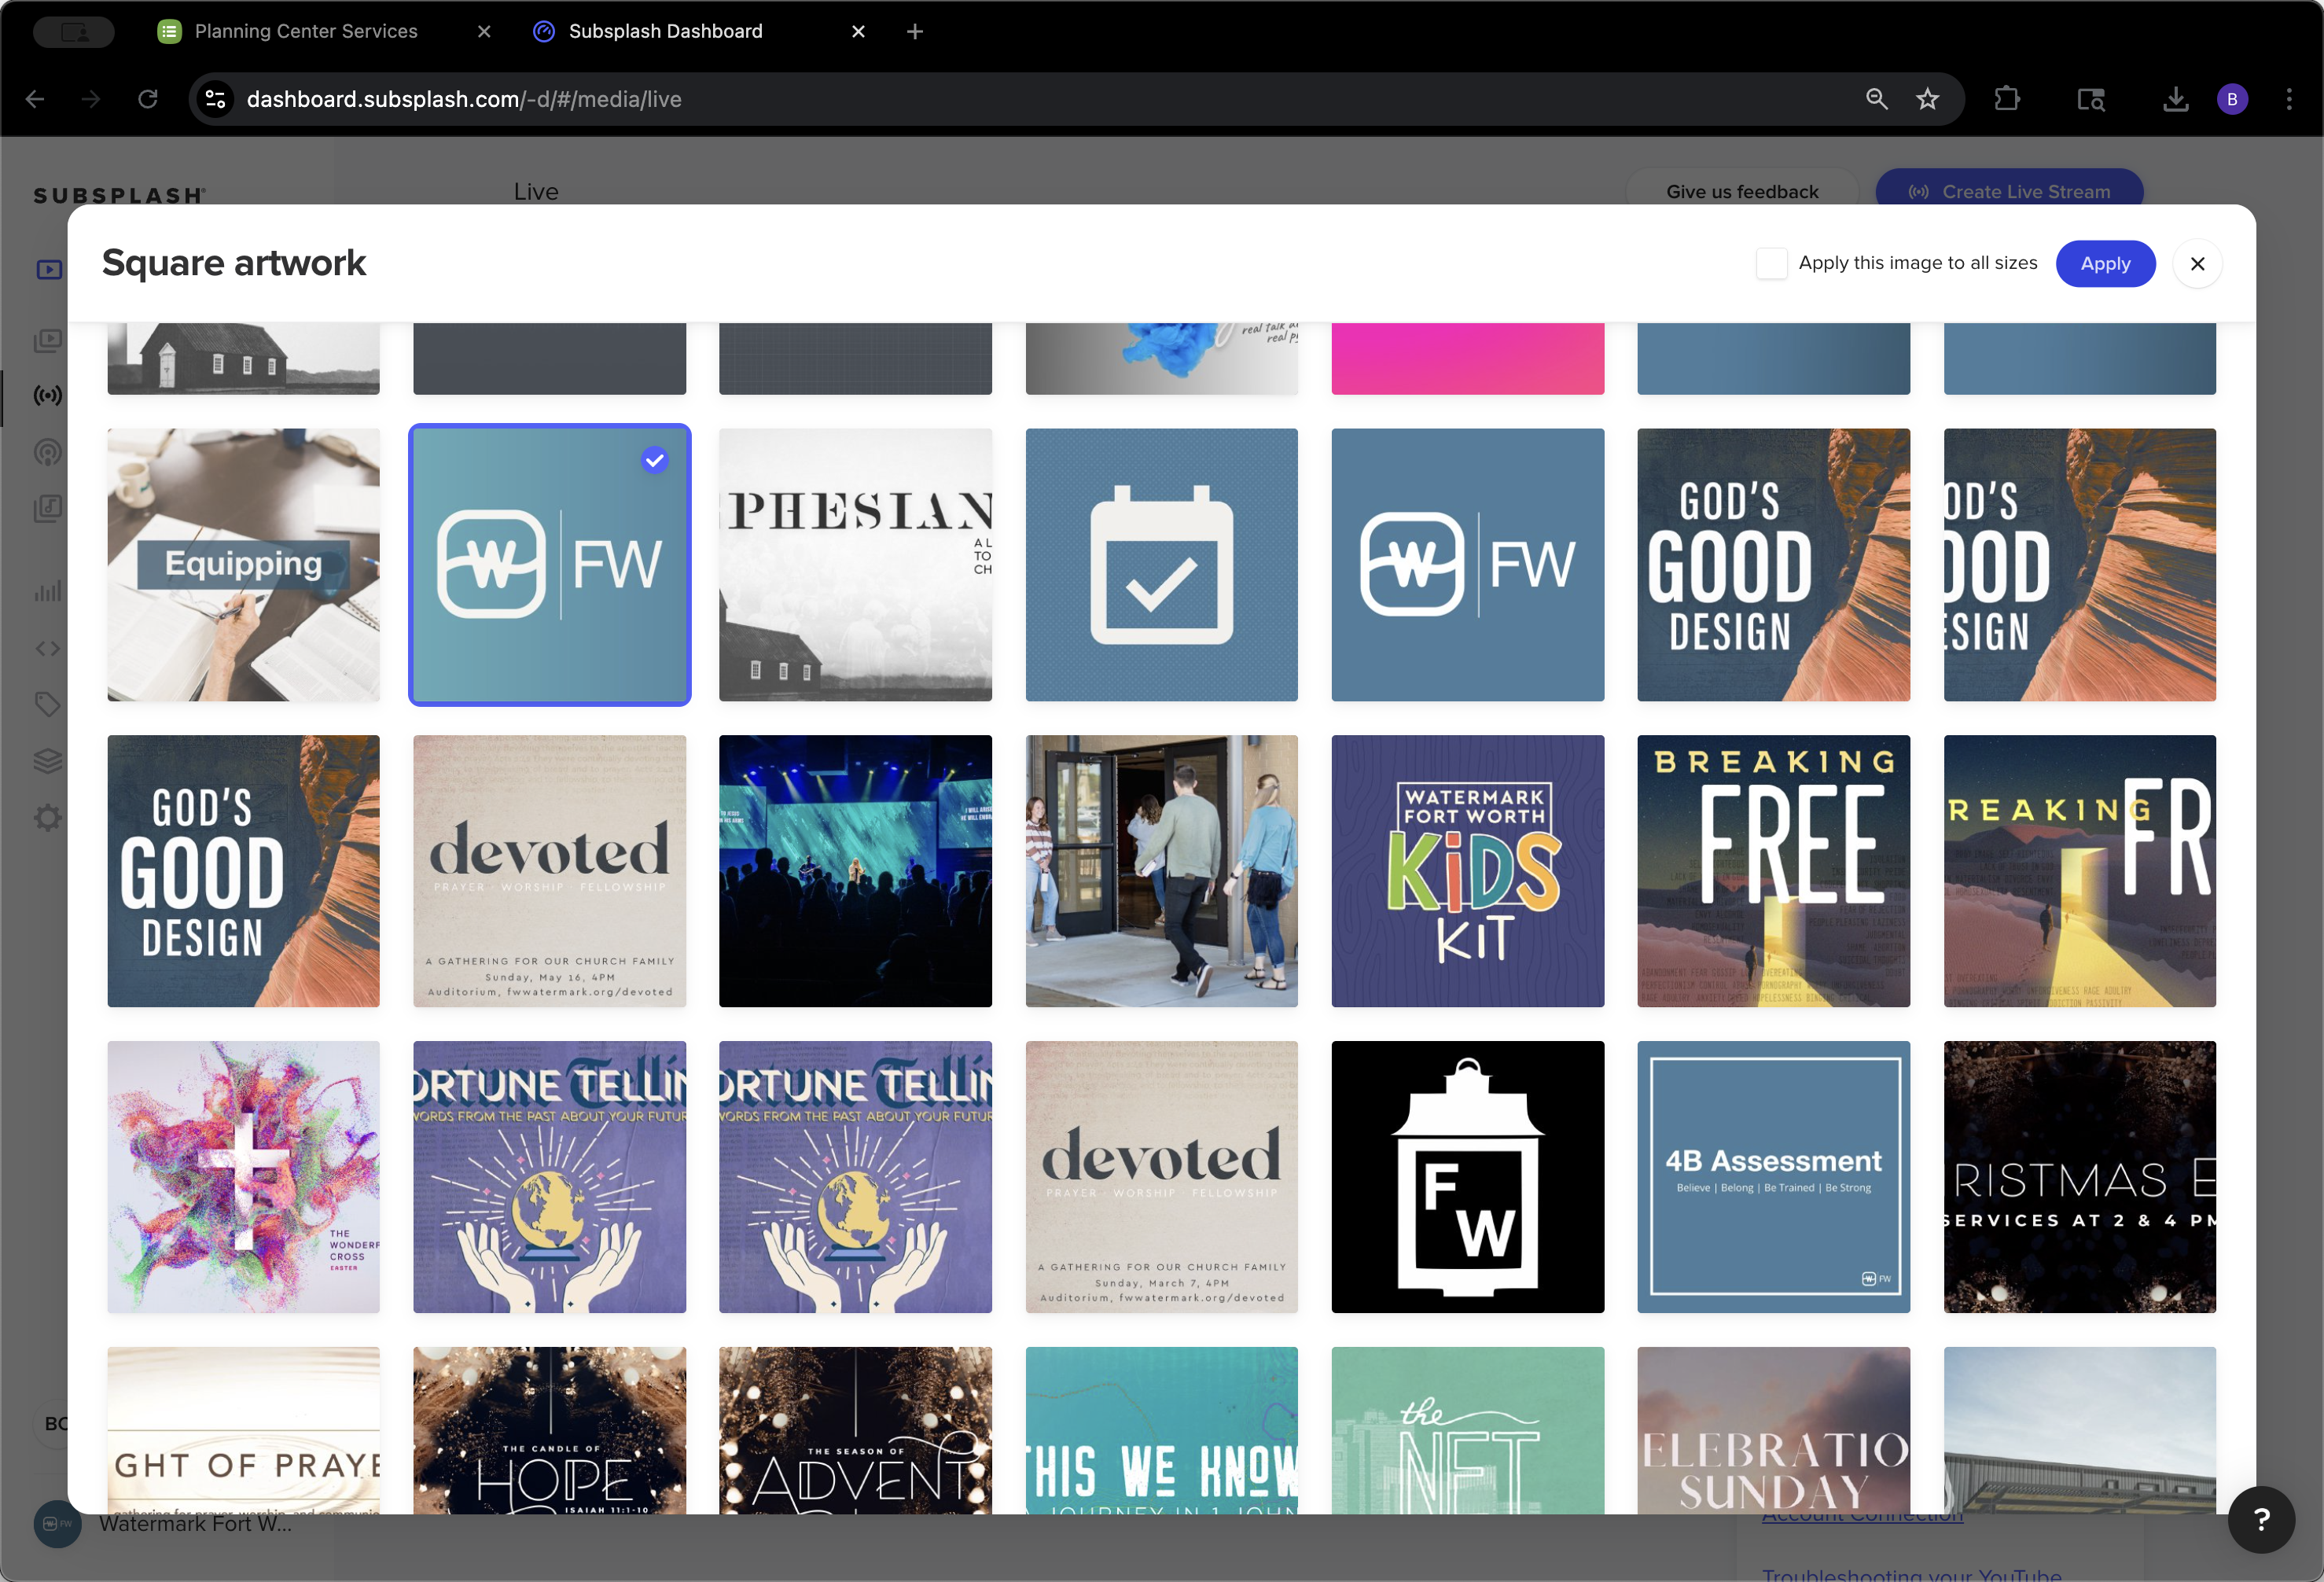
We will update each piece of artwork: the square, the wide, and the banner.

44
Click on "1024 x 1024"
Step #44: Click on "1024 x 1024"
45
Click here
Step #45: Click here
46
Click on "Apply"
Step #46: Click on "Apply"
47
Click on "1920 x 1080"
Step #47: Click on "1920 x 1080"
48
Click on "อ"
Step #48: Click on "อ"
49
Click on "Apply this image to all sizes Apply"
Step #49: Click on "Apply this image to all sizes Apply"
50
Click here
Step #50: Click here

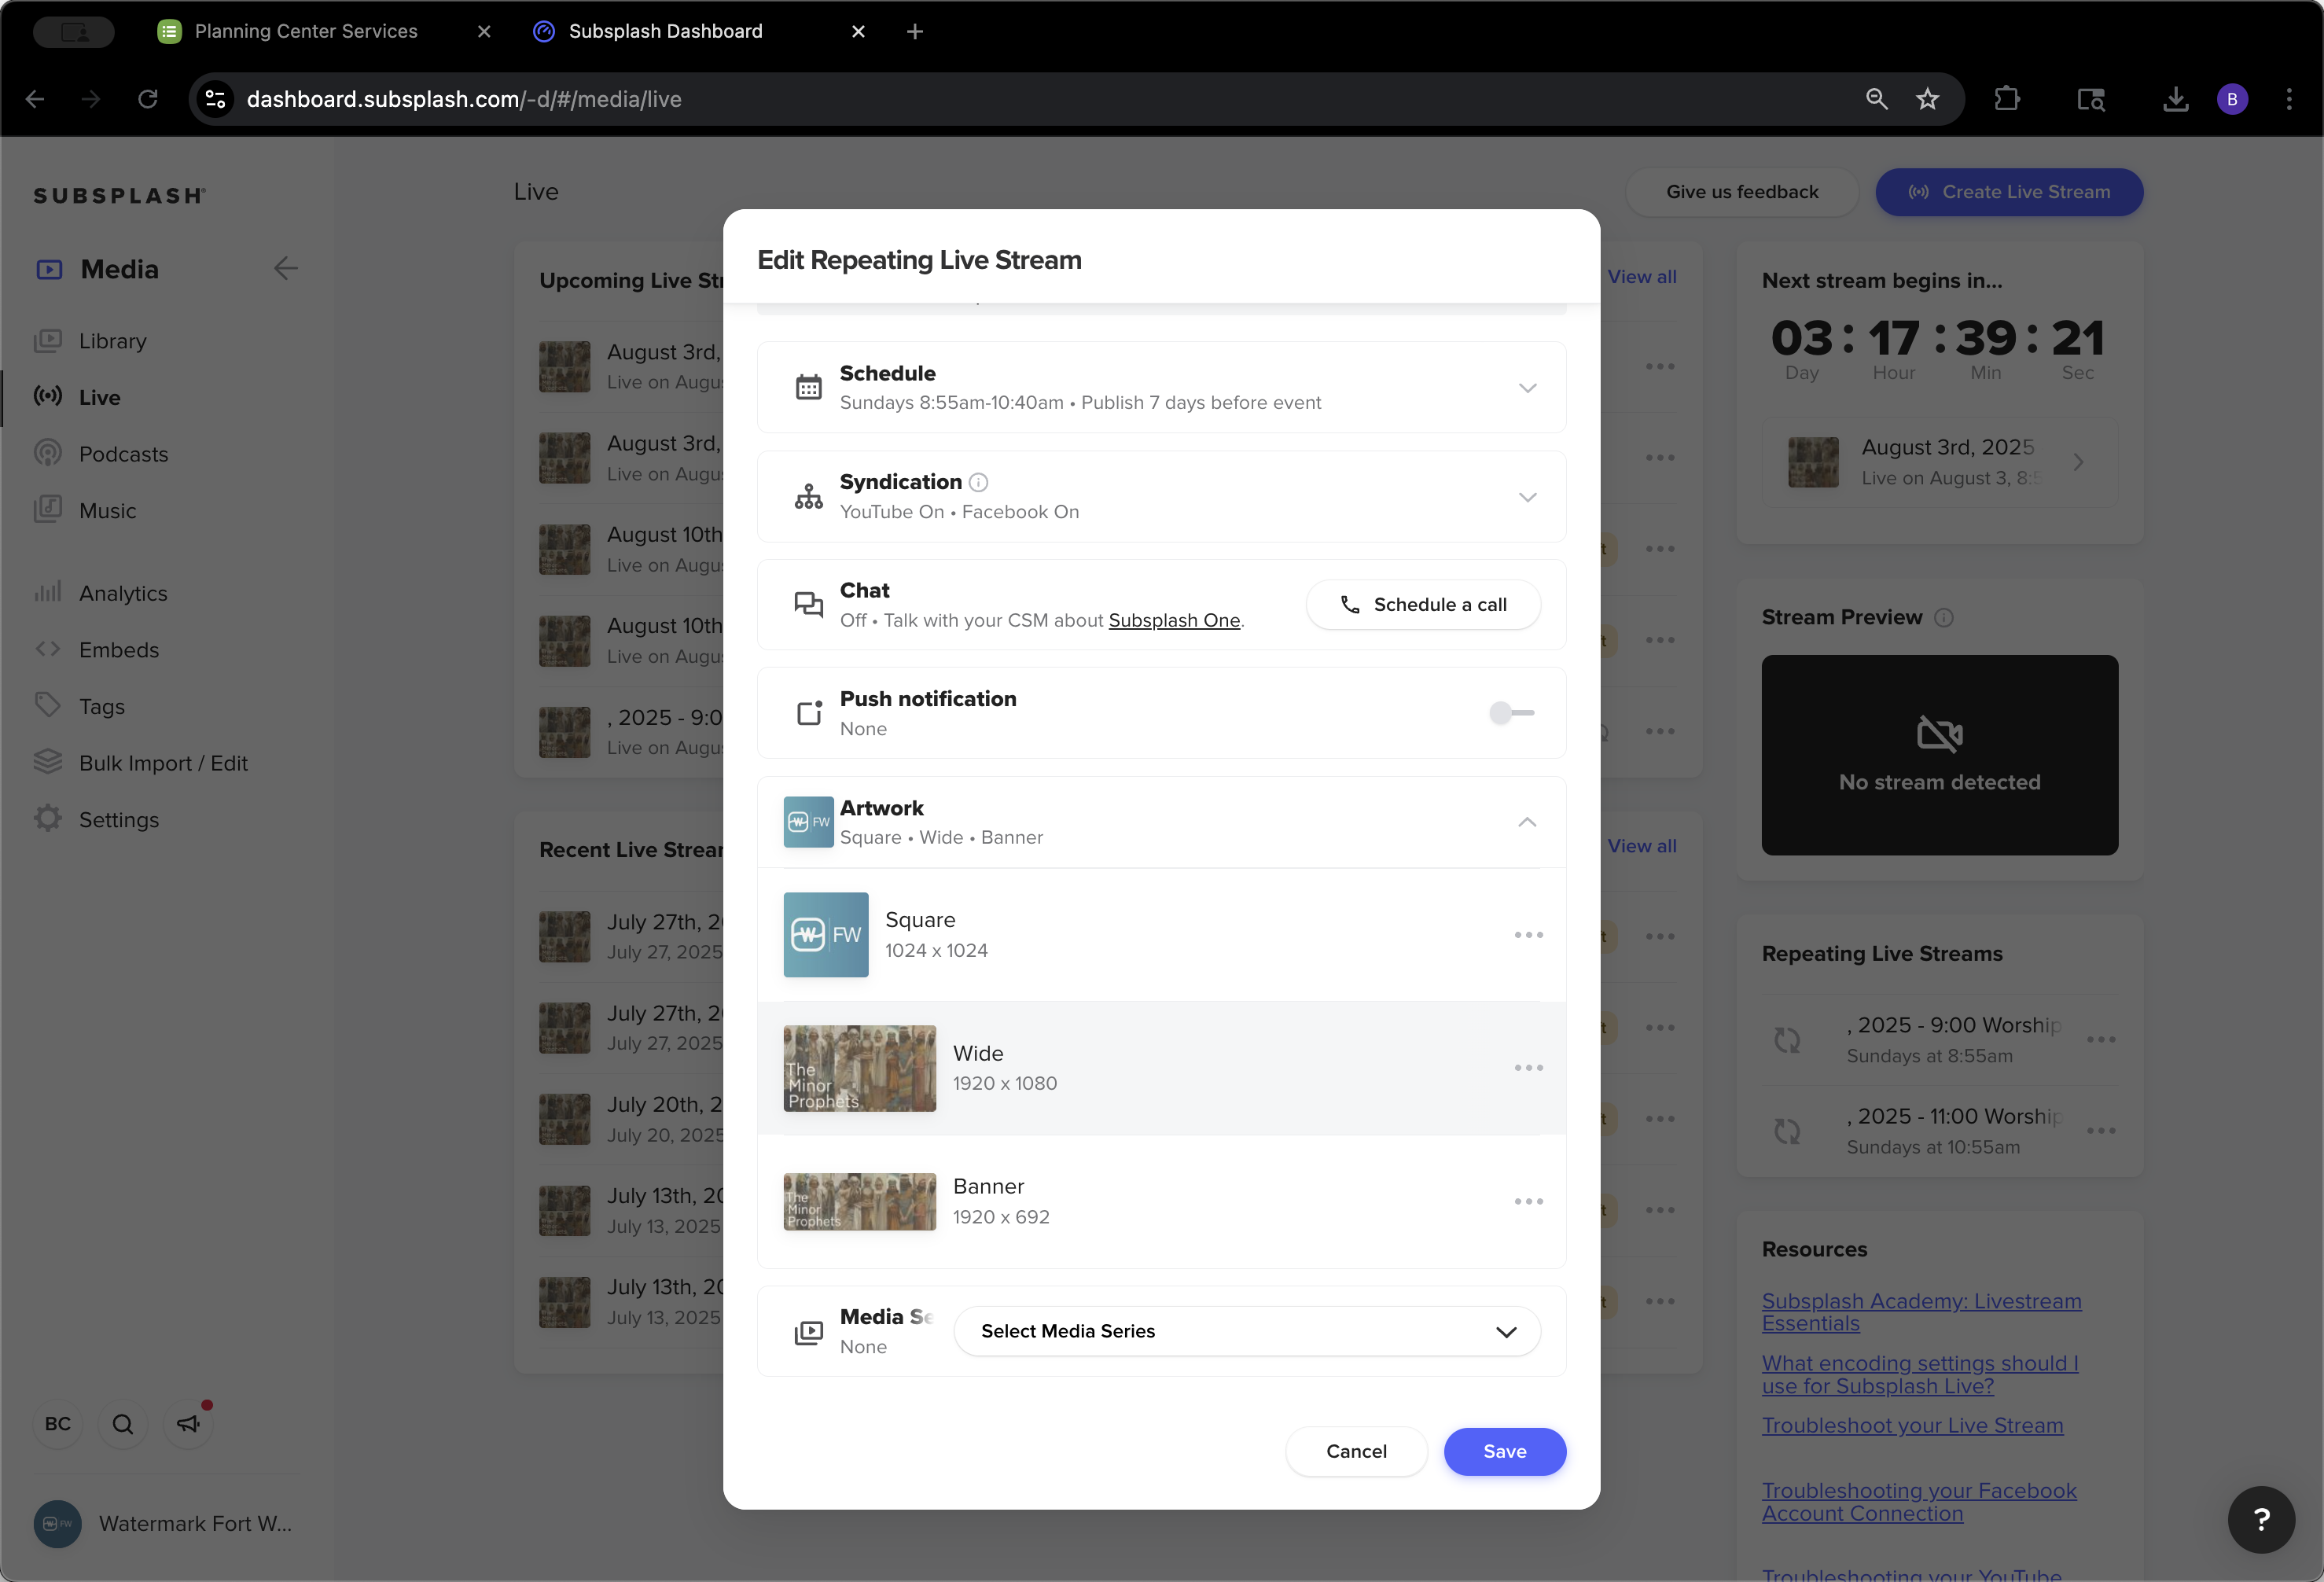
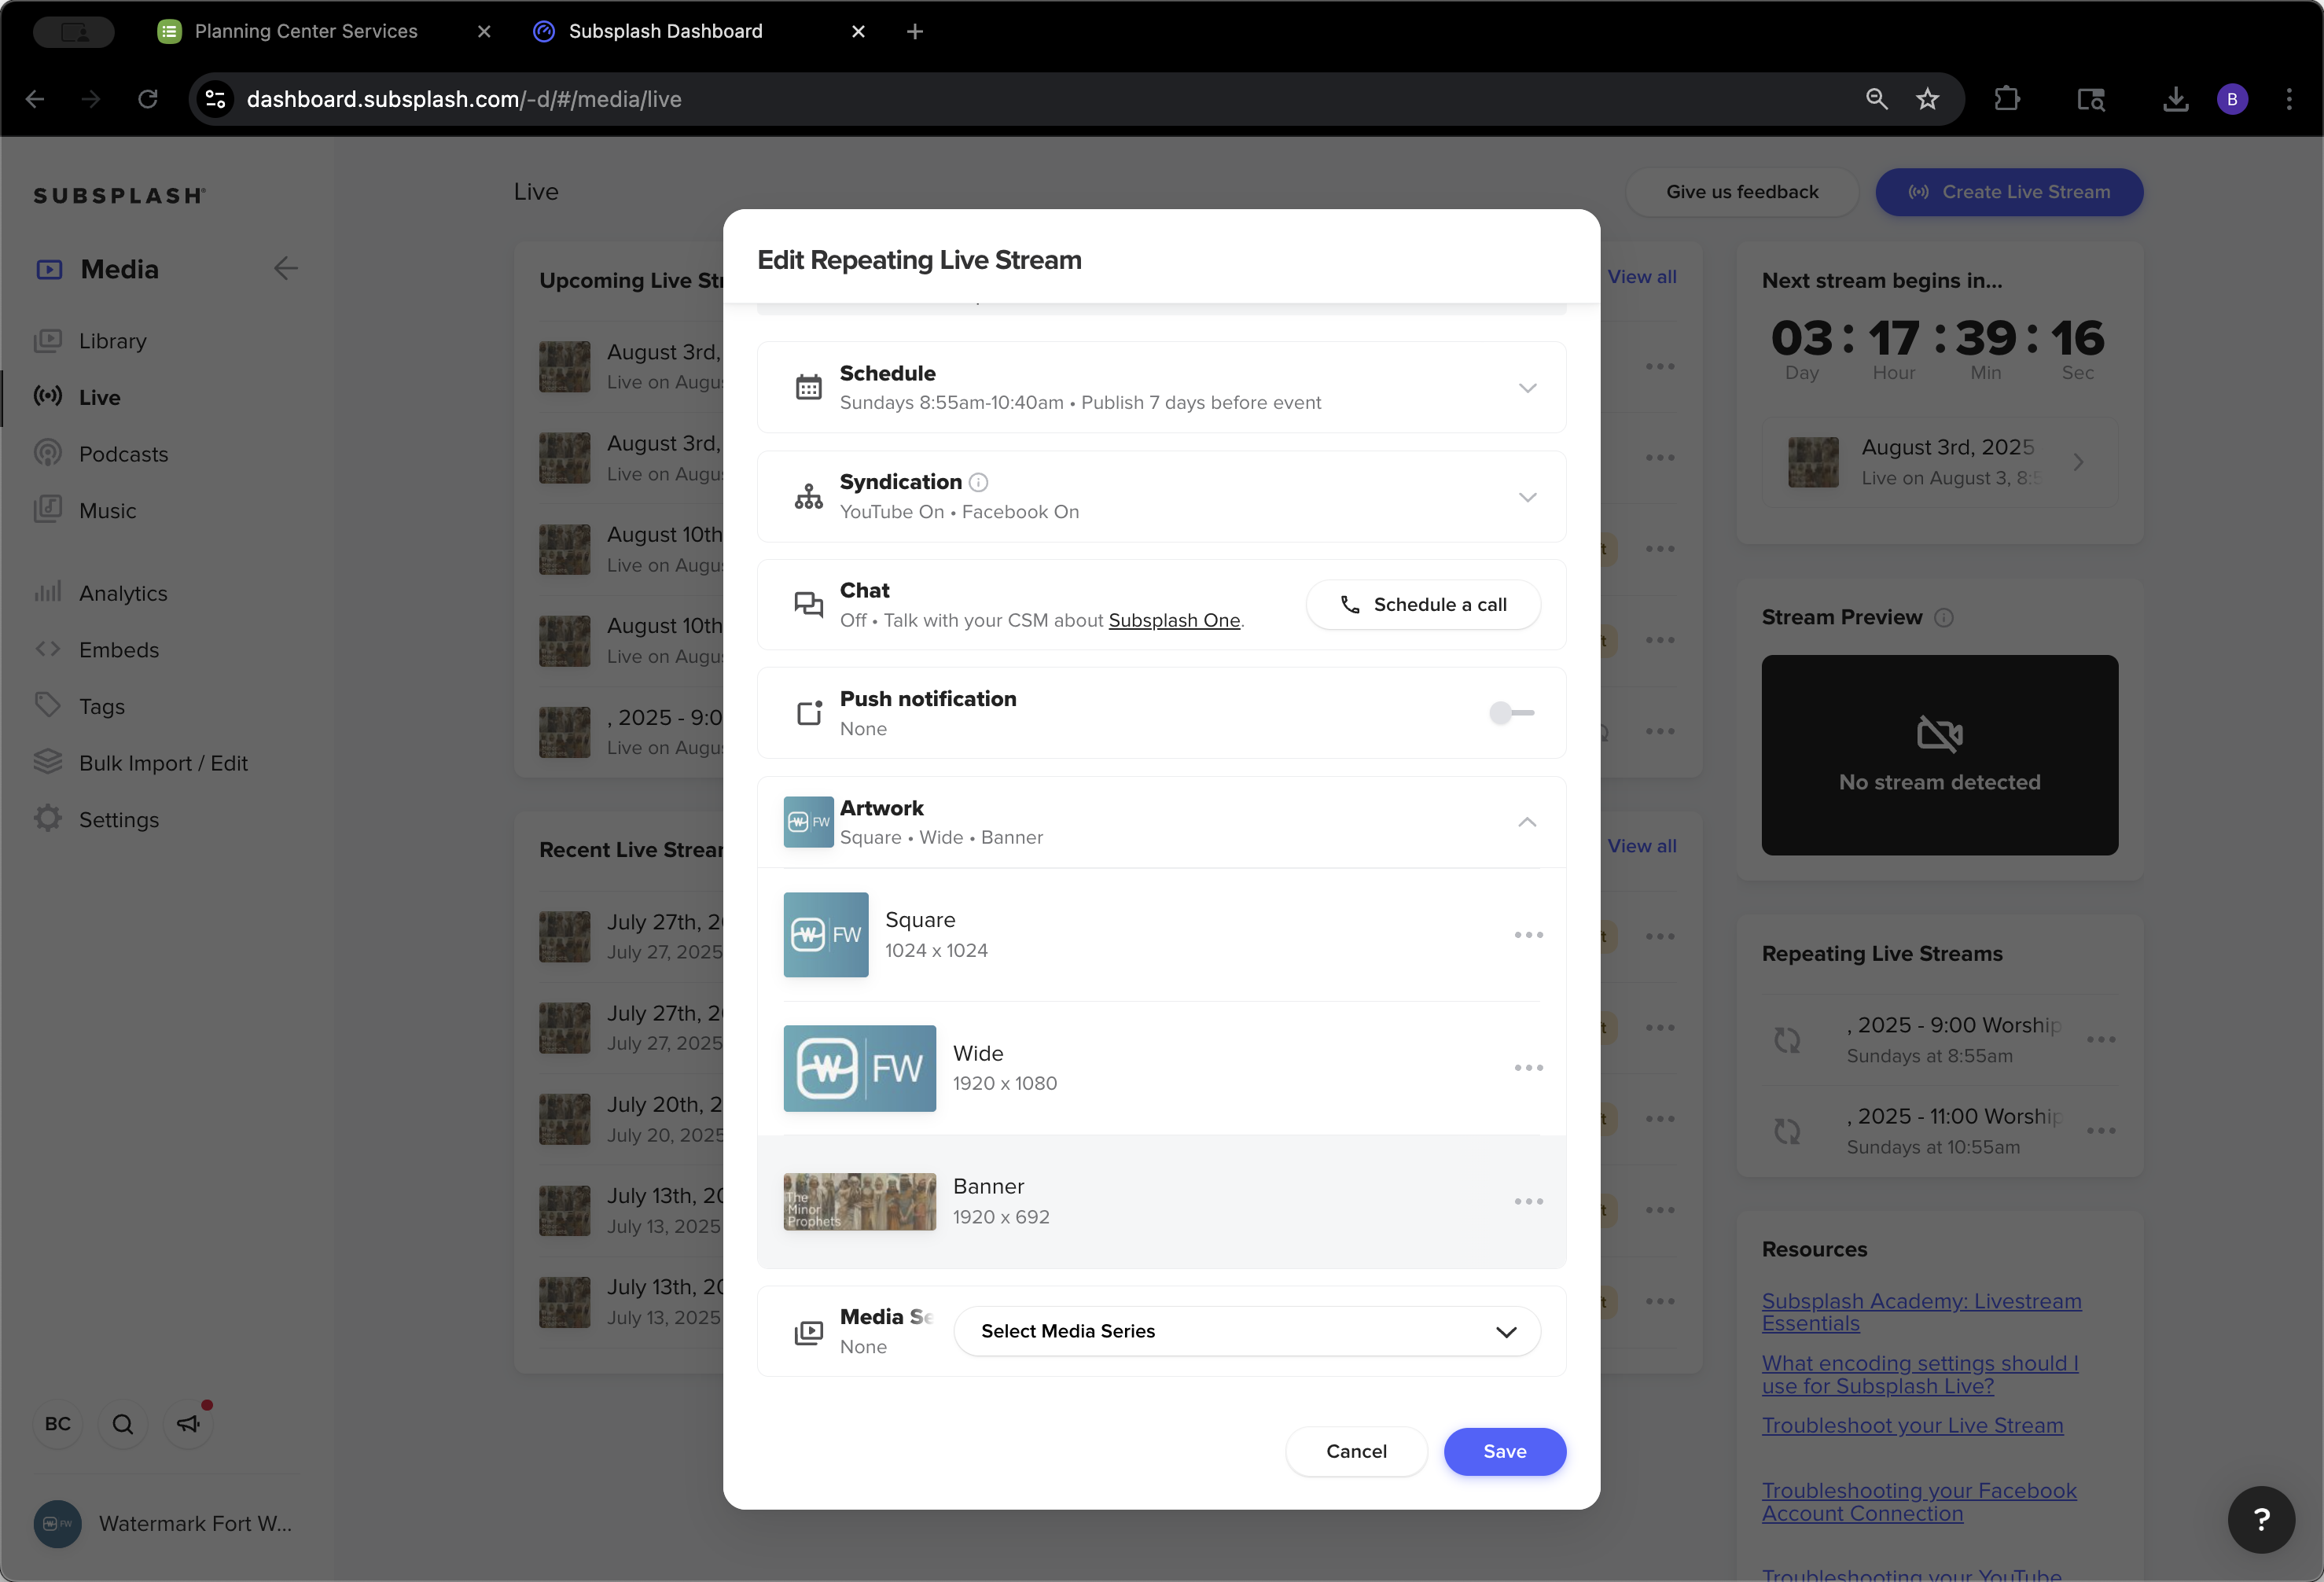
It's not a perfect match, but we'll go ahead and save it anyway.

51
Click on "TW FW"
Step #51: Click on "TW FW"
52
Click on "Apply"
Step #52: Click on "Apply"

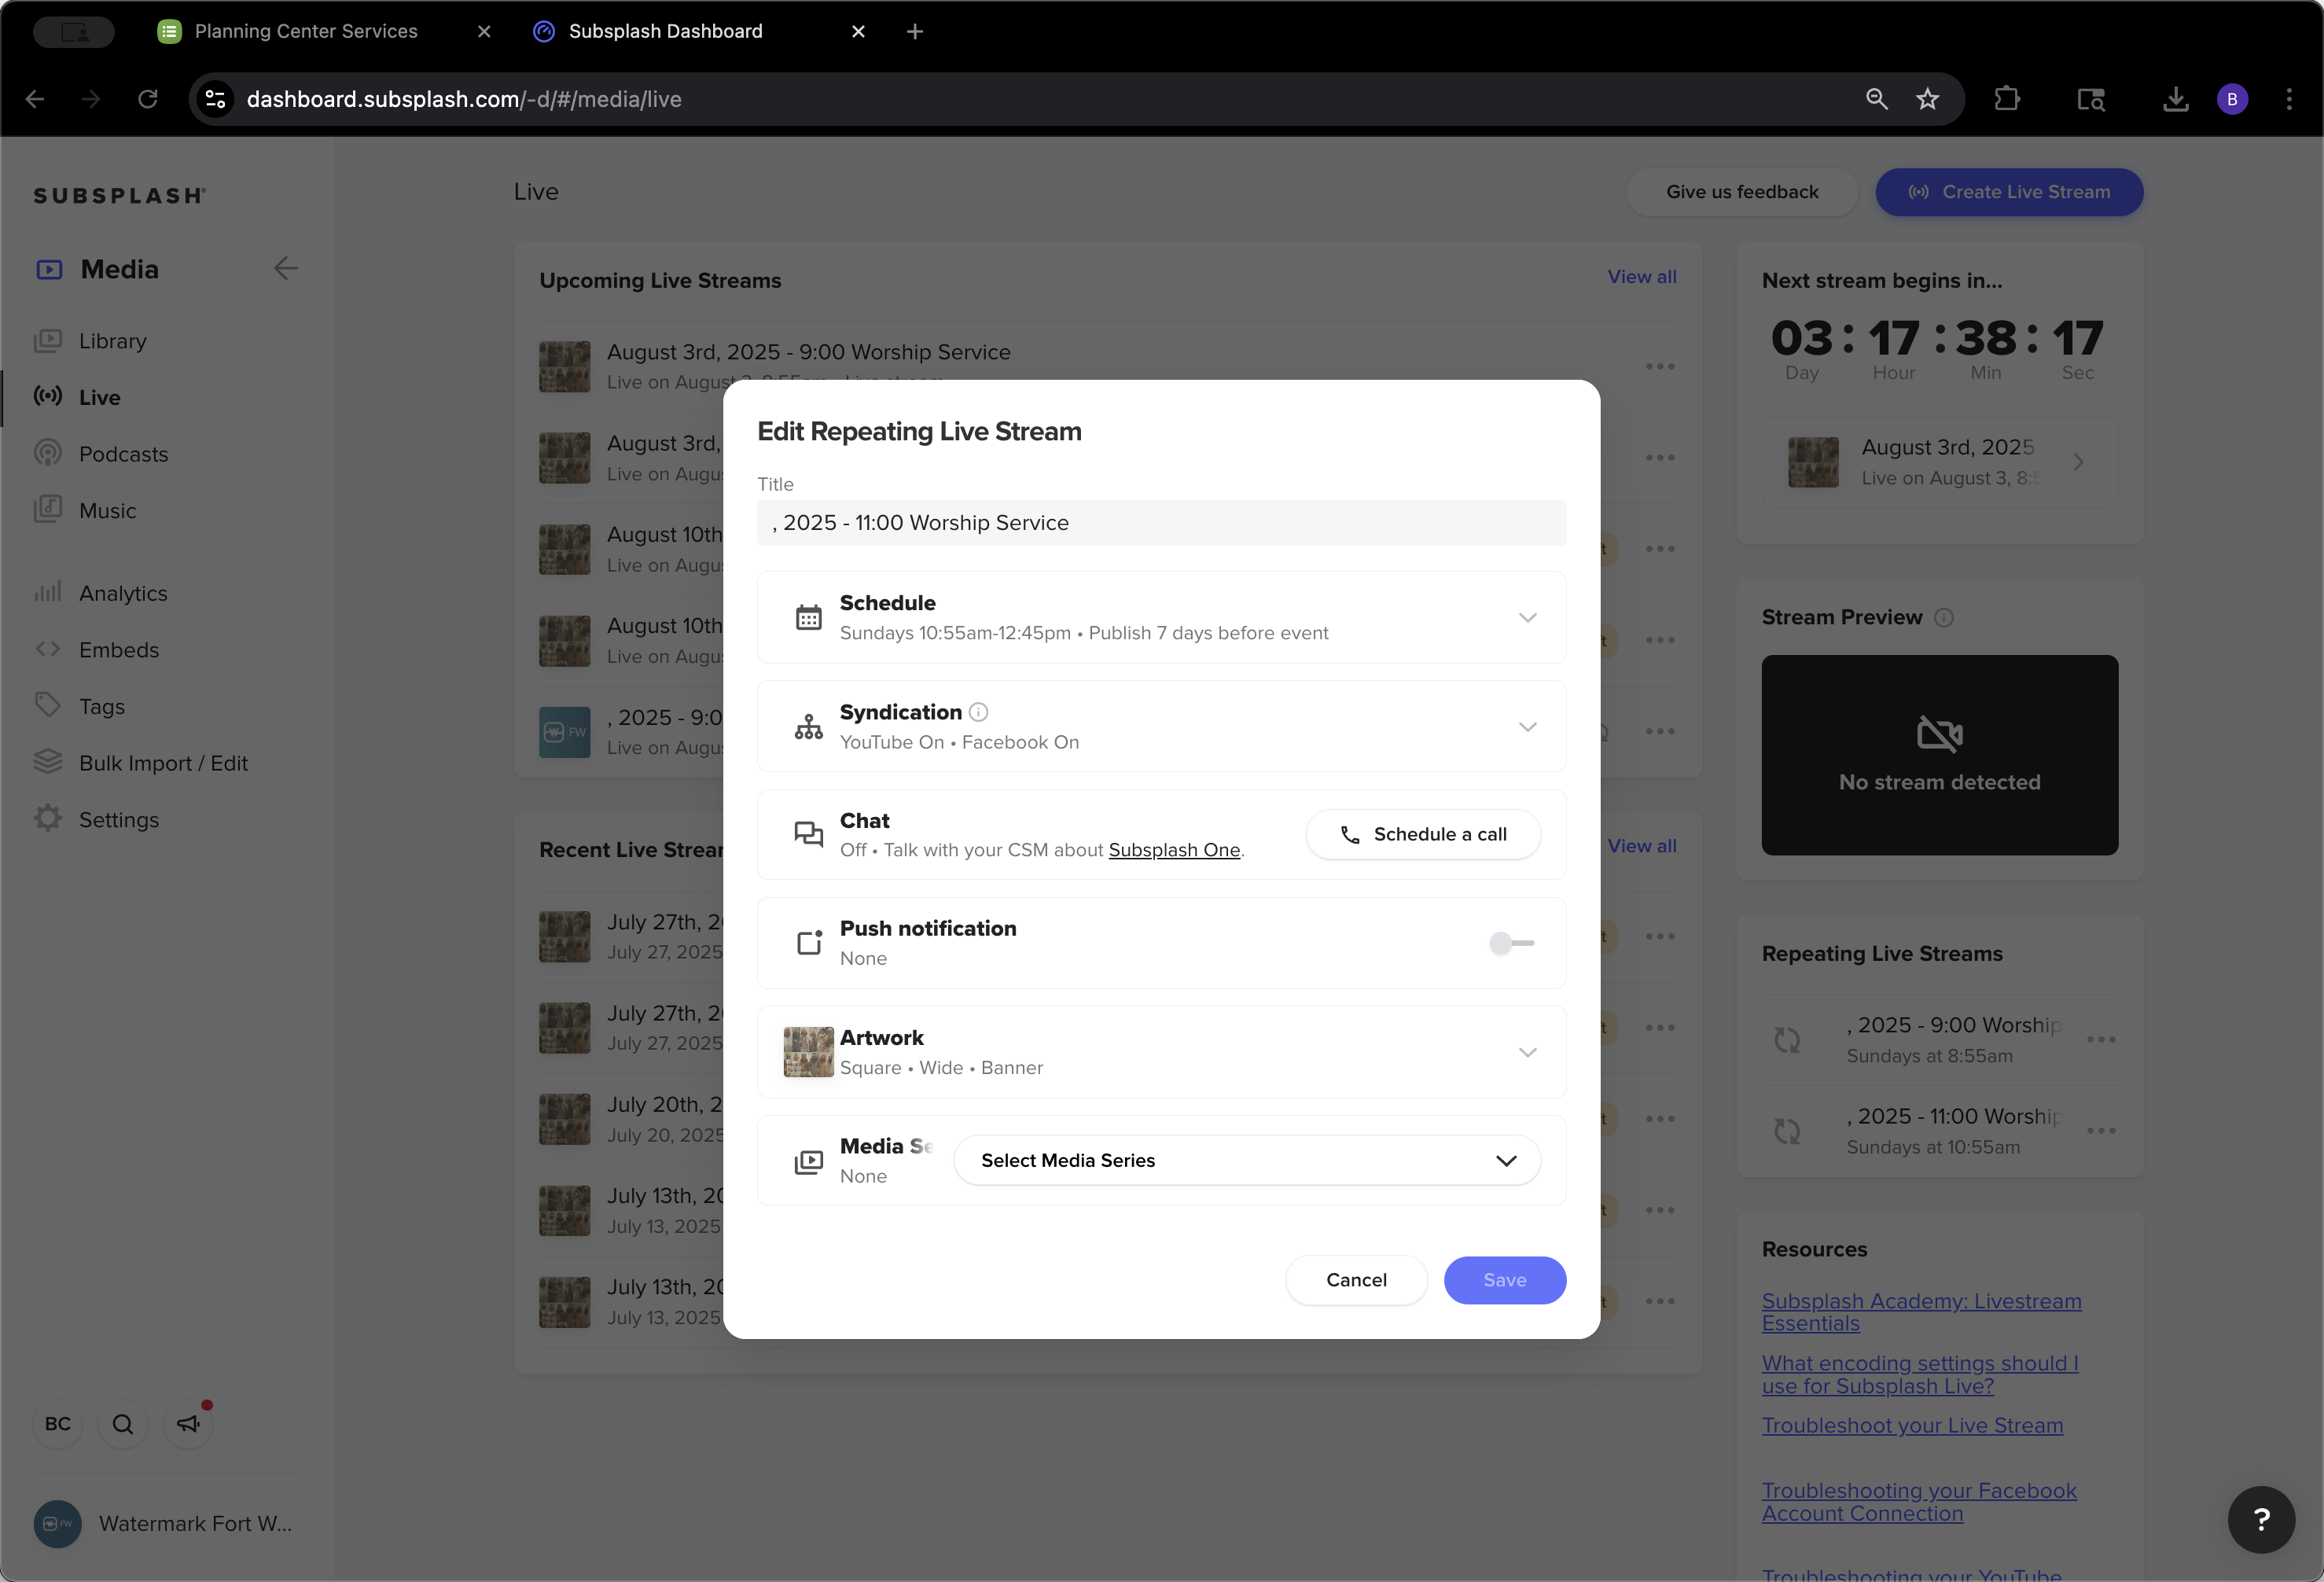
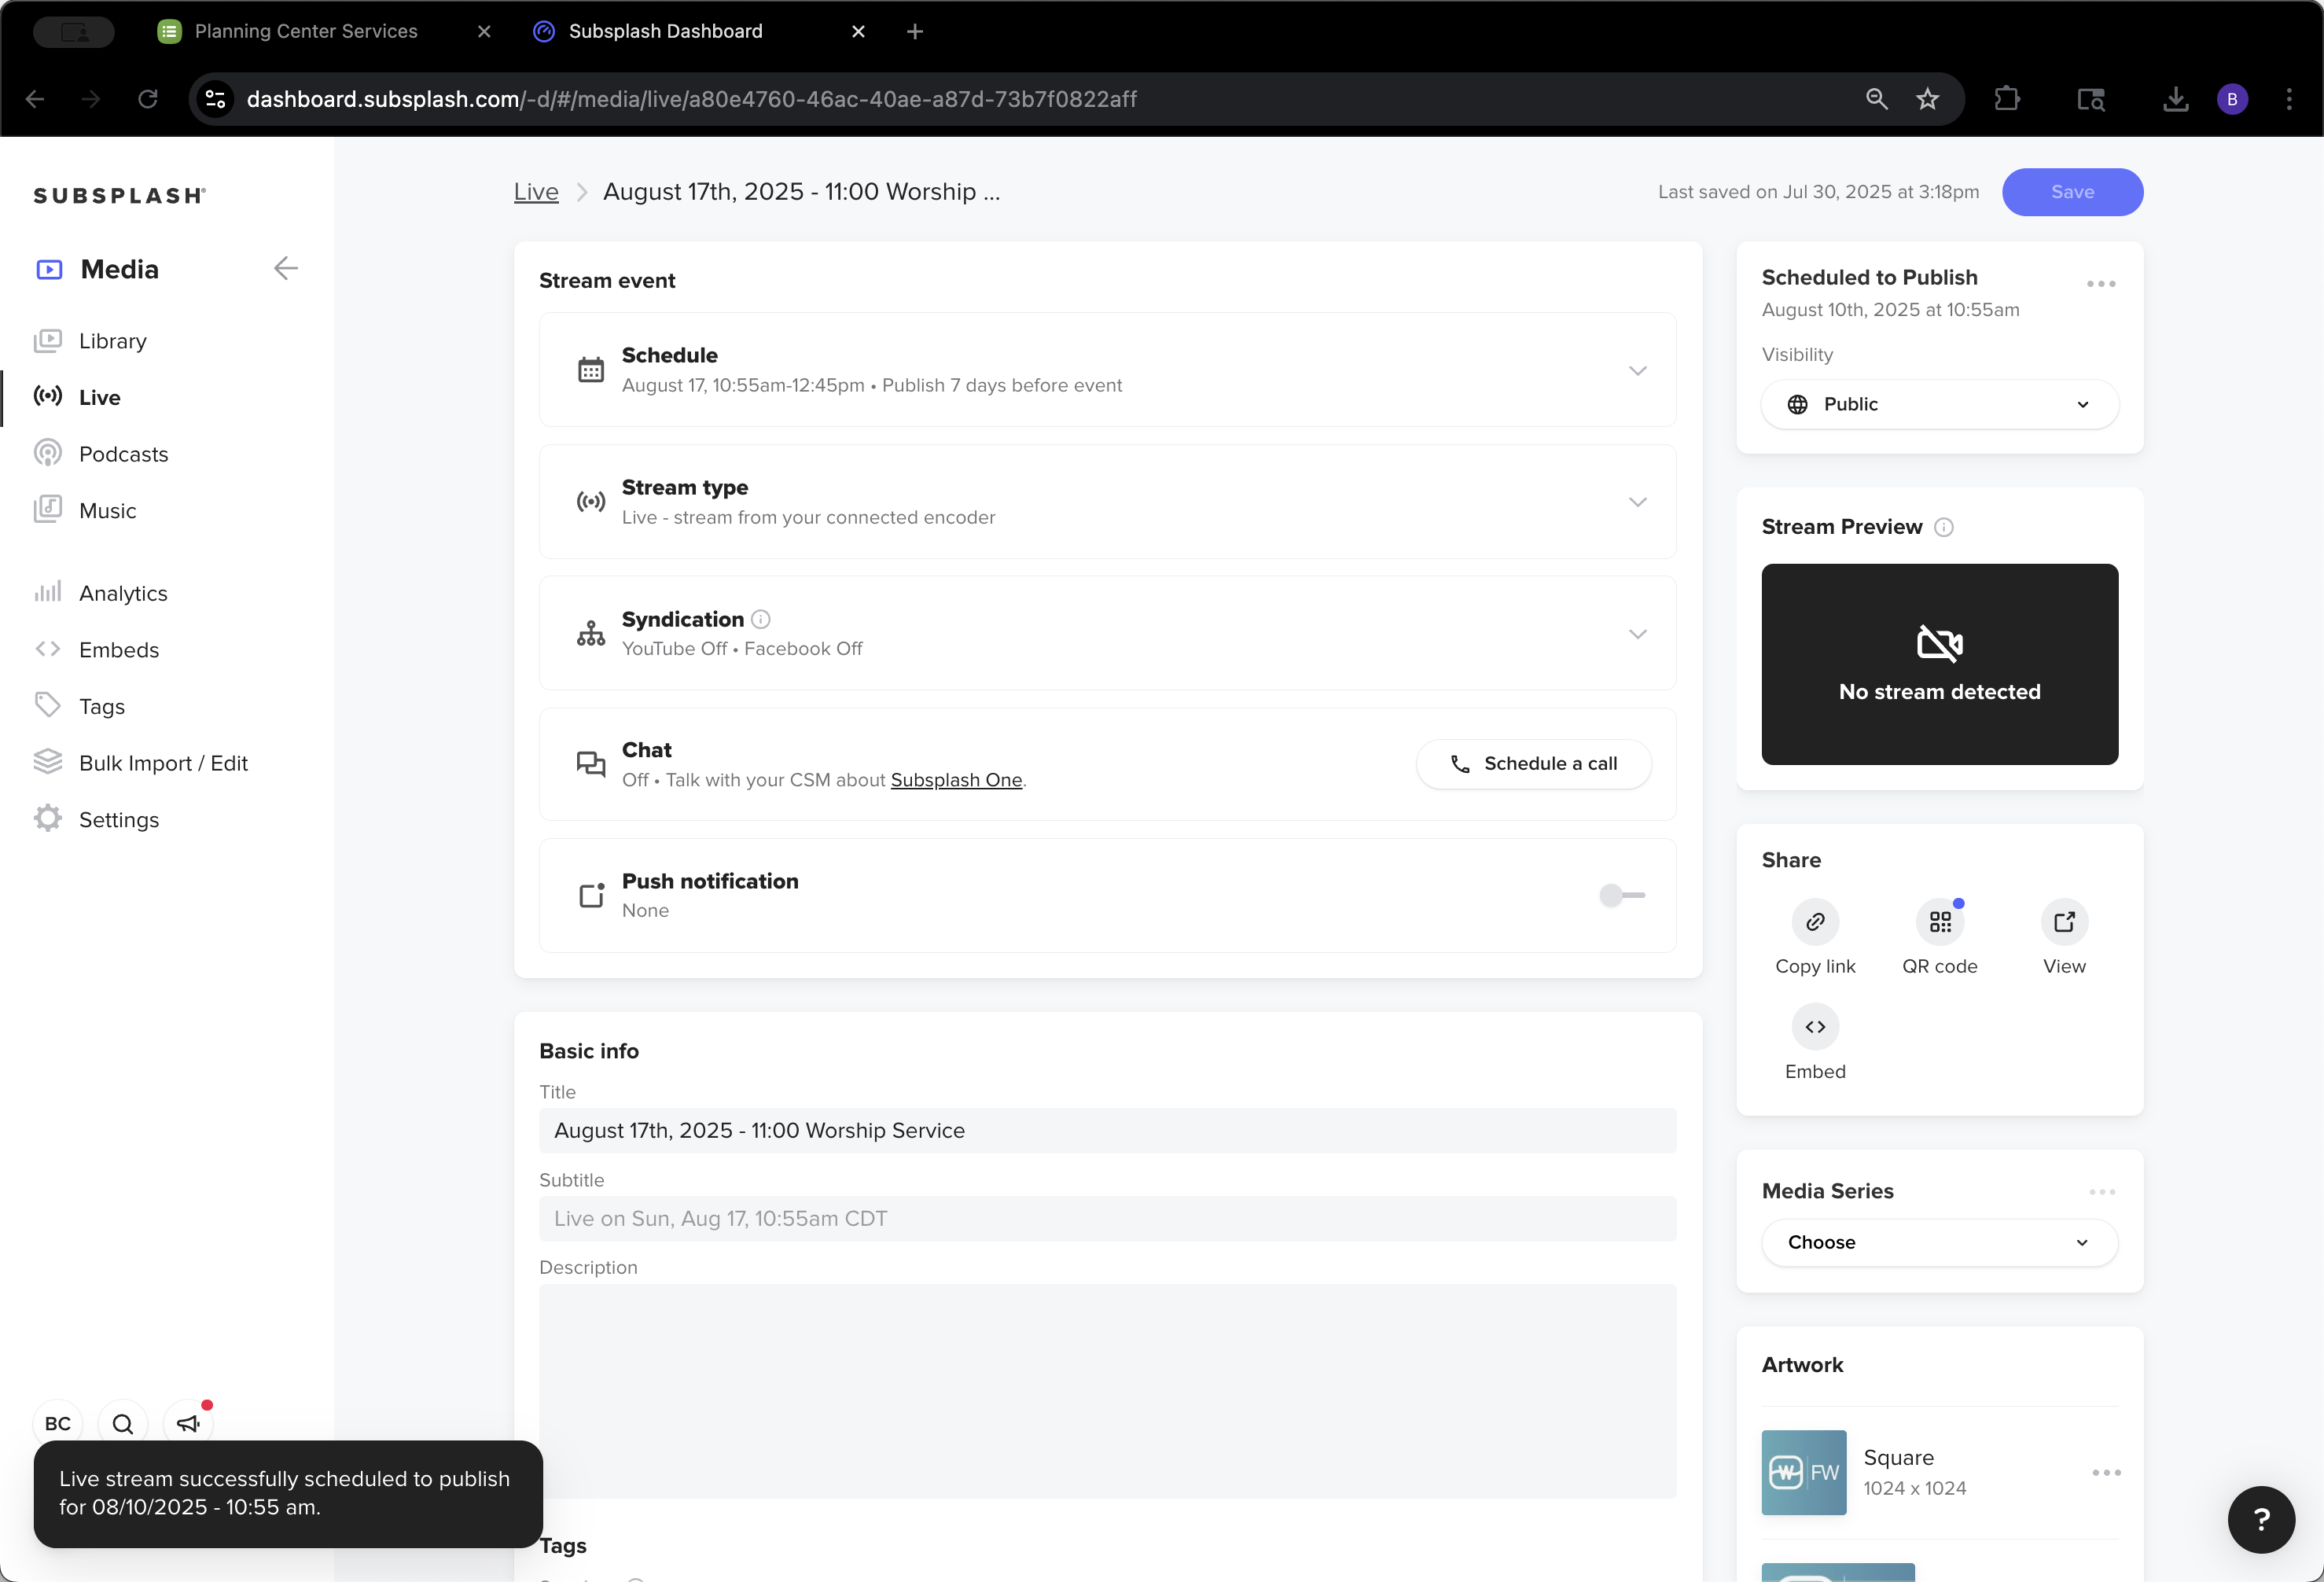
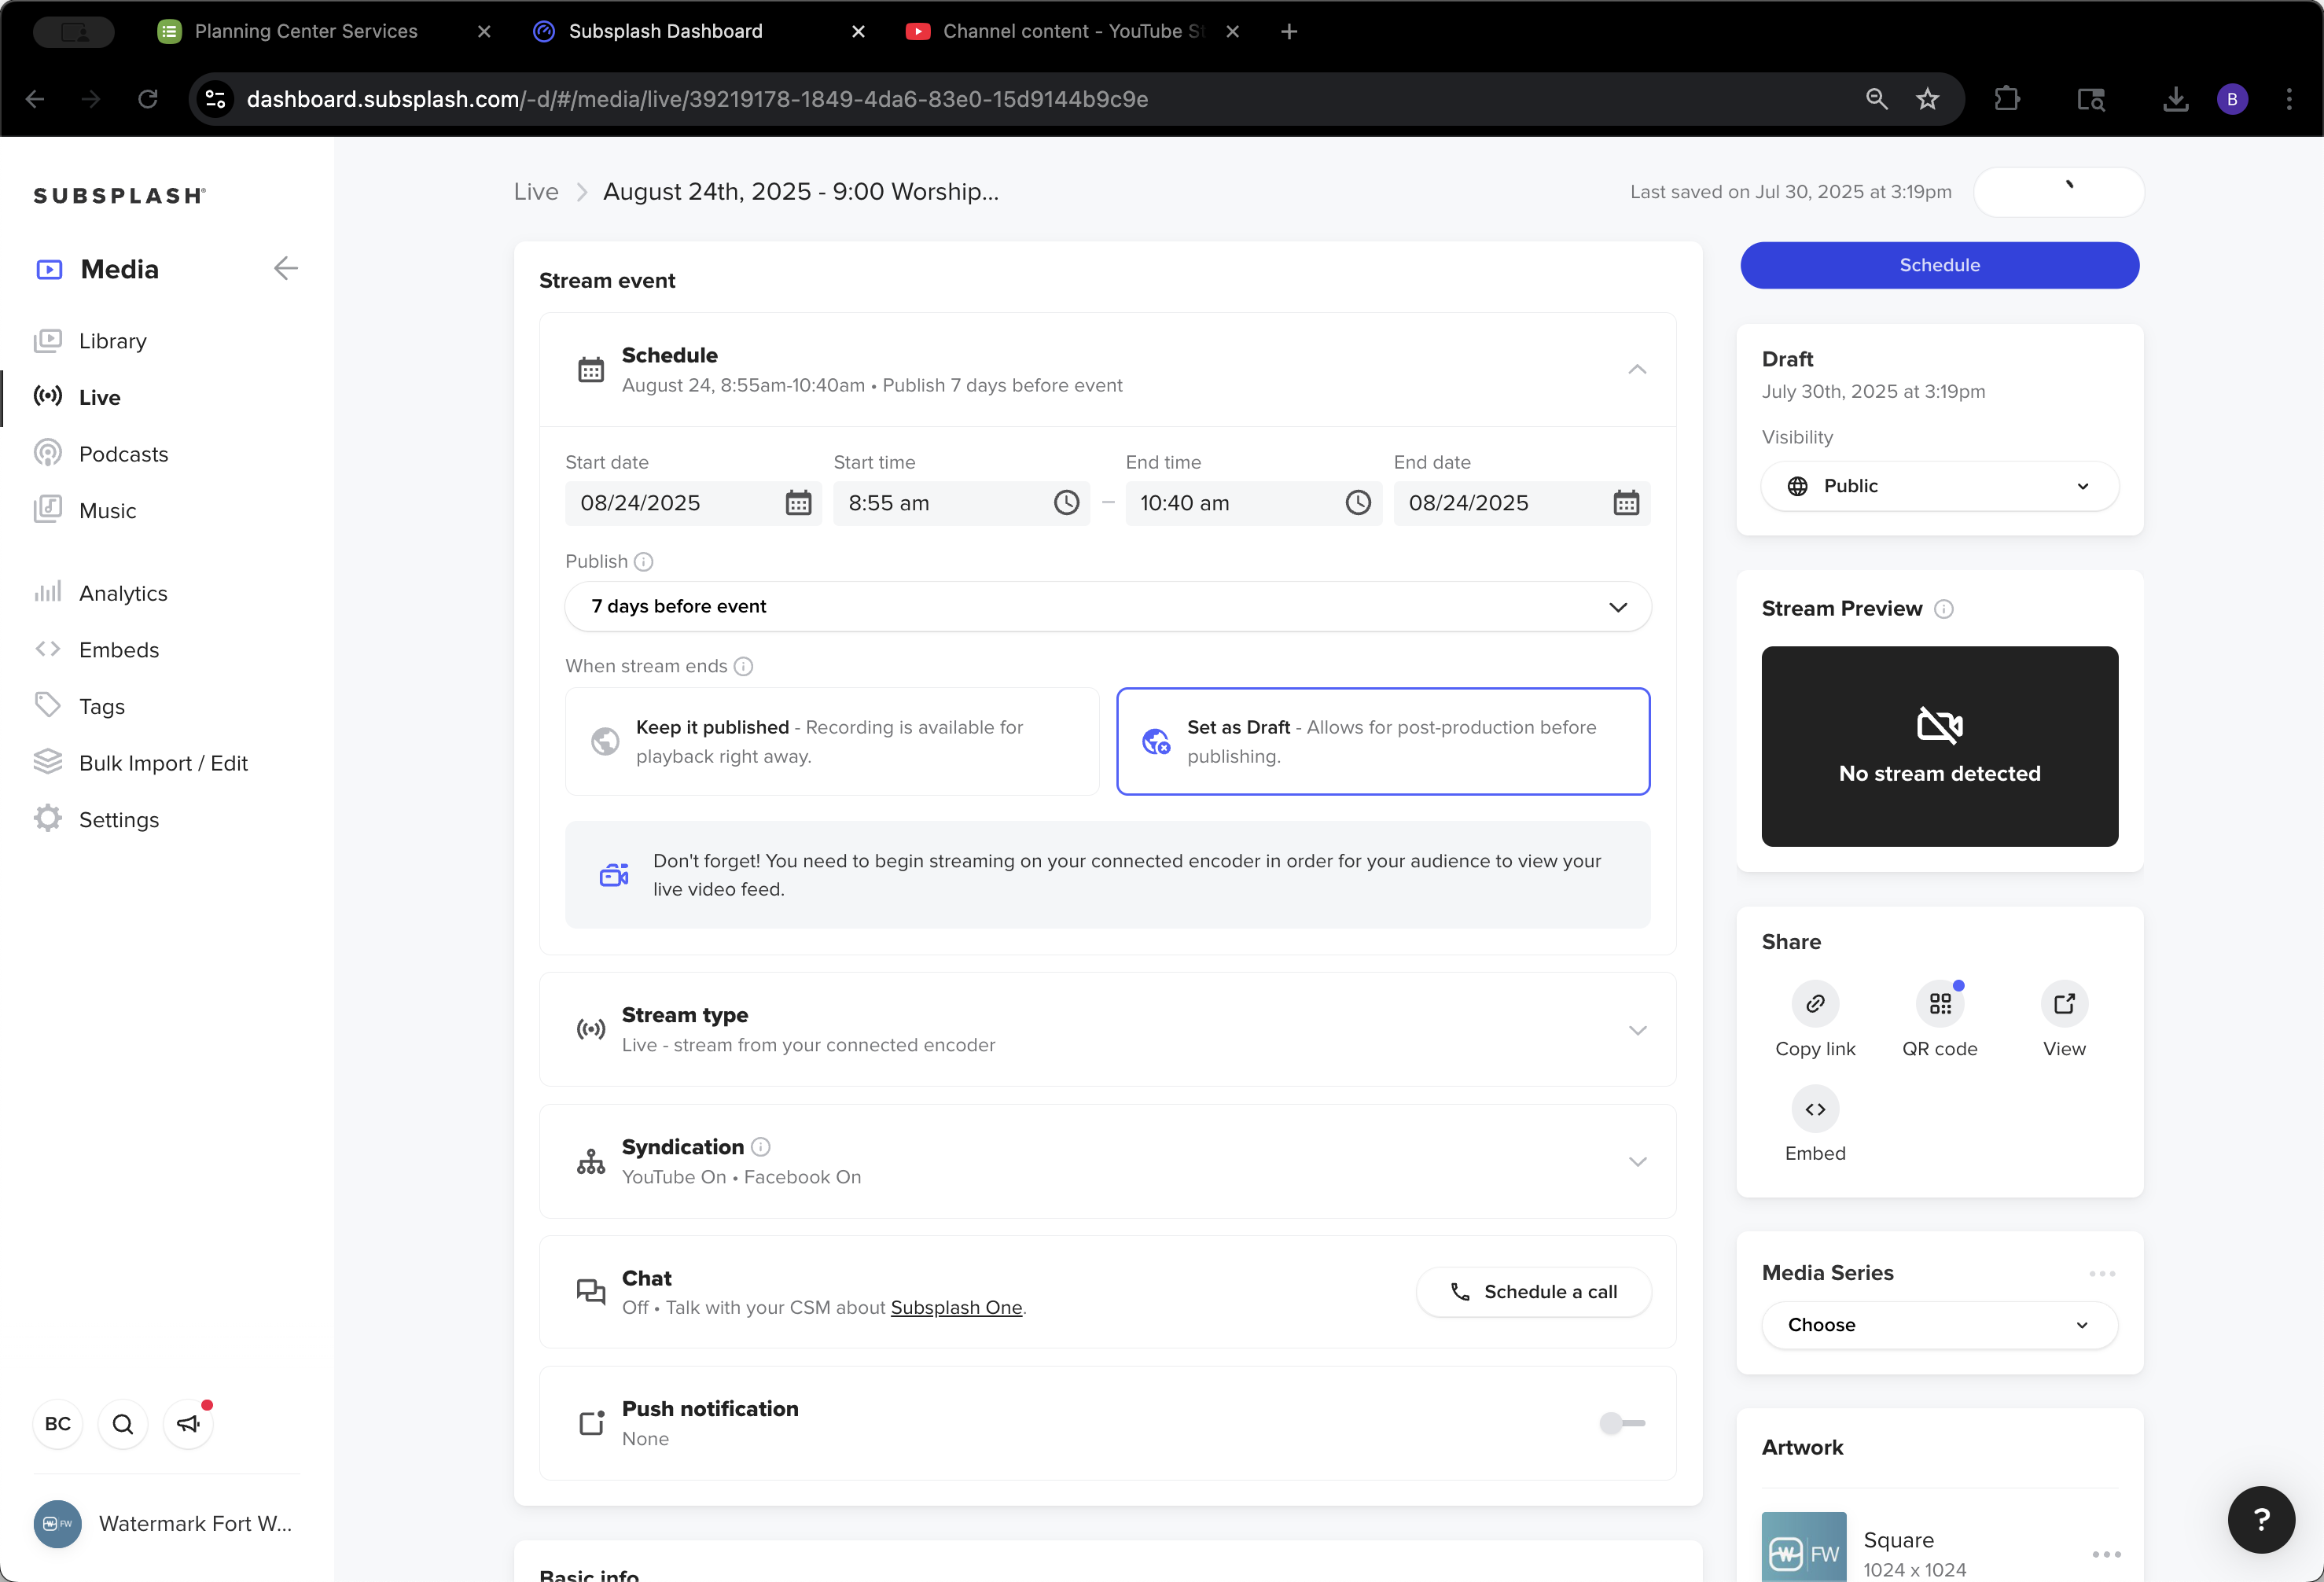
We did not add the livestreams to any series.

53
Click here
Step #53: Click here
54
Click here
Step #54: Click here

It would appear in multiple places within the app if we did that, so we found it doesn't make the most sense. Next, click Save.

55
Click on "Save"
Step #55: Click on "Save"

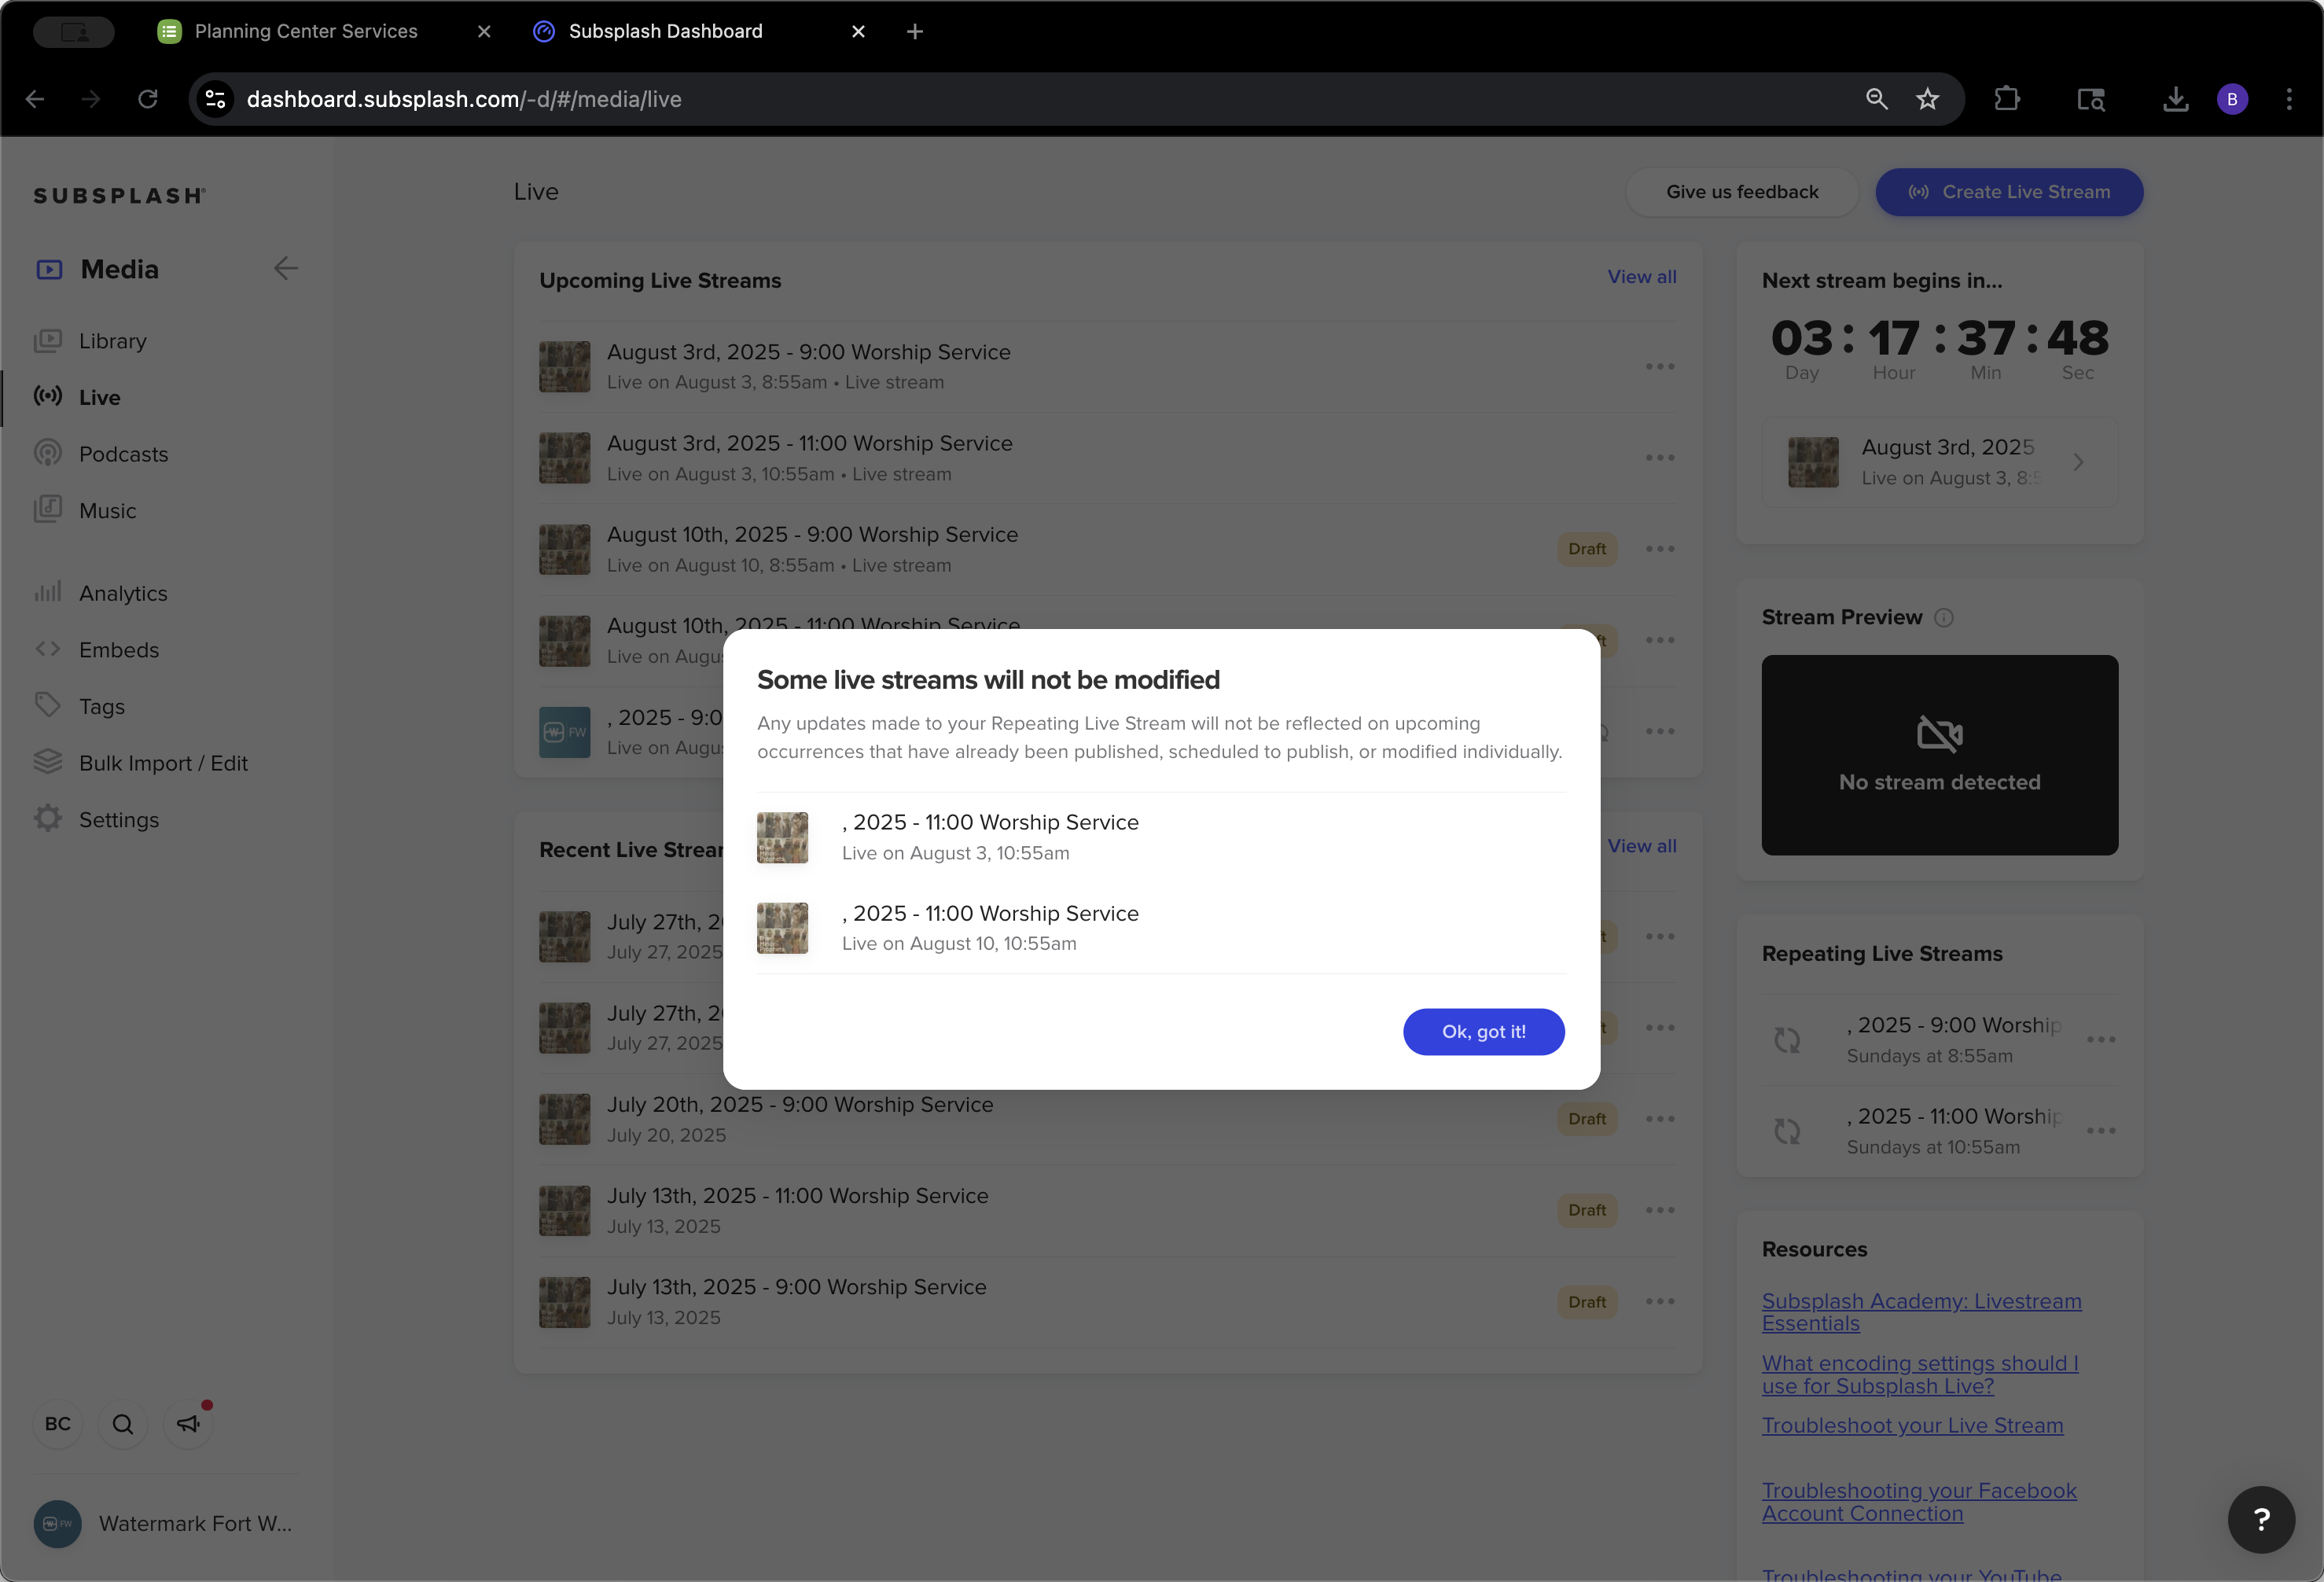
It may take a moment to save. This change will apply to all livestreams that are not set as a draft or published. It says, "These will not be modified because they're already set as draft or published." The livestream is automatically published seven days before the event.

56
Click on ","
Step #56: Click on ","
57
Click on "Sundays at 8:55 am"
Step #57: Click on "Sundays at 8:55 am"
58
Click here
Step #58: Click here

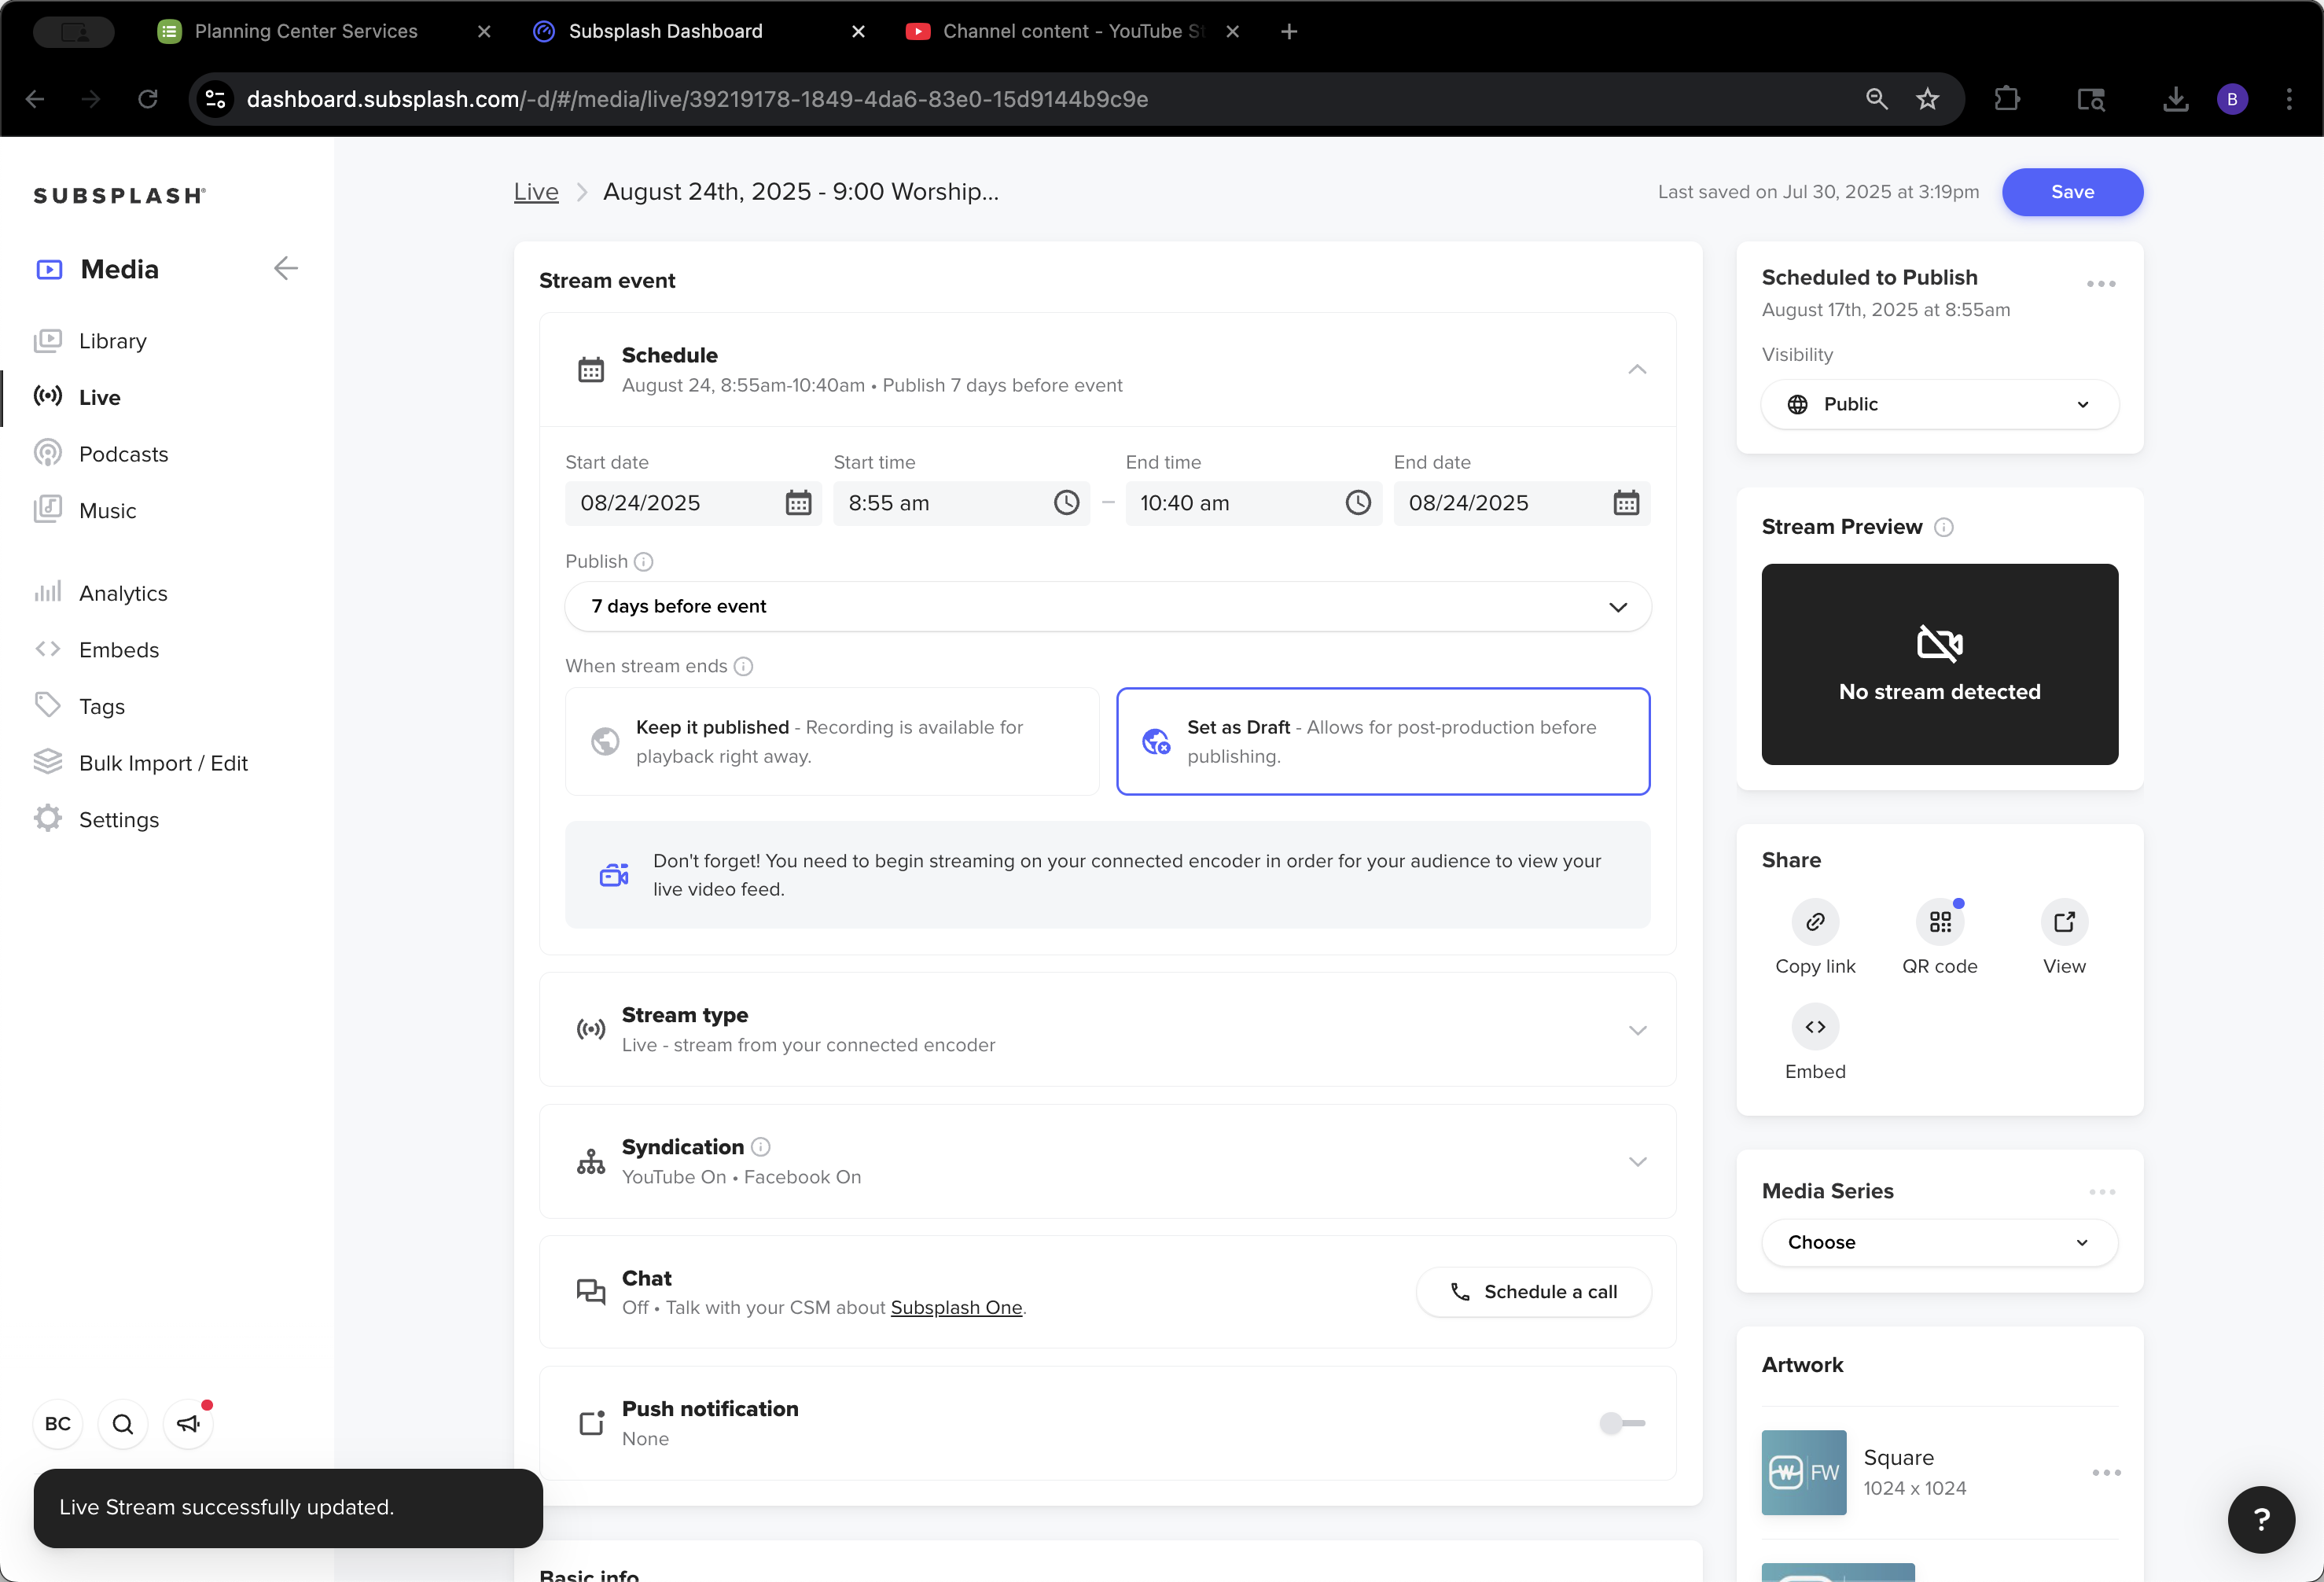
These are published, and these are set as drafts because we changed their names. Now we'll do the same for the 11:00 AM service—just update the artwork.

59
Click on "2025"
Step #59: Click on "2025"
60
Click here
Step #60: Click here
61
Click here
Step #61: Click here

Whoops.

62
Click here
Step #62: Click here

Click "Save." You'll see the same warning: "This may not affect certain livestreams," which is fine.

63
Click here
Step #63: Click here
64
Click on "Ewy FW"
Step #64: Click on "Ewy FW"
65
Click on "Apply"
Step #65: Click on "Apply"
66
Click here
Step #66: Click here
67
Click here
Step #67: Click here
68
Click on "Apply"
Step #68: Click on "Apply"
69
Click here
Step #69: Click here
70
Click on "WIEW"
Step #70: Click on "WIEW"
71
Double-click on "Apply"
Step #71: Double-click on "Apply"
72
Click on "Save"
Step #72: Click on "Save"

That's exactly what we want. That's one reason we don't add all the dates for every livestream at once.

73
Click on "Ok"
Step #73: Click on "Ok"

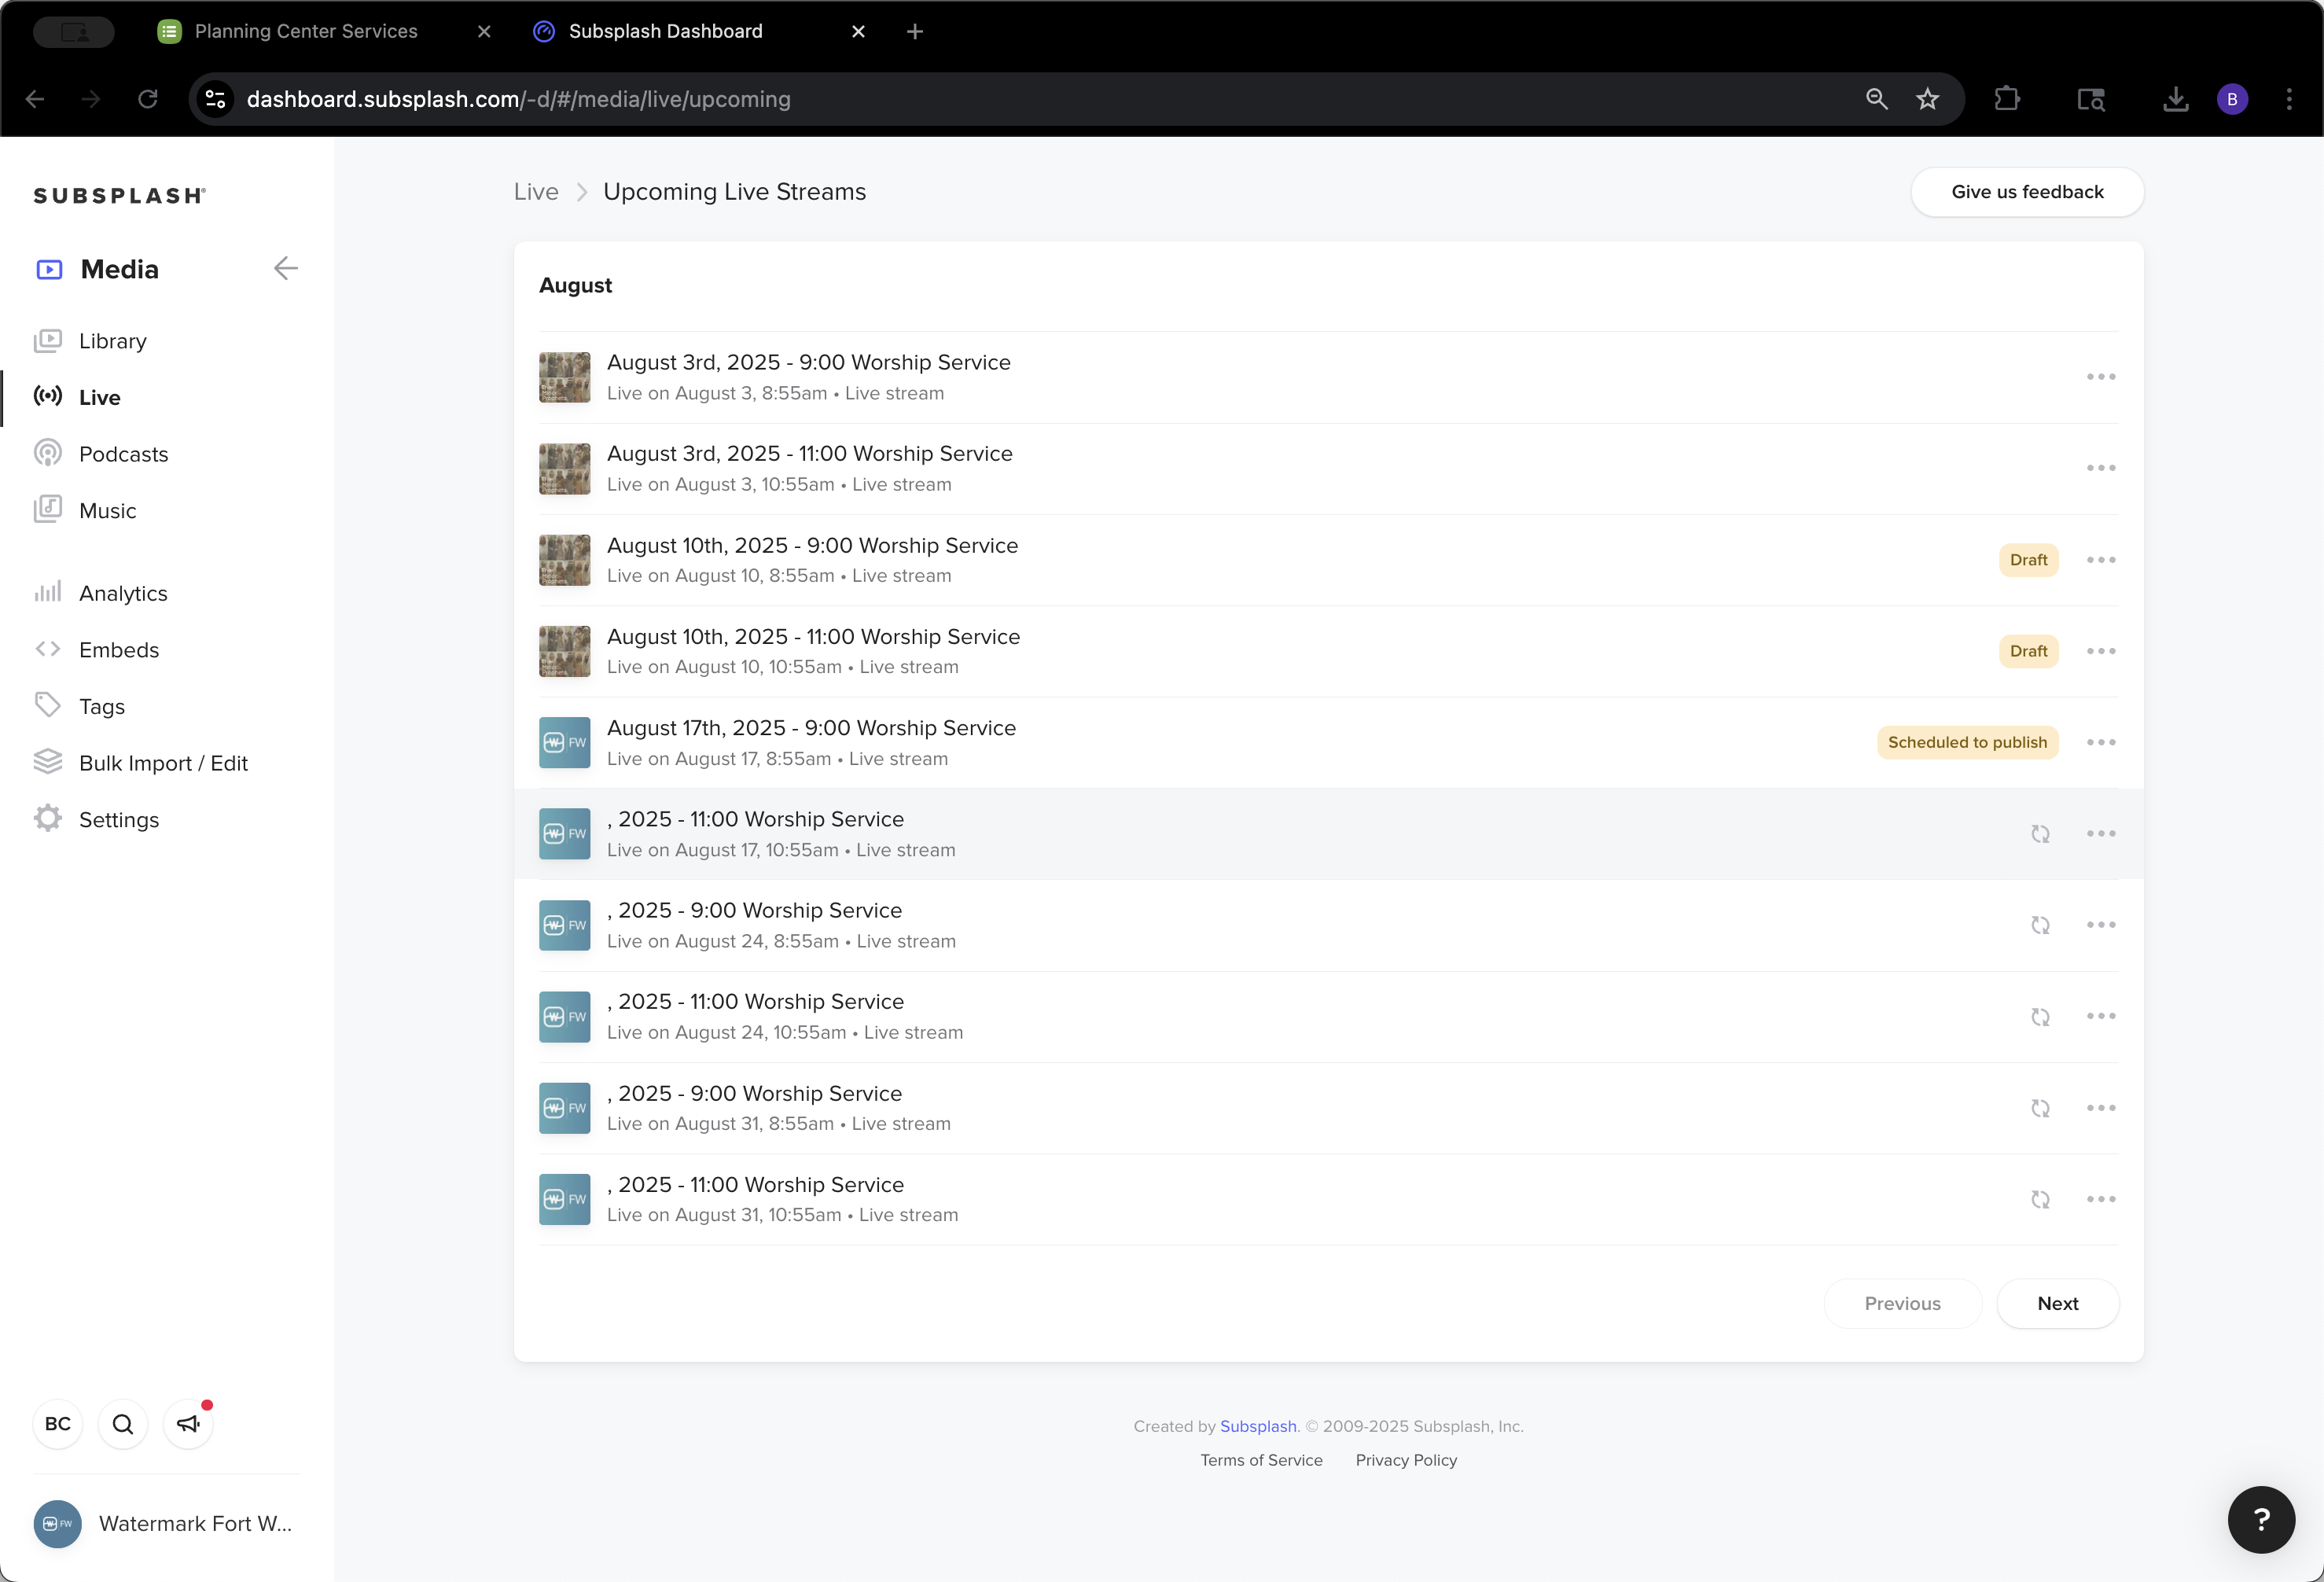
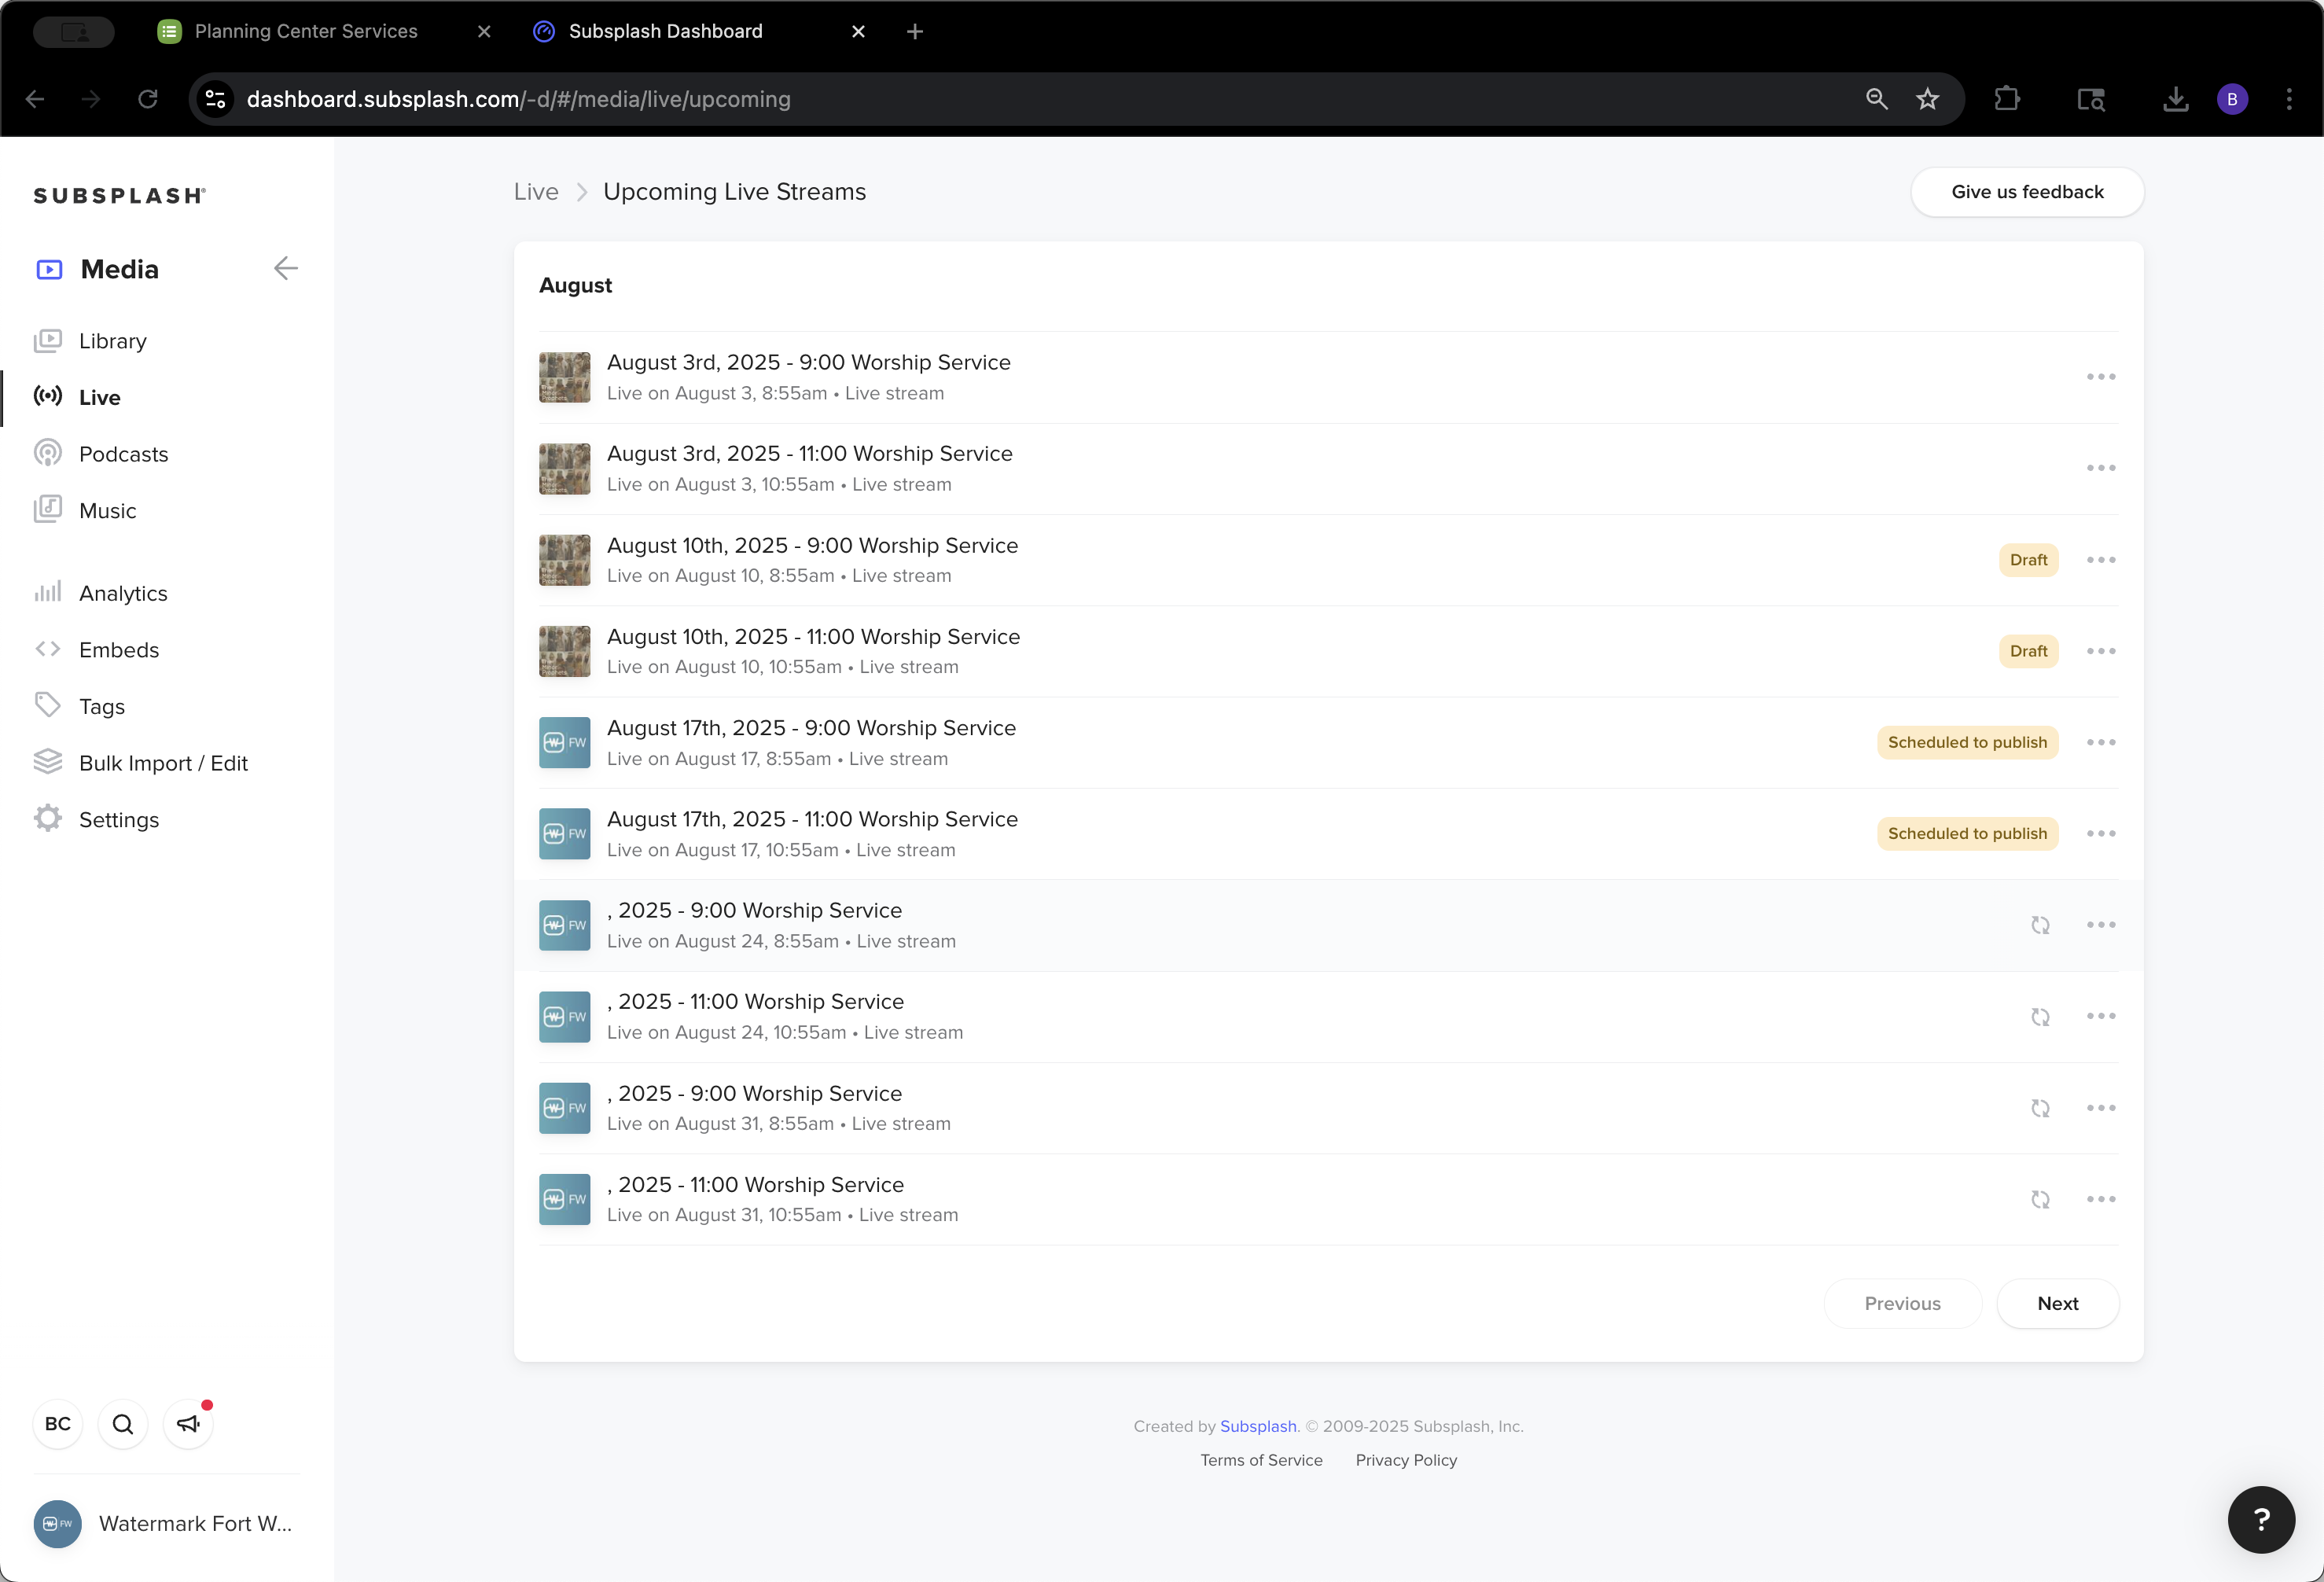
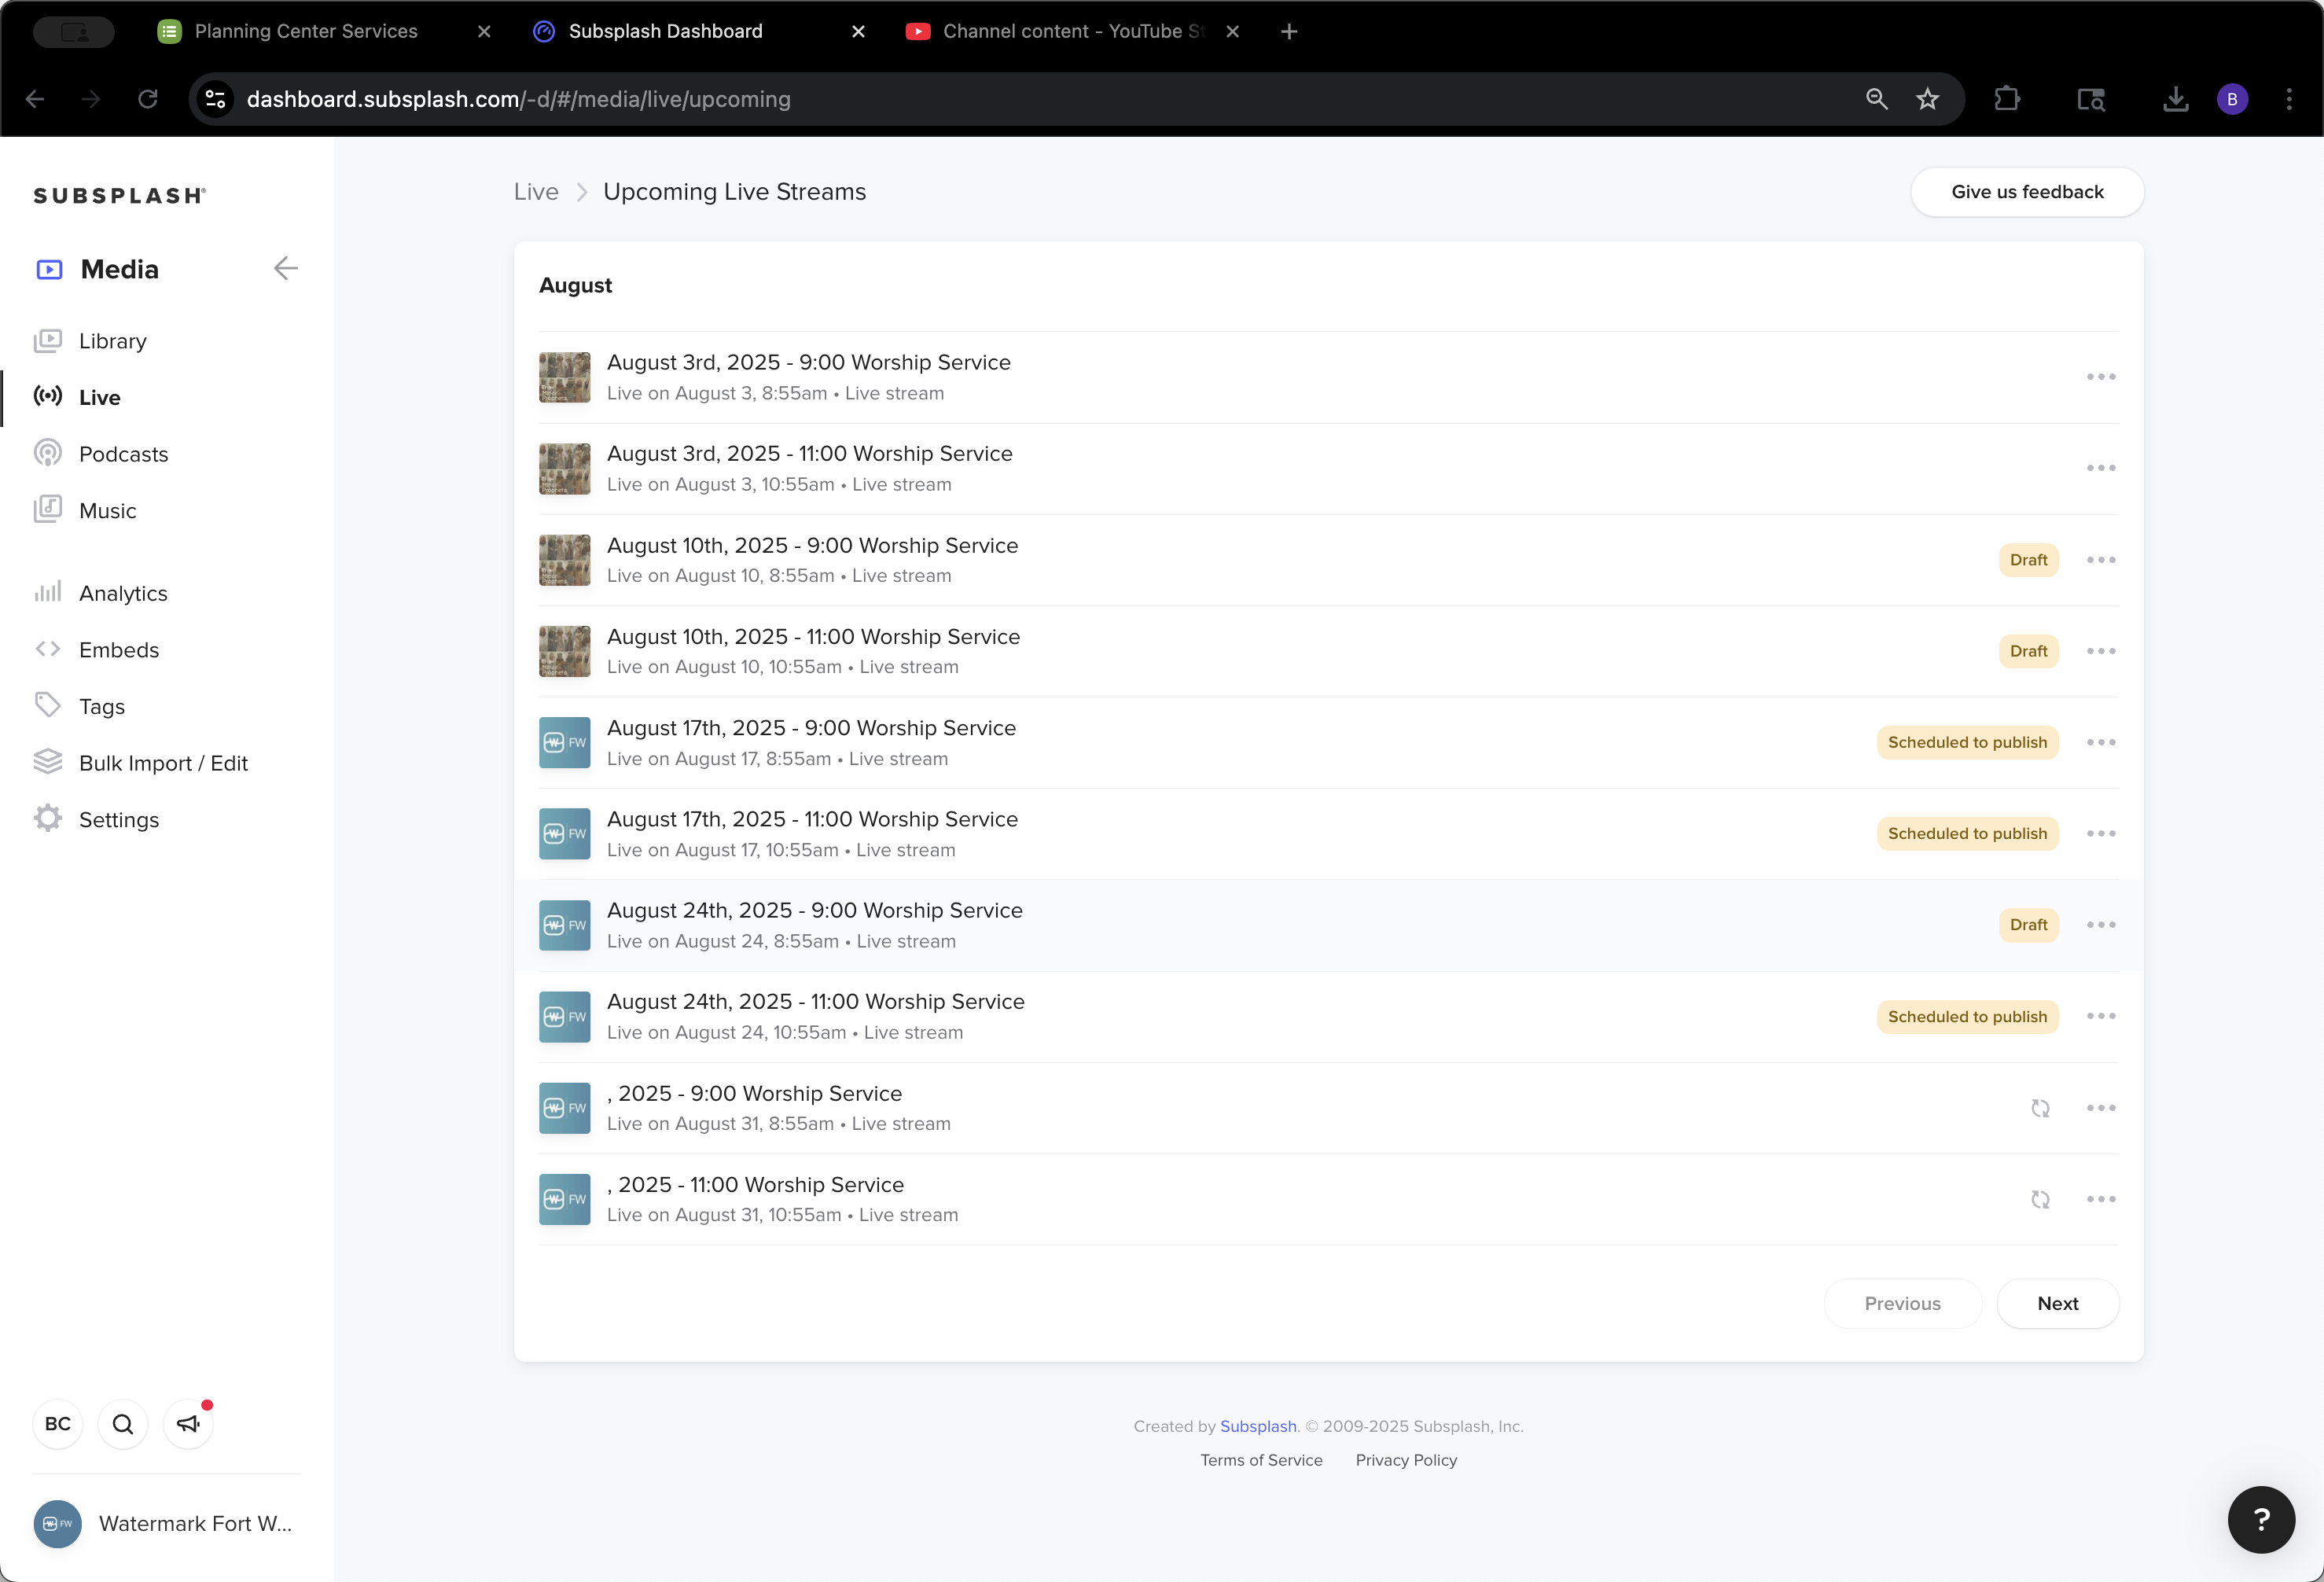
Now go to the View All list. You will see that all future non-published livestreams have switched to generic branding.

74
Click on "View all"
Step #74: Click on "View all"
75
Click on "Next"
Step #75: Click on "Next"
76
Click on "Previous"
Step #76: Click on "Previous"

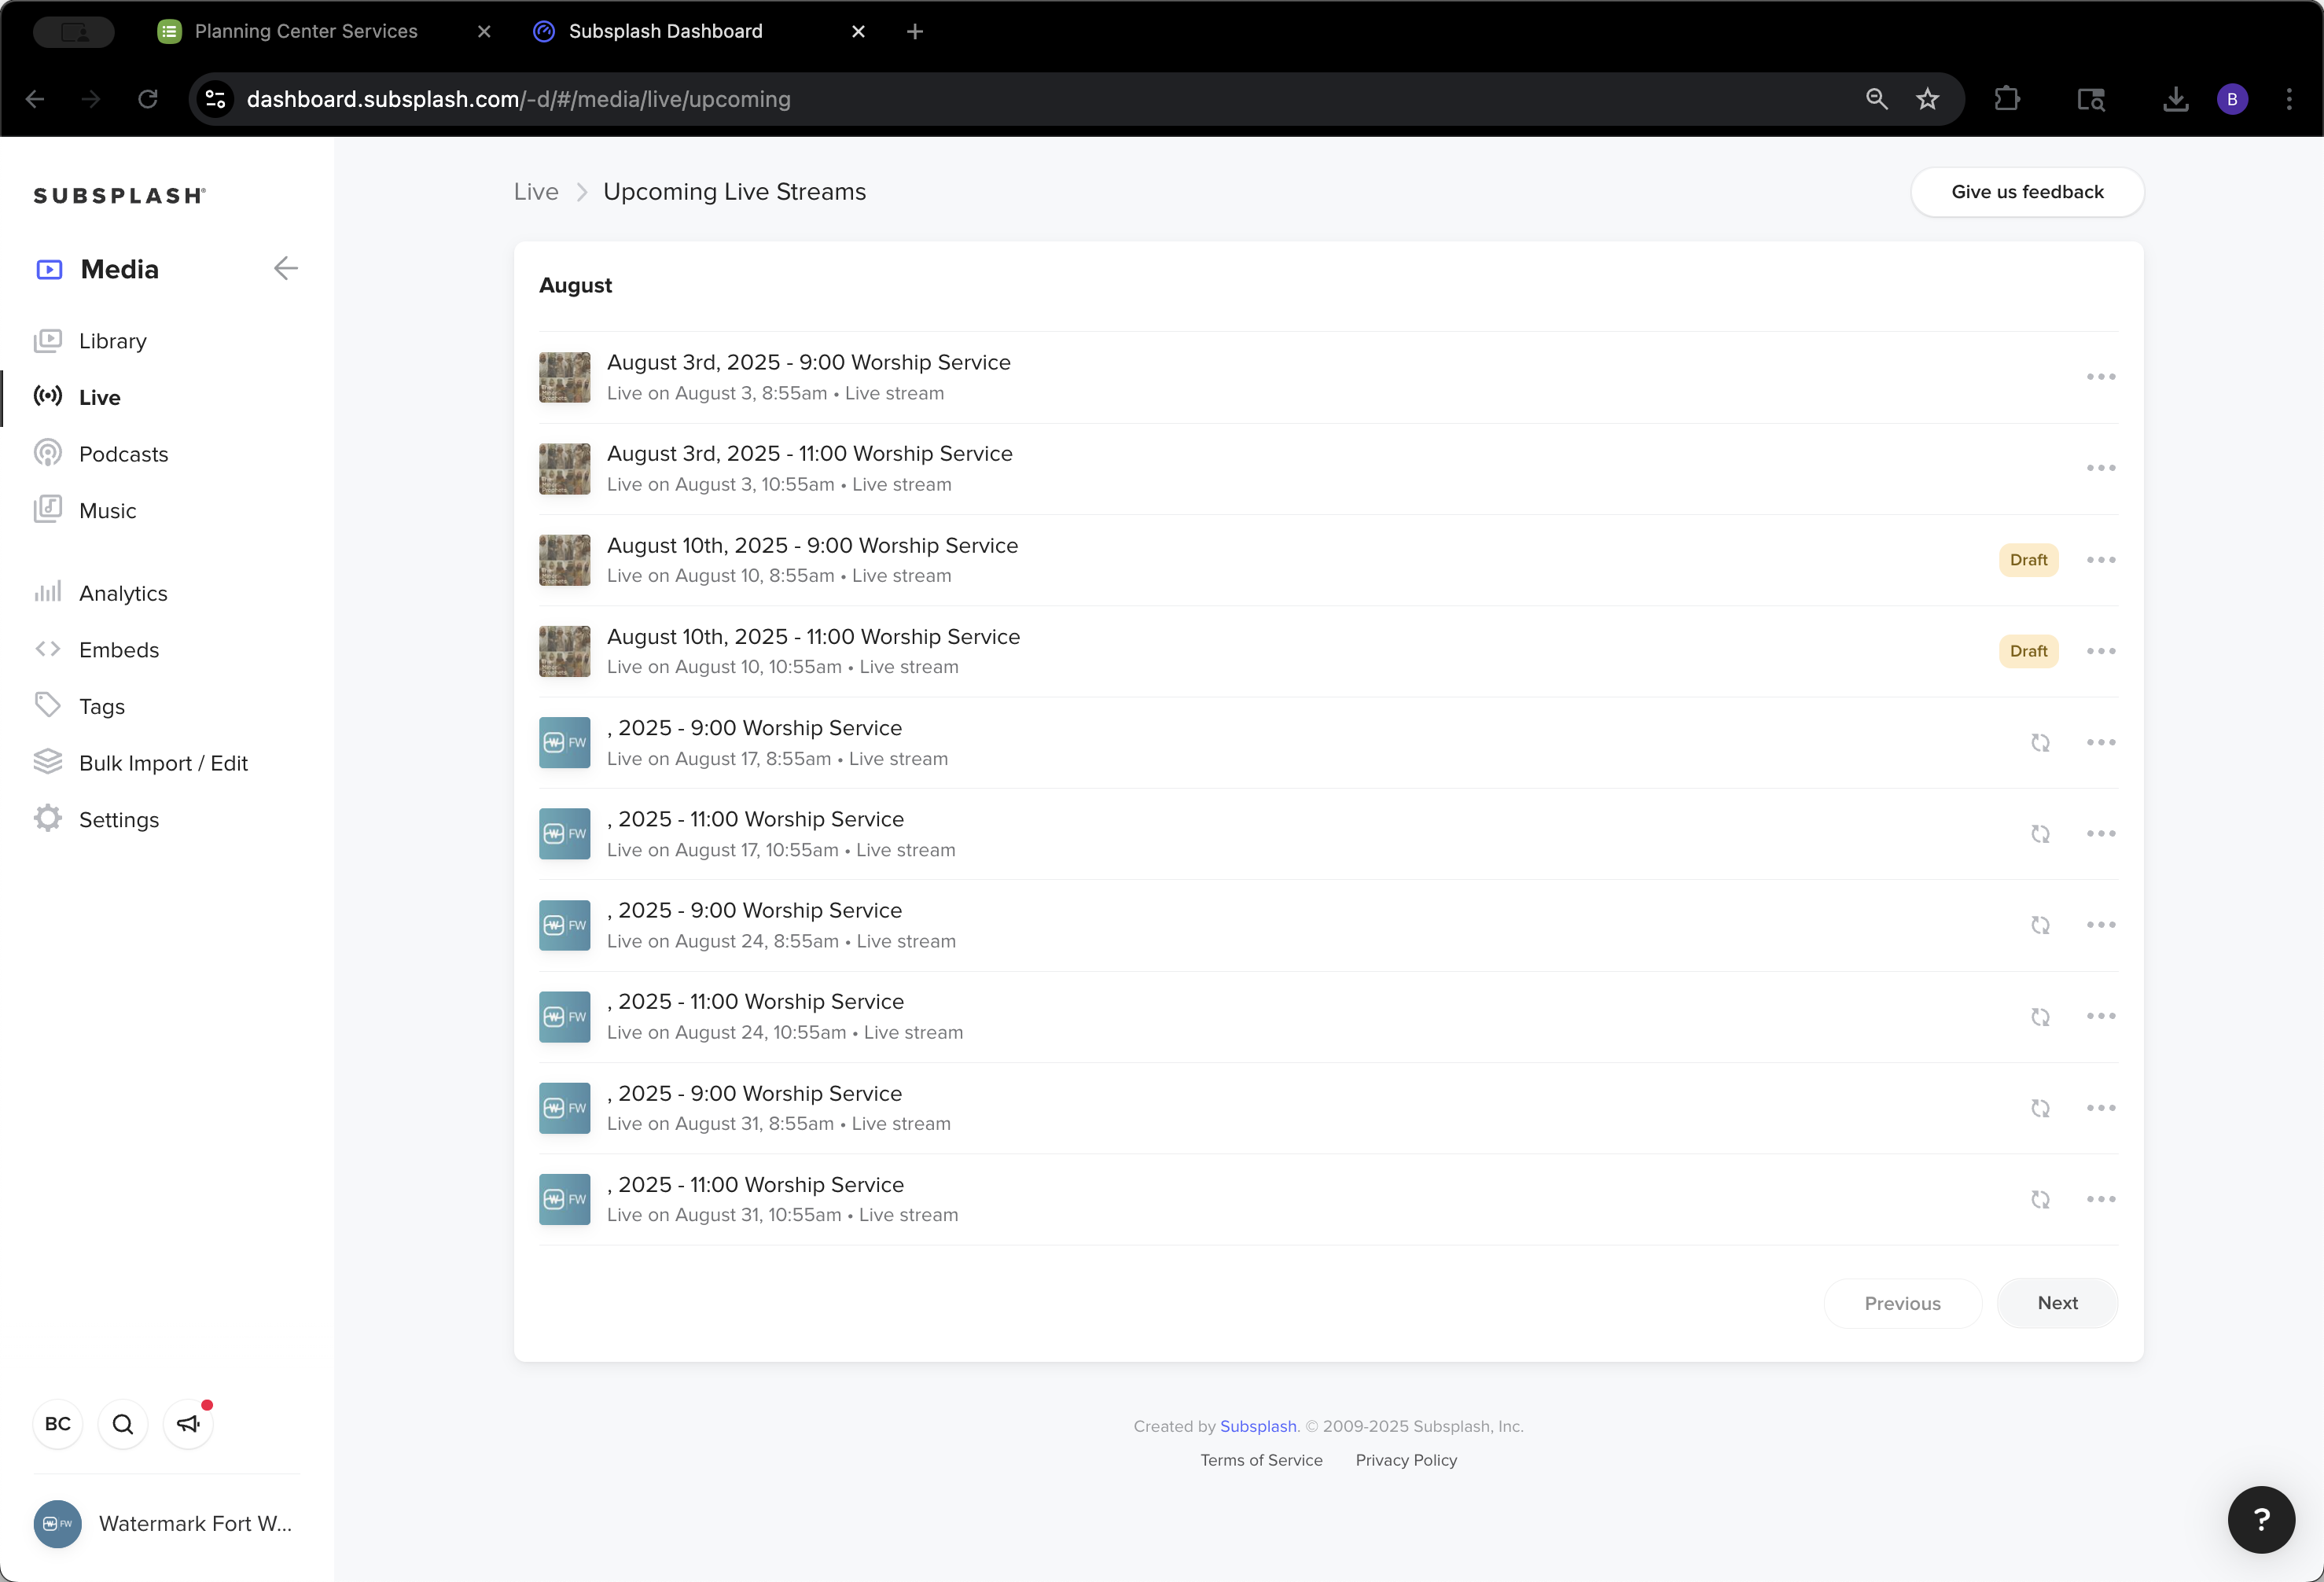
That's why we don't change the name until we know the series for each service. Go back to View All. Since we use generic branding for both August 17th and 24th, load that in along with their titles.

77
Click here
Step #77: Click here
78
Click on "Live"
Step #78: Click on "Live"
79
Click on "View all"
Step #79: Click on "View all"
80
Click here
Step #80: Click here

Just like that, then select Schedule.

81
Click here
Step #81: Click here
82
Click here
Step #82: Click here

Clicked it too soon.

83
Click on "Live"
Step #83: Click on "Live"
84
Click here
Step #84: Click here
85
Click on "Live"
Step #85: Click on "Live"

We'll repeat the process for the 24th as well.

86
Click here
Step #86: Click here
87
Click on "Live"
Step #87: Click on "Live"
88
Click on "View all"
Step #88: Click on "View all"
89
Click here
Step #89: Click here
90
Click here
Step #90: Click here
91
Click here
Step #91: Click here
92
Click on "Live"
Step #92: Click on "Live"
93
Click on "View all"
Step #93: Click on "View all"
94
Click on "Live stream"
Step #94: Click on "Live stream"
95
Click here
Step #95: Click here

Sorry, press Schedule instead of Save Draft.

96
Click on "Save draft"
Step #96: Click on "Save draft"
97
Click here
Step #97: Click here
98
Click on "Schedule"
Step #98: Click on "Schedule"

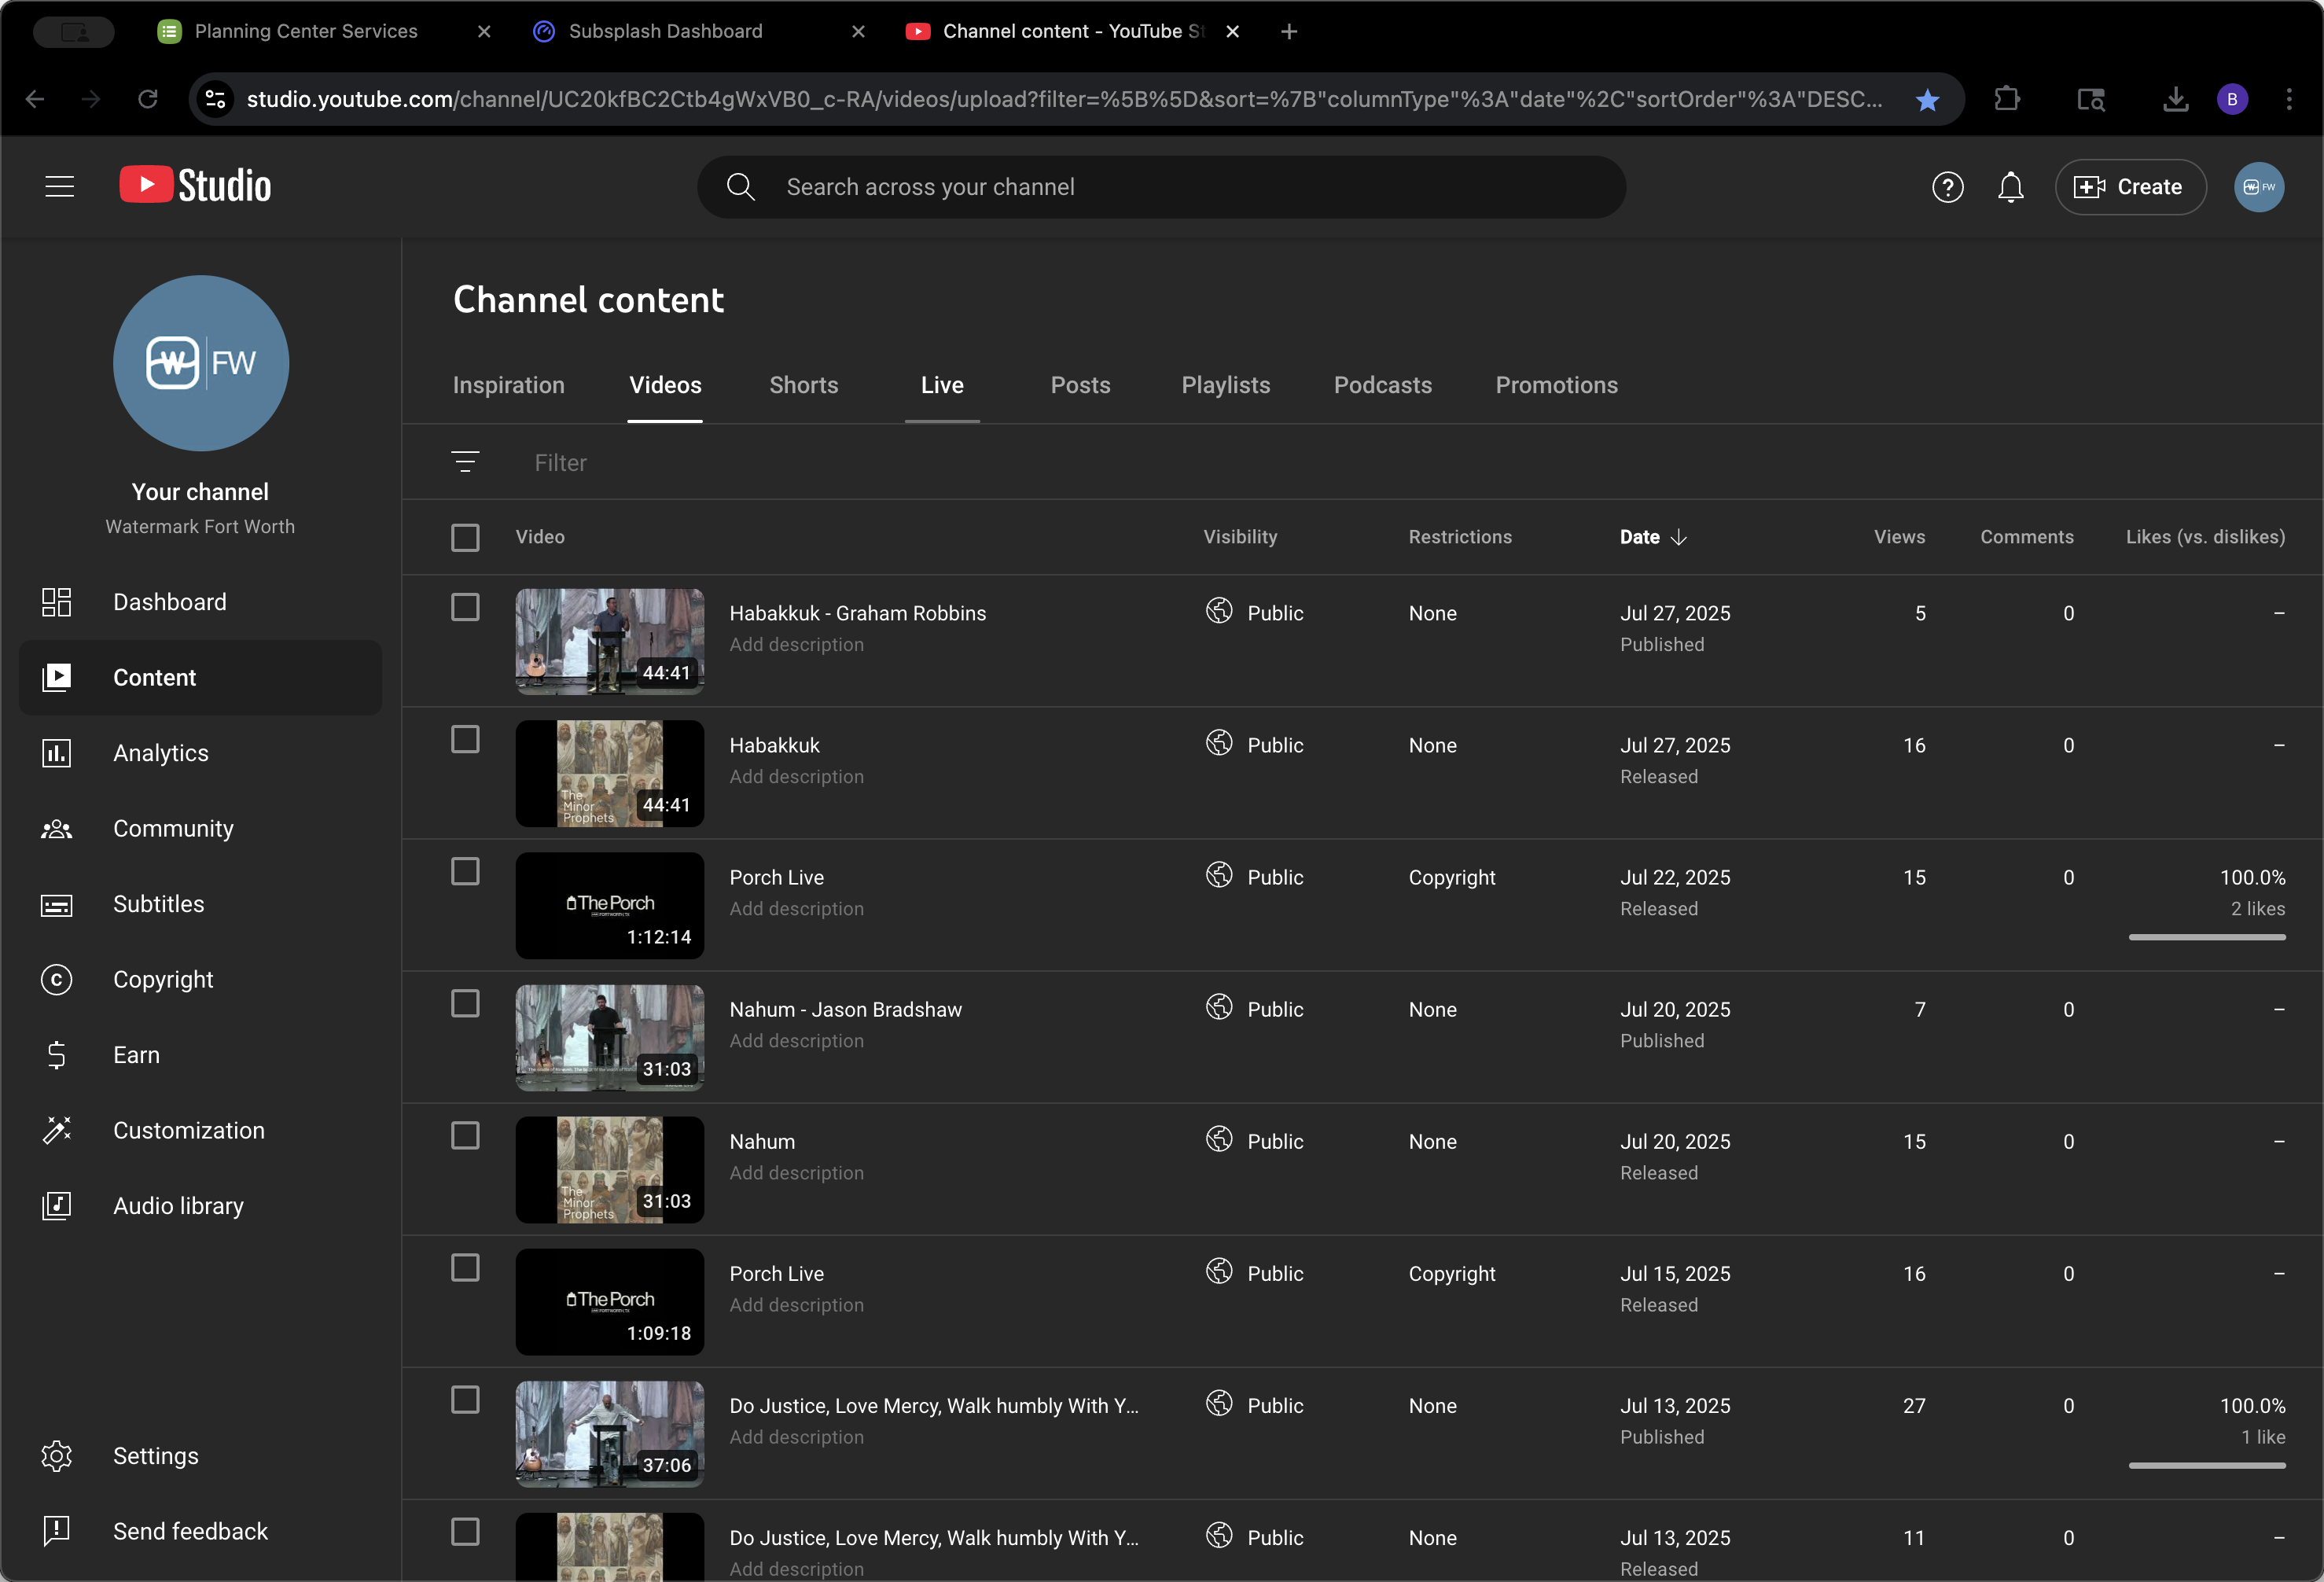
Next, go to YouTube and check that the names have been updated.

99
Click on "Live"
Step #99: Click on "Live"
100
Click here
Step #100: Click here
101
Click here
Step #101: Click here
102
Click on "11:00 Worship Service"
Step #102: Click on "11:00 Worship Service"
103
Click on "2025 - 11:00 Worship Service"
Step #103: Click on "2025 - 11:00 Worship Service"
104
Click here
Step #104: Click here
105
Click here
Step #105: Click here
106
Click on "YT"
Step #106: Click on "YT"
107
Click on "Subsplash Dashboard"
Step #107: Click on "Subsplash Dashboard"
108
Click on "Live"
Step #108: Click on "Live"

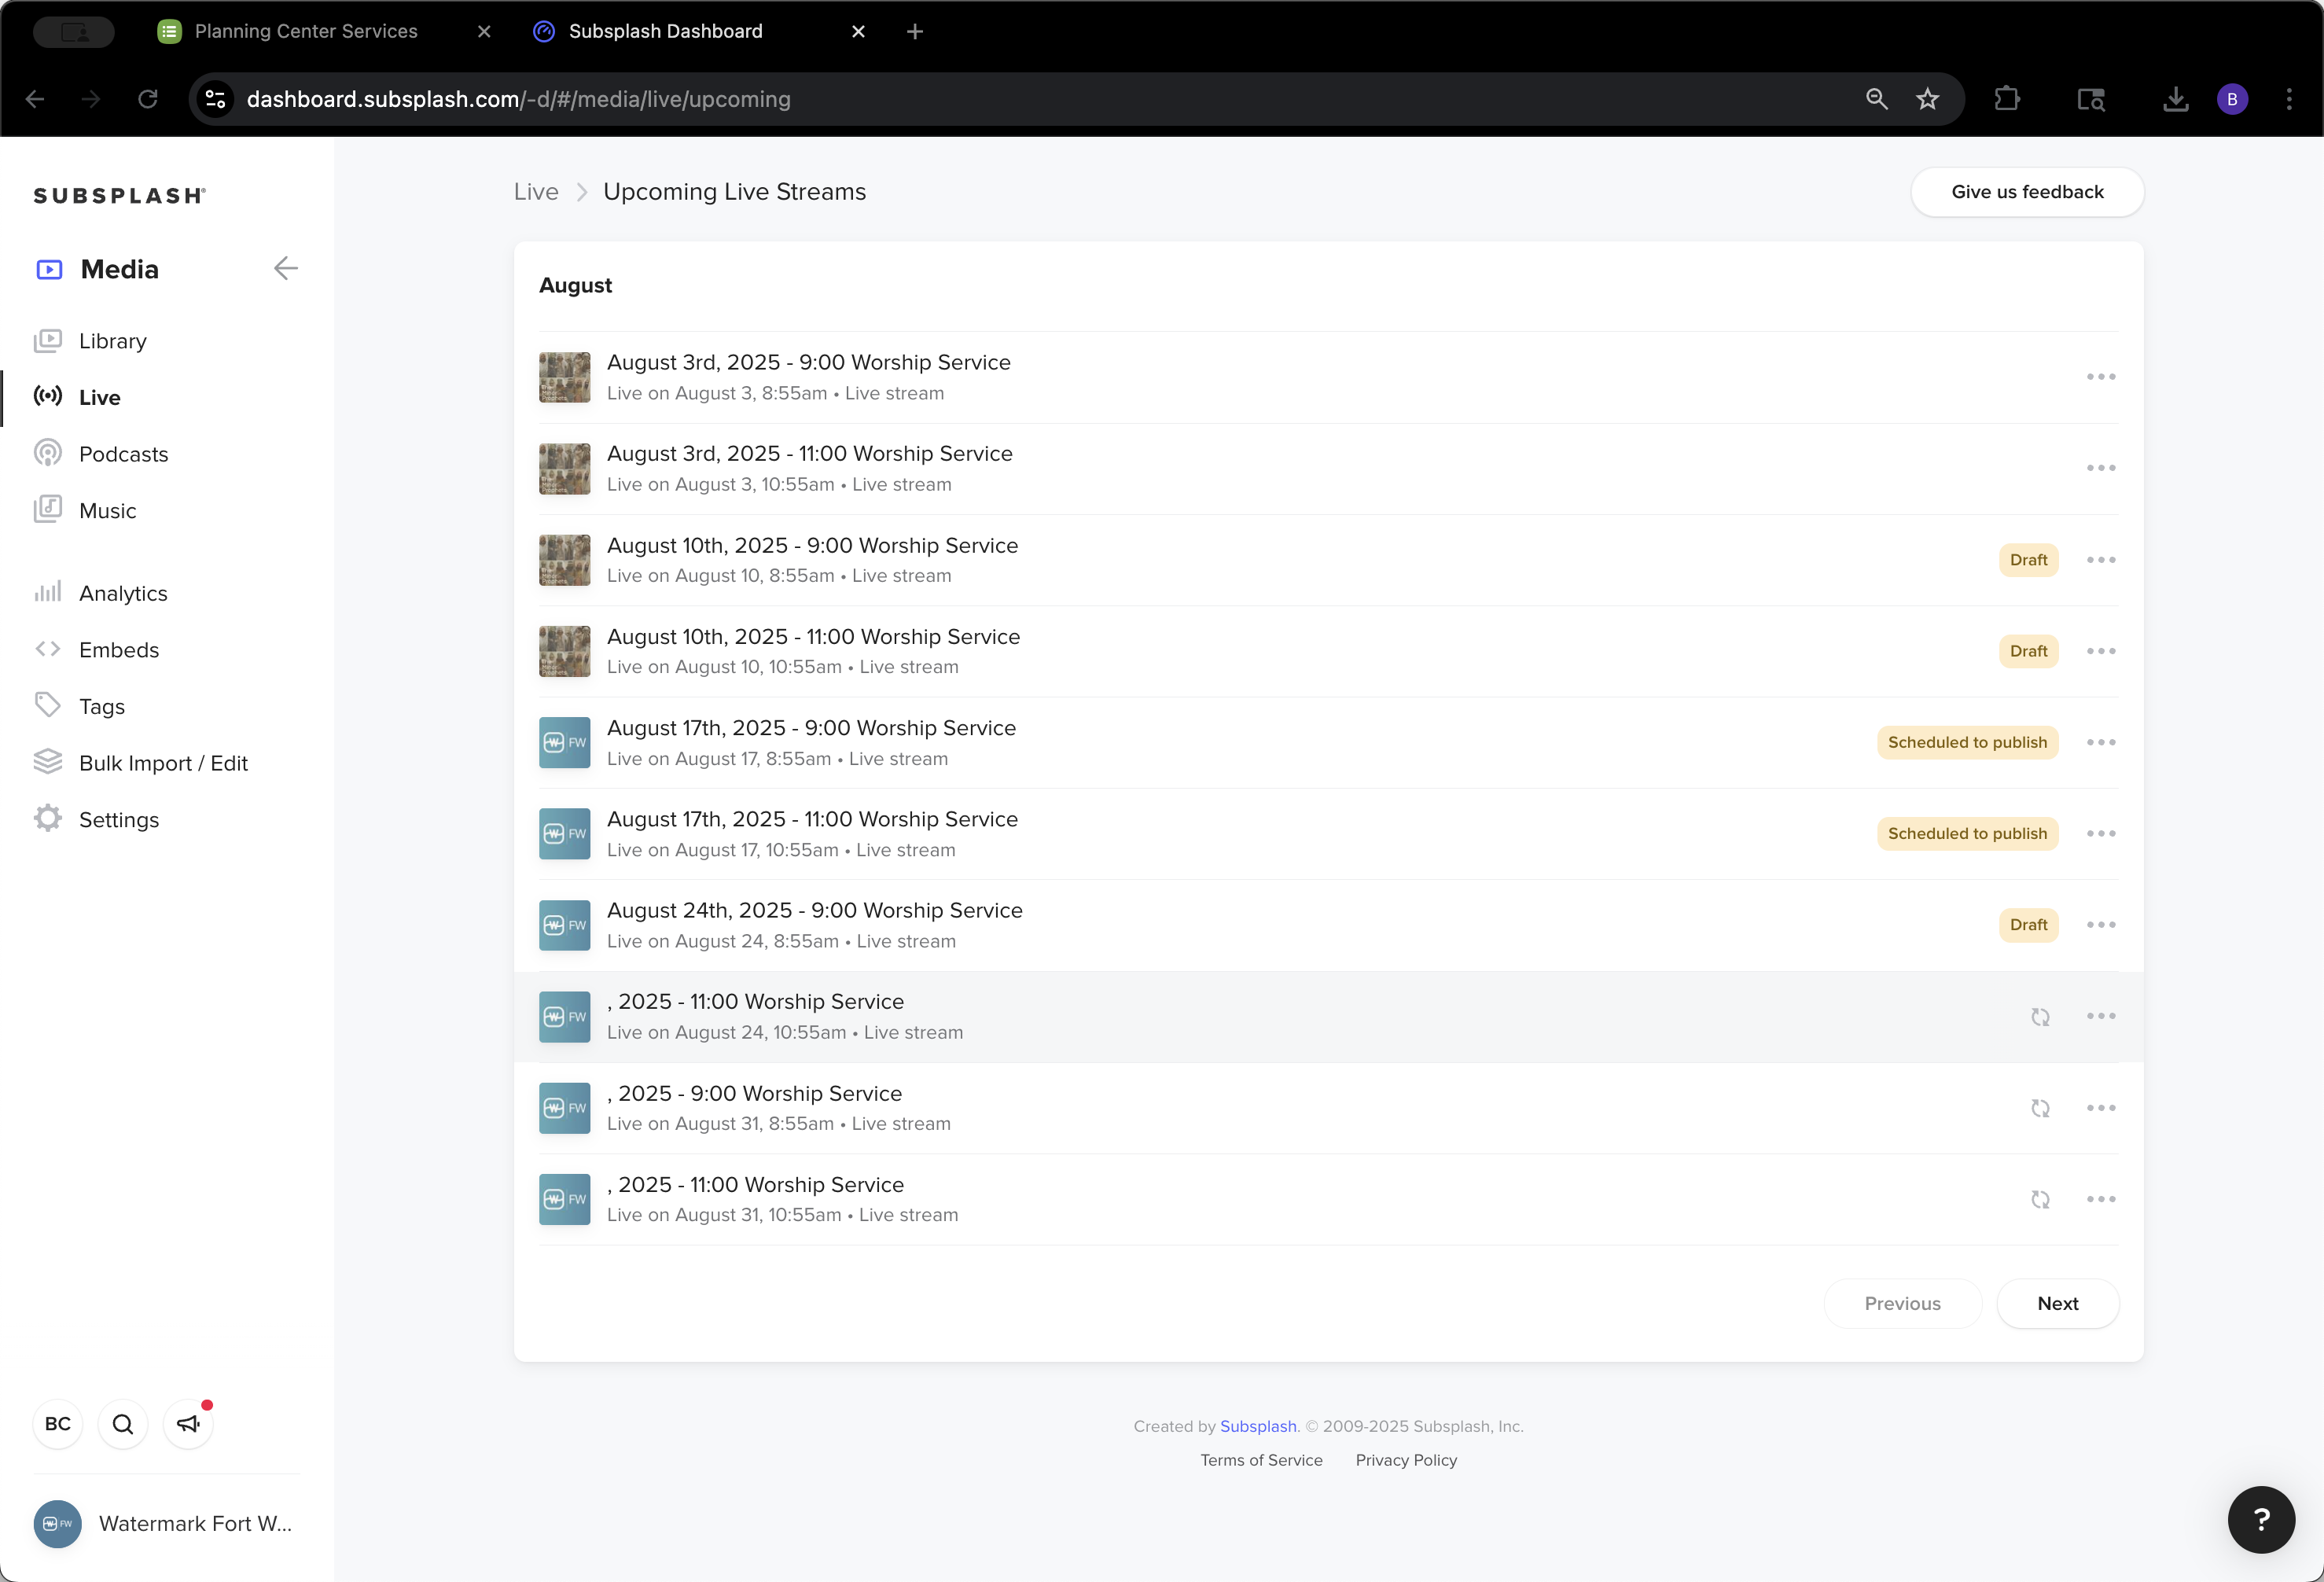
Switch to the Live tab. Now, August 3rd, 10th, 17th, and 24th are all set up in YouTube. Everything is uploaded and available where needed.

109
Click on "View all"
Step #109: Click on "View all"
110
Click here
Step #110: Click here
111
Click here
Step #111: Click here
112
Click on "Unpublish"
Step #112: Click on "Unpublish"
113
Click here
Step #113: Click here
114
Click on "Live"
Step #114: Click on "Live"
115
Click here
Step #115: Click here
116
Click on "Live"
Step #116: Click on "Live"
117
Click on "Channel content - YouTube St"
Step #117: Click on "Channel content - YouTube St"
118
Click on "Live"
Step #118: Click on "Live"
119
Click on "Subsplash Dashboard"
Step #119: Click on "Subsplash Dashboard"
120
Click on "←"
Step #120: Click on "←"
121
Click here
Step #121: Click here

That's how we manage our media.

122
Click here
Step #122: Click here
123
Click here
Step #123: Click here