
How to Set Up a Photosphere in a Project: Step-by-Step Guide
Learn how to set up and configure a PhotoSphere template in your project, including camera selection, user permissions, template naming, and scheduling for optimal 360-degree site views.
In this guide, we'll learn how to set up PhotoSpheres for a project so users can view 360-degree images generated from site cameras. We will cover how to choose the best camera stream, configure user permissions, and create PhotoSphere templates using the project API. This process helps ensure that project stakeholders can access and review site imagery efficiently.
Let's get started
Hello, everyone. This is another instructional video. How to set up a PhotoSphere template in a project and configure it so users can view the generated PhotoSpheres. This process is collectively known as setting up PhotoSpheres for a project. Here I am.
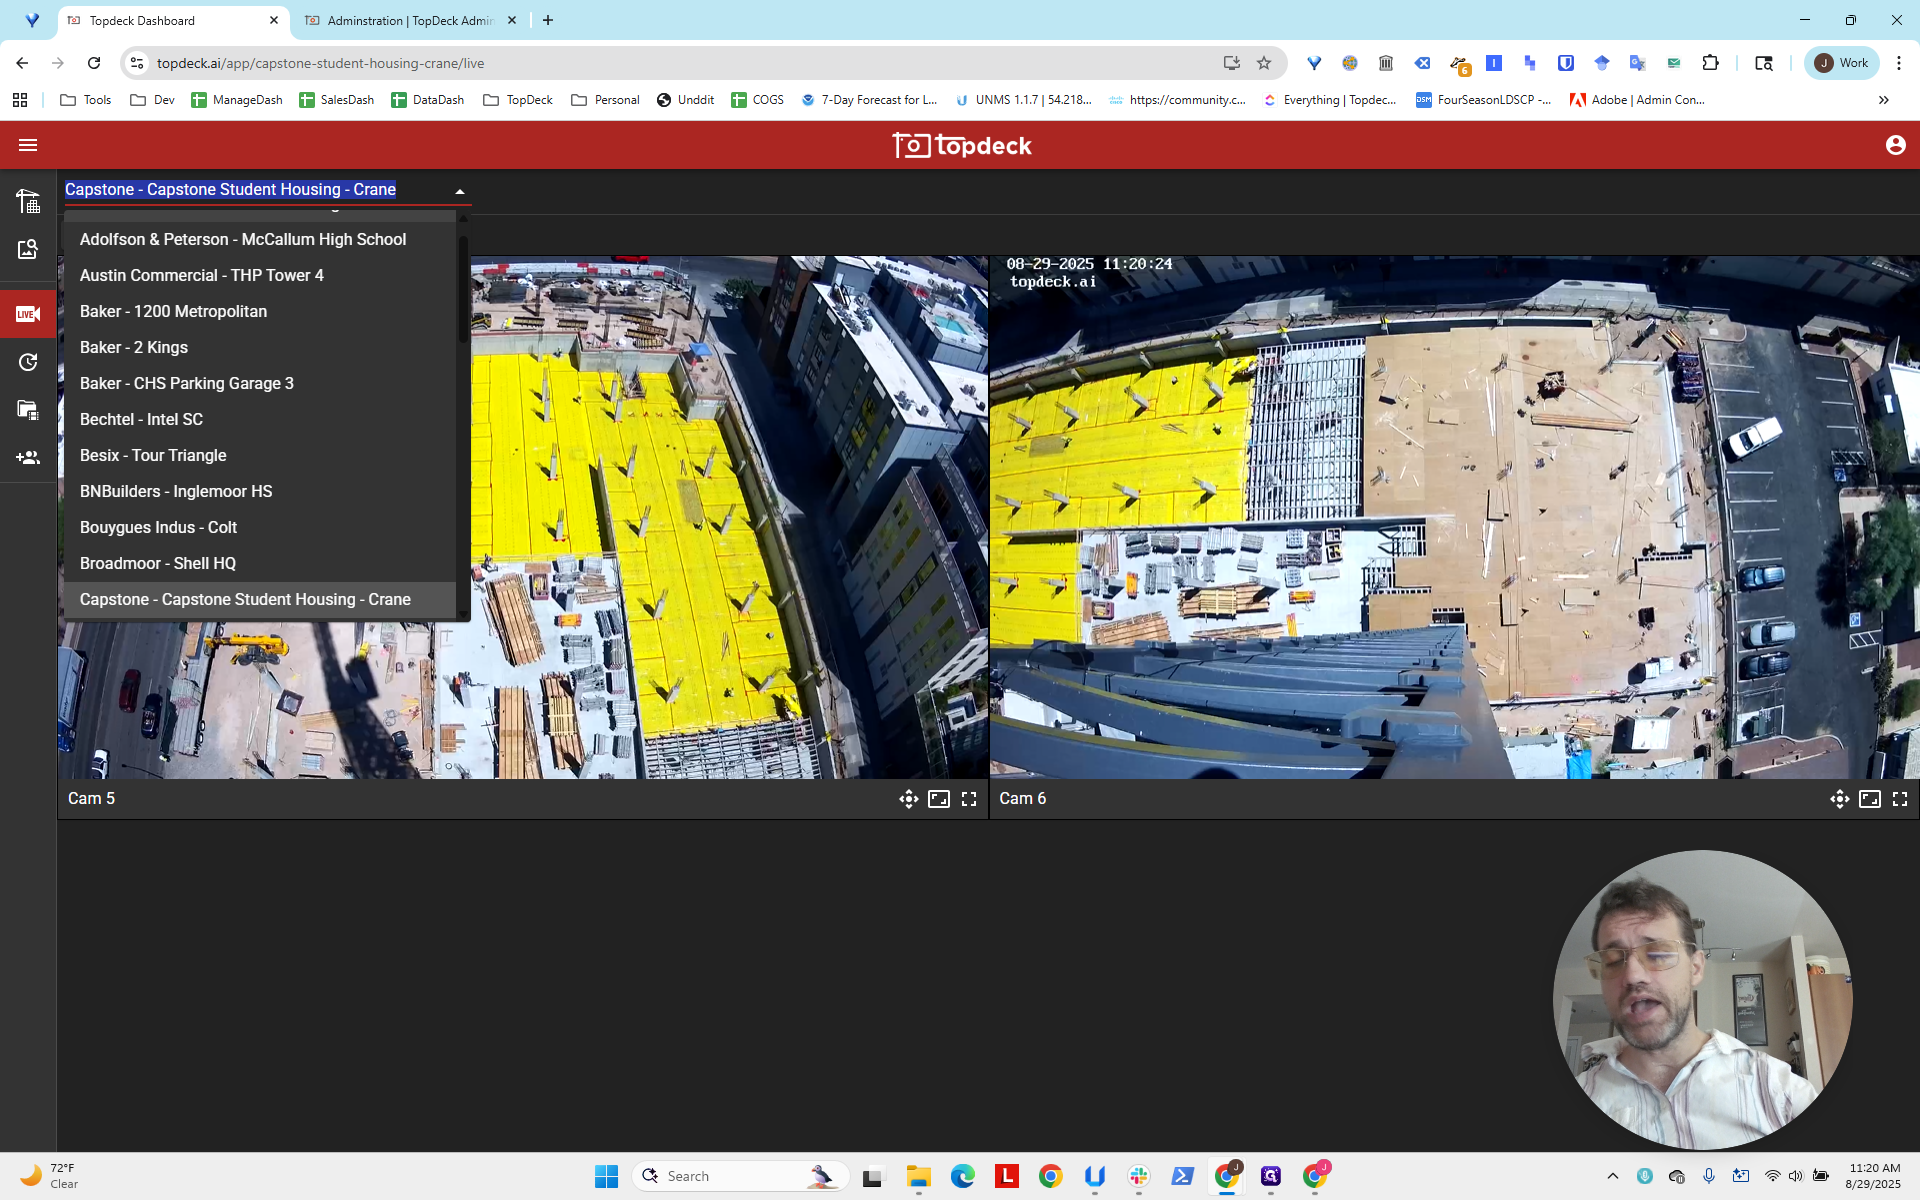
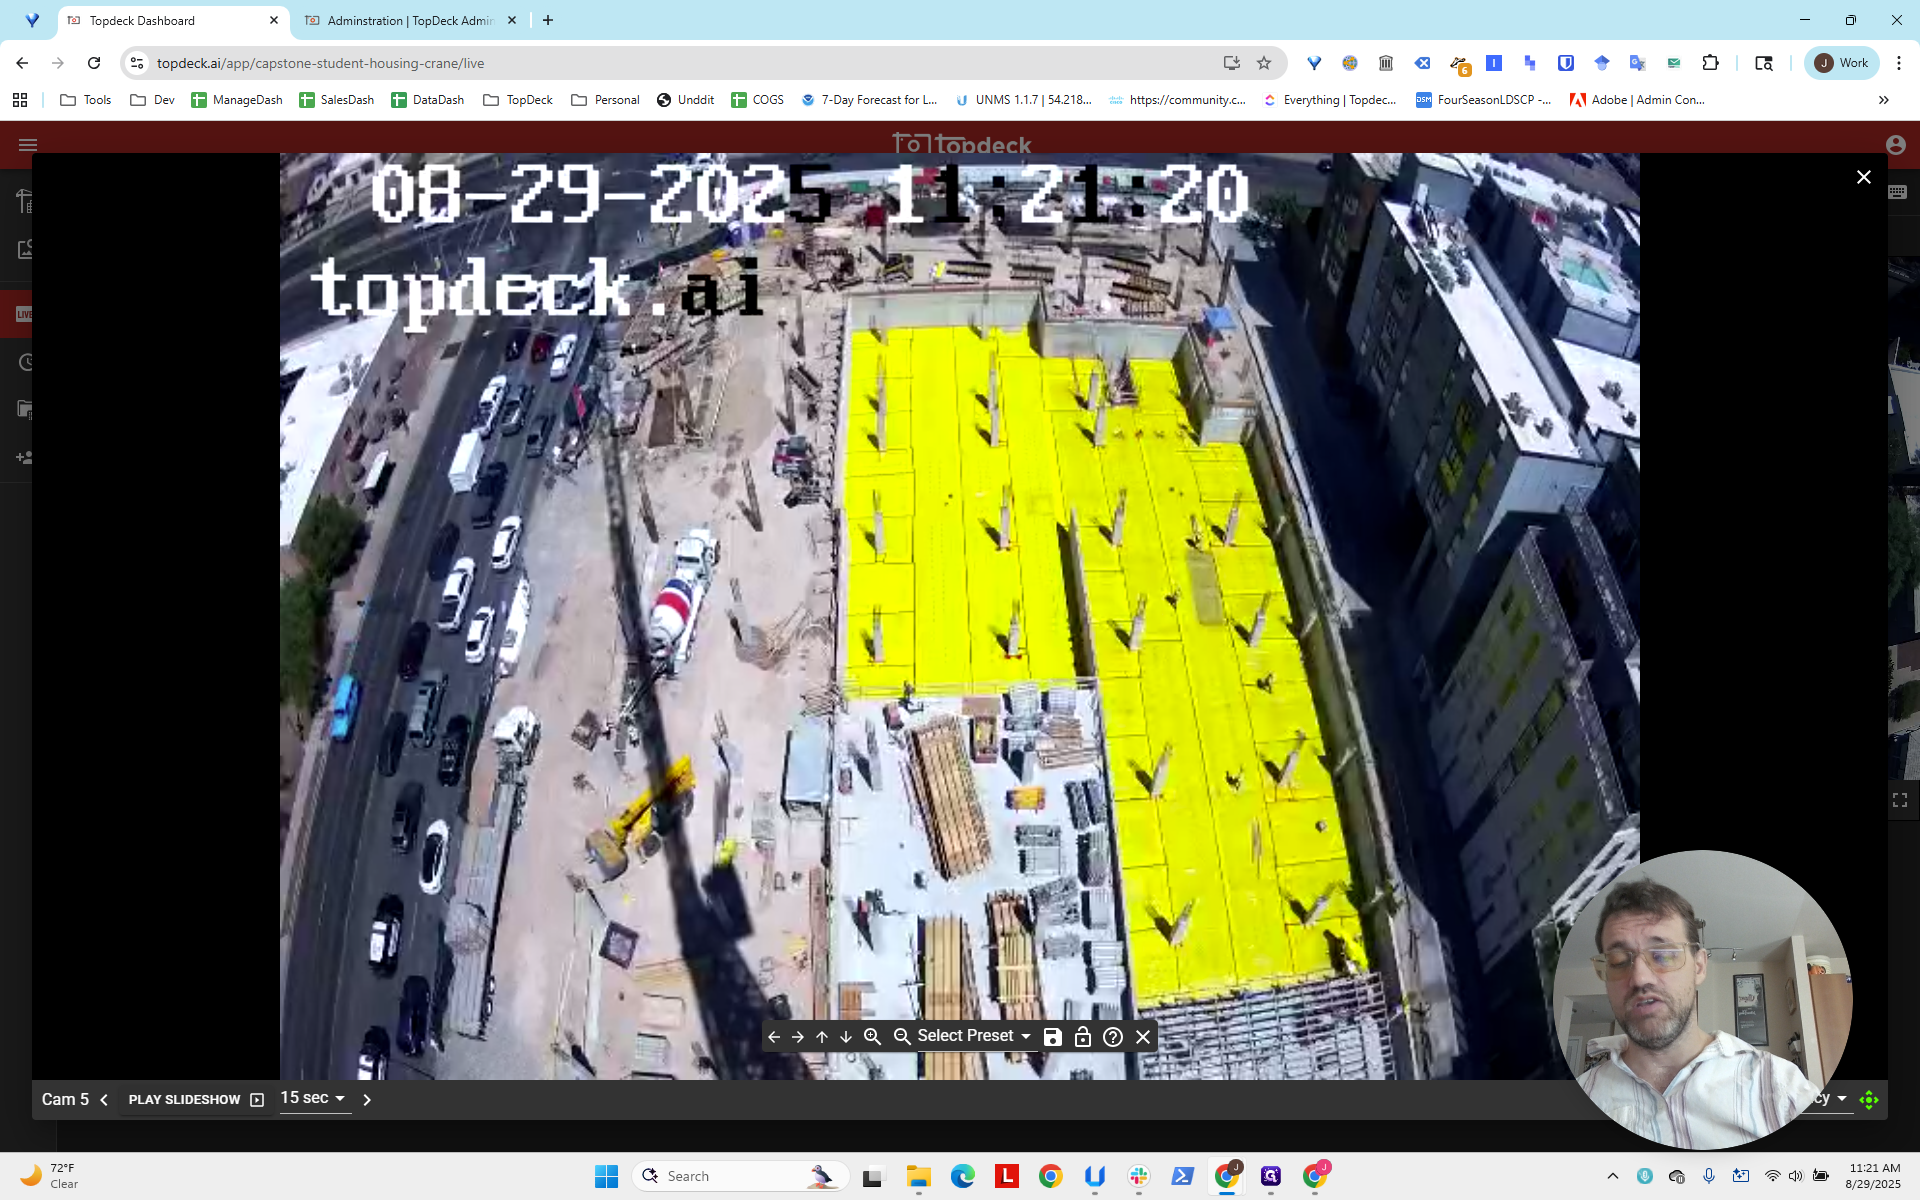
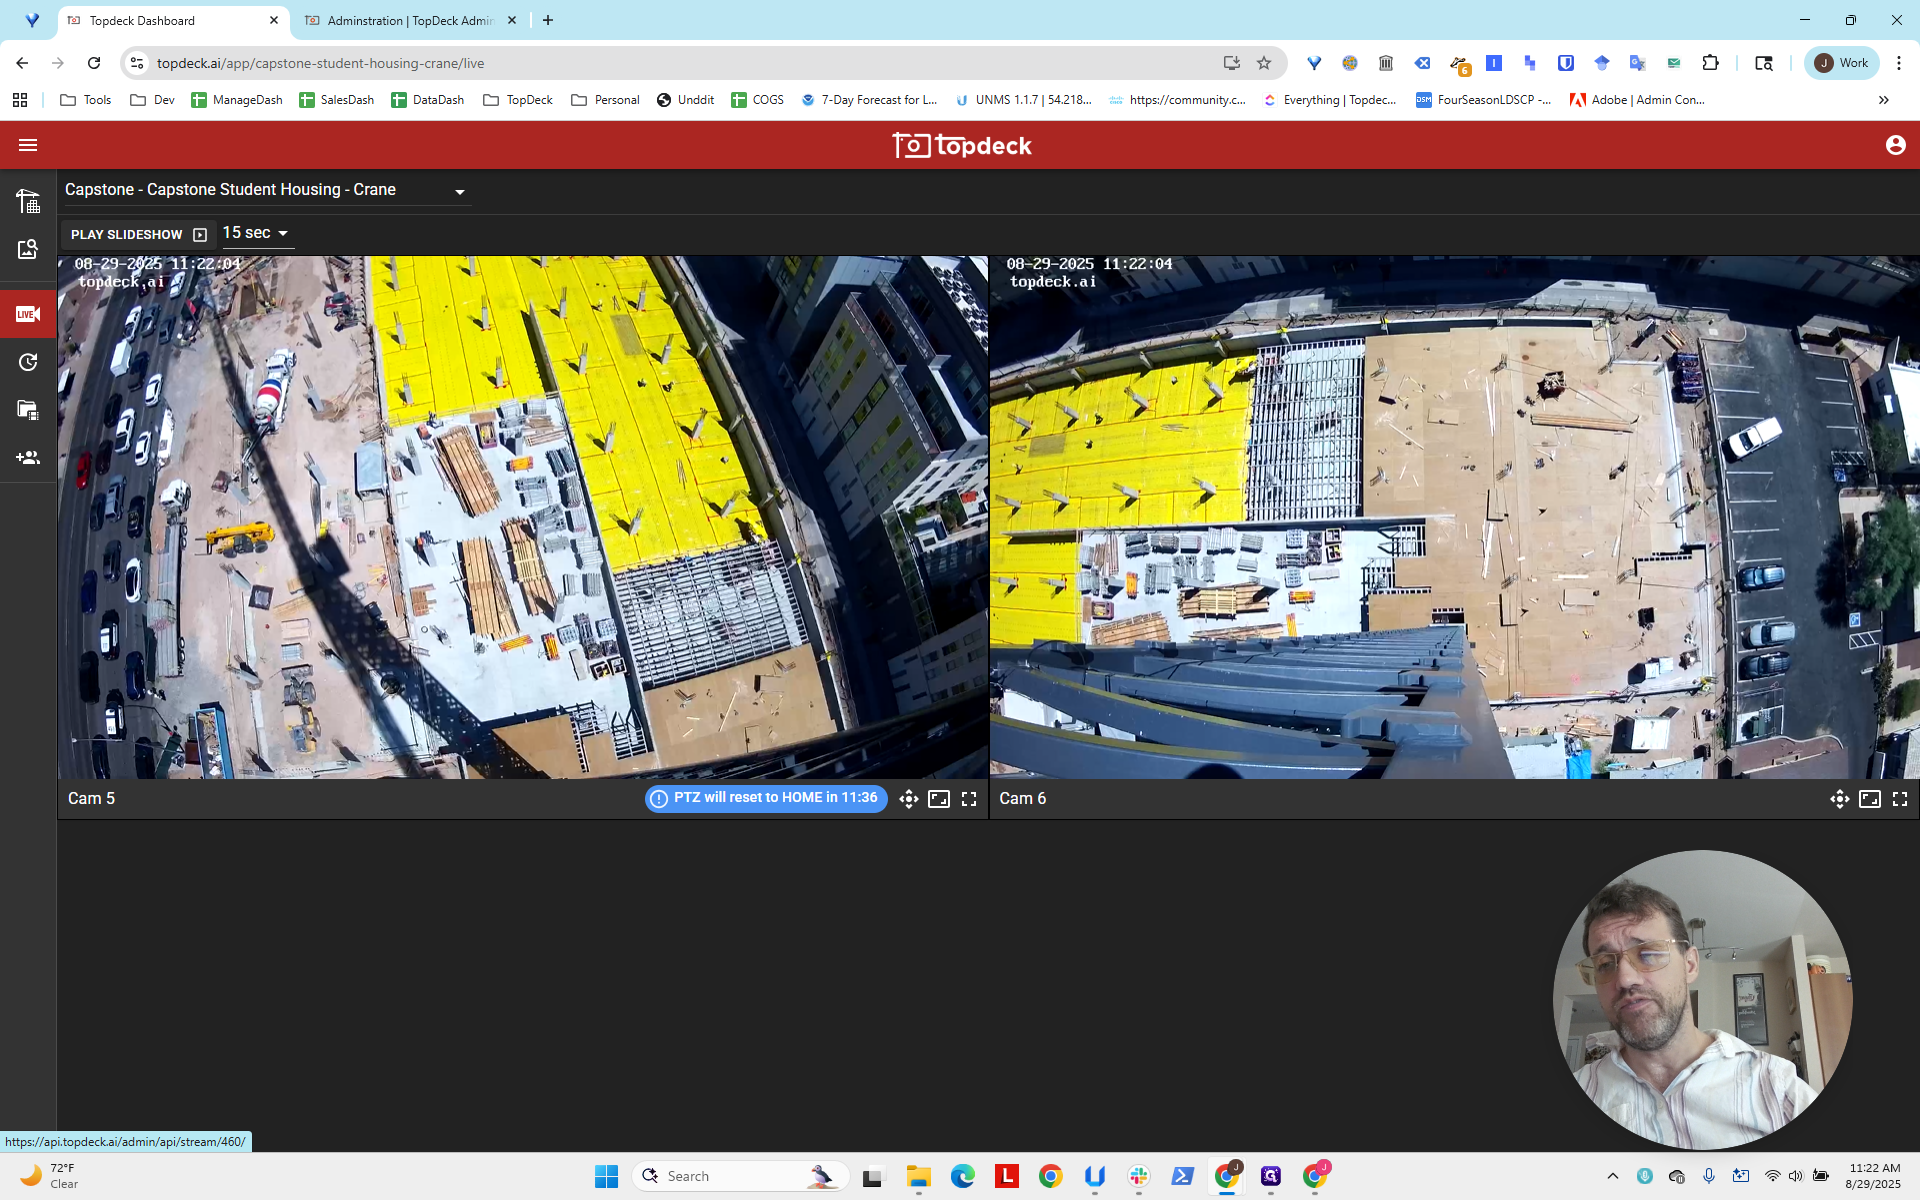
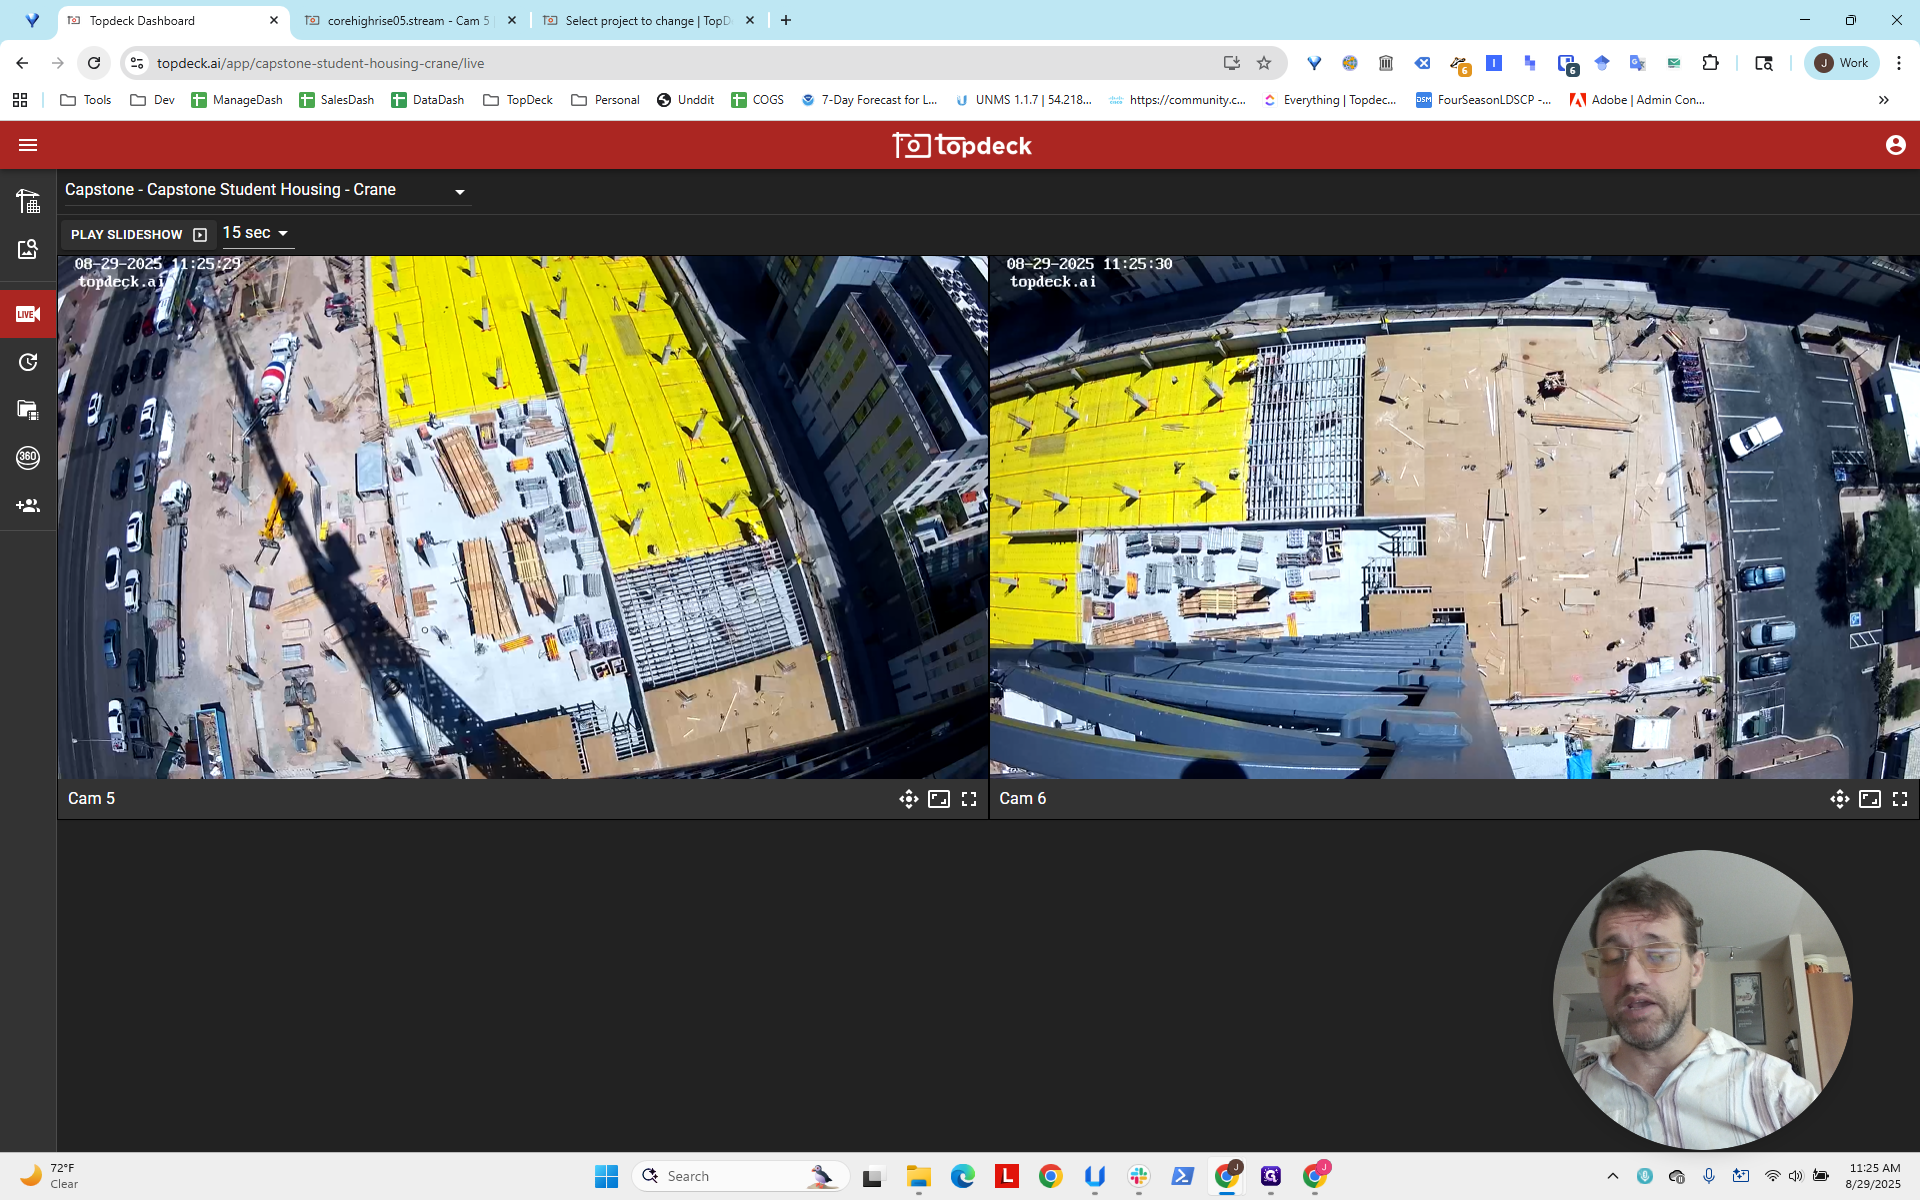
I have gone to the project page. In this case, I worked on Capstone and Capstone Student Housing Crane. Just note the full name here when you look at it.
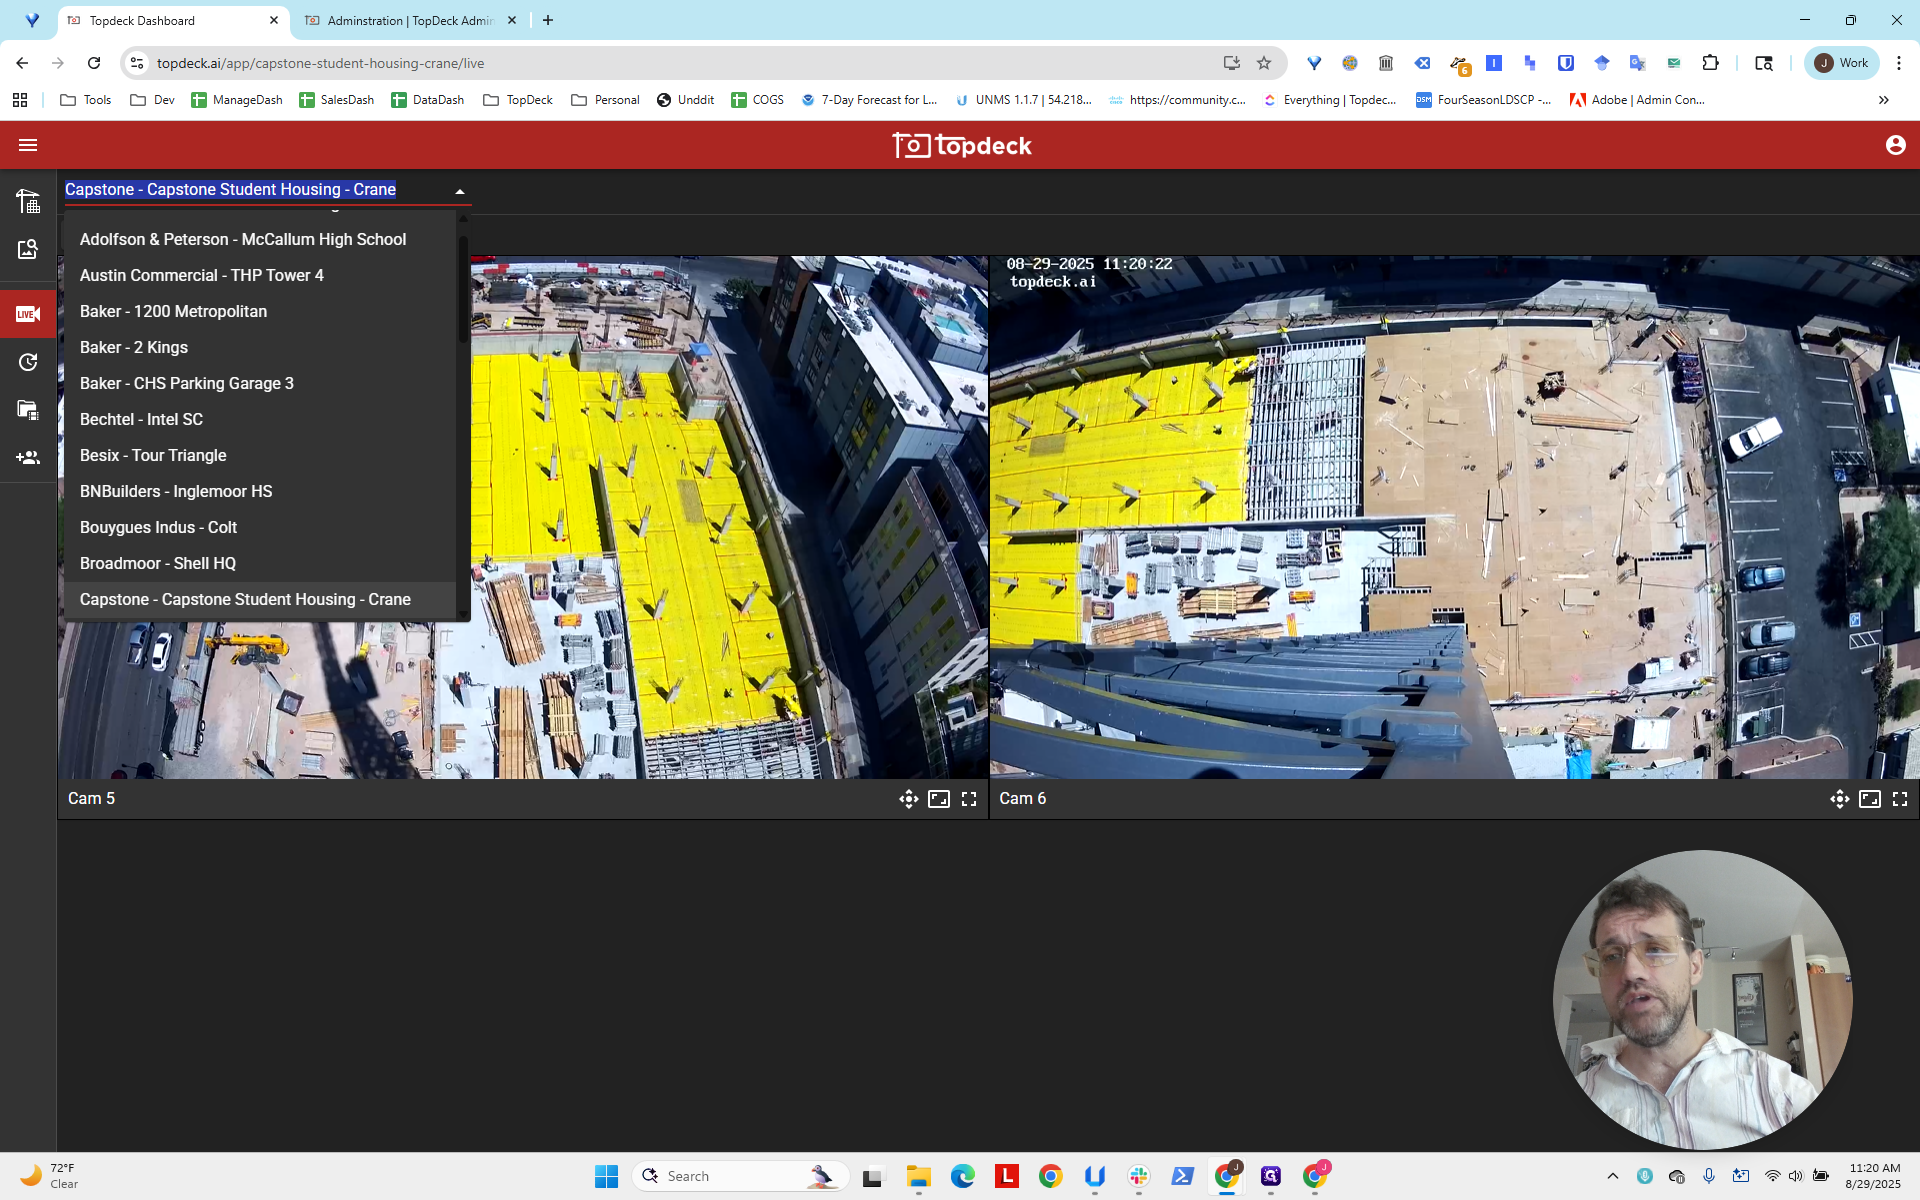
First, we need to decide which video stream to use to extract the PhotoSphere.
You can see the layout of the site here. This seems to be long, facing the street, with the laydown yard on the left. This one on the right appears to be directed toward the back area.
Note where the camera is placed on the crane so you can choose the one with the best view of the working deck area.
Unfortunately, we will never have a Photosphere capable of capturing a full 360-degree view of a work site on a crane camera because the crane mast is partially occluding; the best is 270-degree.

There's no perfect solution. Do your best with what you can accomplish.
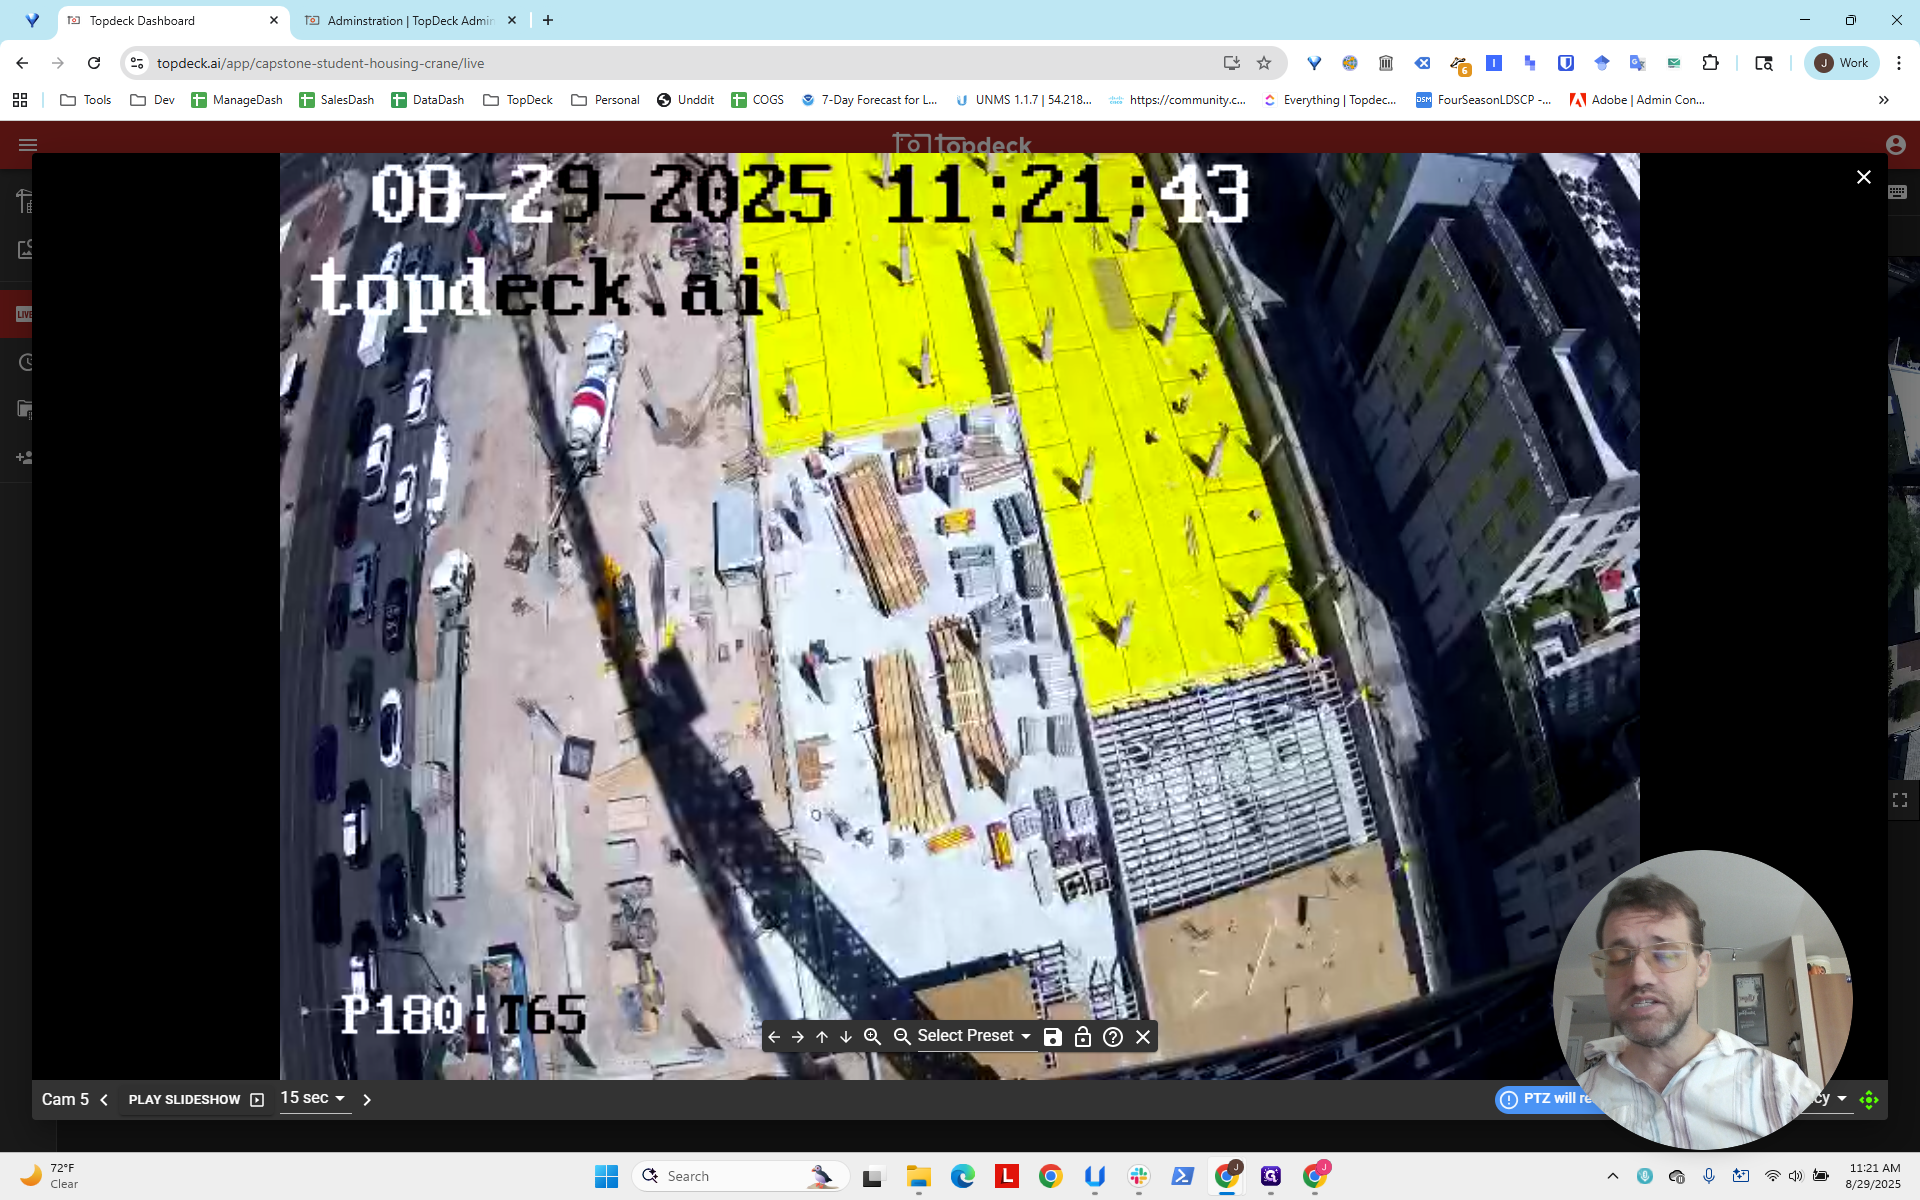
We will enter PTZ mode and zoom in to get our bearings, pointing the camera down toward the crane. It's positioned diagonally from the other camera, which unfortunately blocks the view of the back area. However, it does cover the laydown yard and most of the deck.
I'm going to click out of this.
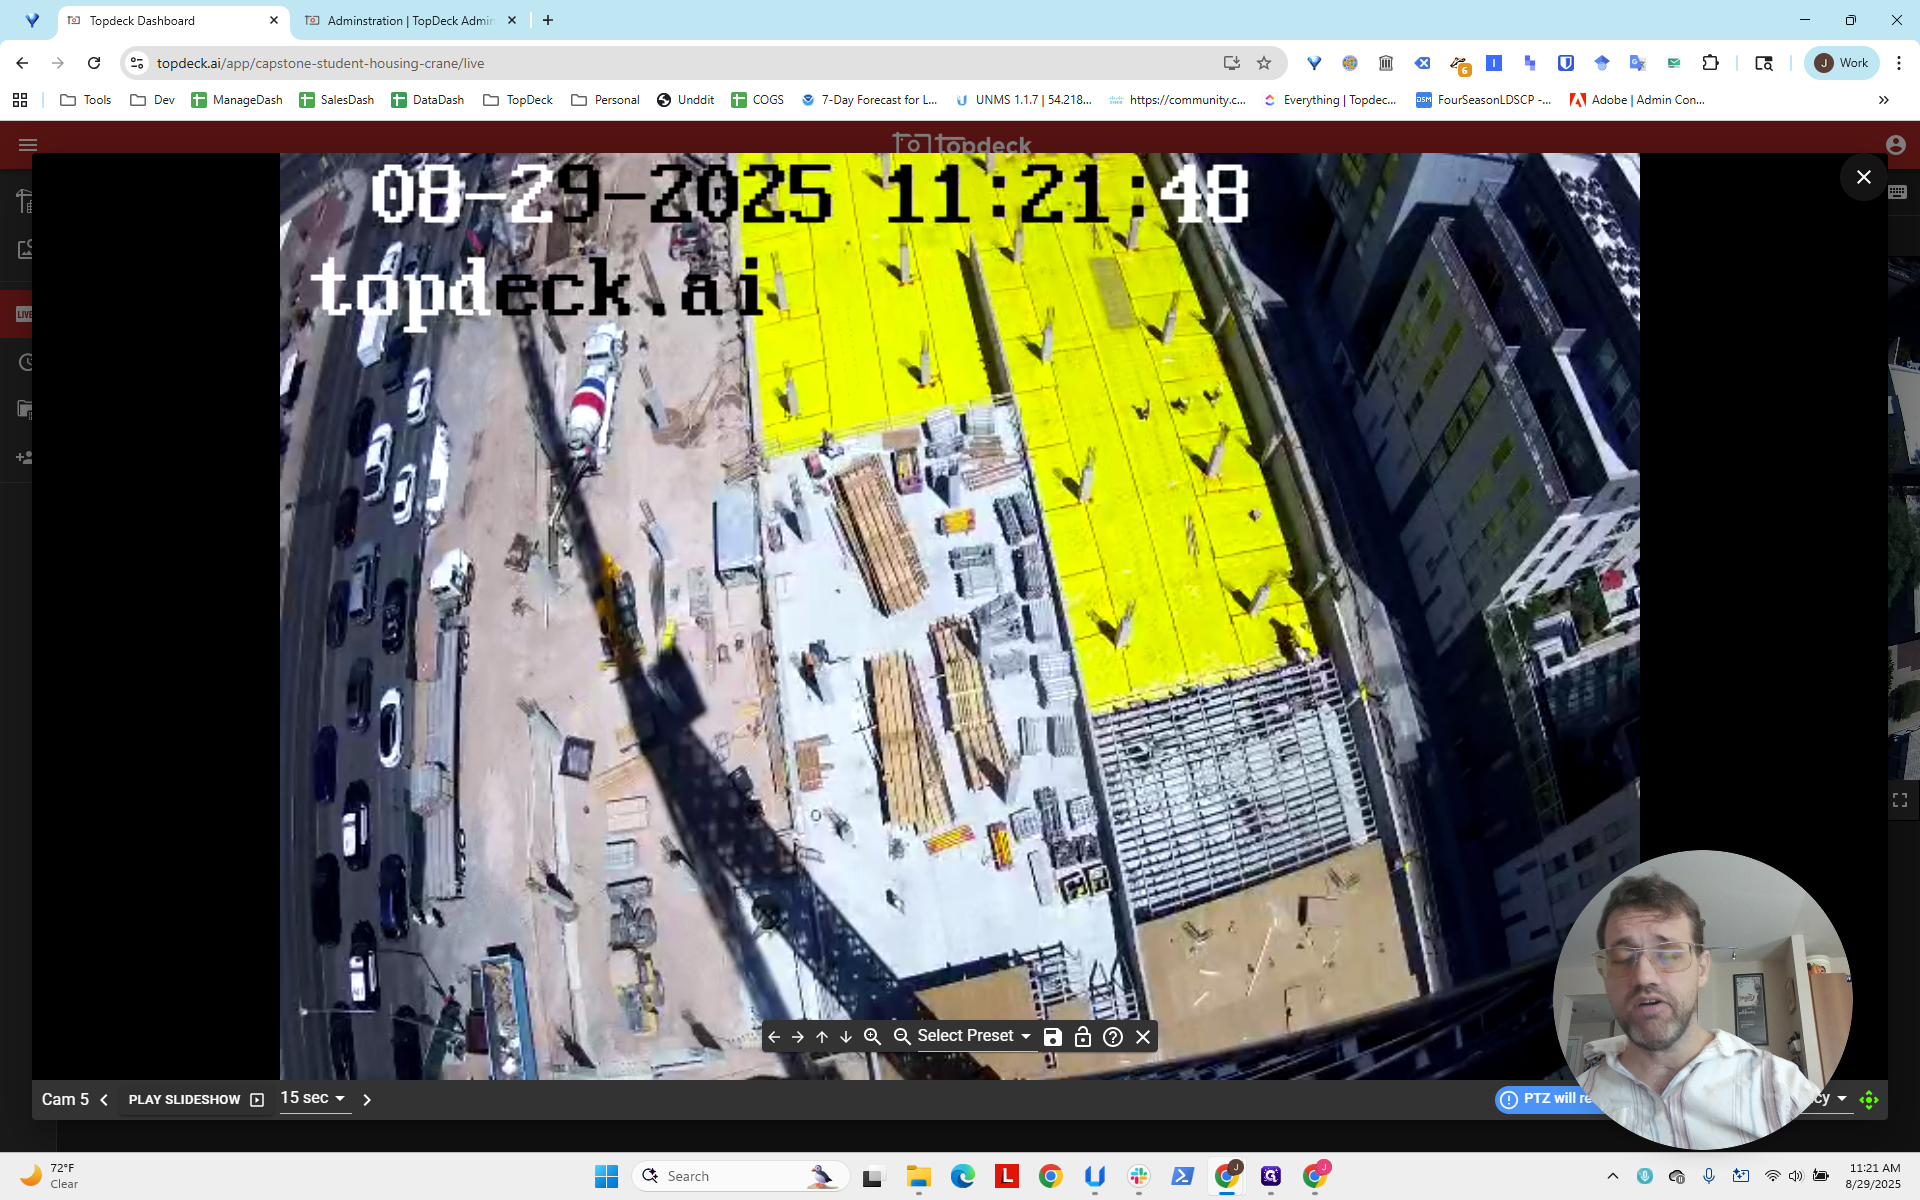
Unfortunately, the one on the right is less suitable because it does not cover the most area.
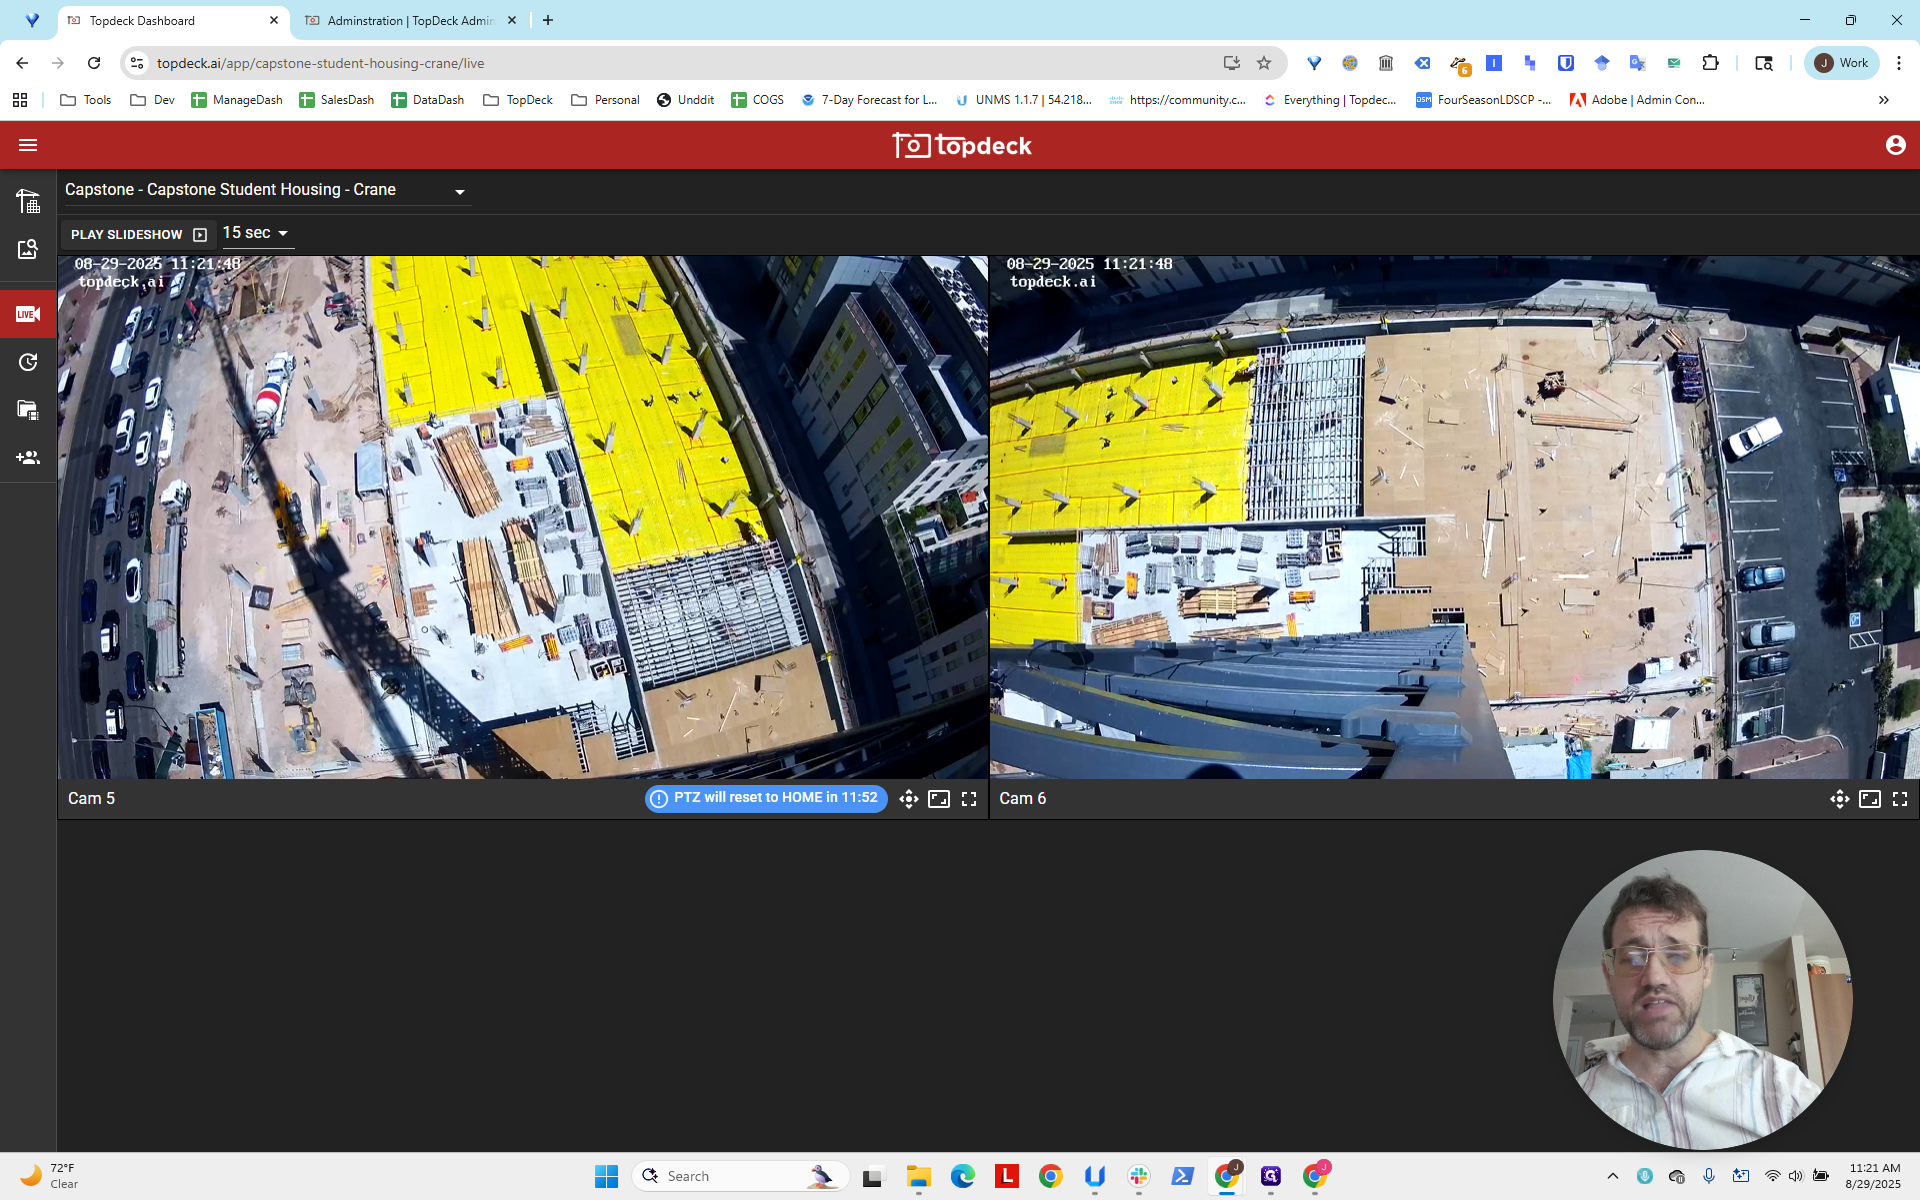
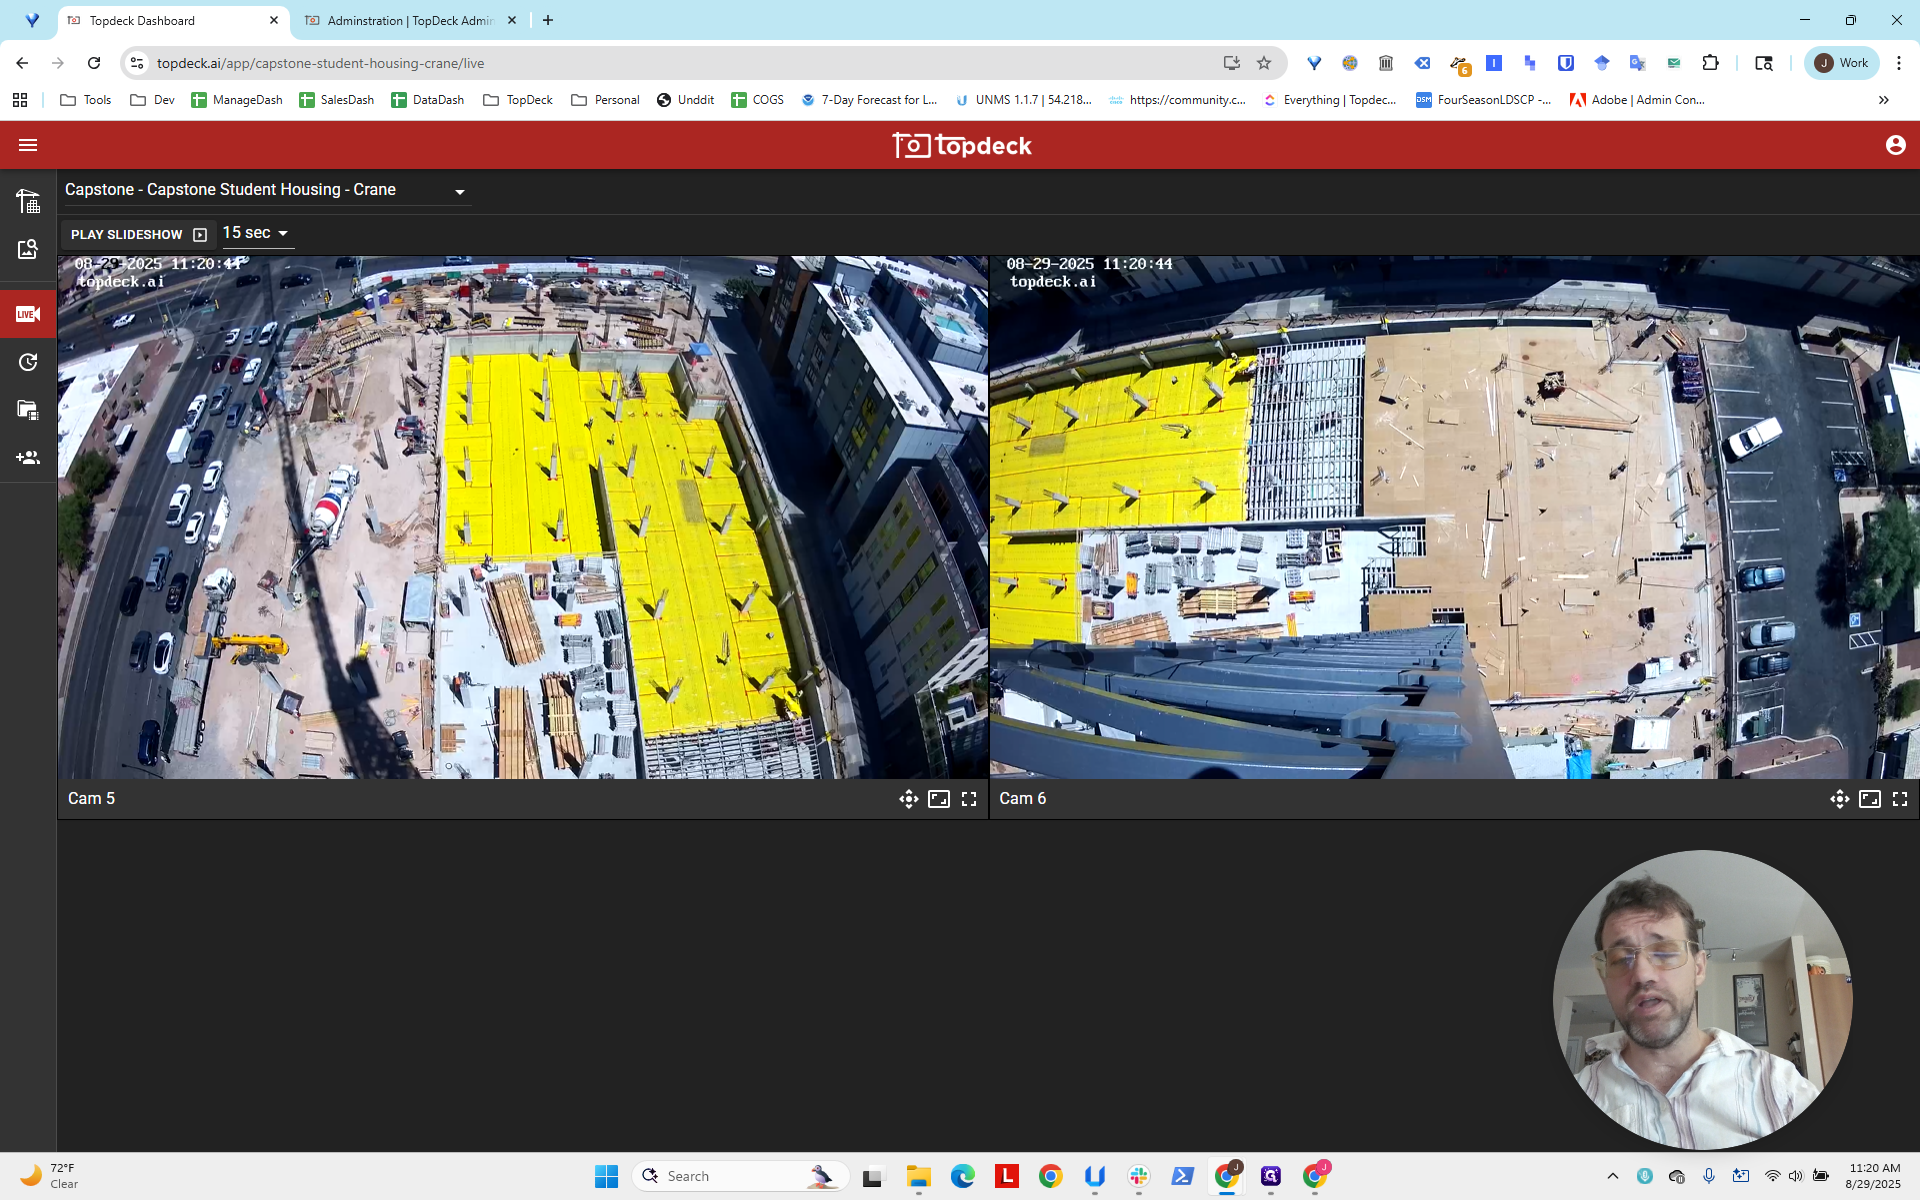
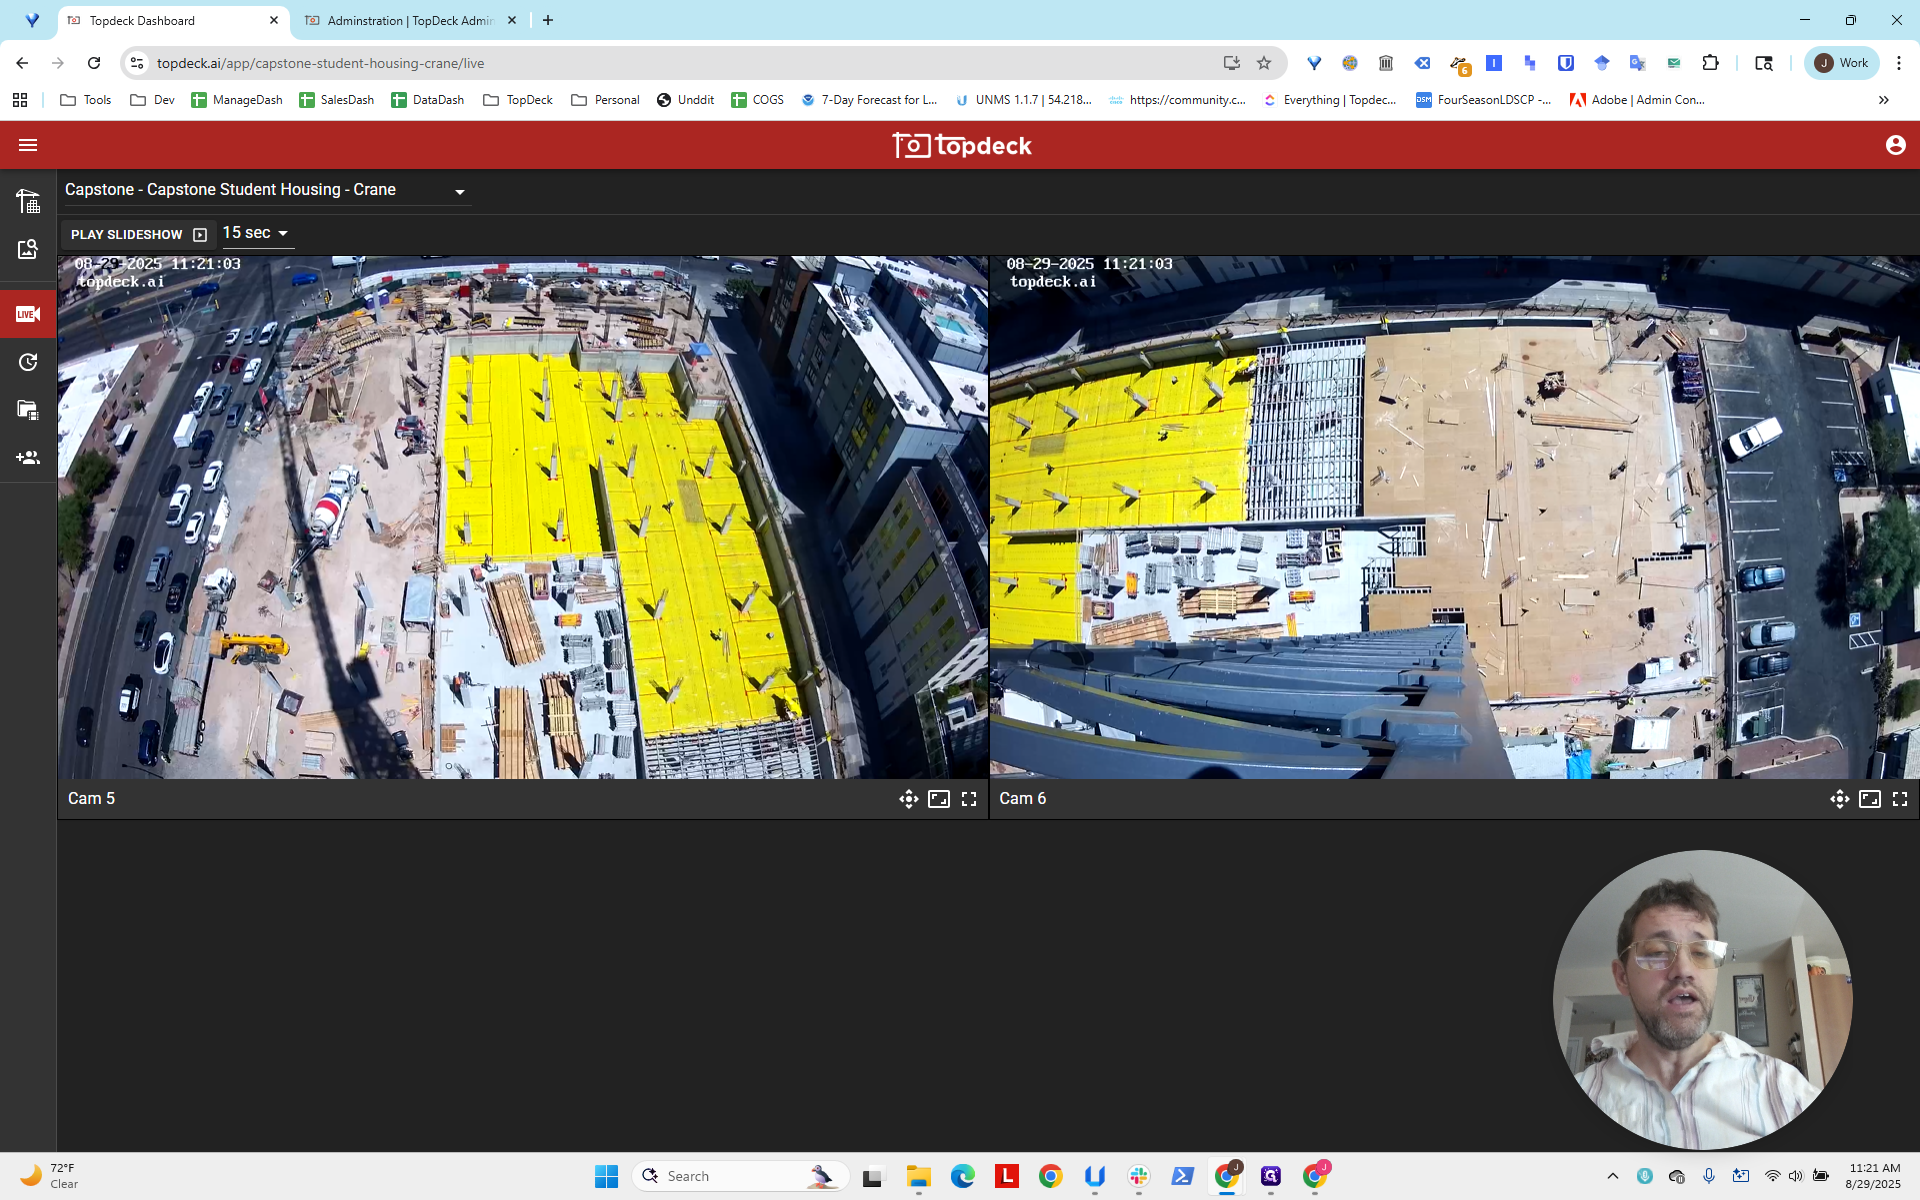
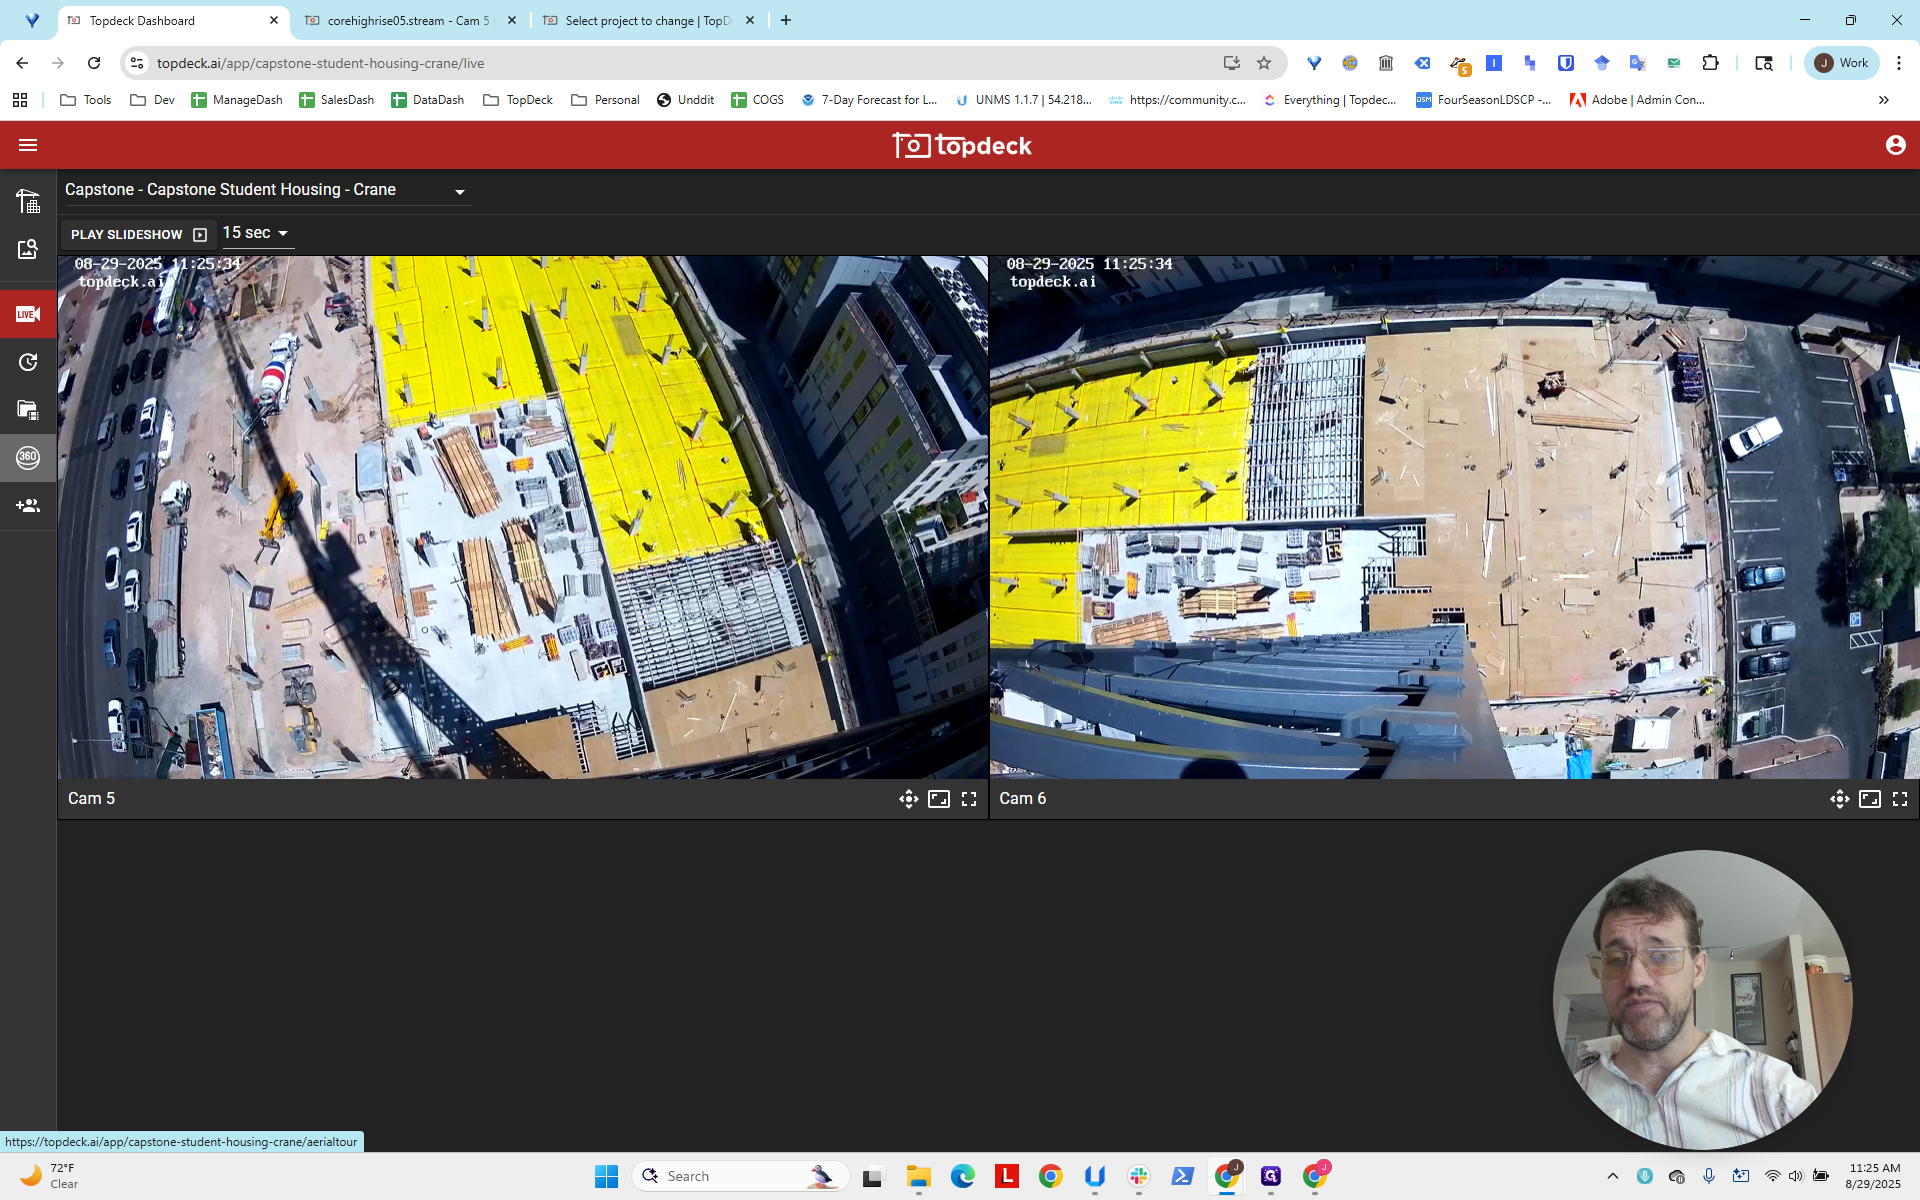
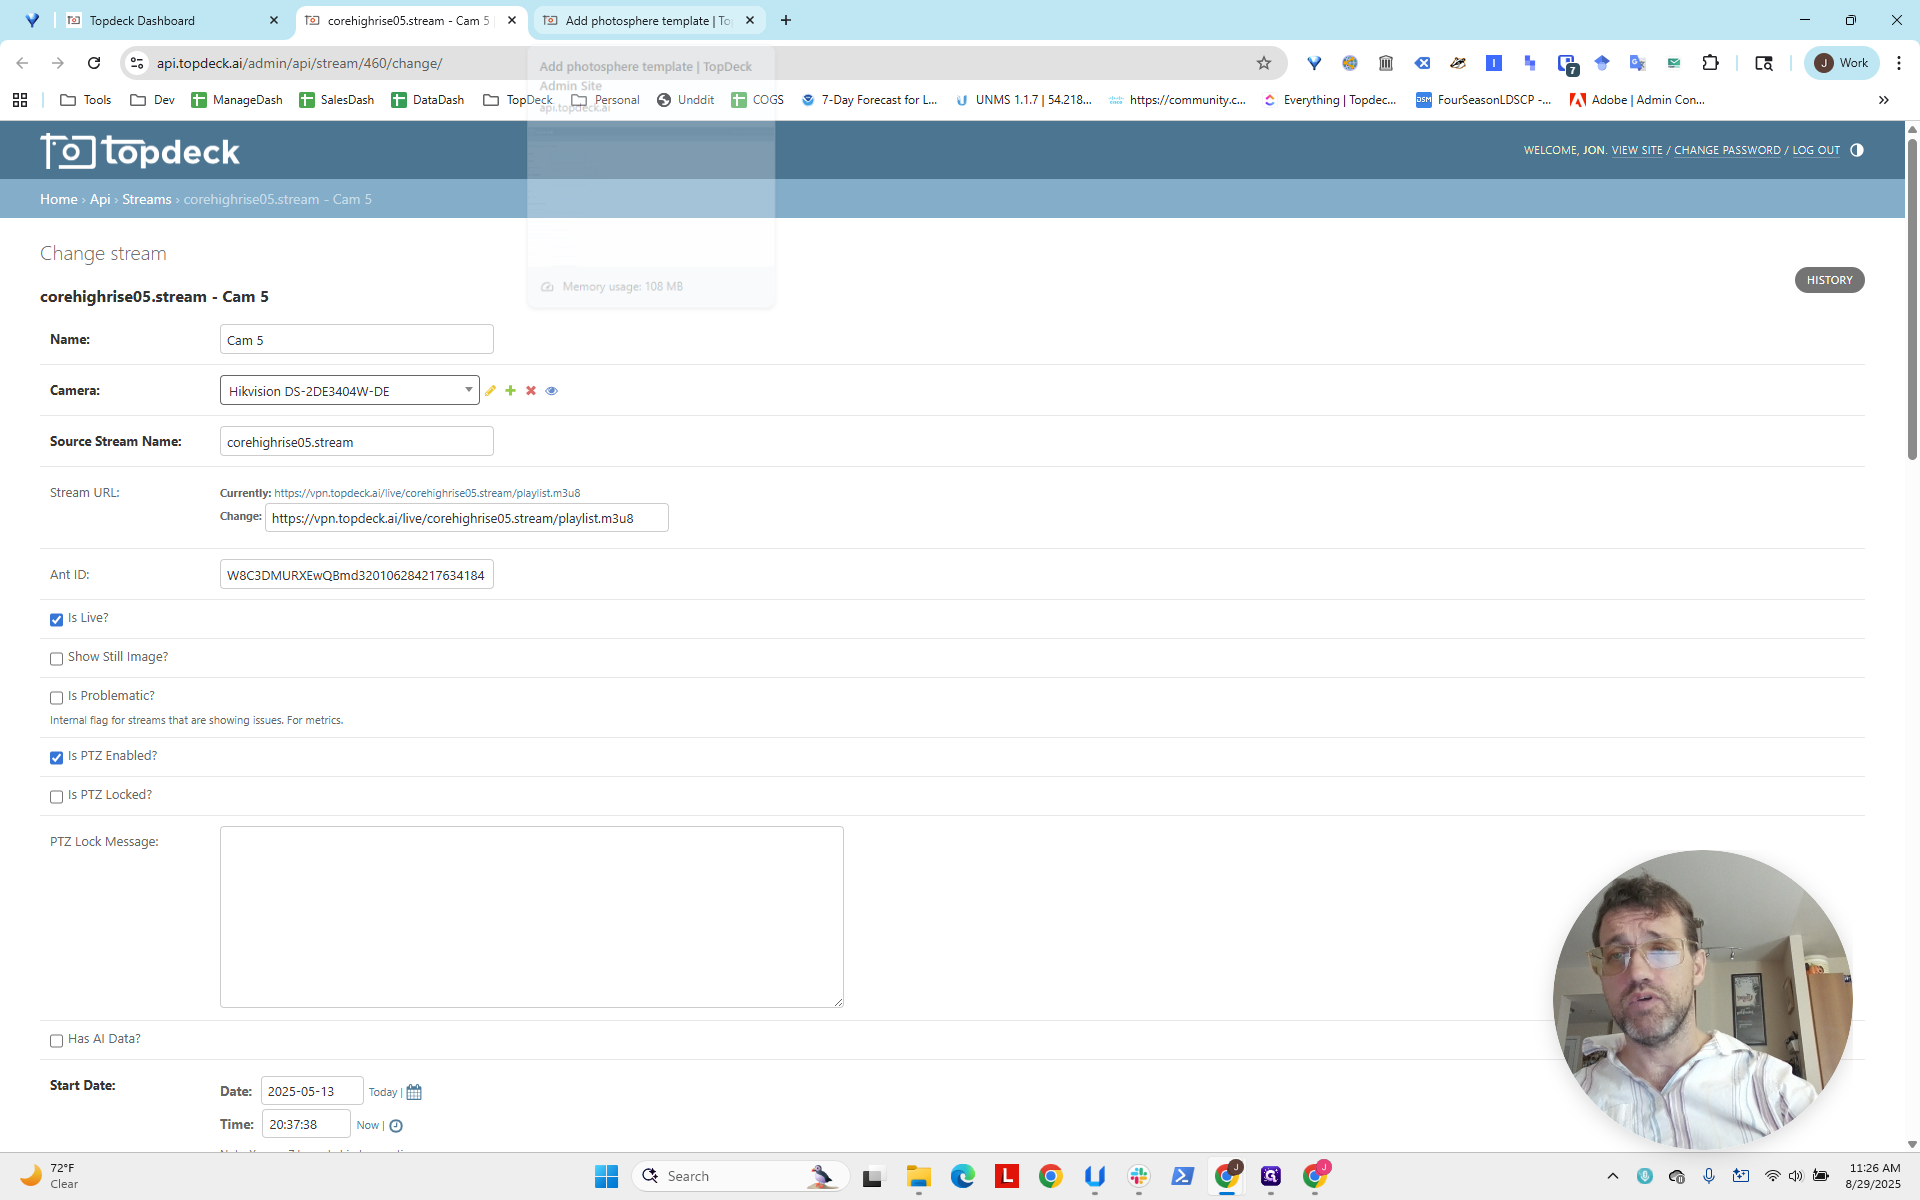
We will use cam5 in the lower left. Click on cam5 to open it.
This assumes you are already logged in to the API. The cam5 stream page. This is useful for obtaining information about the camera.
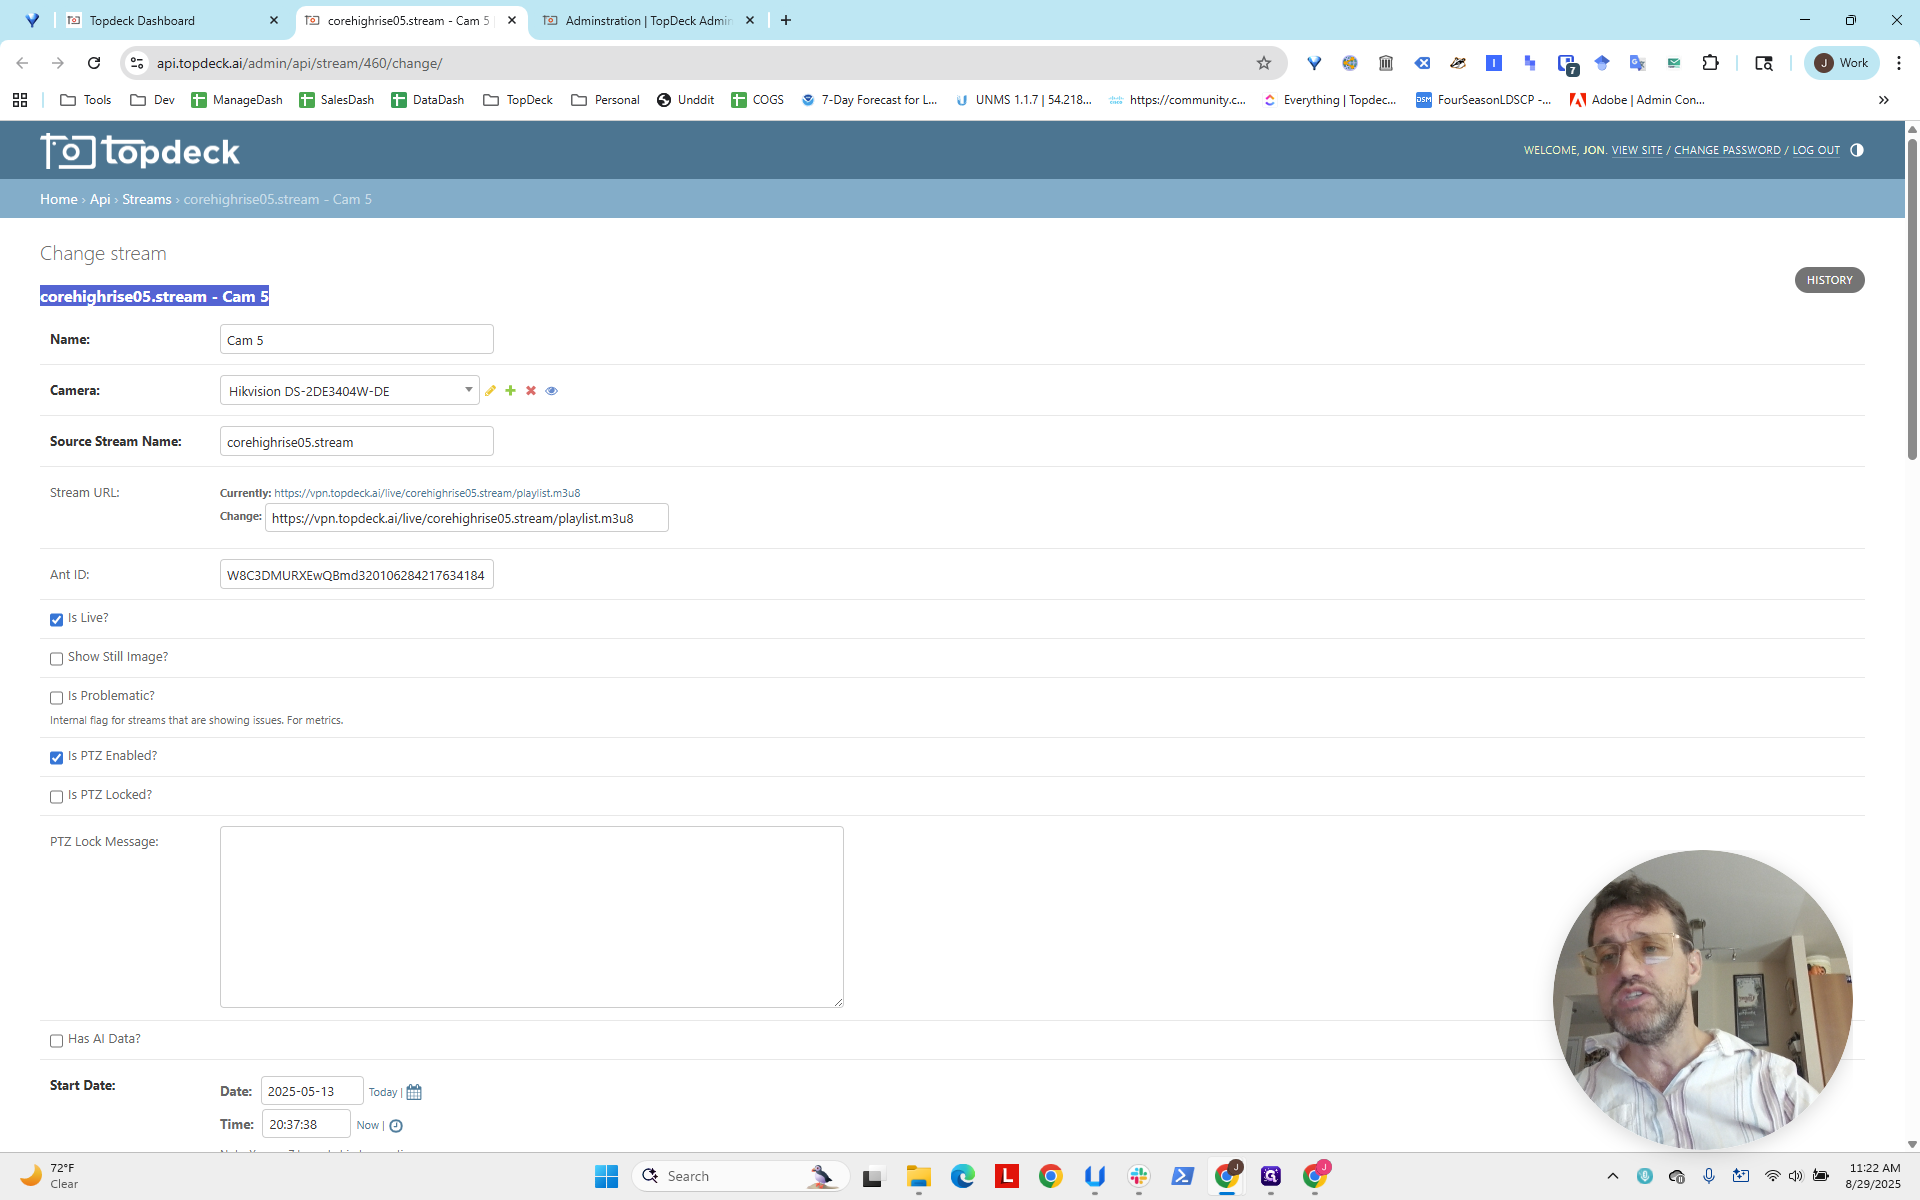
We can see that the camera is a 404W-DE. This is our standard 4X camera, which helps us determine the appropriate PhotoSphere stitching and scanning template to use.
First, we'll return to the project now that we've chosen the camera to use.
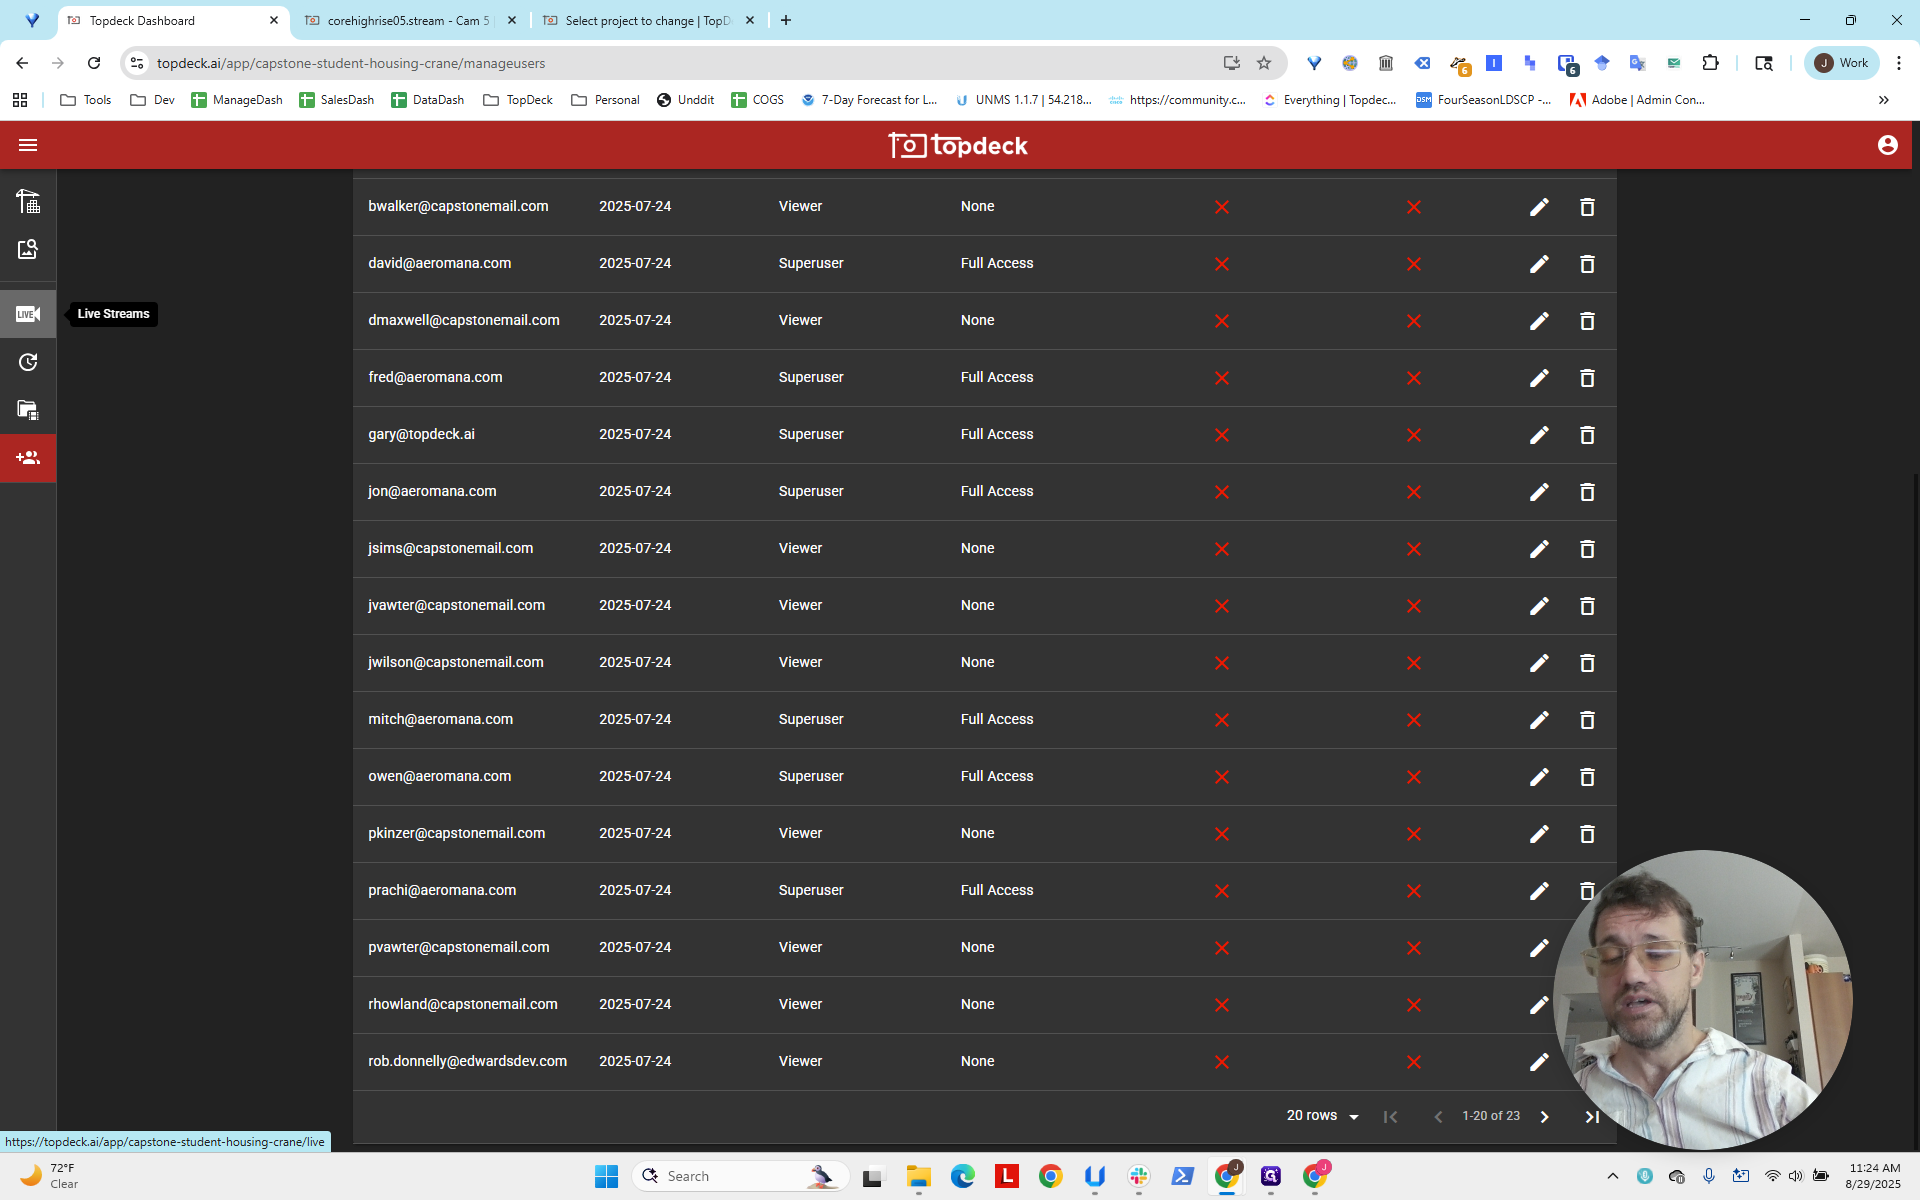
We will now review the users involved in the project.
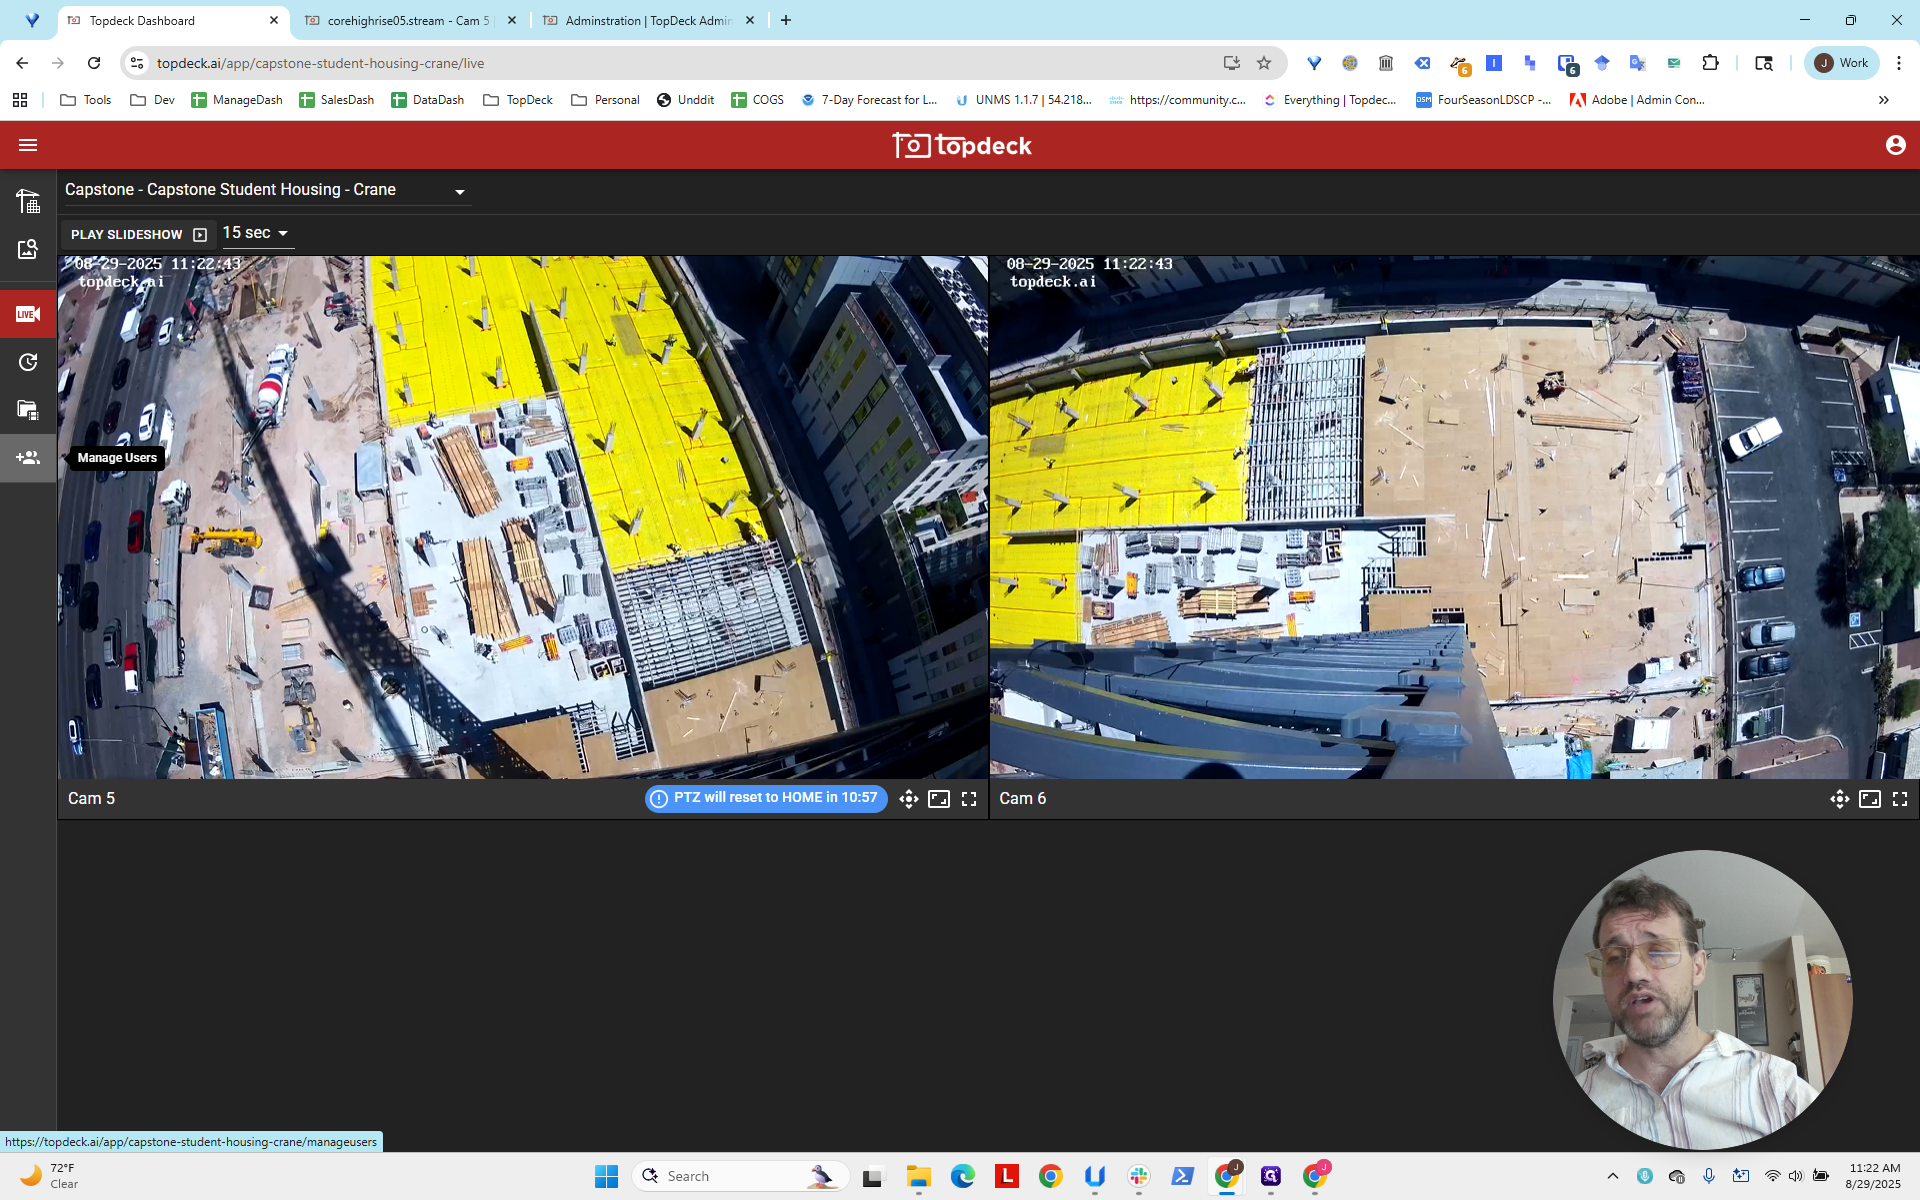
We have two types of users on this project: viewer and super user. Viewer is typically the lowest level.
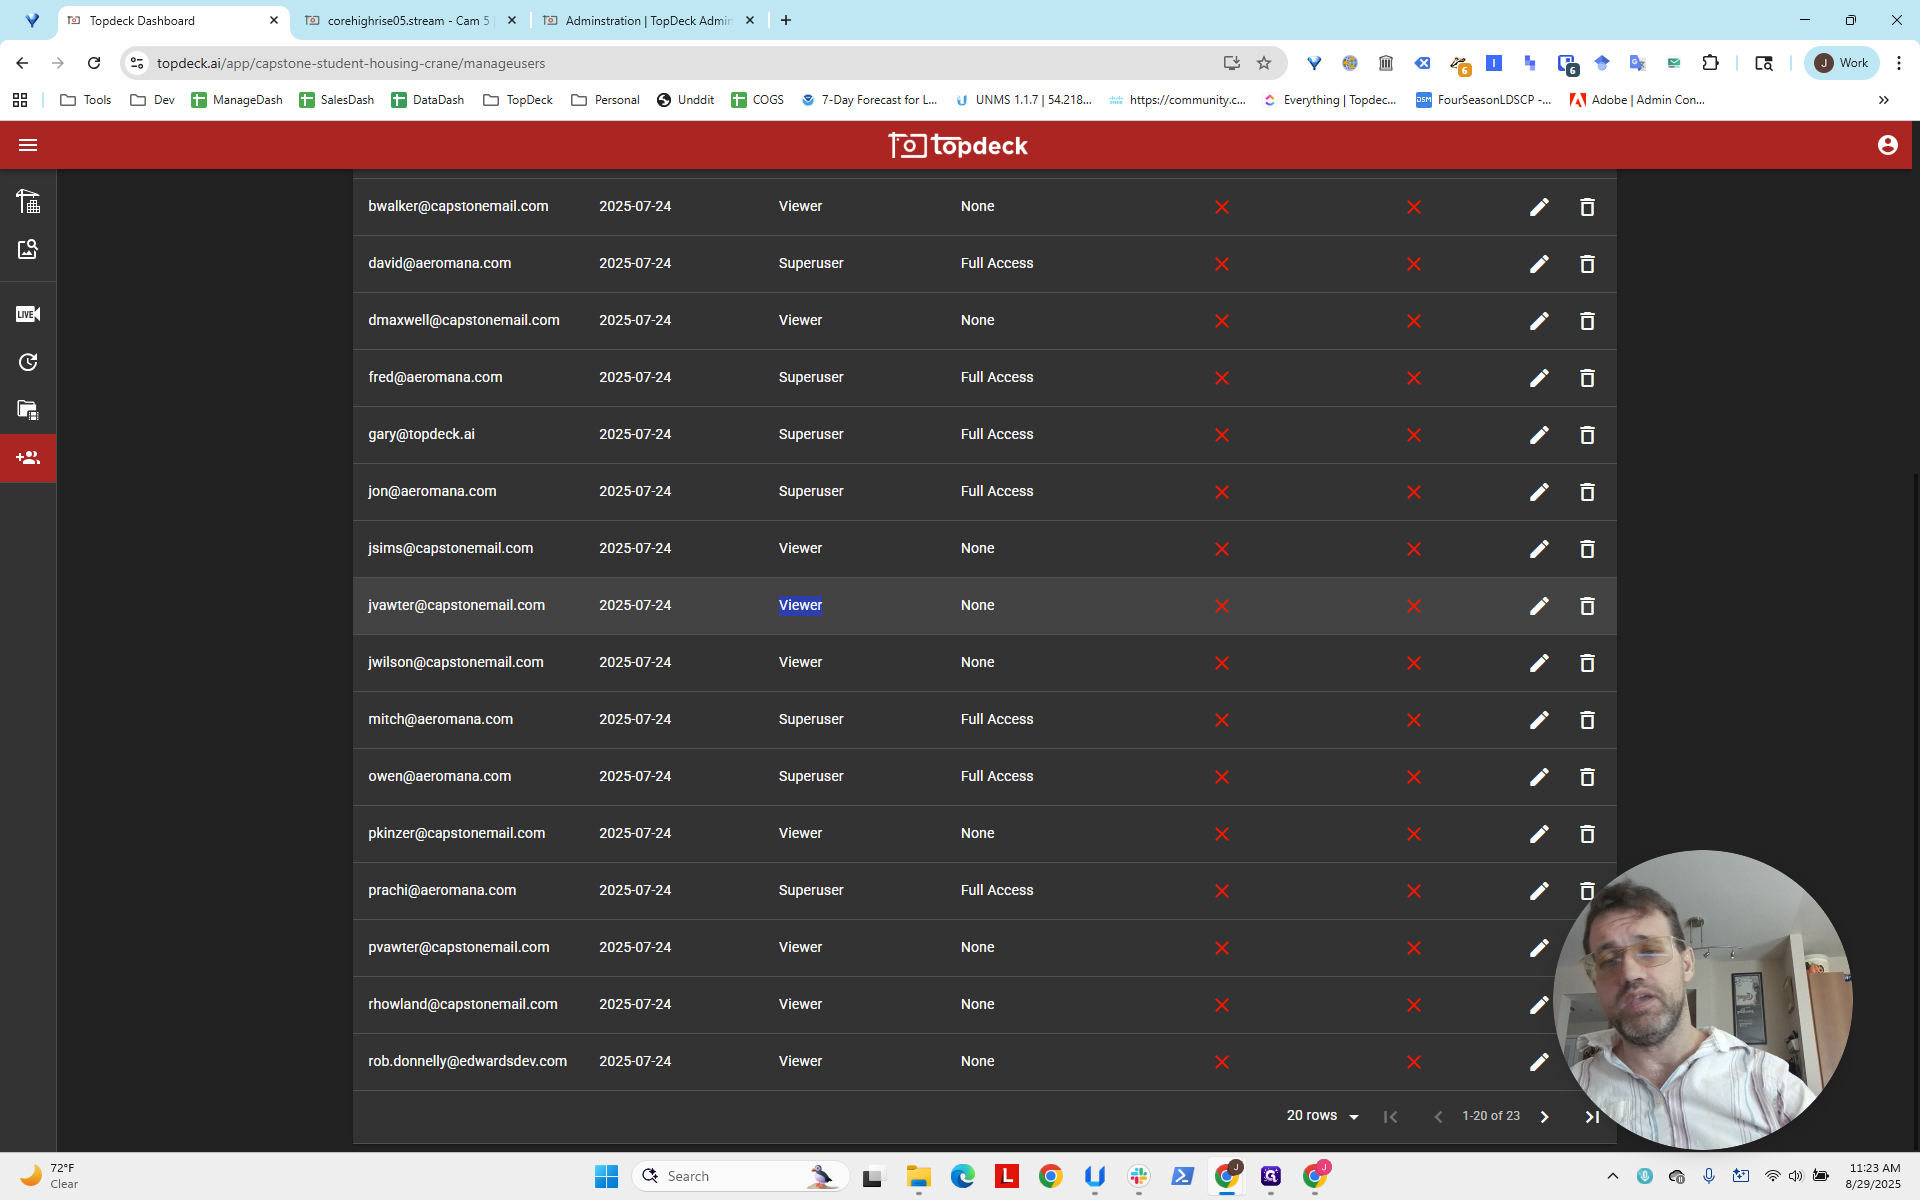
This could be a problem because there are no managers or admins on this project. We usually provide our customers with those extra features. I will bring this up in the project channel. If you notice this on a project, please post in the project's Slack channel. Indicate that there may be an issue with user permissions and that some users might need to be promoted or changed. We see it's the viewer. Now, we will go to the API and set up the project so people can view the photospheres.
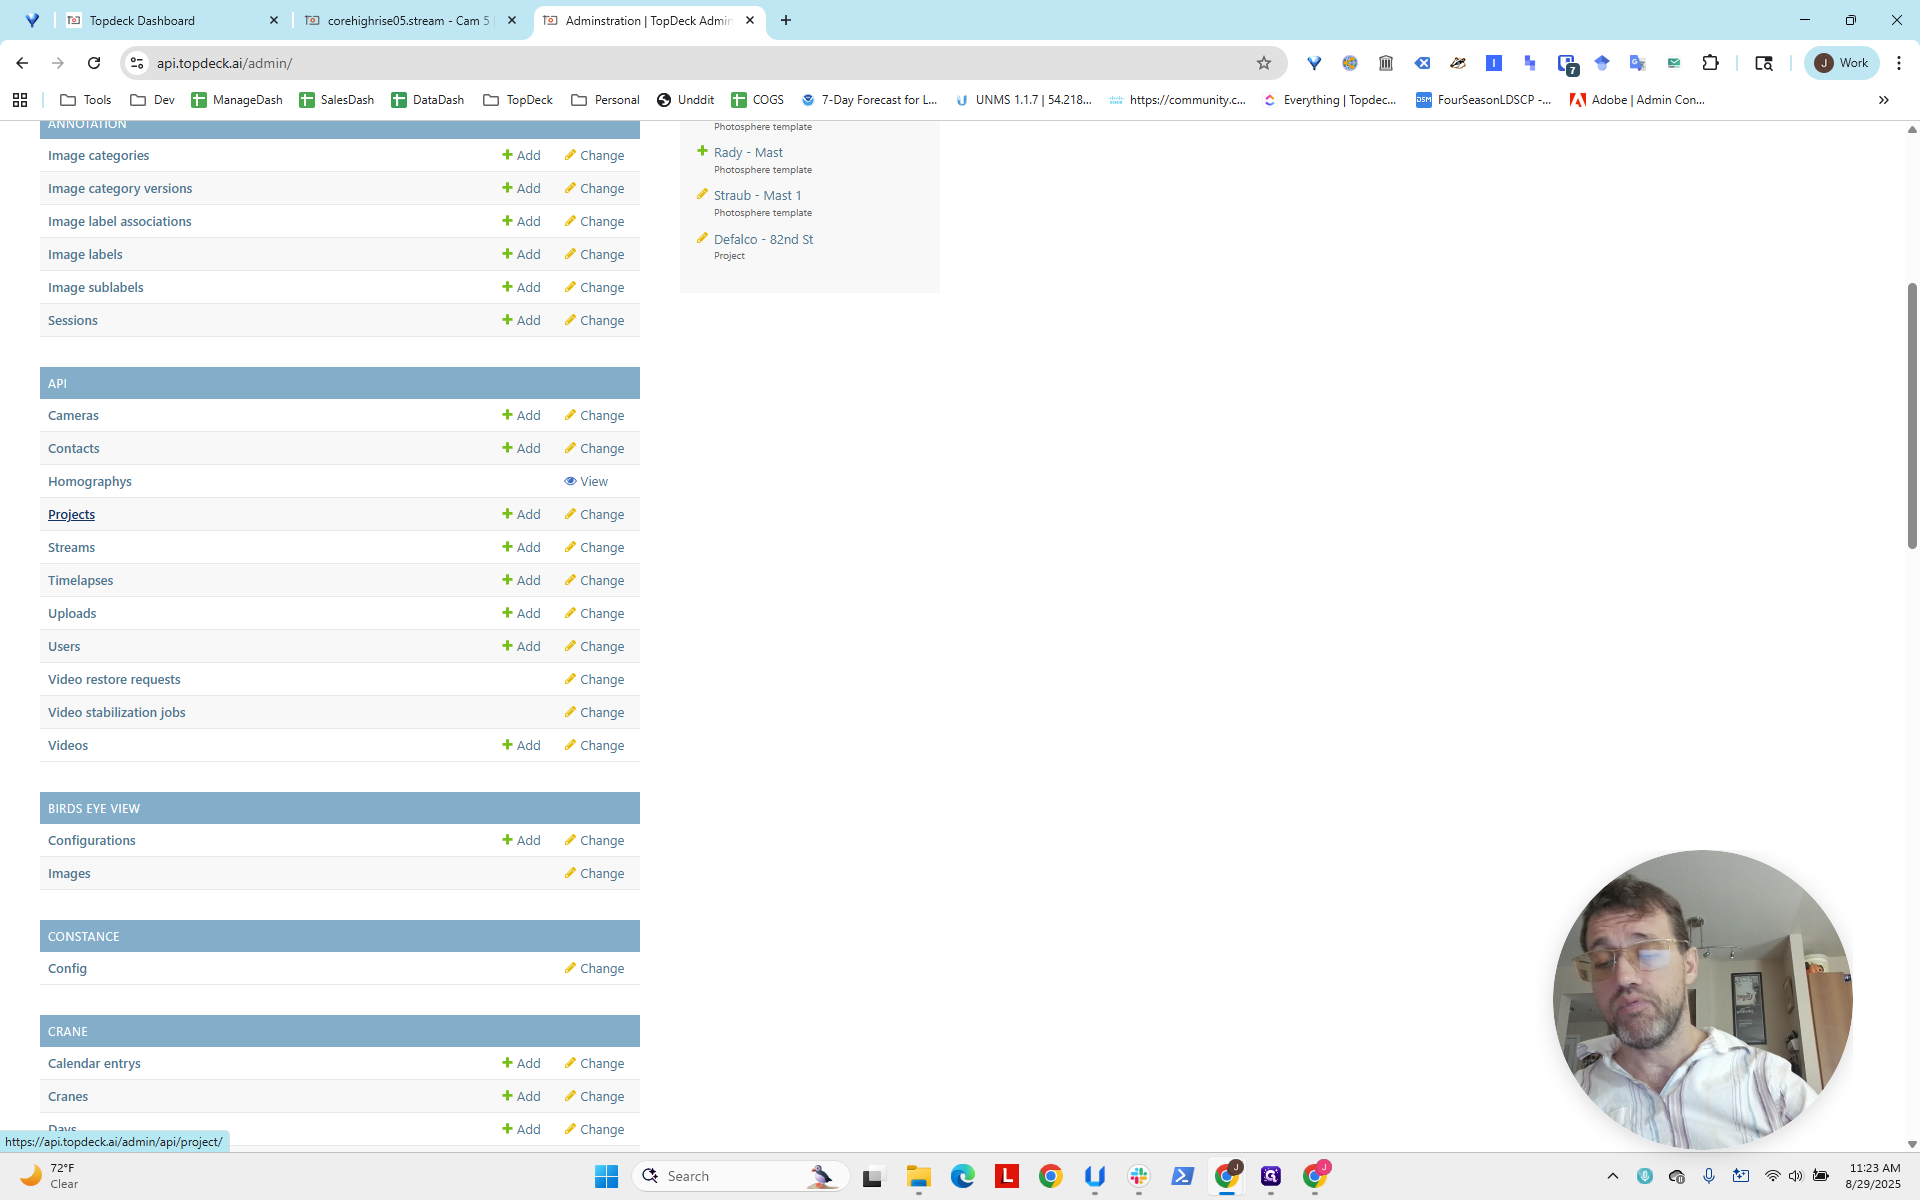
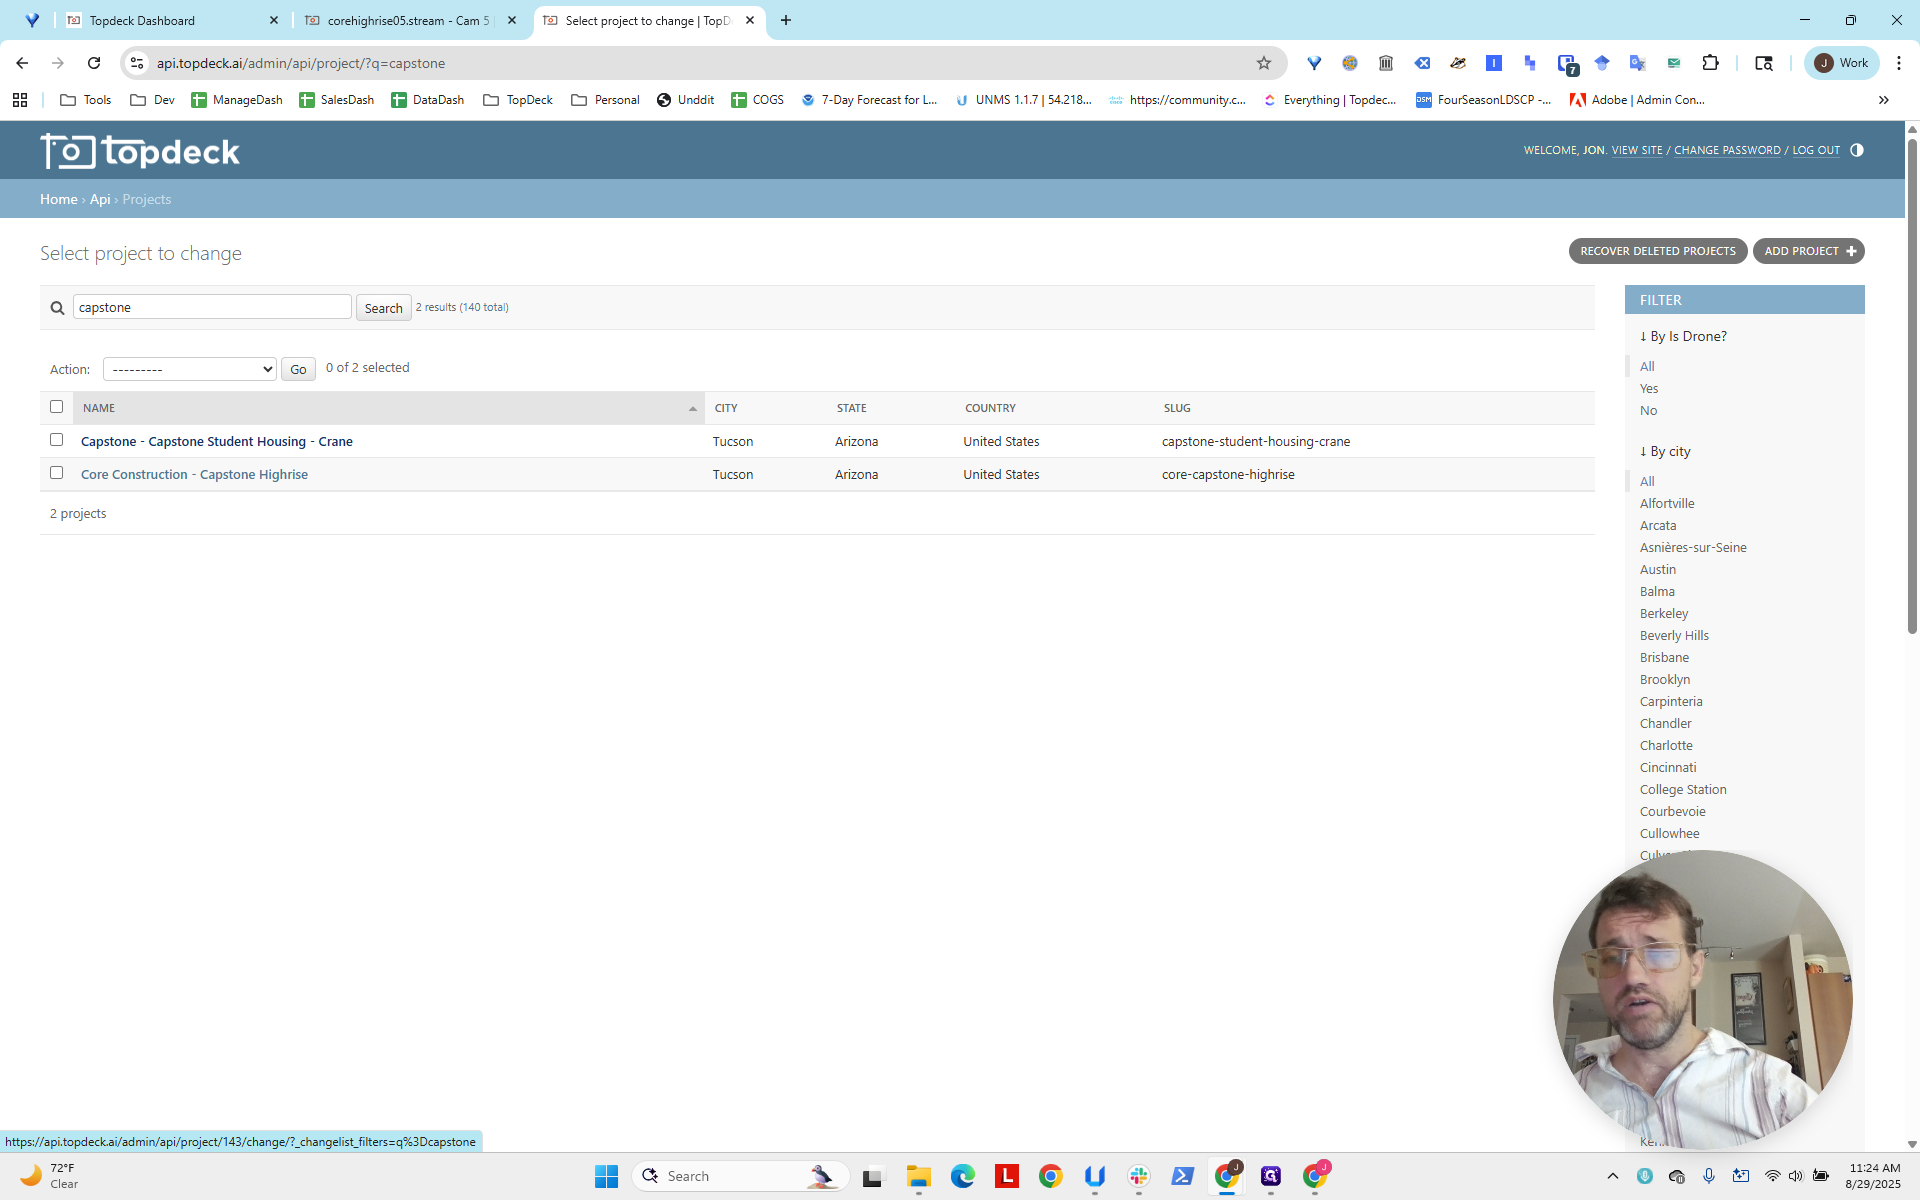
We do this by scrolling down to the API section and clicking on Projects.
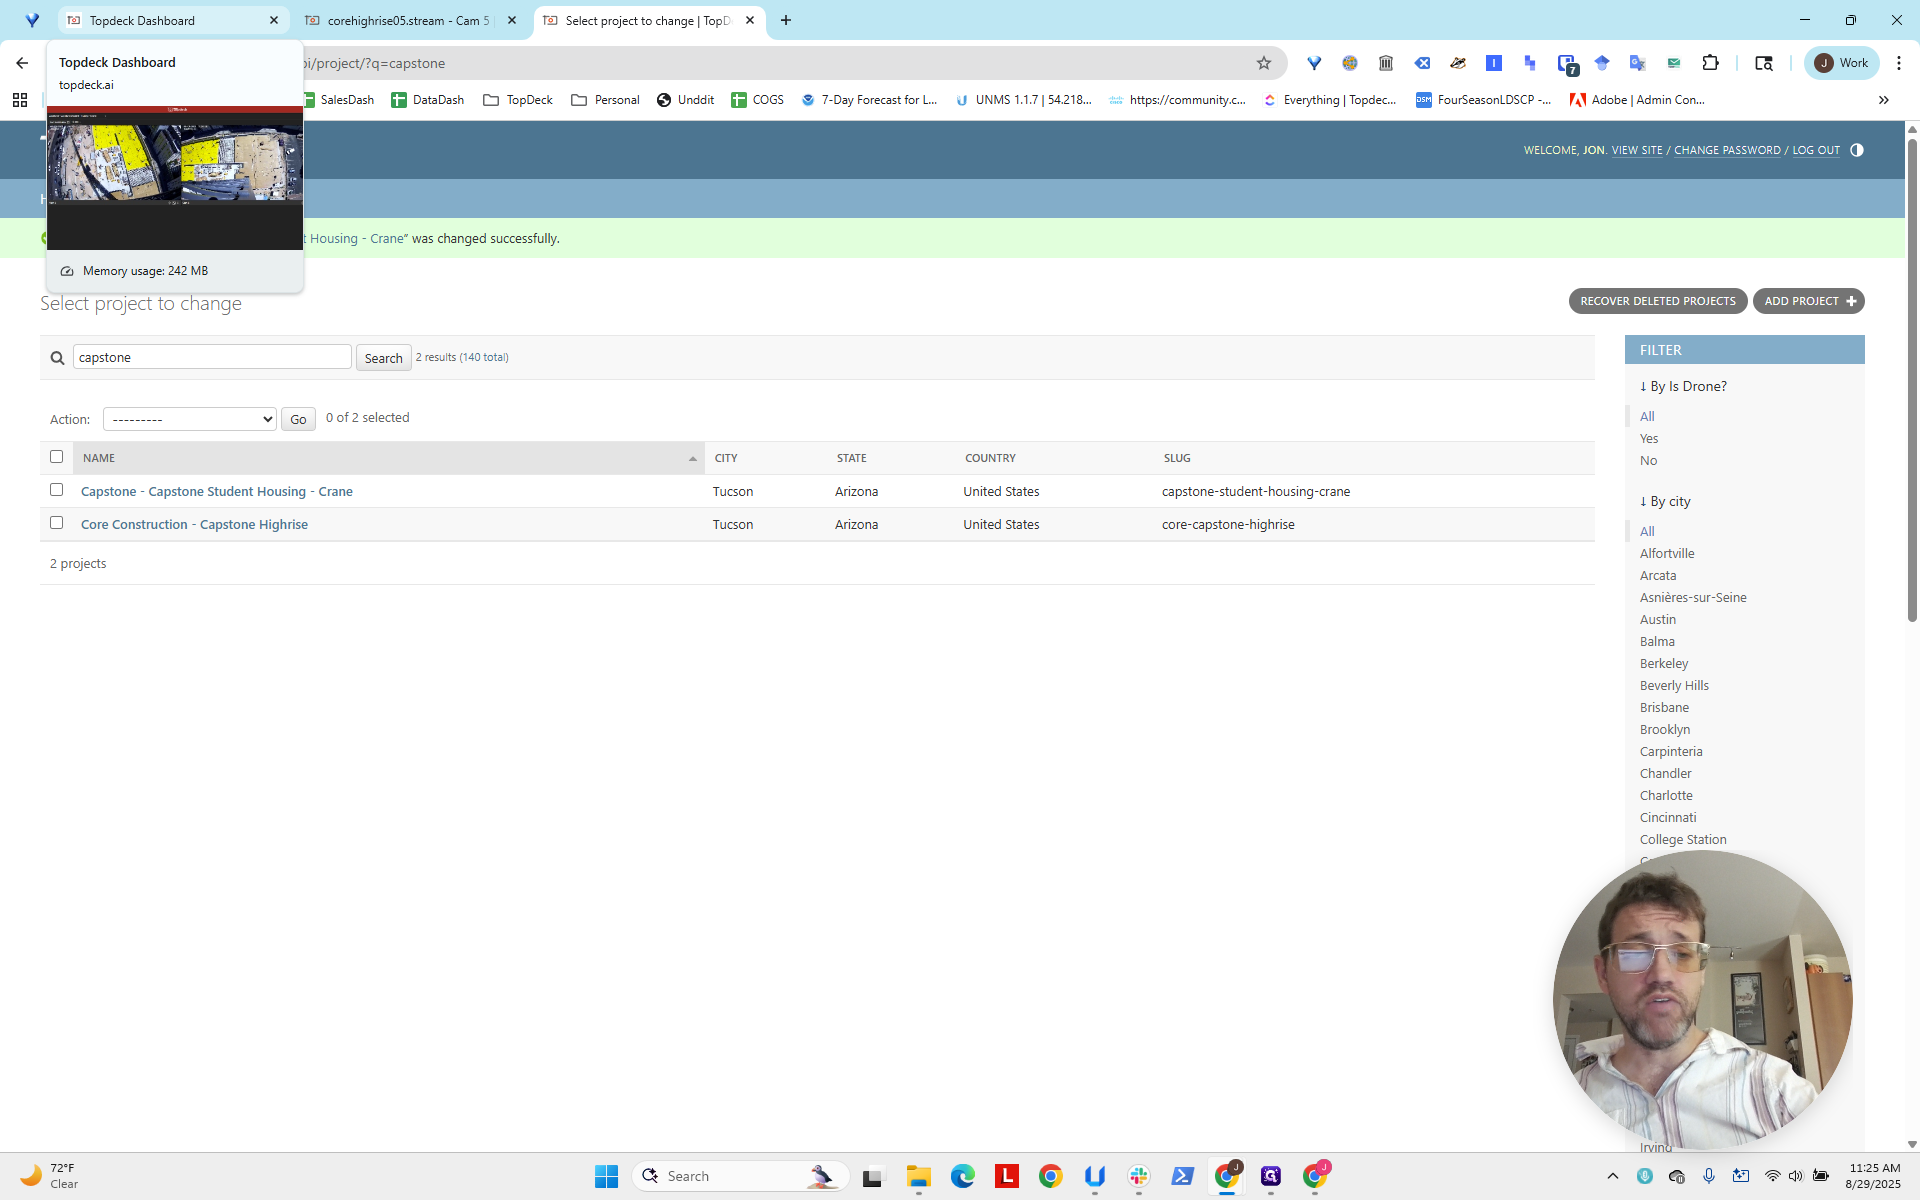
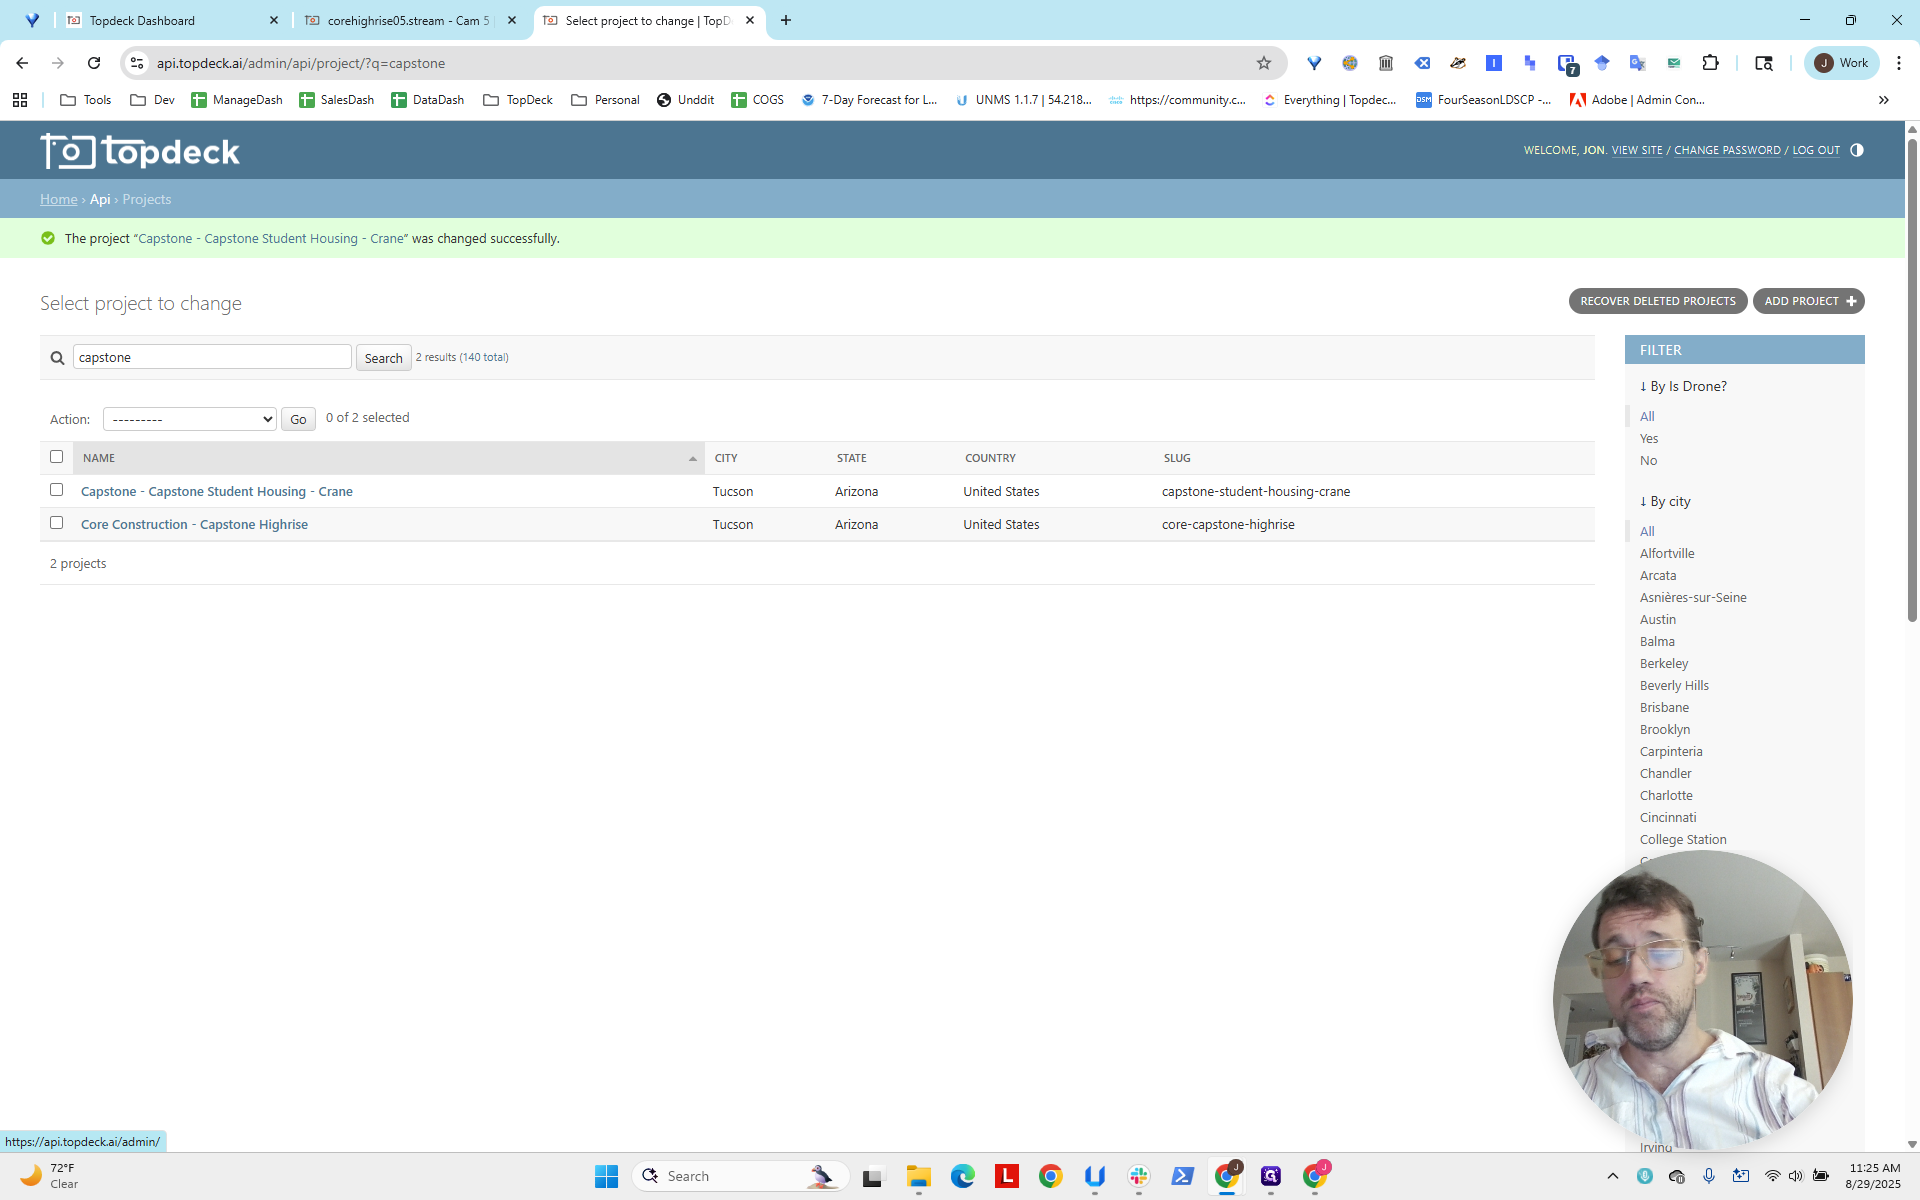
Recall that the project was Core Capstone Crane. I'll type "Core" in the search.
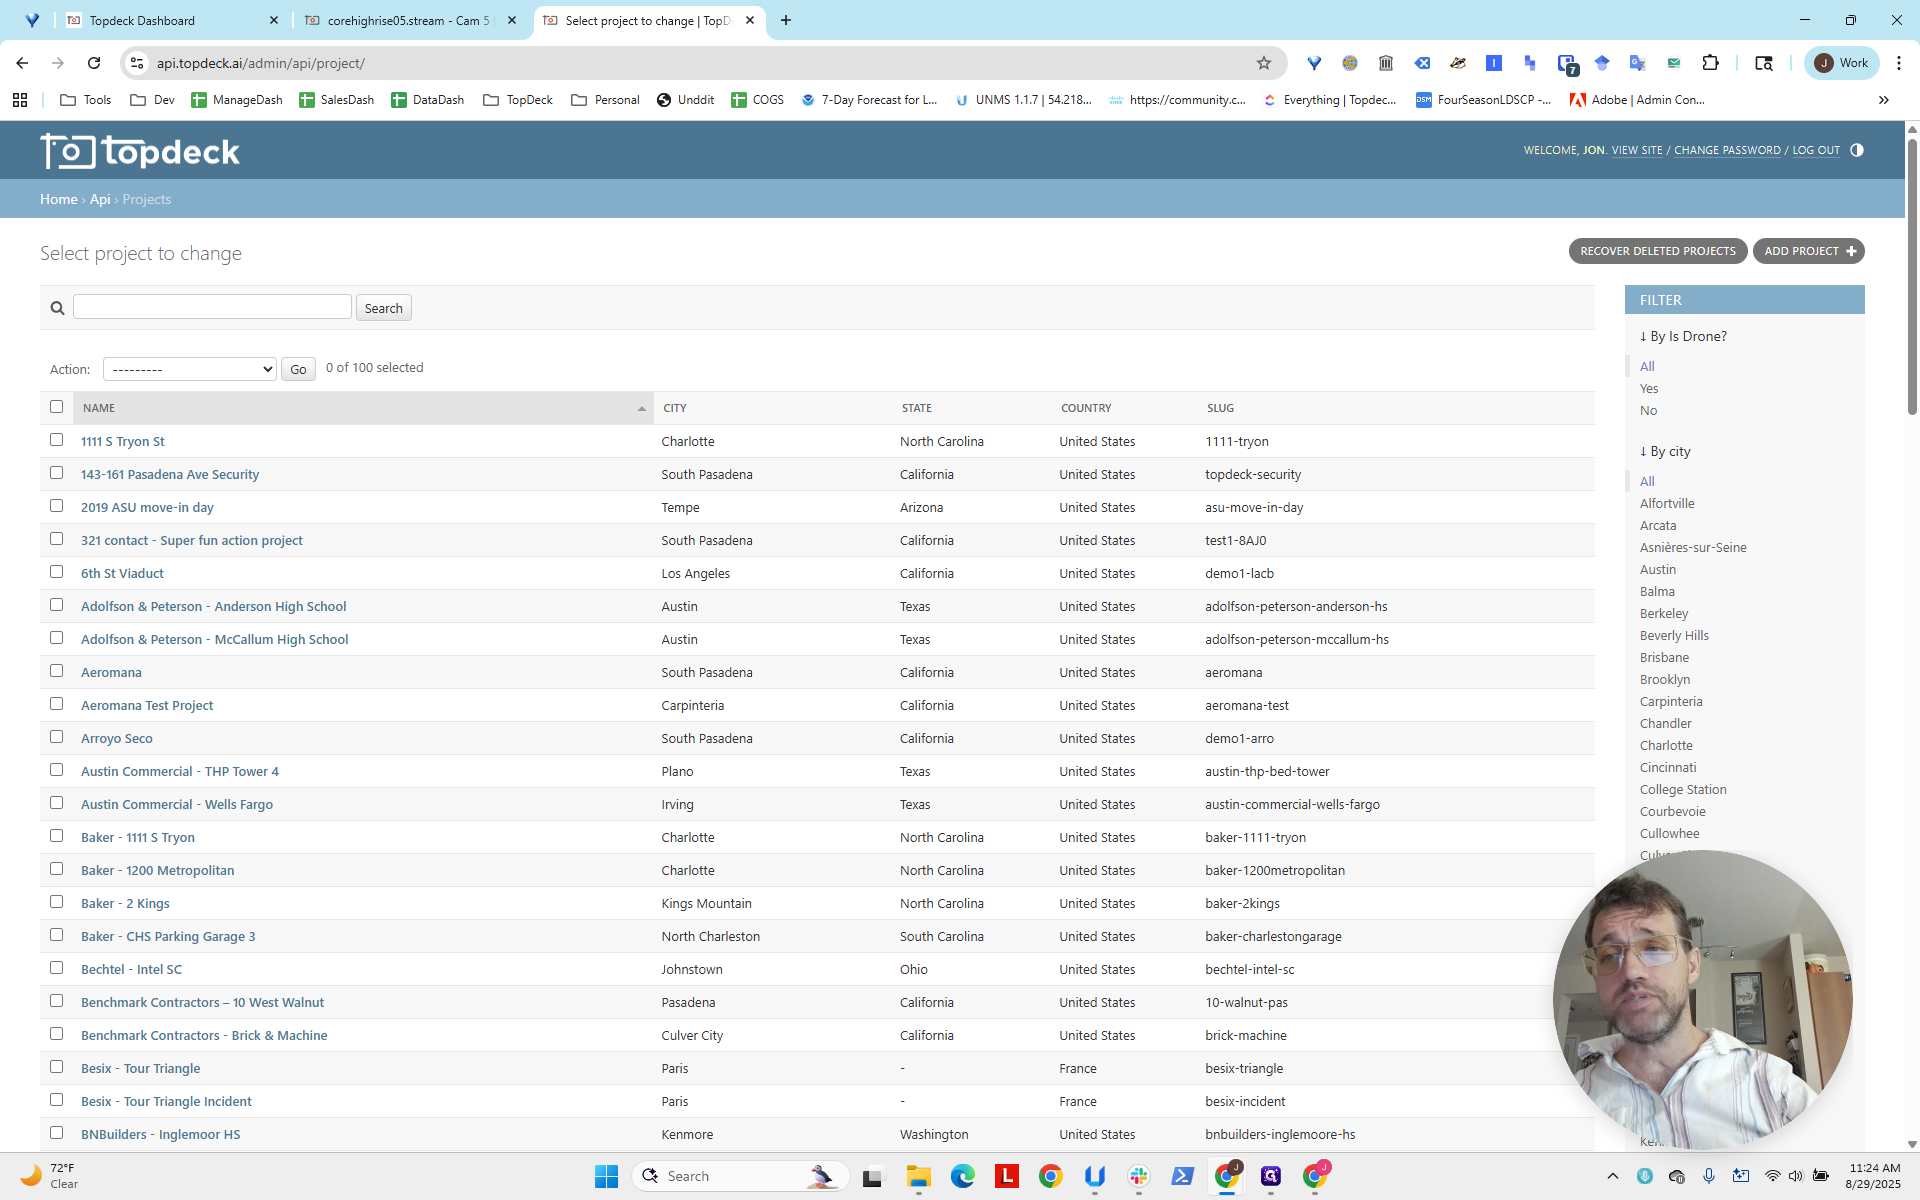
We see Capstone High Rise, so I'll type in "Capstone" since "crane" isn't listed.
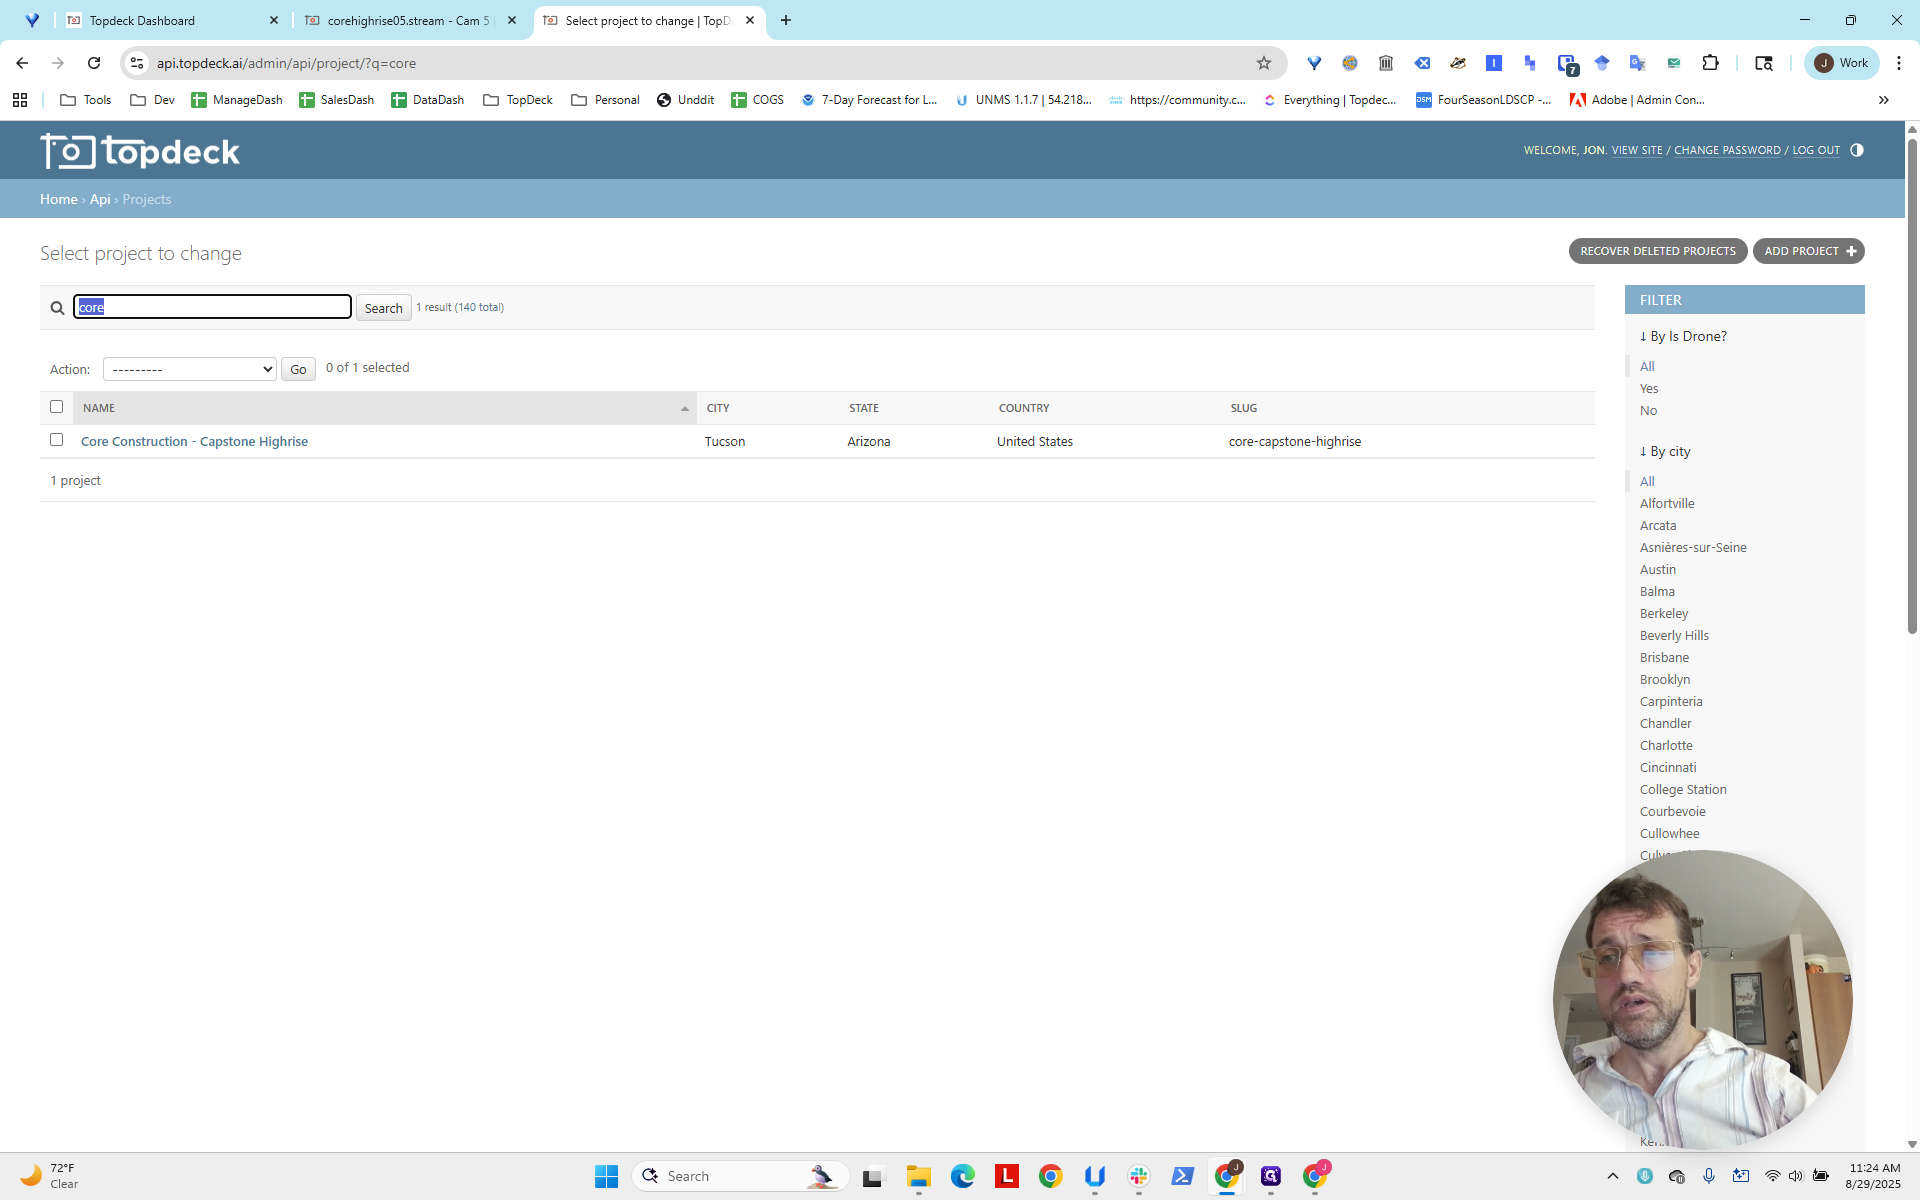
We see here that there is now one called Capstone Student Housing Crane, which does not include Core. The naming convention isn't great, so be careful when searching for something if it doesn't appear. You can always go back and check the live feed to see what it looks like.

Okay, switching back.
Click on "... - Crane", then scroll down to view the different user access levels.
Here, we will select aerial tours for super users.
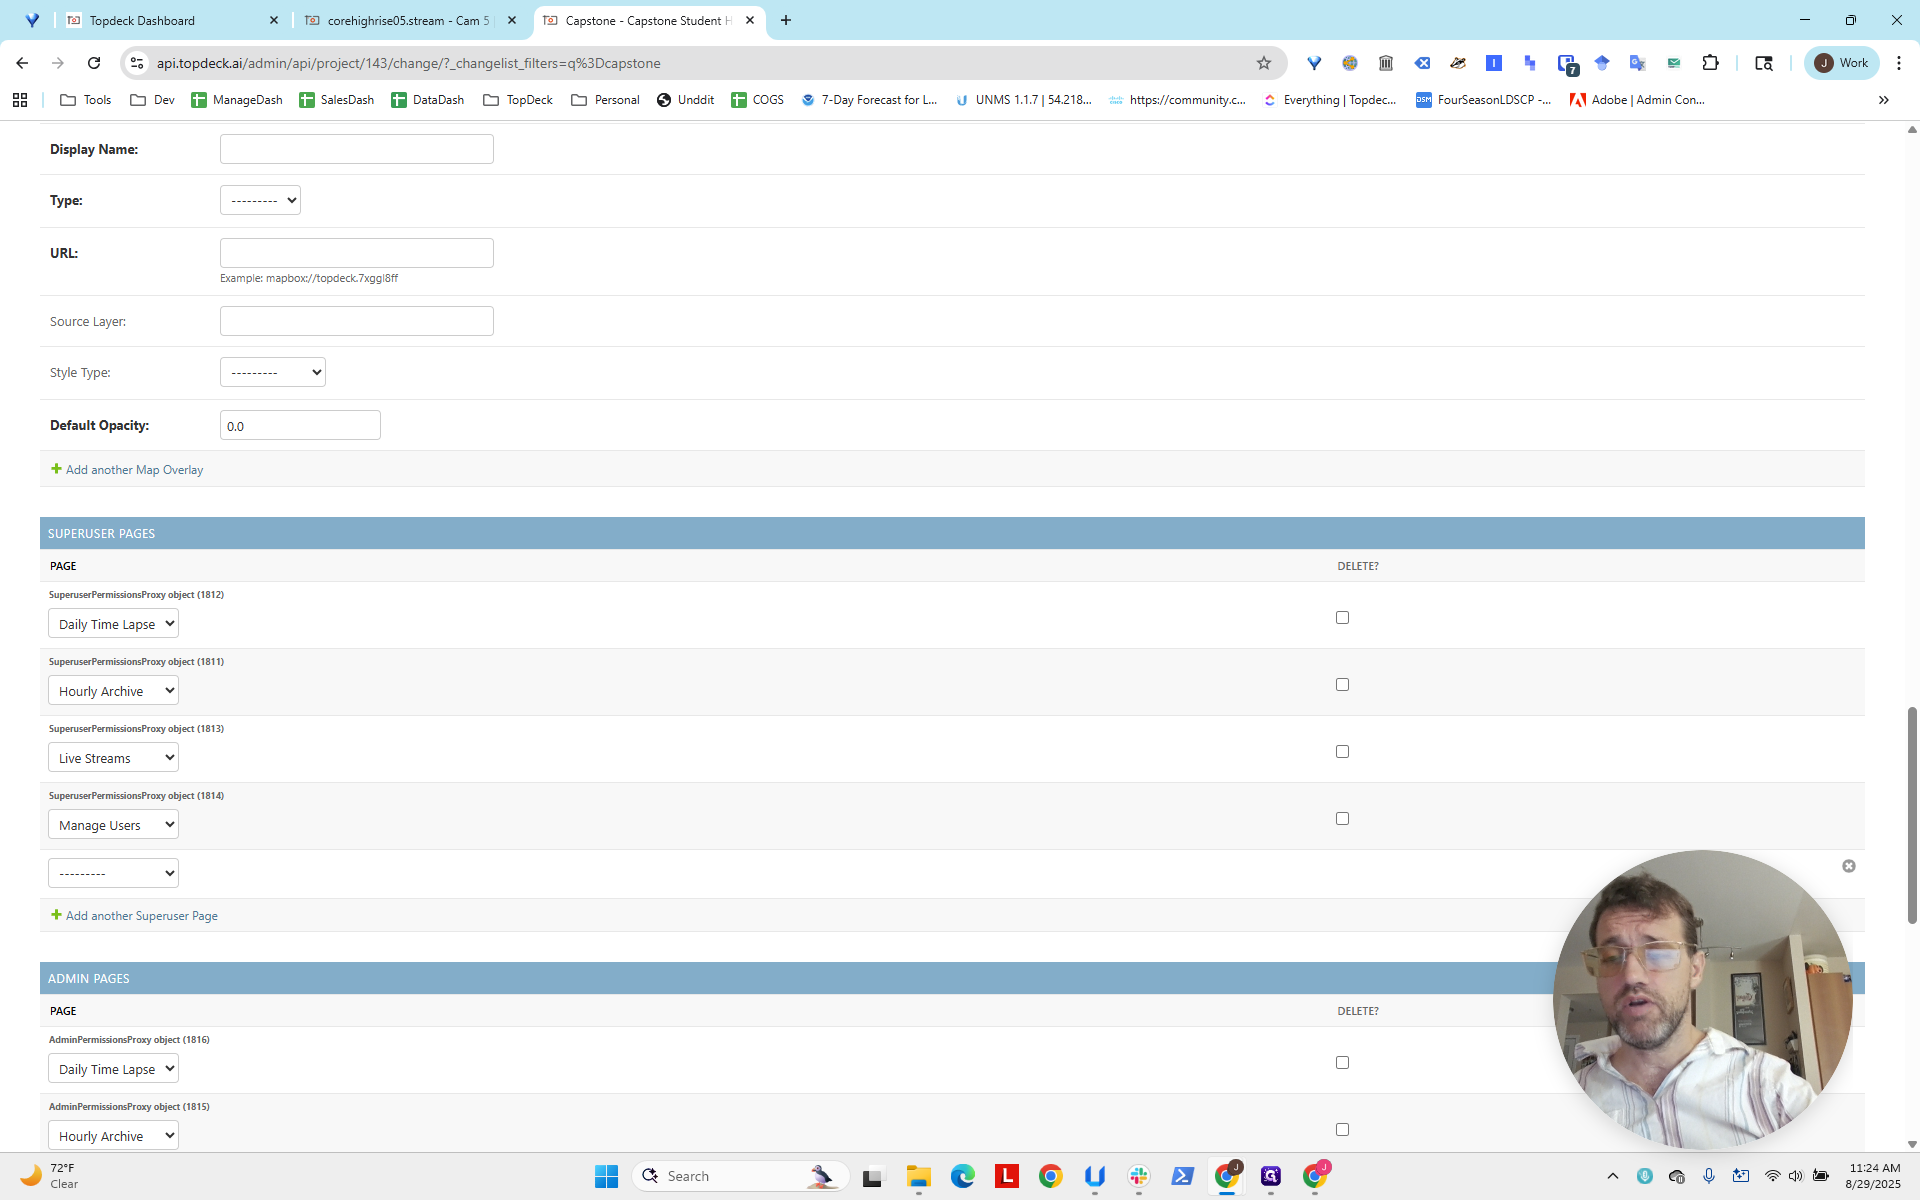

We will also select aerial tours for the admins. There are none on this project now, but there may be in the future.
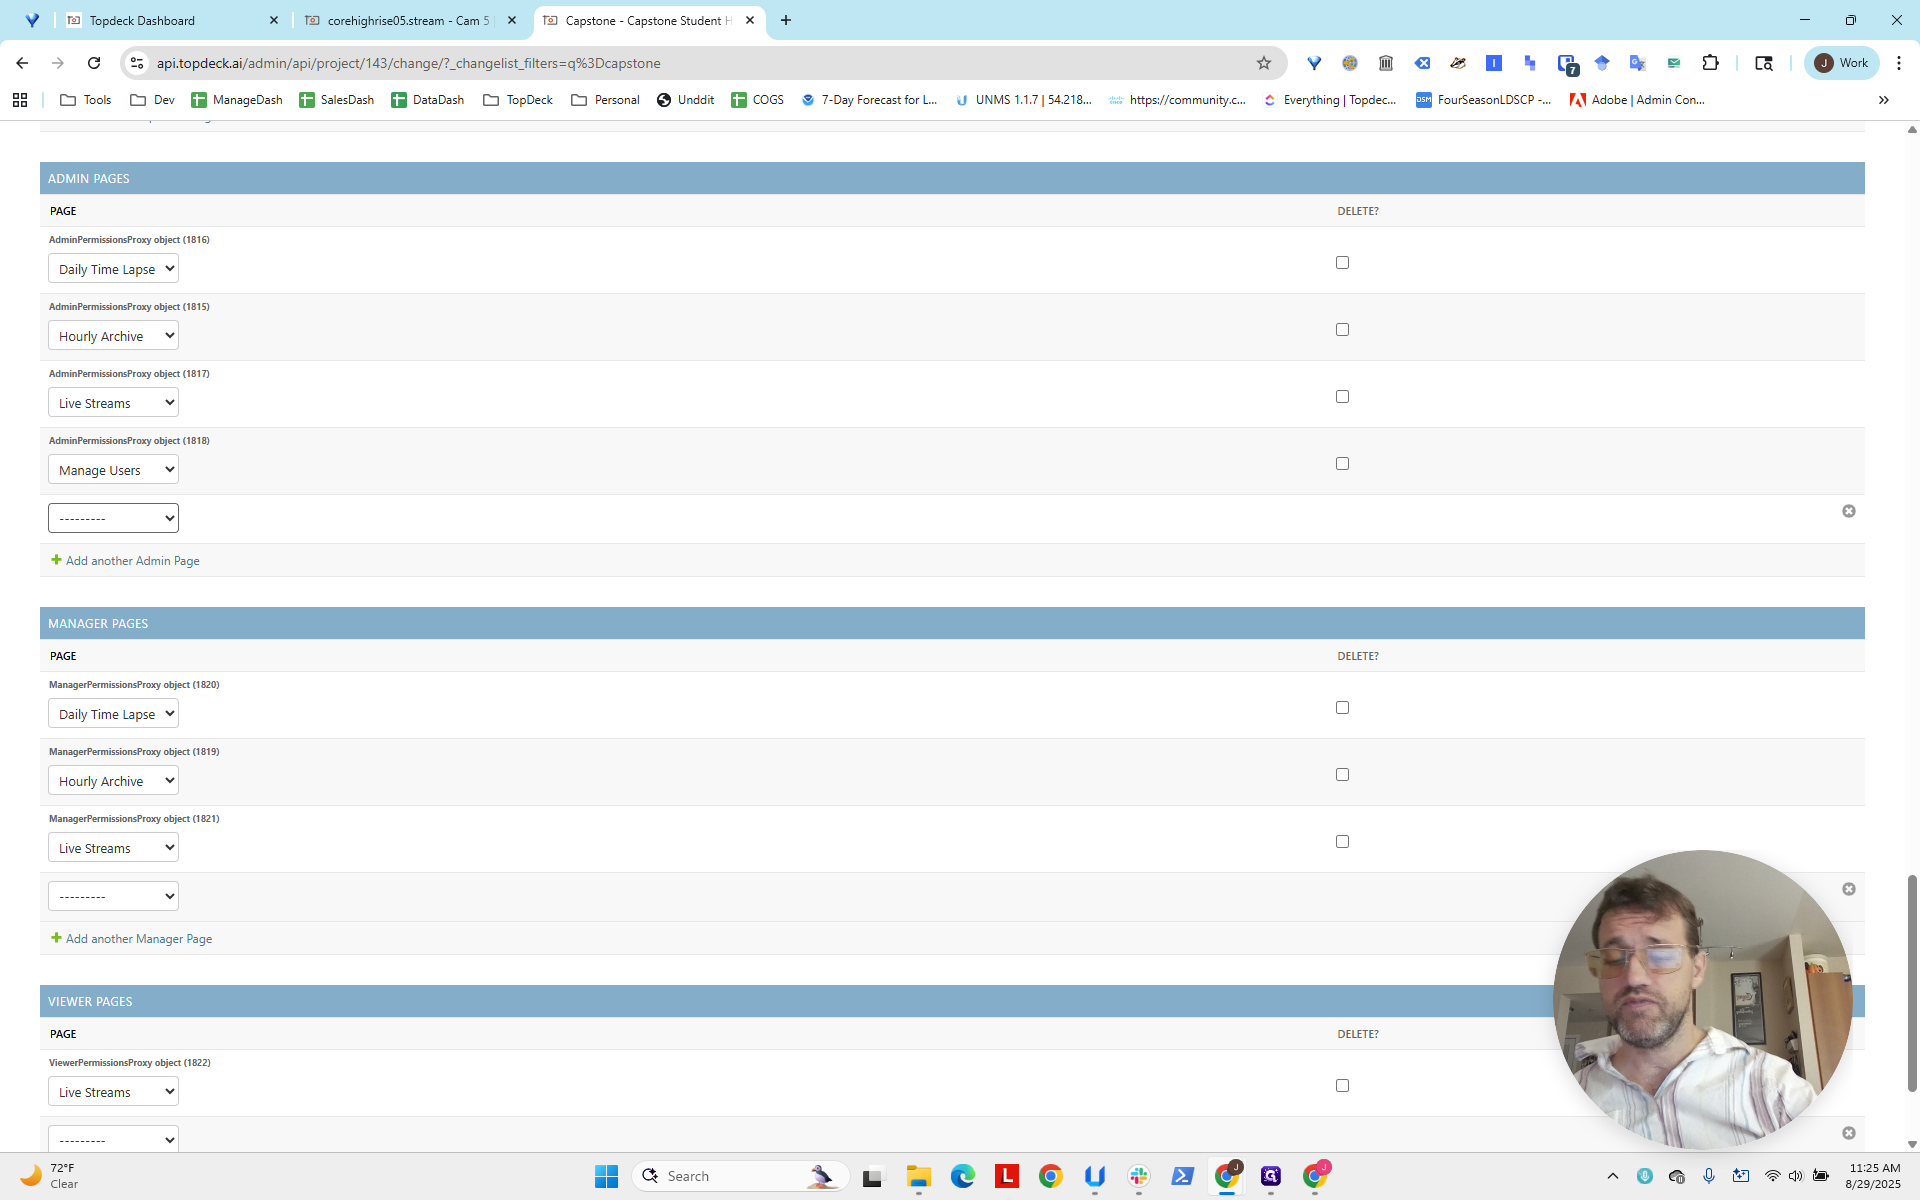
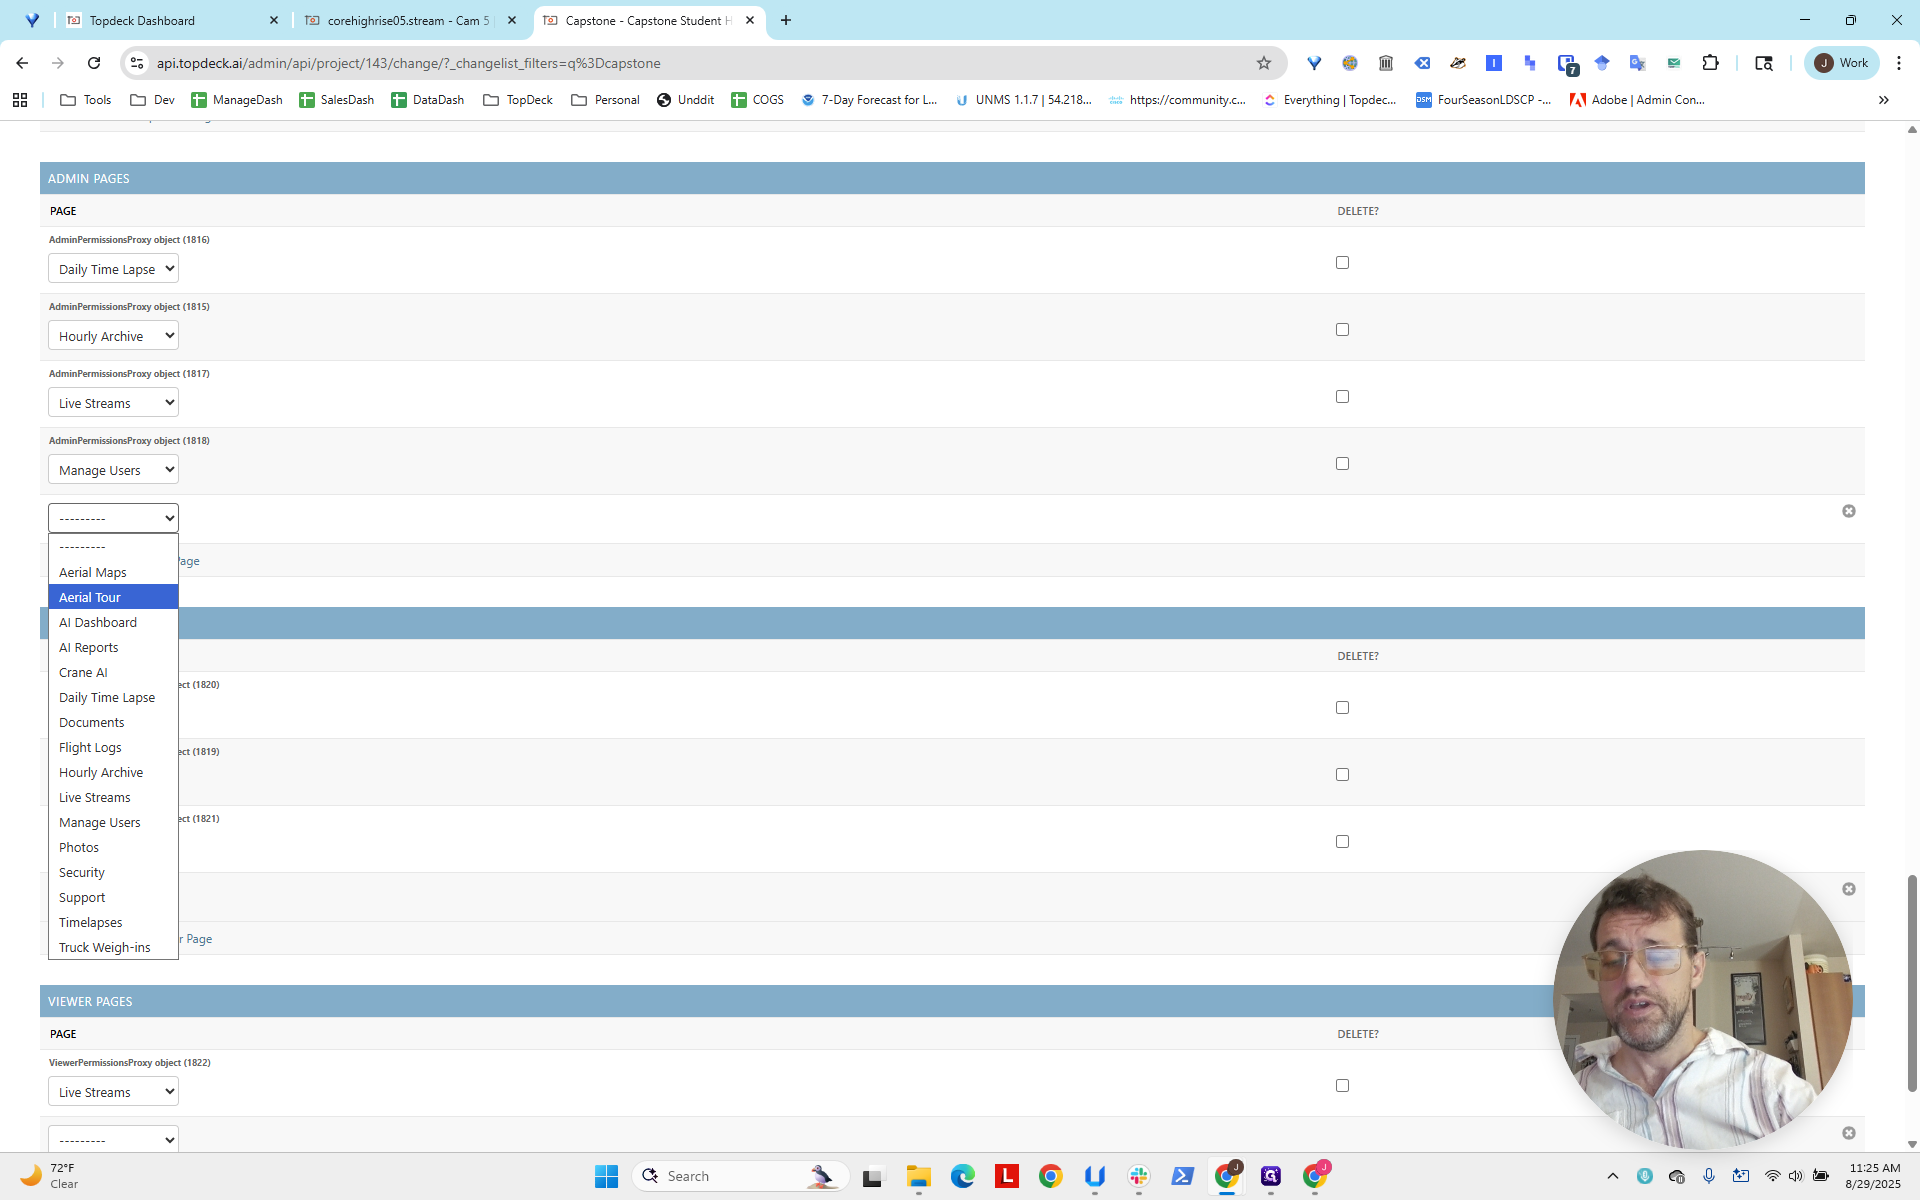
We will do this for the managers and for the viewers.

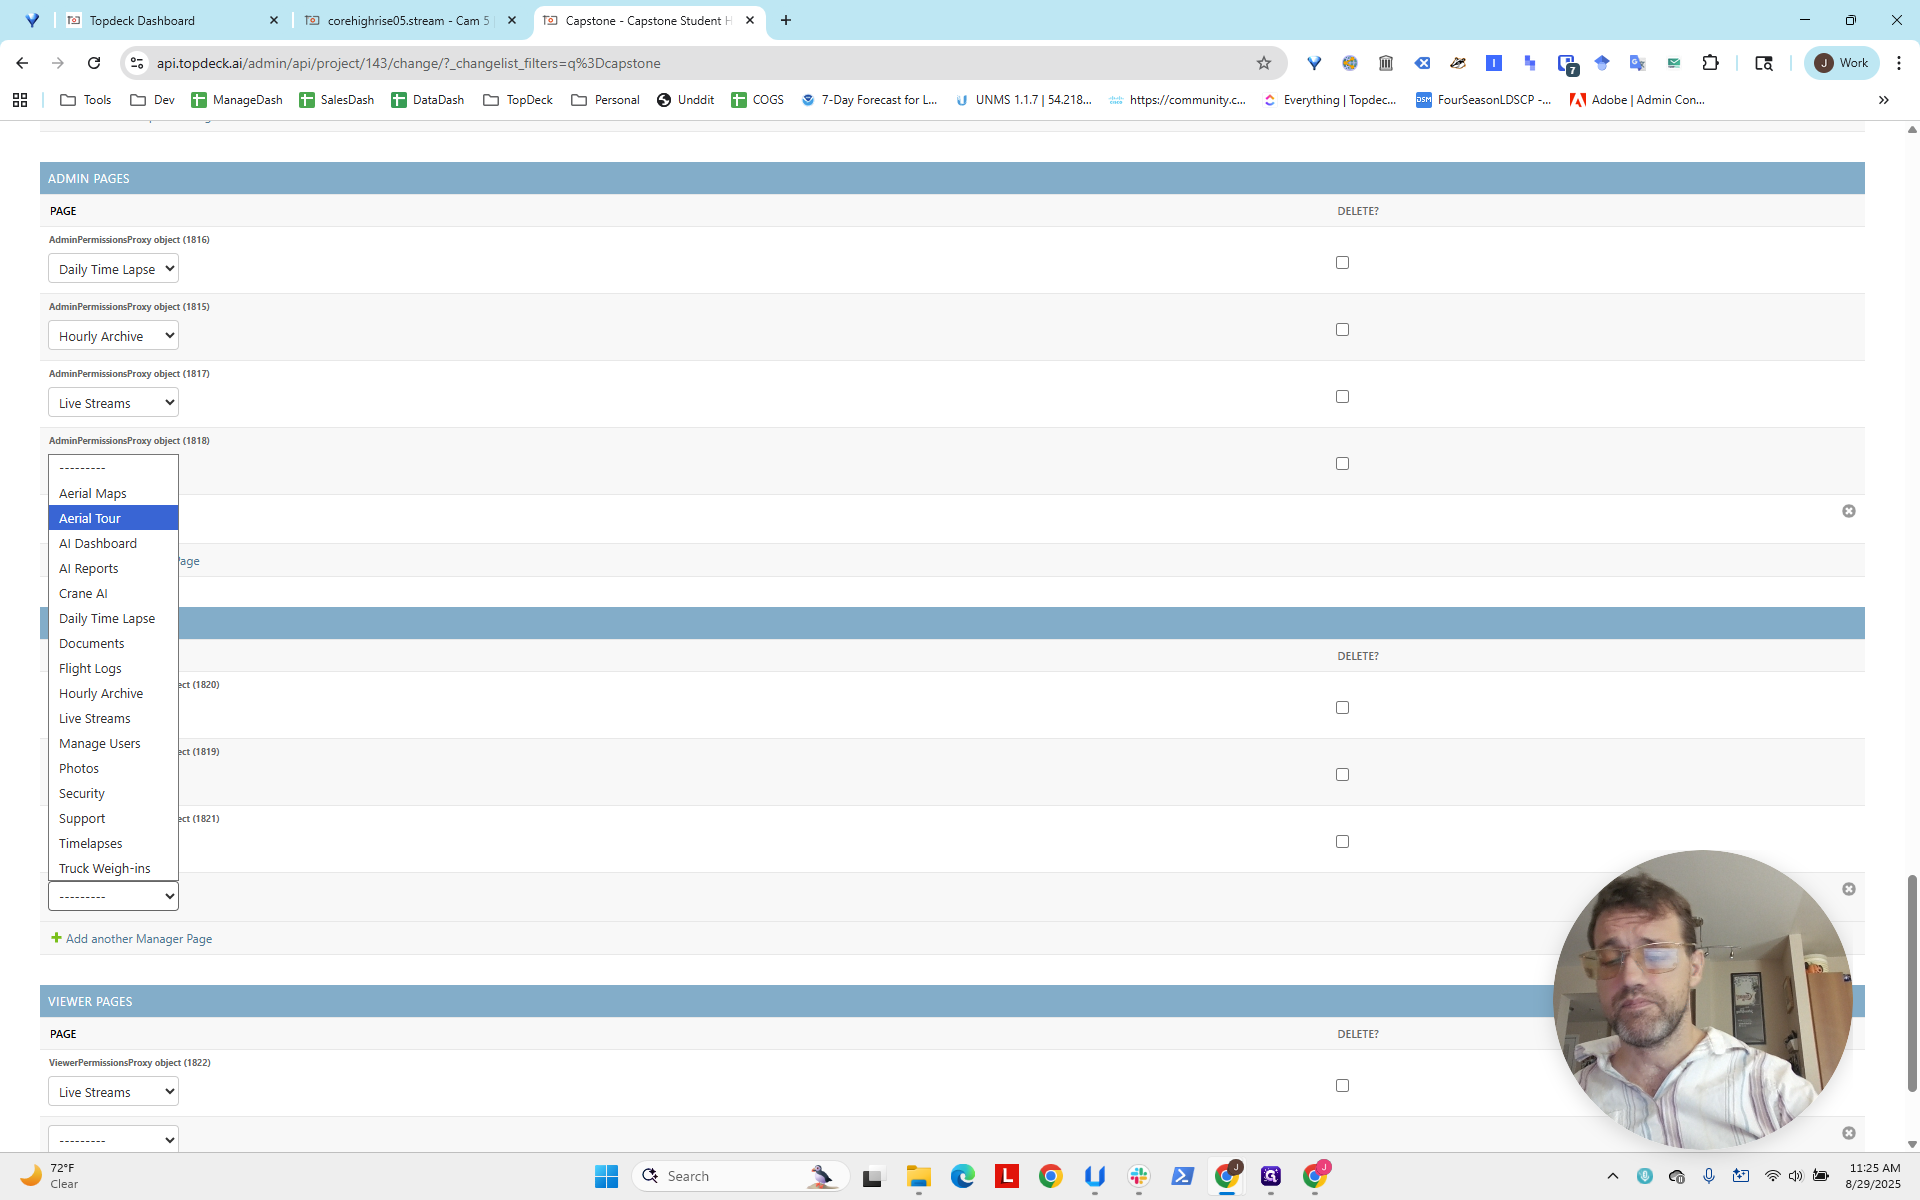
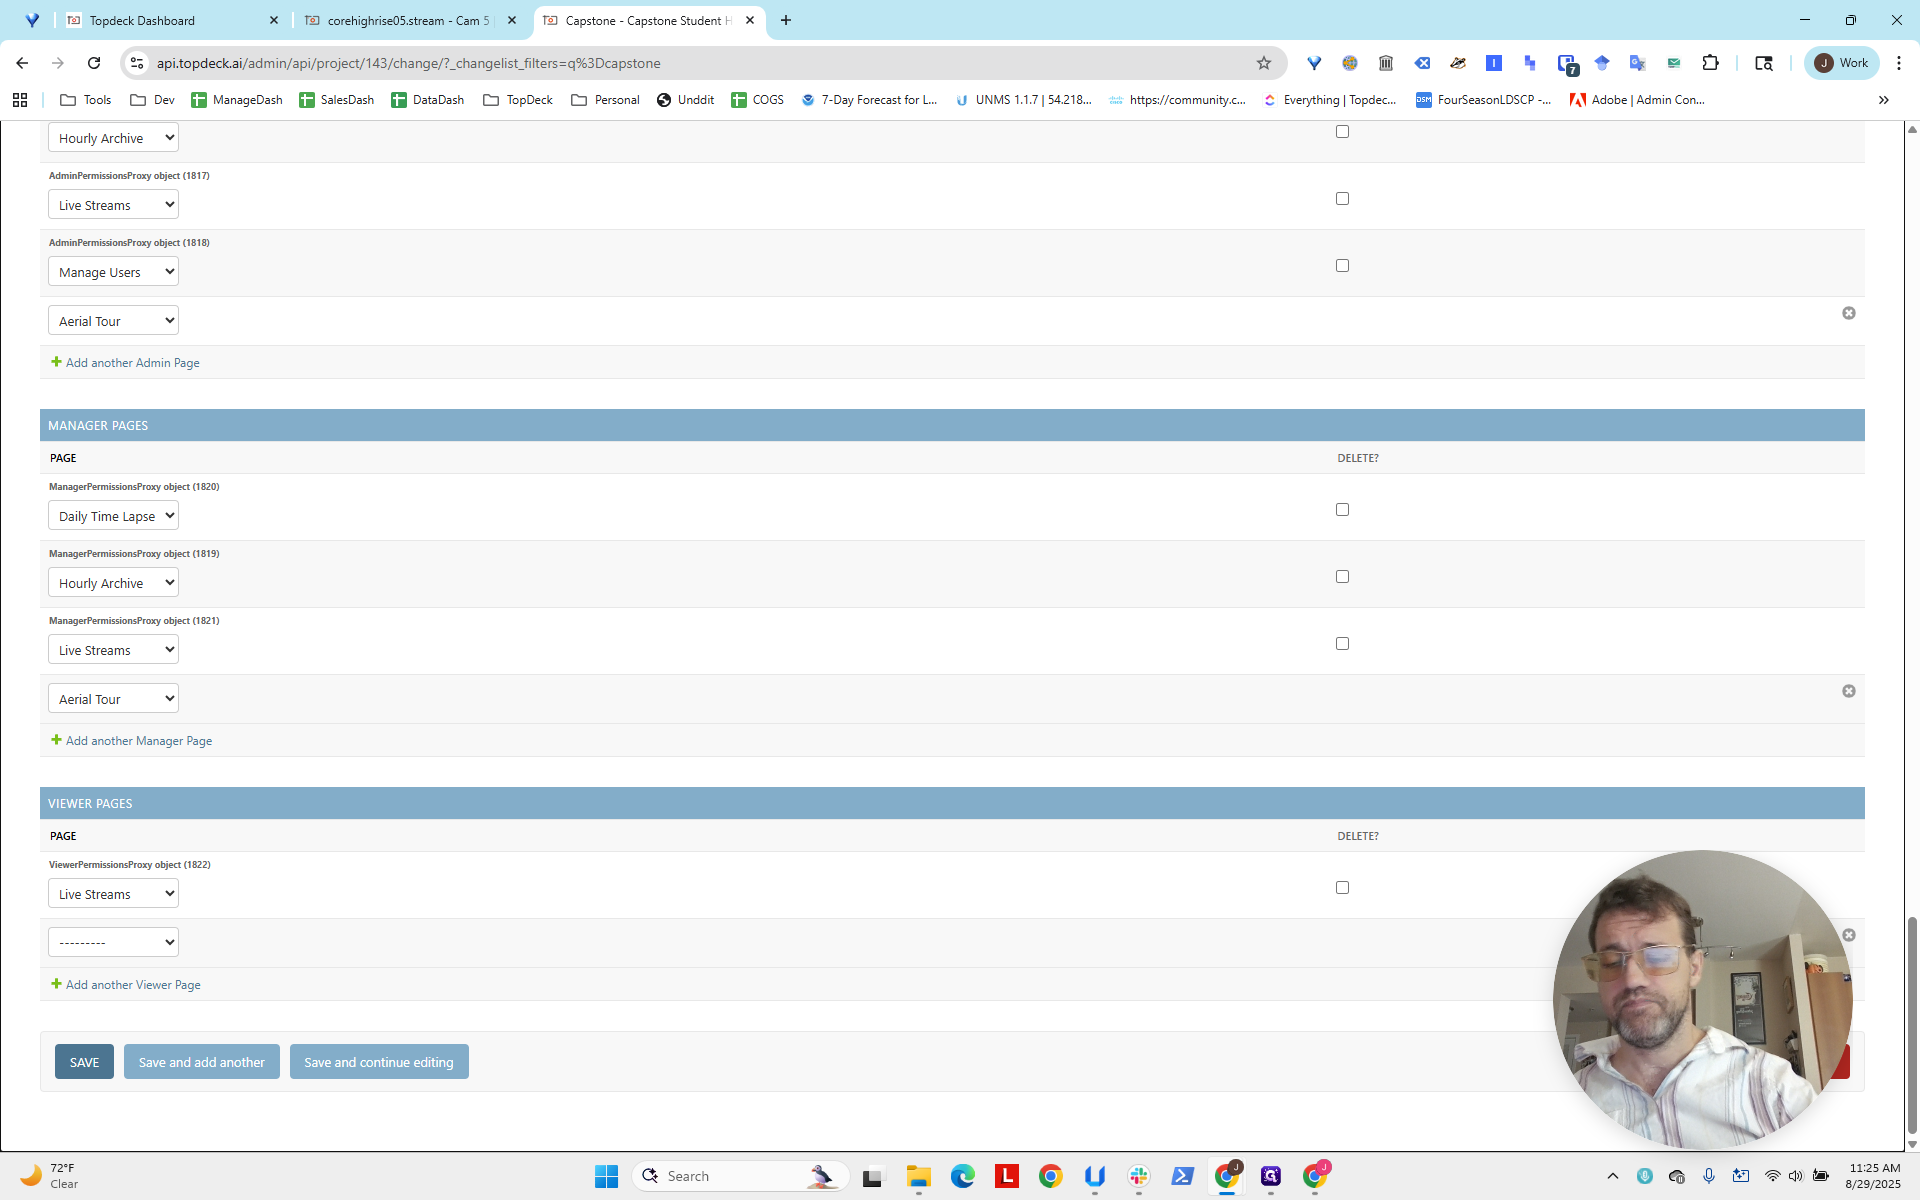
Now, we will click Save.

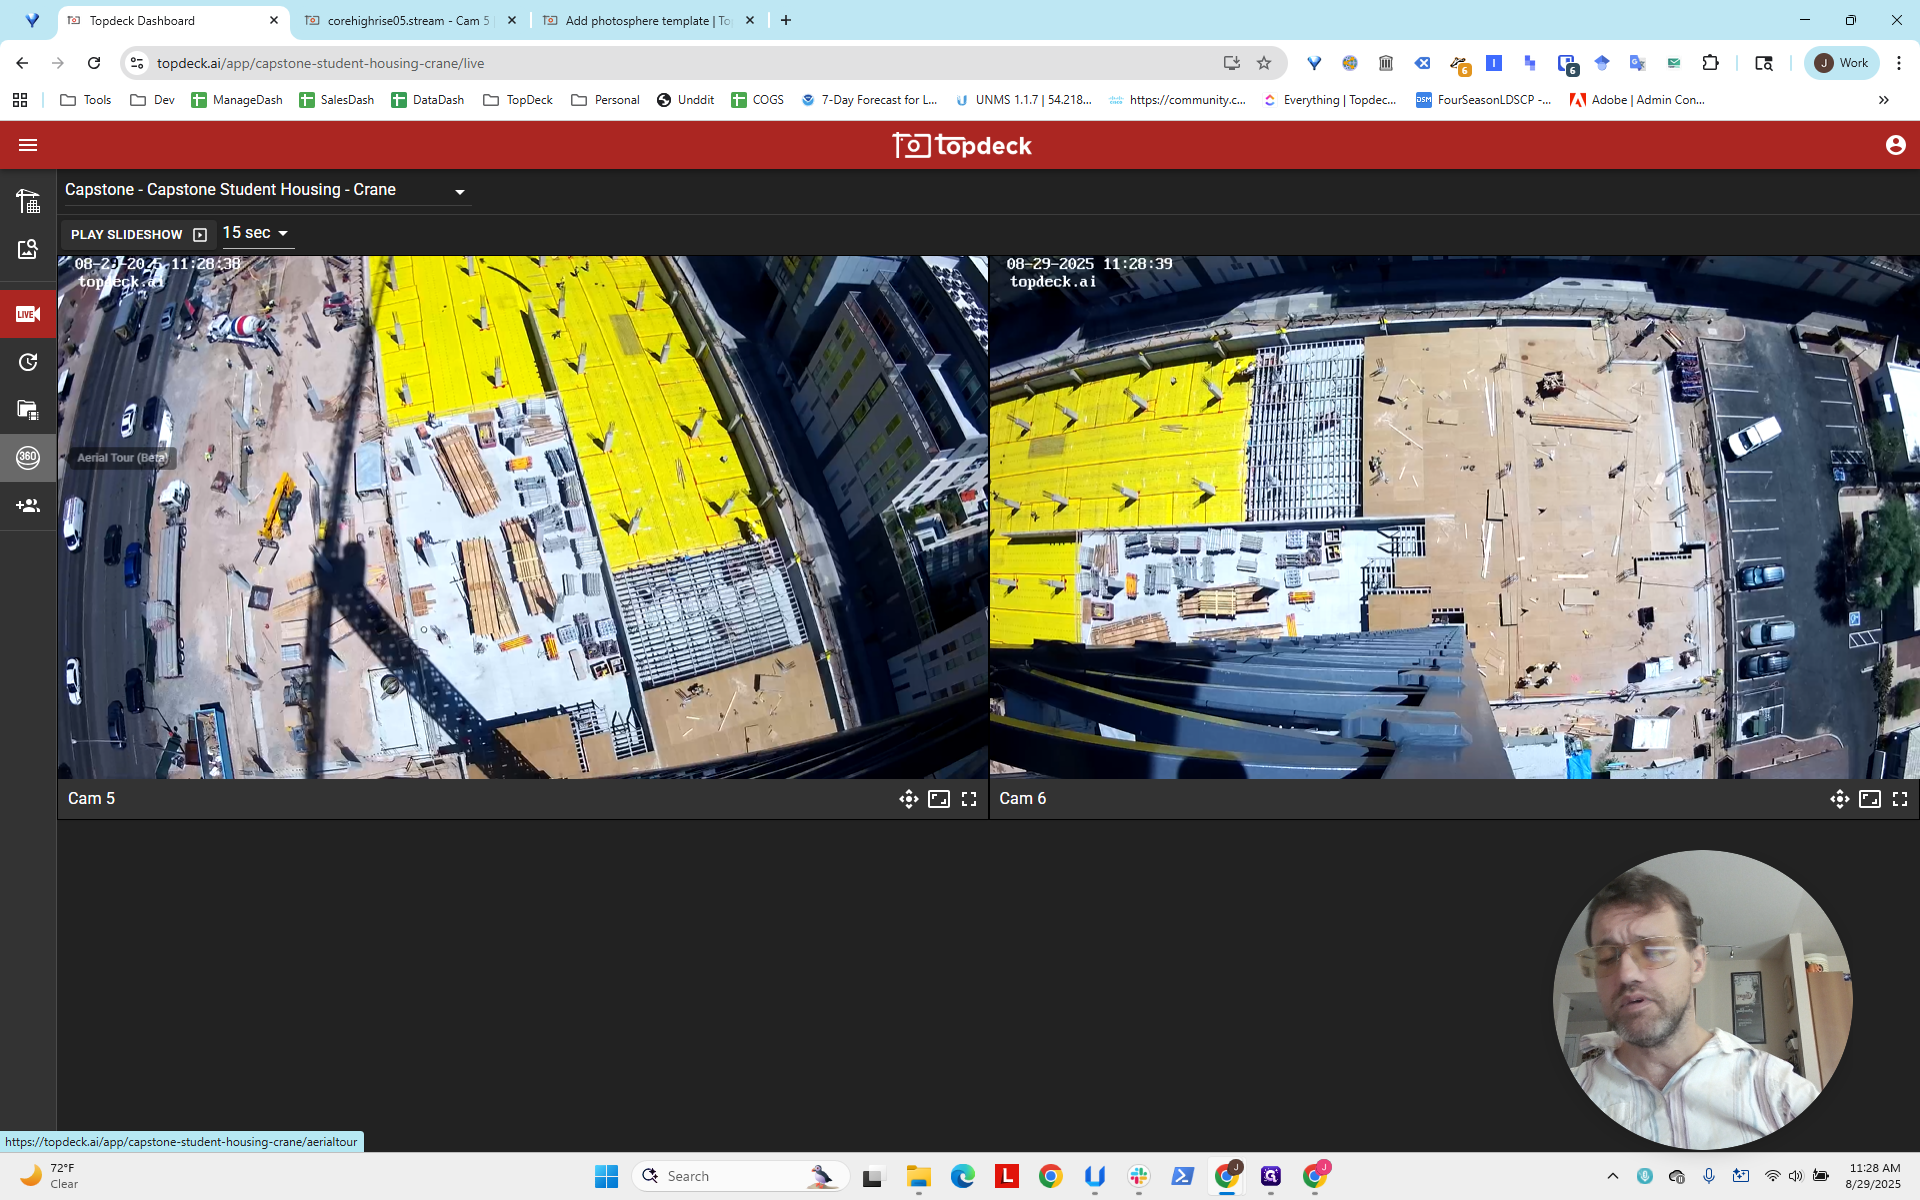
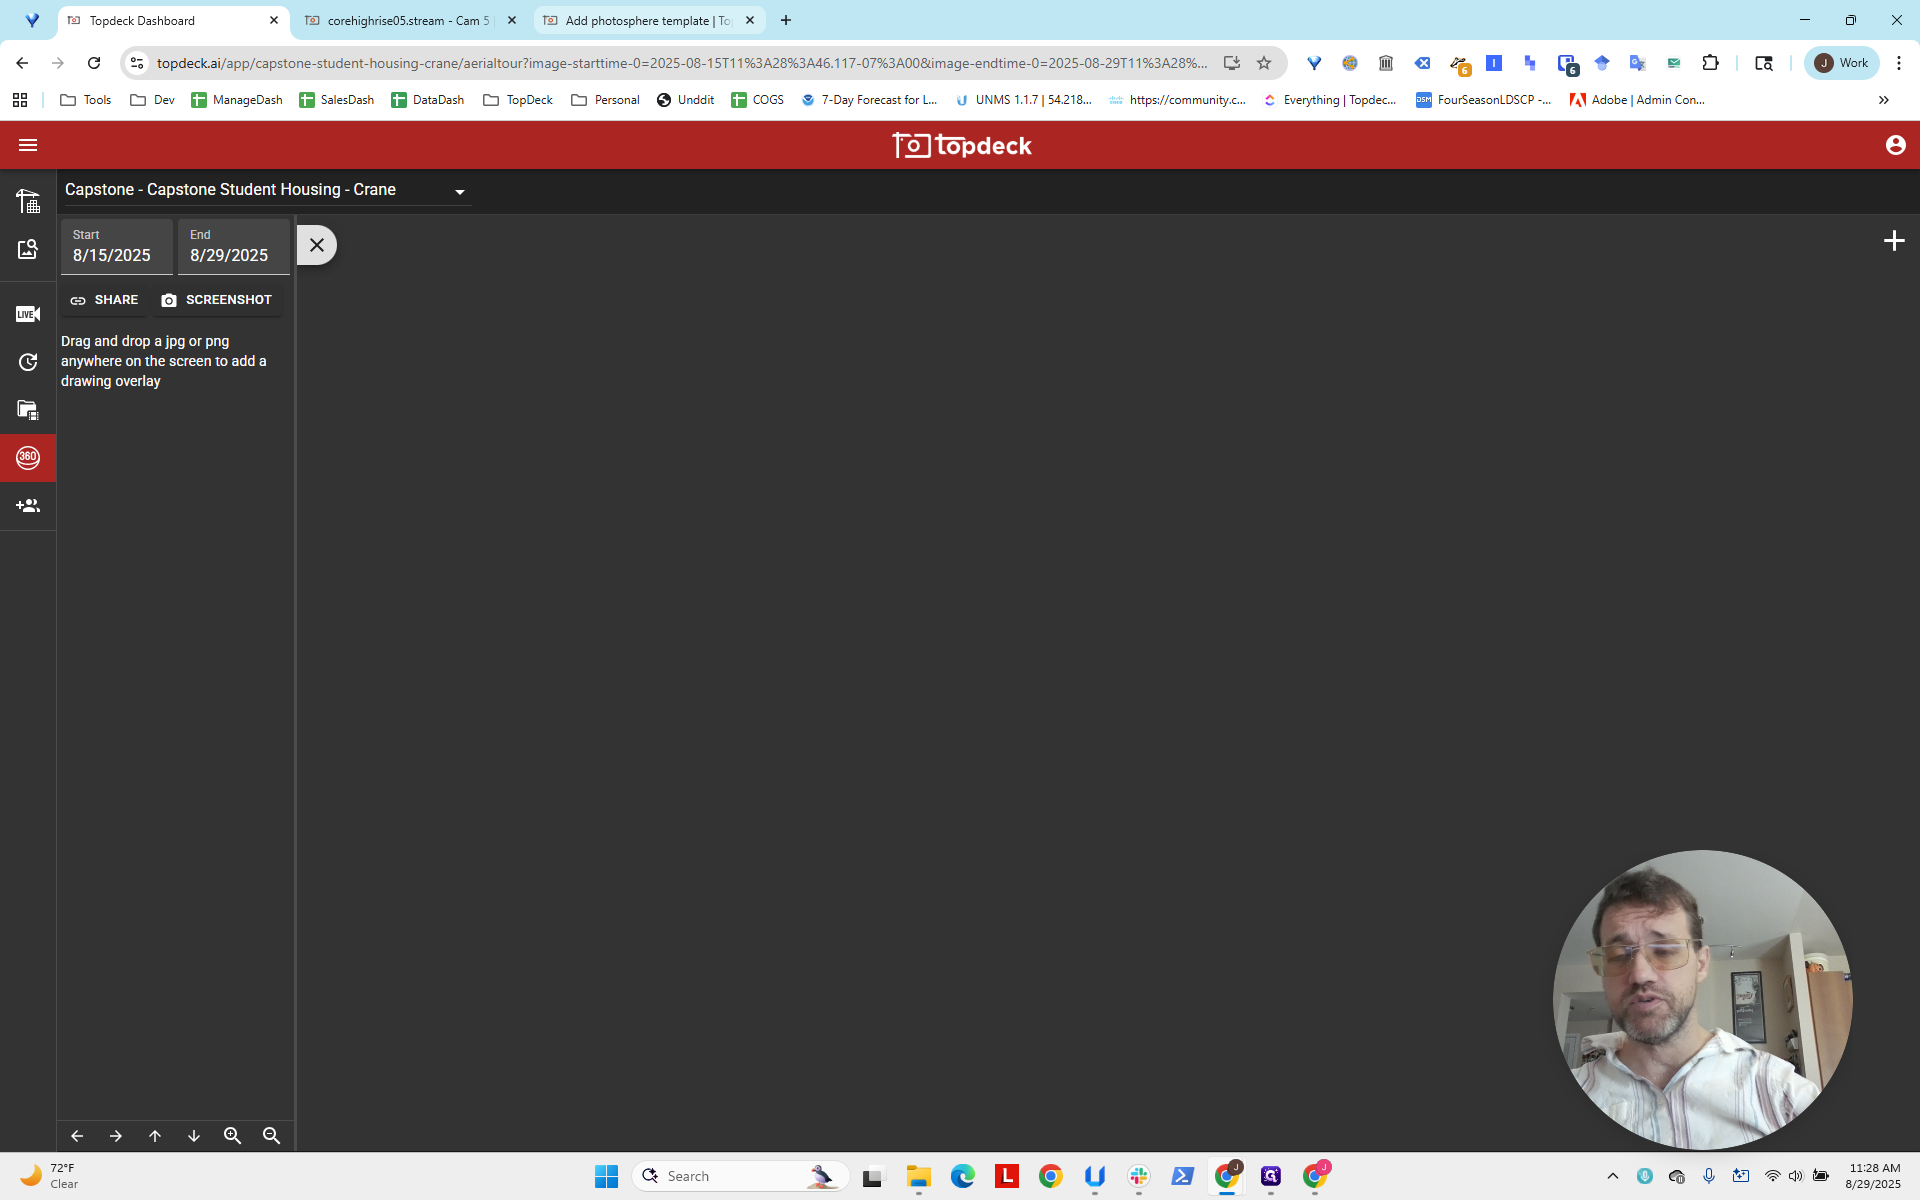
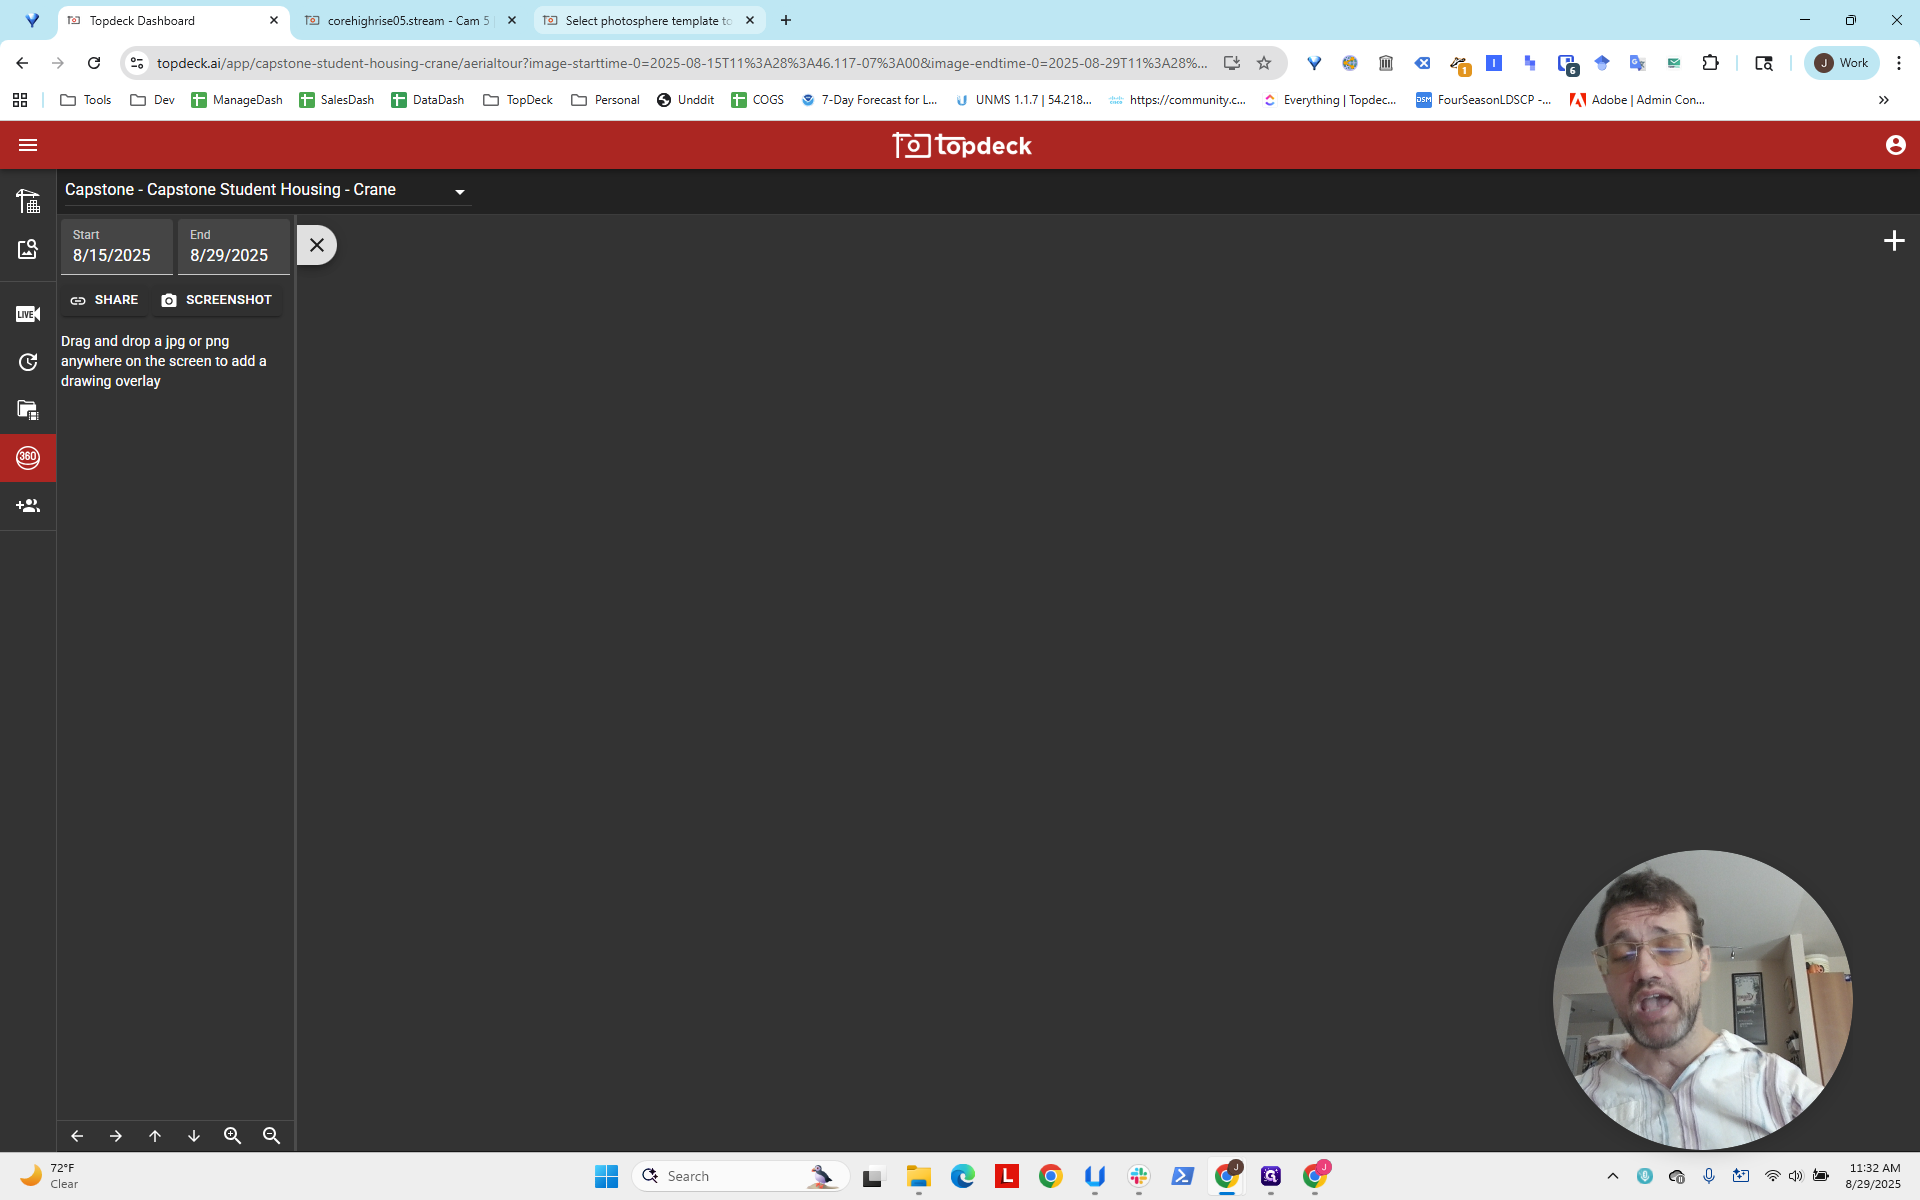
Okay. We can confirm this worked by switching to the main live view and reloading the page.
Now you can see we have a photosphere pane.
There are no PhotoSpheres yet, so nothing will appear here. It's good to know we have this feature. Now we will set up the PhotoSphere templates to run.
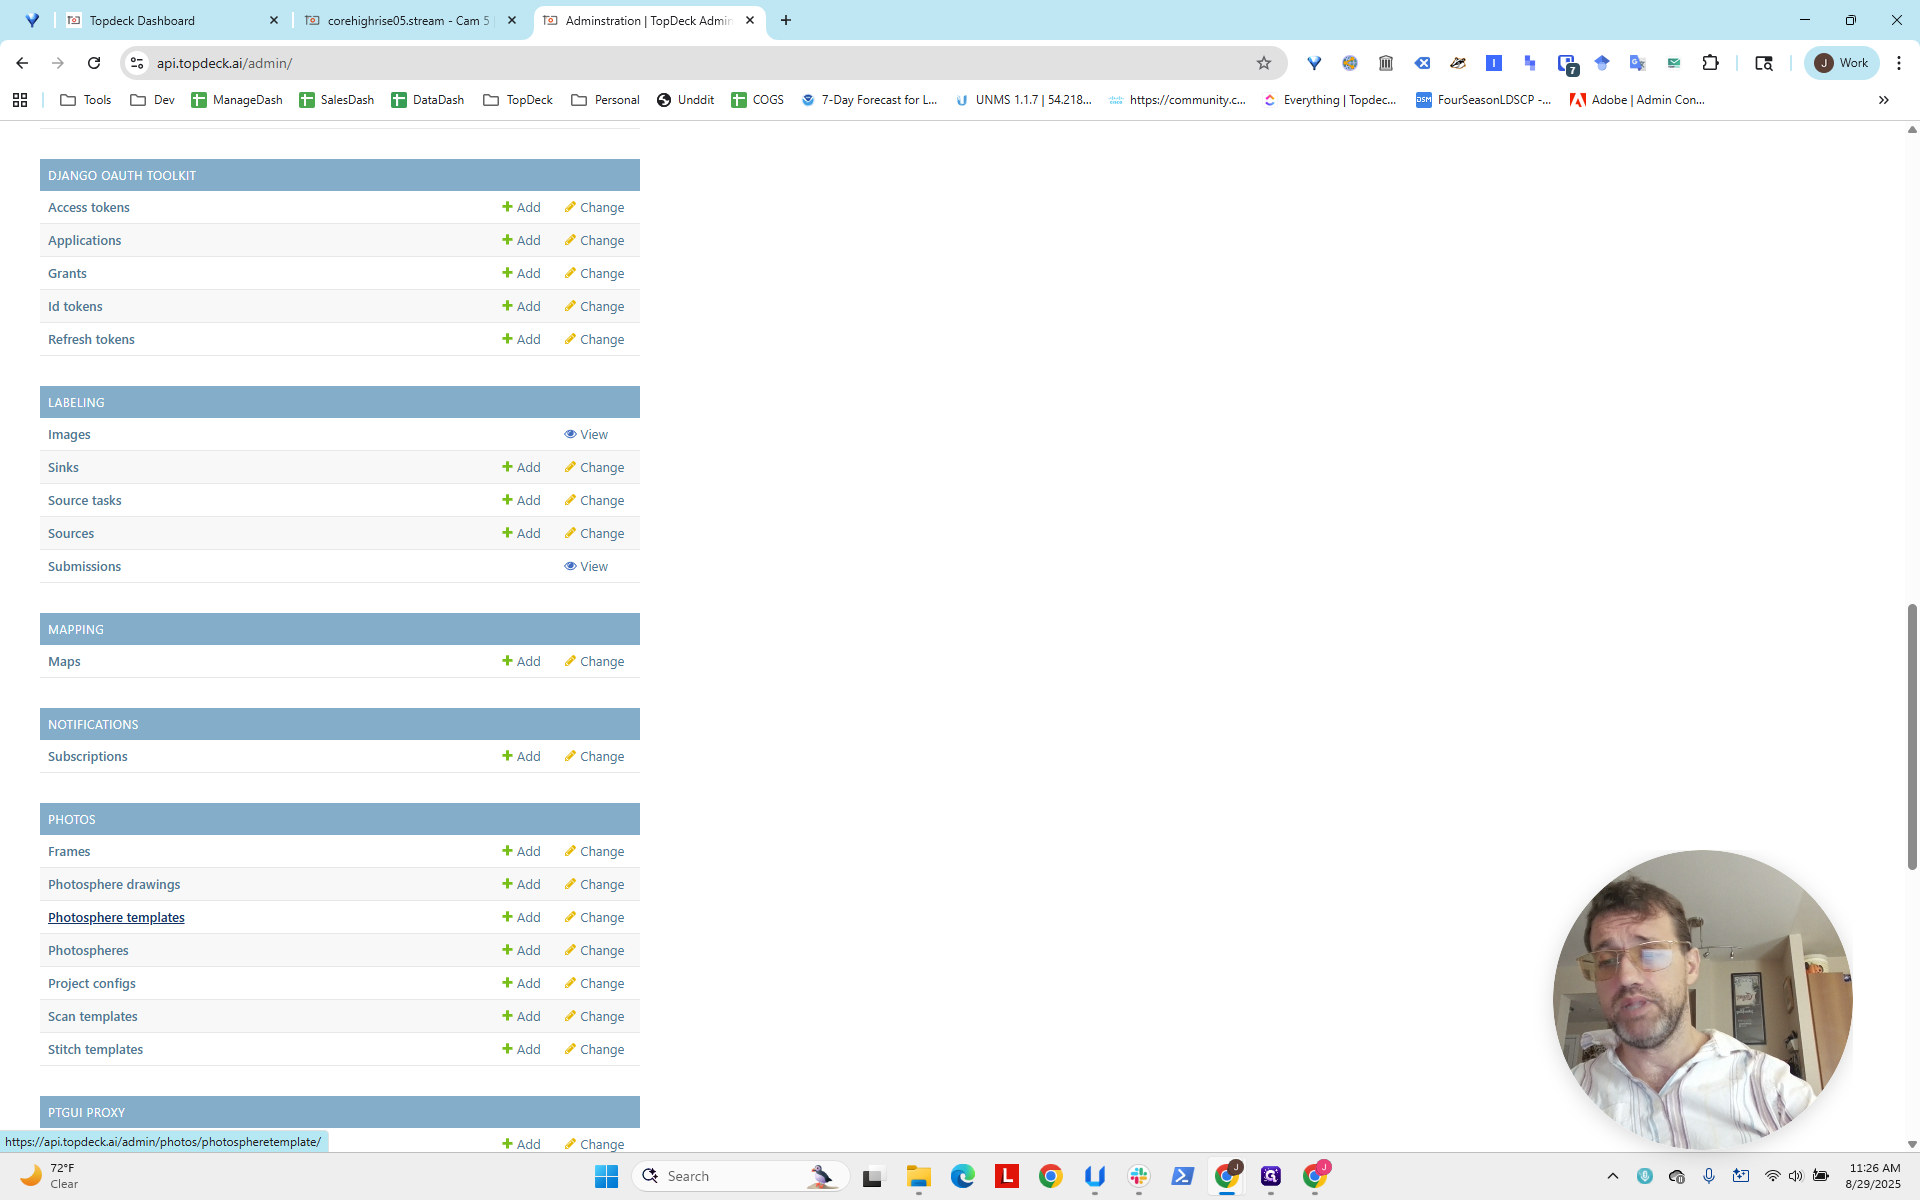
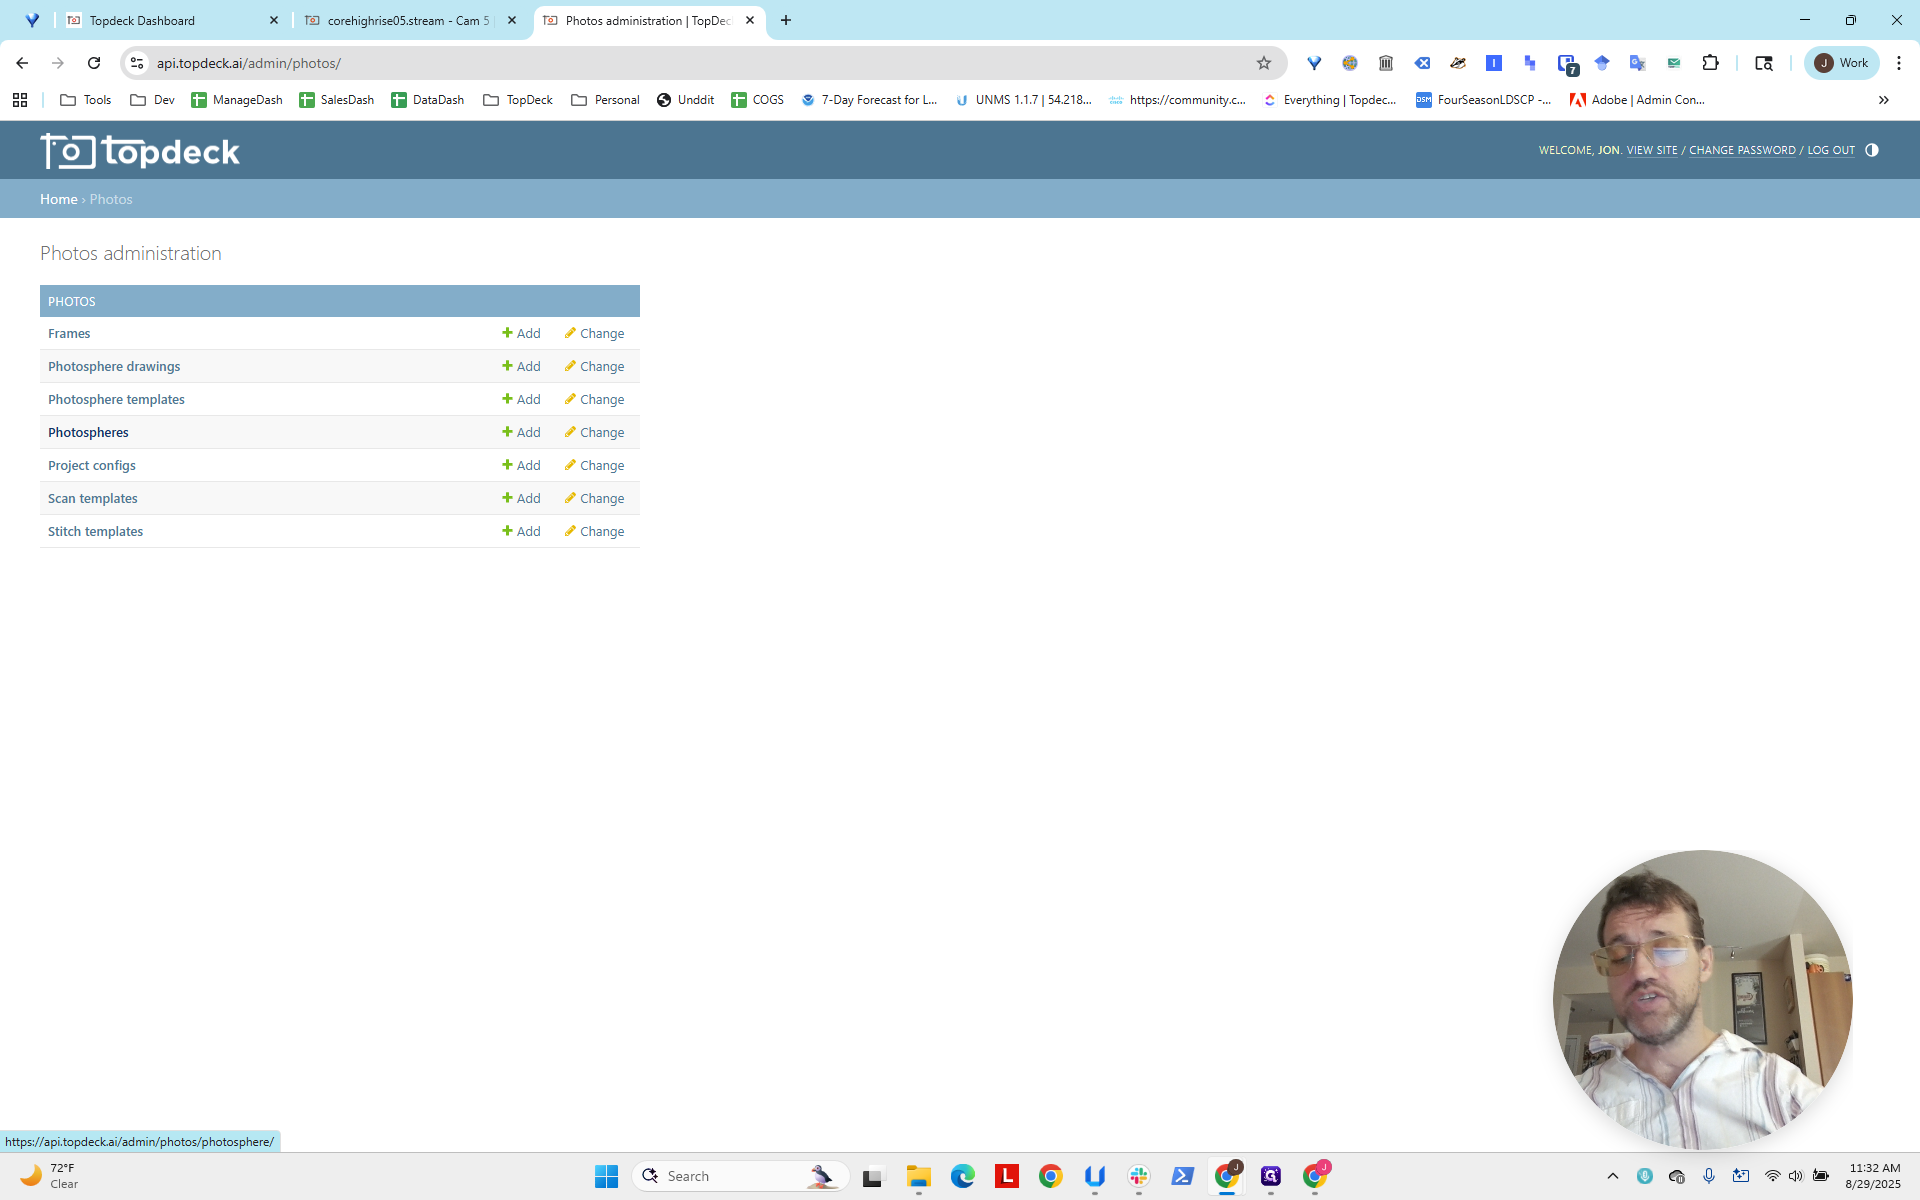
We return to the API home page and scroll down.
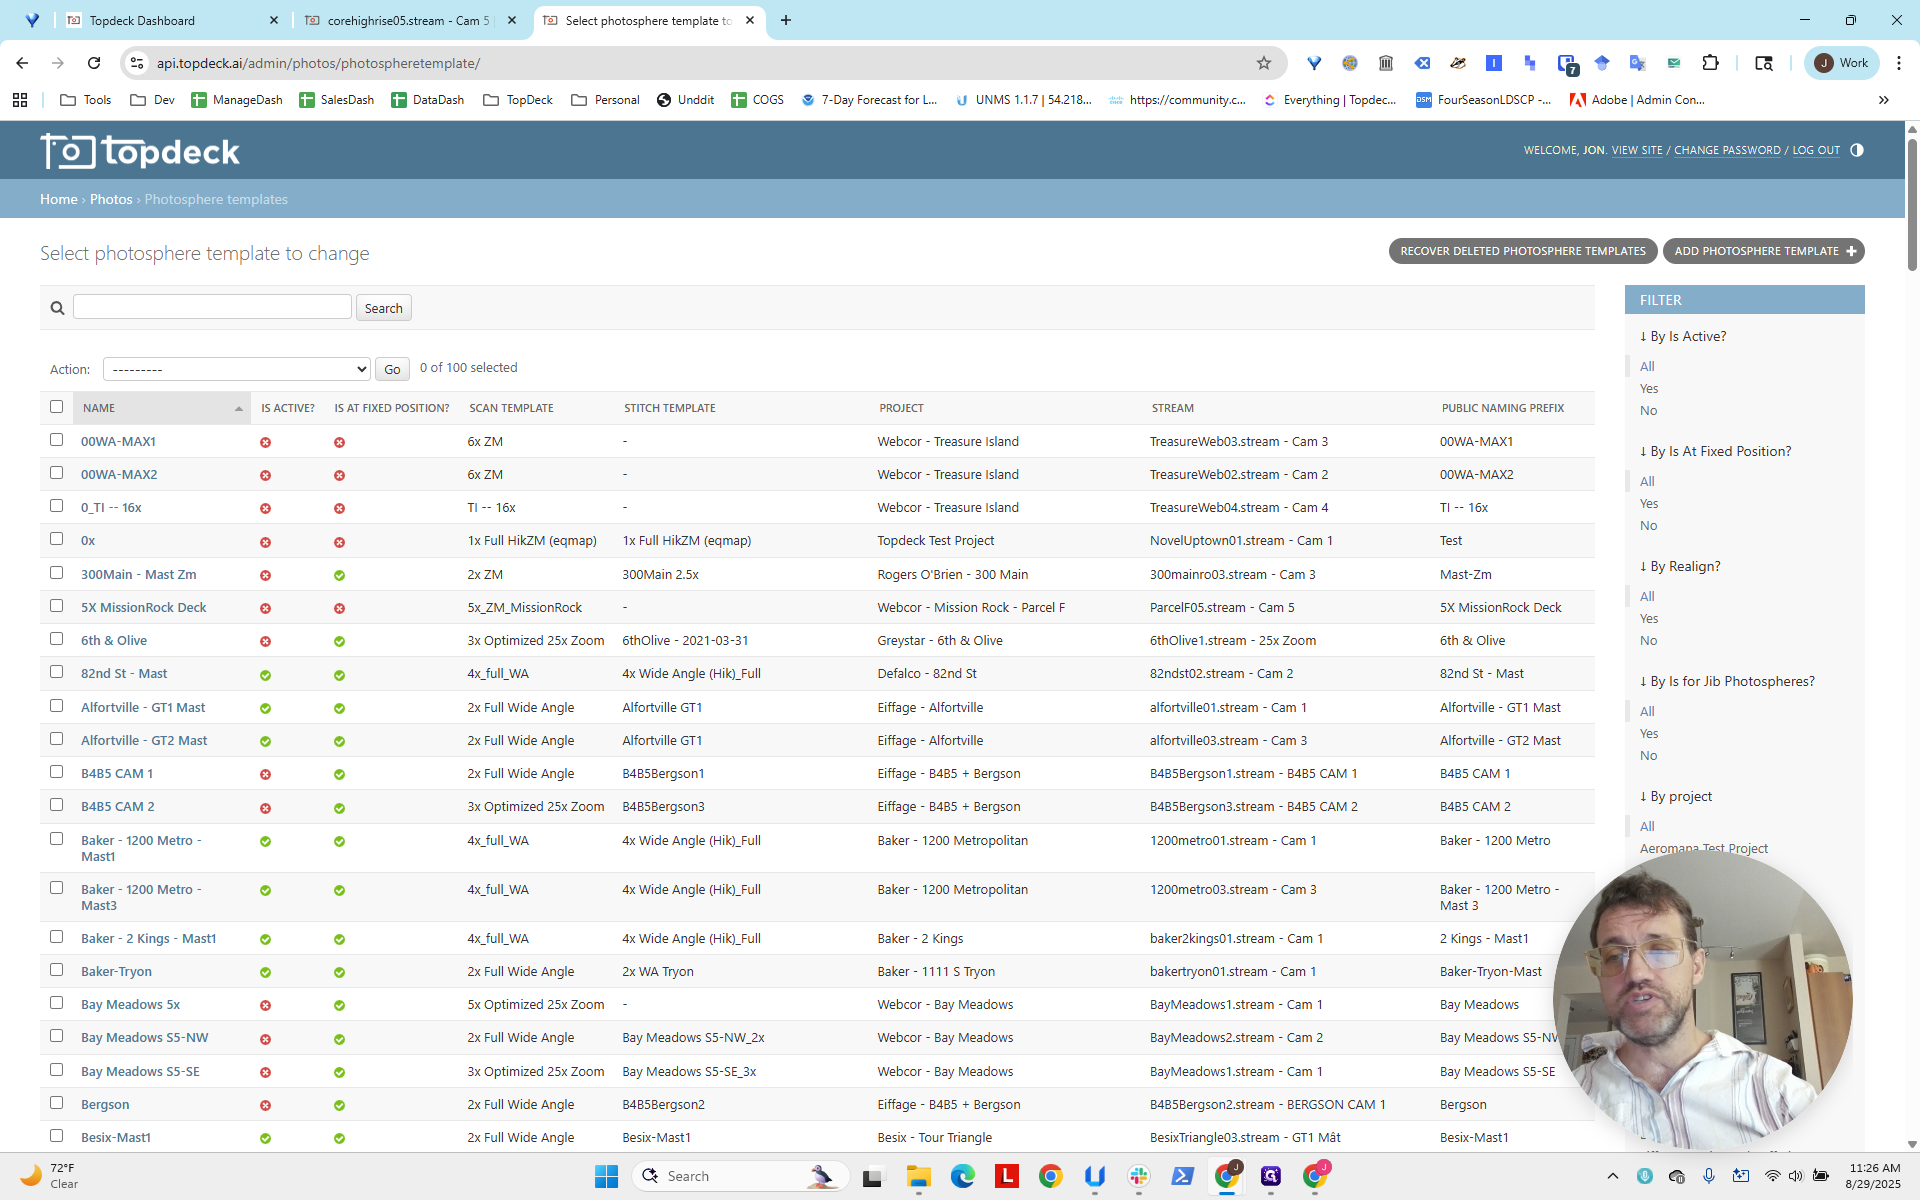
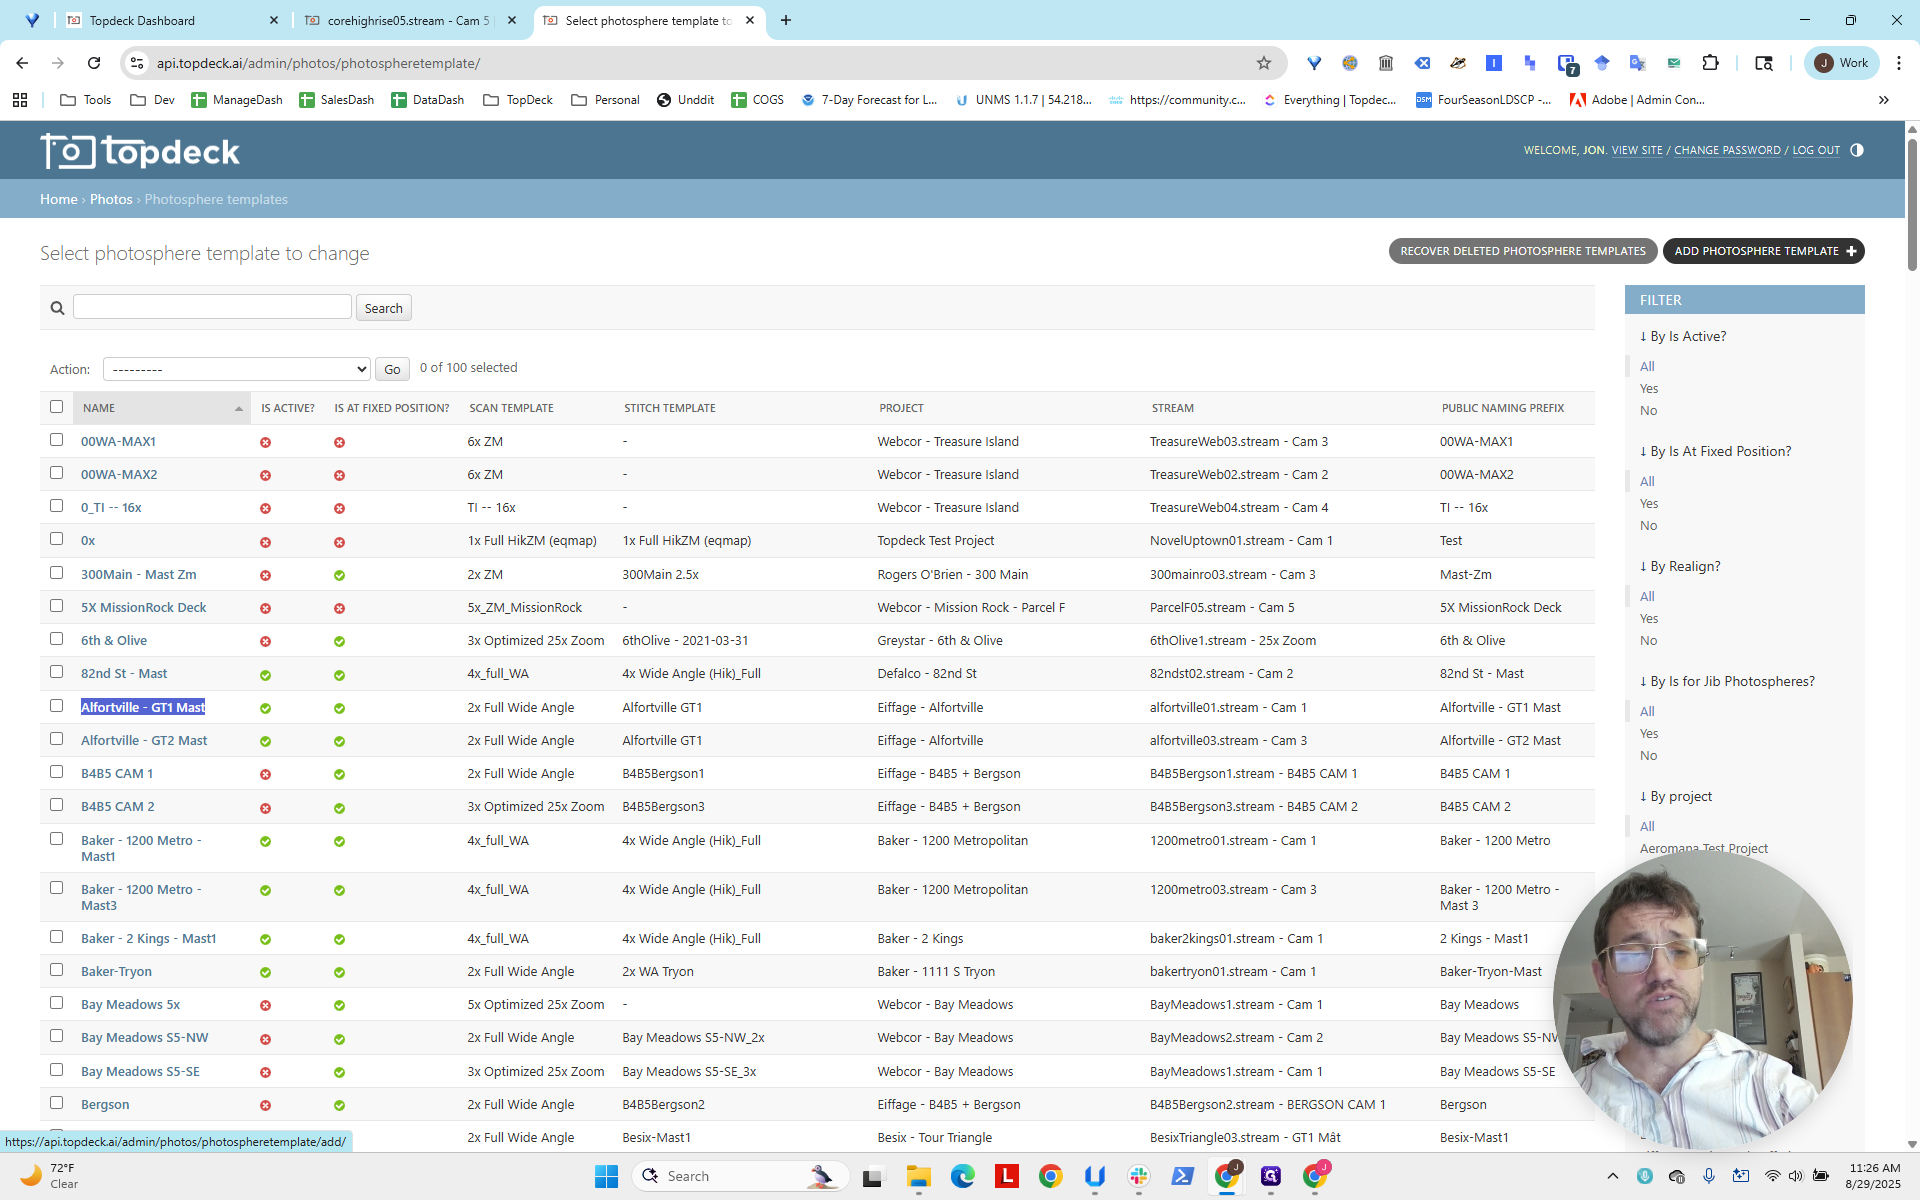
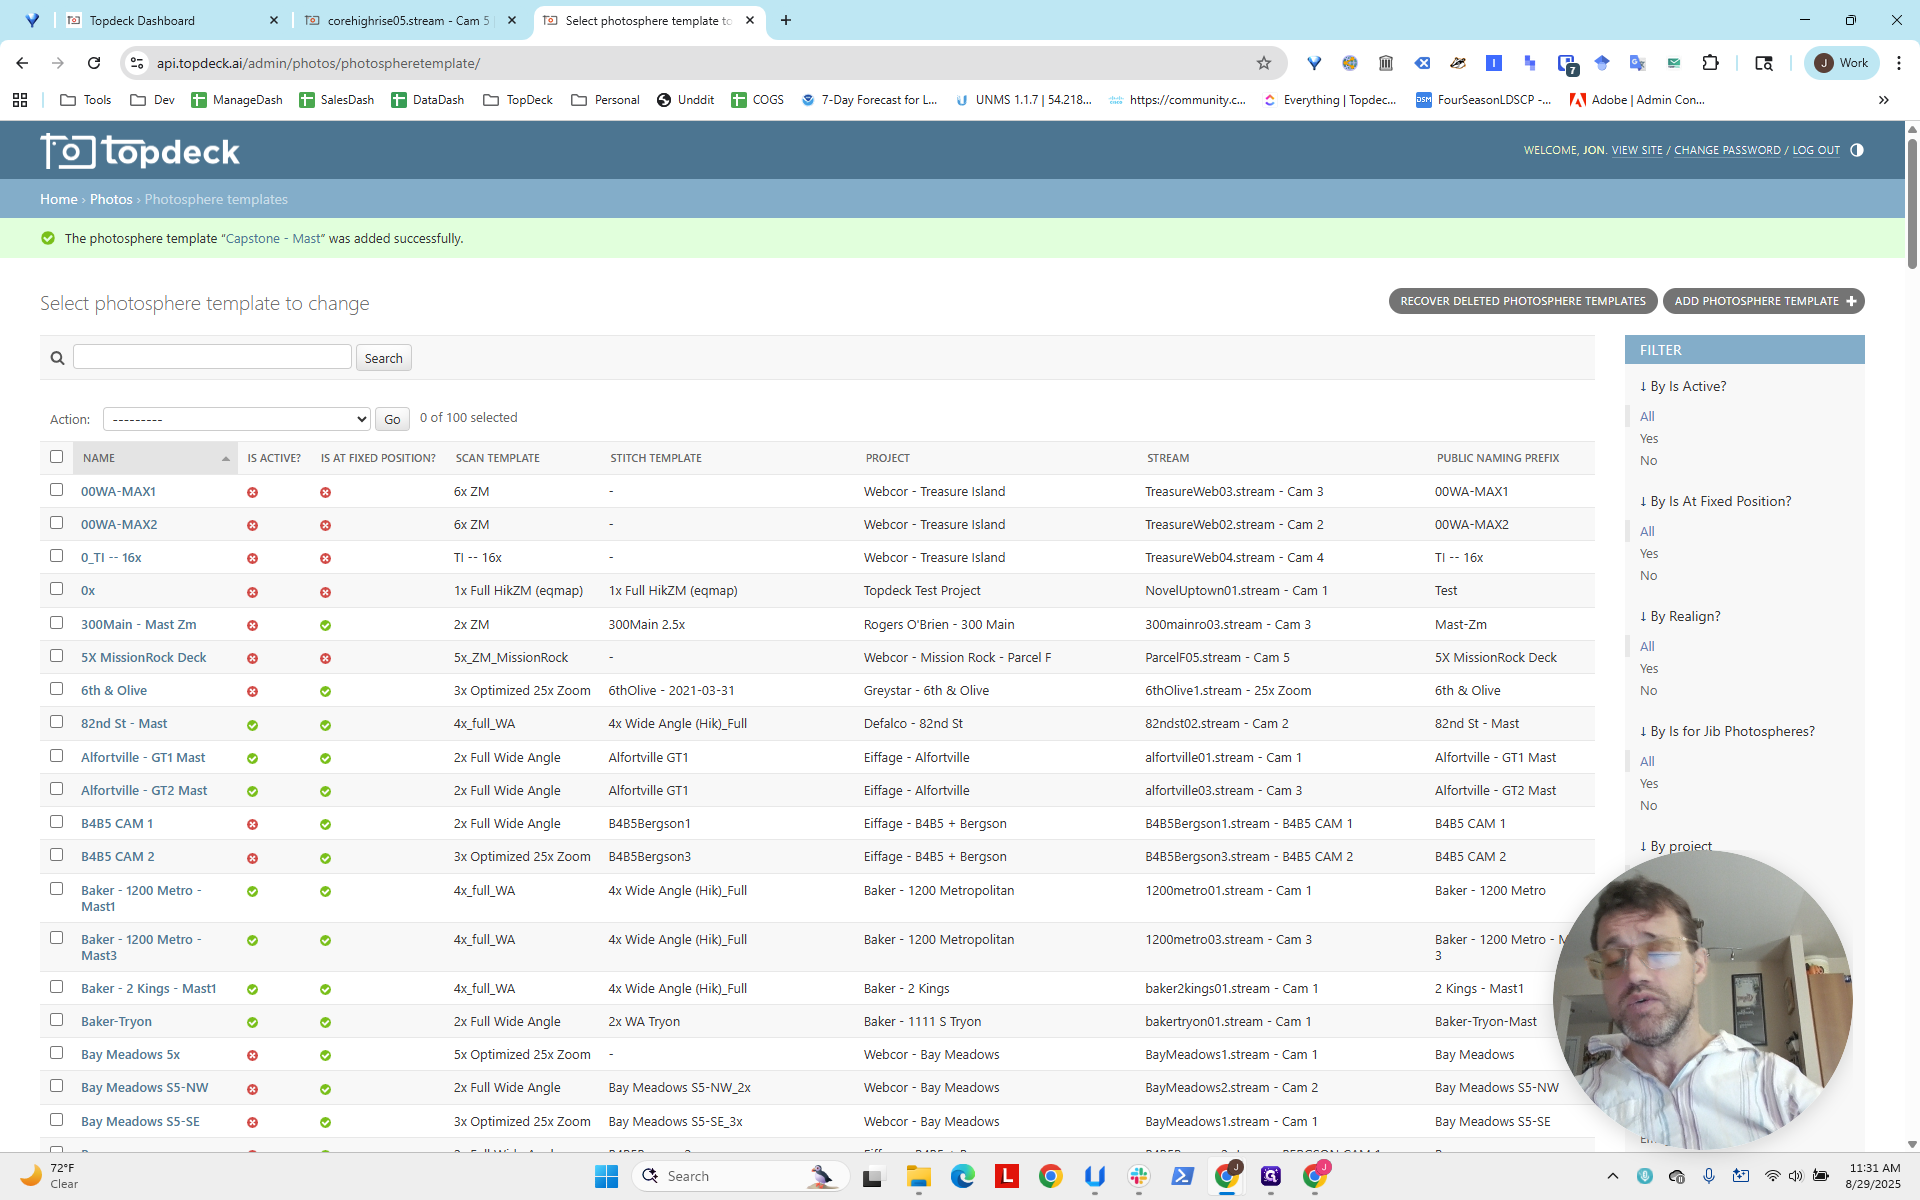
Photos > photosphere templates.
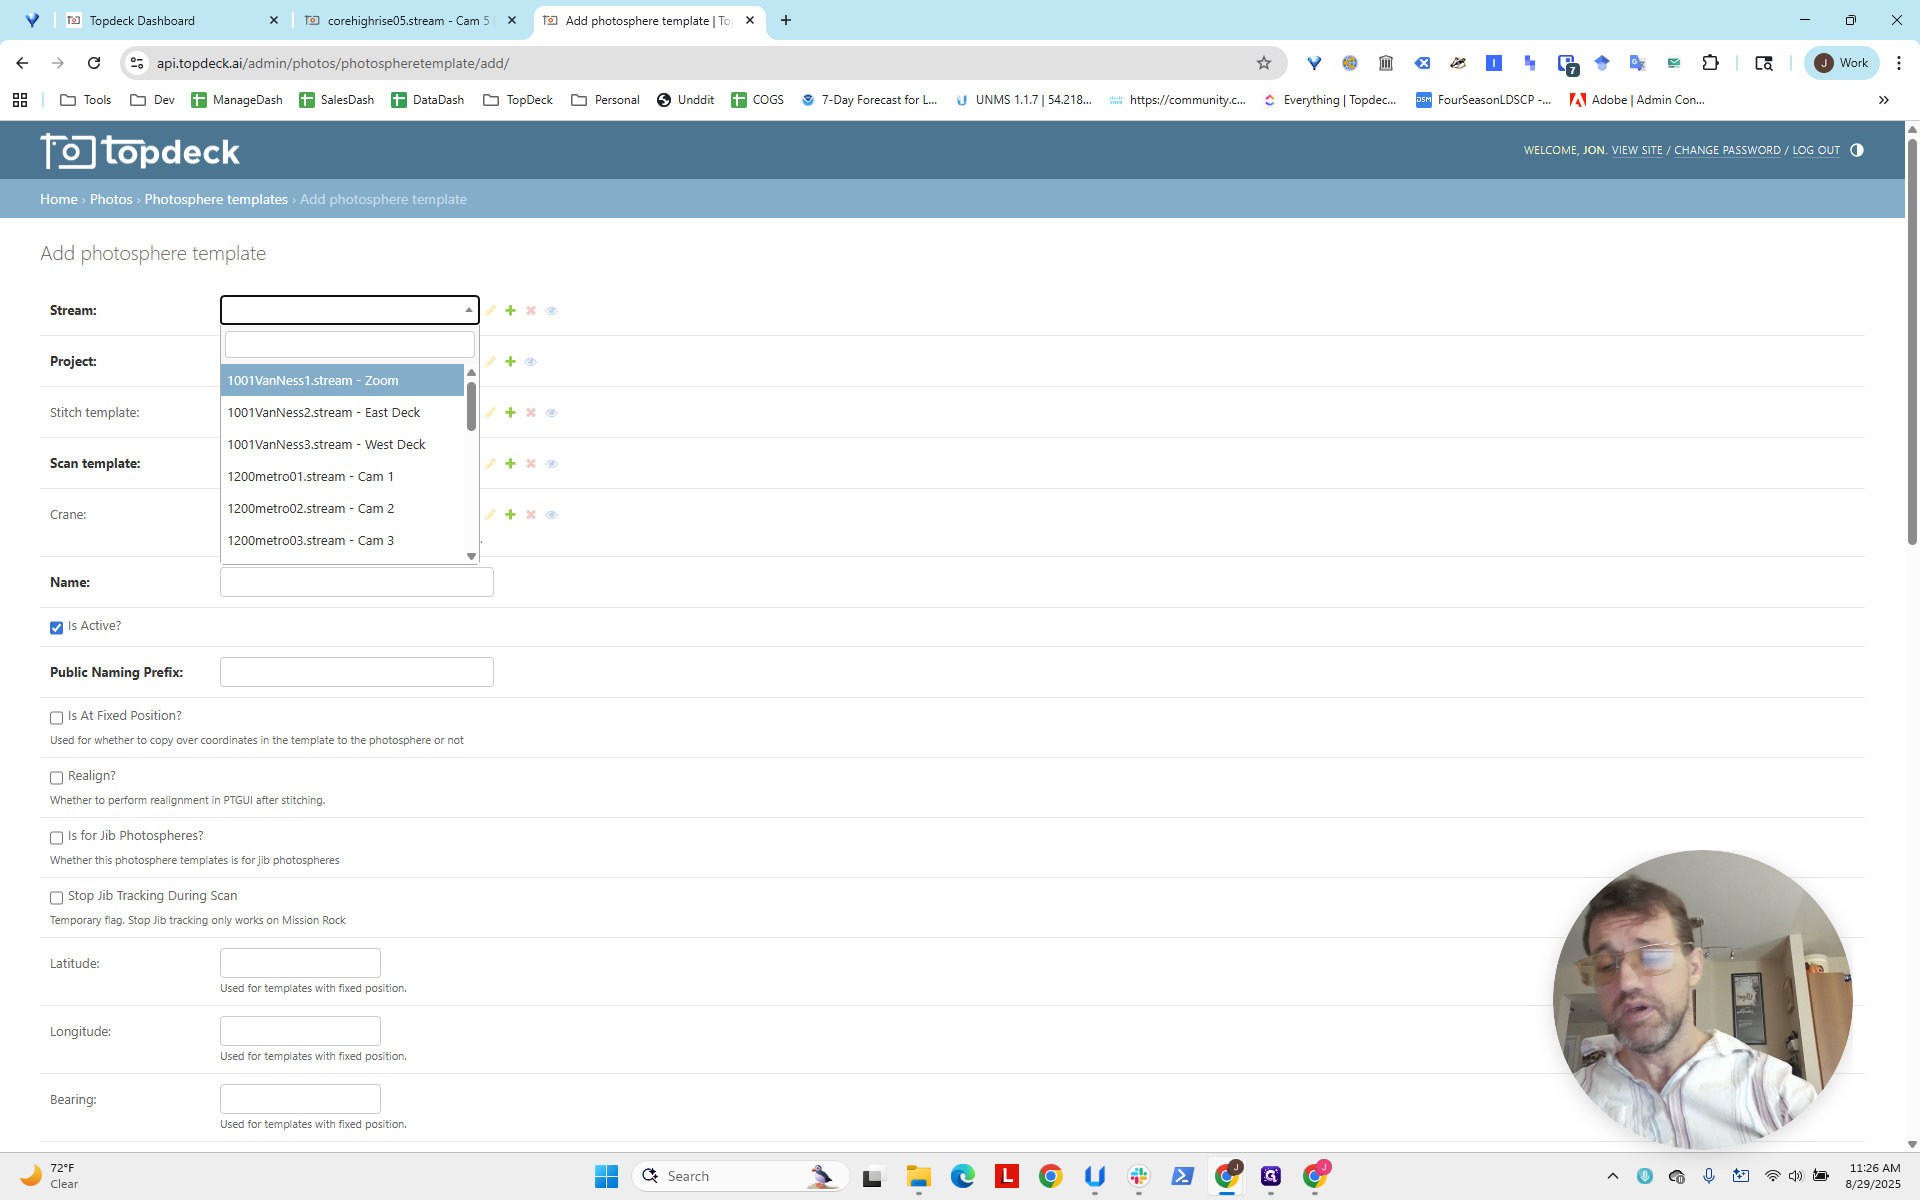
Now, we will add a photo sphere template. Okay? Note the naming convention for several of these. Usually, it's the project shorthand, not the contractor, followed by a hyphen and then some ranking or differentiation, such as whether it's a crane, ground, or which specific crane.
Now, click "Add Photo Sphere Template." Remember, we kept the stream open to access COR Highrise 05.
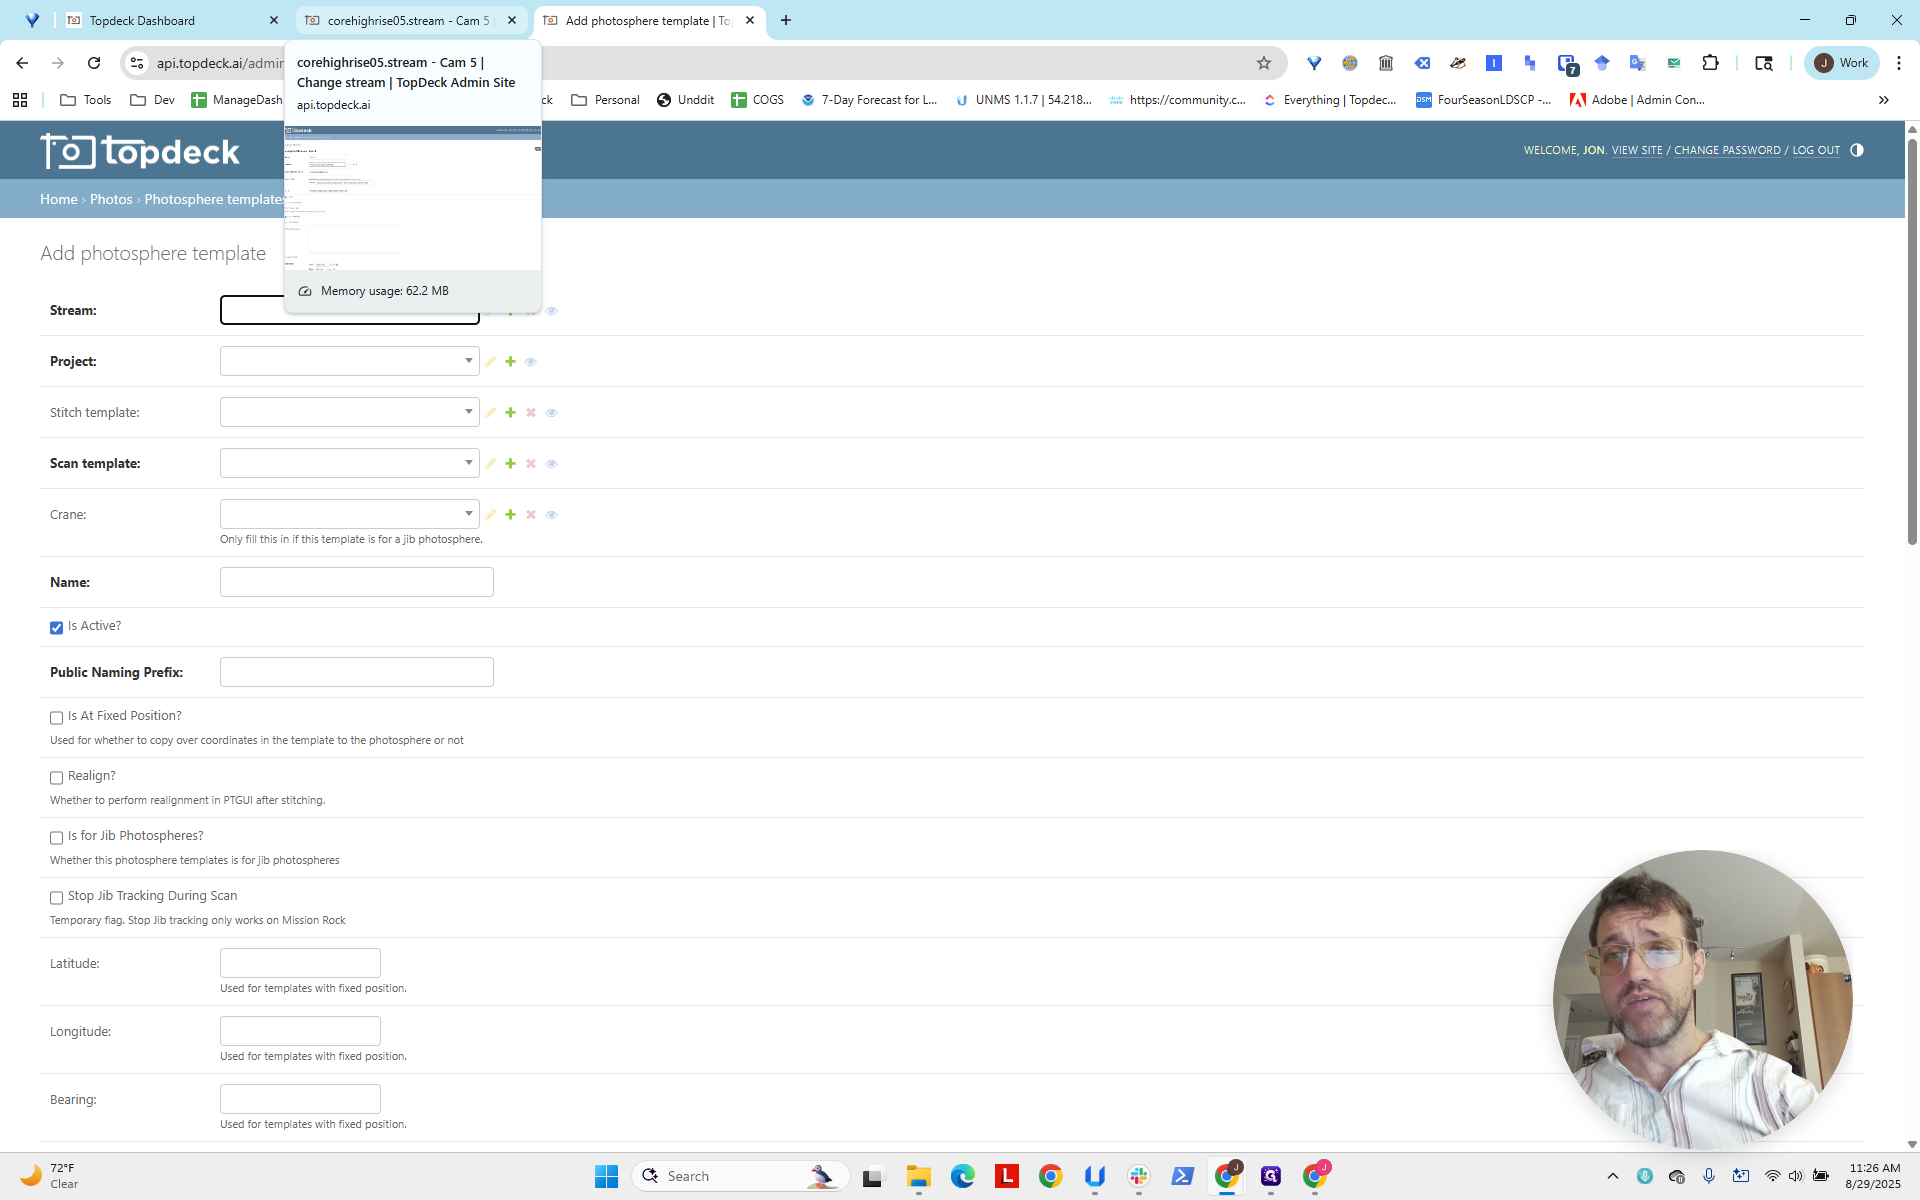
We will use that.
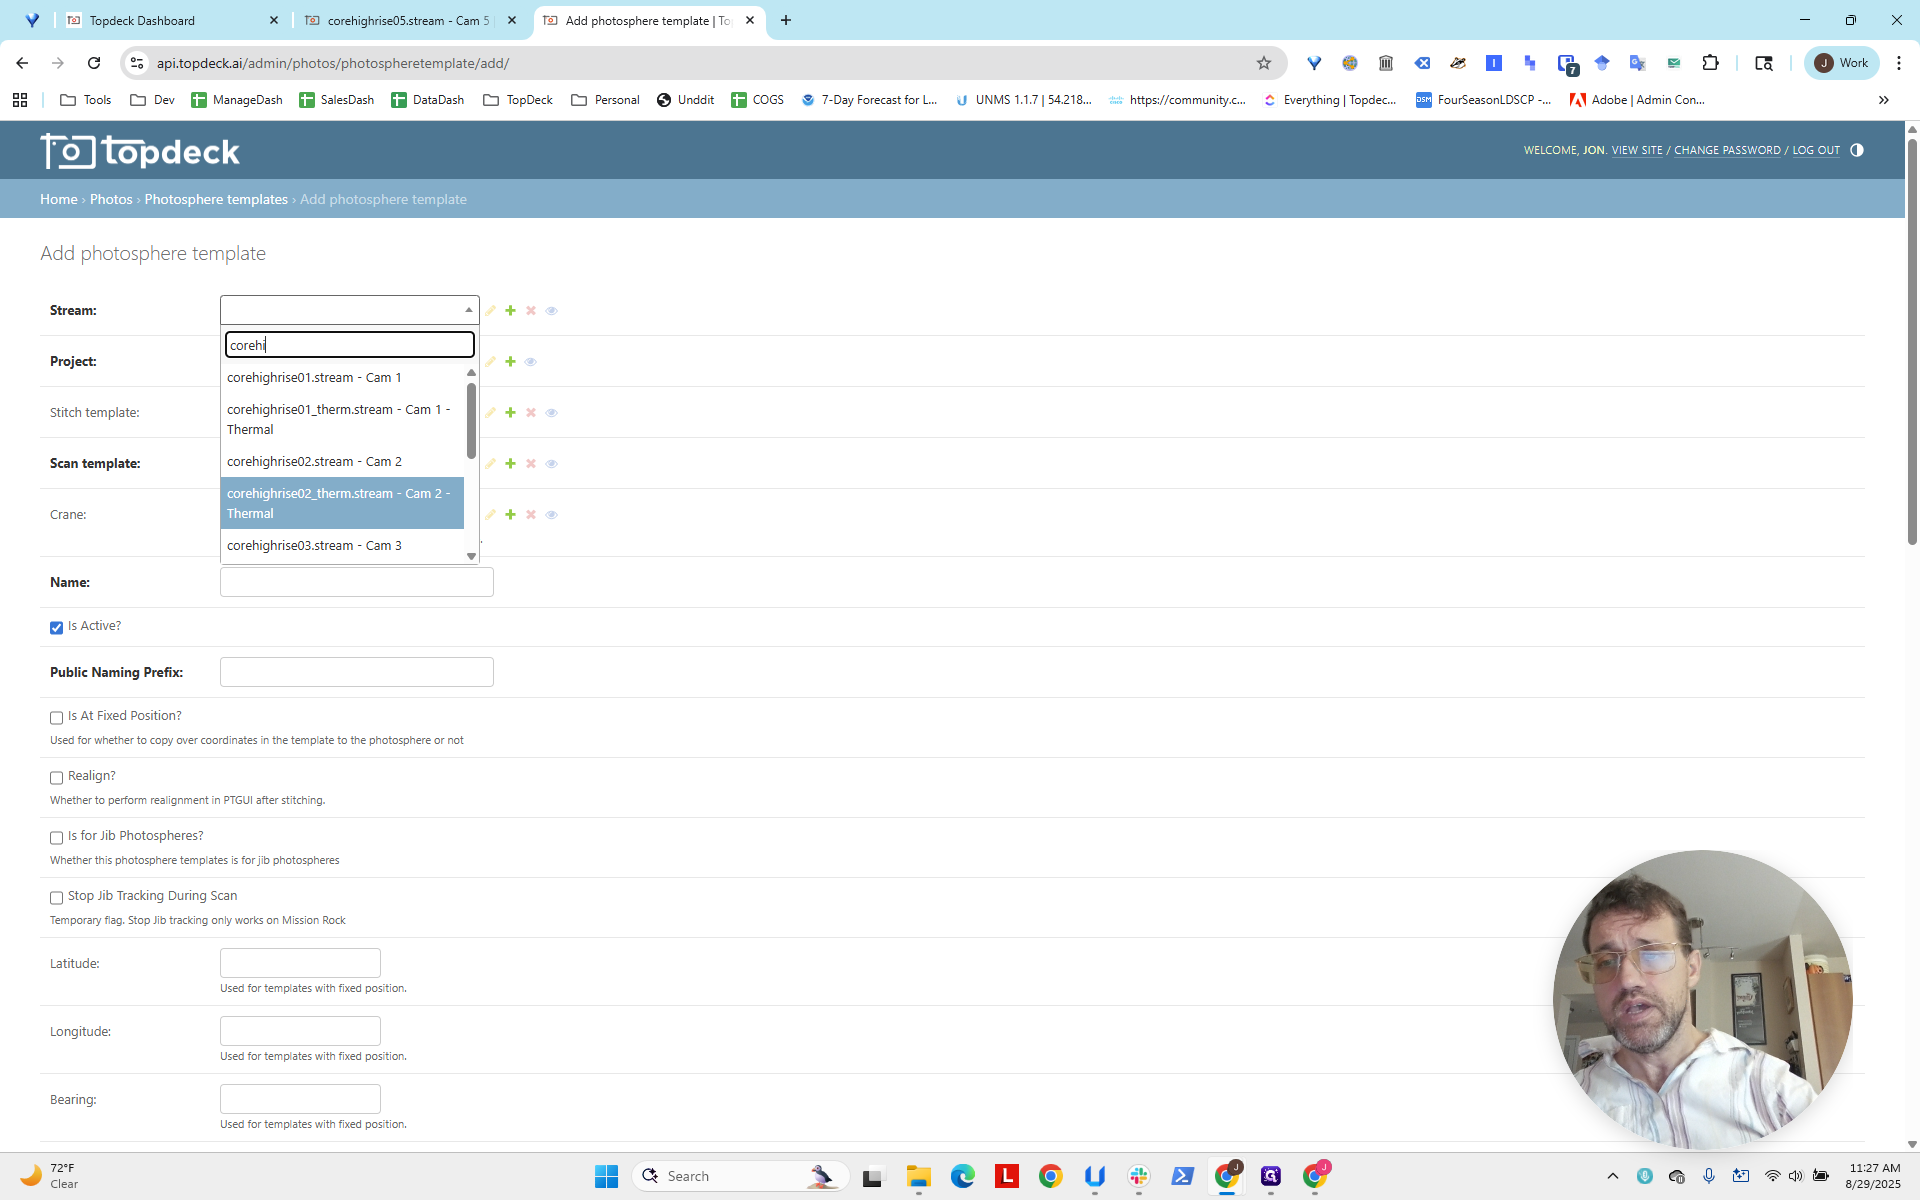
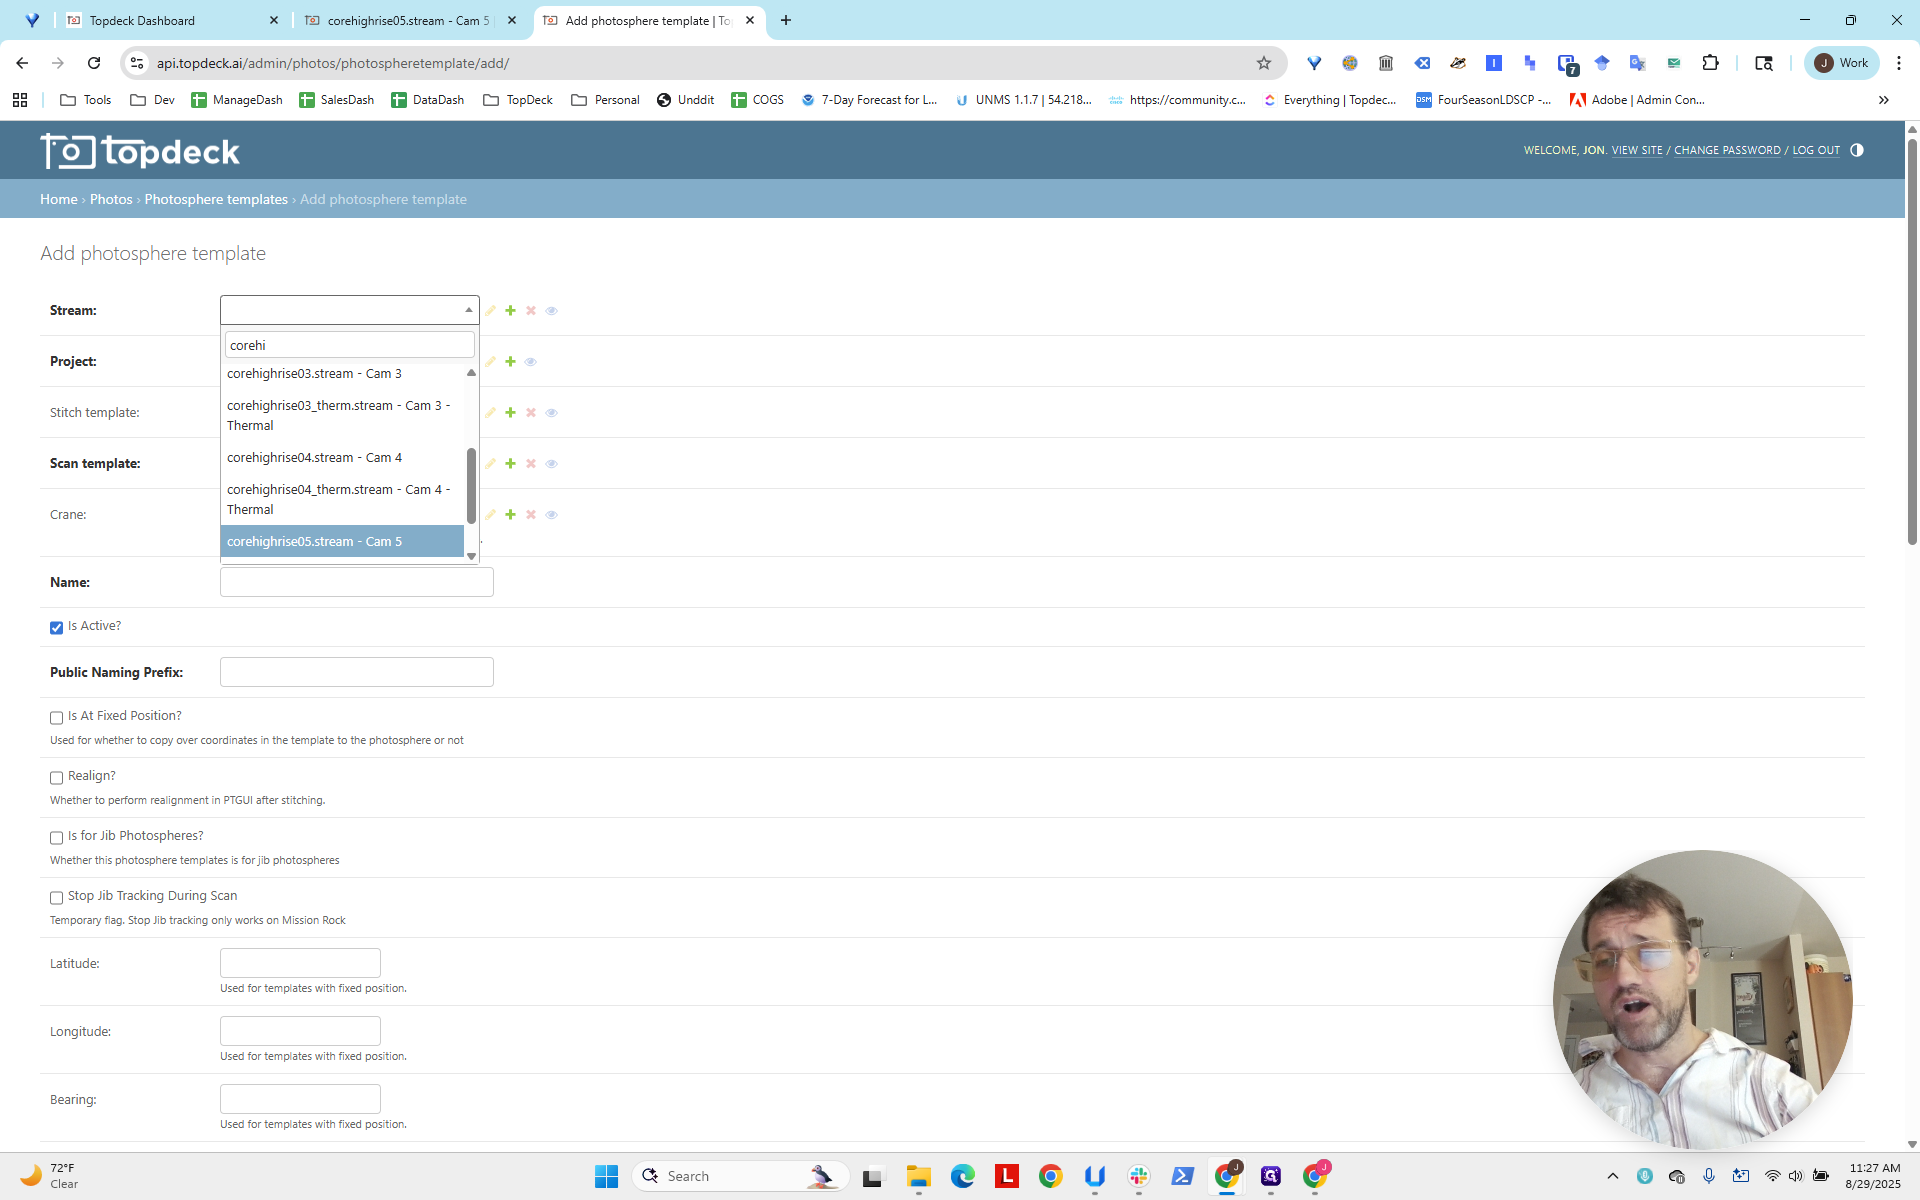
Click here, type "COR Highrise," and you'll see a list of all the CORs. Scroll down to "5.stream."

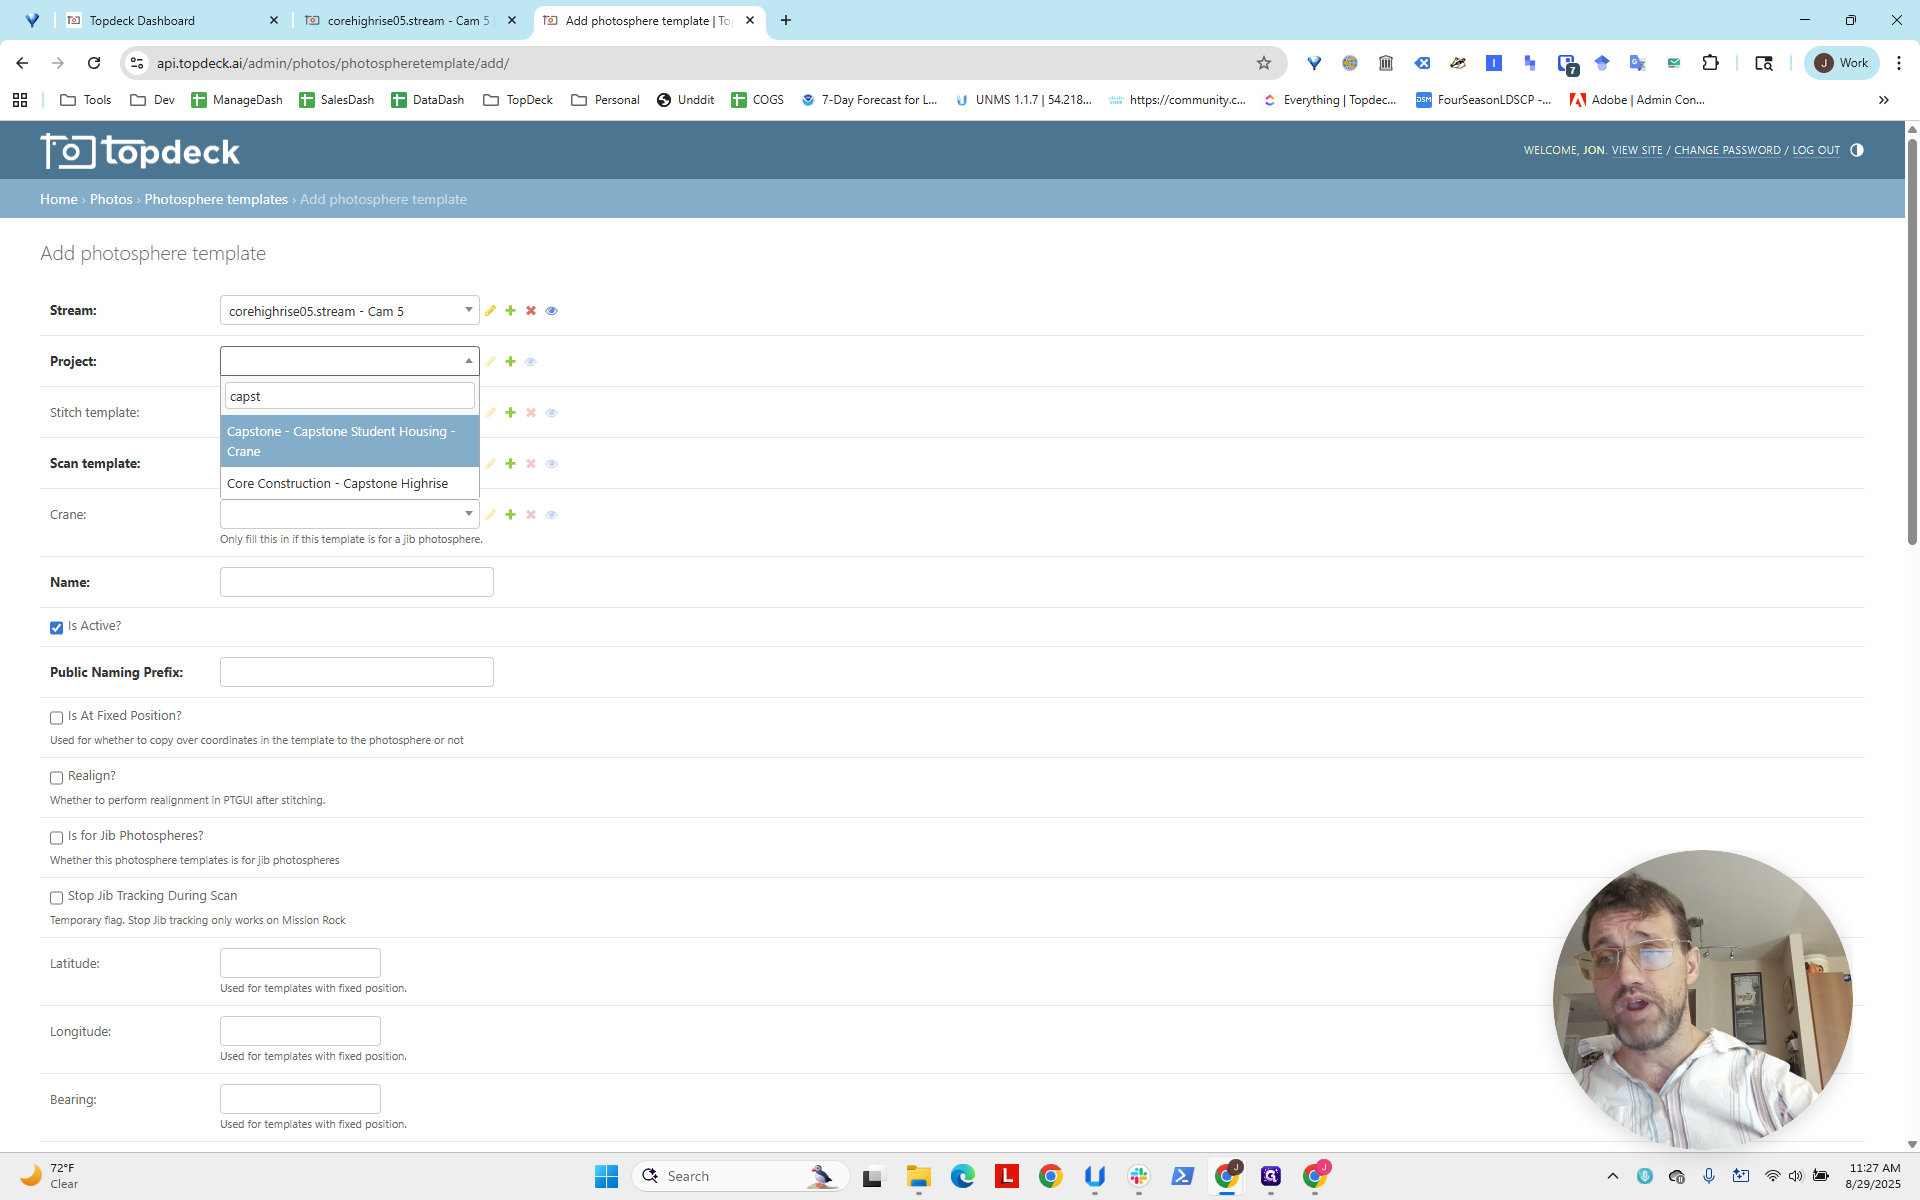
Okay? Now, select the project where the photo sphere will appear.

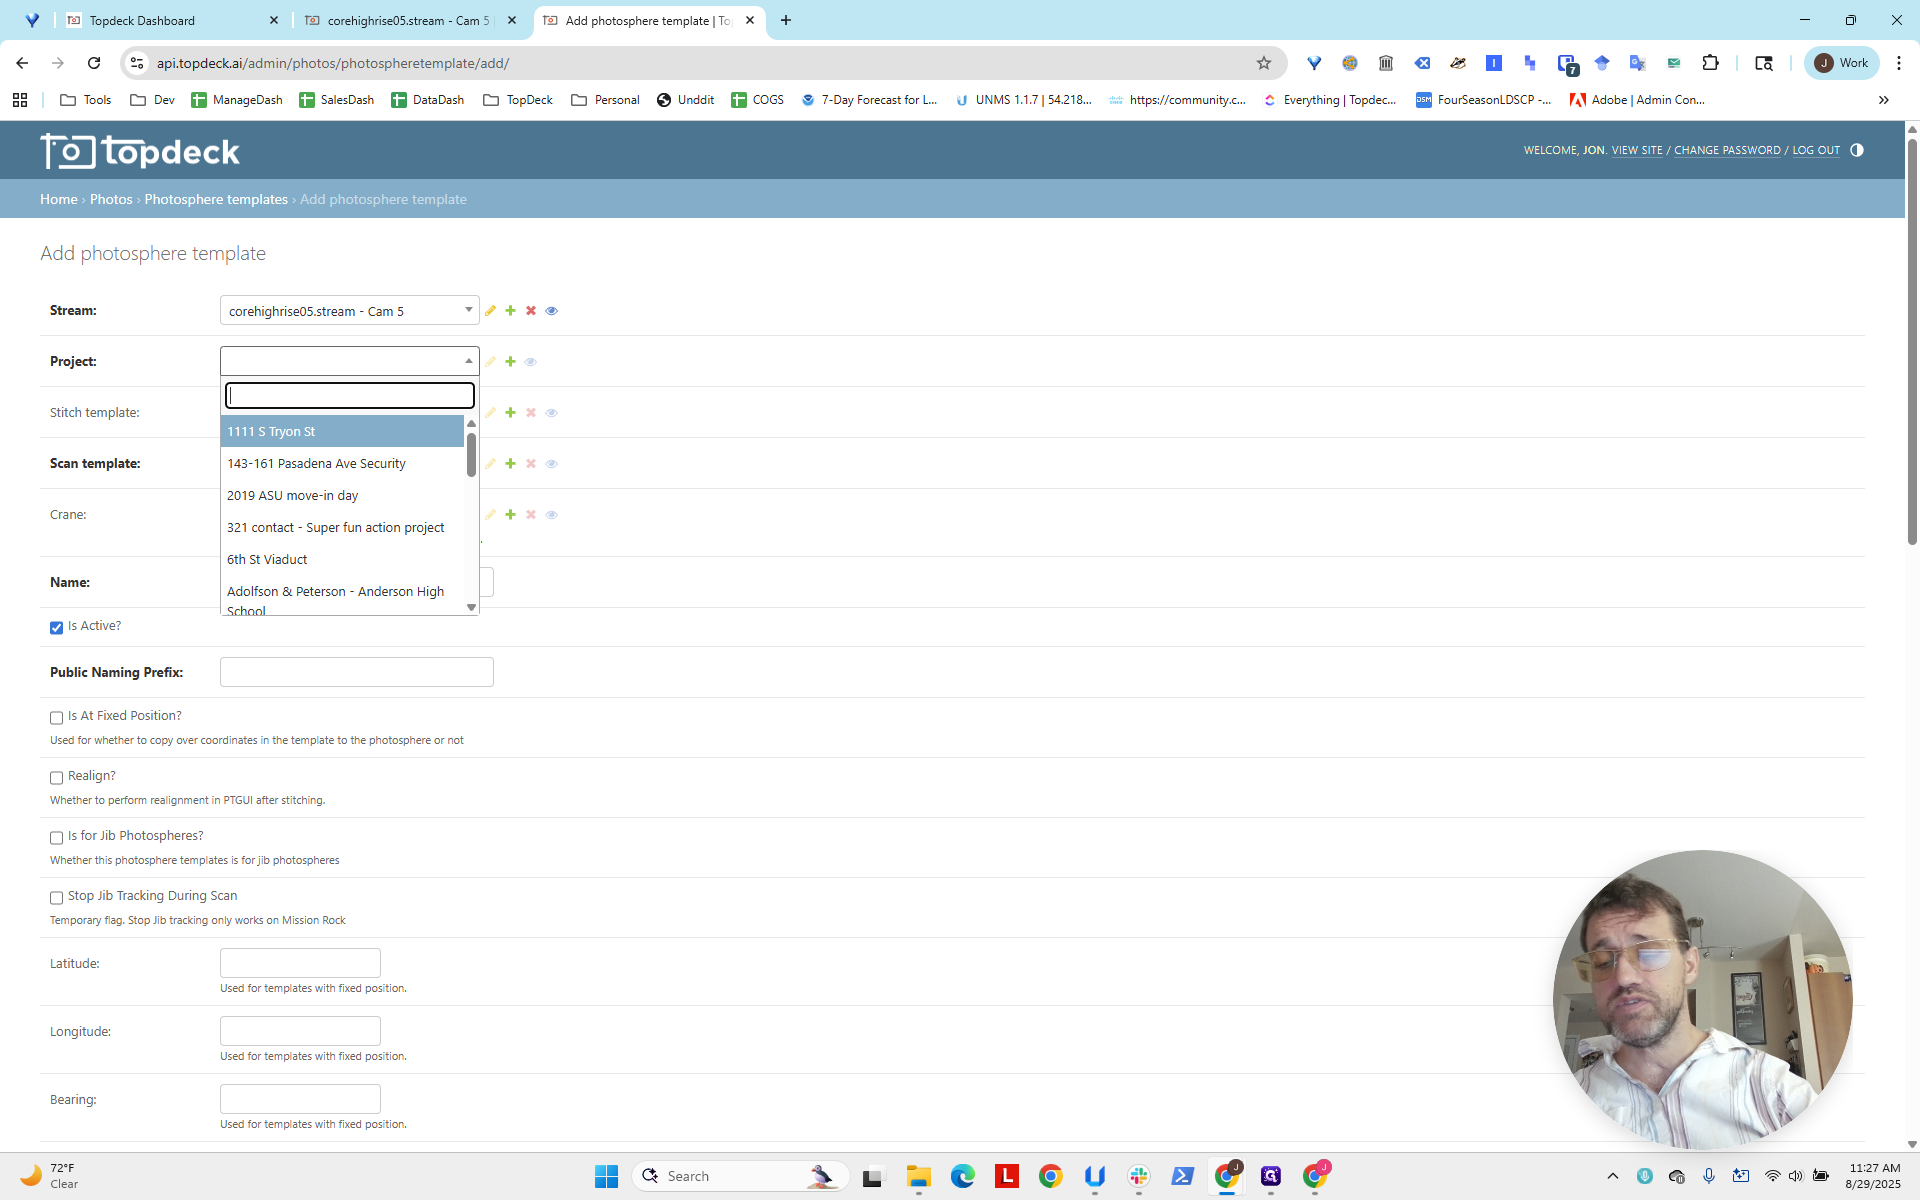
Recall that it does not say COR; it says Capstone, Capstone Student Housing Crane.
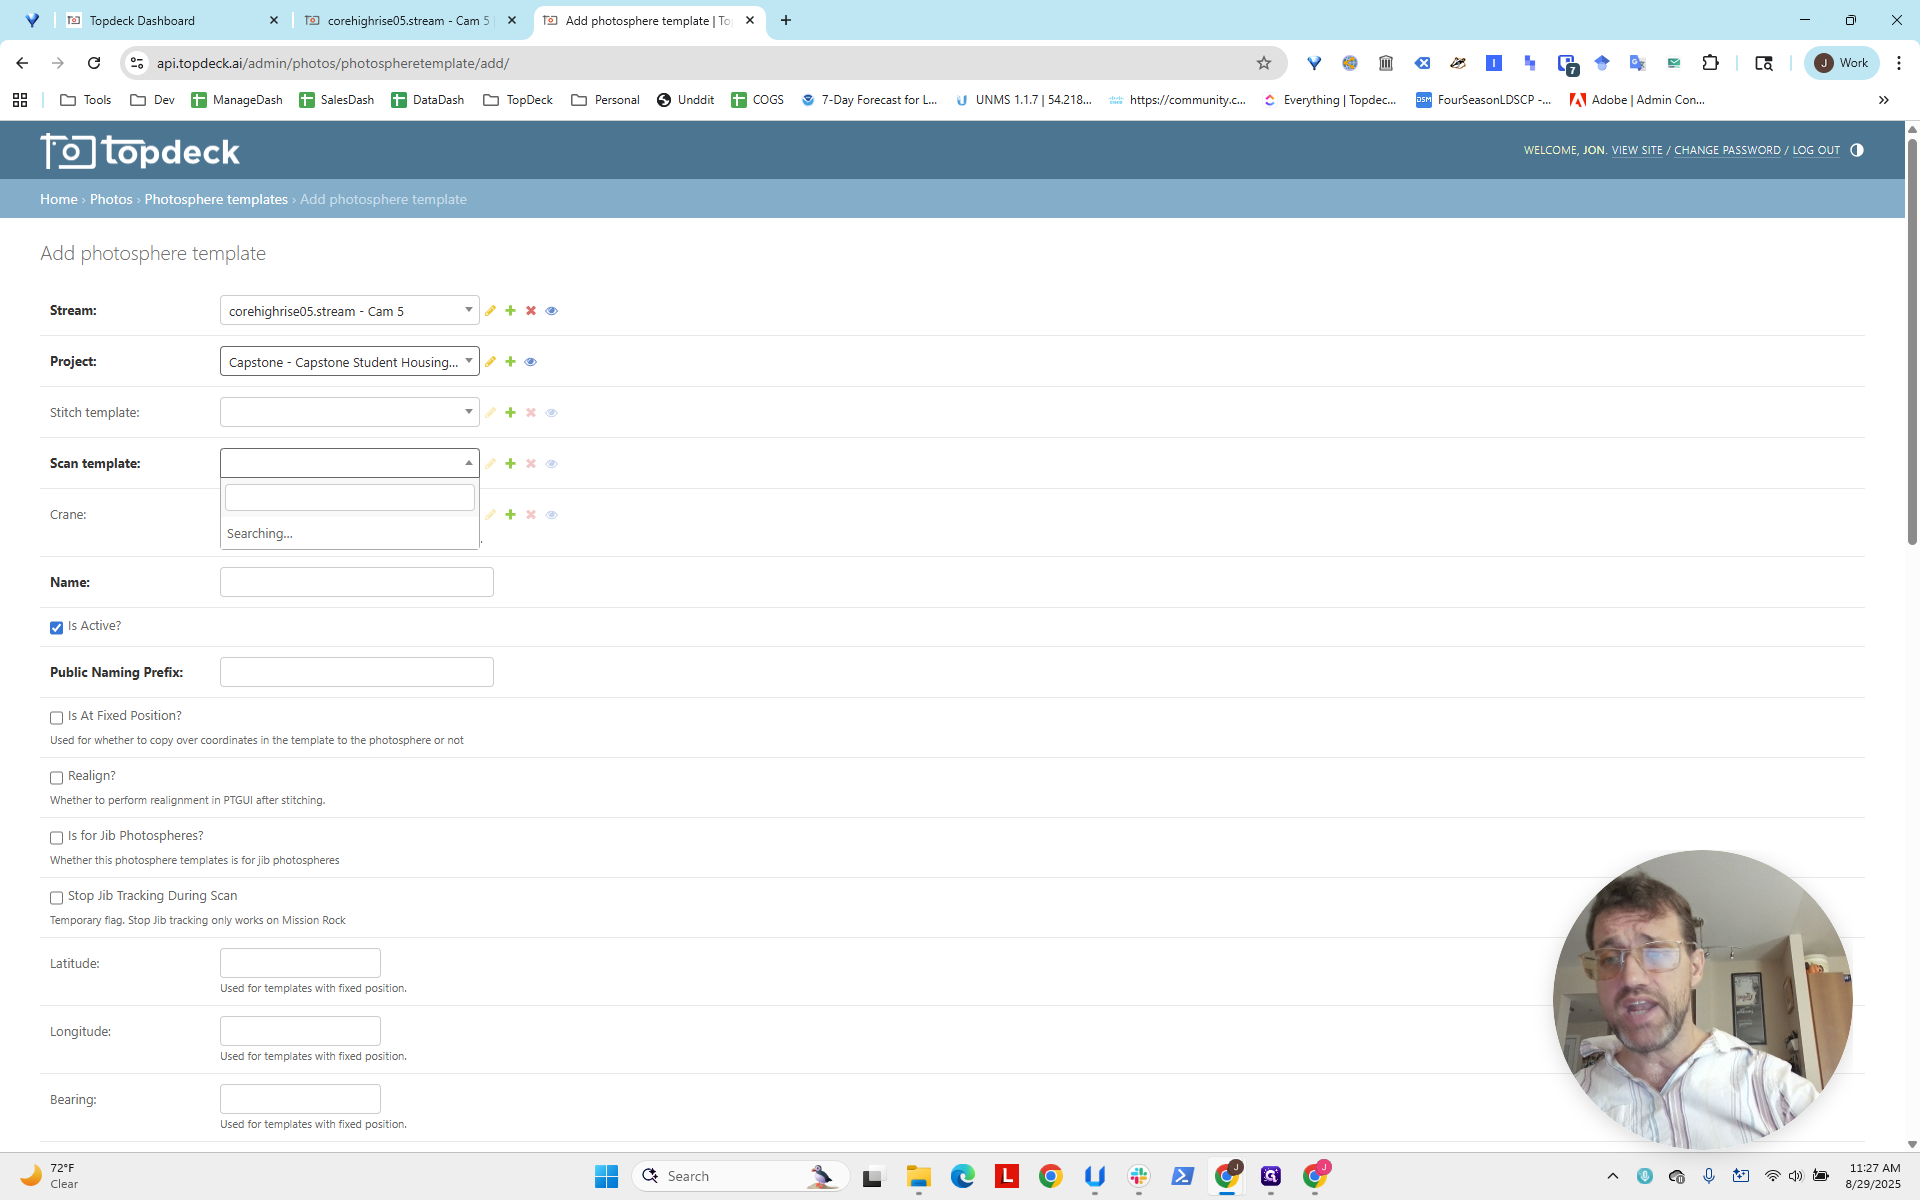
There we go. Now, I'll do the scan first. The scanning template is a 4X. Actually, you know what?
Let's scroll down.
Sorry, please bear with me.
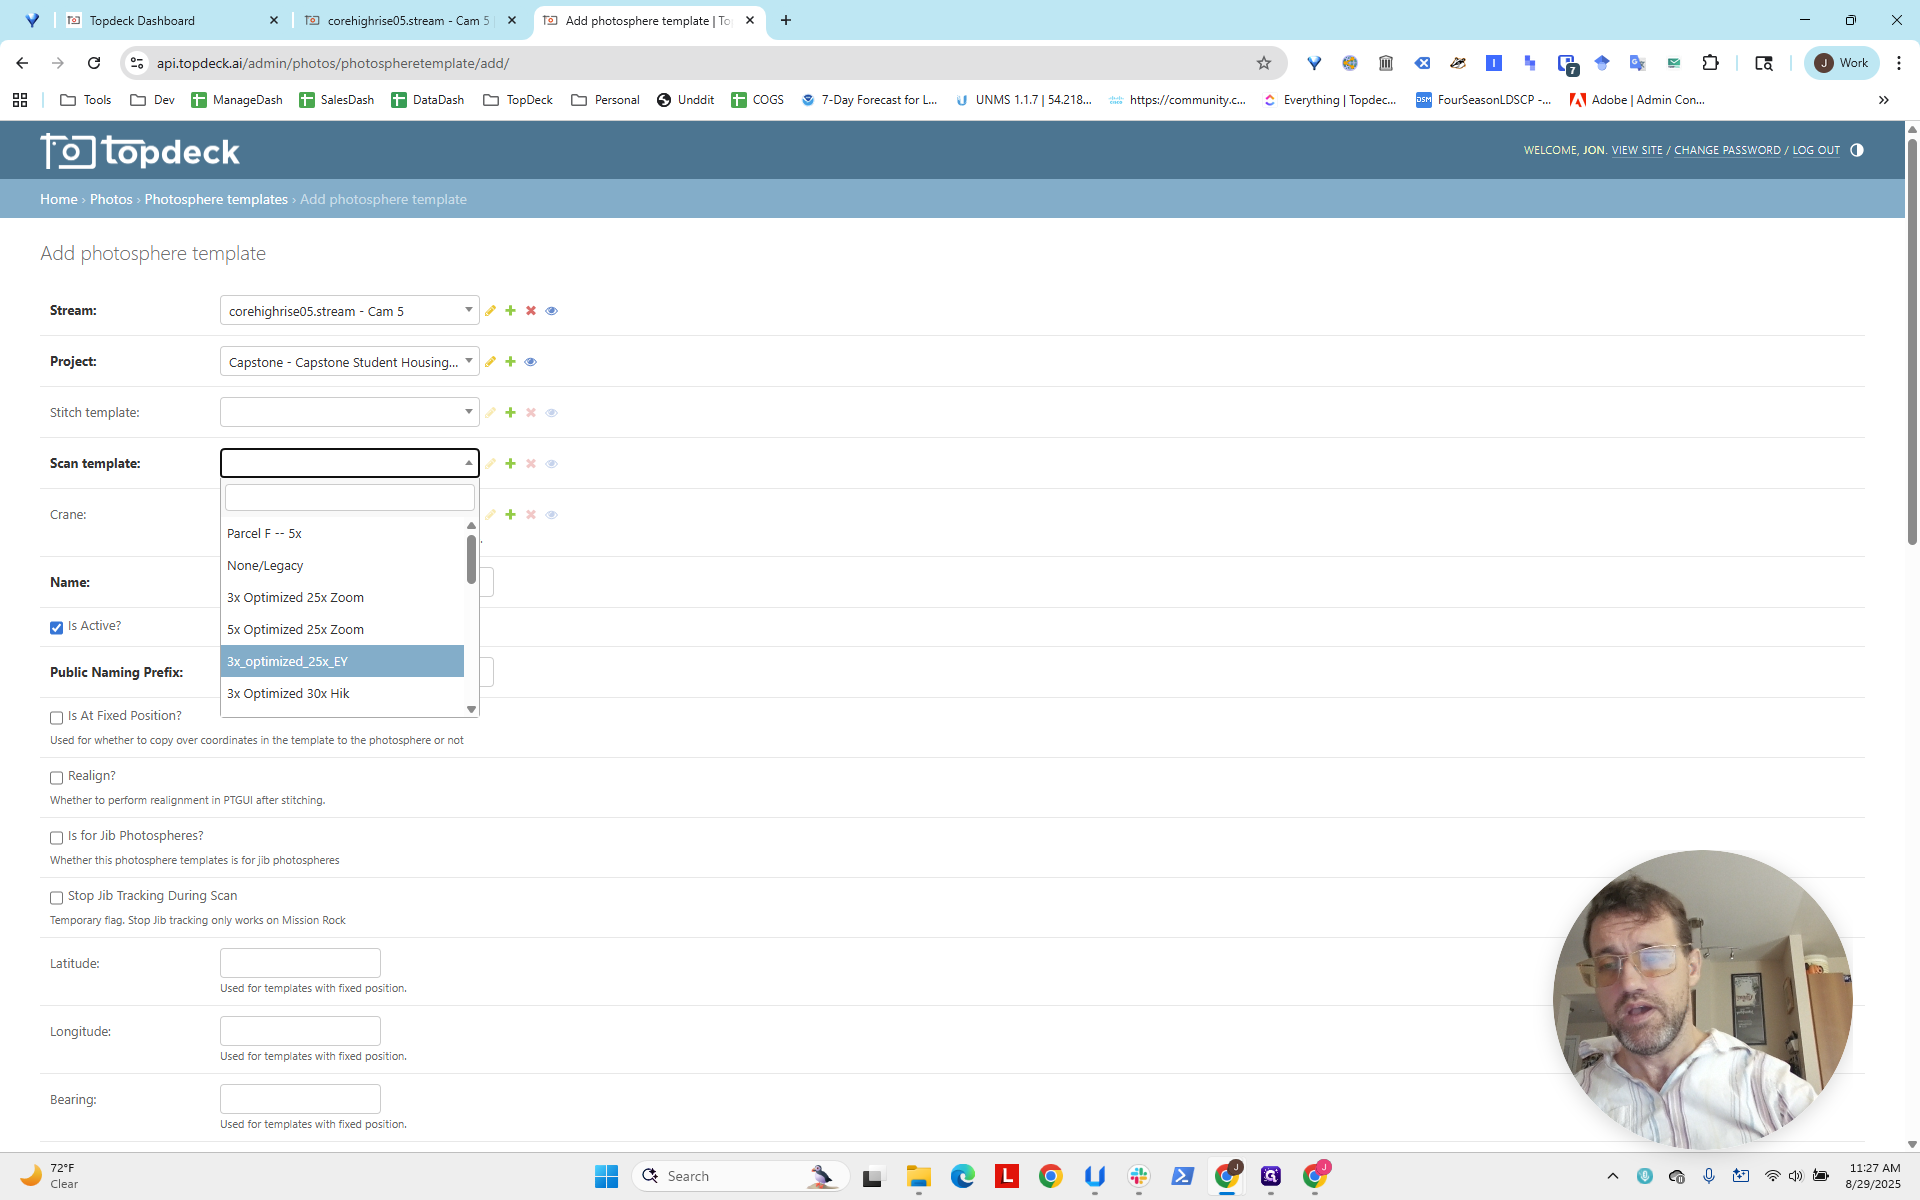
We look for the 4X FULL WA, which stands for wide angle.
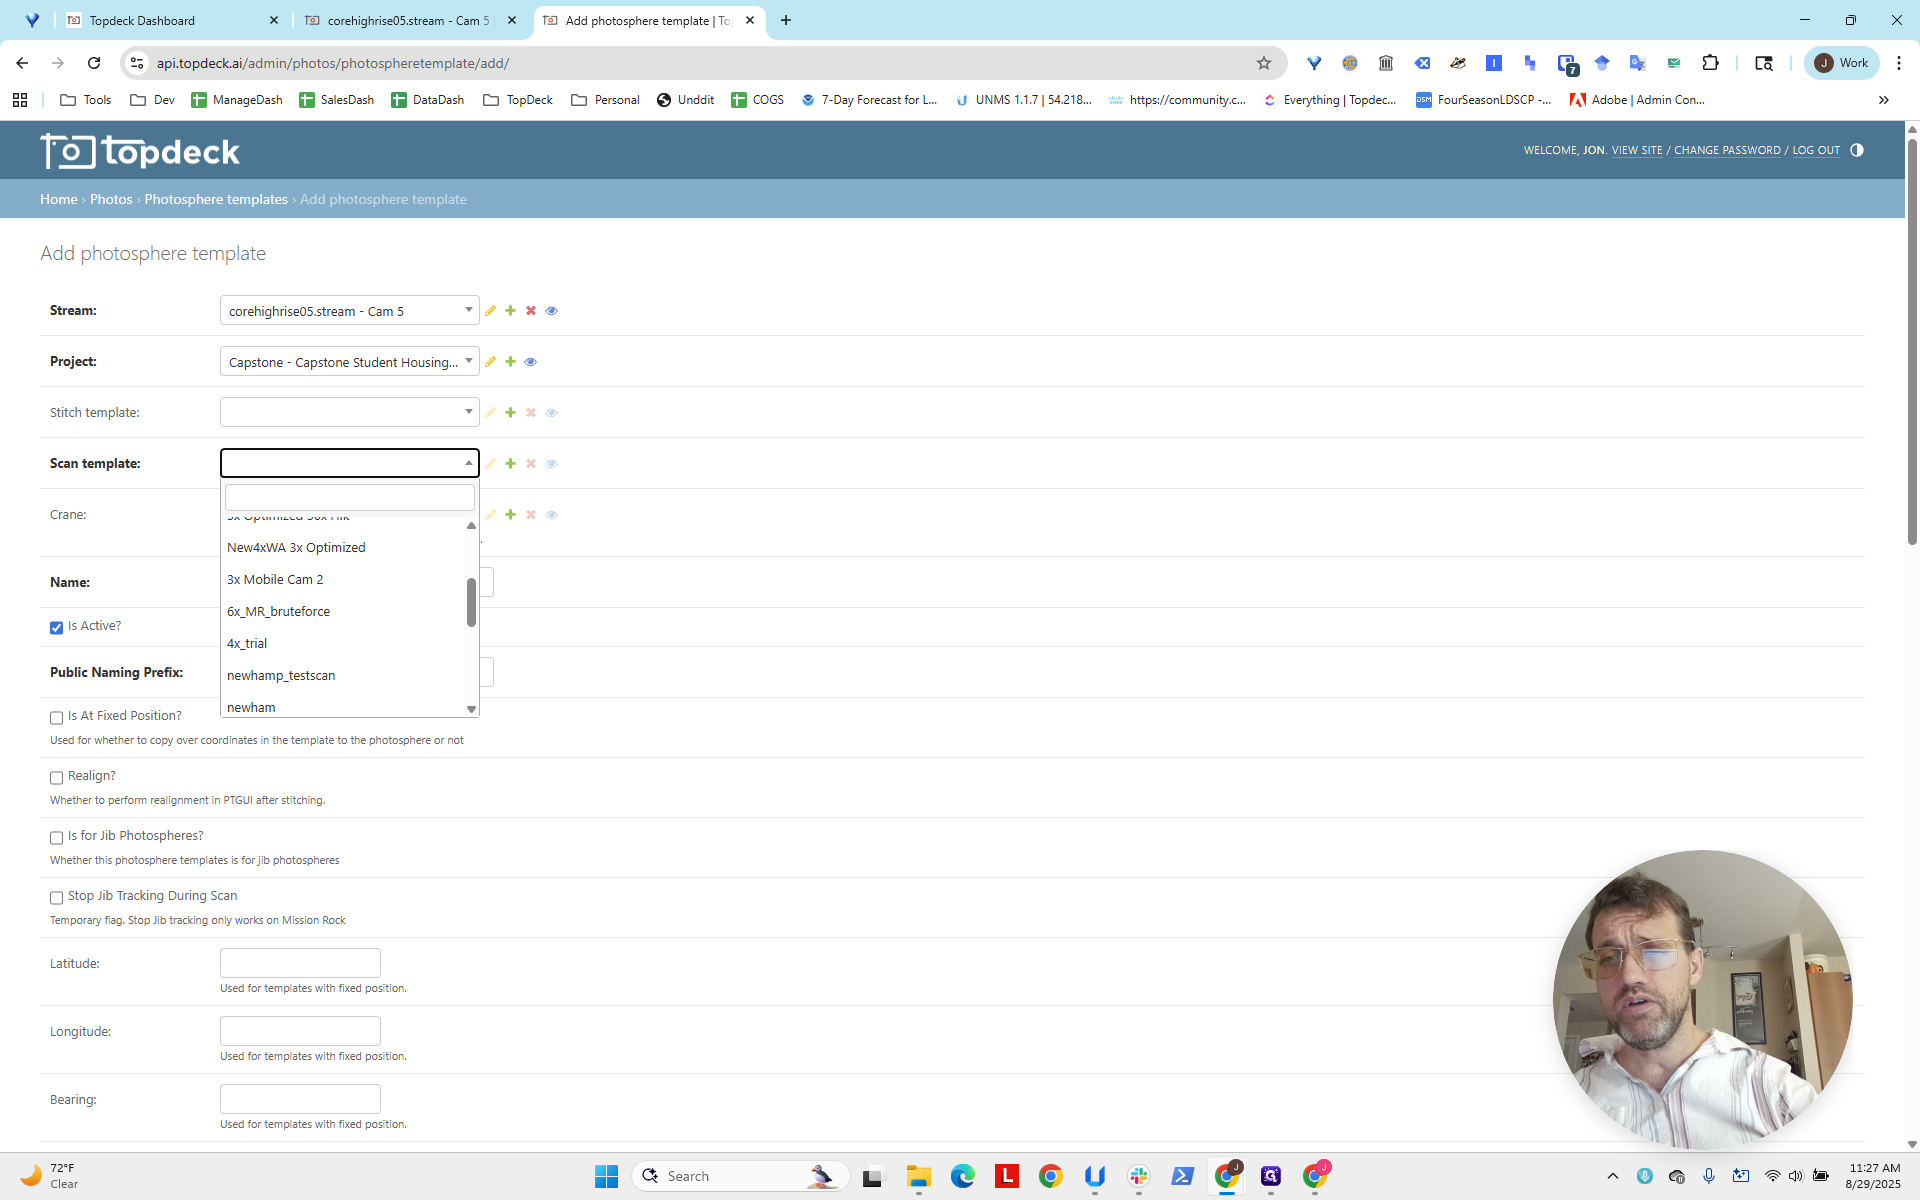
How do we know this? We know which camera it was by looking at the camera in stream one.

It was our wide-angle camera. The maximum zoom is four. This will create a large, detailed photo sphere.
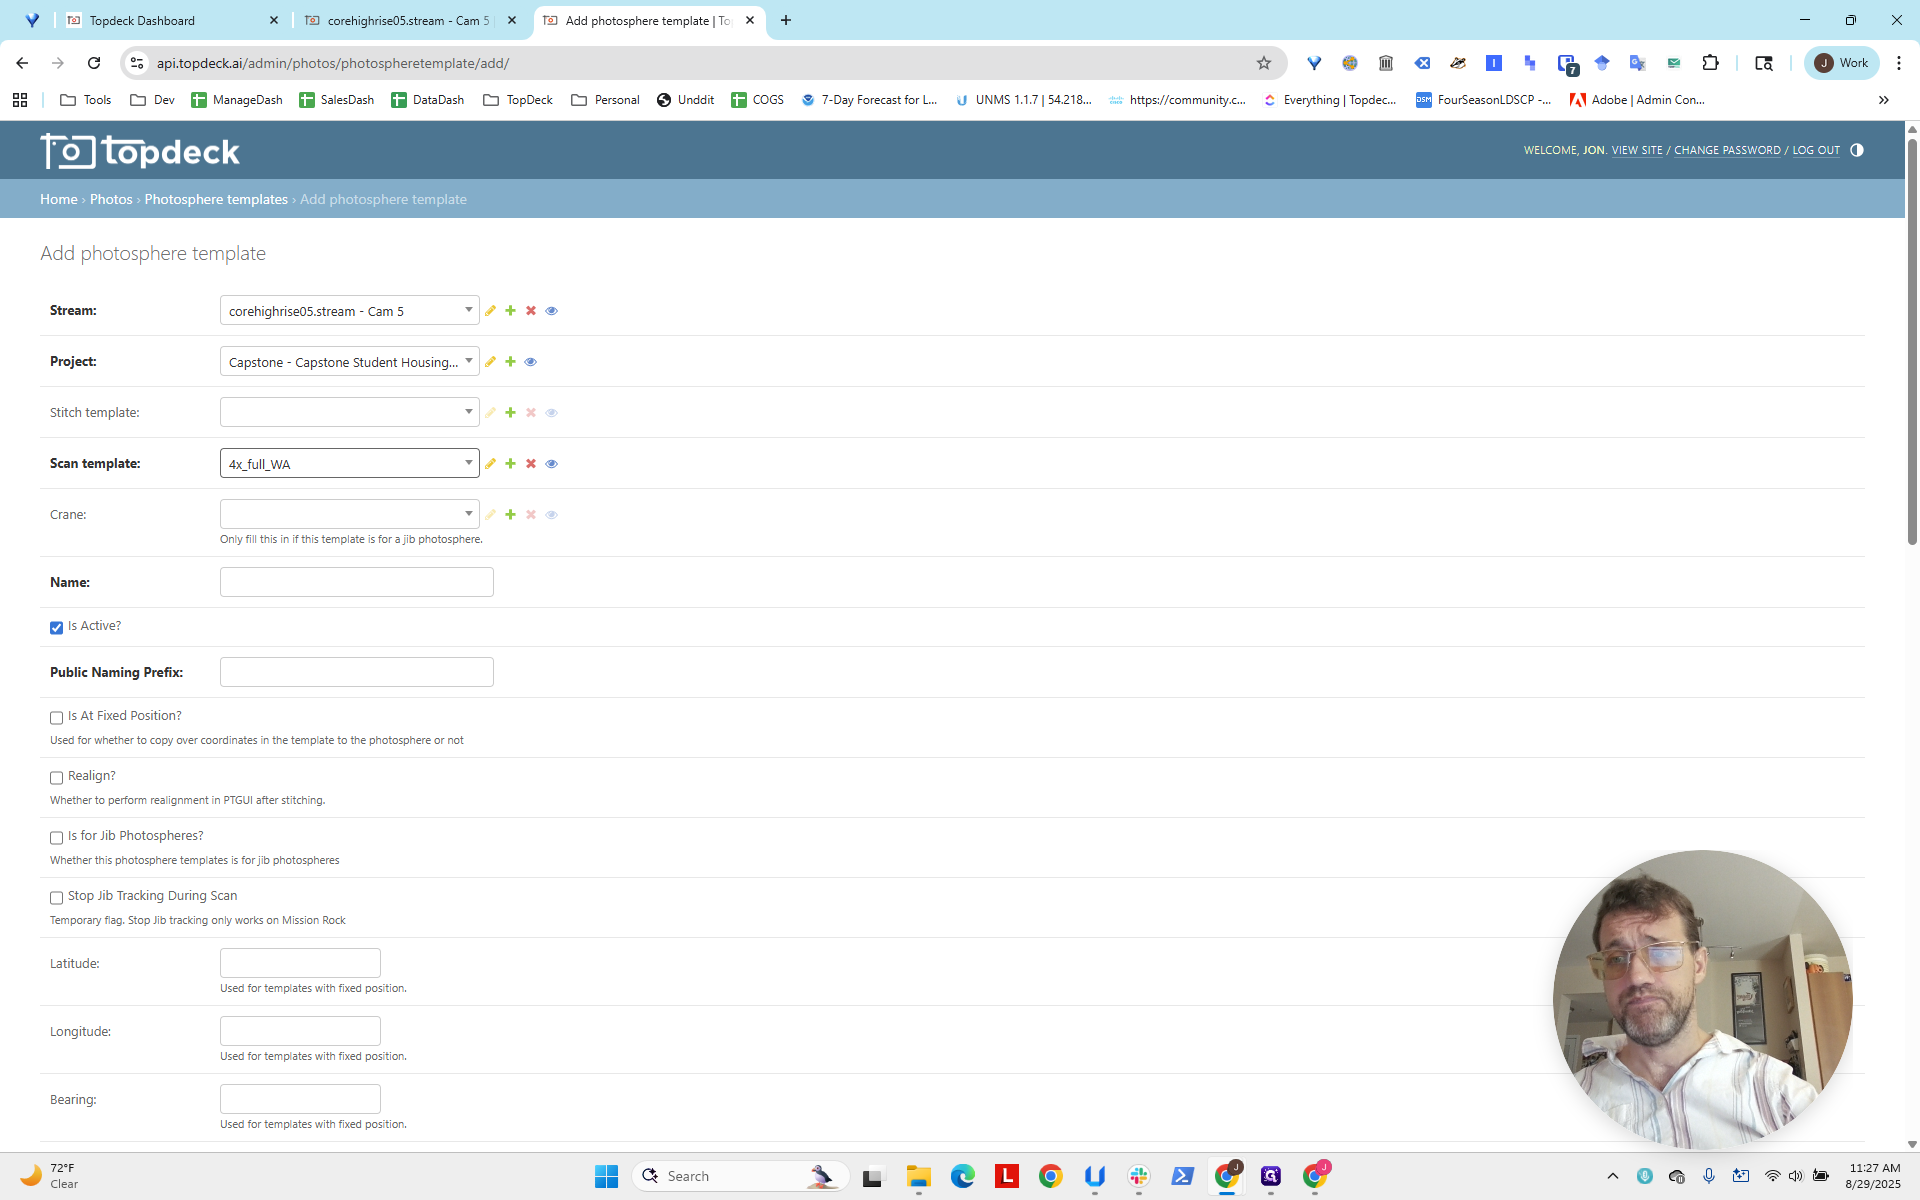
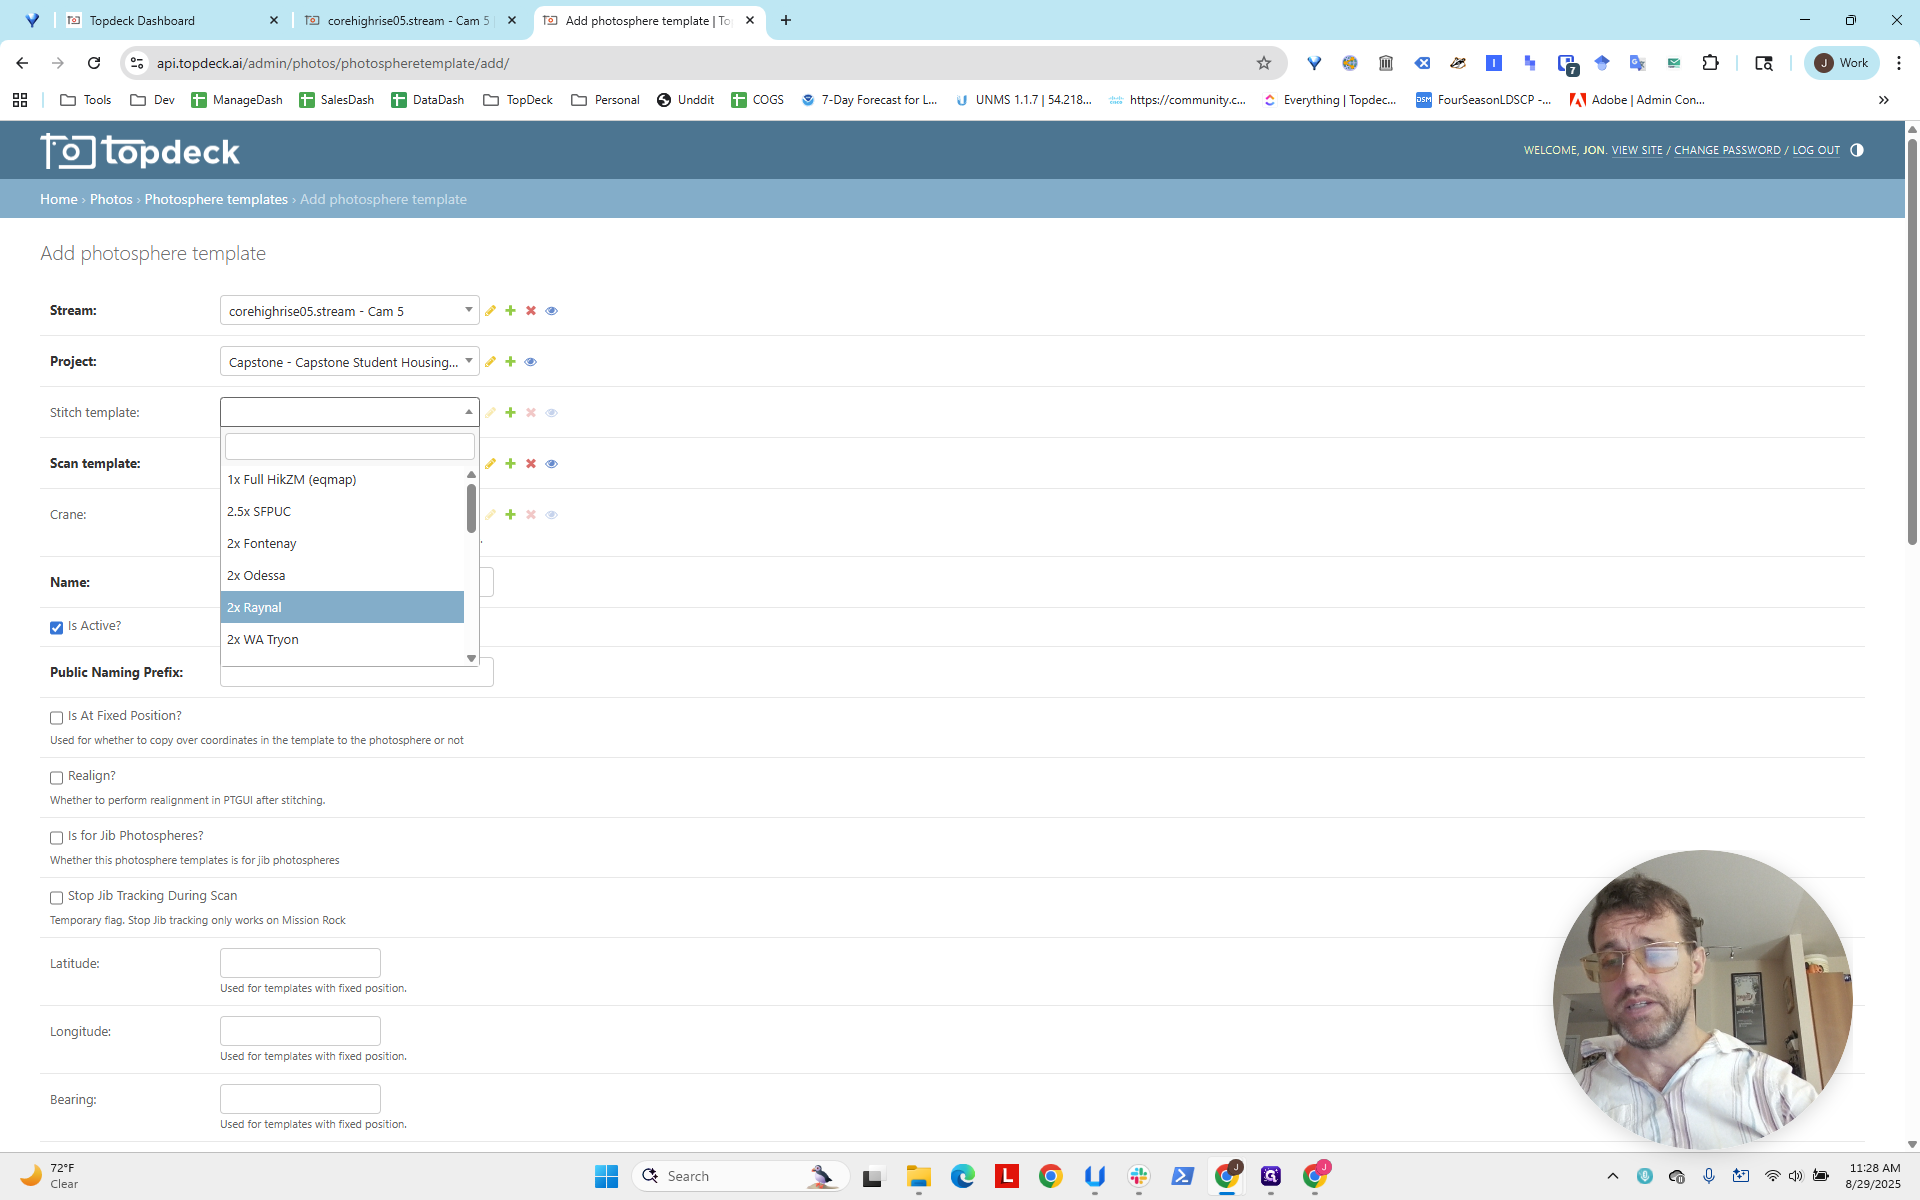
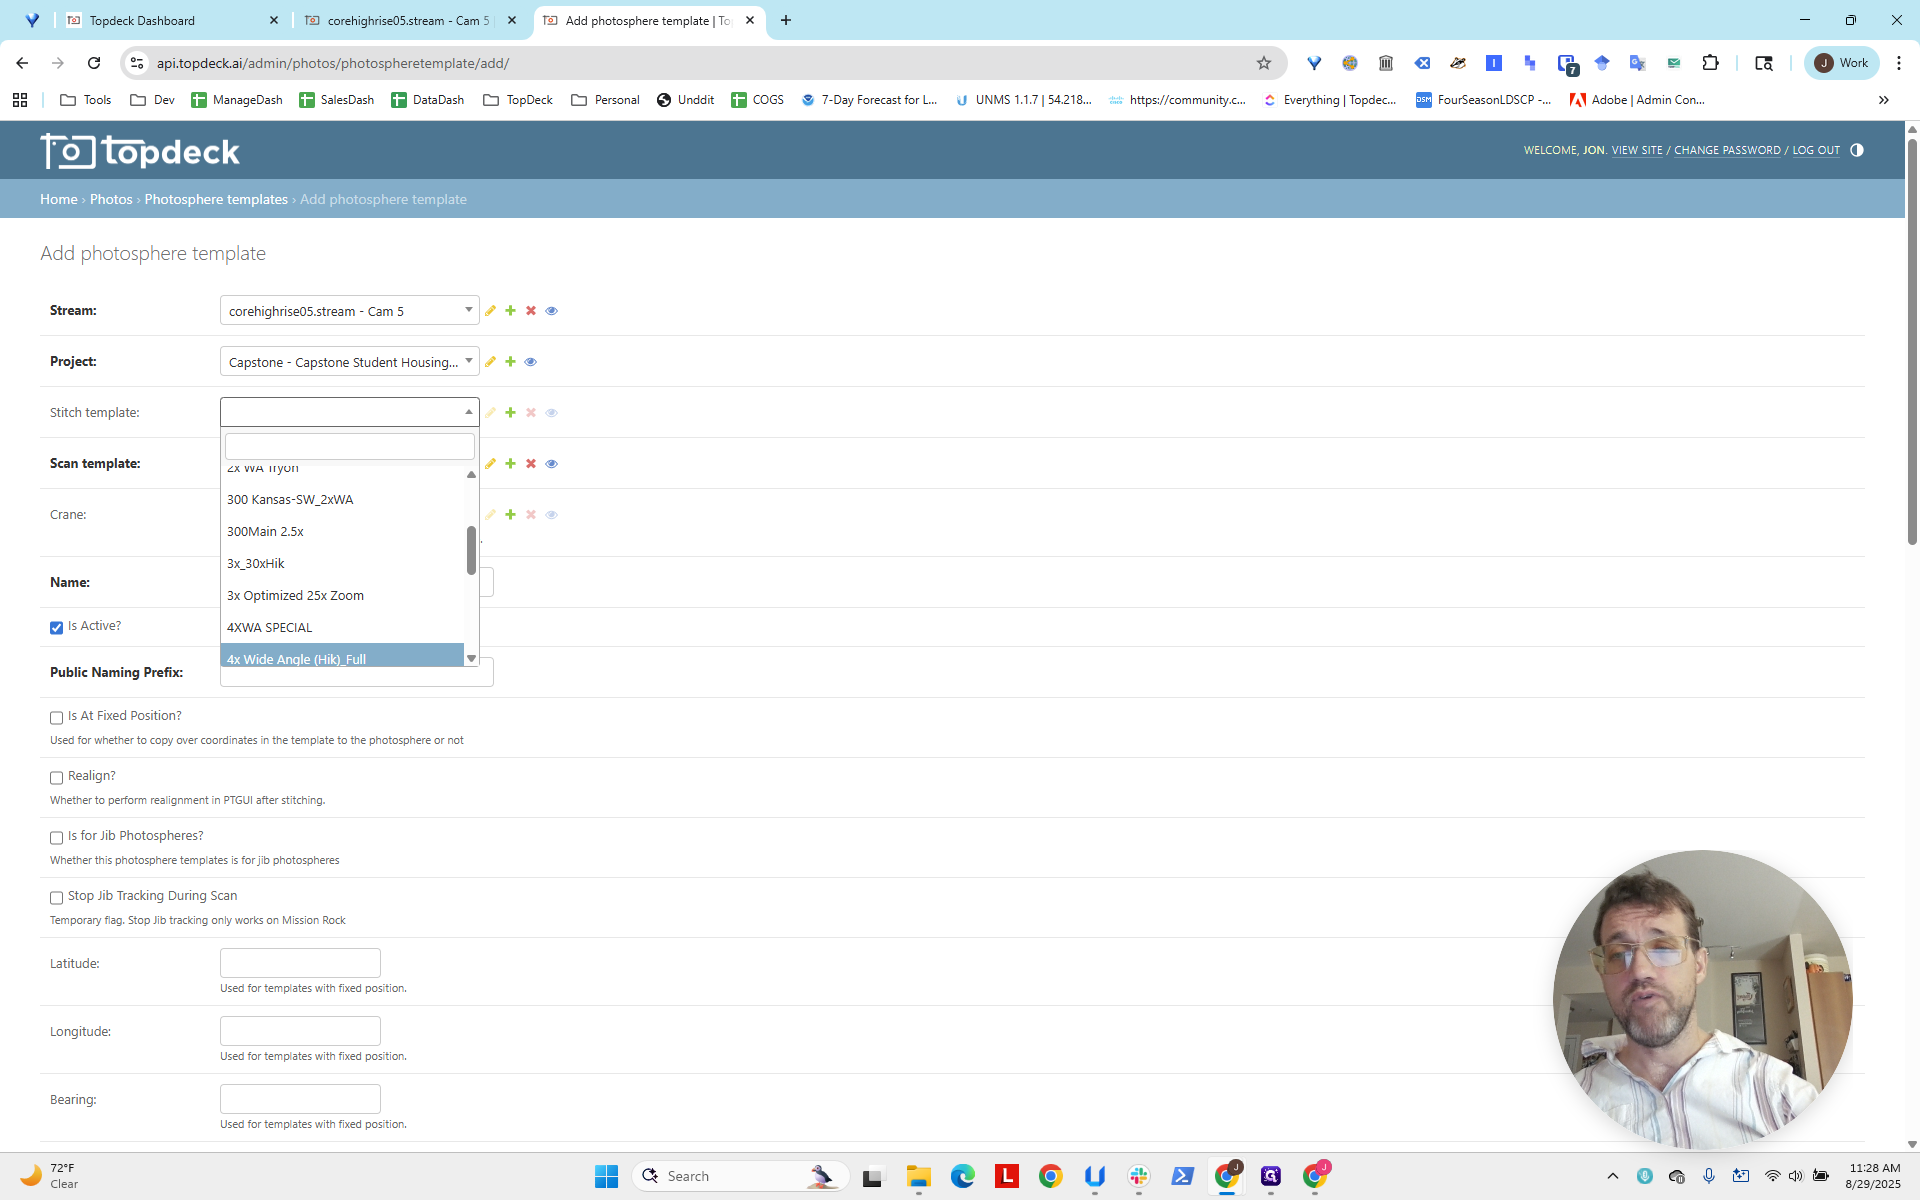
Here under Stitch, we've set up the scan template. Now set up the stitch template. Scroll down and select 4X Wide Angle HIC FULL.
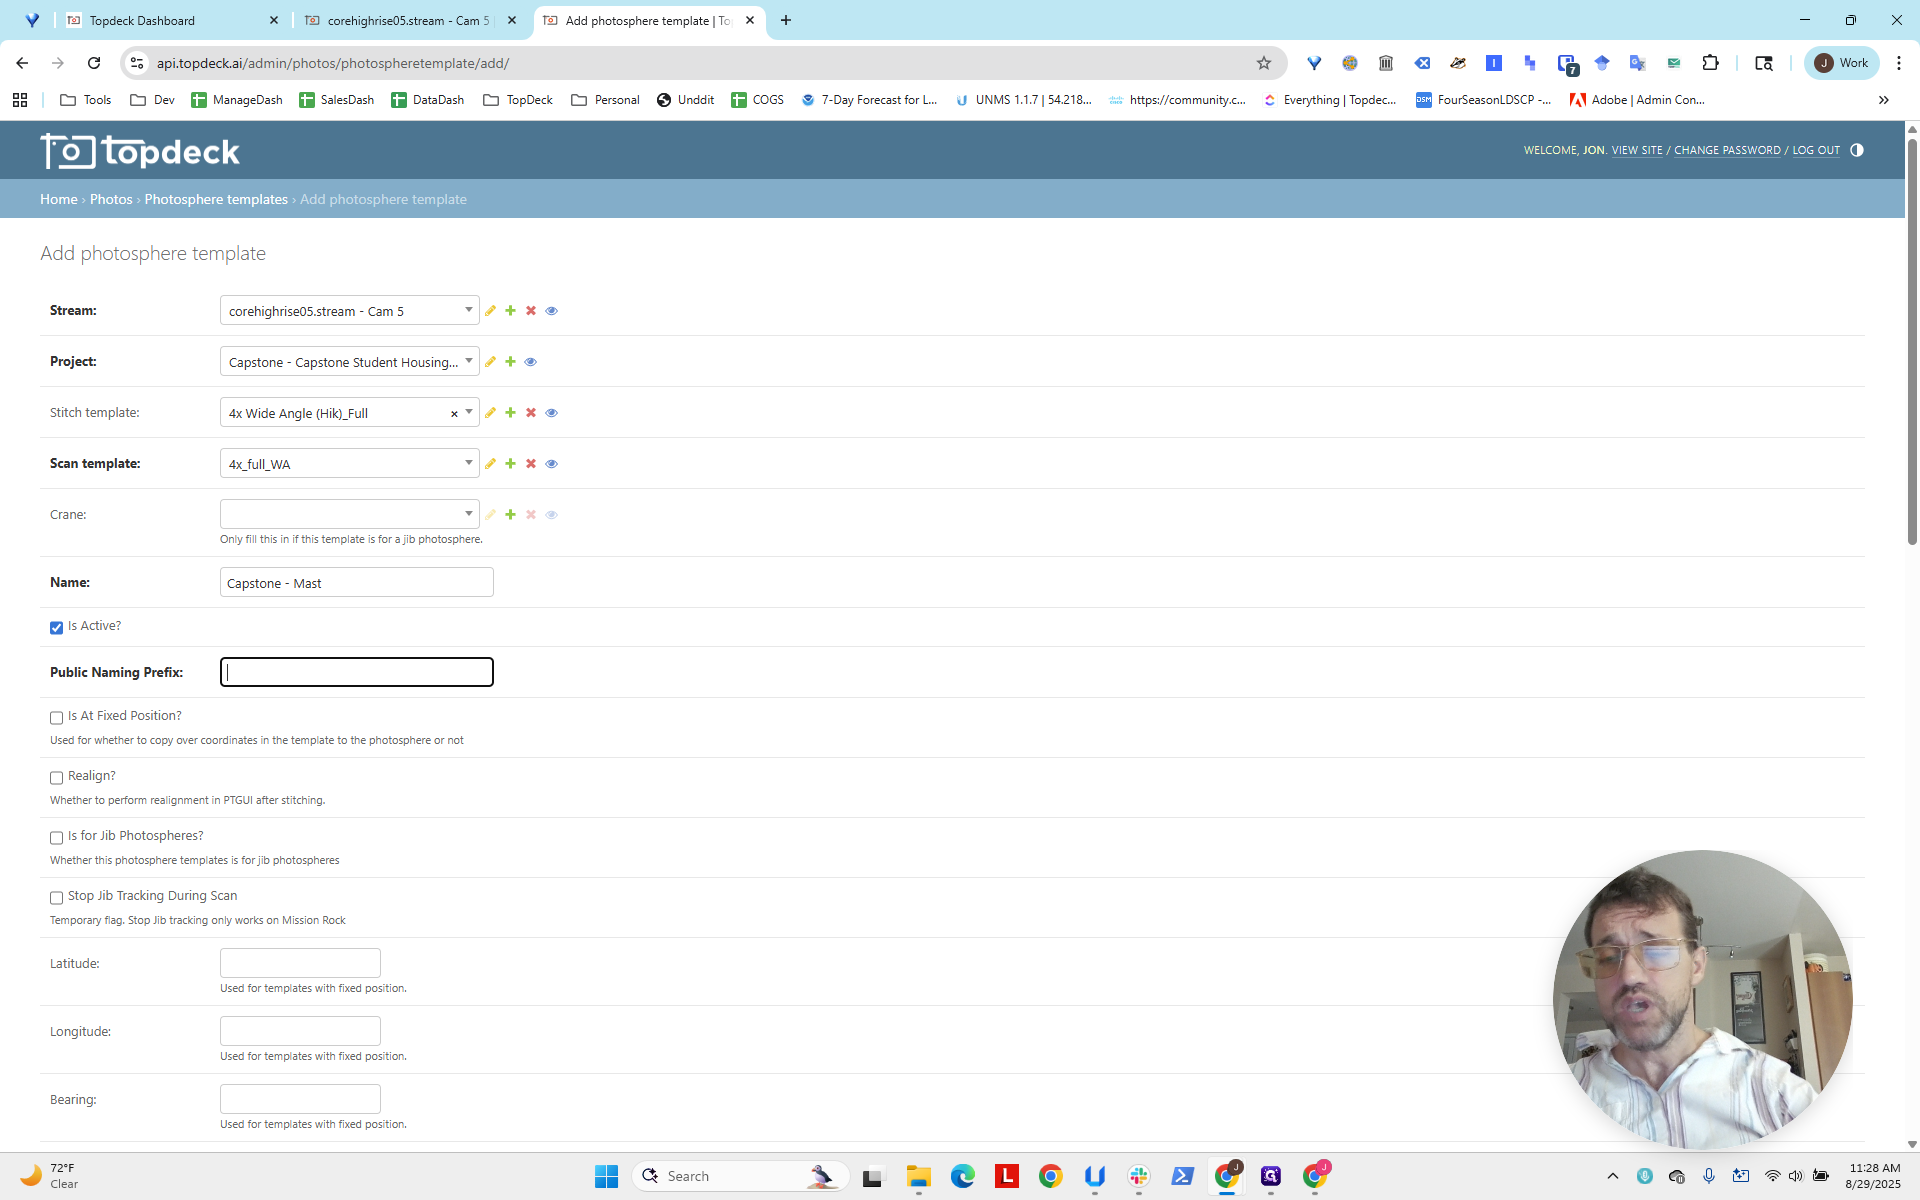
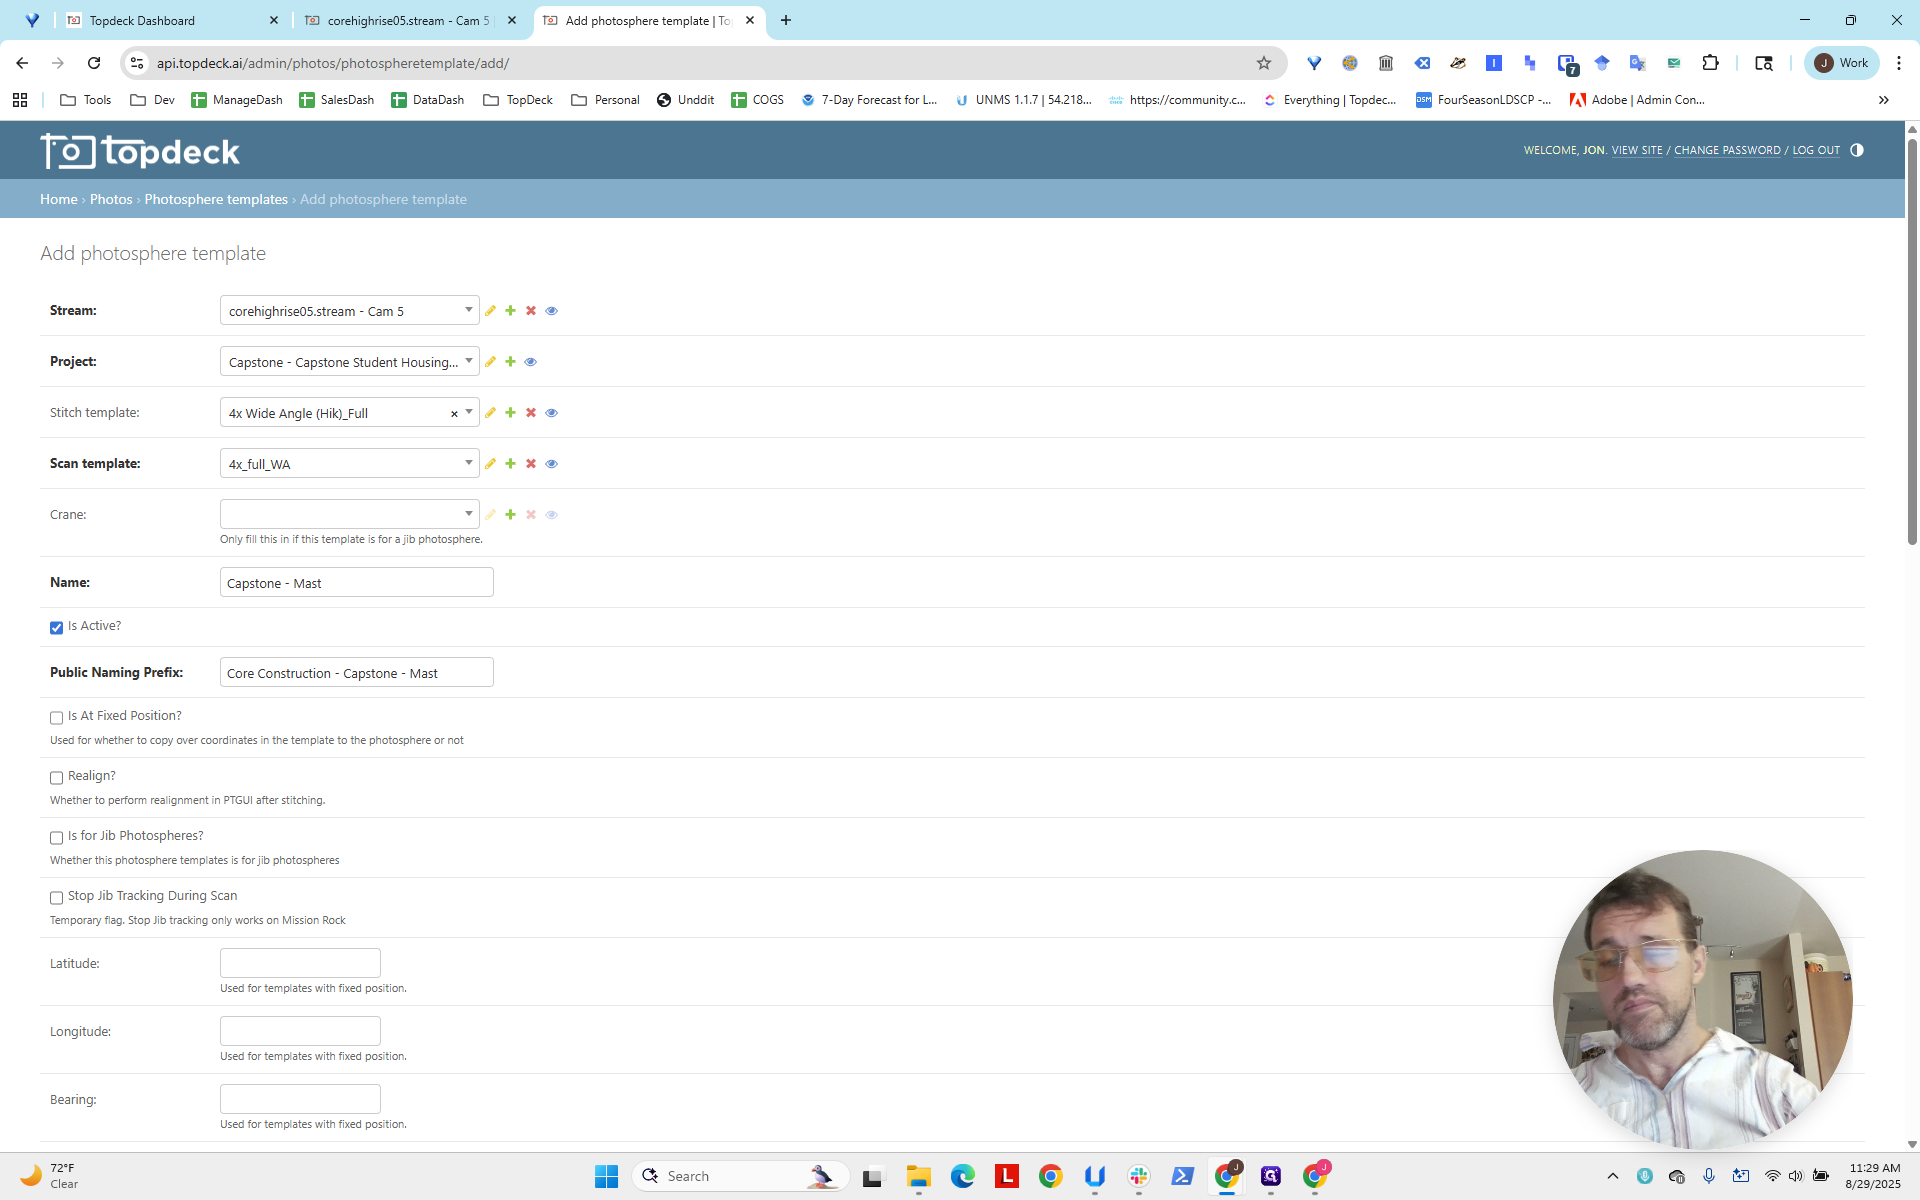
Now we want to name the photo sphere.
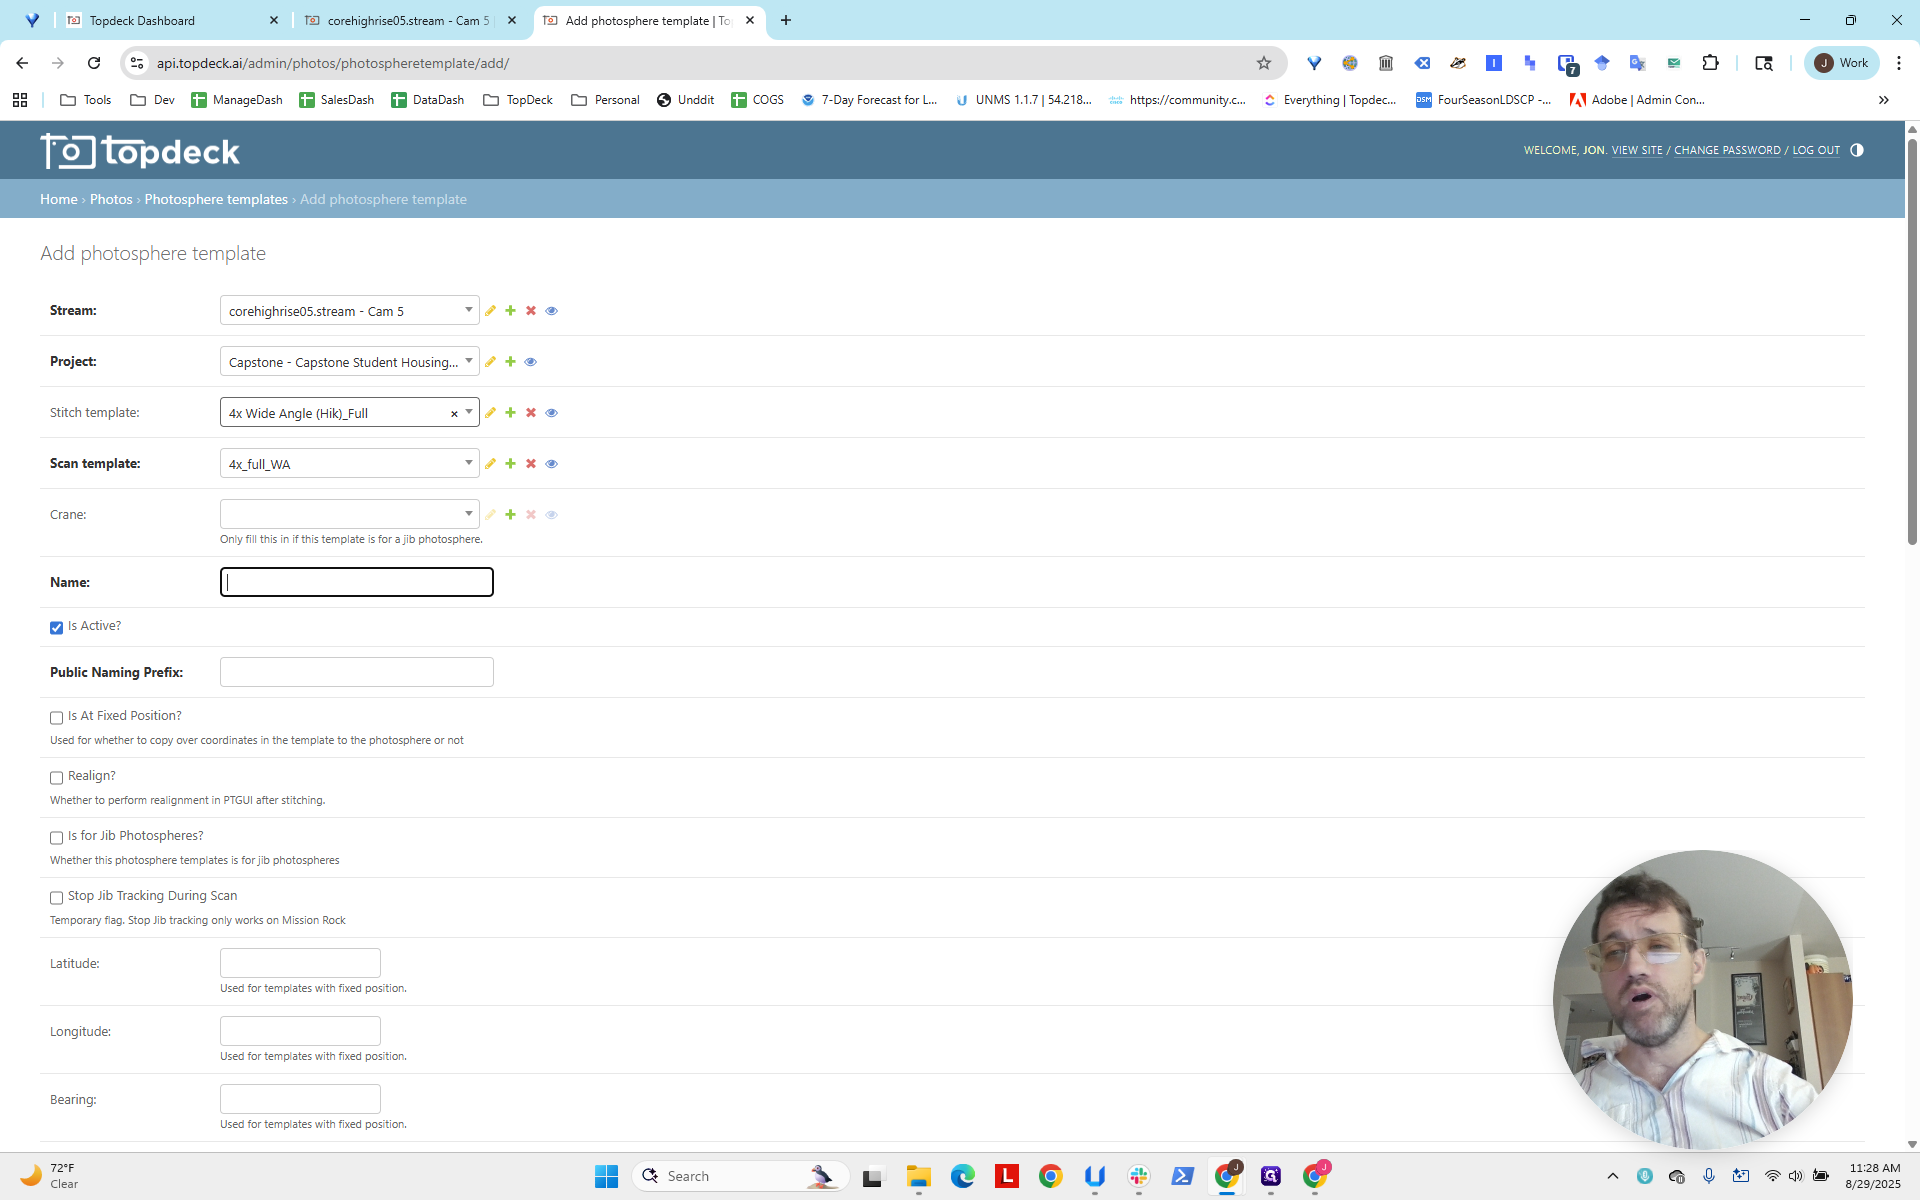
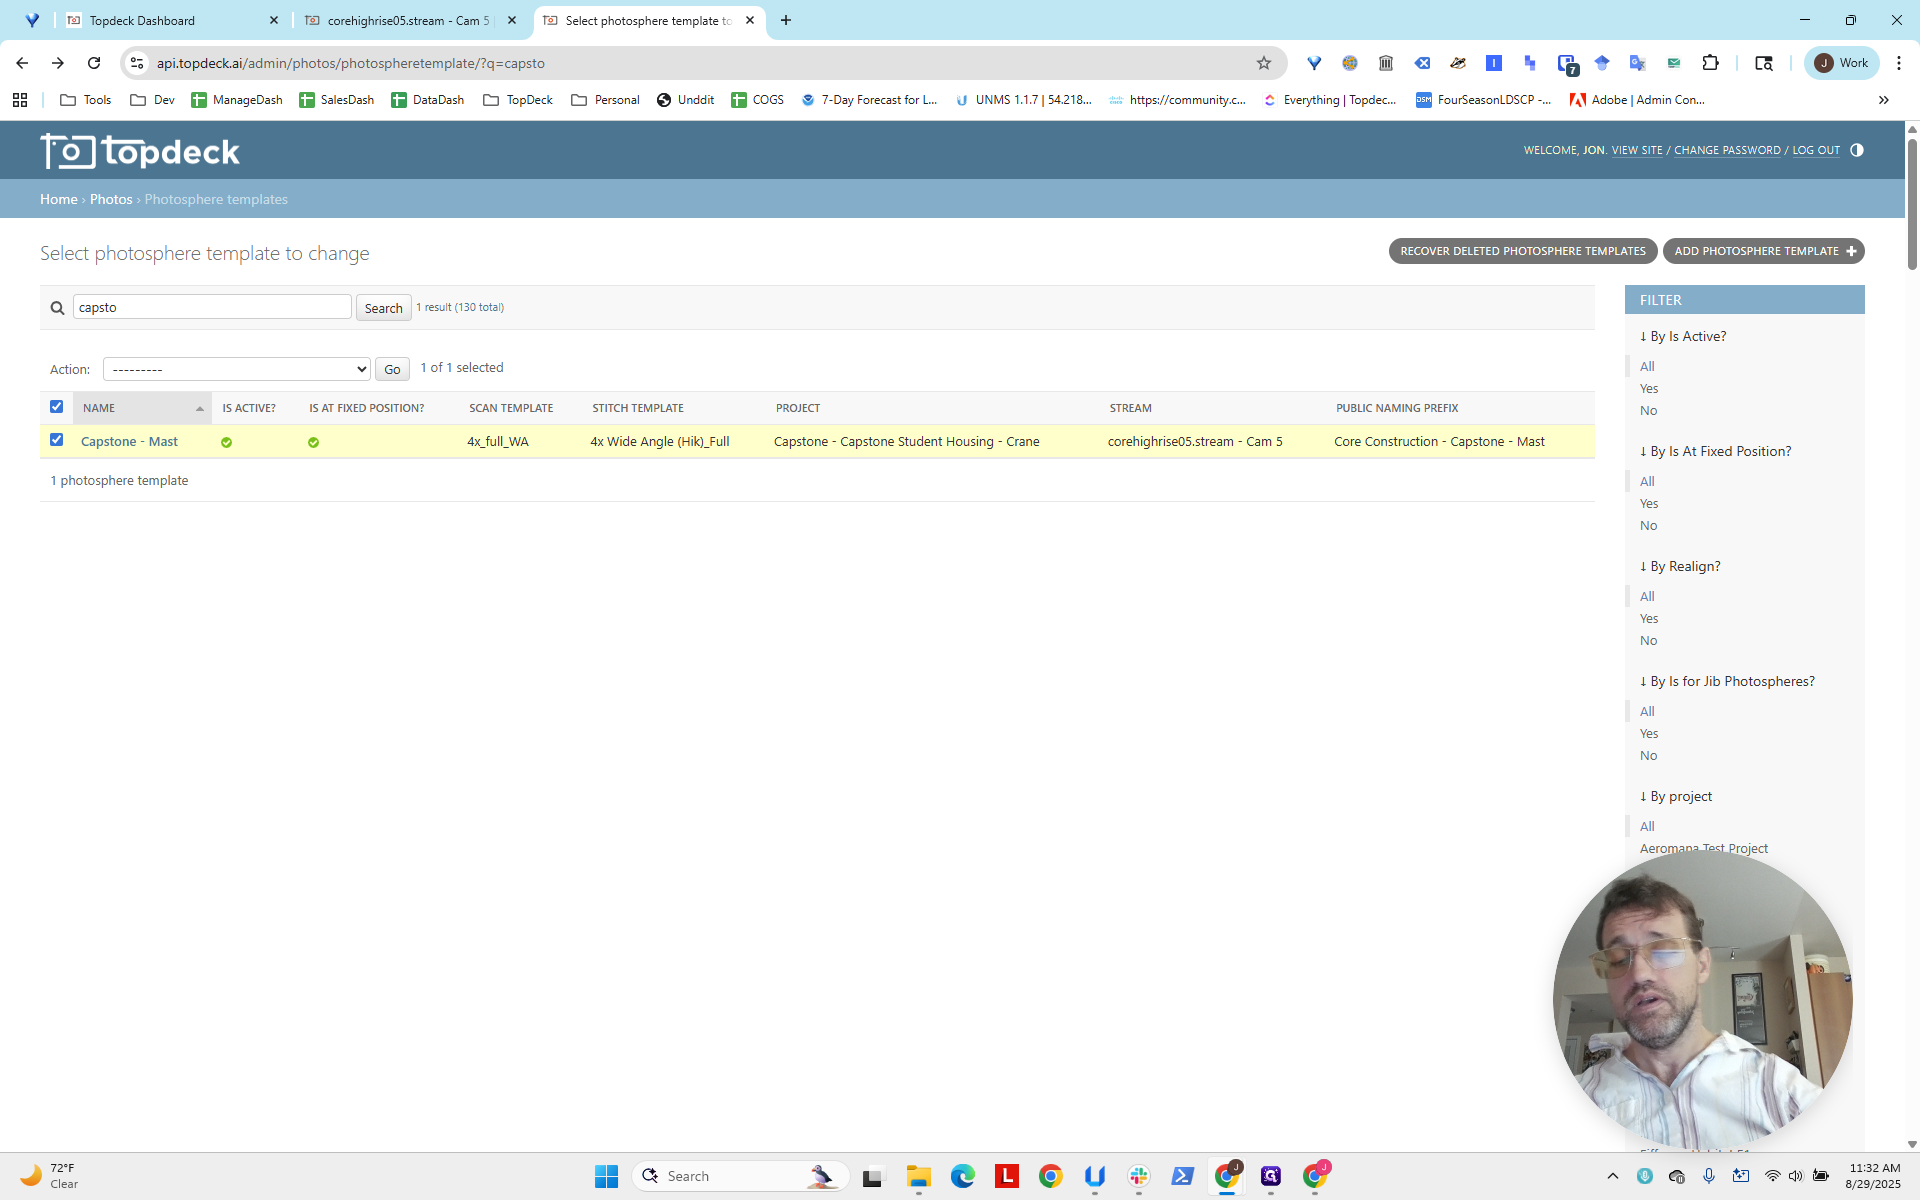
This is our internal name template. This is Capstone. Since we're only creating one photo sphere, I'll call it Mast. The next line is the public naming prefix, which will appear in the photo sphere.
This will appear.
I'm not sure we can see it here.
We can't see it here, but it appears in the pane with the customer's photo sphere when it's created. This is what the customer sees.
You can use custom names here that may be more descriptive.
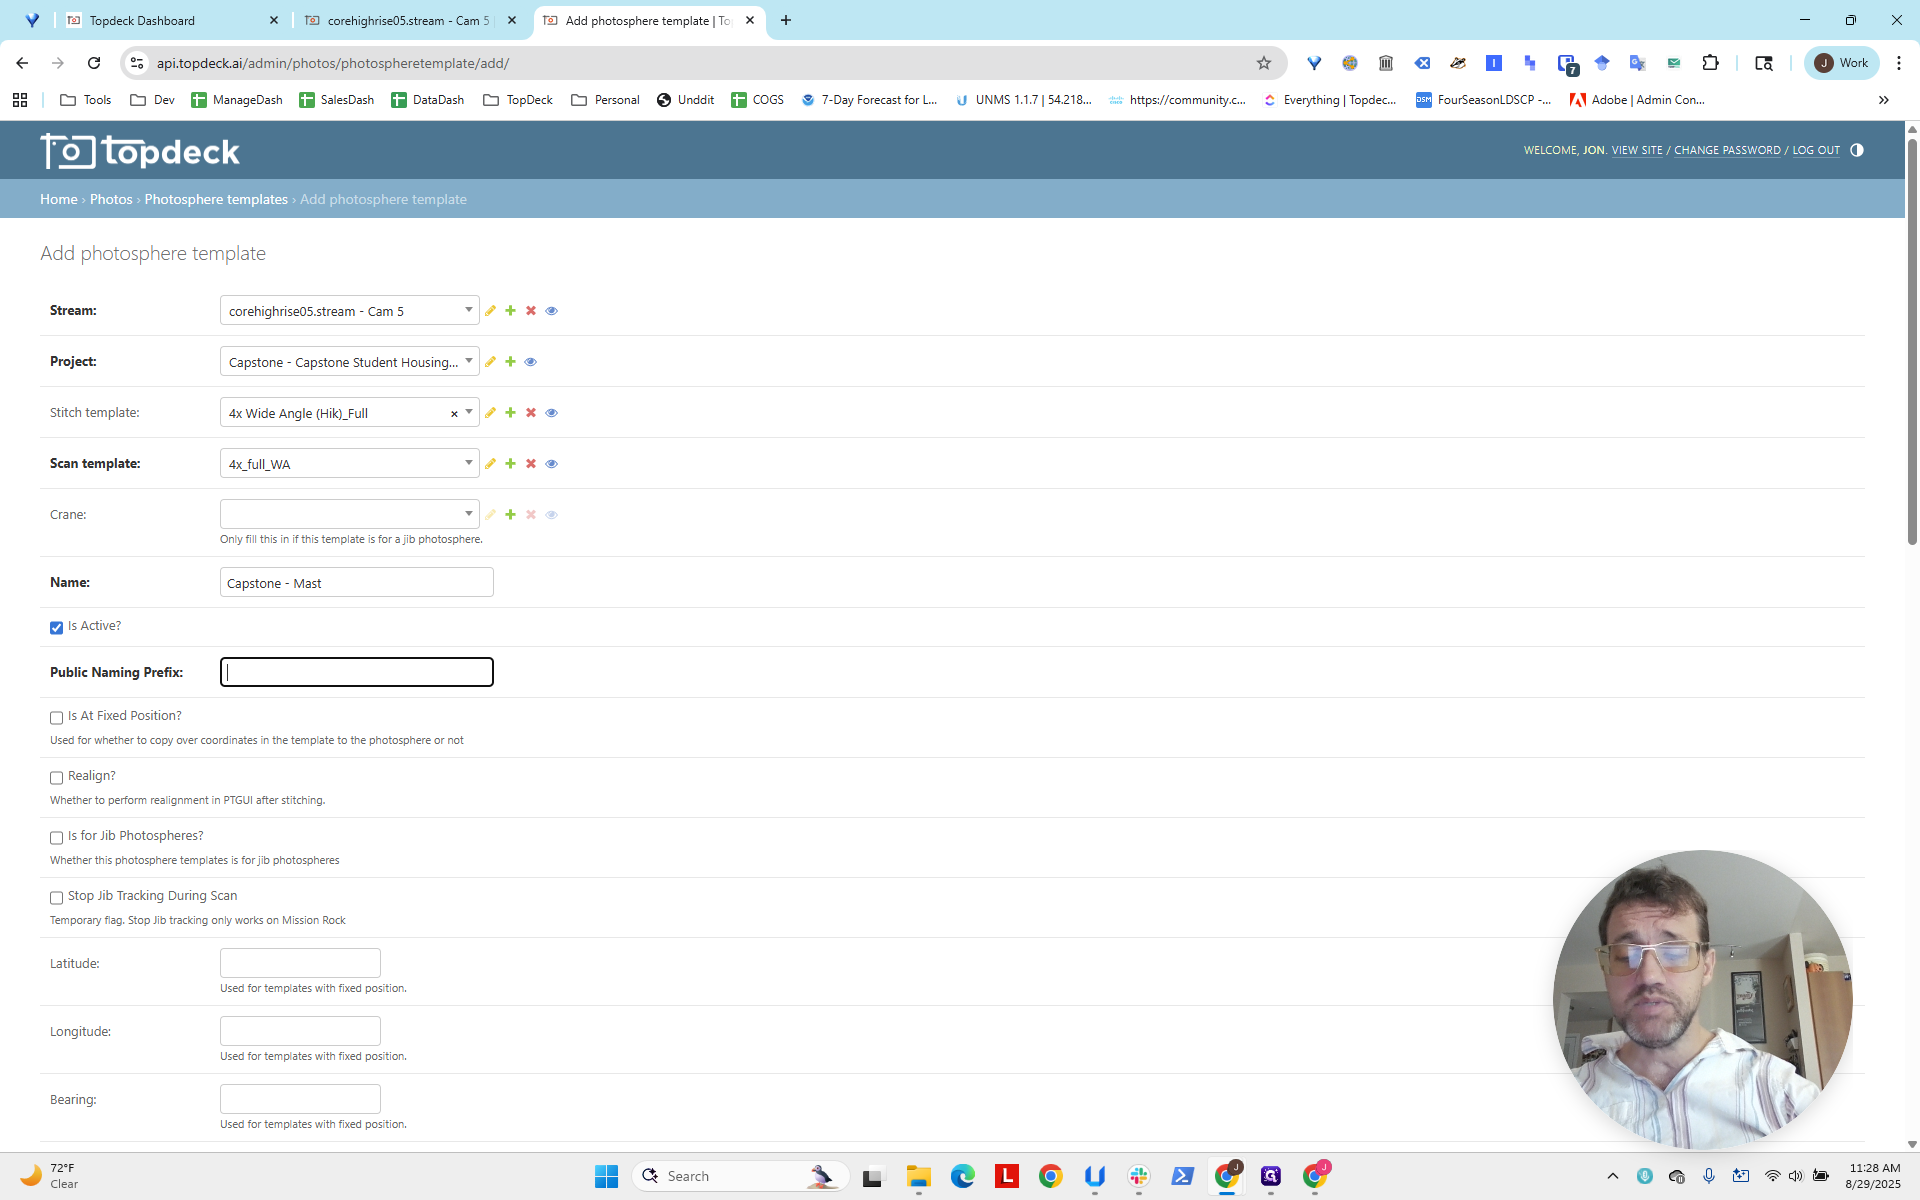
In this case, I'll name it COR Construction. People like seeing their own names. I'll add another hyphen: Capstone-hyphen-Mast. Now make sure the sign is in a fixed position. Then select Realign.
This means the photo sphere will automatically generate control points and stitch the images based on them. This creates a more accurate and cleaner image. It takes a little longer to process. Sometimes we can skip it, but I think you should almost always do it.

Click Realign. Okay? We don't need to select a jib, since this project uses a single photo sphere. There's no need to adjust the latitude, longitude, or bearing.
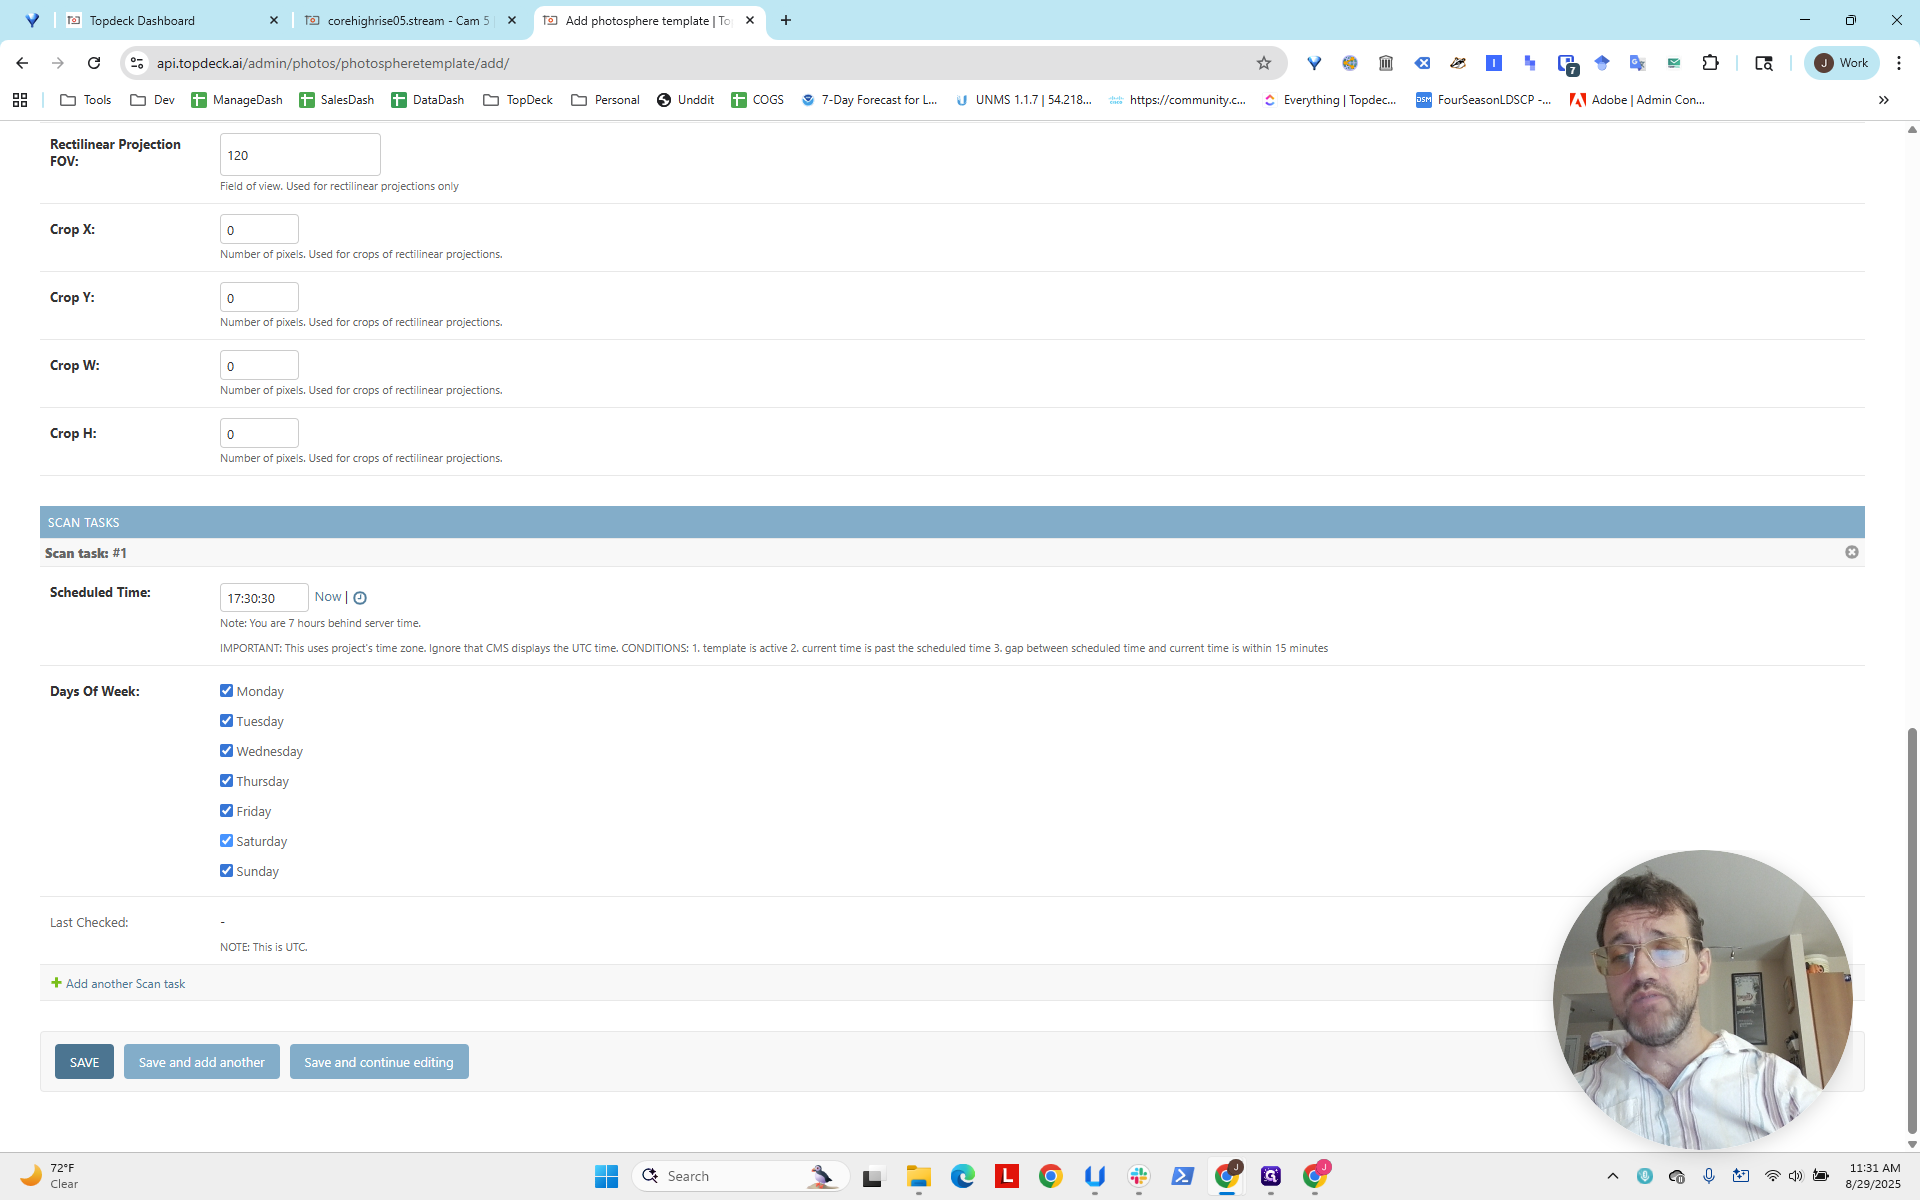
We will adjust the HLookAt and VLookAt values later, after generating a photo sphere and determining the desired viewpoint. This will help center the view on the deck, as explained in another guide. The last thing we need to do now is set the scheduled time. Now, select "Now," which sets the time to 18:30.
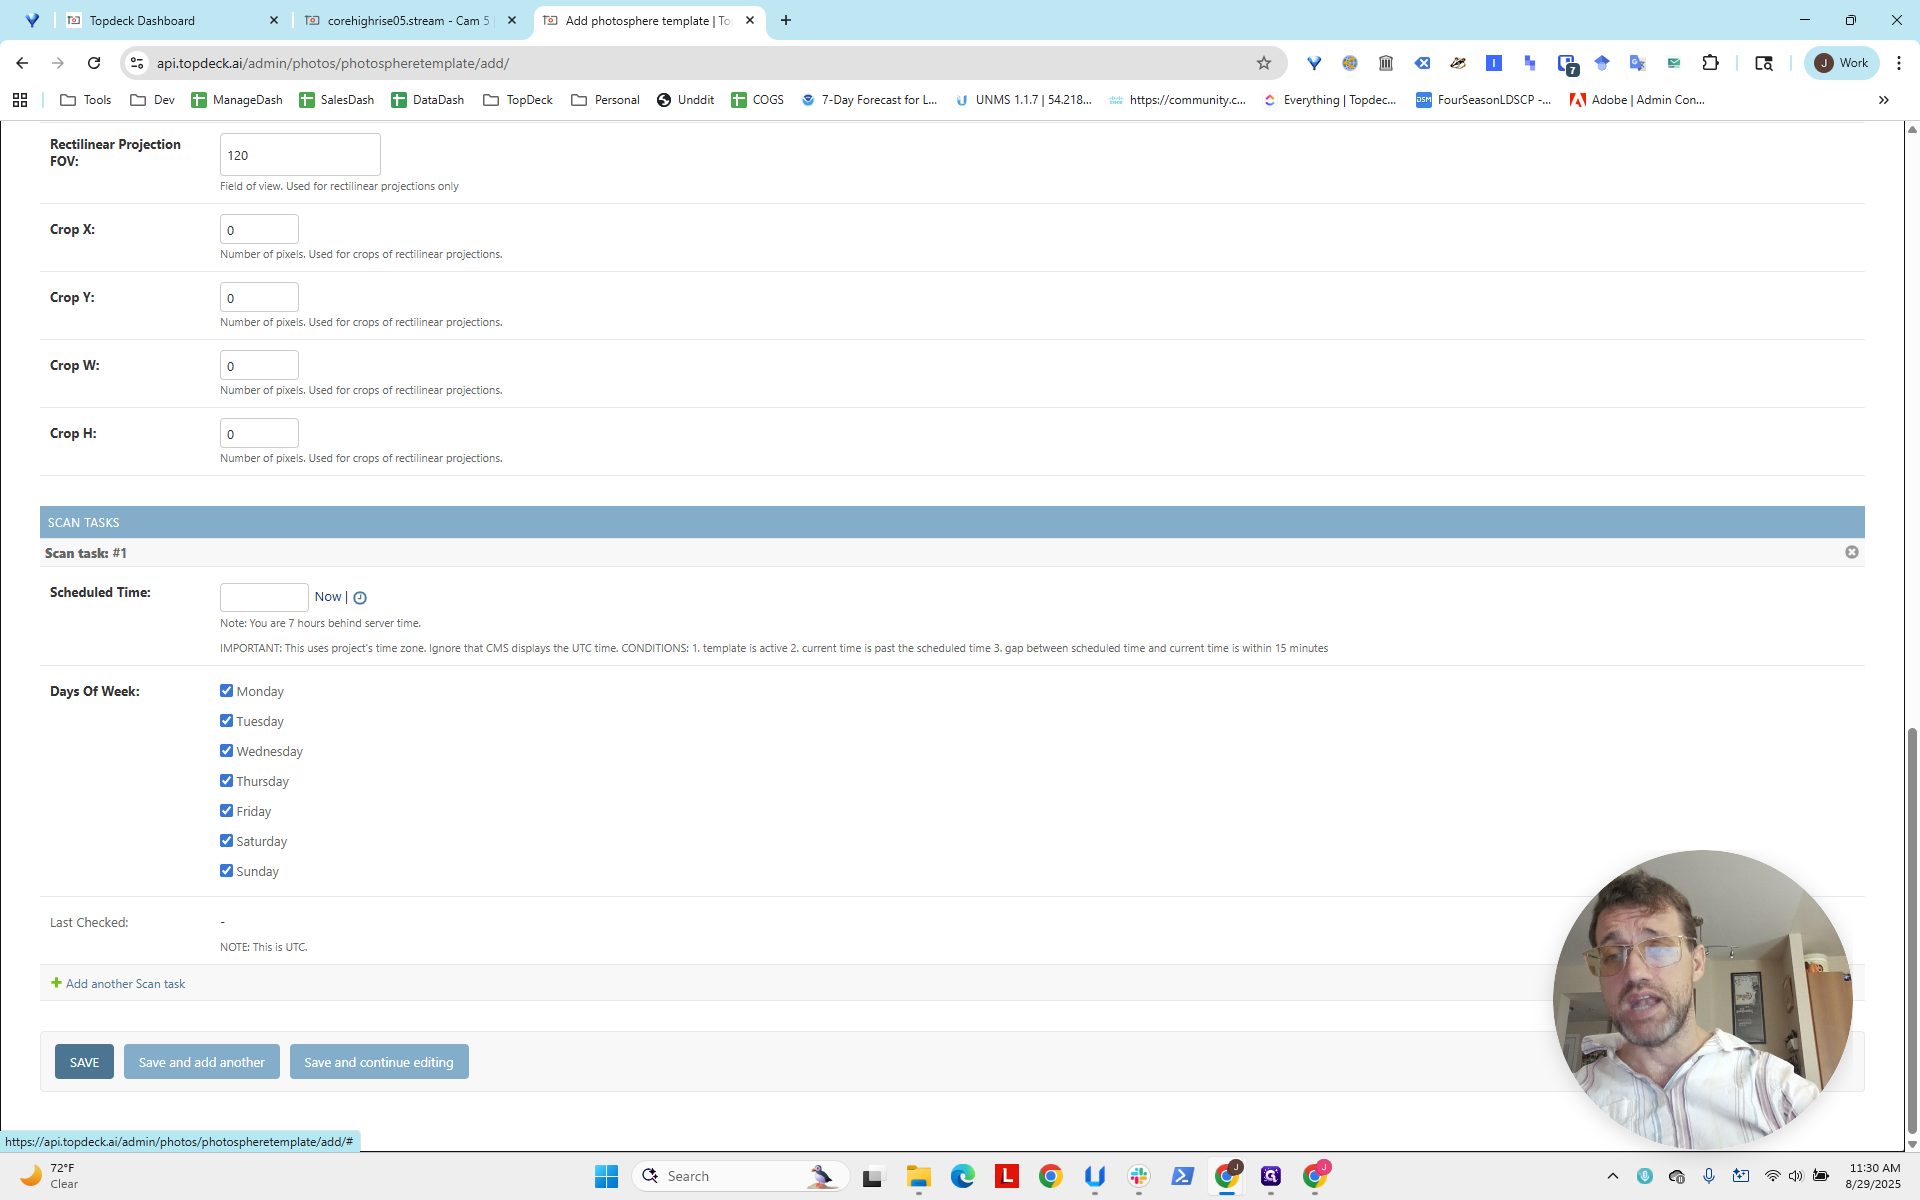
This is 6:30 PM. I usually think this is a bit late.

Consider how the project usually operates. They usually run from 8:00 AM to 5:00 PM. Ideally, this should be done after hours or at the end of the workday. You also need to consider time changes throughout the year. Choose a time that is not too early or too late, so it does not disrupt their day. Once a photo sphere scan is running, you cannot view video from that scan, which may be disruptive for users.
I'm going to set this to 17:30, which is 5:30 PM.
Note that this will be the local time, regardless of the time zone.
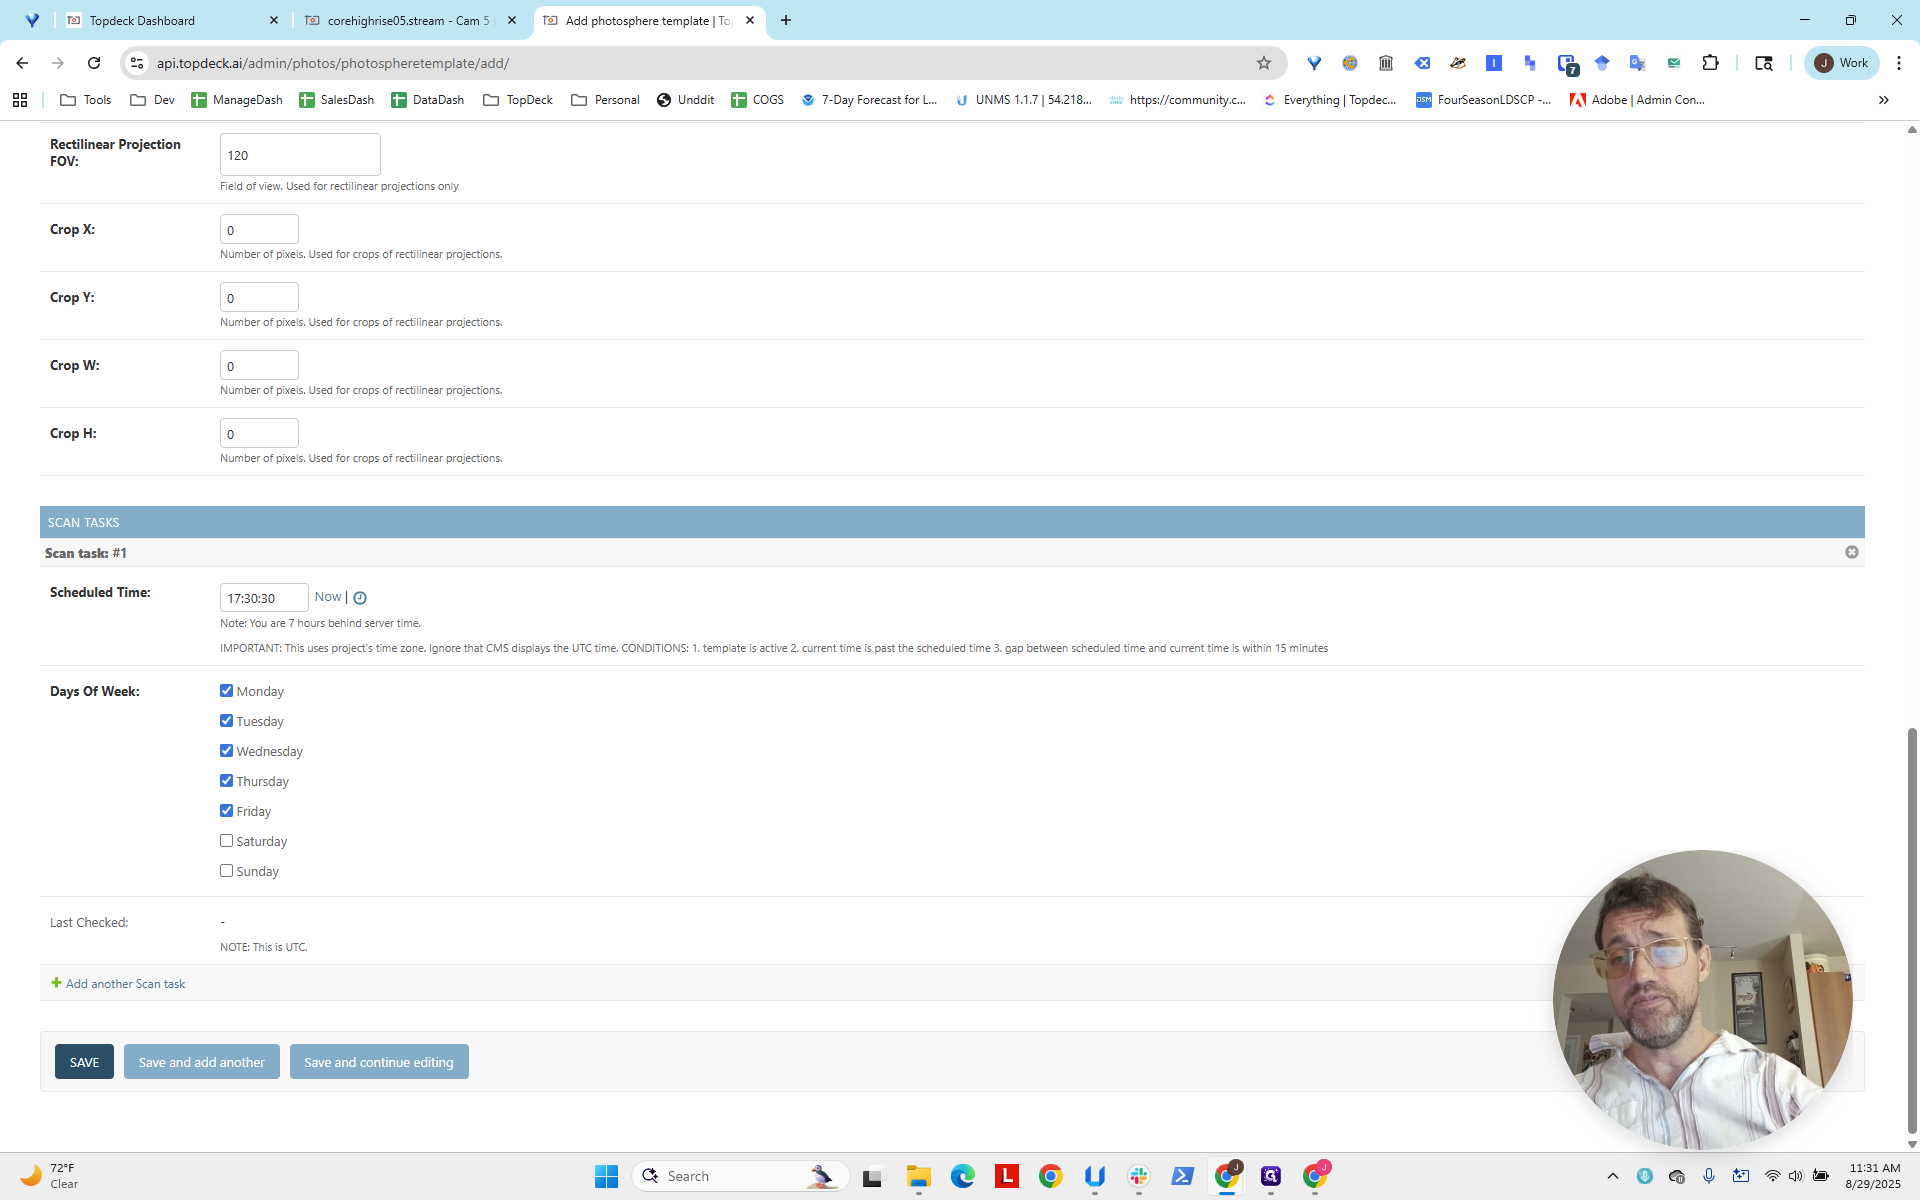
Looking at the days of the week, it is safe to assume that most projects do not run on Saturdays and Sundays.
If their schedule changes or we receive new information, you know where to find this and how to fix it.

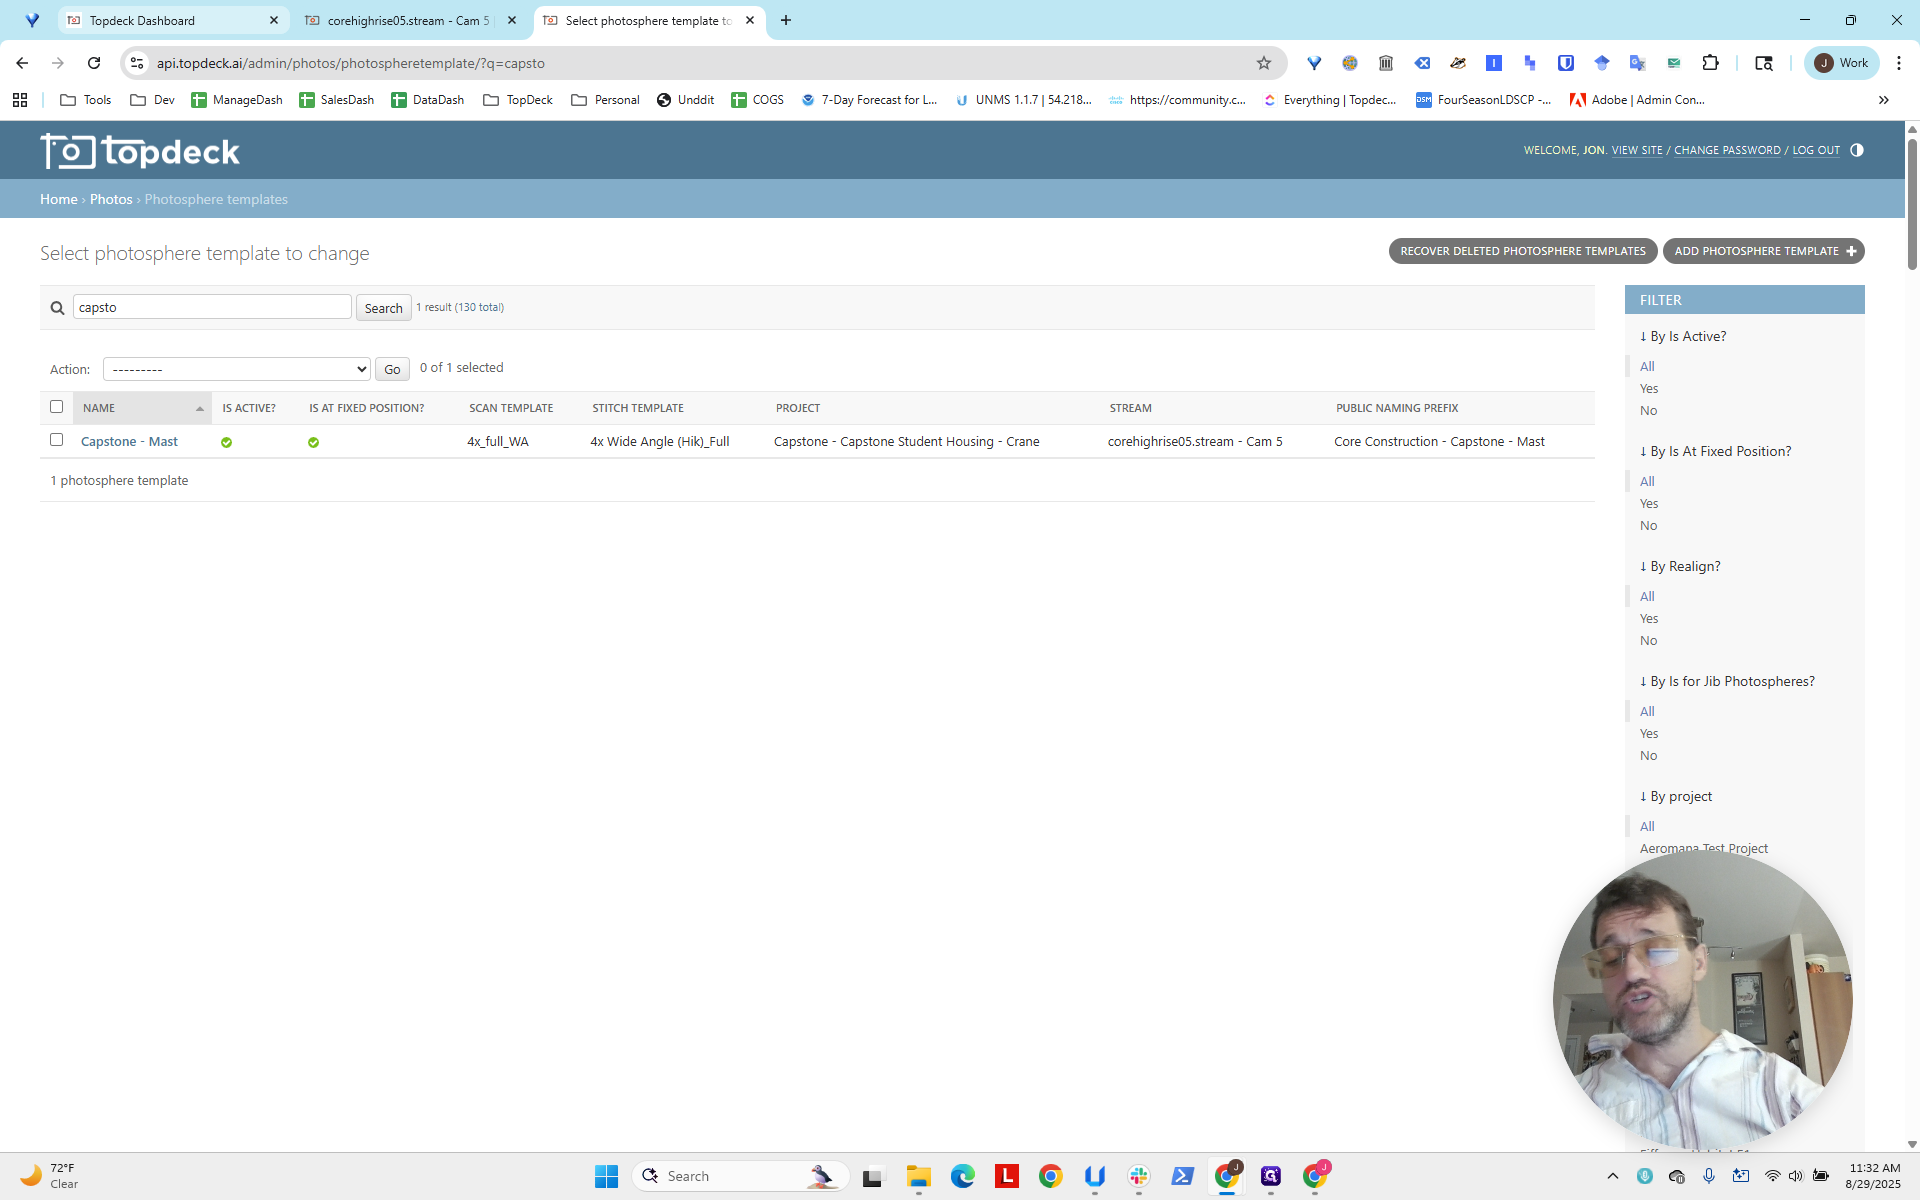
Okay? This is all you need to do. Click Save. A message will appear: "Capstone Mast was added successfully."
Now I will run the template to generate the first one. This lets us go back, review the generated photo spheres, and choose the view we want as the default. Then, we can get the numbers needed for HLookAt and VLookAt.

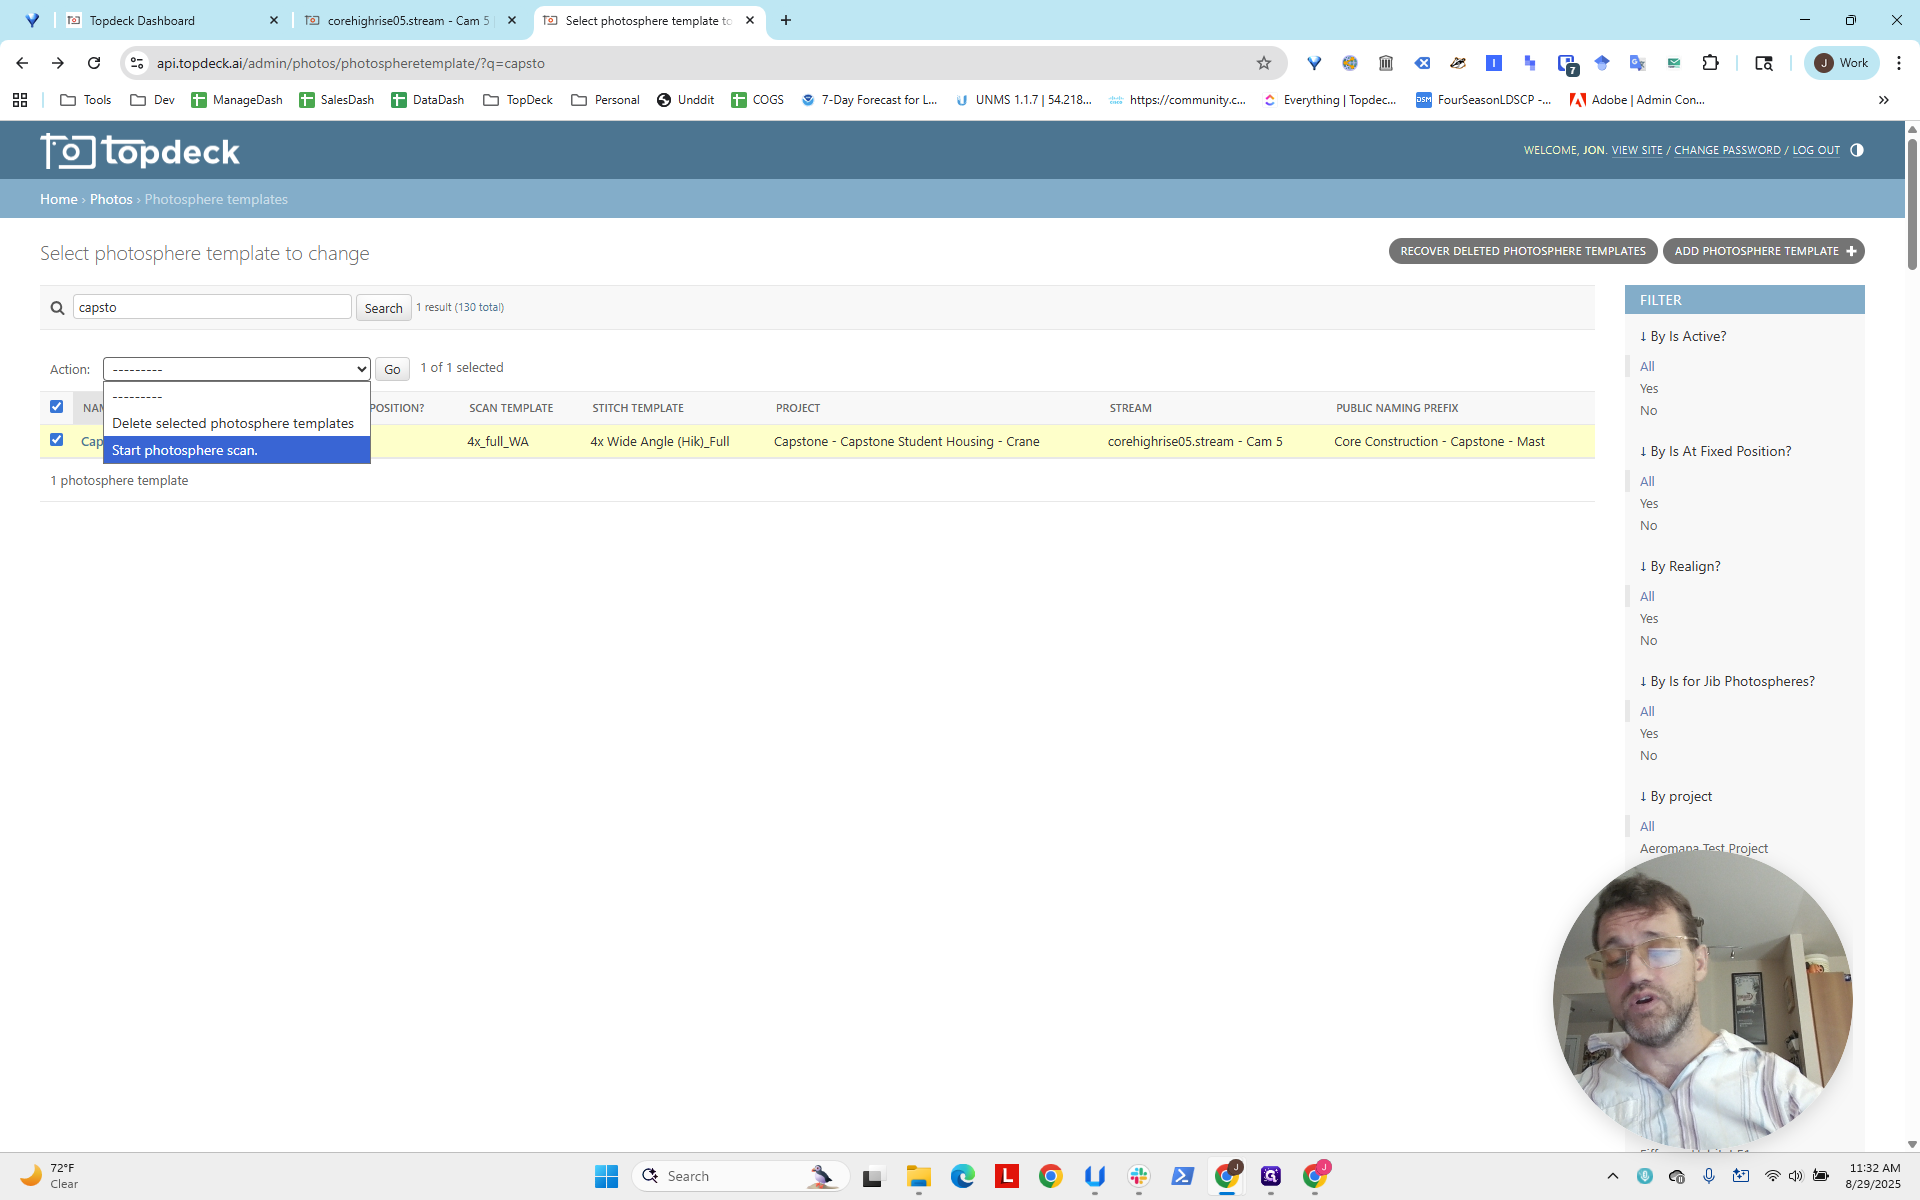
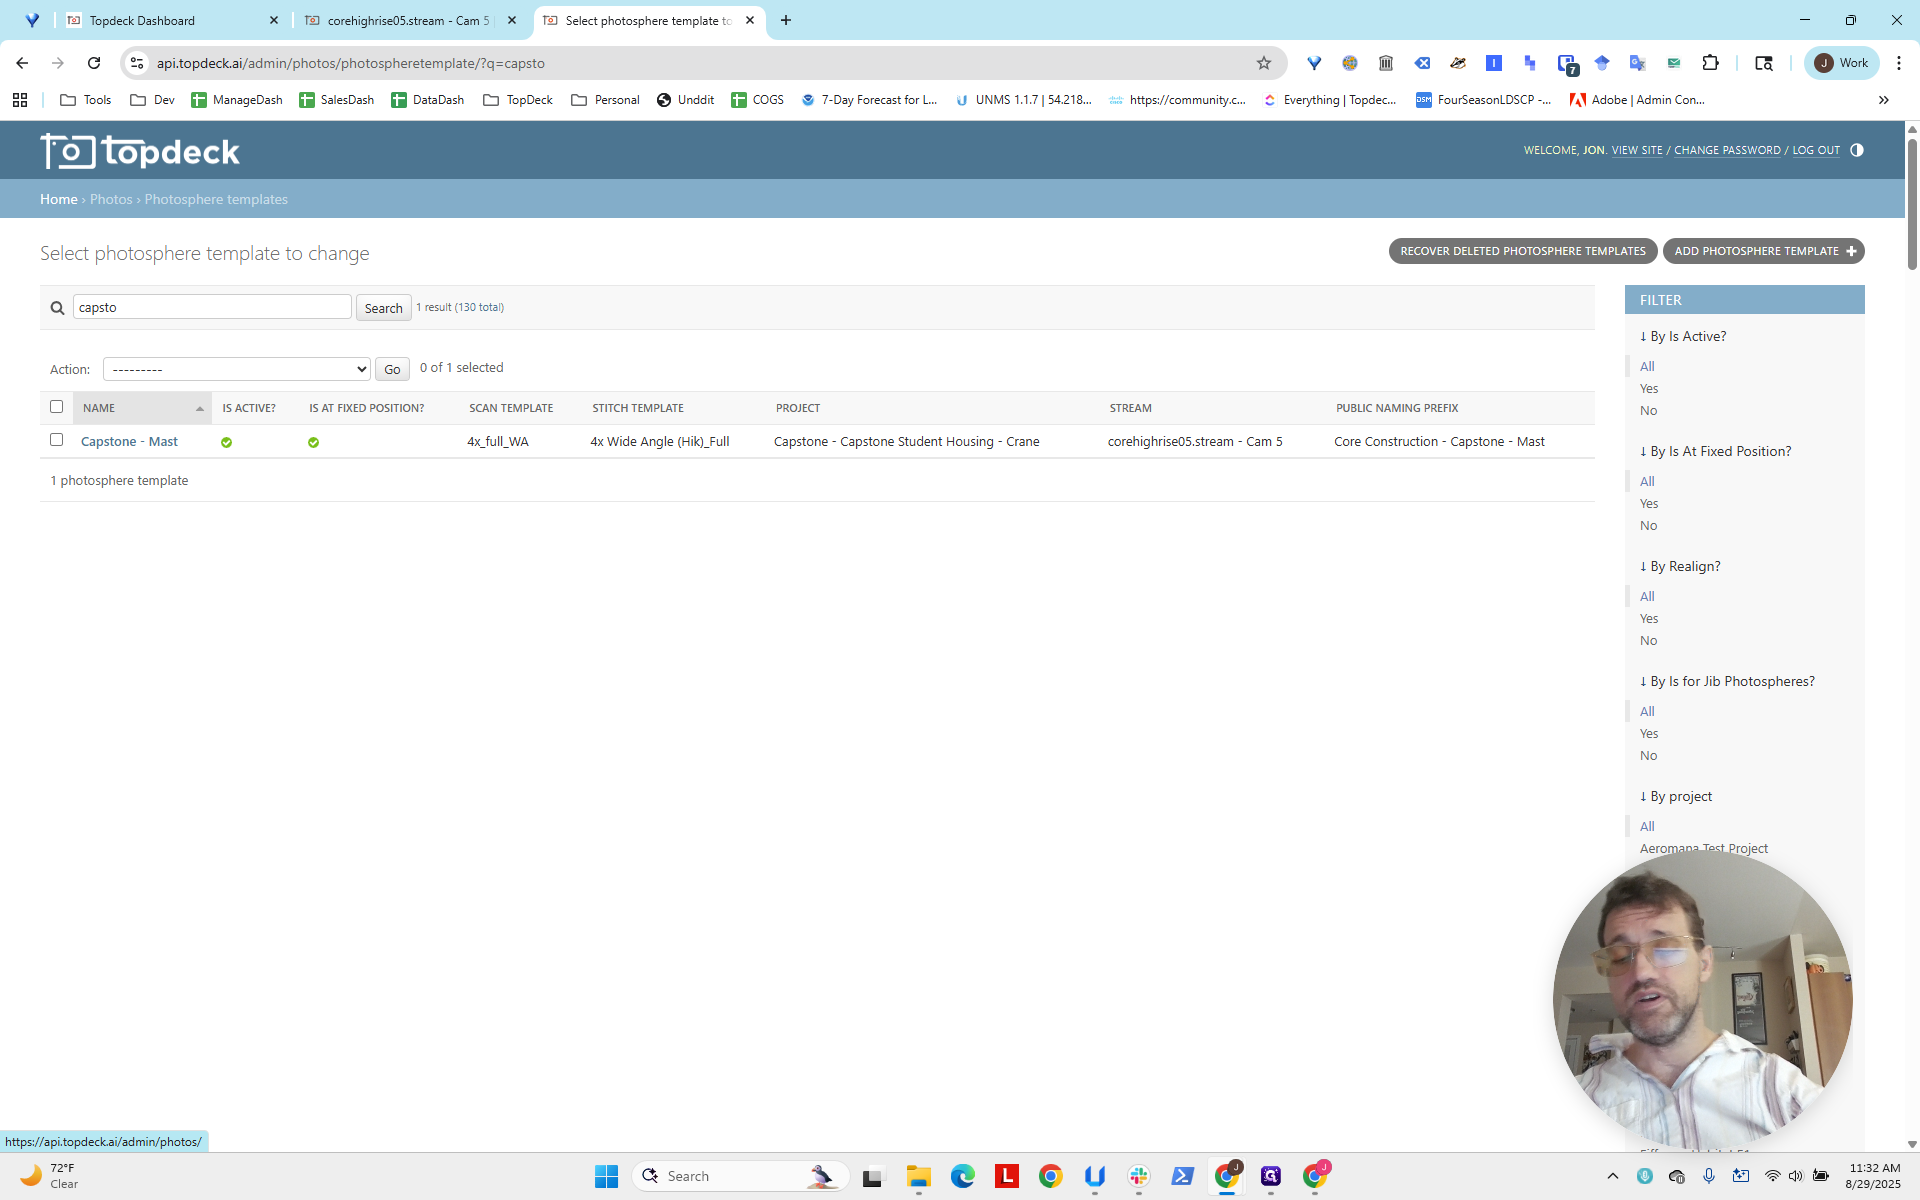
Select Capstone Mast, go to Action, and start the scan.

The scan usually takes about 10 minutes to complete. Once finished, it will appear here automatically.
You can reload your page. You can also check the scan under the photo spheres to follow along and ensure everything is running.
It says, "Scanning in progress," so we know it is running. After about 10 minutes, you will be able to review it and get the HLookAt and VLookAt. There is another guide that explains how to update them, so it's a good idea to do that right away. Okay. That's all you need to create a photo sphere in a new project.