How to Set Up and Copy a MedPath Careers Page: Step-by-Step Guide
Learn how to create a MedPath Careers page, including formatting tips, adding images and files, and copying the lesson to other program levels. Follow this comprehensive guide for a seamless setup.
By Robin Dickinson
In this guide, we'll learn how to set up a new MedPath Careers lesson page, using the example of a respiratory therapist. We will cover how to format the content, add images and files, and link PDFs. You will also learn how to copy the completed lesson to other levels in the program and make sure everything is organized correctly.
Here's the final checklist to make sure everything is present: 1. The words and headings properly formatted 2. The coloring page and career summary page each available for download. 3. The images of the coloring page and career summary set to a width of 500 and right aligned. I find that having the first one at the end of the first line and the second one at the end of the line "Daily Work Life" seems to space them well. 4. Grab the link from the downloads and use it for each image so when someone clicks on the image, they will get the download without having to scroll to the bottom of the page. 5. Copy and paste the "Would You Rather" question in the "Lesson Activity" box. 6. You've completed it for that level! Check the preview and make sure everything looks right. If it does, copy it over to the other levels (1-3, we're doing 0 separately)
Let's get started
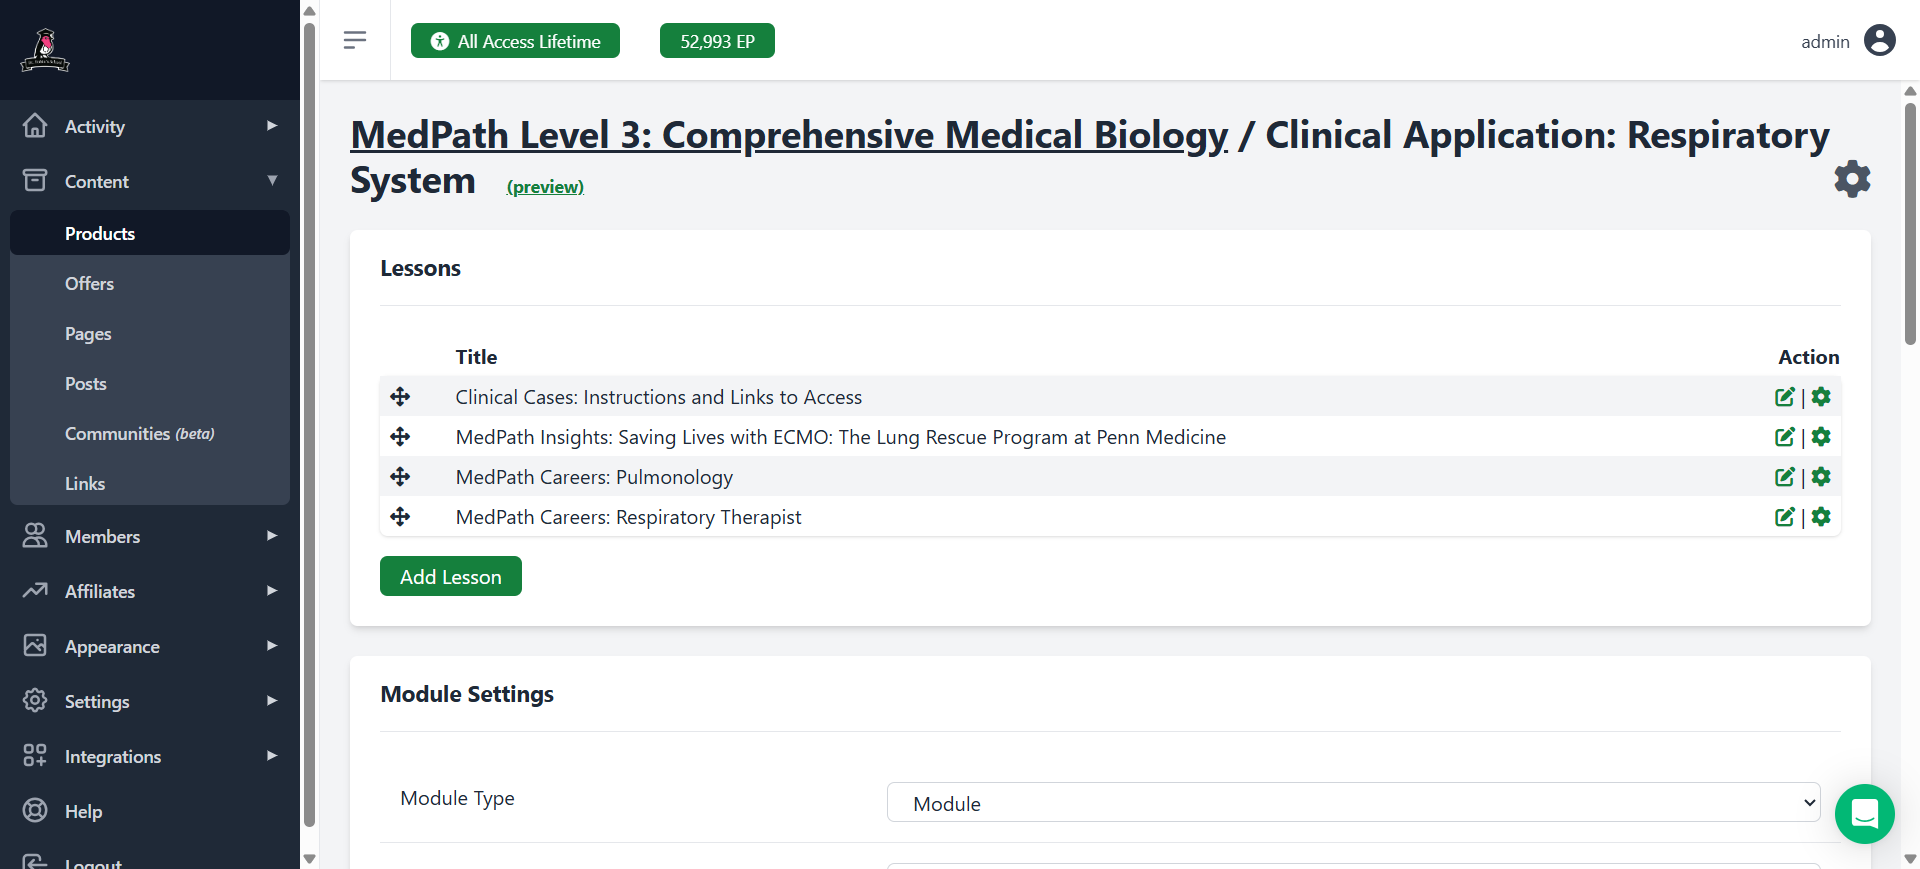
In this guide, I will show you how to set up a new MedPath Careers page in the program lesson, and how to copy it to other levels.
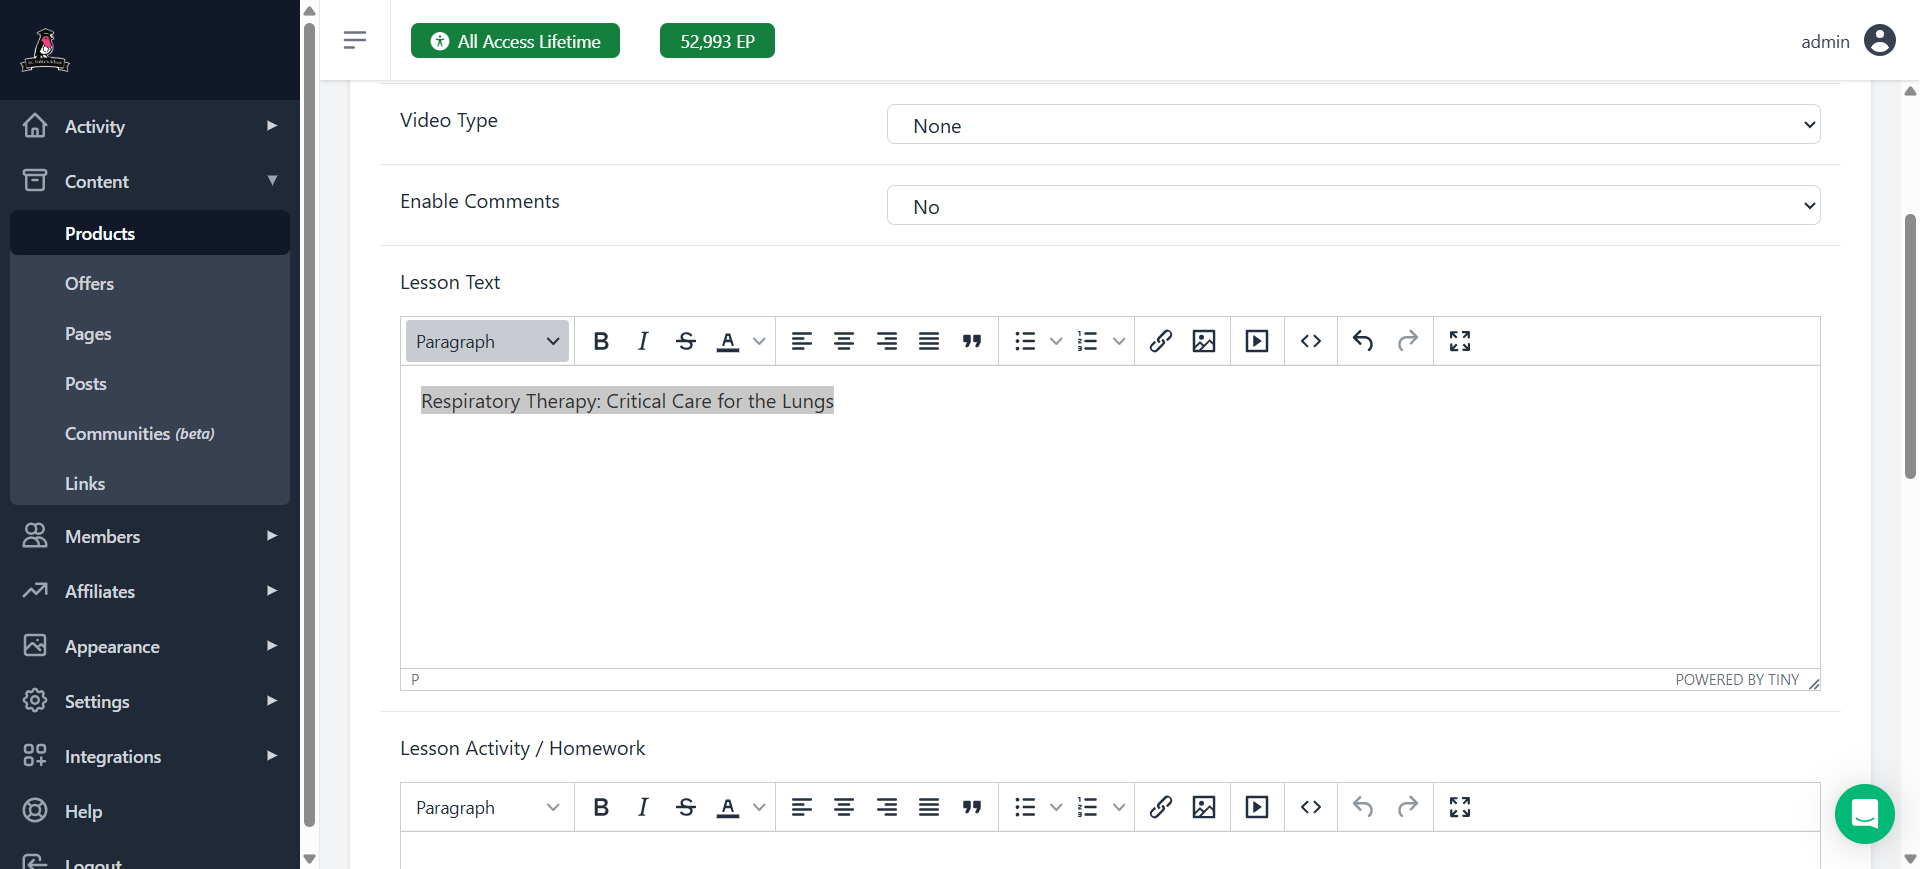
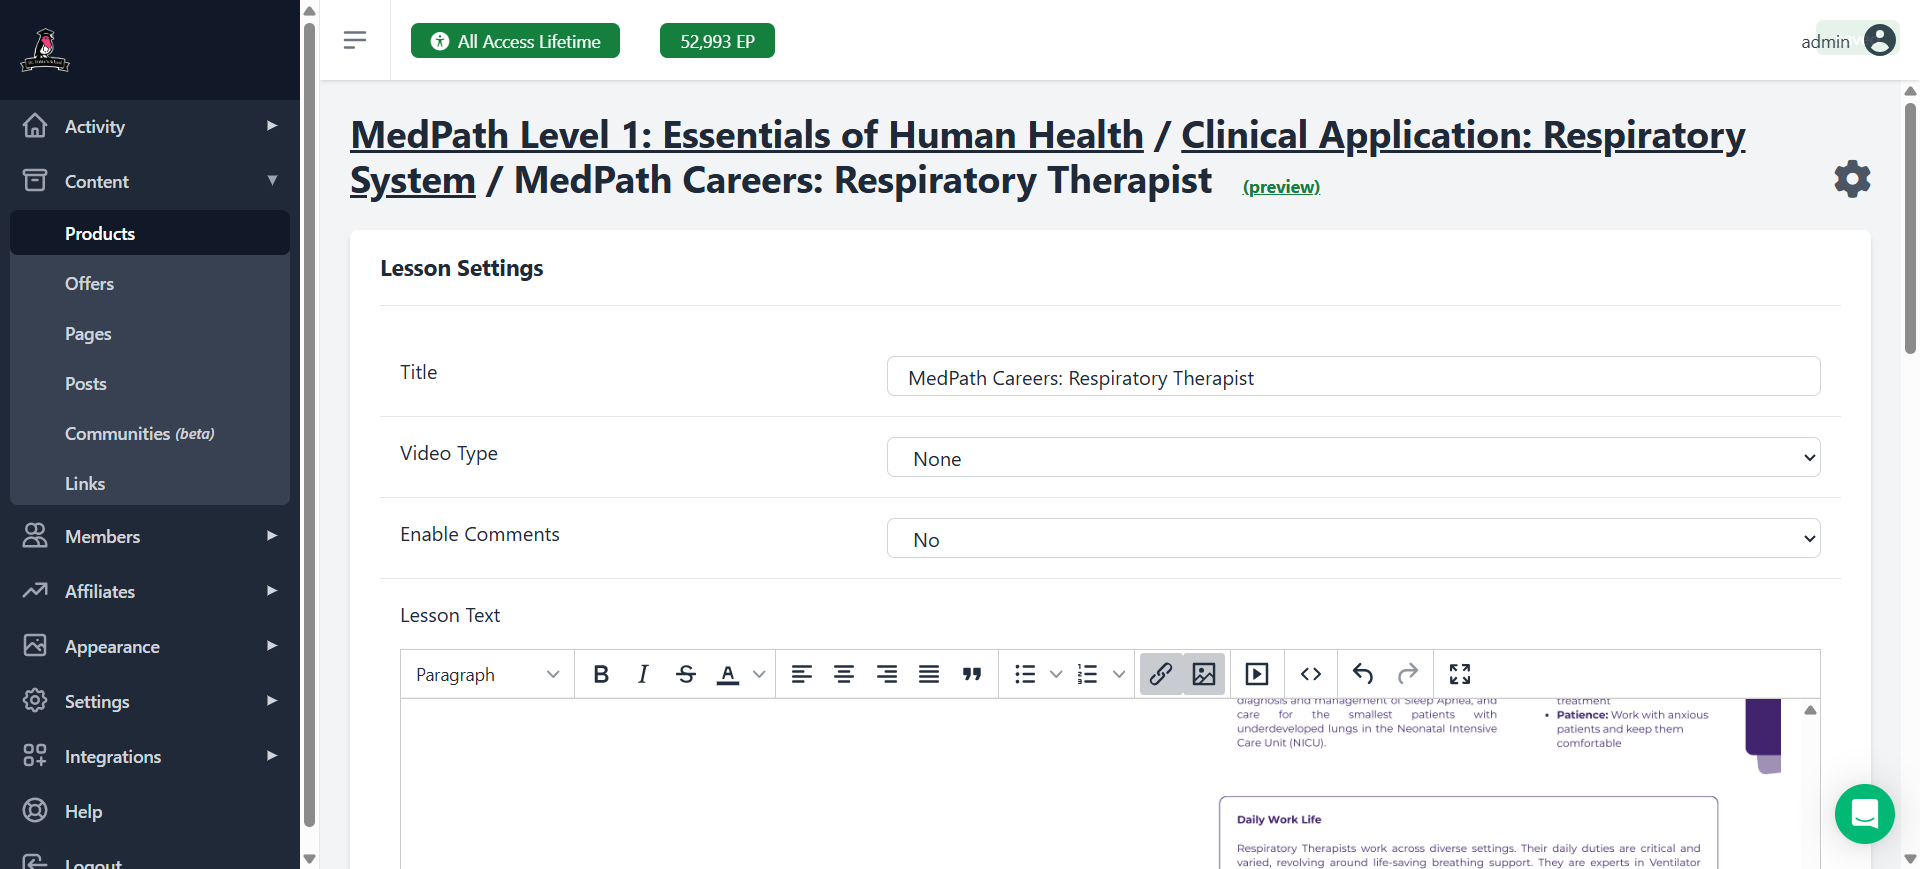
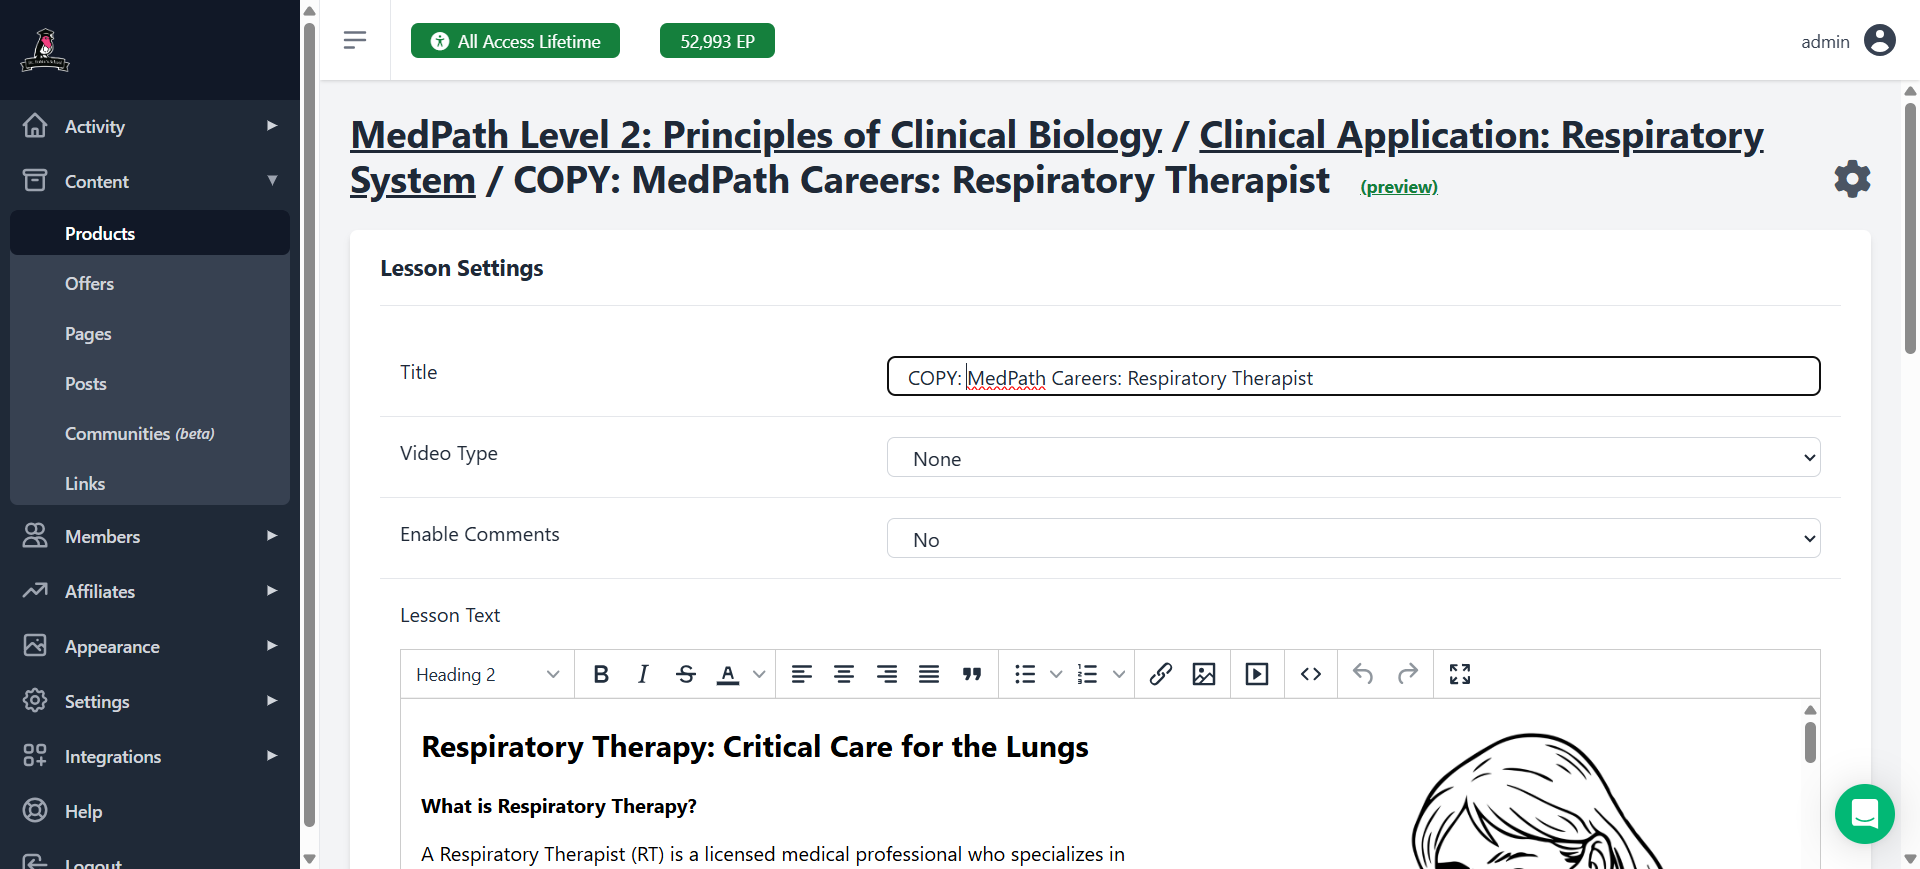
Here, I will be using the example of the respiratory therapist. I've already copied the title over.
If you check the actual page, I ended up removing where it says "Respiratory Therapy" on this first line. It just got really redundant.
1
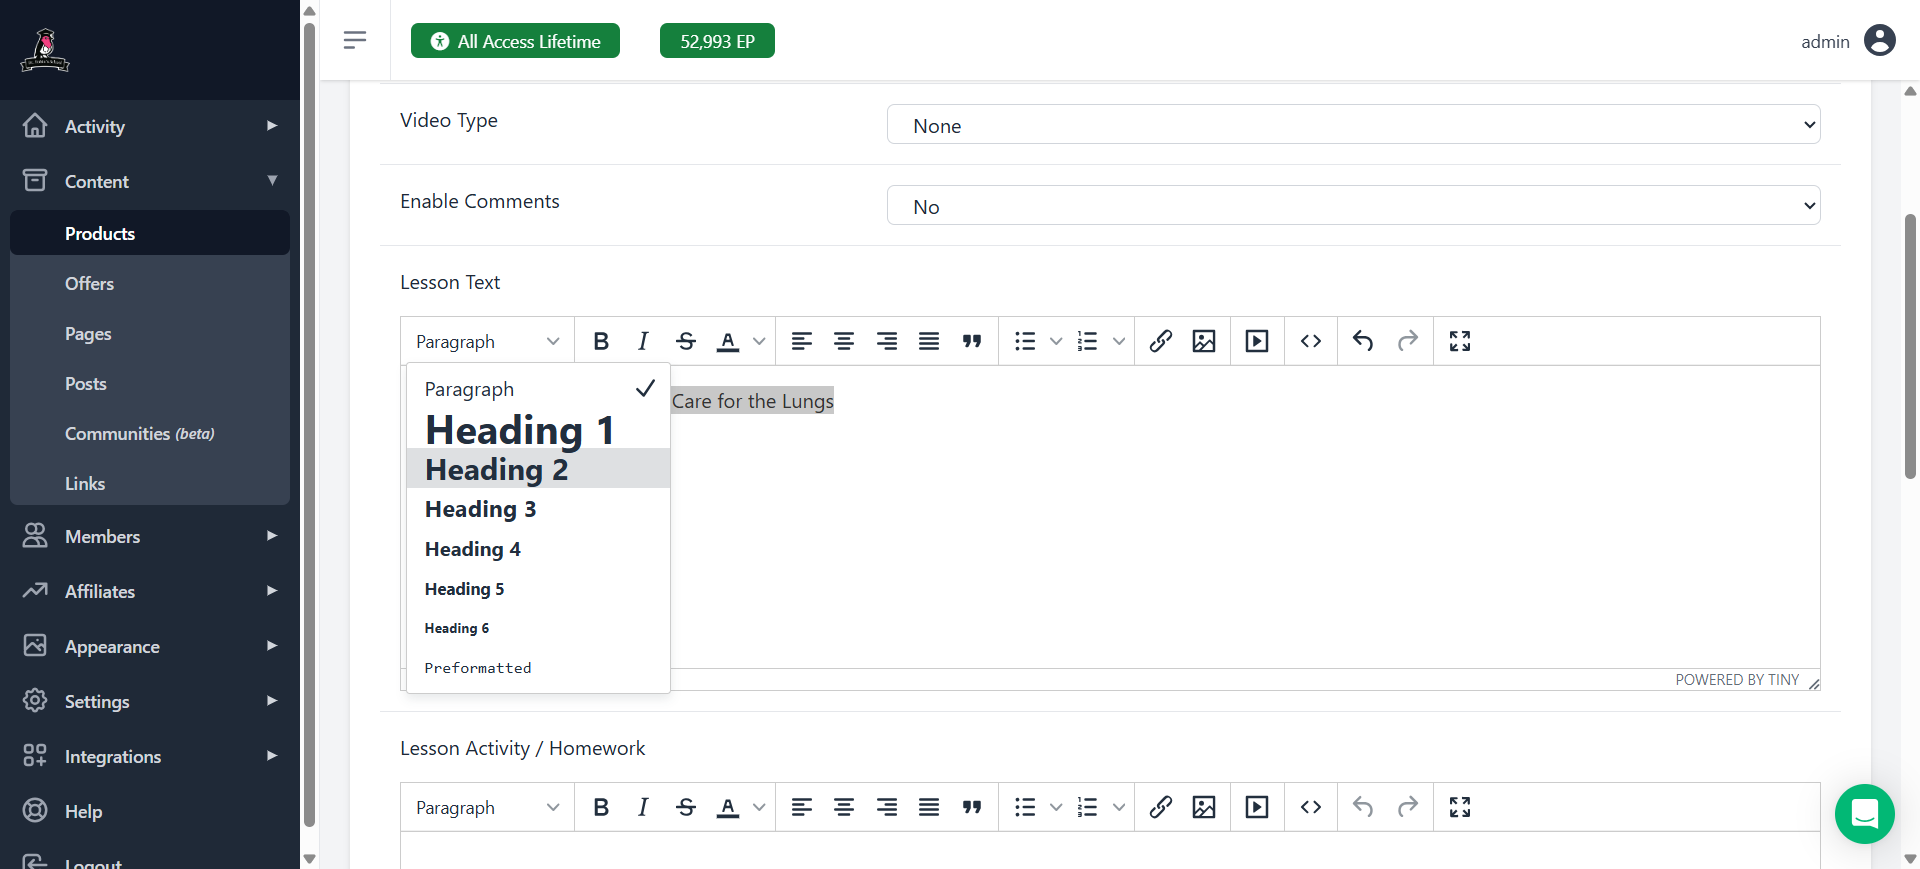
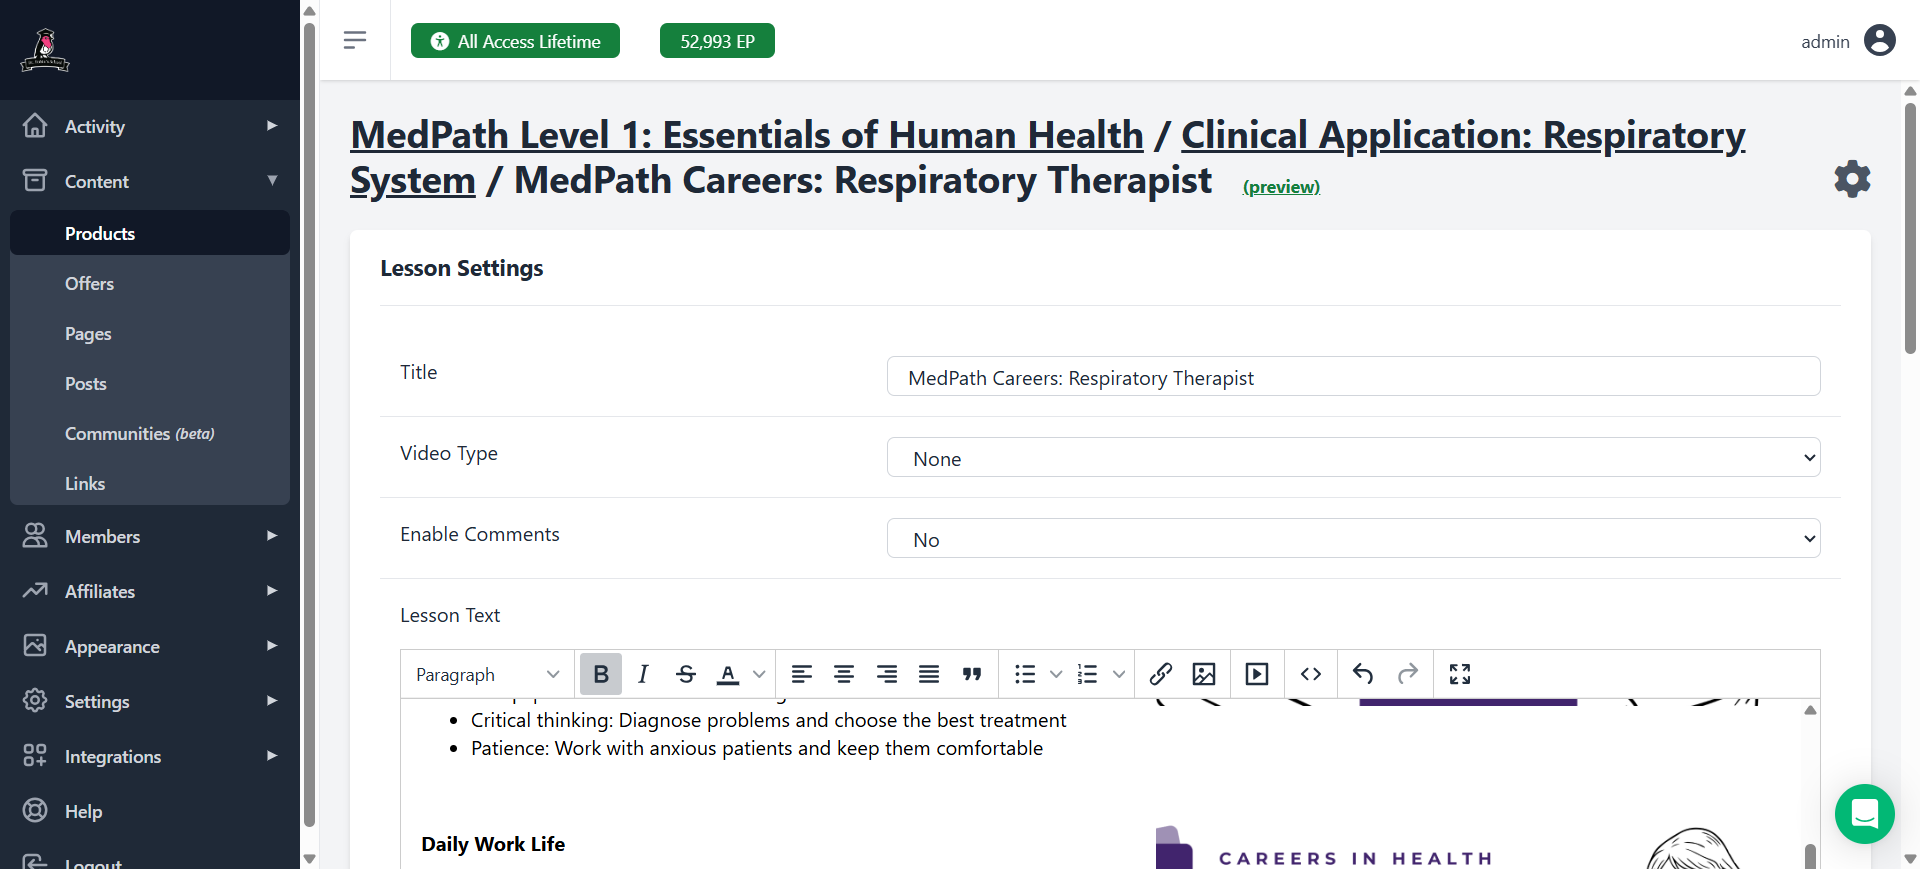
Click on "Paragraph" to change to "Heading 2"
2
Here I'm selecting "Heading 2"
Now, from here, we will copy and paste everything from the Canva file
Do not copy and paste from a PDF, as you will lose the formatting and it becomes very difficult to fix. Instead, use the original file in Canva or your personal file.
3
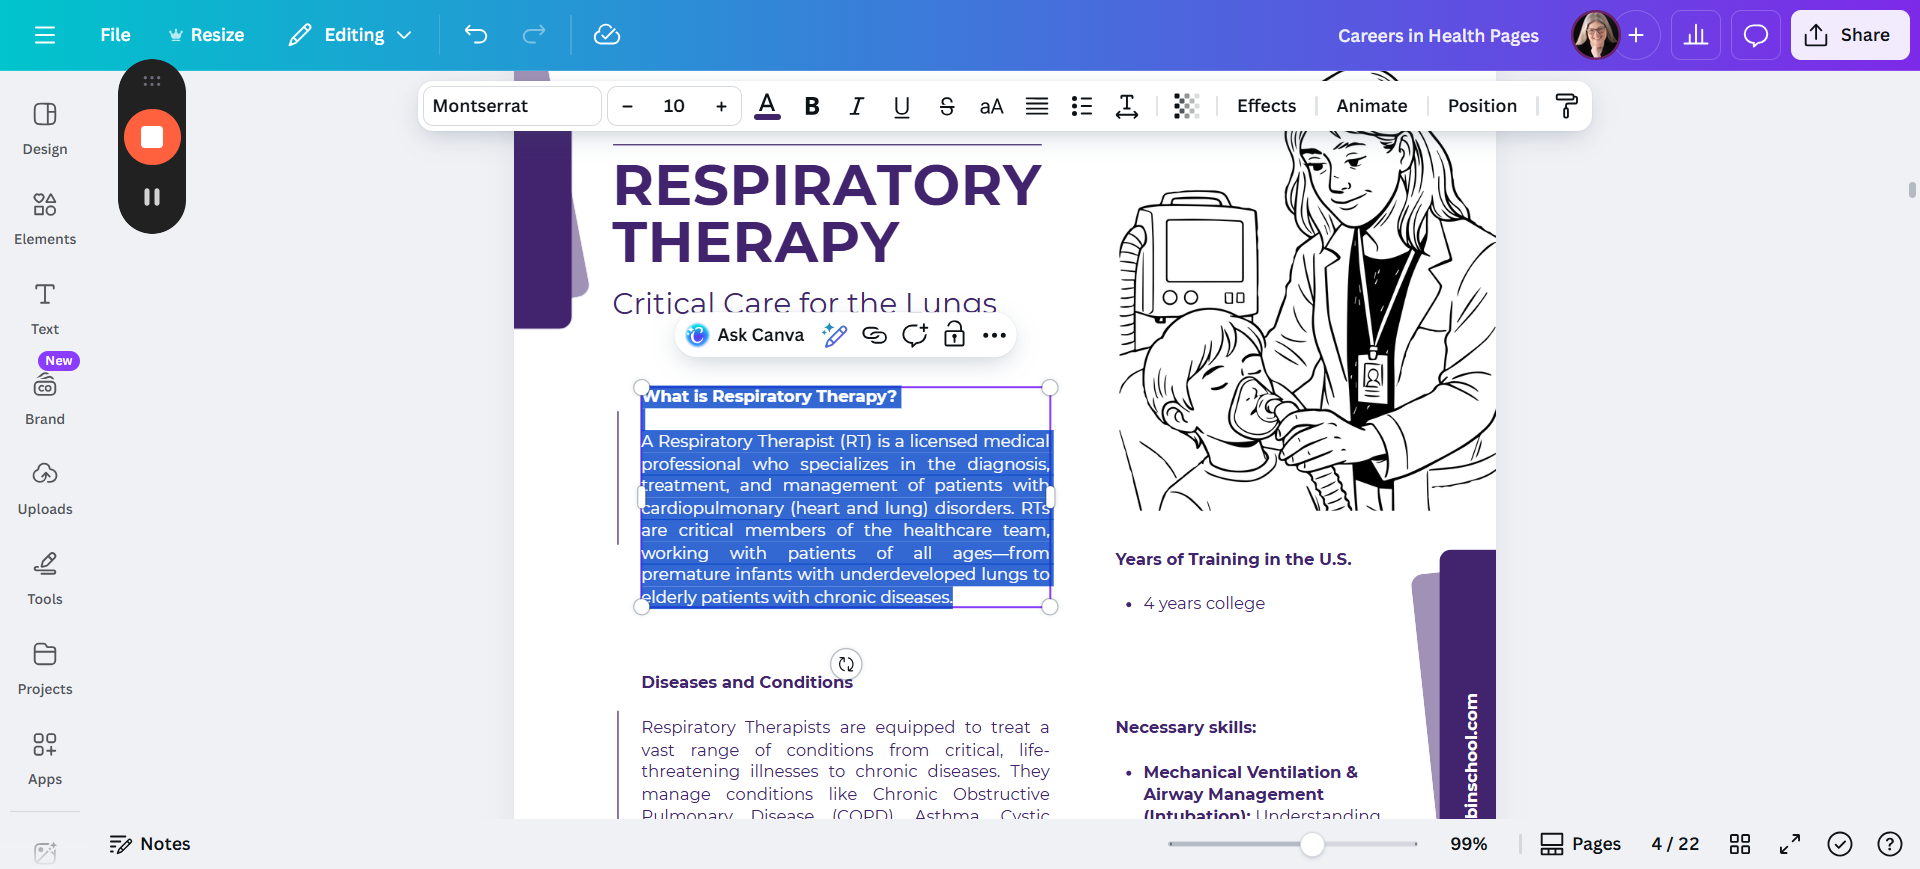
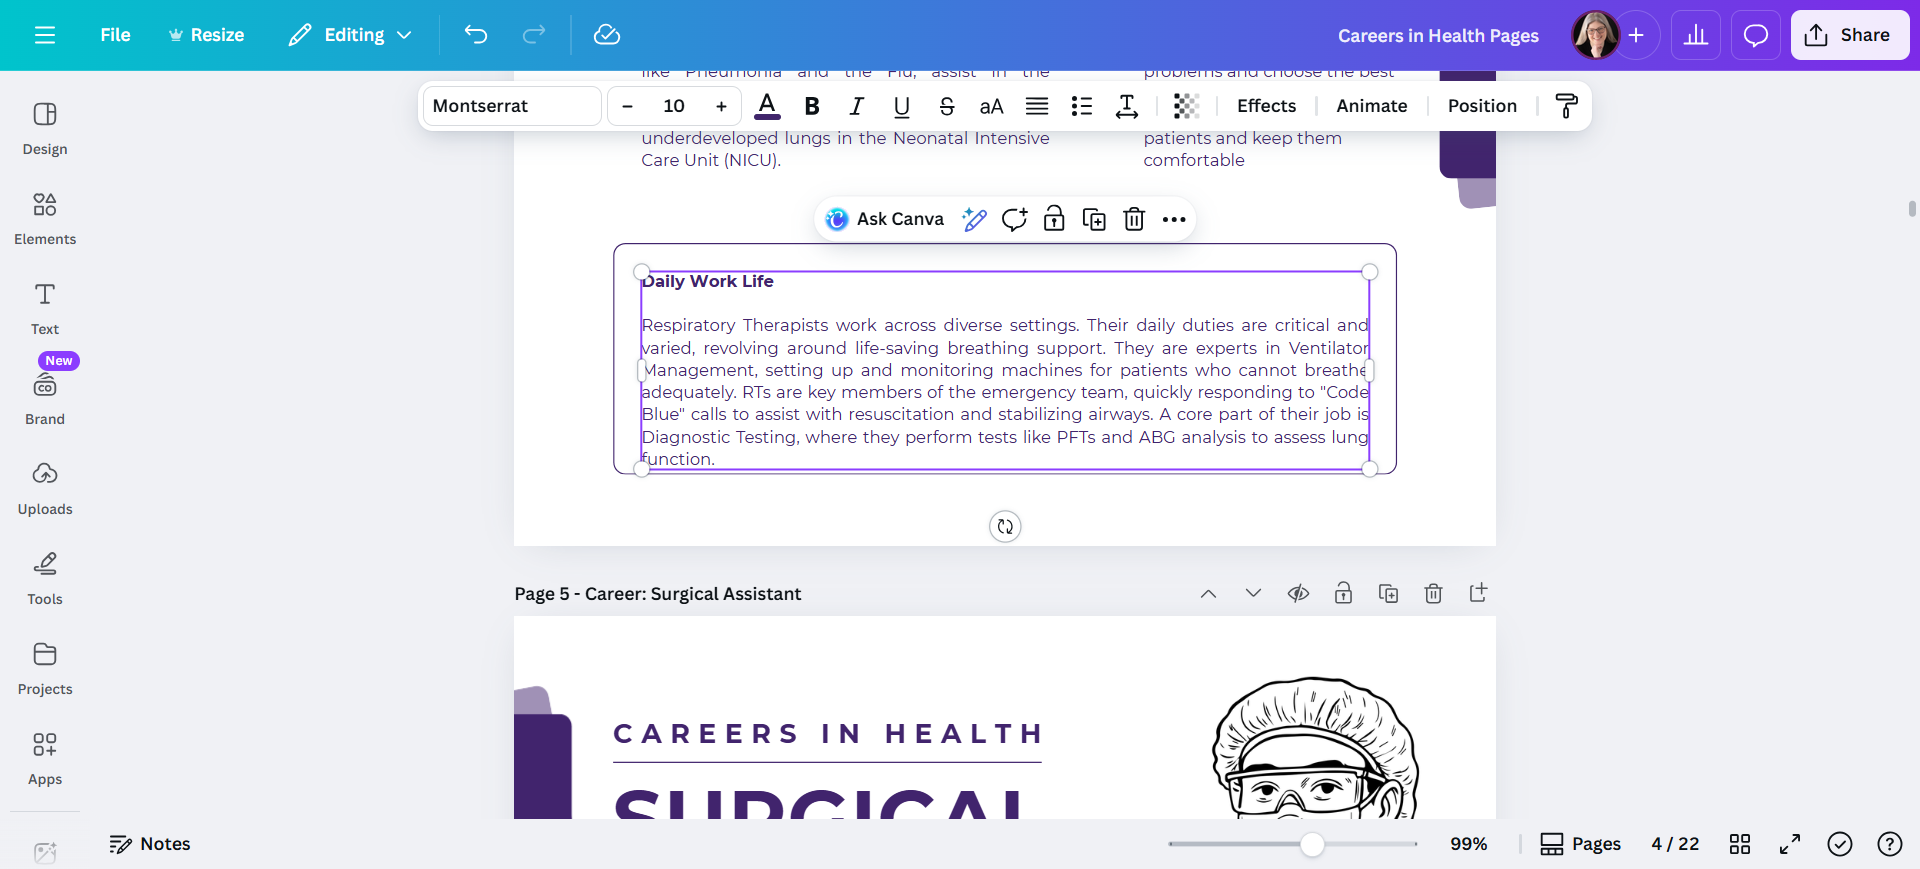
Here we are in the Canva file. Highlight and copy everything in the one text box. You have to do one box at a time, unfortunately.
Copy it, return to the file, and paste it.
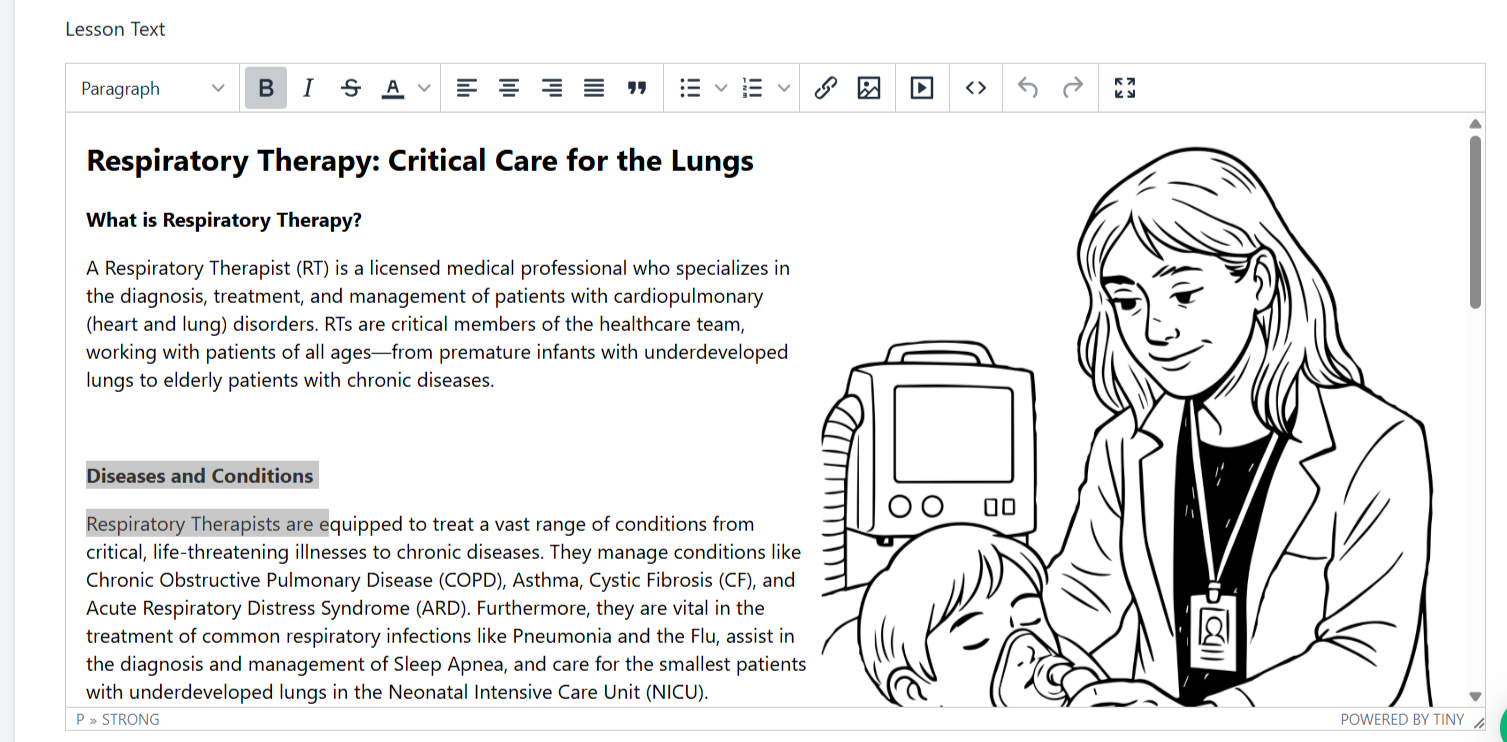
Some tips for MemberVault: It will always provide you with lots of extra spaces between the lines. --Keep the extra space between the end of one topic (such as "What is Respiratory Therapy" and the next topic (such as "Diseases and Conditions"). --Remove the space between the title of a topic (such as "Diseases and Conditions") and the words immediately below it. --Bold the title. (It's still just "Paragraph" and not "Heading 3" or anything like that.)
4
Notice in this screenshot that the highlighted text of the title and information below it do NOT have an extra space. But there is an extra space immediately above it. This makes it easier to see one section from the next. (p.s. I did remove the first instance of "Respiratory Therapy" so that it just starts with "Critical Care for the Lungs")
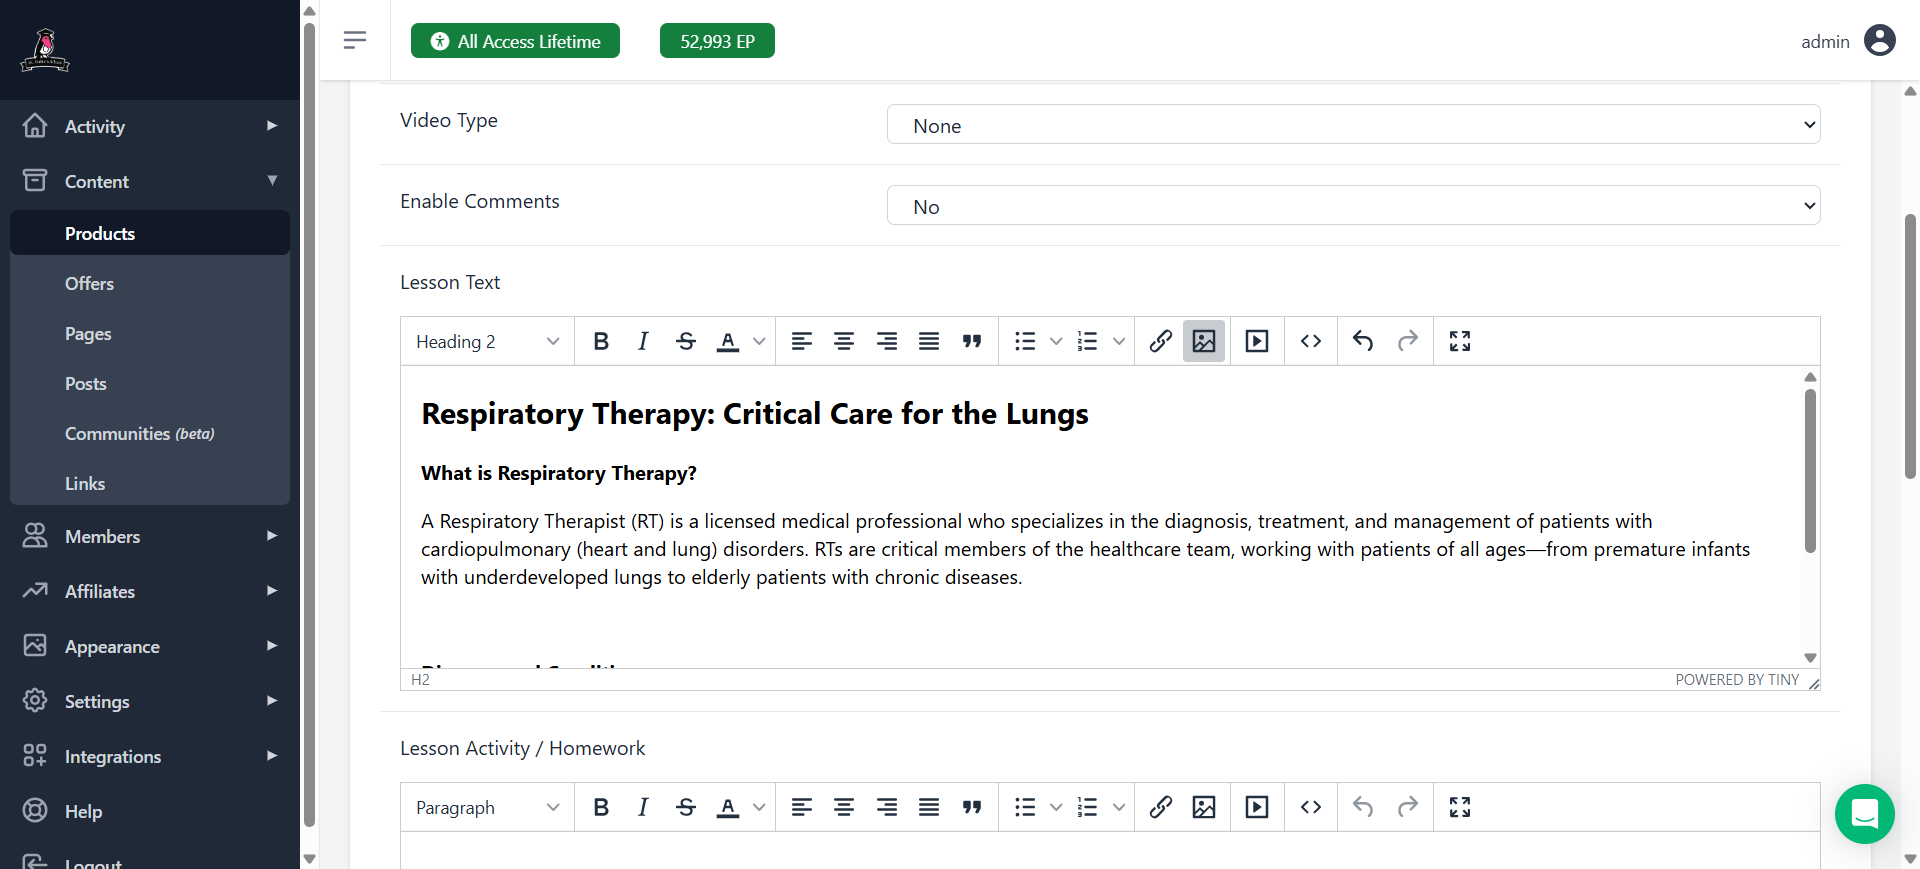
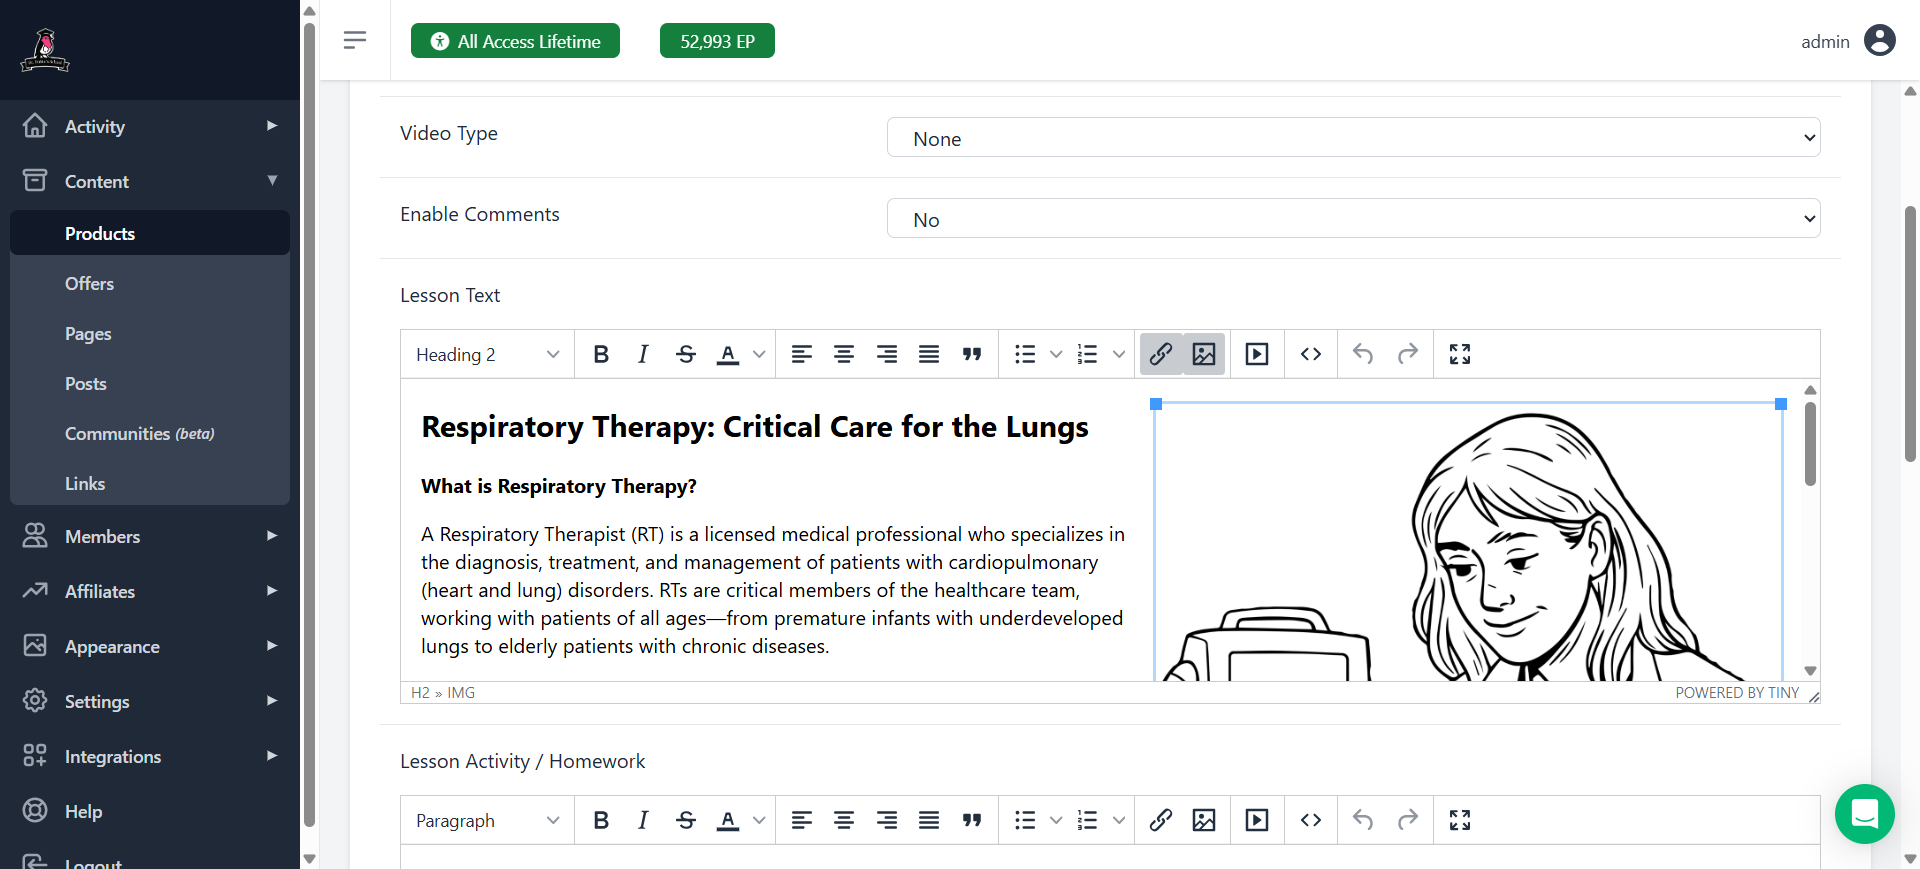
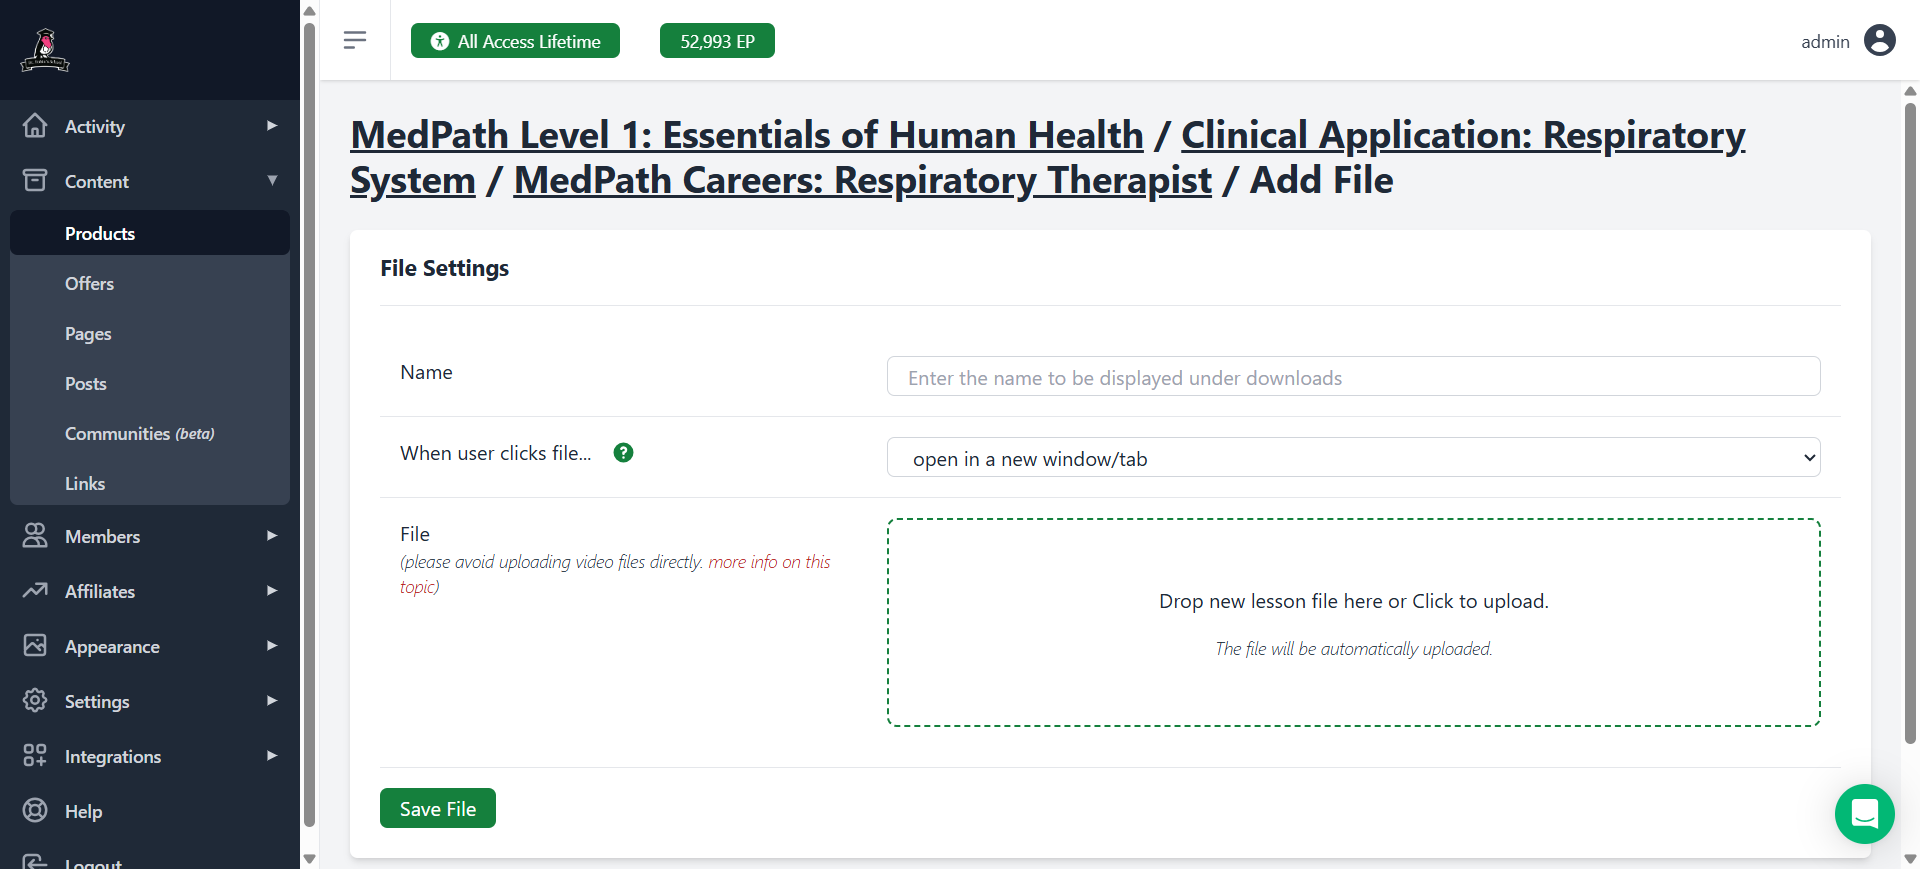
Once you have copied all of them, the next step is to add the image.Click at the end of the subject, then click on the image.
5
Click at the end of the subject at the top (in this case "Critical Care for the Lungs") to put the cursor there. Then click on the image button
6
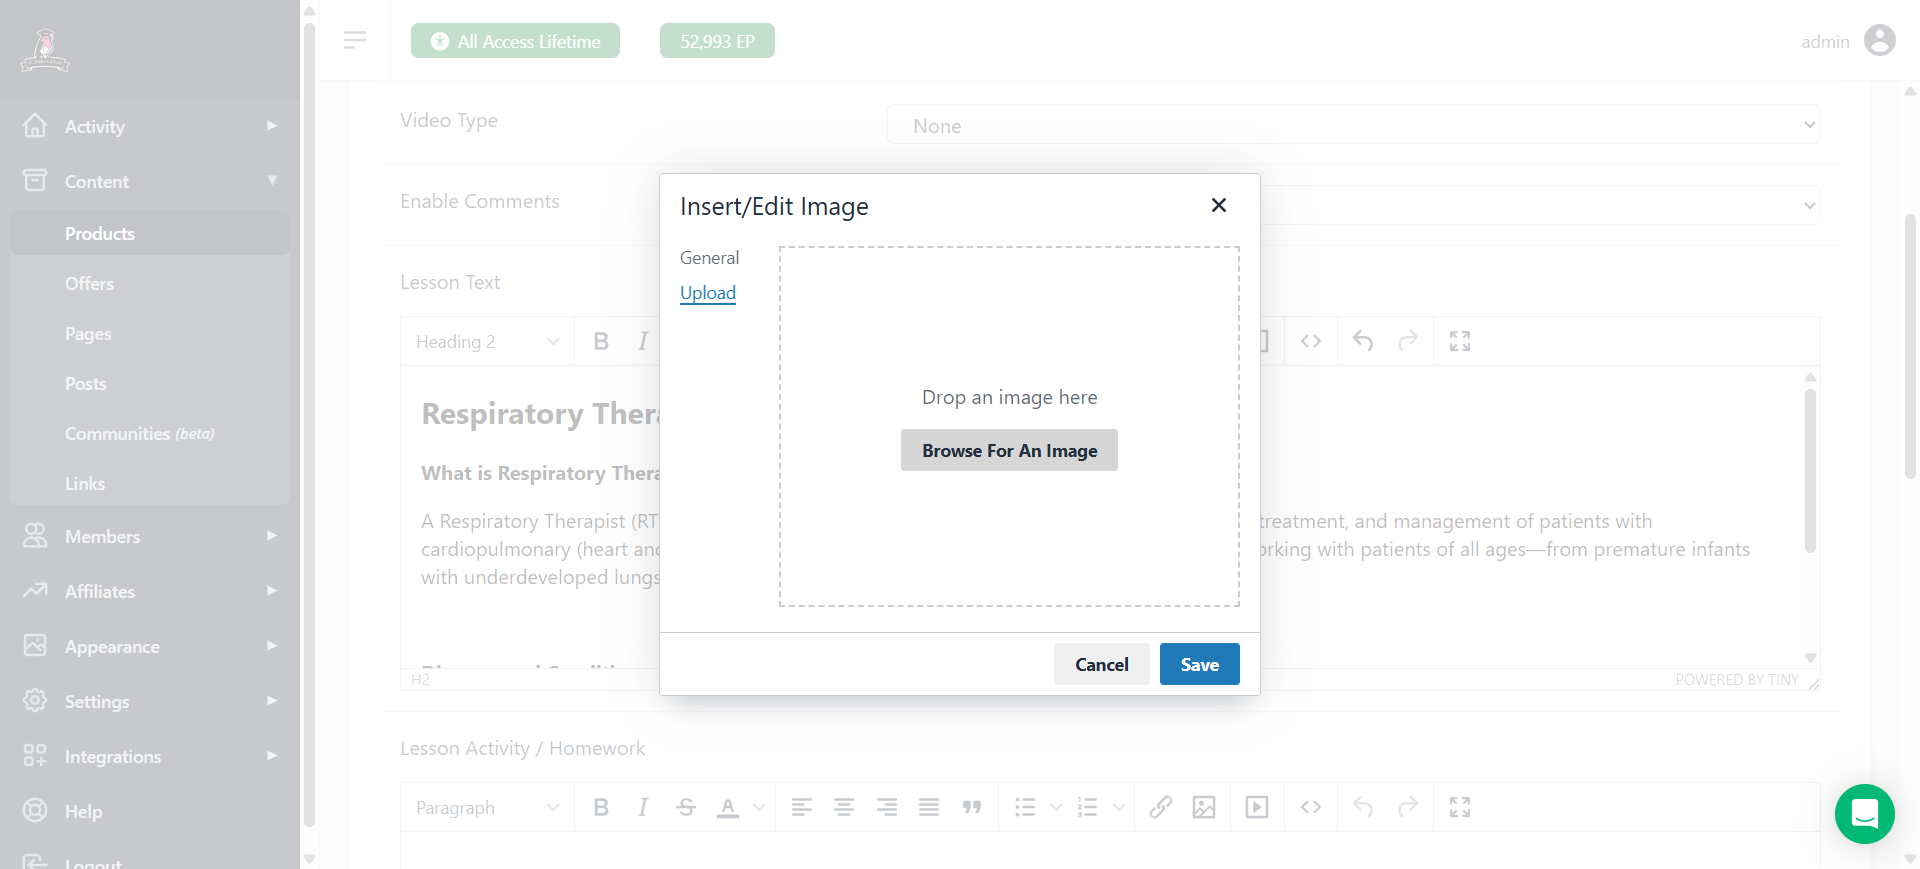
Click on "Upload"
7
Then click "Browse for an Image" and select the image of your chosen career from your prepared files.
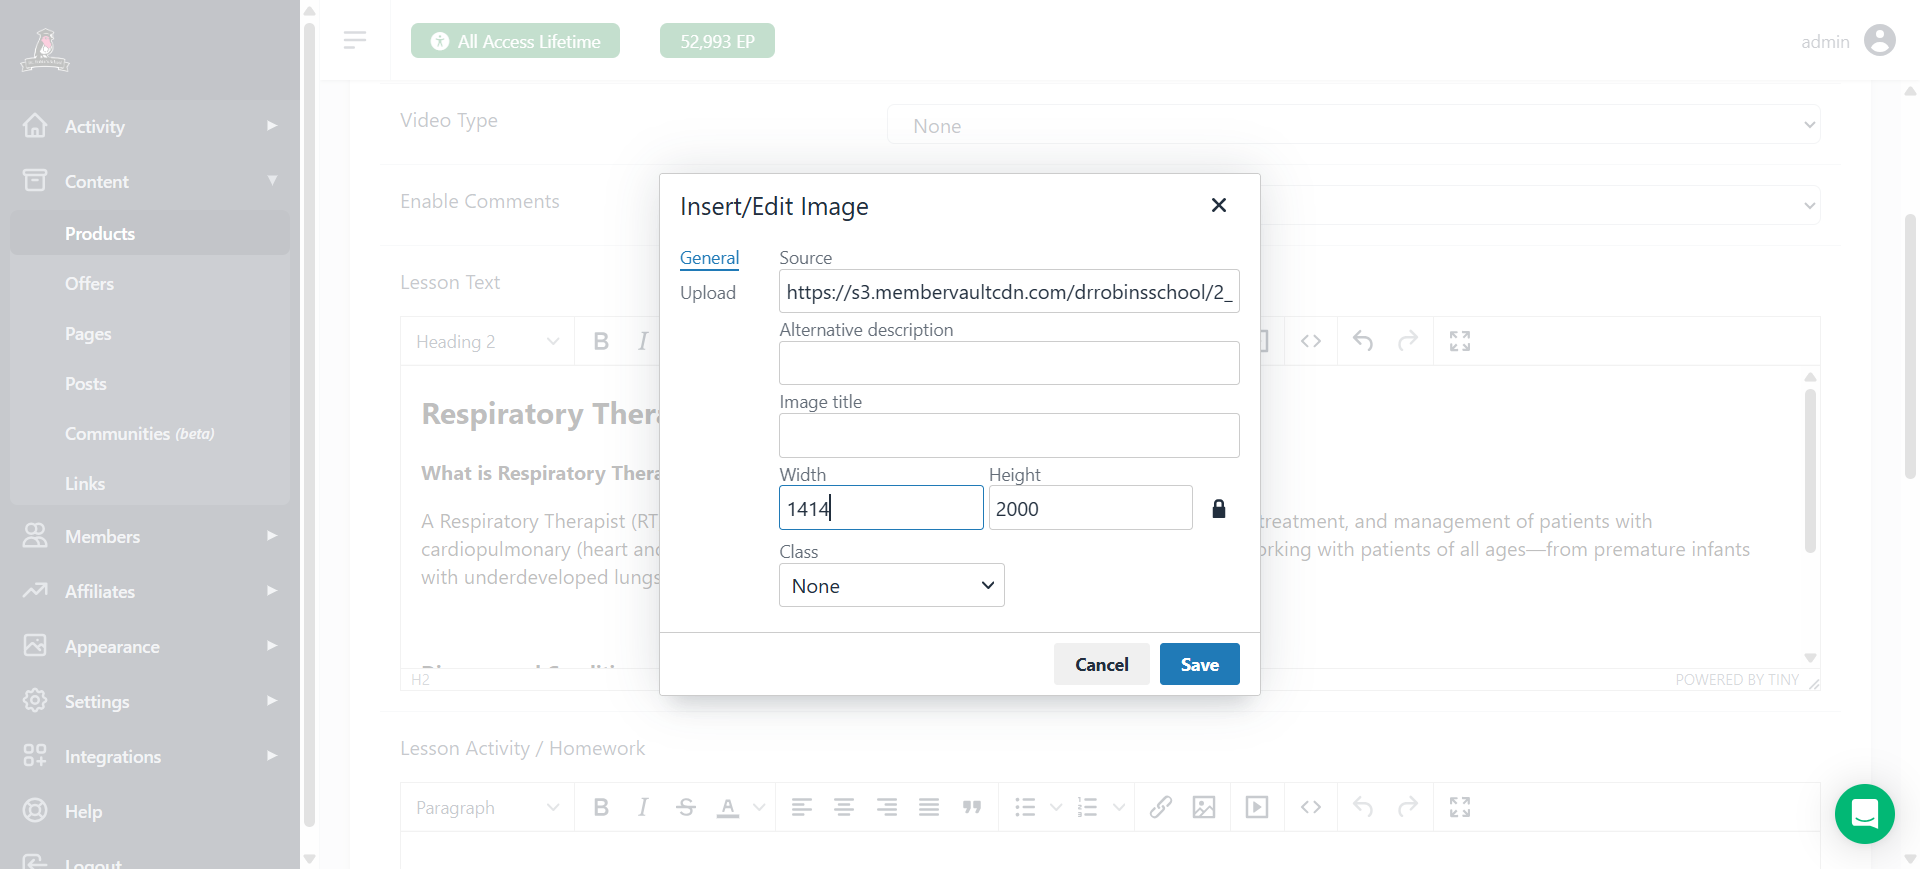
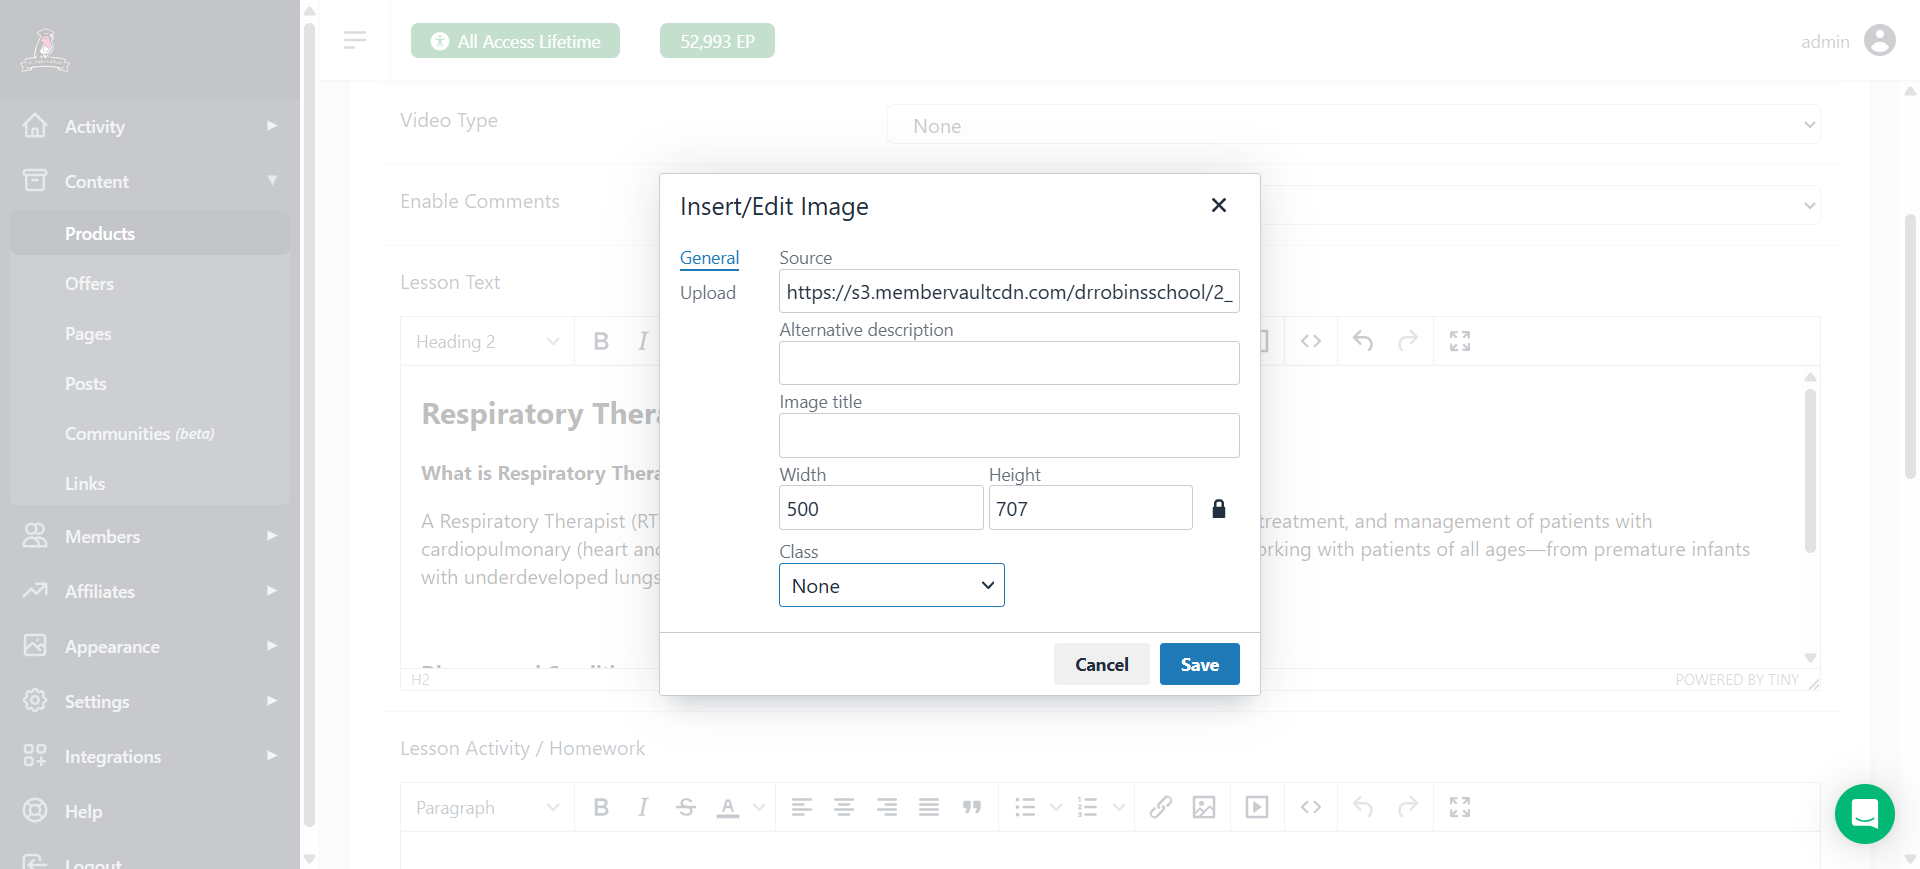
8
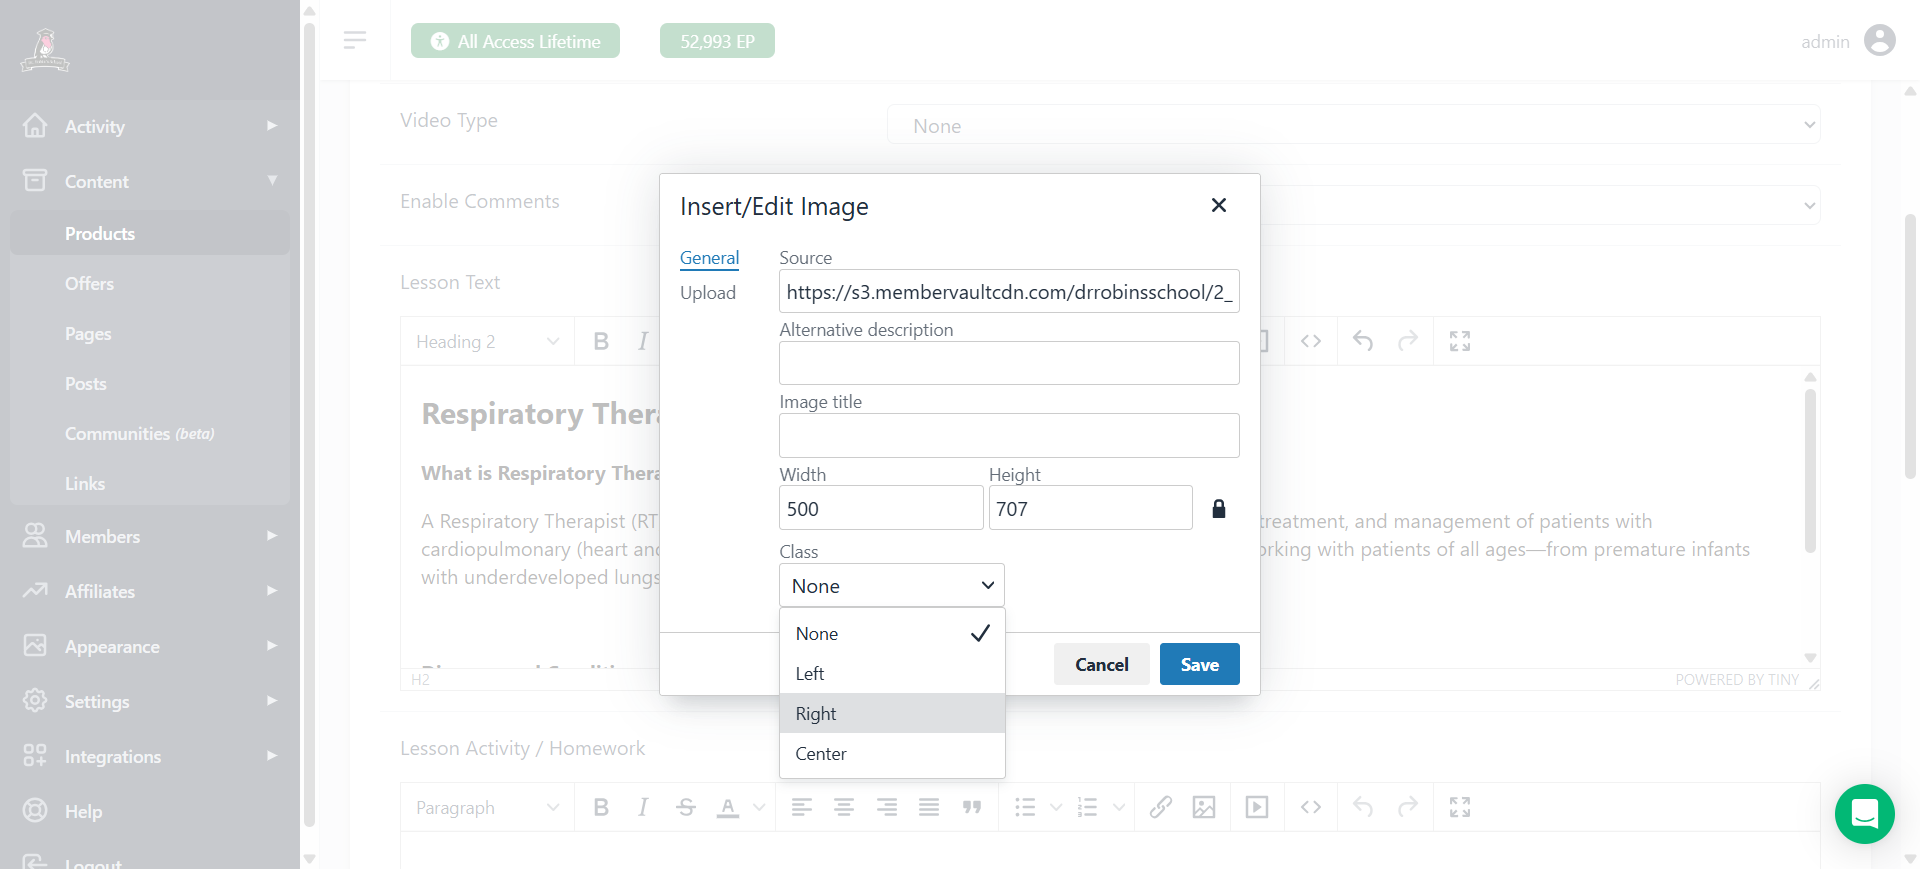
Make the width 500
9
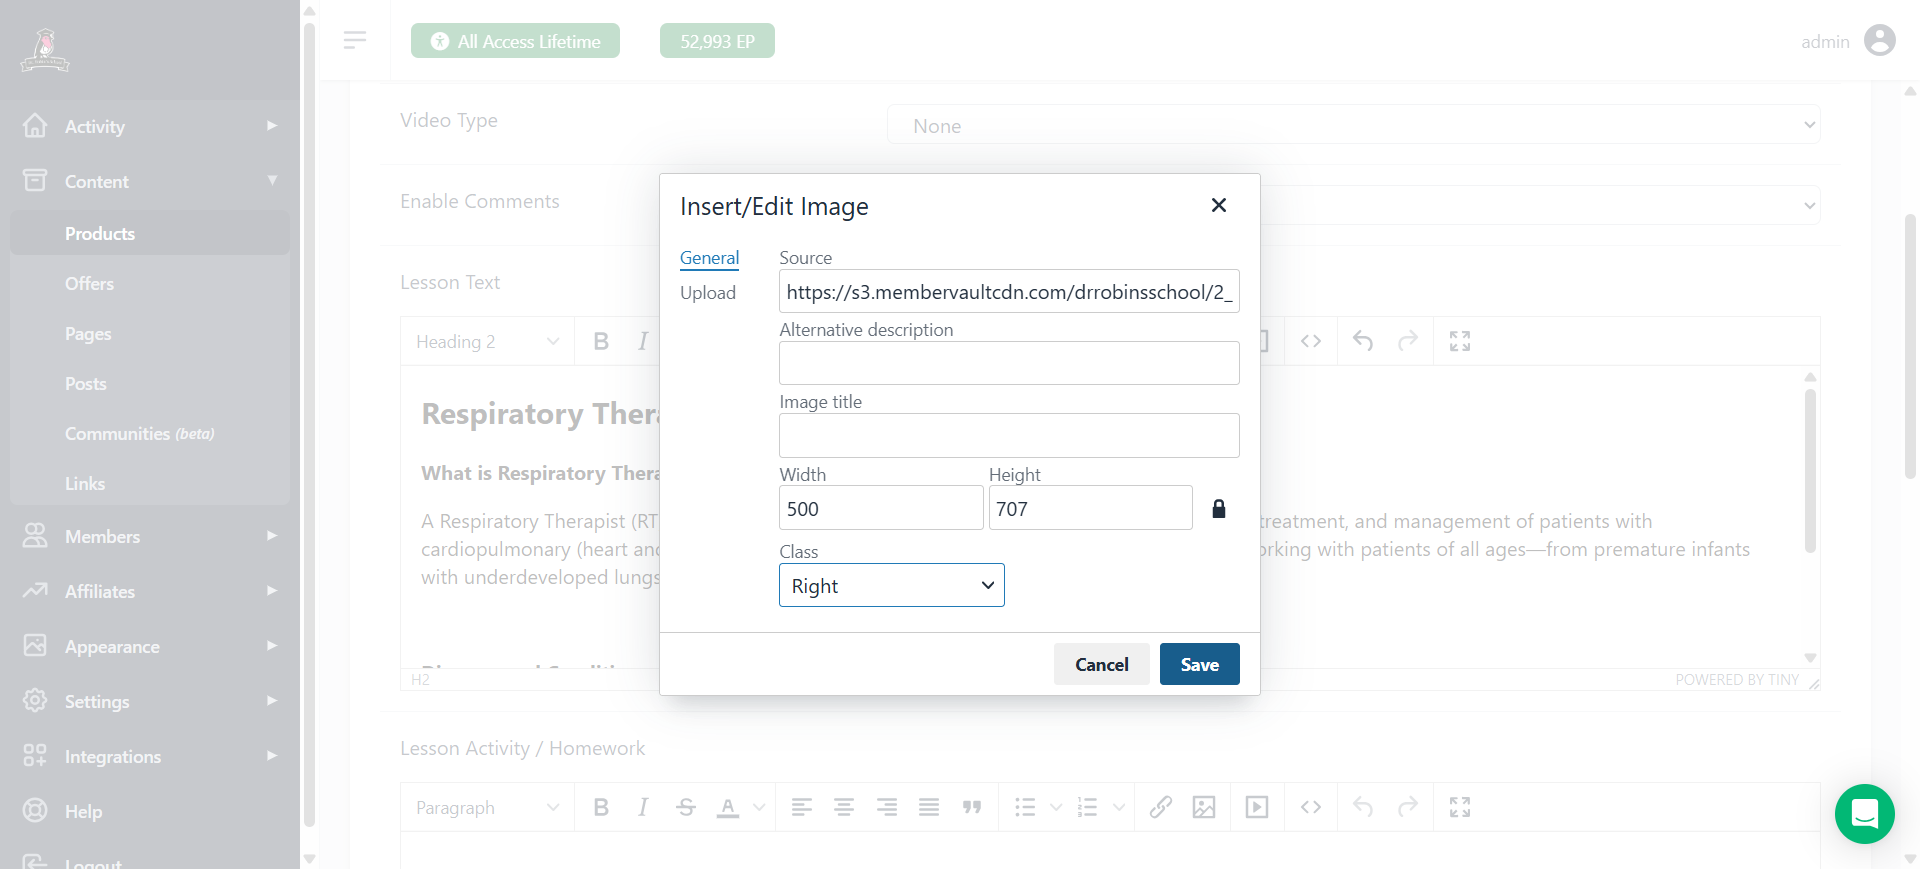
Change the alignment to right so it stays on the right-hand side.
10
Change the alignment to right so it stays on the right-hand side.
11
The click save
We can link the PDF to the image if we want so that if someone clicks on it, they get the PDF.I'll show you how to do that in a moment.
12
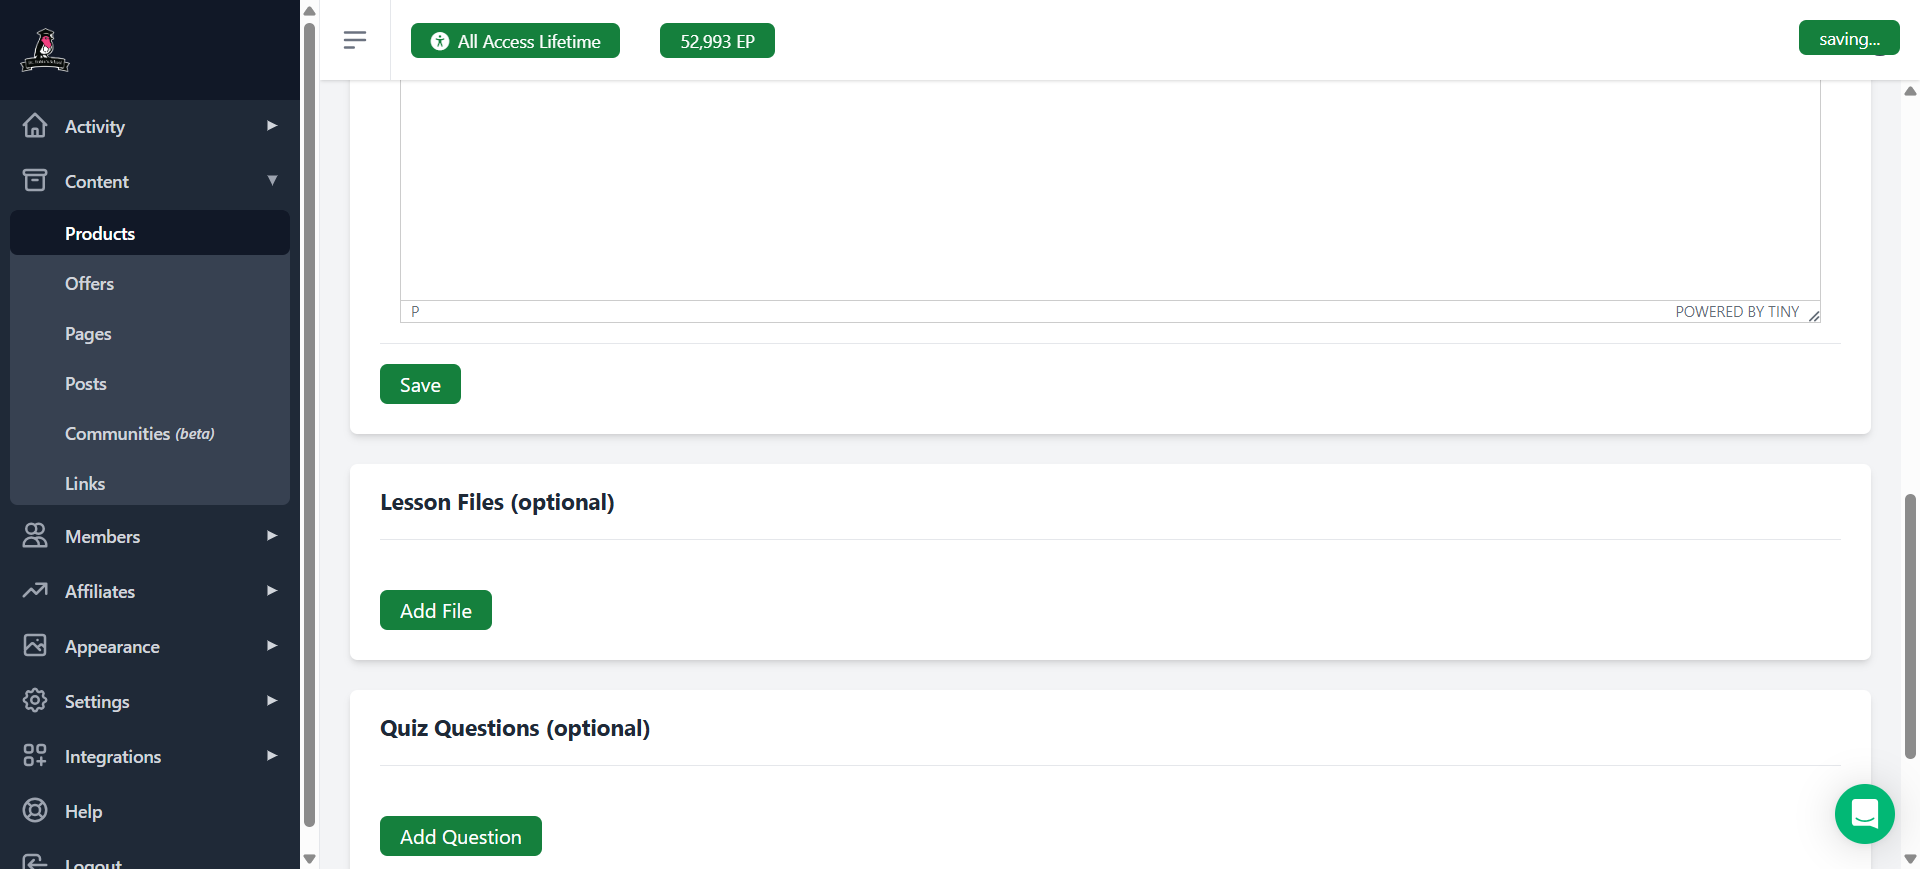
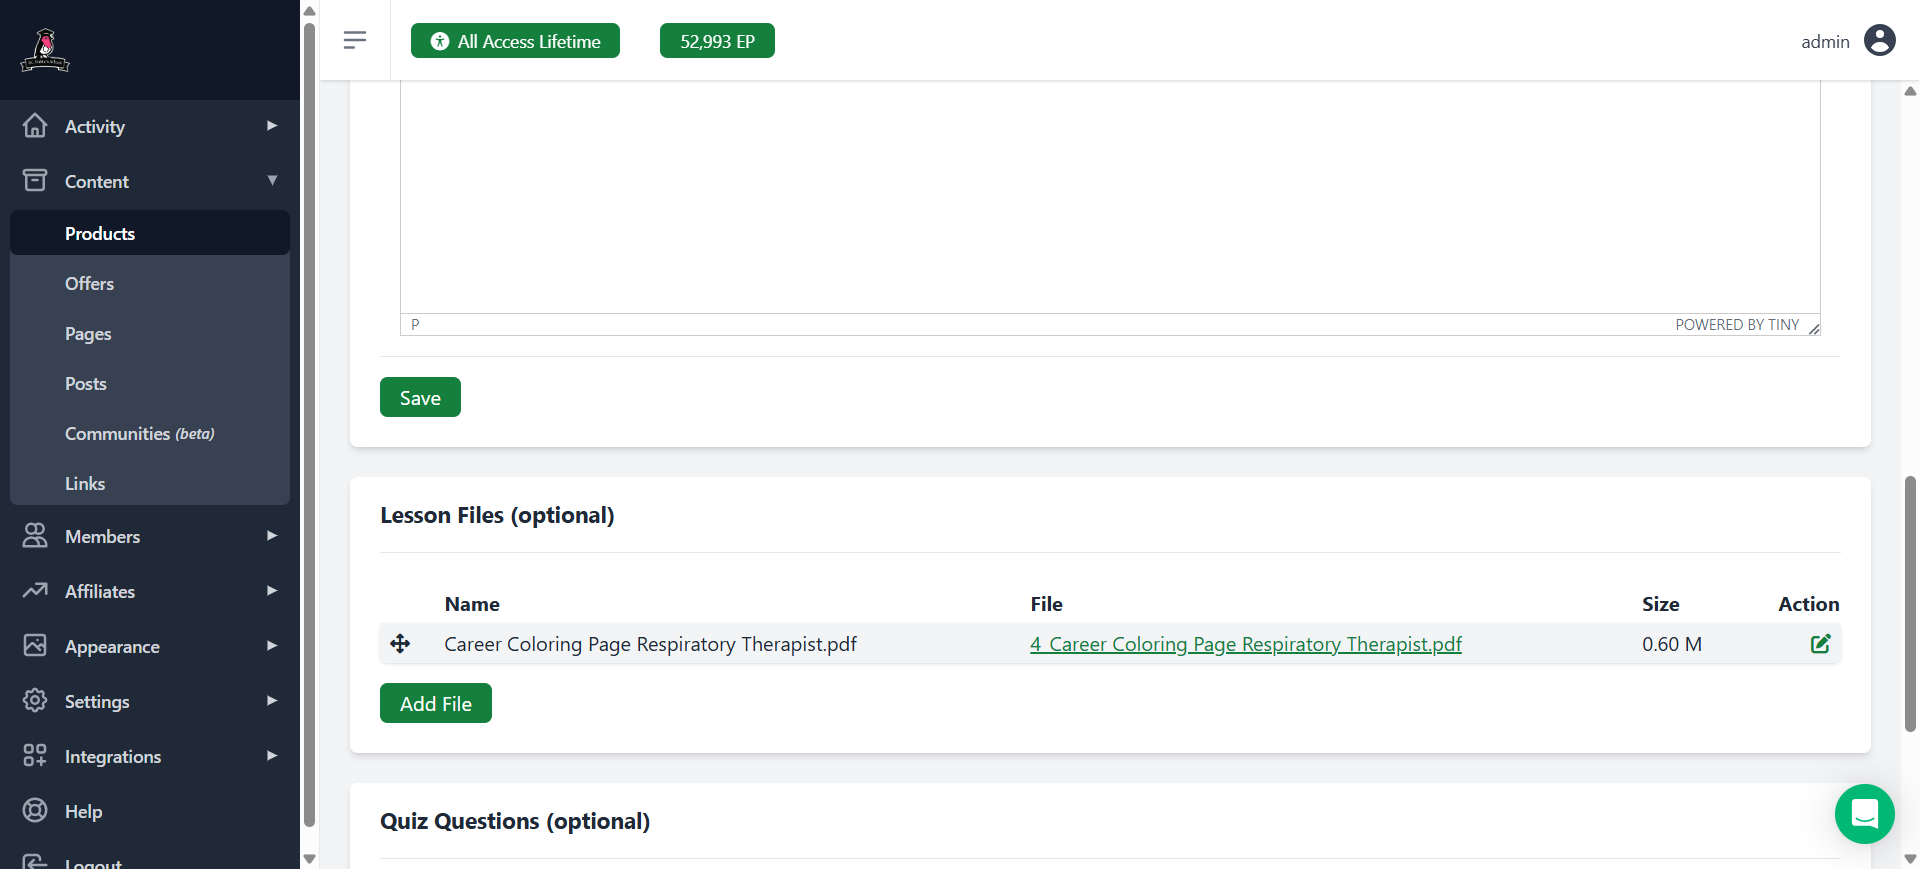
Now, scroll down and add the lesson files. Click "Add File"
13
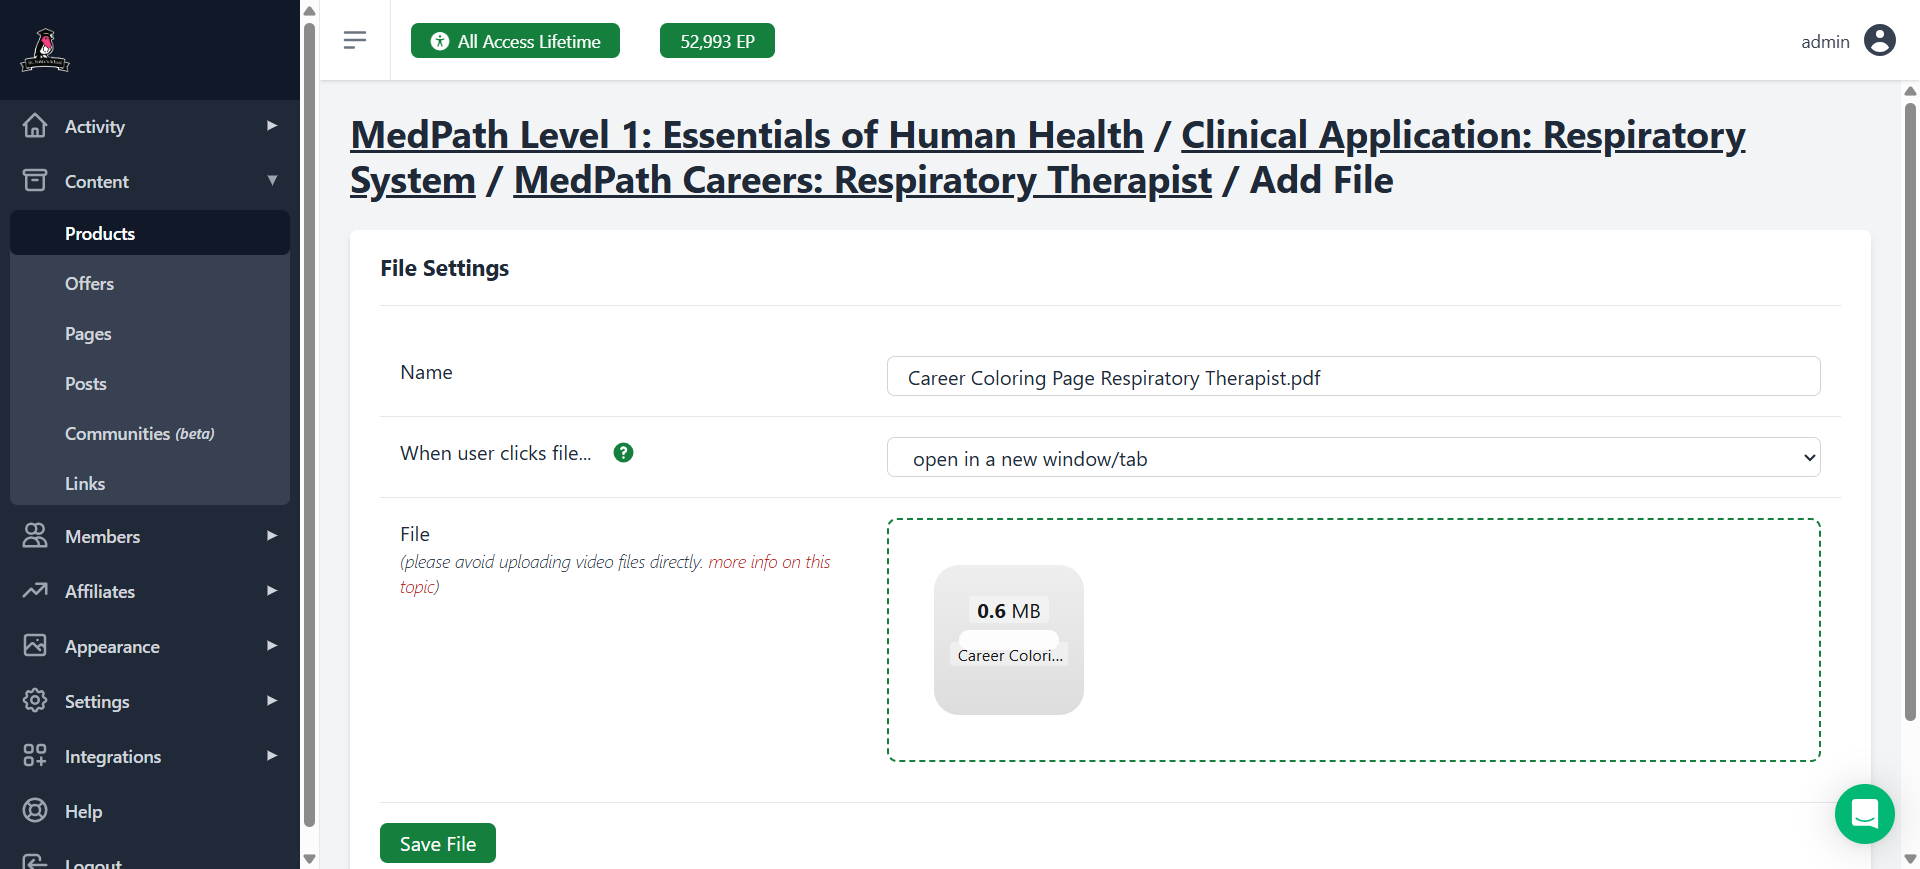
Click to choose the file.
14
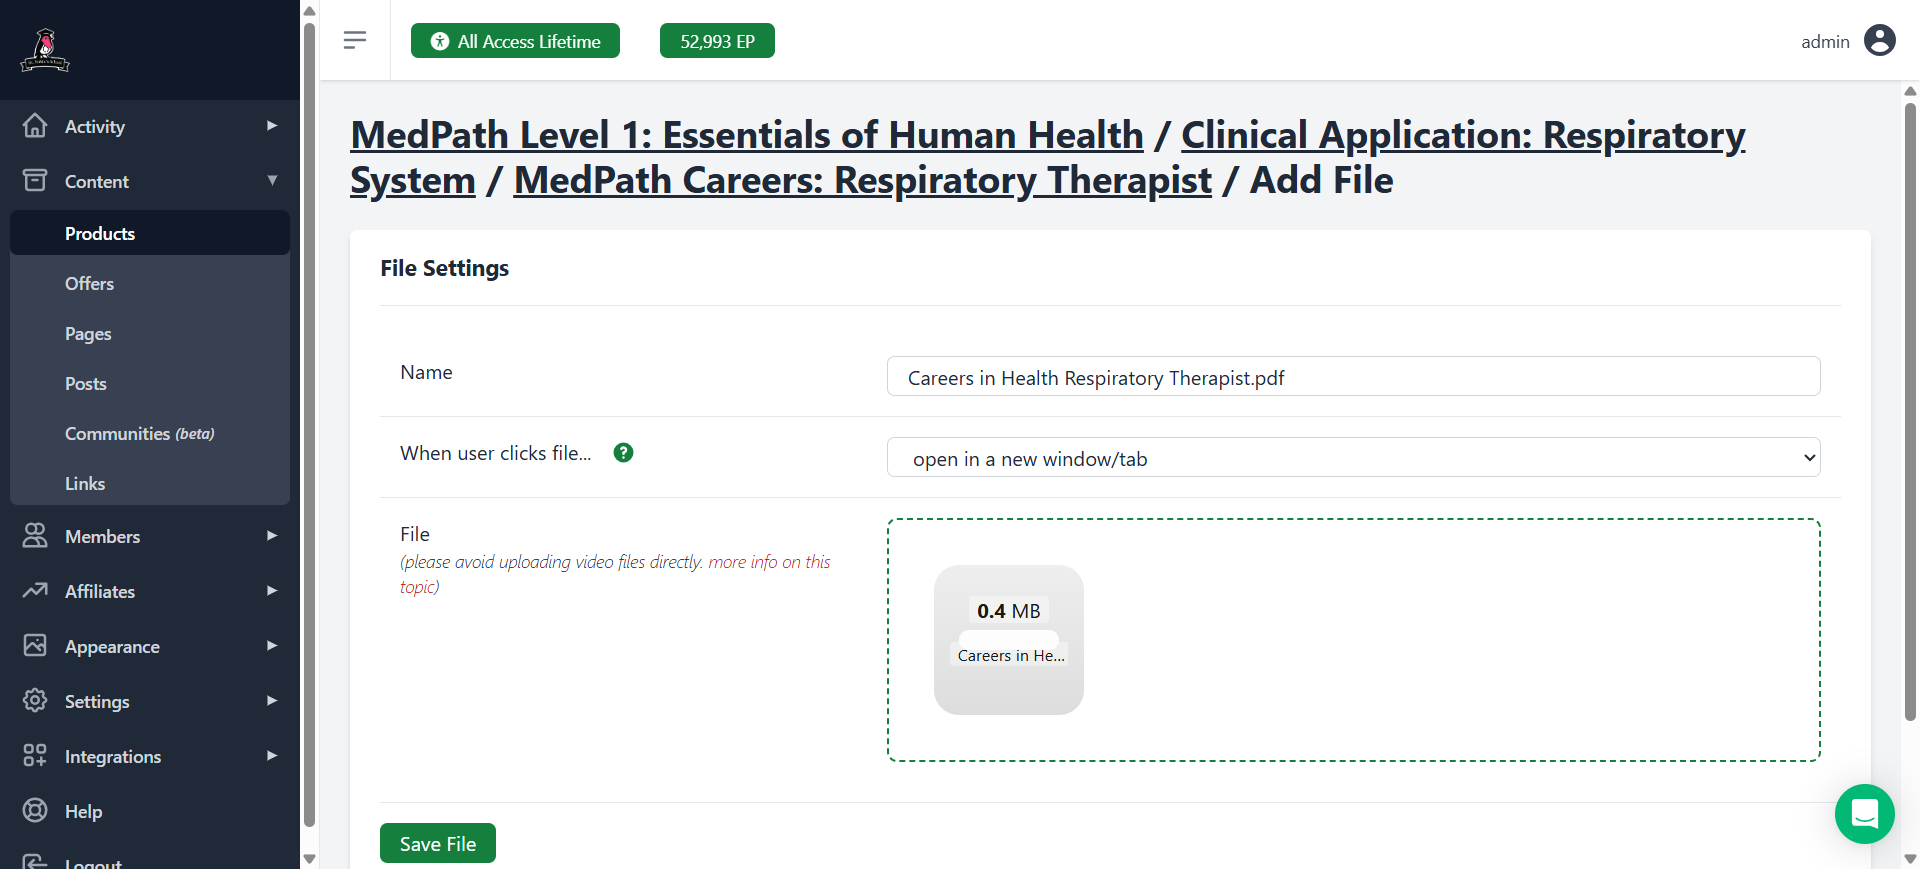
We want to include both the Career Page and the Coloring Page. Make sure you get the PDF for each one.I selected the file, clicked "Save File," and it uploaded.
15
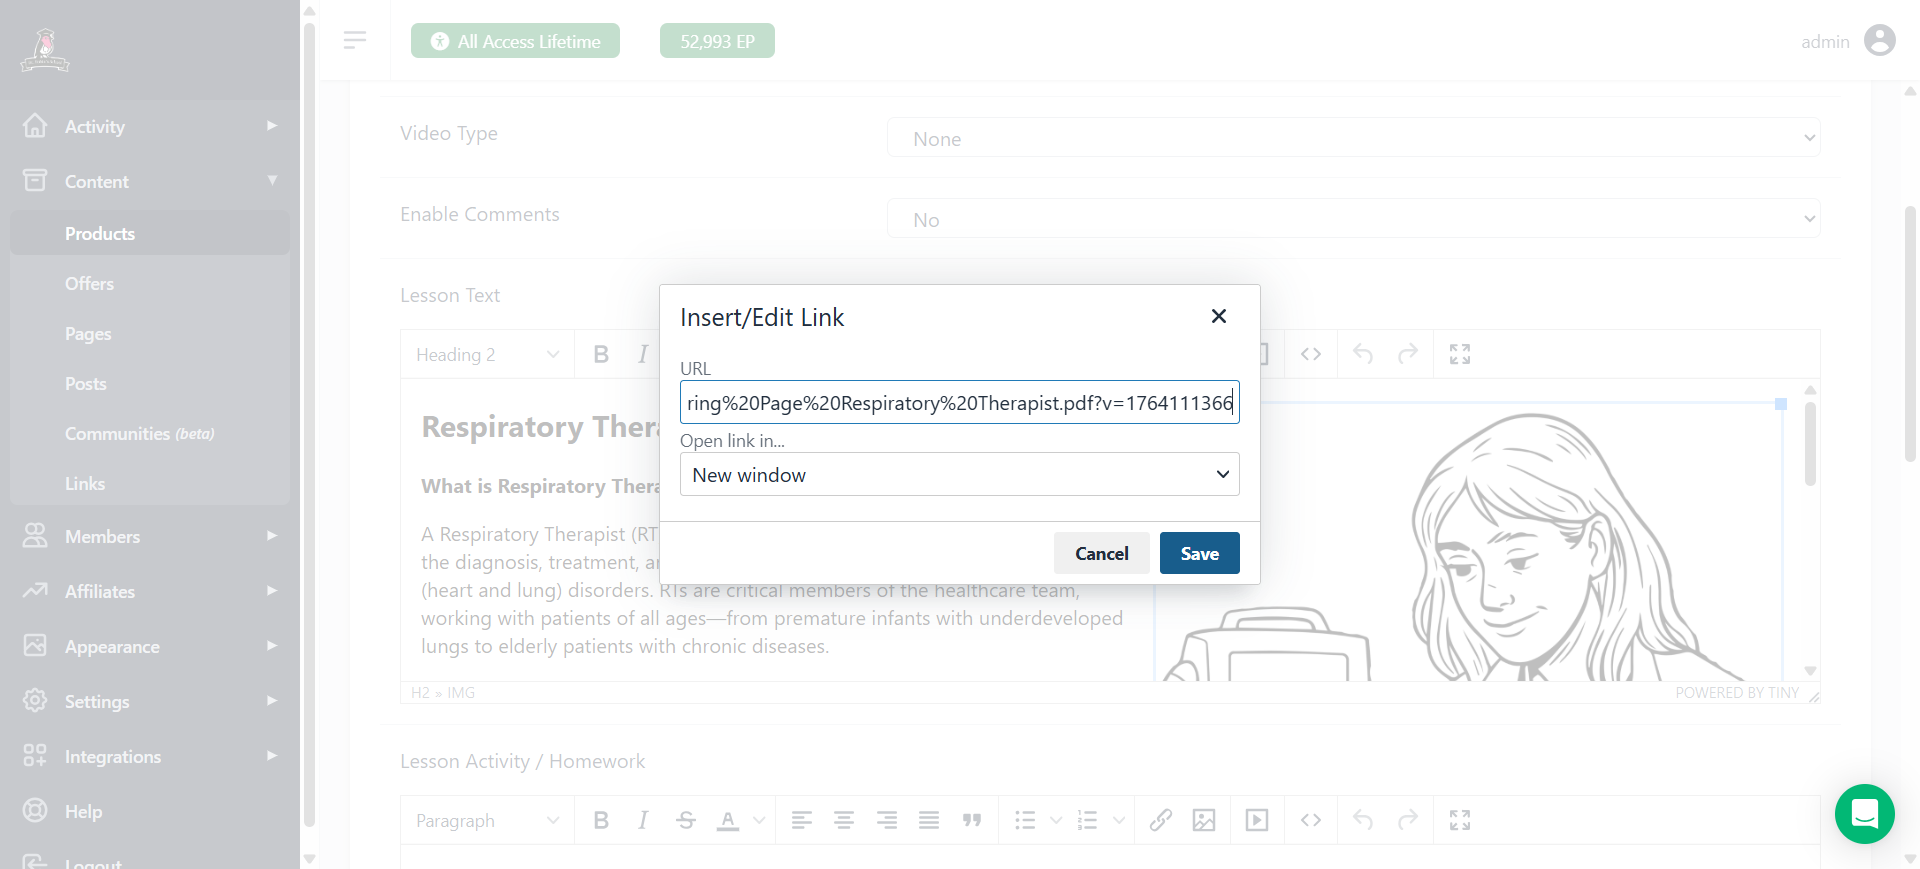
To make the image open a PDF when clicked:
16
Then, click on the image so that it's highlighted with the blue box, select "Link" in the menu, insert the copied link, and click "Save."
17
Click save. Now, when you click on it, it will open as a PDF.
18
Also, remember to go back and add the career page.
Same thing all over again. To add a file, click on "Drop new lesson here" box. Then, select the PDF of the next PDF.
19
Click here
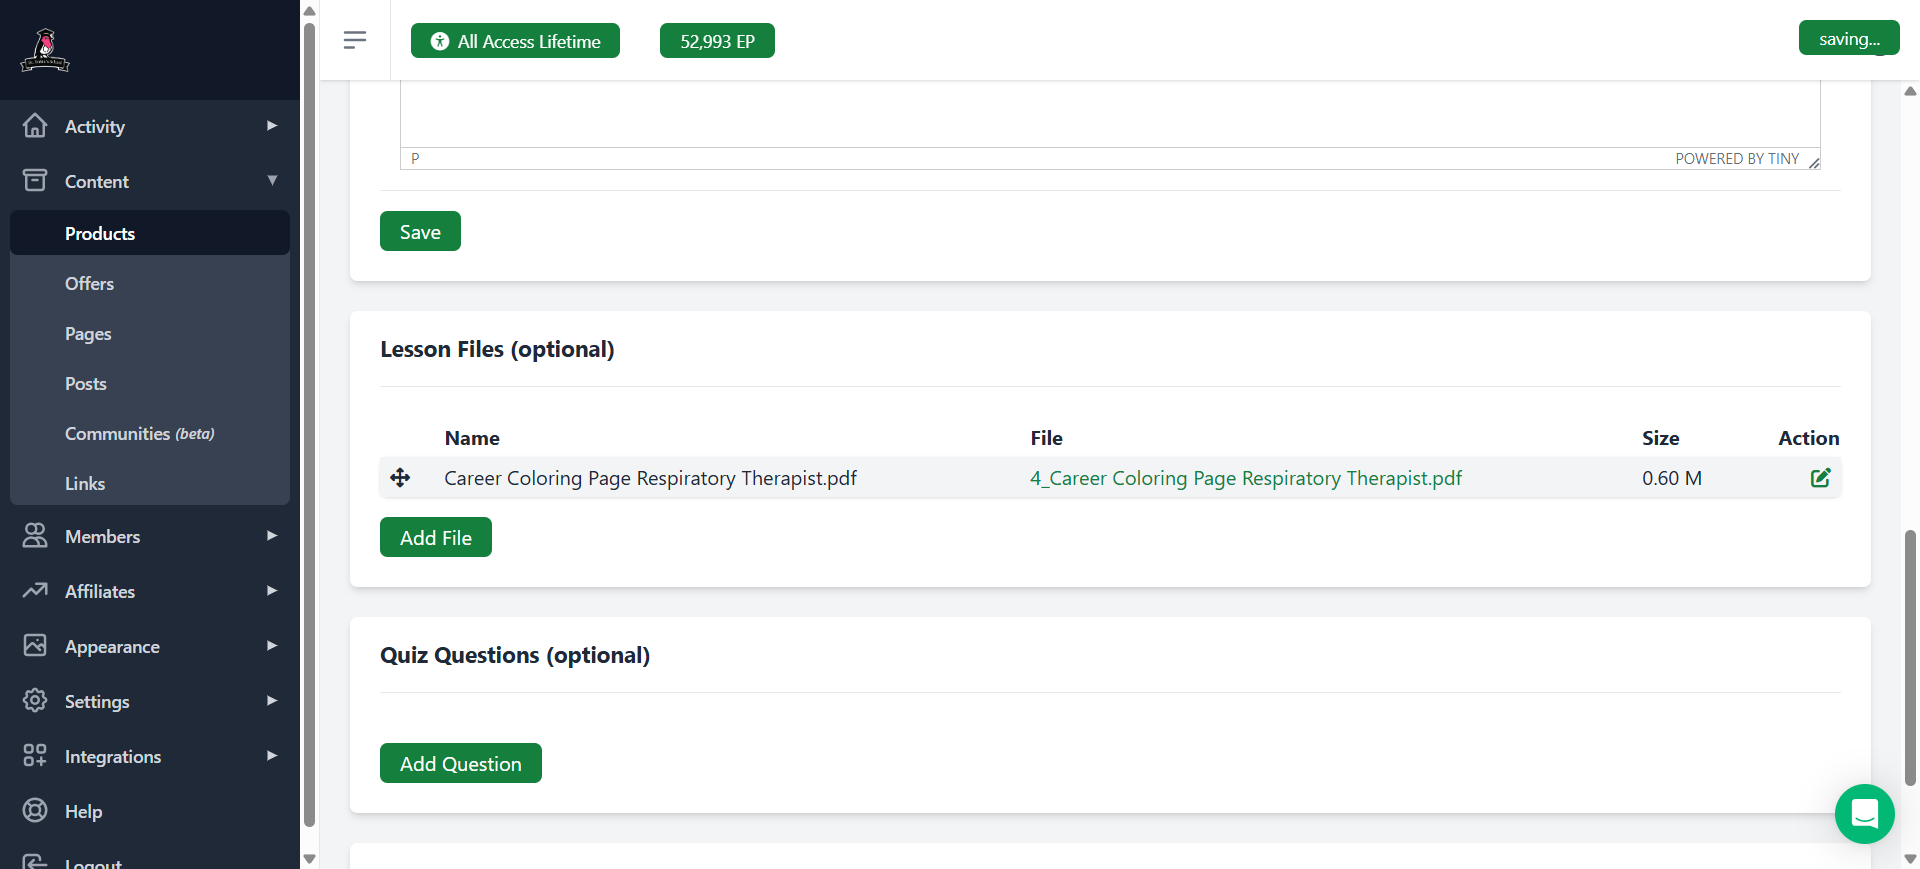
20
Click "Save File," and there it is.
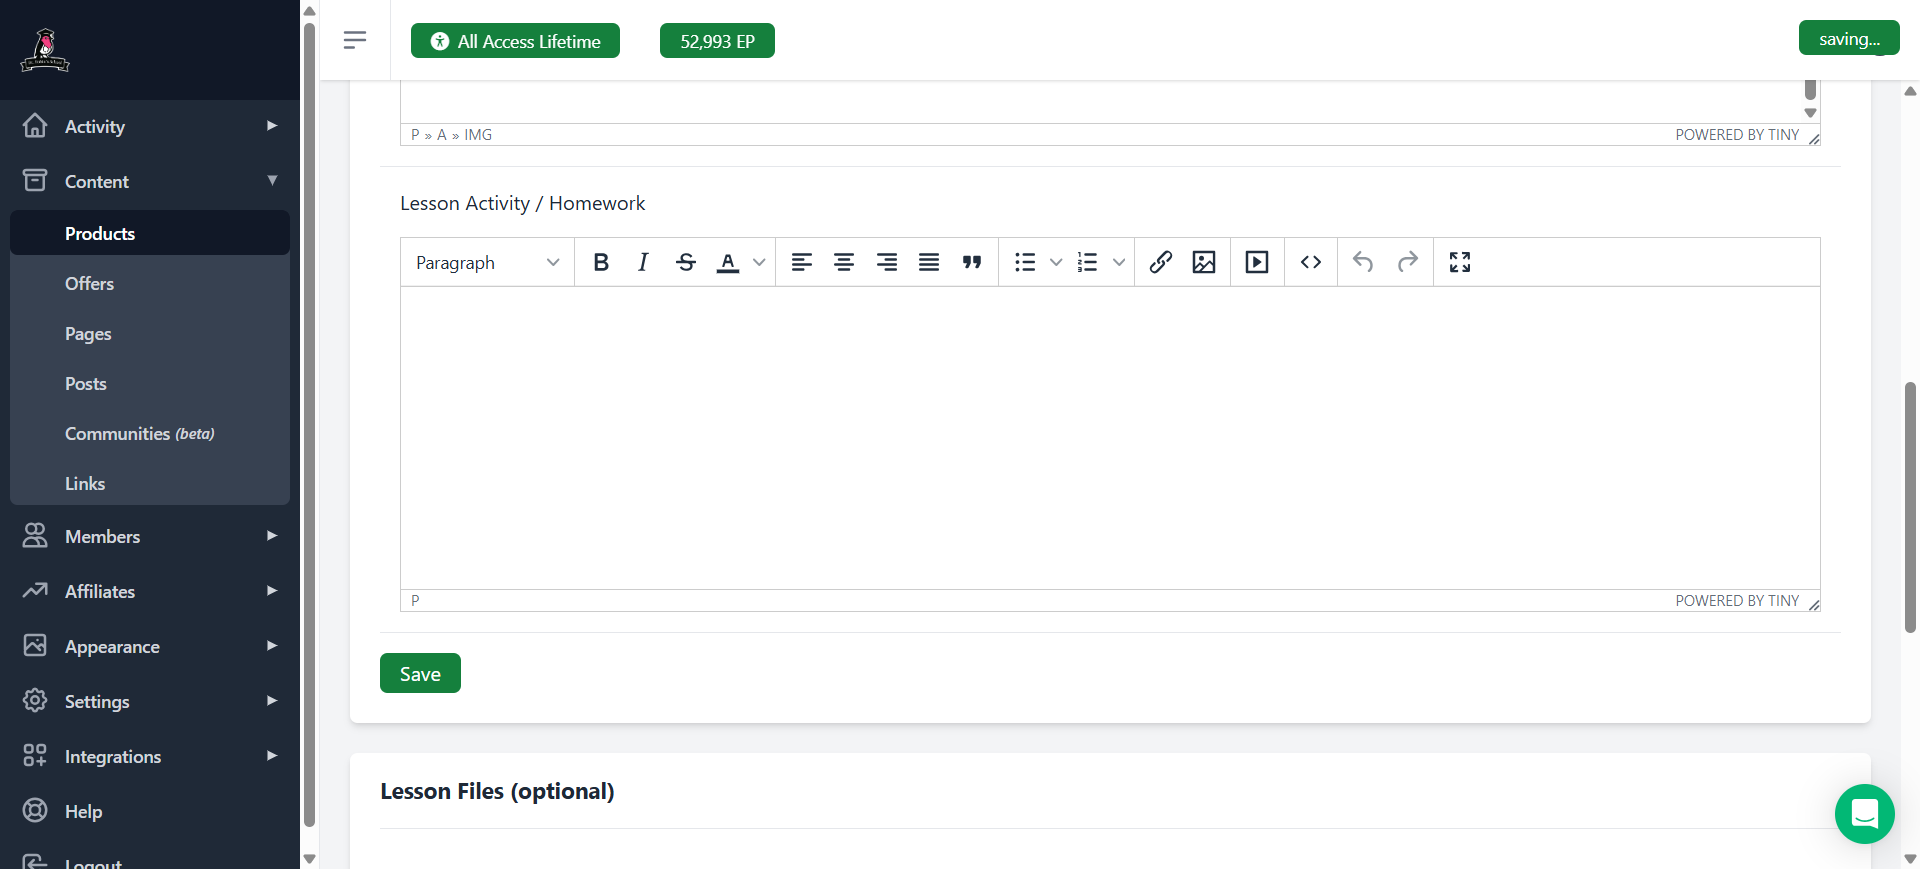
If you want to add that as an image above, make sure to leave enough space so they don't overlap.I will show you how to do that as well.
Copy and paste.Whoops, lost the Y.Then, adjust the spacing again and add the necessary skills.
Copy and paste the title. Remove any extra spaces. Add a space before moving on to the next item.
Our last section is daily work life.
21
Earlier I skipped a bunch of steps where I finished copying everything over. We're going to need more words to make sure the images don't overlap.
22
If you want to add a second image, scroll down so that you can just see the bottom of the image above. That way we are far enough from the other item, so there will be no overlap. Then upload an image the same way. Place the cursor at the end of the line. Then click on the "image" in the menu. etc. You can also link a PDF as previously.
All right, the final step is to view a preview.We will save everything, then click on preview to check that it looks good.
23
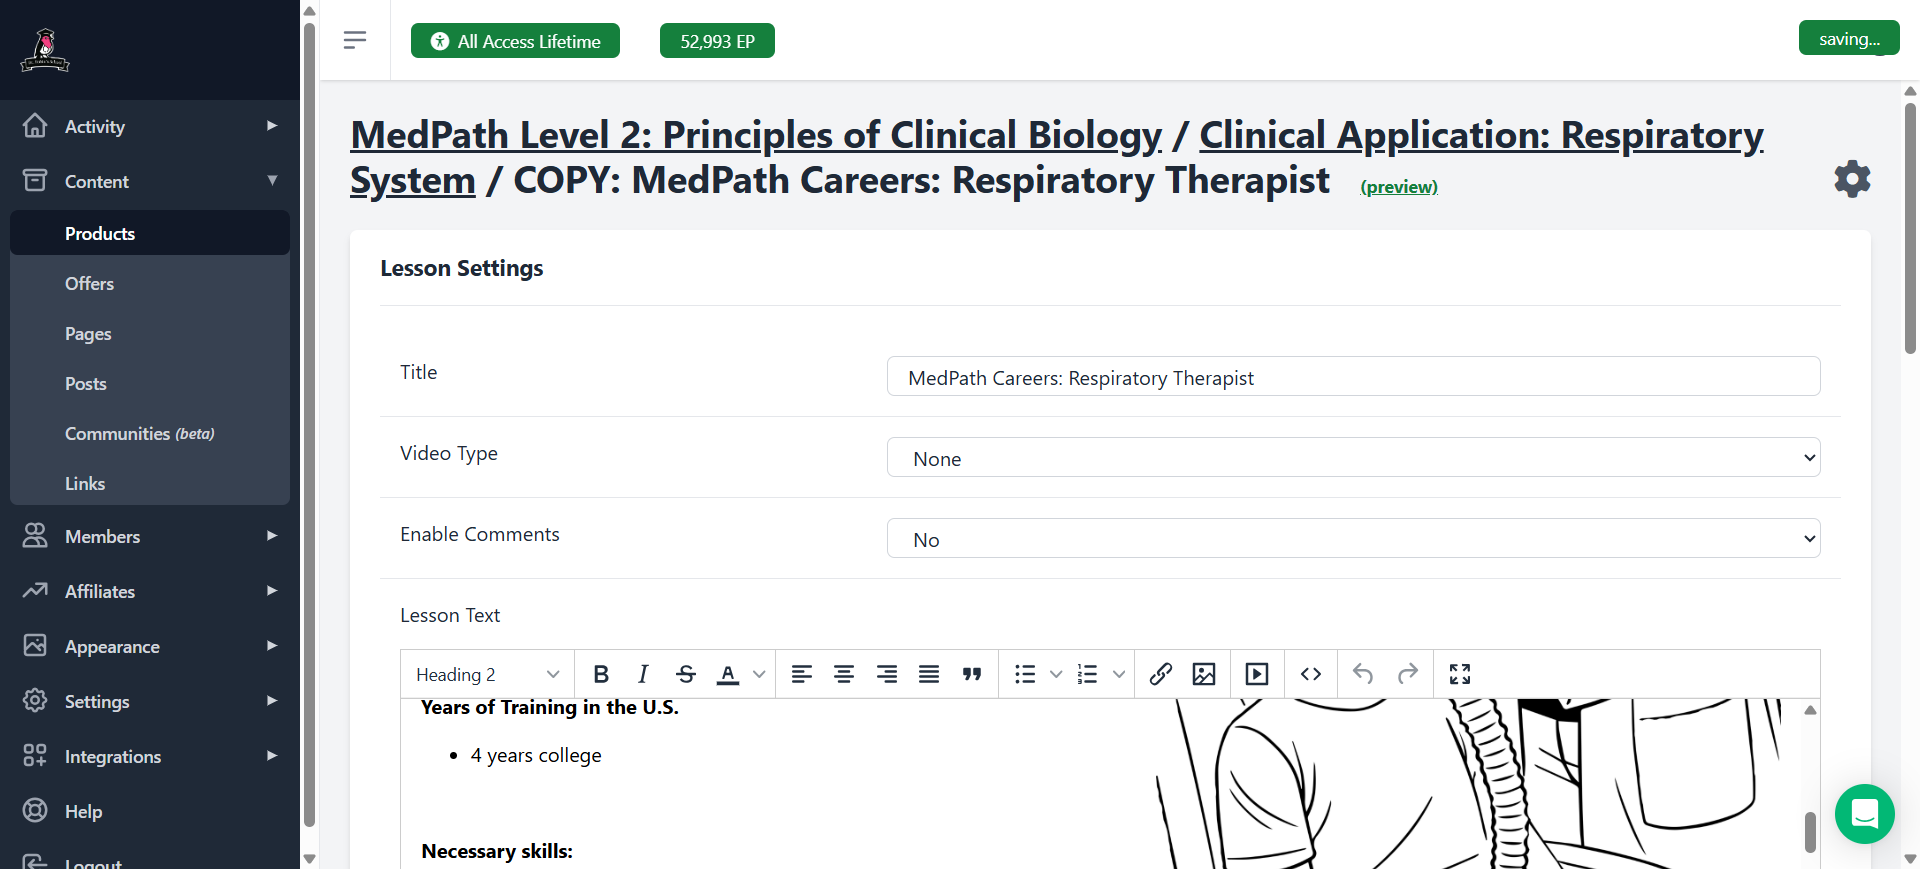
Click "save"
24
Click on "Preview"
If you're happy with how it looks, you're done with this part.
How to Copy It to the Other Levels
So that was how we create a new one.Now, we need to copy it to the other levels.
25
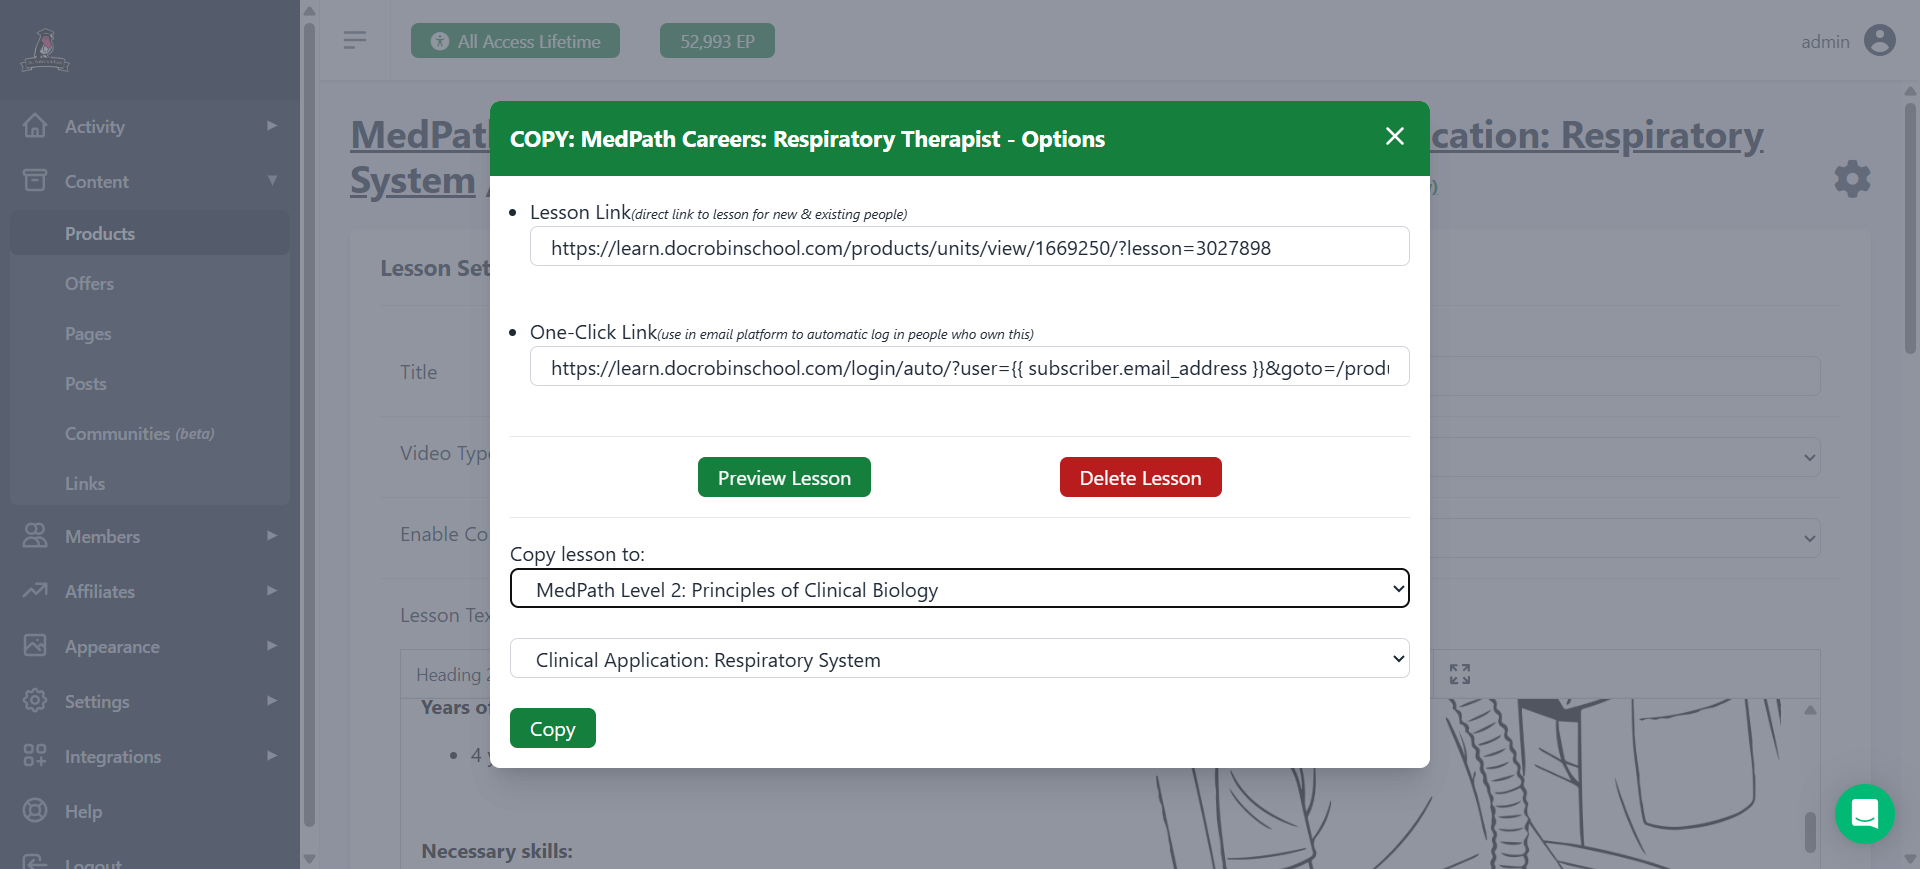
Click on the small knob and a menu will pop up. At the bottom of it is the option to copy this.
26
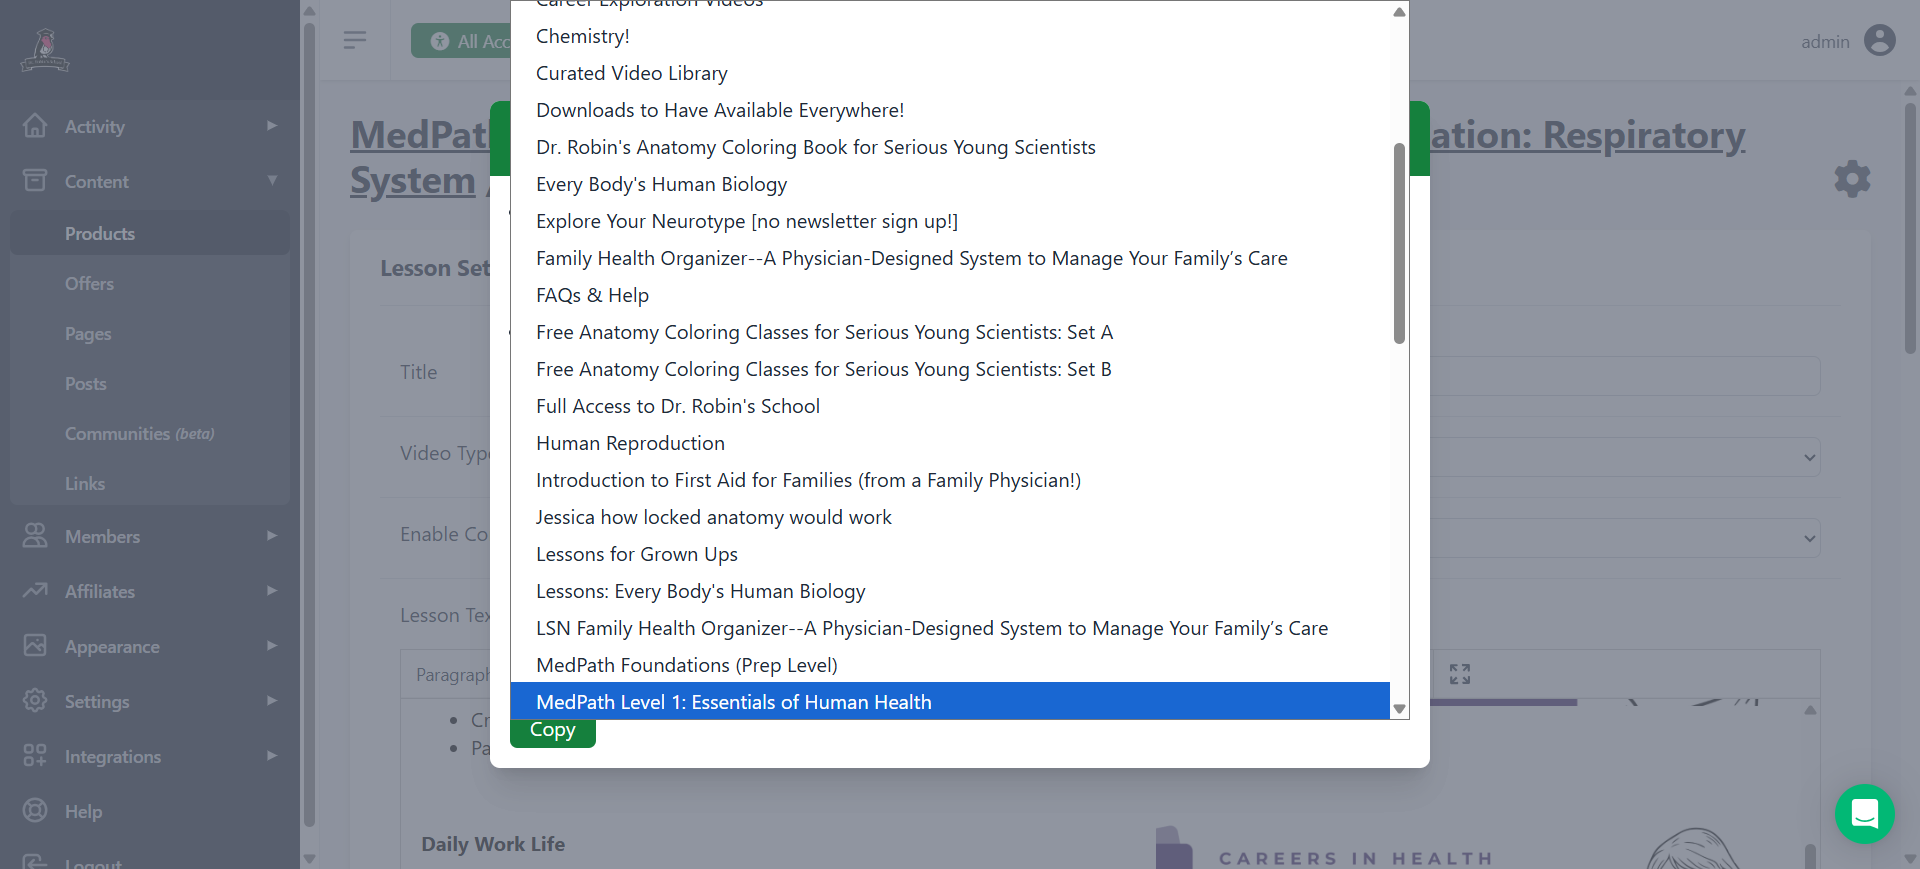
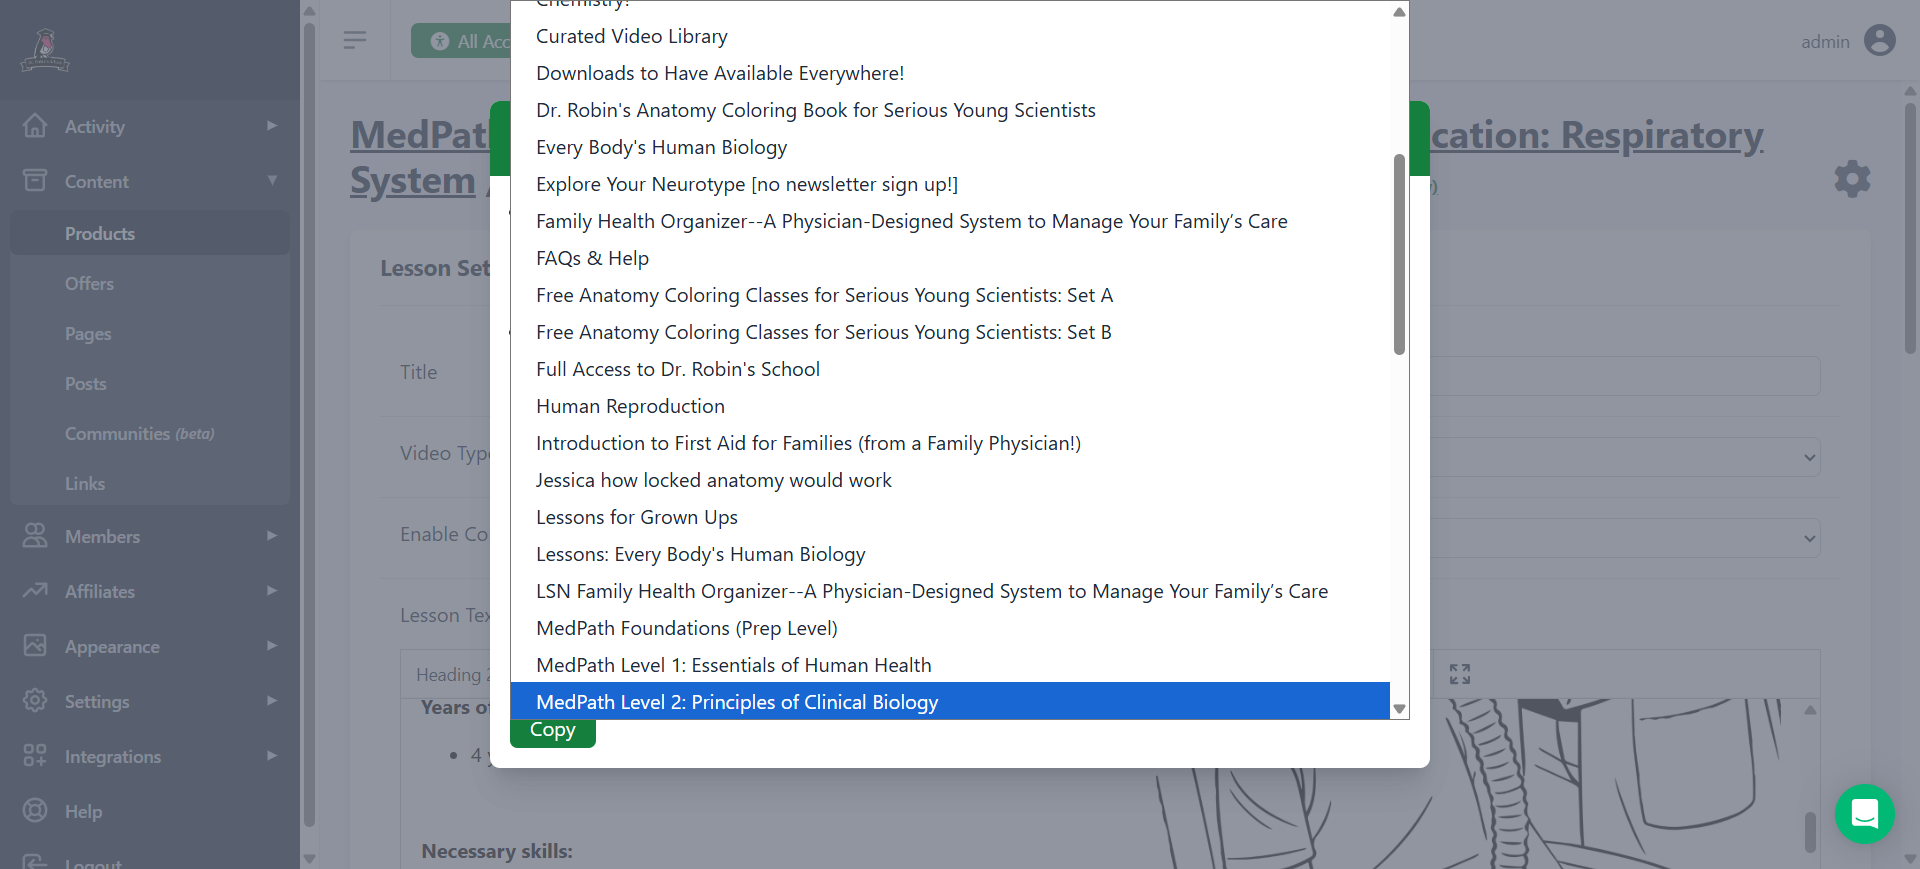
Click on the course name and scroll through to find the course you want to copy to. In this case another level of MedPath. I think there's also a search bar.
27
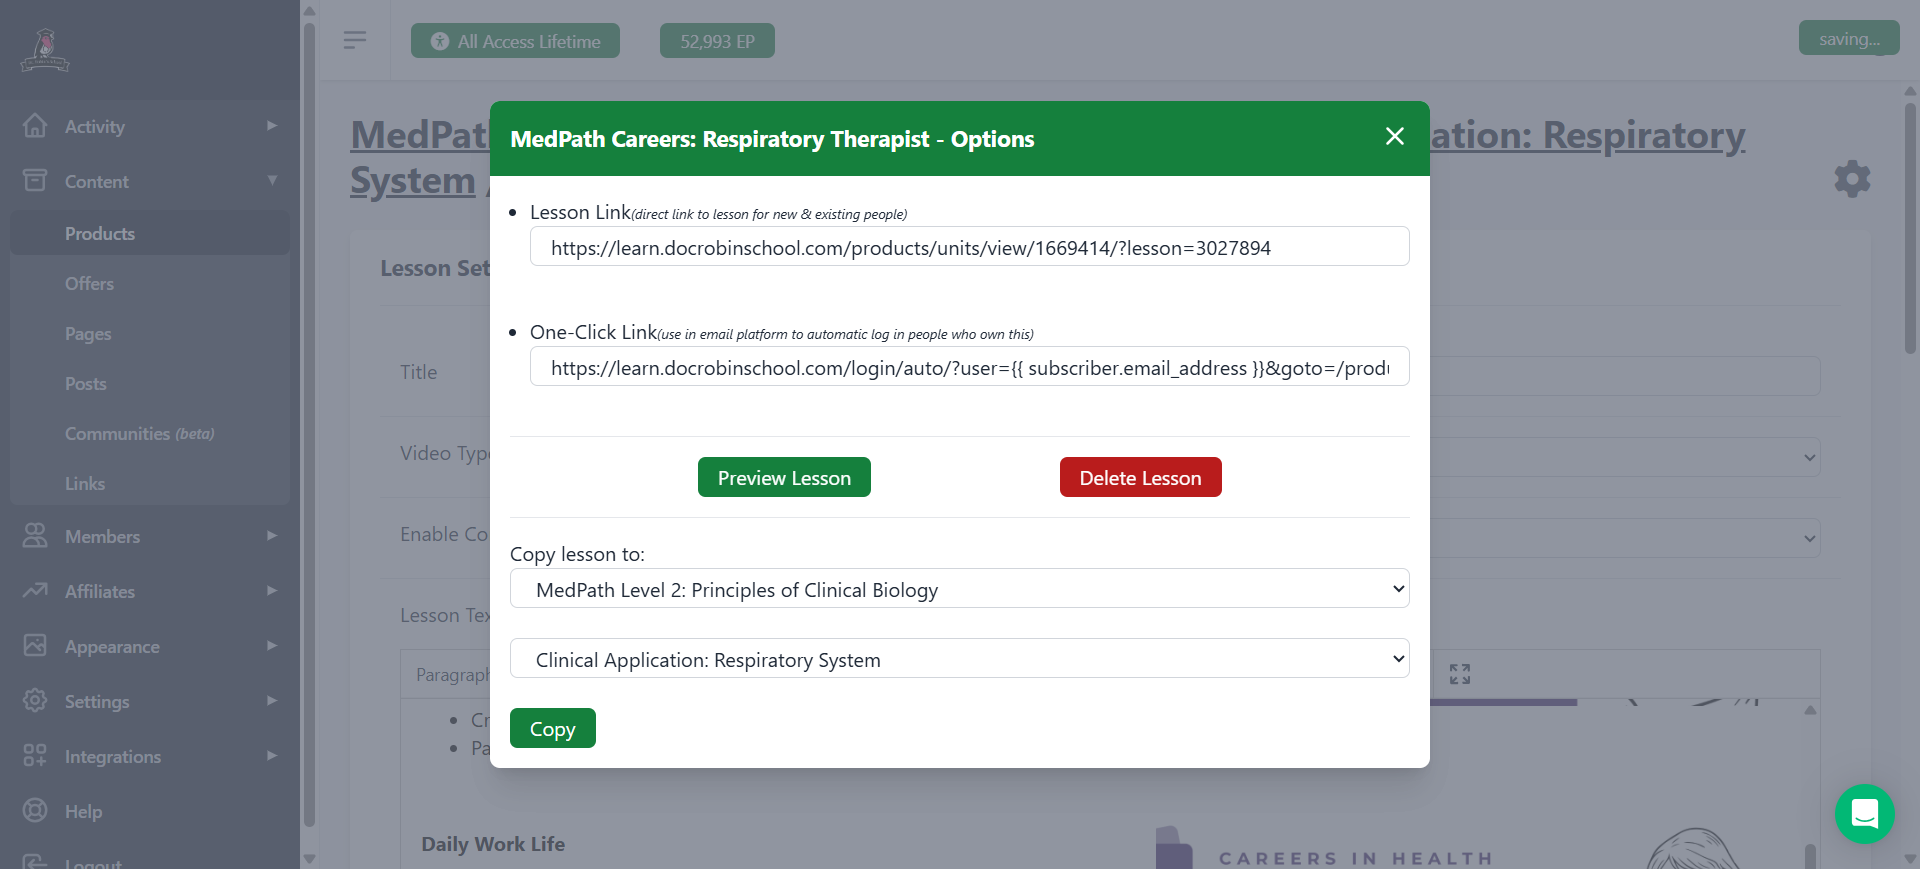
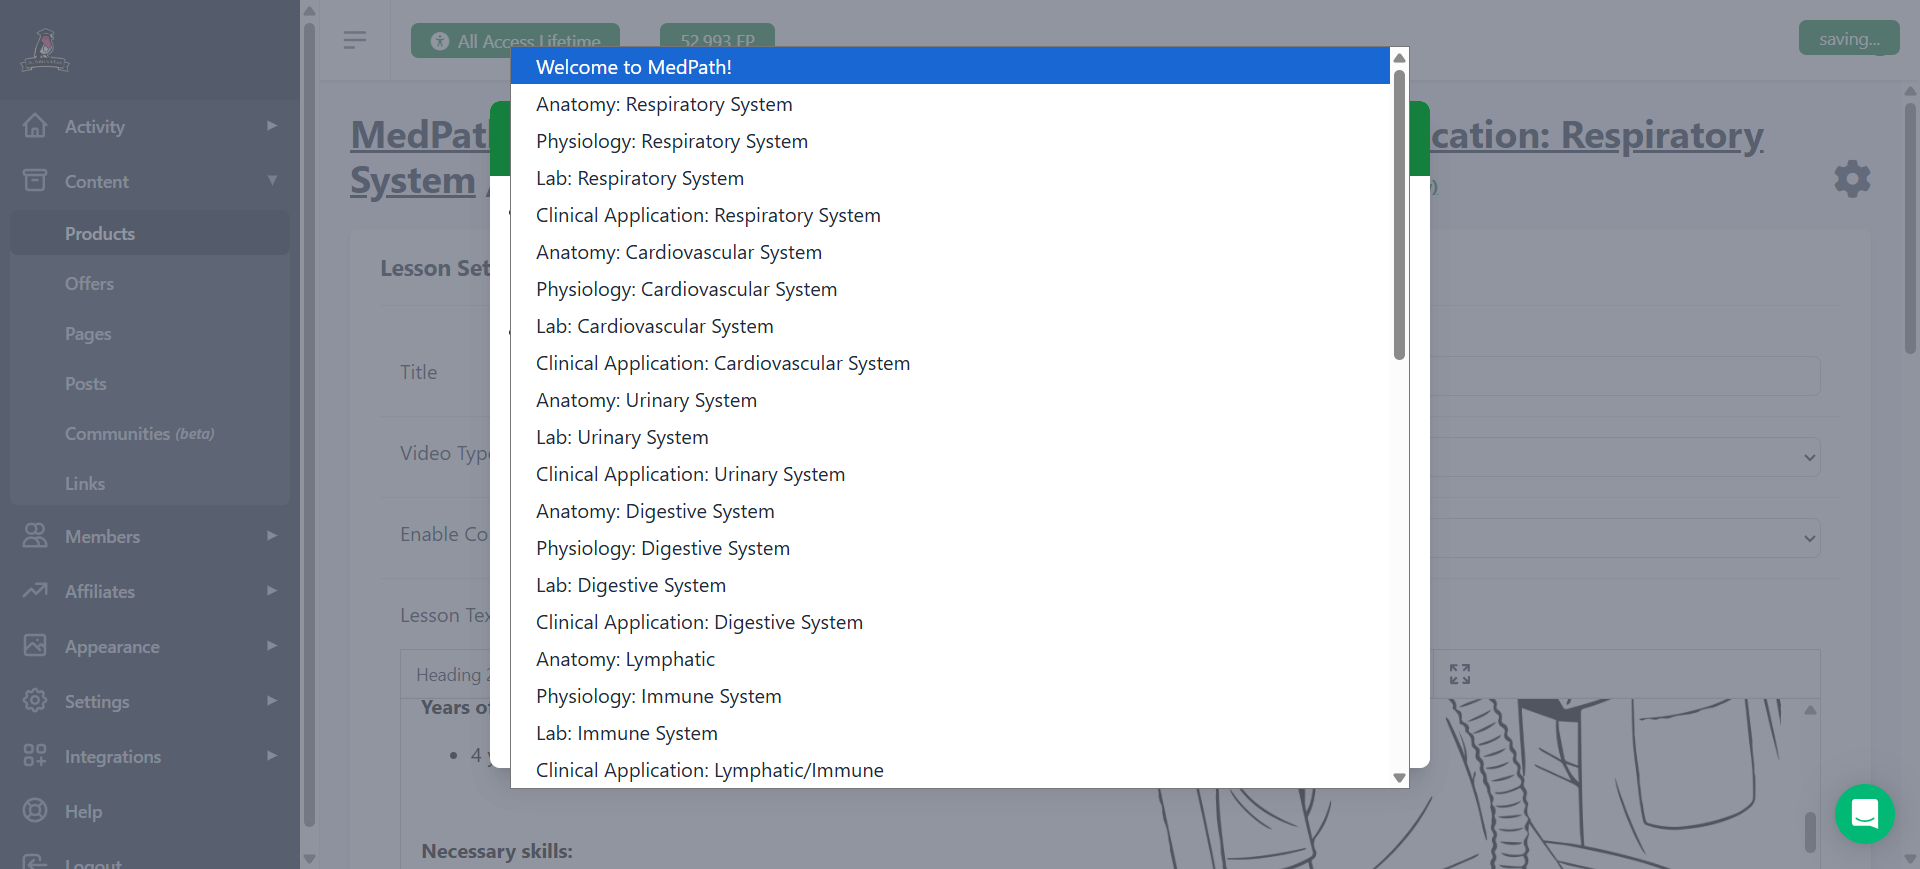
Now click the module where you want the lesson to end up. In this case, Clinical Application: Respiratory System.
28
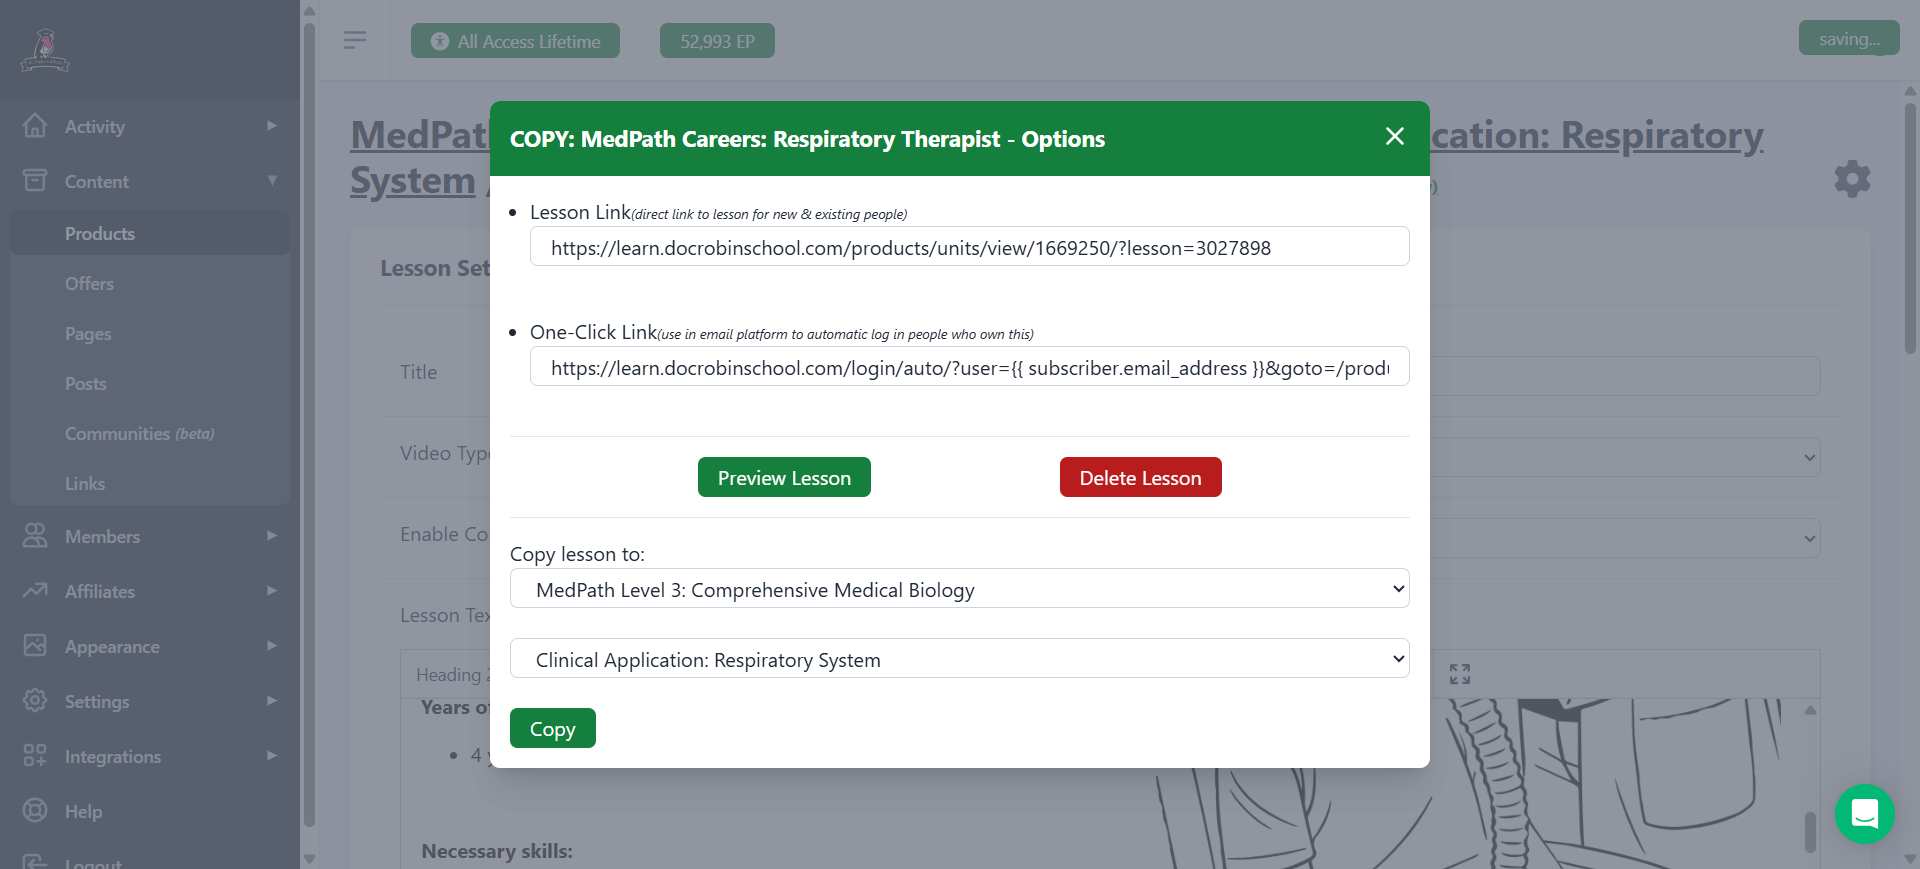
Check that the "Copy lesson to" information is correct and that's really where you want to copy it. And then press "Copy"
Then you wait and it seems like nothing happened but actually, you're now in the new location. Which can be confusing.You can always check at the top to see what course you're in.
29
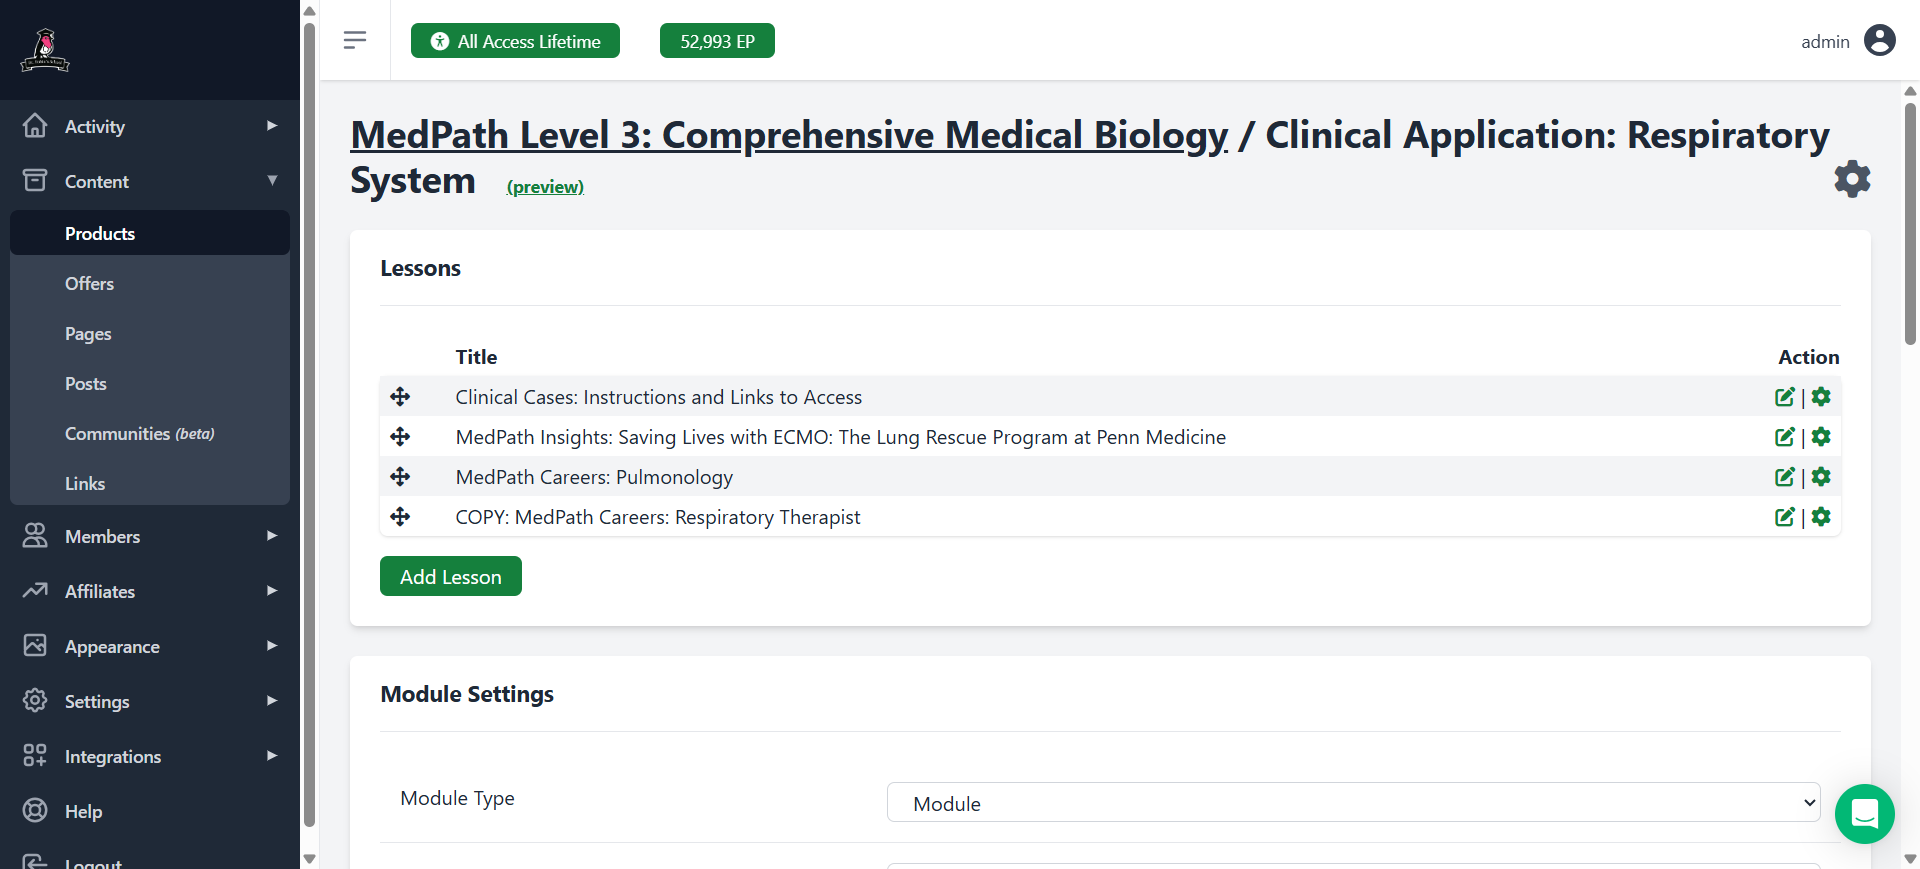
See here at the top it tells you where you are. In case you're lost...
30
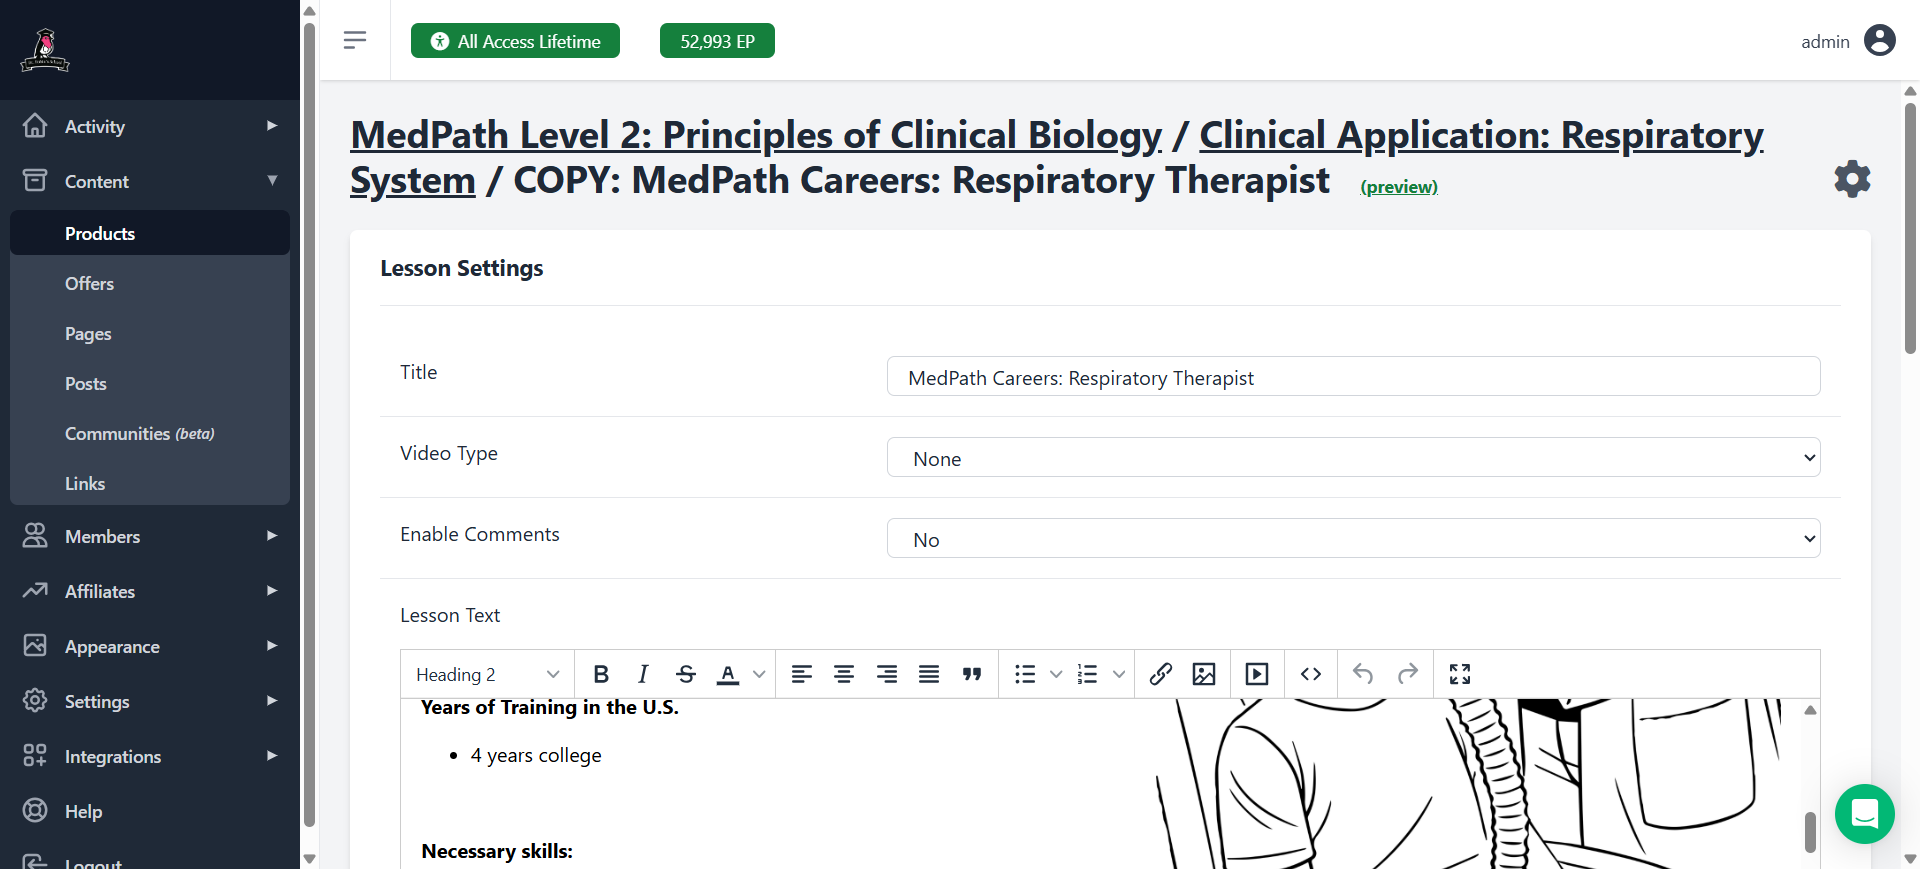
It now says "Copy" at the beginning of the lesson name so we need to remove that because it's not the message we're going for here.
31
Click the Edit button on the far right
32
Delete where it says "Copy," and save.
33
You can see it still shows the "COPY" at the top even though you did everything right. That's okay. It will remain here until you close it and then reopen it.
34
If you need to copy it somewhere else, you can copy it from right here without going anywhere else. Click the gear icon again to copy it to the next level.
35
Click on the name of the course.
36
Find the correct product.
37
Find the correct module
38
Make sure you've chosen the correct location, click Copy, and double-check at the top.
39
Yup, I see I'm in the right location.
40
And now we remove the word "COPY" again
41
Click to edit.
While you're in there removing the word COPY, double check if there's anything else you need to change based on the level. For example, we might want to have the career exploration sheet as the top image for levels 2 and 3. But I'll let you decide that. For now I just have the coloring page image.
42
If you're concerned that the word "Copy" wasn't removed, go back to Module. You'll see that "Copy" has now been deleted.
How to Set Up and Copy a MedPath Careers Page: Step-by-Step Guide