How to Set Up, Operate, and Shut Down the Sound System for Sunday Service
Step-by-step guide to setting up, operating, and shutting down a church sound system for Sunday morning services. Learn how to power on, load settings, adjust sound levels, and ensure optimal audio quality.
In this guide, we'll learn how to set up and operate a sound board for a Sunday morning service. We'll cover steps from removing the cover and powering on the equipment to loading the correct settings and checking sound levels. We'll also review how to shut everything down safely at the end.
Let's get started
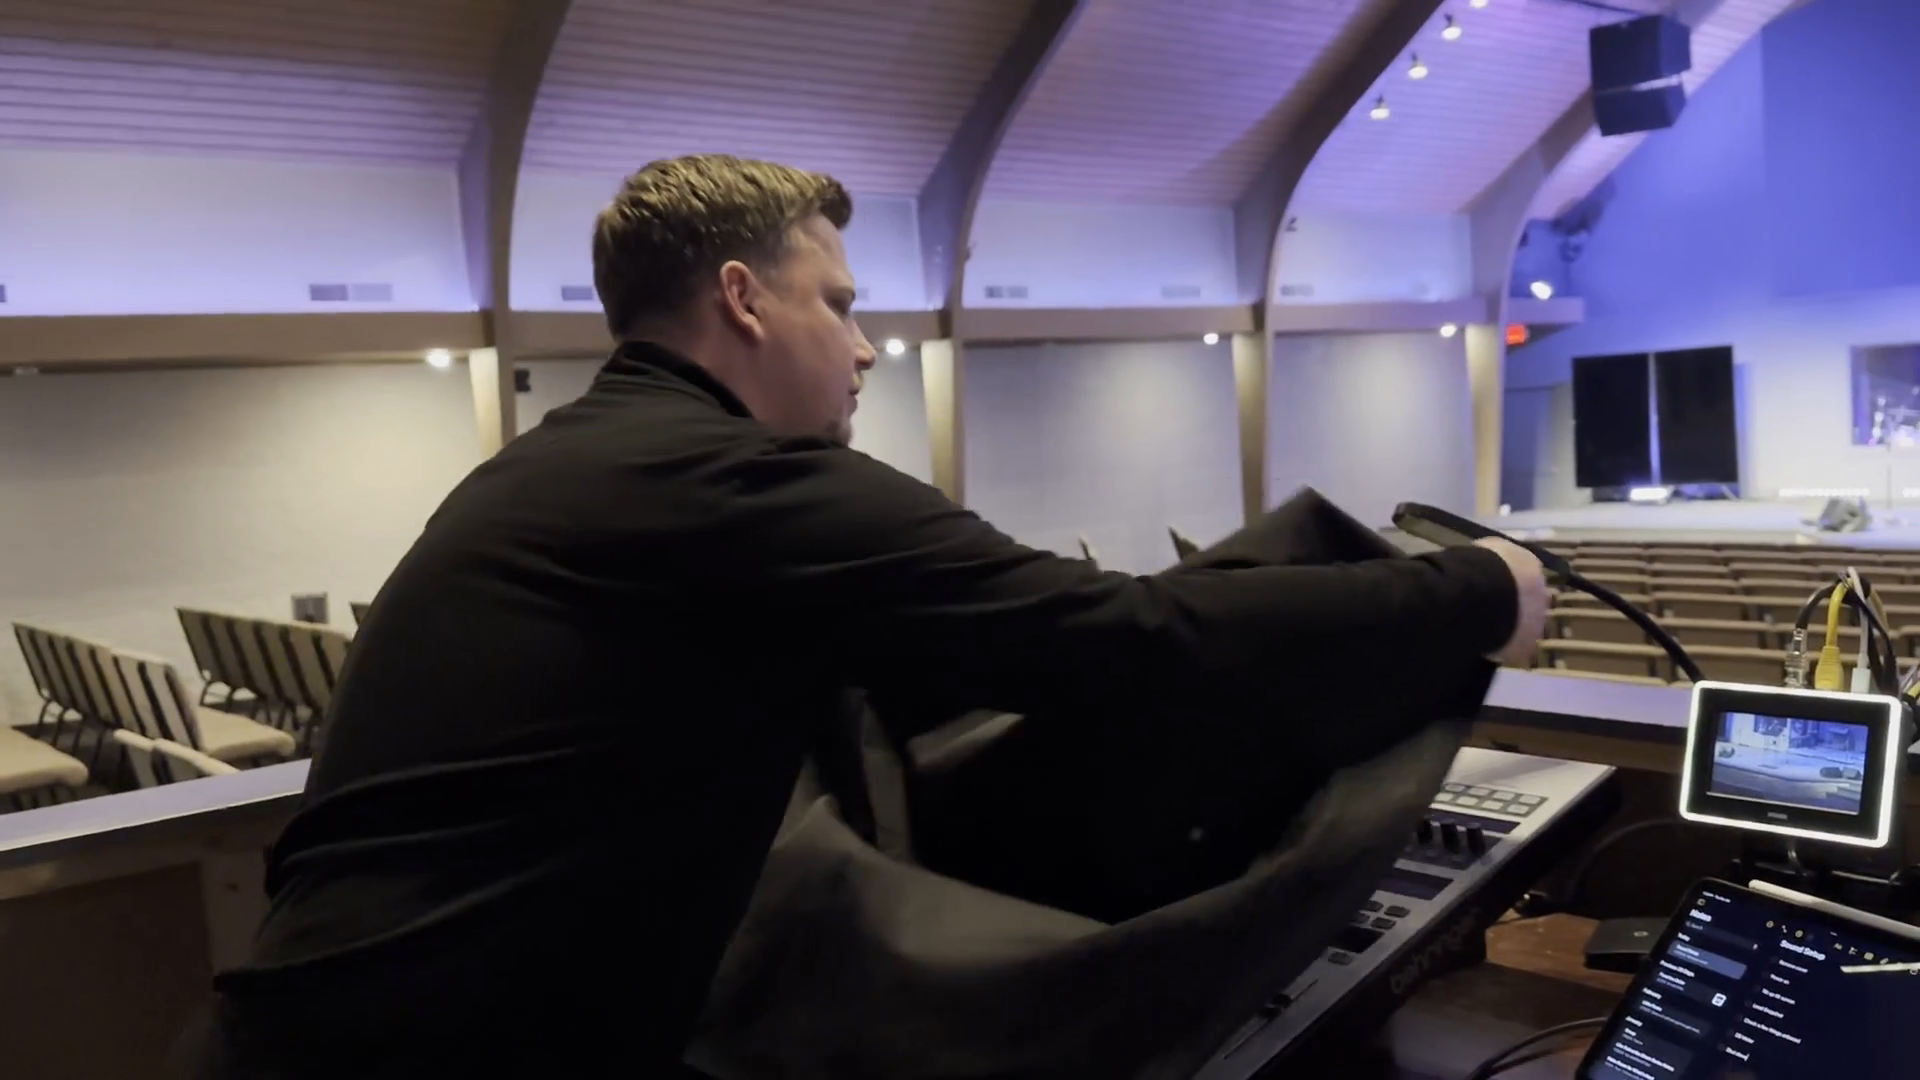
Fold the cover in half.
Place the folded cover underneath the desk.
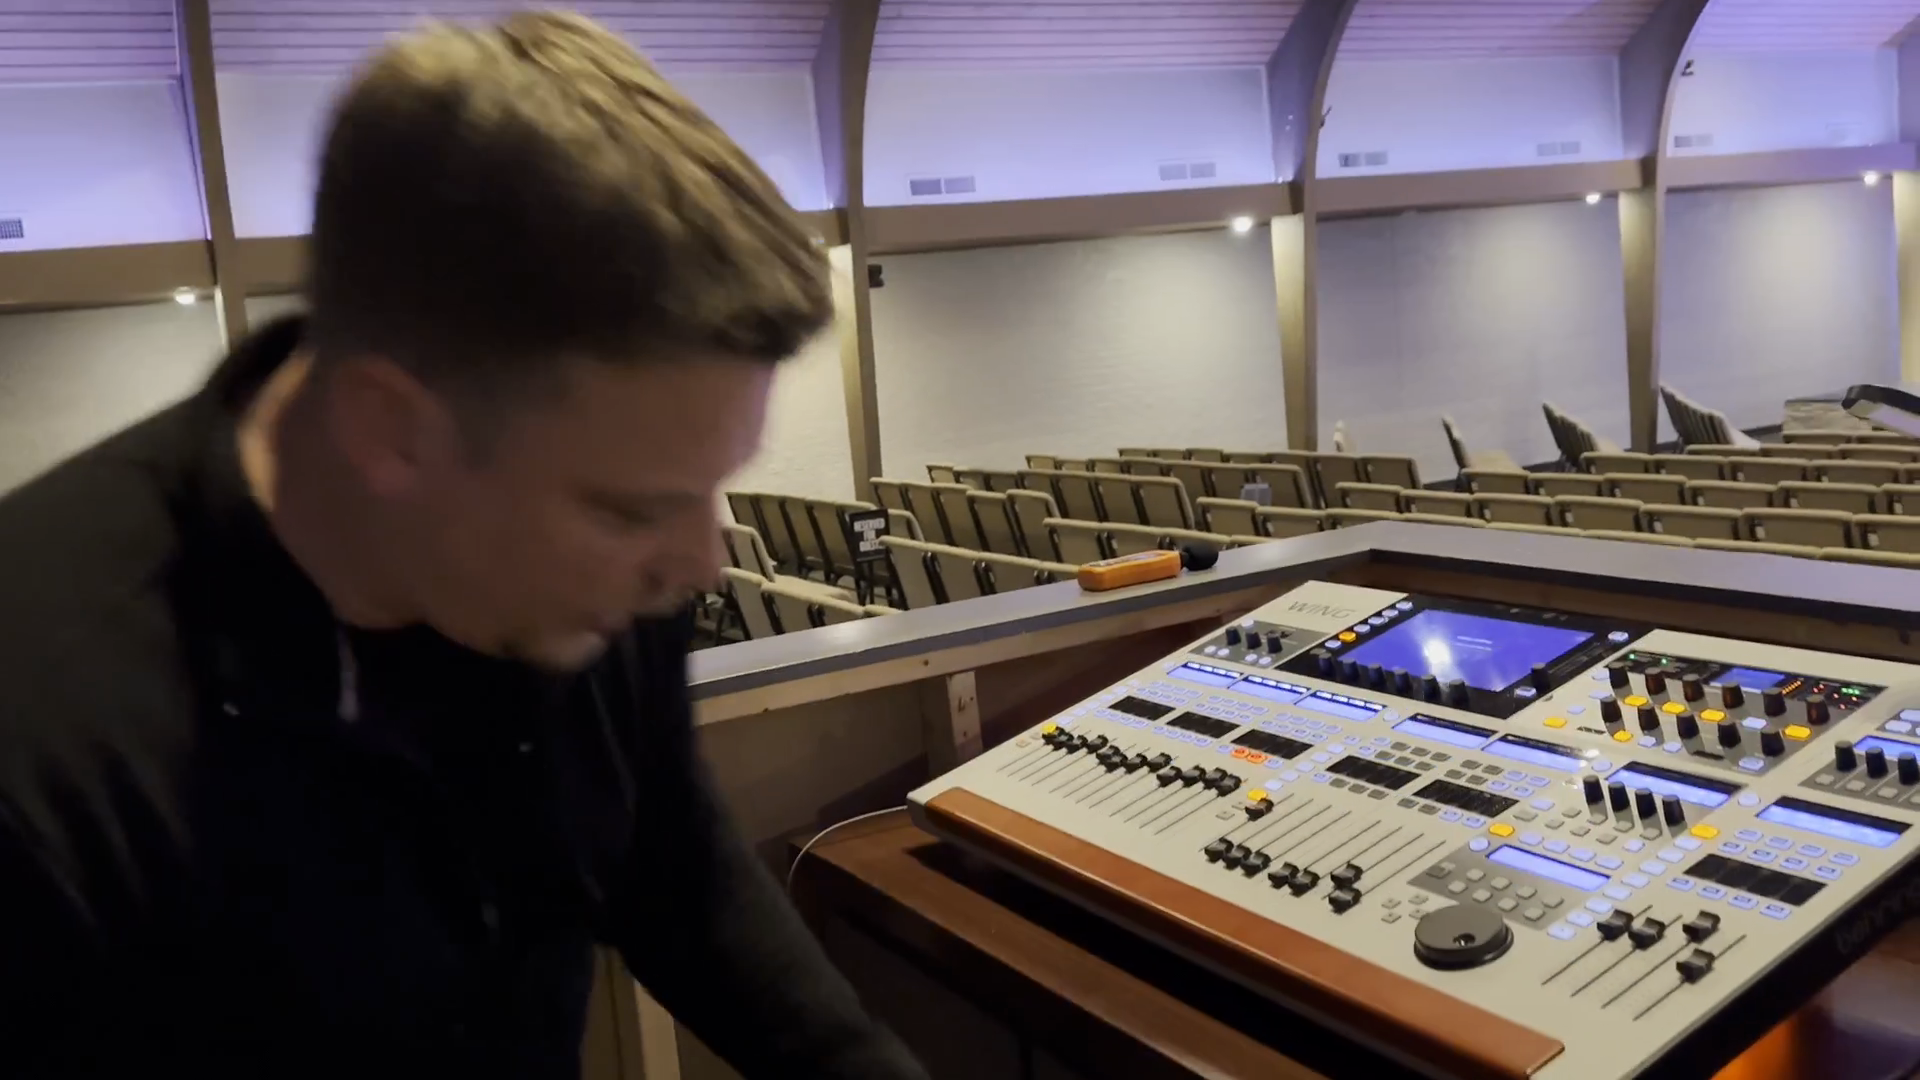
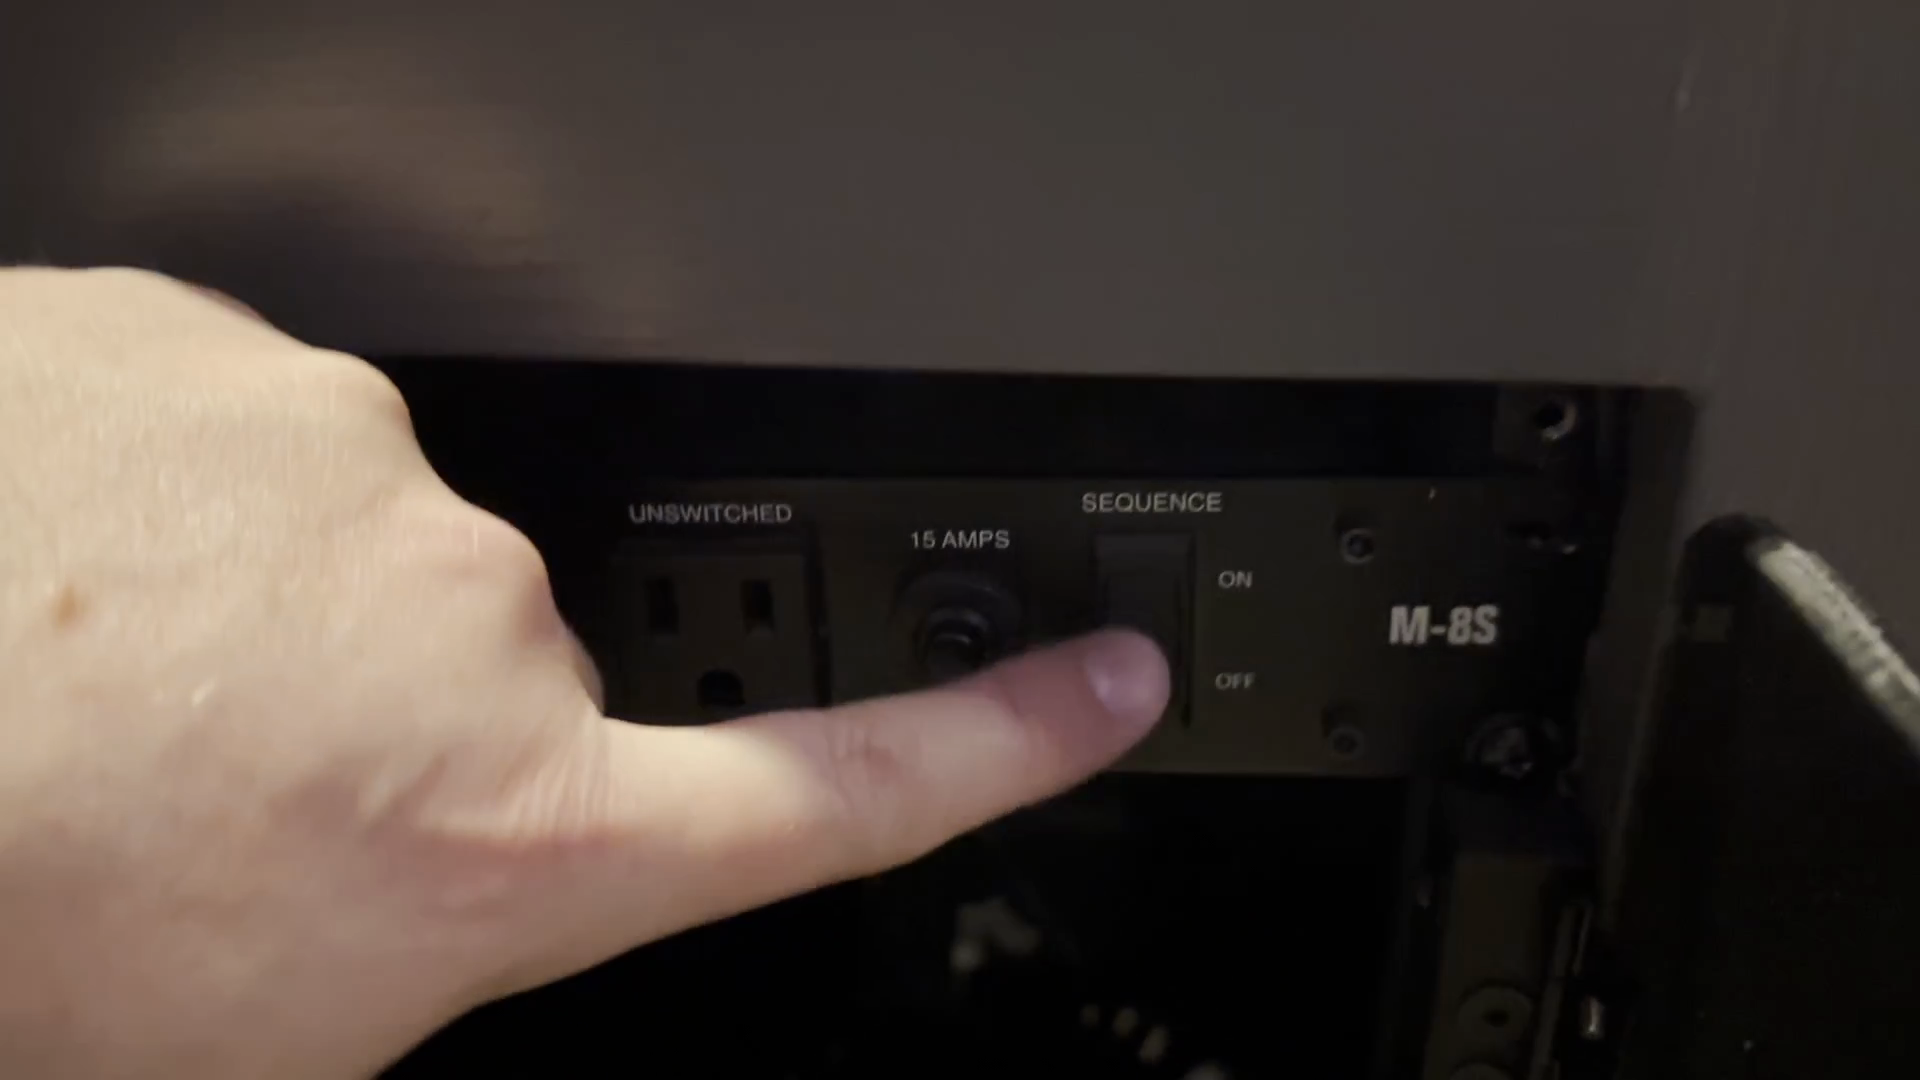
Flip the top right 'Sequence' switch to the on position.
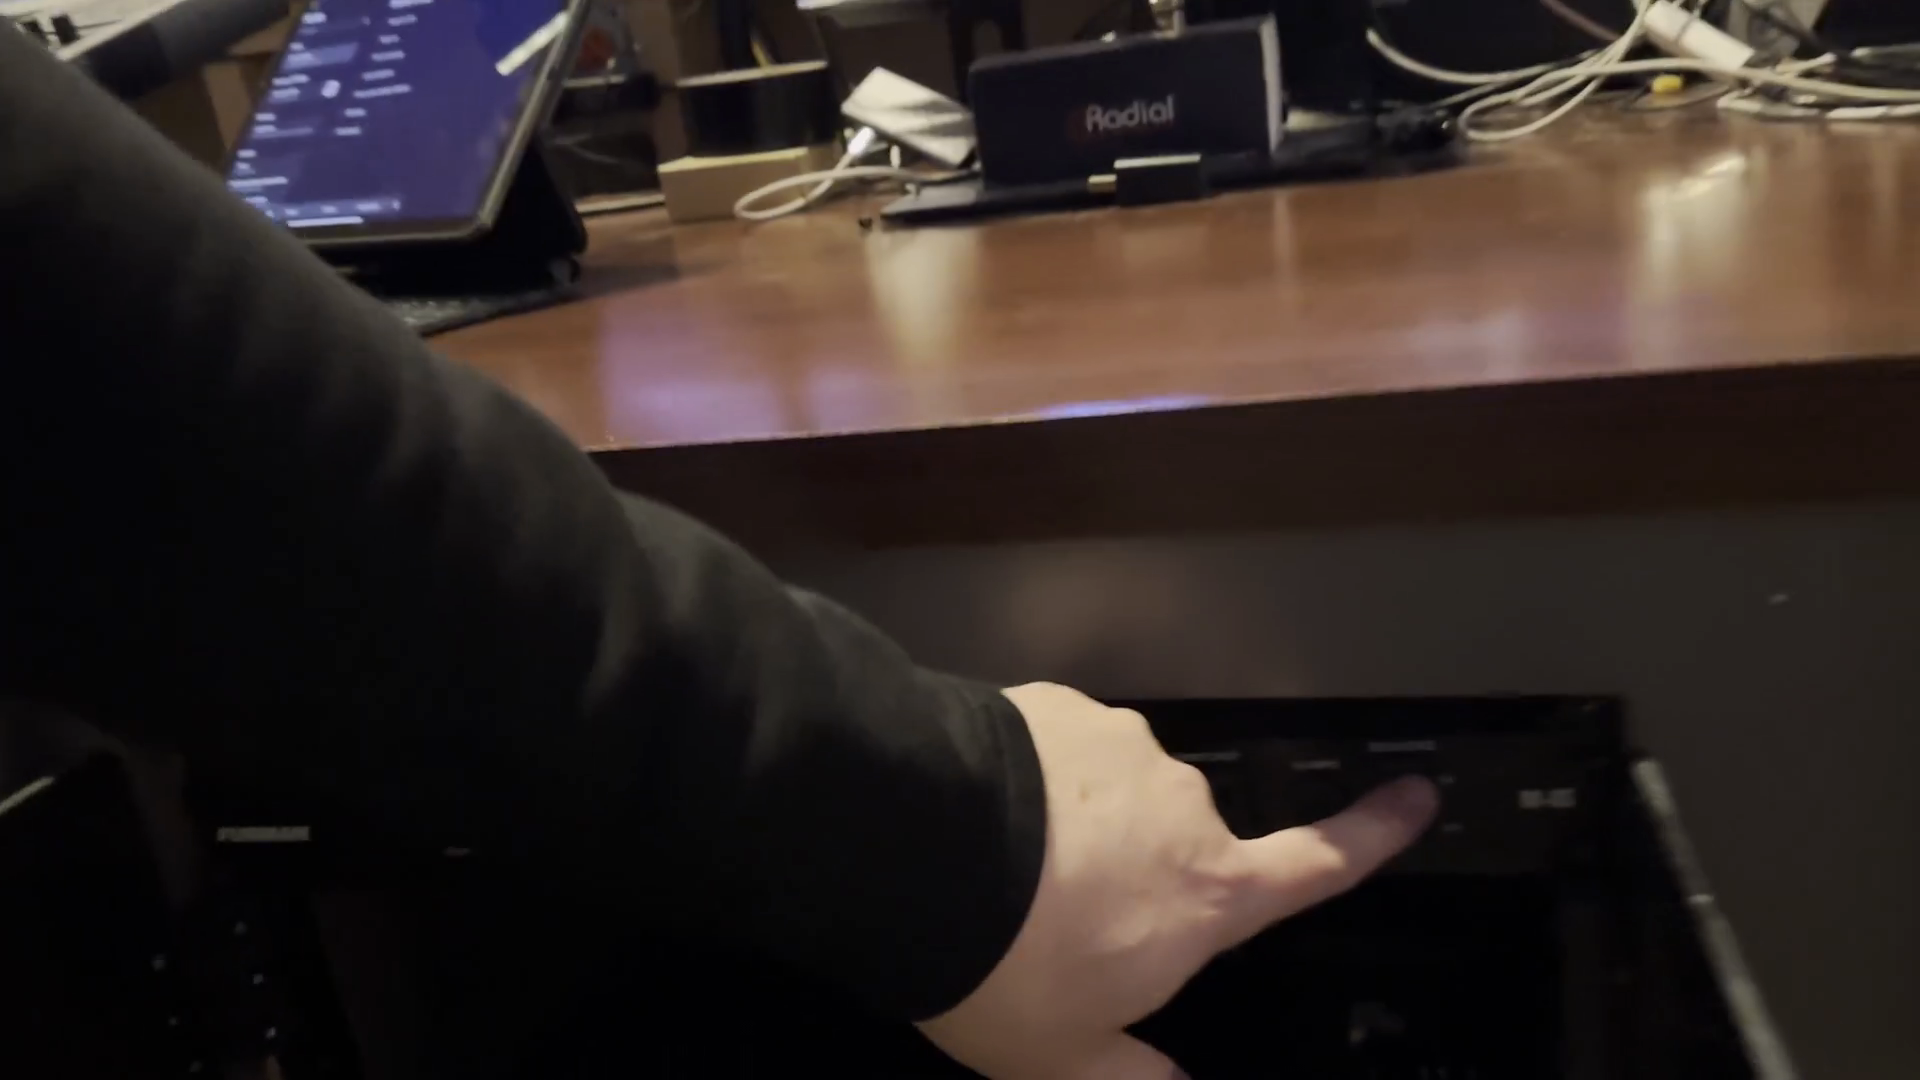
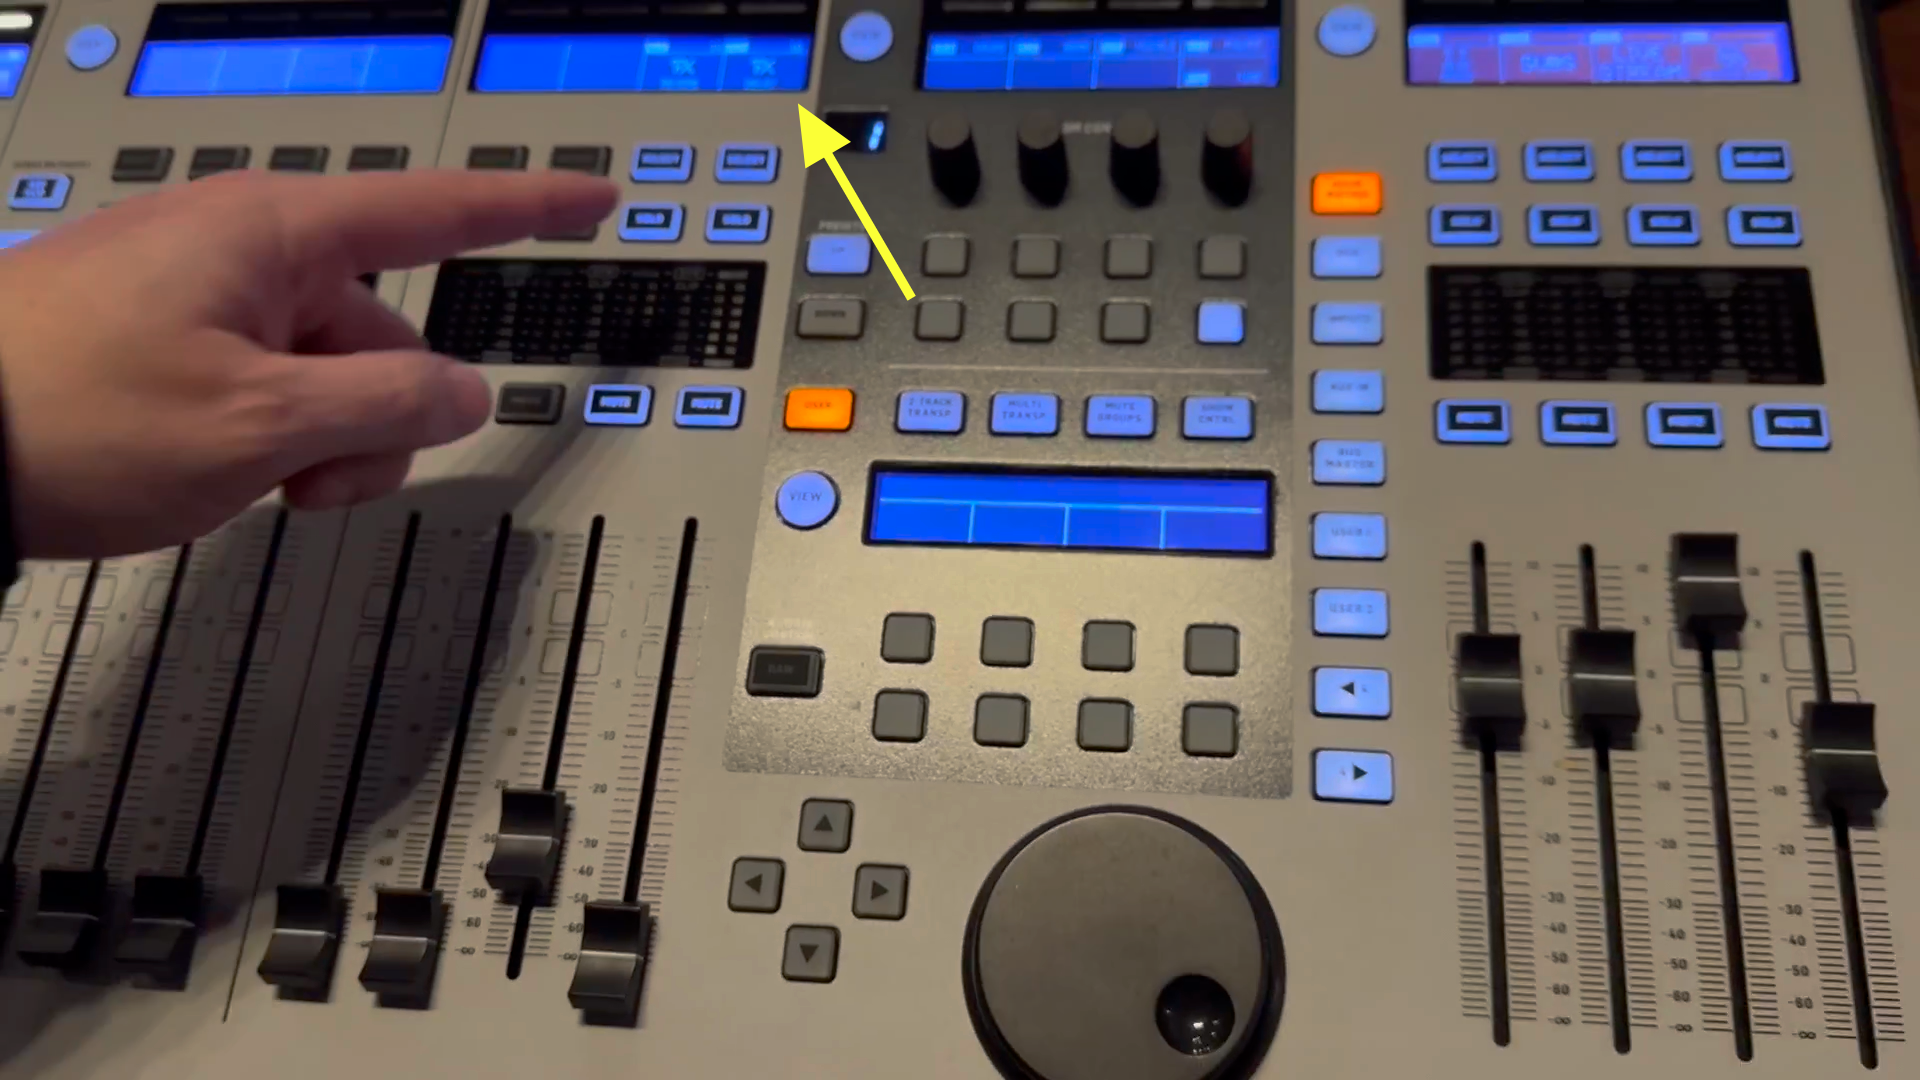
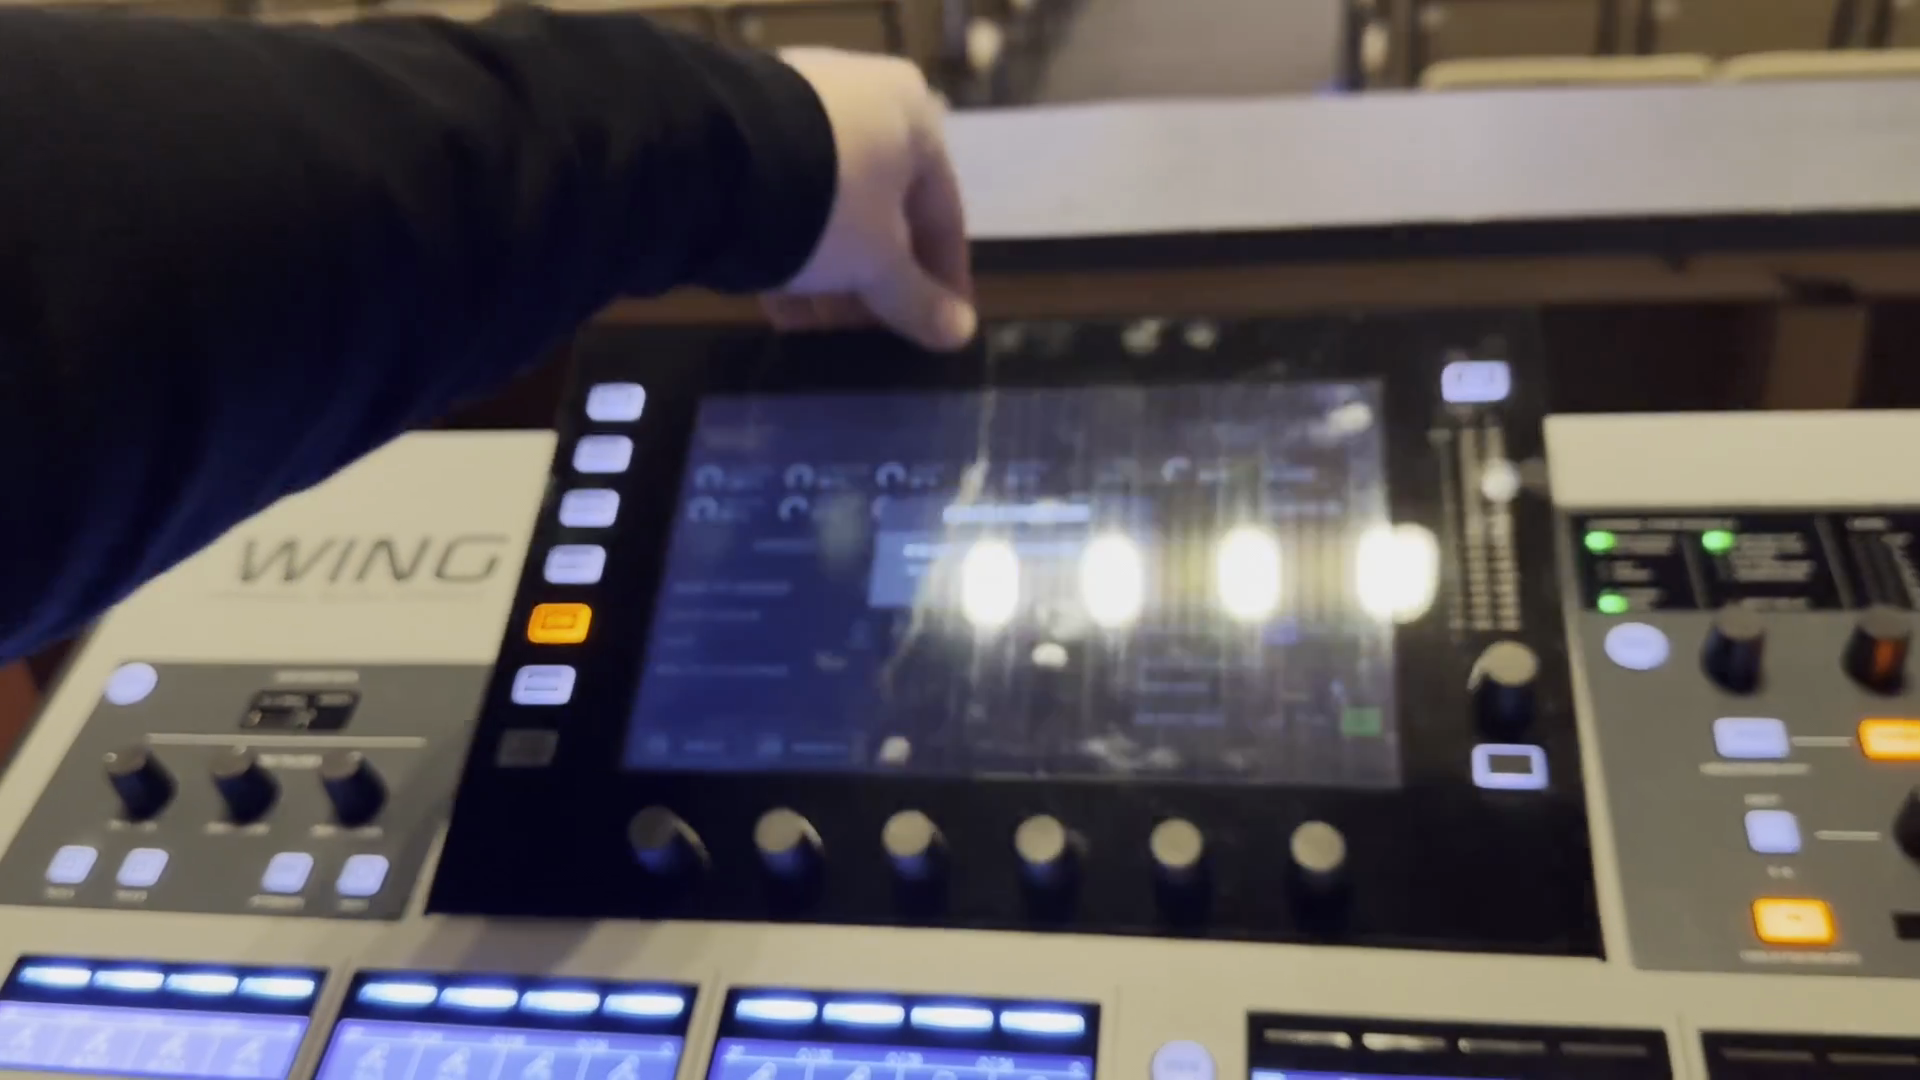
When I turn that on, you'll see that power goes to the mixing console on the sound board.

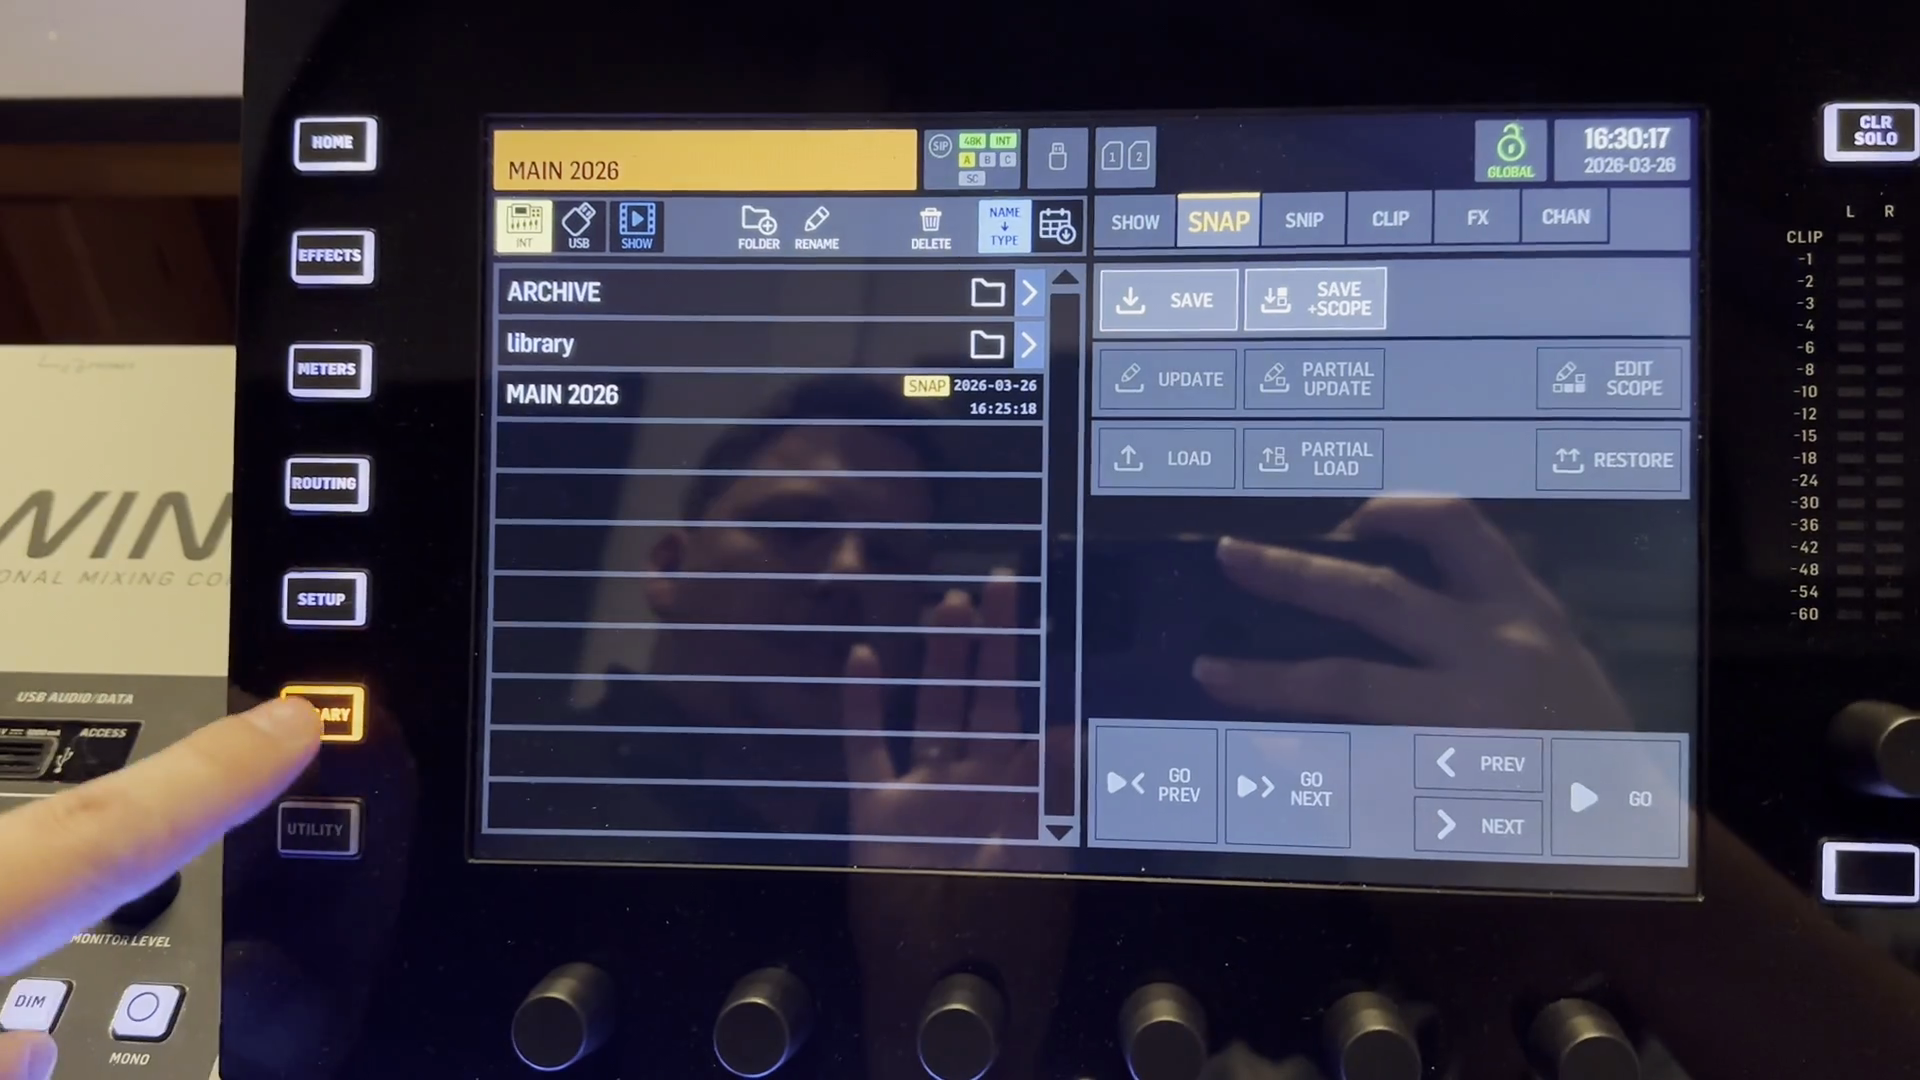
Currently, it is set for Main 2026. It is usually the only one available, but you should load the most recent one.
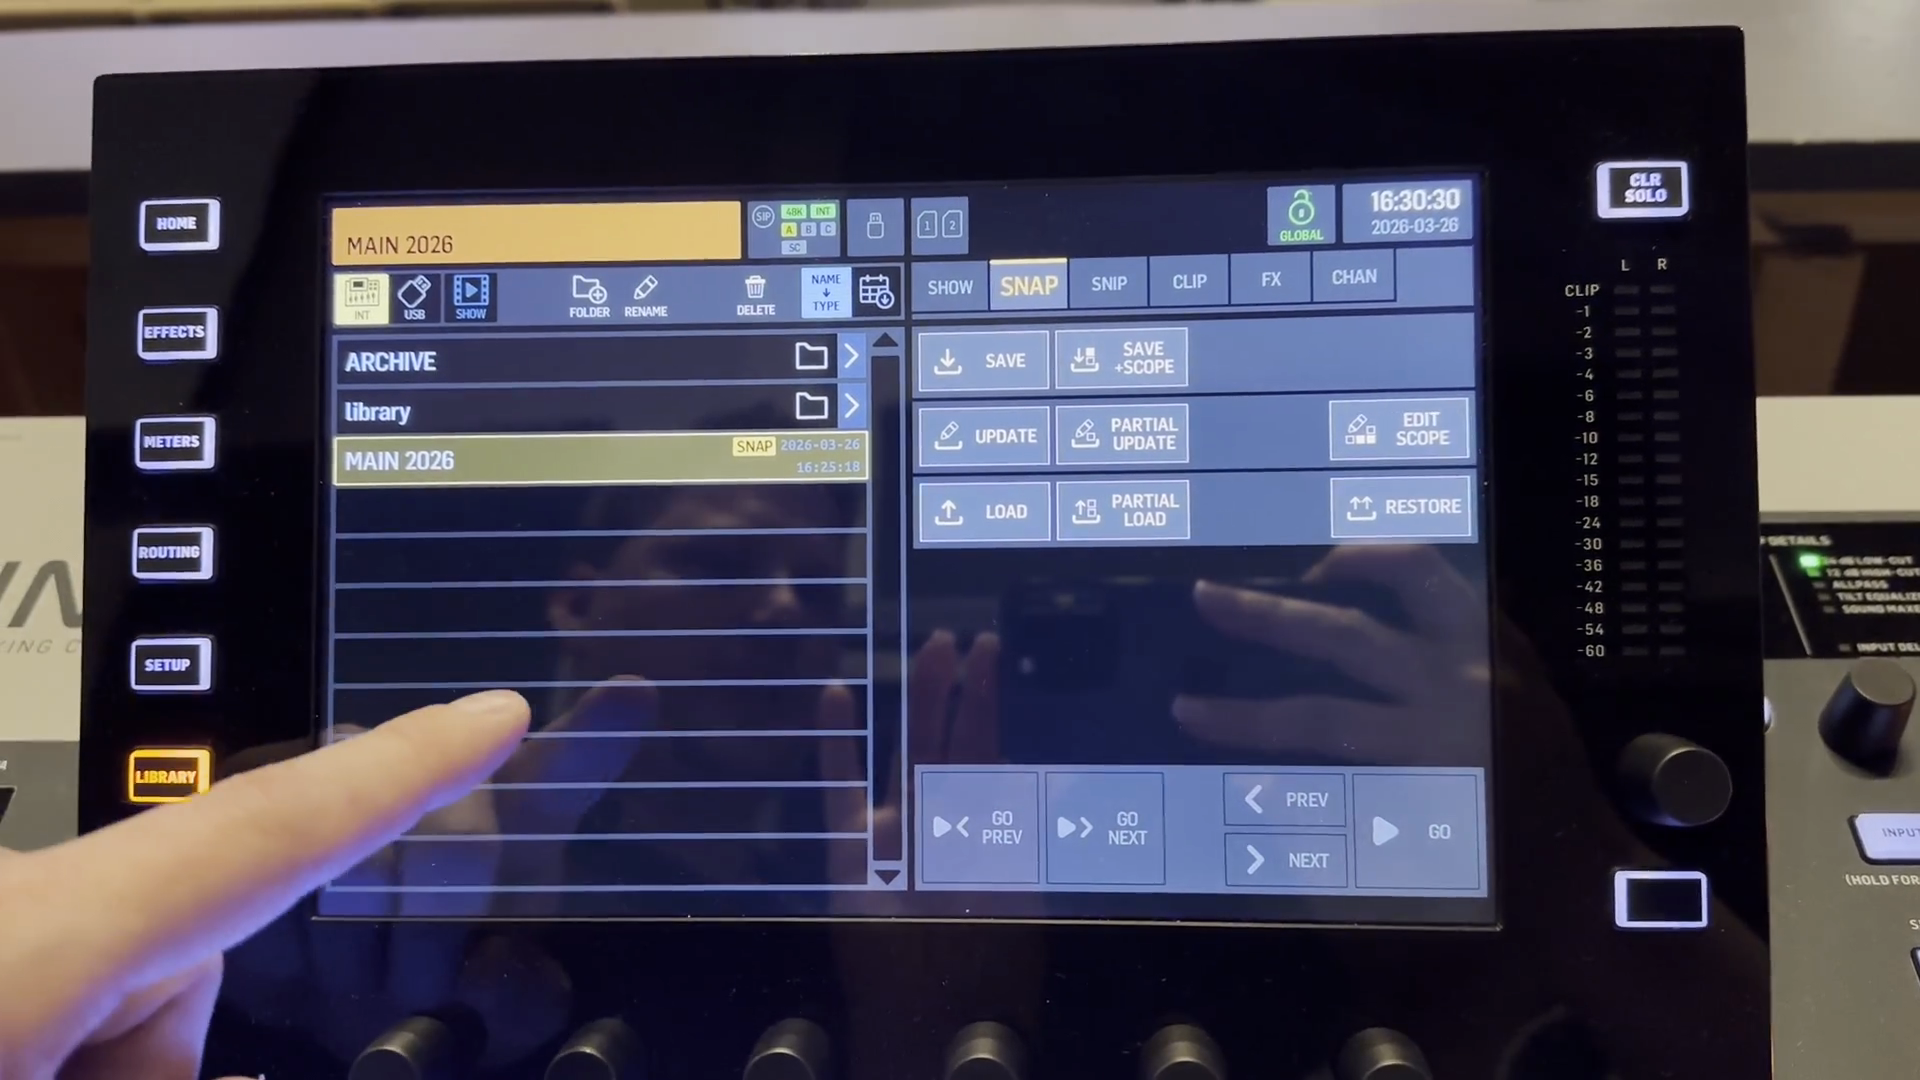
It will ask for confirmation, and I will select confirm. All settings are now ready for the Sunday morning service. Here are a few things to check on the board to ensure you're ready to run sound.
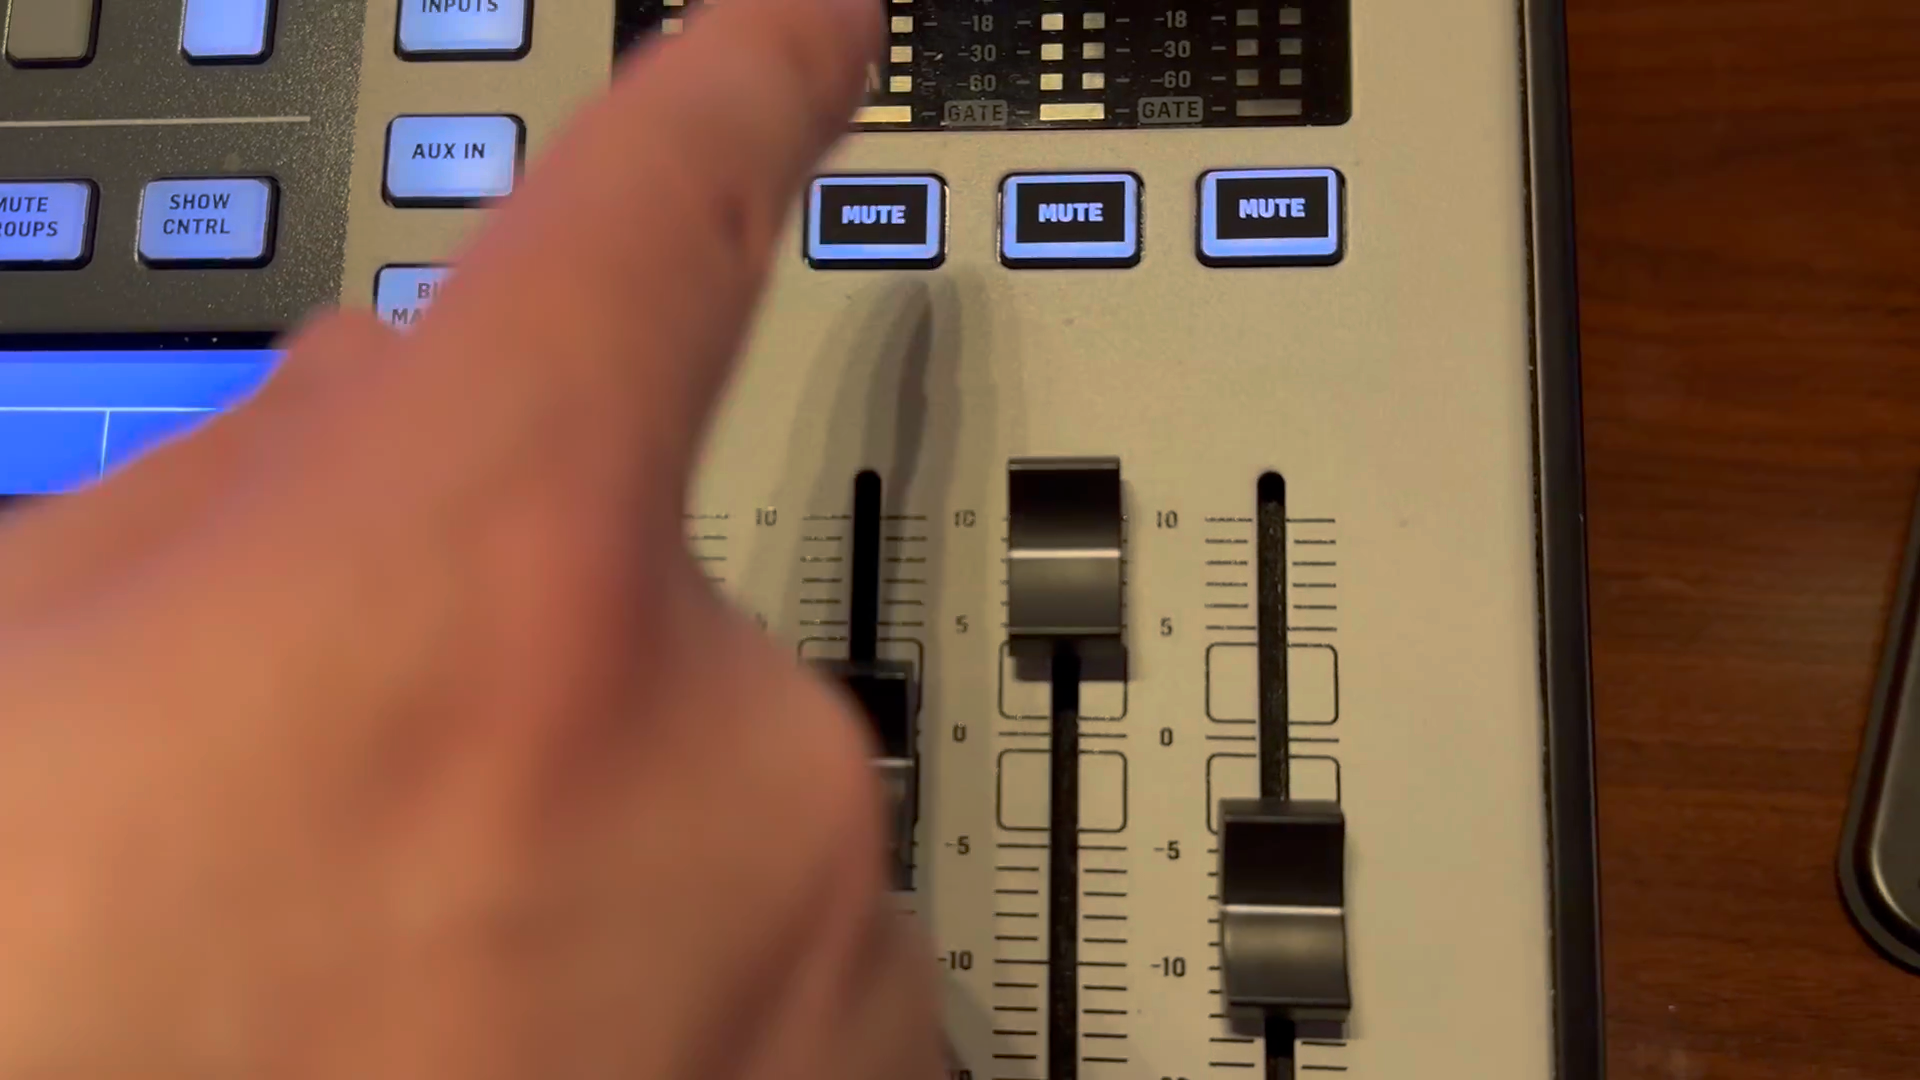
This first one is the main channel. The next one is for subs, and then the live stream, as shown by the title above, is usually set the loudest. This ensures that people listening online get a good balance of sound.
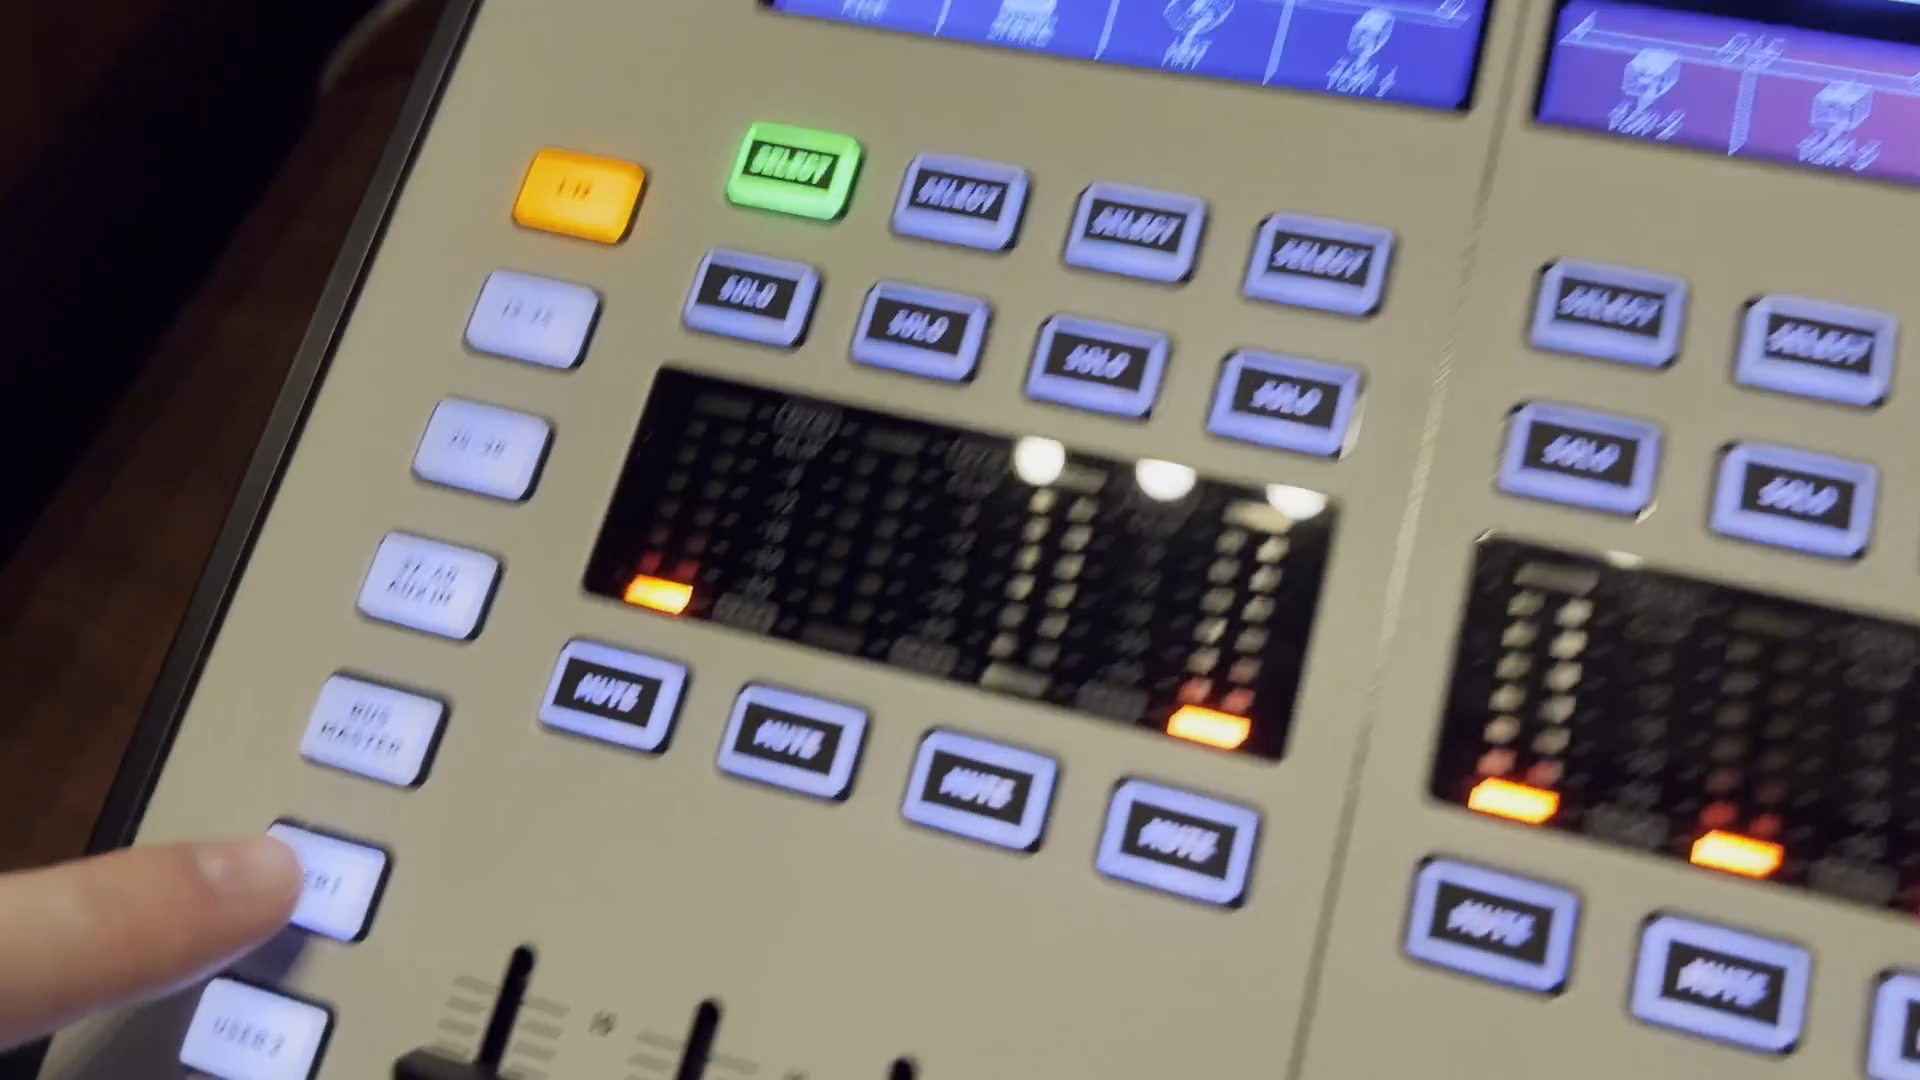
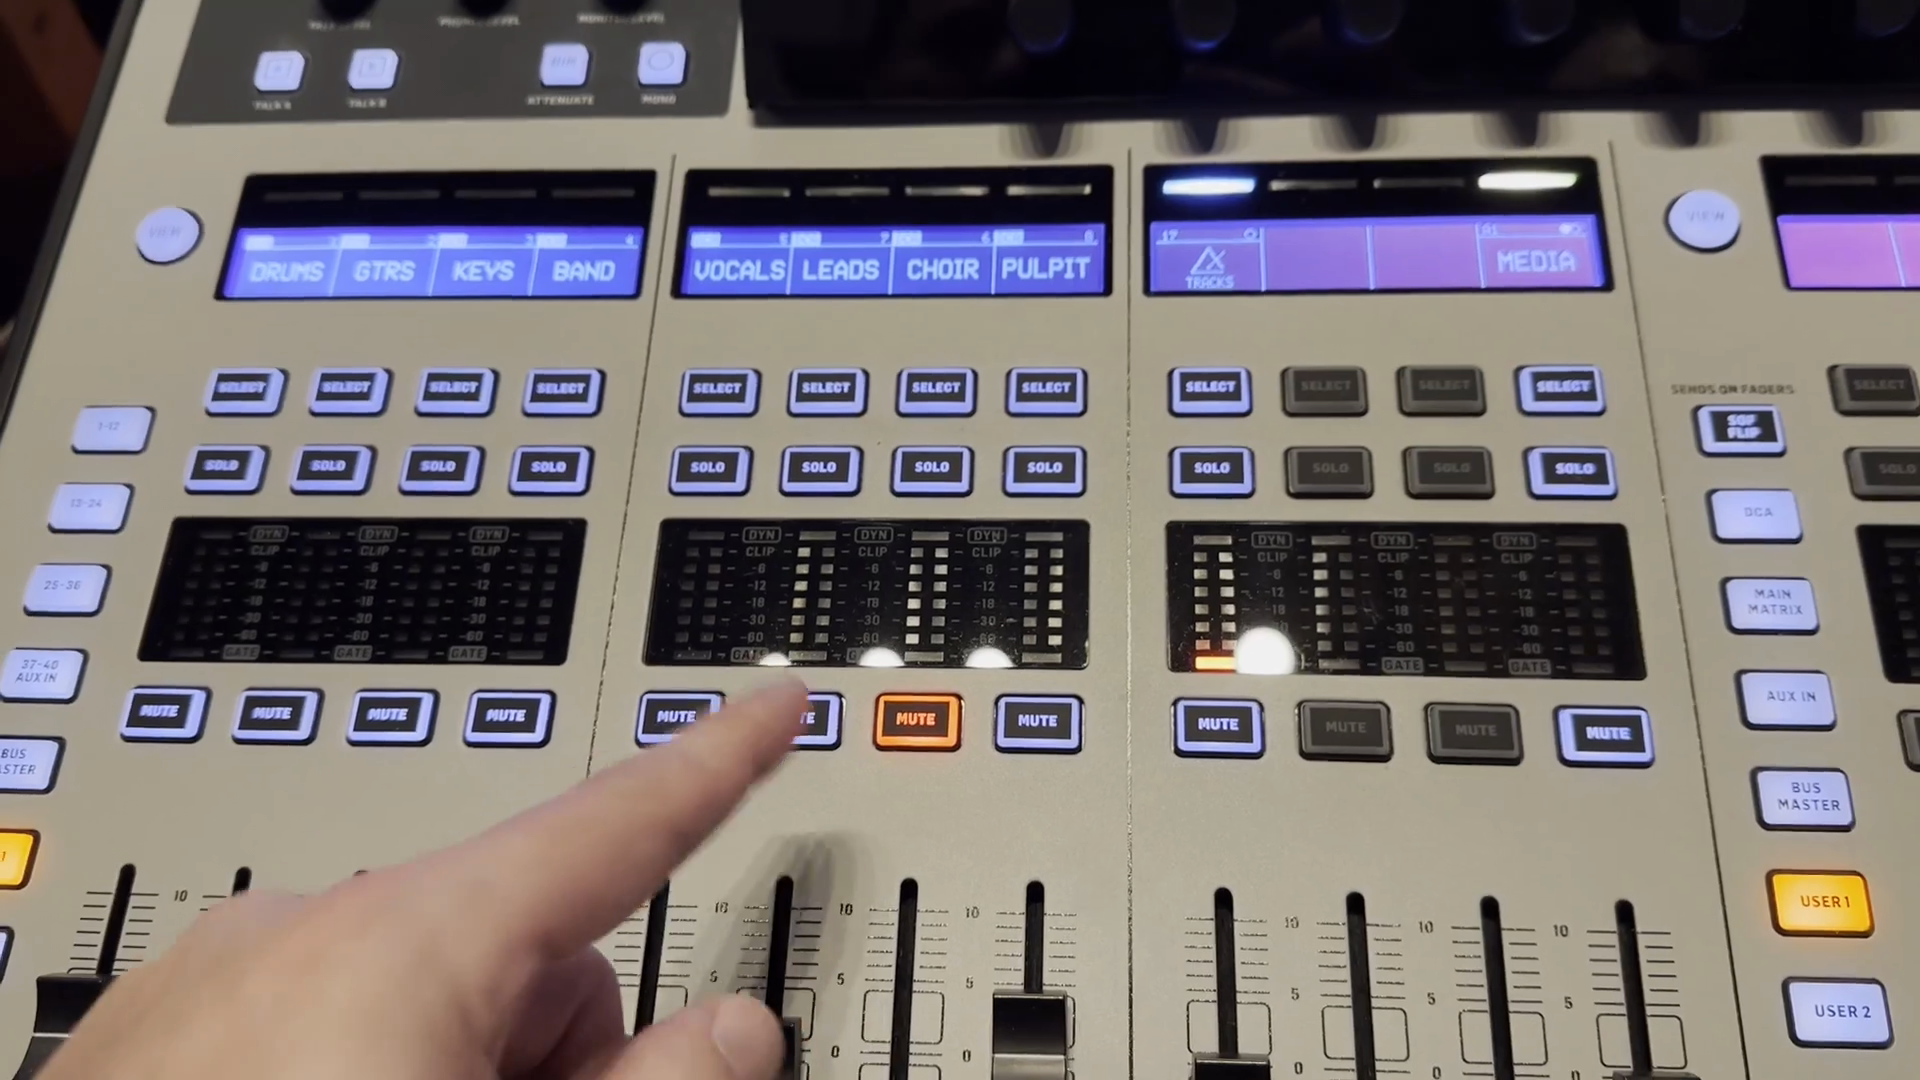
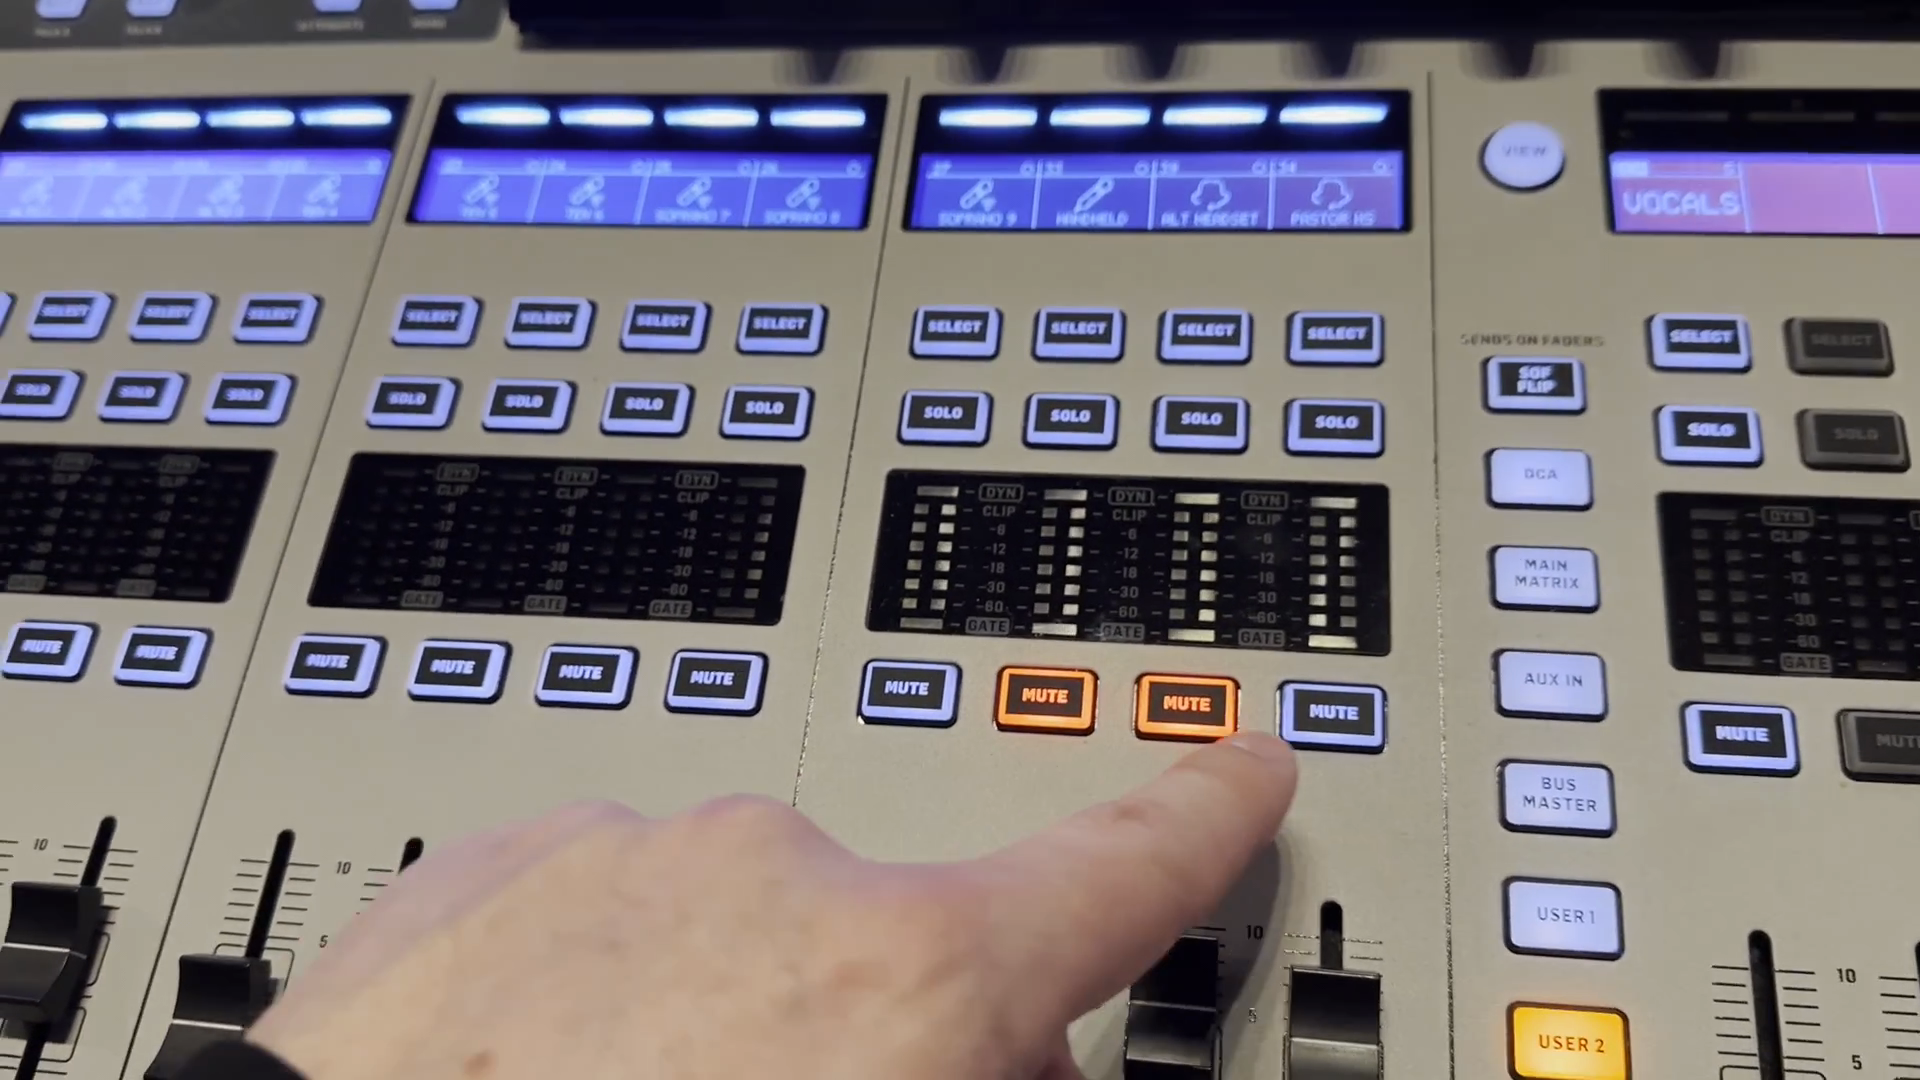
I also make sure to go to the far left to select user one. This lets me view all the settings for each group, such as drums, guitars, keys, band, vocals, leads, choir, pulpit, and others.
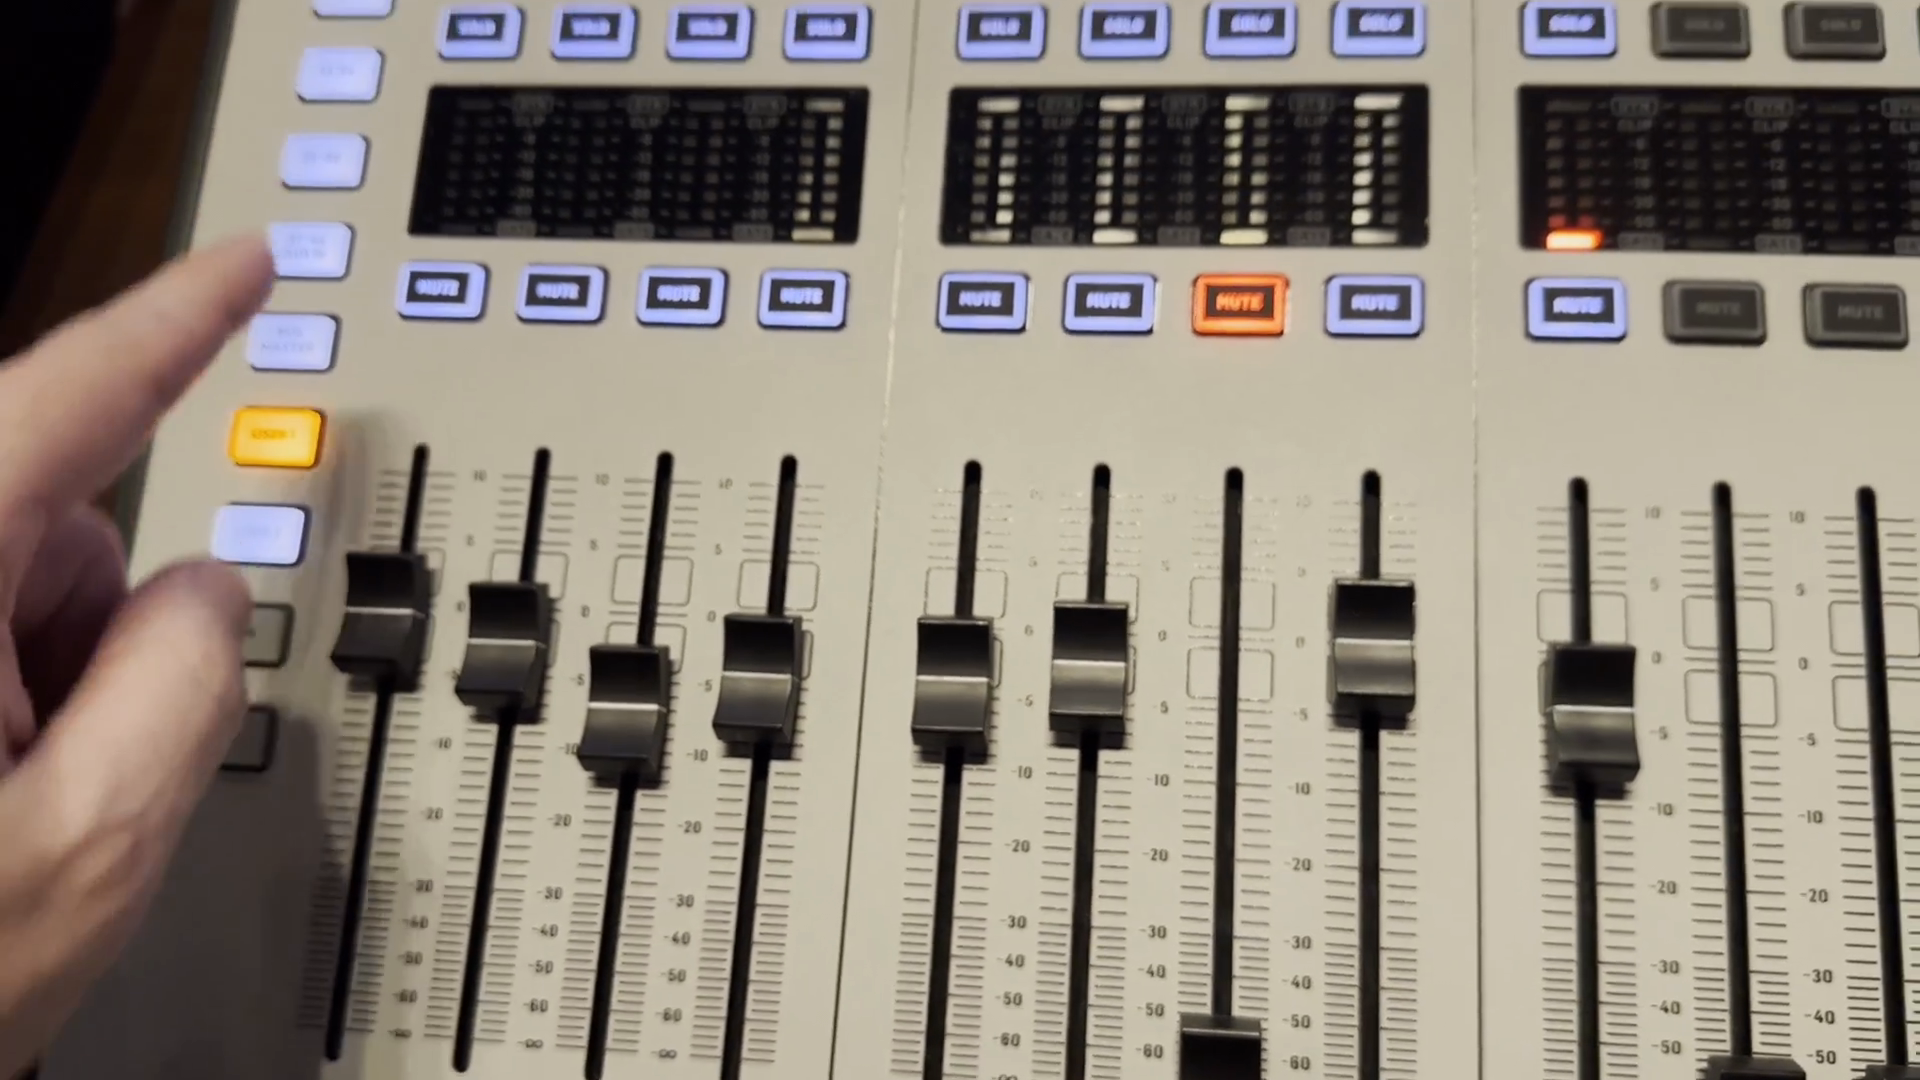
I keep the choir mics muted unless we are using them.
Now, if you look to the right of the board, notice that the delay setting is always set to zero until we are ready to use it.
The only other thing I'd like to point out is that if I go back to my user settings and favorites, I can select user two. Then, I'll ensure the microphone for the pastor's headset is unmuted and ready to use. I'll also note which of the two—either the handheld or alternate headsets—might be in use for the service.
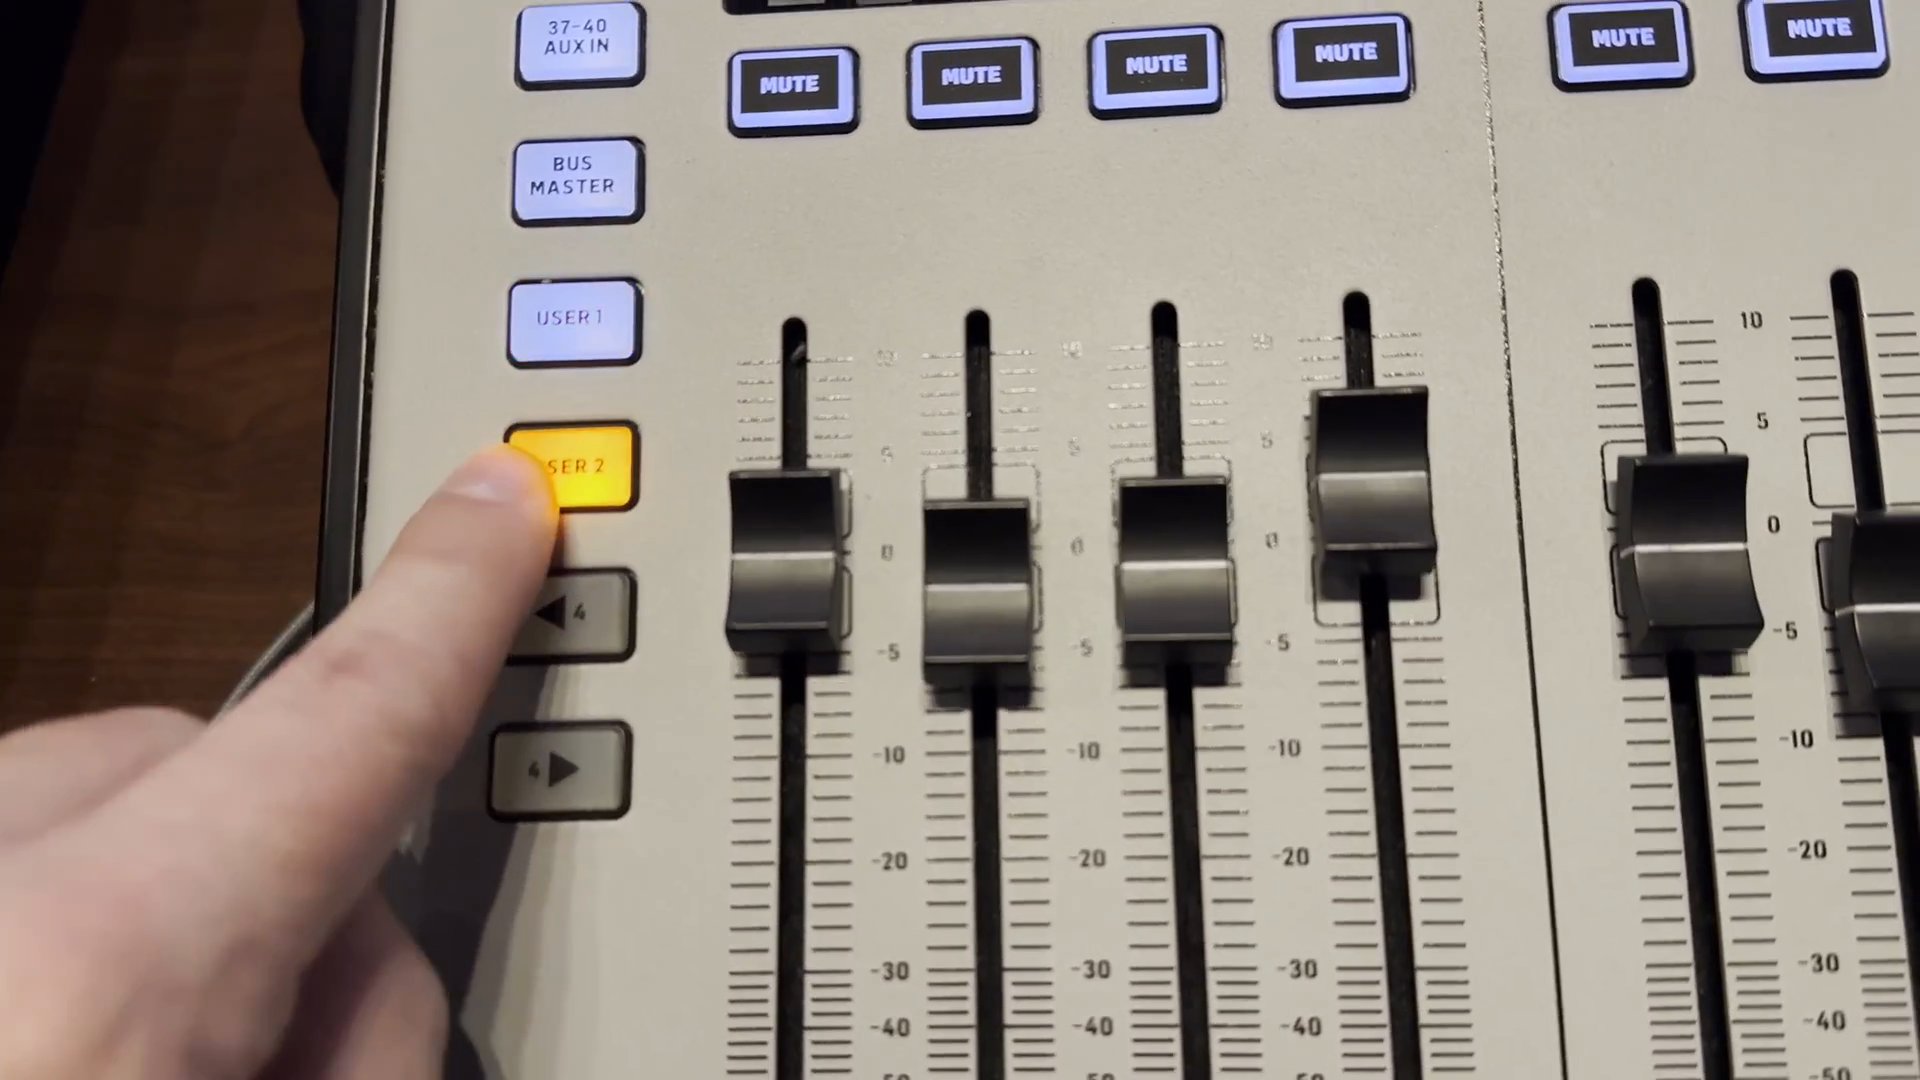
I may not need to unmute them now, but I might need to unmute them when they're ready to be used.

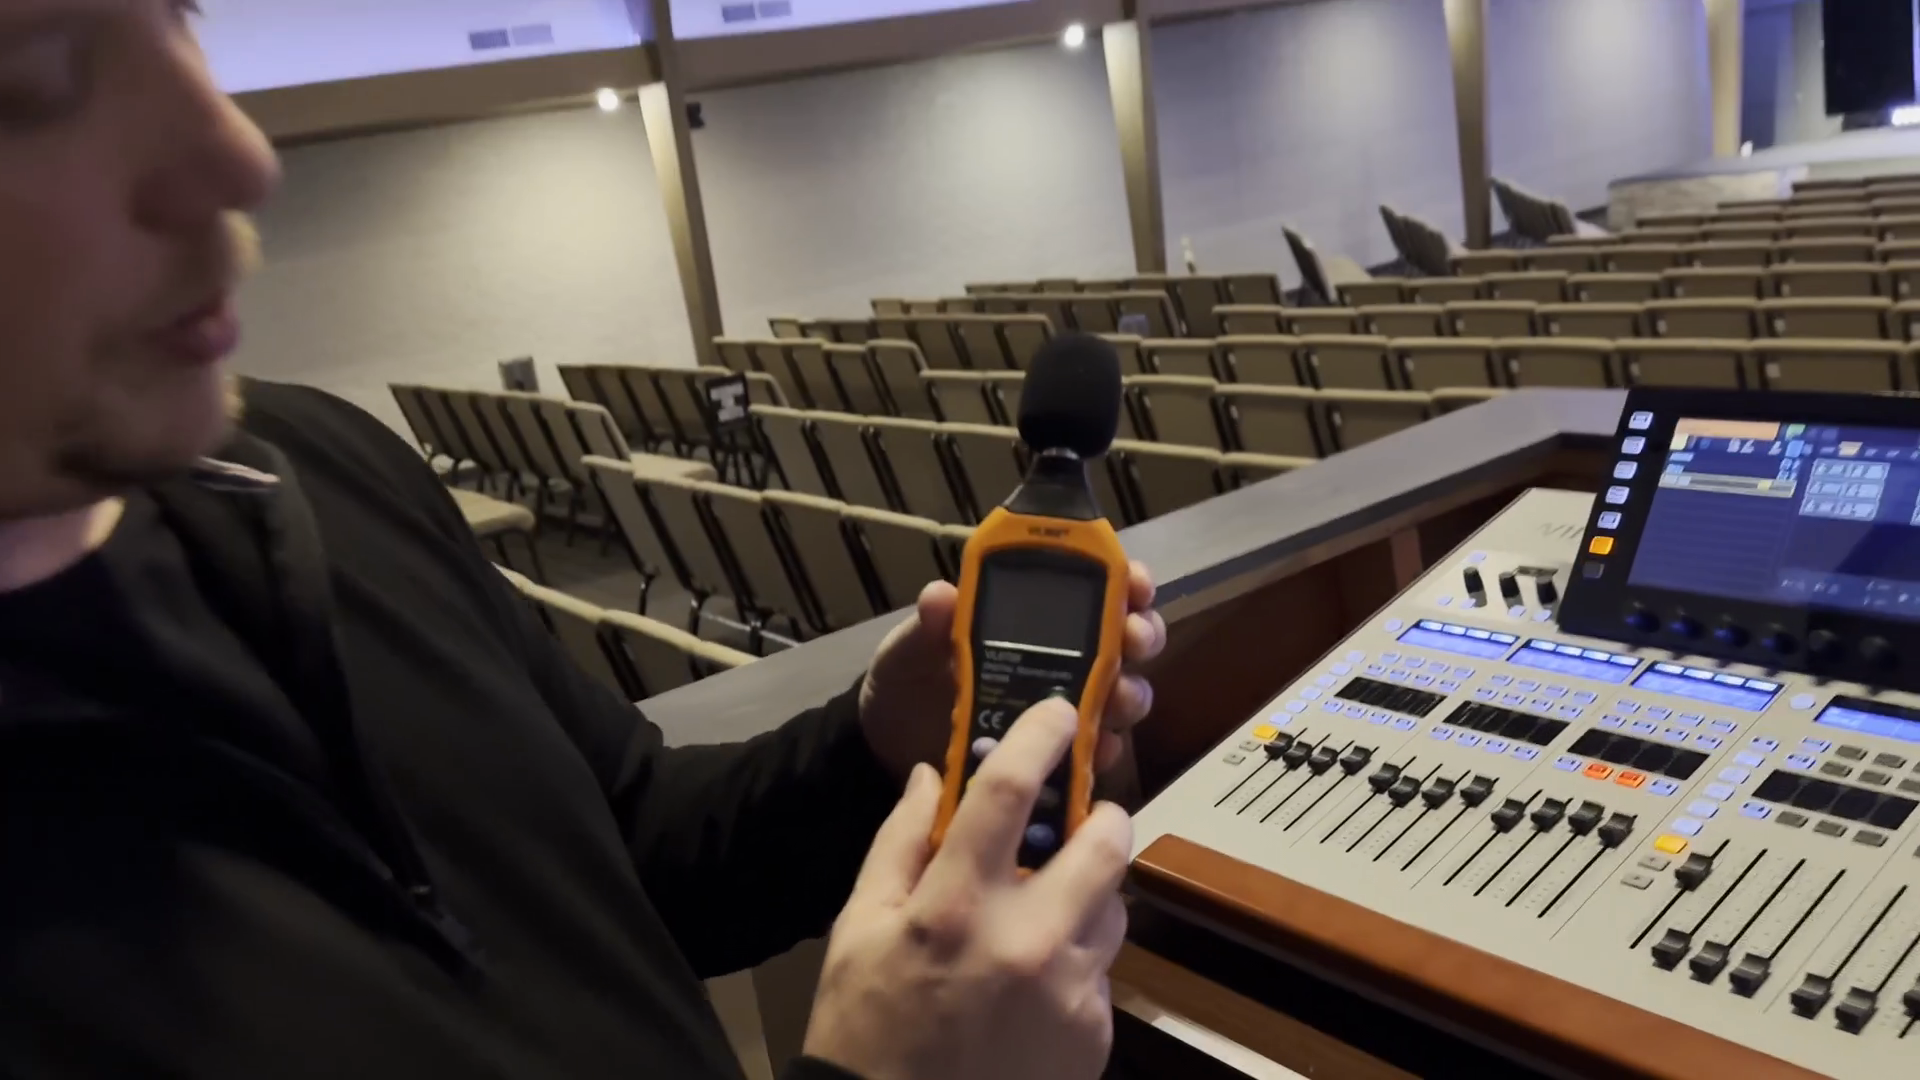
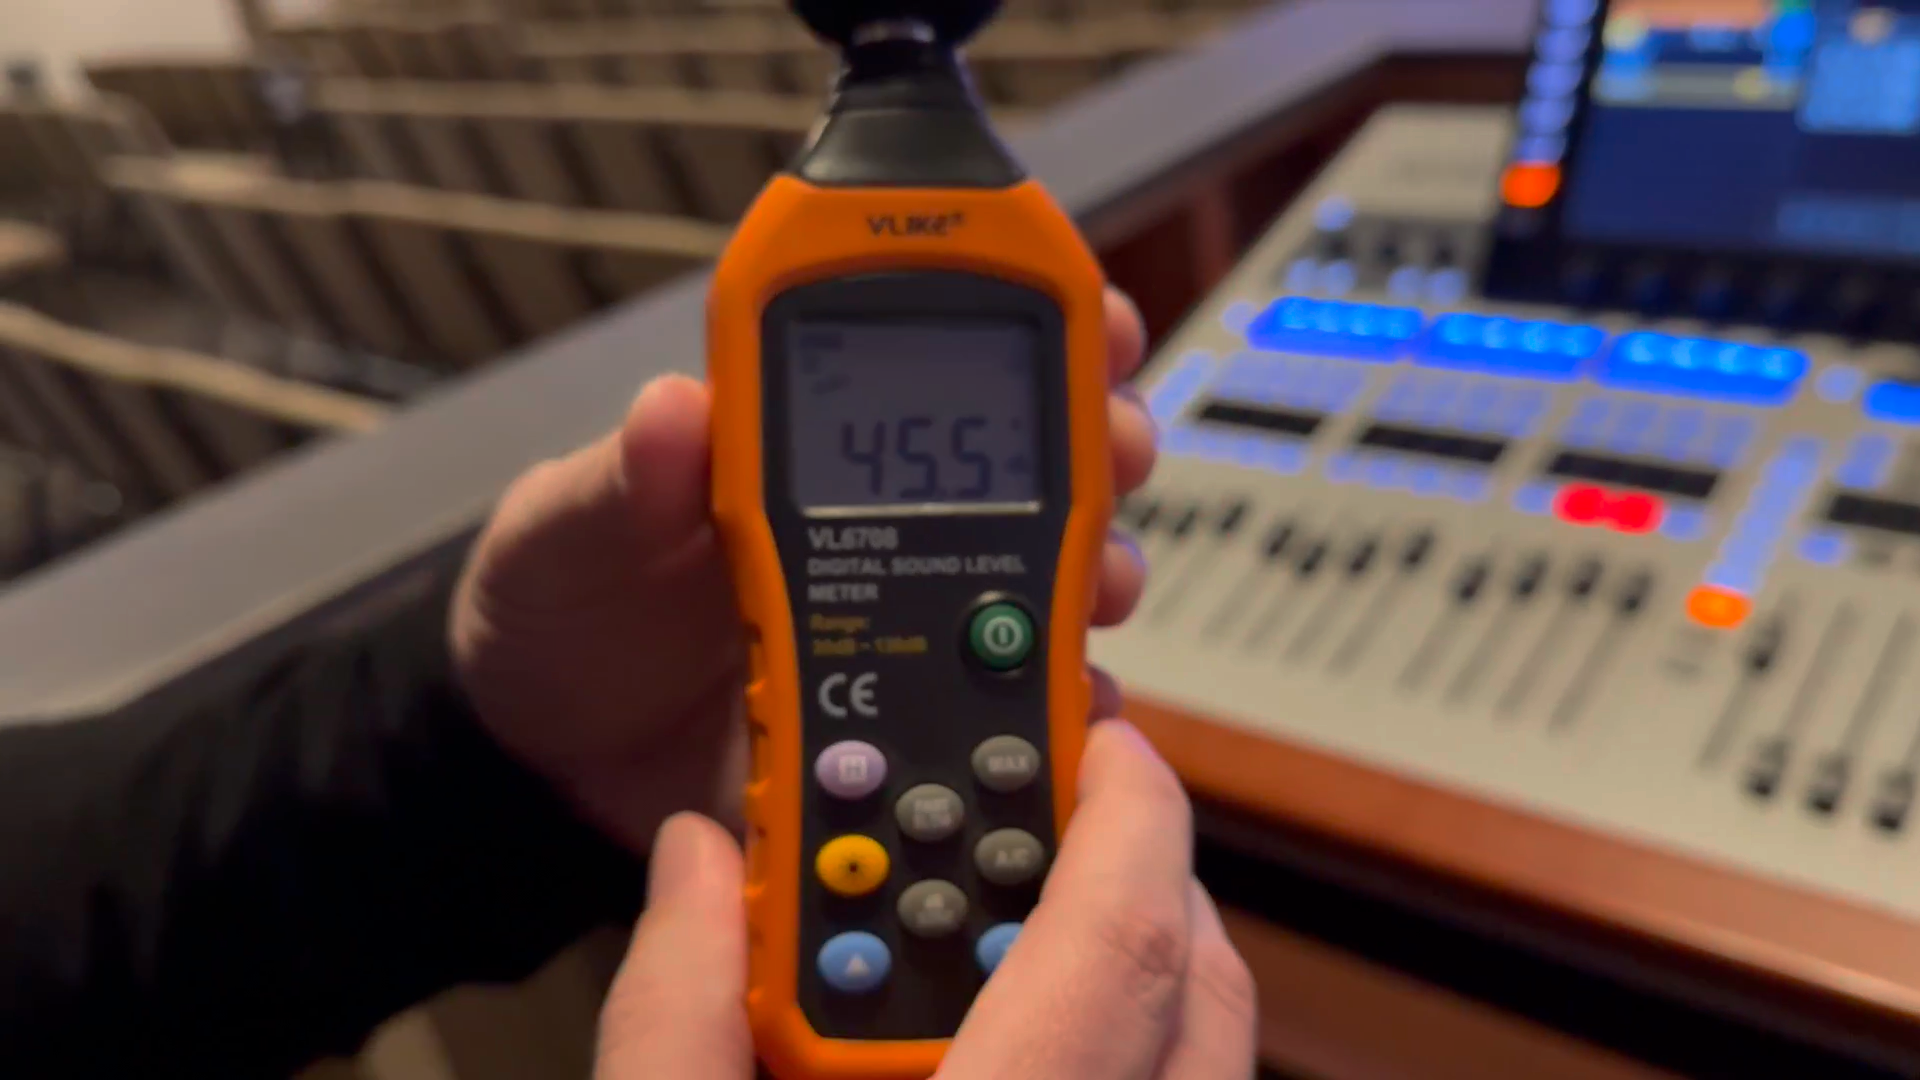
If it peaks below 87, it's probably not loud enough in the house.
I'll keep the sound meter near the top left of the soundboard area and check it regularly to ensure the volume is neither too loud nor too quiet.
If we're too quiet, the mix will be muddy. It won't sound great. If it's too loud, it will hurt people's ears, and we don't want that.
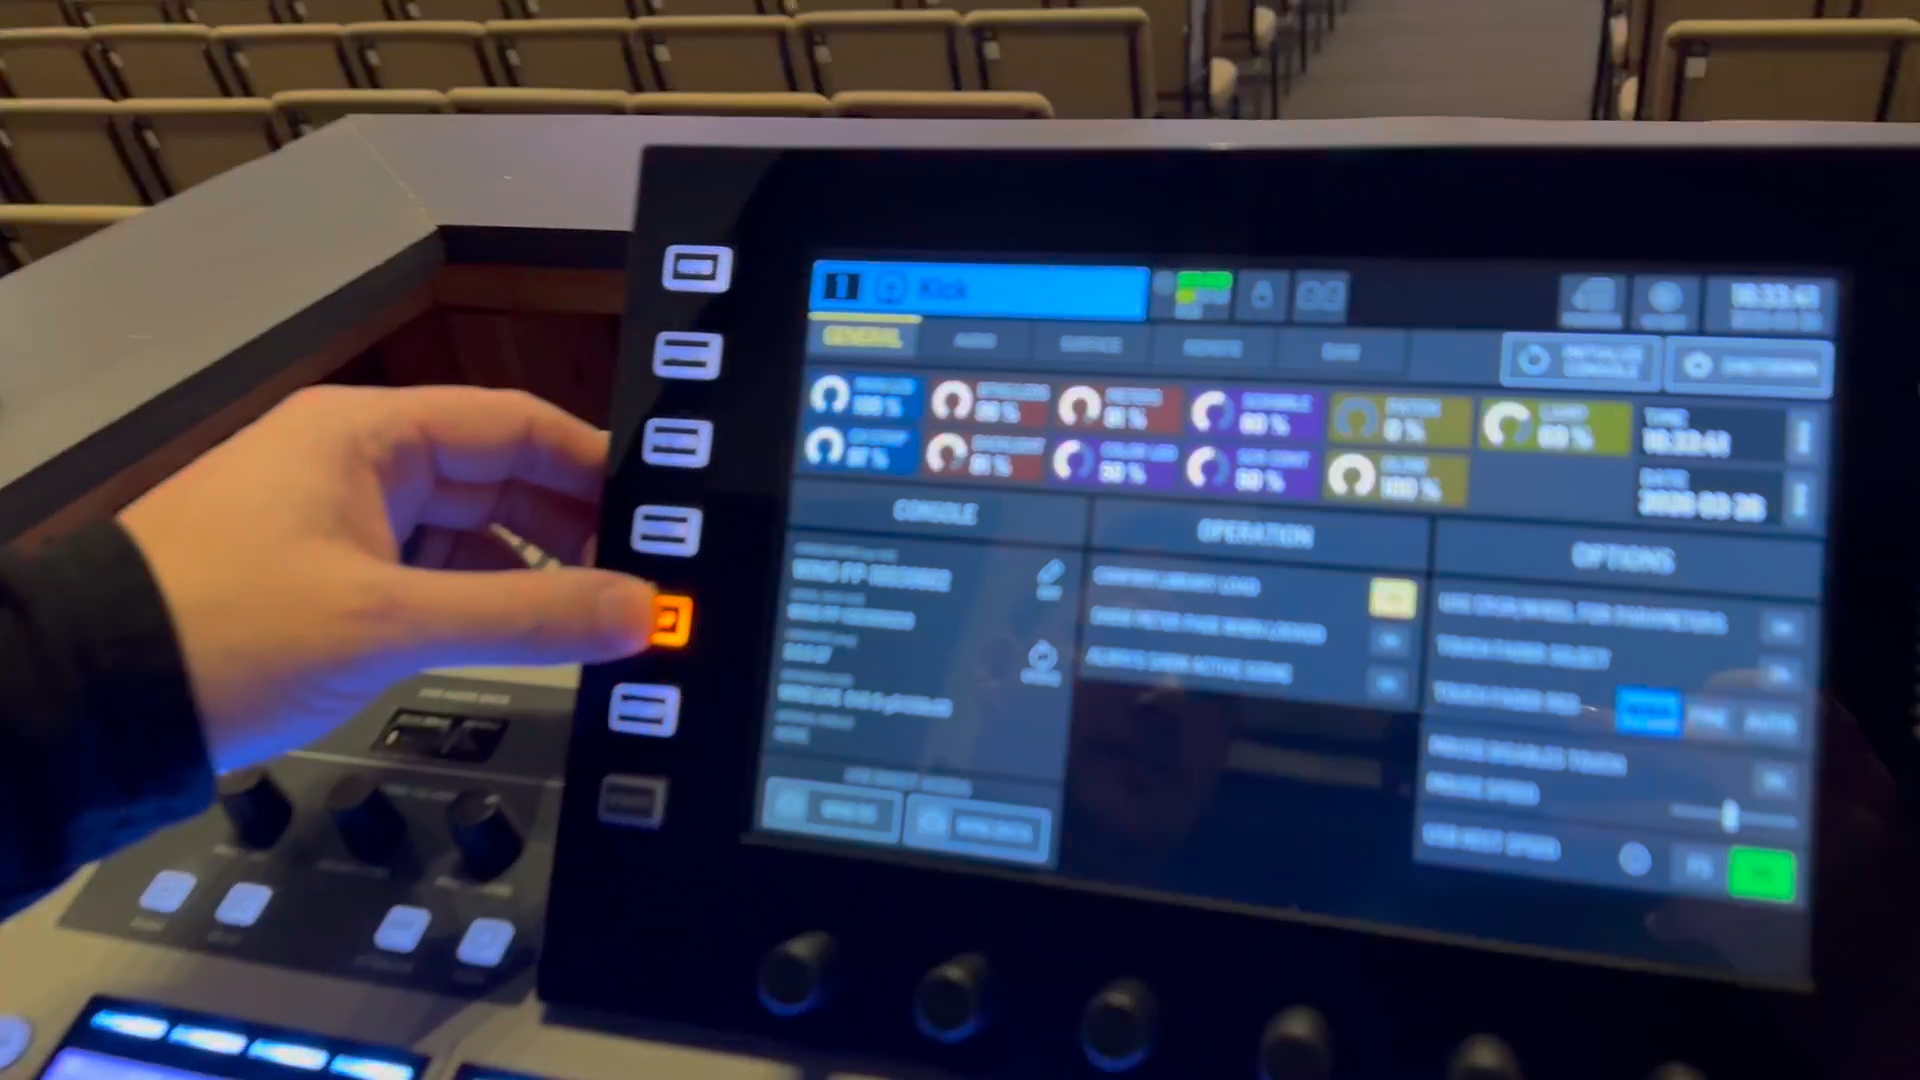
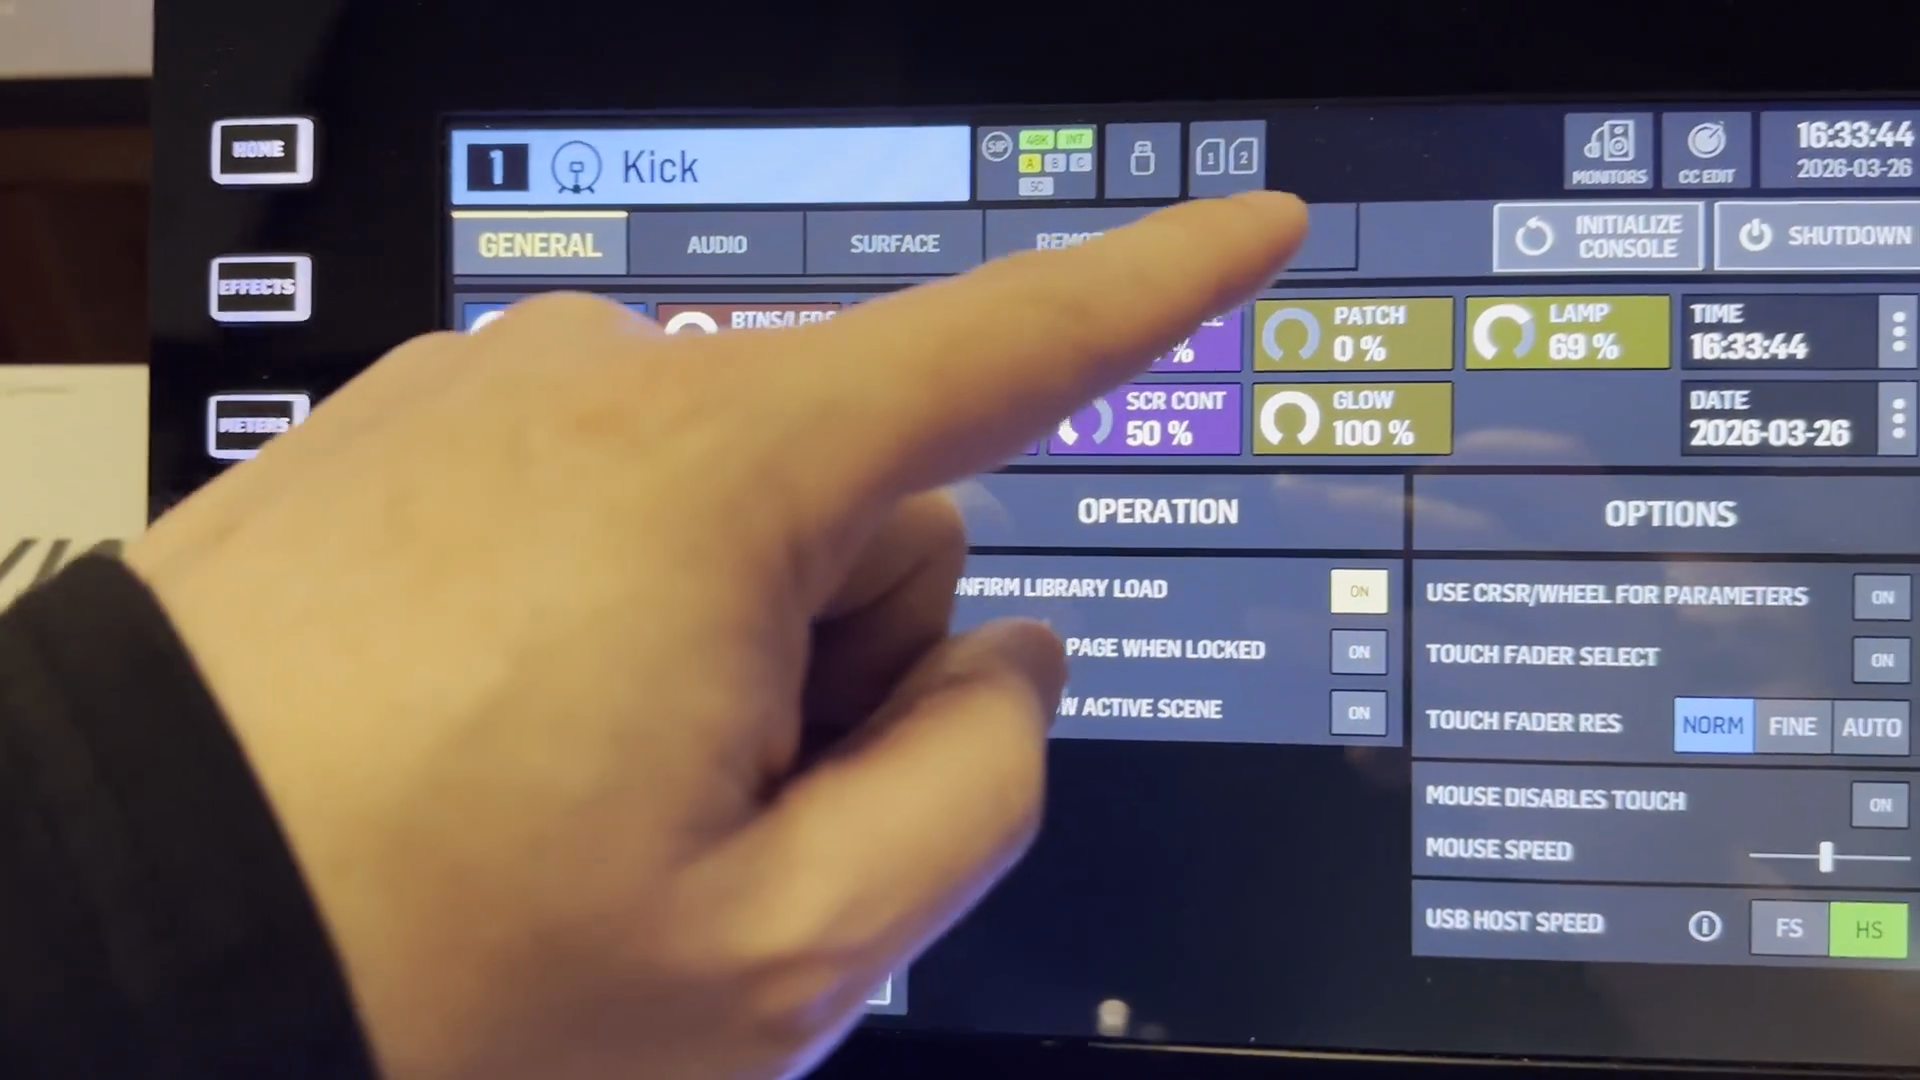
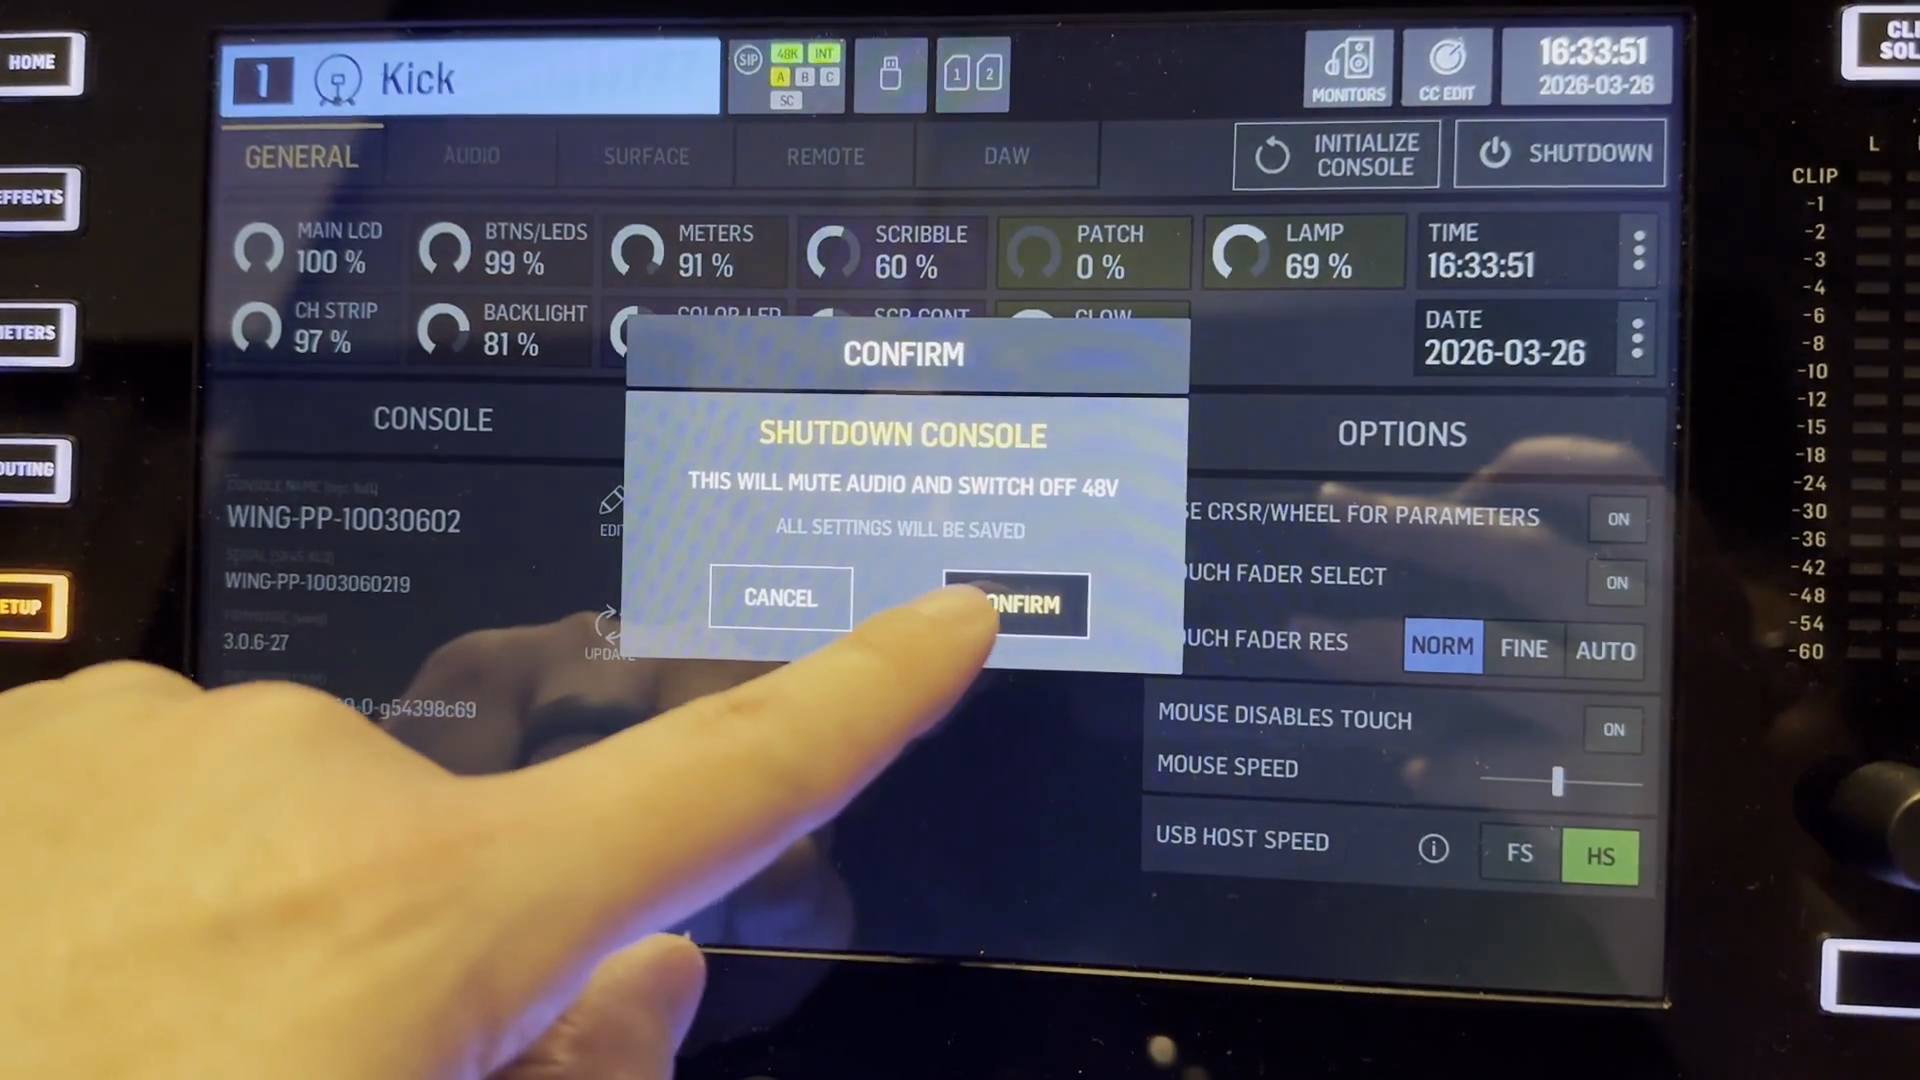
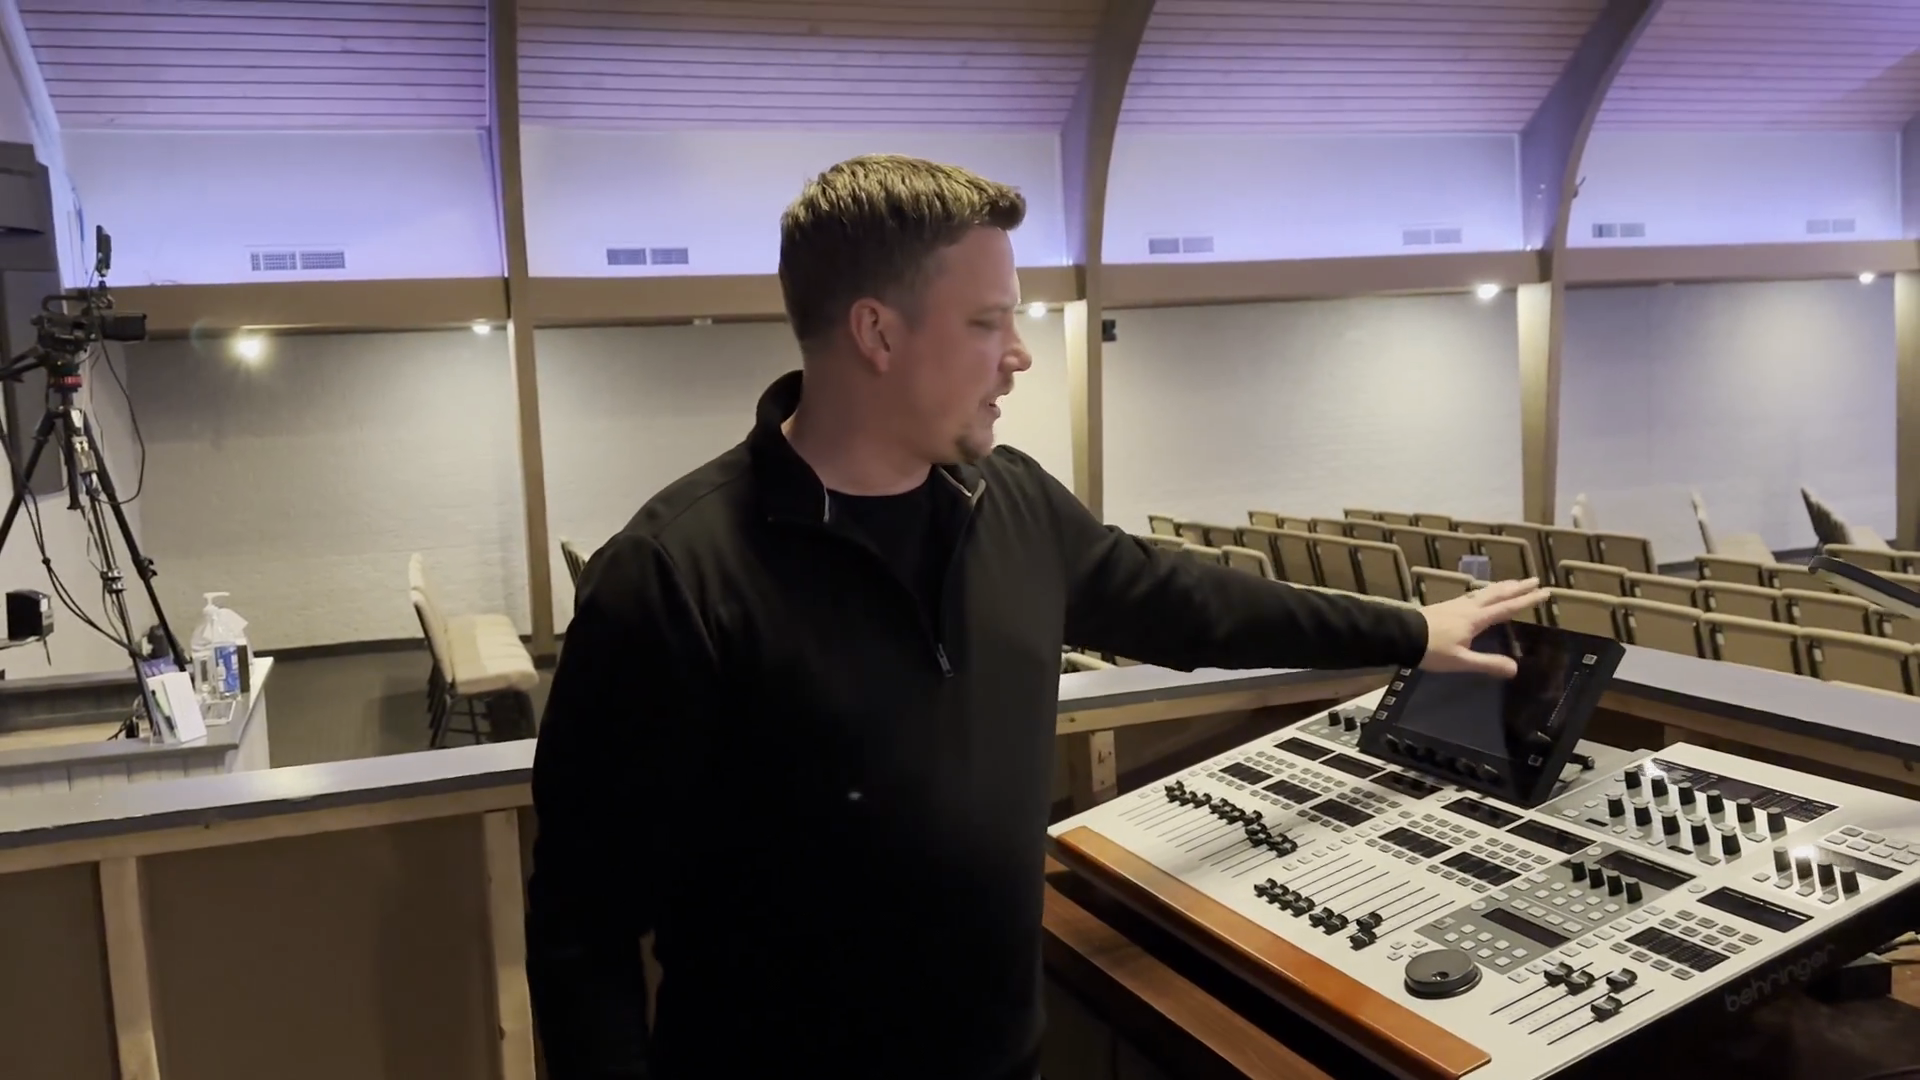
It is now safe to turn off the console.
Finally, to prevent dust from settling on the faders, replace the cover over the sound board.