MDWK Setup - Banquet Room

Step-by-step guide for setting up and shutting down the computer, sound system, TVs, microphones, and lighting for Wednesday night teaching sessions. Includes PowerPoint tips and troubleshooting advice.

By Chris Copeland

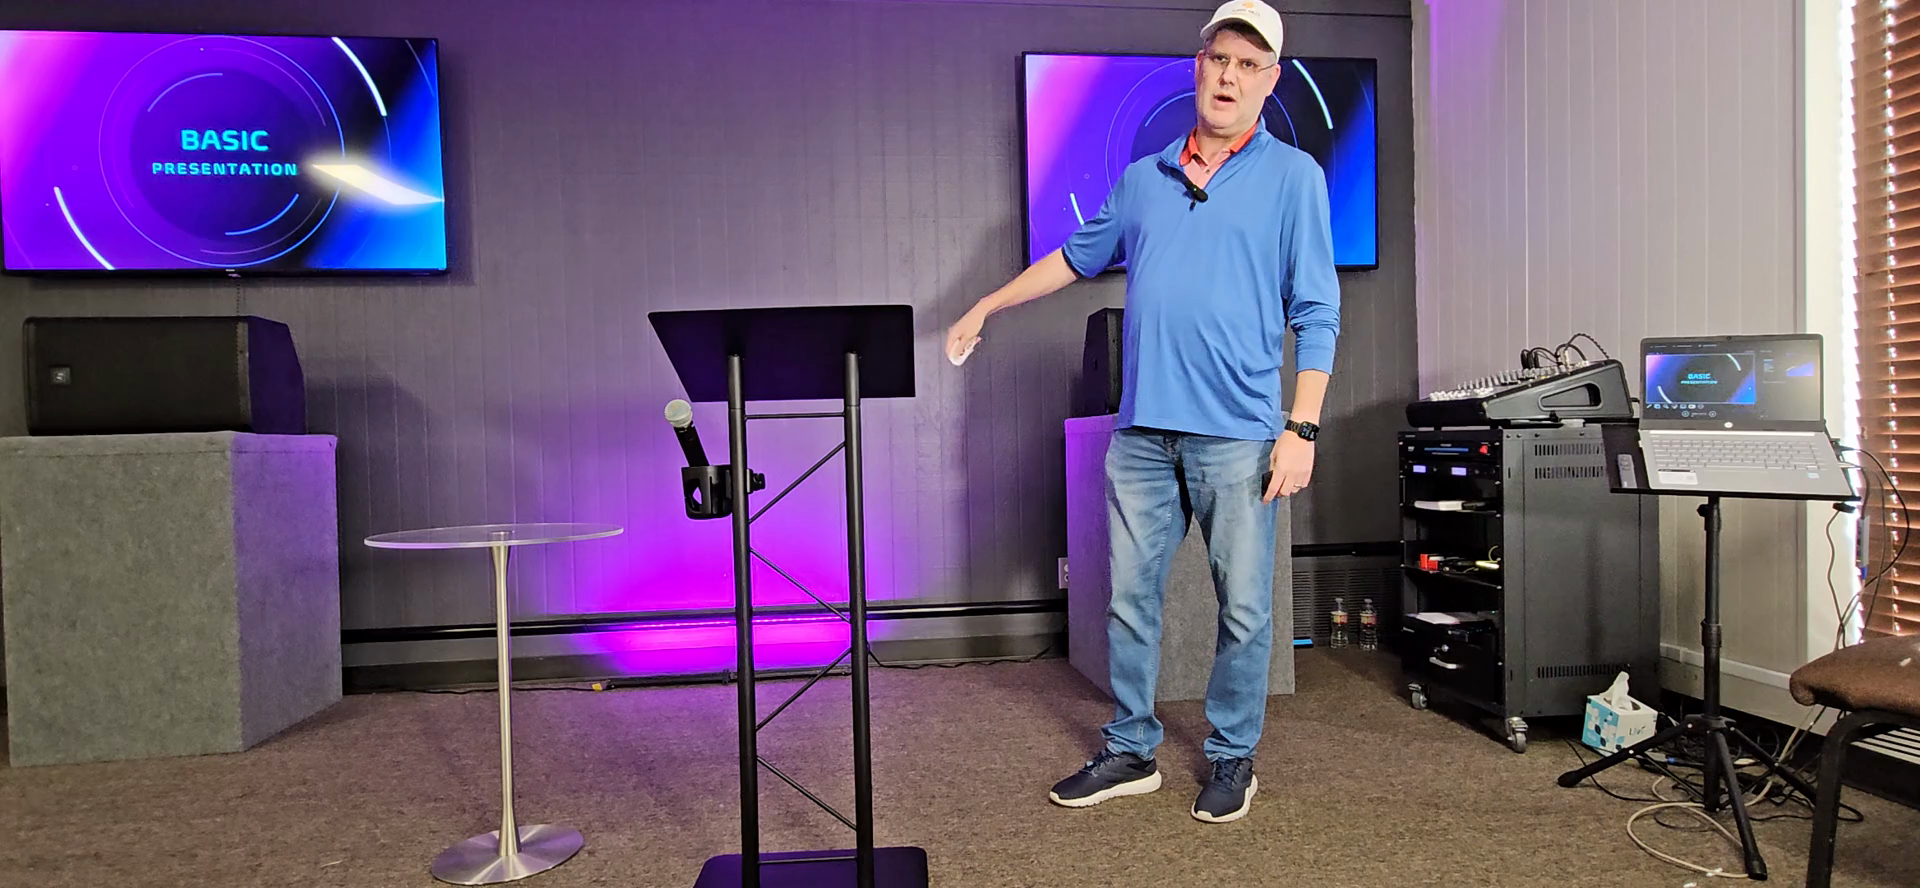
In this guide, we'll learn how to set up and shut down the equipment needed for teaching on Wednesday night. This includes turning on the Windows computer, operating the TVs and sound system, and managing the lighting for video recording. We will also cover how to properly close everything down after the session.

Let's get started

1
Turn on the computer by opening the lid.
Step #1: Turn on the computer by opening the lid.

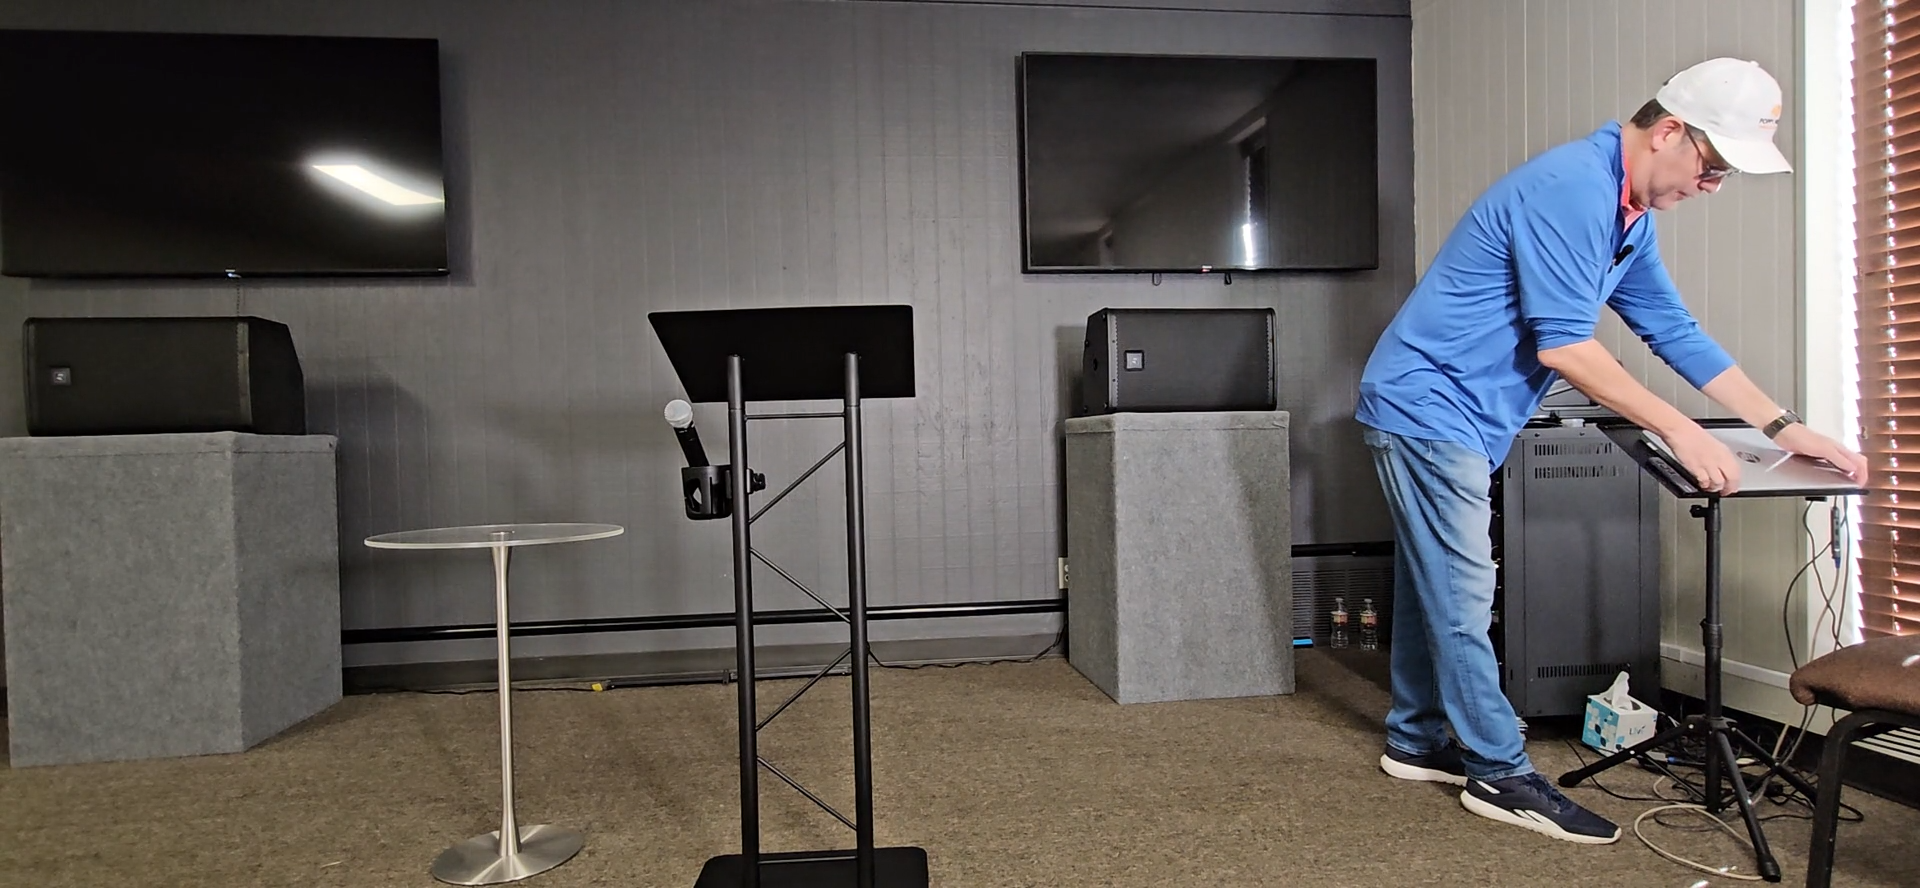
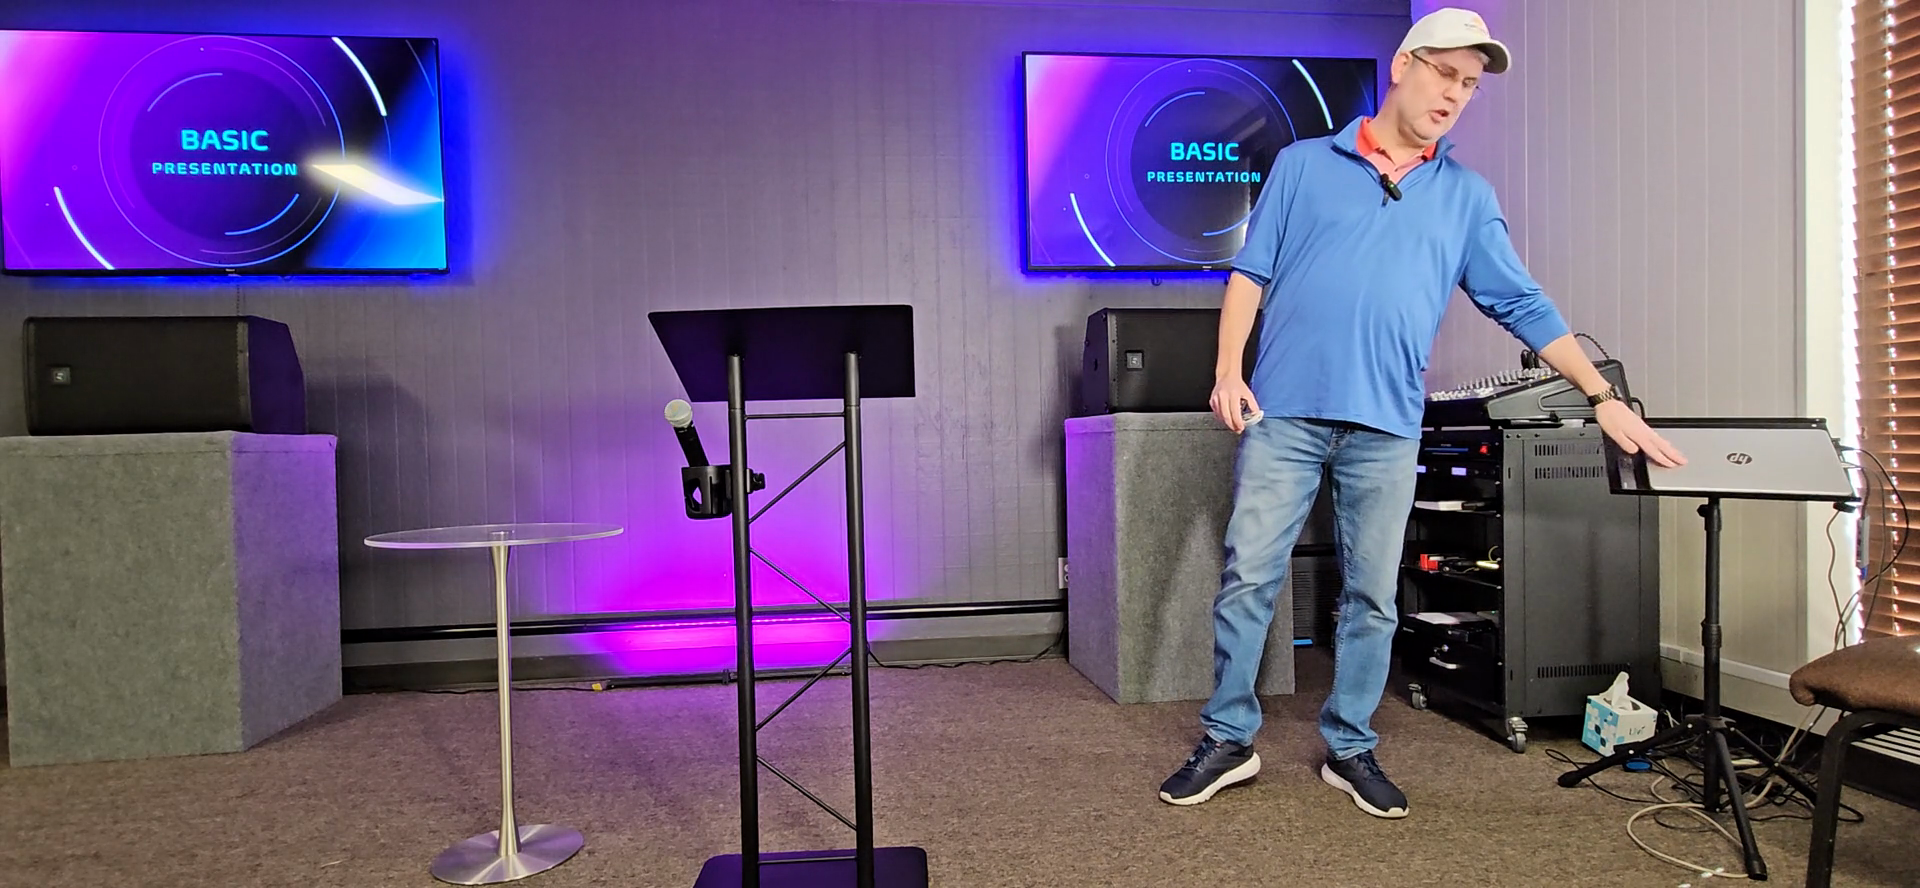
This is a Windows computer. If you have used a Windows computer or PowerPoint before, you should be familiar with how to operate it.

2
Press the spacebar to bring up the login screen.
3
Enter the pin '301301'.

PowerPoint is usually open for you.

4
Locate the remote next to the soundboard or by the speaker.

This remote has "Hisense" written at the bottom.

5
Aim the remote at each TV and press the power button to turn them on.
Step #5: Aim the remote at each TV and press the power button to turn them on.

You should see the computer's backdrop.

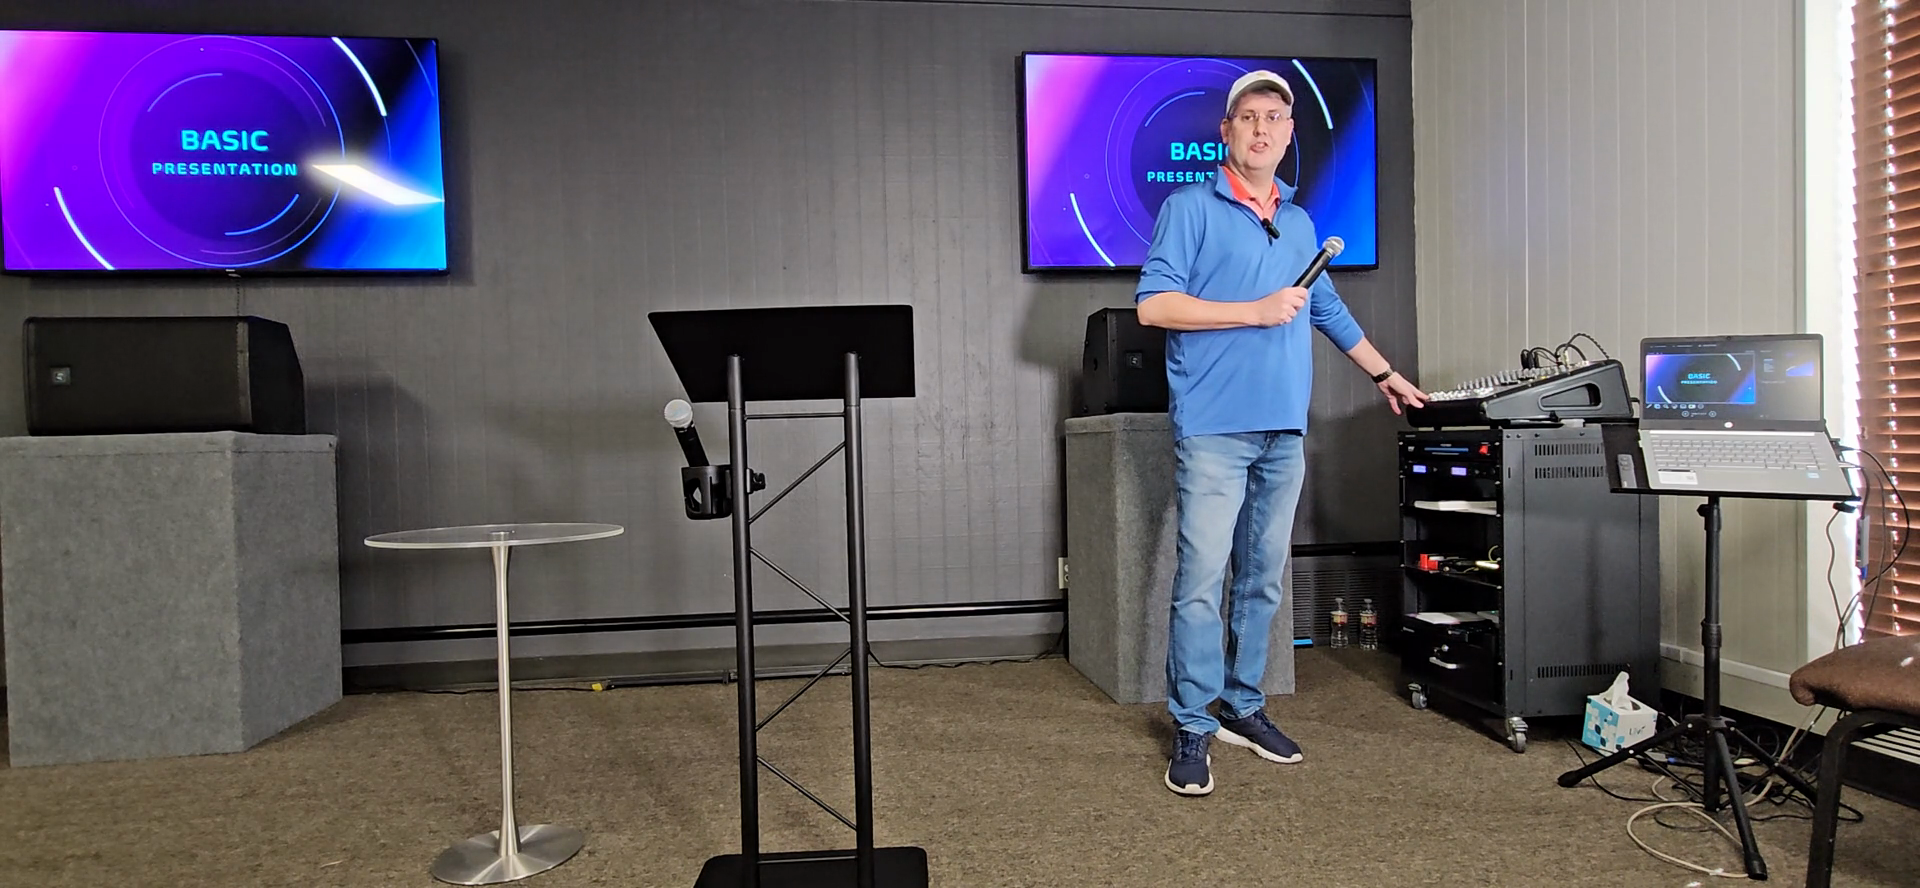
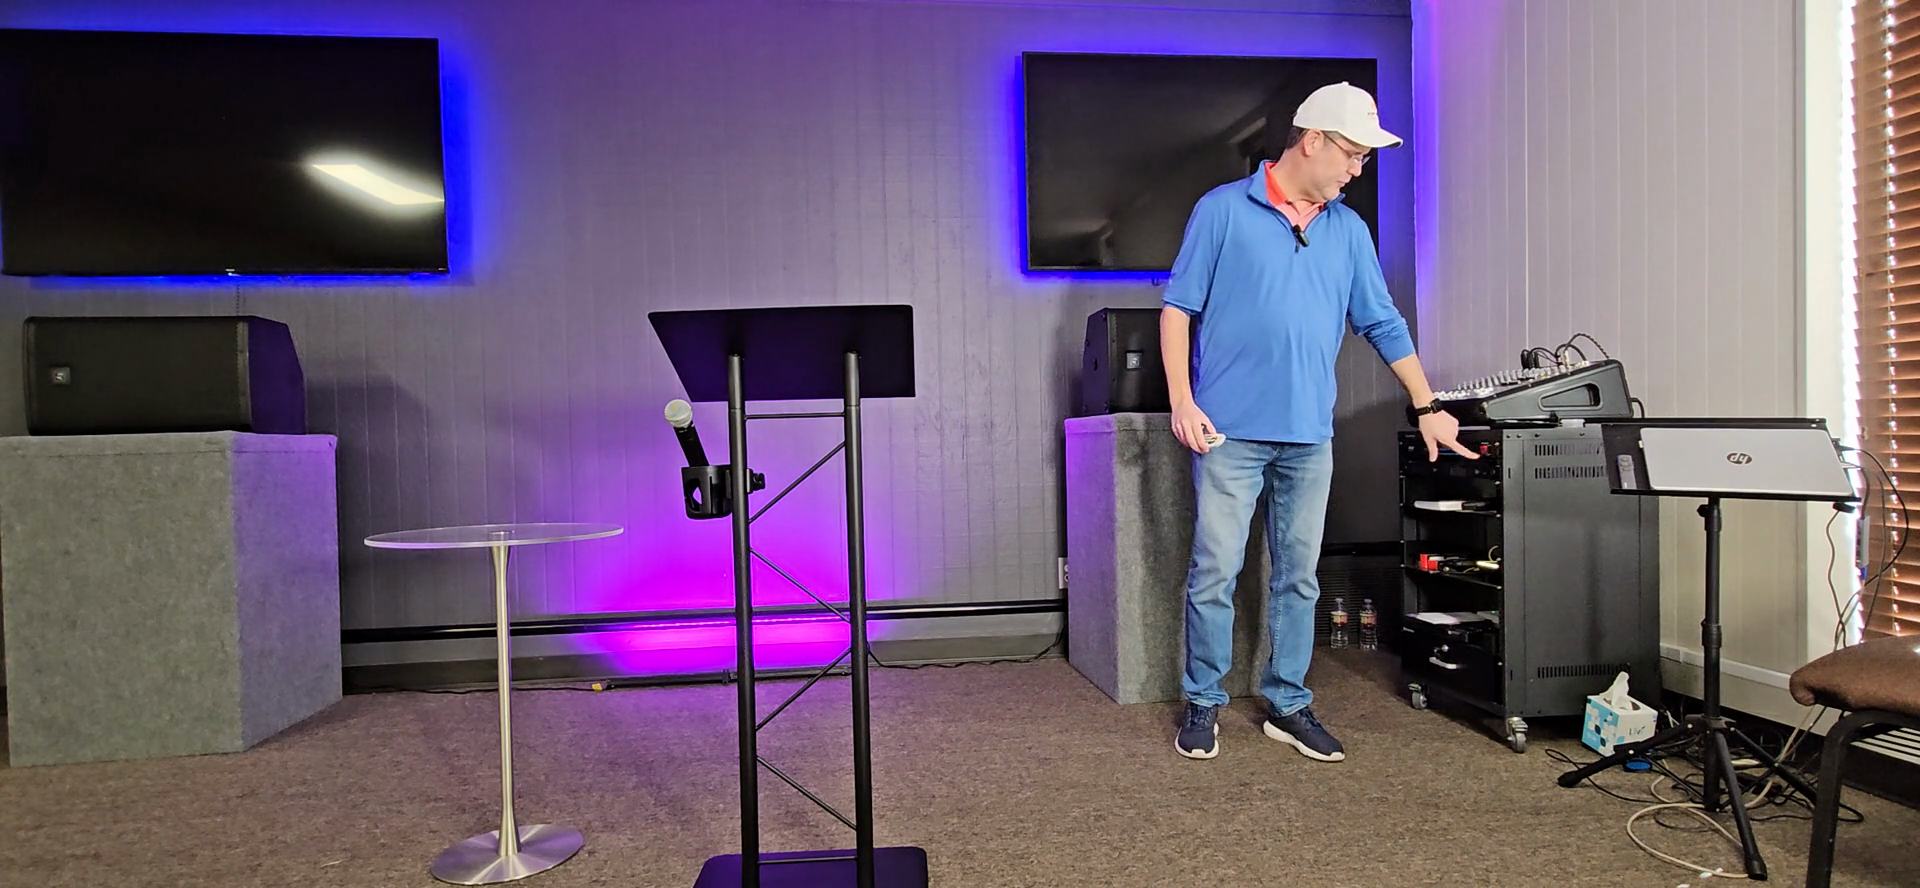
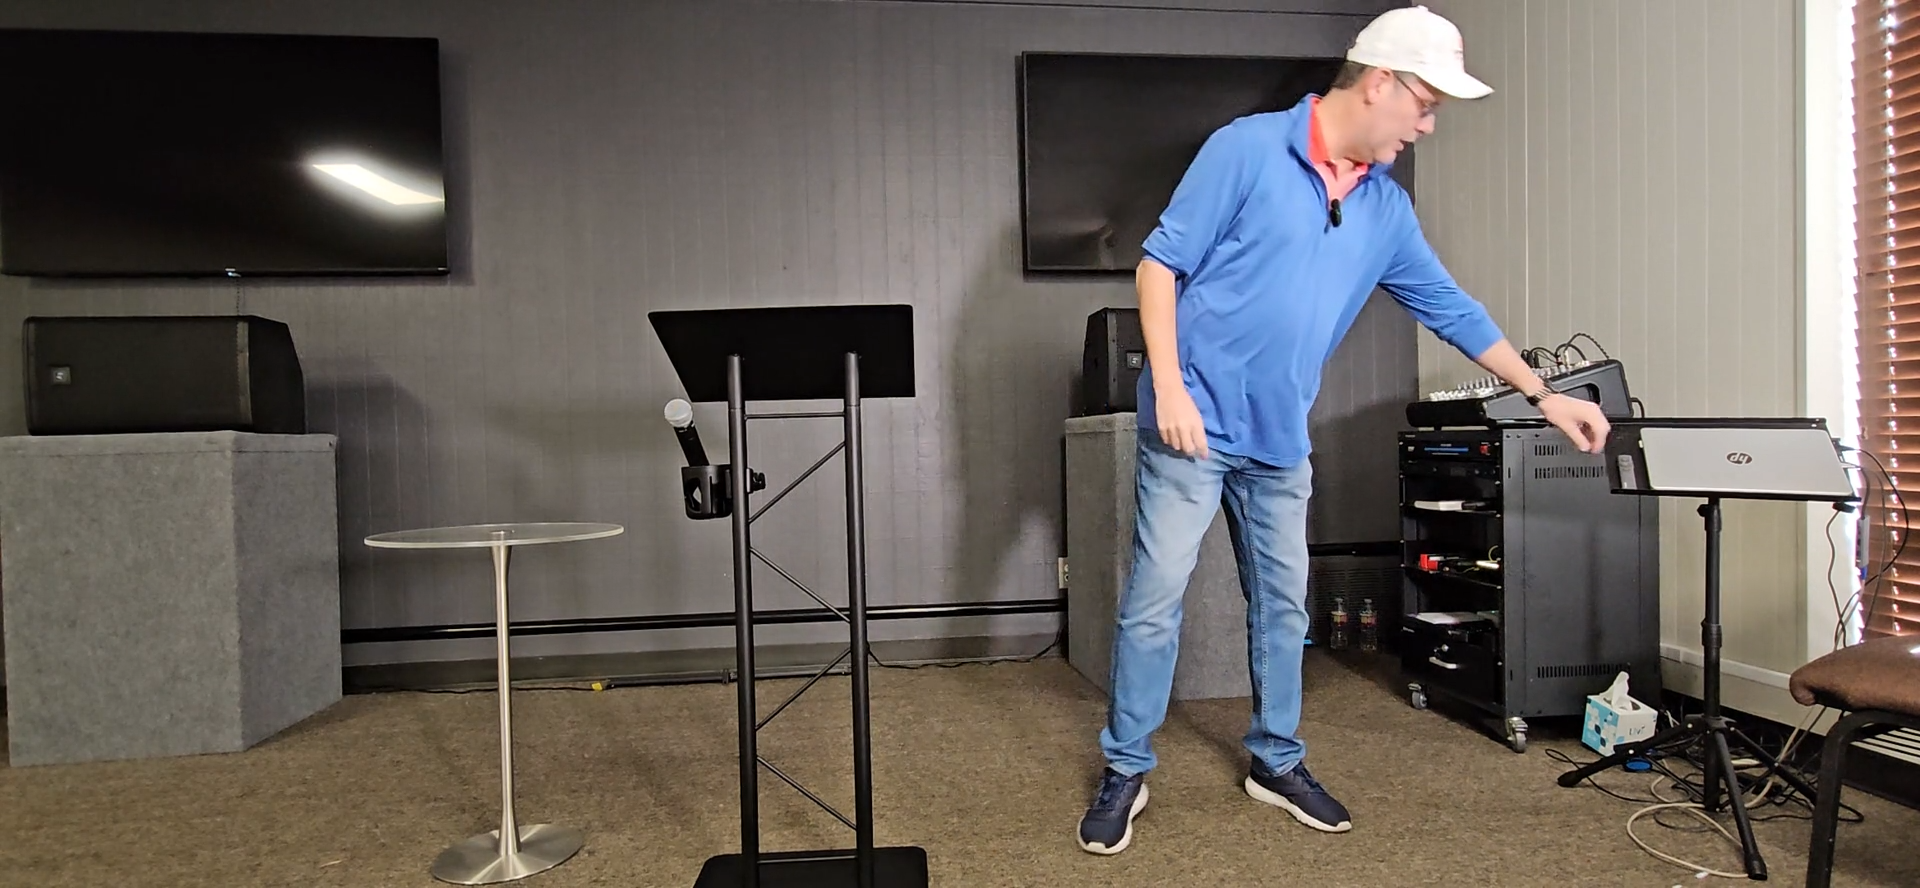
For sound, there is a red power button and a power switch in the top-right corner.

6
Flip the red power switch in the top right corner of the sound rack up.
Step #6: Flip the red power switch in the top right corner of the sound rack up.

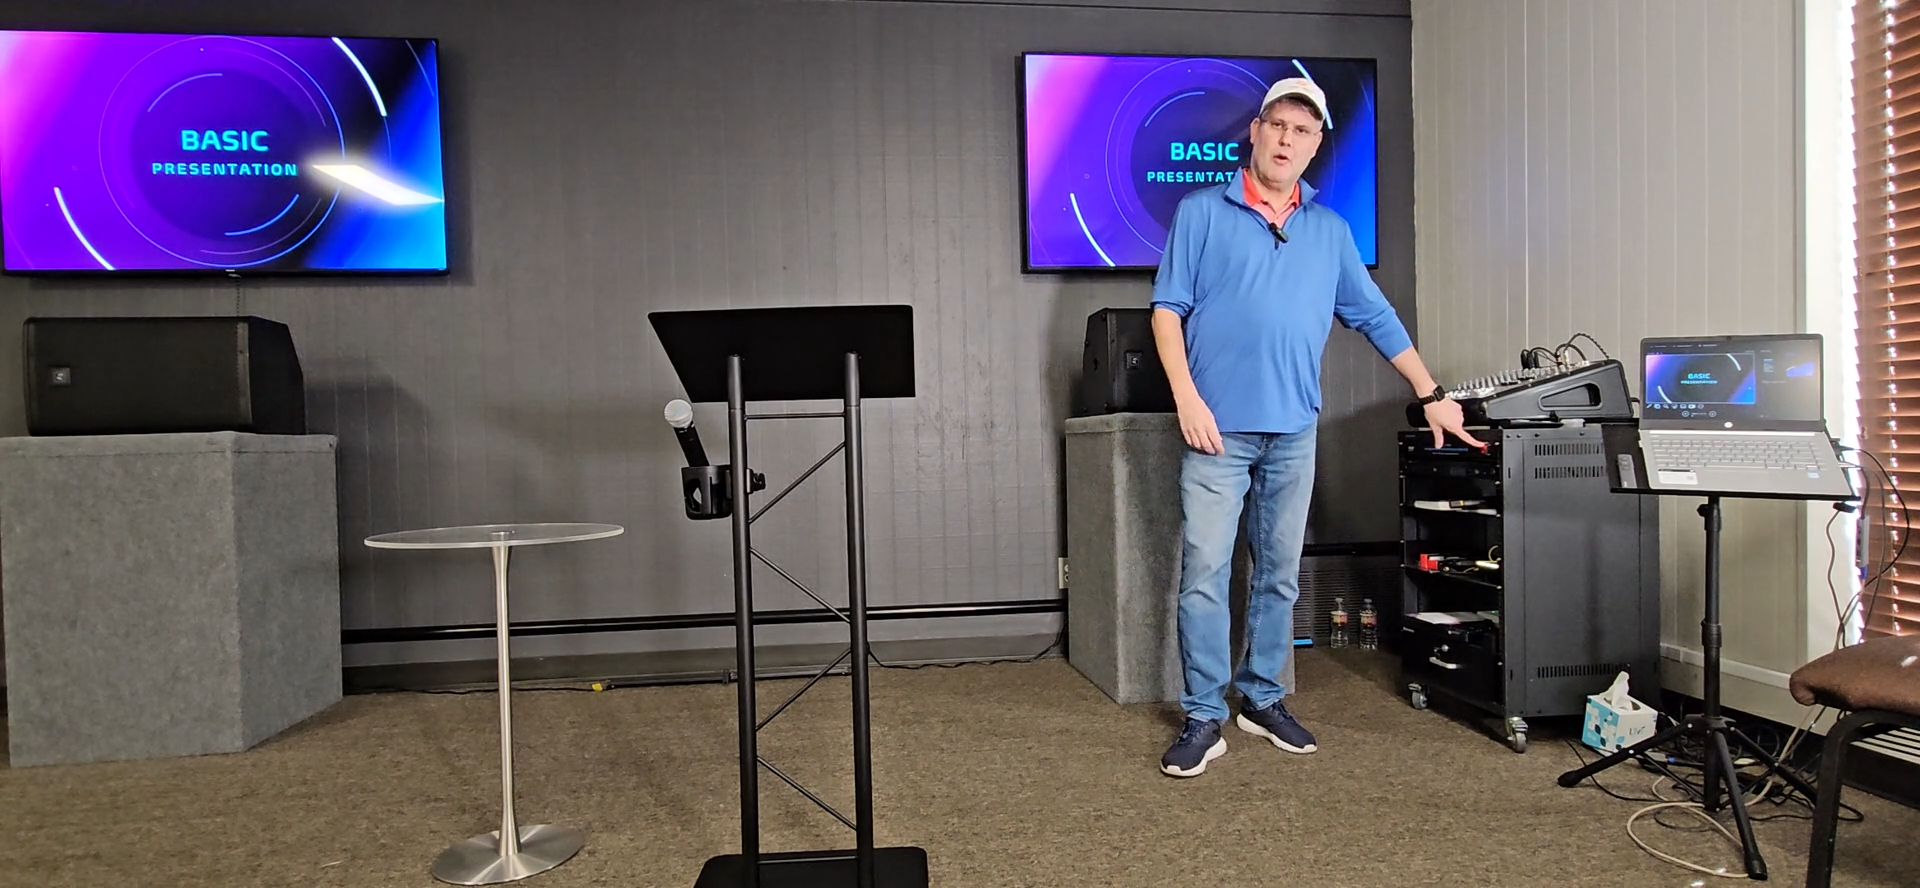
Turn that up. When you flip it up, the red light on the switch will turn on. The soundboard should stay on and light up. Everything is ready to go.

7
Grab one of the handheld microphones from the rack.
Step #7: Grab one of the handheld microphones from the rack.

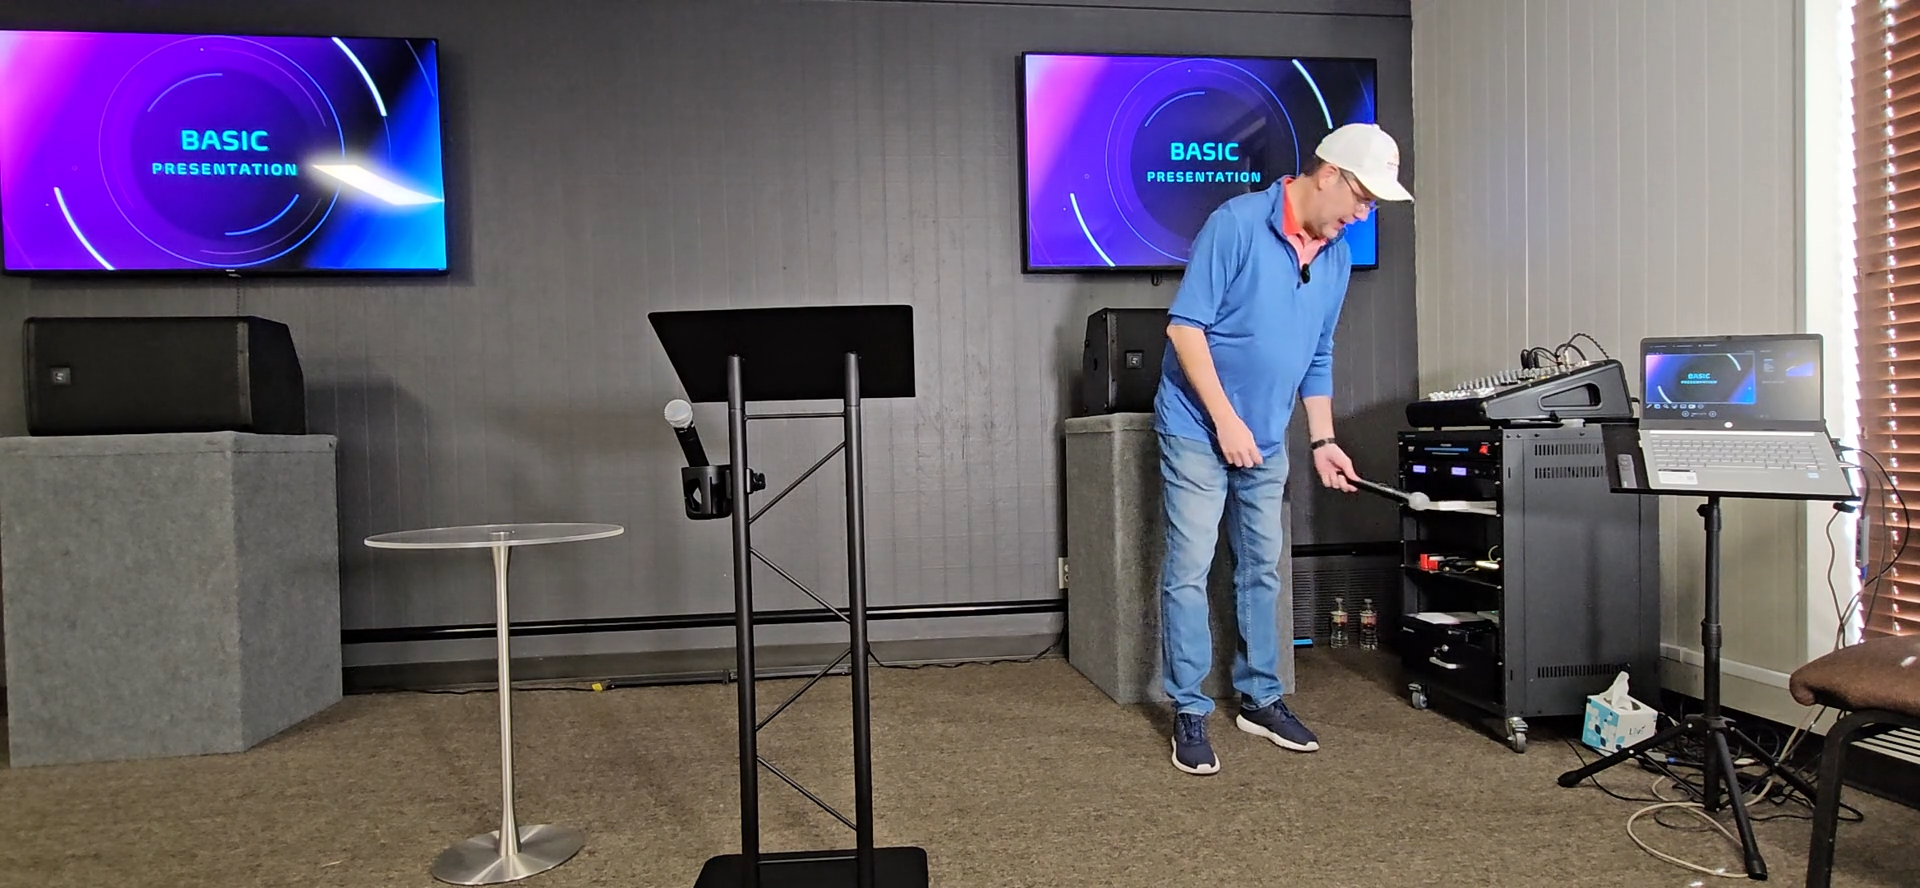
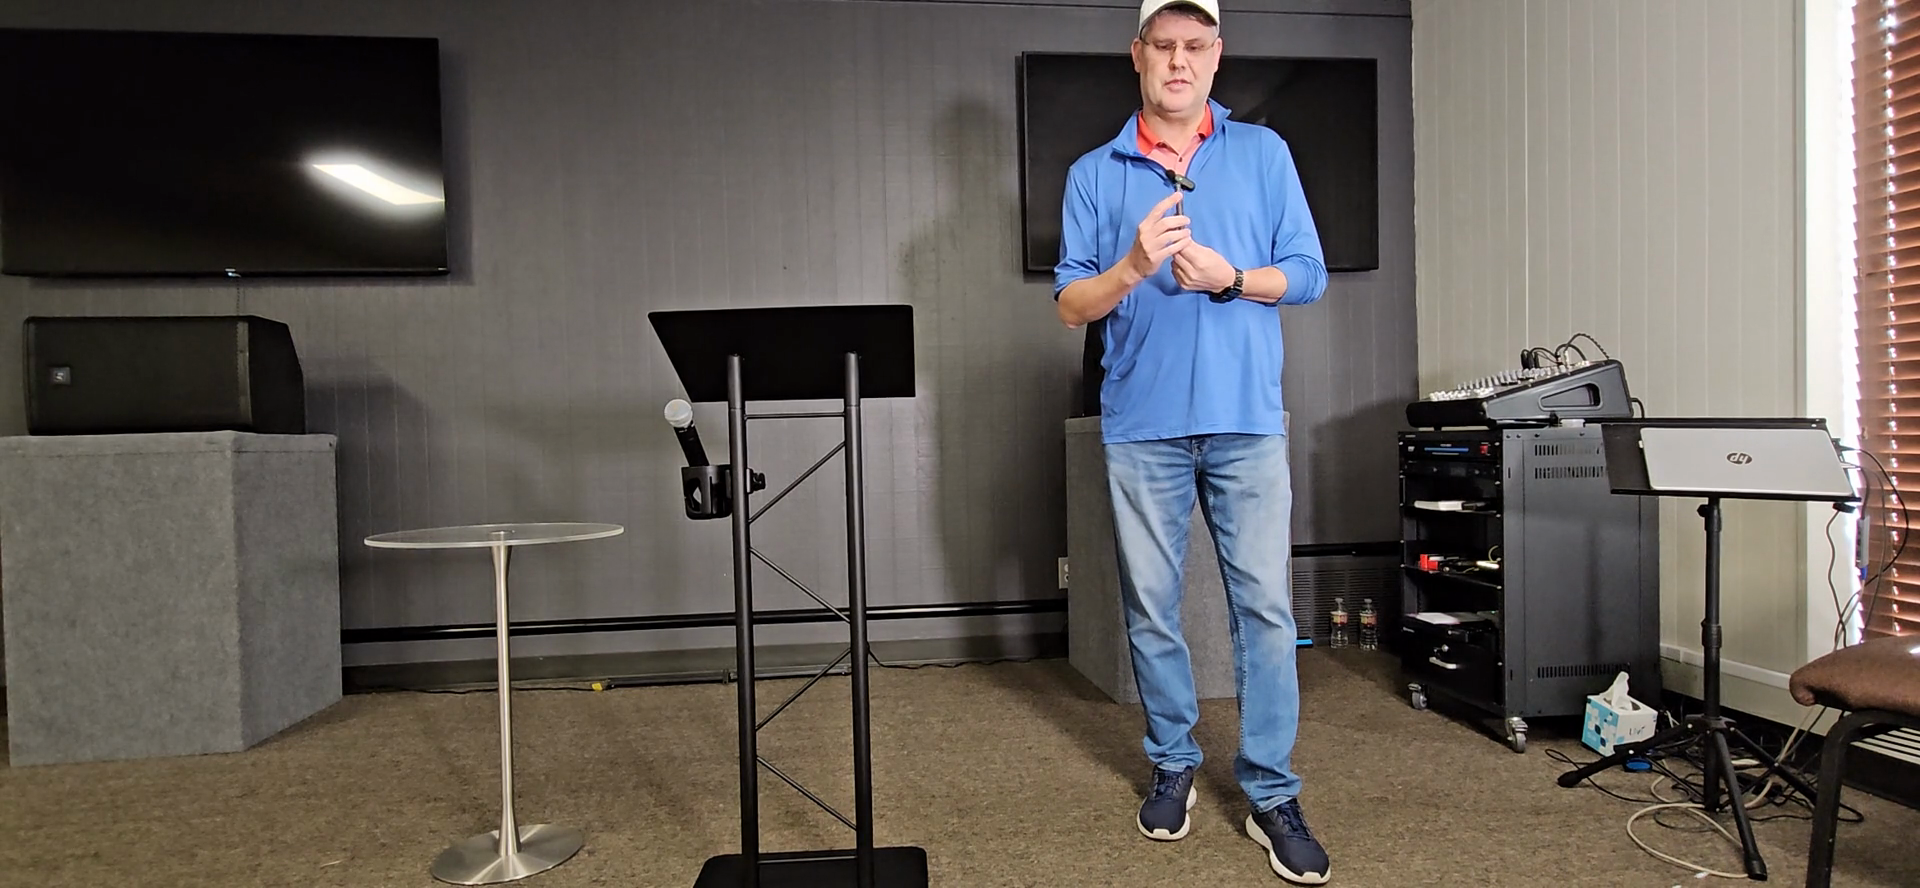
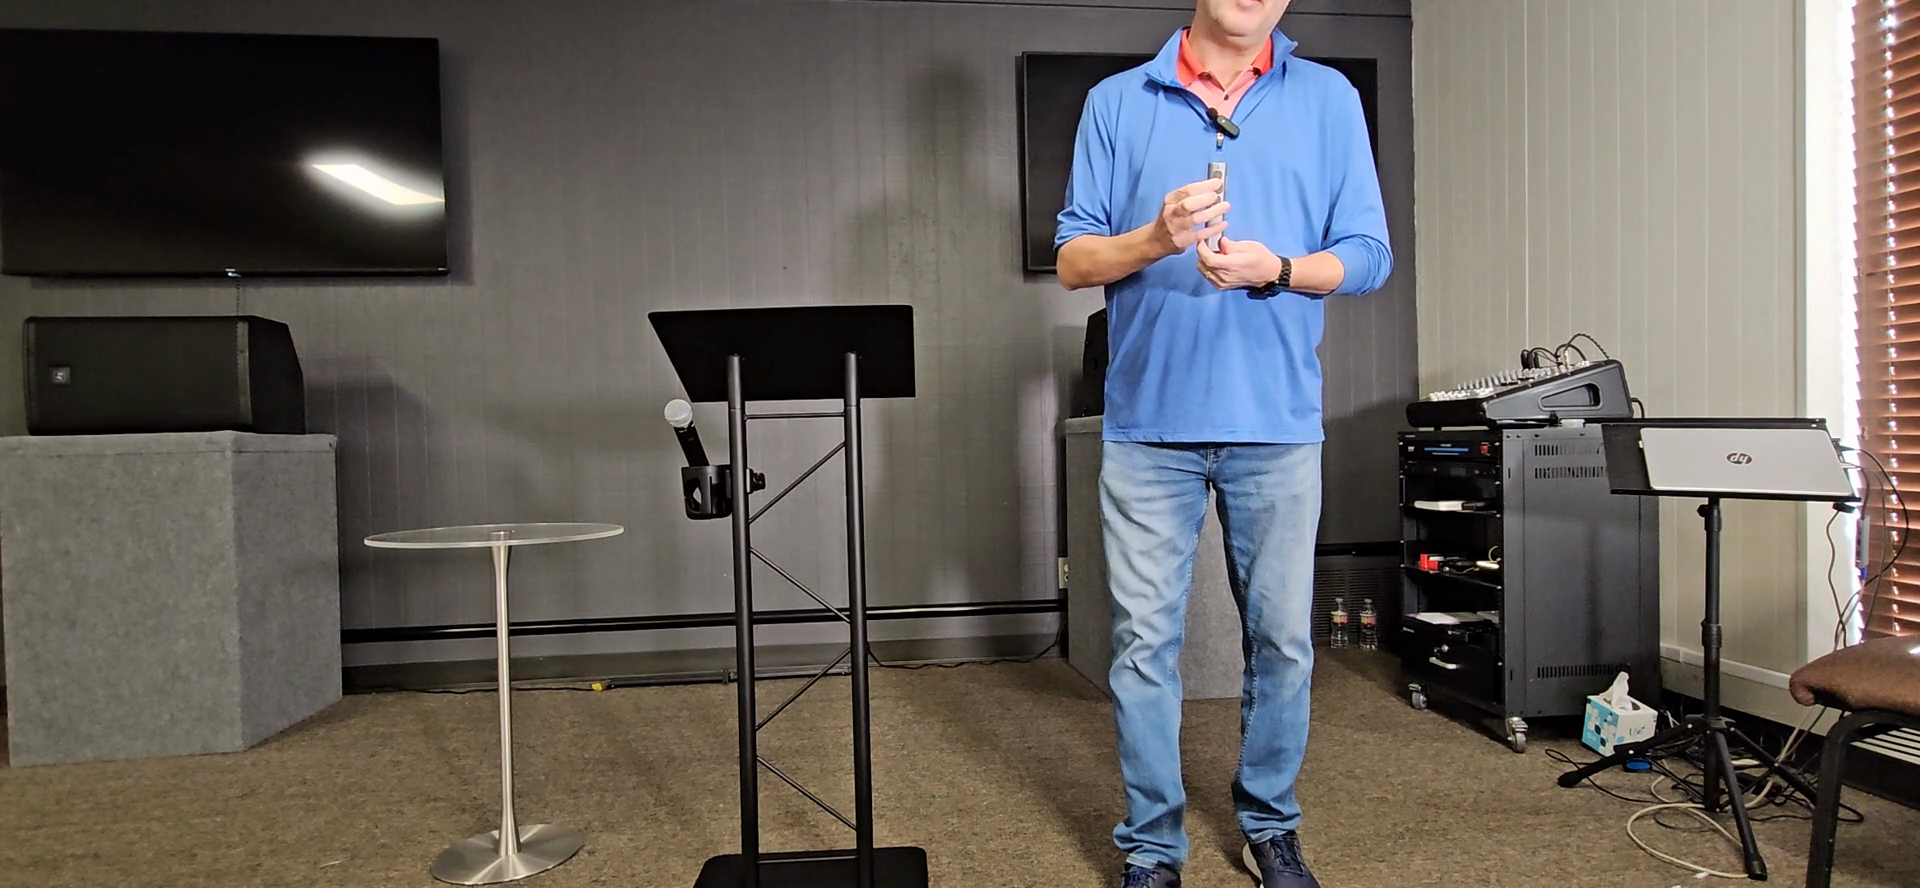
There is also a body pack with a headset if you prefer. Push the switch to the right.

8
Push the switch on the microphone to the right to turn it on.
Step #8: Push the switch on the microphone to the right to turn it on.

That will power on the handheld mic. There are left and right main.

9
On the audio mixer, raise the 'Left' and 'Right Main' faders to about three-quarters of the way up.
Step #9: On the audio mixer, raise the 'Left' and 'Right Main' faders to about three-quarters of the way up.
10
Slide the 'FX' (Effects) fader all the way down.
Step #10: Slide the 'FX' (Effects) fader all the way down.

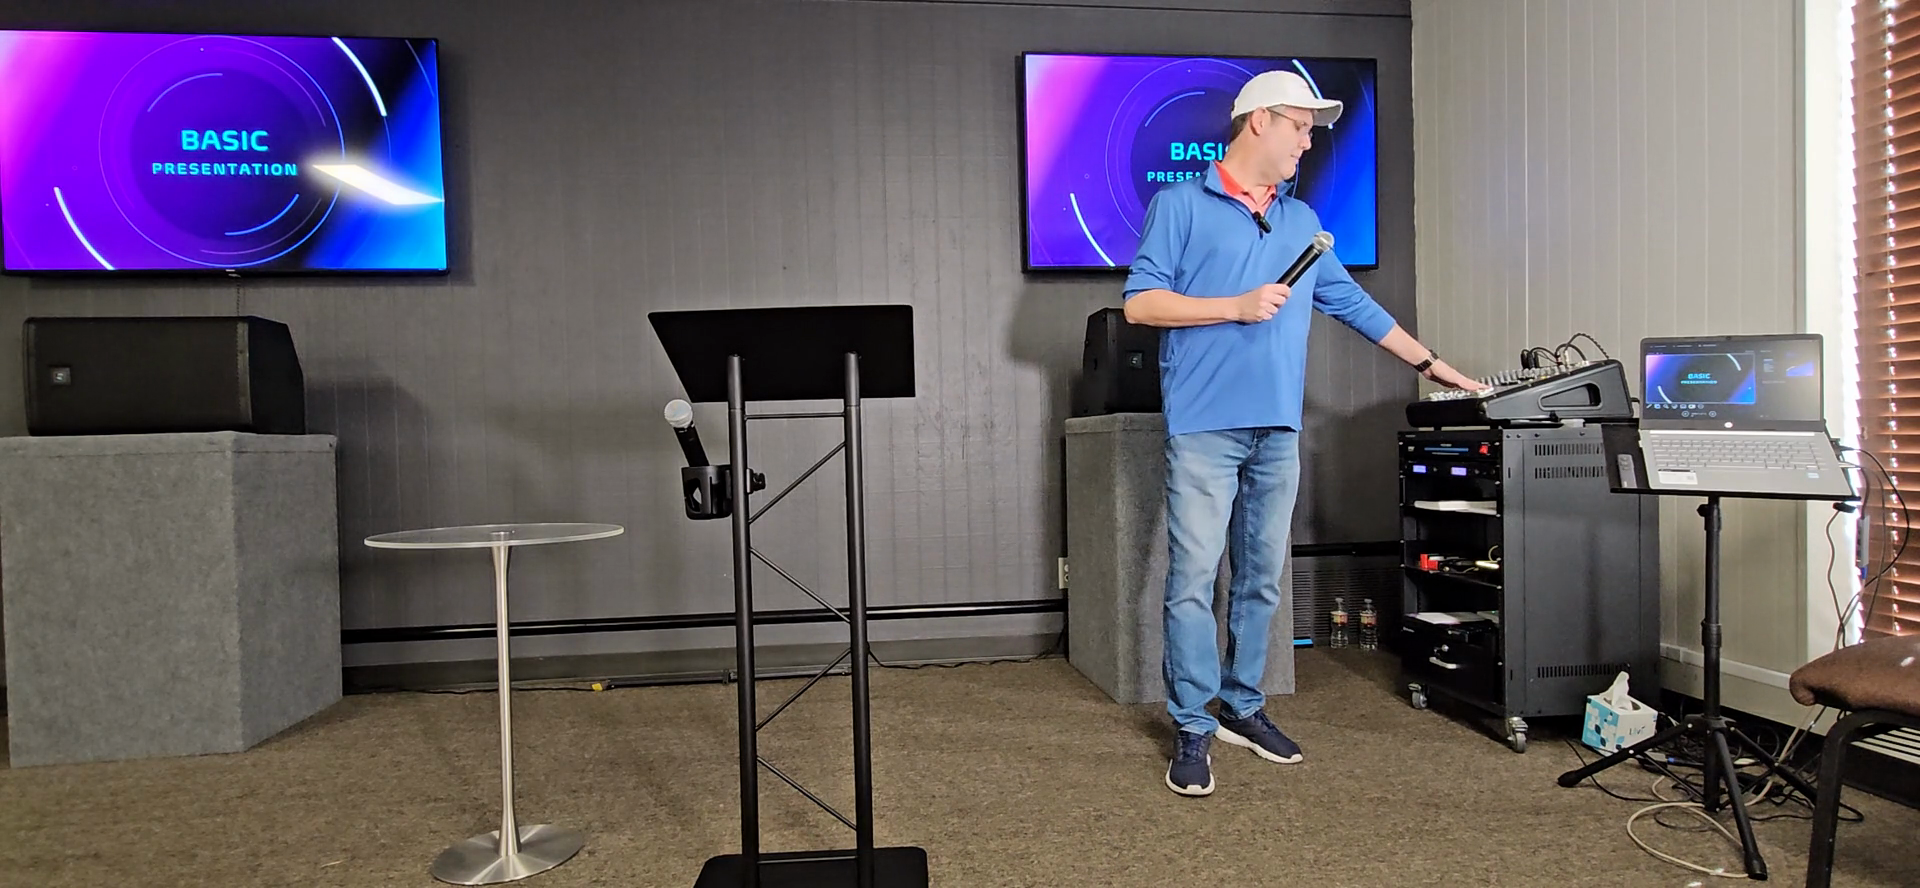
Everything else can be turned down except channels one and two on the far left side.

11
On the far left of the audio mixer, raise the faders for channels one and two to about halfway up.
Step #11: On the far left of the audio mixer, raise the faders for channels one and two to about halfway up.
12
Locate the two remote controls behind the speaker.
Step #12: Locate the two remote controls behind the speaker.

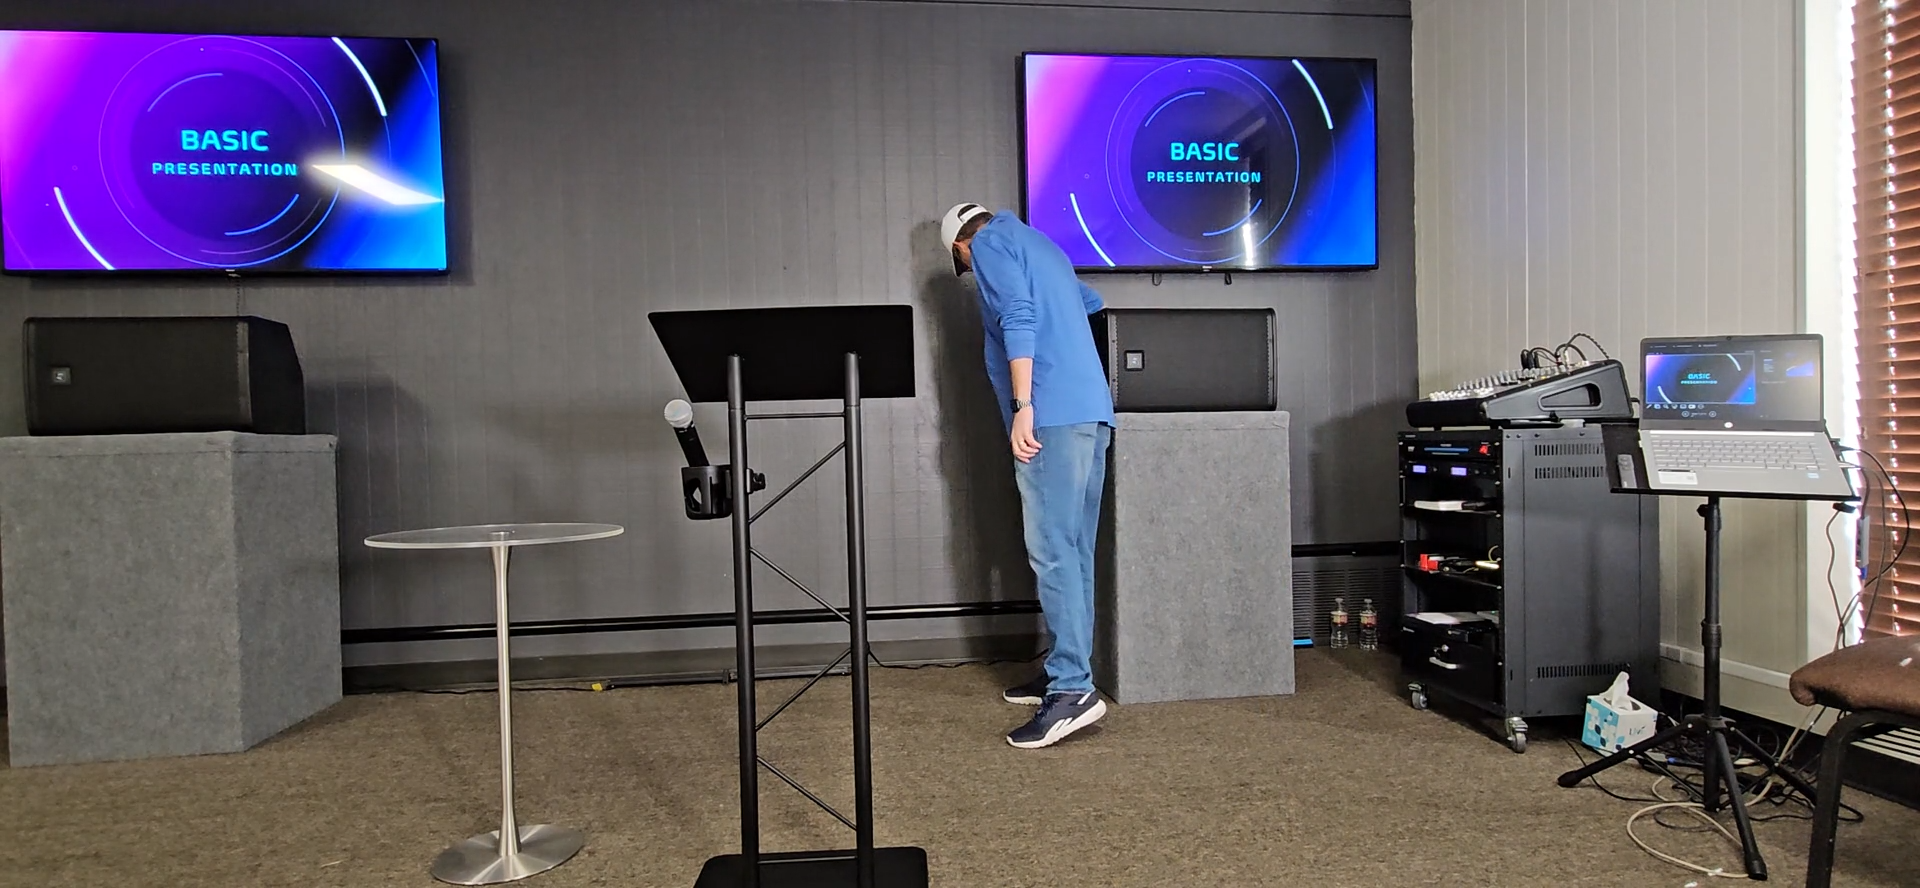
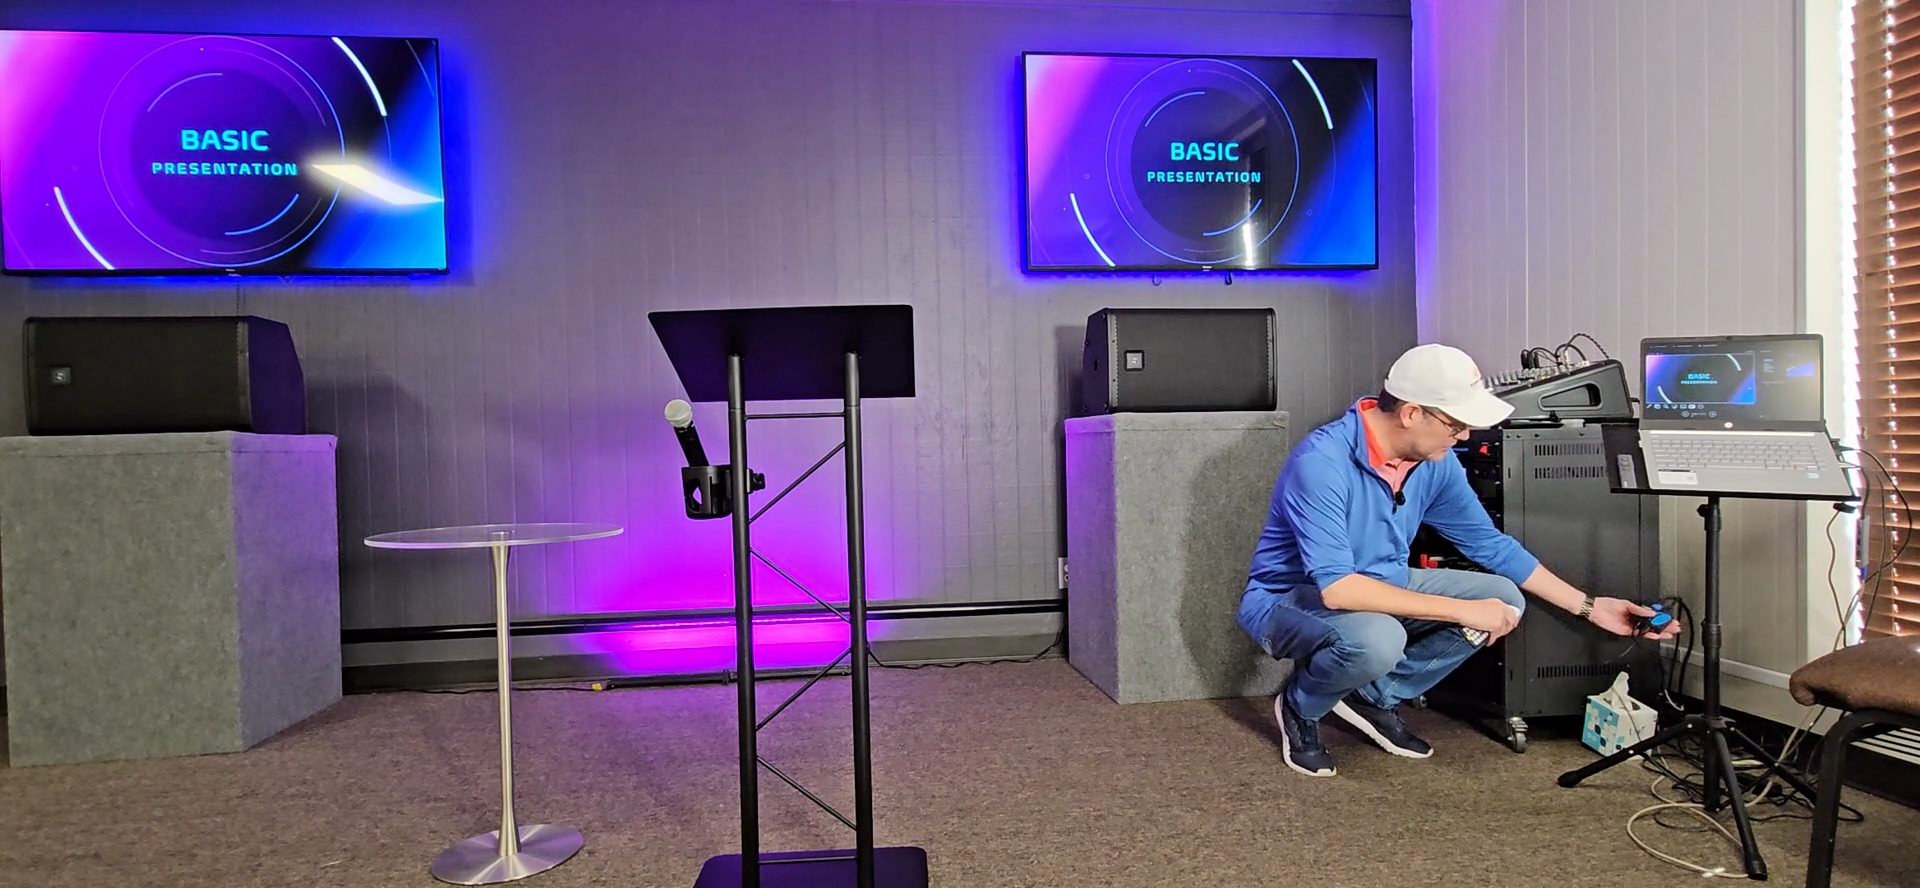
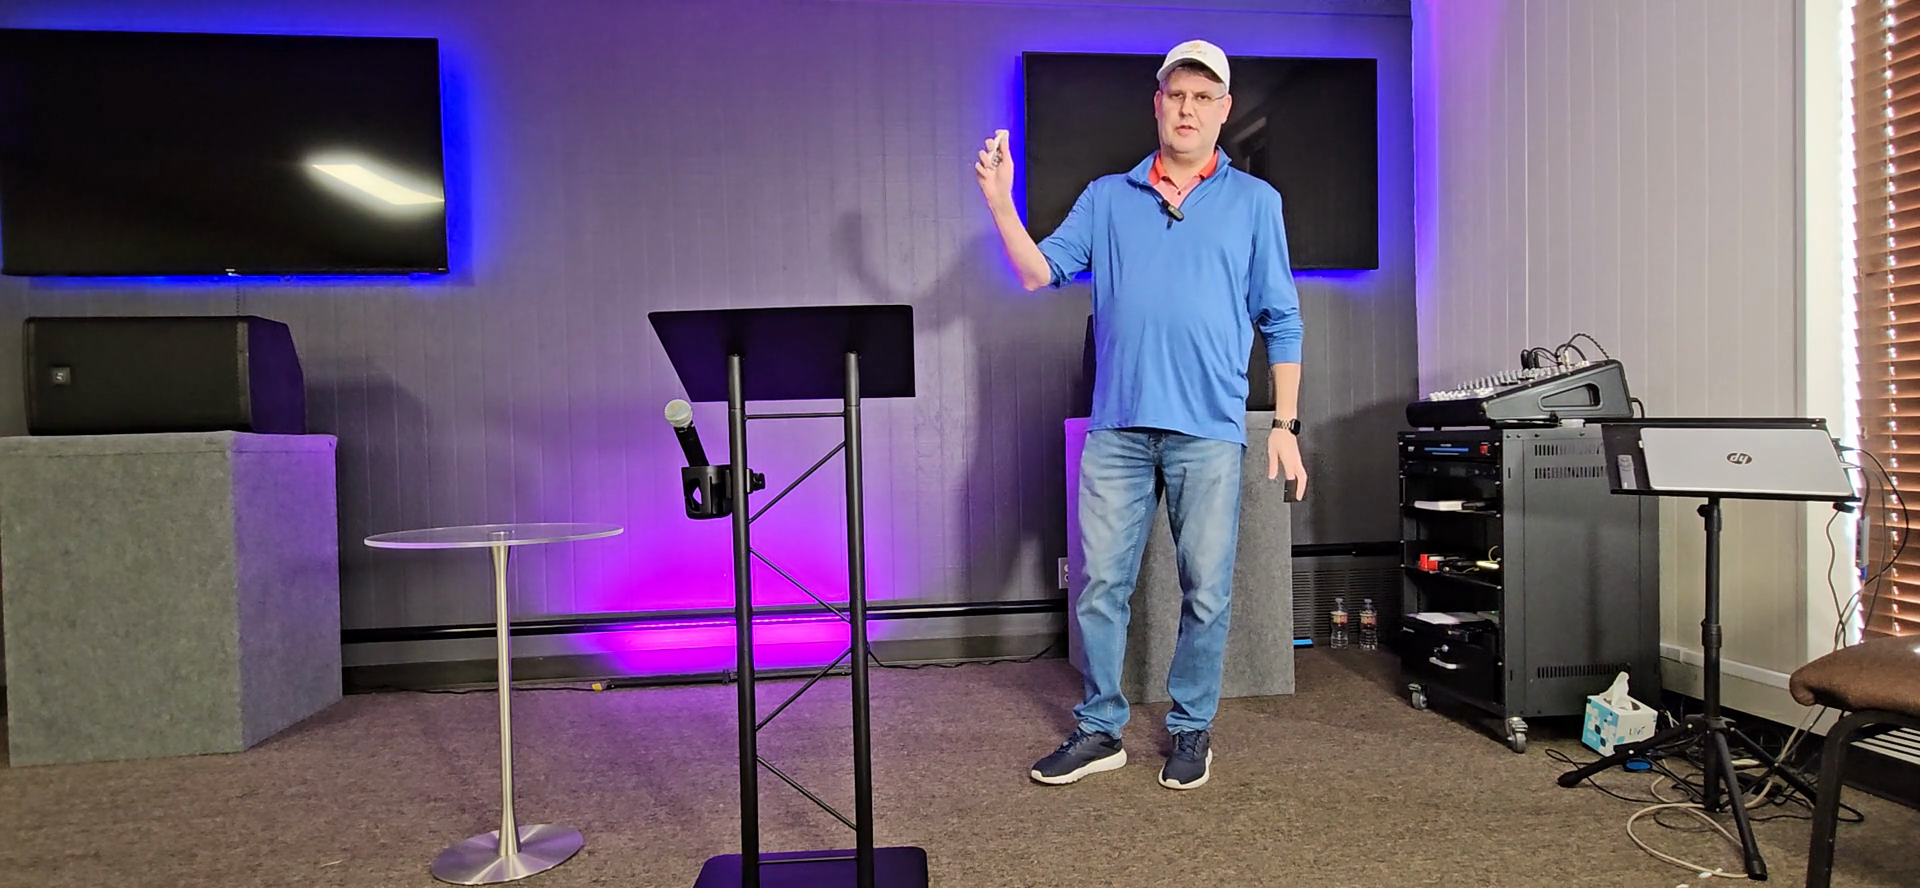
Behind this speaker are two remote controls: a small white one and a square black one. The white one turns on the floor lights.

13
To turn on the floor lights, press the green 'on' button on the small white remote.
Step #13: To turn on the floor lights, press the green 'on' button on the small white remote.

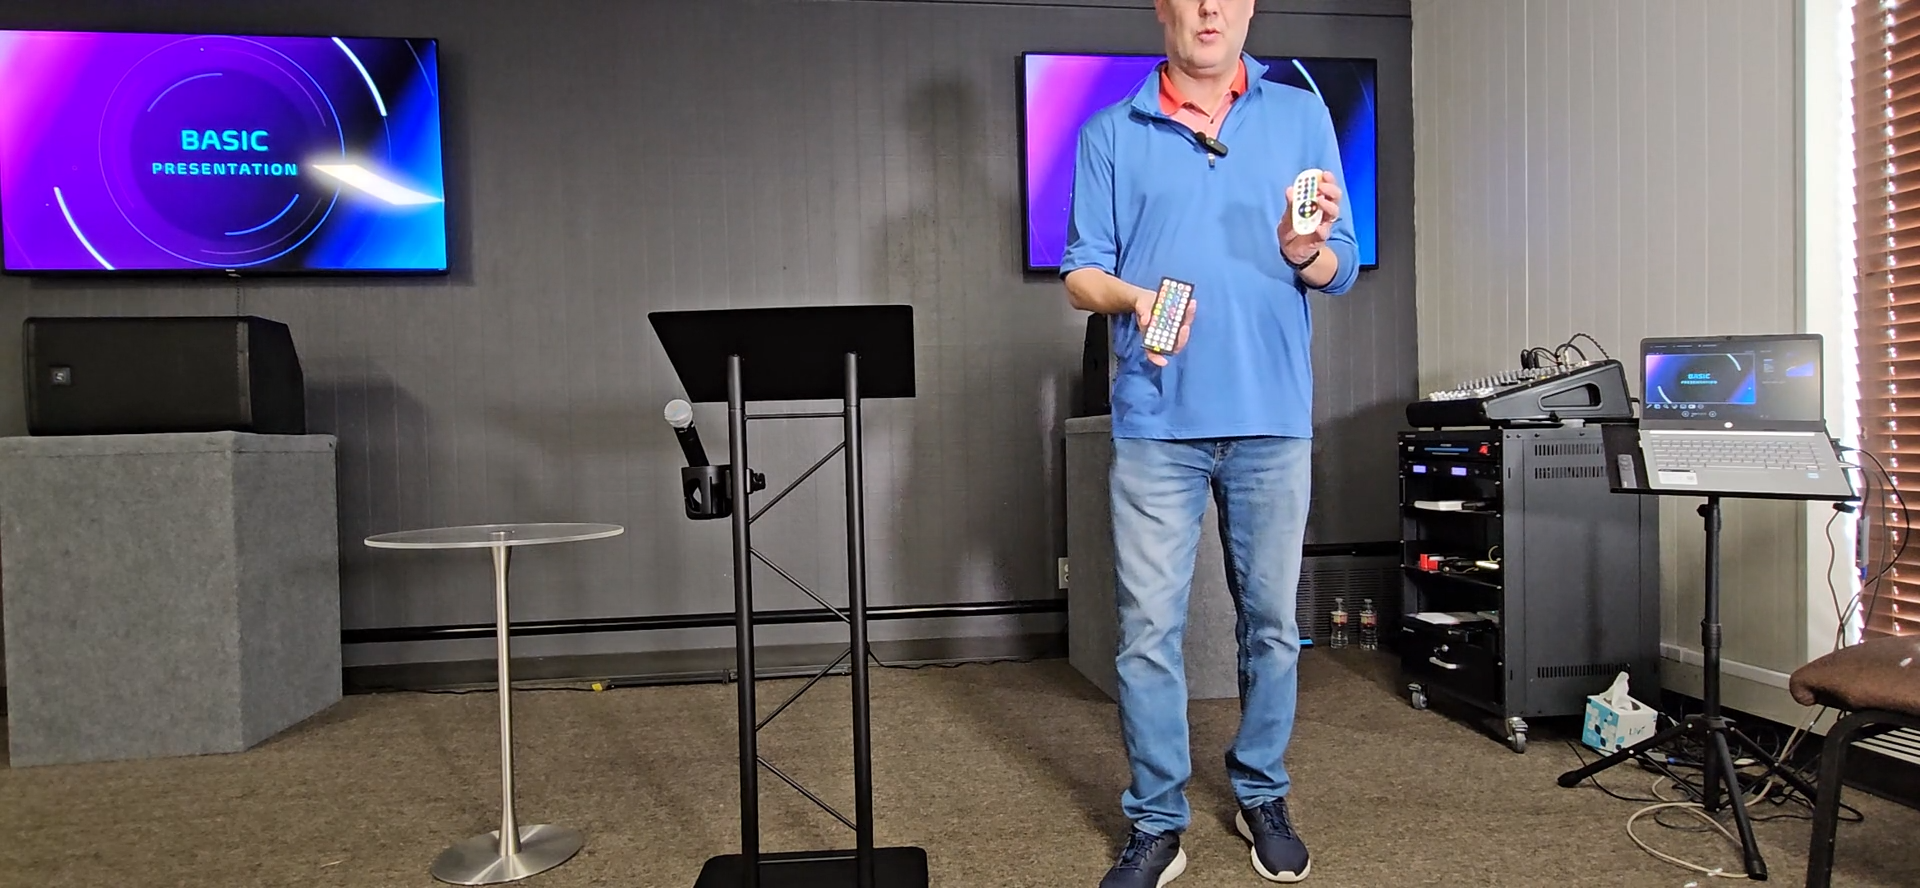
There is a red button and a green button. The green button is on. Aim it anywhere nearby. Sometimes, both will turn on with one click.

14
If not all the lights turn on with the first press, press the 'on' button again.
Step #14: If not all the lights turn on with the first press, press the 'on' button again.
15
To turn on the two floor lights, press the white remote's GREEN power button once or twice.
Step #15: To turn on the two floor lights, press the white remote's GREEN power button once or twice.
16
To turn on the lights behind the TVs, press the red power button in the top-right corner of the square black remote.
Step #16: To turn on the lights behind the TVs, press the red power button in the top-right corner of the square black remote.
17
Hold the remote up close to the power strip on the back of the TV.
Step #17: Hold the remote up close to the power strip on the back of the TV.

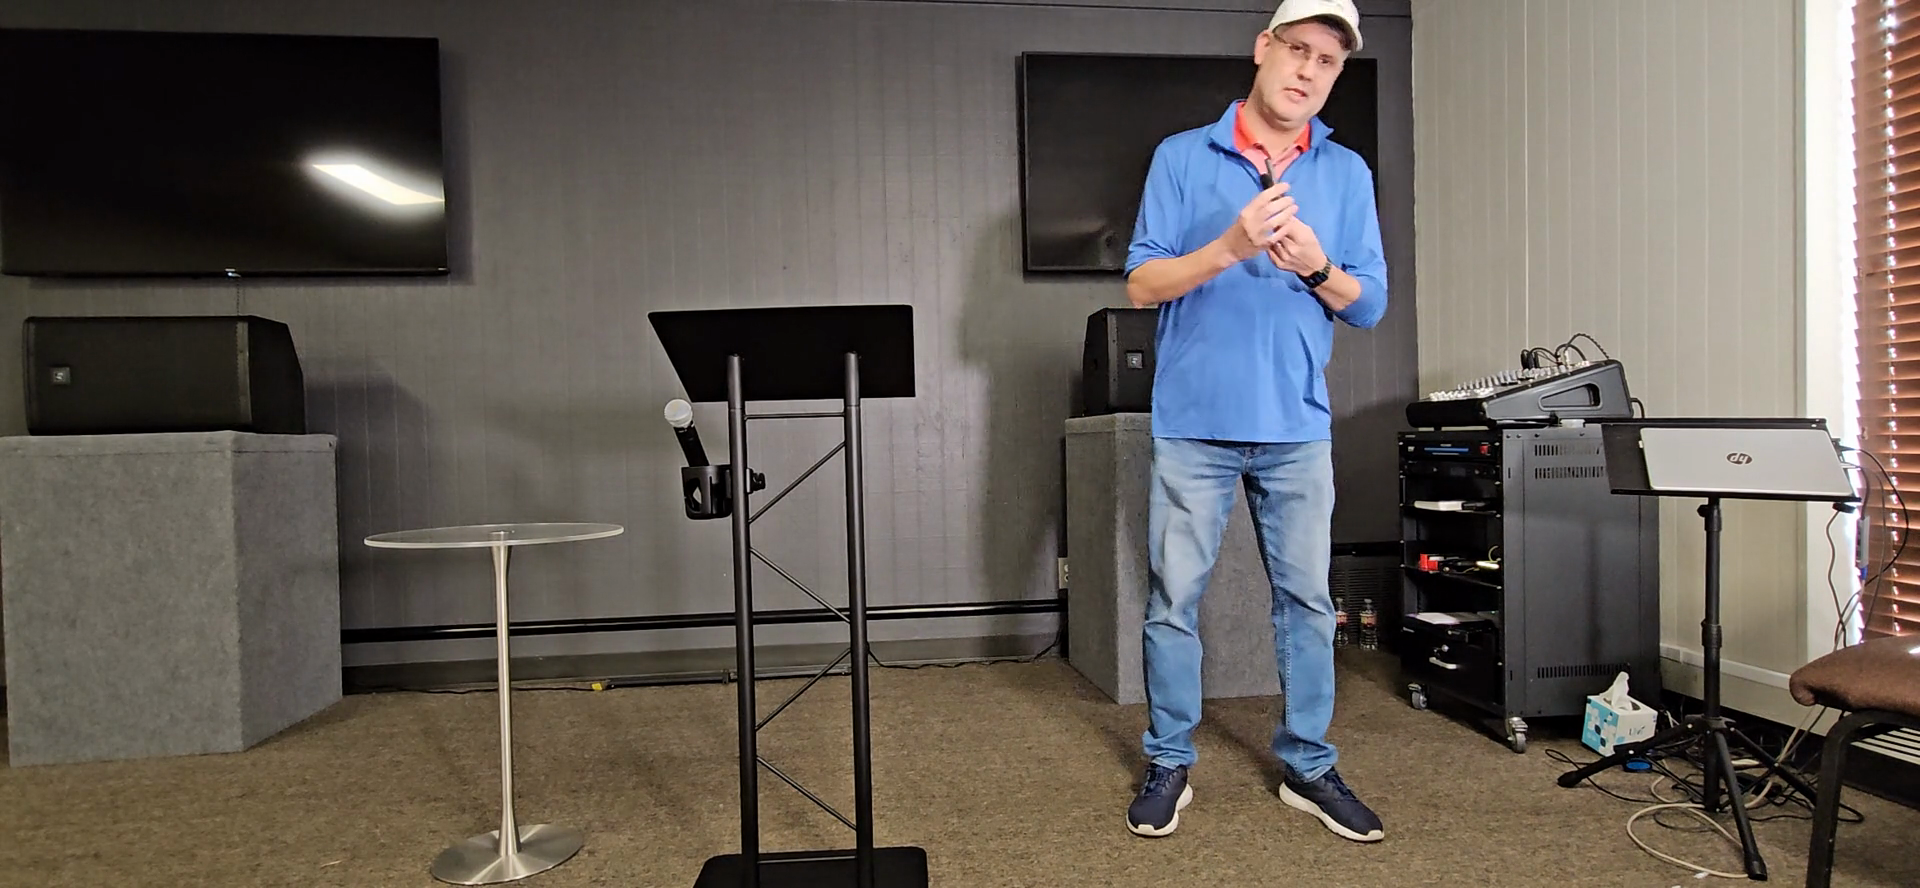
These lights are essential when we are filming. This helps set the person speaking apart from the backdrop. These lights and TVs are important.

Now you are ready to teach.

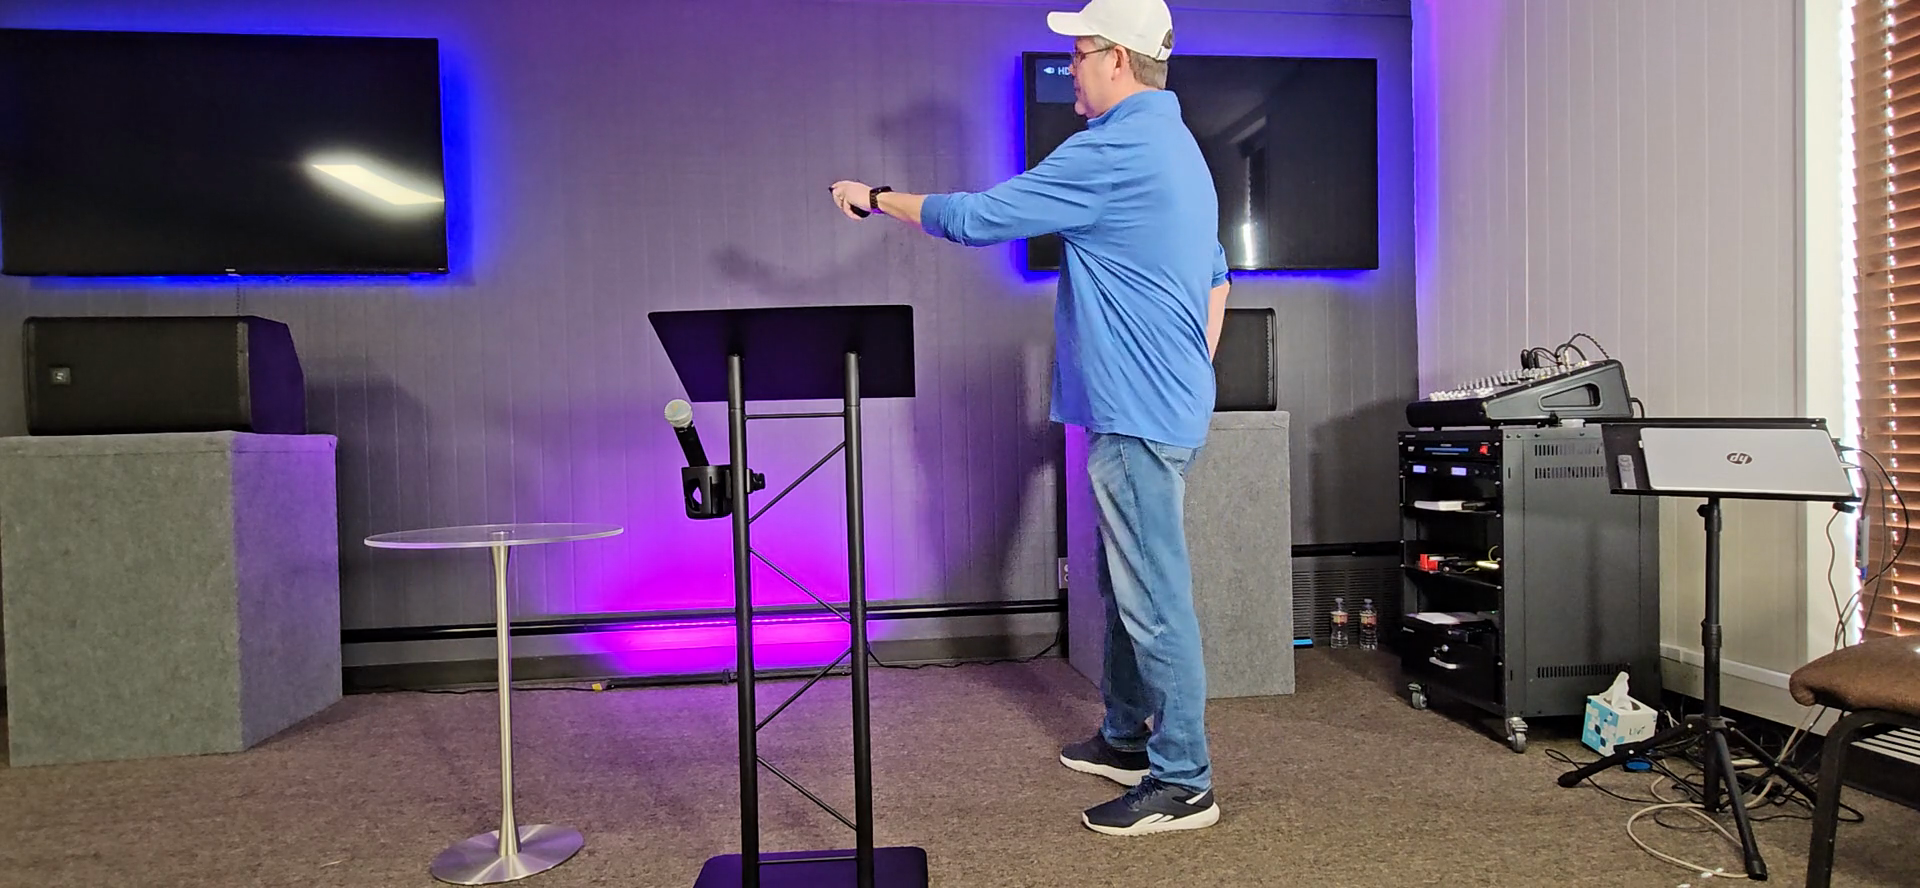
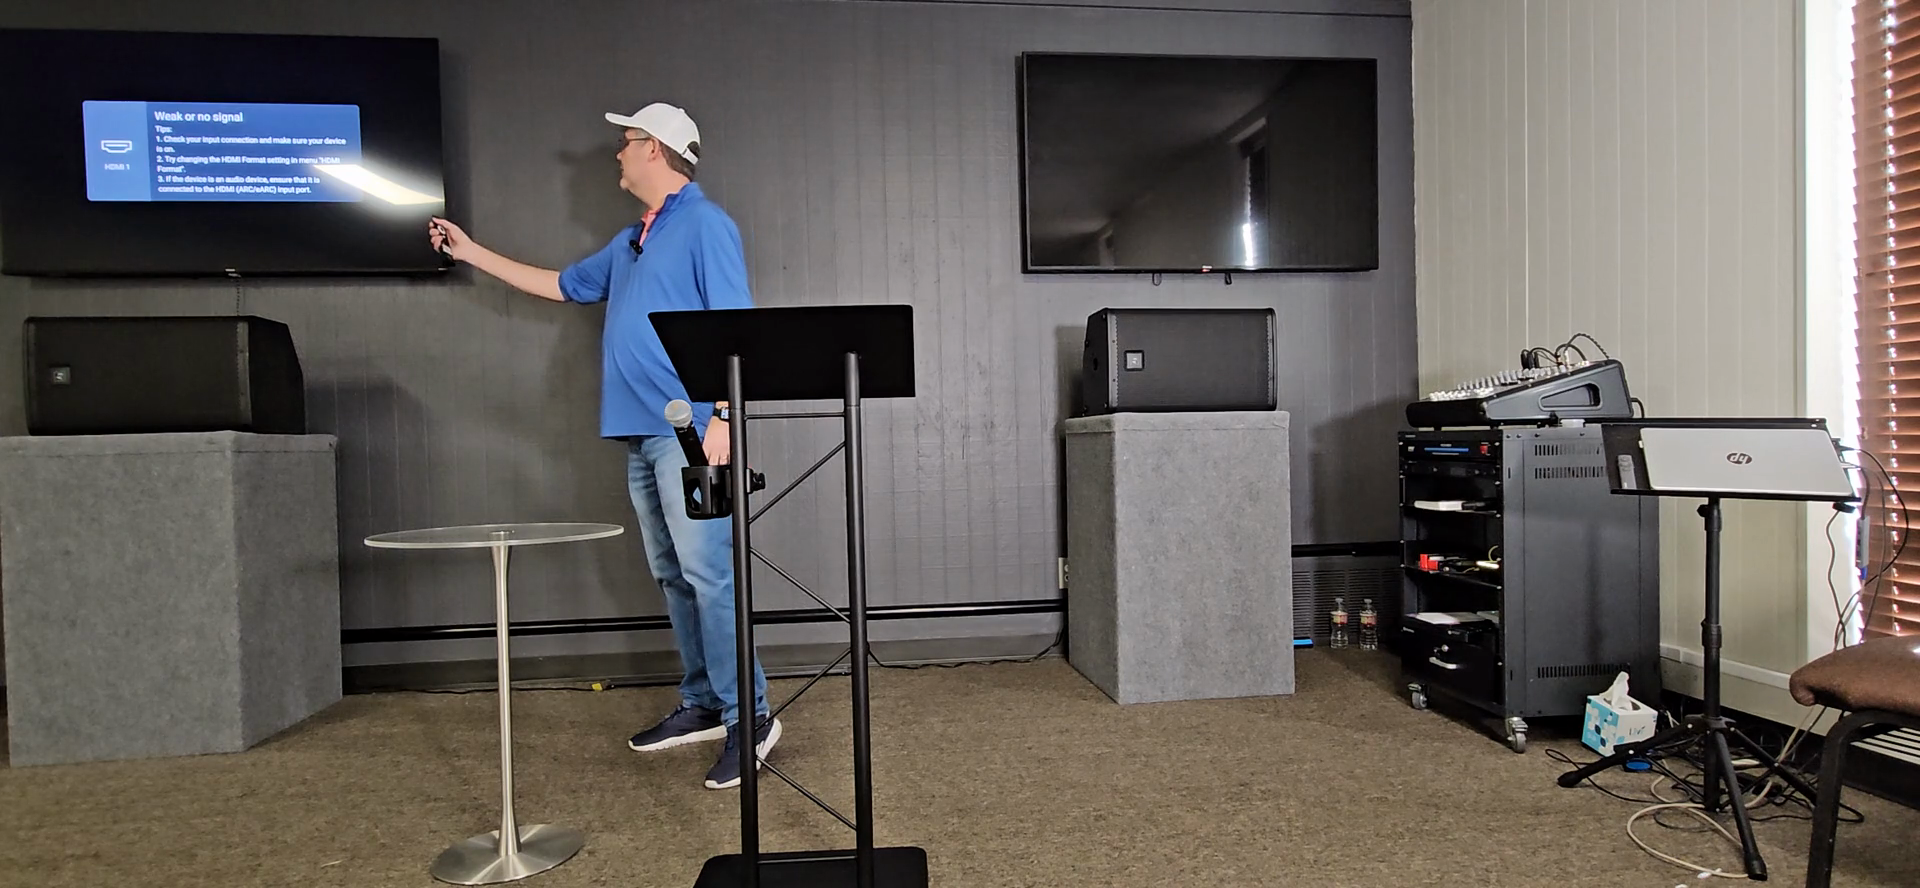
Troubleshooting Tip: If the TVs do NOT display the correct projection, there is a small black box below with two HDMI cables connected to the TVs and one connected to the computer.

18
If the TVs do NOT show the correct projection, locate the small black box near the equipment rack.
19
Unplug the power cord from the black box.
Step #19: Unplug the power cord from the black box.
20
Plug the power cord back into the black box to reset the connection.
Step #20: Plug the power cord back into the black box to reset the connection.

SHUT DOWN PROCESS

Now let's cover the close-down process. It's everything in reverse order.

21
Close the lid of the laptop to put it to sleep.
Step #21: Close the lid of the laptop to put it to sleep.

It will put the computer to sleep.

Grab the TV remote and turn off the TVs.

22
Point the remote at the TVs and press the power button to turn them off.
Step #22: Point the remote at the TVs and press the power button to turn them off.

Turn off the microphone you were using, then flip the red switch down on the sound rack.

23
Flip the red power switch down to turn off the sound system.
Step #23: Flip the red power switch down to turn off the sound system.

It will turn everything off in order.

Both of the lighting remotes have power buttons. On this one, it's a small red power button.

24
Press the red power button on the WHITE remote to turn off the floor light
Step #24: Press the red power button on the WHITE remote to turn off the floor light
25
Hold the remote close to the TV and press the power button to turn off the lights behind the television.
Step #25: Hold the remote close to the TV and press the power button to turn off the lights behind the television.
26
If a TV did not turn off, press the power button on the remote to turn it off.
Step #26: If a TV did not turn off, press the power button on the remote to turn it off.

That's how to complete the shutdown process.

Turn off the lights in the room.

Once everyone has left, turn off the room lights with the wall switch.

ADDITIONAL INFO:

Send your PowerPoints to teach@tlcjoshua.com.

That email is open in the browser. If you open the browser on the computer, you can go to Gmail and open it.

If you have emailed your PowerPoint, it will be in your inbox.
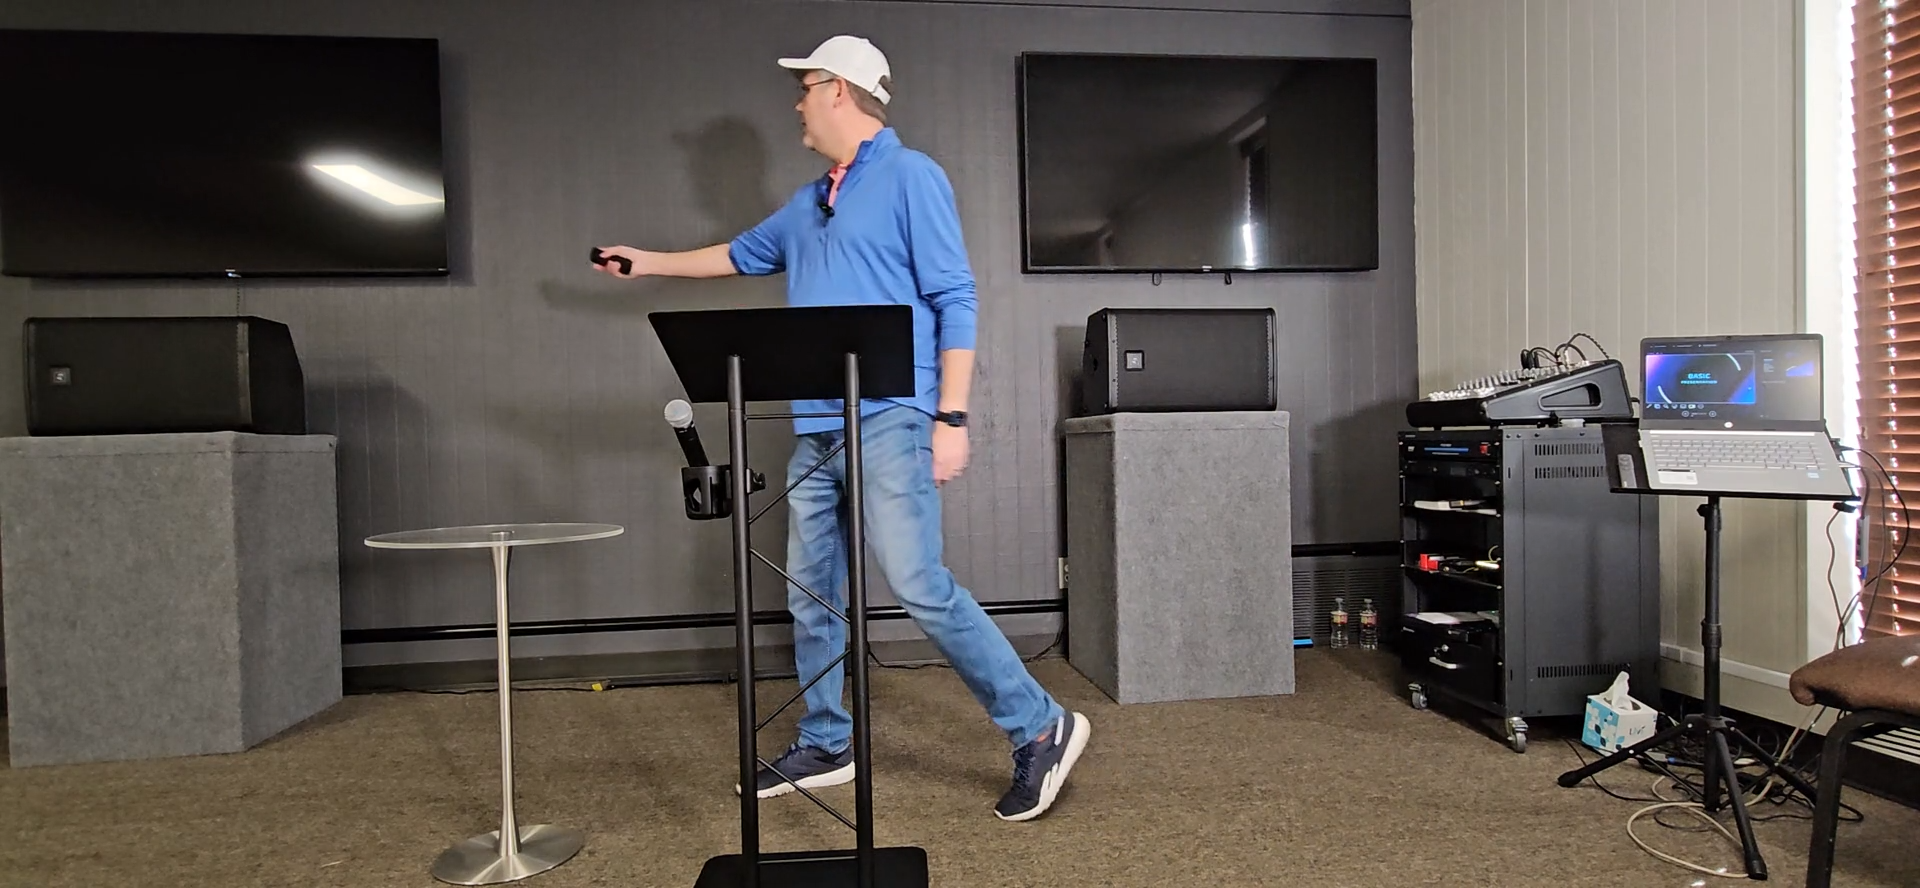
PowerPoint Remote

There's usually a small remote clicker that you can use to advance your PowerPoint presentation.

27
Locate the remote clicker.
Step #27: Locate the remote clicker.
28
Turn on the remote clicker using the on/off switch on the side.
Step #28: Turn on the remote clicker using the on/off switch on the side.
29
Confirm the blue light is on, indicating the device is powered.
30
Press the forward and back buttons to navigate through the presentation slides.
Step #30: Press the forward and back buttons to navigate through the presentation slides.
31
Turn the clicker off after use to save the battery.
Step #31: Turn the clicker off after use to save the battery.

It is rechargeable with a USB-C cable.