Applovin | How To Setup An AppLovin Account

Learn how to set up Axon AppLovin ads with this easy step-by-step guide. From account creation to brand asset setup and Shopify integration, follow these instructions to get your ads running smoothly.

By Eric Bork

In this guide, we'll learn how to set up Axon AppLovin ads for your business. We will cover creating an account, inviting team members, entering company and billing information, and uploading brand assets. We will also look at connecting your Shopify store and saving your account keys.
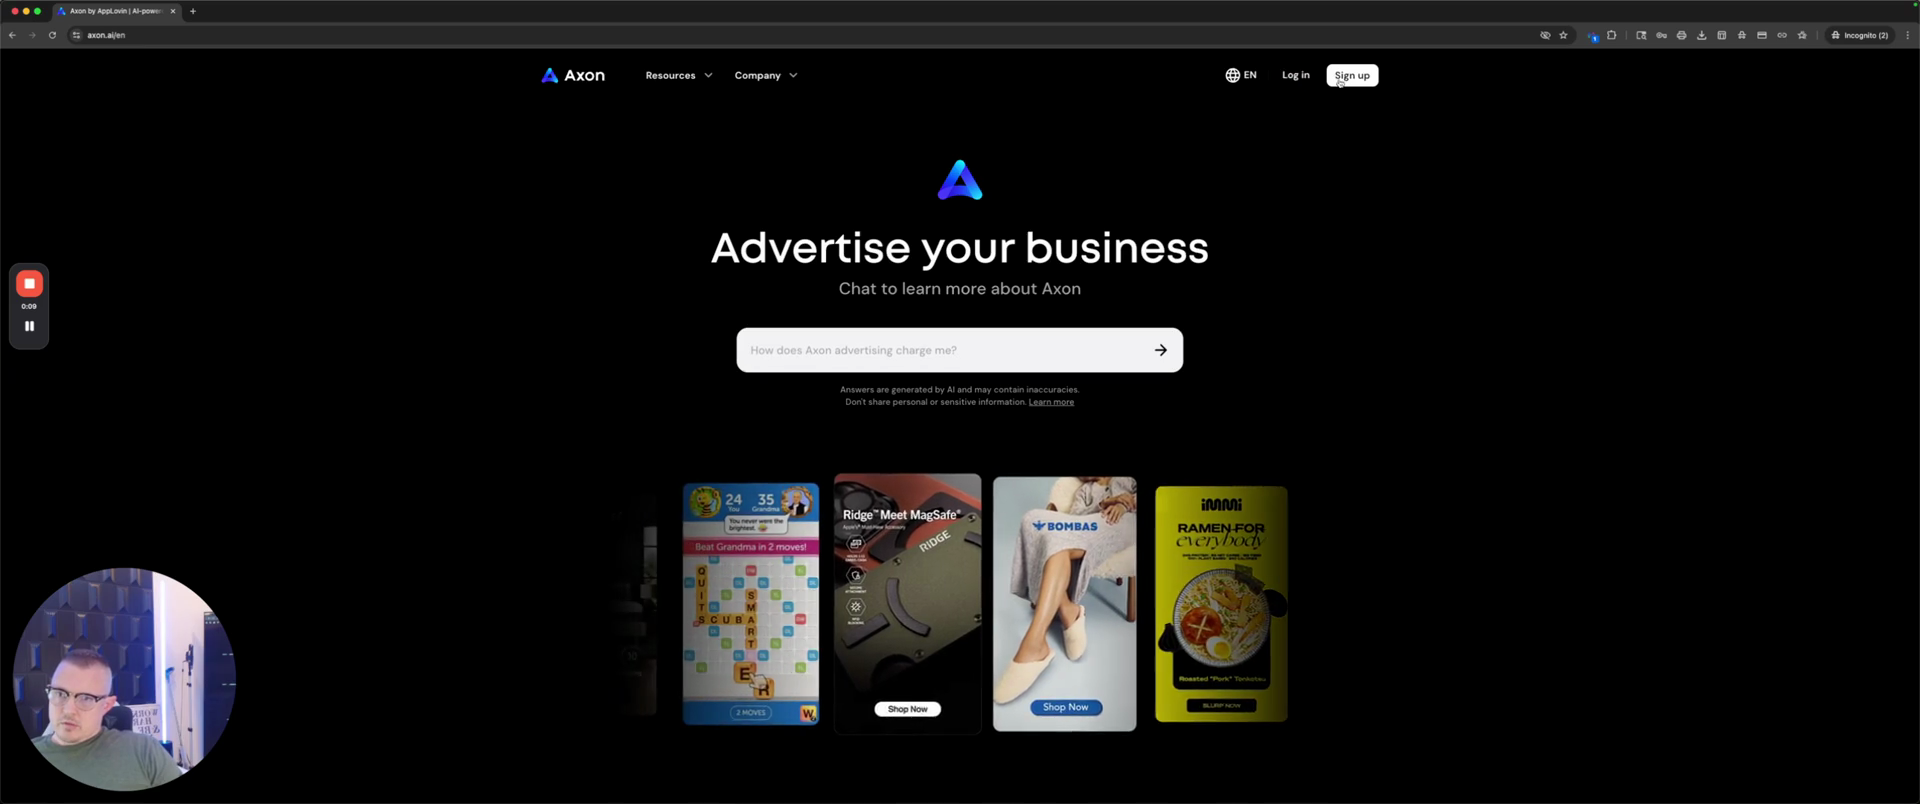
Let's get started

In this video, I will show you how to set up Axon AppLovin ads. First, click Sign Up.

1
Click the Sign up button in the top right corner.
Step #1: Click the Sign up button in the top right corner.

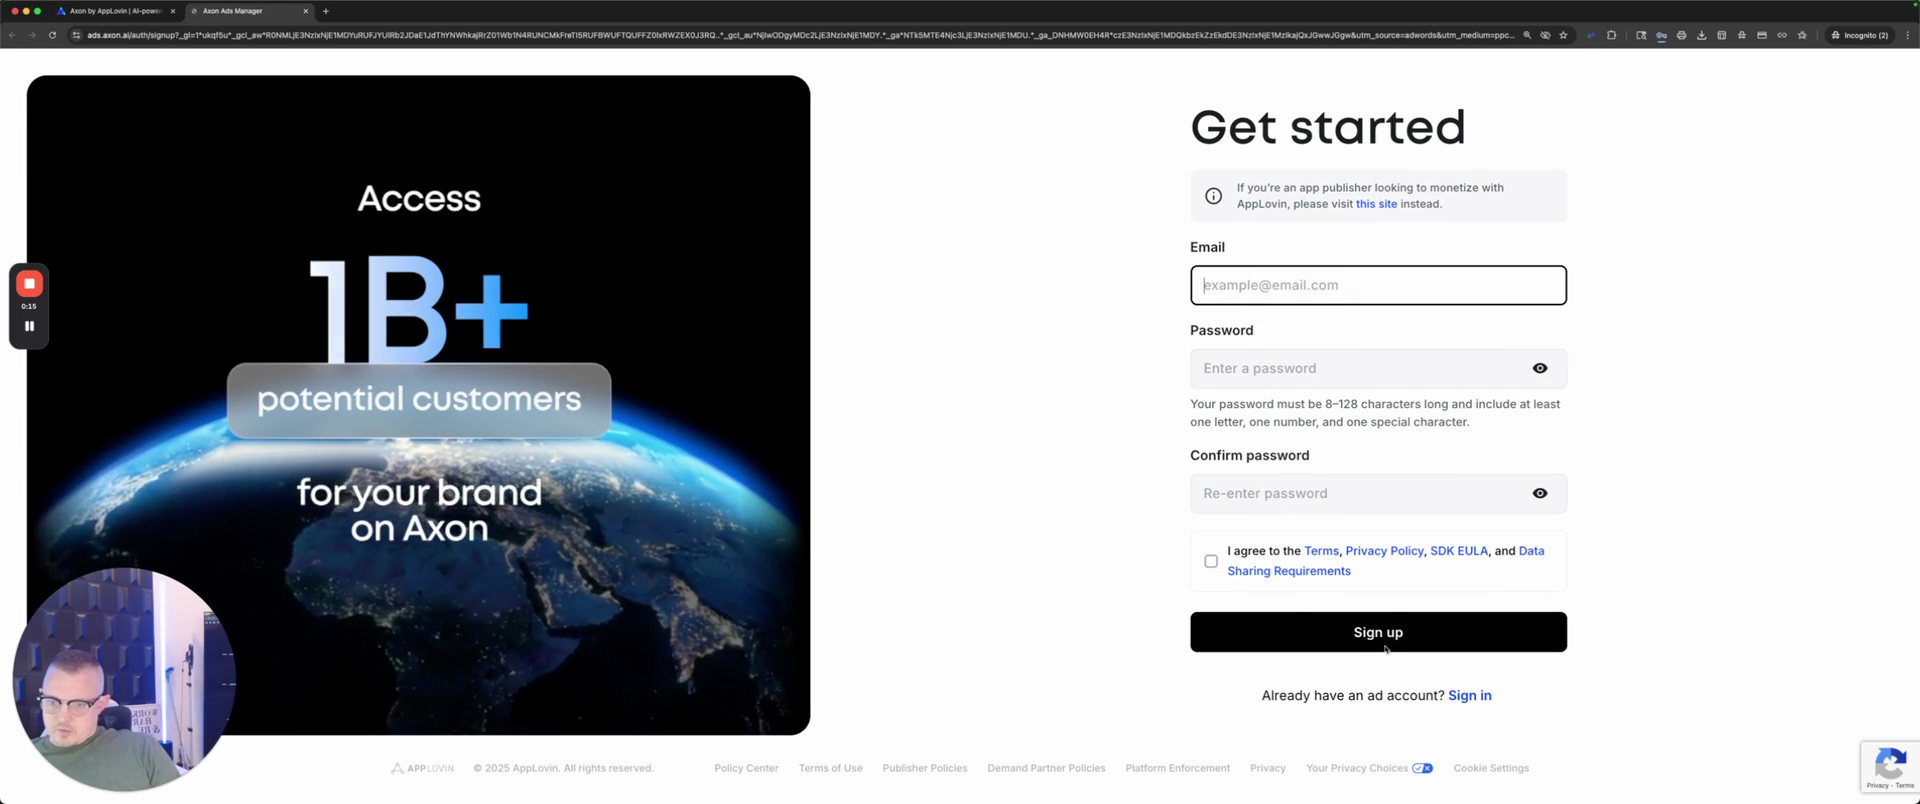
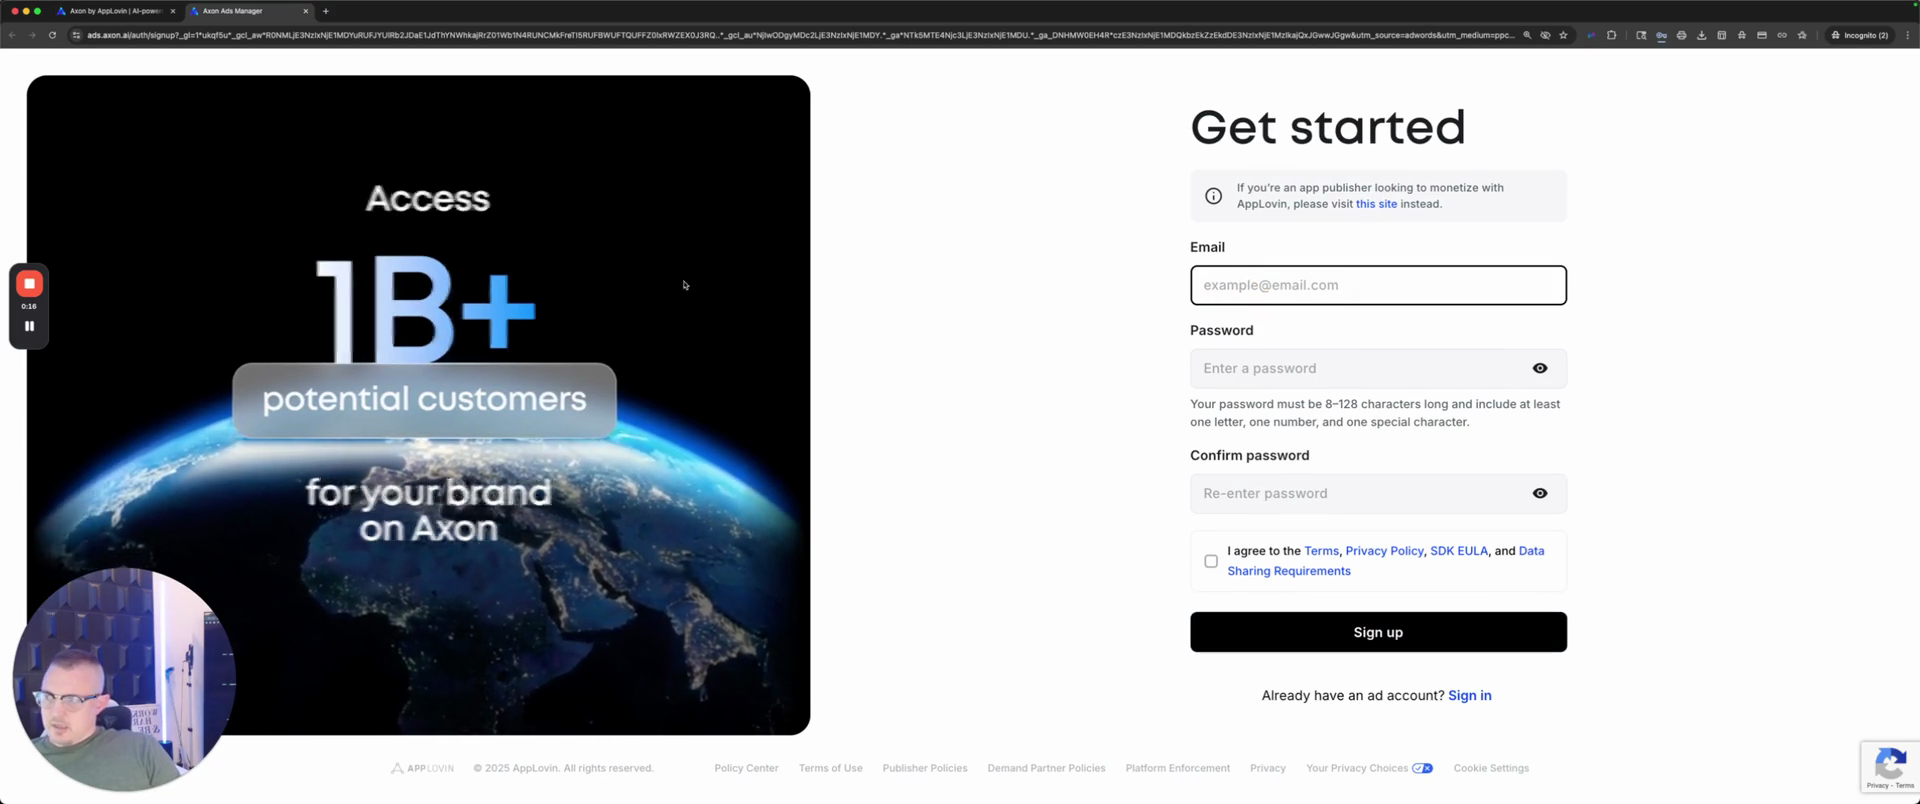
Hopefully, I clicked... yeah. Next, enter your email, password, and confirm your password. Then, click Sign Up.

2
Enter your email in the Email field.
3
Enter your password in the Password field.
4
Re-enter your password in the Confirm password field.
5
Click the checkbox to agree to the Terms.
Step #5: Click the checkbox to agree to the Terms.
6
Click the Sign up button.
Step #6: Click the Sign up button.

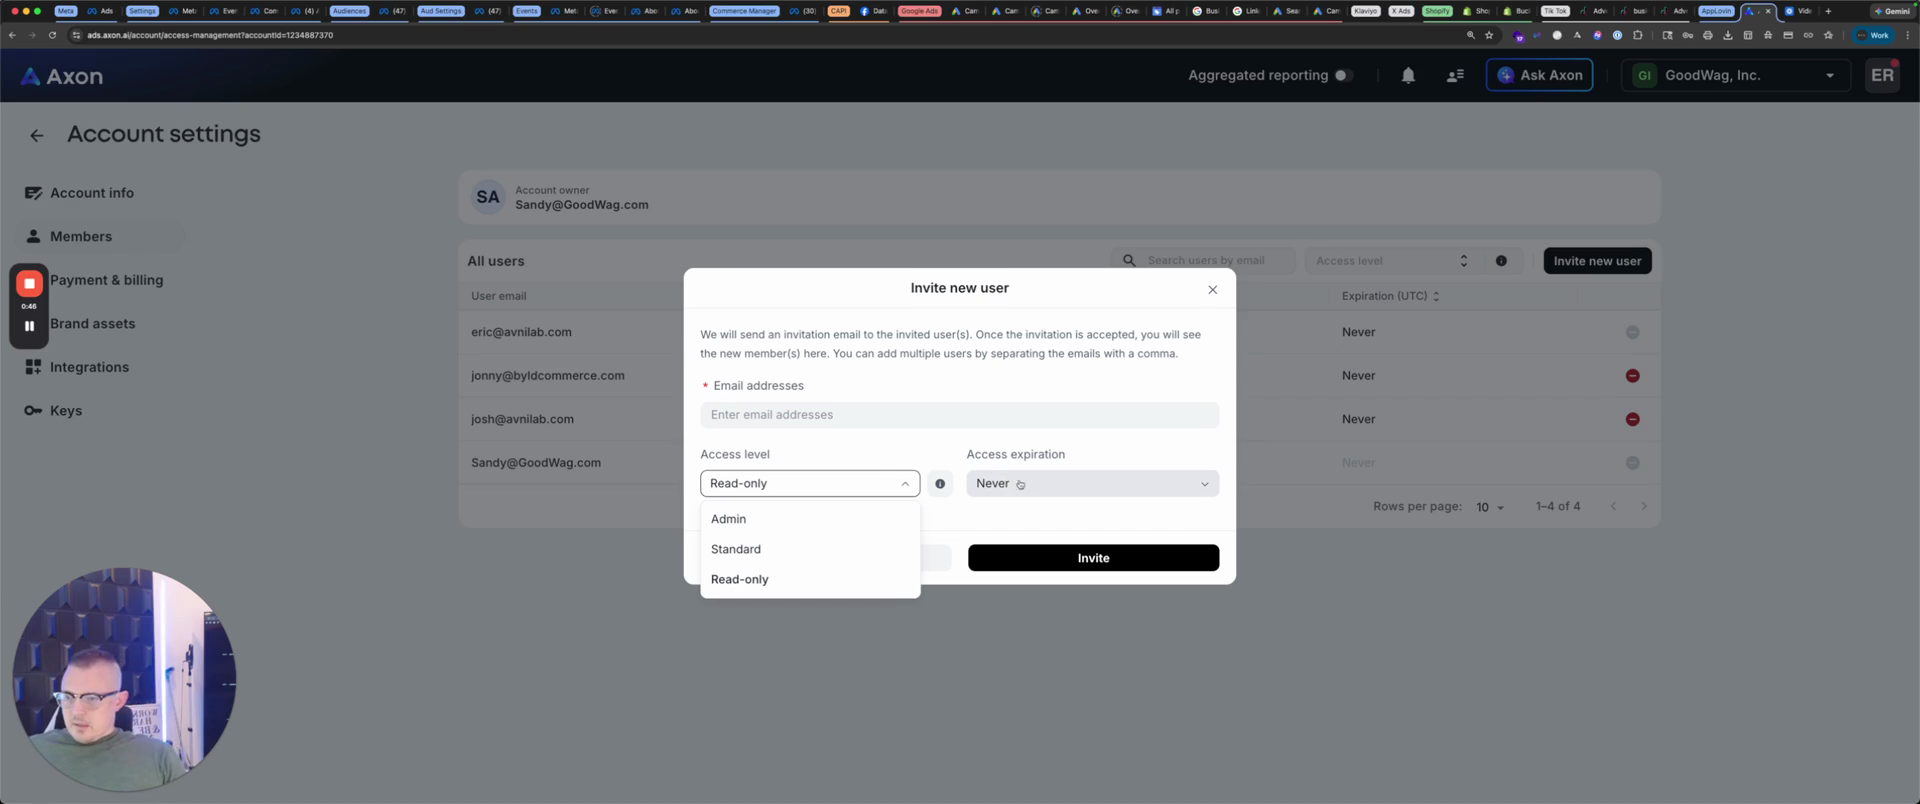
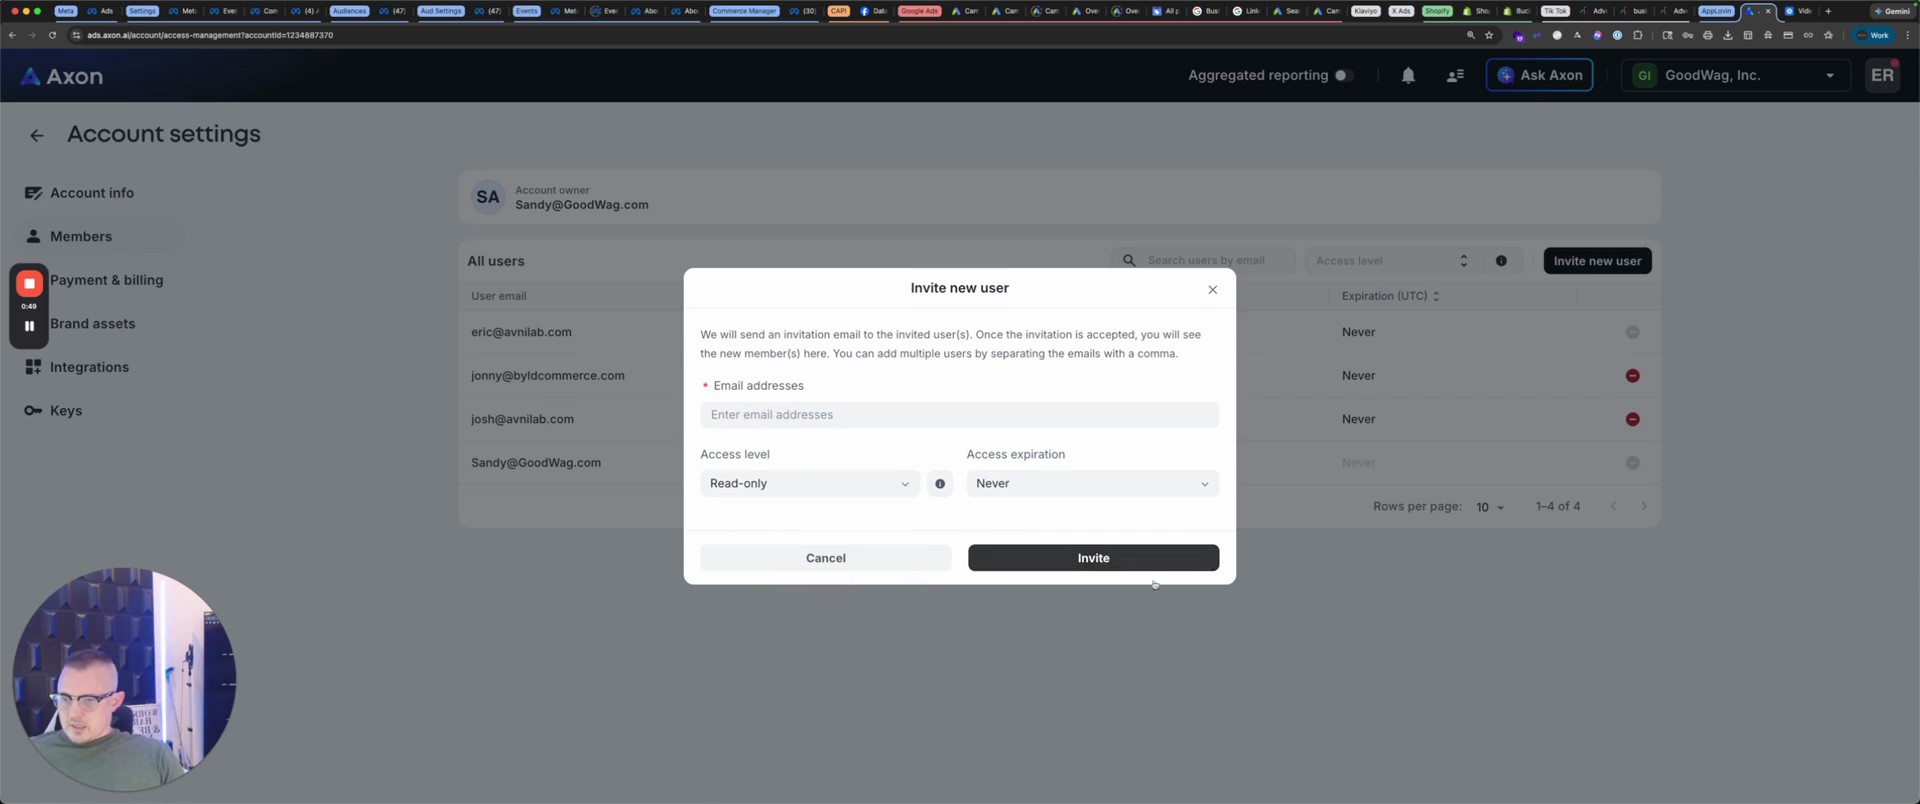
Now, it will display a notification at the bottom right once you complete the action. "" Oh, no, I've already... I created an incognito window for that. Once you're in, a bar will appear below asking for specific assets. It will ask for the members. Invite anyone you want in the account and set their access.

7
Click the user icon on the right sidebar.
Step #7: Click the user icon on the right sidebar.
8
Click the "Invite new user" button.
Step #8: Click the "Invite new user" button.
9
Enter the email addresses for the new users.
10
Click on the "Access level" dropdown.
Step #10: Click on the "Access level" dropdown.

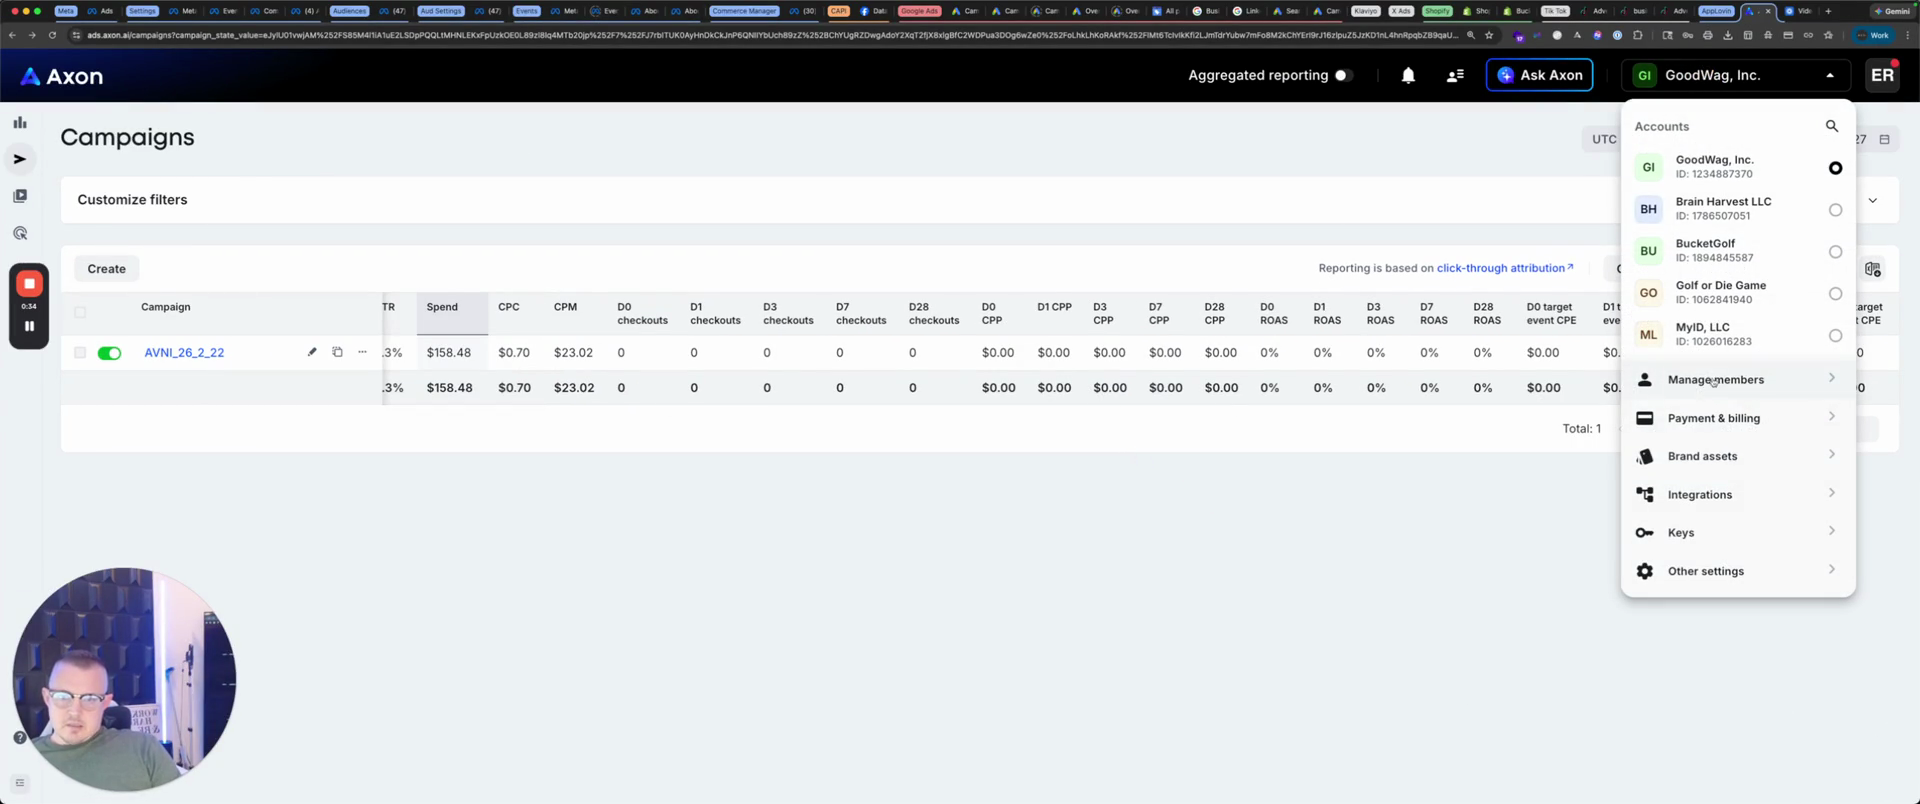
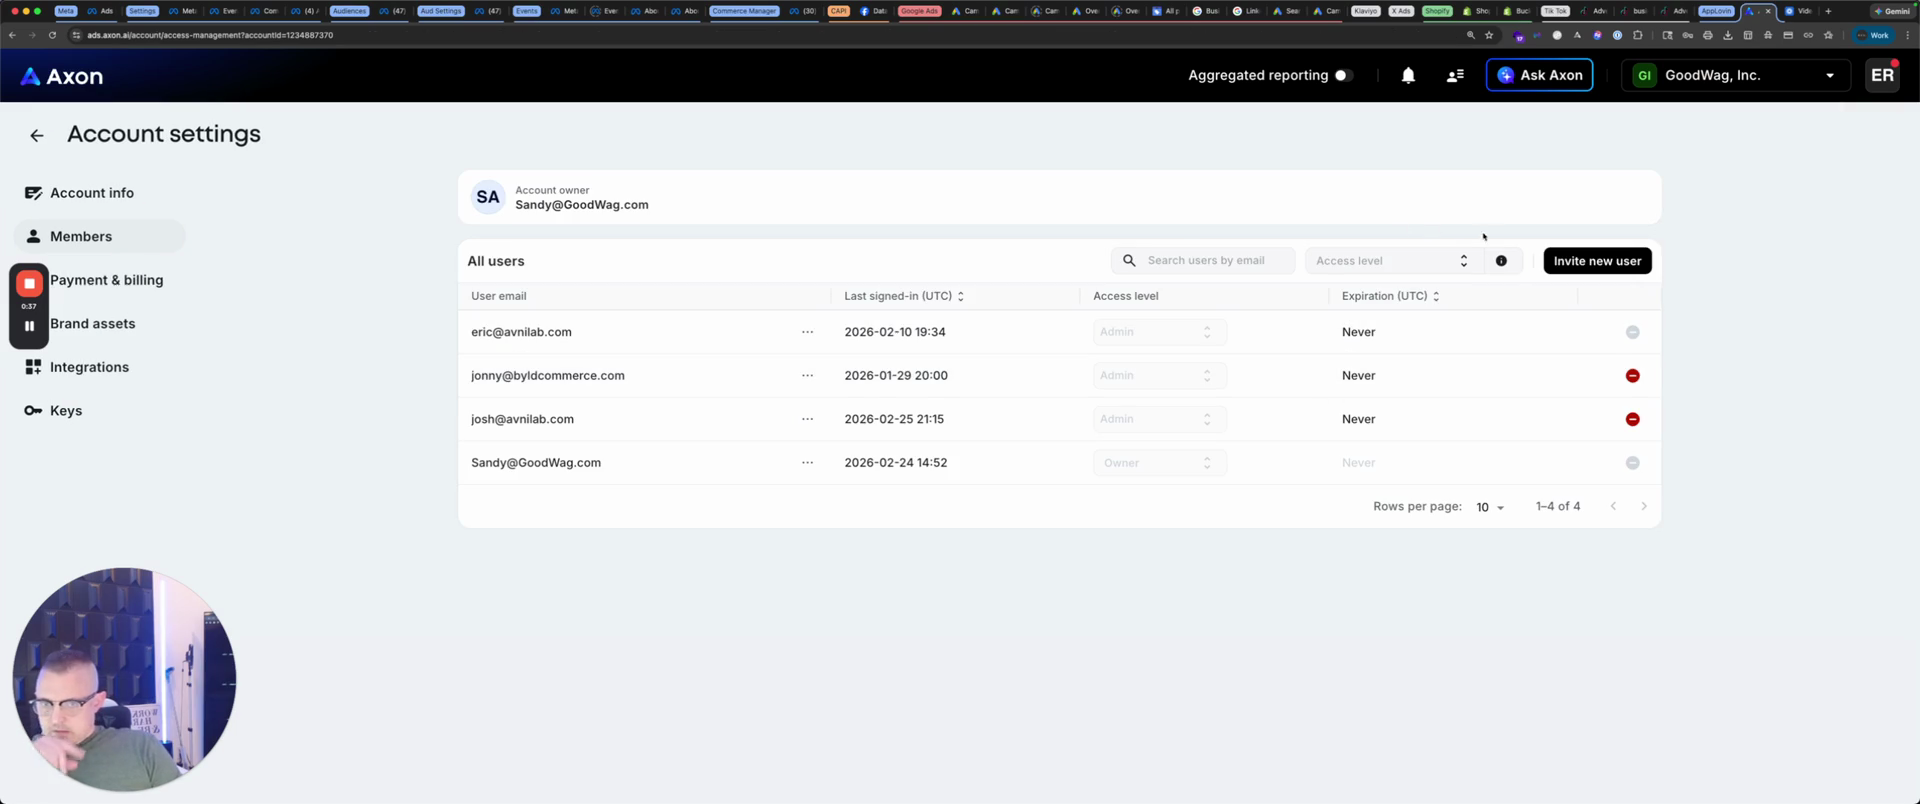
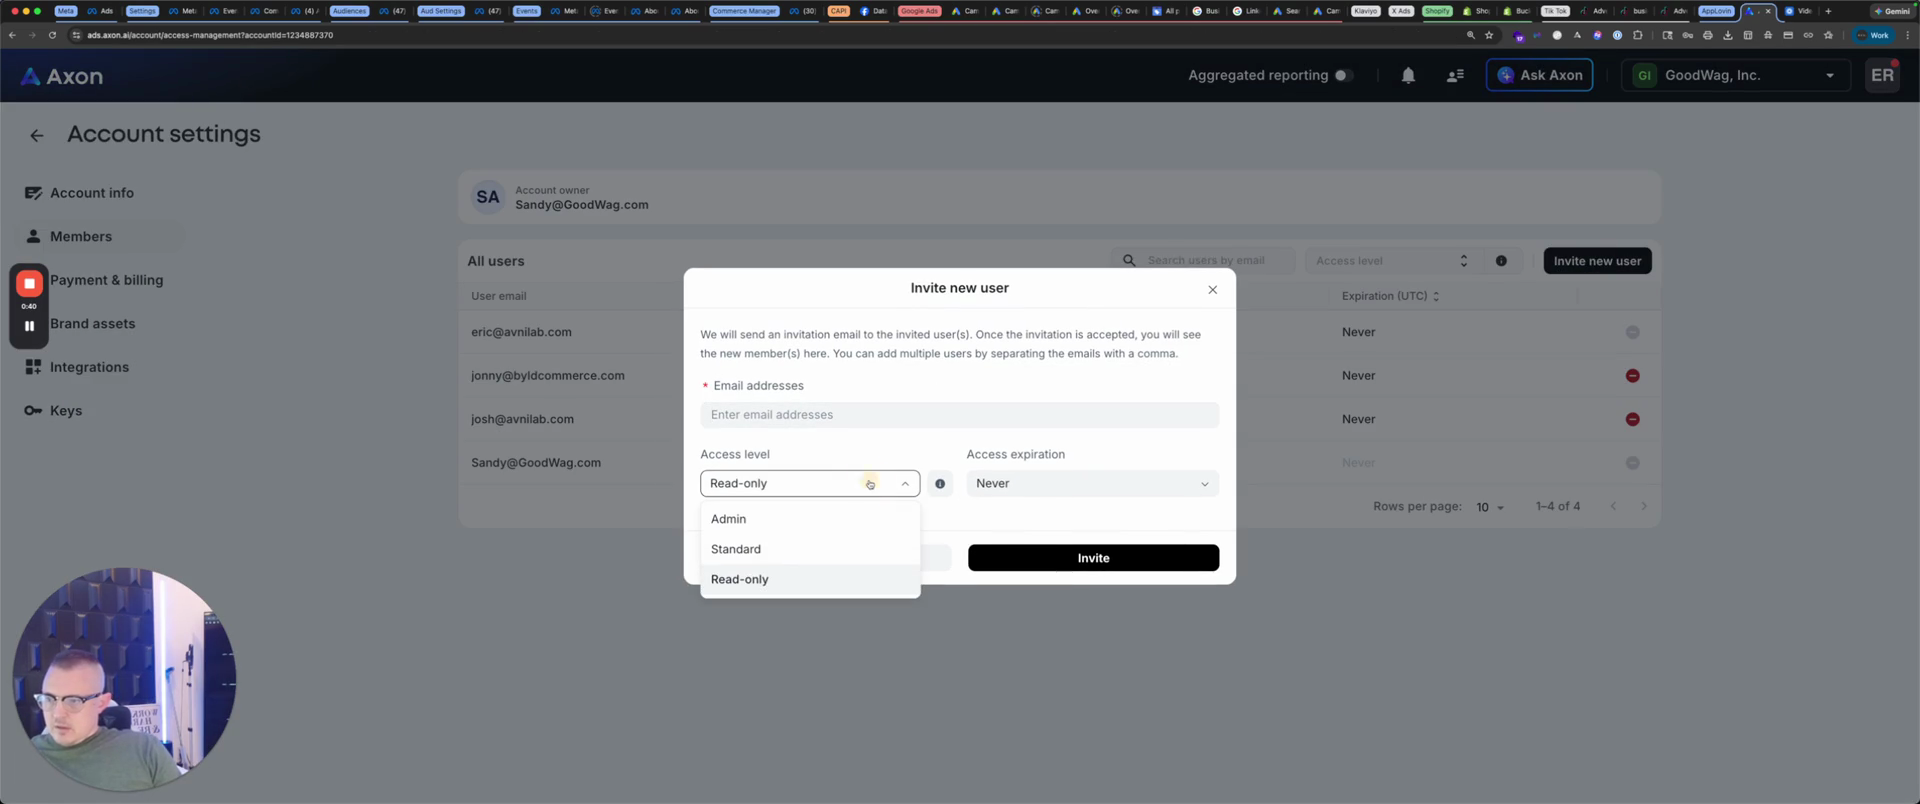
As long as you trust them, I recommend setting admin access to never expire. Enter their email address, send the invite, and they can join.

11
Select the appropriate access level from the list.
Step #11: Select the appropriate access level from the list.
12
Click on the "Access expiration" dropdown.
Step #12: Click on the "Access expiration" dropdown.
13
Click the "Invite" button.
Step #13: Click the "Invite" button.

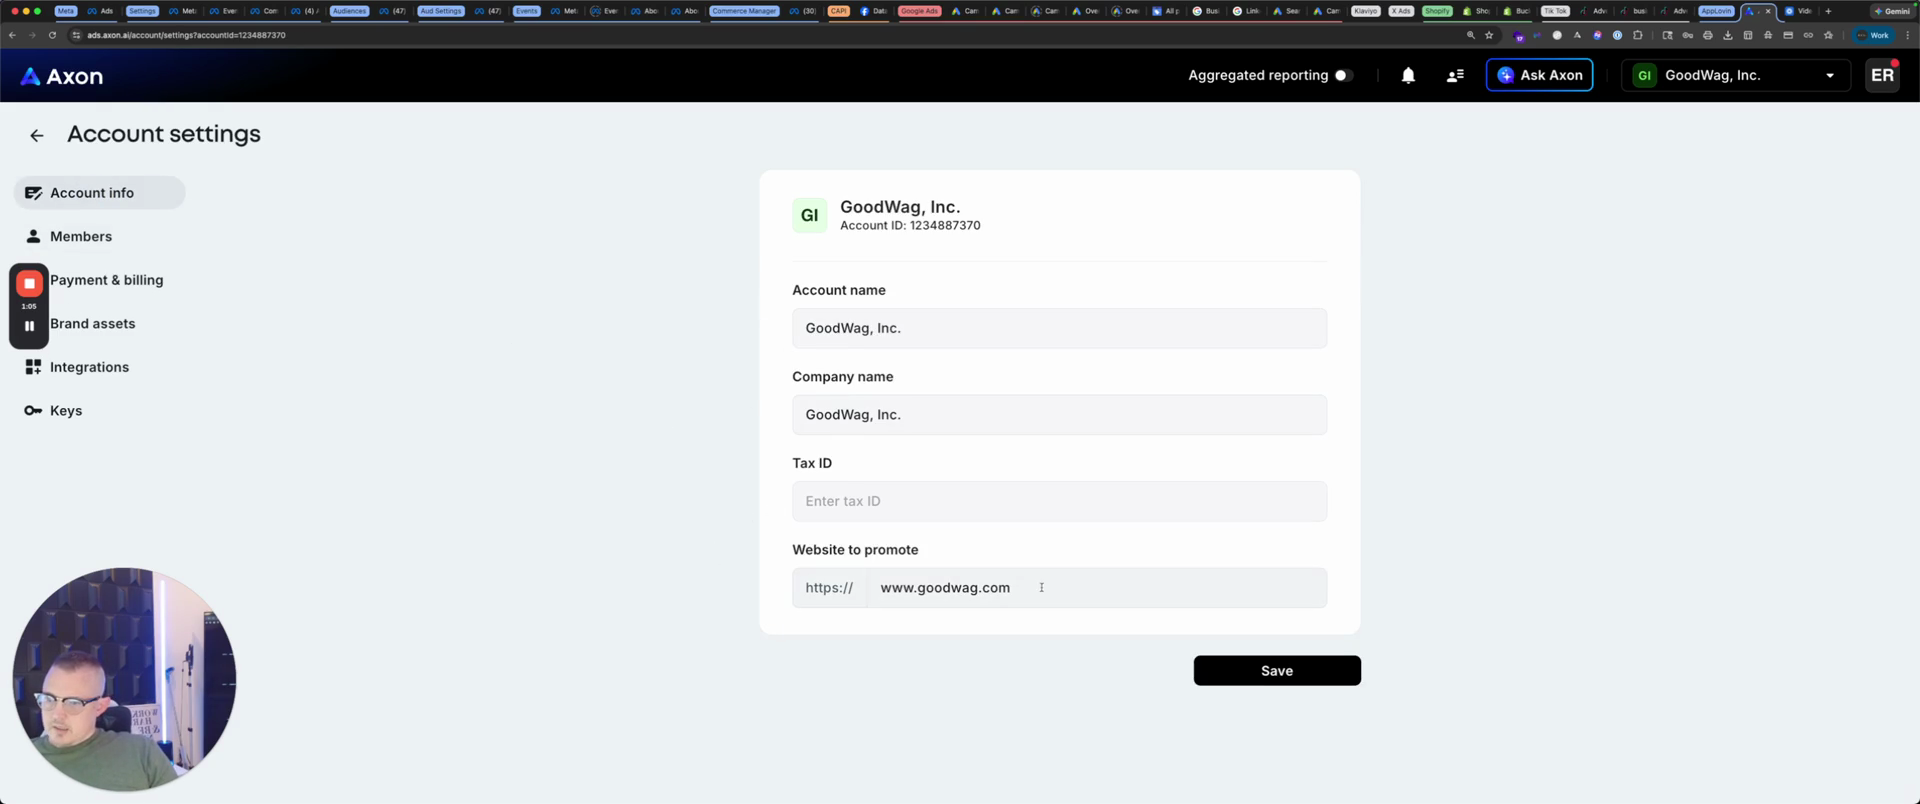
For every account they receive, it will combine that email into a single account. You have your account information. Enter your name, company name, tax ID, and website.

14
Enter your account name in the 'Account name' field.
15
Enter your company name in the 'Company name' field.
16
Enter your tax ID in the 'Tax ID' field.
17
Enter your website URL in the 'Website to promote' field.
18
Click the 'Save' button.
Step #18: Click the 'Save' button.

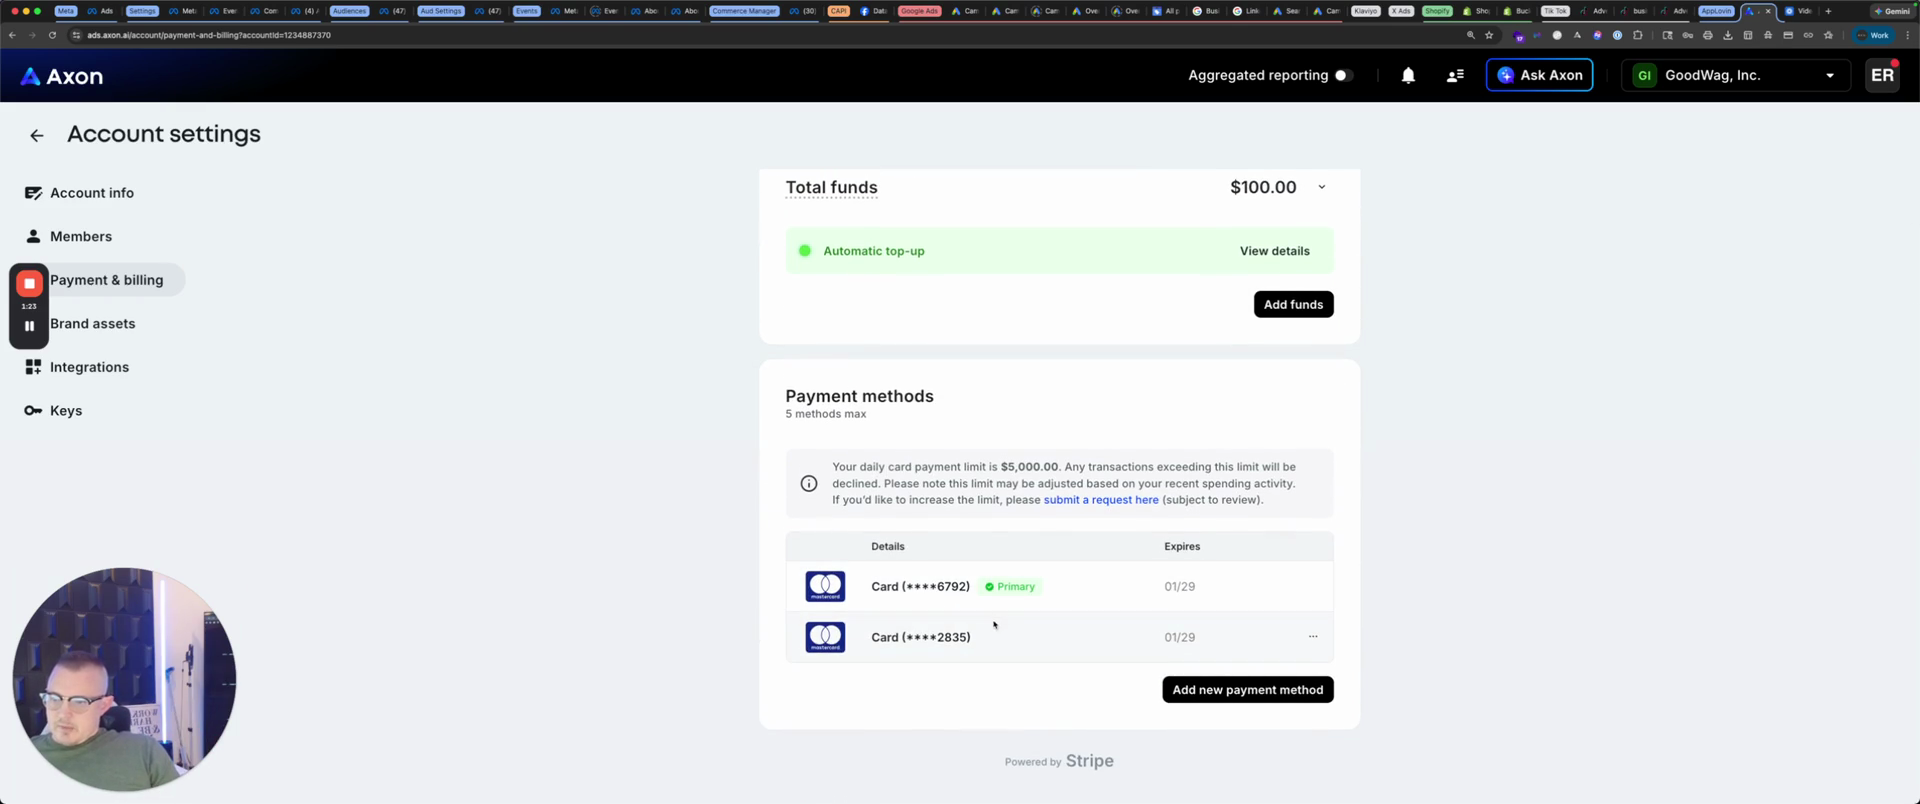
Payment and billing.

19
Go to Link

They bill at midnight for the next day, based on the budget you have set.

20
Note that billing occurs at midnight for the next day's budget.

If you set it to 100, you will be billed $100 at midnight. Have a backup ready in case one doesn't go through.

21
Click 'Add new payment method' to add a backup card.
Step #21: Click 'Add new payment method' to add a backup card.

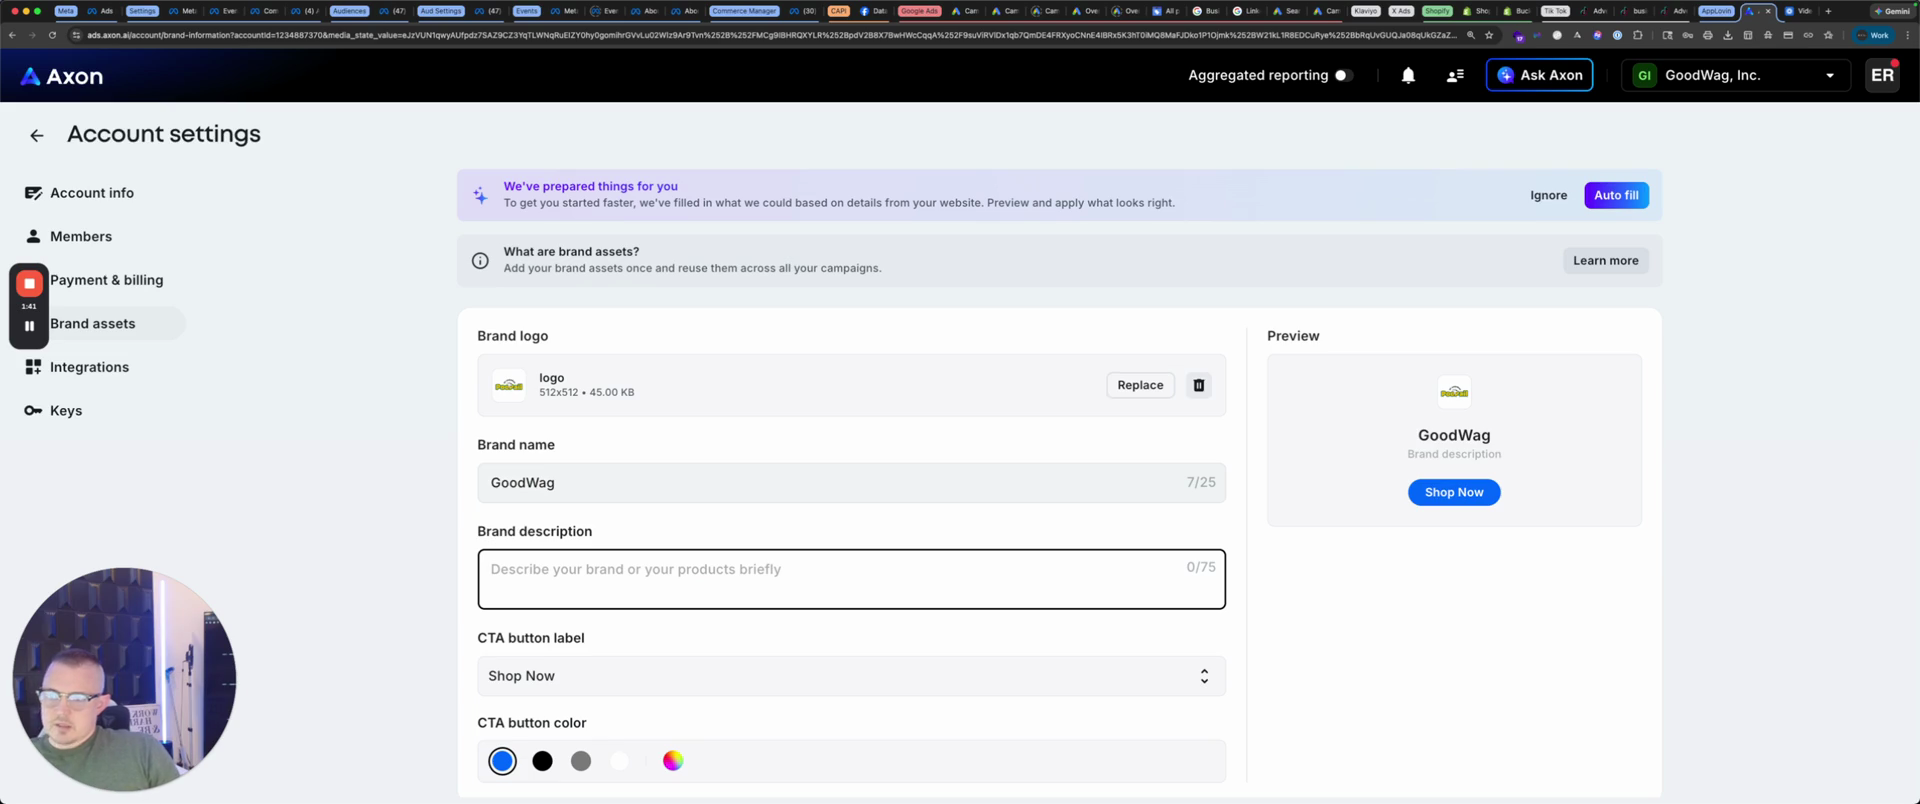
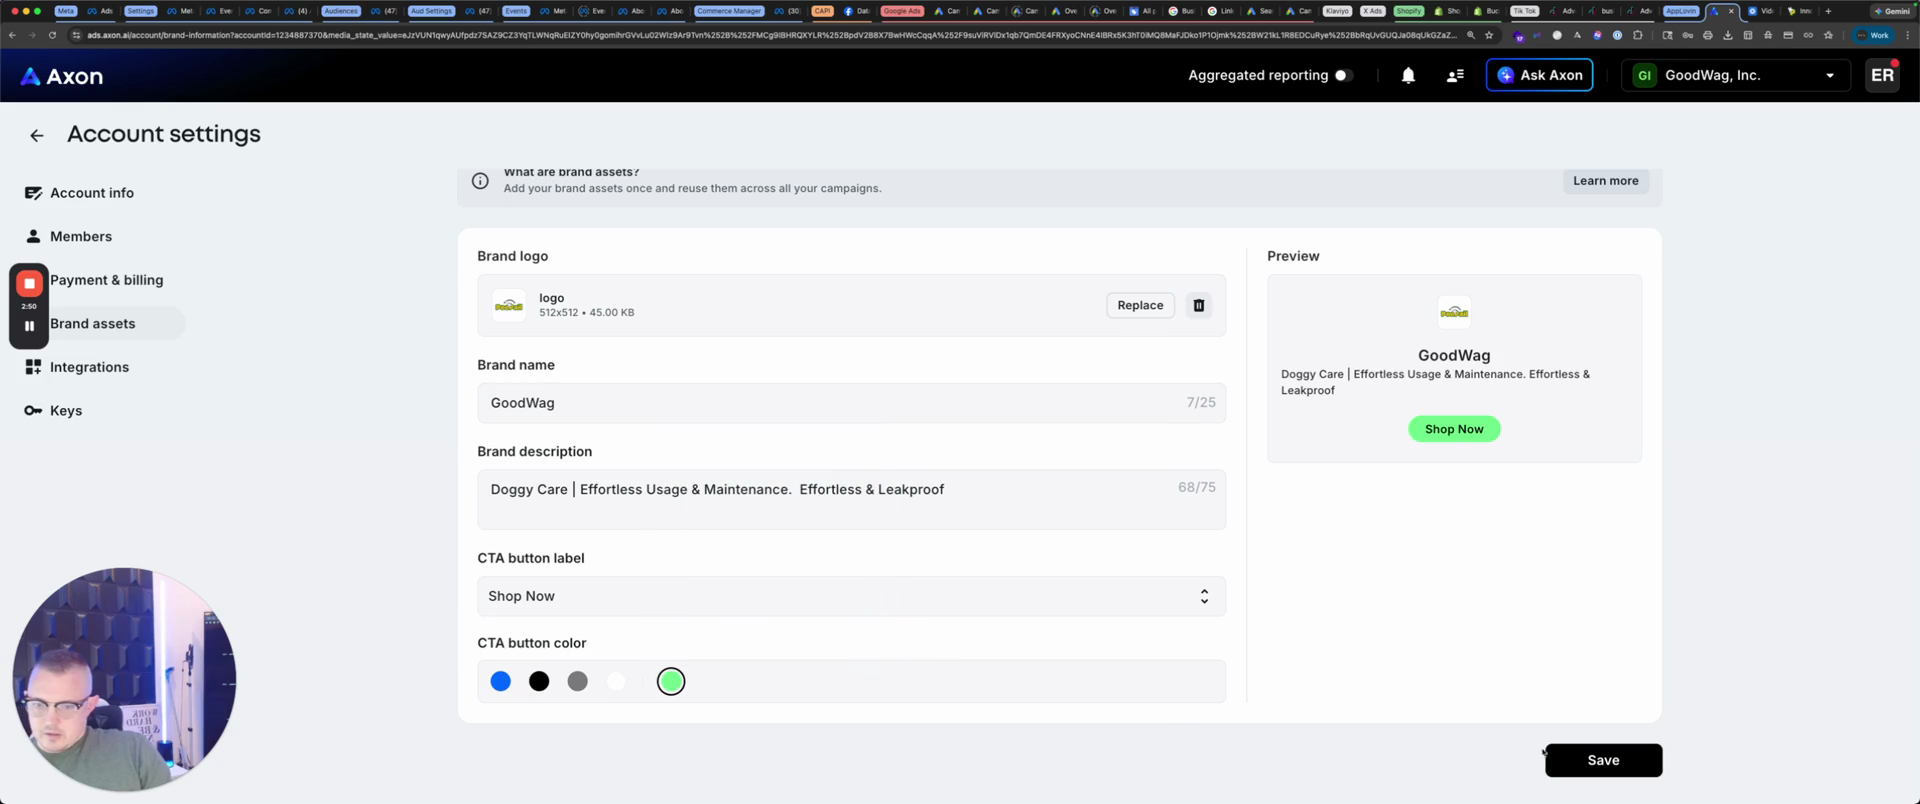
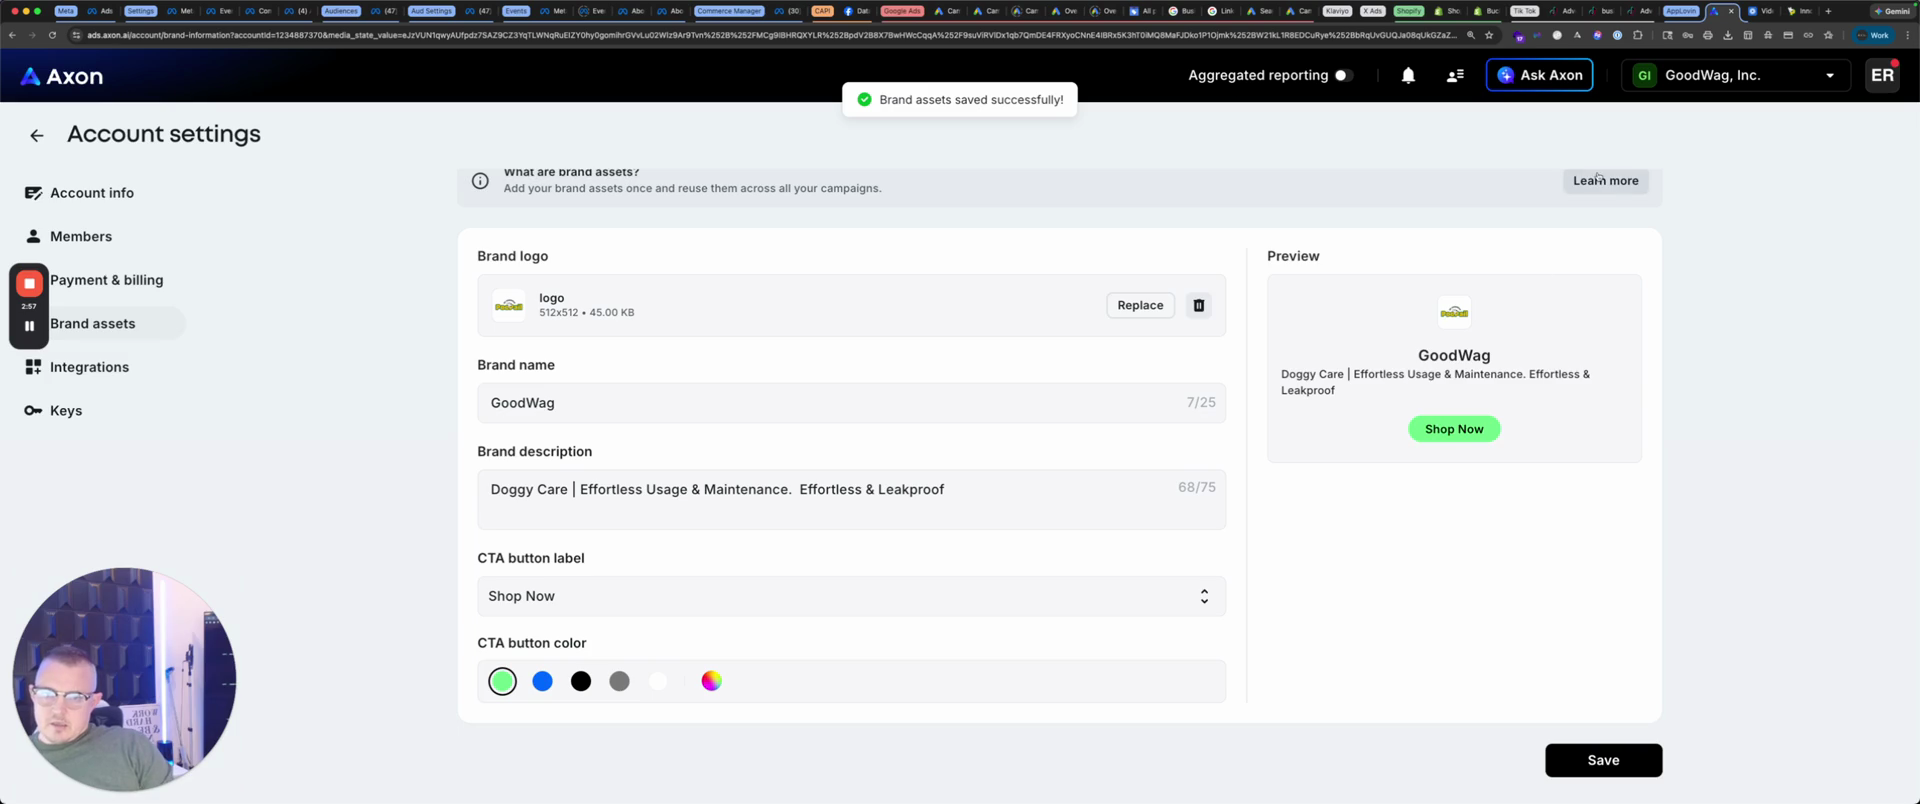
You have your brand assets.

22
Click the 'Select' button to upload your brand logo.
Step #22: Click the 'Select' button to upload your brand logo.

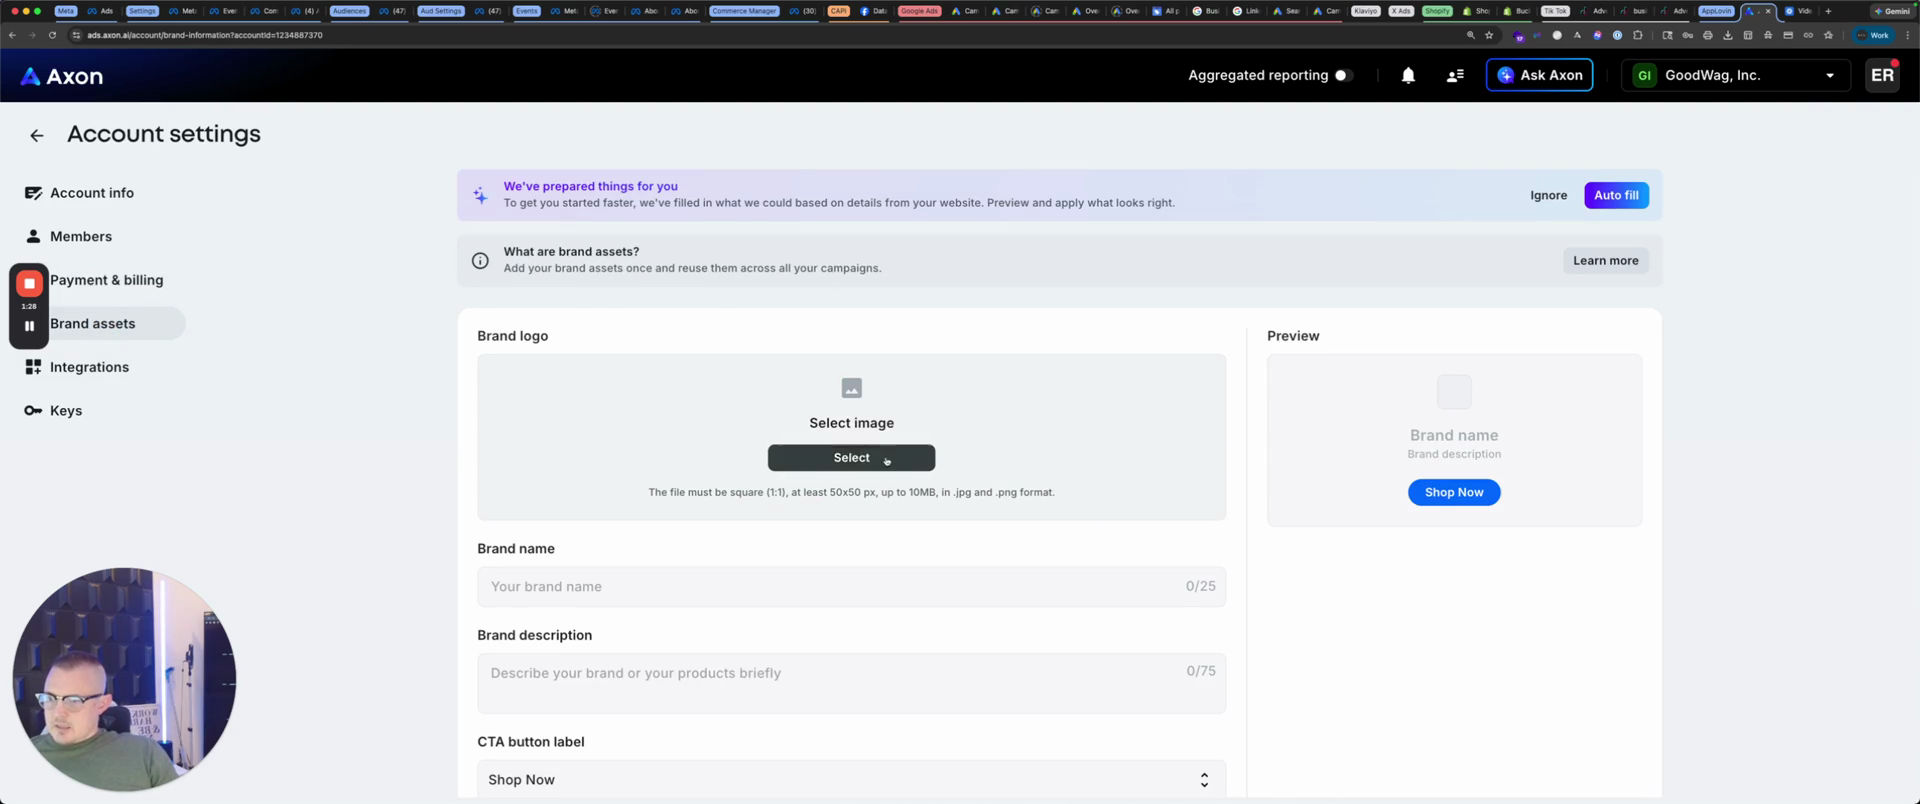
You have your logo, so we'll place our Poo Pale logo there. Your brand name is Good Wag.

23
Type 'GoodWag' in the 'Brand name' field.

Brand description: Let's look at what it says on the site.

24
Click into the 'Brand description' text field.
Step #24: Click into the 'Brand description' text field.
25
Go to Link

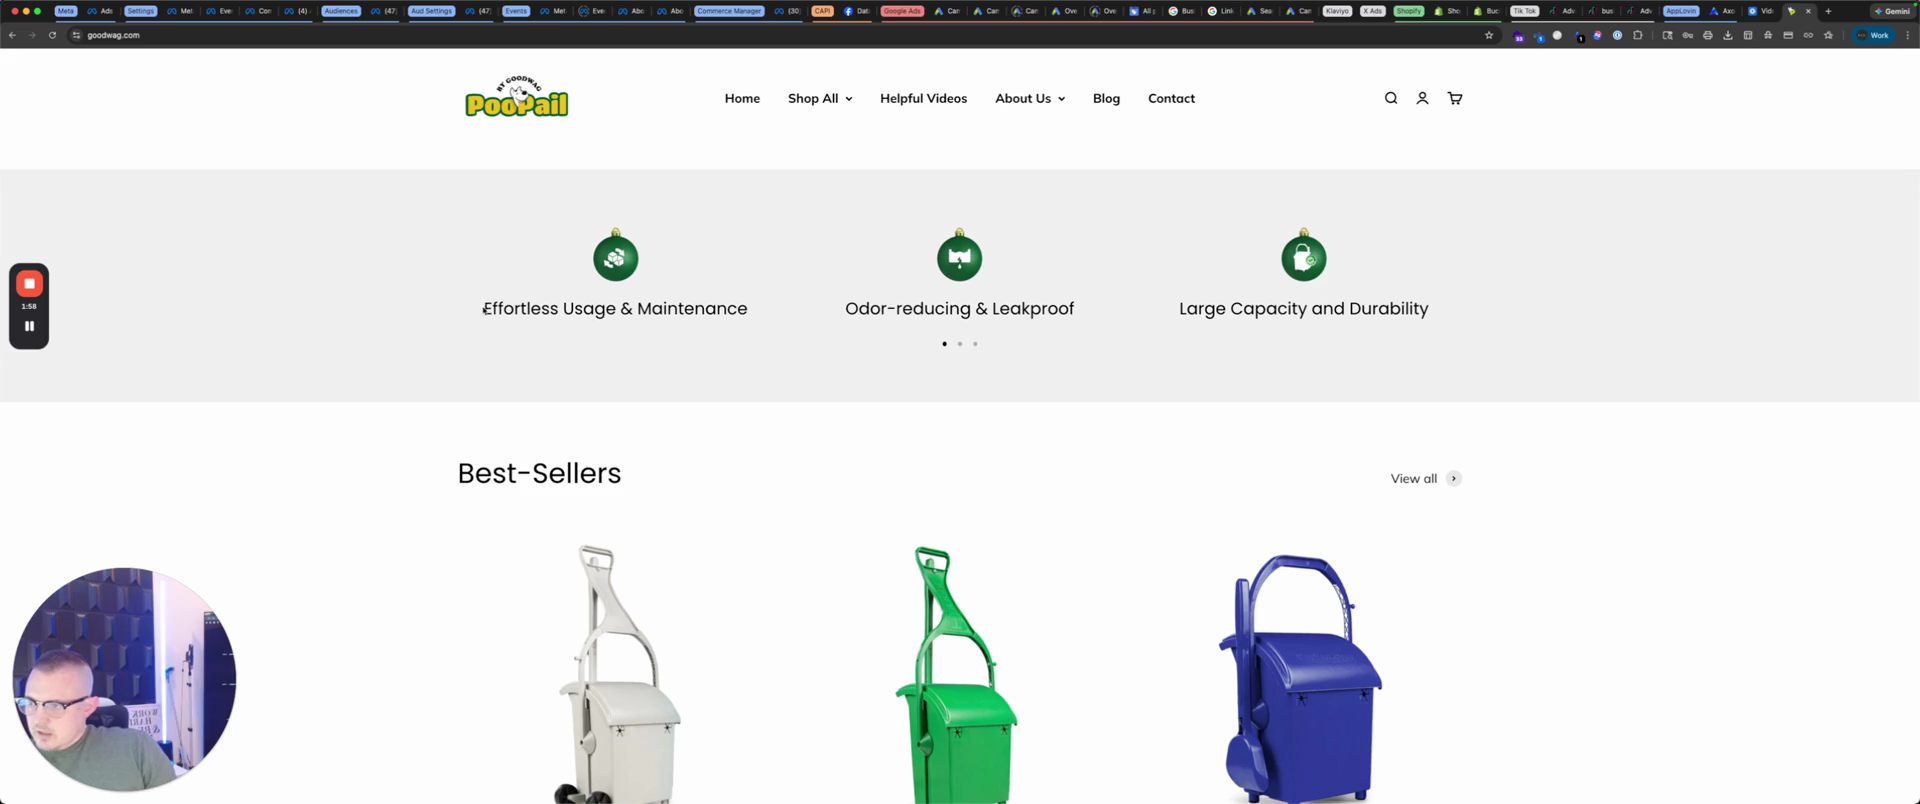
Effortless maintenance, odor-proof, and leak-proof.

26
Highlight and copy the brand description from the website.
Step #26: Highlight and copy the brand description from the website.
27
Copy the text 'Effortless Usage & Maintenance'.
Step #27: Copy the text 'Effortless Usage & Maintenance'.

We'll put "doggy care," "effortless," and "odorless," as it said.

28
Click in the 'Brand description' text field.
Step #28: Click in the 'Brand description' text field.
29
Type 'Doggy Care | Effortless Usage & Maintenance. Effortless & Leak' into the Brand description field.

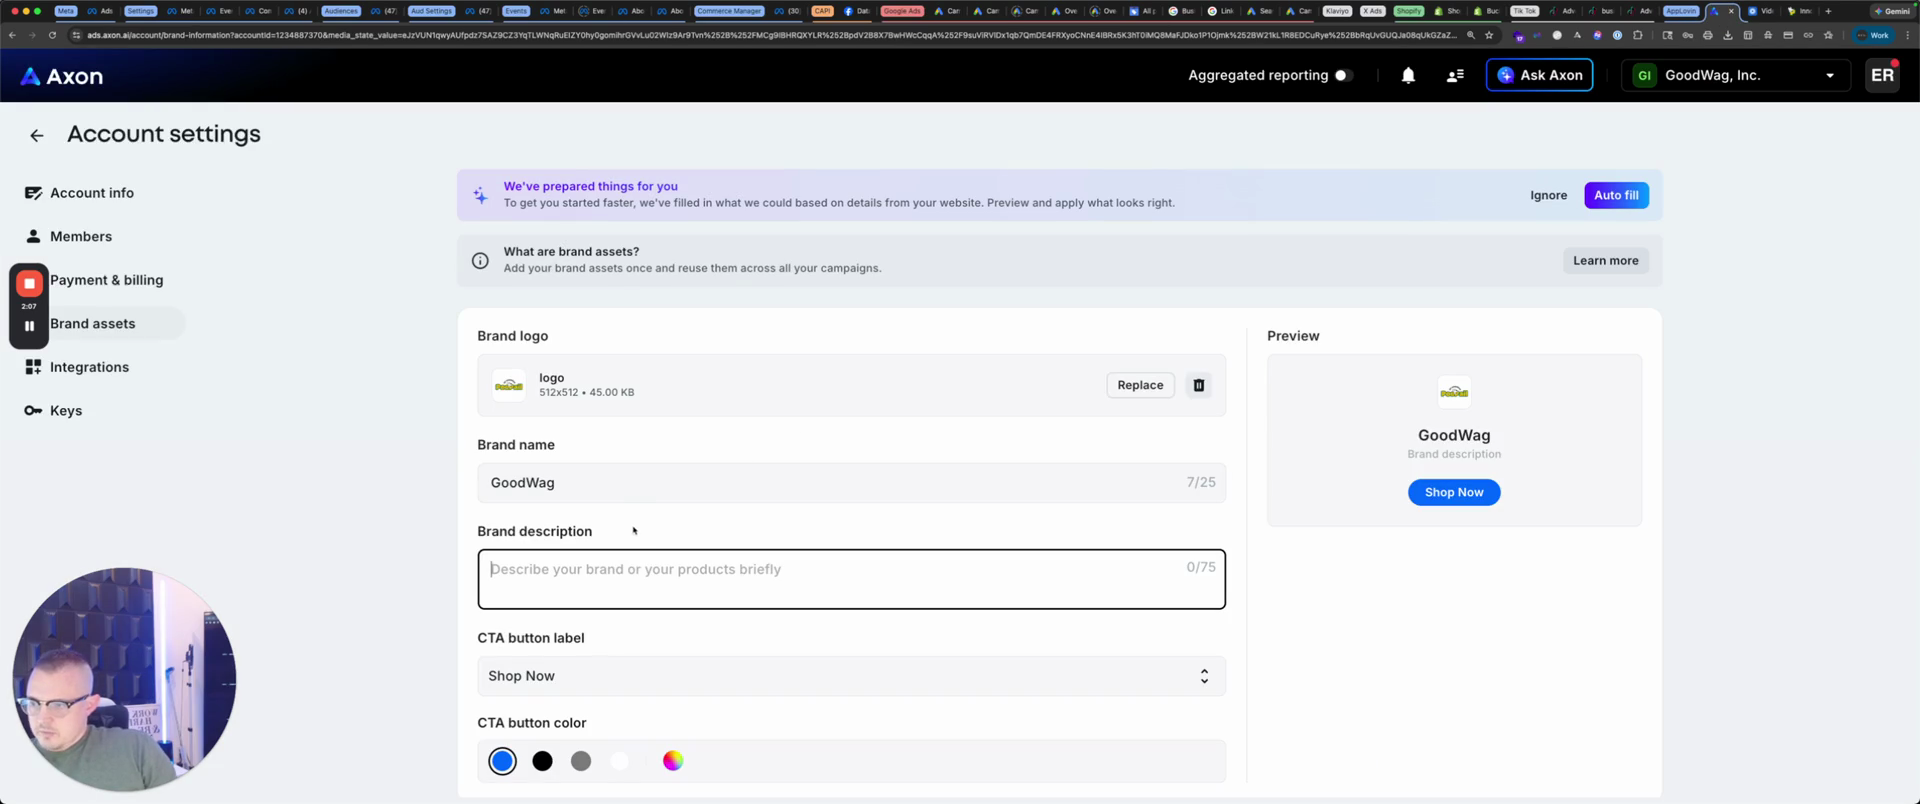
Leak-proof... is what we're gonna put. Enter your company's motto, then select your company's color. In this case, we'll use a soft green.

30
Type ' & Leakproof' into the Brand description field.

Once you choose that, add a softer green like this.

31
Click the color picker icon for the CTA button color.
Step #31: Click the color picker icon for the CTA button color.
32
Drag the color selector to a soft green.
Step #32: Drag the color selector to a soft green.

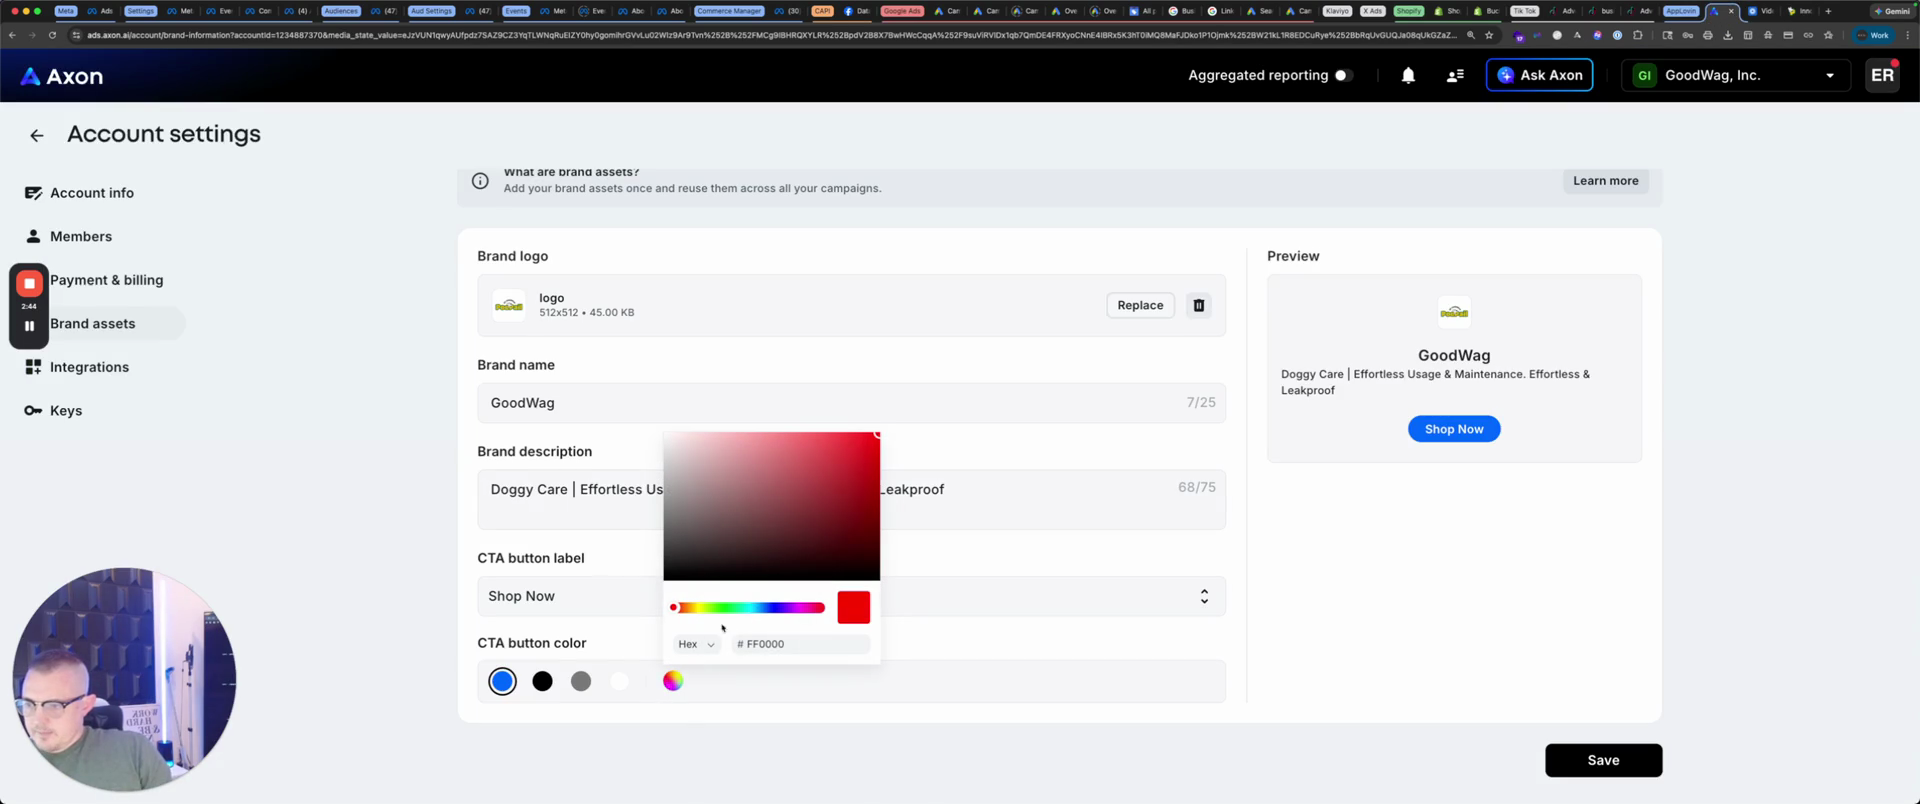
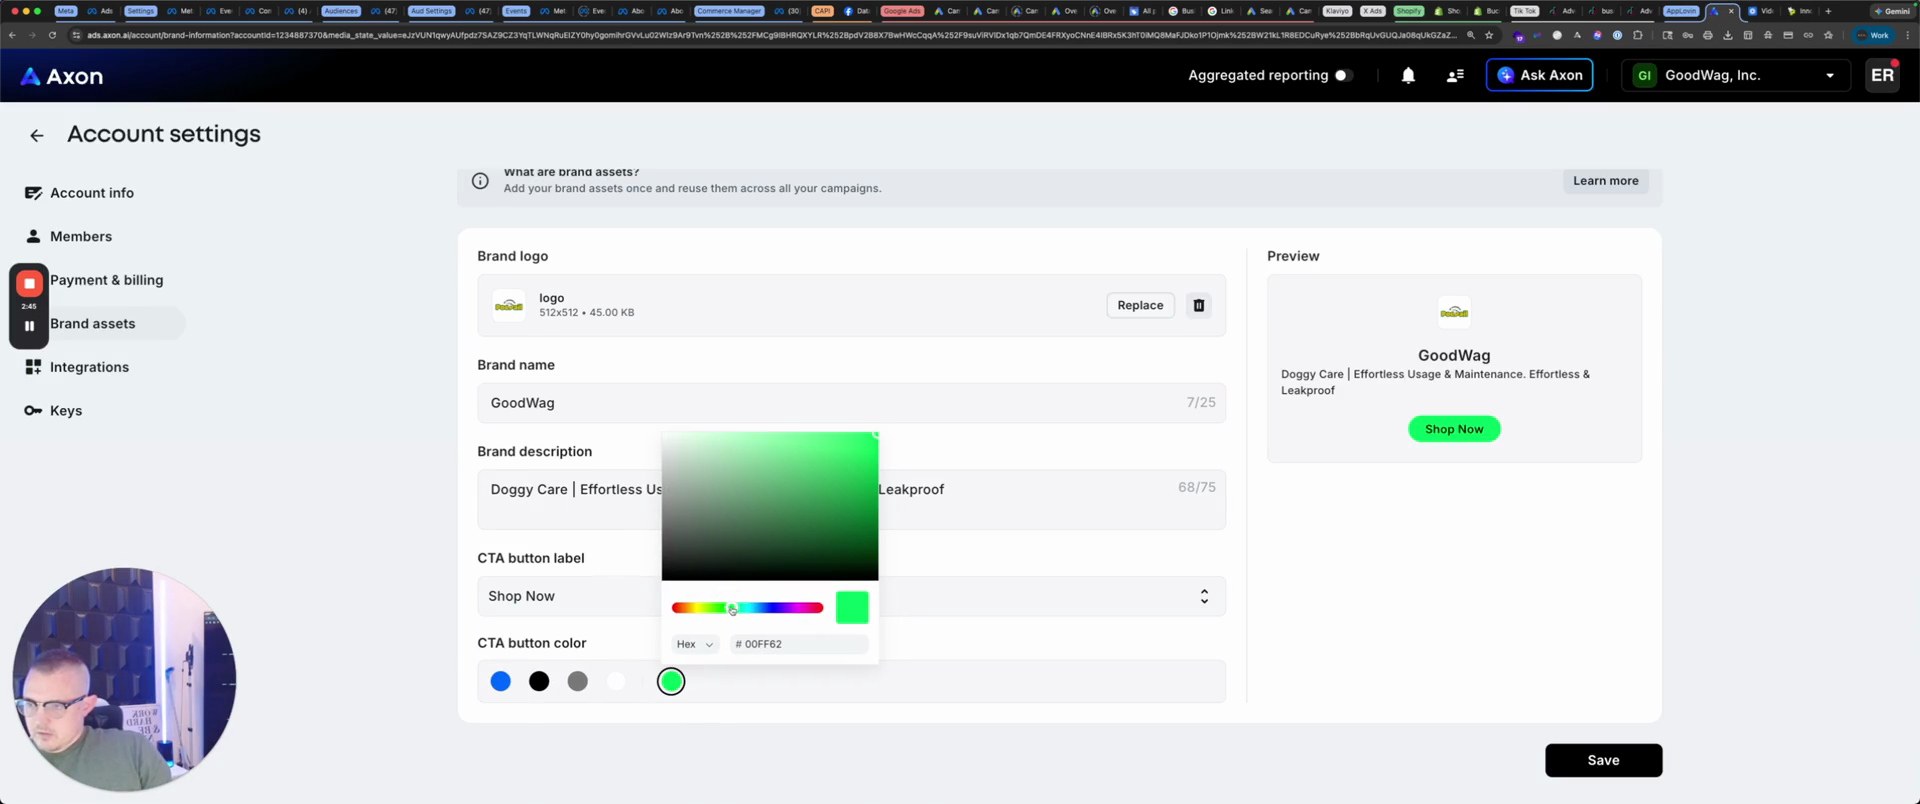
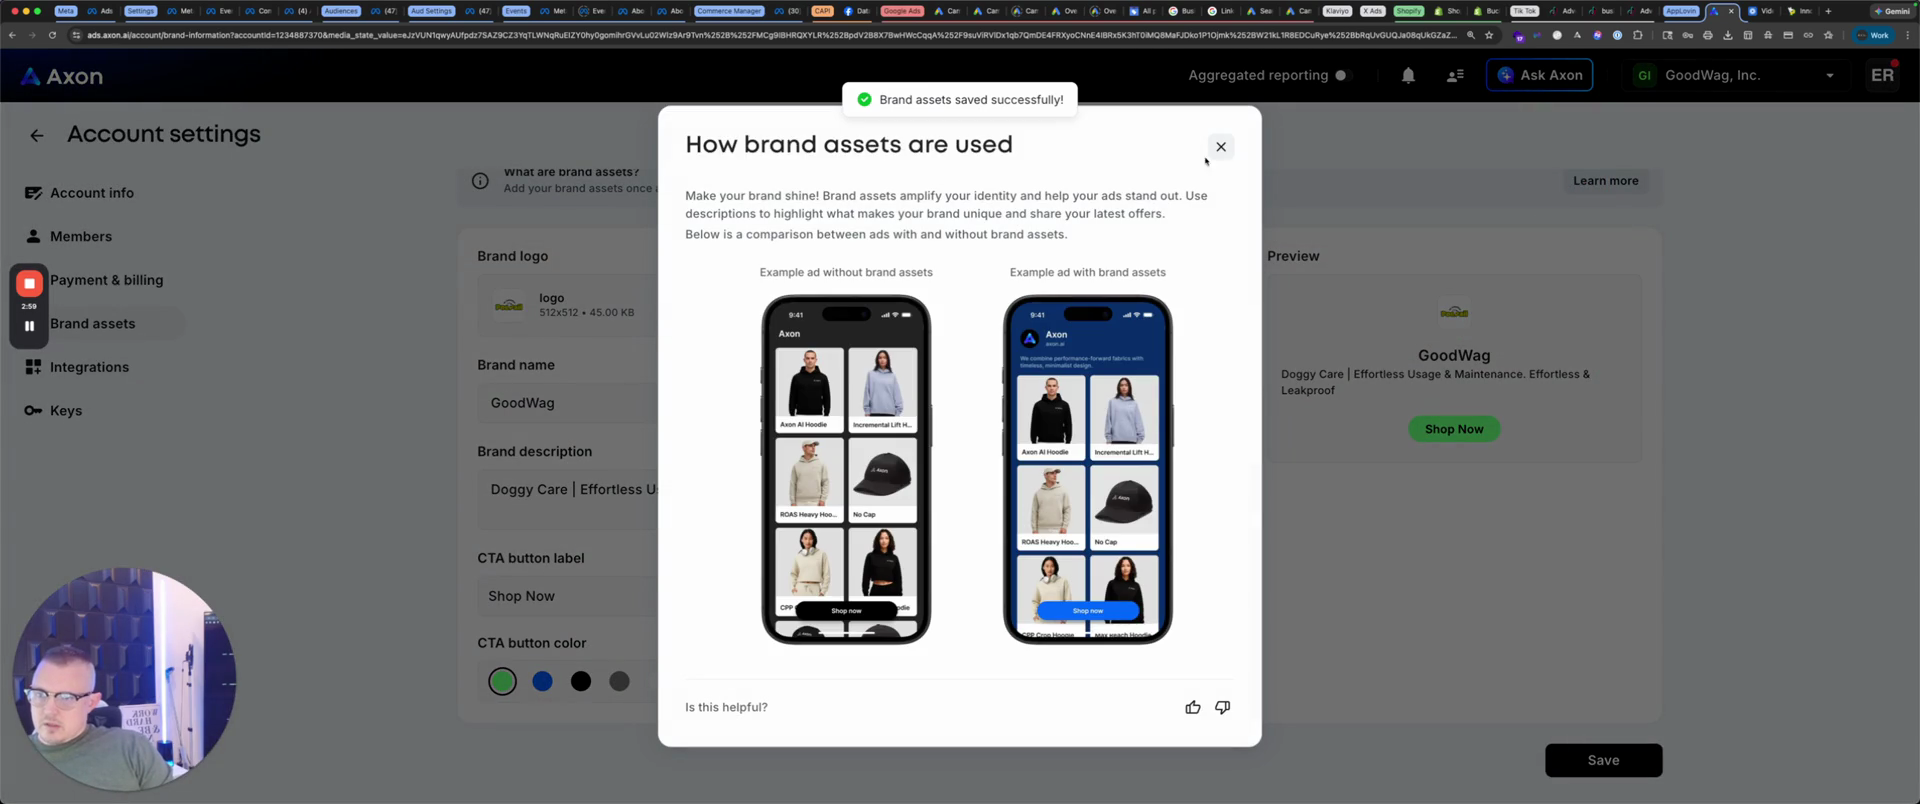
And of course, feel free to use your brand guide and learn more.

33
Click the Save button in the bottom right corner.
Step #33: Click the Save button in the bottom right corner.
34
Click the Learn more button.
Step #34: Click the Learn more button.
35
Click the close button on the 'How brand assets are used' pop-up.
Step #35: Click the close button on the 'How brand assets are used' pop-up.

So this is... It provides a guide on how to use it if you want, and then integrations. Here, connect to Shopify.

36
Click the Manage button to connect to Shopify.
Step #36: Click the Manage button to connect to Shopify.

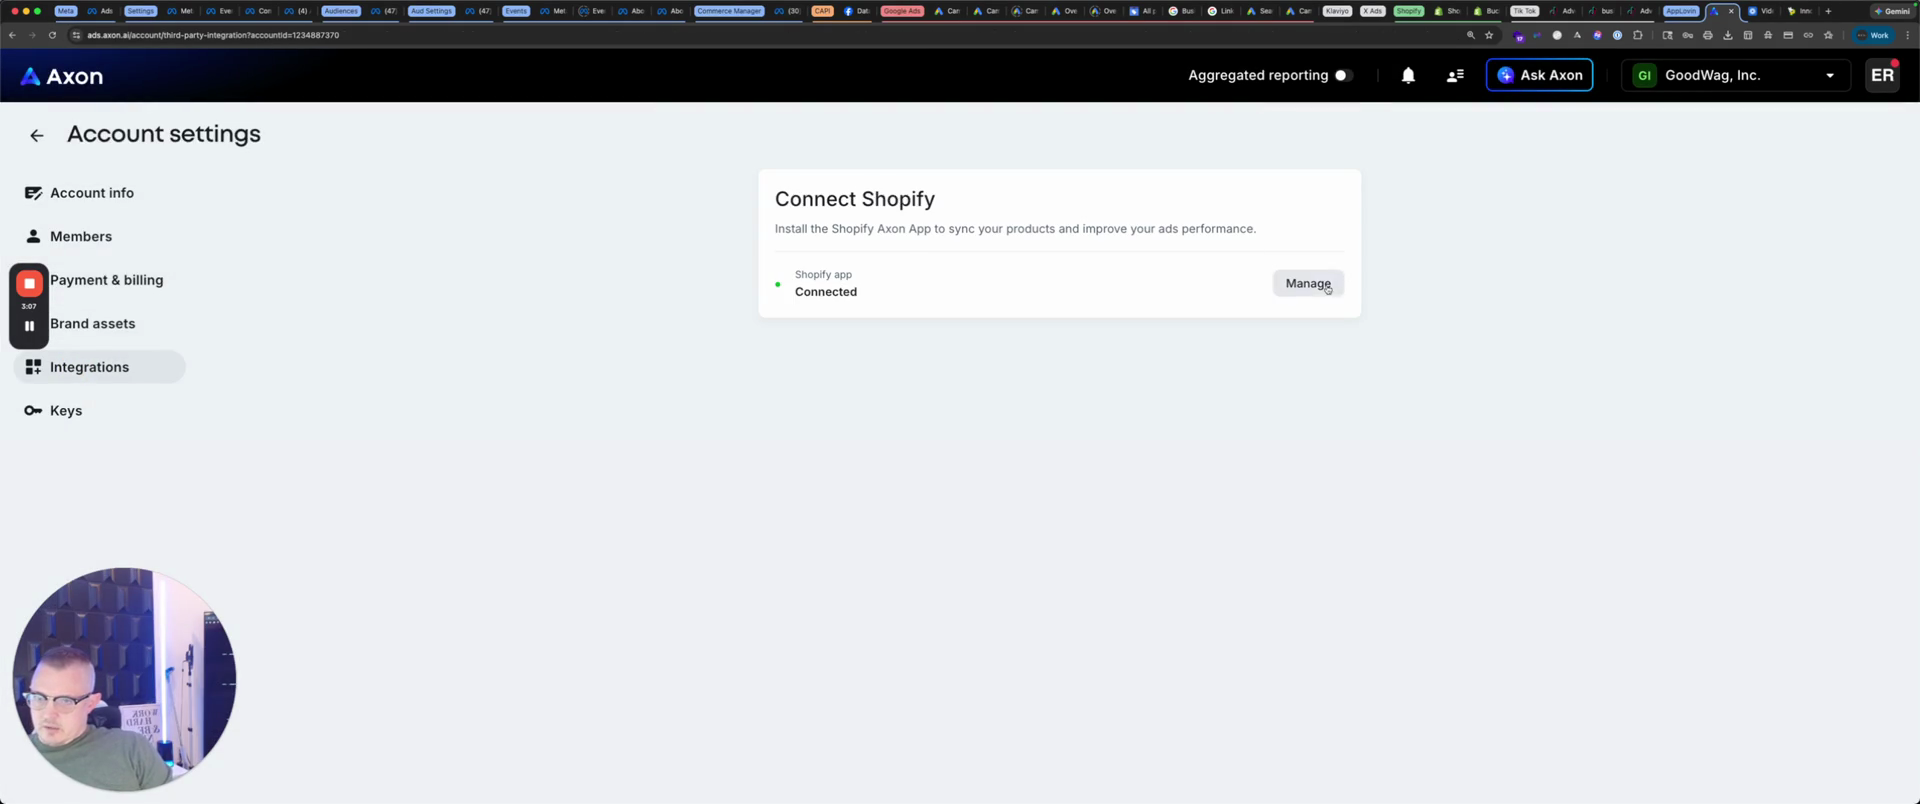
If you have a Shopify store, it will open it. All you do... We have already done this. Now, simply toggle this on and install the Axon sales channel.

37
Toggle on the app connection.
Step #37: Toggle on the app connection.
38
Install the Axon app.
Step #38: Install the Axon app.

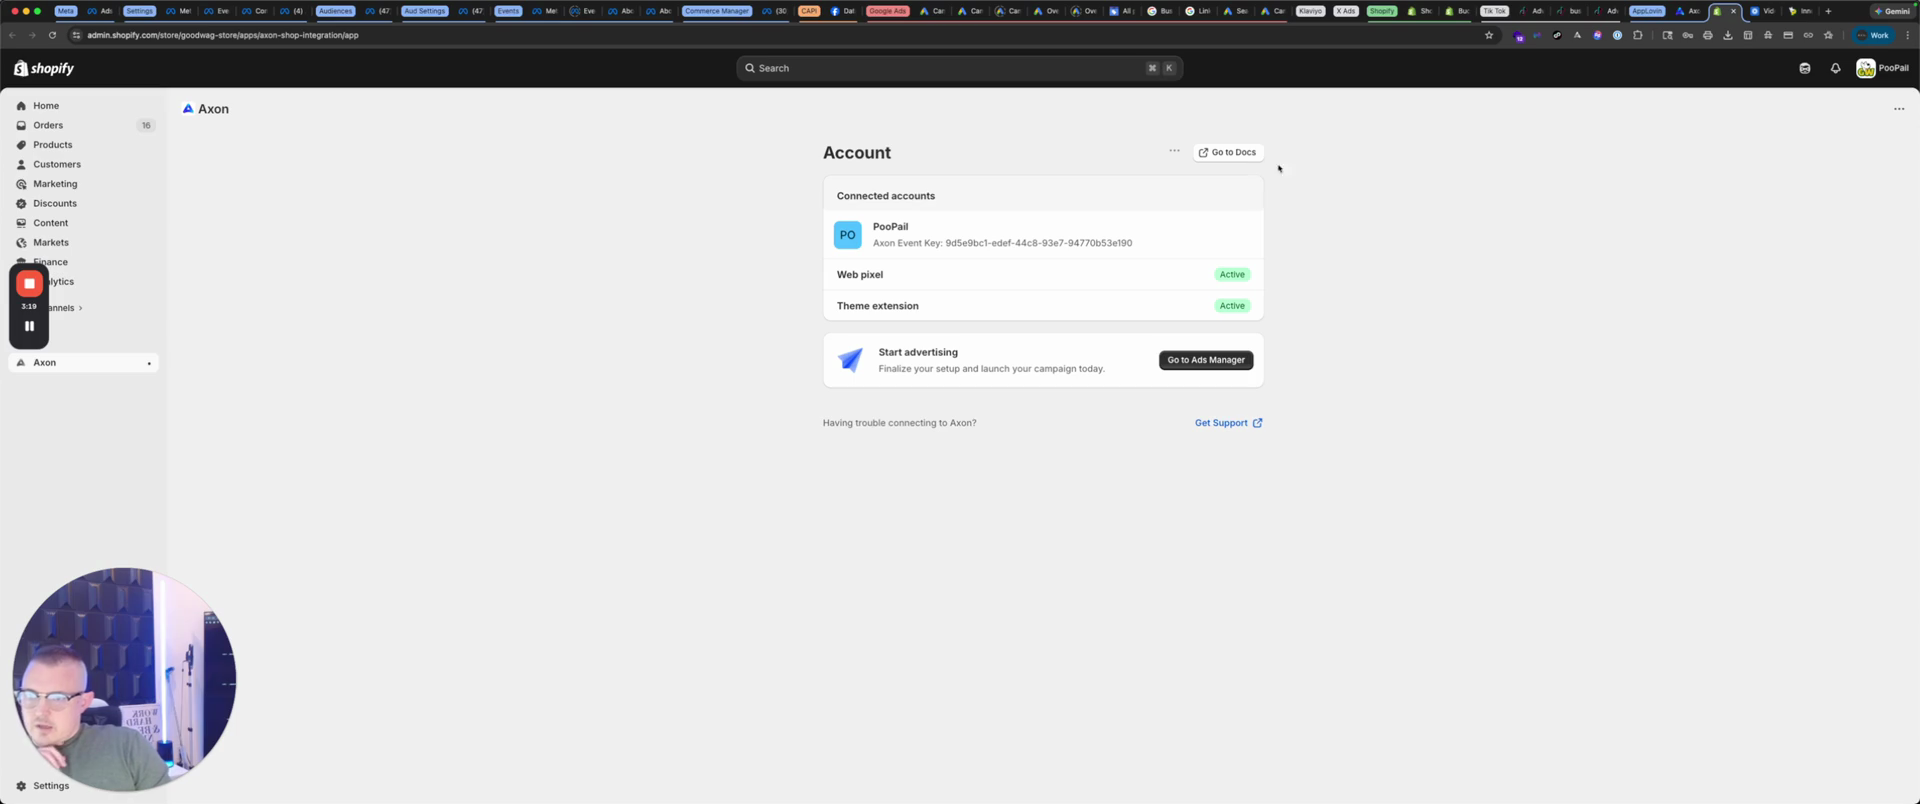
Or it's actually an app.

39
Click the 'Go to Ads Manager' button.
Step #39: Click the 'Go to Ads Manager' button.

Then go to Ads Manager, and you're all set.

40
Click the profile icon in the top-right corner.
Step #40: Click the profile icon in the top-right corner.

Come back here. It's connected, and you have your keys.

41
Save the Reporting Key and Axon Event Key in a safe place.
Step #41: Save the Reporting Key and Axon Event Key in a safe place.

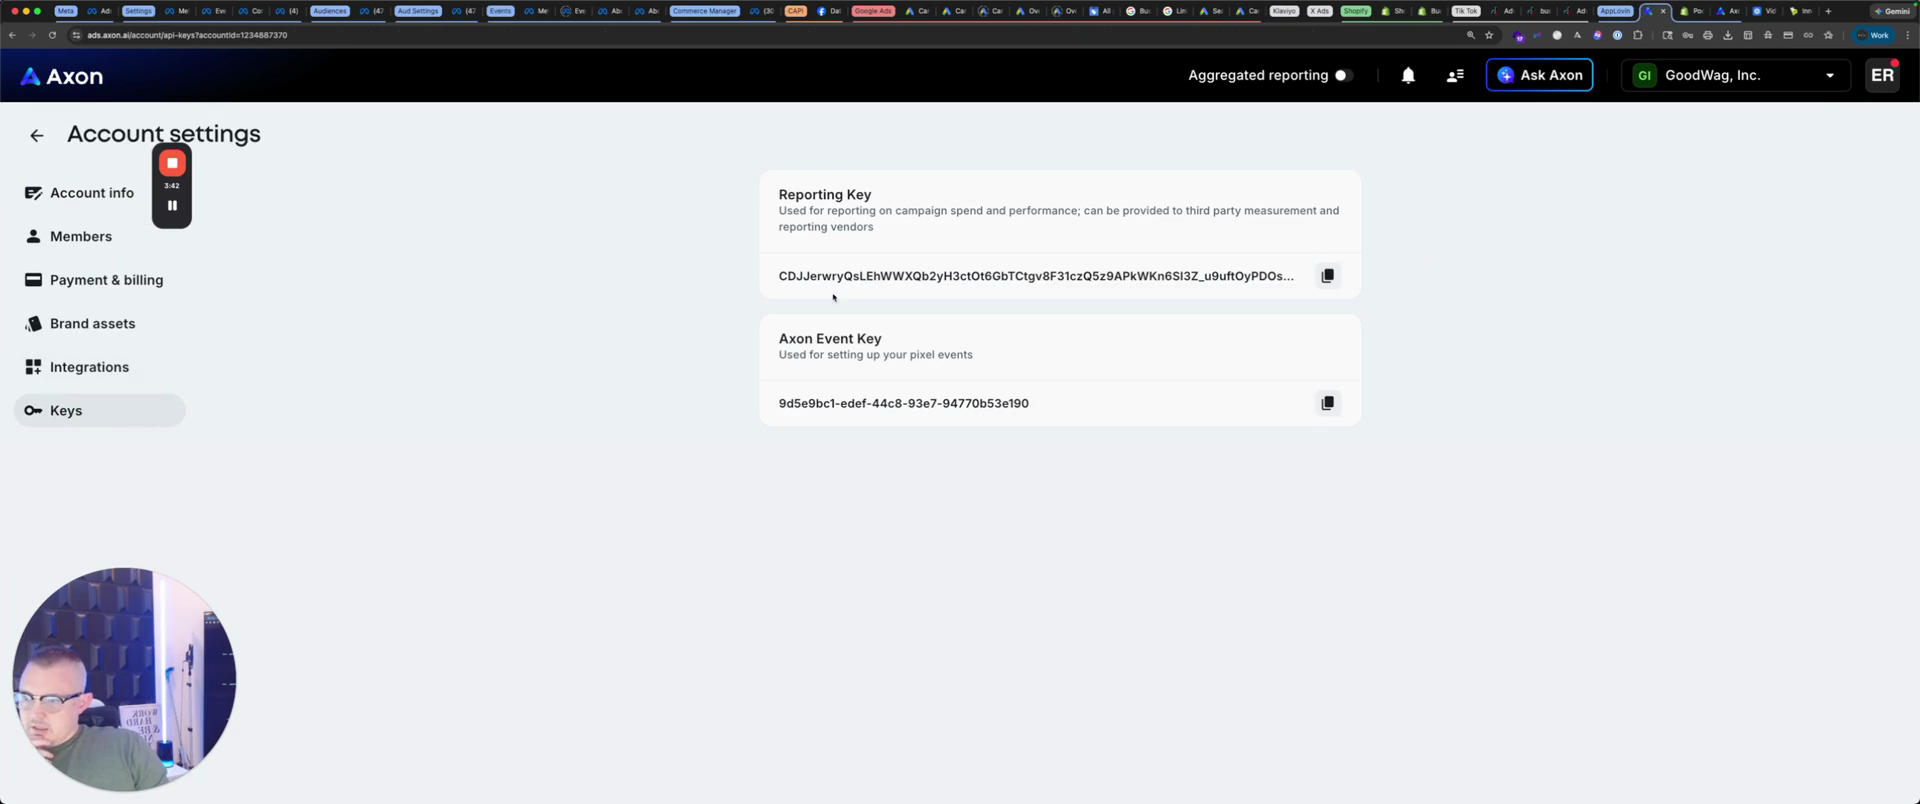
Save these in a safe place in case you ever get locked out of your account. That's the setup of AppLovin.