Icon

How to Set Up Task Delegation in Morney

Learn how to delegate tasks to a subordinate in Morney. Configure delegate permissions, start dates, and precise expiration times to ensure workflow continuity.

By Ayomide Adegebo

This guide explains how to set up task delegation in Morney, allowing you to assign specific responsibilities to a subordinate. Configuring a delegate ensures that work continues smoothly when you are unavailable.

This workflow applies primarily to principals and managers who need to redirect requests, approvals, or endorsements to another team member during a specific time frame.

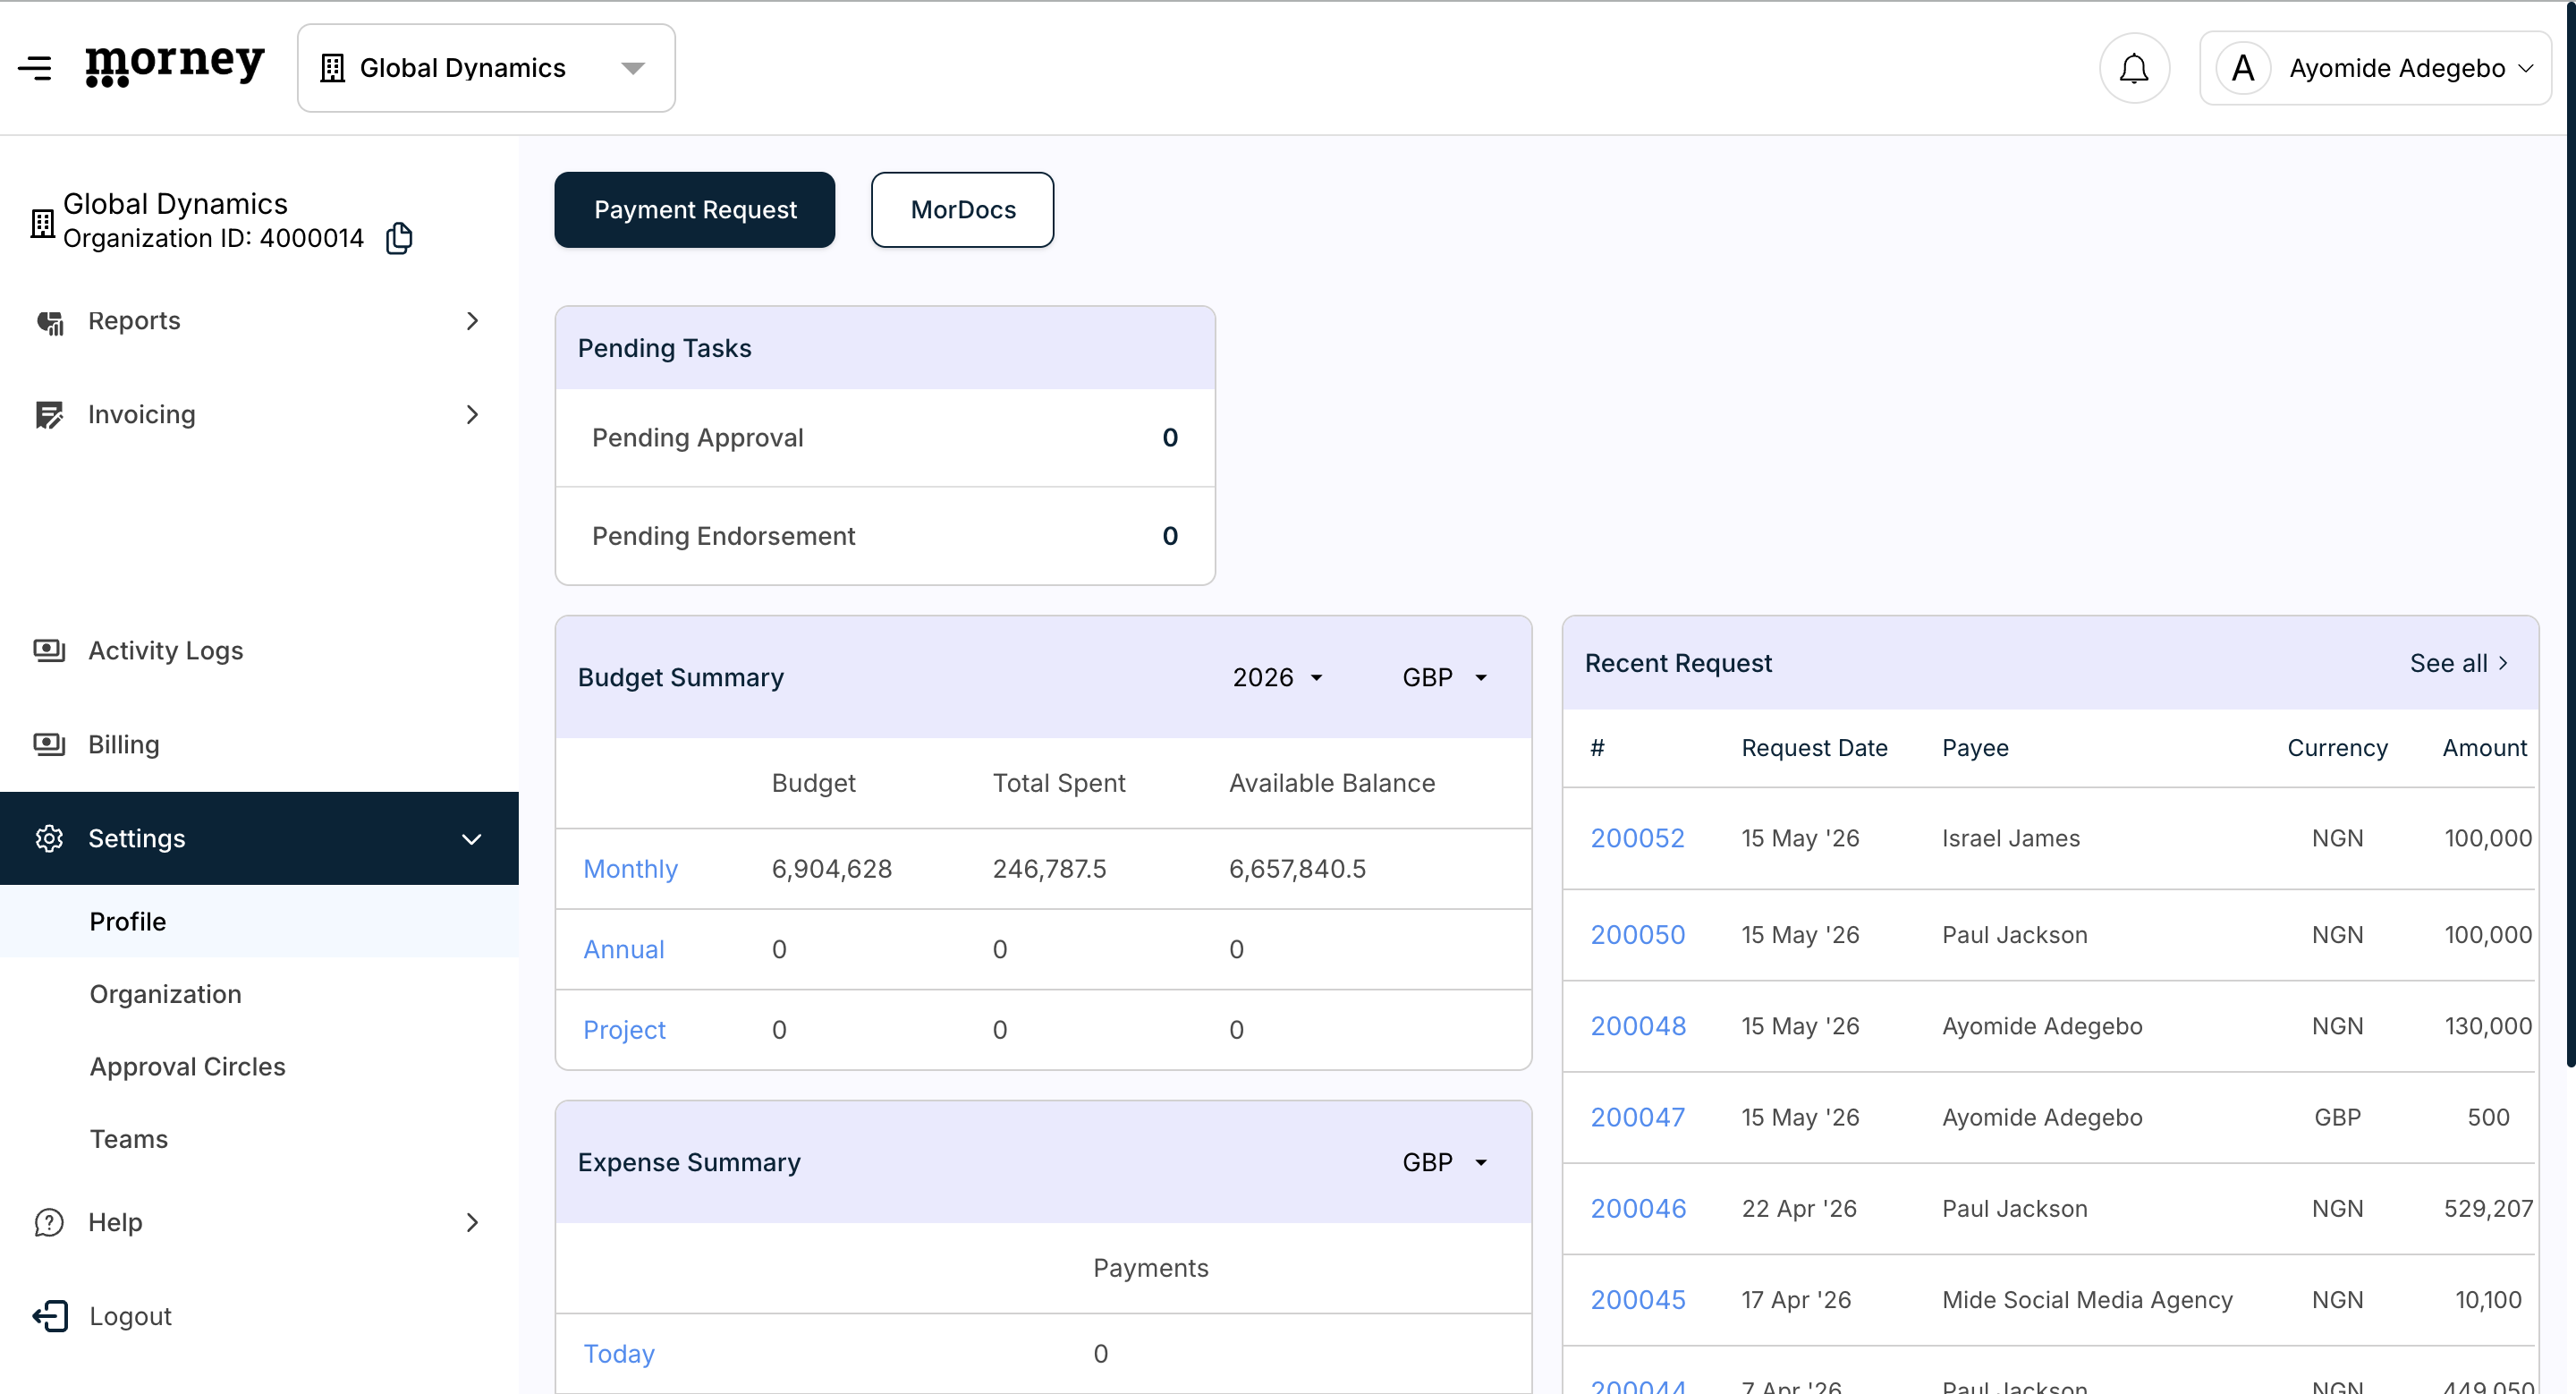
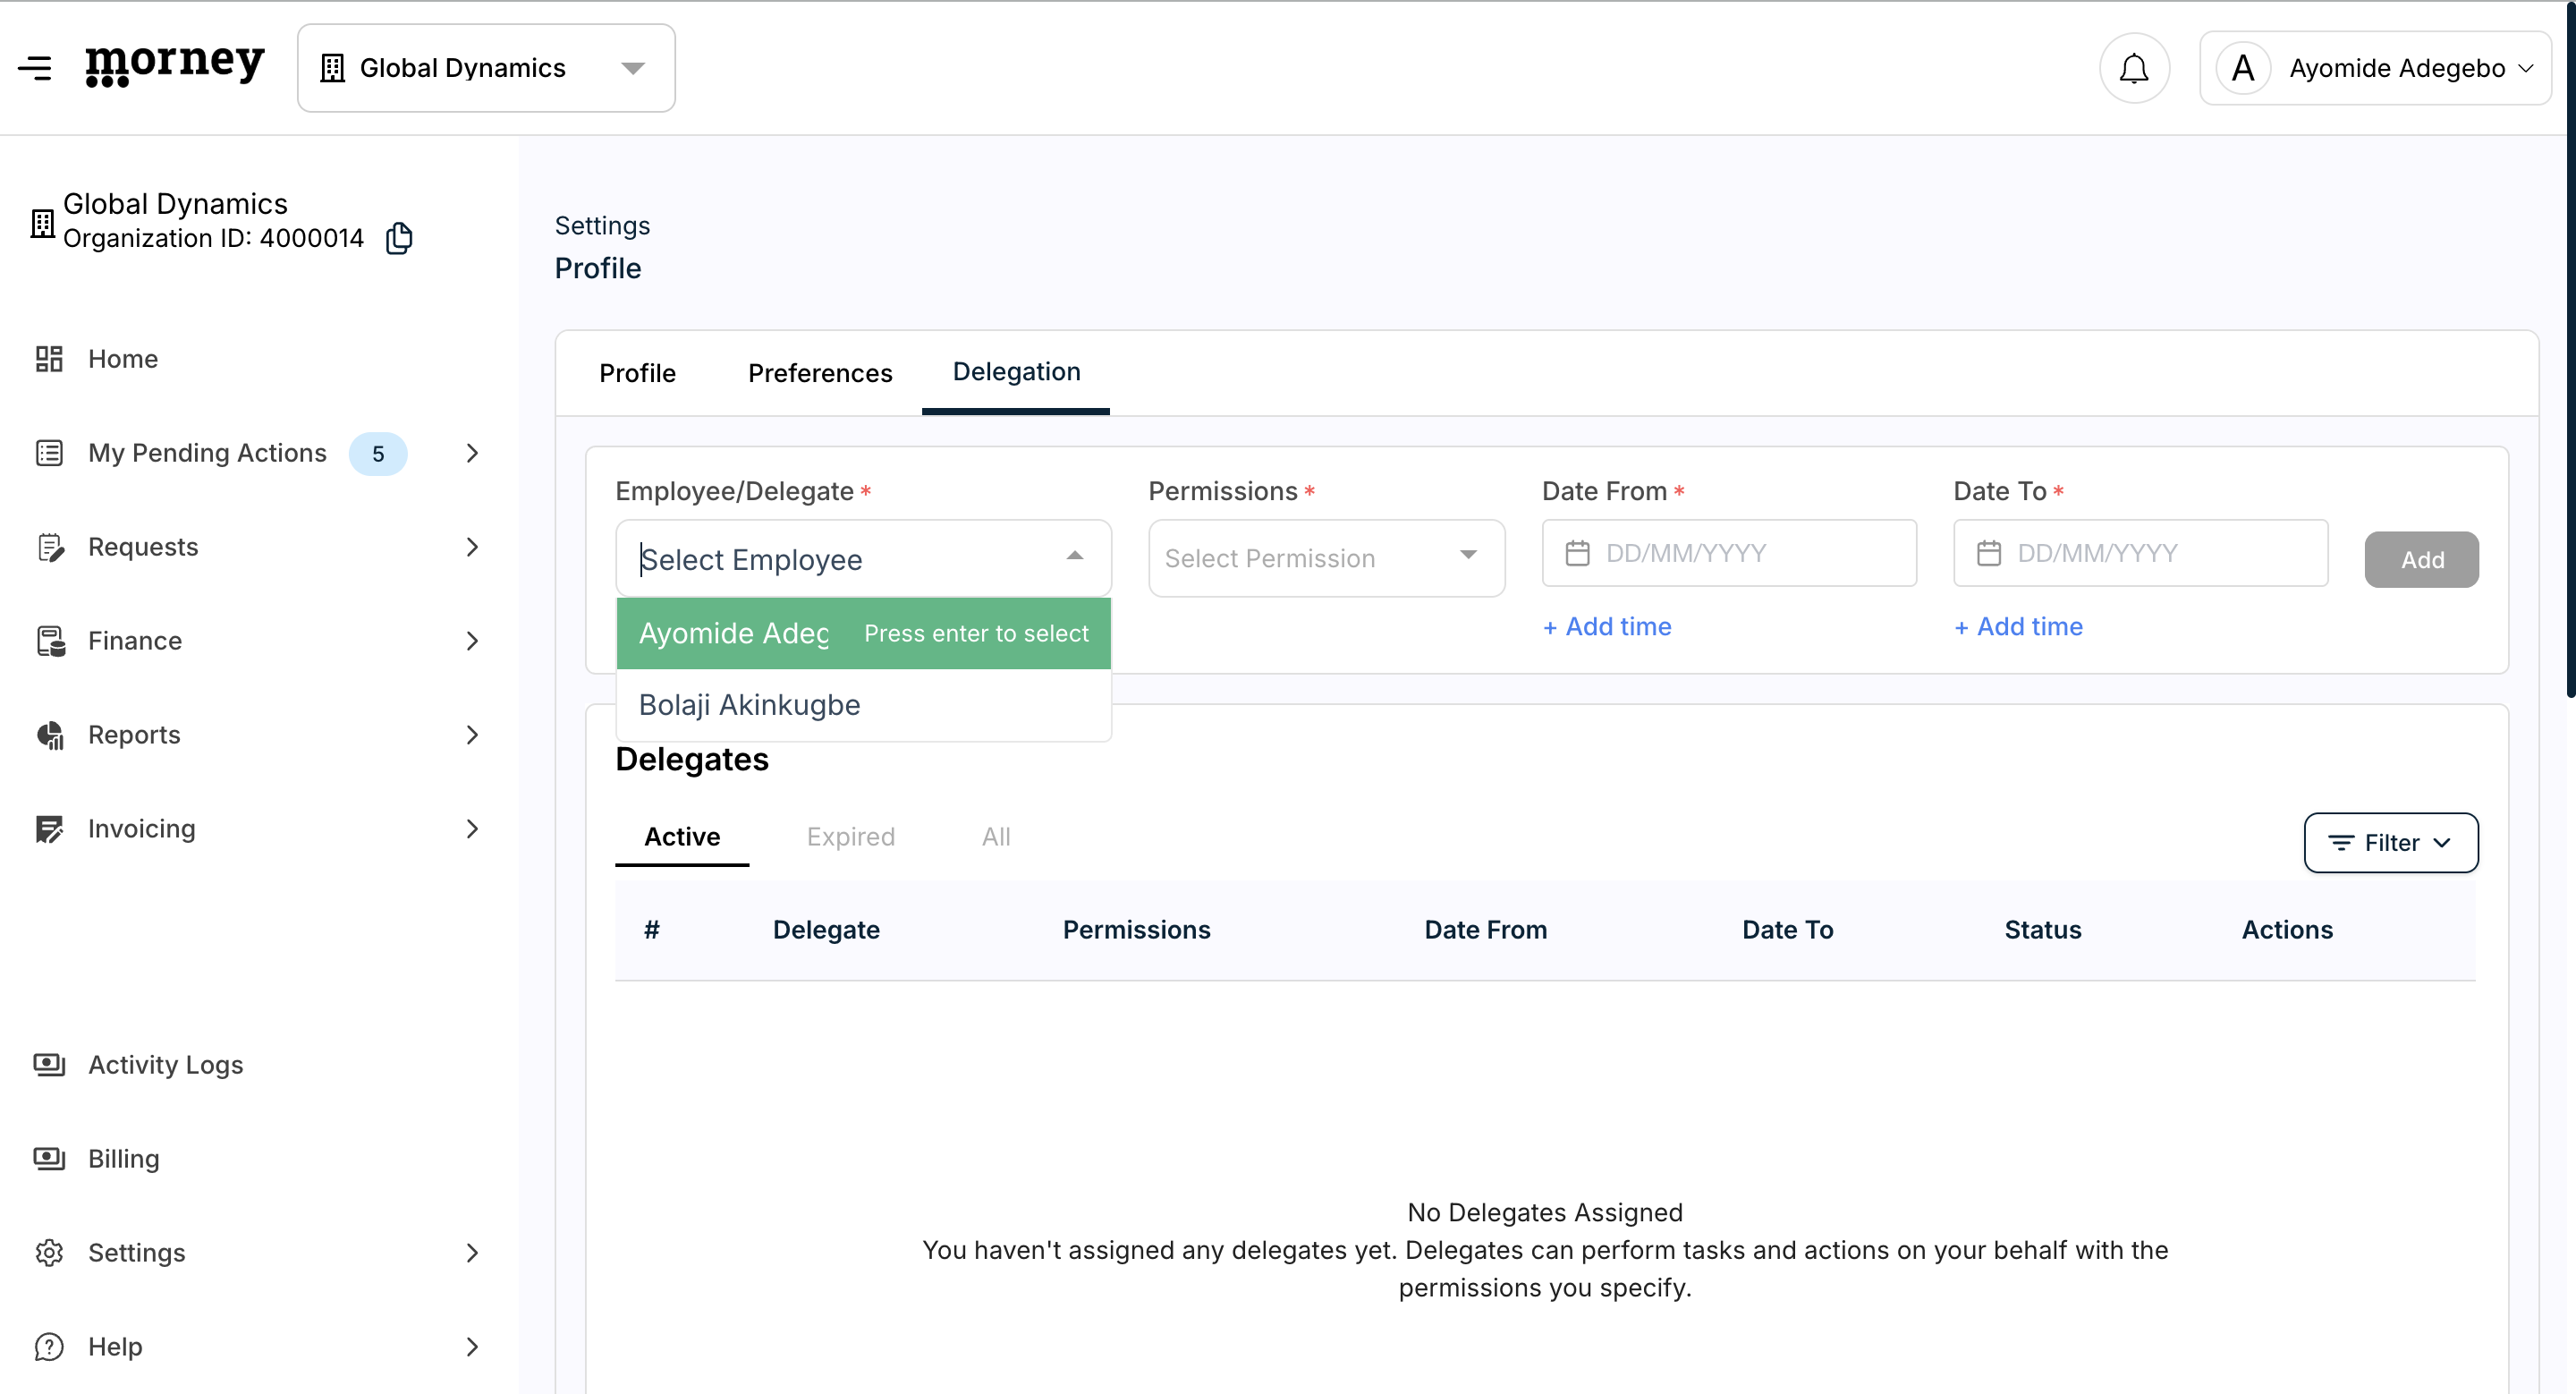
Accessing Delegation Settings

1
From your main dashboard, open the Settings menu and select Profile.
Step #1: From your main dashboard, open the Settings menu and select Profile.
2
Click the Delegation tab to manage your delegates.
Step #2: Click the Delegation tab to manage your delegates.

Assigning a Delegate

3
Click the Employee/Delegate dropdown and select the colleague who will act on your behalf.
Step #3: Click the Employee/Delegate dropdown and select the colleague who will act on your behalf.
4
Open the Permissions dropdown and select the level of access to grant.
Step #4: Open the Permissions dropdown and select the level of access to grant.

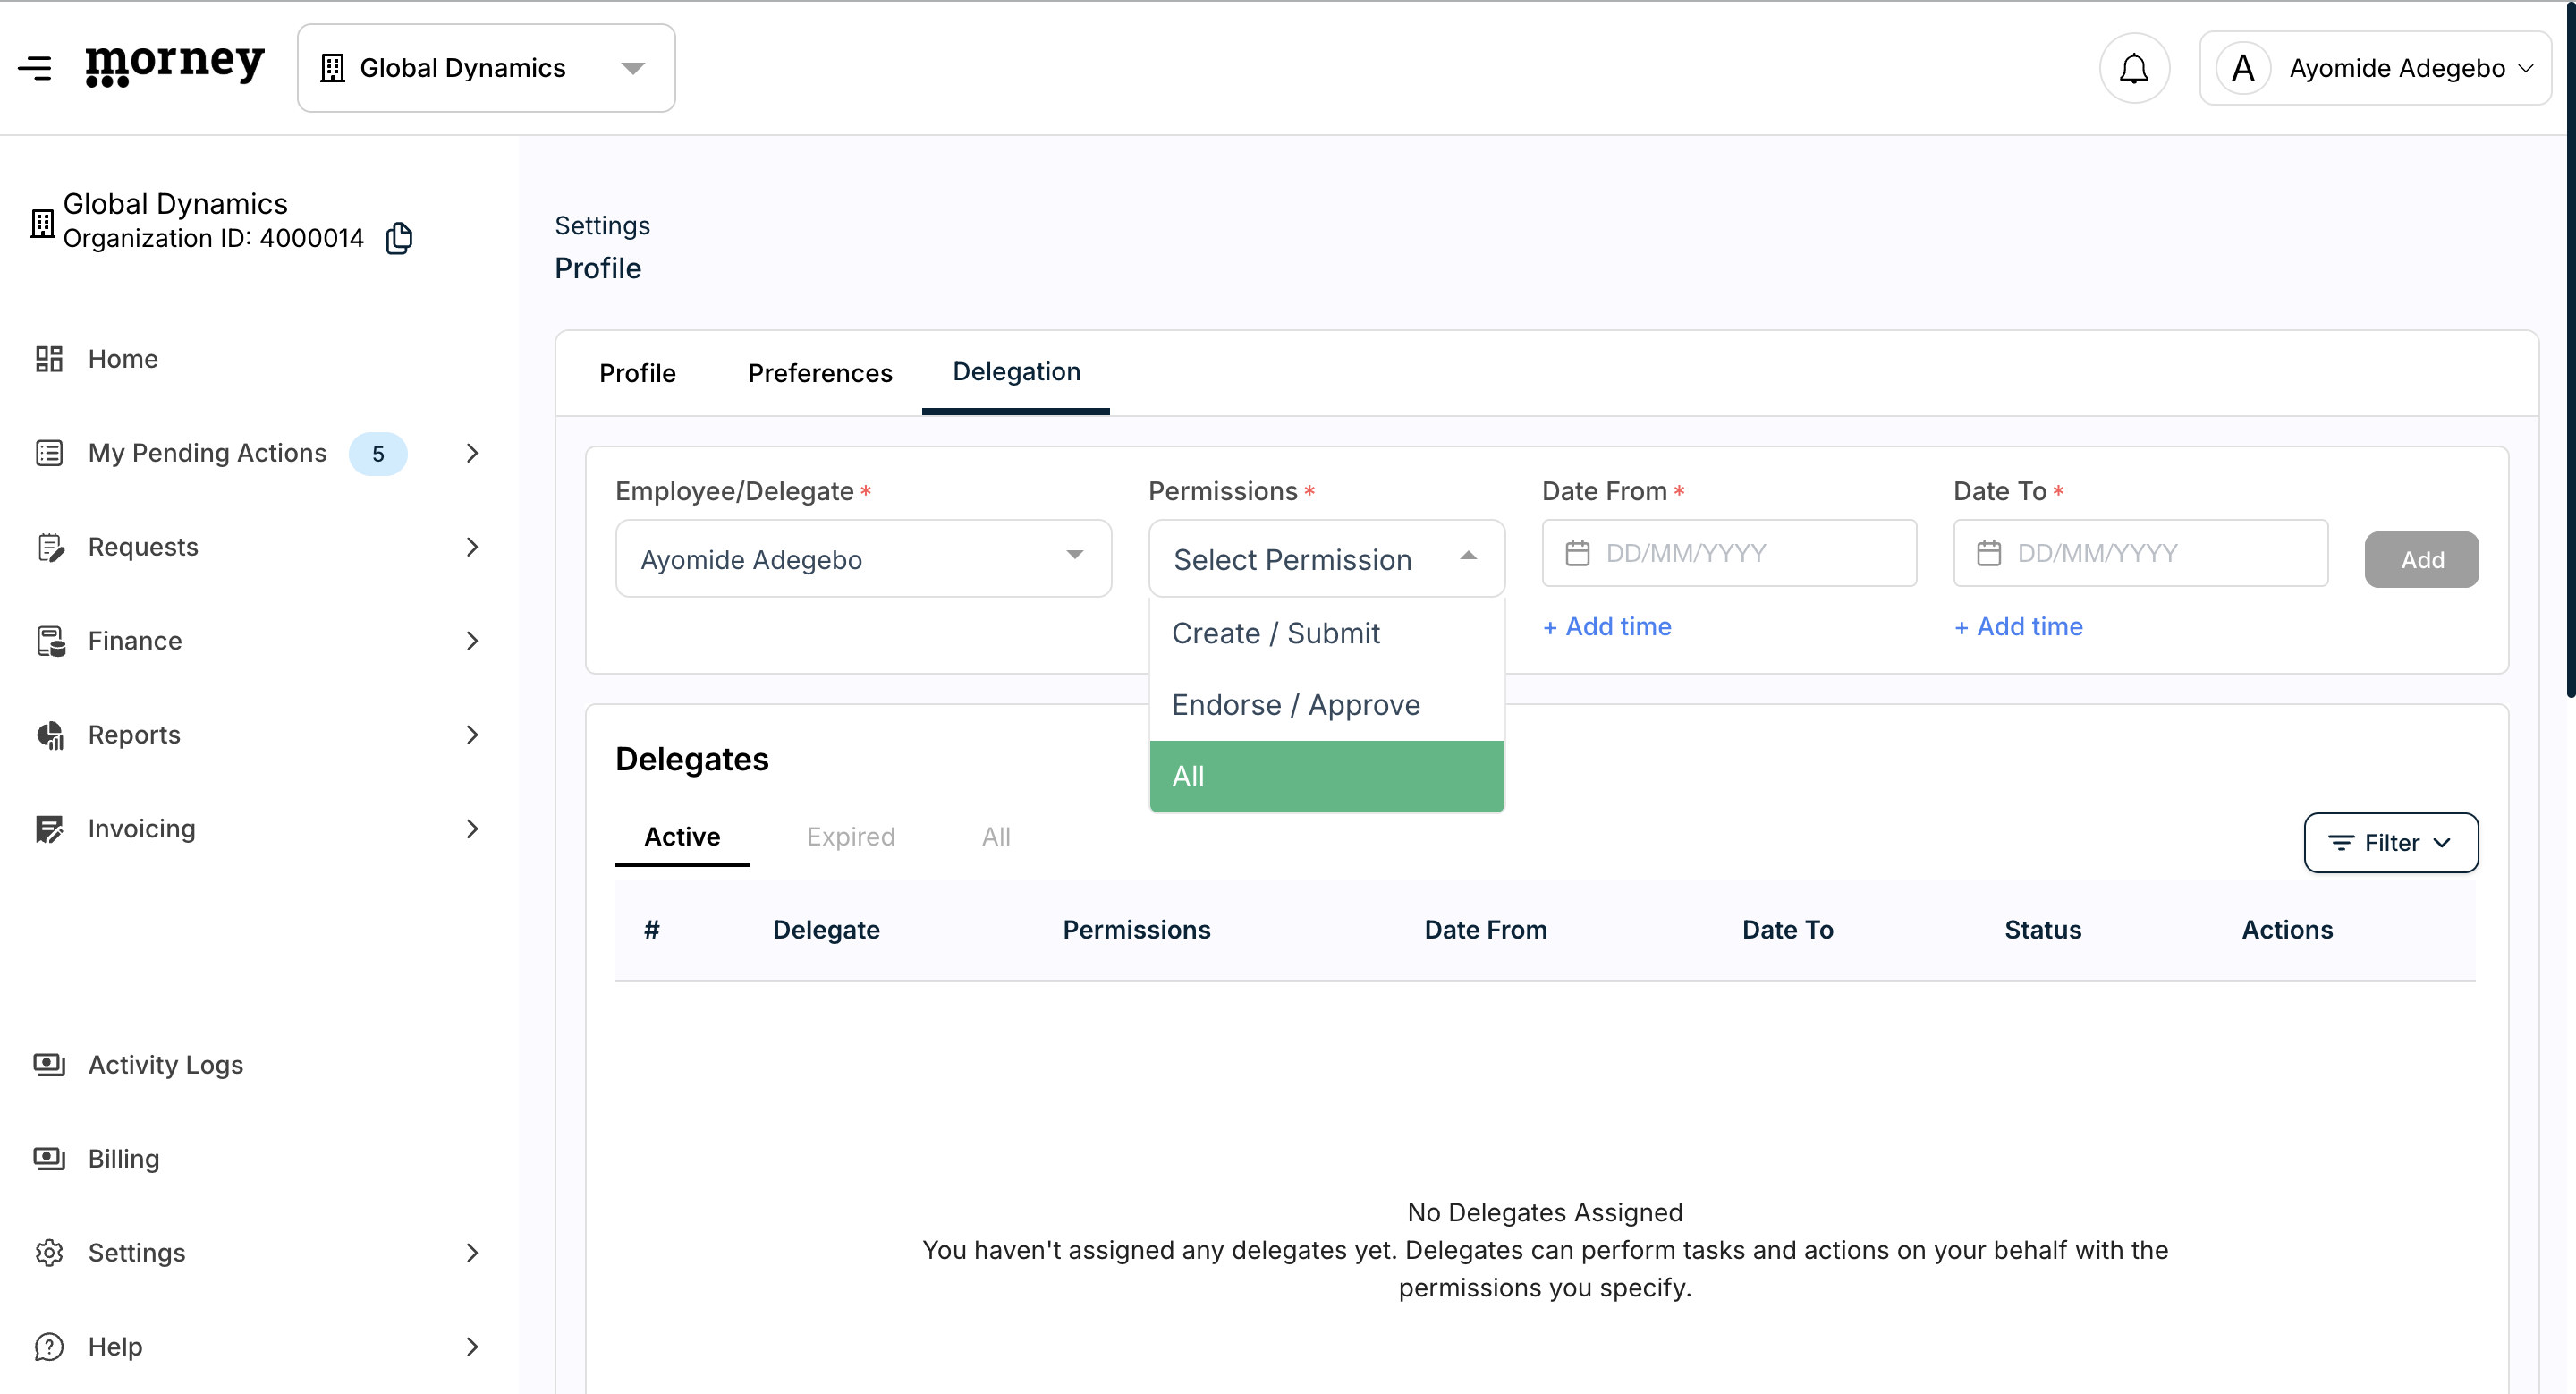
When assigning permissions, select the option that best fits the delegate's temporary role:

Permission Level

What it allows

When to use

Create/Submit

Only drafting and submitting new requests.

Use when you need a subordinate to handle data entry or initiate processes.

Endorse/Approve

Reviewing and approving pending requests.

Use when you need another manager to keep your approval pipeline moving.

All

Full capabilities to both submit and approve.

Use when handing over comprehensive temporary coverage of your role.

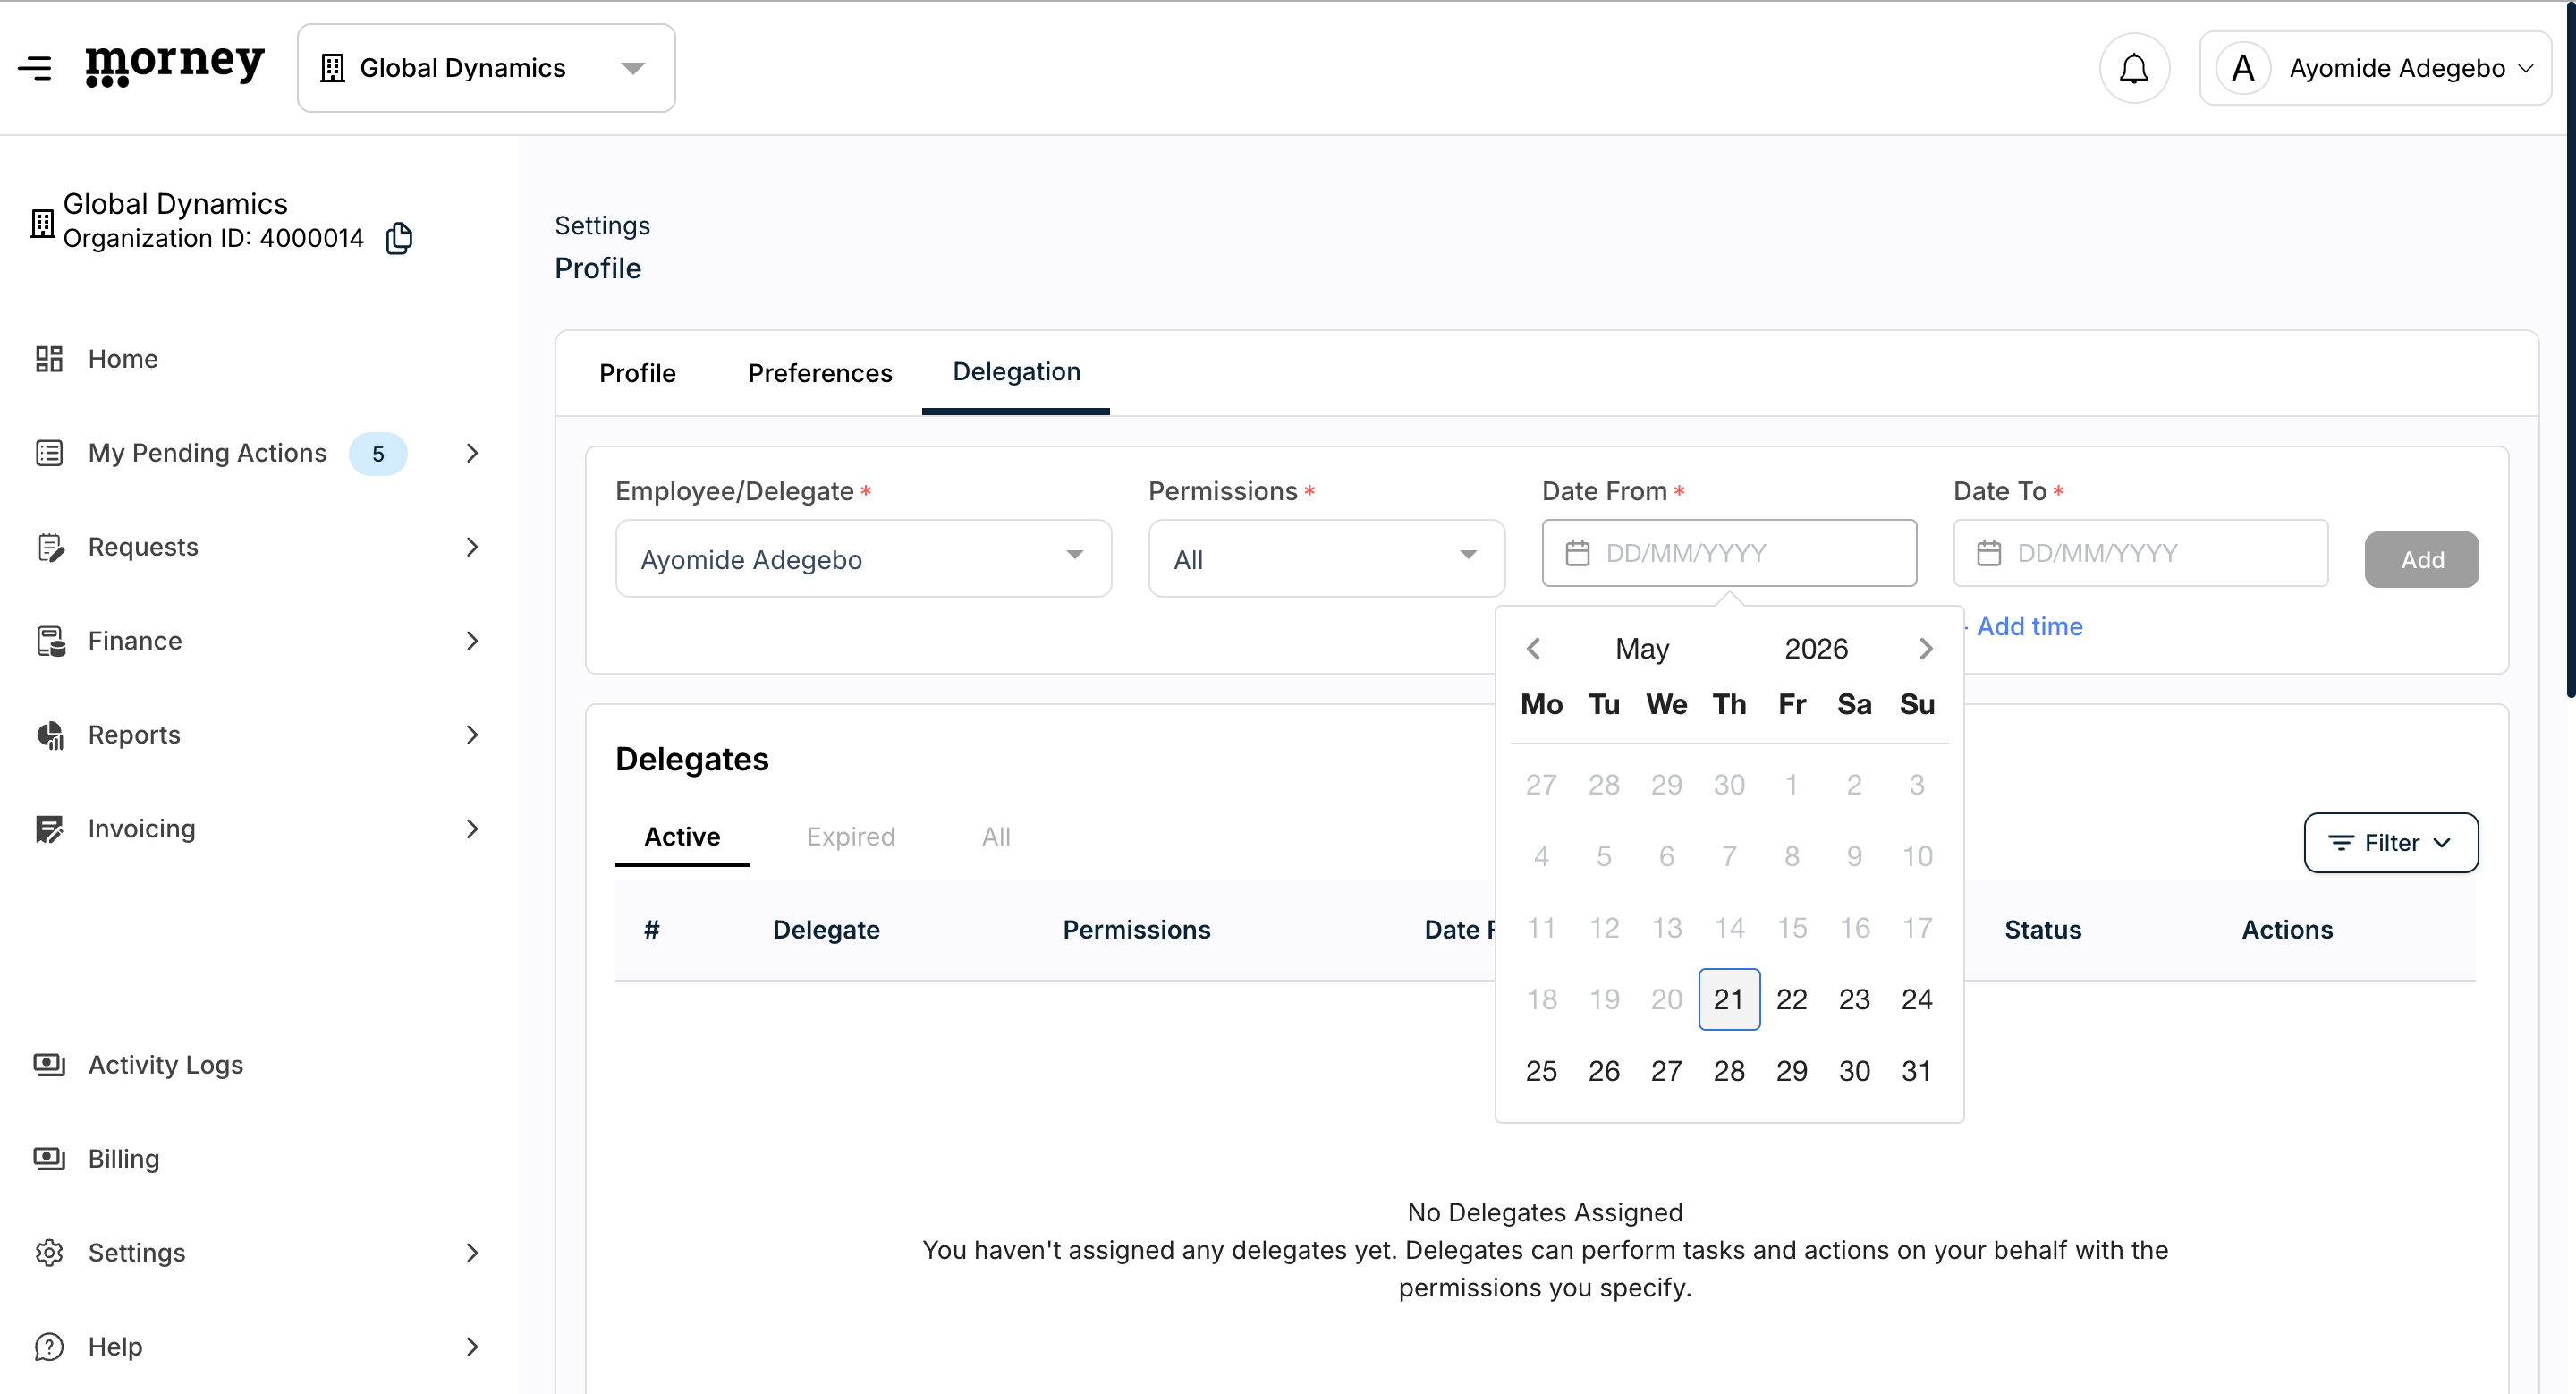
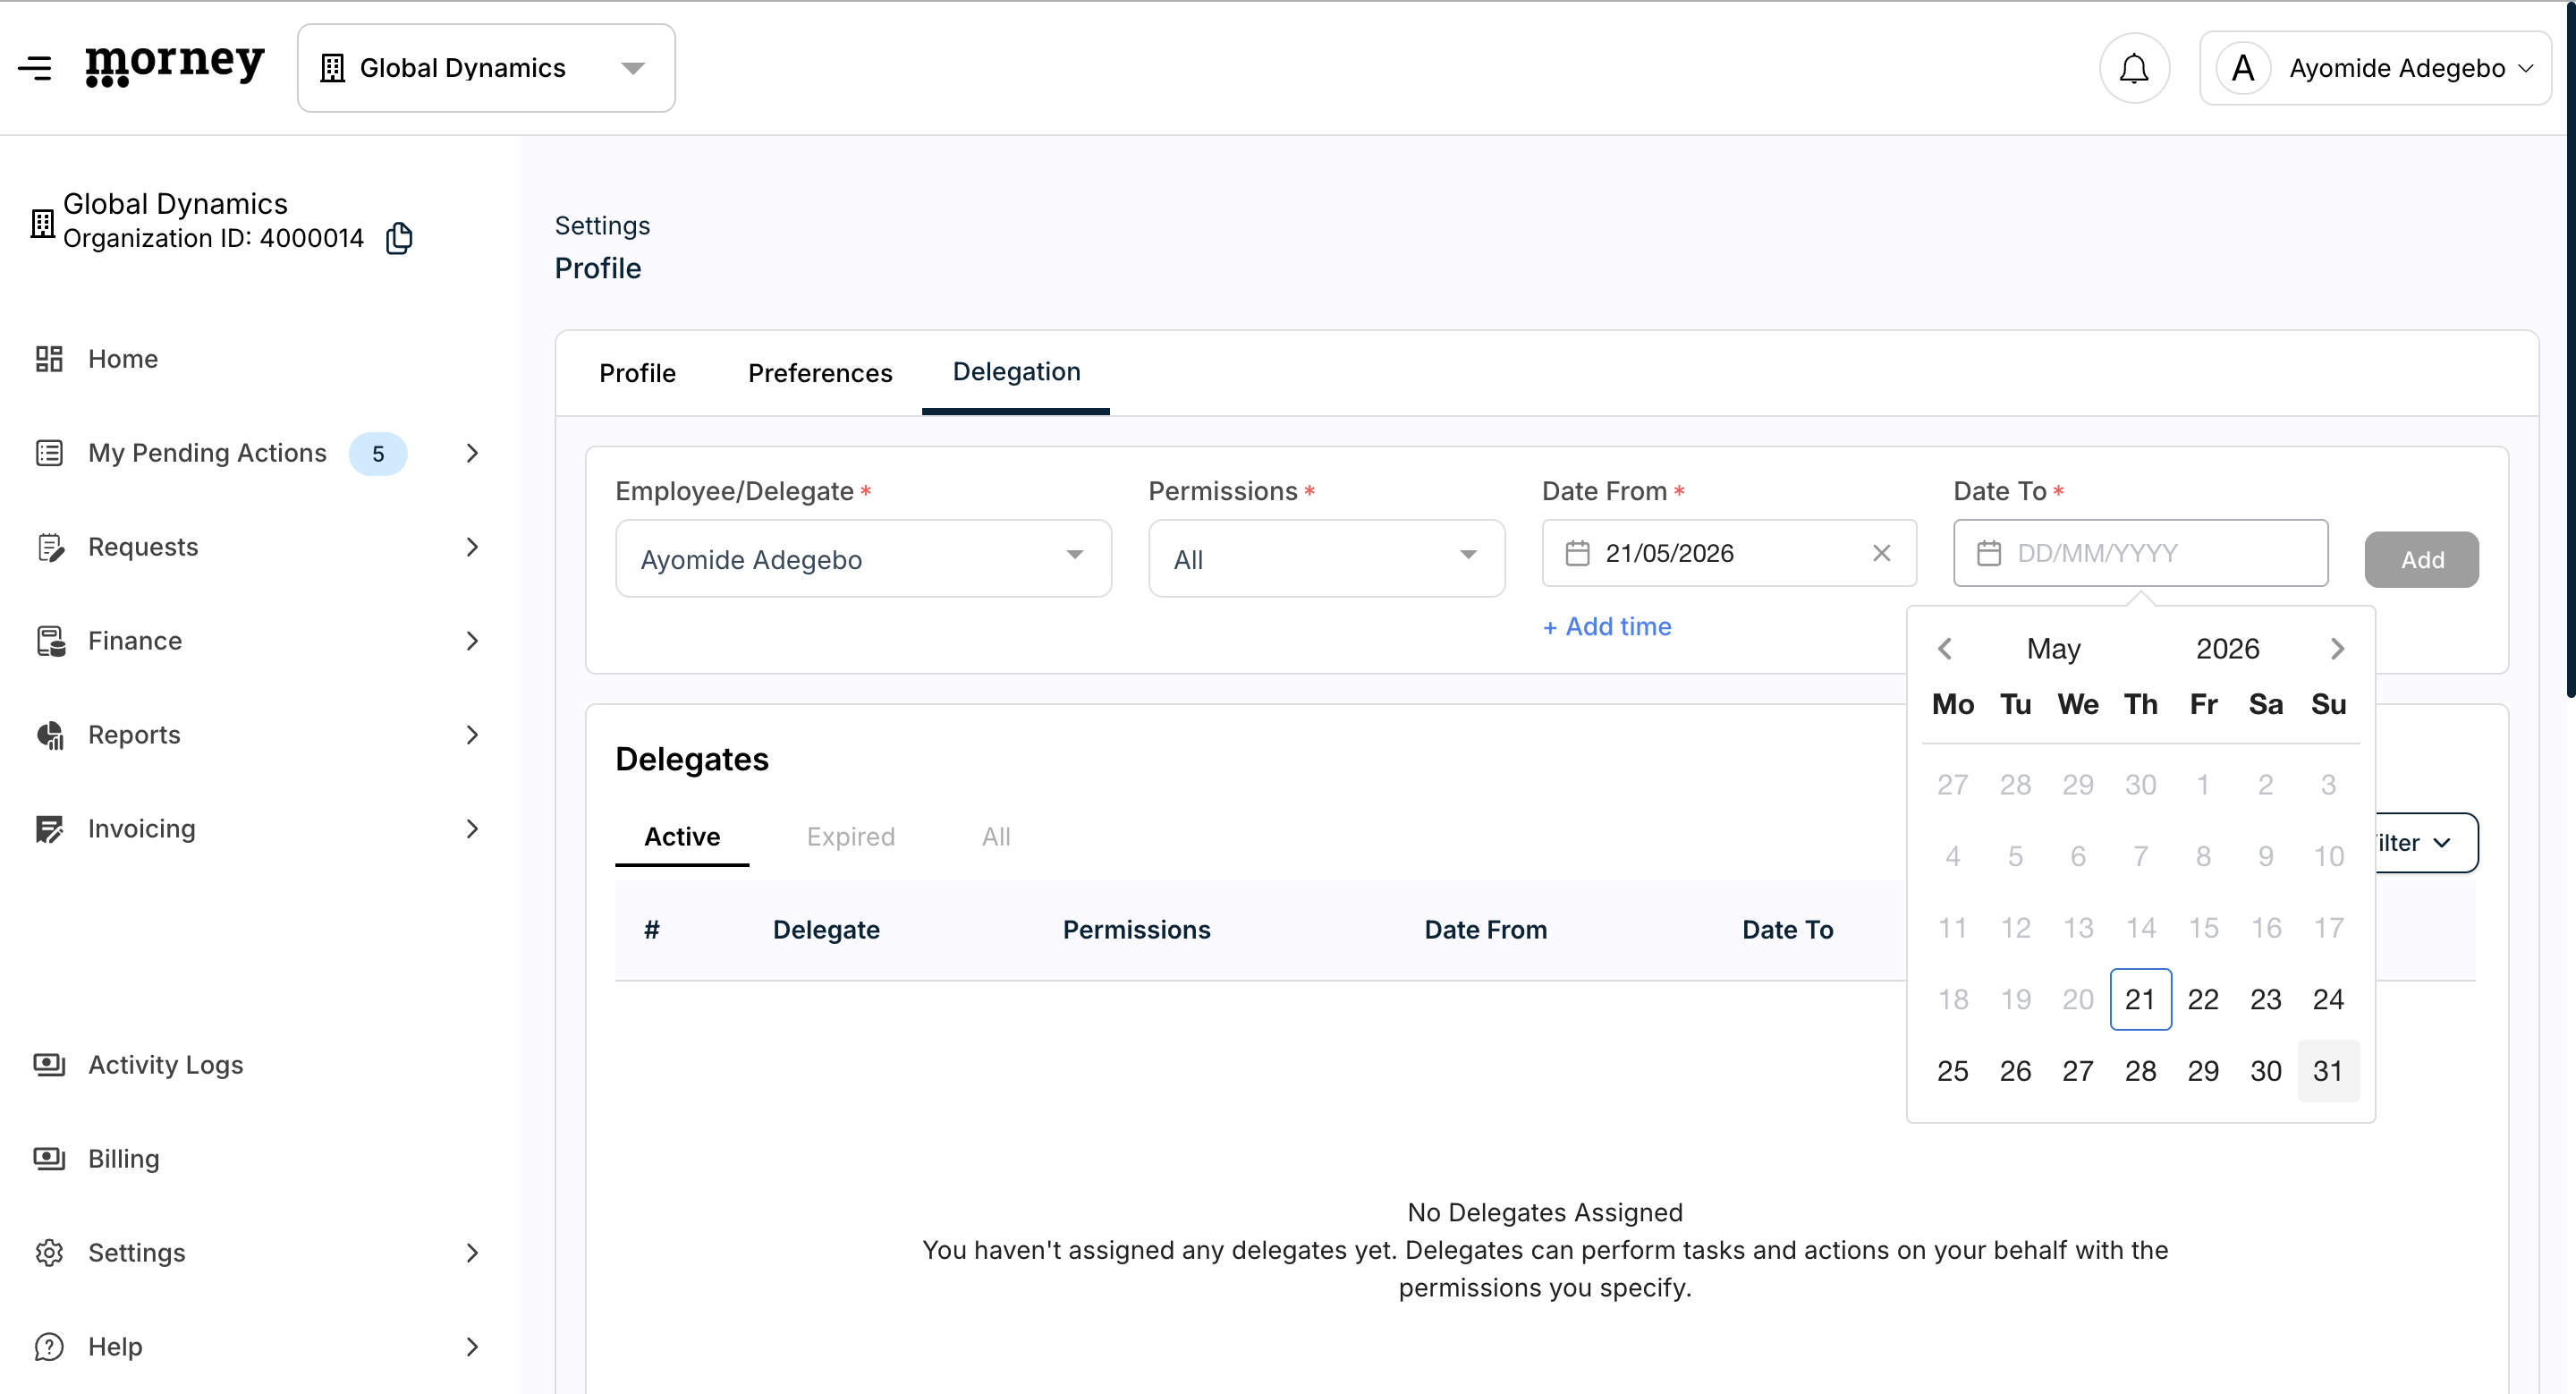
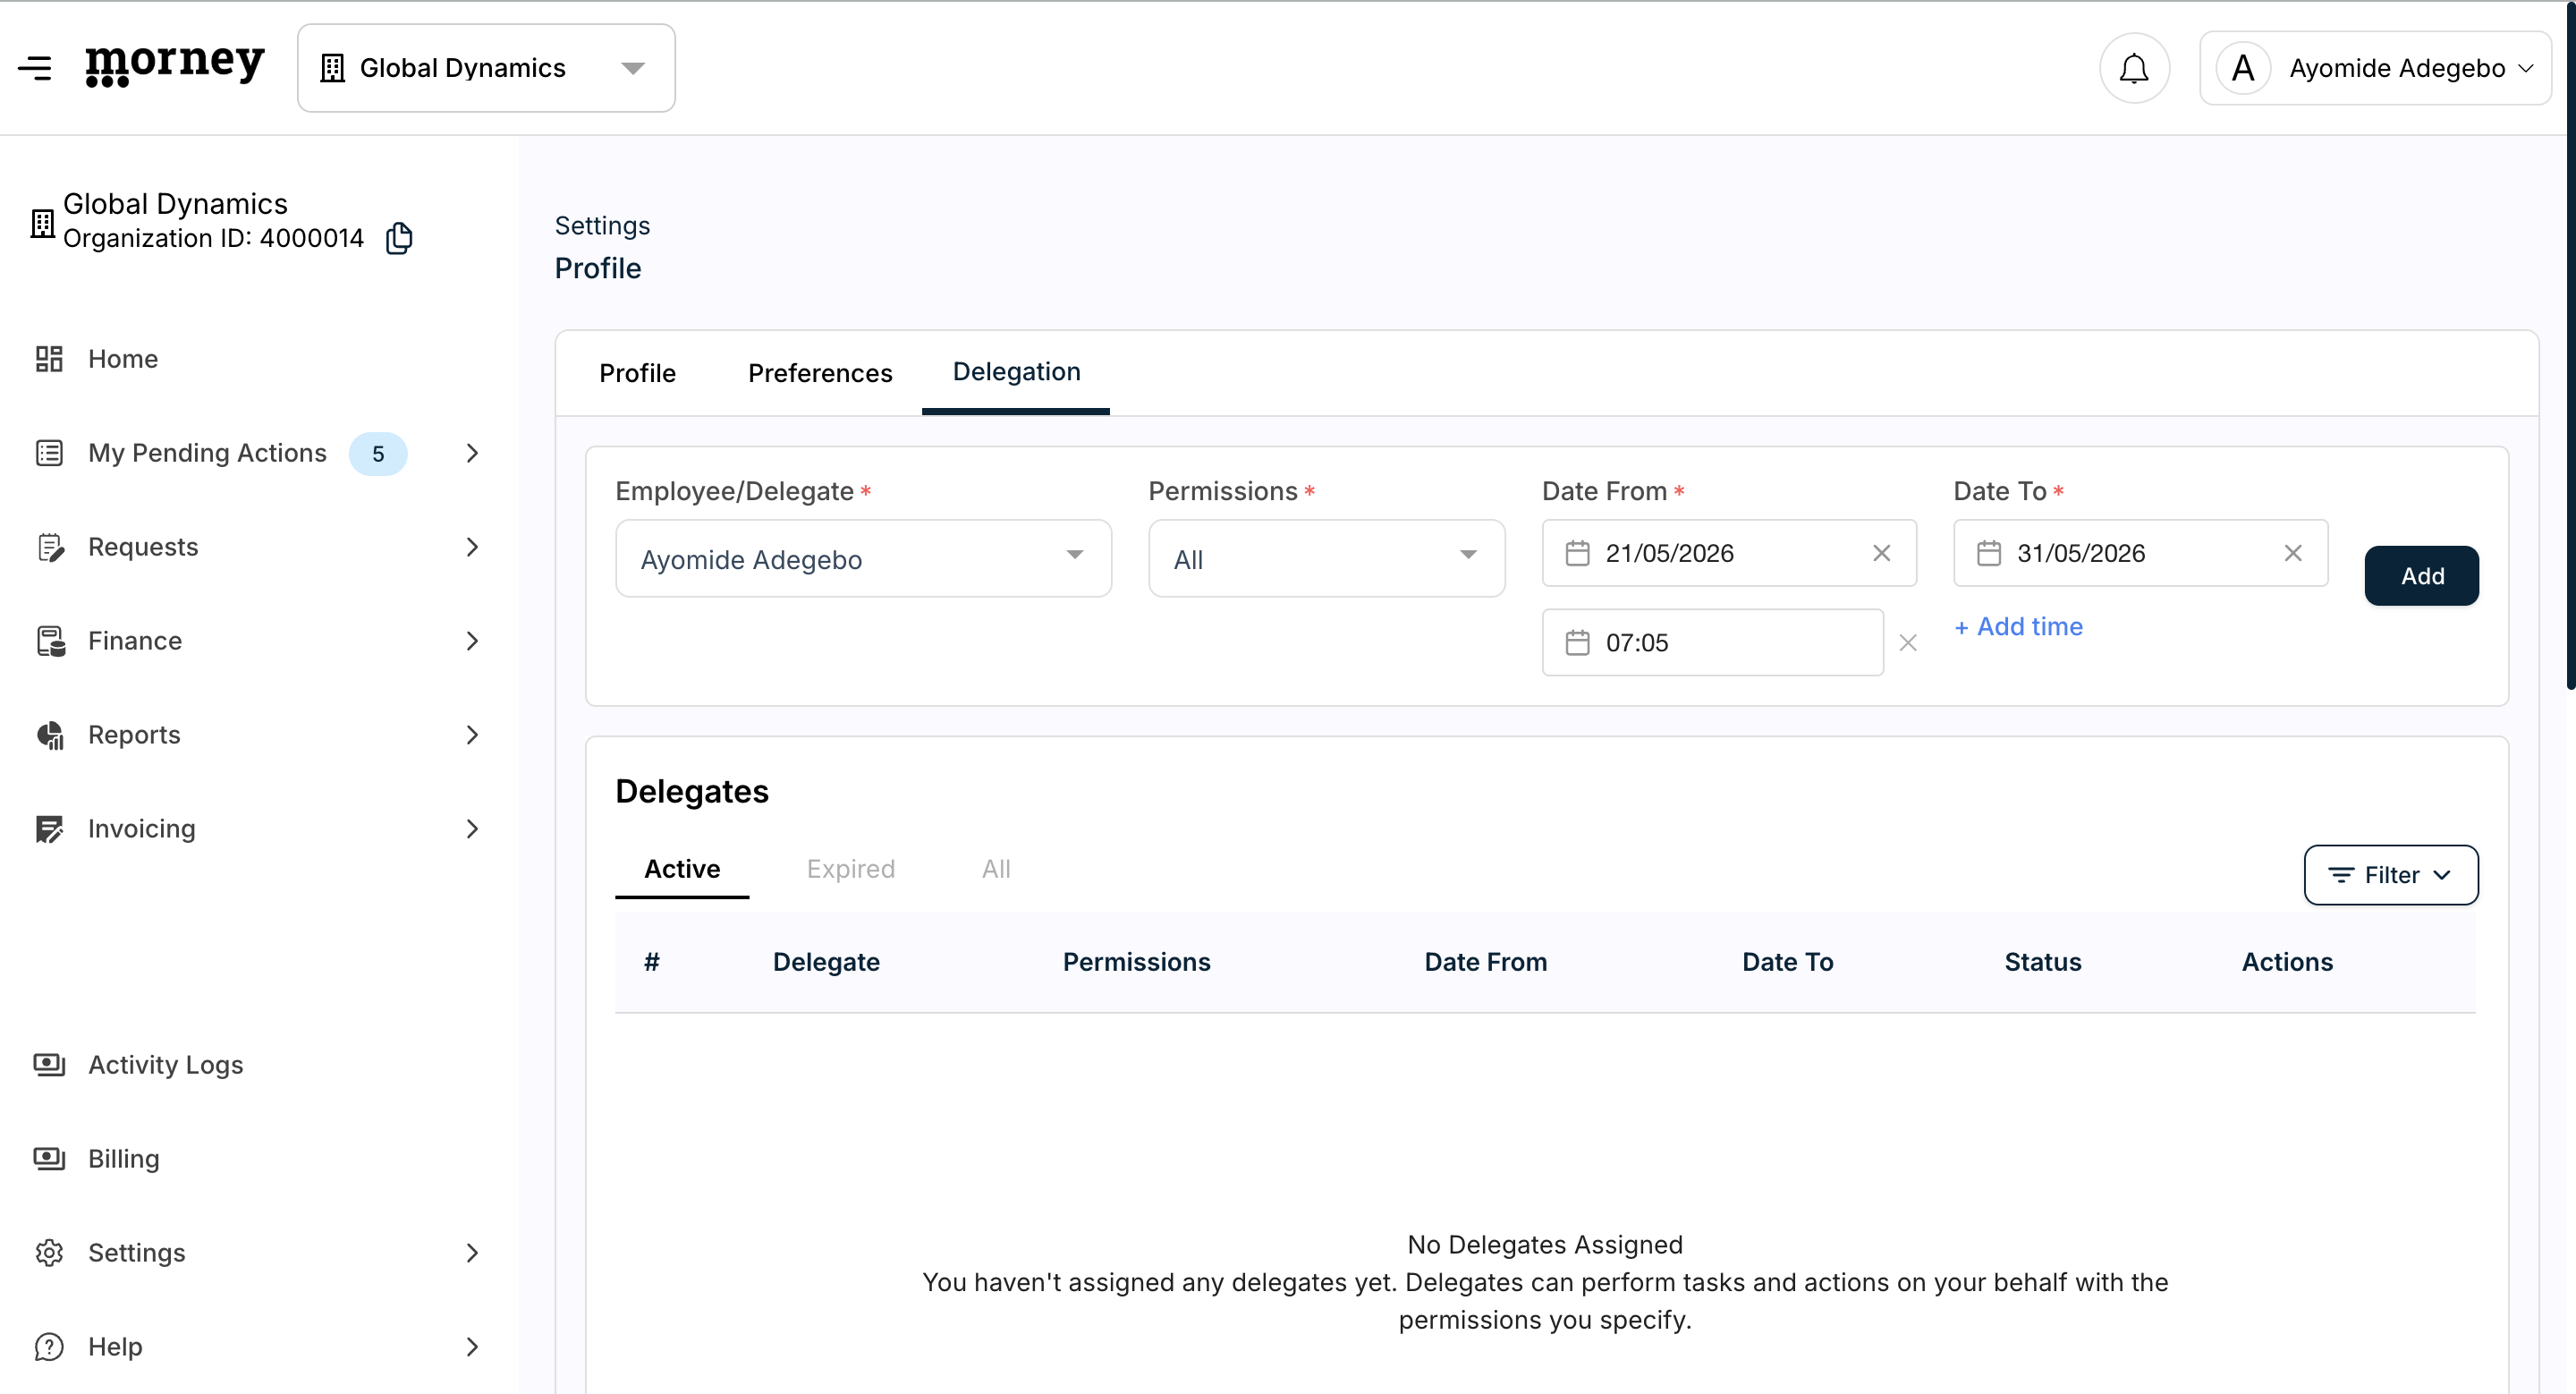
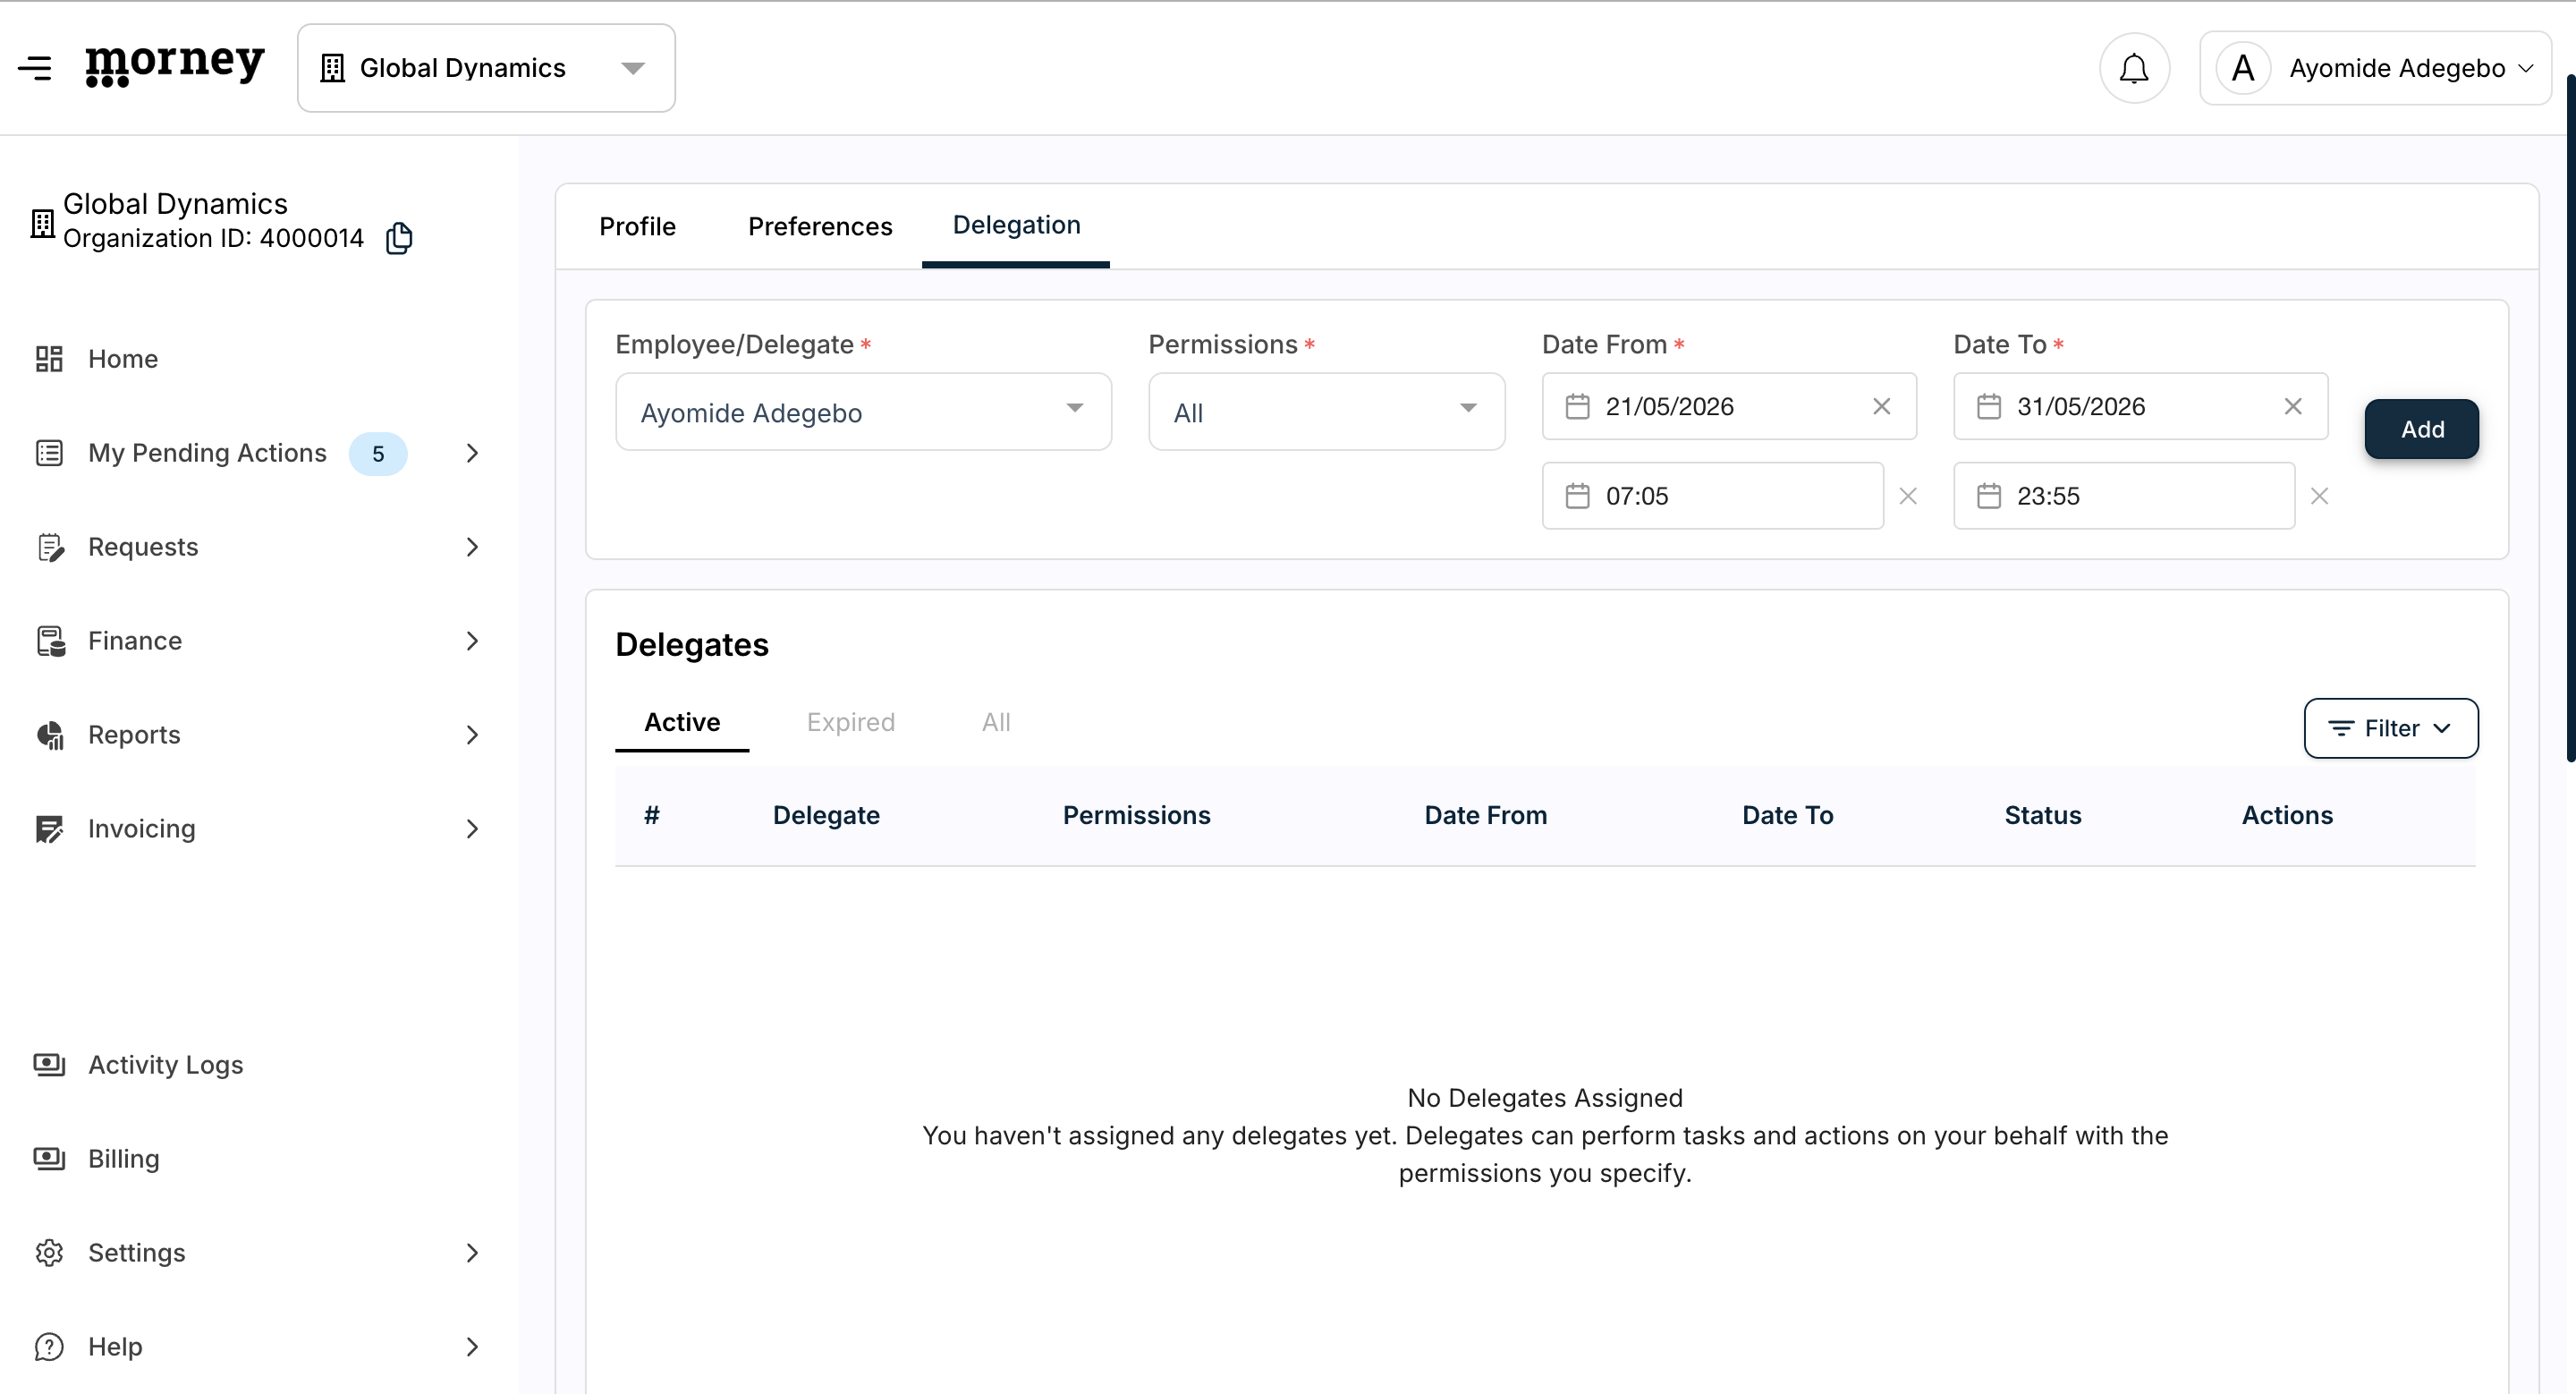
Setting the Delegation Schedule

You can set precise start and end dates for the delegation period.

5
Click the Date From field and select the starting date from the calendar.
Step #5: Click the Date From field and select the starting date from the calendar.
6
Click + Add time next to the start date to set the exact time the delegation activates.
Step #6: Click + Add time next to the start date to set the exact time the delegation activates.
7
Click the Date To field and choose the expiration date.
Step #7: Click the Date To field and choose the expiration date.
8
Click + Add time next to the end date to define exactly when the delegate's permissions expire.
Step #8: Click + Add time next to the end date to define exactly when the delegate's permissions expire.
9
Click Add to finalize the schedule and save your delegation settings.
Step #9: Click Add to finalize the schedule and save your delegation settings.