Icon

How to Set Up GOA in Your Orders Inbox: Step-by-Step Guide

Learn how to set up GOA settings in your orders inbox with this easy step-by-step guide. Personalize your display, add the GOA intent, and optimize your workflow for efficient order processing.

By Melisa Bishop

In this guide, we'll learn how to set up the GOA settings in your orders inbox. This process helps you personalize your display so you can easily view the GOA intent and related information when managing orders. The process is the same in C4C QA and PRODUCTION.

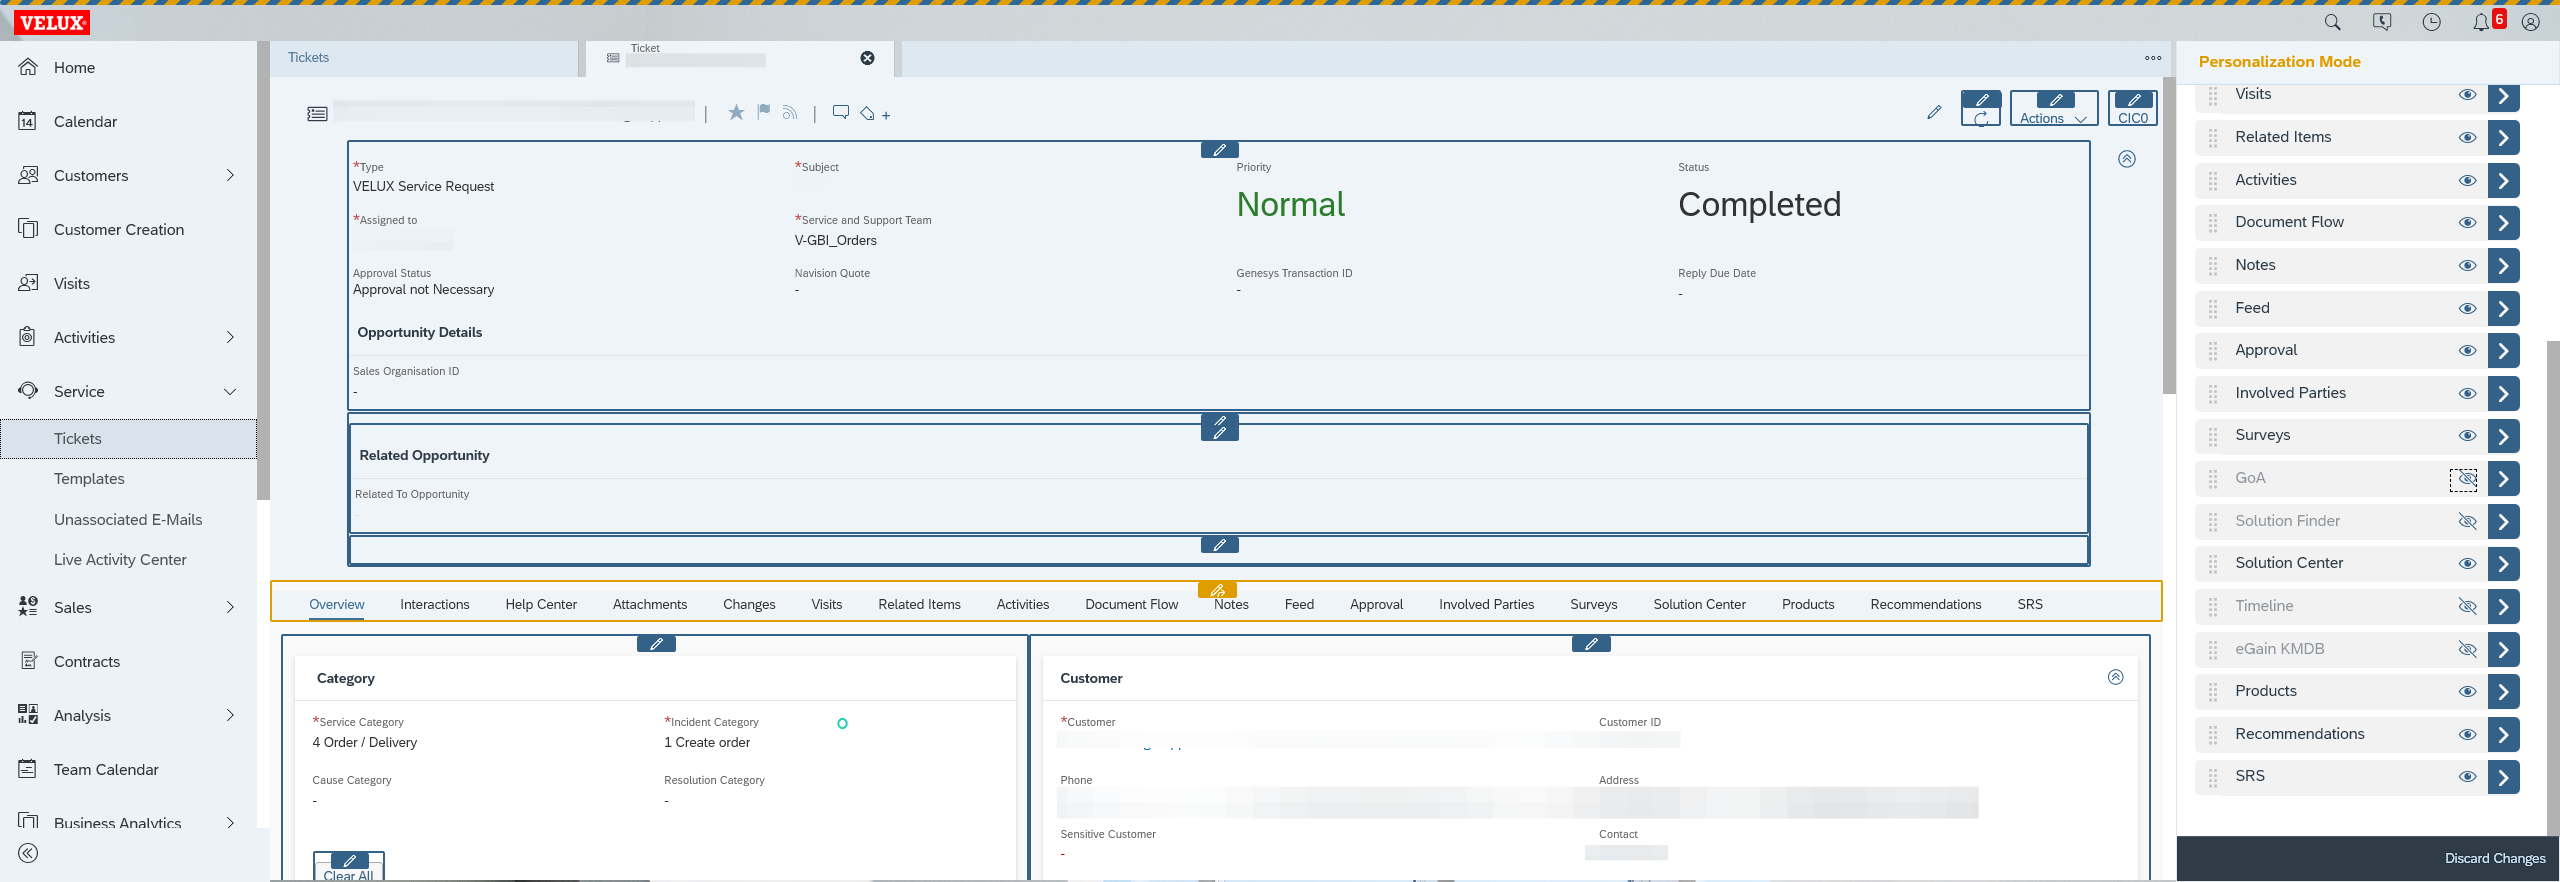
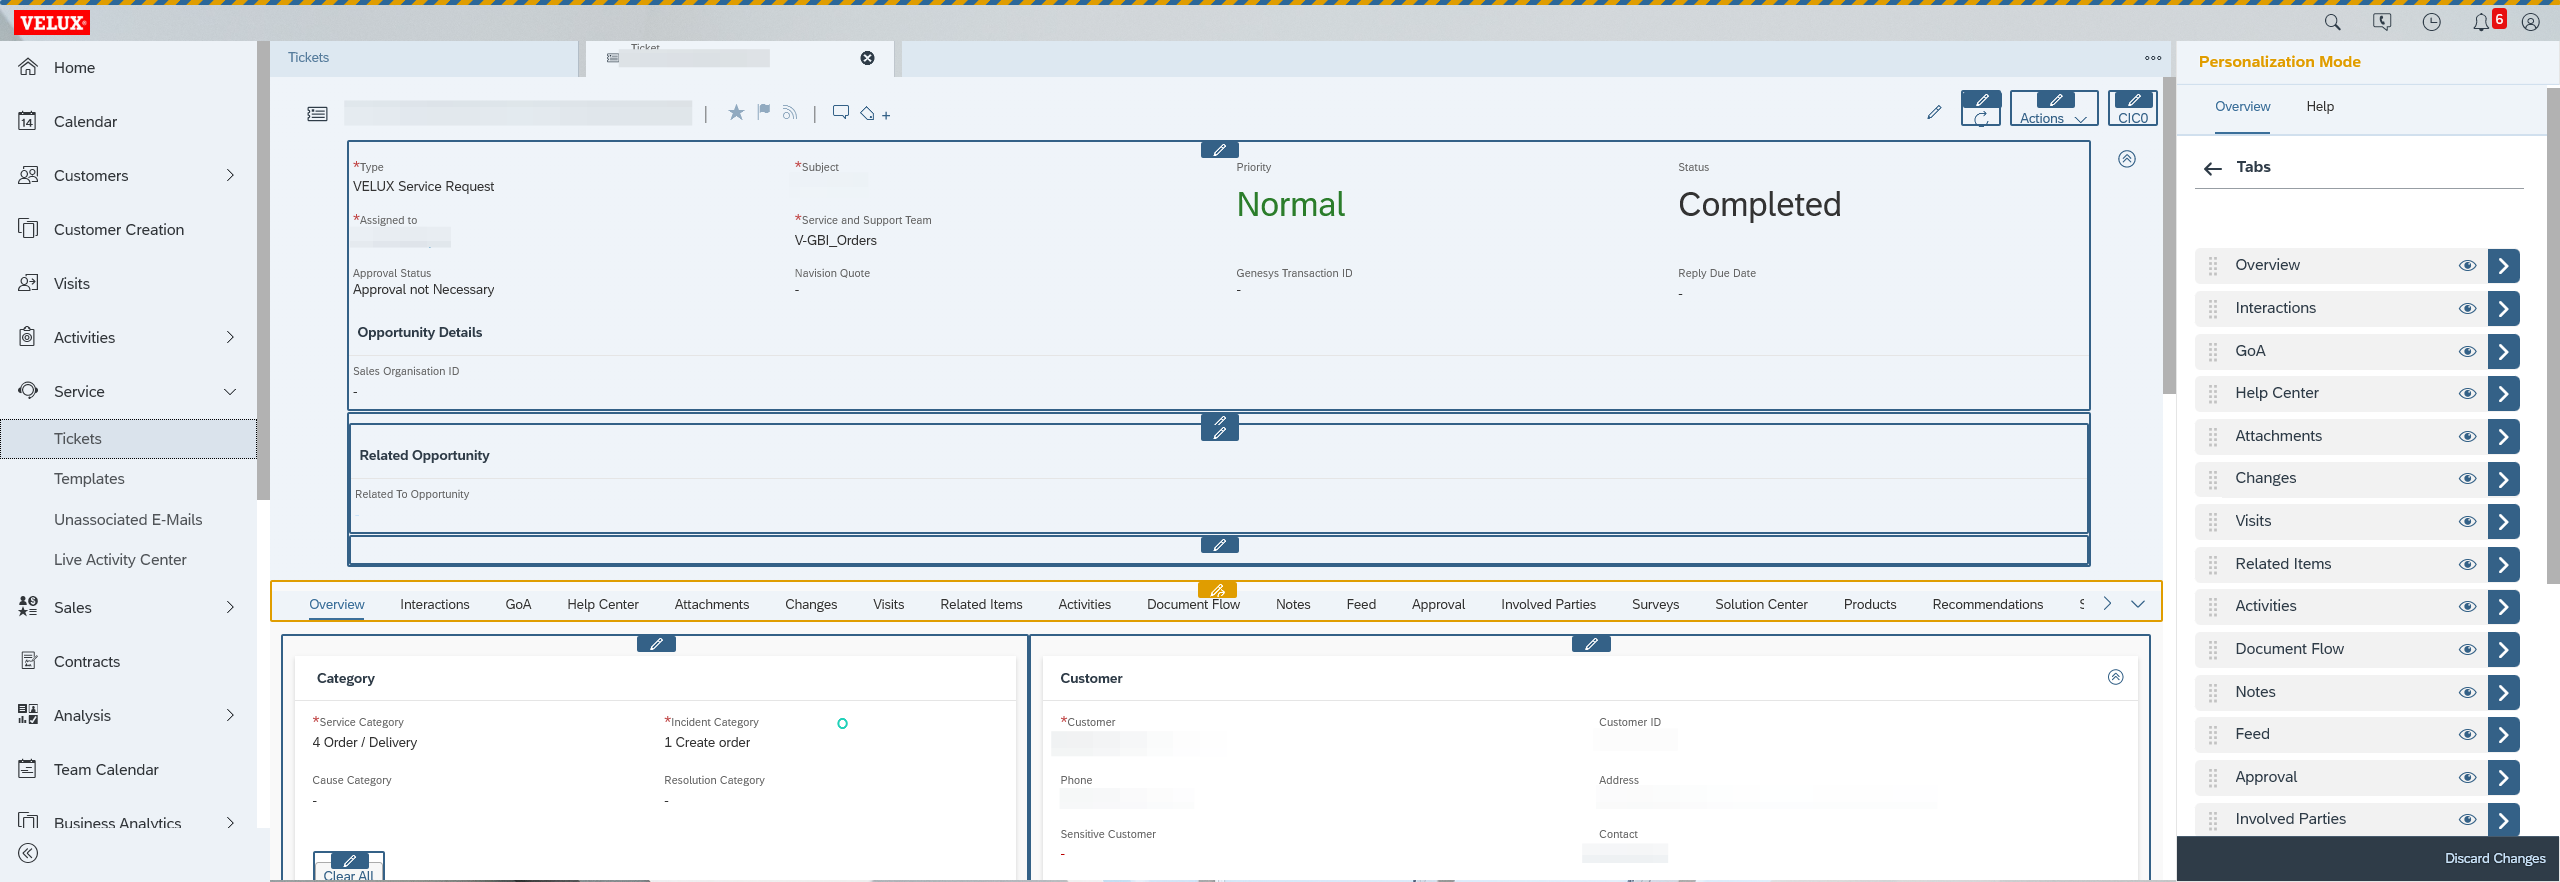
You will adjust the visibility and position of the GOA intent, add a new GOA tab, and organize key details for efficient order processing. Once set, these changes remain in place for future use.

Let's get started

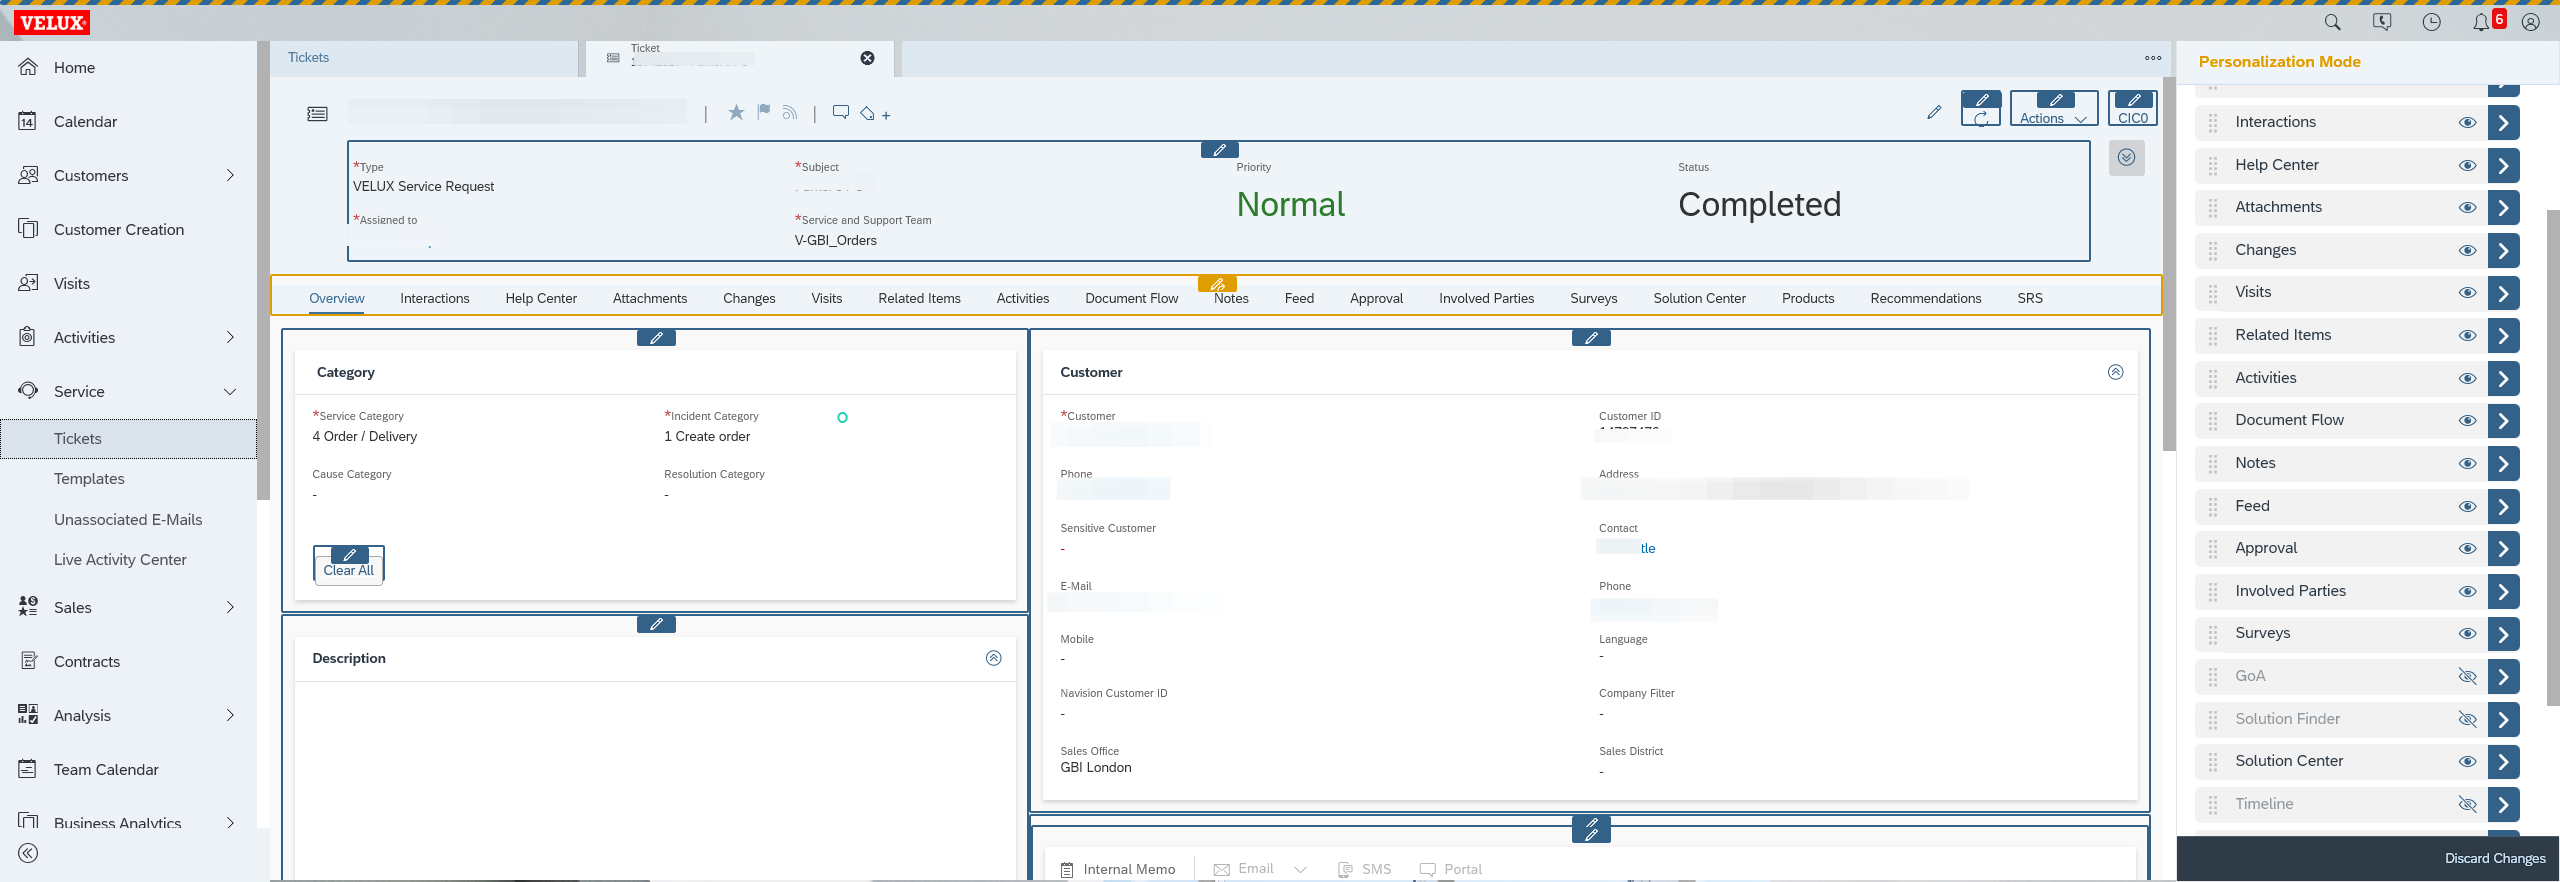
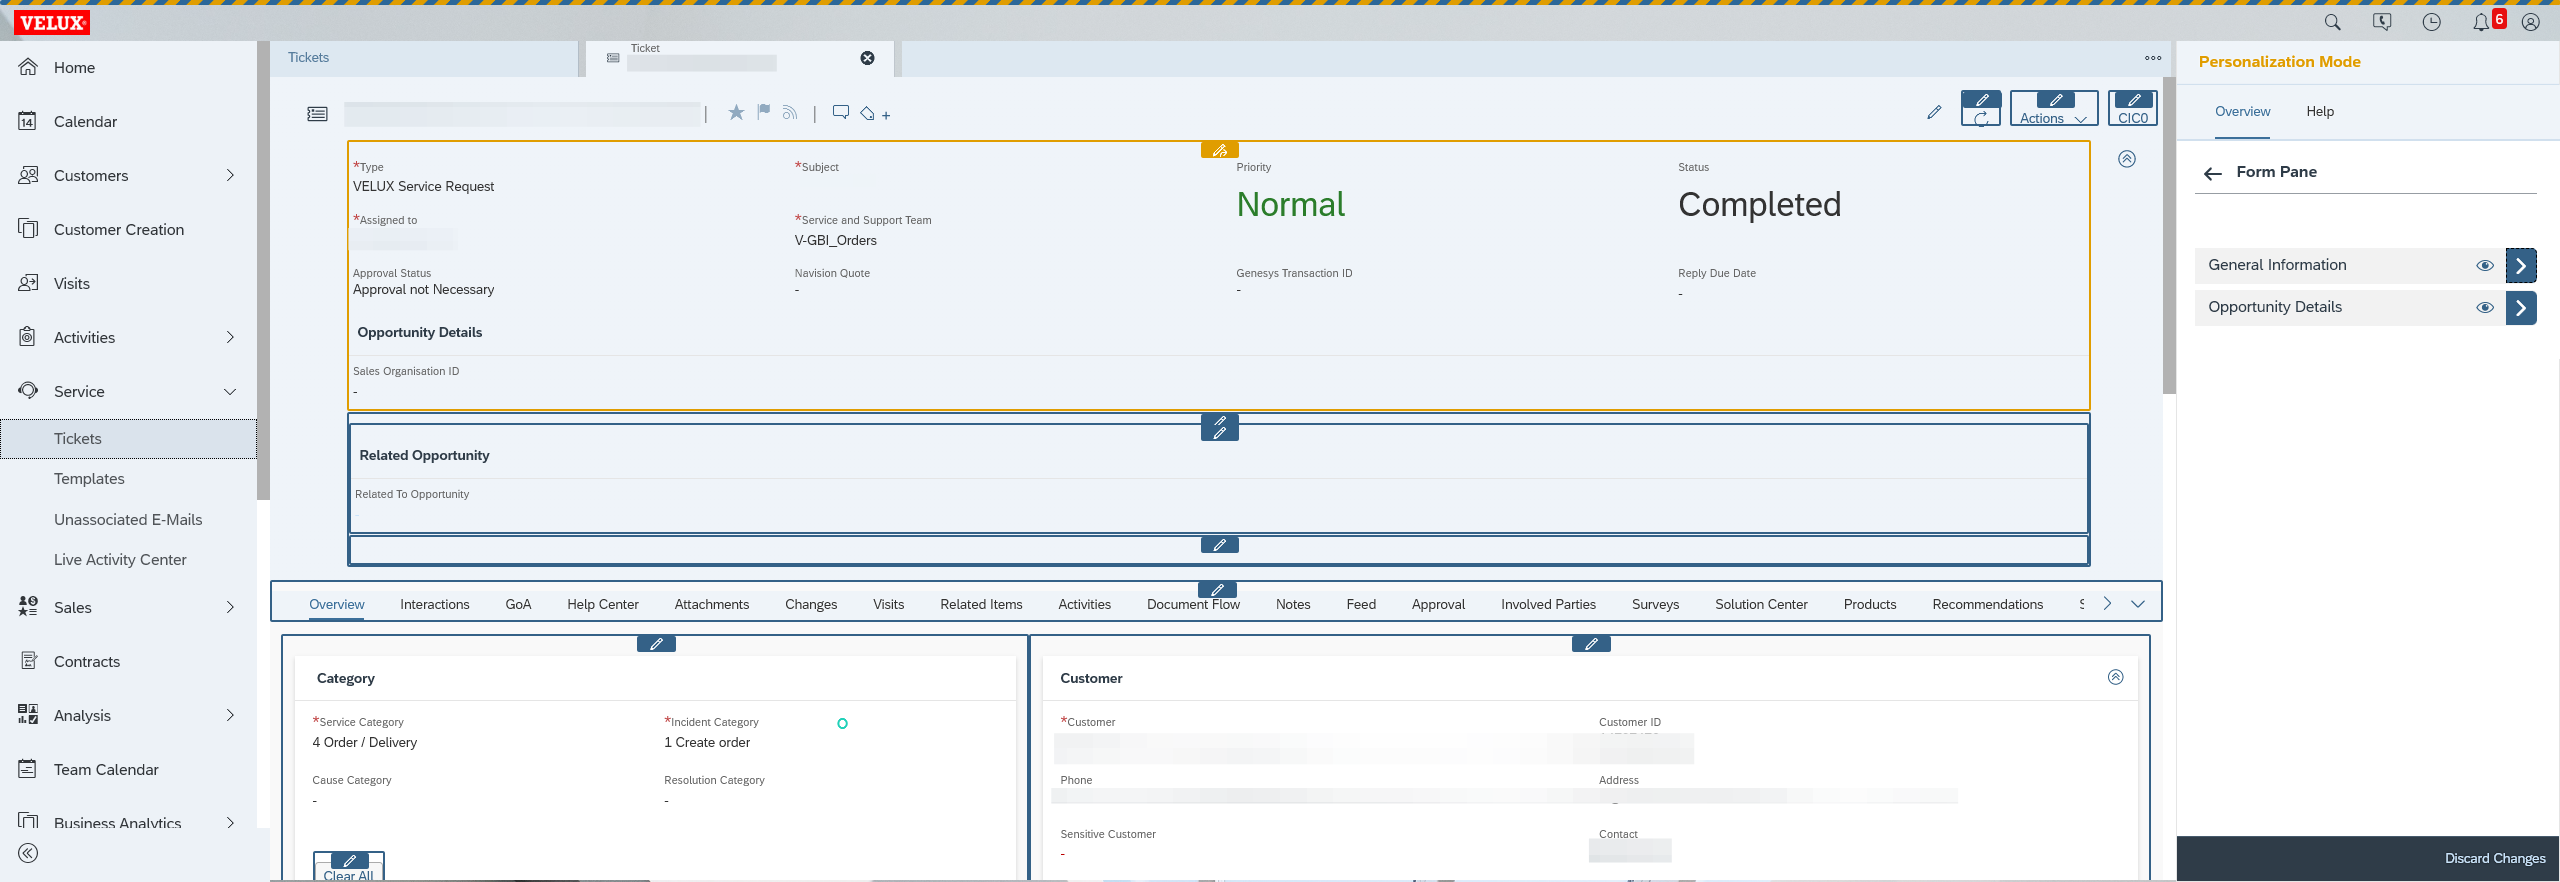
To set up the GOA settings in C4C, first go to your orders inbox.

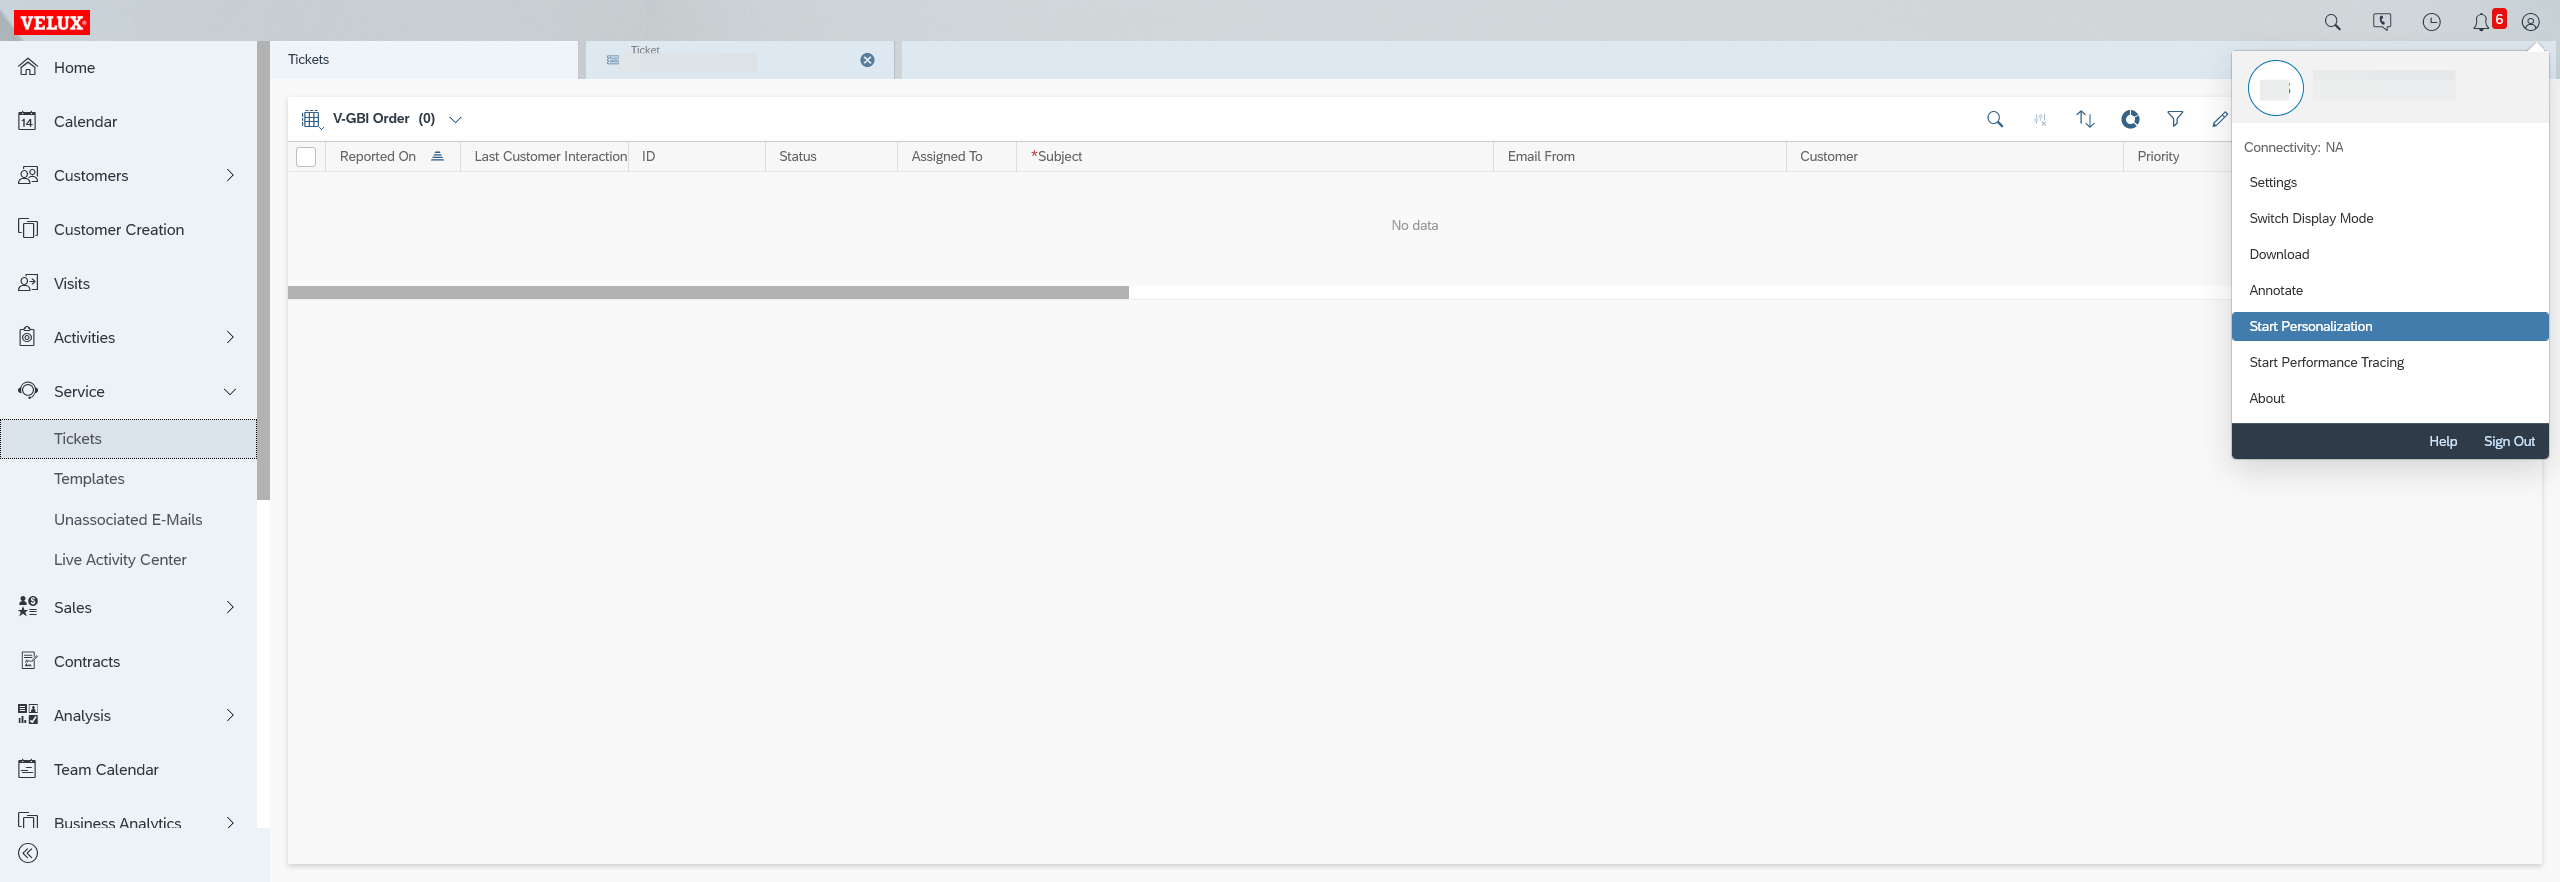
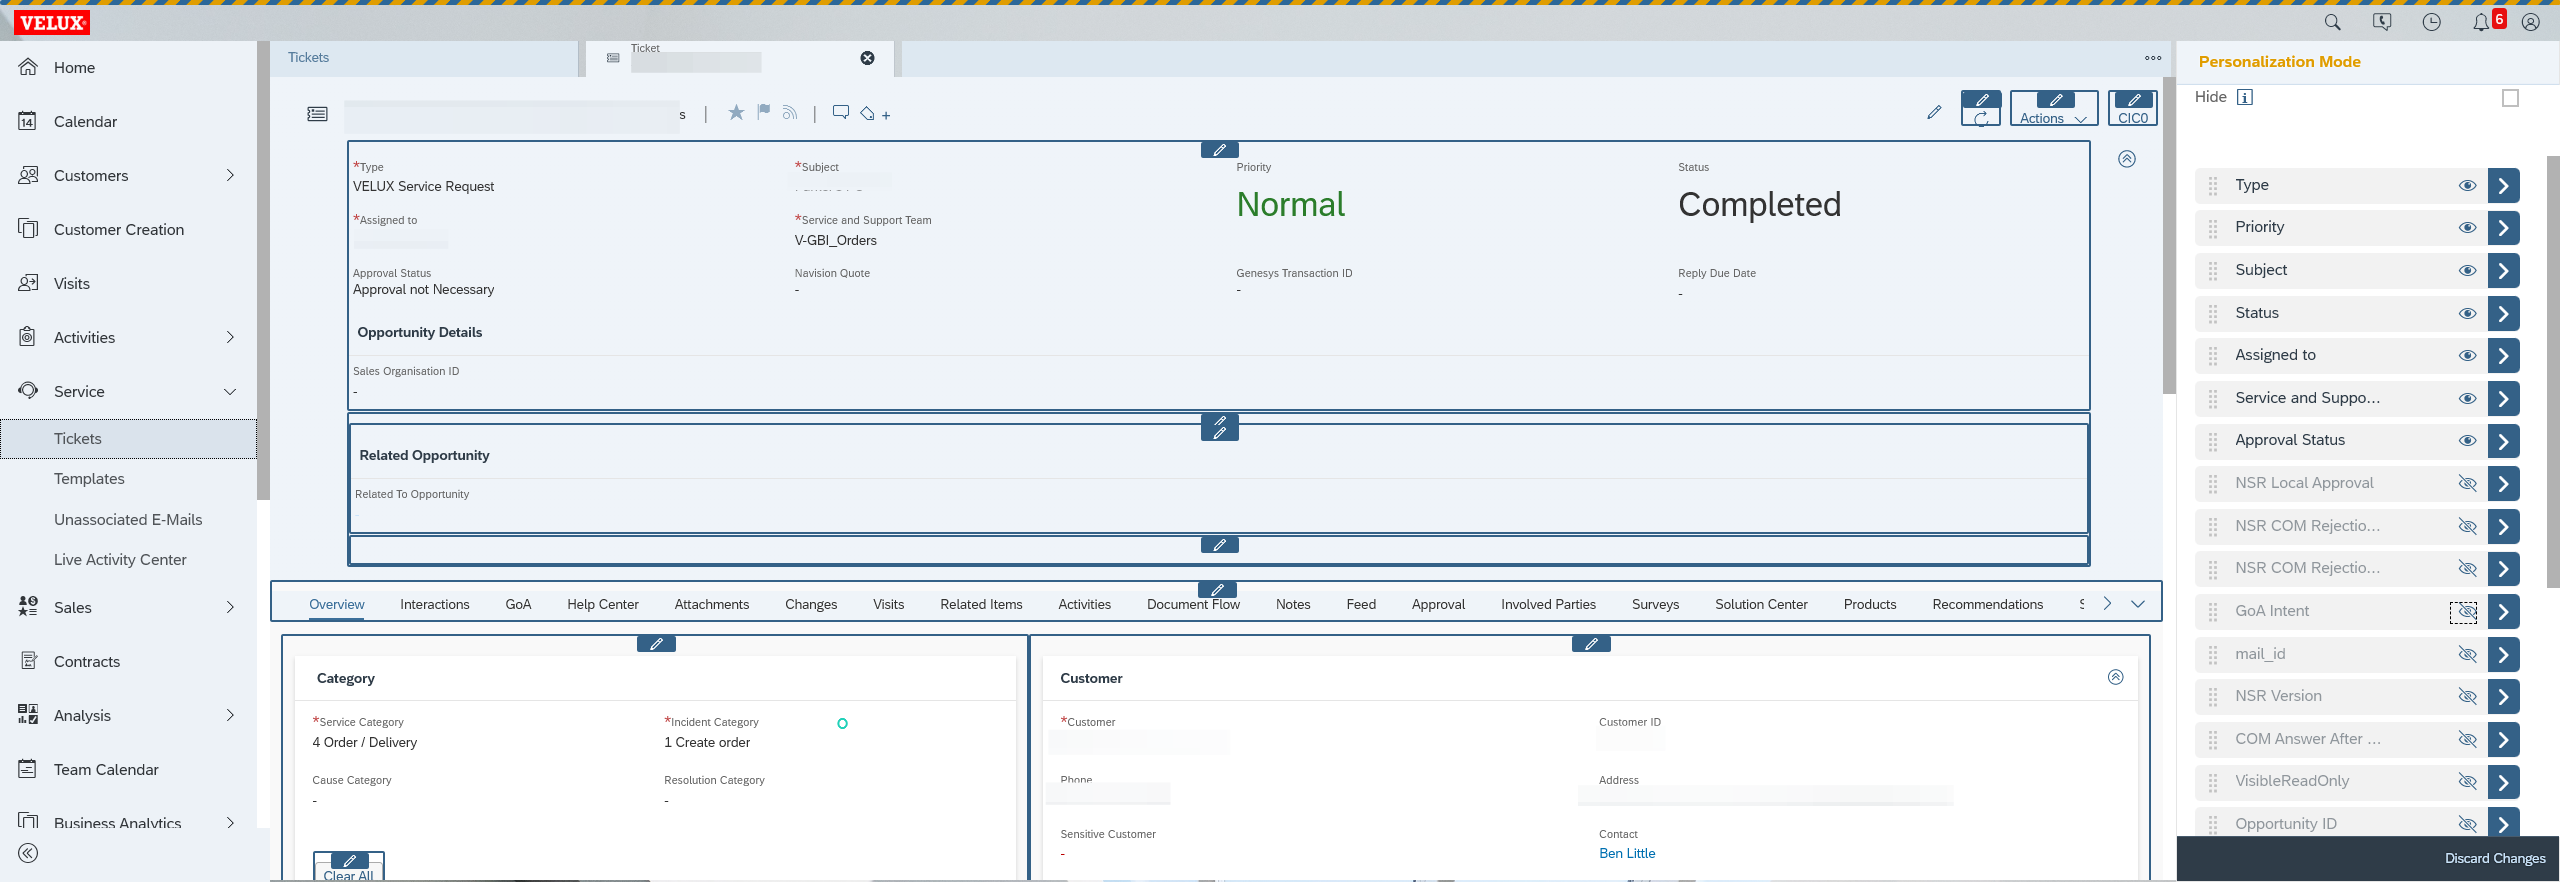
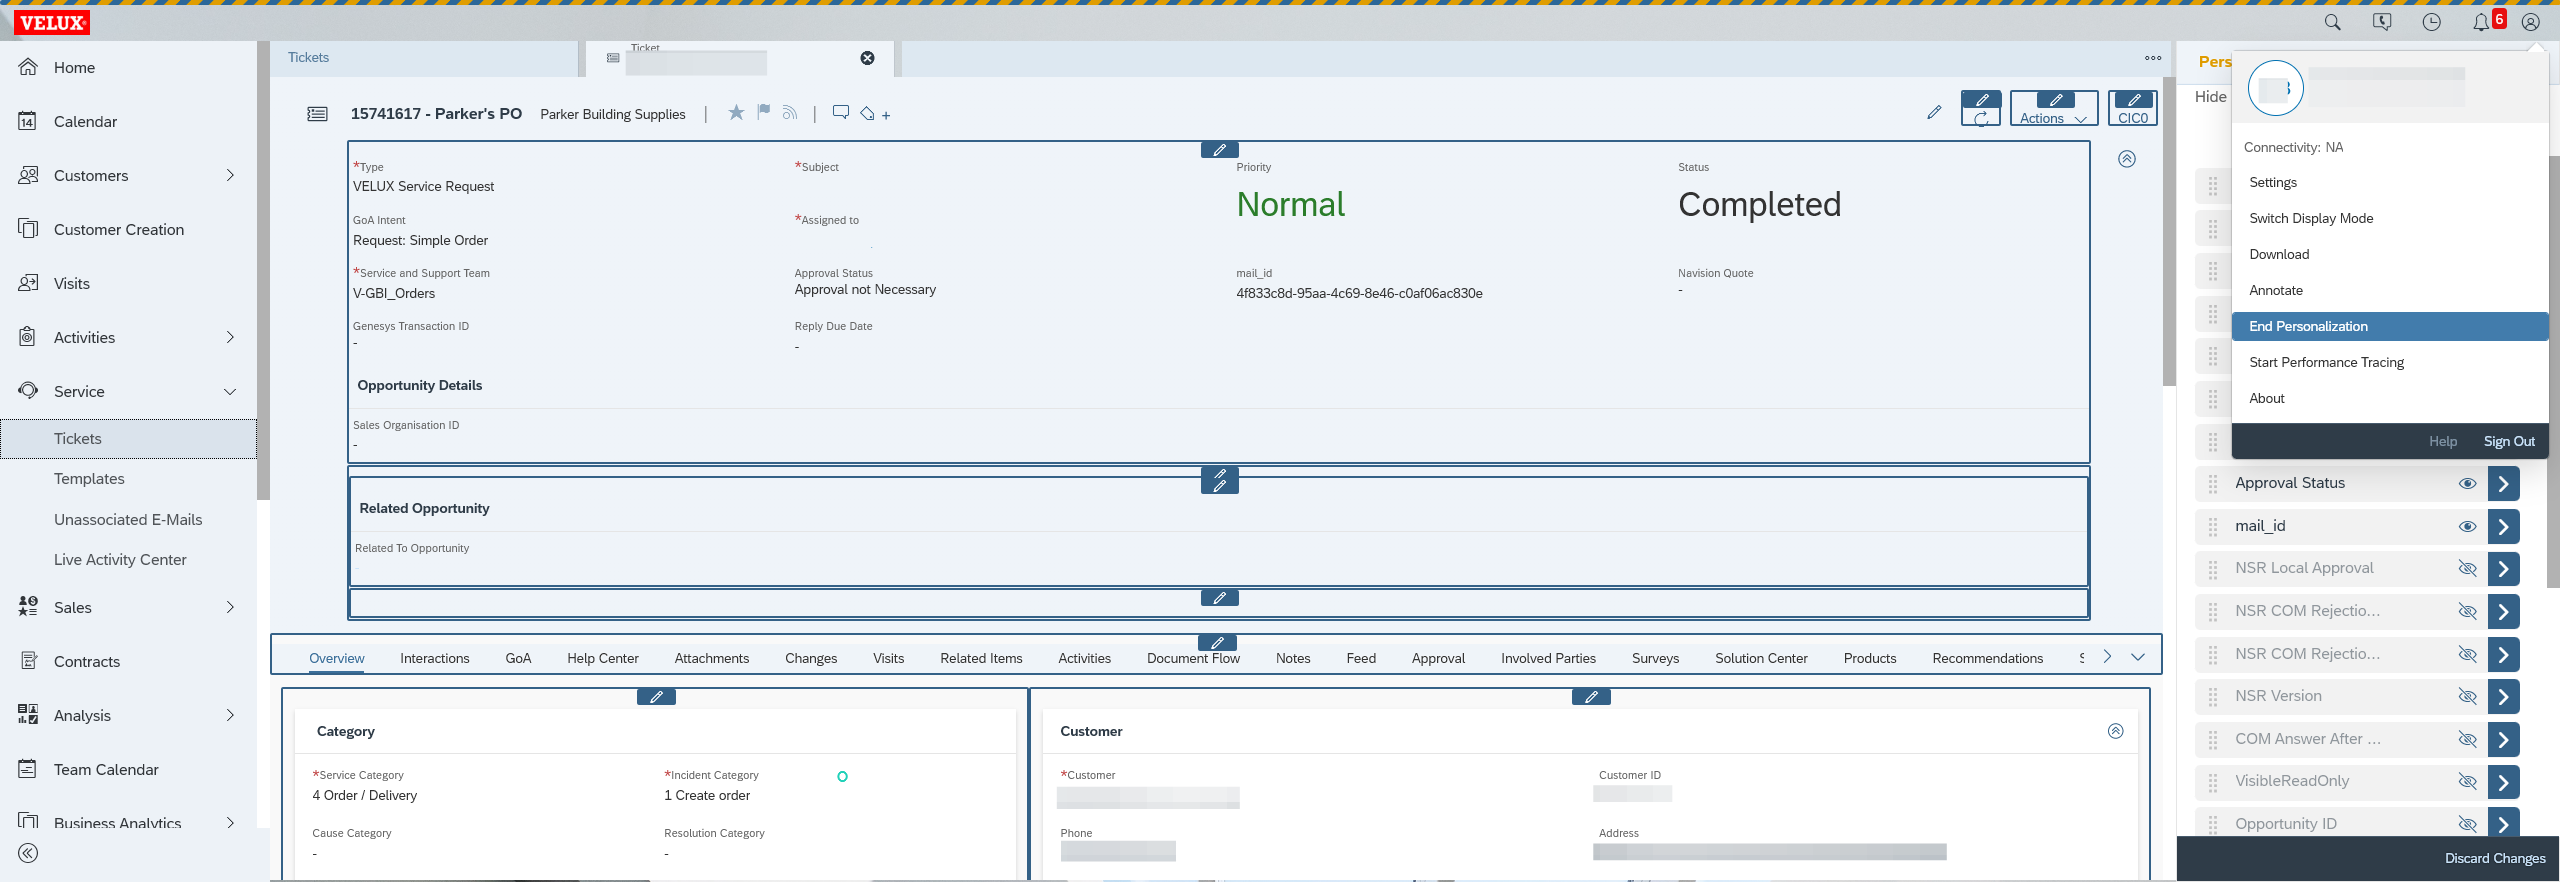
To add the GOA intent to the visual display, first click on the User Menu in the top right corner and select "Start Personalization."

1
Click Start Personalisation
Step #1: Click Start Personalisation
2
Locate GoA Intent, and click the eye symbol to make it visible.
Step #2: Locate GoA Intent, and click the eye symbol to make it visible.
3
Click the 8 dots on the left and drag this to the position you want the Intent to show in the inbox.
Step #3: Click the 8 dots on the left and drag this to the position you want the Intent to show in the inbox.

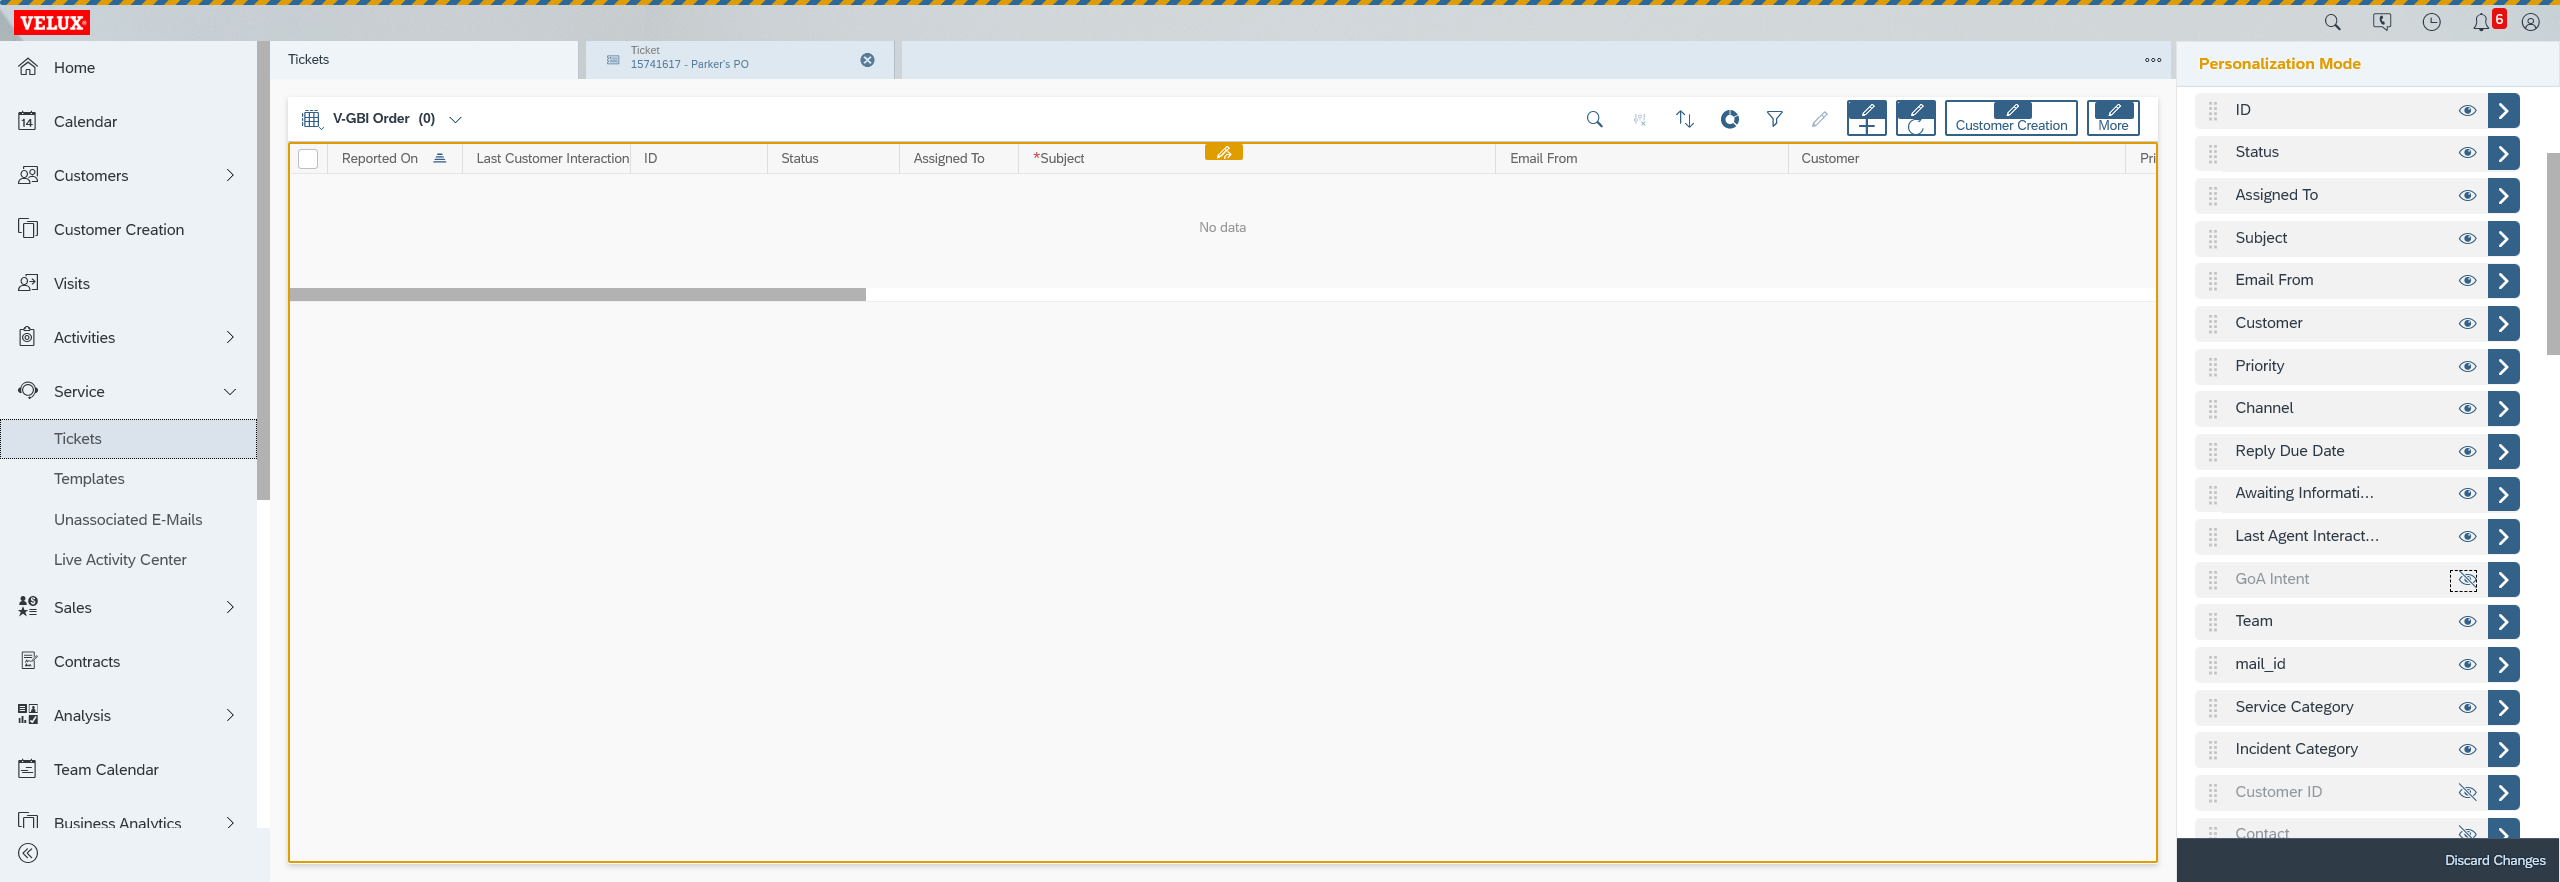
For example, if you place the field three down, it will be the third column on your display. If you're four down, it will be the fourth column, and so on.
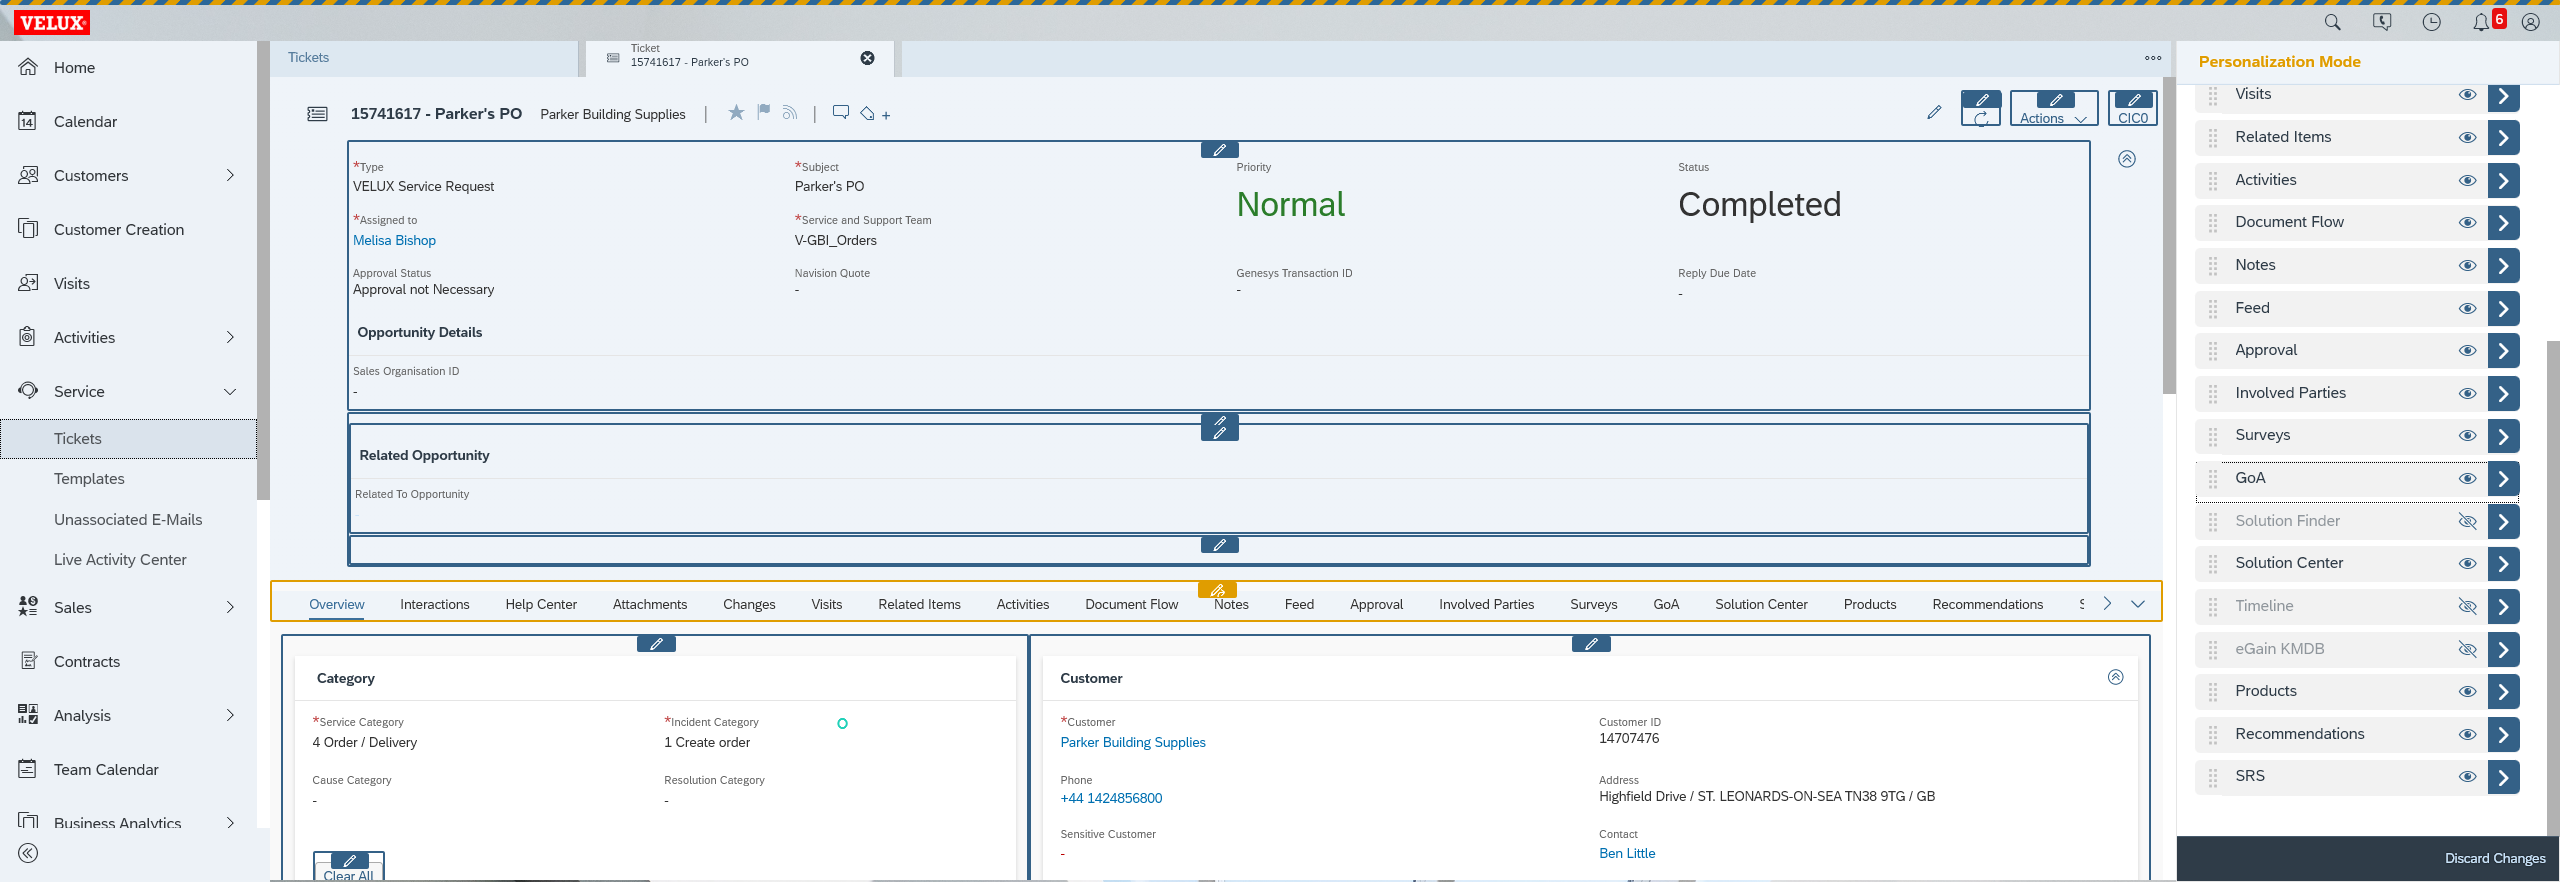
4
GoA Intent is now shown in the view of the Email Inbox
Step #4: GoA Intent is now shown in the view of the Email Inbox
5
Now open an order ticket and click the expand button to view all details.
Step #5: Now open an order ticket and click the expand button to view all details.

6
Here, we want to add a new tab for GOA. Scroll down until you see GOA in your personalization. Click the eye symbol to make it visible
Step #6: Here, we want to add a new tab for GOA. Scroll down until you see GOA in your personalization. Click the eye symbol to make it visible
7
Click on the dots on the left and drag the field upwards position it where you want the tab to appear.
Step #7: Click on the dots on the left and drag the field upwards position it where you want the tab to appear.

8
Once you're satisfied with the position of the GoA tab, proceed to the next step by clicking the small pen icon at the top centre of your display. This will open a new menu on the right.
Step #8: Once you're satisfied with the position of the GoA tab, proceed to the next step by clicking the small pen icon at the top centre of your display.  This will open a new menu on the right.

9
Click the arrow next to General Information to open the drill-down page.
Step #9: Click the arrow next to General Information to open the drill-down page.

.

10
Scroll down until you see "GOA intent" and click the eye symbol. Then, find "mail ID" and click the eye symbol beside that also, making both fields visible.
Step #10: Scroll down until you see "GOA intent" and click the eye symbol. Then, find "mail ID" and click the eye symbol beside that also, making both fields visible.

11
Click on the dots and drag the fields up until they are in the desired position.
Step #11: Click on the dots and drag the fields up until they are in the desired position.

12
When you're satisfied with the position and all your changes, click your user menu again.
Step #12: When you're satisfied with the position and all your changes, click your user menu again.
13
Click "End Personalization."
Step #13: Click "End Personalization."

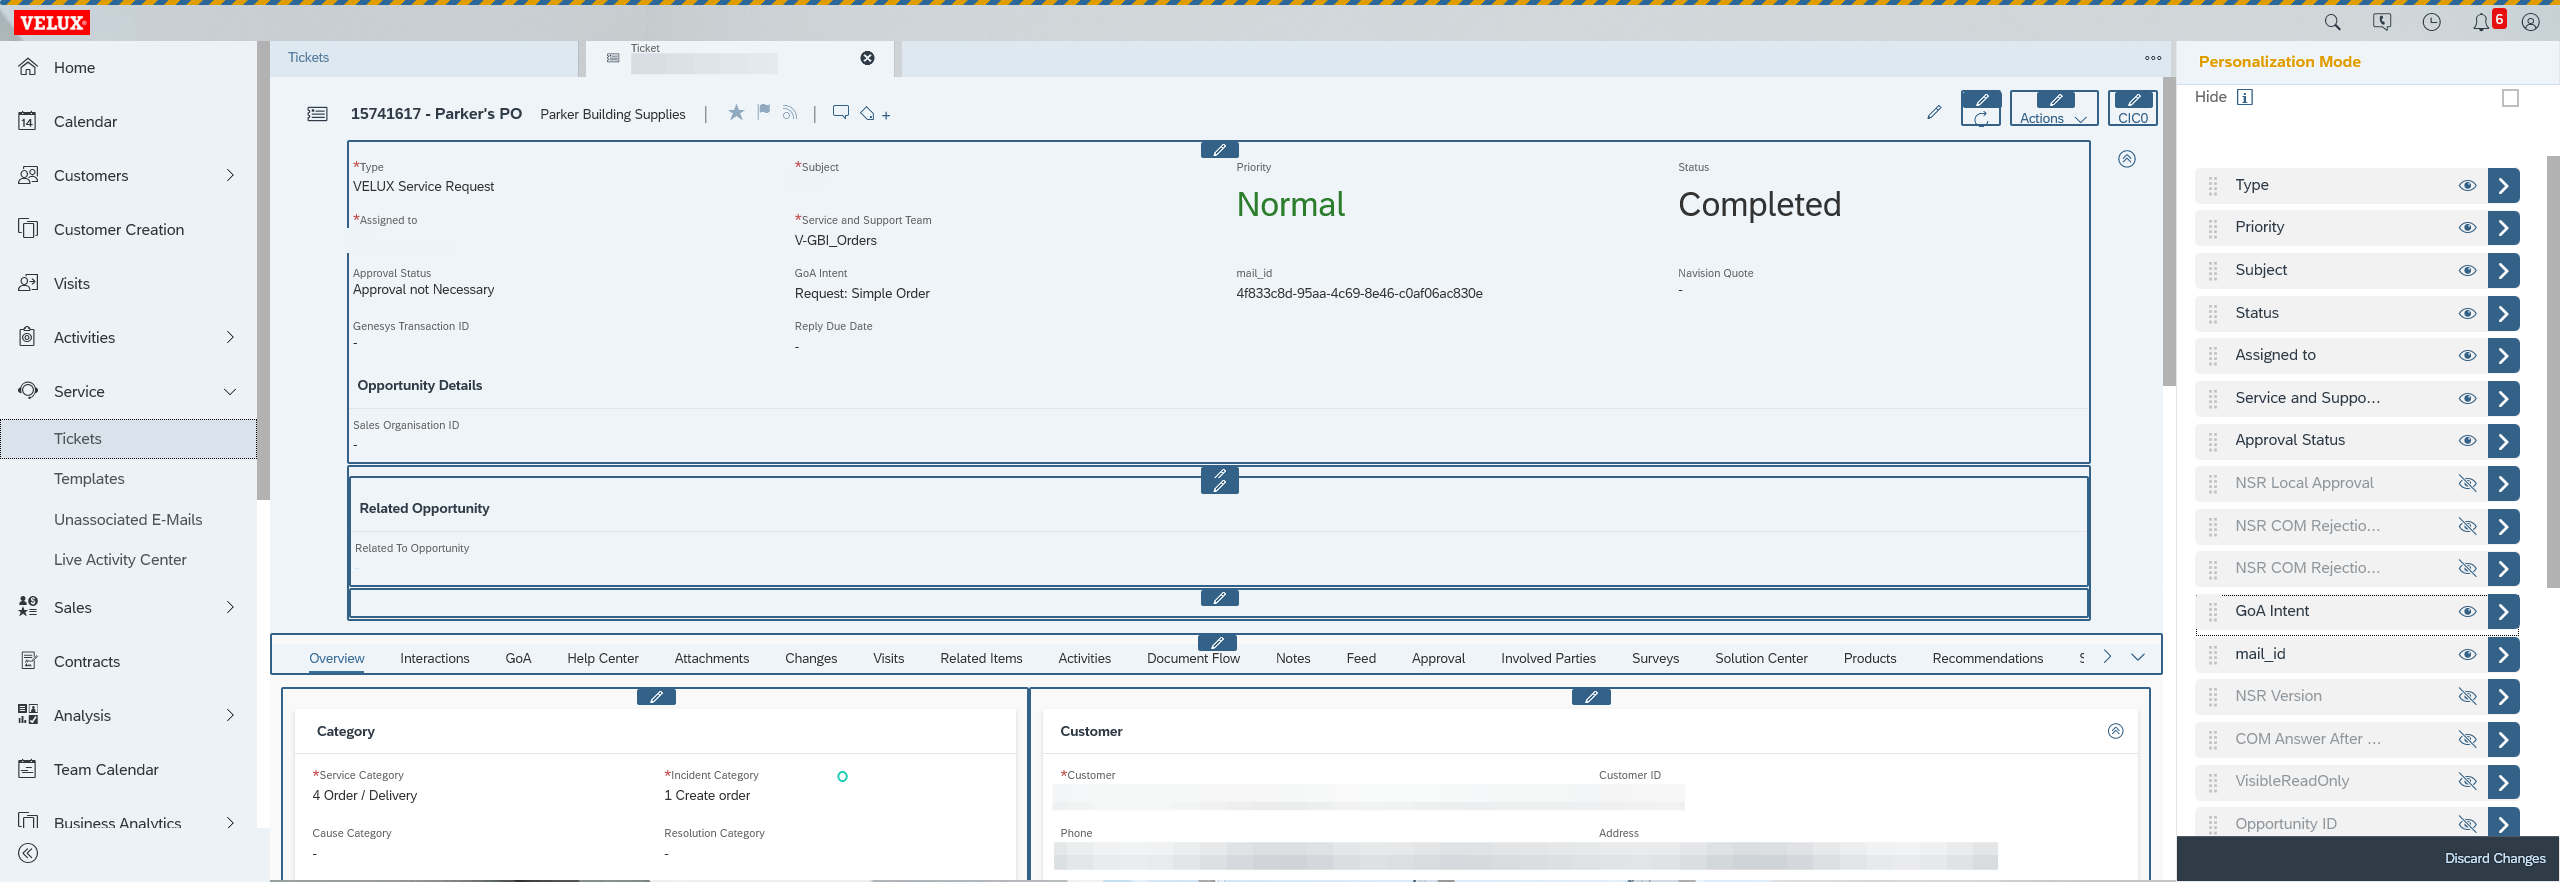
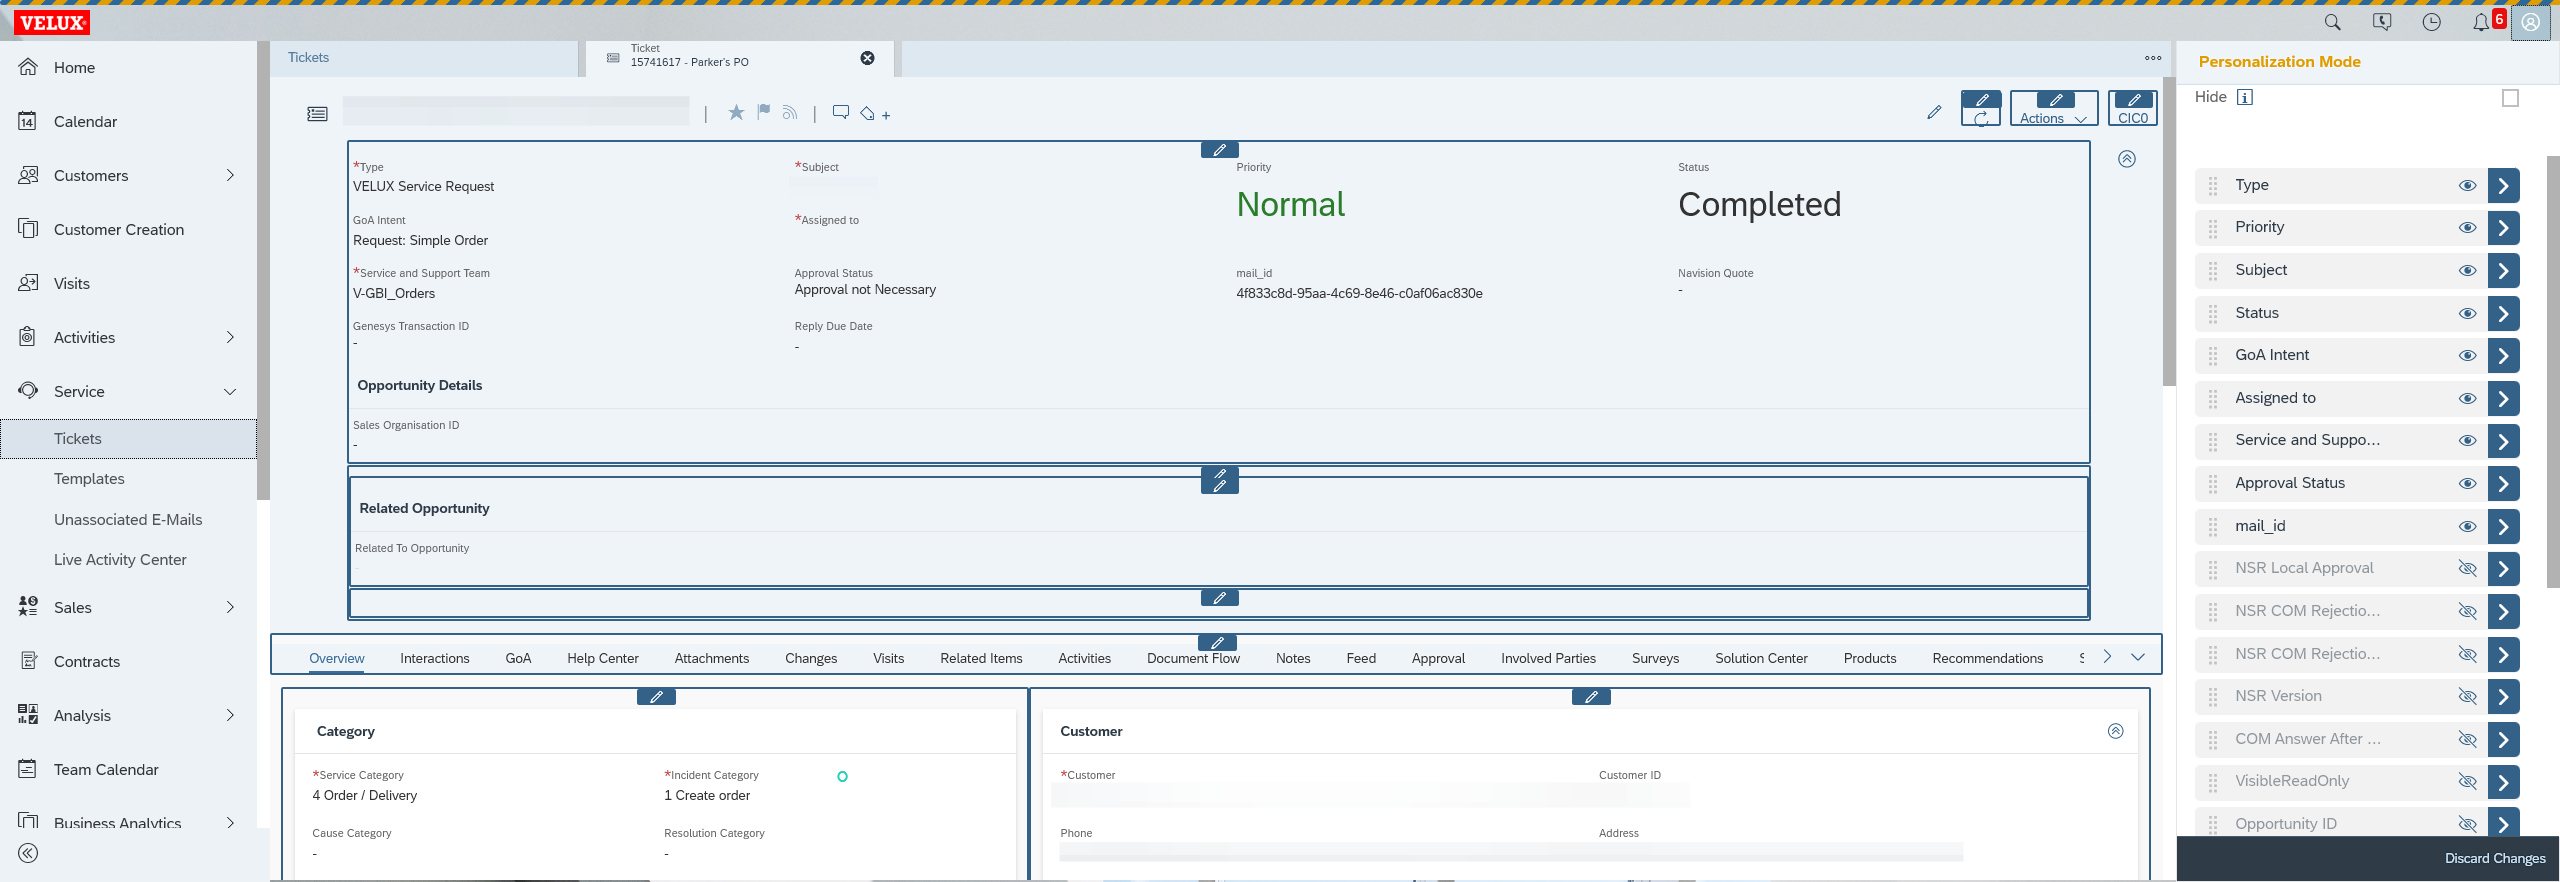
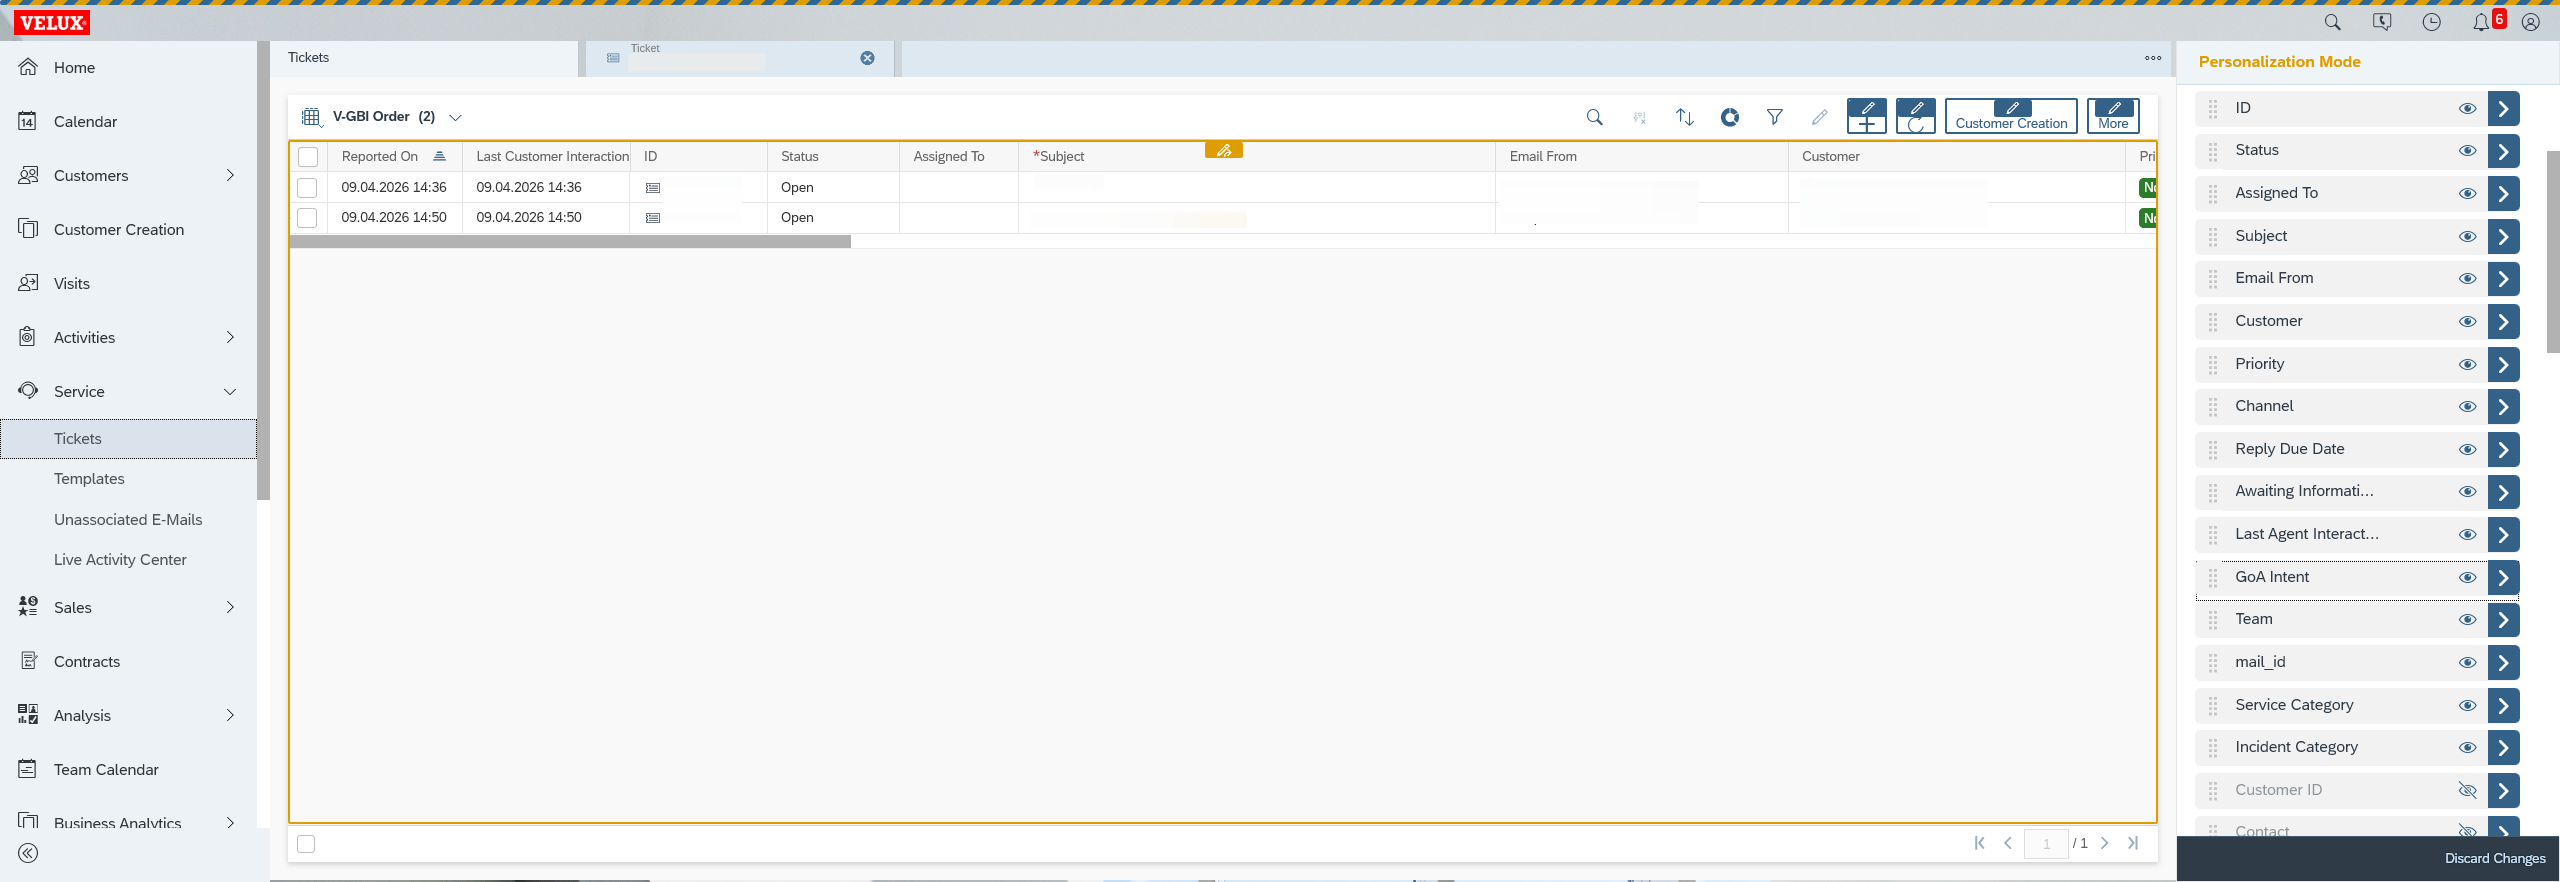
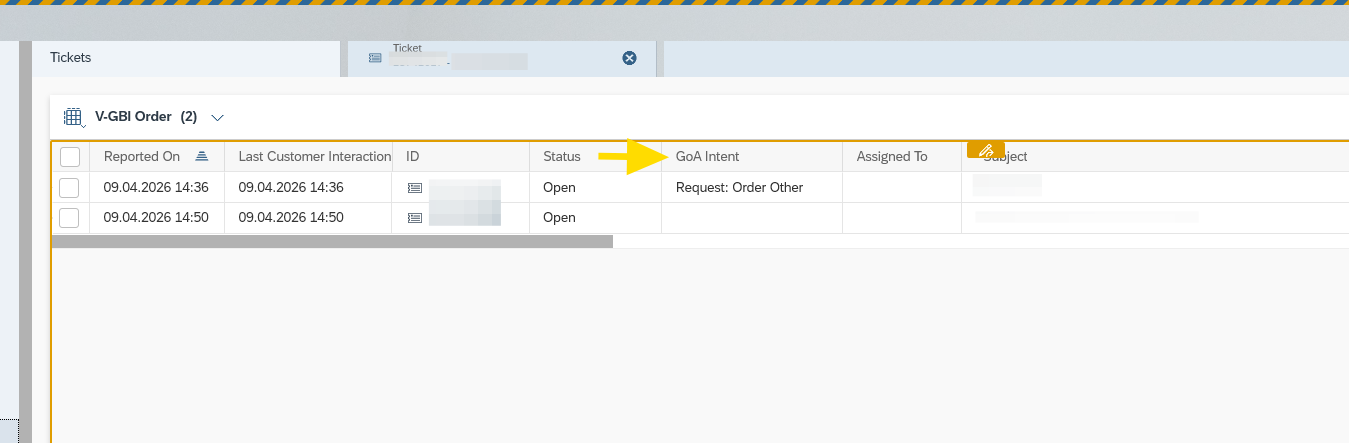
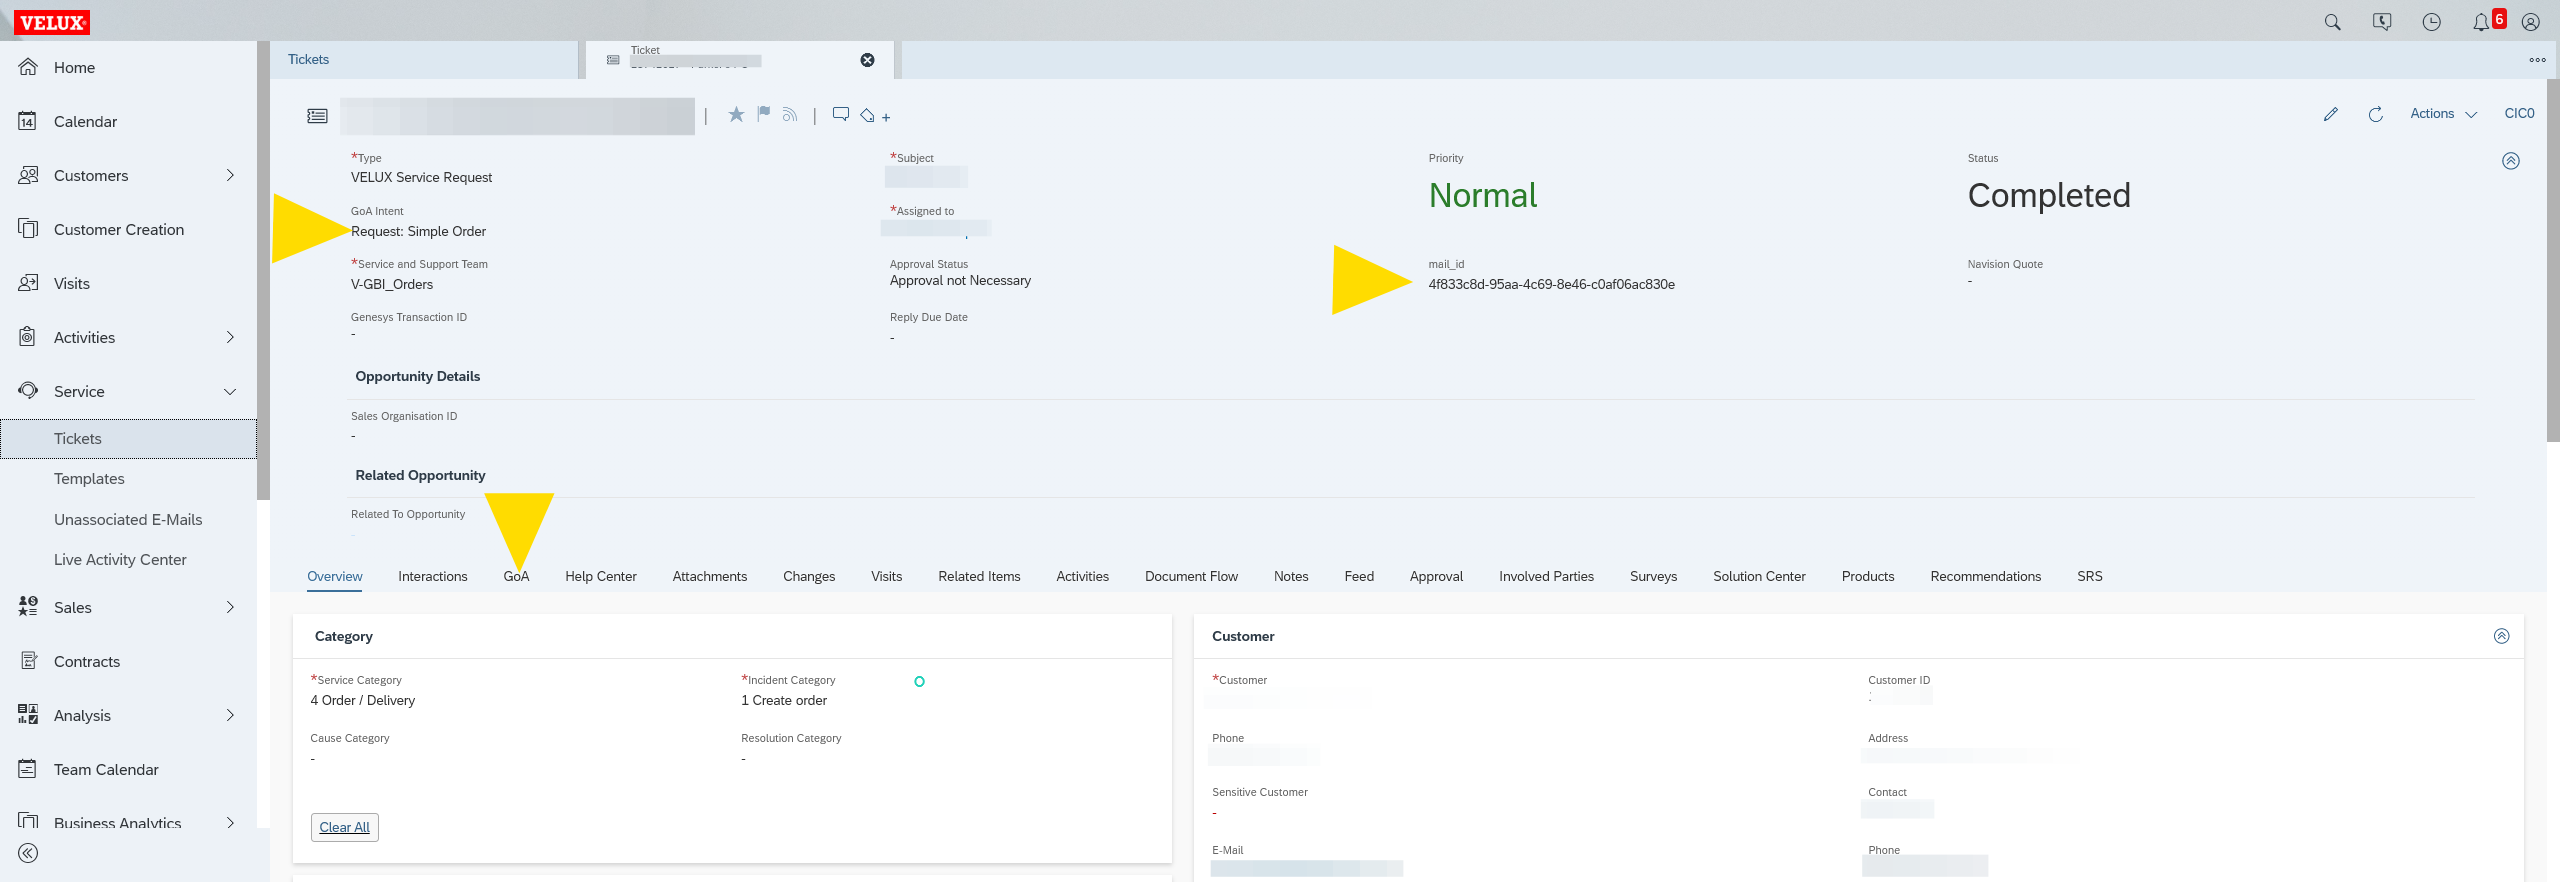
Now, in your inbox view, you have your GOA intent.

14
When you open a ticket you can see your intent, your mail ID, and a GOA tab. Use the GOA tab to process an order with GOA.
Step #14: When you open a ticket you can see your intent, your mail ID, and a GOA tab. Use the GOA tab to process an order with GOA.

Once these settings are complete, it is permanent. You don't need to change it again.