How to Set Up Keycloak for Back Office: A Step-by-Step Guide
Learn how to set up Keycloak for back office operations with this comprehensive guide. Follow our step-by-step instructions to configure identity providers and create realms for seamless login experiences.
In this guide, we'll learn how to set up Keycloak for backoffice use. We will start from the master realm, which is automatically provisioned when you initialize Keycloak. The first step involves setting up the identity provider to enable user login inside Keycloak
Next, we will create a new realm for the backoffice, named after the organization using it. Finally, we will create a Keycloak organization within this realm and assign a newly created identity provider to it.
Let's get started
This is a short guide on how to set up Keycloak for back office.
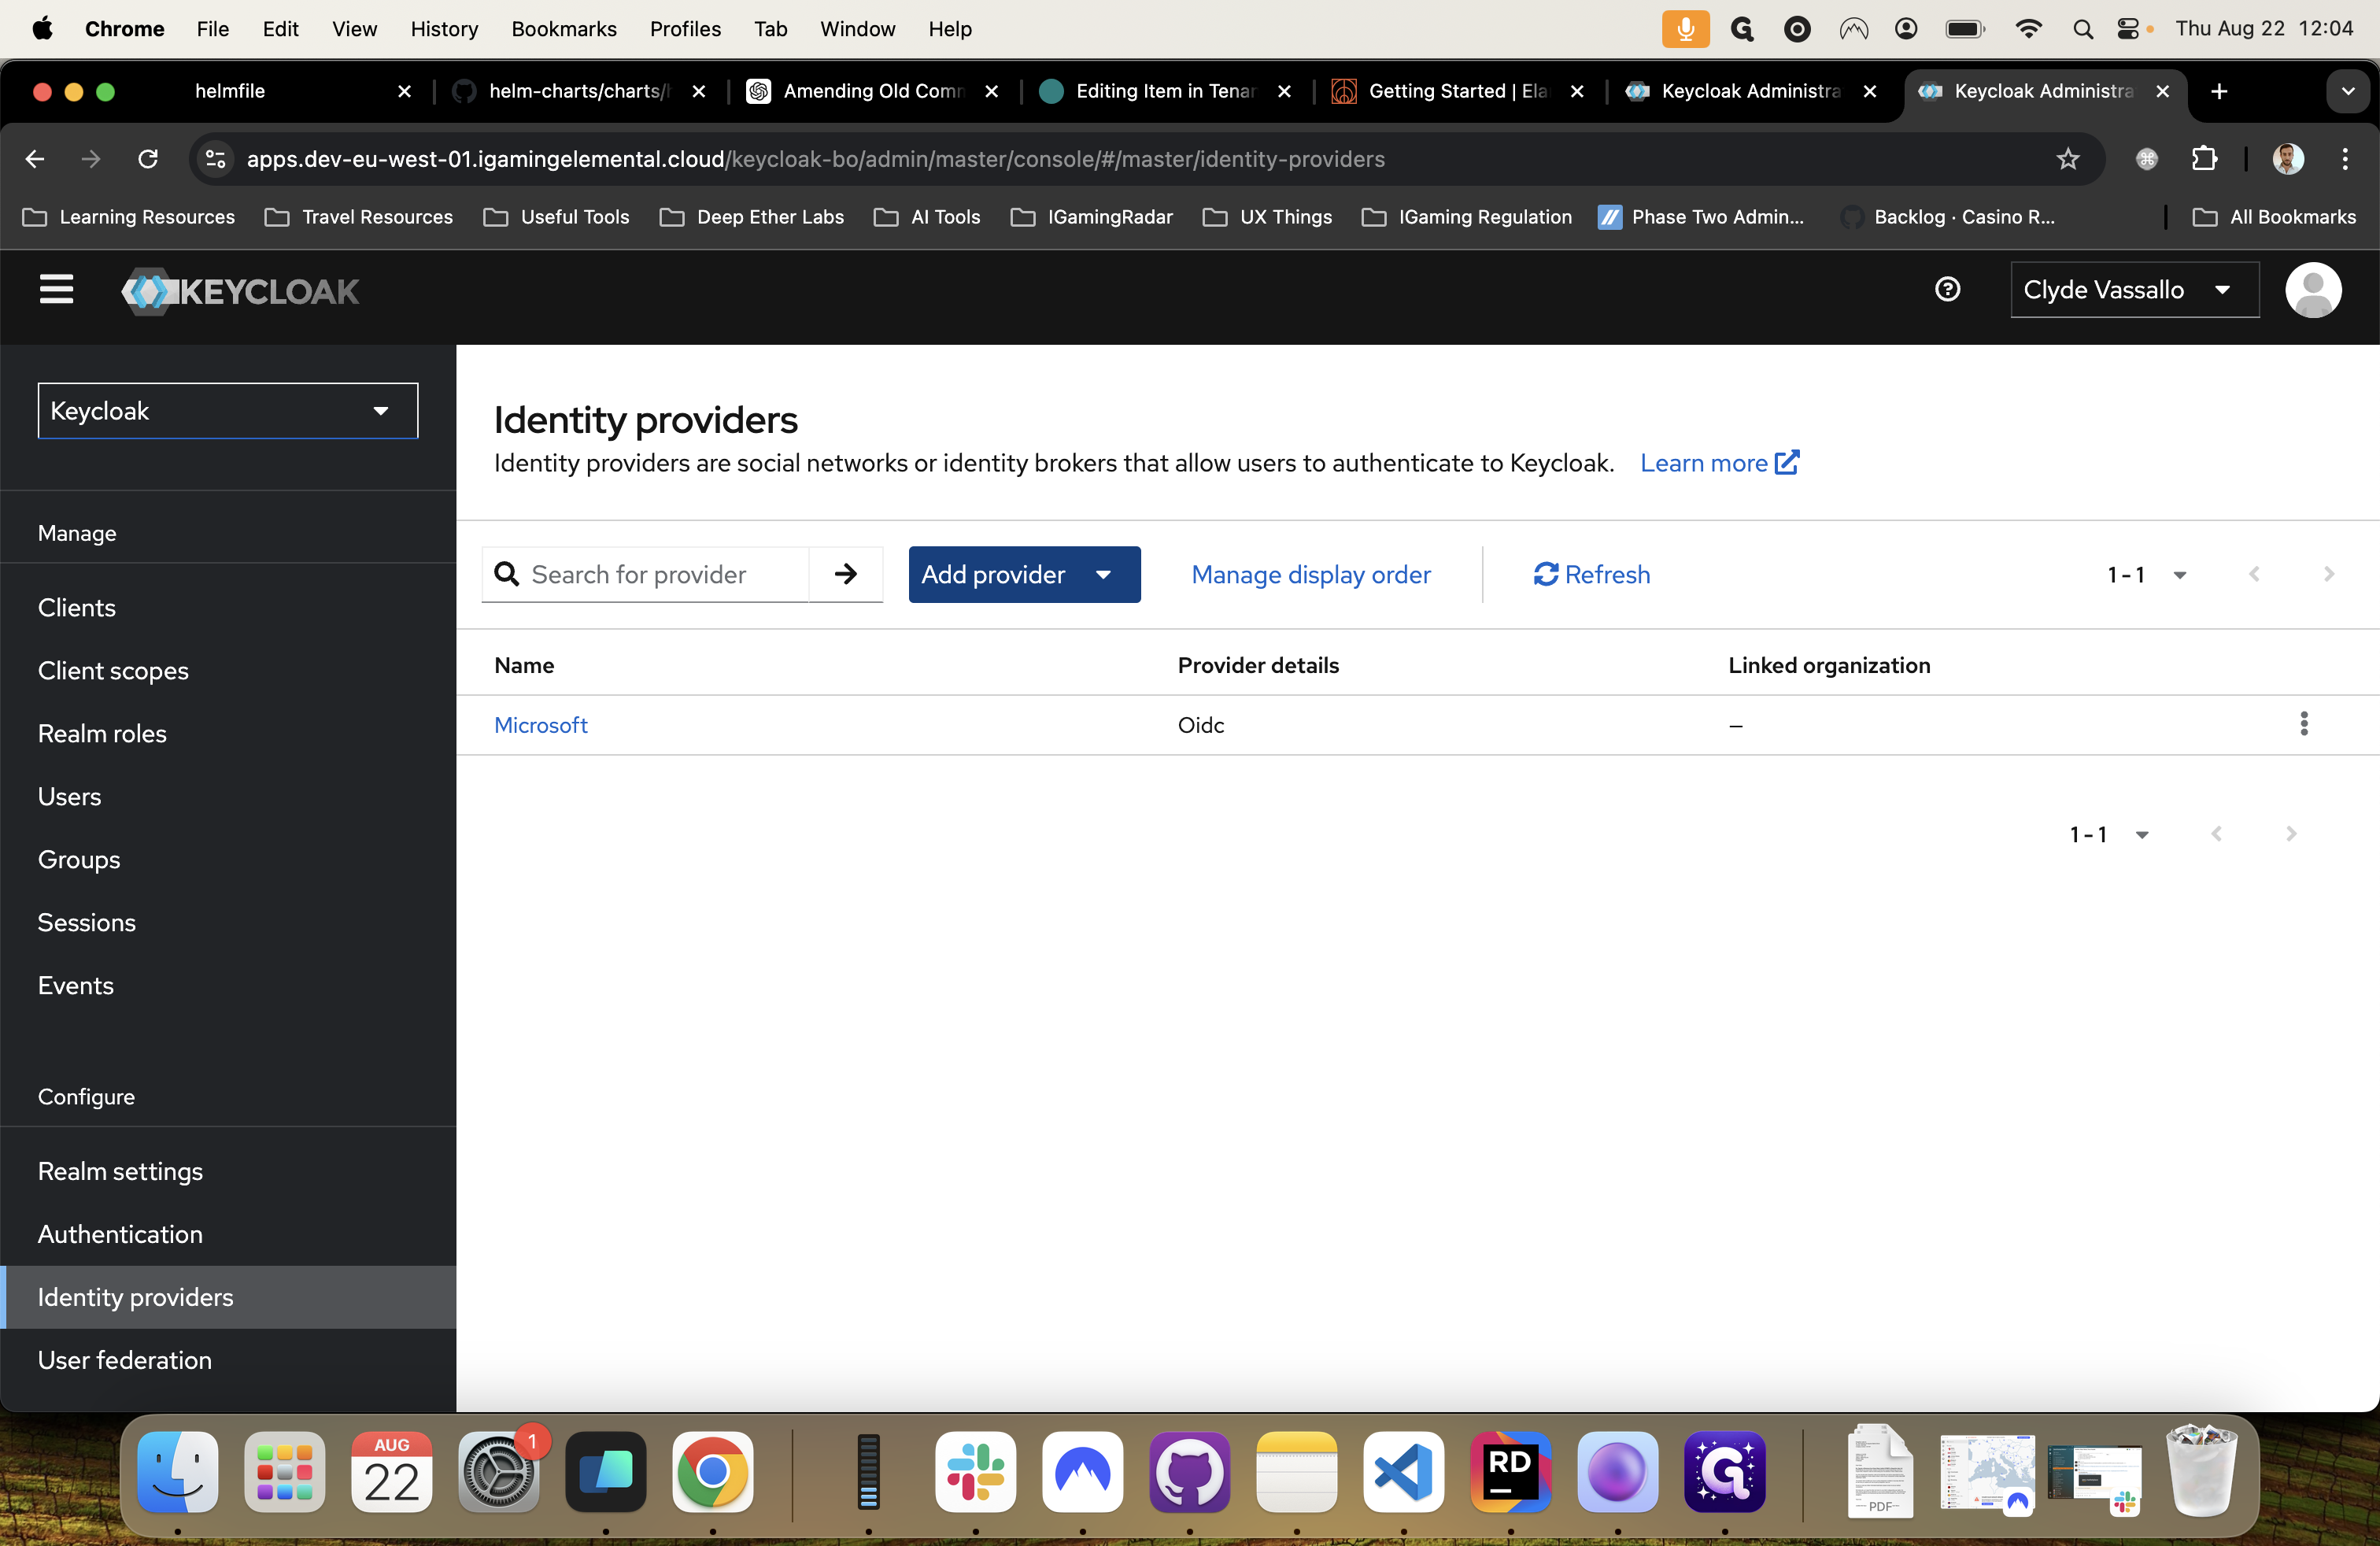
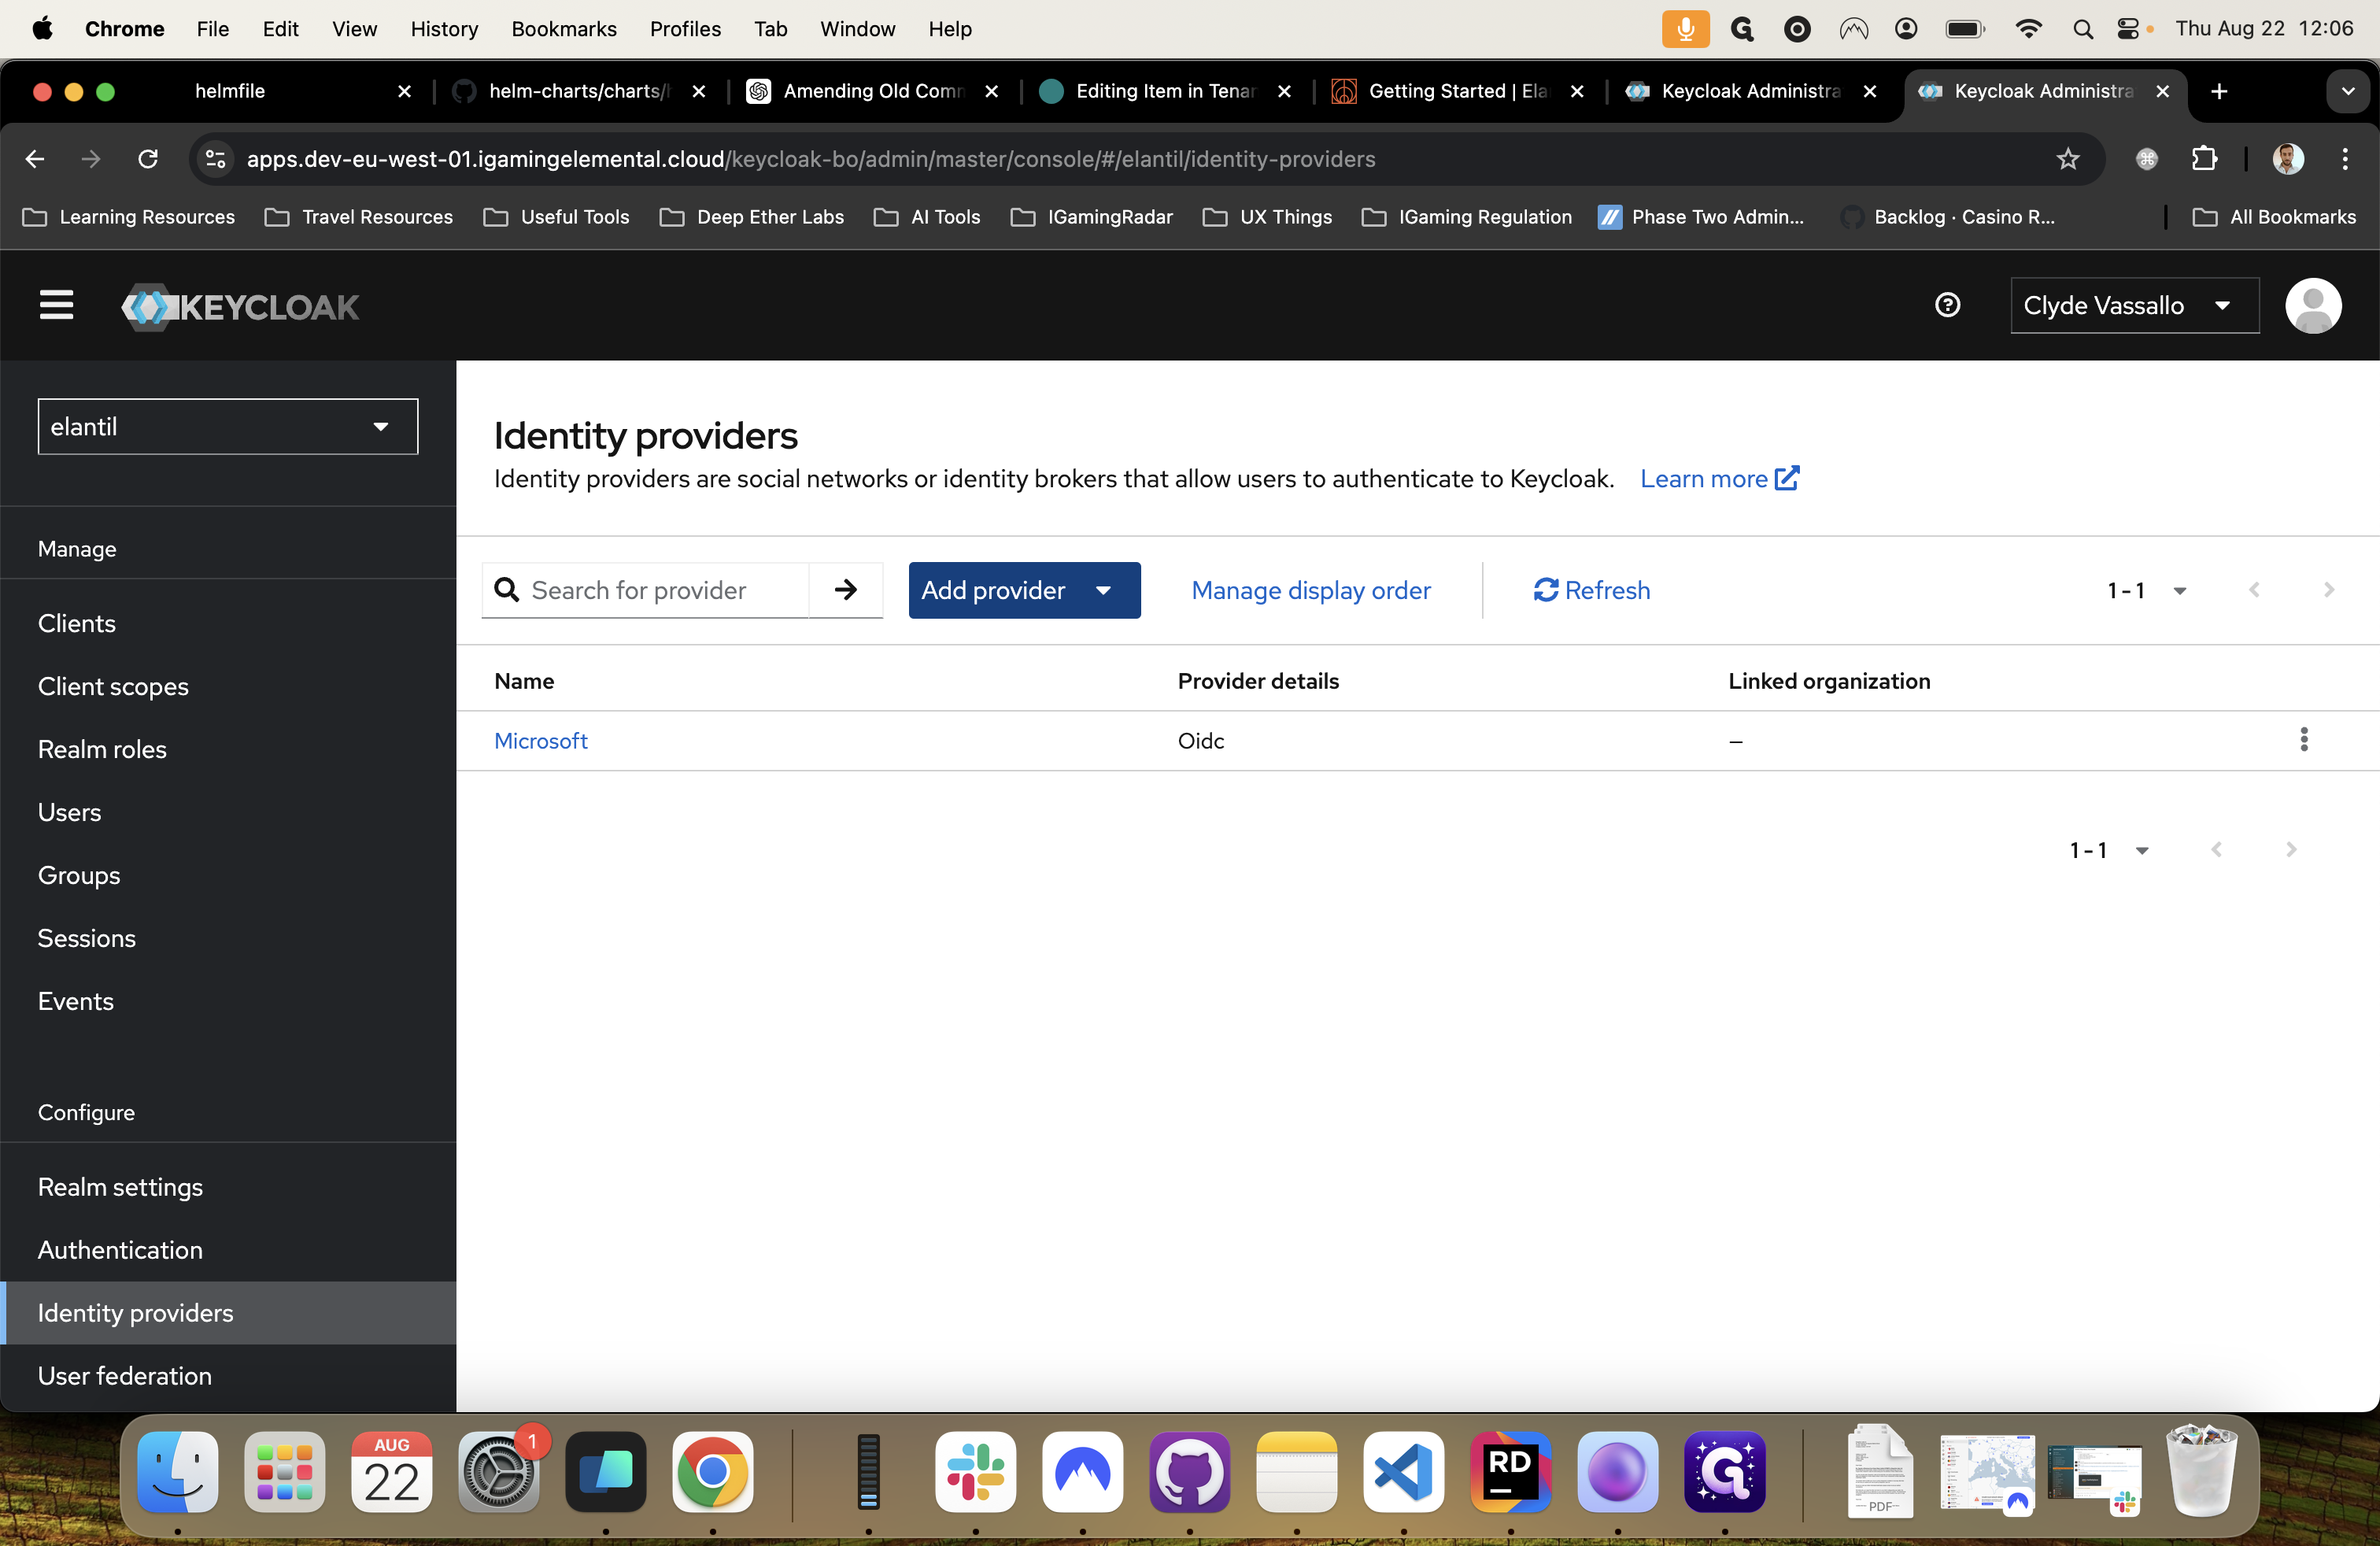
We will start with the master realm. In the master realm, which is automatically provisioned when you set up Keycloak, the first thing you need to do is set up the identity provider.
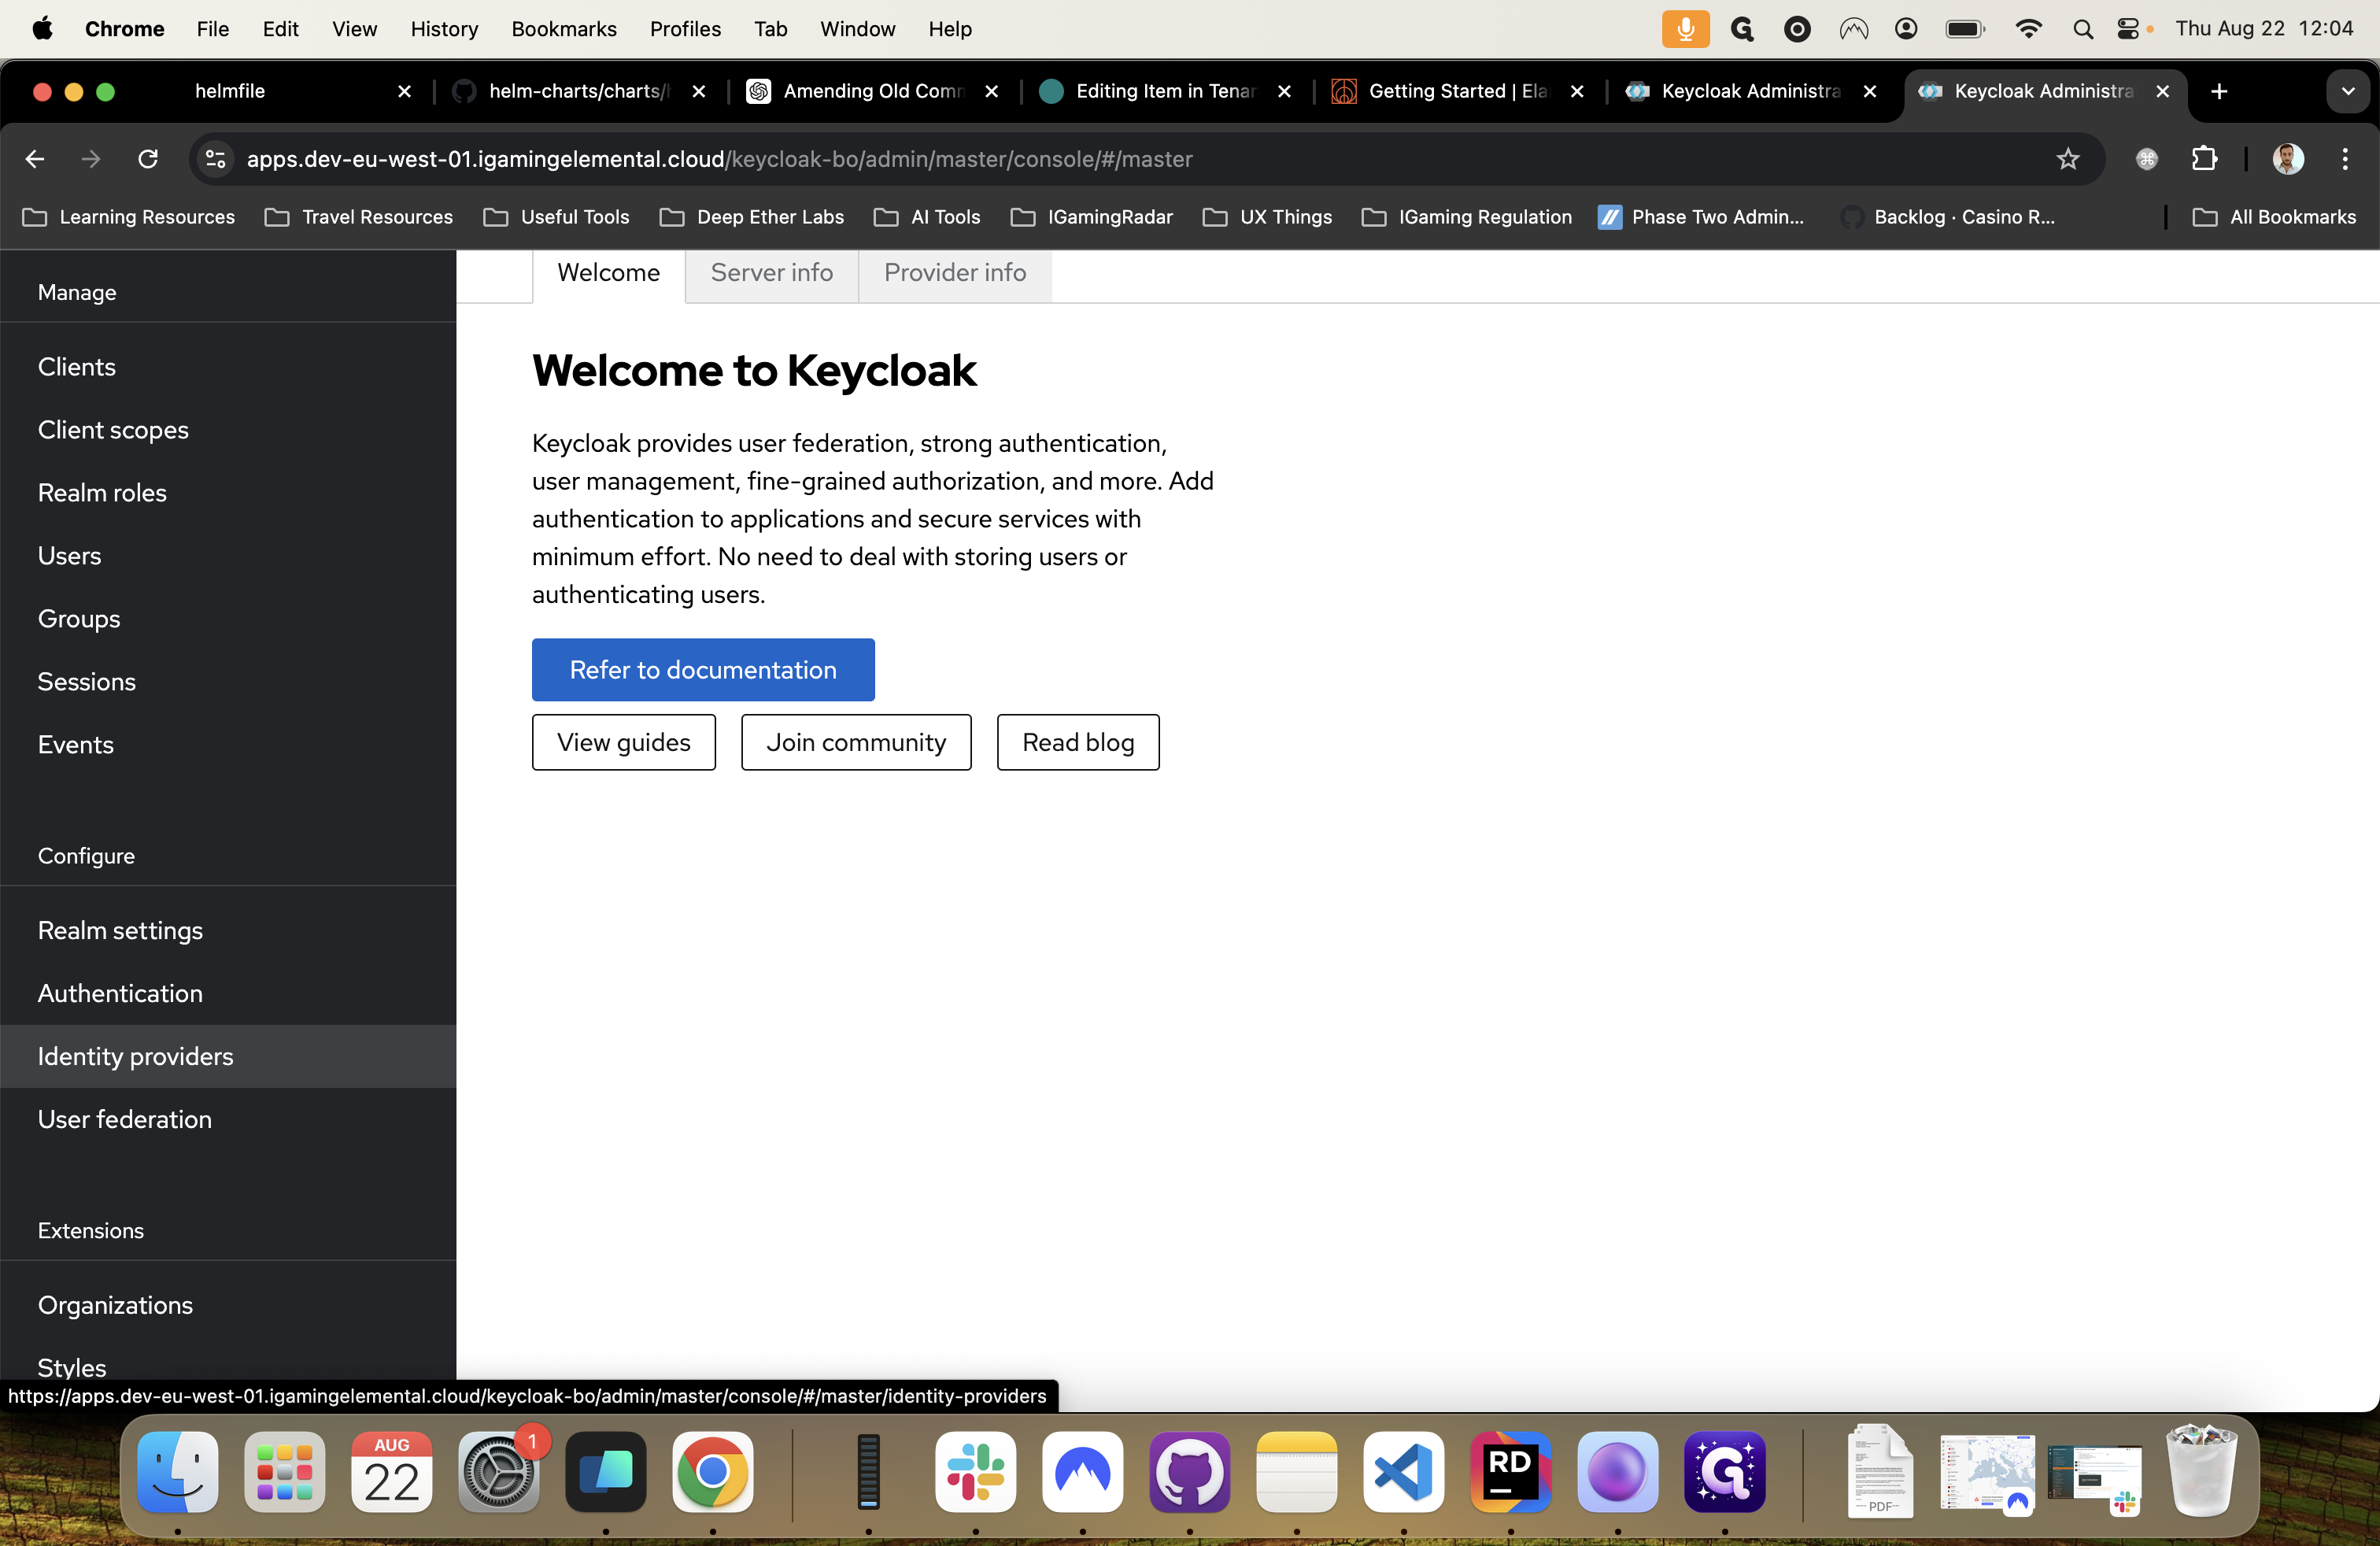
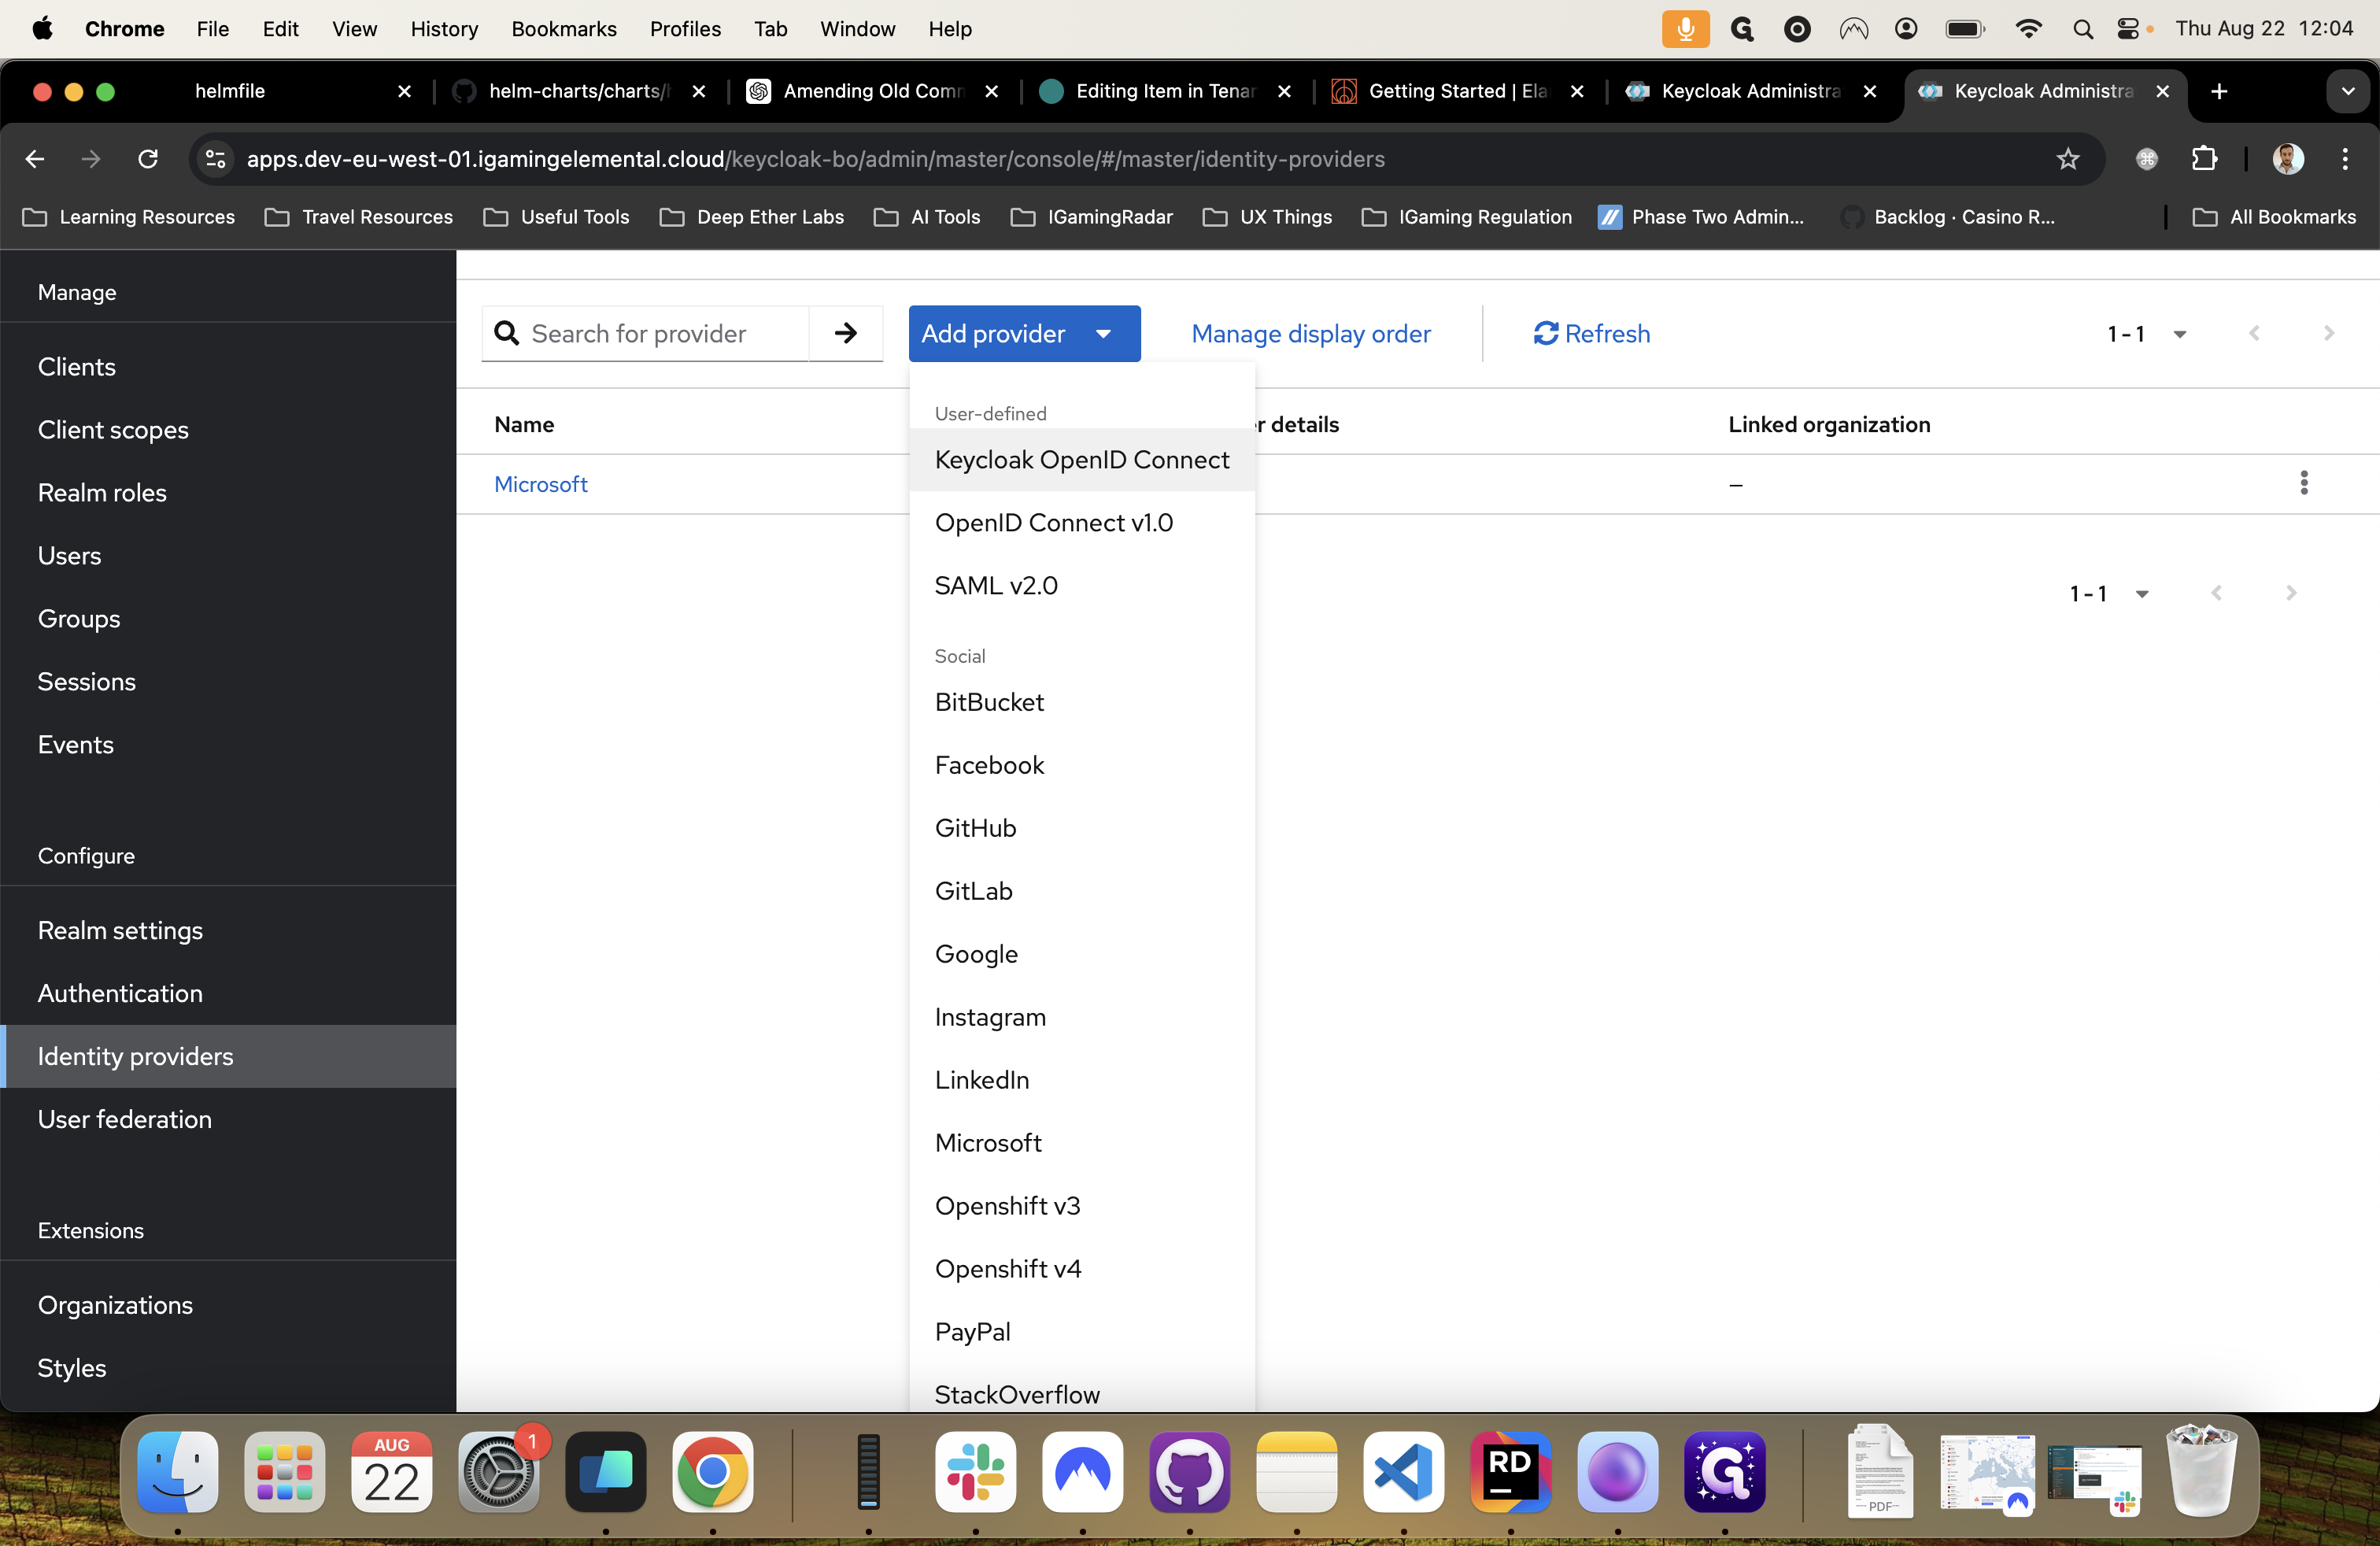
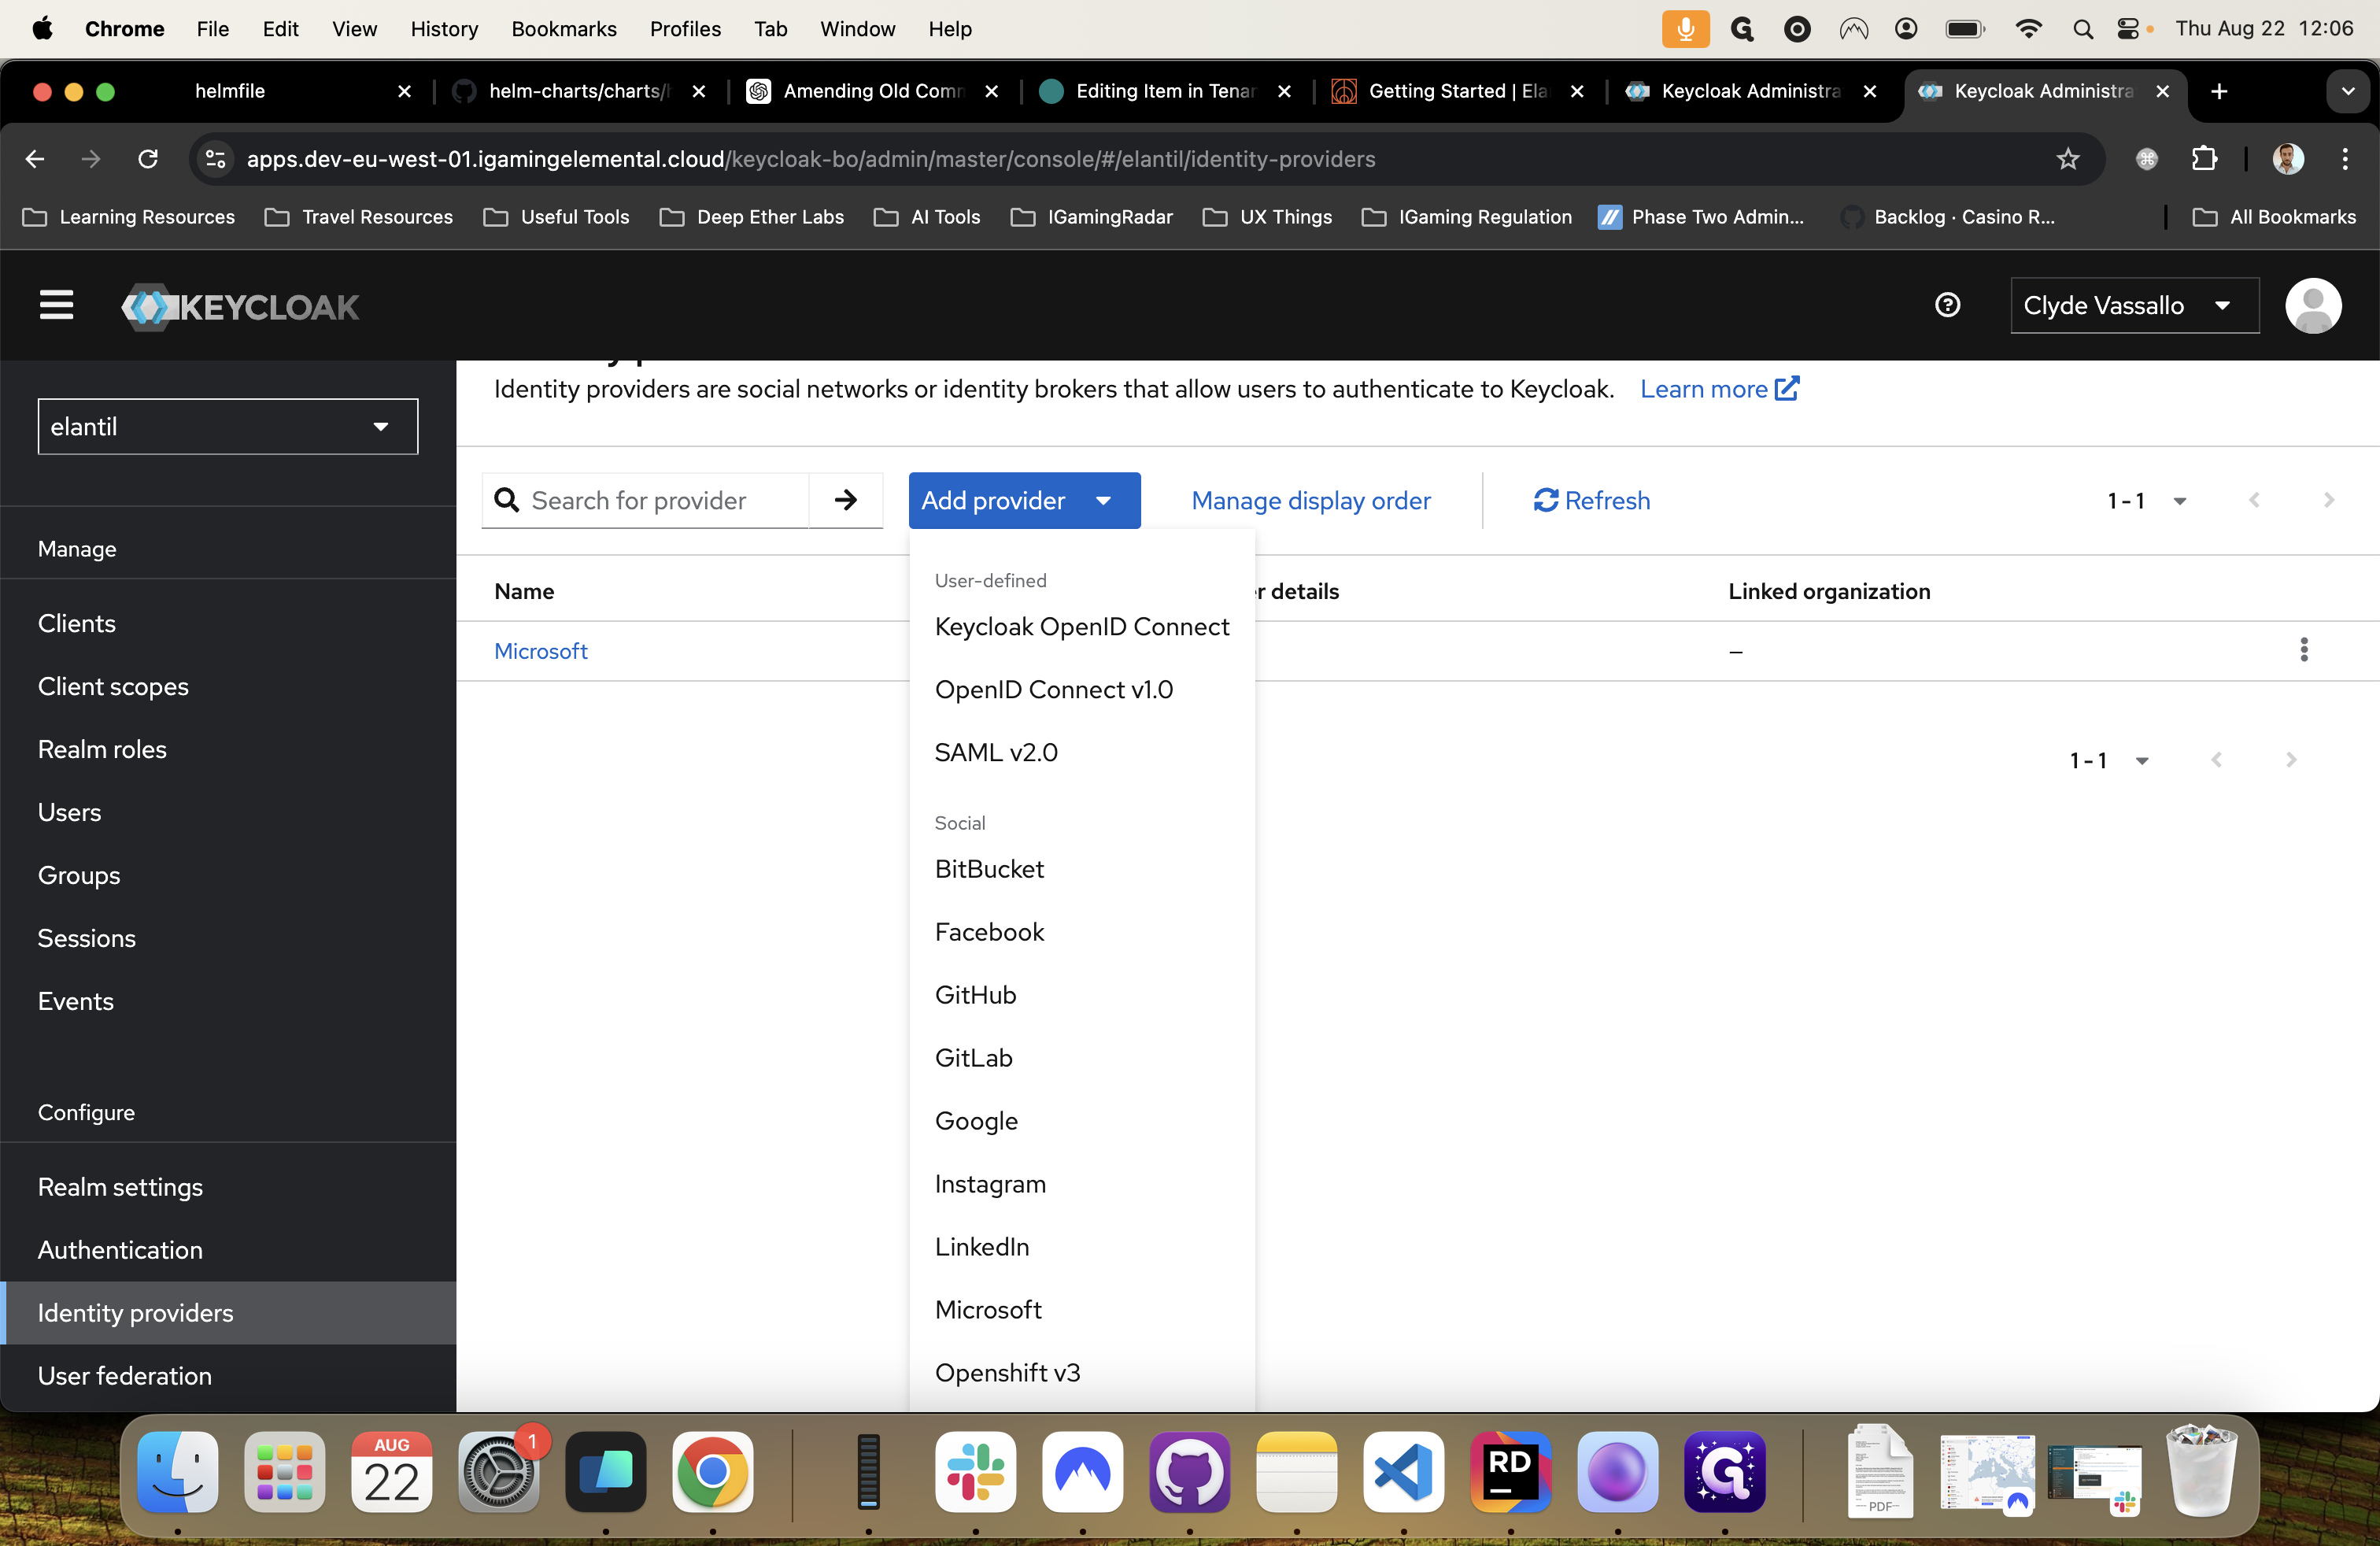
Go to the identity provider section. Select the identity provider you want to use to log into Keycloak.
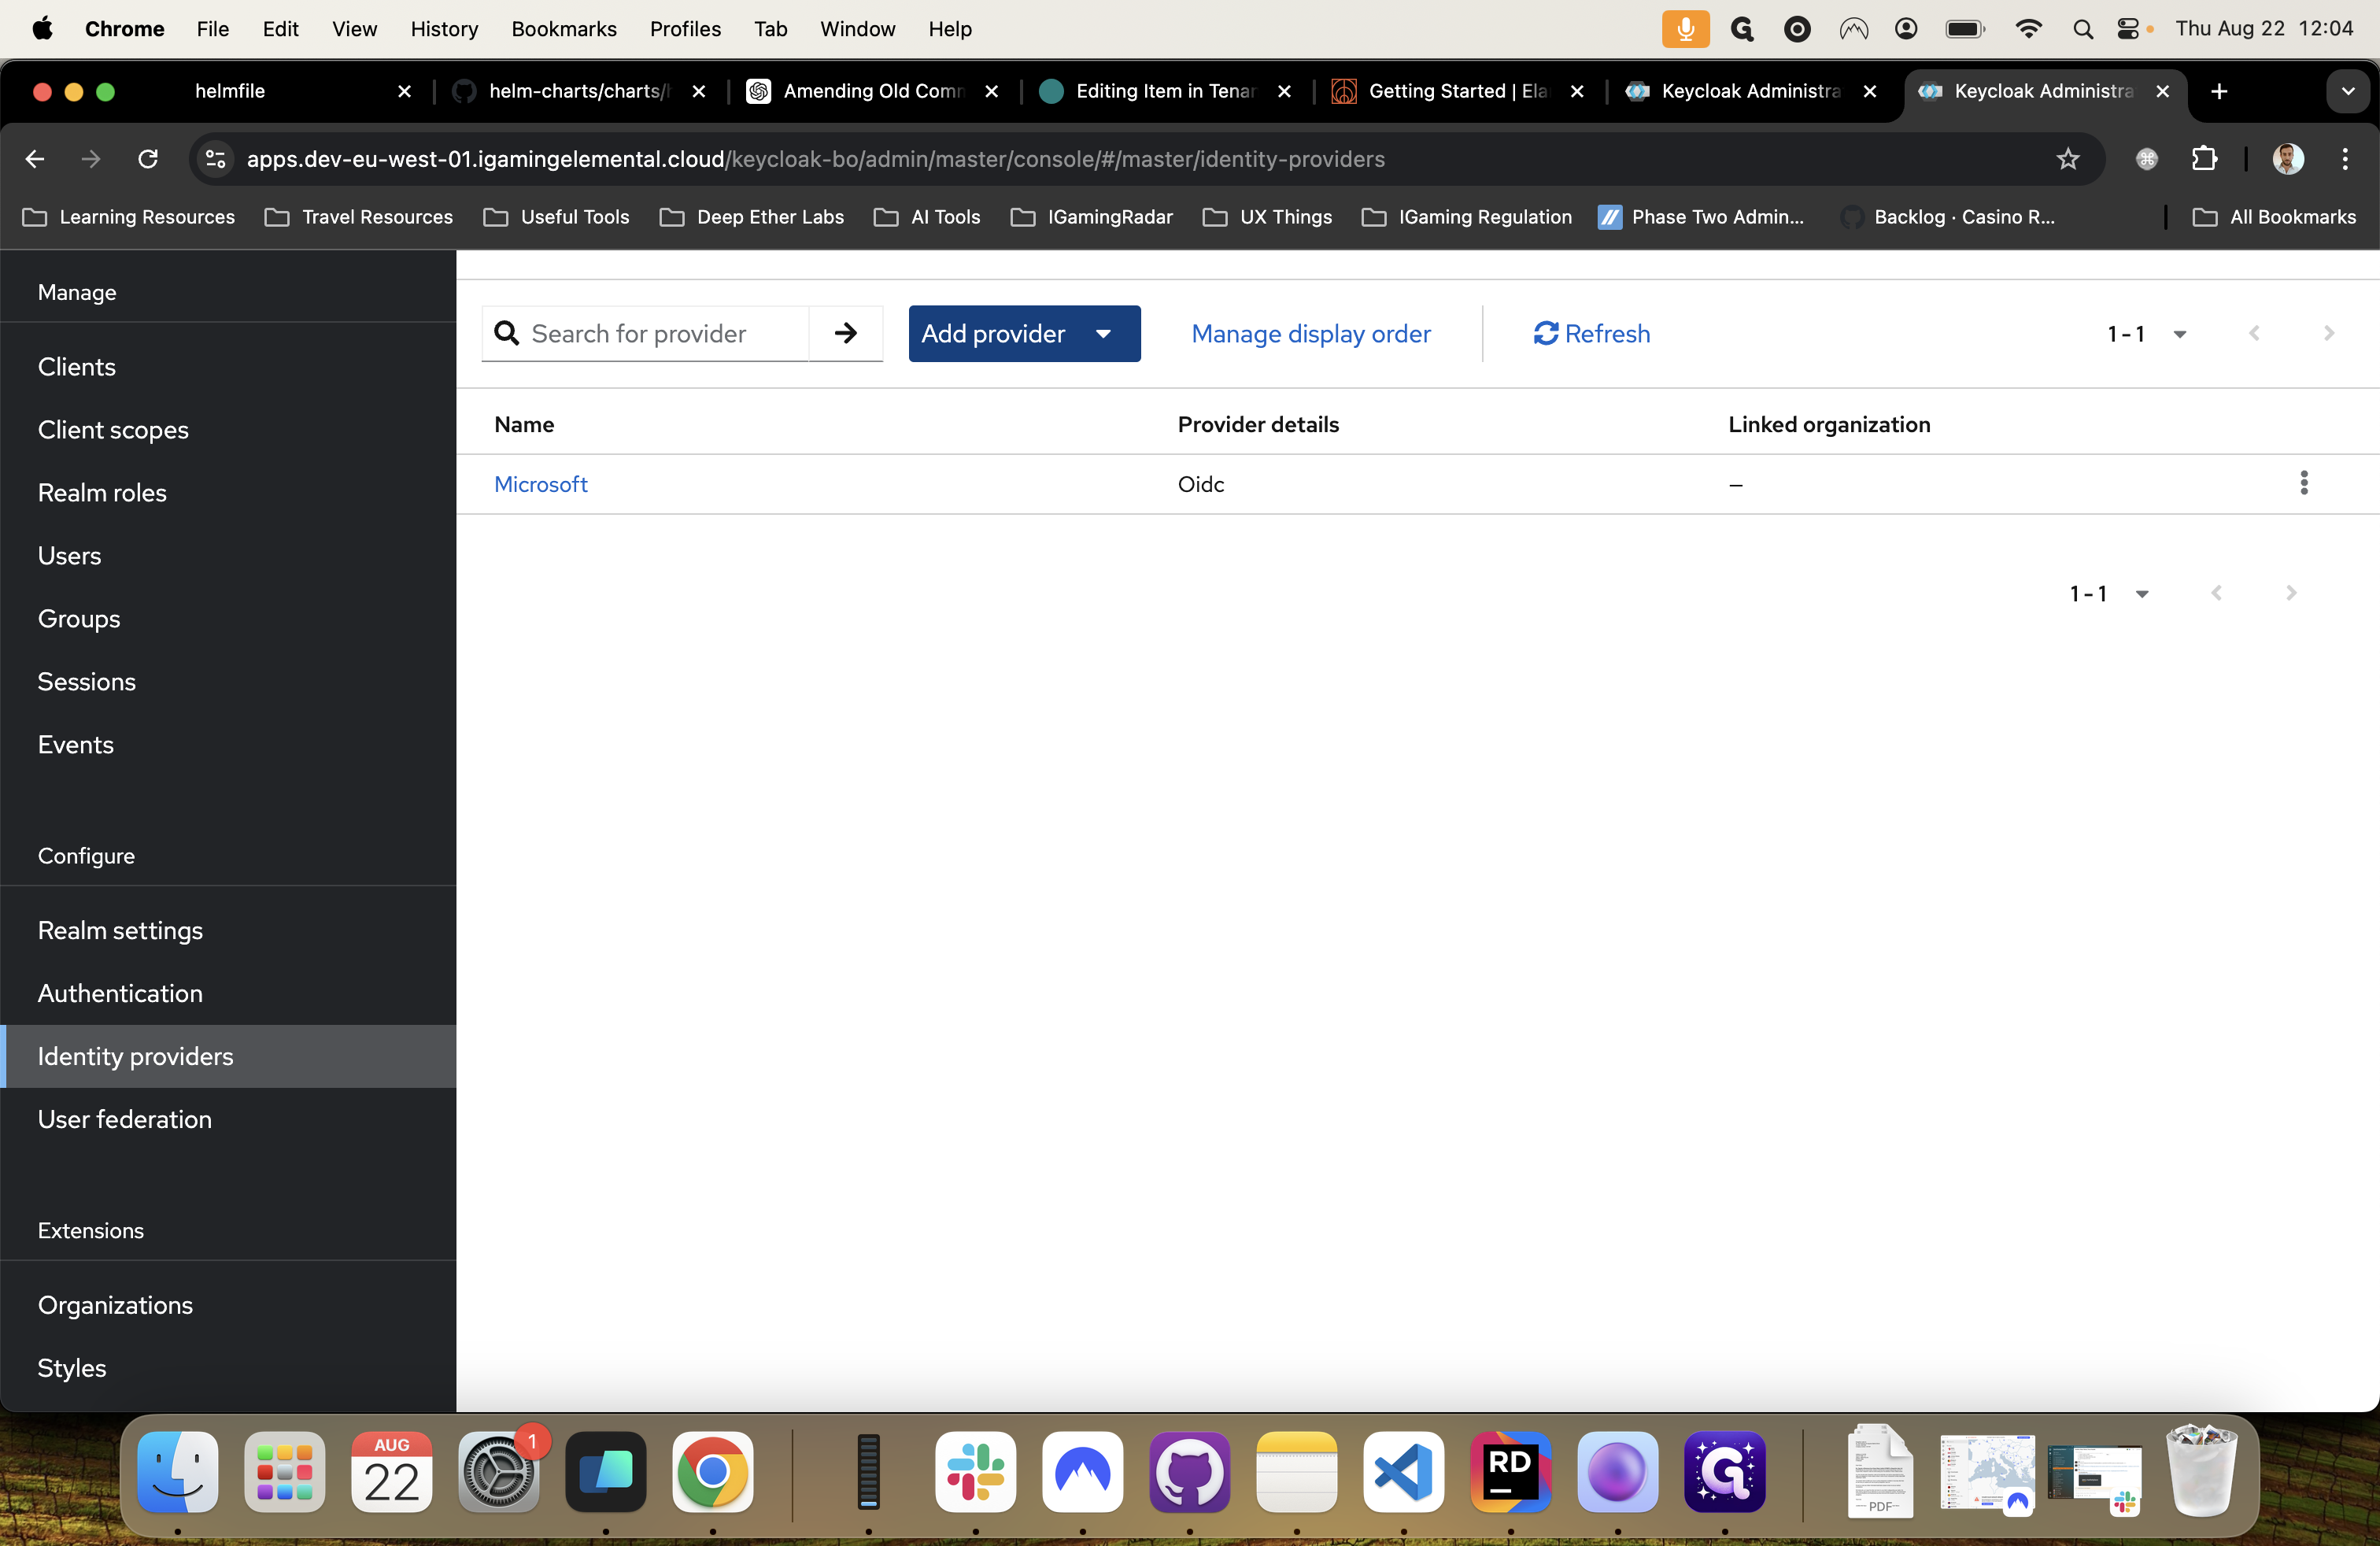
Once you choose your identity provider, follow the guide.
Once set up, users can log into the Keycloak using the configured identity provider.
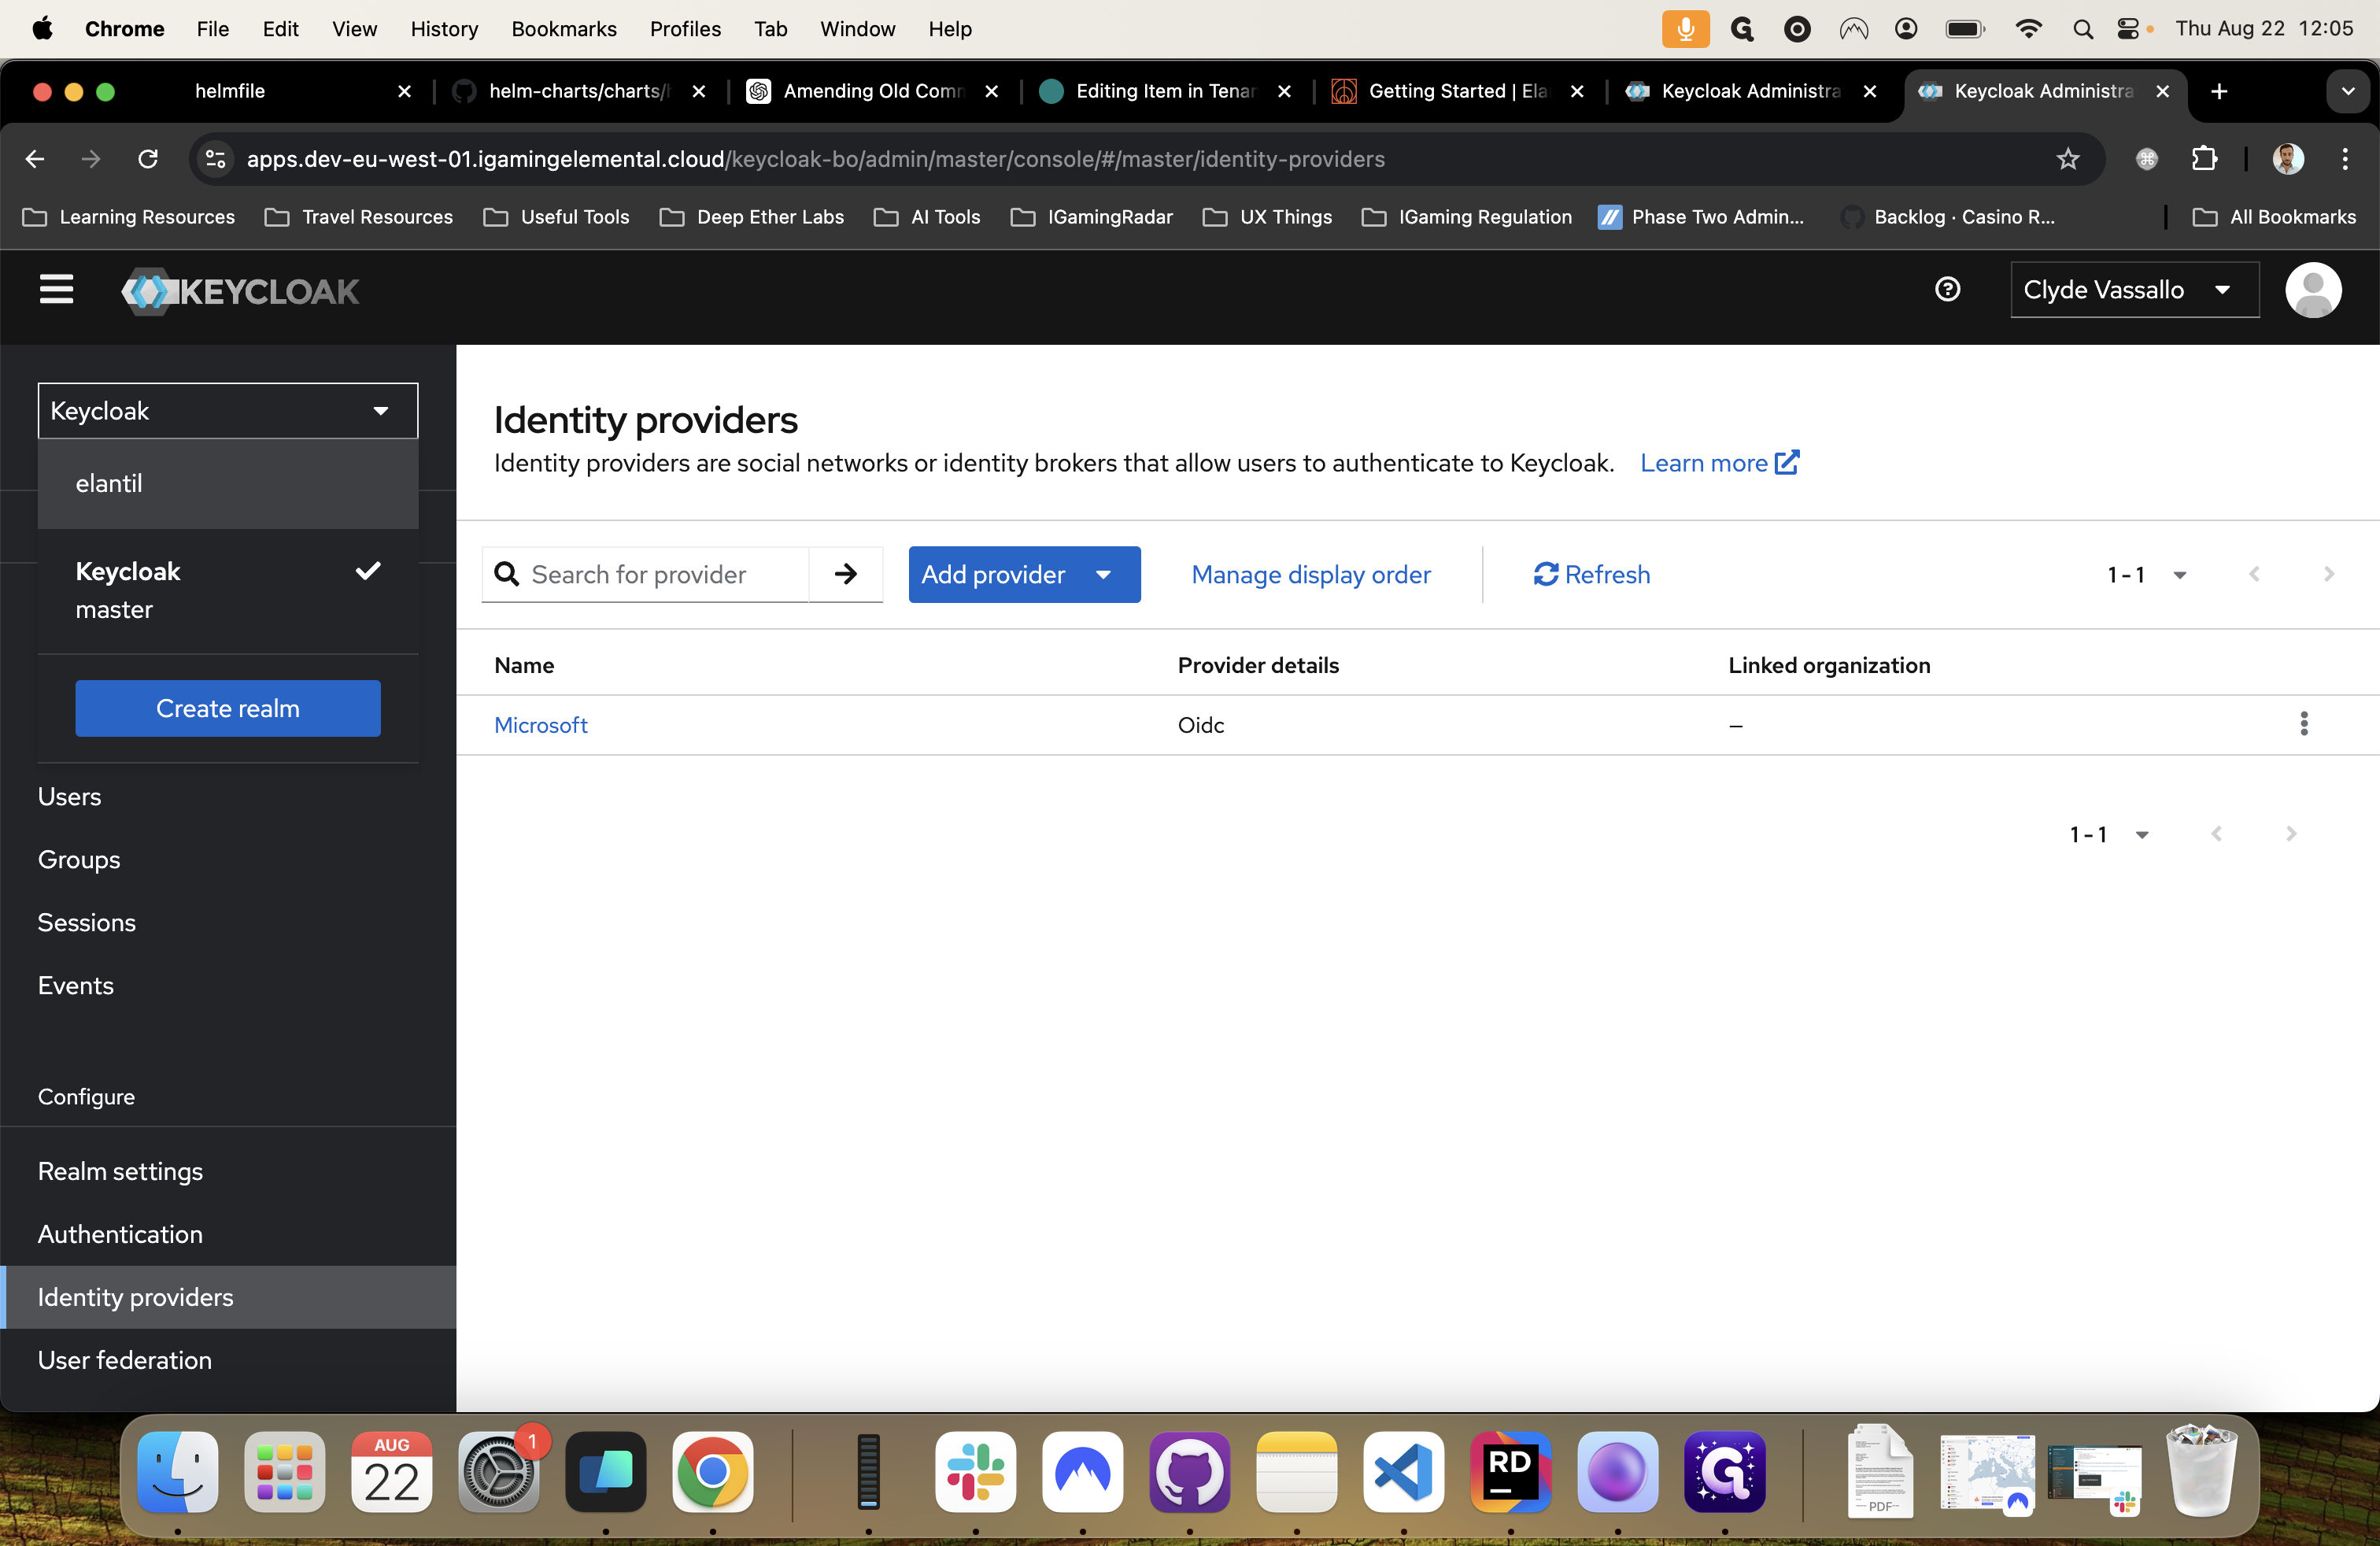
The second step is to create a realm for logging into the back office.
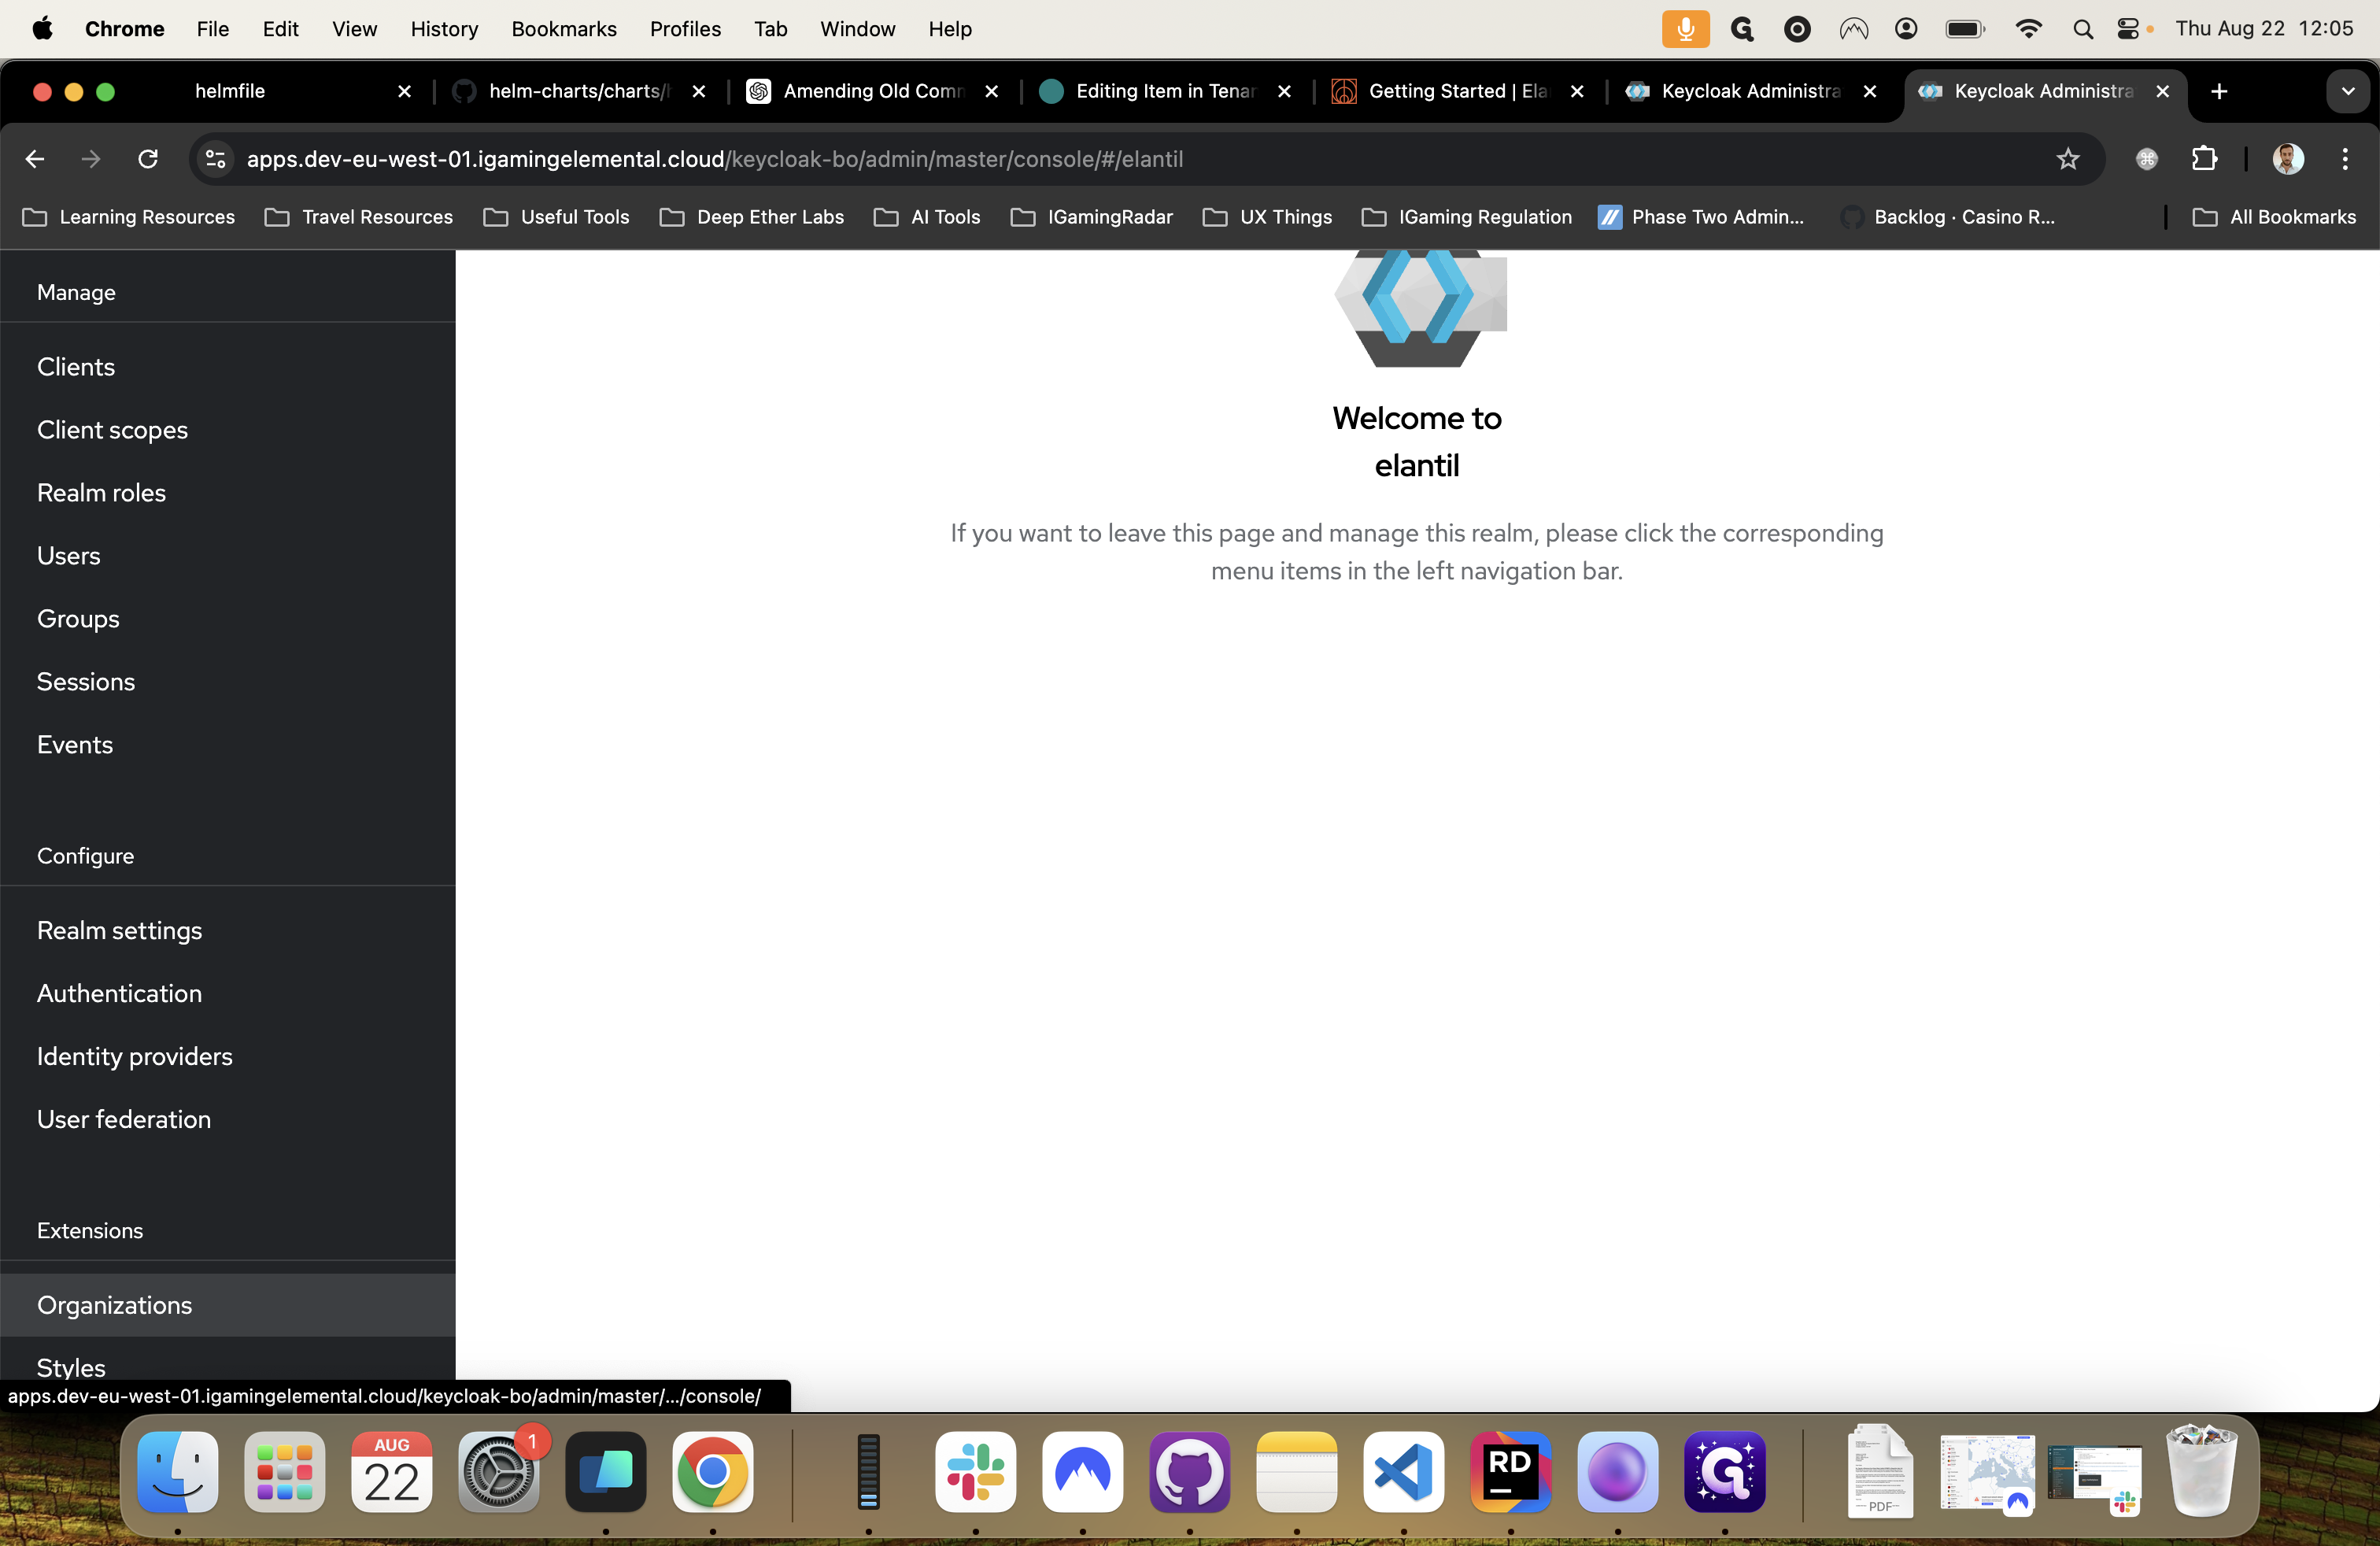
Create a new realm and name it after the organization using the back office. The name (lowercase no symbols) should match the name of the organization owning the brand. For example, if the organization's name is Betsson and it owns 10 brands including Rizk, the name of the realm should be betsson. Once the realm is created, you can start configuring it.
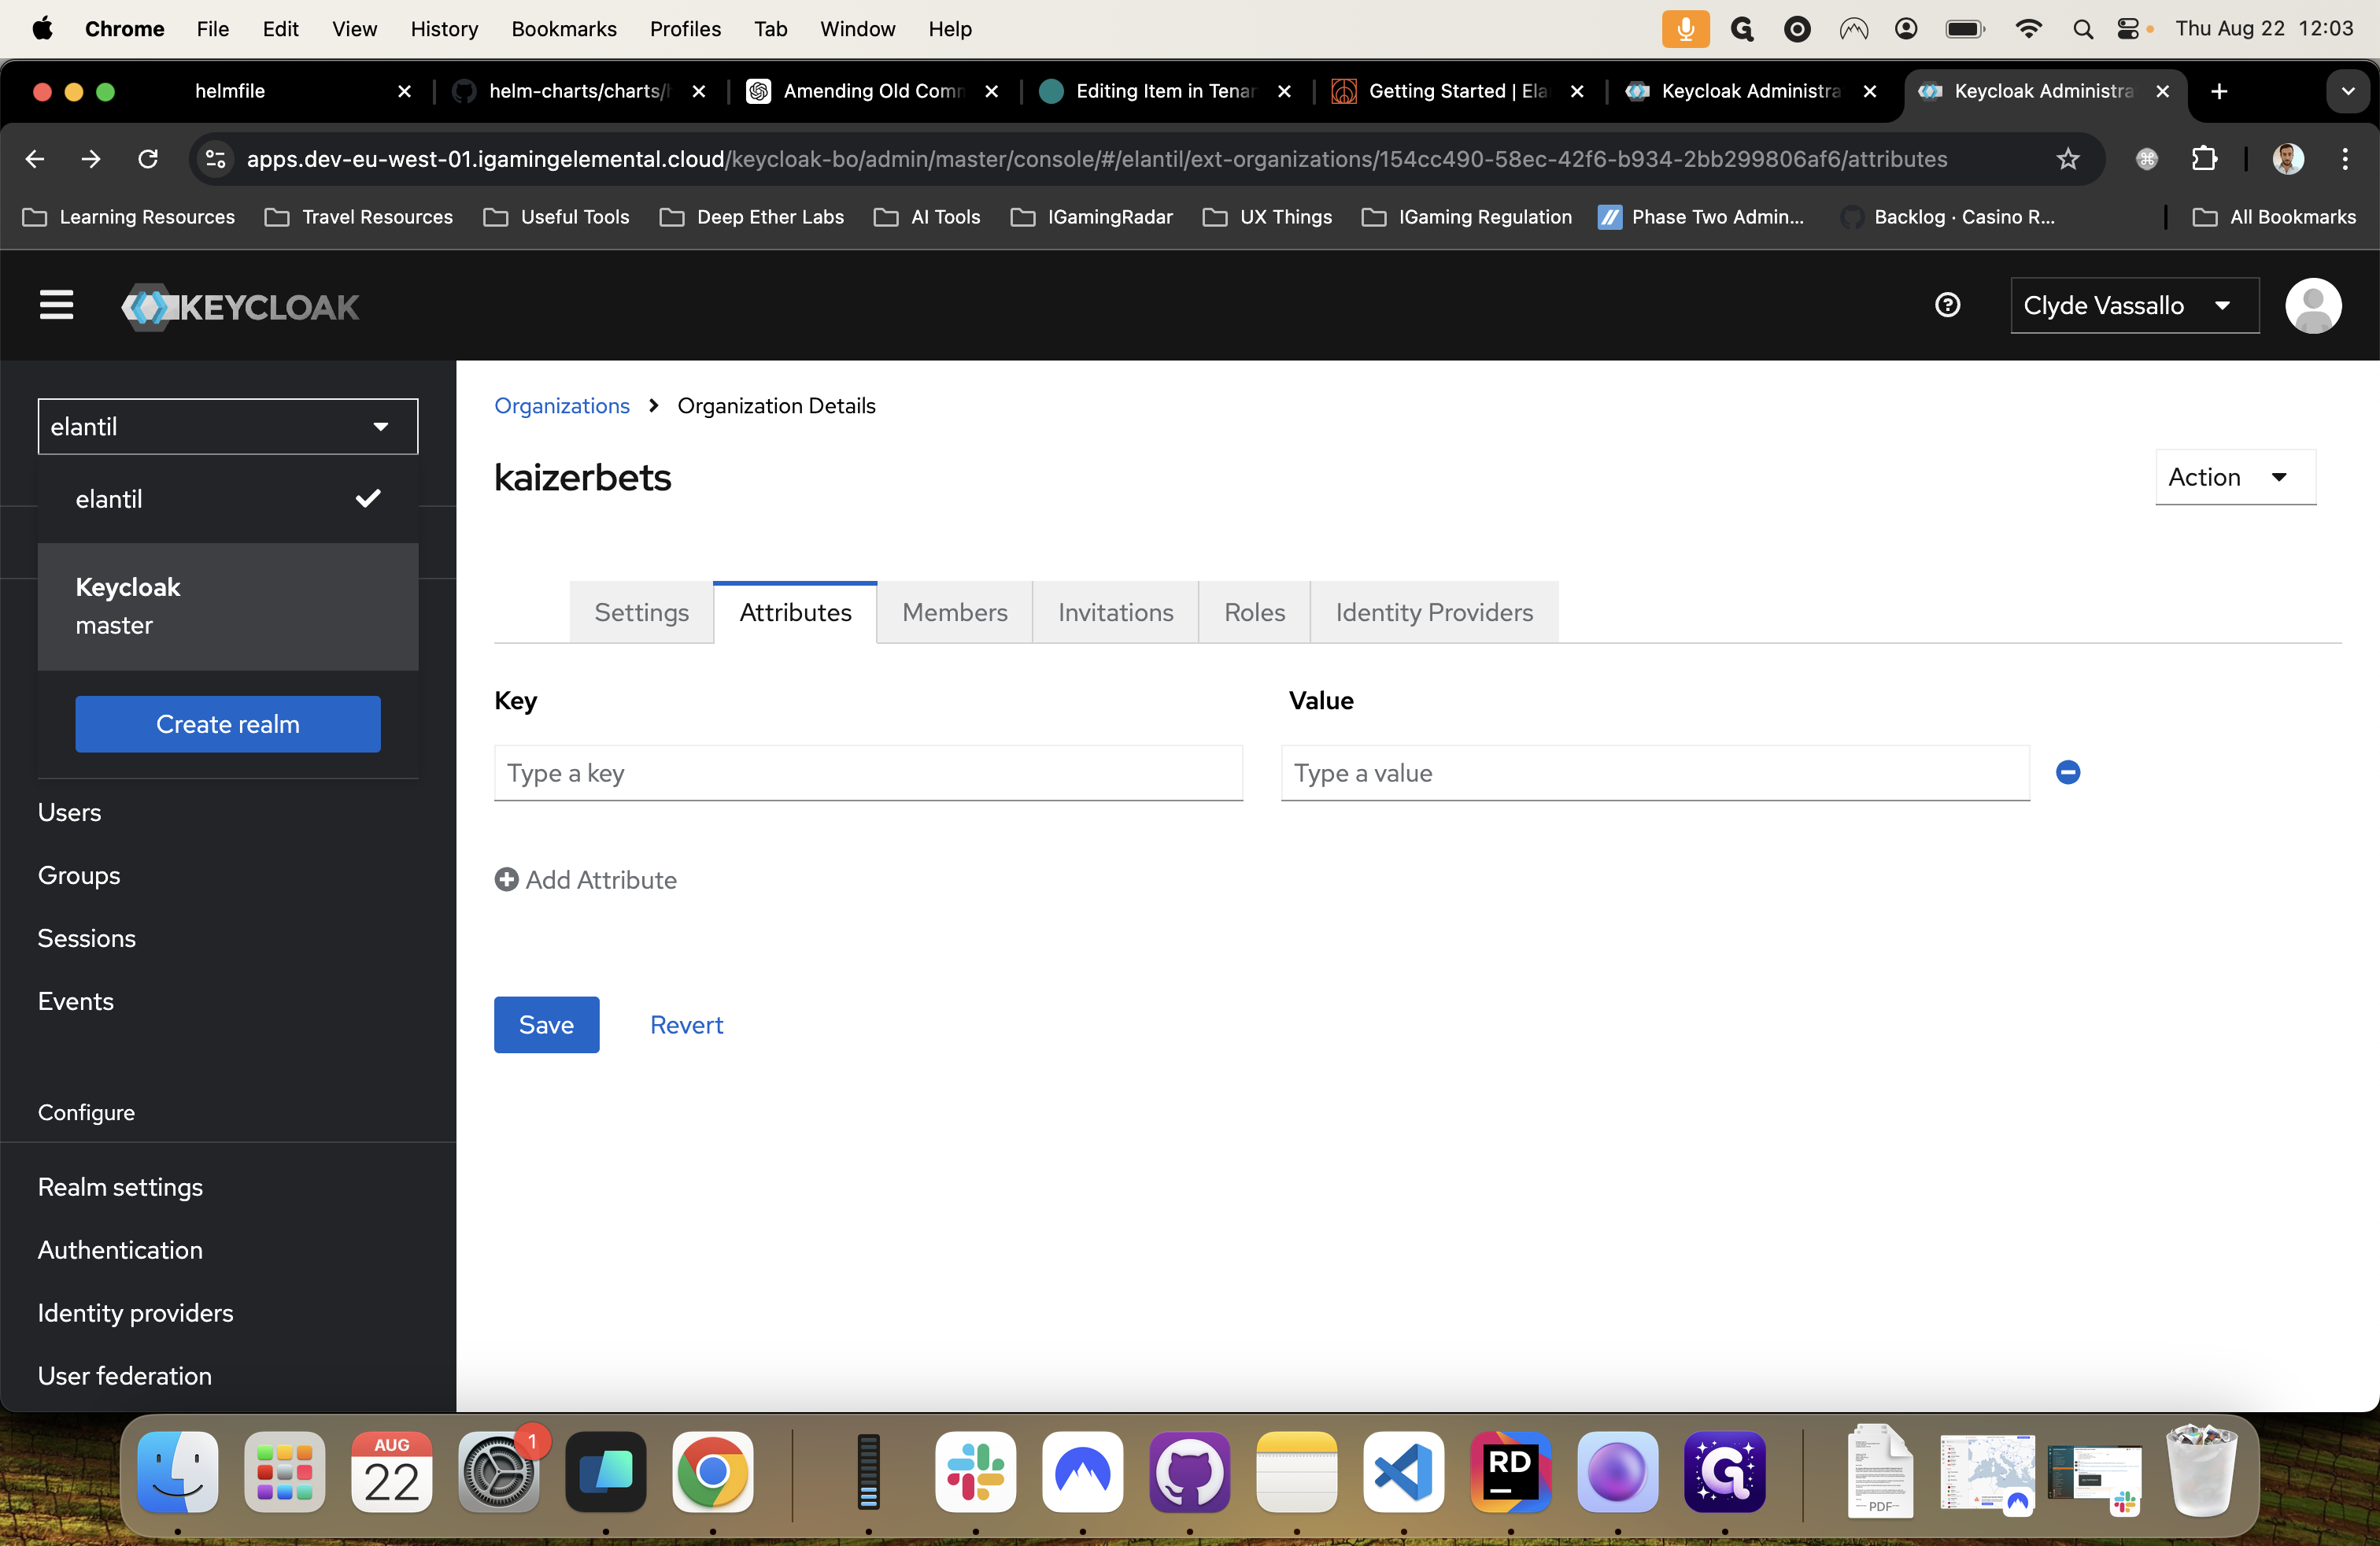
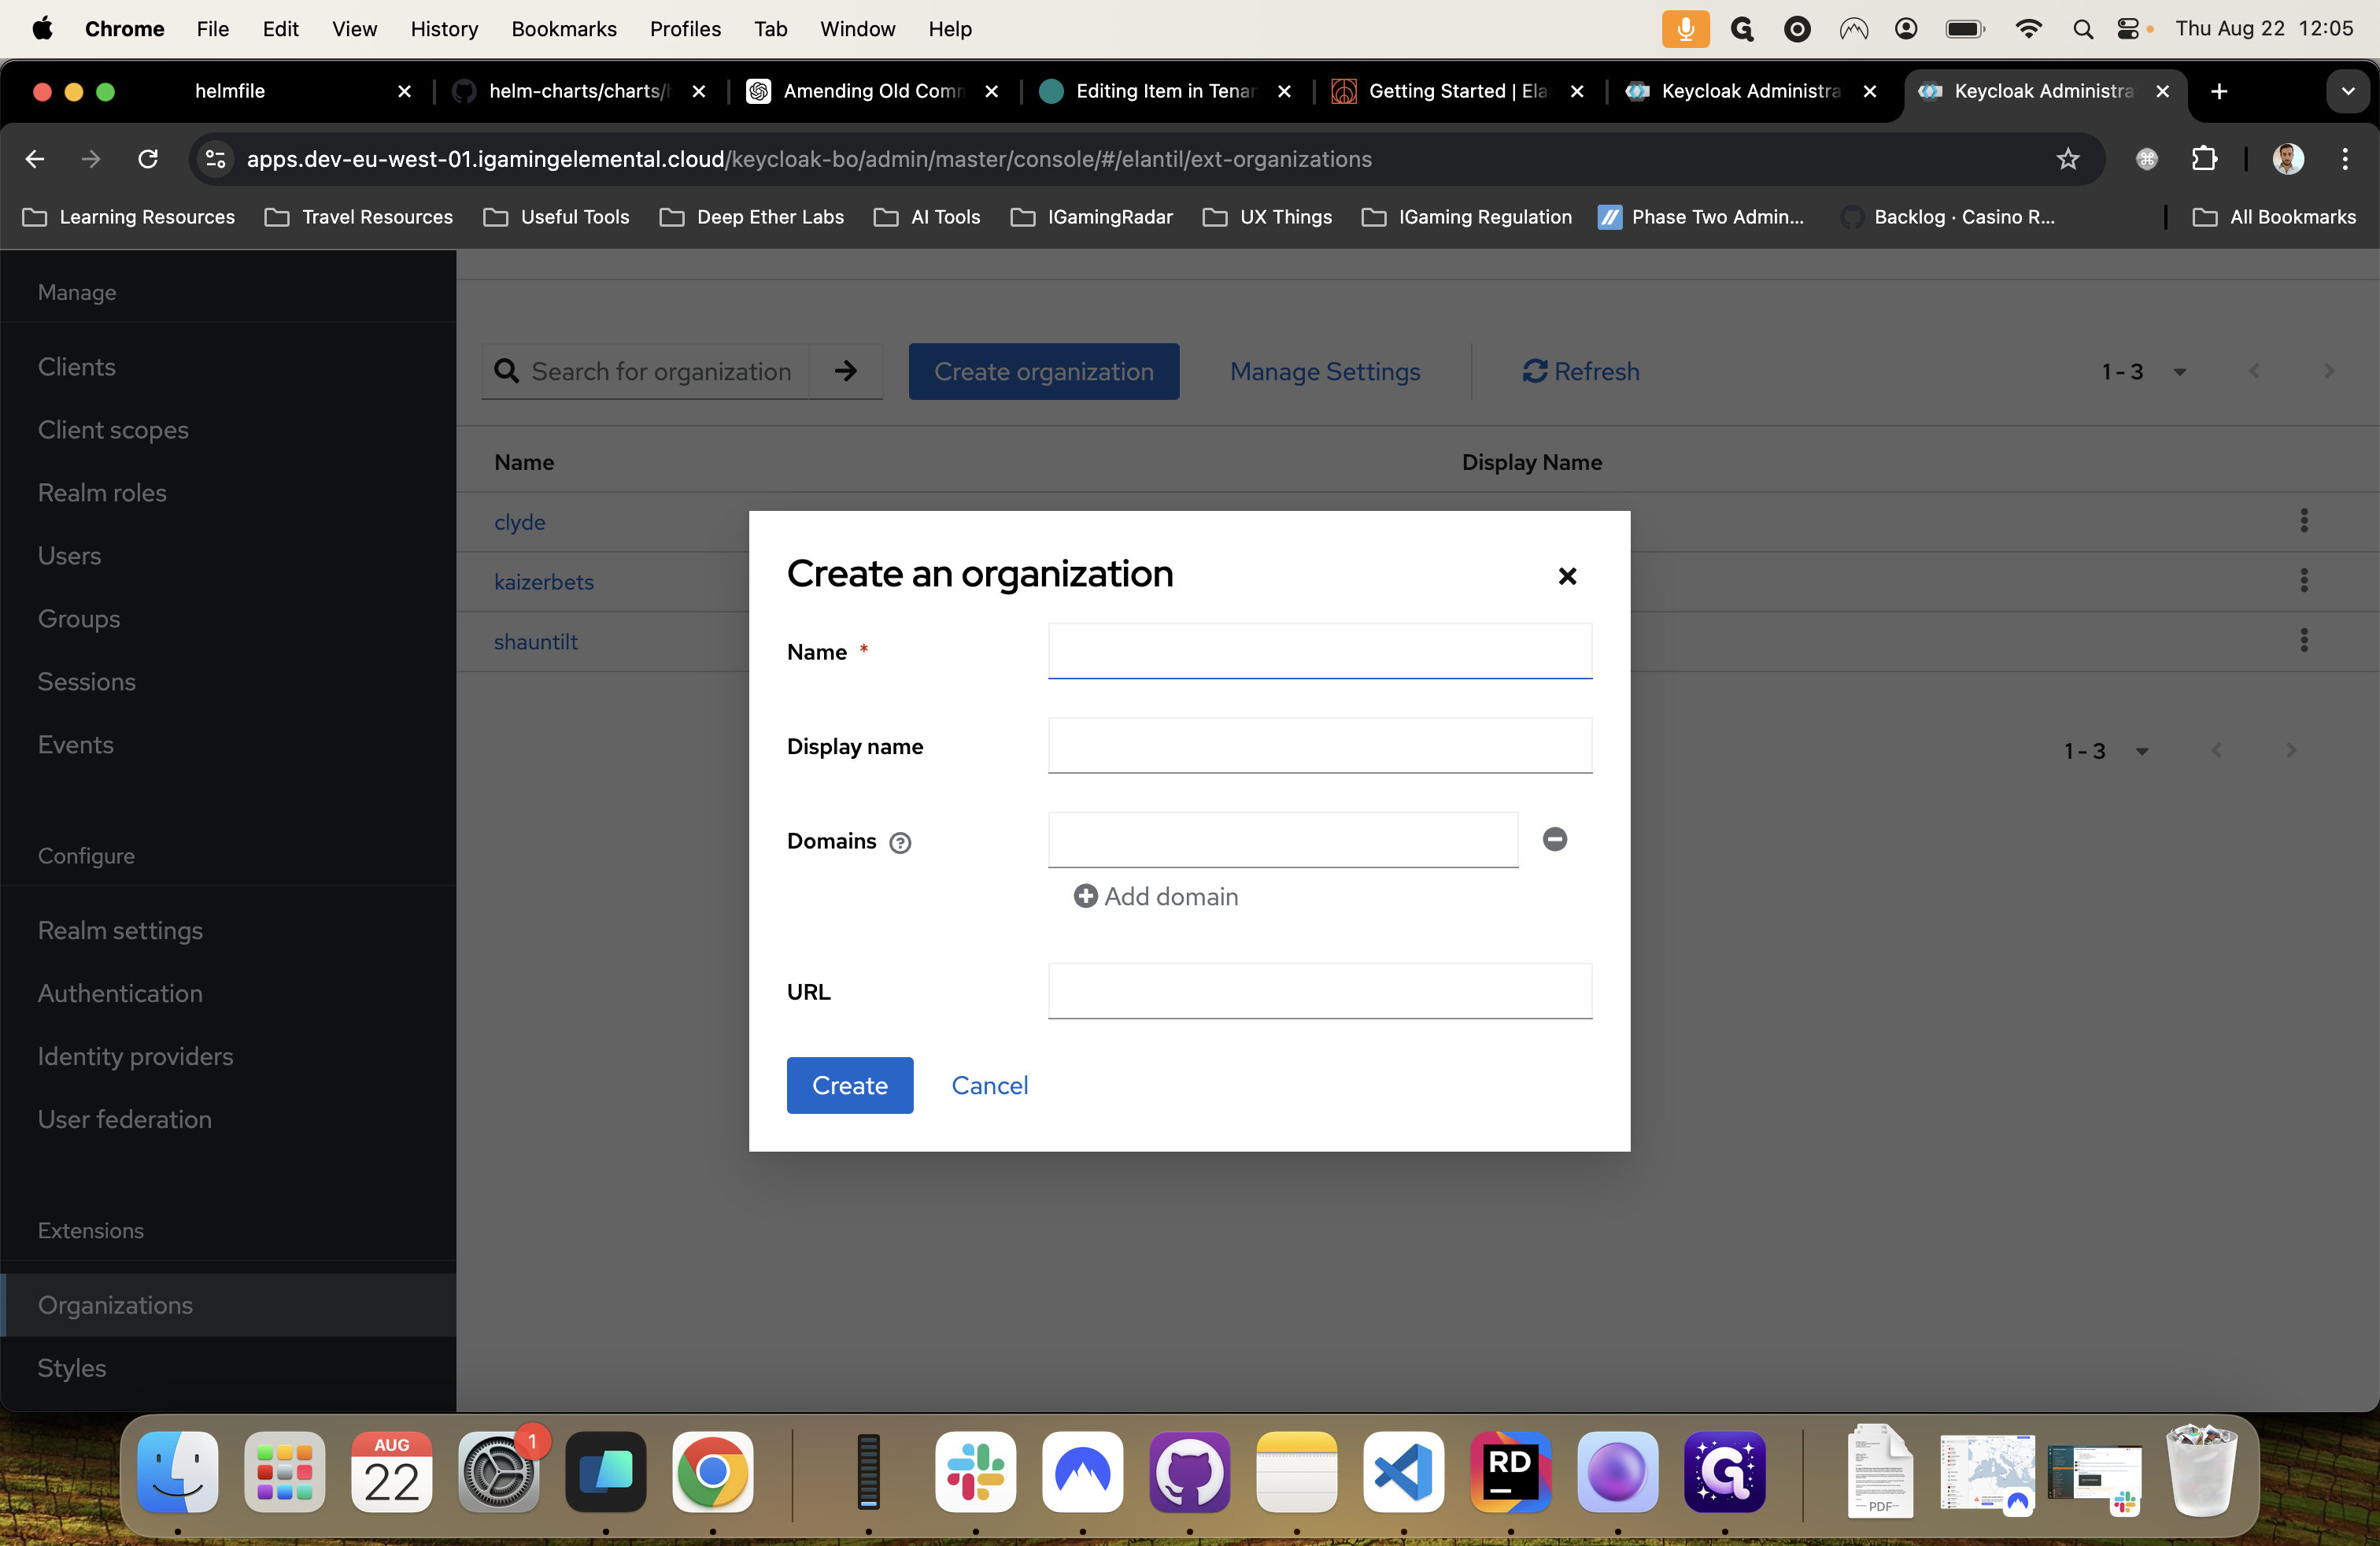
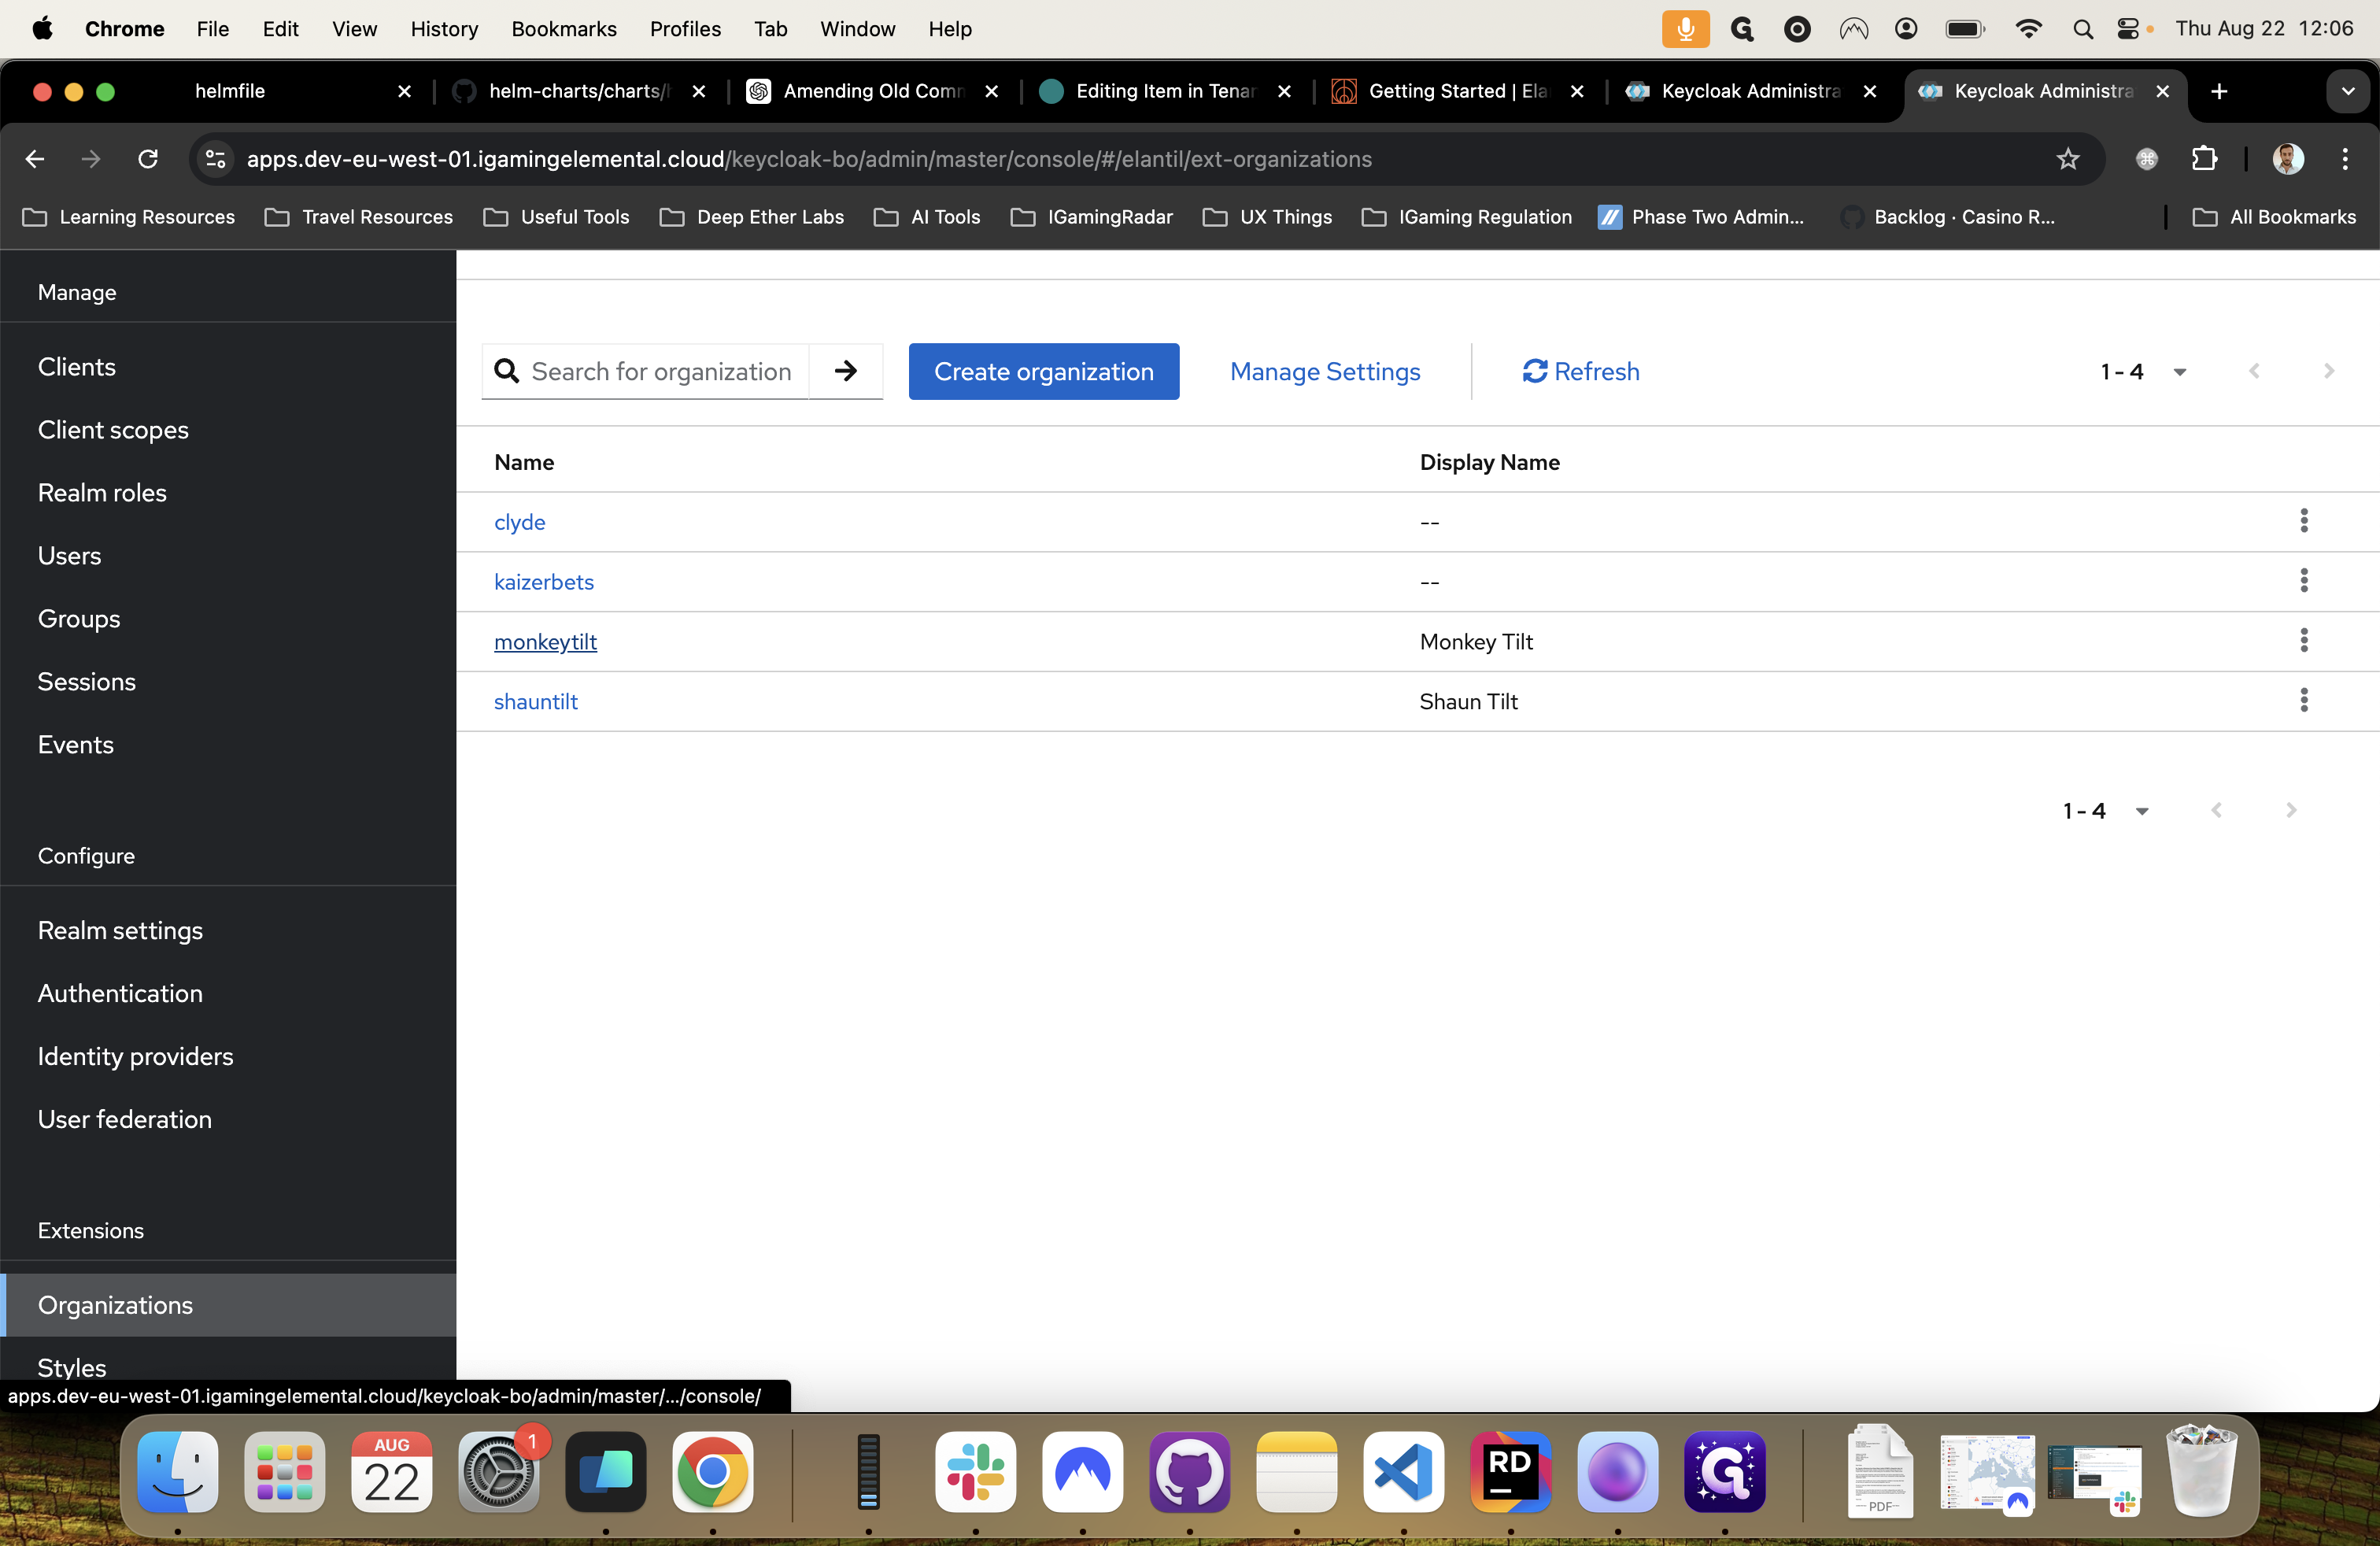
Go to the organization section and create a new organization.
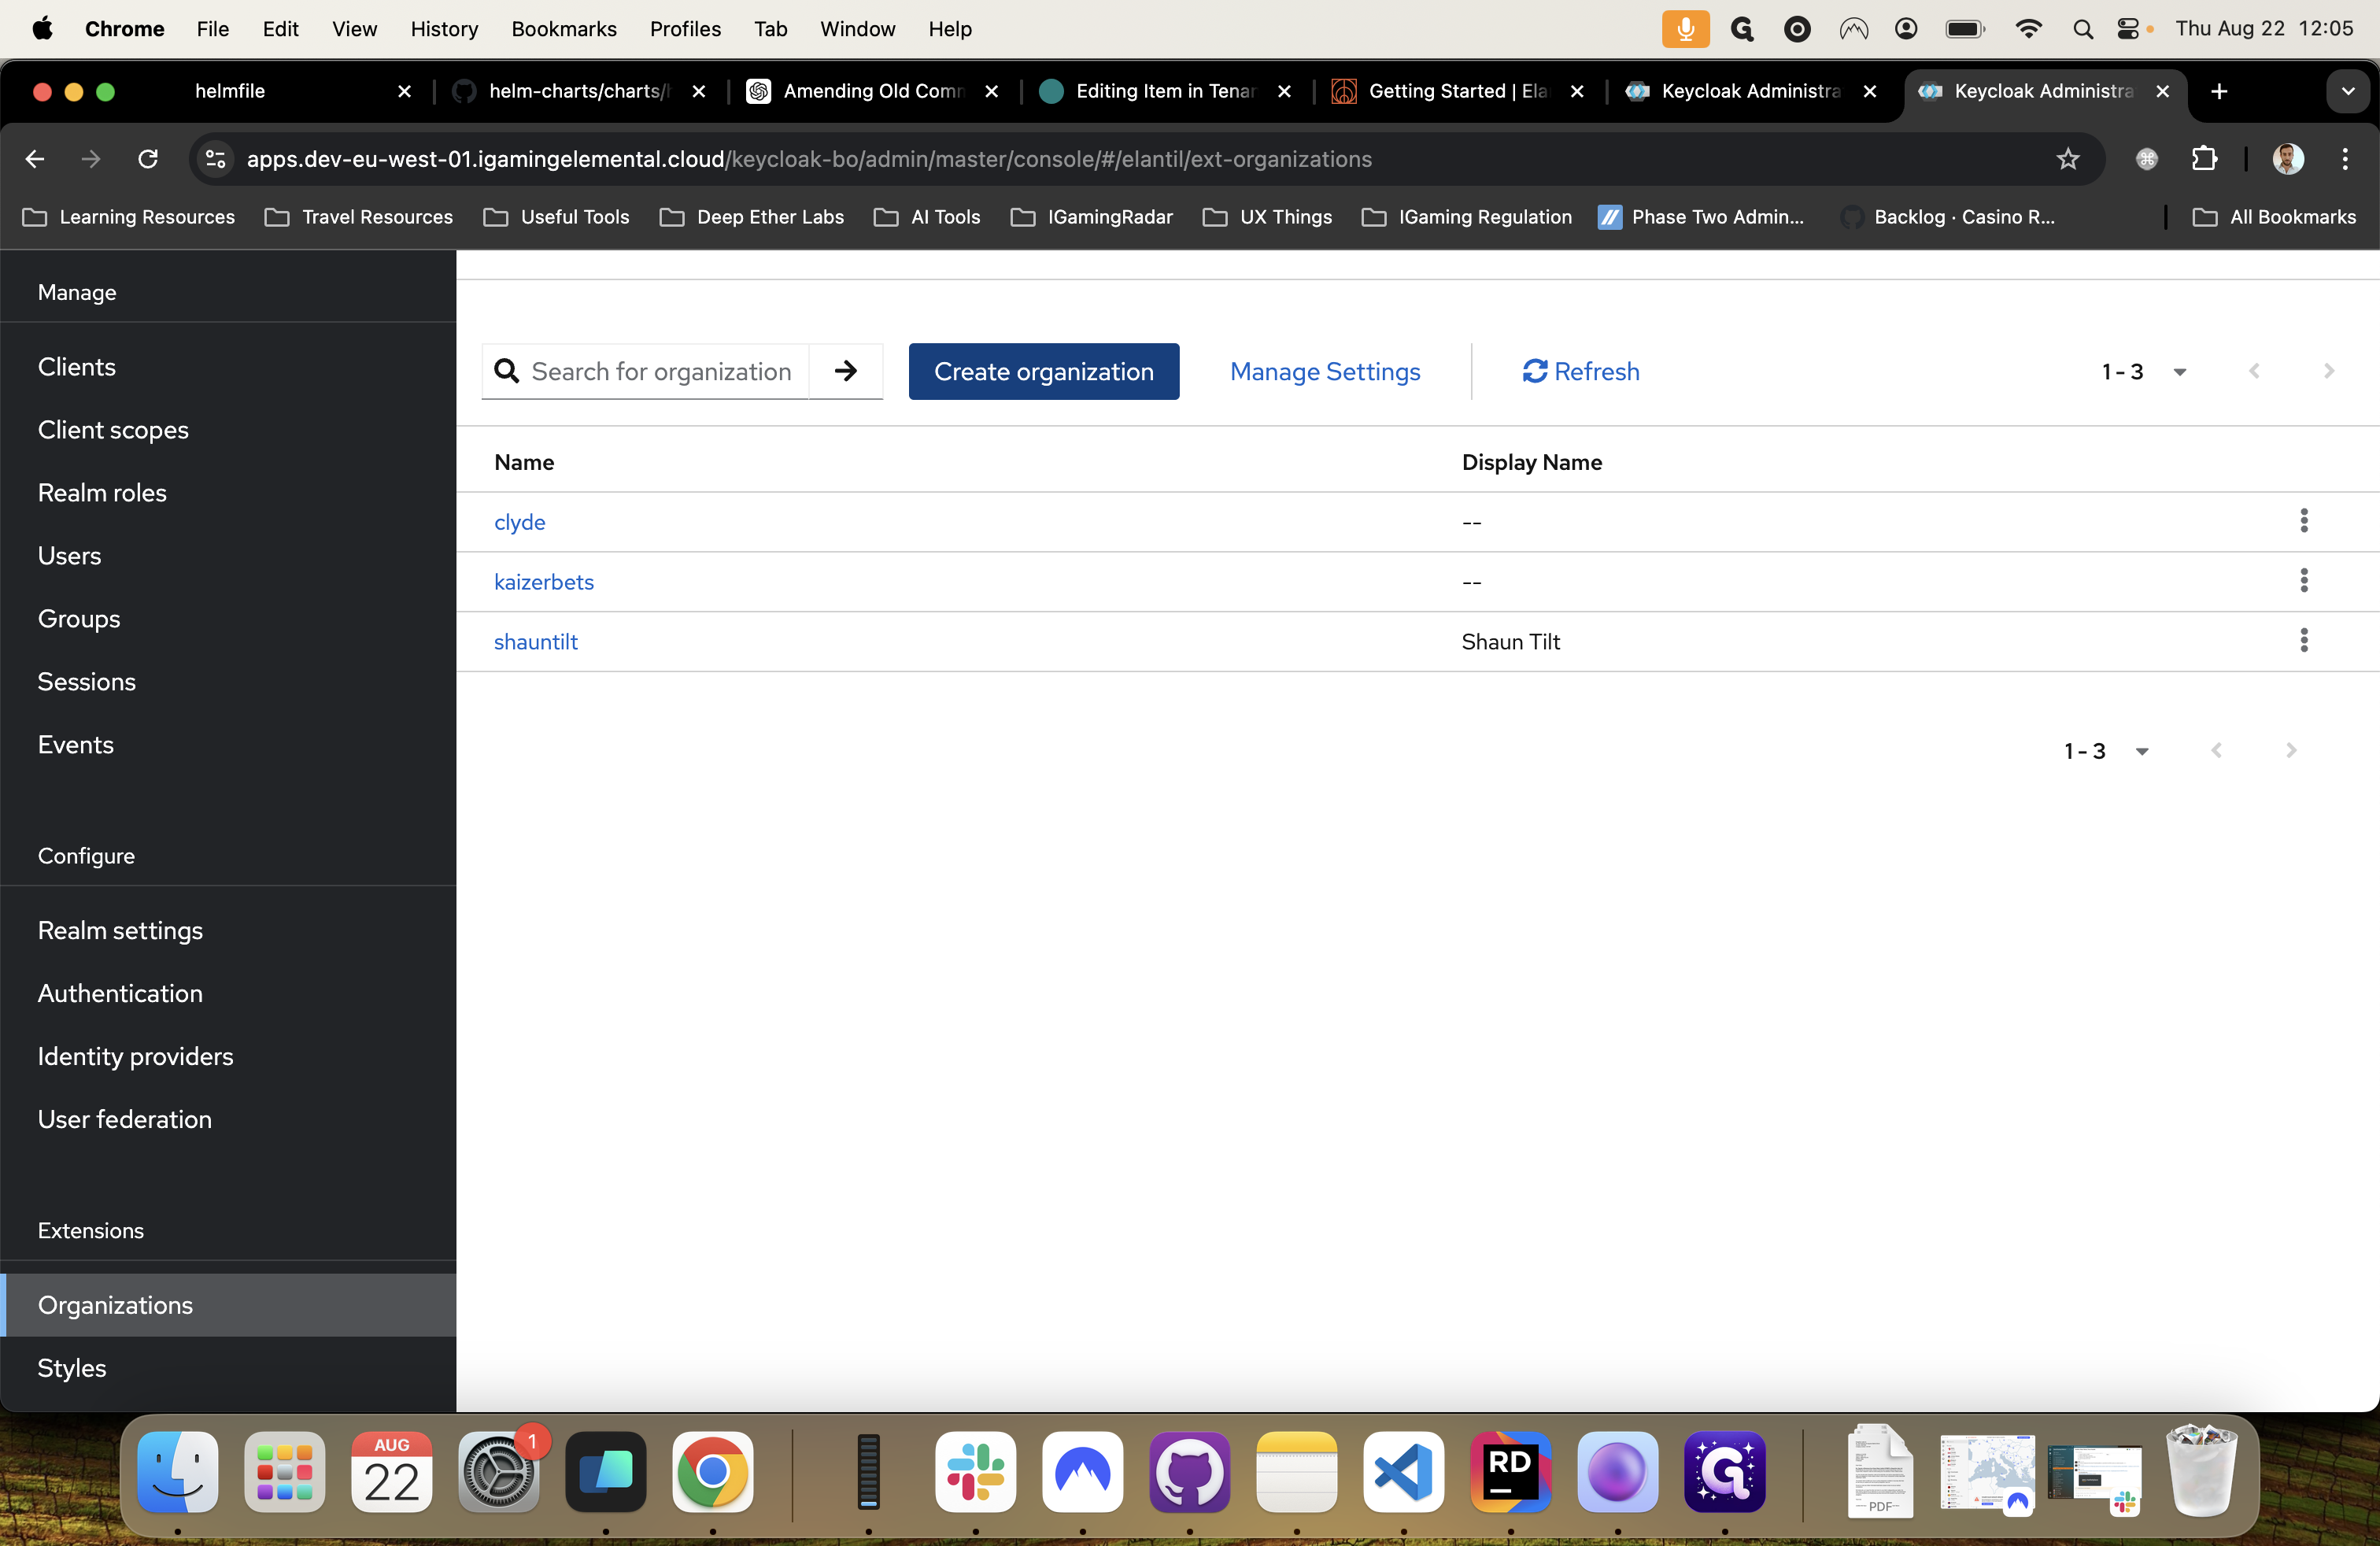
The name of the organization should now be the name of the brand itself eg. Rizk. This is because a single organization can have multiple brands and people working for that organization can have access to 1 or more of those brands.
For example, the name of the brand can be monkeytilt.
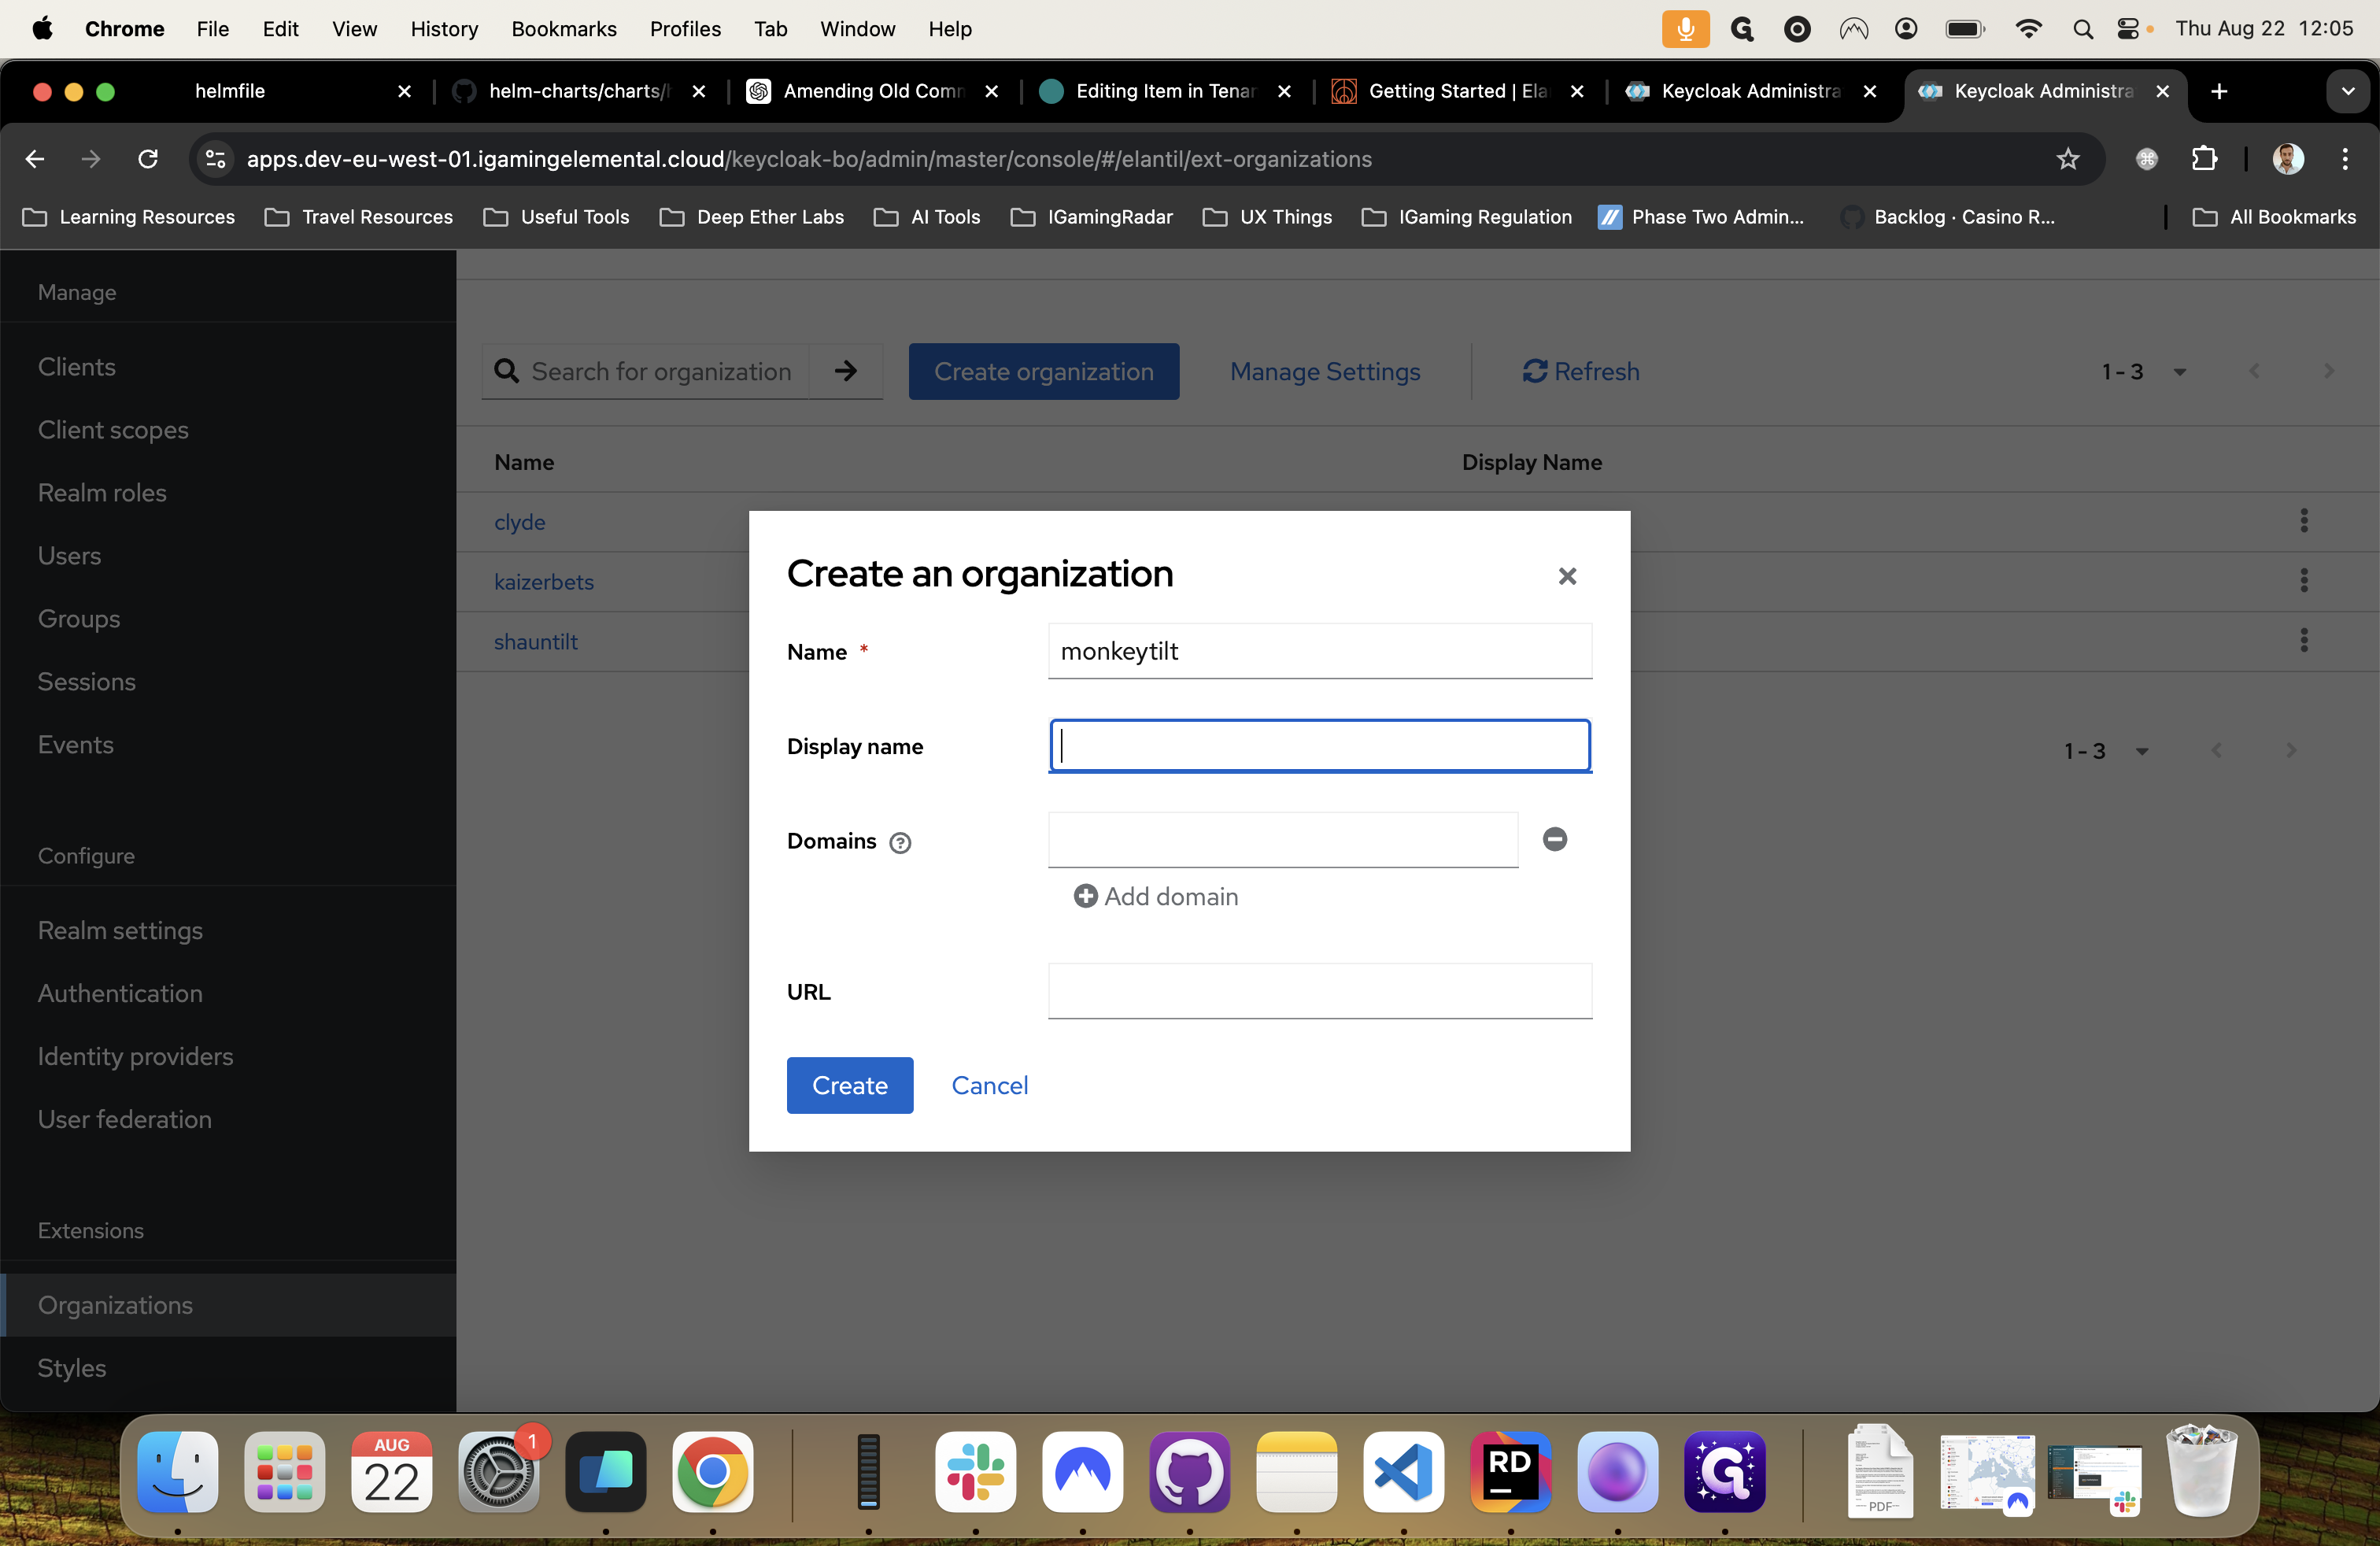
You can choose a display name for this brand, then go ahead and create it.
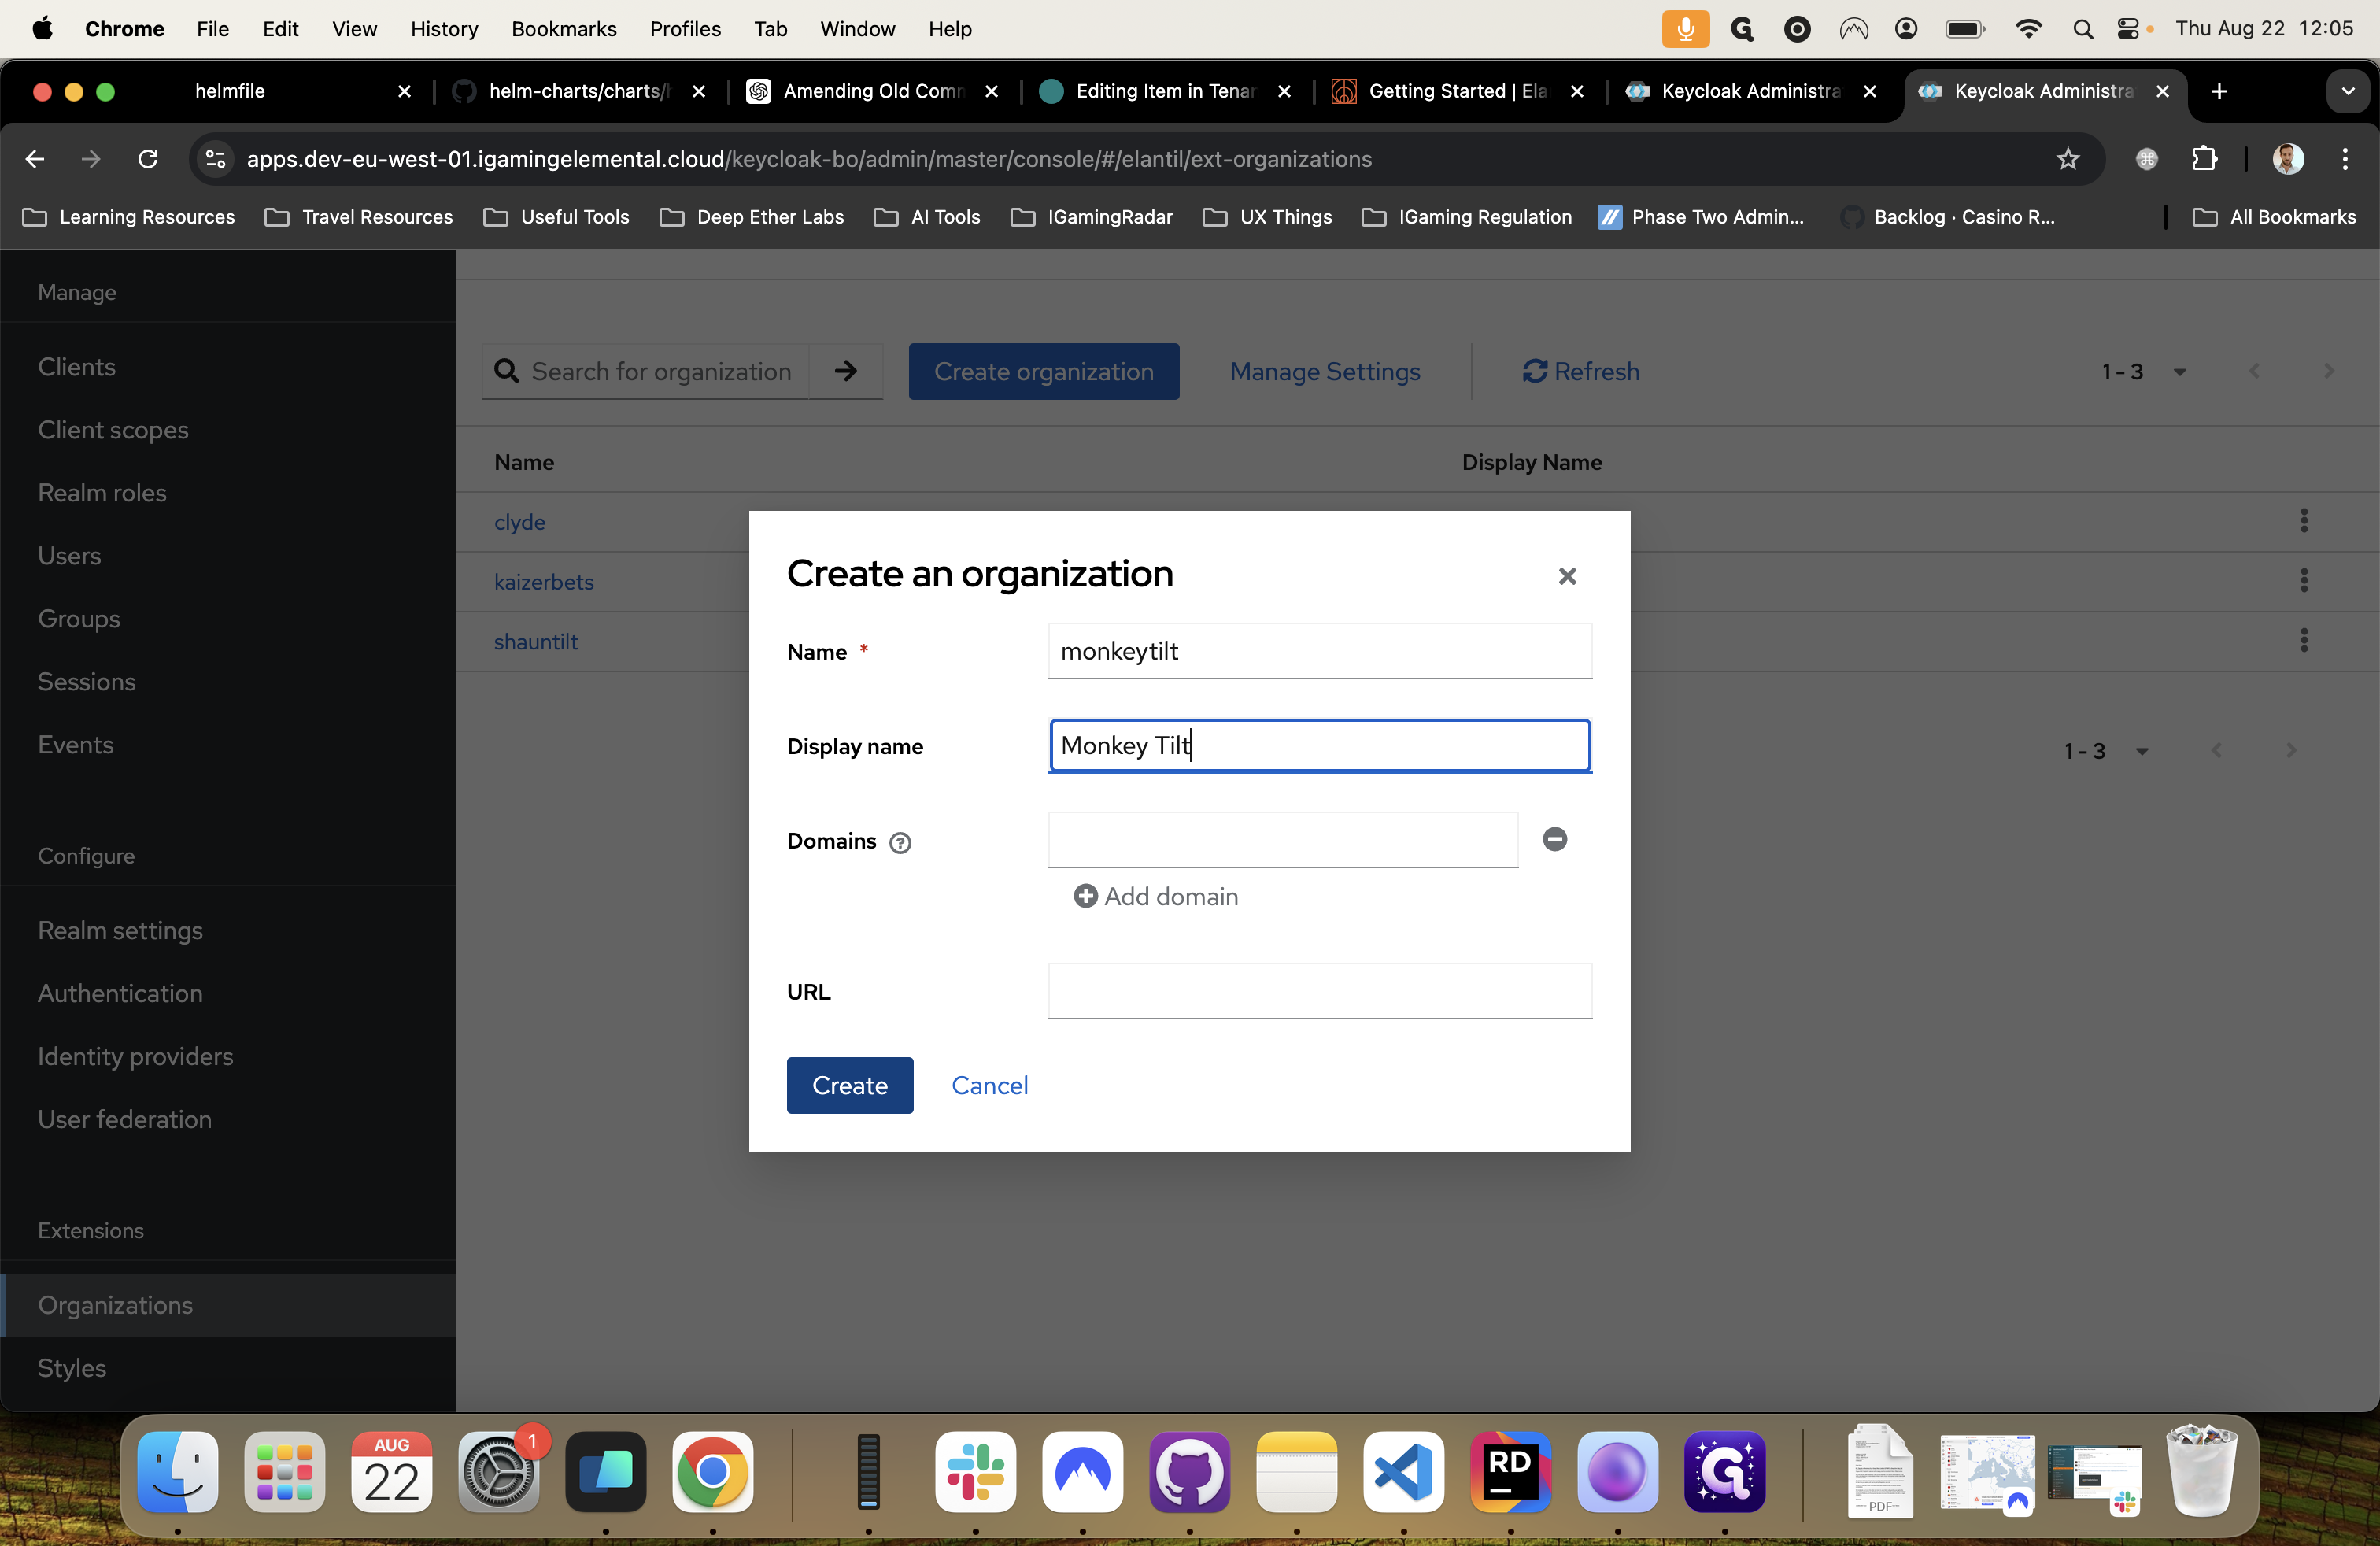
This will reflect the tenant inside the platform.

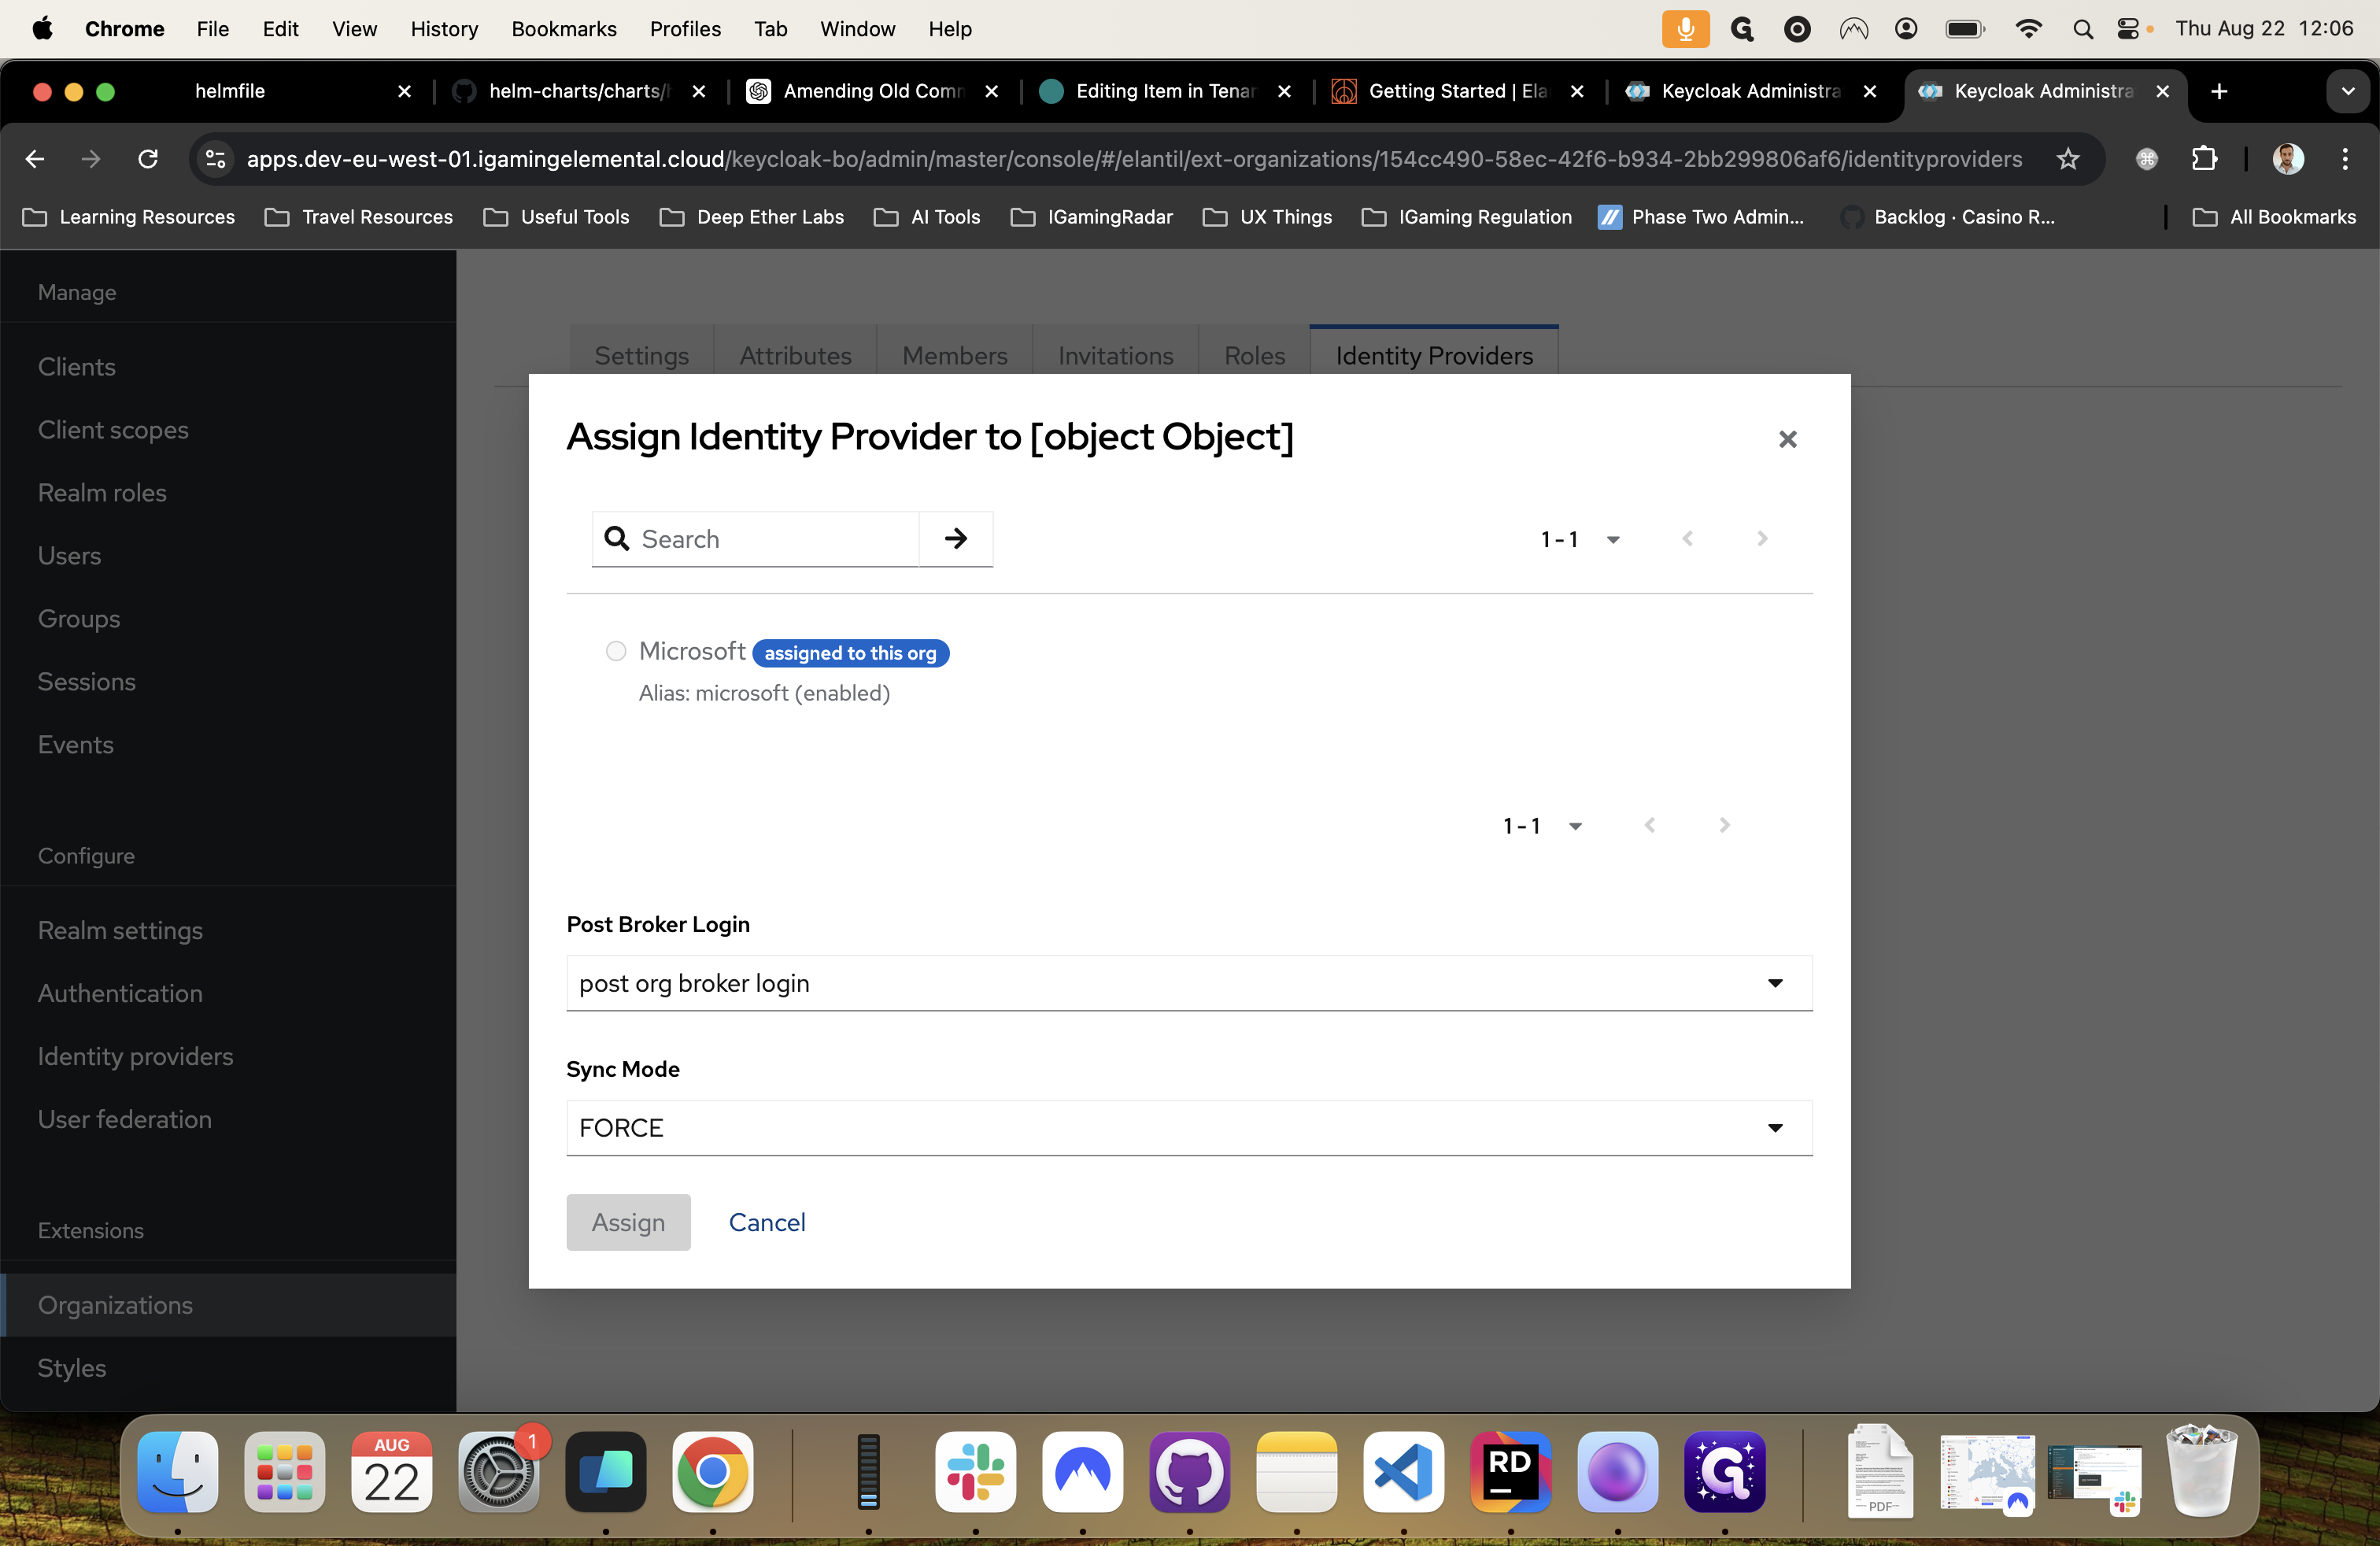
Once we enter this organization, we can create and assign an identity provider to it.

Before we can assign the identity provider, we need to configure another identity provider for this realm. This will be the identity provider used to log into the Backoffice not Keycloak.

Repeat the same process you did on the master realm. However note that this will be a separate identity provider with a separate Redirect URI inside the 3rd party idp system.
Once it is configured, go back to the organization section and select the brand organization you created (eg. monkeytilt or rizk). It will be visible here when you assign it.


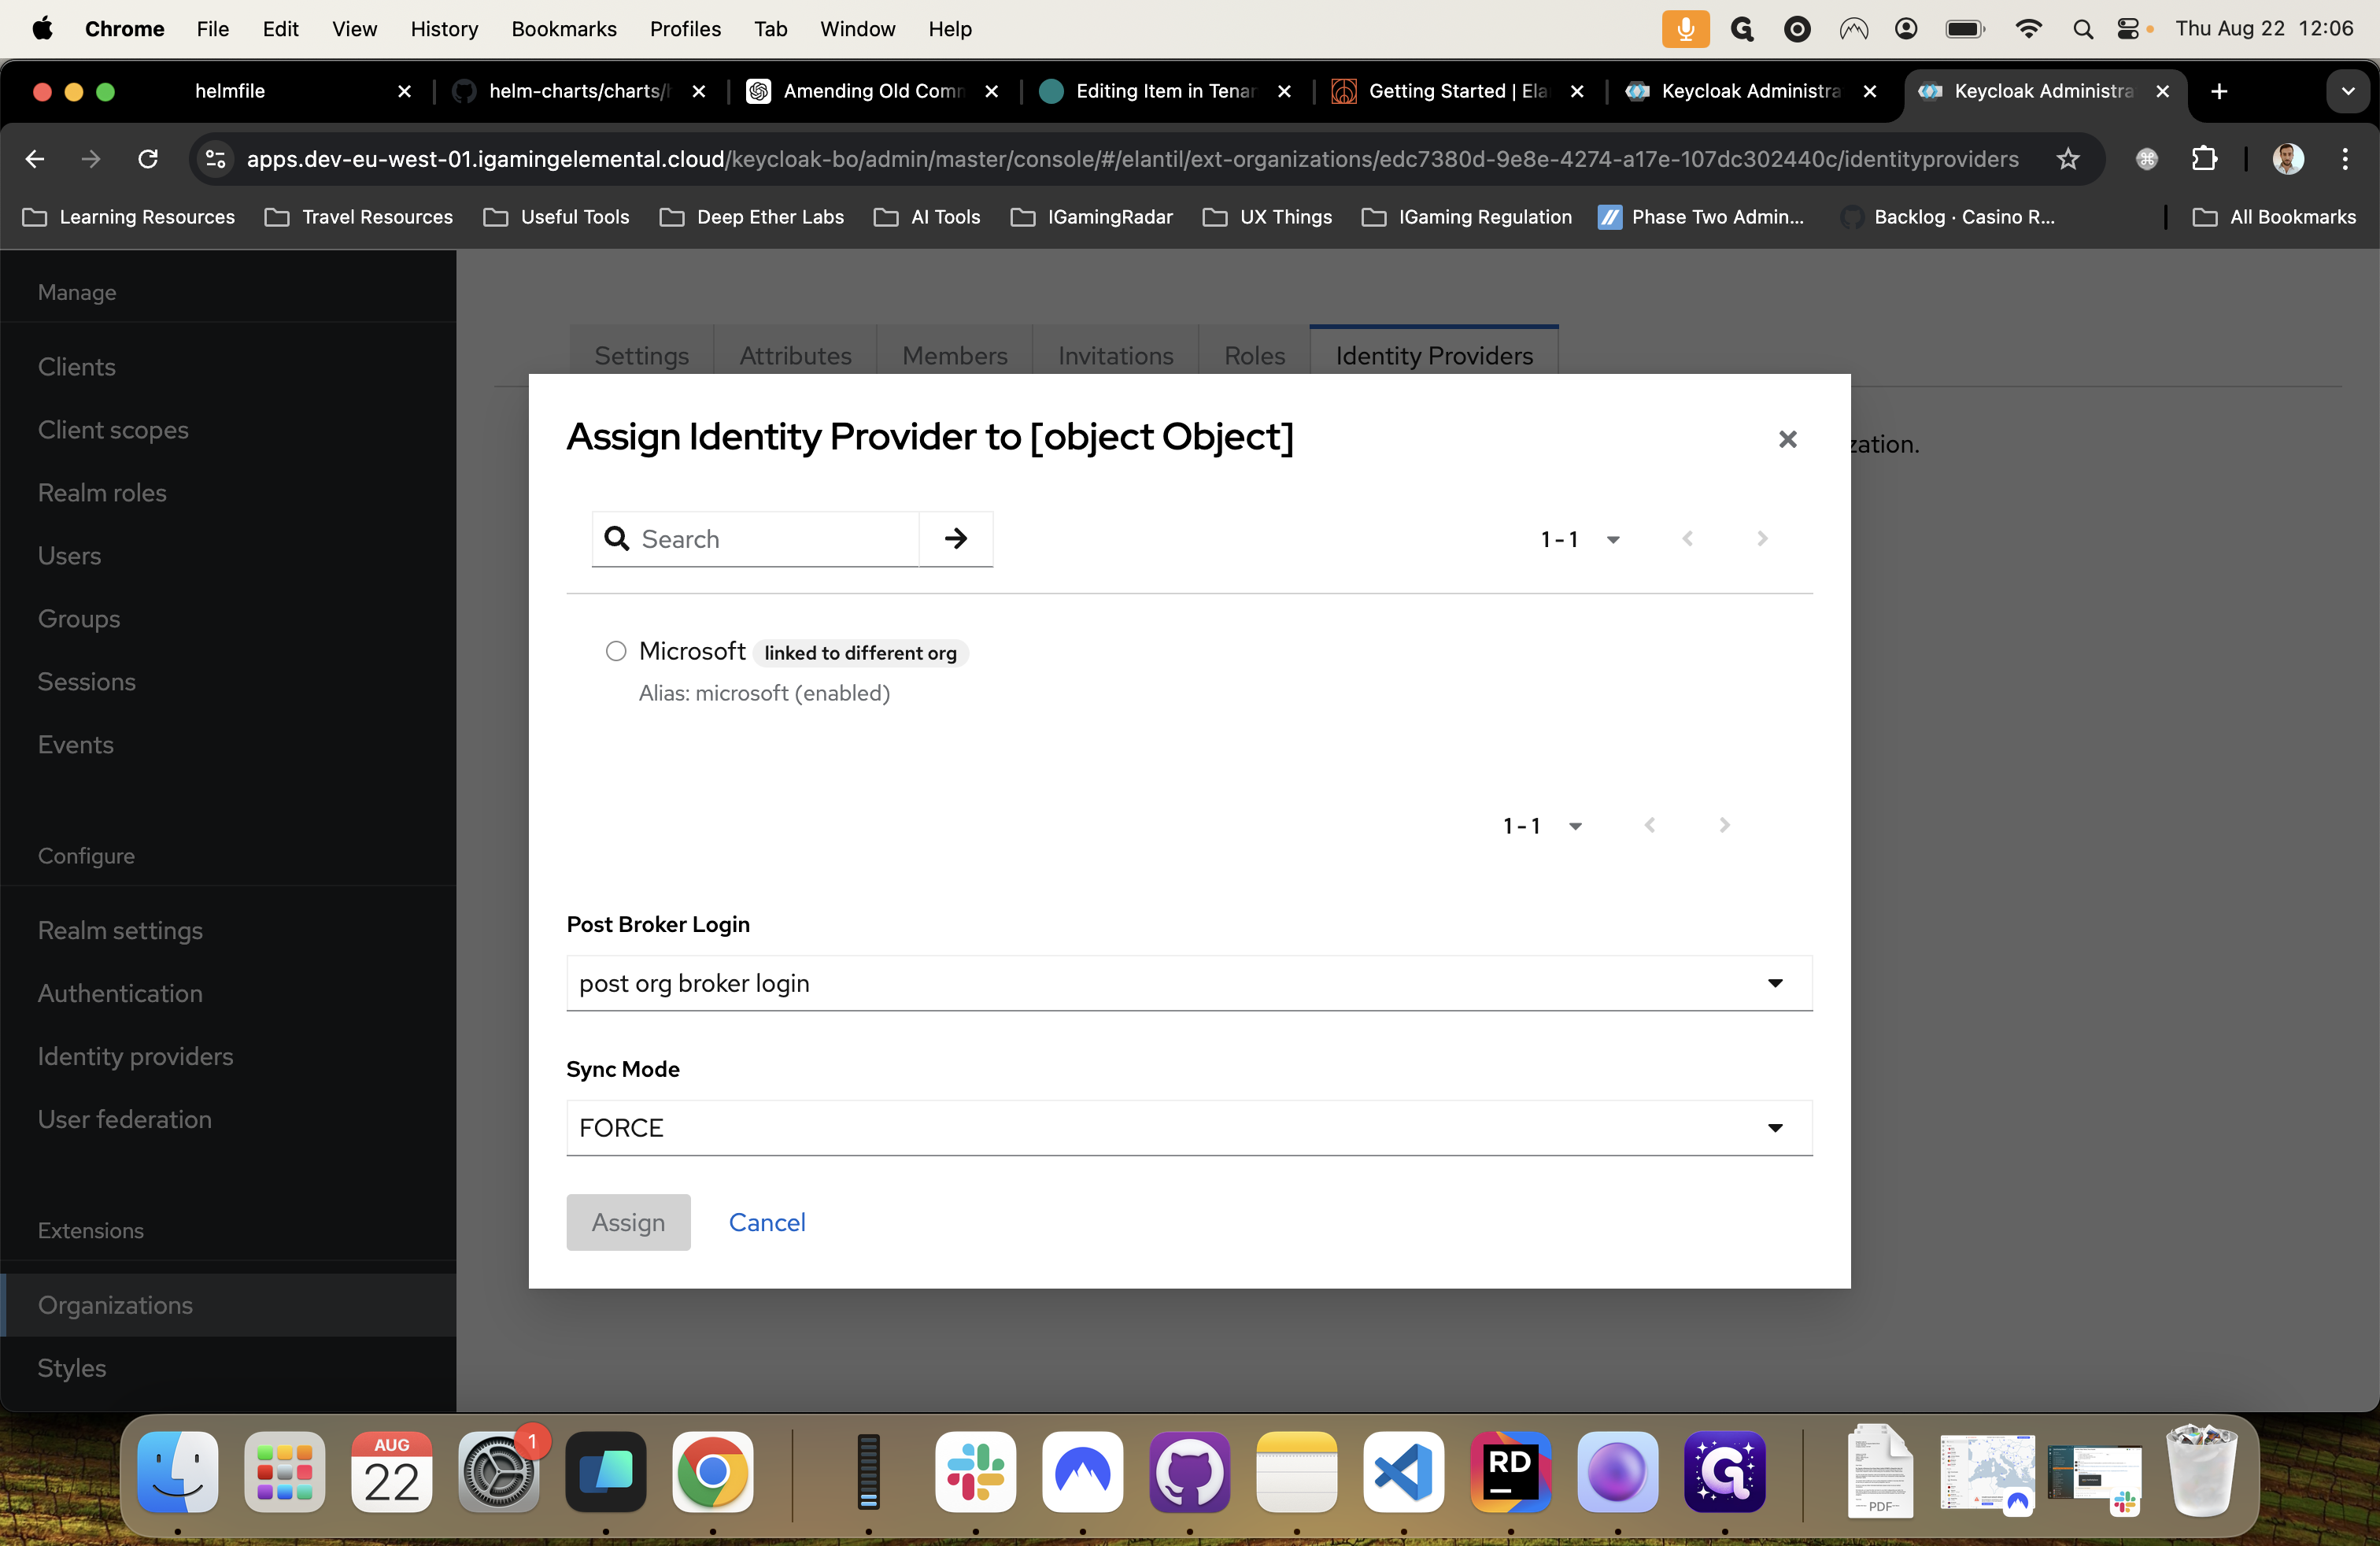
For Kaiser Bets, we assigned a Microsoft identity provider using the post broker login and the sync mode force.