How to Set Up Multi-Photosphere Cameras at Rady Children's Hospital Construction Site
Step-by-step tutorial for setting up multi-photosphere camera streams at the Rady Children's Hospital construction site. Learn how to configure cameras, set up aerial tours, and create PhotoSphere templates using Google Maps and site plans.
In this guide, we'll learn how to set up multi-photosphere templates for a construction site using live camera streams. The objective is to identify the best cameras on each crane, configure their settings, and create accurate photosphere templates with location data. This process helps document site progress and ensures the correct views are captured for each crane.
Let's get started
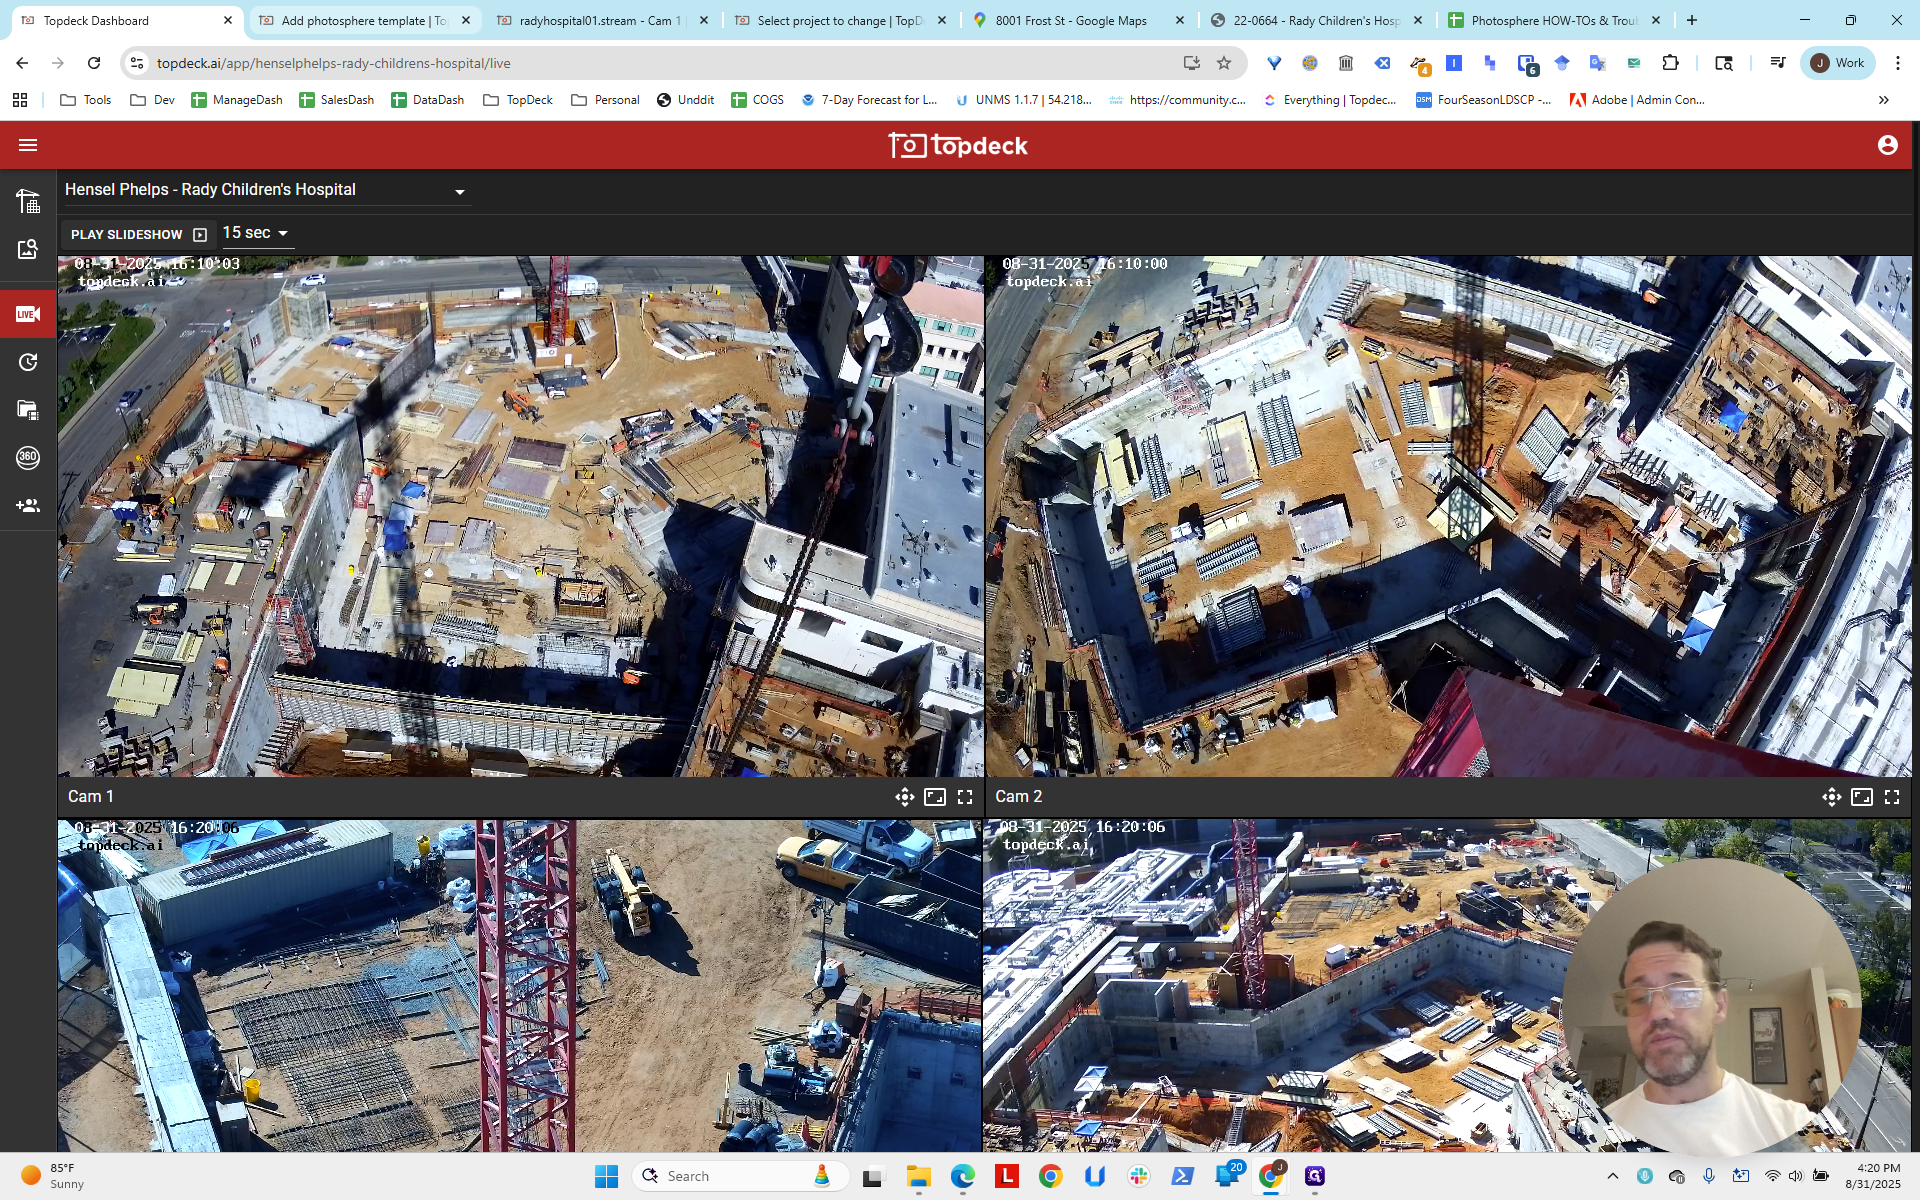
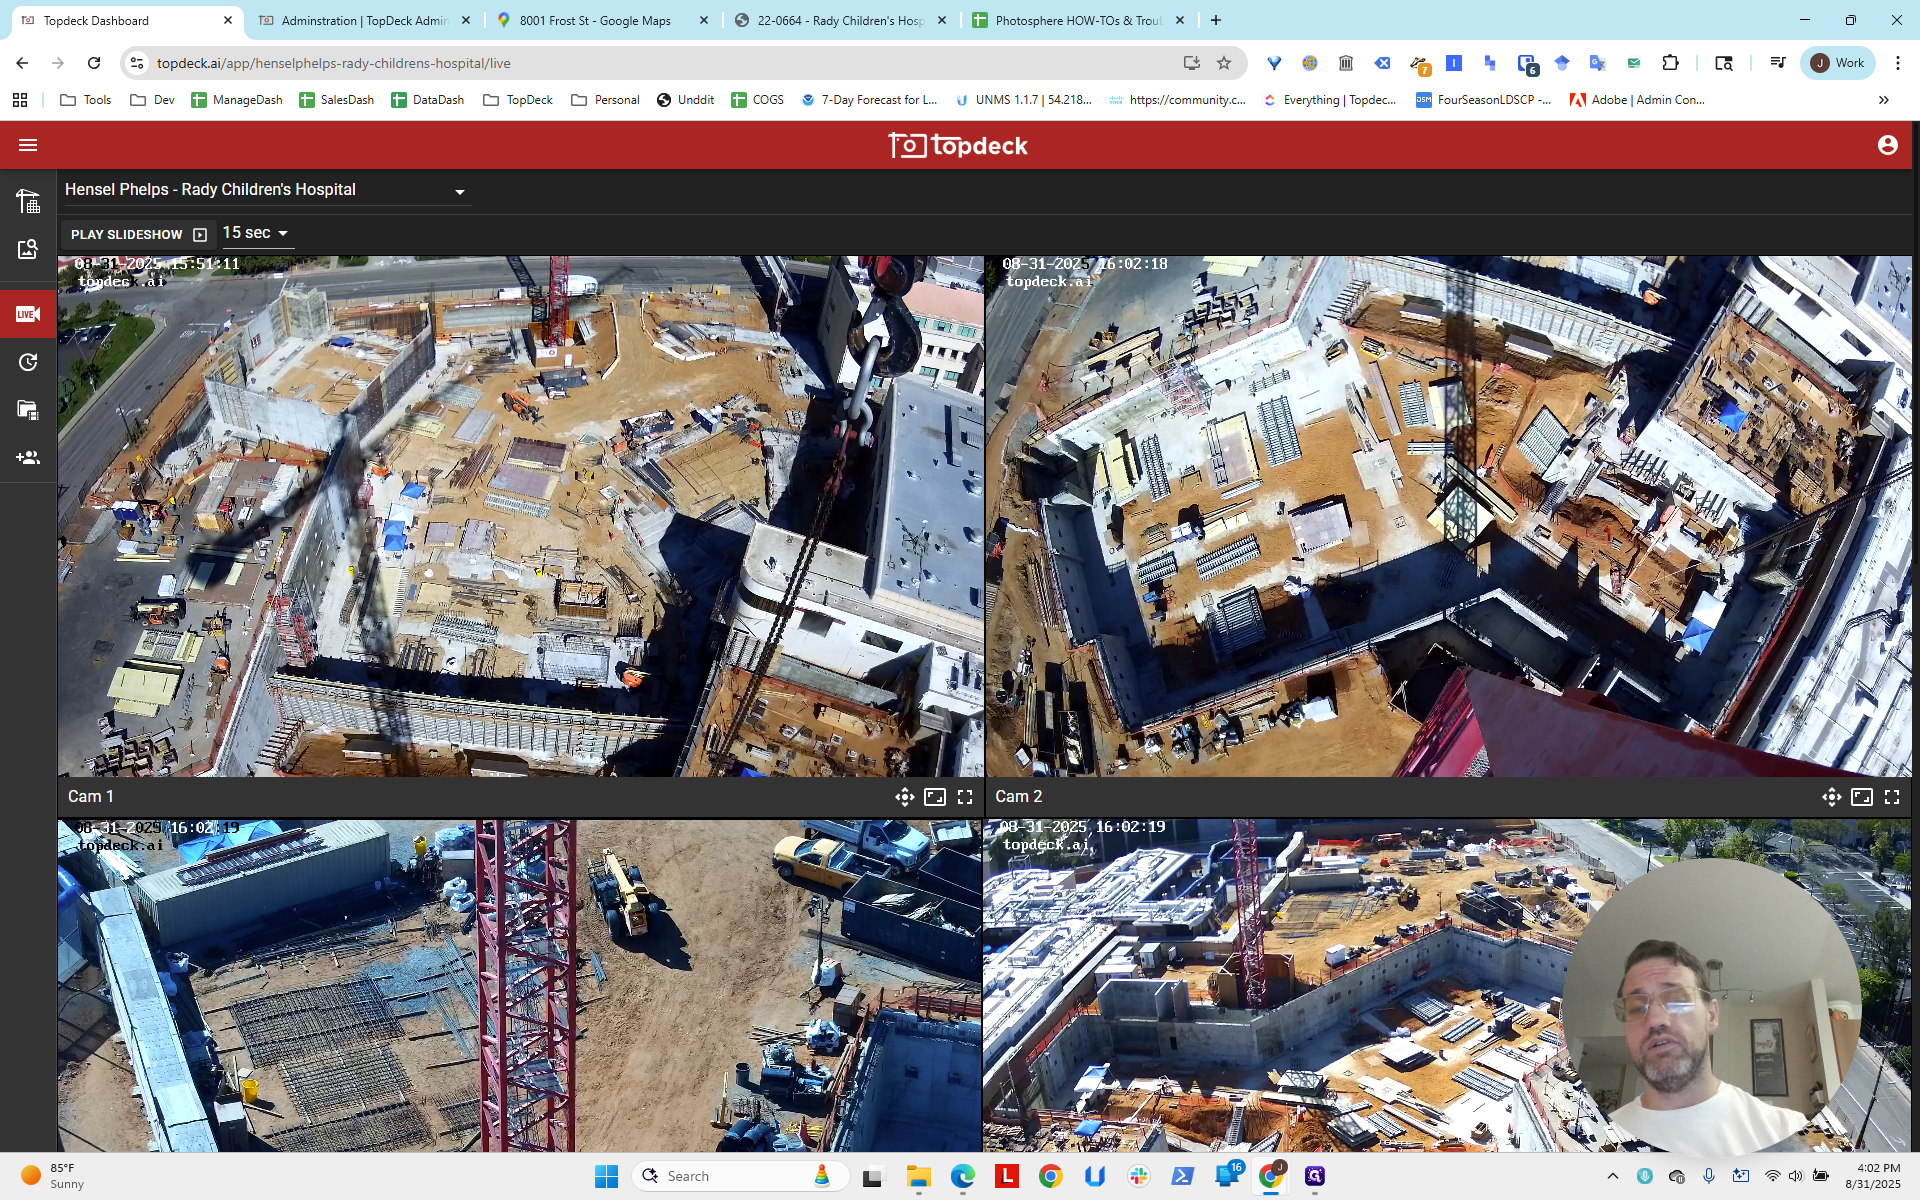
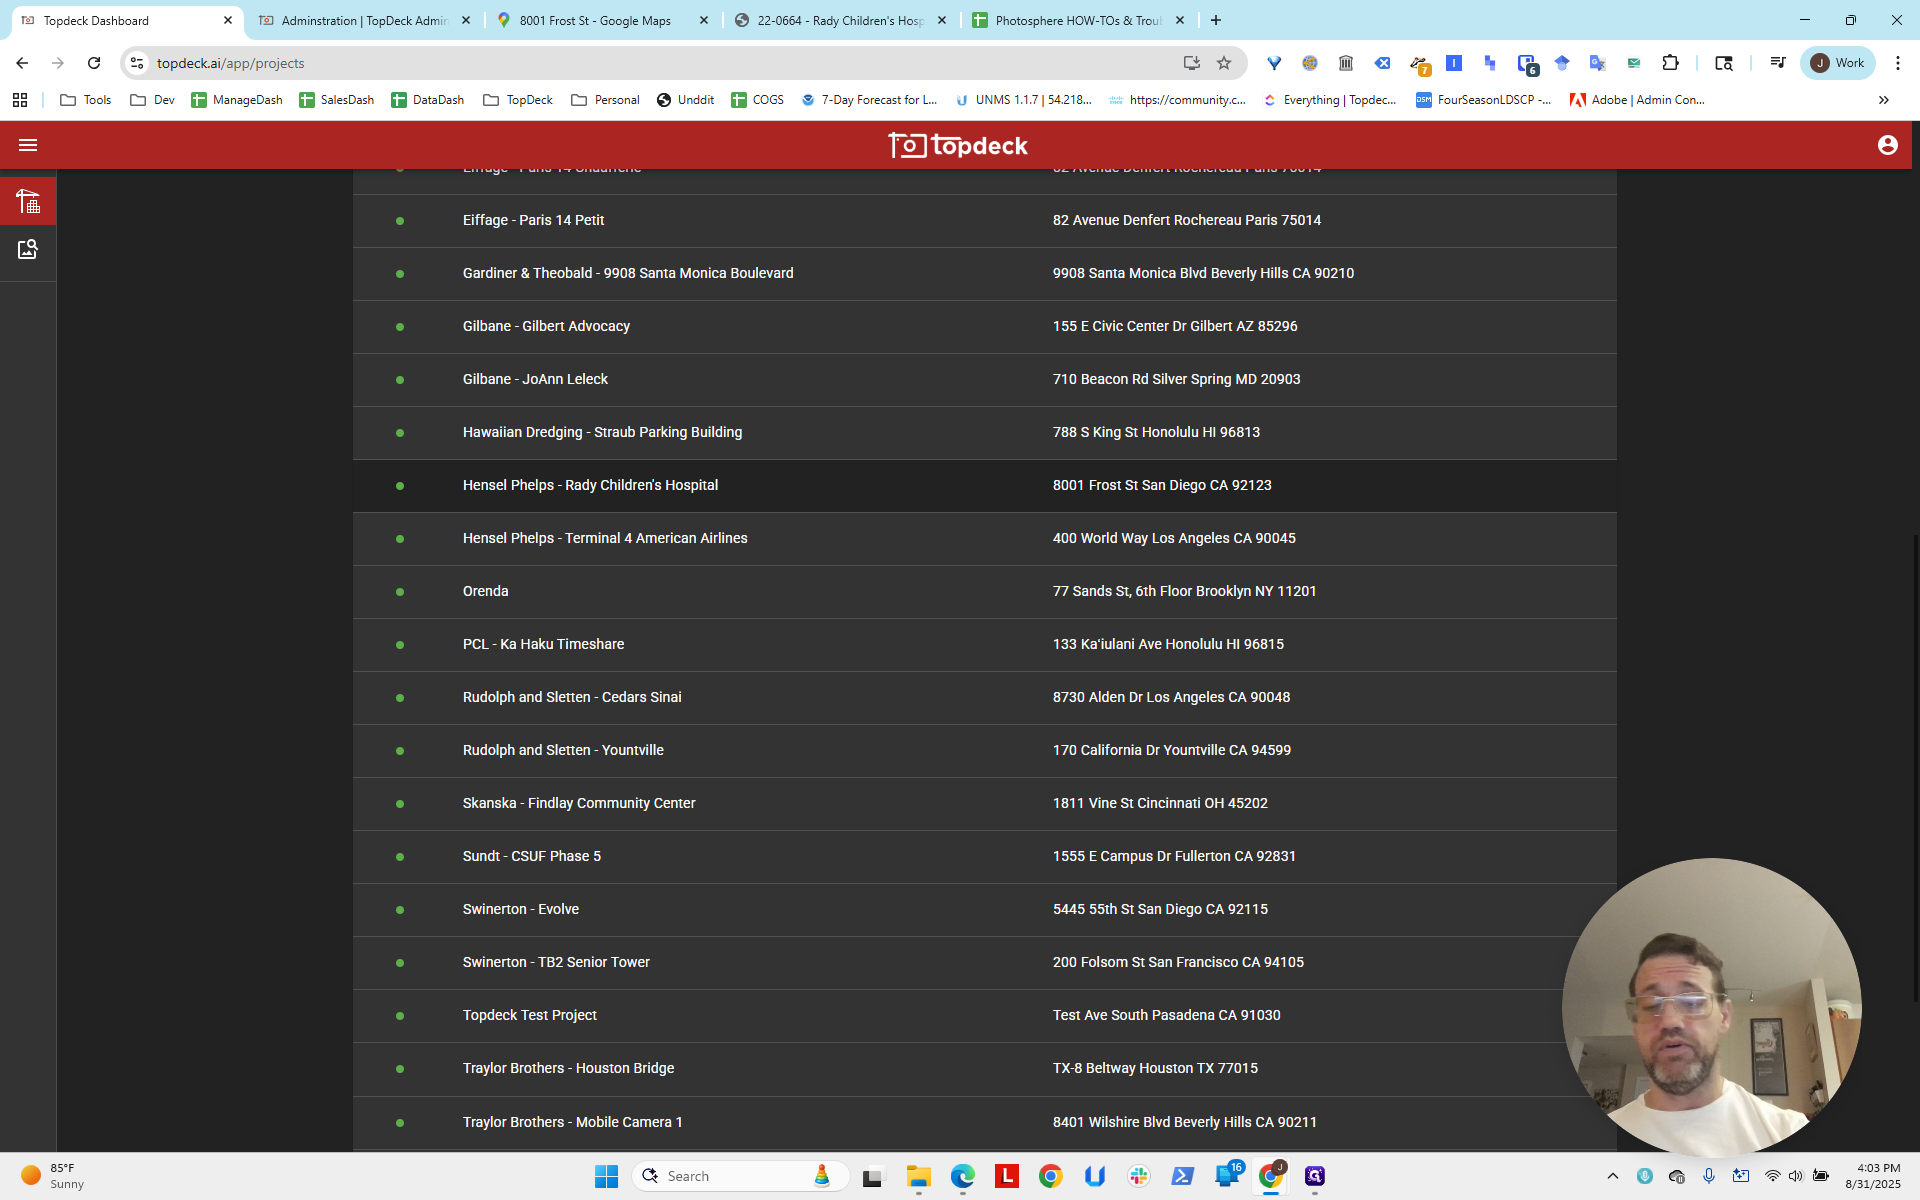
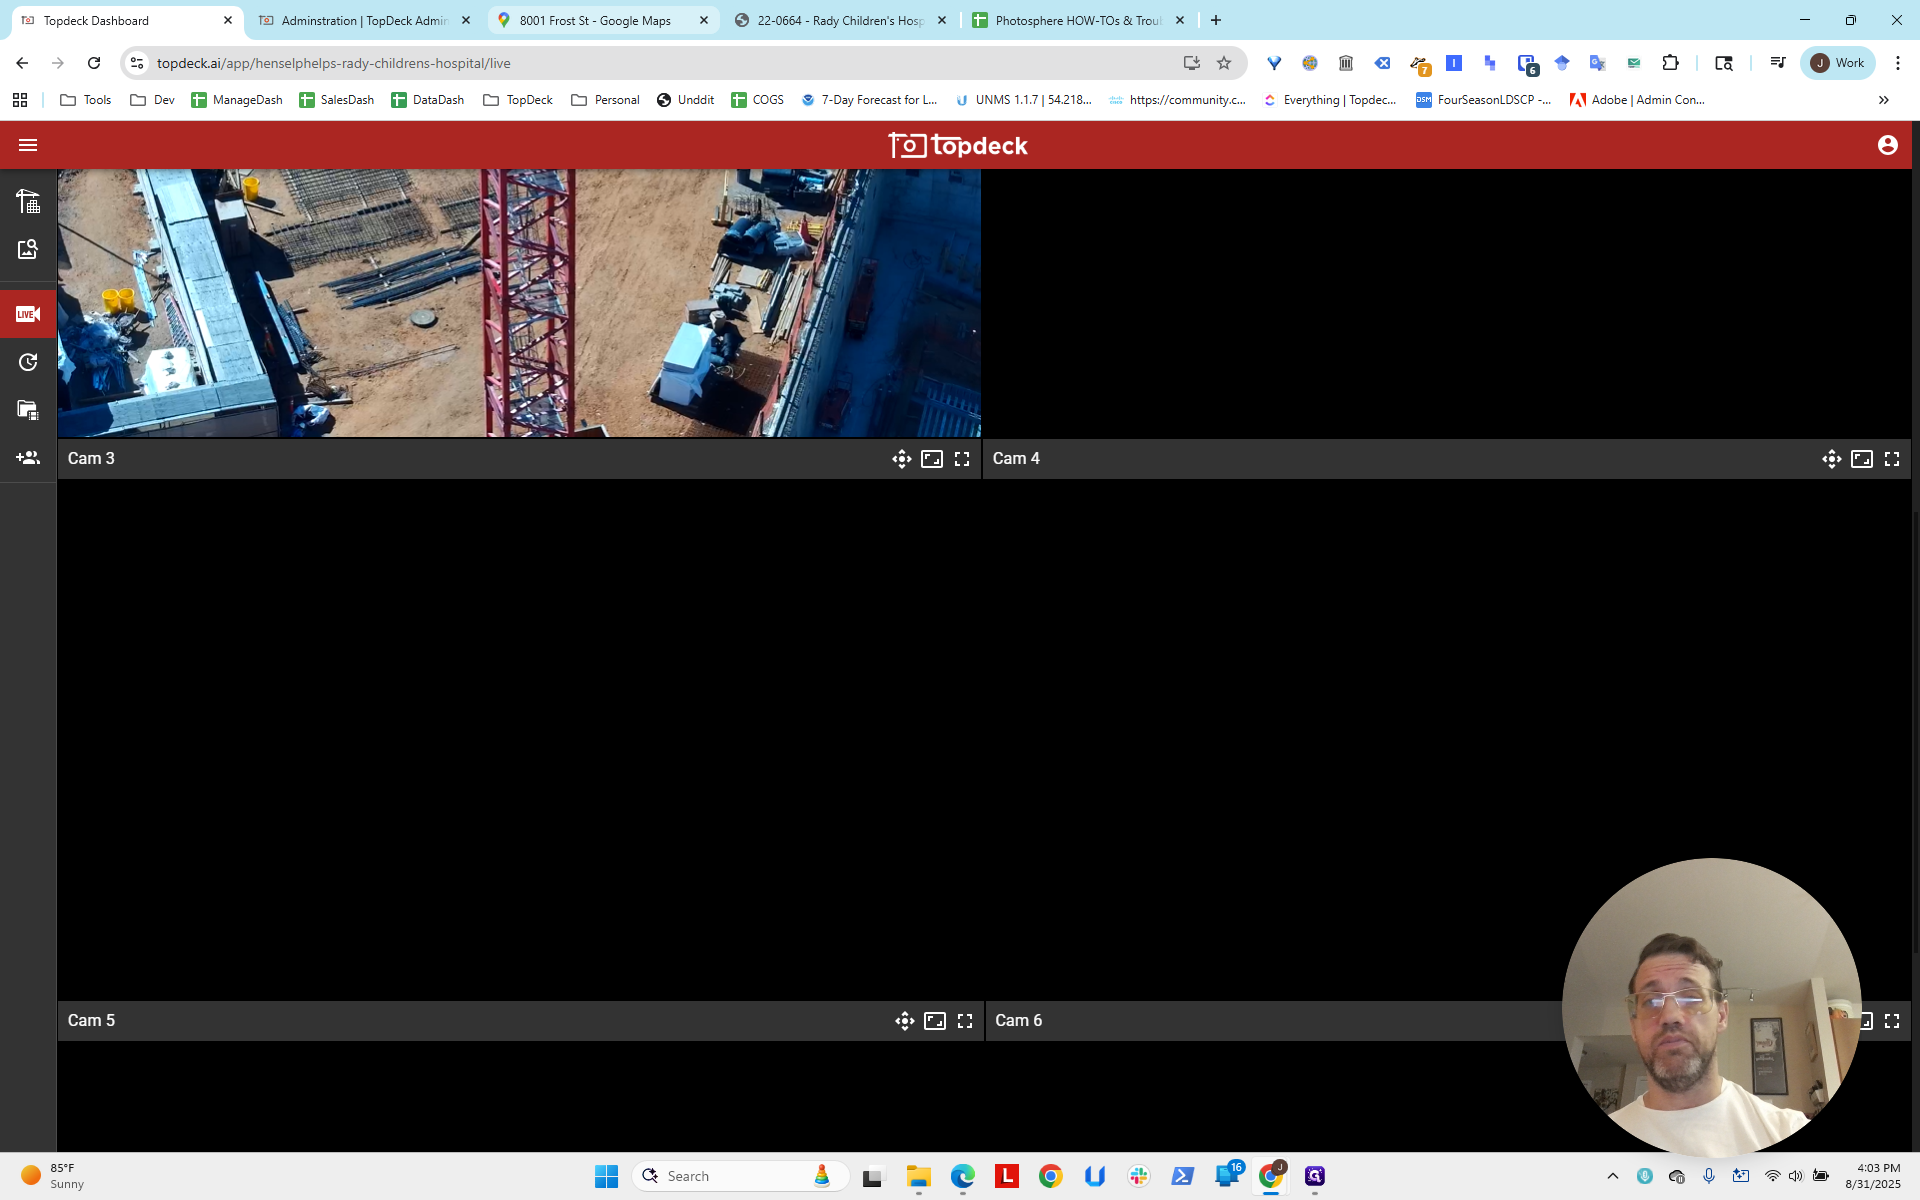
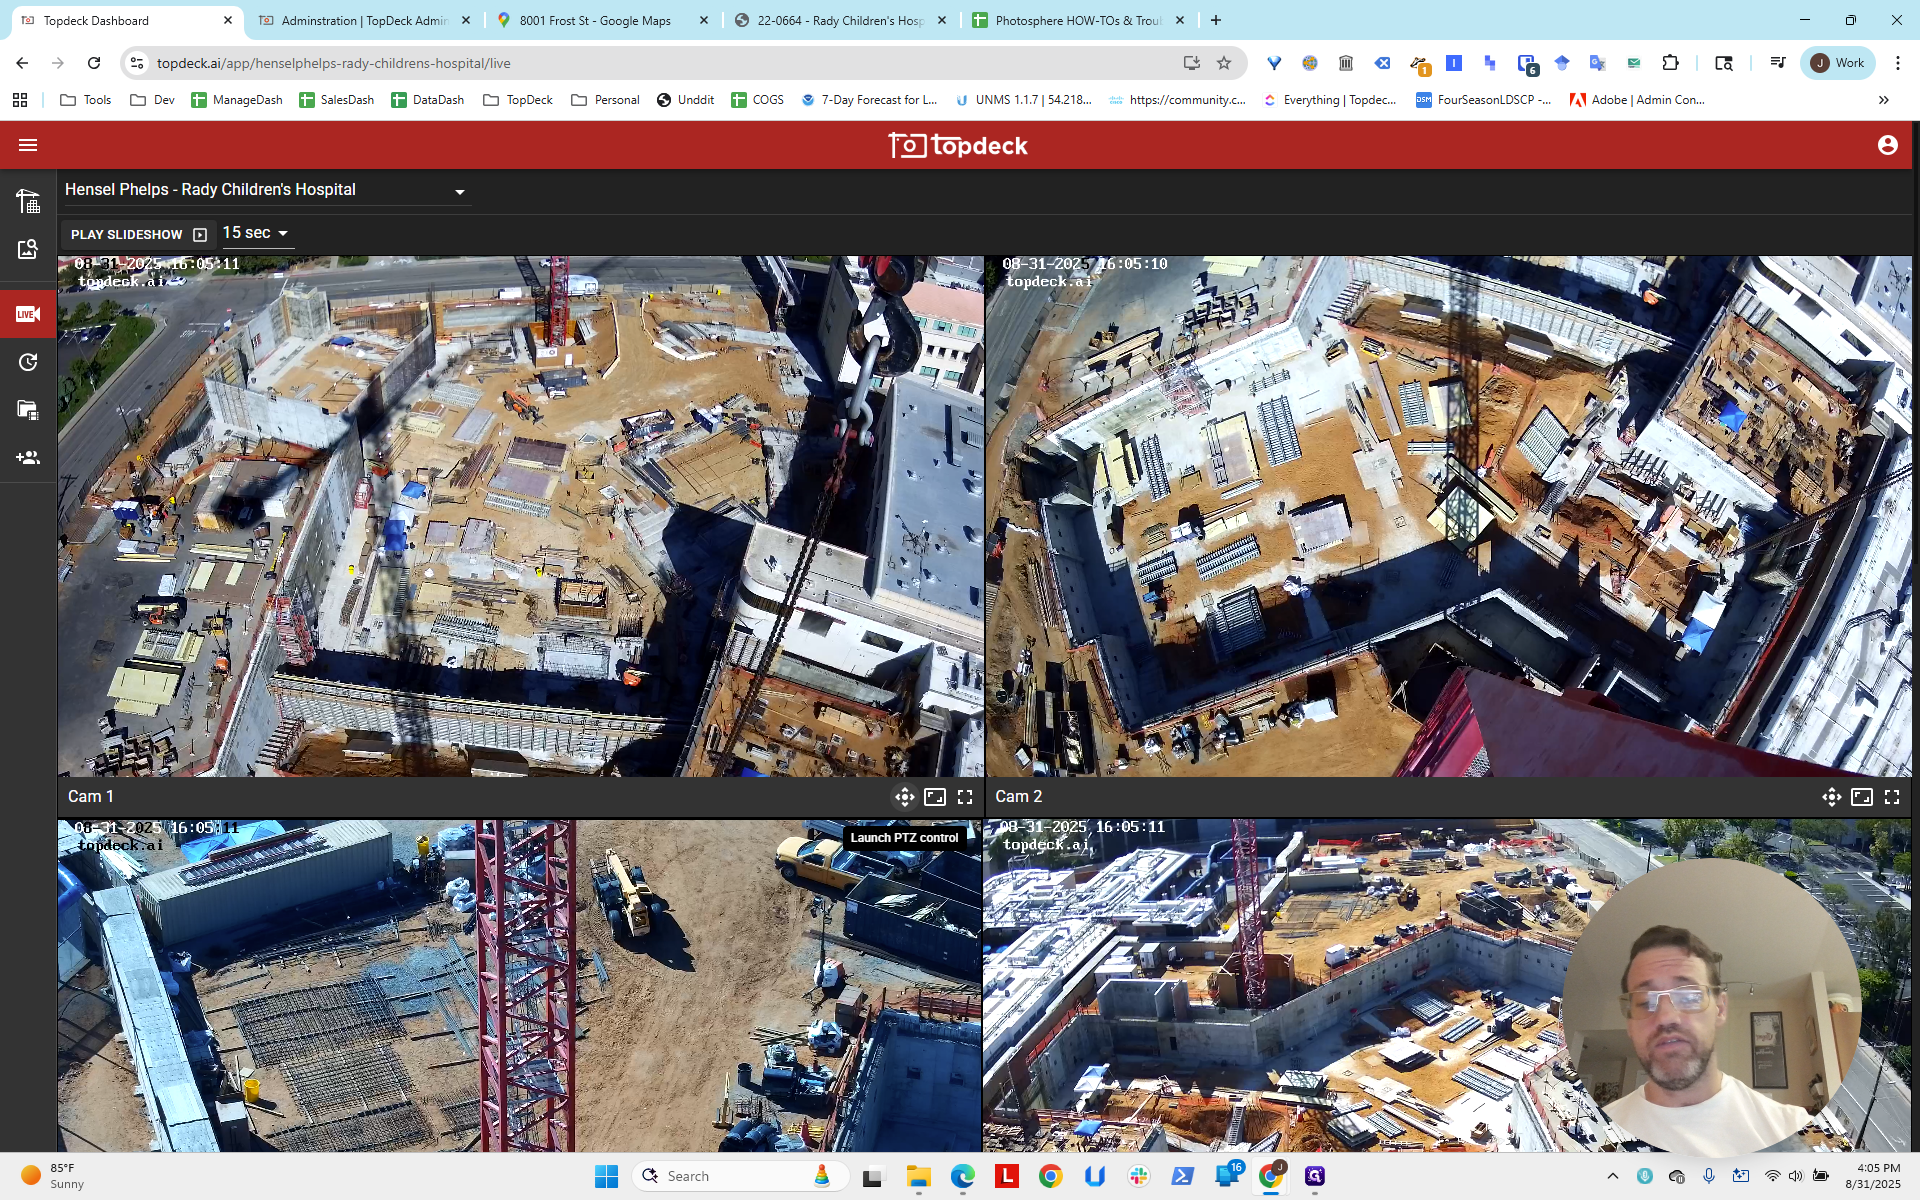
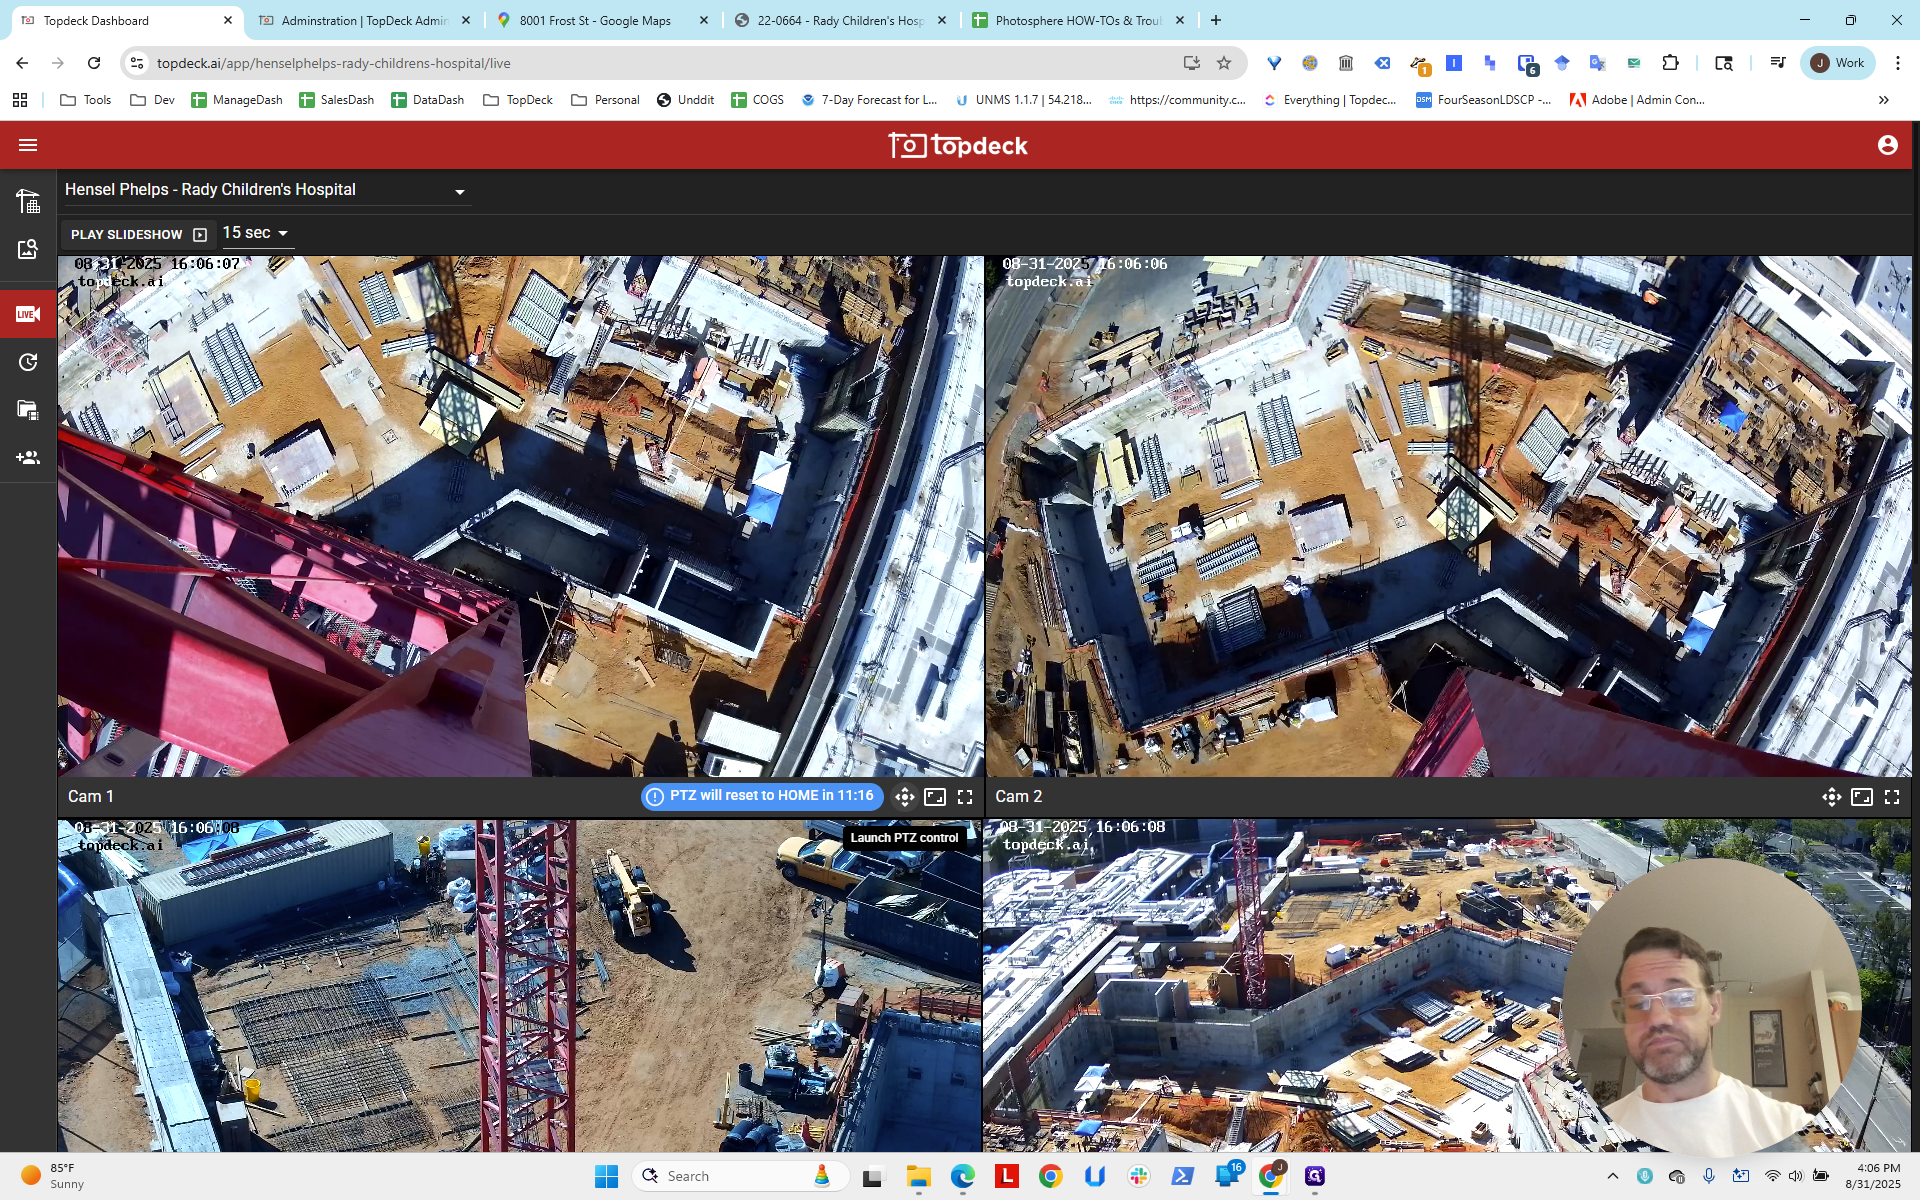
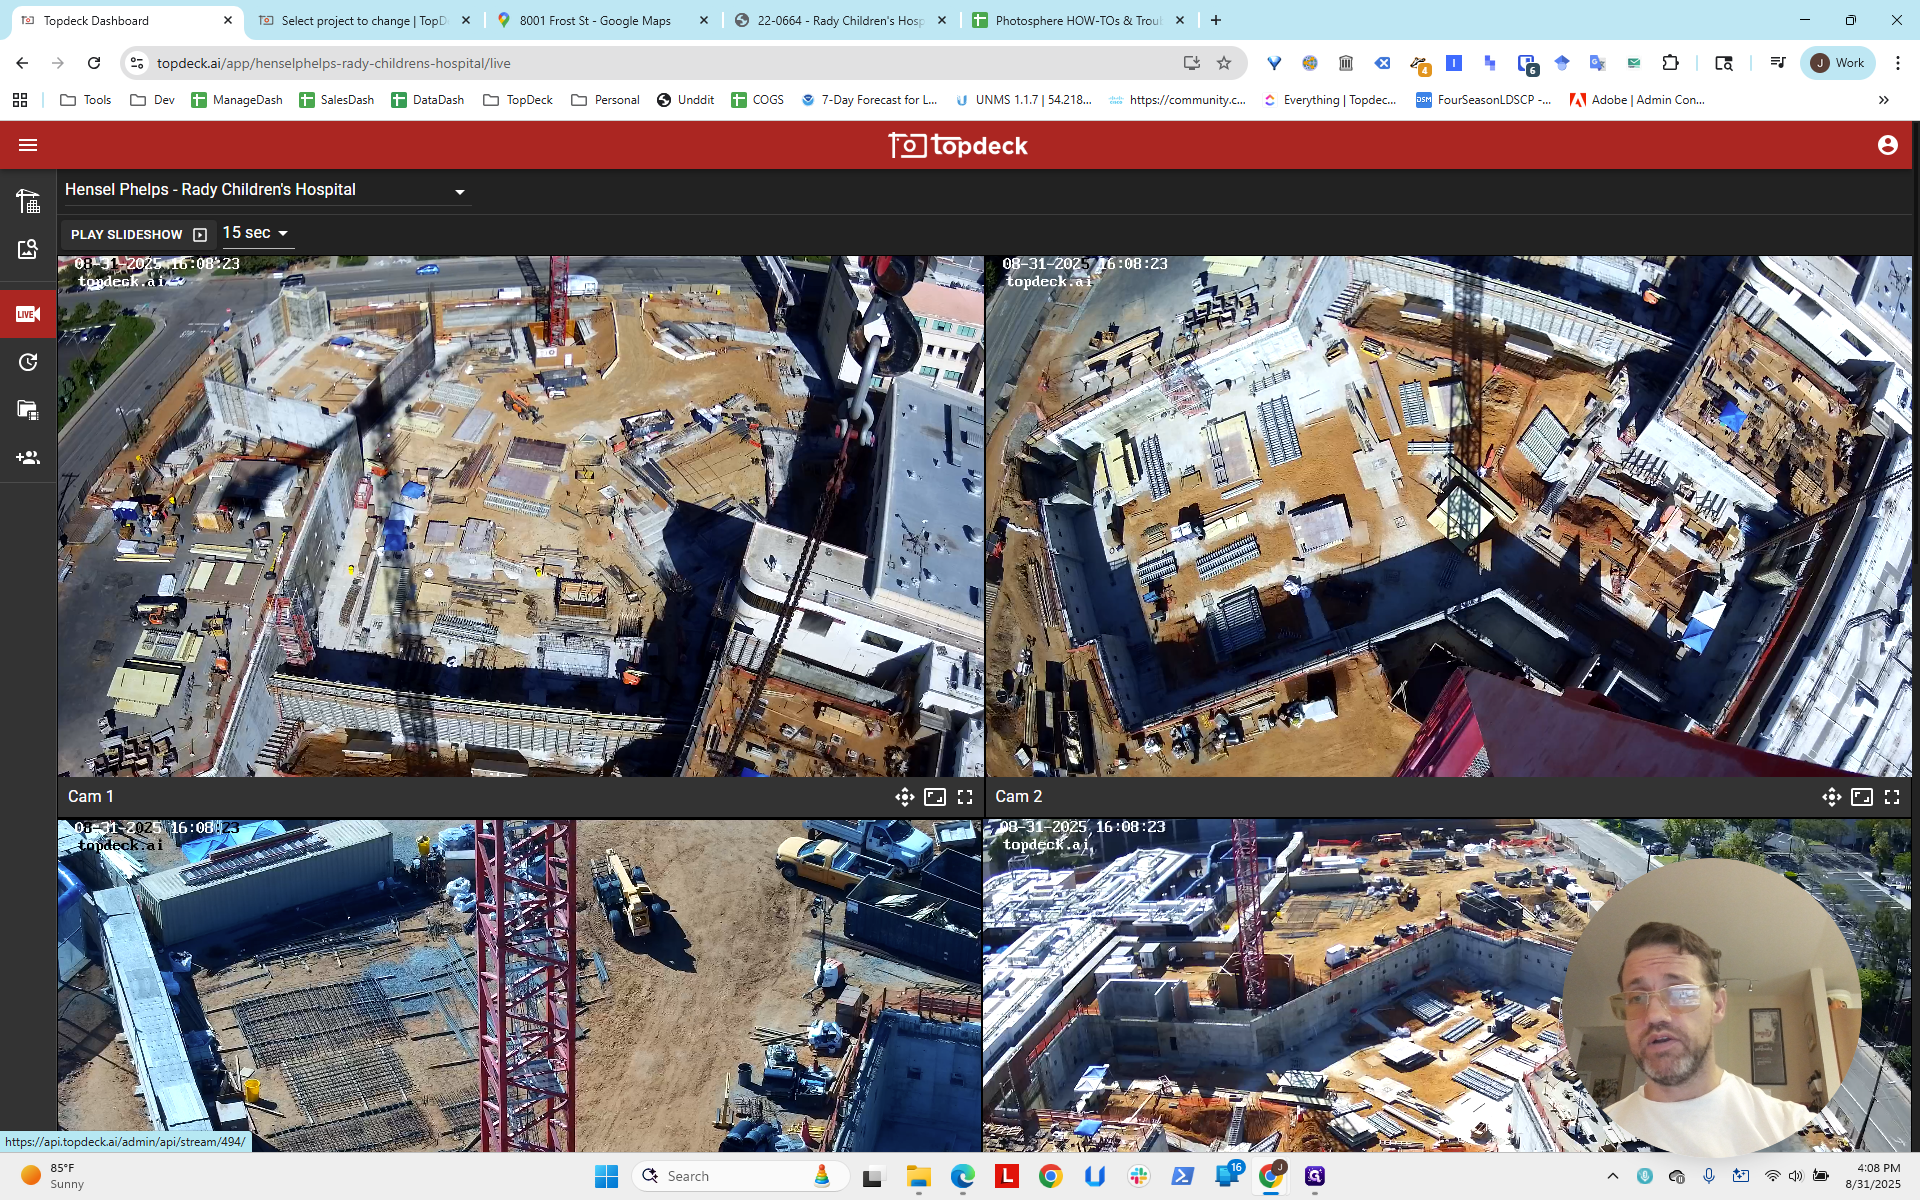
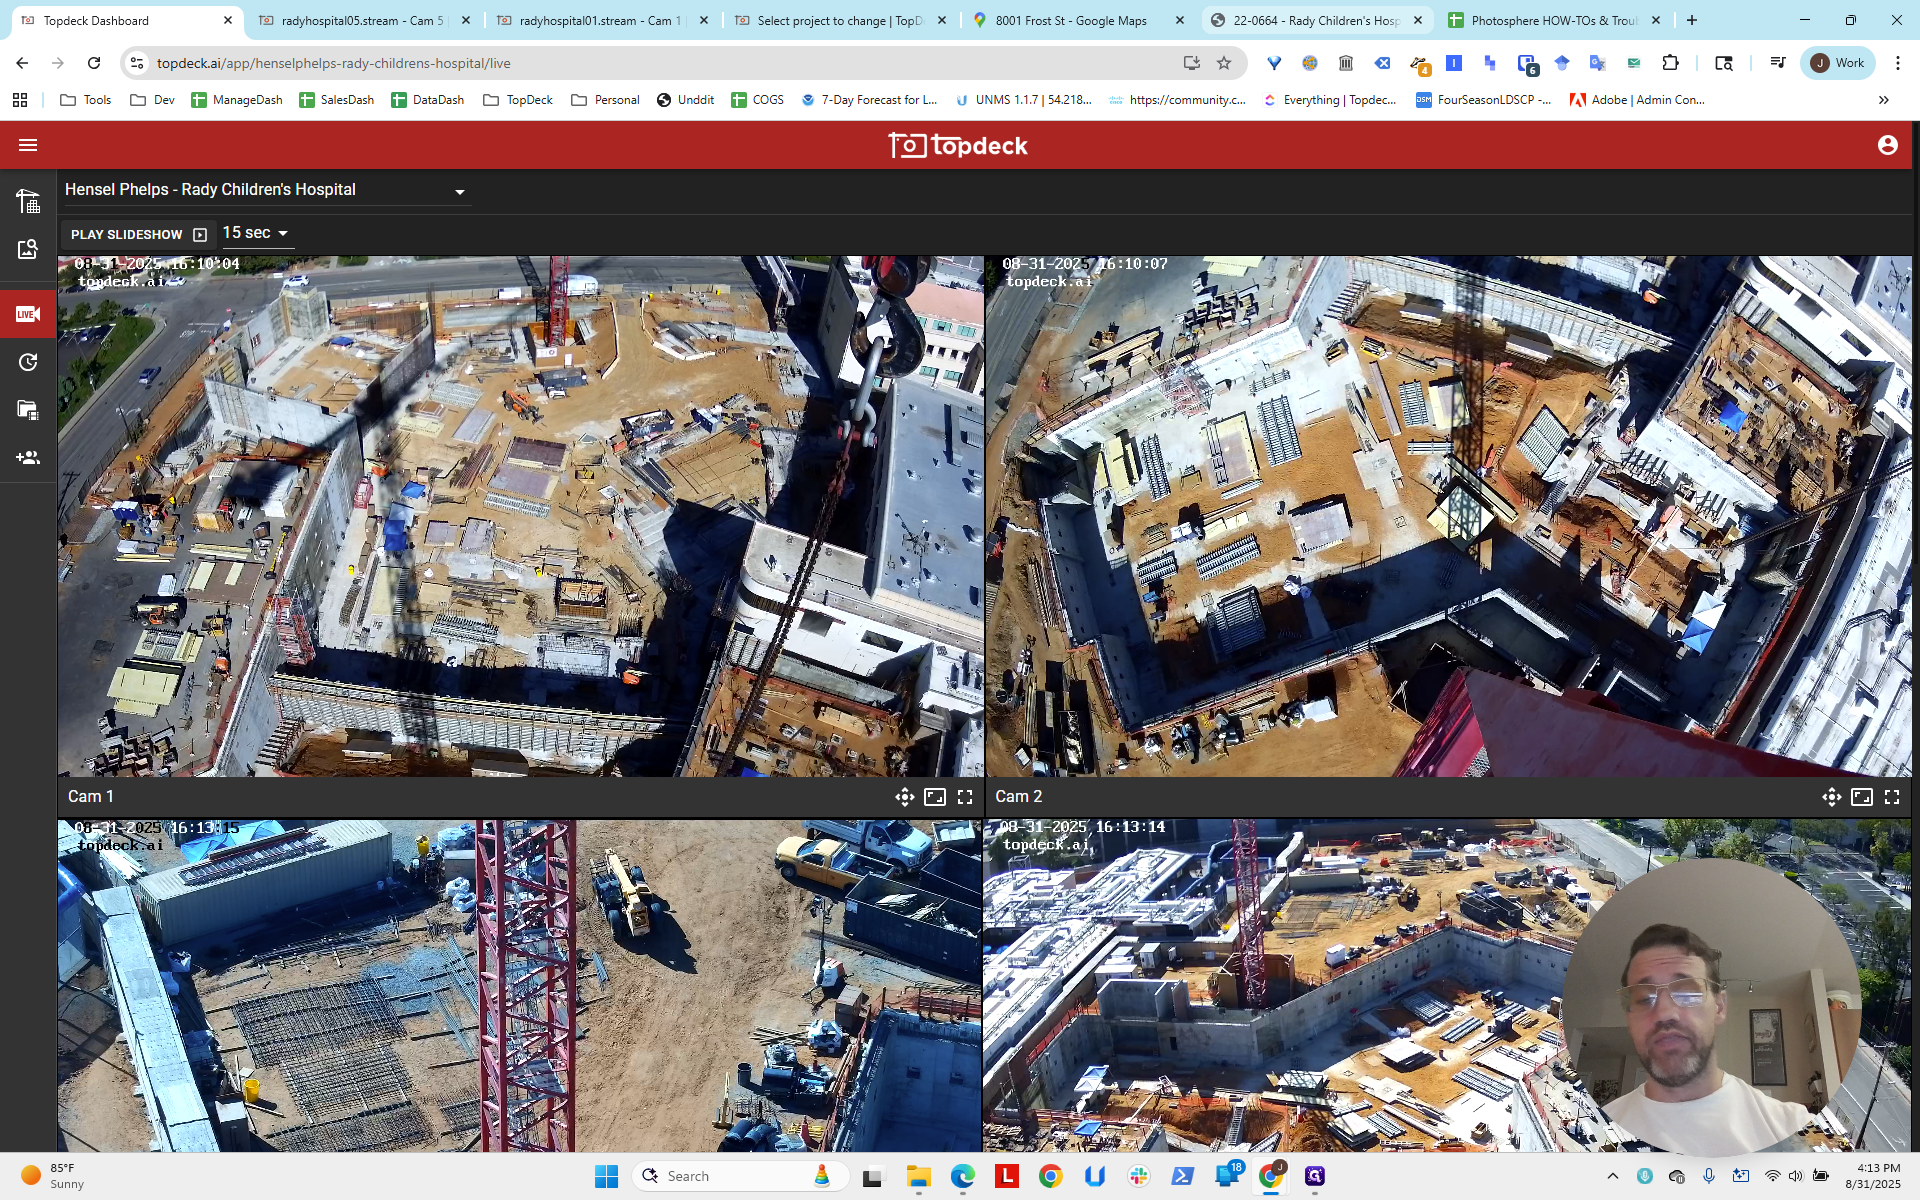
Hello, everyone. This is the first part of the instructional multi-photosphere setup tutorial. We will work on the complex Rady Children's Hospital site, which has many cameras, as you can see. There are eight total streams. Two are inactive on a crane that has not been set up yet. There are two cranes set up on this site, as you can see here. There are six streams, with three cameras on each stream.
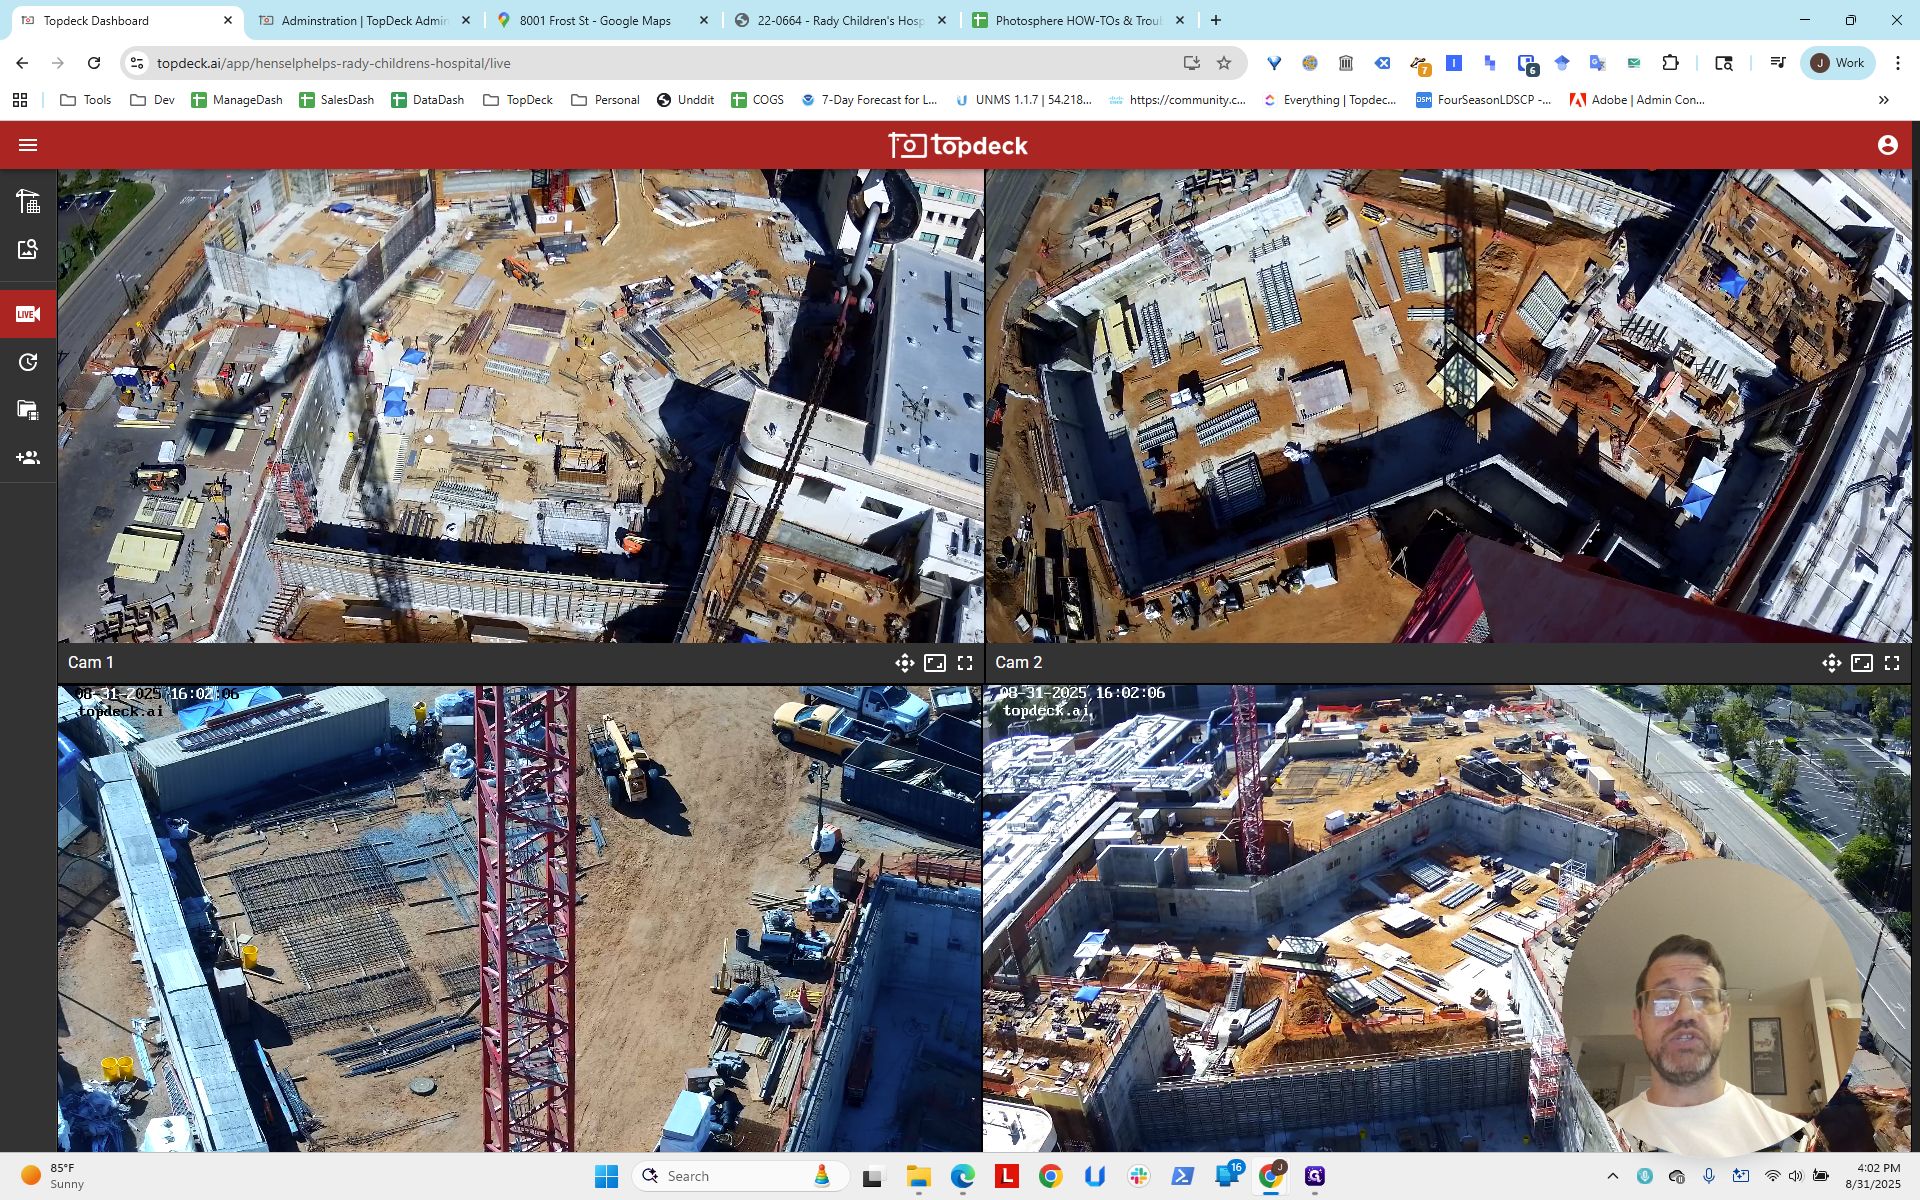
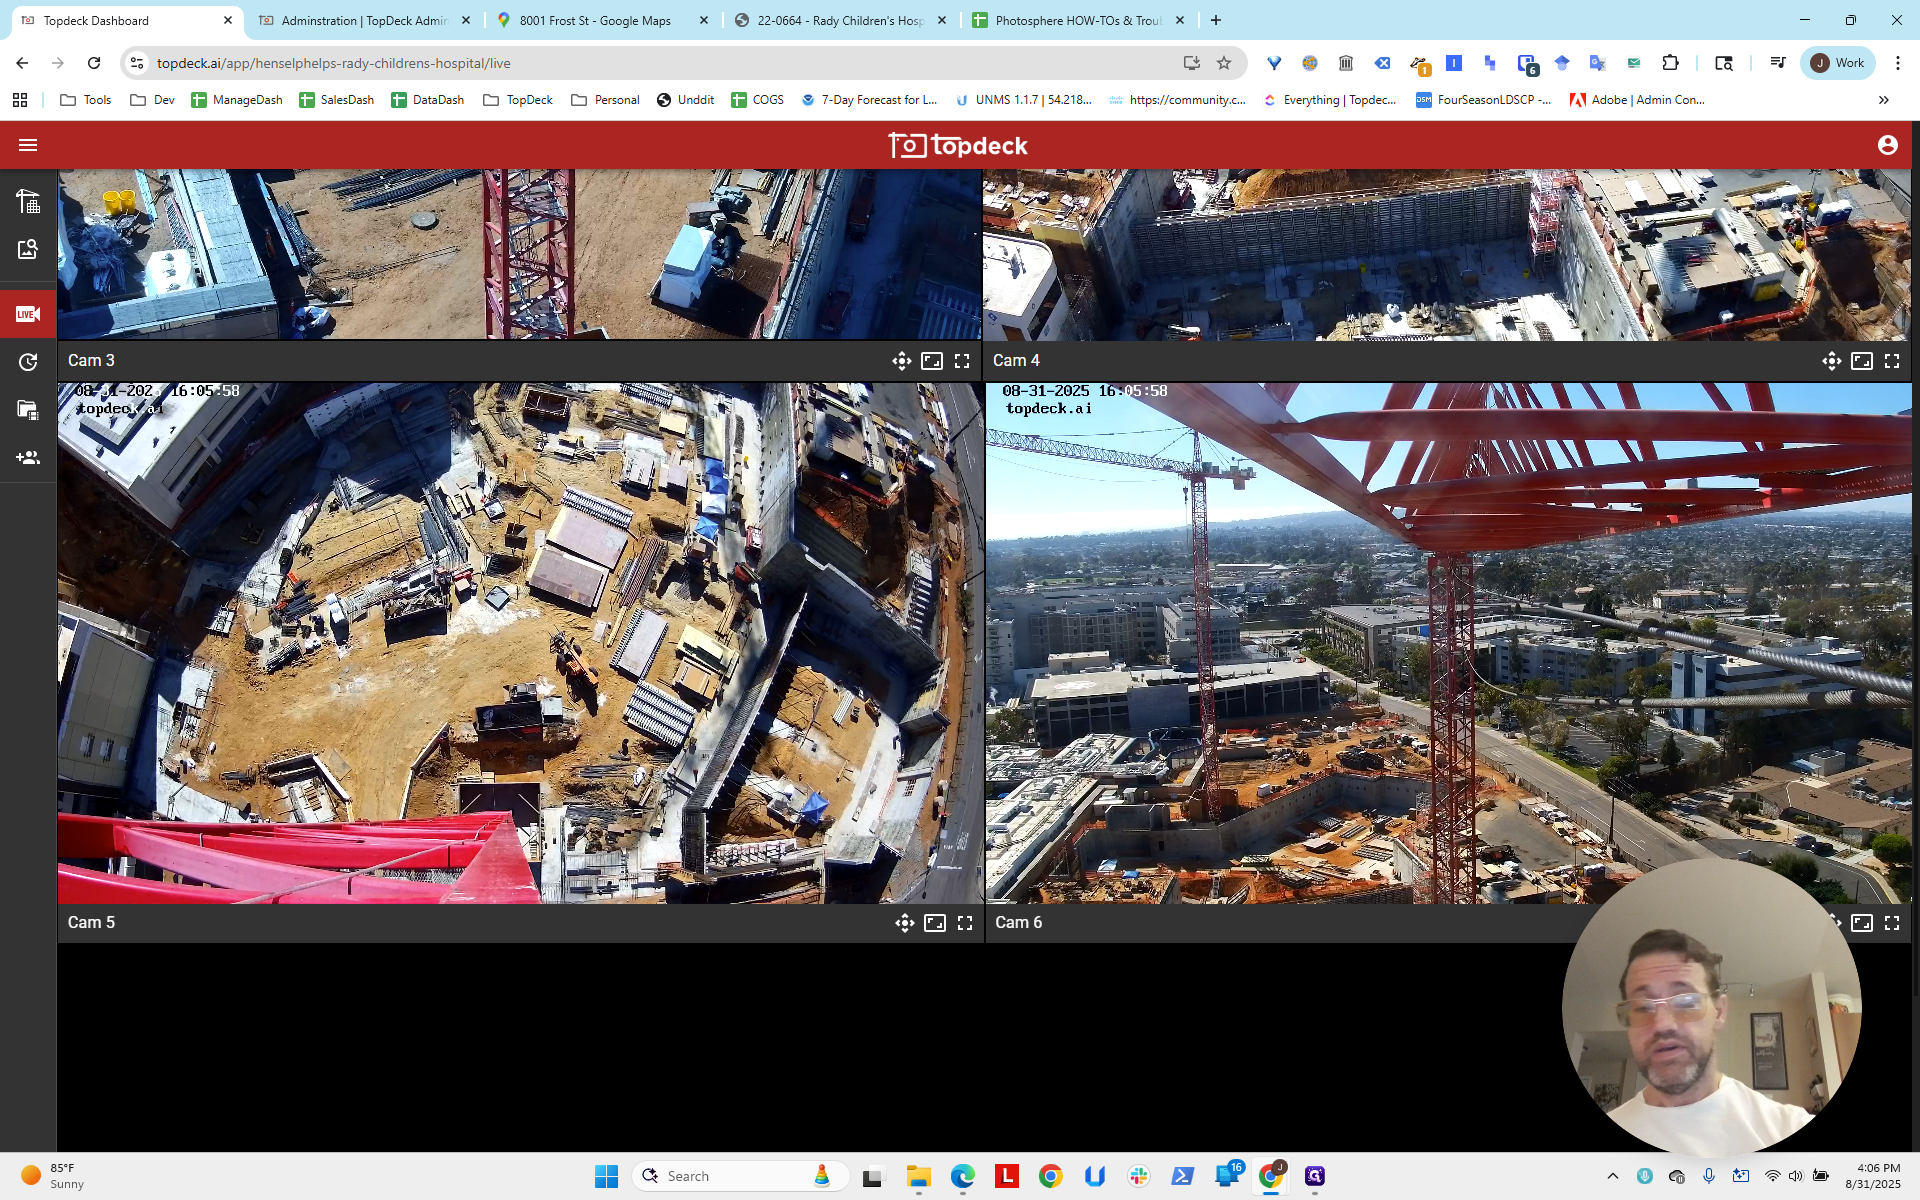
It can take some time to get your bearings and understand what you're looking at. On this project, we are focusing on cams one through three. The first three streams come from one crane. The last three streams—two mask cams and one jib cam—are from another crane.
We will set up one photosphere for each crane and identify the best ones to use.

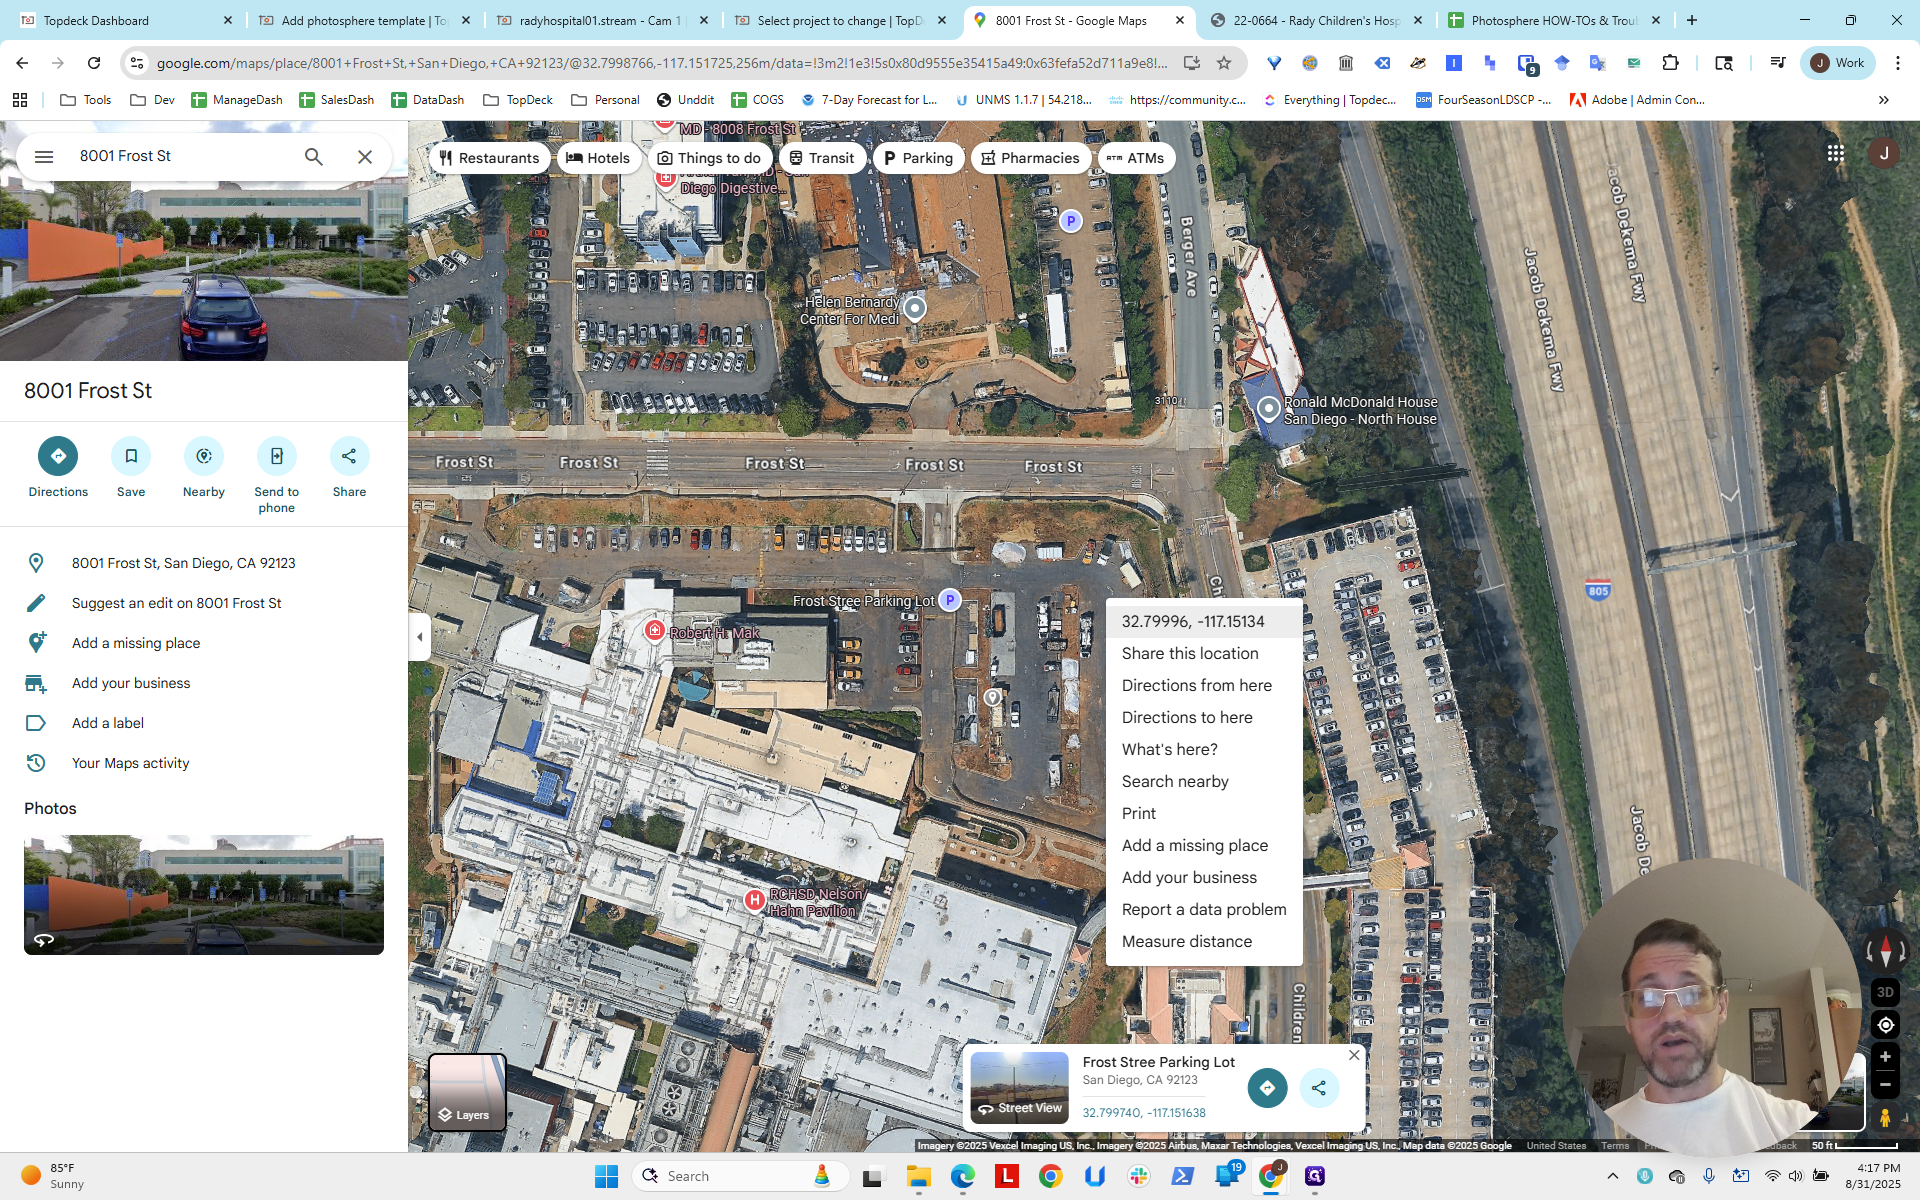
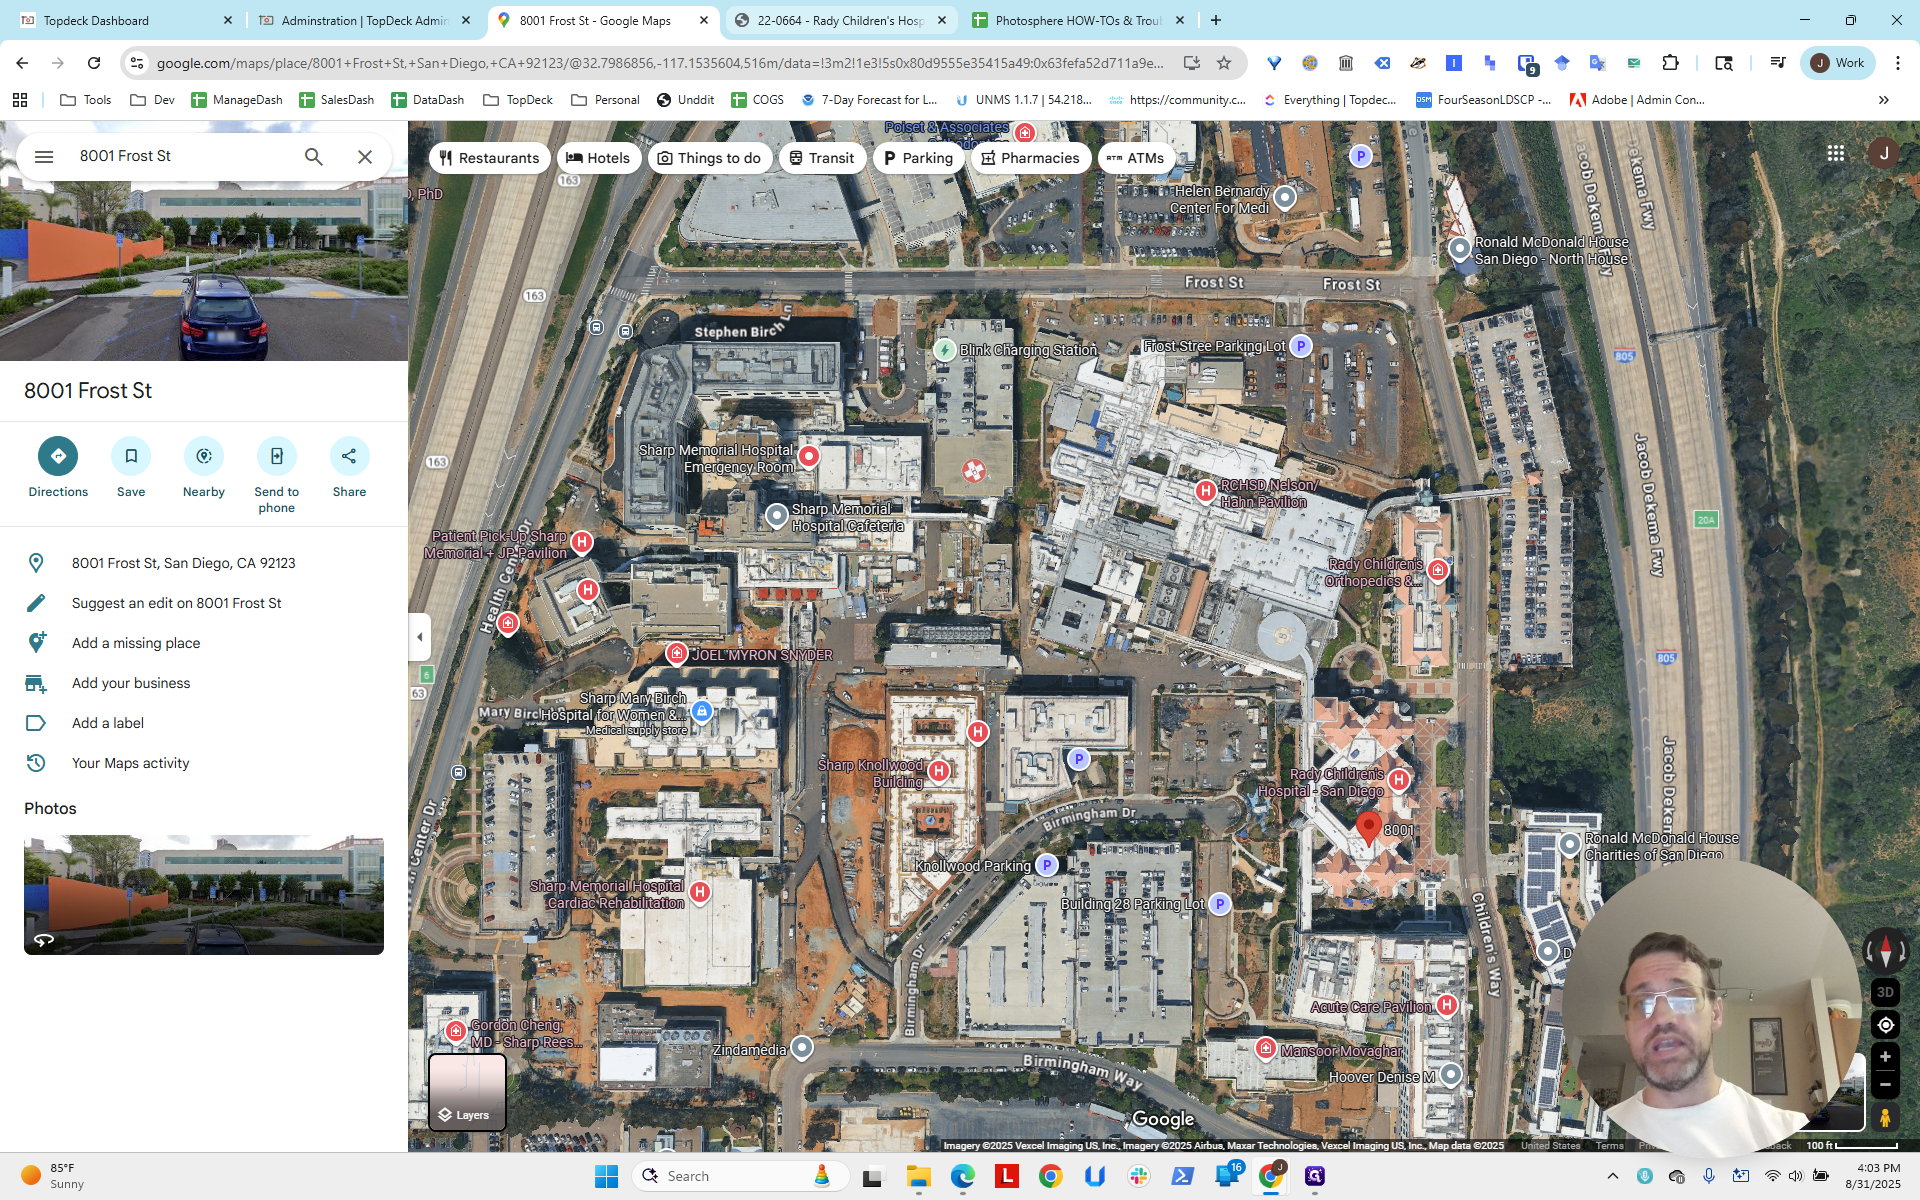
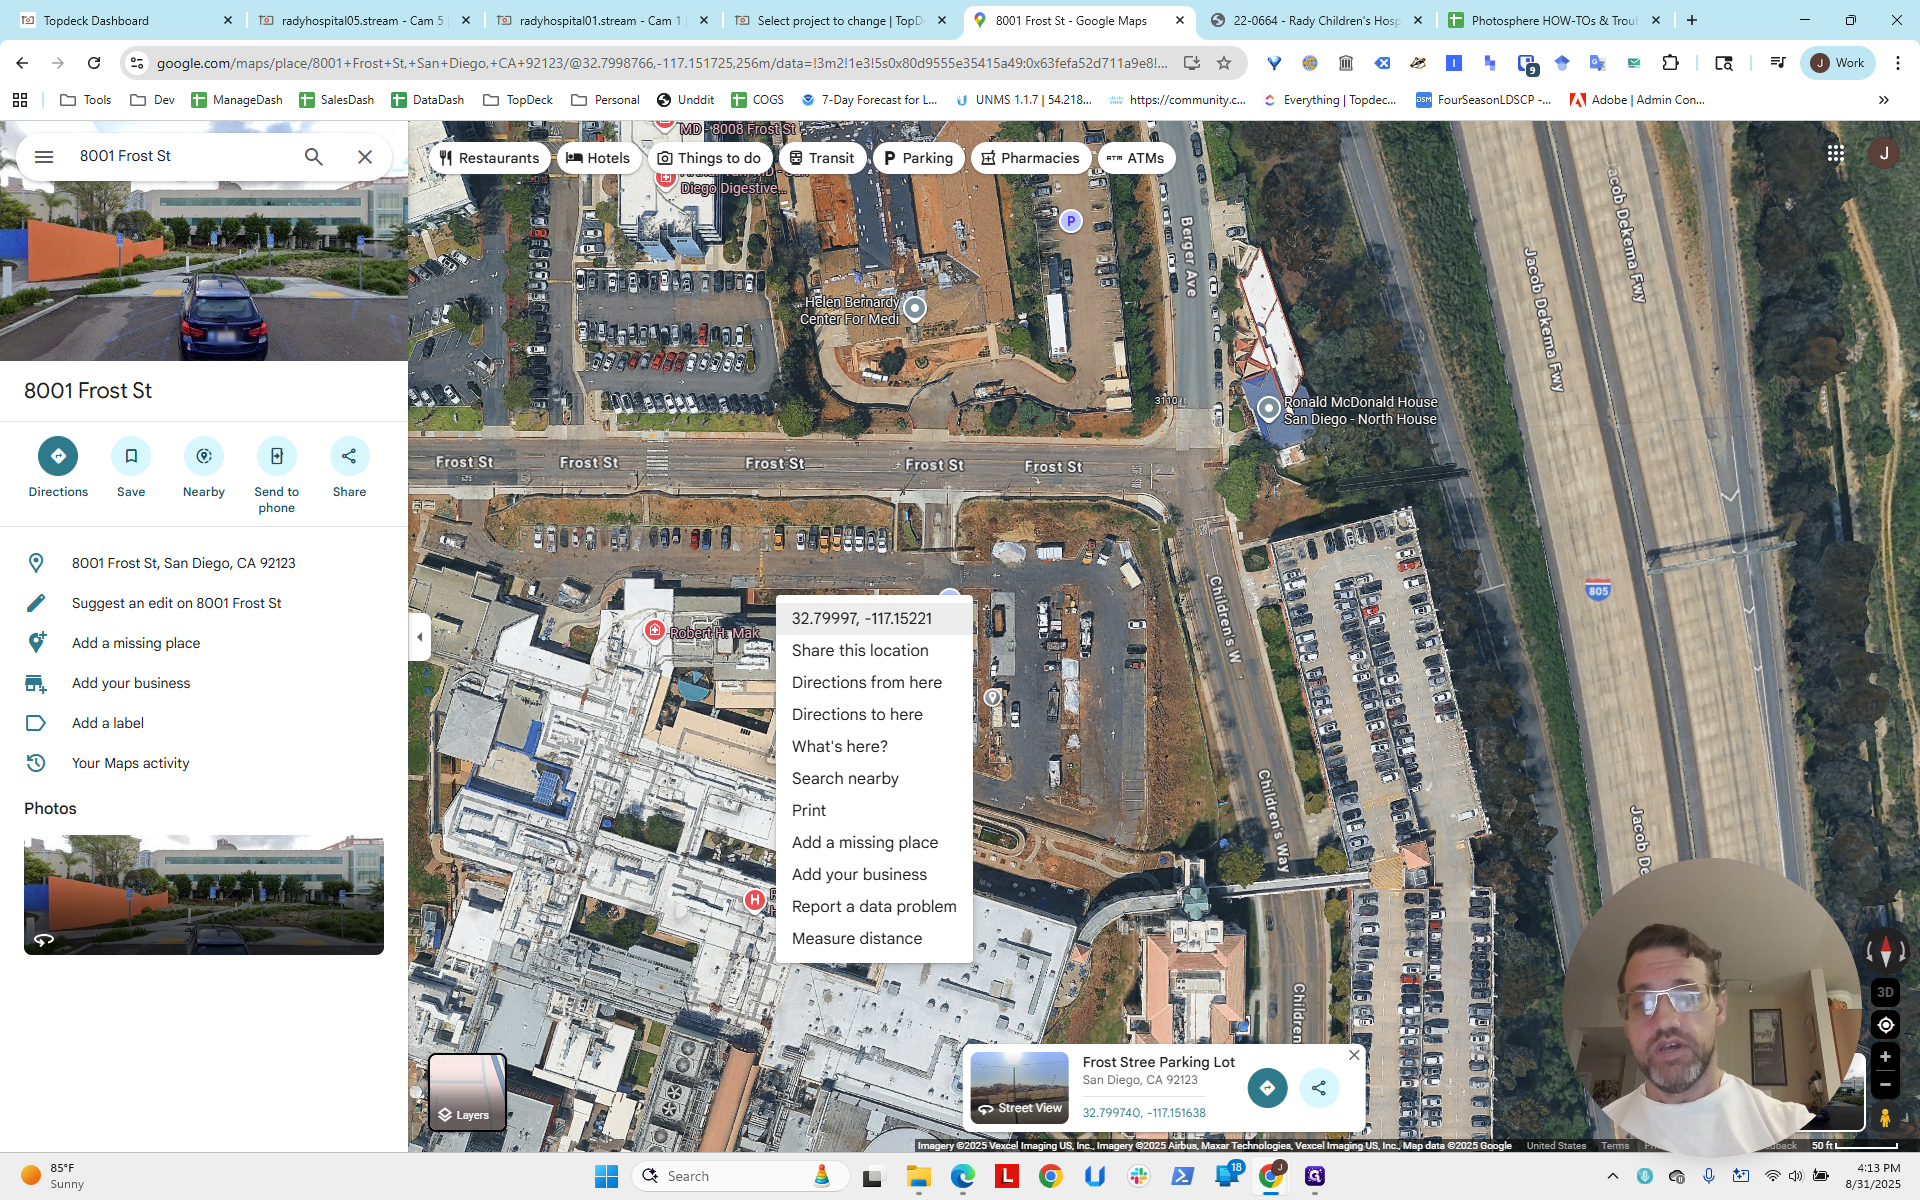
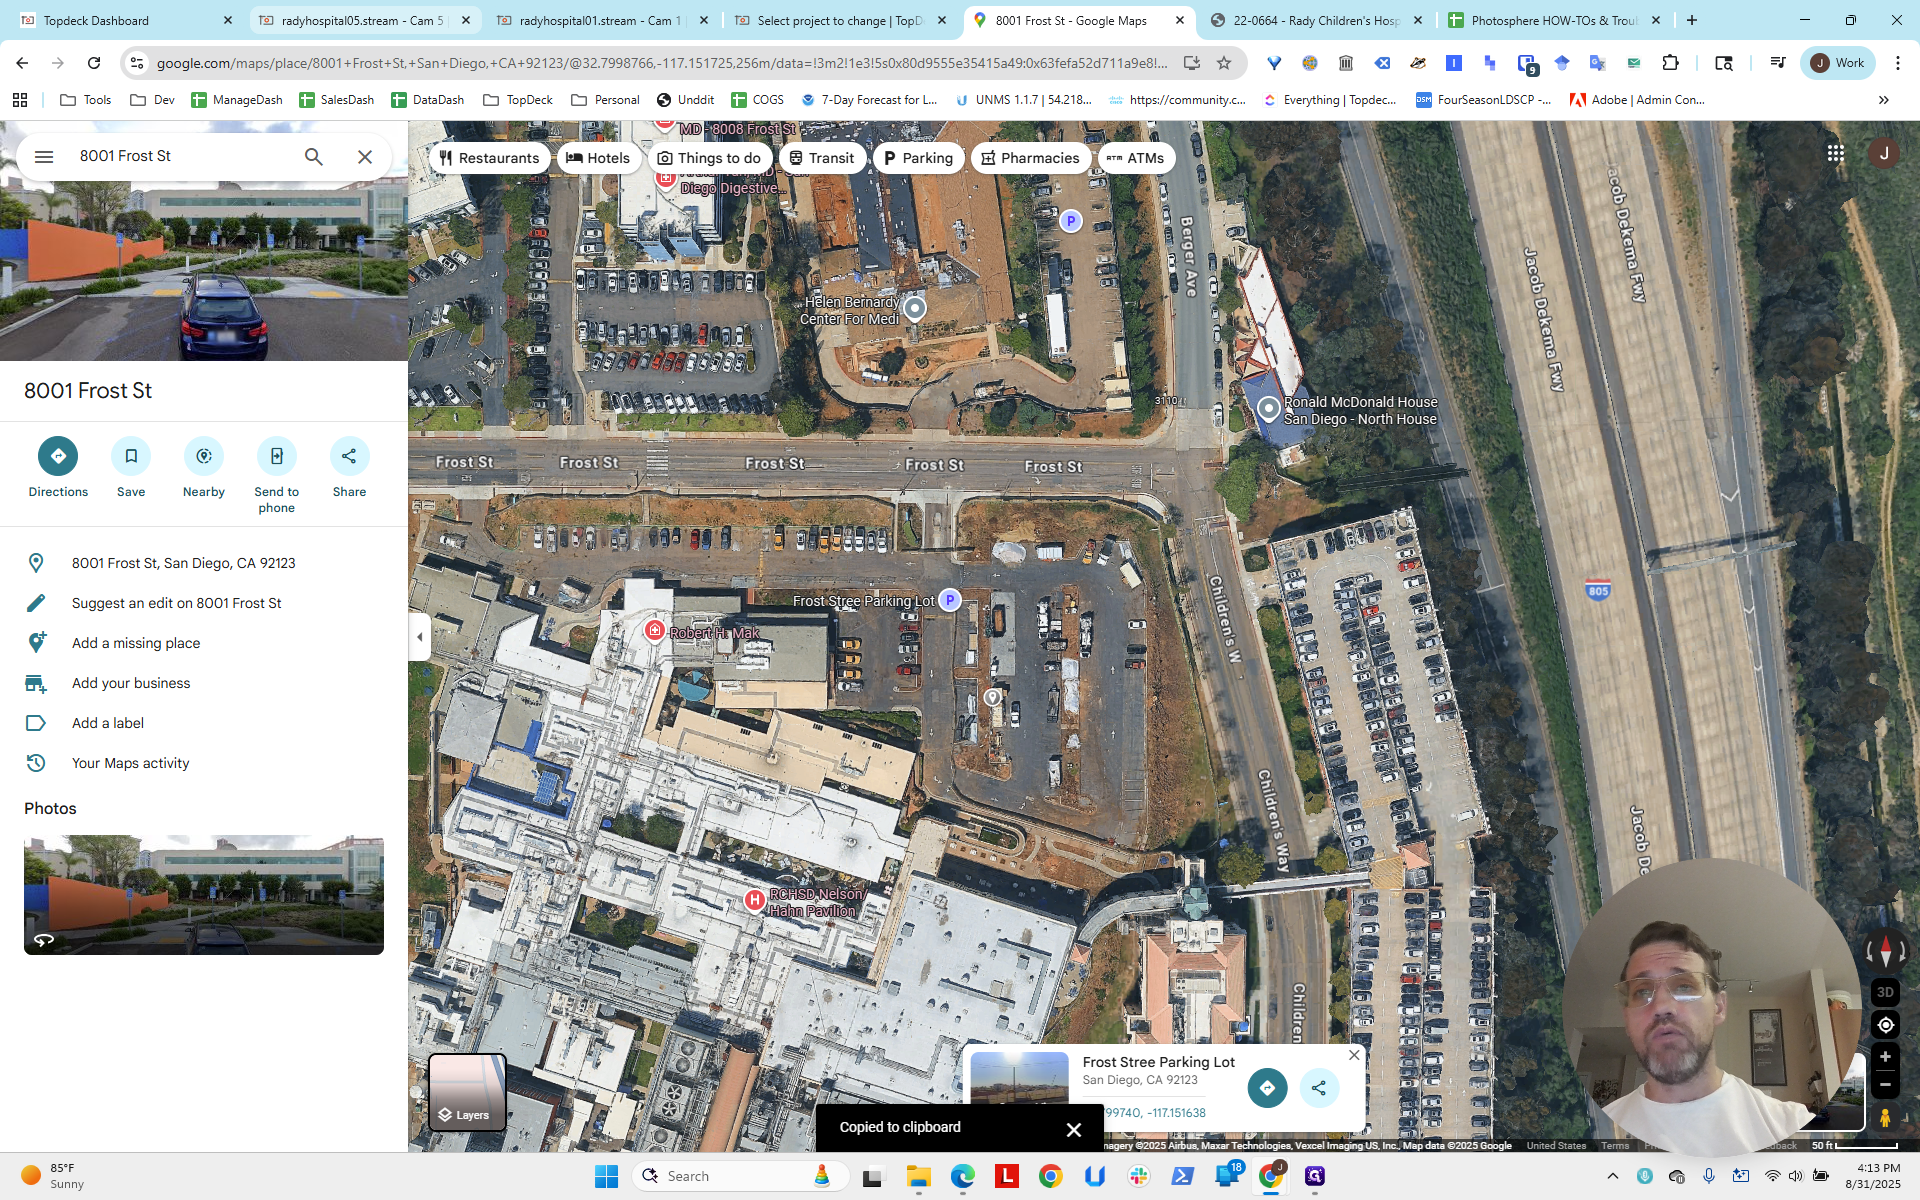
First, let's get our bearings on what this project is. If you go back to the list, you'll see the address for that project.
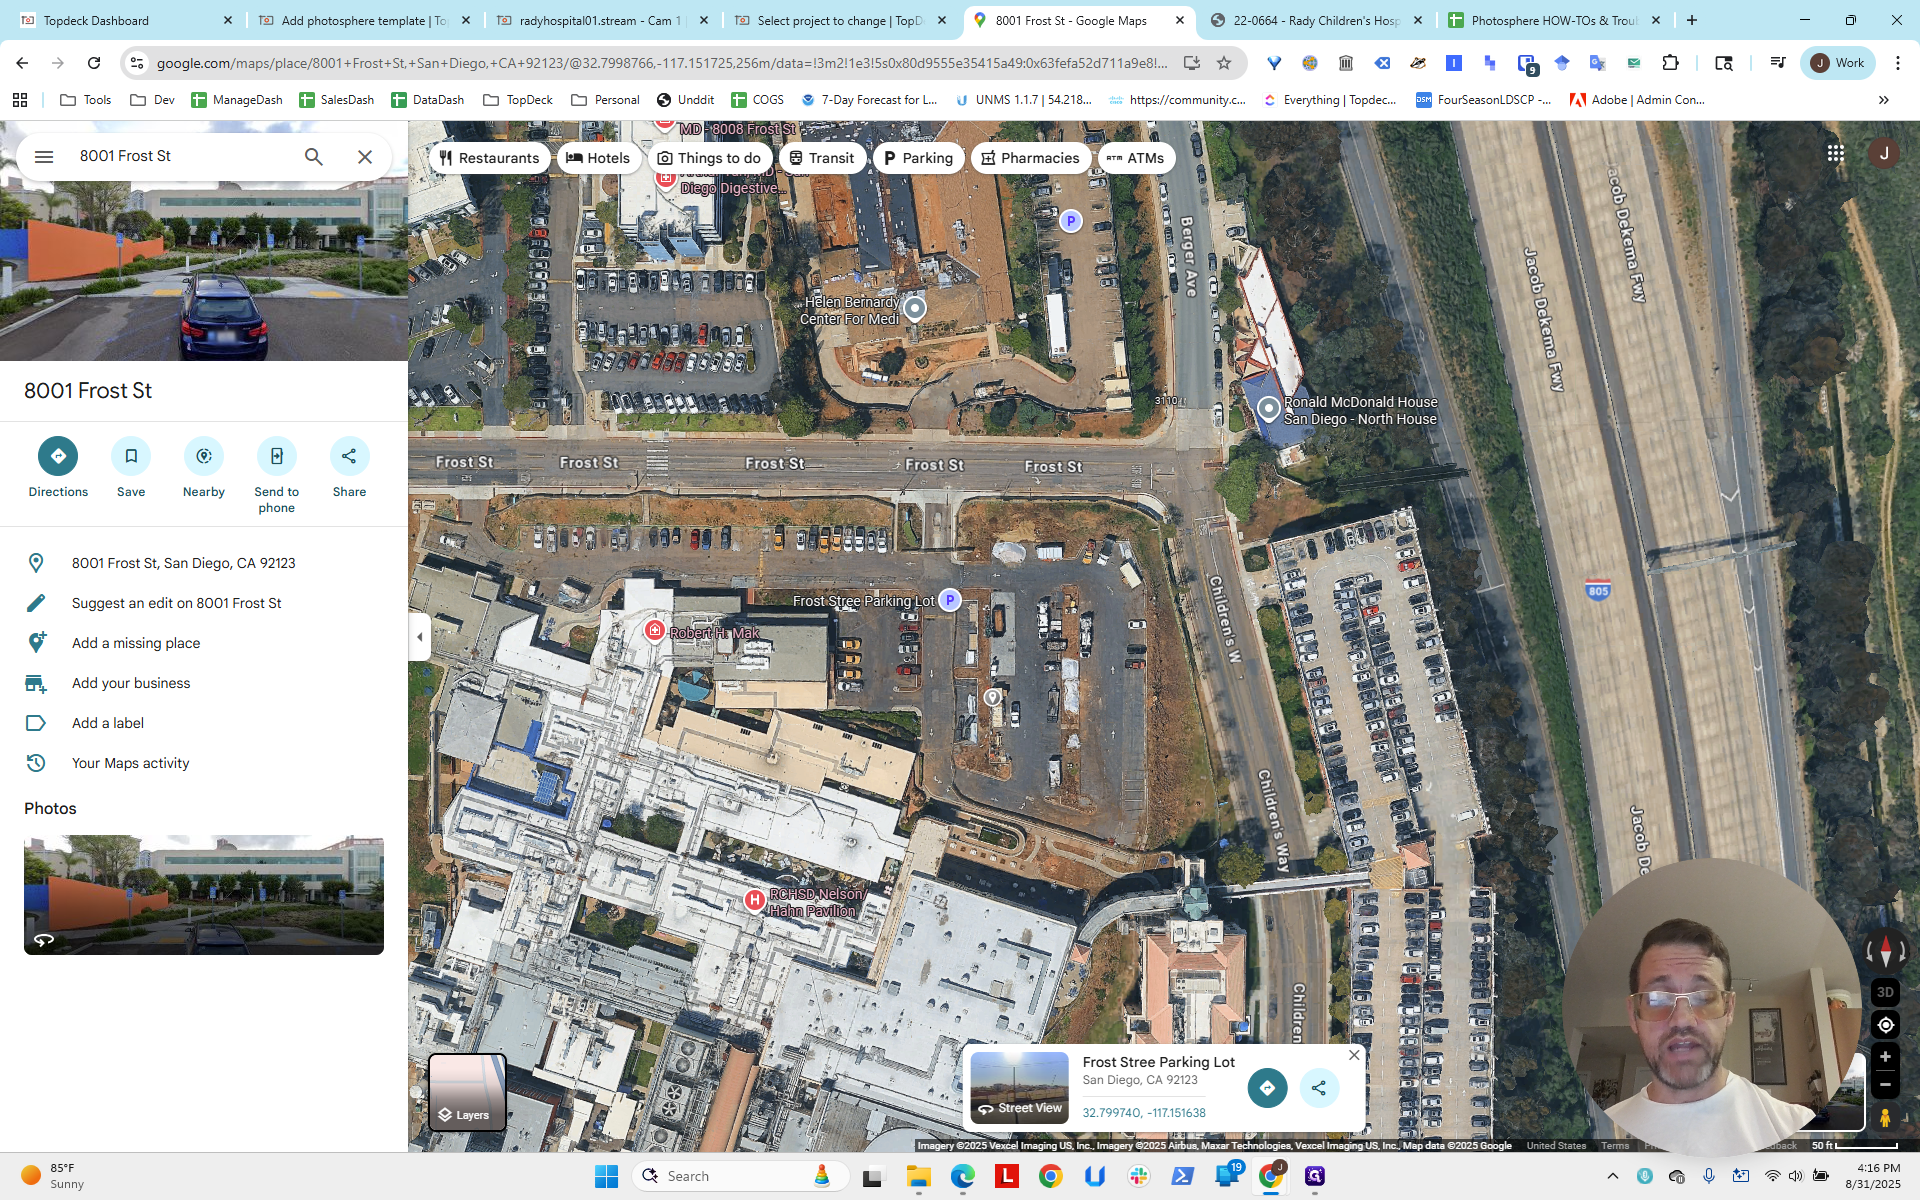
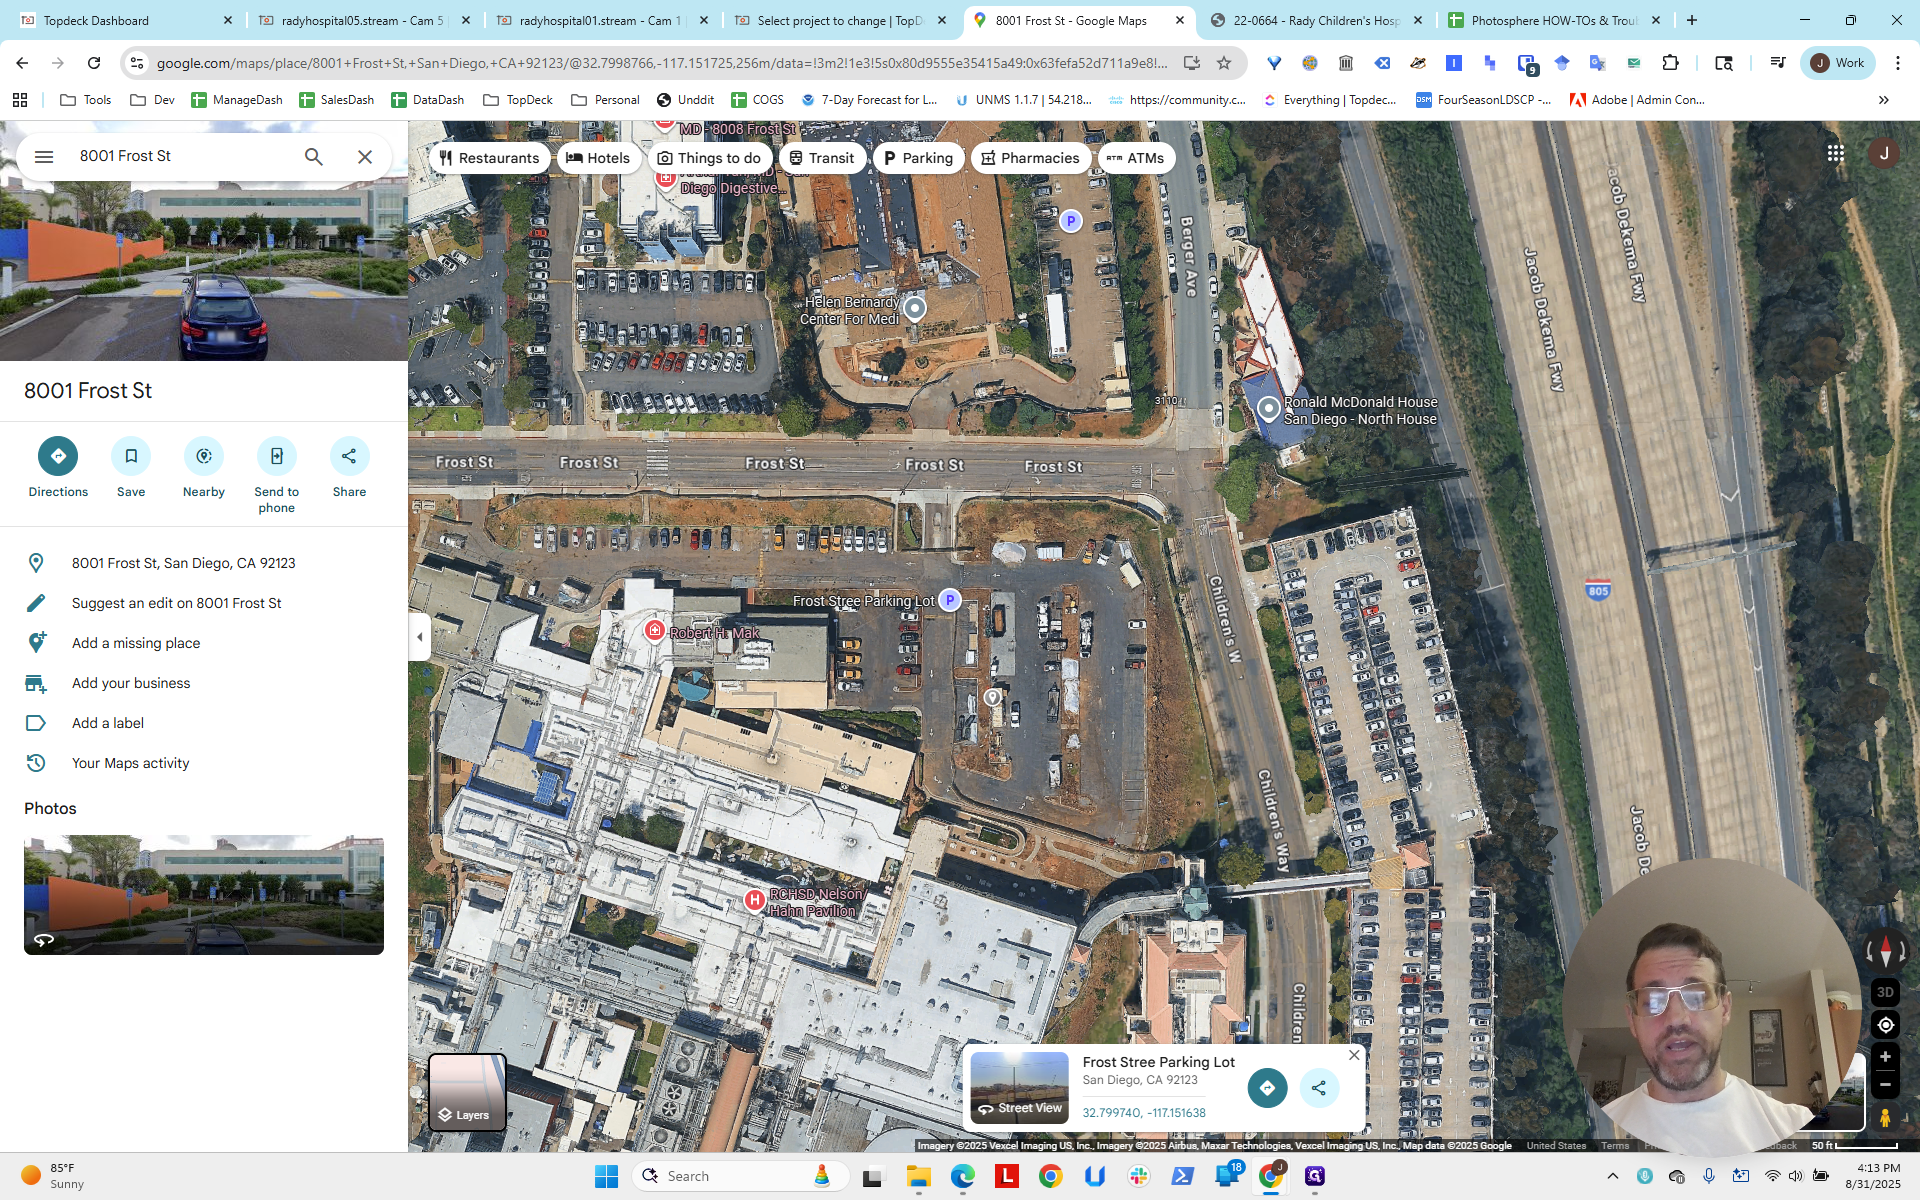
I already have the address. I entered it into Google Maps, which showed this area in San Diego.
This doesn't help us completely because the satellite image is outdated compared to the live view. It's a bit confusing. You can see that the project site is located in this area.
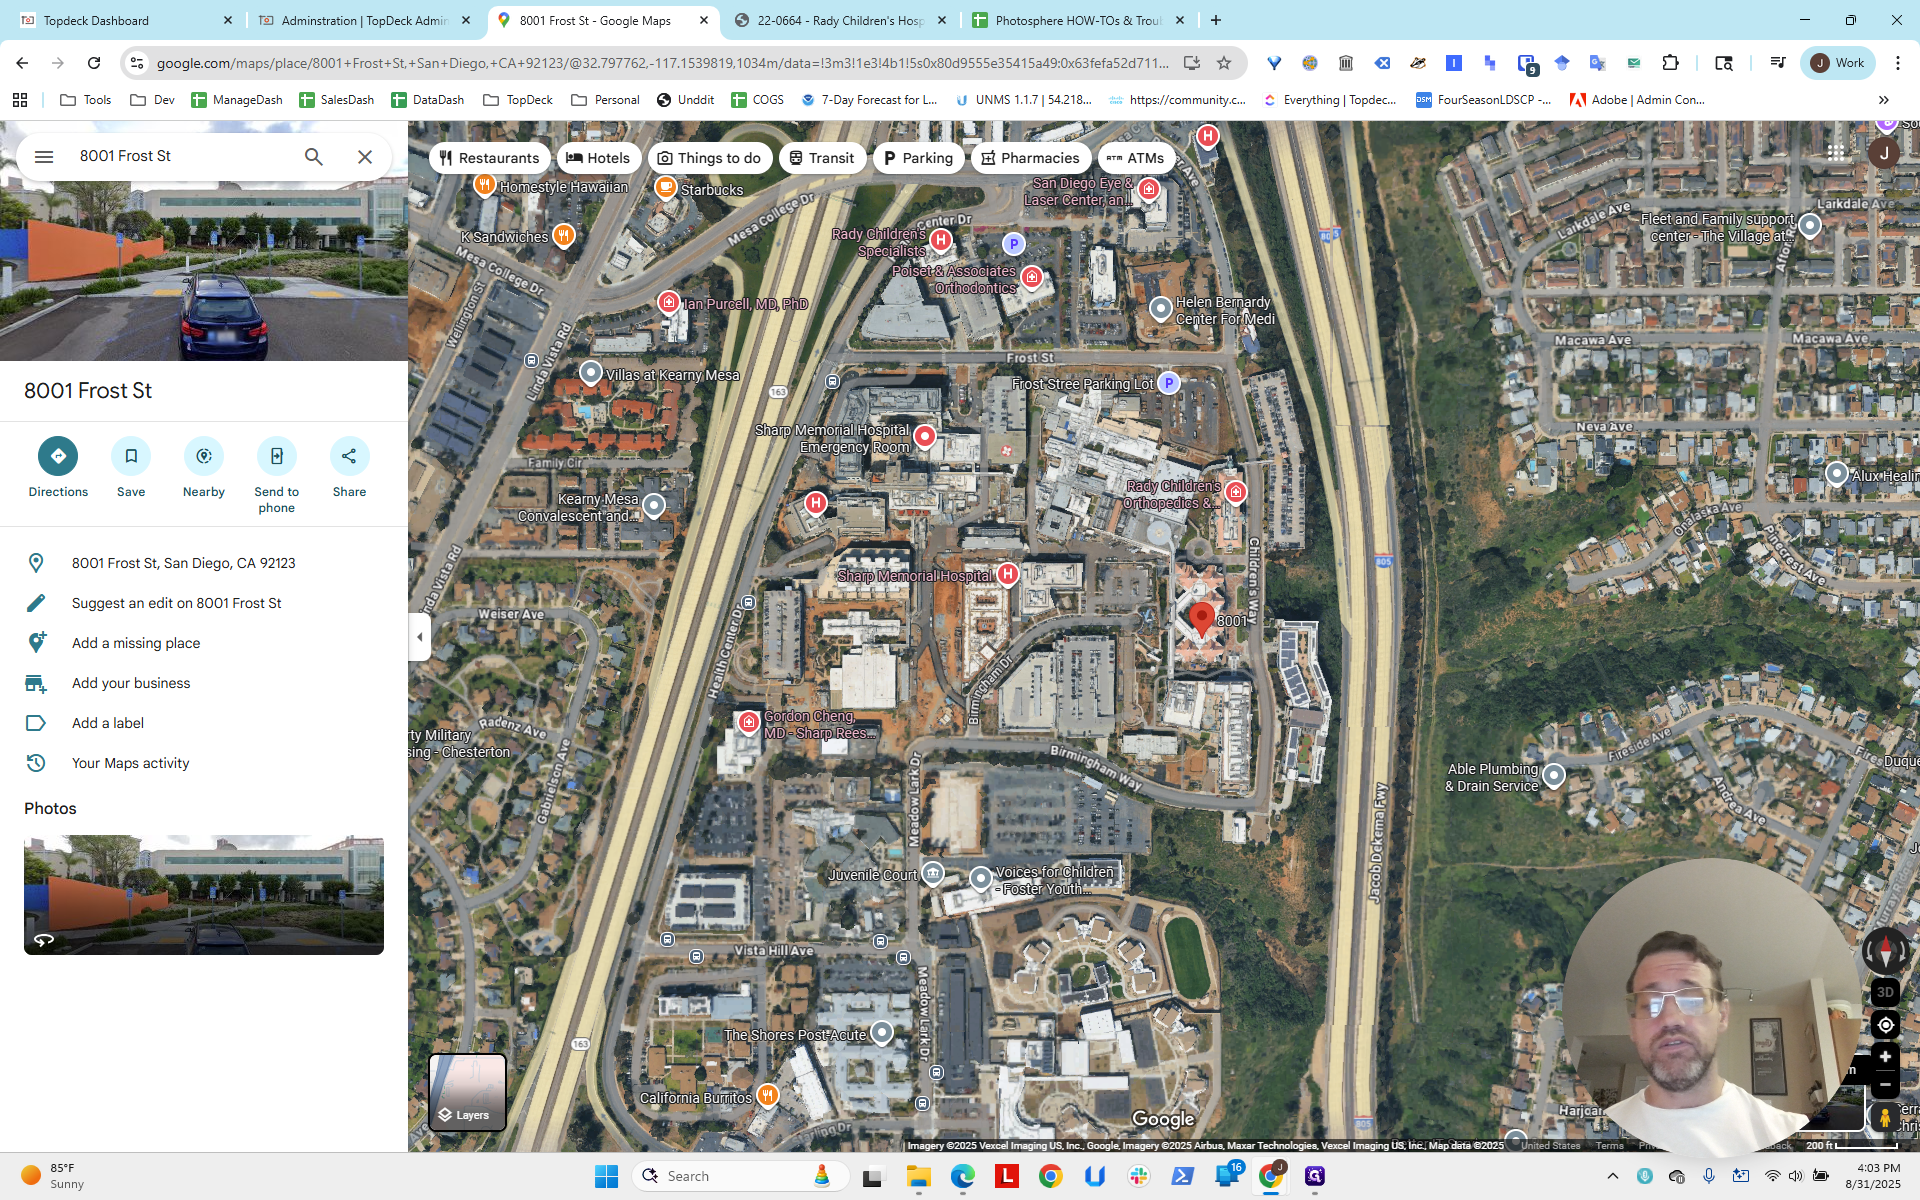
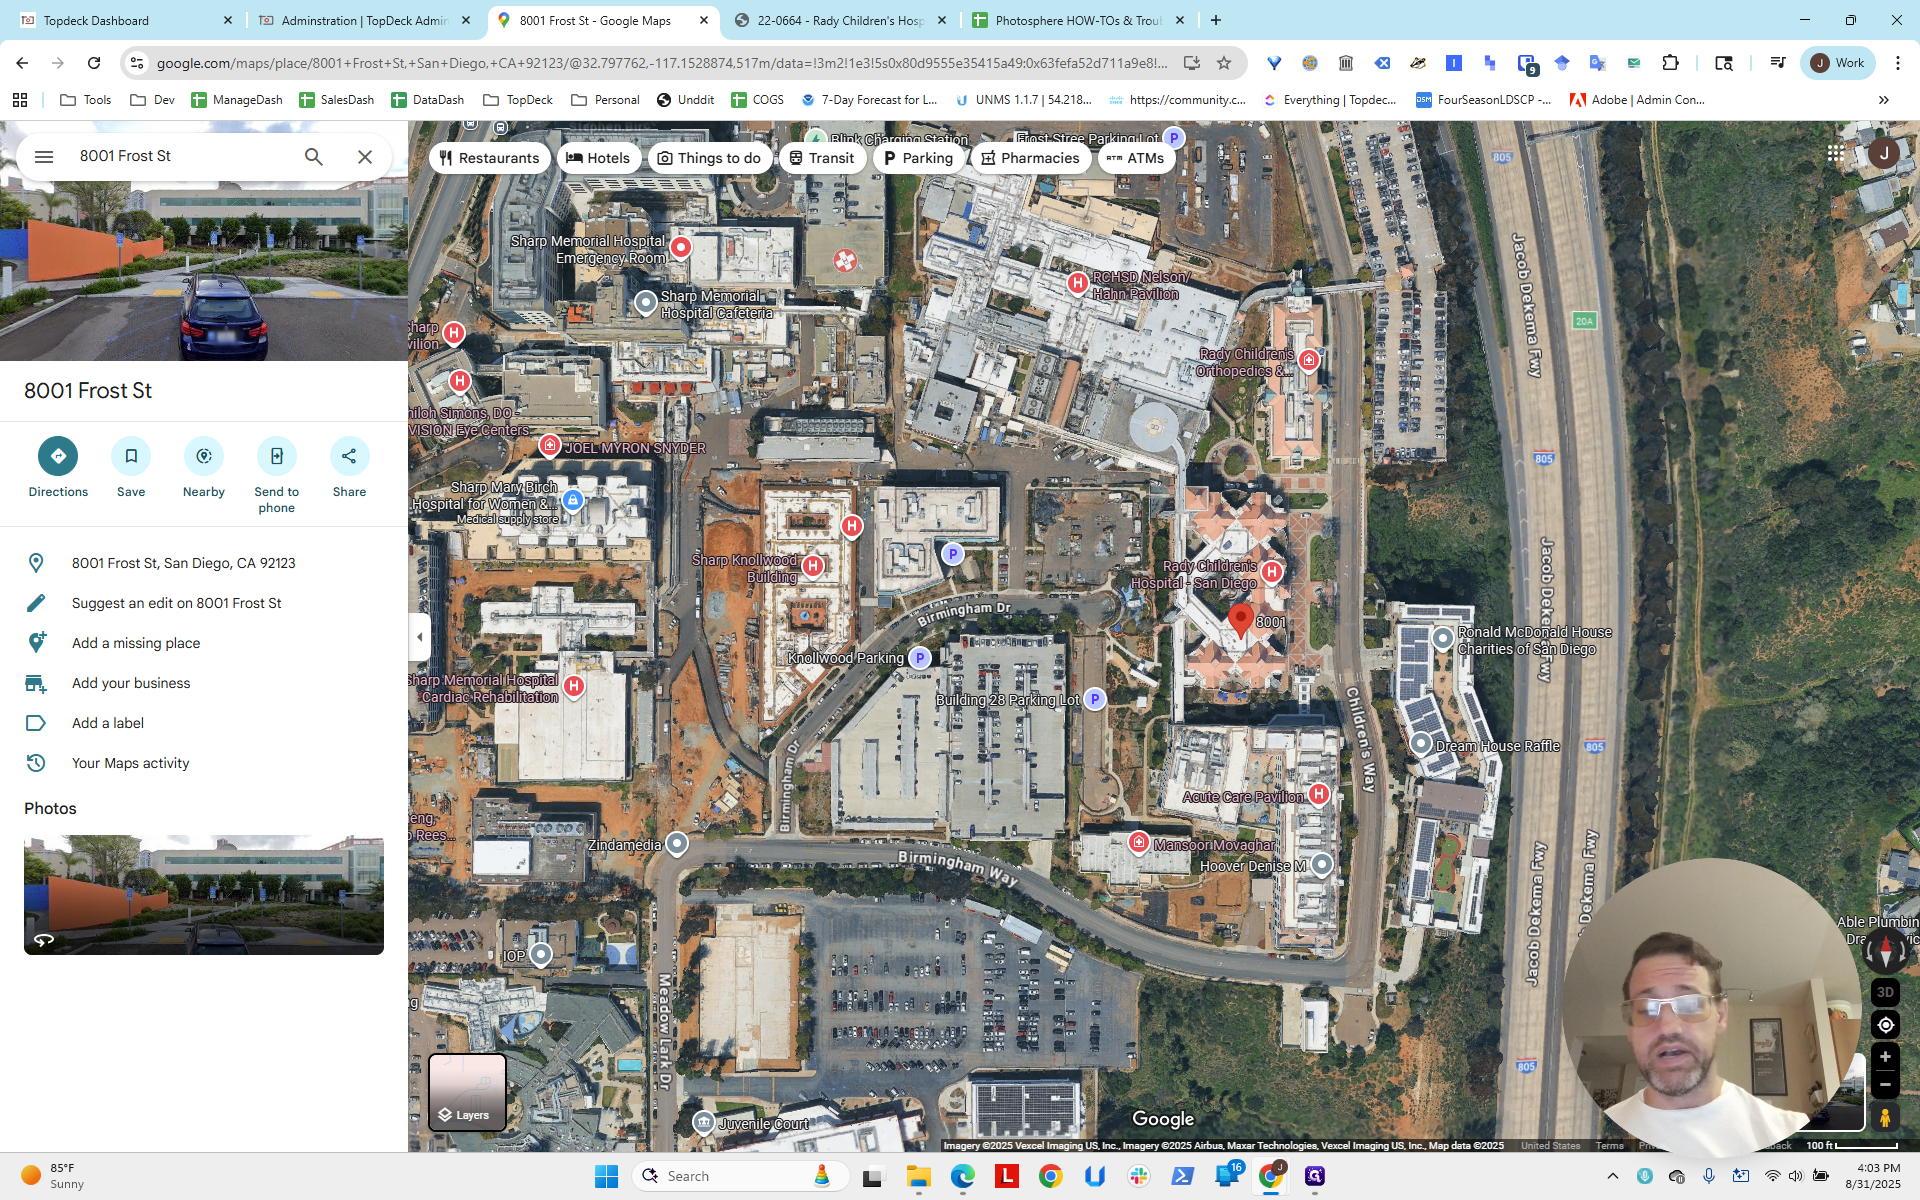

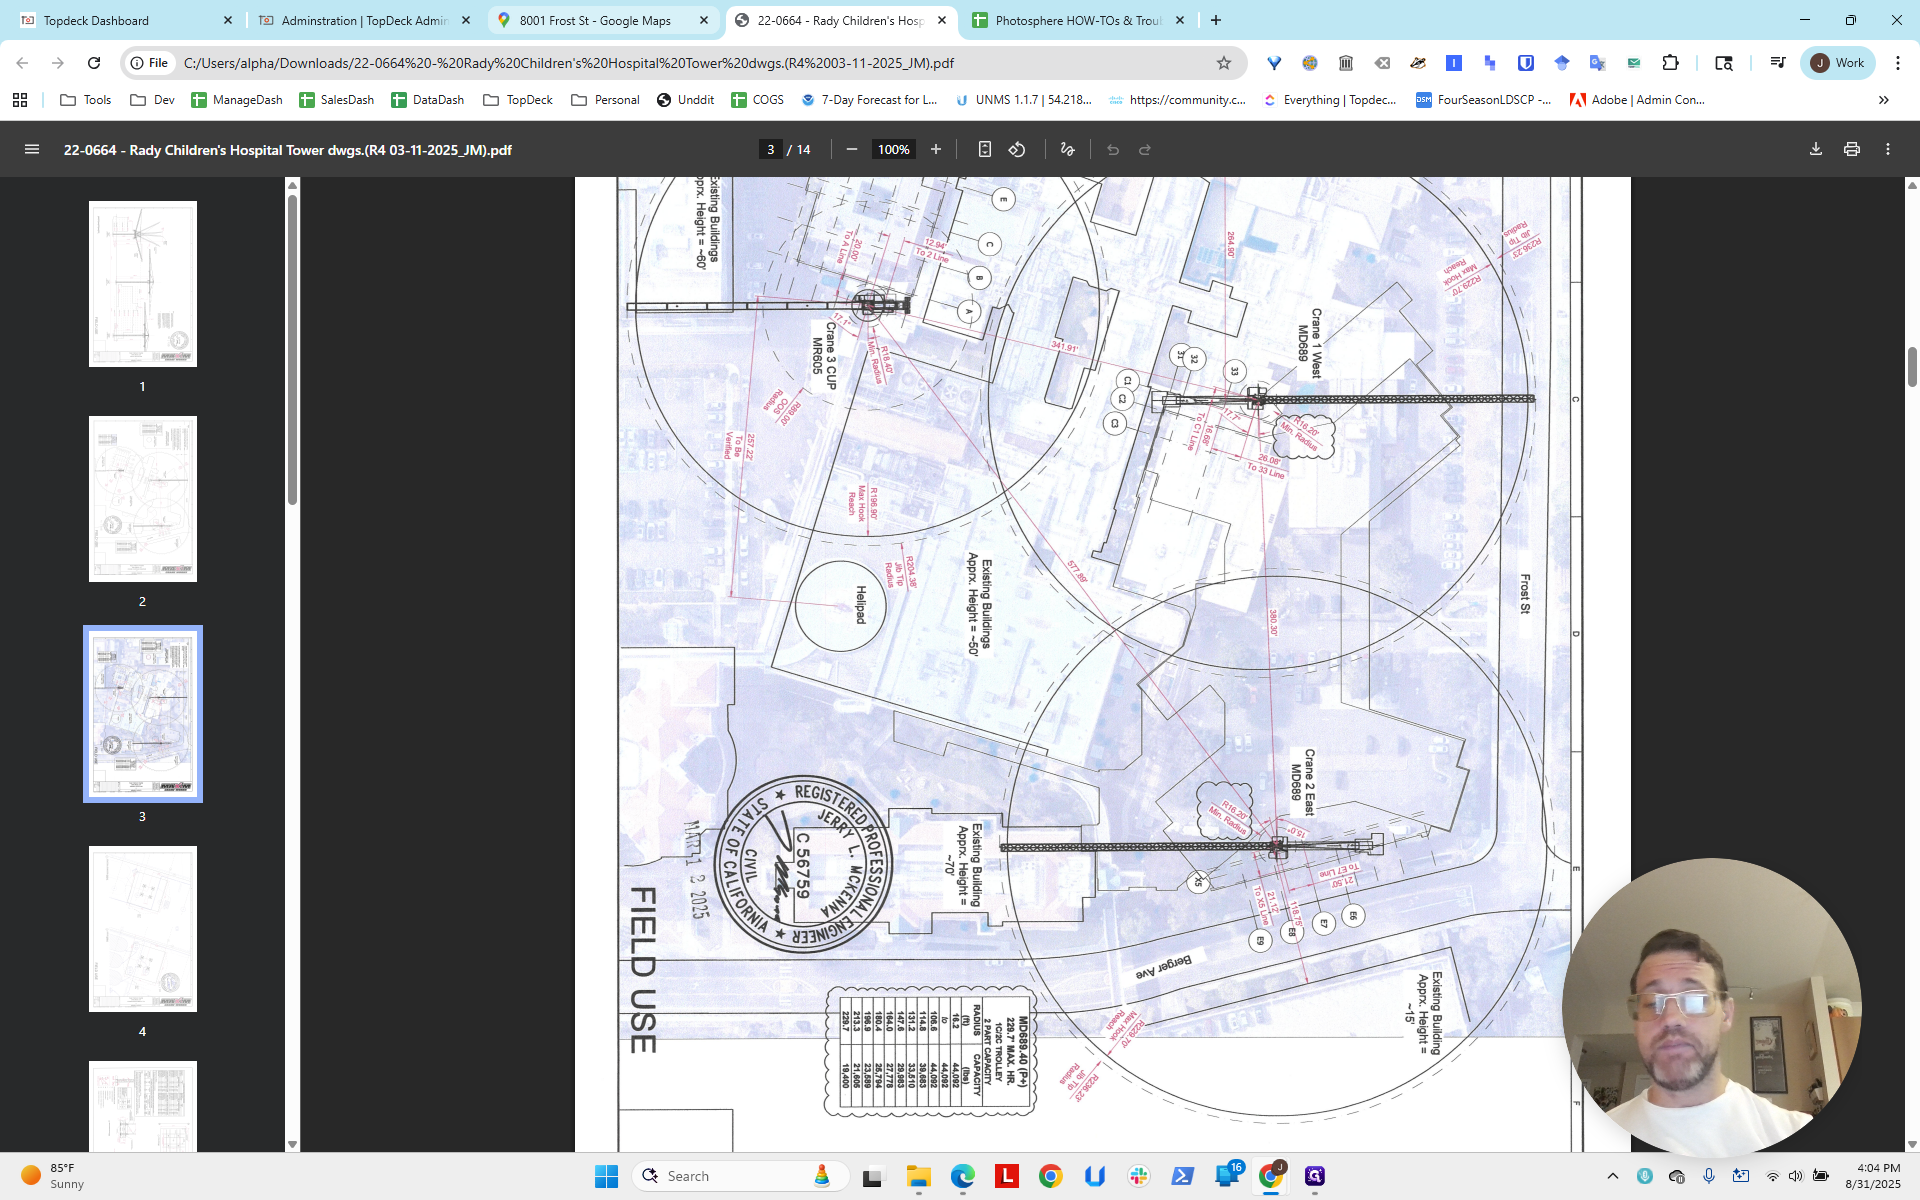
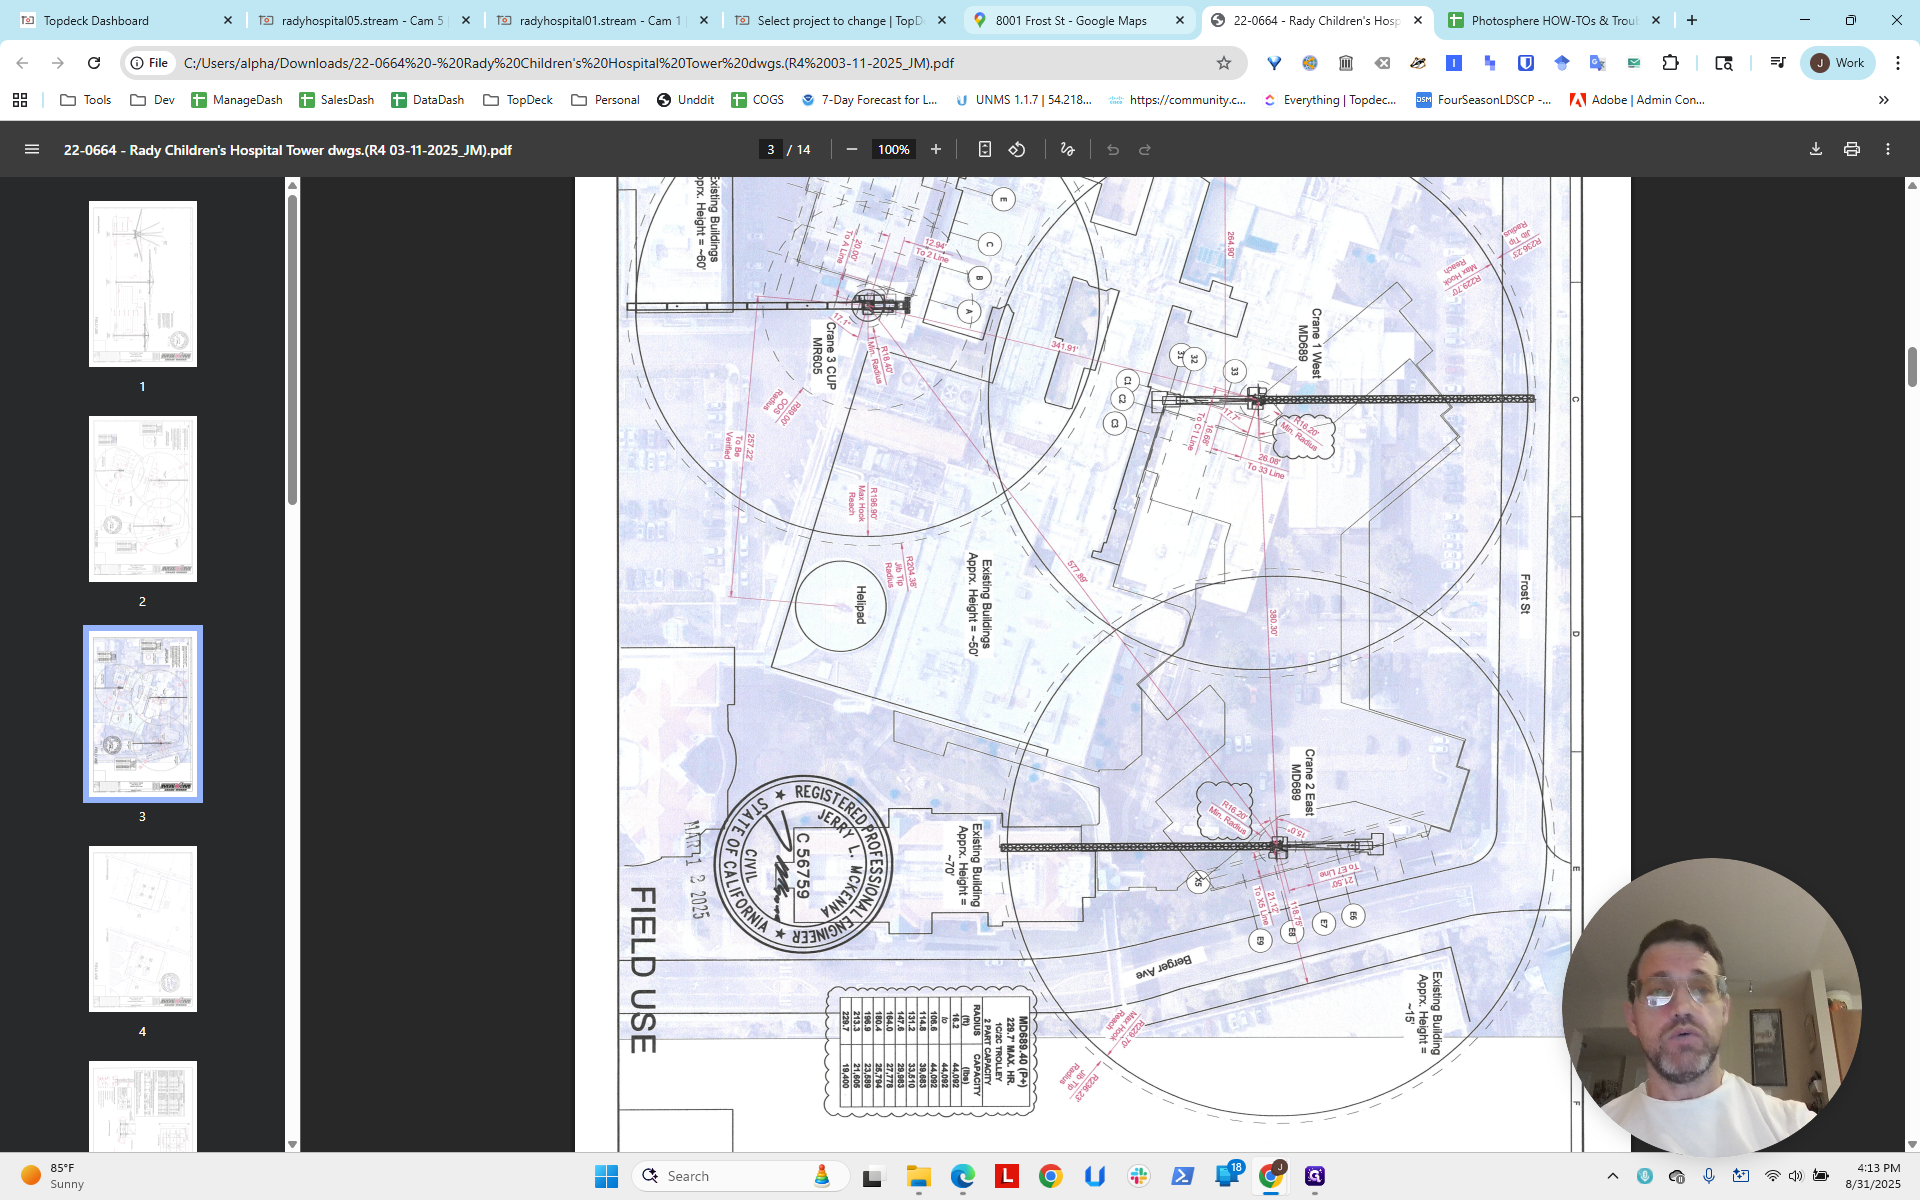
This is where reviewing the site plan can help.
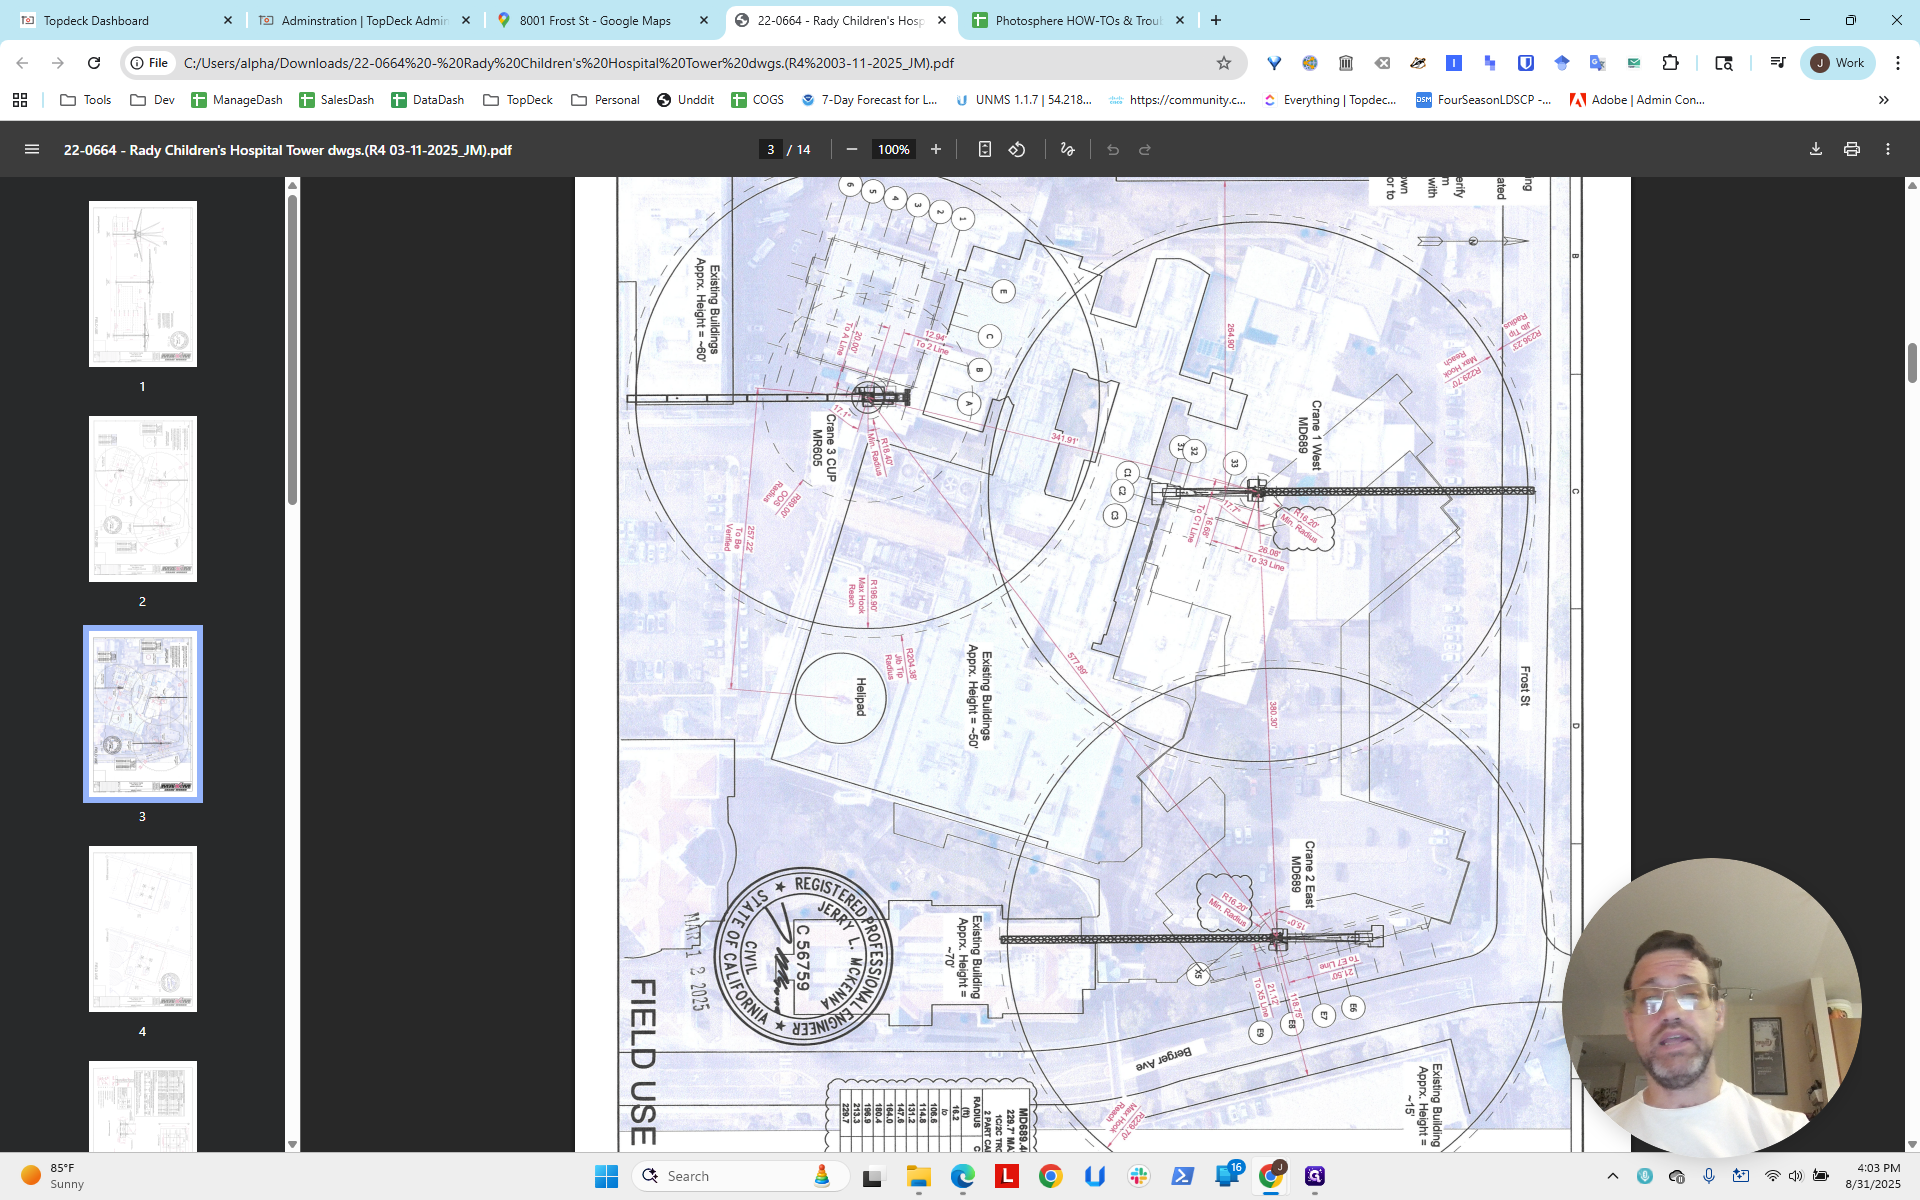
This is a planning document usually provided by the customer. It is often available in the Slack channel or from someone on the team. If you look at the site, you can see a layout of three cranes. You can also see areas that help identify the location.

This shows Frost Street on the right and Berger Avenue below.


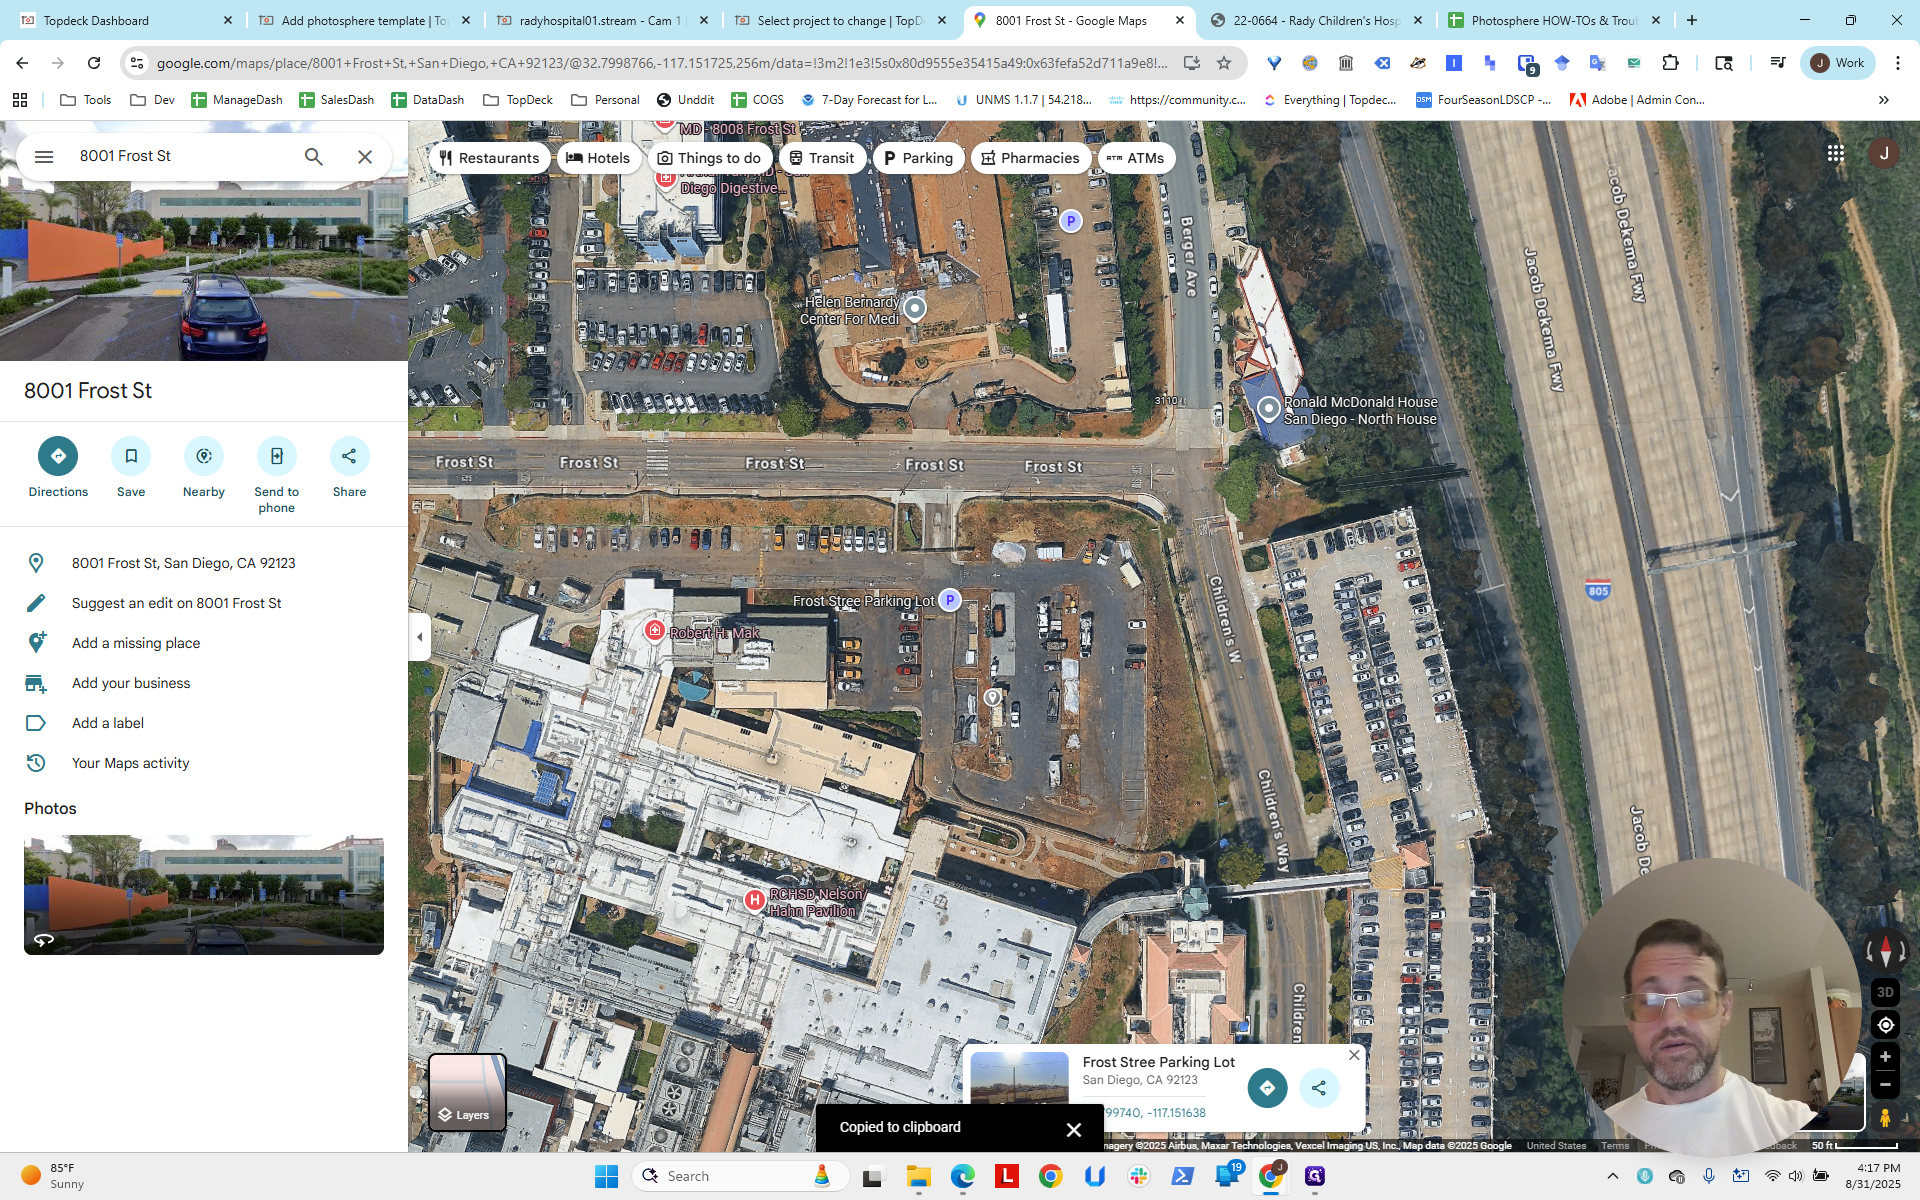
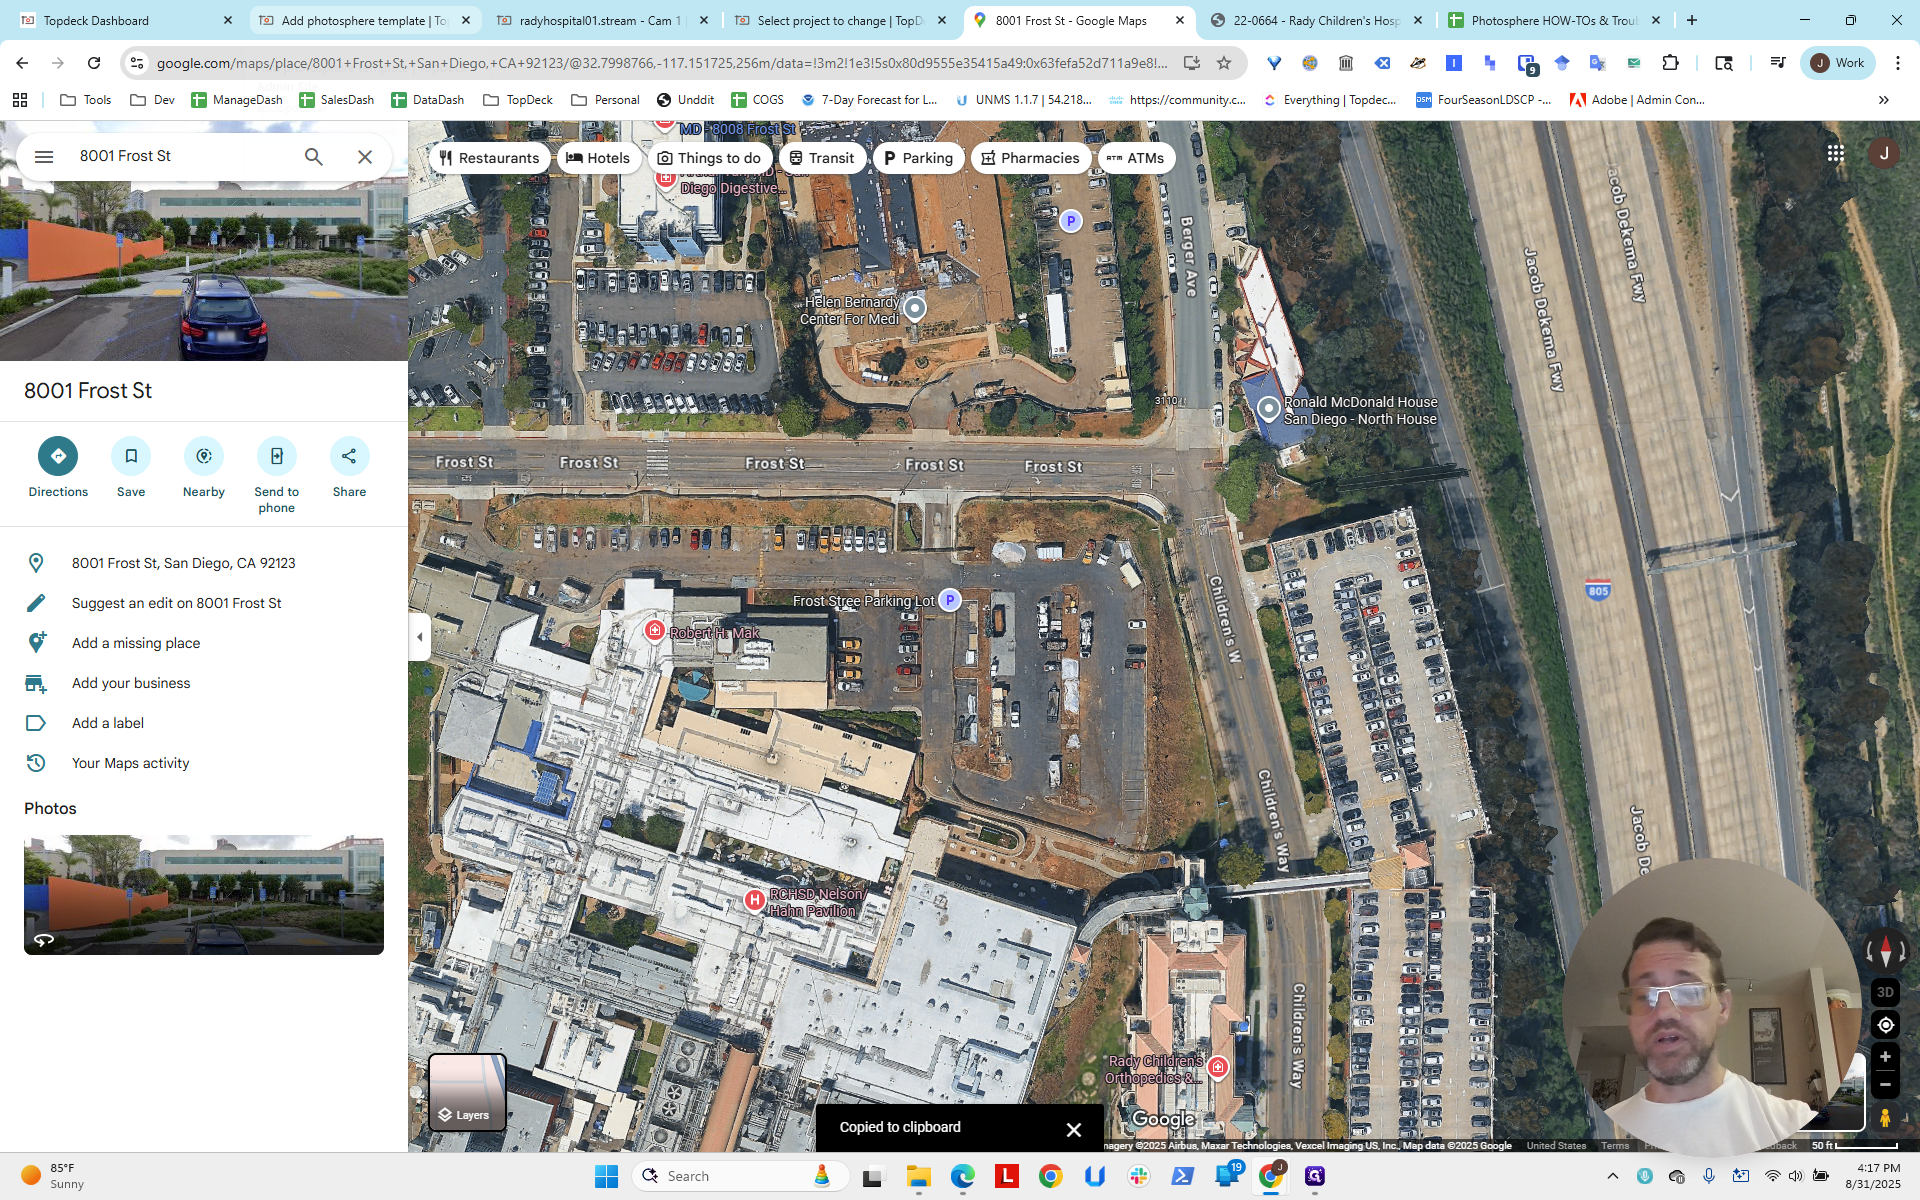
If we return to Maps, we can see Frost Street here, and Berger is right here.
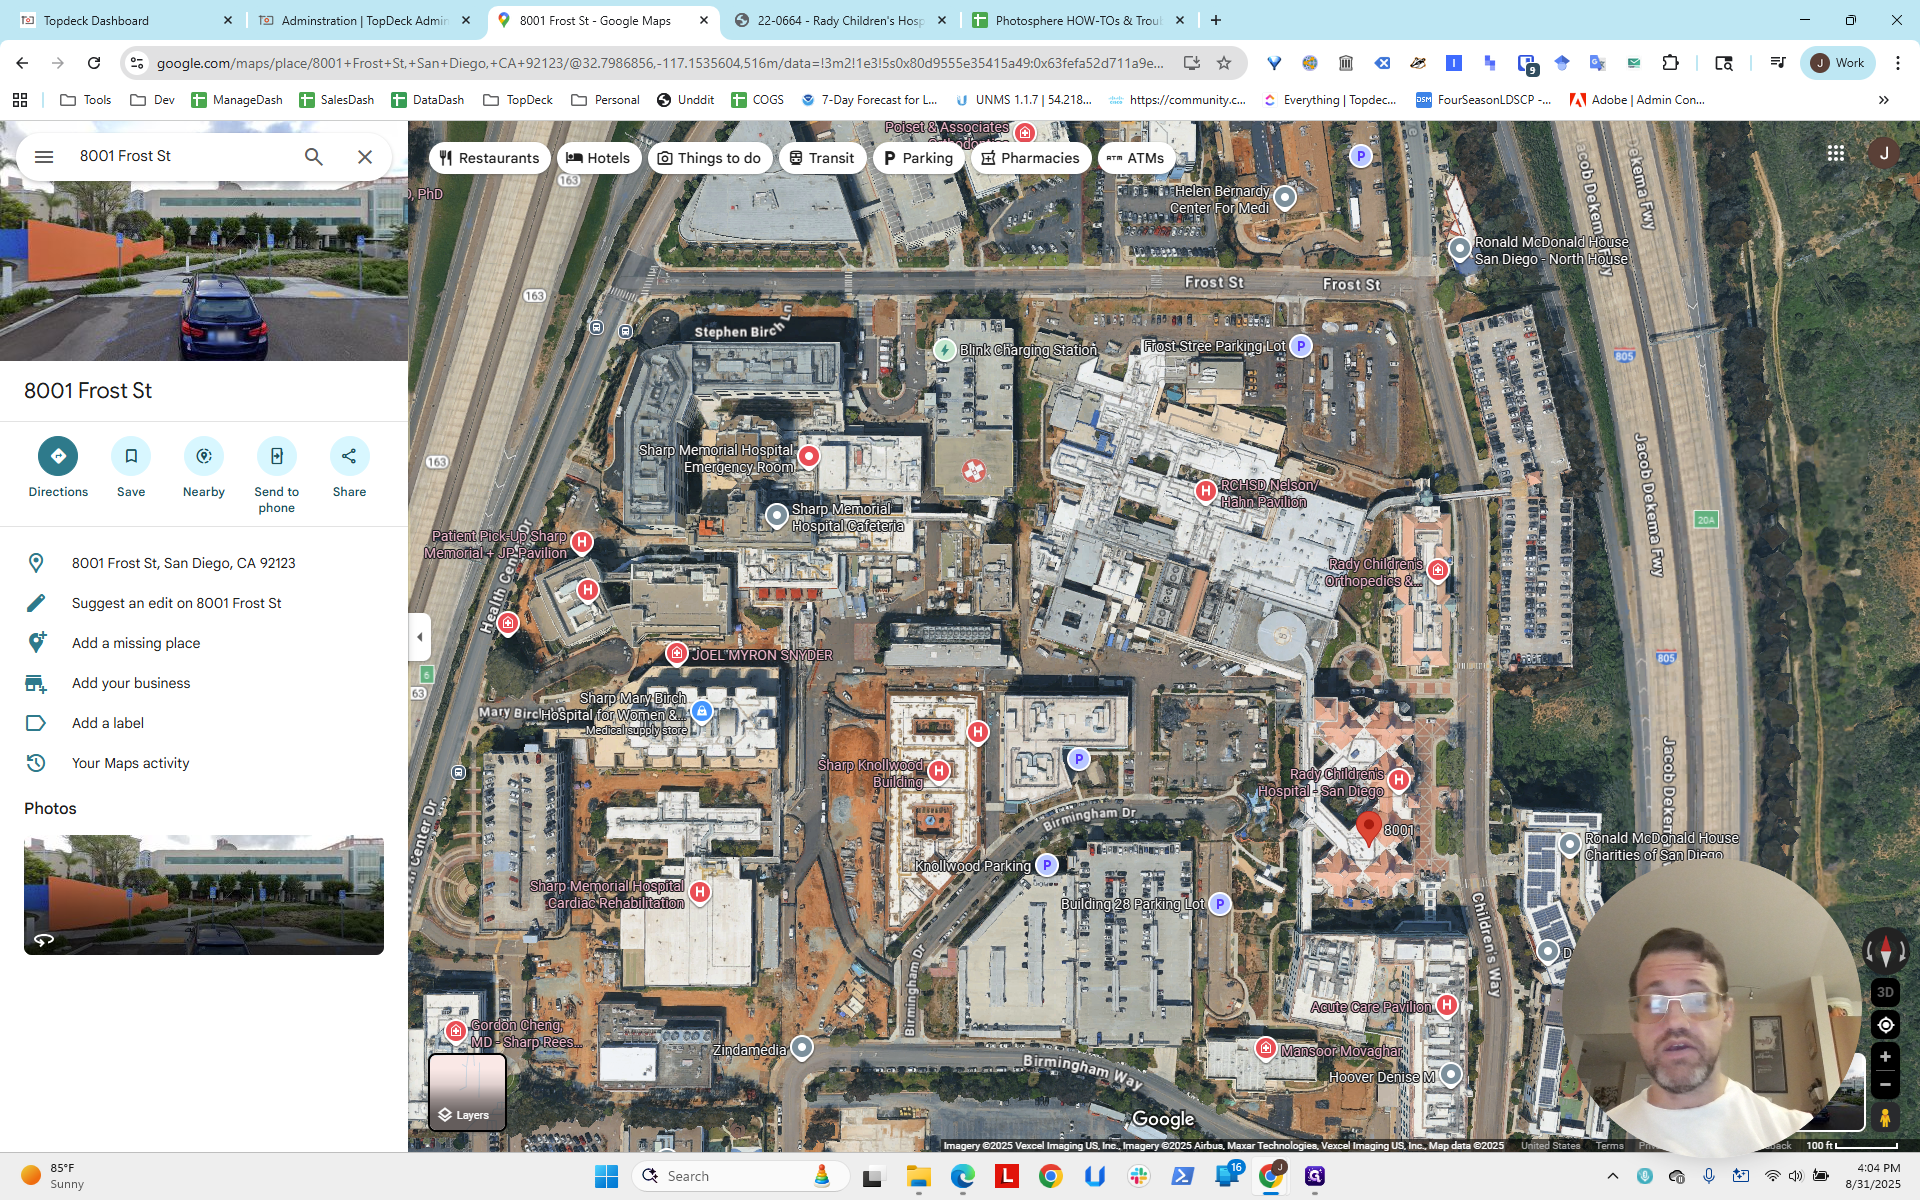

This intersection in the site plan shows that the central area, where the Frost Street parking lot is or was, is now the construction site.
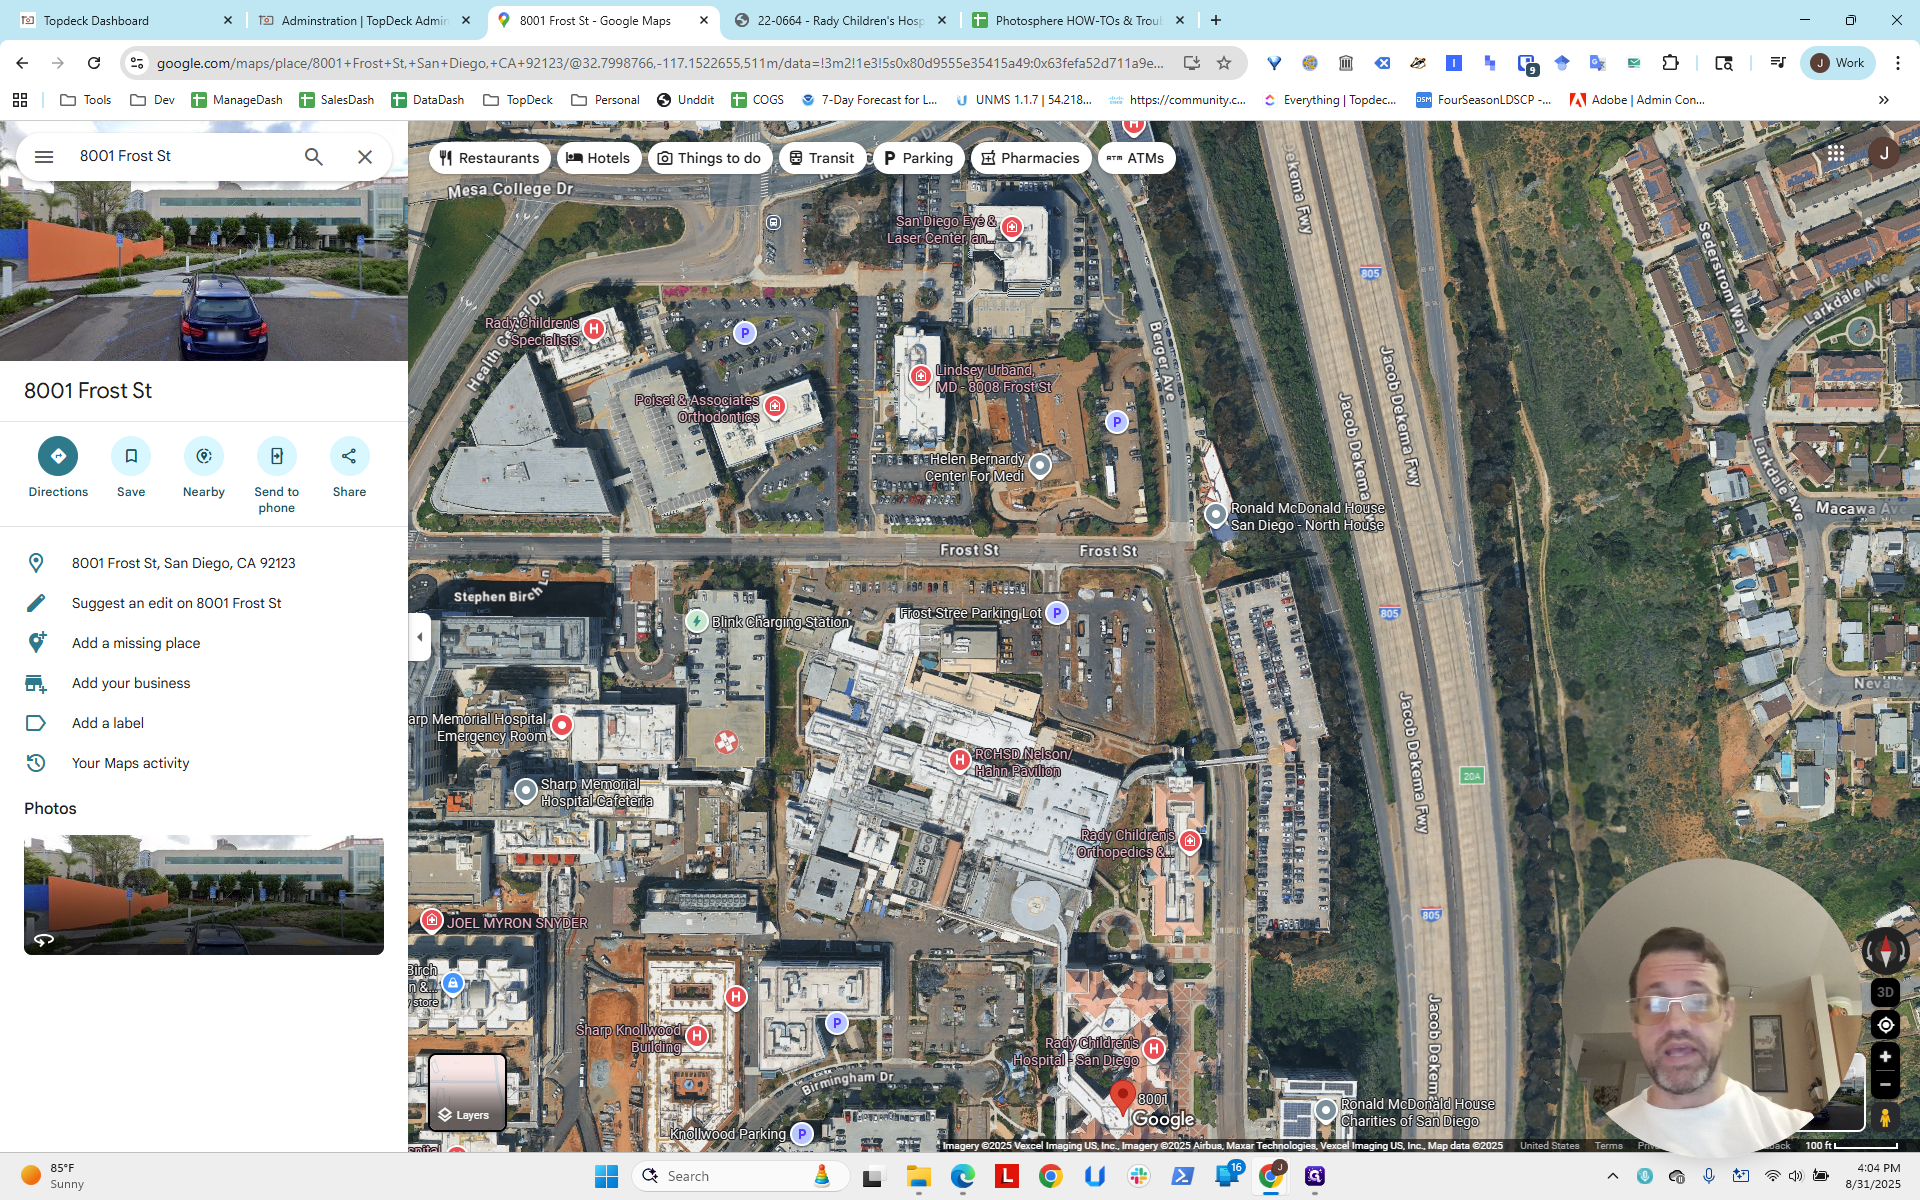
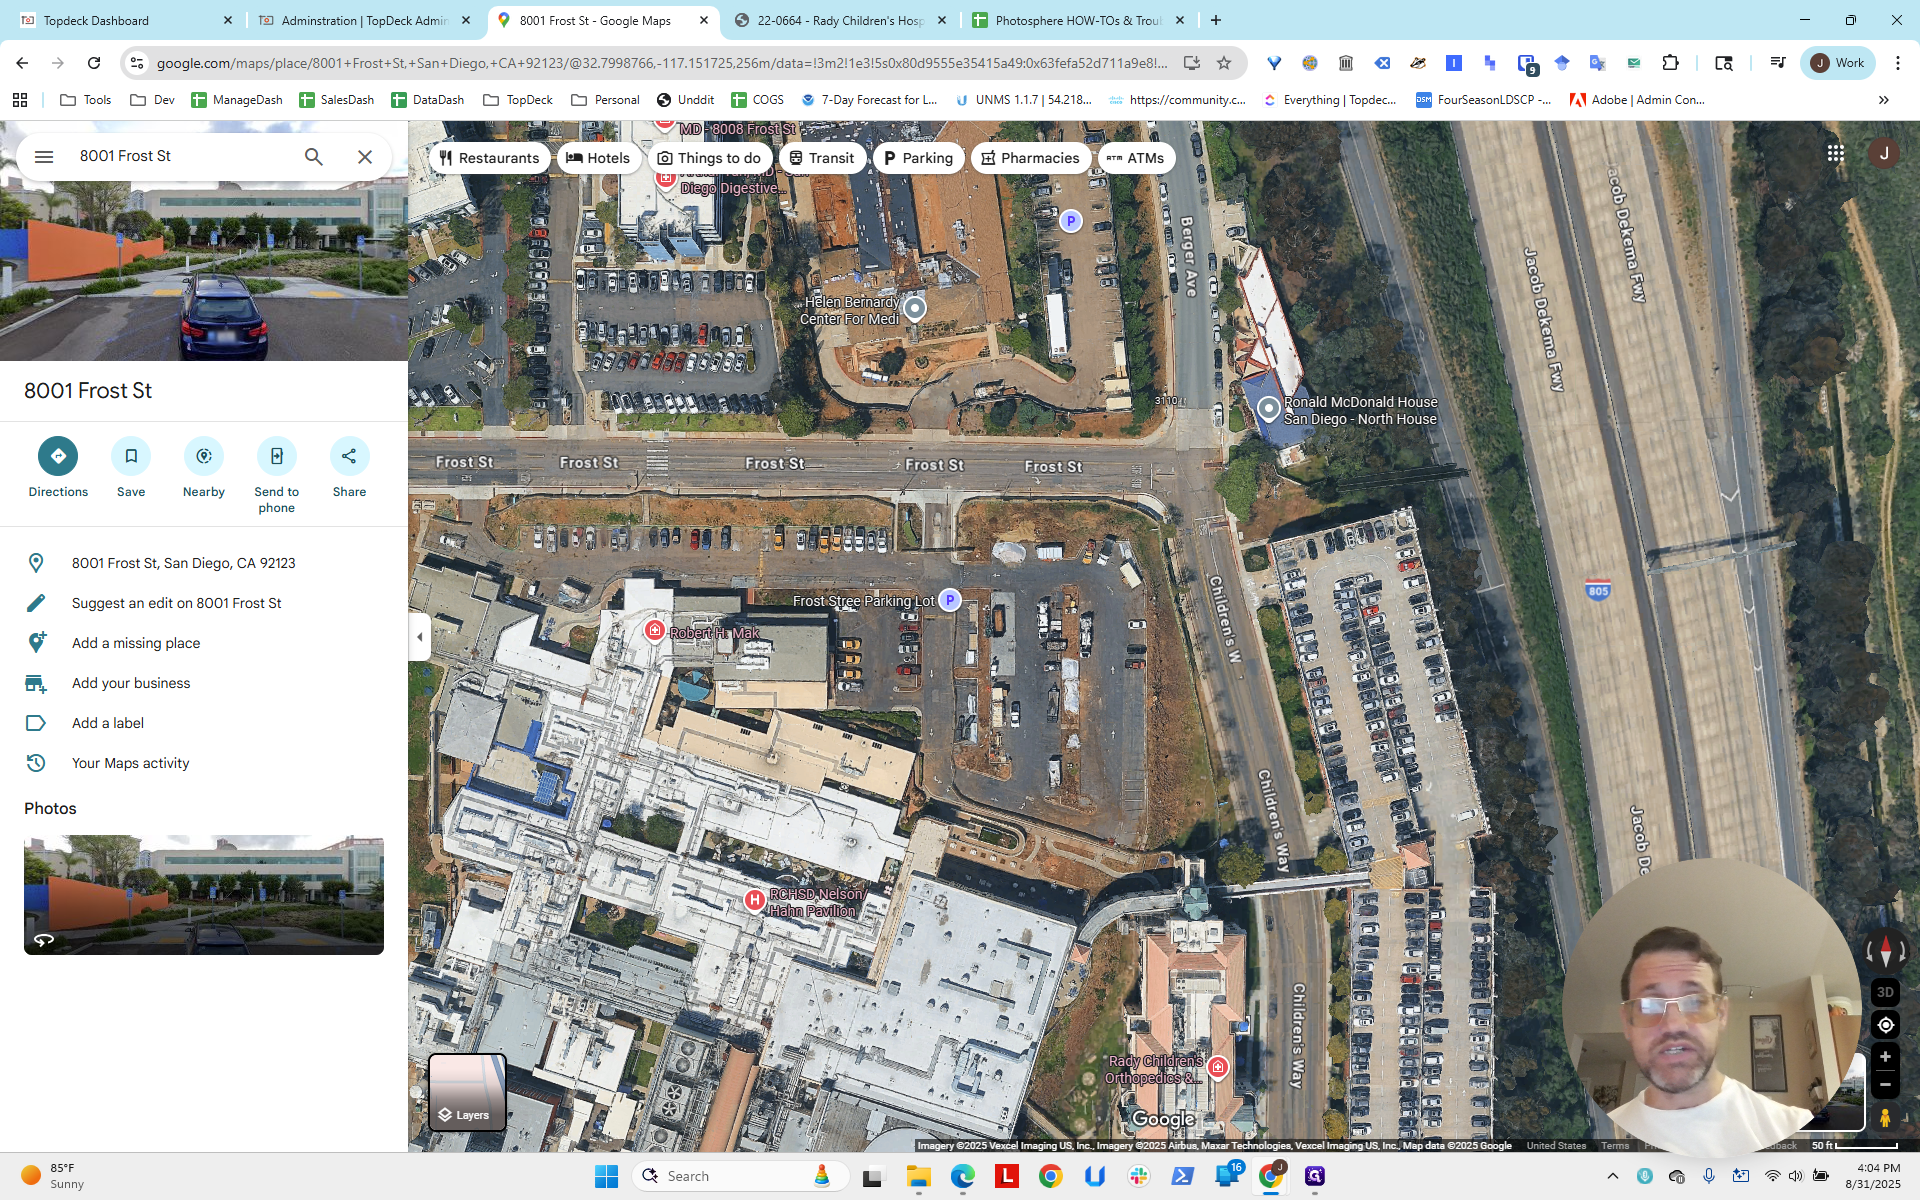
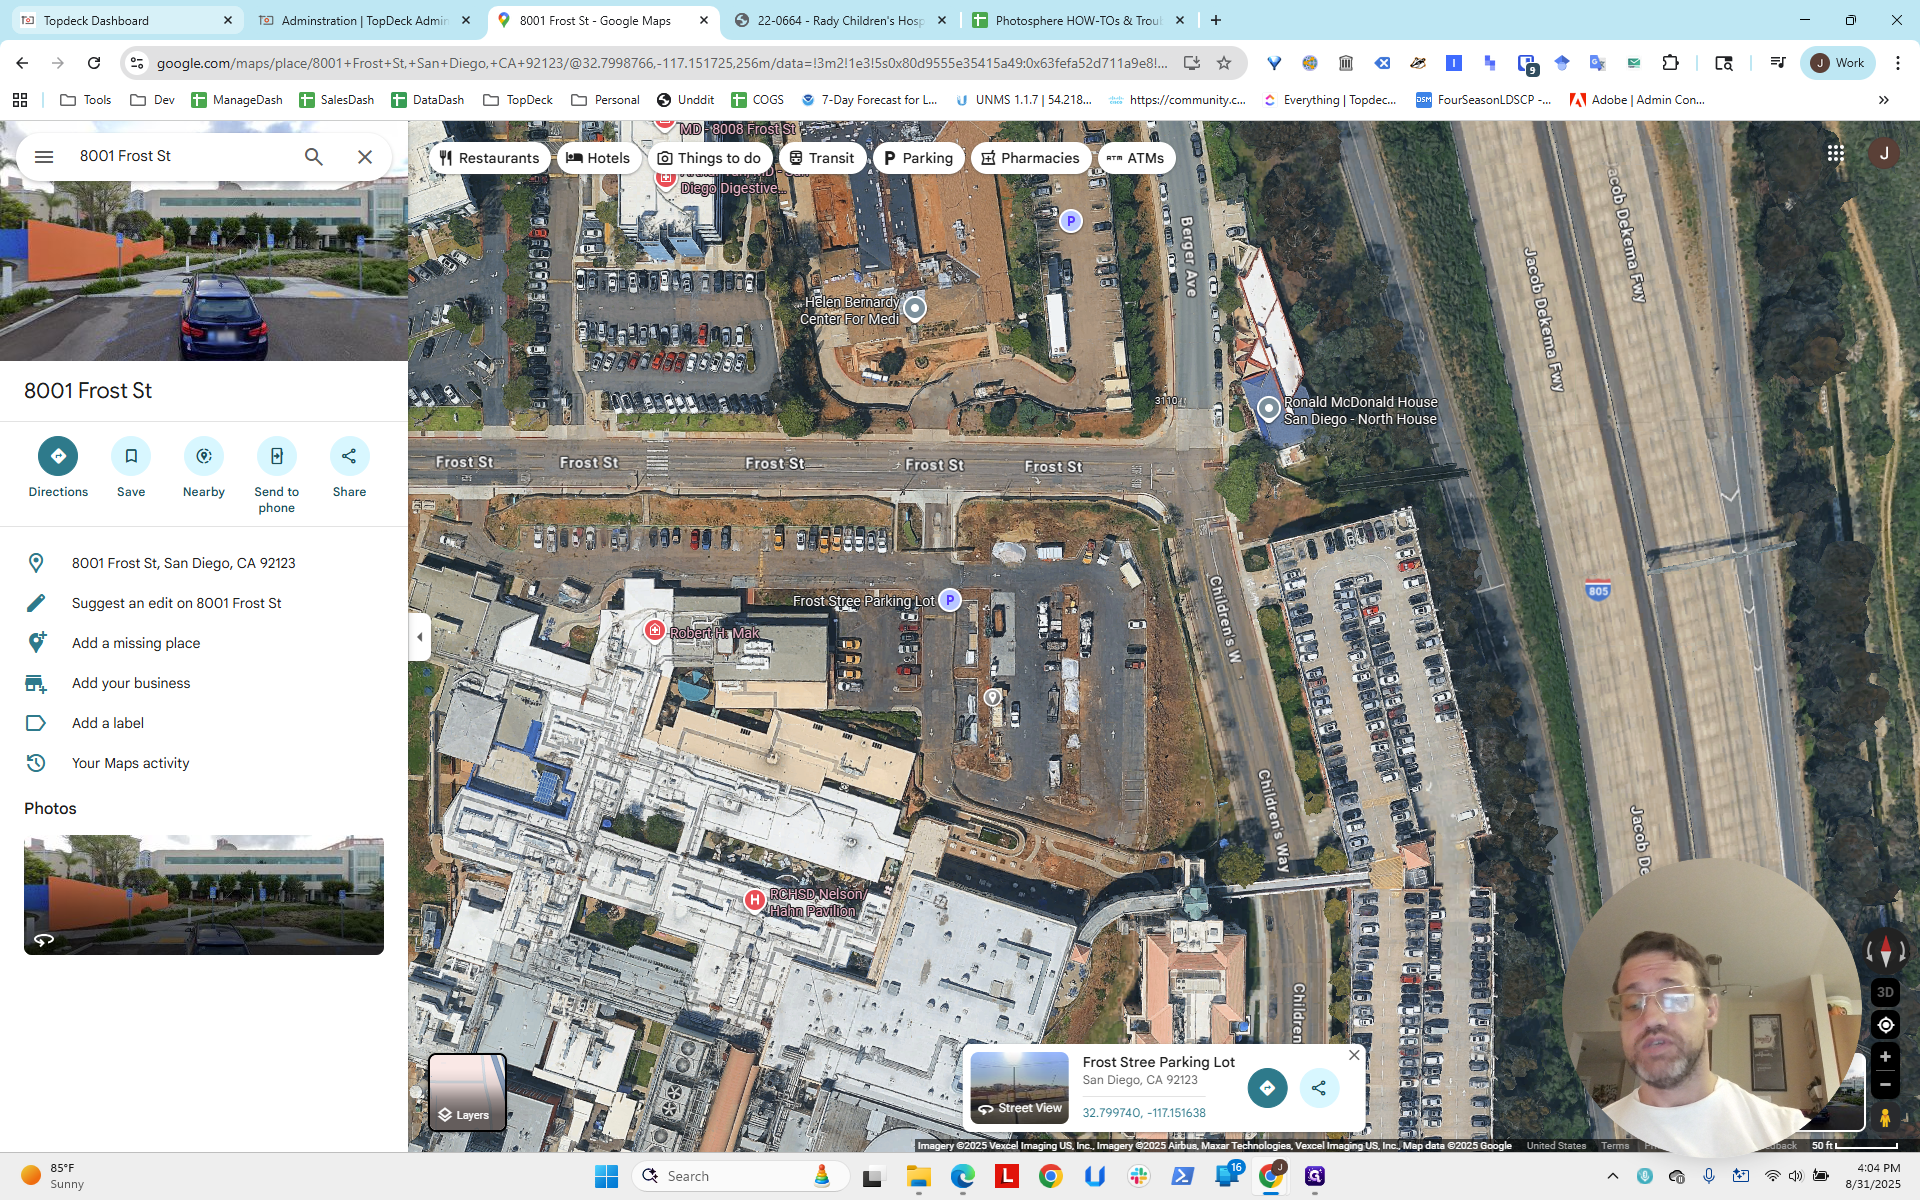
You can look at the map or live view and see the intersection or corner.


Now, consider which camera to use on each crane. There are two cranes: one in the northeast and one in the north, with another in the south.


We will create two photosphere templates: crane北 and craneNE. Then, we will select the best cameras.

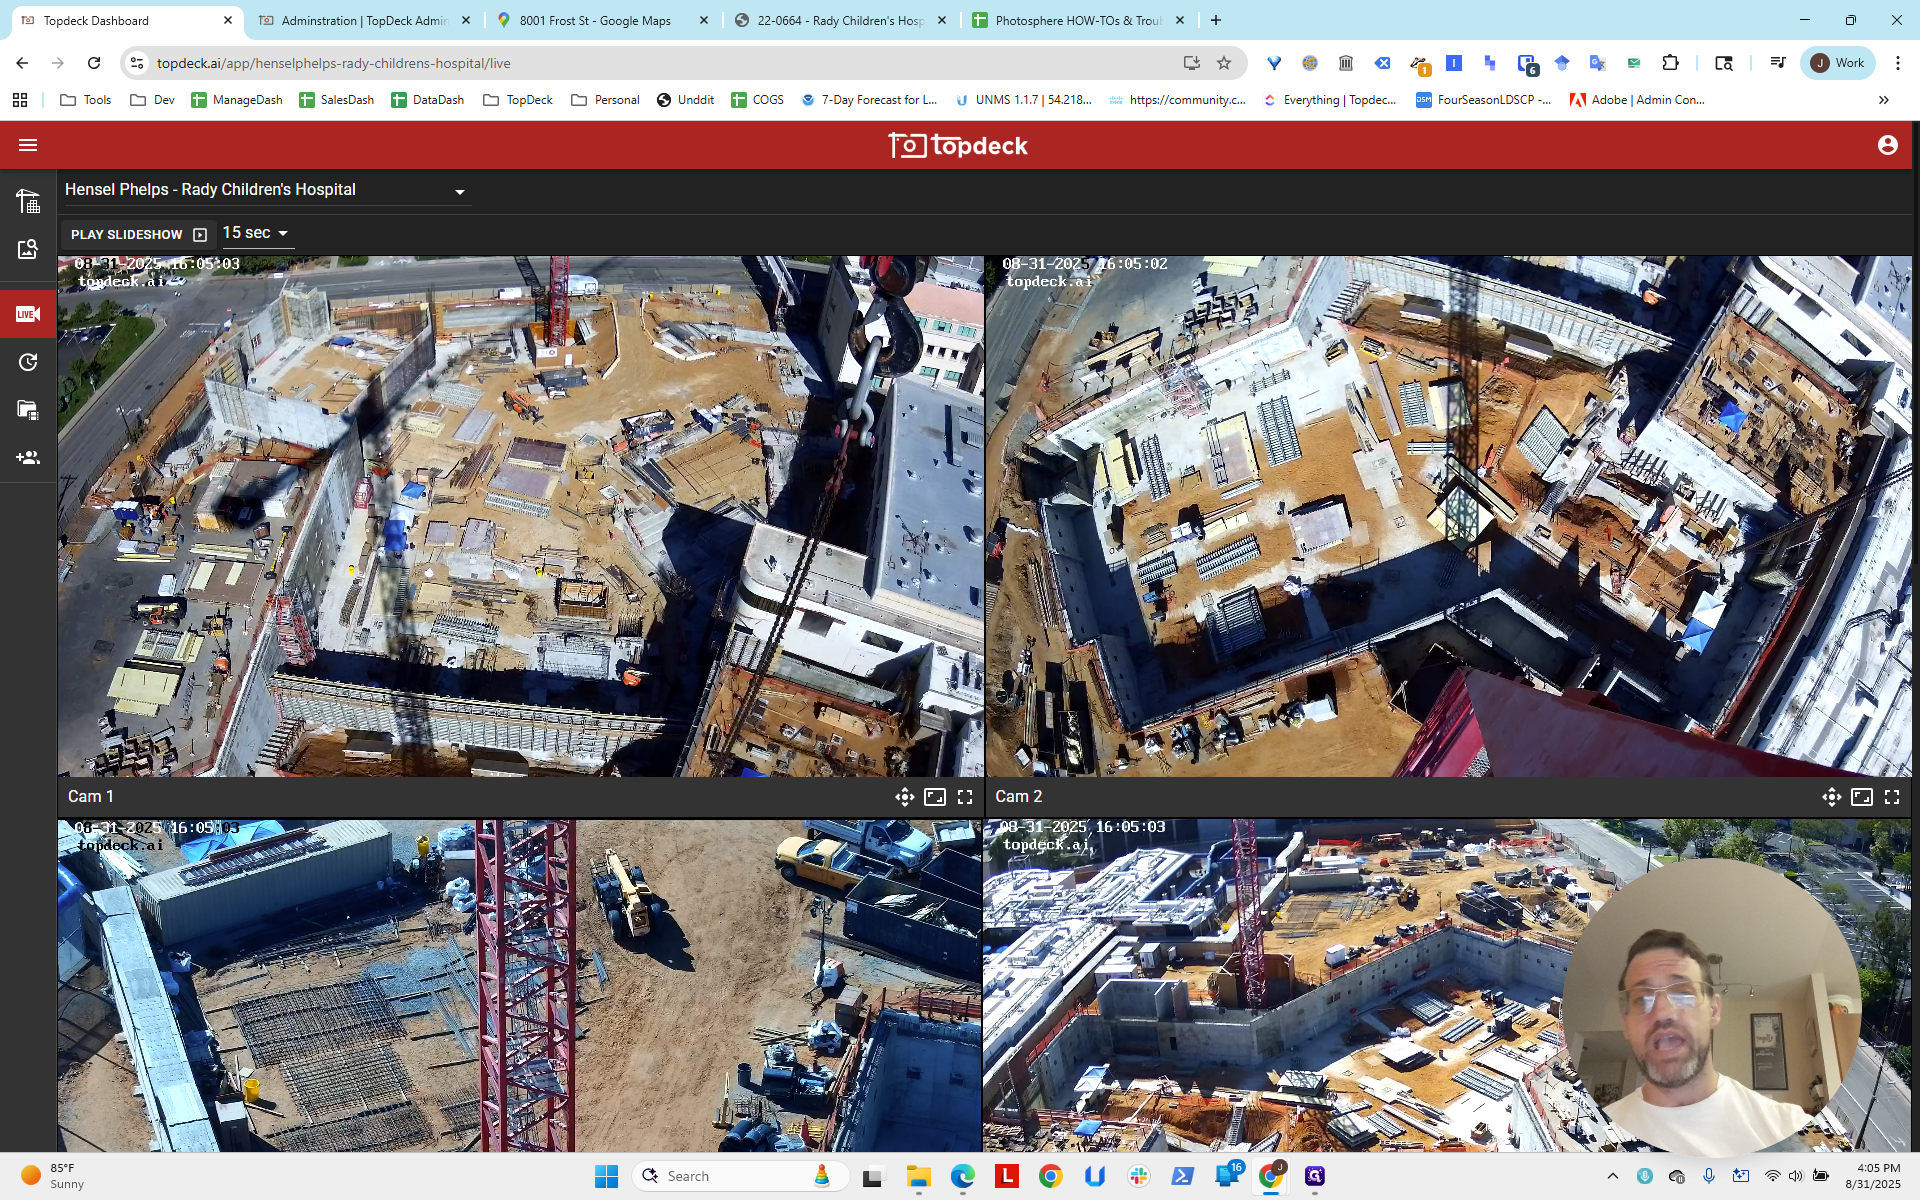
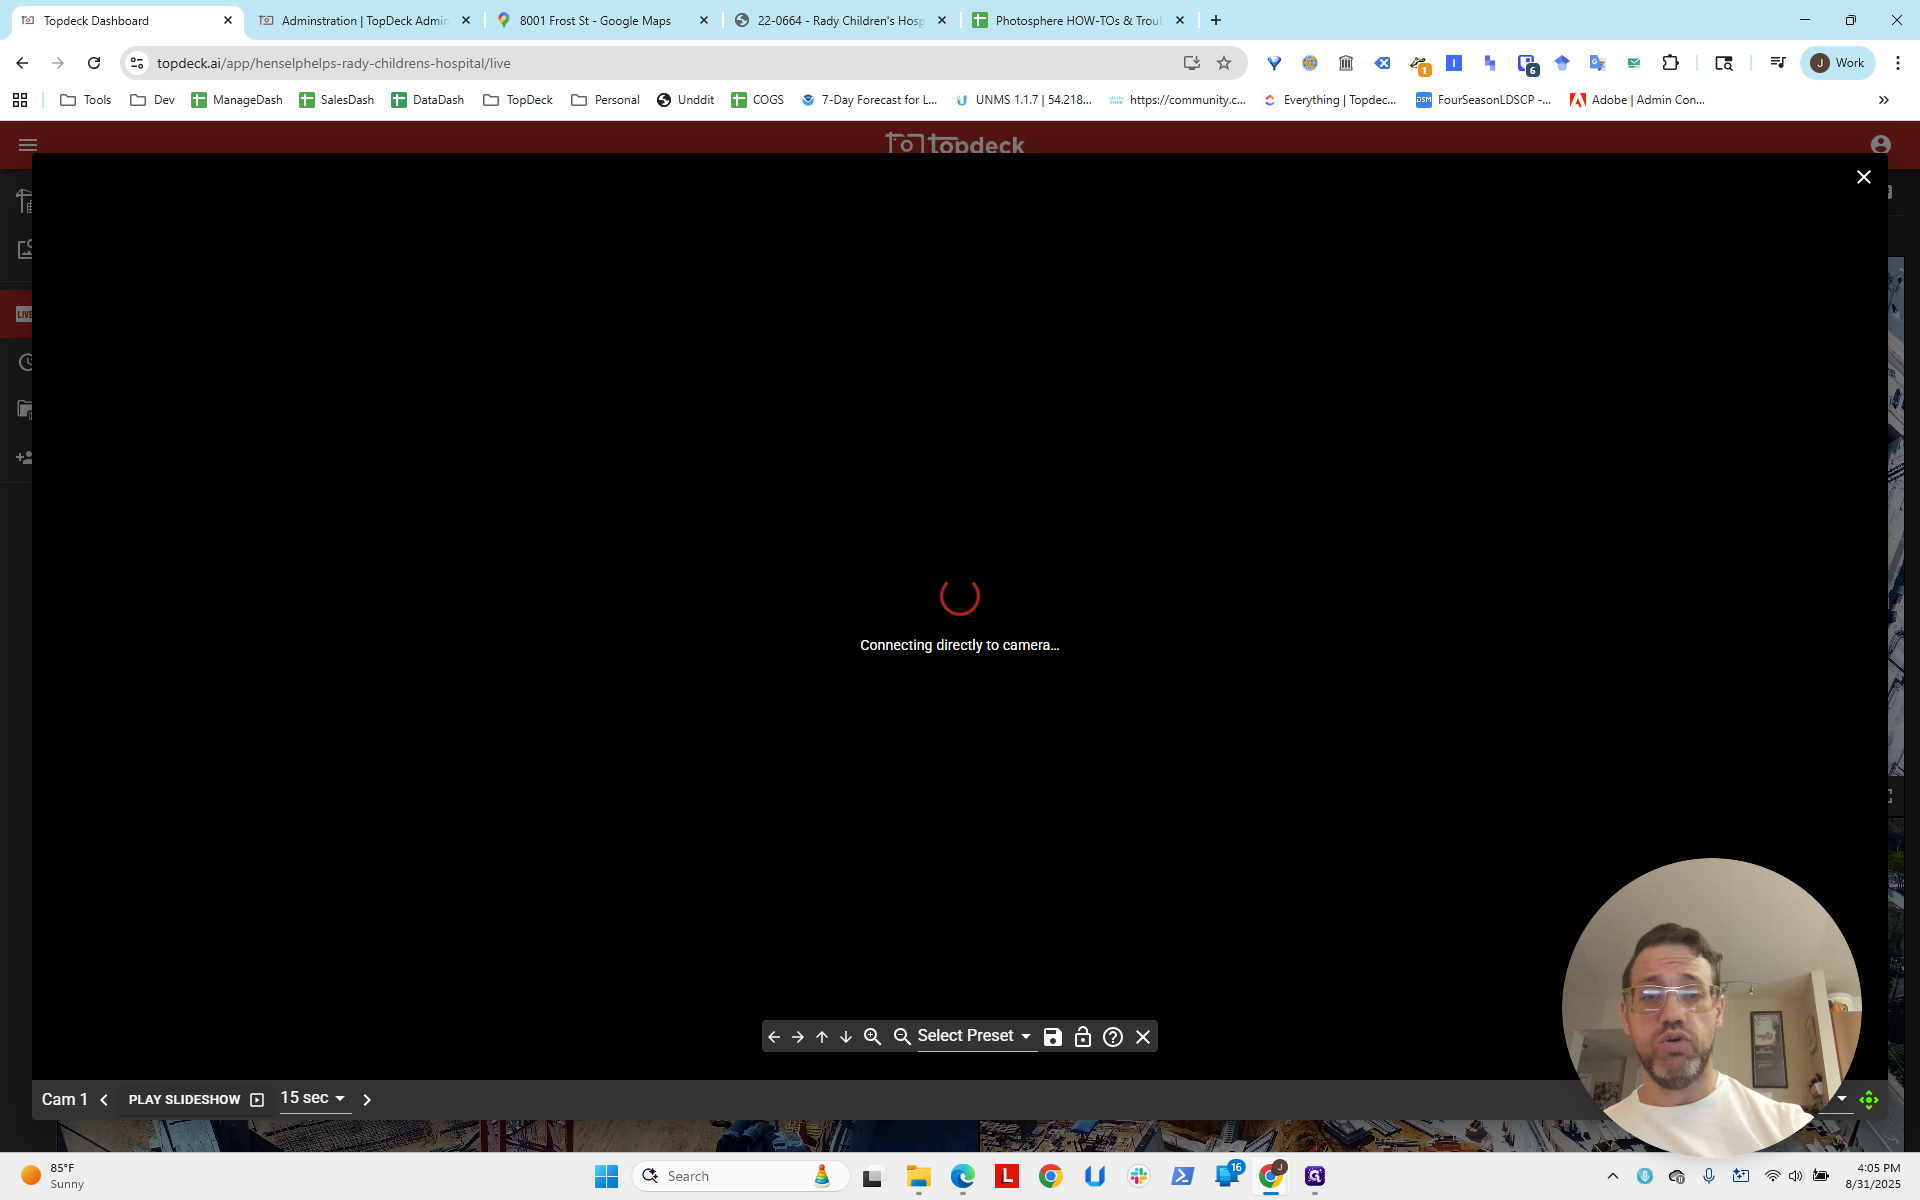
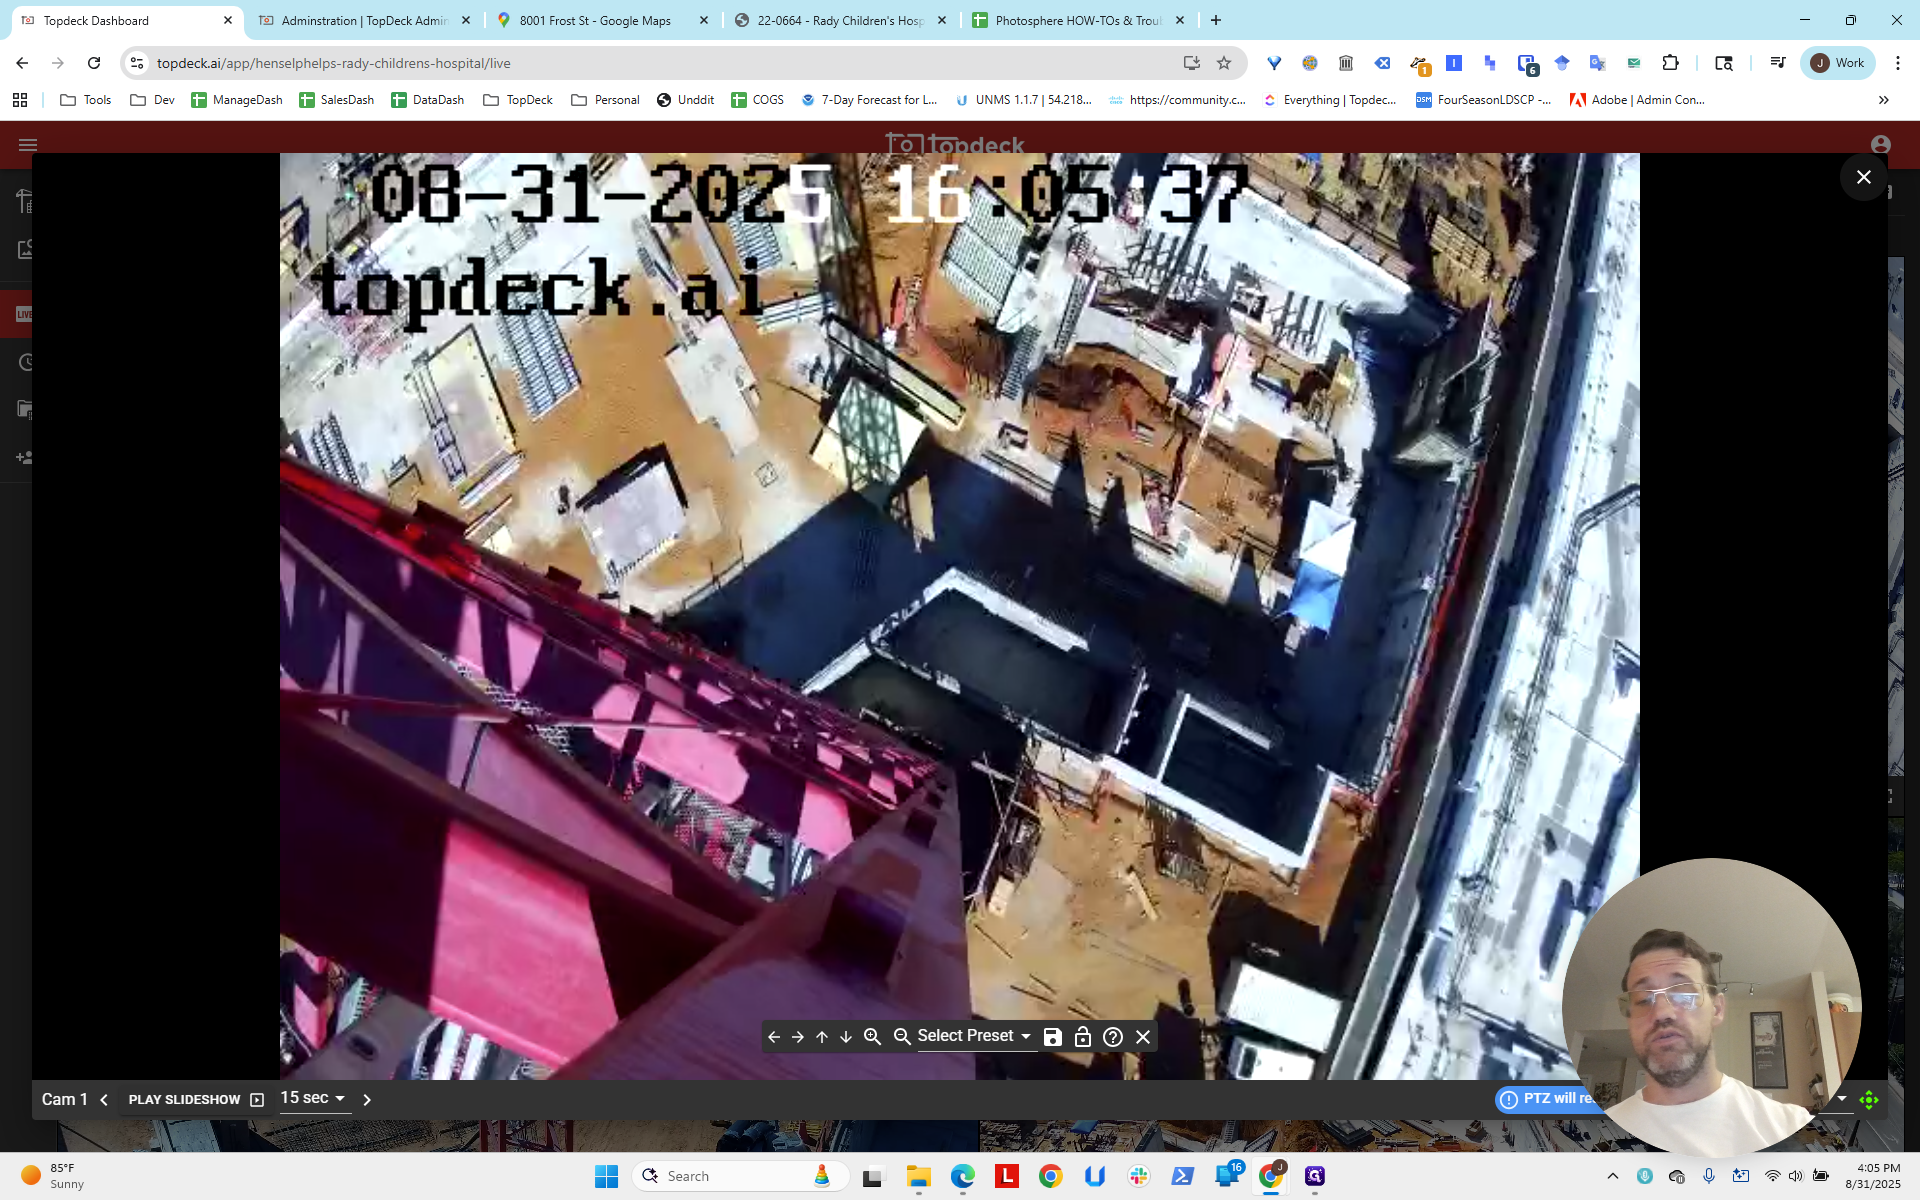
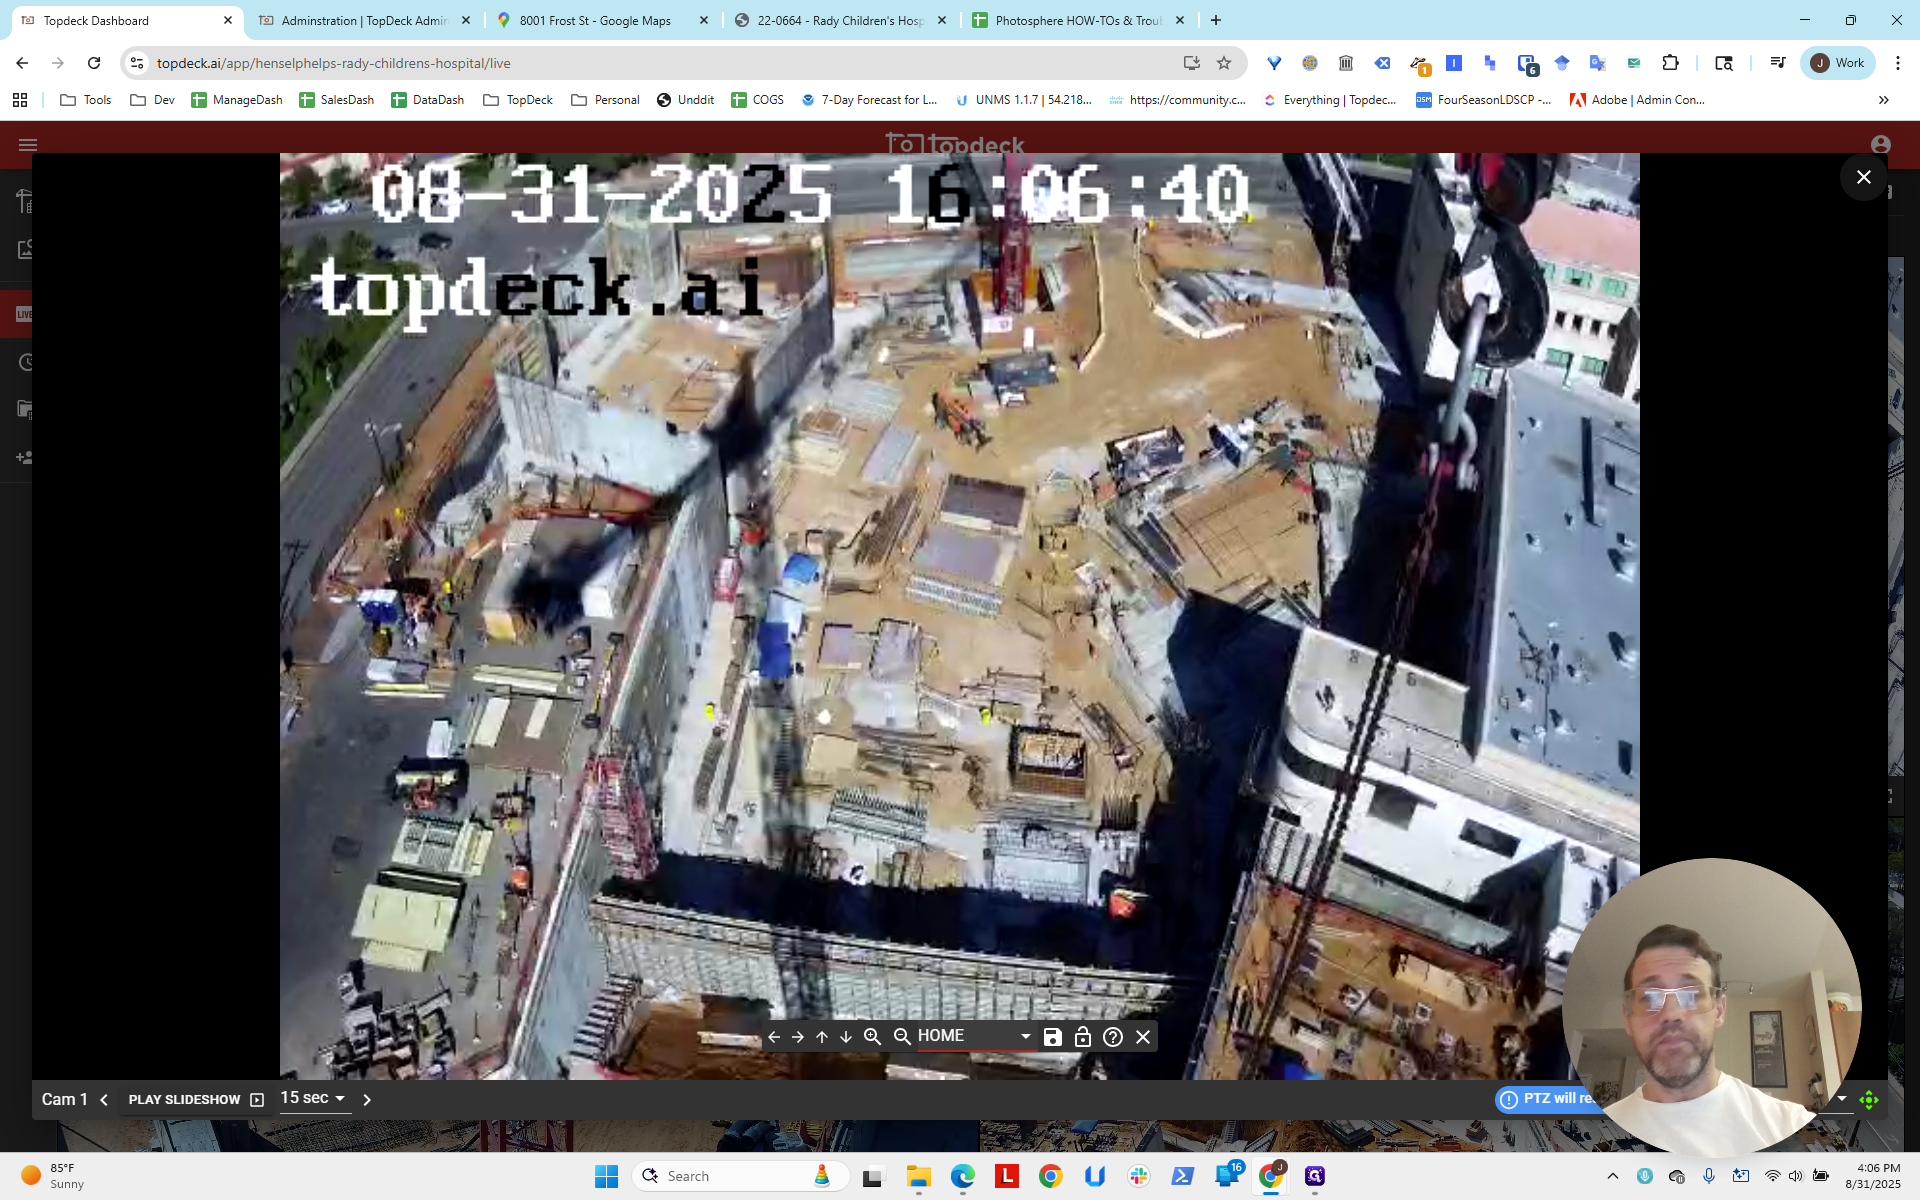
It looks like this crane is crane 北. You can open the view, launch the PTZ control, and look around to see what is visible, especially by looking down to find where the blockage is.
This one appears to be on a corner. It will block to the left but remain open to the right. Maybe we'll use this one, which will be open to the left but more blocked on the right.
We will use Cam1 on the north crane. For the northeast crane, Cam5 should cover the right area. The left side may be slightly blocked, but it doesn't seem as important.
We can scroll up here and see that...
Just looking back at the other crane. I'm going to set it to its home position so it returns all the way back.


To the left, there is a narrow area that does not appear very interesting. We will use Cam1 and Cam5.
First, following our procedure, we set up the aerial tours for the project.
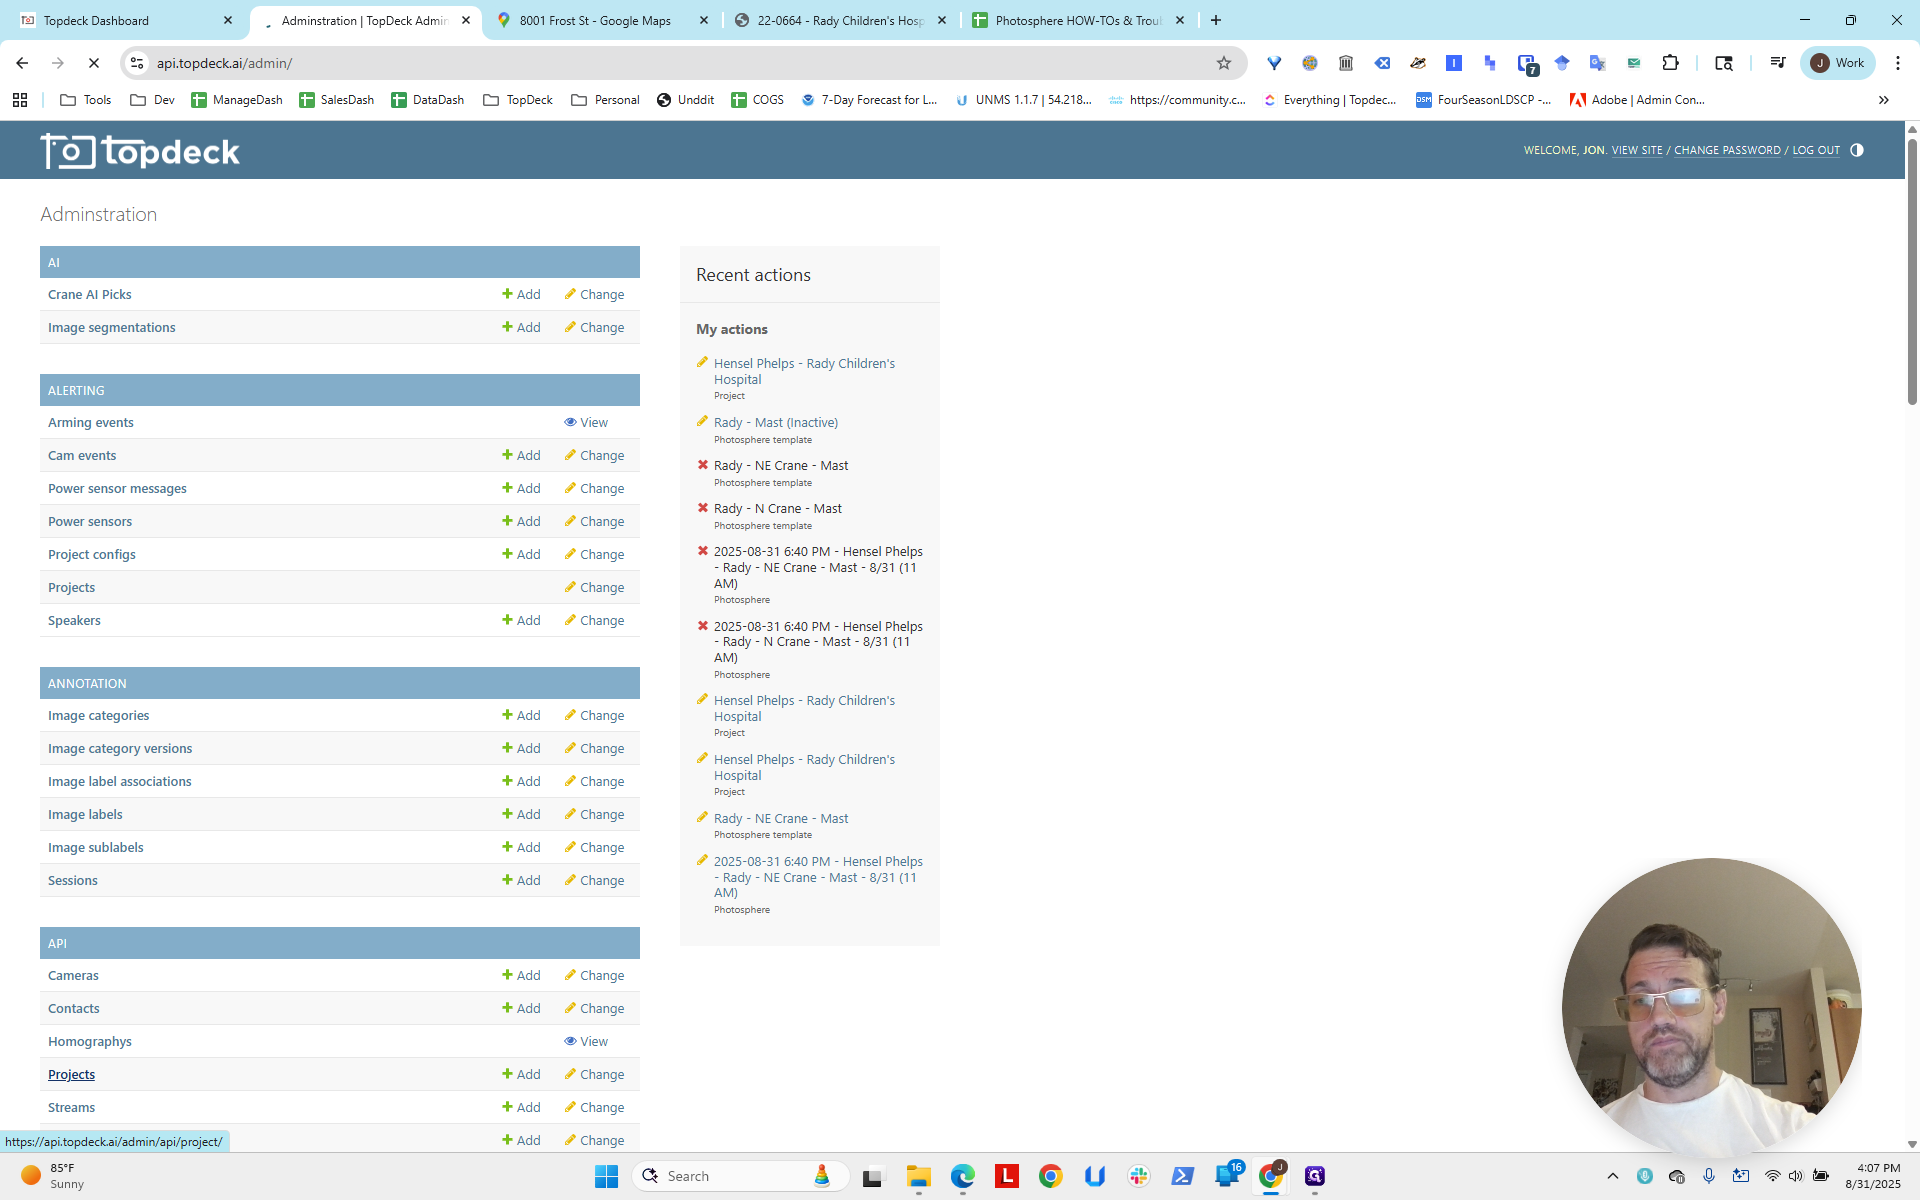
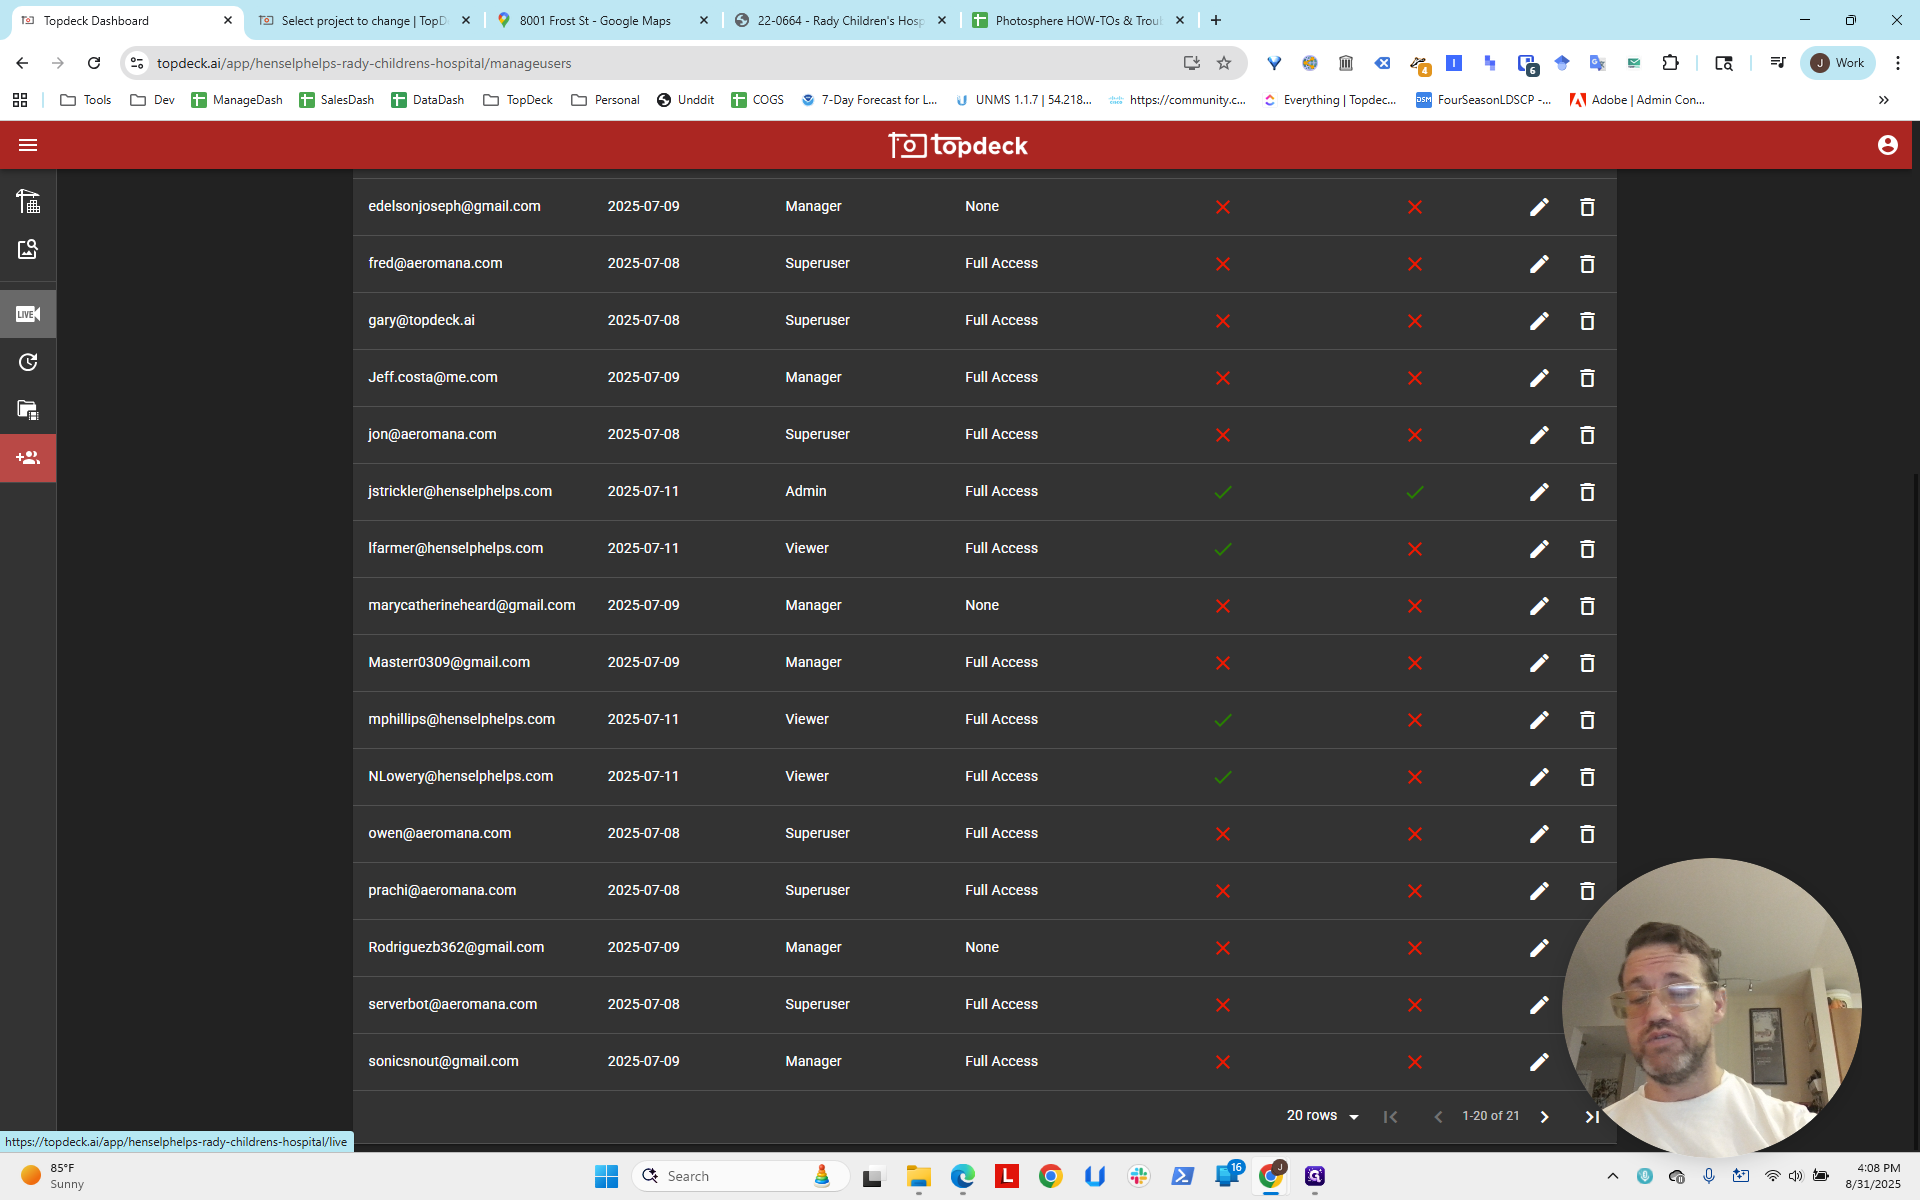
First, we'll look at Manage Users to ensure we have a mix of users.


It looks like we have viewers and managers. We should set up access for both viewer and manager roles. I don't see an admin, but we will prepare for that as well.

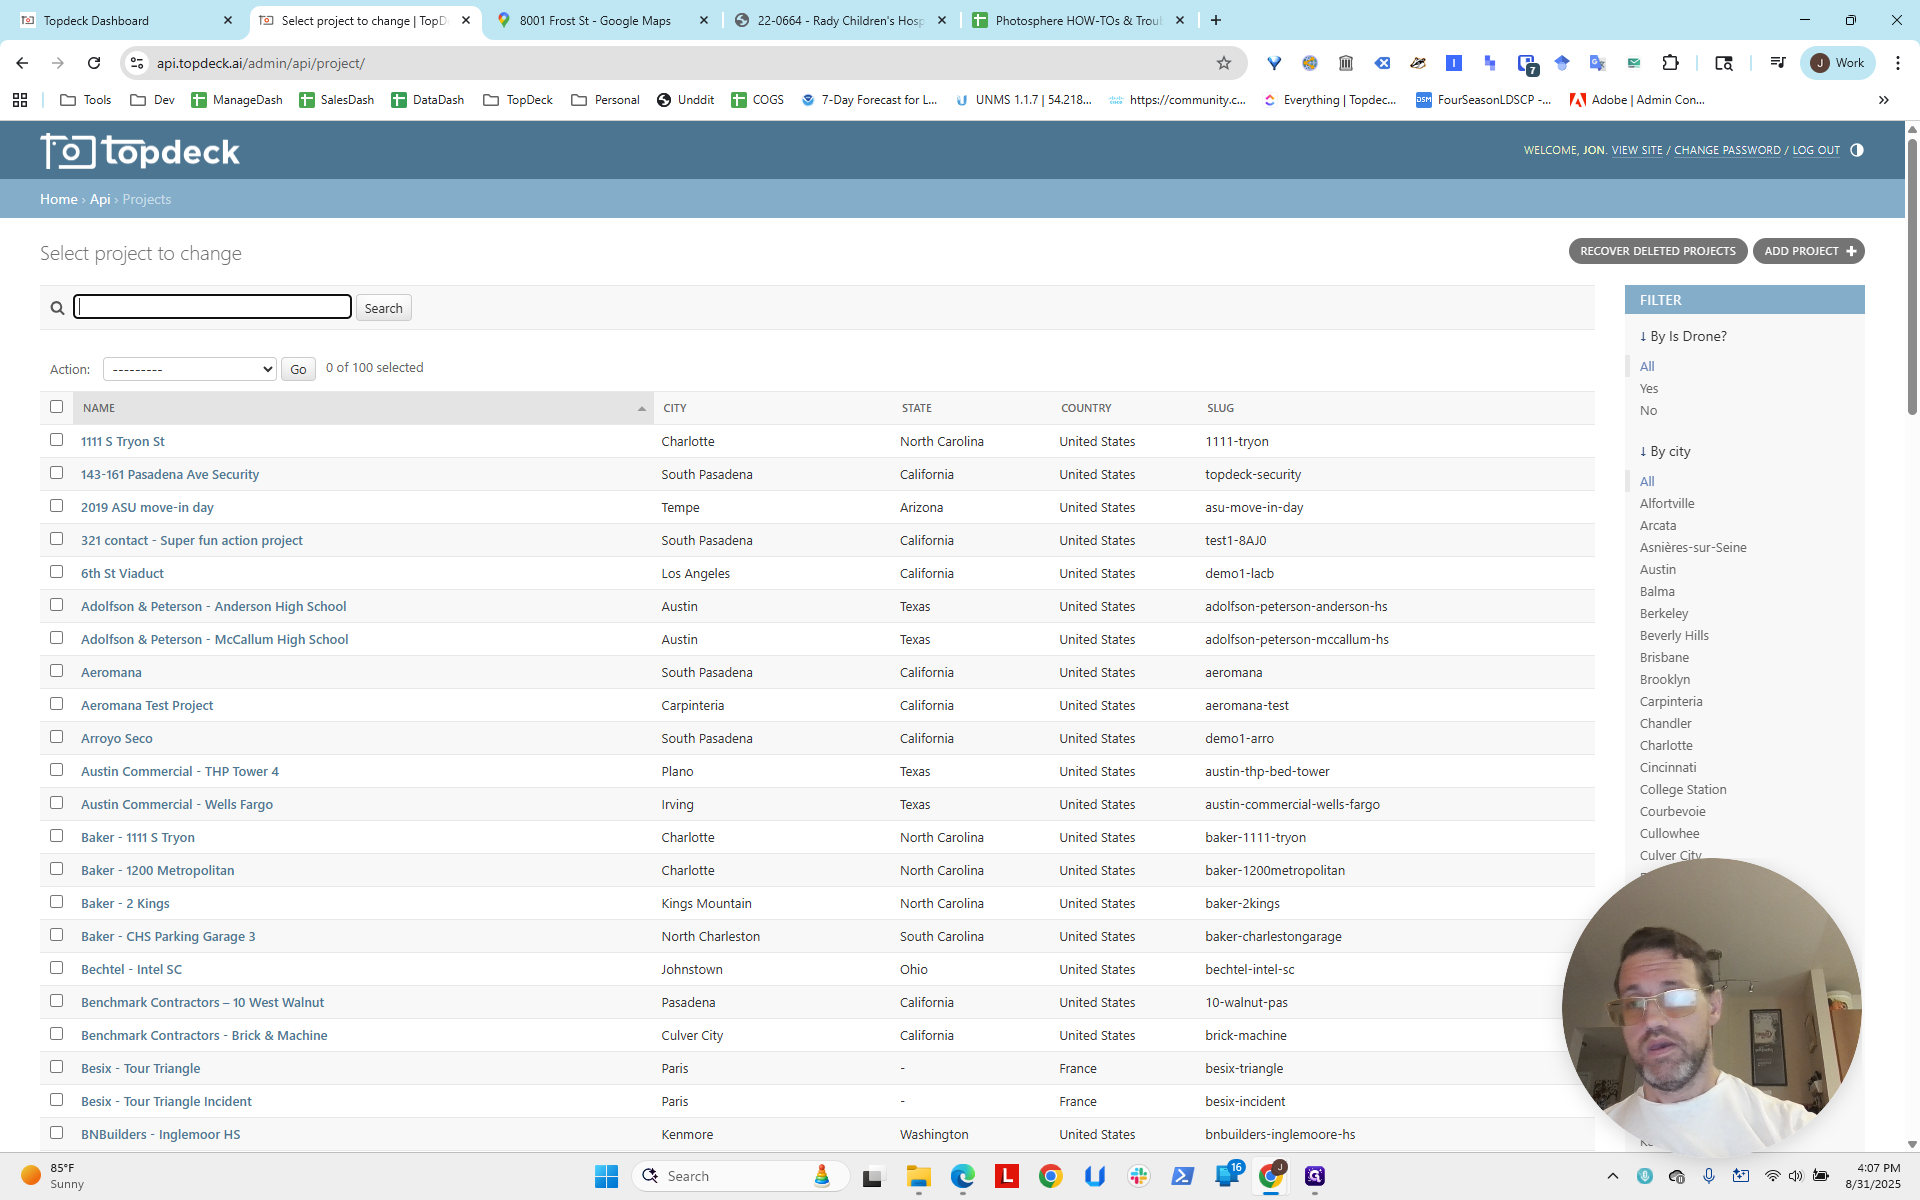
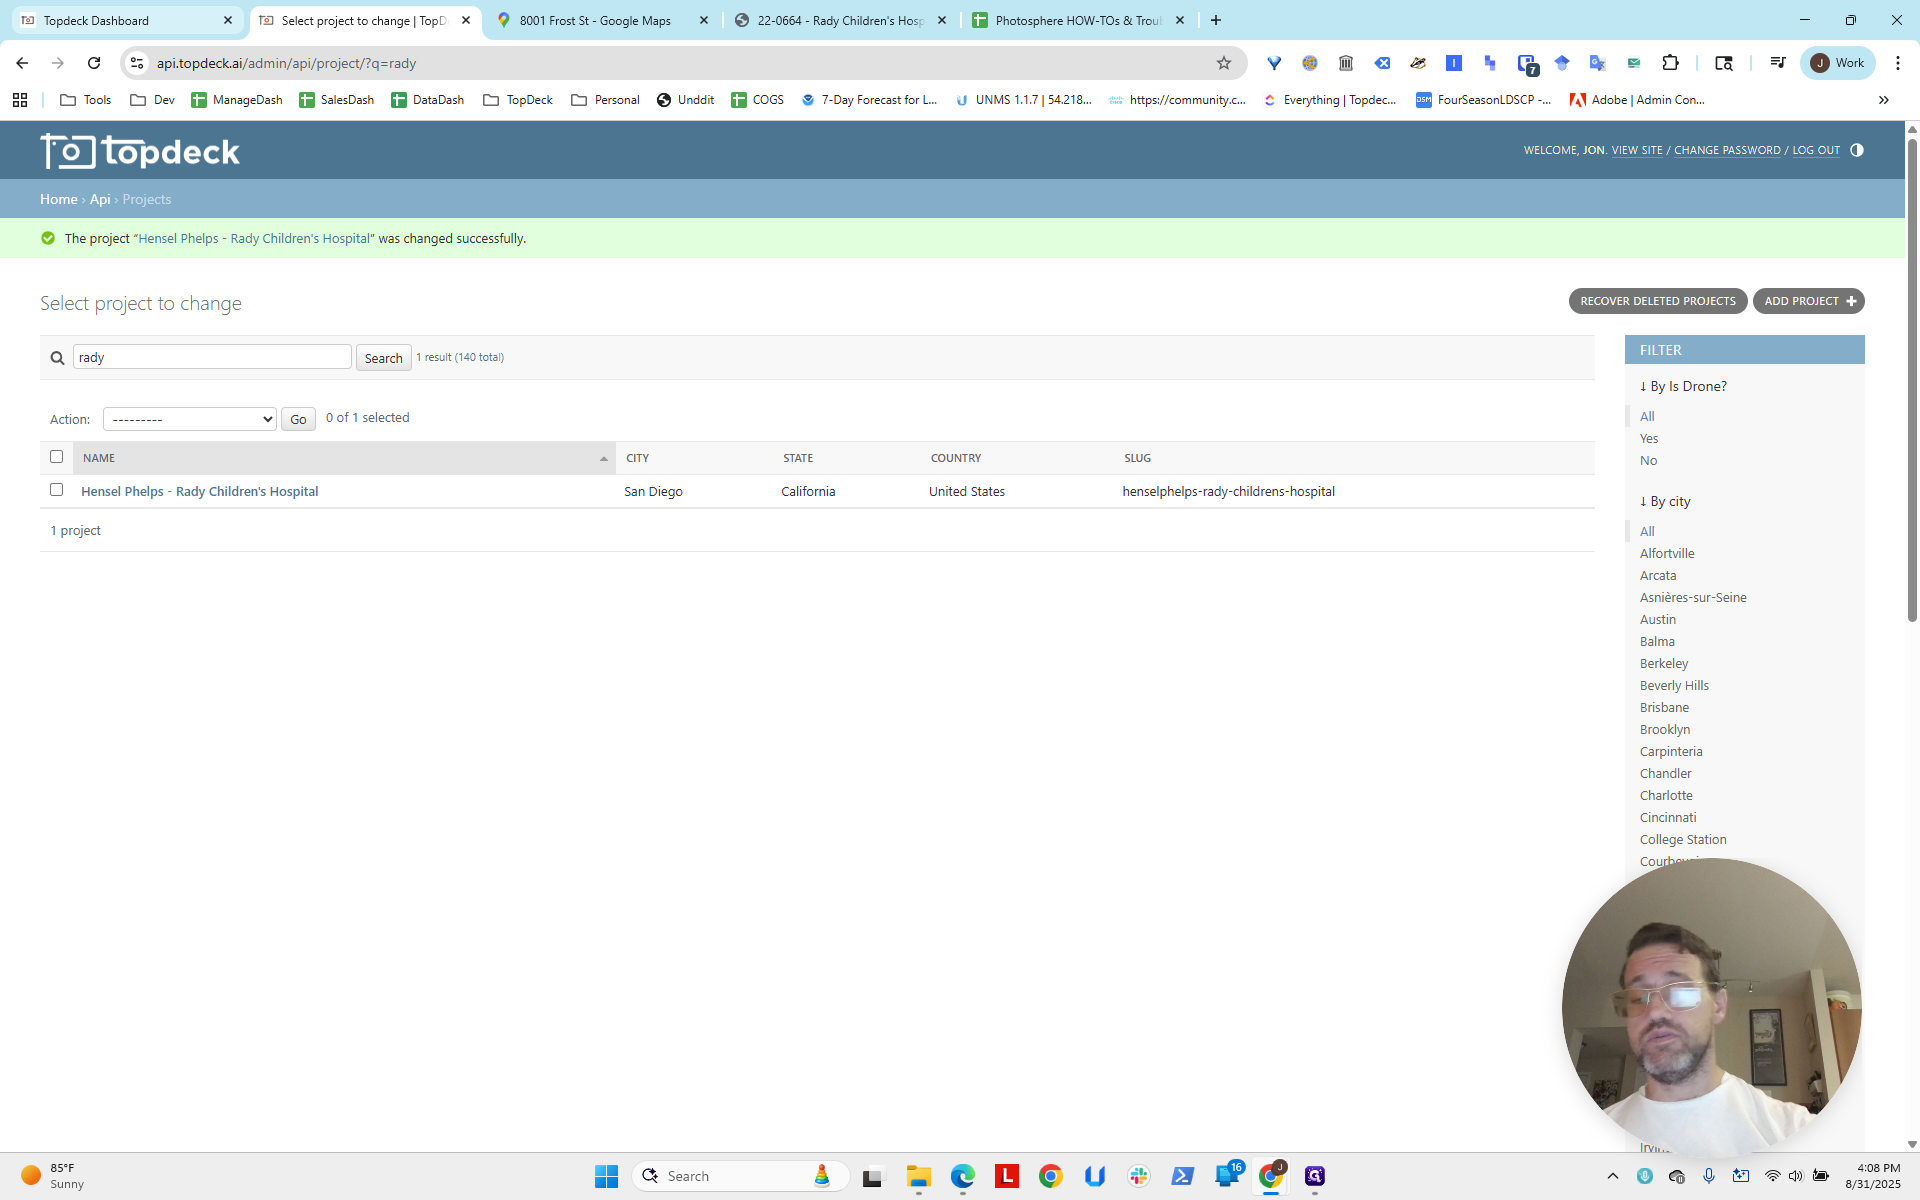
Go to the API and navigate to Projects.
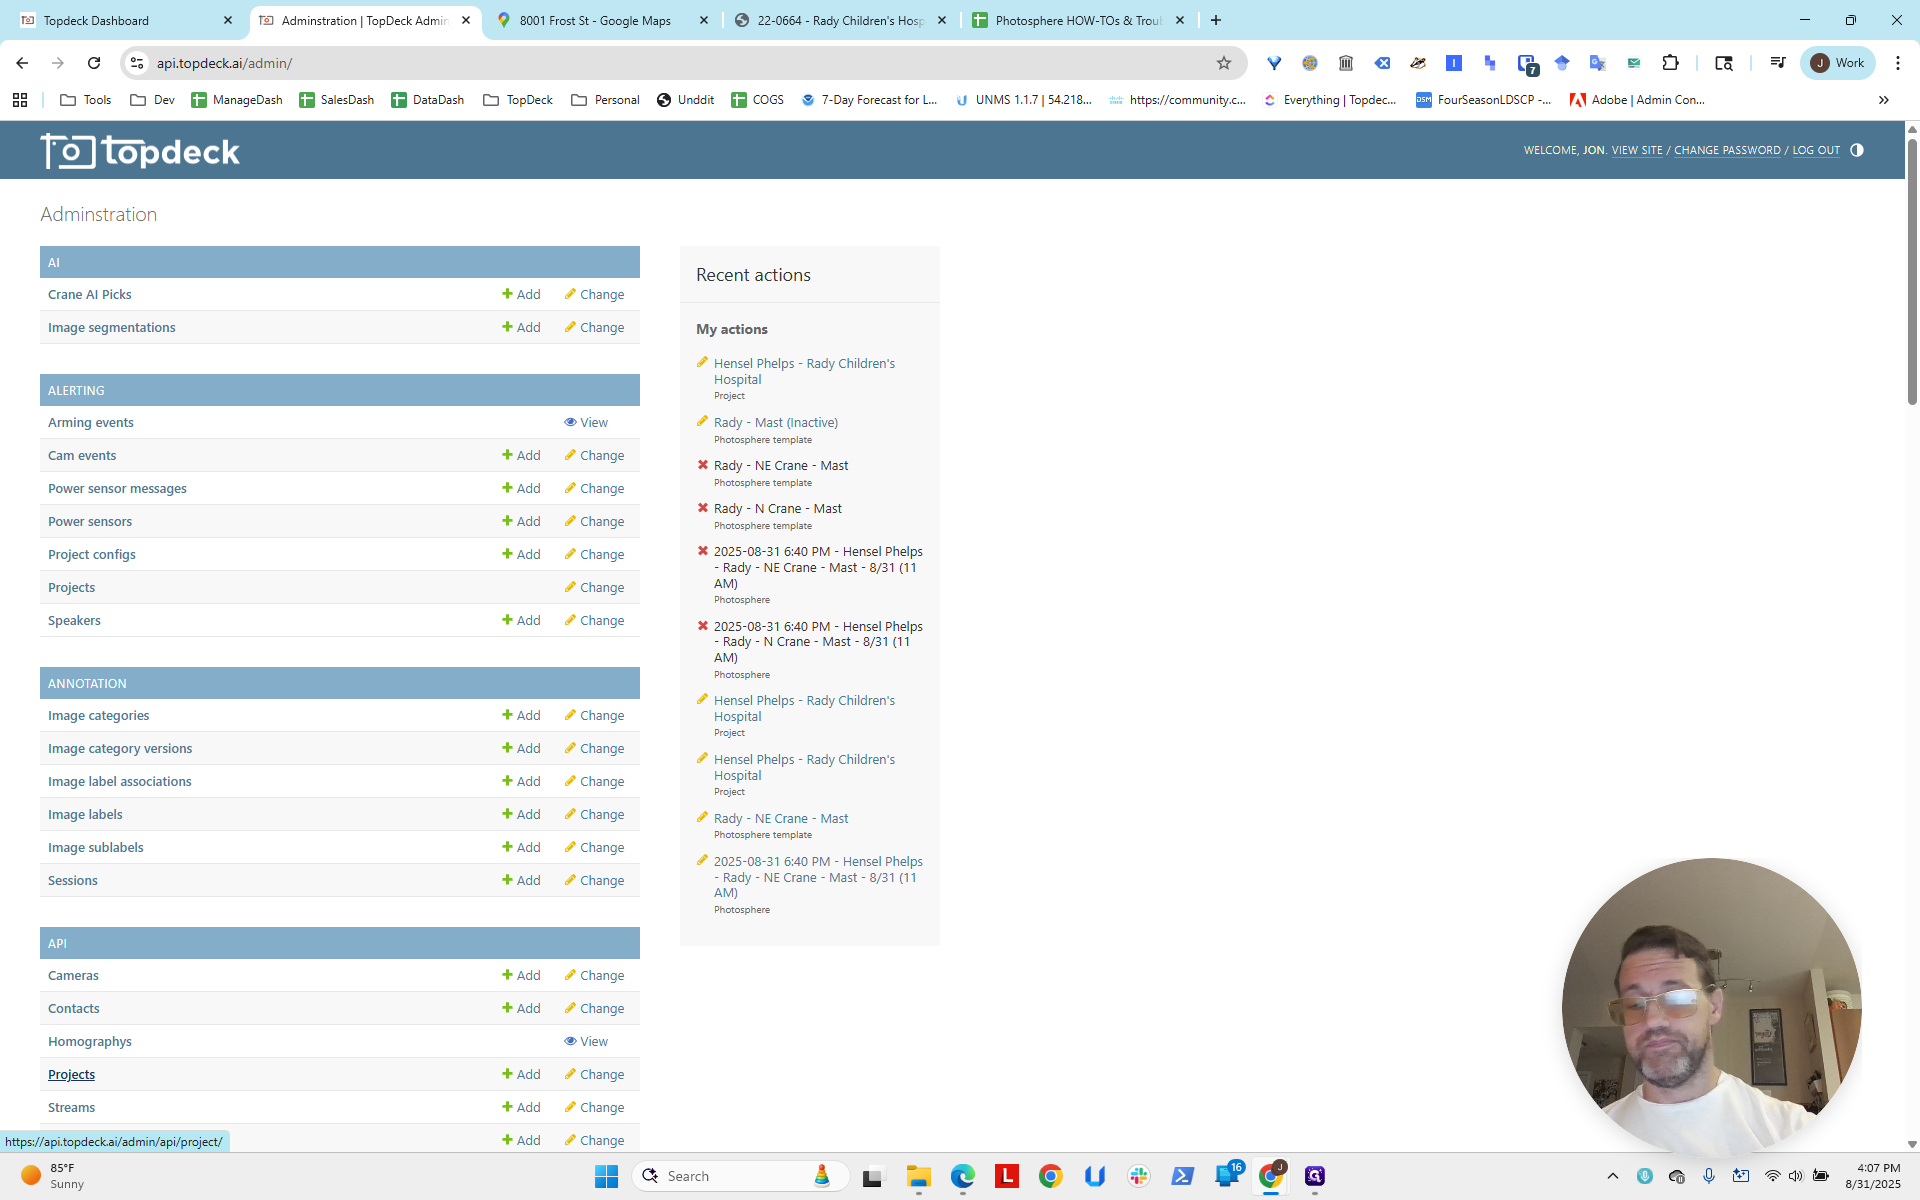
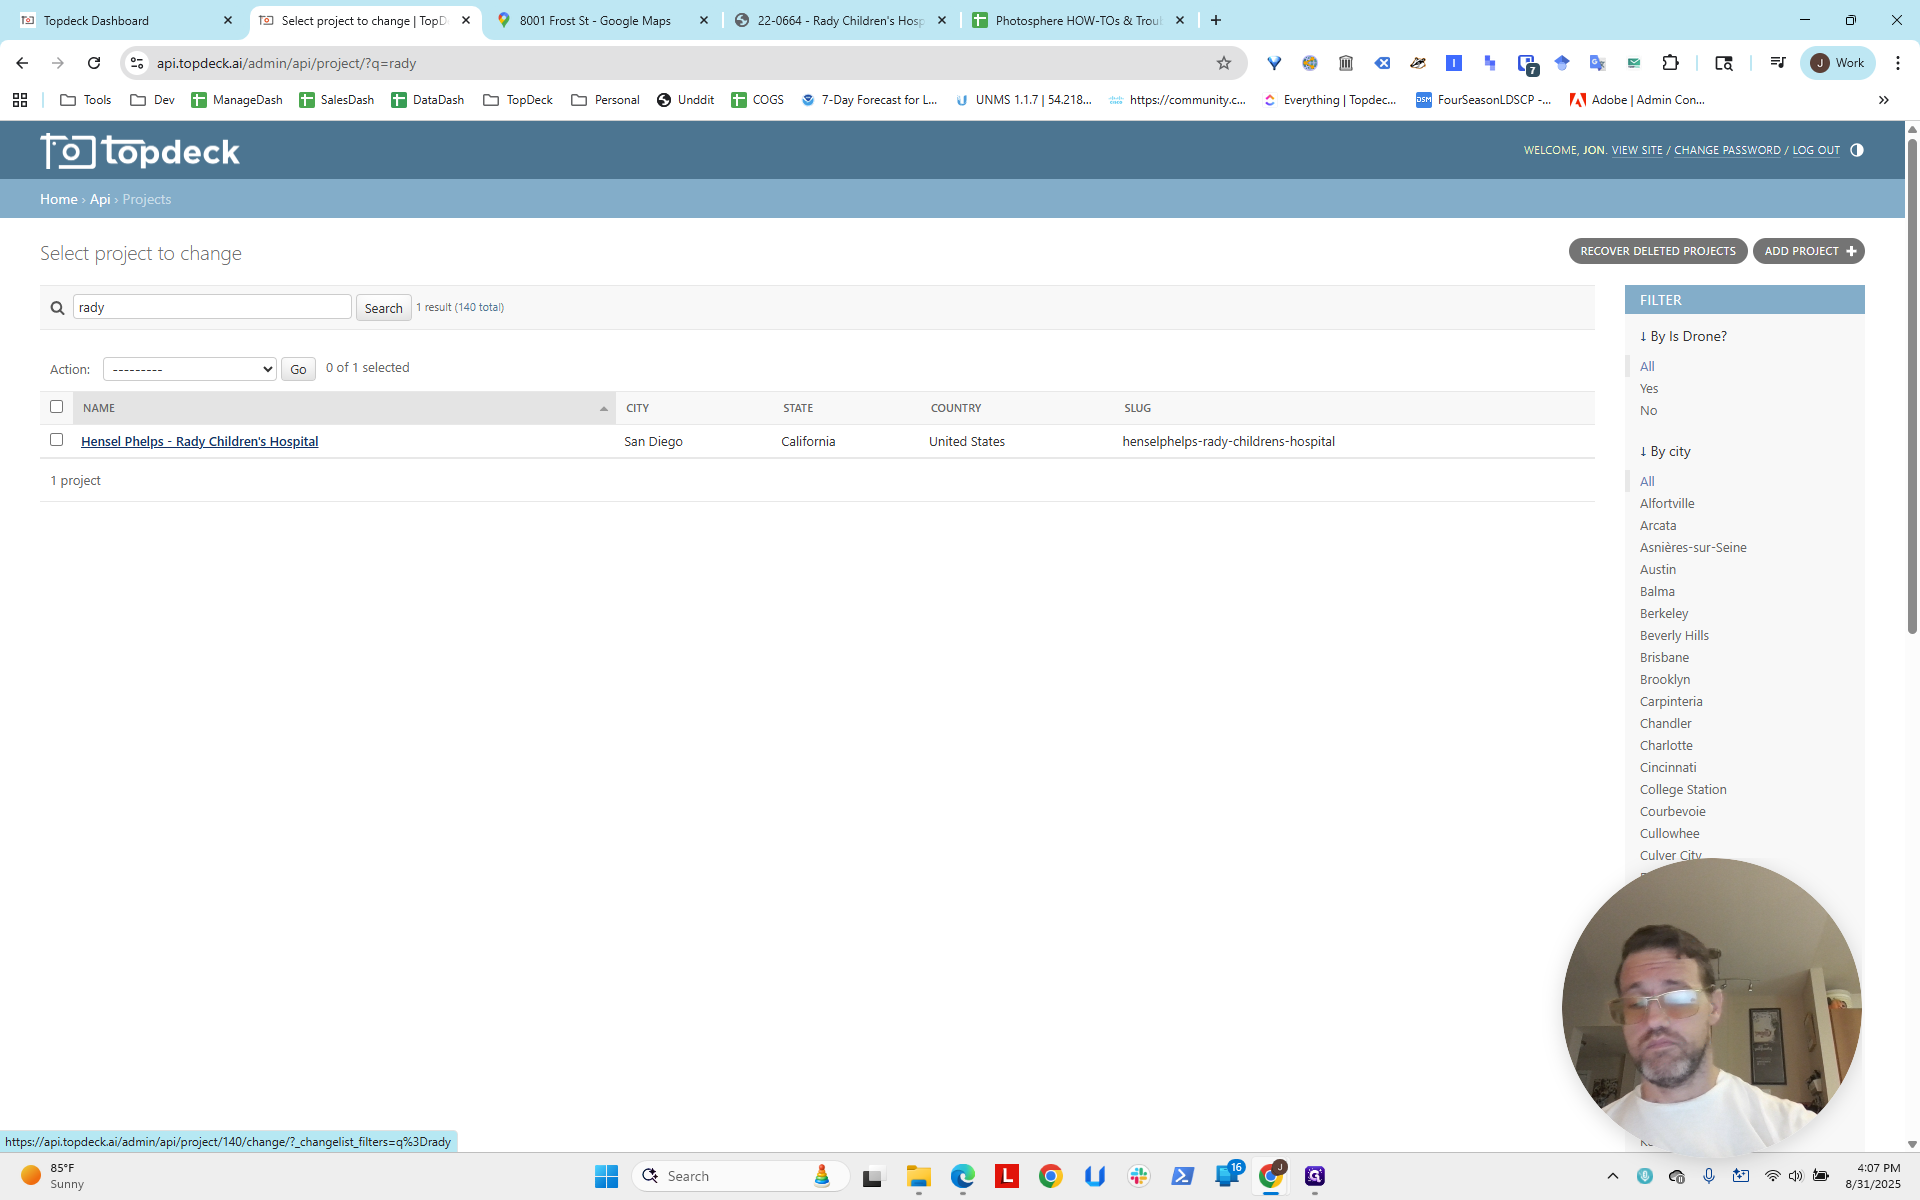
In the search bar, type "Rady."
We will adjust the viewport settings later. For now, let's skip ahead to the user access levels.

Set up the Aerial Tour.
Notice: Aerial Maps, not Aerial Tour.

Excuse me, I meant Aerial Tour, not Aerial Maps.

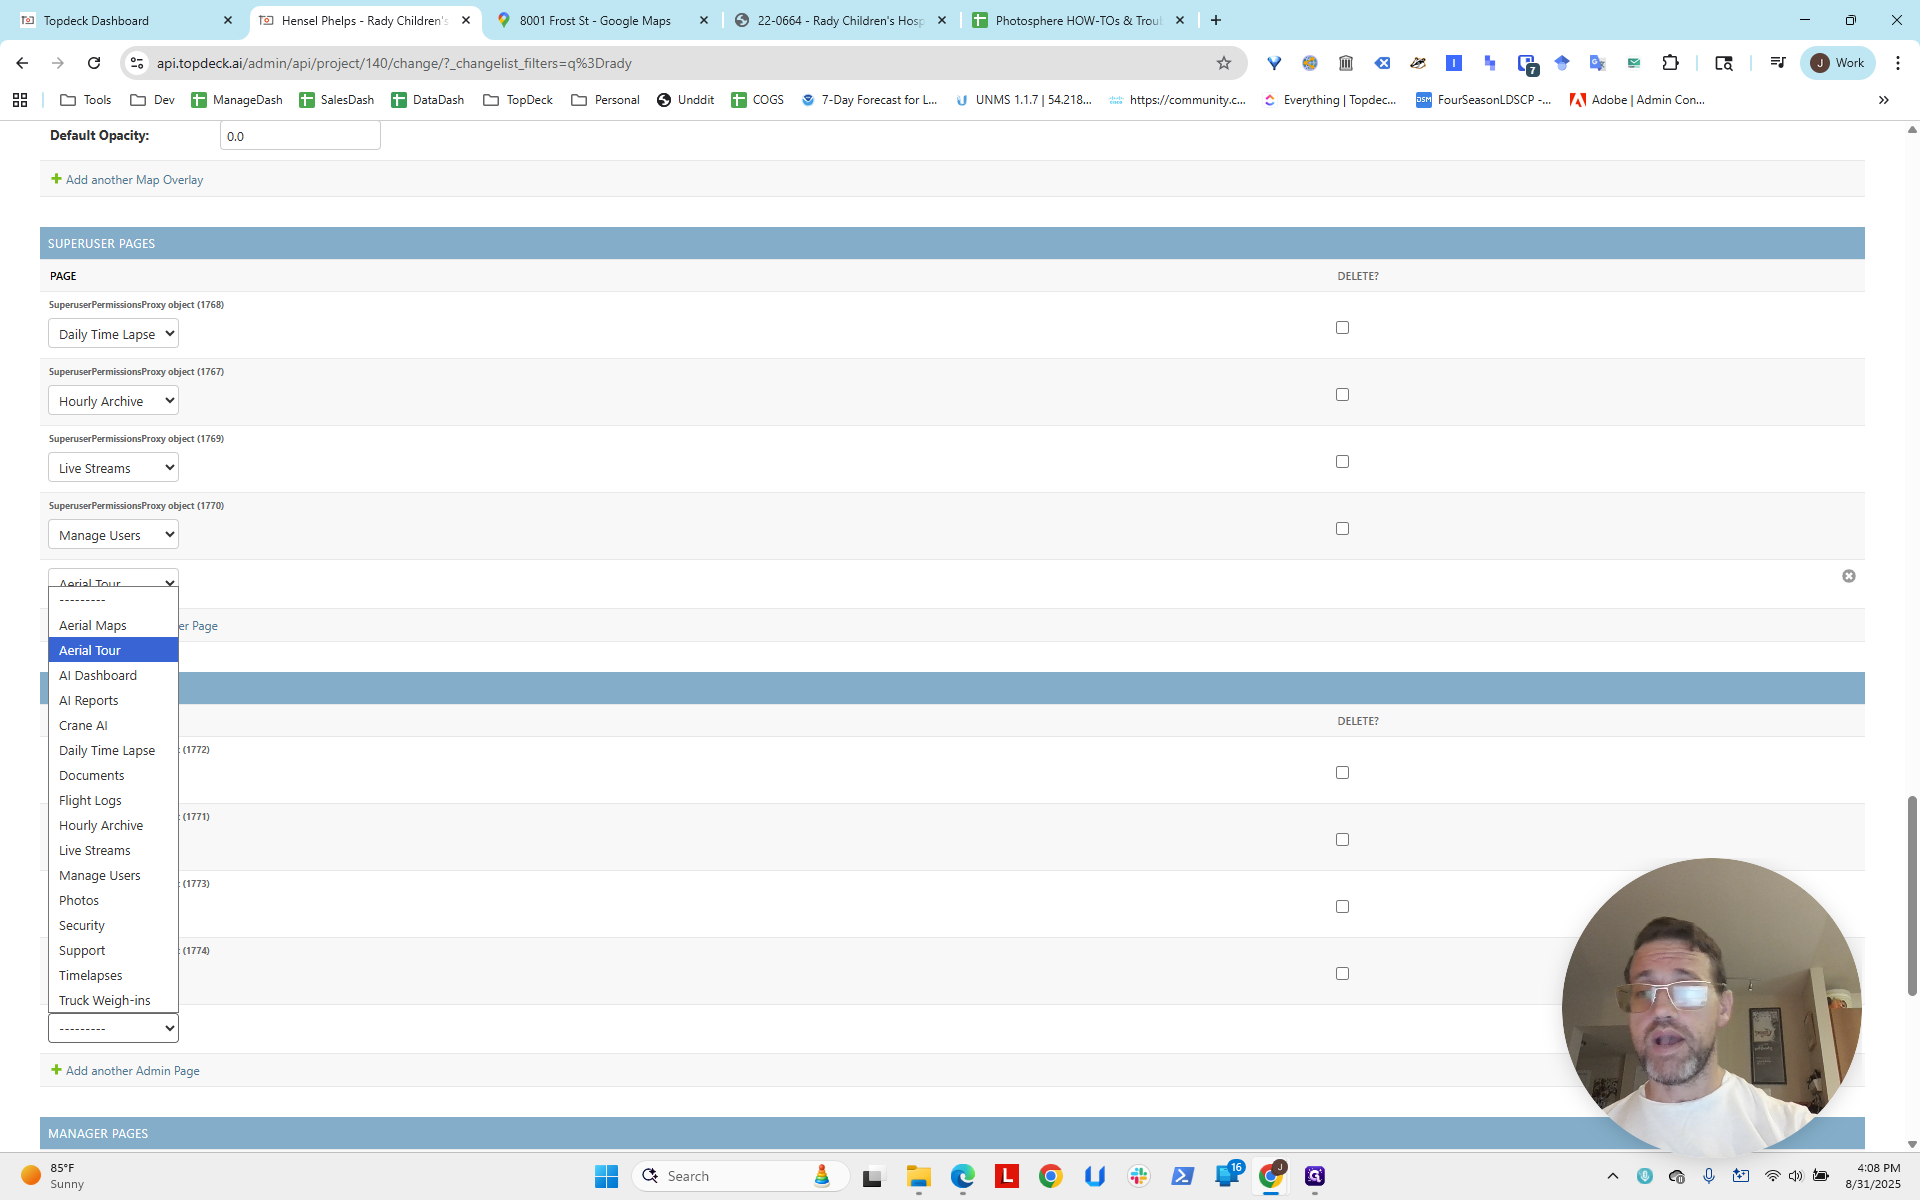
So that's Super User, Admin, and here is Manager...


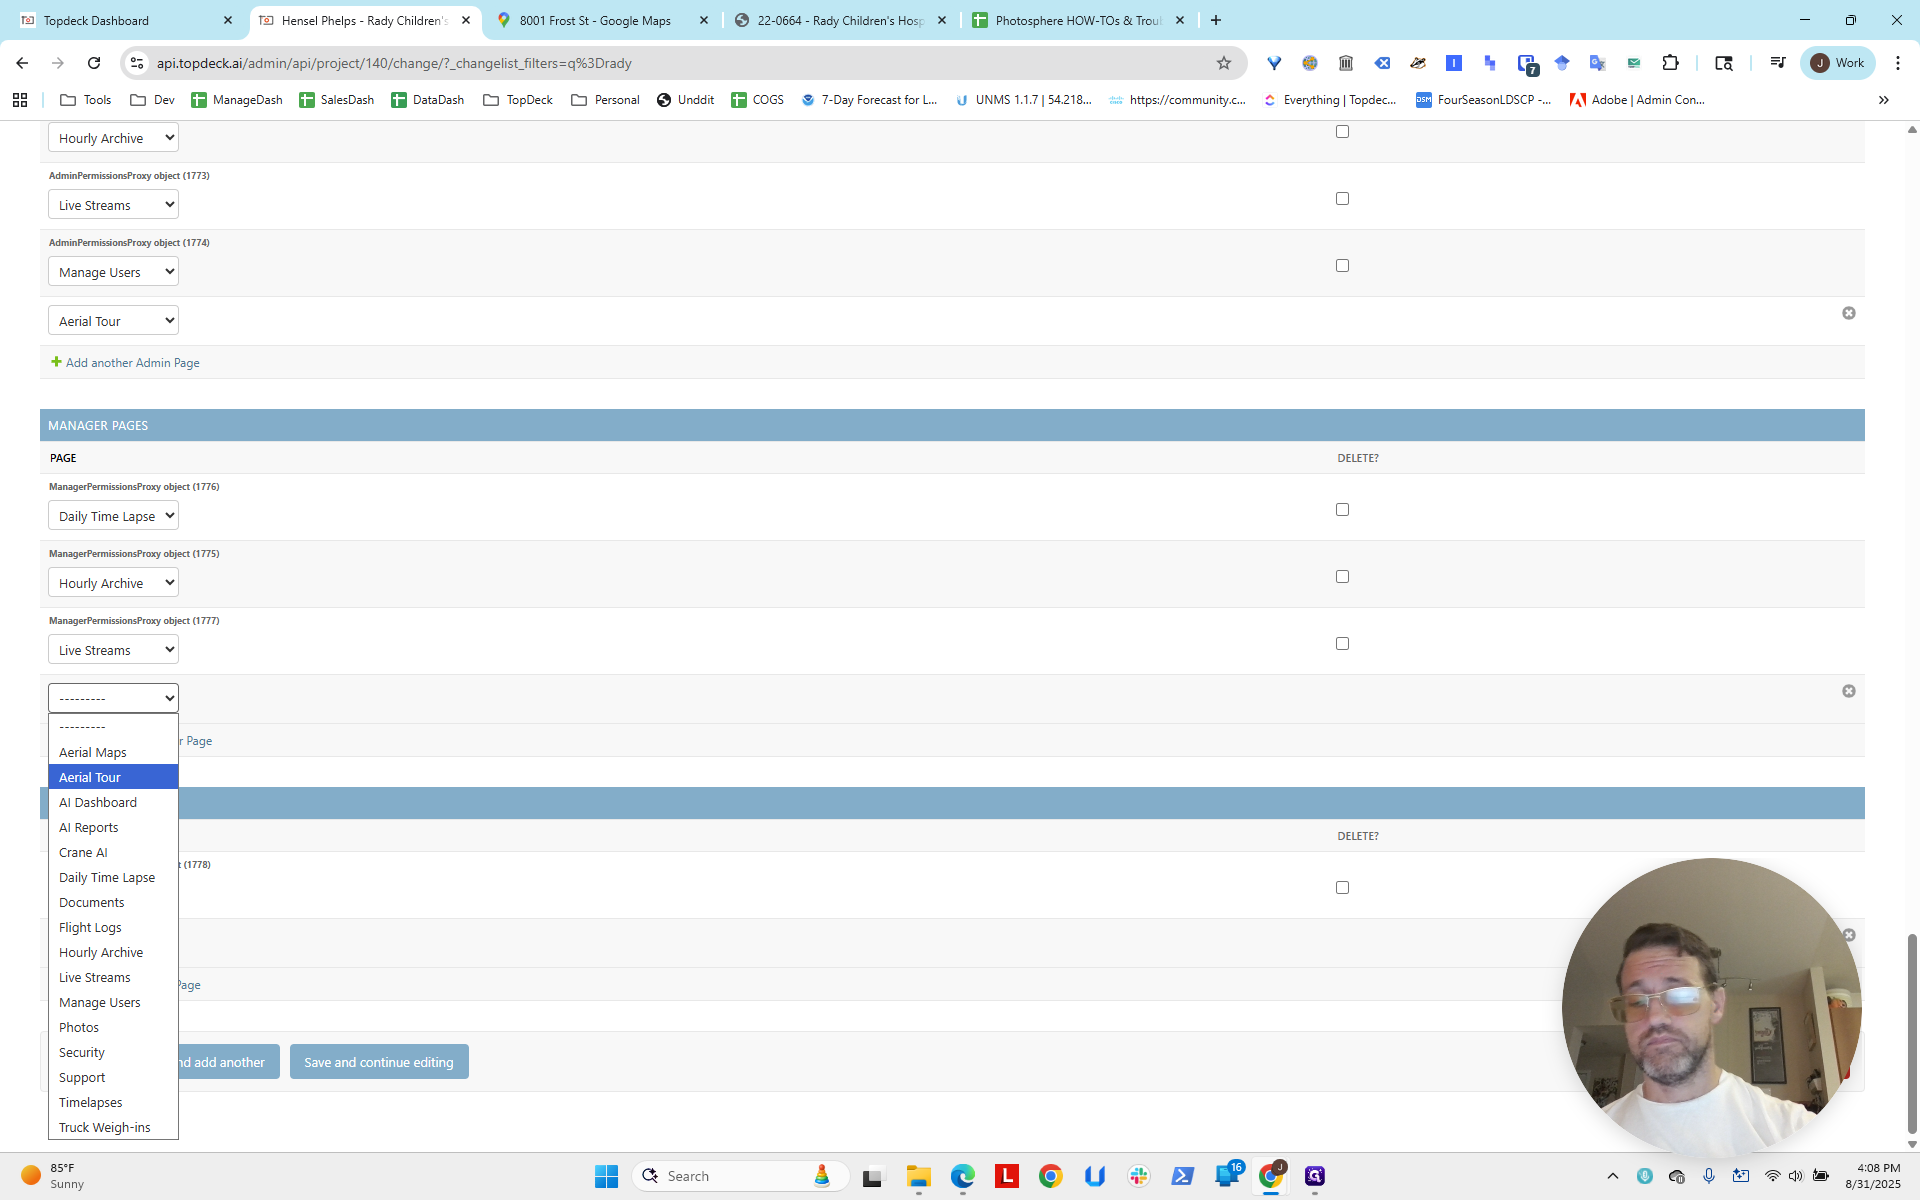

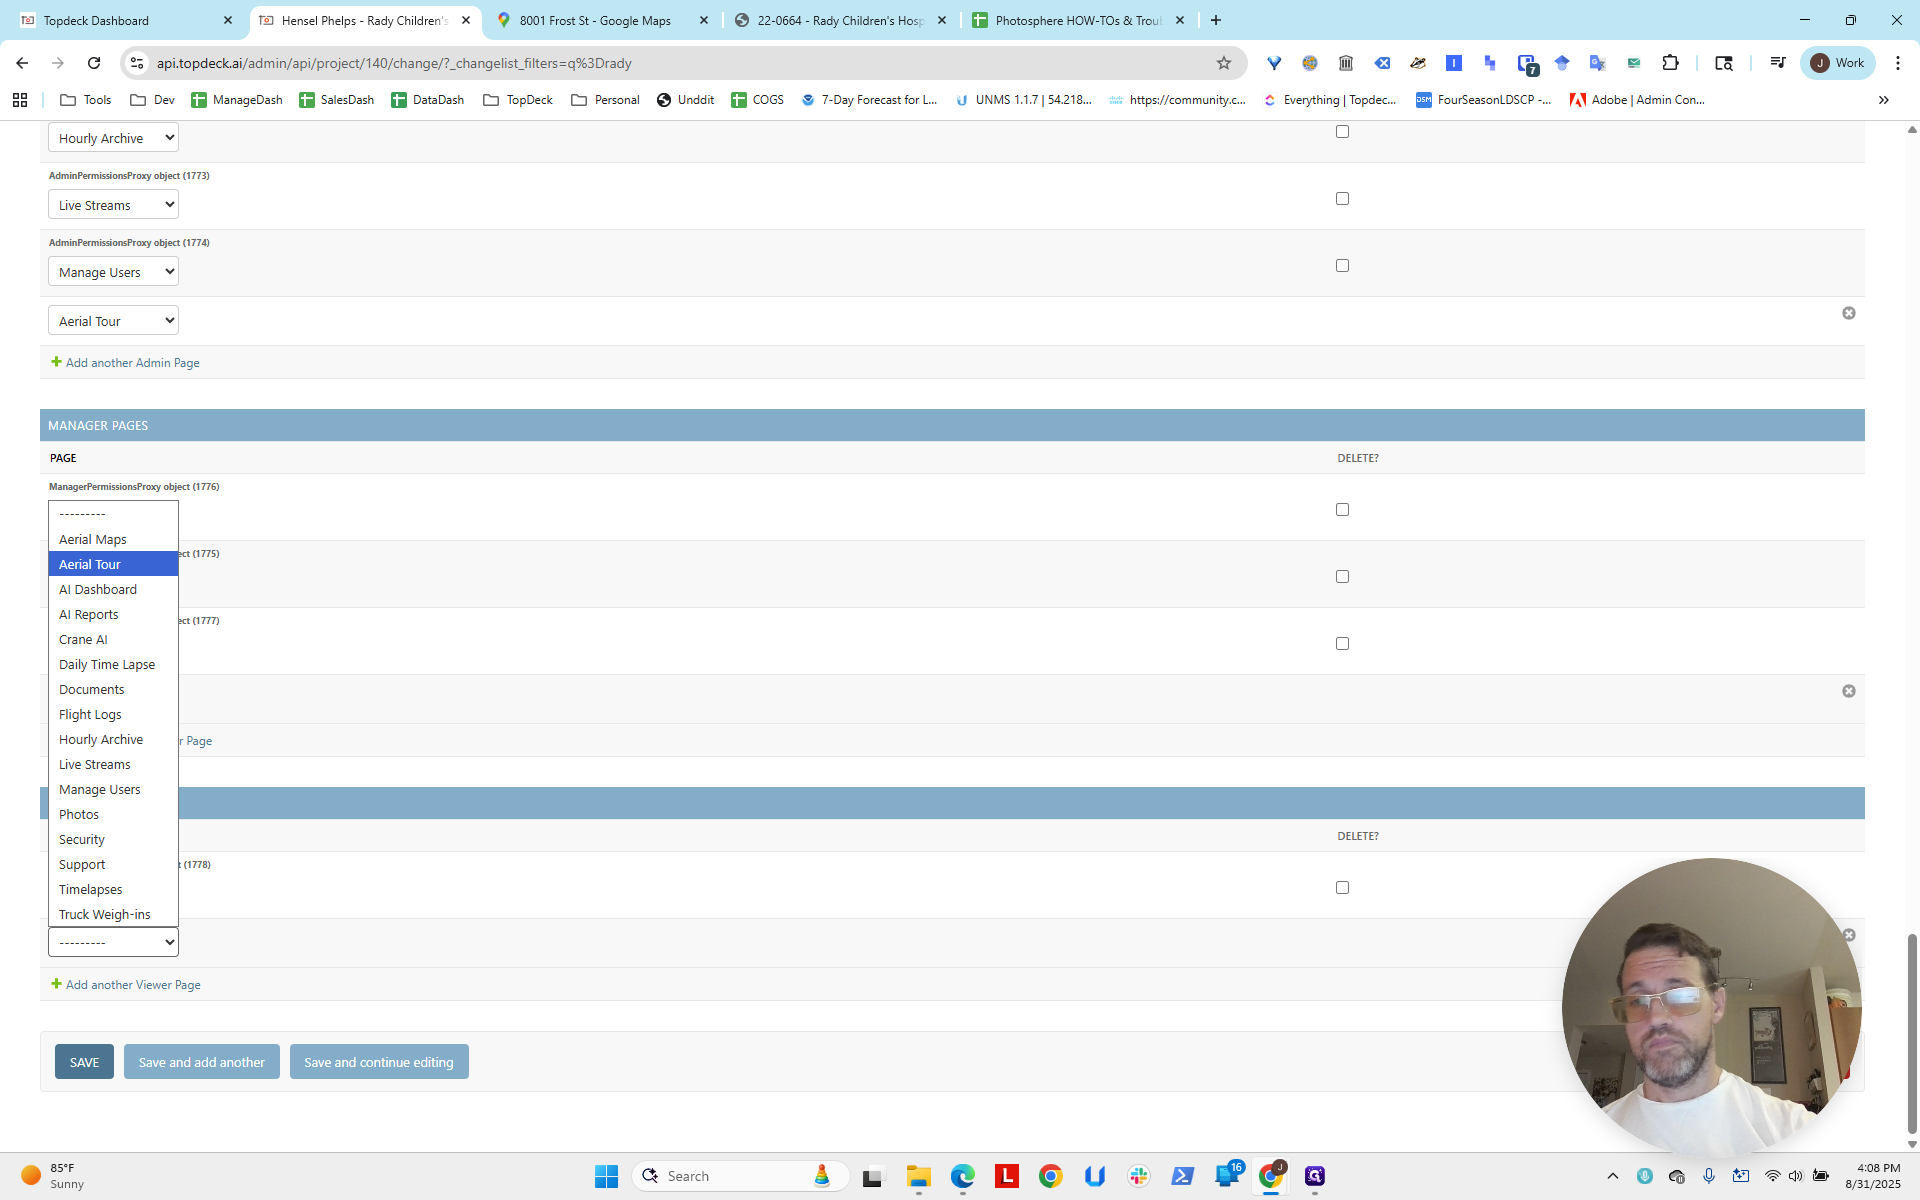
And Viewer, now we save.

Now we have the Aerial Tour page. Now we are going to set up the PhotoSpheres.
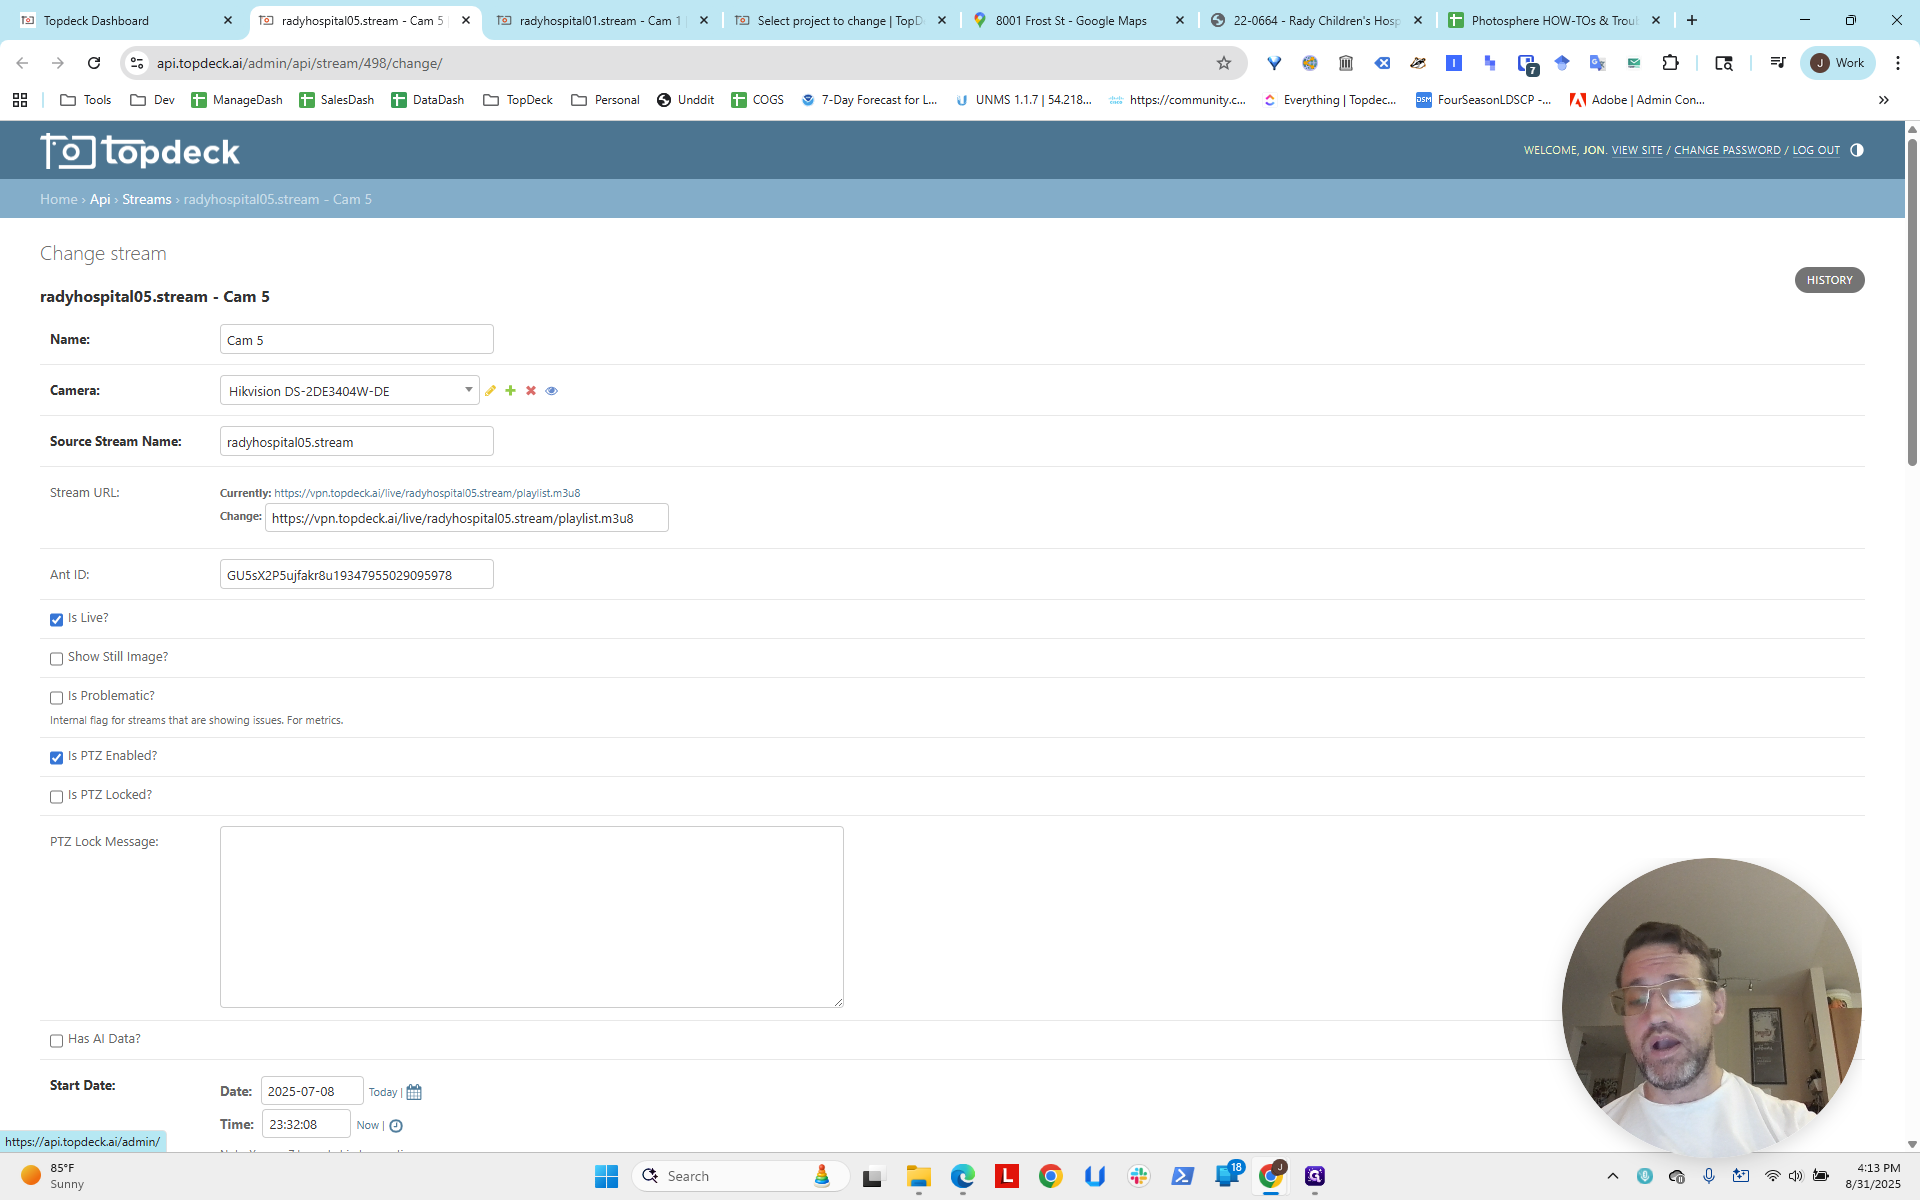
Click on Cam 1.
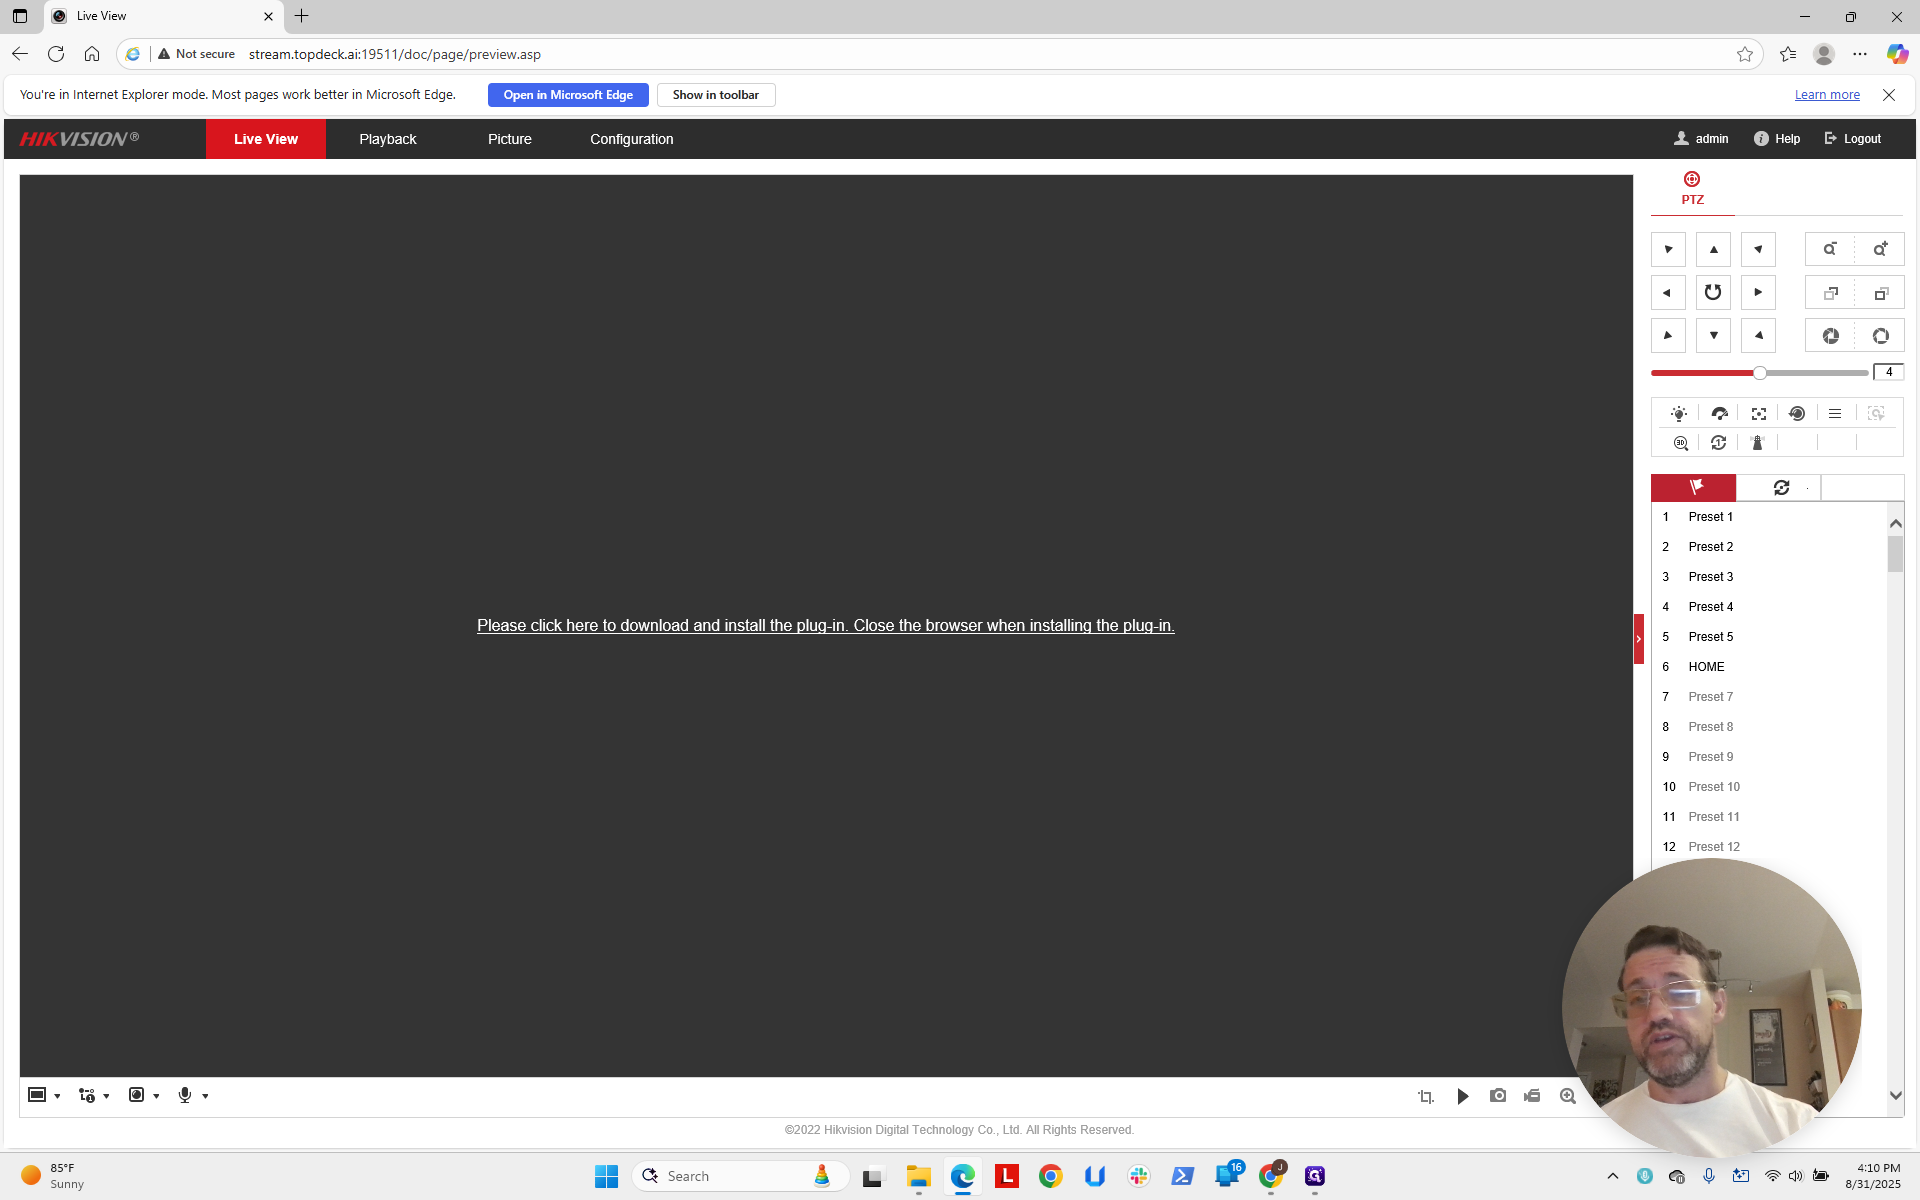
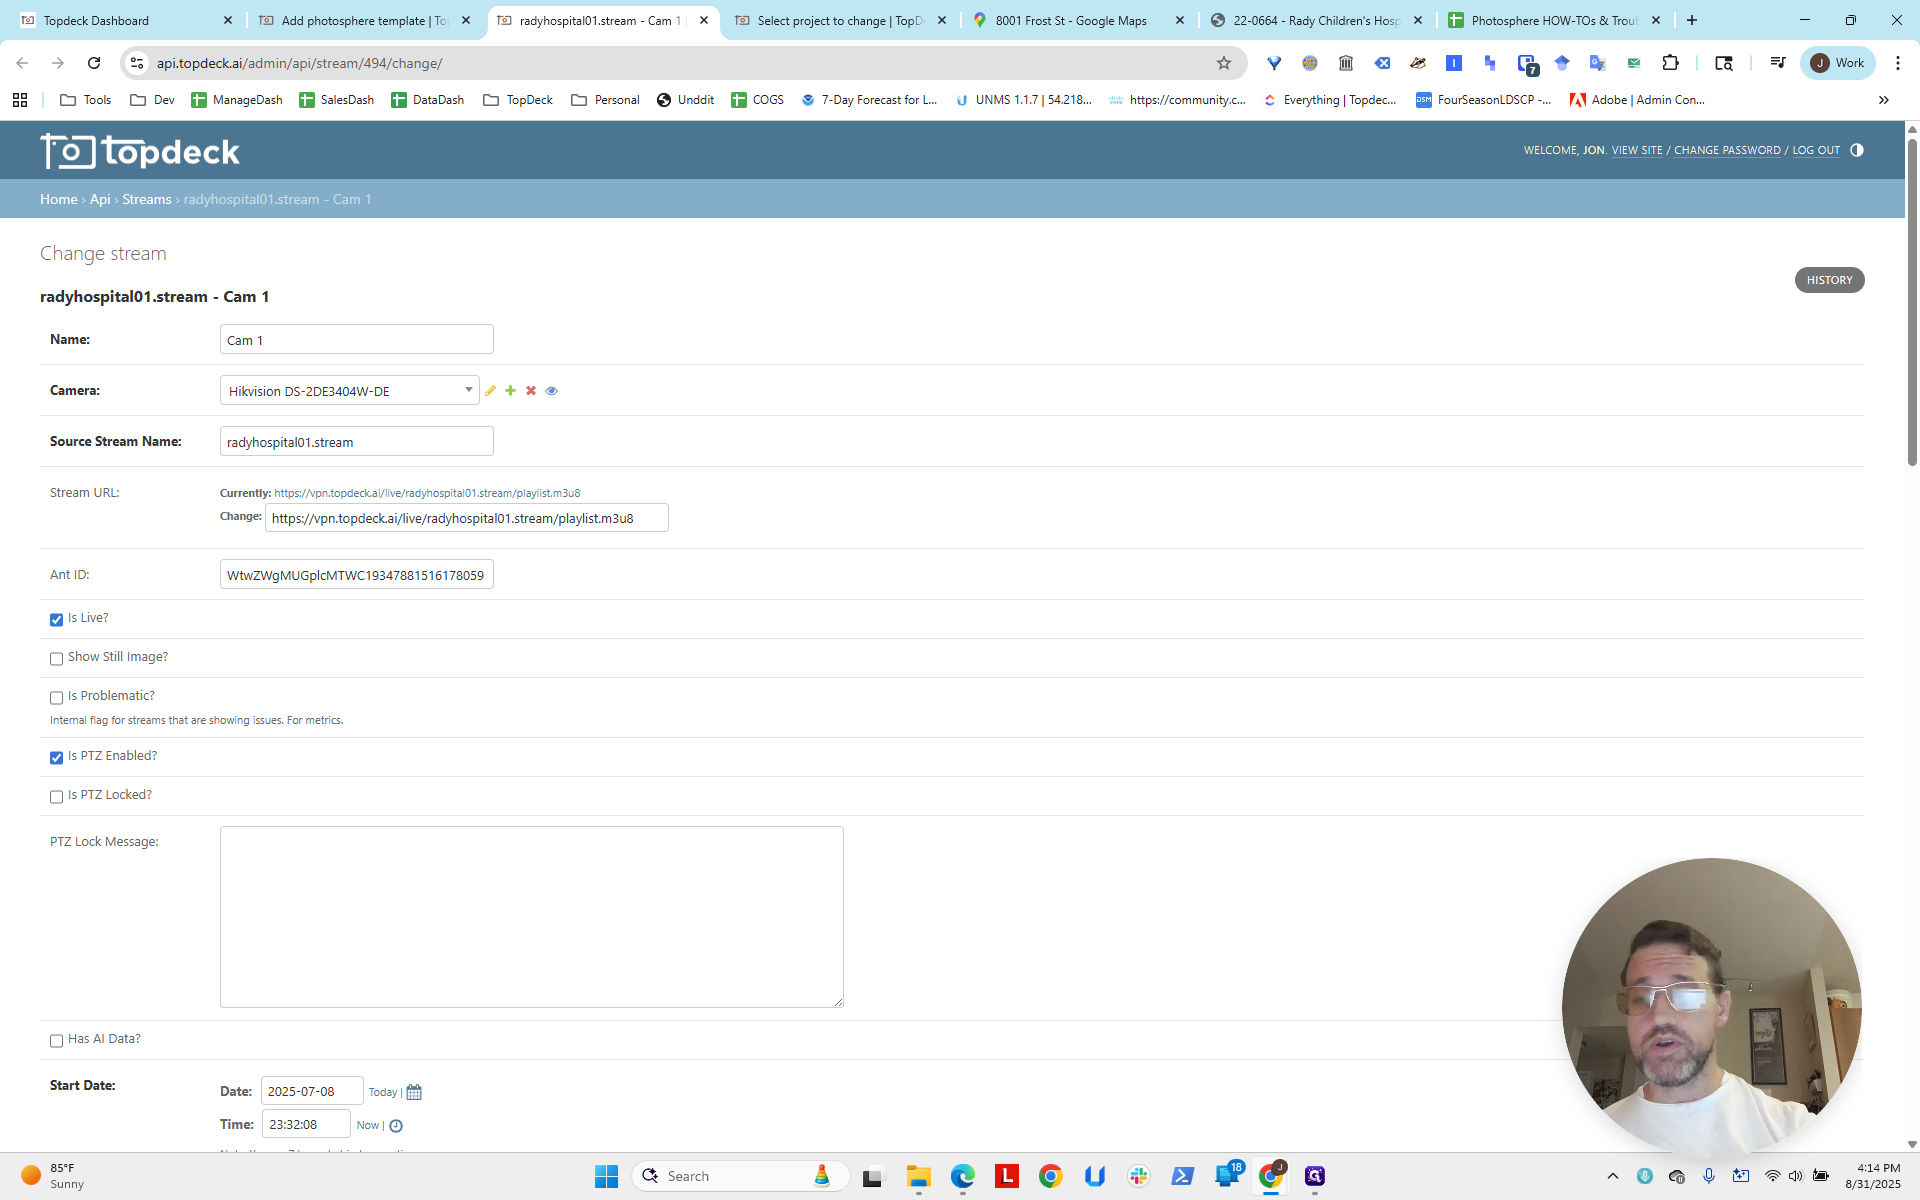
This is the north crane. First, we need to log in to the camera.
Copy the link, open Edge, and paste the link.
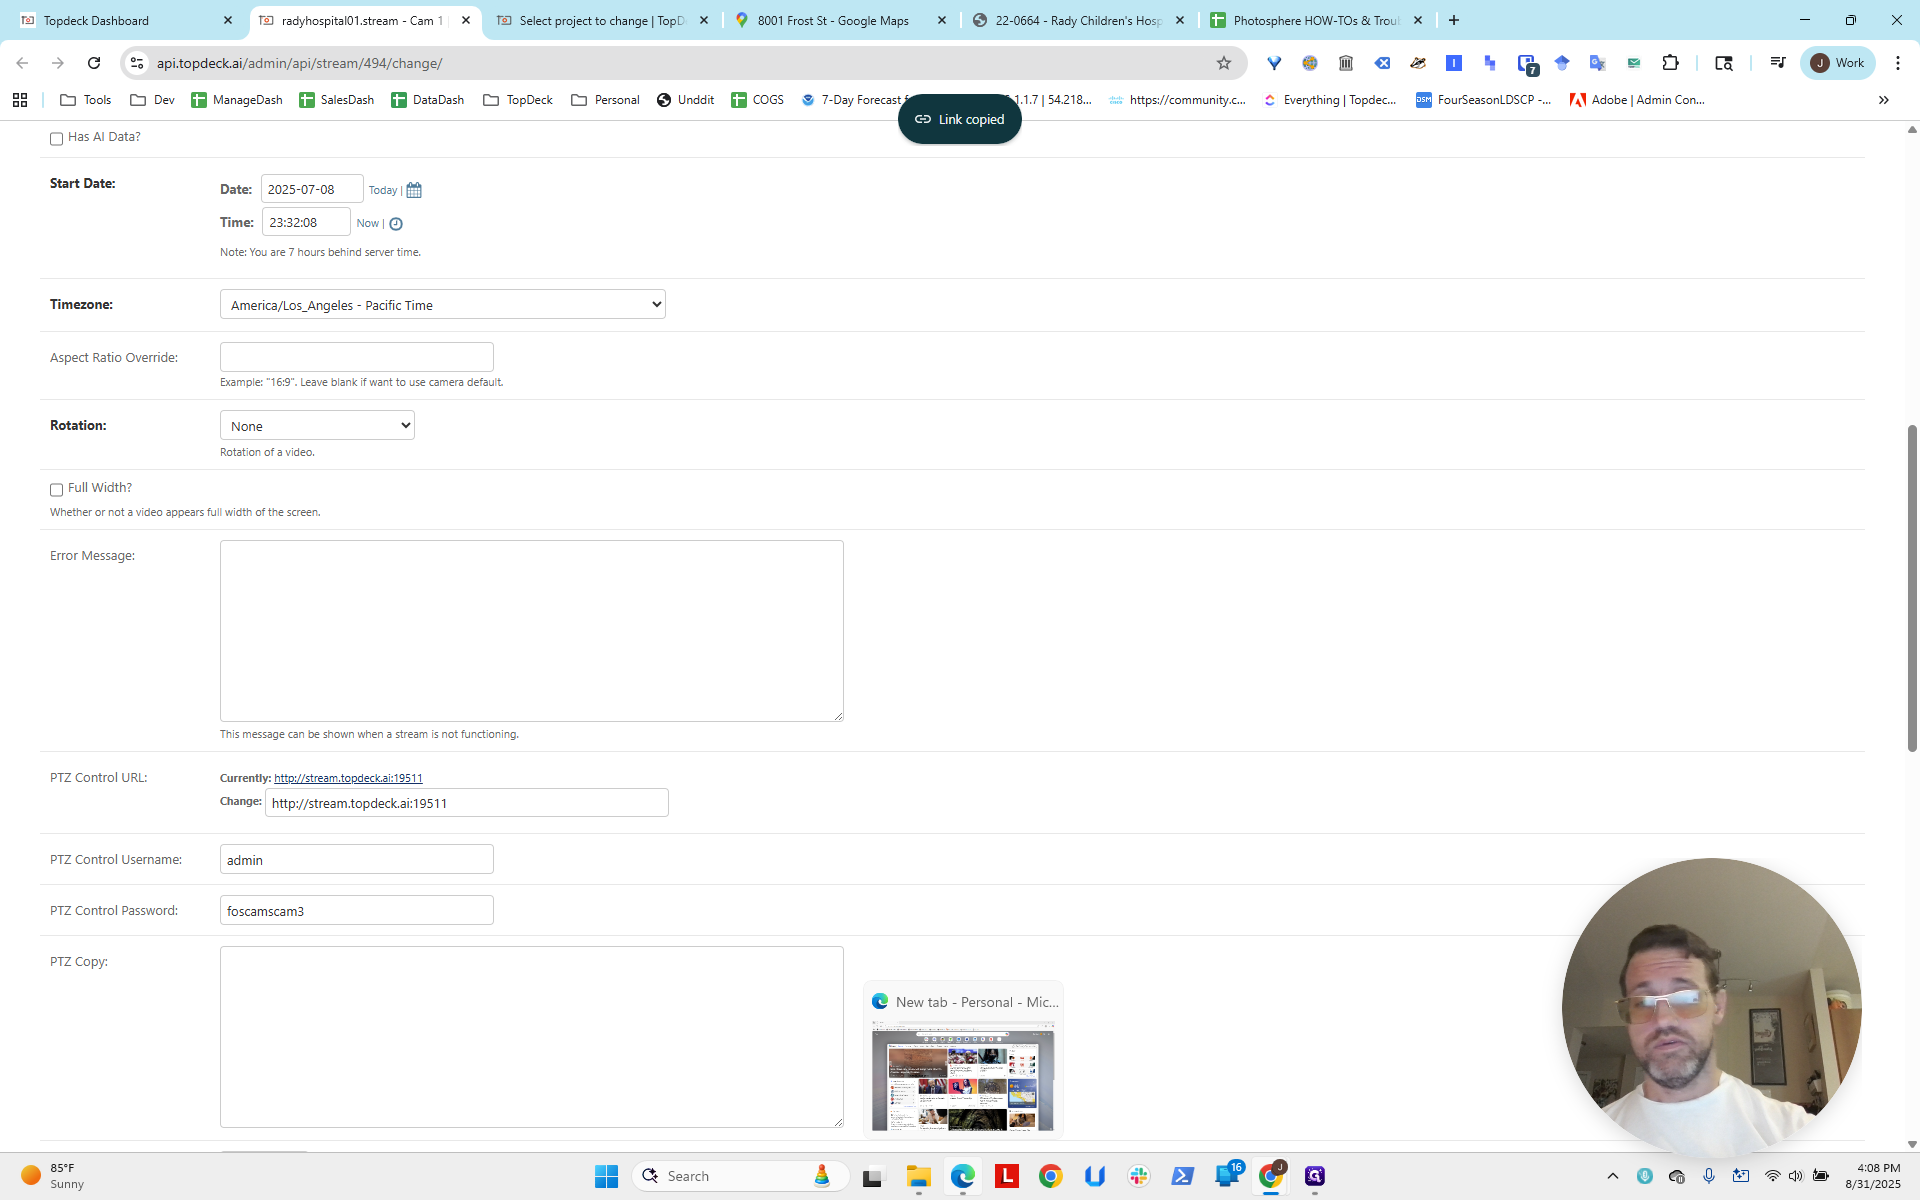
Remember, we need to set Edge to load in Internet Explorer mode.
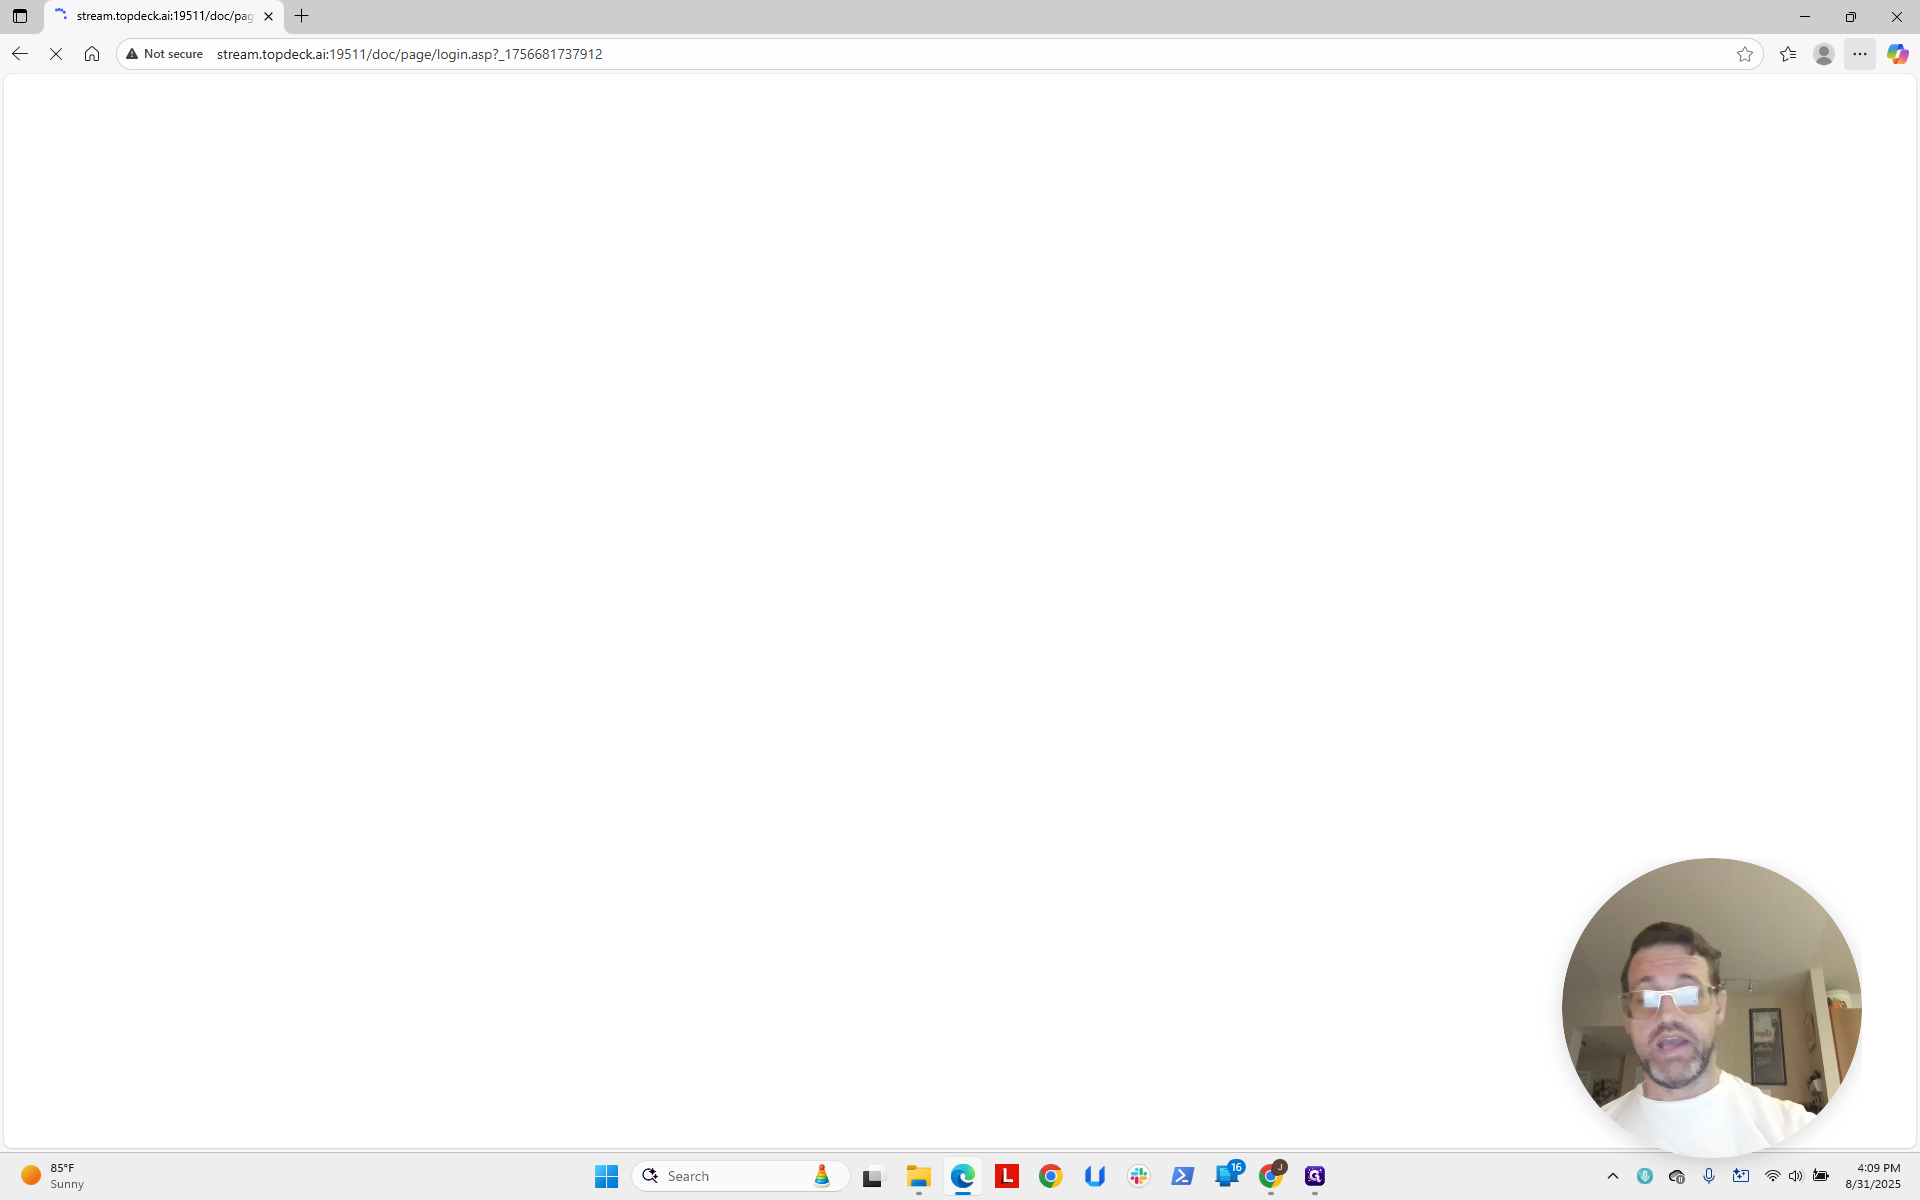
We need to wait here for that to finish.
It takes a moment. Now we will enter the universal password for this. This is covered elsewhere, so I won't repeat it.
We log into the camera. It only takes a minute. Sometimes, logging into the cameras directly can be slow. Gonna... Oh, there we go.
Okay, now click Configuration.
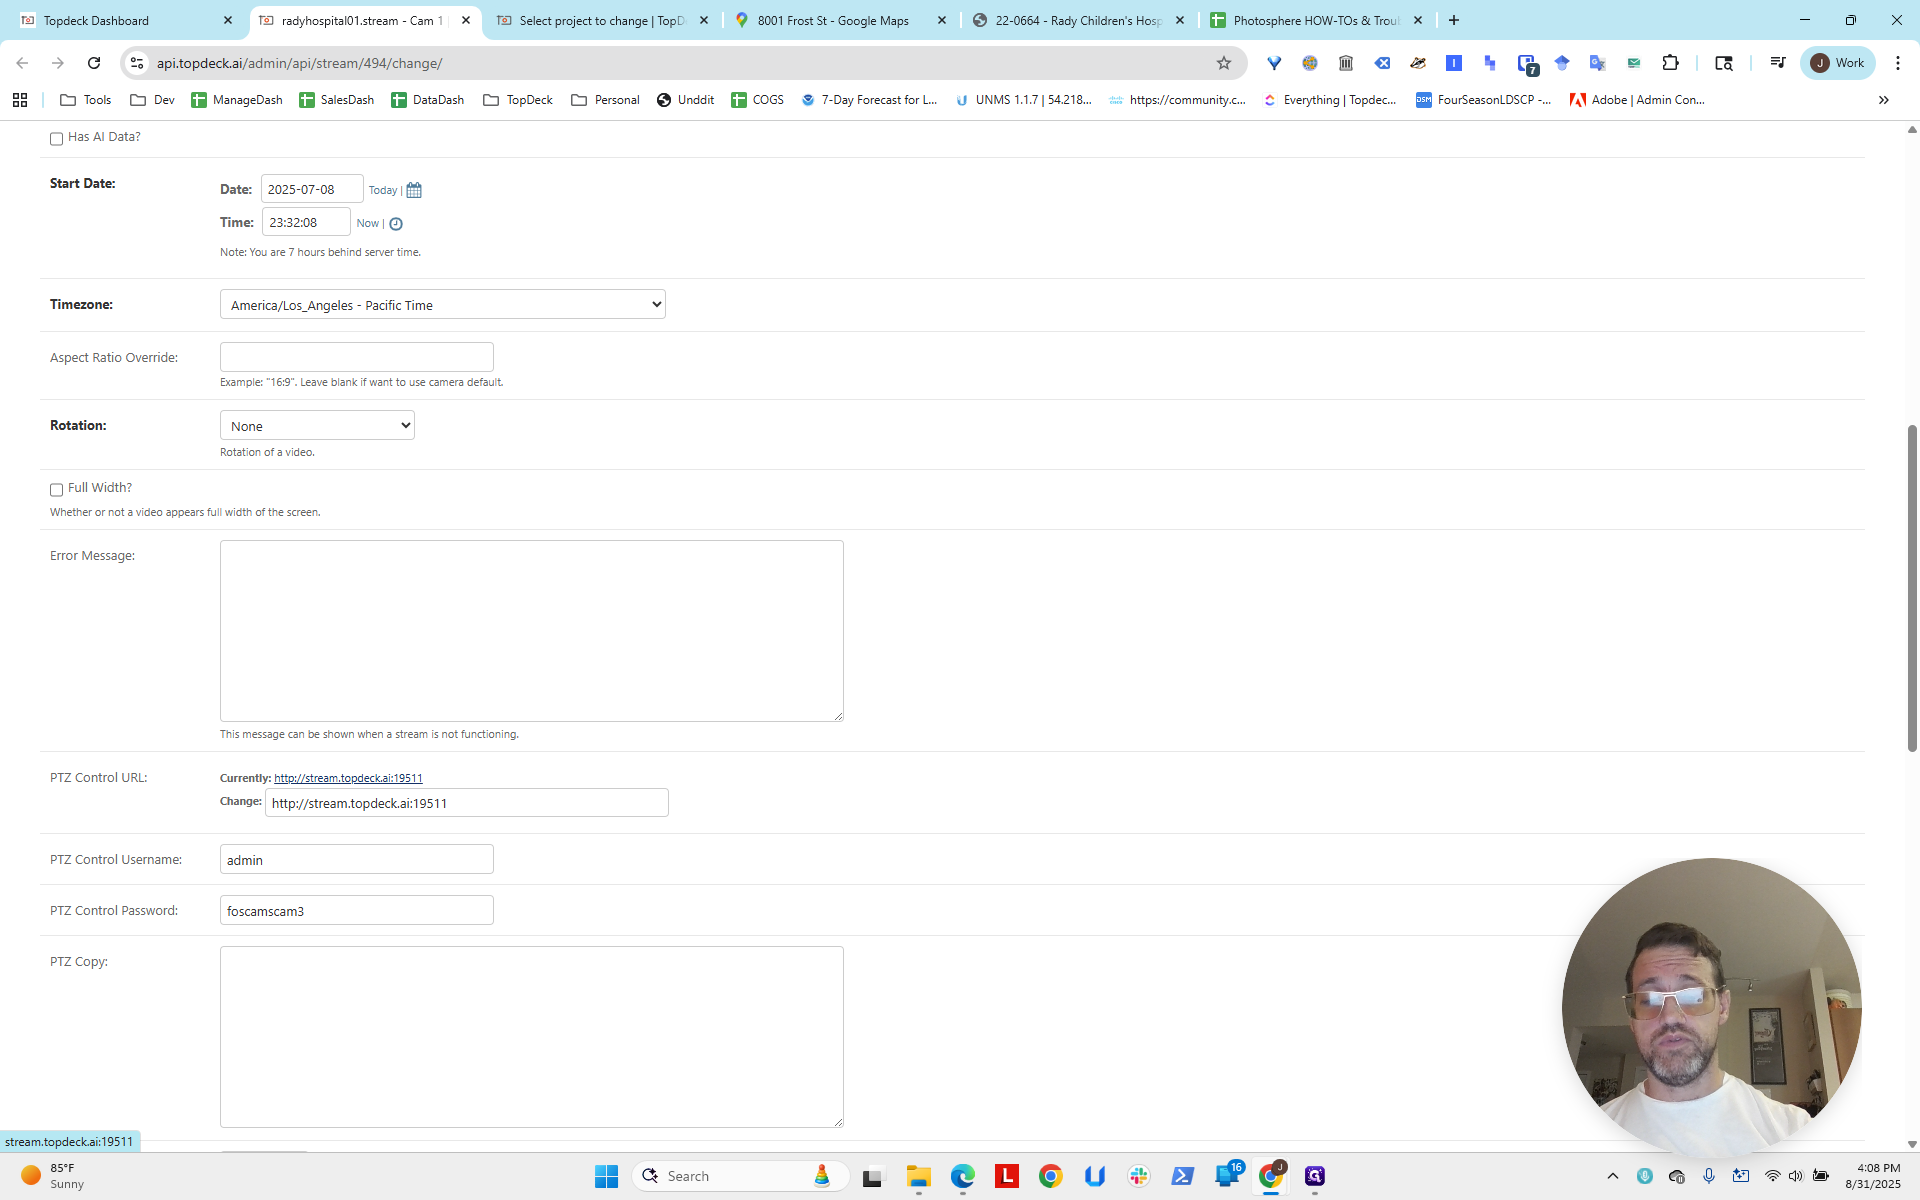
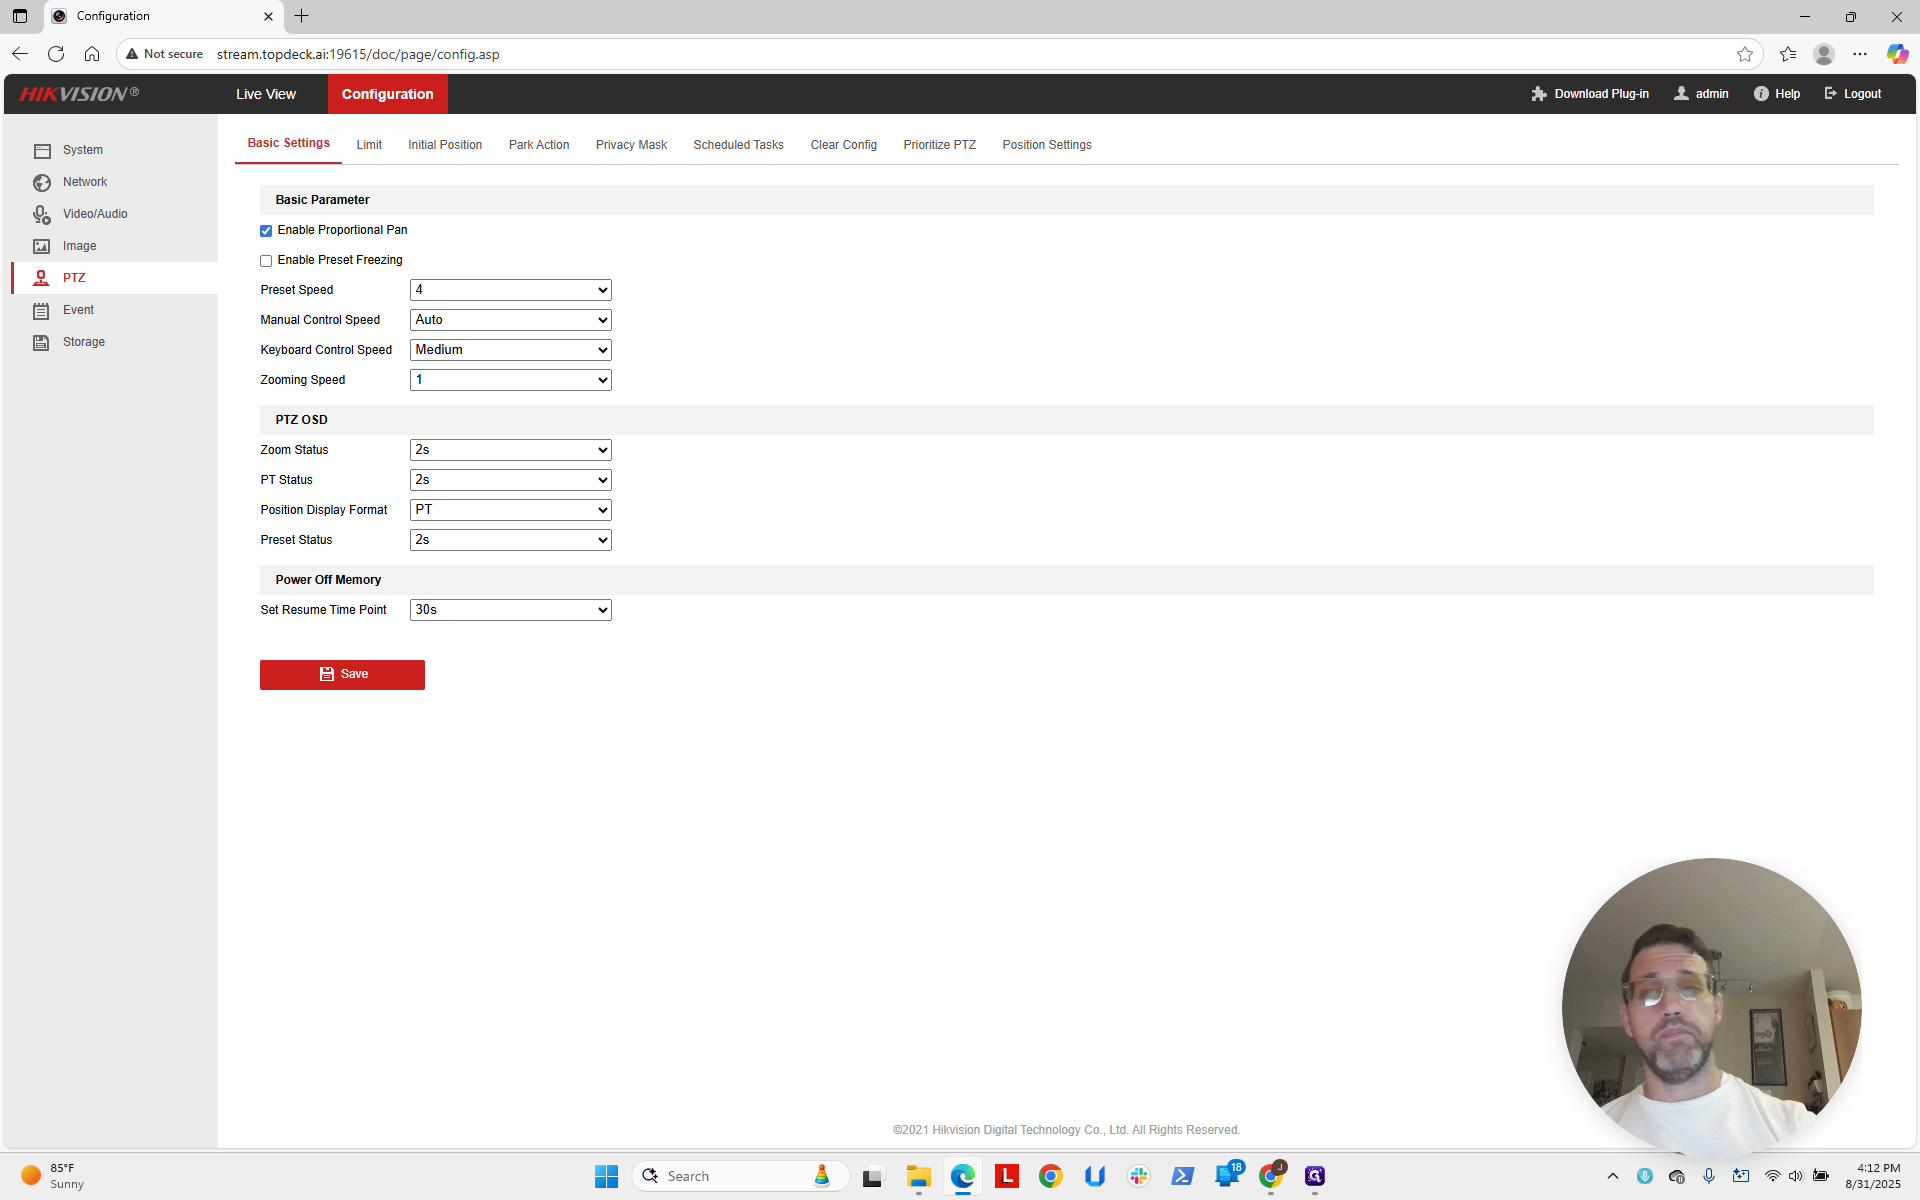
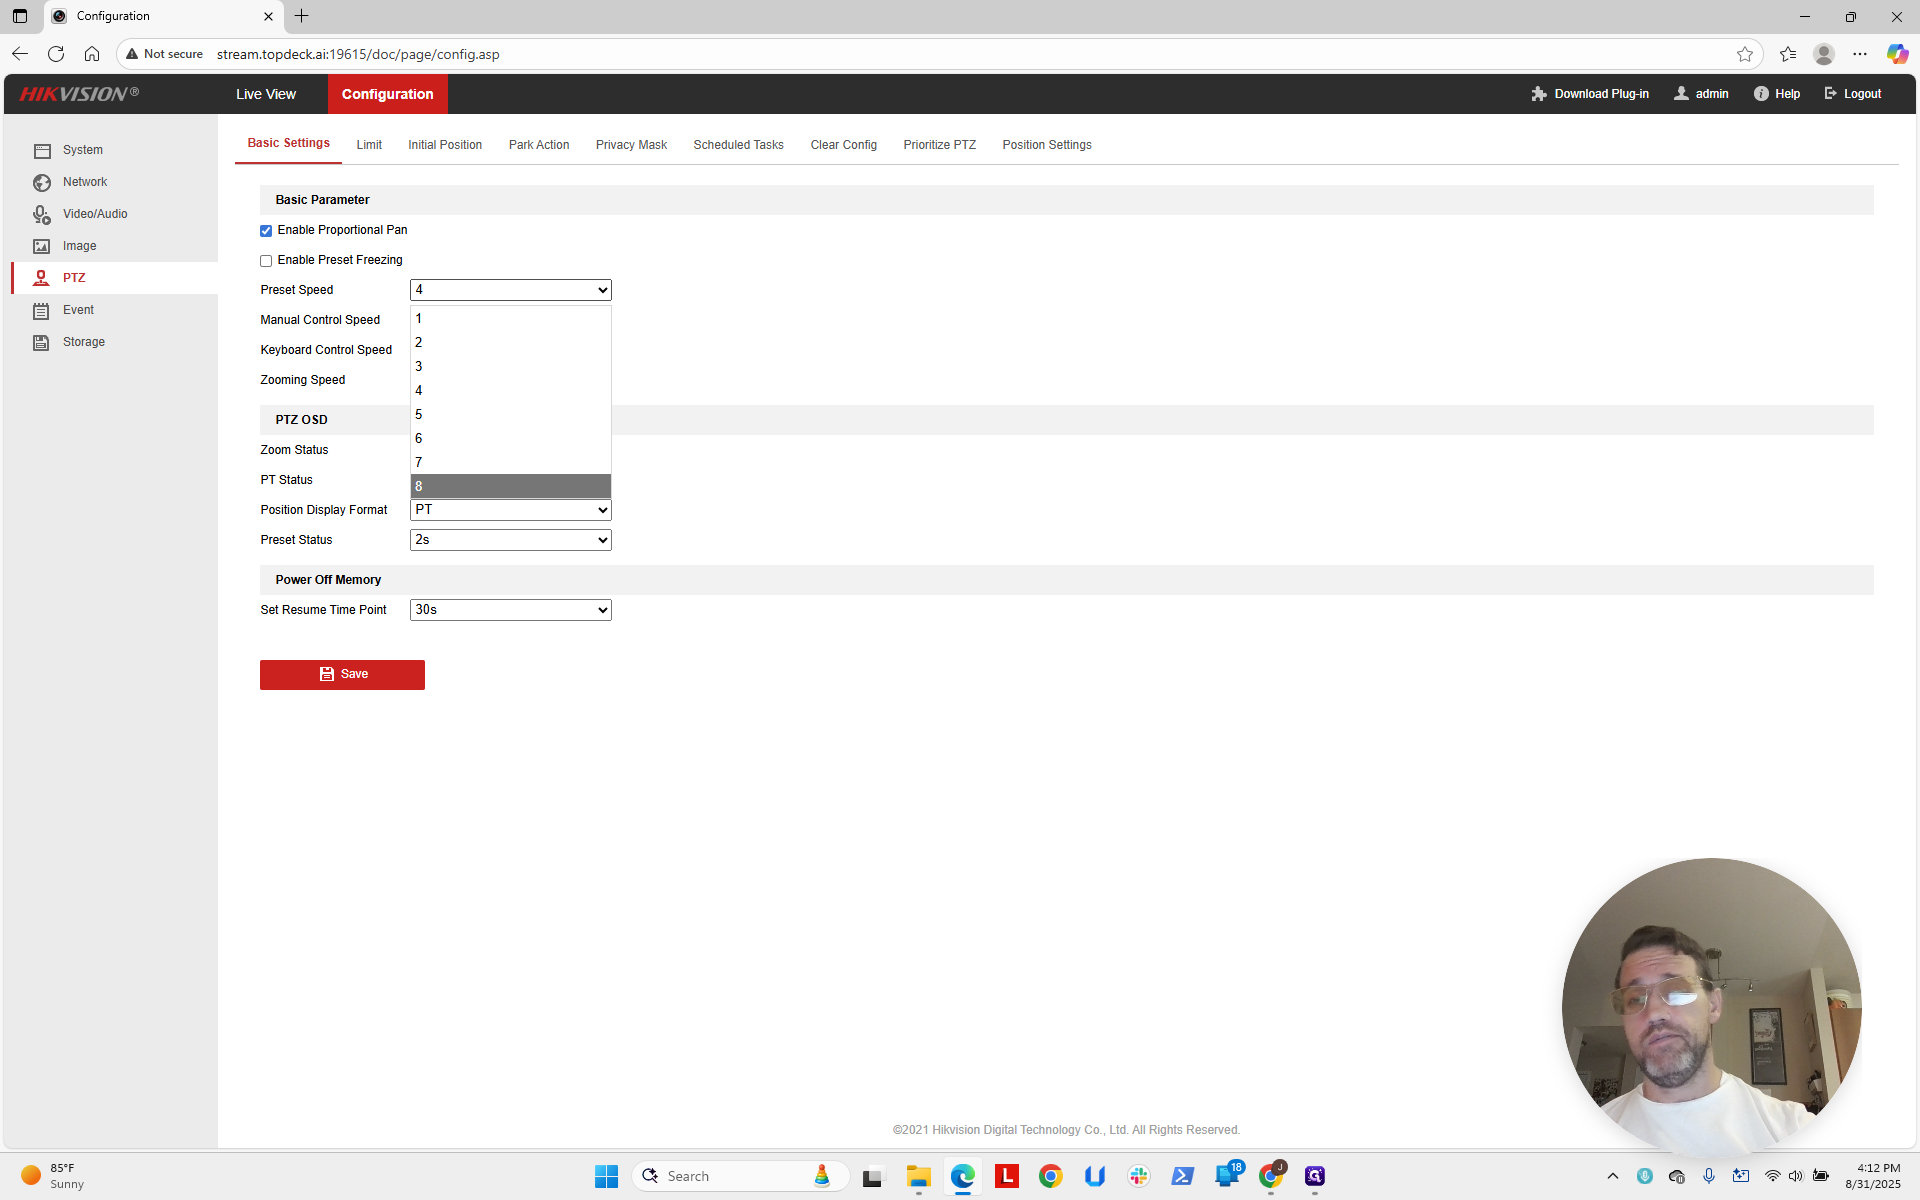
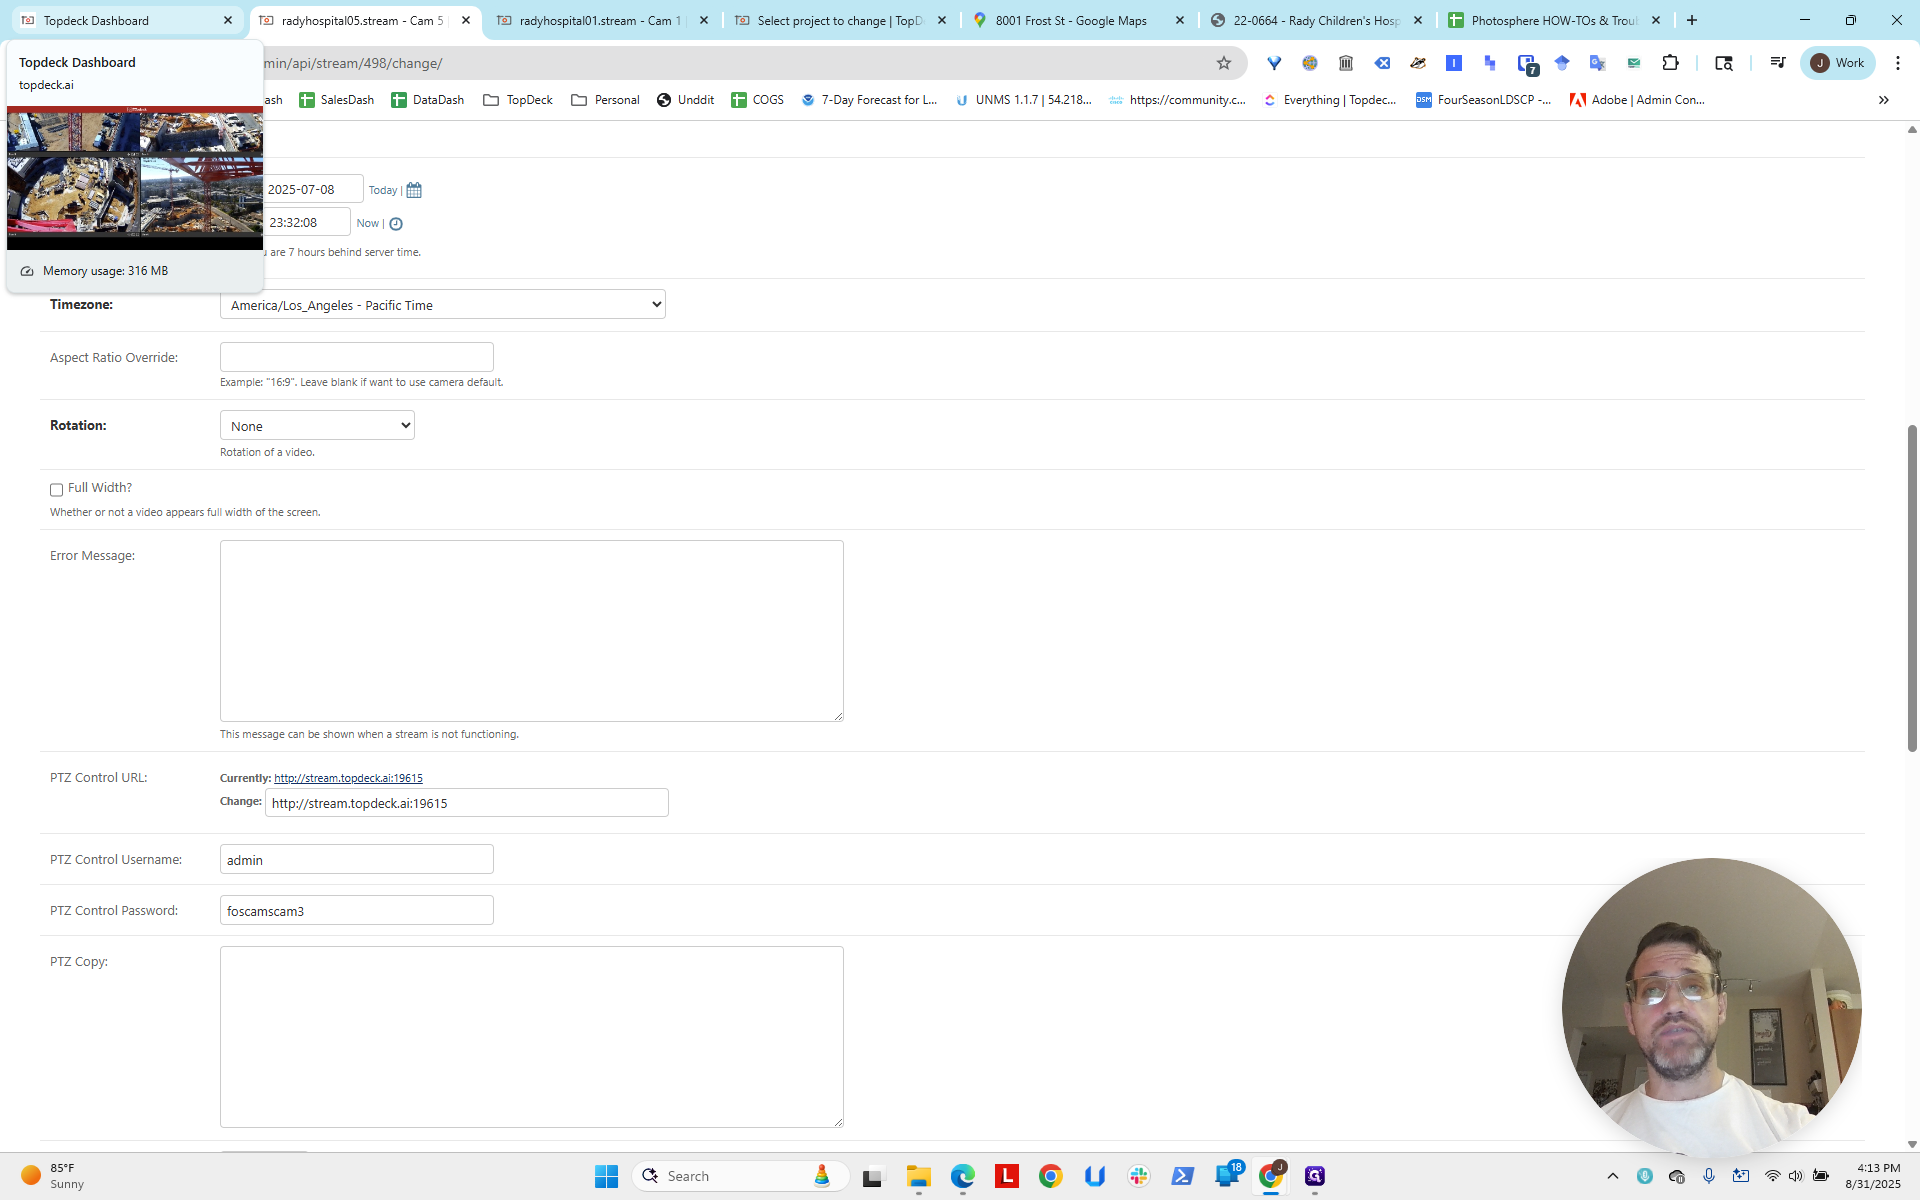
Sorry this is taking so long. This is particularly slow. Now we move on to PTZ.
We change the preset speed from four to eight.
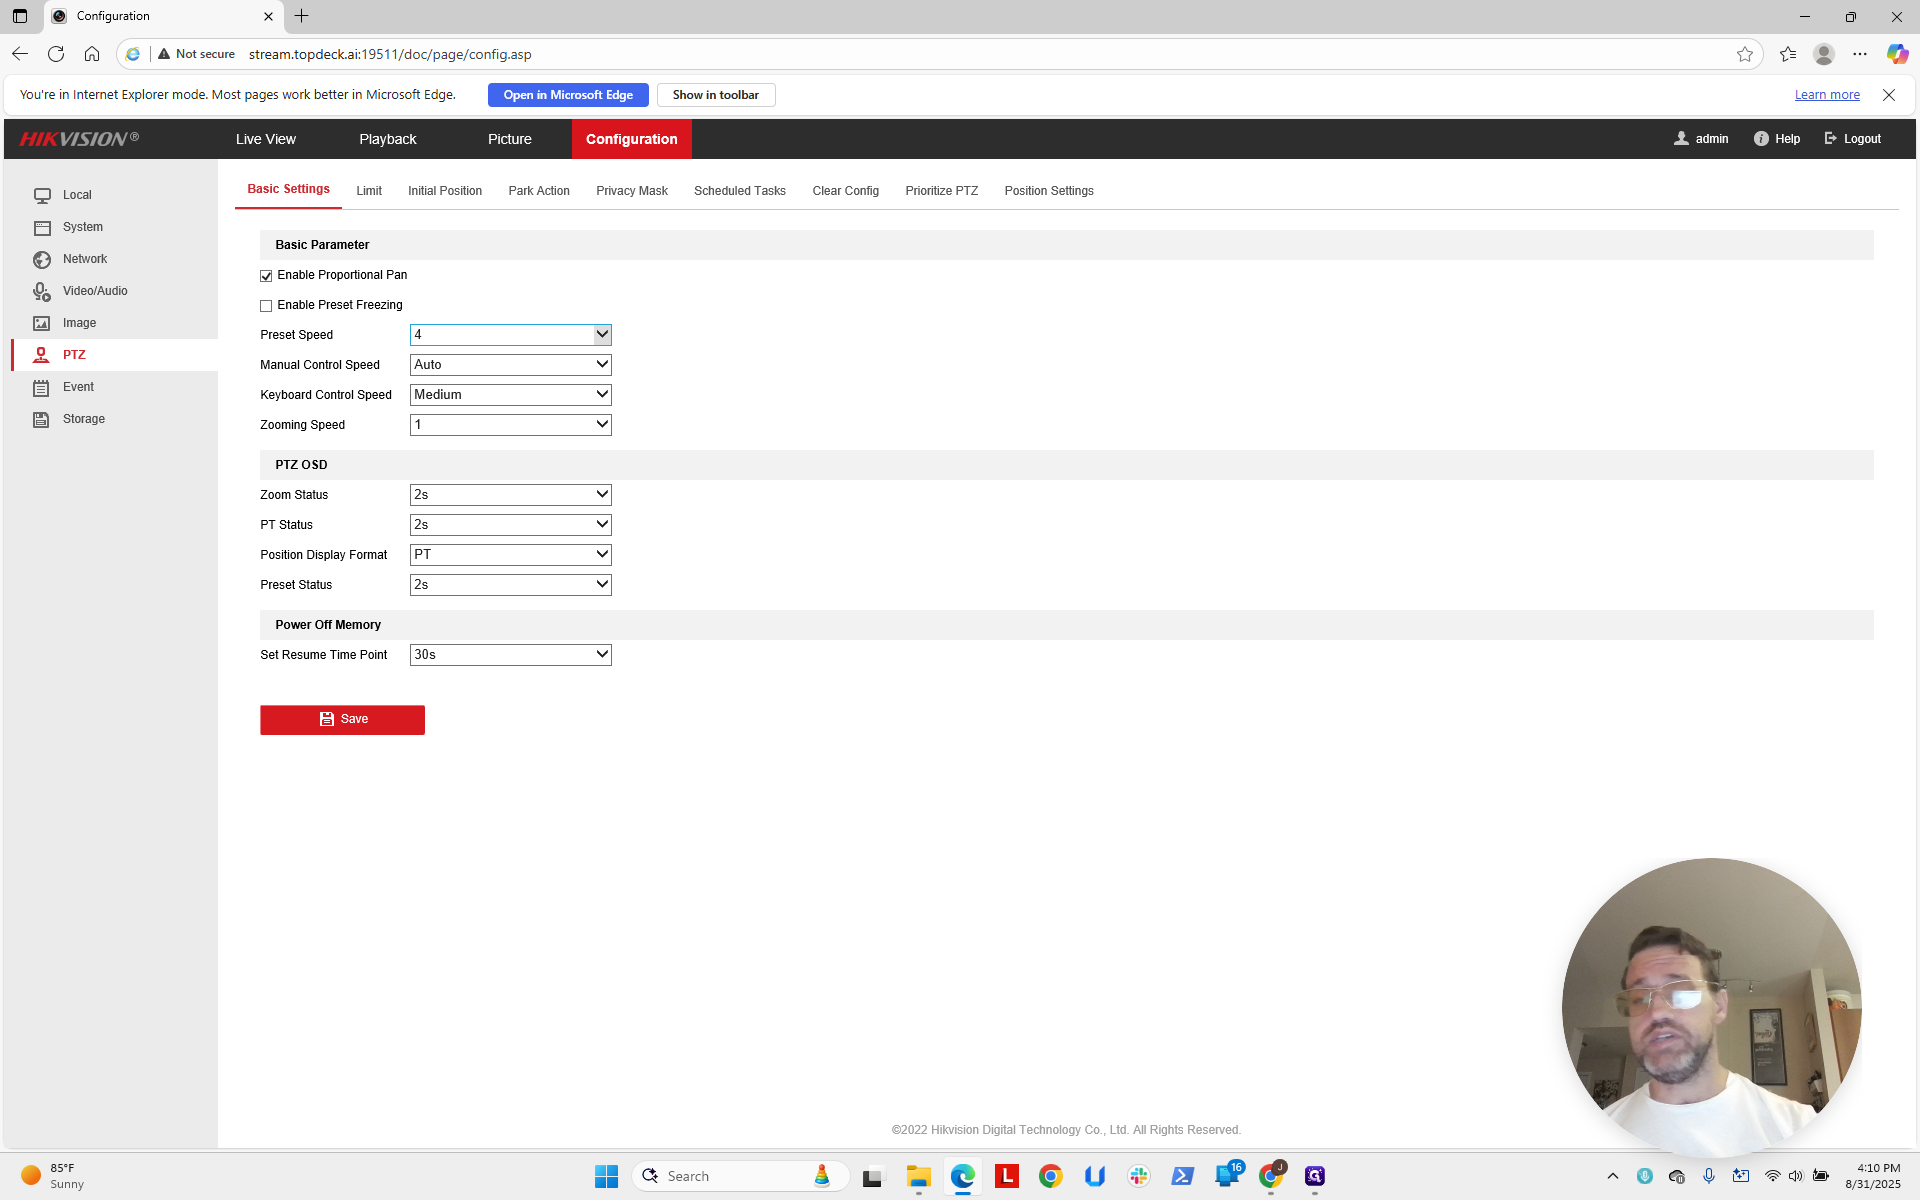
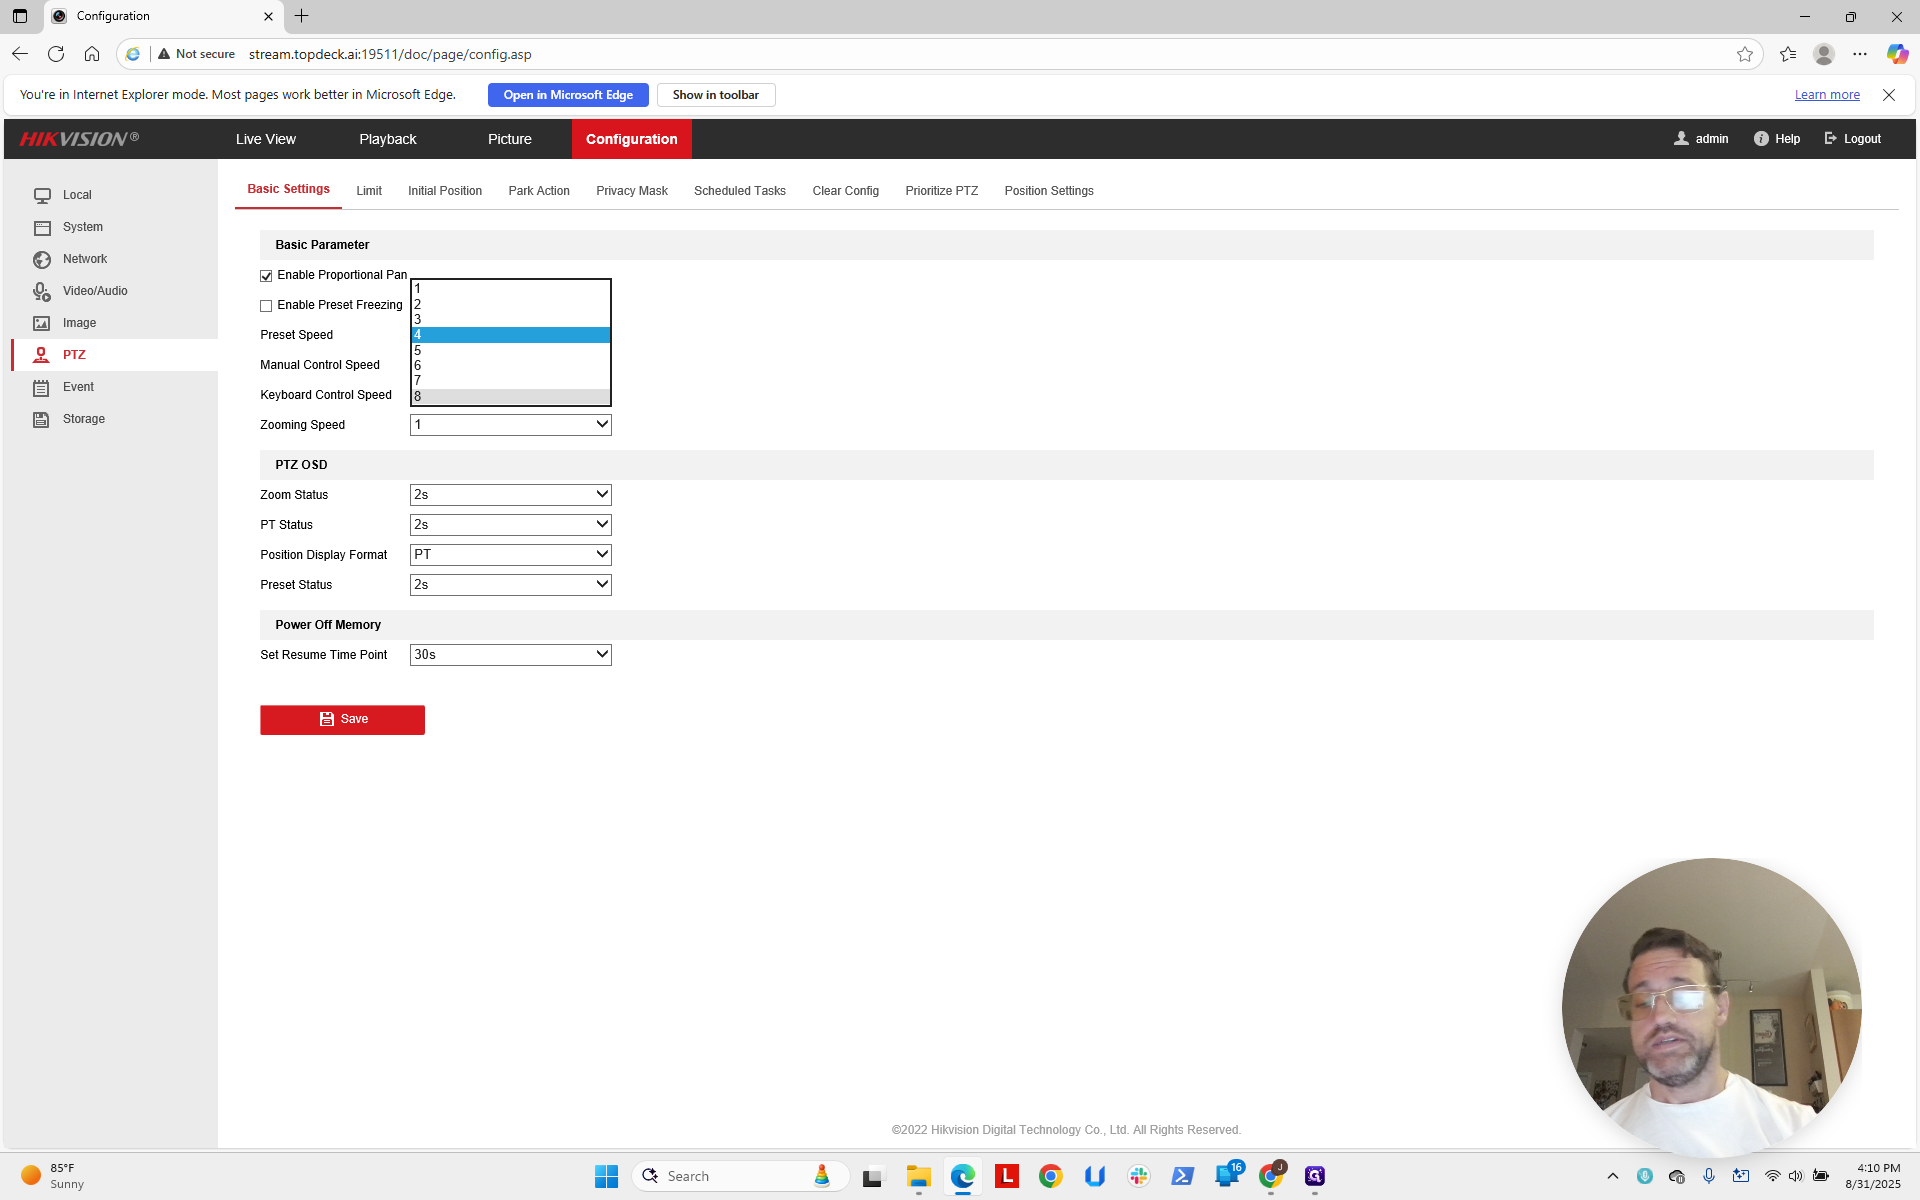
Save.

Once you have saved, there is no indication that anything has happened. It appears in the bottom right. That's all you need to do on this page. Now I'll pause and set up the other camera the same way. We're back on the other camera. I'll set it to eight and then hit save.
It appears in the bottom right corner. Now, we will return to our project and set up the PhotoSphere templates. This time, we will do it a little differently because we are going to add longitude and latitude to these templates. Looking at the map, remember that we have a north crane and a northeast crane. We will use Google Earth to find random locations.
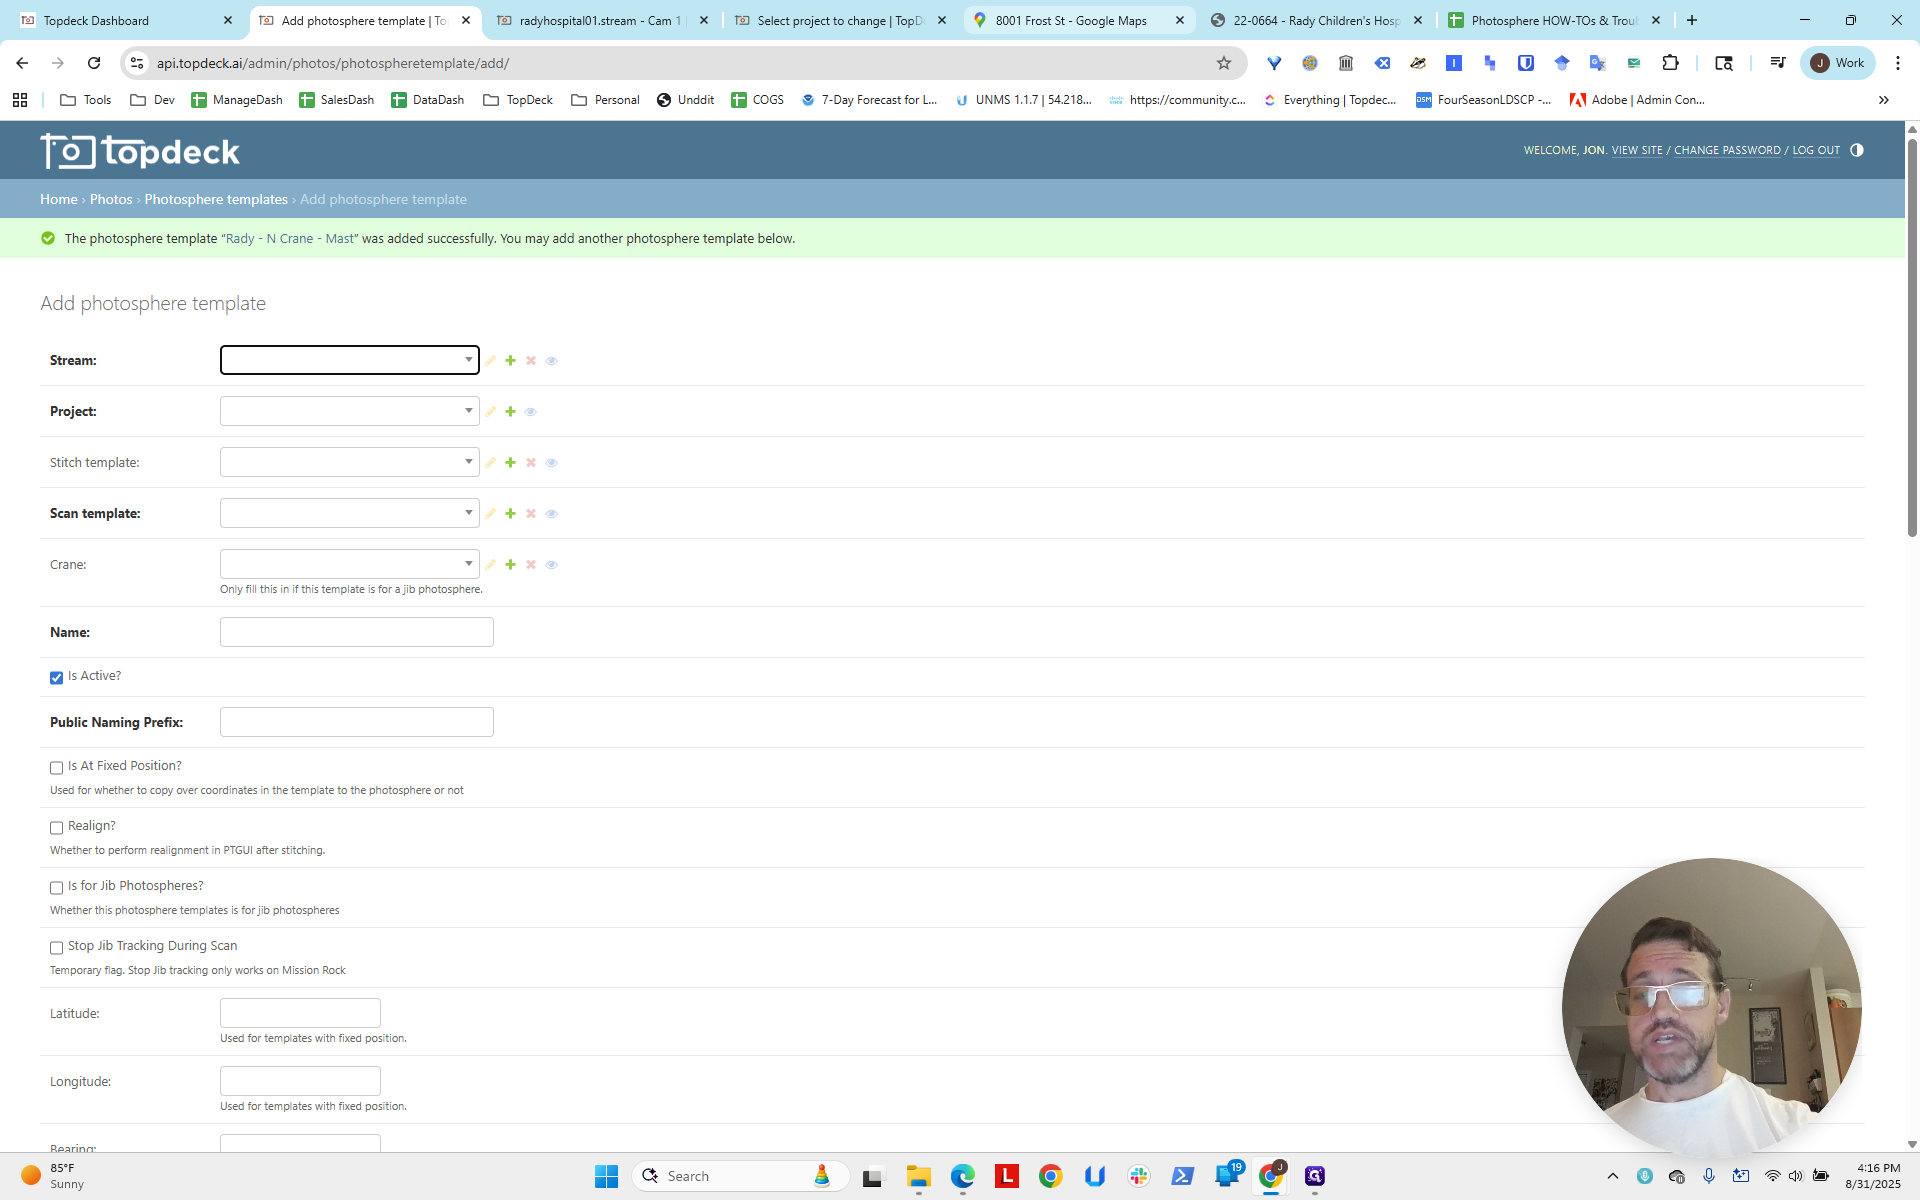
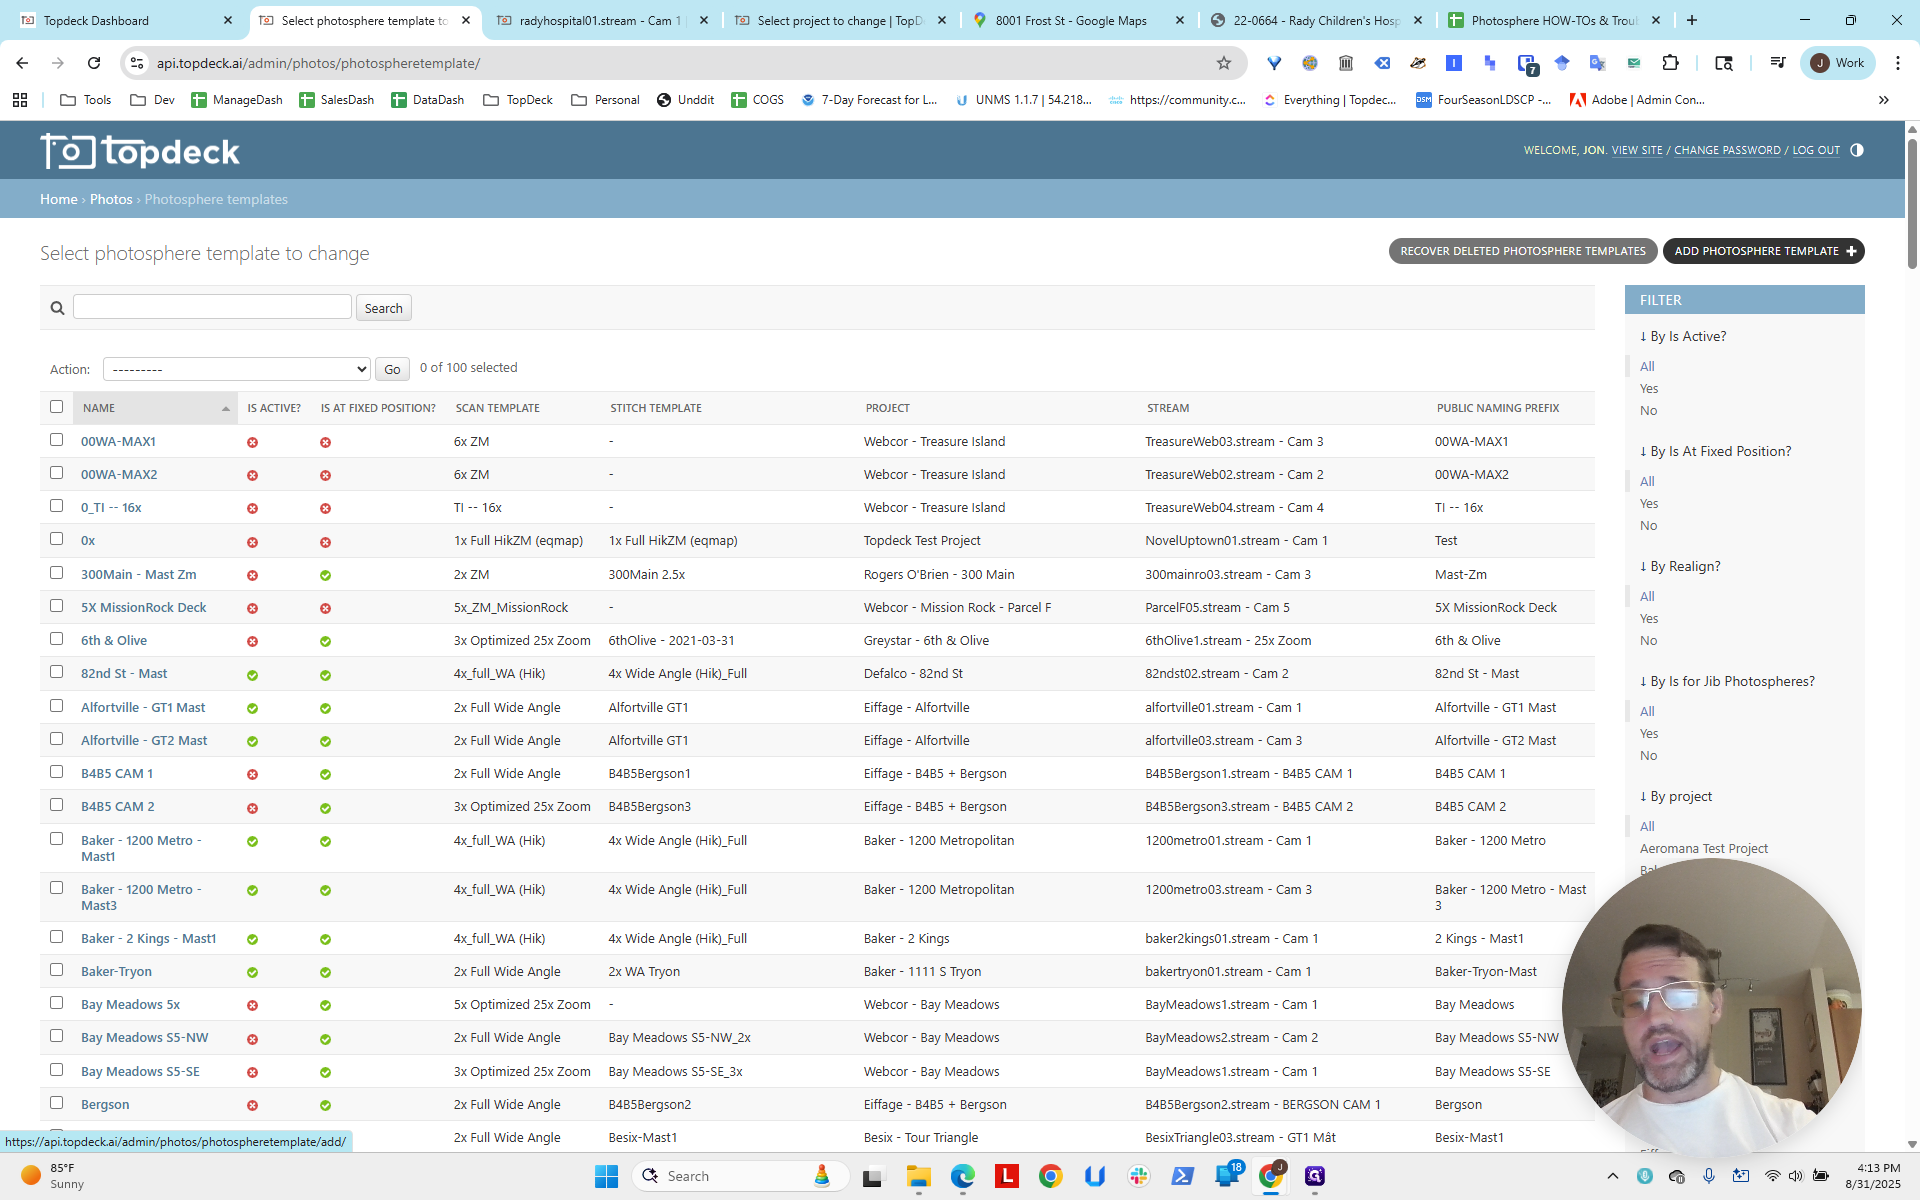
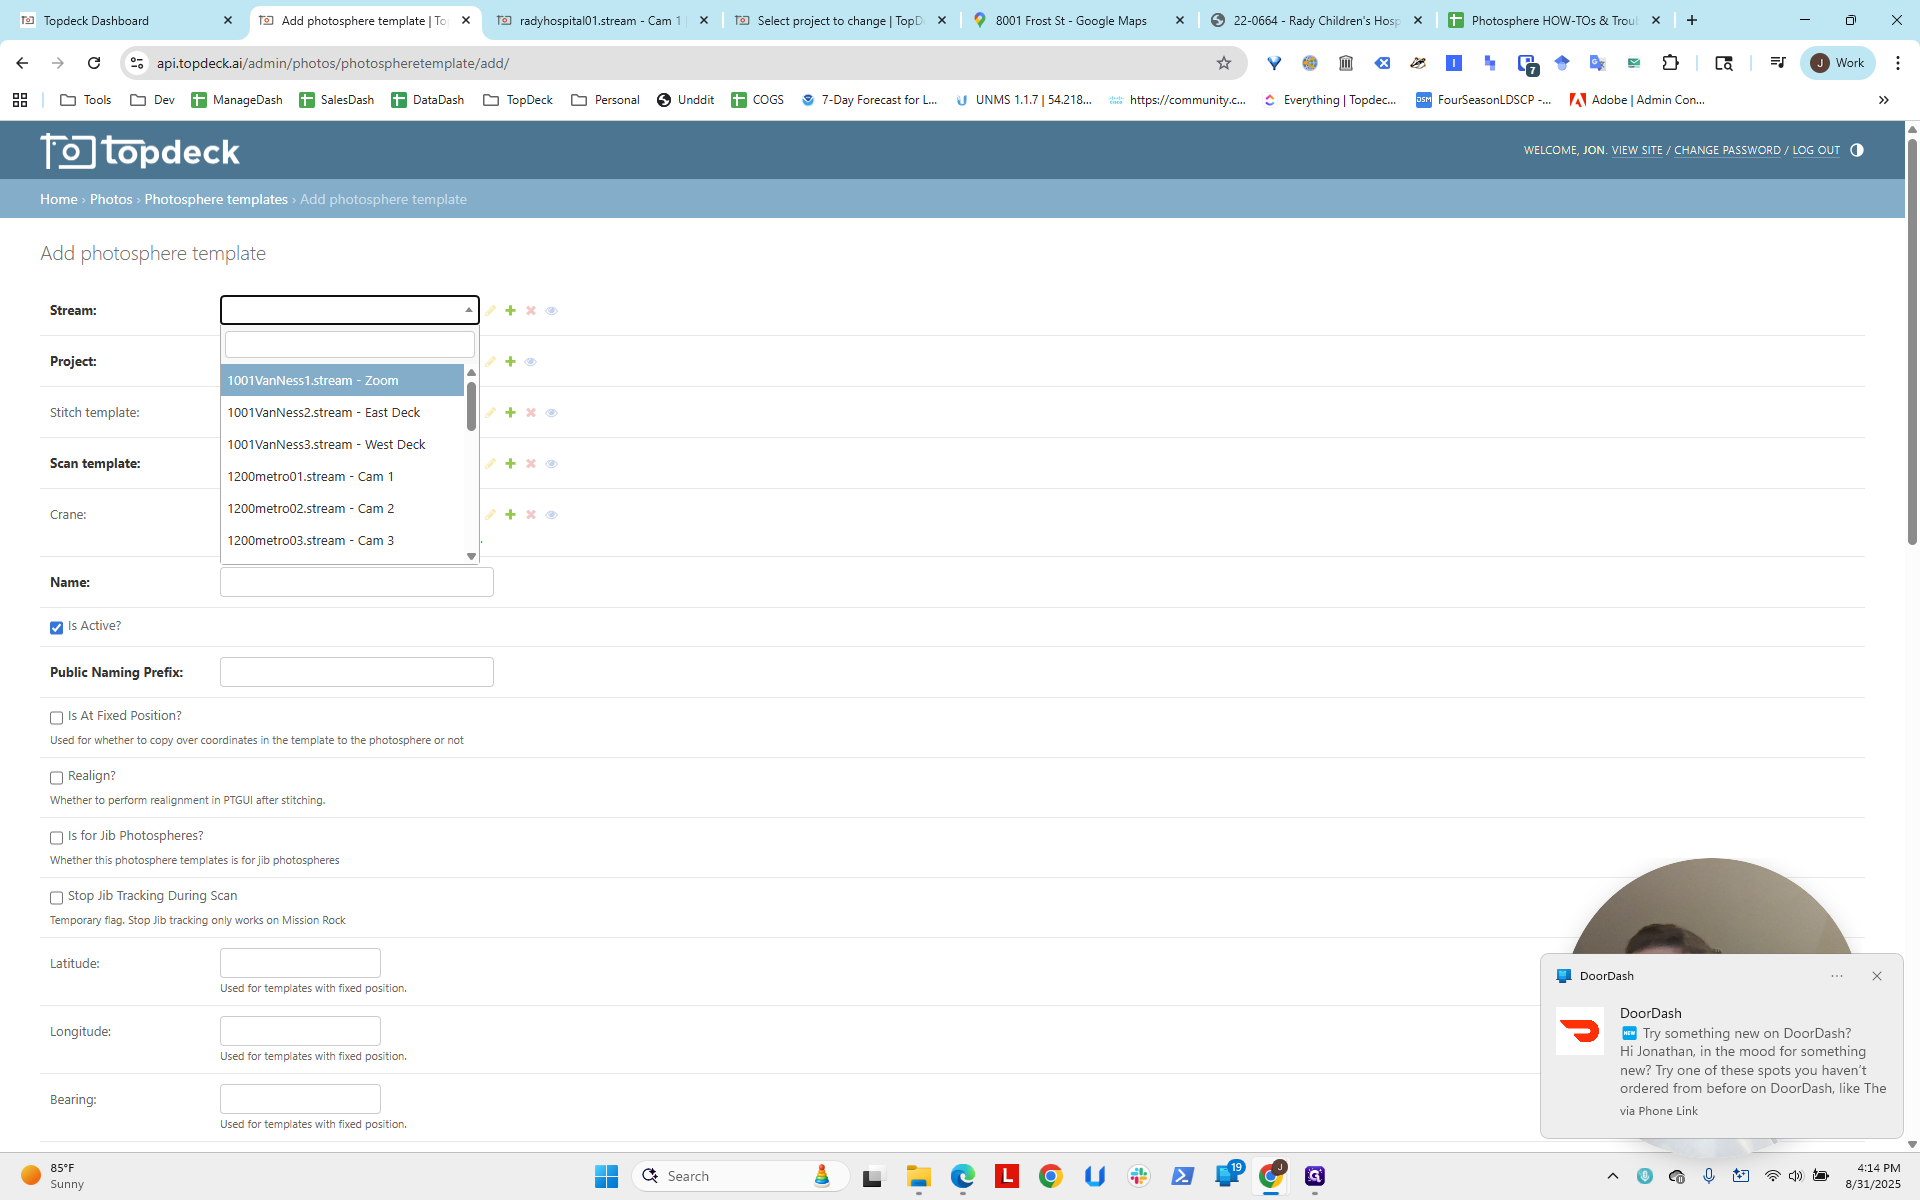
We will start with the north crane. We want to get different longitude and latitude for each one. I just completed one here for north. Now, we will go back to the home page on the API. We will go to Photos and then select PhotoSphere Templates.
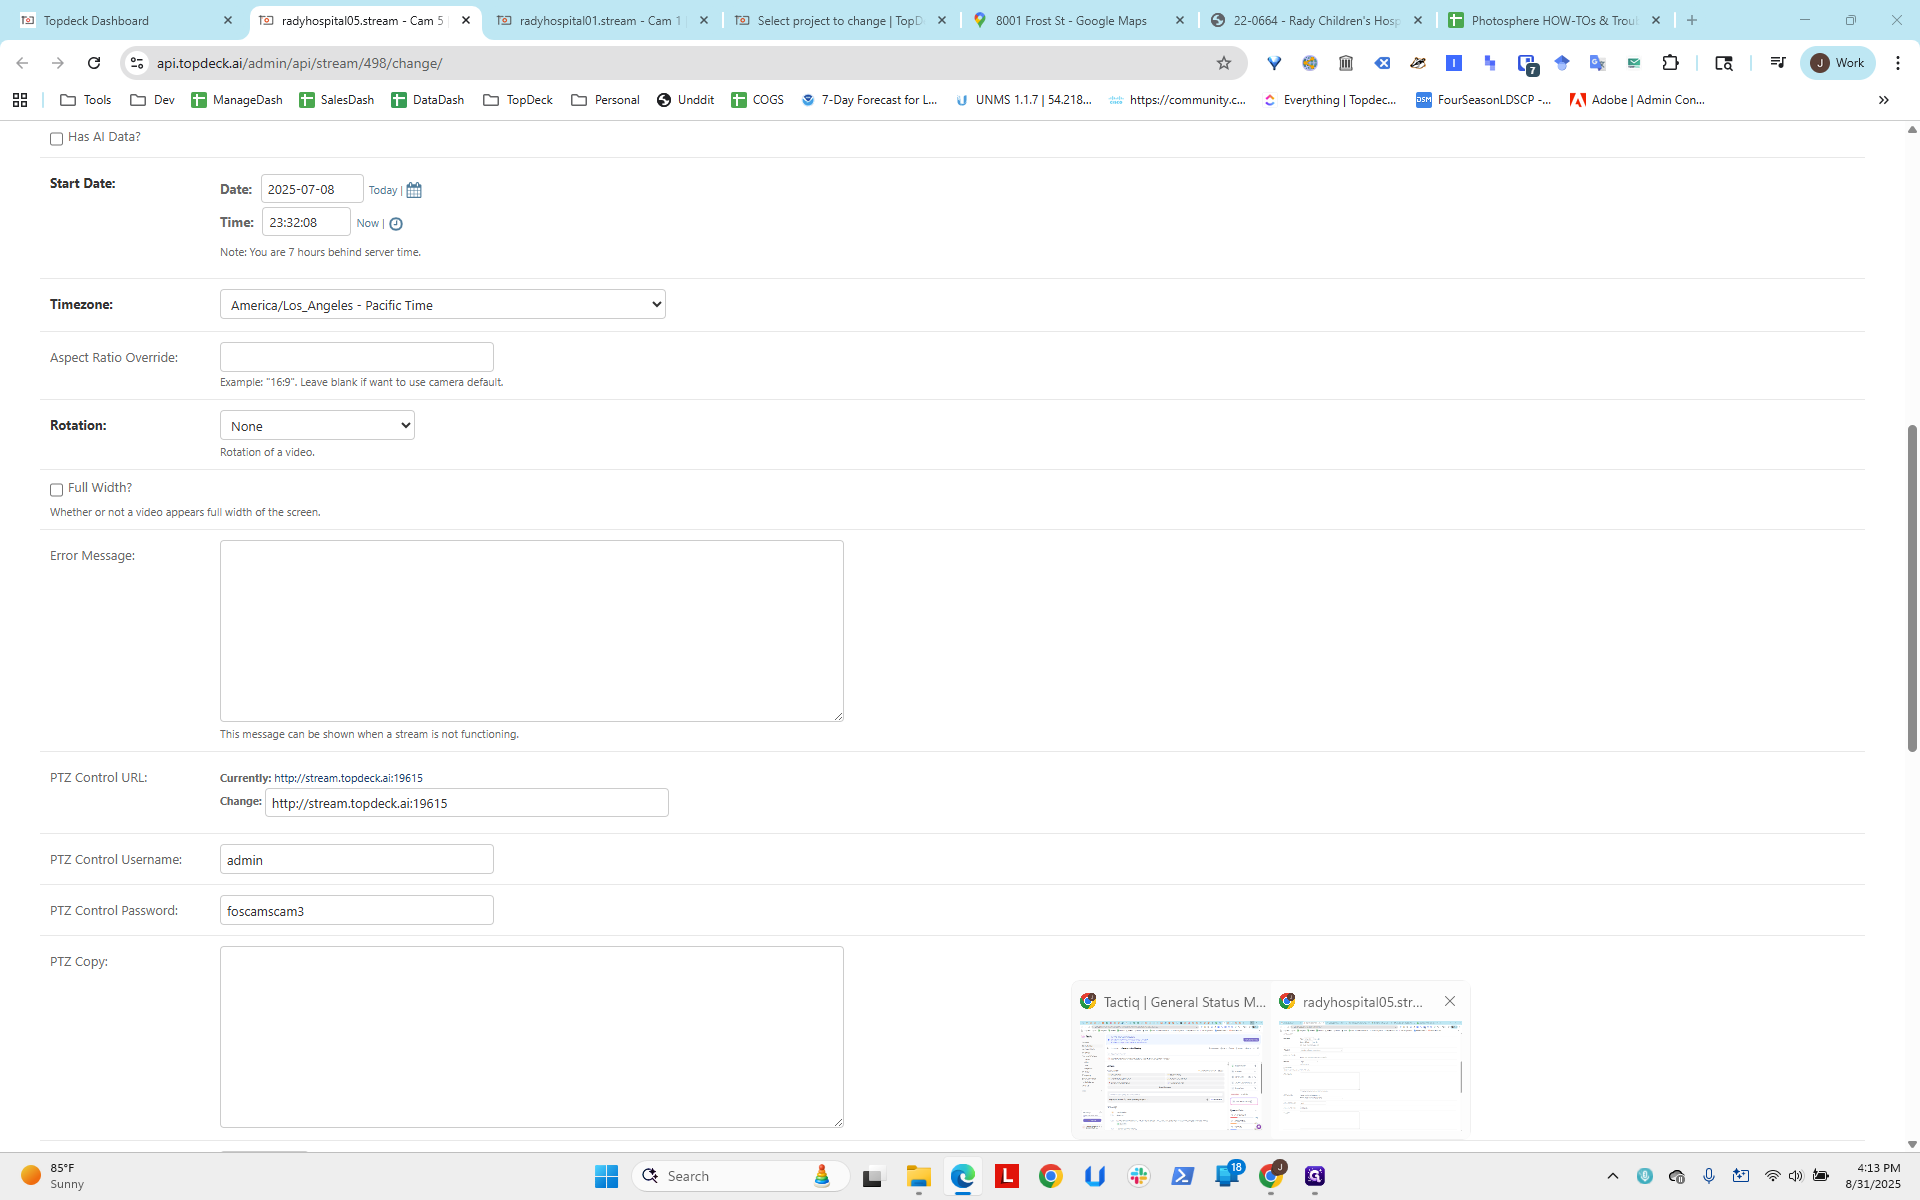
We will add the PhotoSphere Template. Recall that these Rady Hospital streams included Cam 5 and Cam 1. You can see their labels here. Hospital 01, Hospital 05. This is Cam 1, so we need to use Hospital 01 for the north crane.
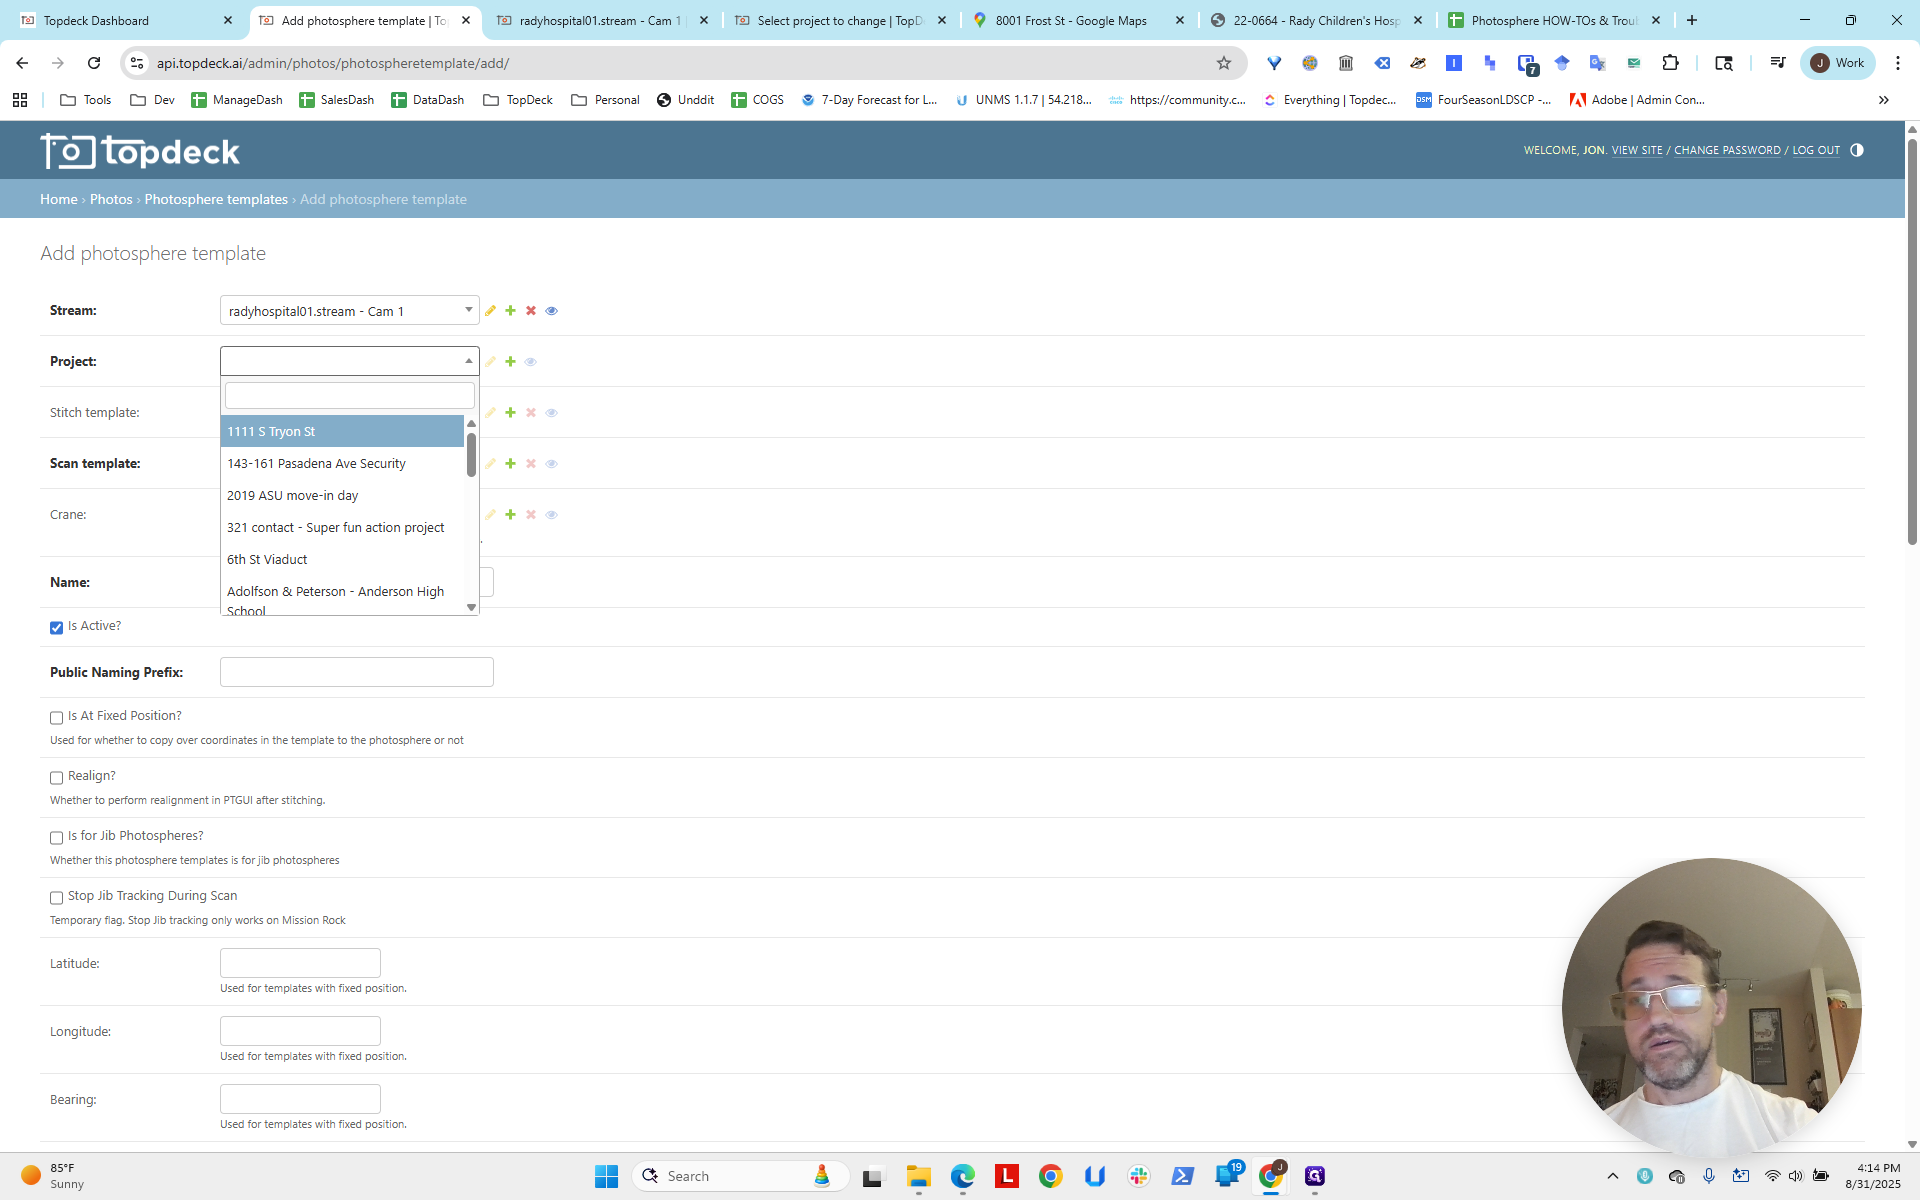
I'm going to type in... Ignore the DoorDash notification and dismiss it. Cam 1, select the project, Rady.
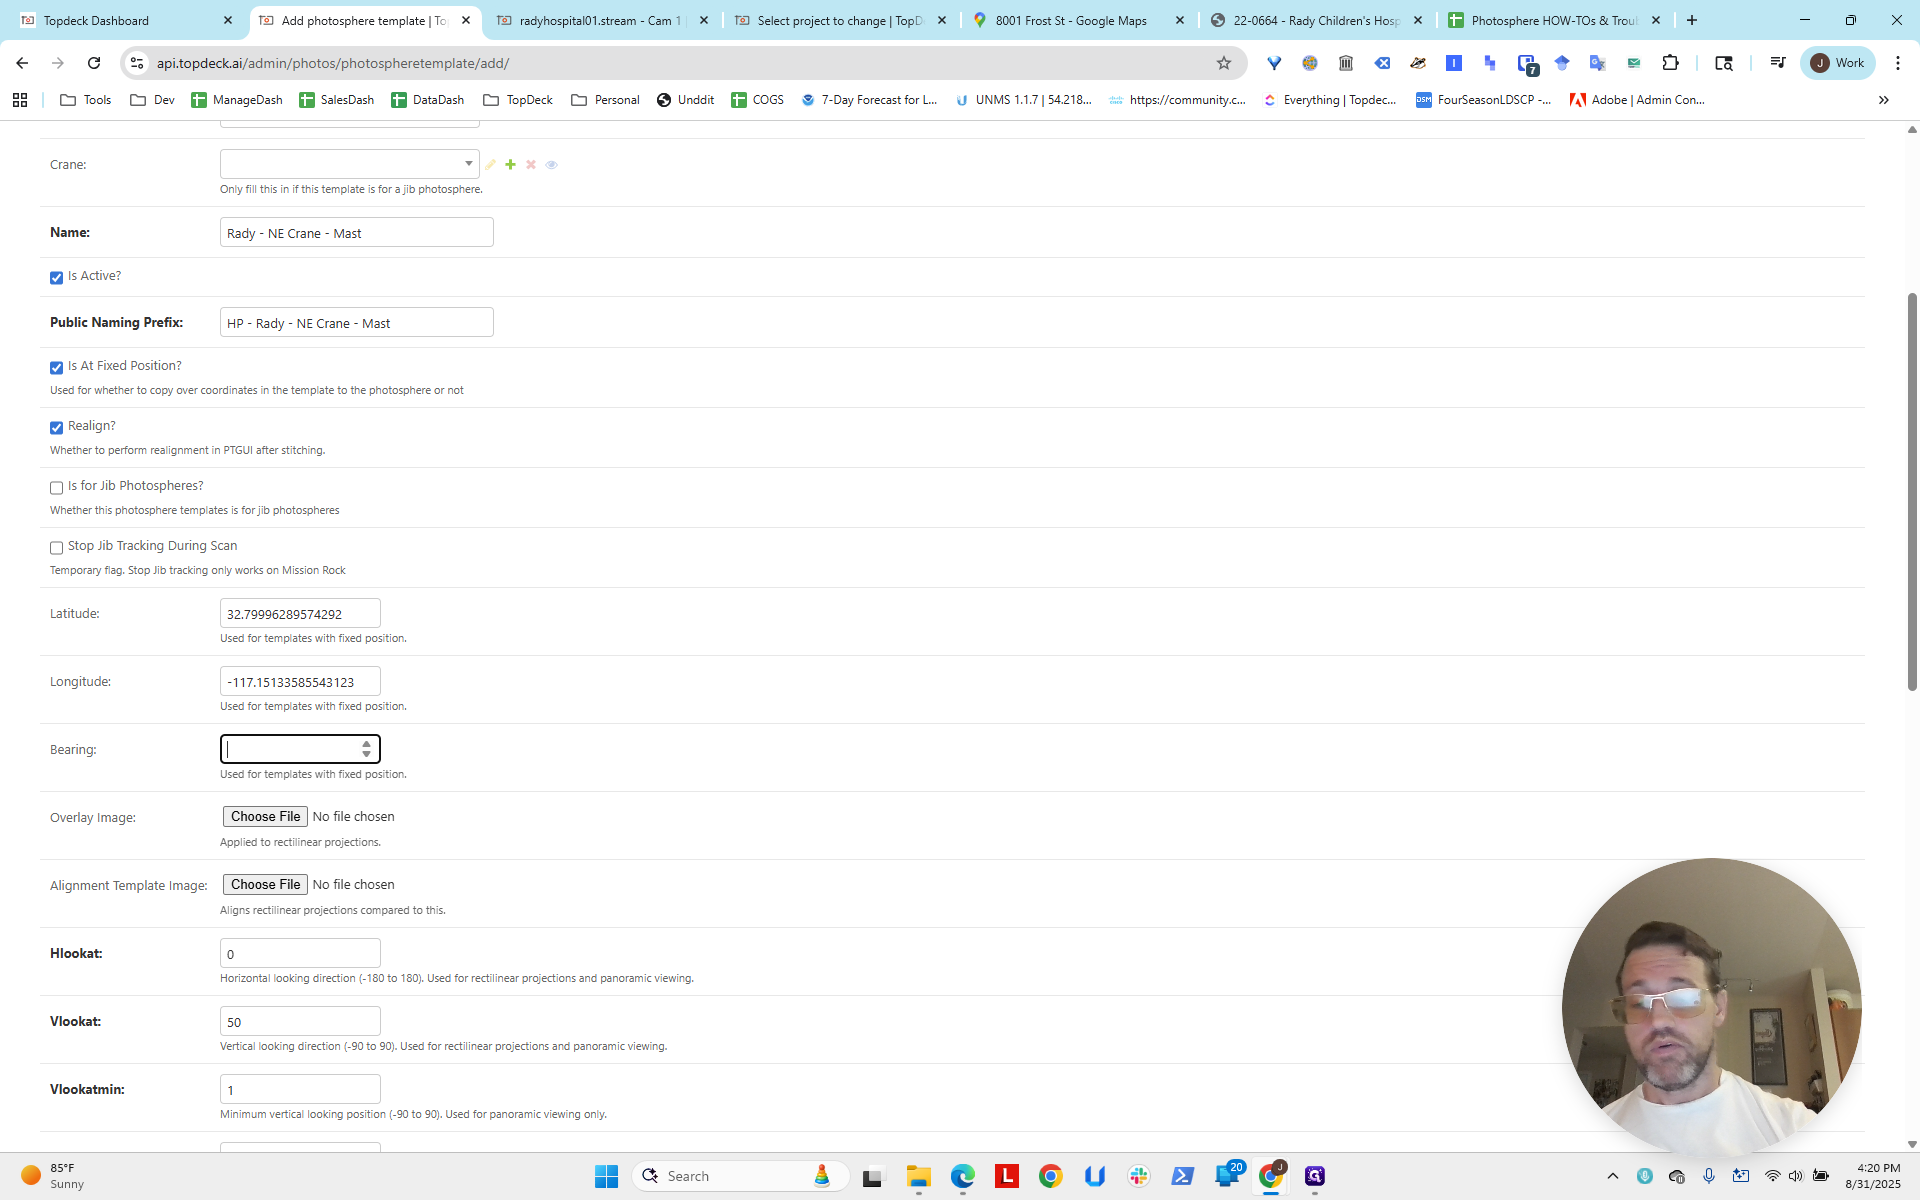
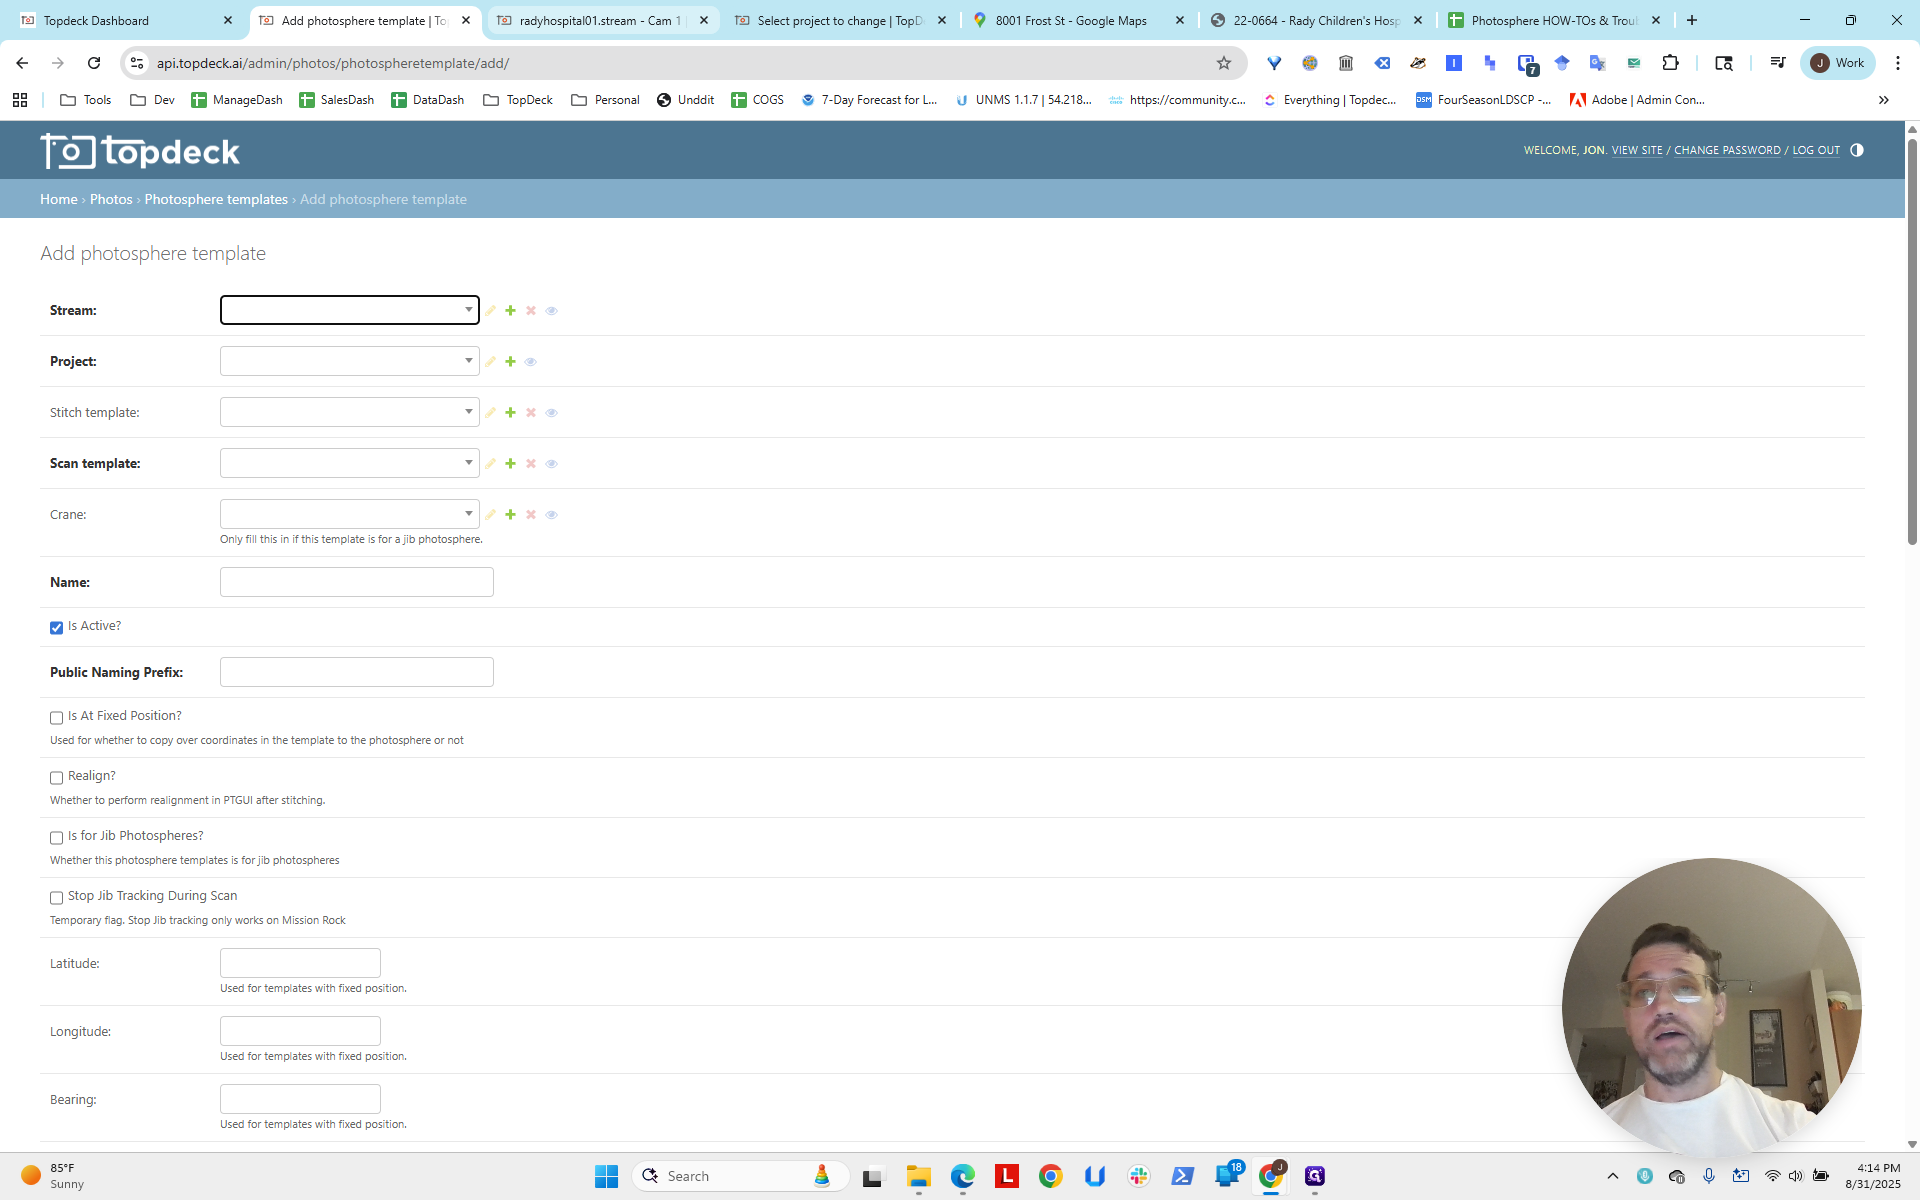
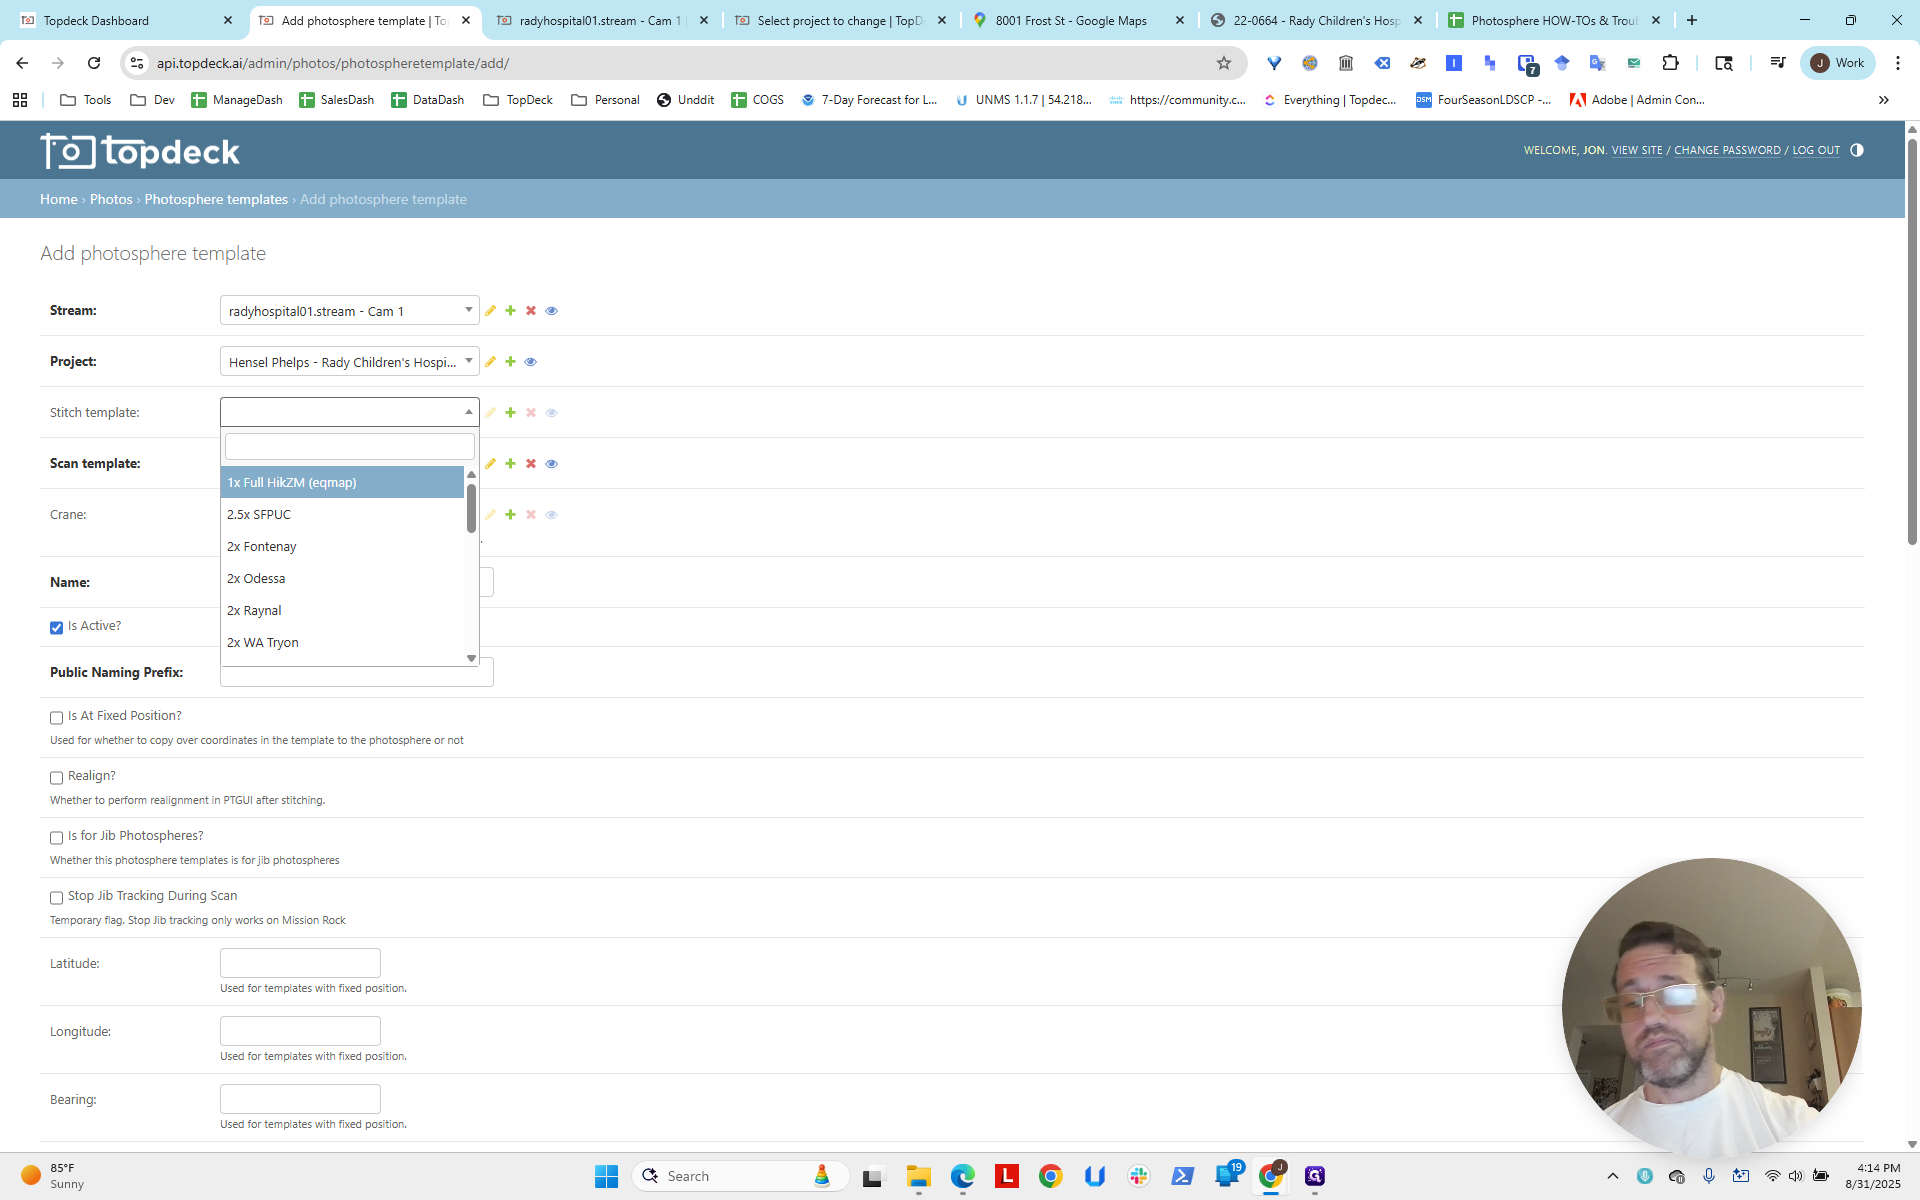
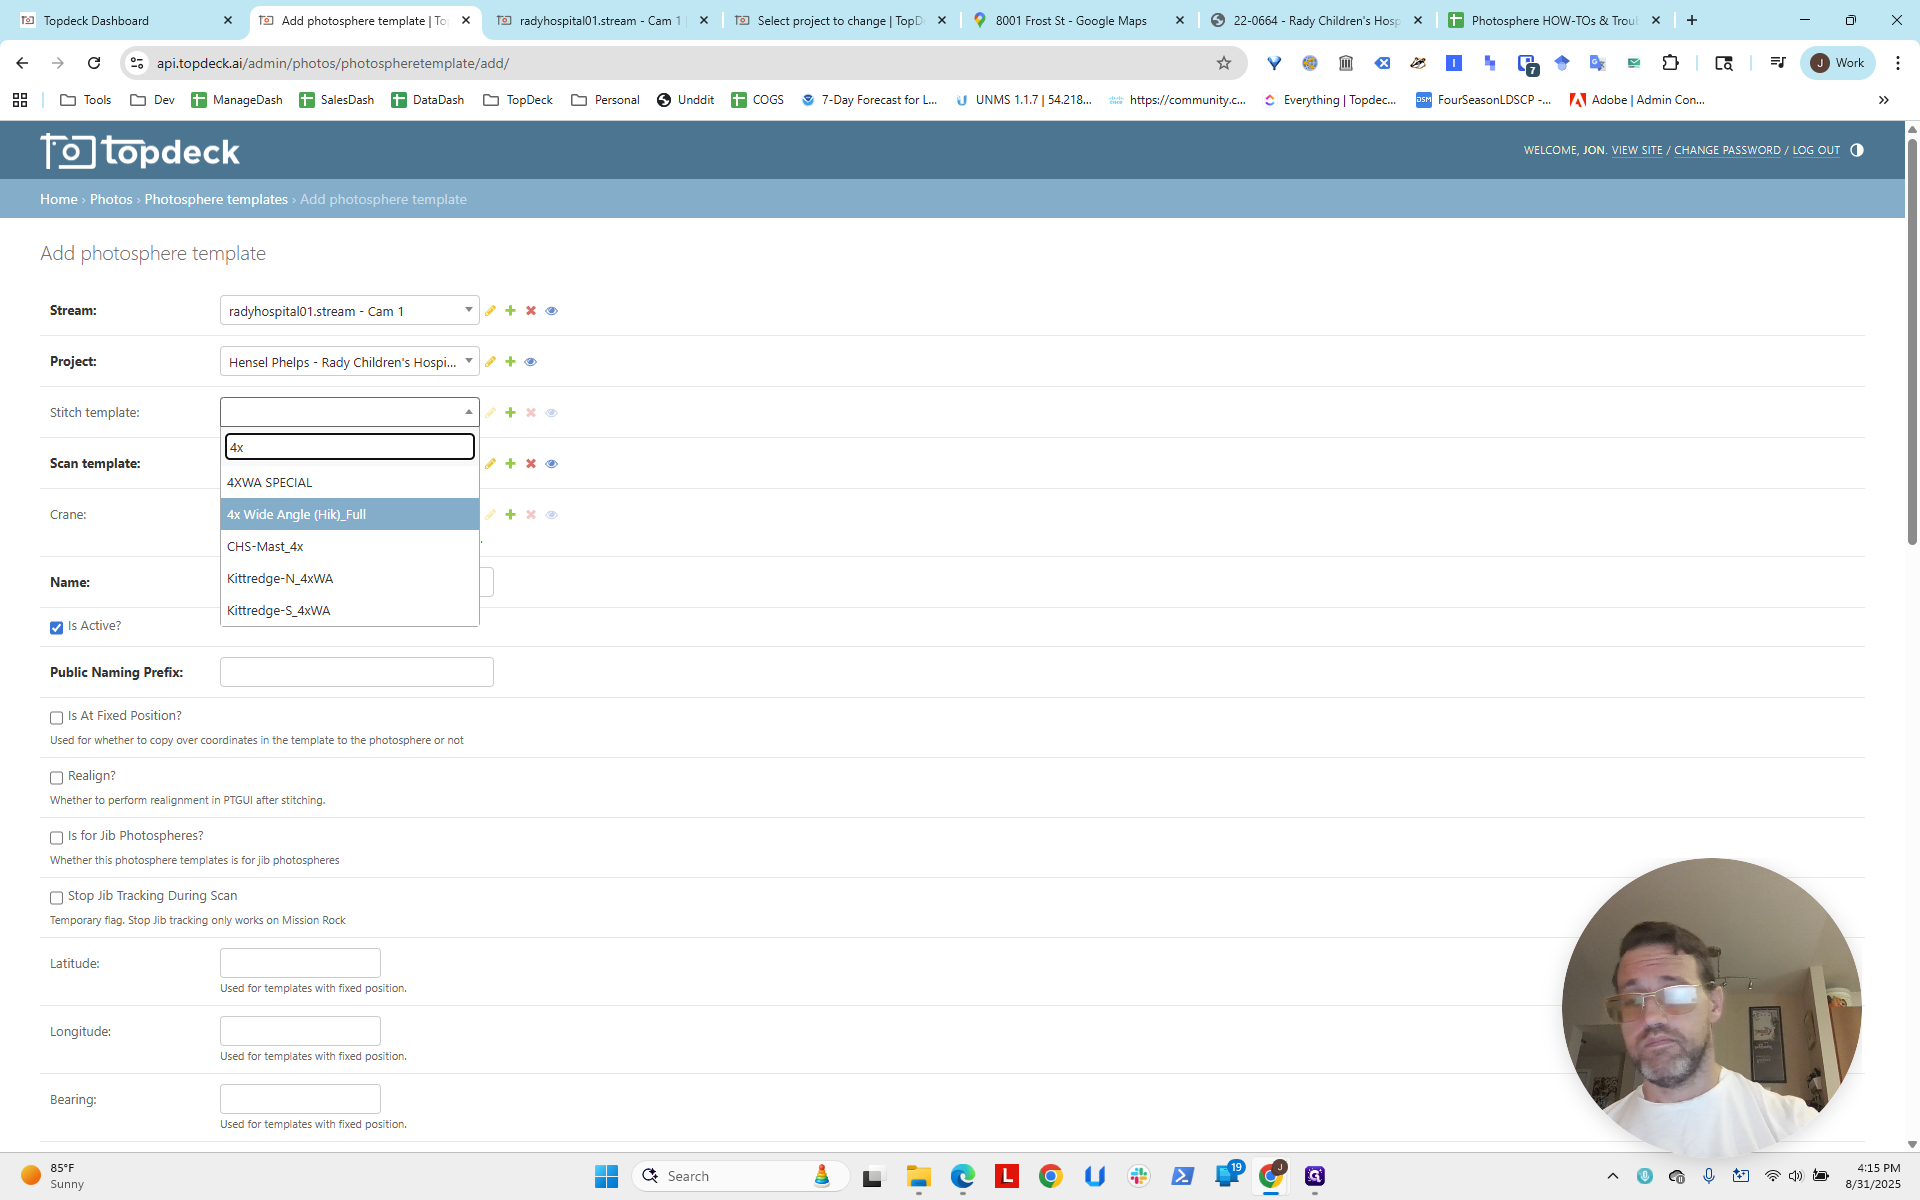
We can see from the cameras that they are standard Hikvision mast wide-angle models. So, we'll use 4X here and 4X here.


We will use isAtFixedPosition realign, following the naming convention.
We're doing Rady, but without Hensel Phelps. We'll add that to the public naming section.
Let's use the North Crane Mast as an example.
Now, under Latitude and Longitude, I'll press Control+V to paste the latitude I copied from Google Maps.
Notice I used backspace to delete all the longitude. I have to do the same for the latitude.
It does this strange thing where it removes the dot when you paste.
However, the negative is present, and you can confirm this by examining it.
I'll set the bearing to zero, just for now. Then we'll proceed with the next step.


Then I'll put HP in front.


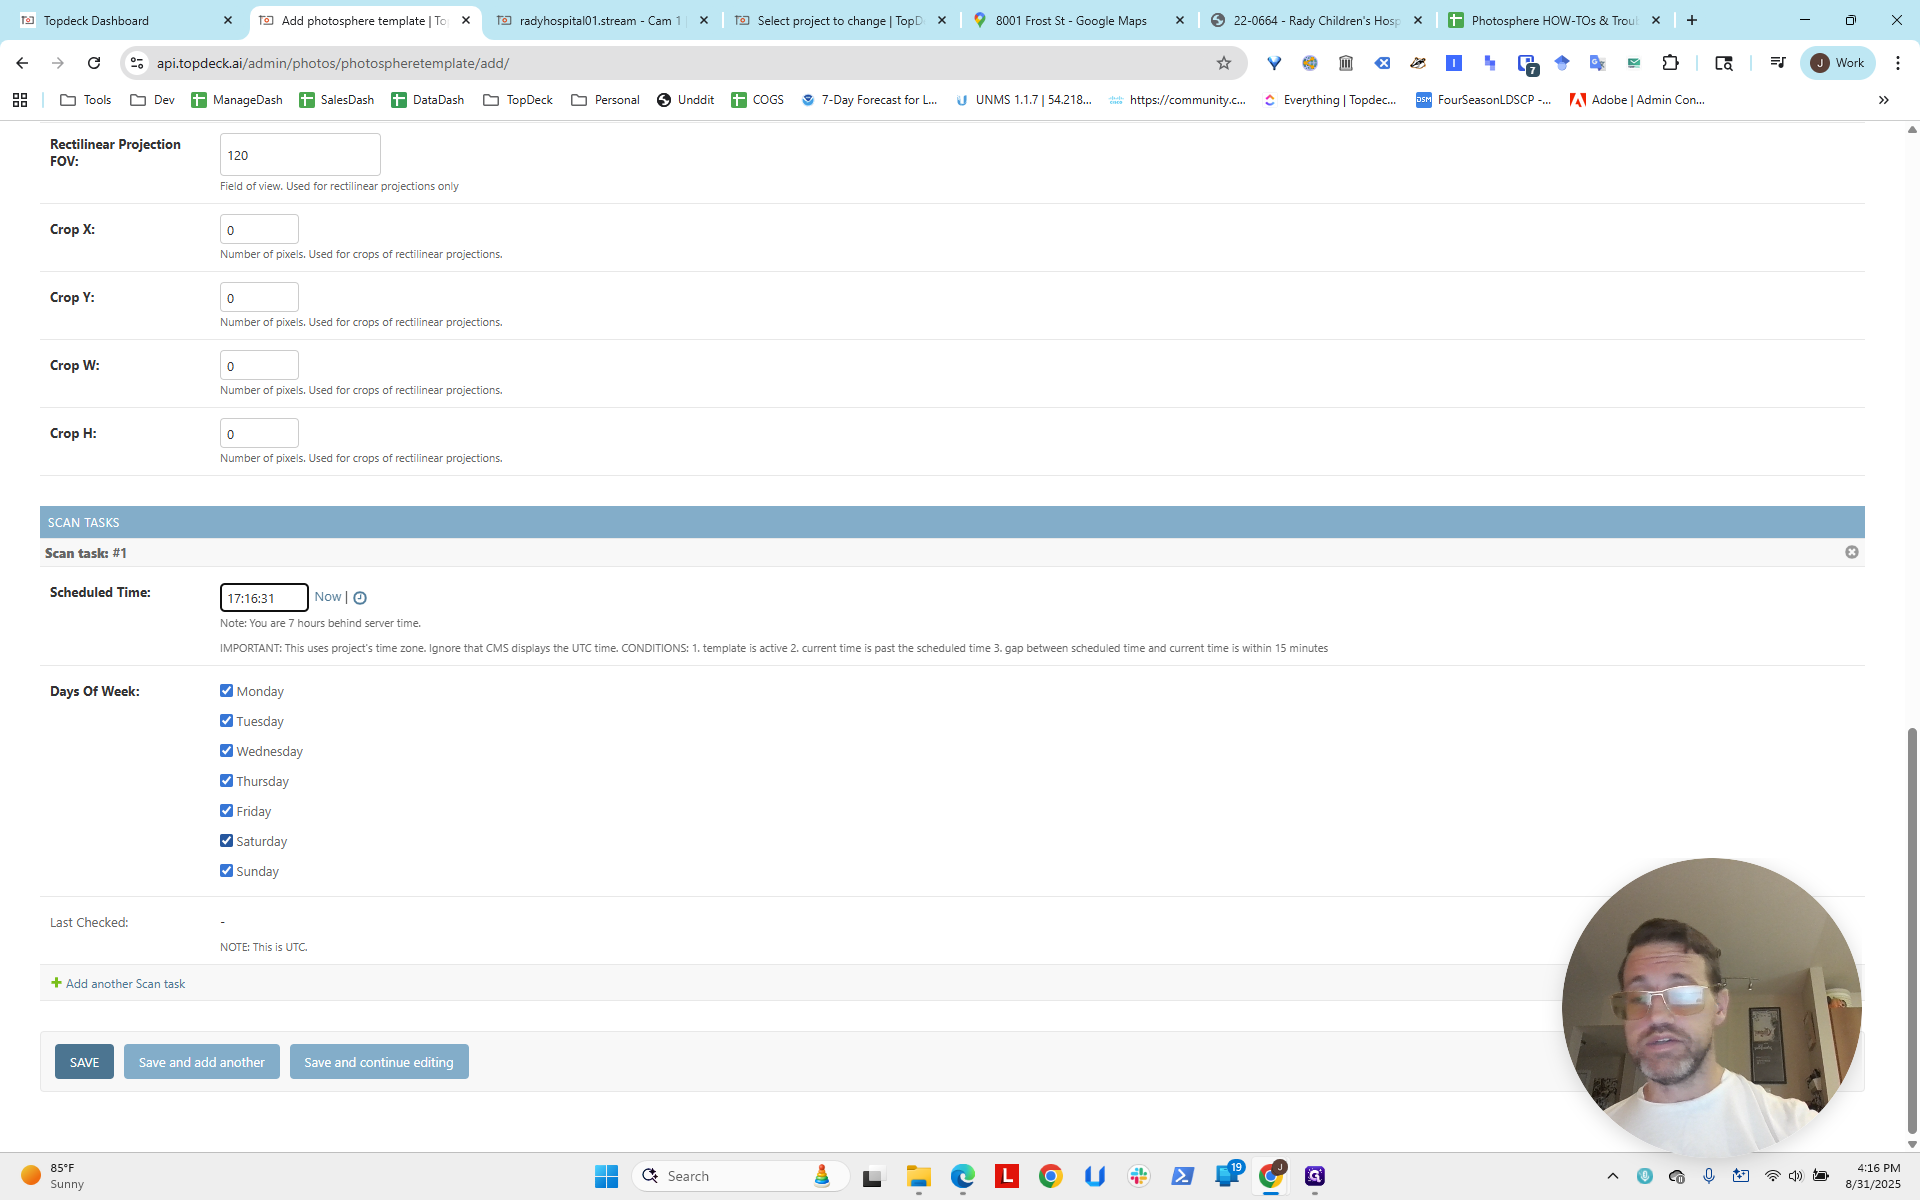
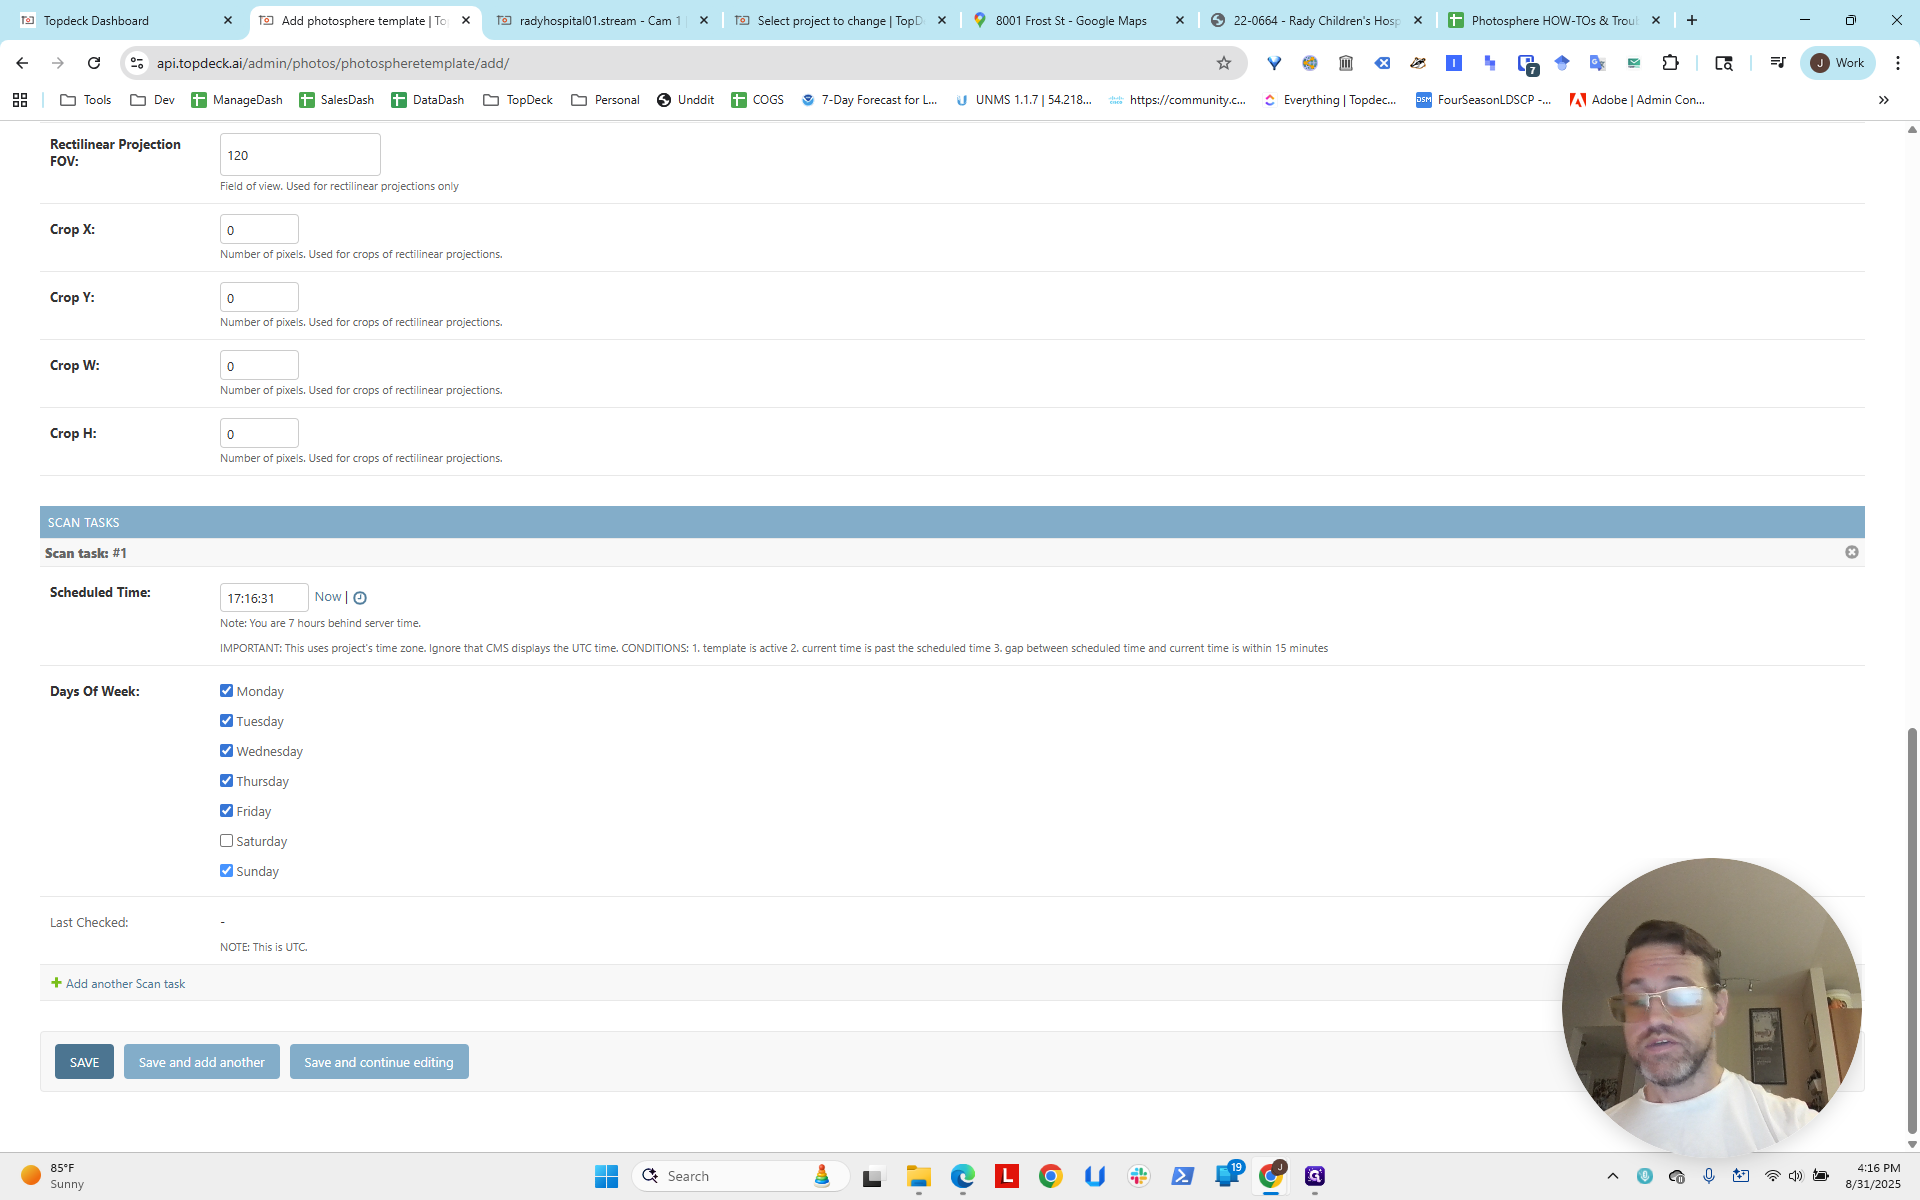
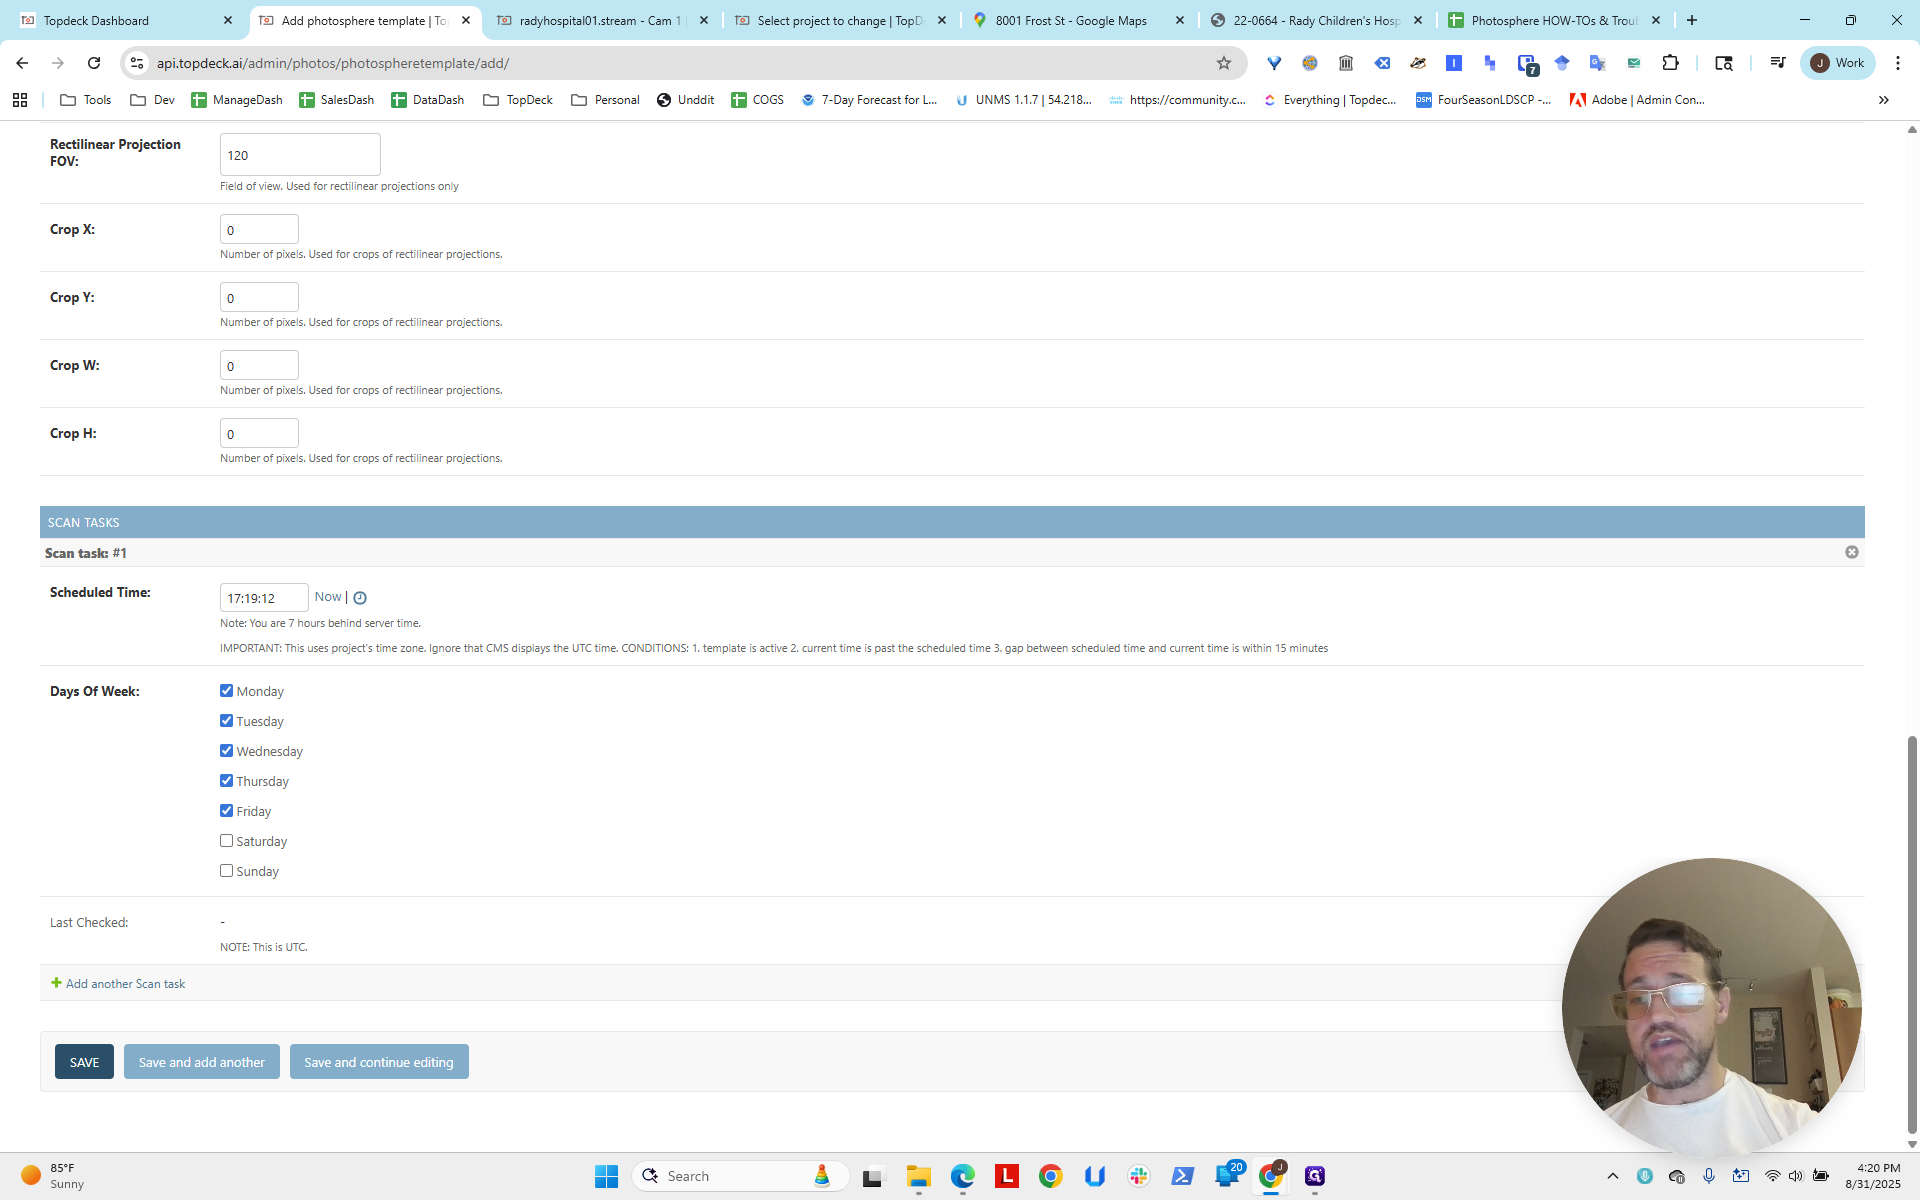
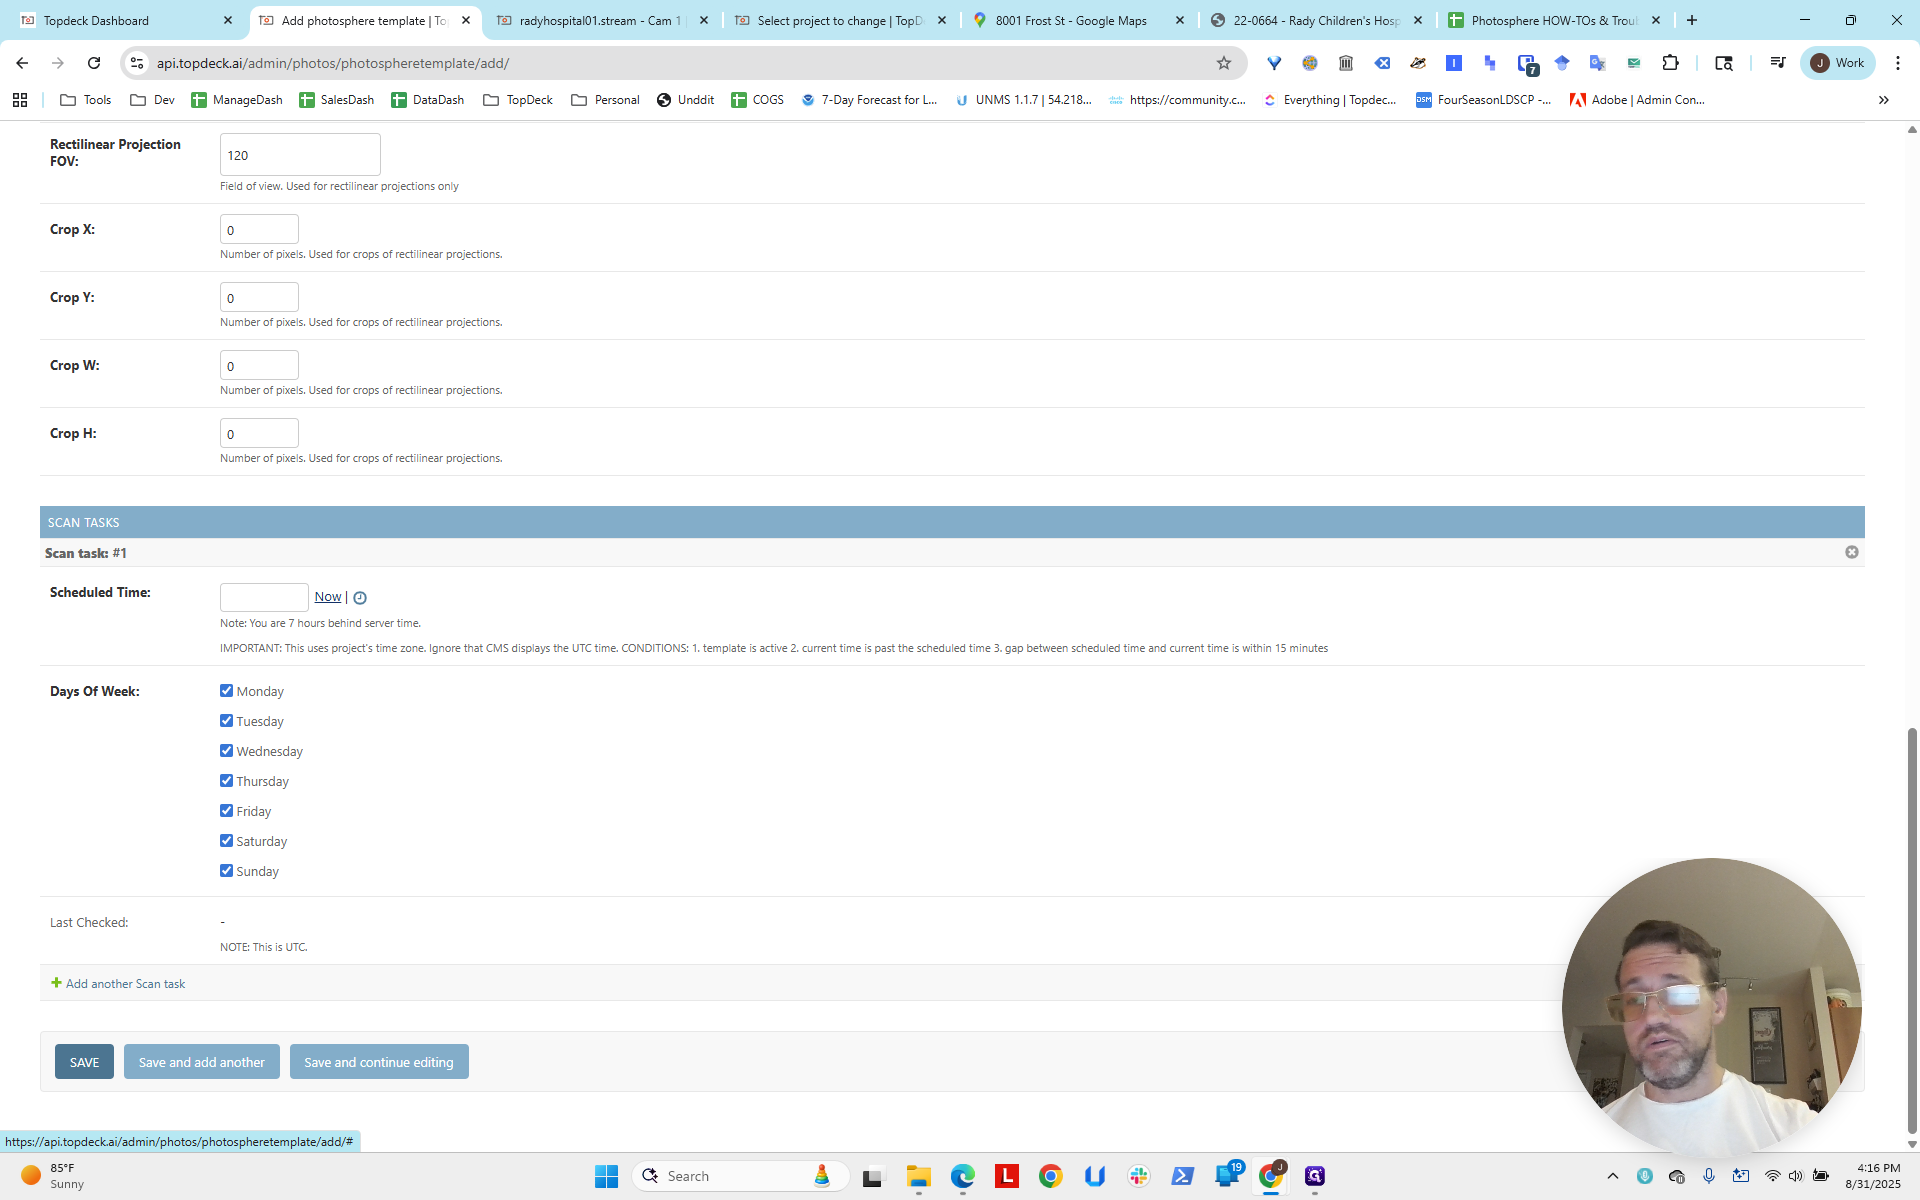
Next, we will set the schedule.

I'll set it to around 5:30, or 5:16 if the work site is calm. Then, I'll turn off Saturday and Sunday.


Since we're going to do another one, I'll click Save and Add Another.
Now, I'm going to do the same process.

This was a northeast crane. I will get the longitude and latitude for it.


I'm copying here. Right-click there. I'll pause and do this quickly, then fill it in. I'm back. I filled out the form. Remember, for the northeast crane, we use CAM5.

We use that stream in the template.
4X4X Rady, Rady Northeast Crane Mast HP, fixed position, realigned.

I pasted the new latitude and longitude I got from Google.
I'm going to set the bearing to zero. We will correct it later. Scroll down and set the time to 5:19.

That's slightly ahead of the other one. This means this one will run later. The latest option will appear as the default due to our system's setup. So, I expect to see this one when I click on Aerial Tours.

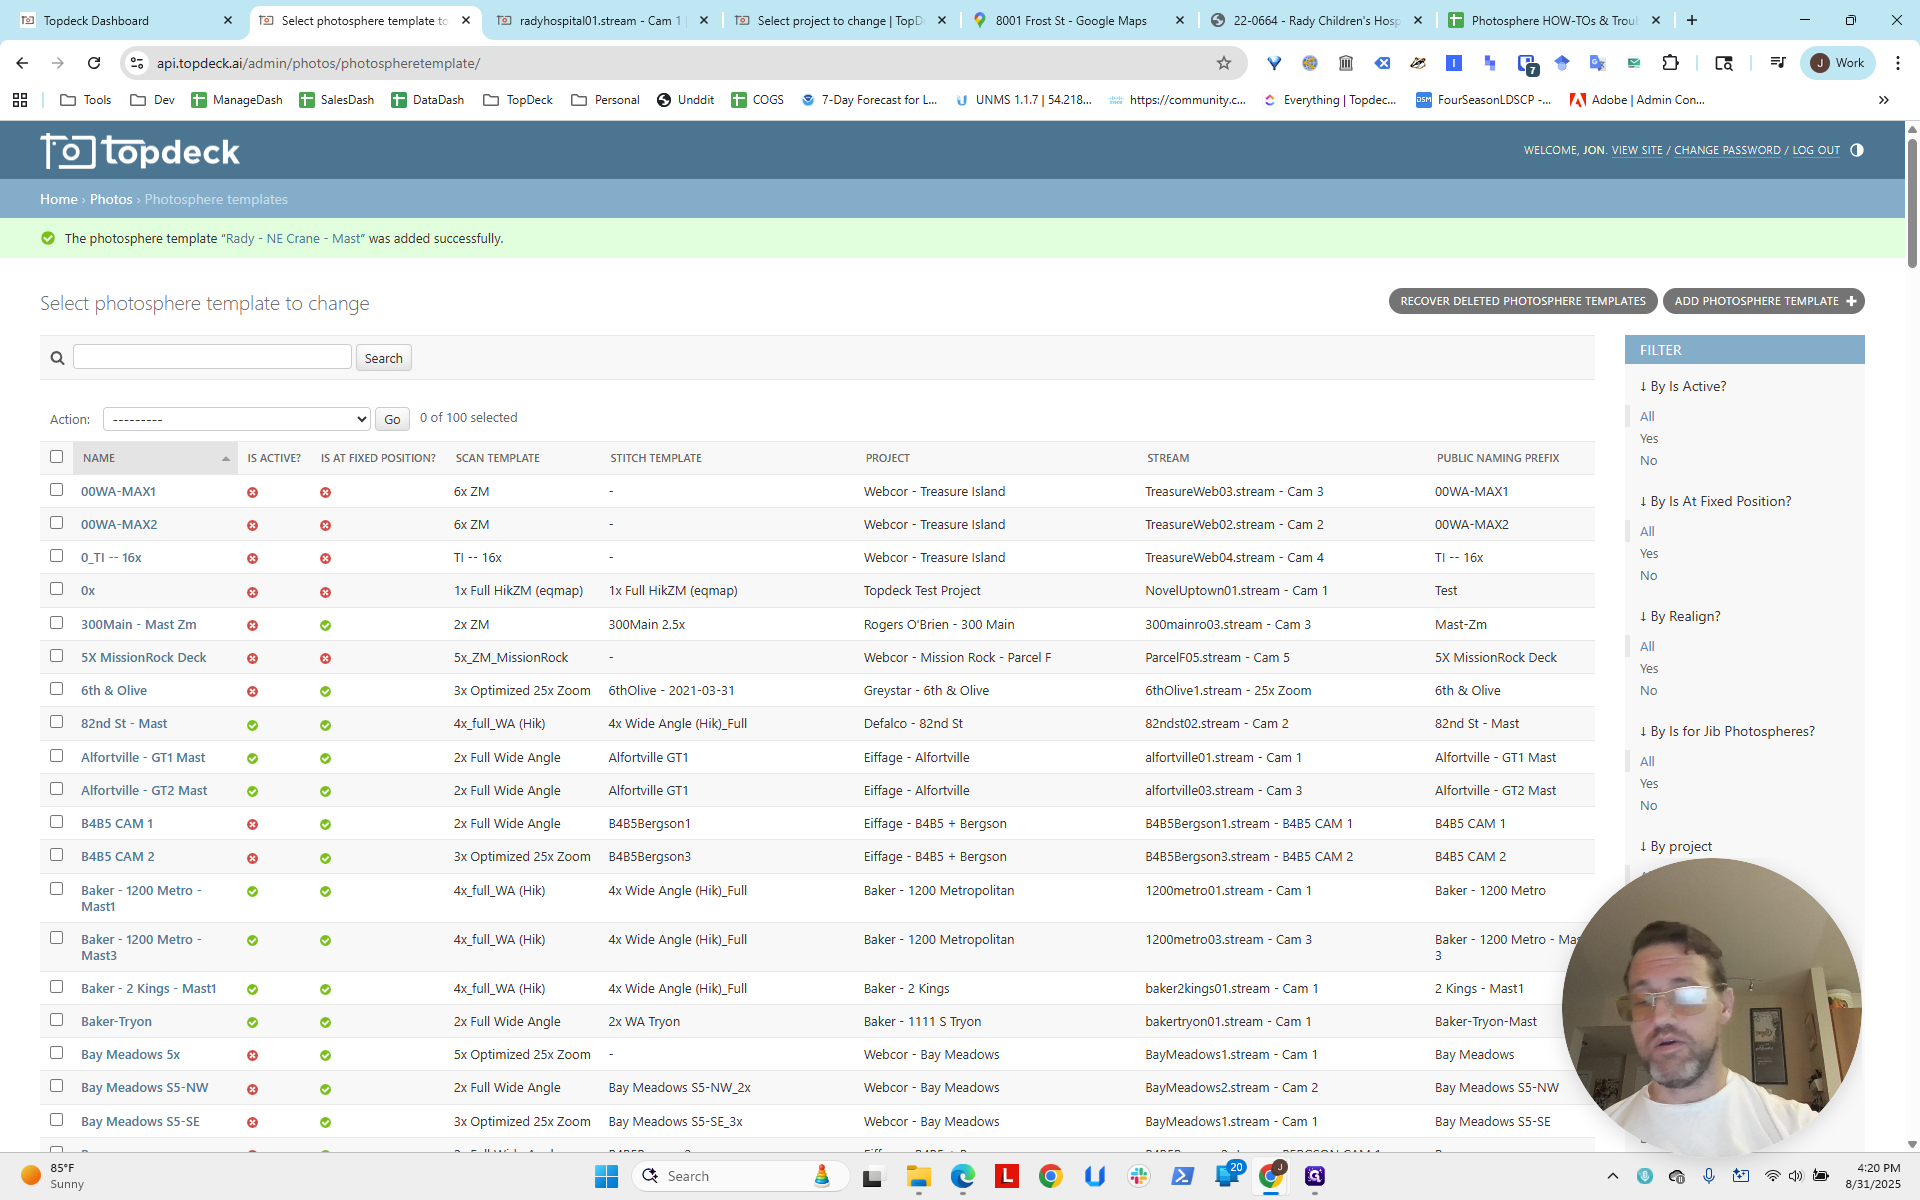
Now I'm going to click Save.

I will verify that both are present. They are.

You can see isActive and isAtFixedPosition. This is how you set up two.
I'm going to run these now. We'll continue later to do more tasks.