Learn how to configure OBS Studio on your Mac to record high-quality screen captures and departmental videos using the optimal settings.
By Vishal Shyaman
OBS Studio is a reliable, industry-standard tool for screen recording and broadcasting. This guide will walk you through installing OBS on a Mac and configuring the optimal settings for recording departmental videos.
1. Install OBS and Grant Permissions
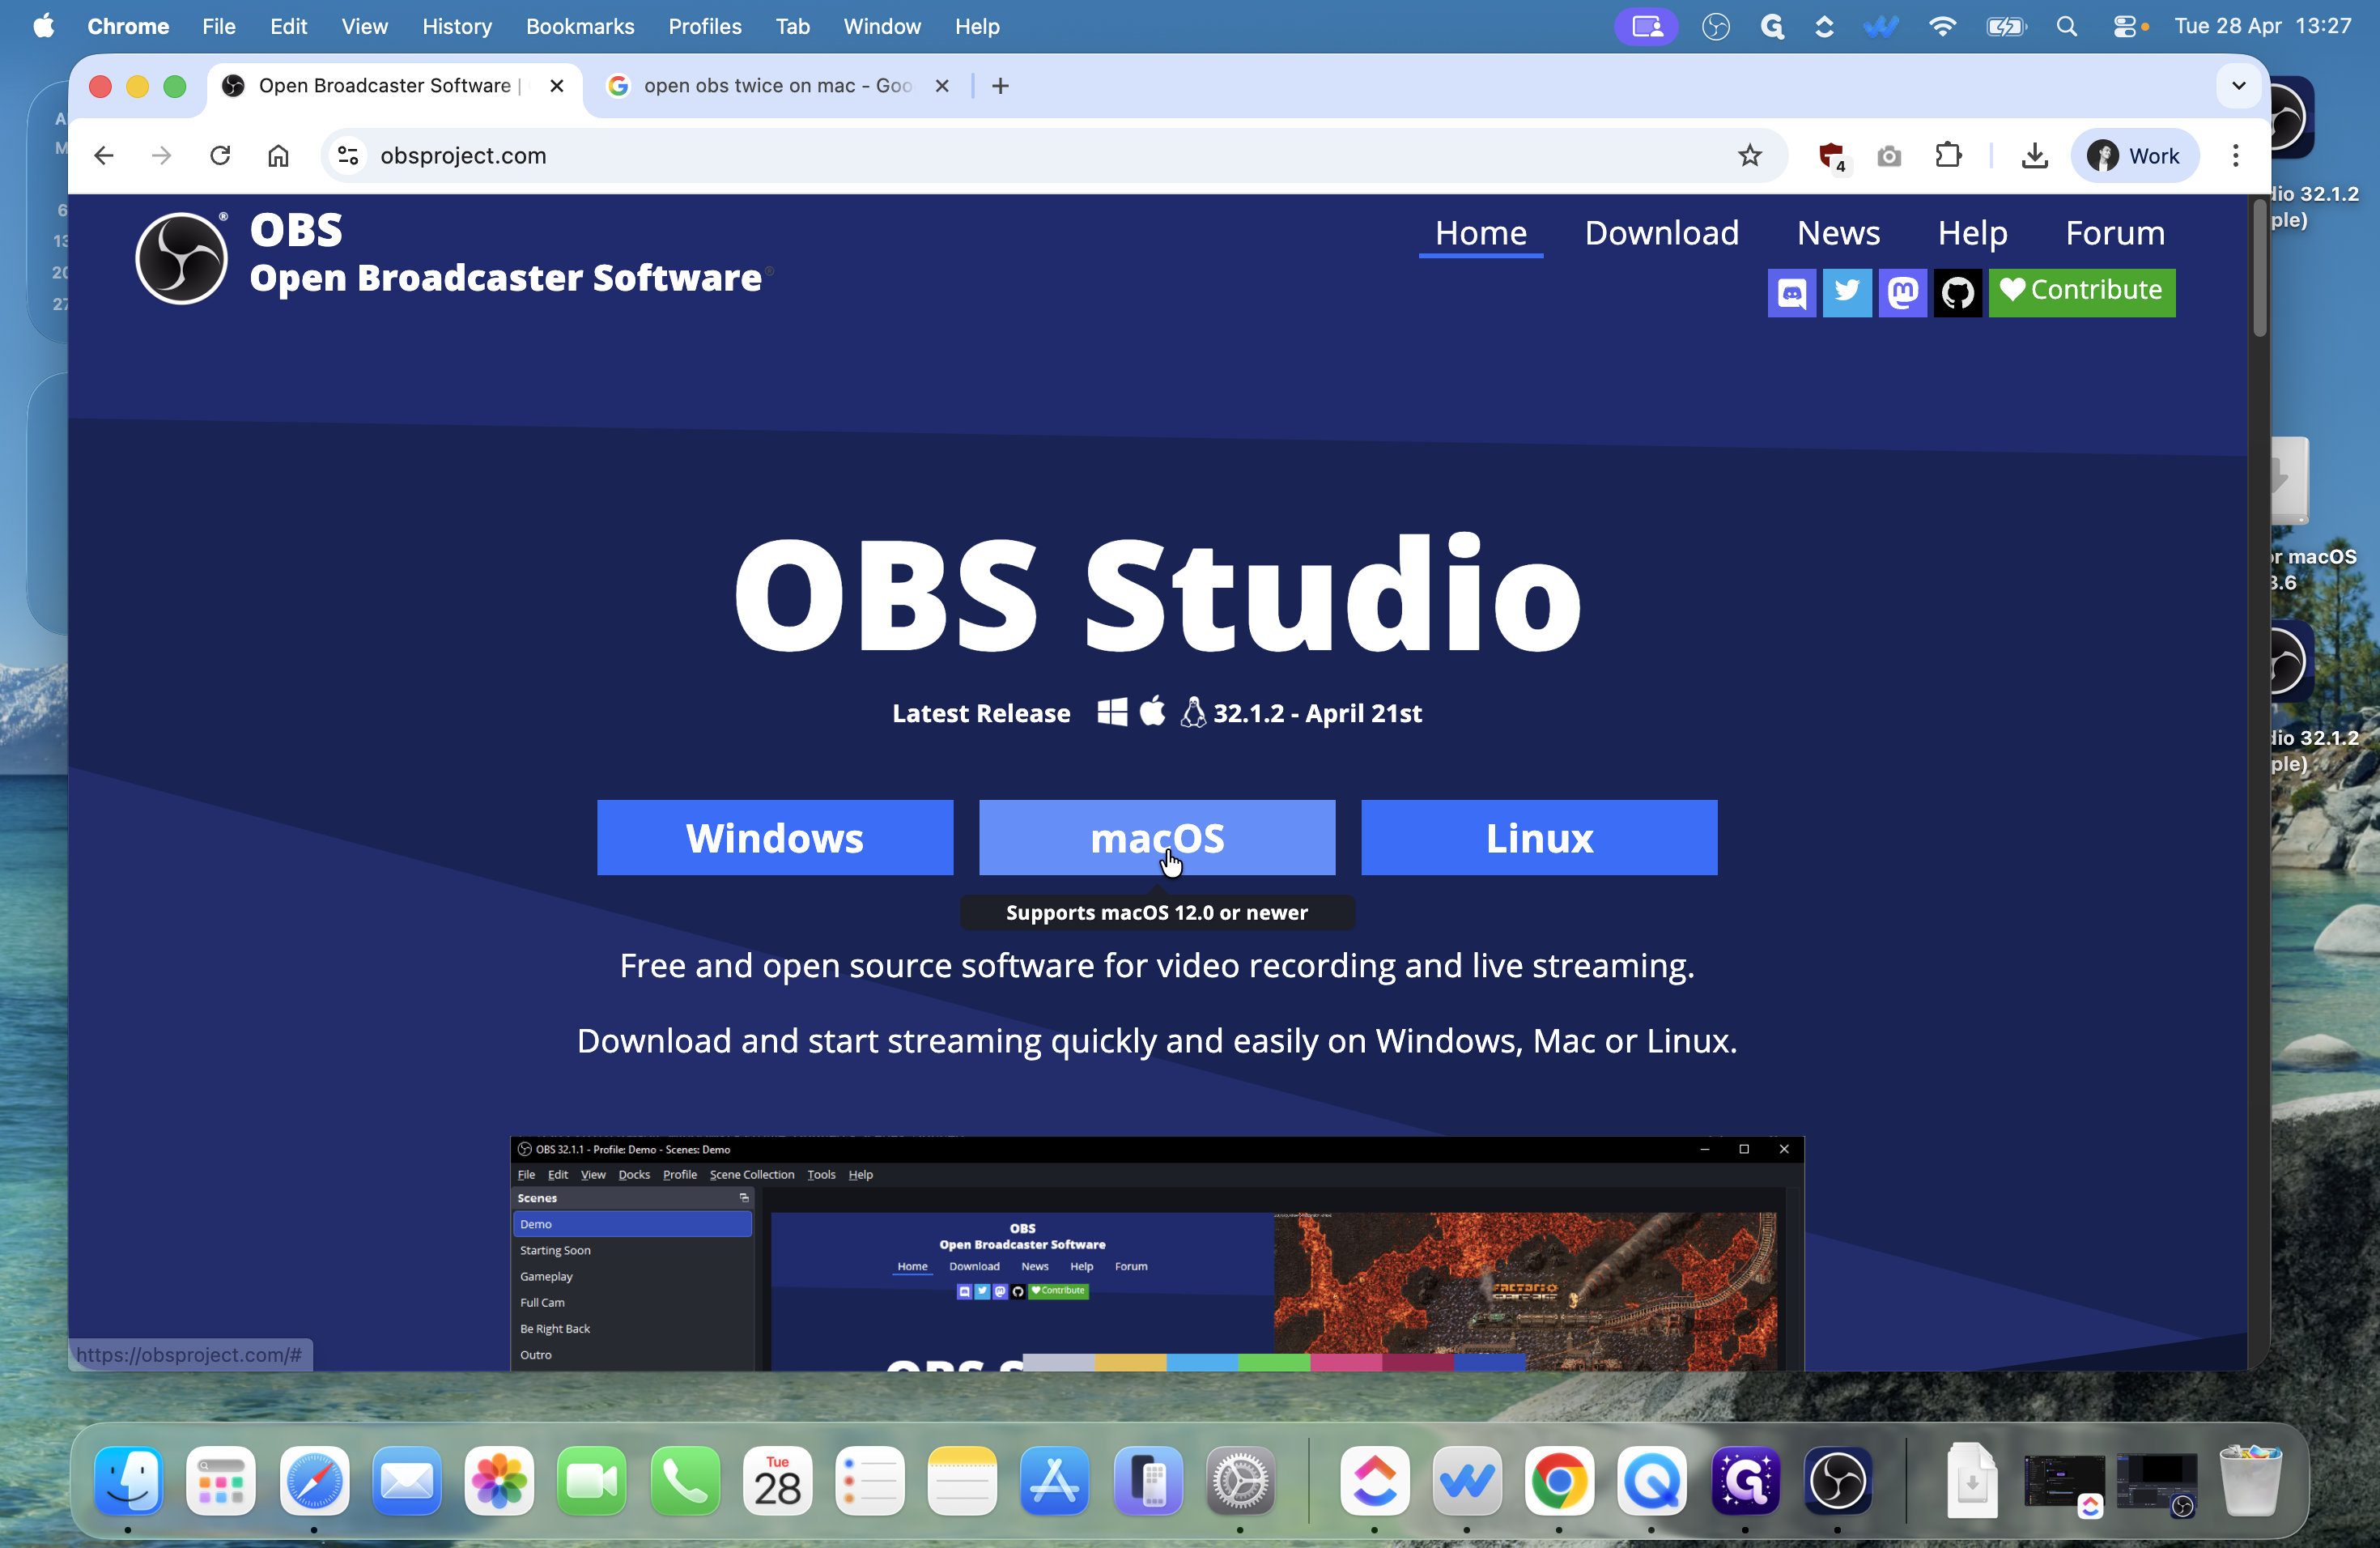
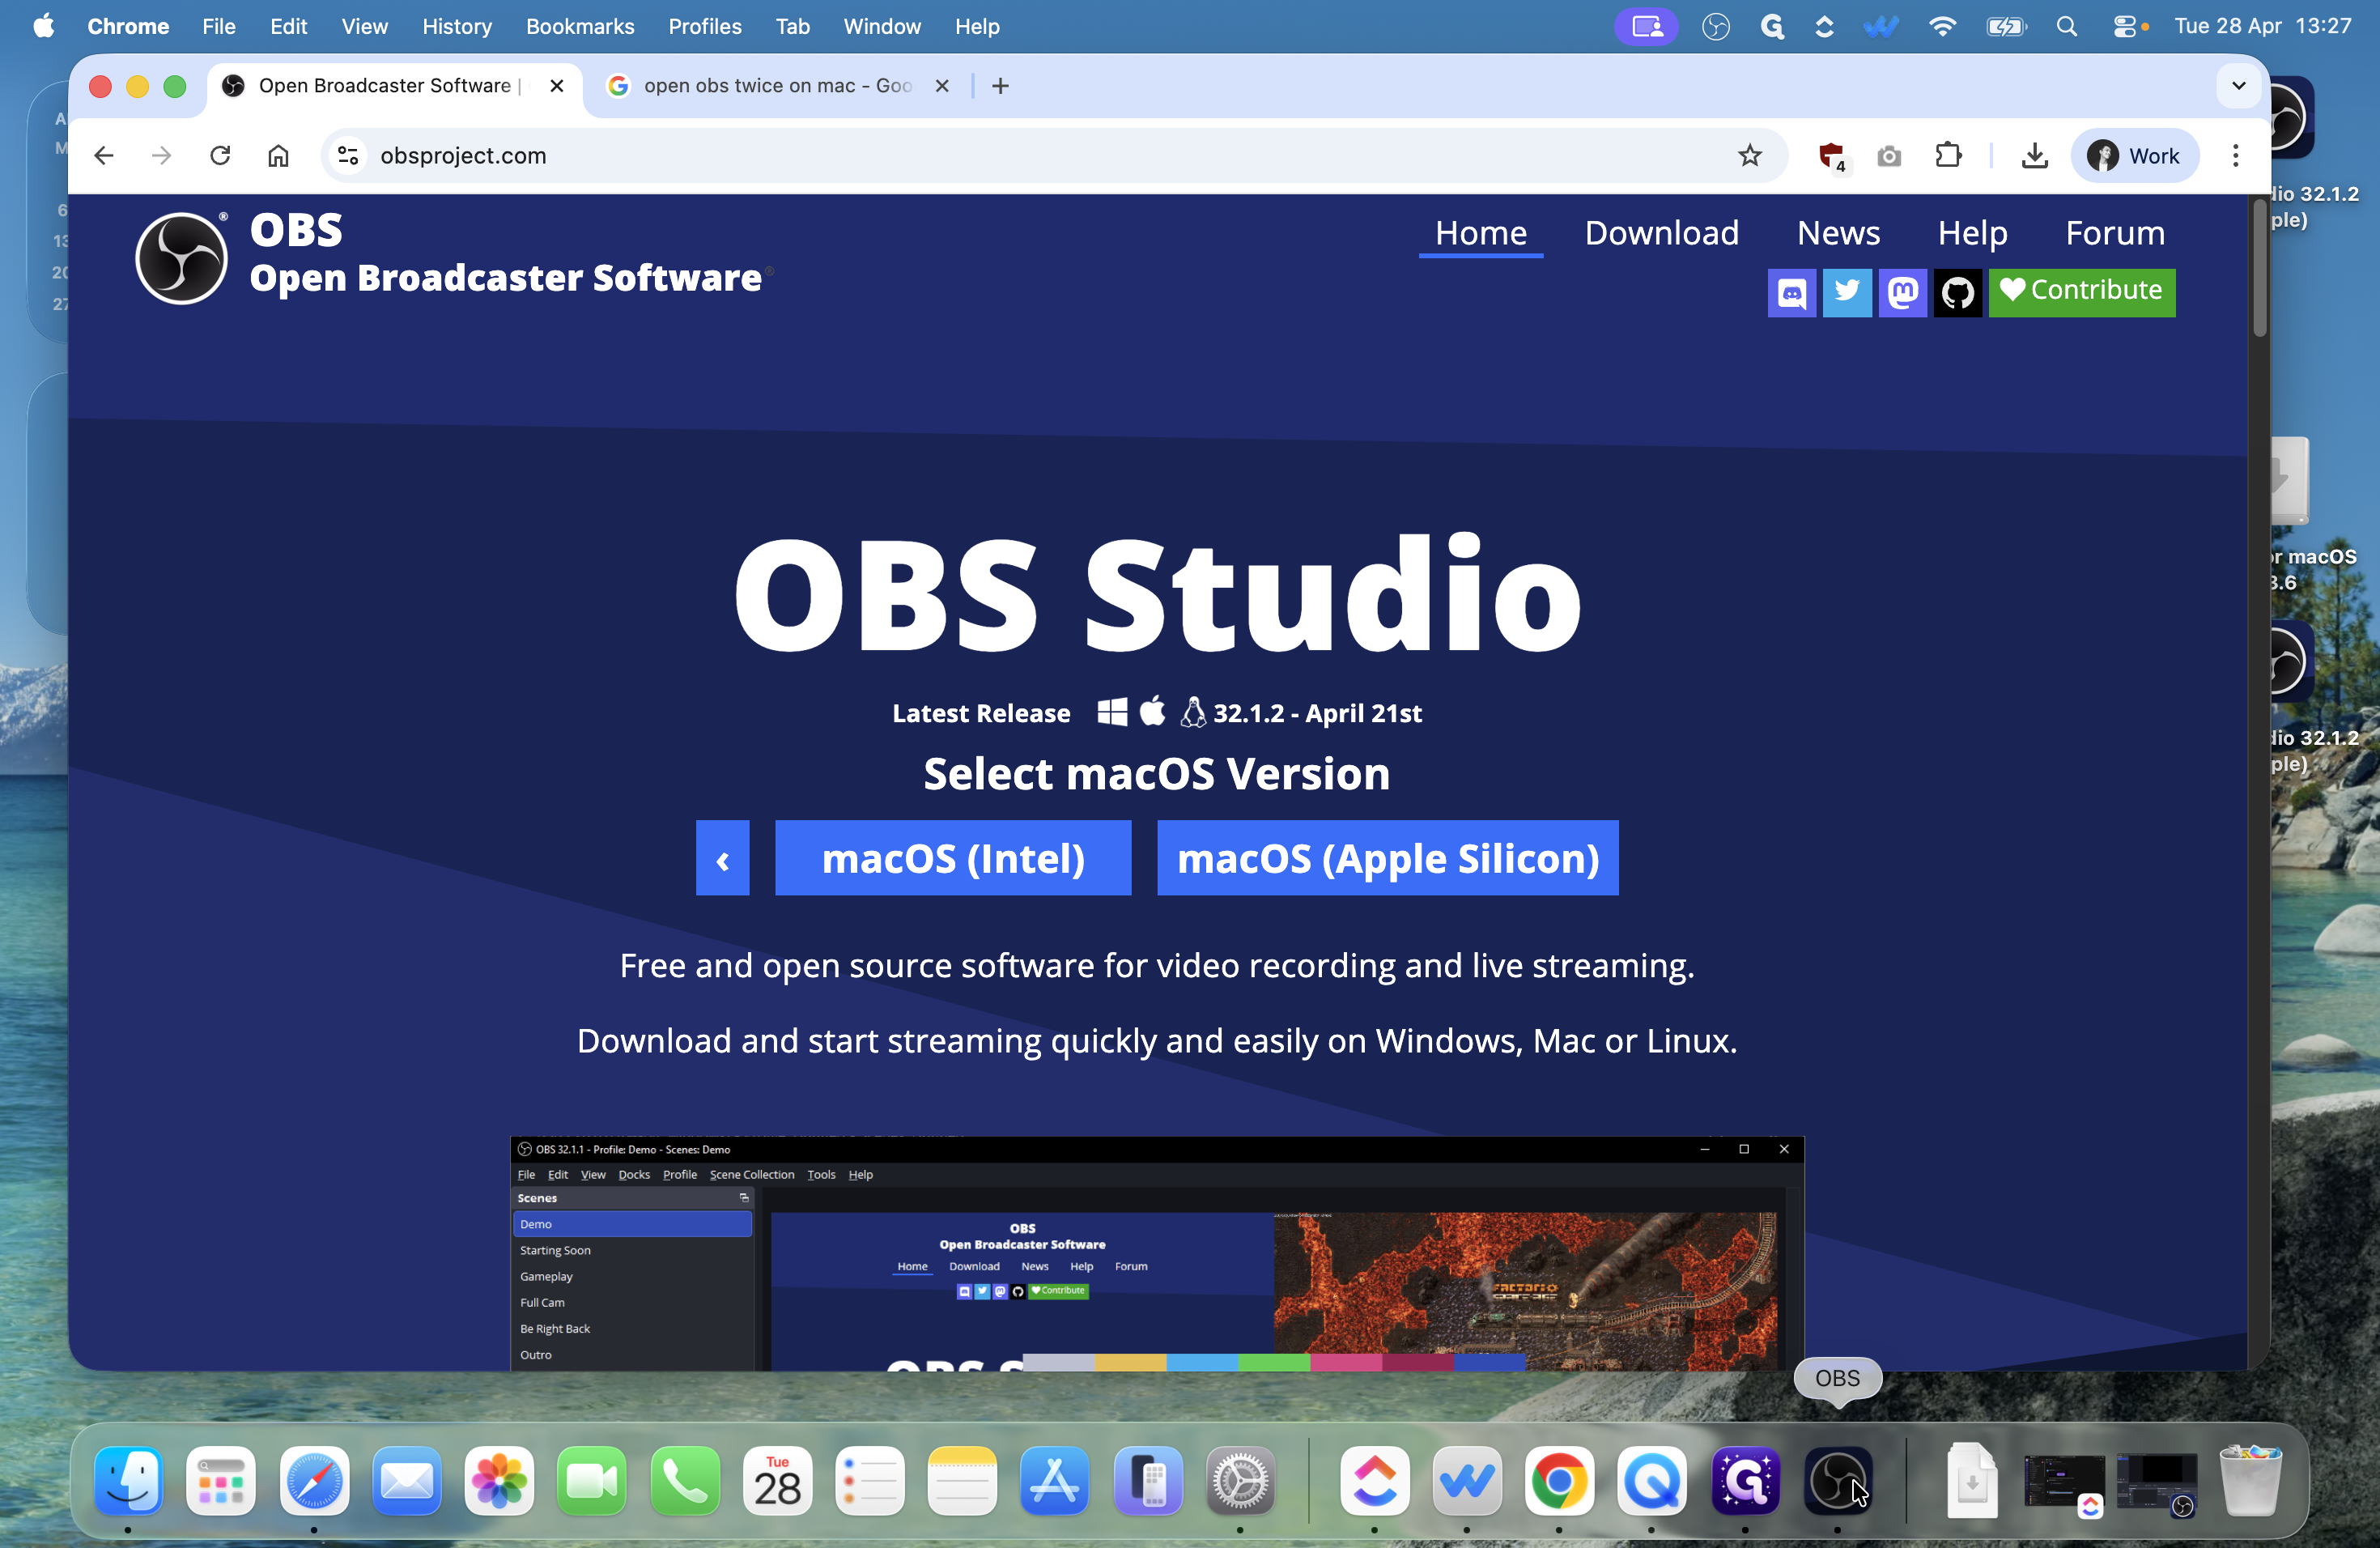
First, you need to download and install the software. If you are using a newer Mac with an M-series chip, be sure to select the Apple Silicon version.
1
Click on macOS on the OBS download page to get the installer.
2
Once installed, double-click the application icon to open OBS Studio.
When you open OBS for the first time, macOS will prompt you to grant microphone and screen recording permissions. Make sure to allow these so OBS can capture your audio and display.
2. Configure Output, Audio, and Video Settings
Before you start recording, you need to tell OBS where to save your files, which microphone to use, and what resolution to record in.
3
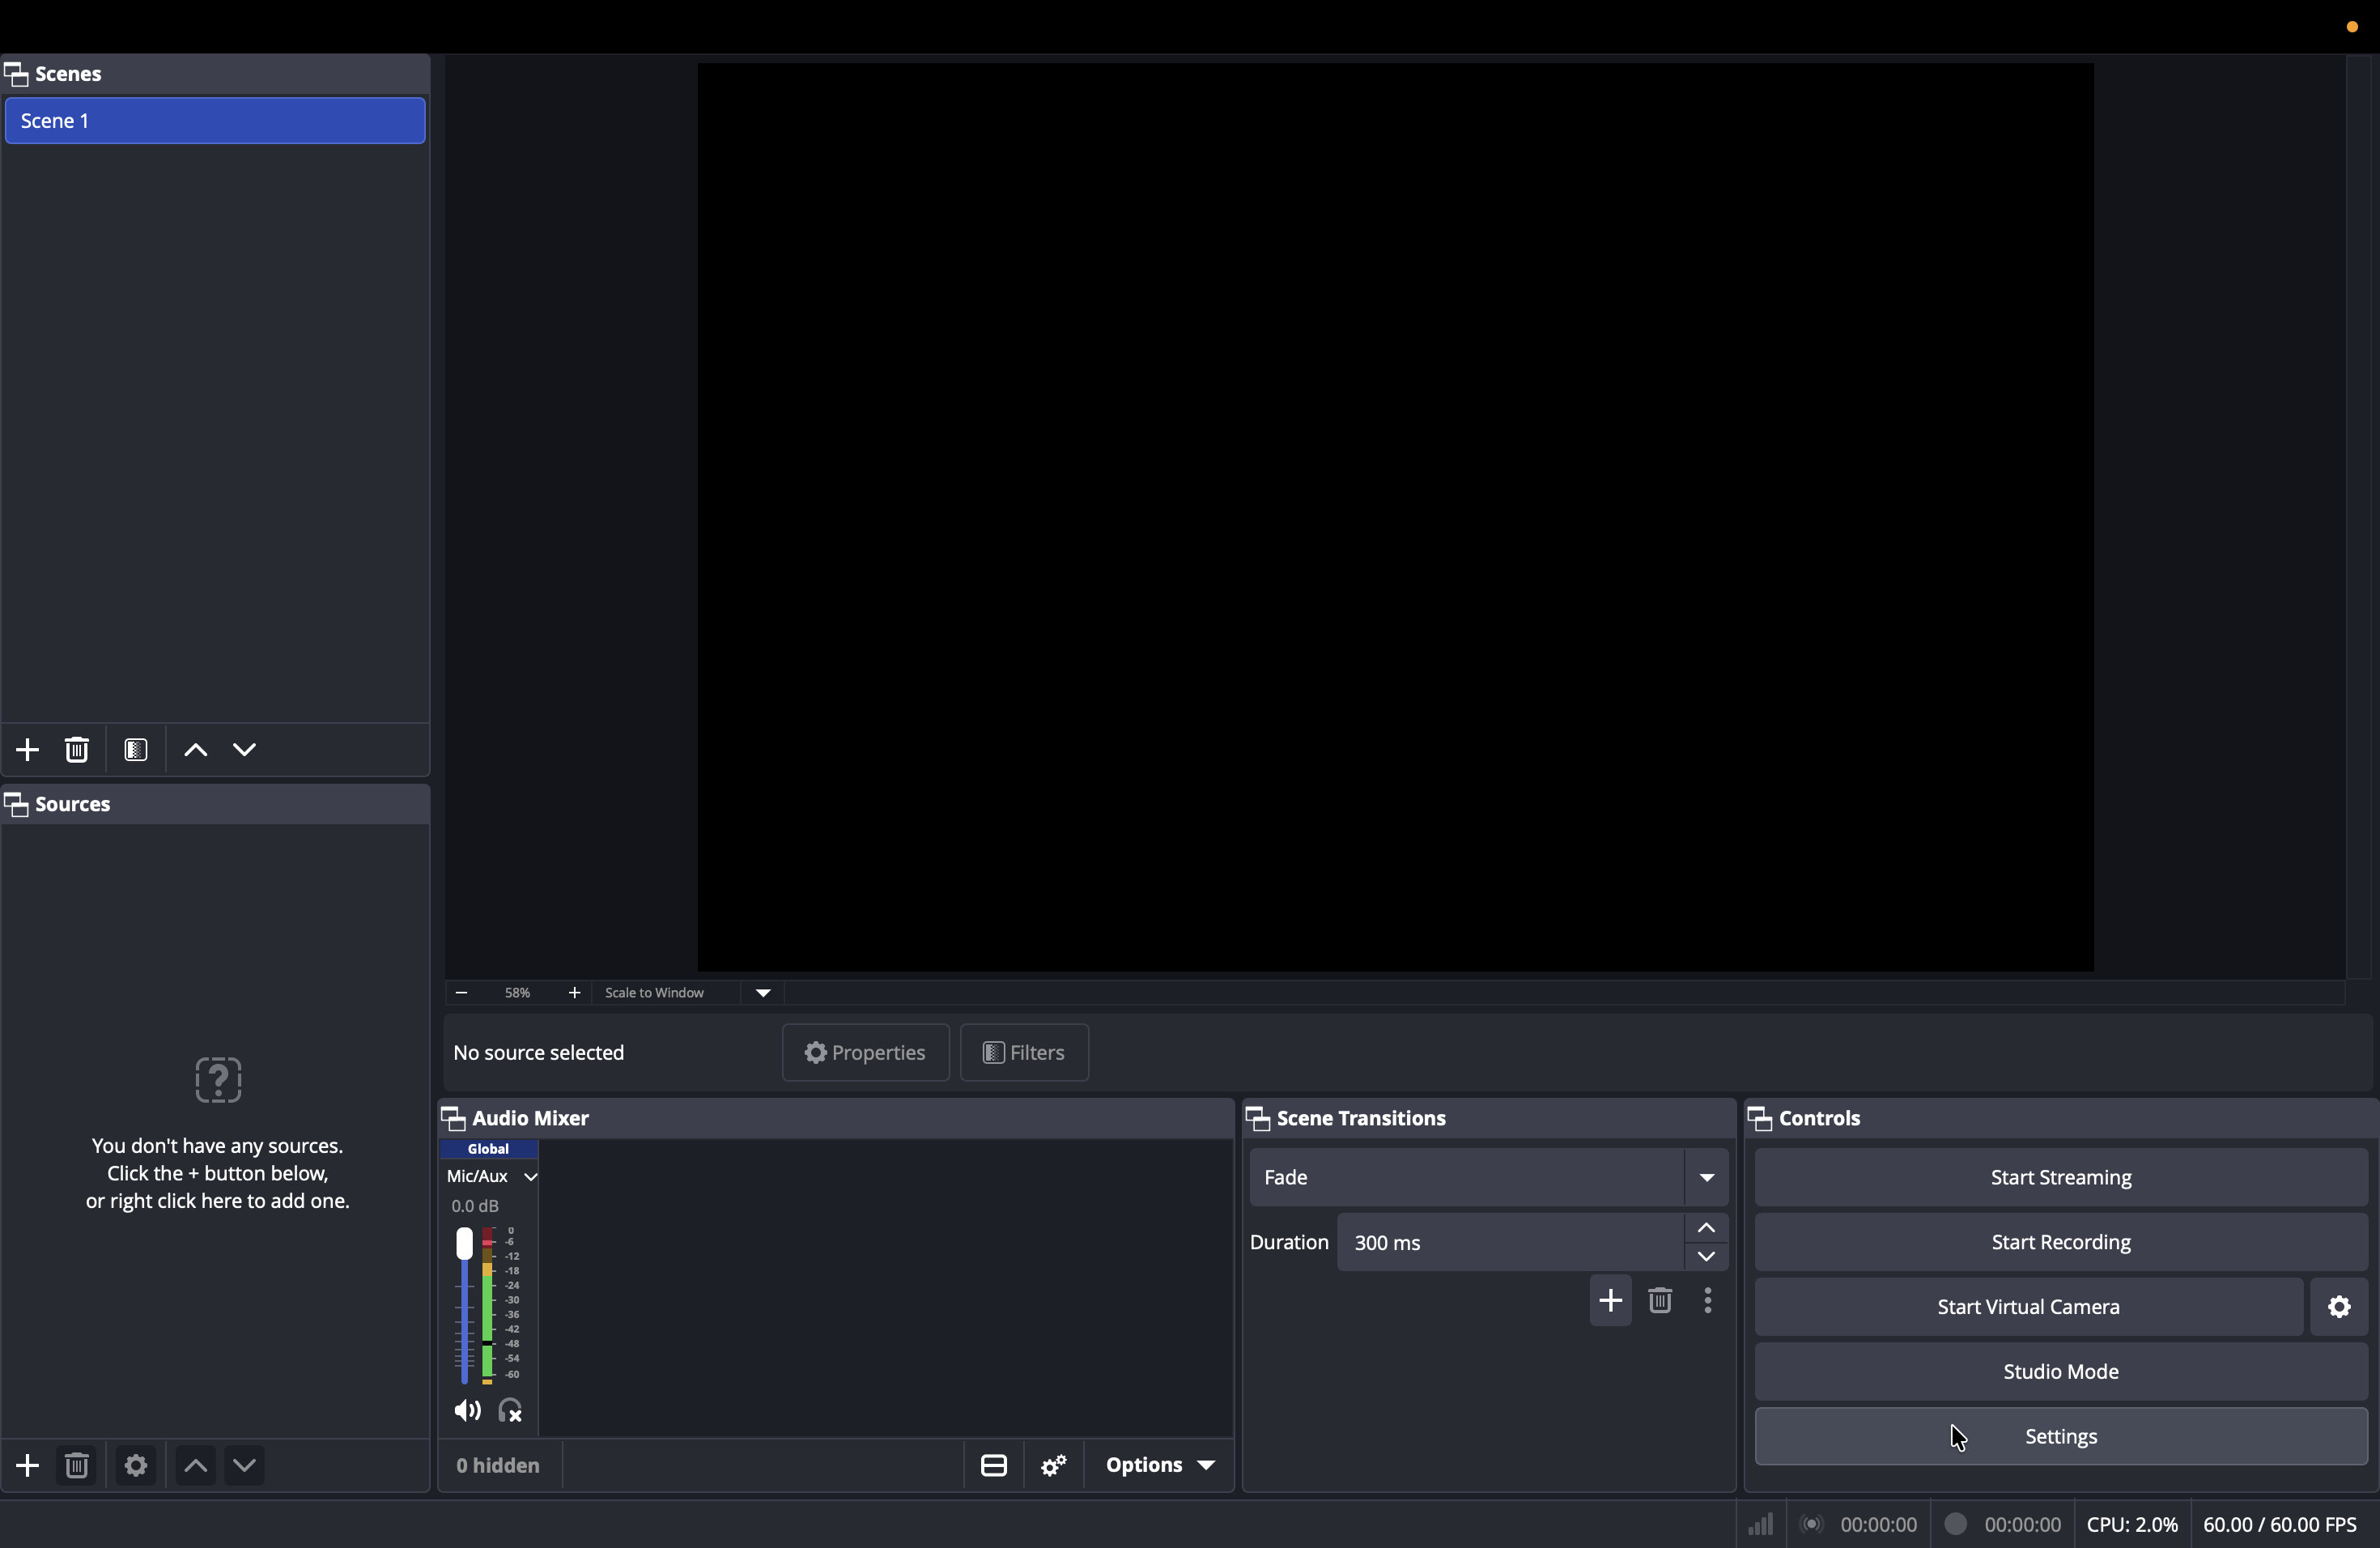
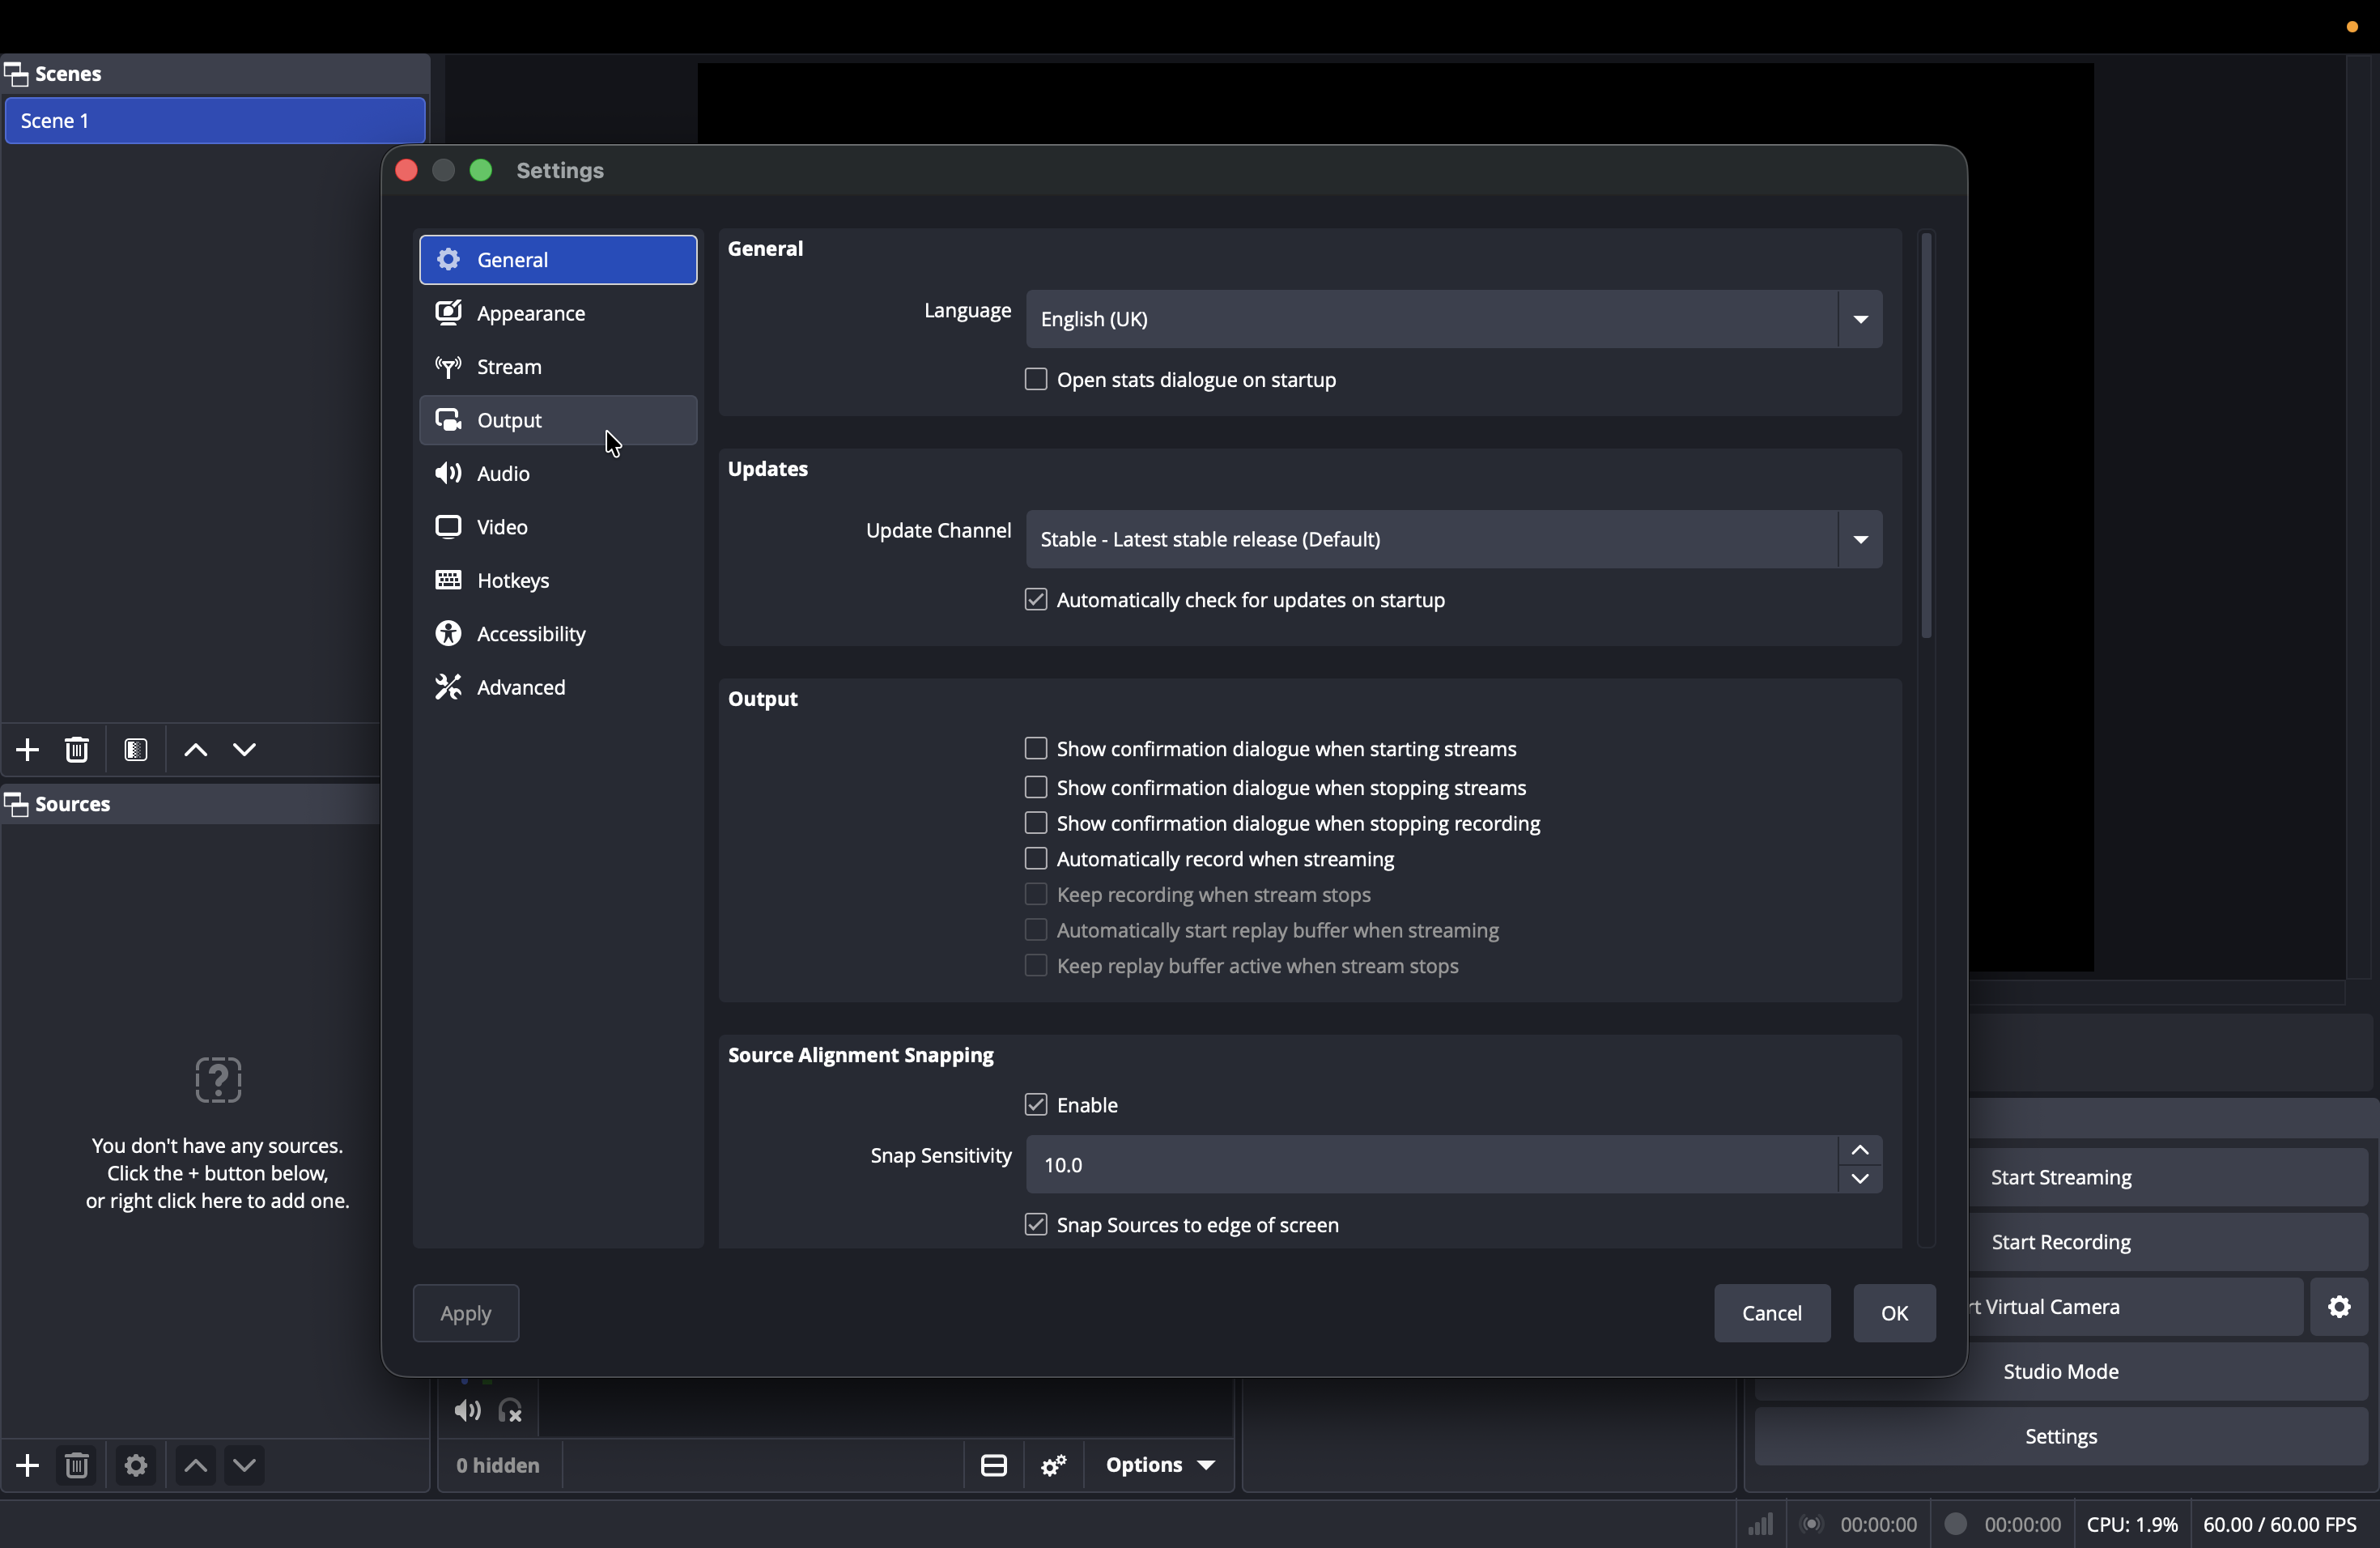
Click Settings in the Controls panel located in the bottom right corner.
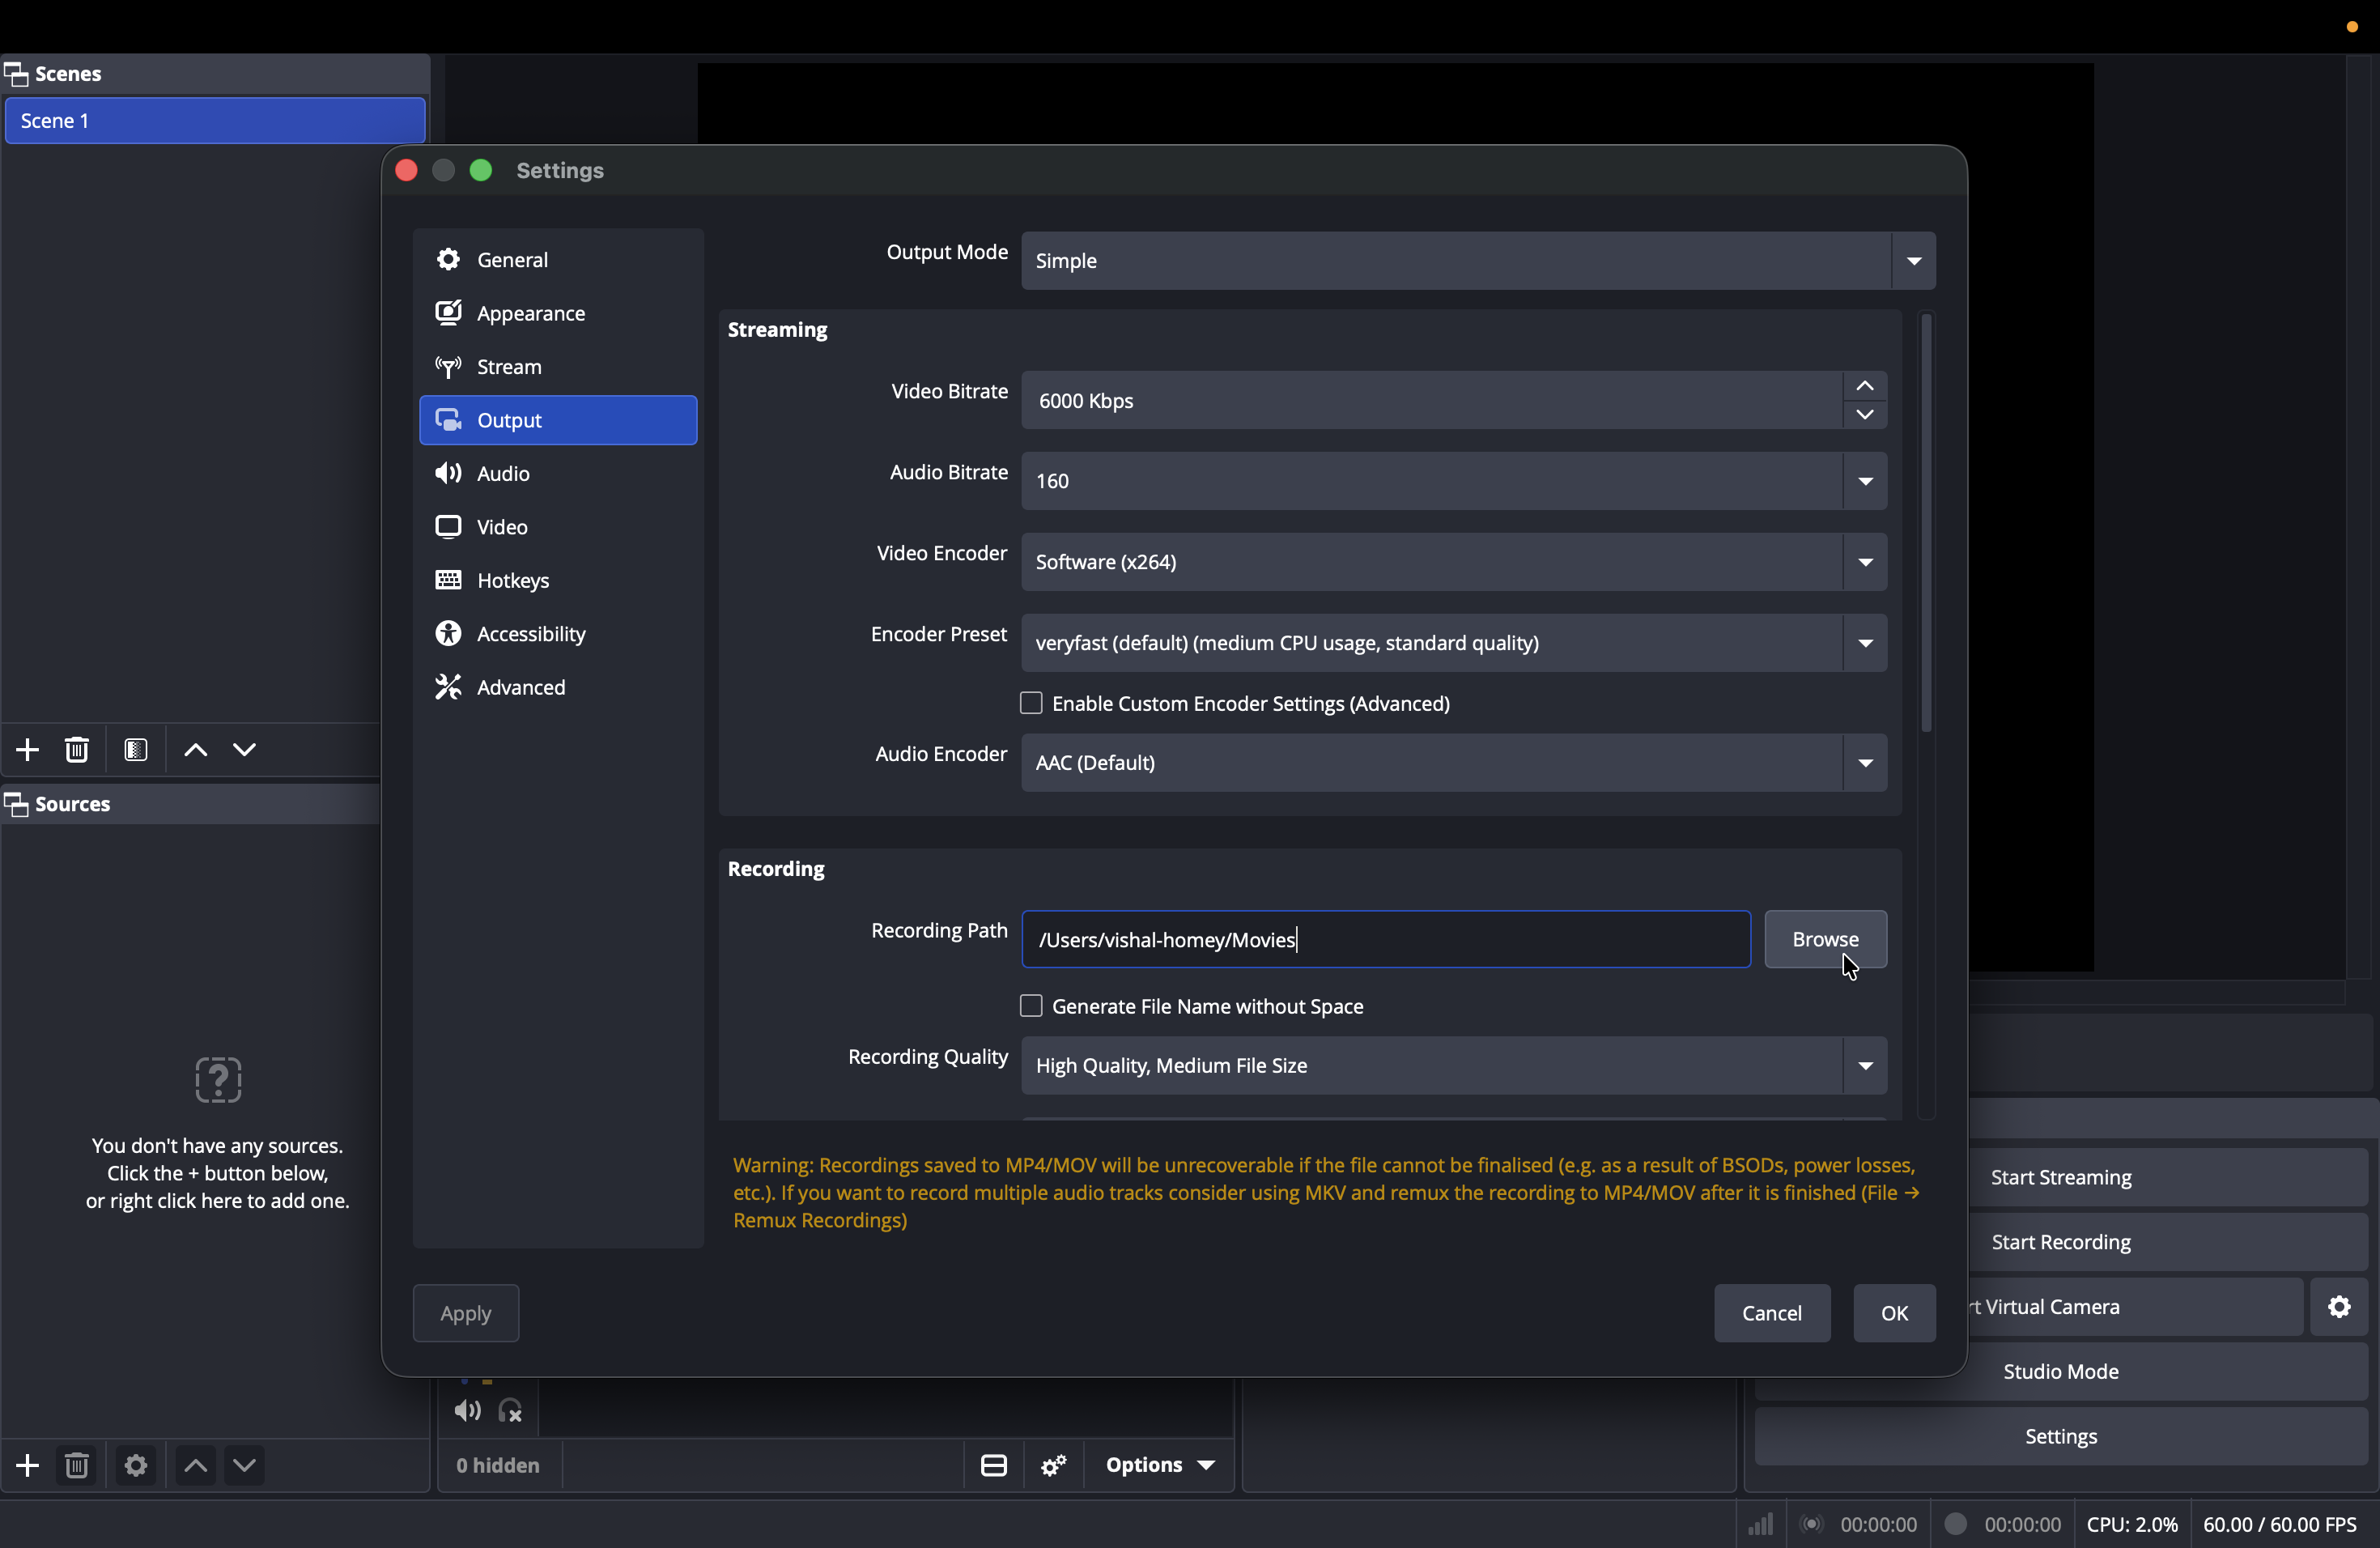
Setting Your Save Location
4
Navigate to the Output tab in the left sidebar.
5
Click Browse next to the Recording Path field and select a dedicated folder where you want your recordings saved.
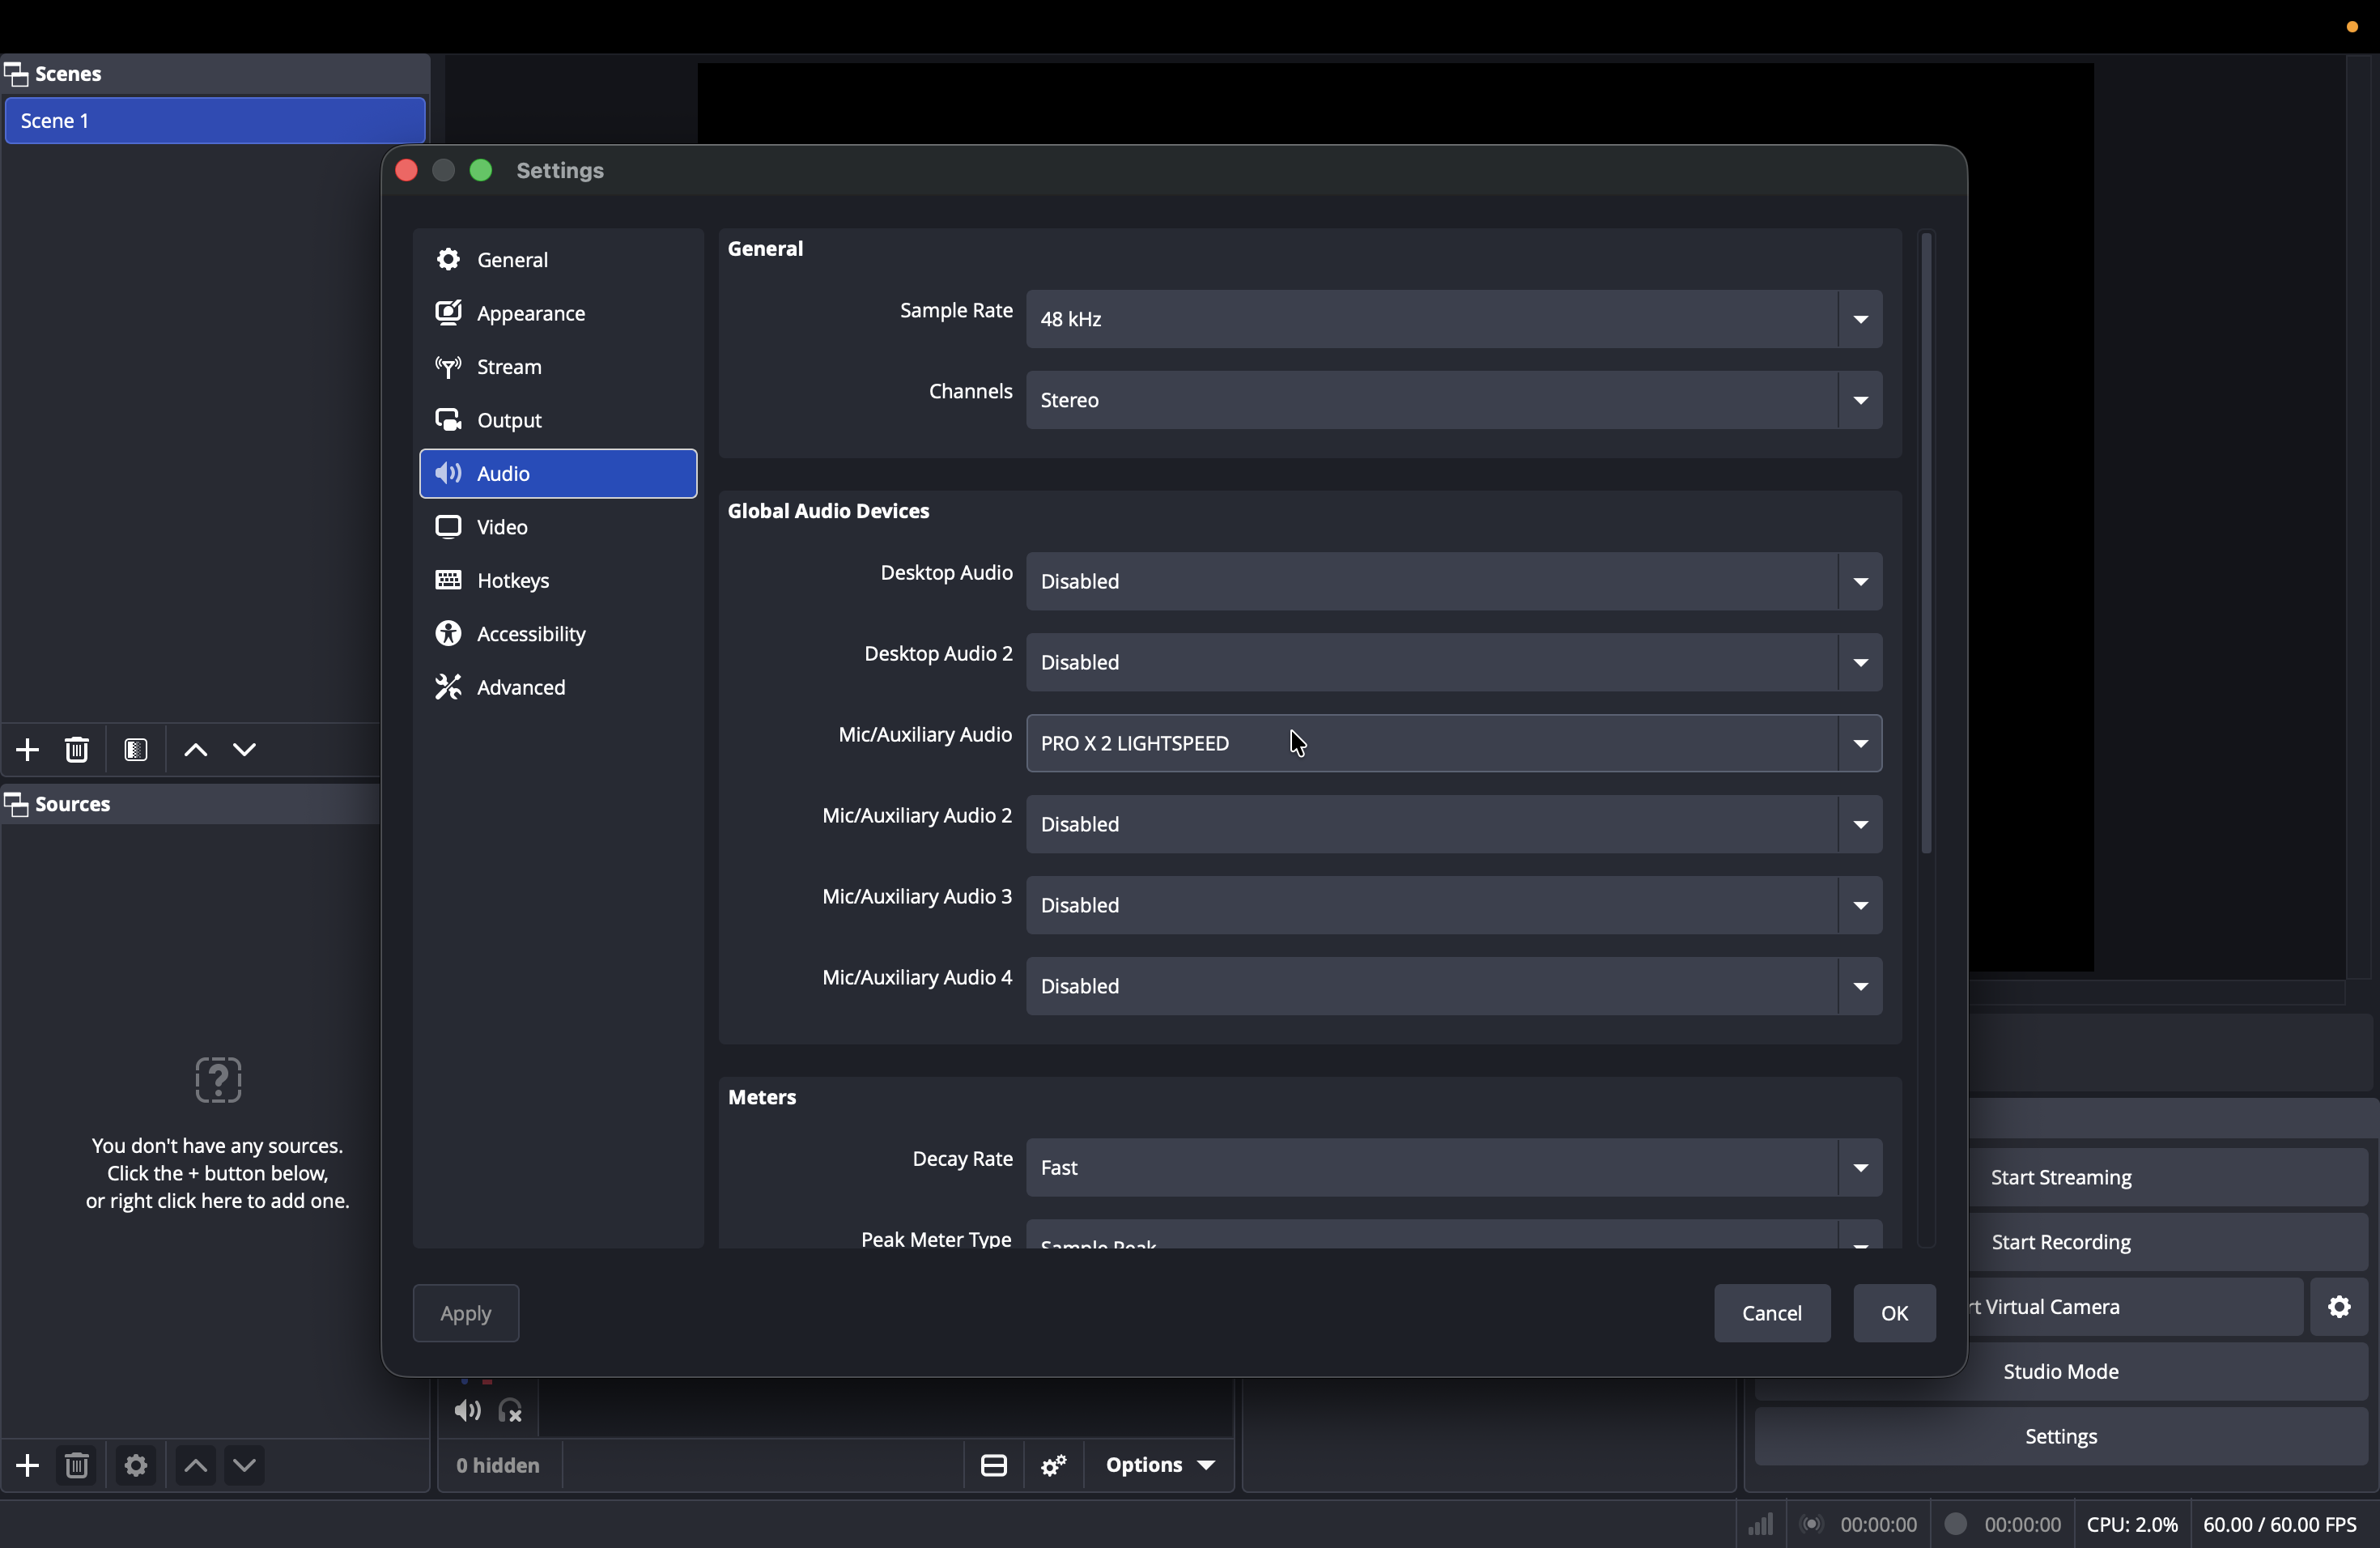
Choosing Your Microphone
6
Go to the Audio tab and select your preferred headset or microphone from the Mic/Auxiliary Audio dropdown.
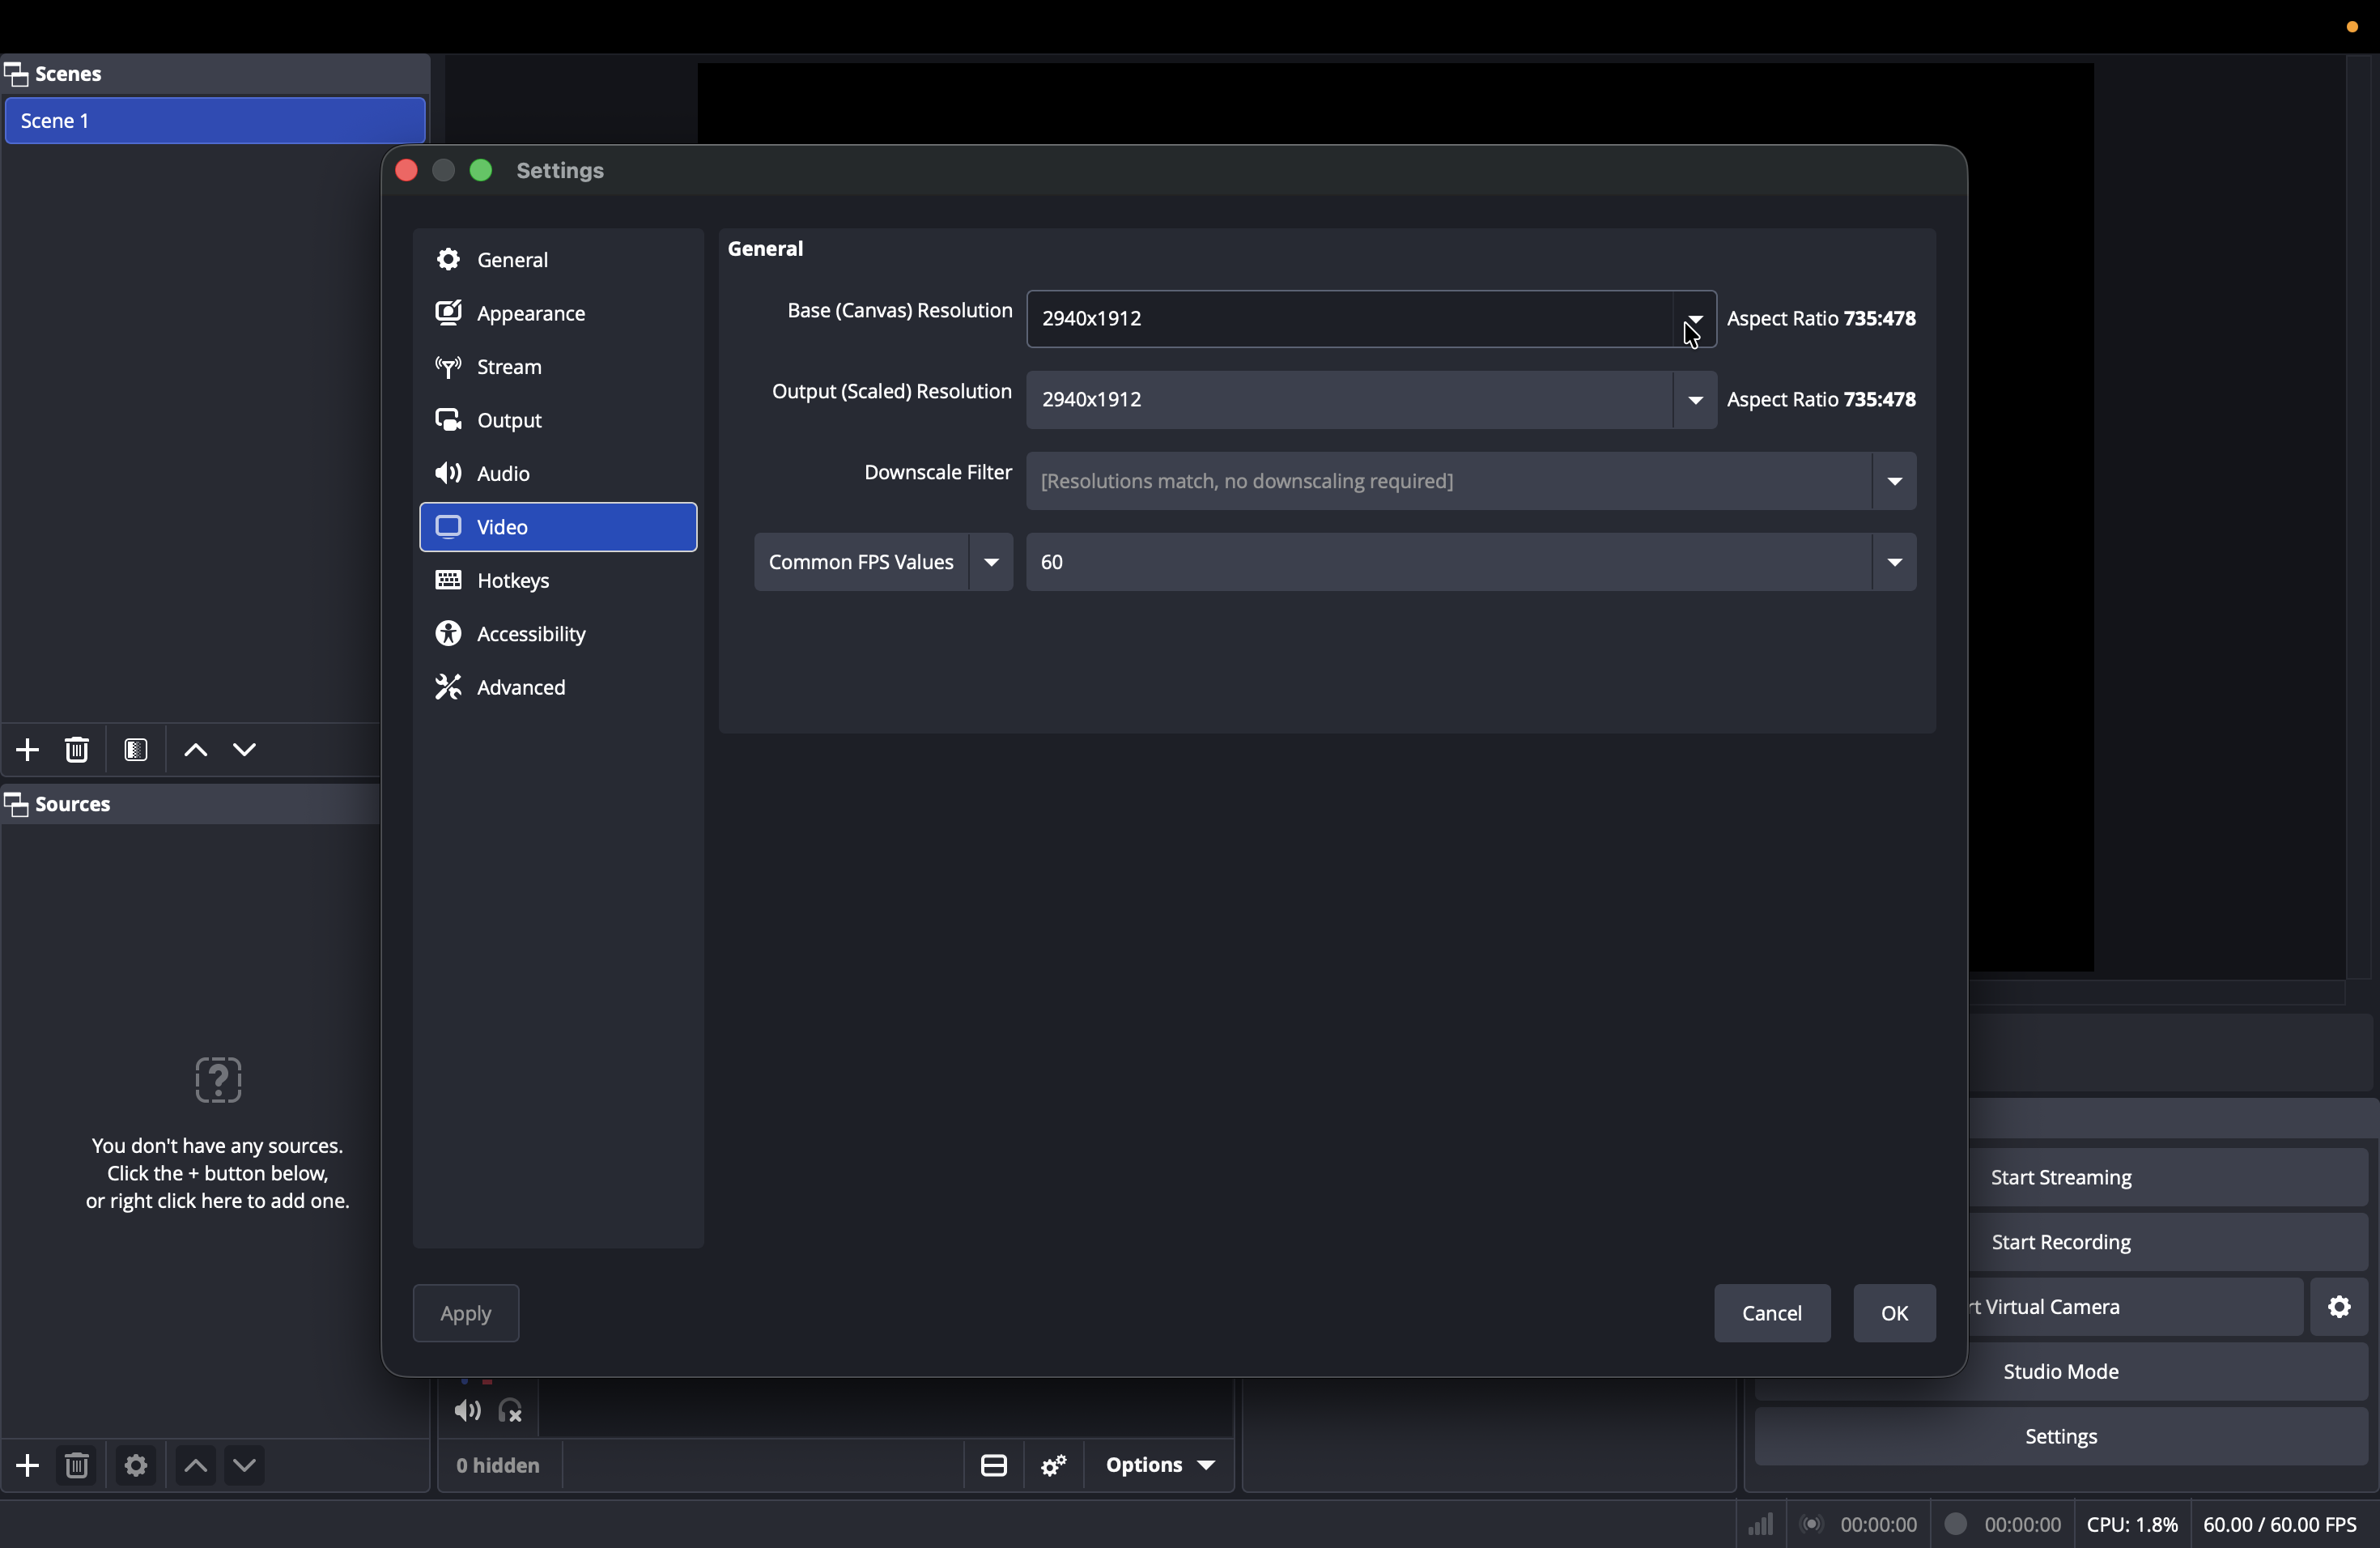
Maximizing Video Quality
7
Navigate to the Video tab.
8
Click the Base (Canvas) Resolution dropdown and select the highest resolution available in the list.
9
Select the highest resolution available in the Output (Scaled) Resolution dropdown as well.
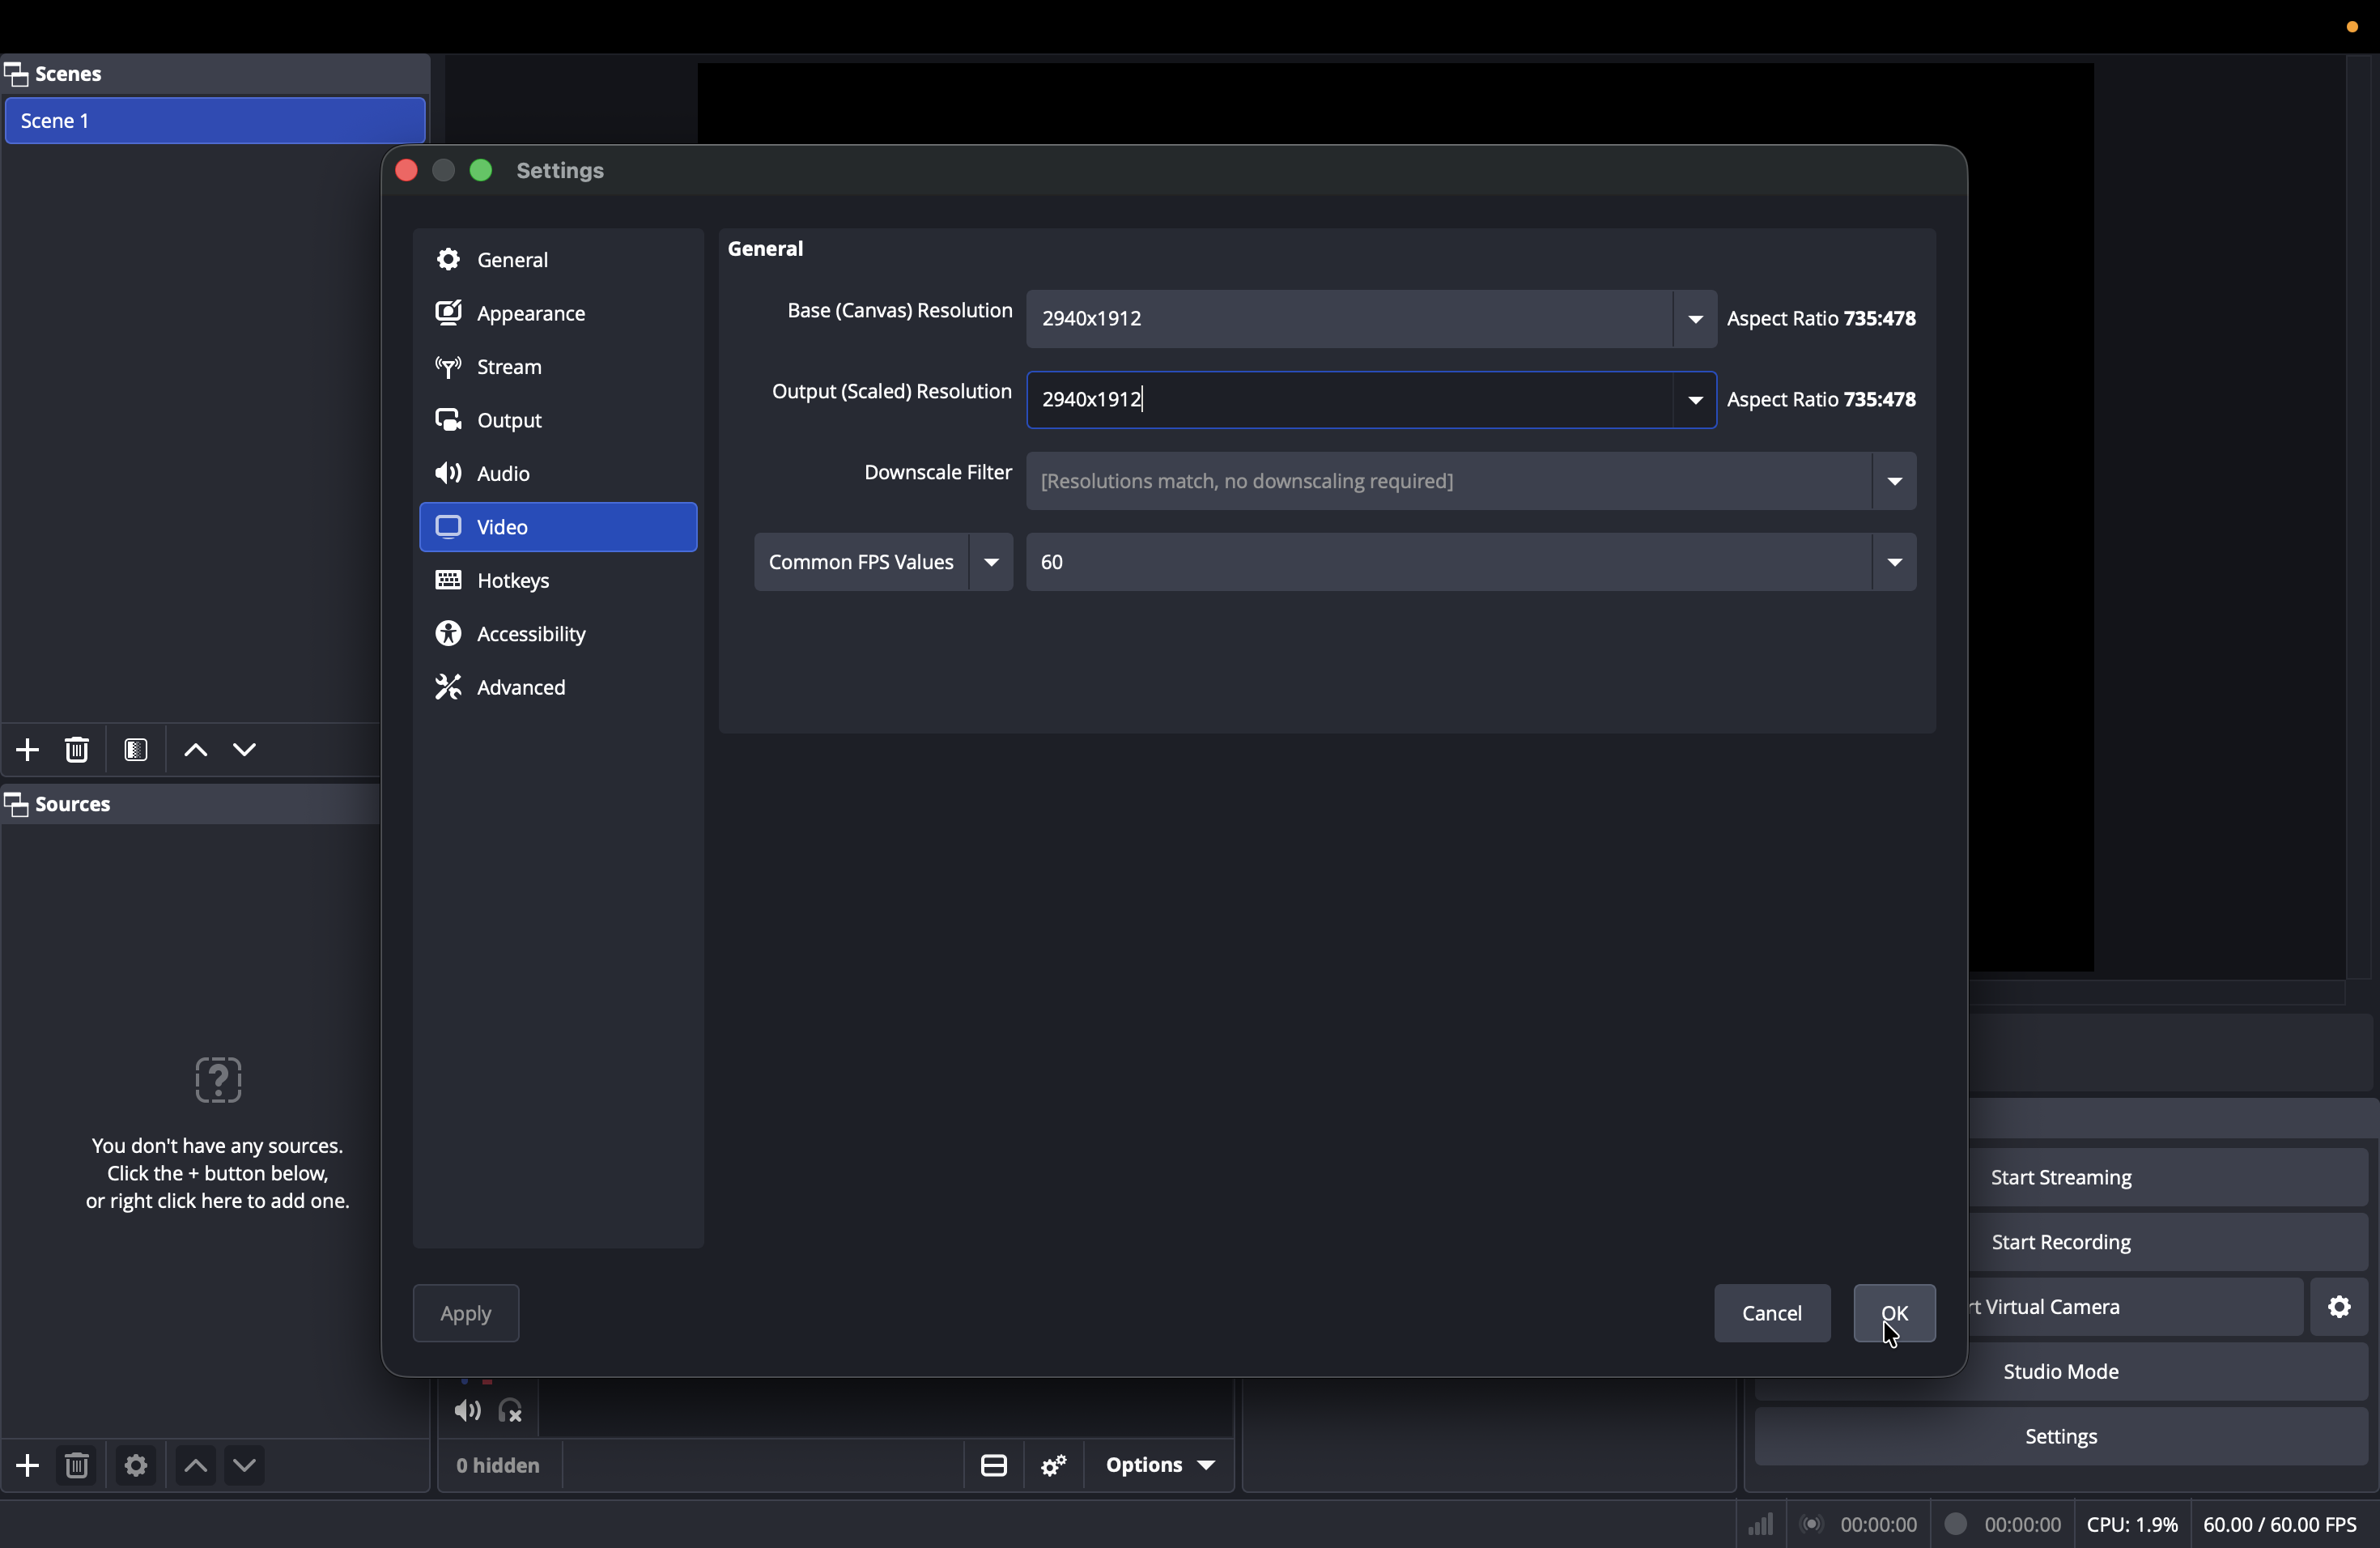
10
Click Apply to save your changes.
11
Click OK to close the Settings window.
3. Set Up Your Screen Capture Source
Now that your baseline settings are configured, you need to add your screen as a capture source.
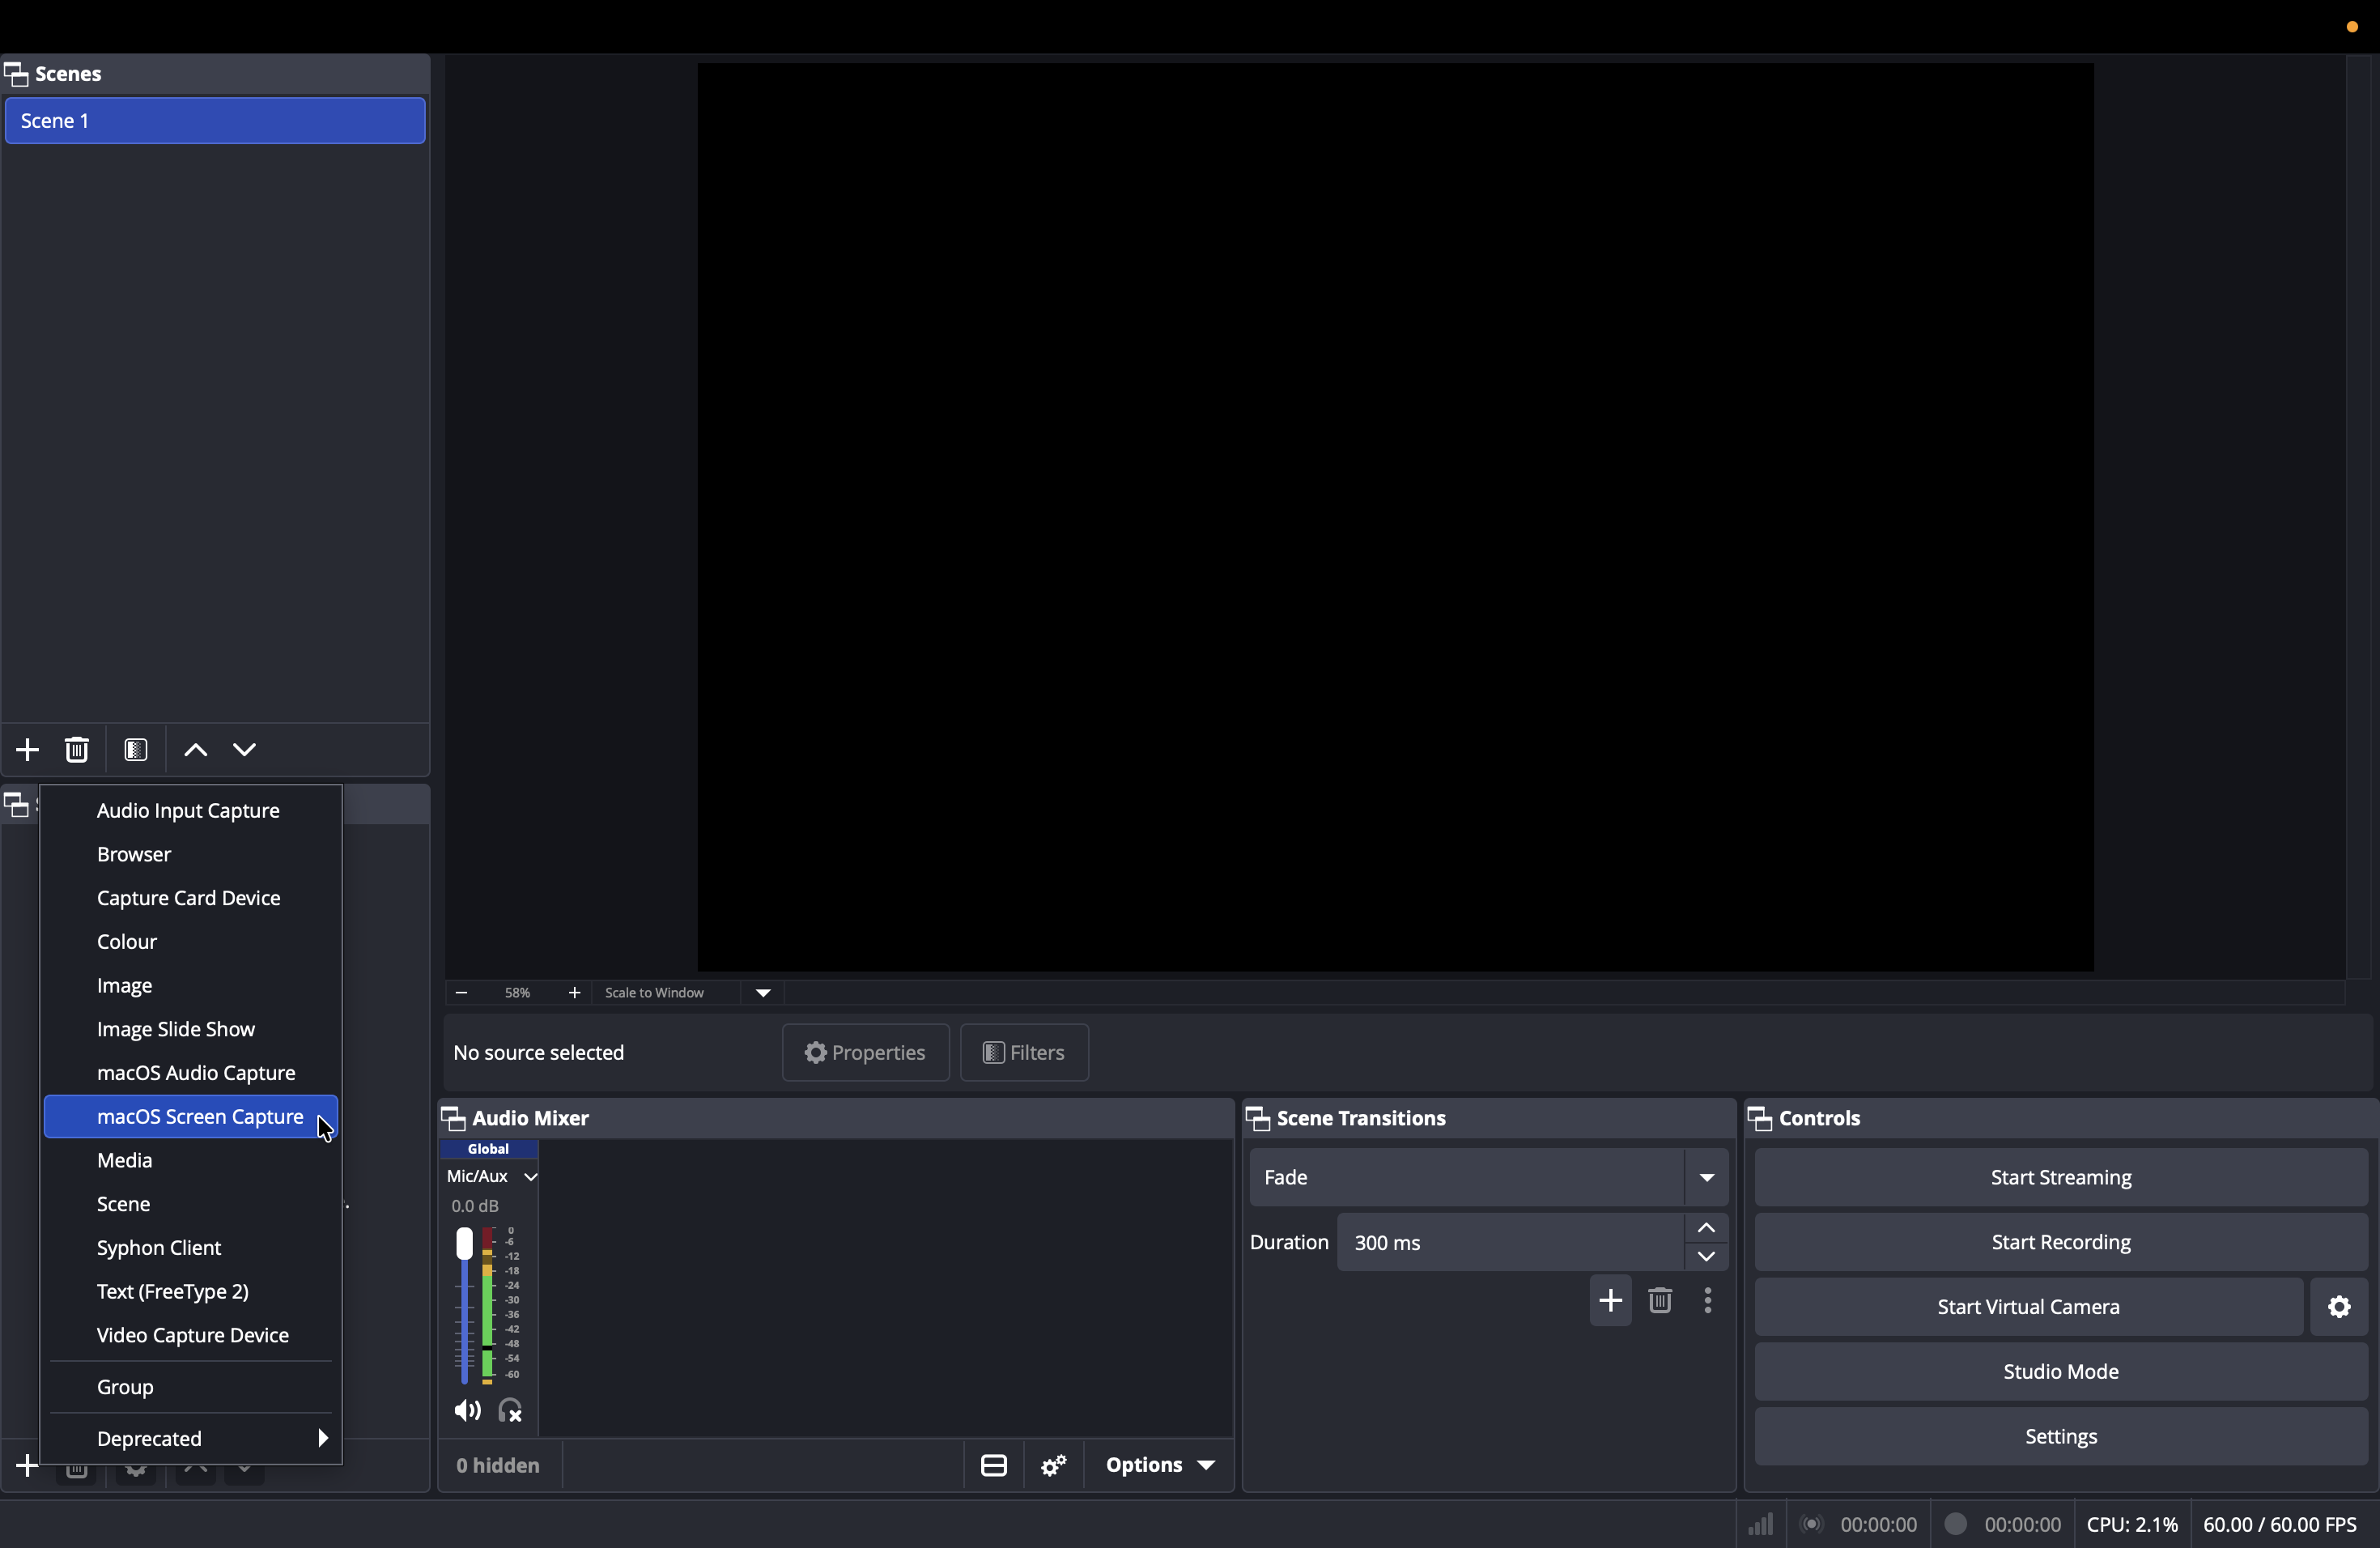
12
Click the + (Add Source) icon at the bottom of the Sources panel.
13
Select macOS Screen Capture from the menu.
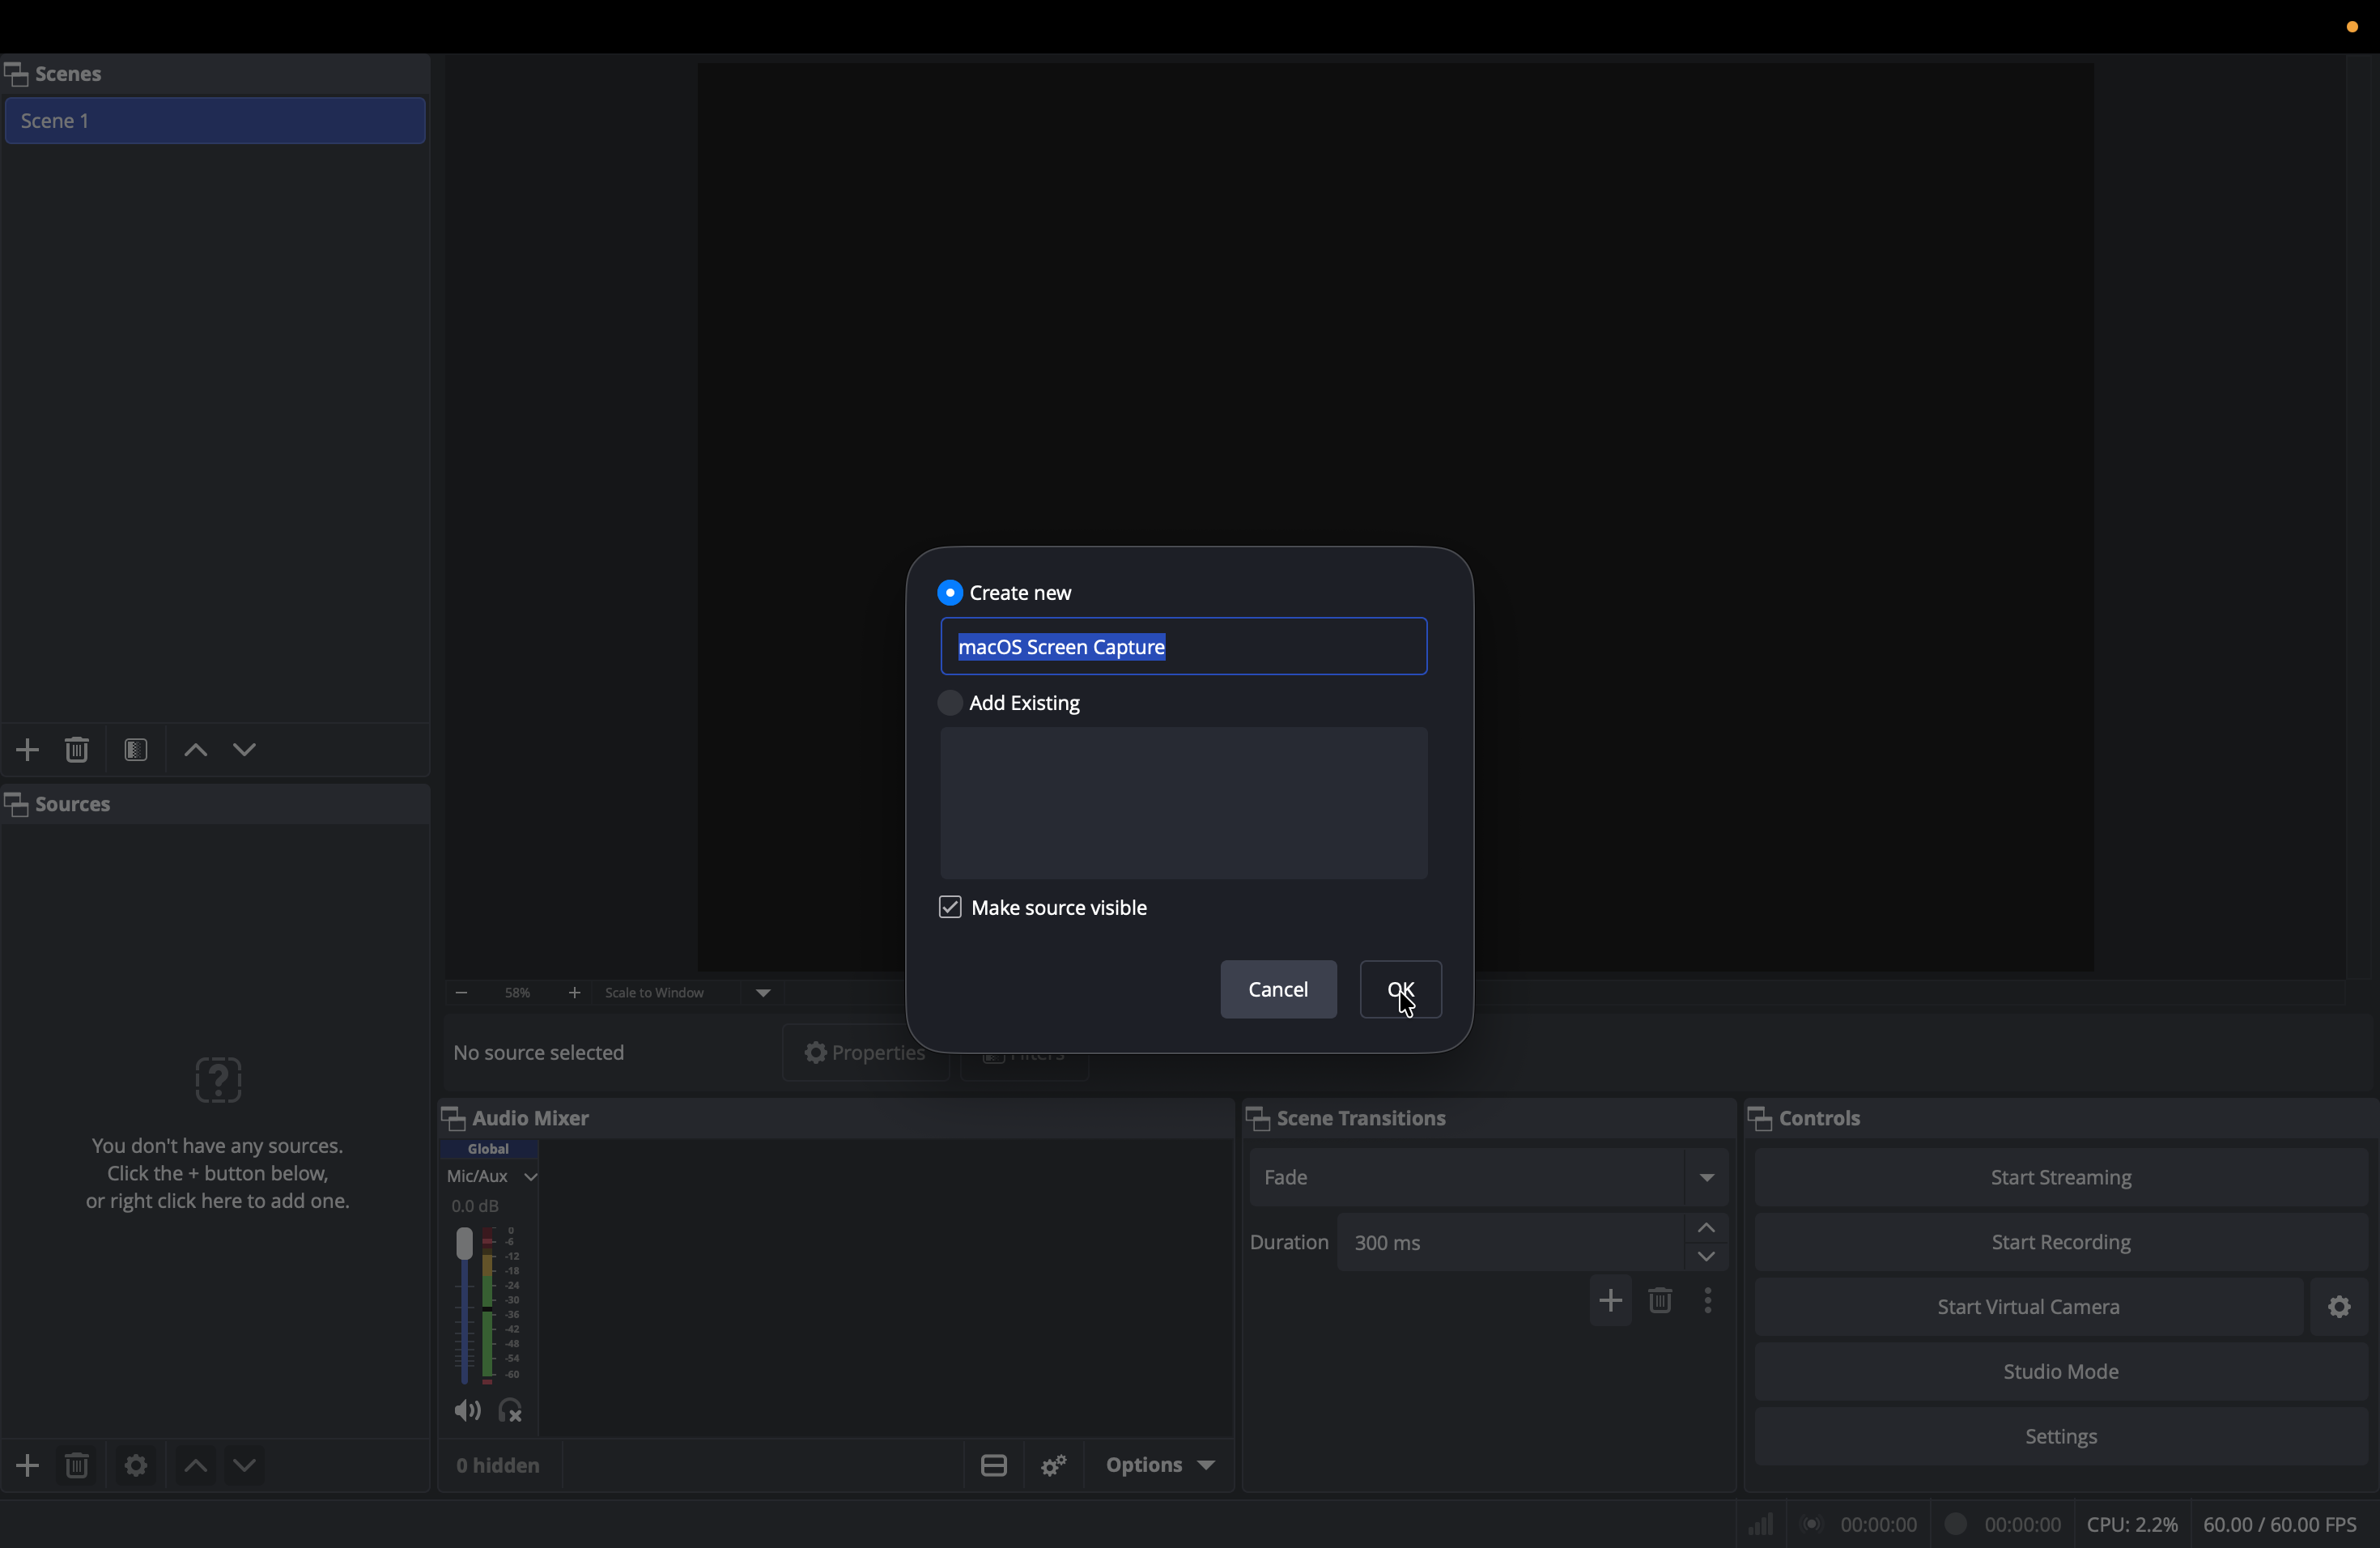
14
Leave the default name or rename it if you prefer, then click OK.
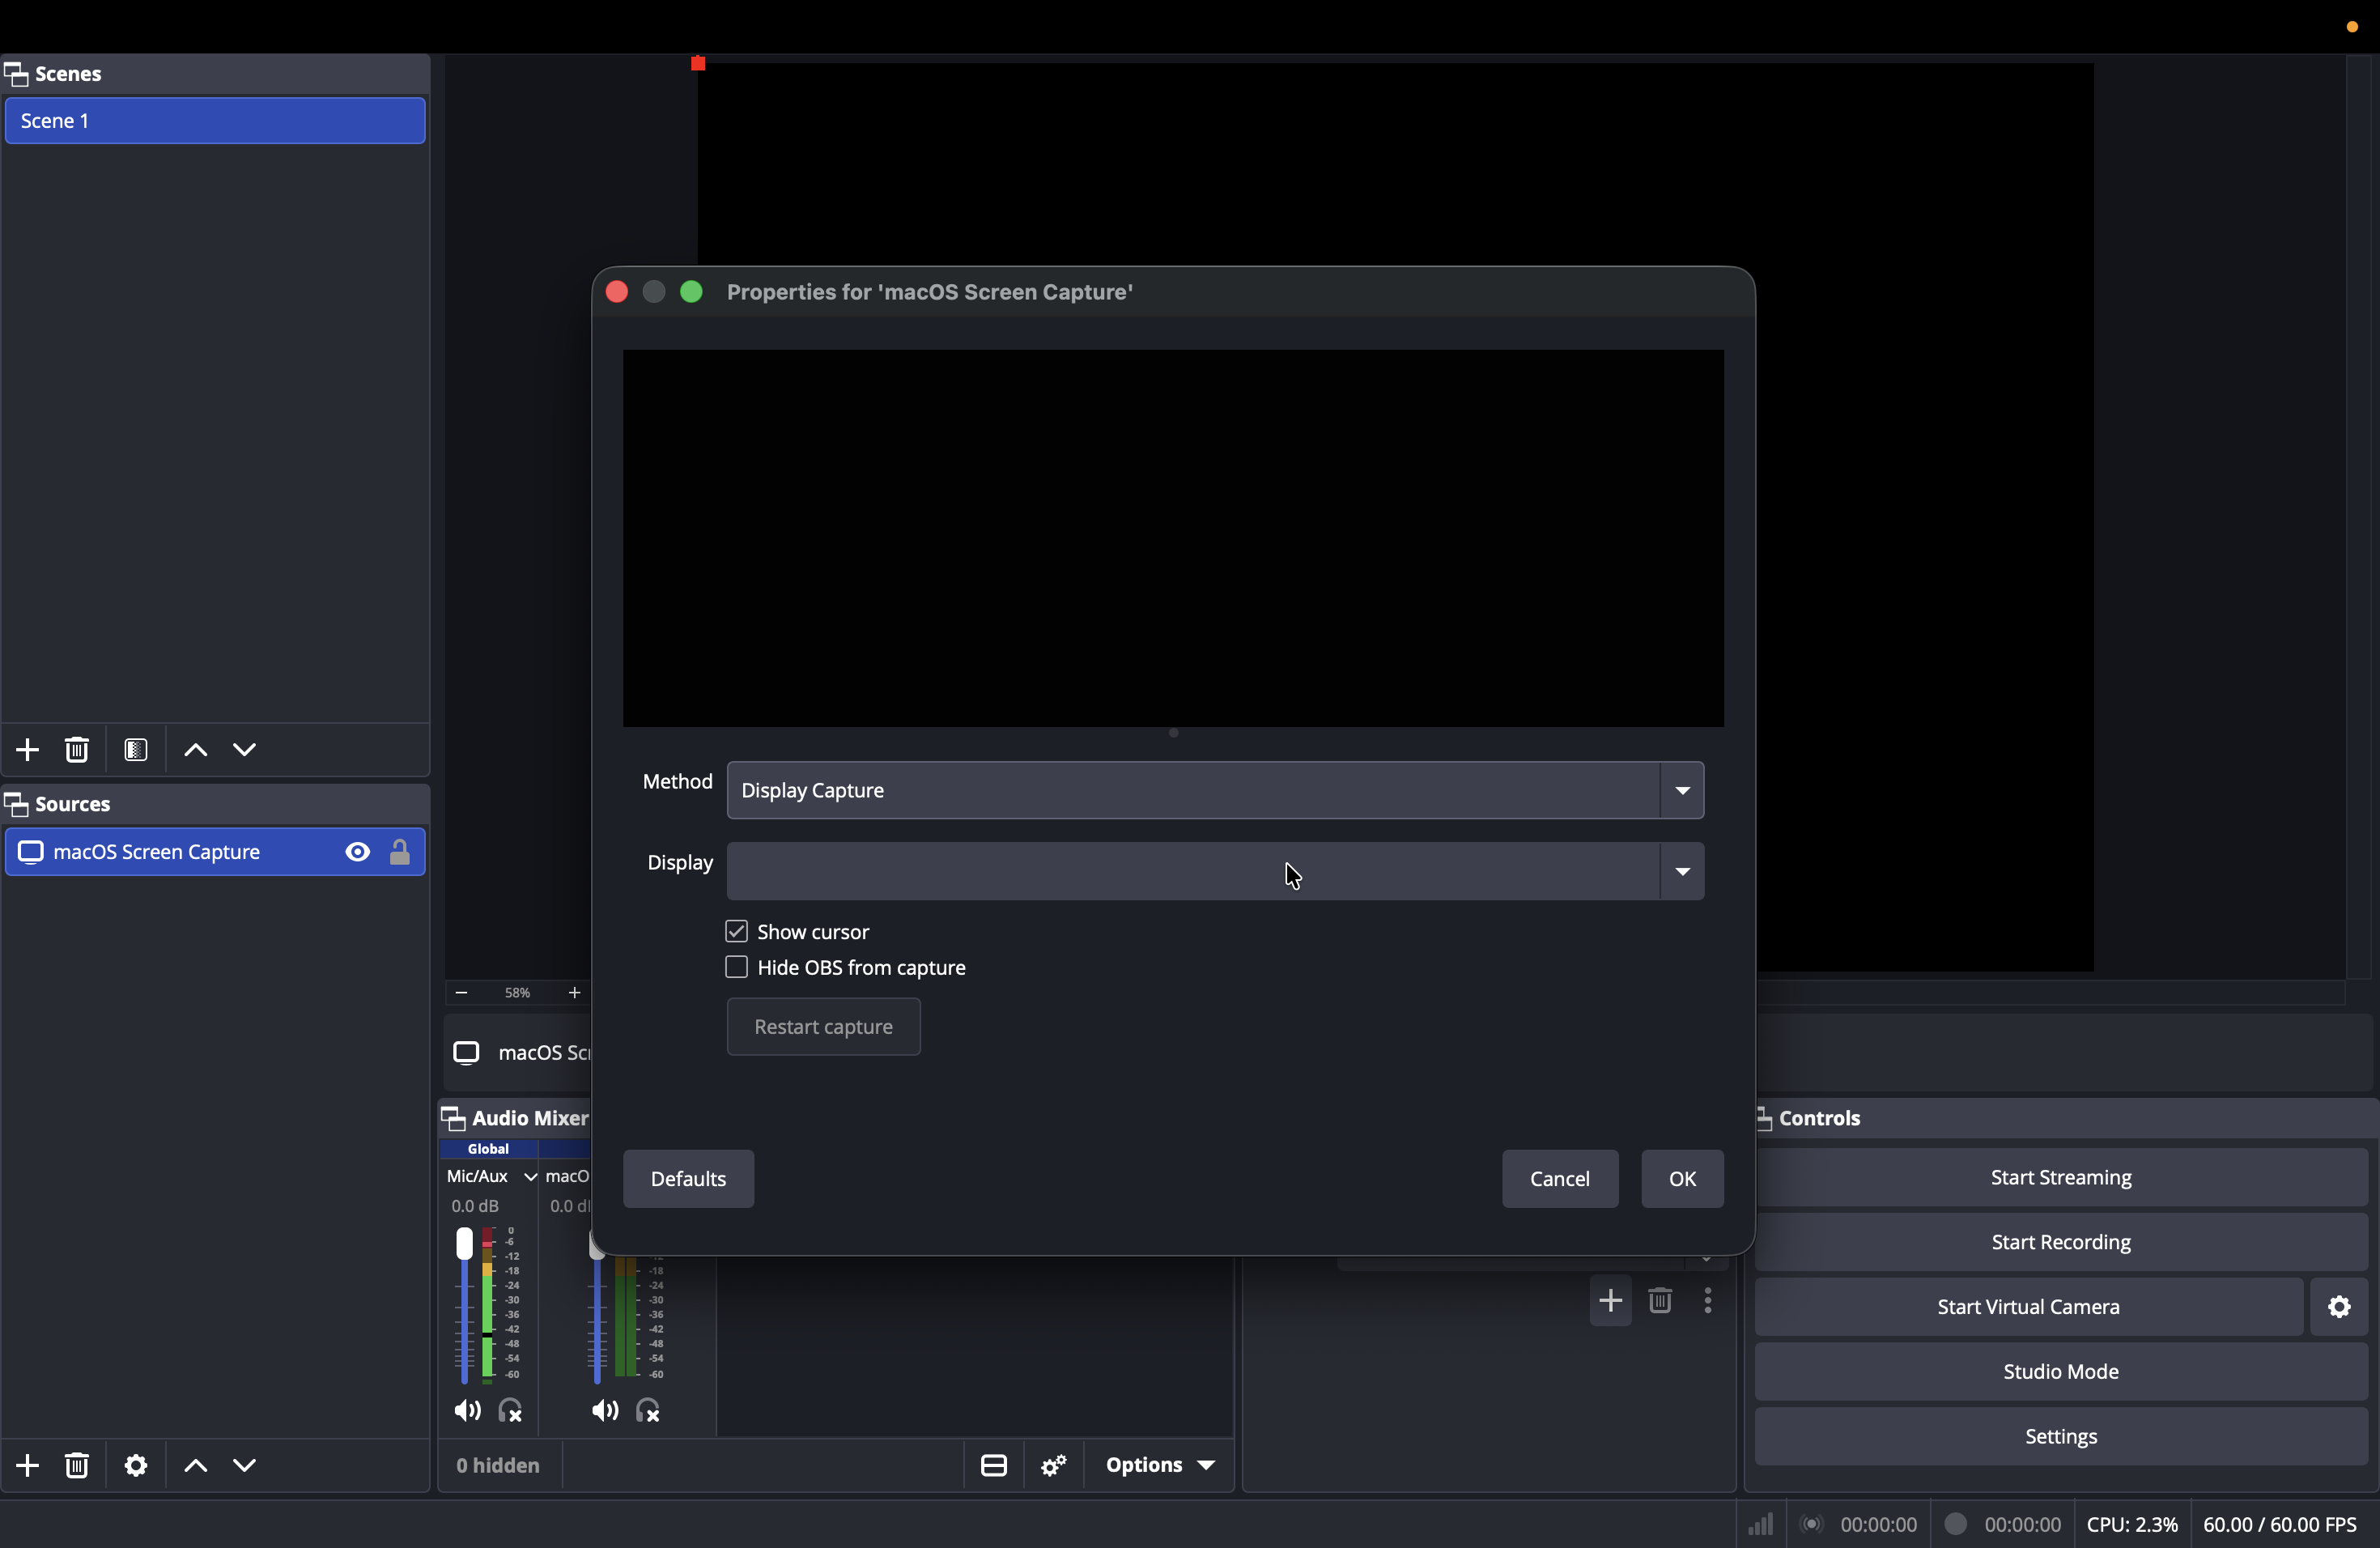
15
Ensure the Method dropdown is set to Display Capture.
16
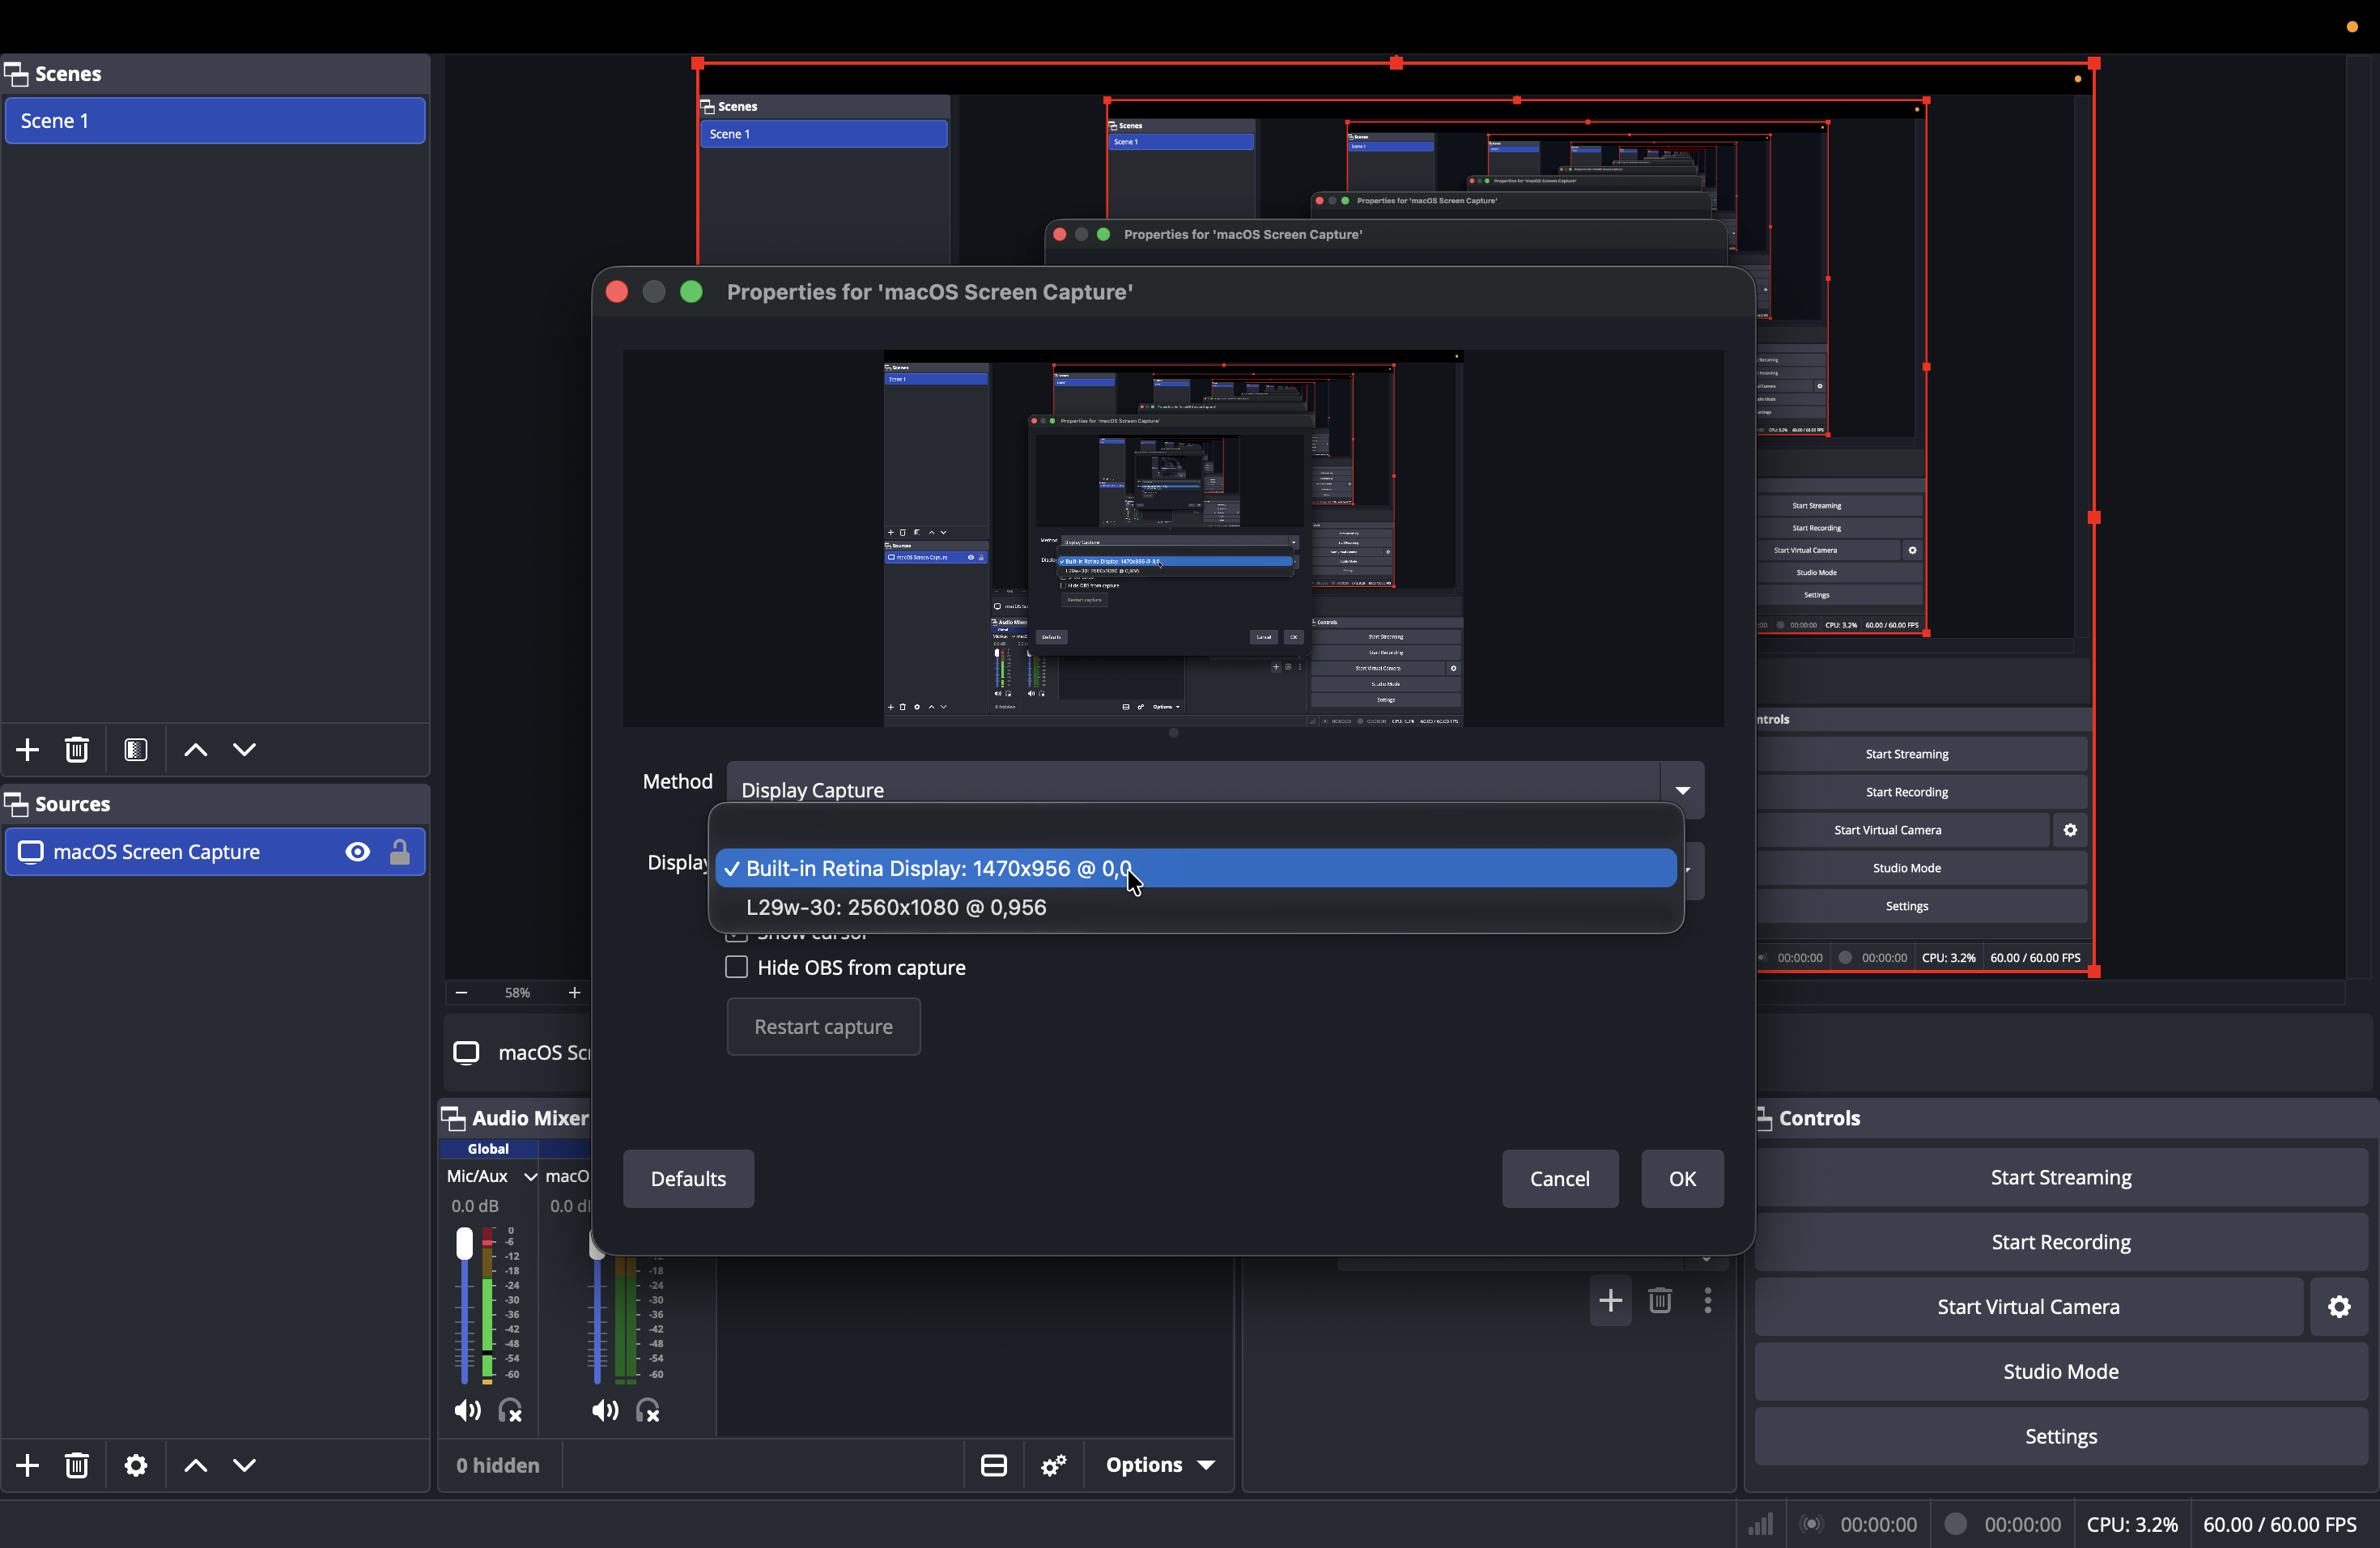
Click the Display dropdown to select the monitor you want to record.
17
Select Built-in Retina Display (your main laptop screen).
Always record on your laptop screen, not an ultrawide external monitor. Most viewers will watch your videos on a standard laptop screen. If you record on an ultrawide monitor, the video will shrink to fit their display, creating large black bars on the top and bottom and making text incredibly difficult to read.
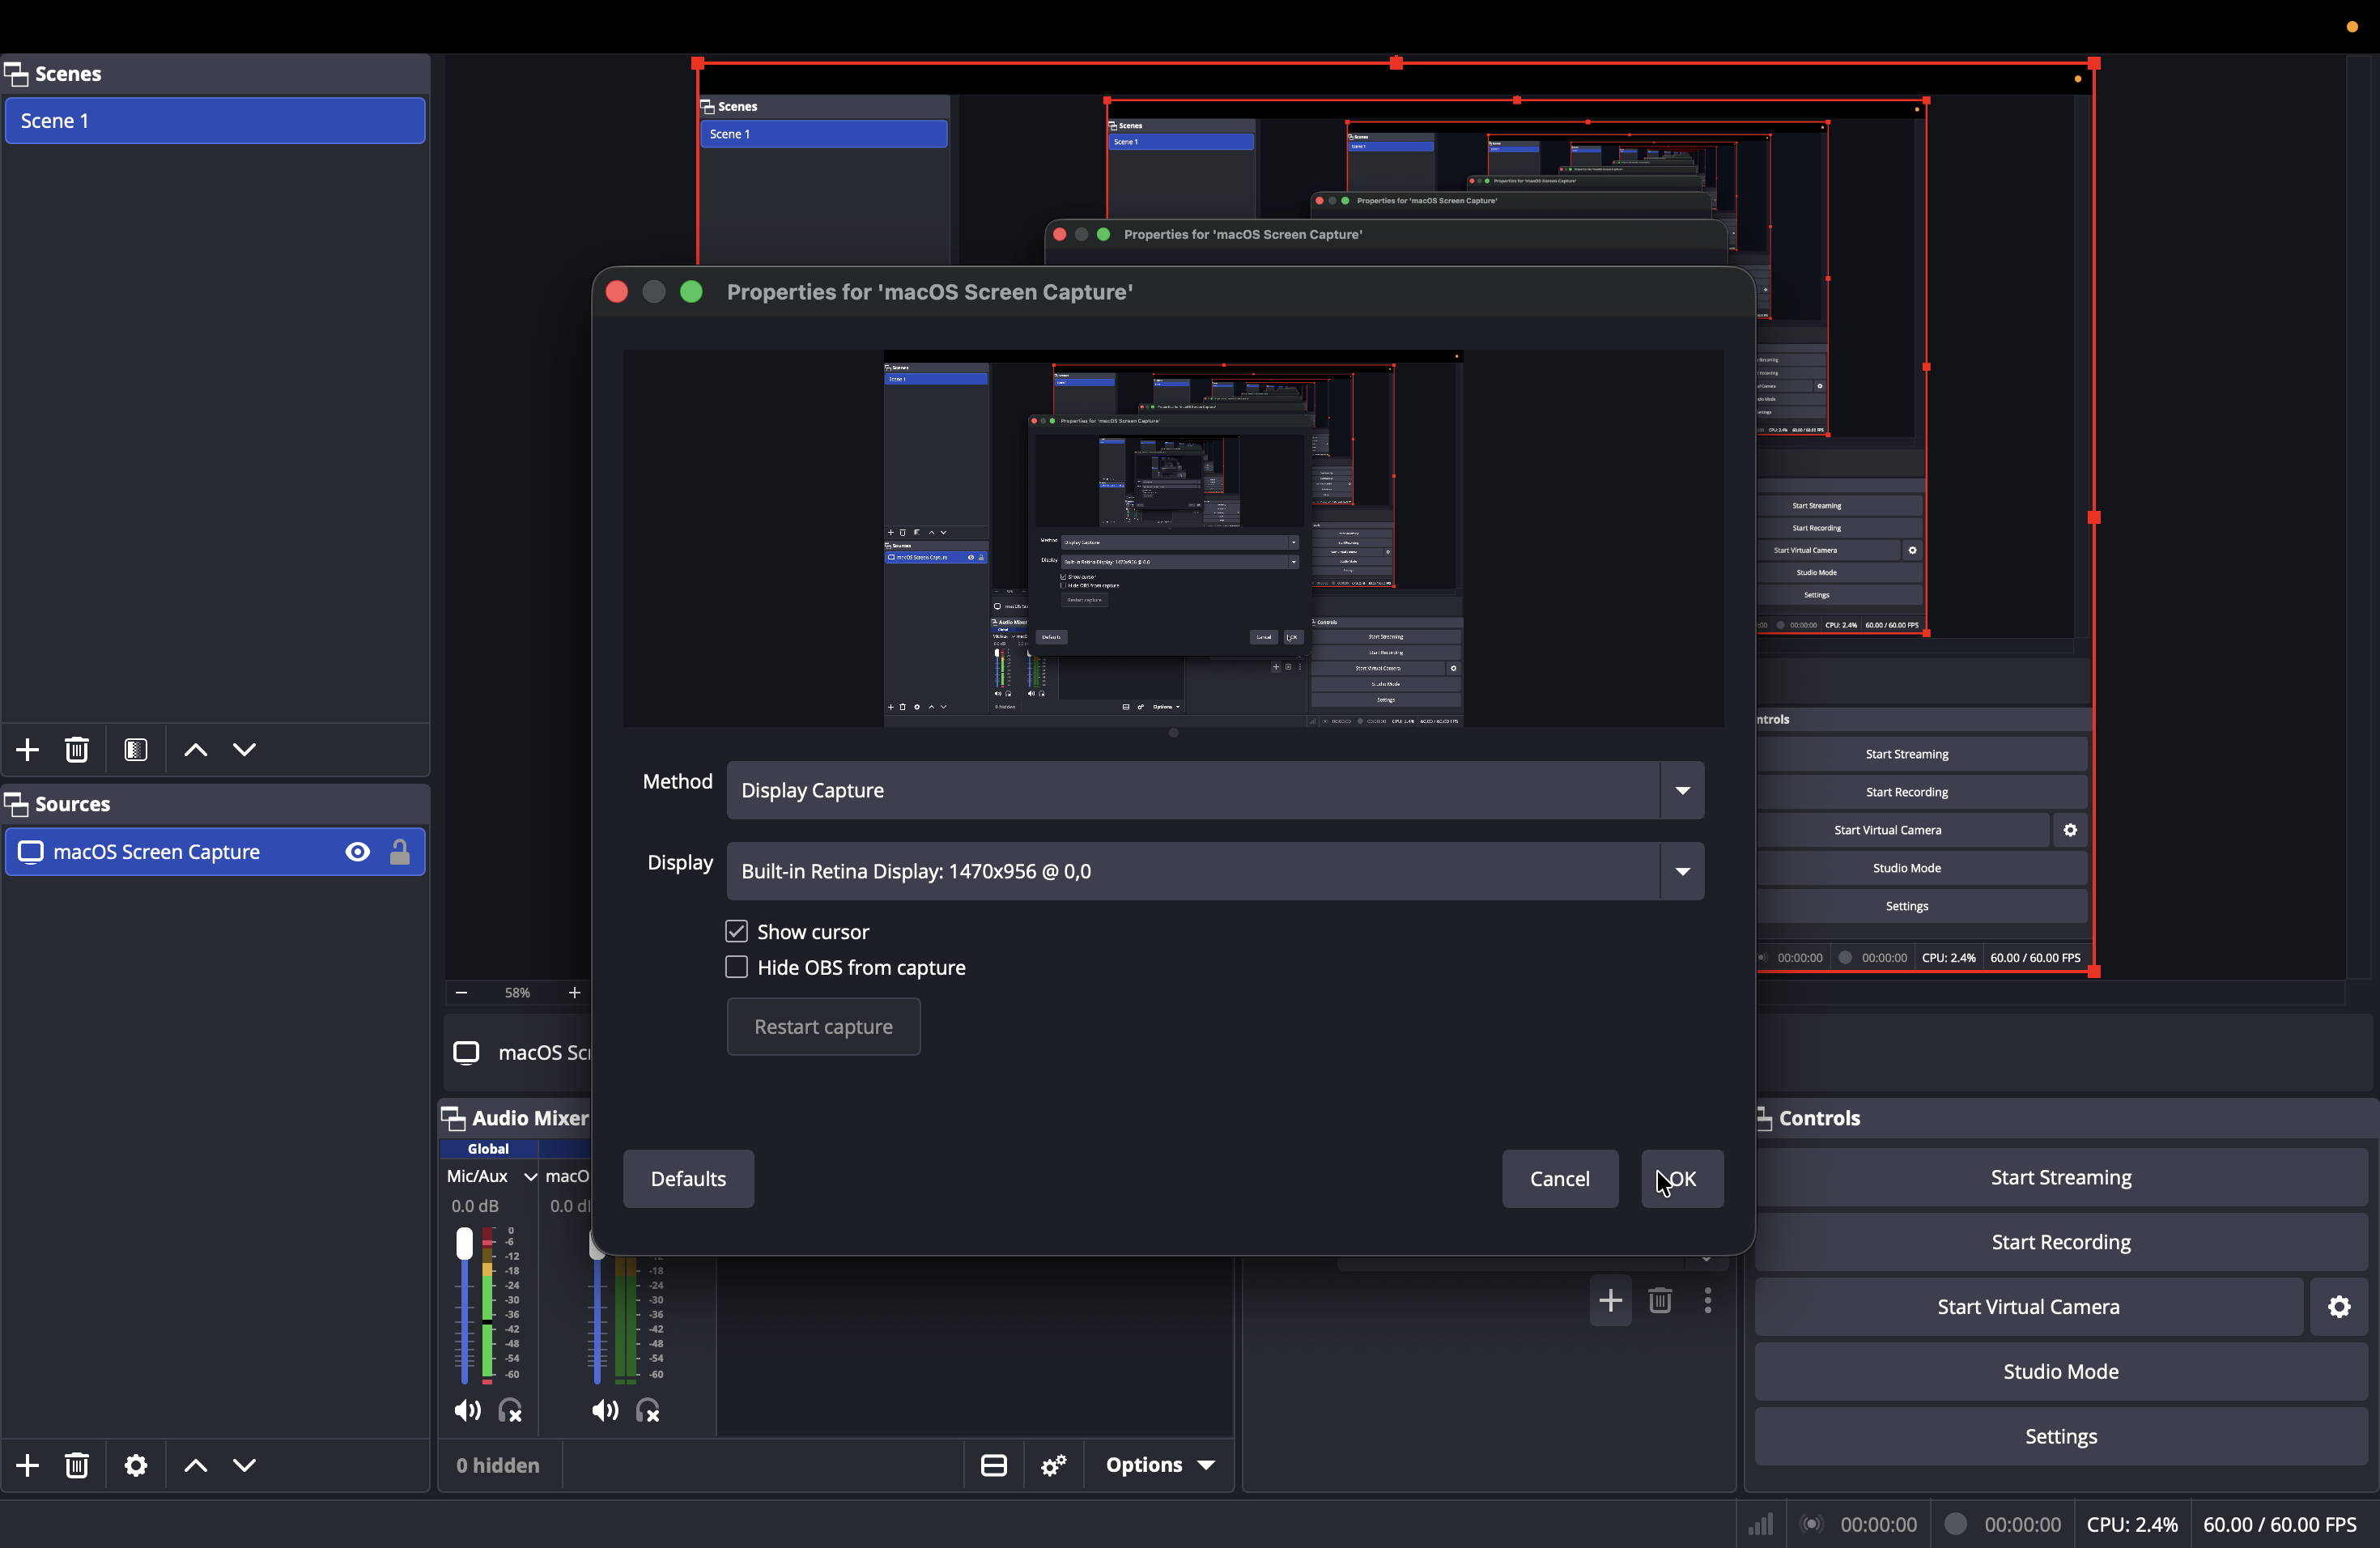
18
Verify that the Show Cursor option is checked, then click OK to confirm your source setup.
4. Record Your Video
With your capture source active, you are ready to begin presenting.
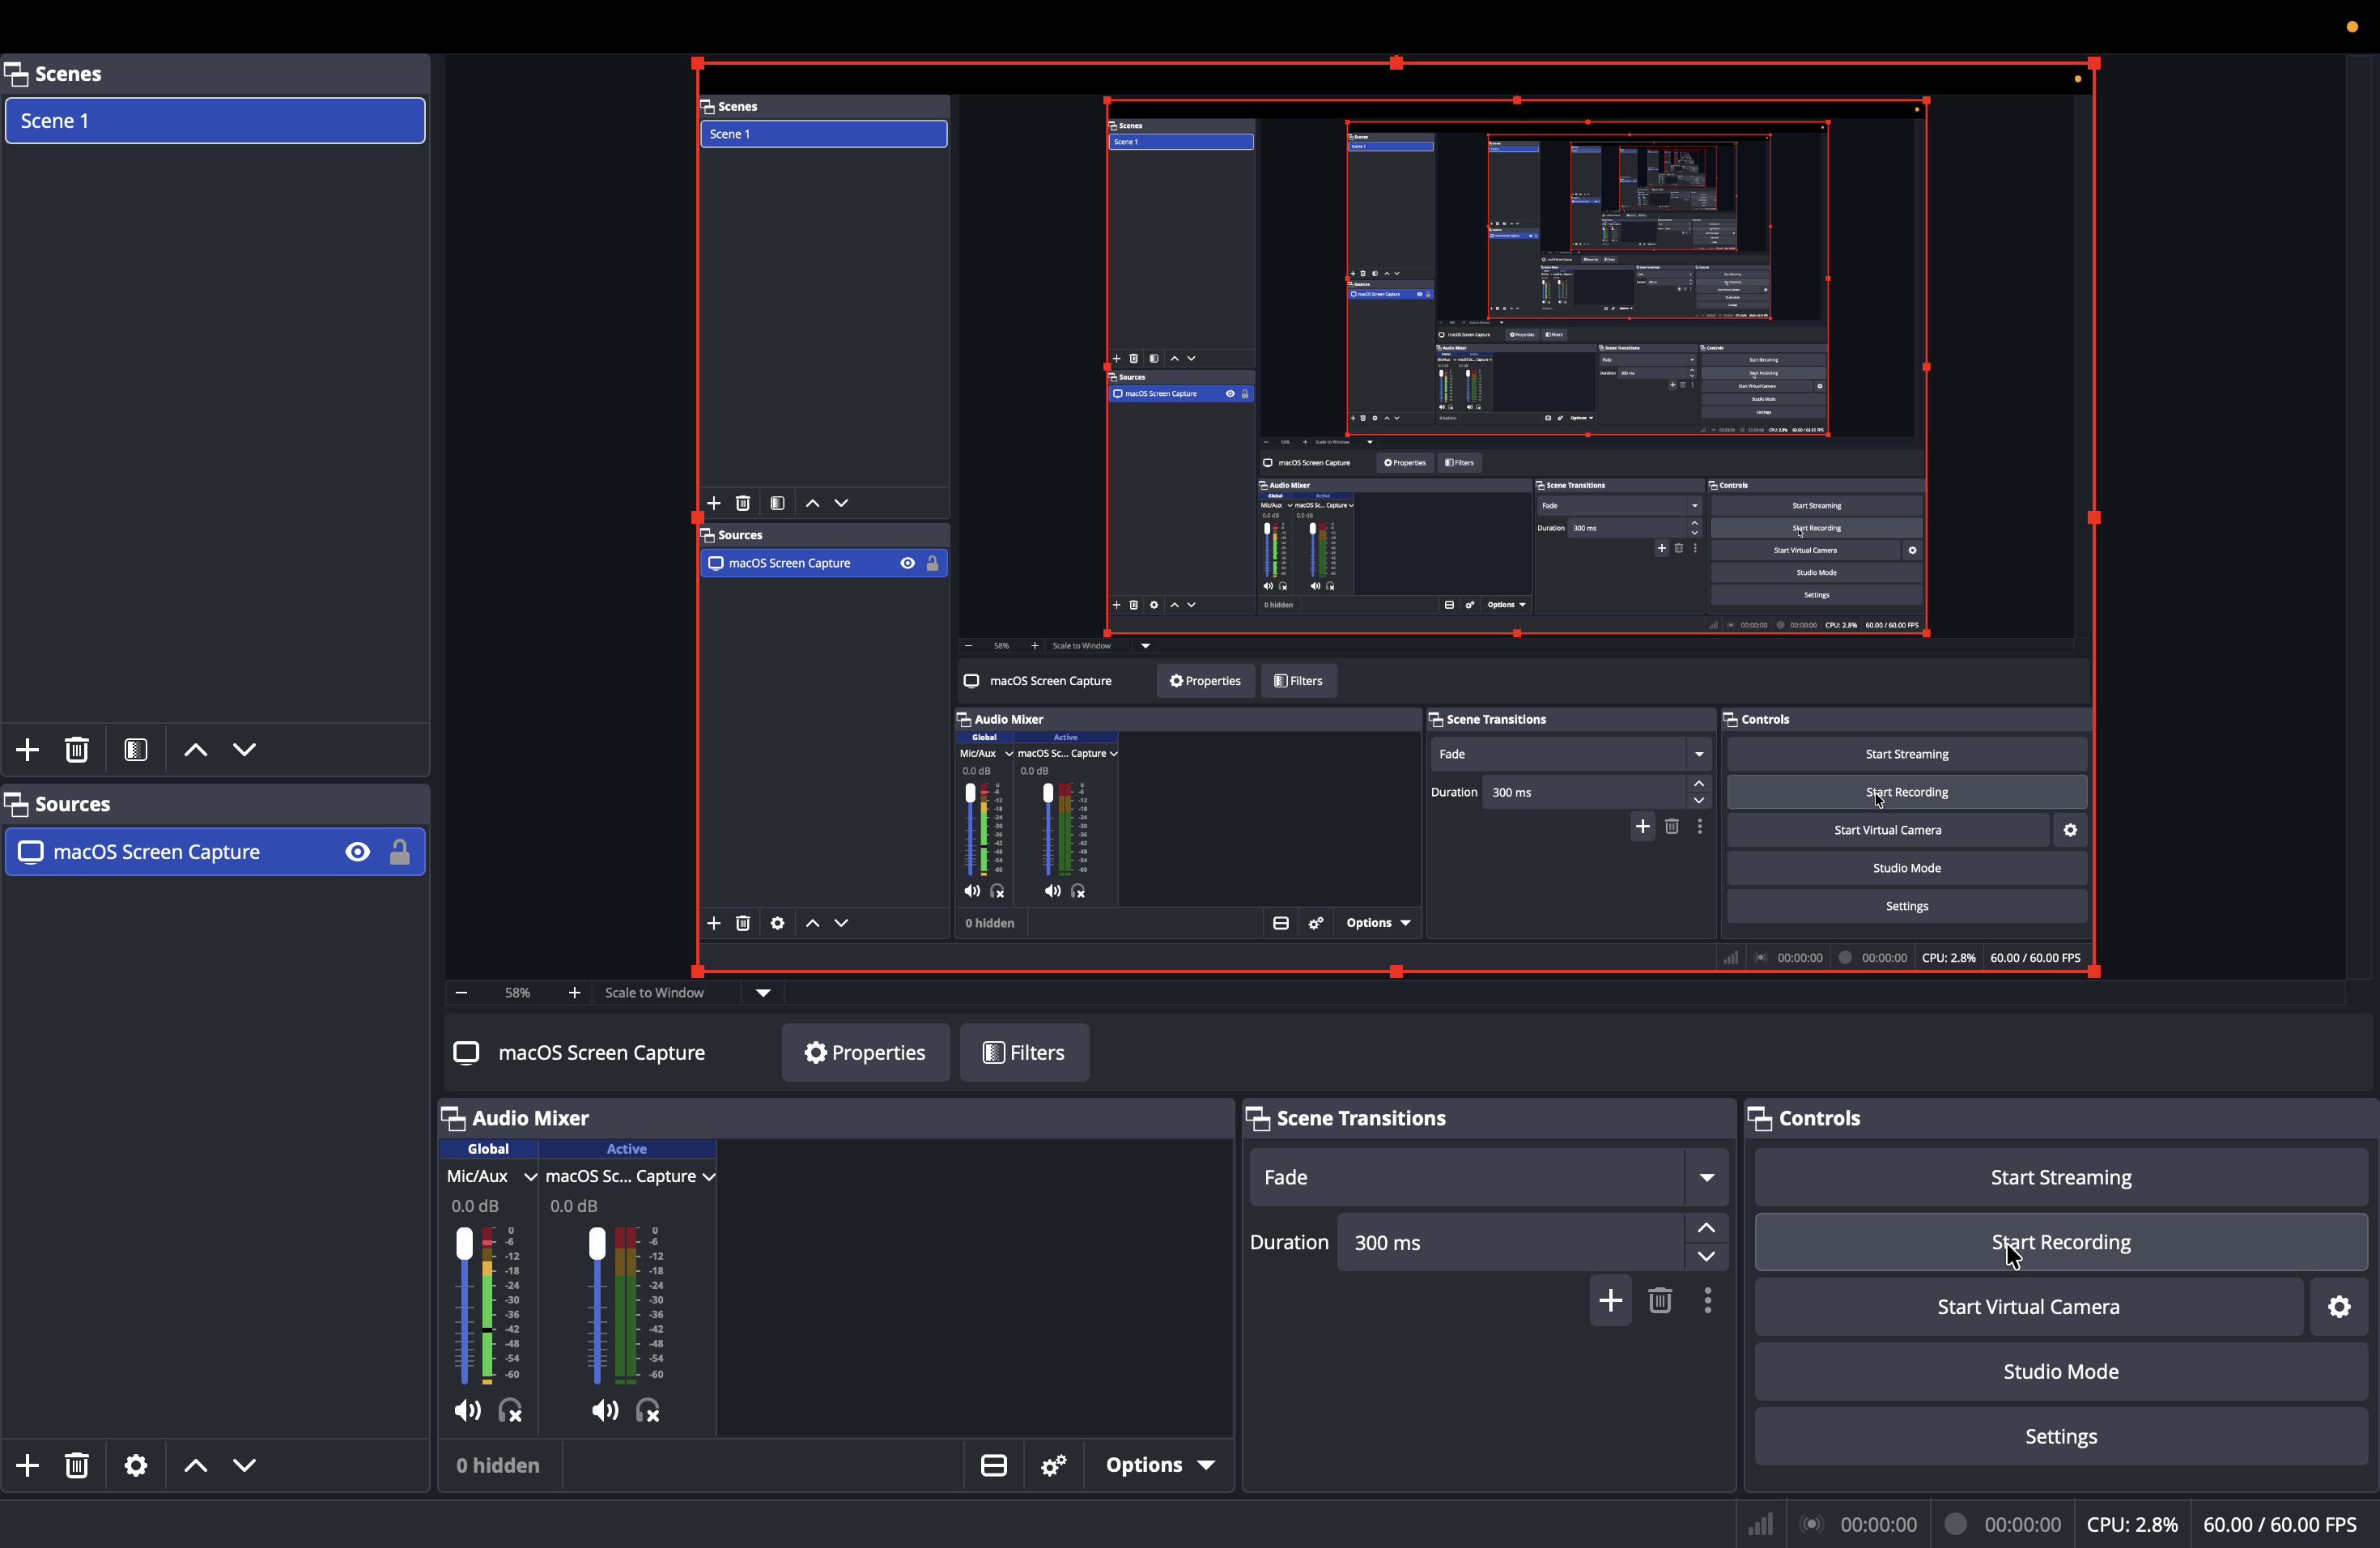
19
Click Start Recording in the Controls panel.
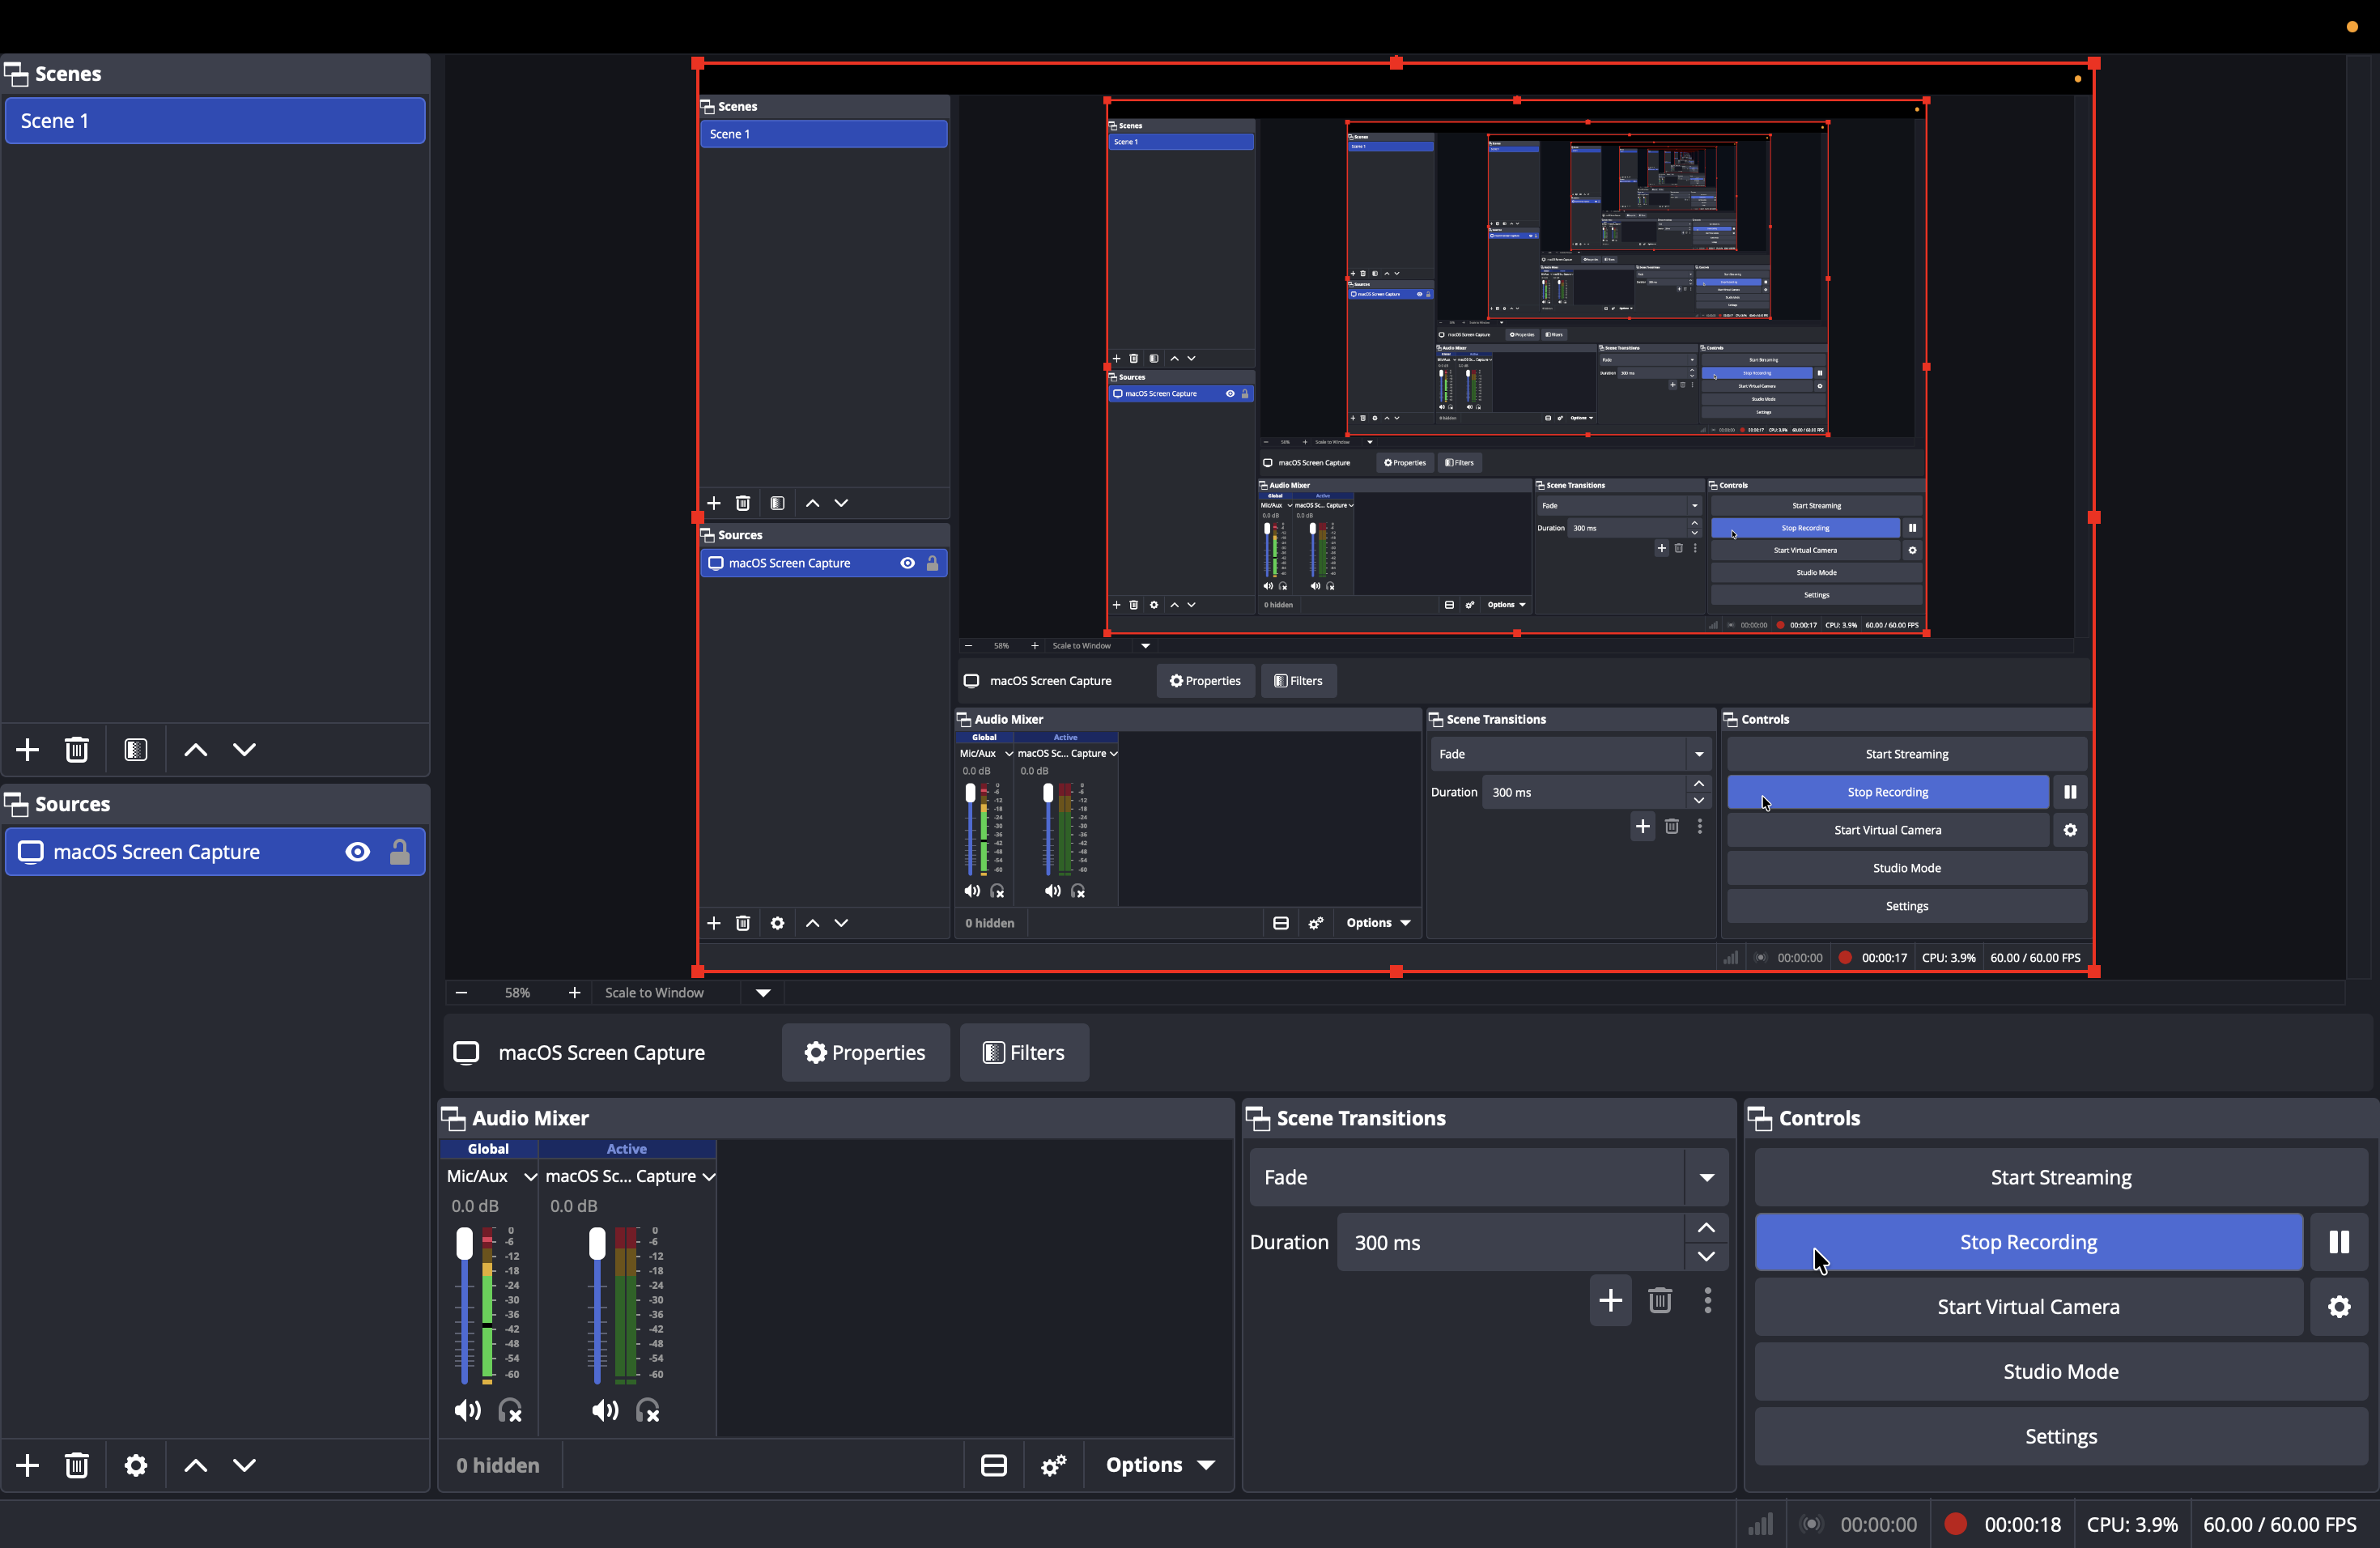
While recording, keep an eye on the audio mixer panel at the bottom center. When you speak, the bar next to your Mic/Aux device will light up, confirming your audio is being captured.
20
When your presentation is over, click Stop Recording.
Your video file is now saved and ready to be shared or uploaded from the Output path you configured earlier.