How to Set Up OpenVPN and Map our P Drive
Learn how to download and install OpenVPN Connect, import your secure configuration profile, and successfully map a network drive on Windows.
By Adrian Ling
Before starting, ensure you have your .ovpn configuration file downloaded from your email, along with your username, password, and security key accessible.
1. Install OpenVPN Connect
1
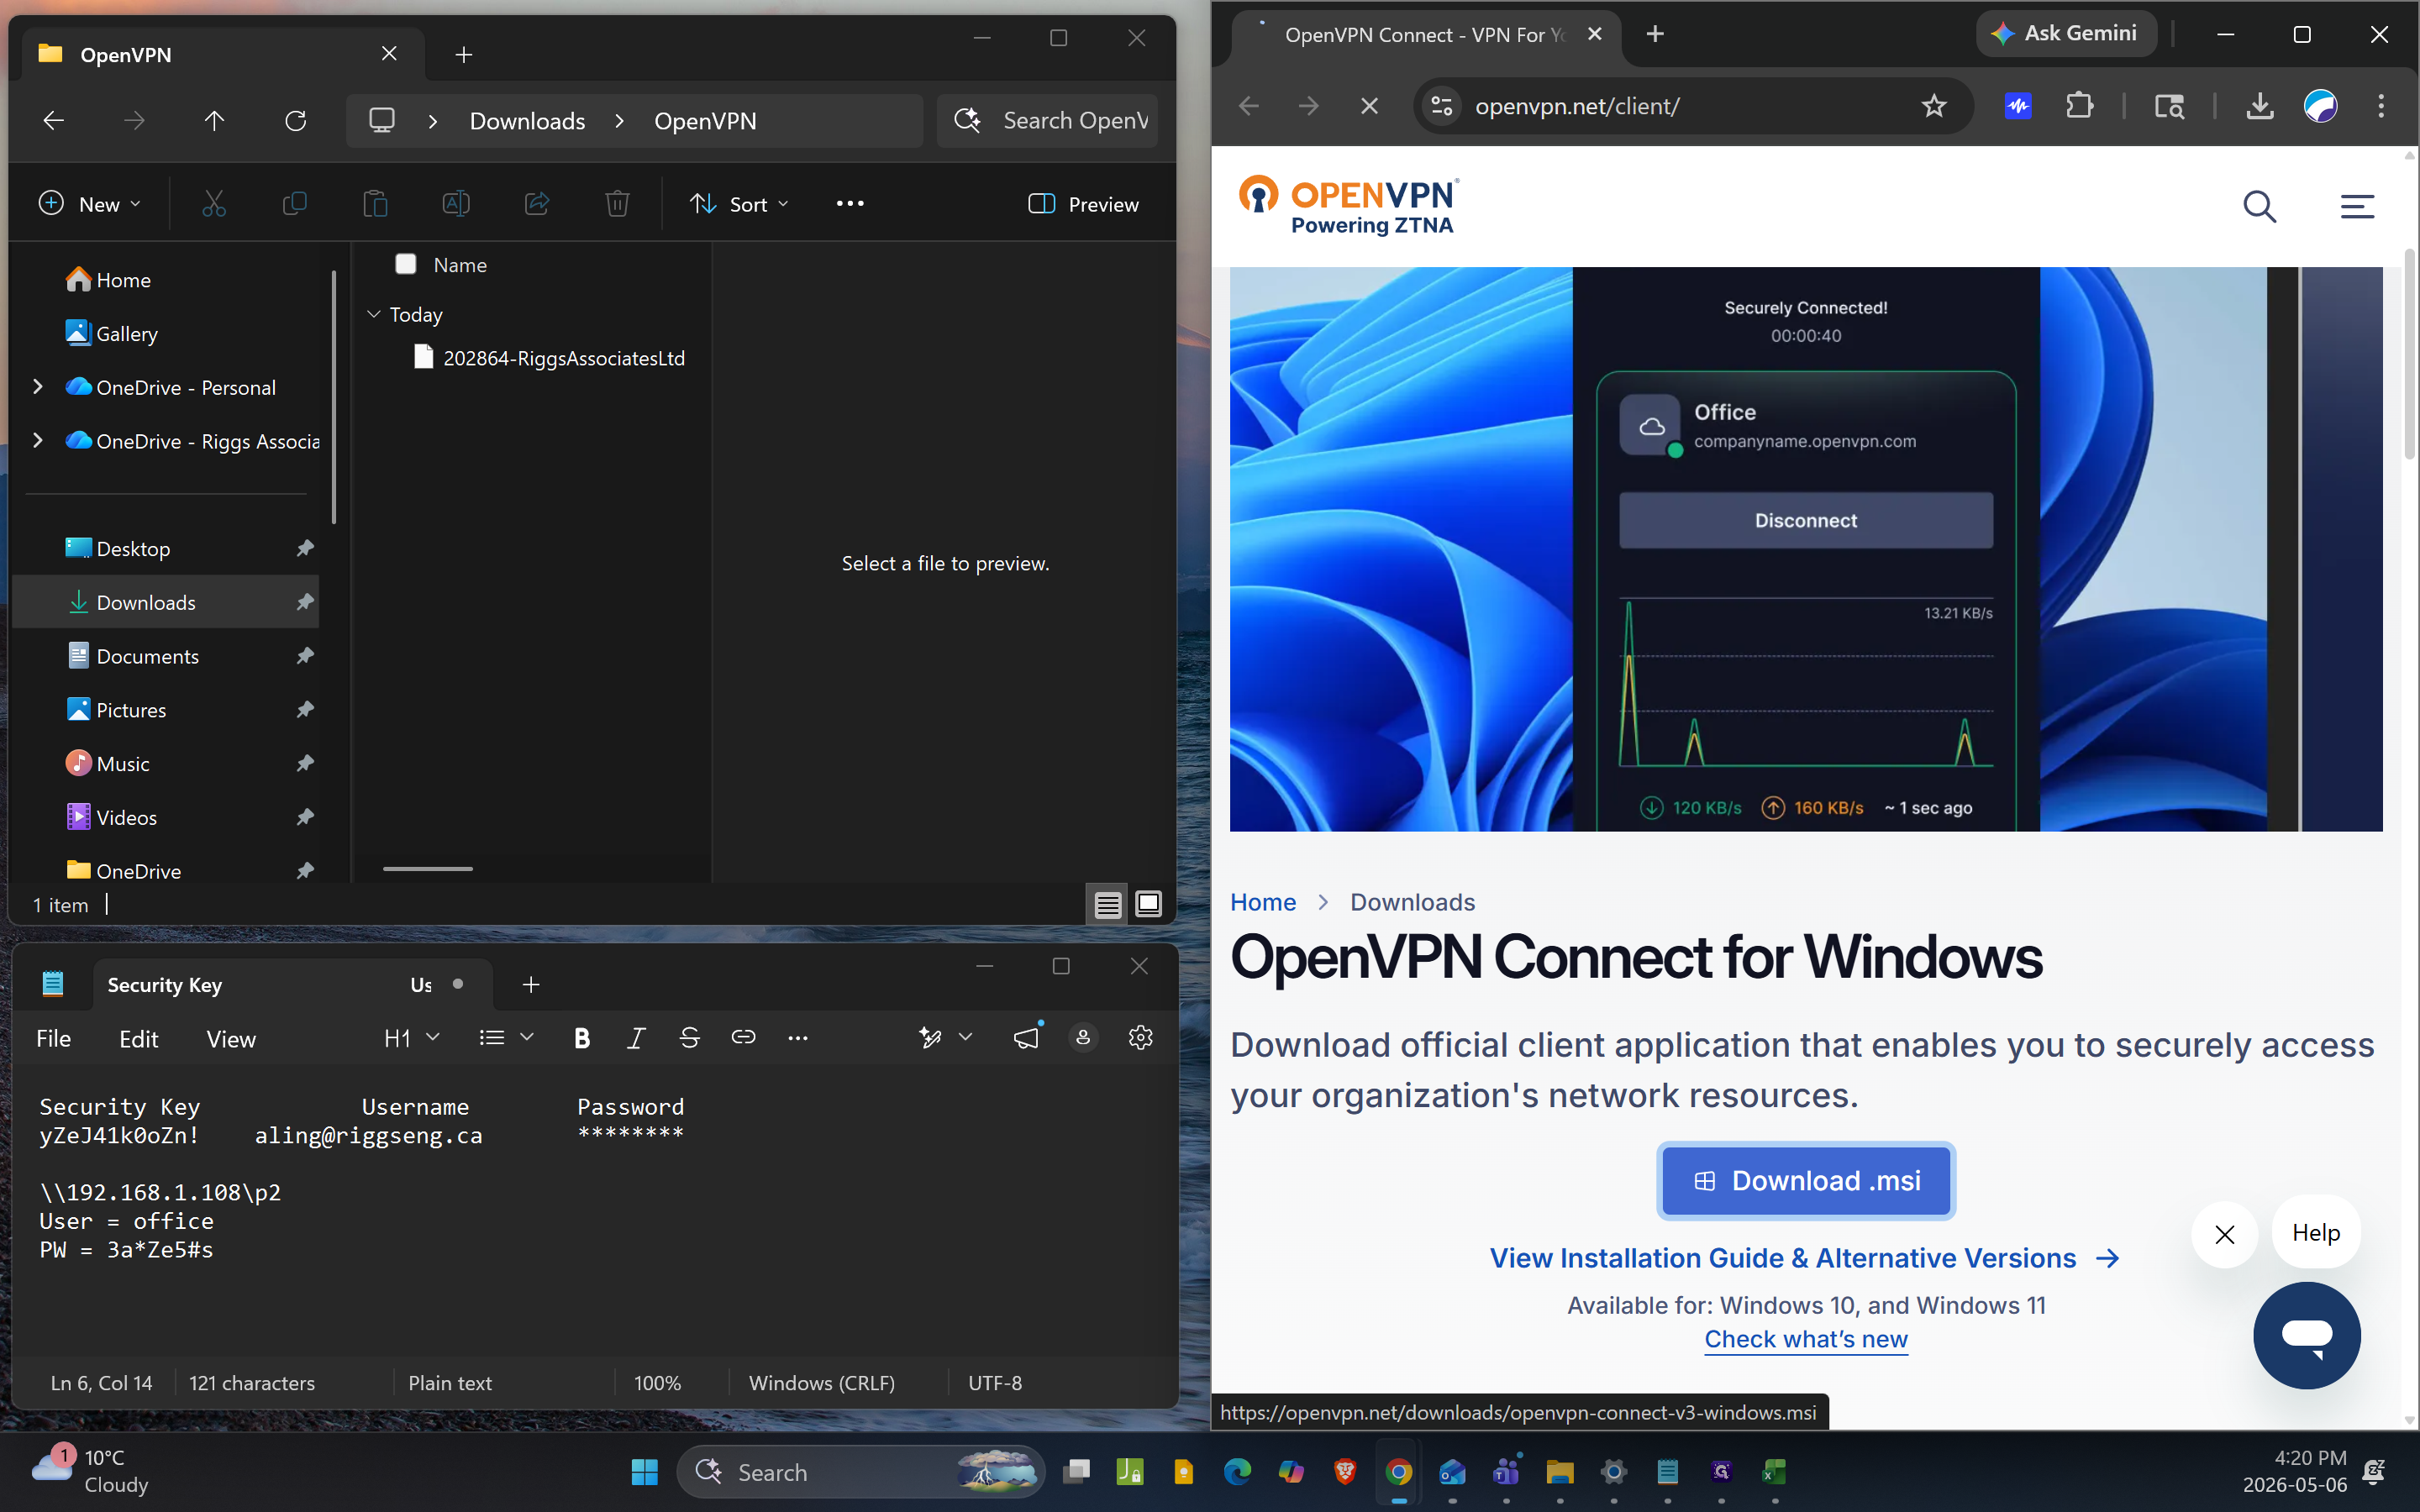
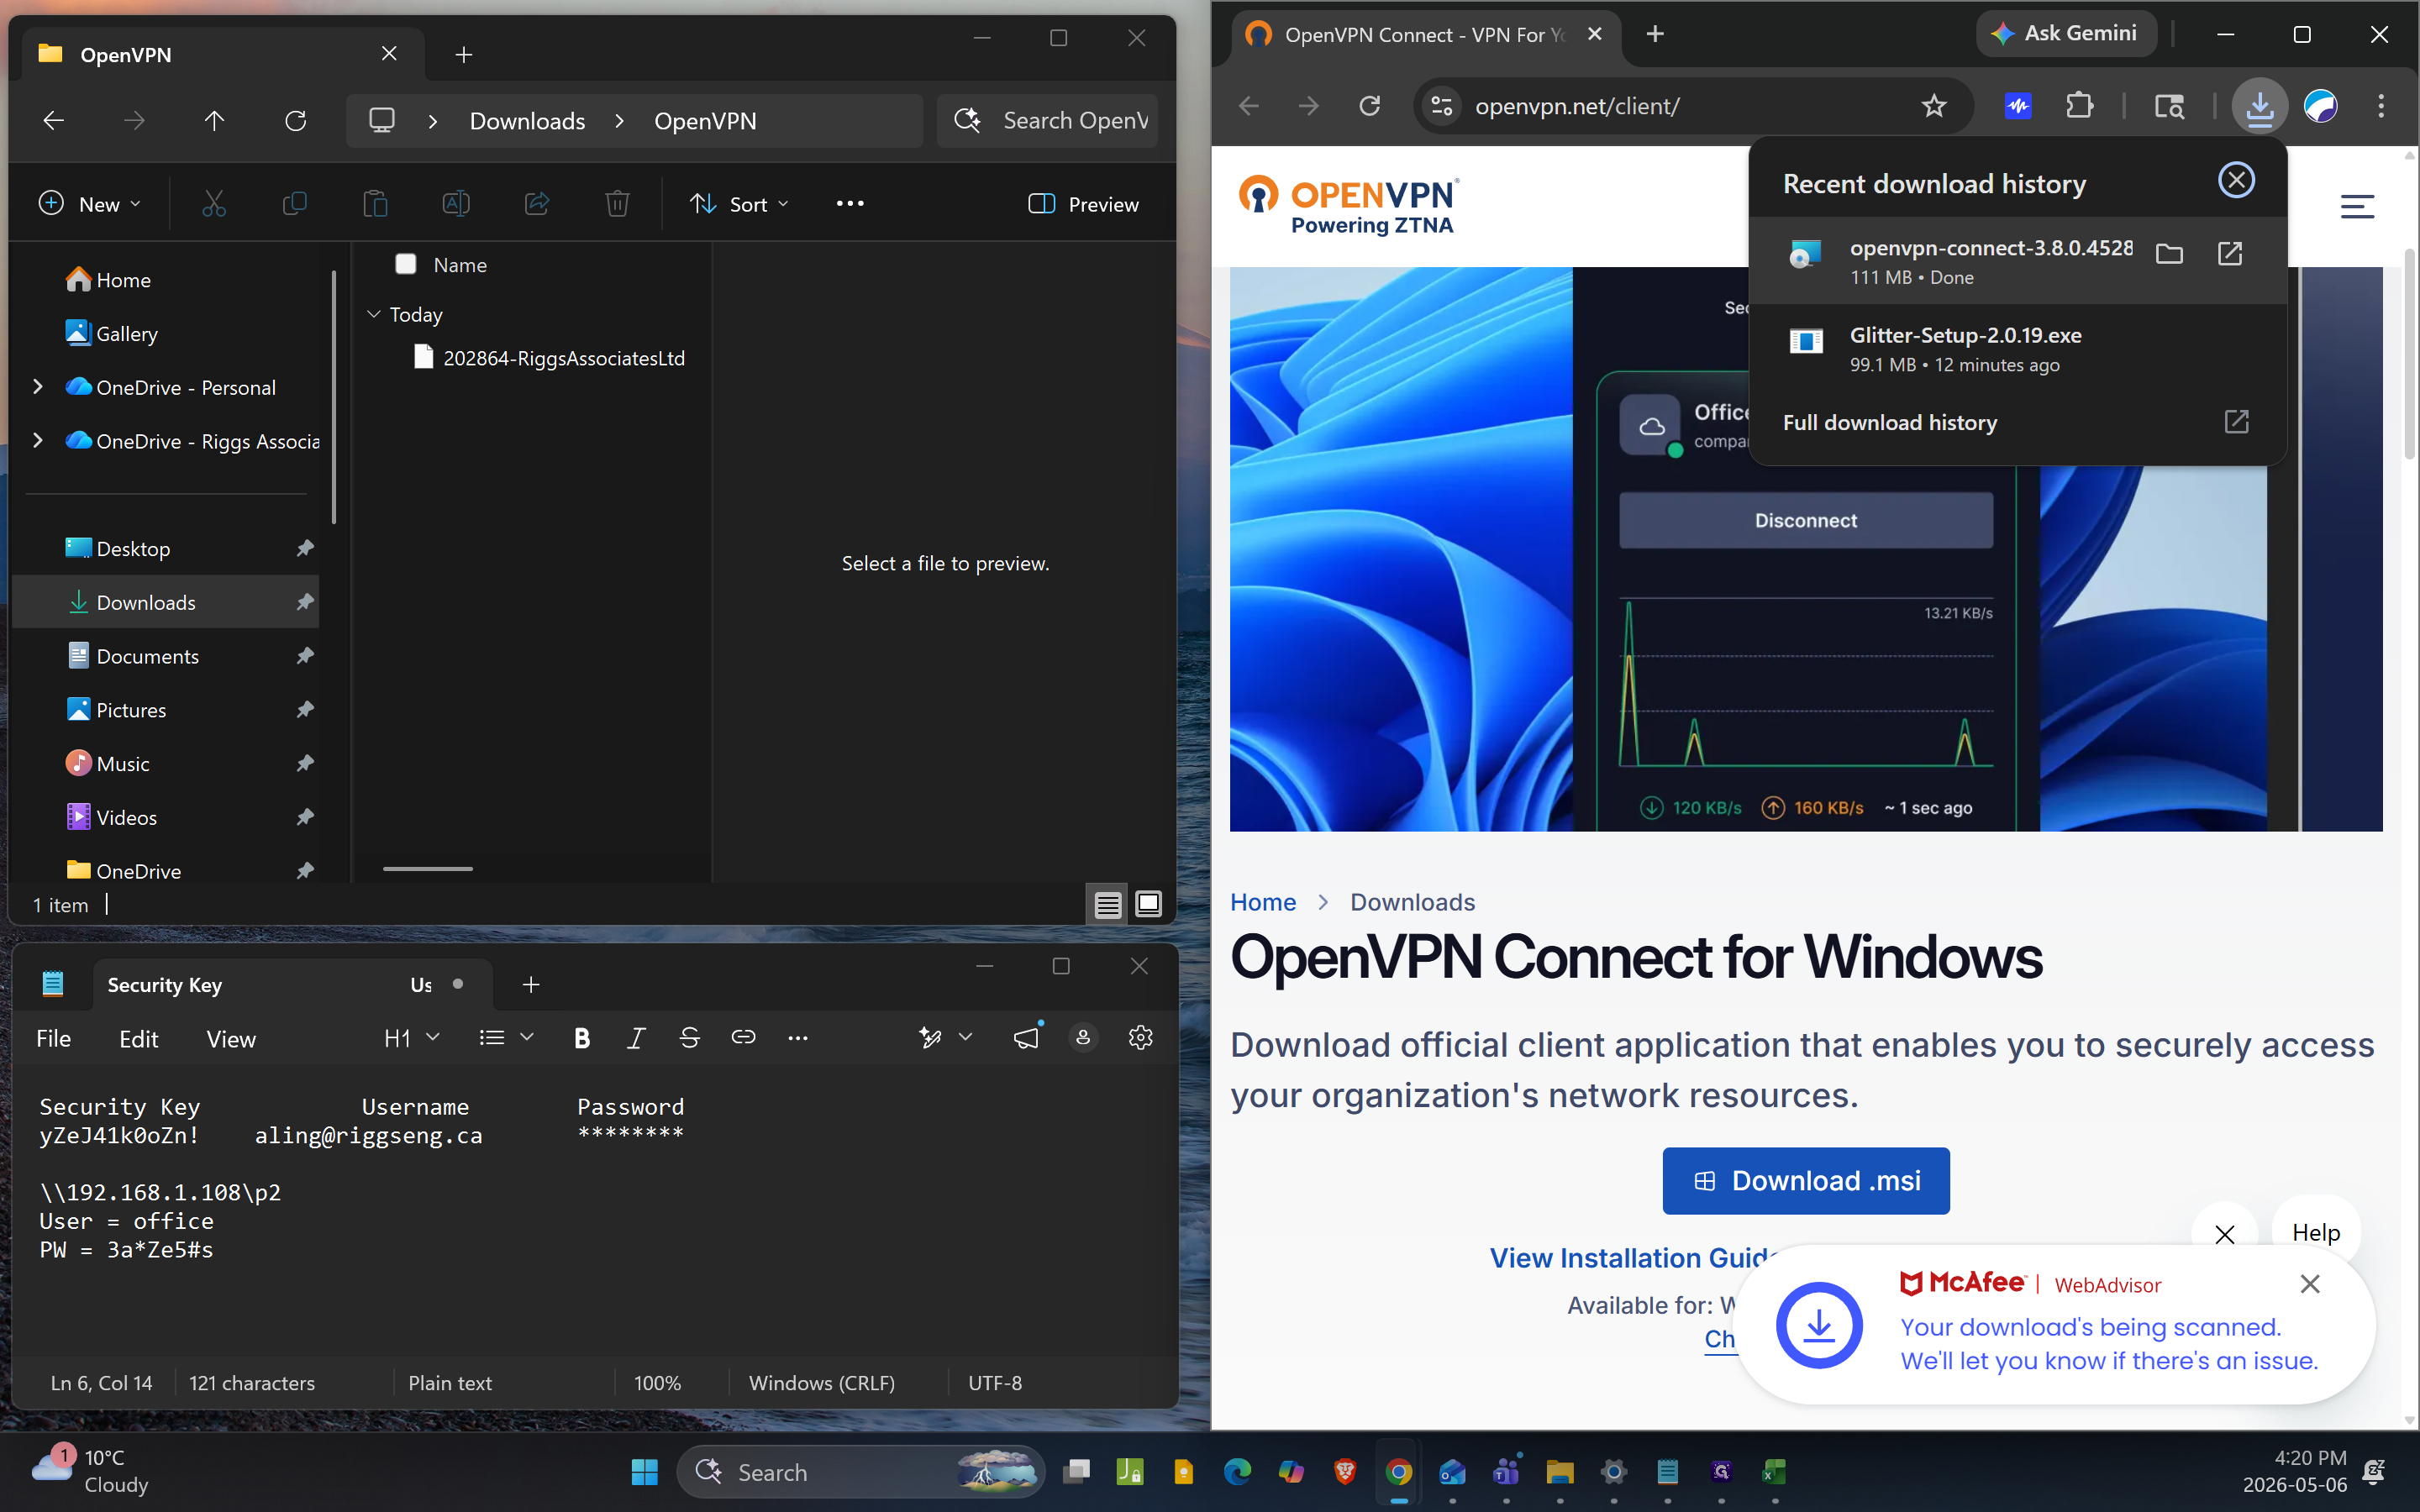
Click Download .msi on the OpenVPN website to download the Windows installer.
2
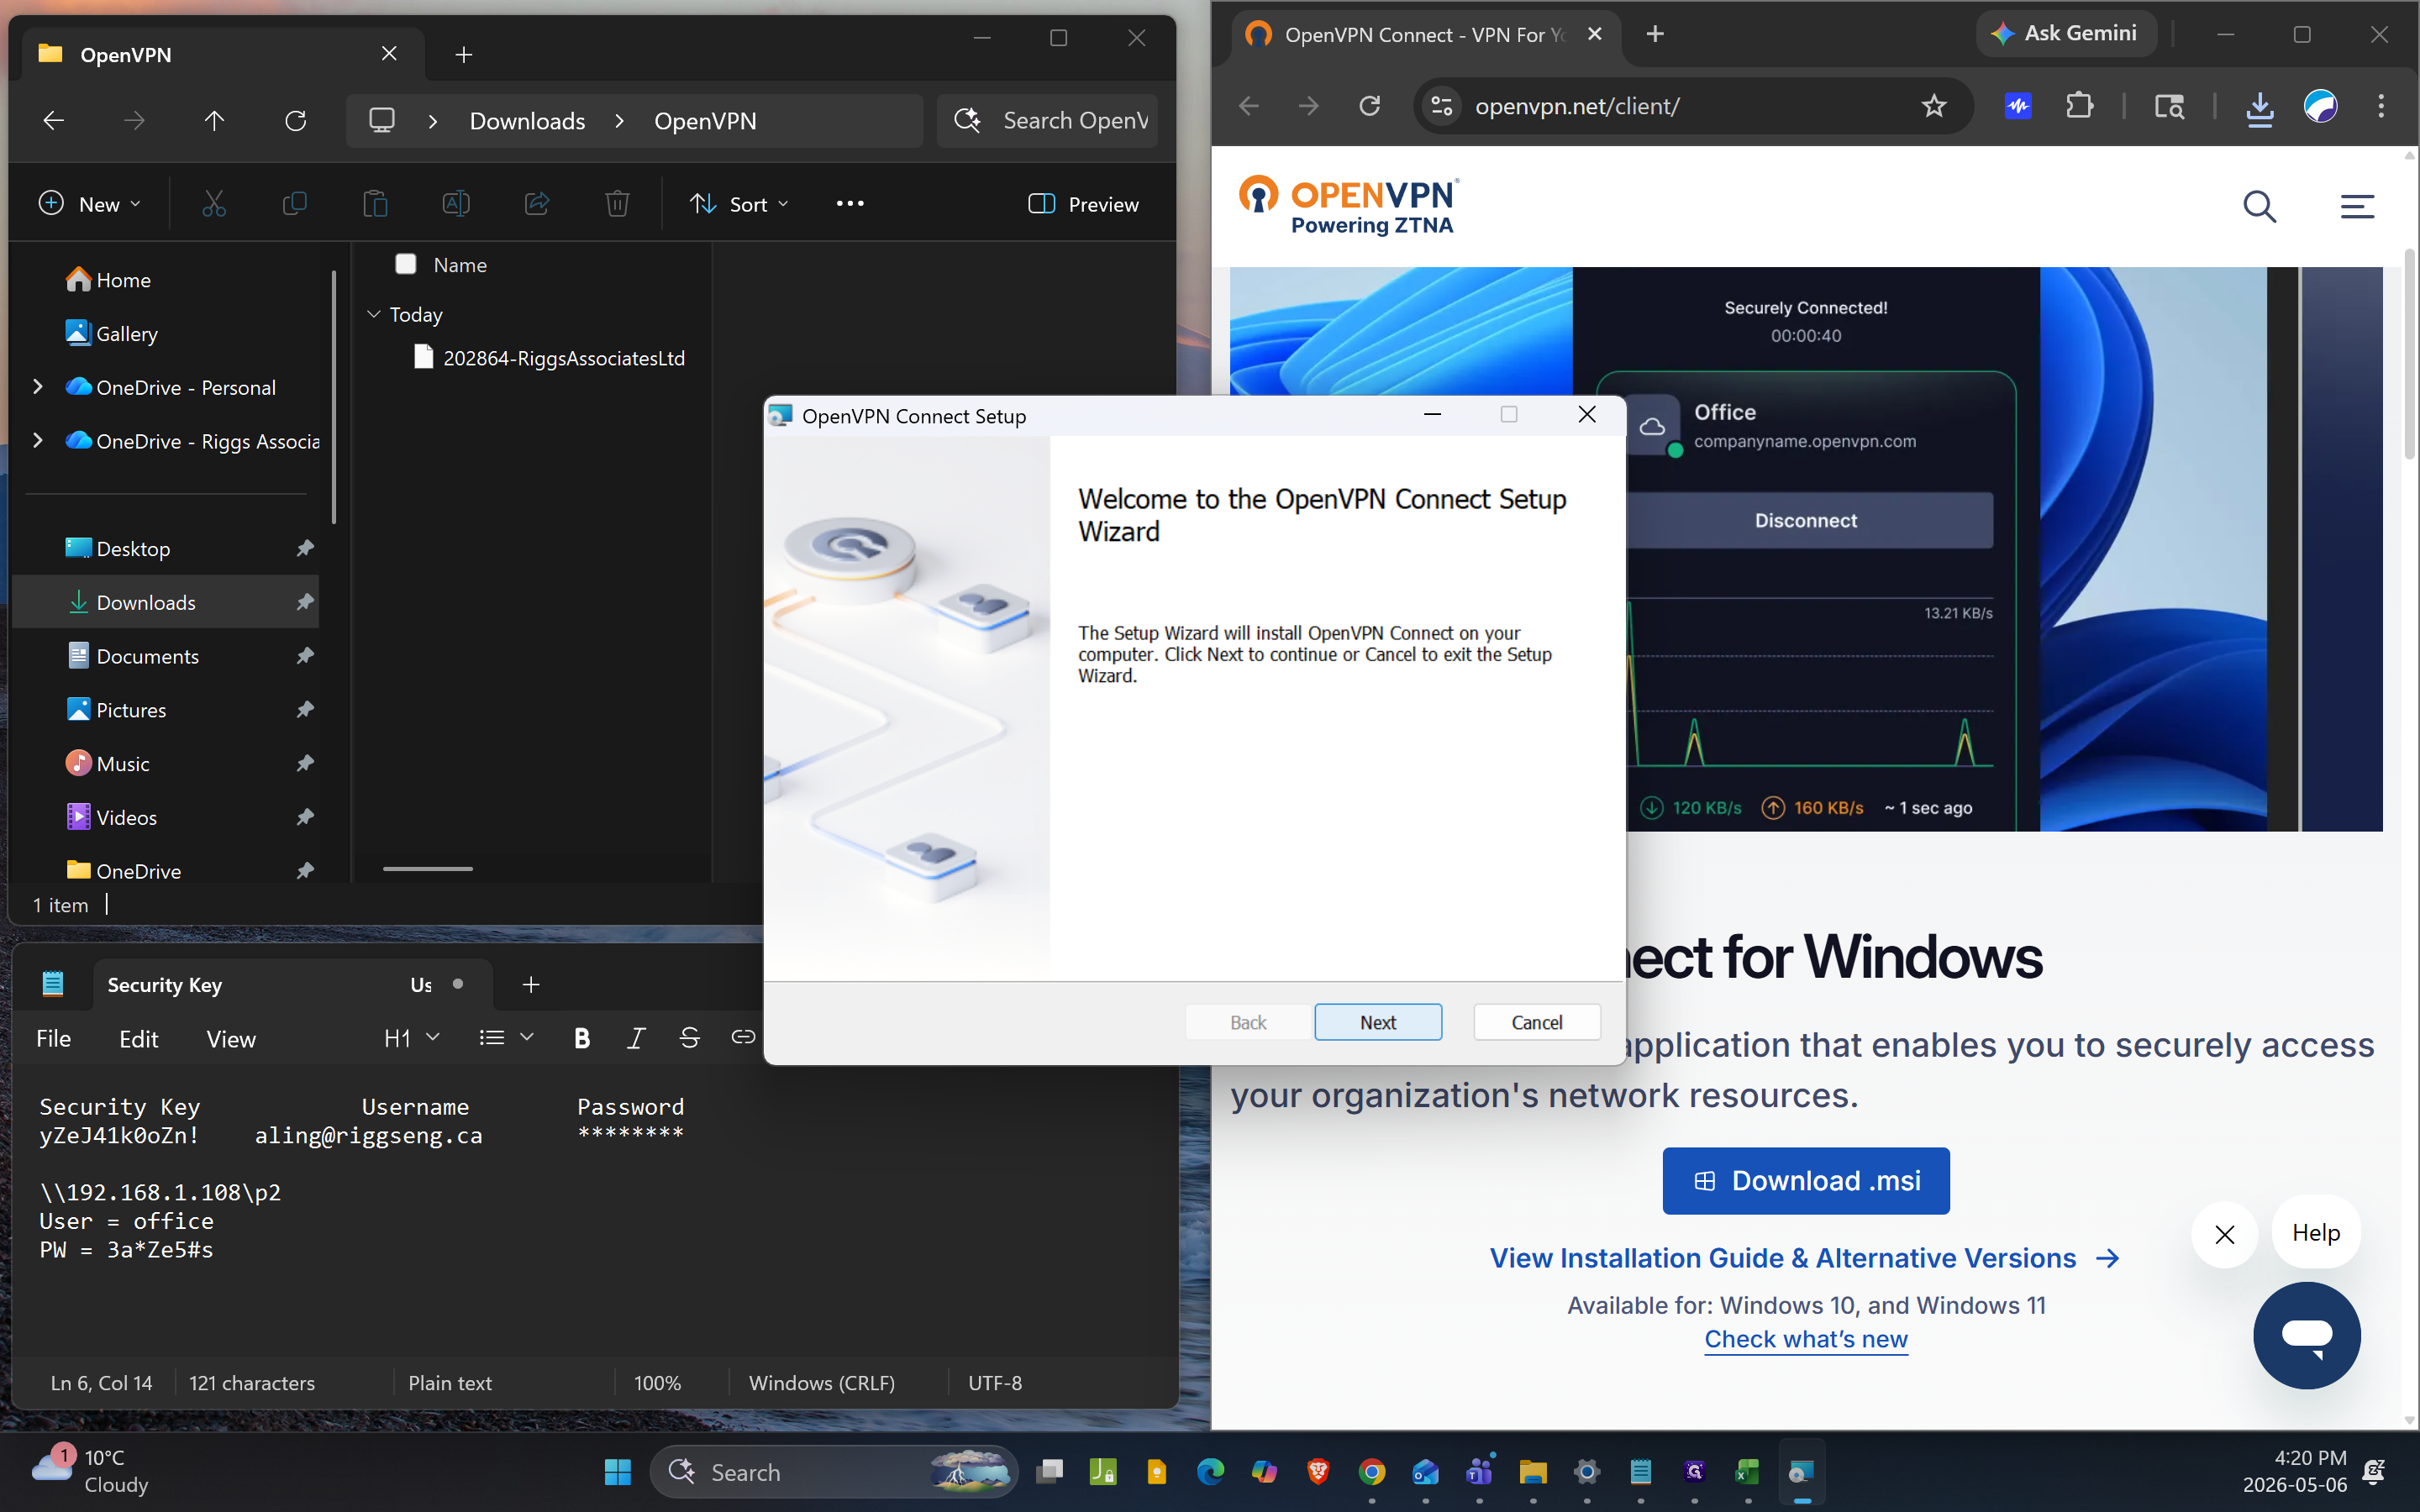
Open the downloaded installer file to launch the setup wizard.
3
Click Next to proceed.
4
Check the box to accept the terms in the License Agreement.

5
Click Next.

6
Click Install to begin the installation process.

7
Click Finish once the setup wizard is complete.
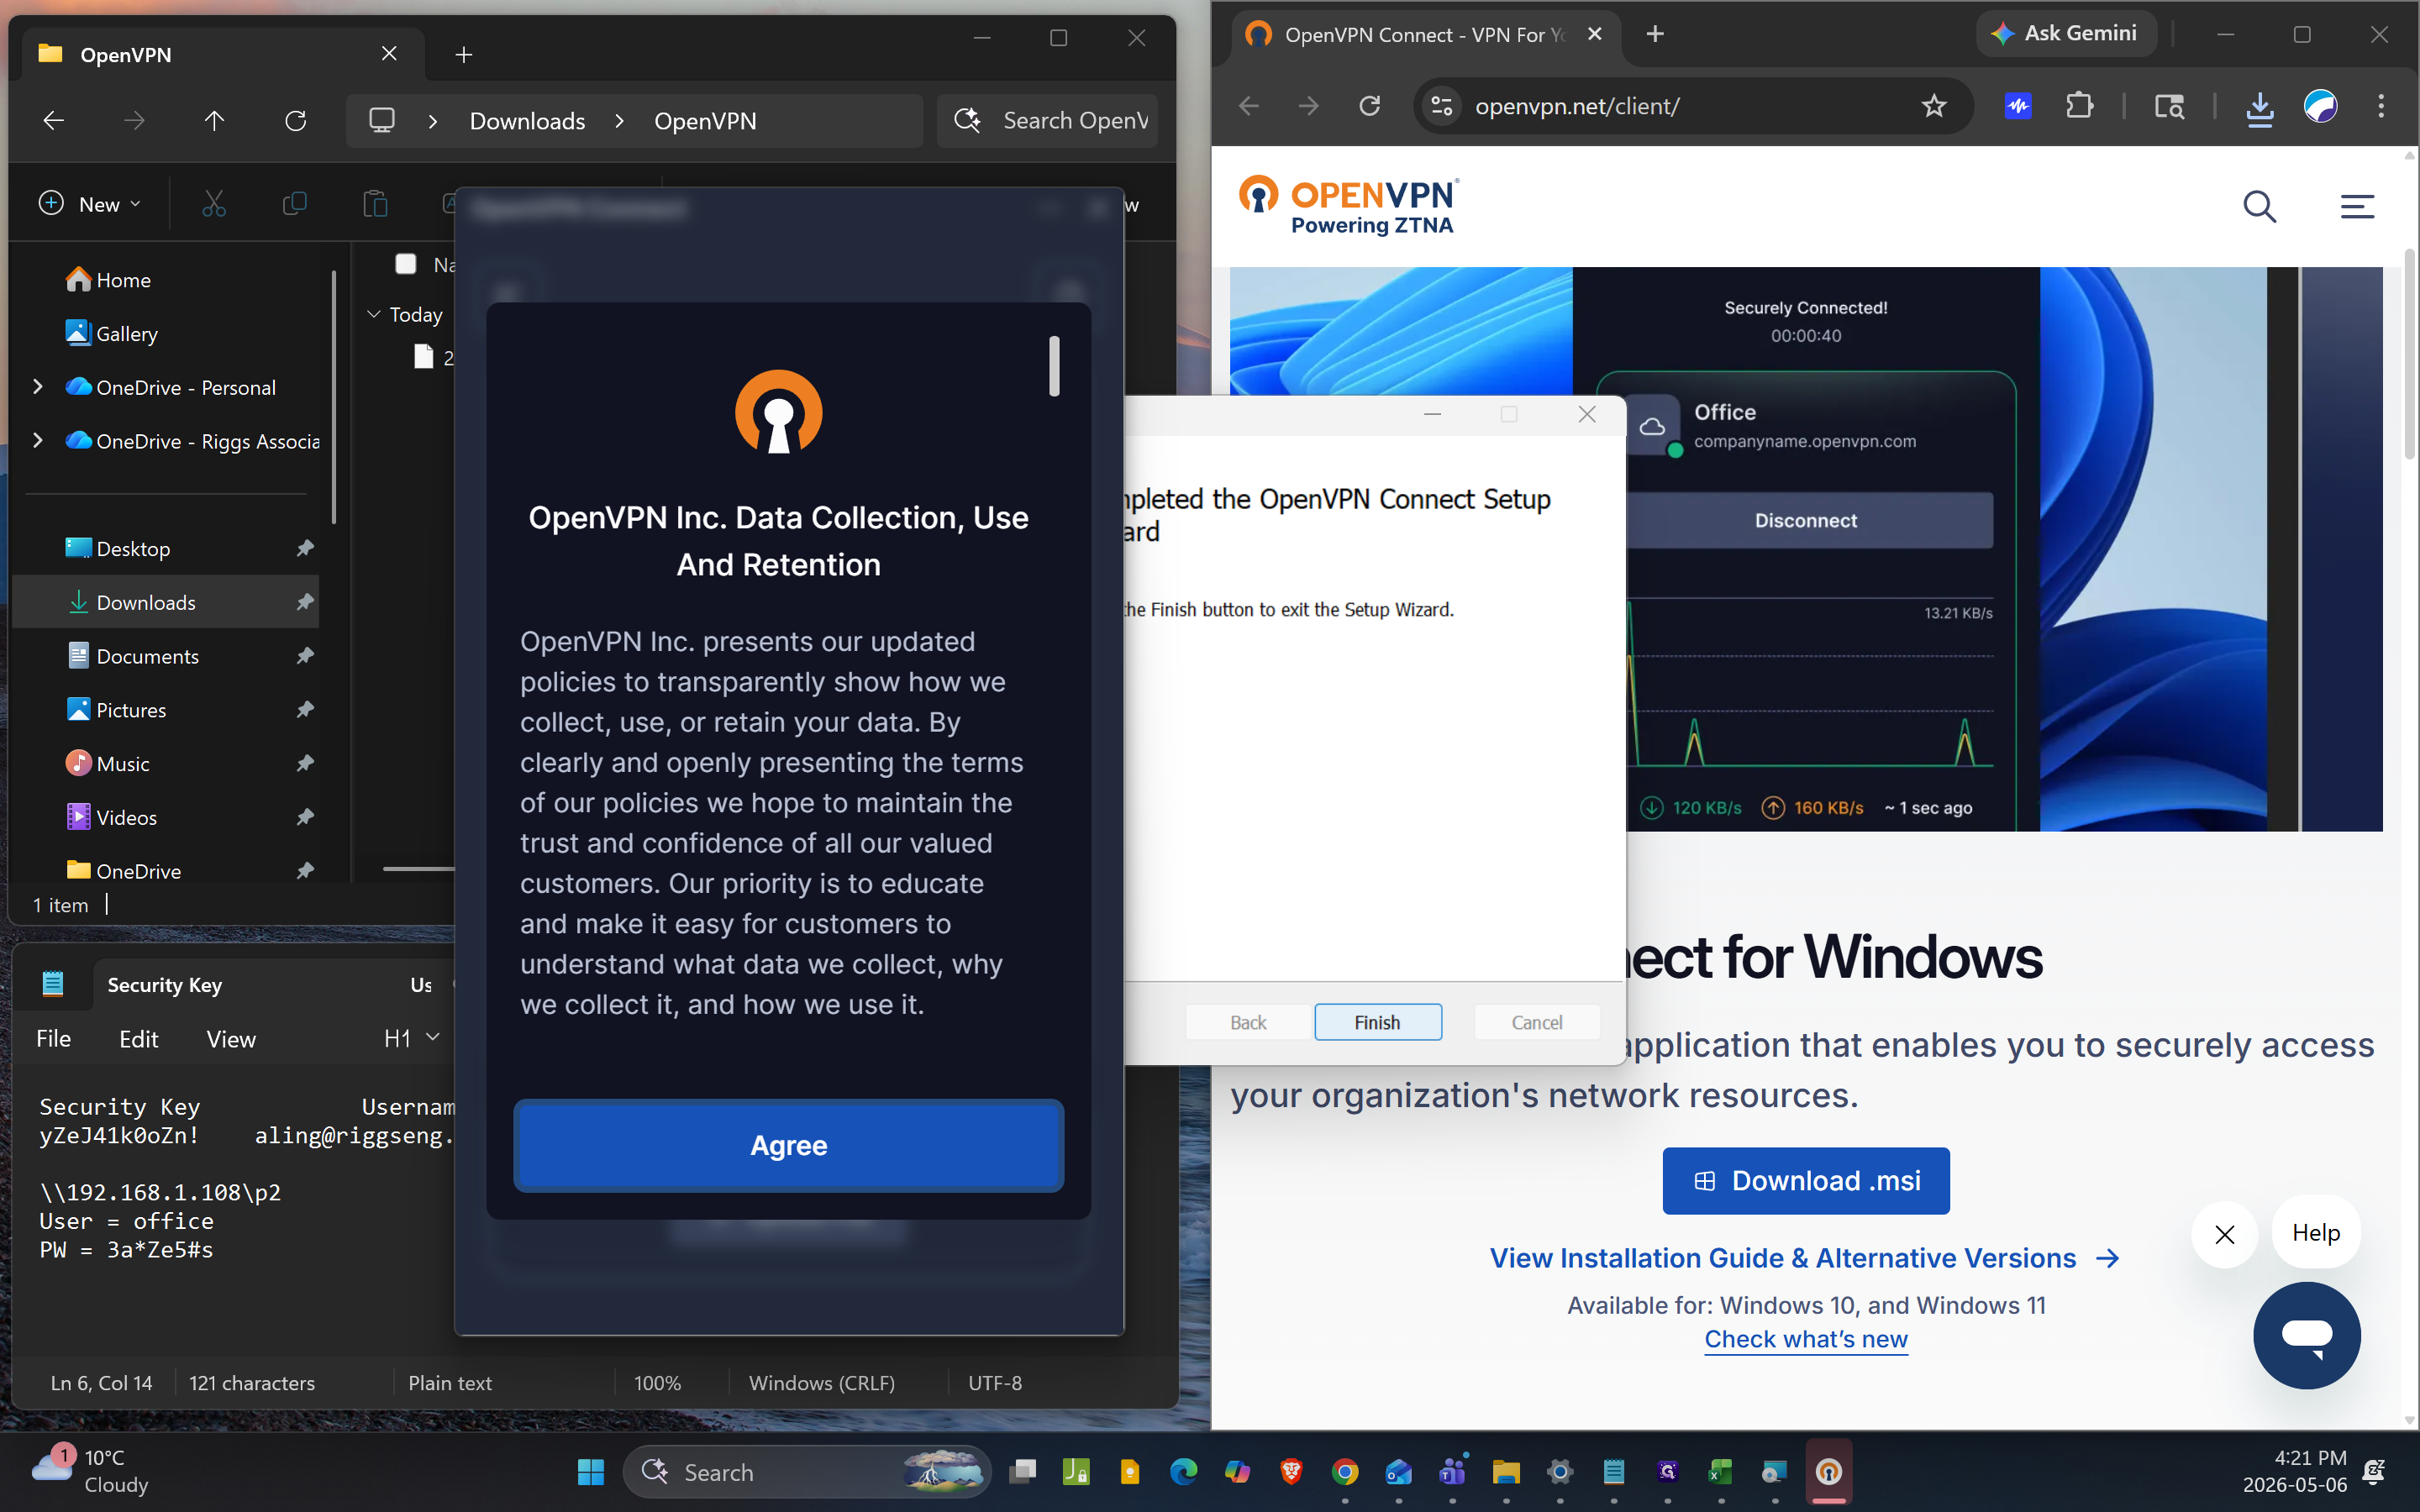
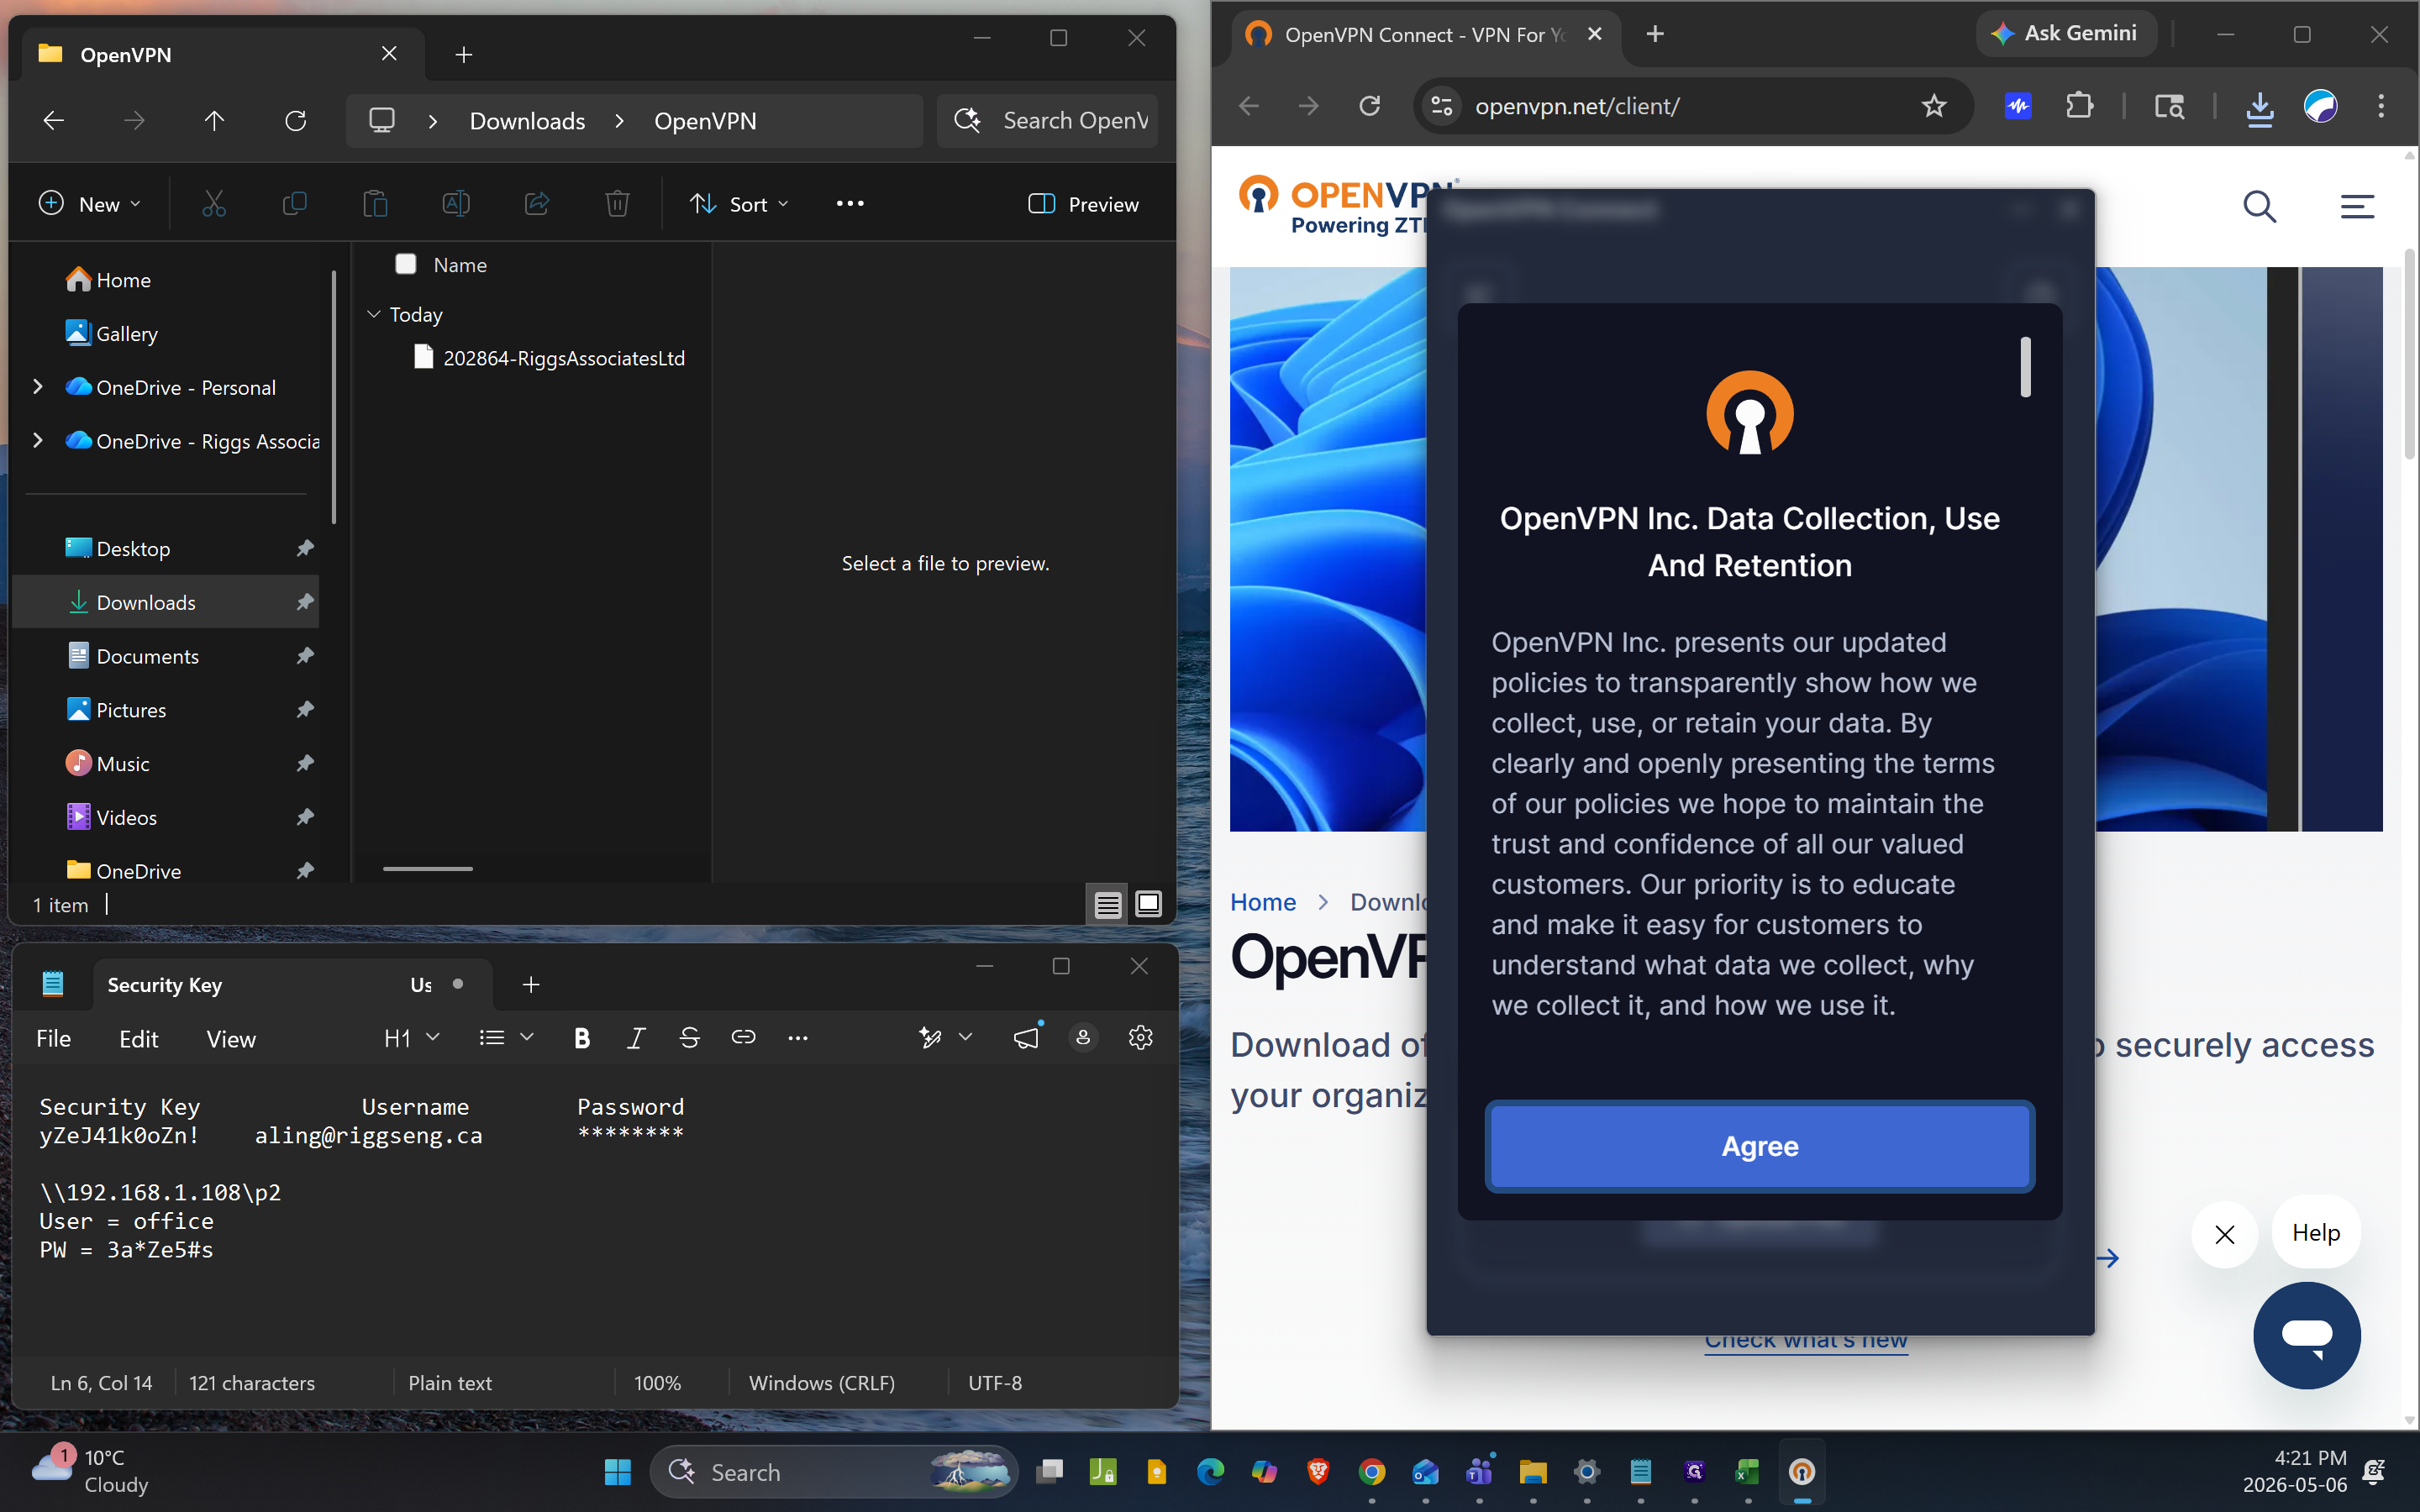
8
In the OpenVPN Connect app, click Agree to accept the data collection policy.
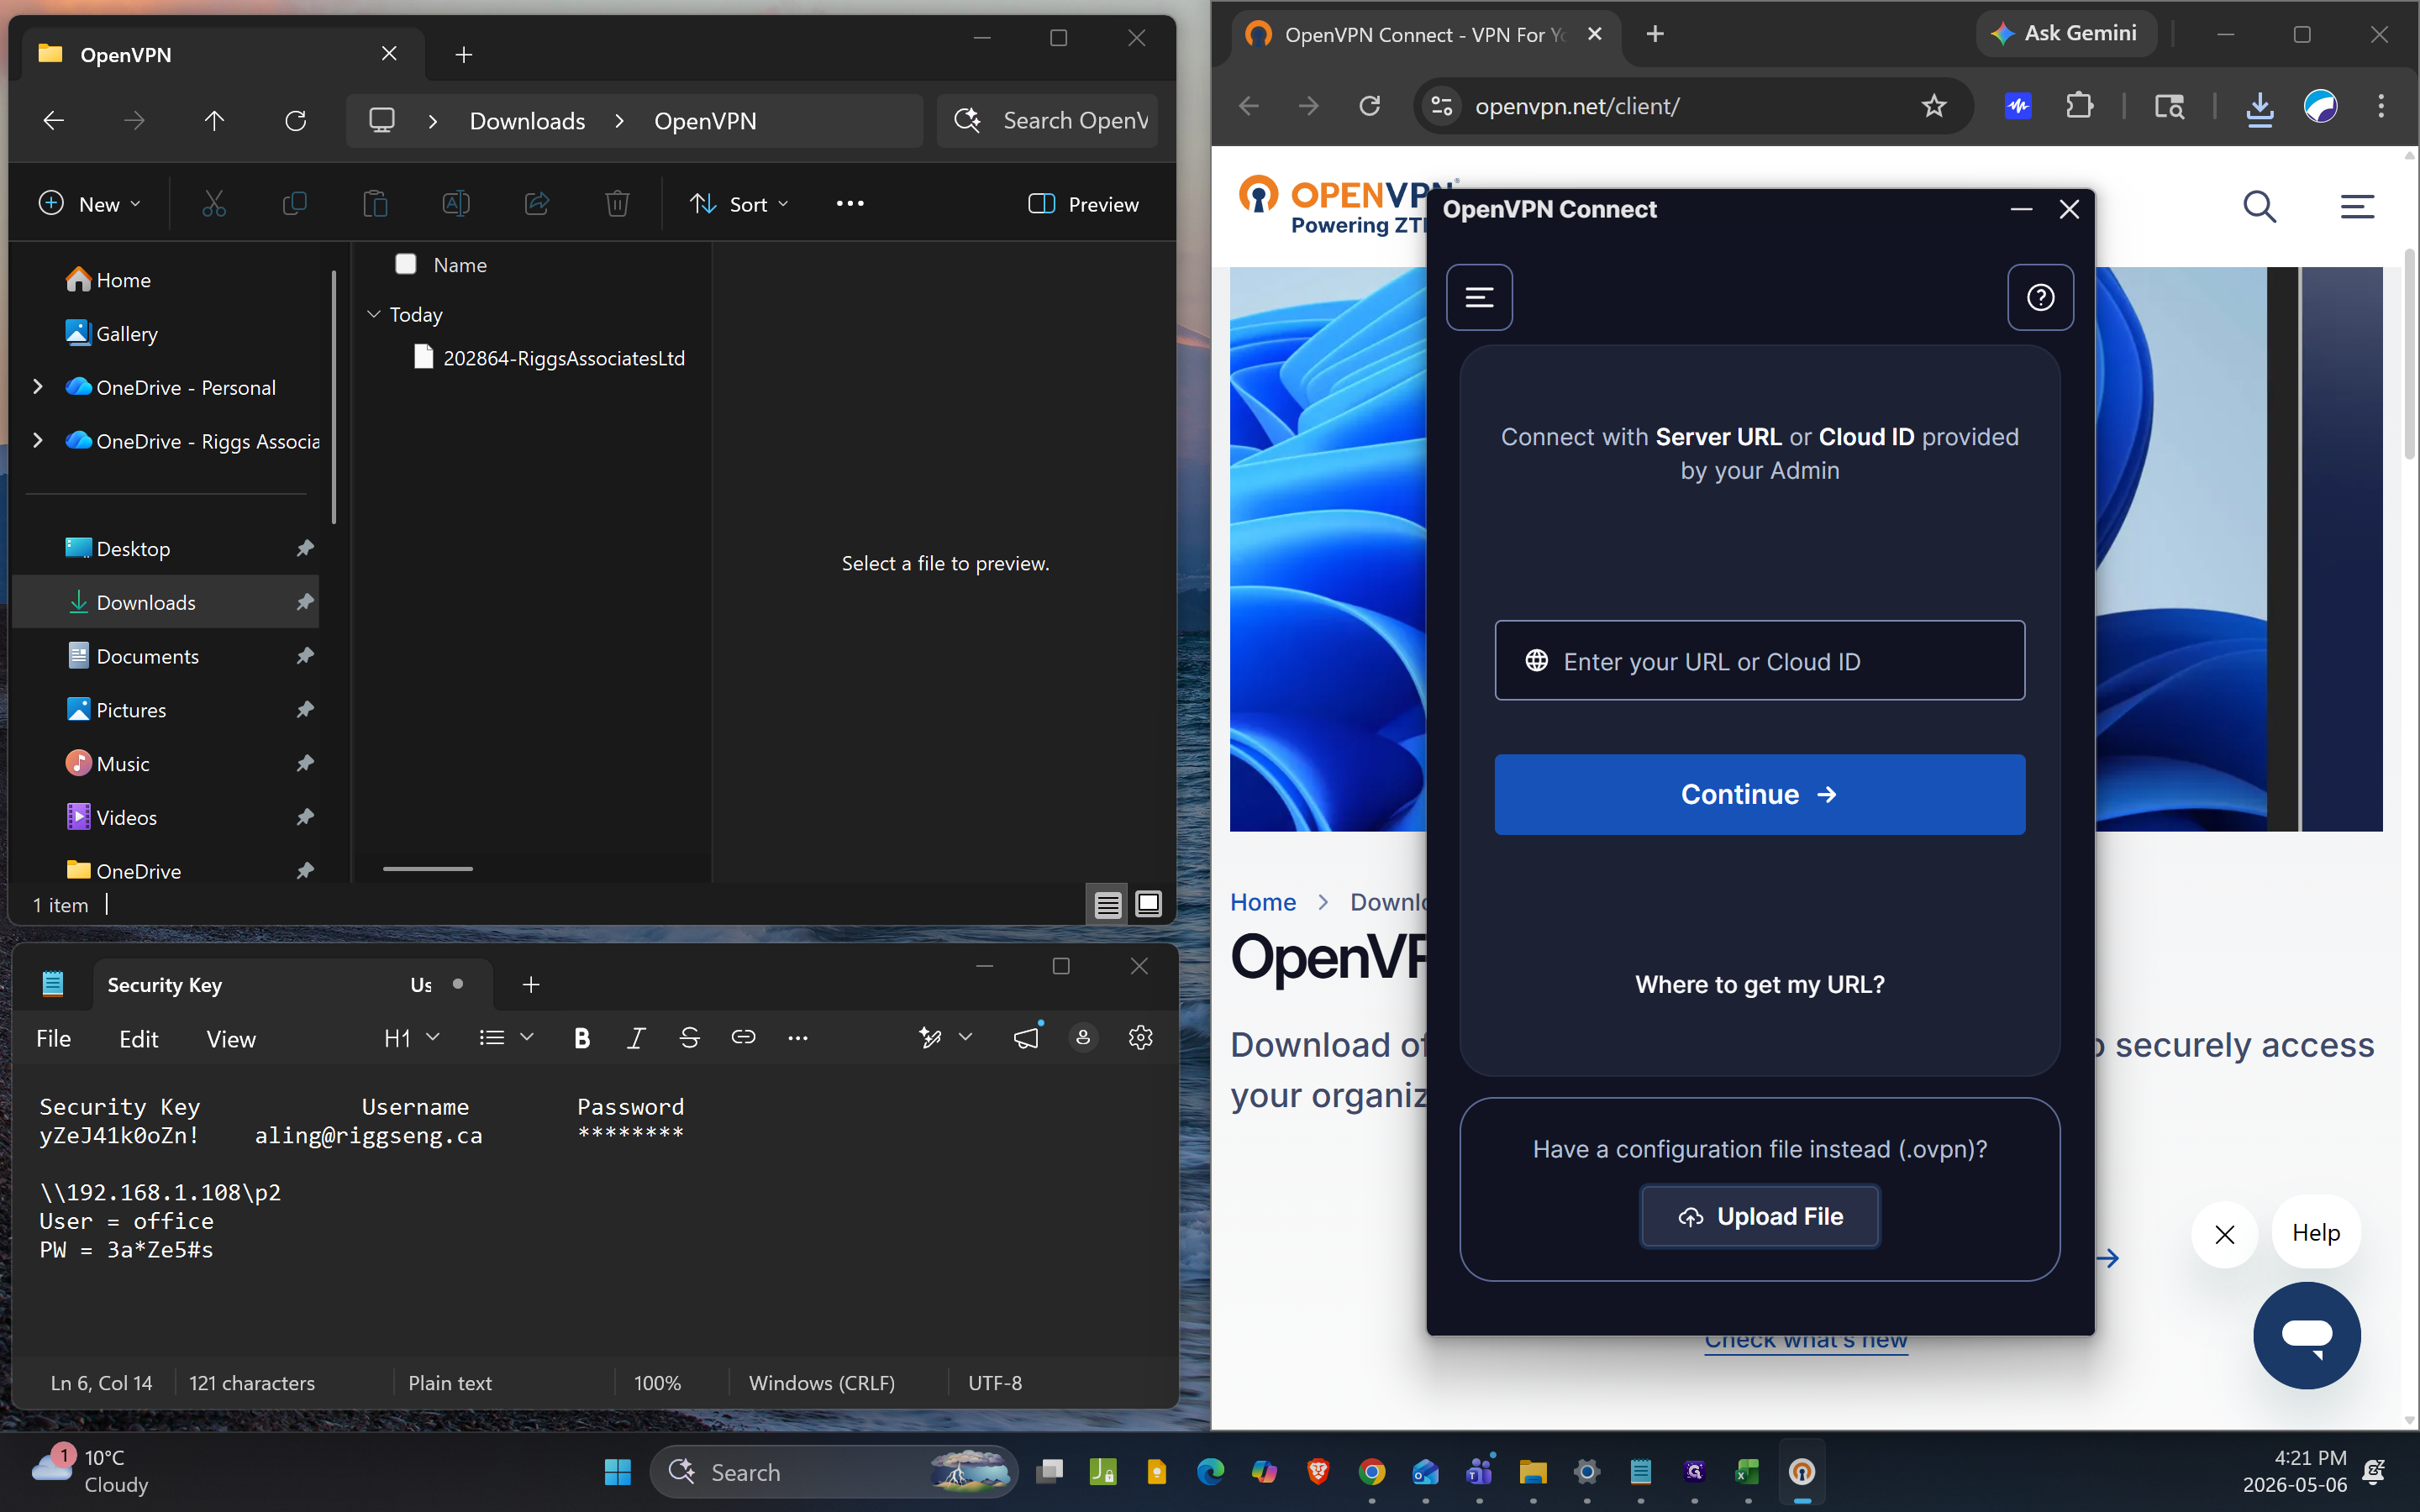
2. Import Your OVPN Profile
9
Click the Upload File tab in the OpenVPN Connect window.
10
Locate your
.ovpn configuration file in your File Explorer and click Open.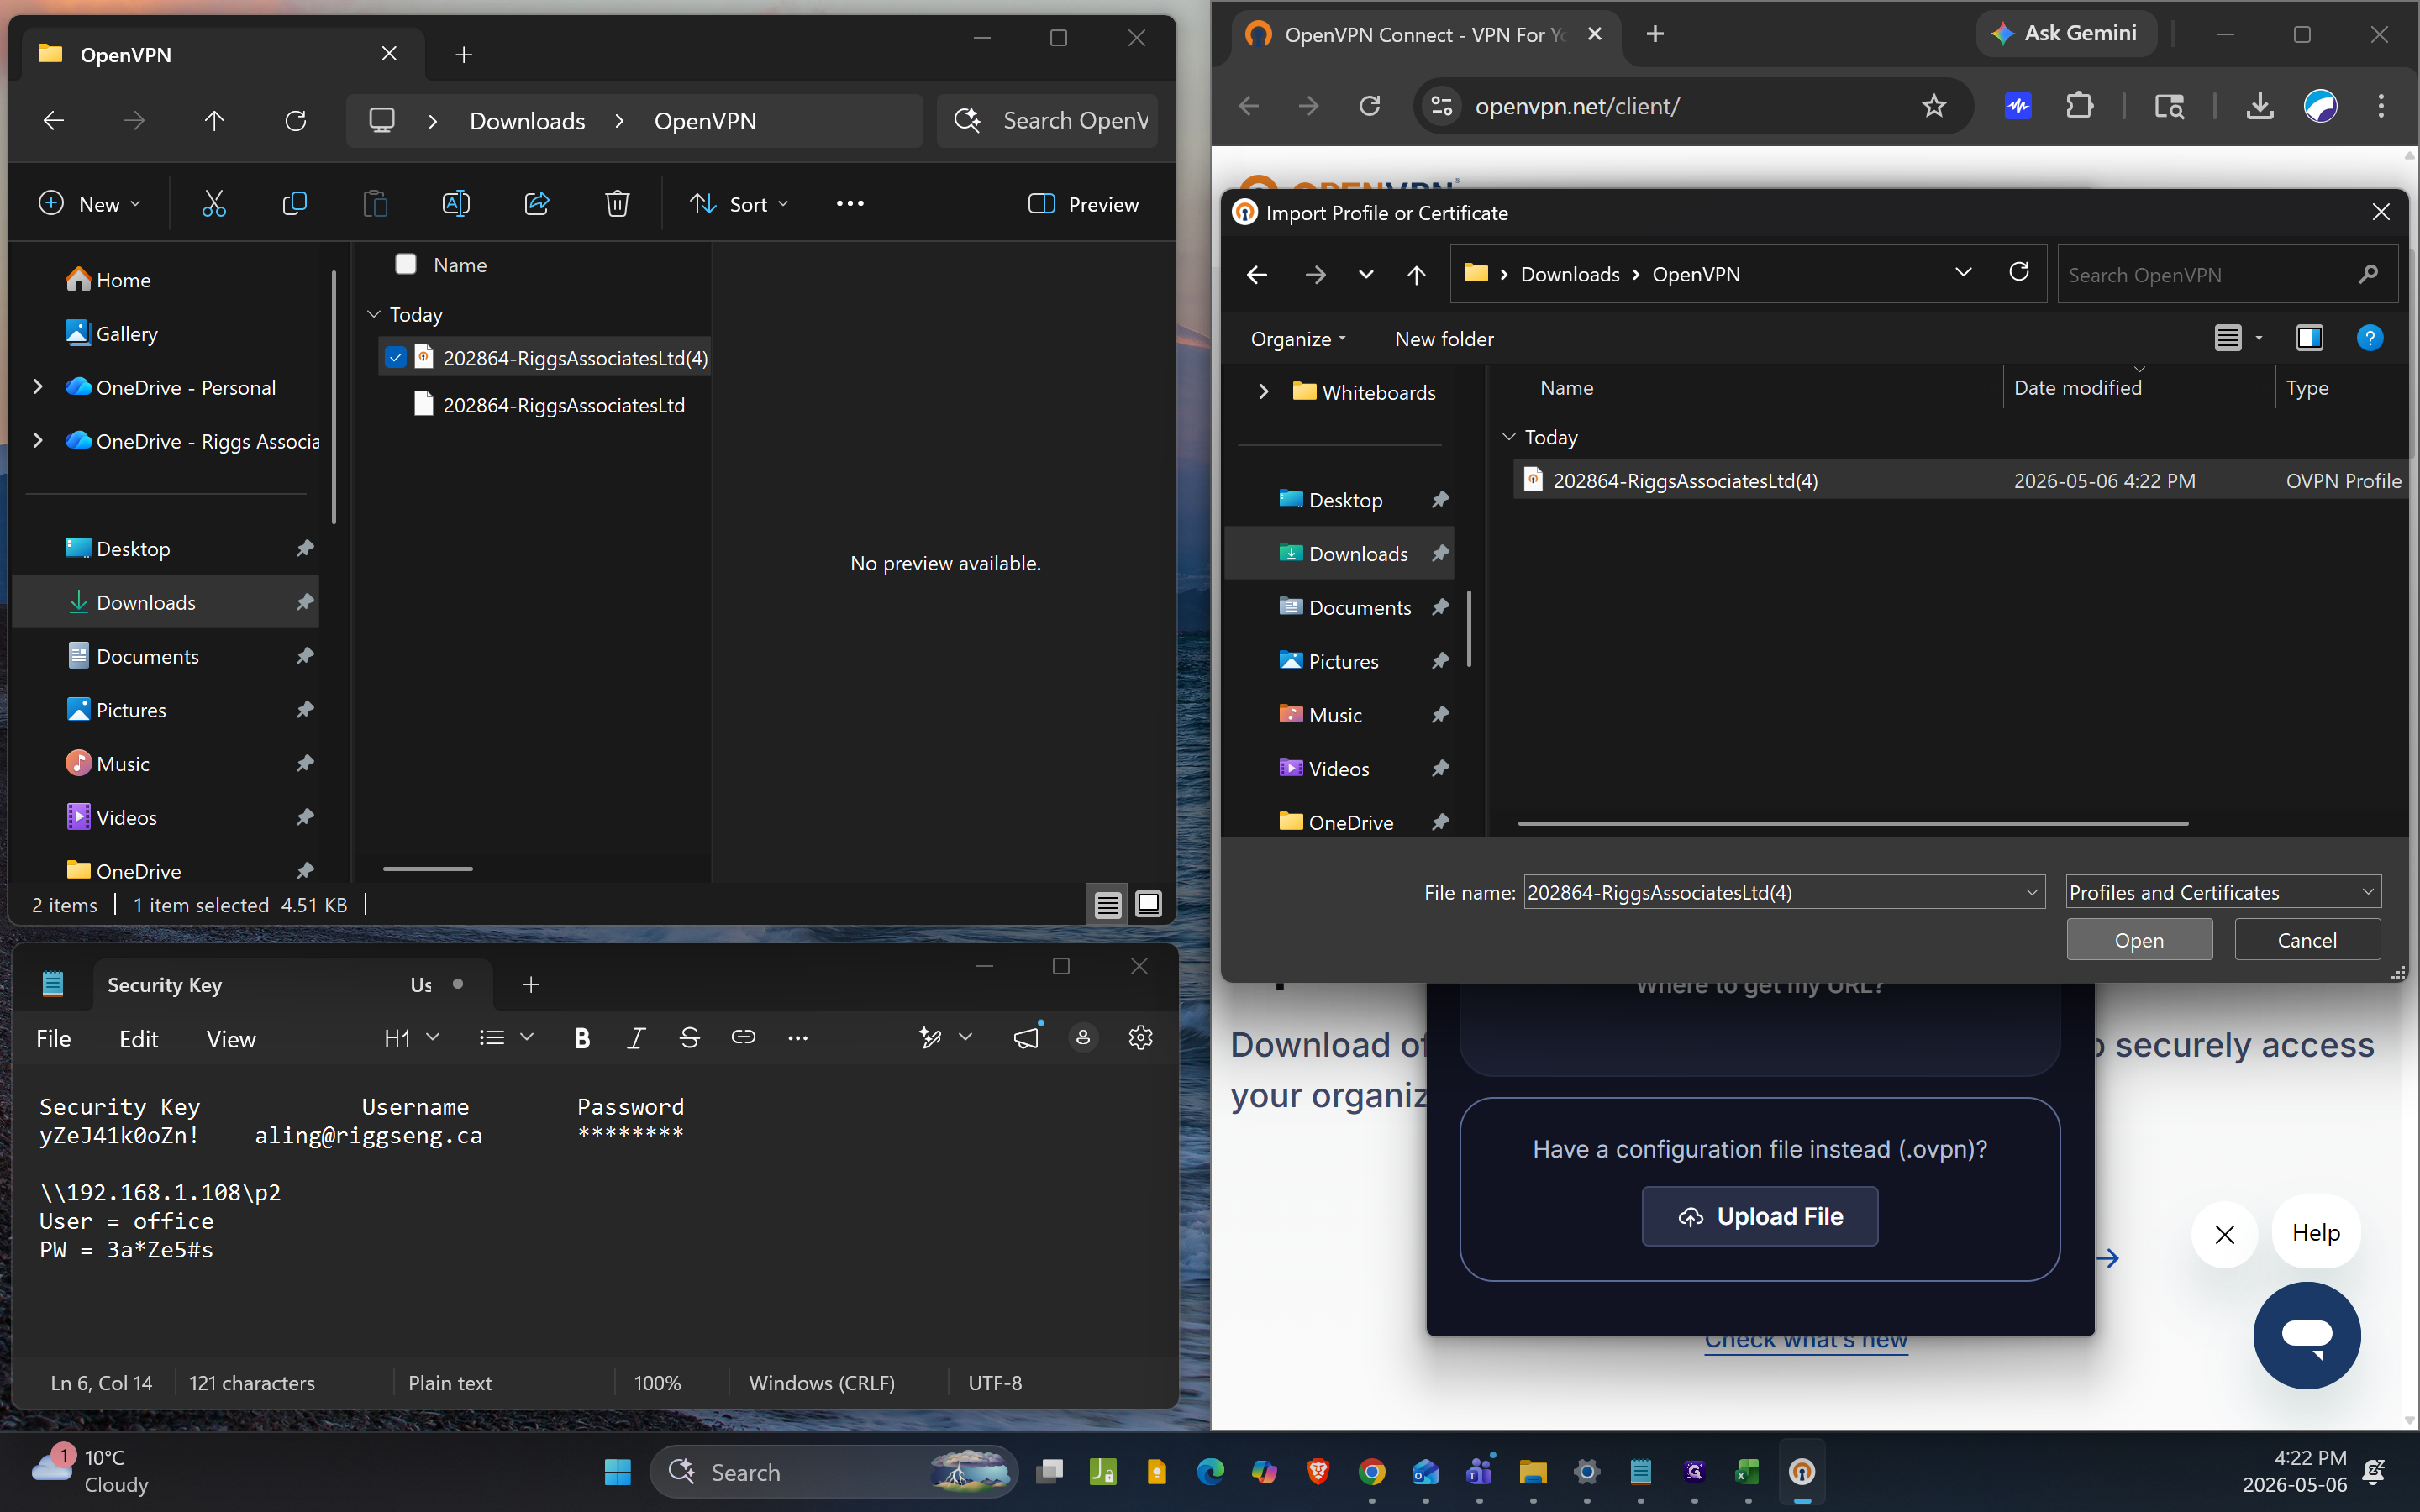
11
Click Import to add the profile to your client.
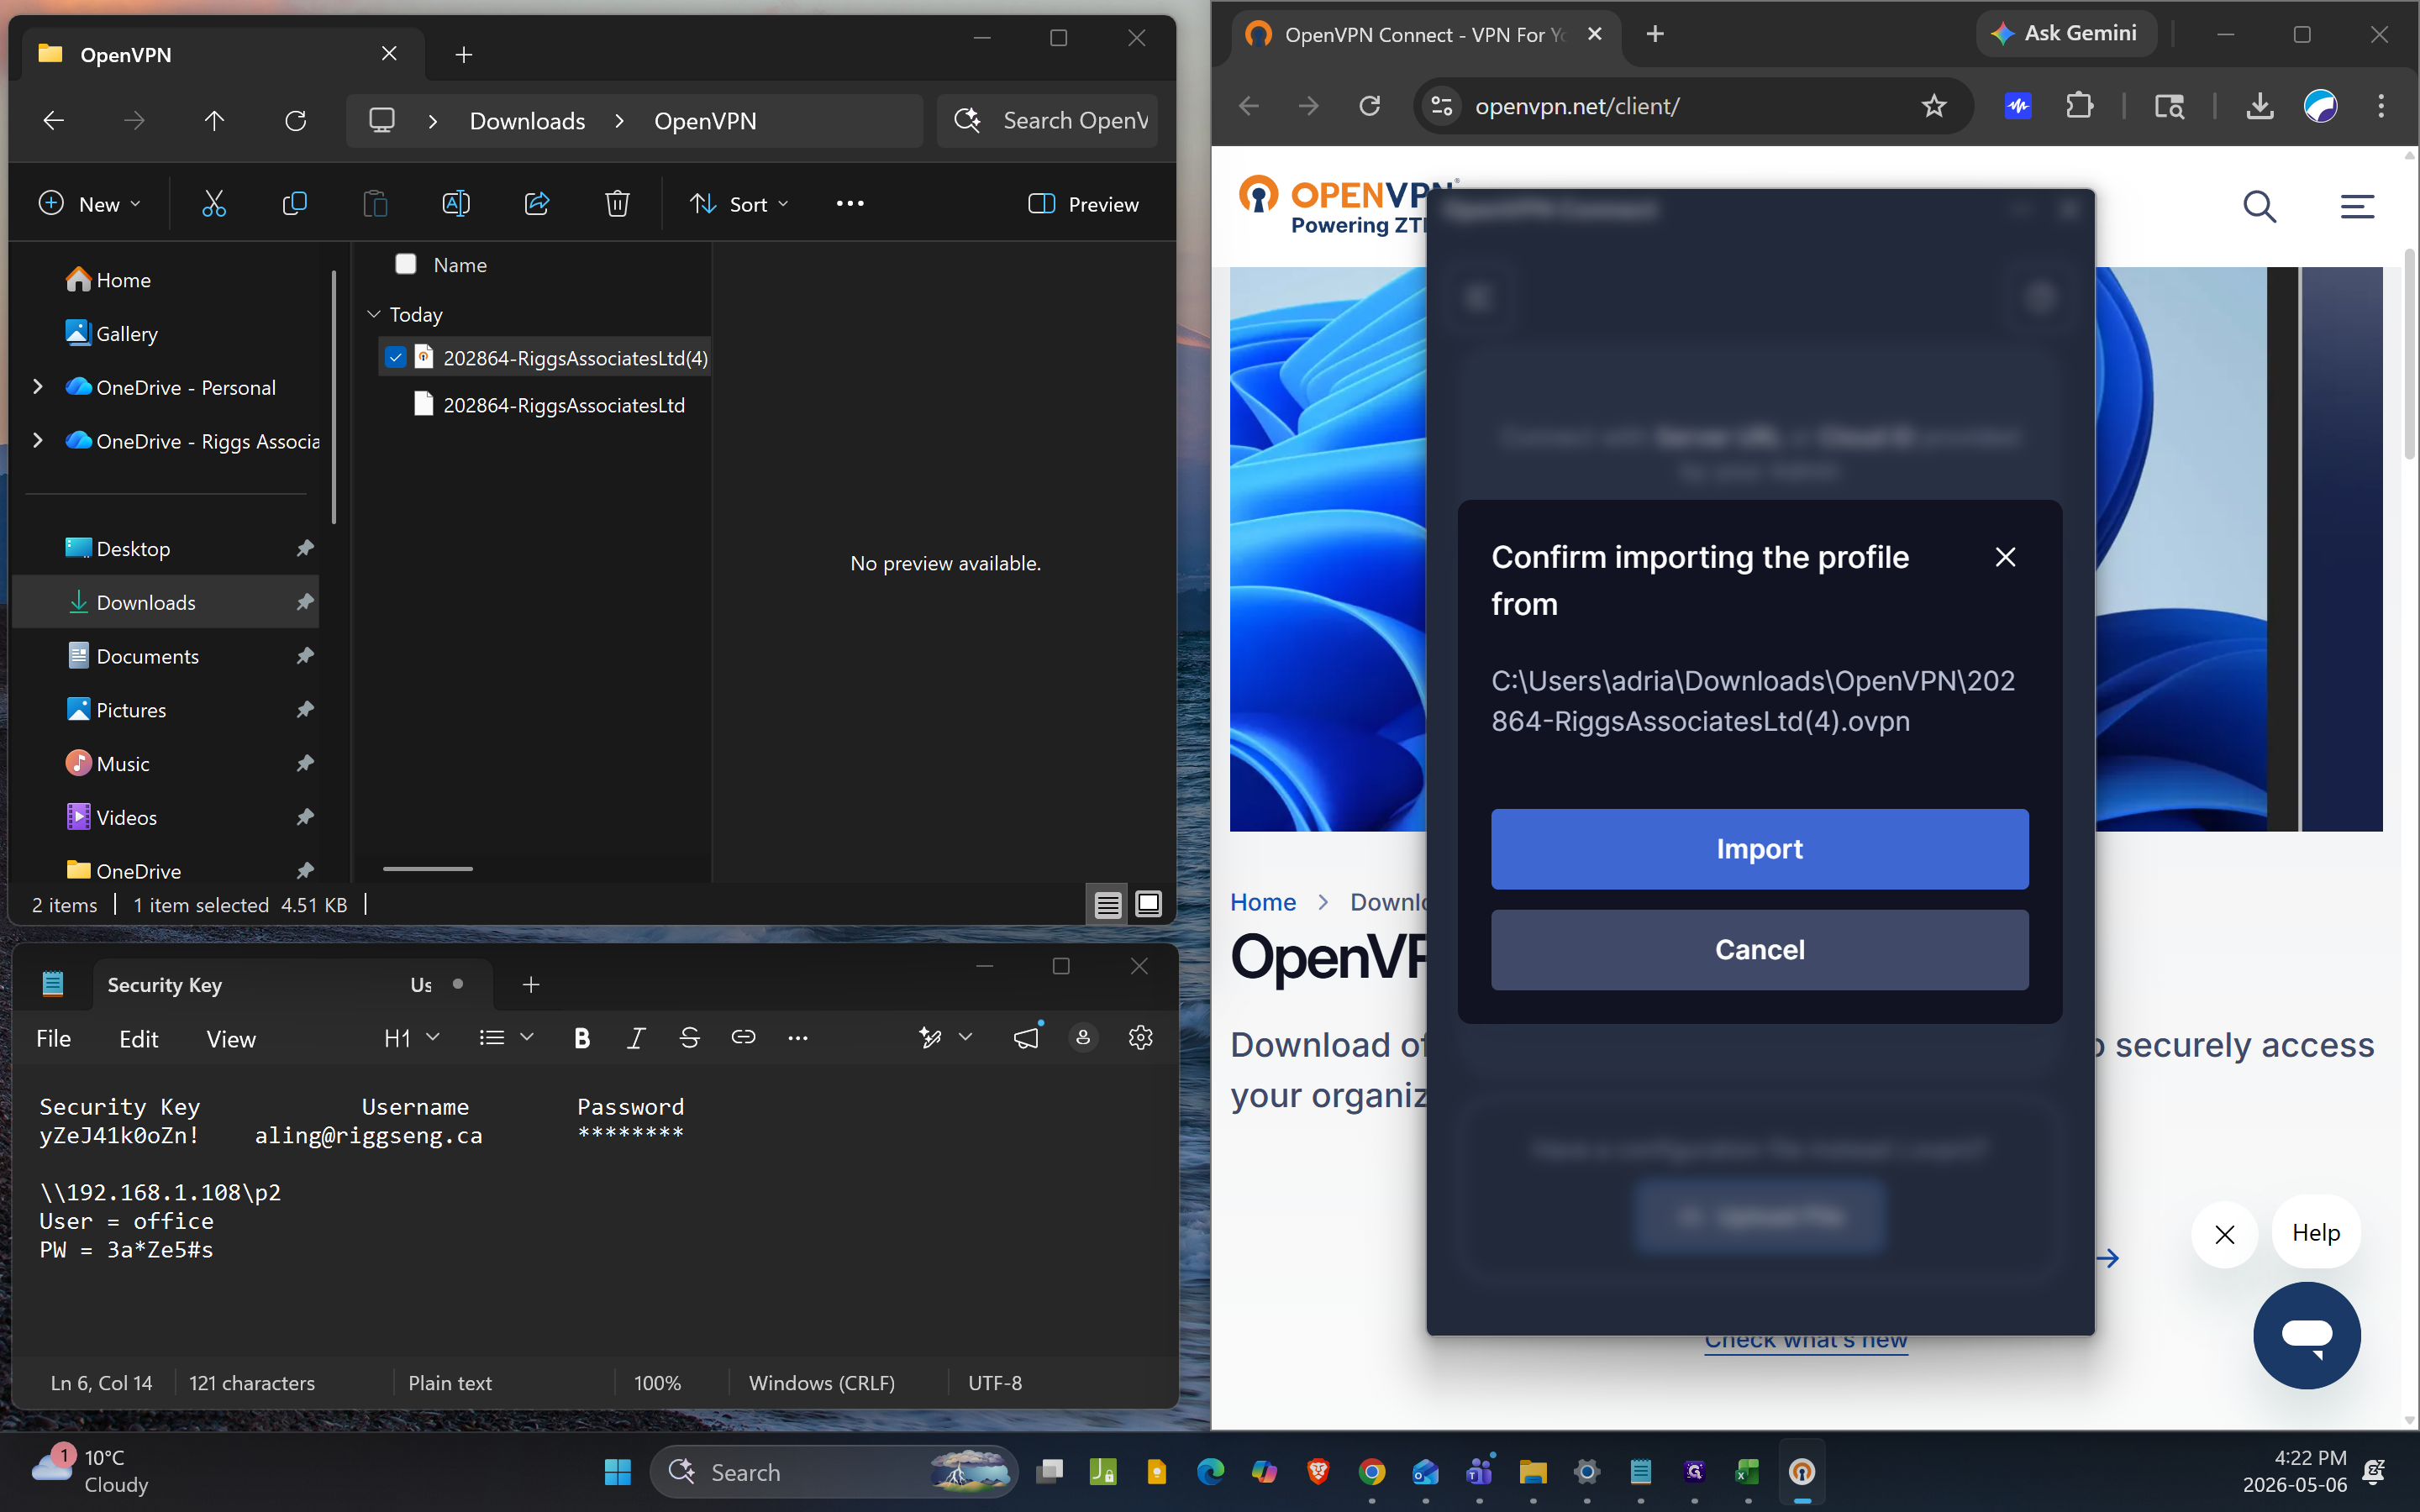
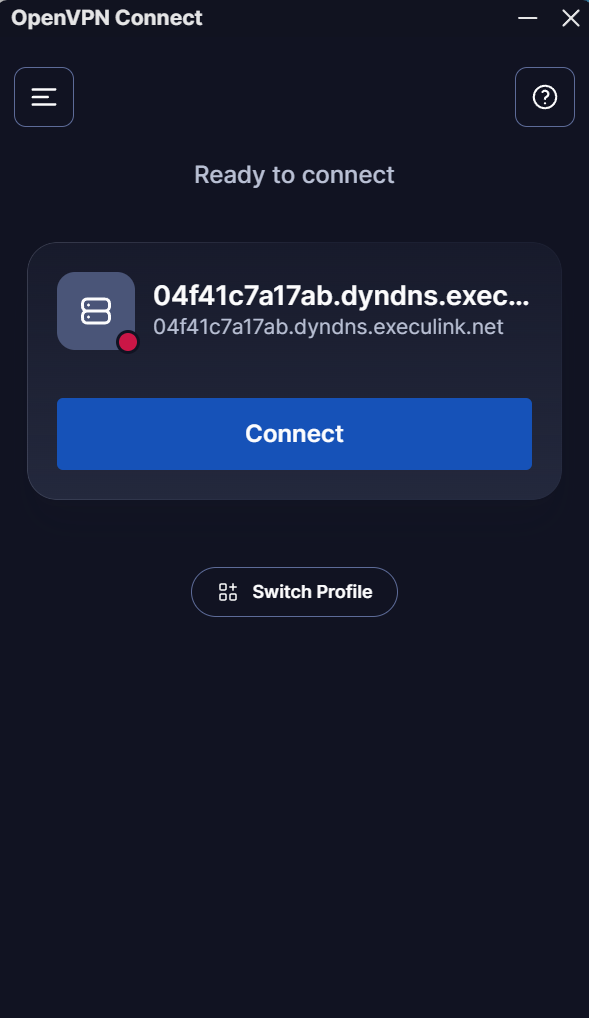
12
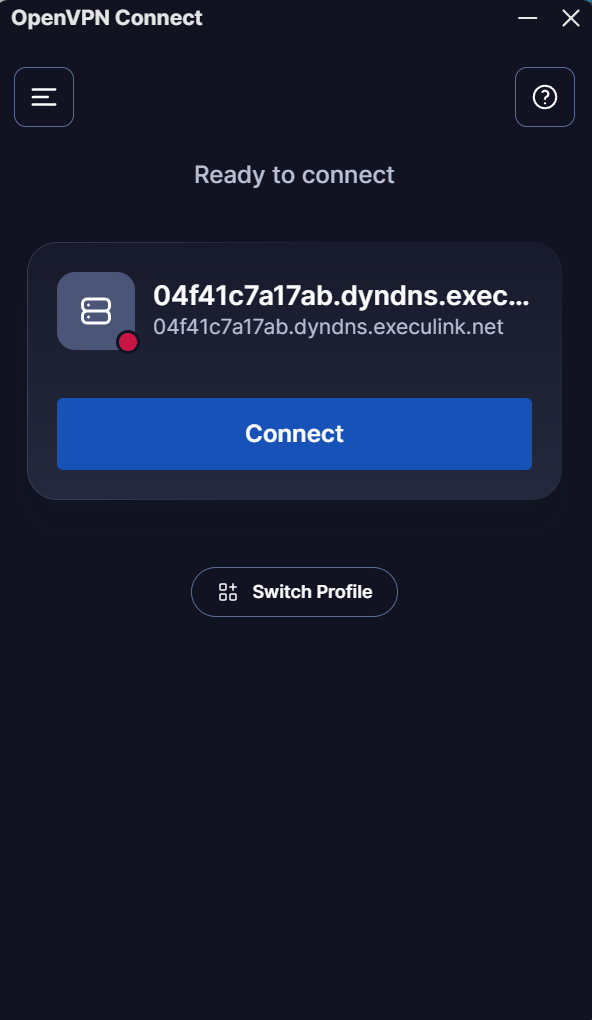
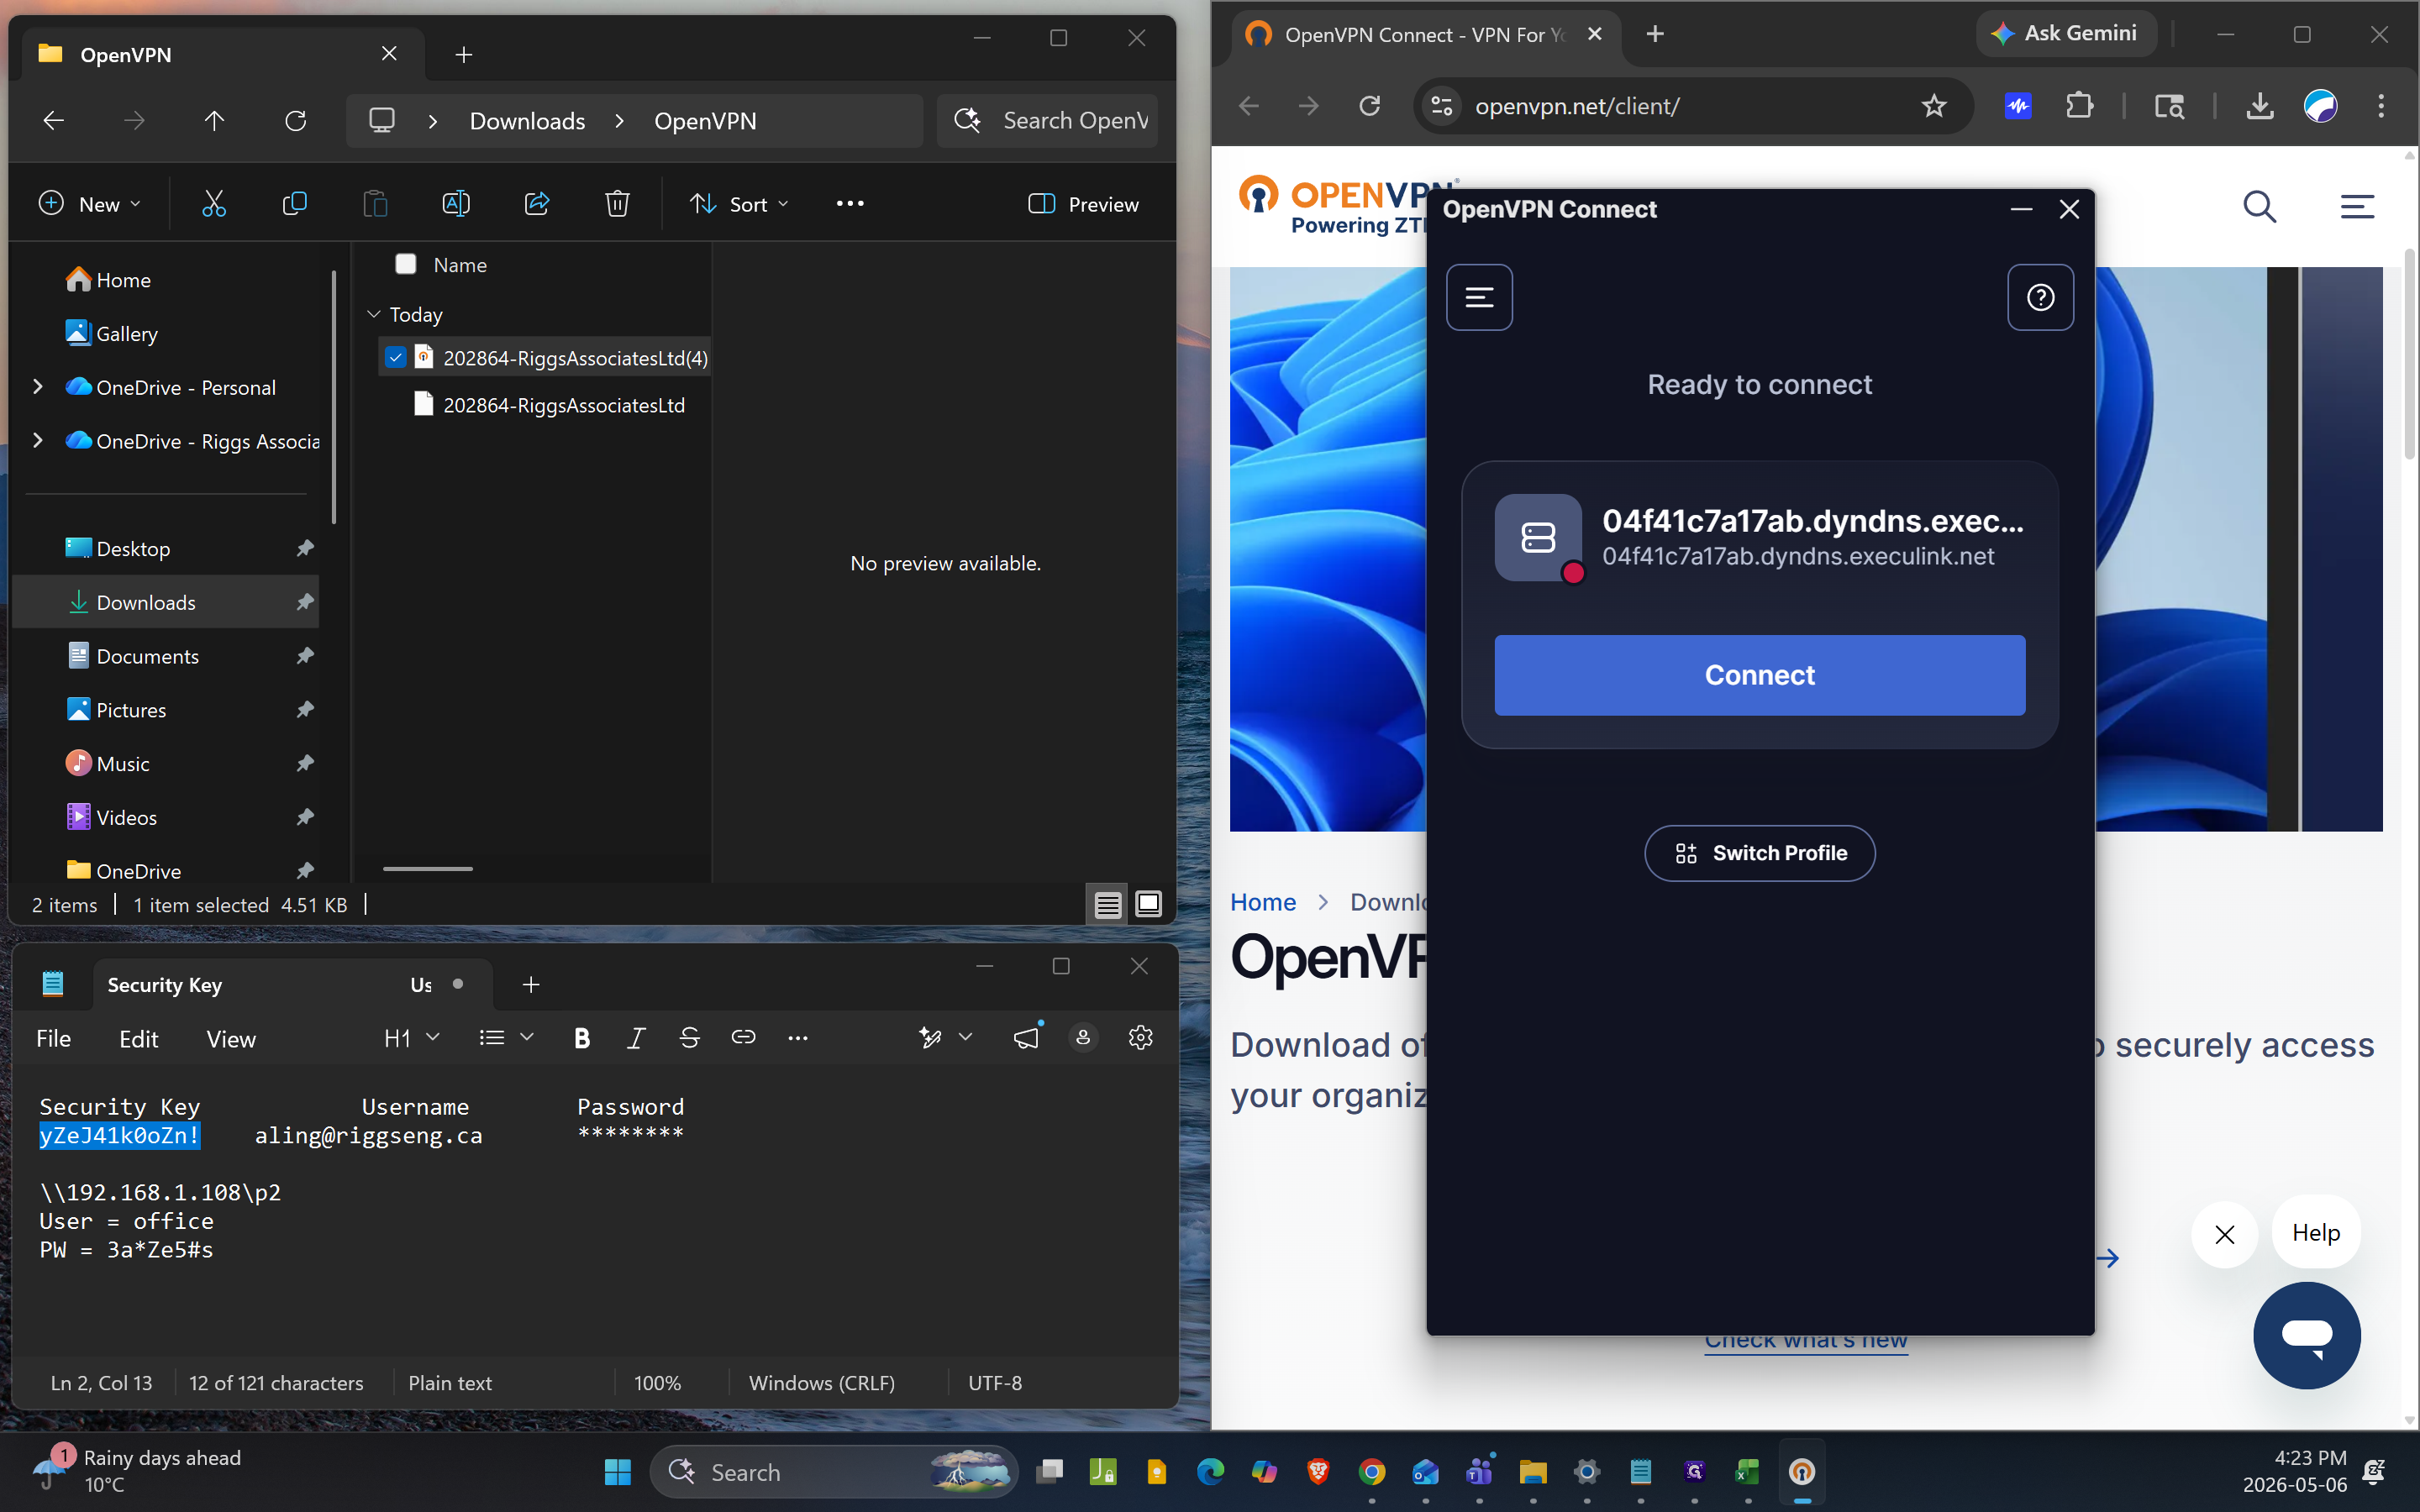
Click Connect.
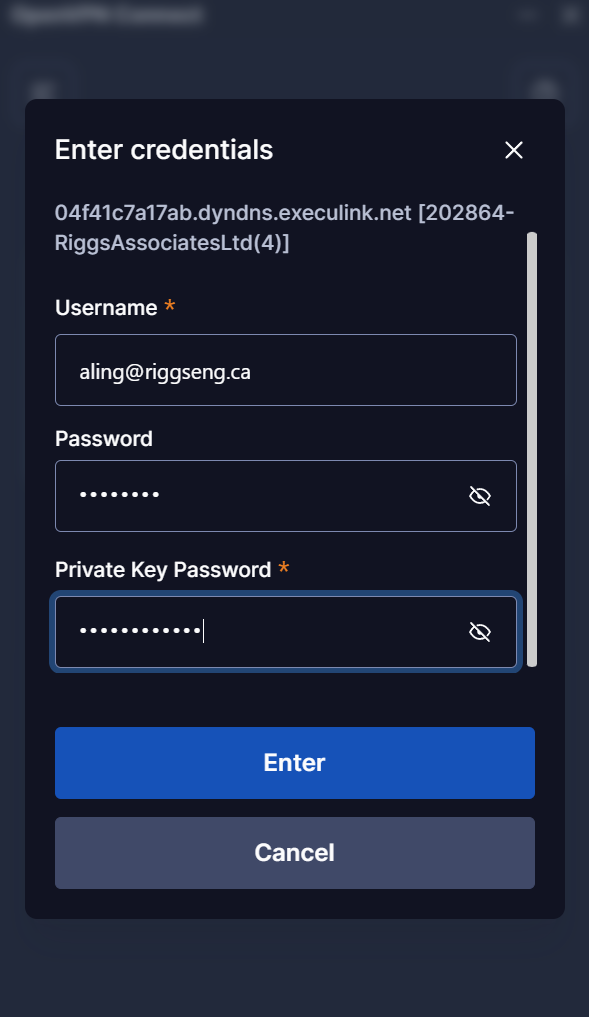
13
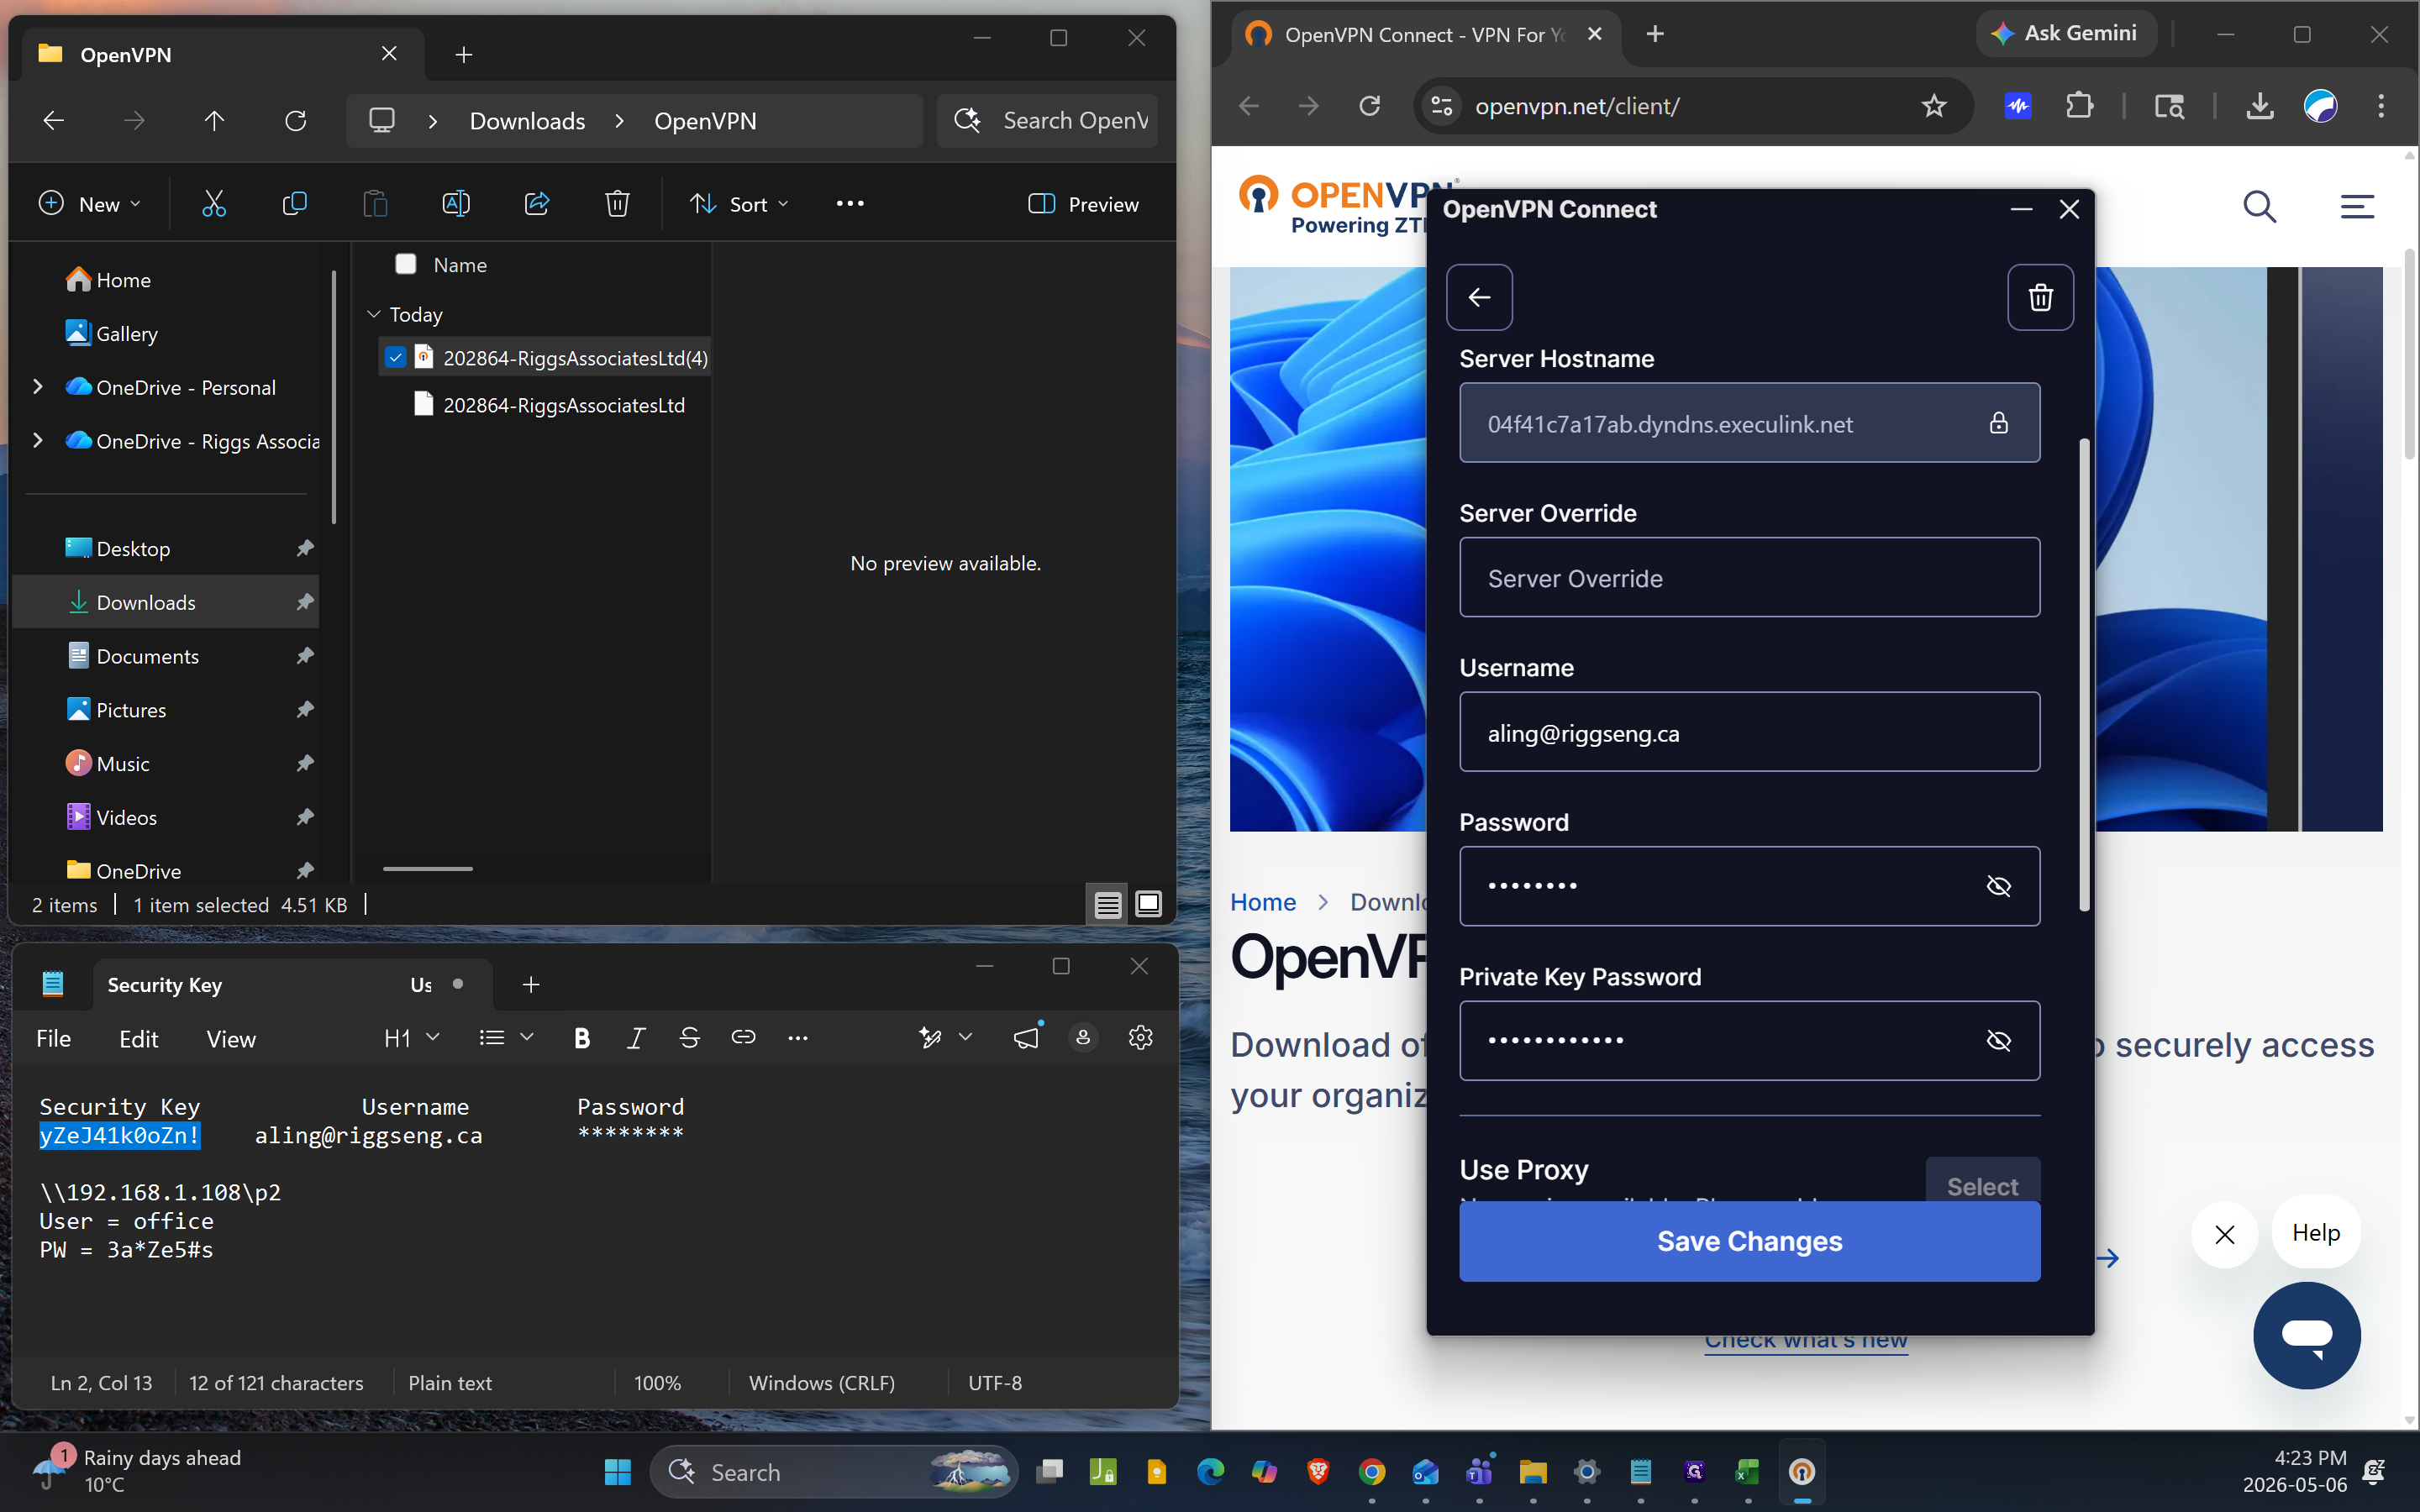
Enter Username, Password and Private Key Password provided in the Email. Select Enter.
3. Edit and save Your Credentials
To avoid entering your credentials every time you connect, you should save them to your profile settings.
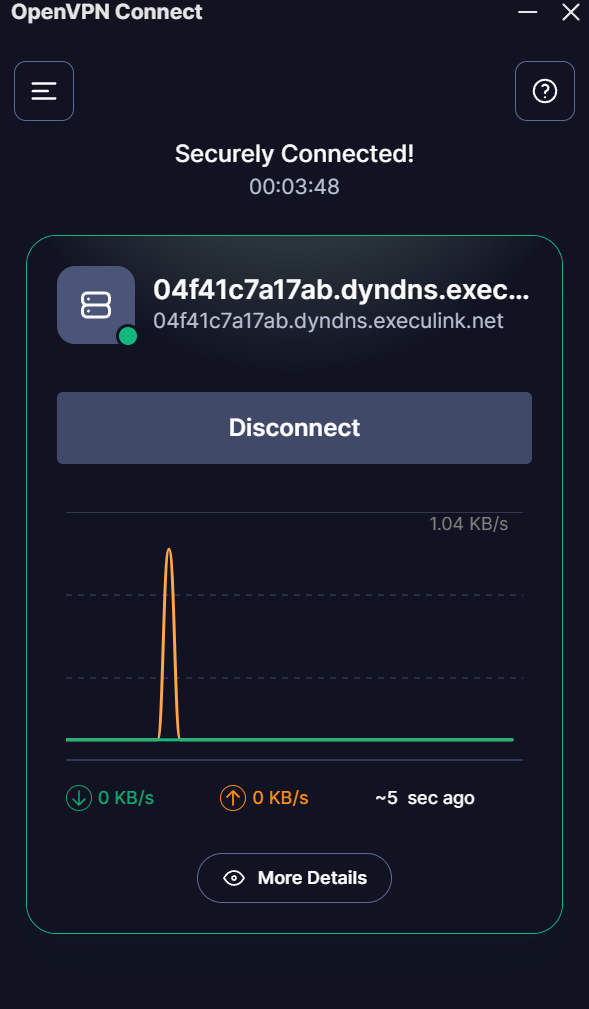
14
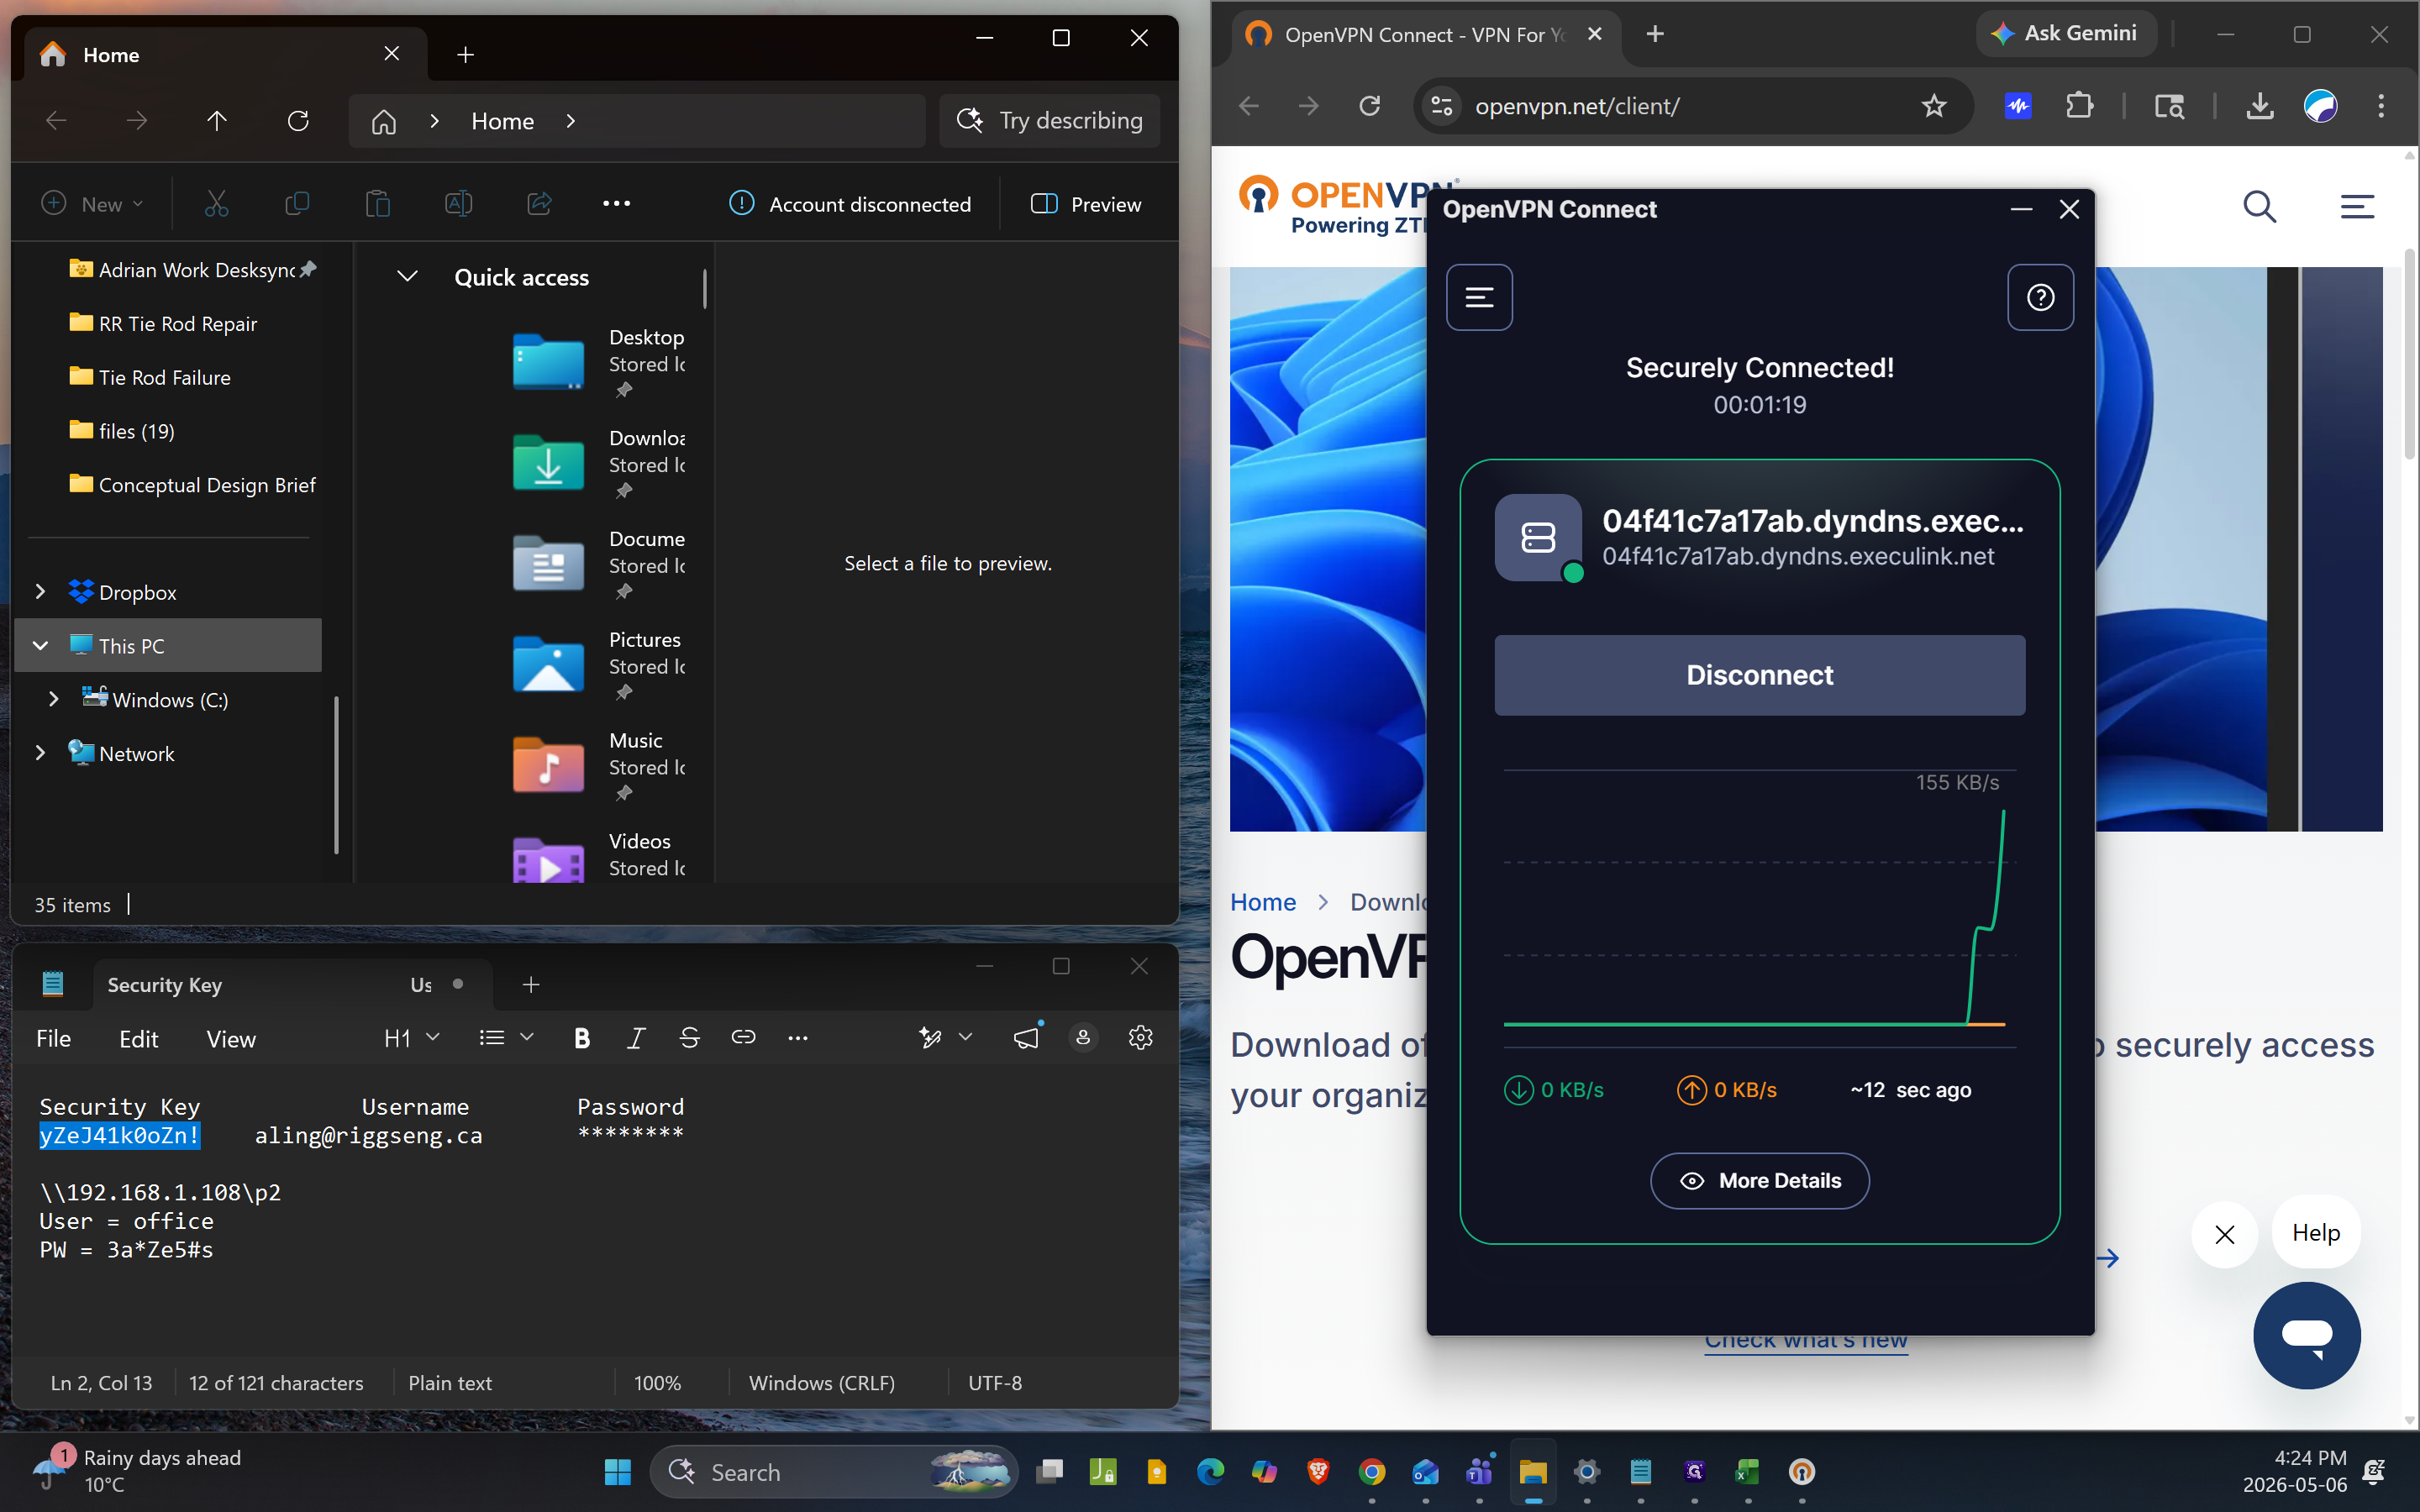
You should be connected and can see some data going in and out. Disconnect so that you can edit the profile.
15
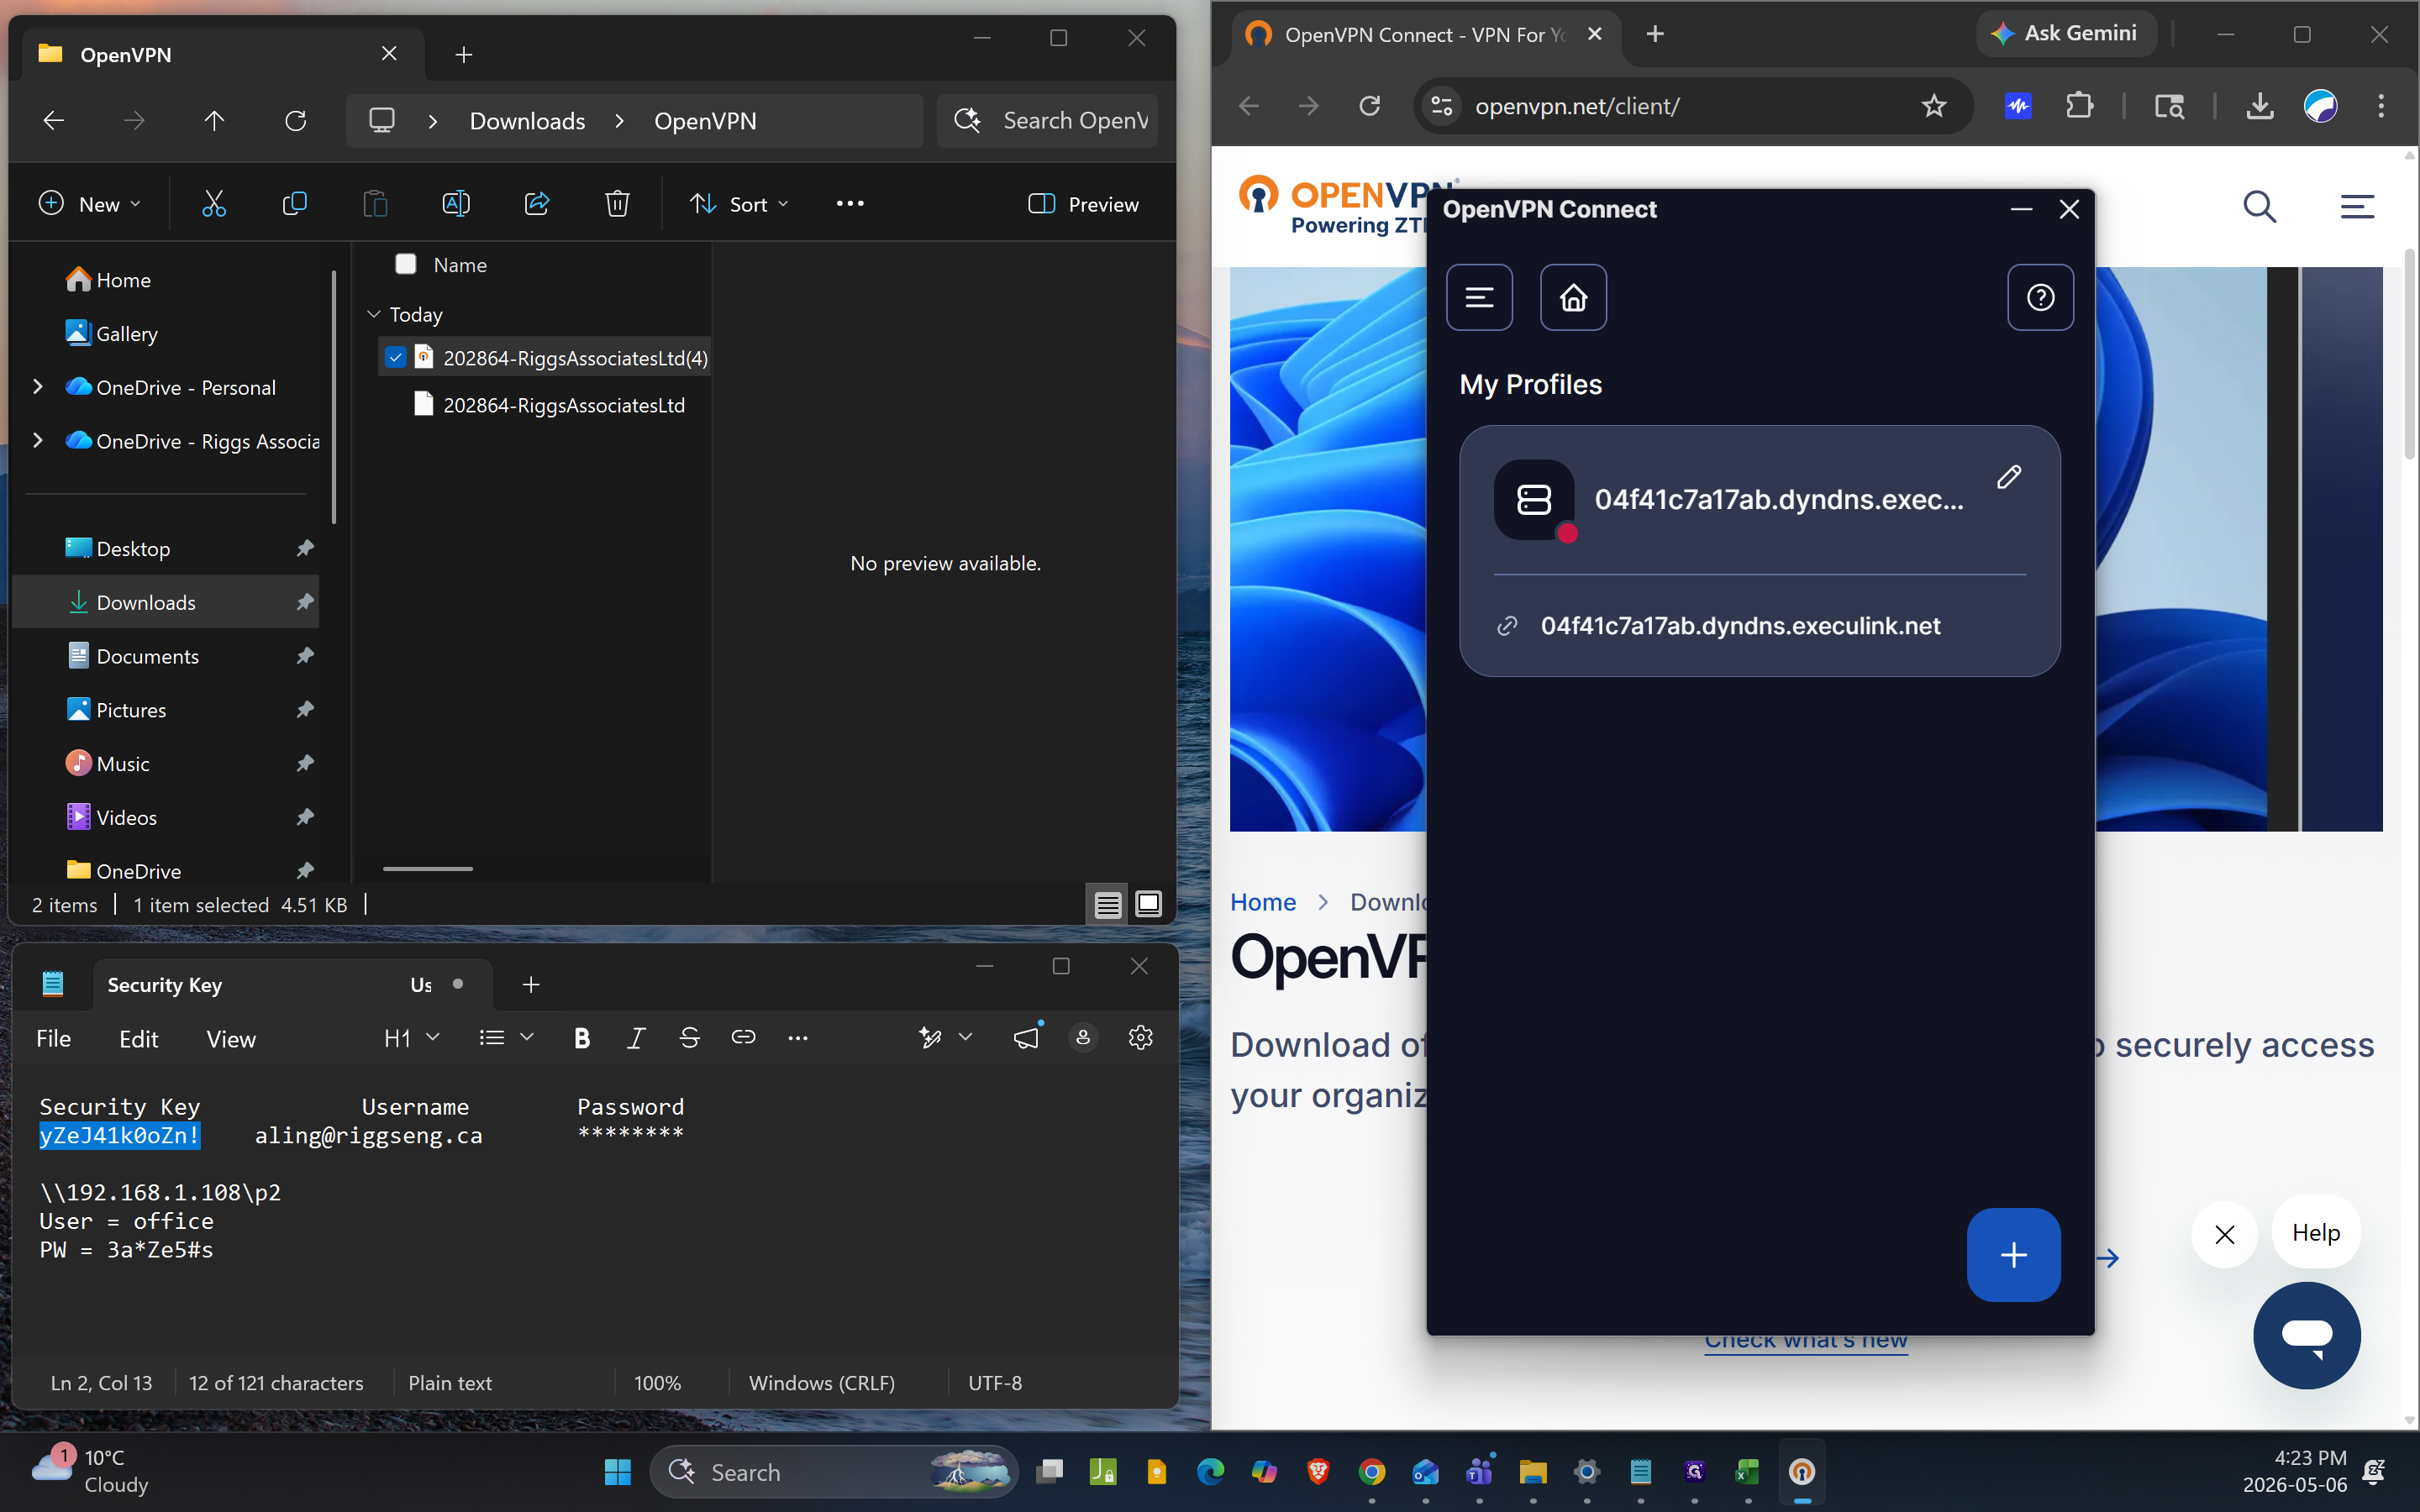
Click the Menu then My Profiles
16
Select your newly imported profile from the My Profiles list.
17
Rename the Profile Name to "Riggs Office"
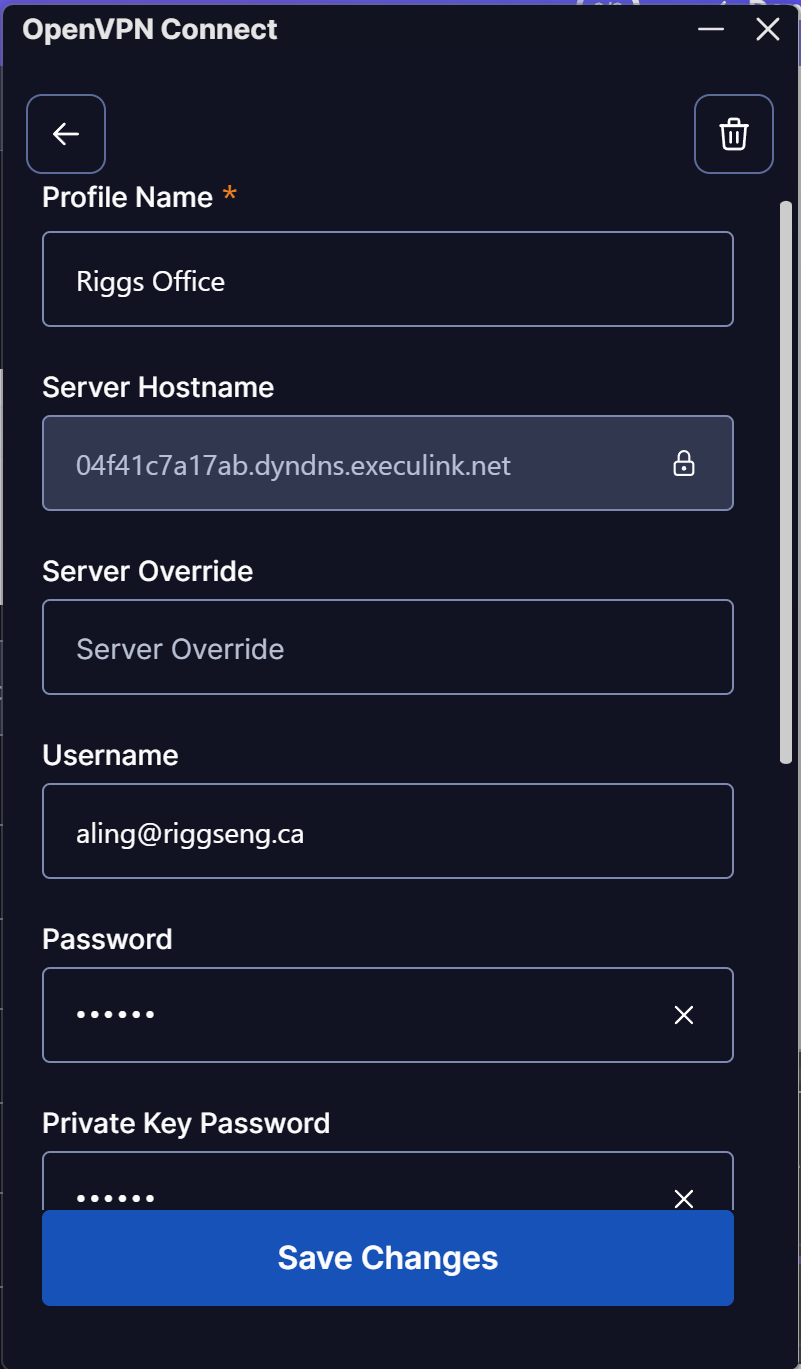
18
Re-enter your Username, Password and your Private Key Password .
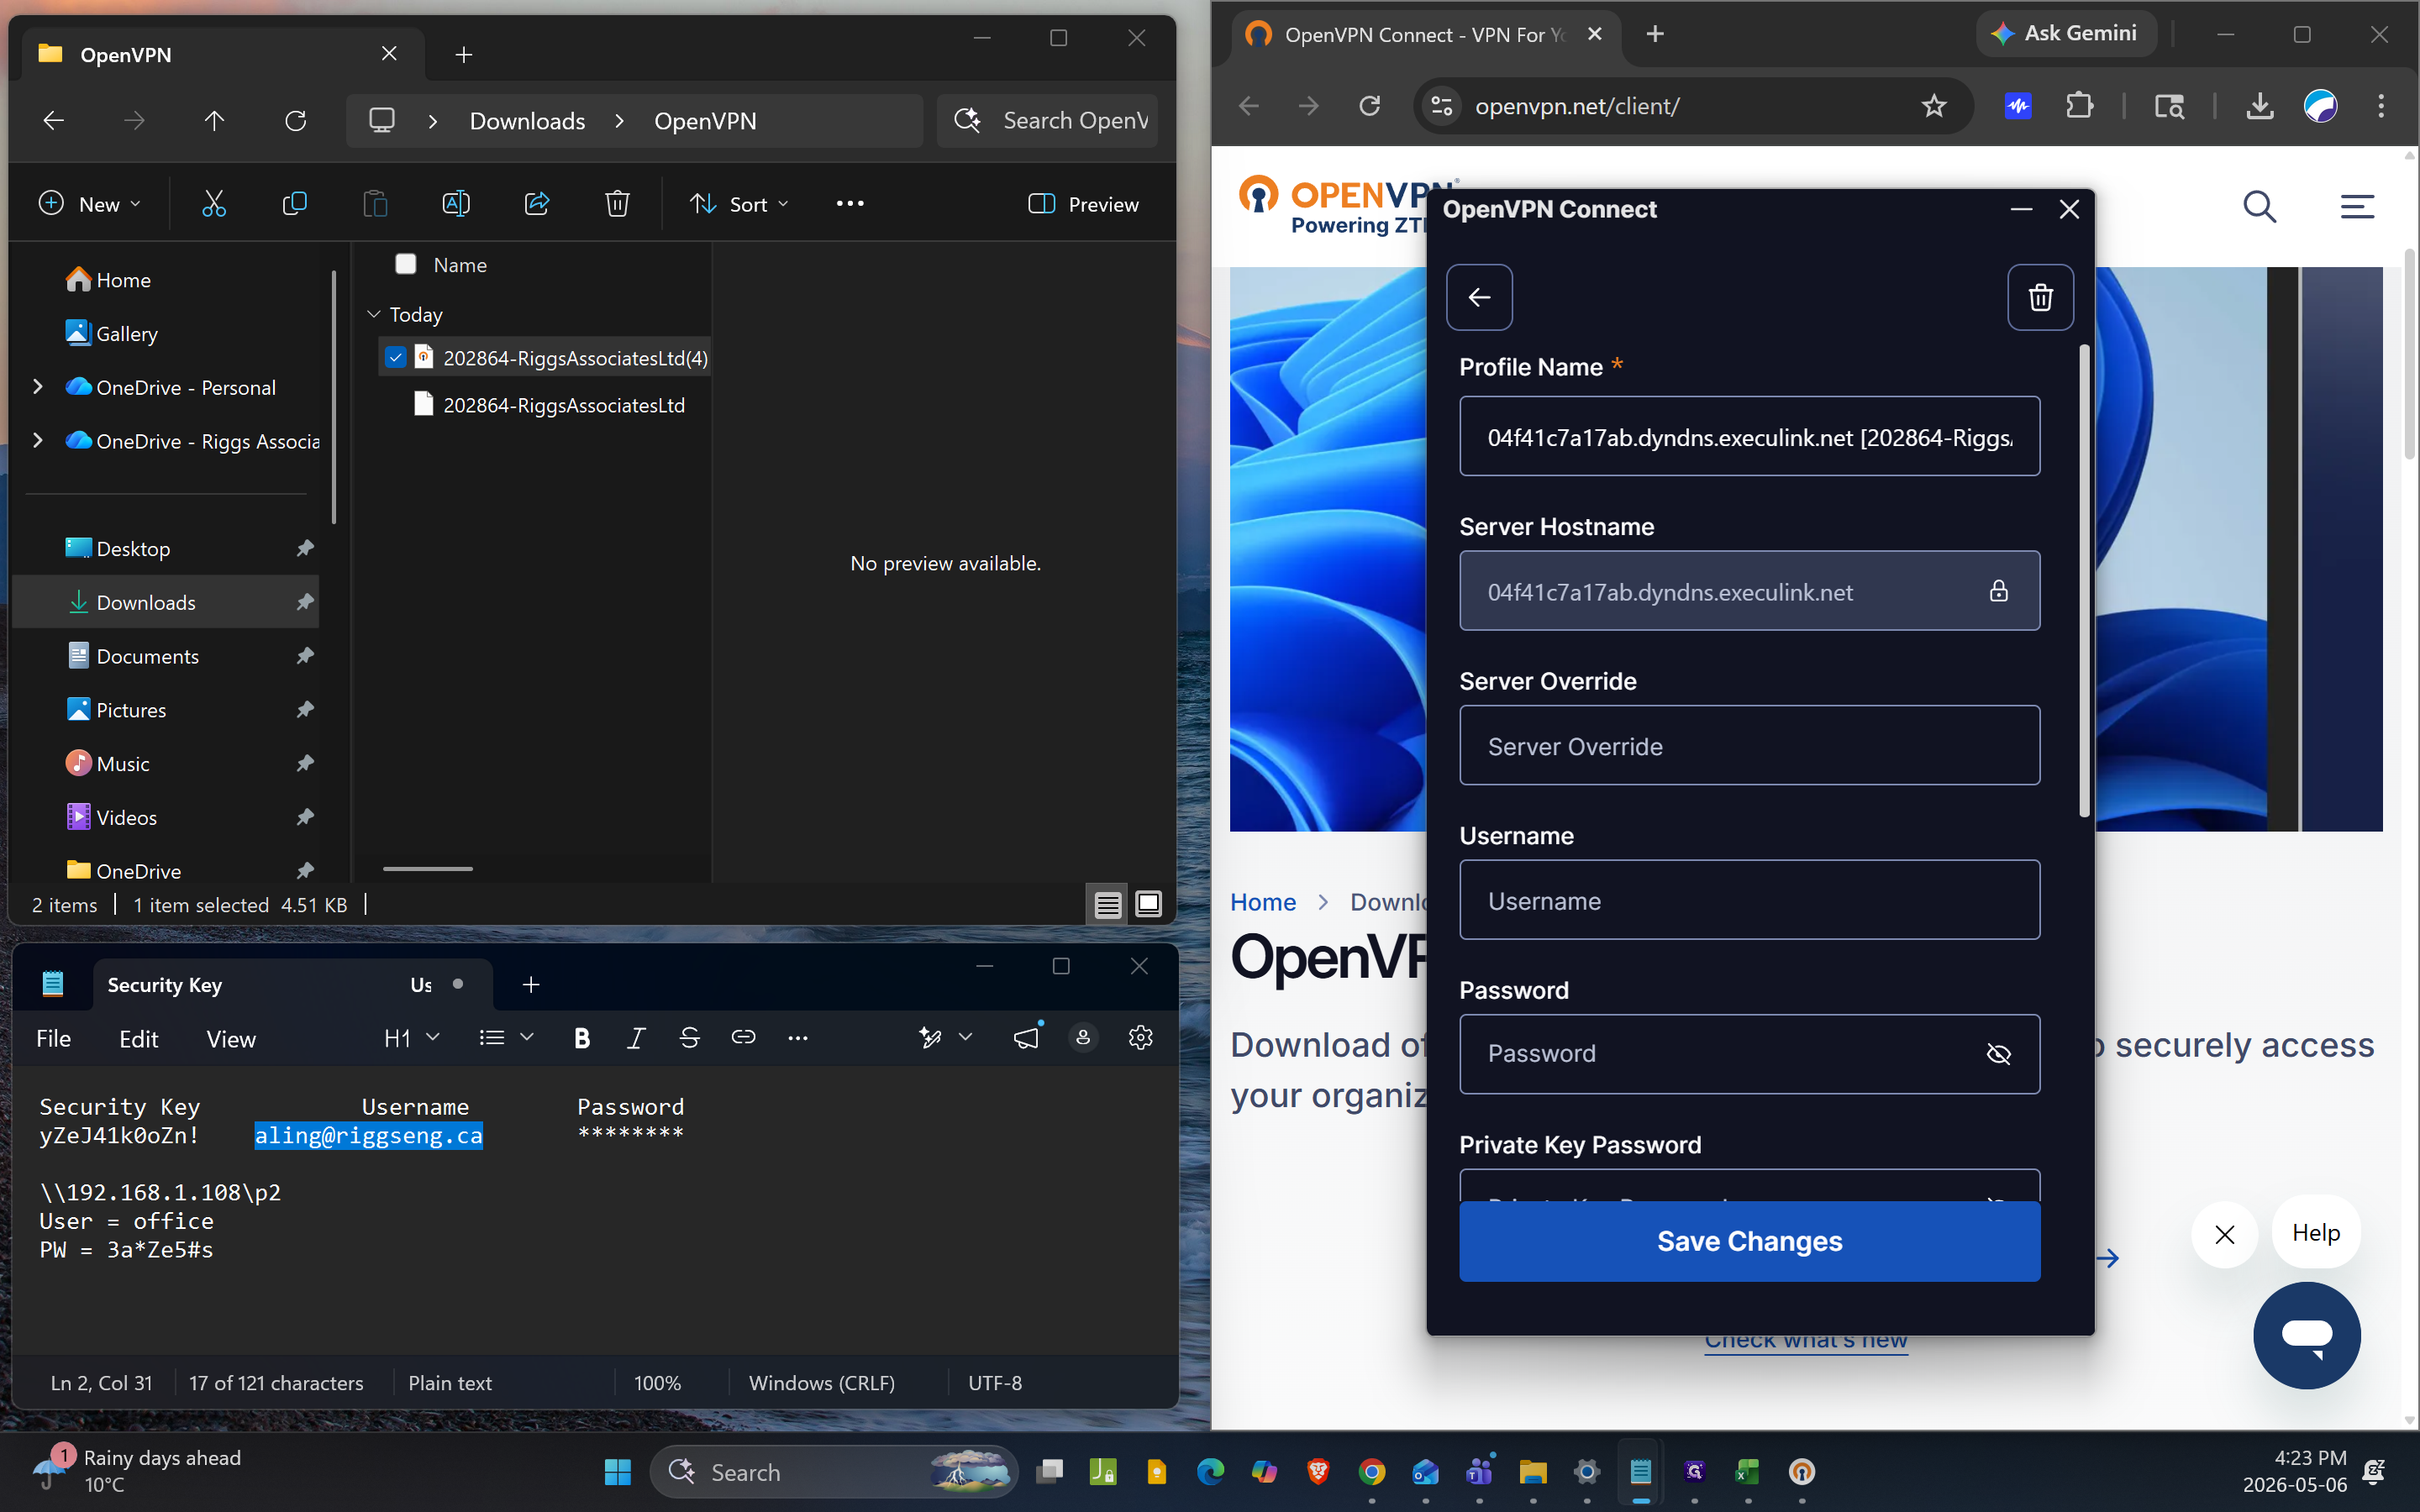
19
Click Save Changes.
20
Click Connect to establish your secure VPN connection.
4. Map the Network Drive
Now that you are connected to the VPN, you can map the network drive to access your files.
21
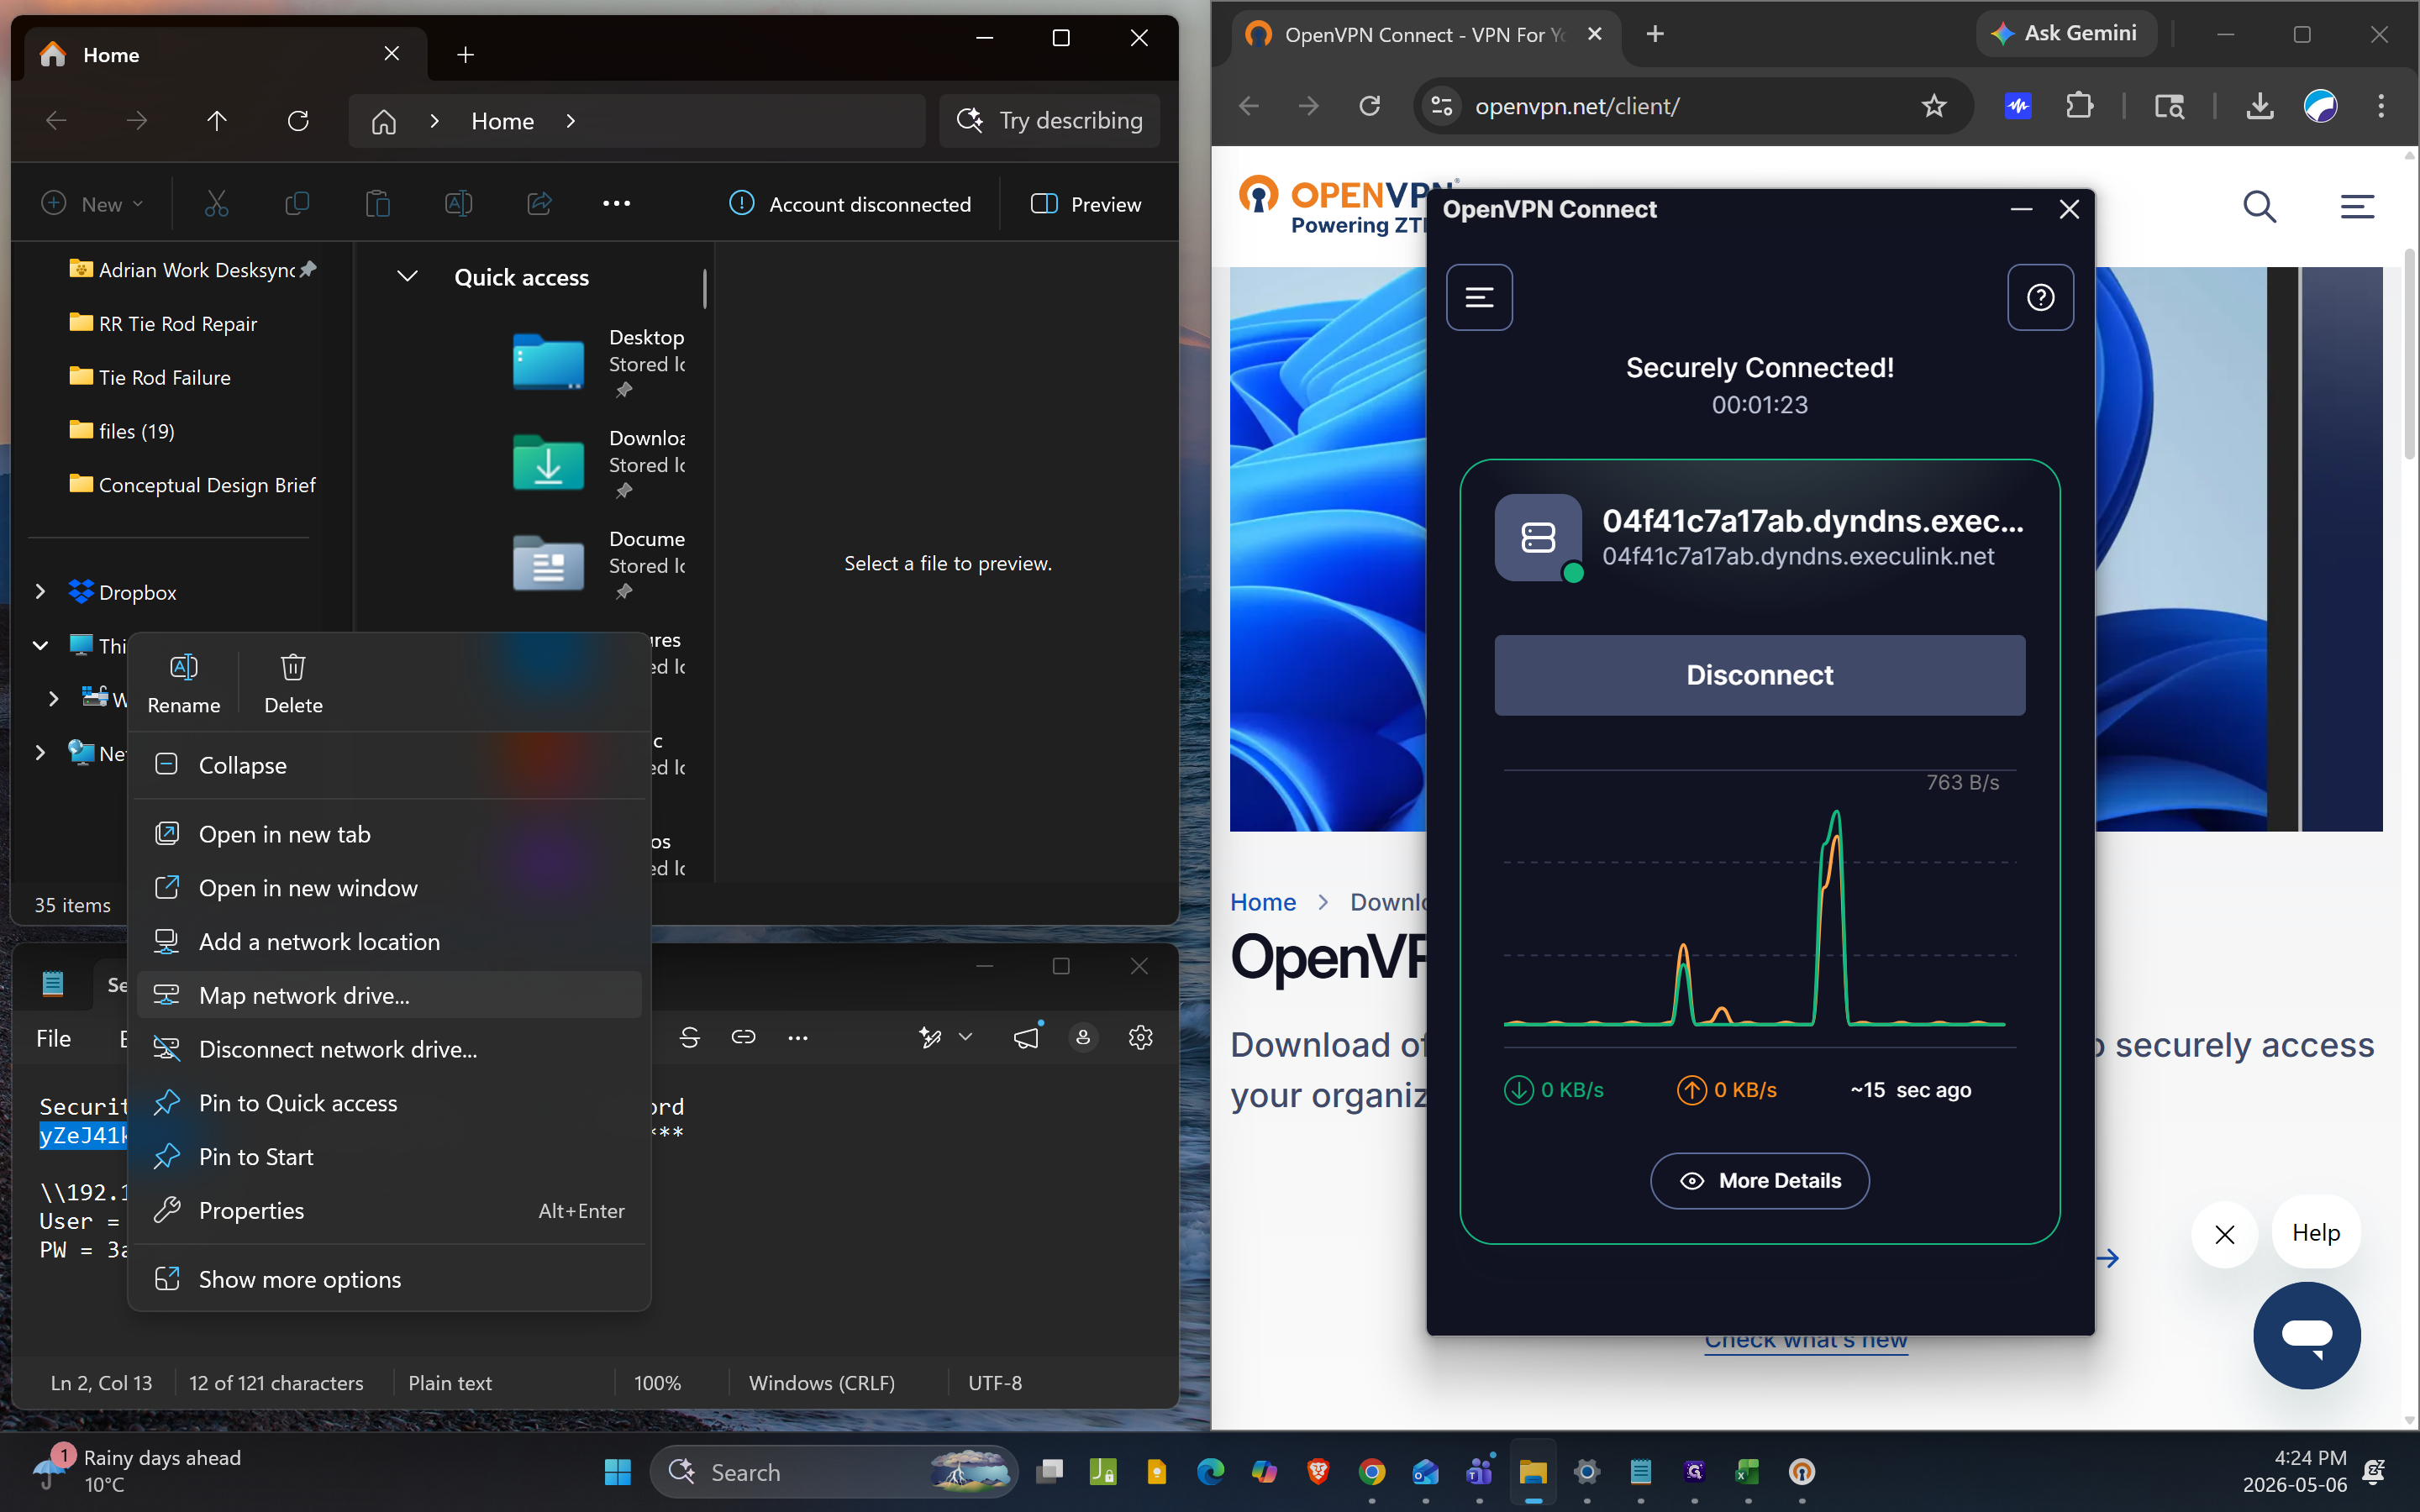
Open File Explorer and right-click on This PC.
22
Select Map network drive from the context menu.
23
In the setup window that appears:
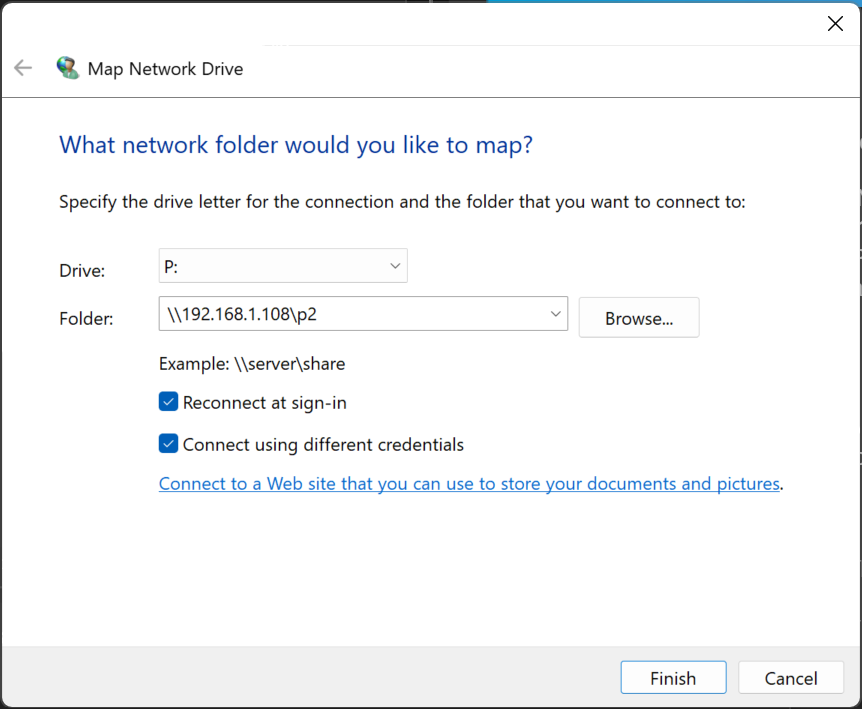
Select a drive letter from the dropdown (e.g., P).
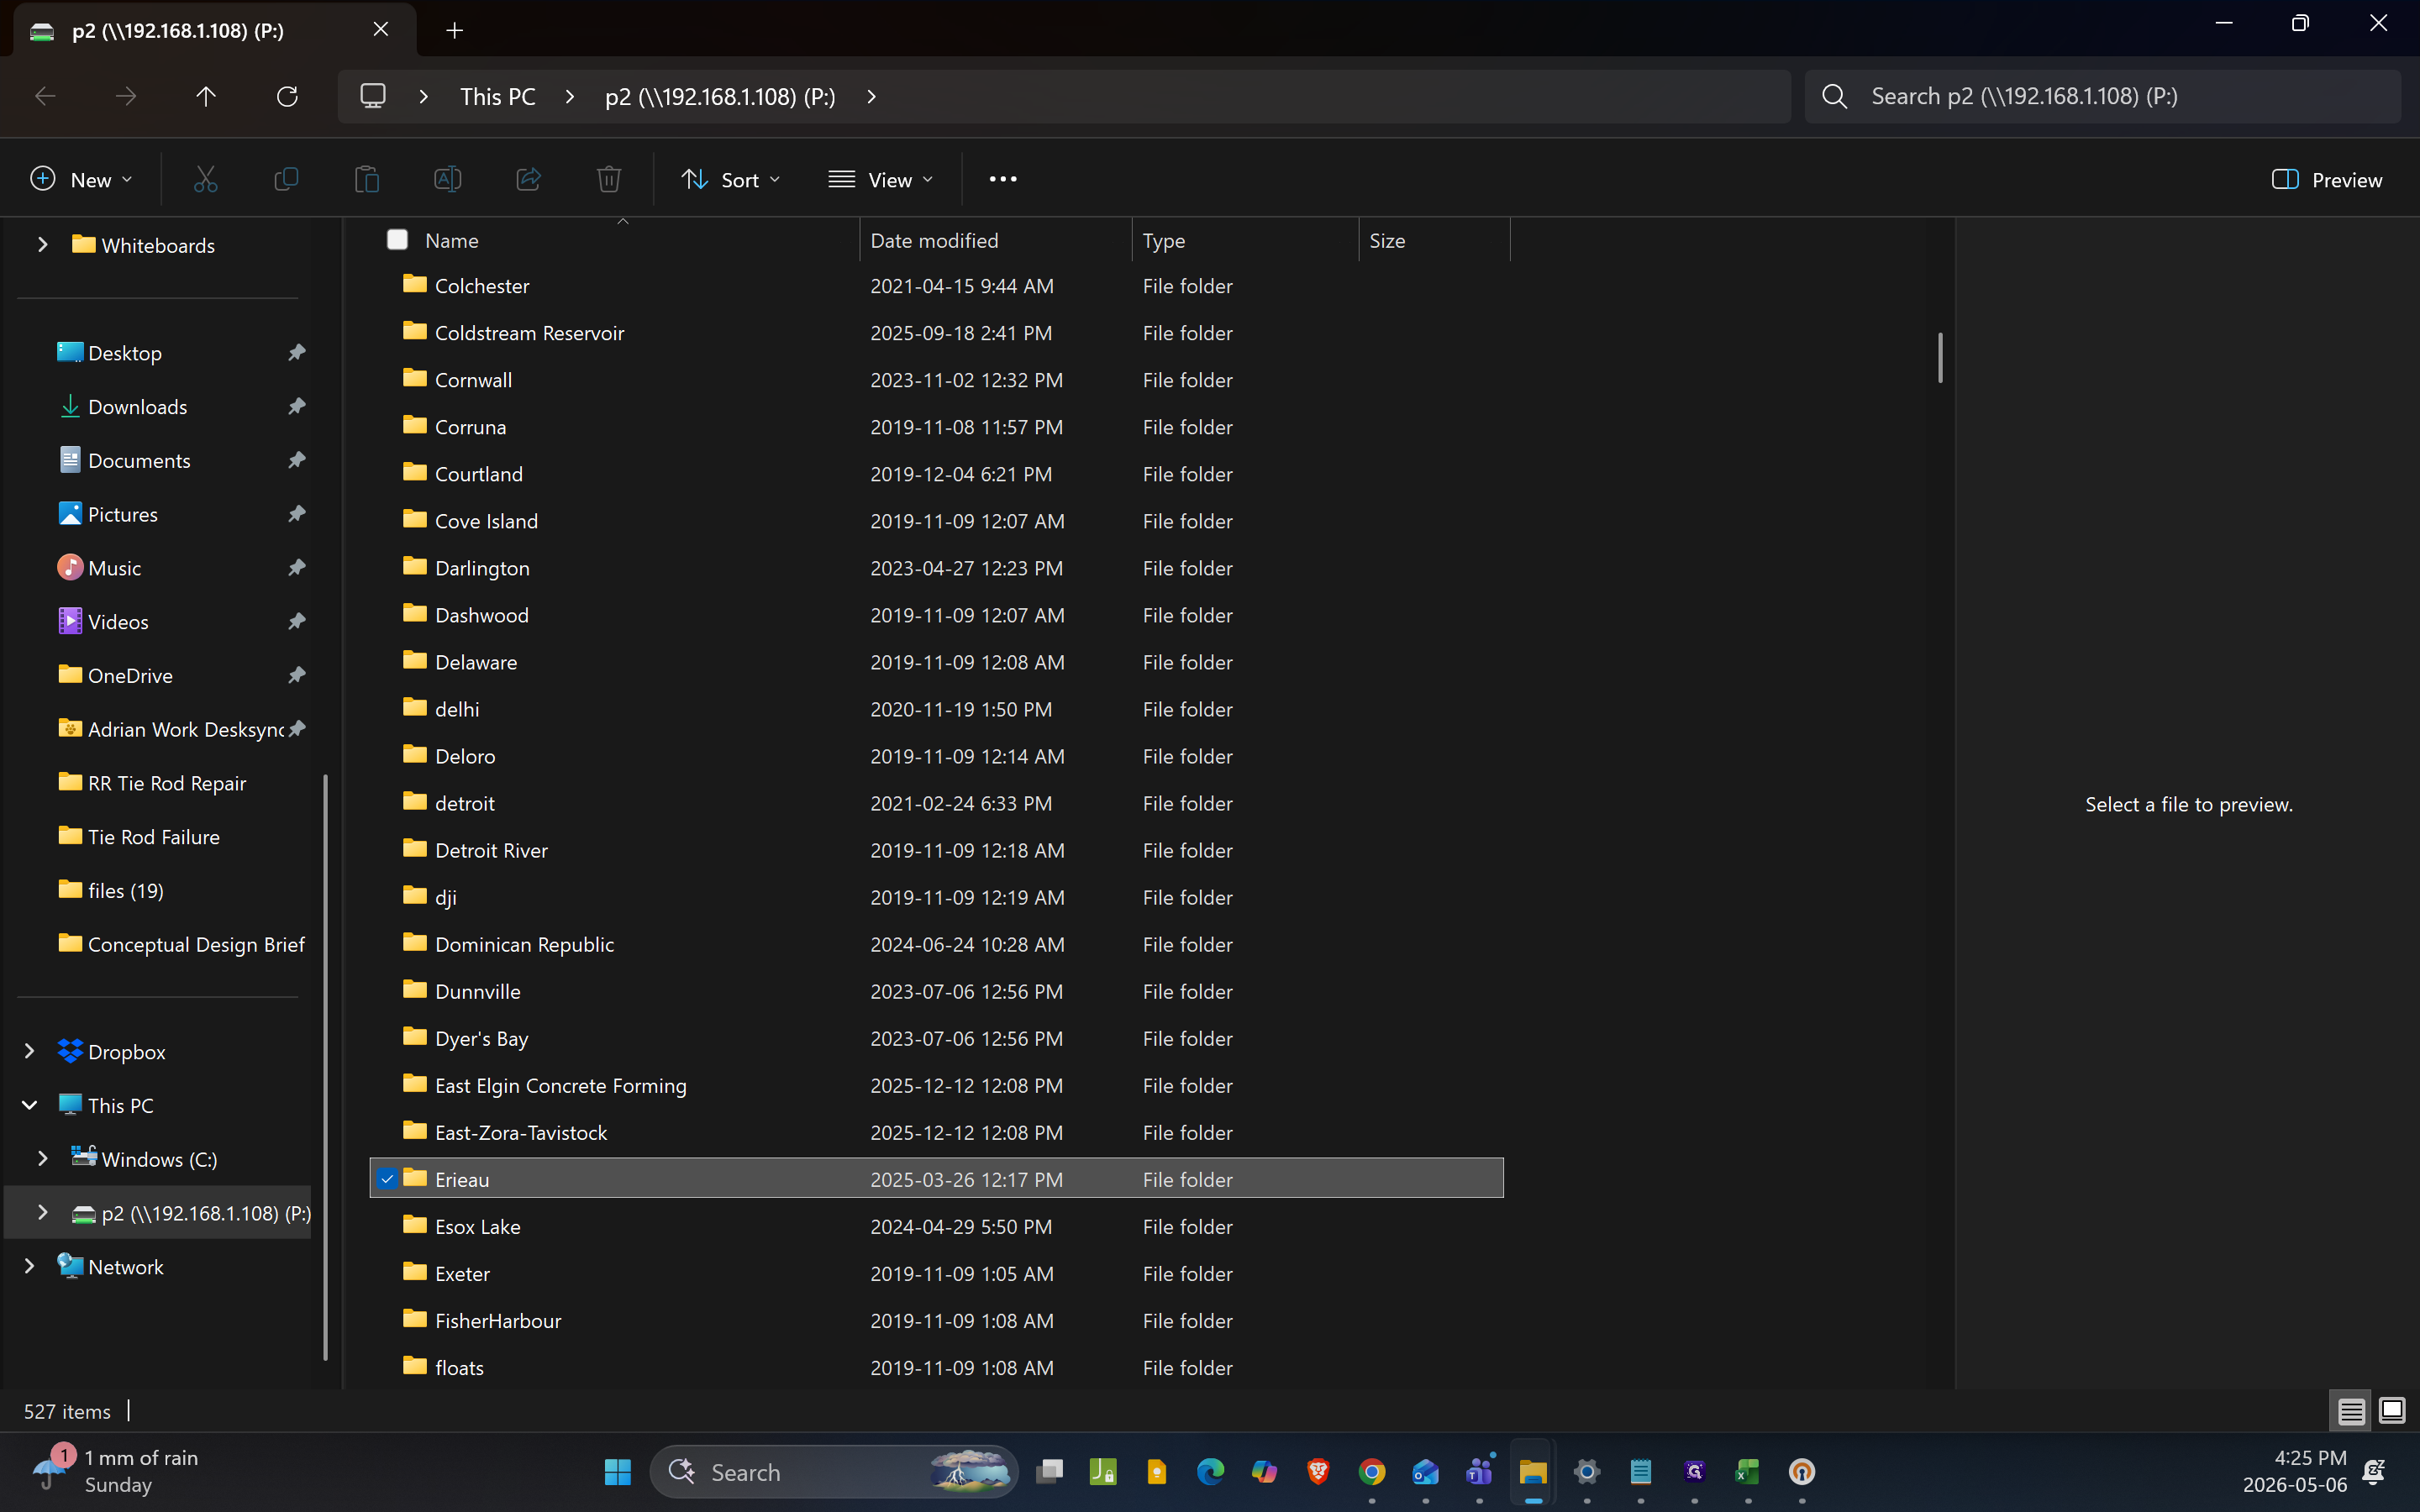
Input the folder IP address provided to you. (e.g. "\\192.168.1.108\p2")
Check the box for Connect using different credentials.
Click Finish.
24
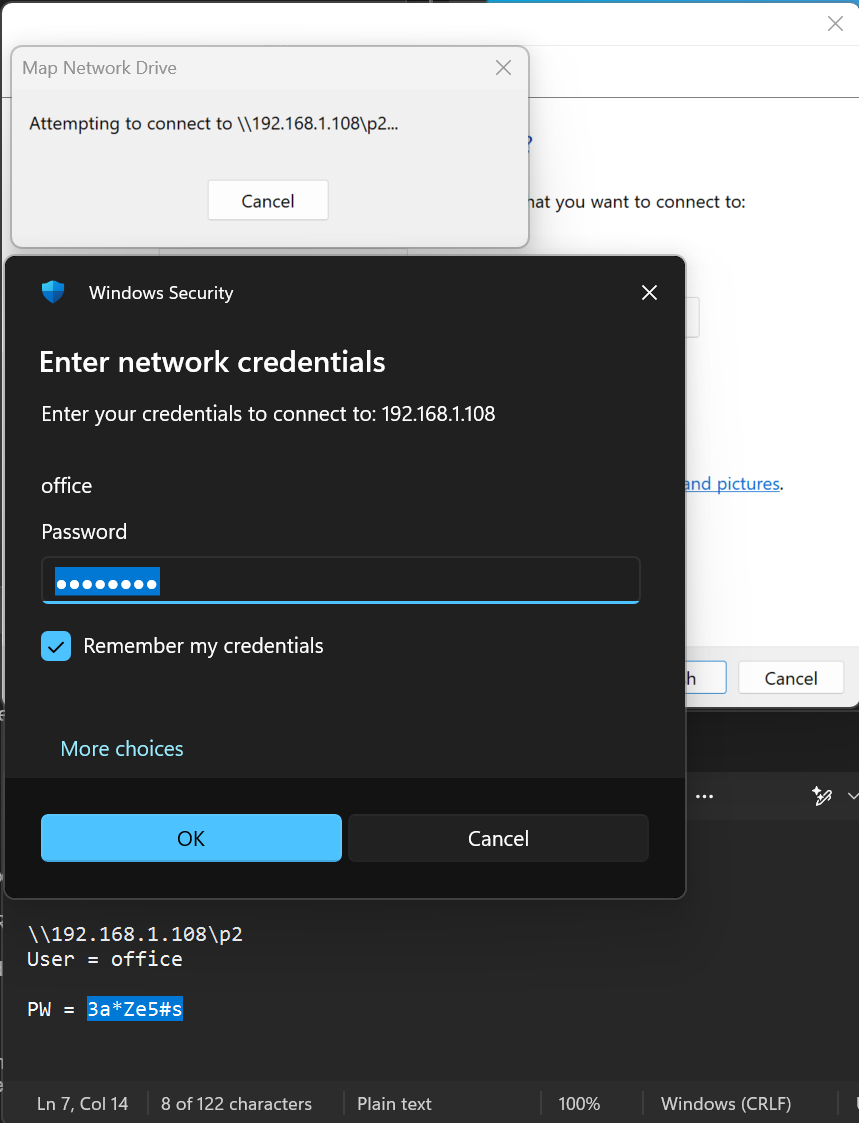
When prompted, enter the network password;
User = office
PW = 3a*Ze5#s
then check the box for Remember my credentials so you don't have to enter them again in the future.
25
Click the newly mapped p drive folder to open it and should now have access the networked files!