How to Set Up the TV's on Sunday Morning
Step-by-step guide for setting up ProPresenter and managing side screens for Sunday services. Learn how to control screens with a MacBook Air, troubleshoot TV inputs, and ensure graphics display correctly.
In this guide, we'll learn how to set up and control side screens for a Sunday service using ProPresenter on a MacBook Air. We'll cover how to turn on the TVs, select the correct input, and display the right graphics for each screen. We'll also look at how to rotate graphics as needed and how to shut everything down when finished.
Let's get started
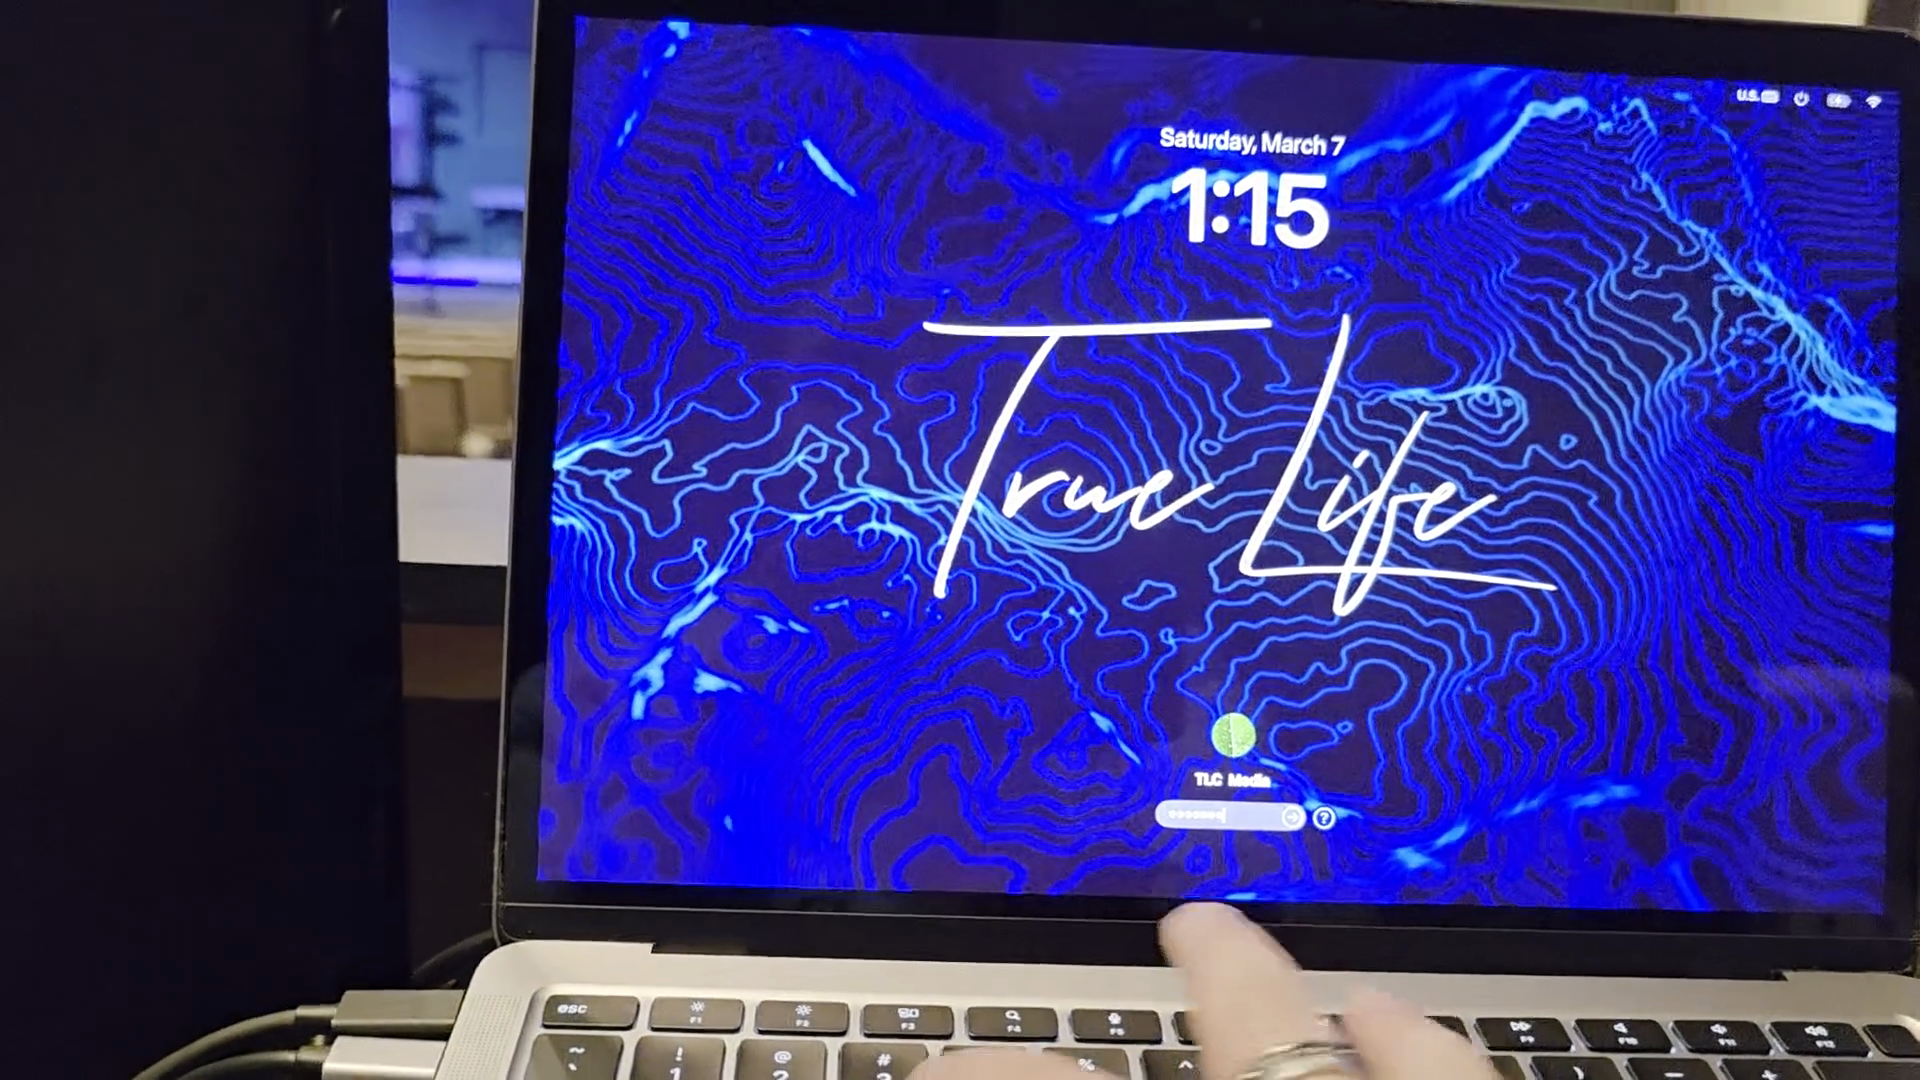
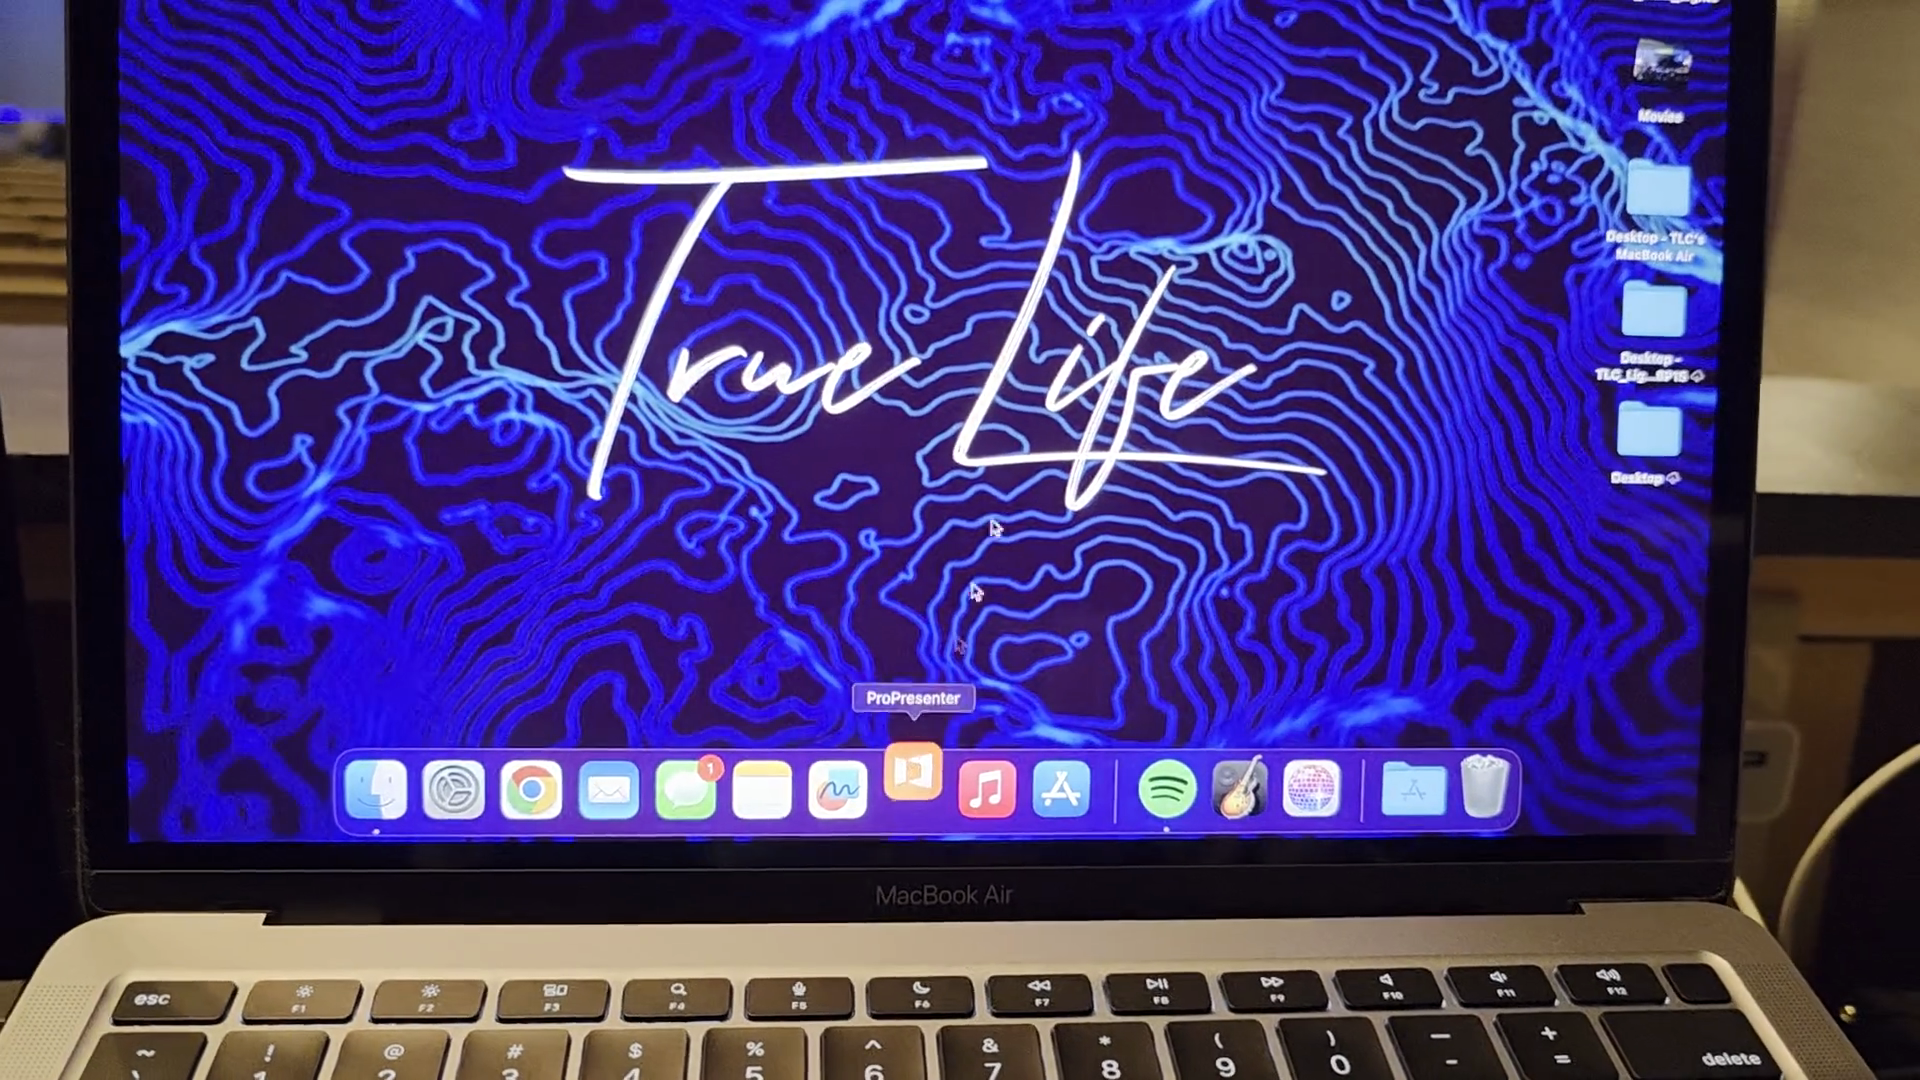
It's Sunday morning. You are setting up ProPresenter and need to get the TV screens working. First, use this MacBook Air to control the screens.

While that is loading, grab the black remote from the drawer.
Now, we need to turn the TVs on.
You can't turn them on from the booth. You need to walk out here and turn them on. Sometimes you can stand this far away, other times you need to walk up fairly close to turn them on.
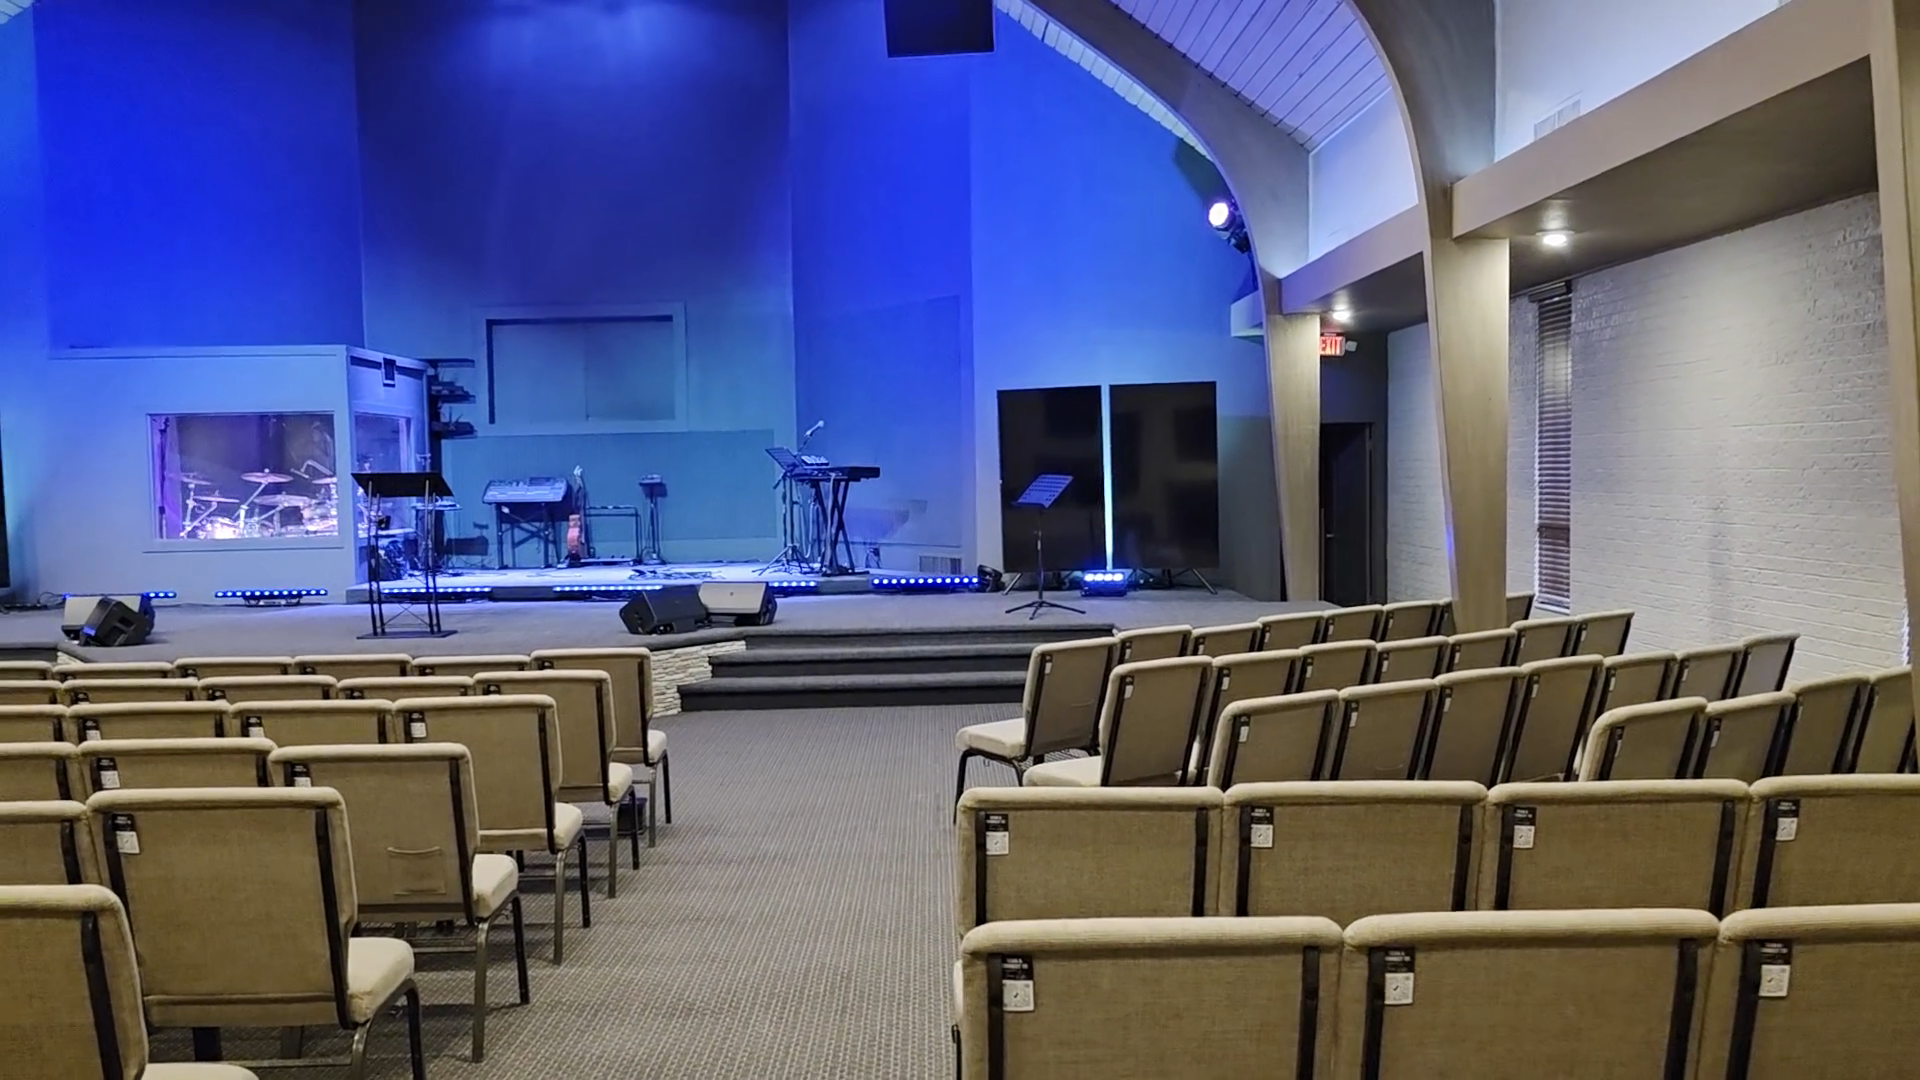
Make sure the red lights turn on.
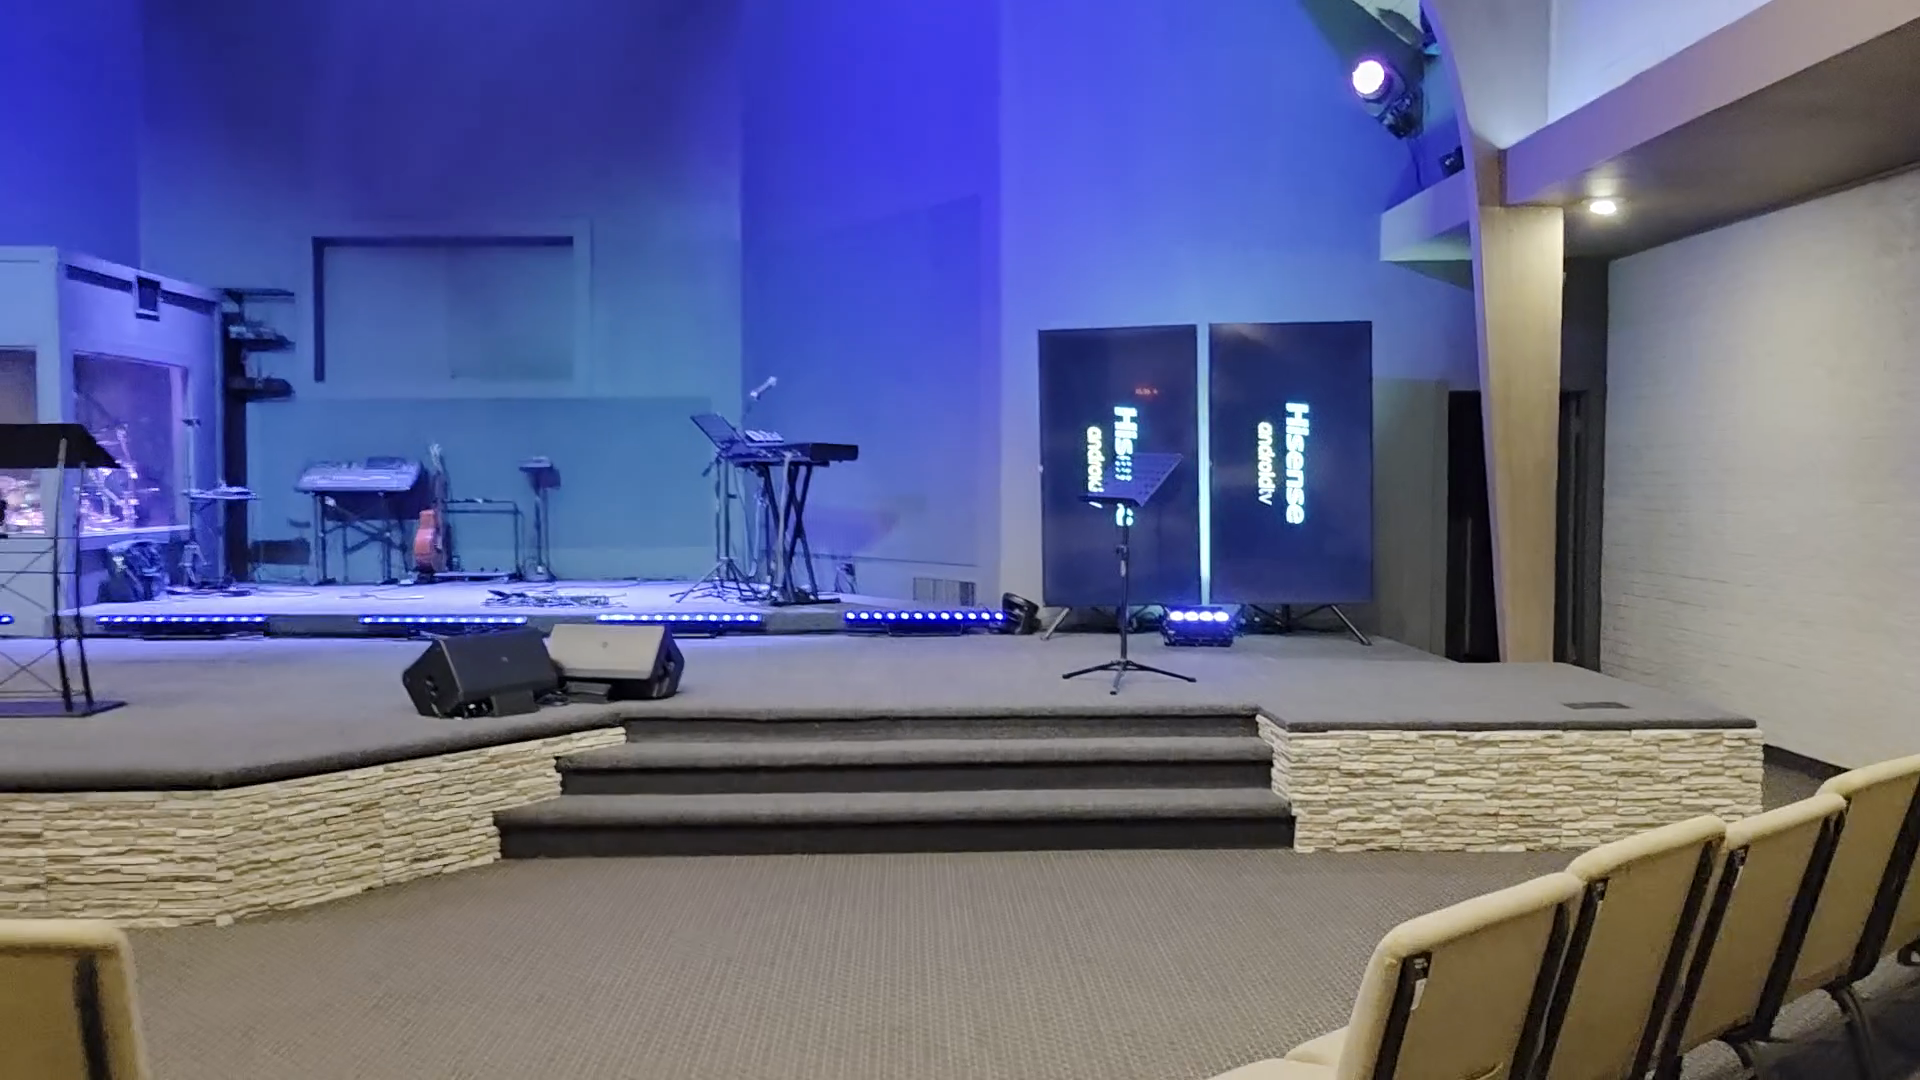
These are now loading from the very beginning.

If they show this start-up process, hey were likely restarted at some point, probably for an update.
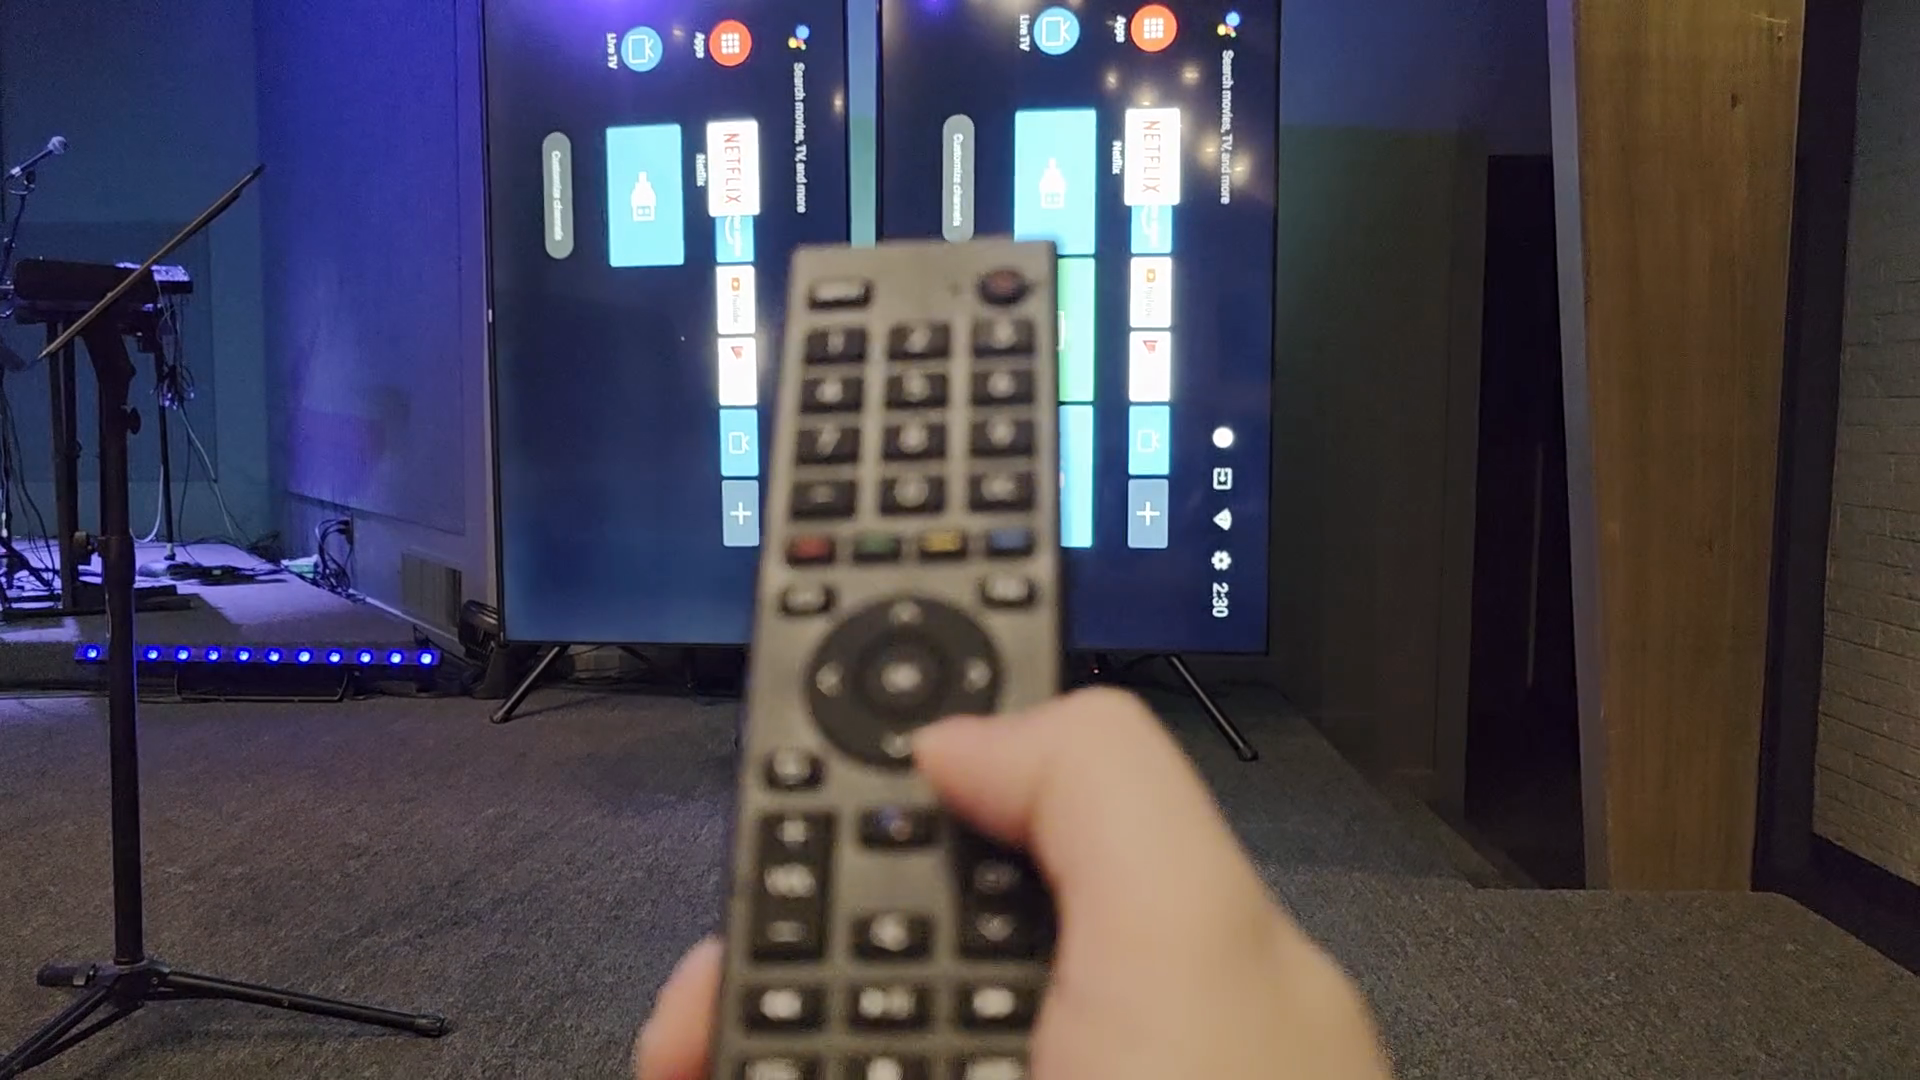
Sometimes it doesn't go through this cycle, but if it does, all you have to do is press the favorite button on the remote.
You would repeat that process on the other side as well, then go back to the booth.
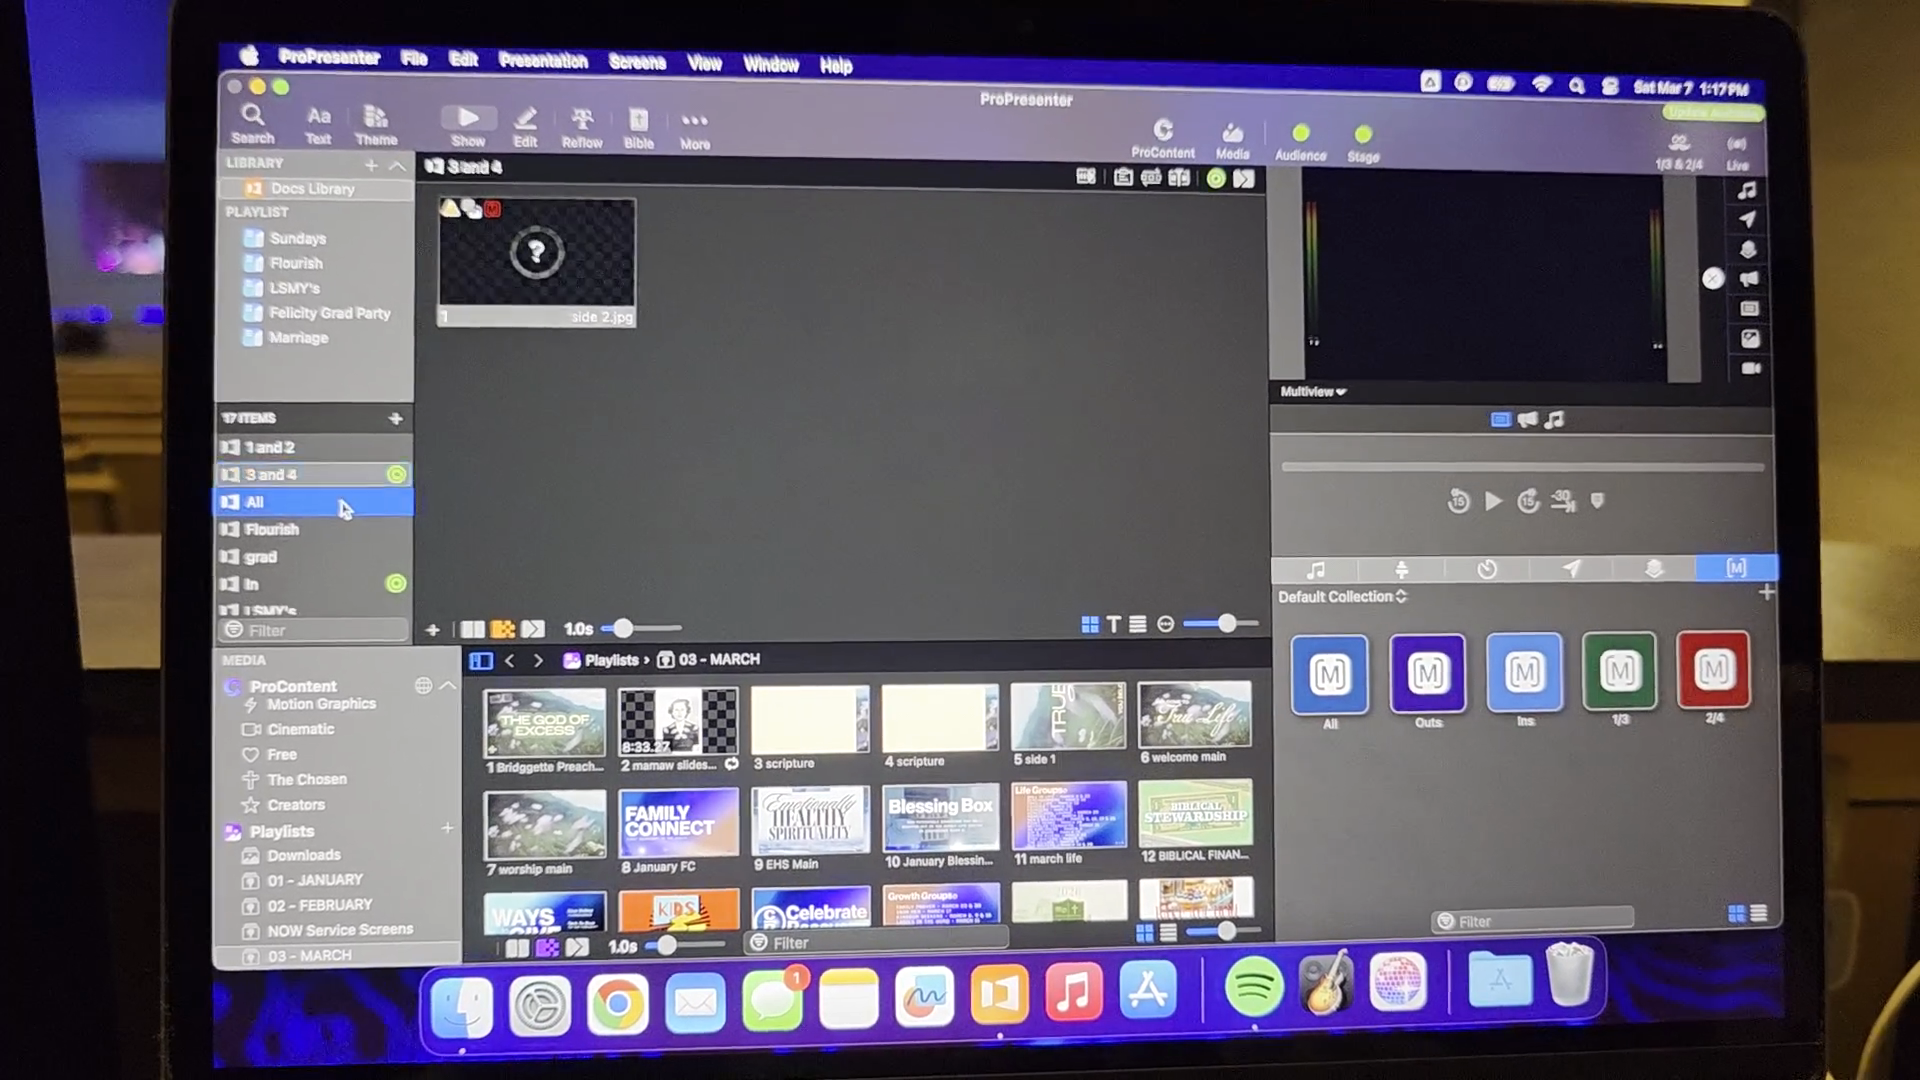
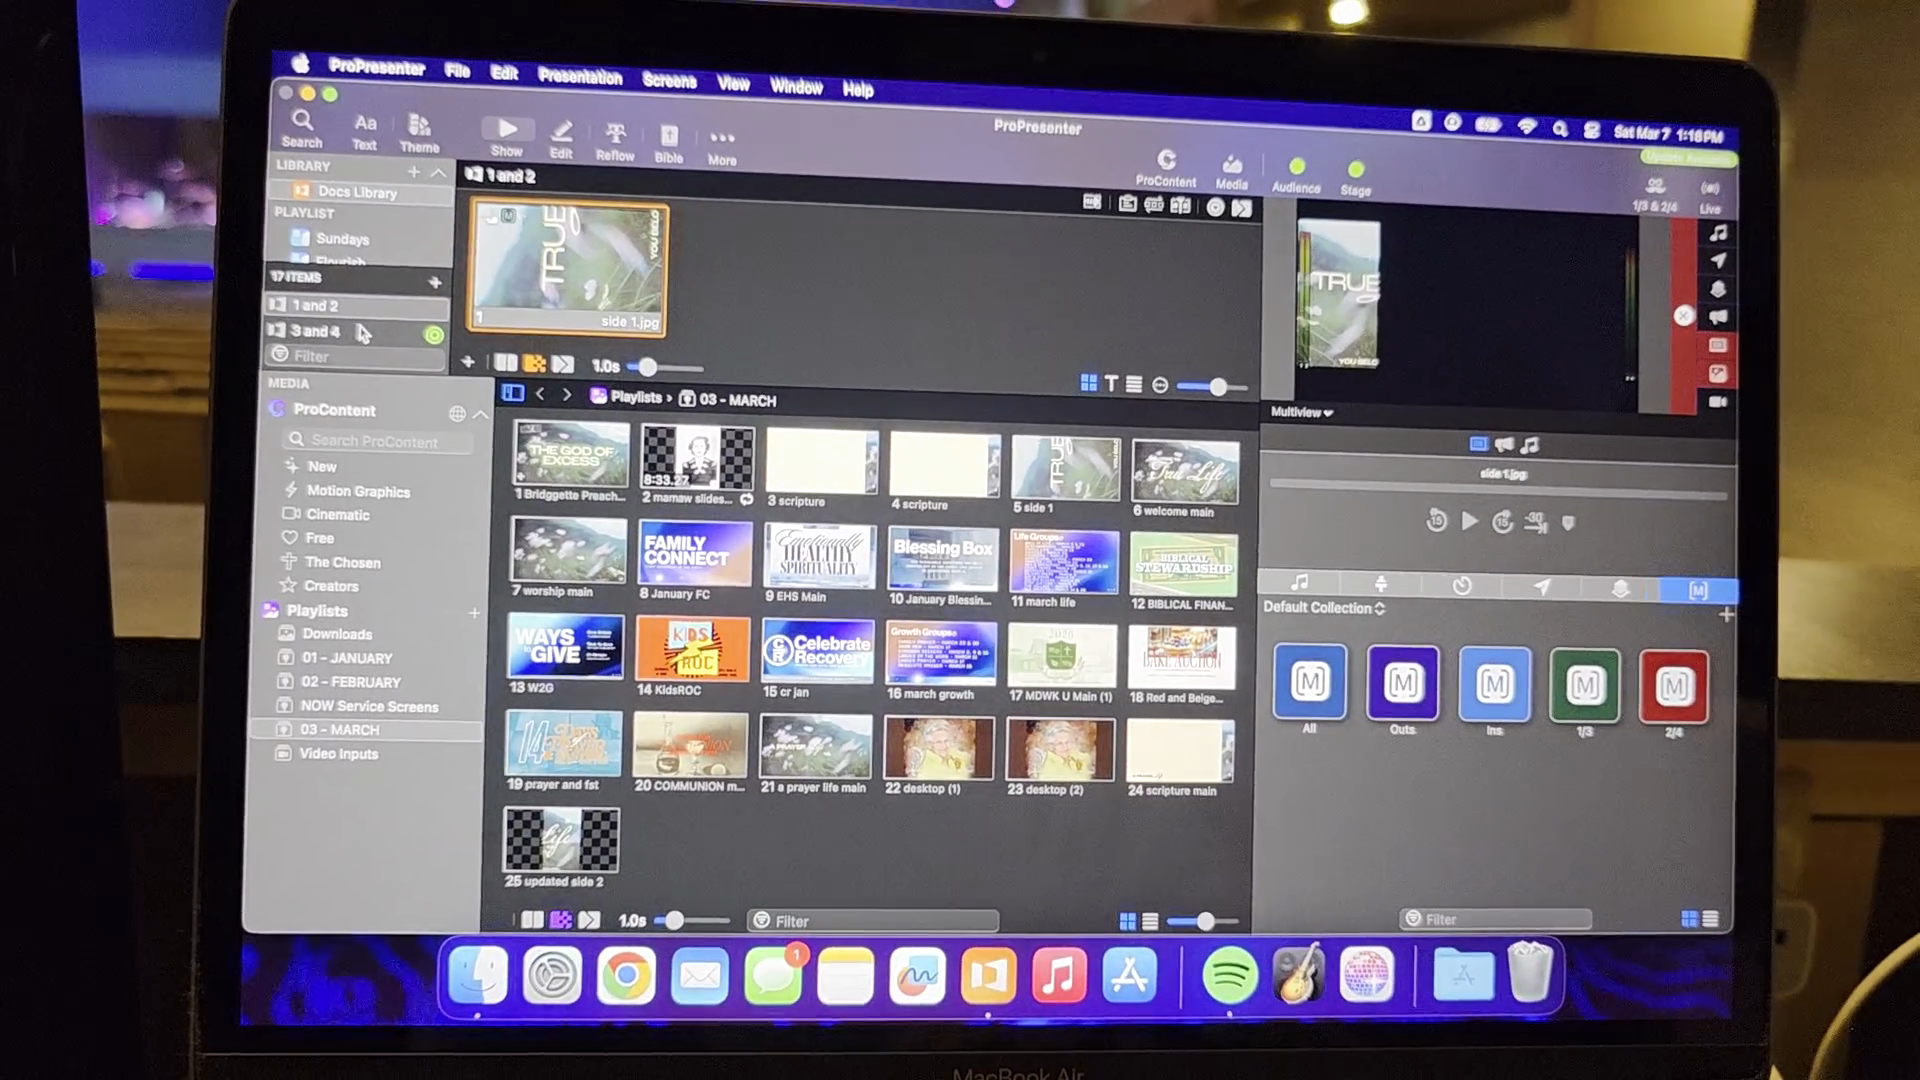
This ProPresenter is set up a little differently than the other one. On Sunday, we run one, two, three, and four.
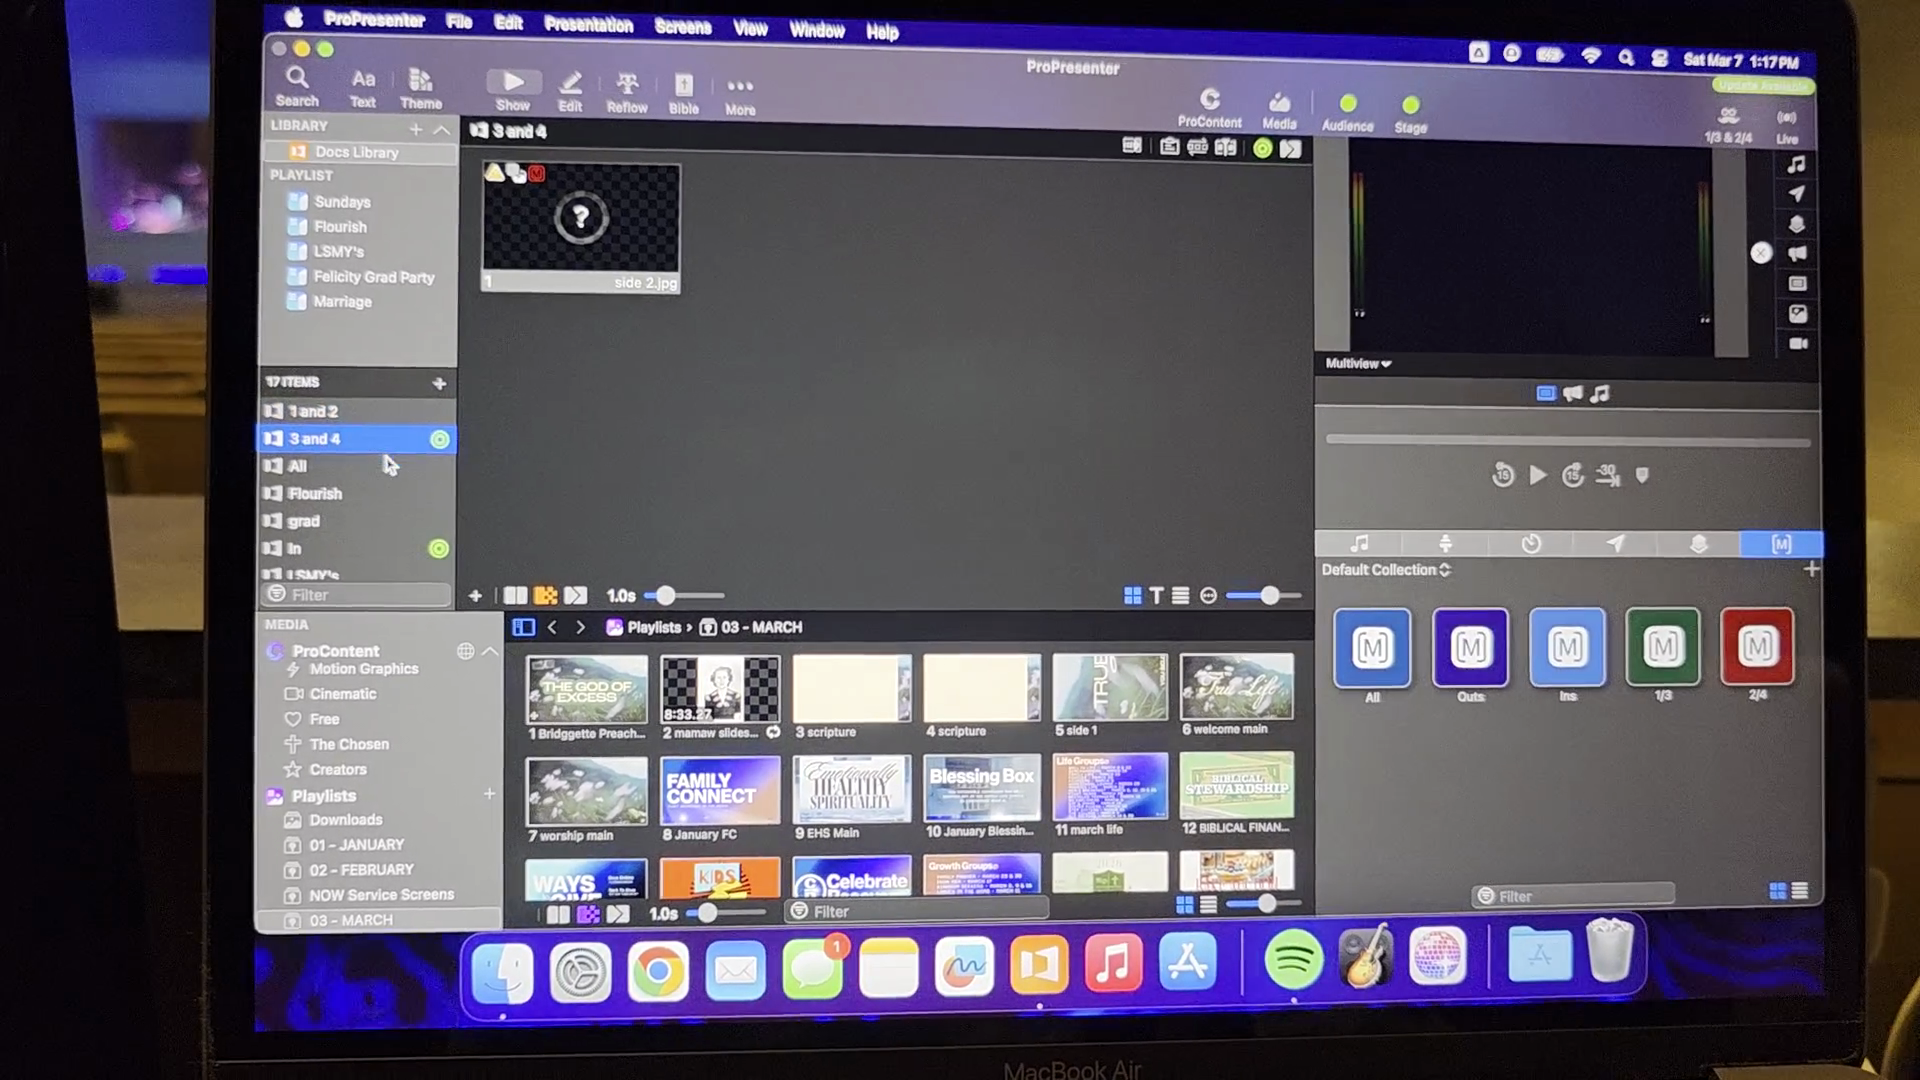
If it's the same graphic for every TV, upload a single file to all.
In the past few months, we used a single graphic for every TV. We just clicked it, and they all looked the same.
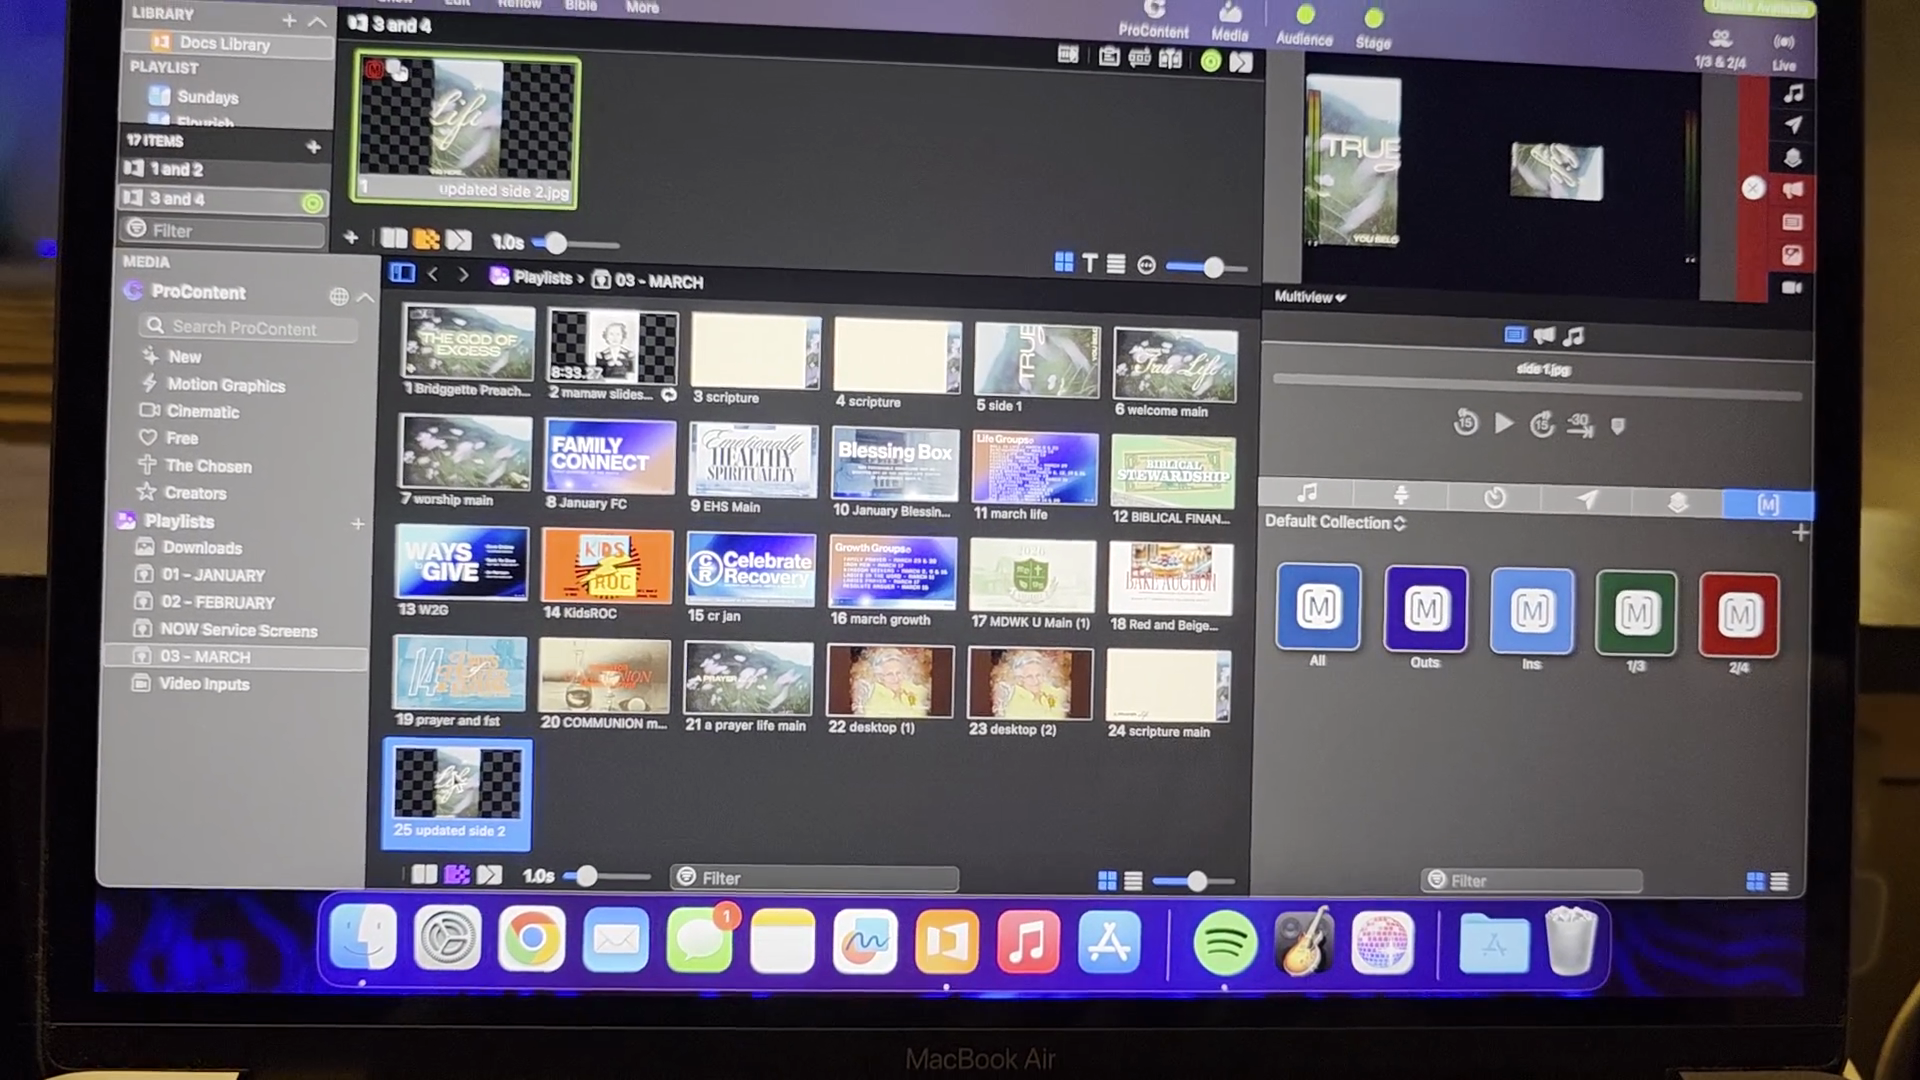
Now, for months where there is a split graphic, we have to load 2 separate graphics.
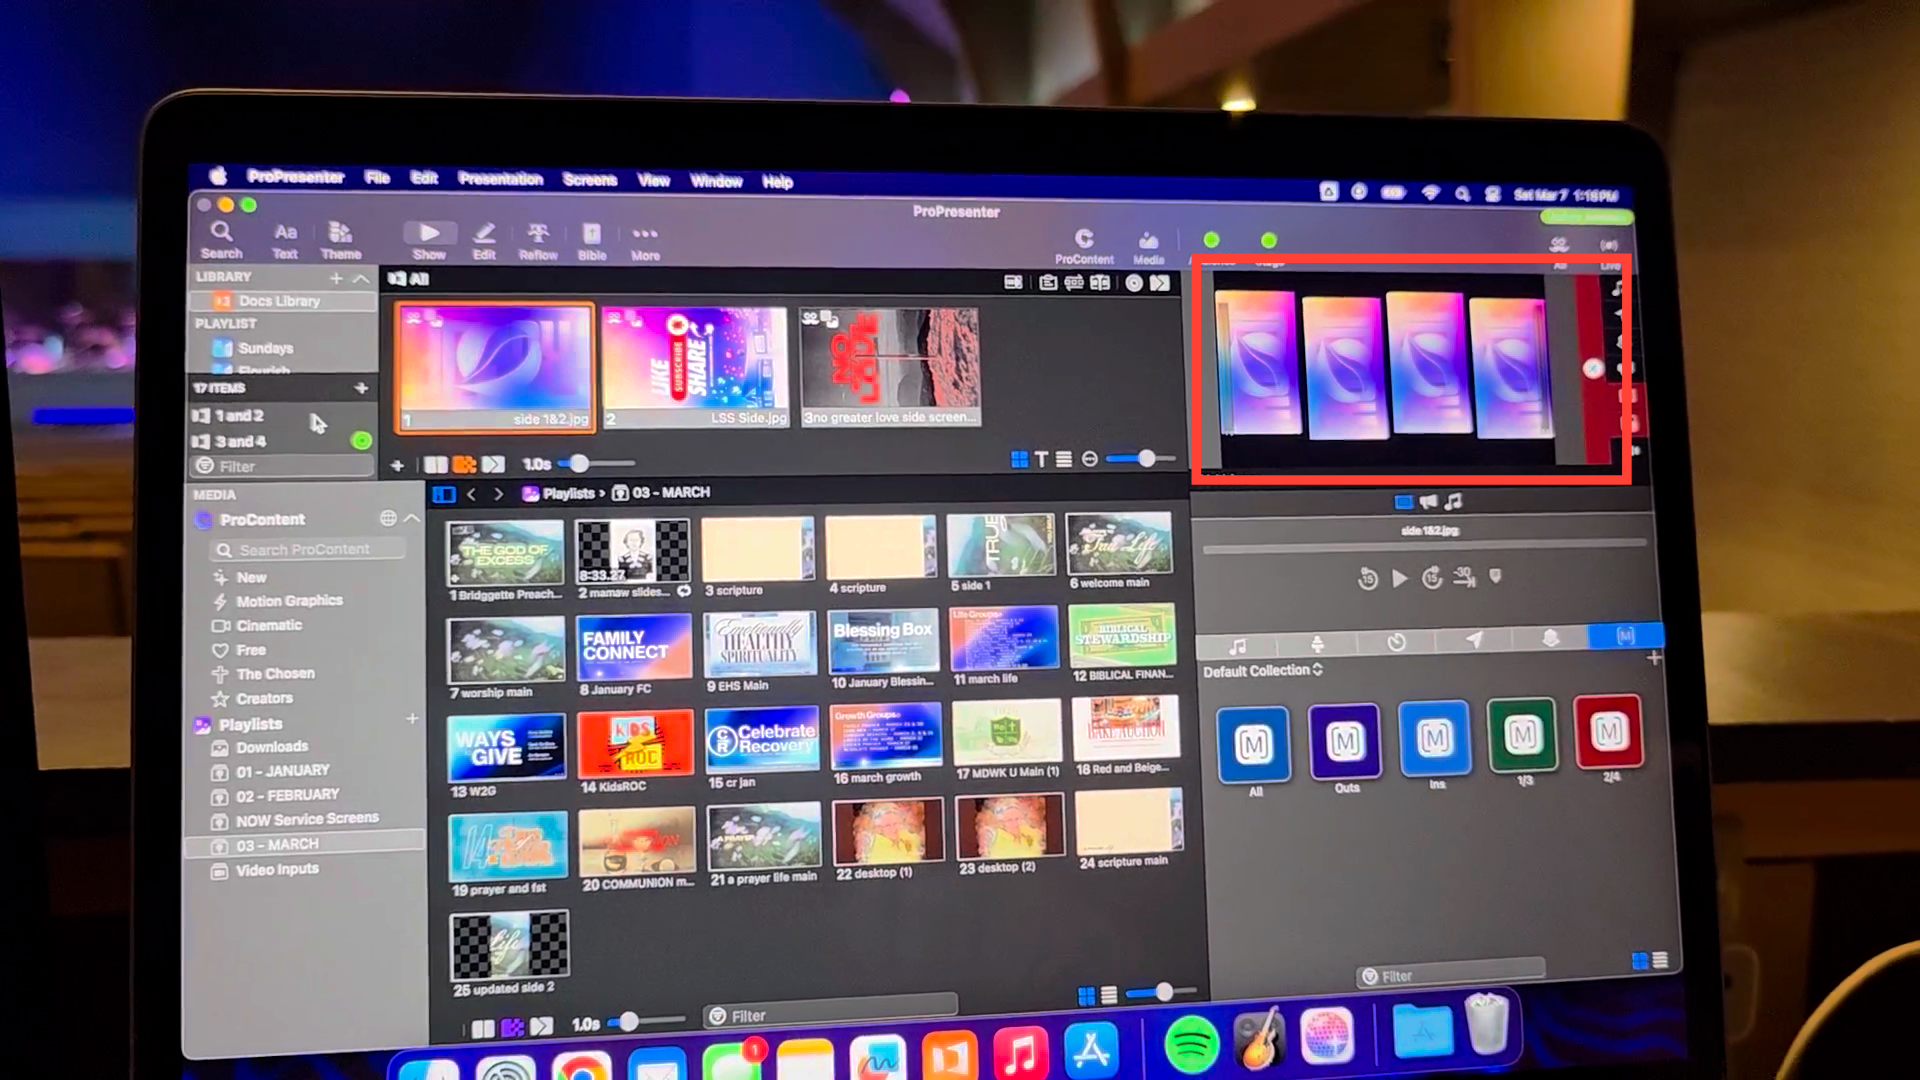
This will be the next one. If you drag it up and it looks like this, it will not appear correctly on the screen. That's what it will look like.
That will not work. How do we fix that? Down here in this pane, click it to highlight.
Go to Inspector. In Inspector, select the second option here.

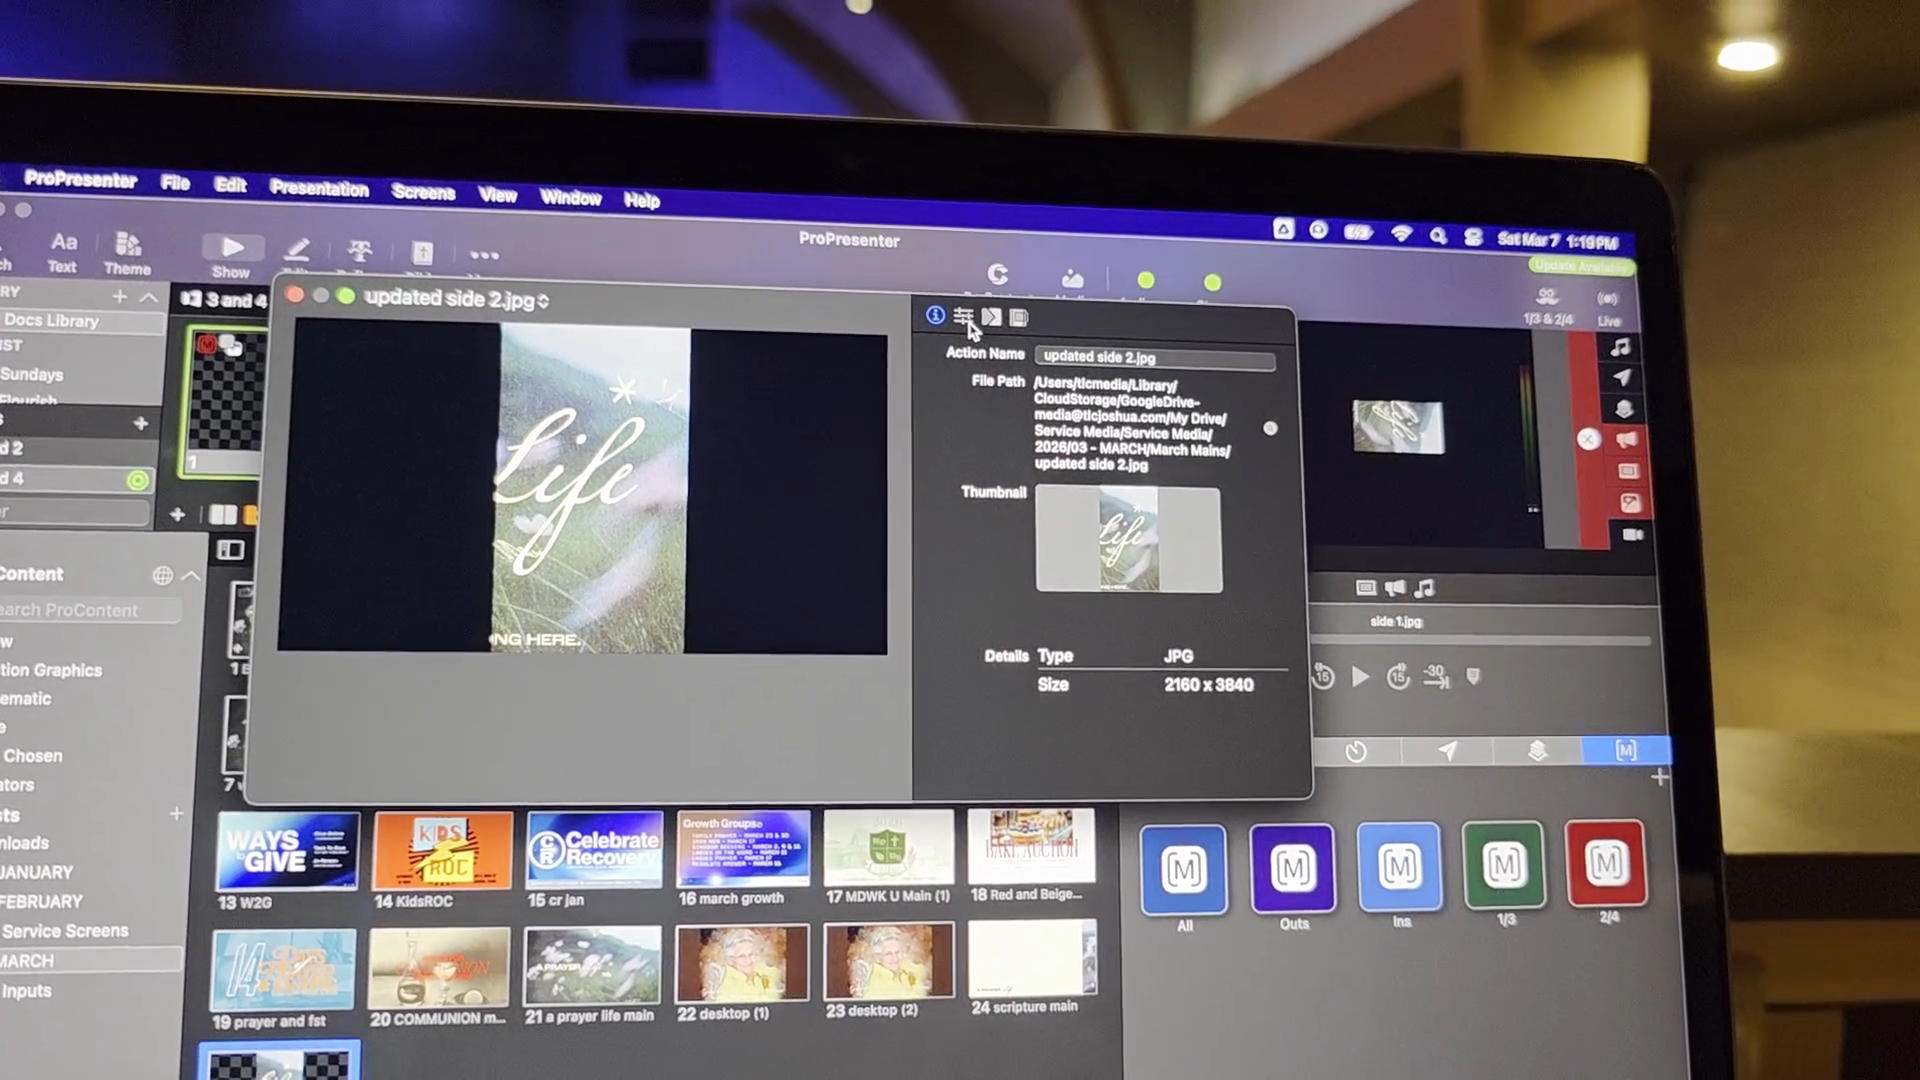
This is how you scale to fit items, but we are focusing on rotation.
These graphics need to be rotated 270 degrees to fit properly on these screens.
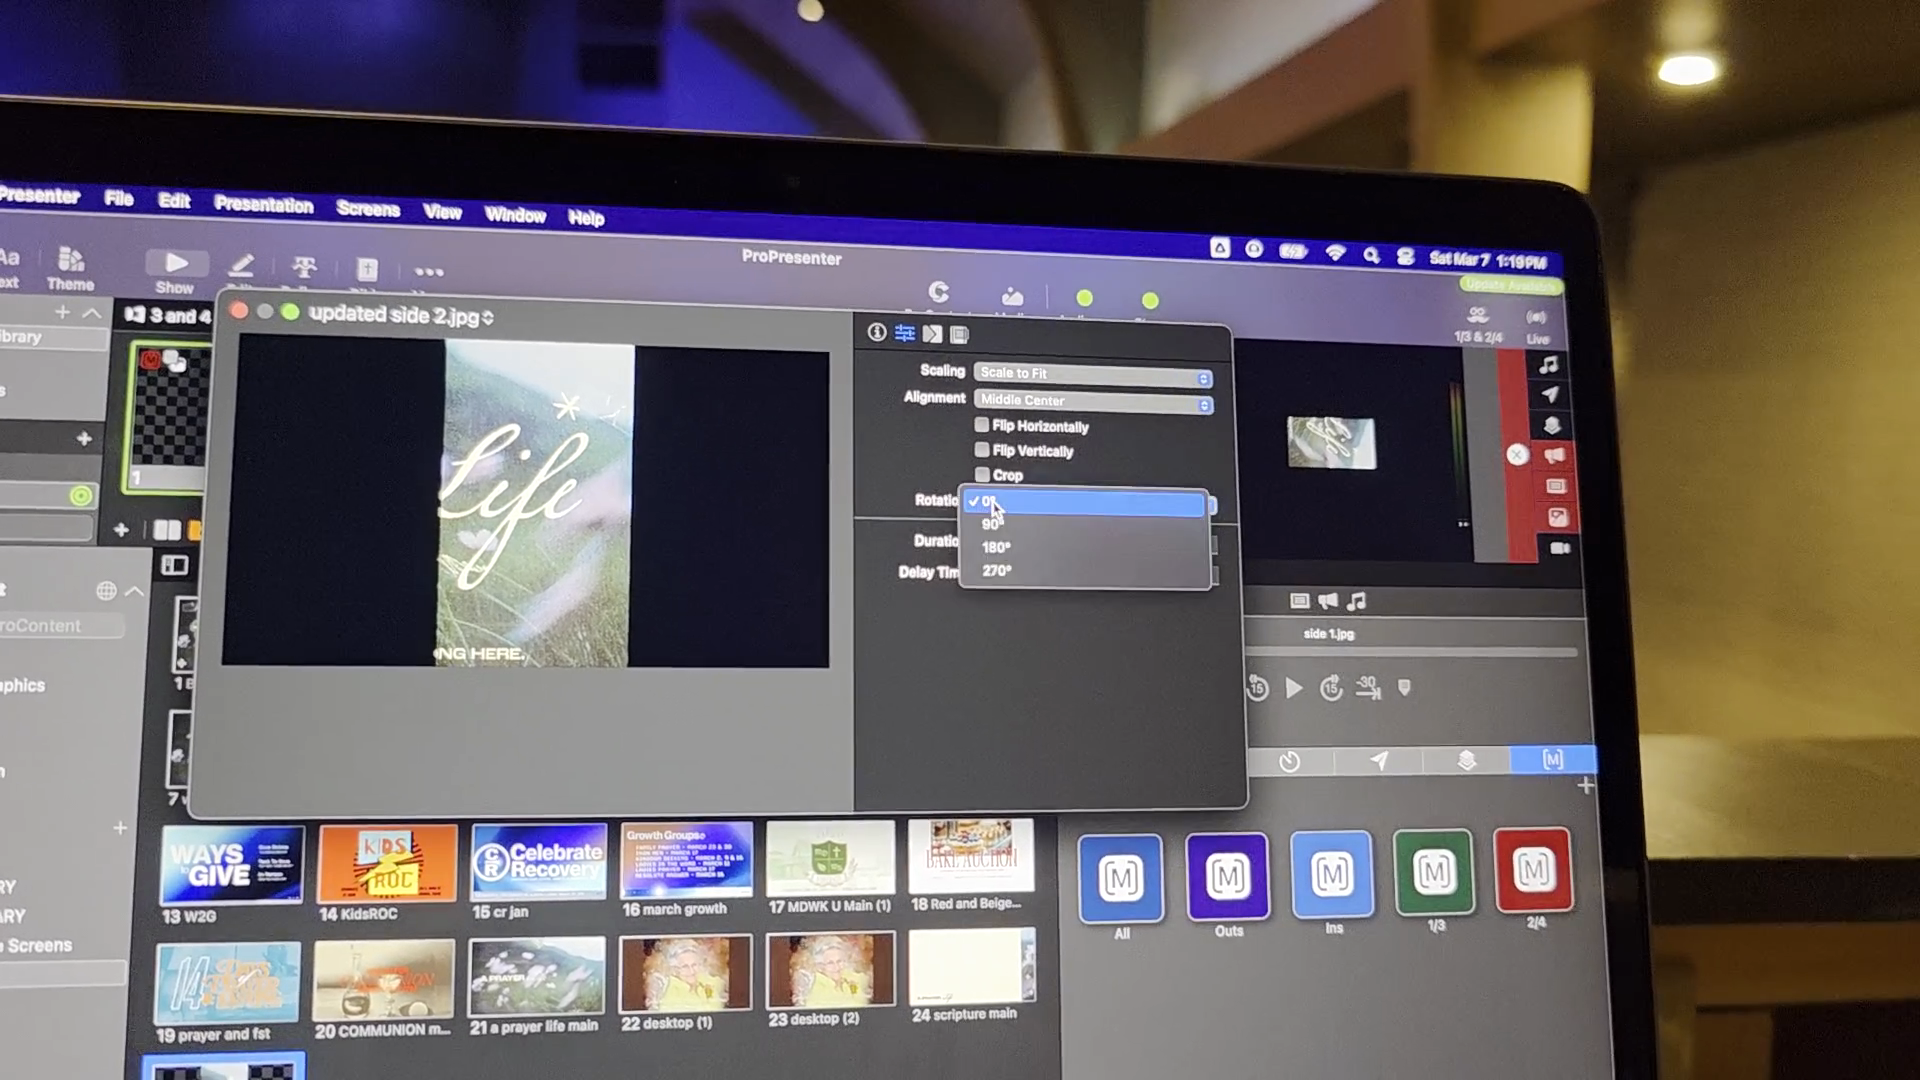
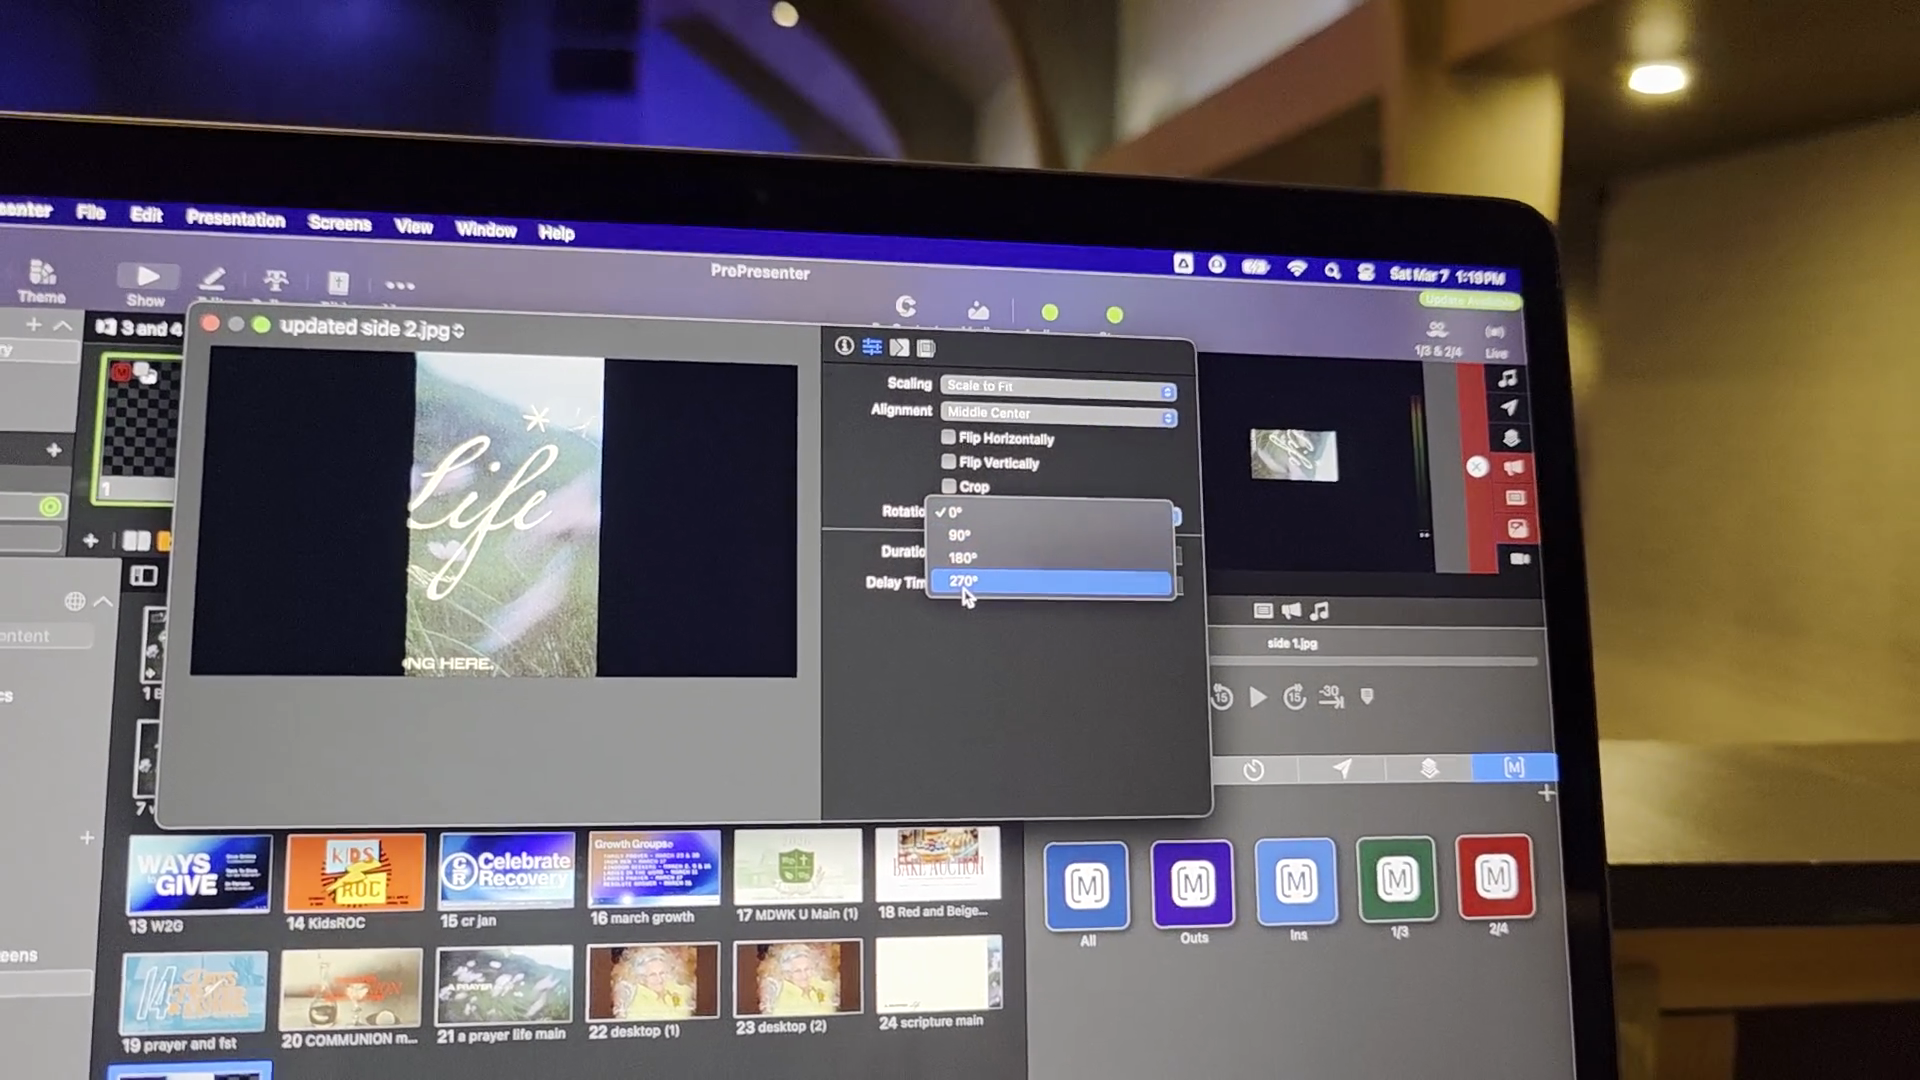
Now that it is rotated 270 degrees, click and drag the graphic into place.
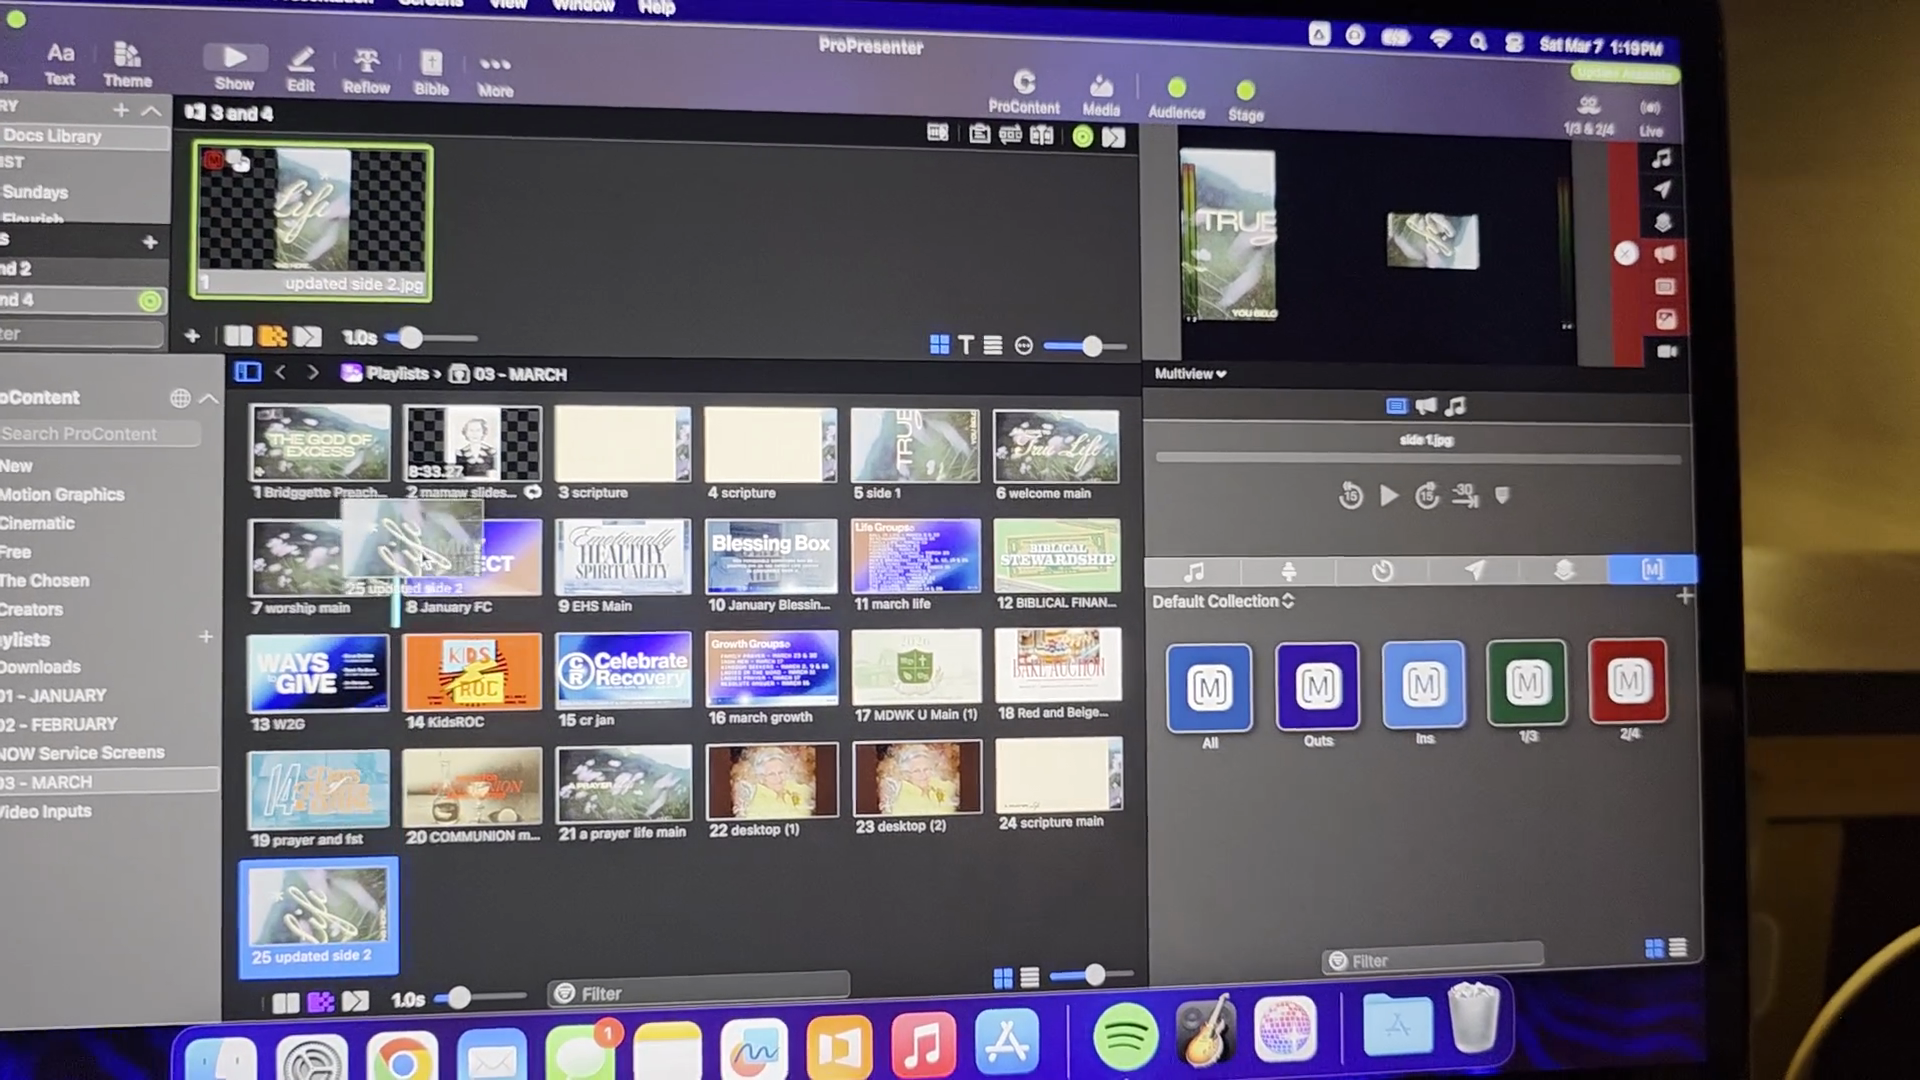
You can see where it looks correct. The question is, does it look correct on those screens as well?
For the most part, there is little troubleshooting involved. The main challenge is ensuring the graphics are in the correct place and in the correct orientation. Otherwise, it's pretty simple.
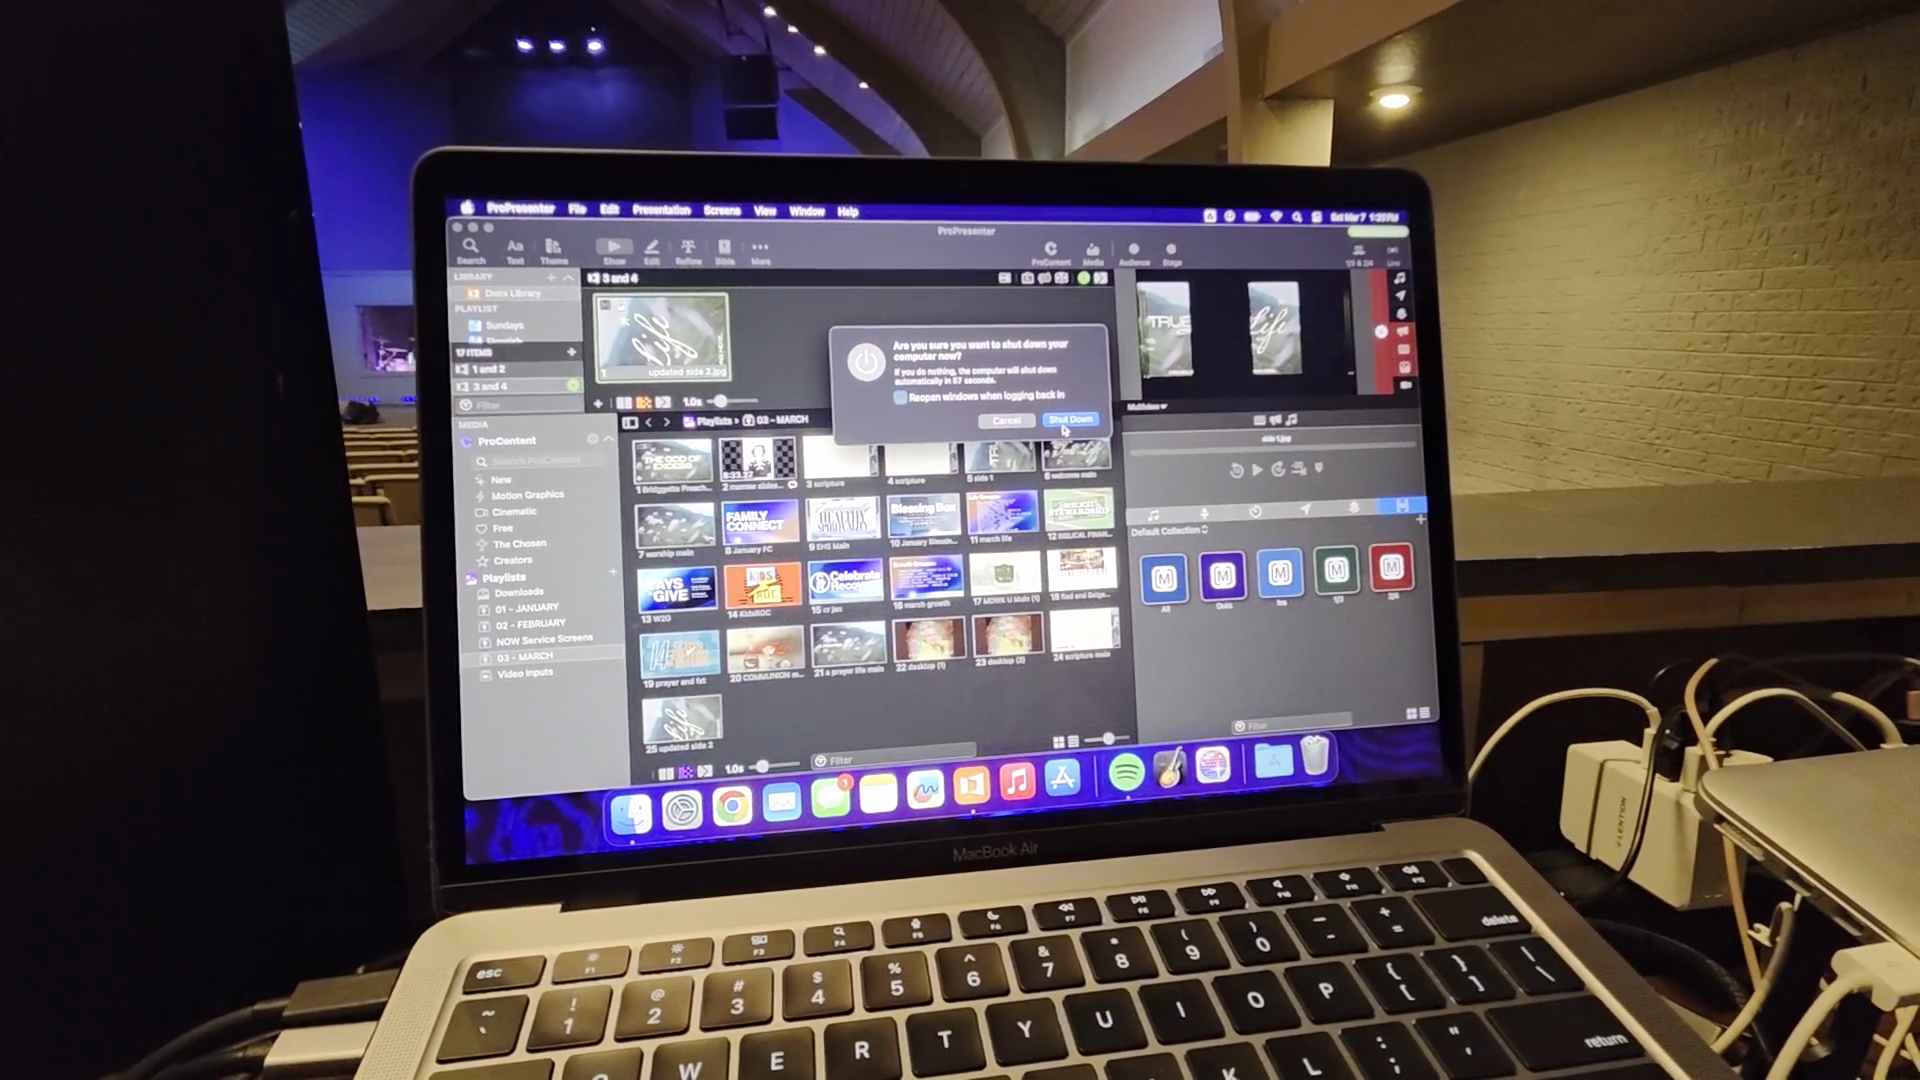
When it's time to shut down, I always turn off the TVs first.
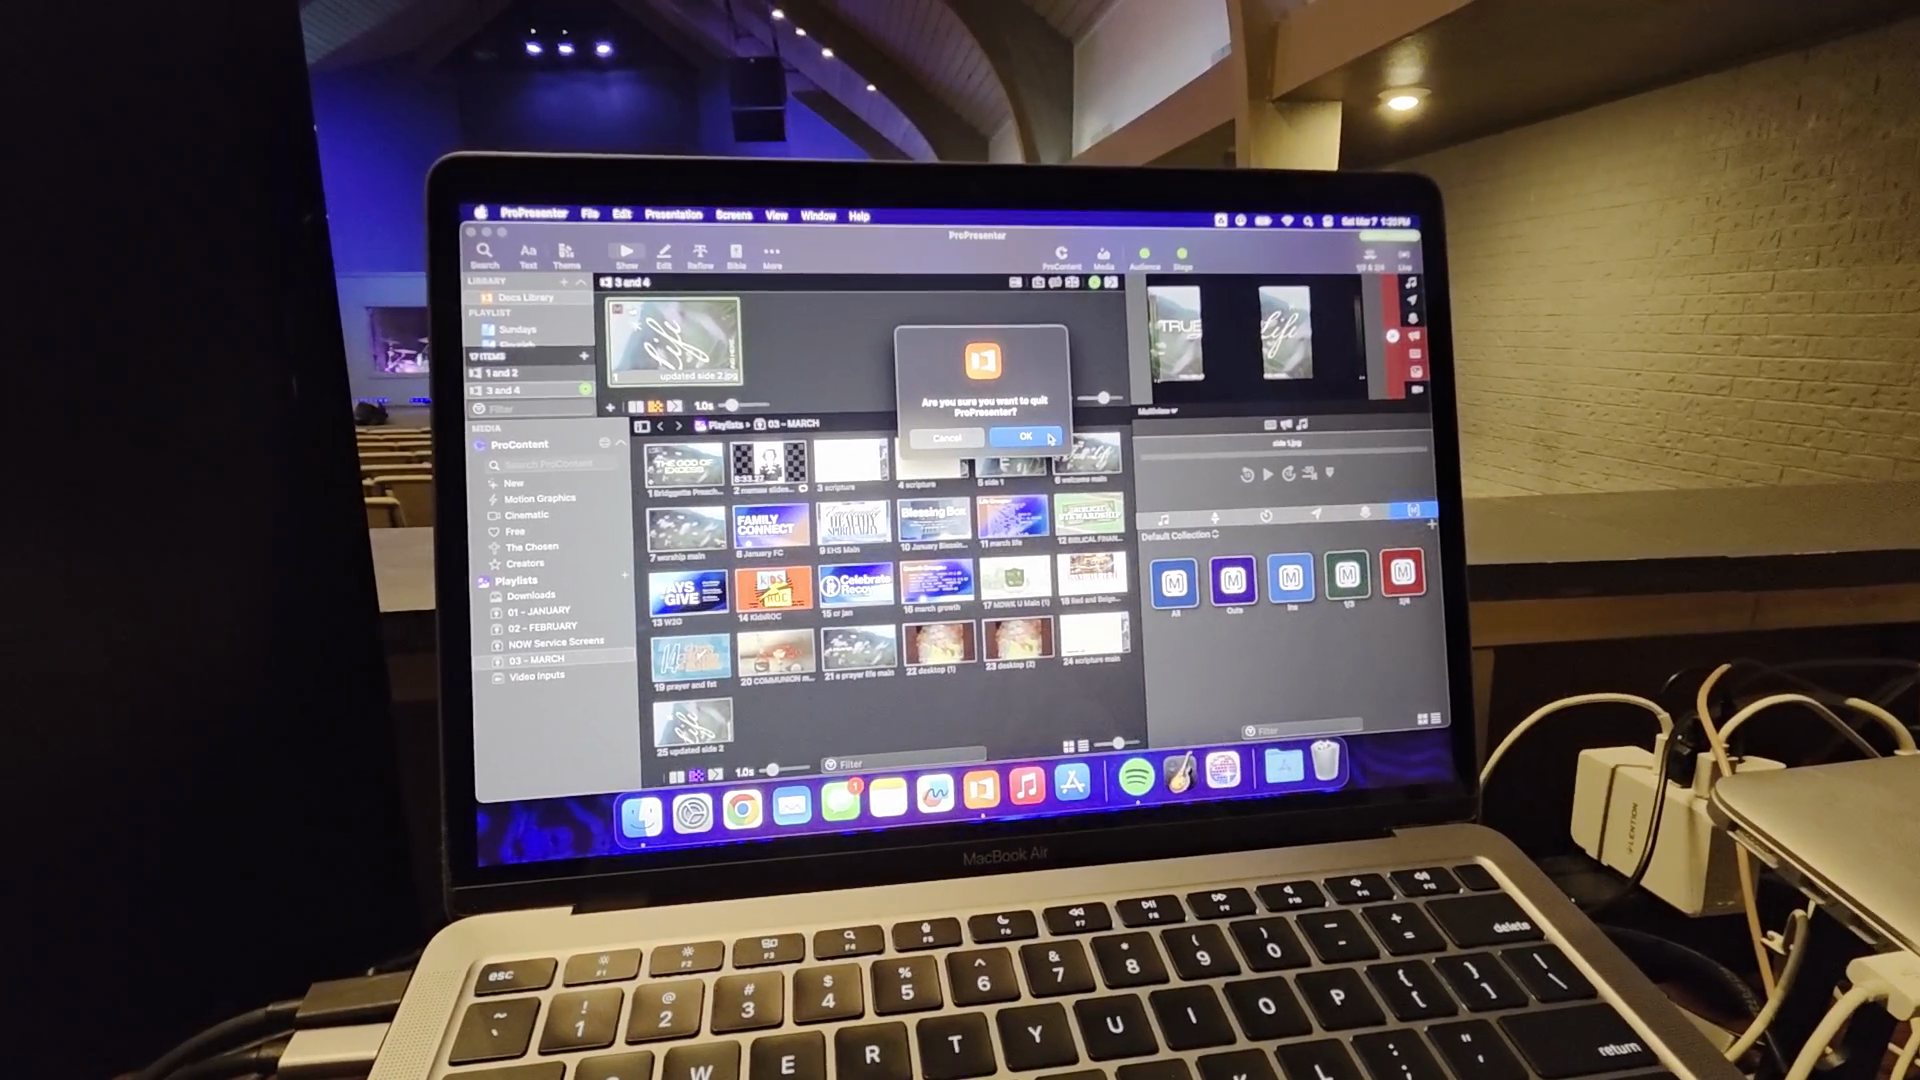
Go to the same place where you turned them on and turn them off. When I return to the booth, I go to my Apple device and shut it down.
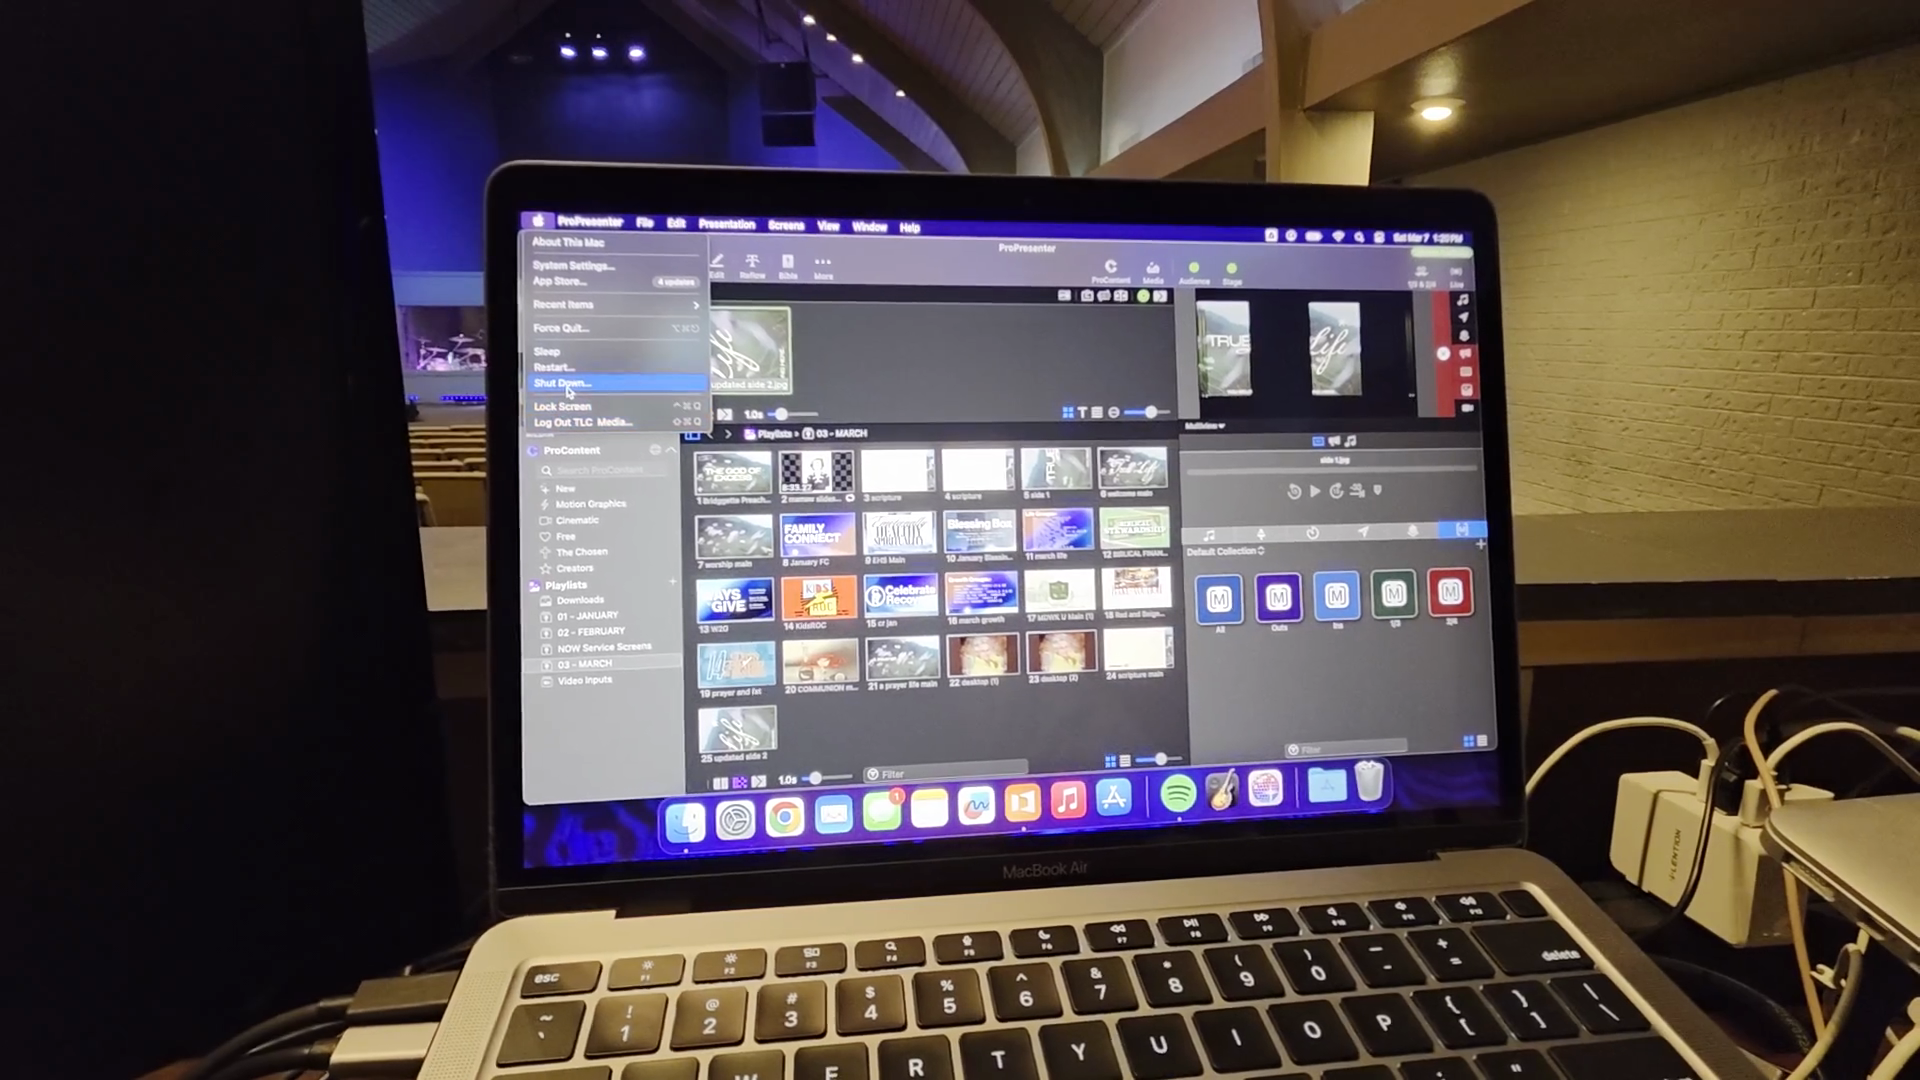
It will ask, "Do you want to shut down?" I select "Yes." Then ProPresenter asks, "Do you want to quit?" I confirm, and that's it.
That covers the side screens. It's easy. This is probably the simplest task in this booth.