
How to Set Up the Viewing Port in Your Project: Step-by-Step Guide
Learn how to set up the viewing port in your project, including how to find and set latitude and longitude, adjust camera settings, and save your viewport for optimal map display.
In this guide, we'll learn how to set up the viewing port for a project using latitude and longitude coordinates. This process involves finding the correct location on a map, copying the coordinates, and entering them into the project settings. The goal is to ensure the view port centers on the correct area for accurate project visualization.
Let's get started
This is an instructional guide on how to set up the viewing port in a project.
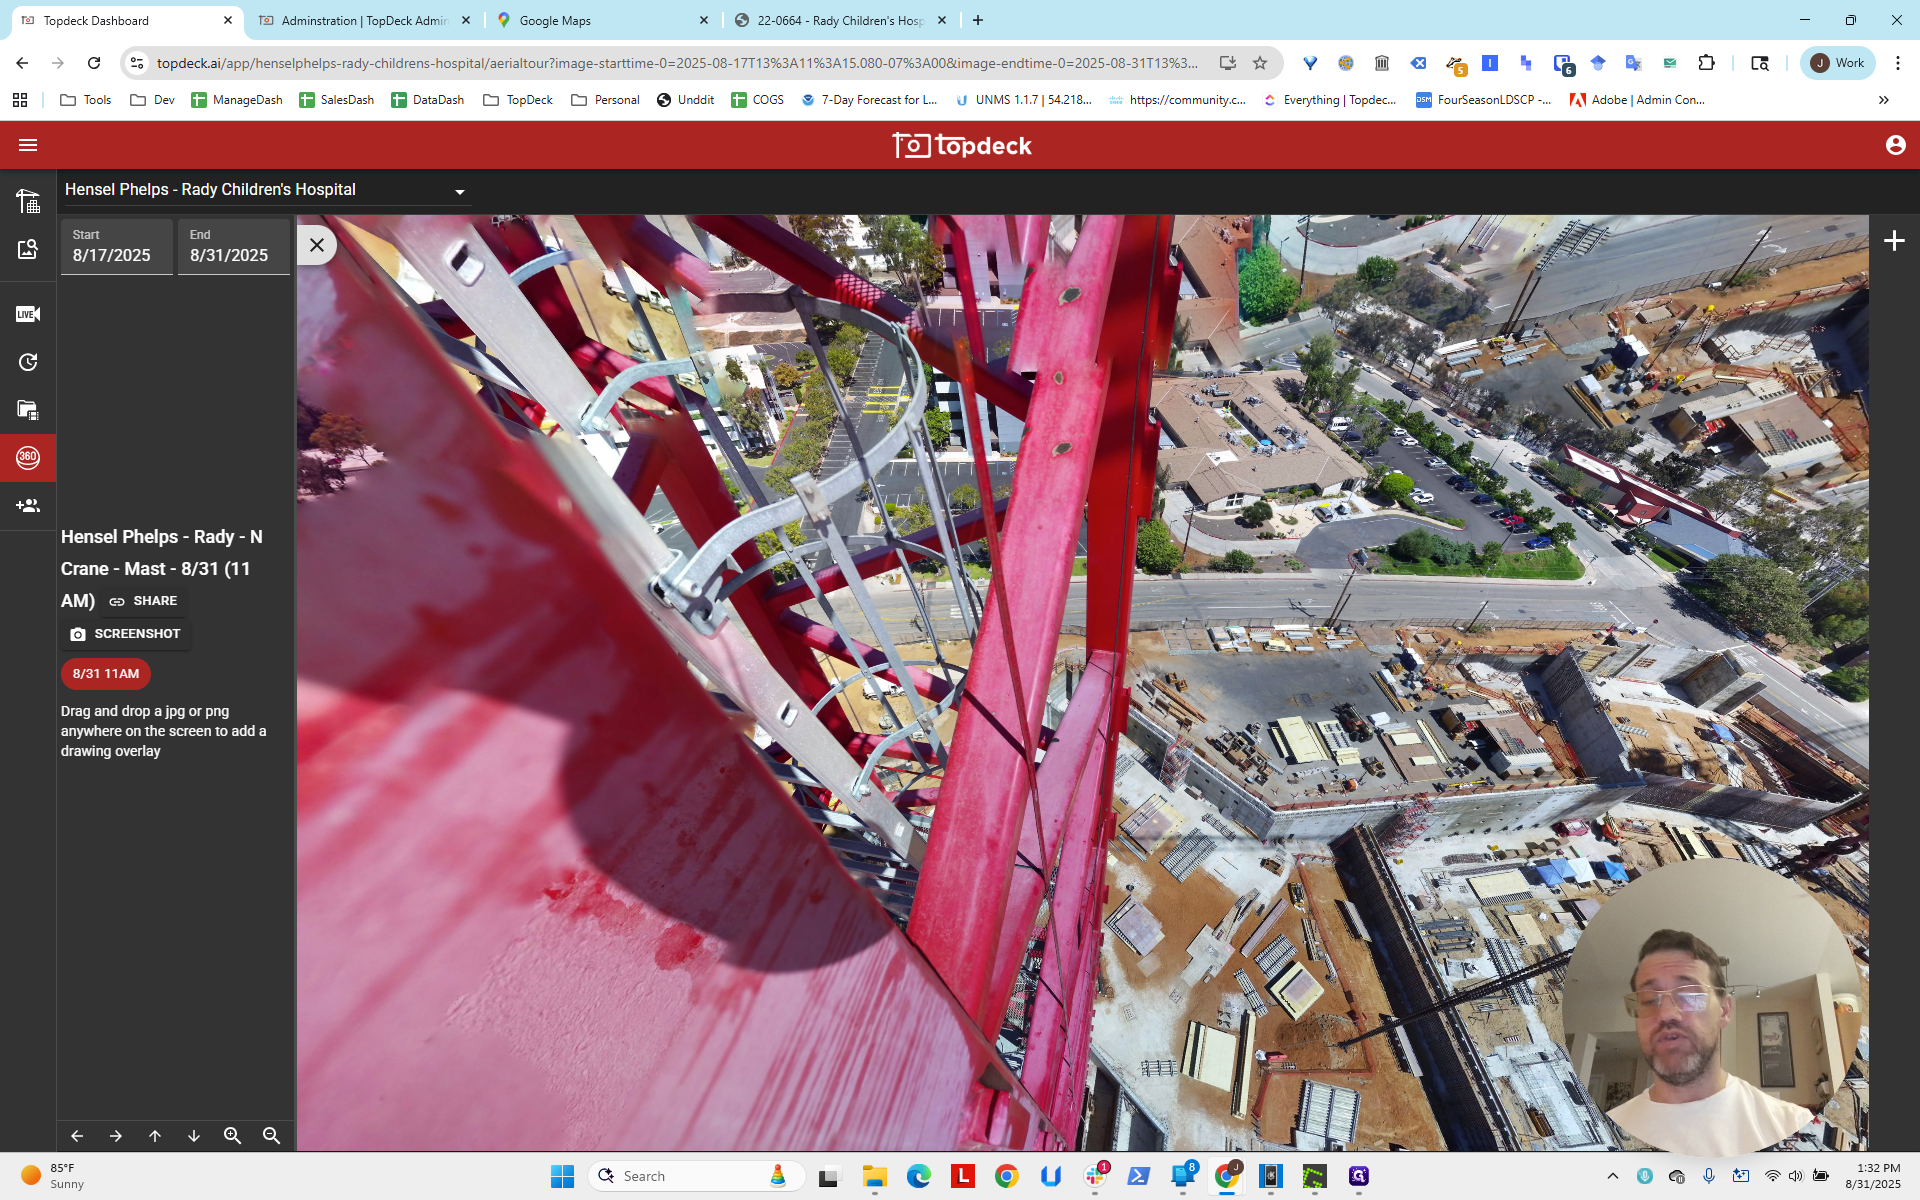
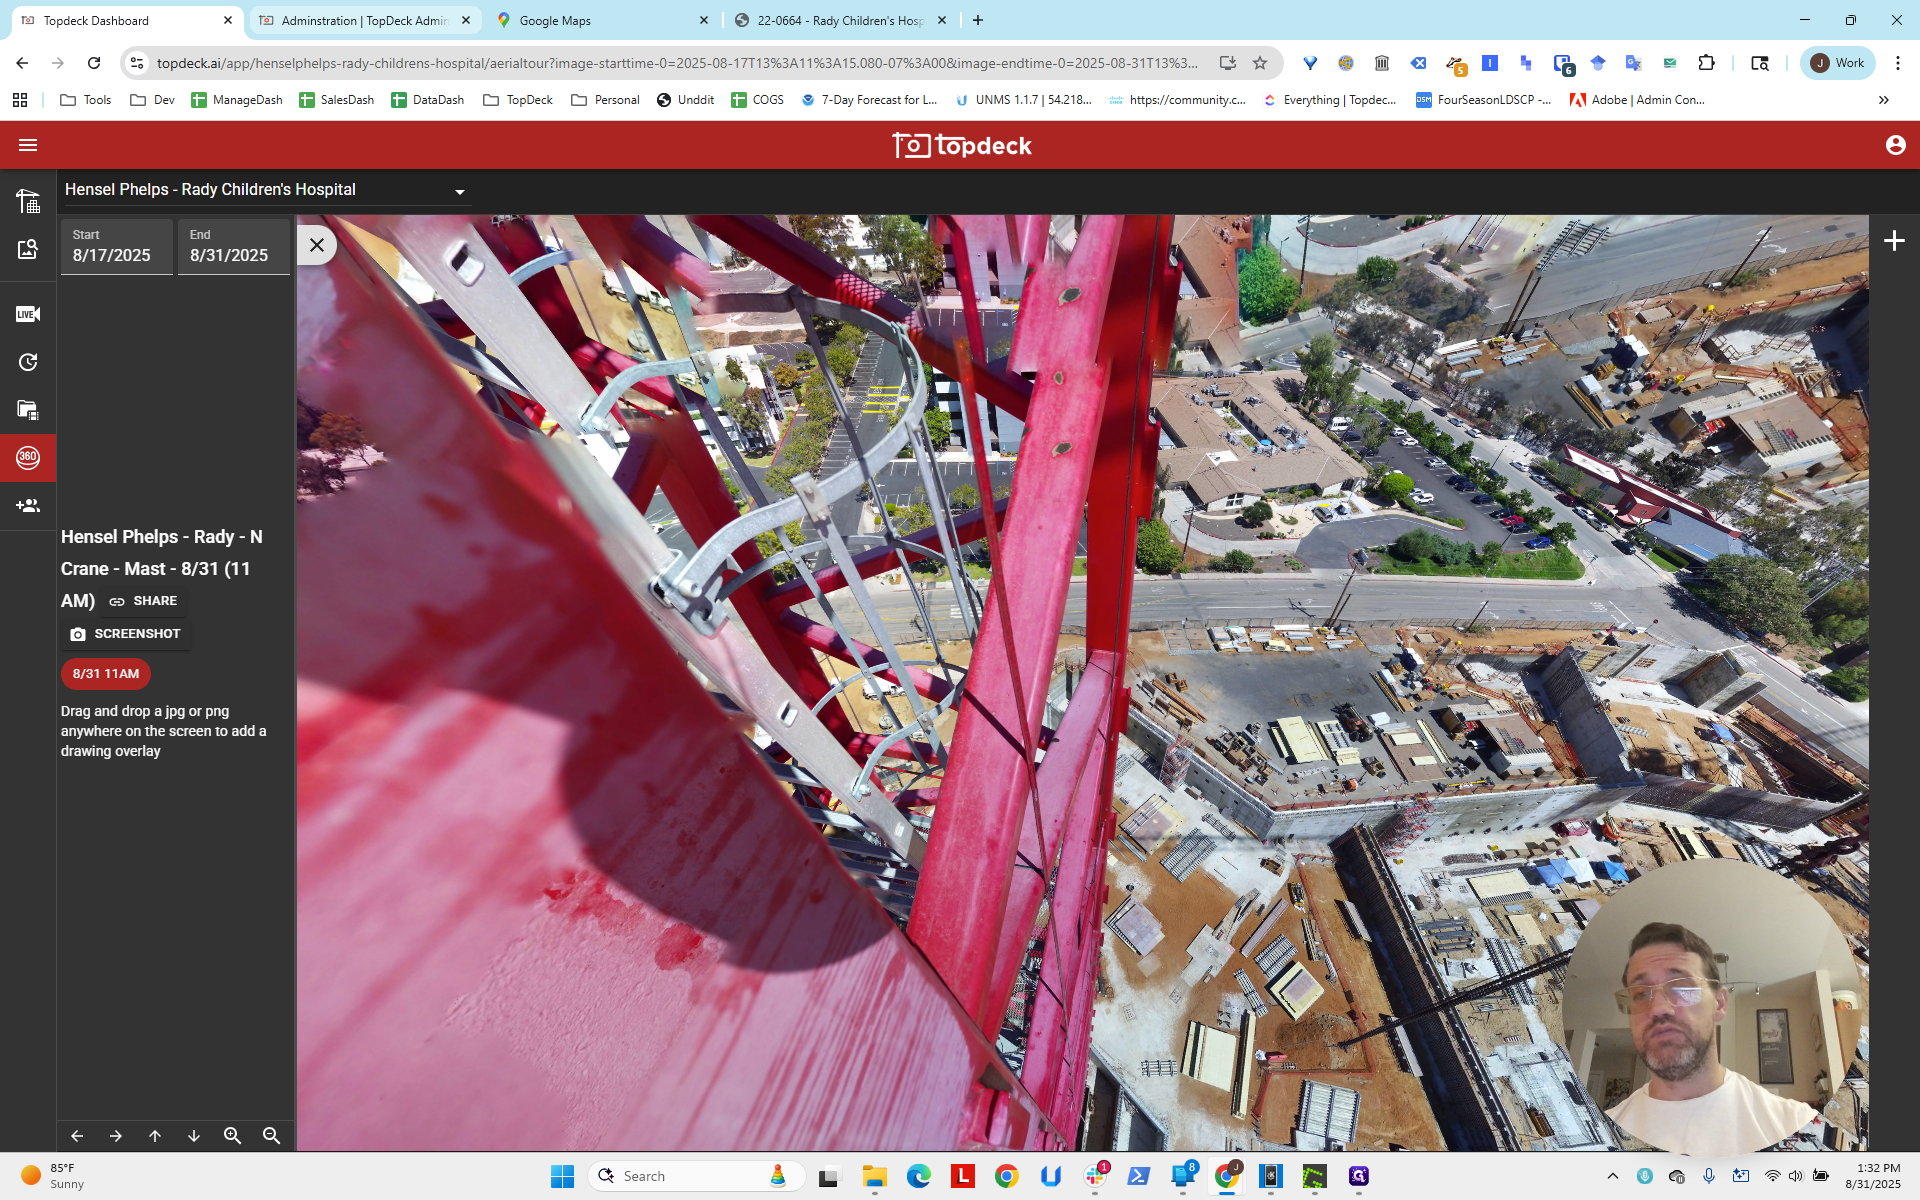
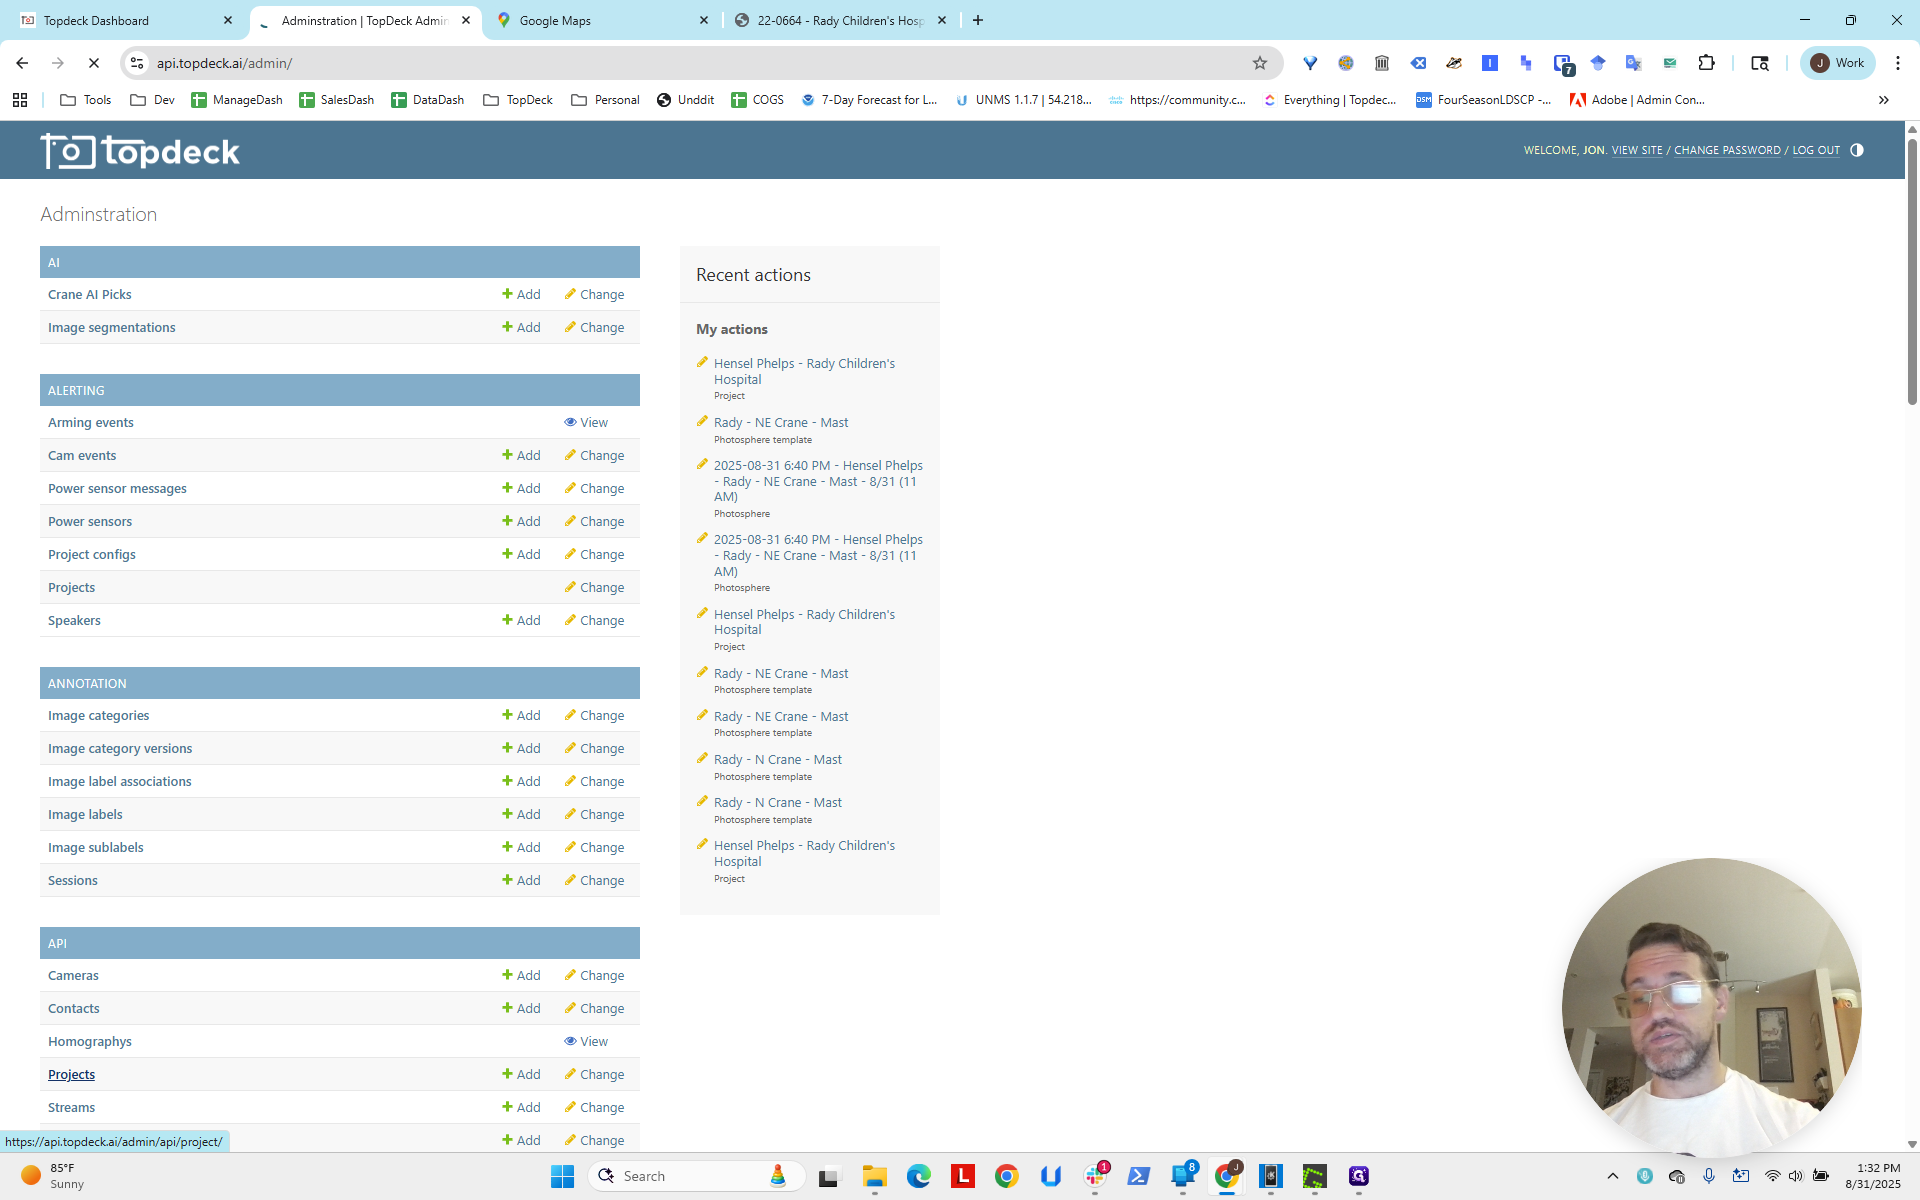
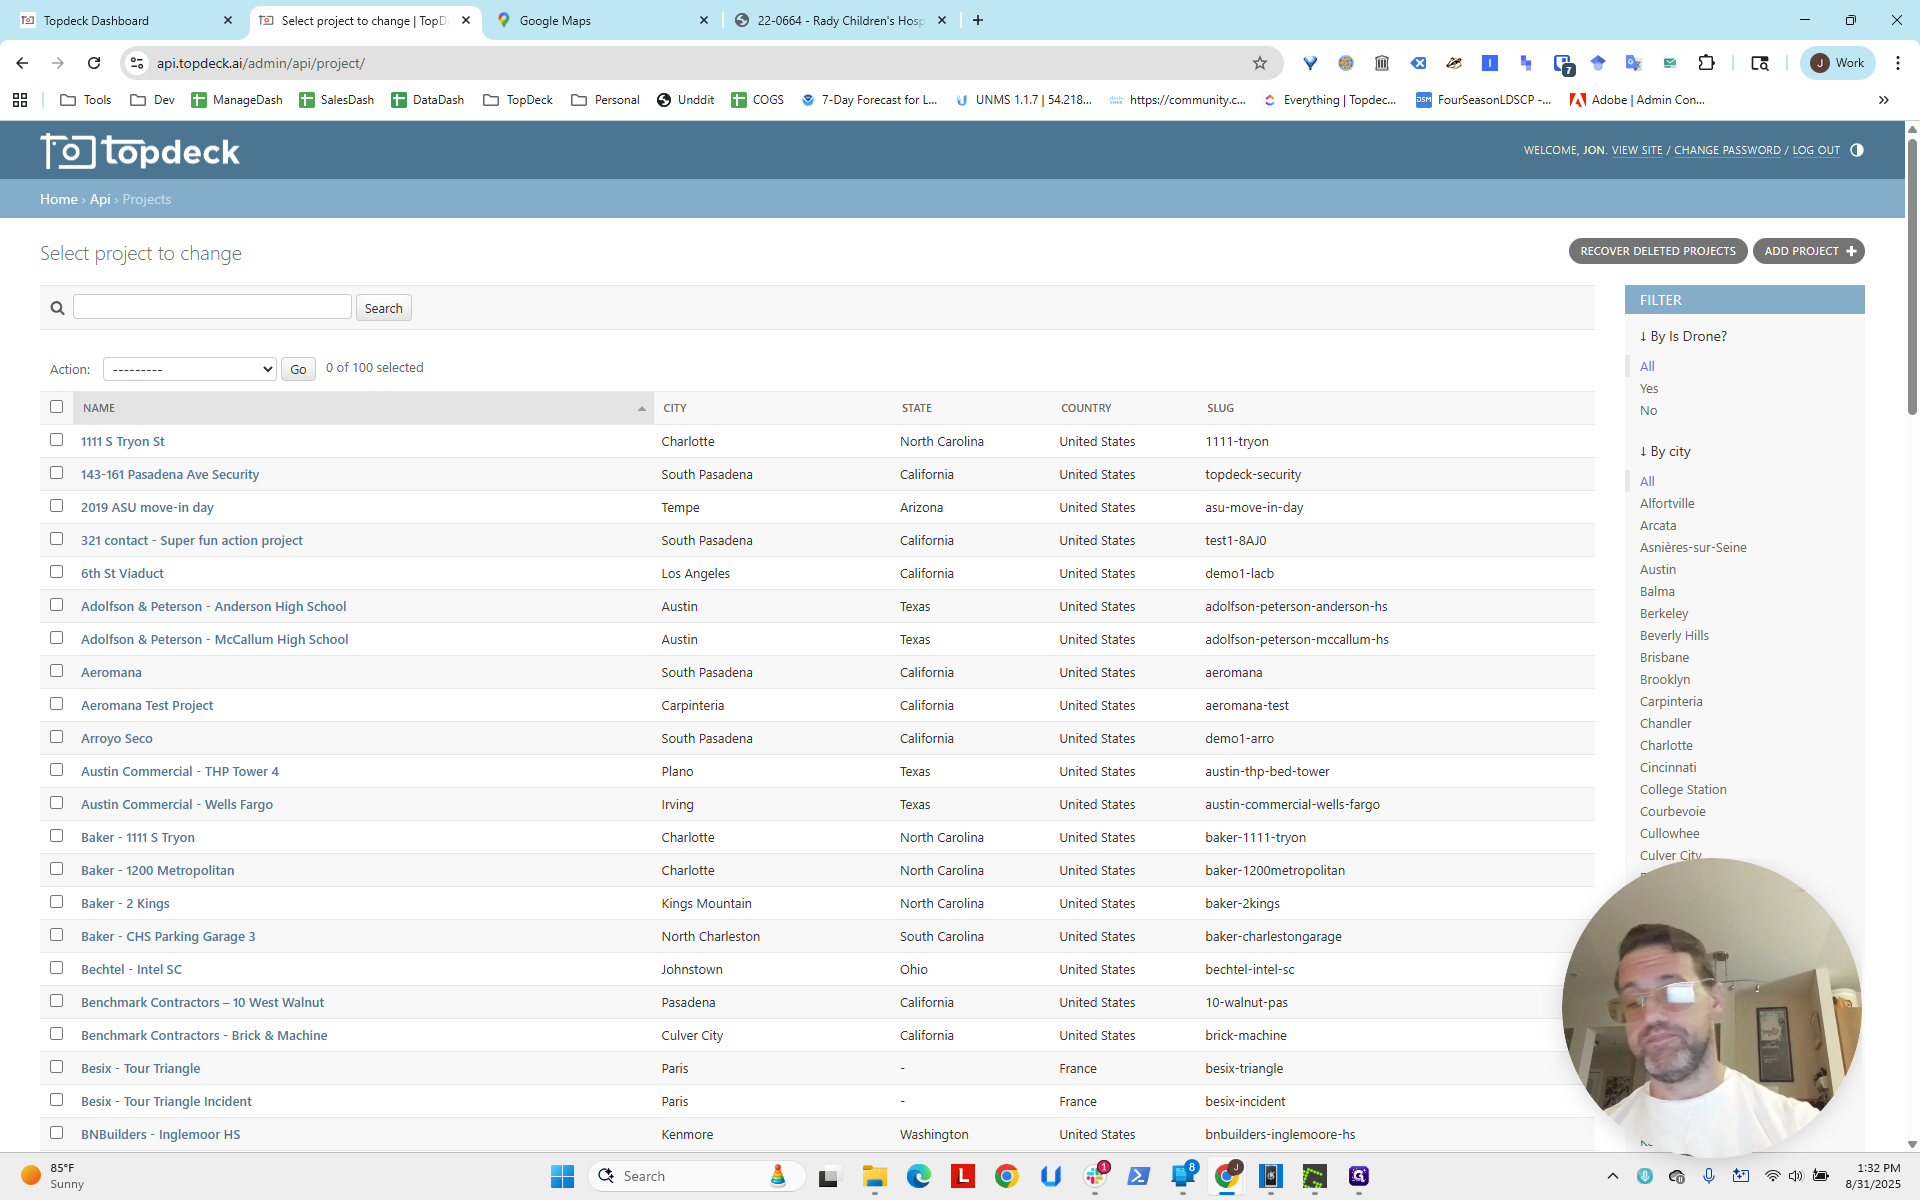
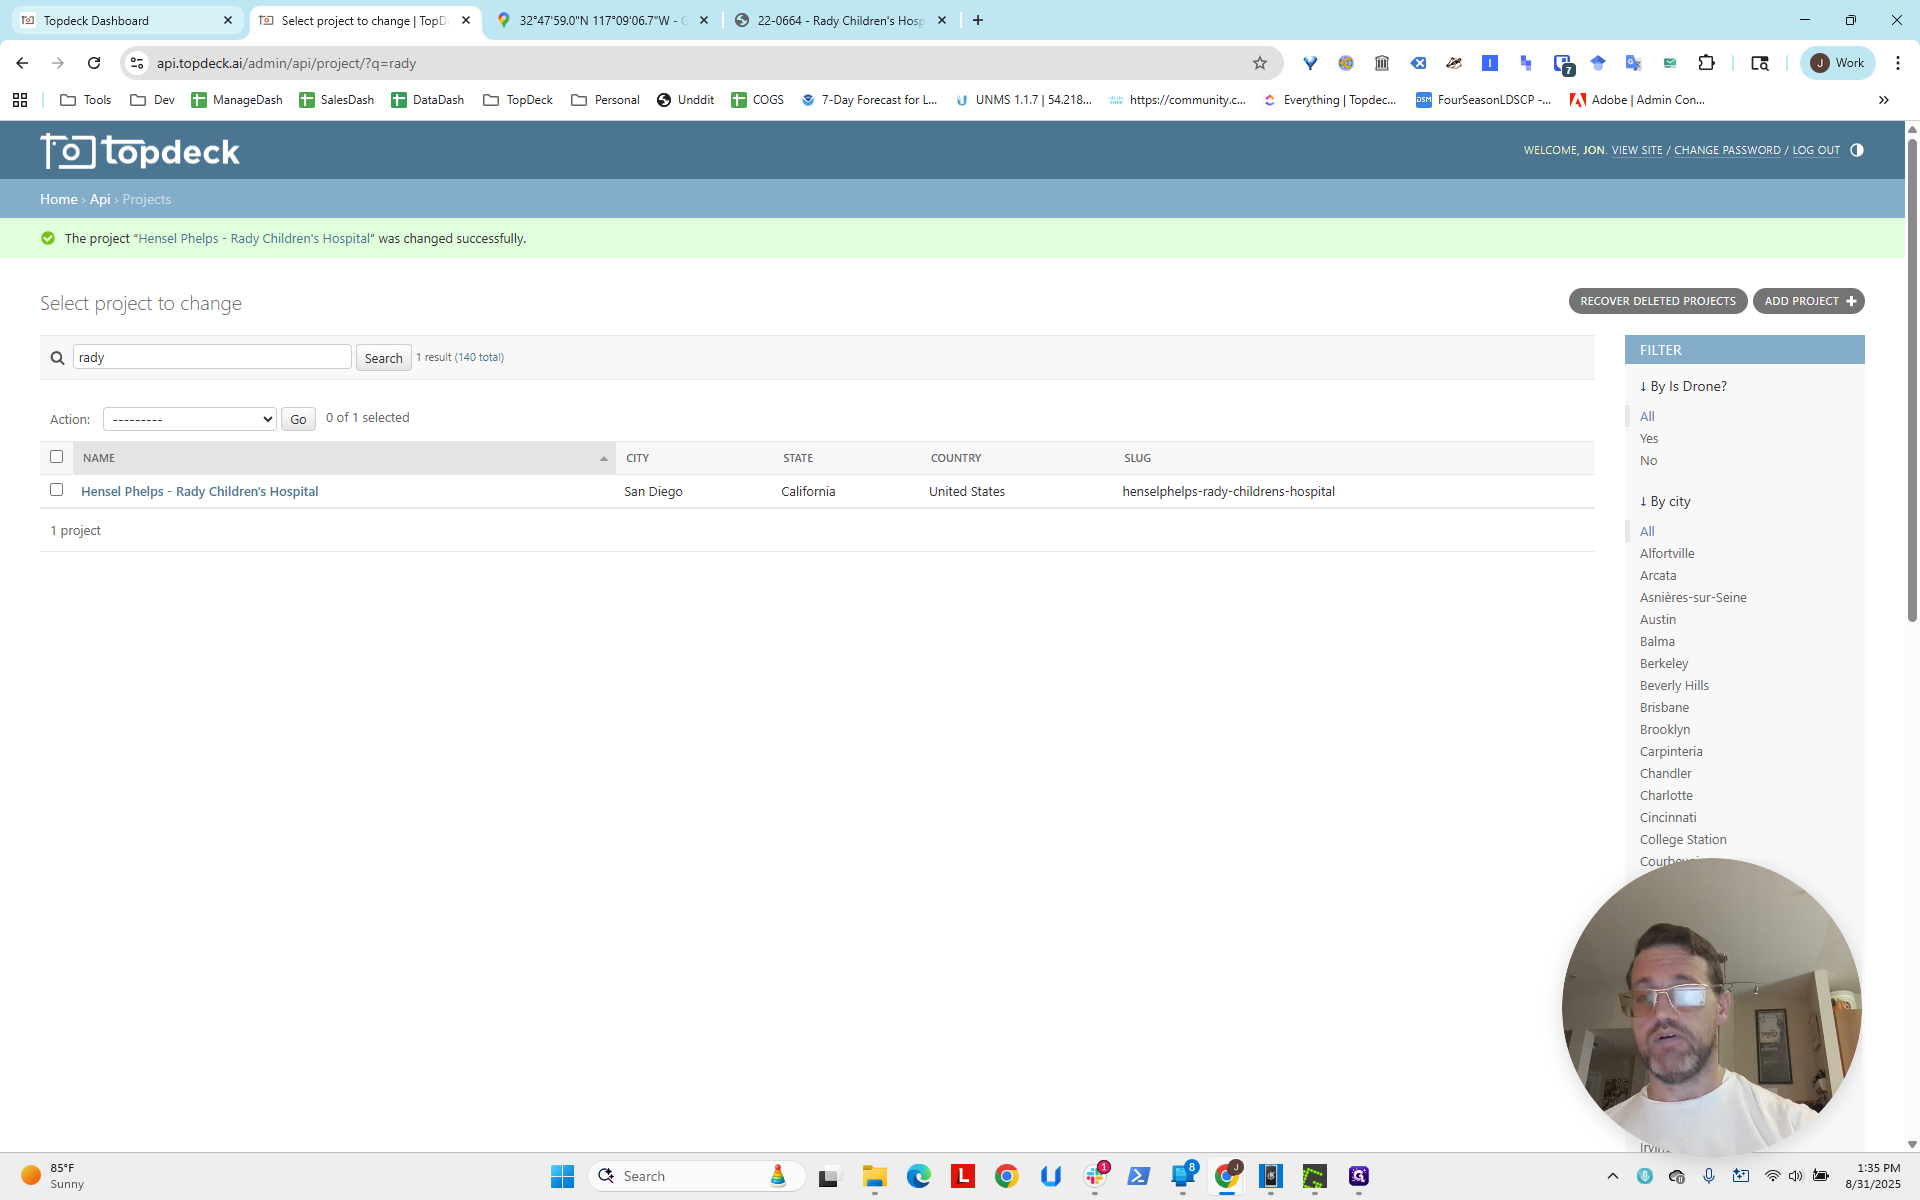
Here, we have a photo sphere in this project, but there is no viewing port available. First, go to the API section. Click on "Projects." Select the project named "Rady."
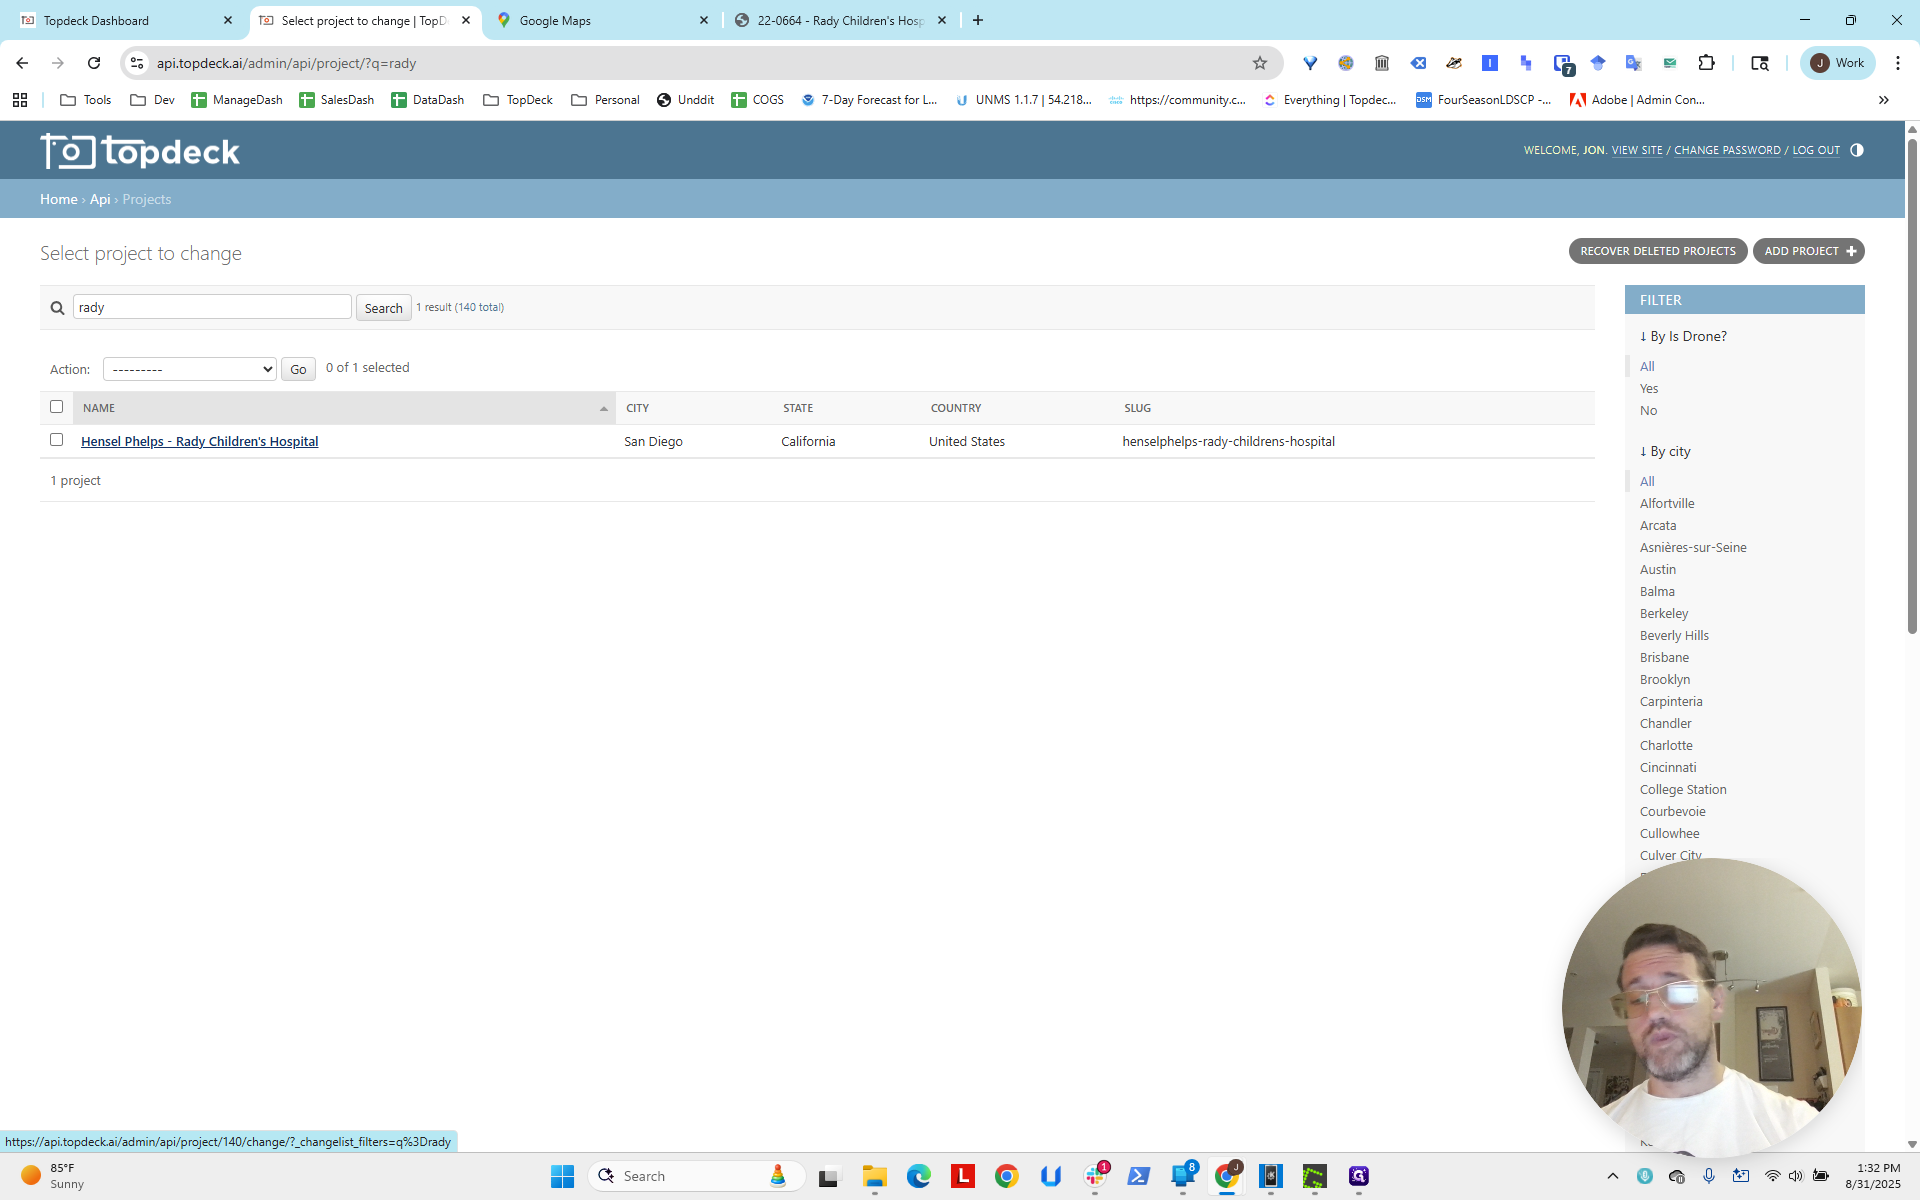
We will search for that.
We're going to click on that.
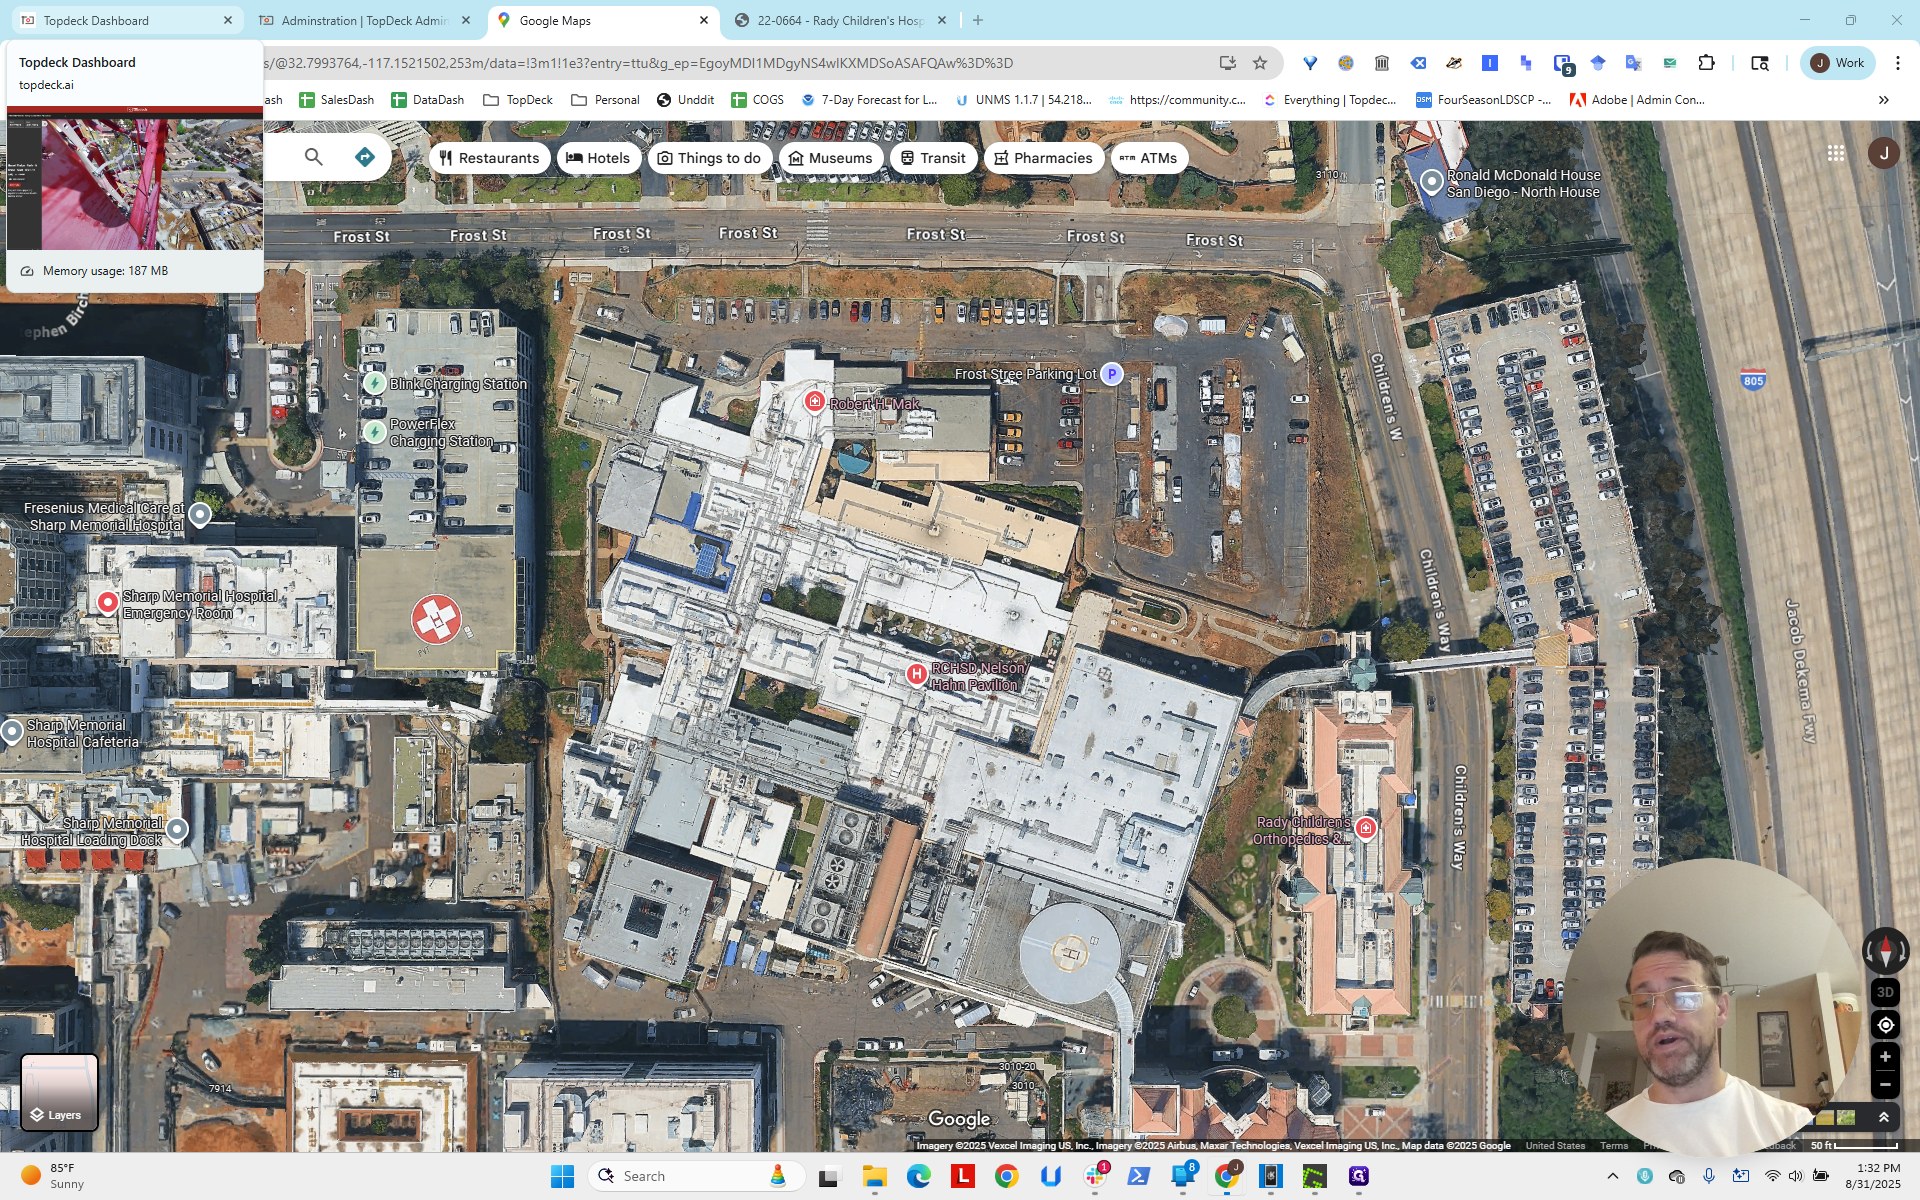
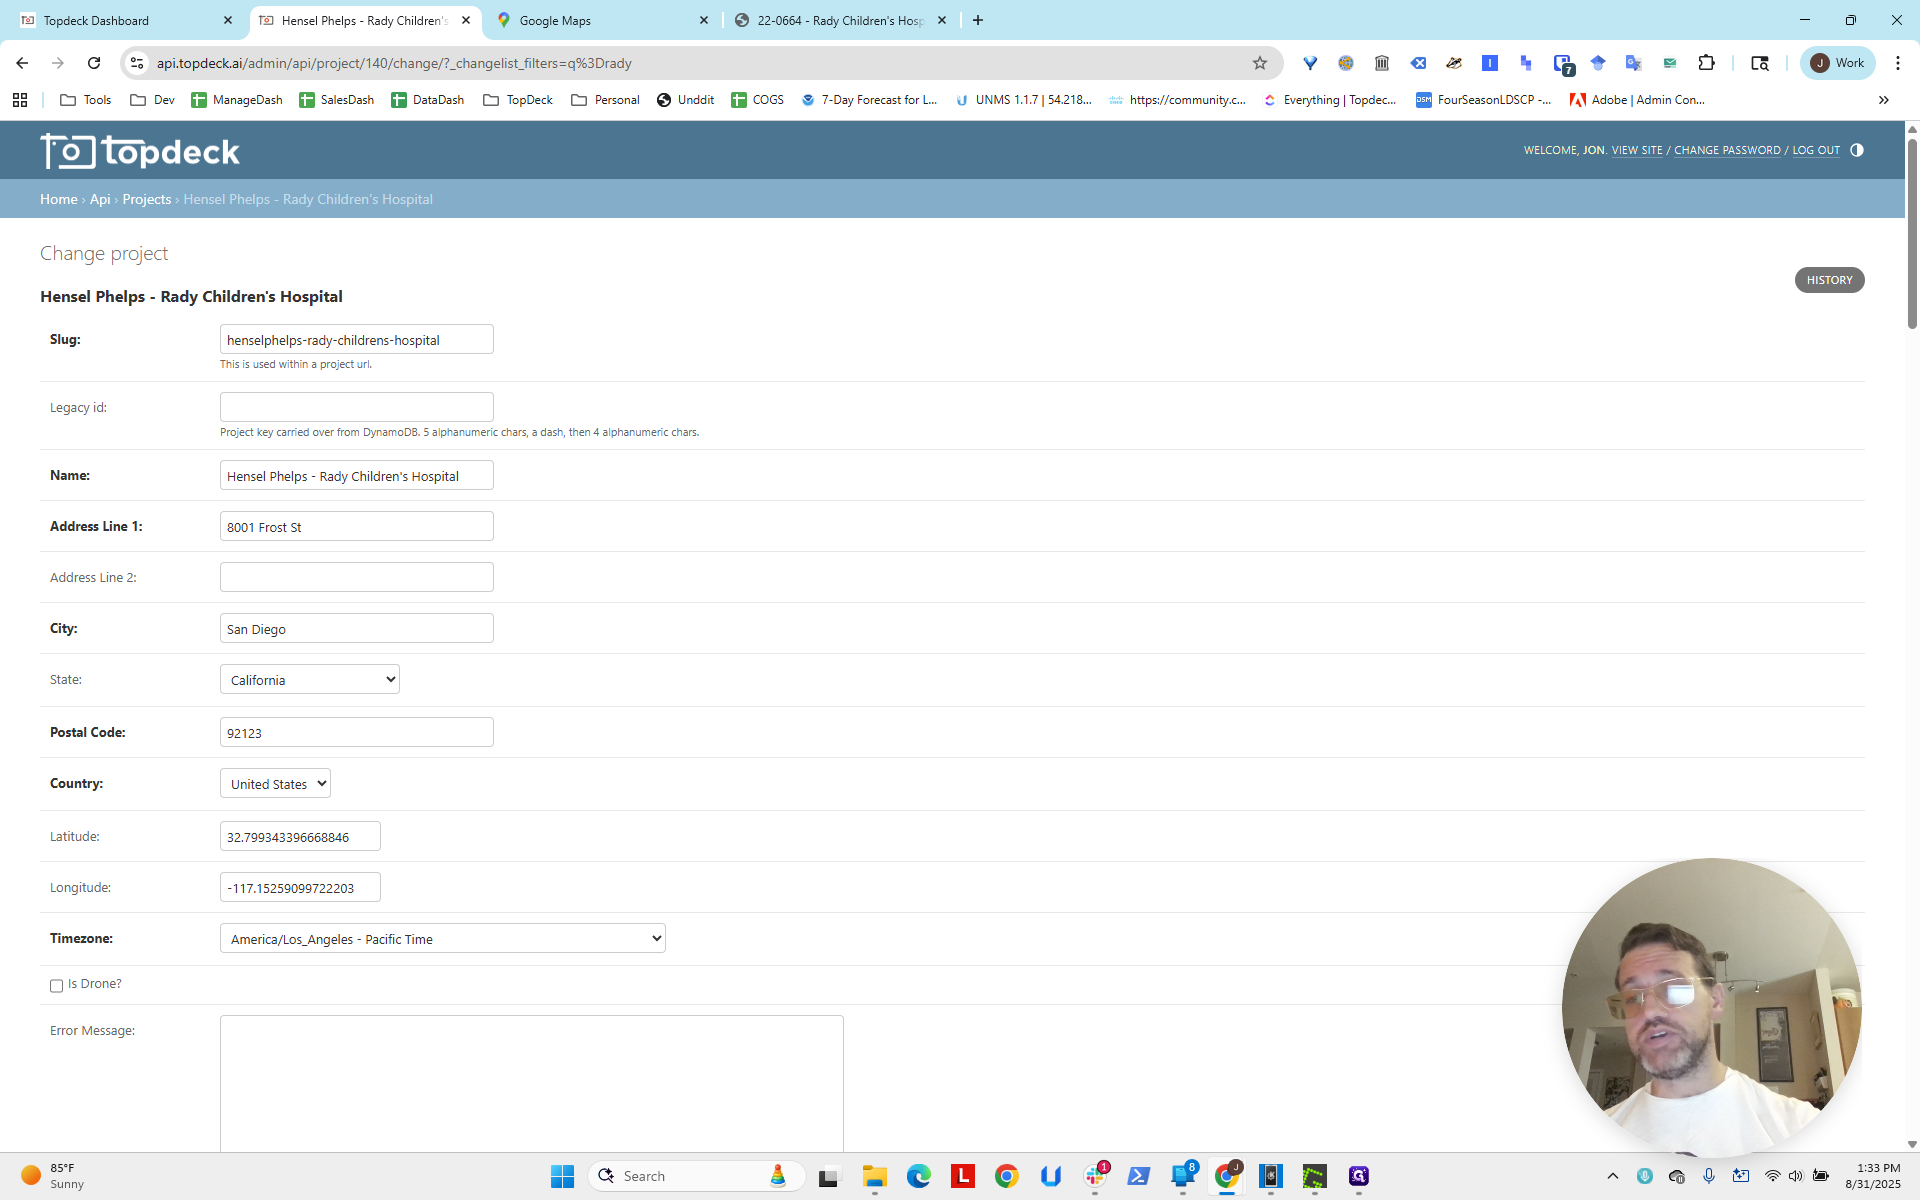
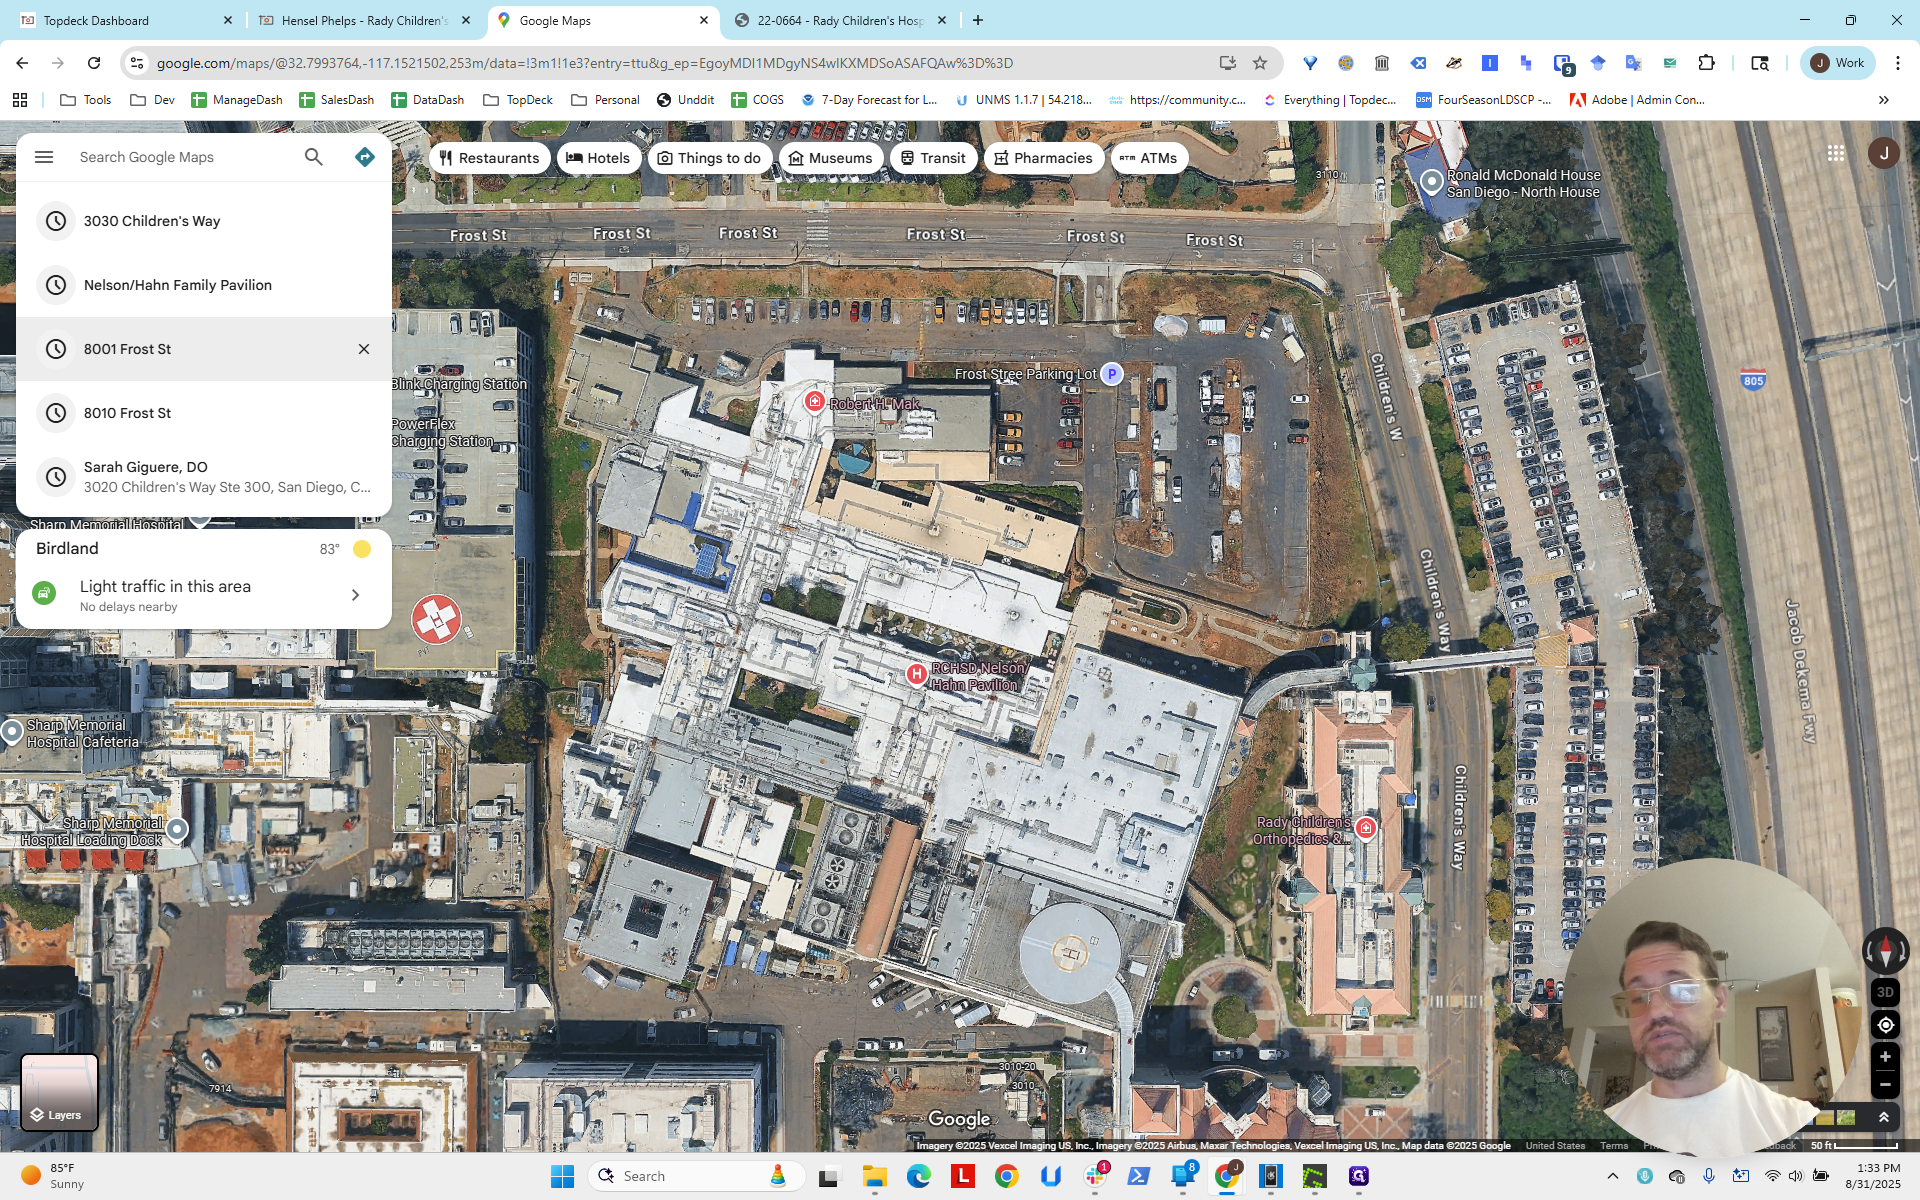
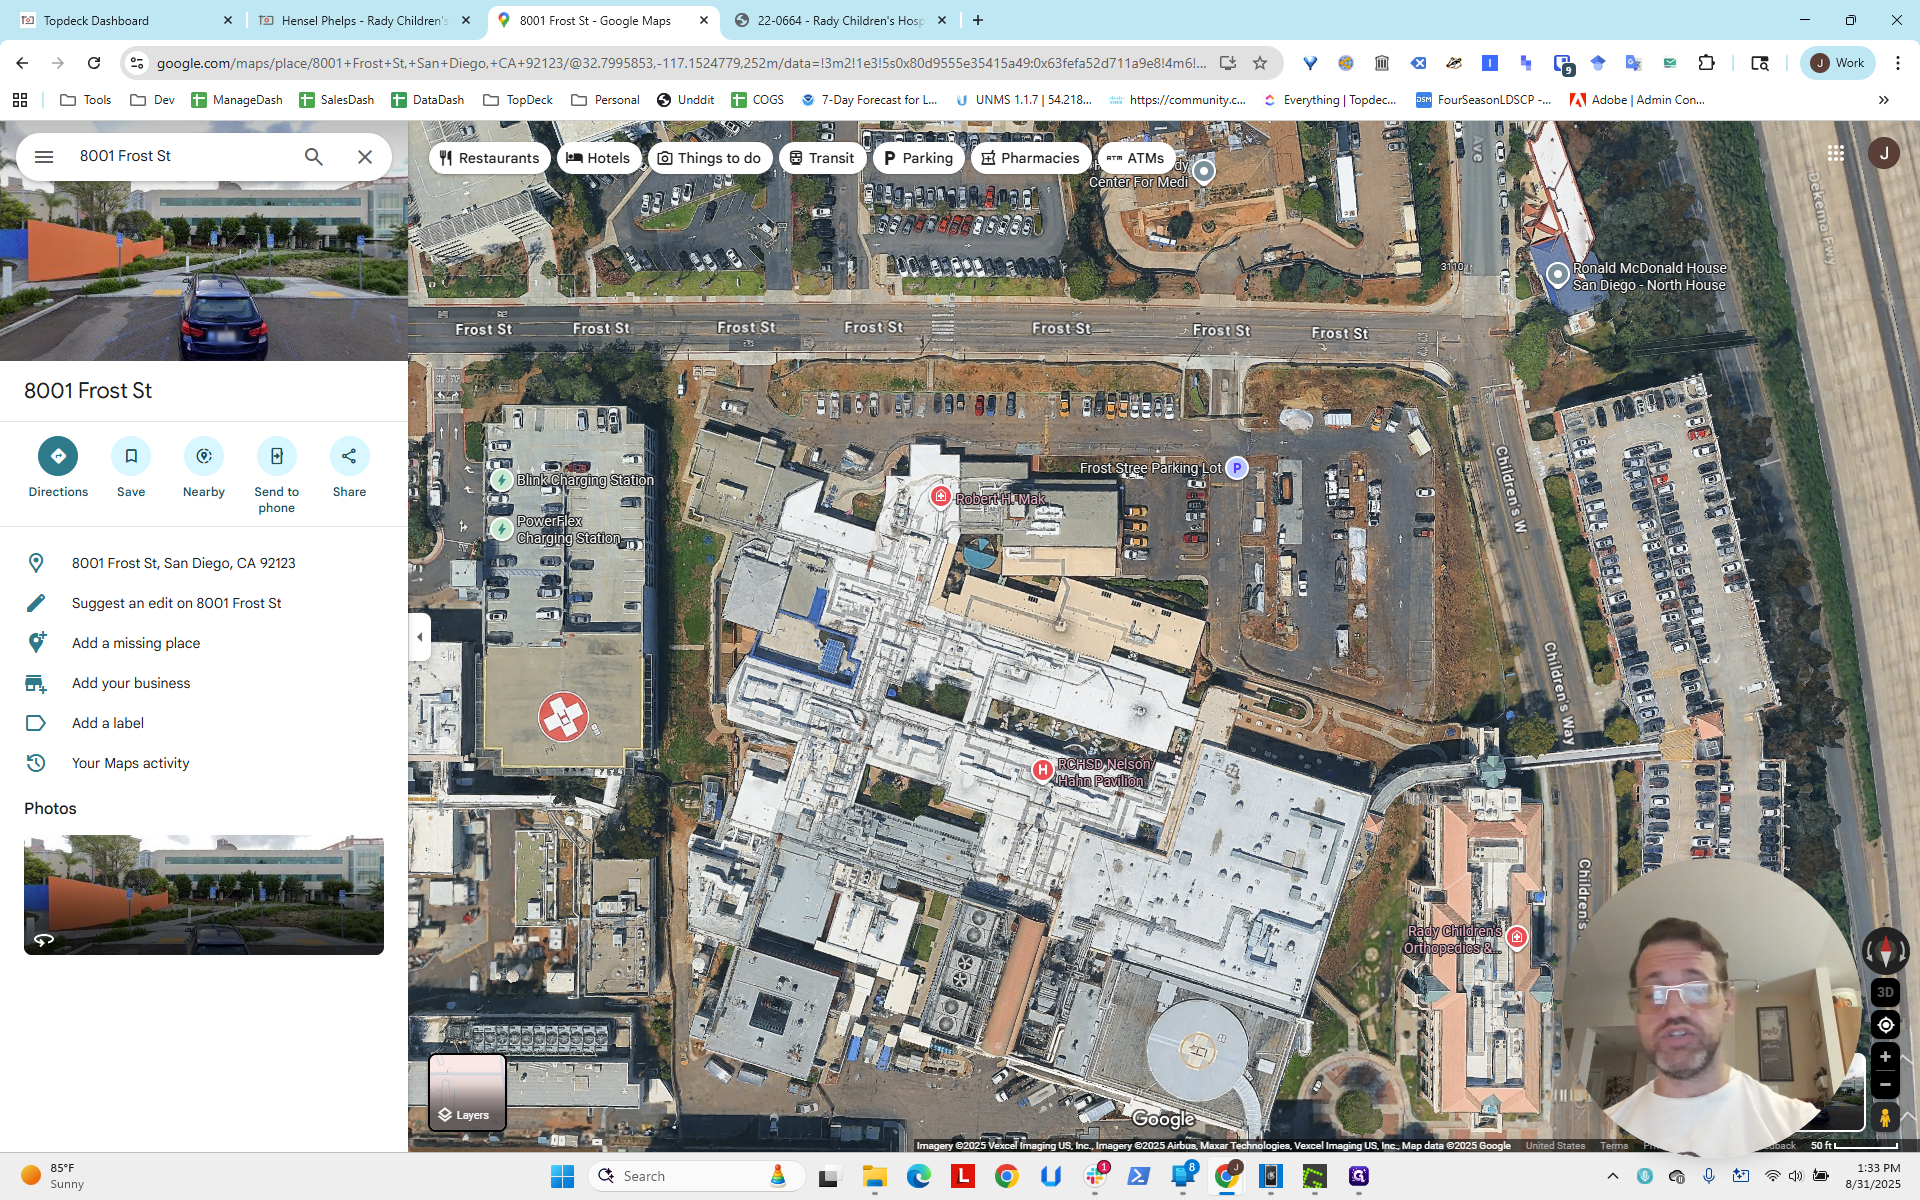
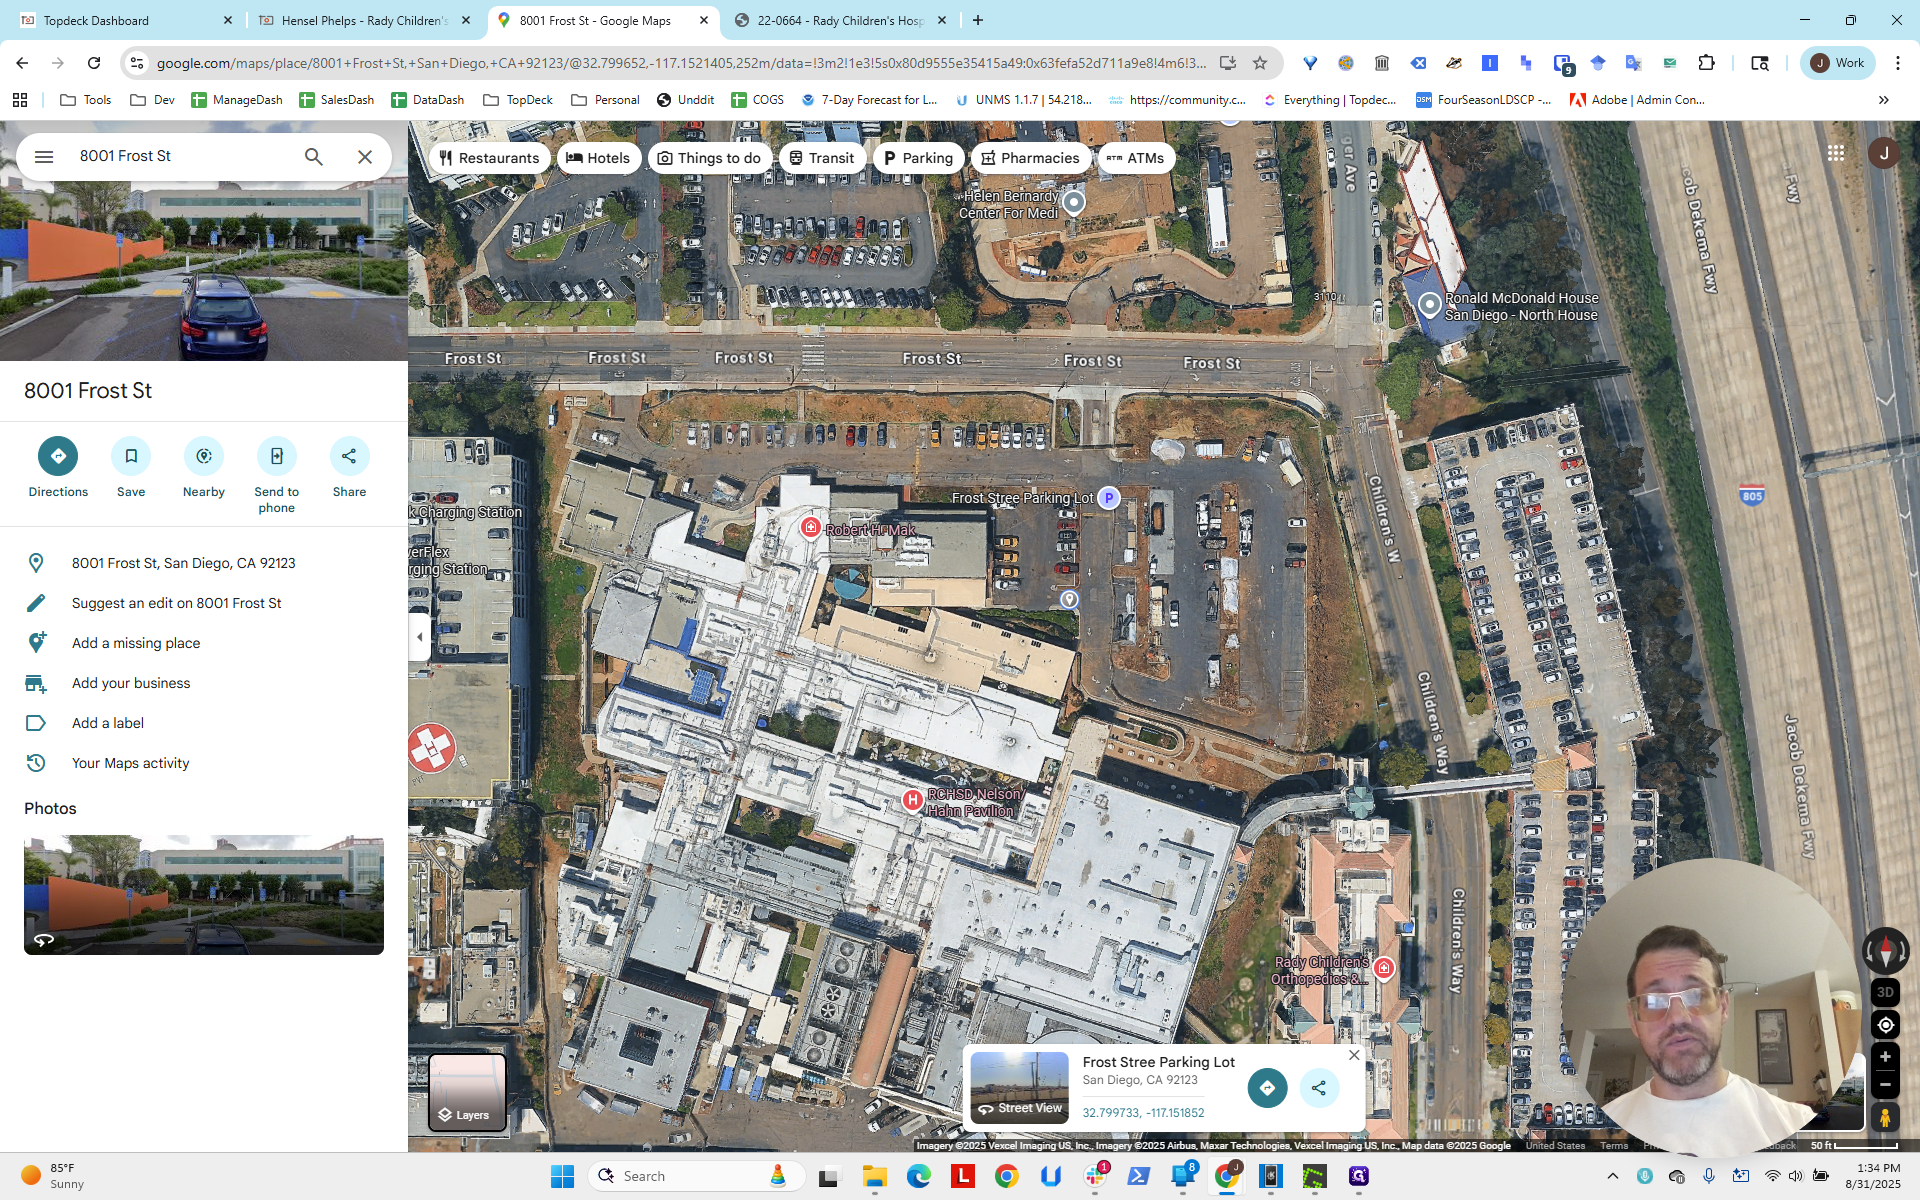
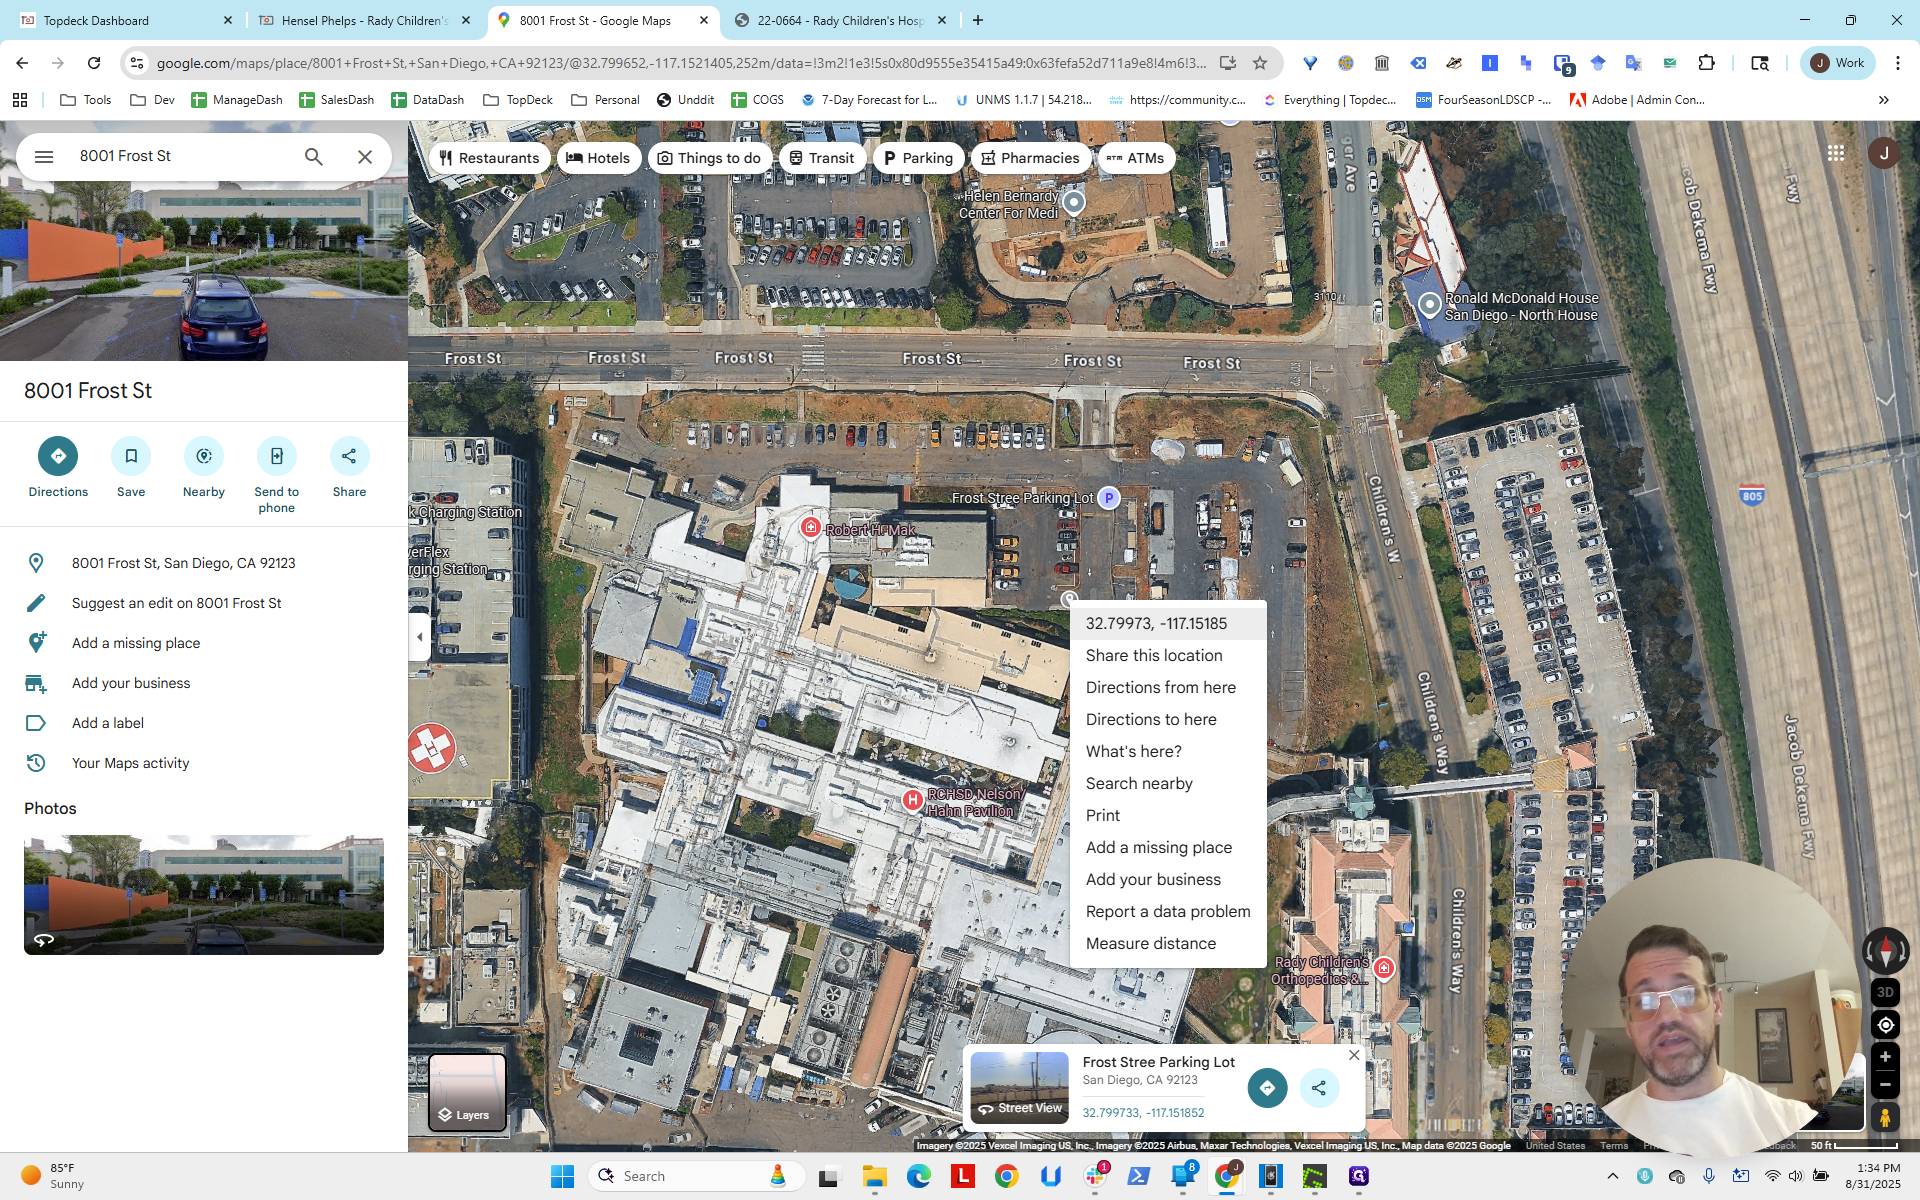
Now we need the latitude and longitude to center the map view. This project already has latitude and longitude, but let's assume we don't. Okay? Then, we note the address: 8001 Frost Street.
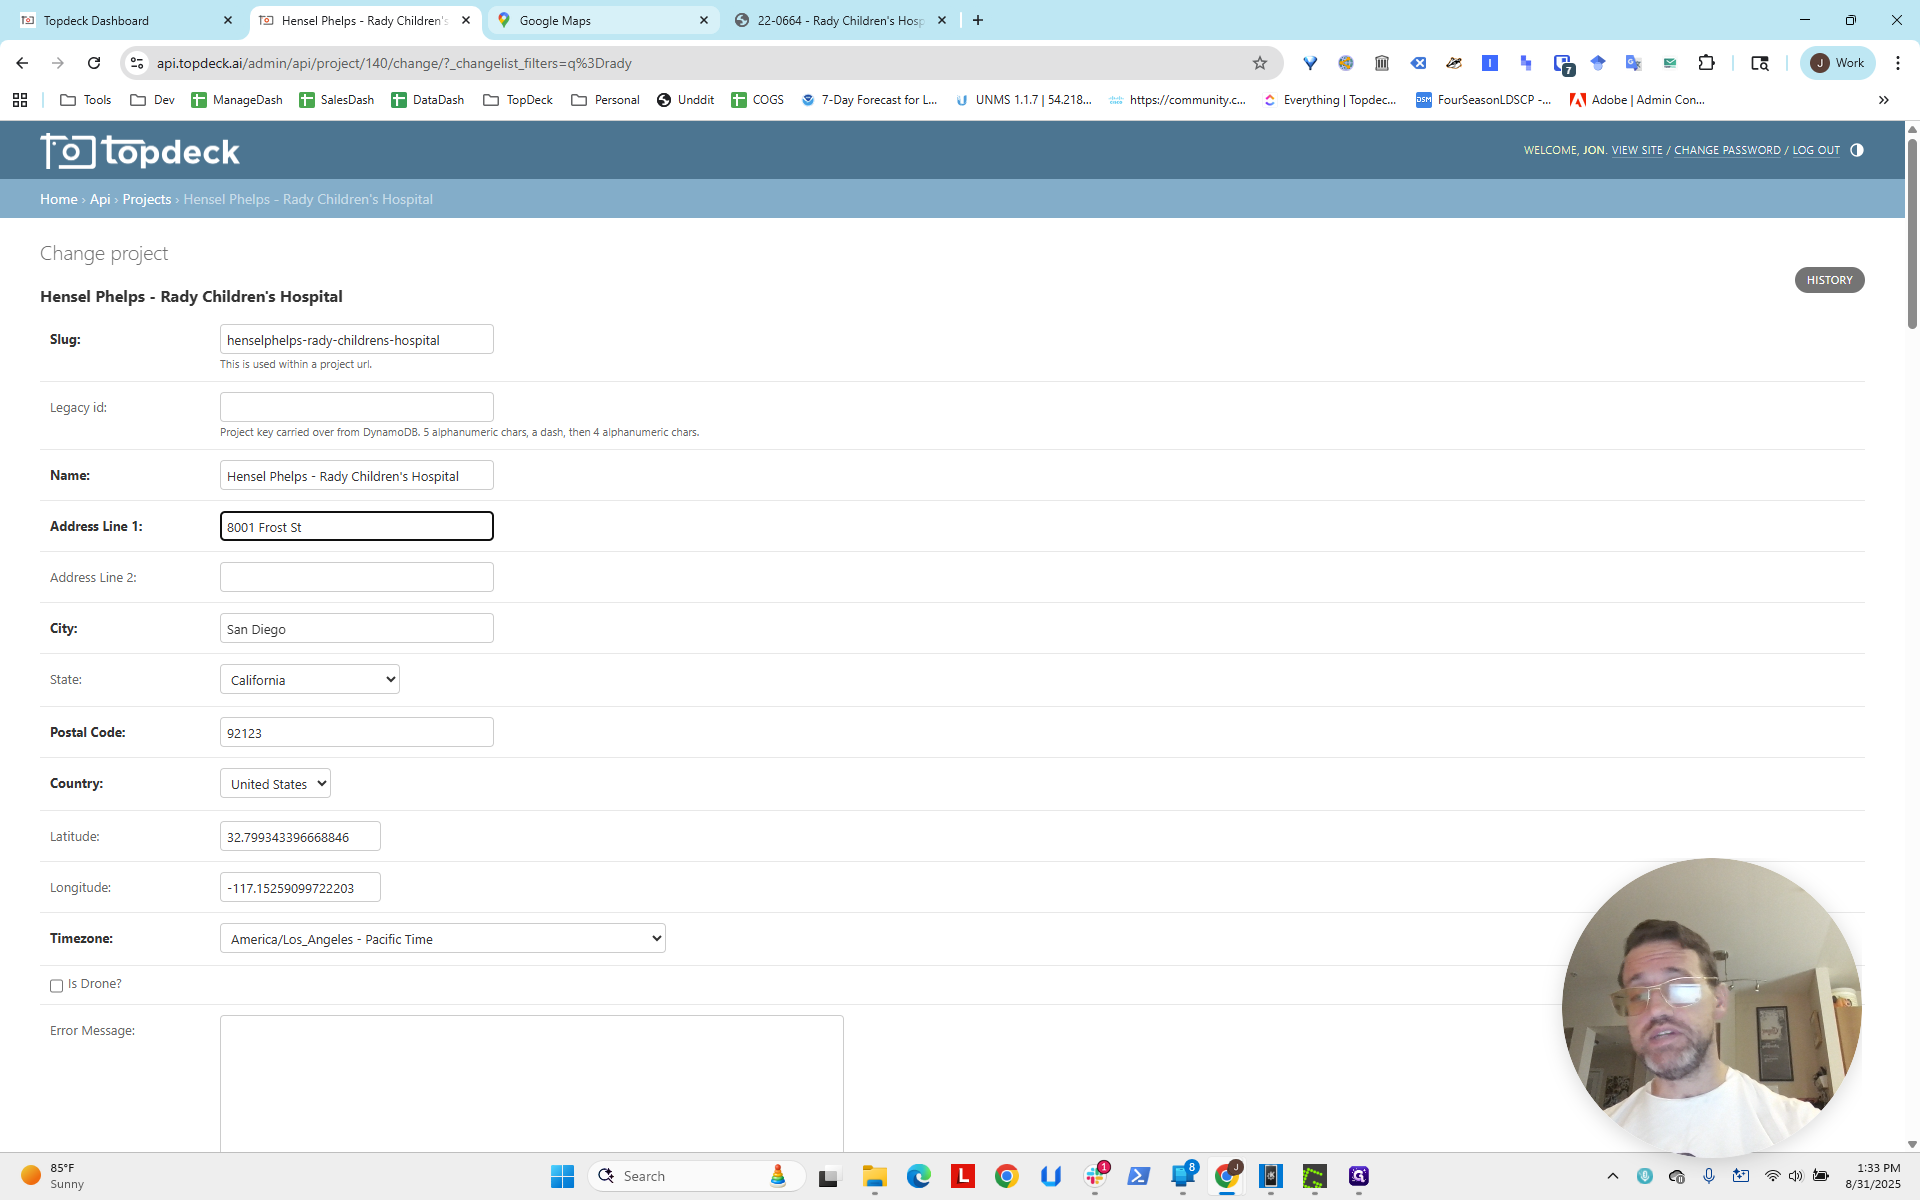
We entered that into Google Maps.
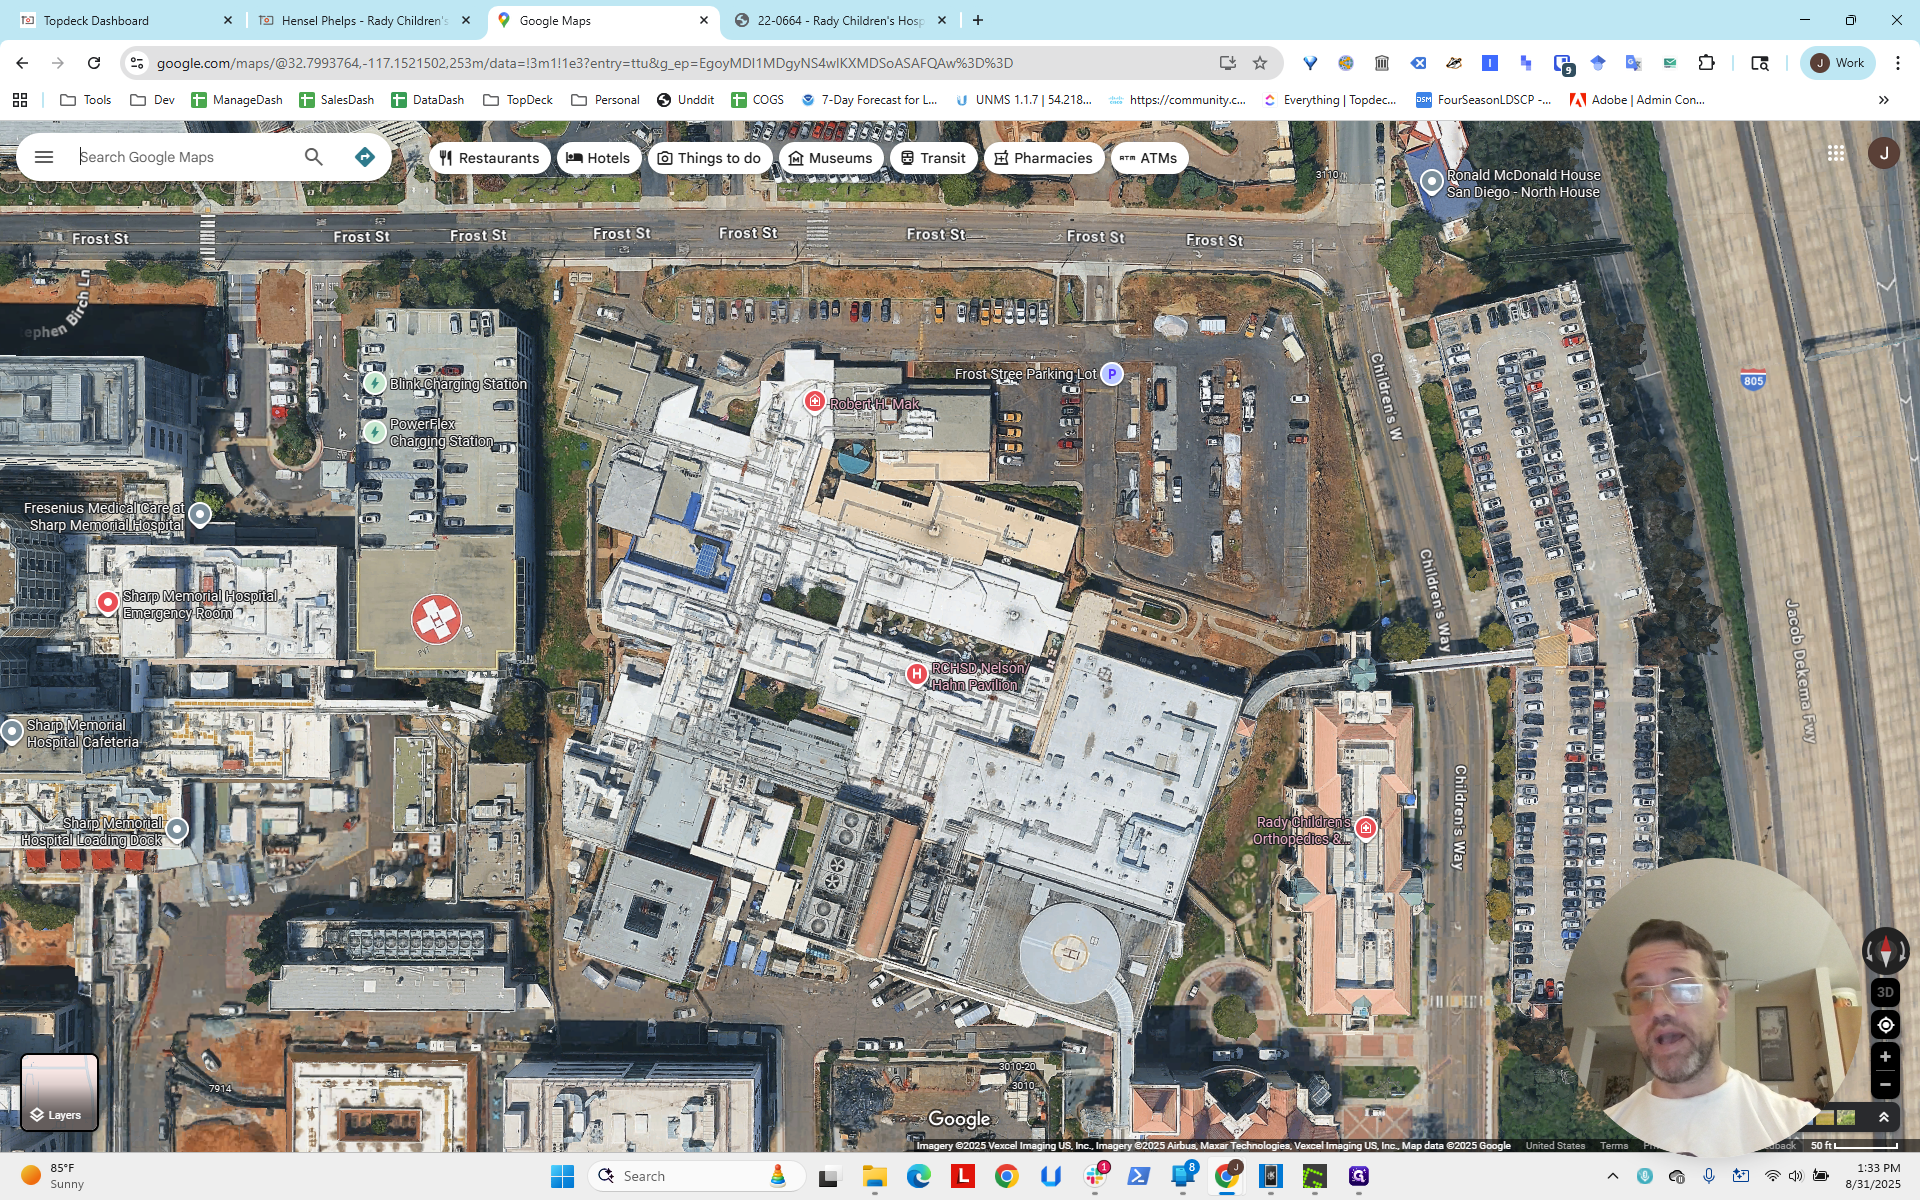
I've already done it, so it appears here.
We notice that the project is approximately here. We can tell that...

It's often difficult to determine a project's location from satellite images because they are often outdated.


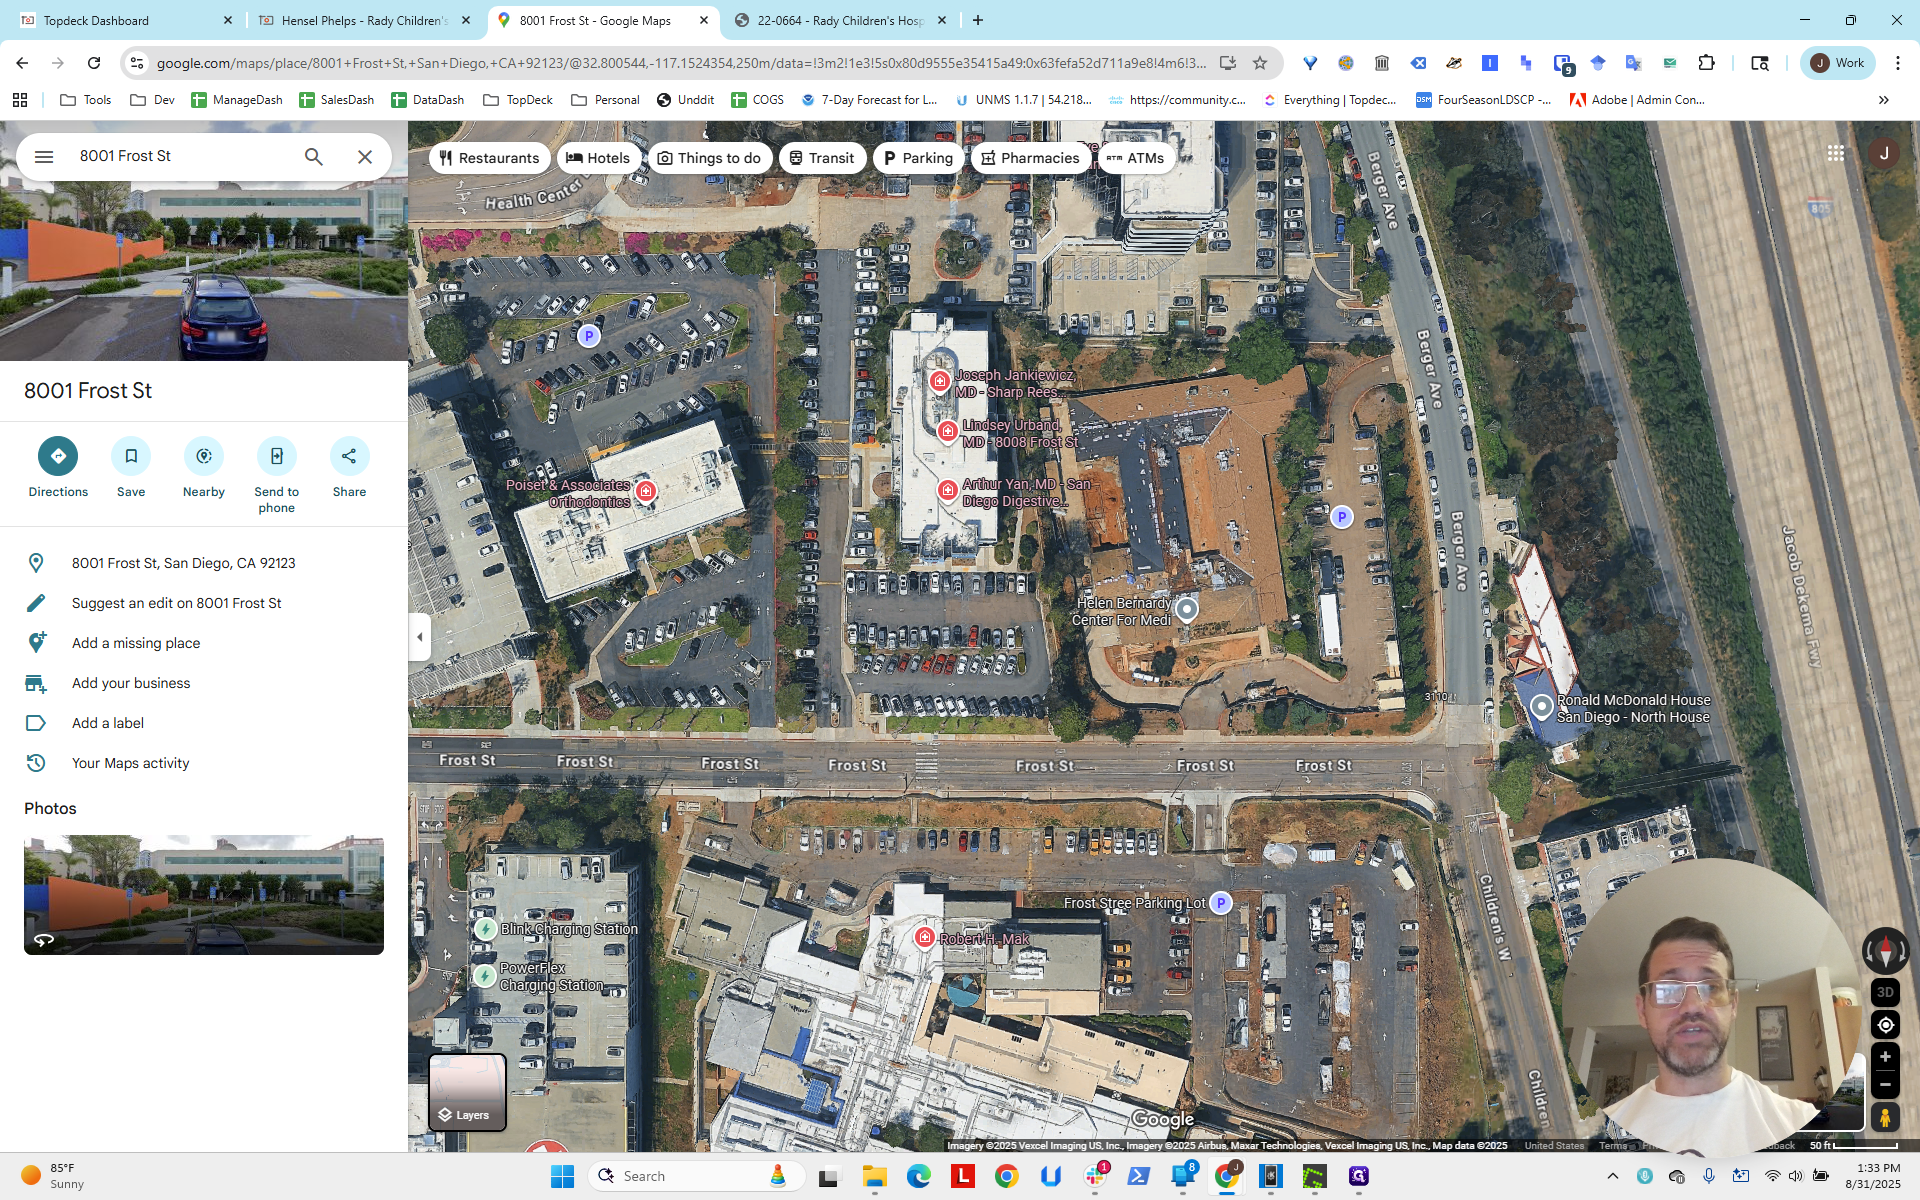
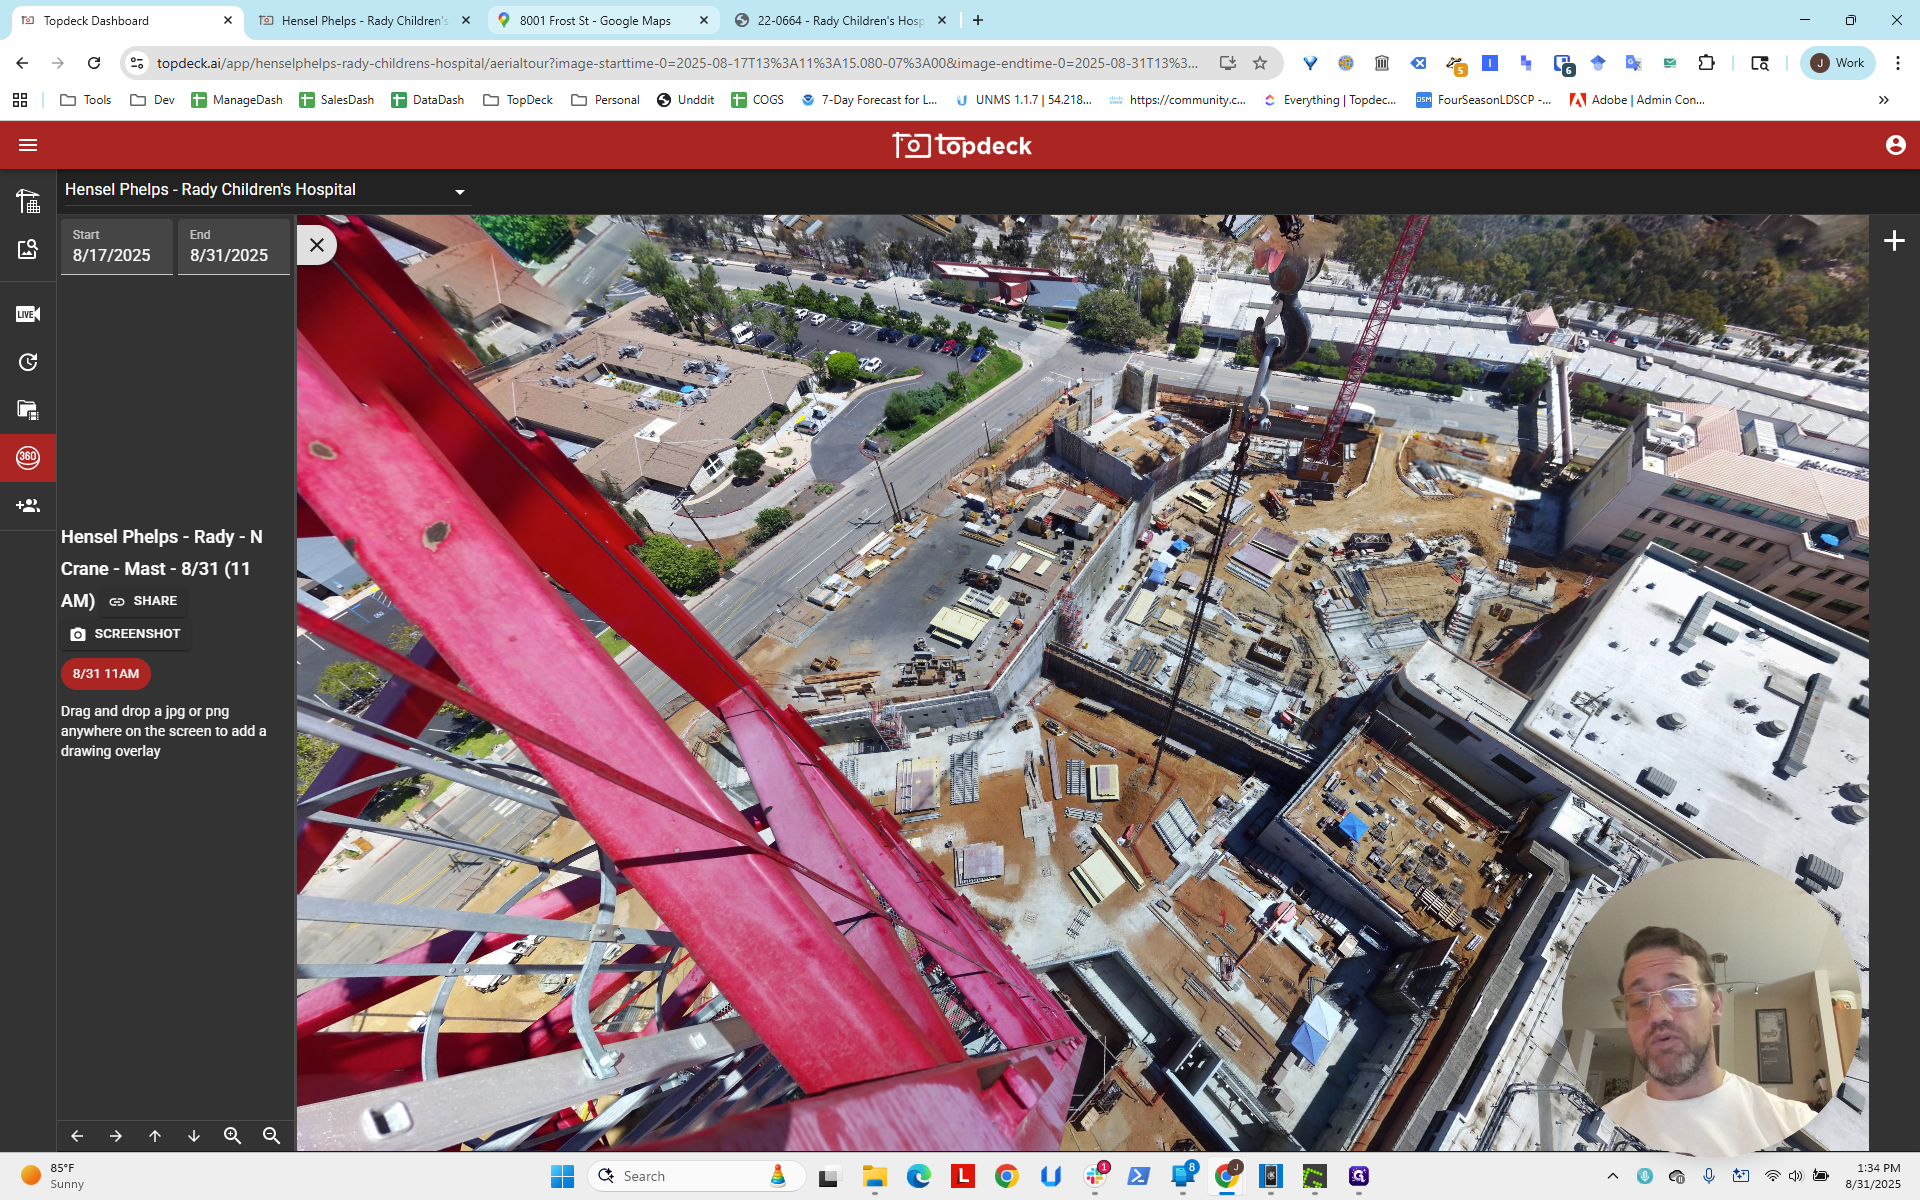
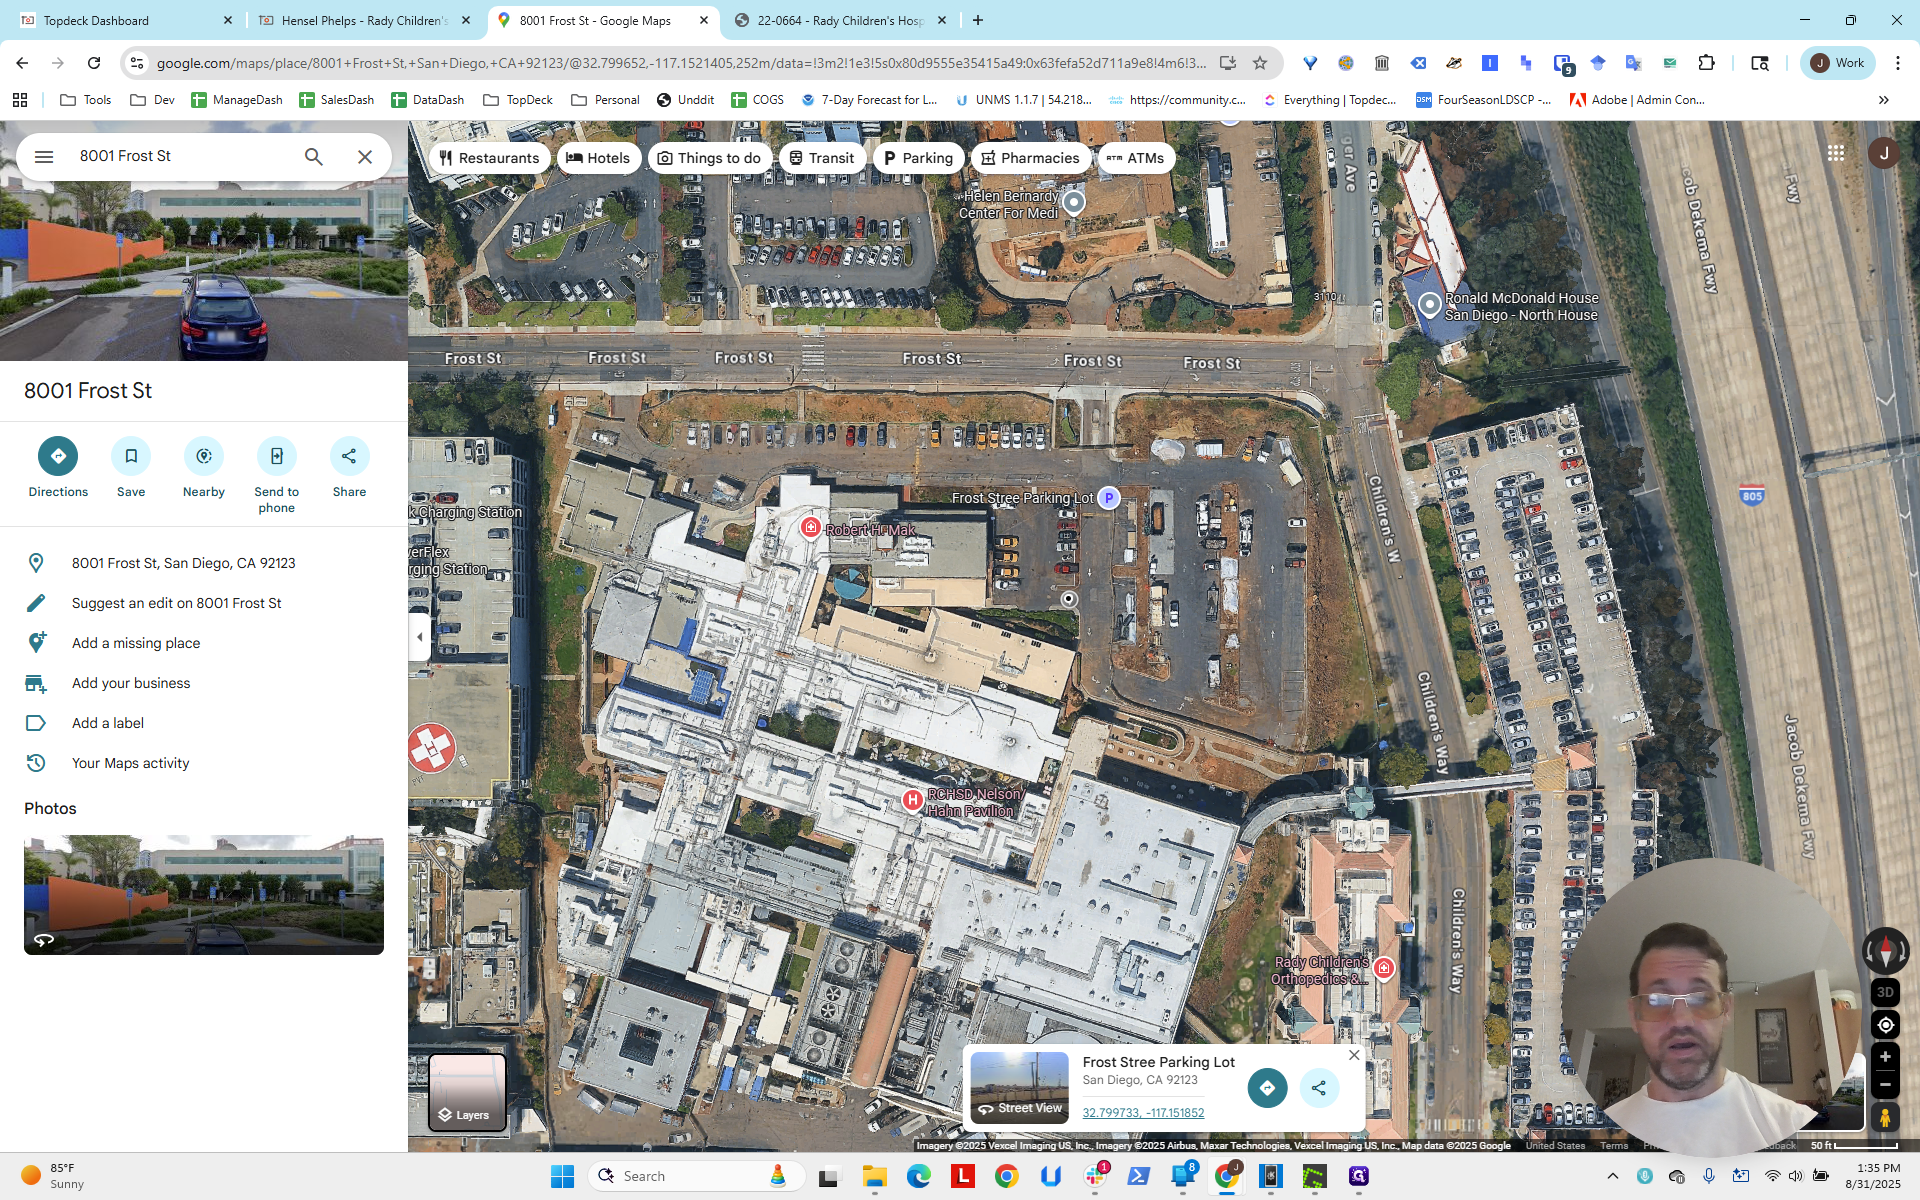
You can look at the crane plan and see the streets here.

Berger and Frost, as you can see here, Frost.
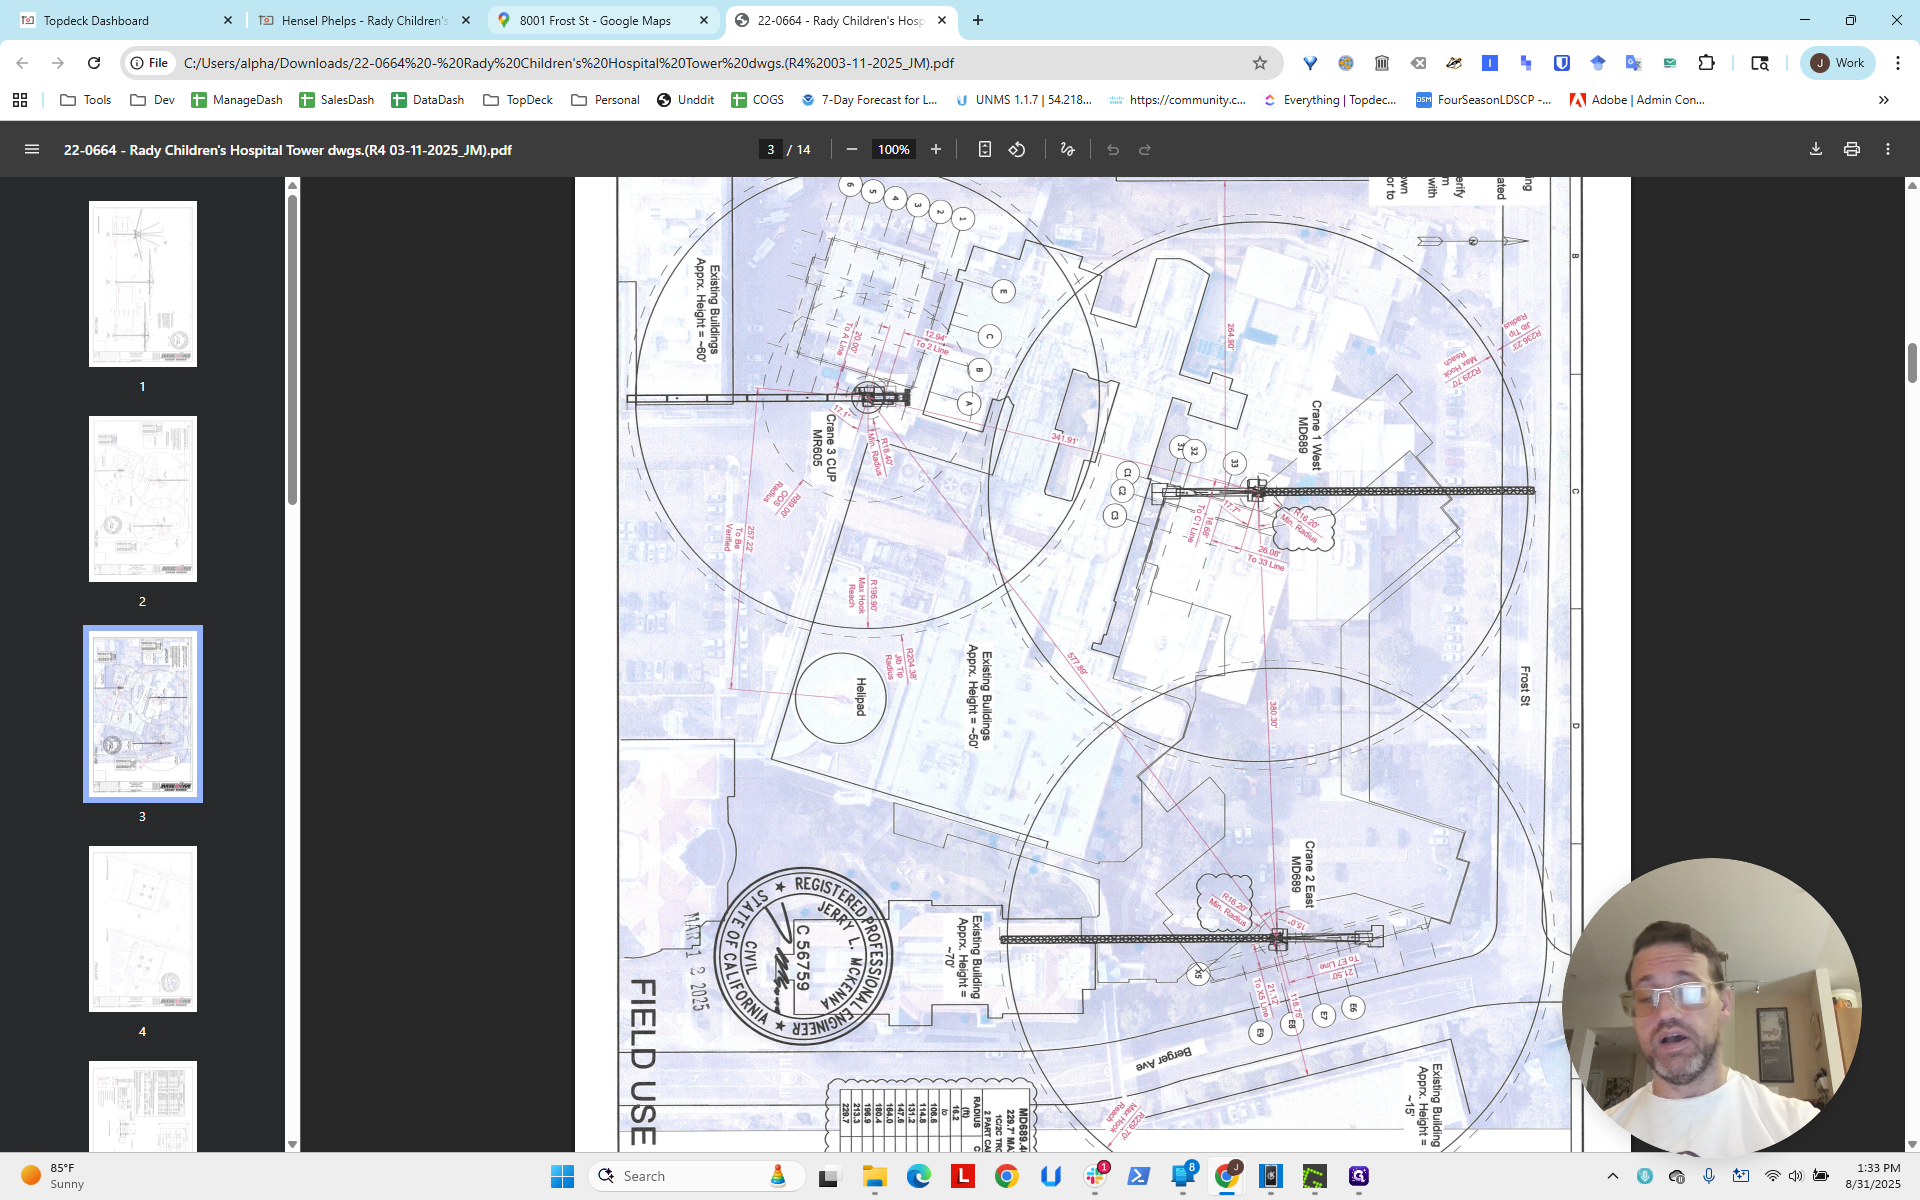
This is called Children's Way, but if you zoom in, it is called Berger Avenue.


That's the clear intersection. Going back to the project, we can see that the working area...
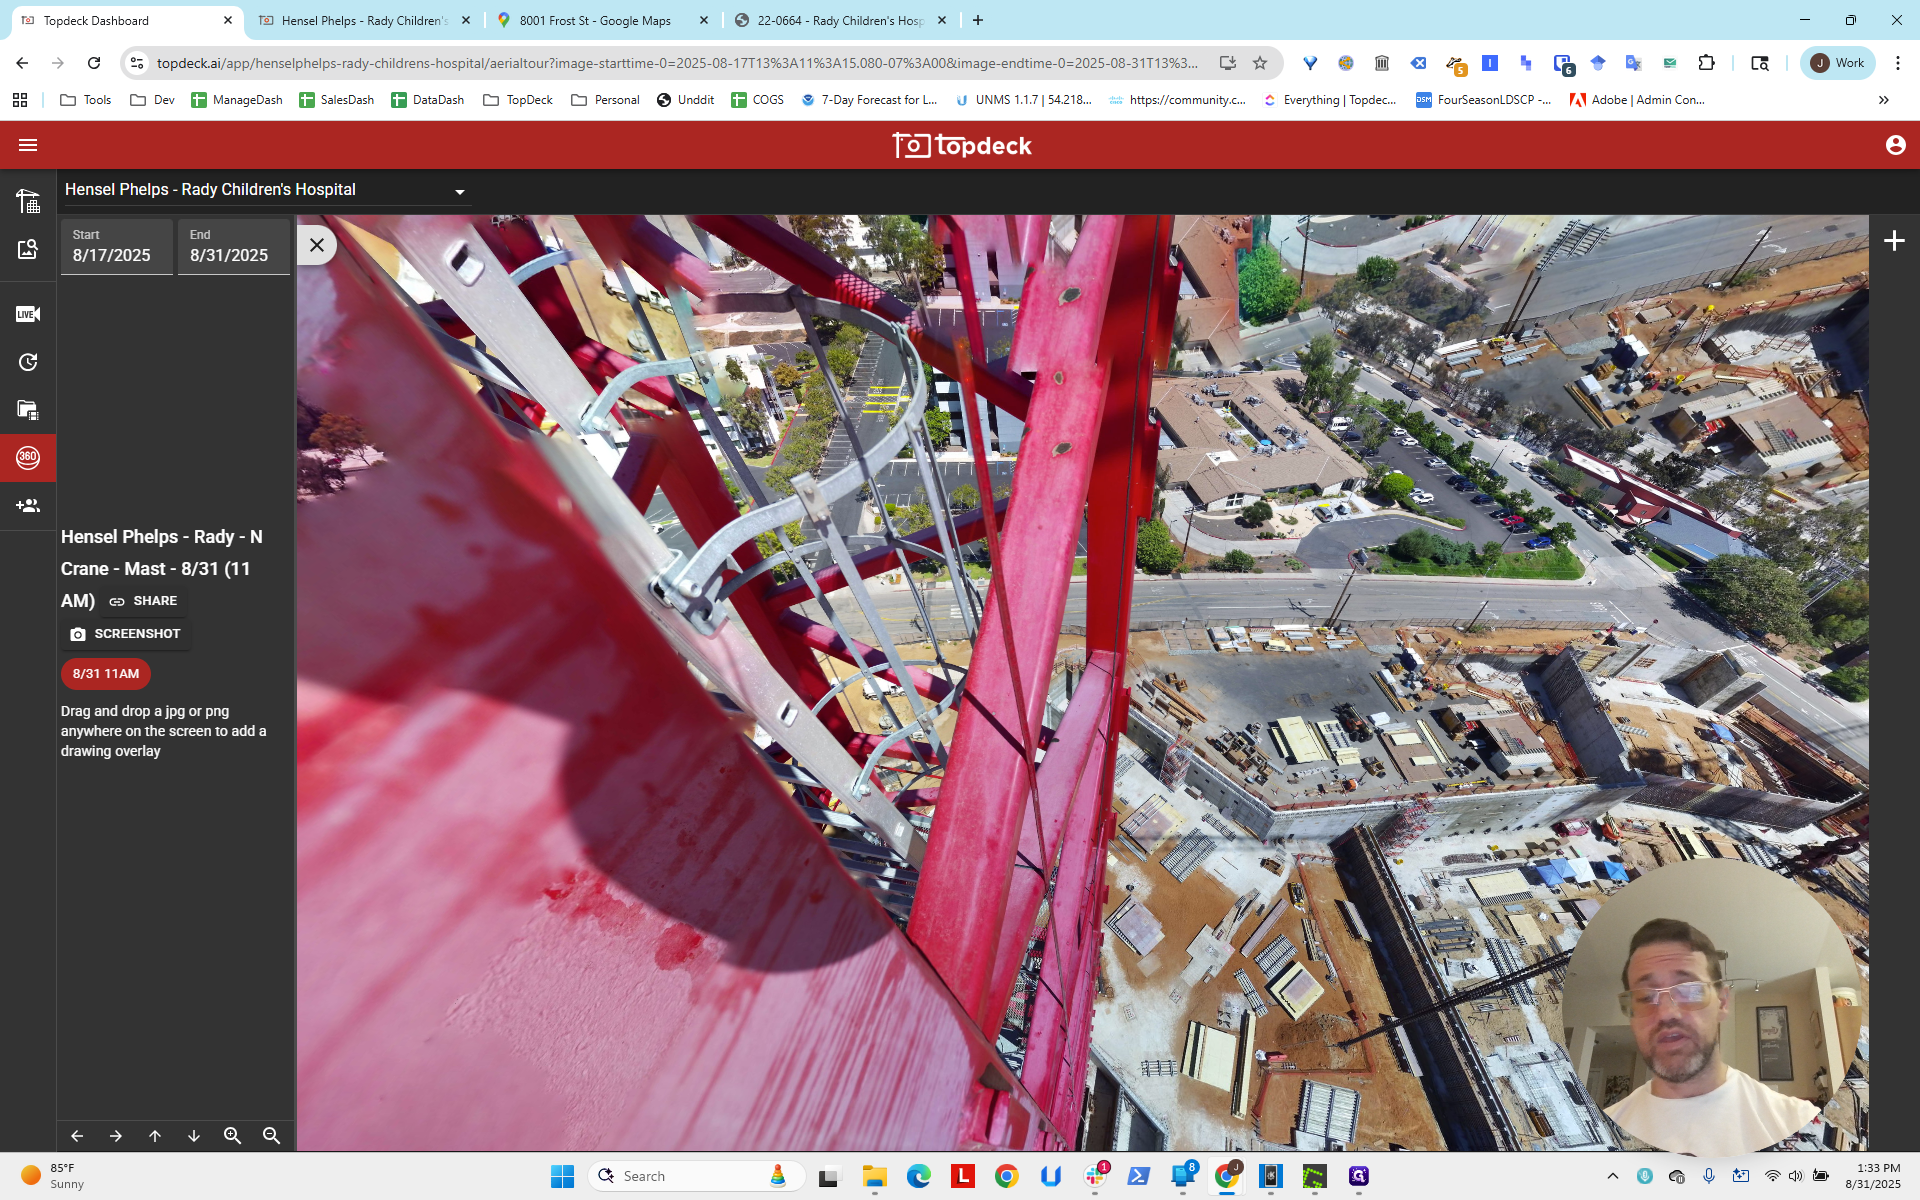
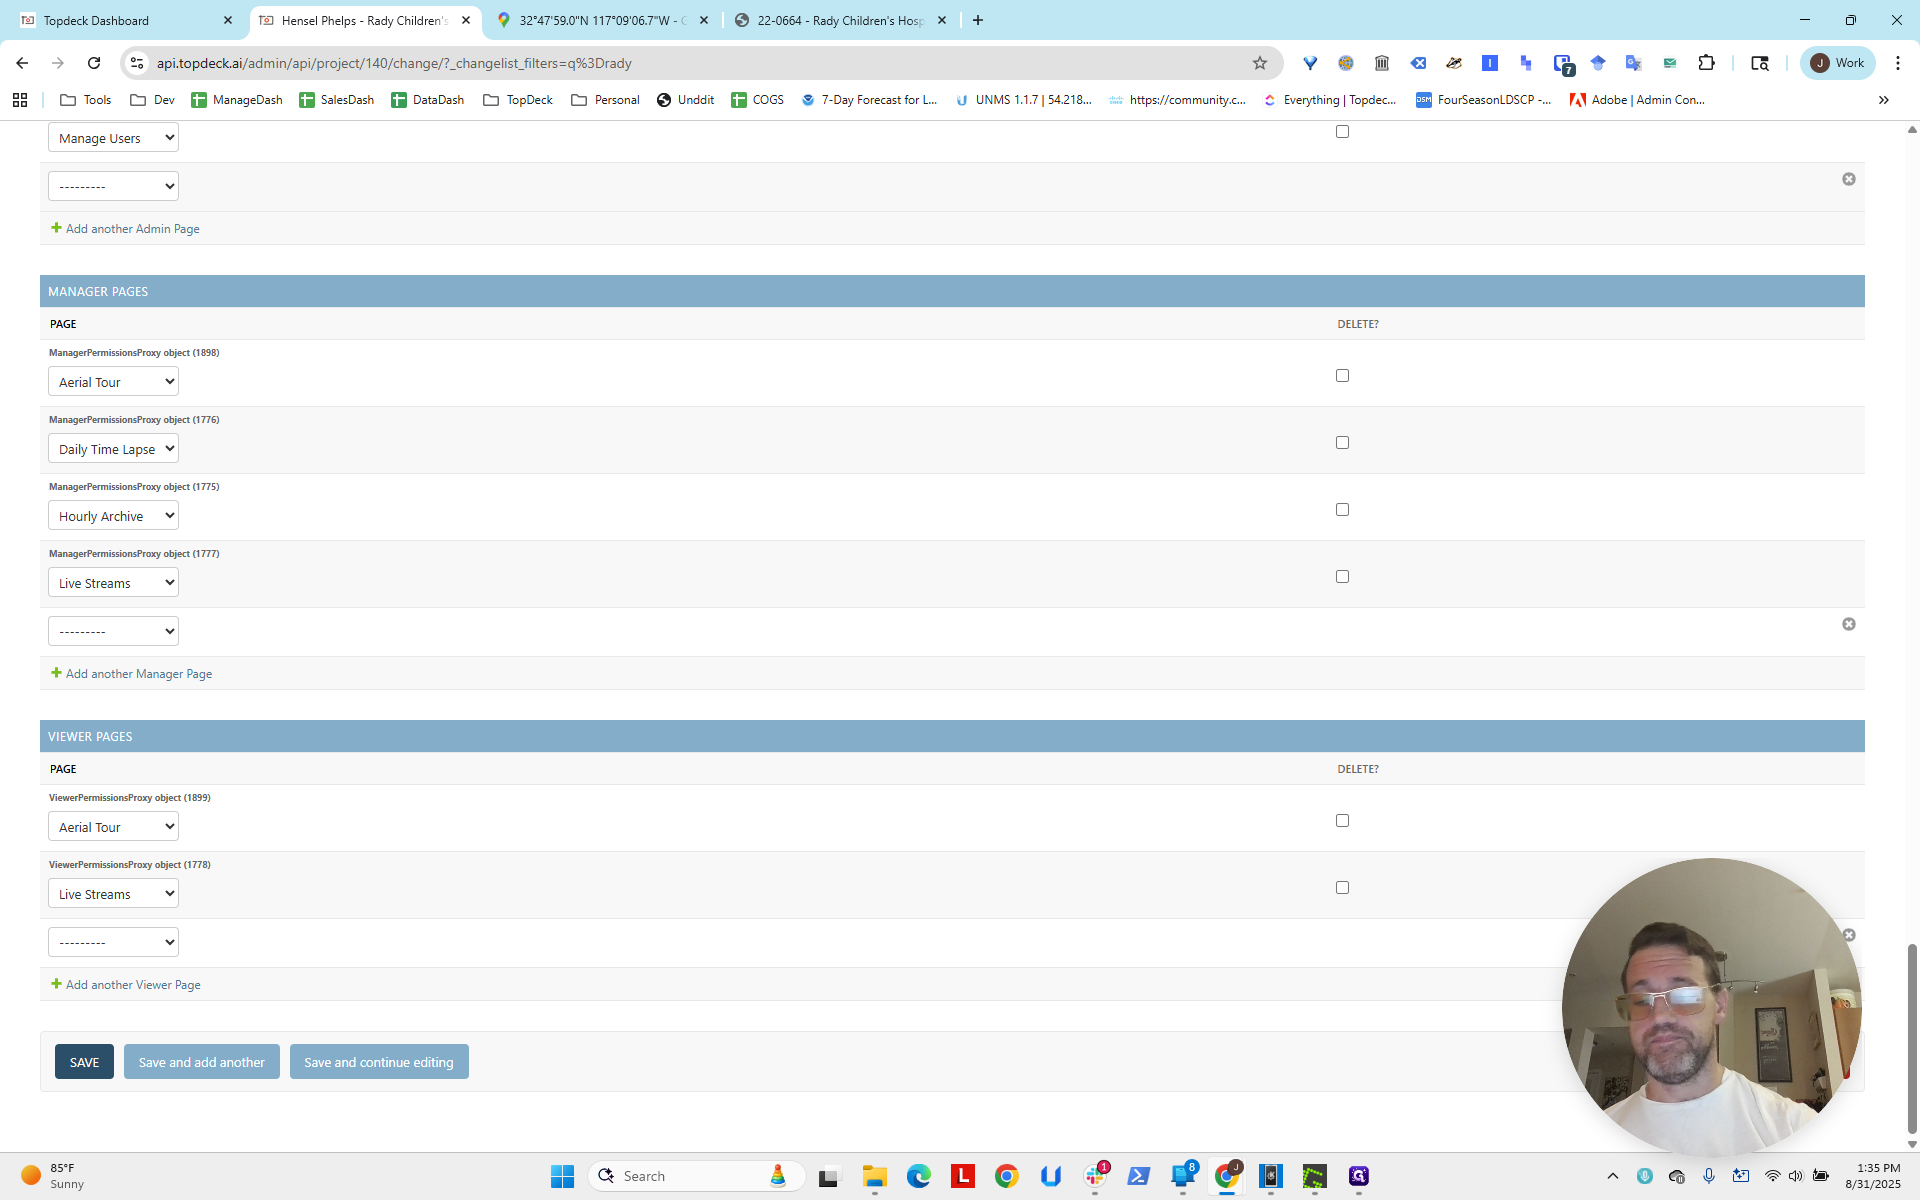
This photo sphere has some issues. The camera speed setting has not been set correctly. You will need to adjust it properly.
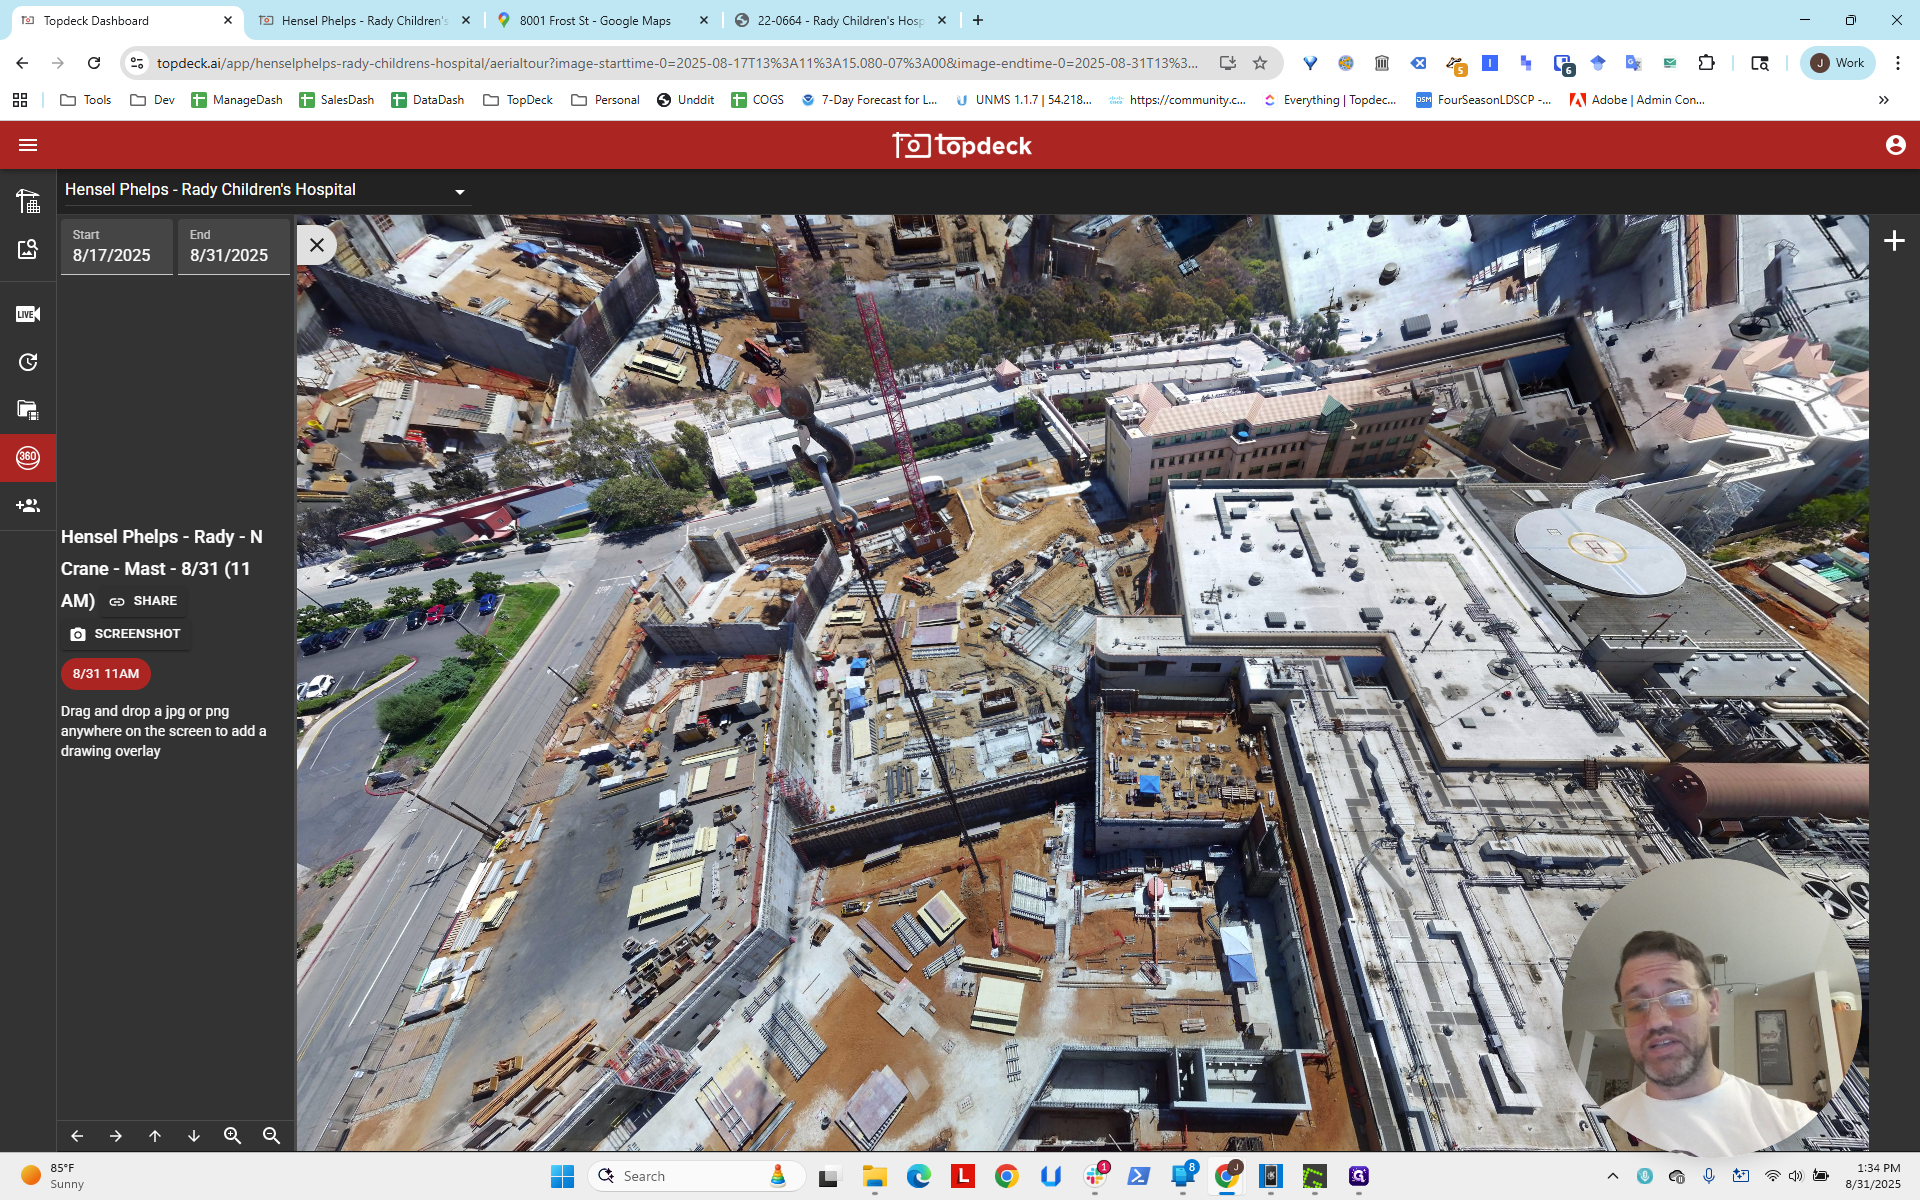
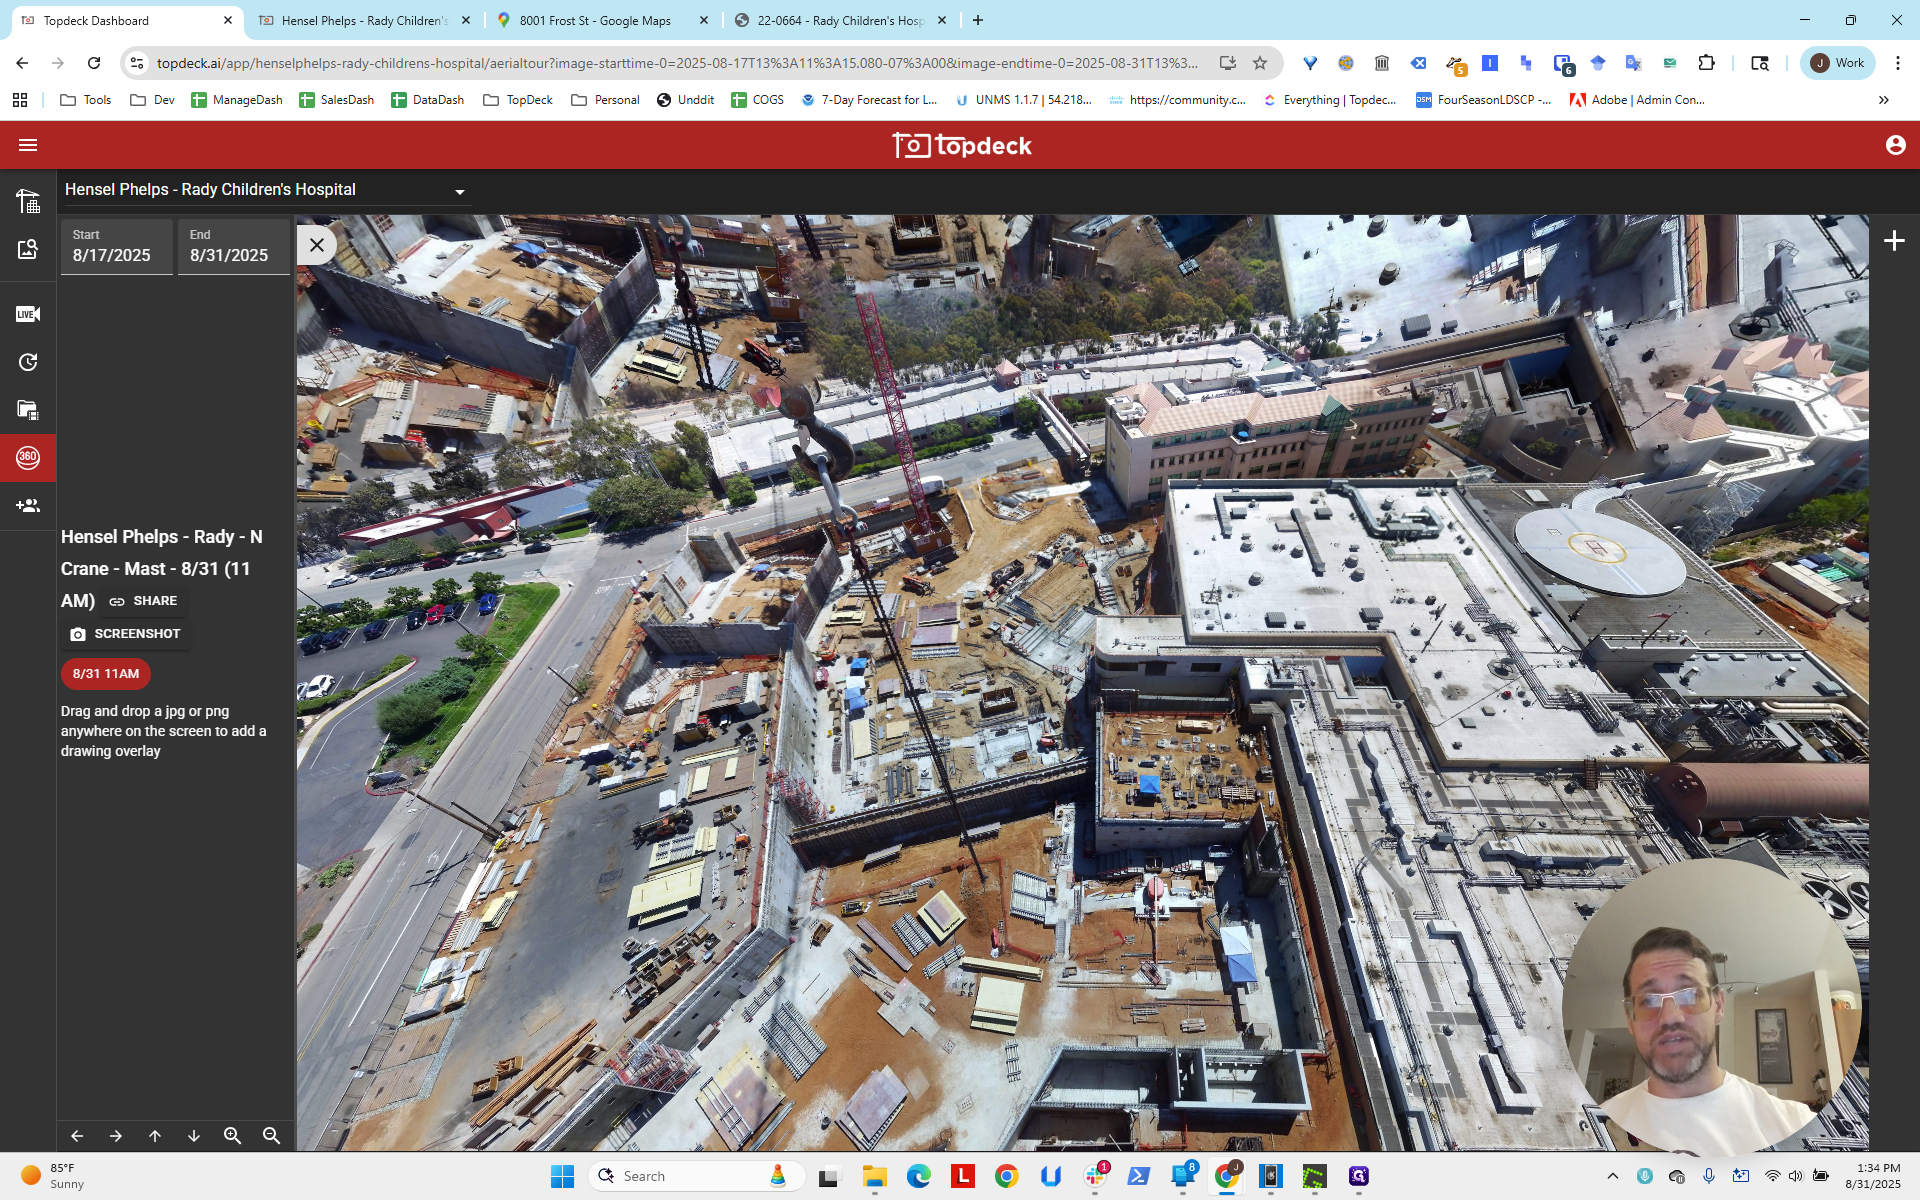
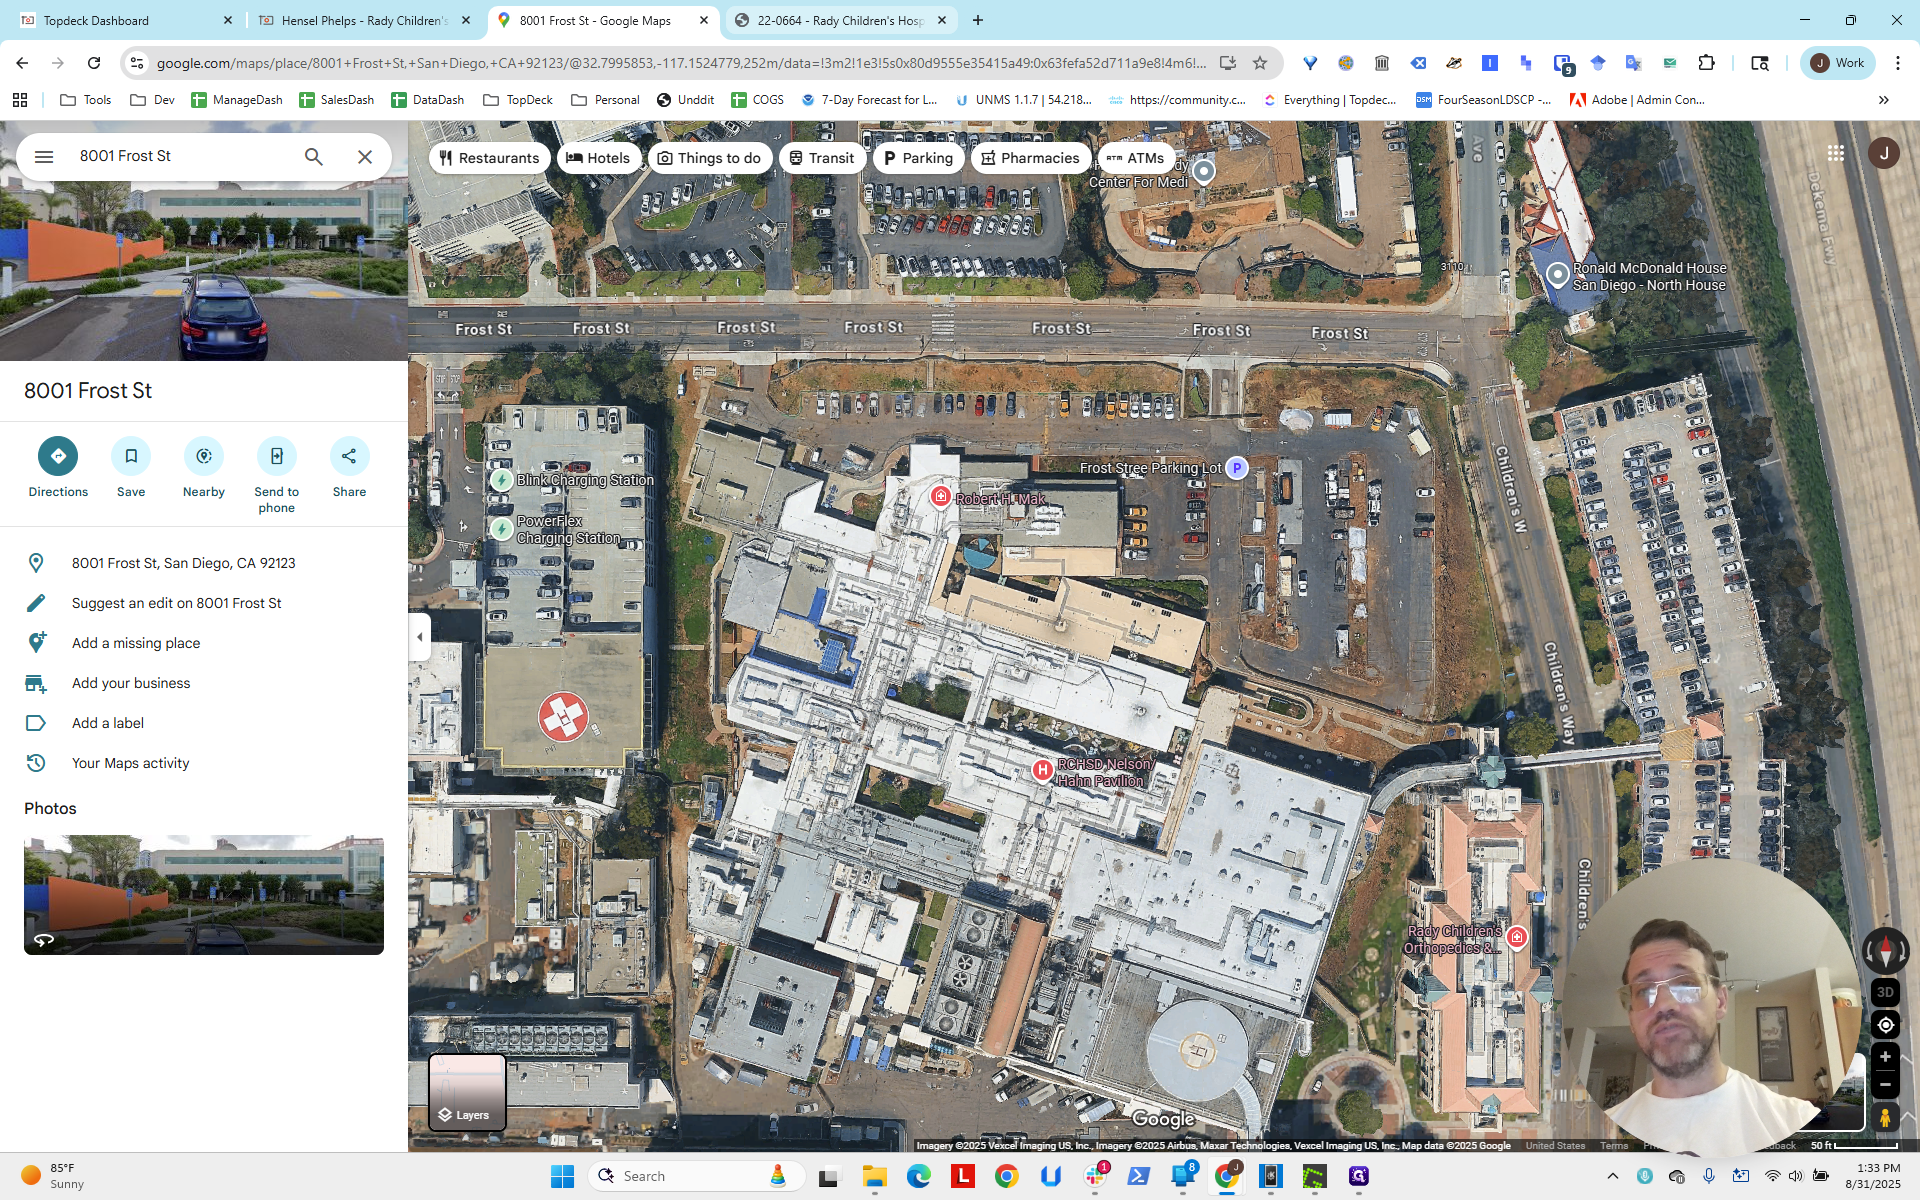
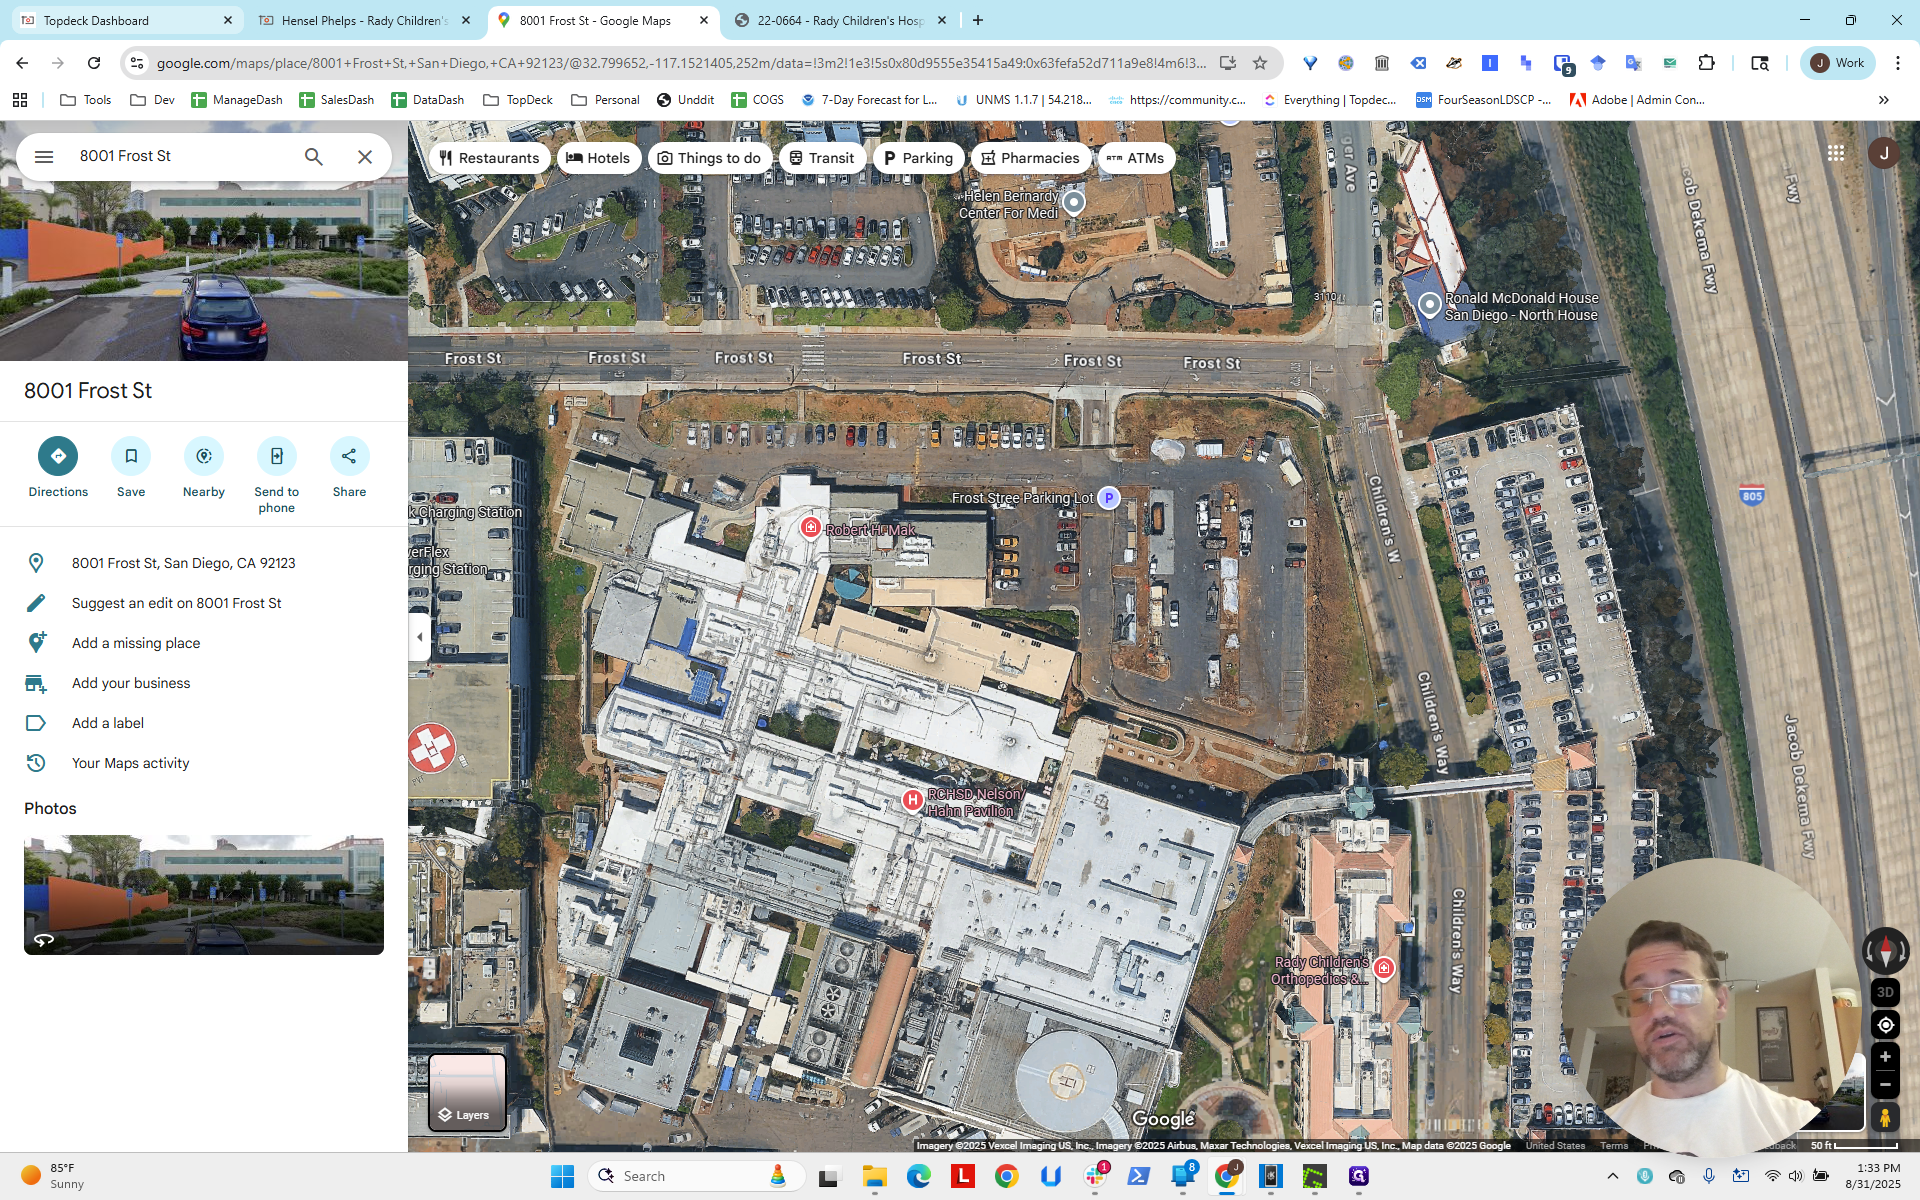
You can see the intersection there; that is the work site. The work site is roughly here.


Right-click to get the latitude and longitude.
Next, return to the project and set the viewport bearing to zero.


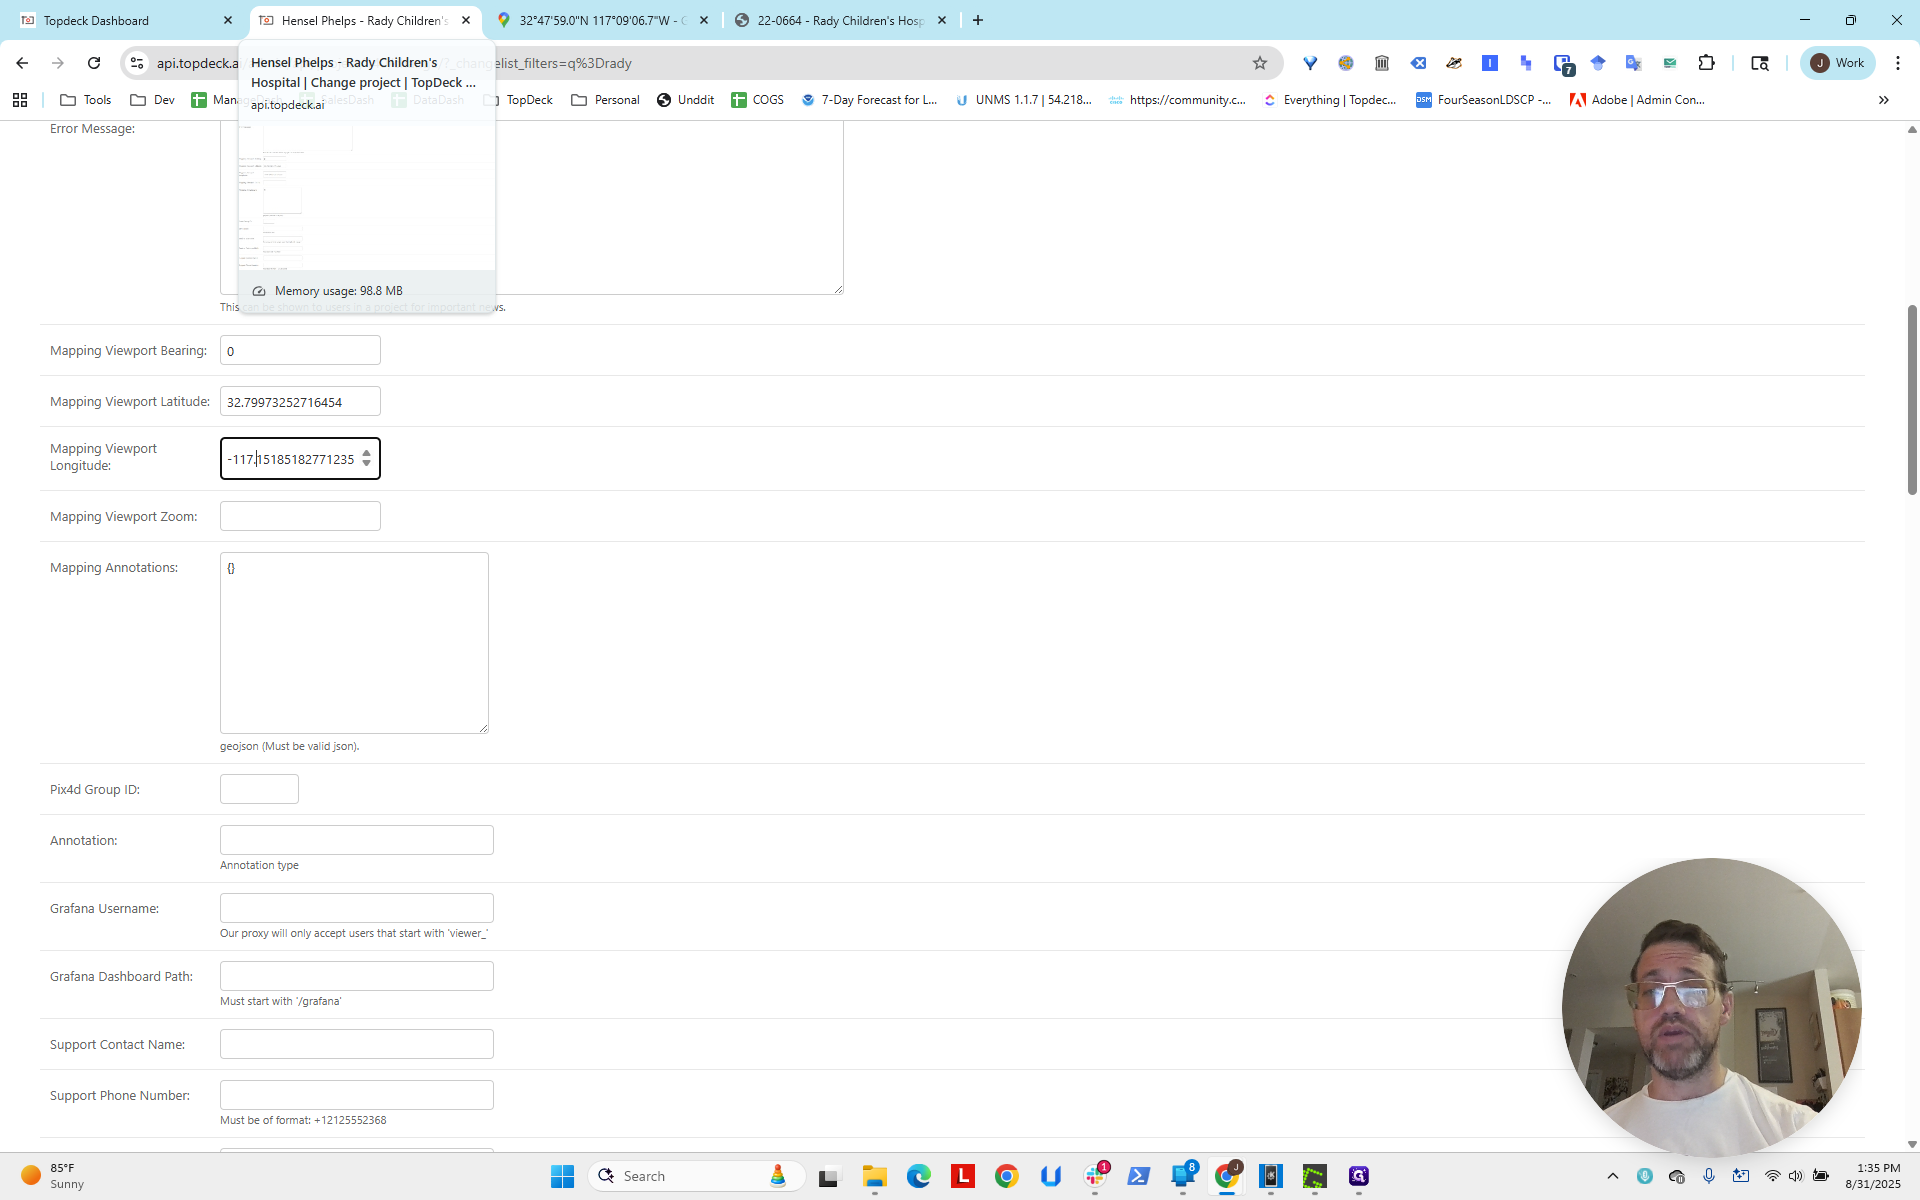
Set the latitude. Paste and remove the longitude, which is the second number. Then, set the viewport longitude.
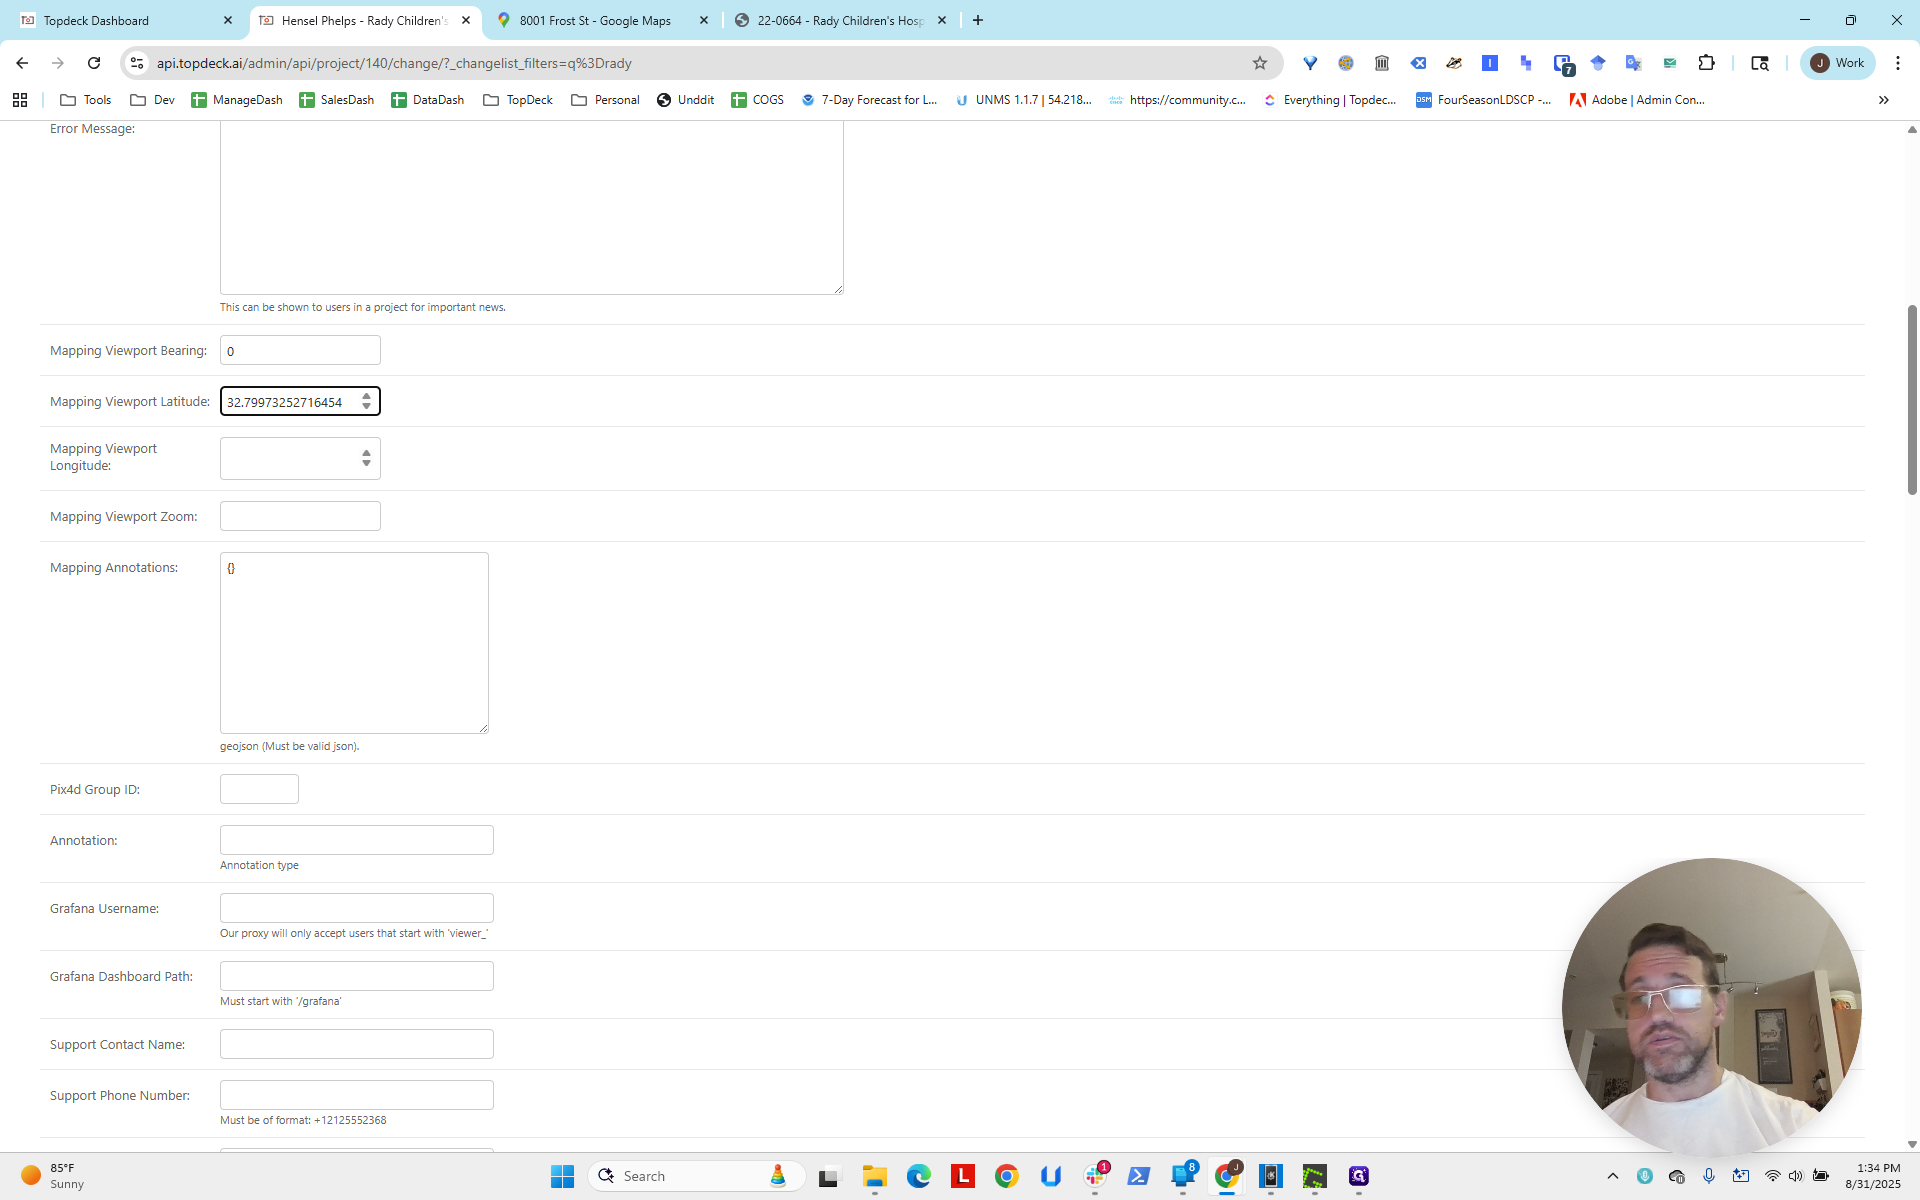
That is the second number. We need to delete the first number.

We also need to note that, for some reason, the period was not copied. Make sure you include the period when copying. You can check at the bottom to ensure it has the correct minus sign and period.

For the viewport zoom, a good starting point is to set it to 12.

That's a bit zoomed out, but still within the scale of a project.

You go down. You click Save.
Now, if we go back and reload, you can see it is already loaded.
That's how you set up the viewport.