
How to Set Up Your Email Signature in the Outlook Web App
Learn step-by-step how to create and set a default email signature in the Outlook web app. Follow this easy guide to personalise your emails quickly.
In this guide, we'll learn how to set up an email signature in the Outlook web app. Adding a signature helps personalize your emails and can save time by including your contact information automatically.
We'll cover how to access the signature settings, create a new signature, and set it as the default for new messages or replies.
Let's get started
Okay. This is a quick video to show you how to set up your email signature in the Outlook web app. First, log in with your account.
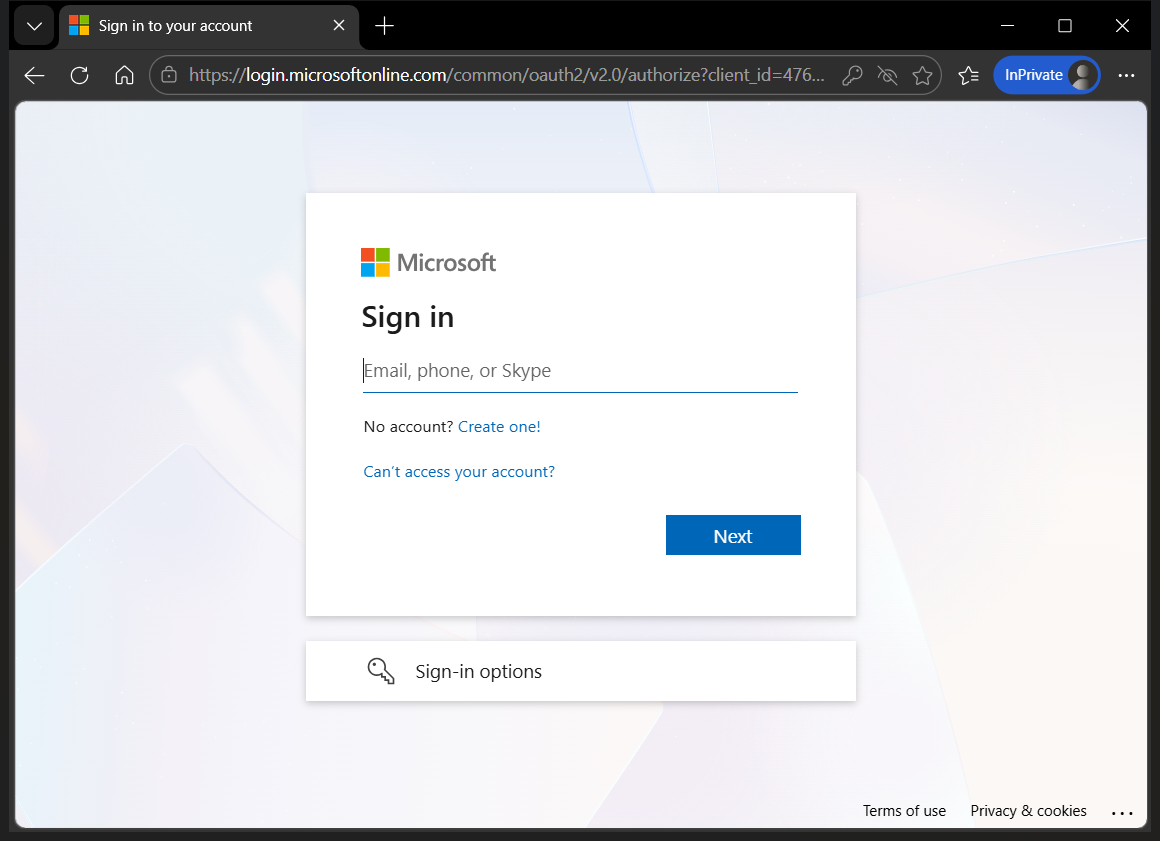
This is at portal.office.com.
Once you’re in, open Outlook.

This is the Outlook web app. Once inside, click the three dots and select Settings.
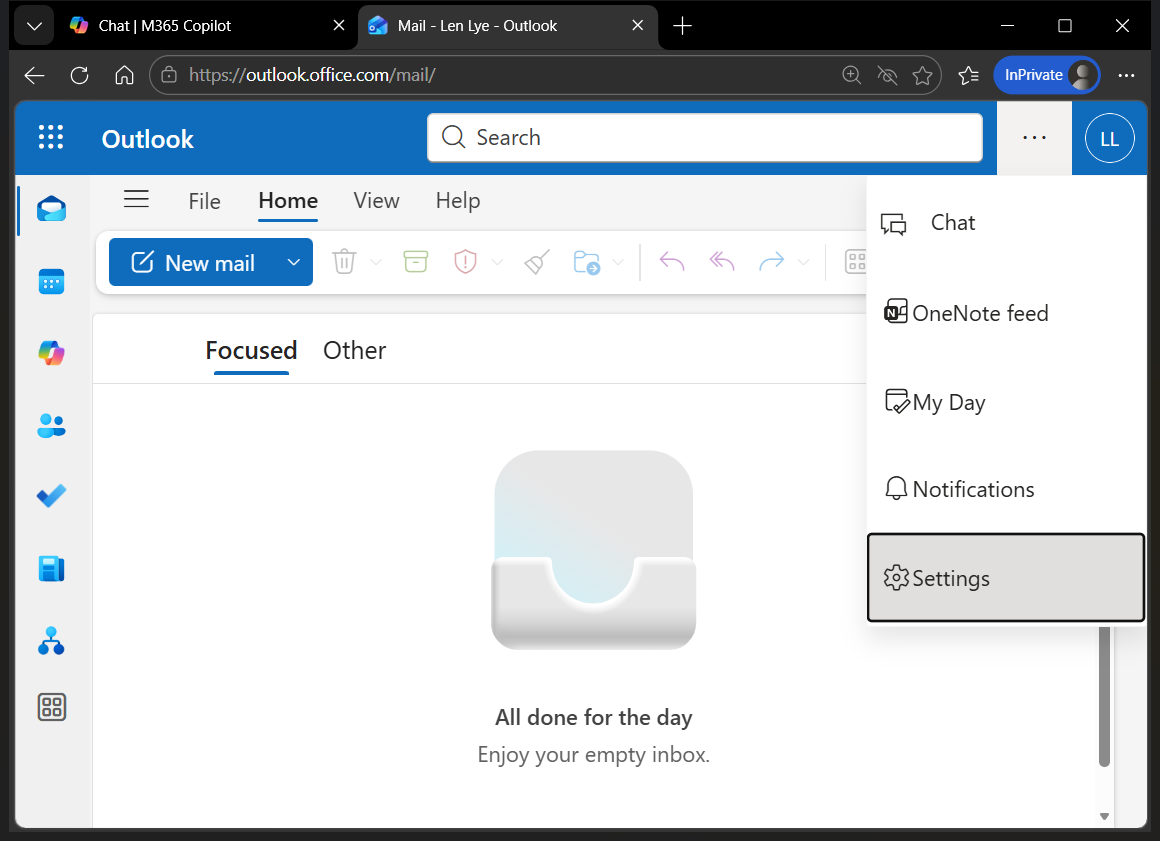
Go to Account.

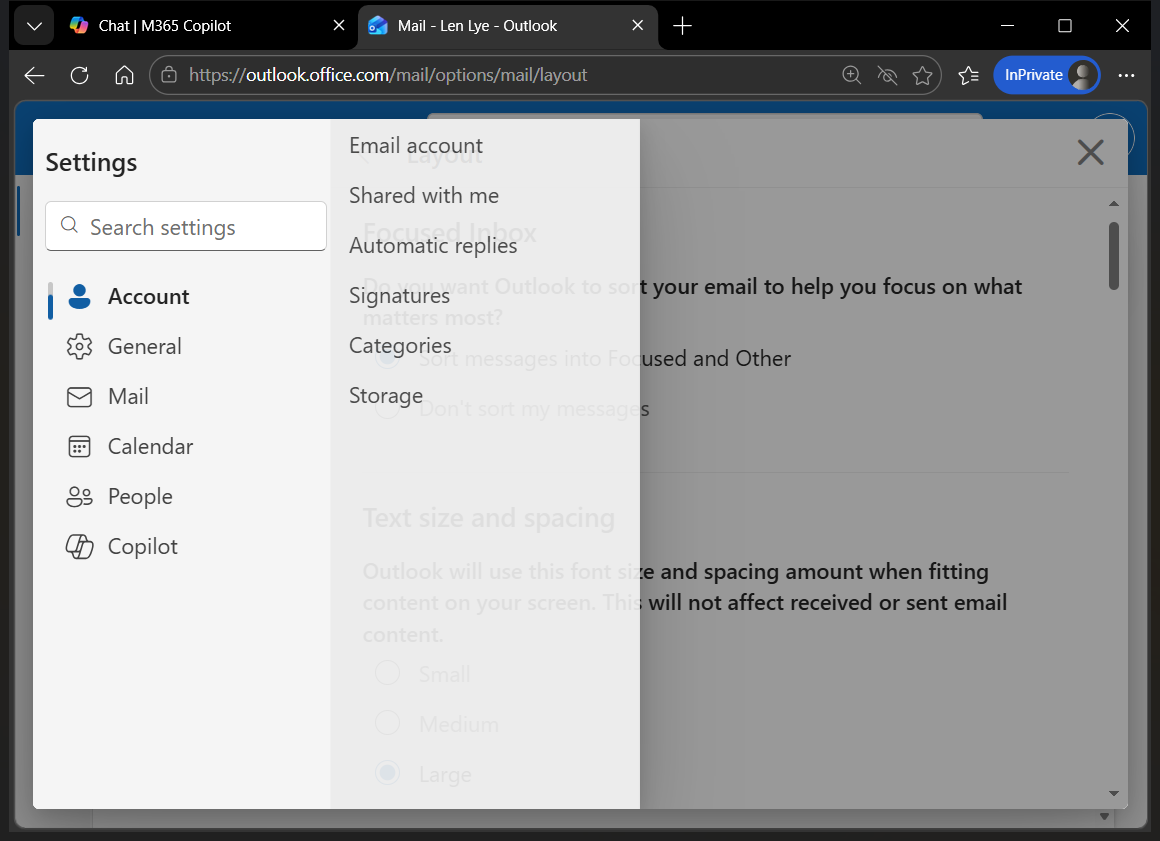
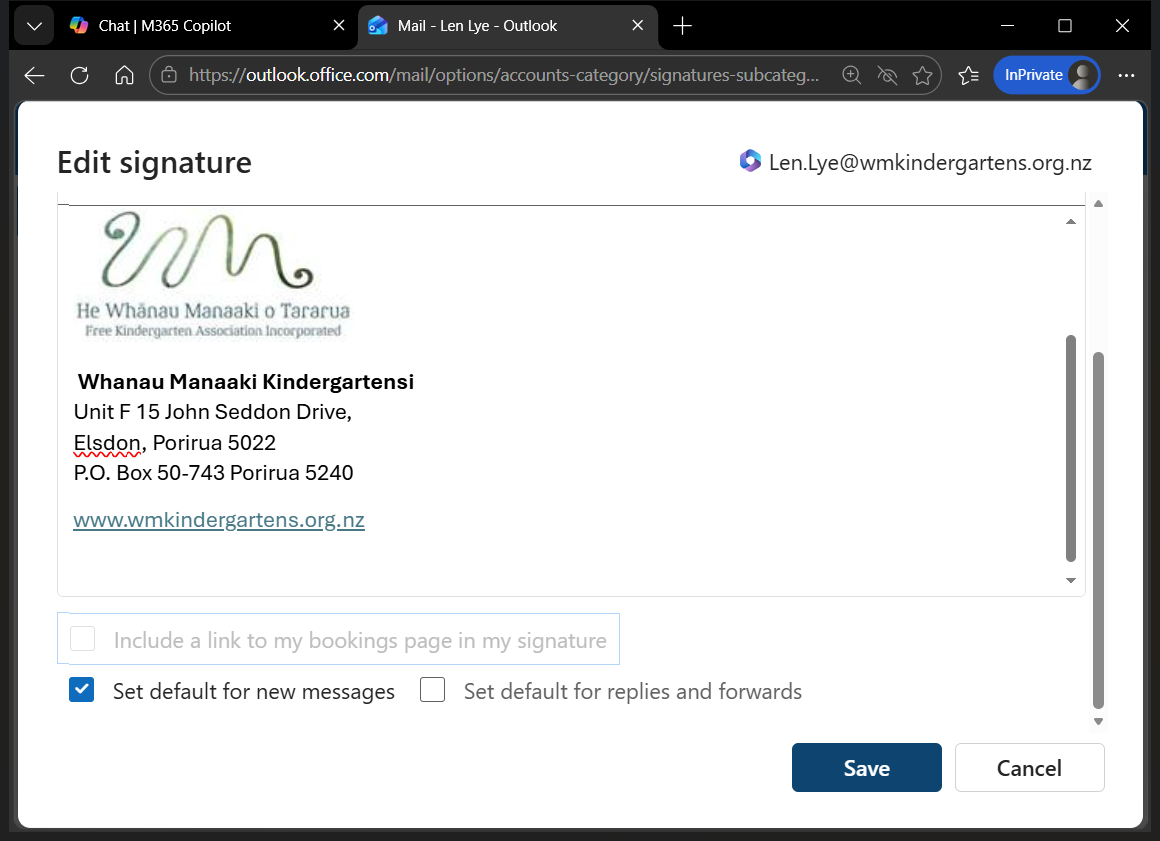
Here, there is a section called Signatures.
We want to add a signature.
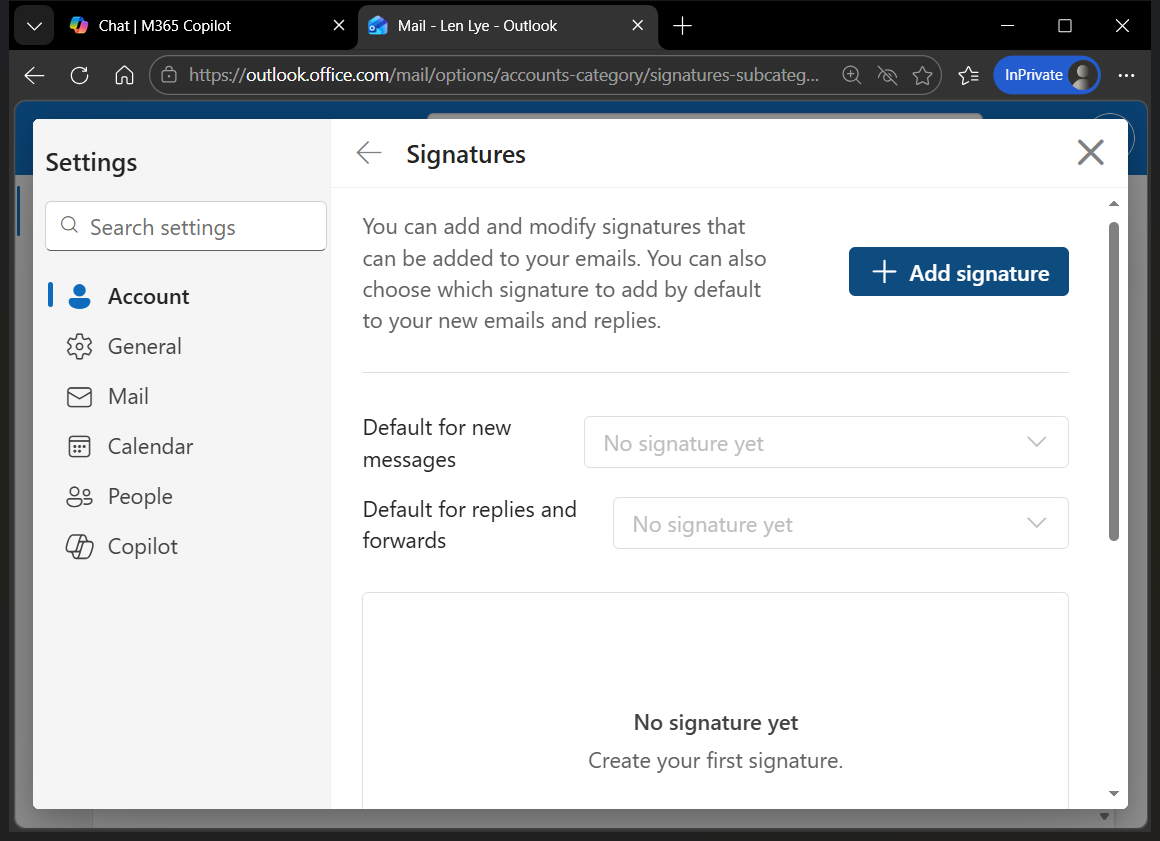
We'll give it a name and set it as the default.
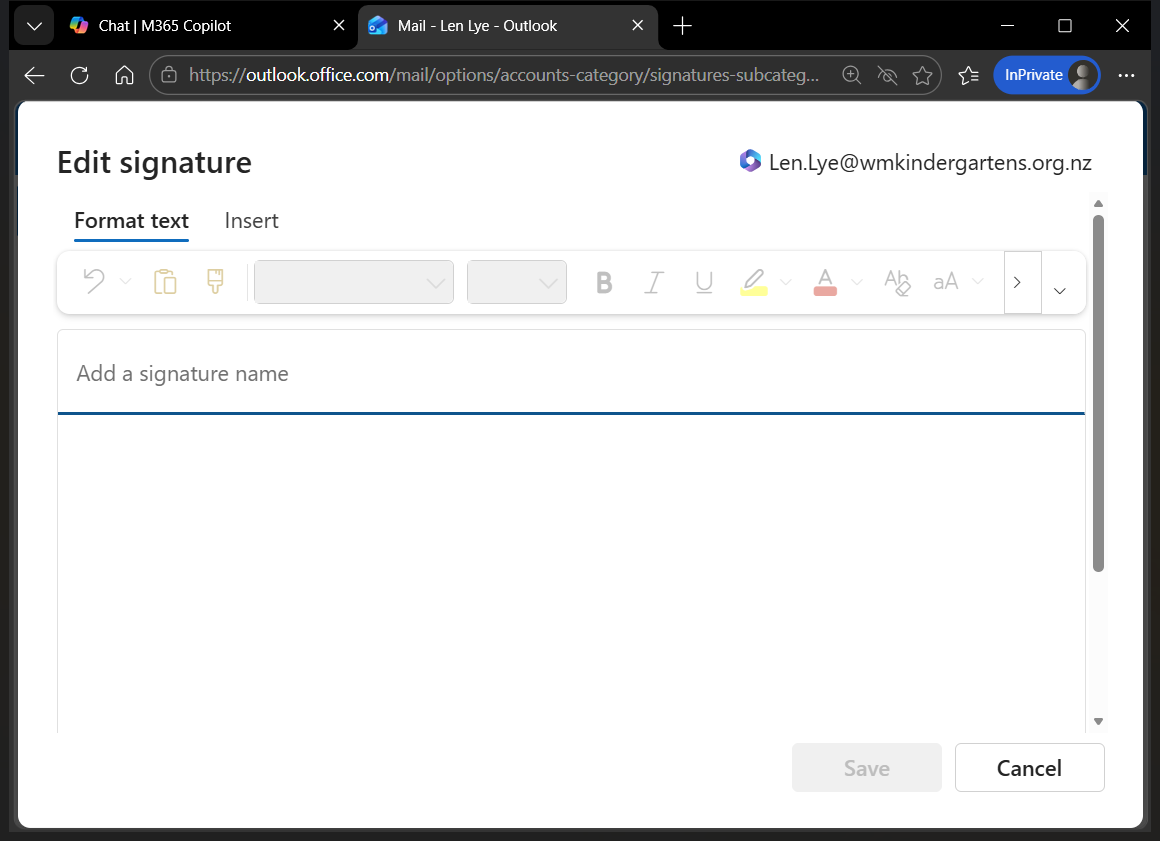
I'll copy and paste my signature that I prepared earlier. I want this to be the default for my new messages, so I tick this box.
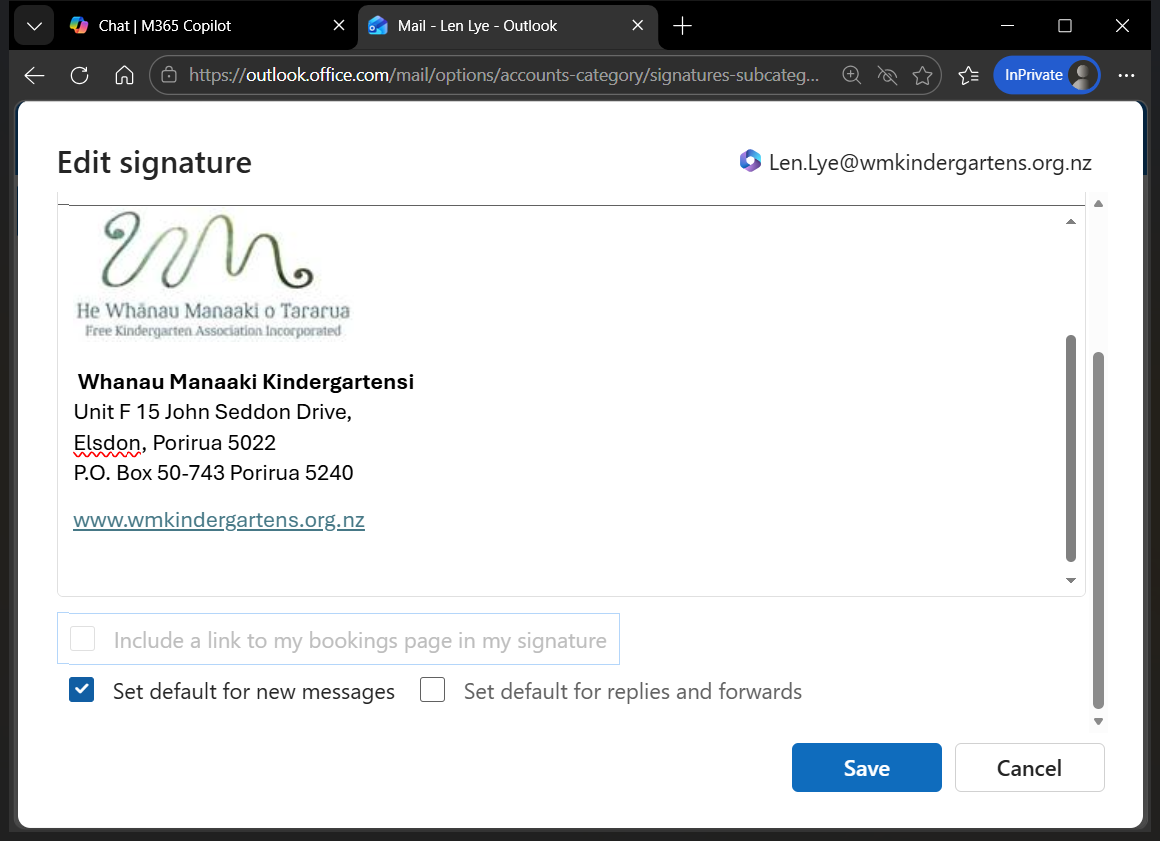
You can also set it as the default for replies and forwards. Most of the time, you won't need to do this, but it's an option if you want. I'll just hit save.
The default for new messages is the one I just created. I'll exit this screen and create a new mail message. As you can see, my signature is included.
