How to Simplify Timekeeping with Jibble and Smartsheet: Step-by-Step Guide
Learn how to streamline your timekeeping process by using Smartsheet and Jibble together. This guide covers exporting timesheets, adding breaks automatically, and preparing your payroll for printing or PDF export.
In this guide, we'll learn how to use Smartsheet and Excel to streamline timekeeping with Jibble by automatically adding breaks. This process helps ensure accurate records and simplifies payroll preparation.
We'll cover how to clean up time entries, export data, and import it into a Smartsheet template. You'll also see how to add notes and save or share the completed timesheet.
Let's get started
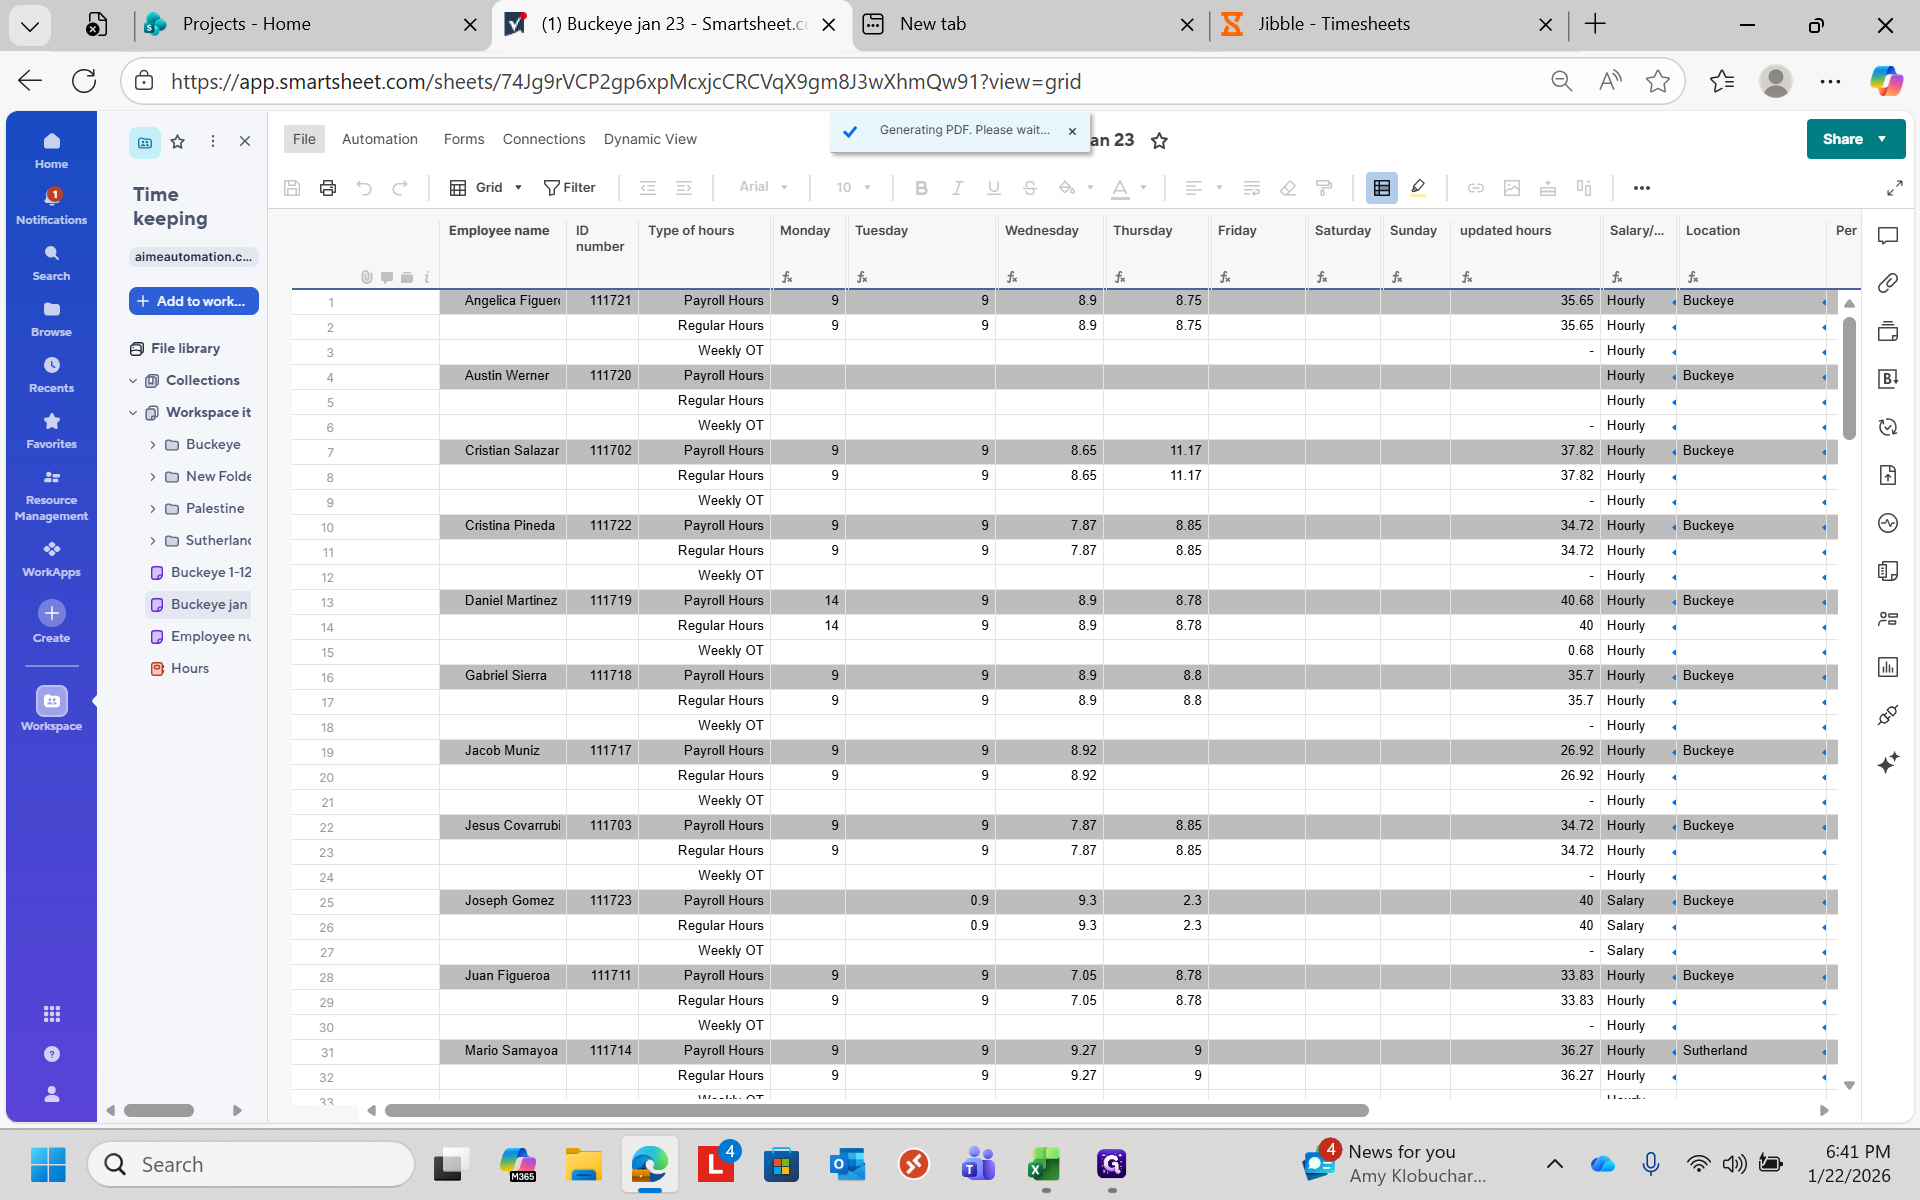
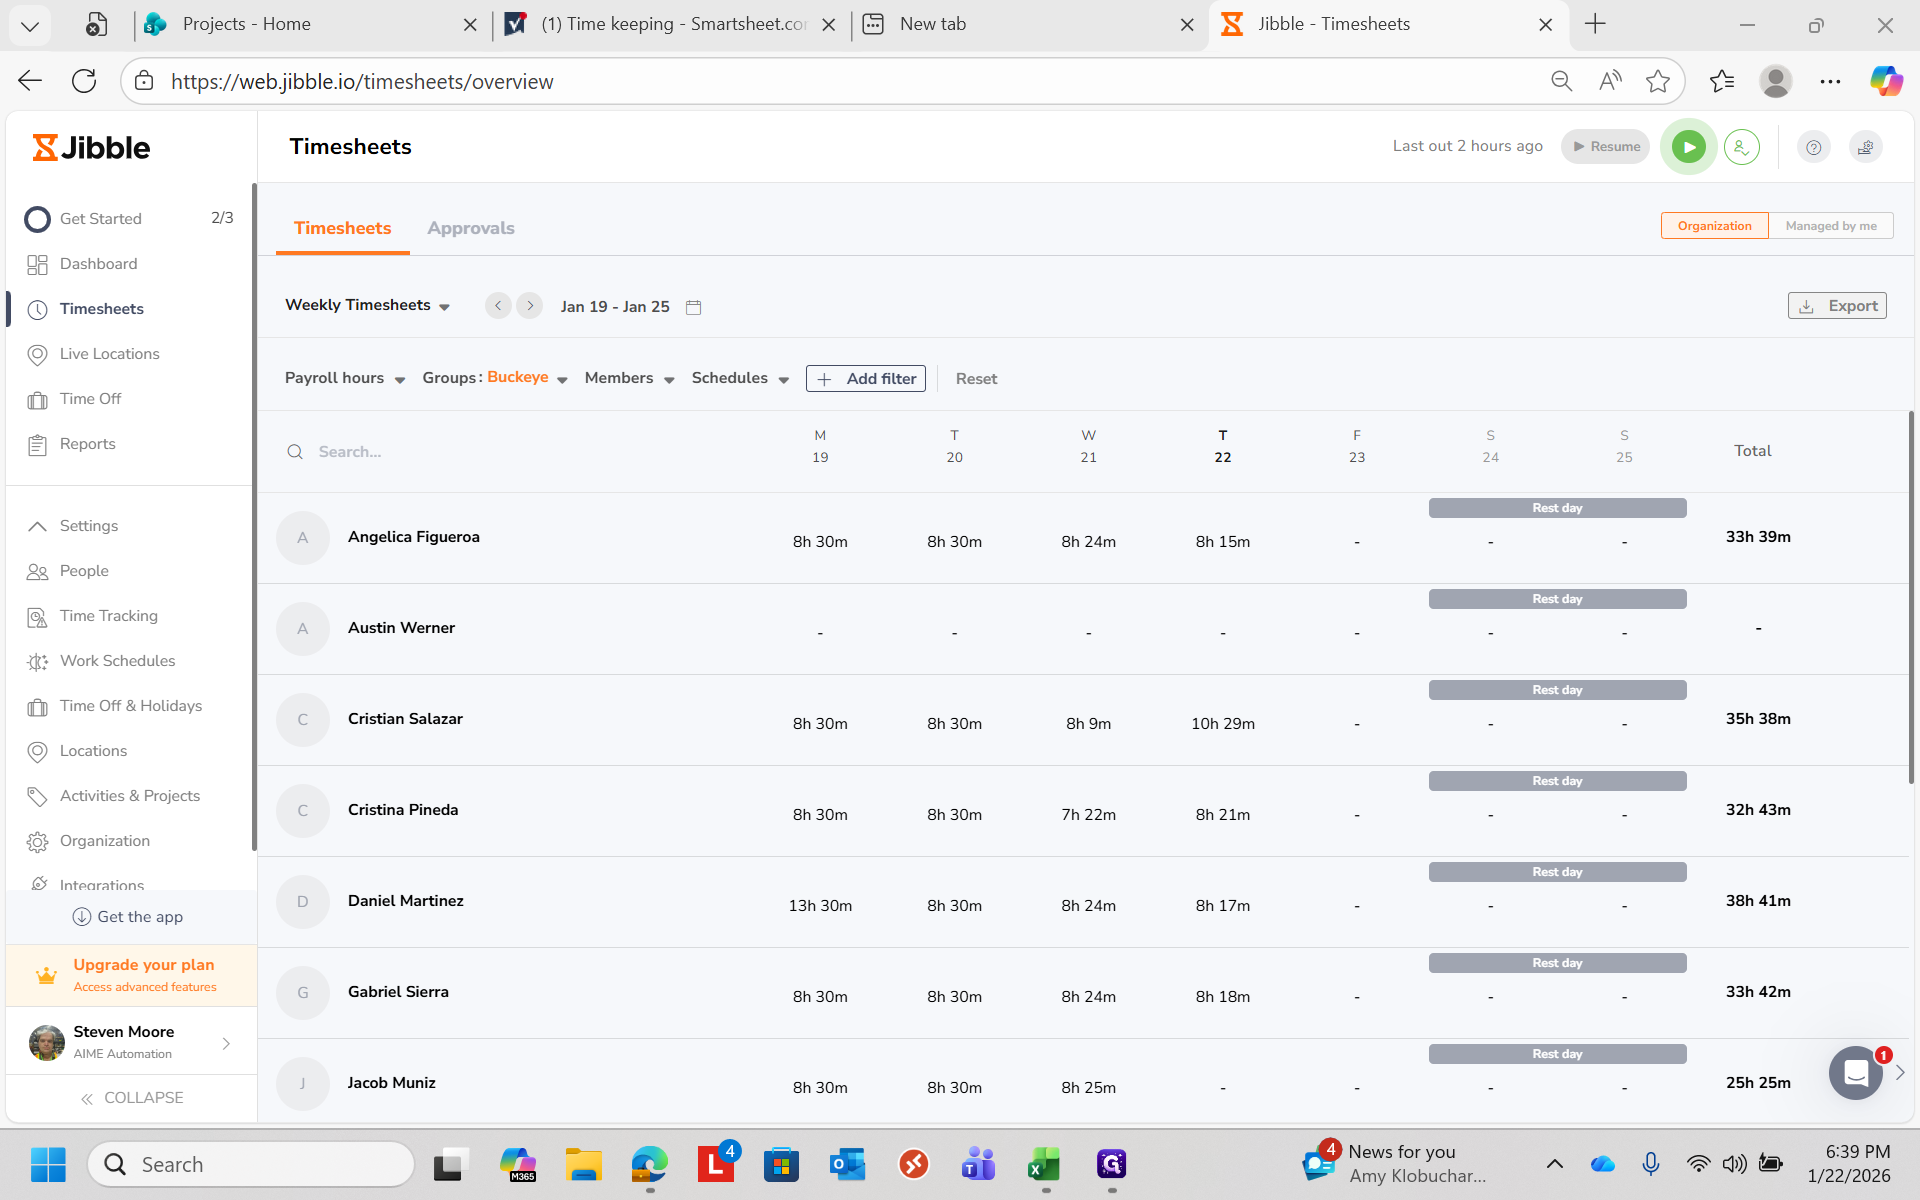
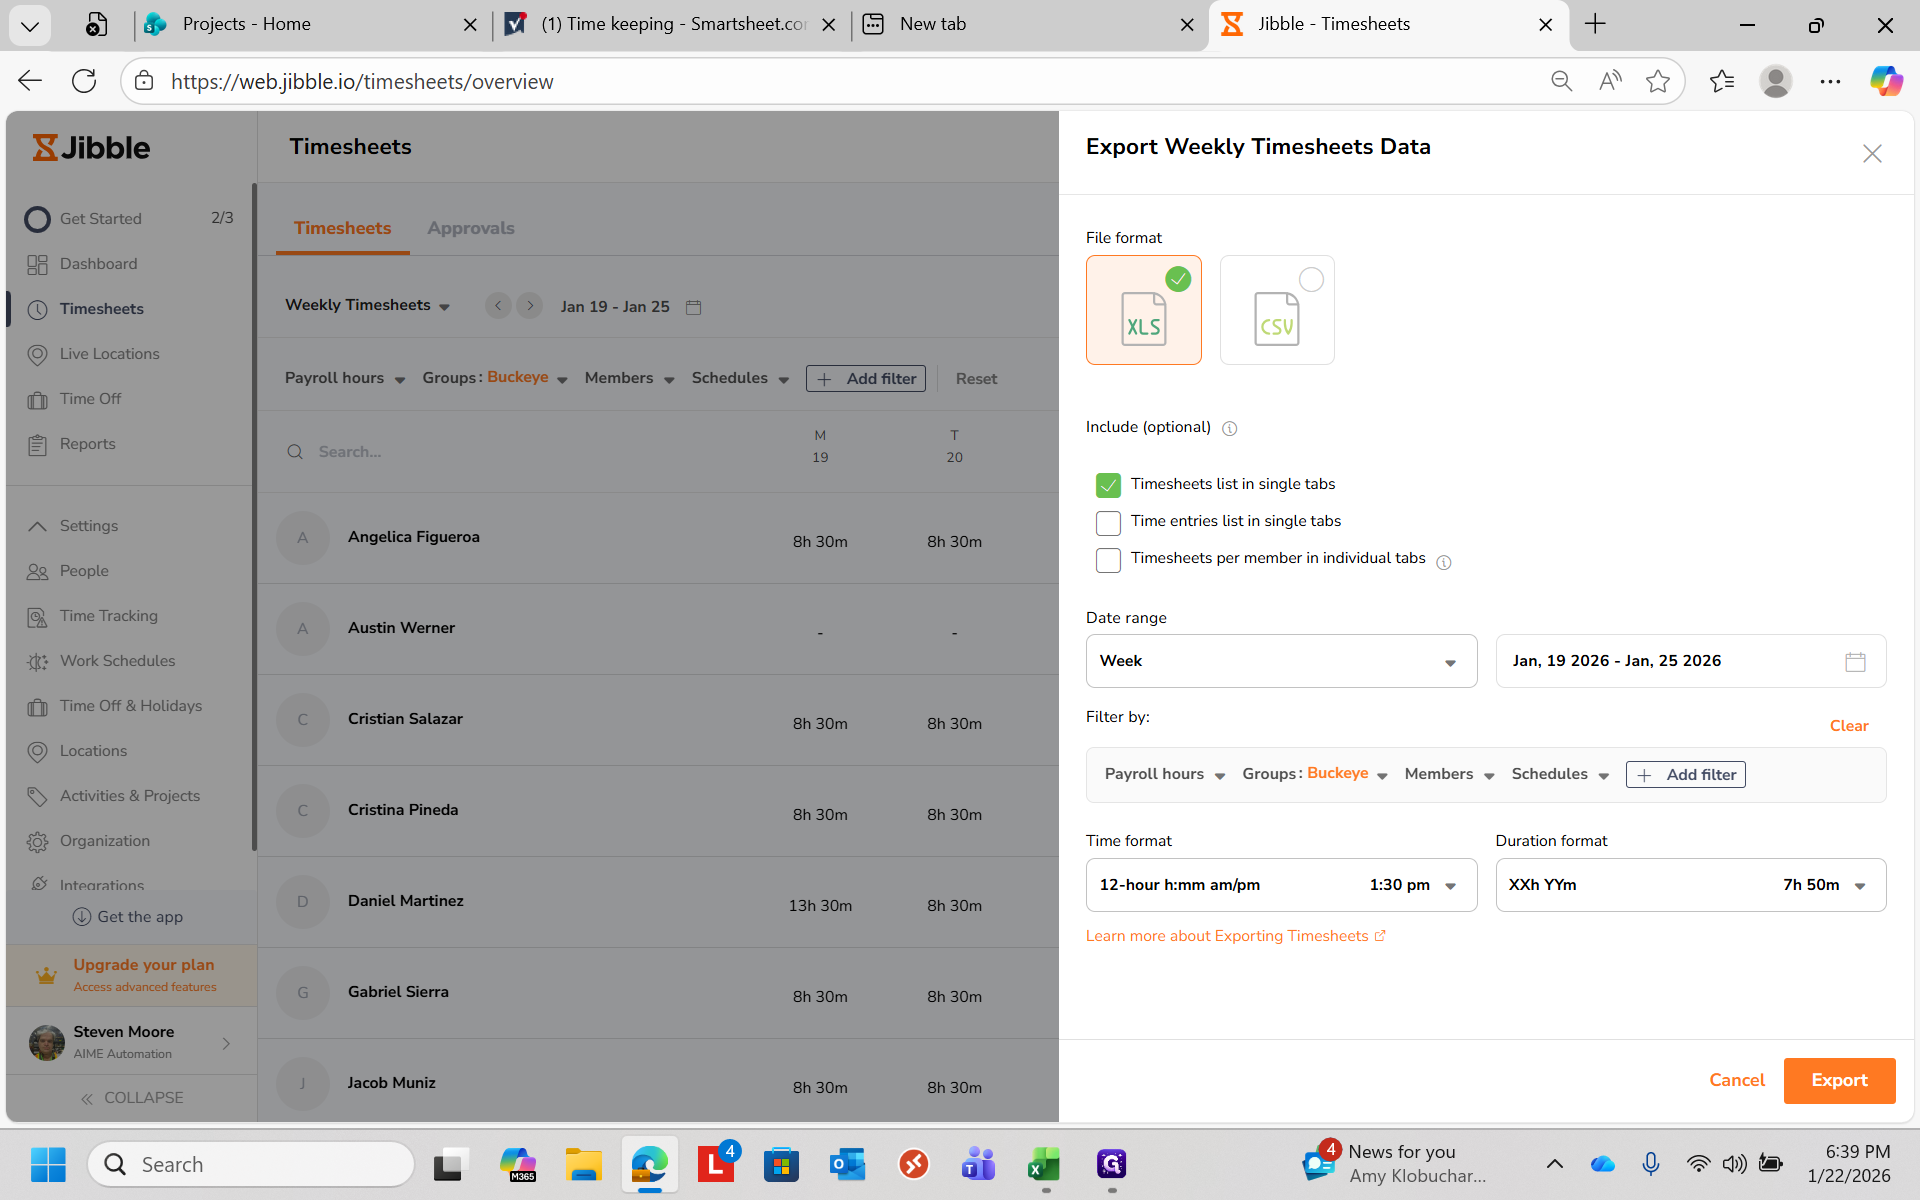
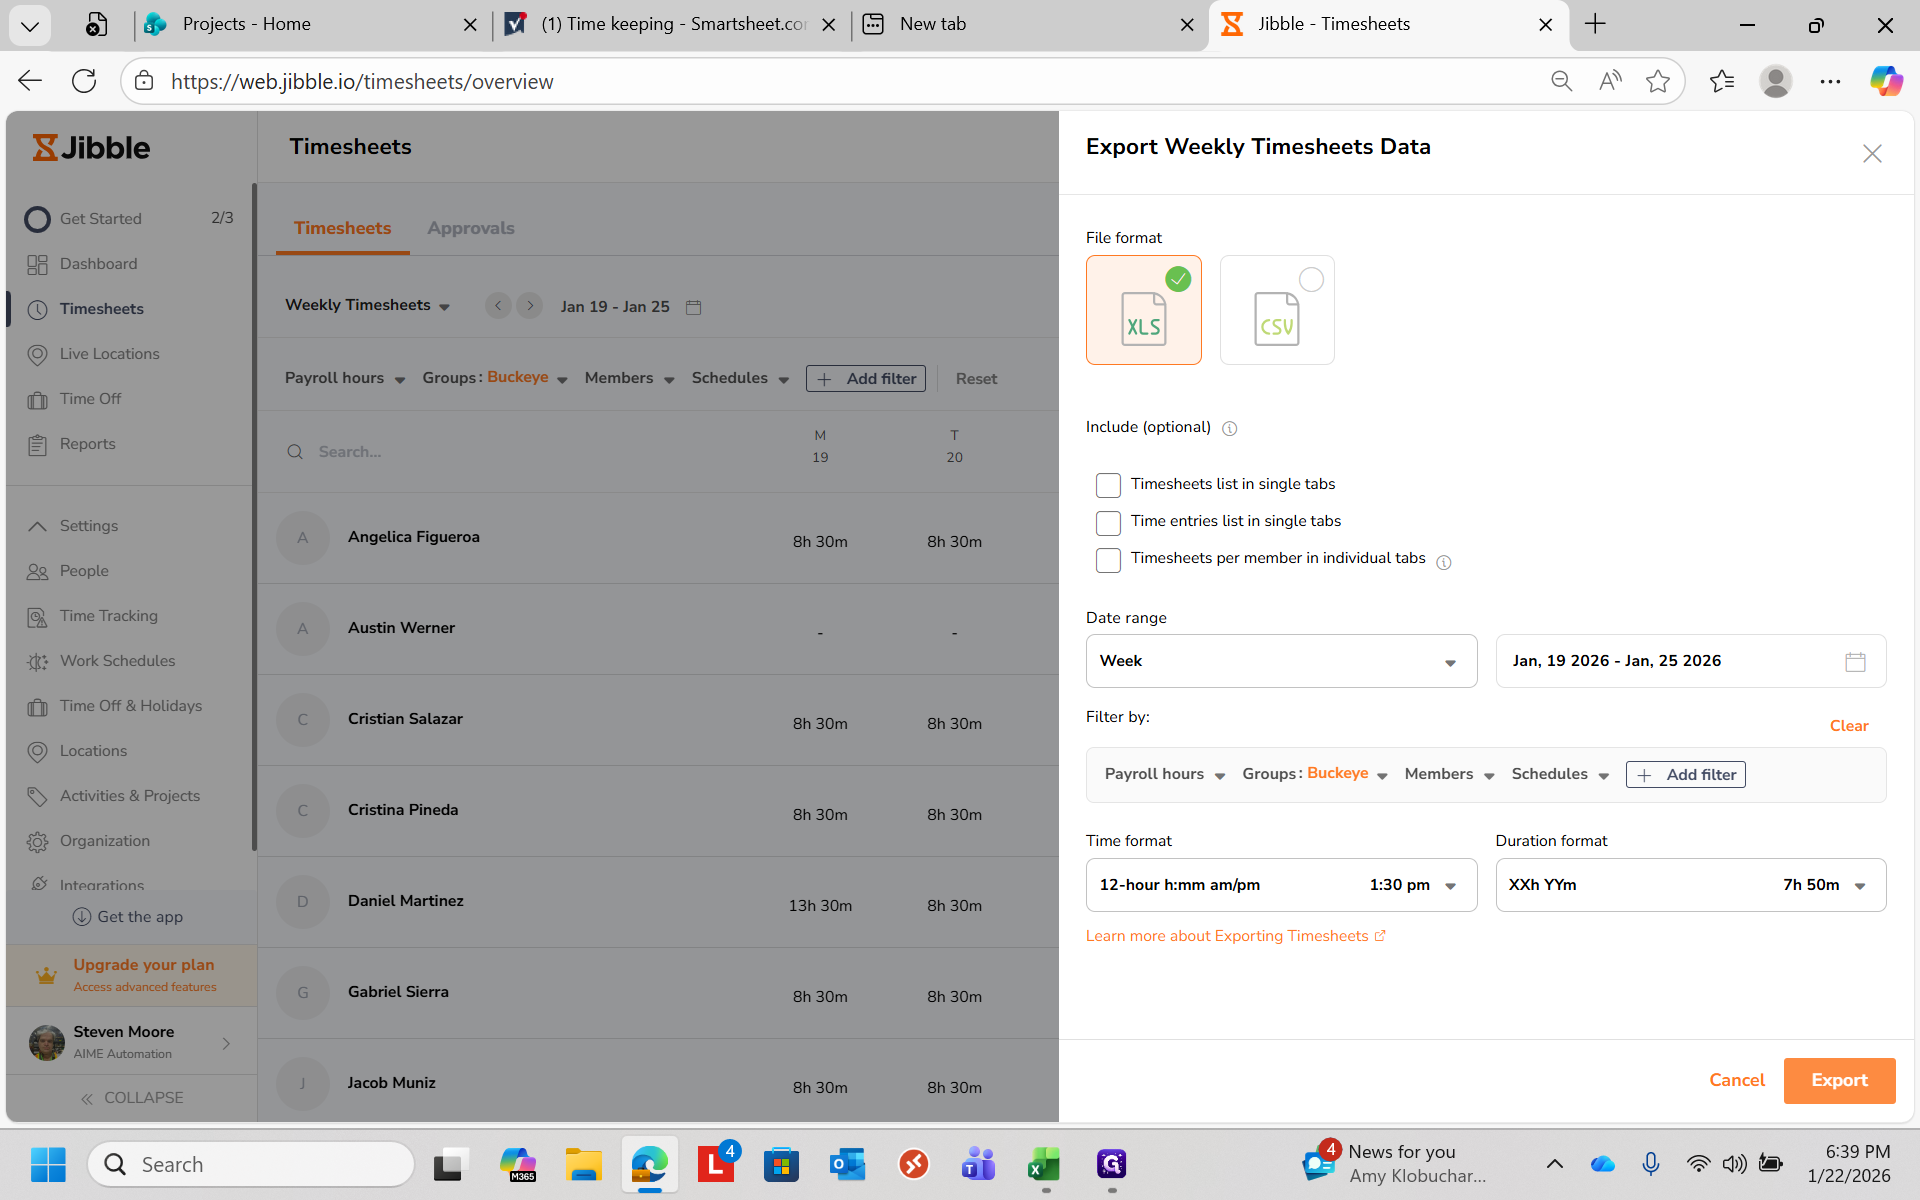
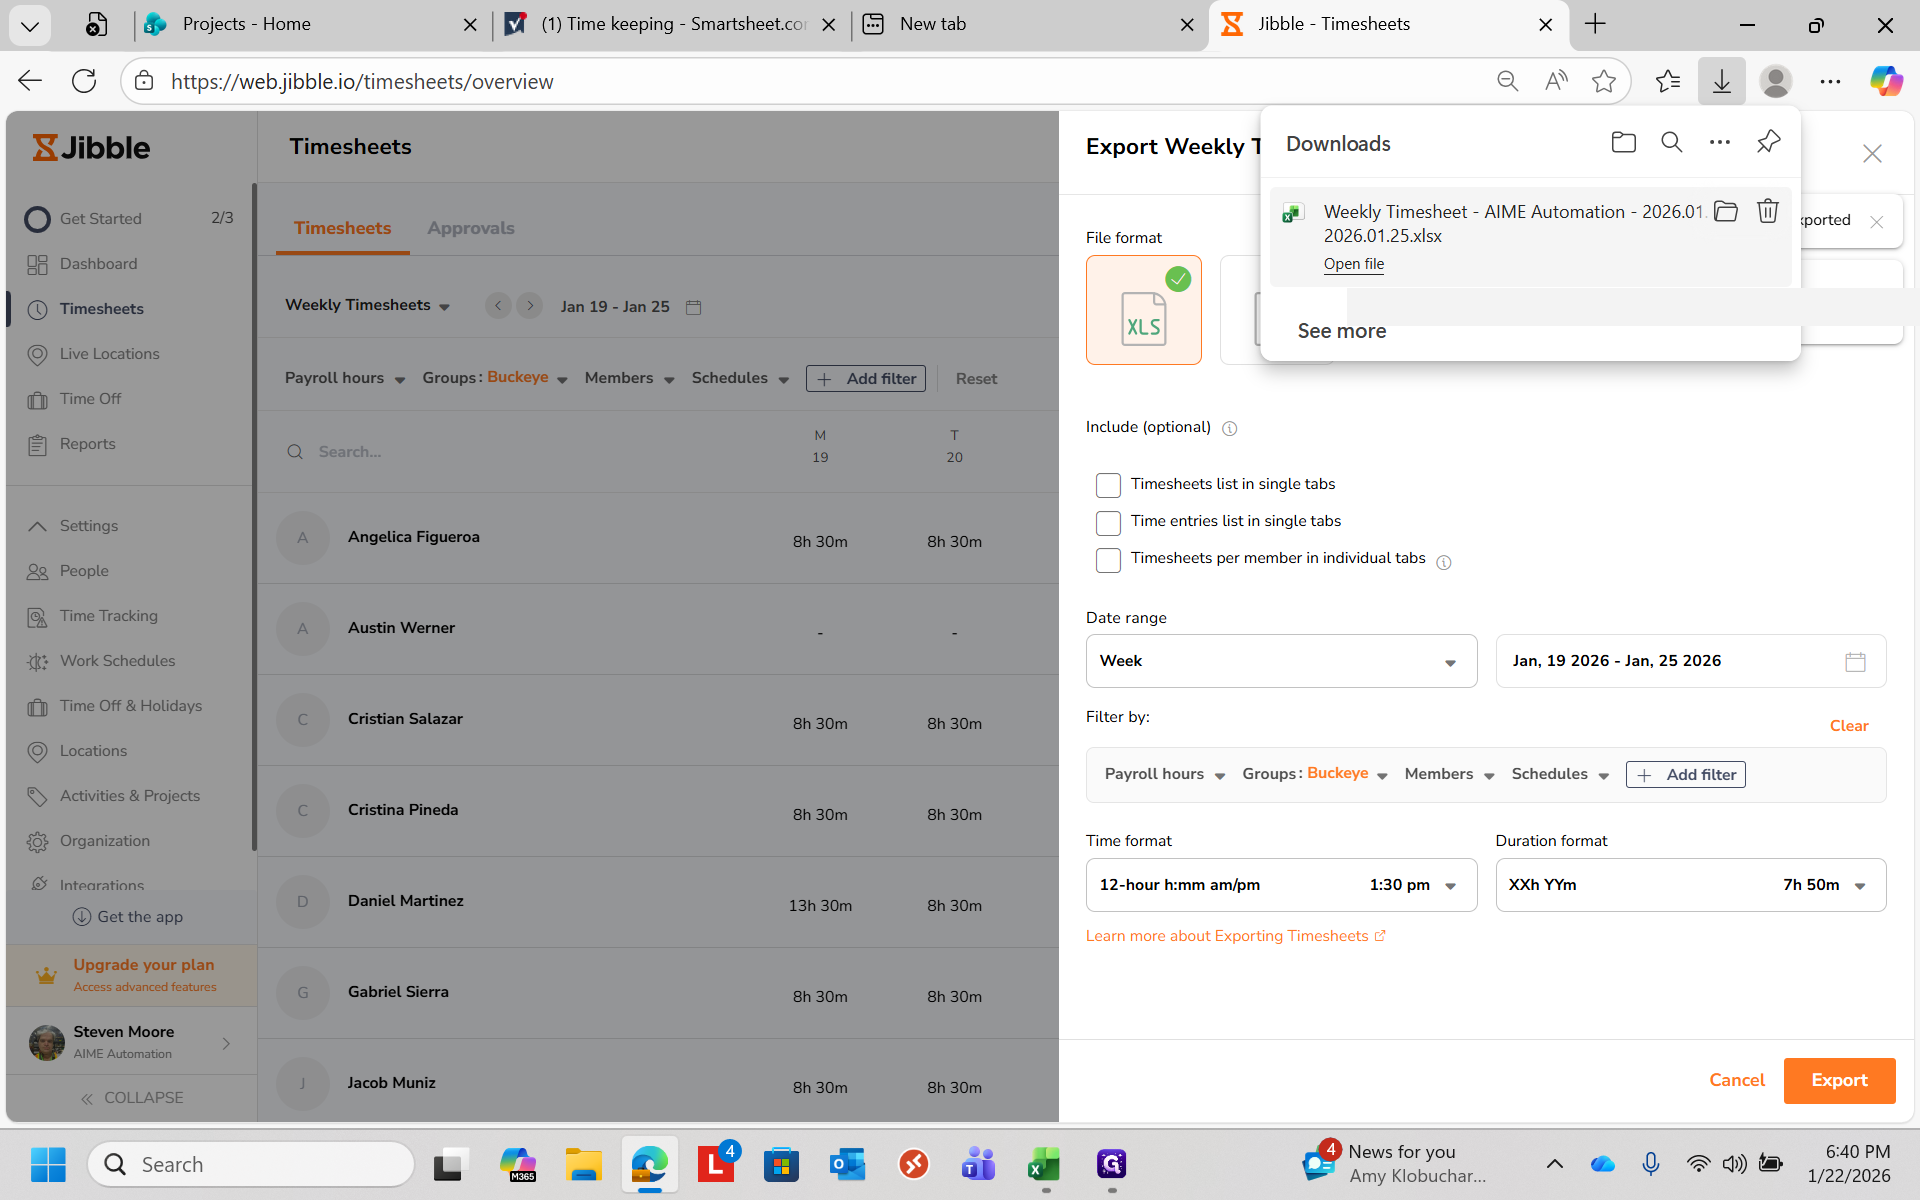
I created a Smartsheet to simplify timekeeping with Jibble by automatically adding breaks. First, clean up any sections that need extra punches or adjustments. Once your times are correct, go to Export and select XLS, which is an Excel spreadsheet.
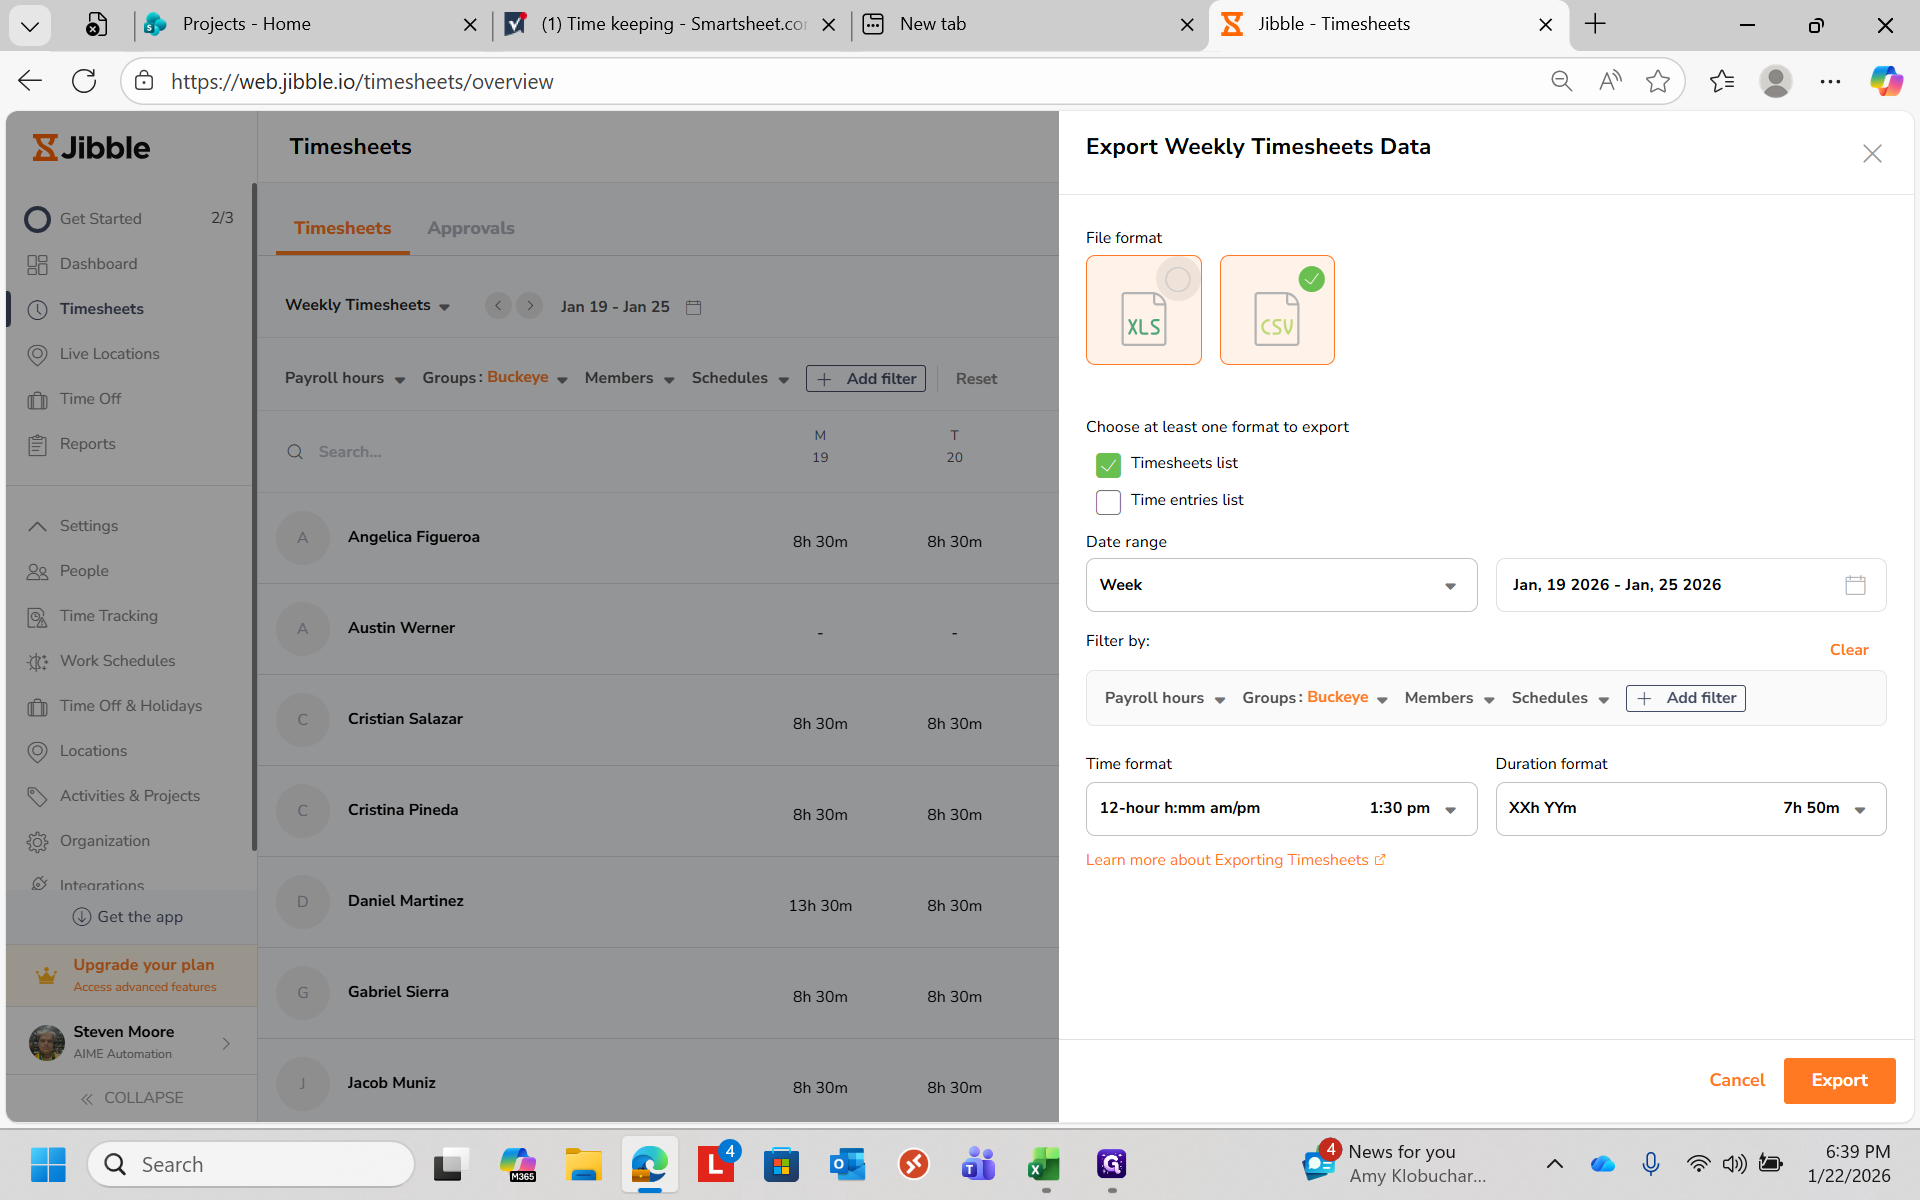
You can deselect that option and then export.
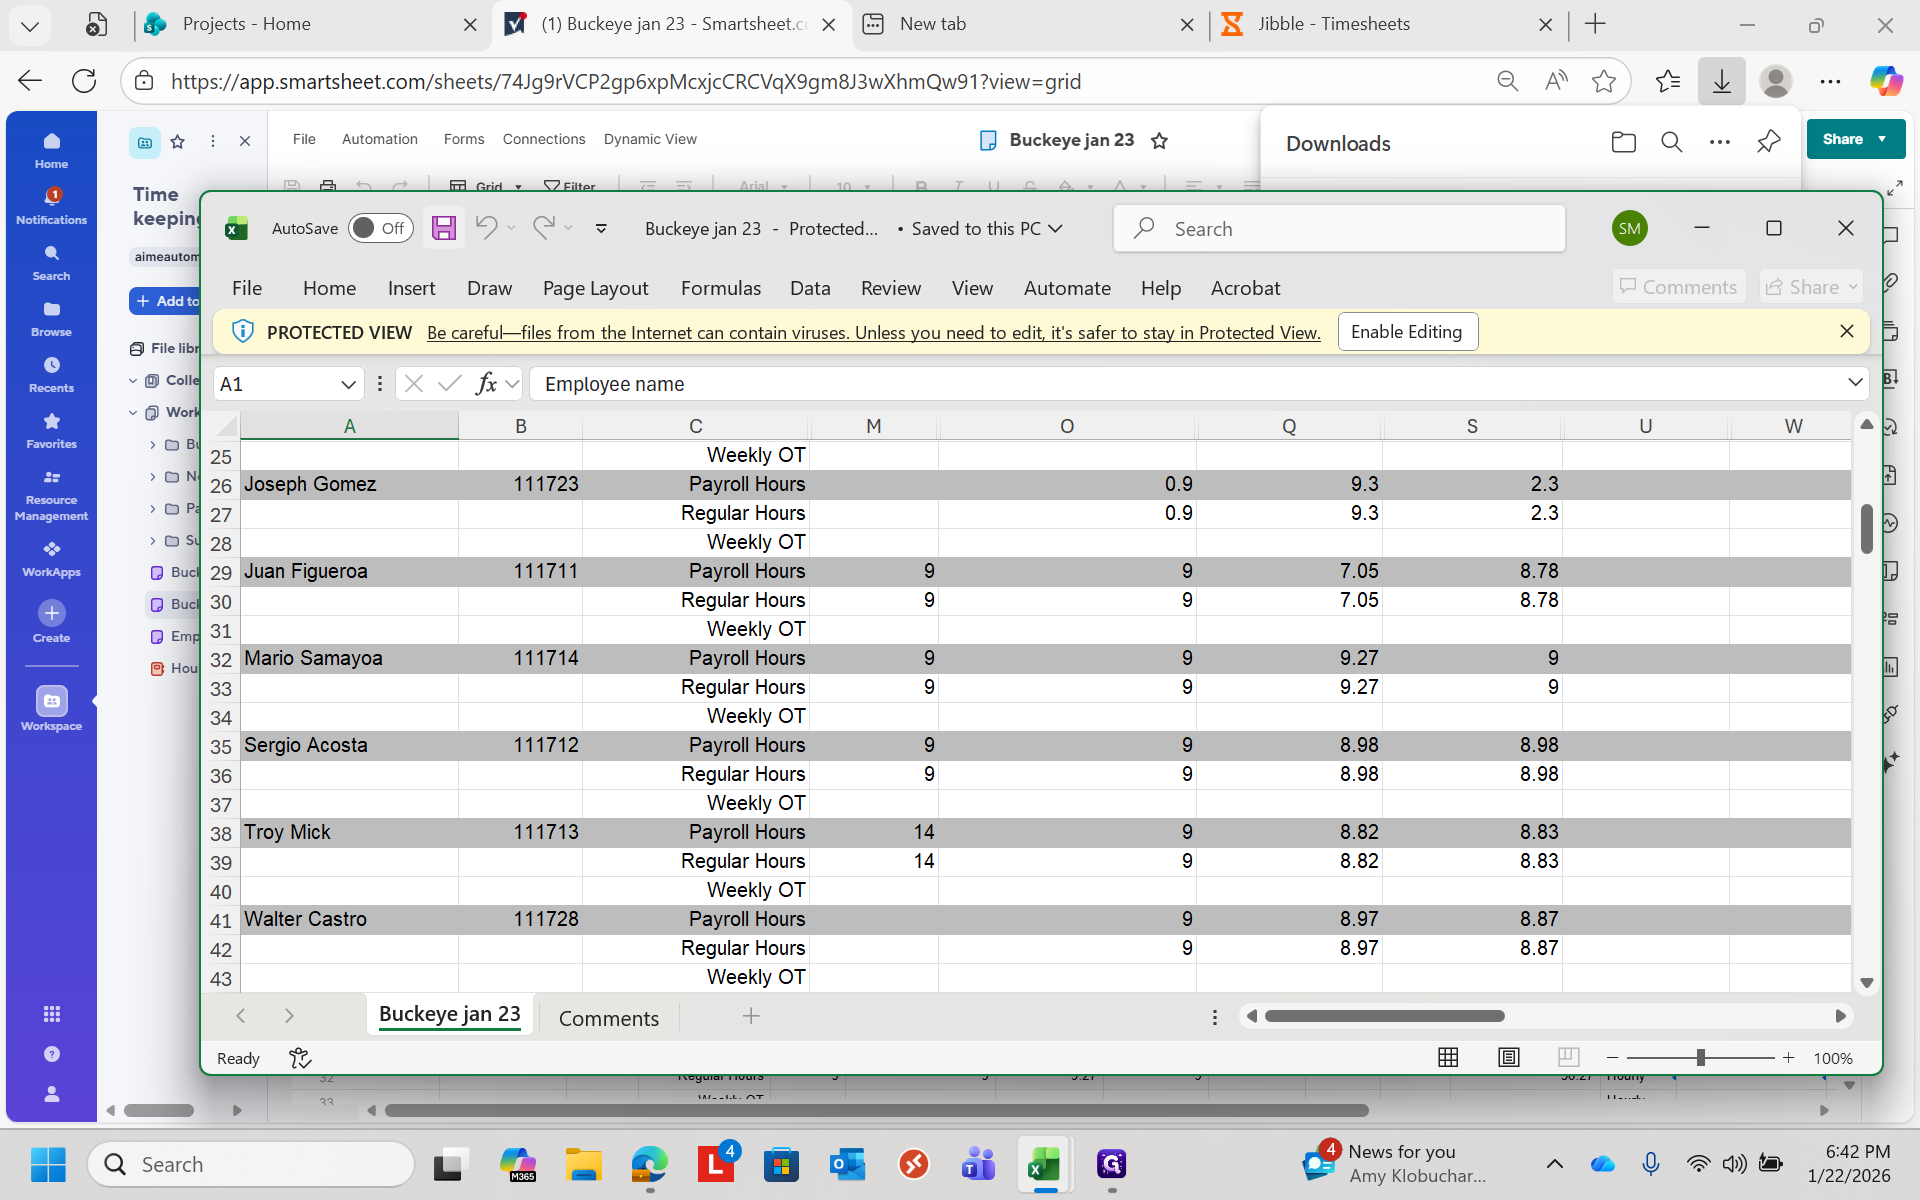
When the export is complete, open the file in Excel. Then, select everyone from that week.
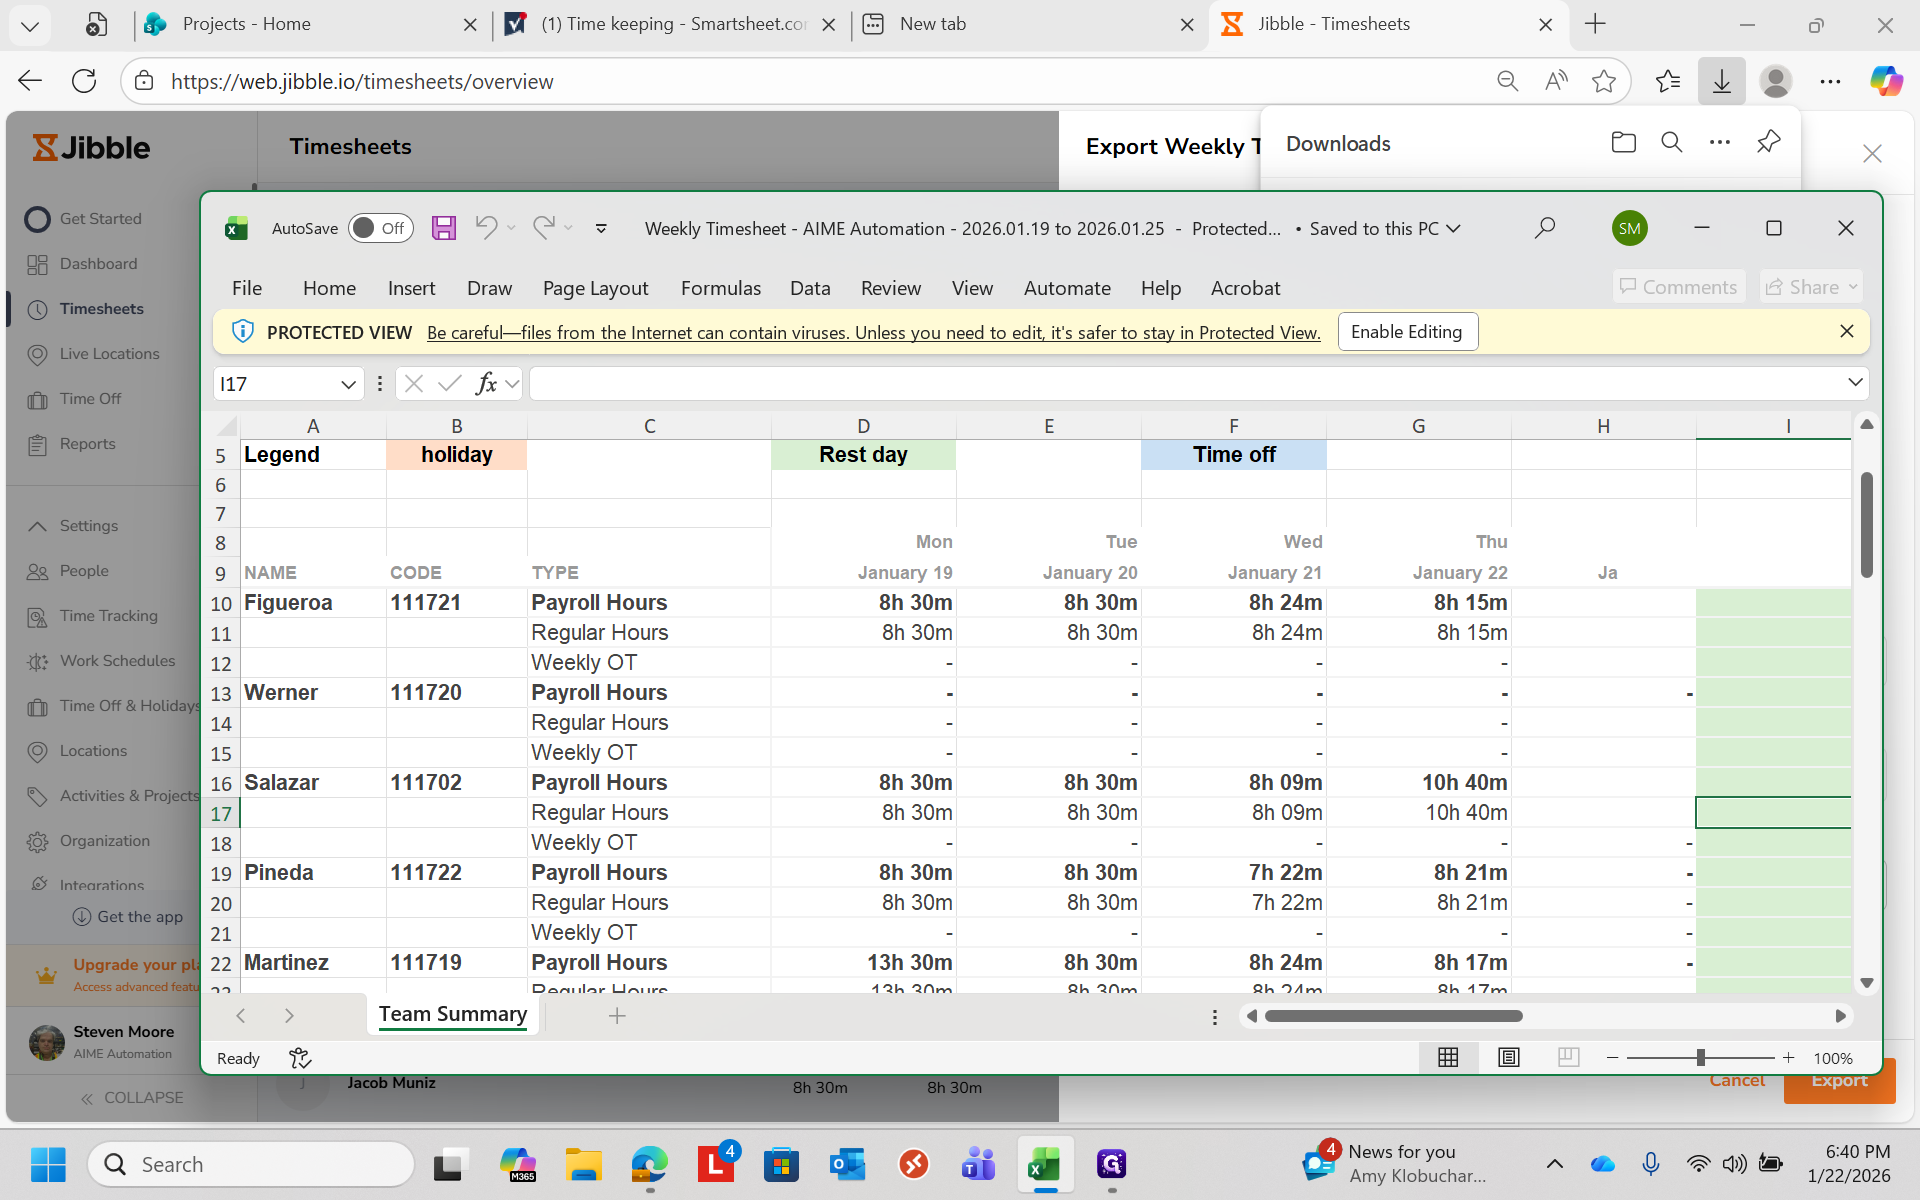
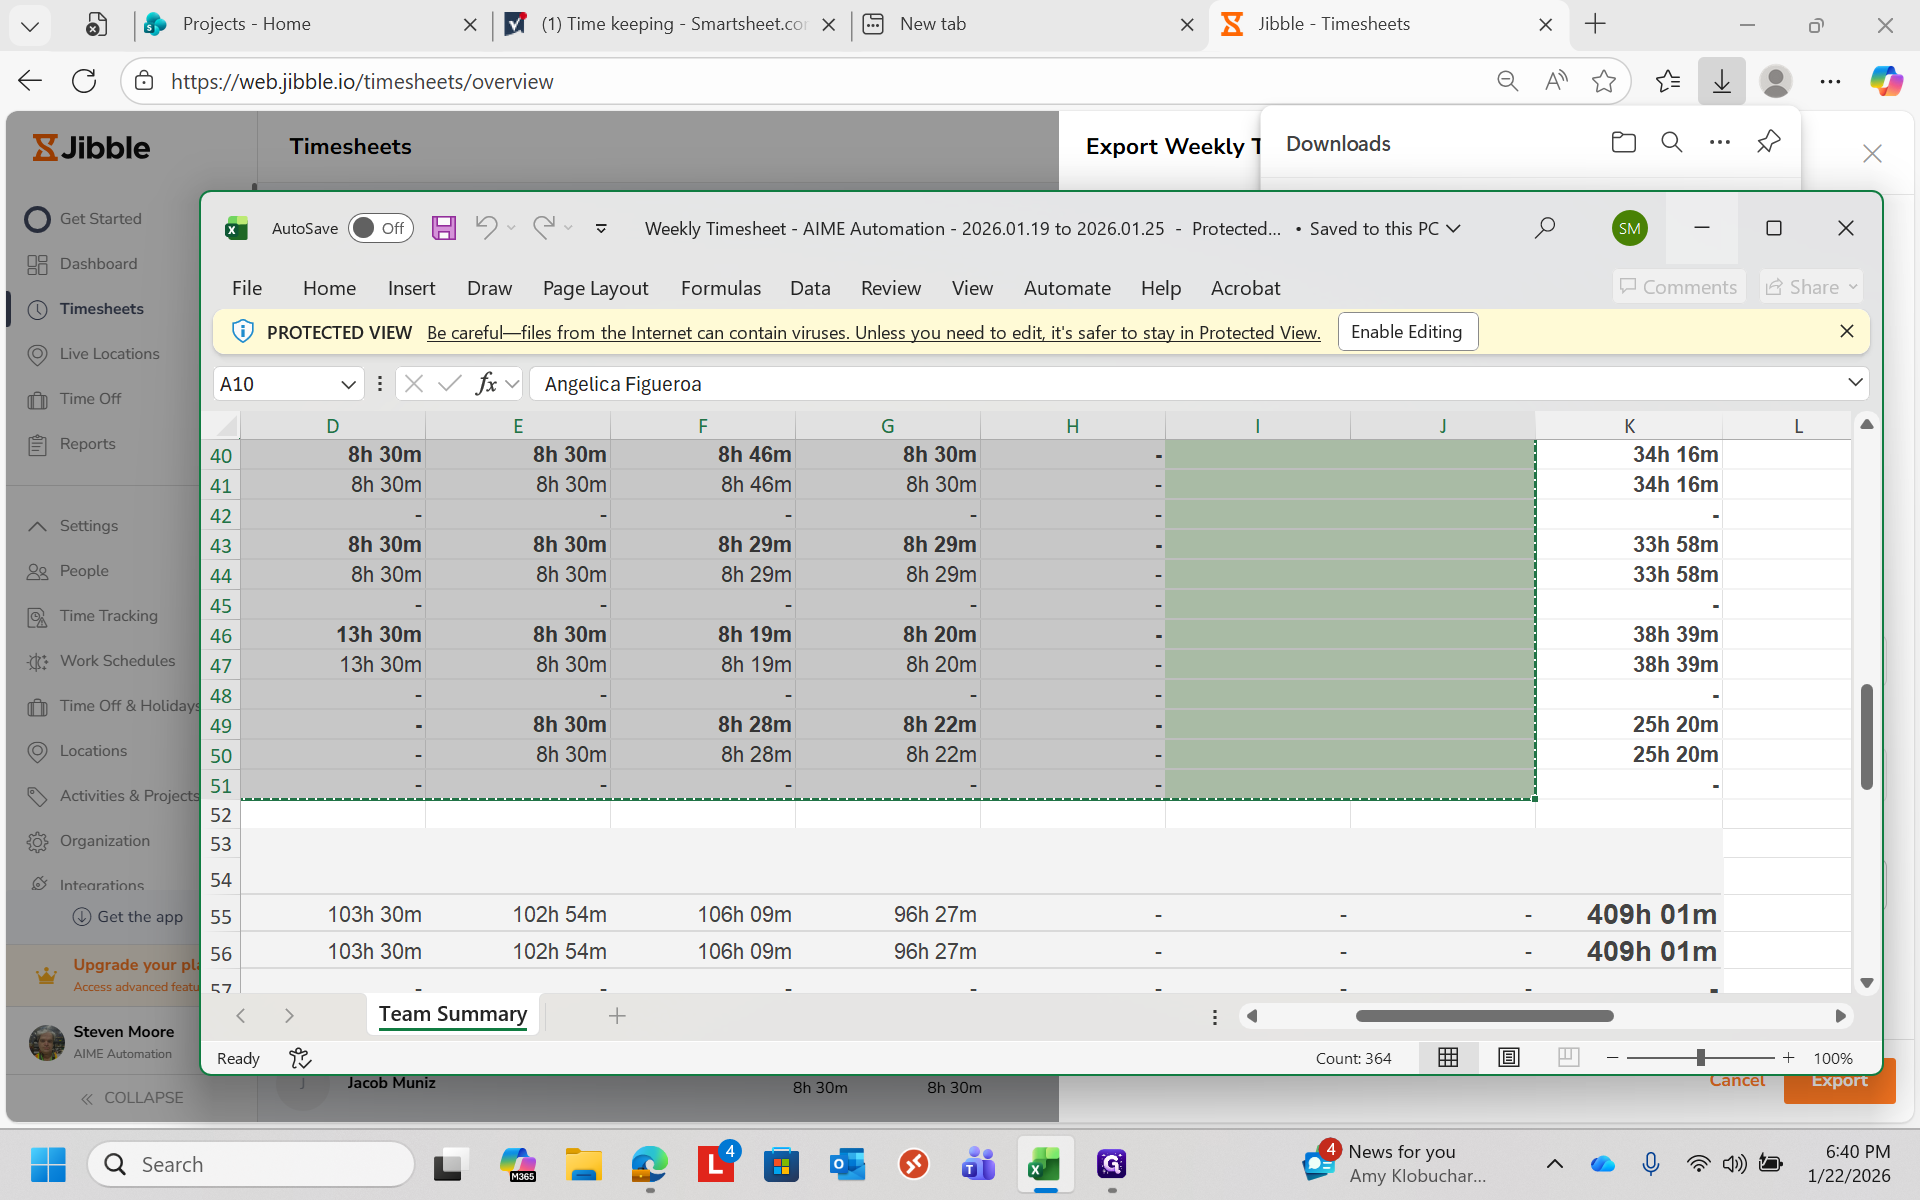
Start at the upper left with the first person's name. Move down to the bottom of the payroll, stopping at the lower right green corner. Press Control + C to copy everything.
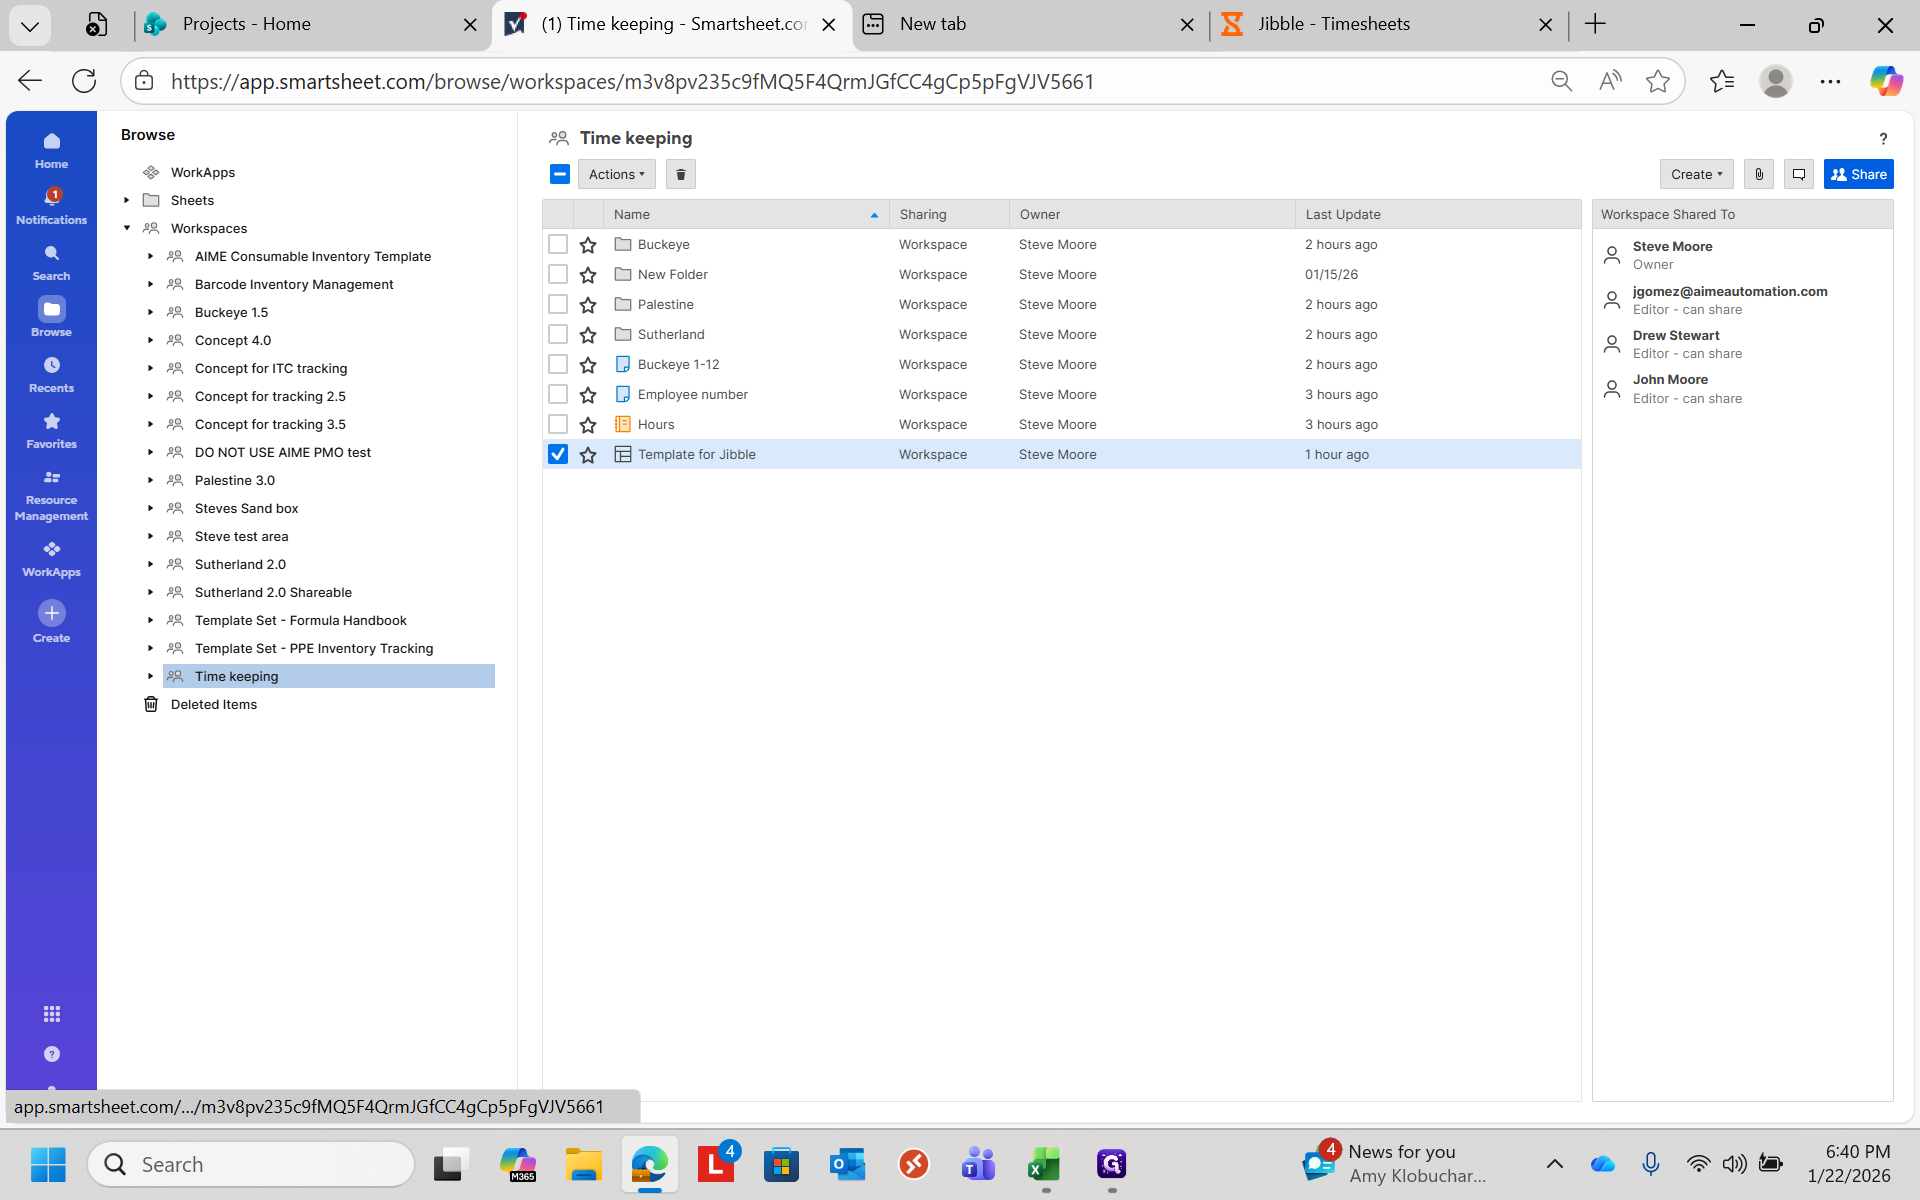
In Smartsheets, go to the Time Keeping folder. Select your template for Jibble.
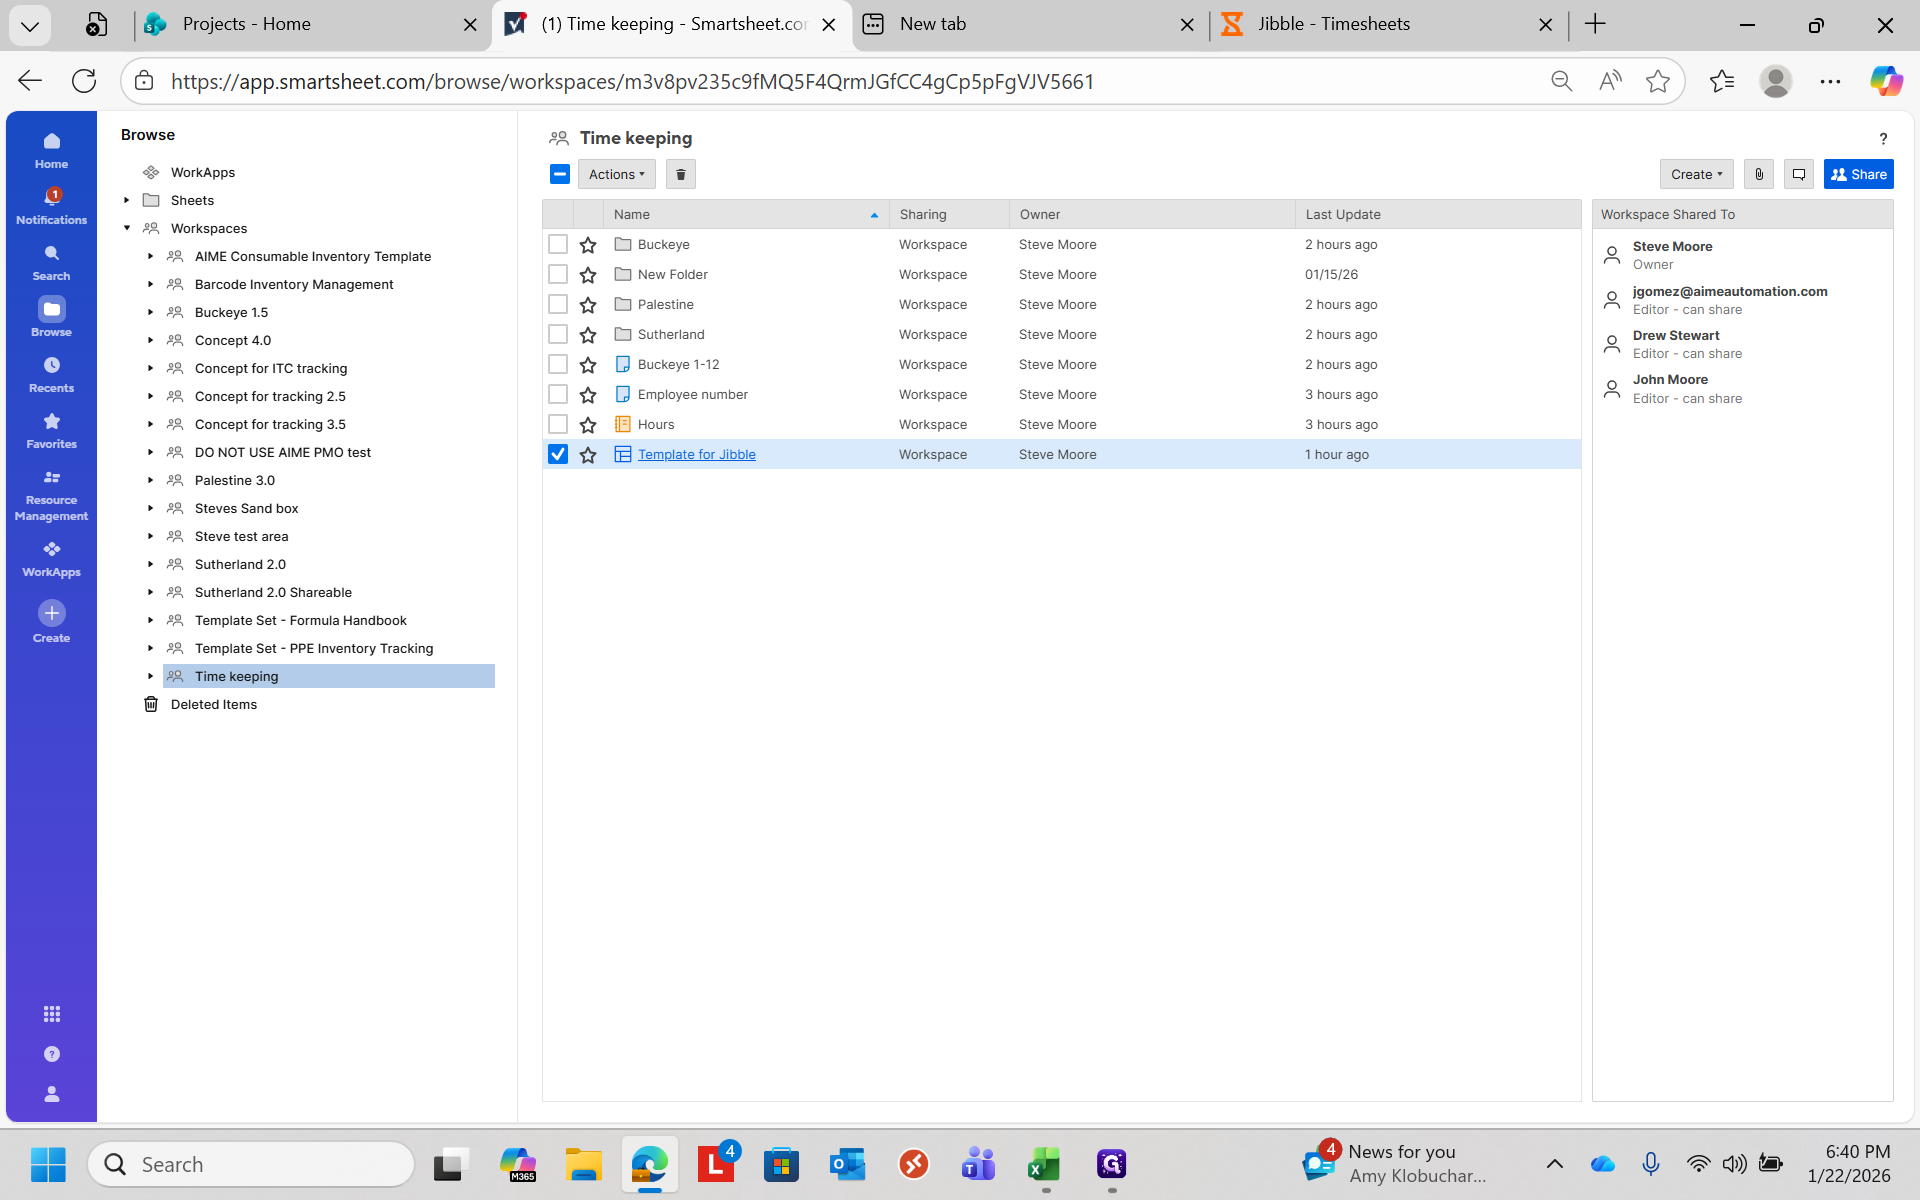
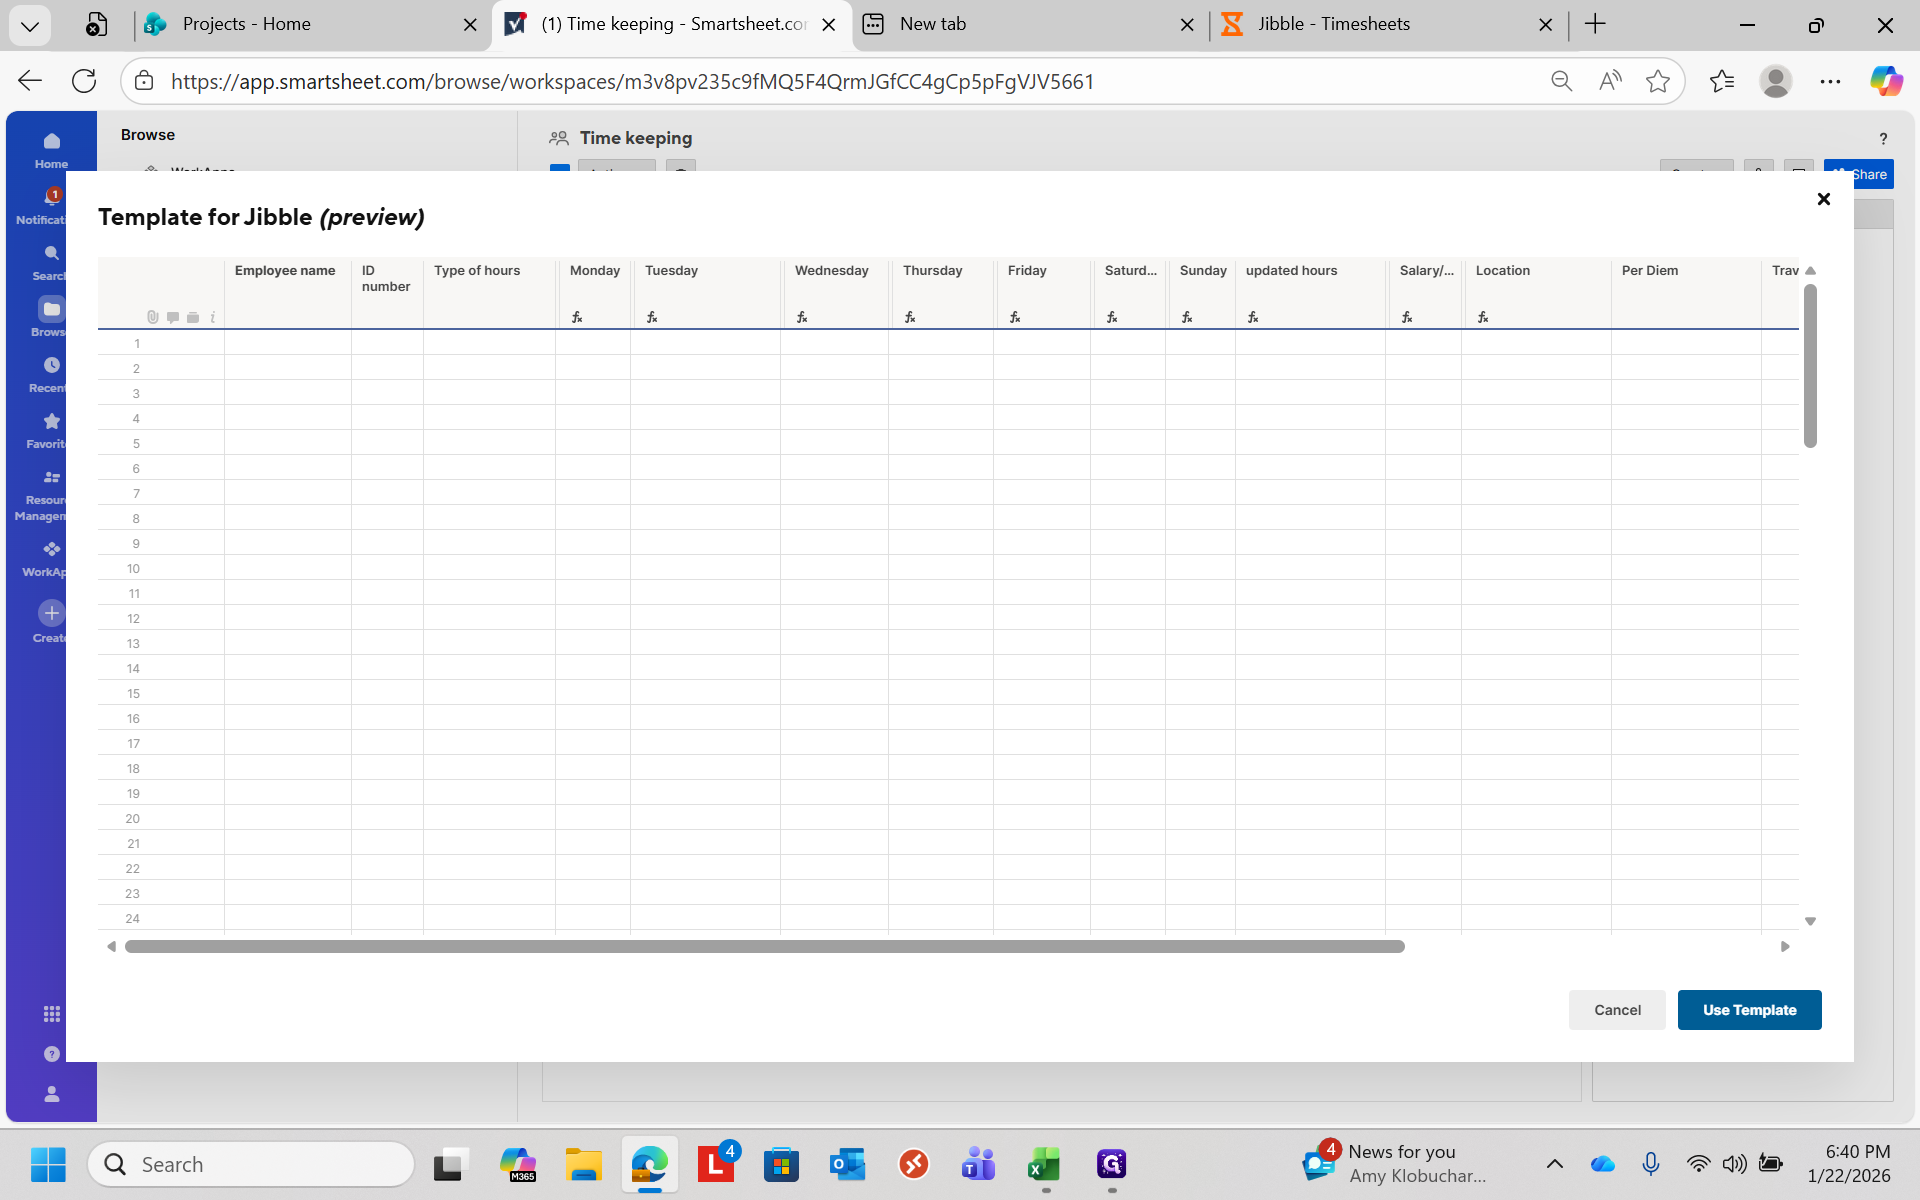
It will load a blank template. Select "Use The Template" and give it an appropriate name.
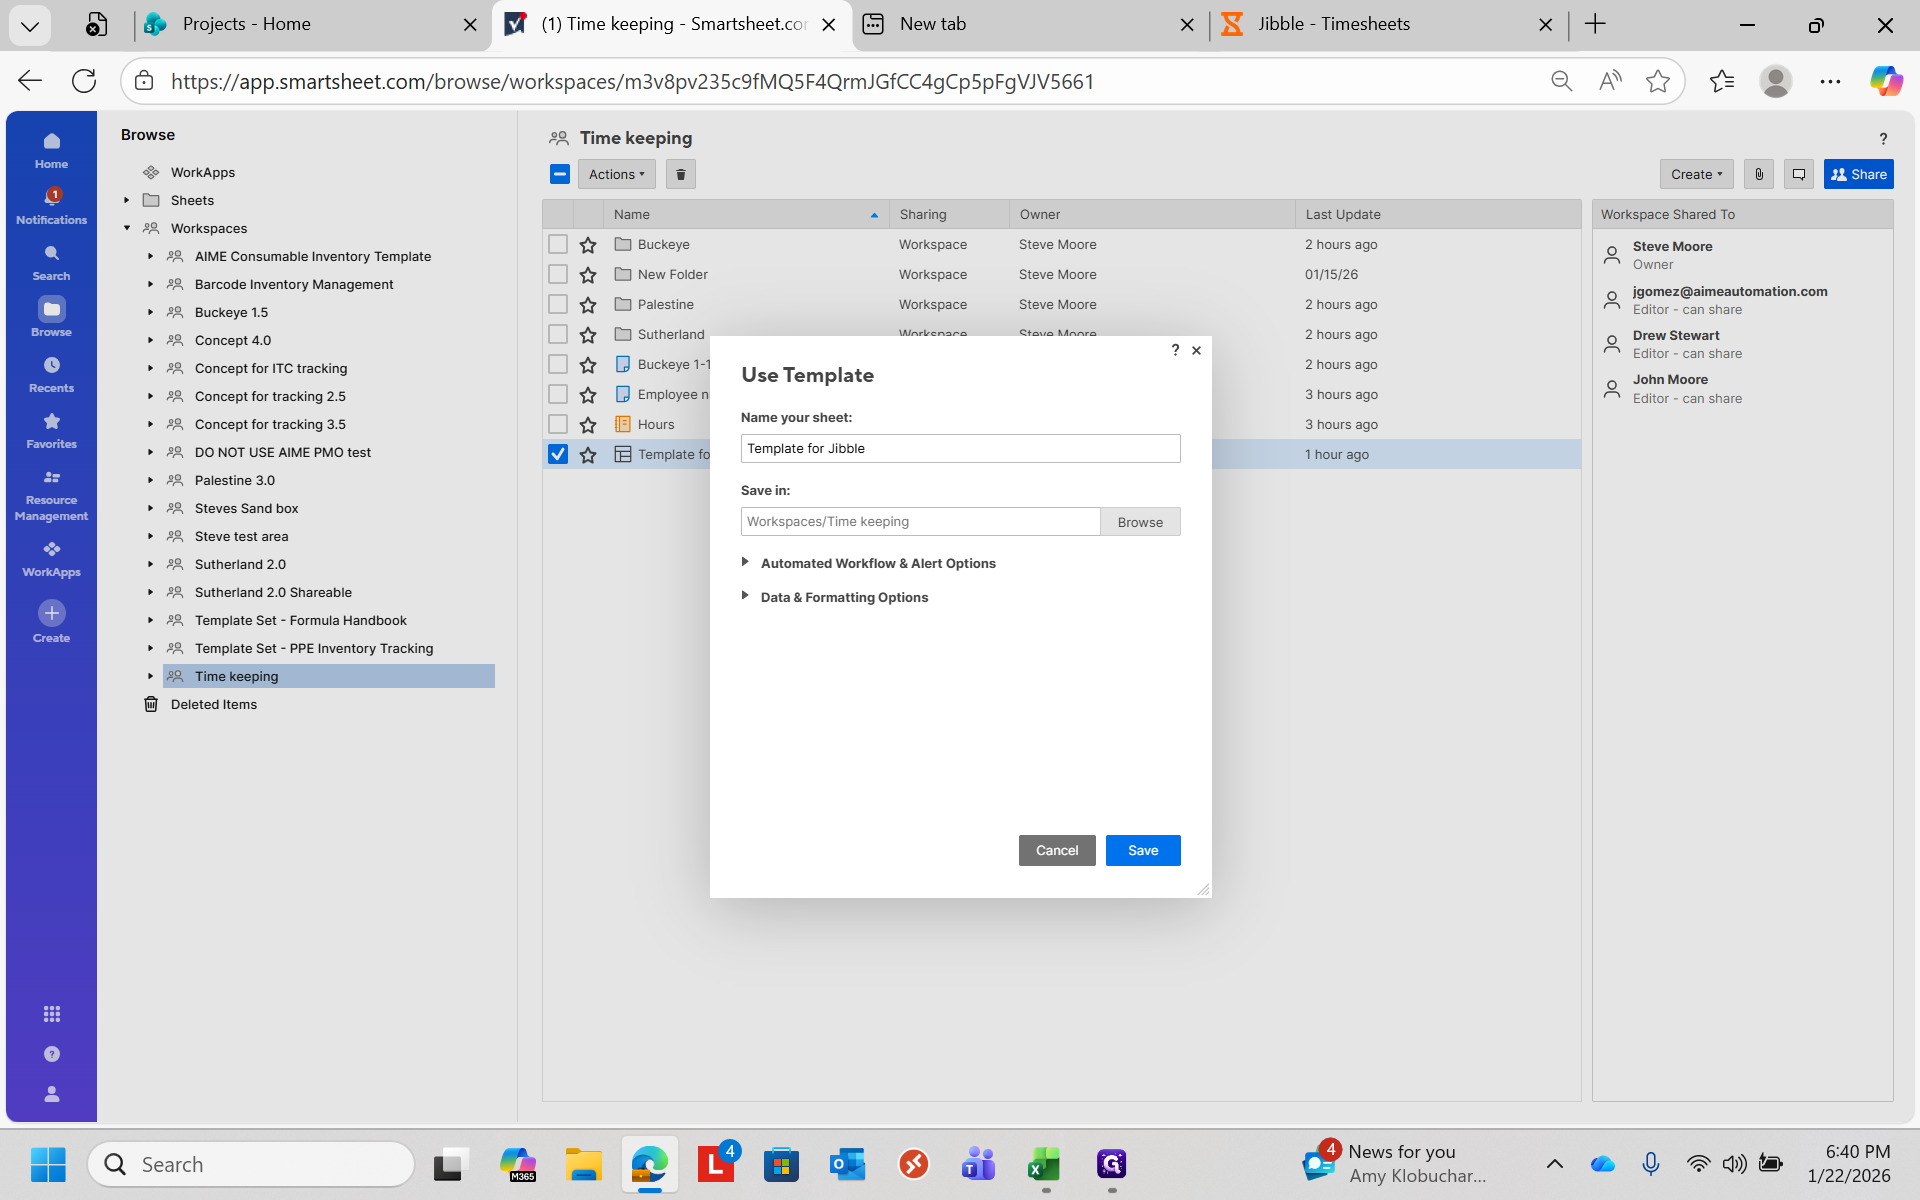
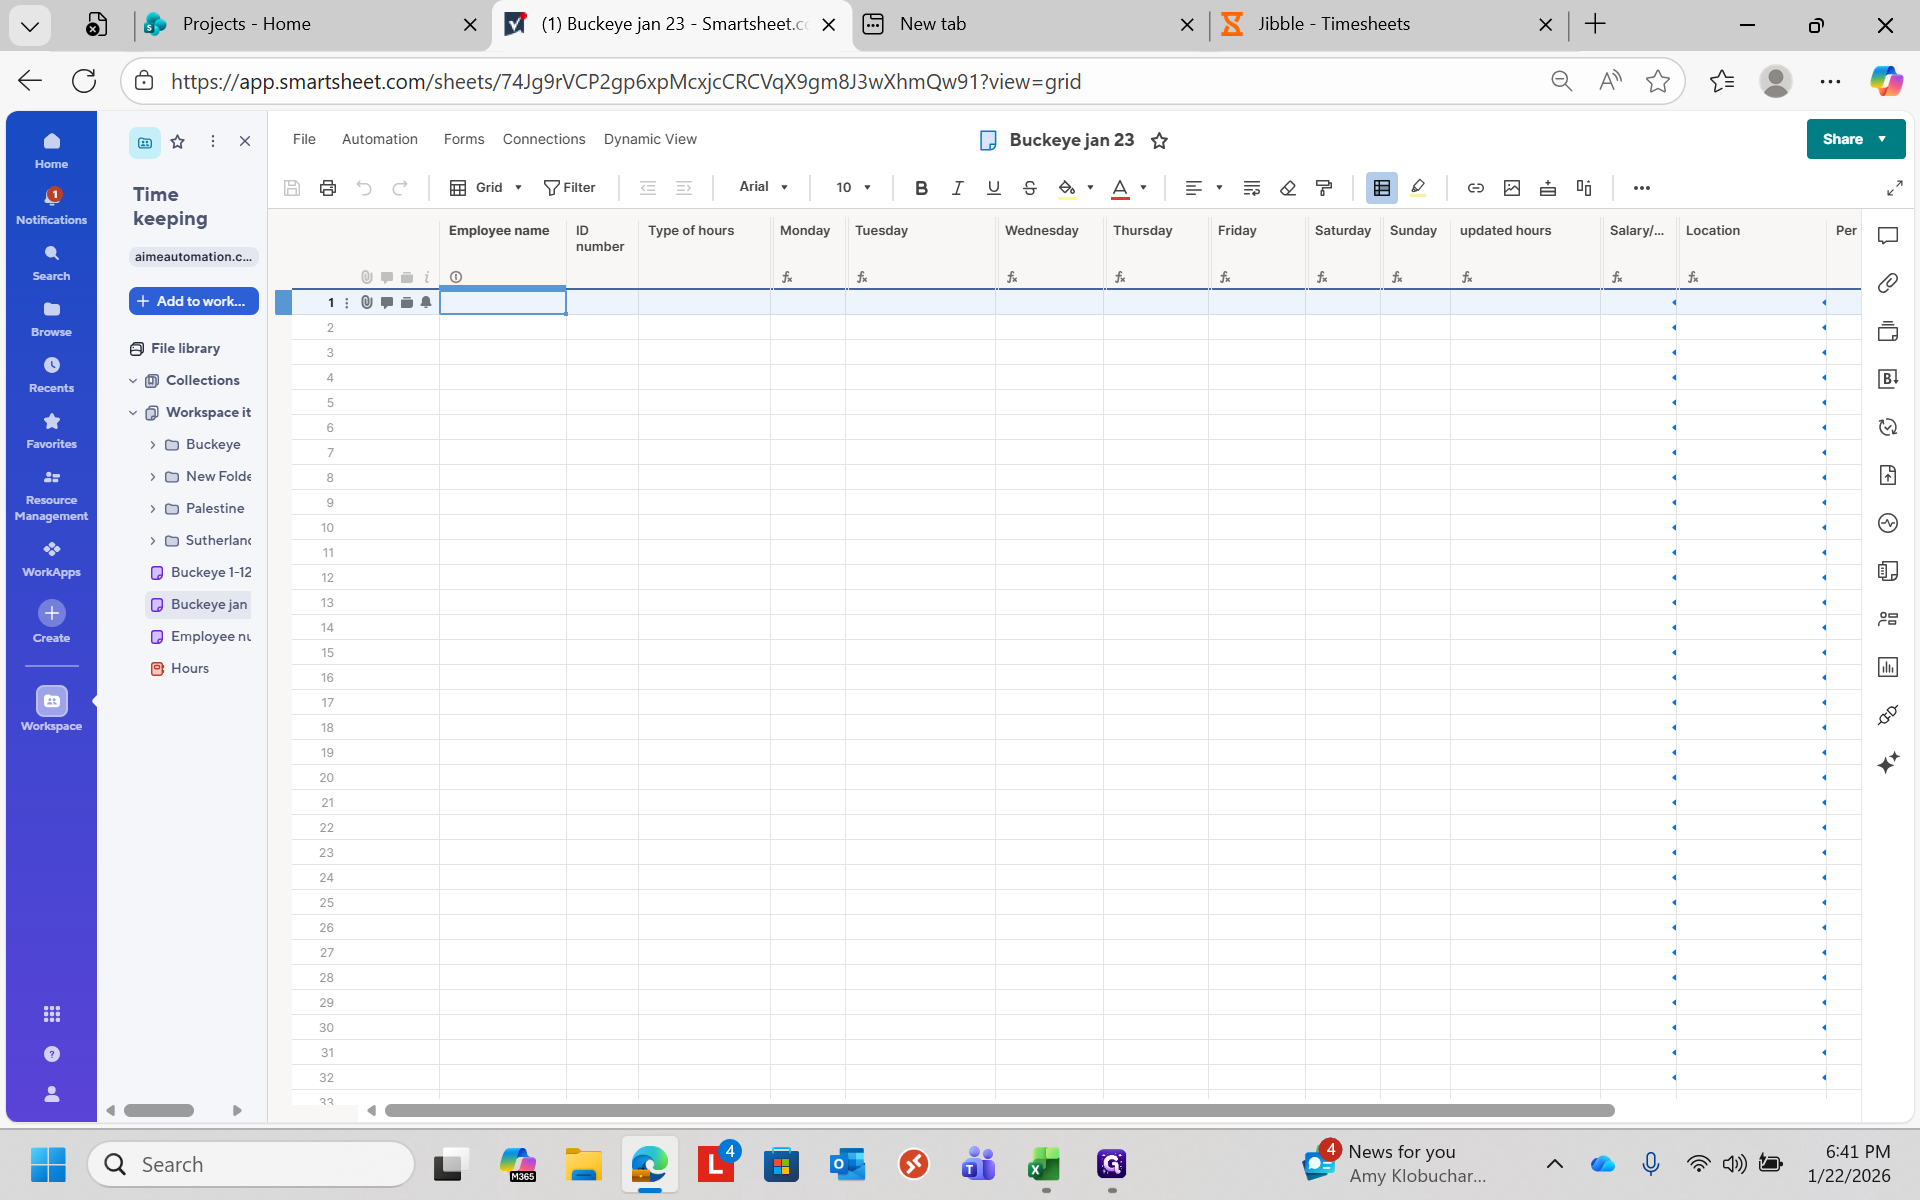
I'll name it "Buckeye January 23rd" and save.

Once it opens, go to the top left corner and press Control + V to paste everything.
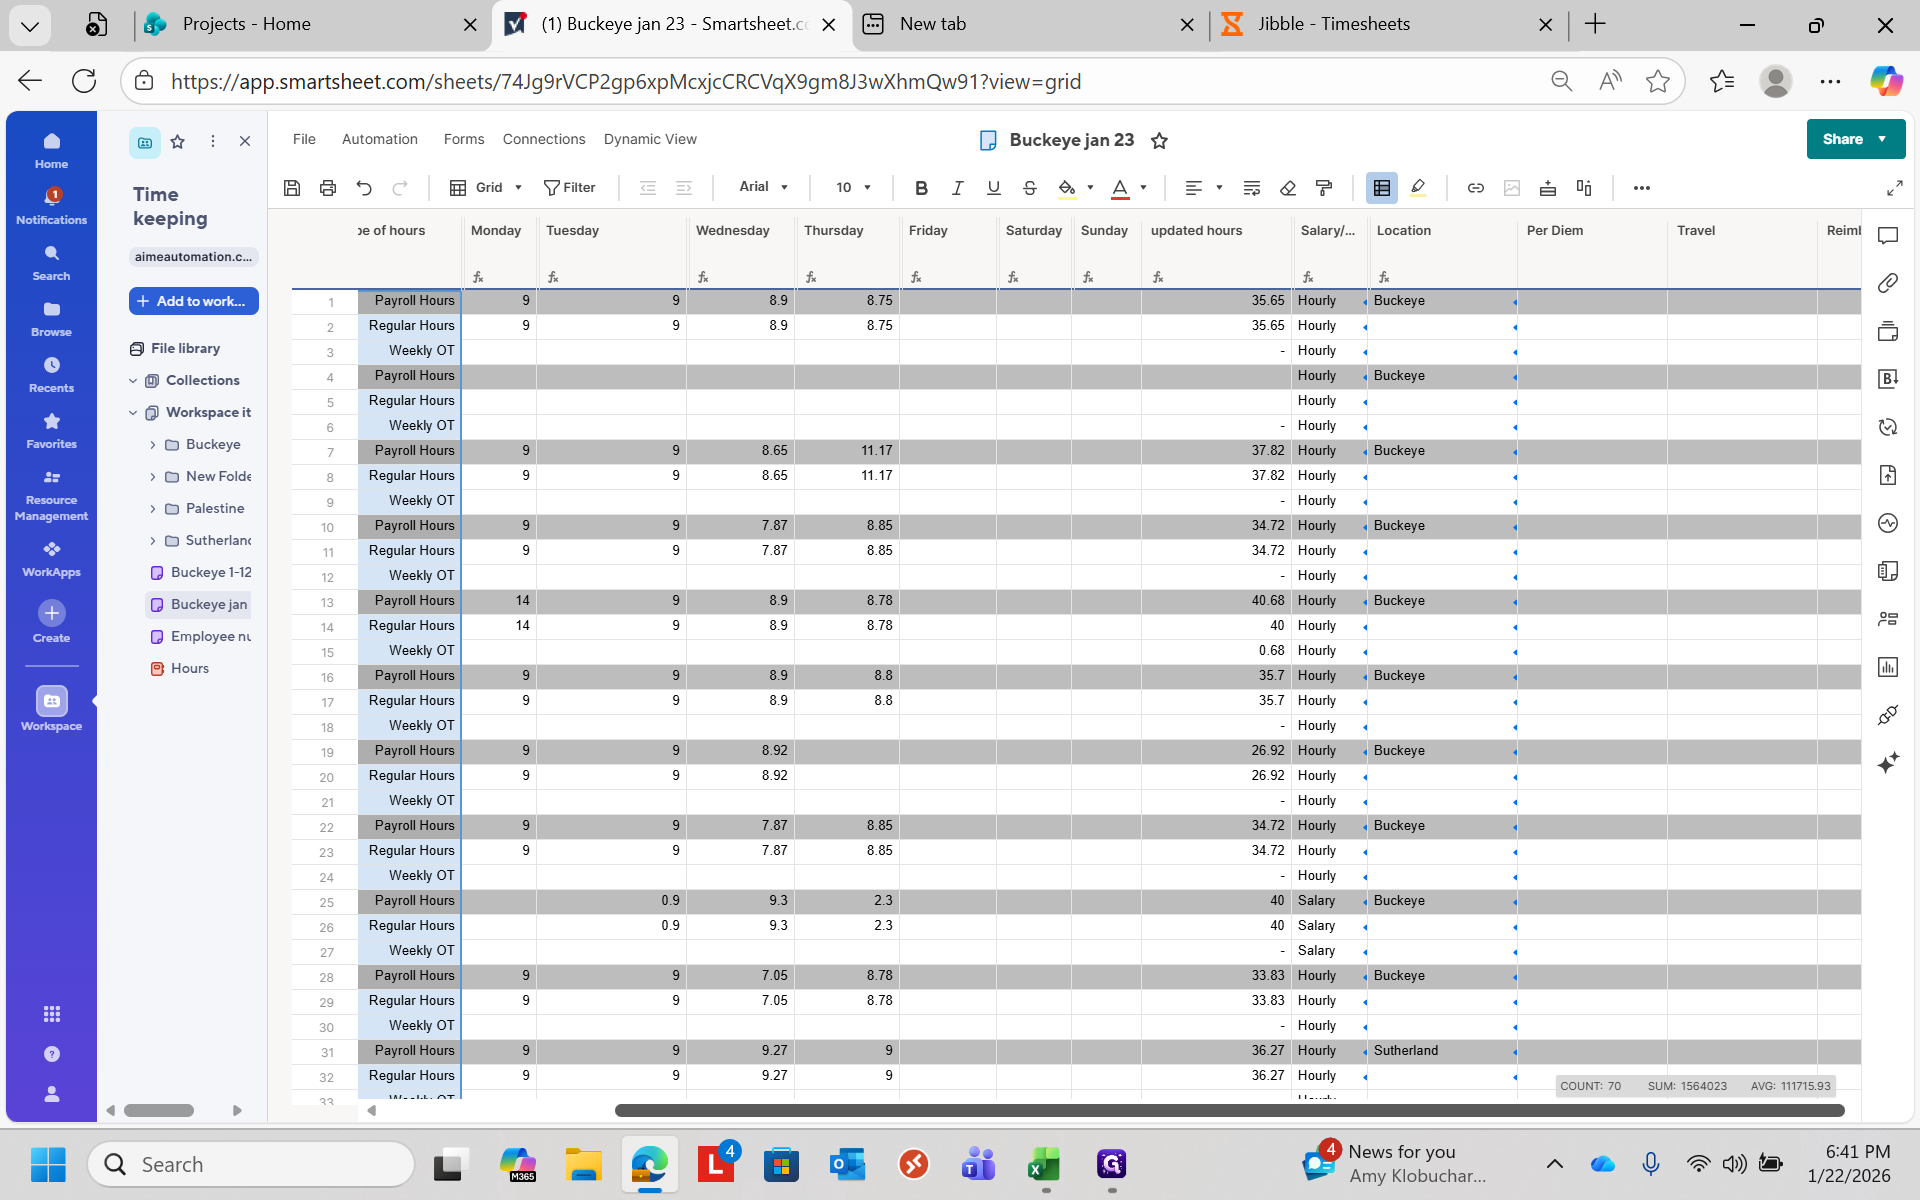
It will automatically add the correct number of break periods to their times.
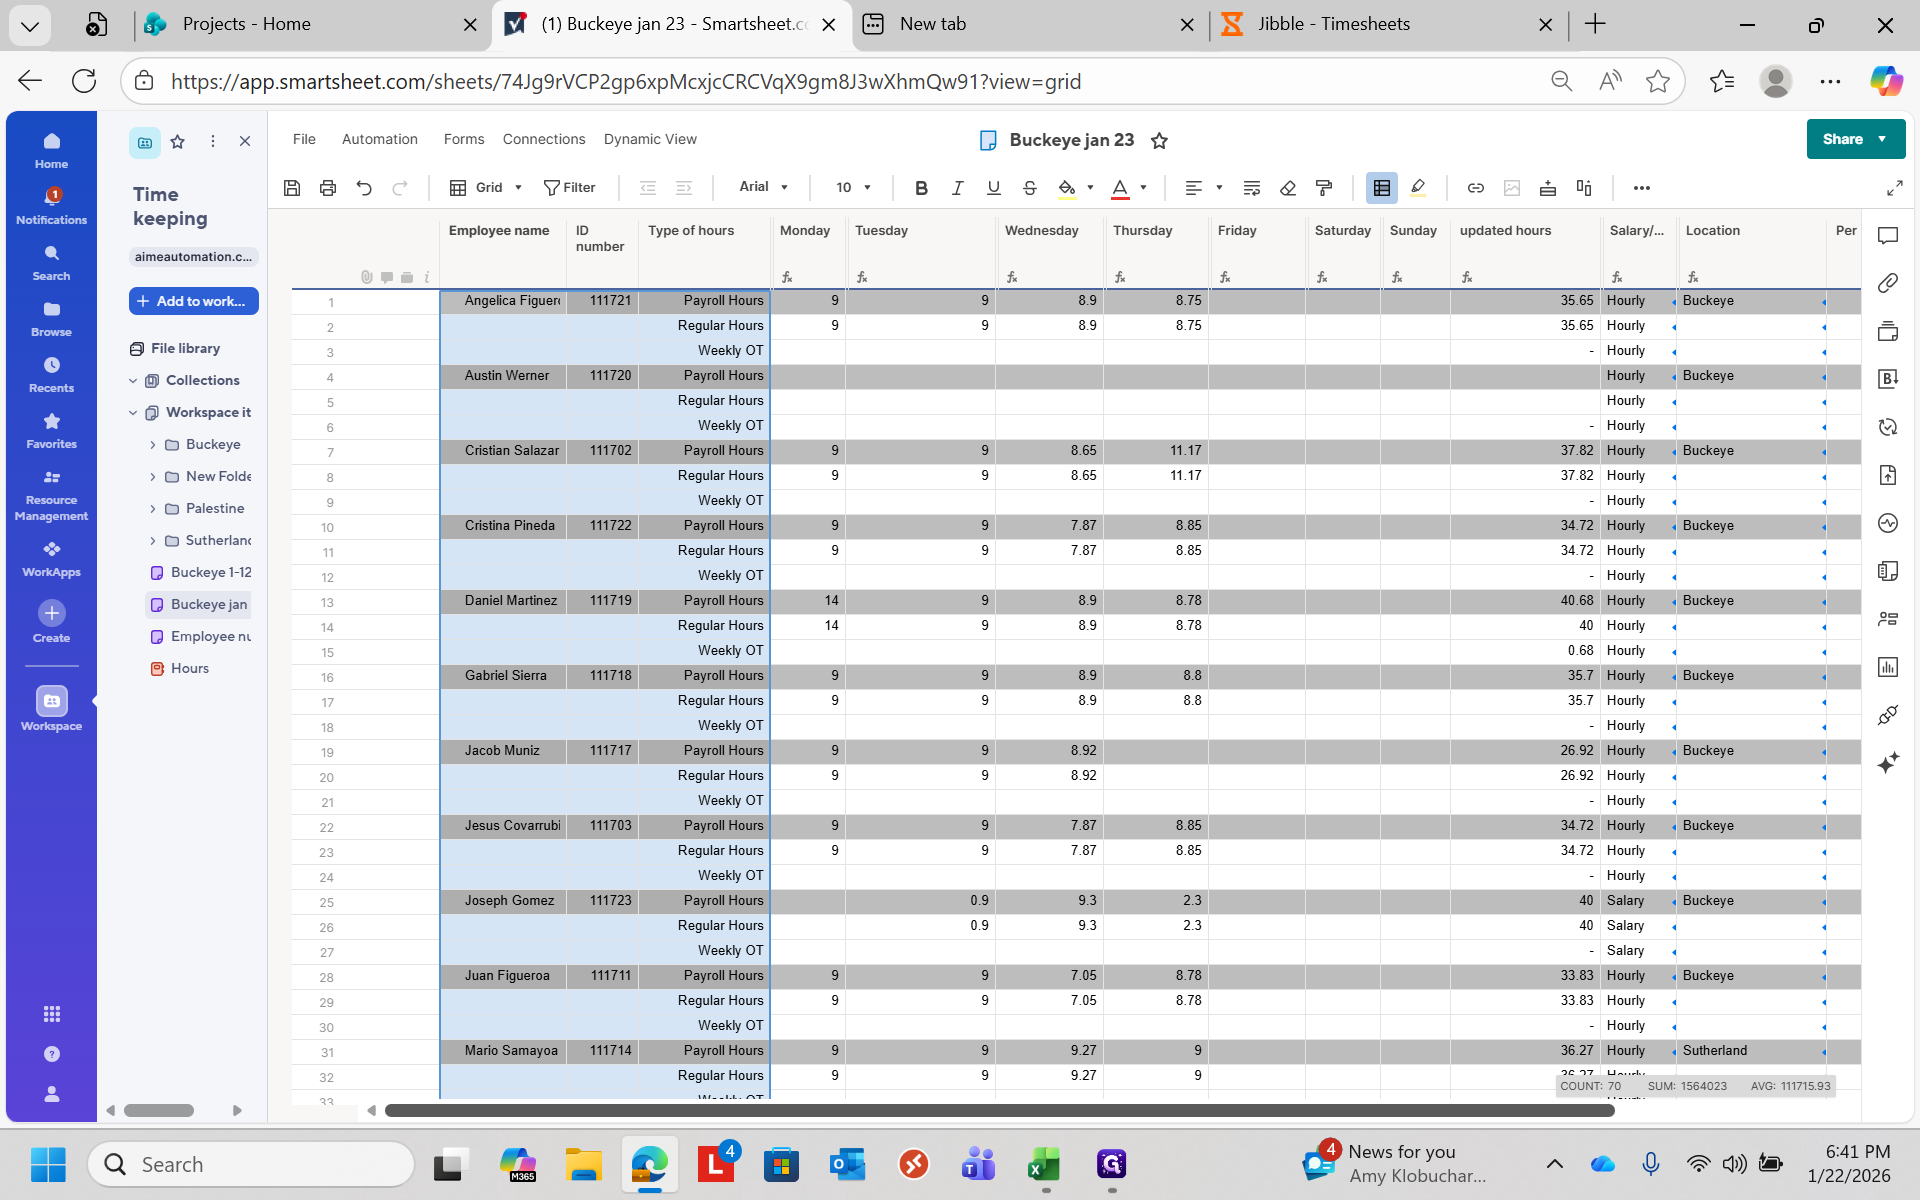
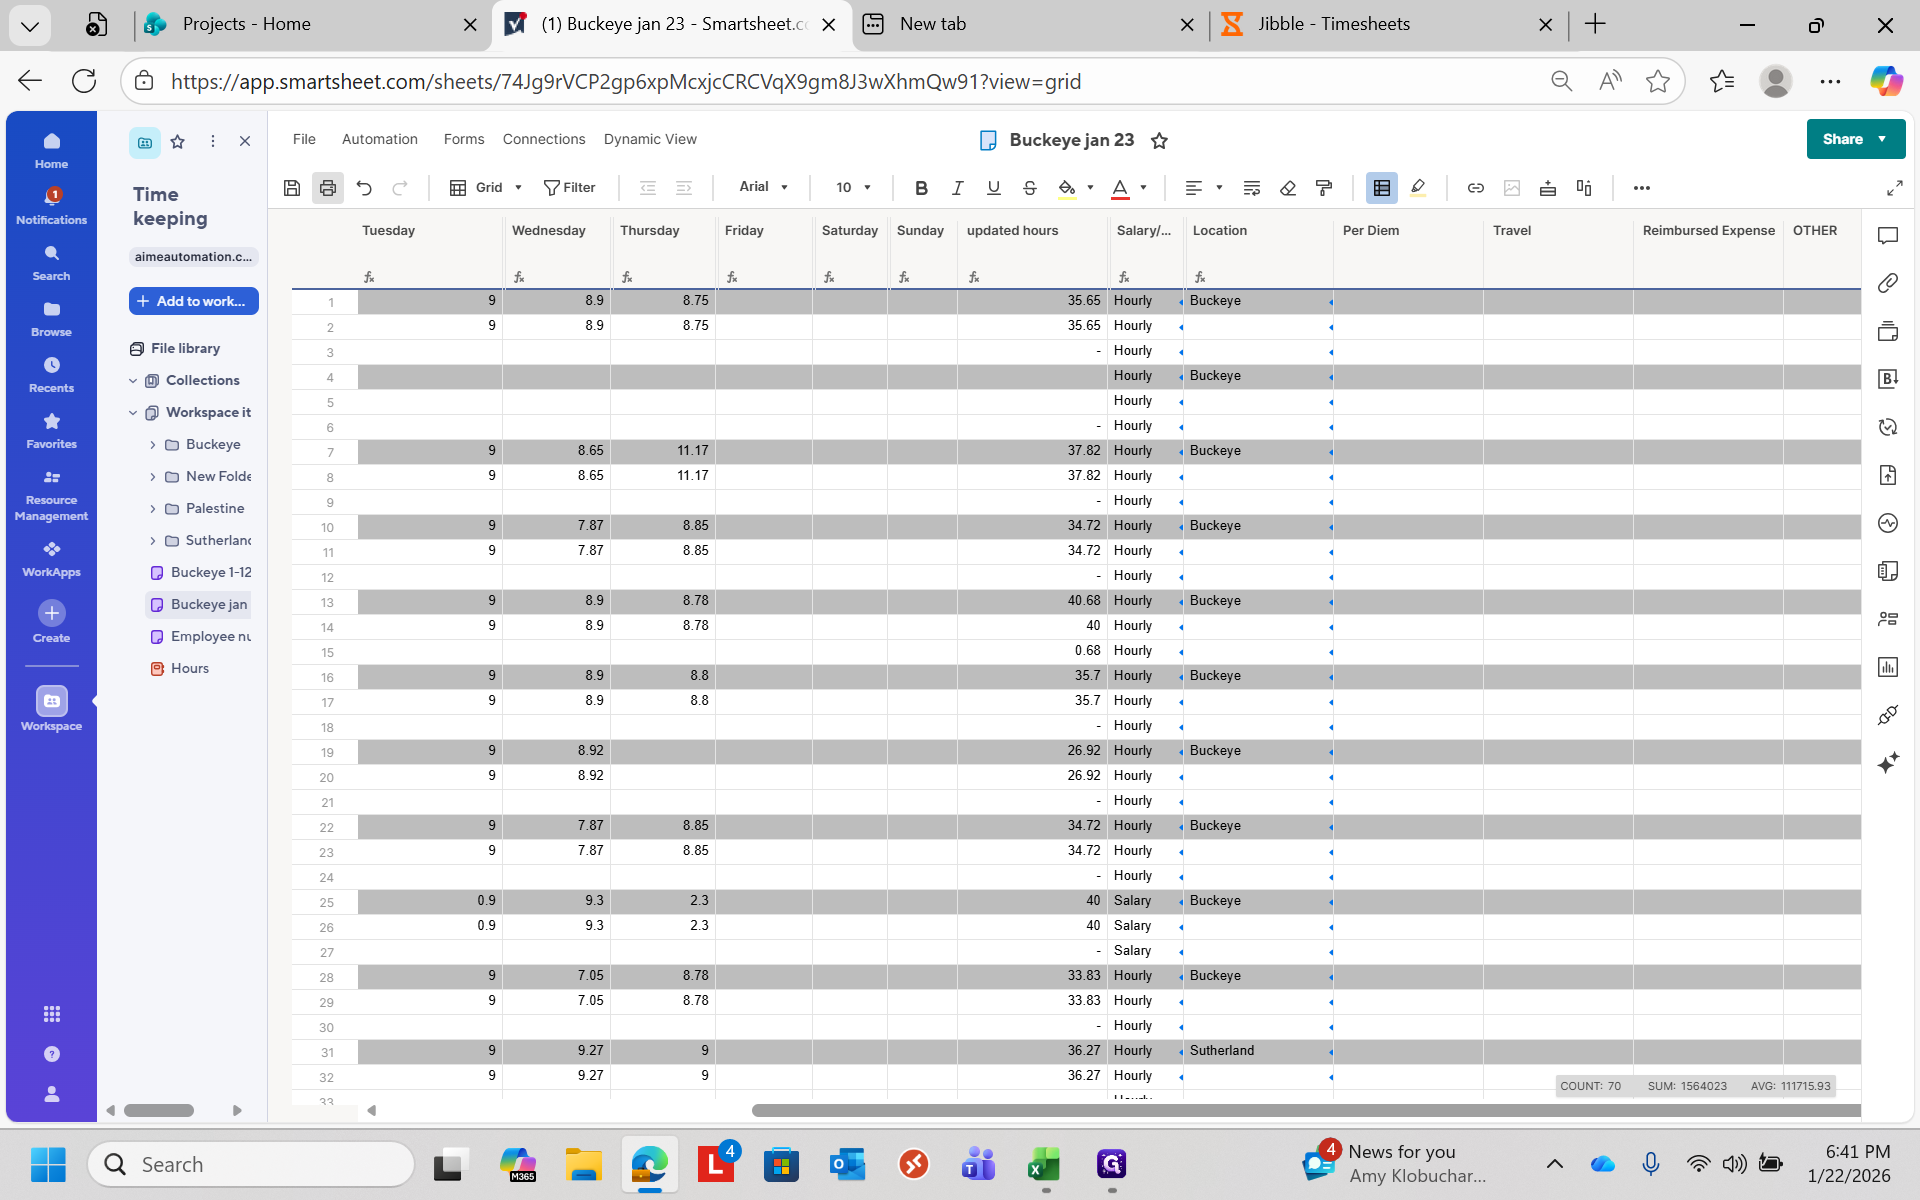
Once that is done, you can add notes such as per diem, travel, reimbursed expenses, or other relevant information.
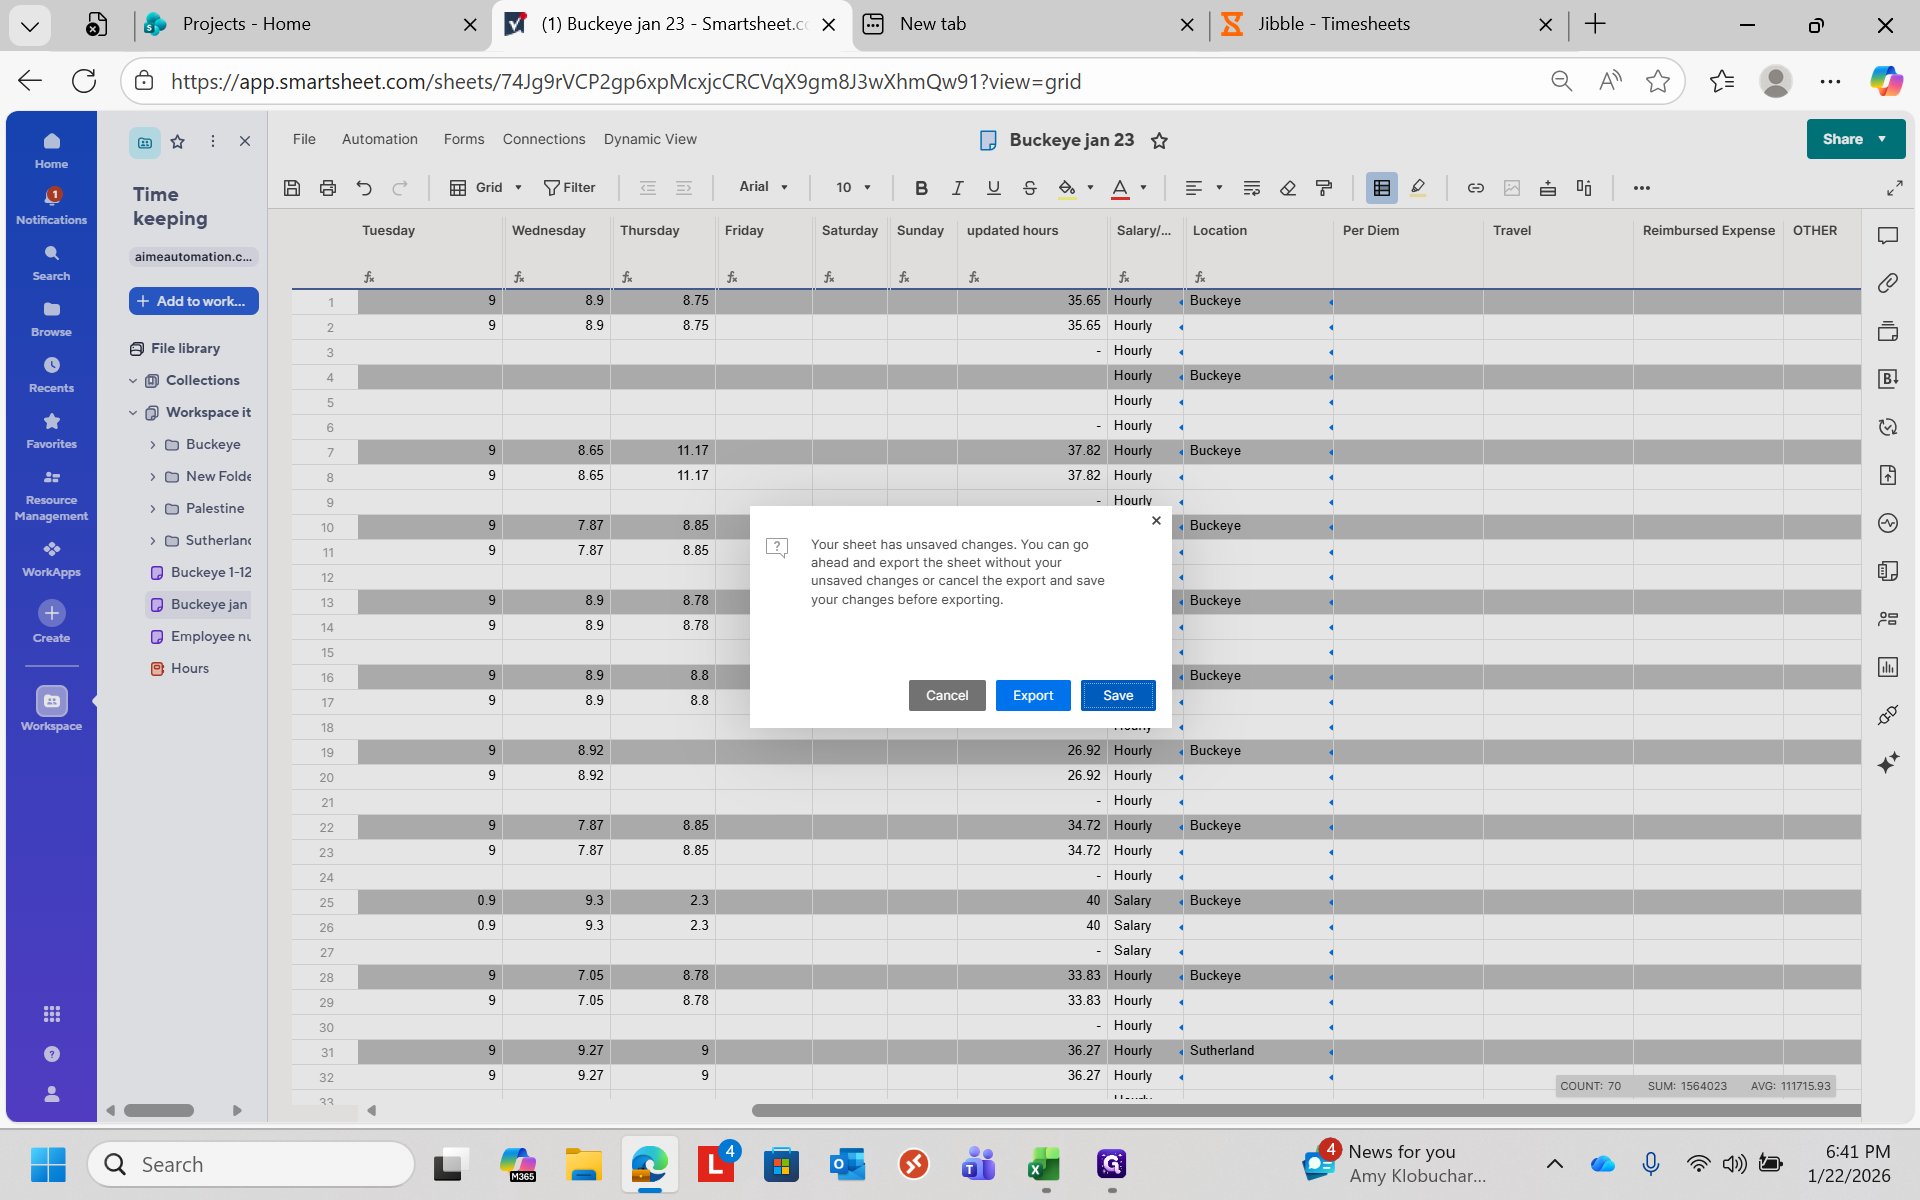
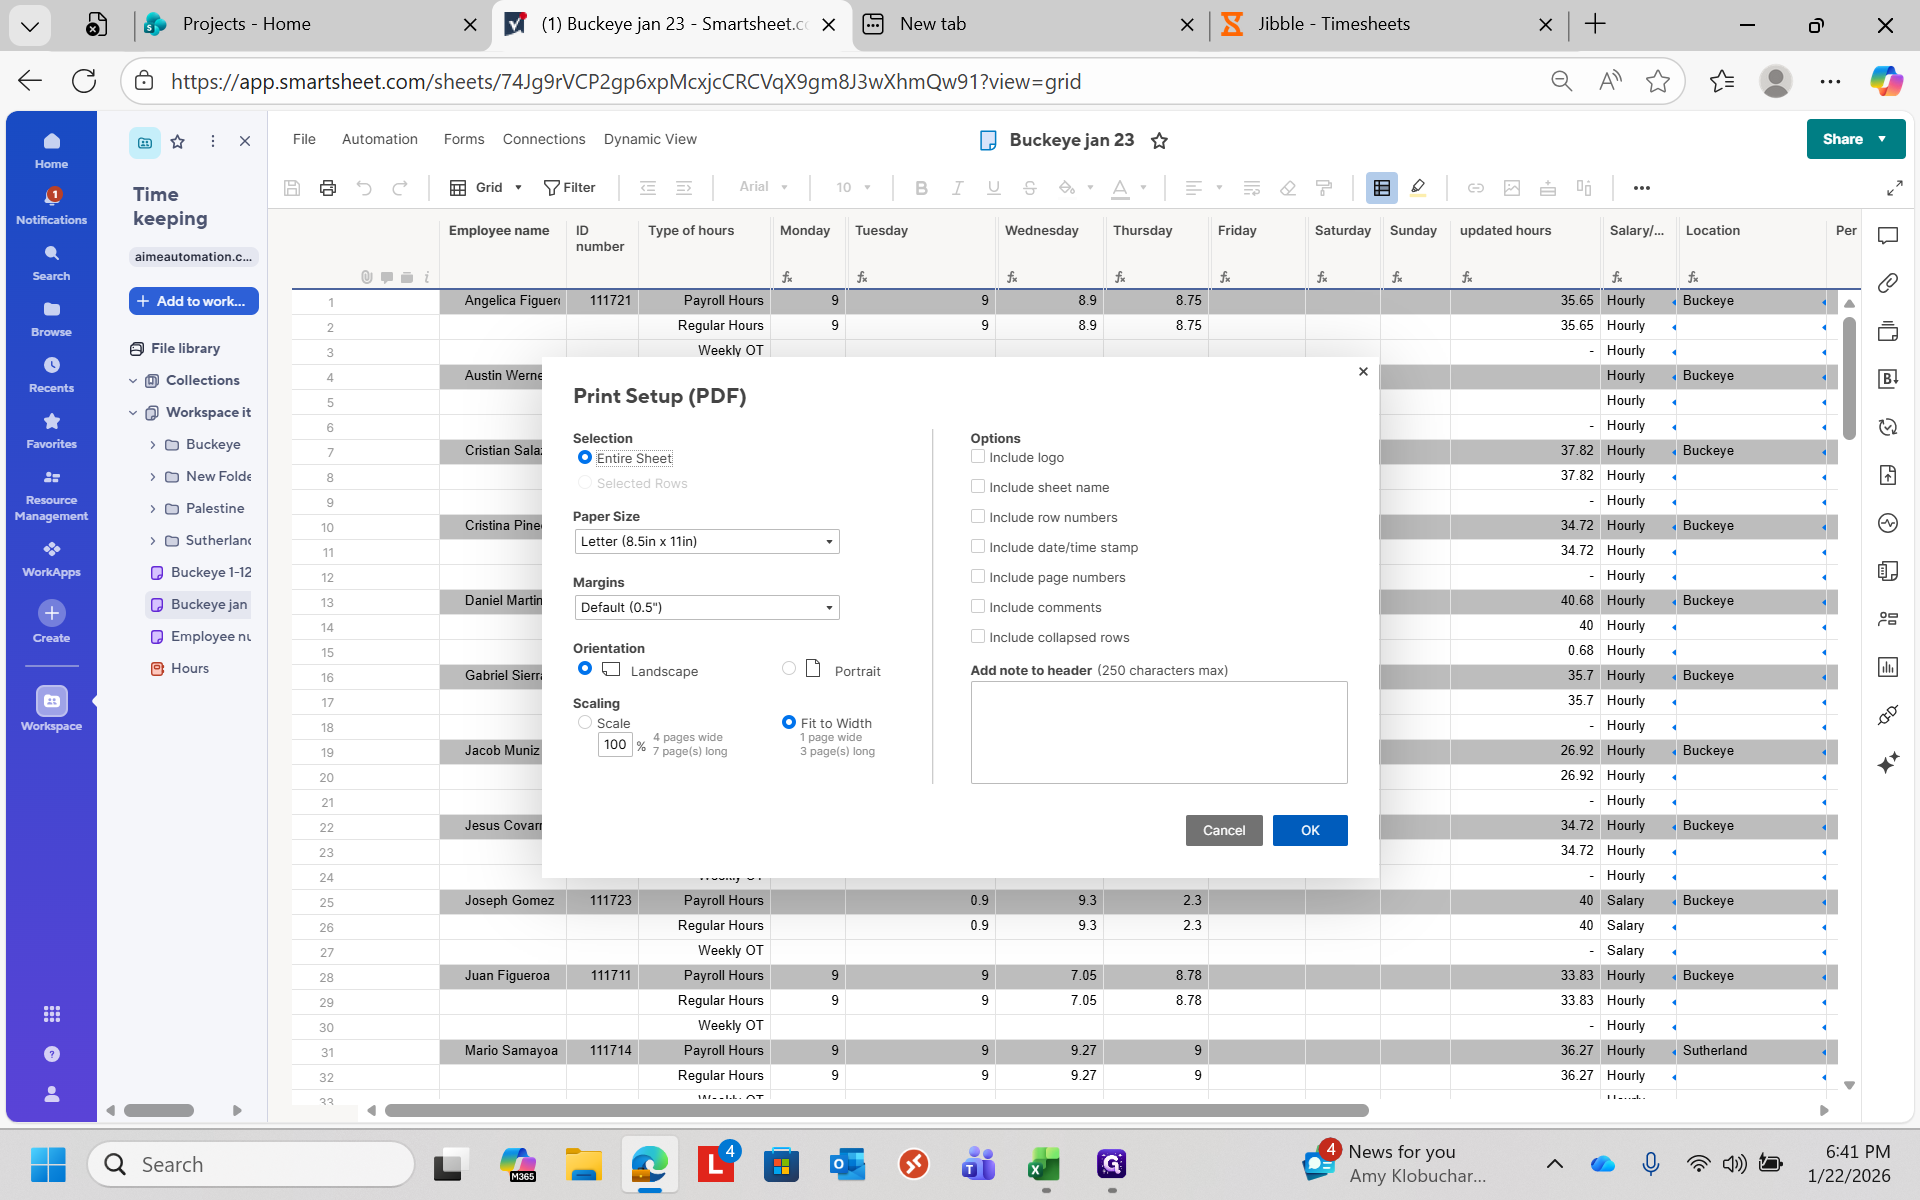
When that's done, you have two choices. You can either print this out...
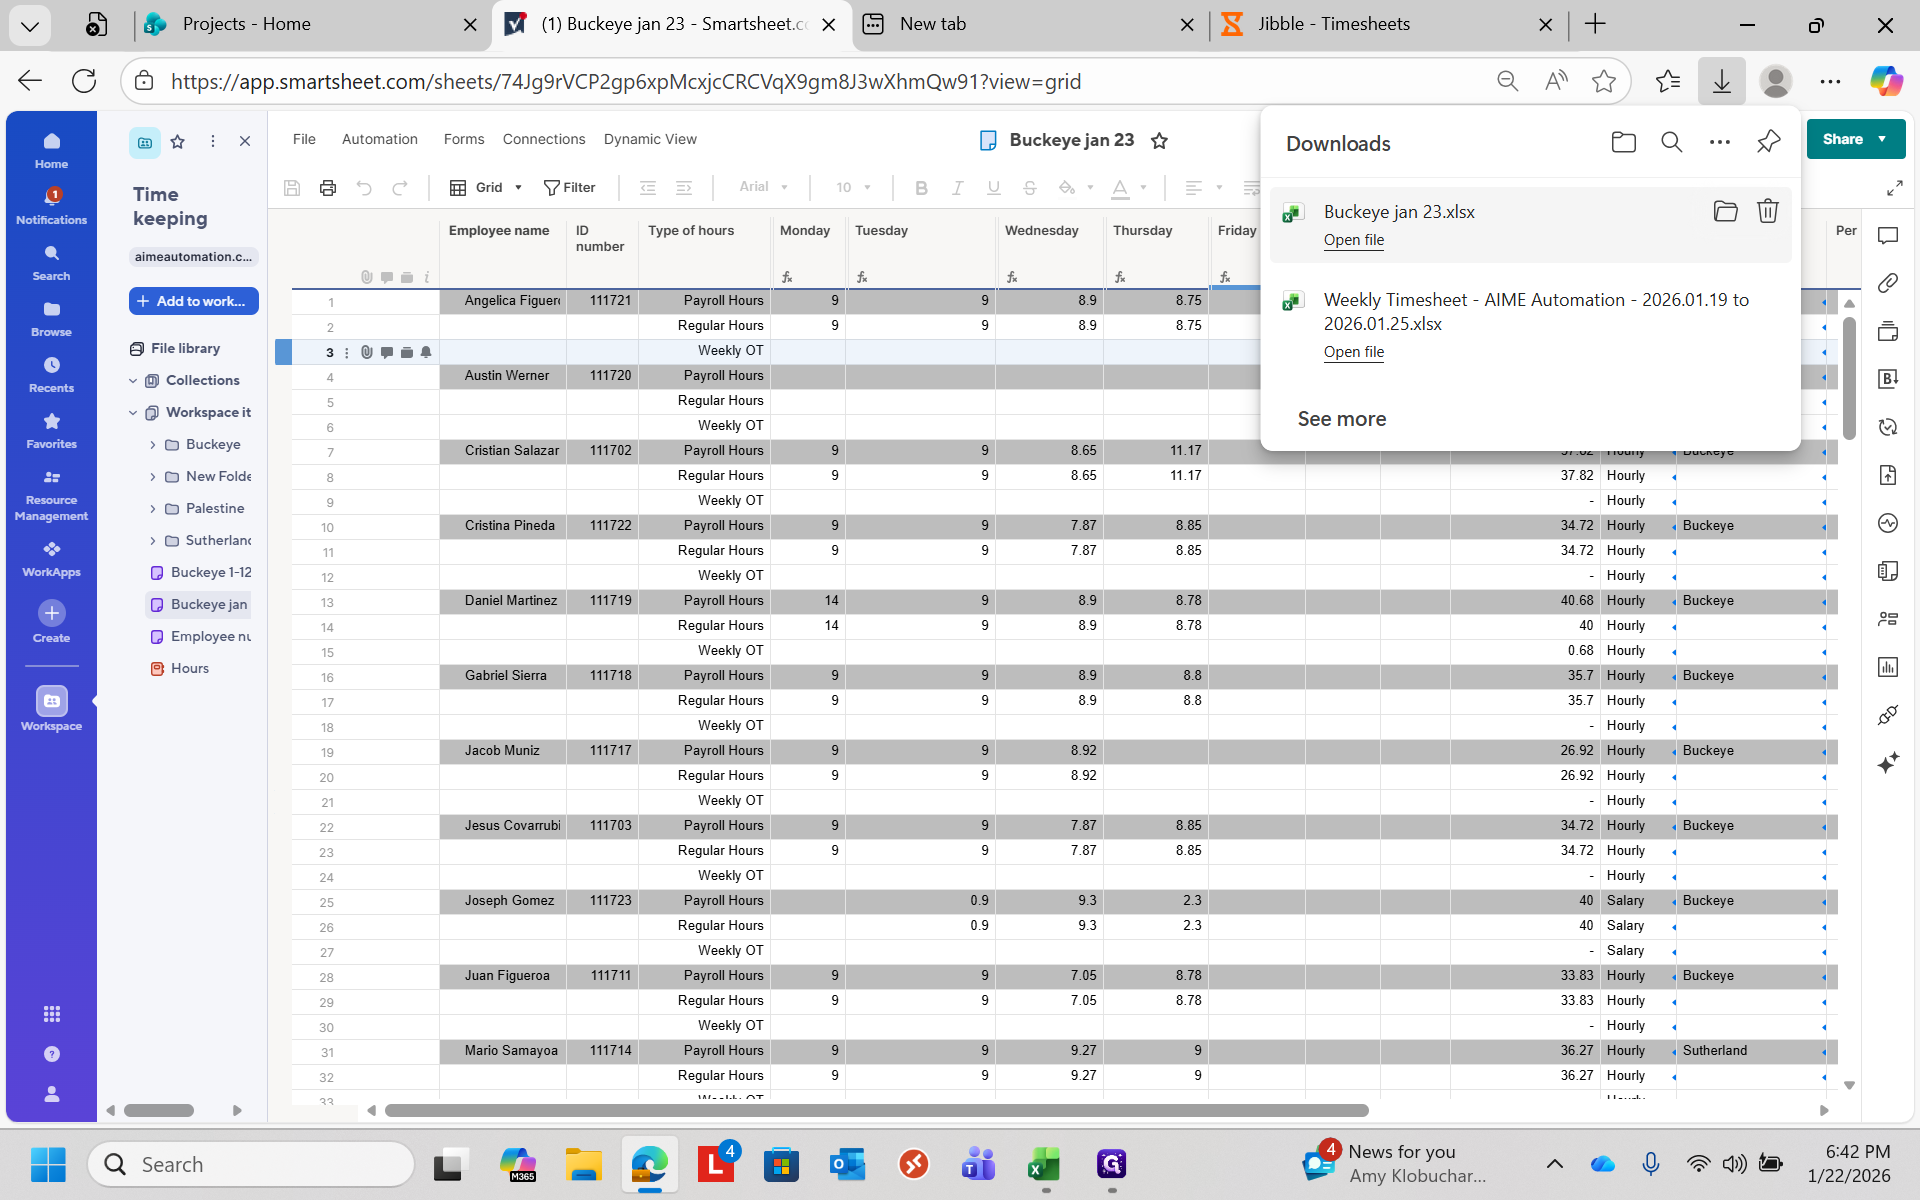
You just need to save it first.
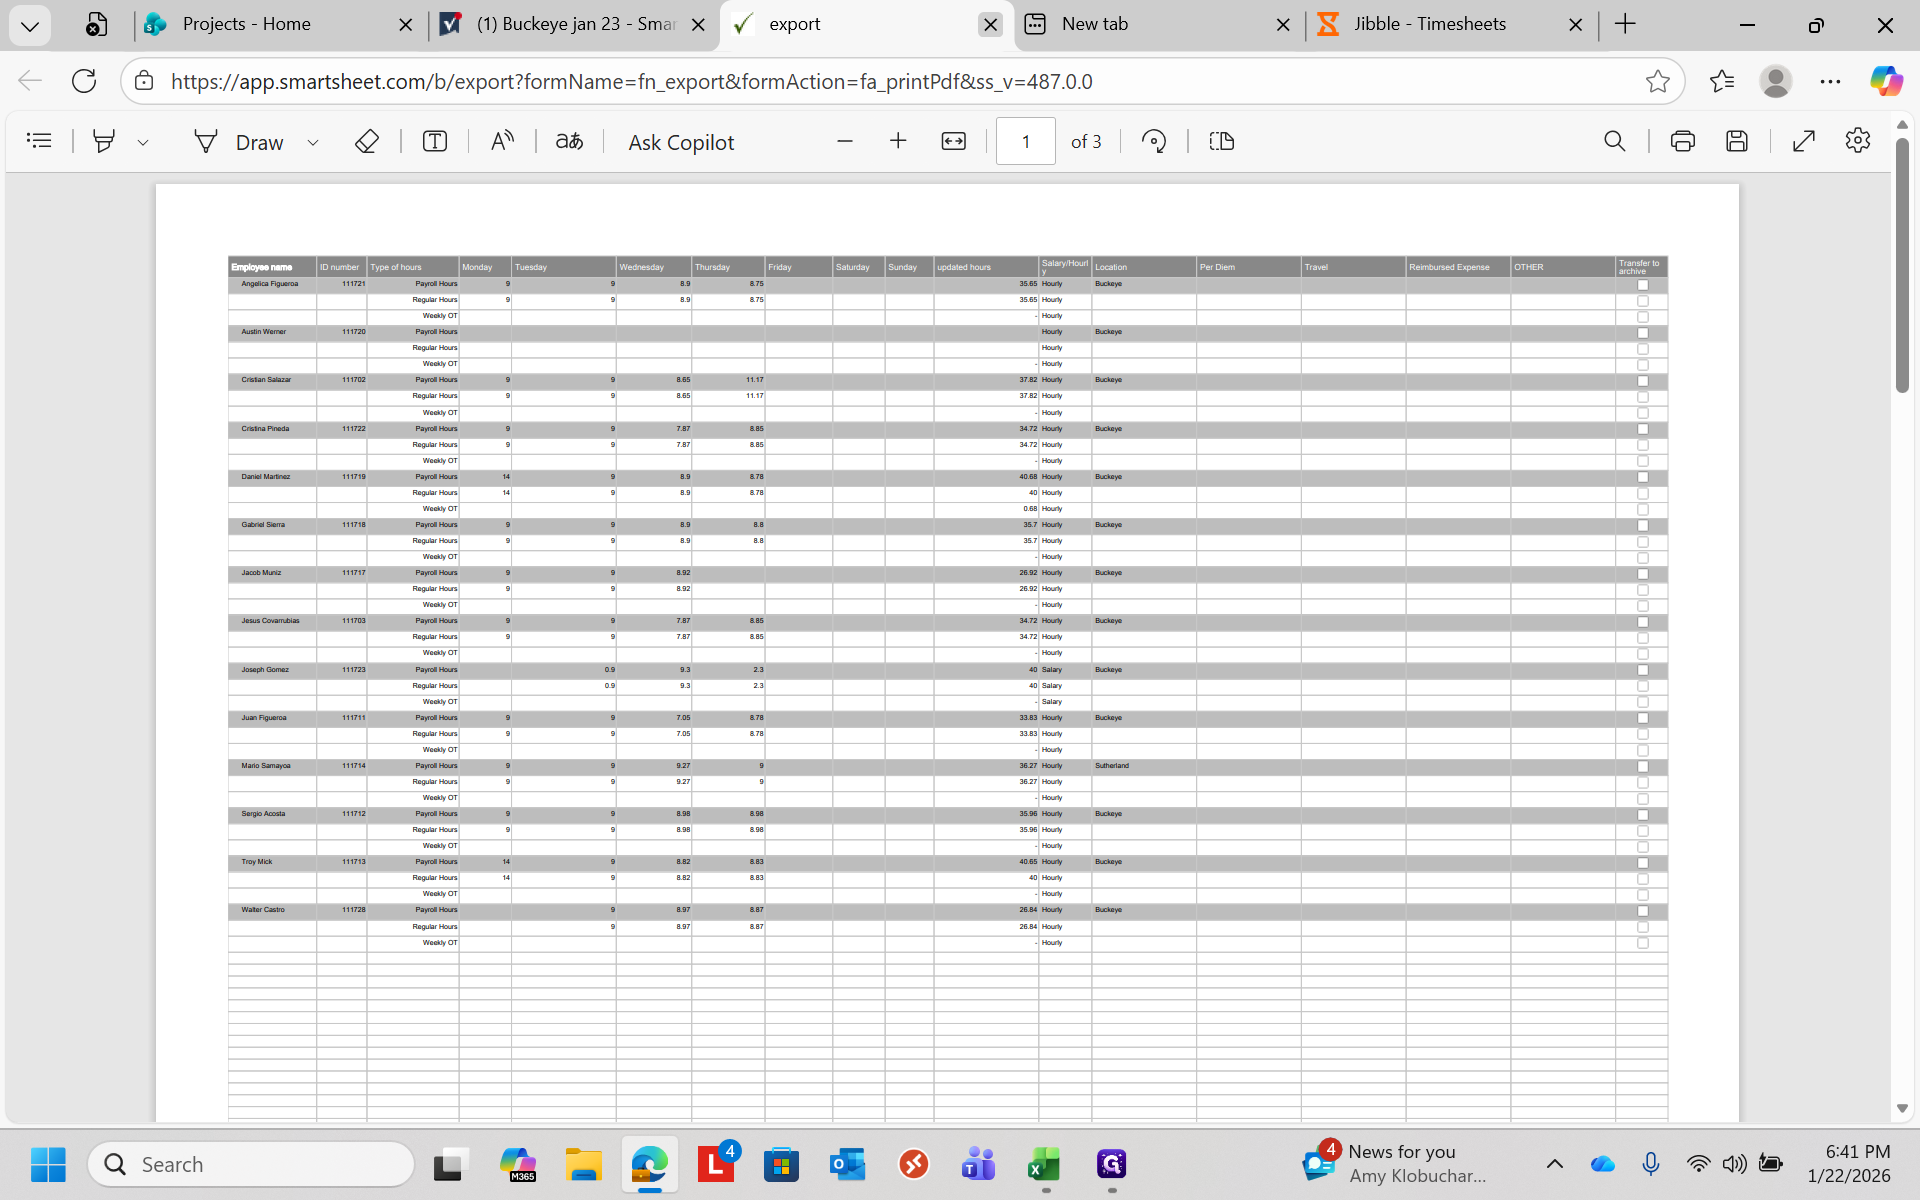
You can print the entire sheet, preferably in landscape mode, set to fit to width, and then click OK.
It will provide the timesheet for the facility you are viewing. At that point, you can save it wherever you like and send it to HR.
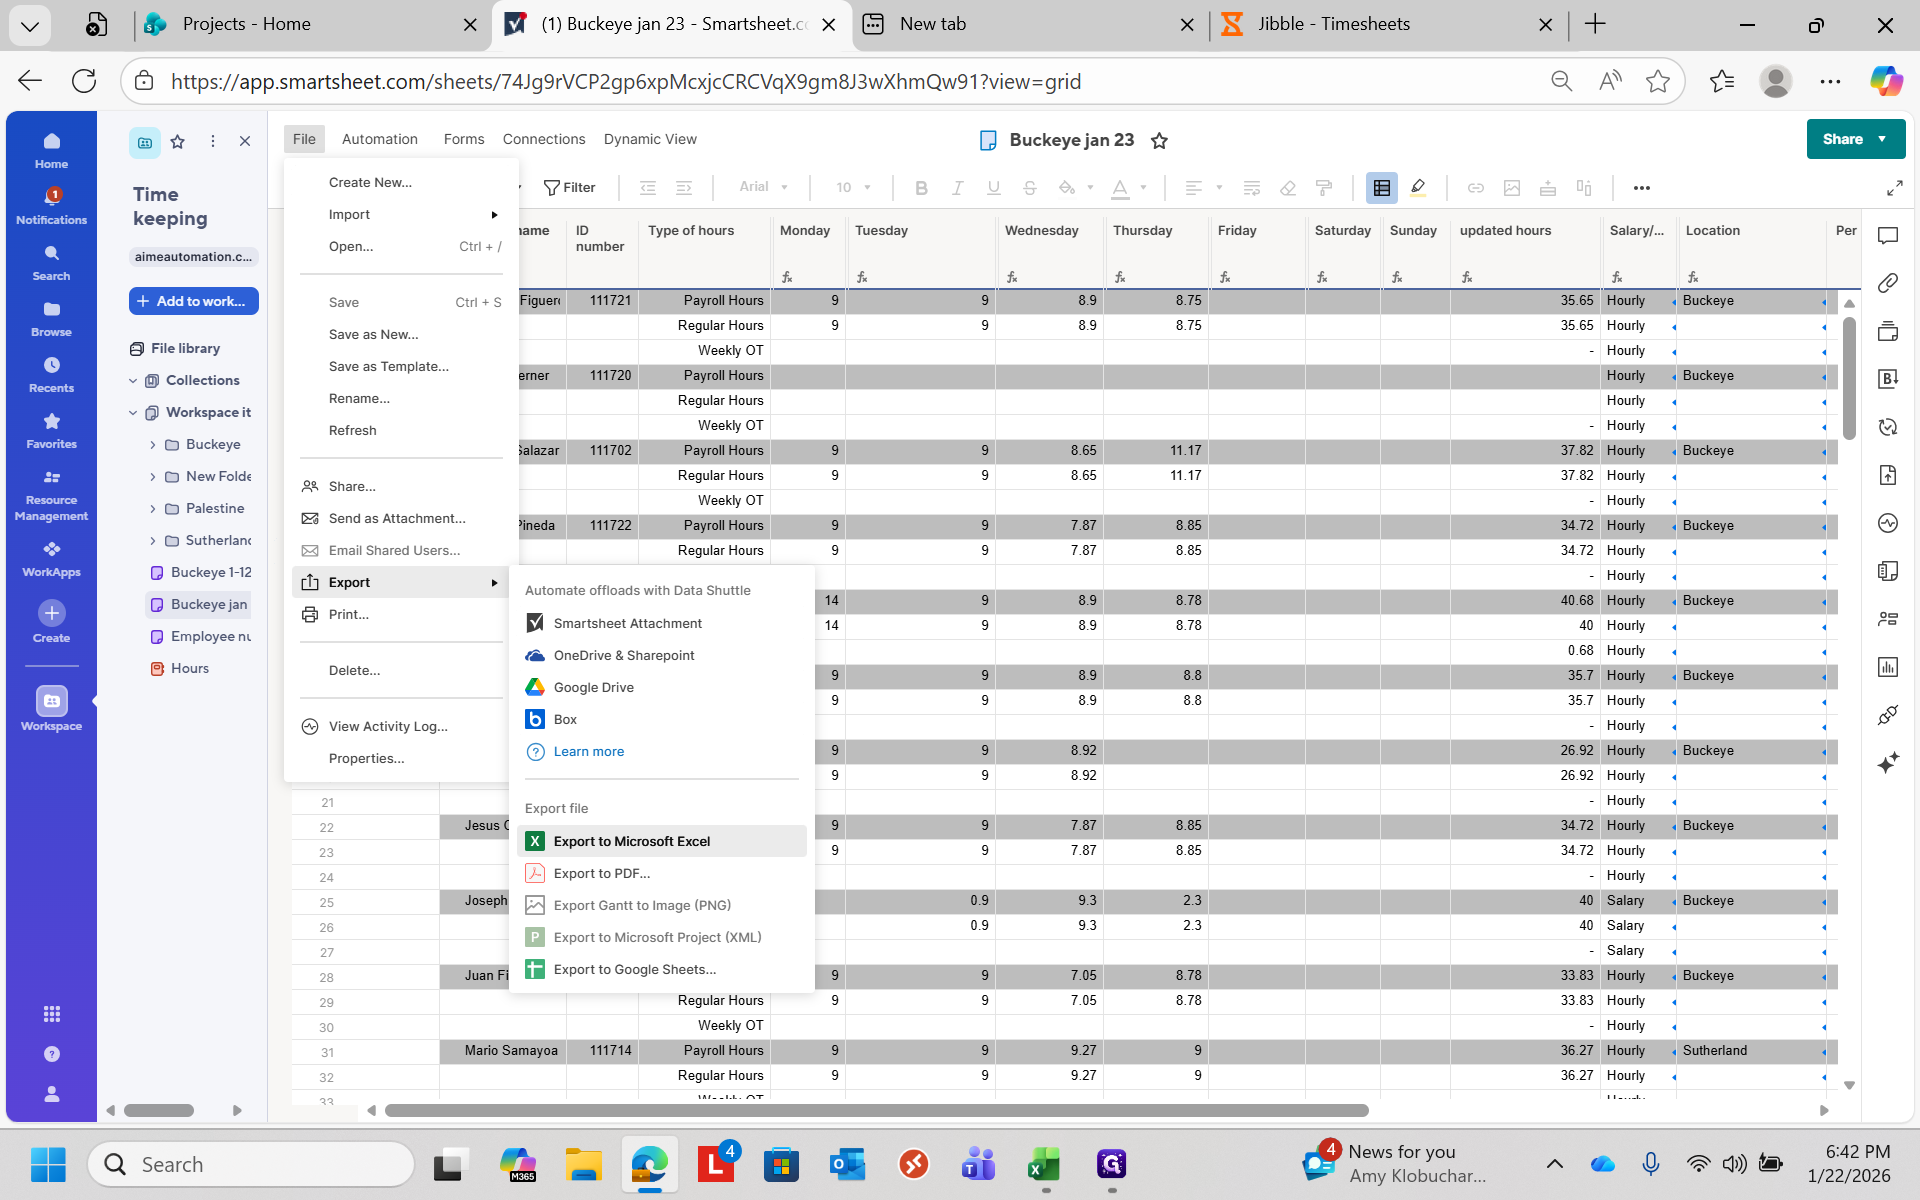
Another option is to export the file as a PDF.