How to Submit a New $25 Service Guarantee Invoice and Approve POs for Department Three in 2026
Learn the step-by-step process for submitting a new $25 service guarantee invoice, finding the correct PO, selecting Department Three, and approving invoices for the year 2026.
By Rose Gomez
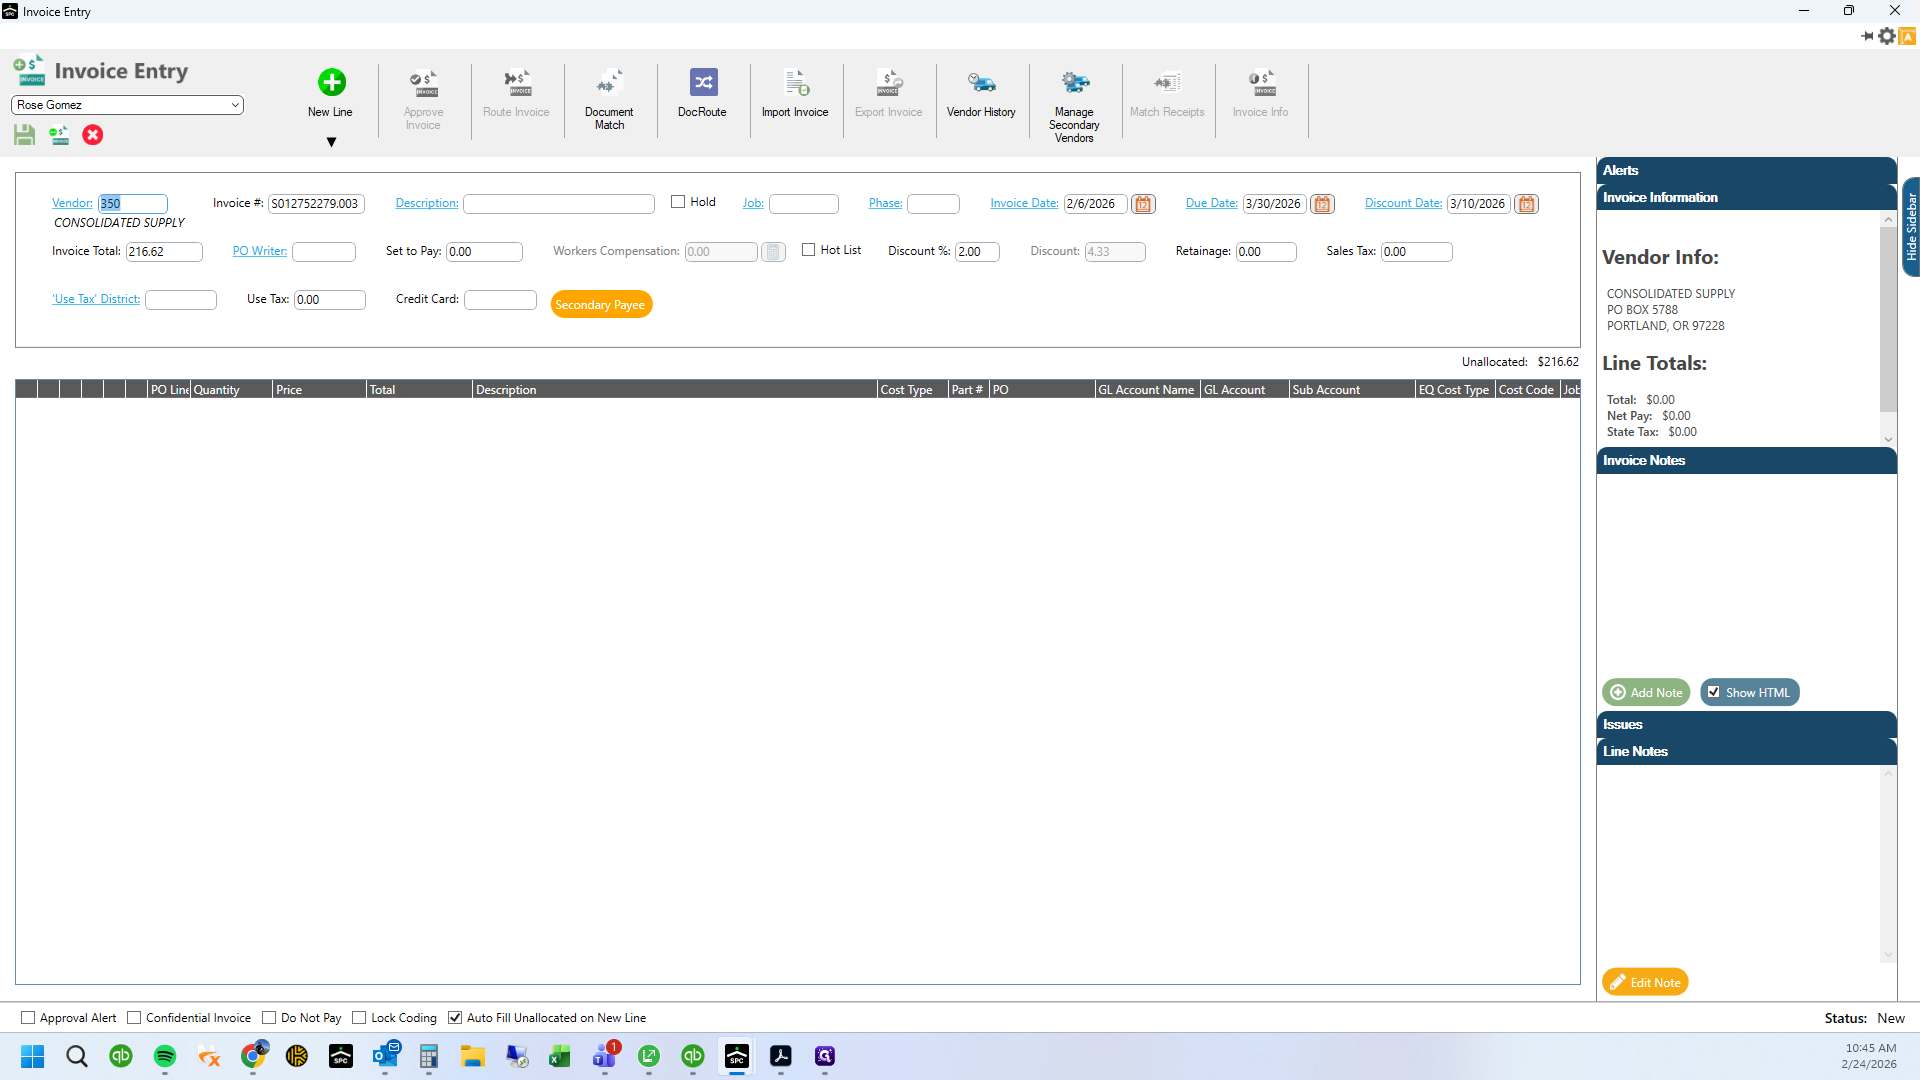
In this guide, we'll learn how to process a new $25 service guarantee by creating and approving an invoice. We will cover how to add items, search for purchase orders, verify department and year details, and ensure all information matches before approval.
Let's get started
1
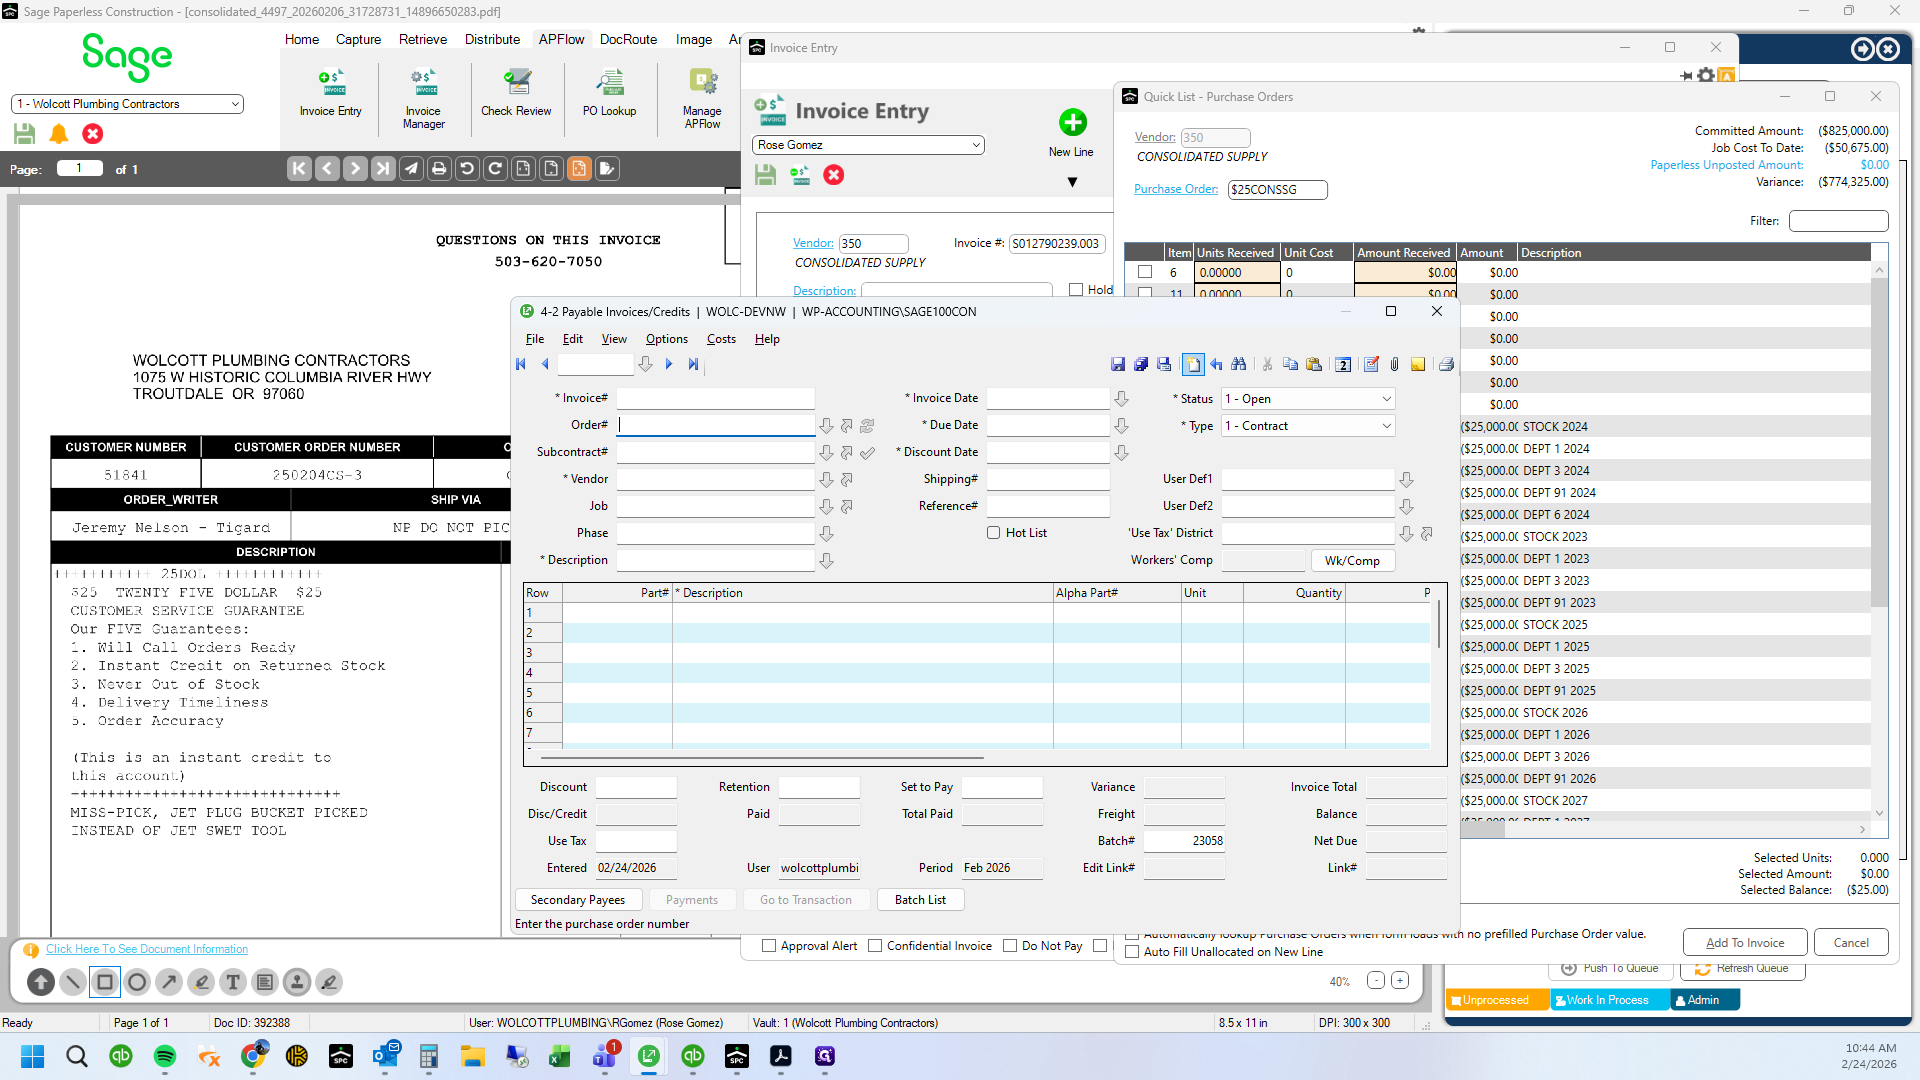
$25 customer service guarantee
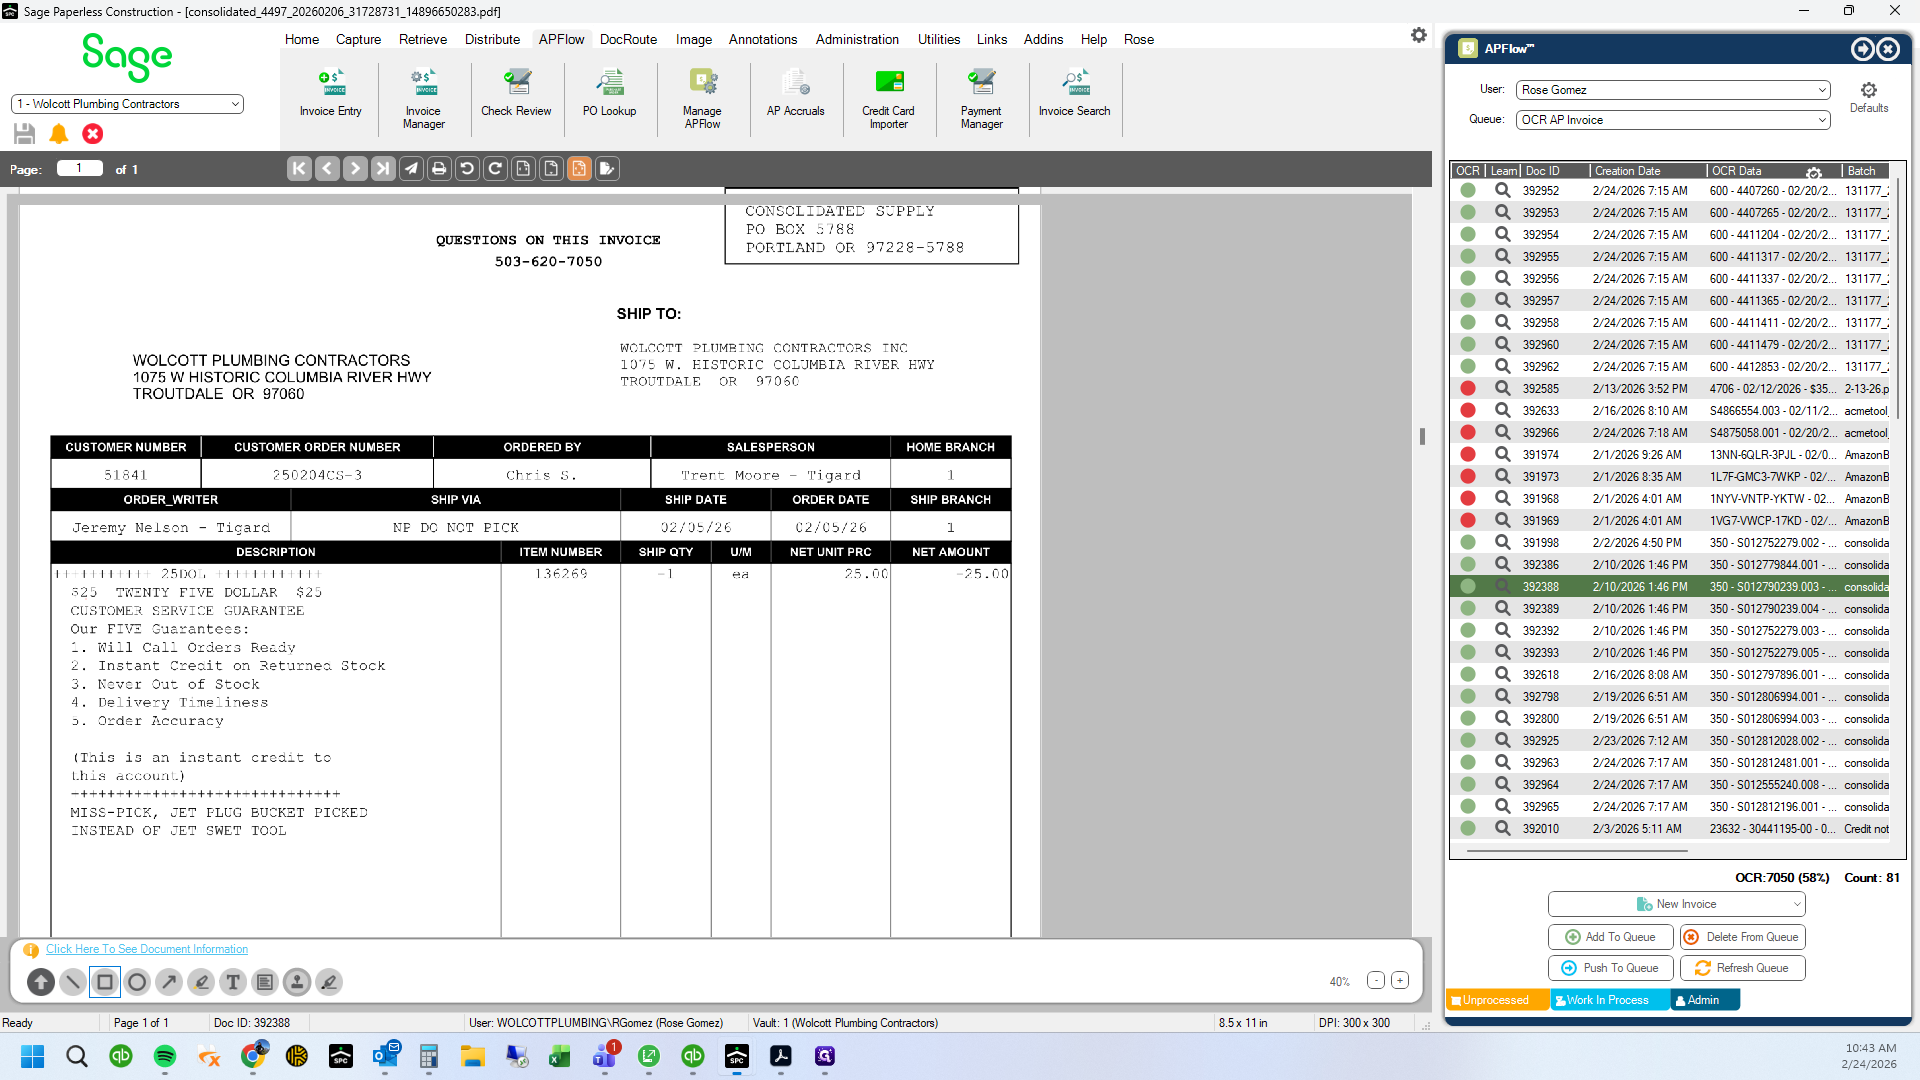
2
We have a PO entered for these
3
Drag here
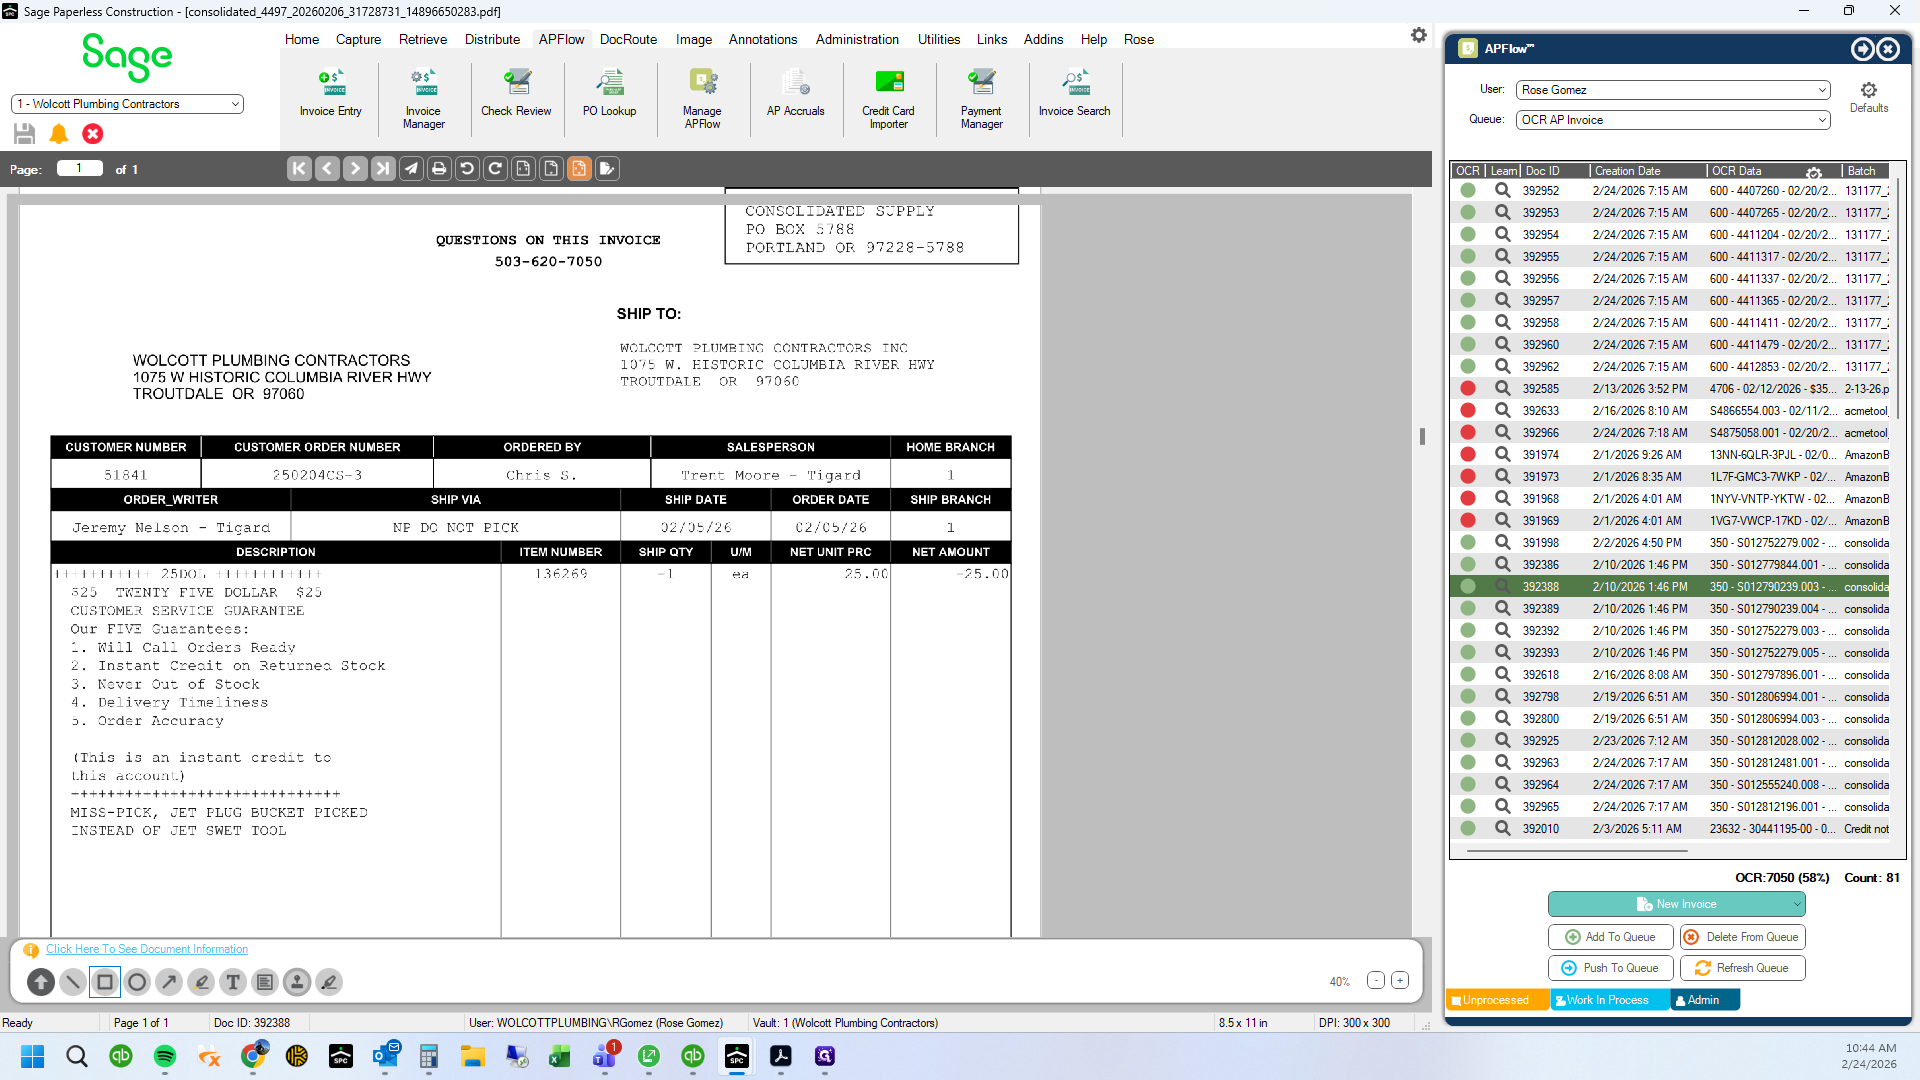
4
Click here

5
Click here

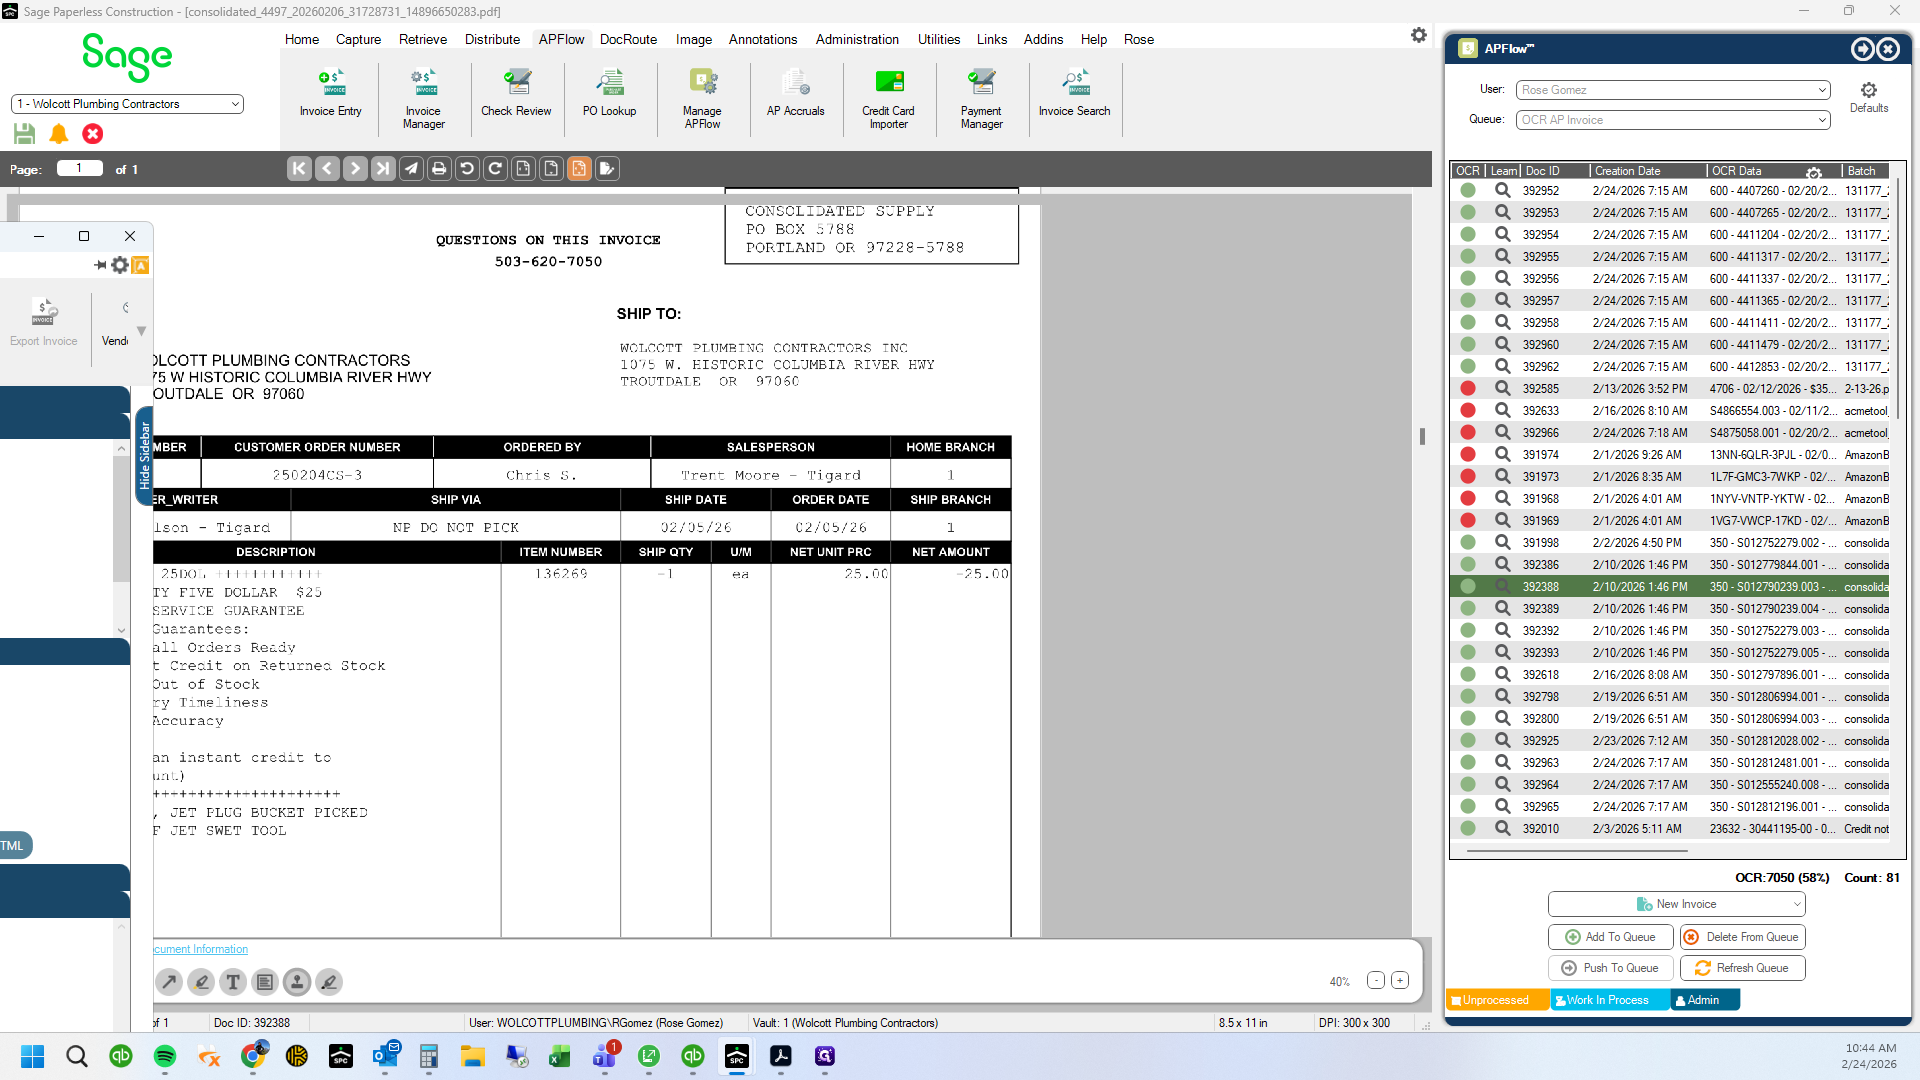
6
Click on "Purchase Order" link
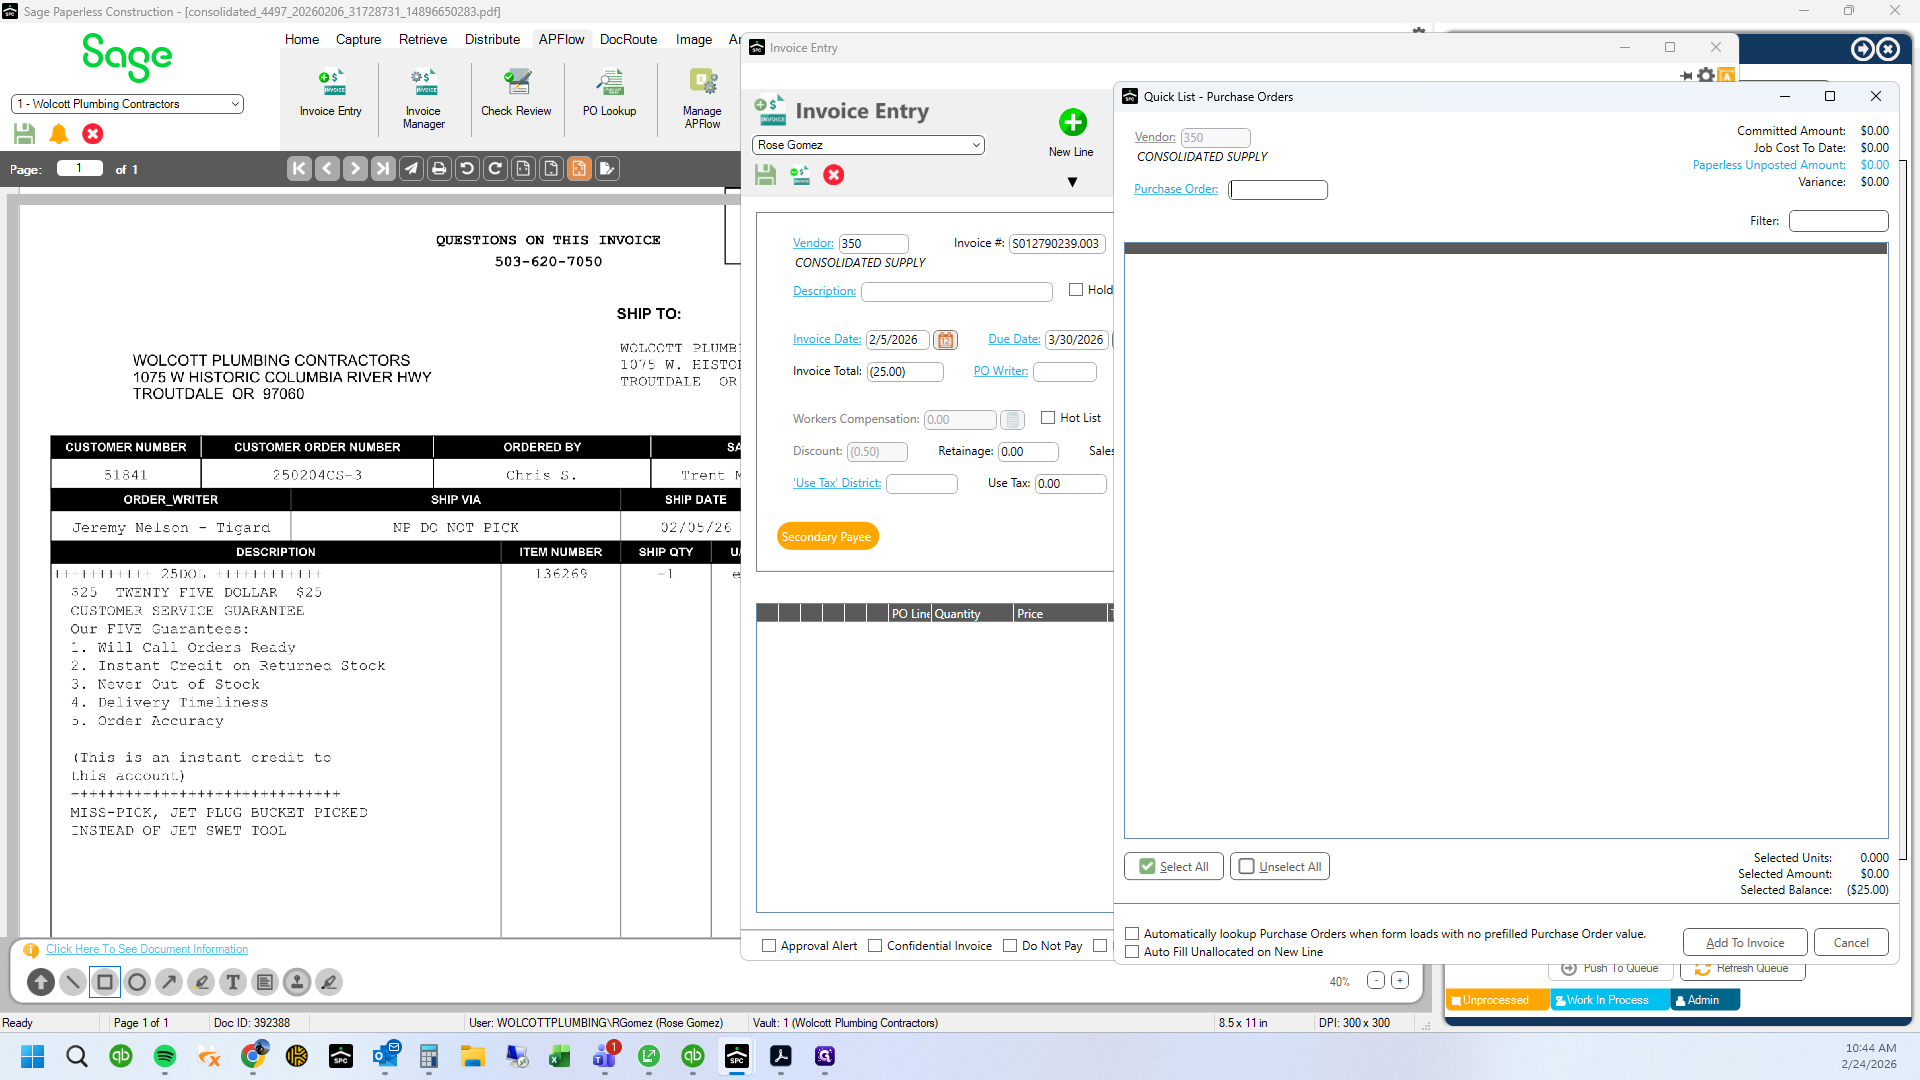
7
Click here
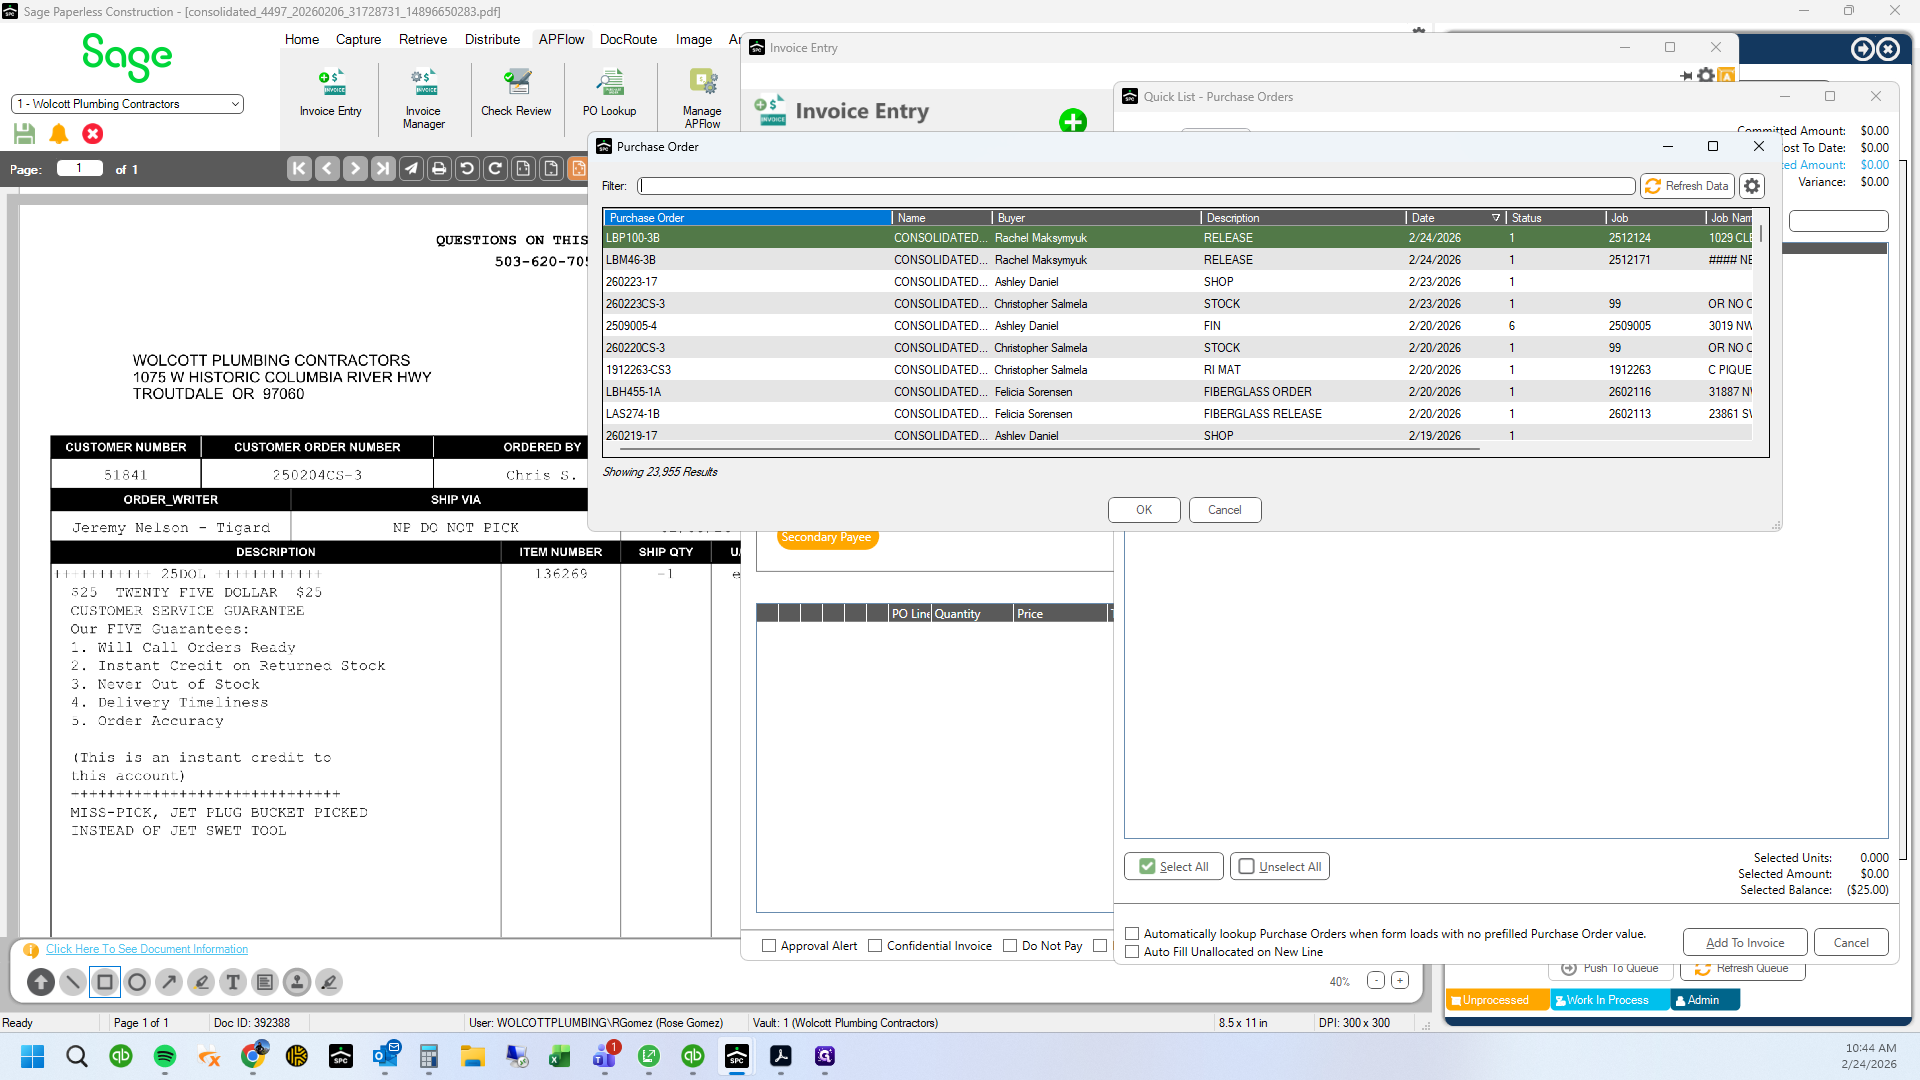
8
Type "$25"
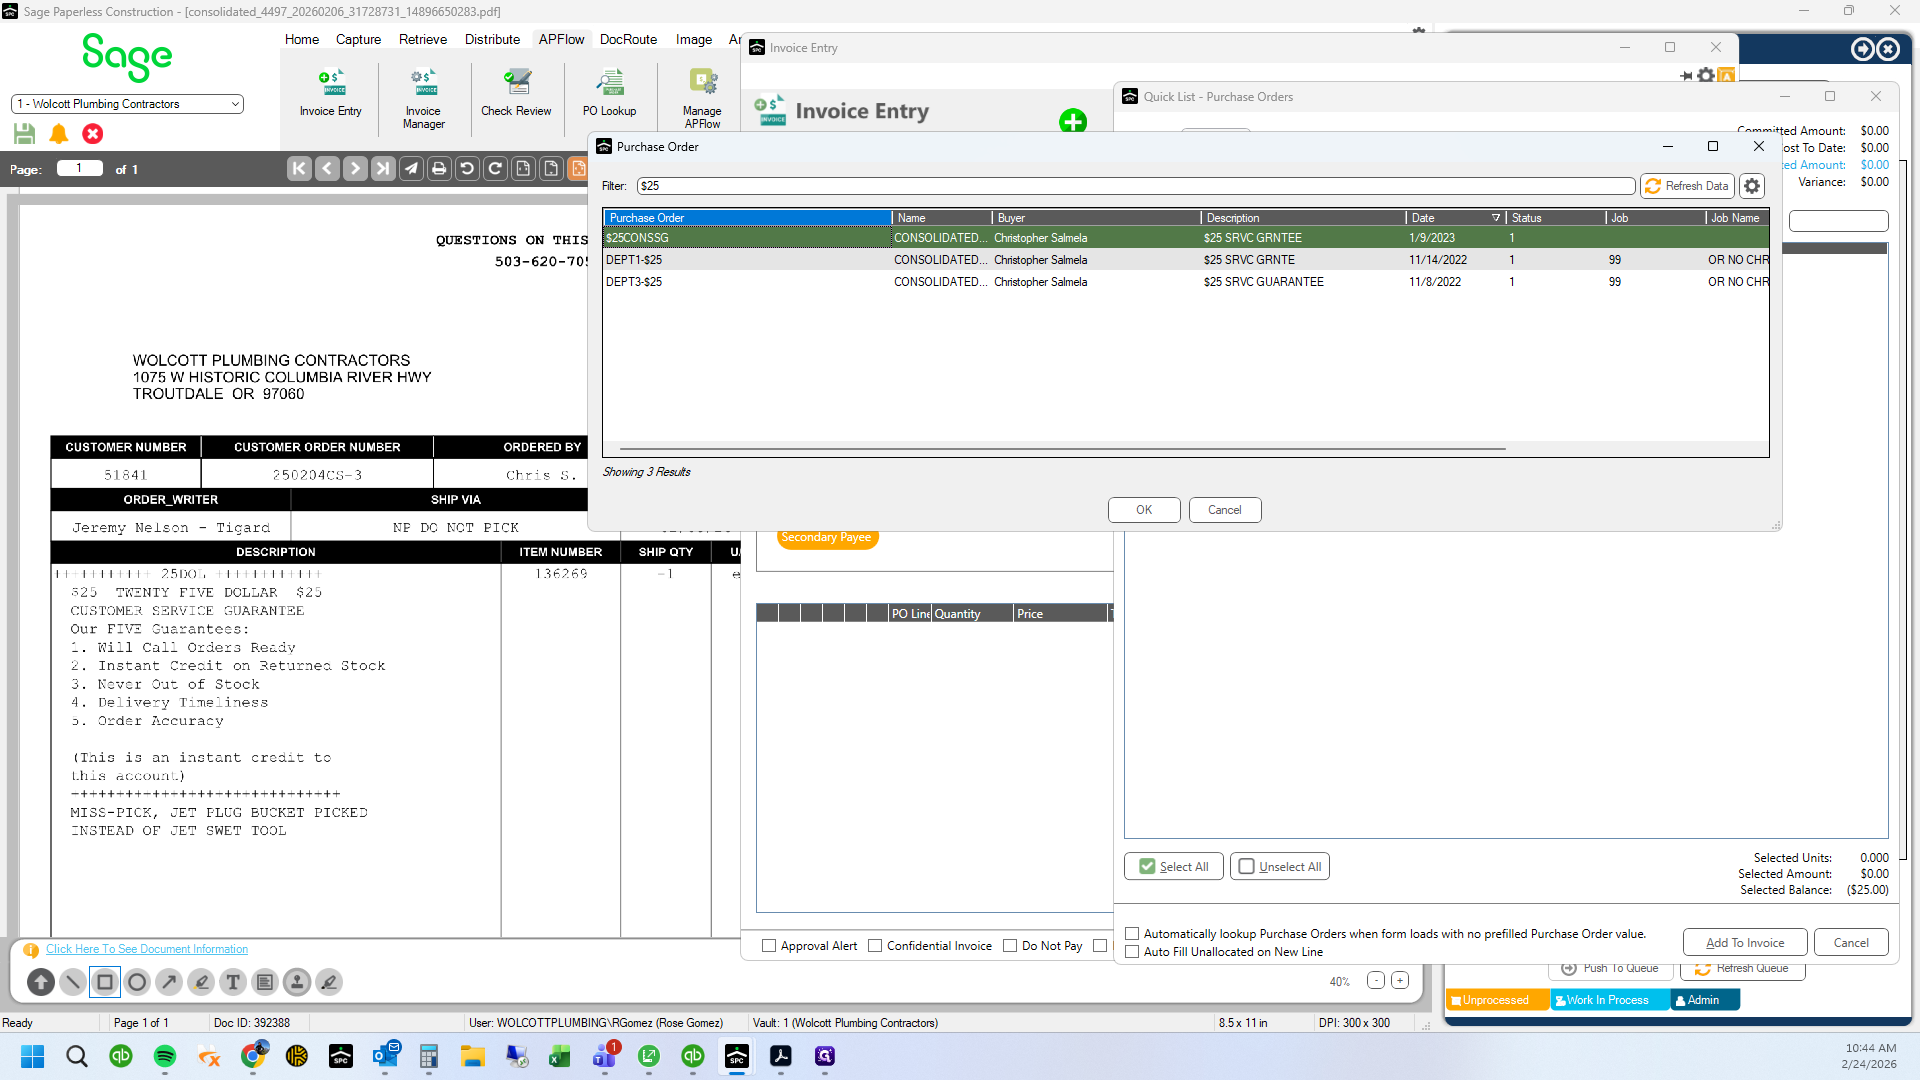
9
Type "$25"
10
Double-click here
11
Drag here
12
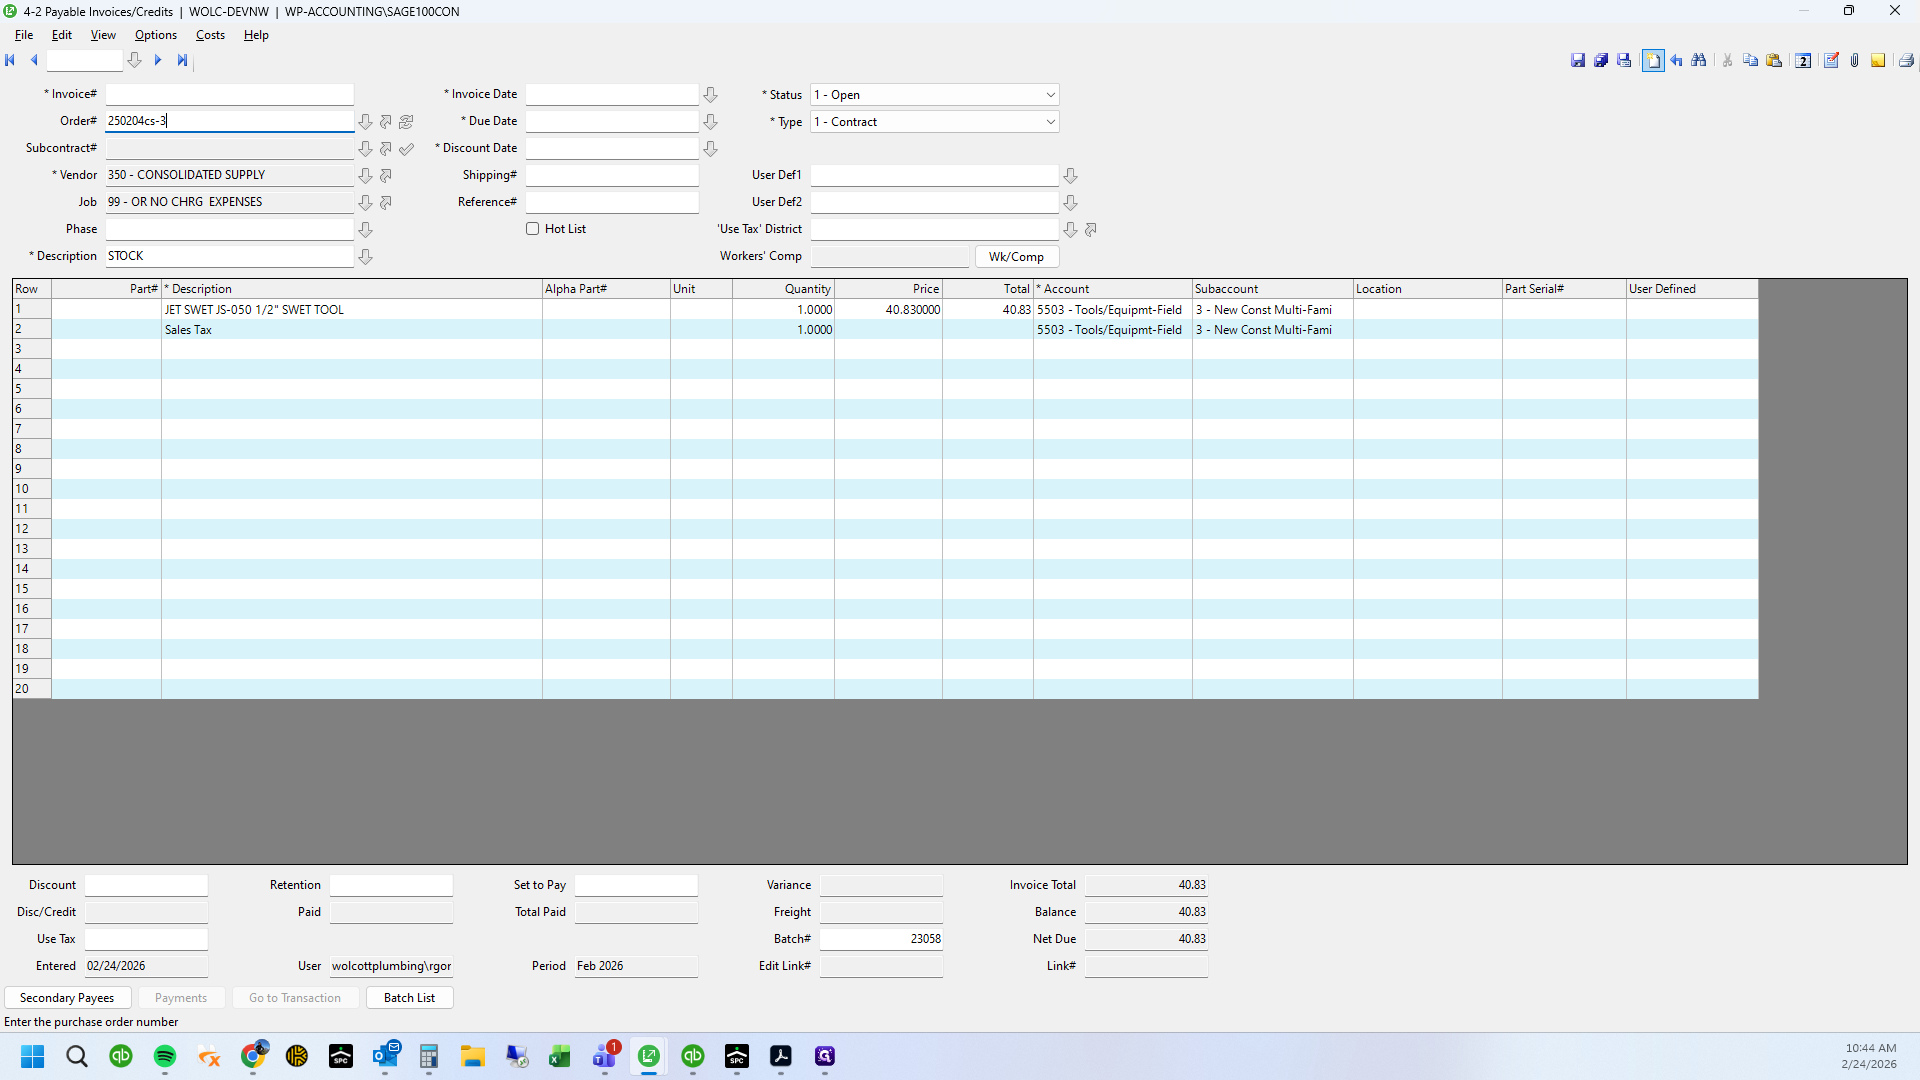
Check Sage 100 to see what department the credit should go to. Search the PO listed on the credit.
13
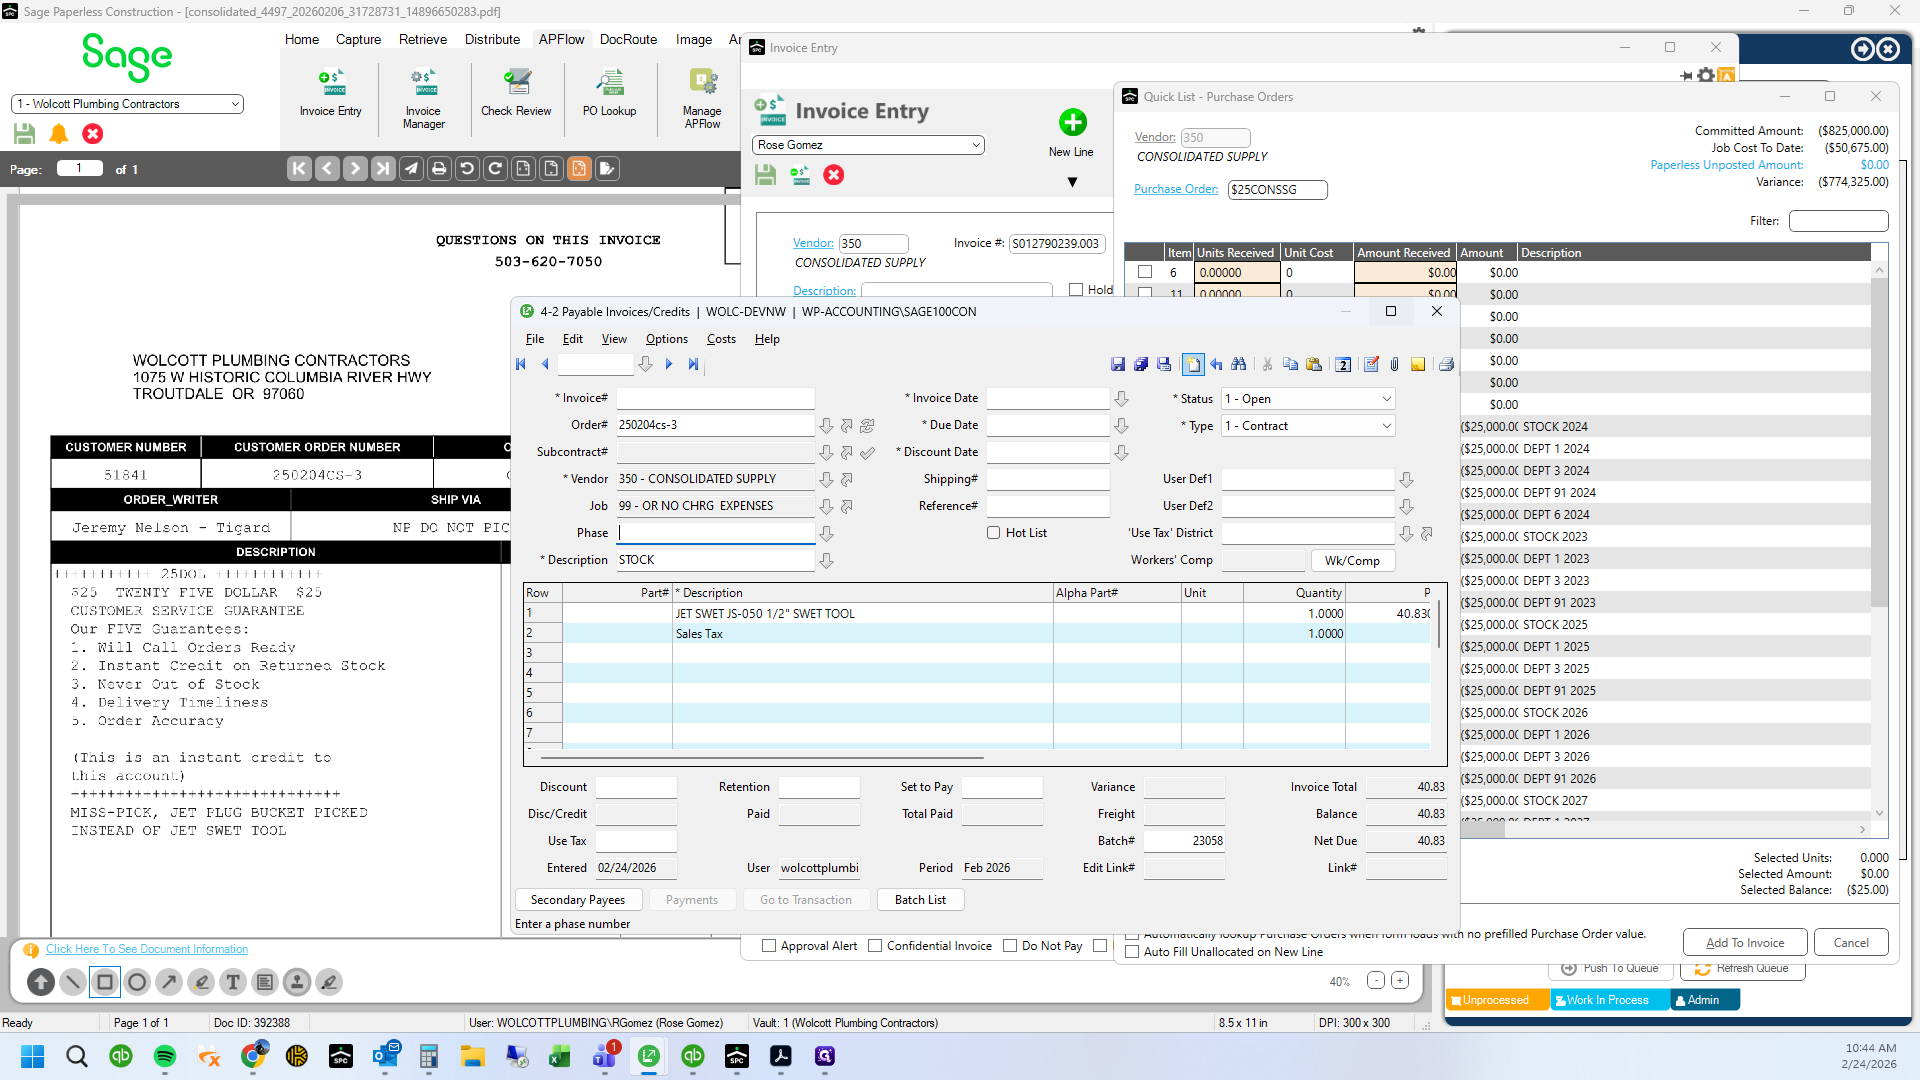
Type "250204cs-3 + Tab"
14
Click here
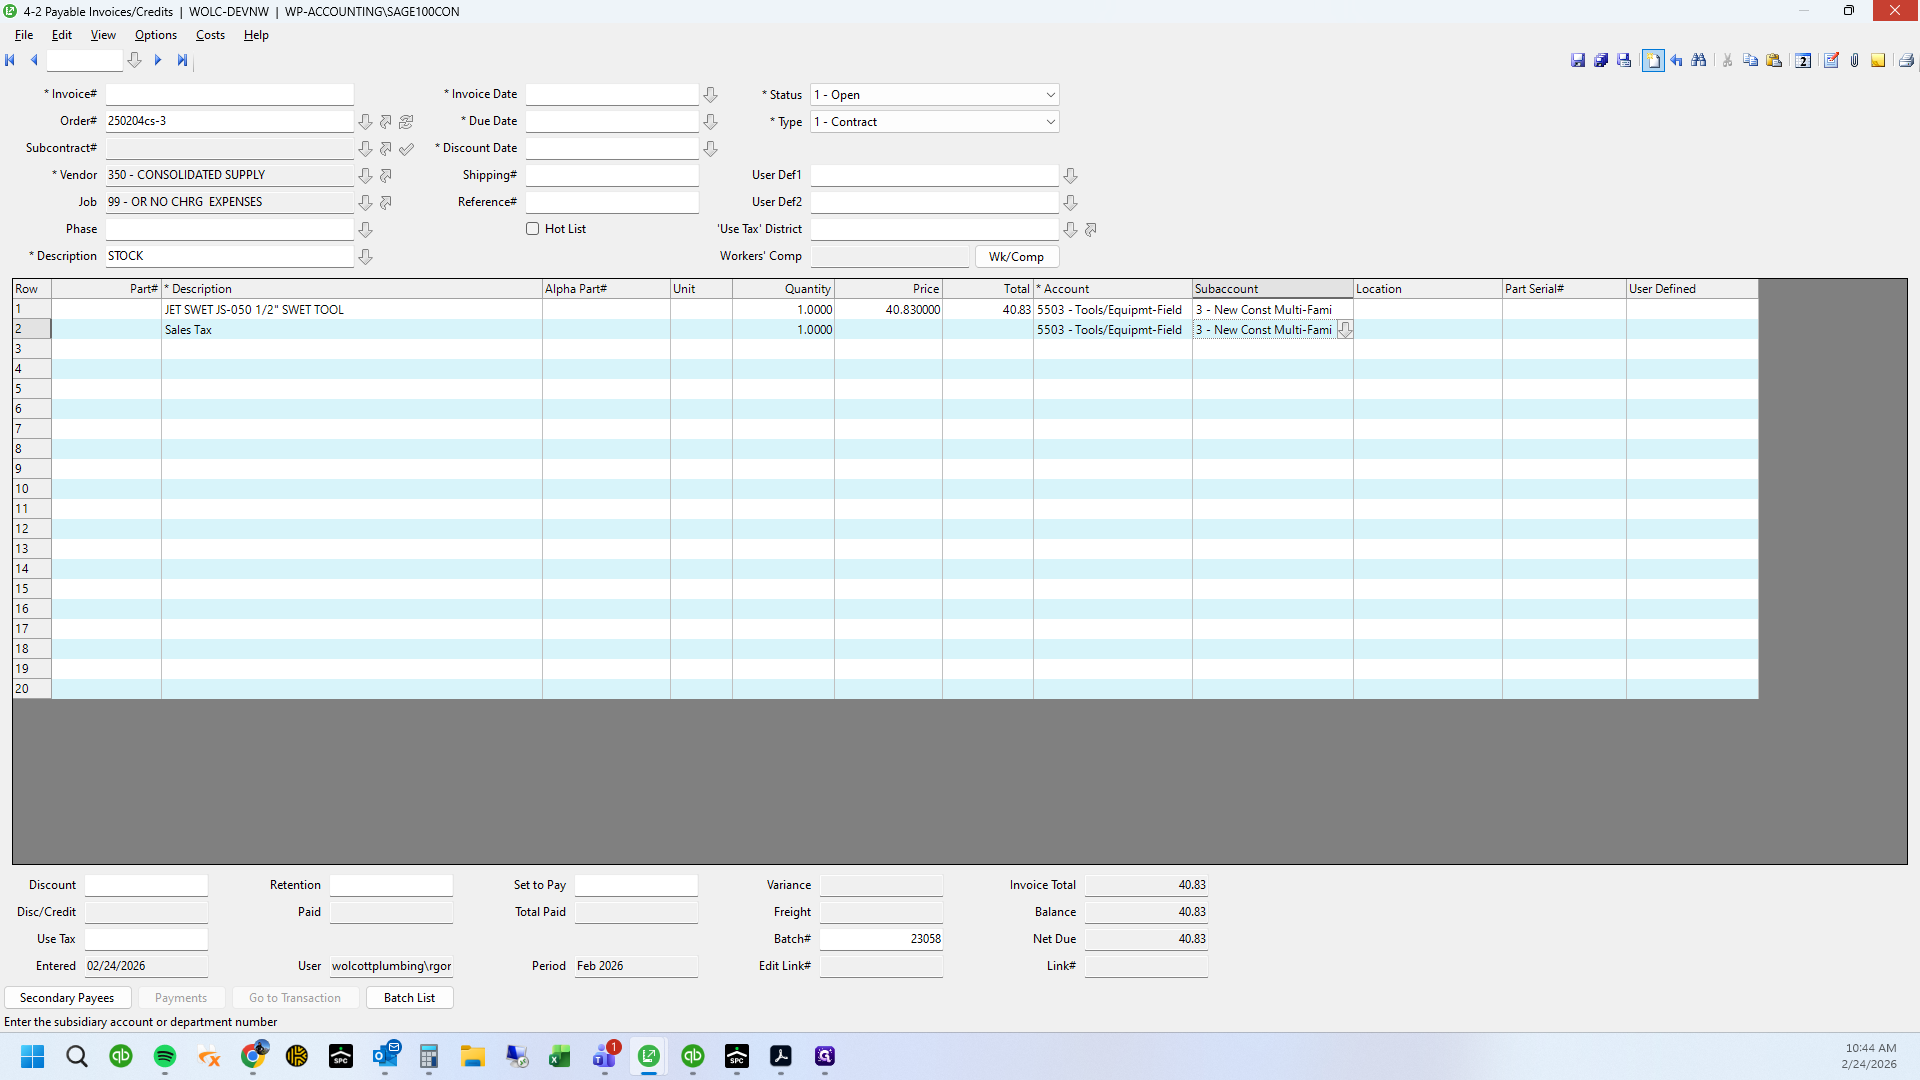
15
This one is for department 3

16
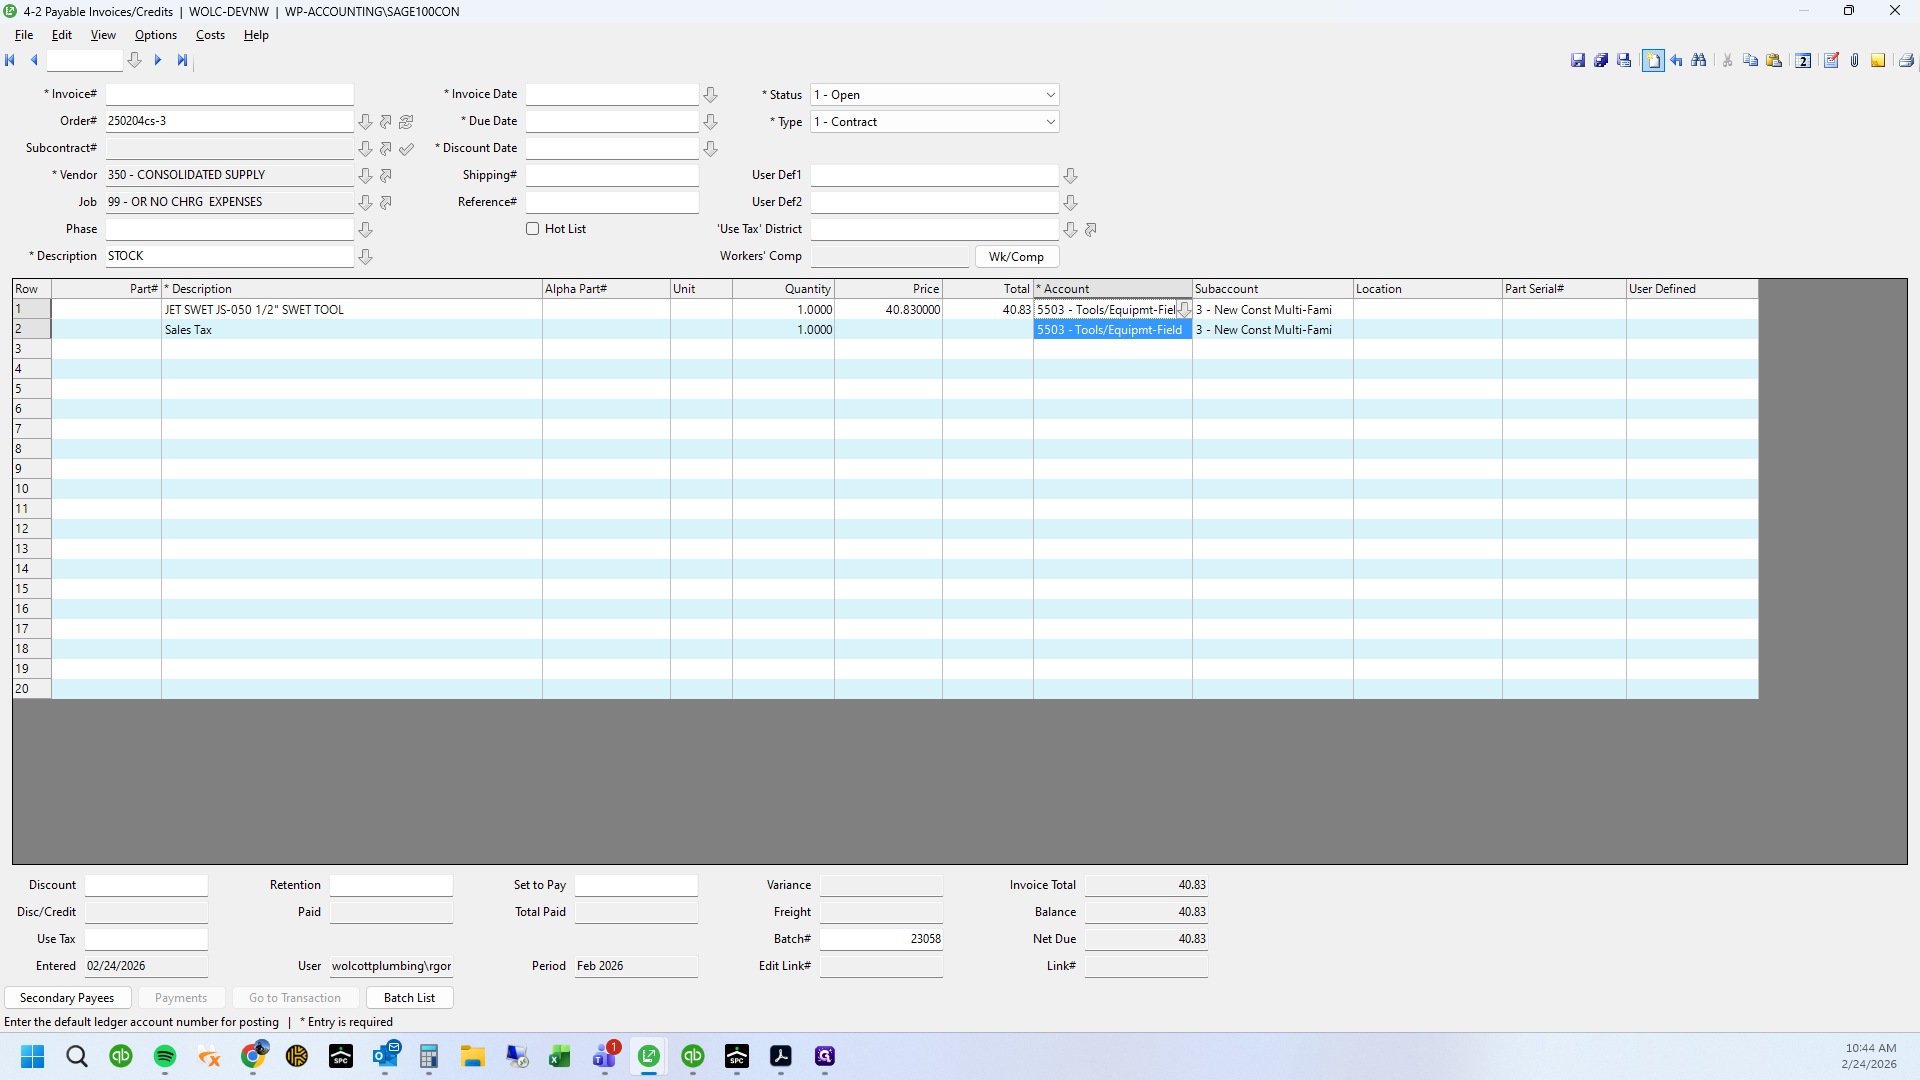
Click on "3 - New Const Multi"
17
Click on "Order # 250204cs - 3"
18
Click here
19
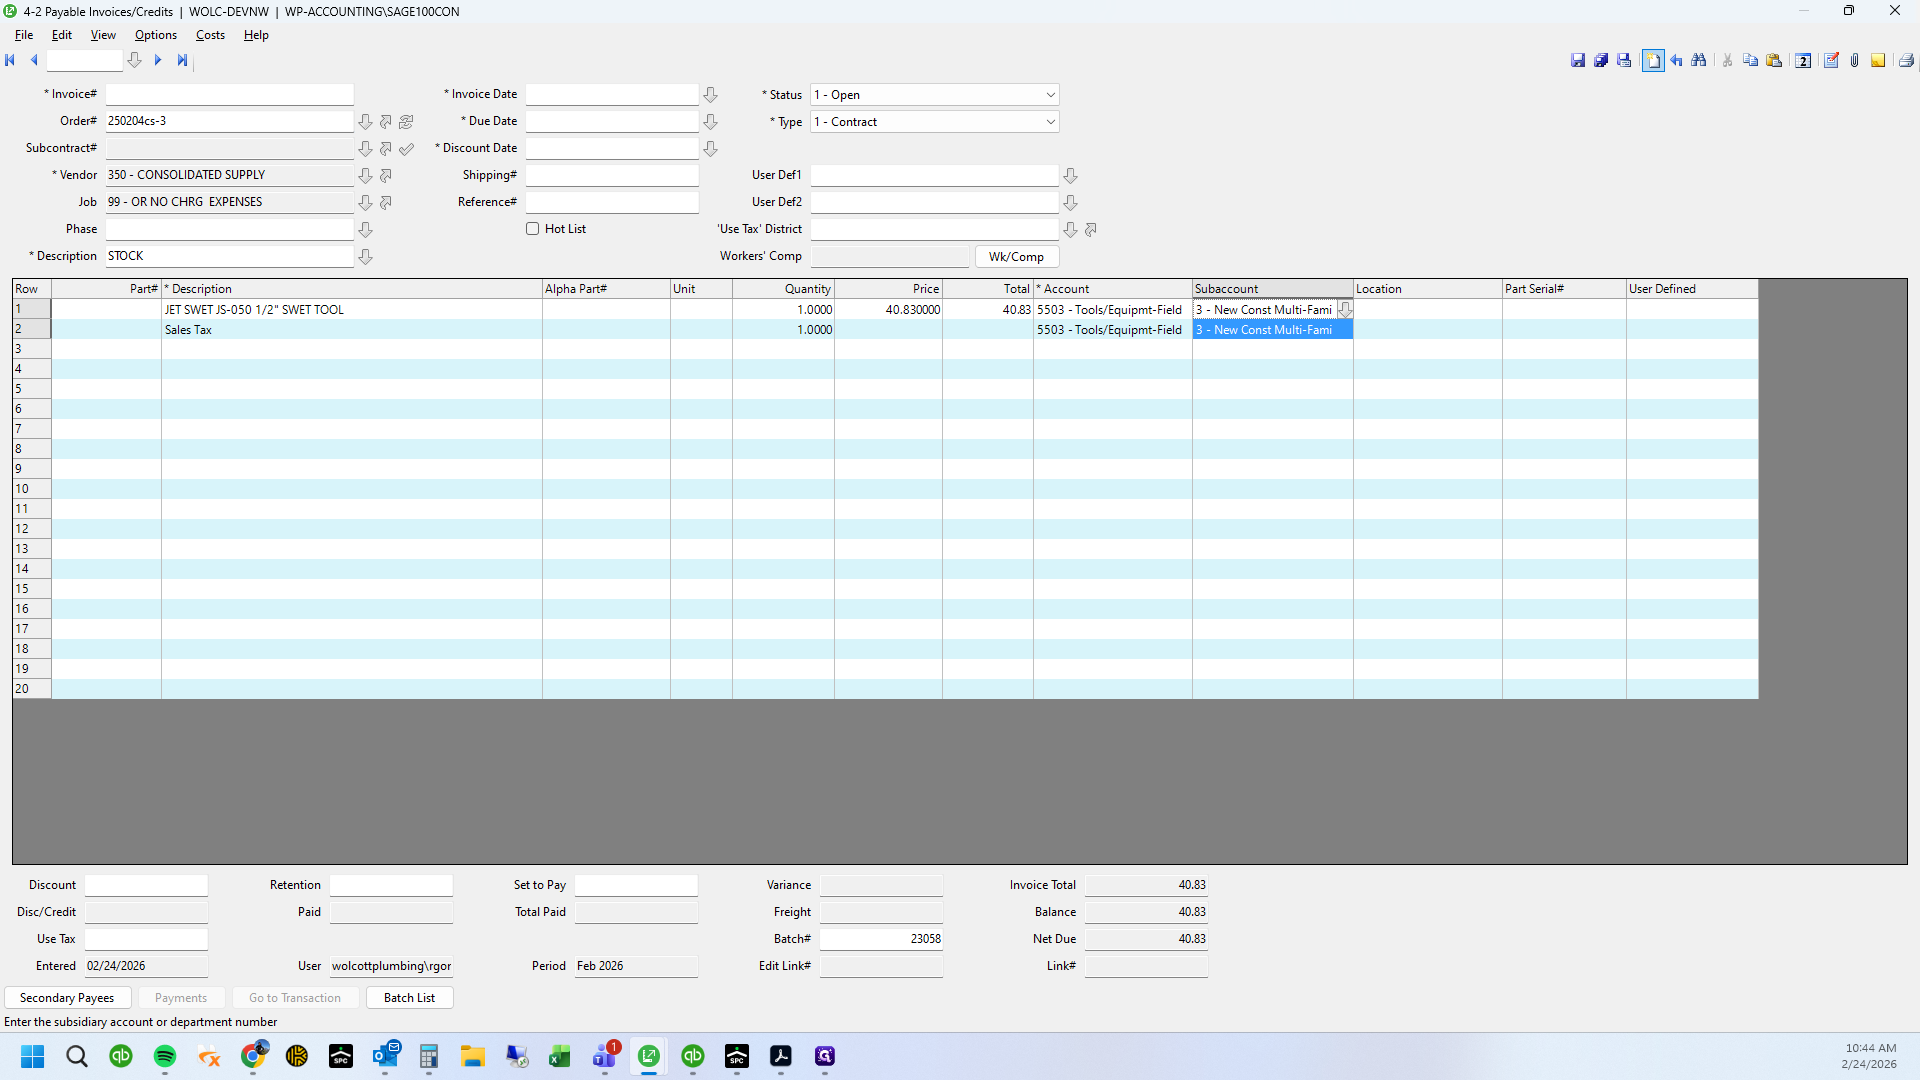
Click on "3- New Const Multi"

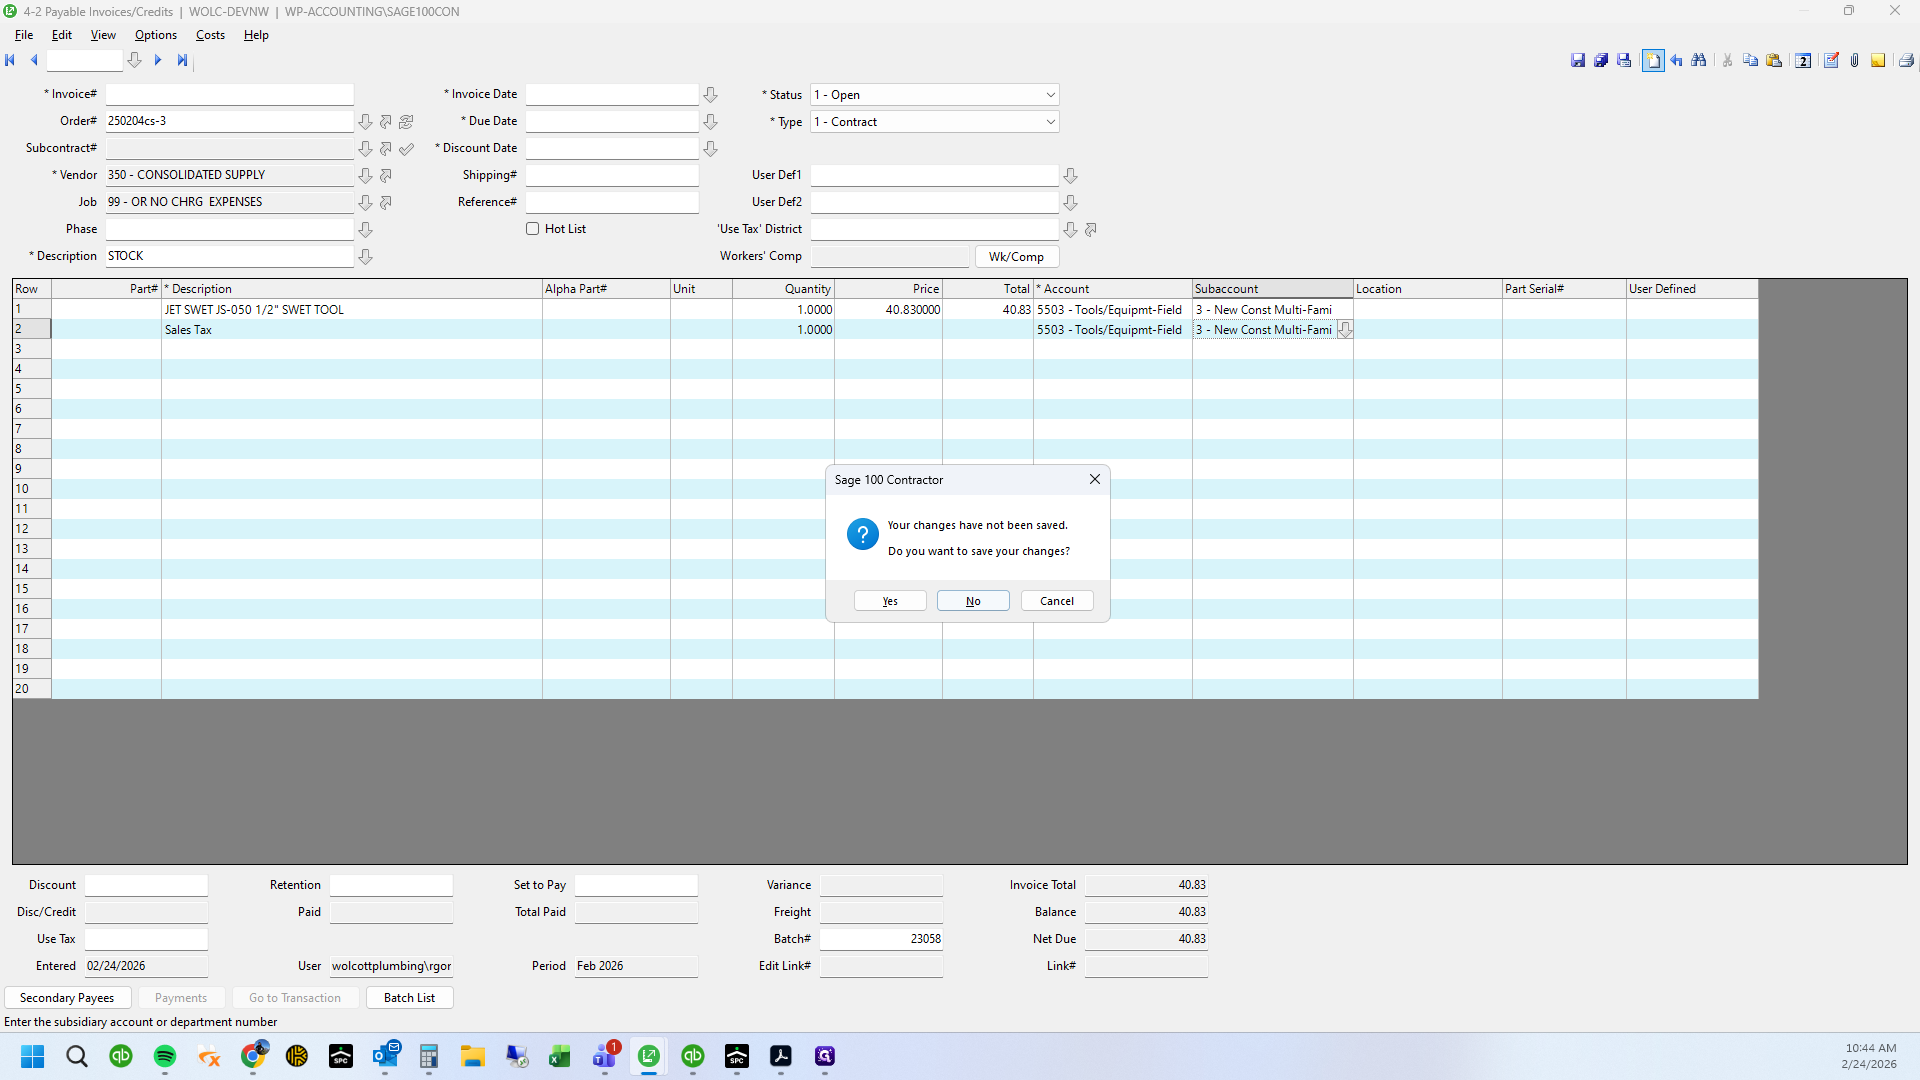
20
Click on "Х"
21
Click here
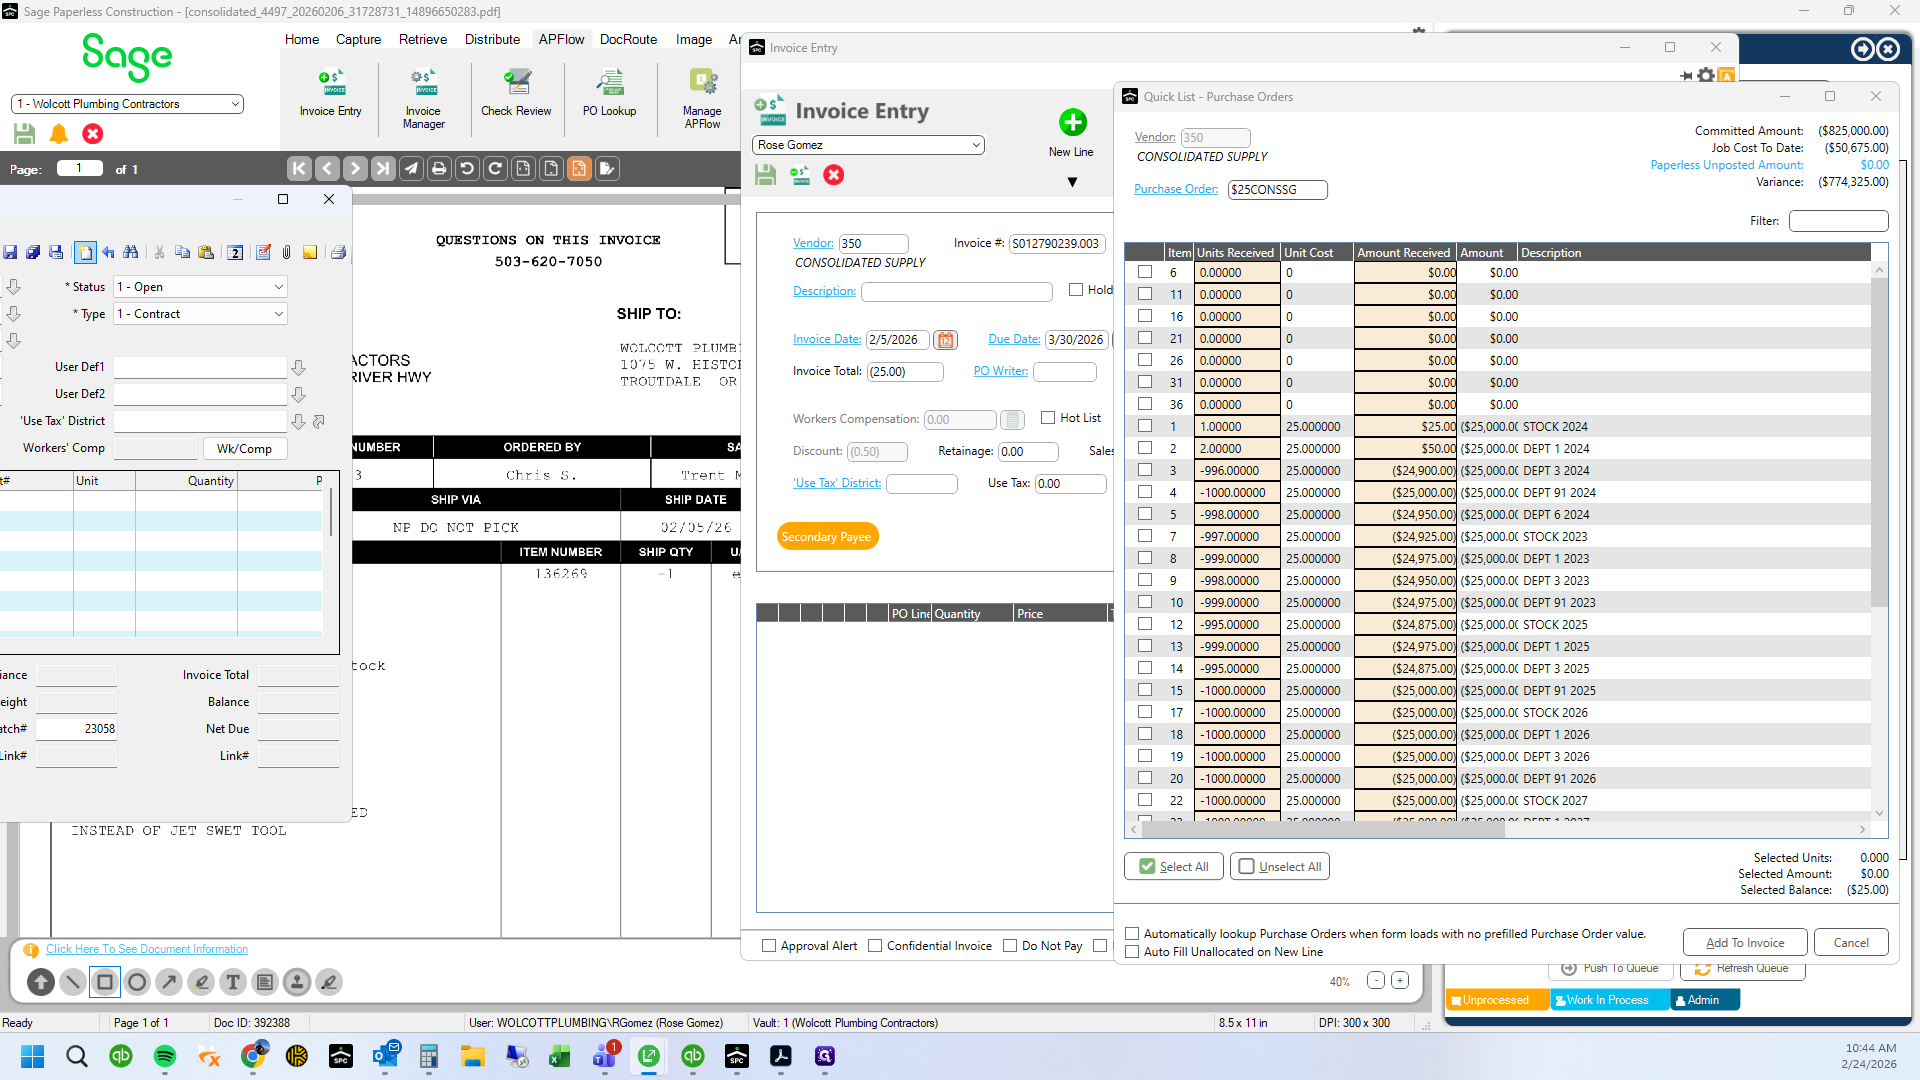
22
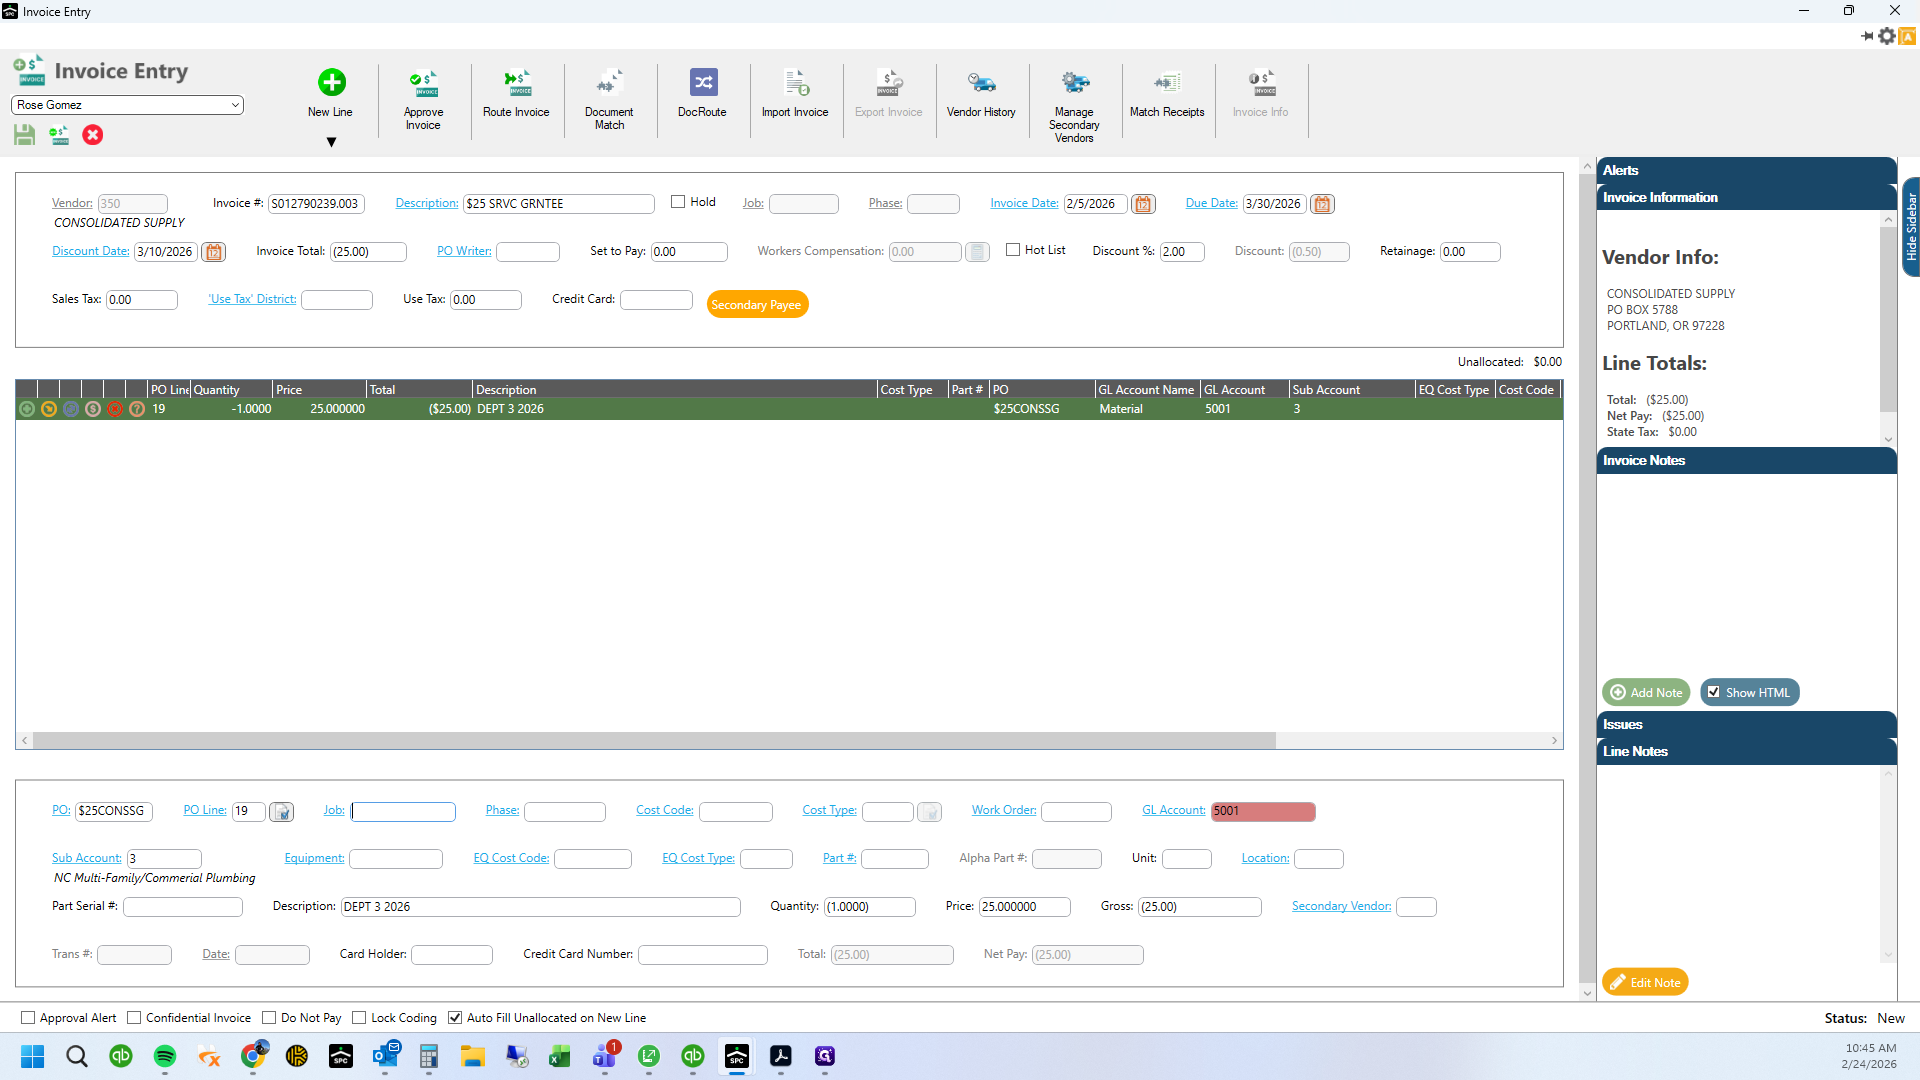
Locate the correct year and department on the PO - in this case 2026 department 3
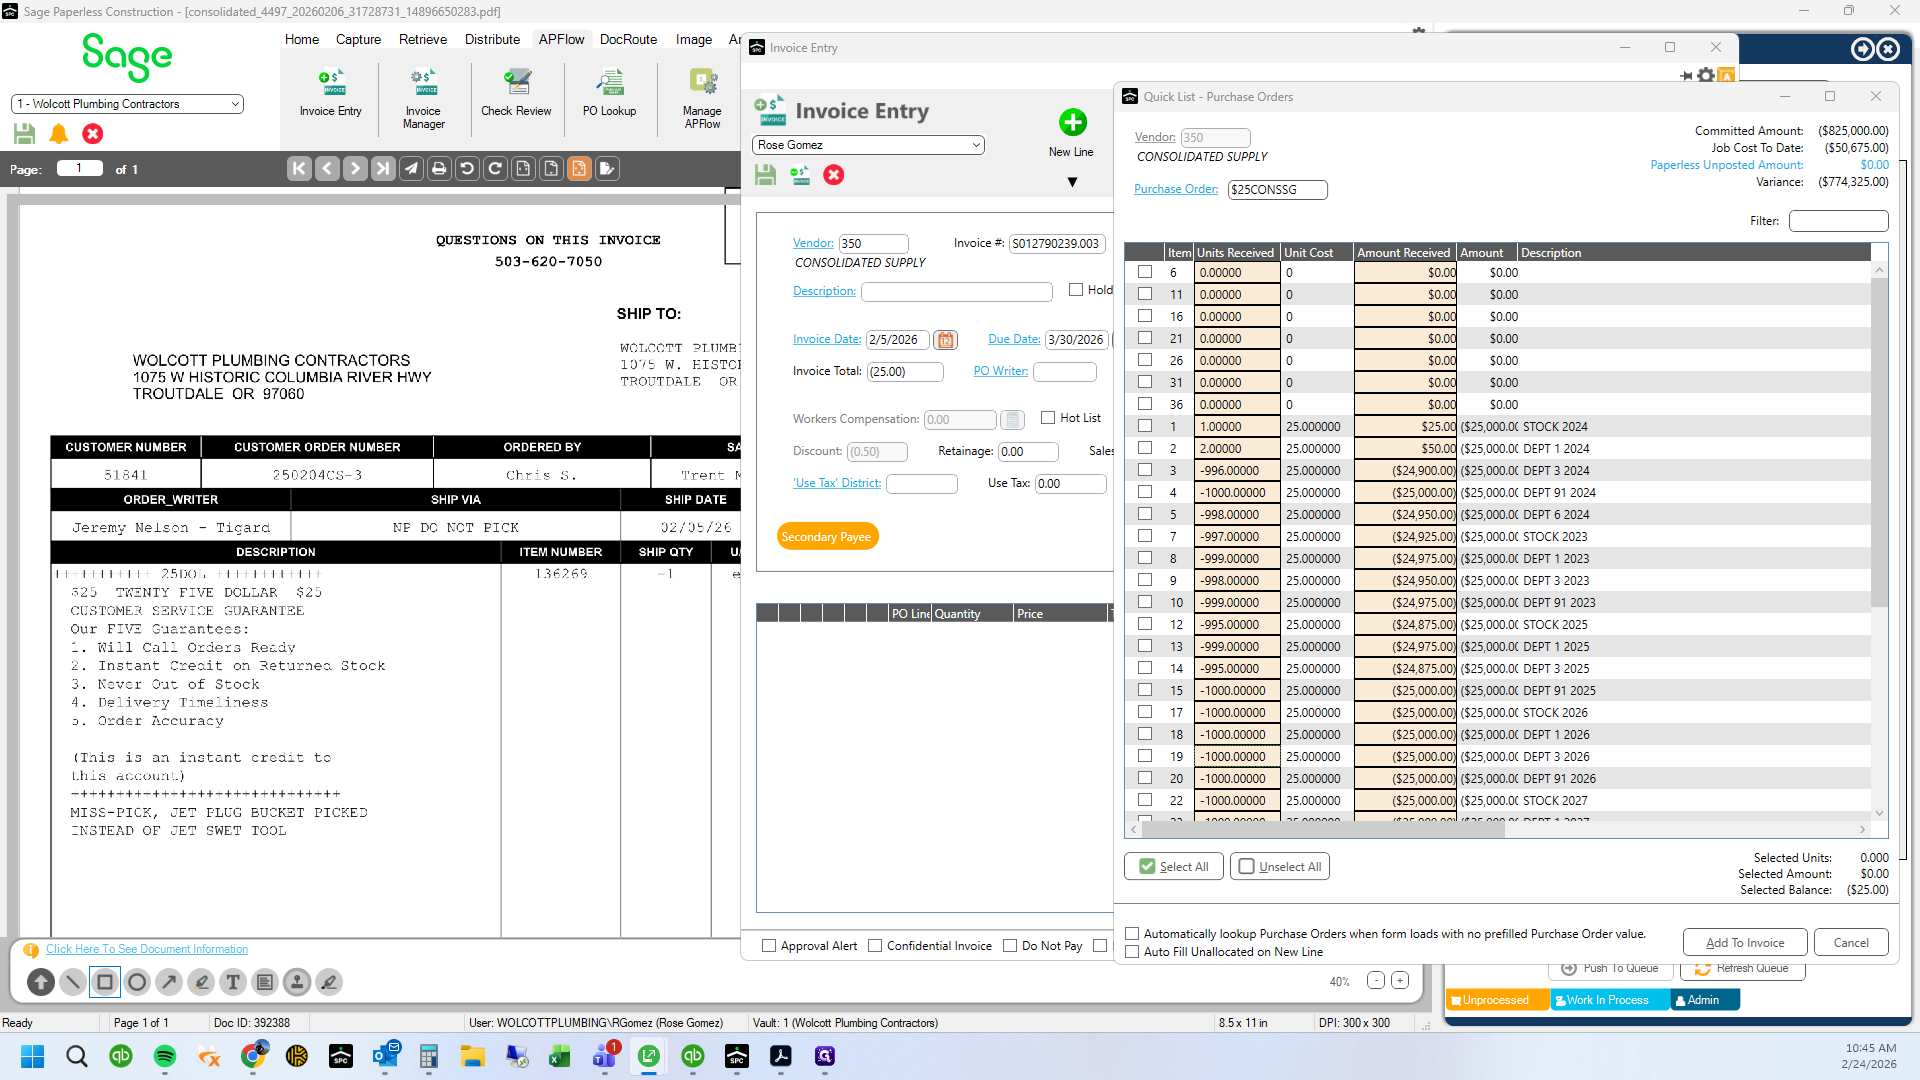
23
Add a -1 quantity to the invoice

24
Drag "-1000.00000"
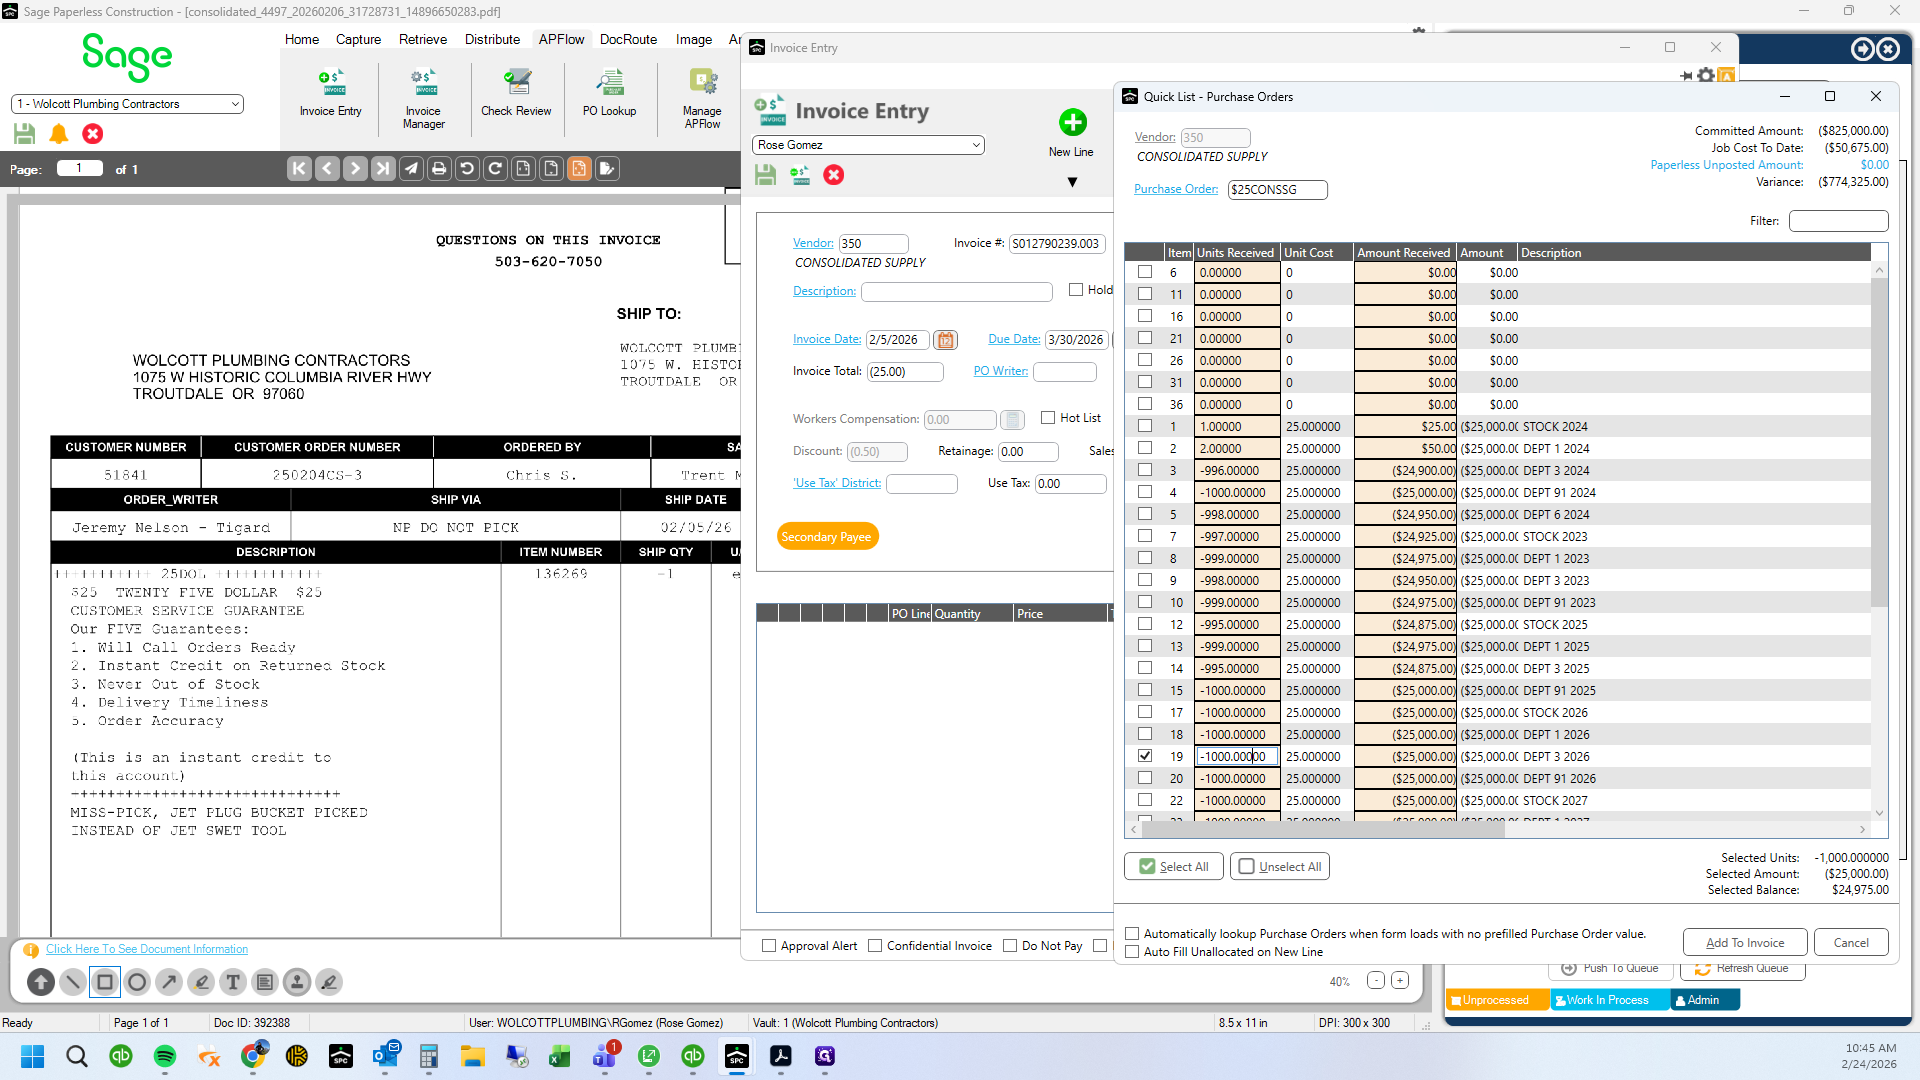
25
Type "-1 + Tab"
26
Click on "Add To Invoice"

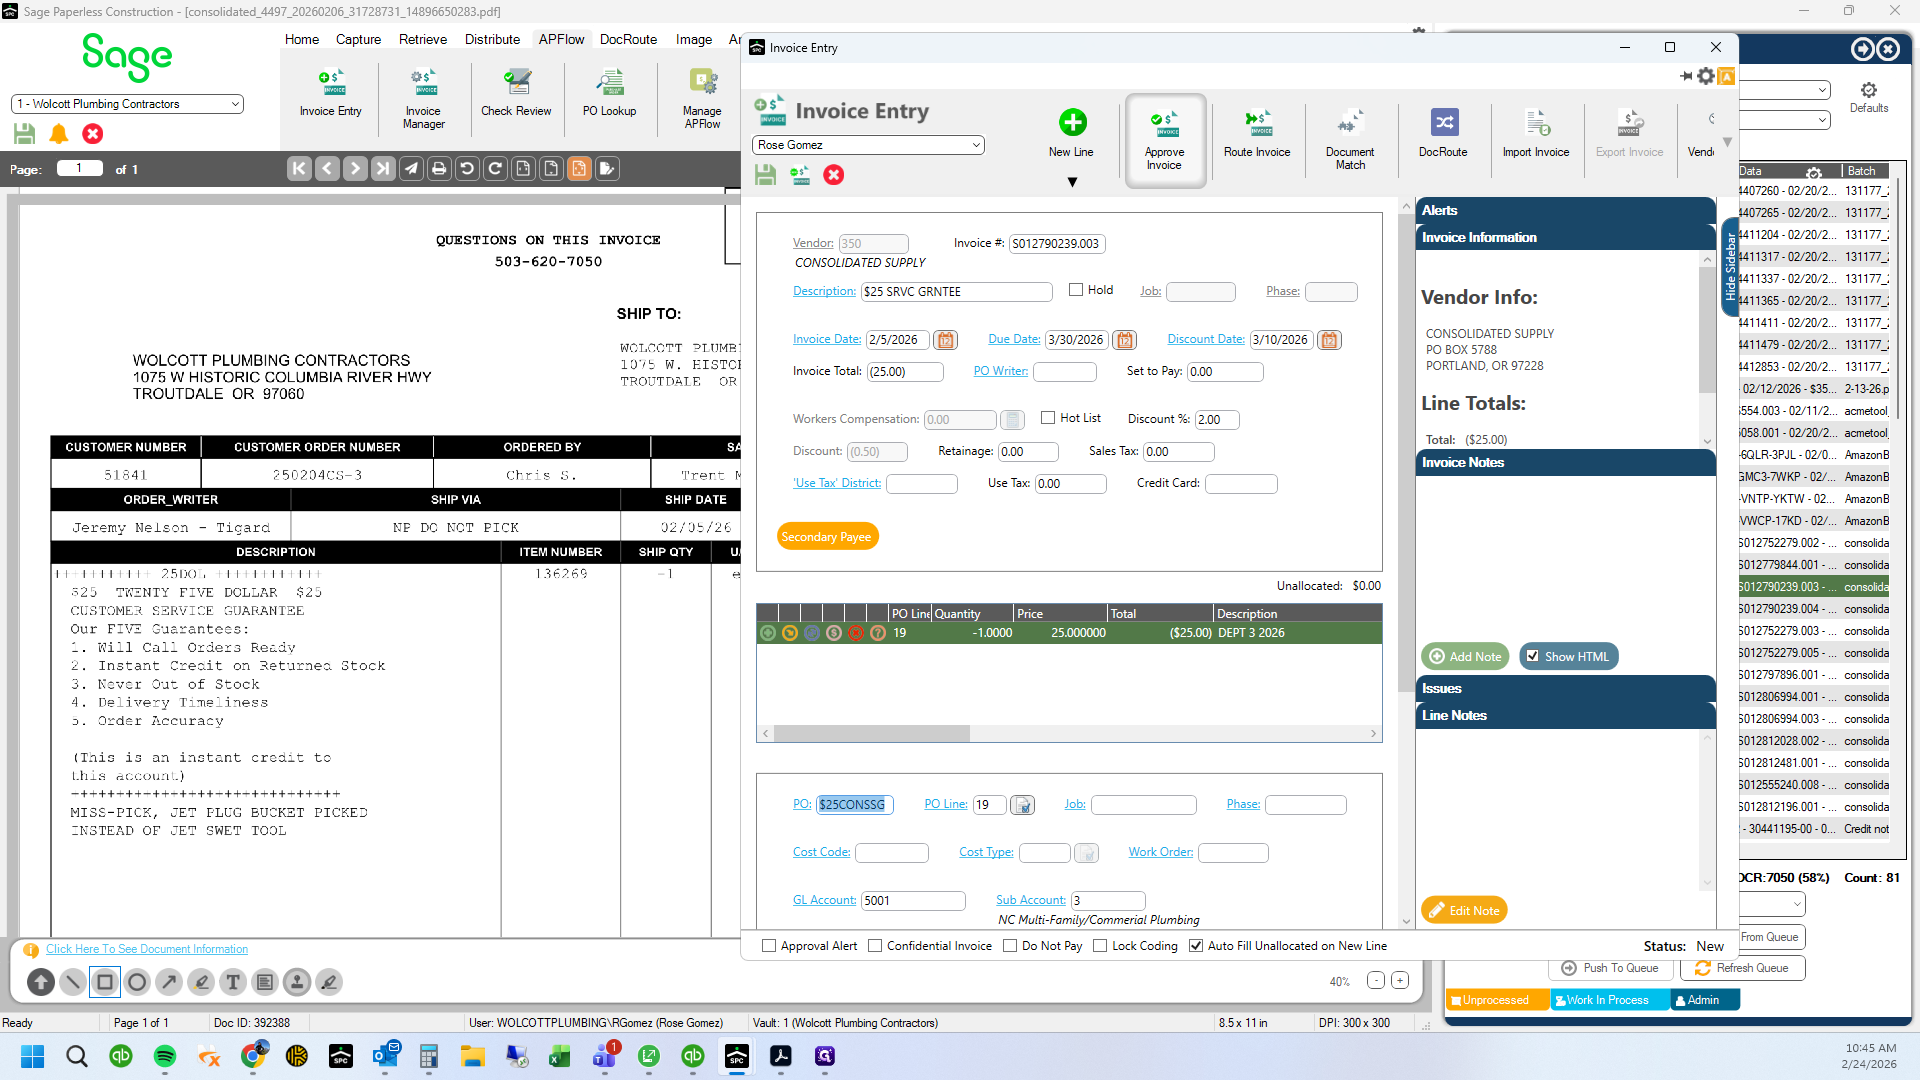
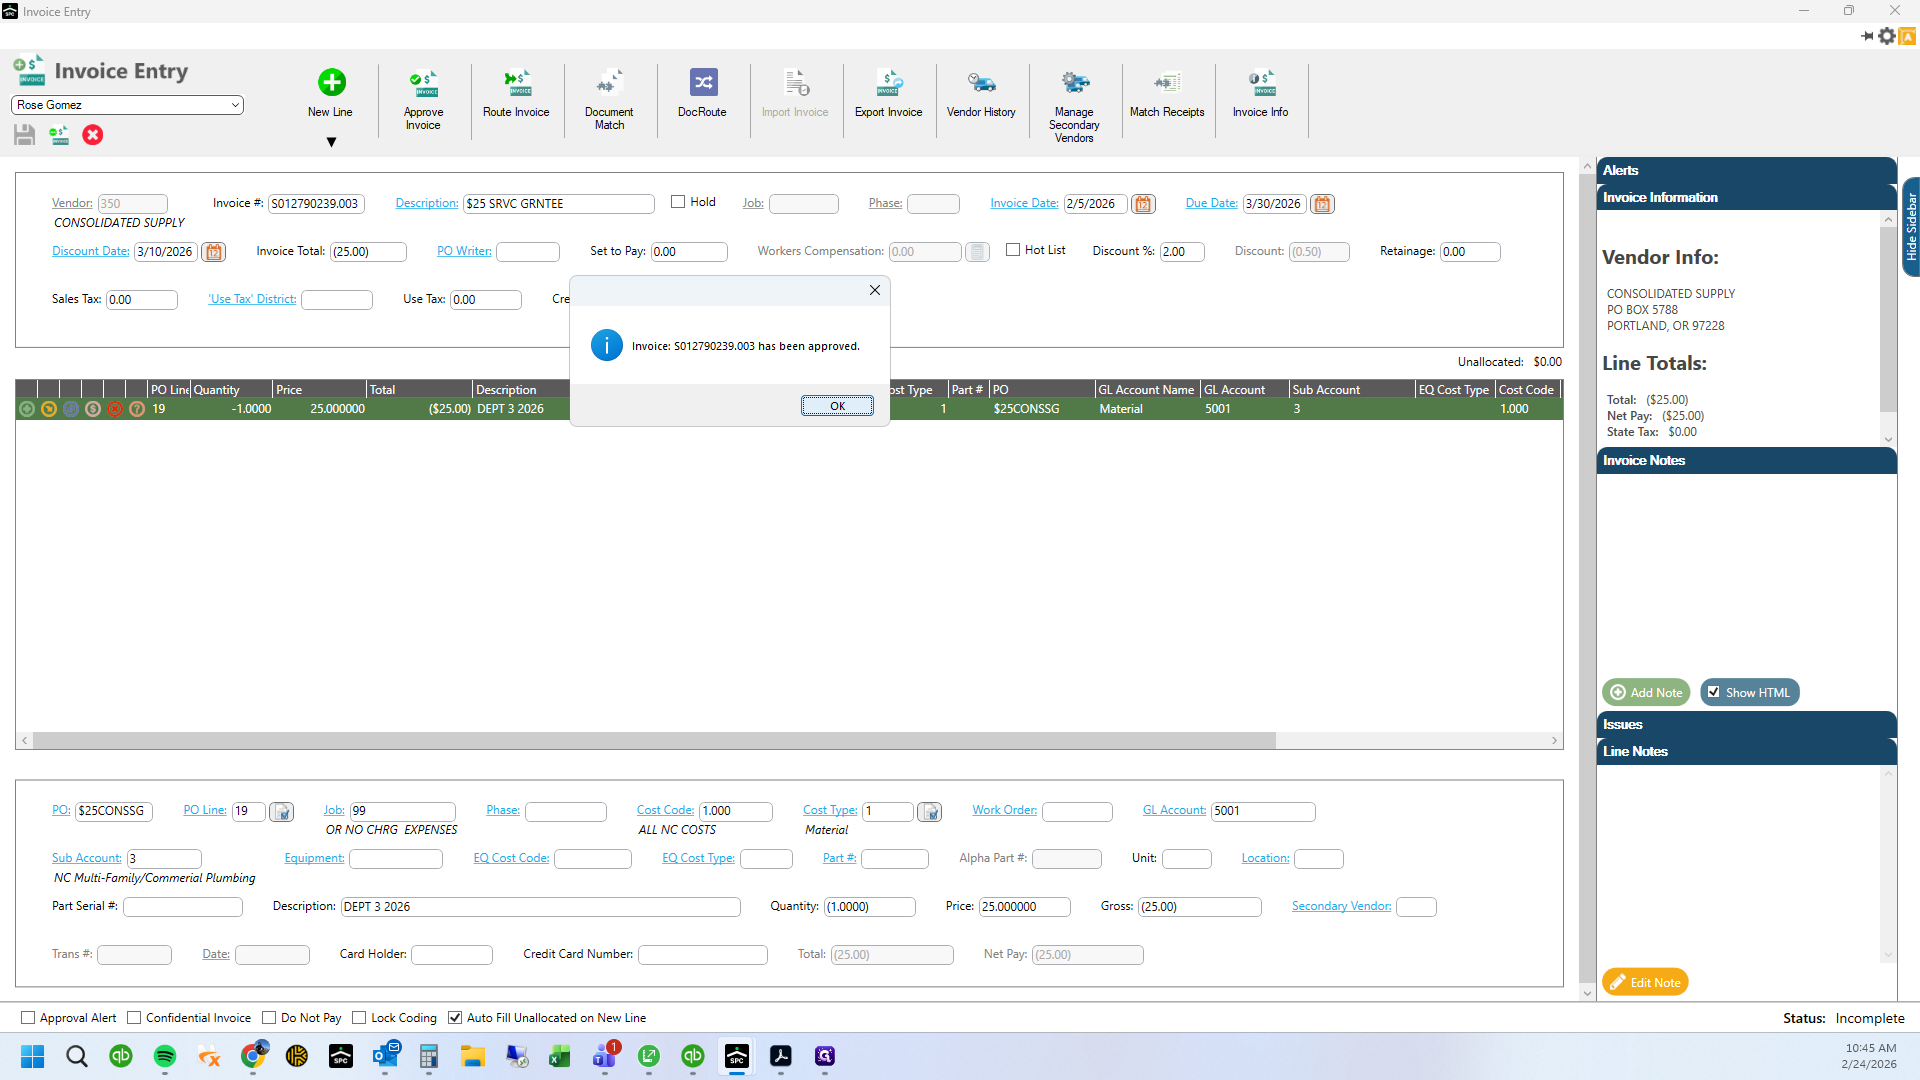
27
Click on "Approve"
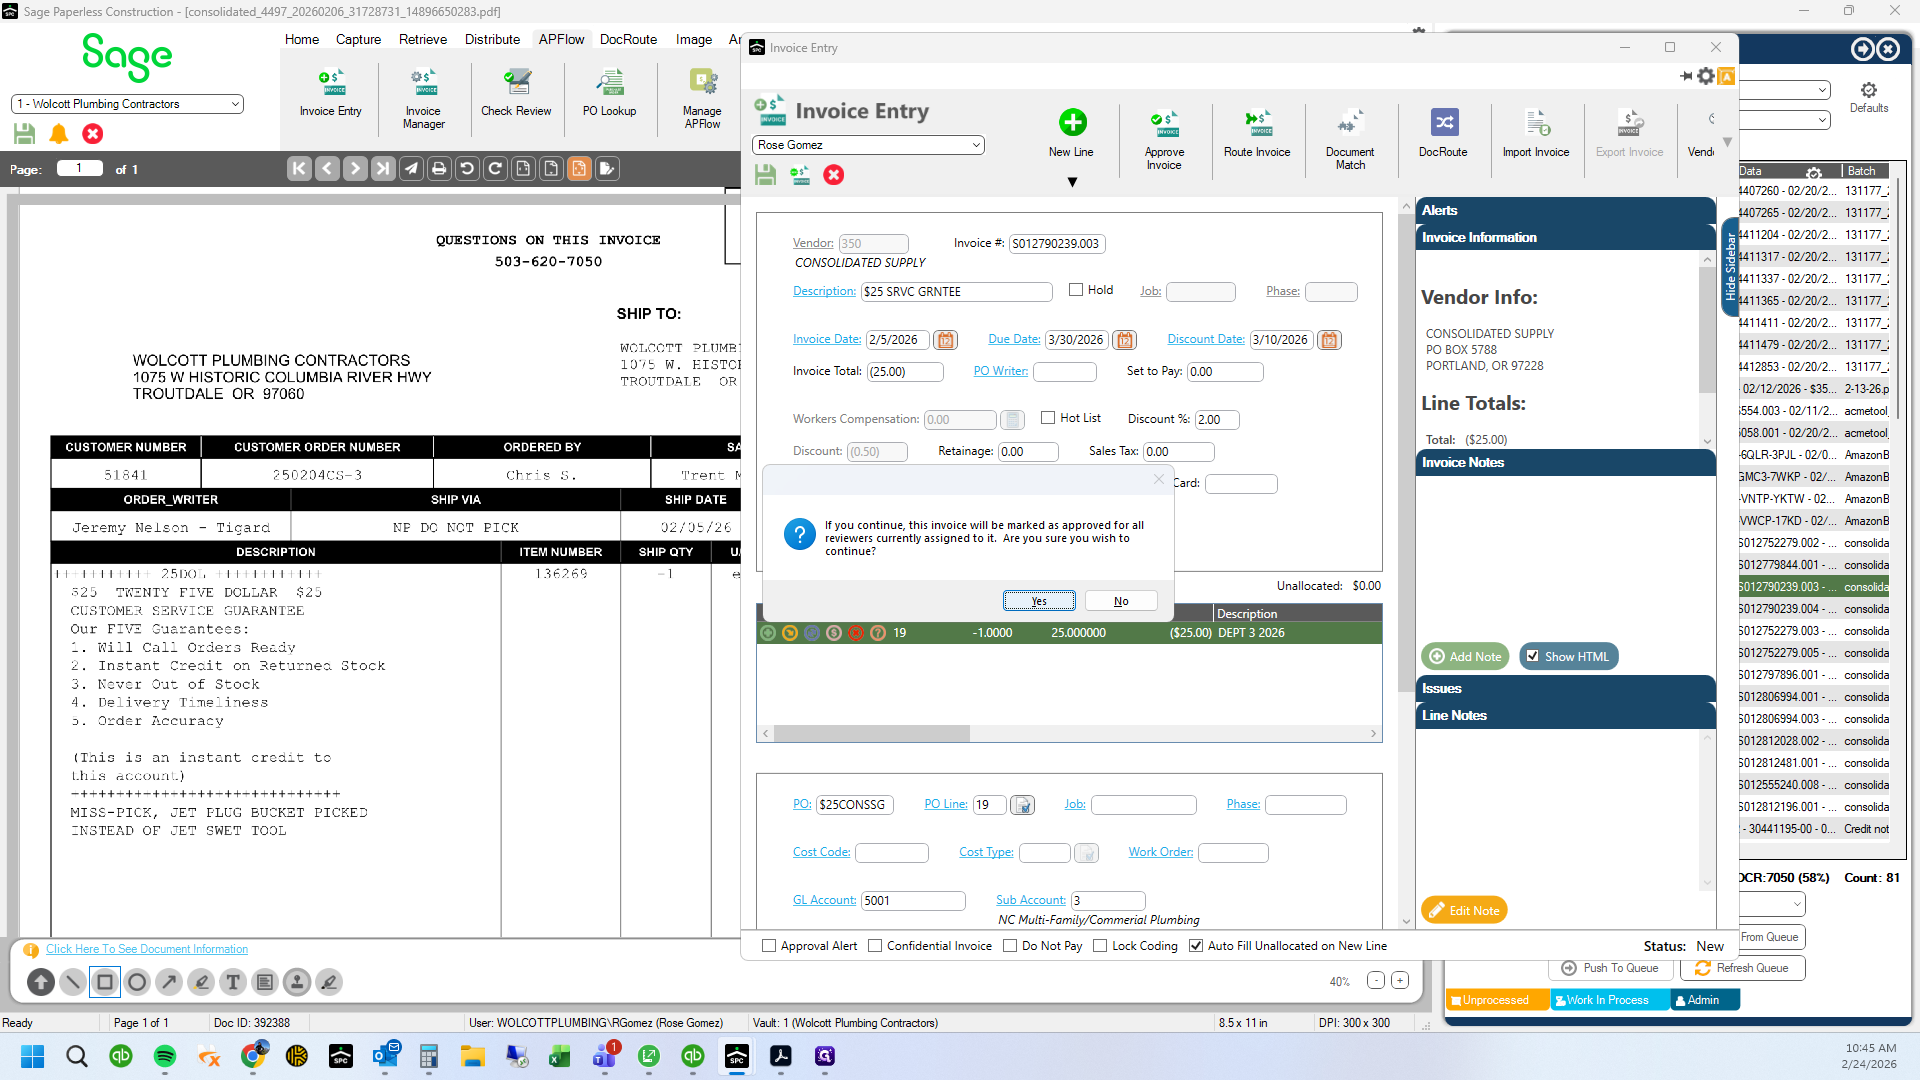
28
Click on "Yes"
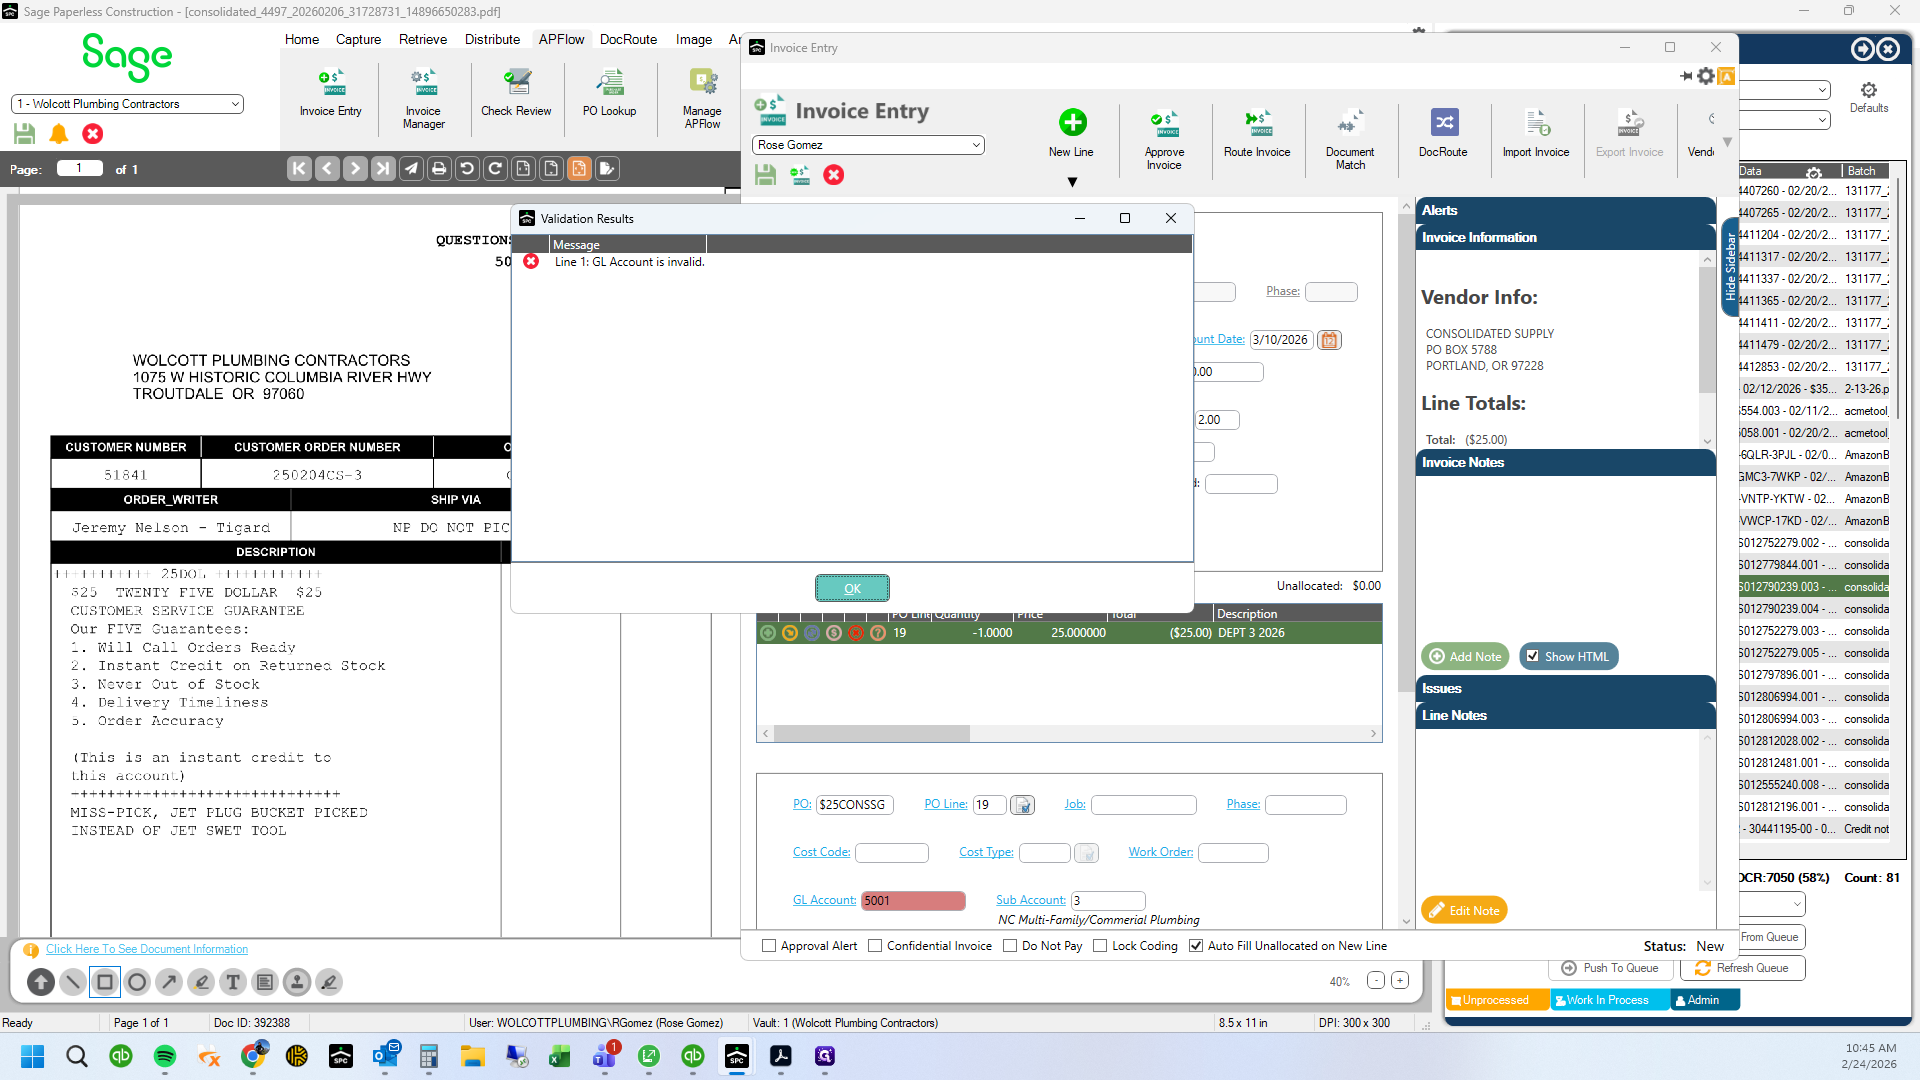
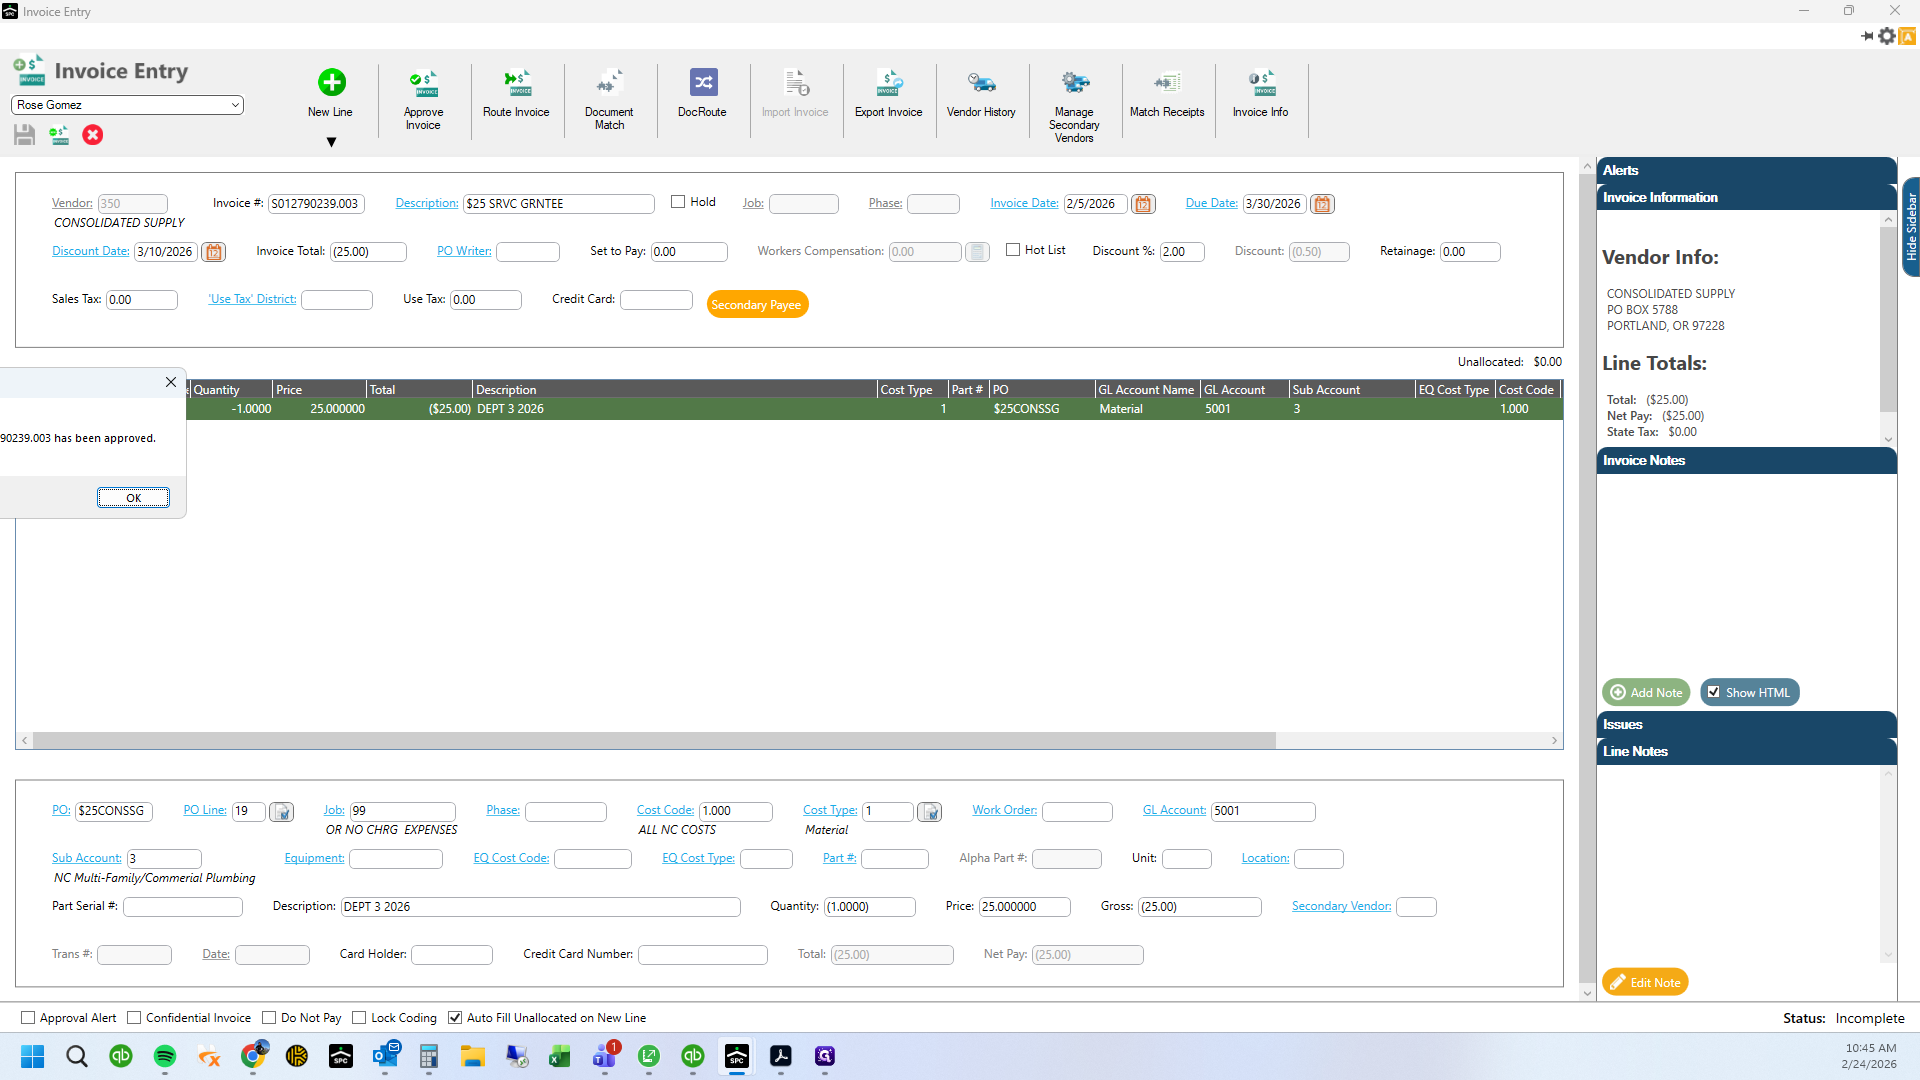
29
Click on "OK"
30
Click on "☐"

31
Click here
32
Type "99 + Enter"
33
Type "Enter"
34
Type "1 + Enter"
35
Type "1 + Enter"
36
Type "Enter"
37
Type "Enter"
38
Type "3 + Enter"
39
Type "Ctrl + A"
40
Type "Enter"
41
Drag here
42
Click on "OK"
43
Drag here