How to Submit a Trip Request in FlowPoint: Step-by-Step Guide
Learn how to submit a trip request in FlowPoint with this comprehensive step-by-step guide. Ensure accurate information, complete required forms, and track your request easily.
In this guide, we'll learn how to submit a trip request using FlowPoint. This process helps ensure all necessary information is collected for planning, transportation, and accountability. You will enter details about the trip, participants, and any special requirements, then complete any additional forms as needed.
Following these steps will help your request move smoothly through the approval process.
Let's get started
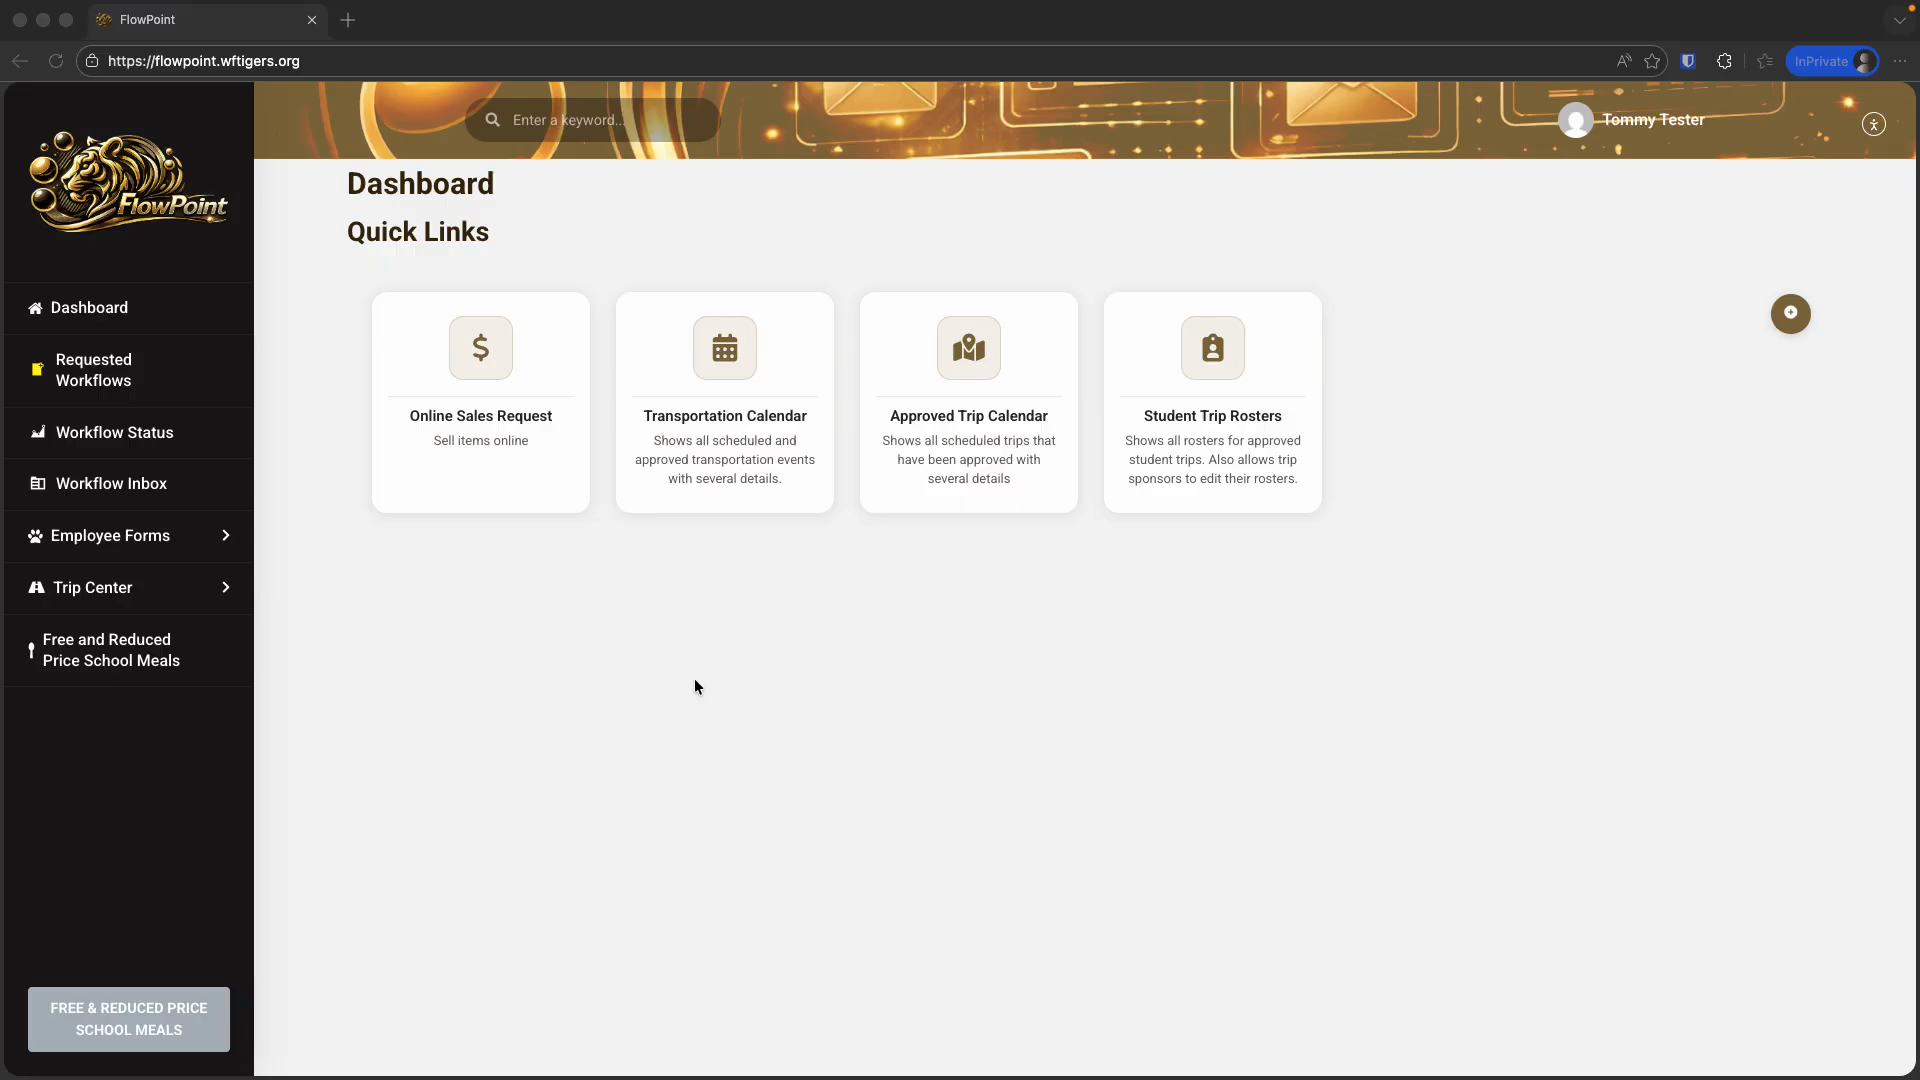
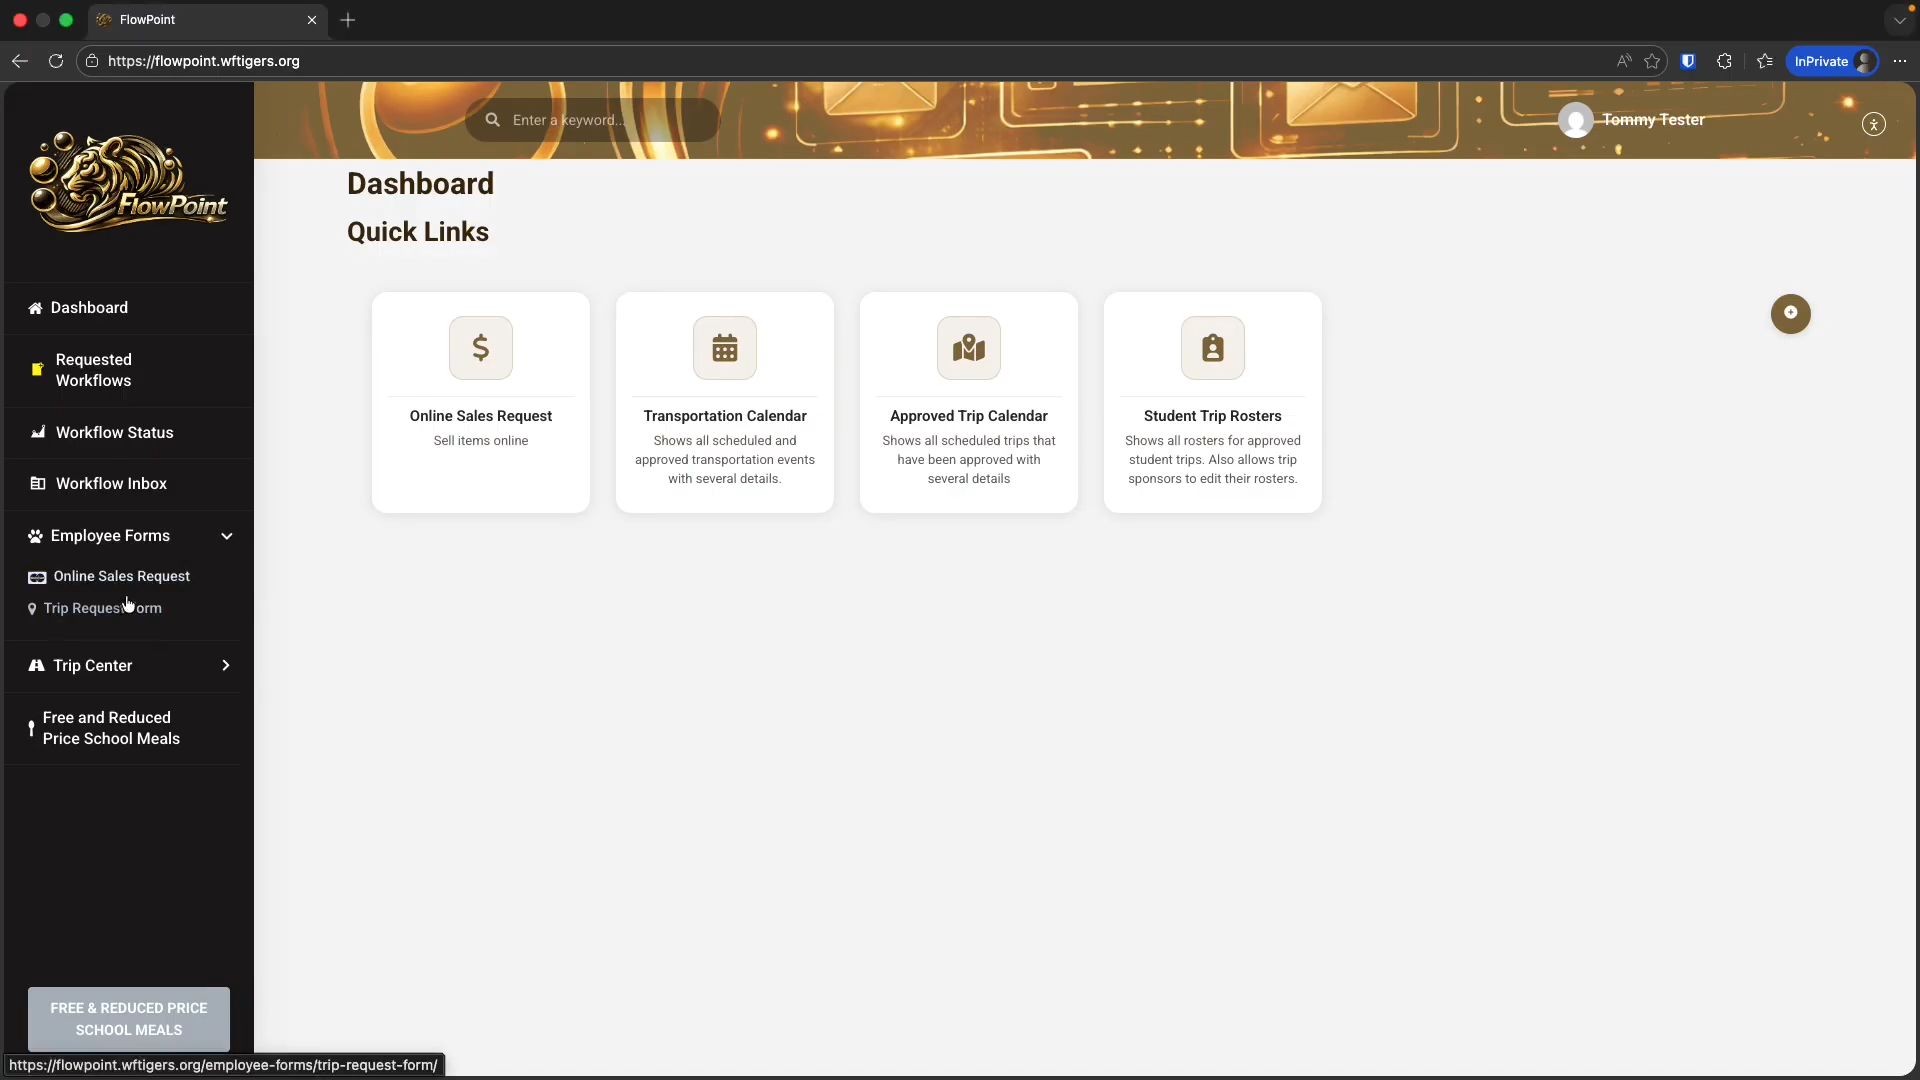
In this section, we will learn how to submit a trip request. First, ensure you are logged in to FlowPoint. On the left, click Employee Forms. Then, select Trip Request Form.
The form that opens should be prepopulated with some information. Verify the information in the fields and add any details specific to this request.
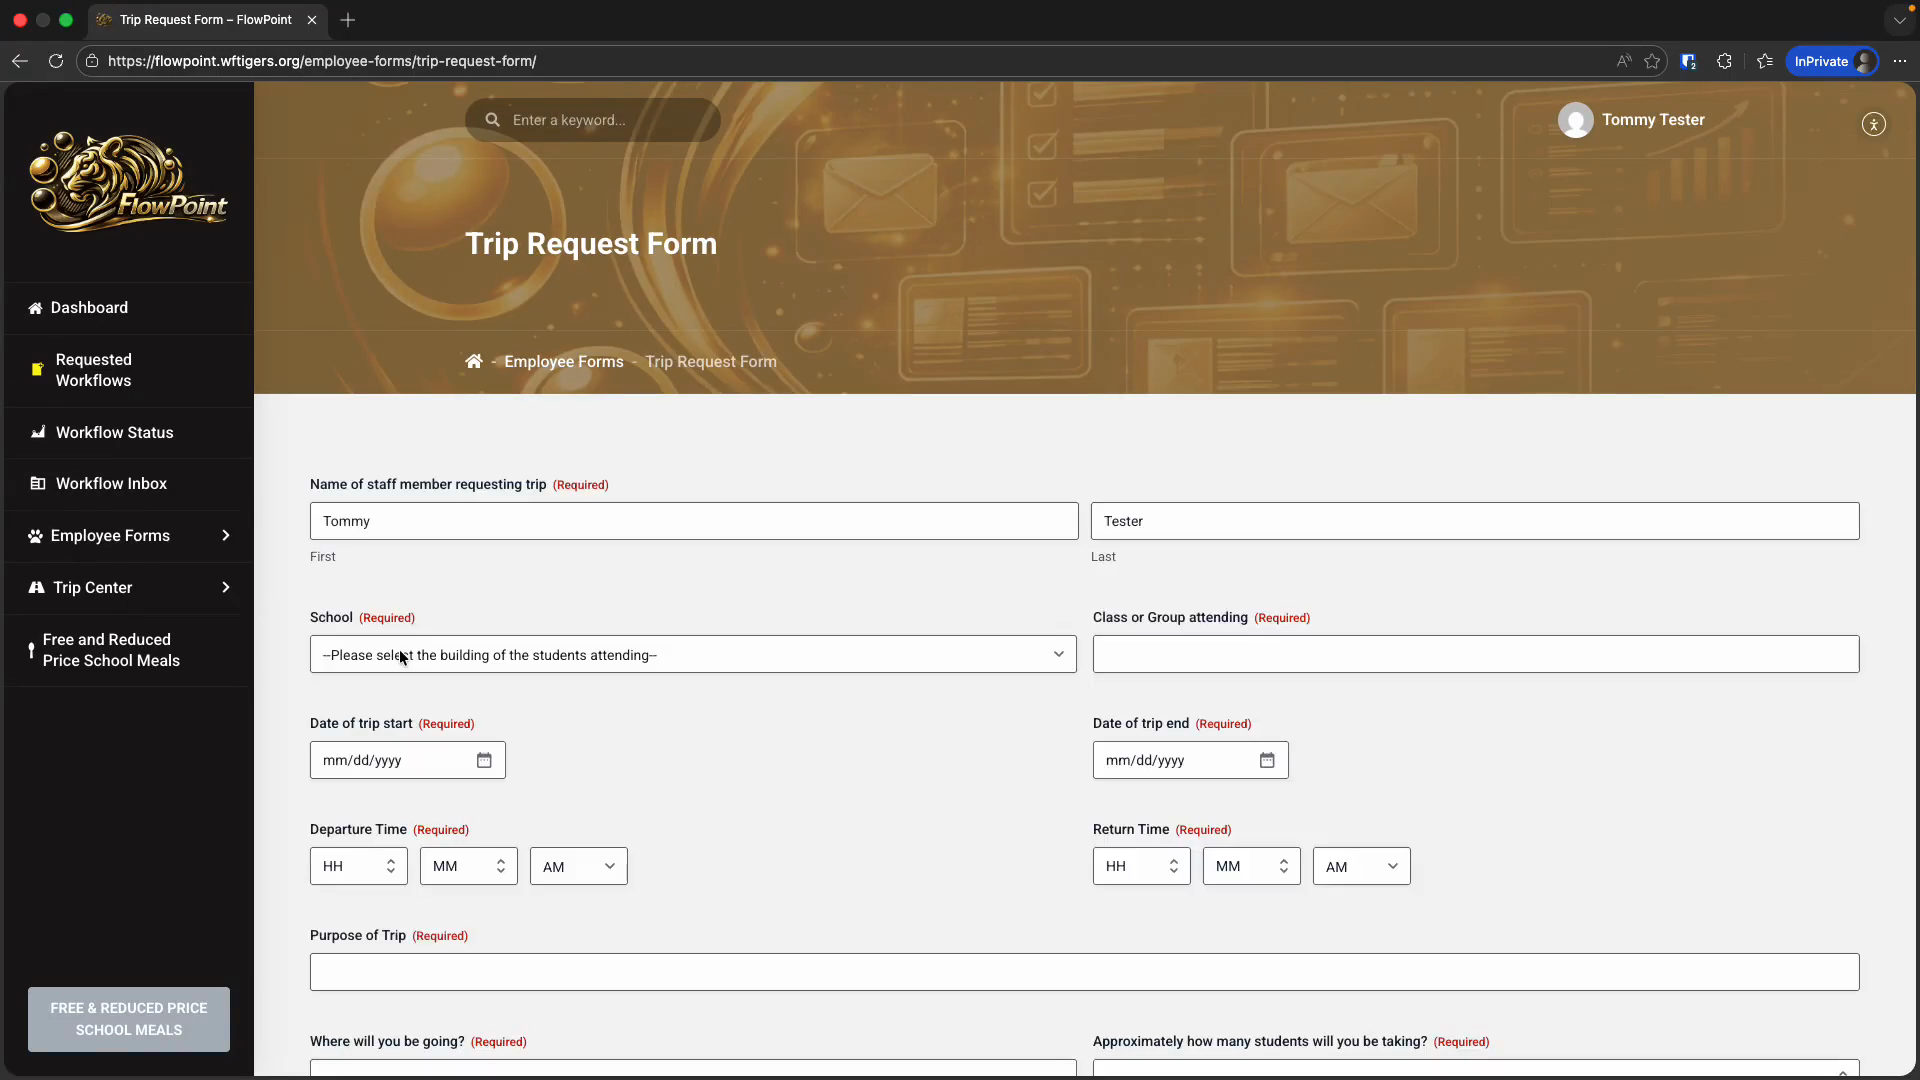
My information is correct. Now, I will select the school that the students attending the trip go to.
If I have students in multiple buildings, I will select the highest building level.
If I don't have students on this trip, I'll choose the building where I primarily work.
In the "Class or Group Attending" field, enter "Self" if you are taking the trip alone.
Otherwise, I will enter an identifier for the group of students present. Trip Start, Trip End, Departure Time, and Return Time are required for logistics in the transportation department. They also ensure accountability and liability.
This is what you and workflow contributors will see in email subjects and information.
Be descriptive, but avoid unnecessary detail.
You don't need an address yet. However, having a specific place in mind, like Crystal Bridges, should be your goal.
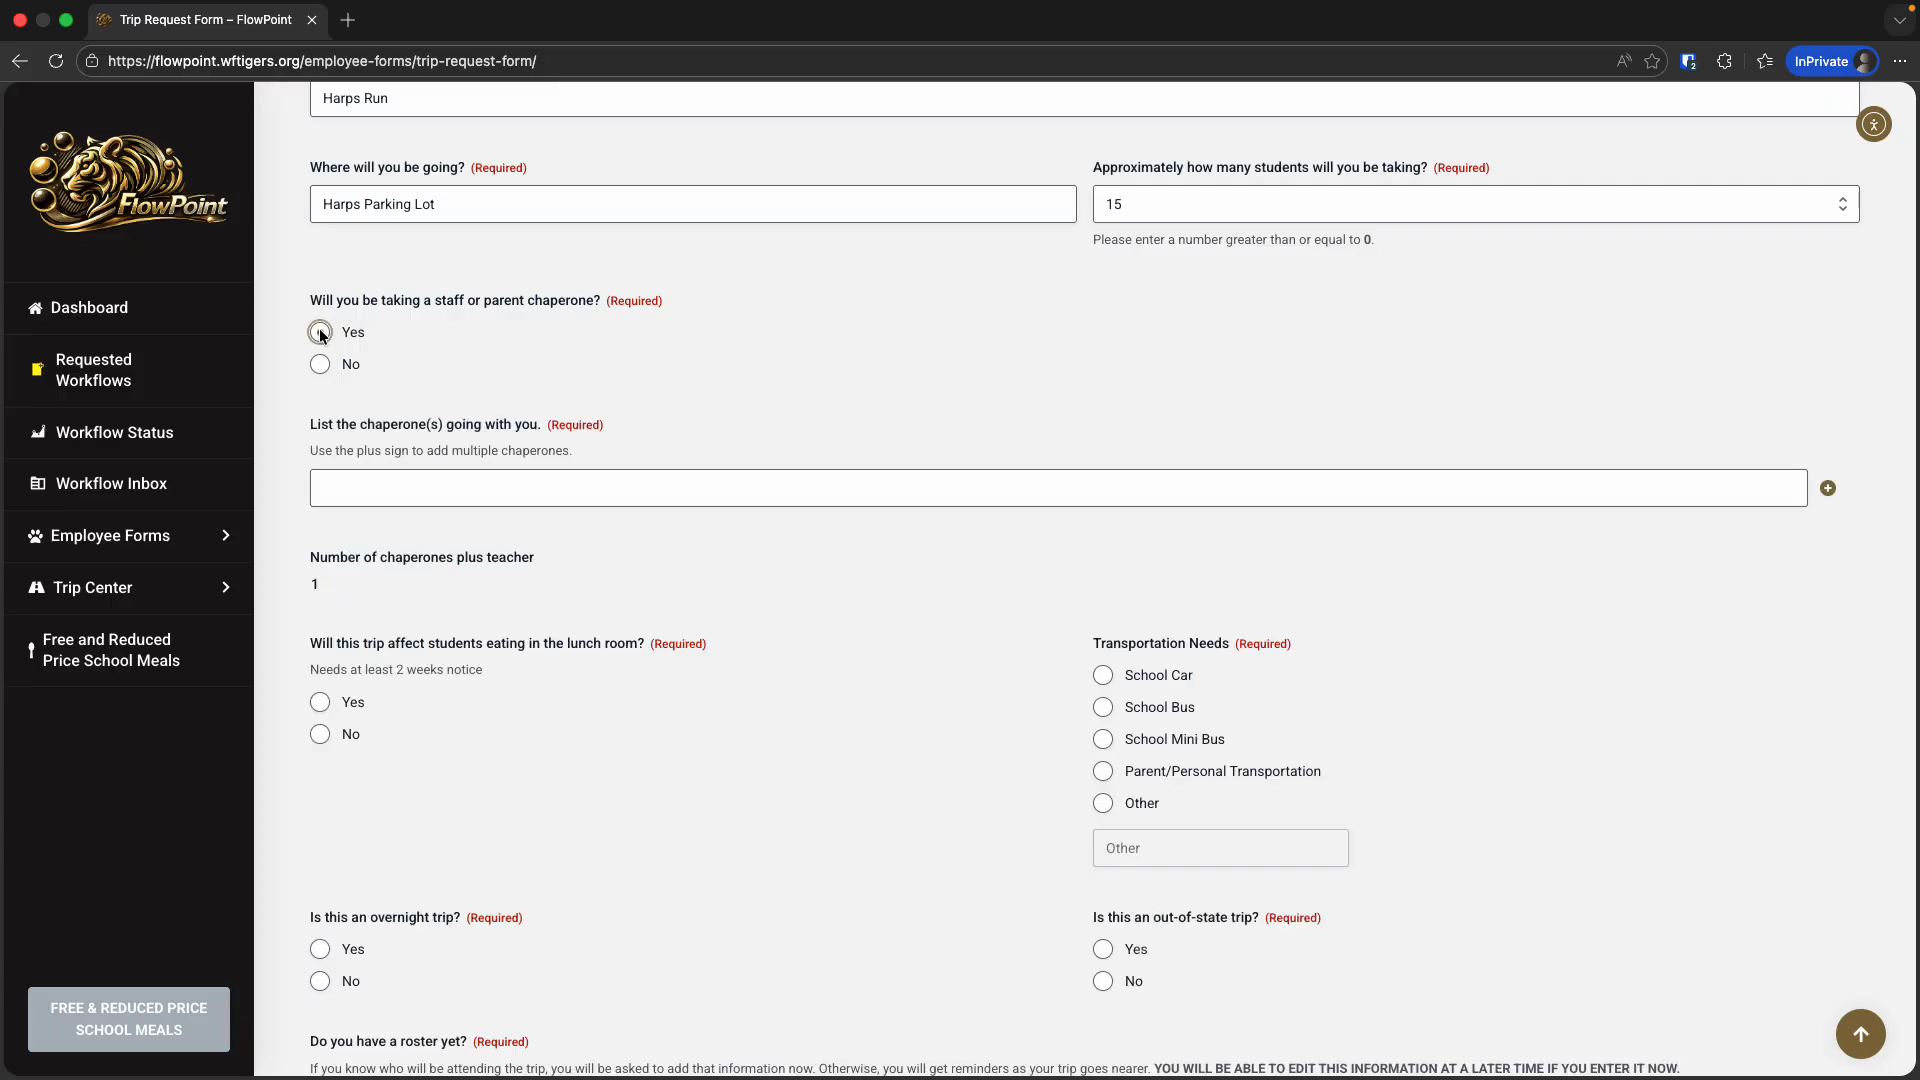
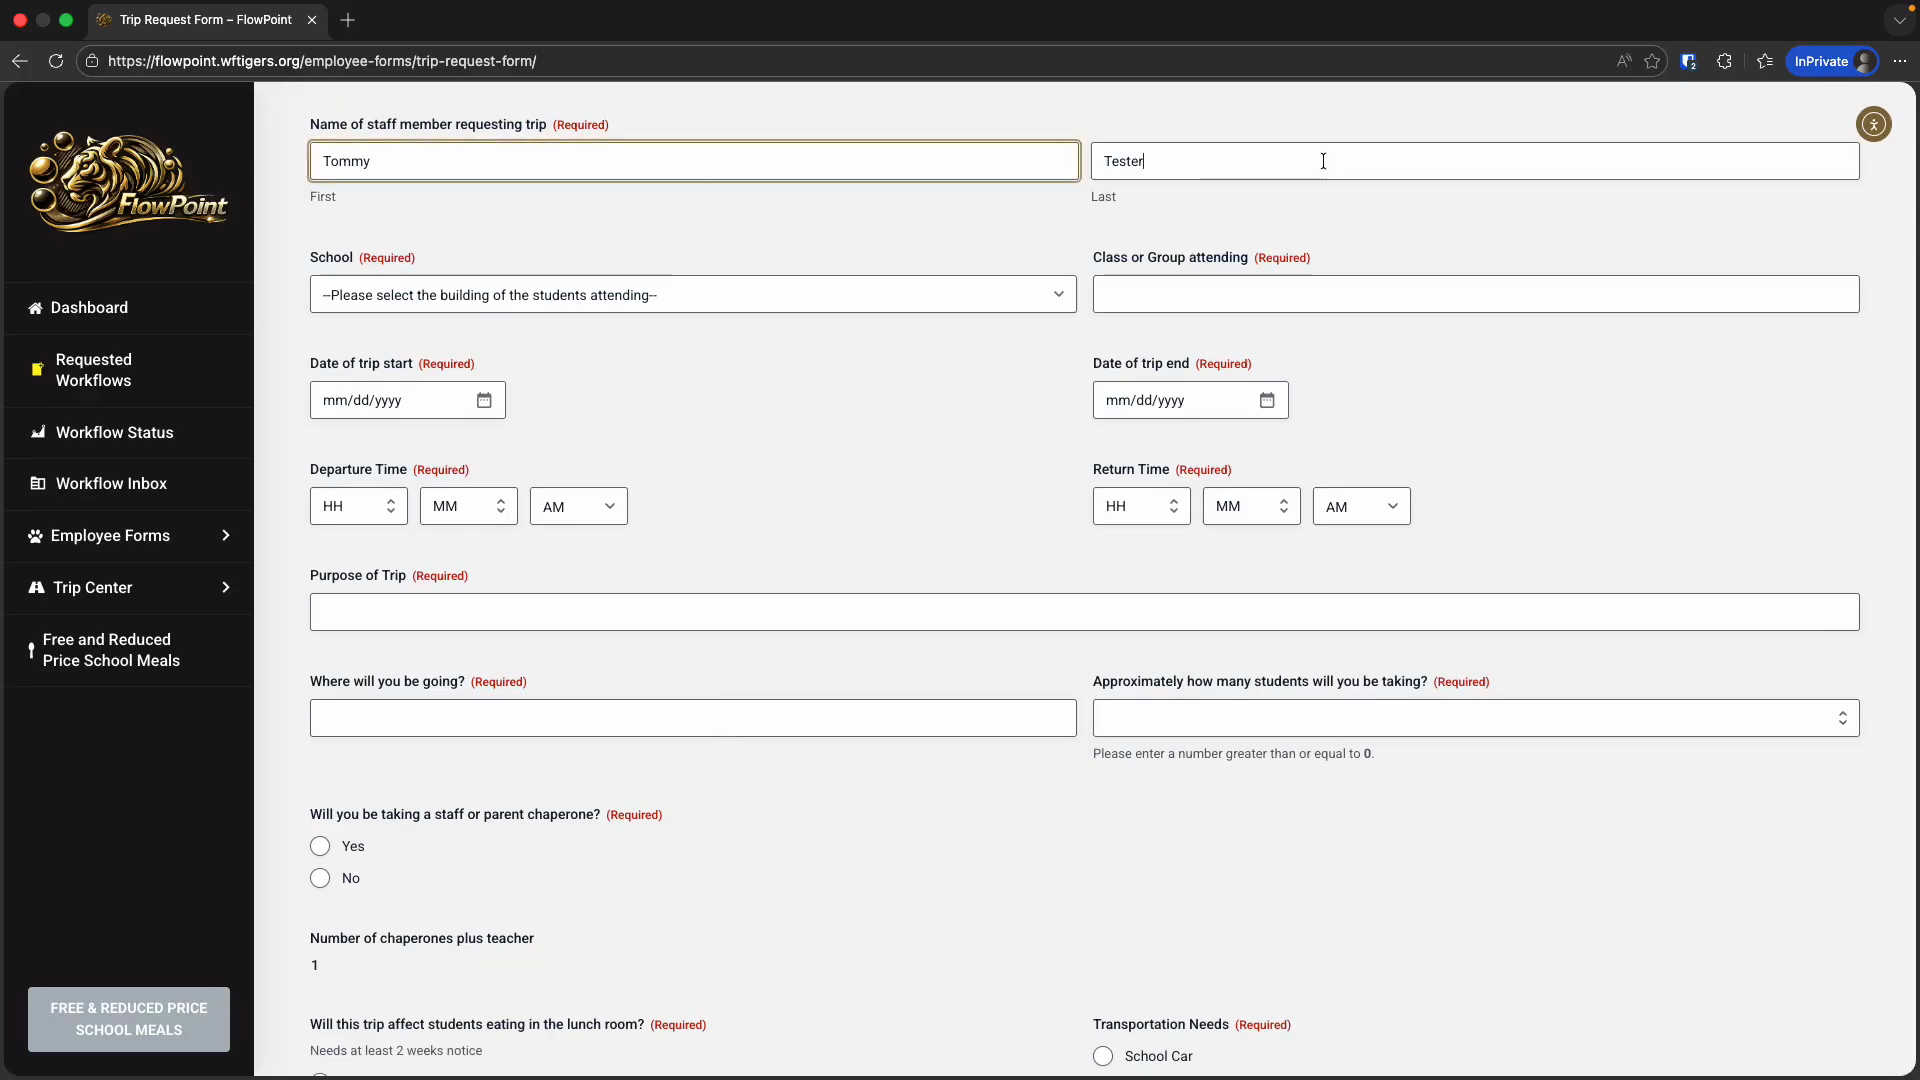
Choosing yes will display a list field.
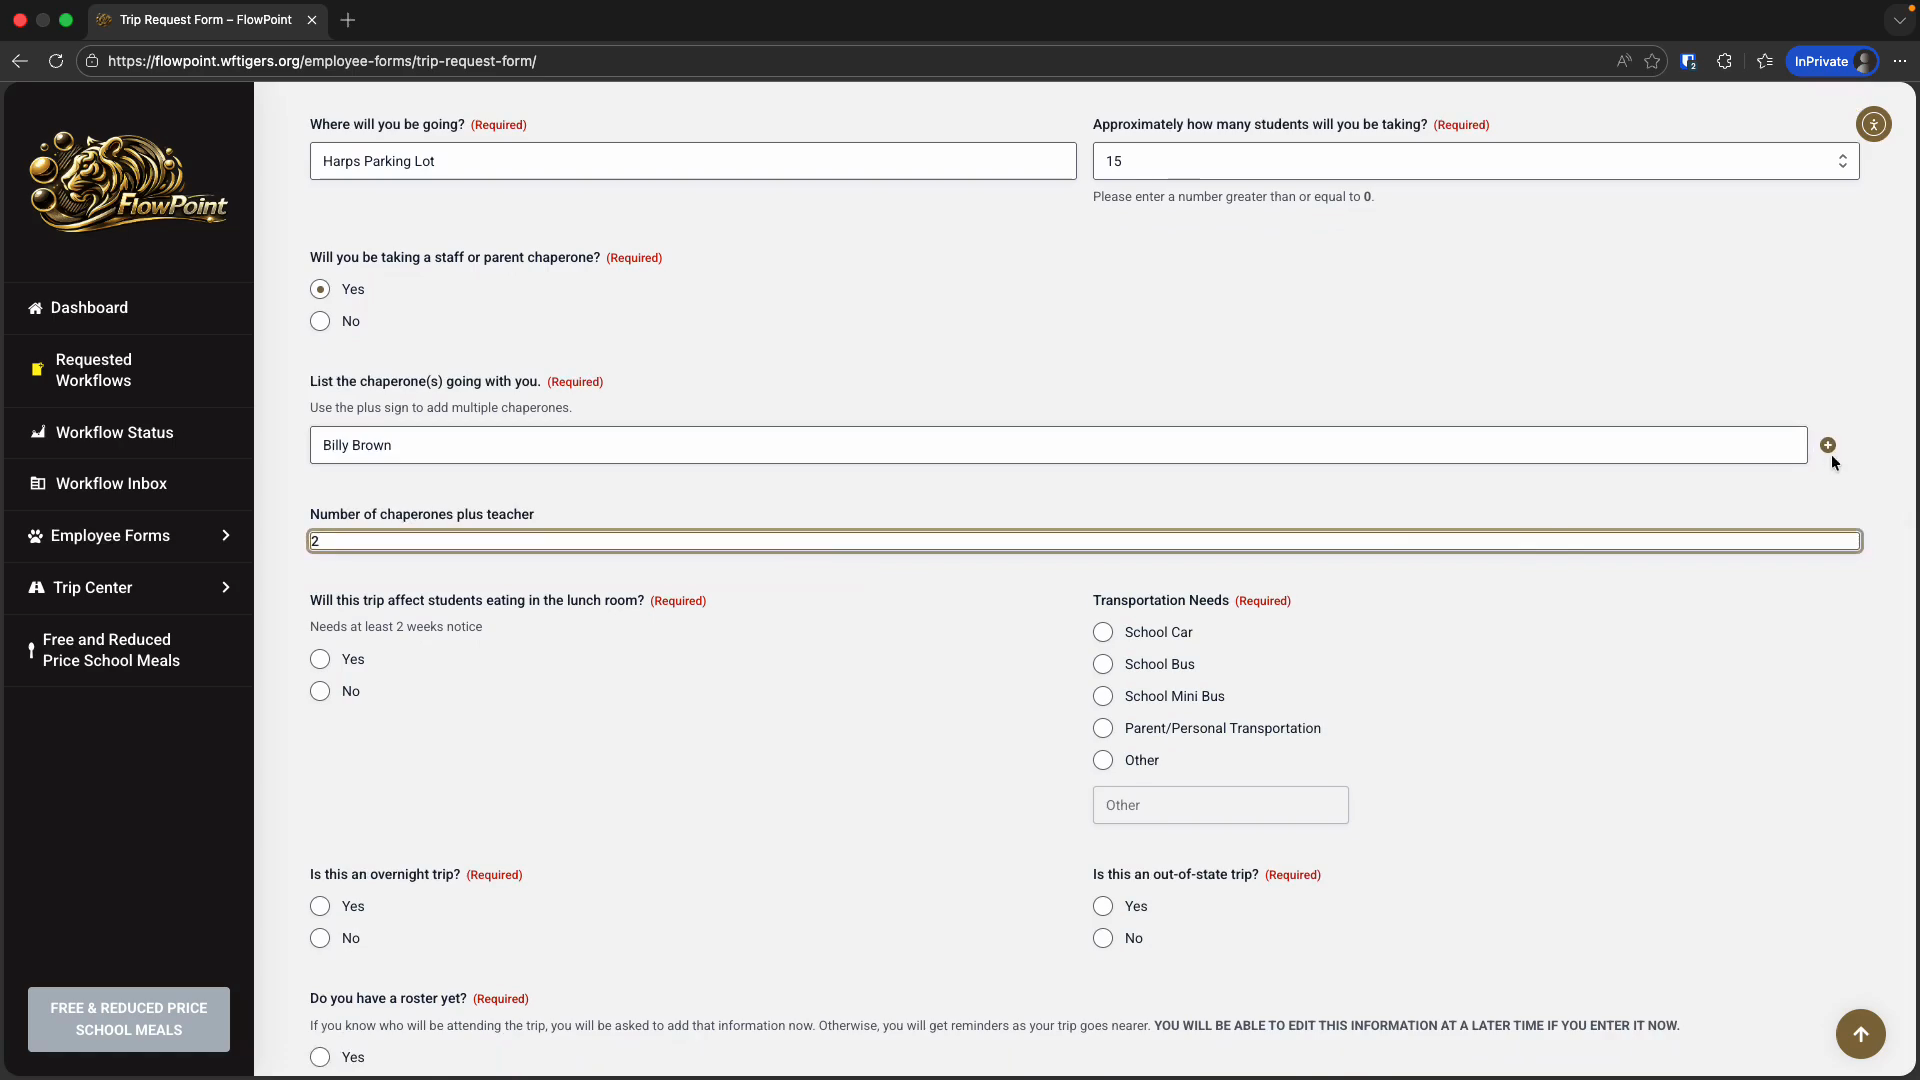
Enter one staff member or chaperone name per line.
Directly below, you will see an automatic total of the number of adults on the trip. This number includes the main person completing the form. You cannot edit this. If the number appears incorrect, please correct the information you entered above.
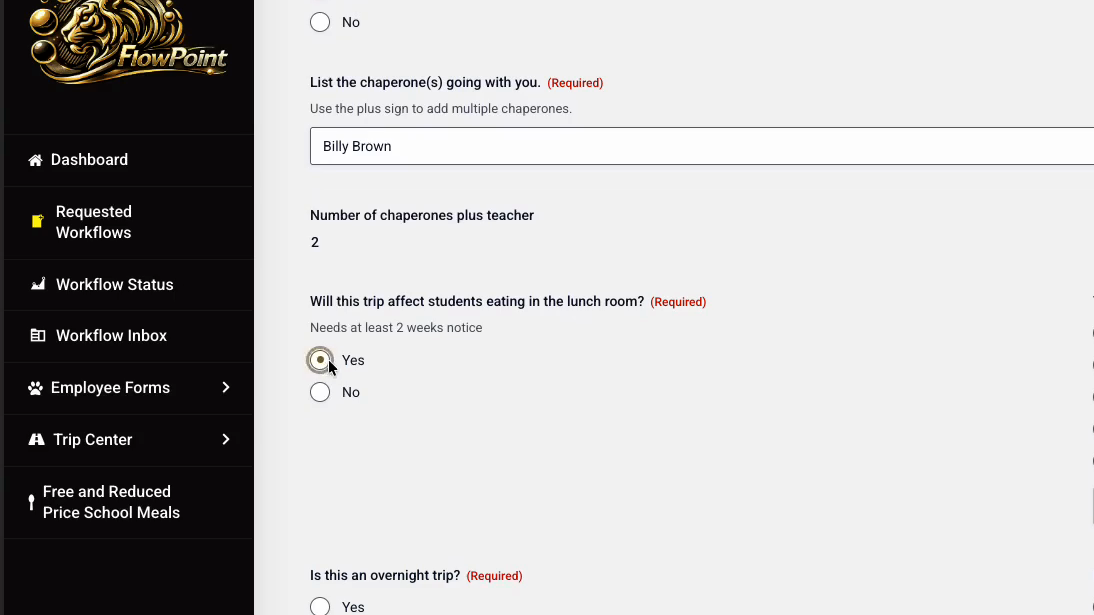
If you answered yes, this trip will affect students eating in the lunchroom, you need to complete the cafeteria form that is automatically added. More on that soon. For transportation needs, choose the appropriate option.
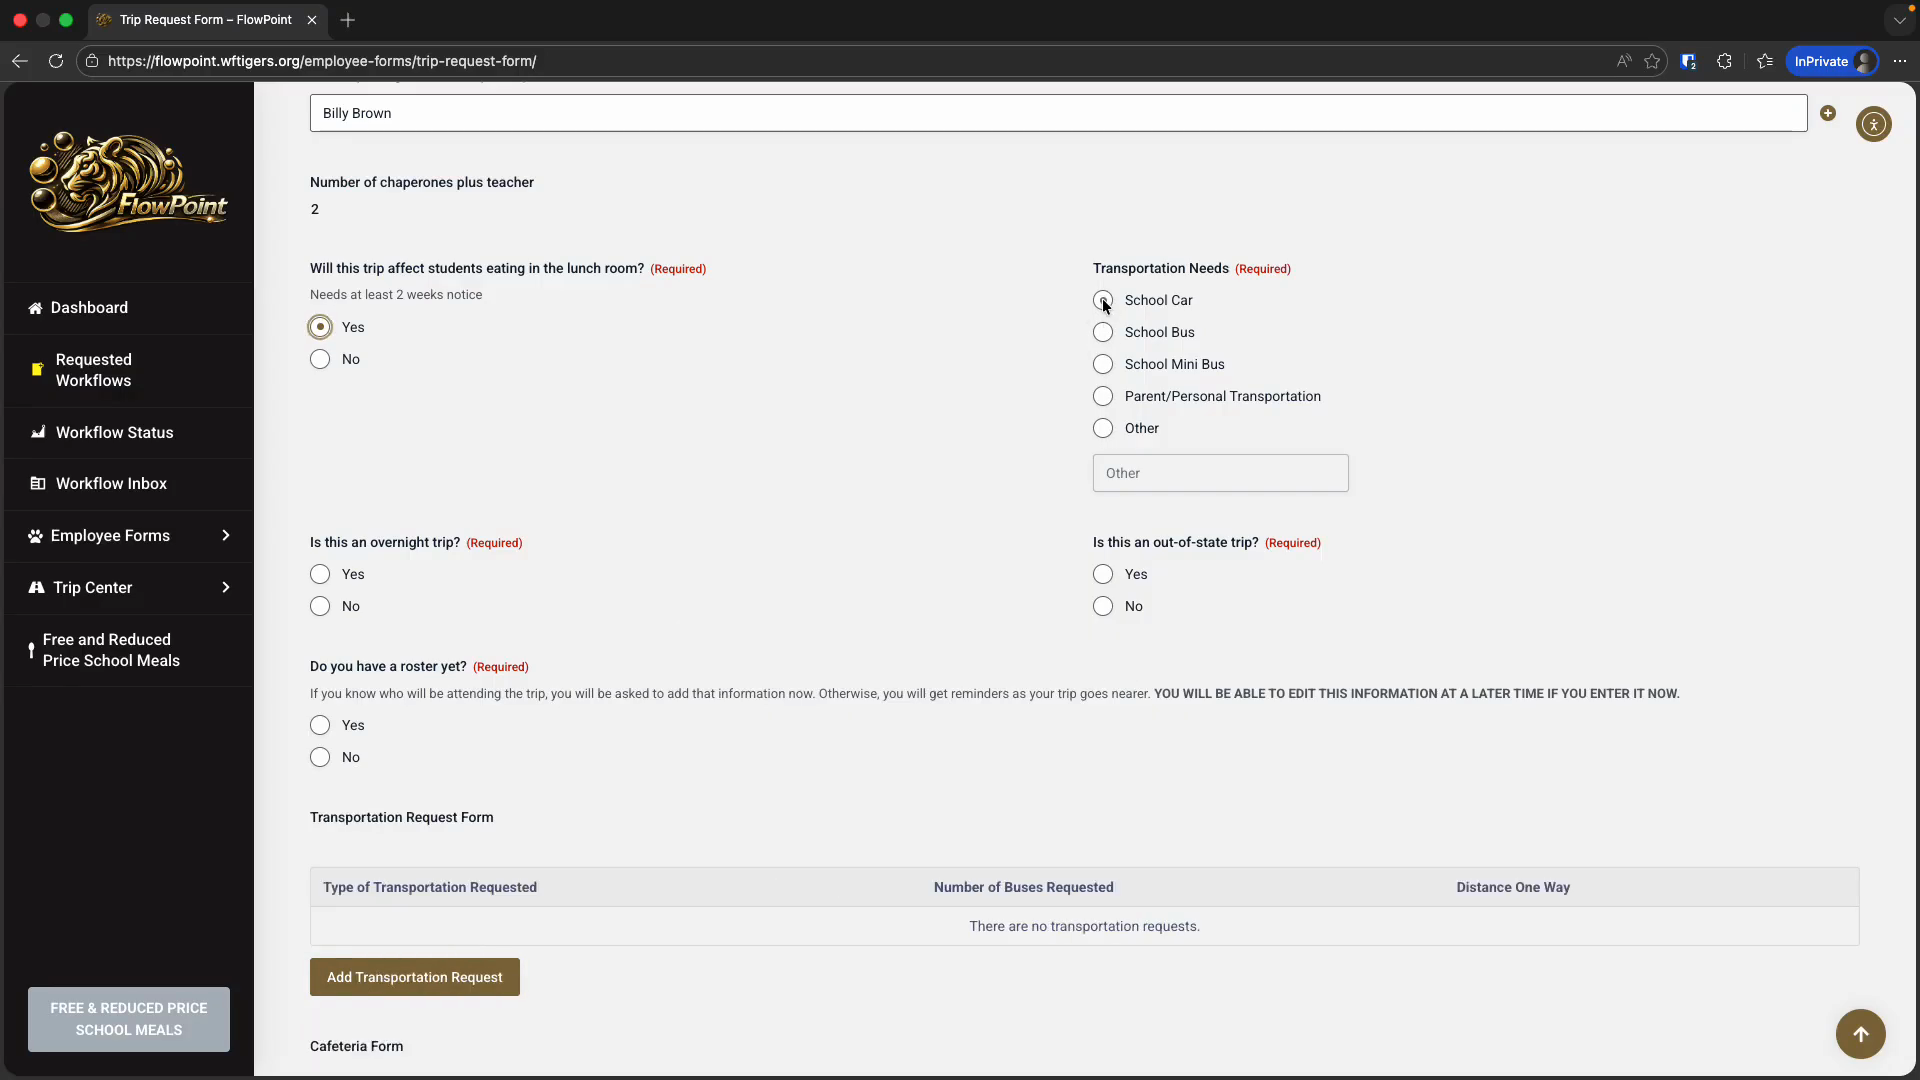
Your selection will determine which forms you need to complete later in the request.
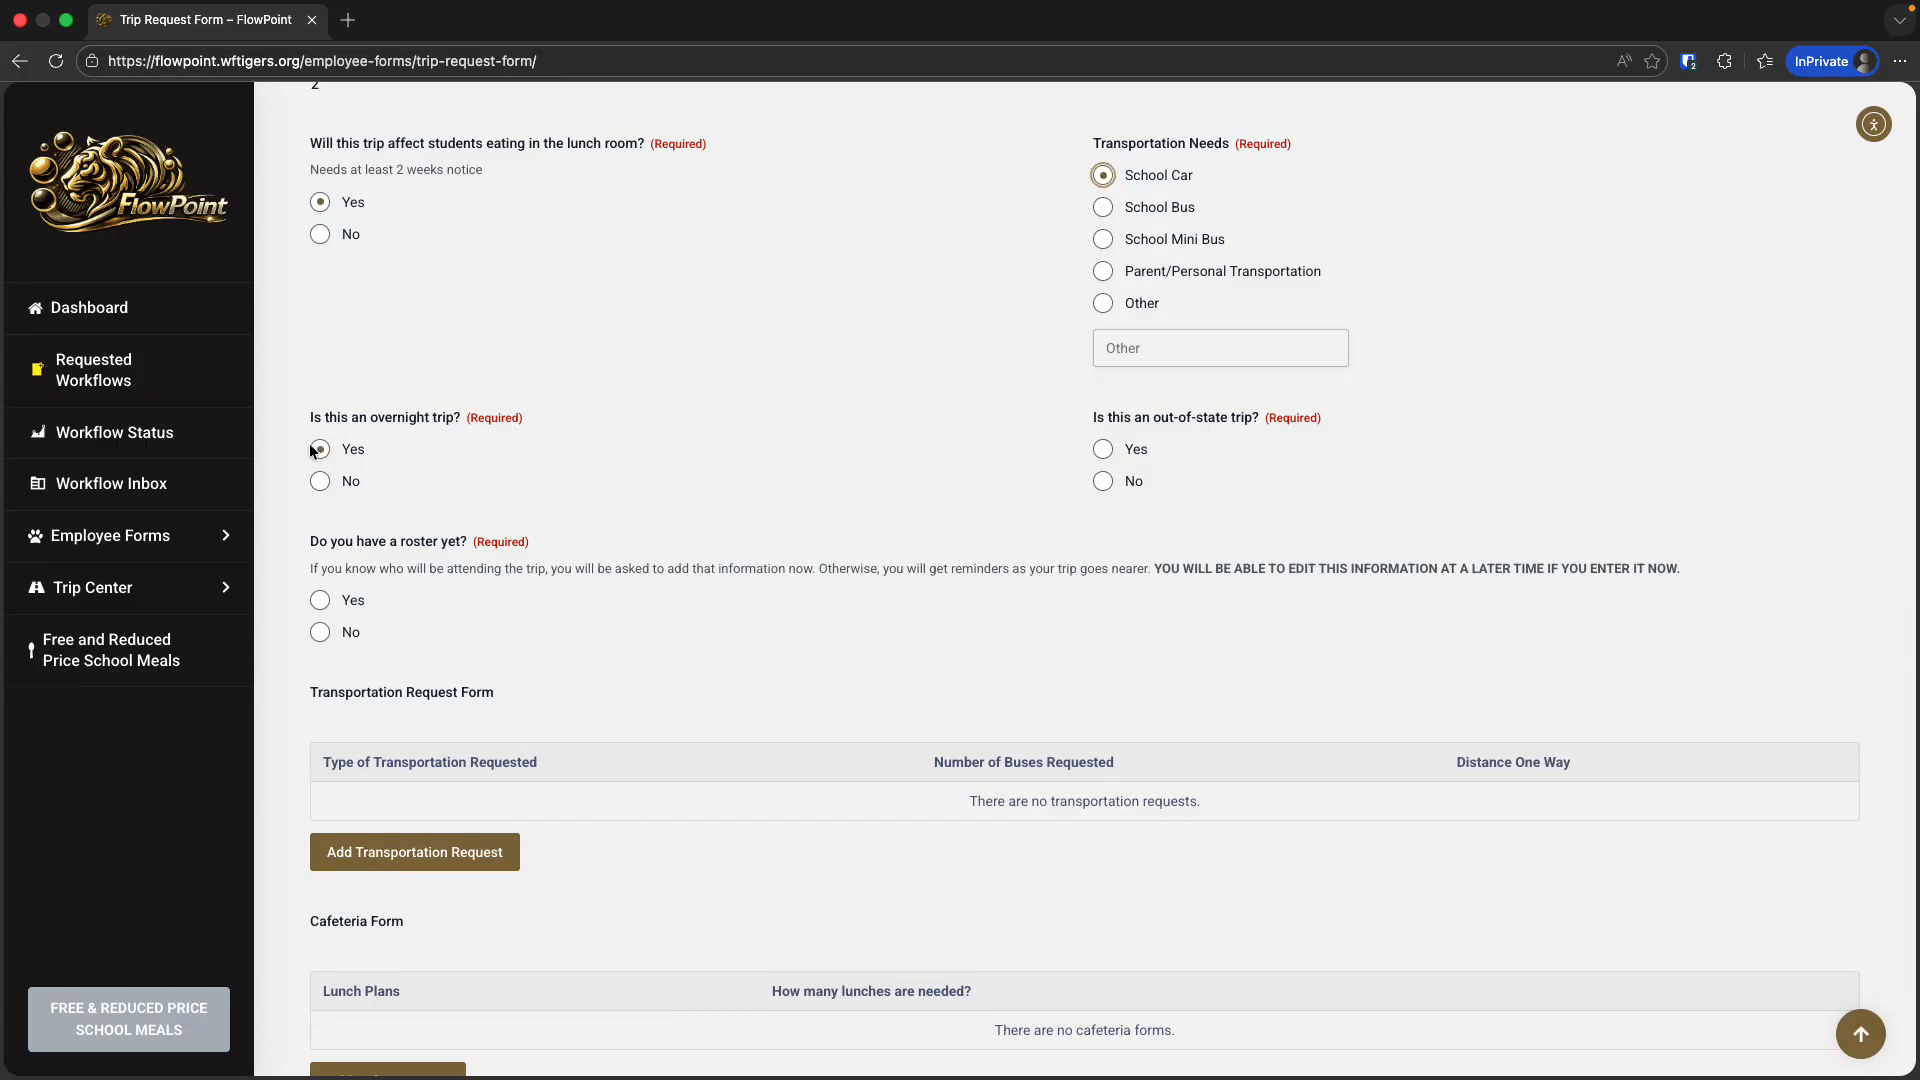
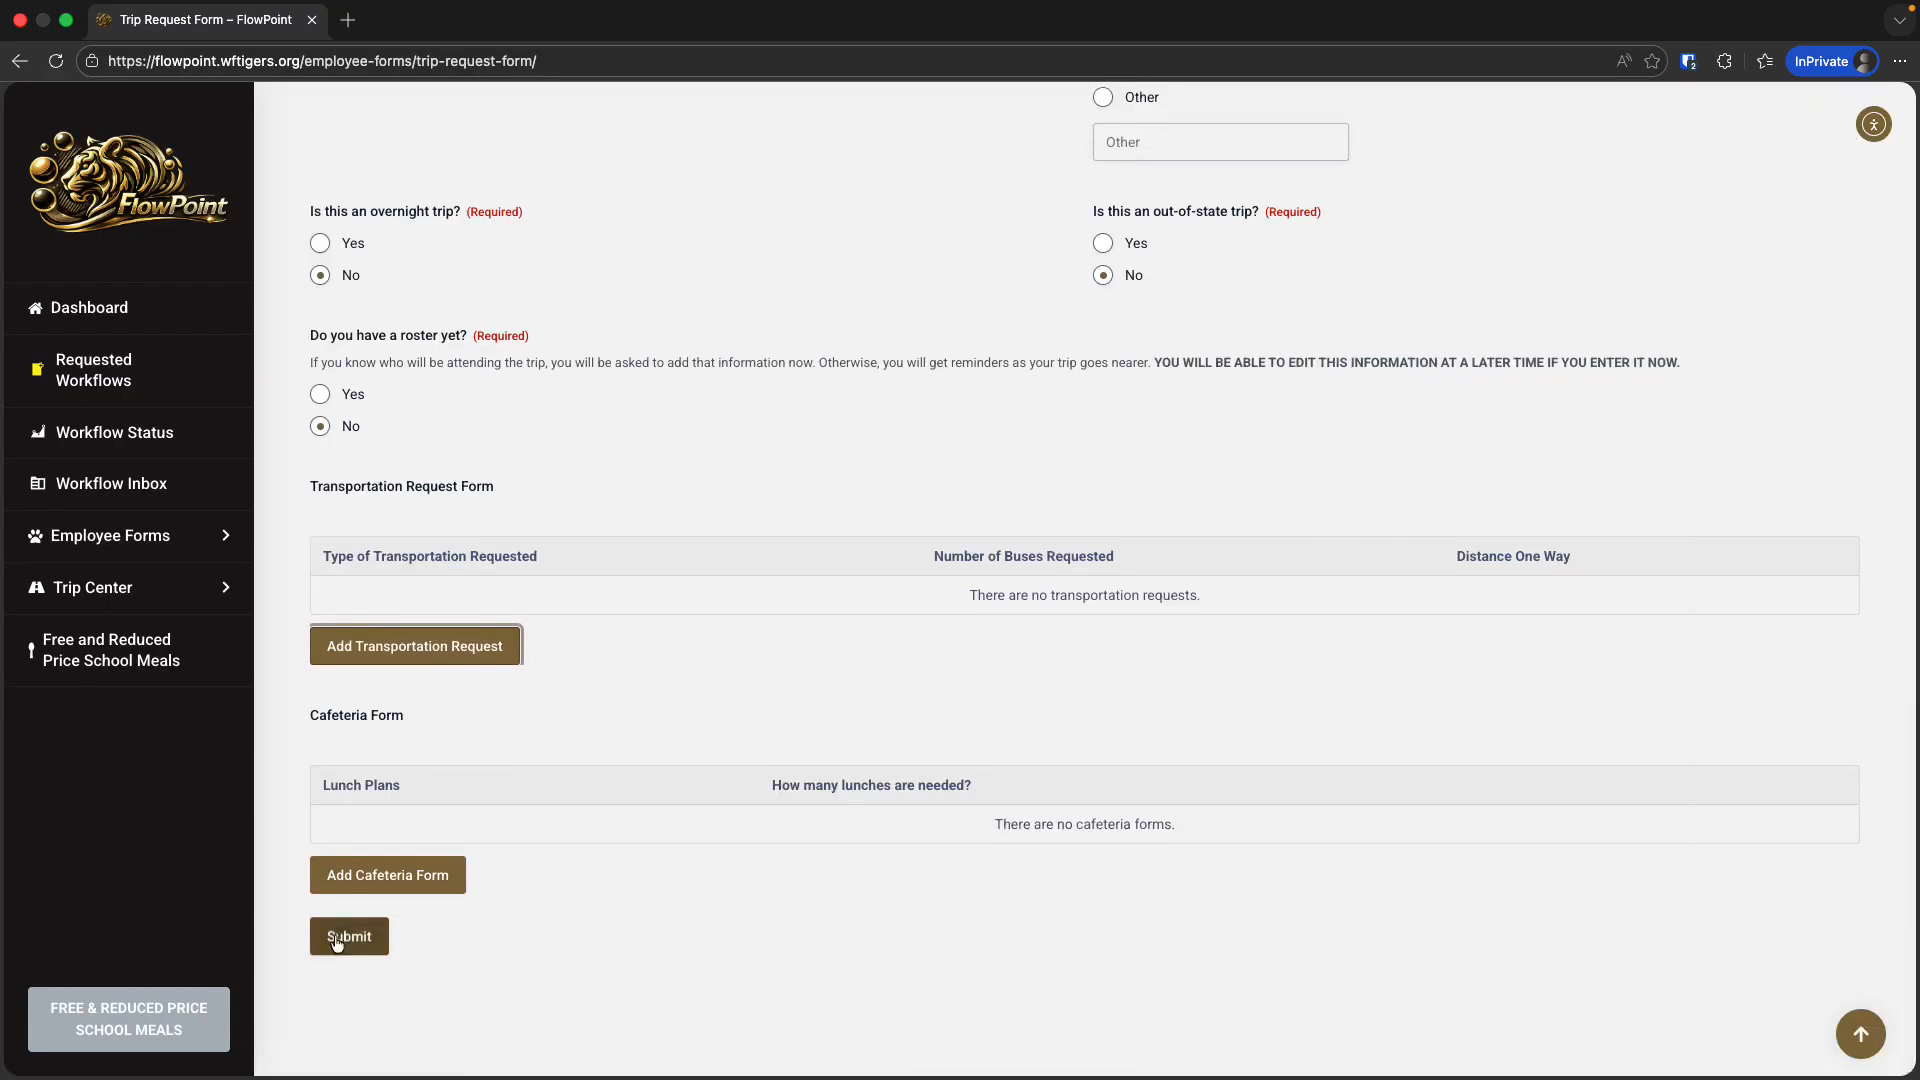
If you answer yes to this trip being overnight, you will have the option to request a hotel.
Currently, the out-of-state trip question is used only for record-keeping. We plan to have this option also enable digital permission slips. If you entered a number other than zero for the number of students, the next question will ask if you already have a roster.
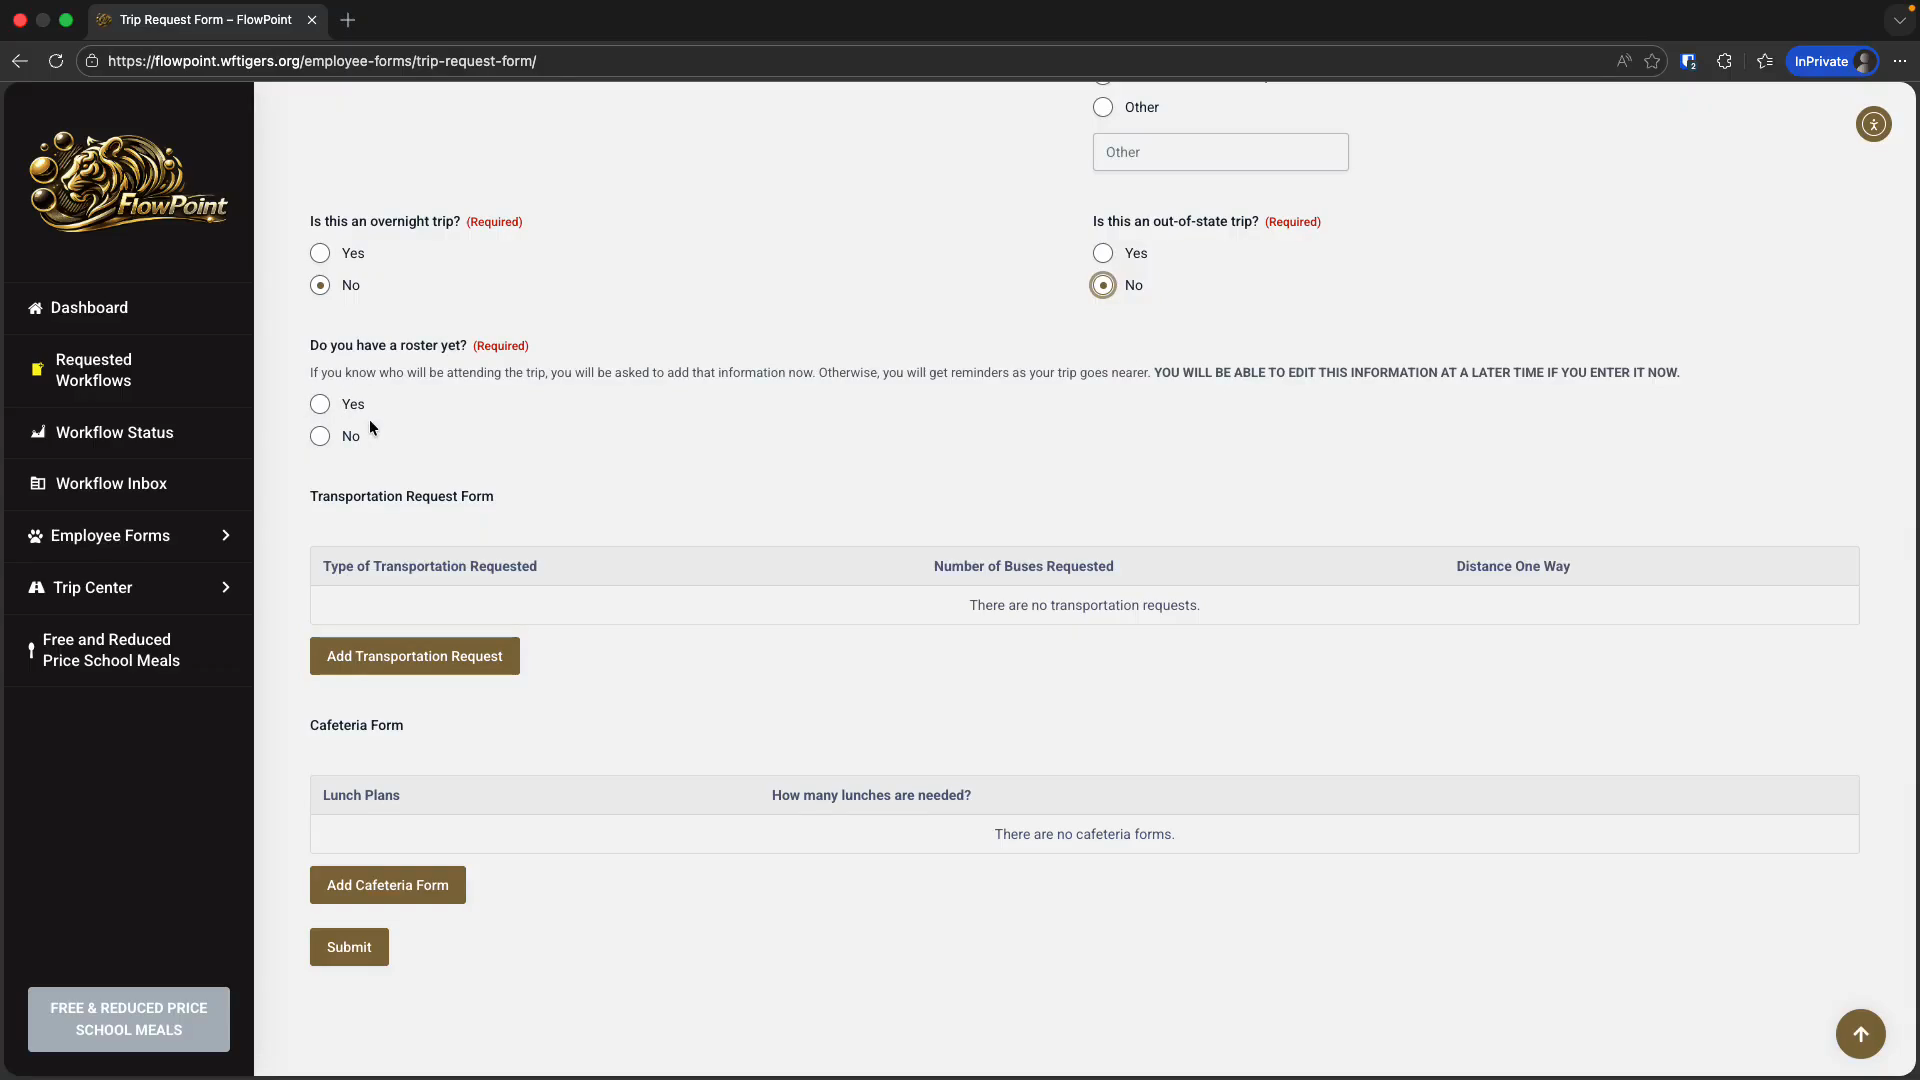
If you do, select Yes. You can add your roster in three ways: by listing students, using a Google Sheet, or uploading a CSV file.
We will discuss this in detail in a later click guide. For now, I'll select "No, I do not have my roster yet." The sections below for transportation, cafeteria, and hotels are nested forms. These appear because your previous answers show that additional forms are needed. To complete them, click the Add button below each category.
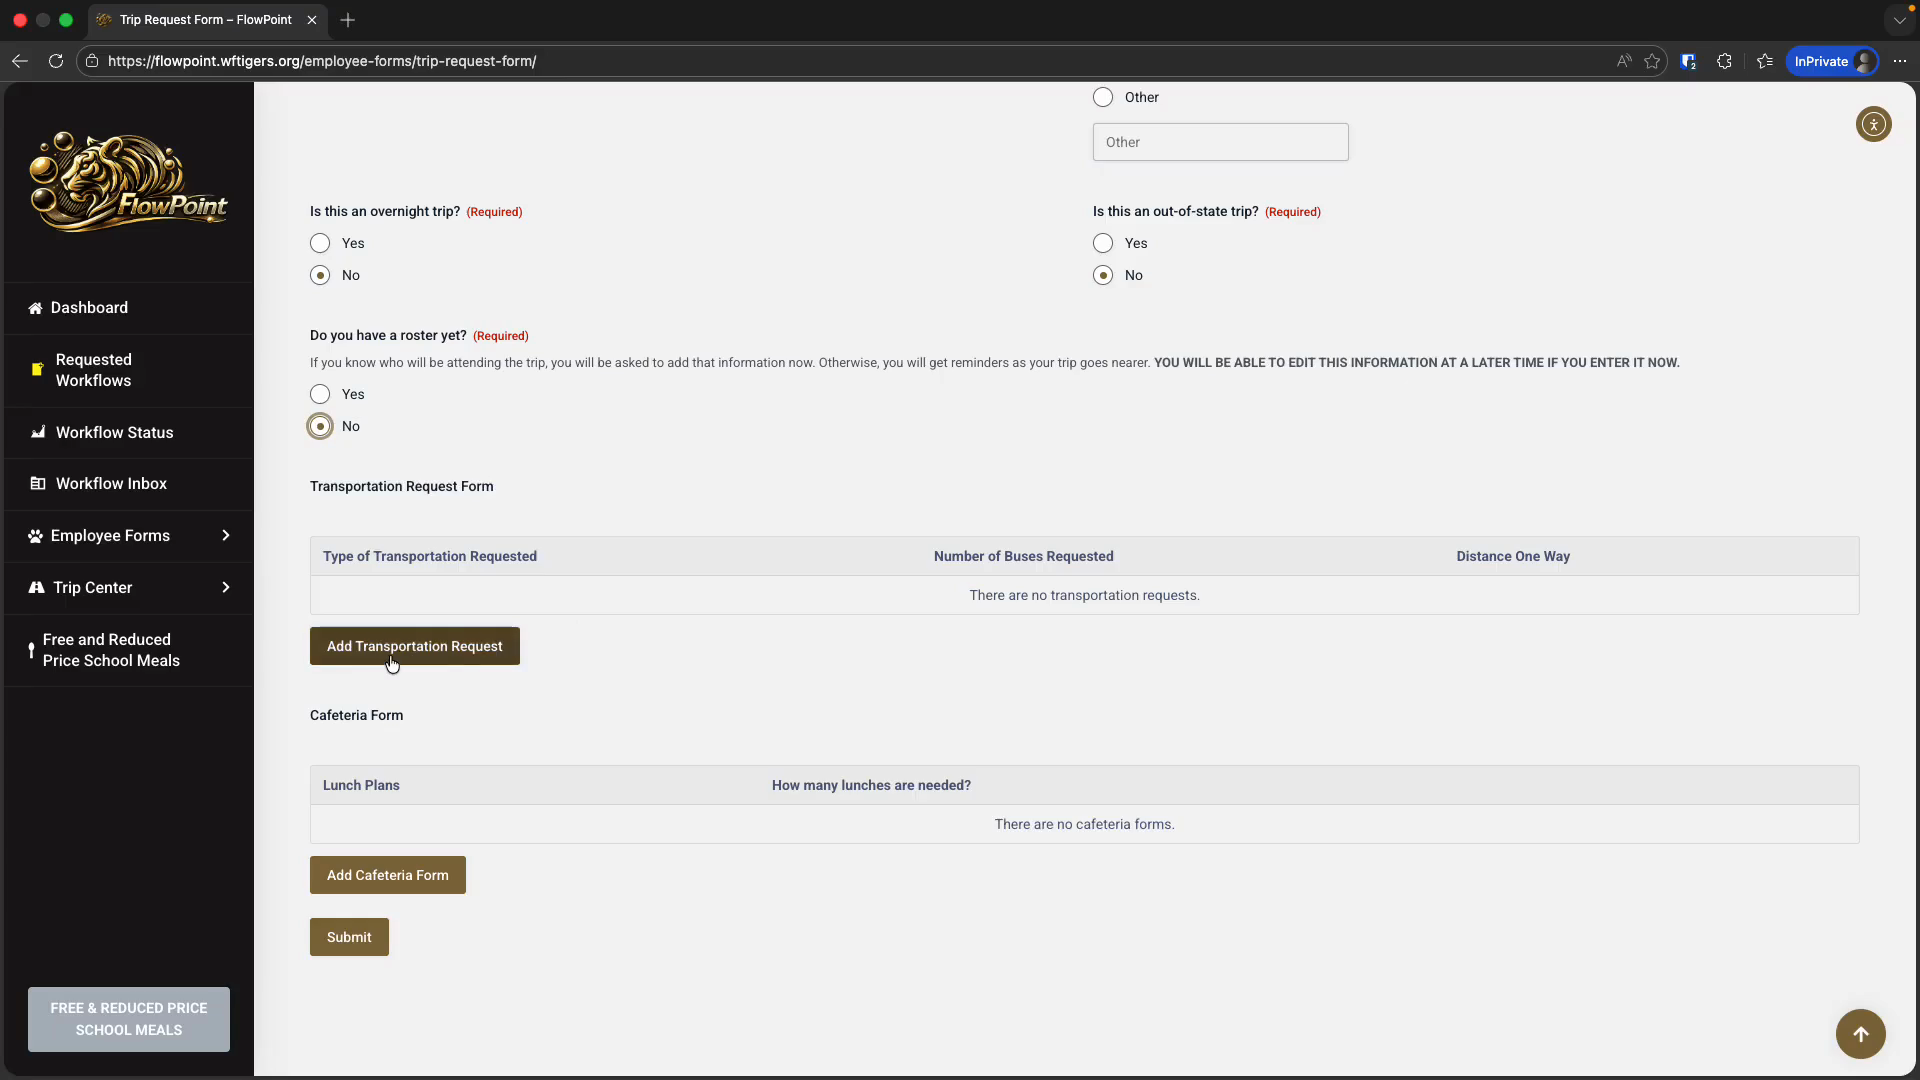
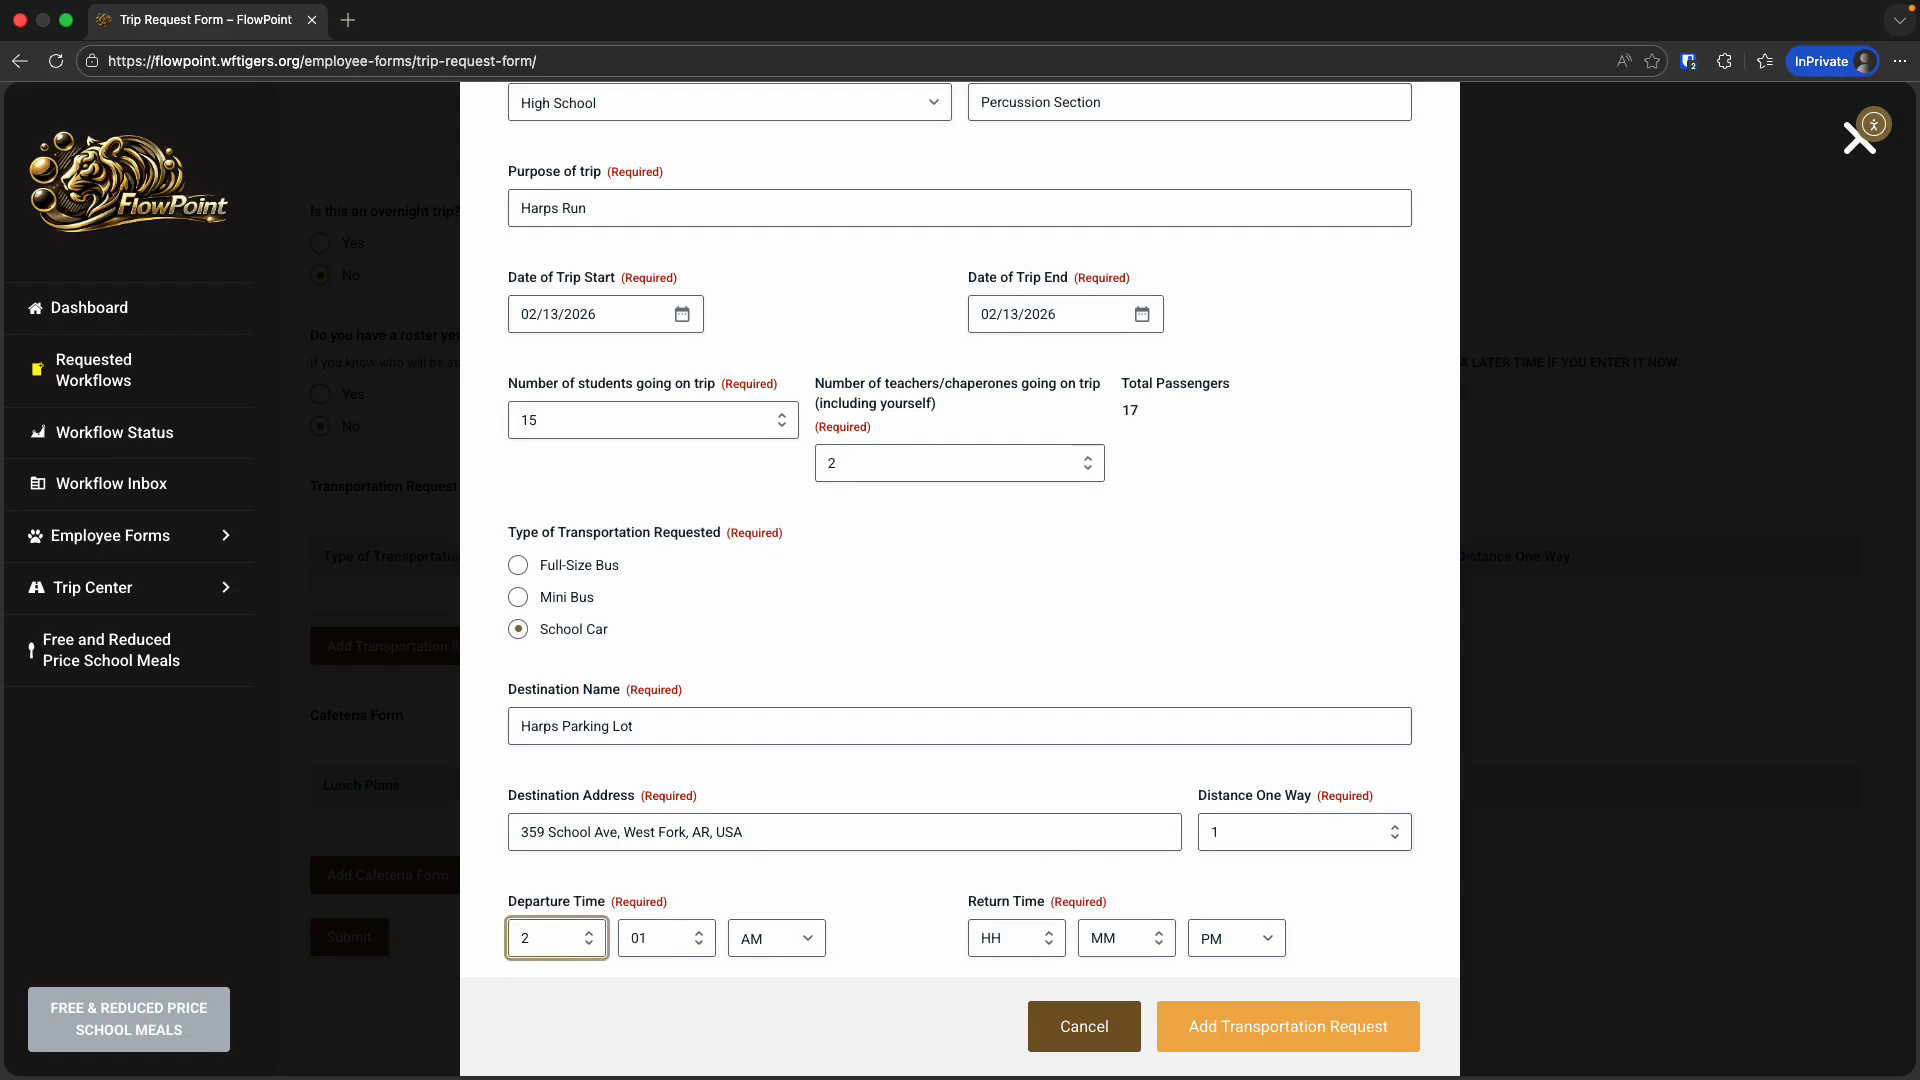
This opens the entry window for the relevant forms. The transportation request form will automatically fill in most of the information from the main form. You need to confirm the type of vehicle required. Enter the destination address and the distance from the school to the location.
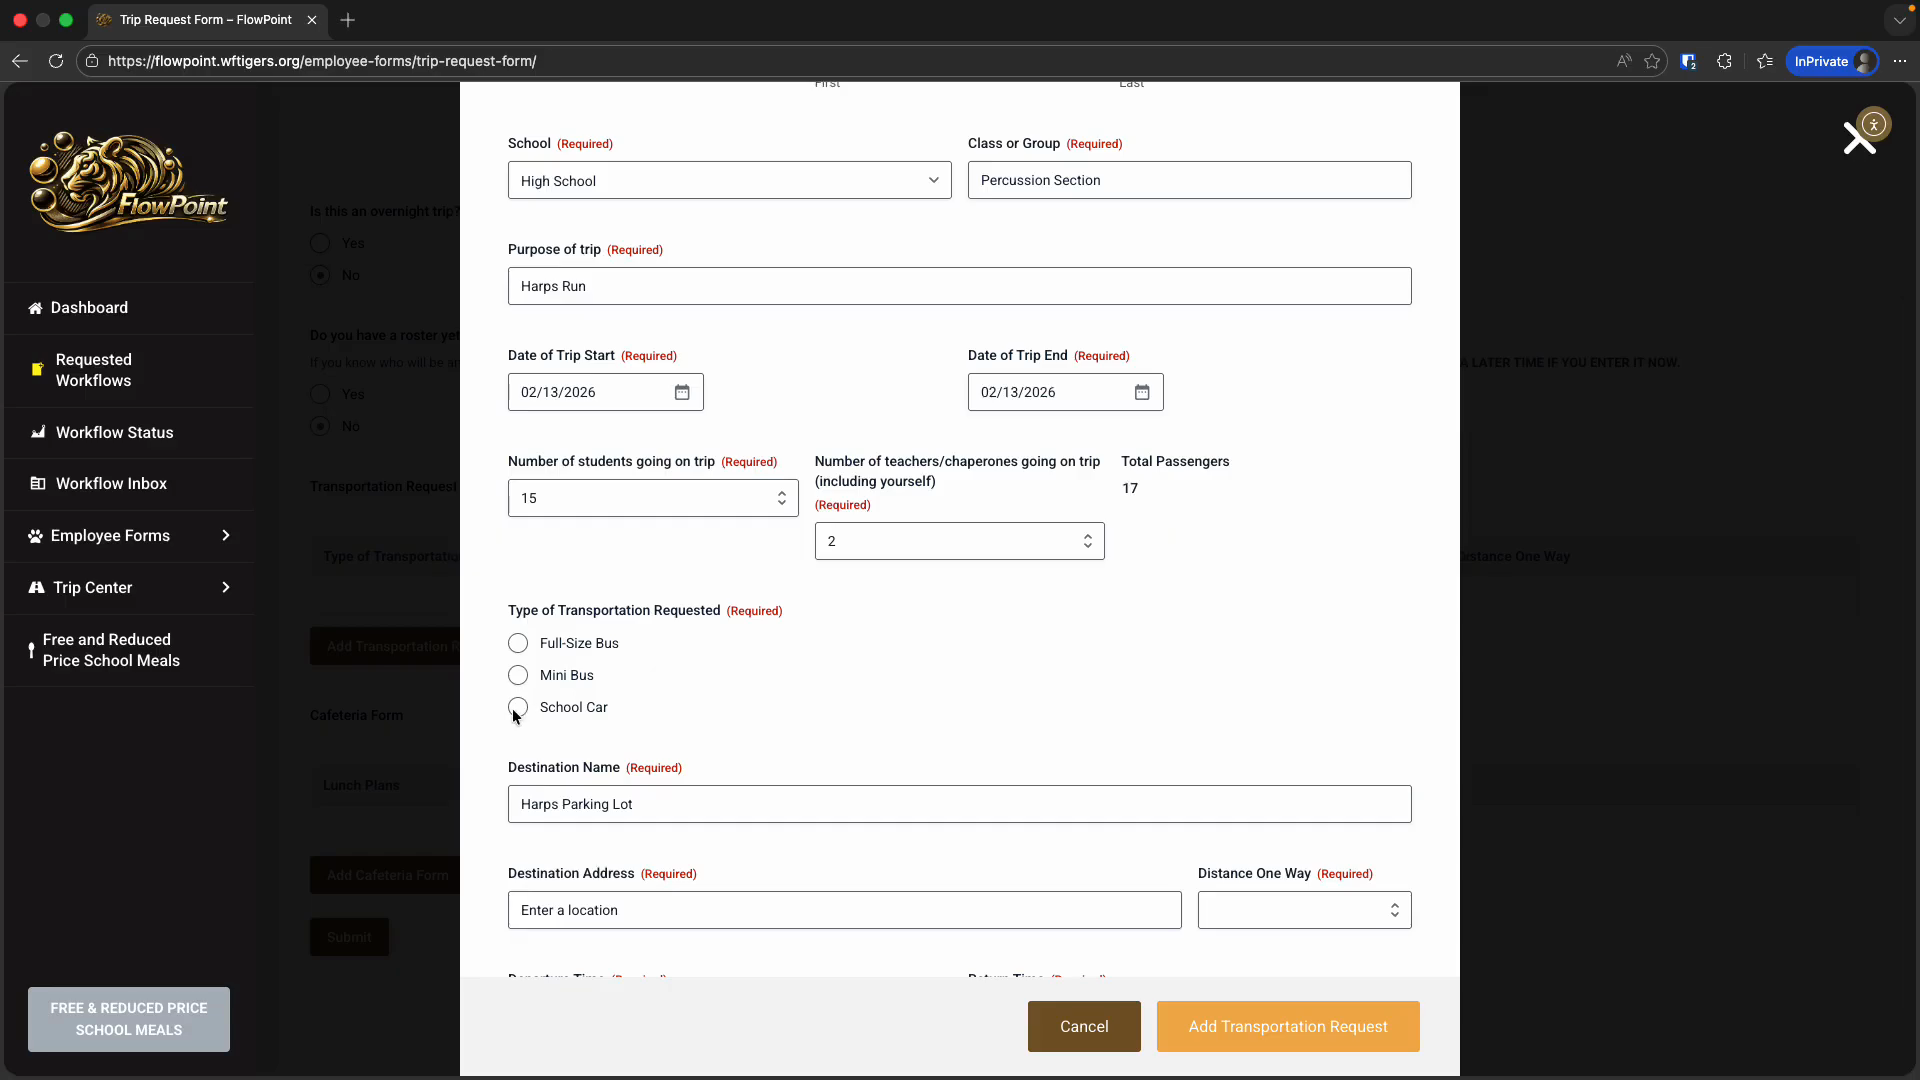
You will also need to confirm the departure and return times.
Repeat this process with the cafeteria form, the hotel form, and any other forms presented. After completing all the nested forms and the main form, click Submit to send your request.
This will start your workflow.