Icon

How to Duplicate a Script - Sync Banks

Learn how to manage and duplicate all the scripts related to the app

By Kaustubh Dedhia

In this guide, we'll learn how to manage and sync webhooks using Google Sheets and Google Apps Script. This process involves duplicating scripts, creating new projects, and setting up web app deployments. By following these steps, you can efficiently track and update your webhooks, ensuring smooth data synchronization across various sheets and accounts.

Let's get started

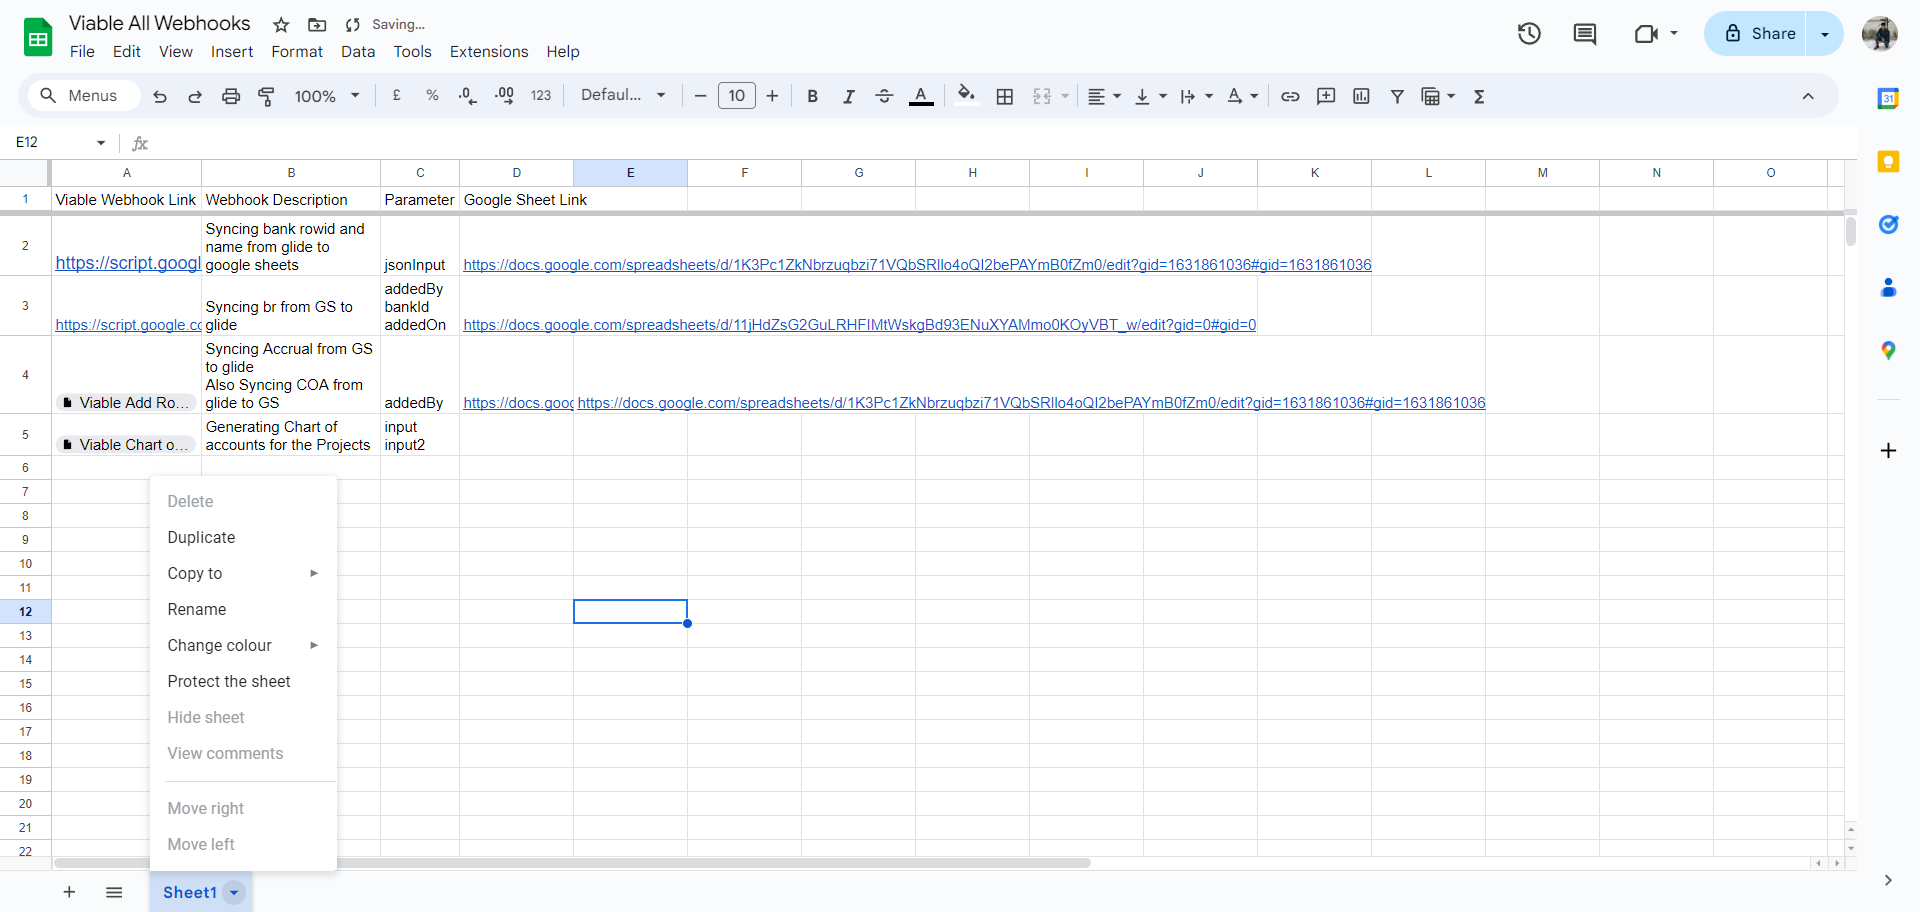
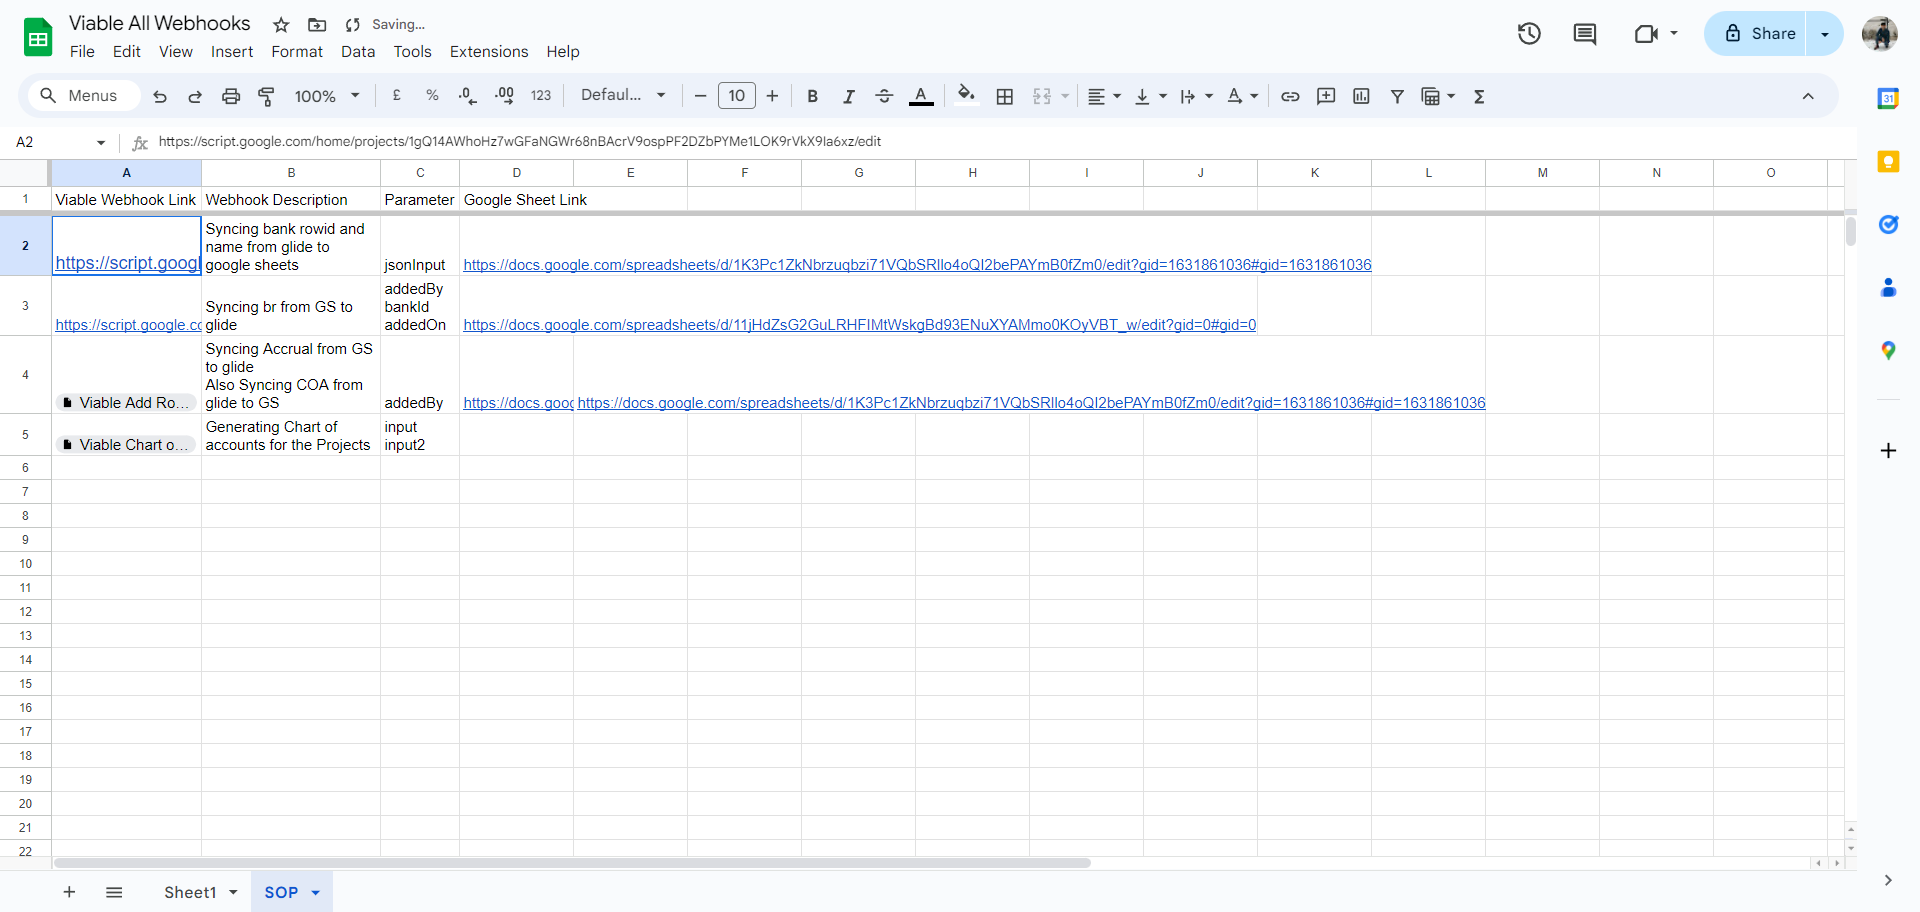
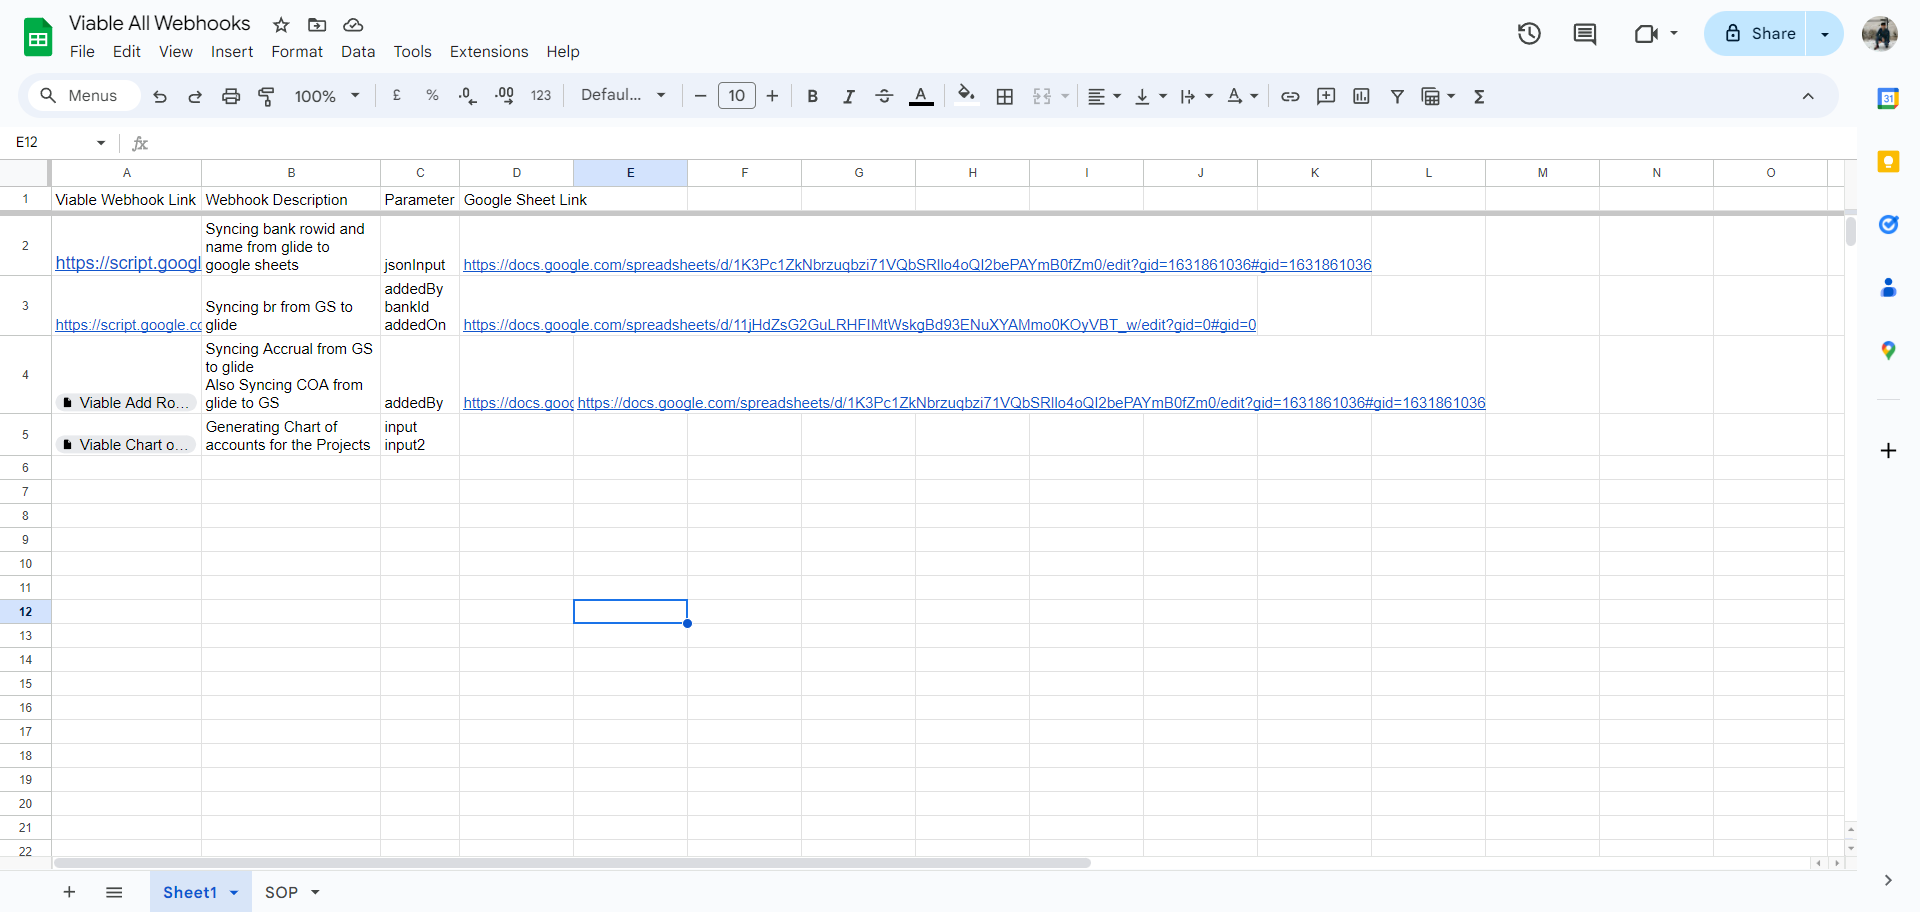
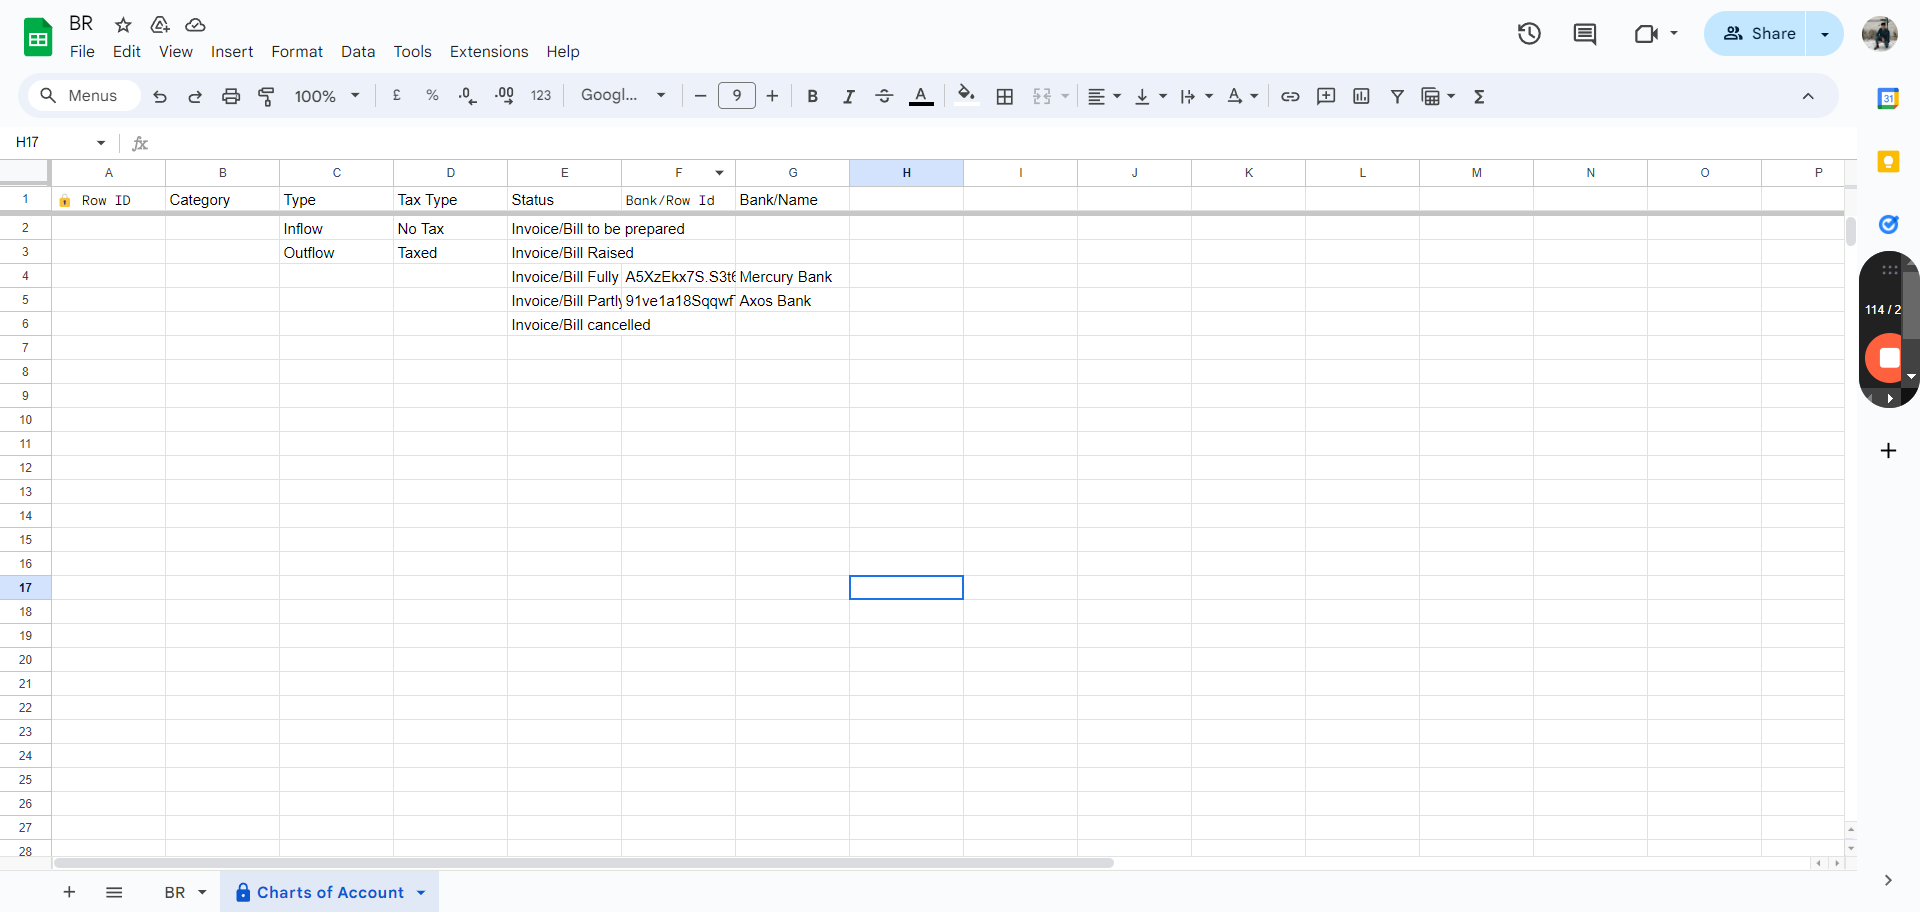
All right, moving on to the all webhooks script. Let's start by duplicating the first script. I suggest using this viable all webhooks to keep track of all the webhooks you're using.

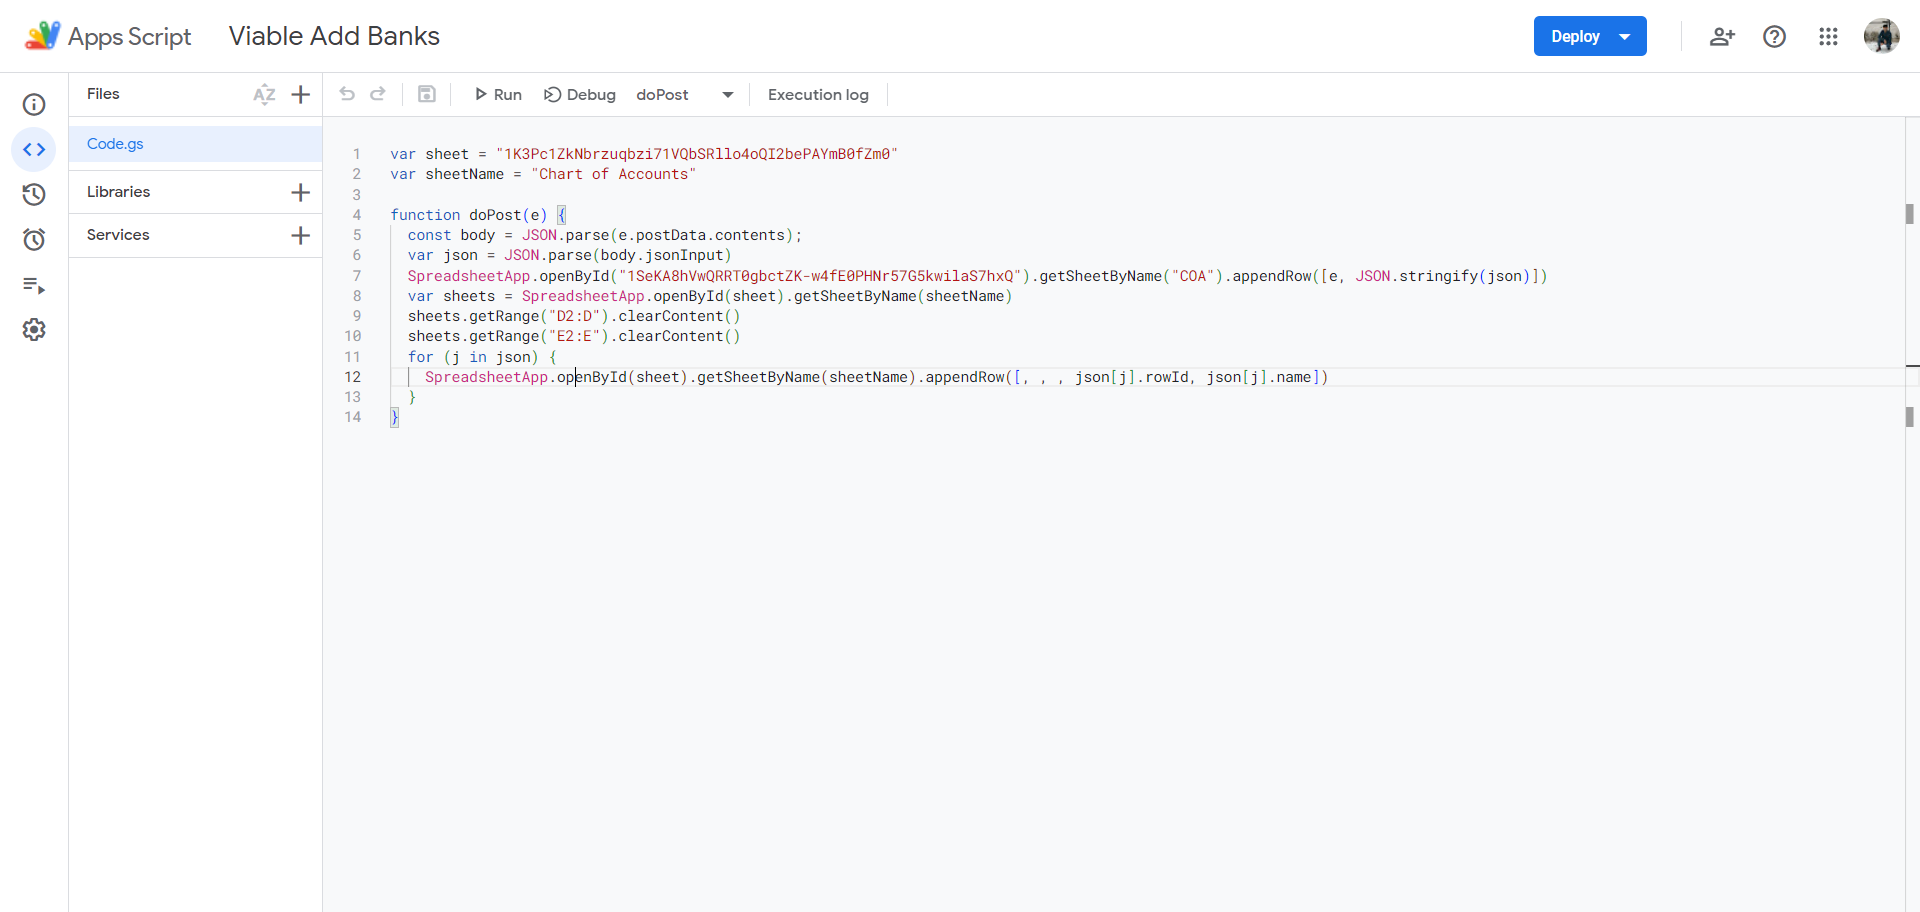
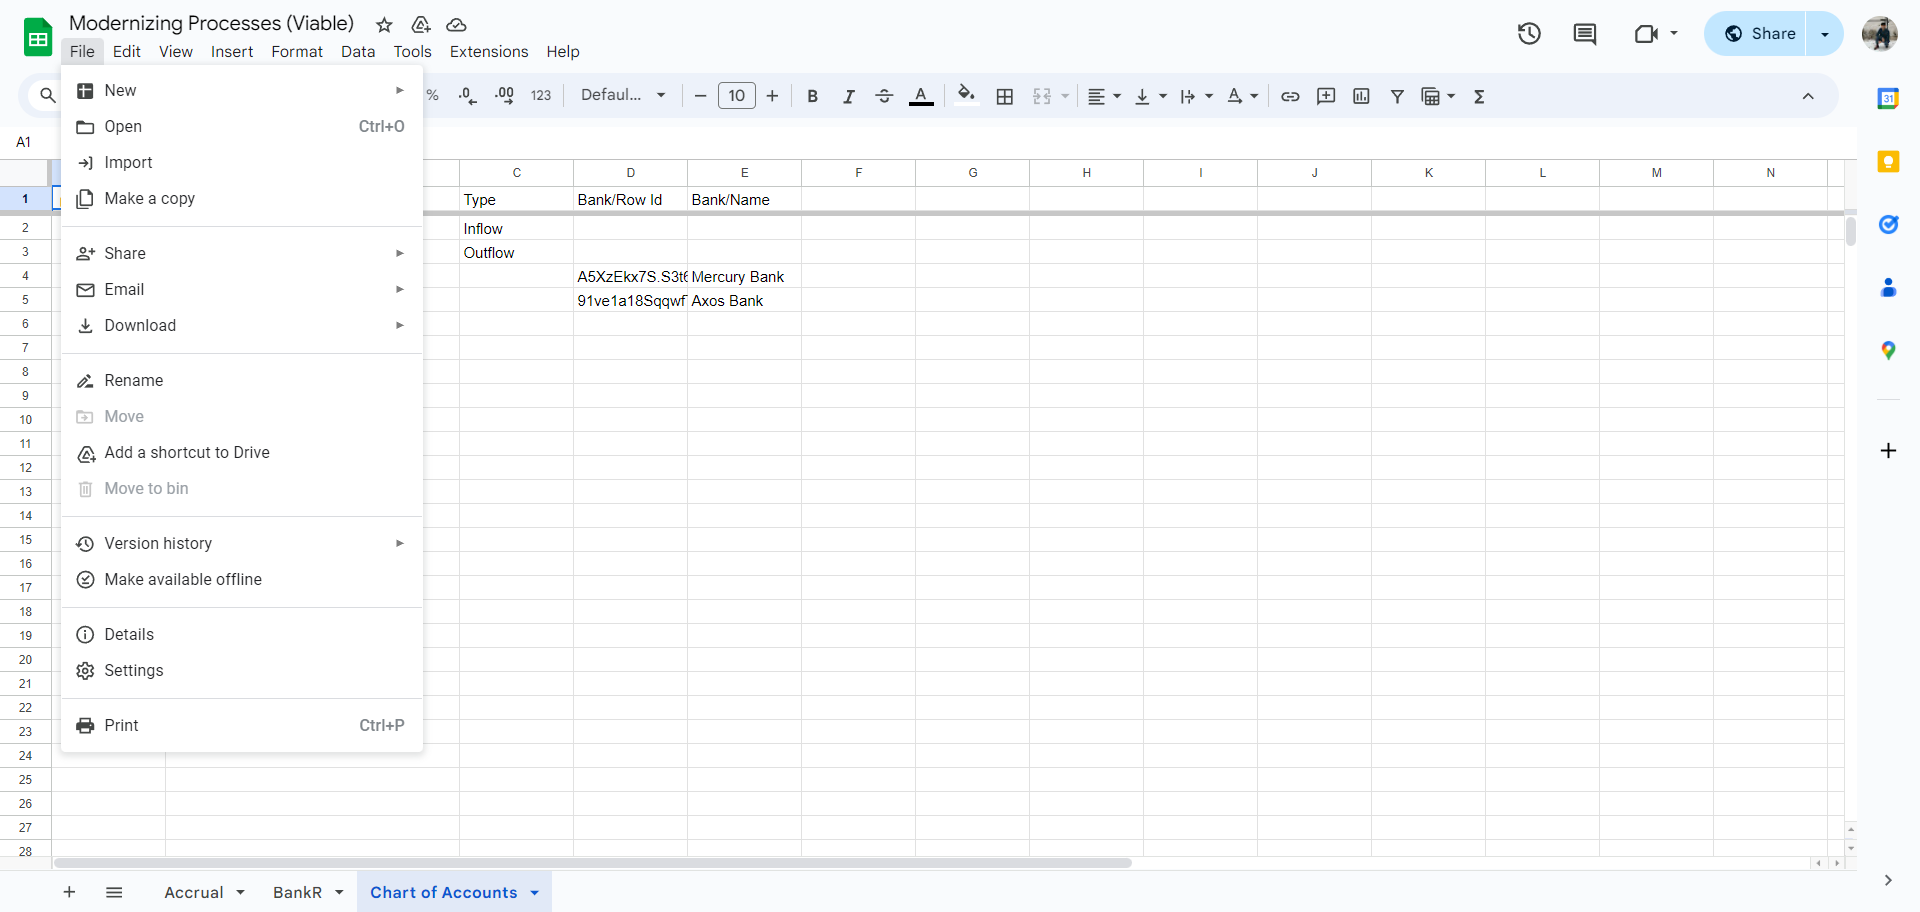
Let's say the first script is already open. You can open it from here, as well. What I'm doing is syncing all the data from viable sheet onto this modernizing processes sheet. I'm using this sheet to import data for the chart of accounts, the bank for the BR, and the accrual sheet. I suggest you first create a new Google script. You can do that by typing scripts, script.google.com

Click "Enter," then "New Project." Simply copy the entire script, paste it, and save.

3
Click on "+ New"
Step #3: Click on "+ New"

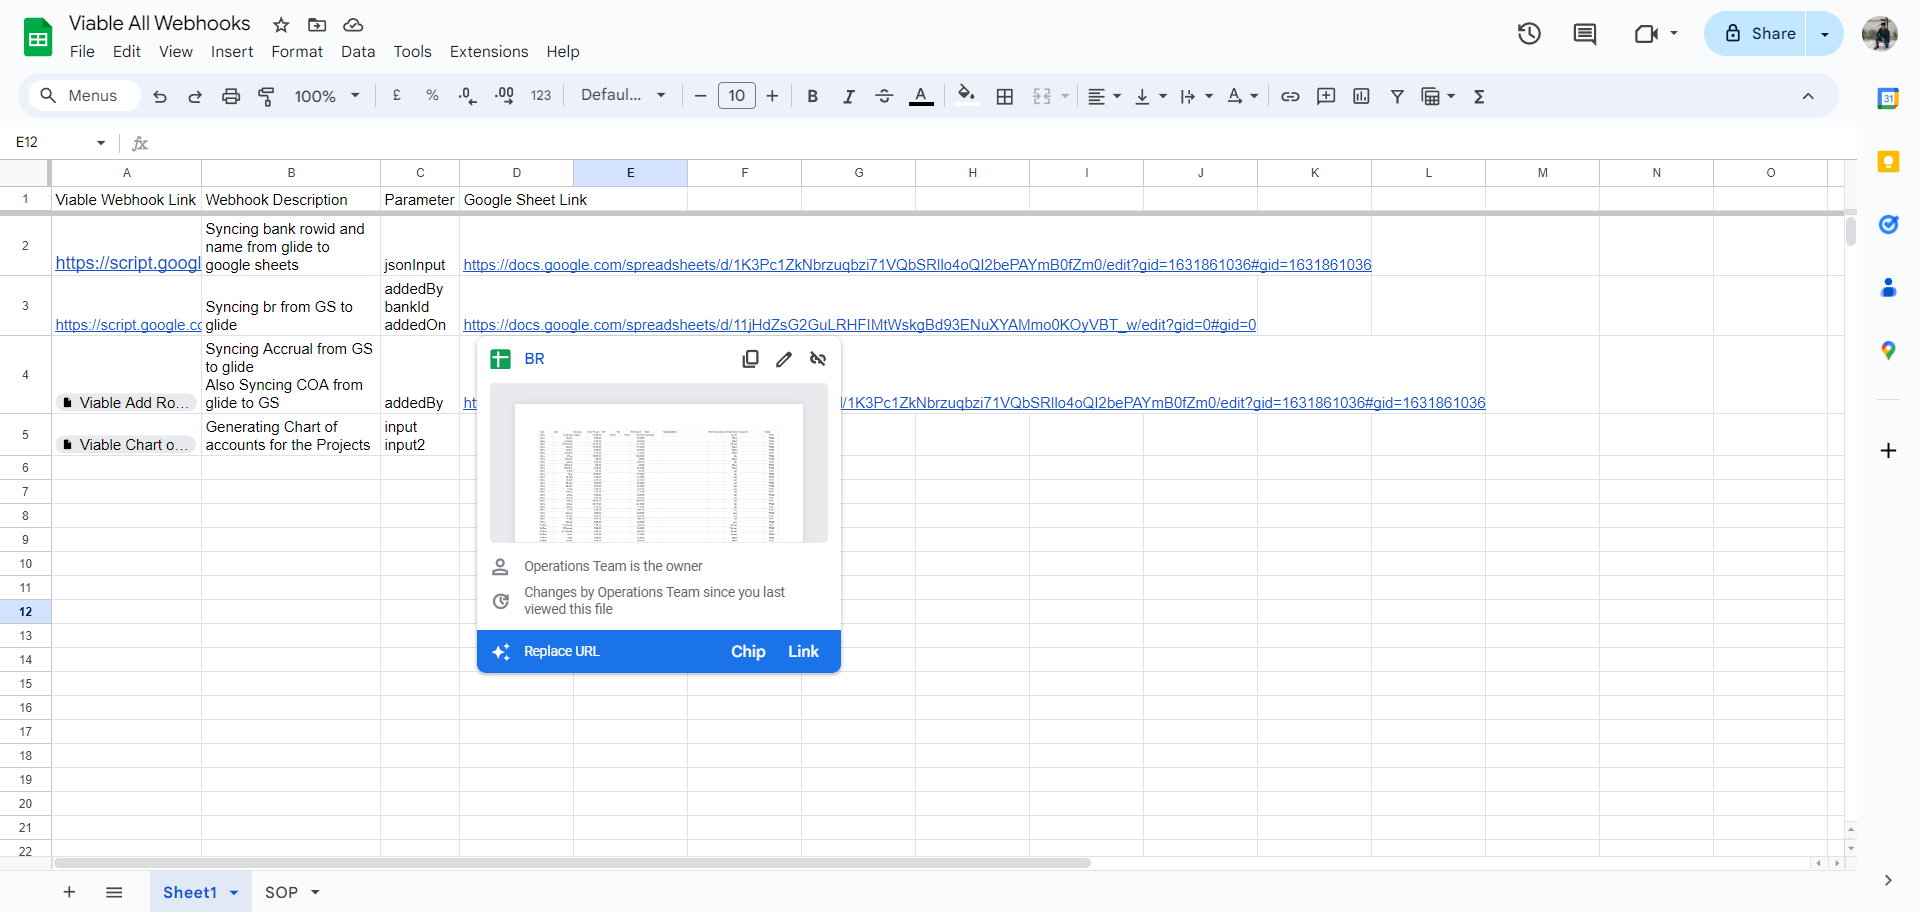
From this sheet open the first script in cell A2 Or click on the link below

5
Copy the Code
Step #5: Copy the Code
6
Type "Ctrl + A"
7
Type "Ctrl + C"
8
Open the new script that you created which would be named Untitled project
9
Click here
Step #9: Click here
10
Type "Ctrl + A"
11
Type "Ctrl + V"

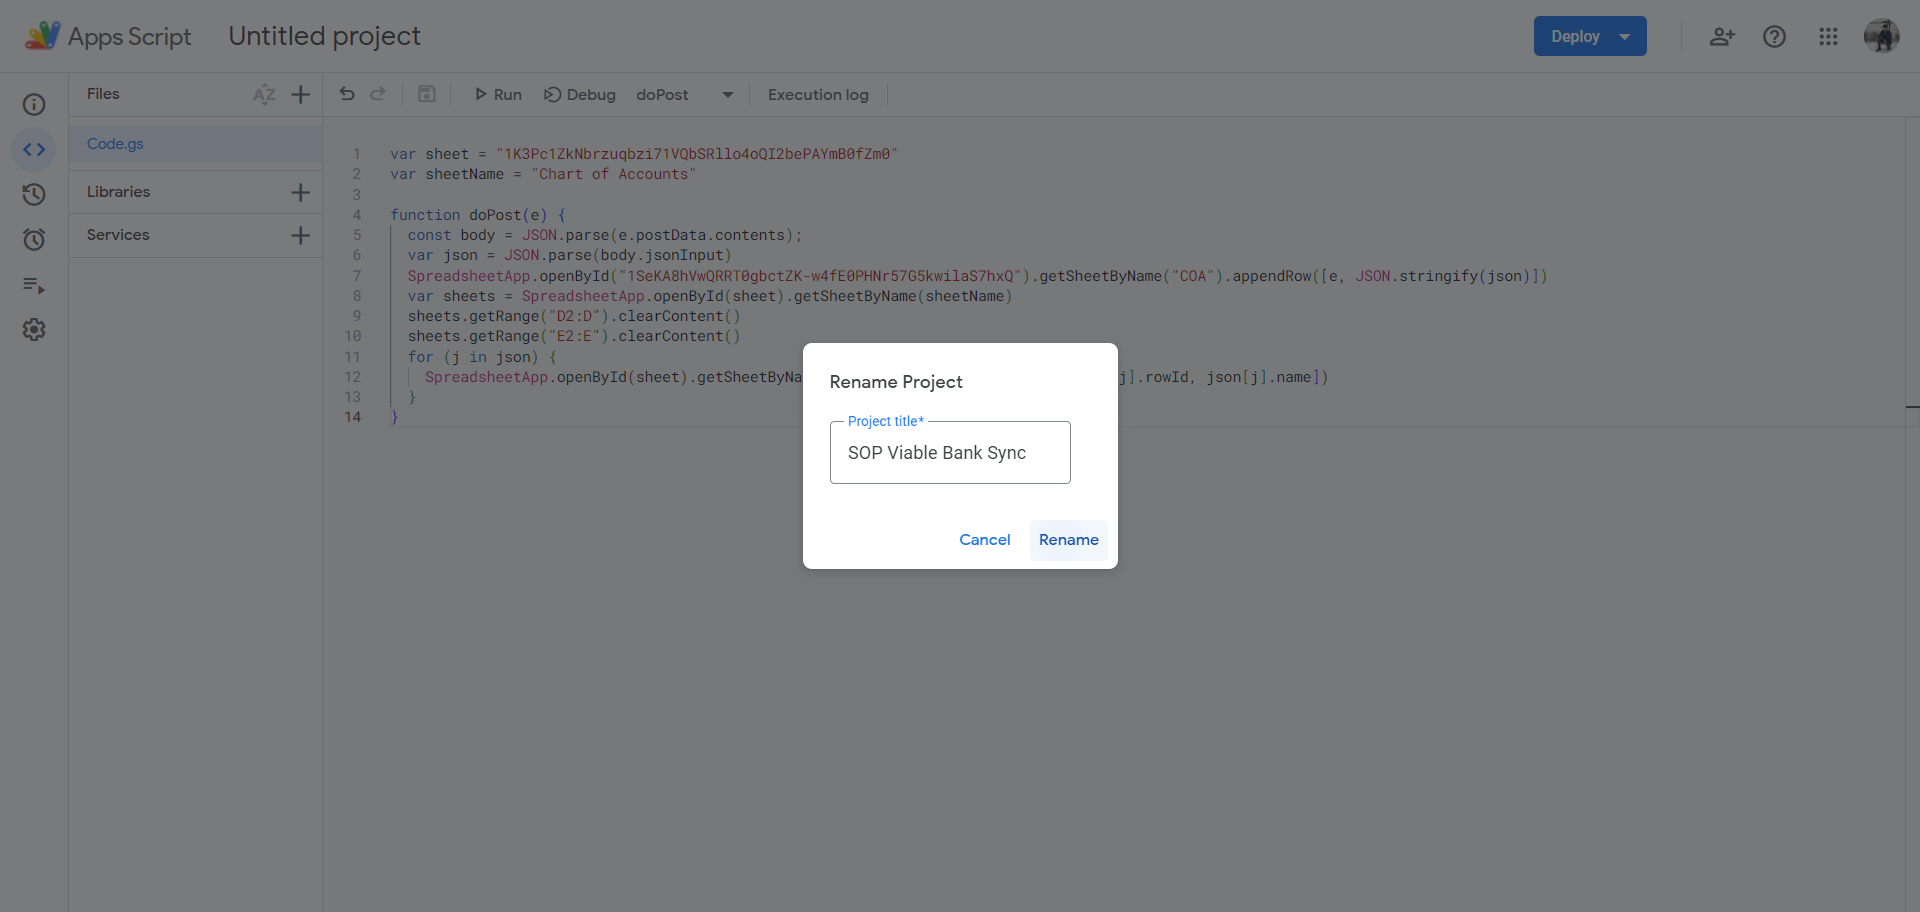
I suggest you rename the scripts immediately so you don't forget their locations.

12
Click on "project"
Step #12: Click on "project"

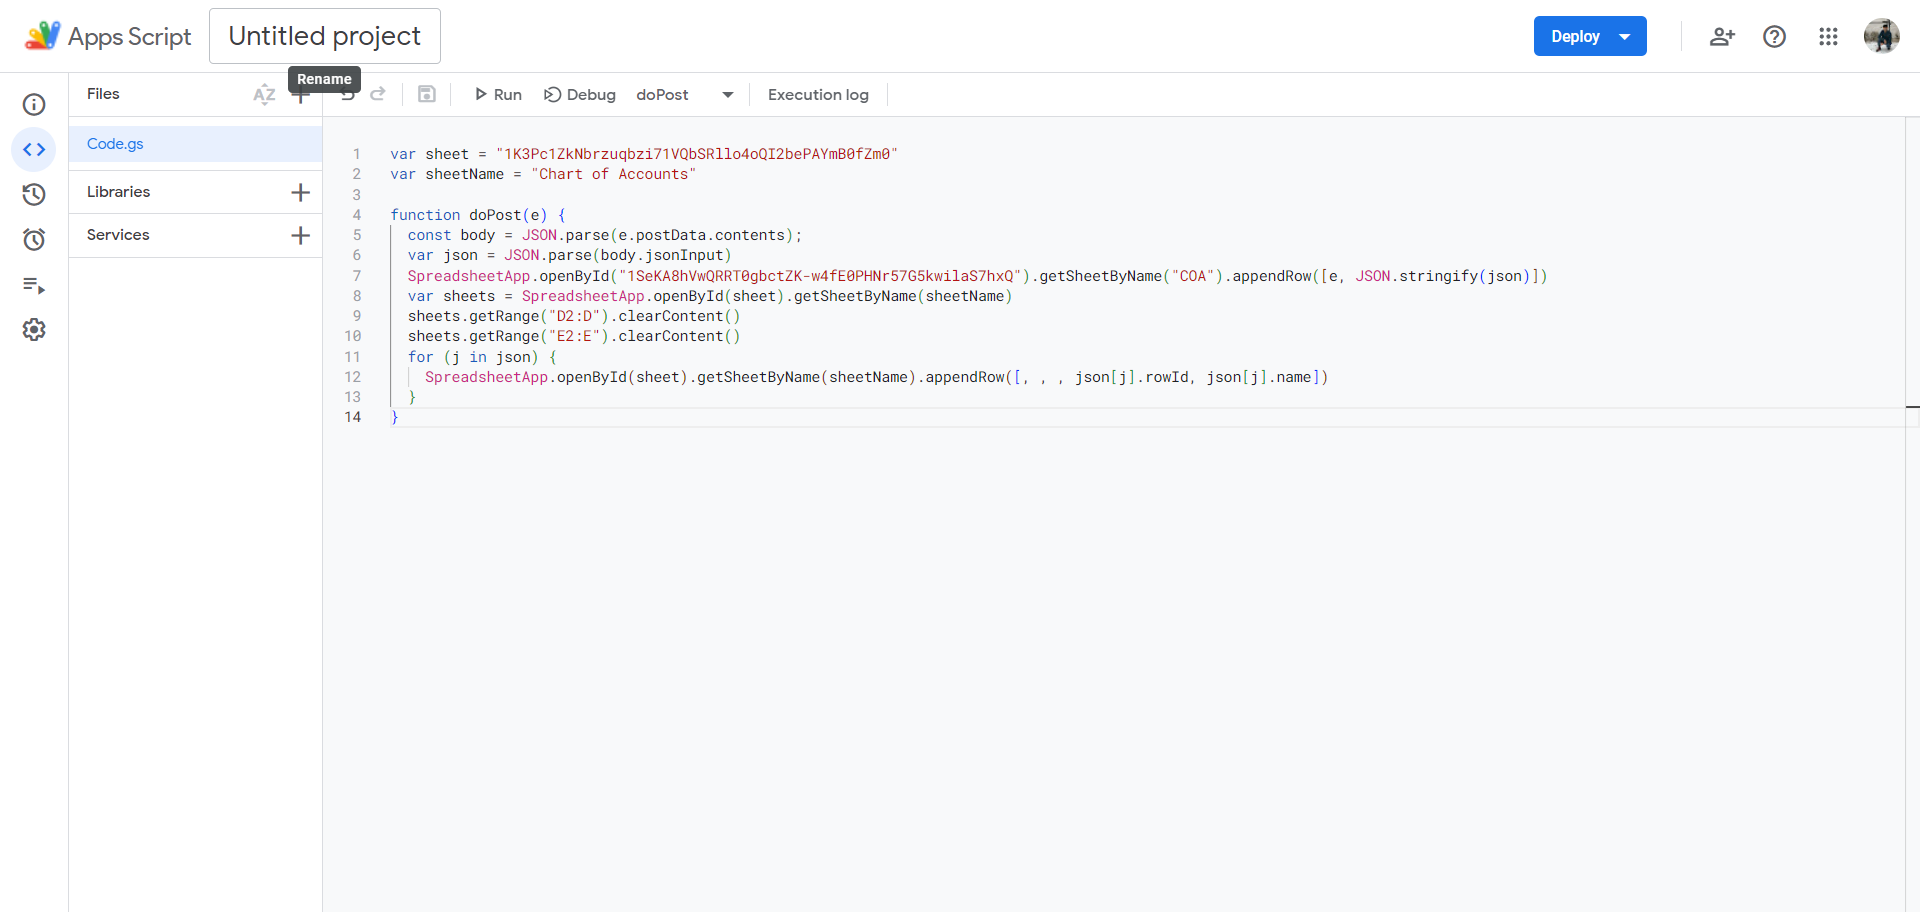
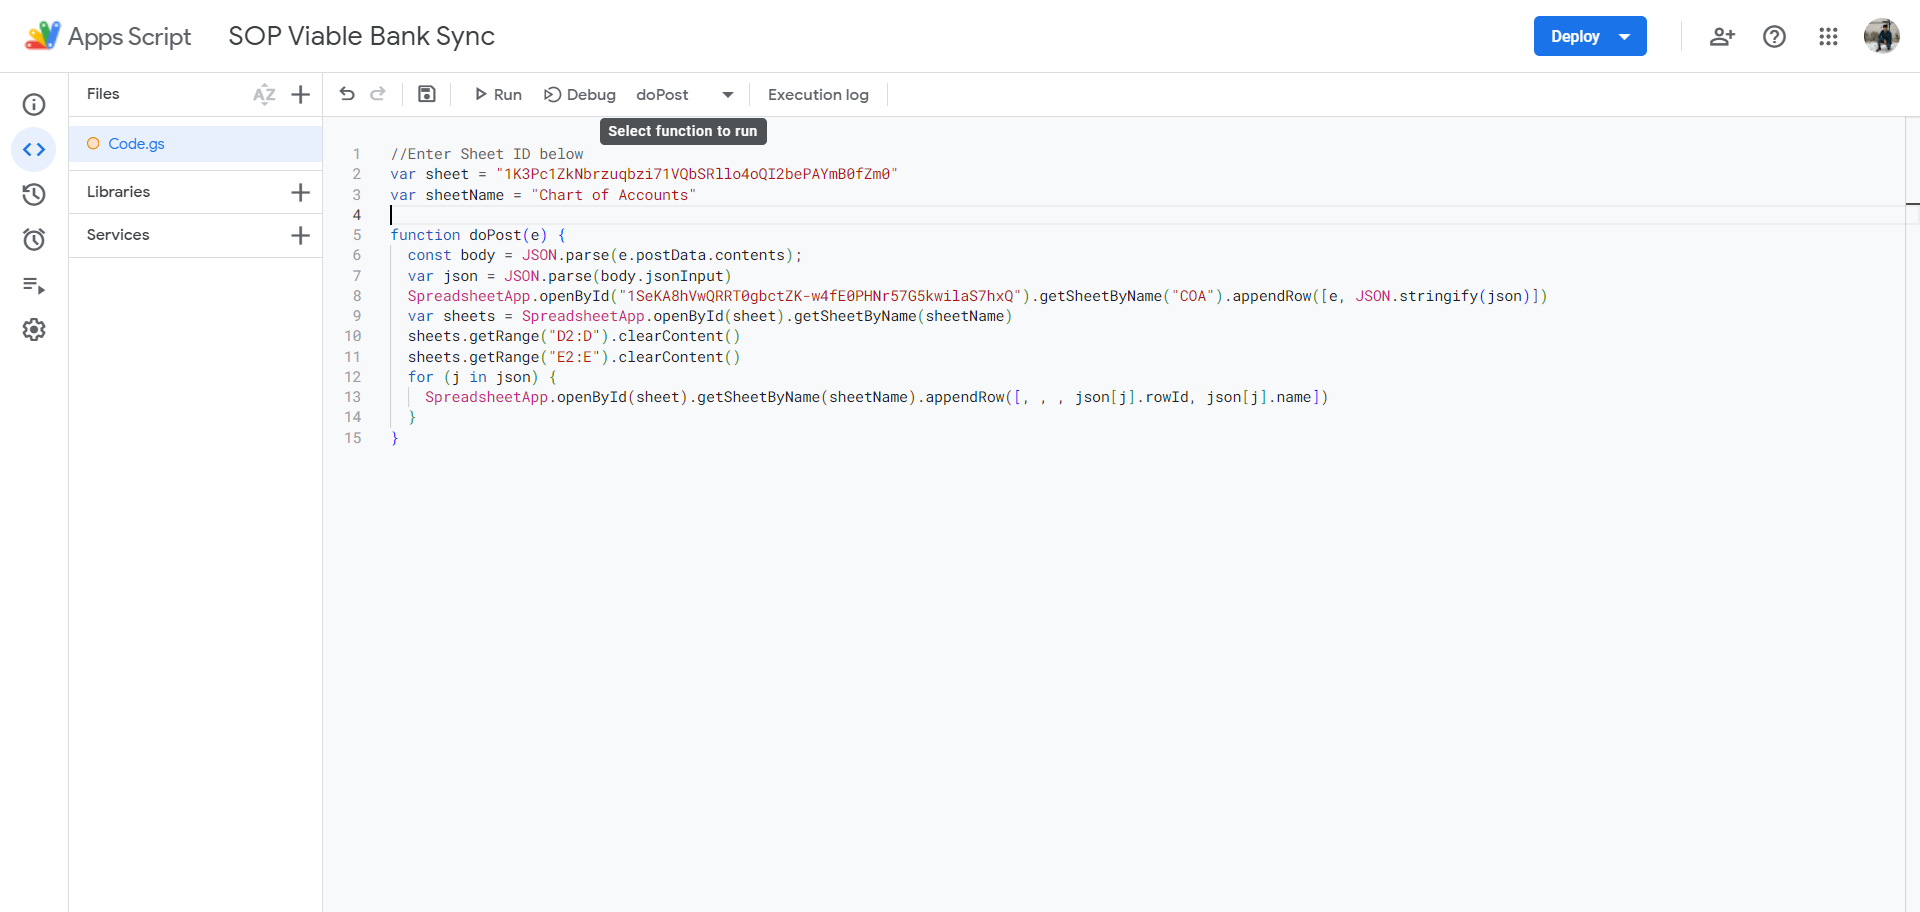
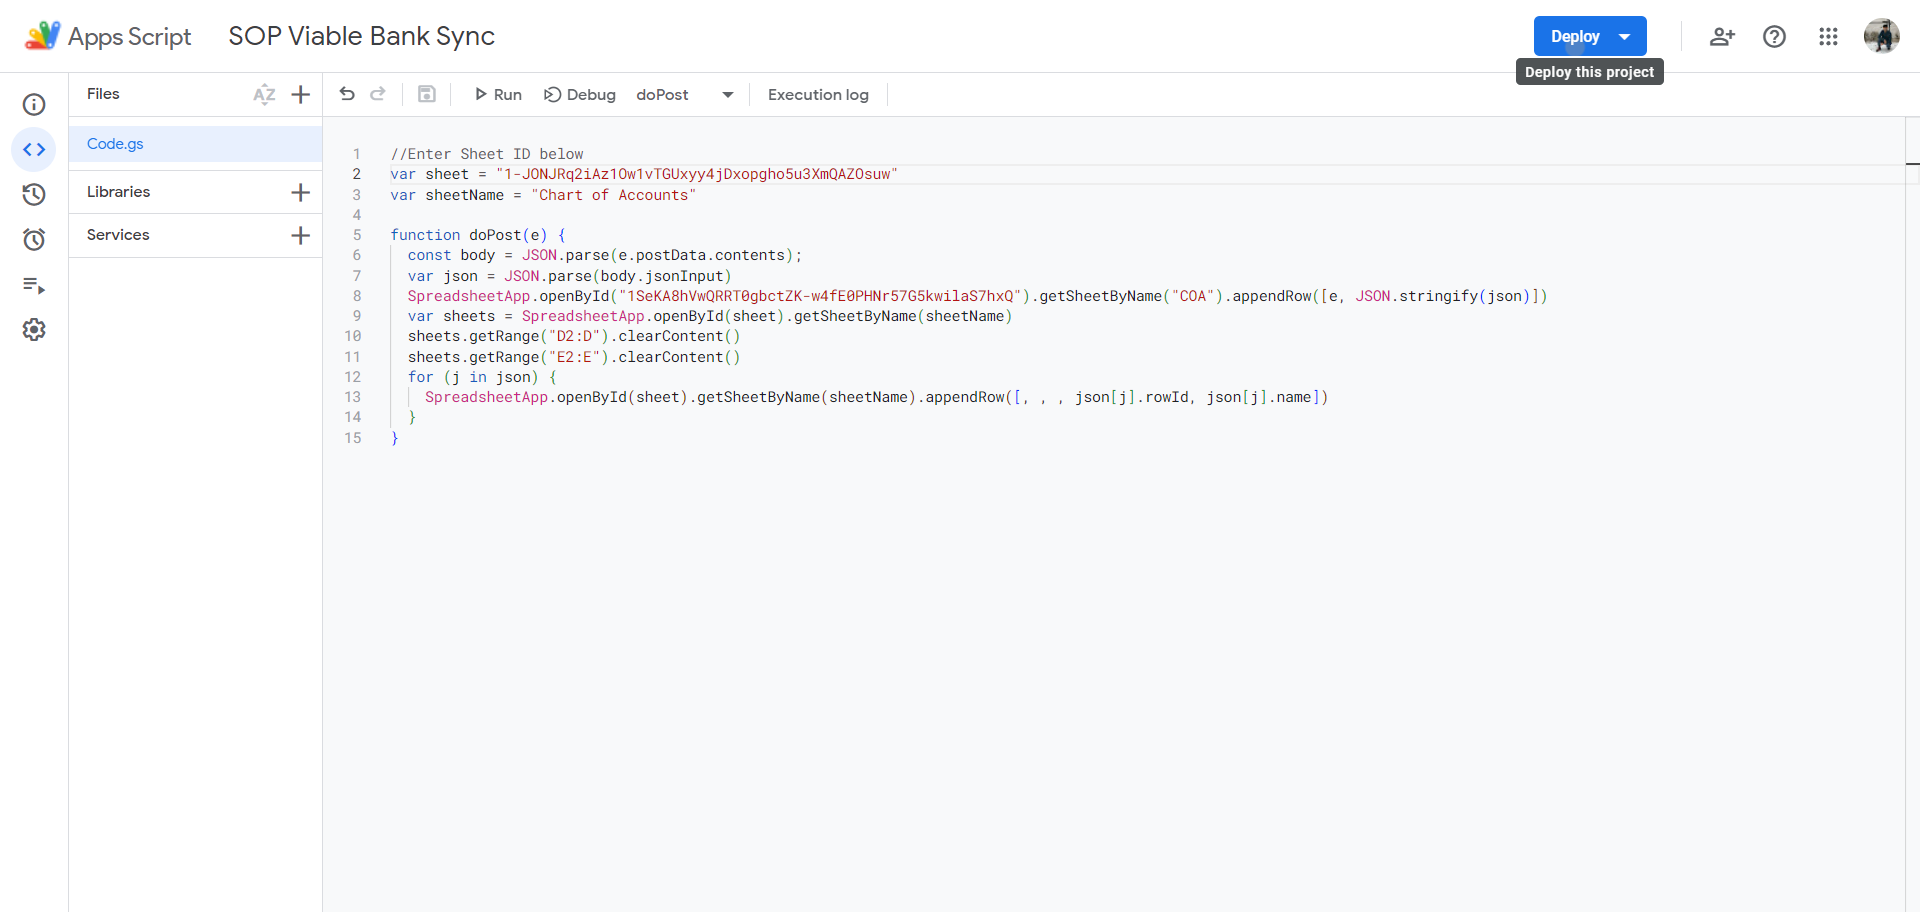
I would rename this to "SOP Viable Bank Sync," for example.

13
Click here
Step #13: Click here

I suggest creating a new sheet or, even better, duplicating the existing sheet named SOP and replacing the scripts.

15
Click on "Duplicate"
Step #15: Click on "Duplicate"
16
Rename the New Sheet
17
Copy the URL for the script and Paste here
Step #17: Copy the URL for the script and Paste here
18
Click here
Step #18: Click here

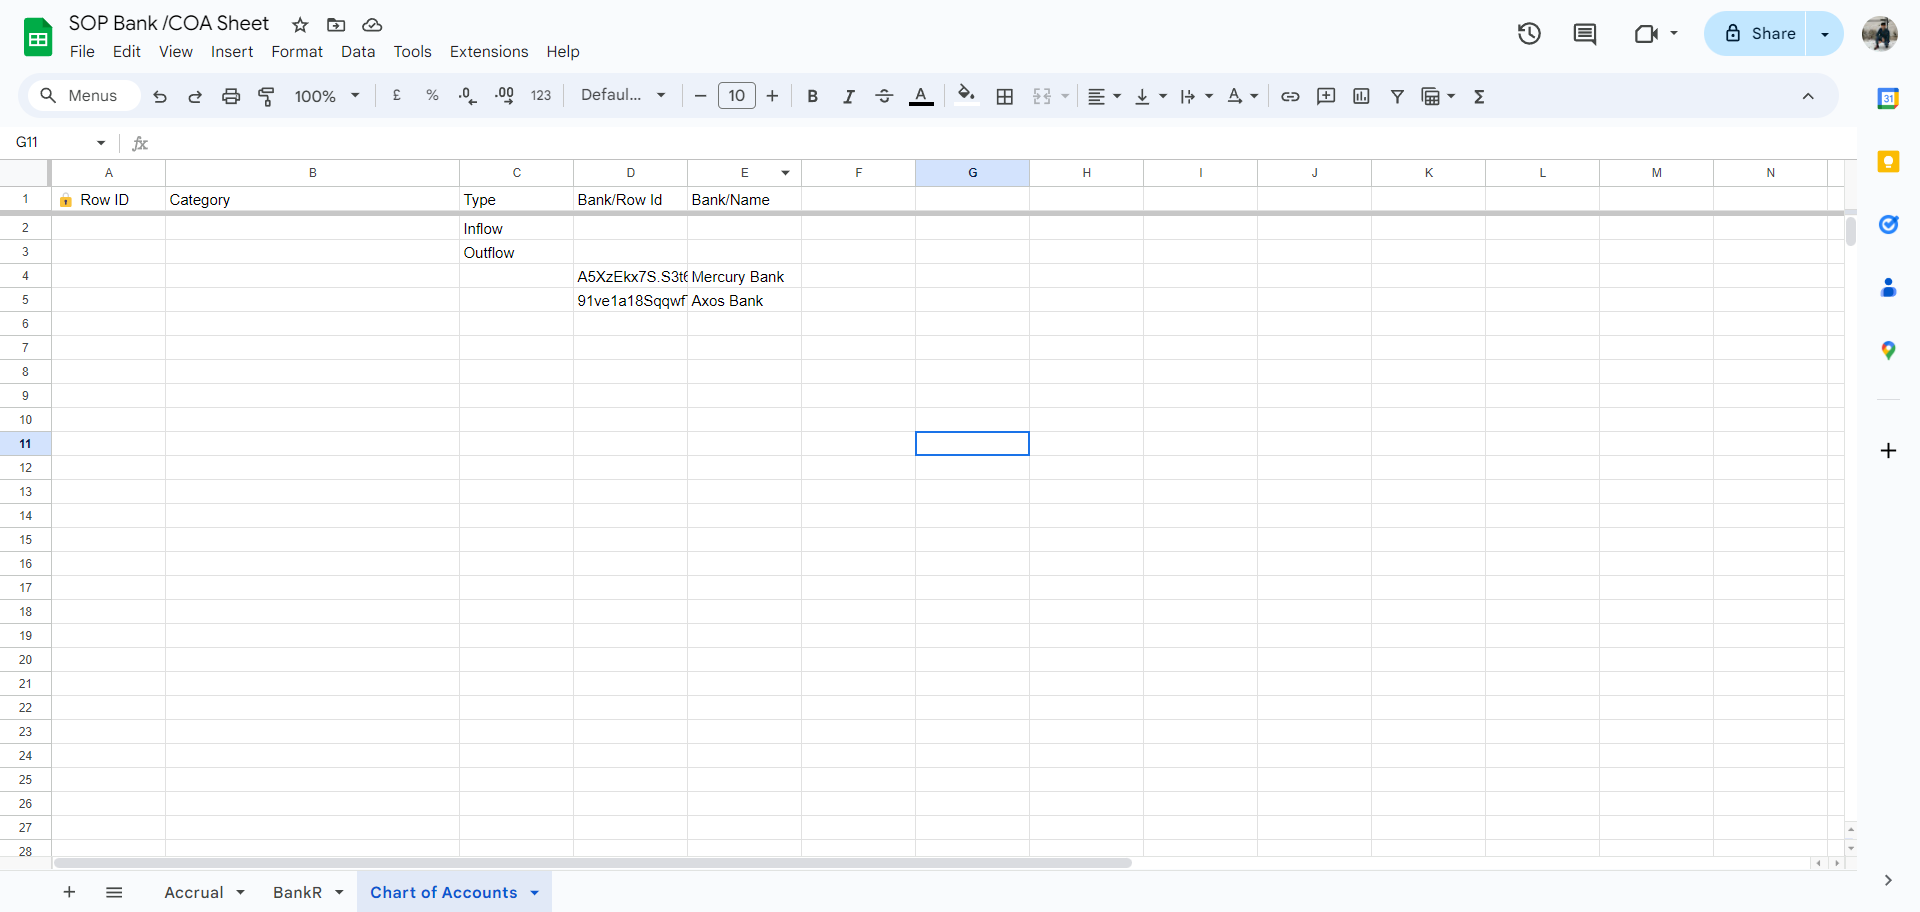
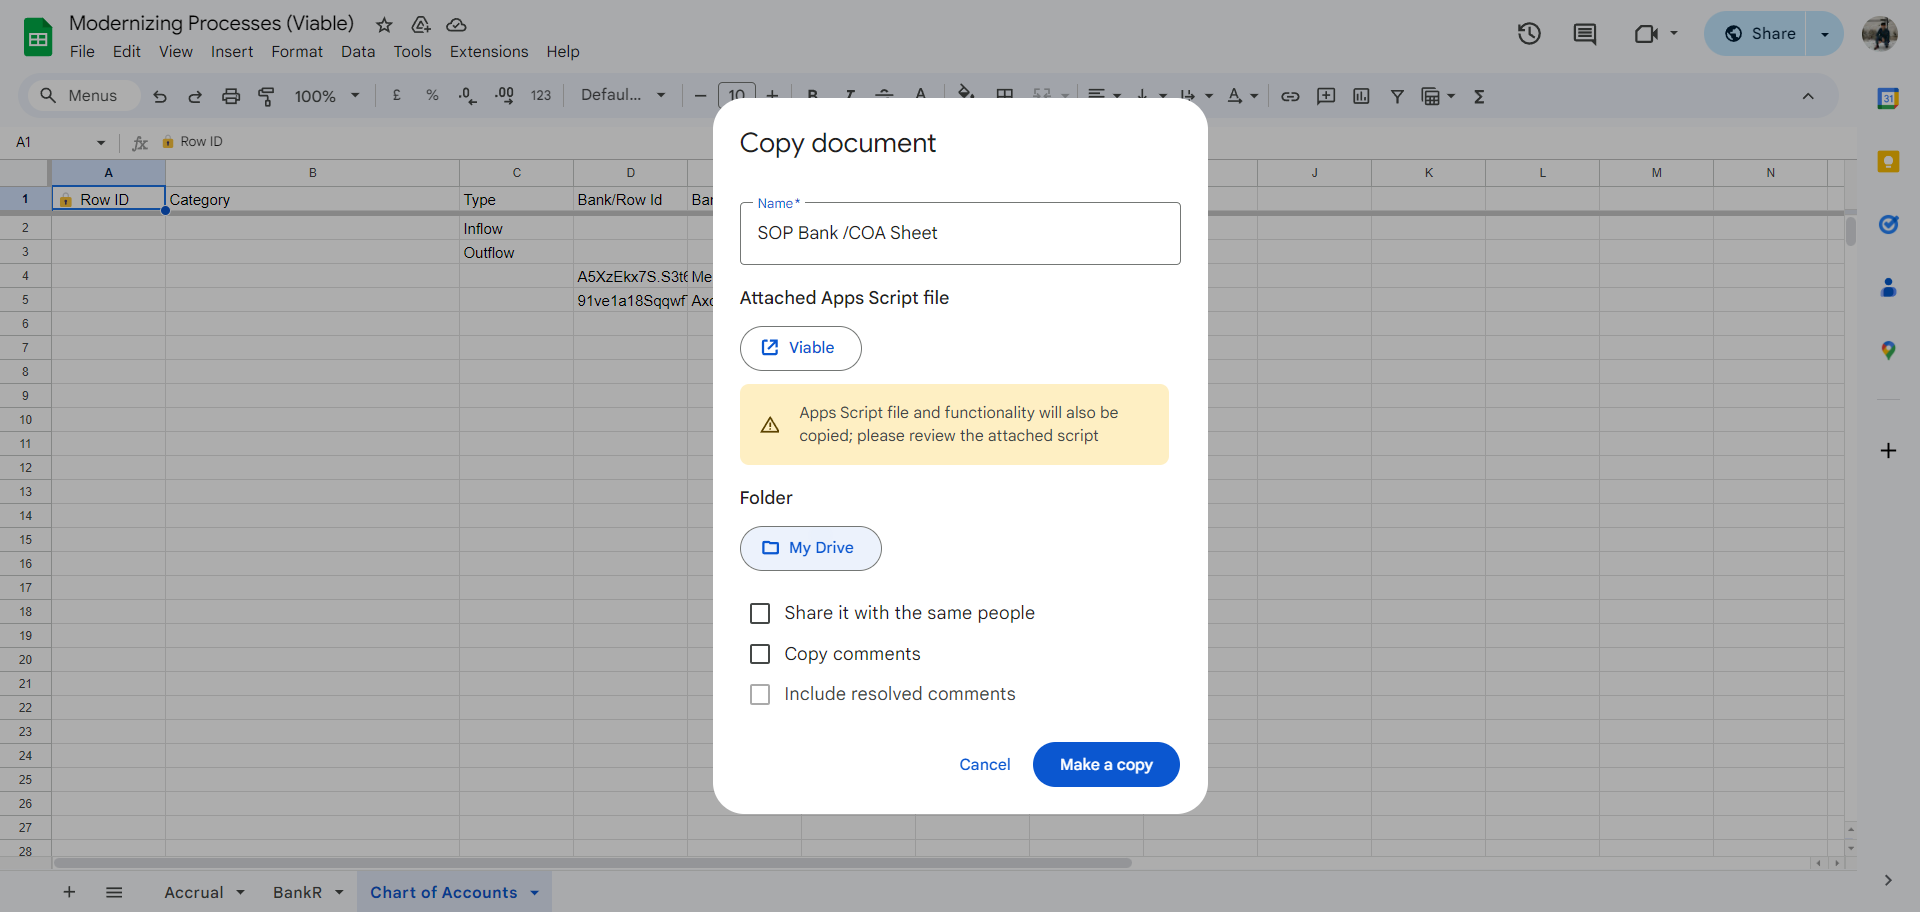
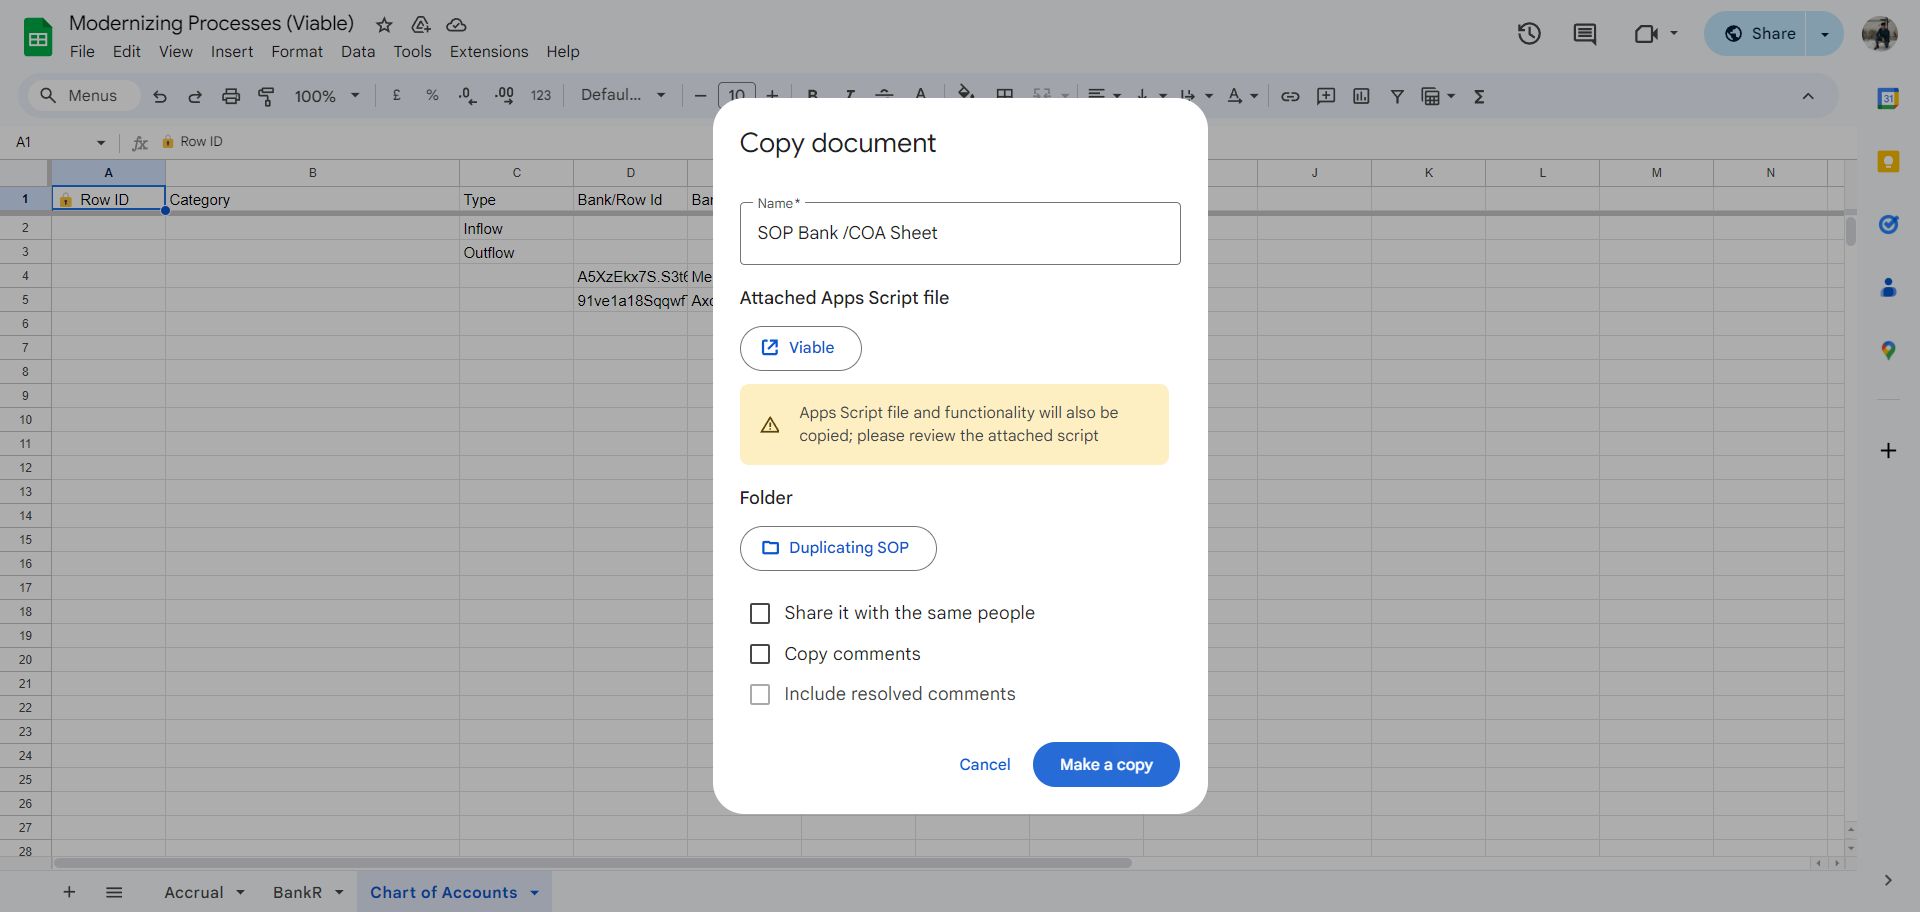
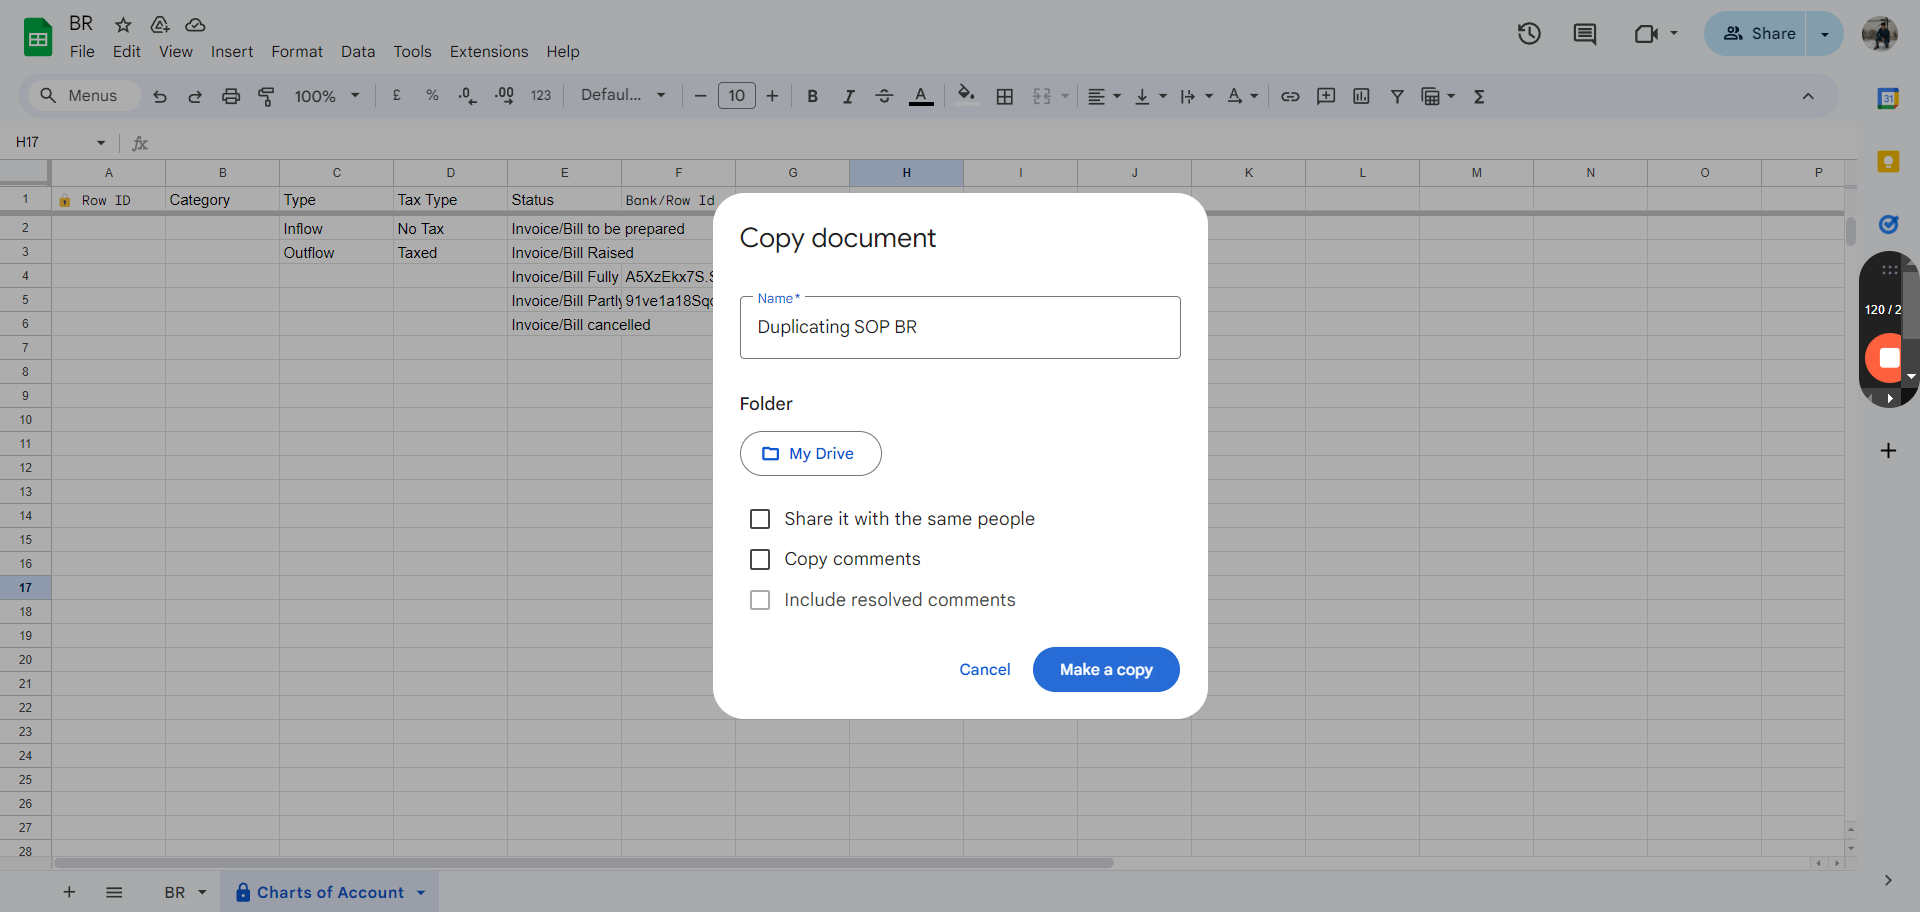
This way, you can keep track of all the sheets and scripts for all clients. This is useful in case you need to make any changes in the future. The next step is to duplicate this and make a copy, naming it SOP Bank/COA Sheet.

20
Click on "Modernizing Processes"
Step #20: Click on "Modernizing Processes"
21
Click on "Make a copy"
Step #21: Click on "Make a copy"
22
Rename the Sheet
Step #22: Rename the Sheet

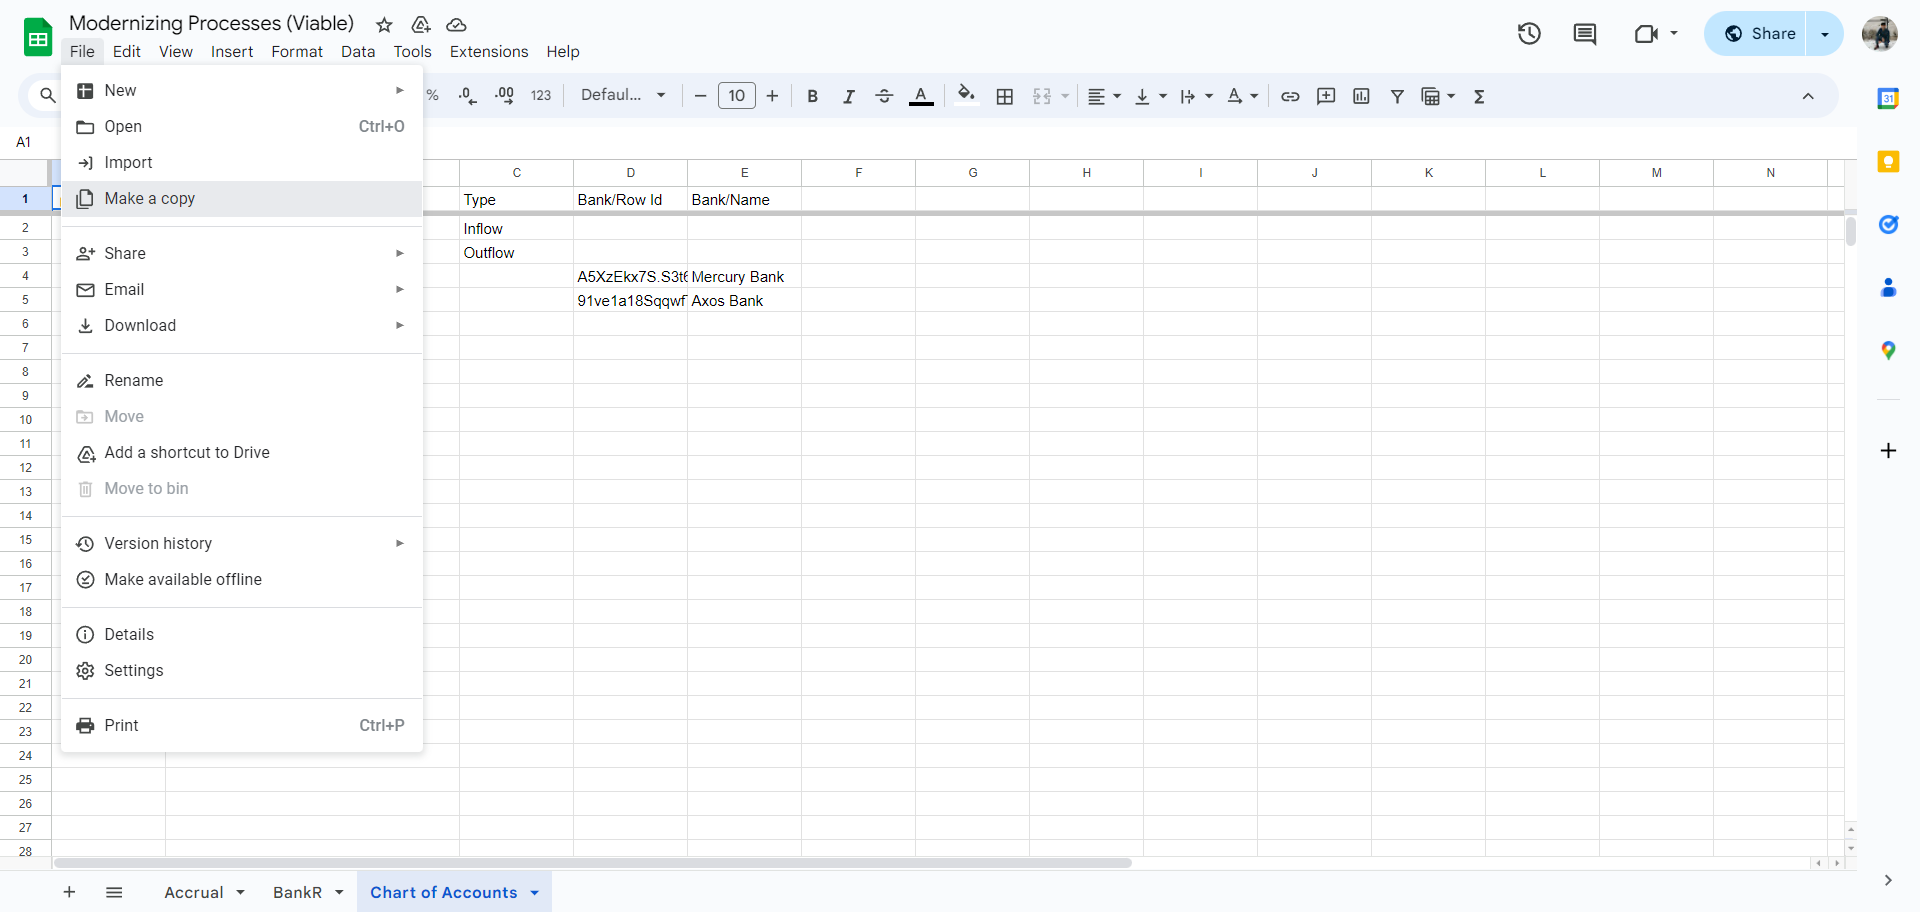
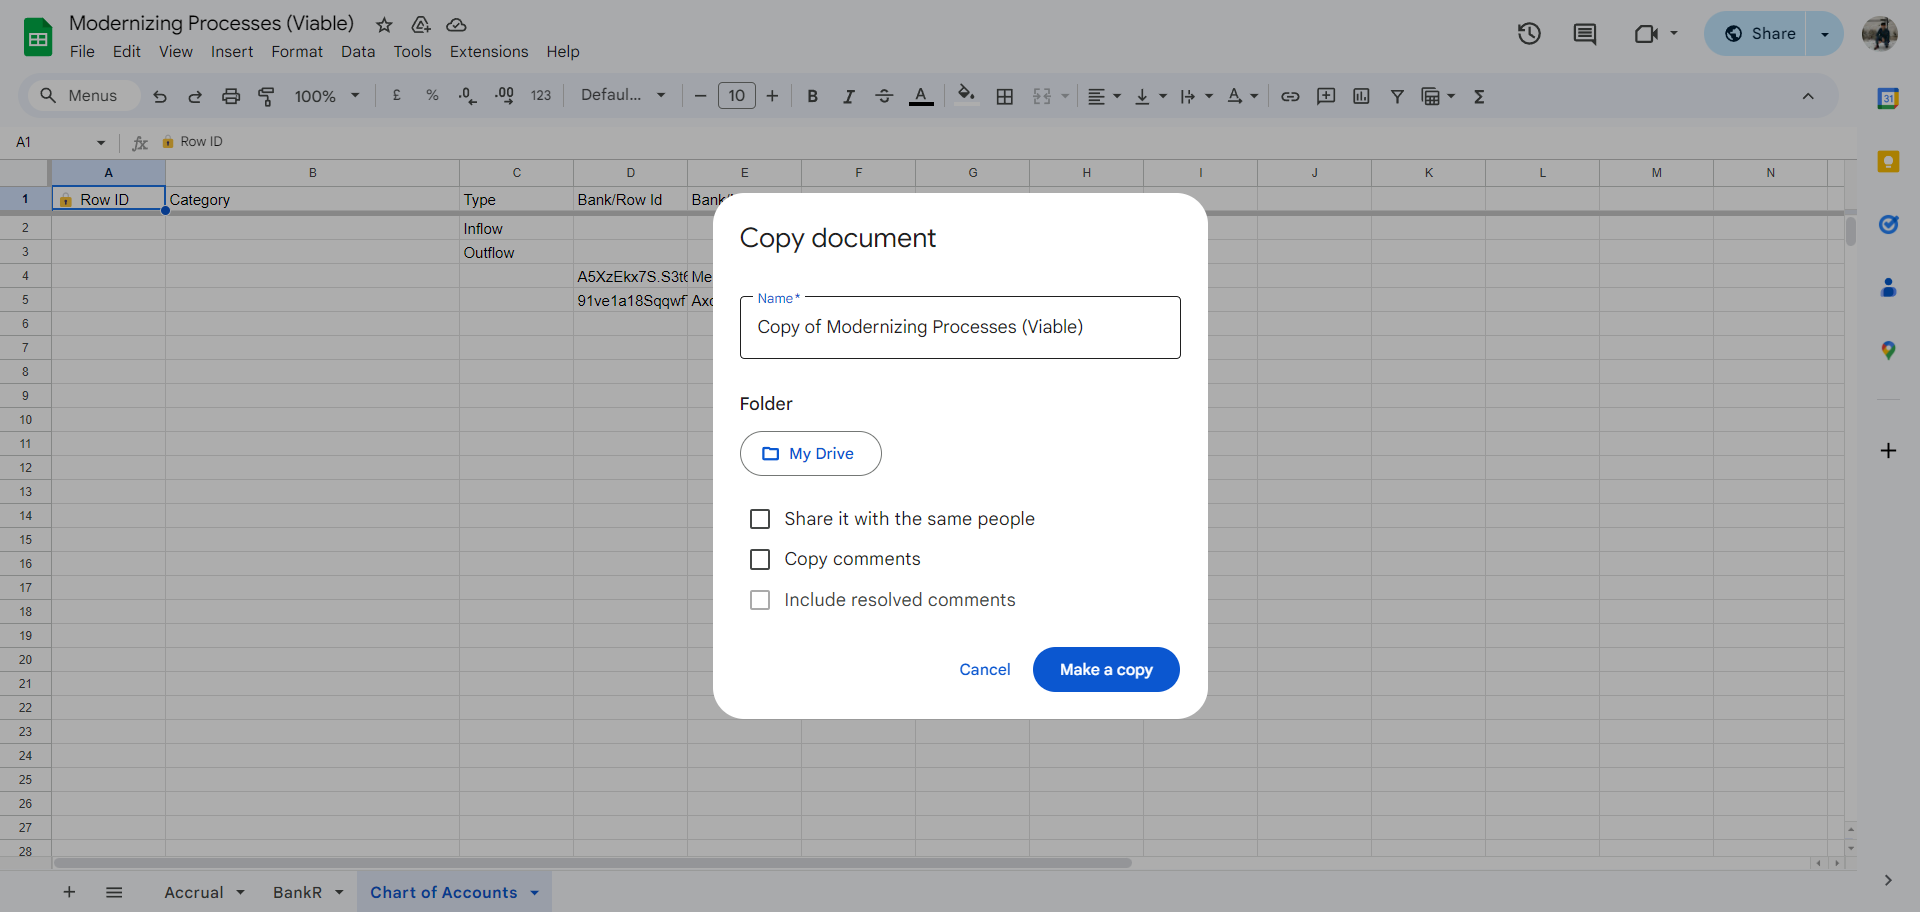
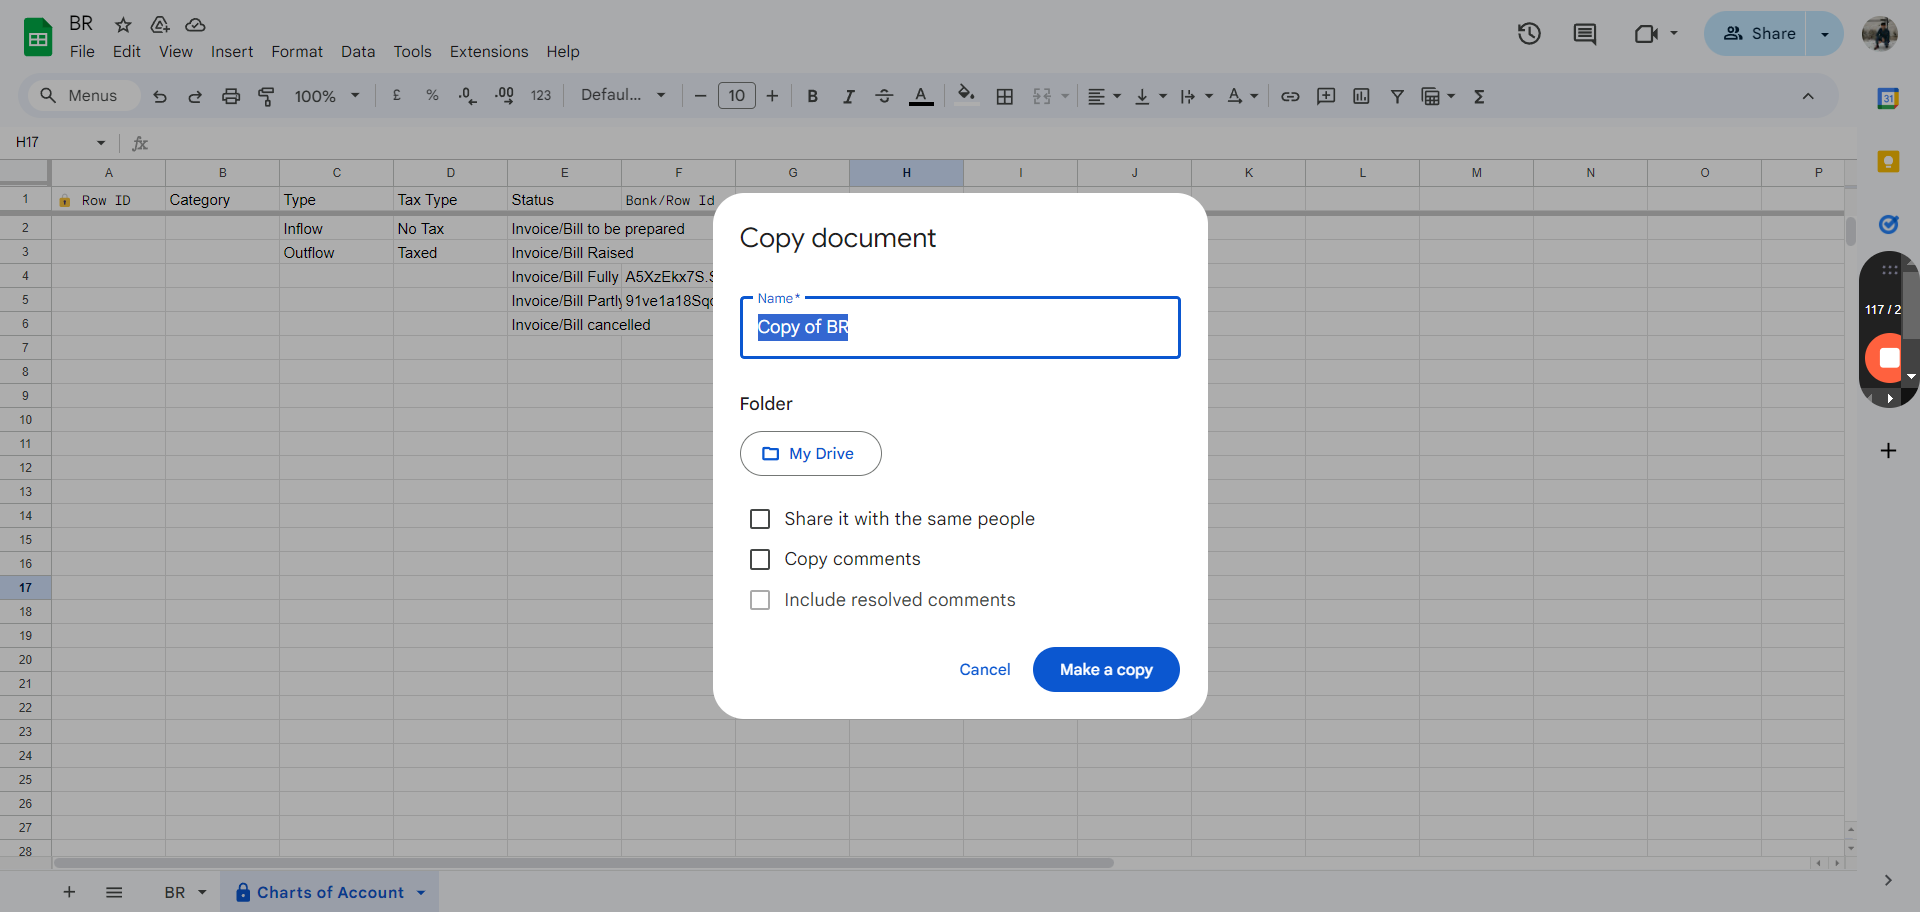
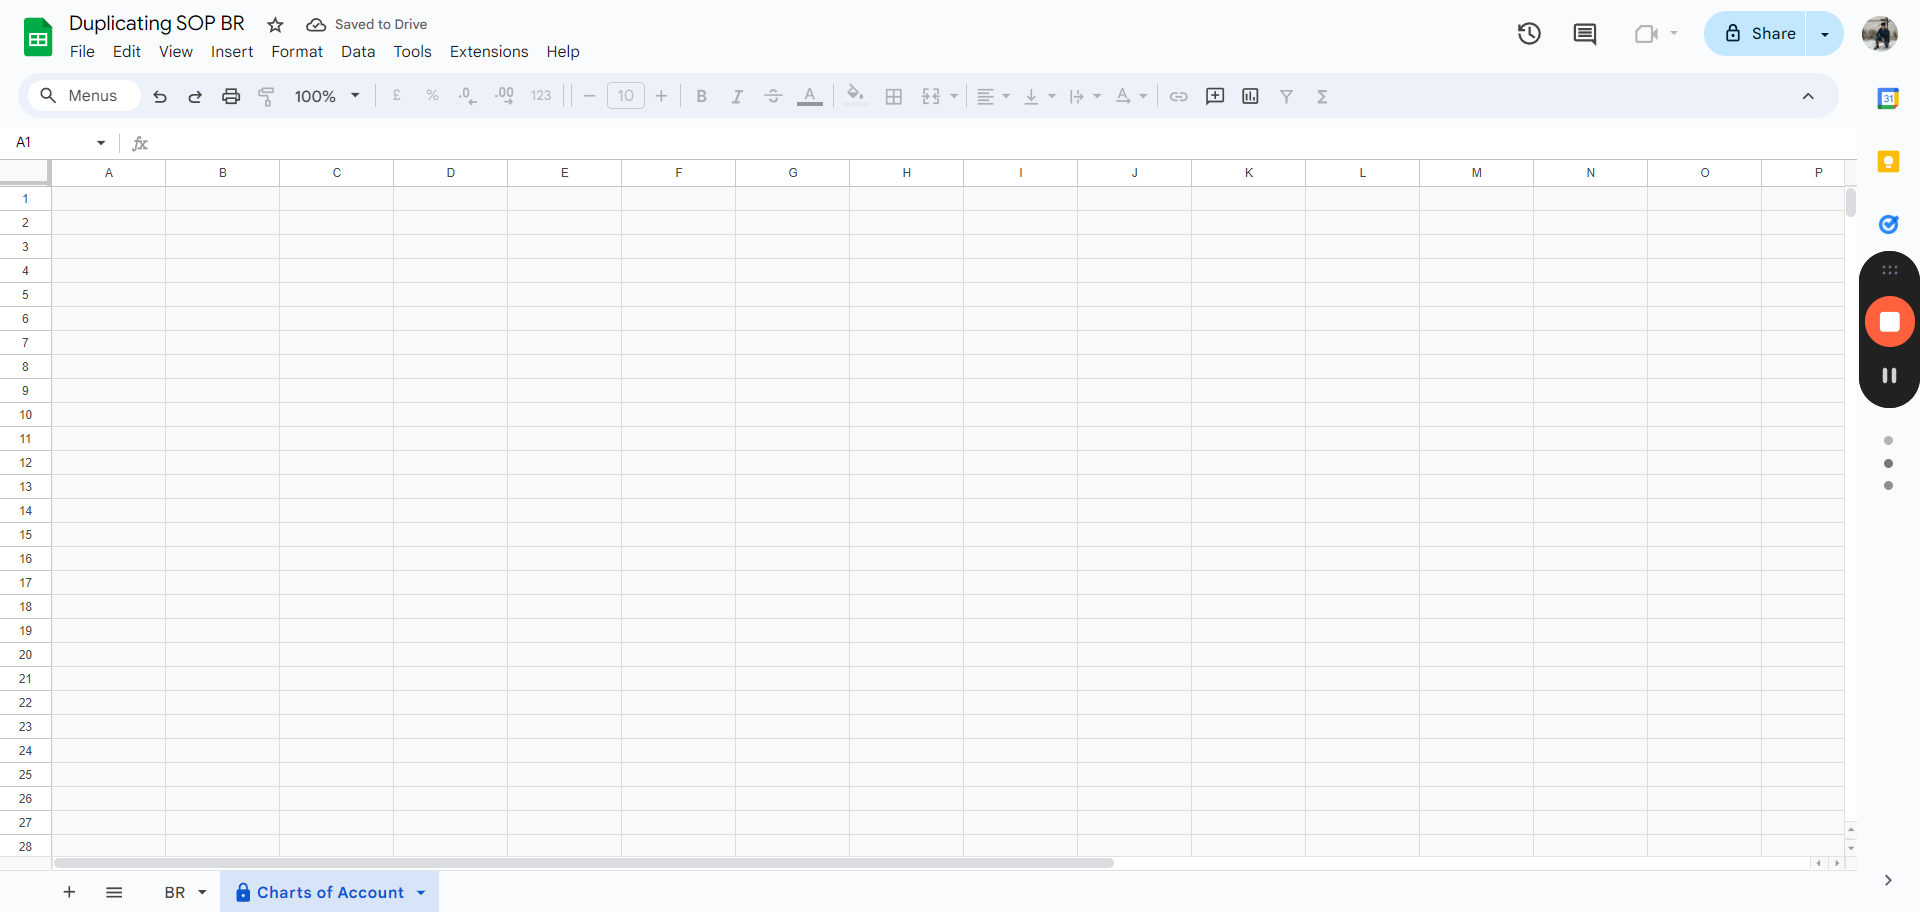
I would select the drive where I want this to be. I would choose "duplicating SOP" and make a copy.

23
Click here on "My Drive"
Step #23: Click here on "My Drive"
24
Select the Folder
Step #24: Select the Folder

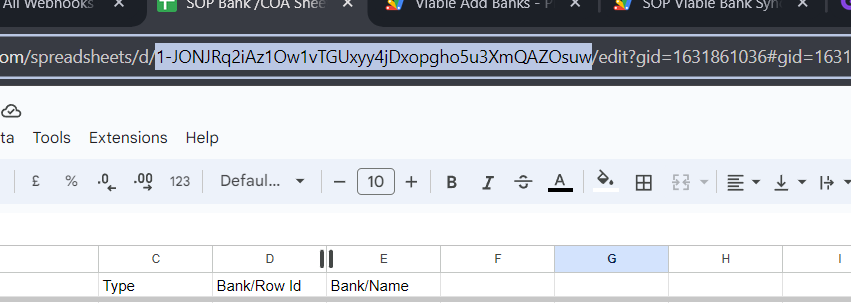
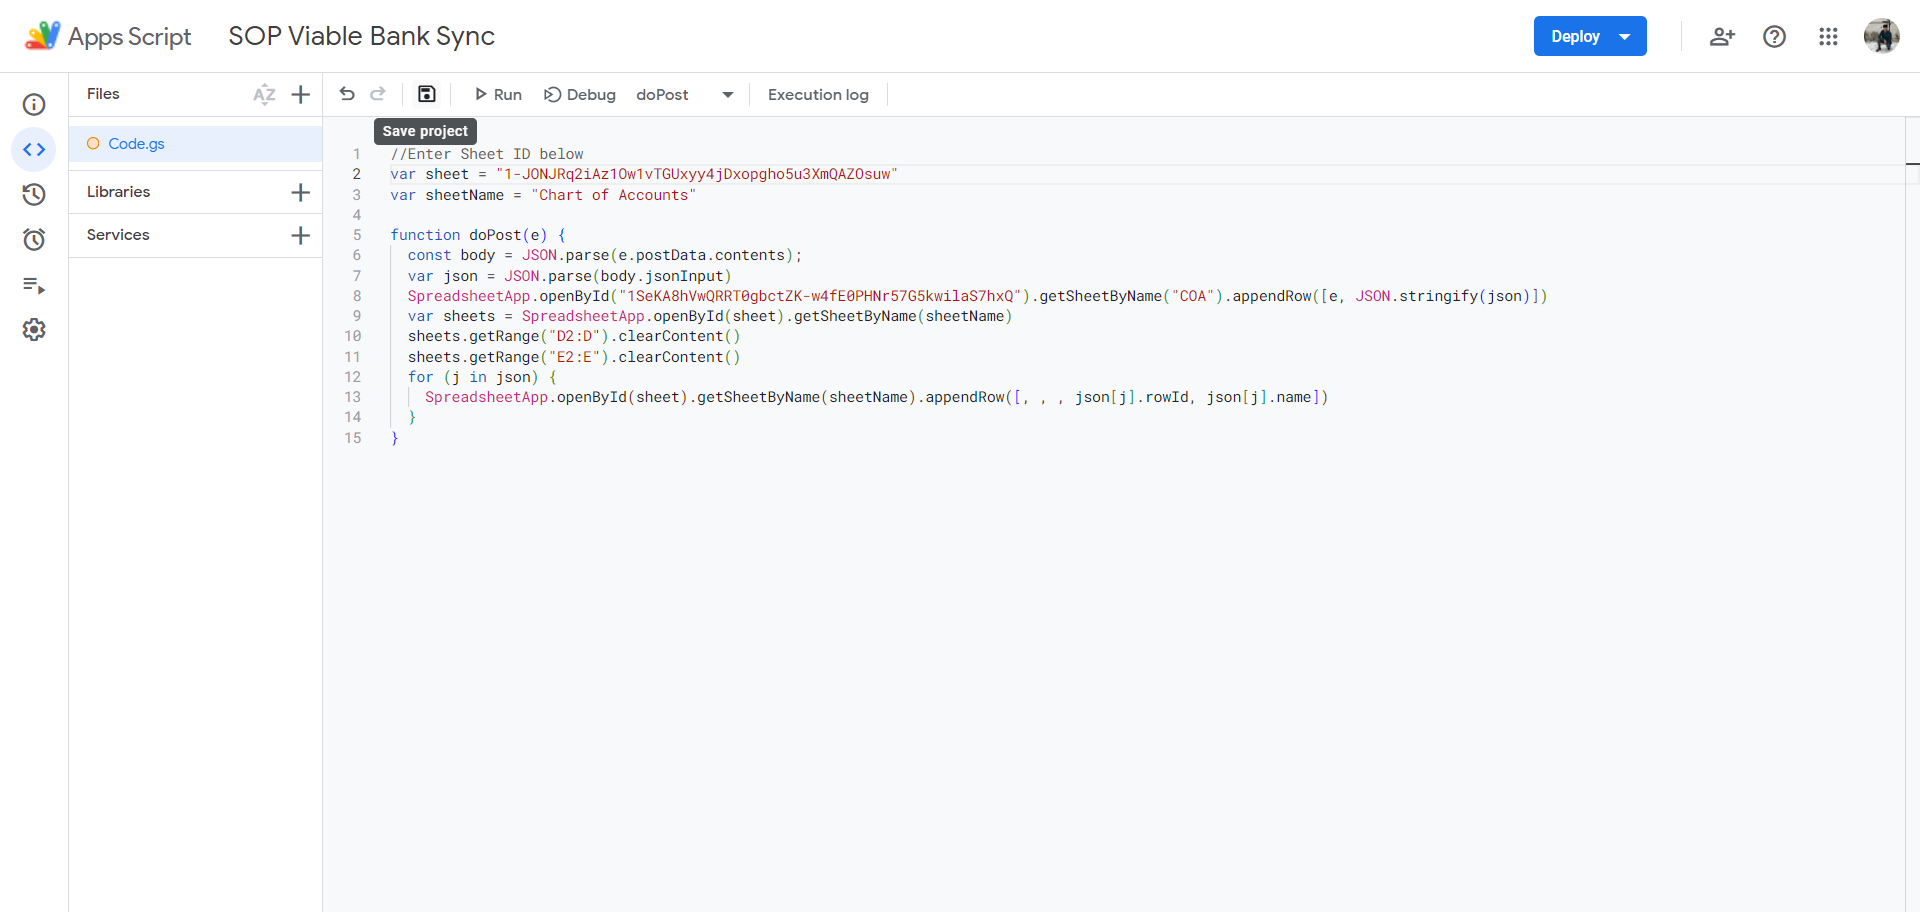
Now I'm going to close the original because we don't need it anymore. As you can see, from the slash D to the next backslash, you have the sheet ID. Copy that sheet ID and go into the script. On the first line, let me add a comment.

25
Copy the Sheet ID
Step #25: Copy the Sheet ID
27
Click on "var sheet = " 1K3Pc1ZkNbrzuqbzi71VQbSR11040QI2be PAYmB0fZm0 ""
Step #27: Click on "var sheet = " 1K3Pc1ZkNbrzuqbzi71VQbSR11040QI2be PAYmB0fZm0 ""

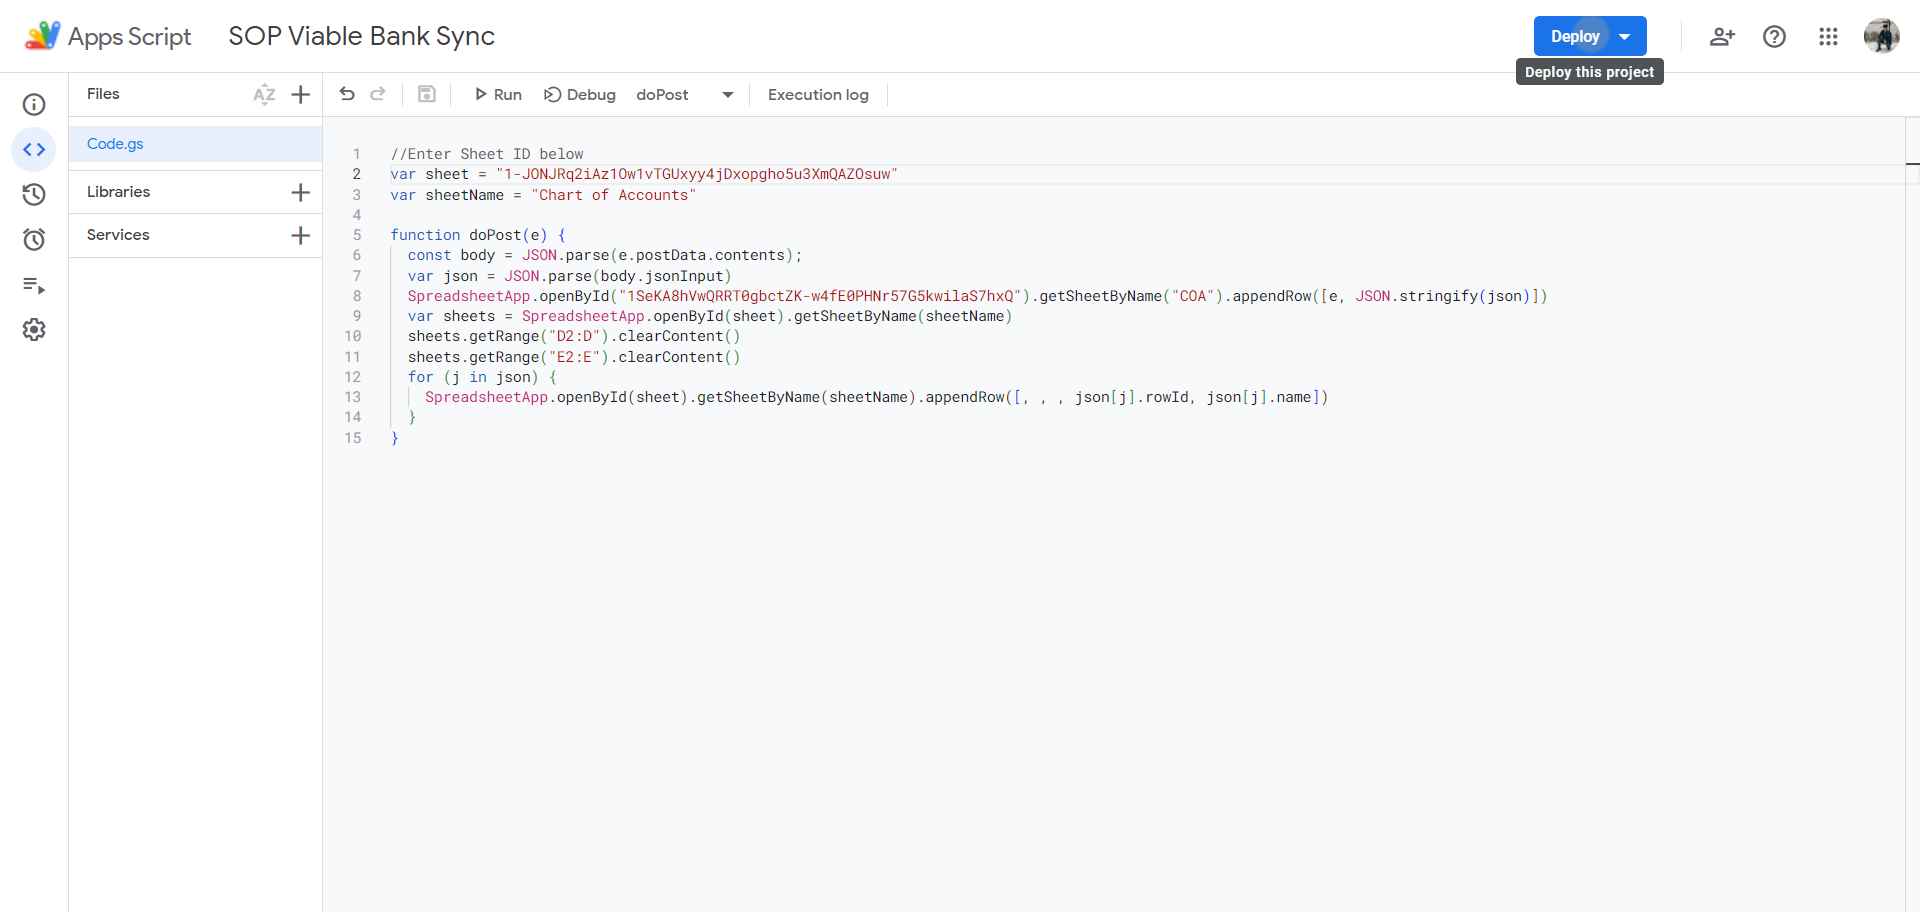
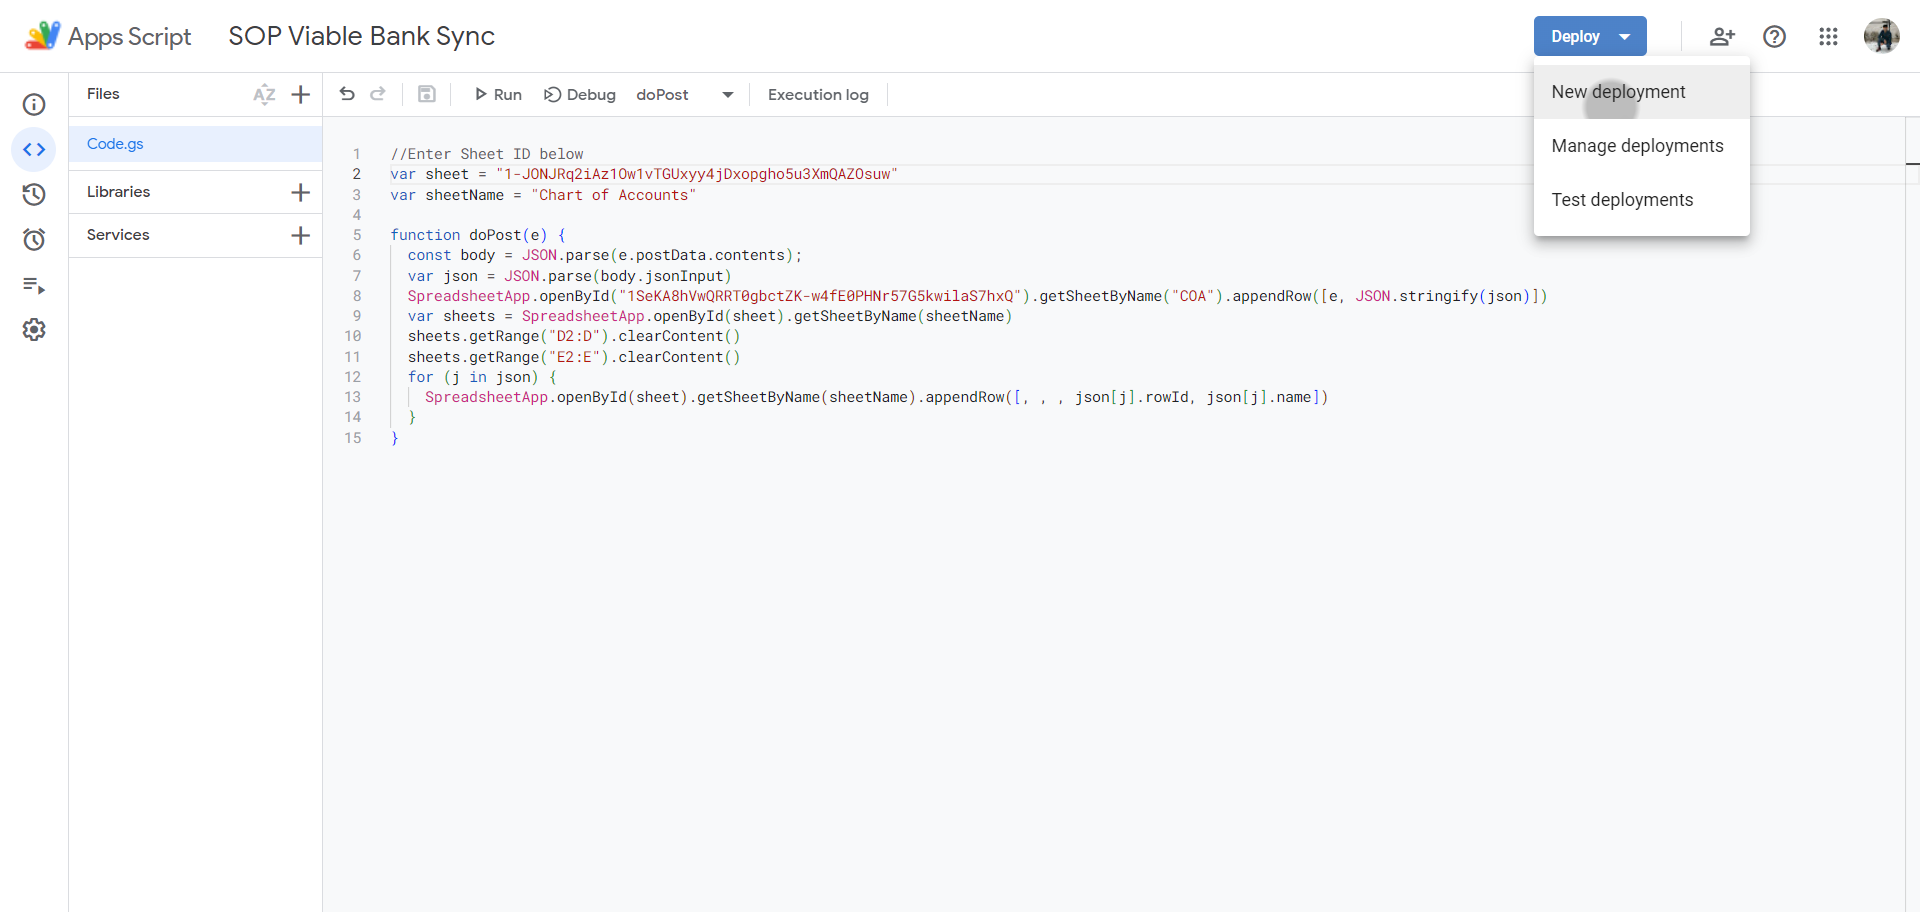
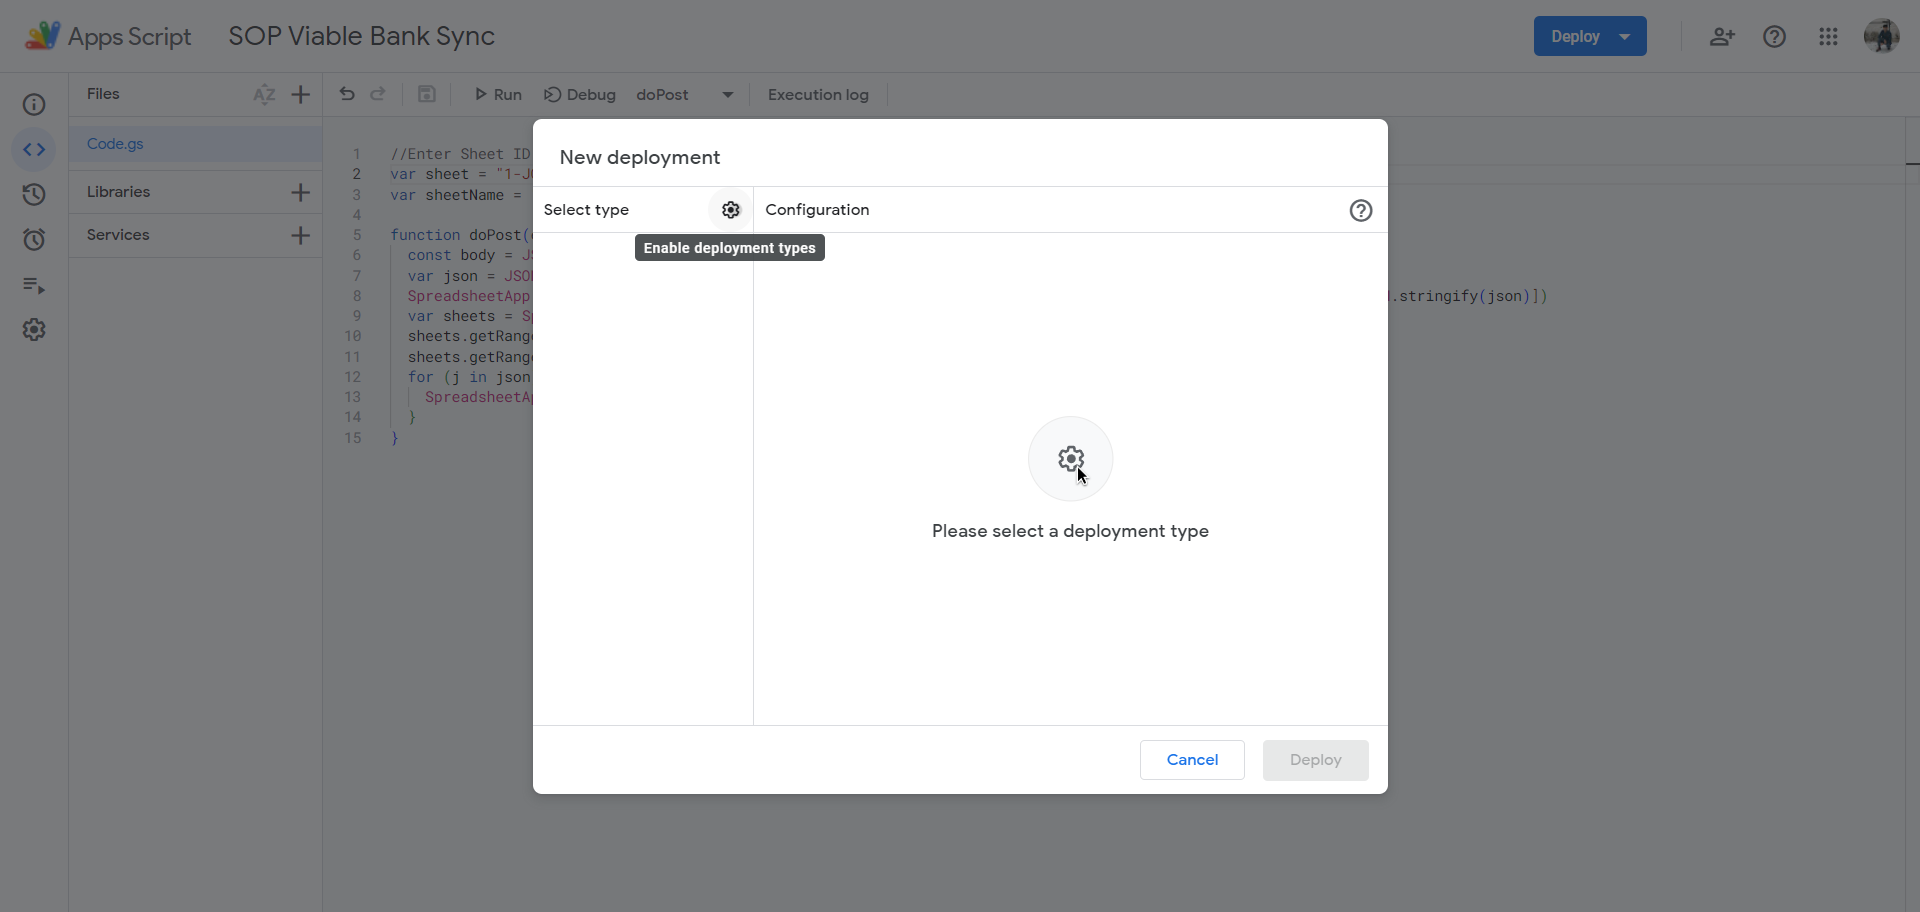
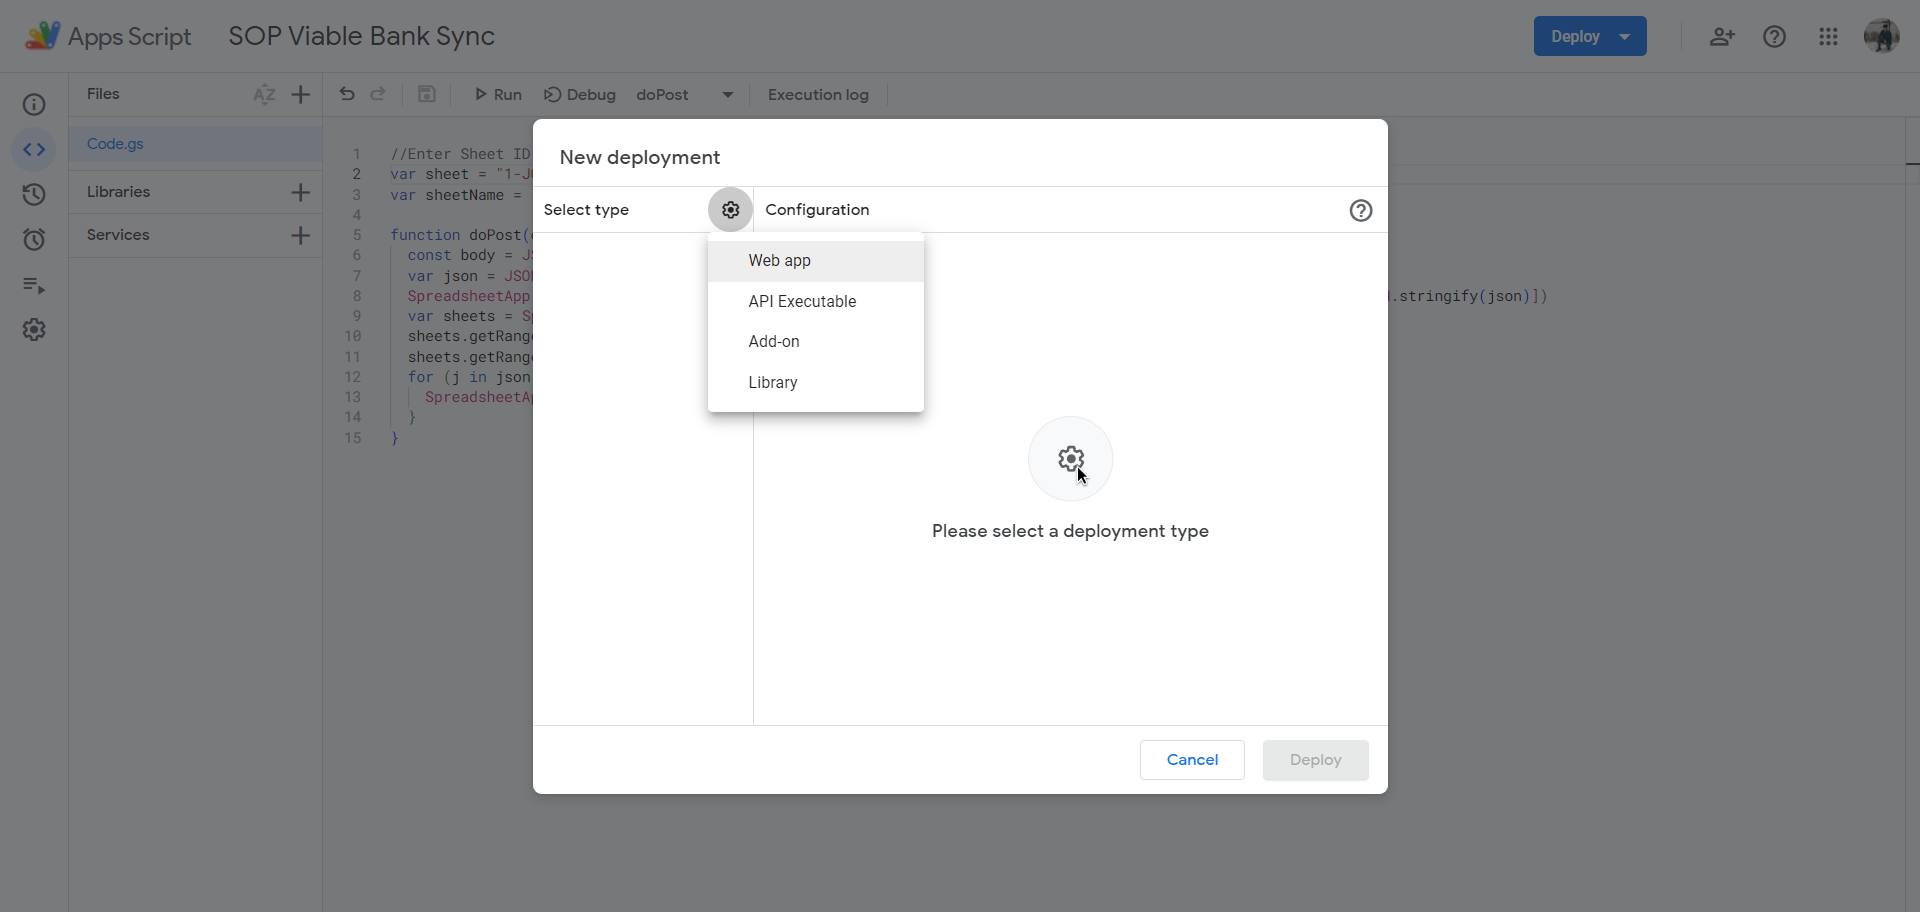
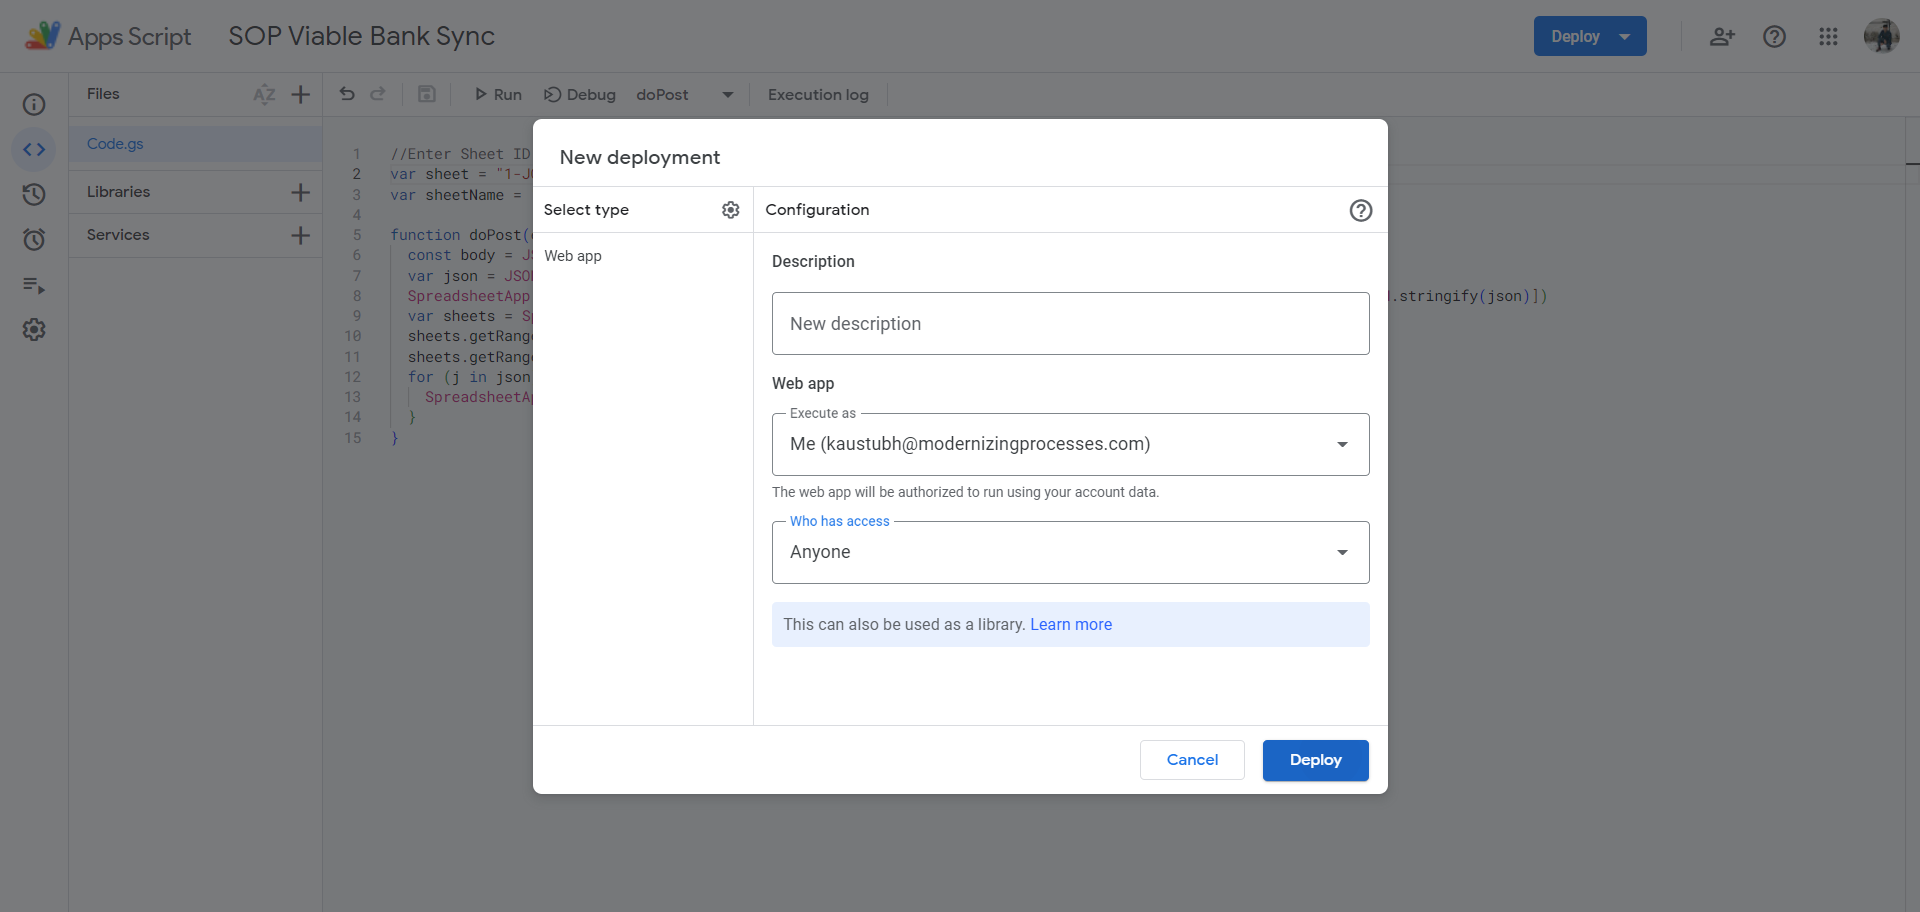
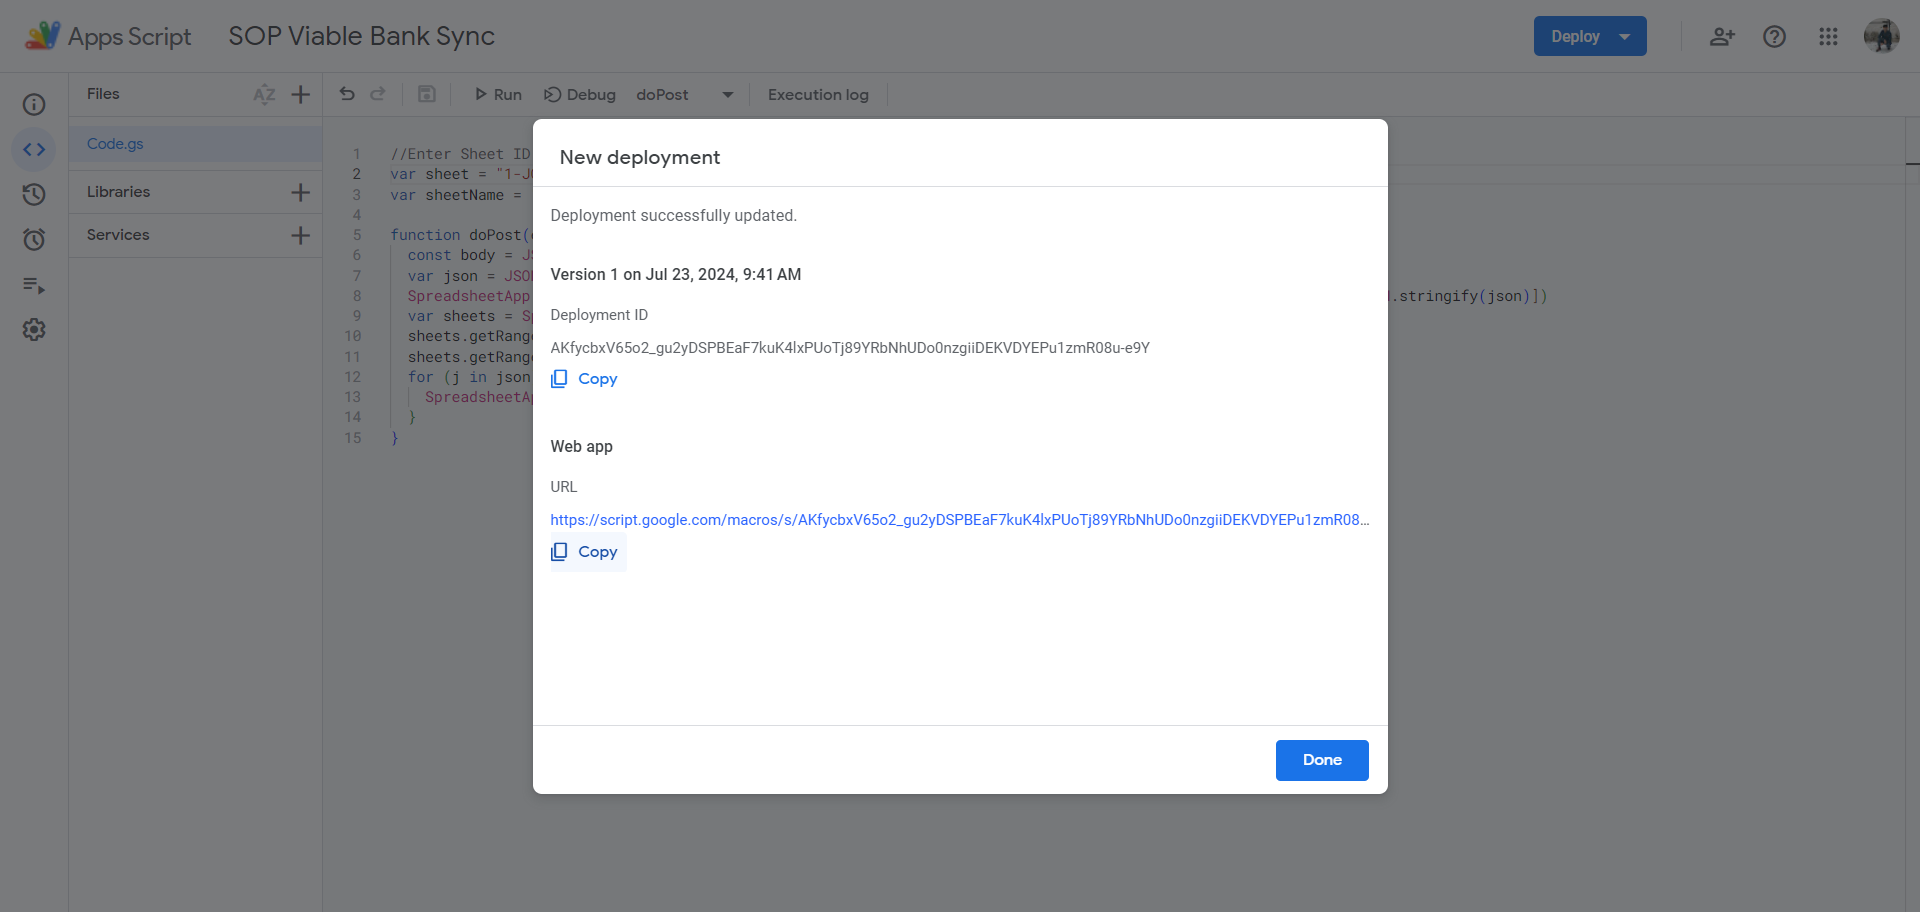
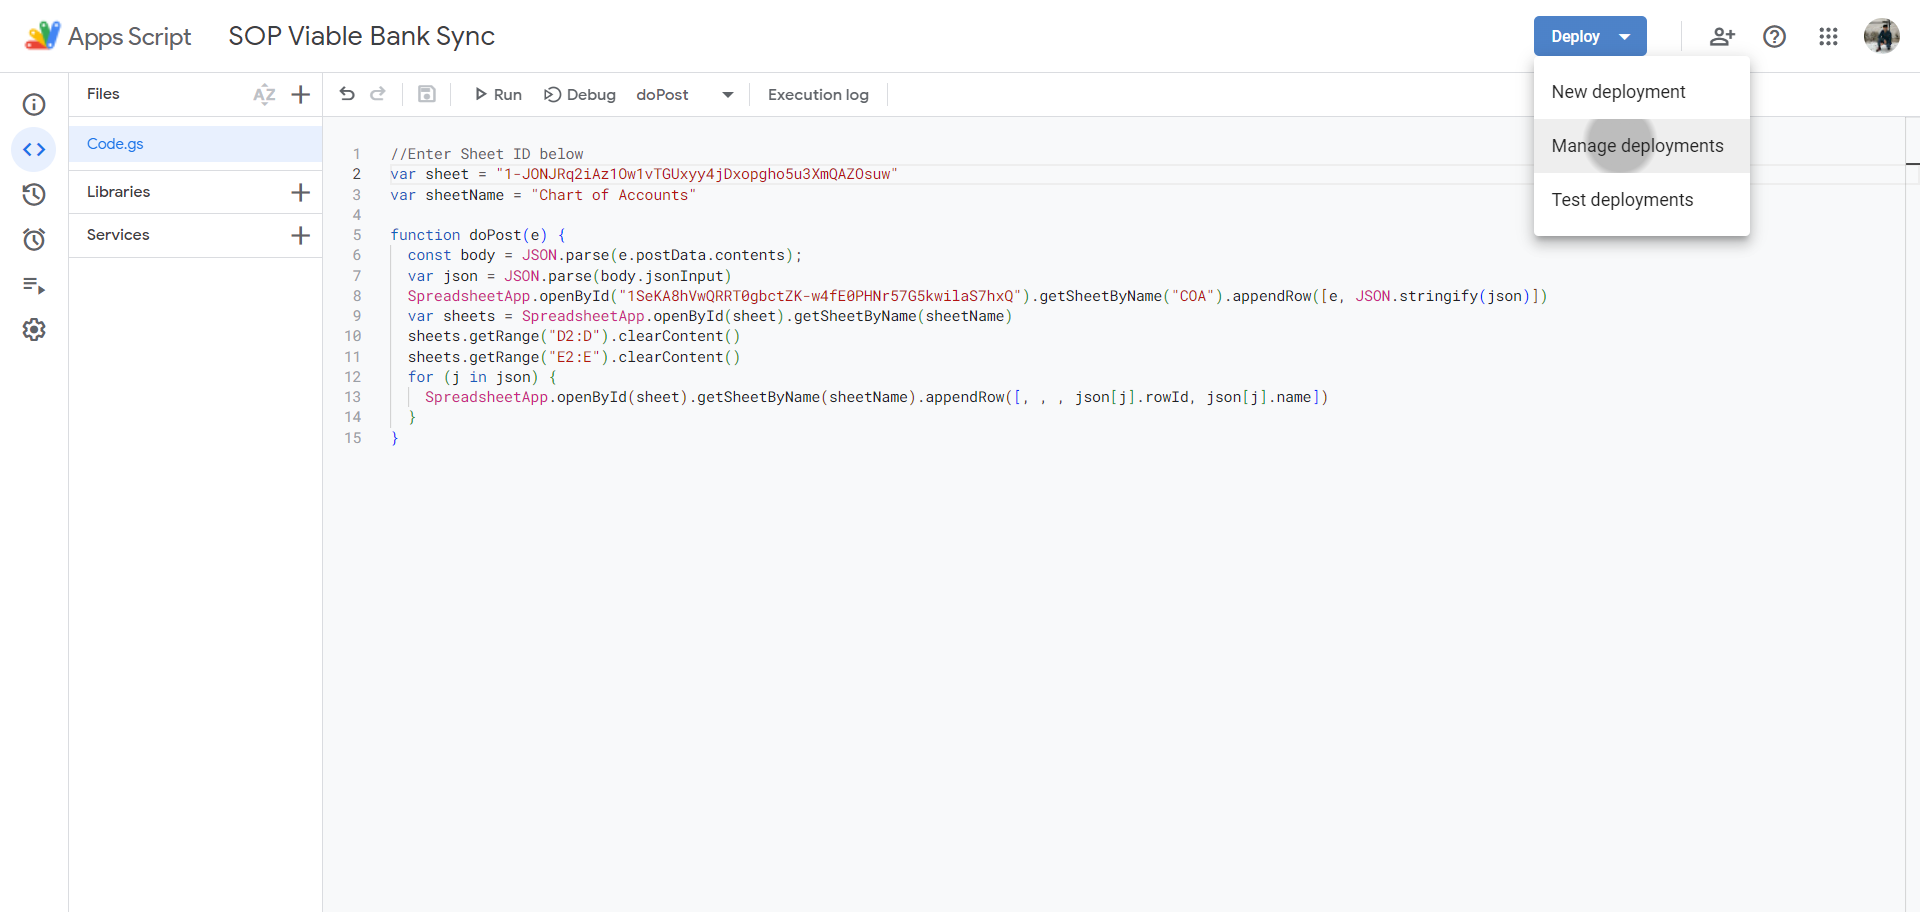
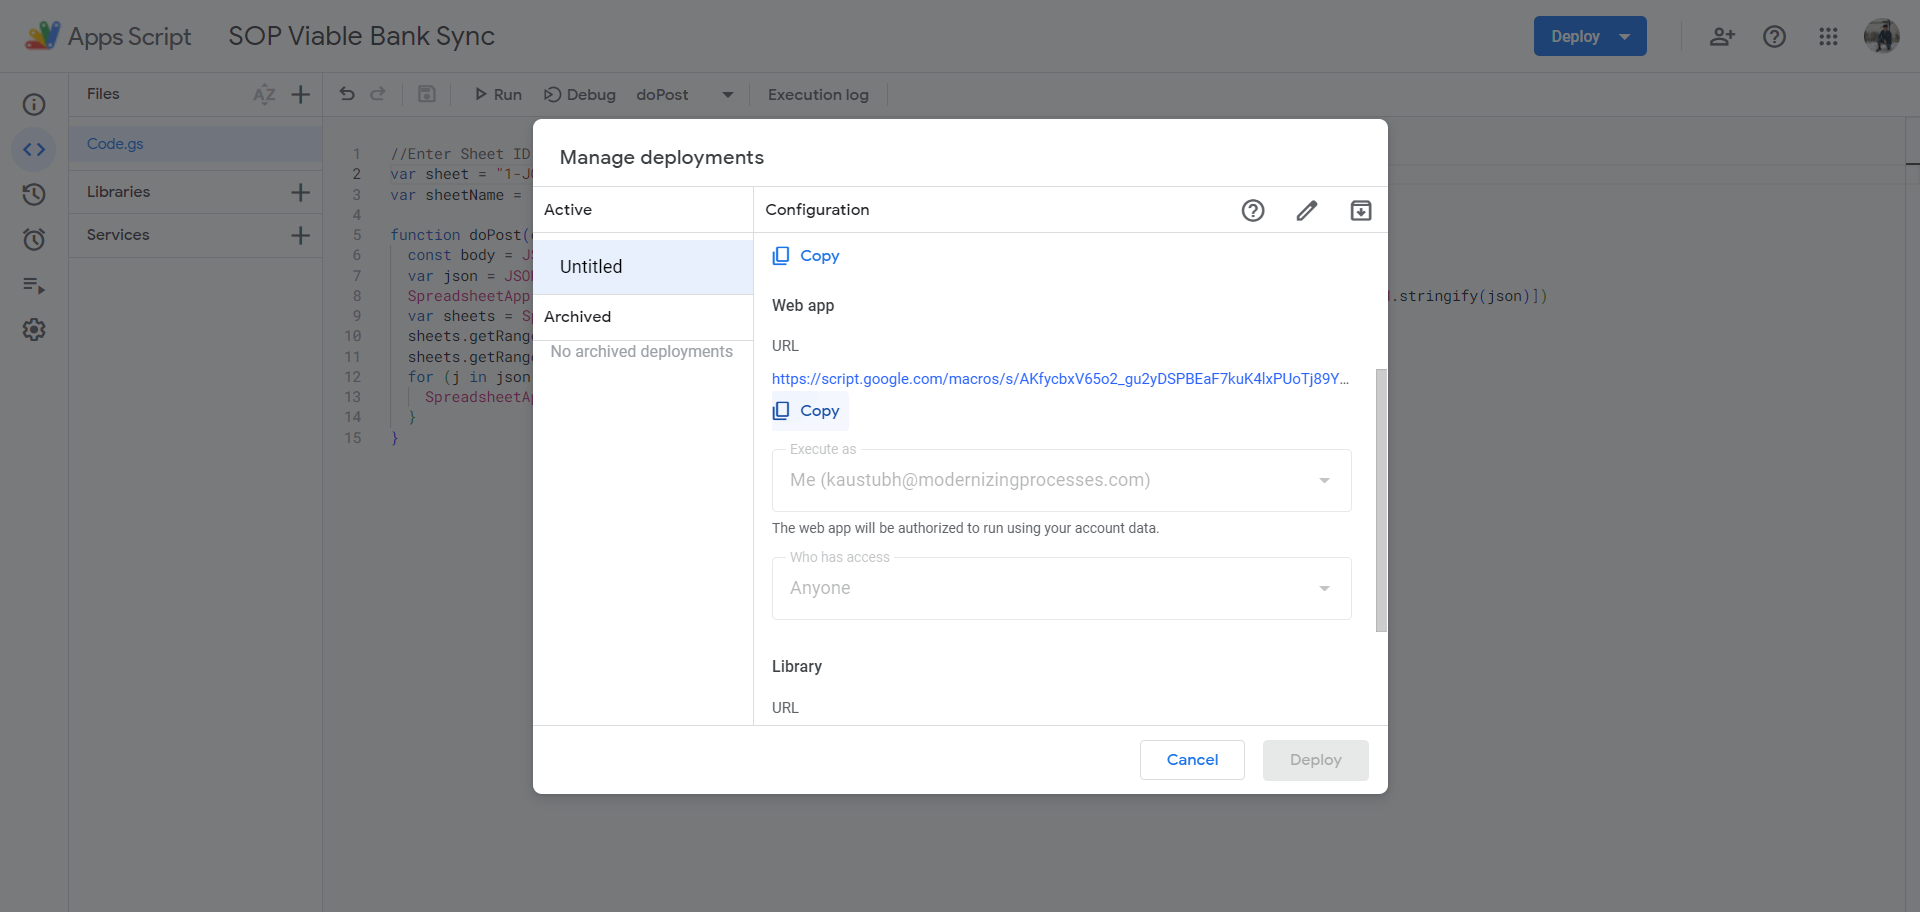
Here, paste the sheet ID. Next, go to deploy, click on new deployment, and enable deployment types. Click on the settings gear icon and select web app.

28
Click on "Save project"
Step #28: Click on "Save project"
29
Click on "Deploy"
Step #29: Click on "Deploy"
30
Click on "New deployment"
Step #30: Click on "New deployment"
31
Click on "Gear Icon"
Step #31: Click on "Gear Icon"
32
Click on "Web app"
Step #32: Click on "Web app"
33
Click on "Only myself"
Step #33: Click on "Only myself"
34
Click on "Anyone"
Step #34: Click on "Anyone"
35
Click on "Deploy"
Step #35: Click on "Deploy"

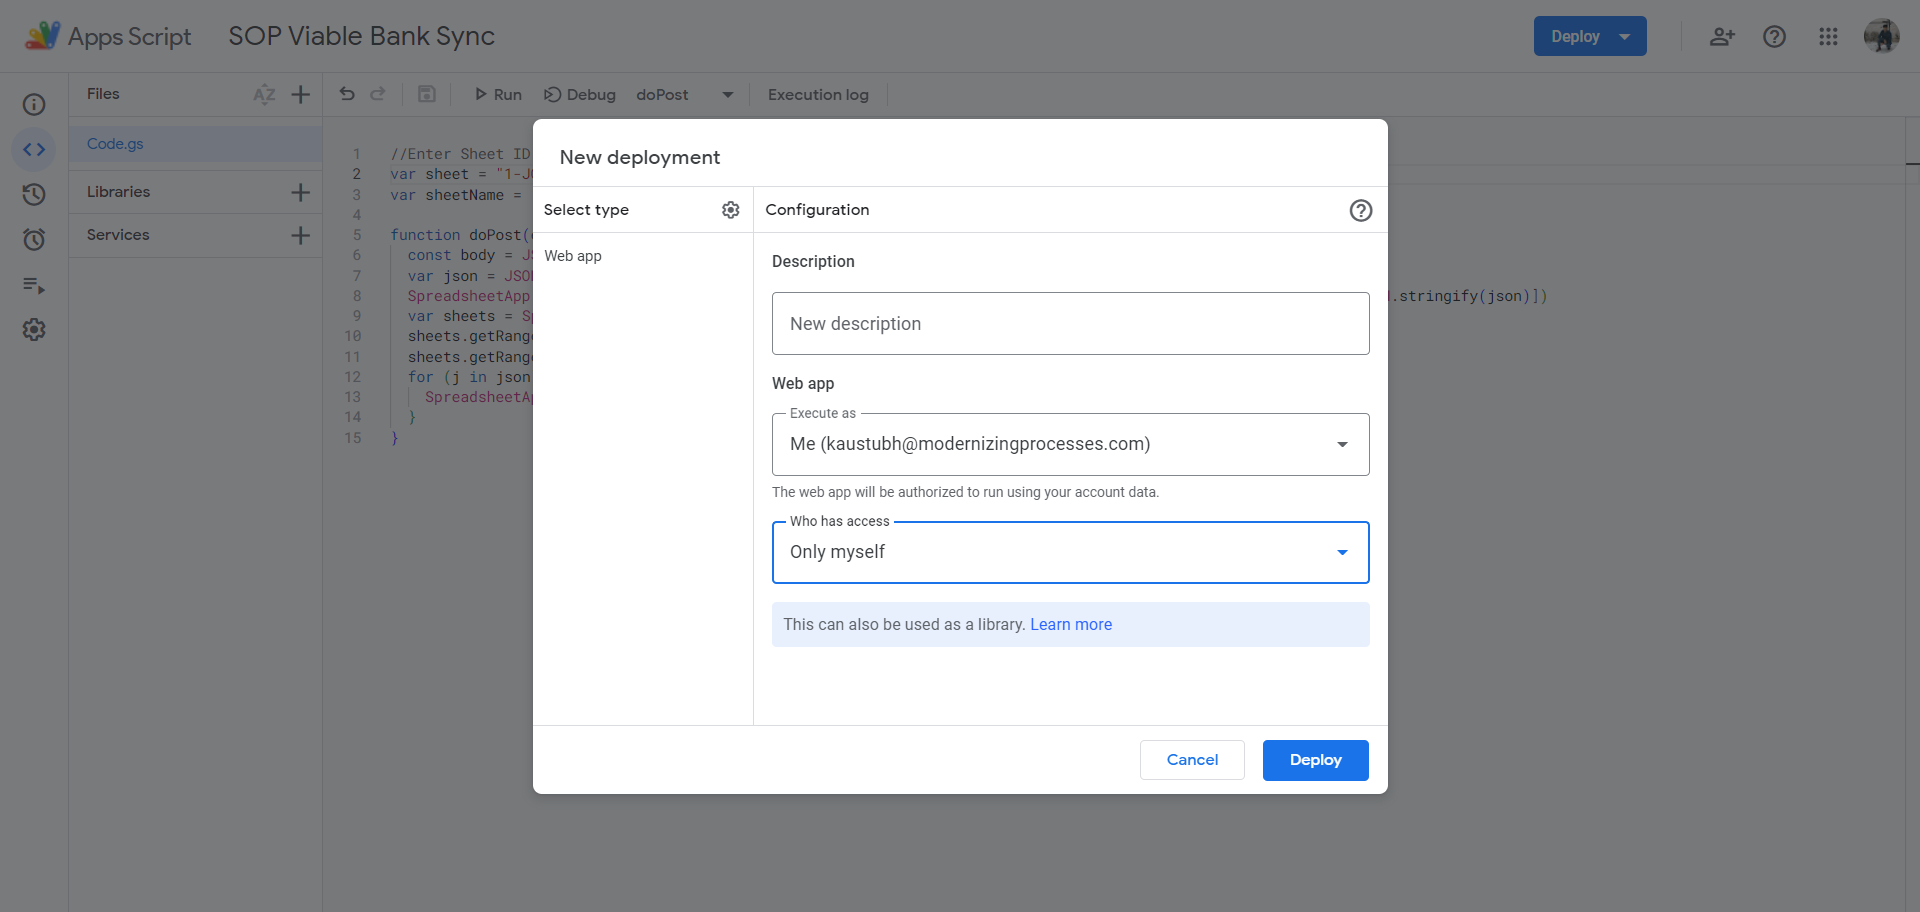
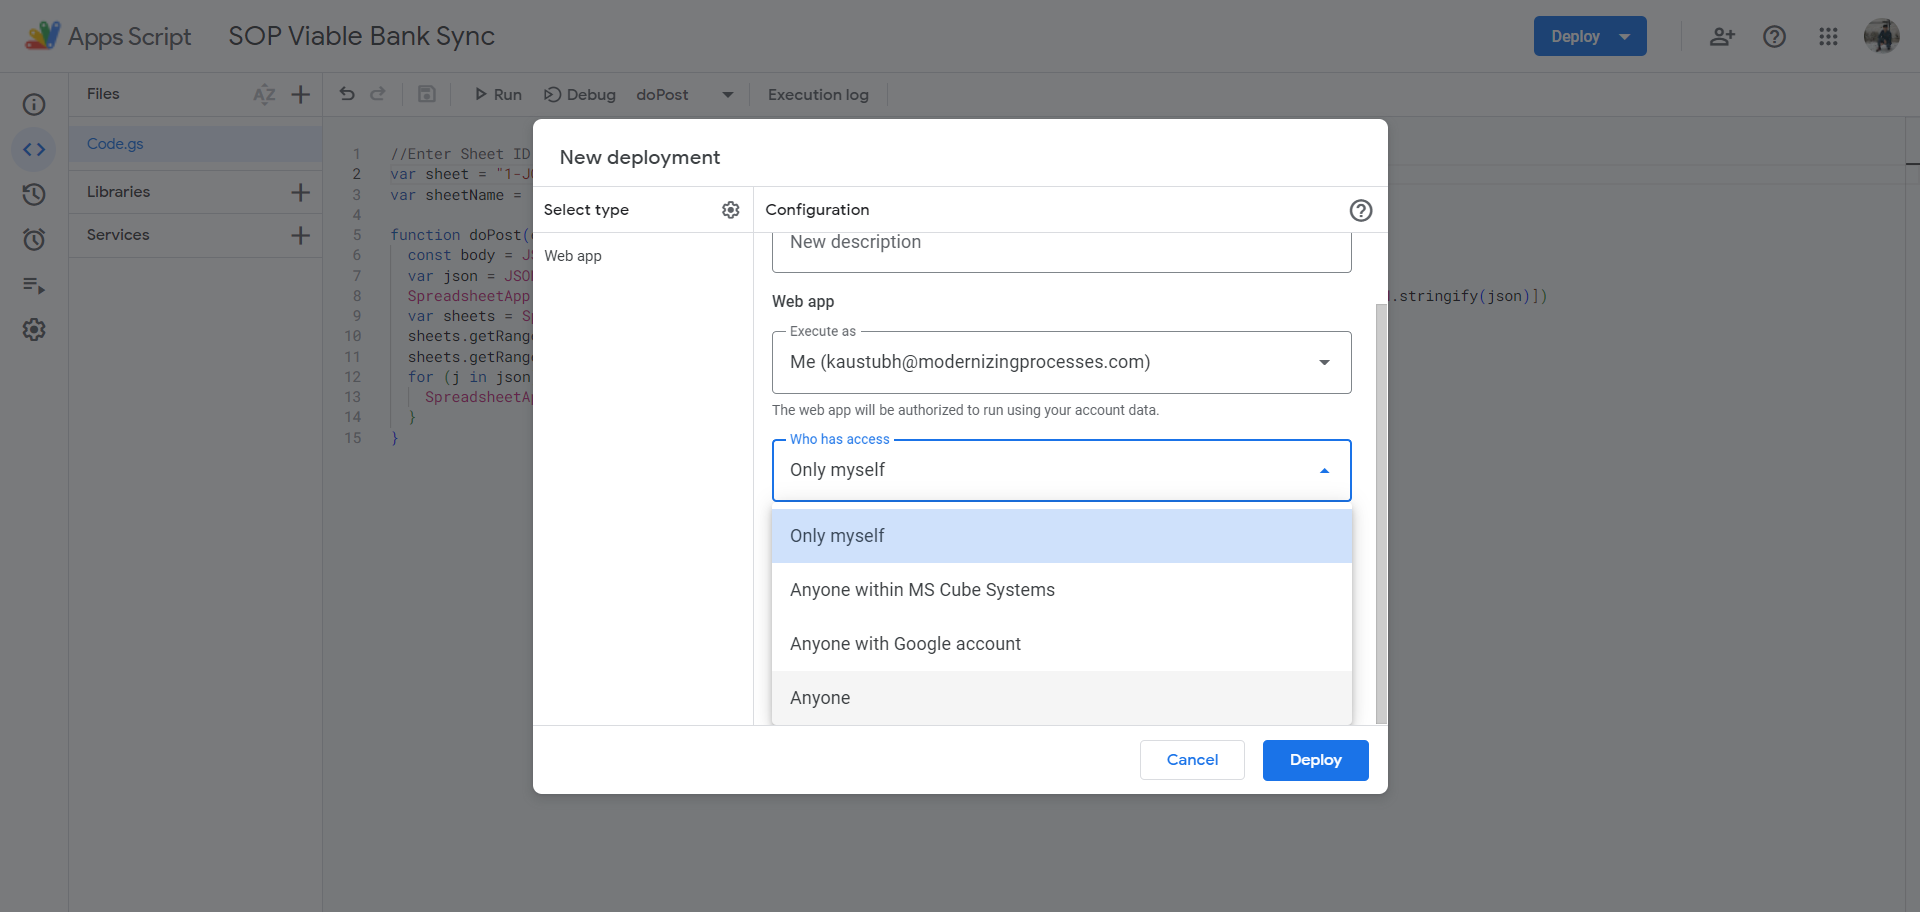
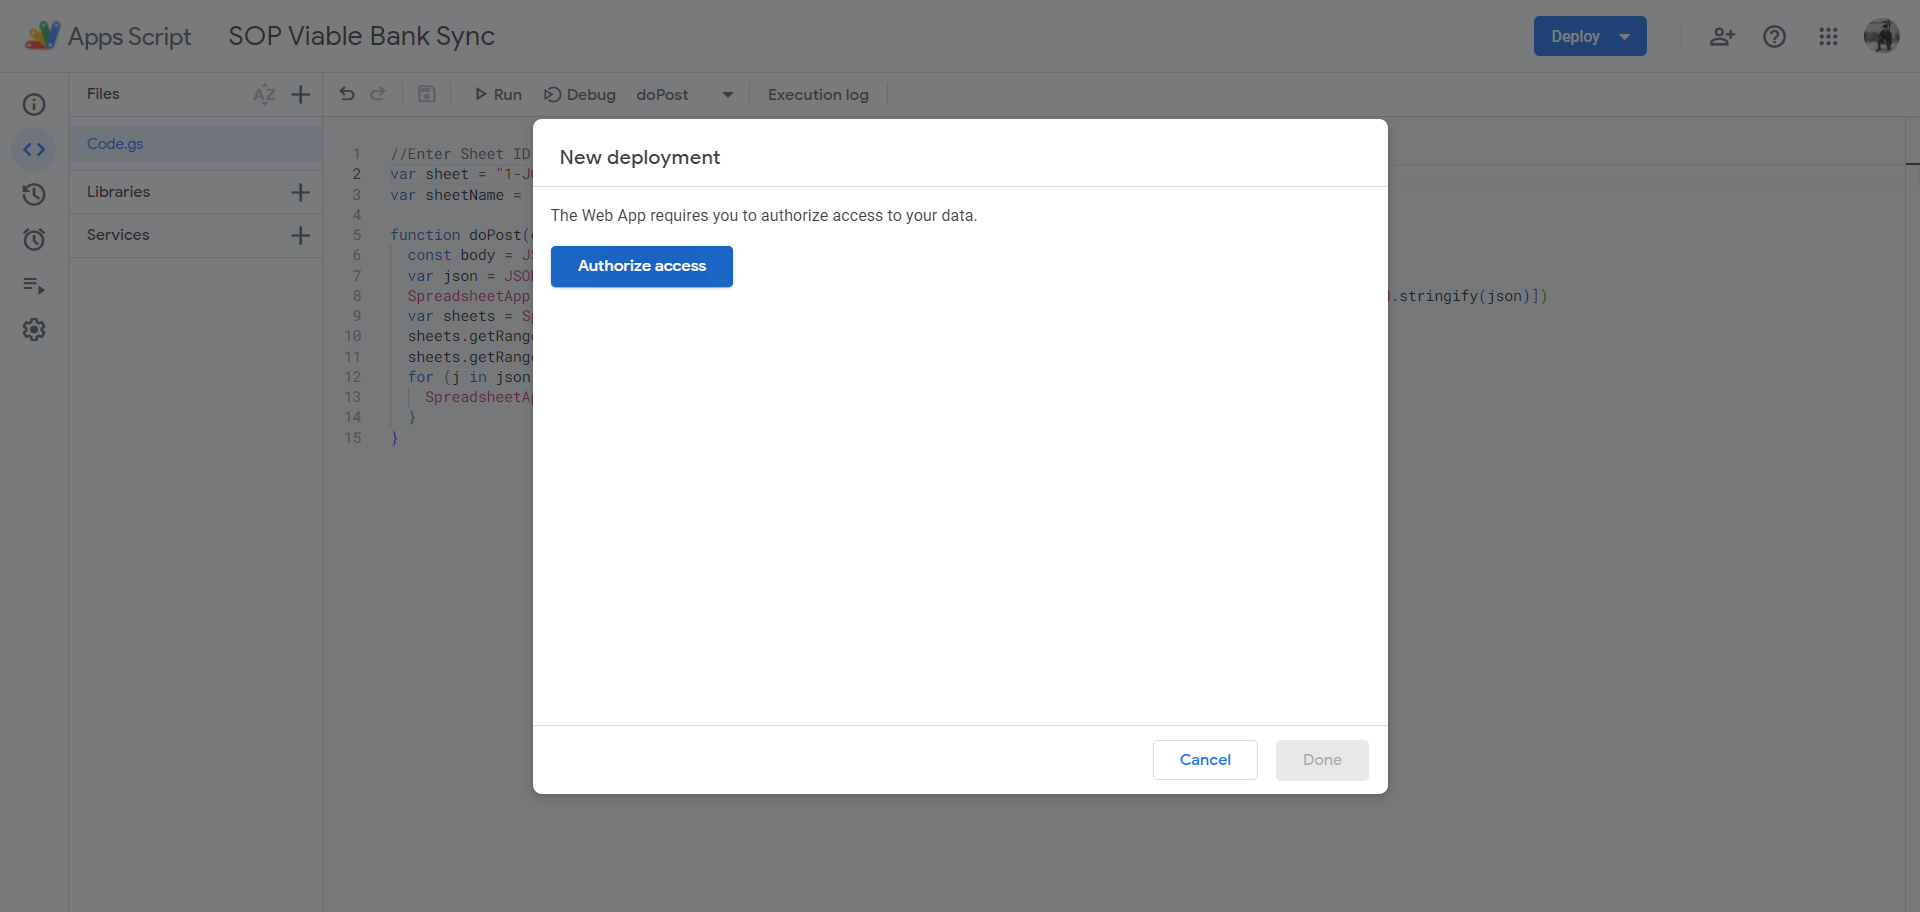
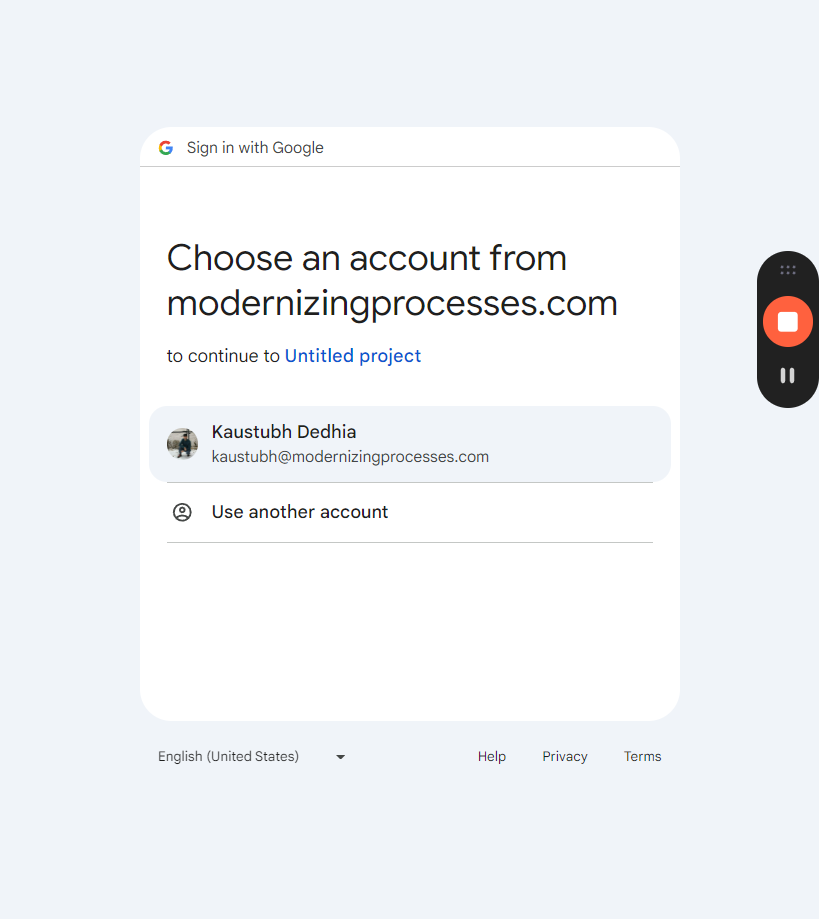
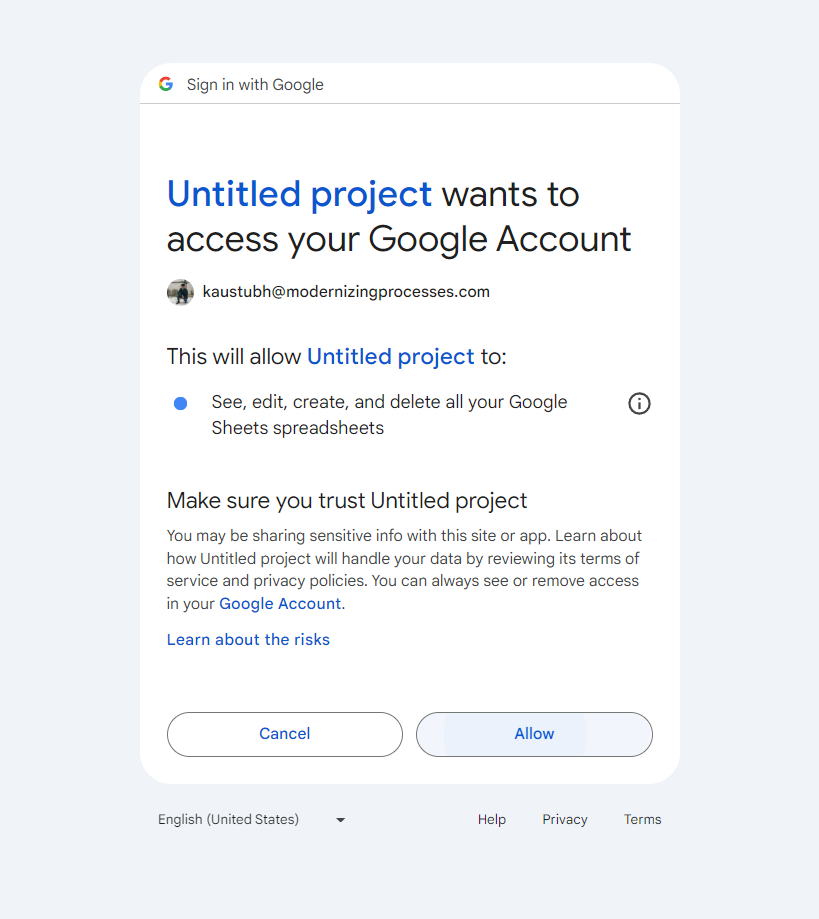
It will ask you to authorize. You should allow this.

36
Click on "Authorize access"
Step #36: Click on "Authorize access"
38
Click on Your Google Account
Step #38: Click on Your Google Account
39
Click on "Allow"
Step #39: Click on "Allow"

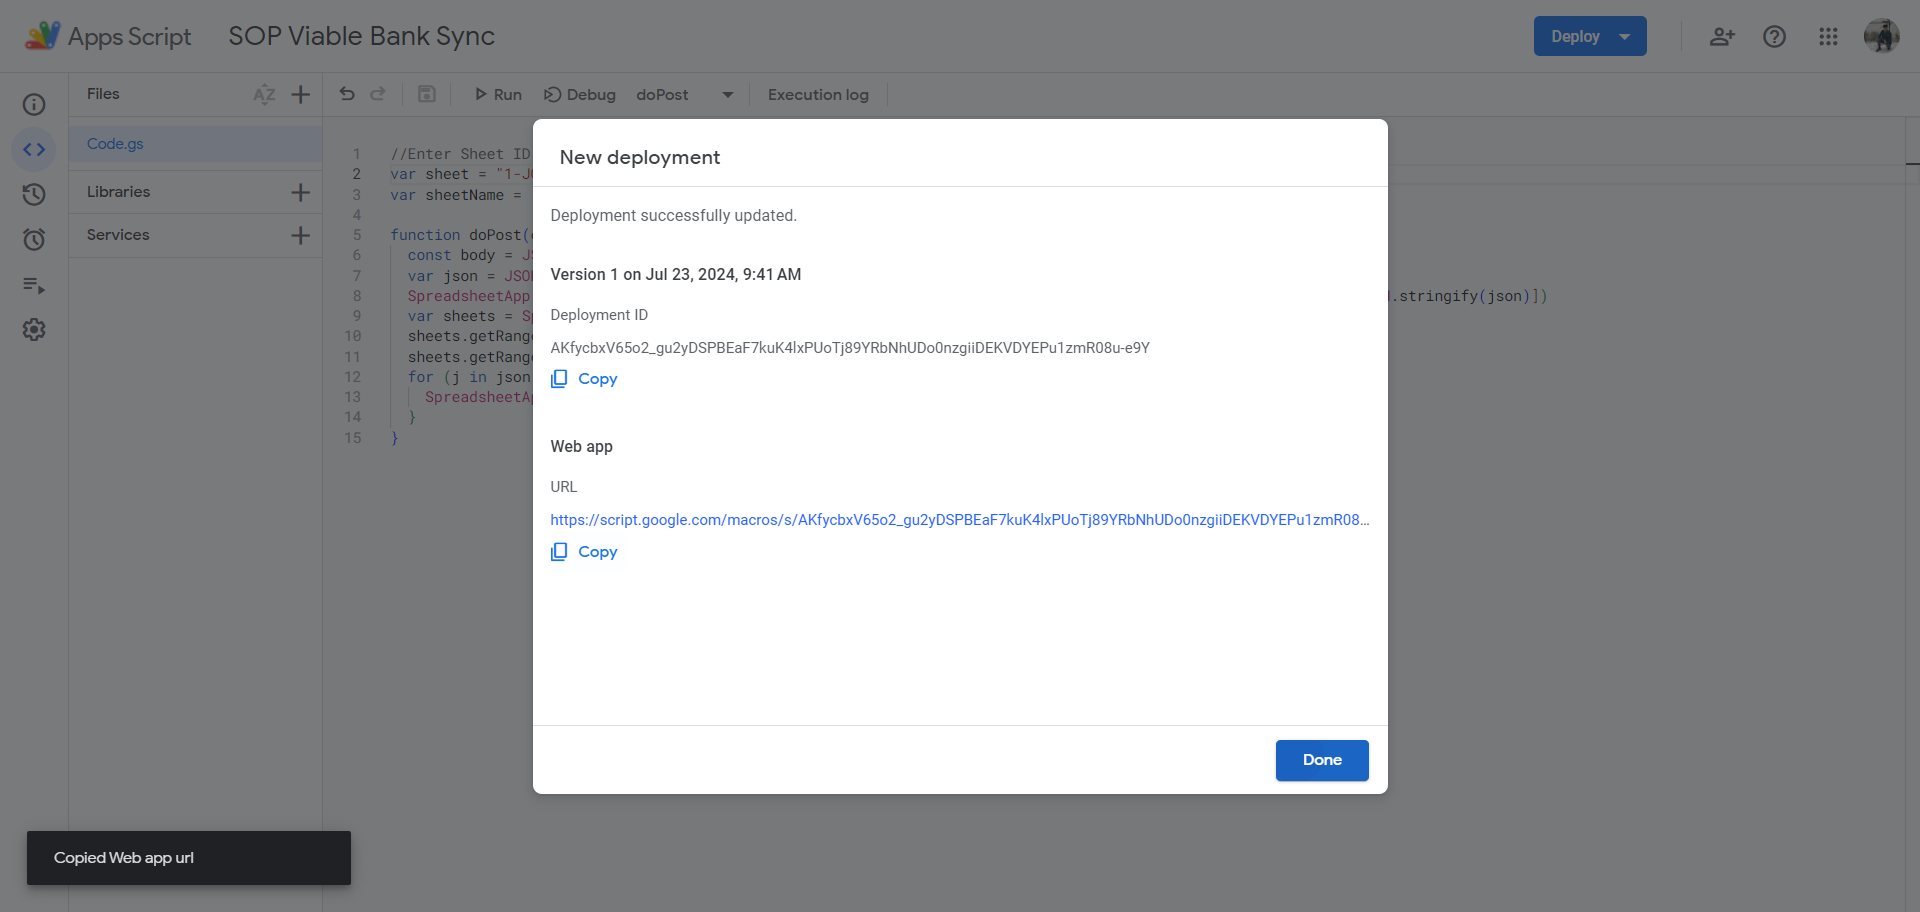
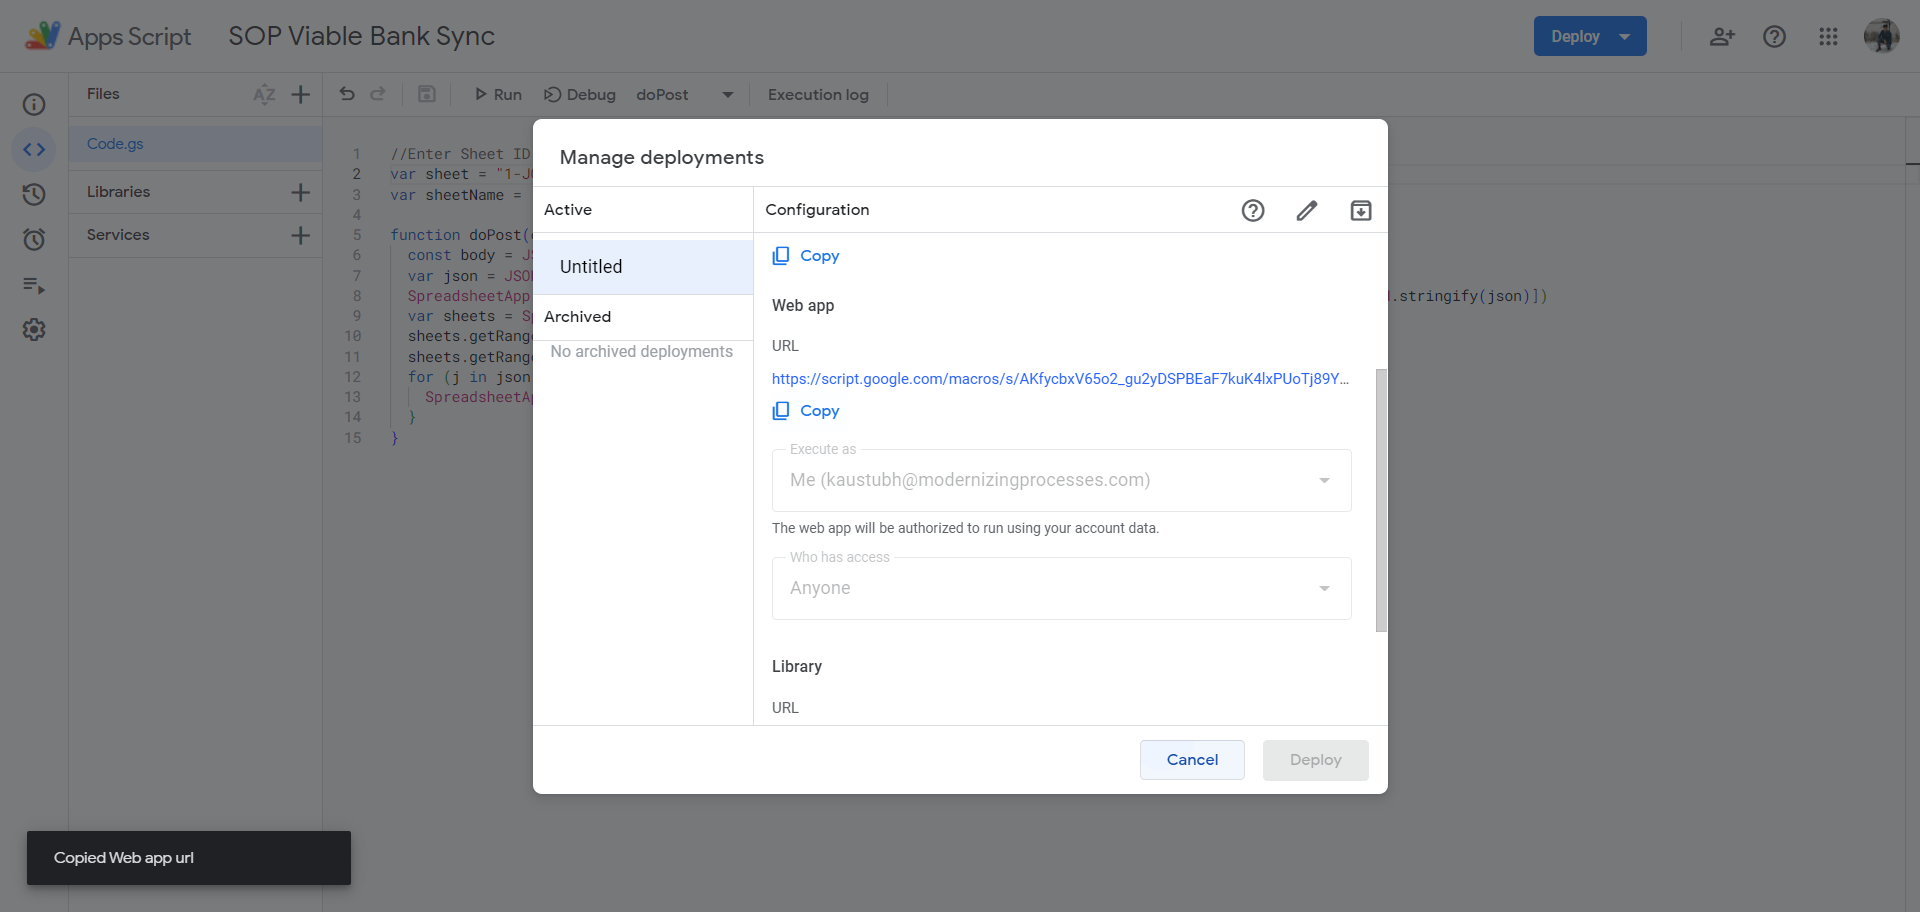
Here is the web app URL. Copy it and go to the viable team.

40
Click on "Copy" below the Web App URL
Step #40: Click on "Copy" below the Web App URL
41
Click on "Done"
Step #41: Click on "Done"

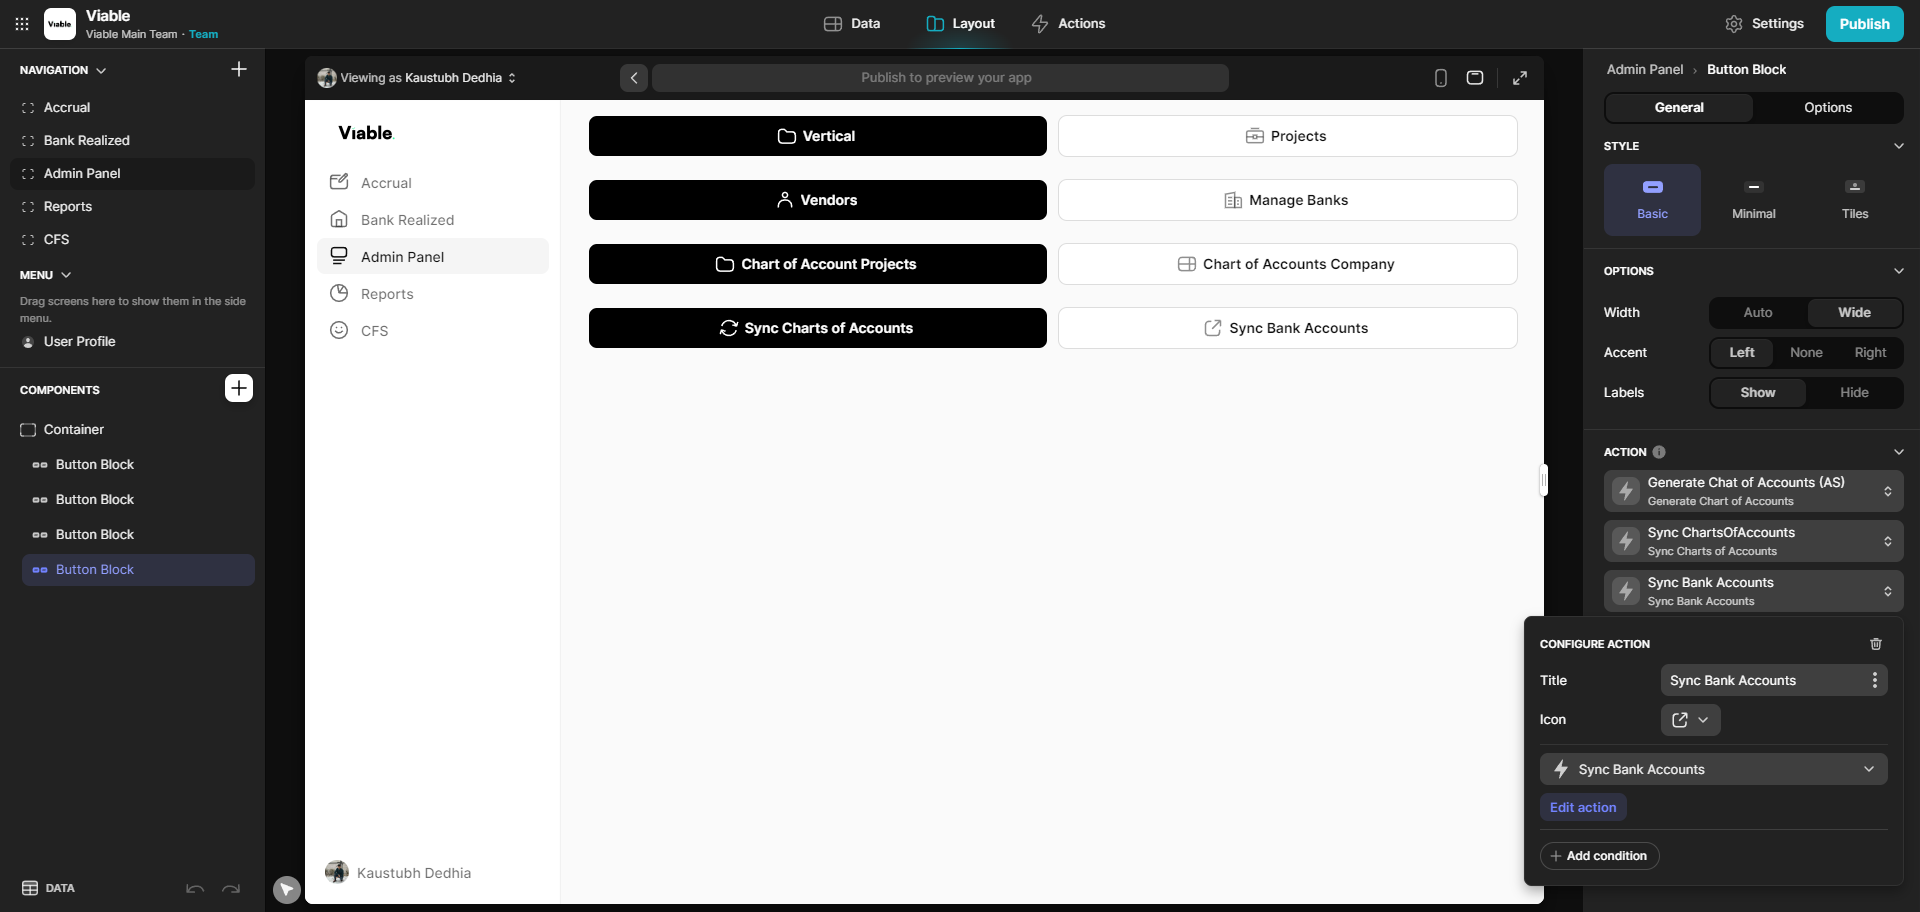
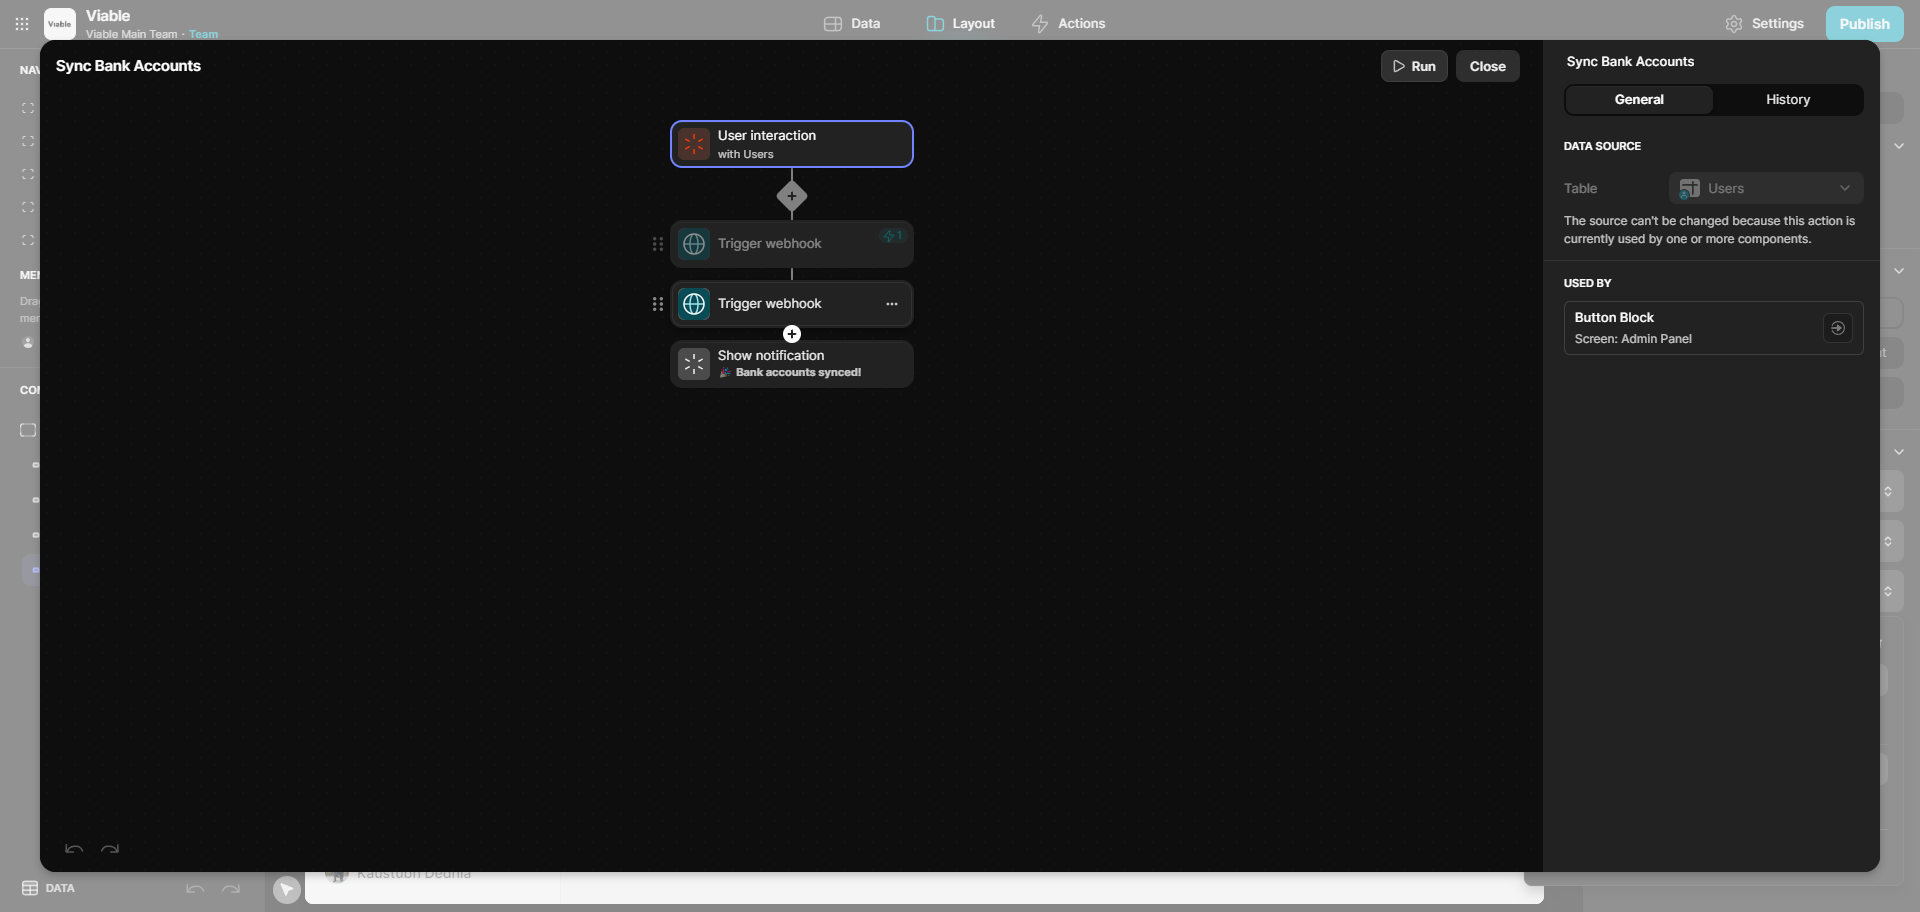
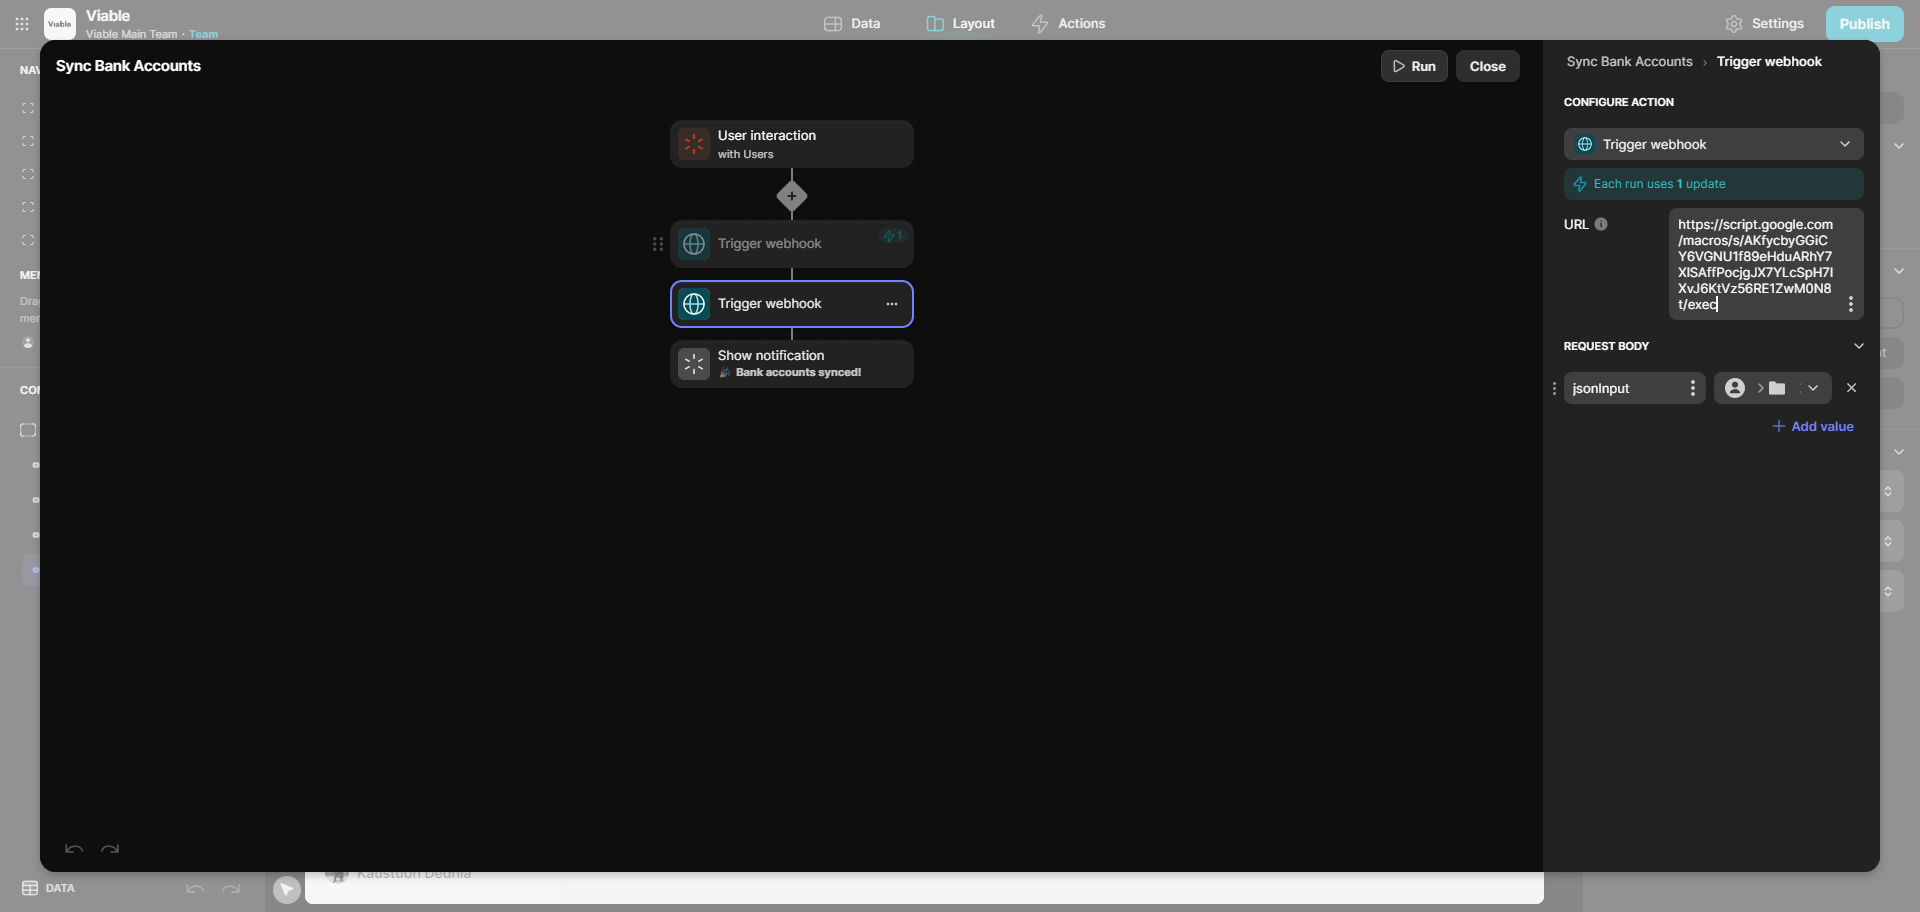
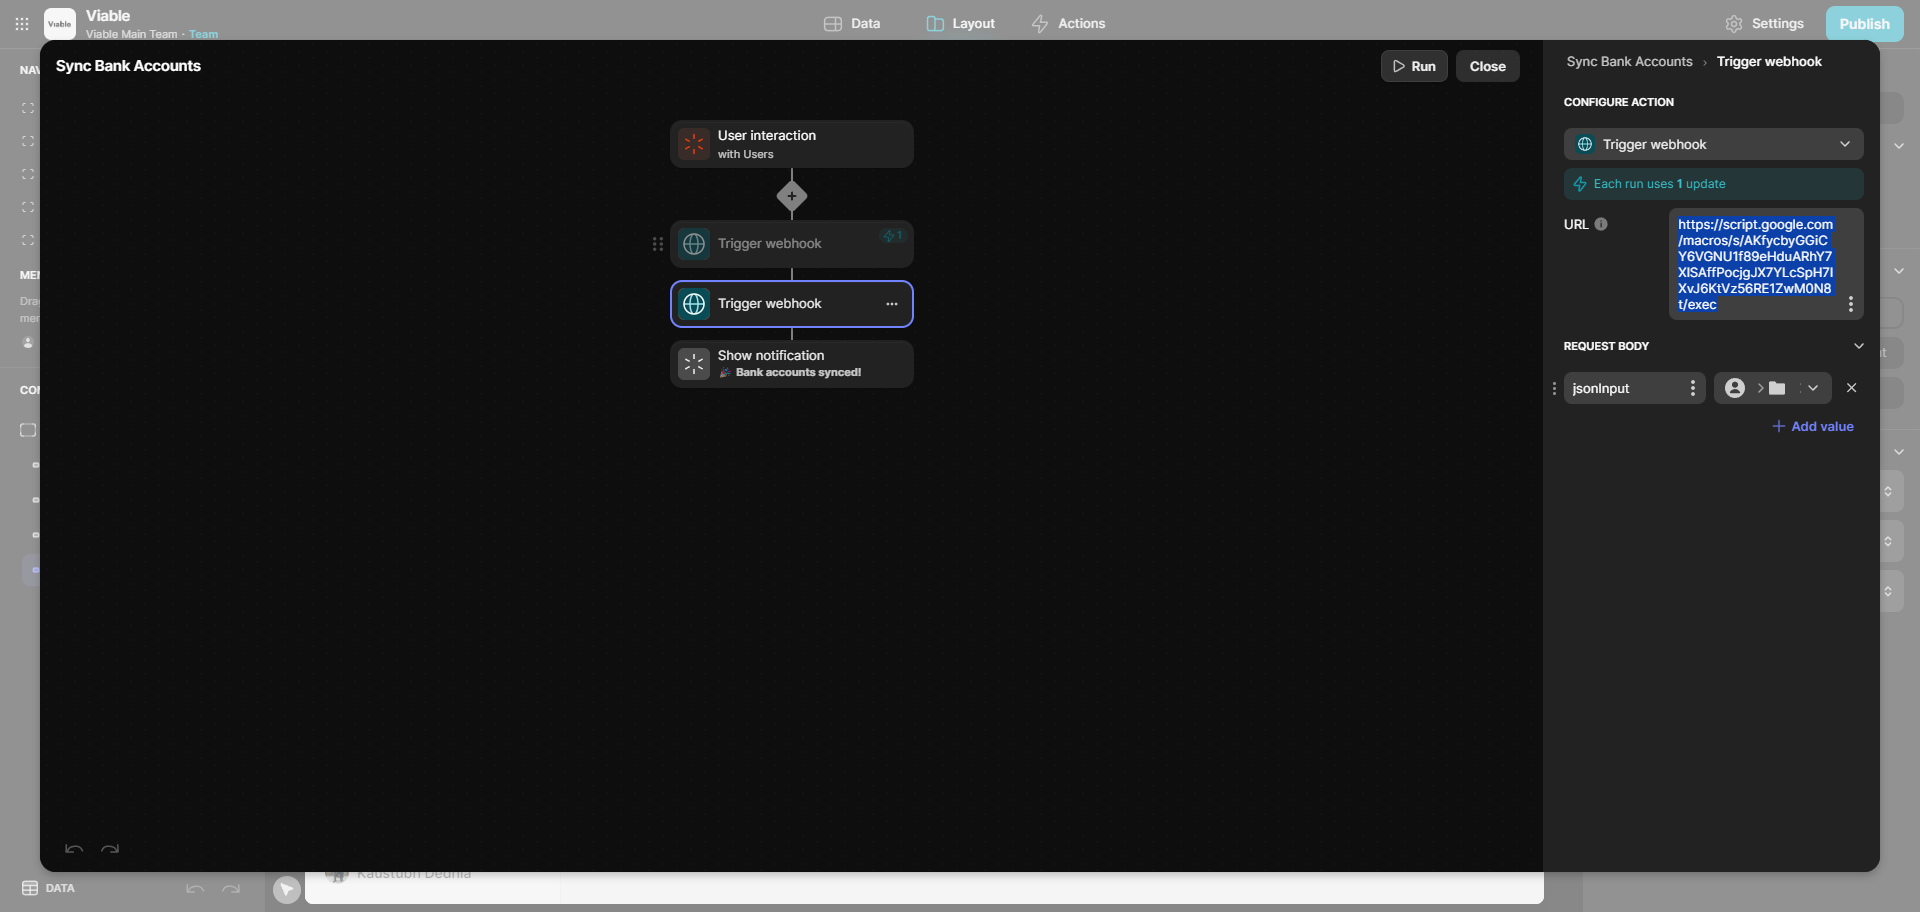
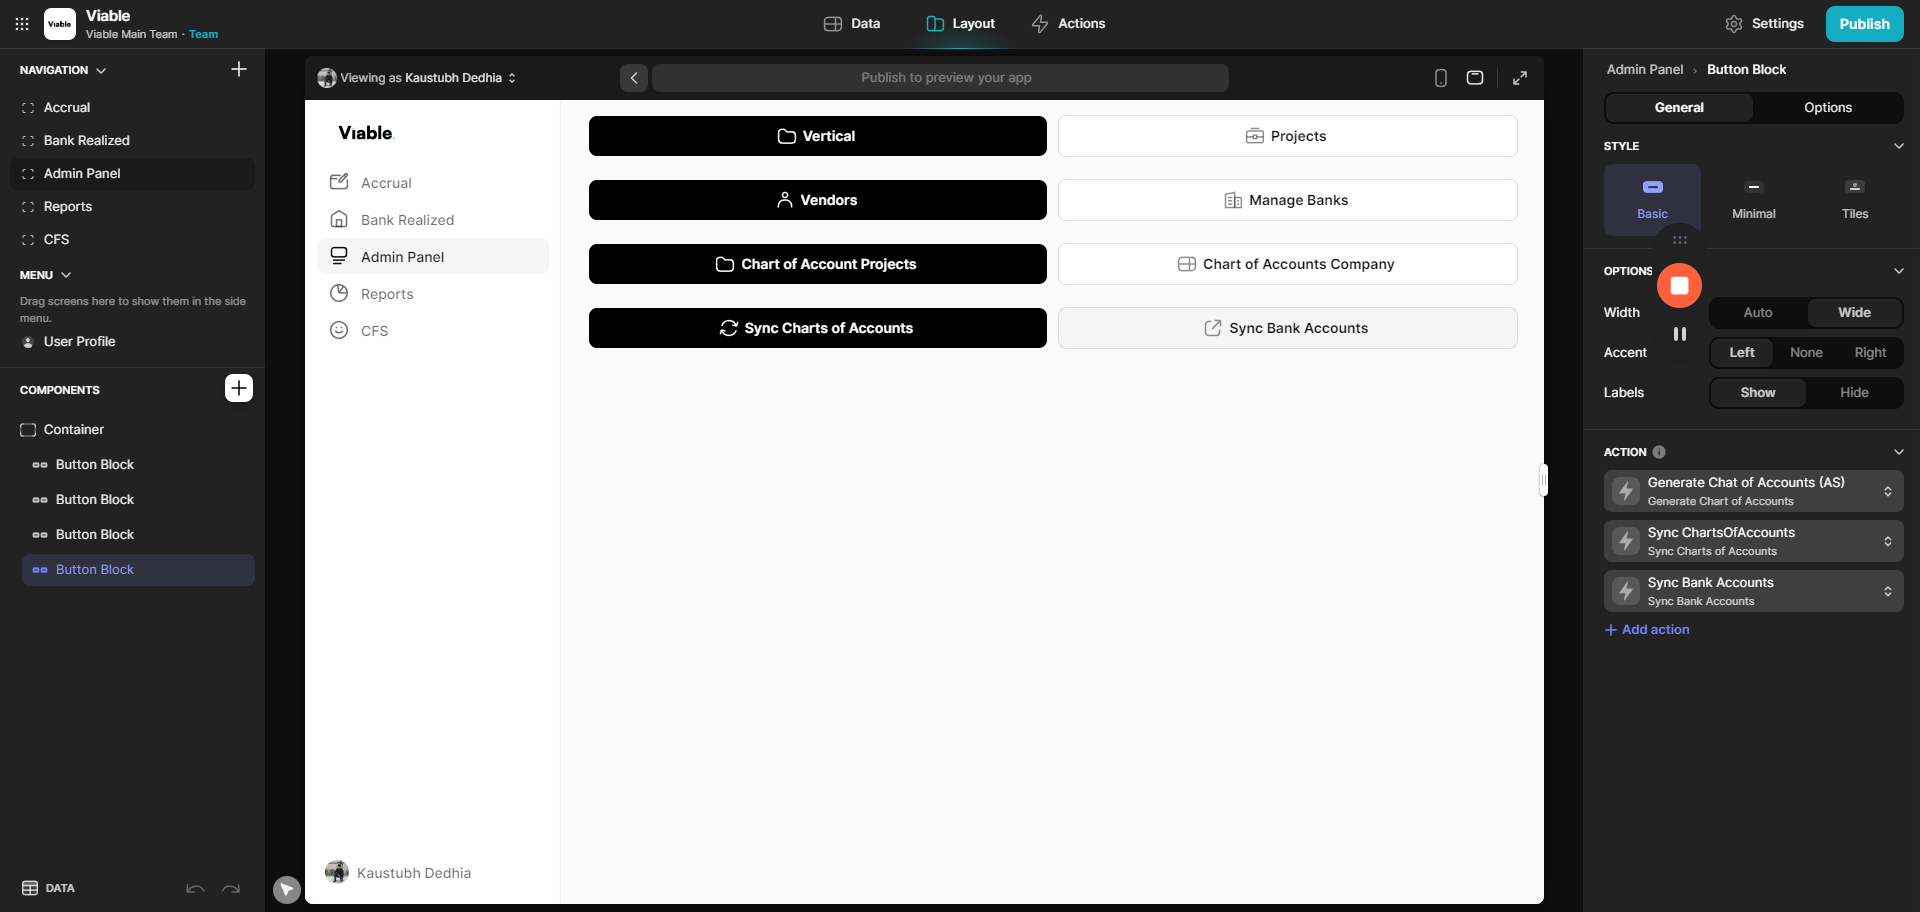
Now that you are in the viable team, go to the add ML panel. Click on the last button block to sync bank accounts. Click the back button block. Here, you will see the sync bank accounts button. Edit the action, go into the trigger webhook, and paste the URL we just generated.

43
Click here
Step #43: Click here
44
Click here
Step #44: Click here
45
Click on "Button Block"
Step #45: Click on "Button Block"
46
Click on "Sync Bank Accounts"
Step #46: Click on "Sync Bank Accounts"
47
Click on "Edit action"
Step #47: Click on "Edit action"
48
Click on "Trigger webhook"
Step #48: Click on "Trigger webhook"
49
Paste the copied URL in the "URL" text box
Step #49: Paste the copied URL in the "URL" text box

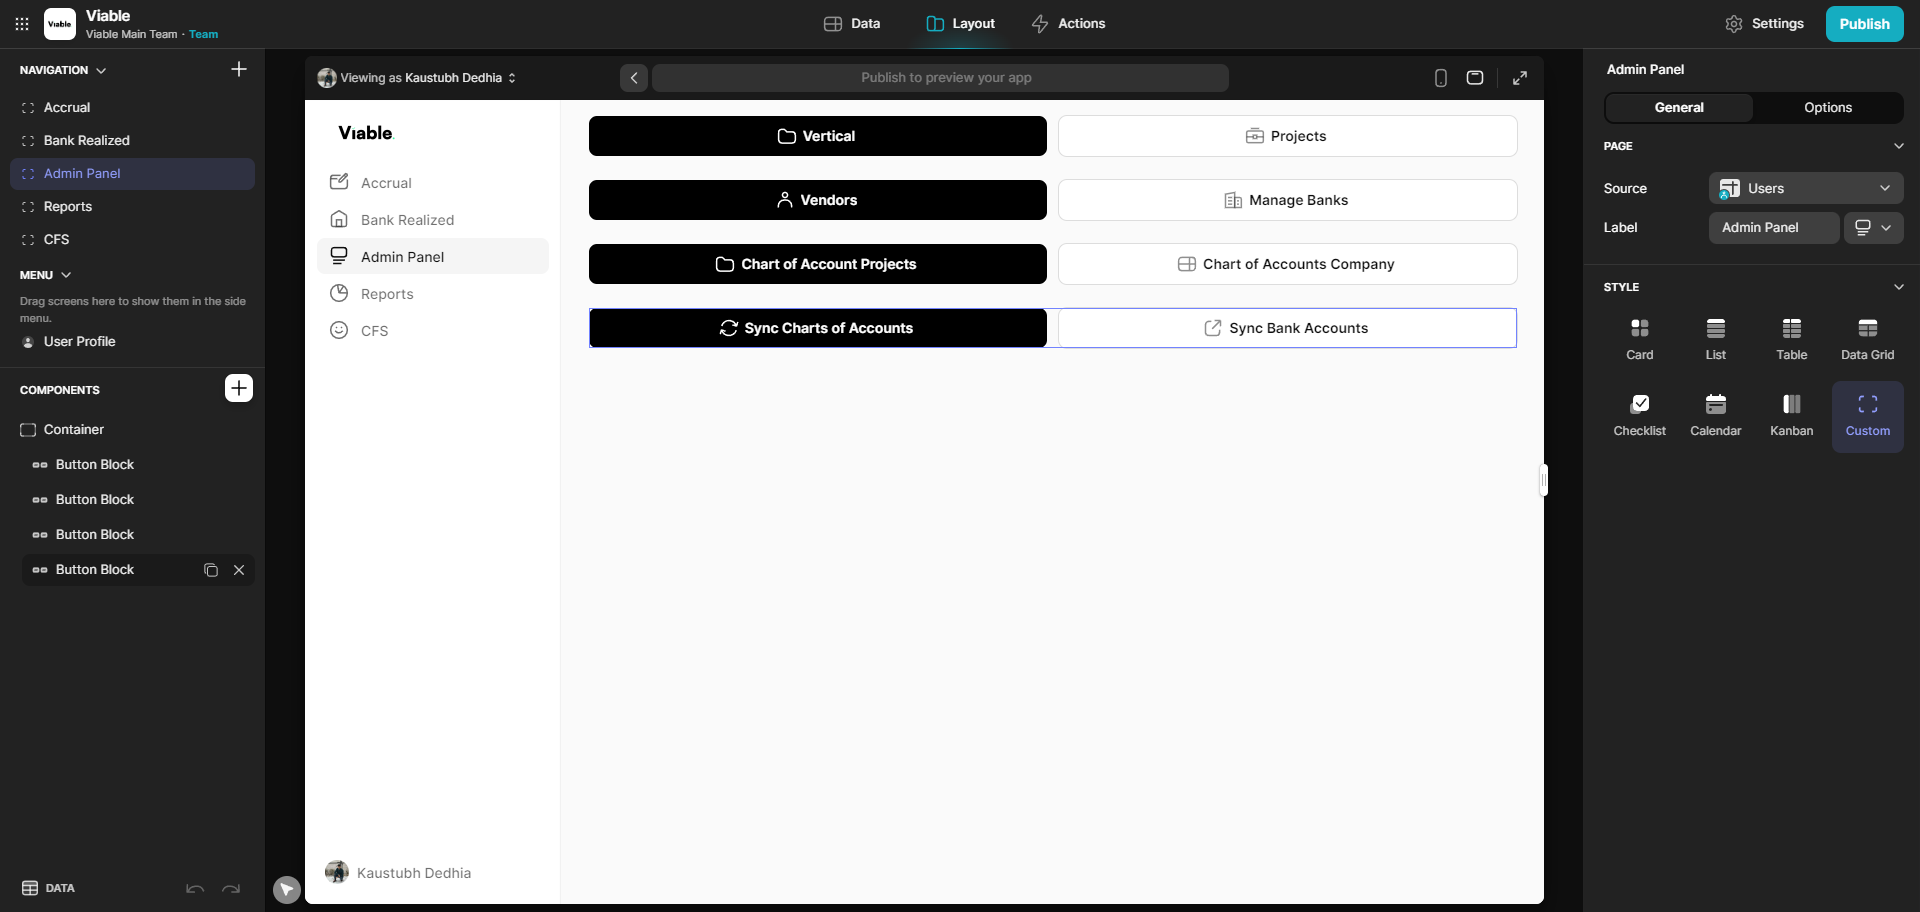
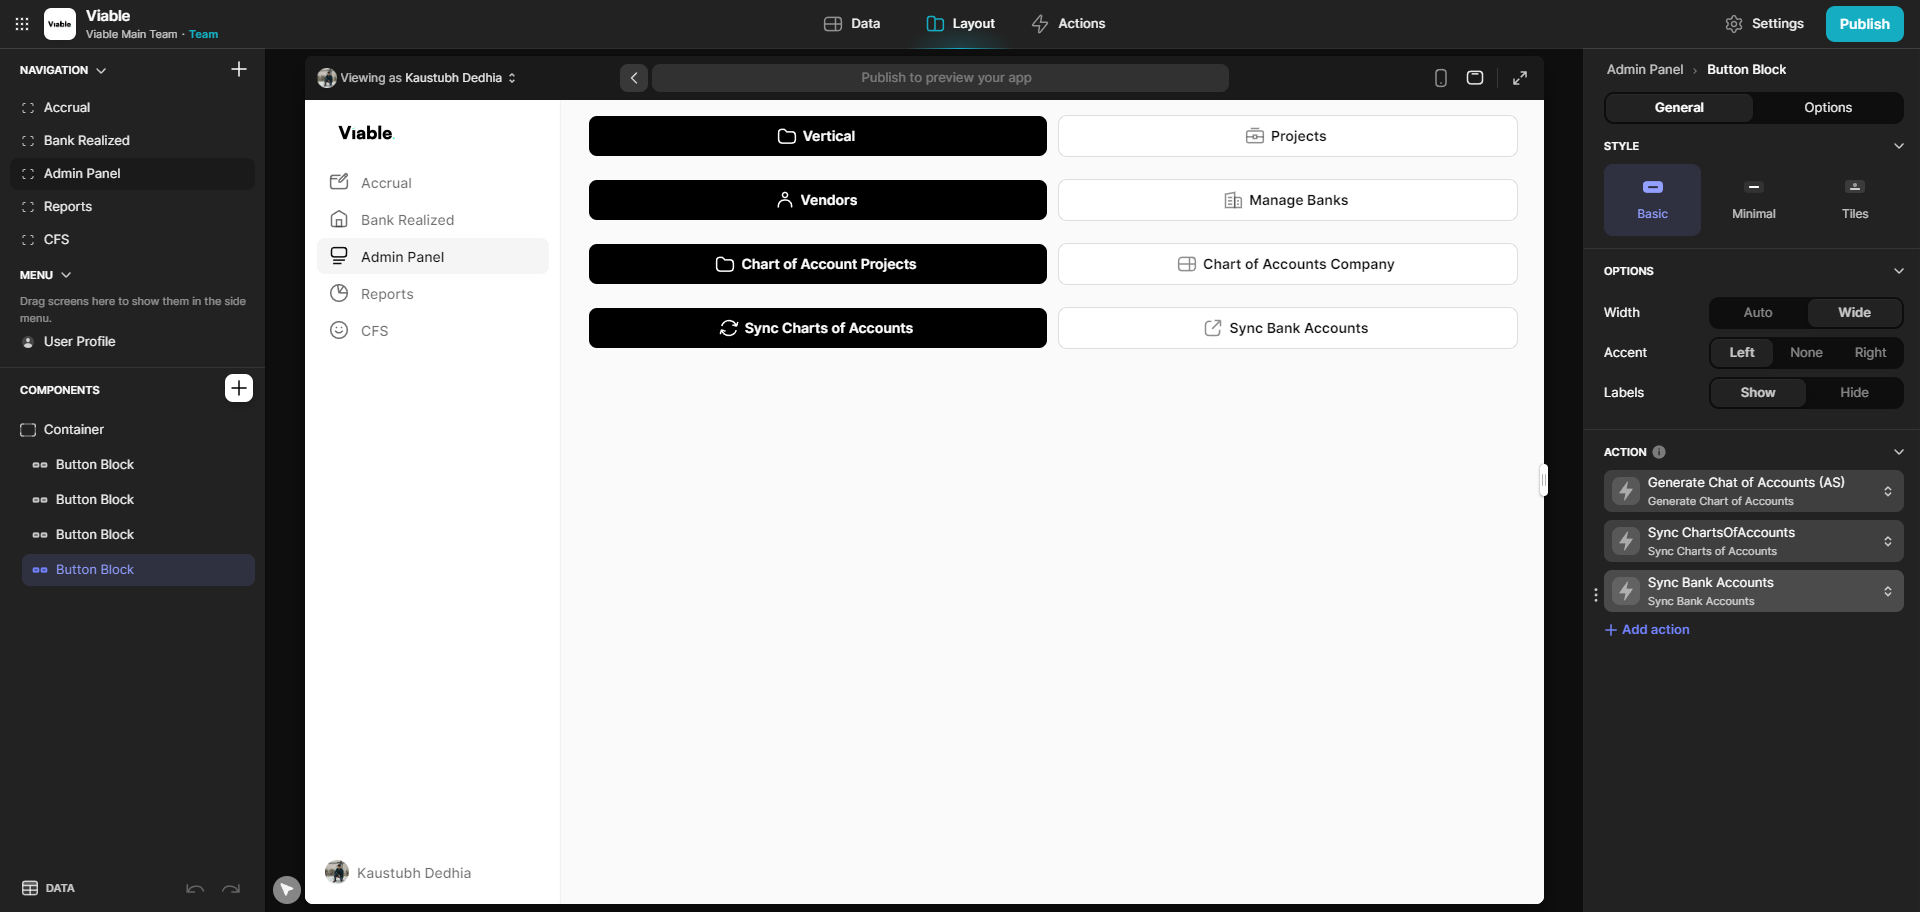
If you didn't copy the URL or want to get it again, go to "Manage Deployments" and copy the web app URL.

51
Click here
Step #51: Click here
52
Click here
Step #52: Click here

Copy and paste. And you're done with this. If I now click on "Sync Bank Accounts," you'll see that in this sheet, it will write the bank accounts again.

53
Click here
Step #53: Click here
54
Click here
Step #54: Click here
55
Click on "deployments"
Step #55: Click on "deployments"
56
Click here
Step #56: Click here
58
Paste the URL
Step #58: Paste the URL
59
Type "Ctrl + V"
60
Click here
Step #60: Click here

Sync your bank accounts.

61
Click on "Close"
Step #61: Click on "Close"

From here just test the webhook as it should work and add data to the duplicated sheet.

62
Click on "Sync Bank Accounts"
Step #62: Click on "Sync Bank Accounts"

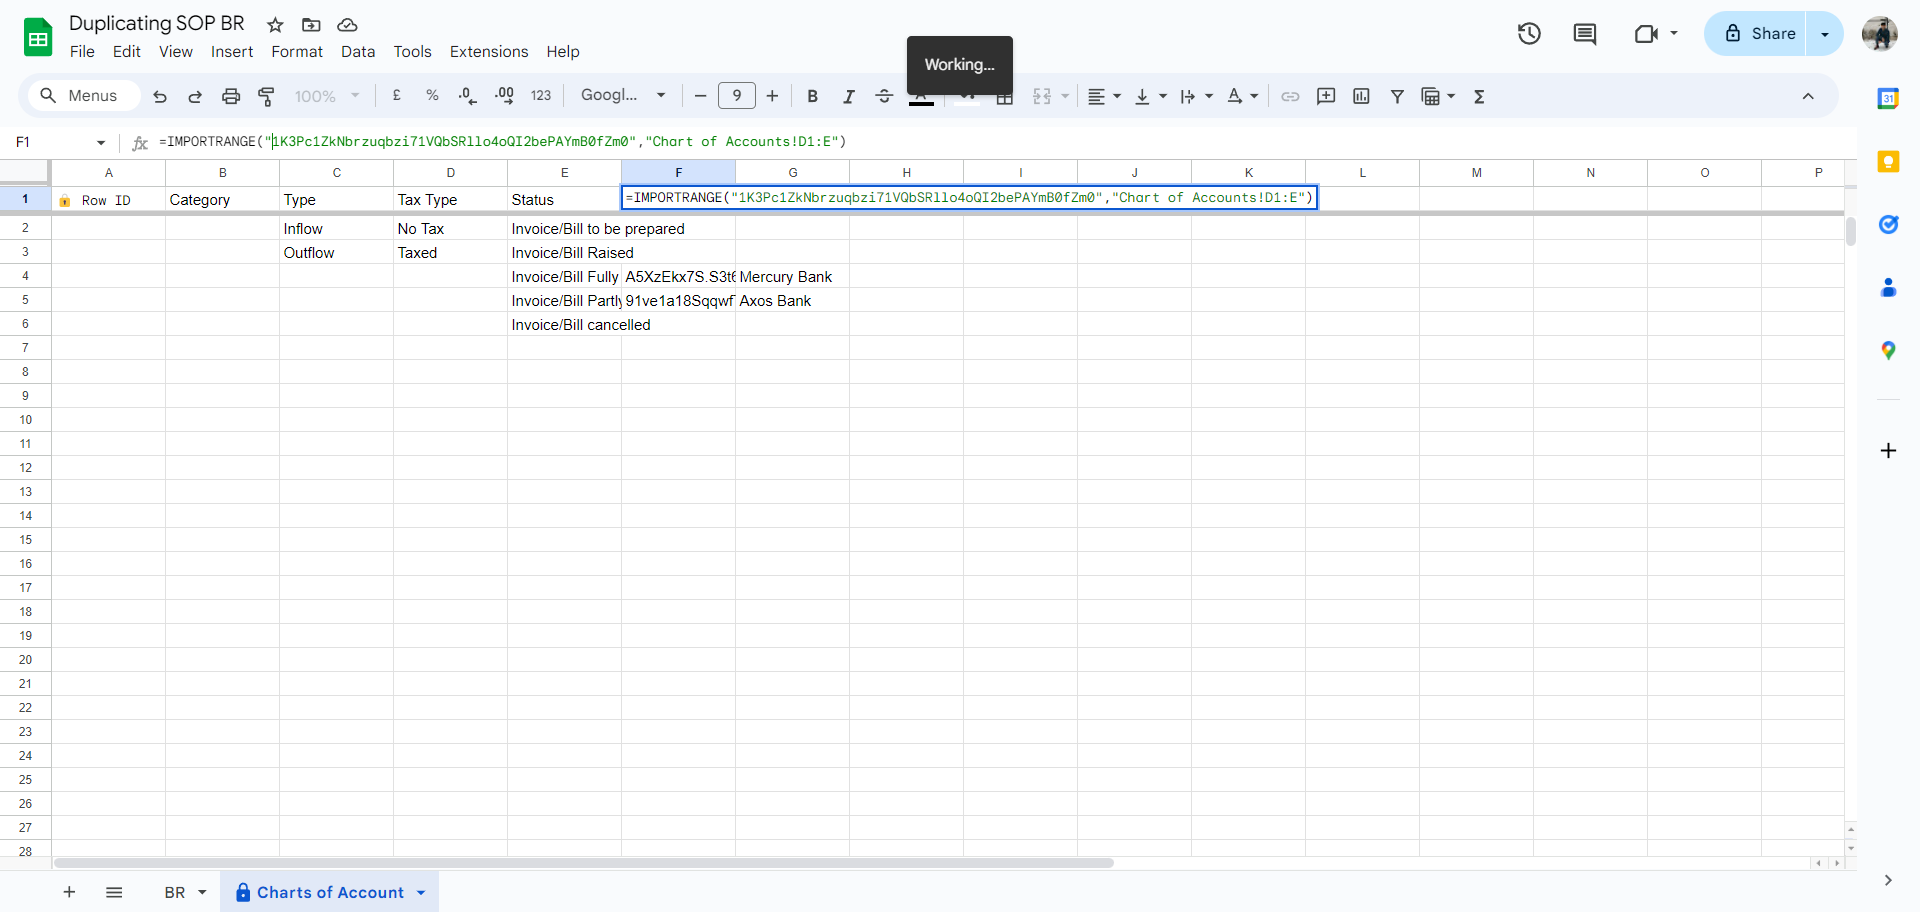
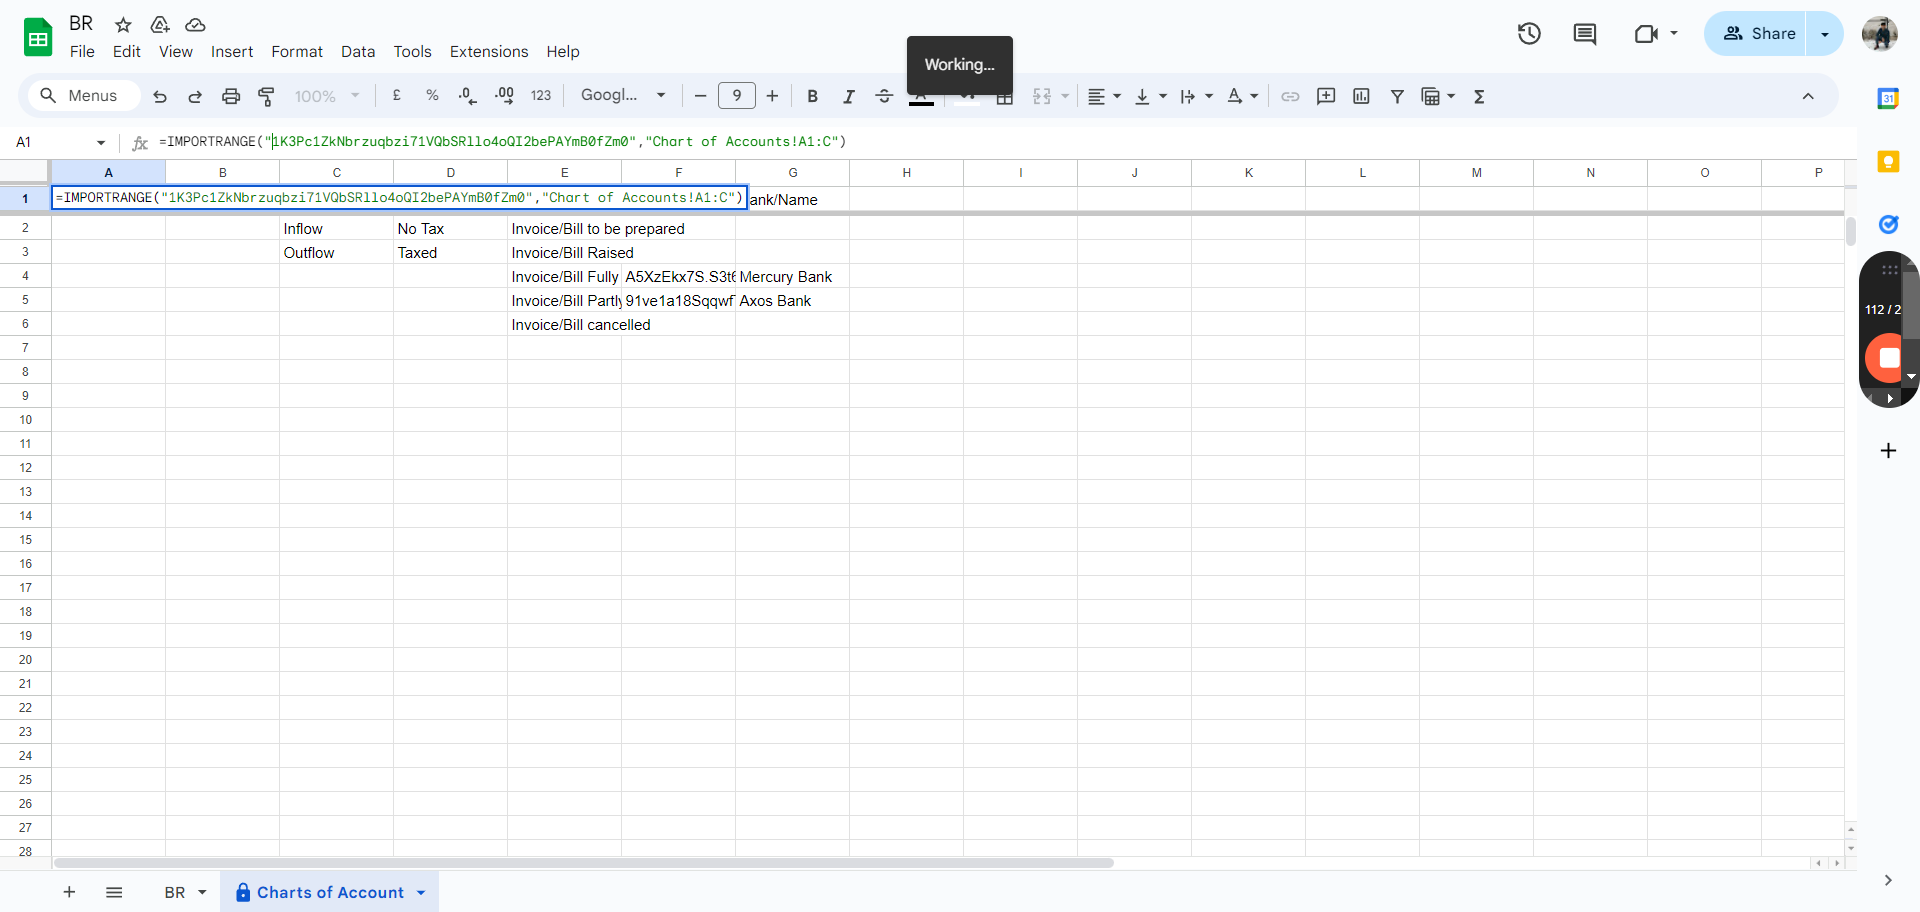
Once you are done, go to Sheet 1. Open the BR sheet and change the import range.

64
Click here
Step #64: Click here
65
Click here
Step #65: Click here
67
Click here
Step #67: Click here
68
Click here
Step #68: Click here
69
Click here
Step #69: Click here

Here, the import range ID would make a copy of the BR sheet.

71
Click here
Step #71: Click here
72
Click on "https://docs.google.com/spreadsheets/d/11jHdZsG2GuLRHFIMtWskgBd93EN"
Step #72: Click on "https://docs.google.com/spreadsheets/d/11jHdZsG2GuLRHFIMtWskgBd93EN"
74
Click here
Step #74: Click here
75
Click on "("
Step #75: Click on "("

Make a copy.

76
Click on "" 1K3Pc1ZkNbrzuqbzi71VQbSR1104oQI2bePAYmB0fZm0 " , " Chart of Accounts ! A1"
Step #76: Click on "" 1K3Pc1ZkNbrzuqbzi71VQbSR1104oQI2bePAYmB0fZm0 " , " Chart of Accounts ! A1"
77
Click here
Step #77: Click here
78
Click on "File"
Step #78: Click on "File"

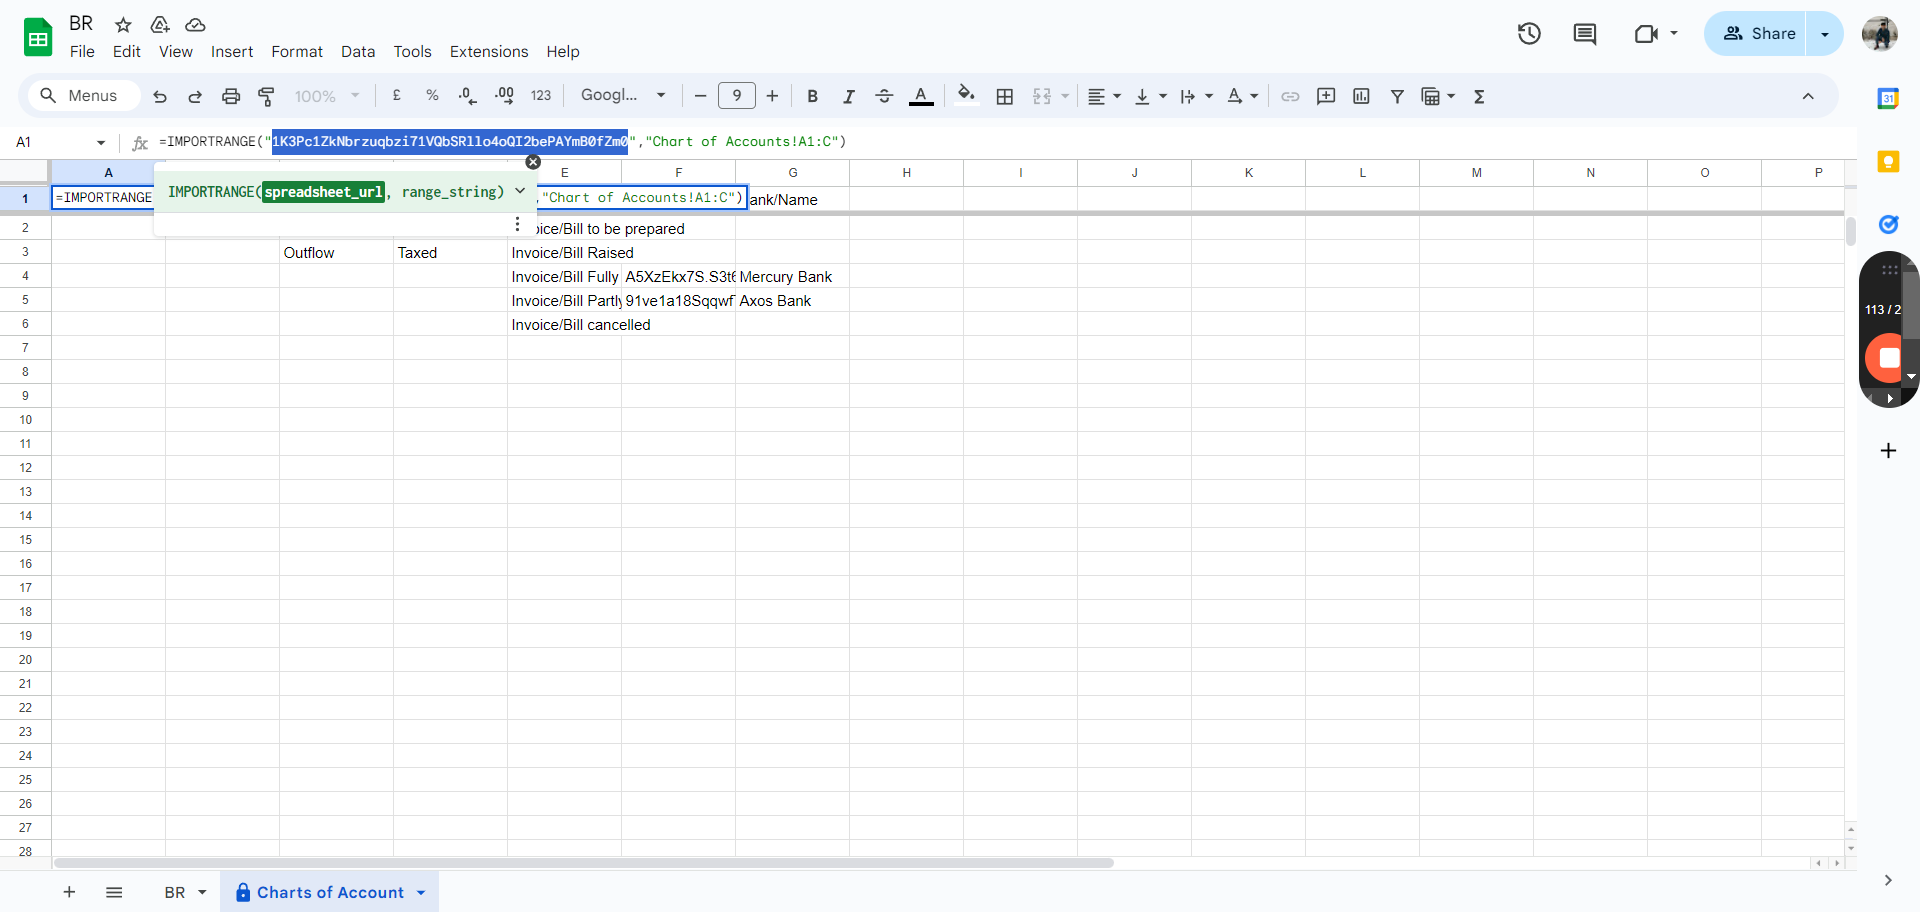
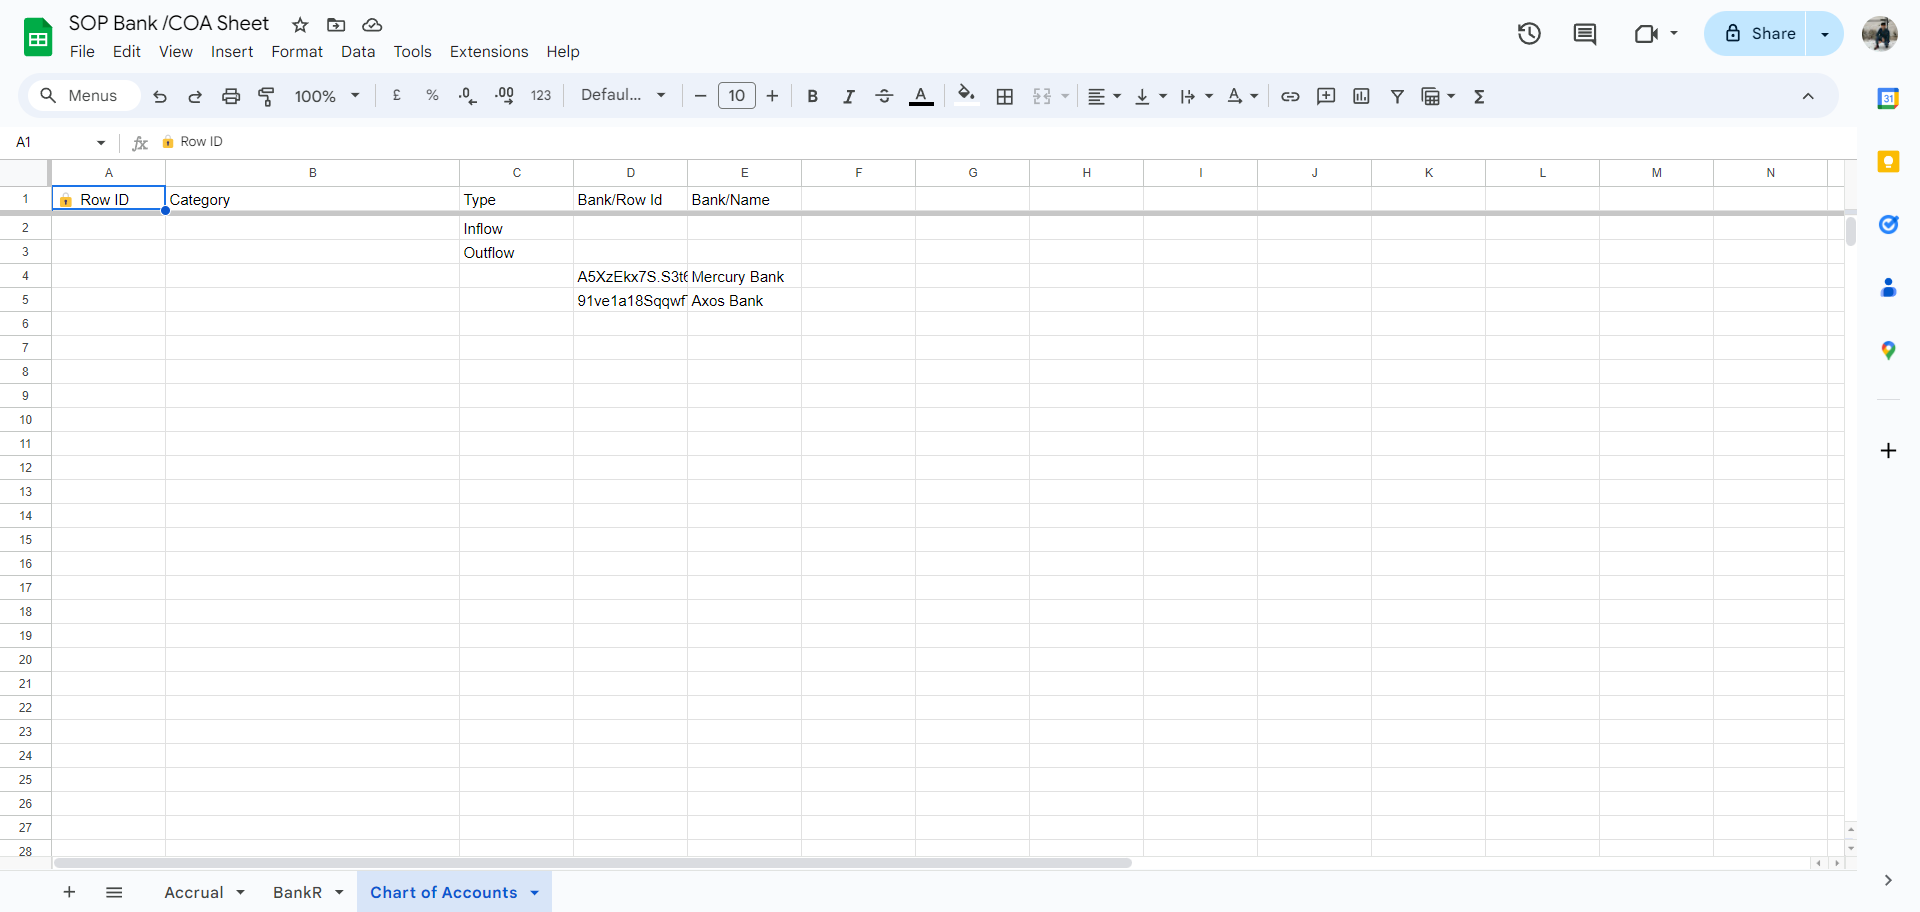
The chart of accounts and the bank row ID should come from this sheet. Copy the sheet ID again and paste it into the import range.

79
Click on "Make a copy"
Step #79: Click on "Make a copy"
80
Click on "Name"
Step #80: Click on "Name"
81
Click on "Name *"
Step #81: Click on "Name *"
82
Click on "Include resolved comments"
Step #82: Click on "Include resolved comments"
83
Type "Duplicating SOP "
85
Click here
Step #85: Click here
86
Click here
Step #86: Click here

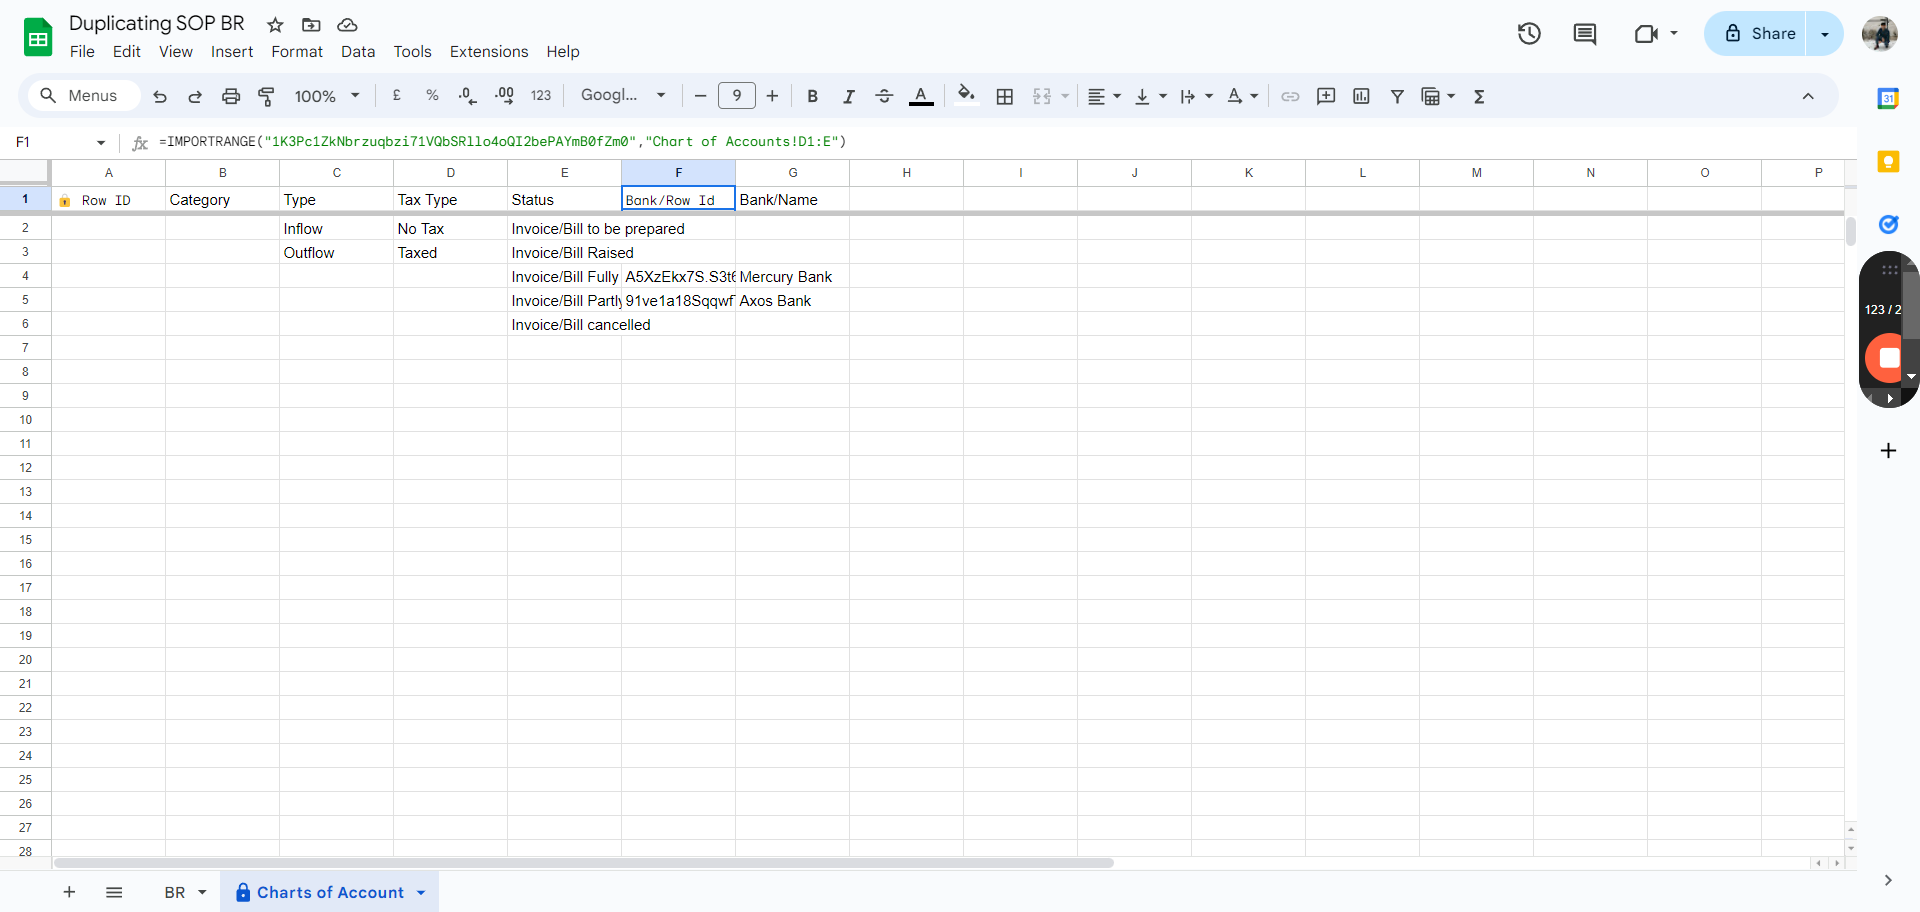
Now, I'll get the import range from the SOP bank COA. I'll do the same for the accrual sheet. I hope this was helpful.

88
Click on "fx = IMPORTRANGE"
Step #88: Click on "fx = IMPORTRANGE"
89
Type "Ctrl + V"
91
Click here
Step #91: Click here