
Importing Daily Case Management Invoices into IES (Part 2)
Learn how to sync your files to IES, ensure all data is correctly entered, and complete the process efficiently. This step-by-step guide covers copying, pasting, syncing, and troubleshooting common issues.
In this guide, we’ll walk through the steps to sync your data to IES after entering it into the correct columns. You’ll confirm your selections, complete the sync process, and address any errors if needed. The goal is to make sure all information is successfully uploaded and accurately reflected in IES.
Let's get started
For Part Two, we will sync the data to IES to complete the process. After all information has been copied and pasted into the sheet, open the dropdown menu and select “Yes.”
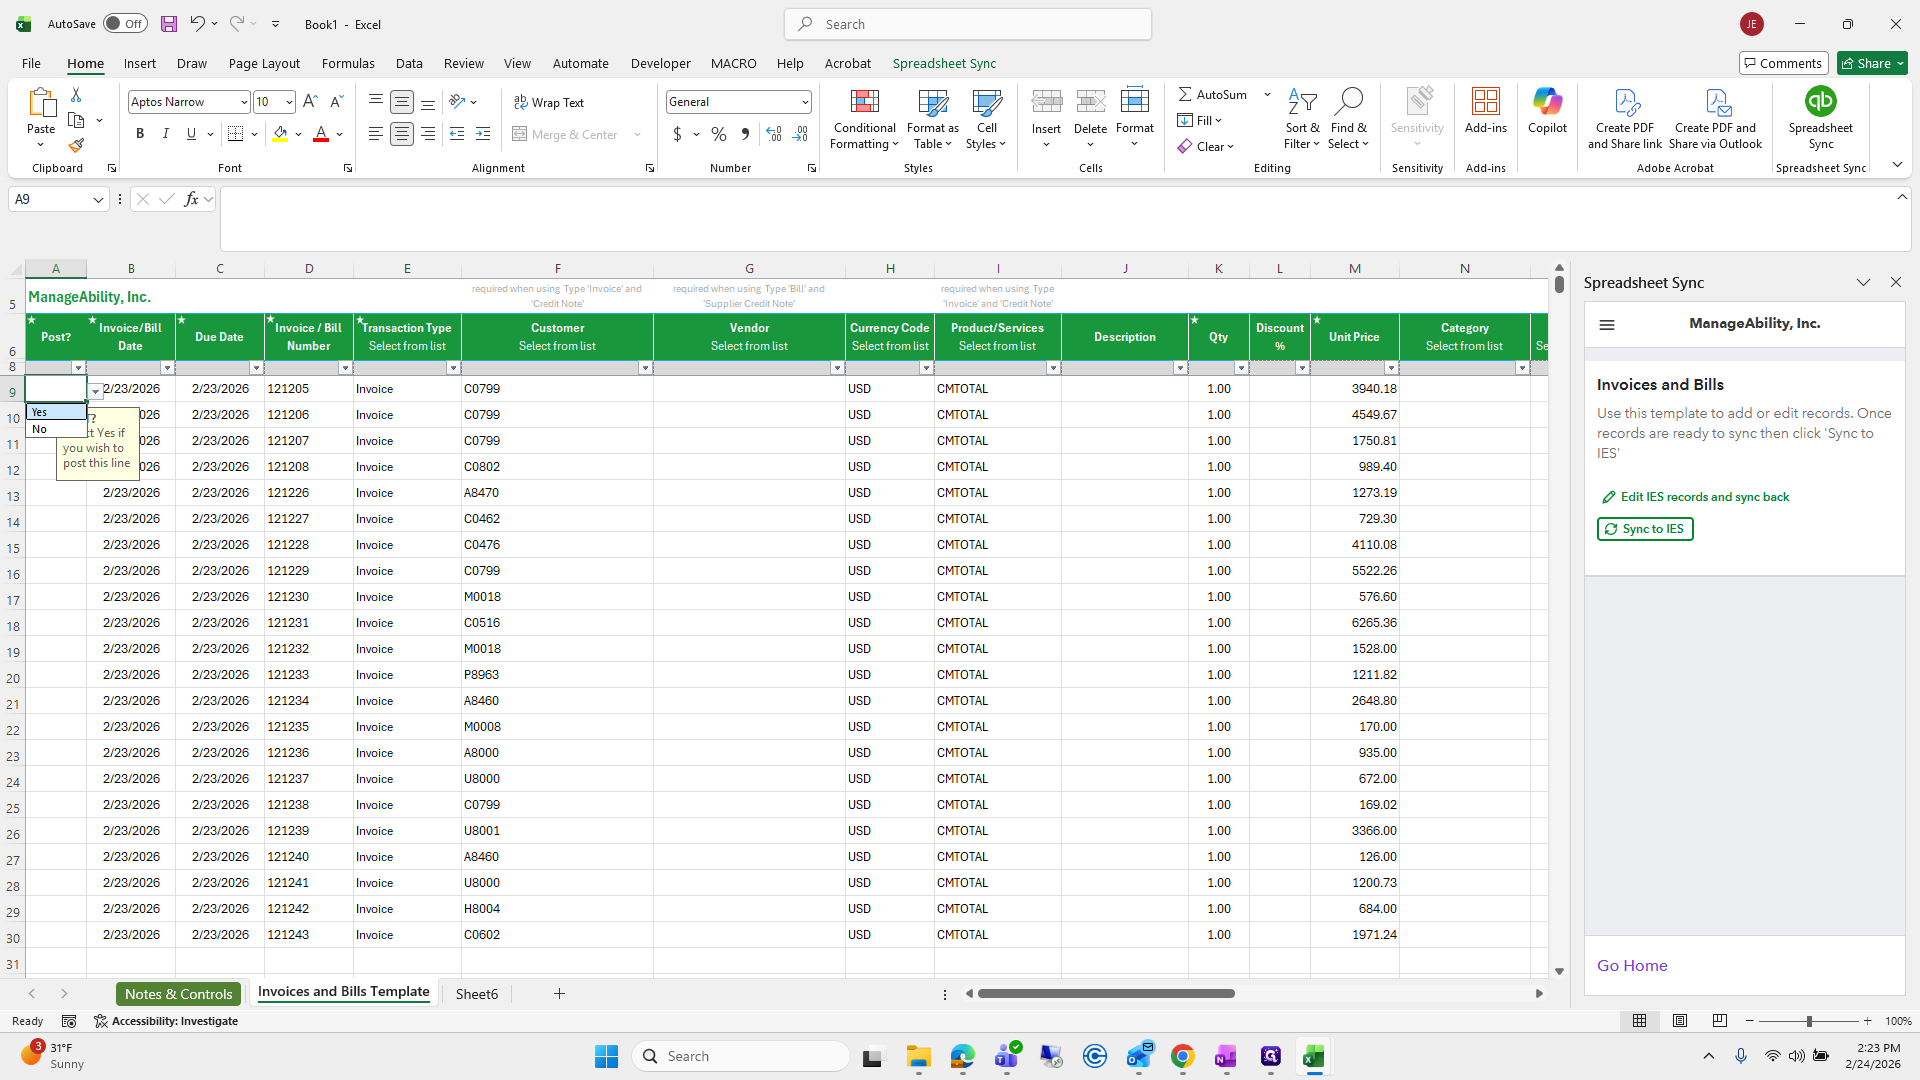
Drag that cell down to apply the selection to the remaining rows so they all display “Yes.”
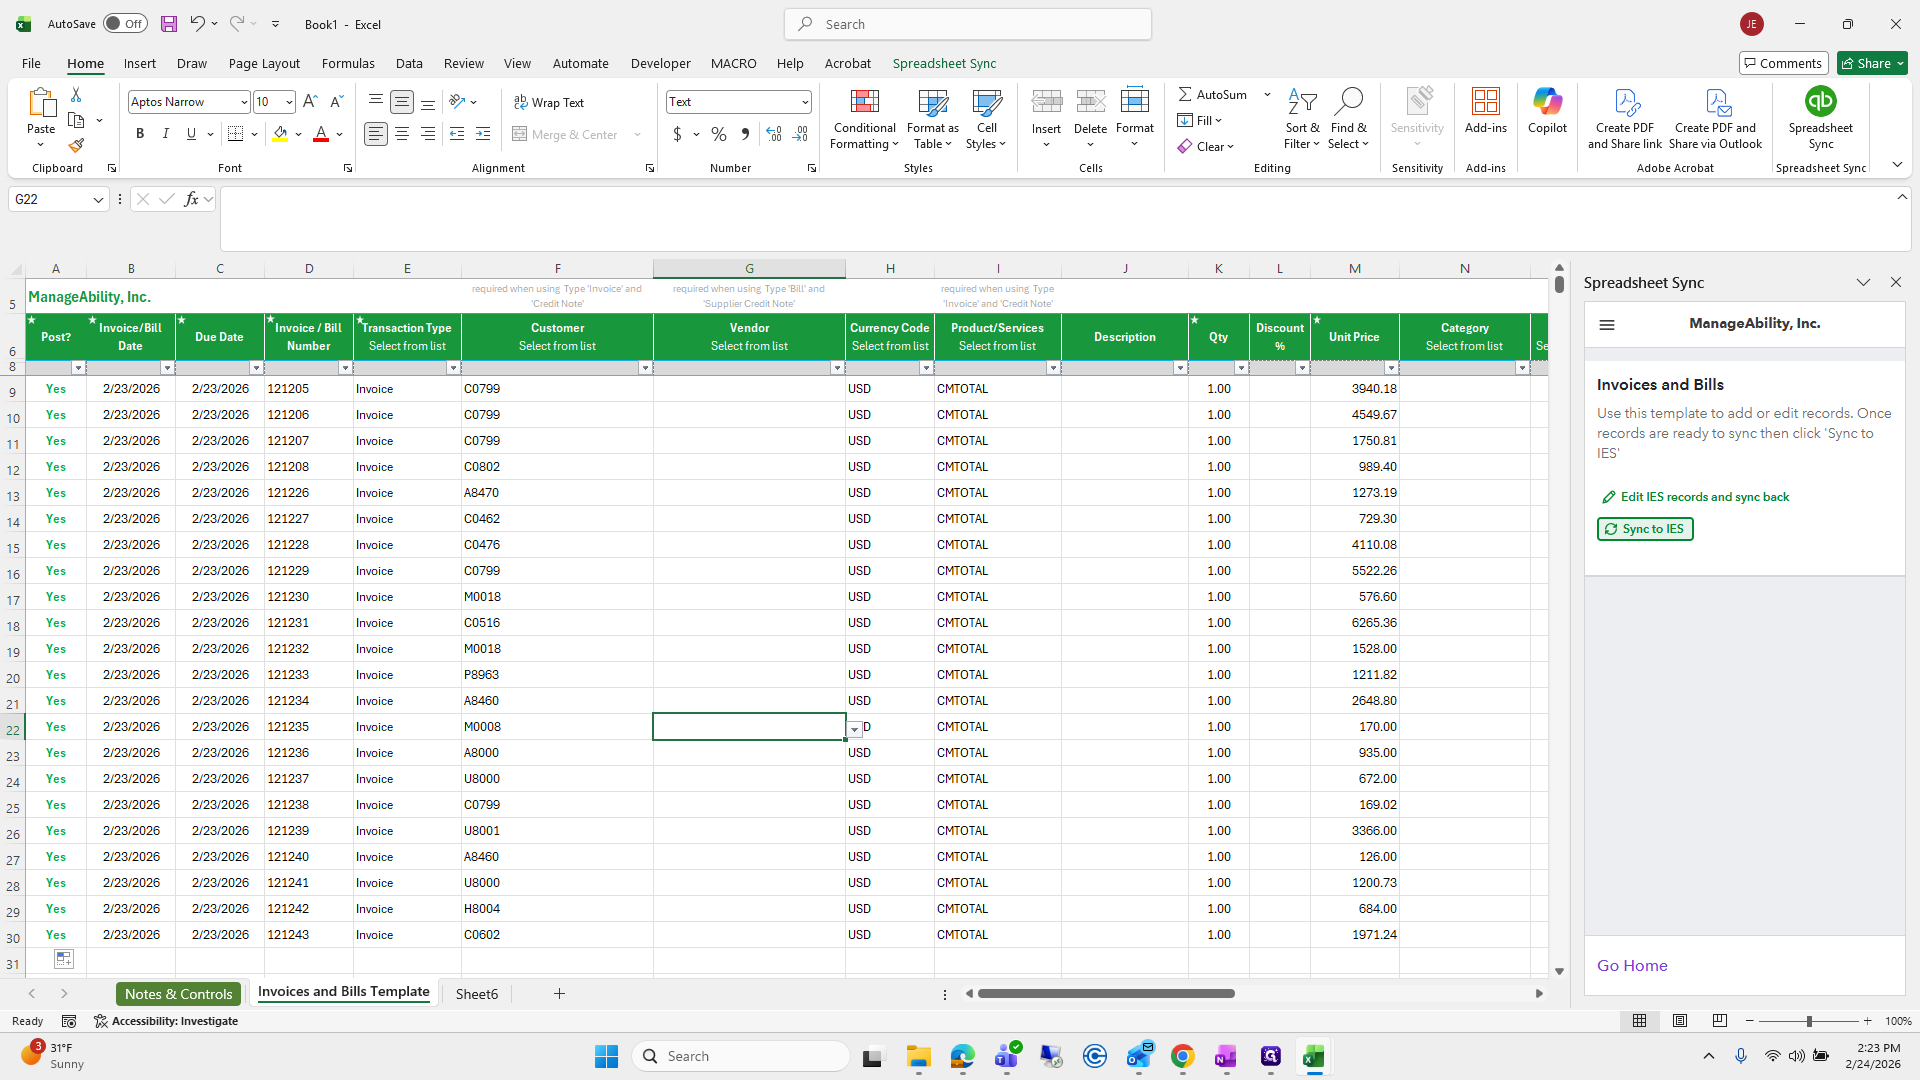
Then press Sync to IES.
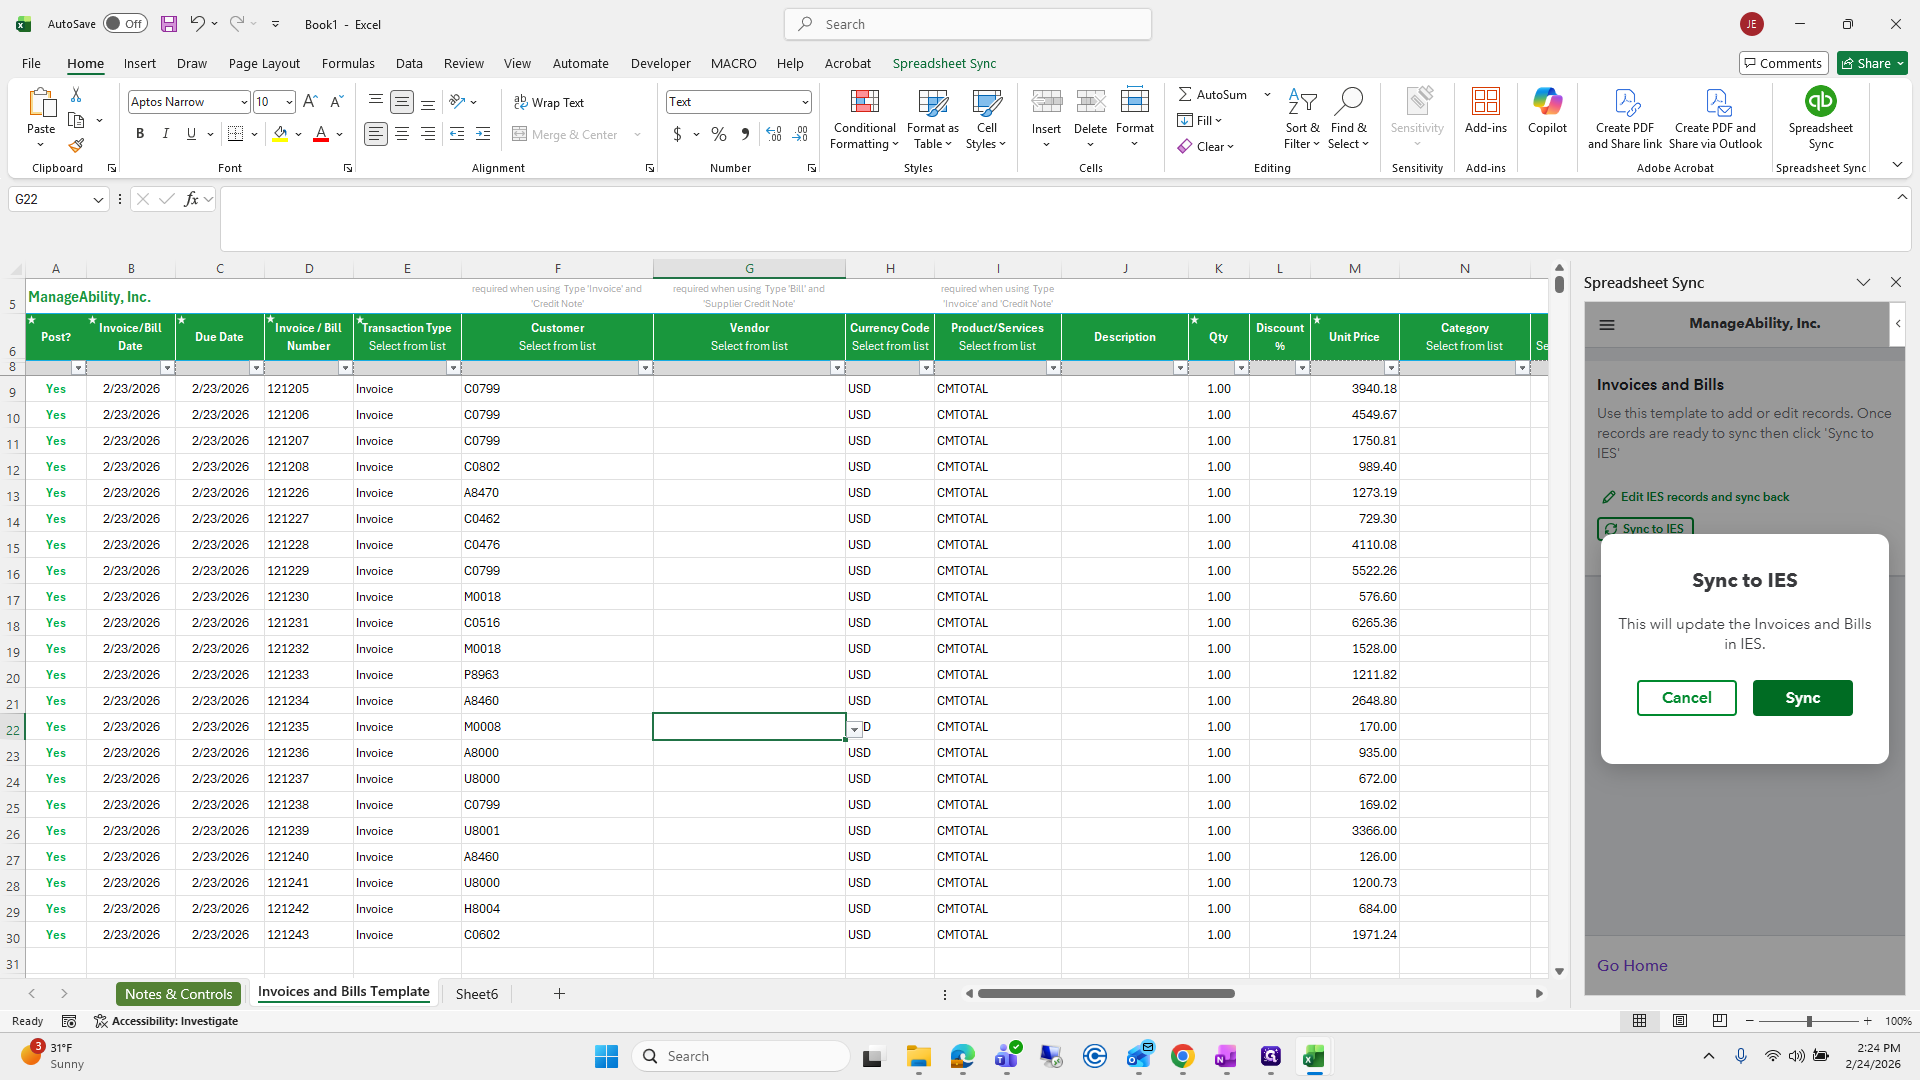
A confirmation prompt will appear asking if you want to proceed. Click Sync to continue.
The sync may take a few moments, but once it’s finished, a message will appear indicating that the process is complete. Hopefully, it won’t take long, and you’ll be able to see the results. Once syncing is done, you can exit the file—everything will now be available in IES.
Before finishing, double-check that all data was pasted into the correct columns and that the proper additional dimensions were selected. That’s essentially all you need to do. If you notice an error, you don’t need to exit—you can edit the file as needed. Each row includes an ID associated with the invoice, which can be adjusted if necessary. After making changes, select Yes. While the function of Void is unclear, it can likely be used if needed.
Finally, click Update, choose Yes, and sync to IES. This completes Part Two.