How to Sync Bank Realised from Google Sheets to Glide
Learn how to sync bank data from Google Sheets into Glide with this step-by-step guide. Follow the instructions to ensure seamless data integration.
In this guide, we'll learn how to sync bank data from Google Sheets into Glide using Google Apps Script. This process involves creating a new script project, copying and pasting code, and making necessary adjustments to ensure smooth data synchronization. By following these steps, you can automate the data transfer and keep your Glide app updated with the latest bank information.
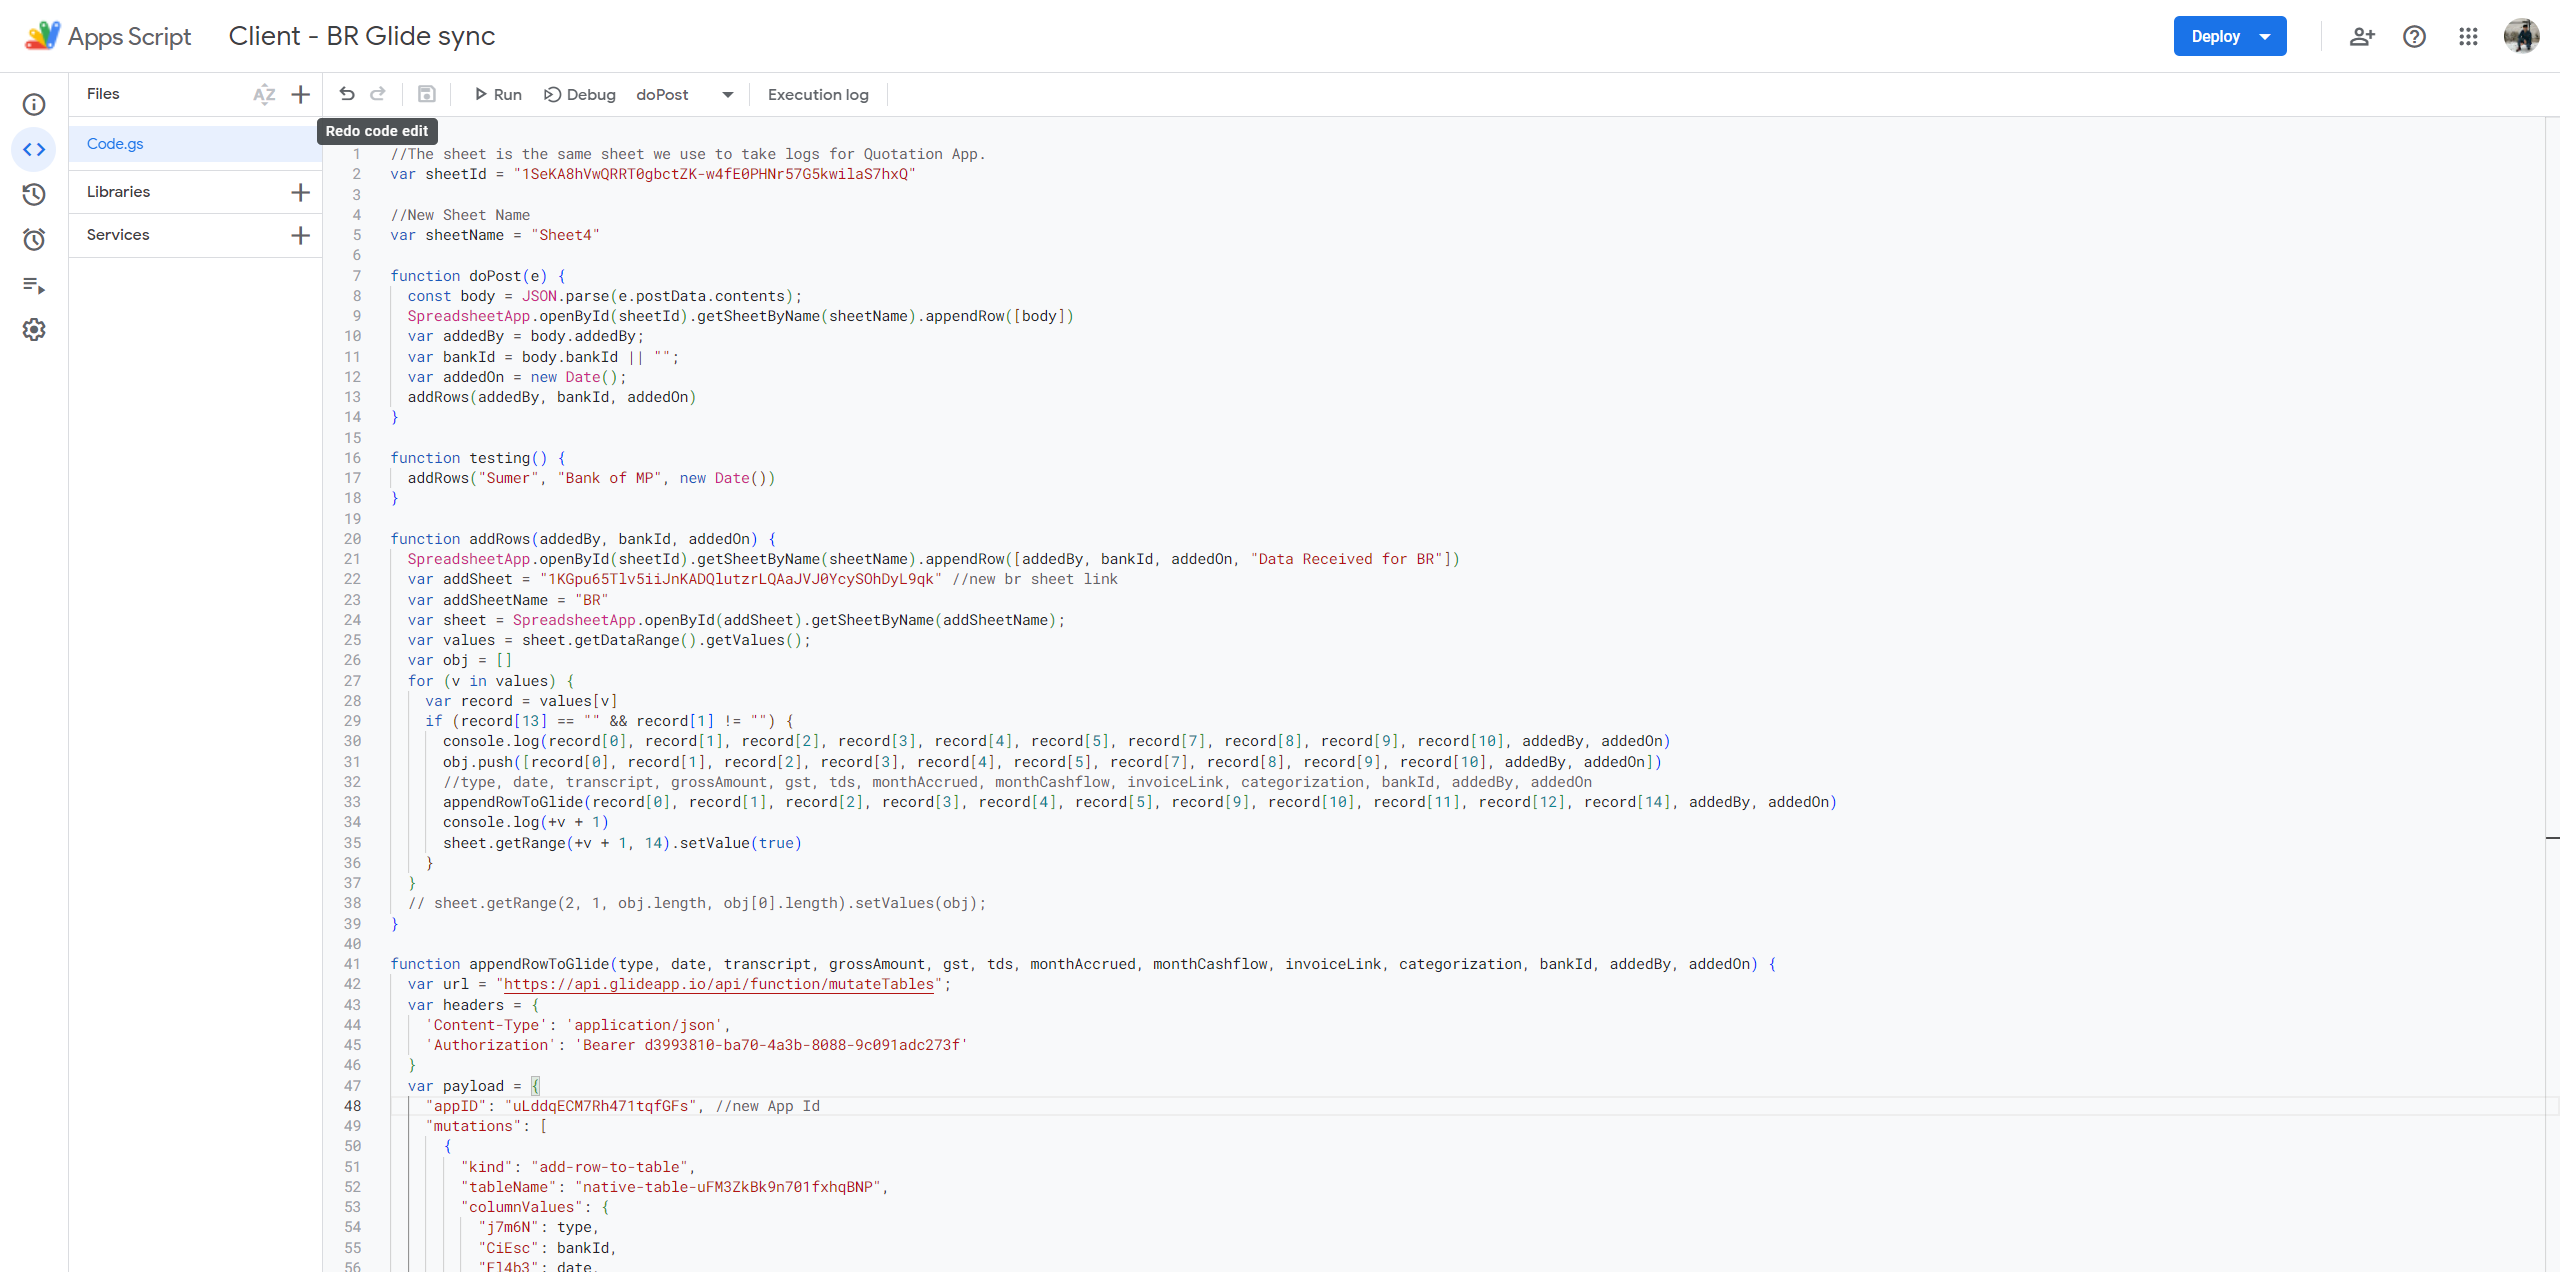
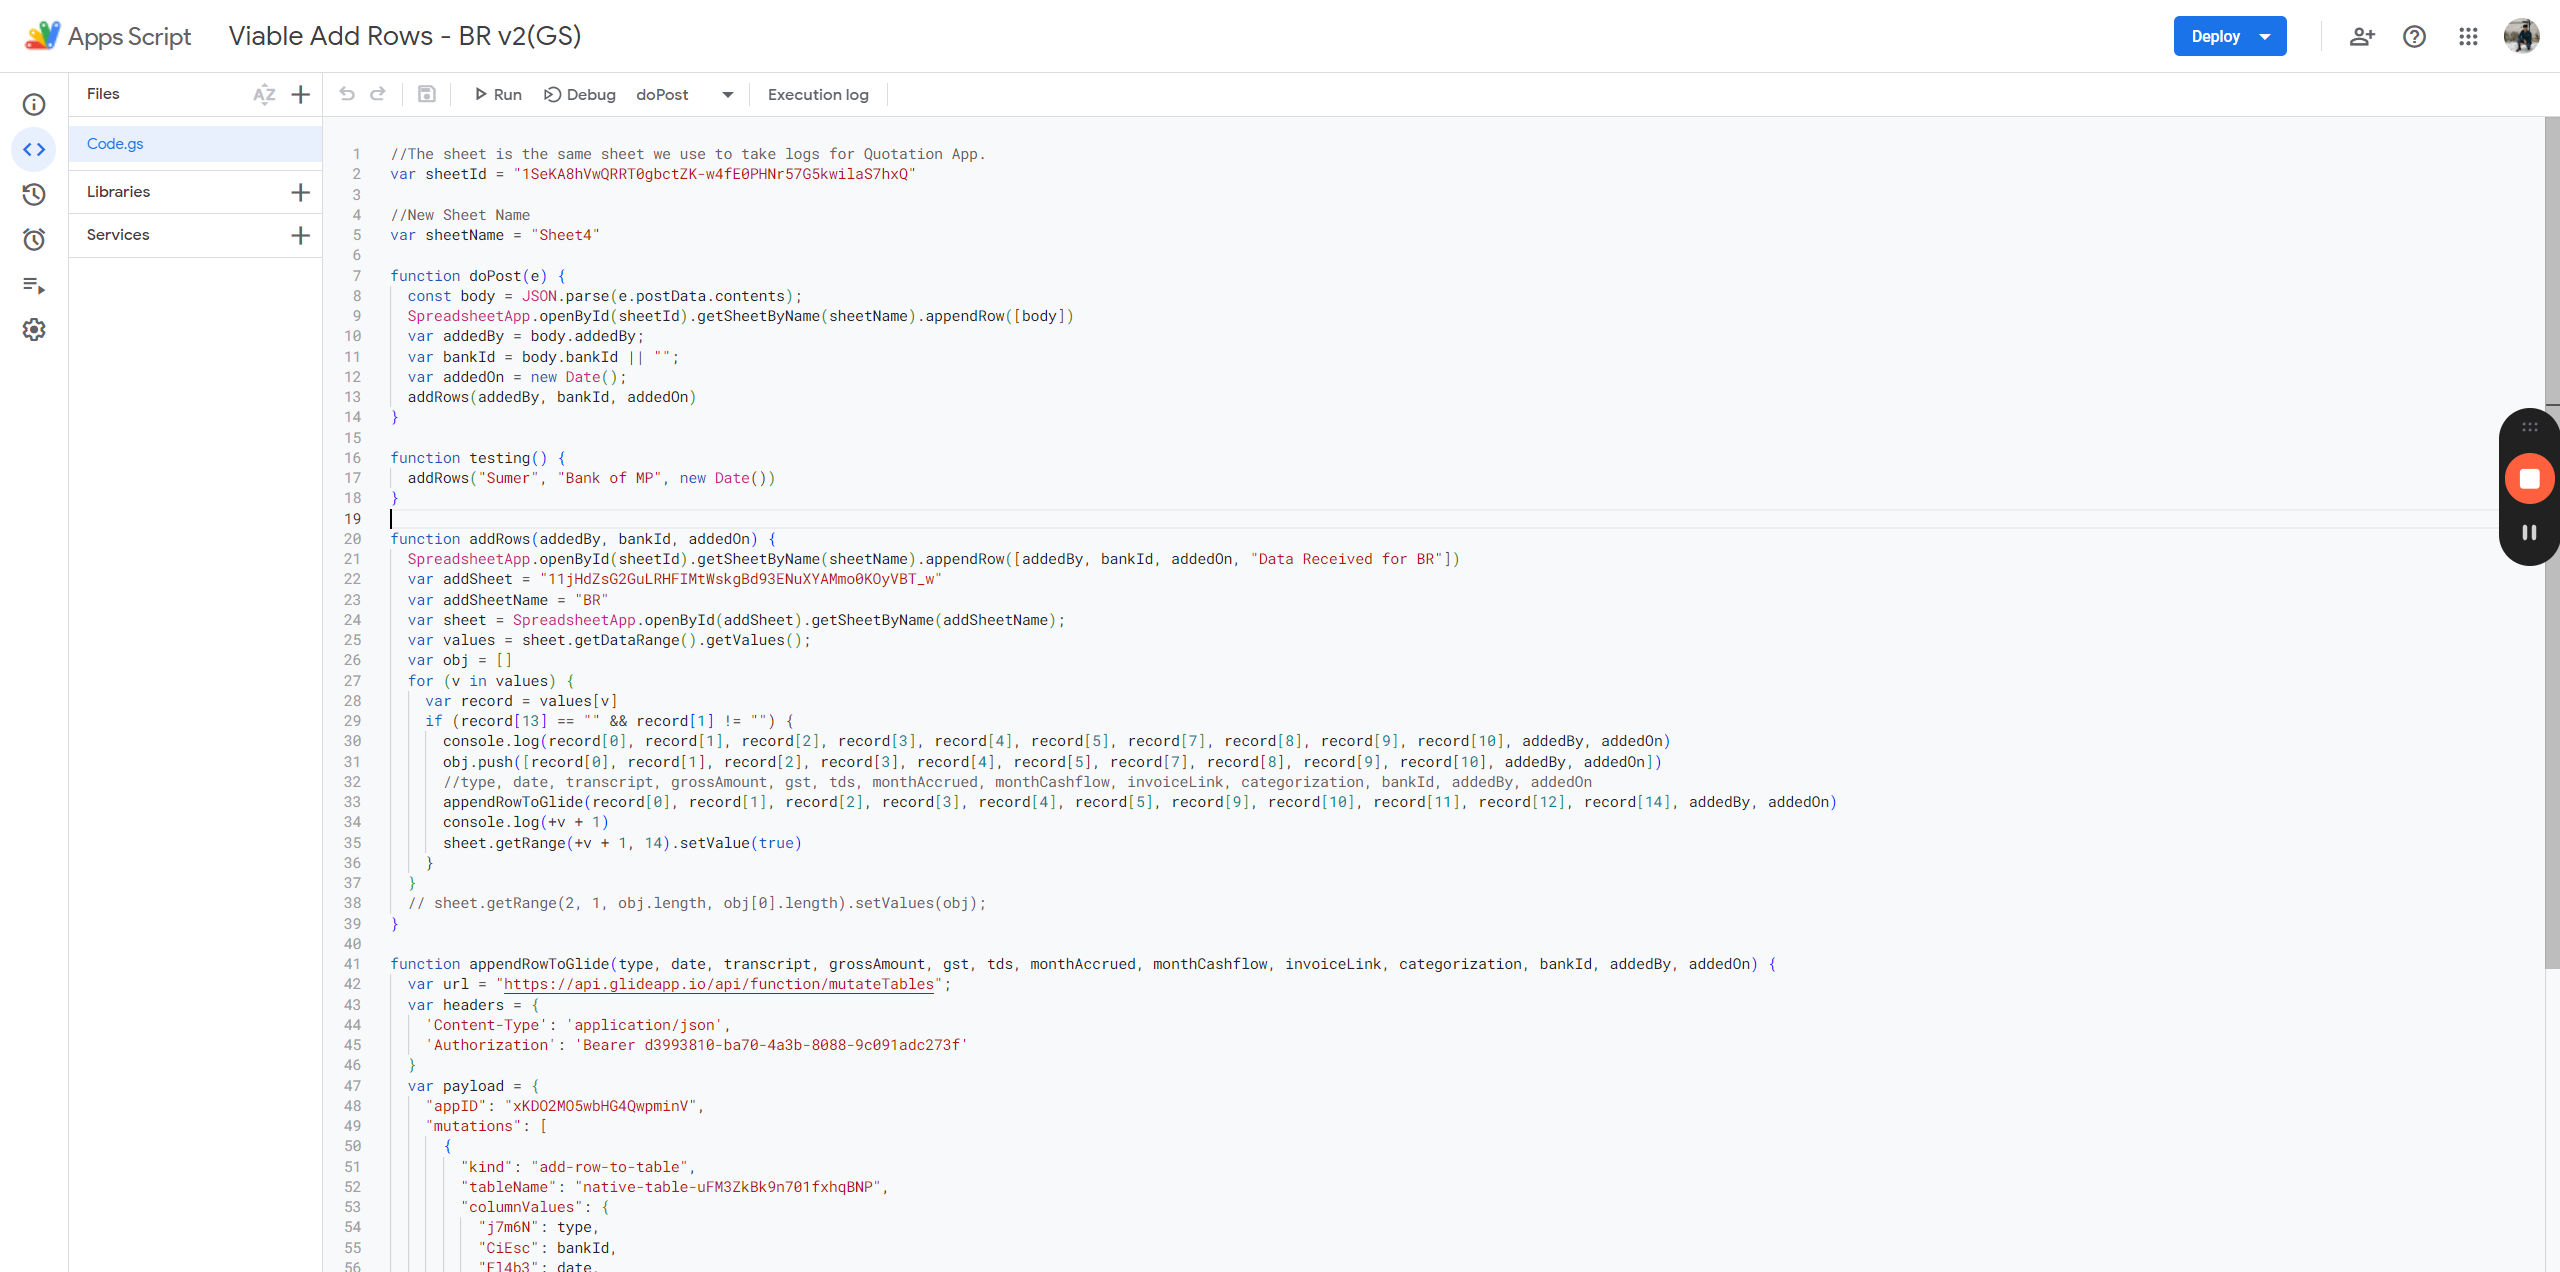
Let's open the 2nd script here and
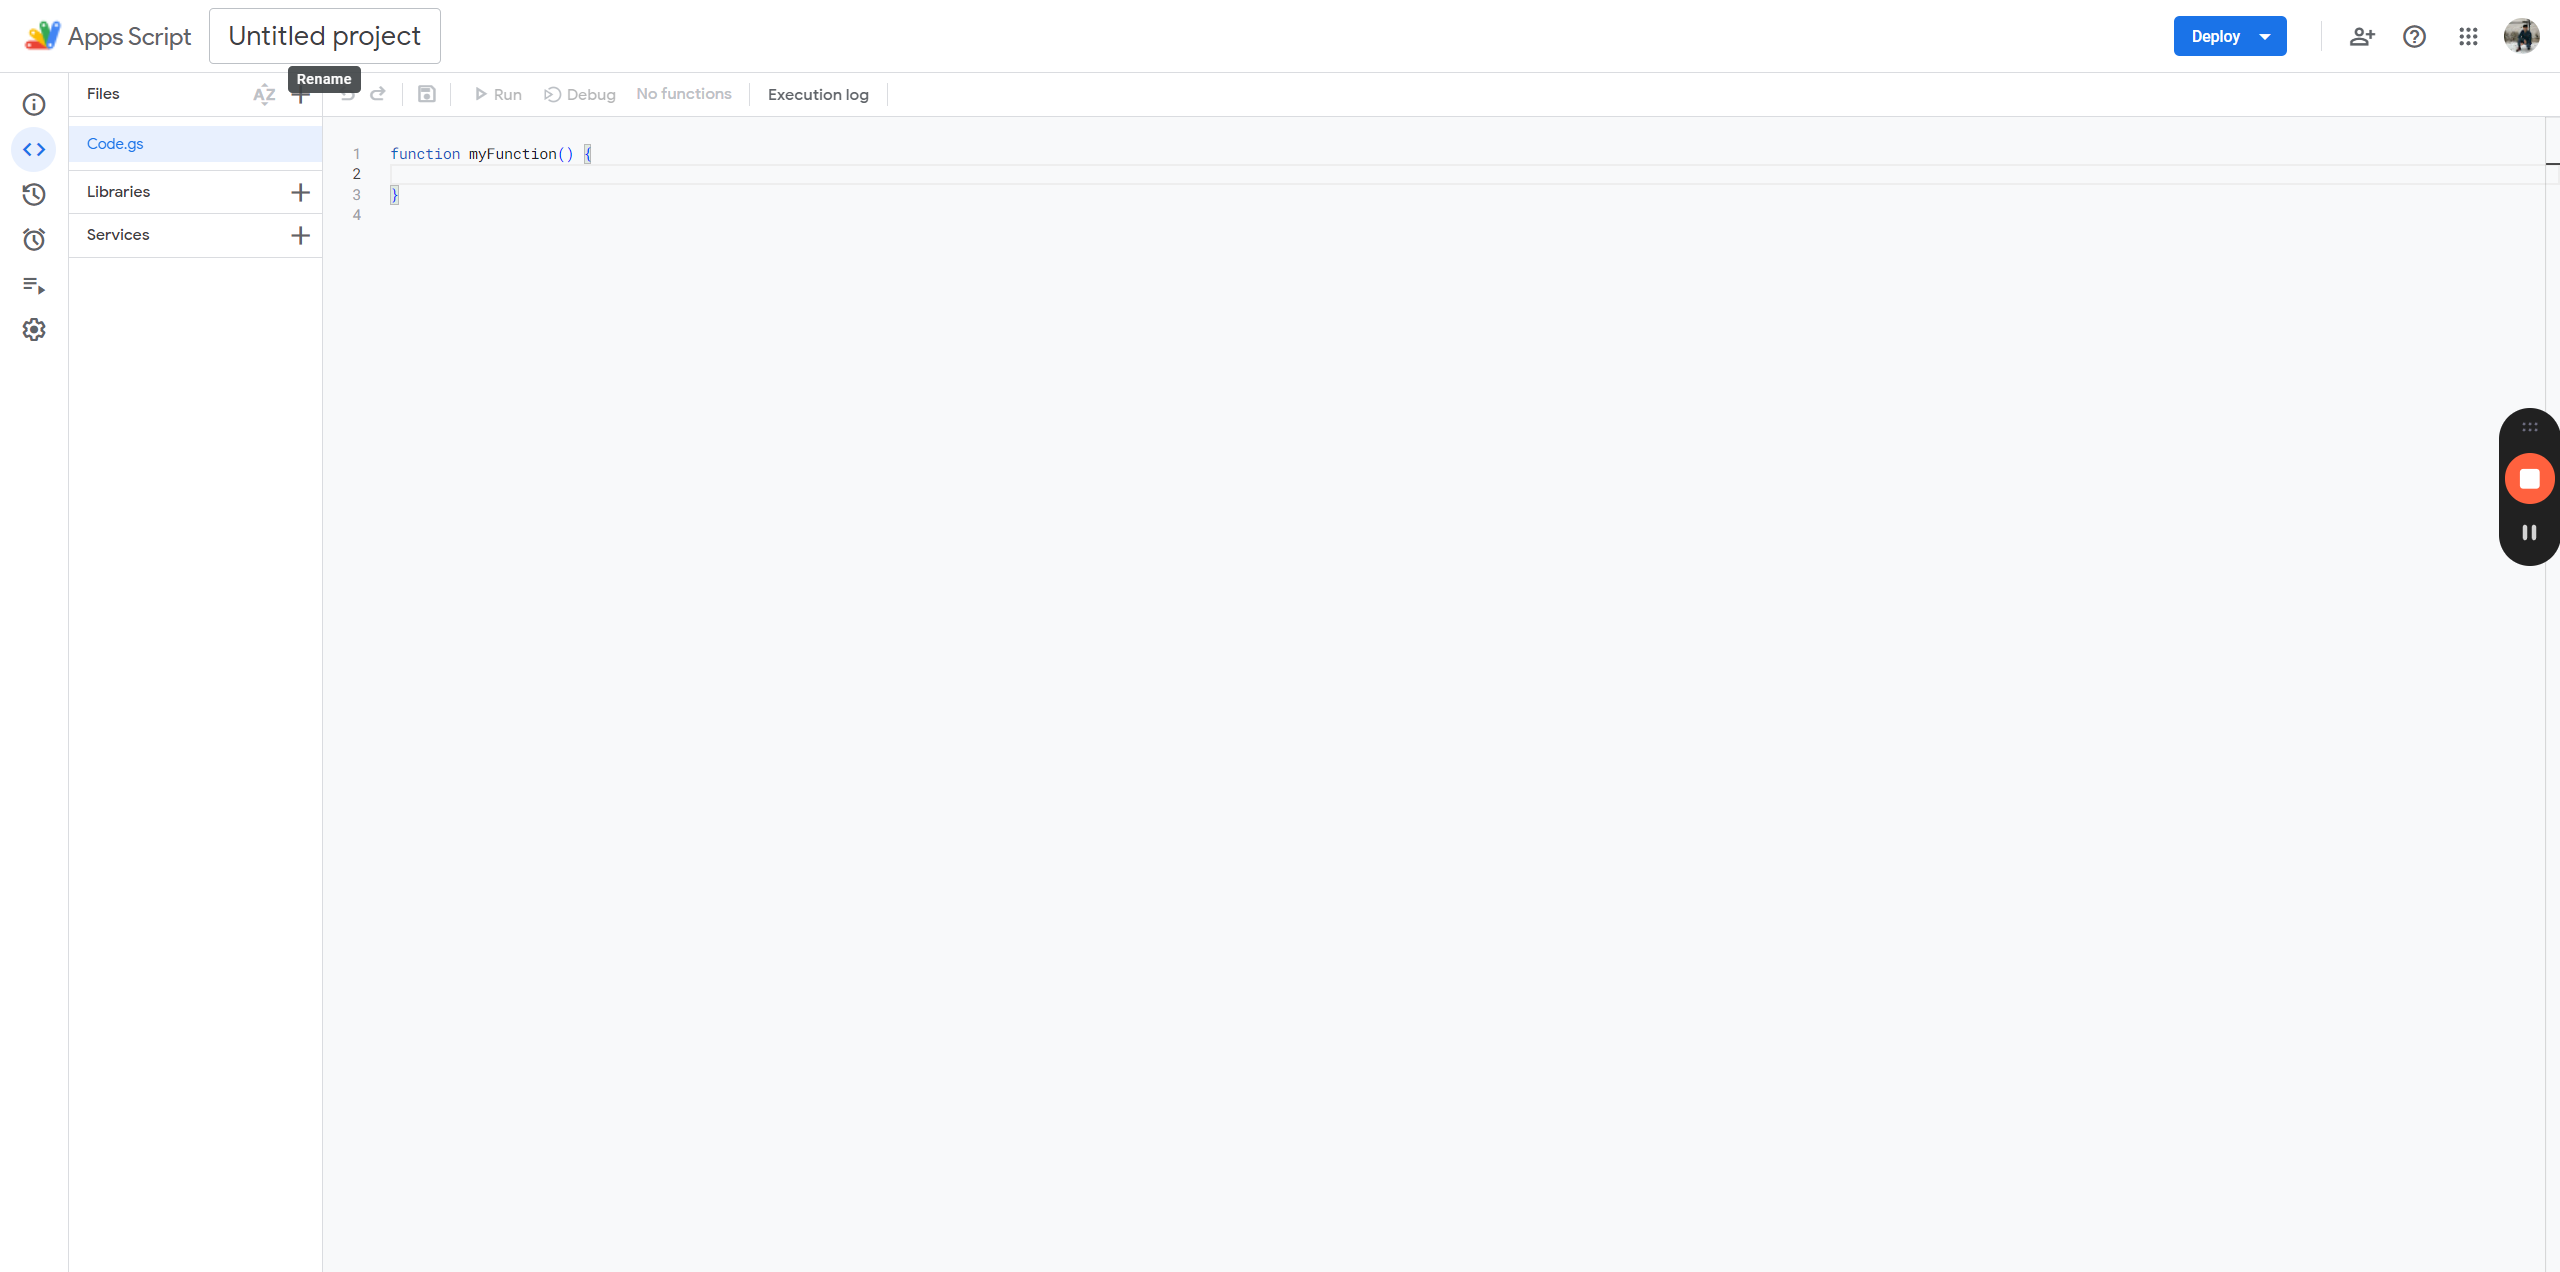
First, open a new tab and type "script.google.com"
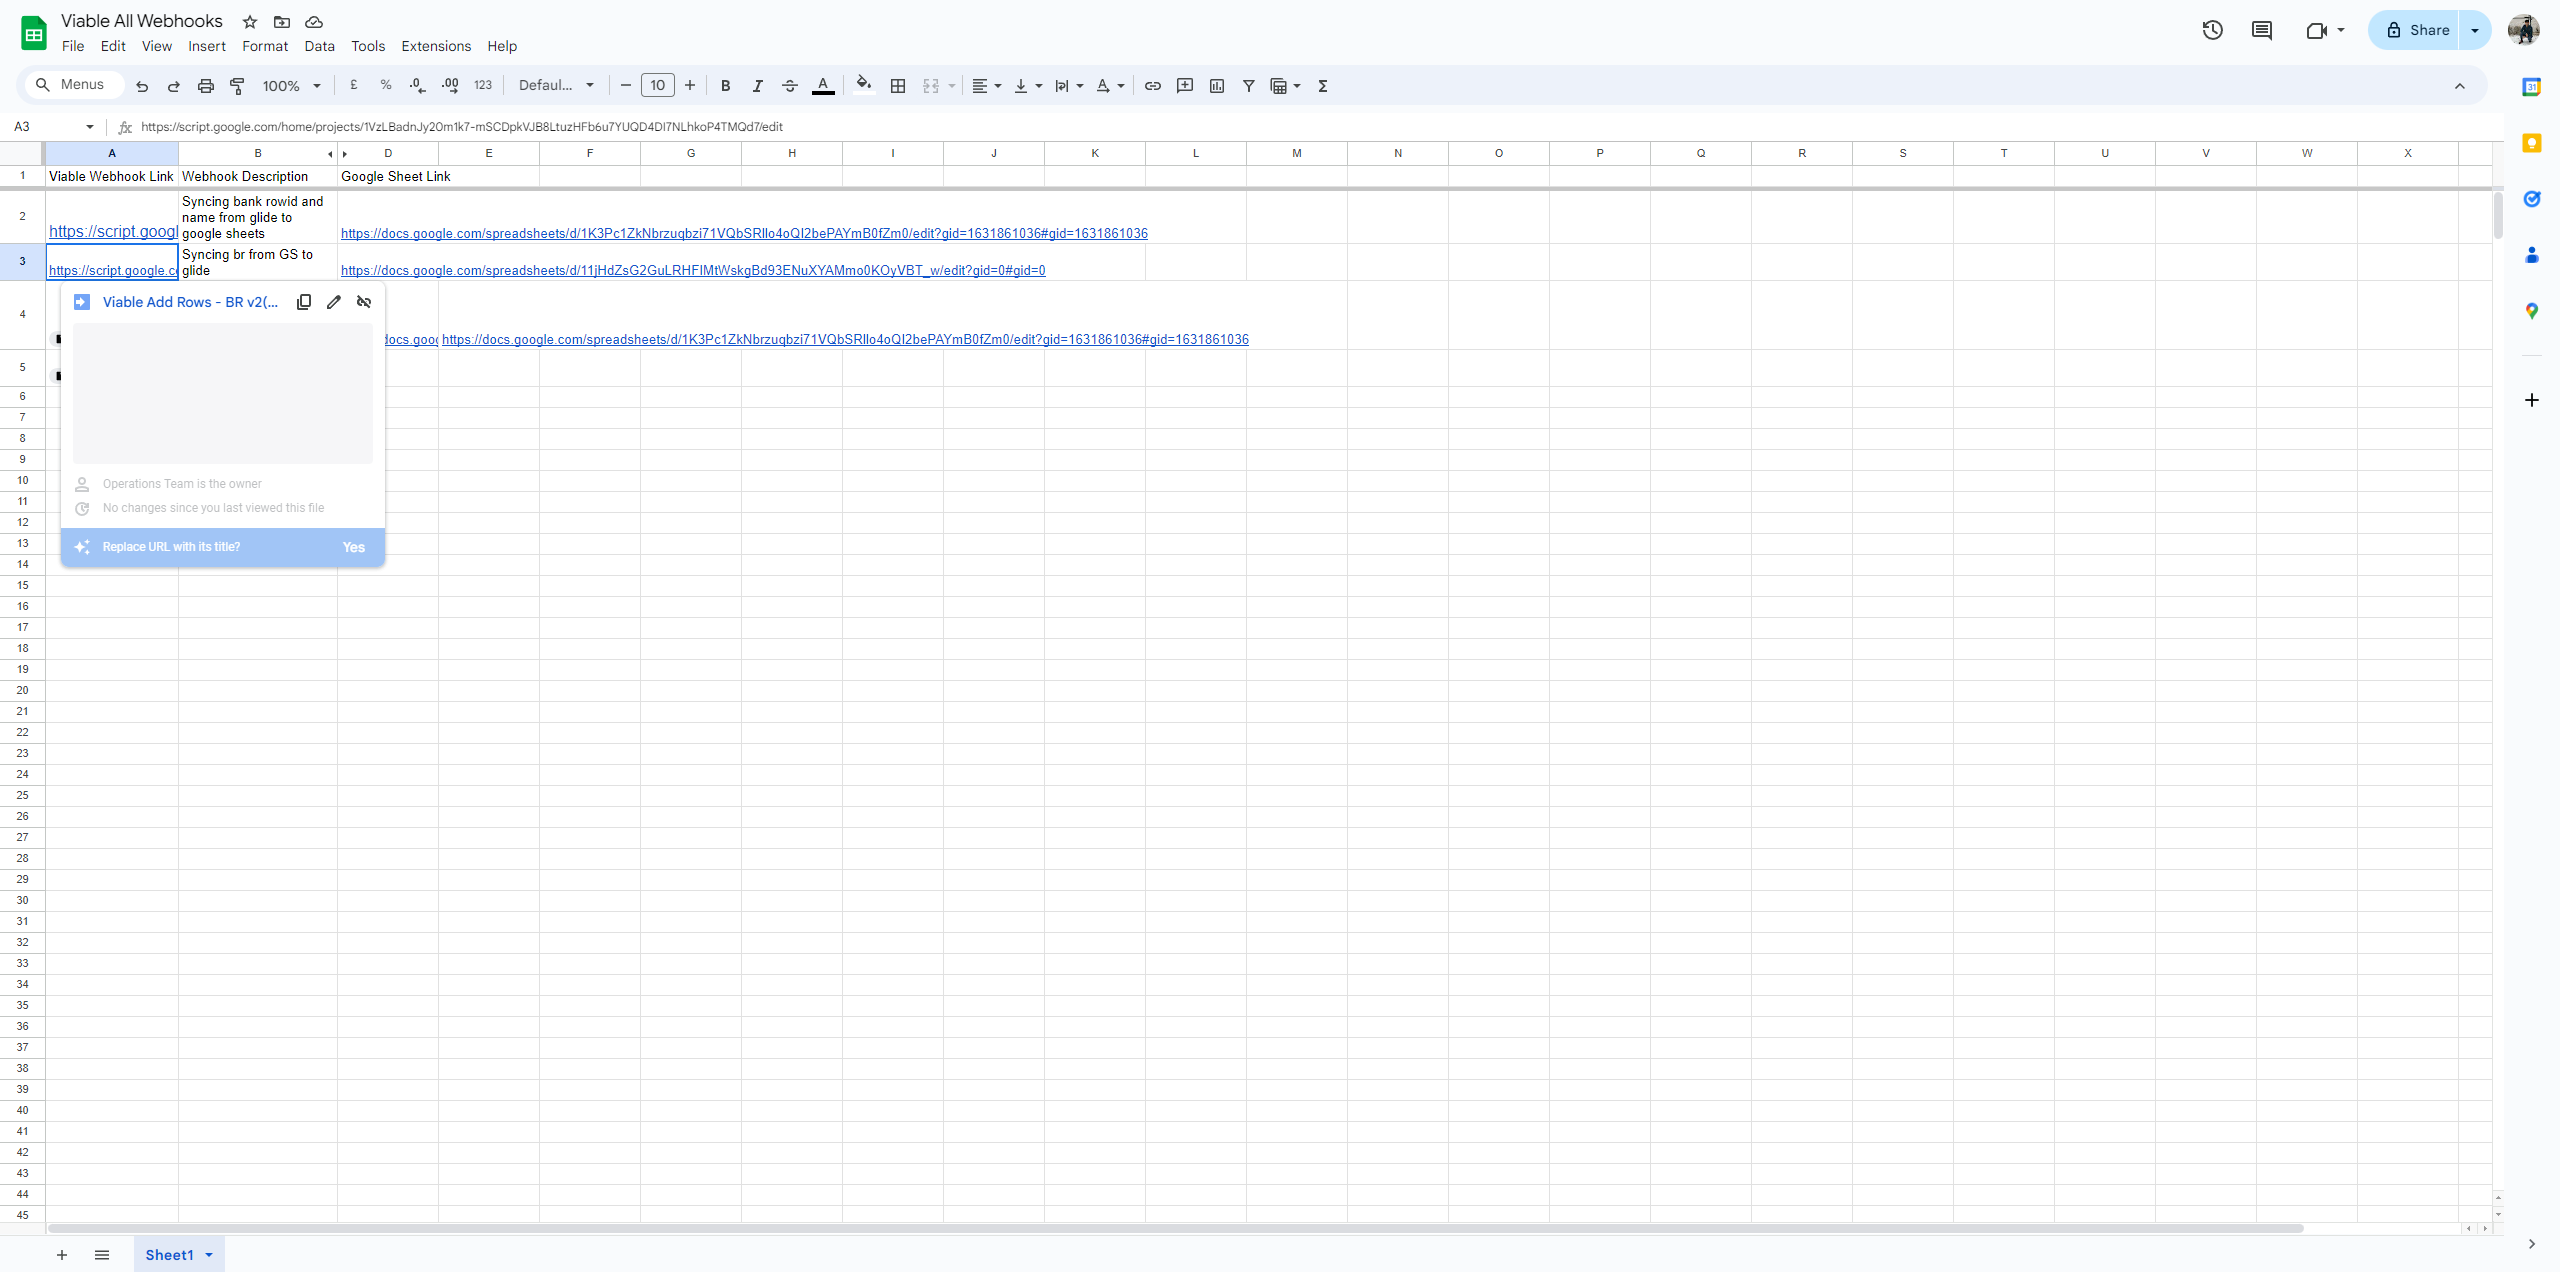
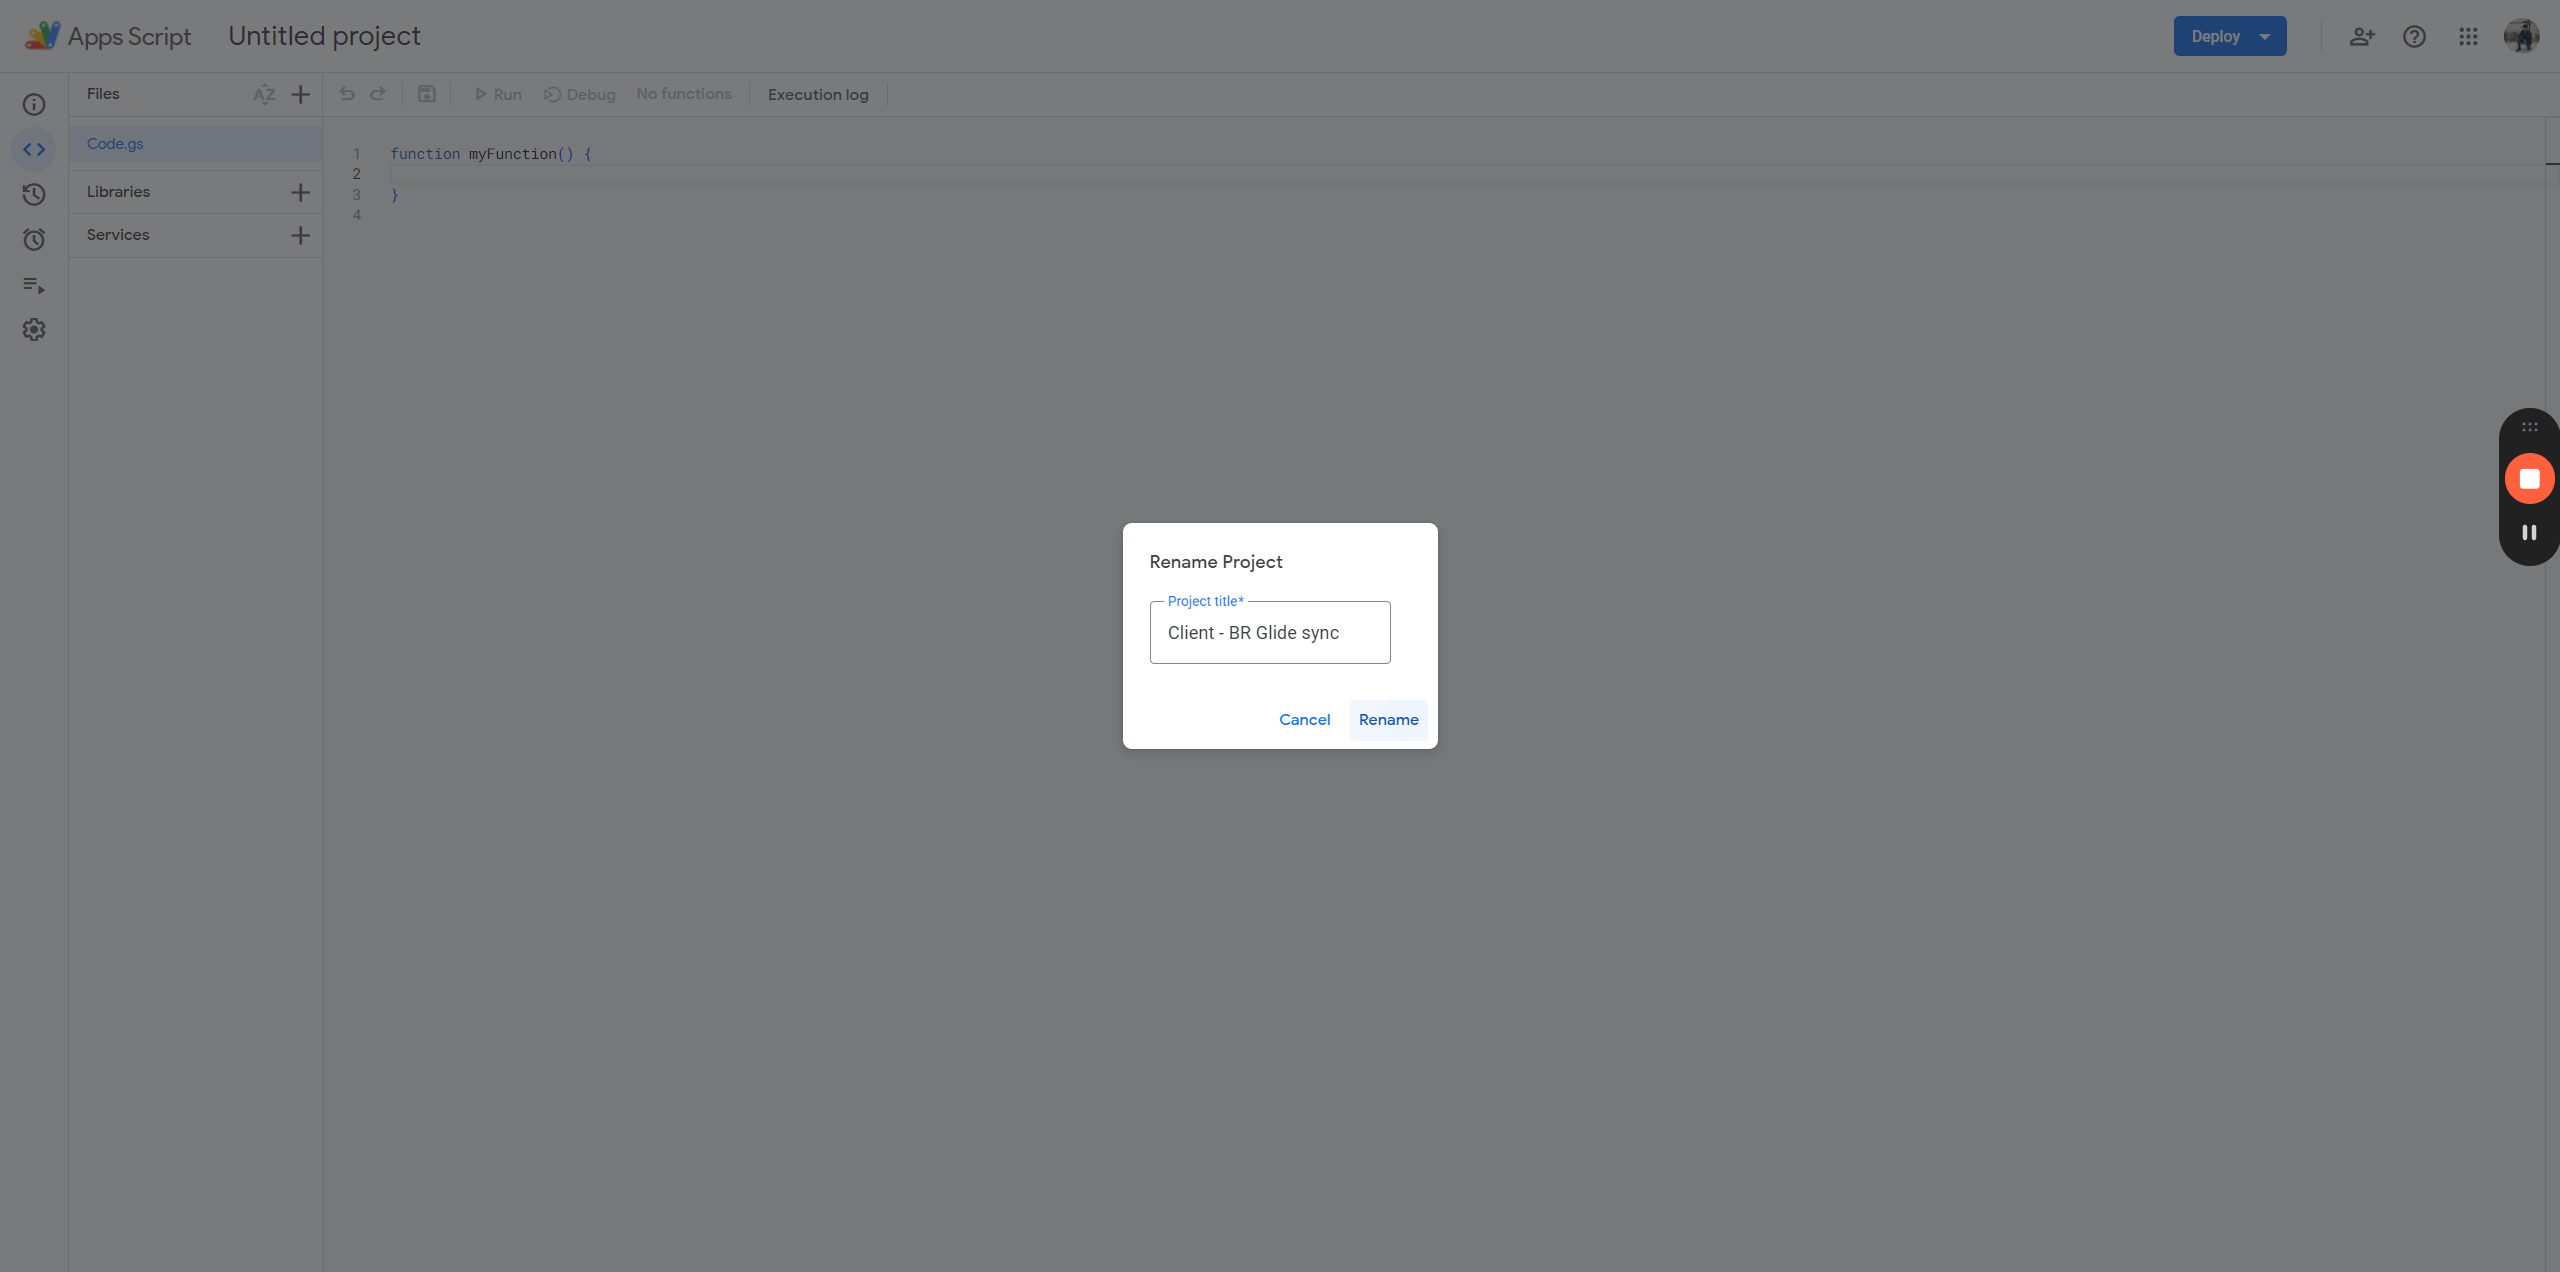
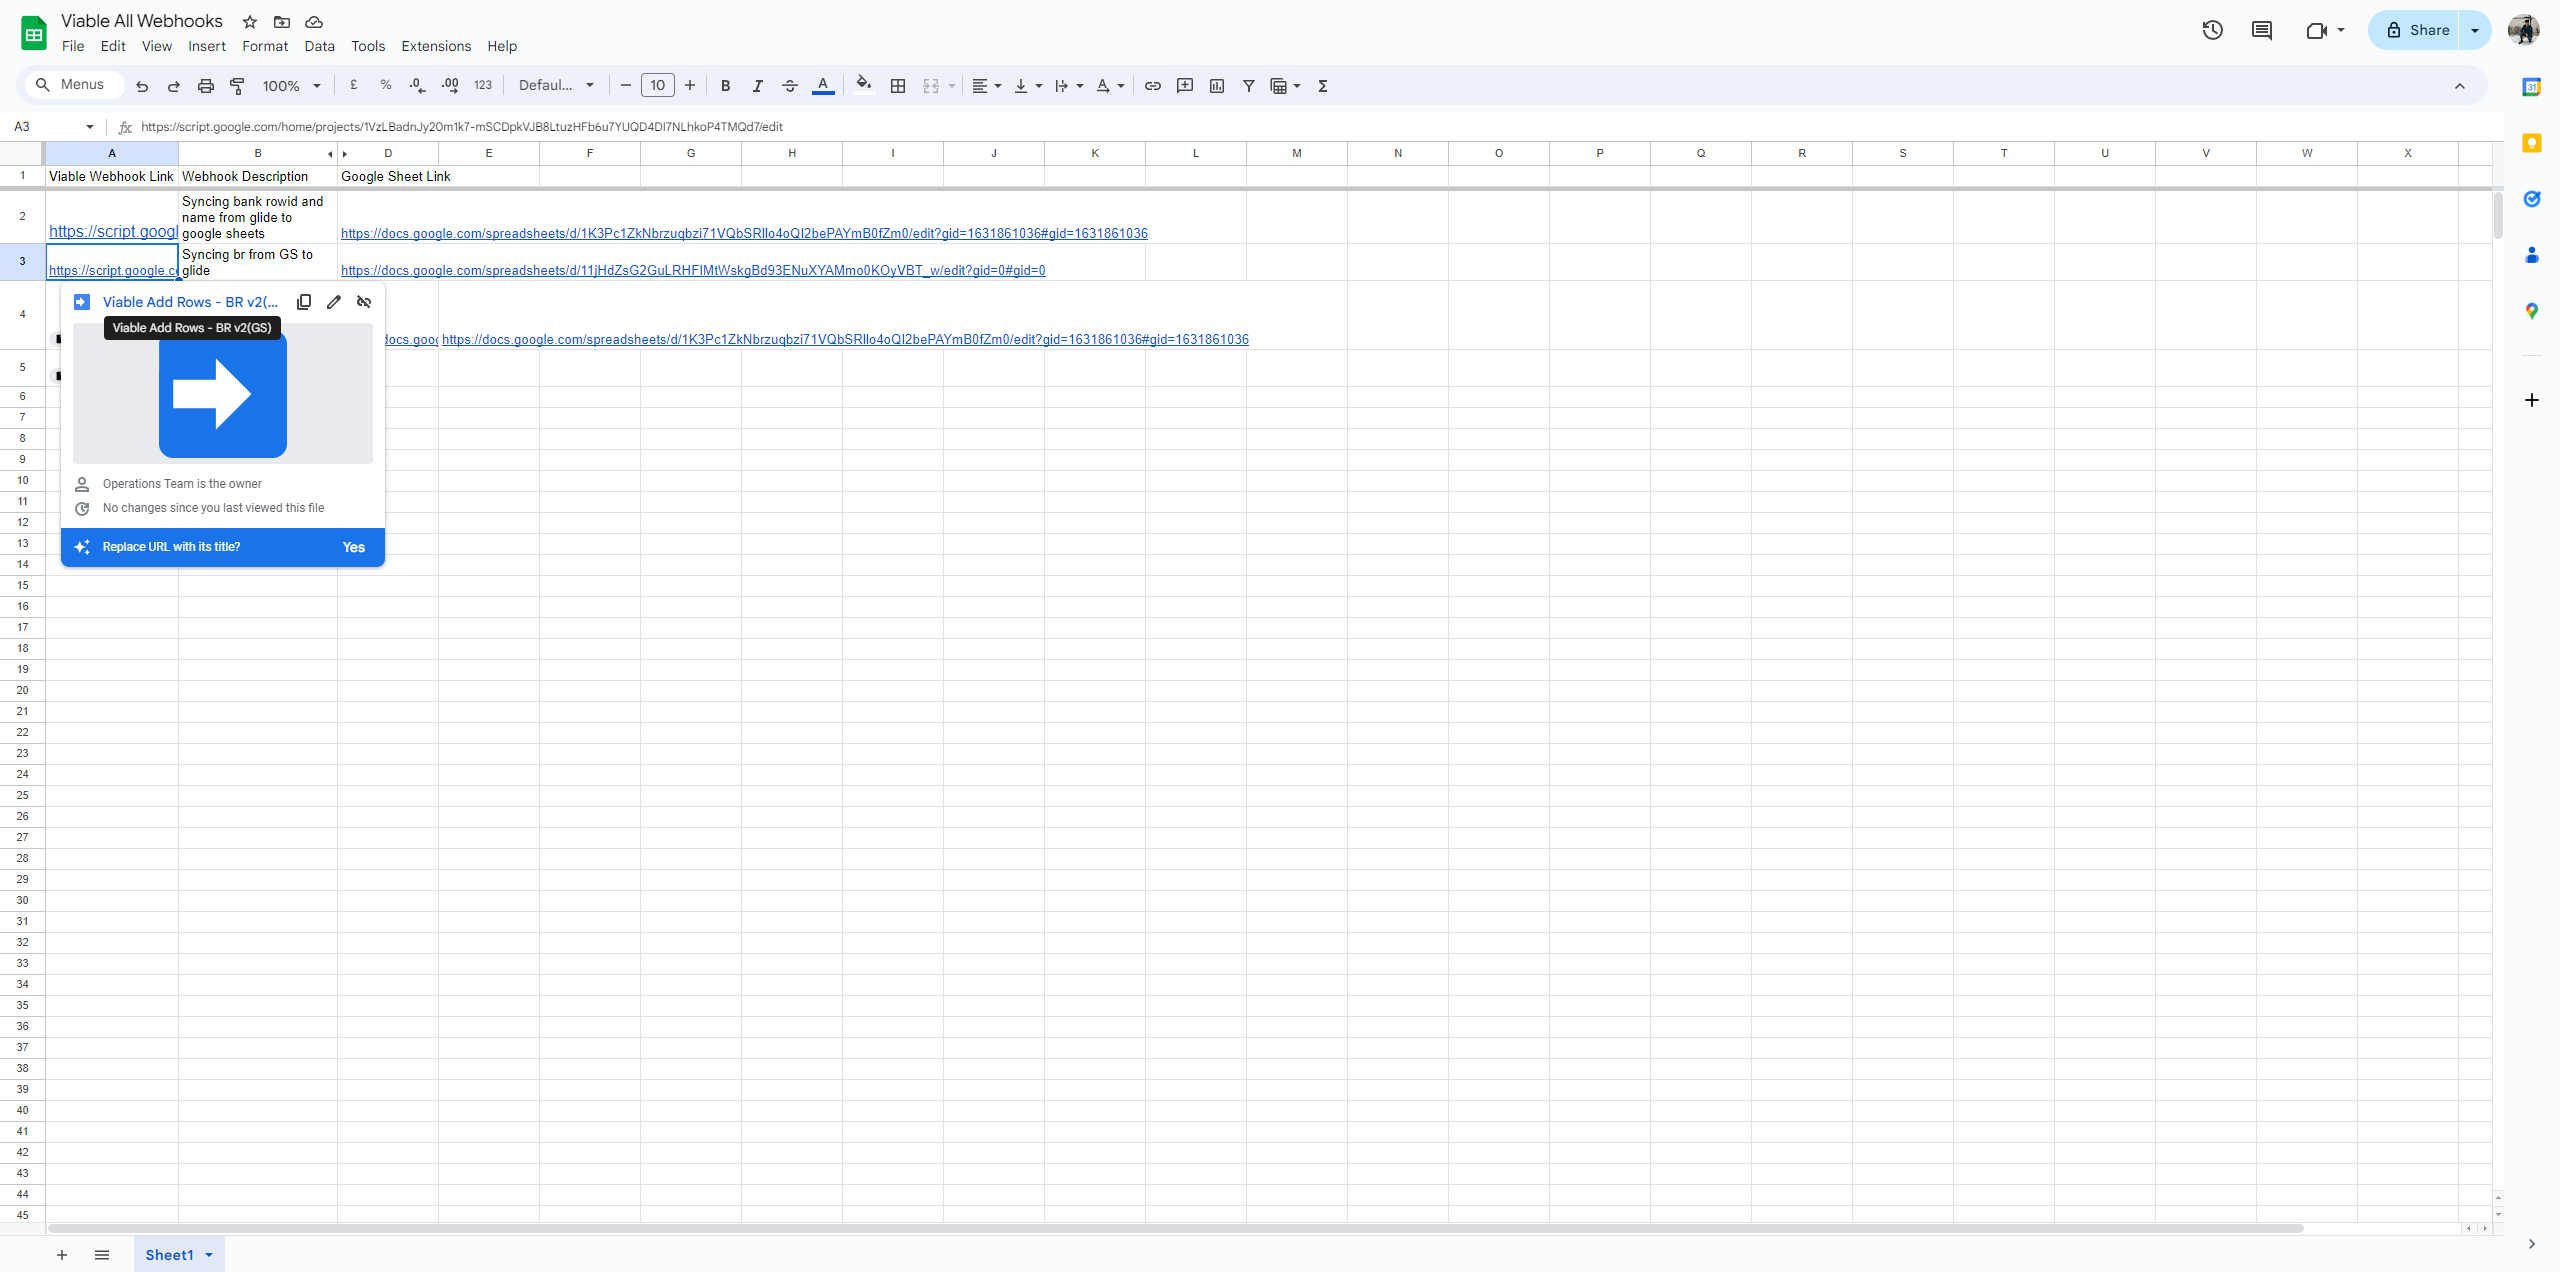
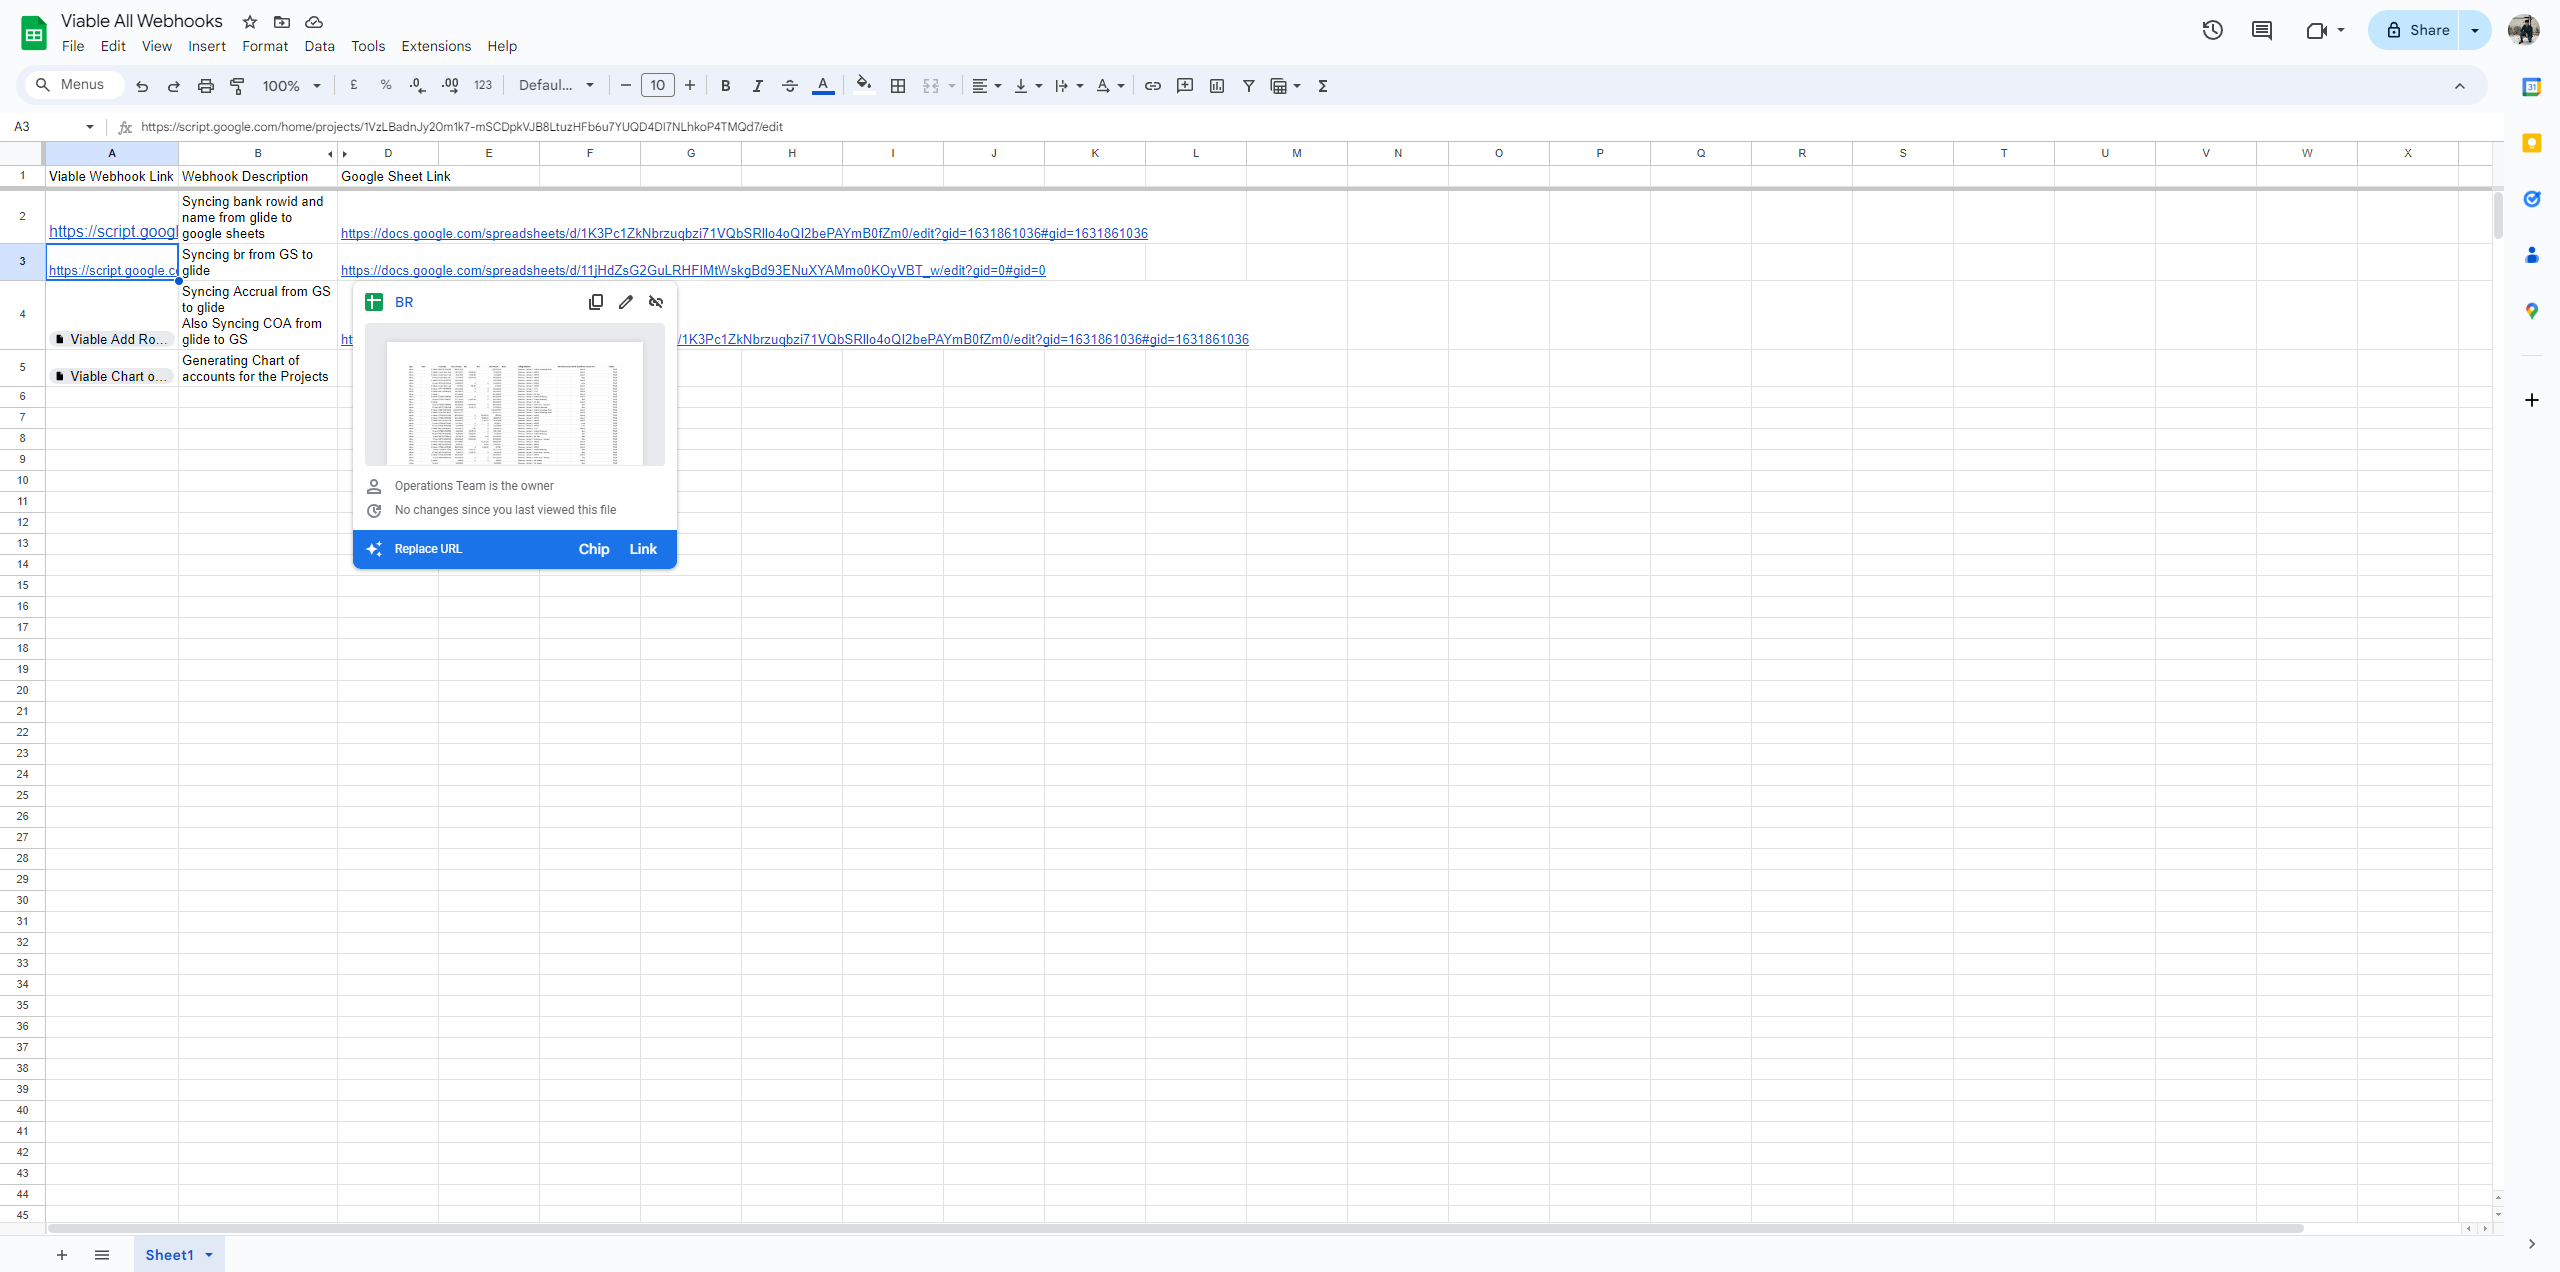
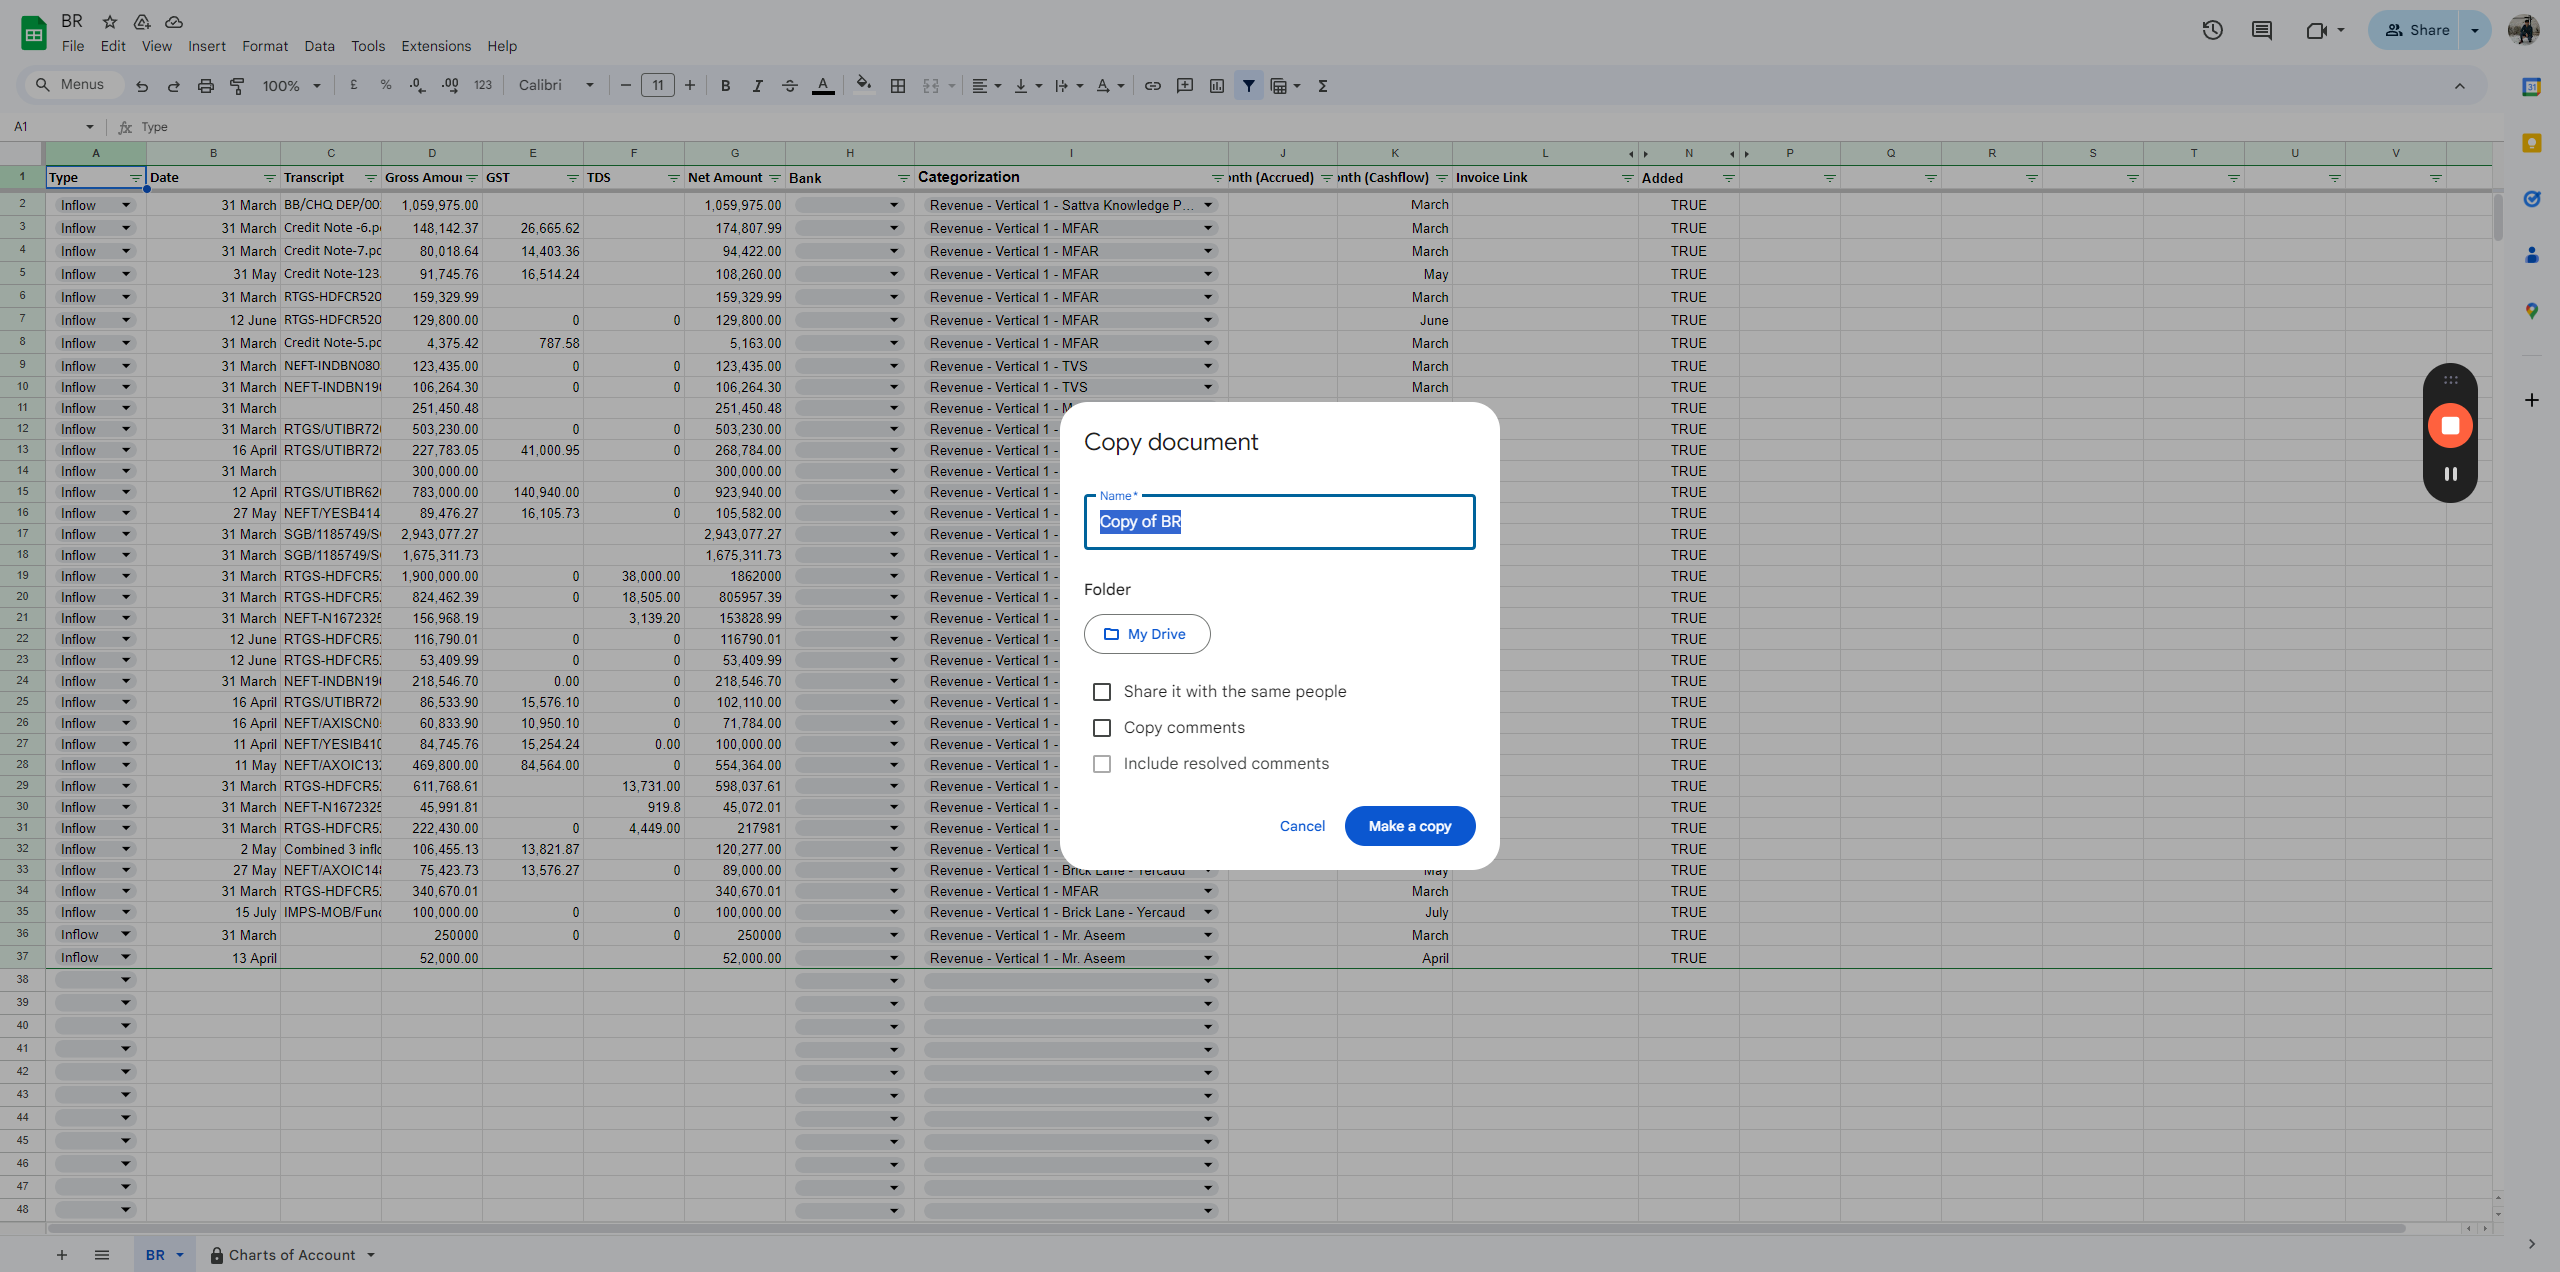
Go to google.com and click on "New Project." Name the project "Client Br GlideSync." After renaming the project, go back to the "All Webbooks" sheet. Open the link in cell A3, copy the sheet, and paste the code into the new project you created. Click "Save." Next, open the BR sheet using the link in cell D3 and make a copy of that sheet.
If you have already made a copy, you can use that. I would again mention the client name BR and GlideSync, so you don't forget.
You can have a folder dedicated to each client and save the respective sheets in the client's folder.
Now that I have done that, the next step is to make a copy of the modernizing processes sheet, as I mentioned in the previous guide about syncing.

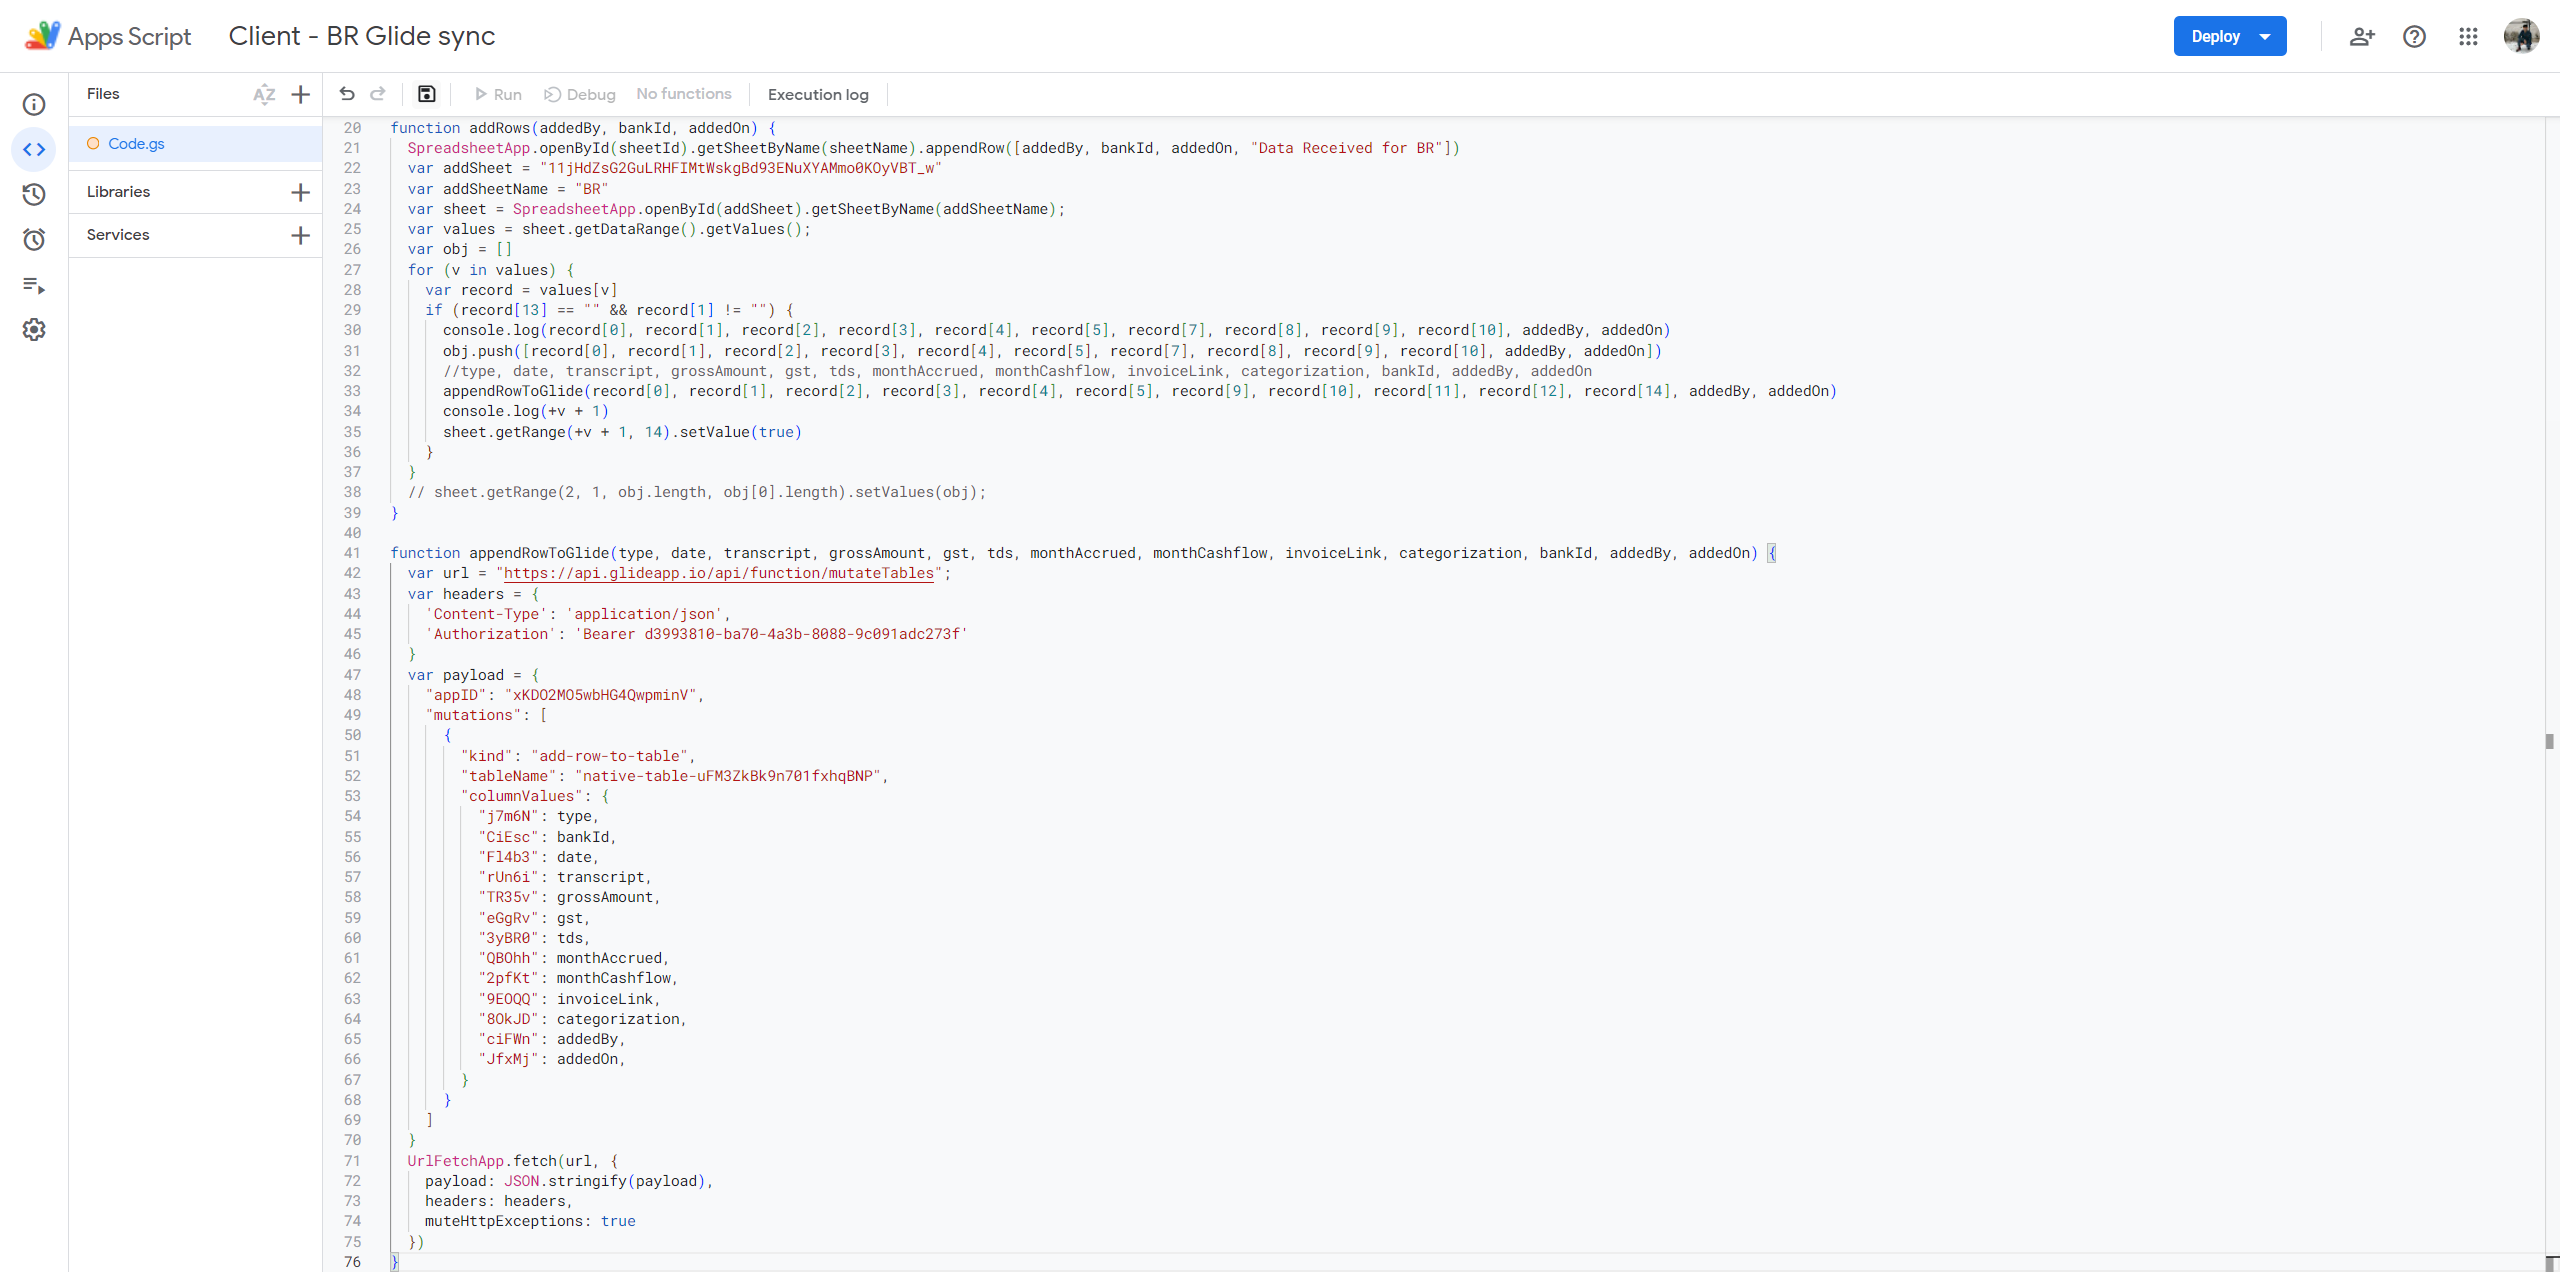
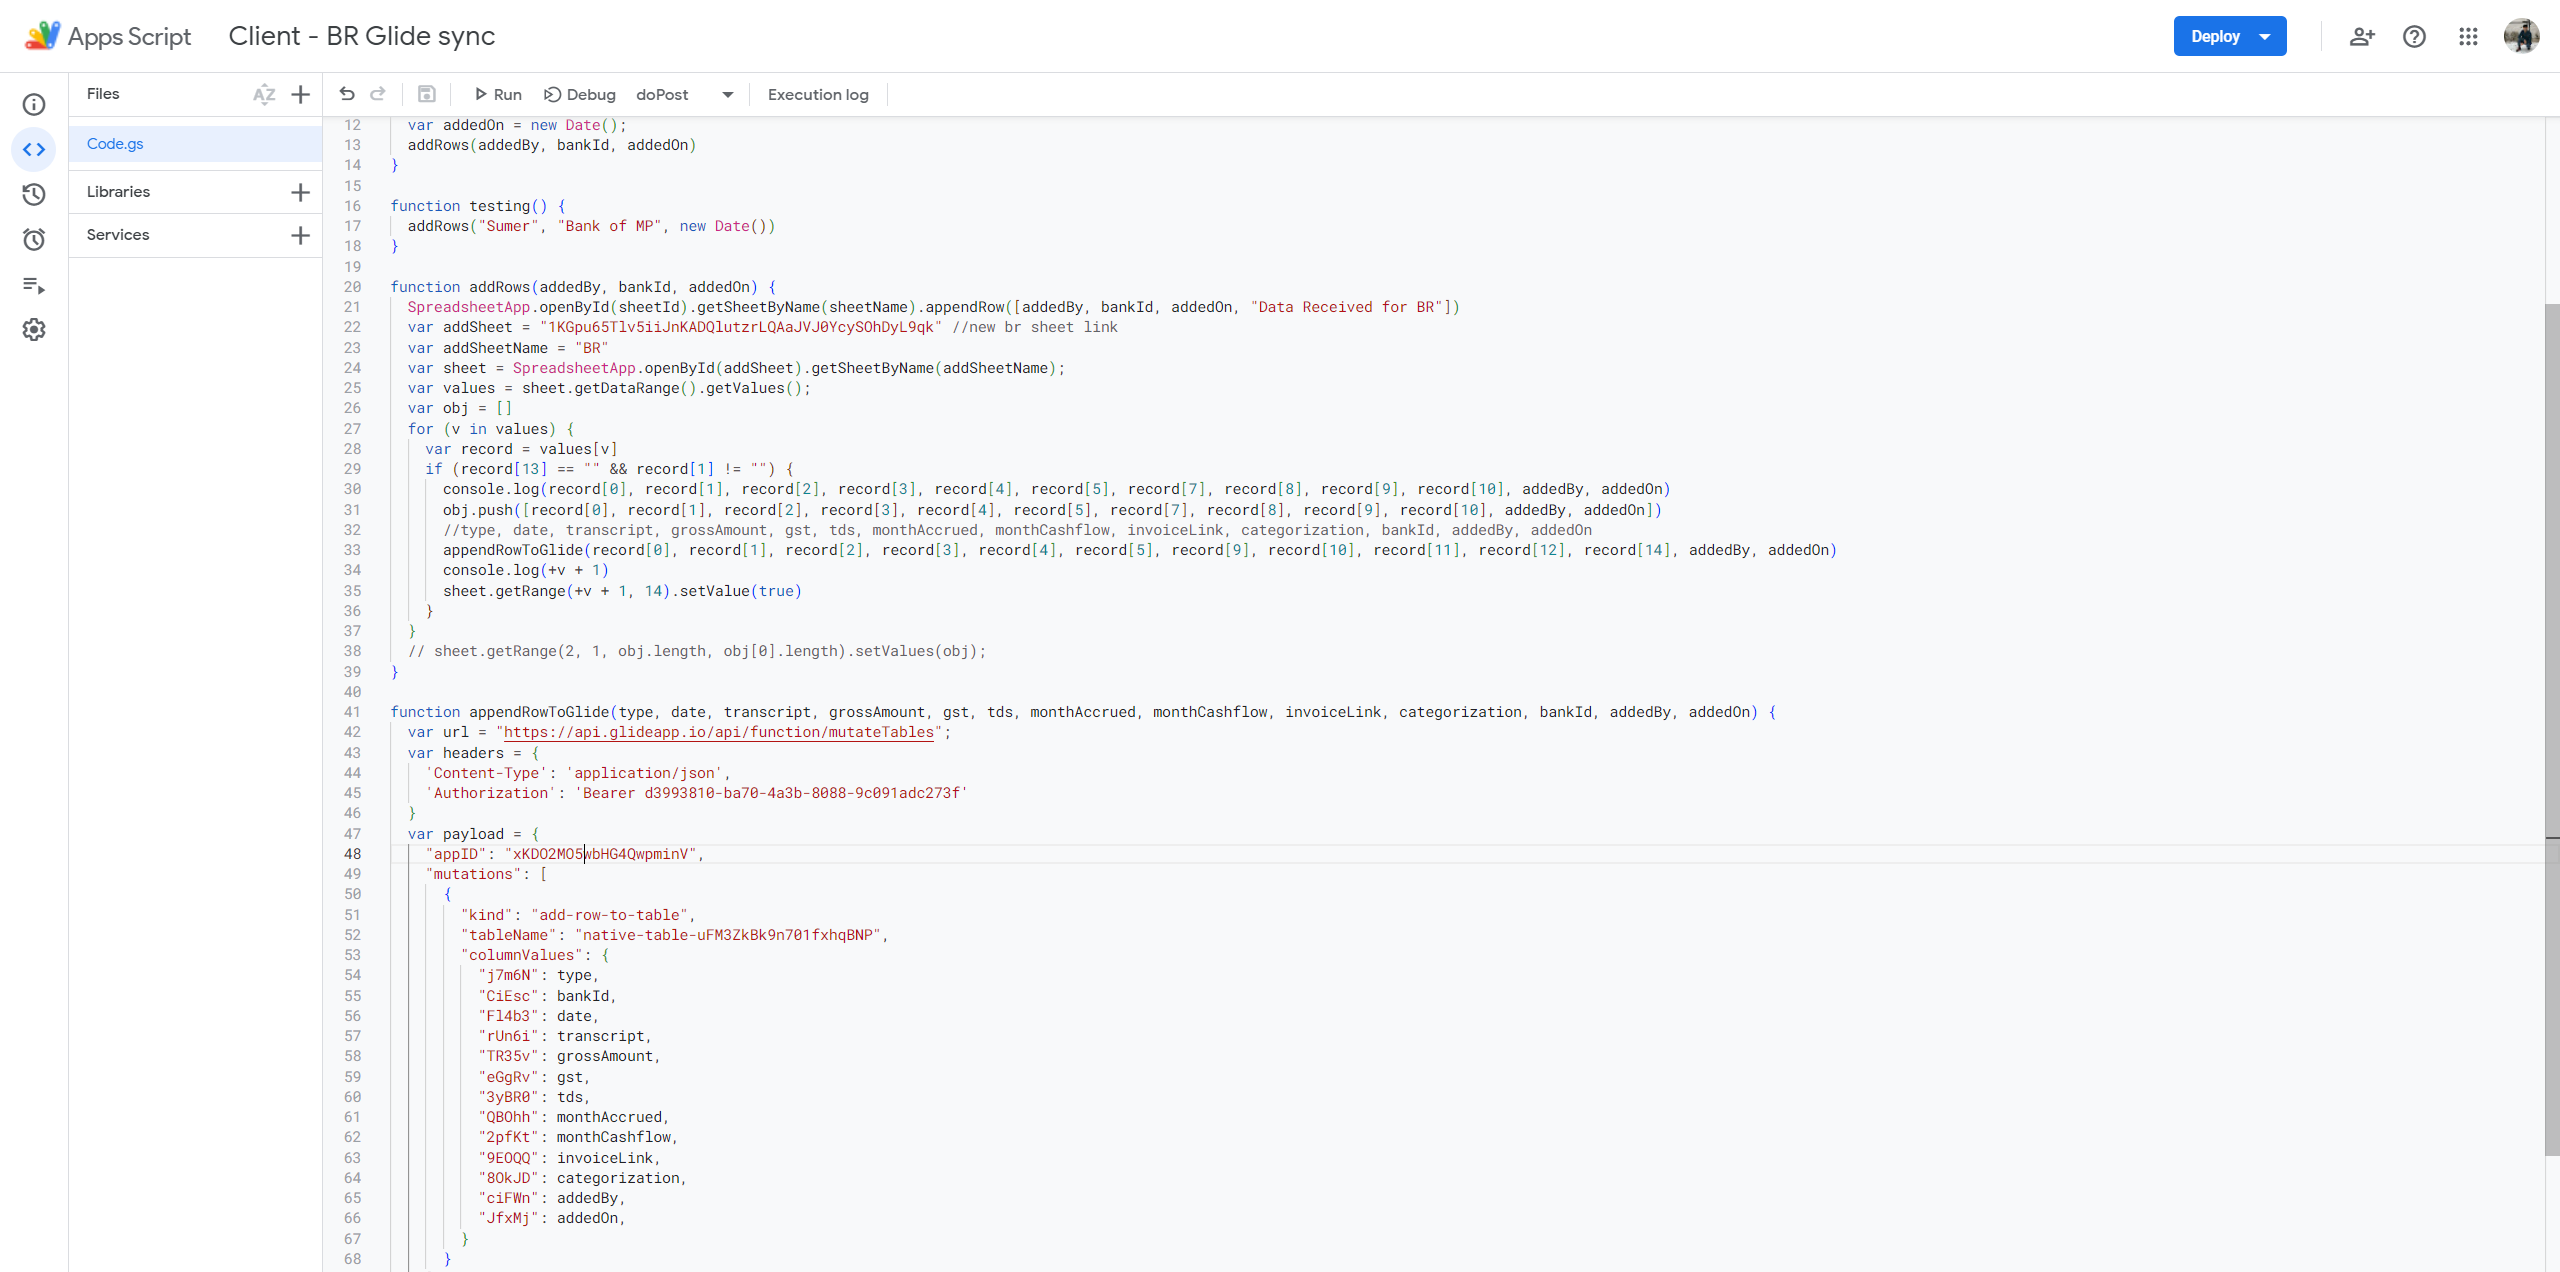
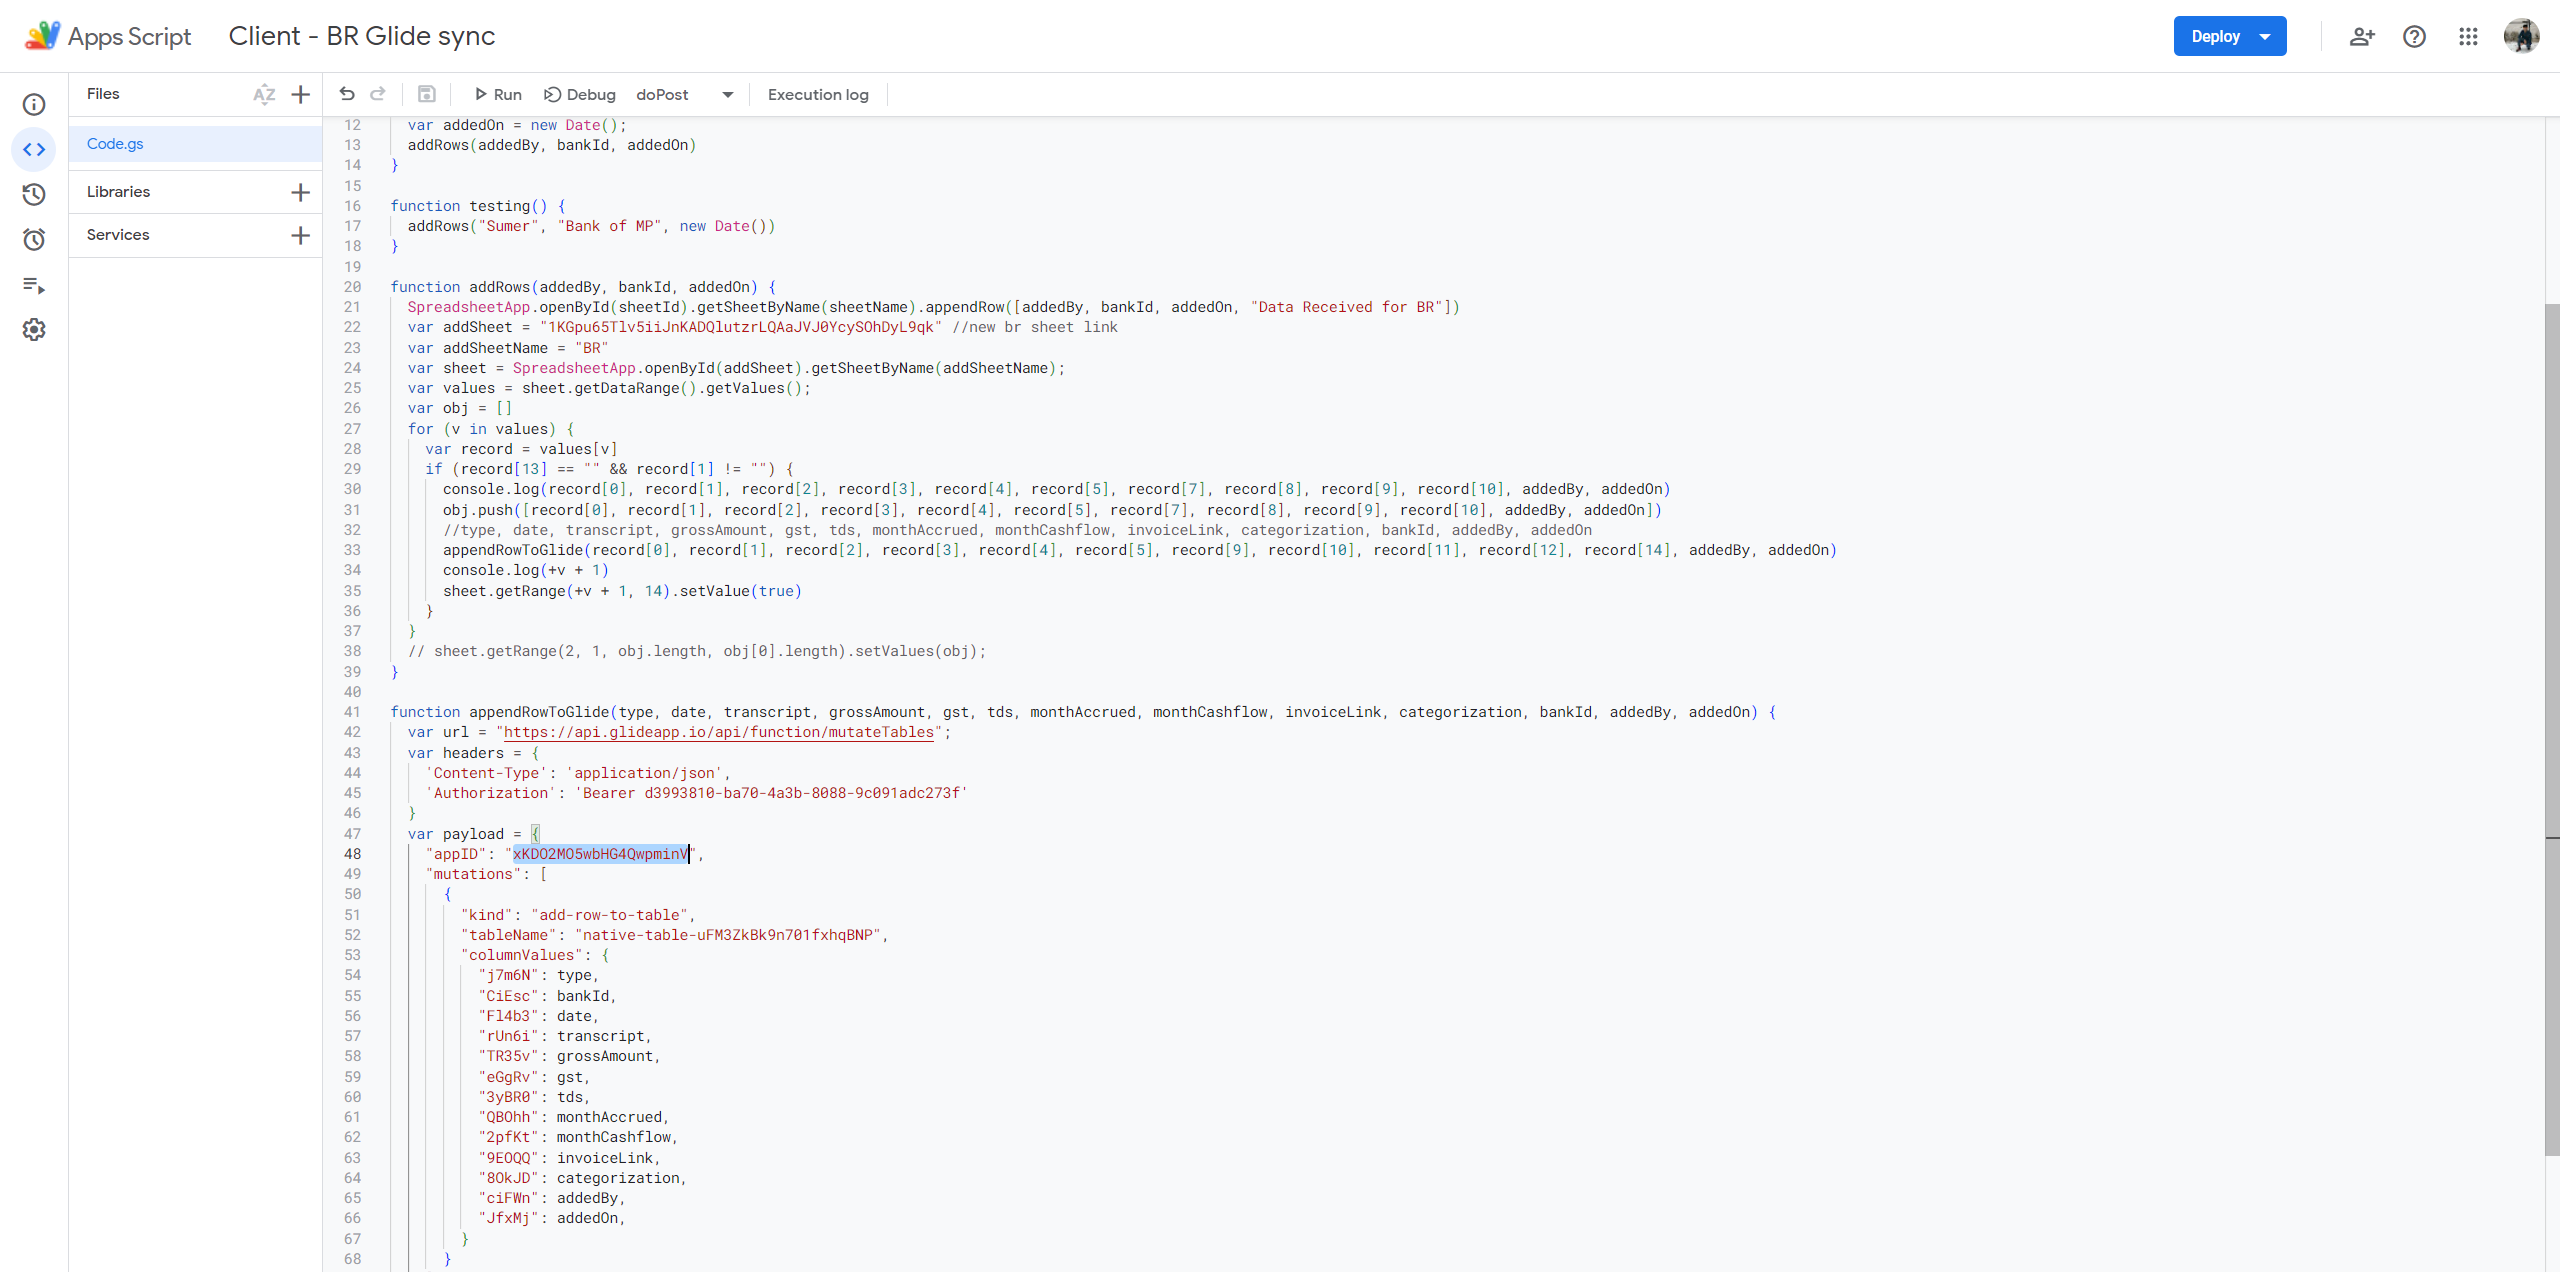
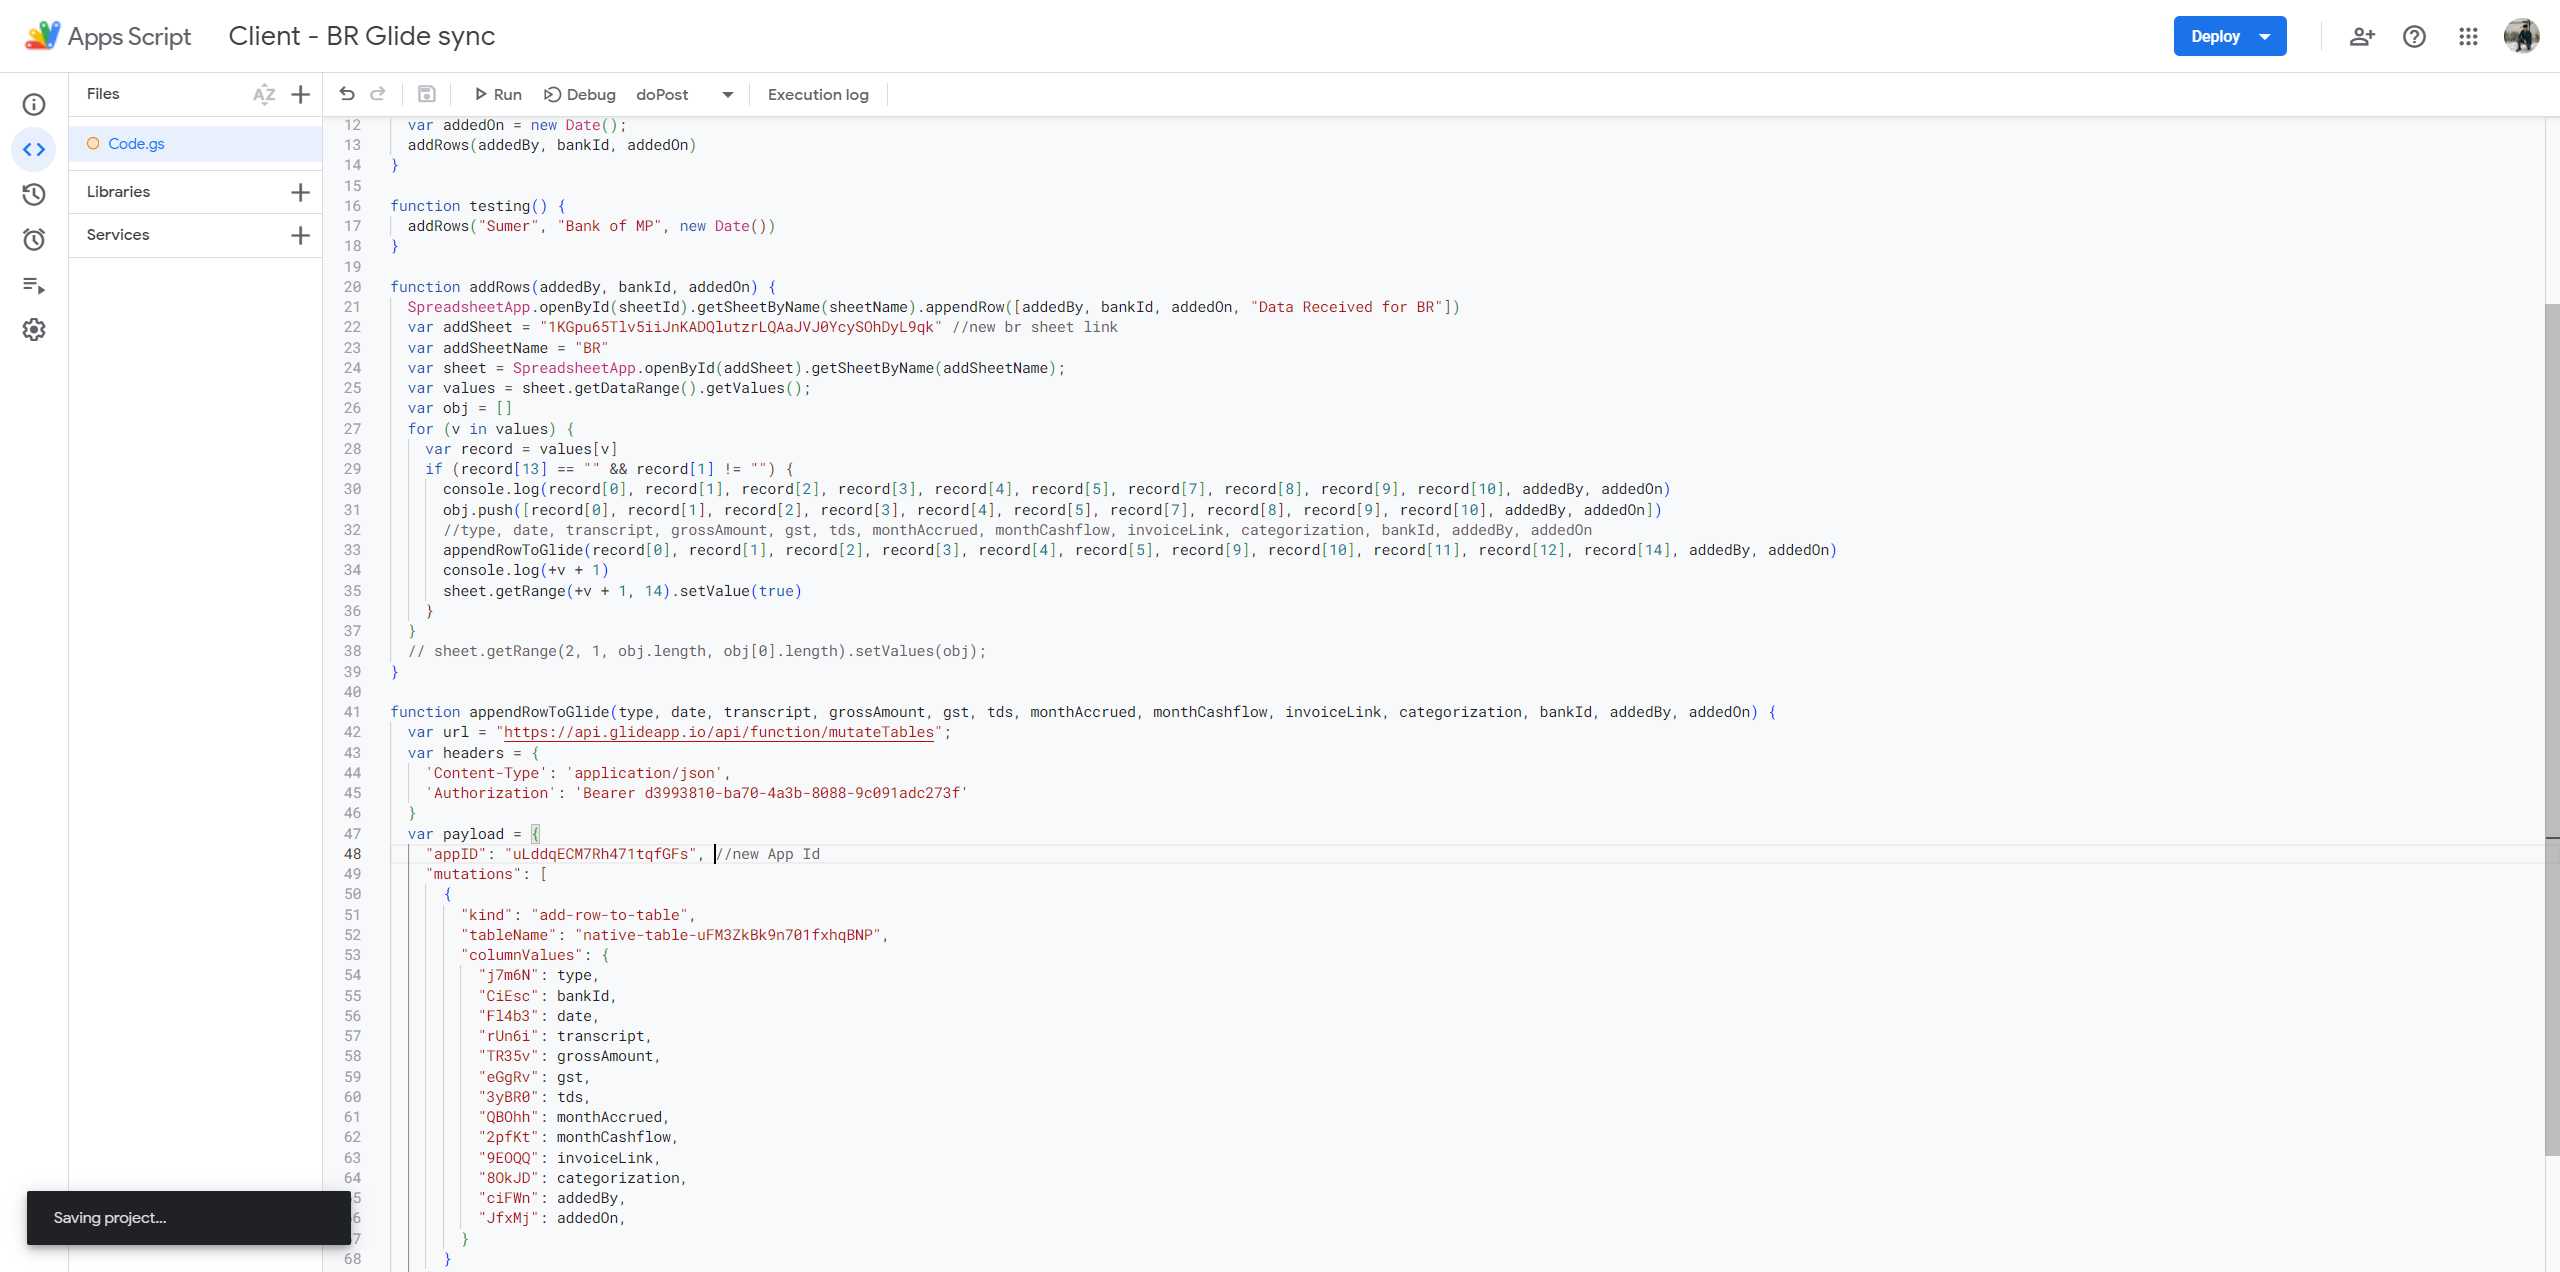
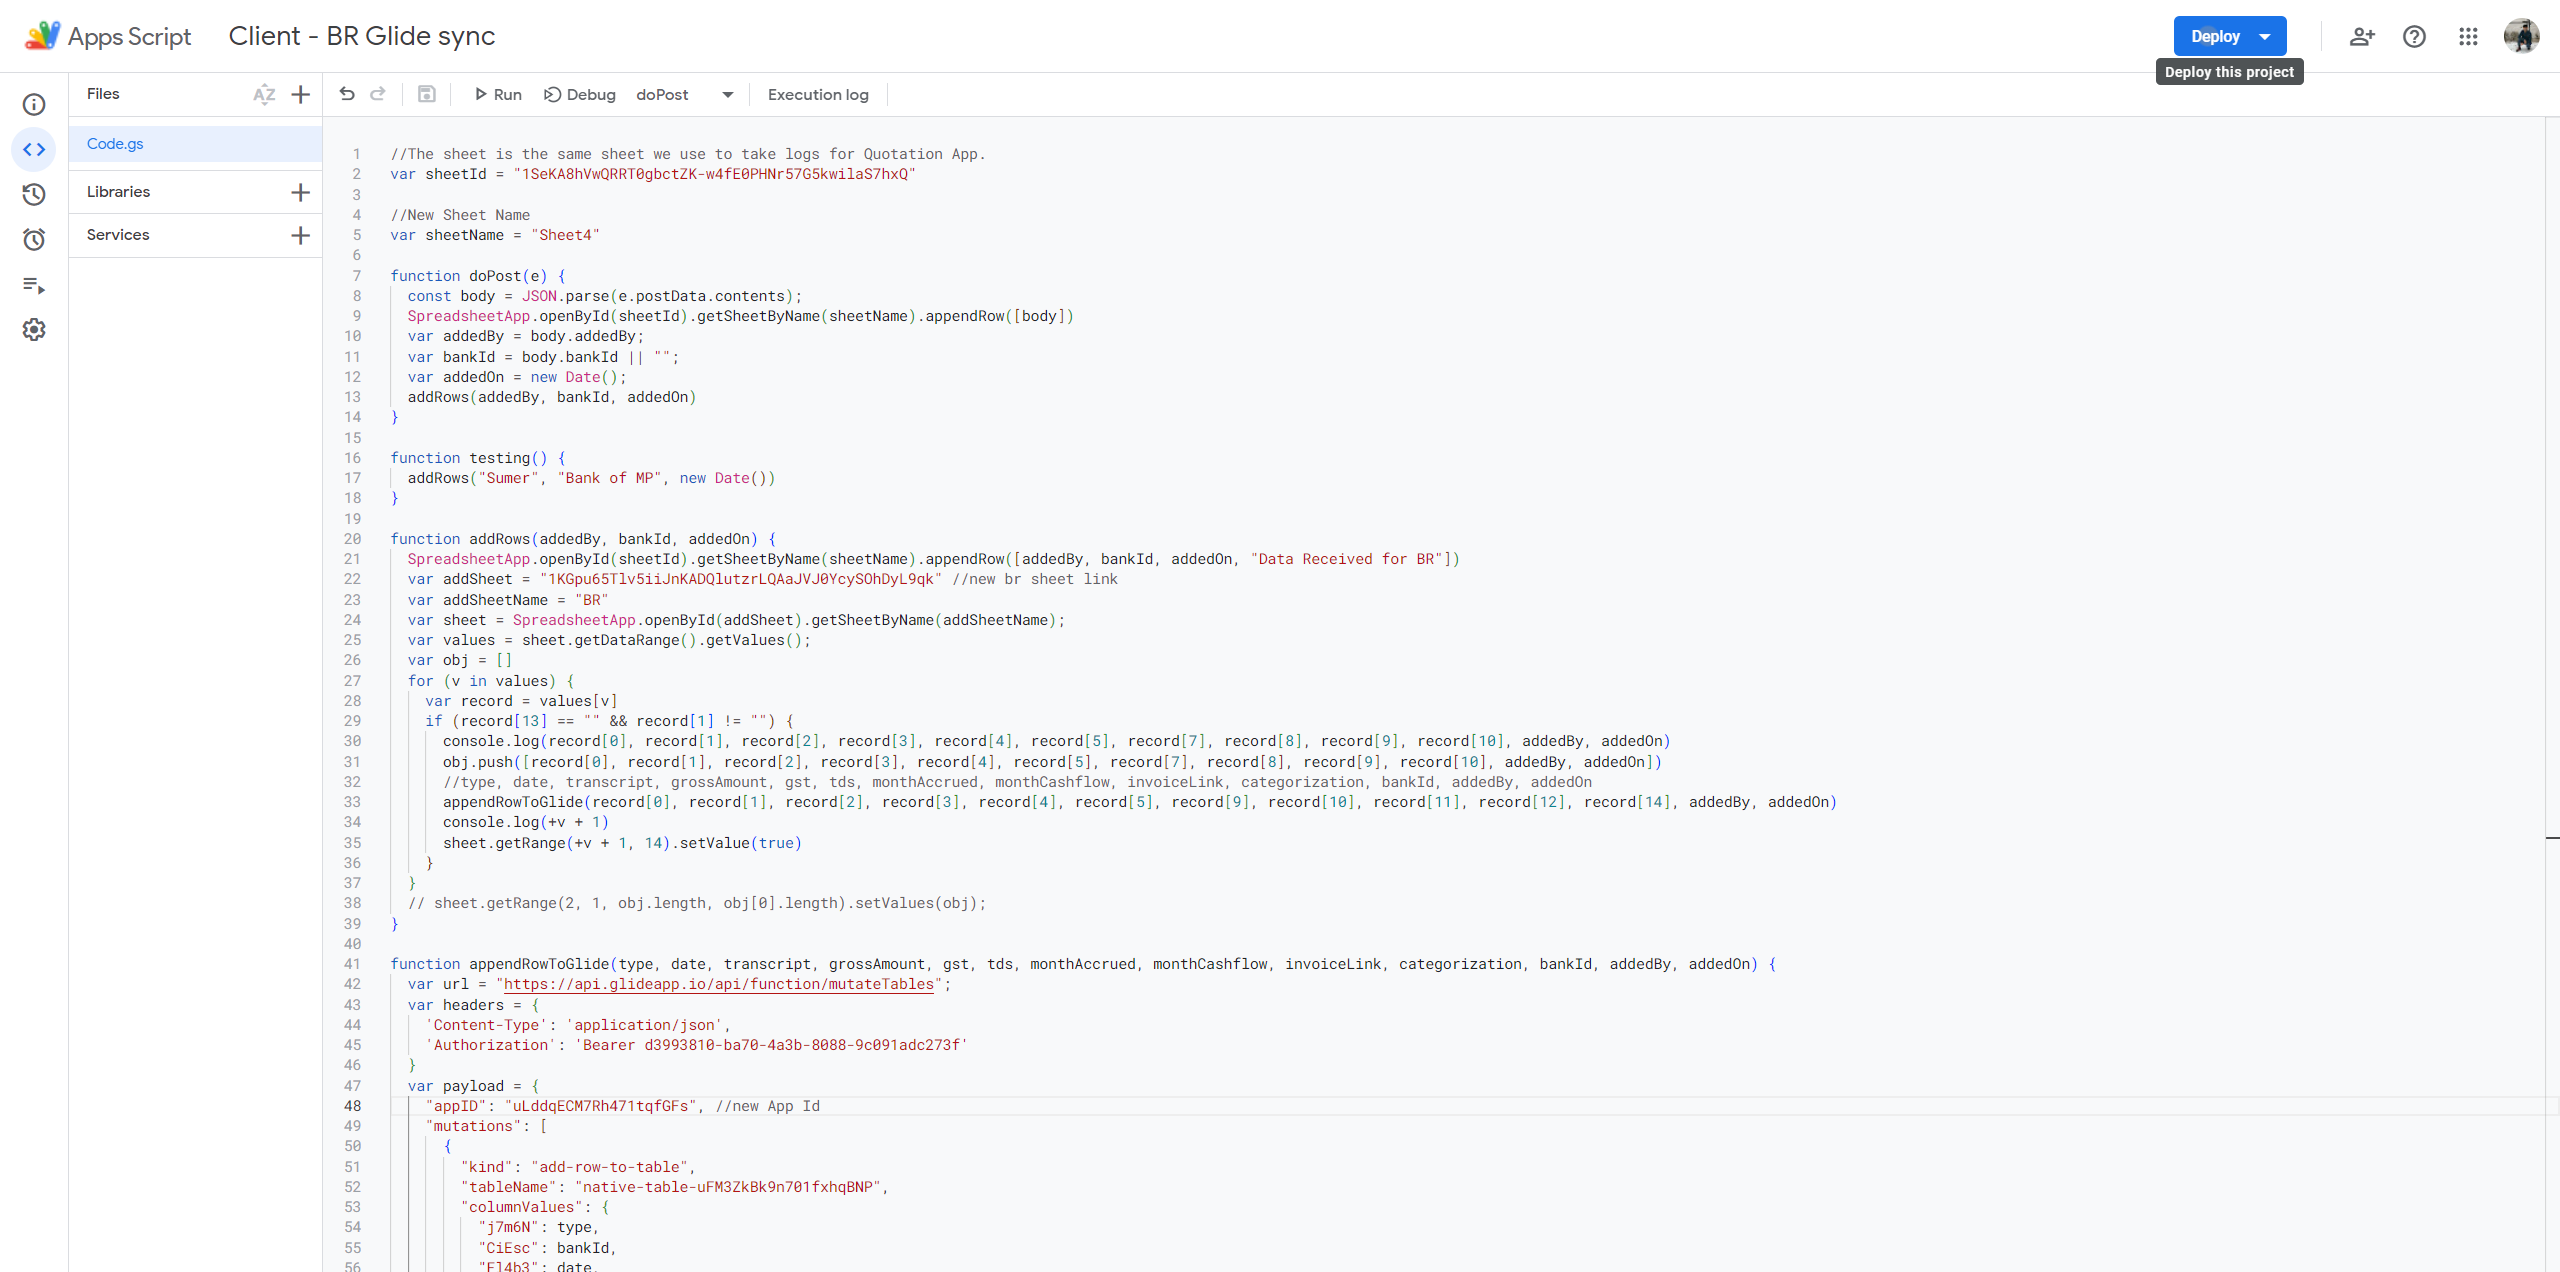
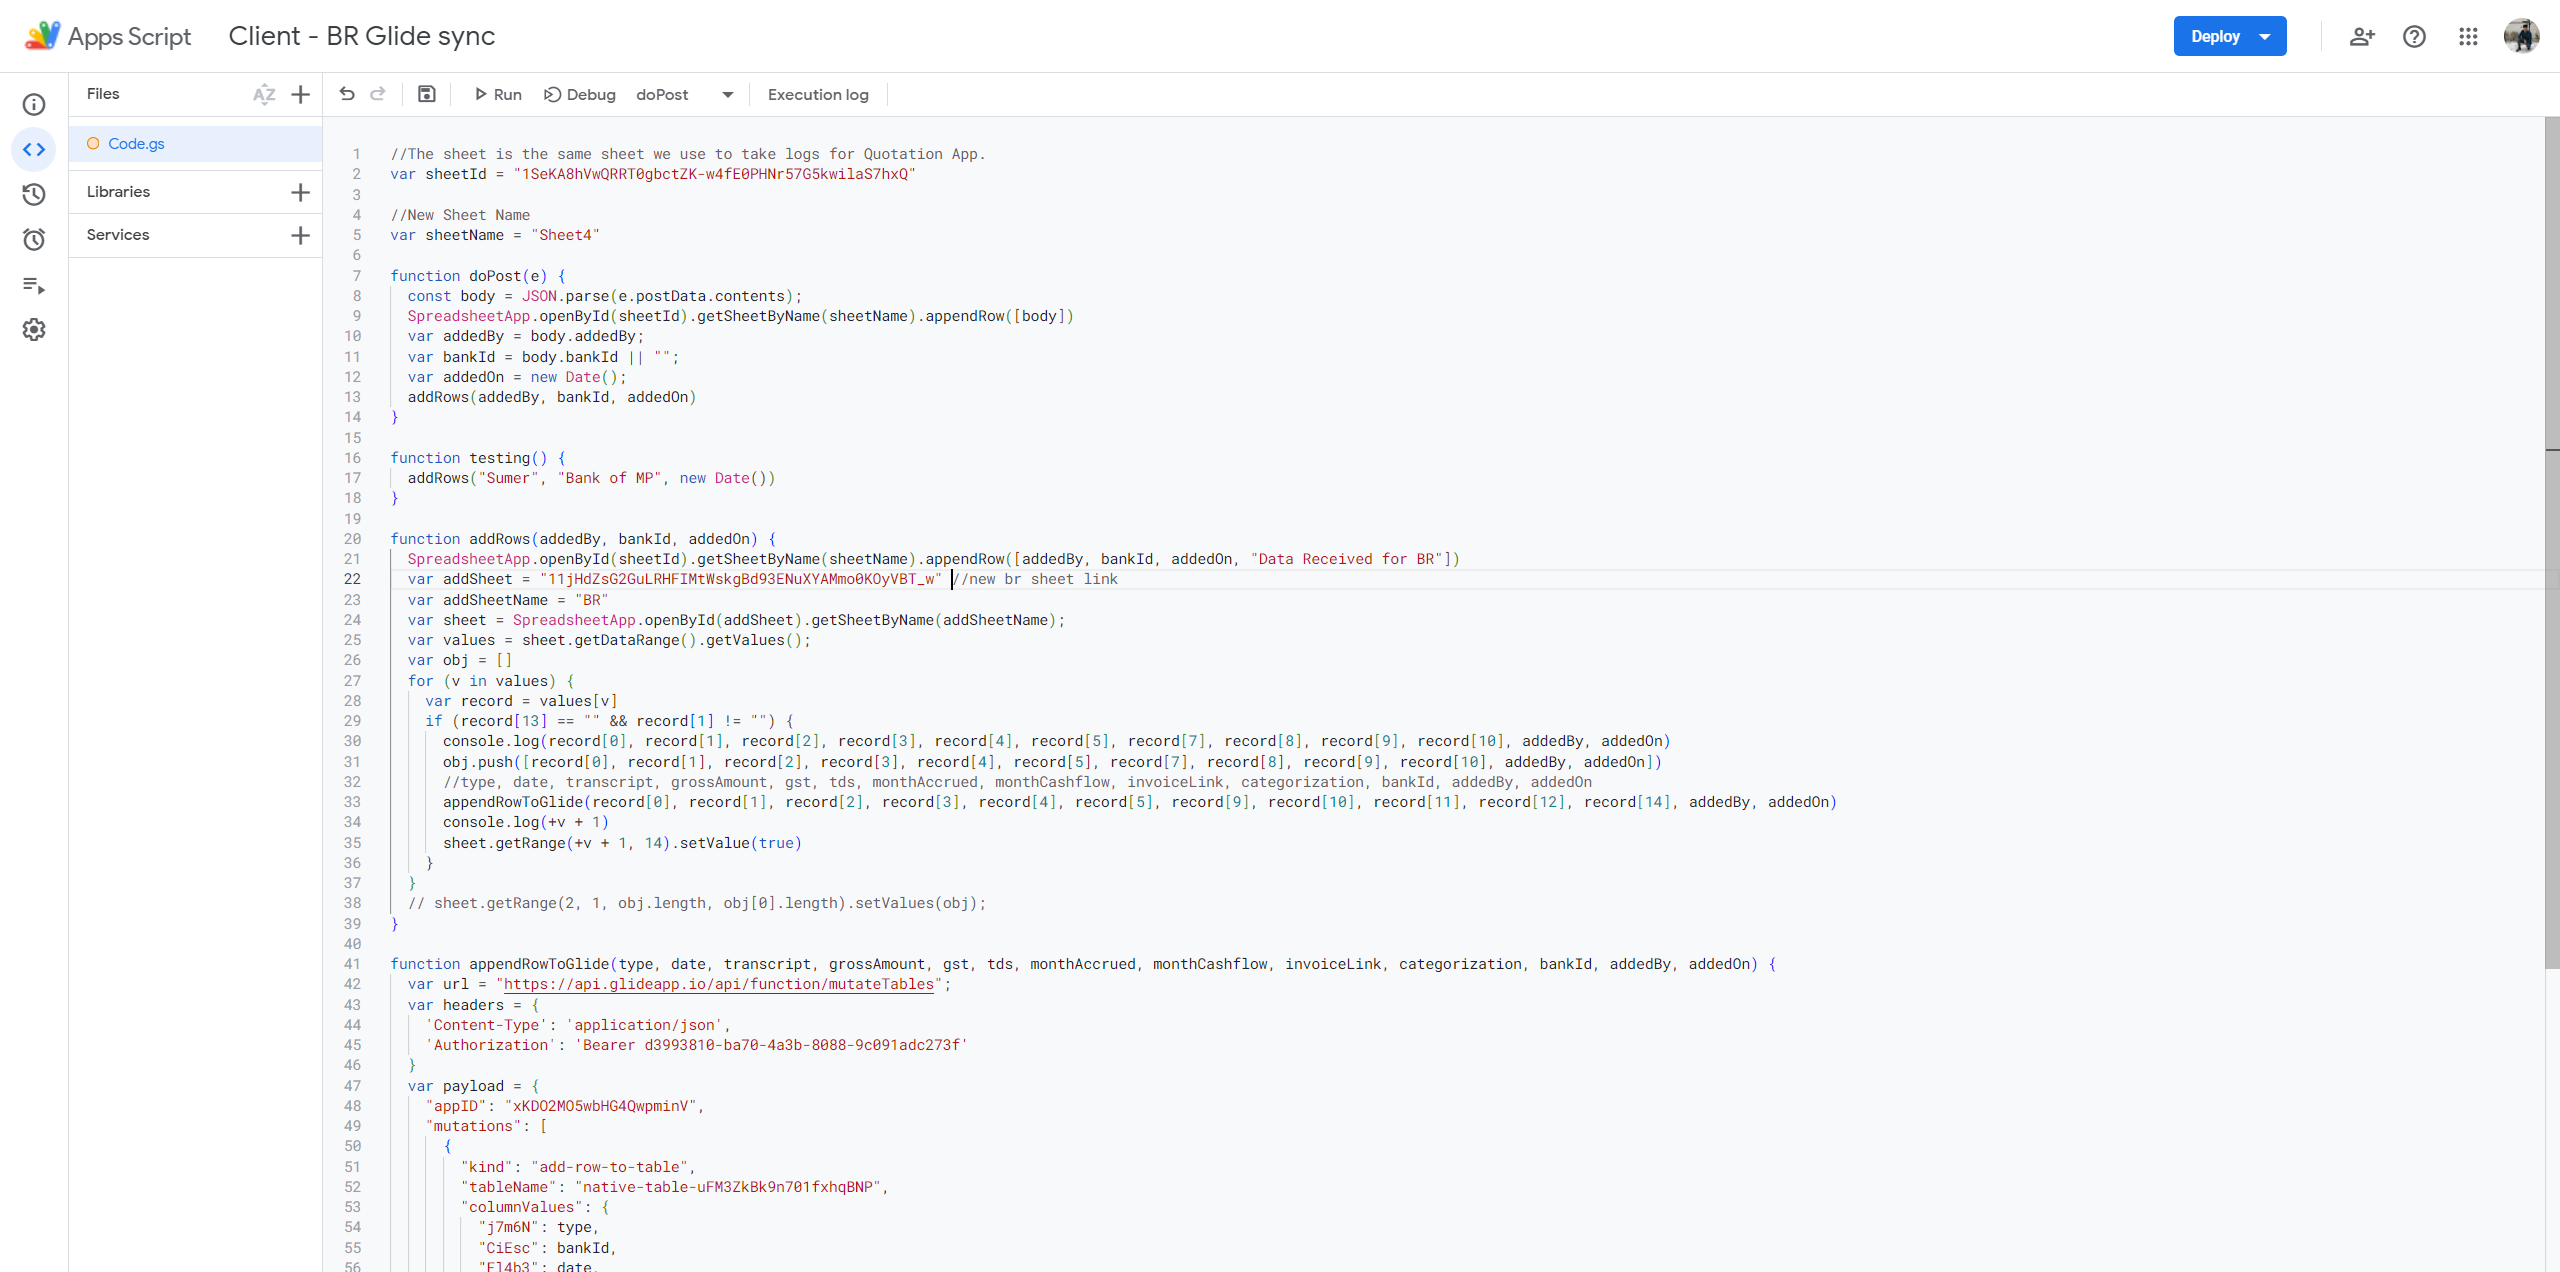
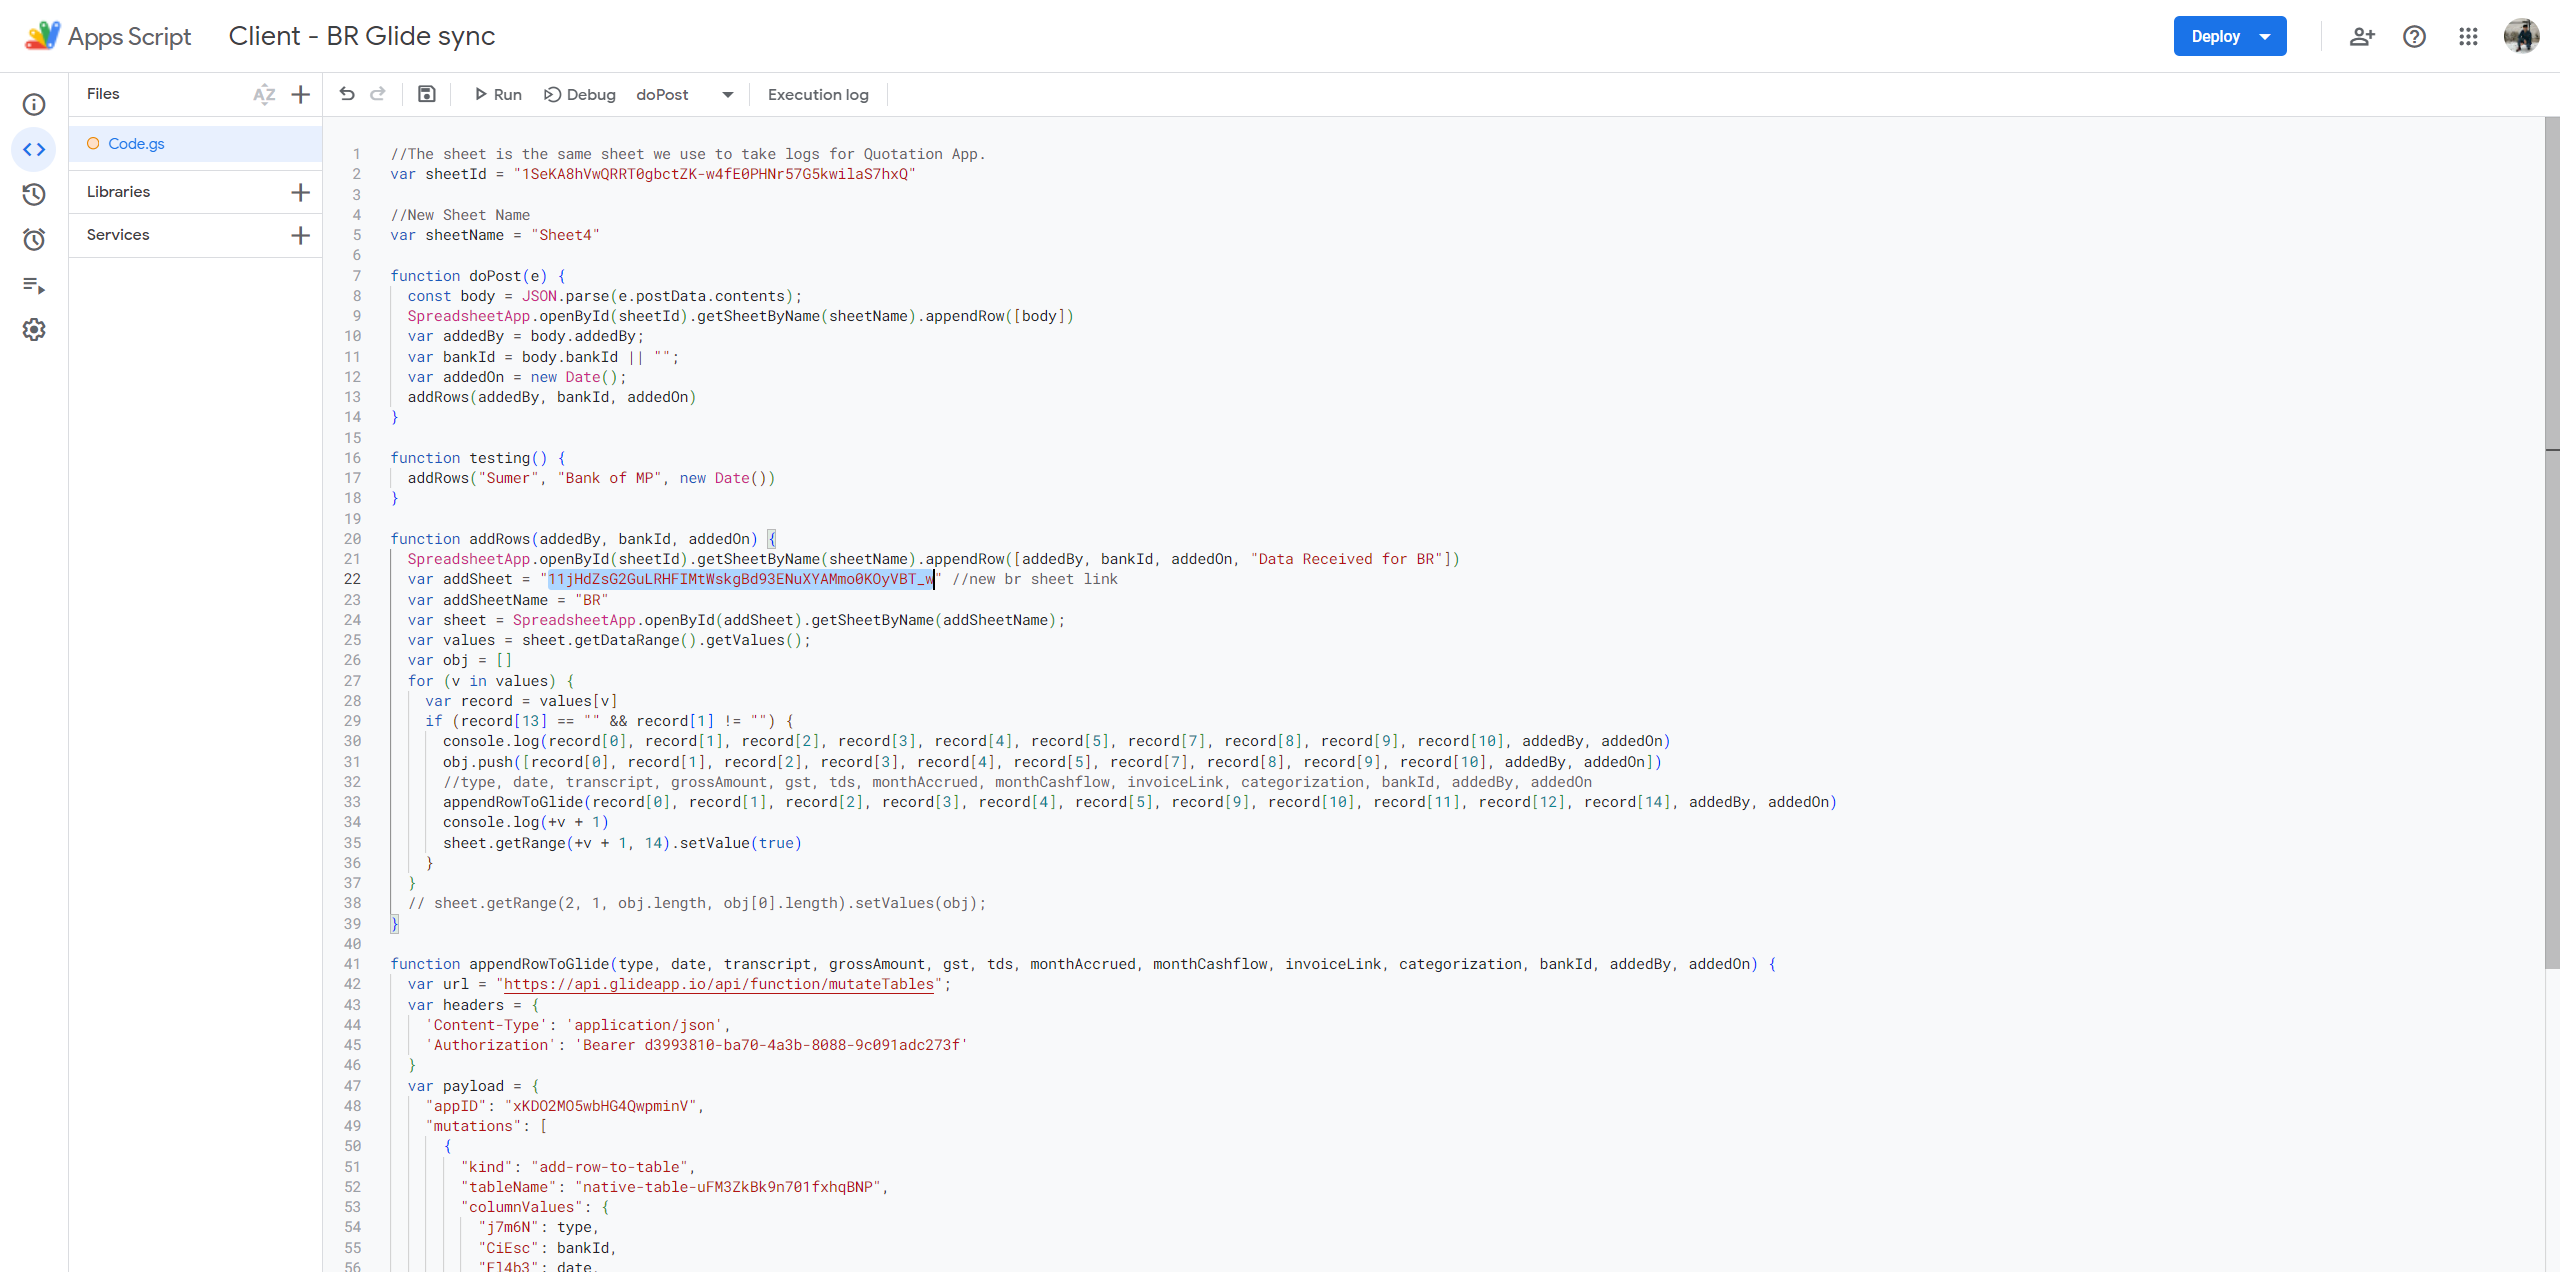
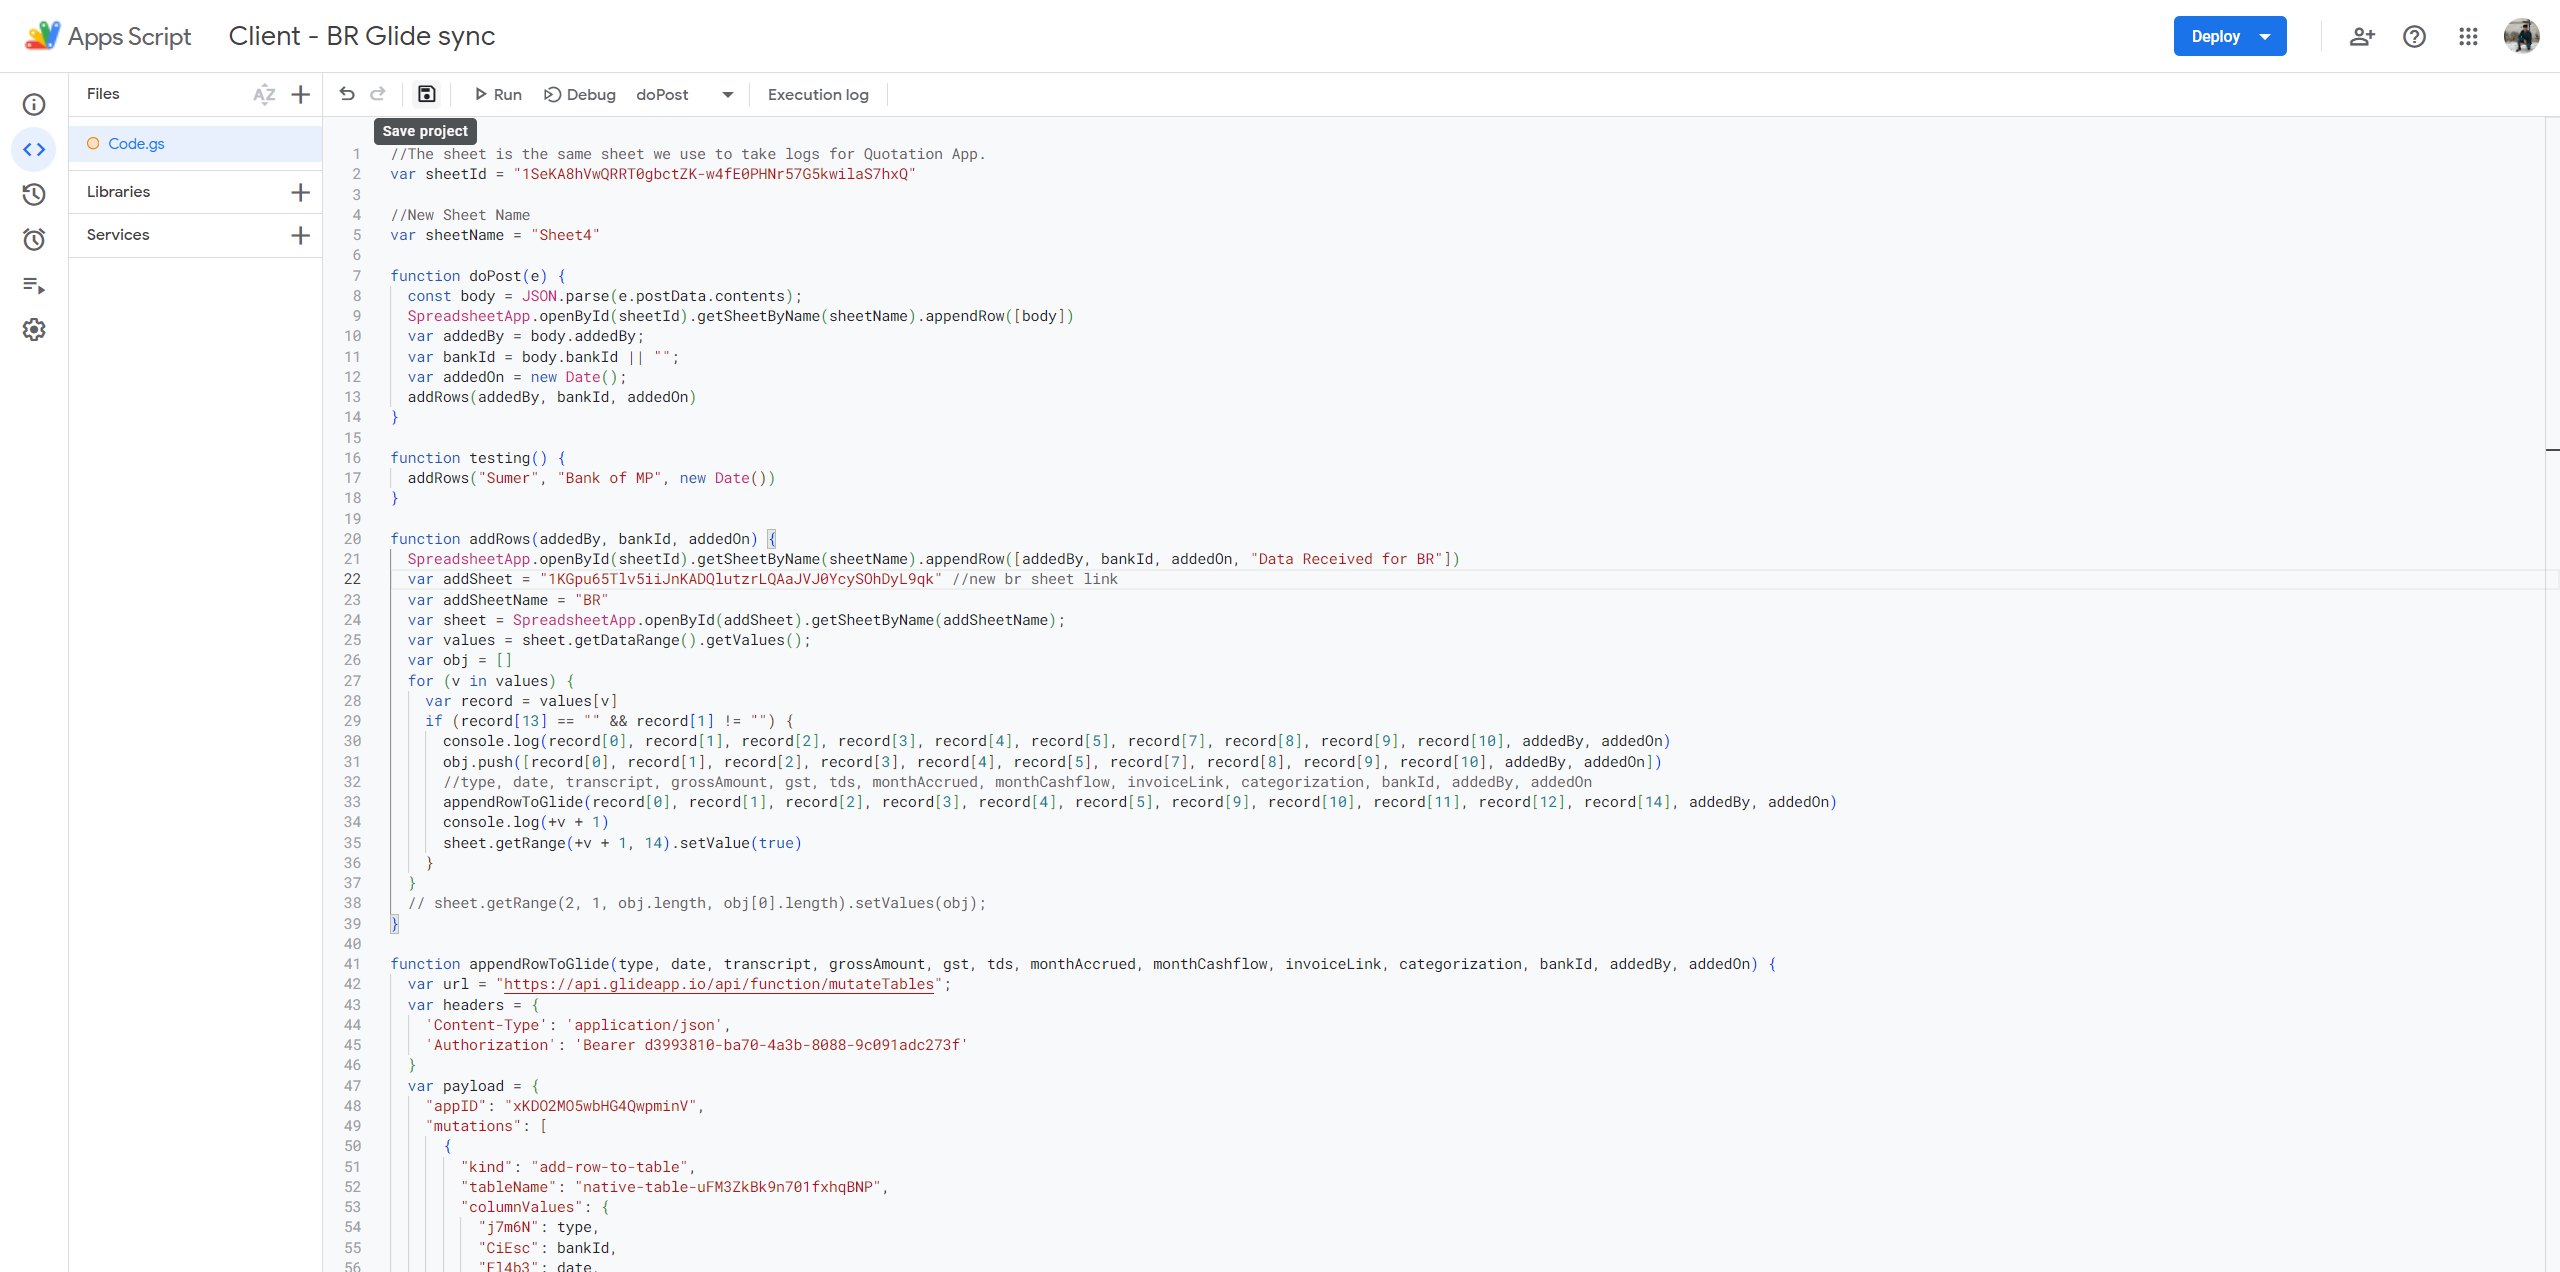
Since you have already done that, please look at line number 22. I have written a comment: "new BR sheet link."
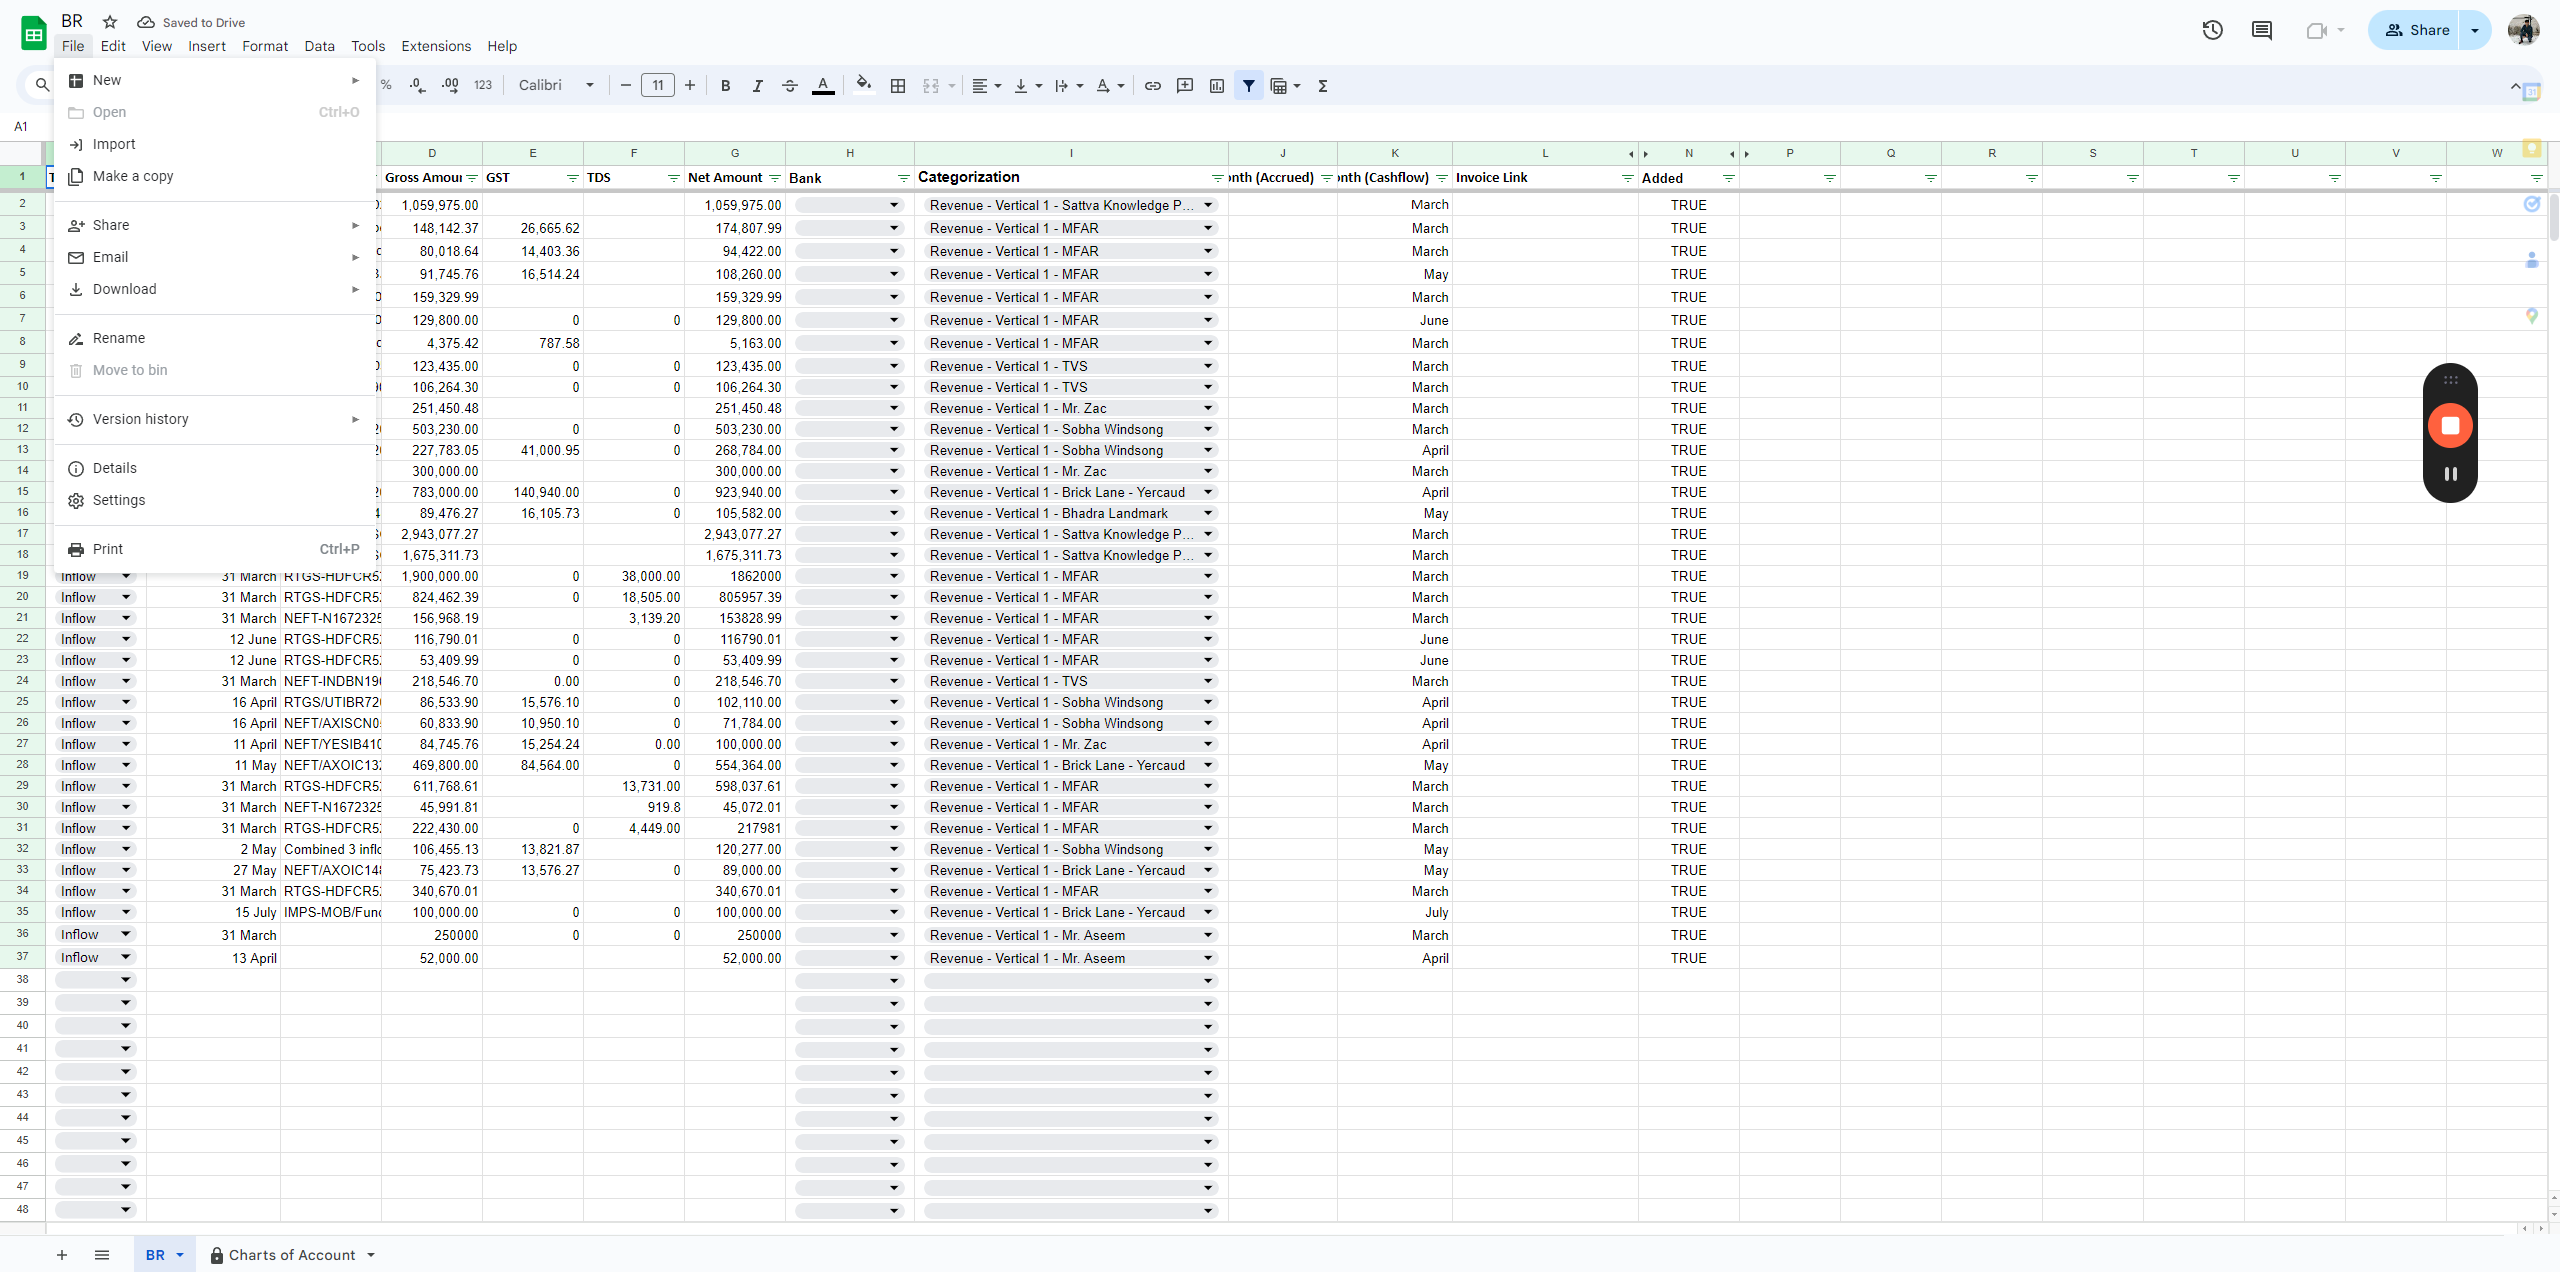


Please copy the ID that appears after the "D" and backslash from the BR sheet.

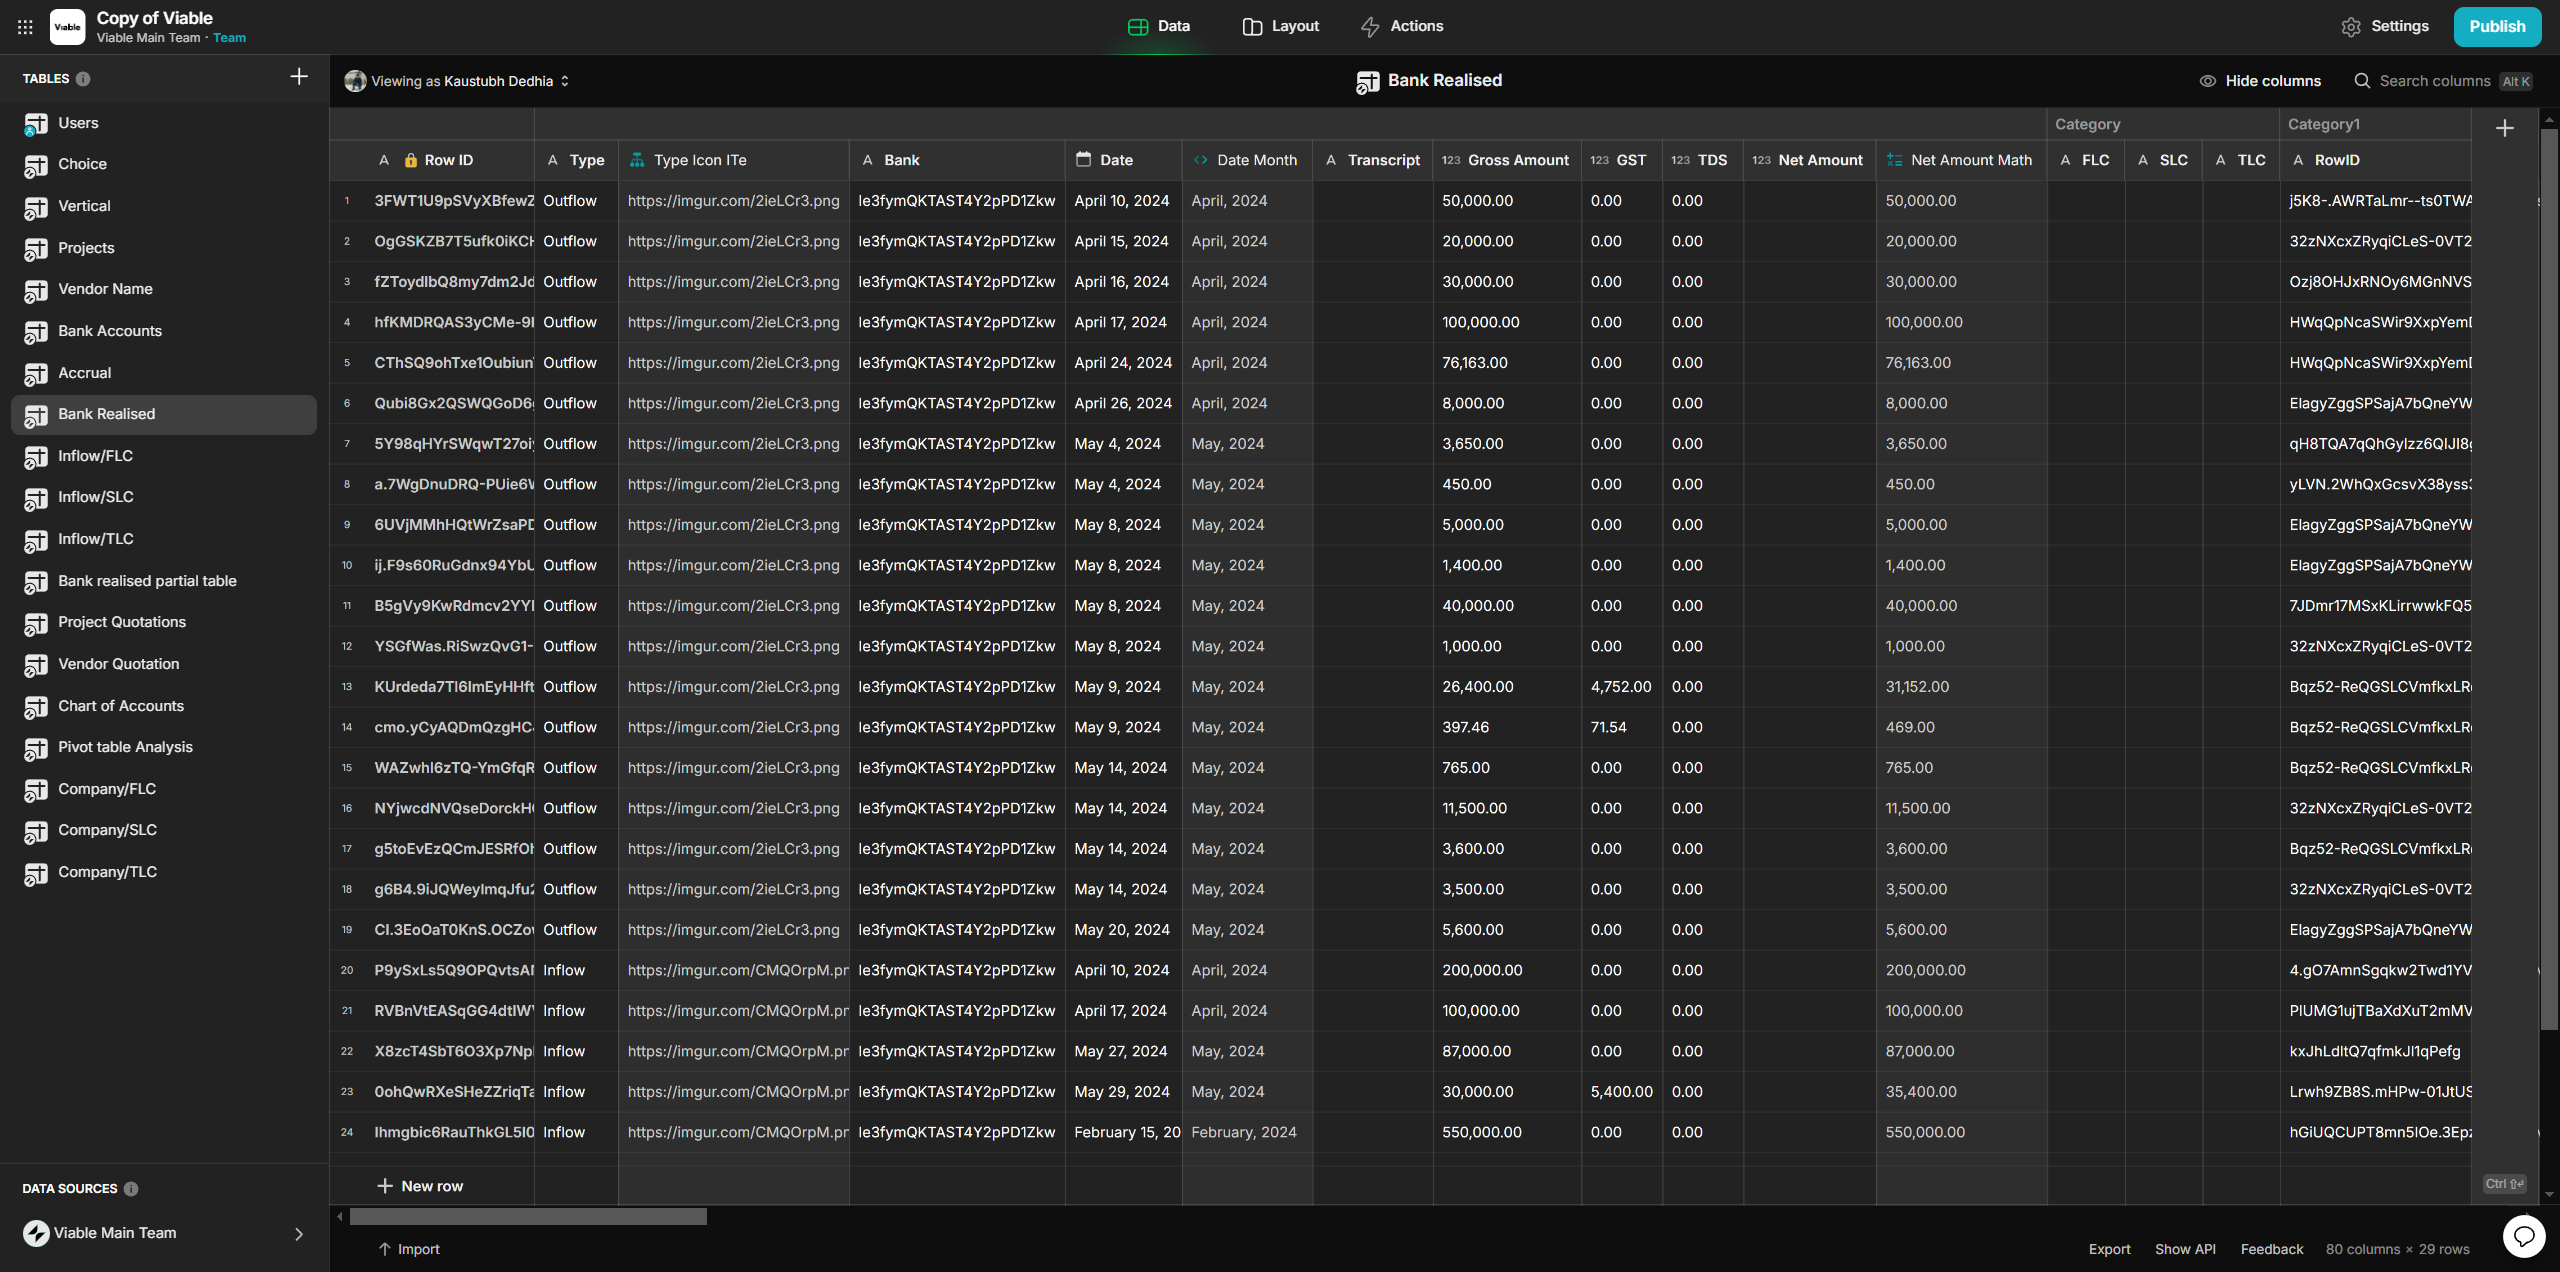
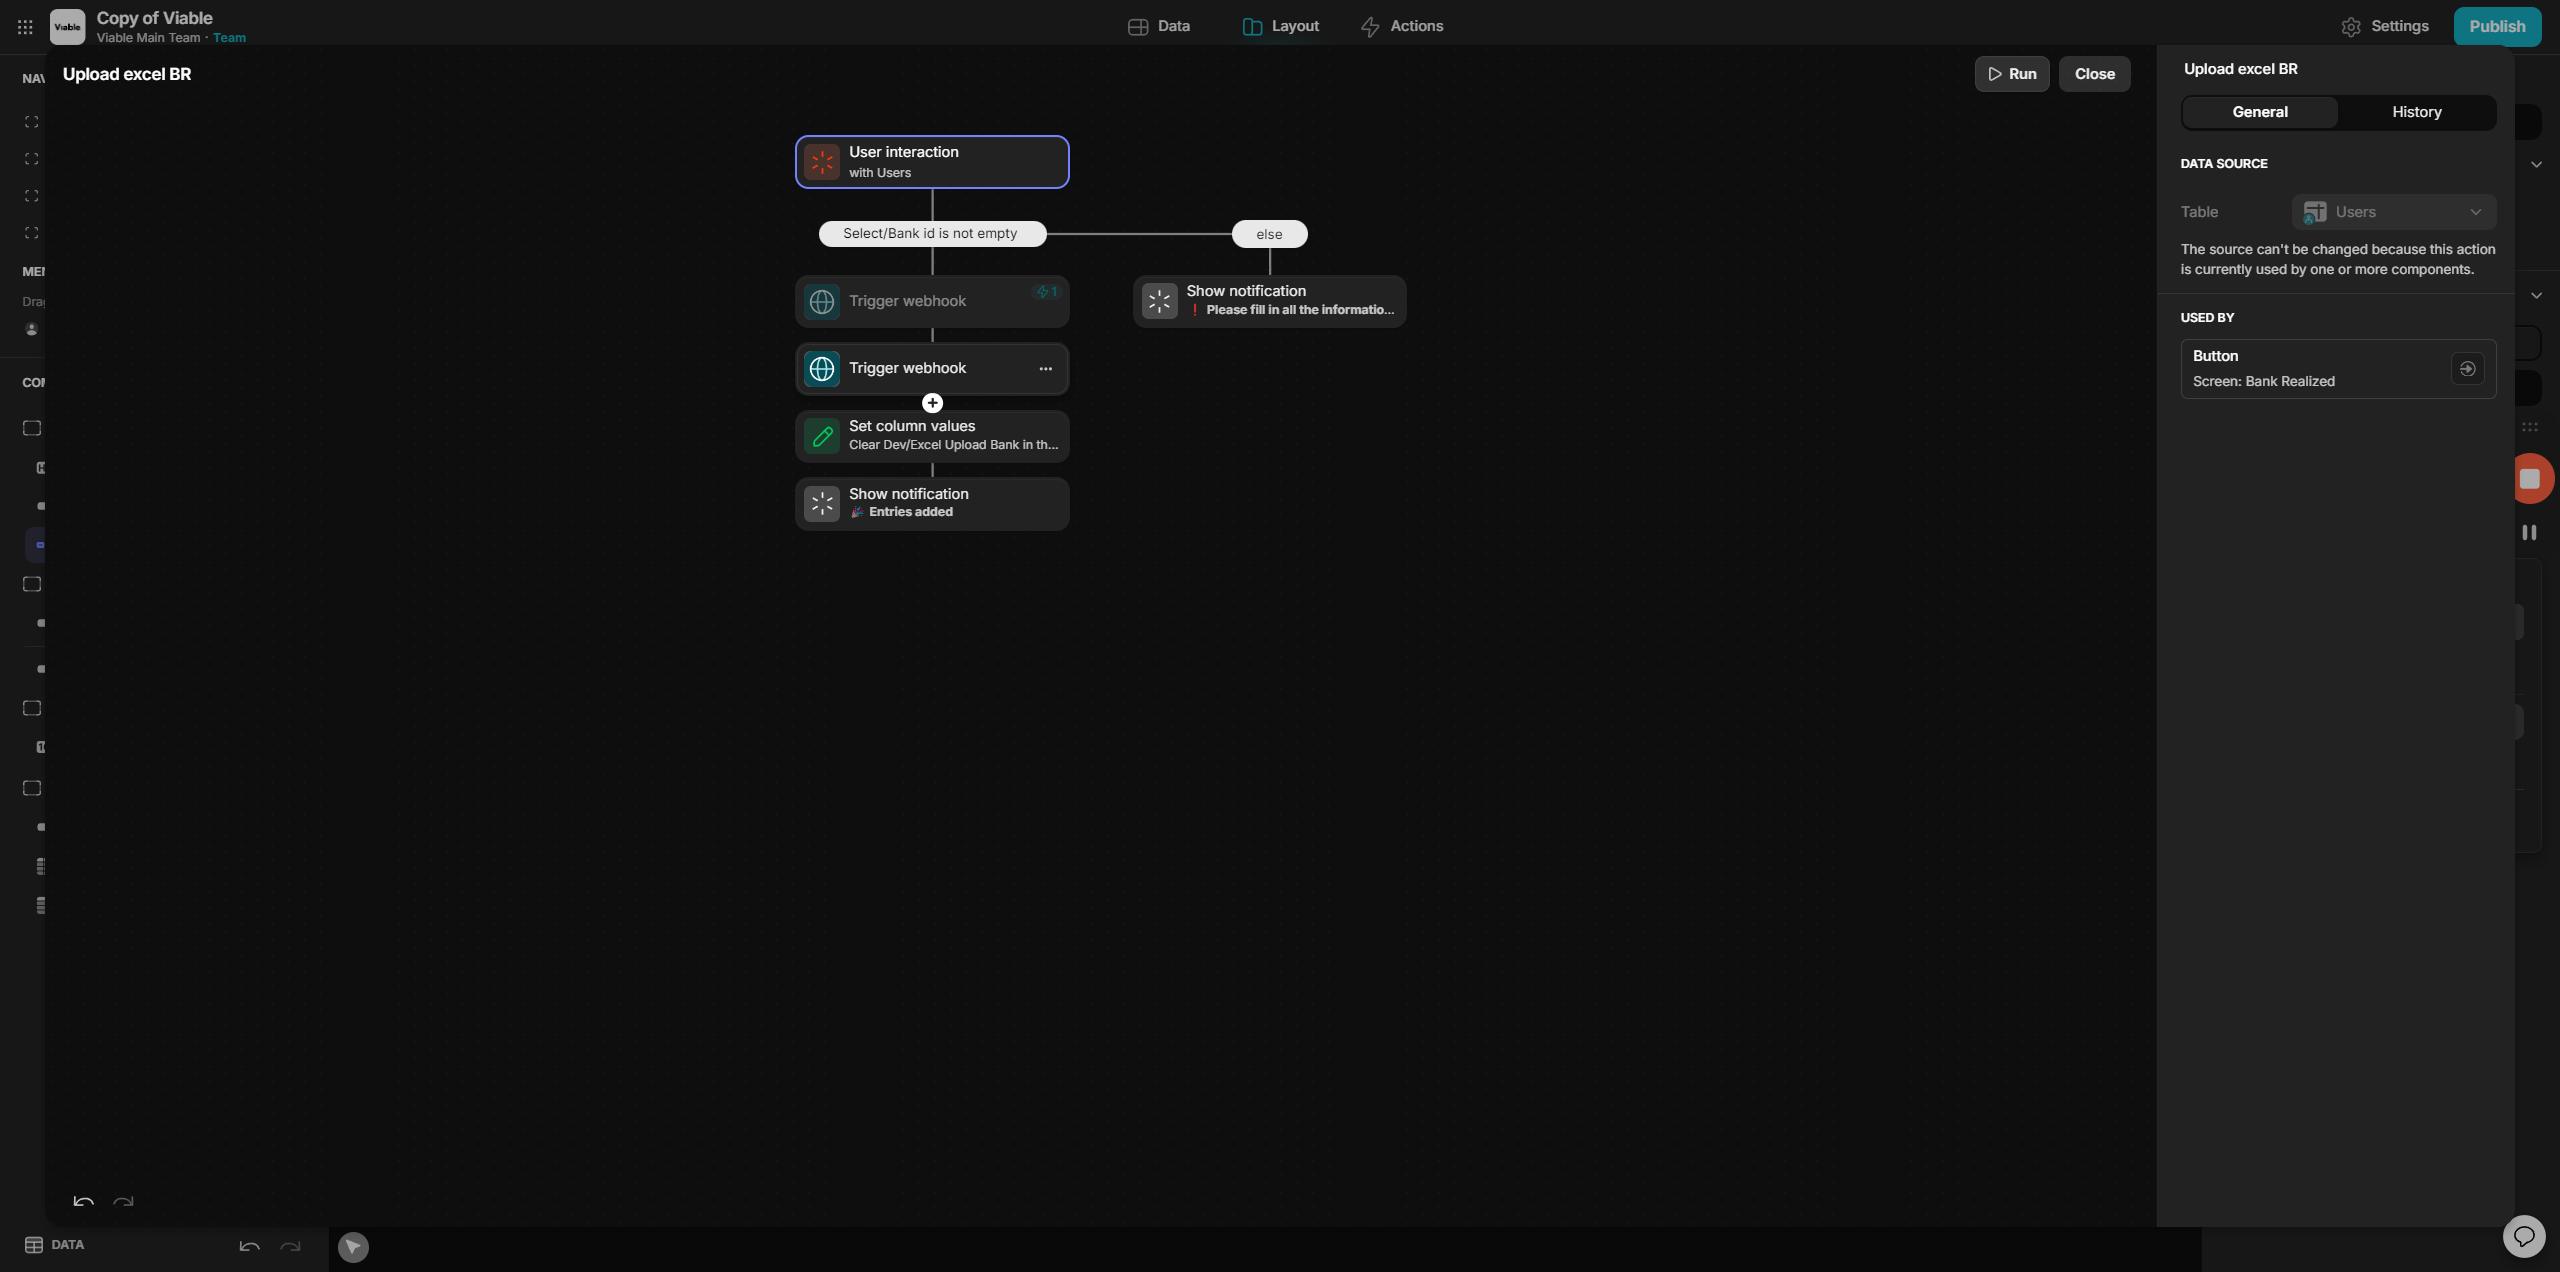
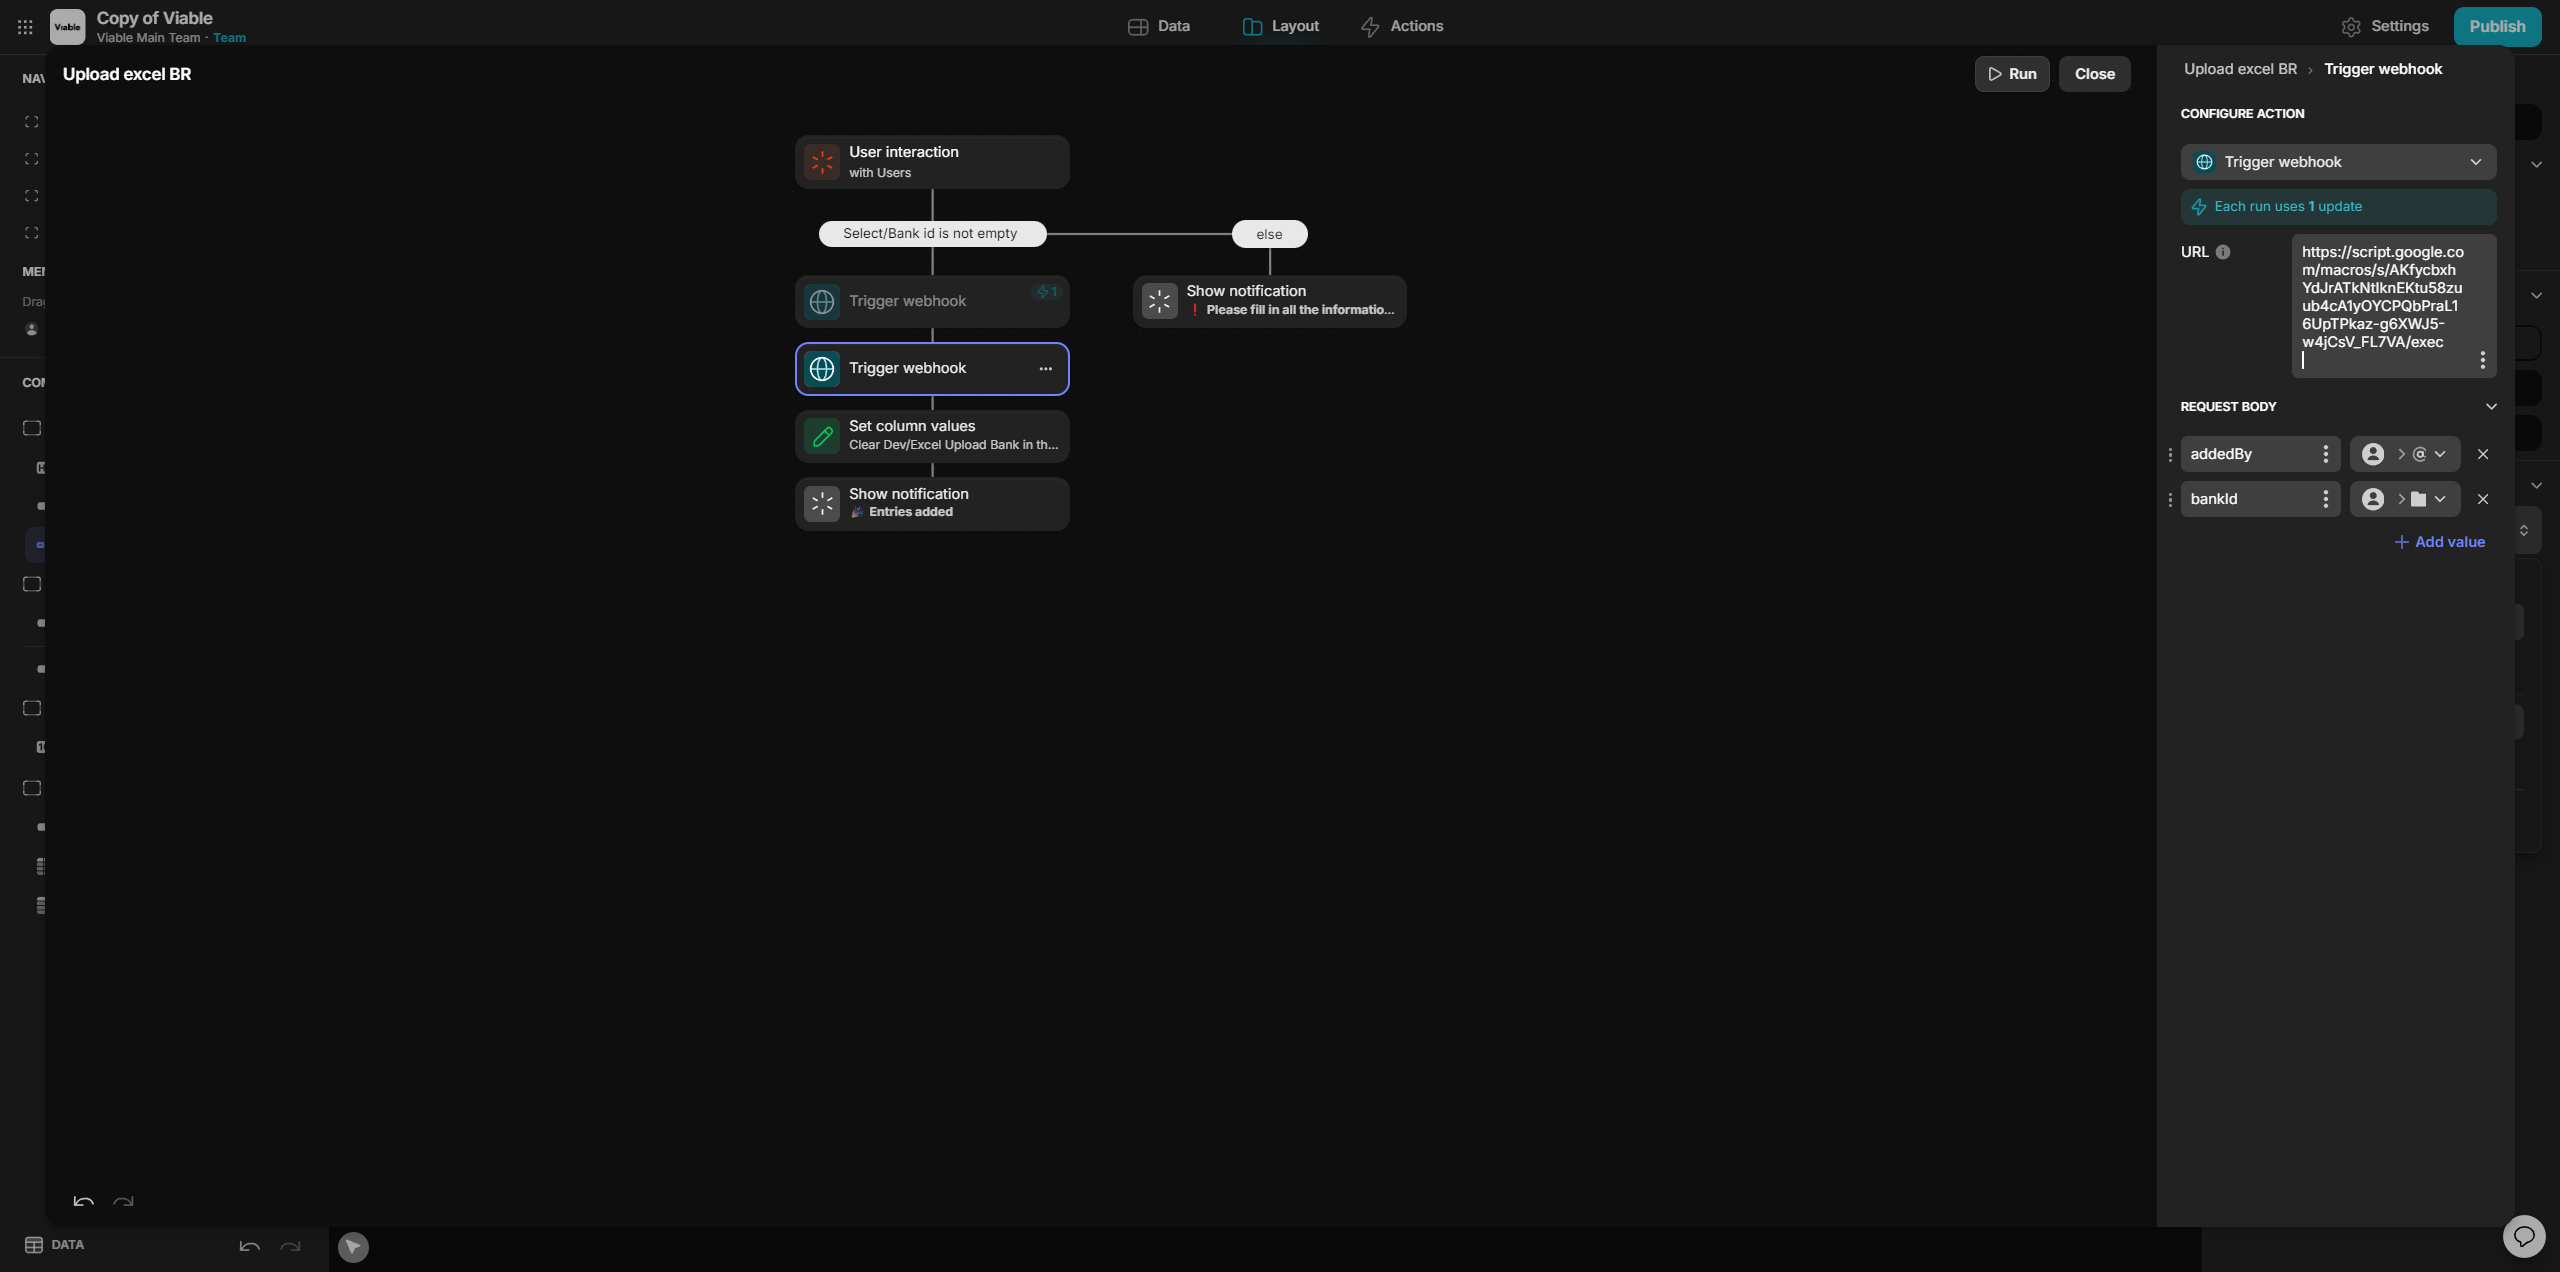
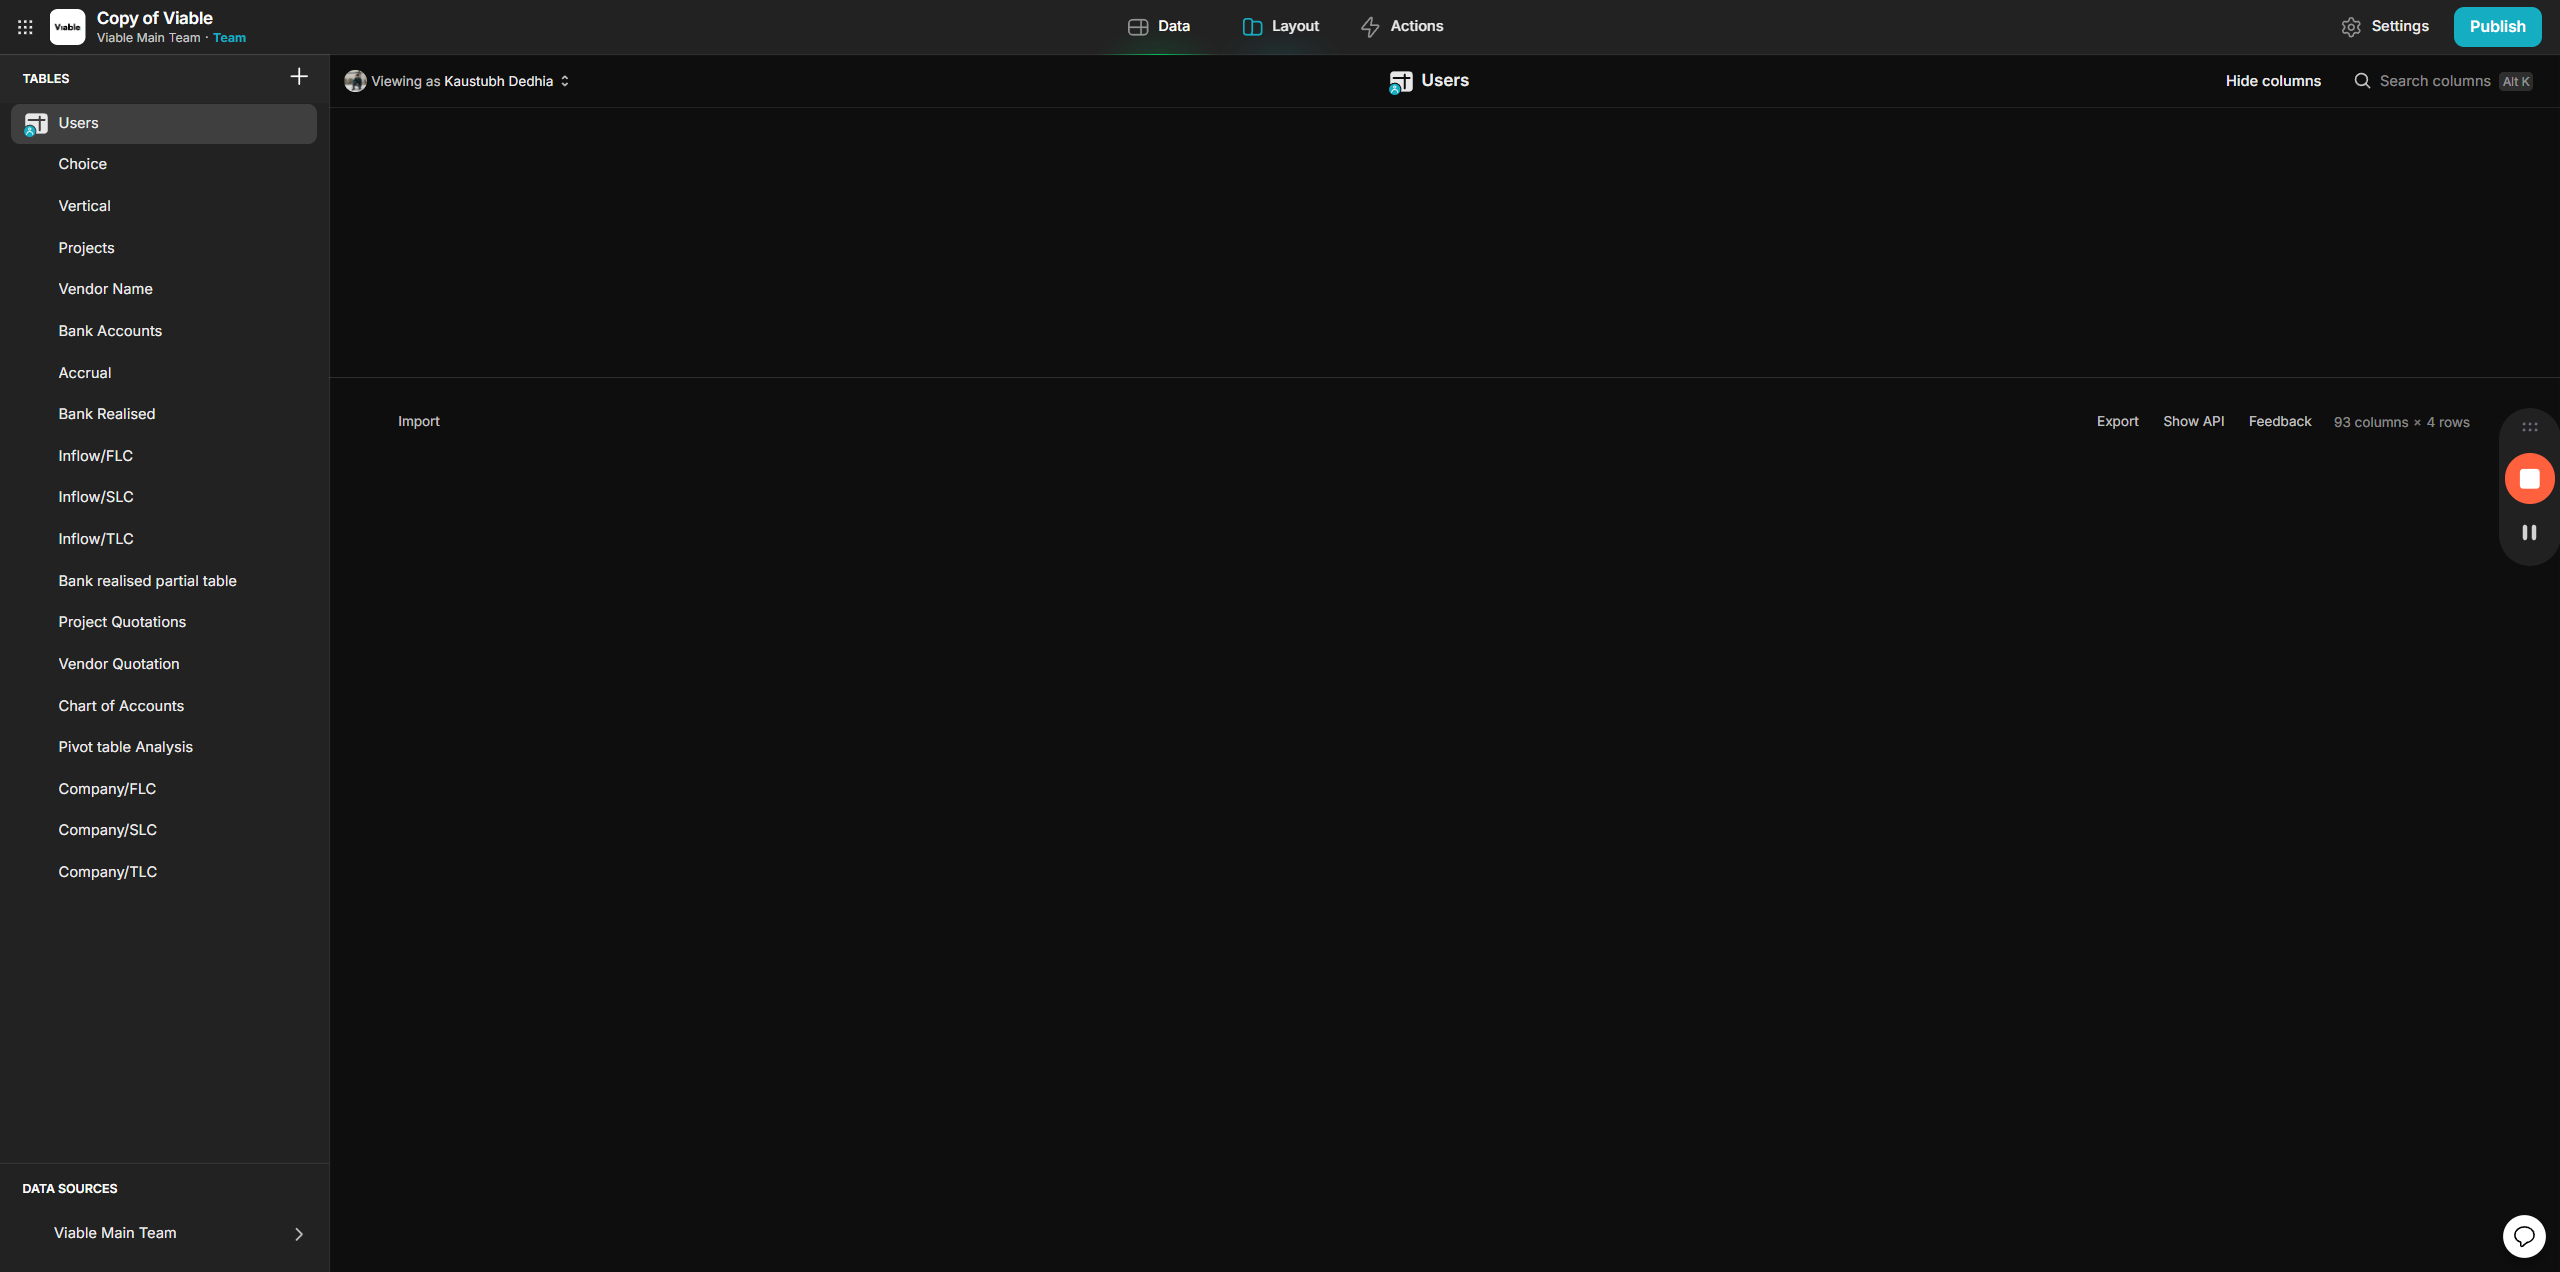
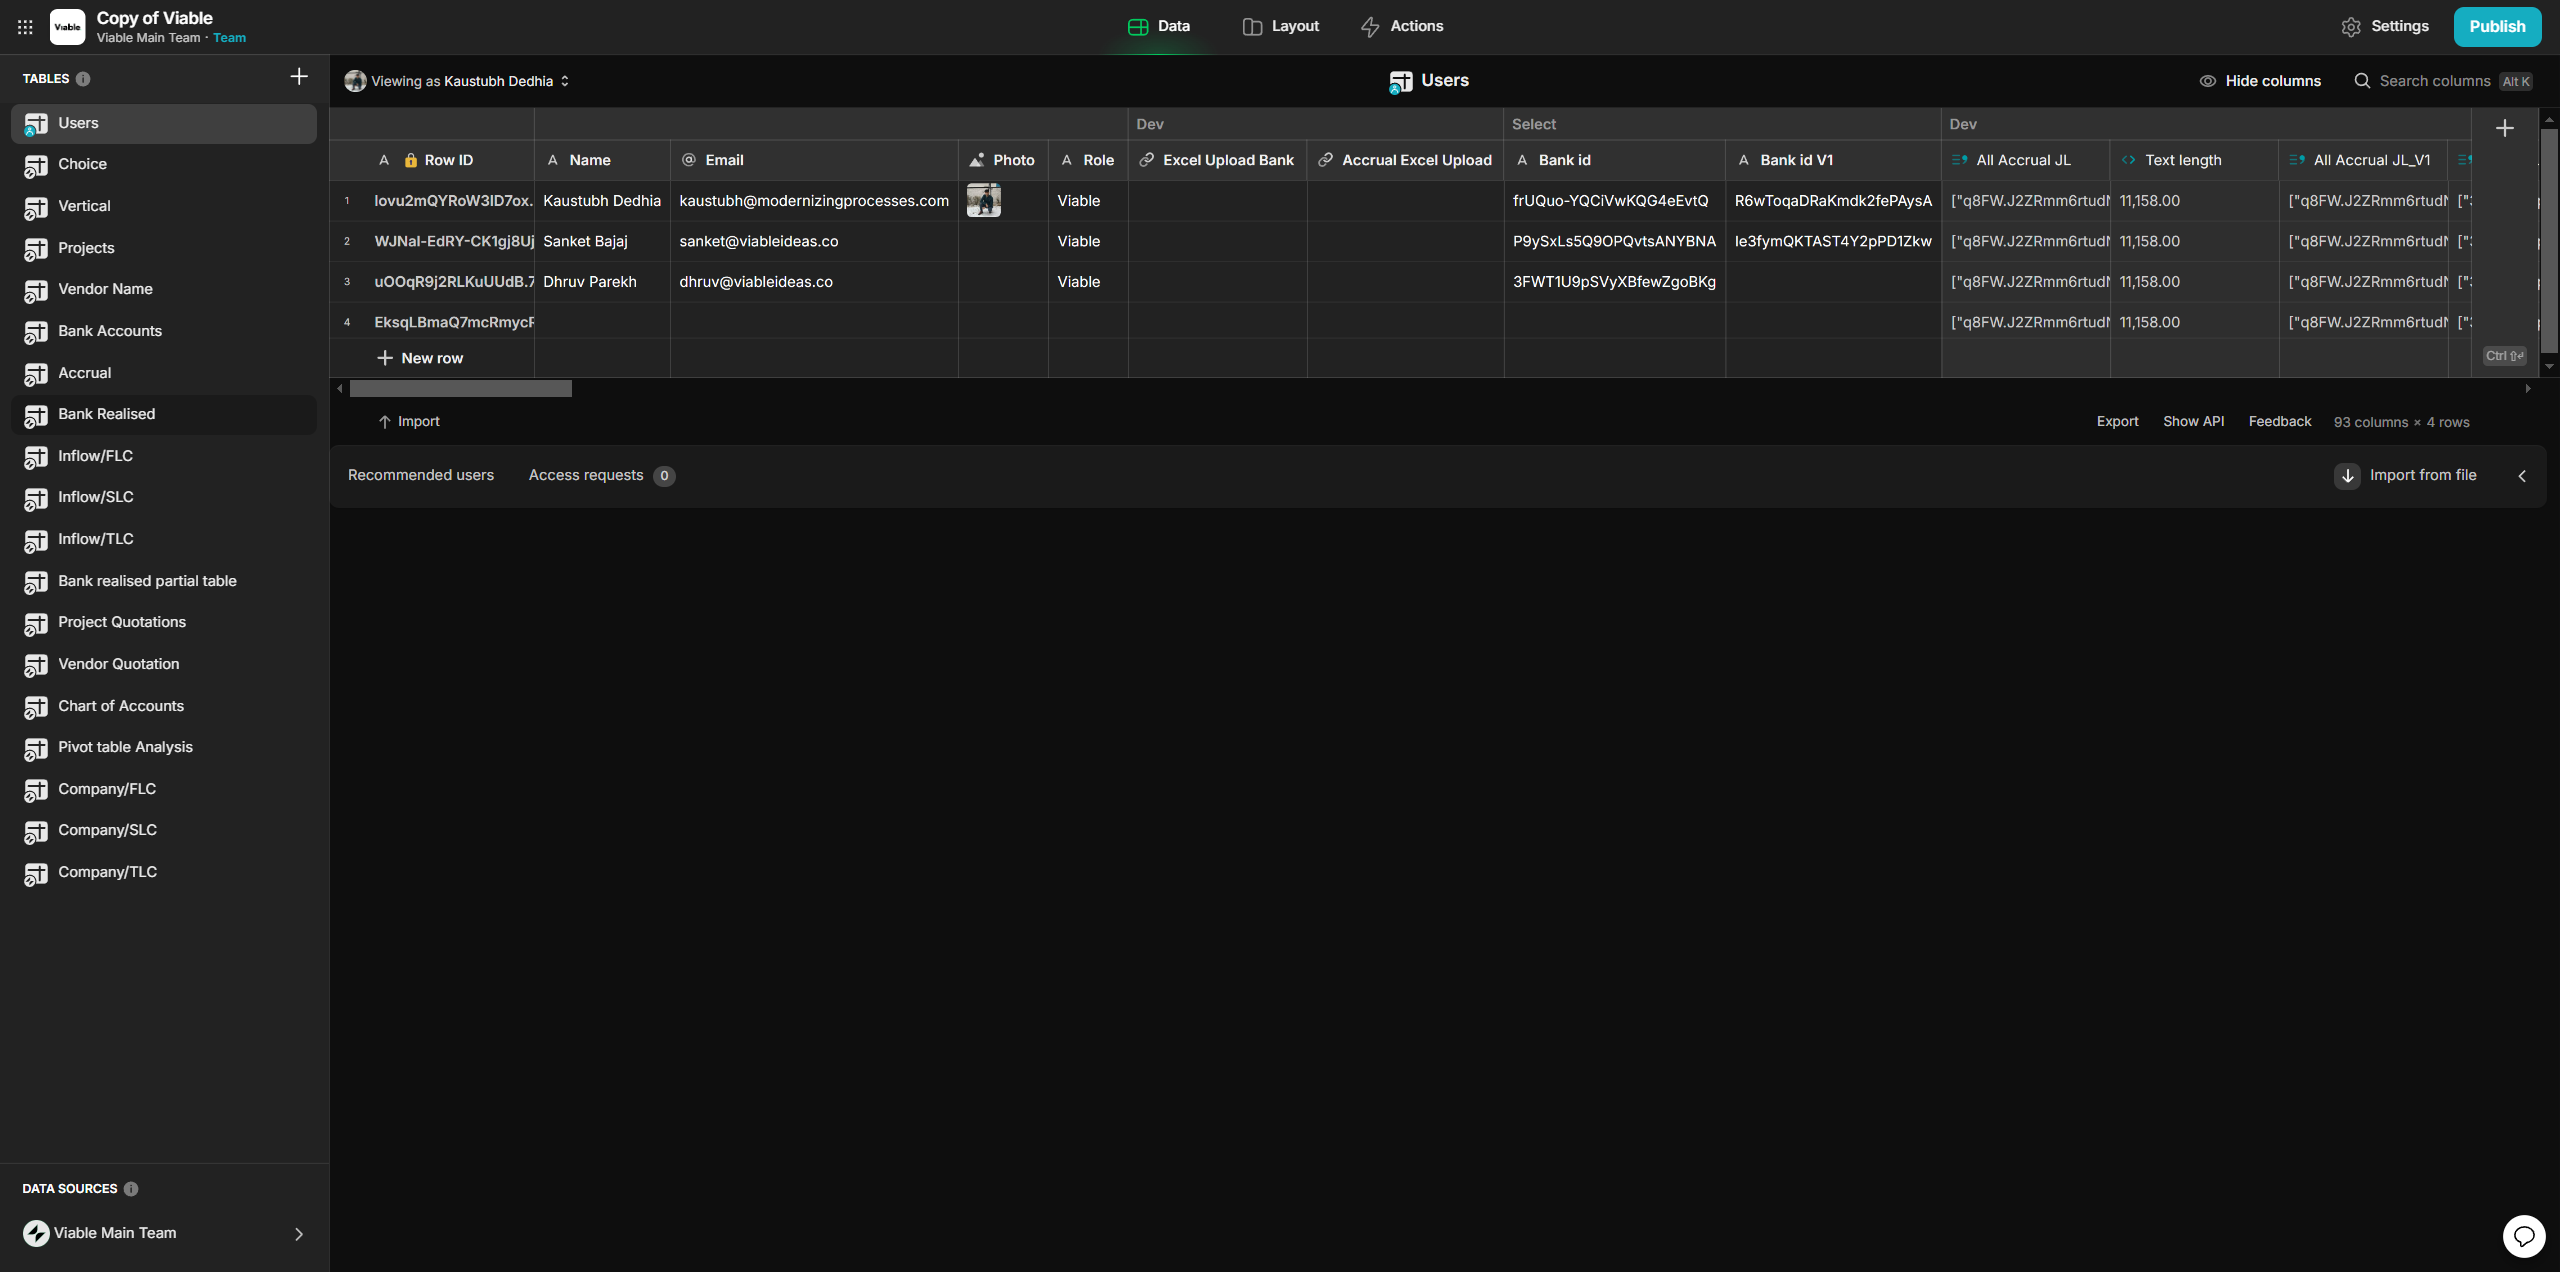
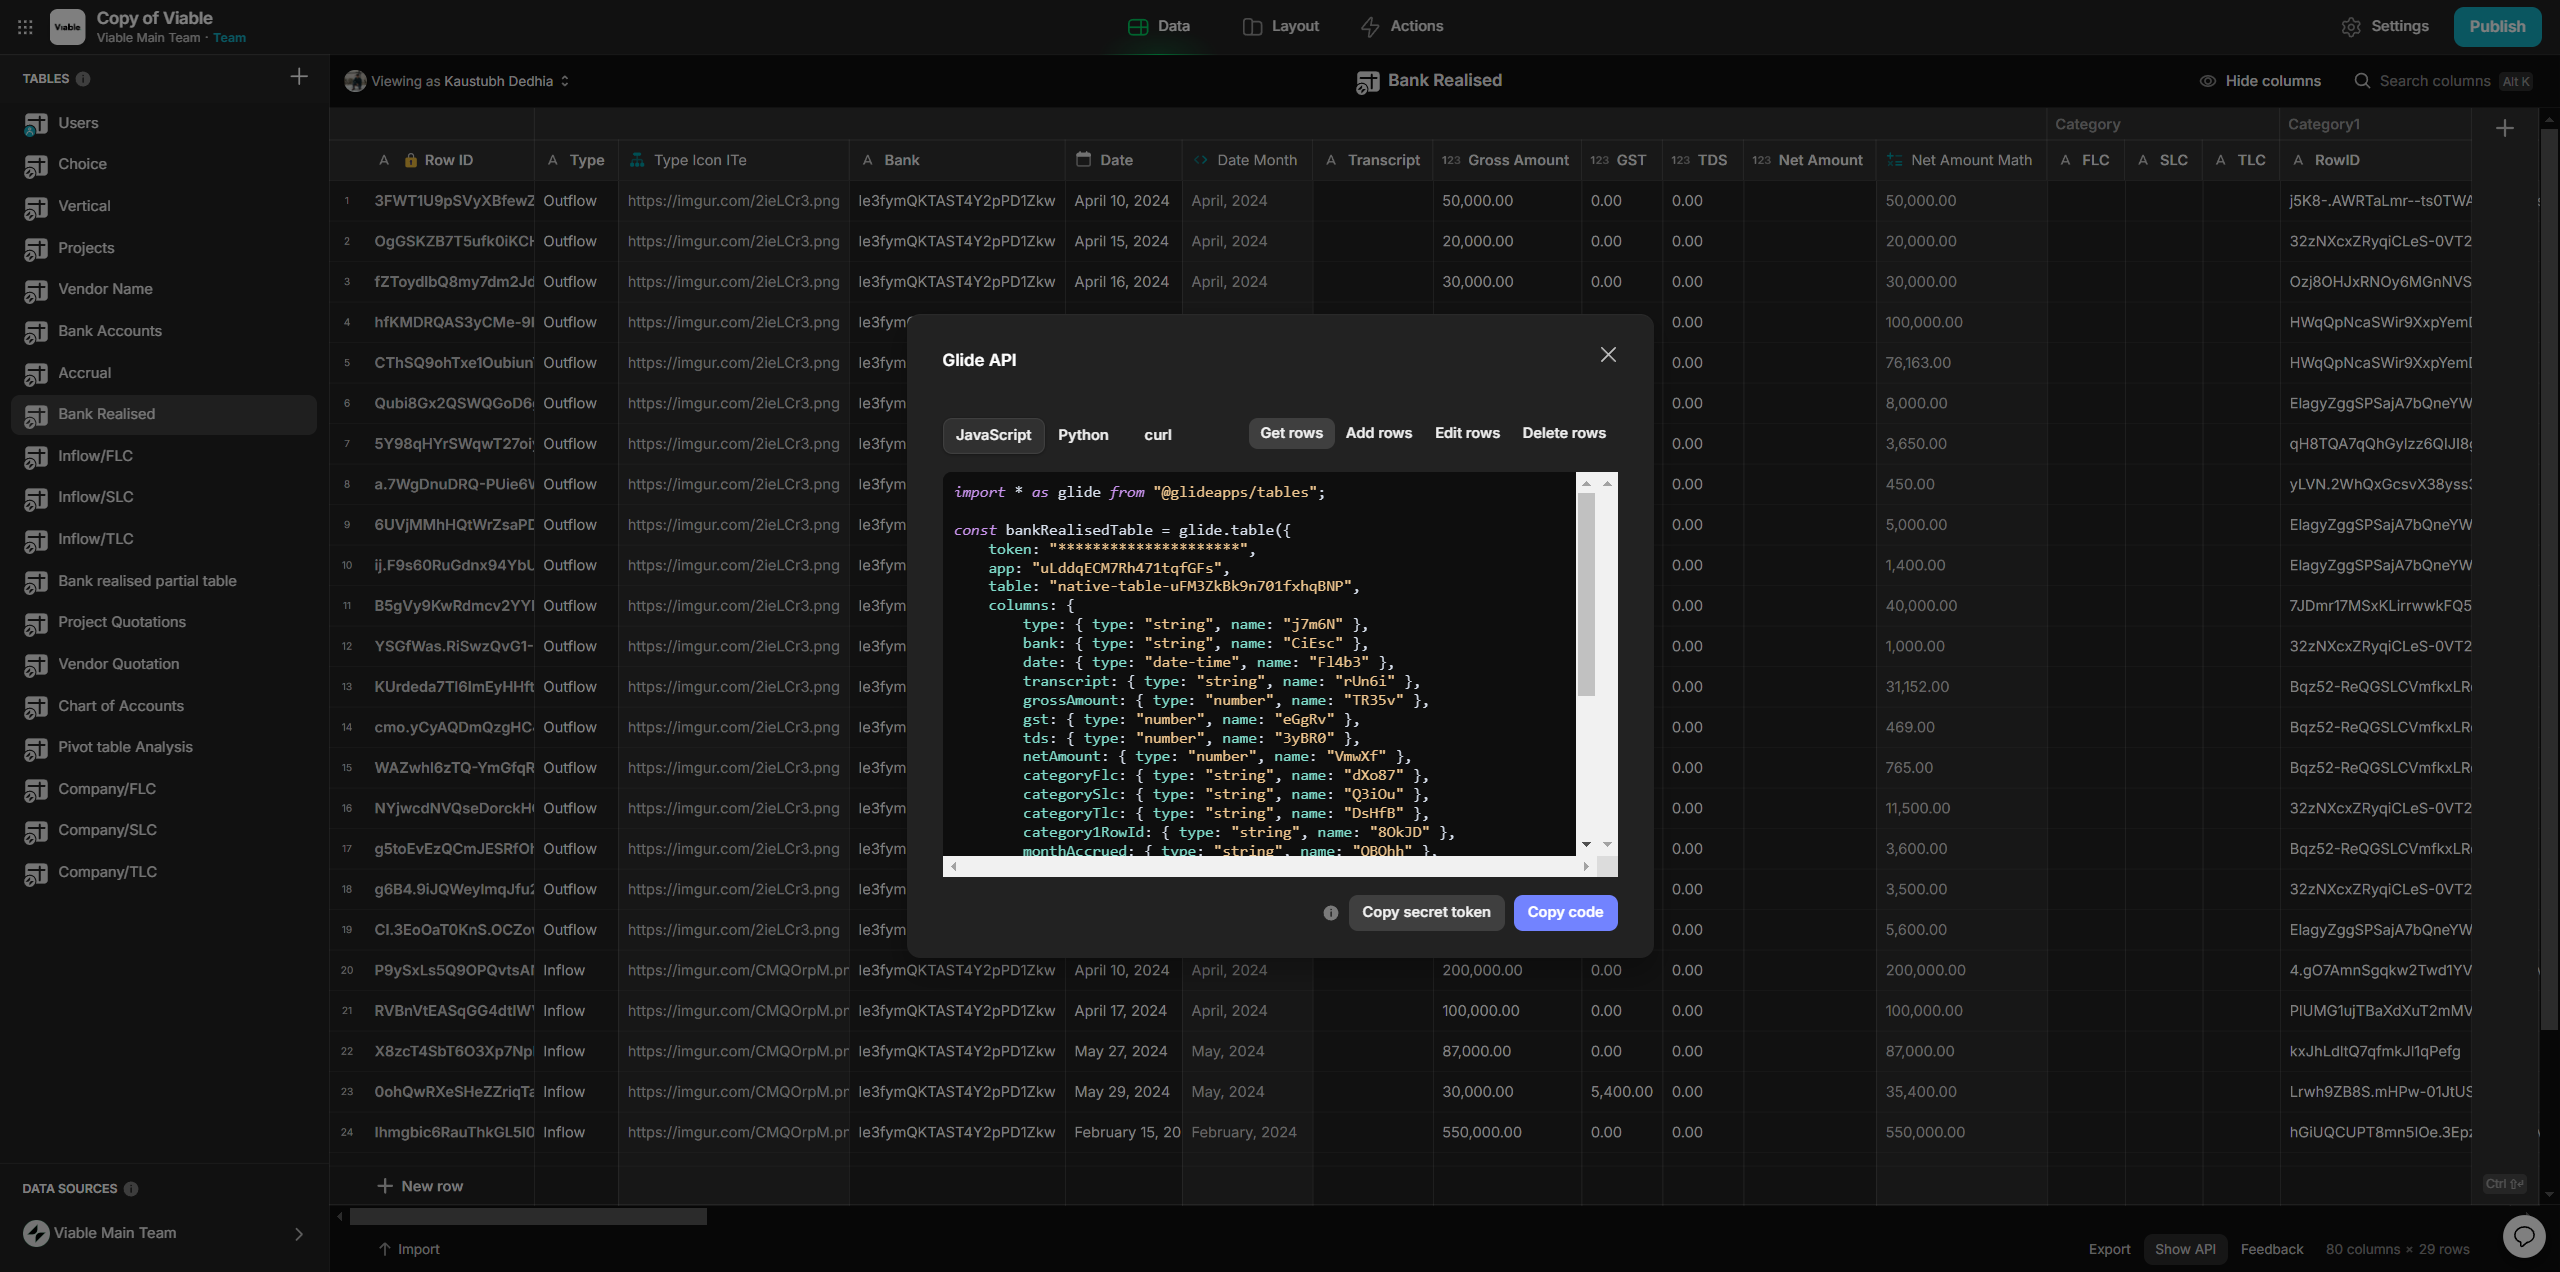
Copy that and paste it into the new script, then hit save. Next, in the first tutorial, I asked you to make a copy of the app. Go into the new version of the app, the copy you already made. Navigate to data, open the bank realized table, click on show API, and copy the secret token.
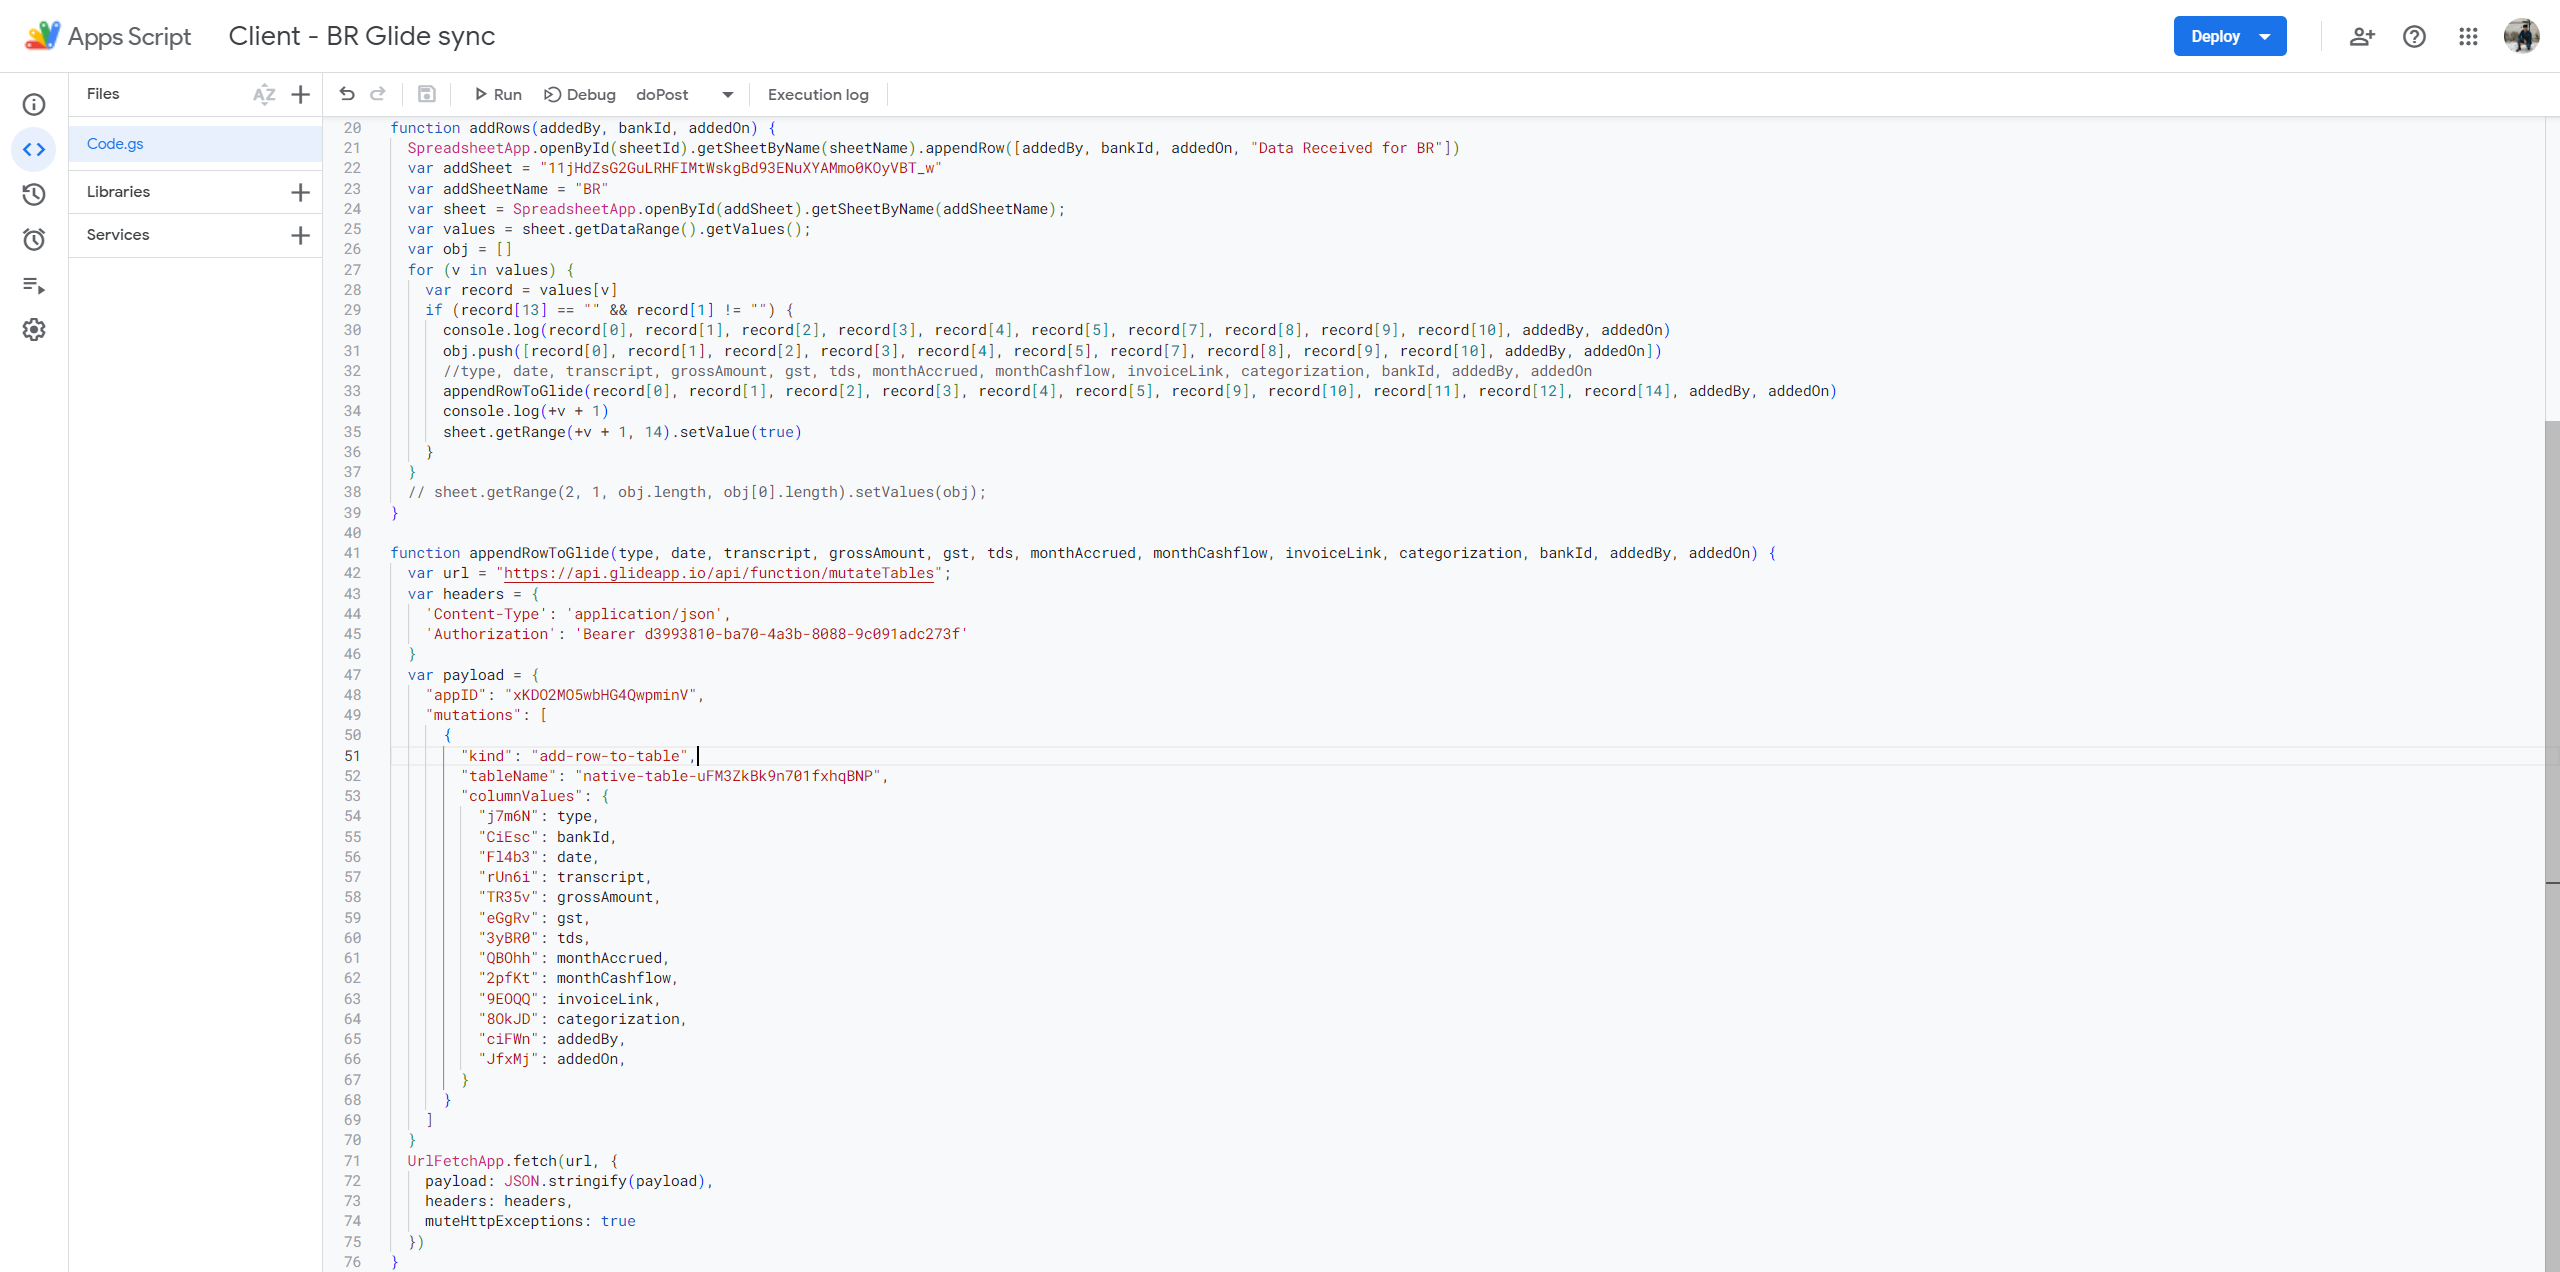
You can copy the app ID from here. You see in the constant, there is an app colon app ID. Copy the app ID and paste it on line 48. I have left a comment here as well.

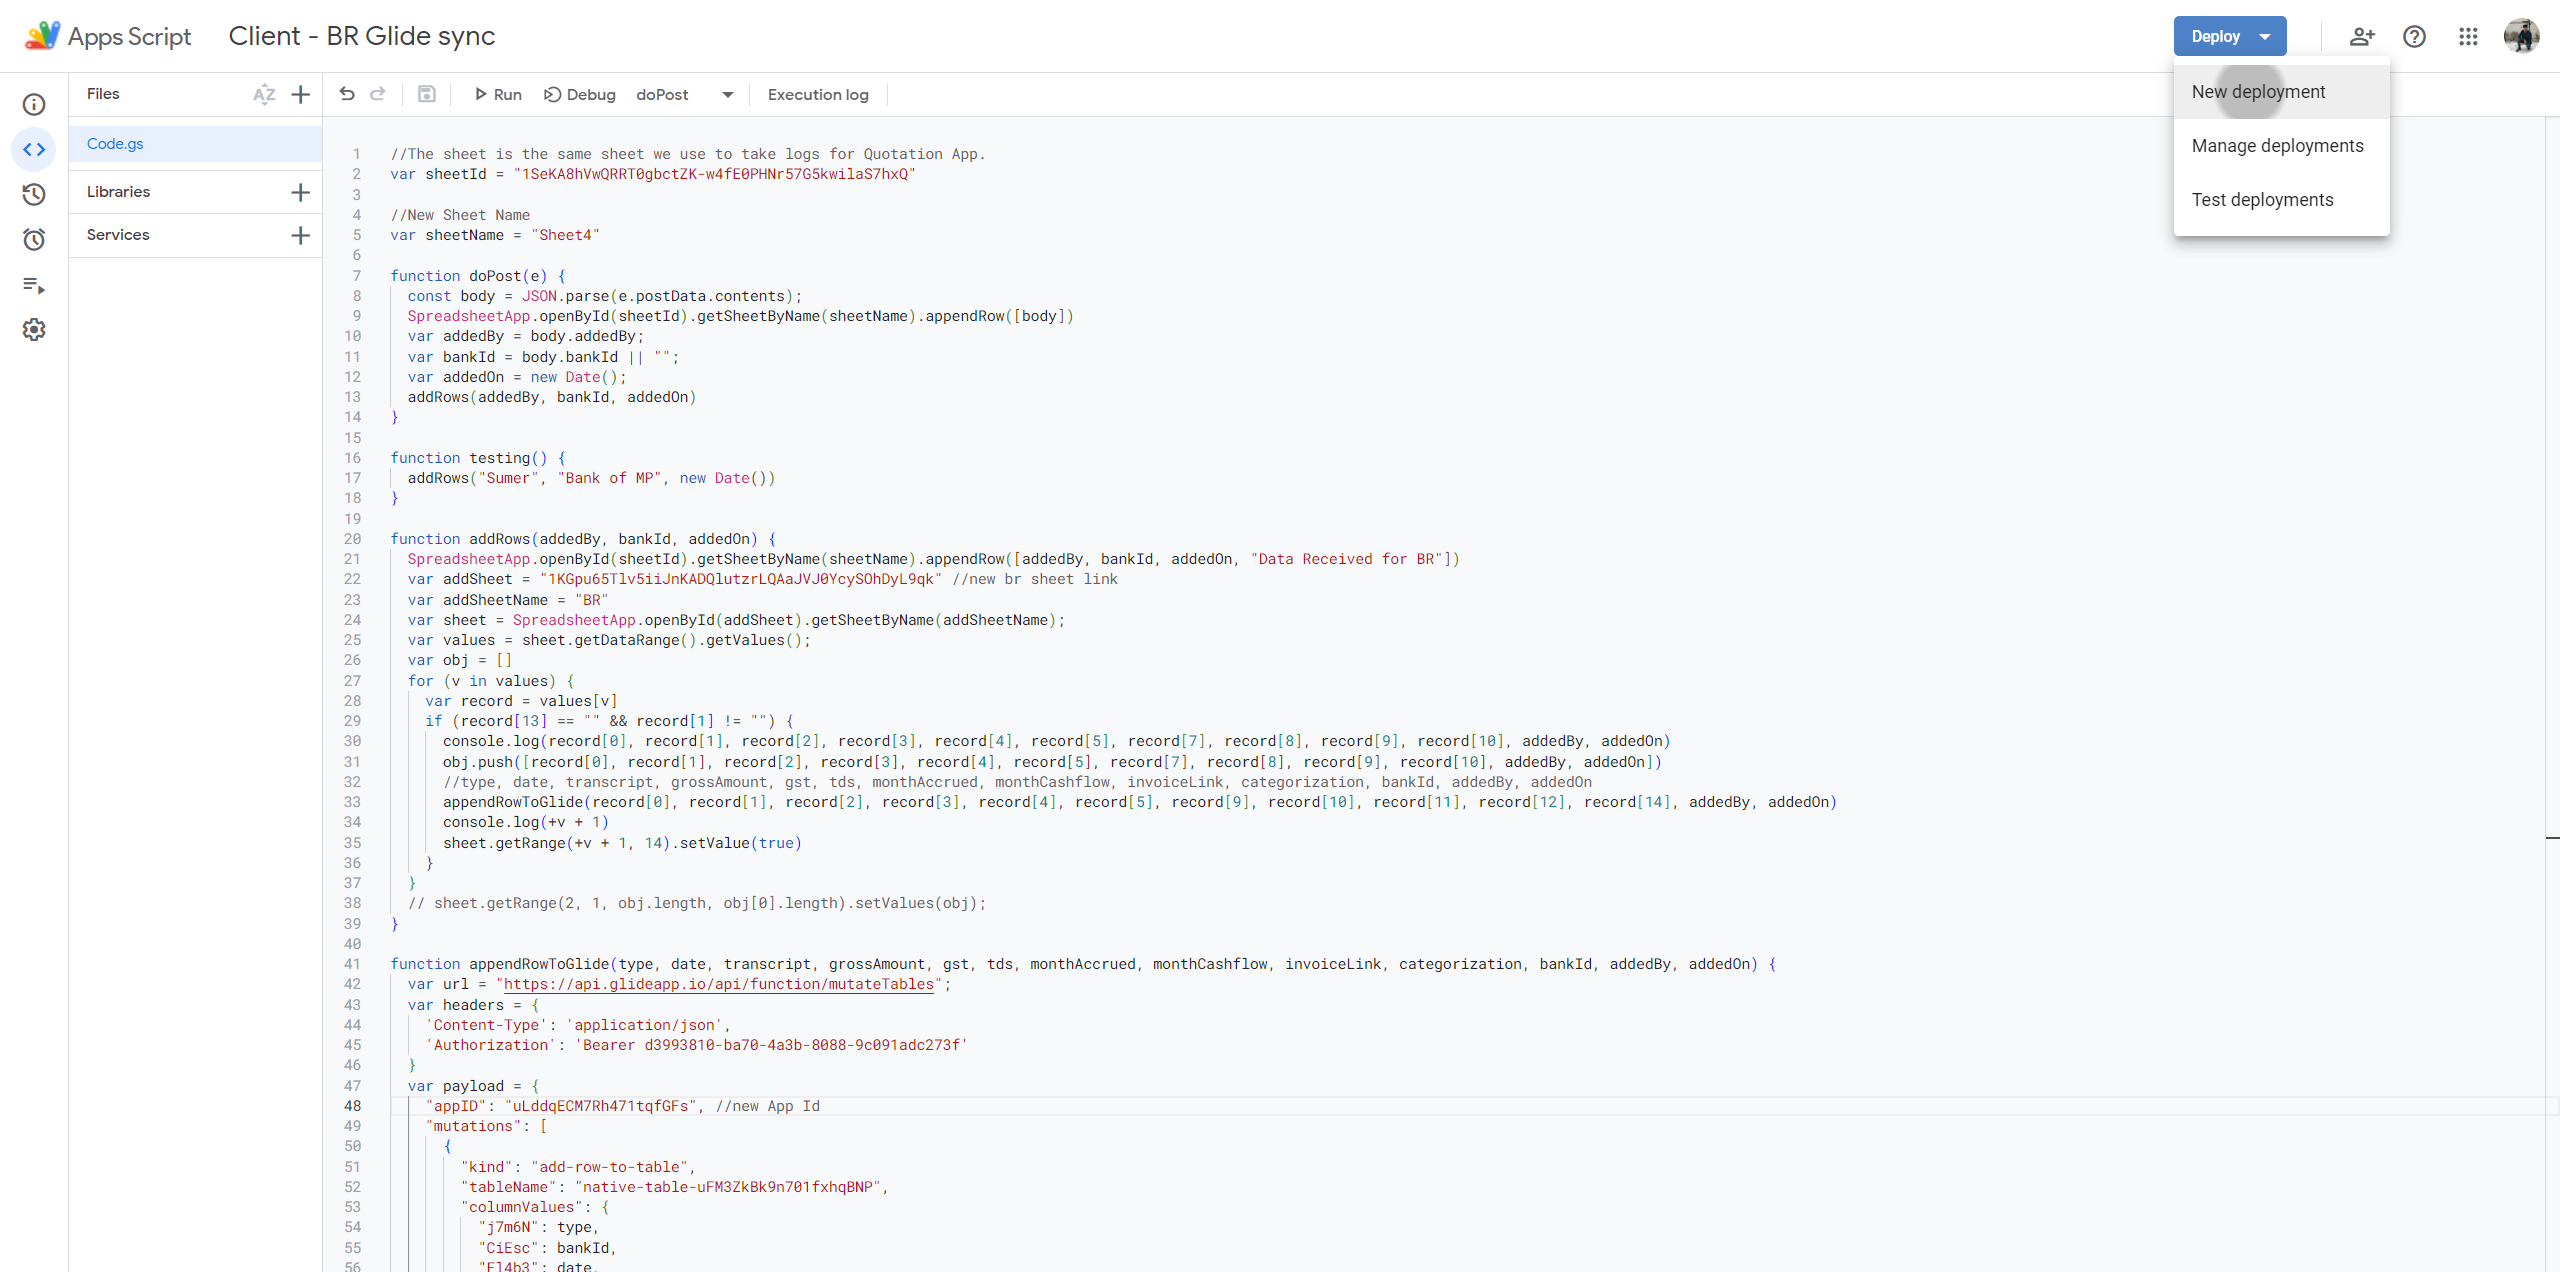
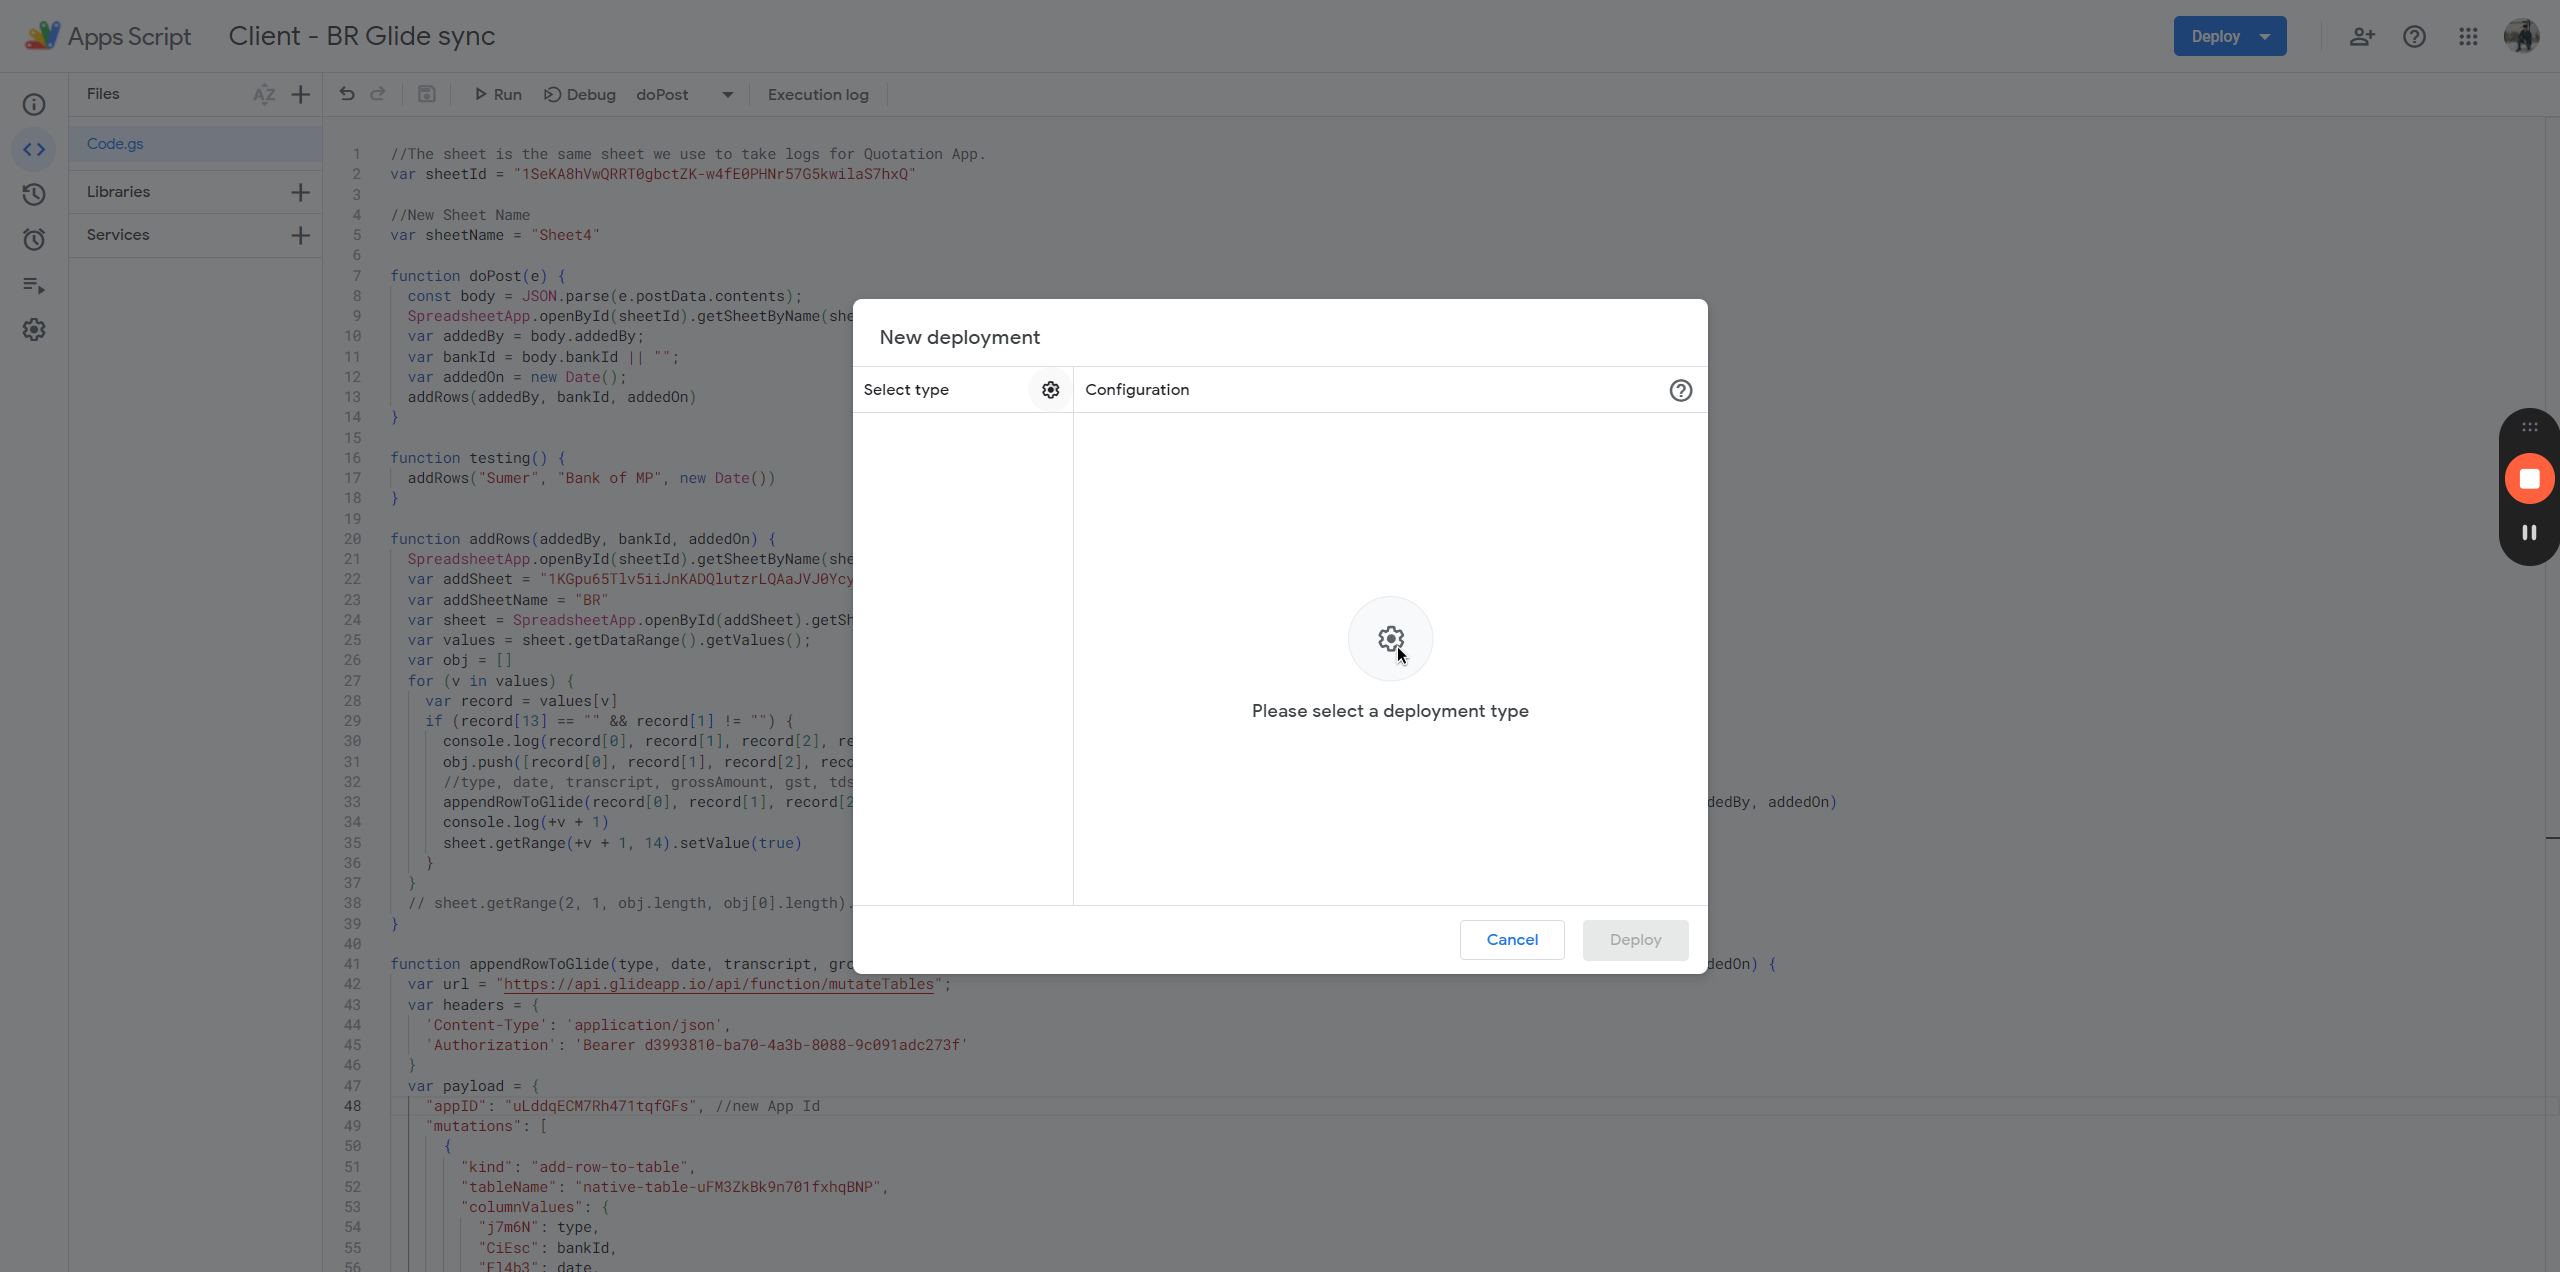
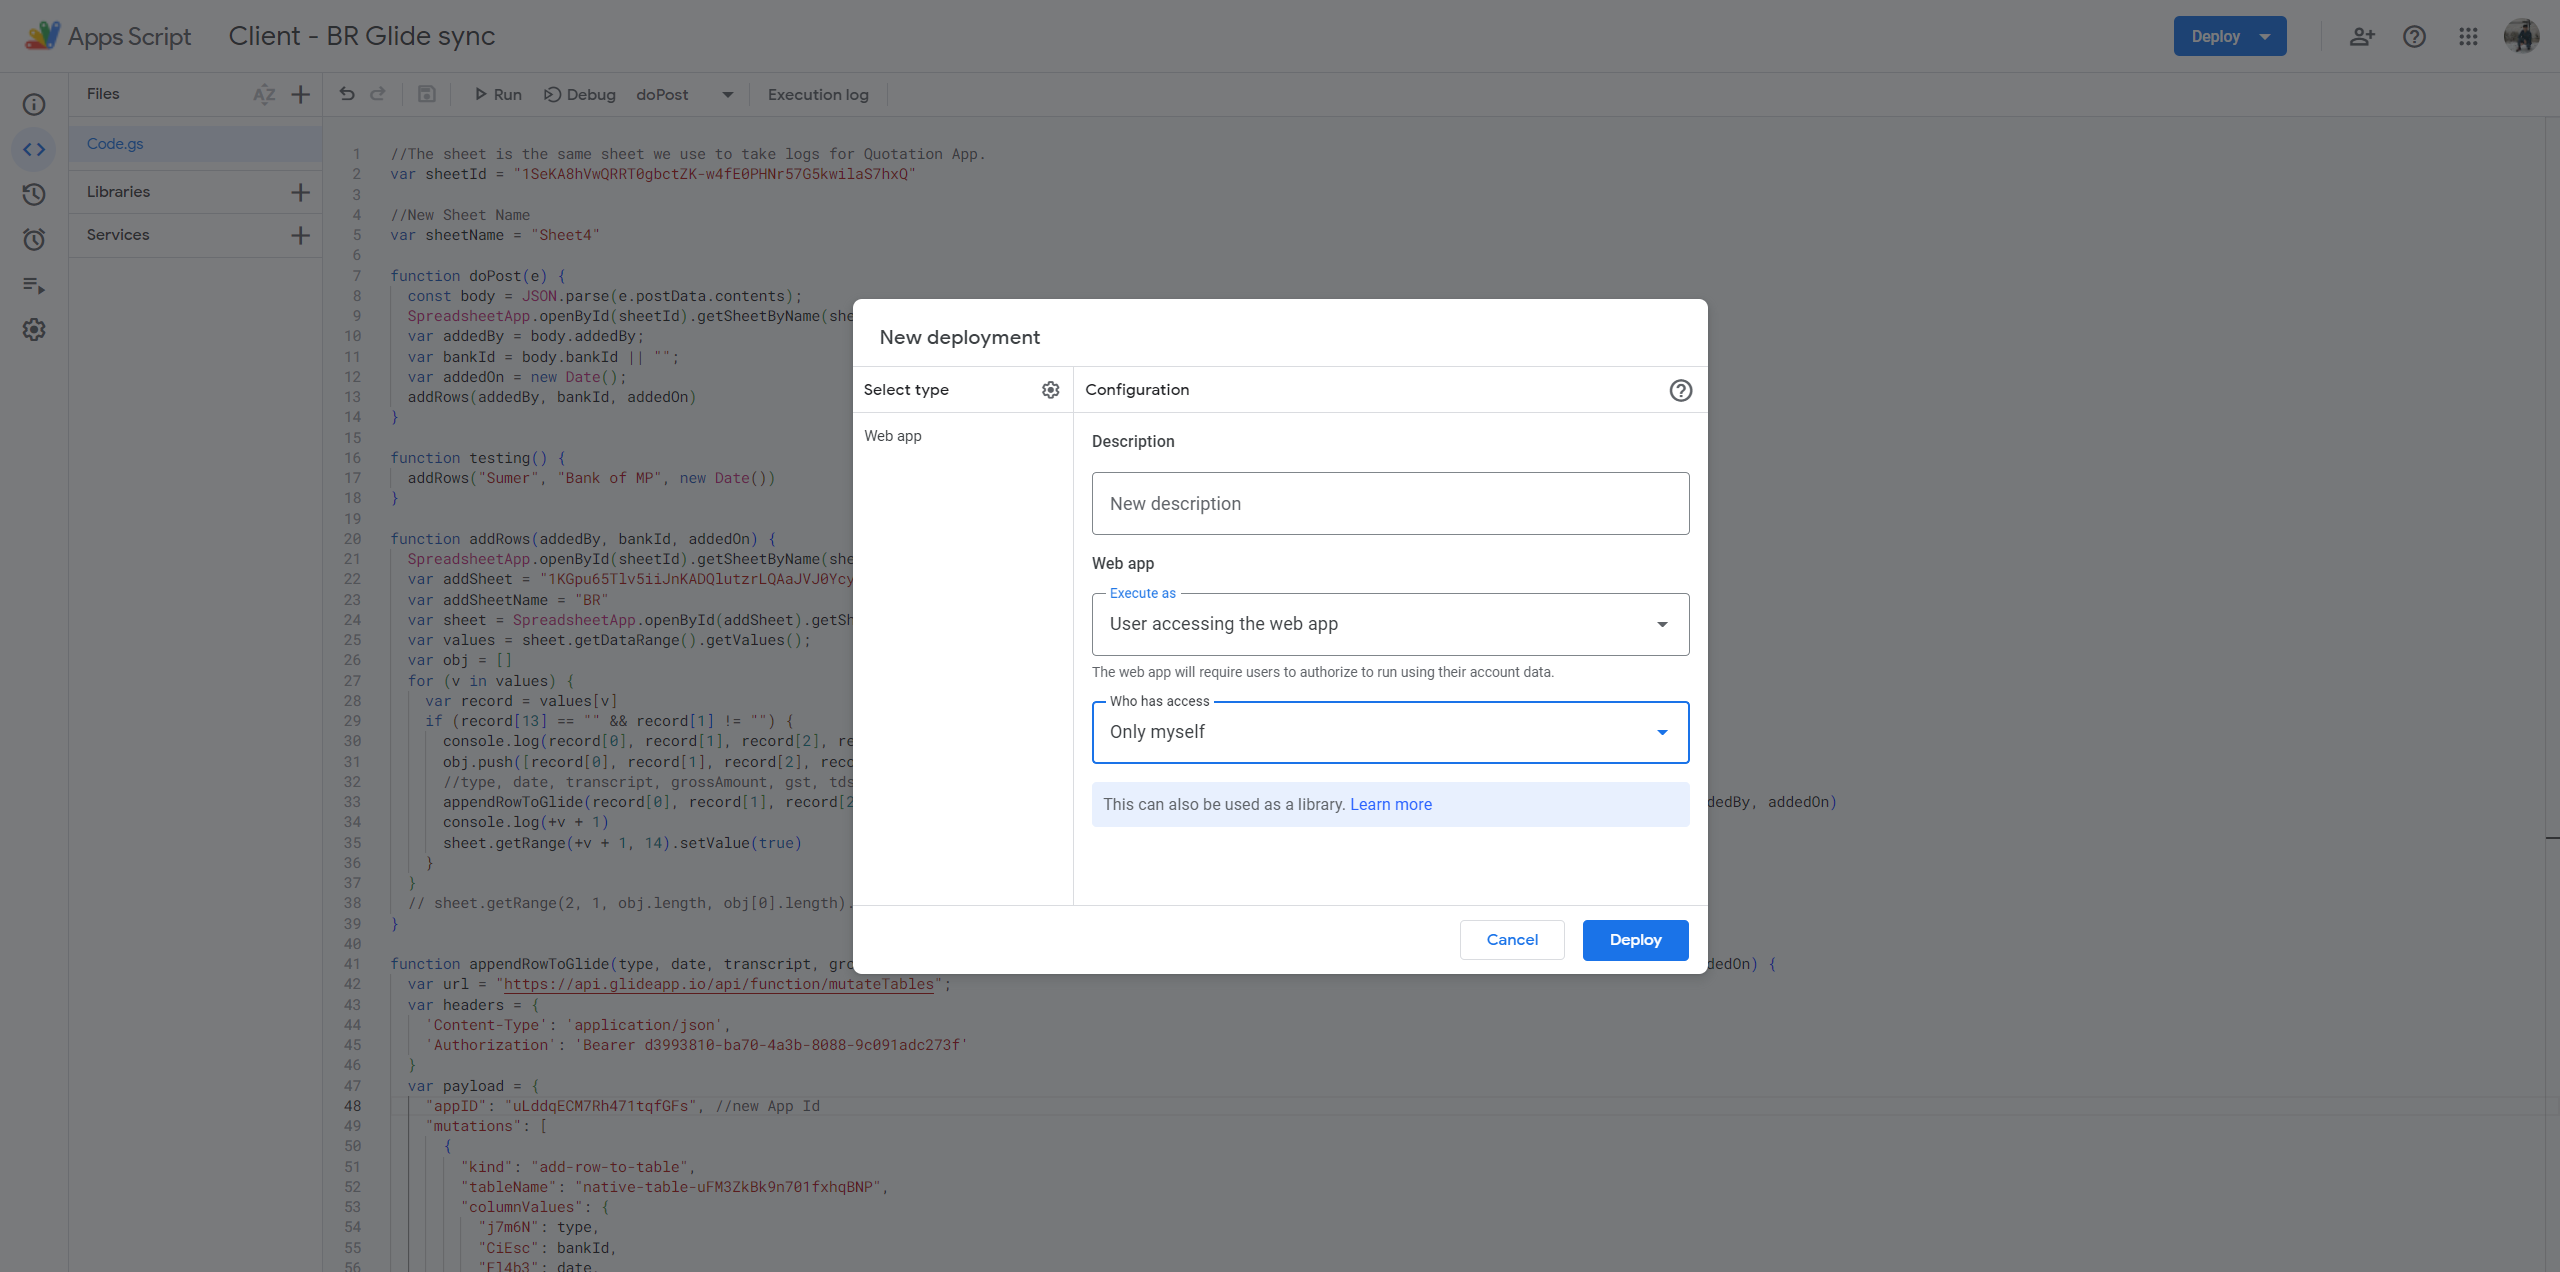
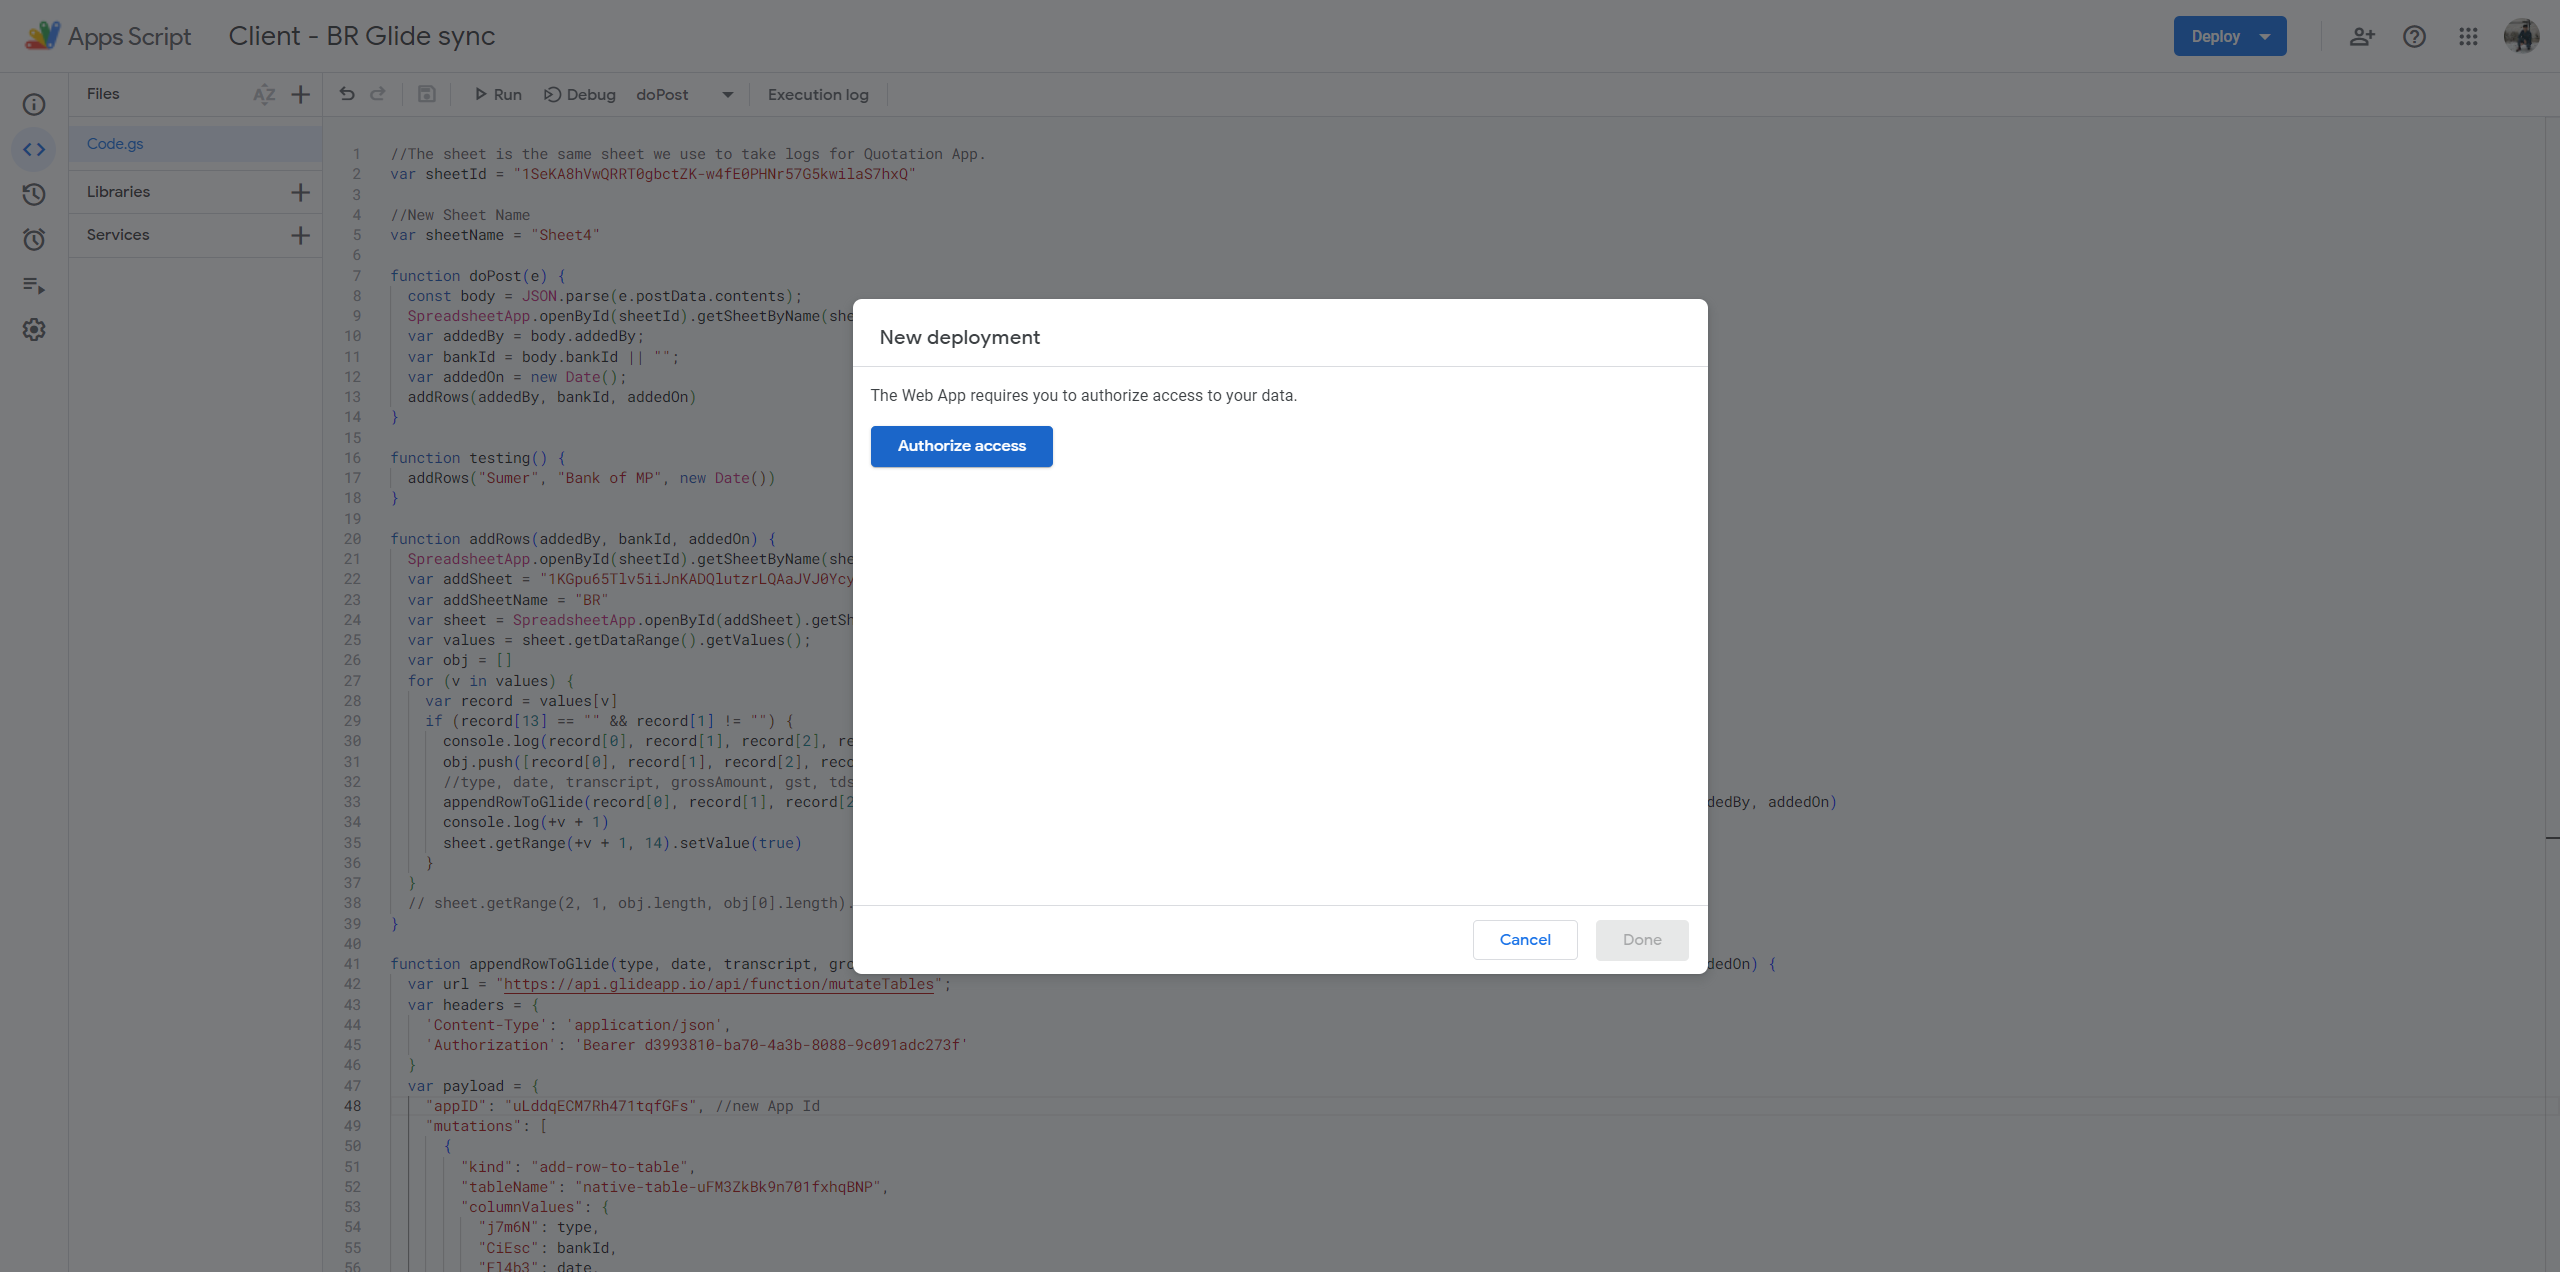
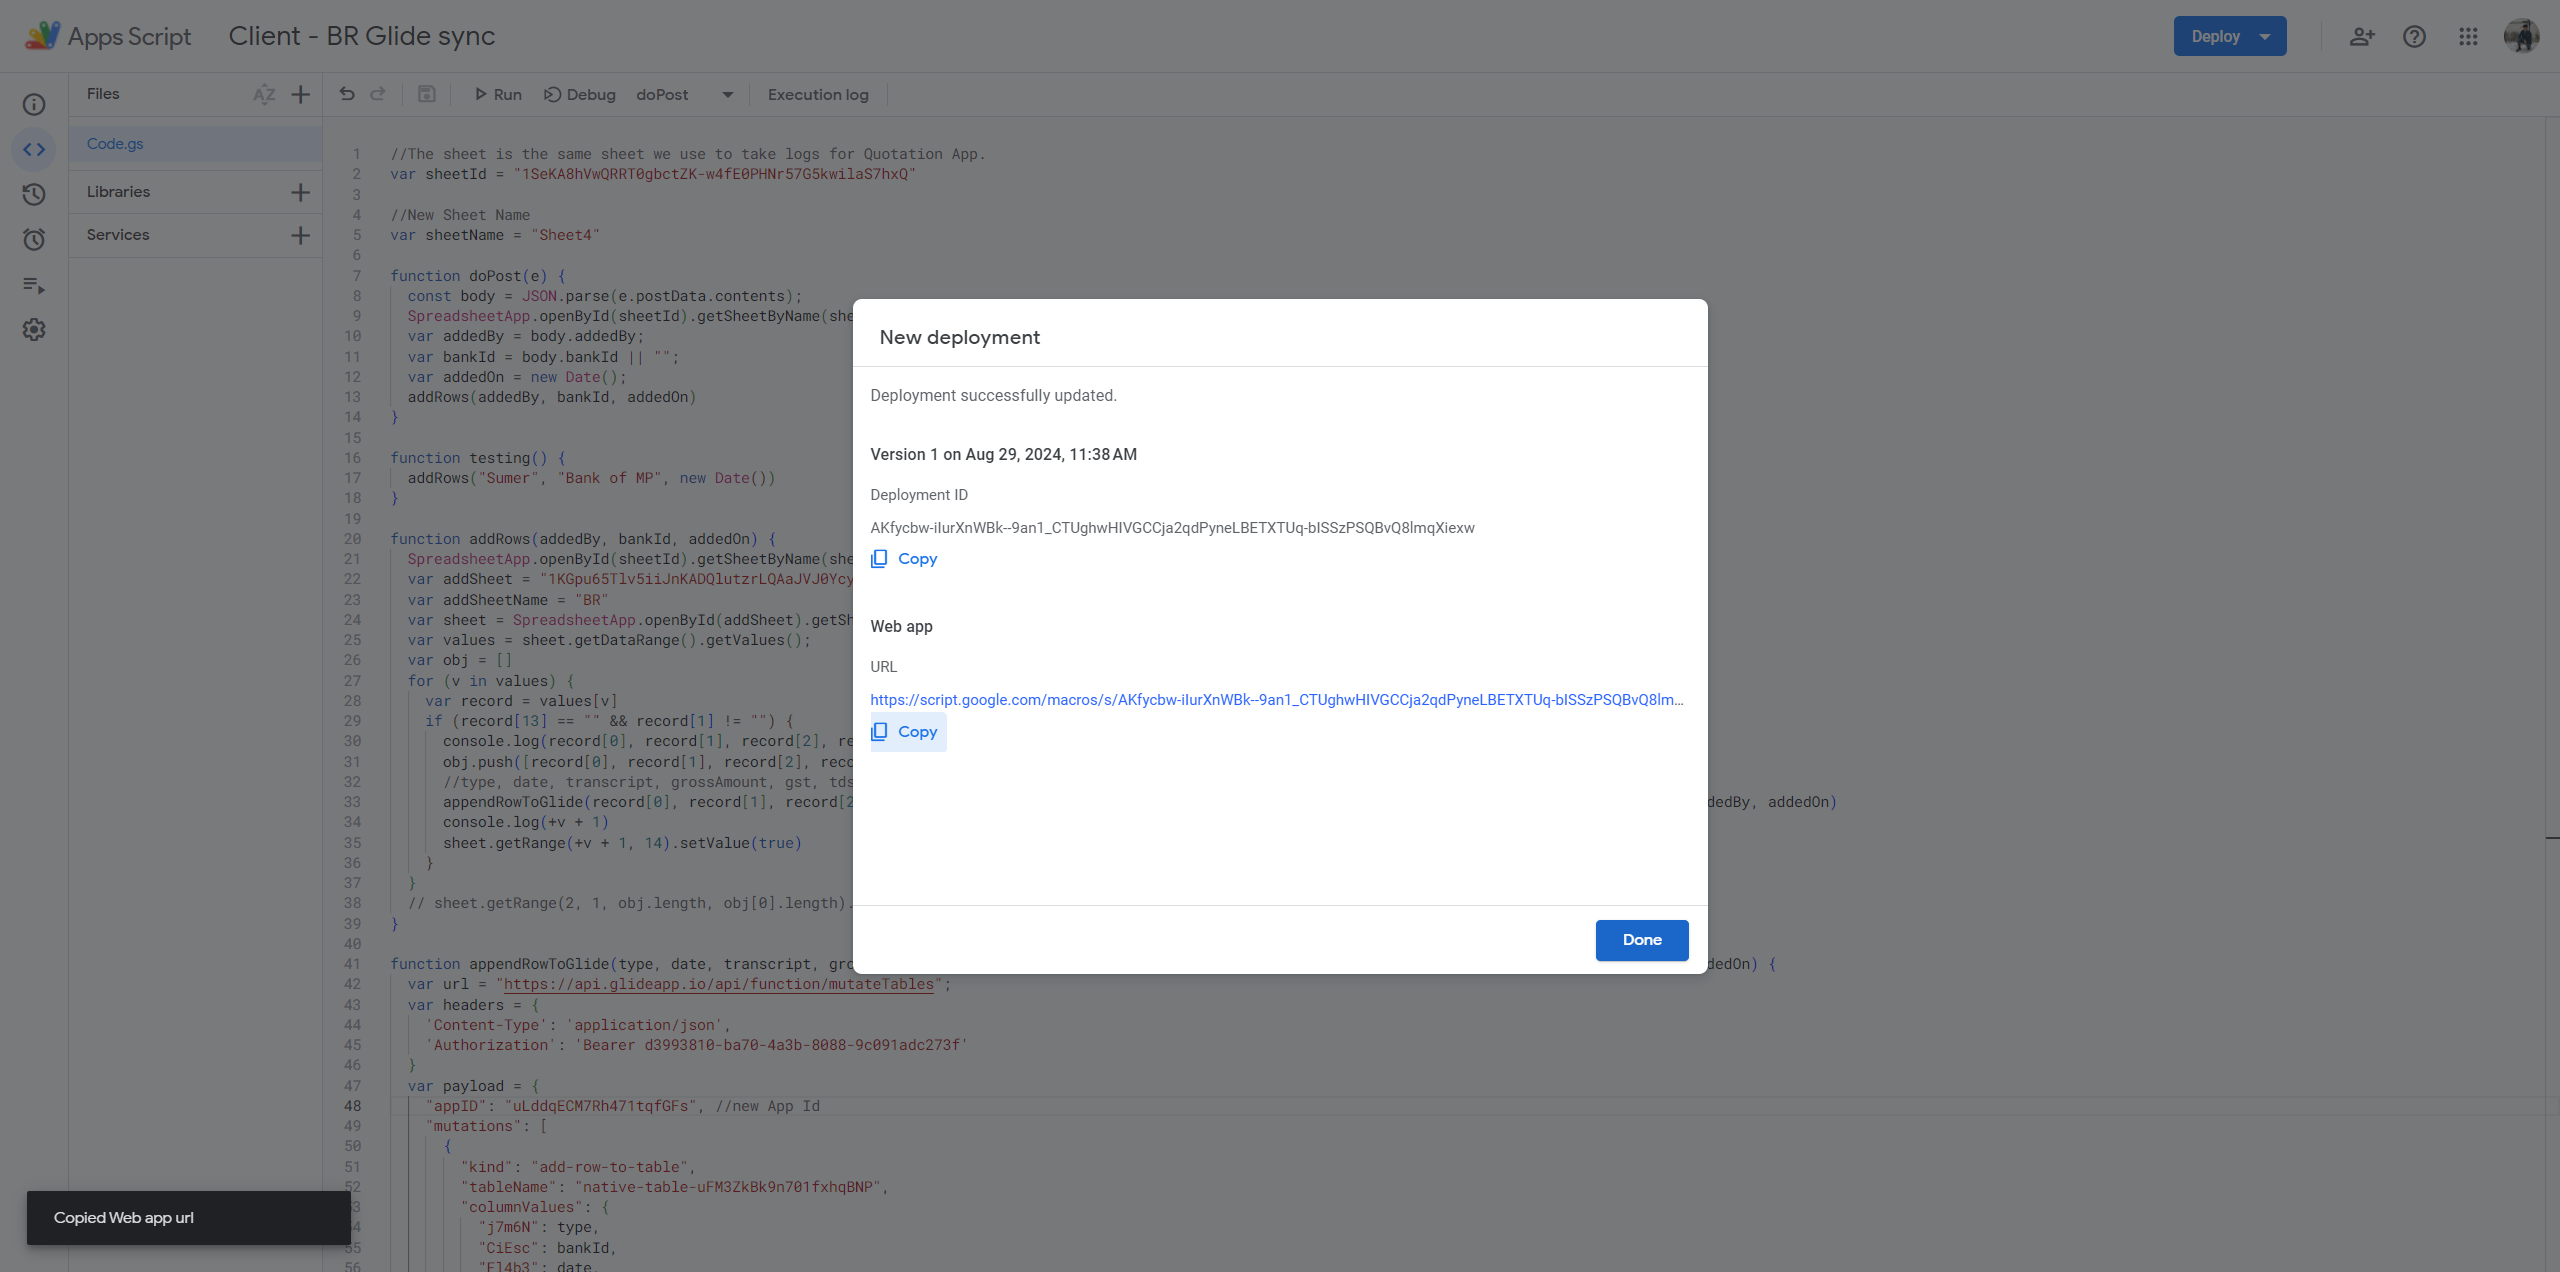
You don't need to change anything else in the code. Save the code, then click on deploy. You will need to do a new deployment.

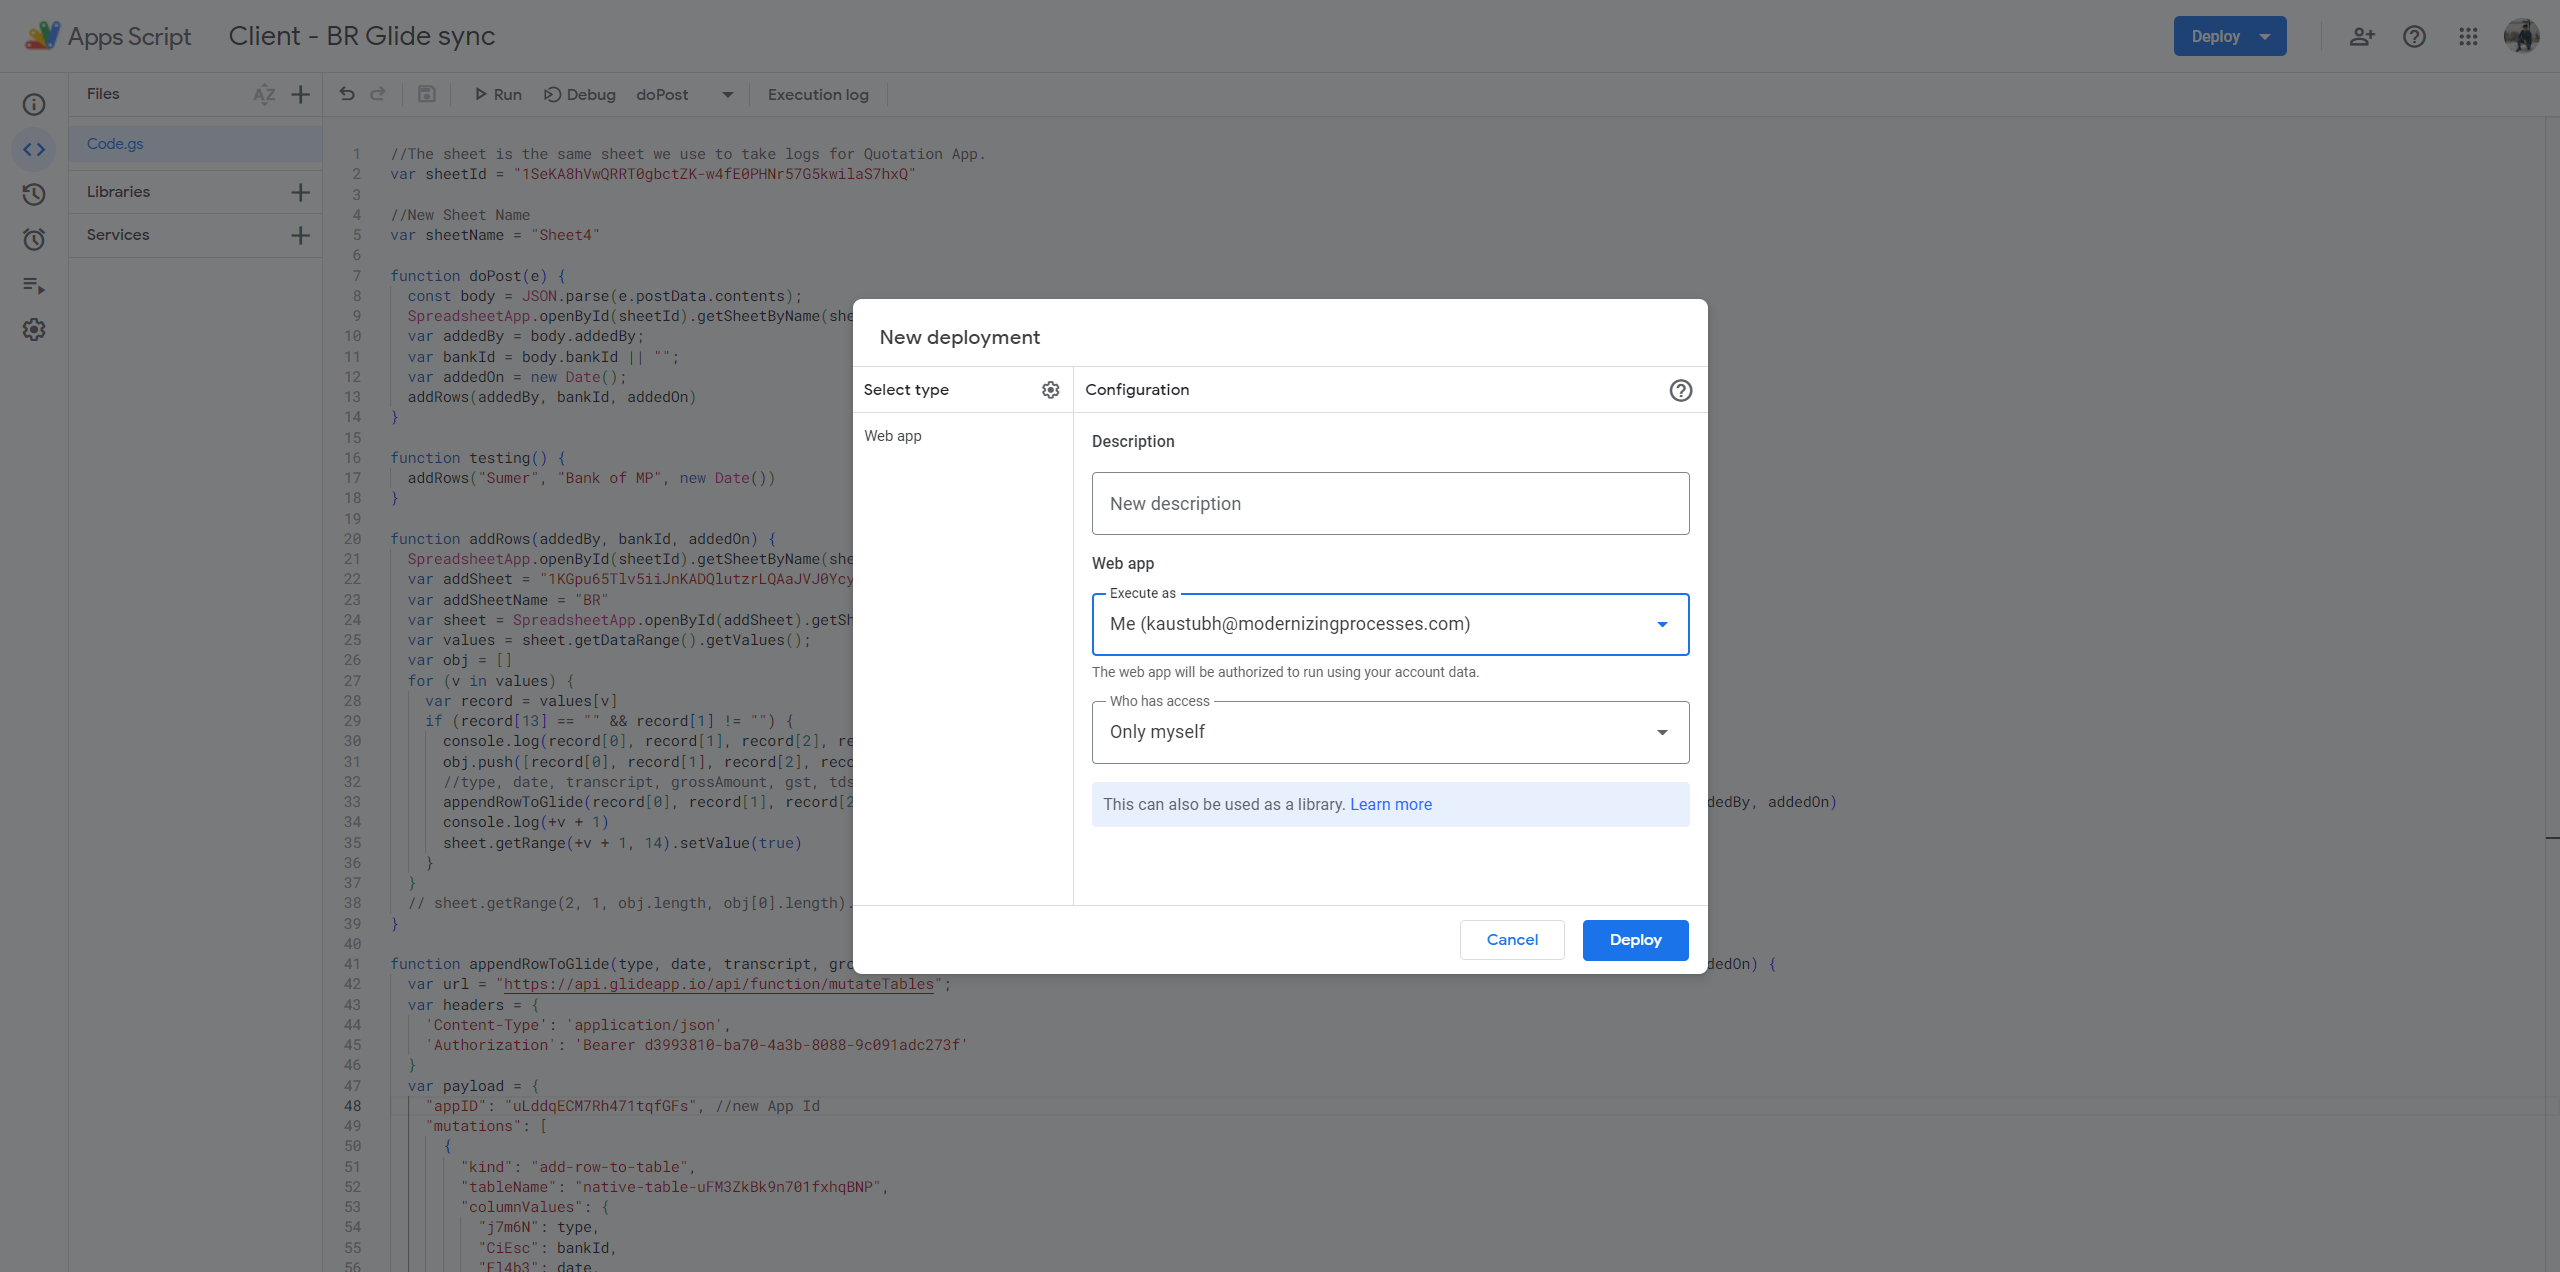
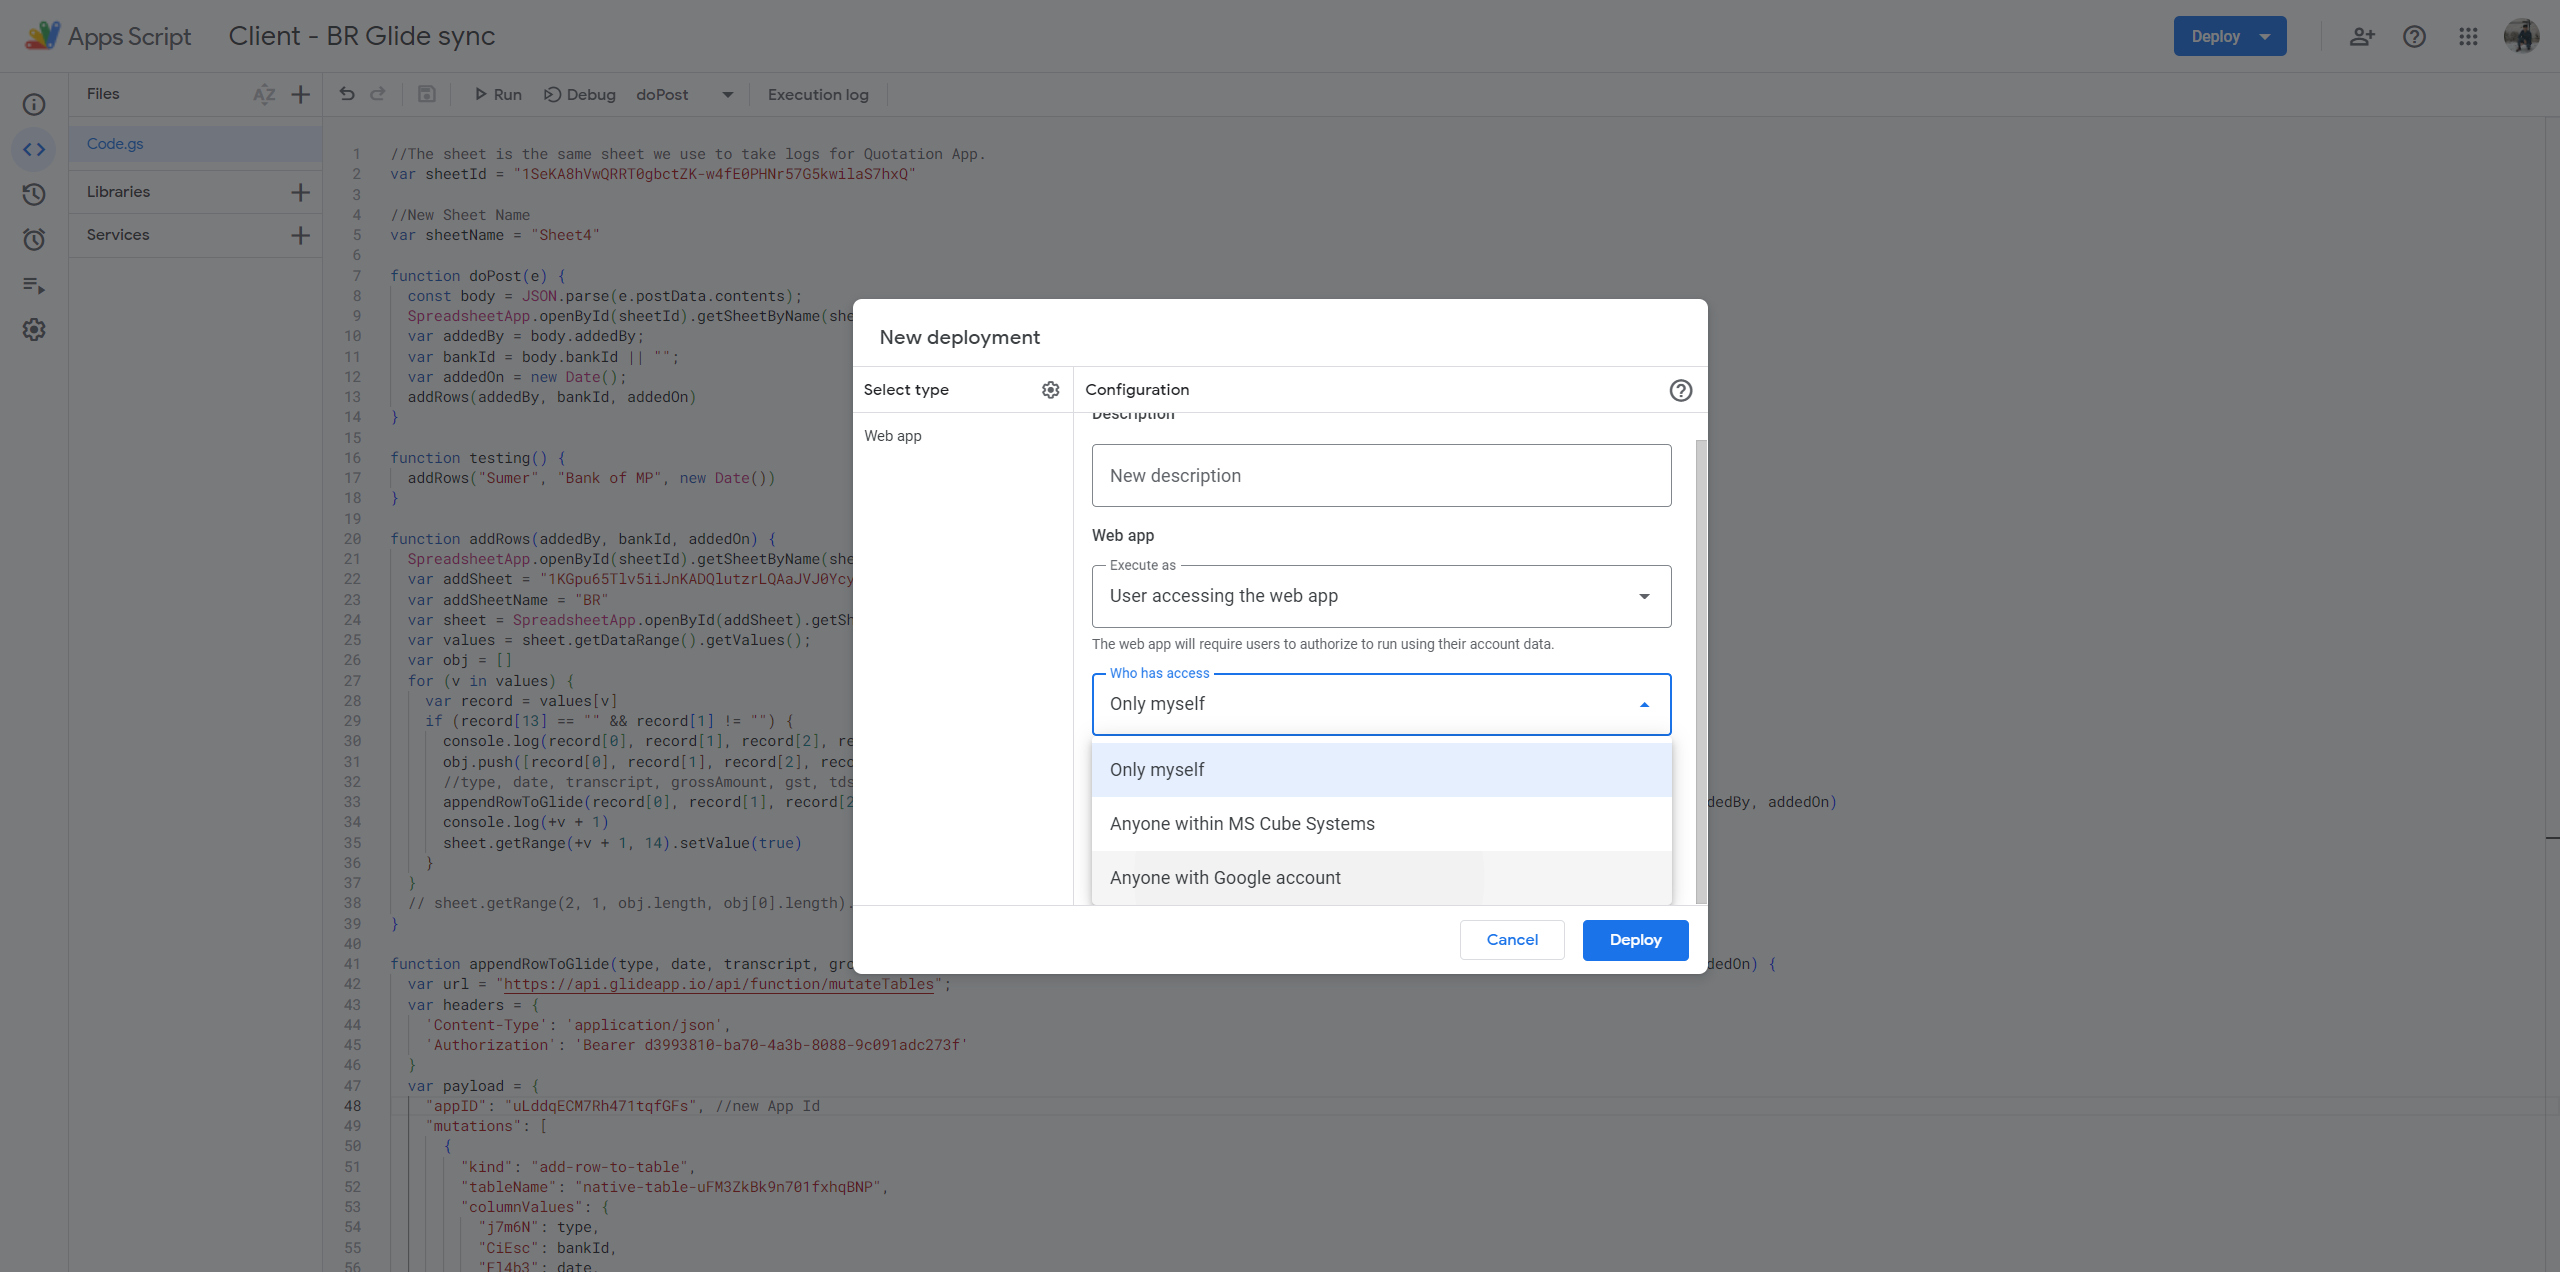
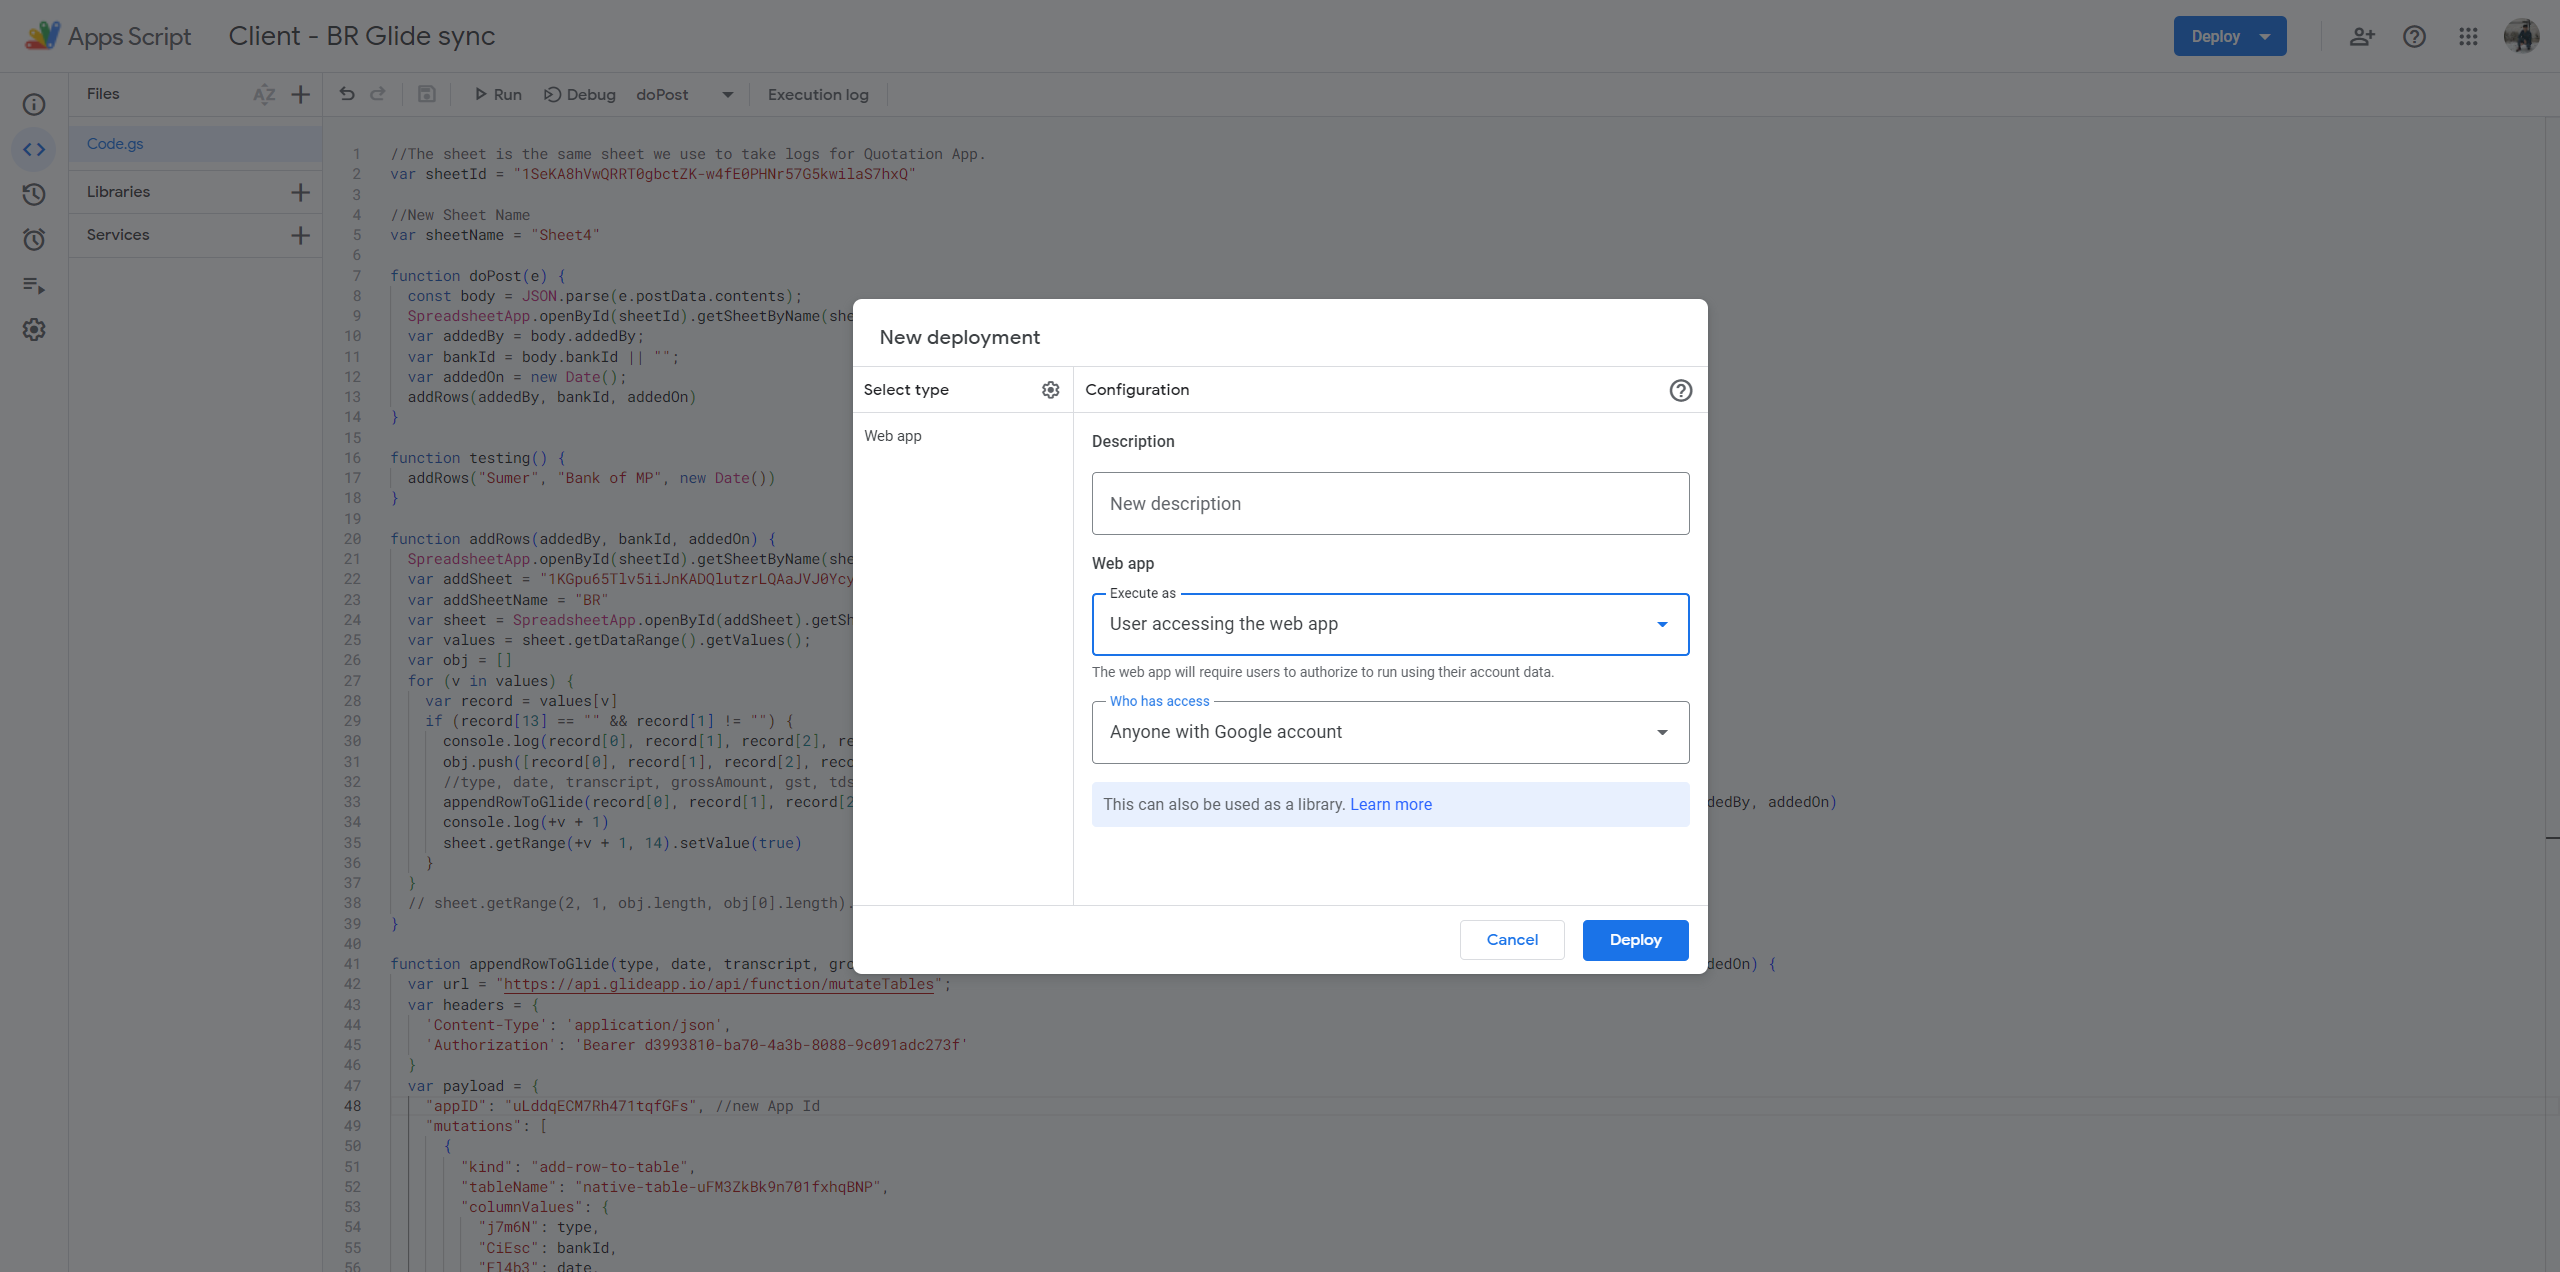
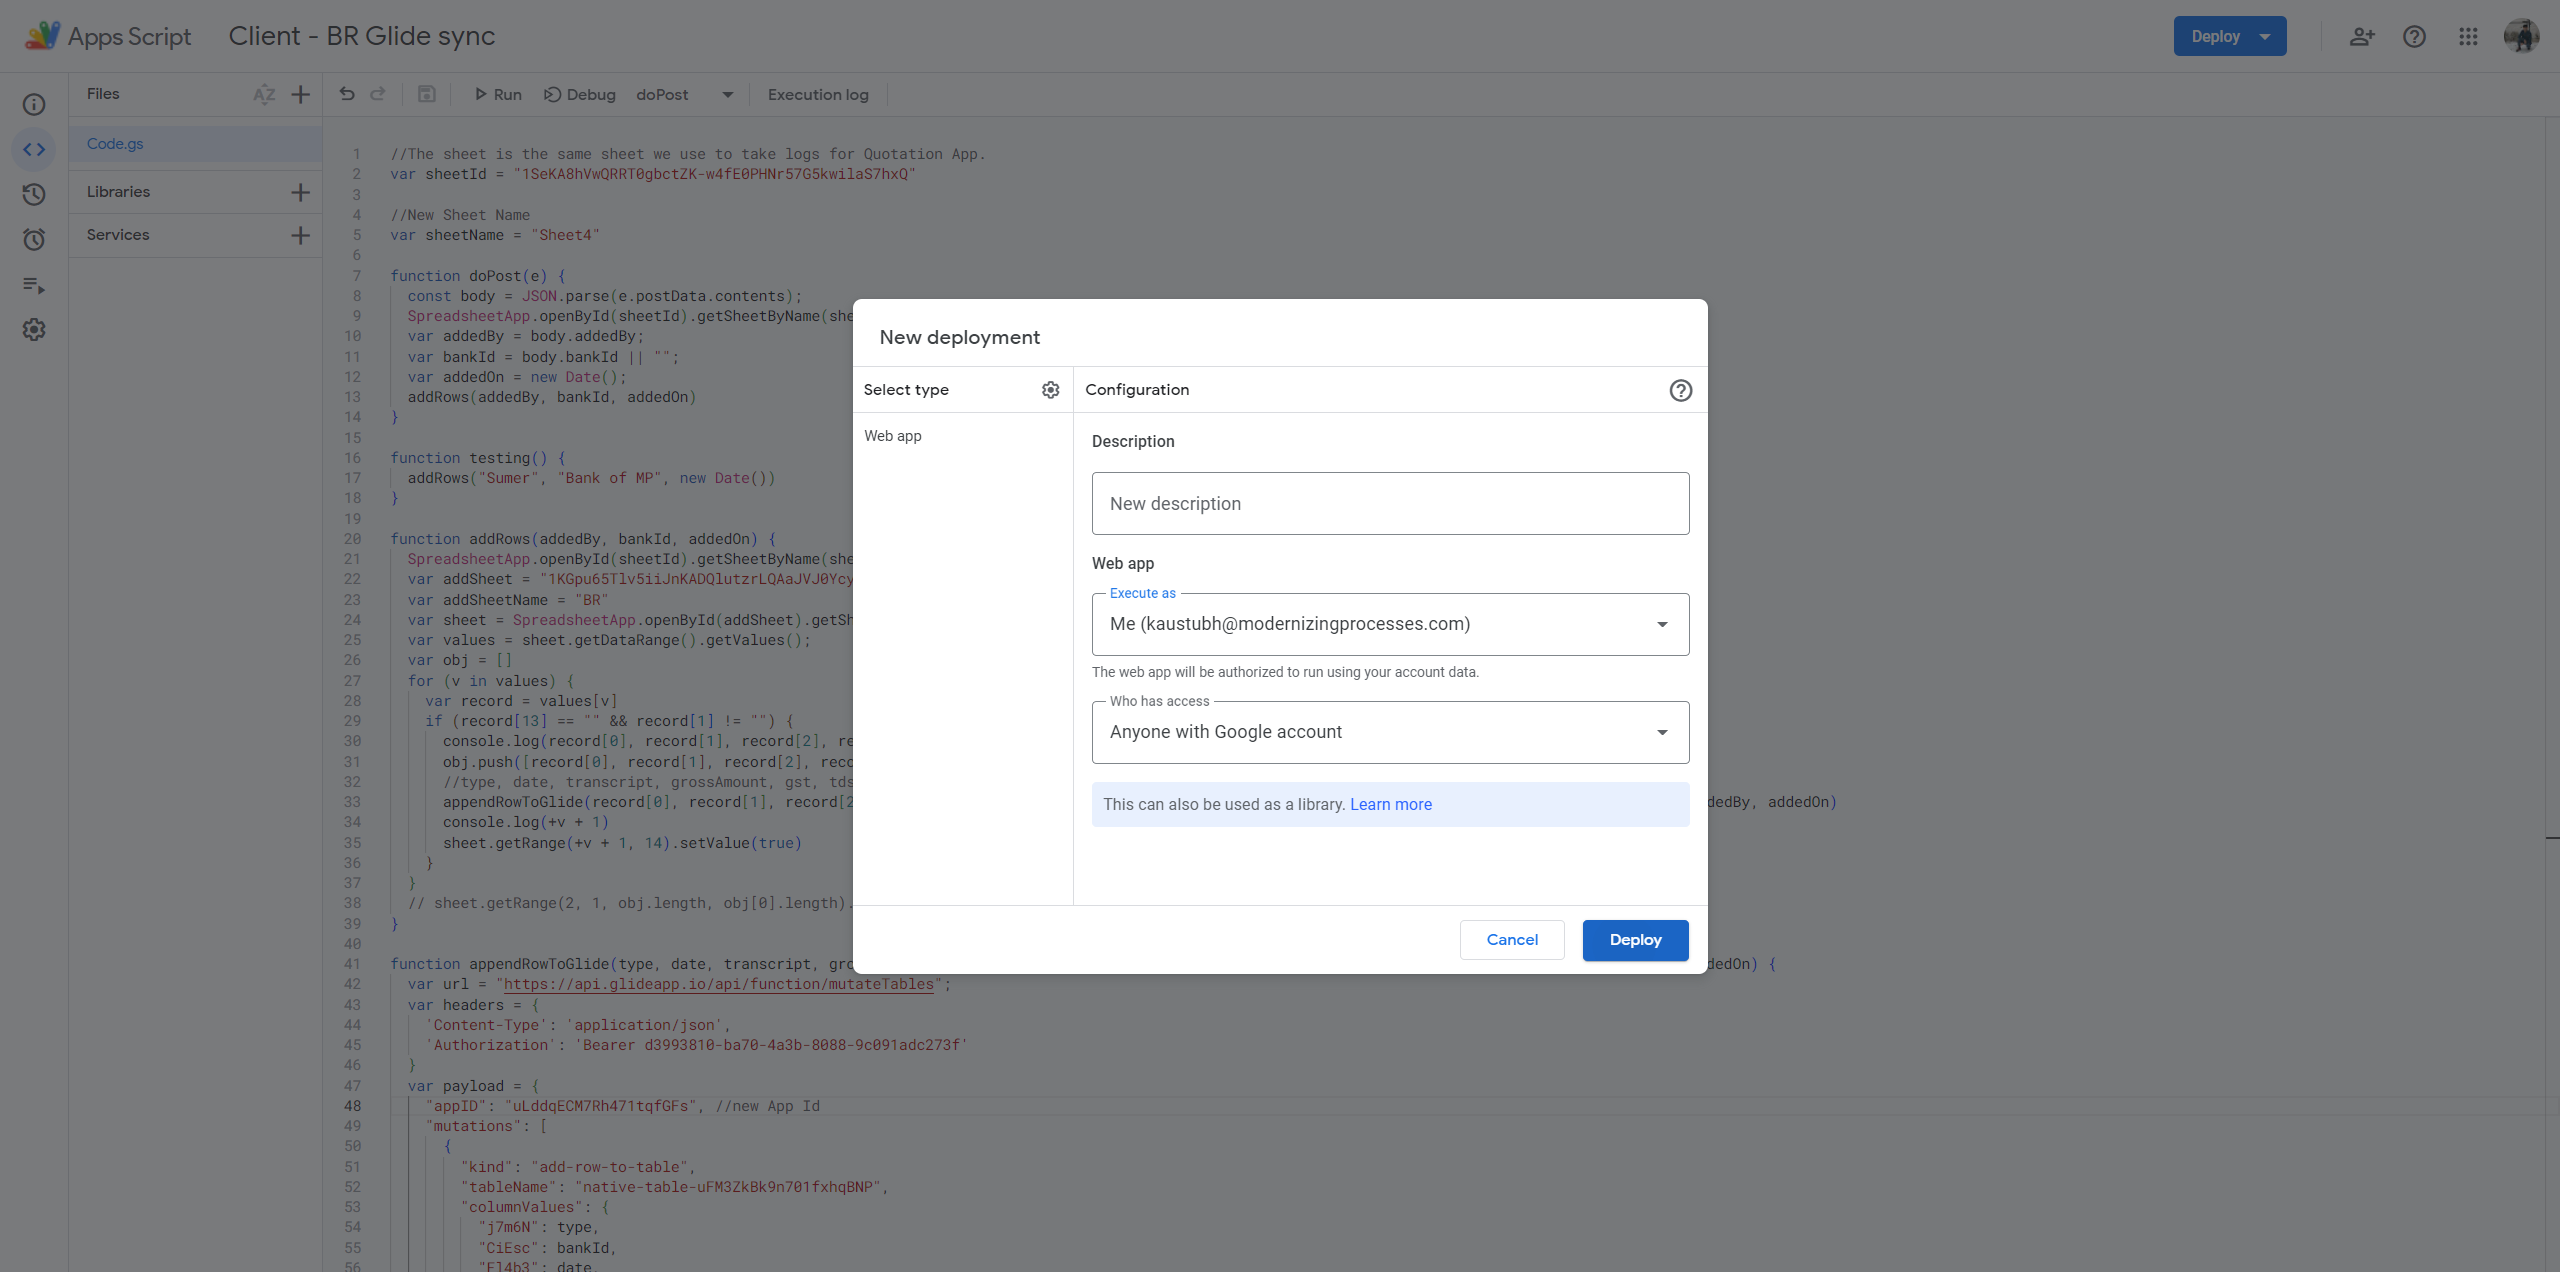
Click on the settings icon. Select "Web App" for users accessing the web app. For anyone with a Google account, you'll need to change the access settings.
open the copy of the app that you created after first tutorial

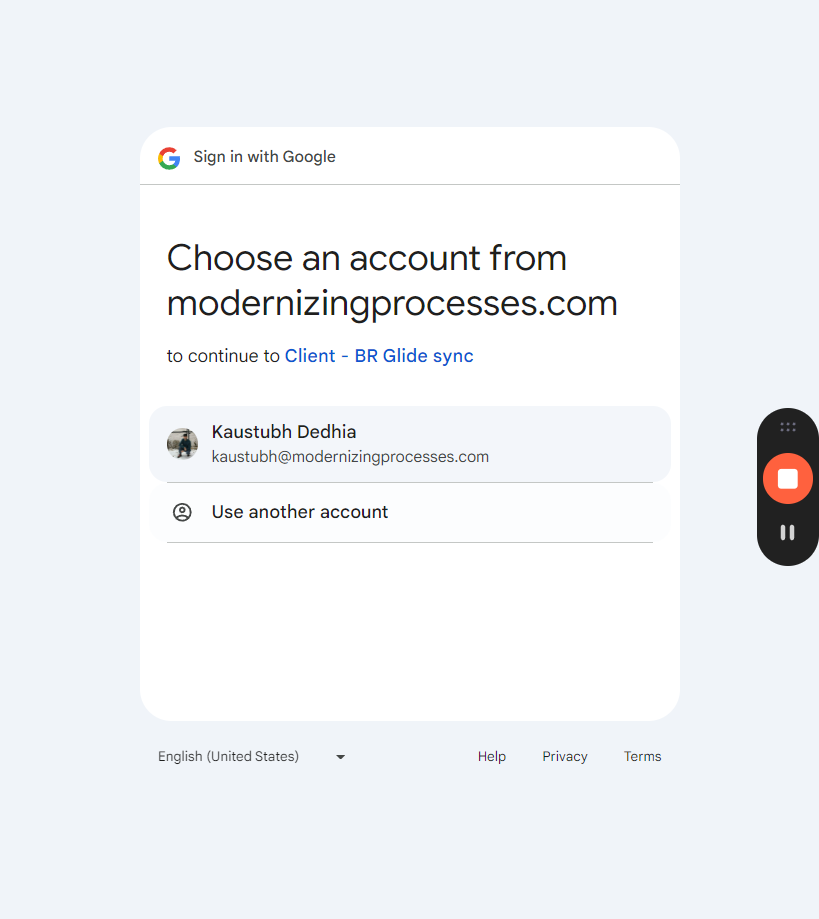
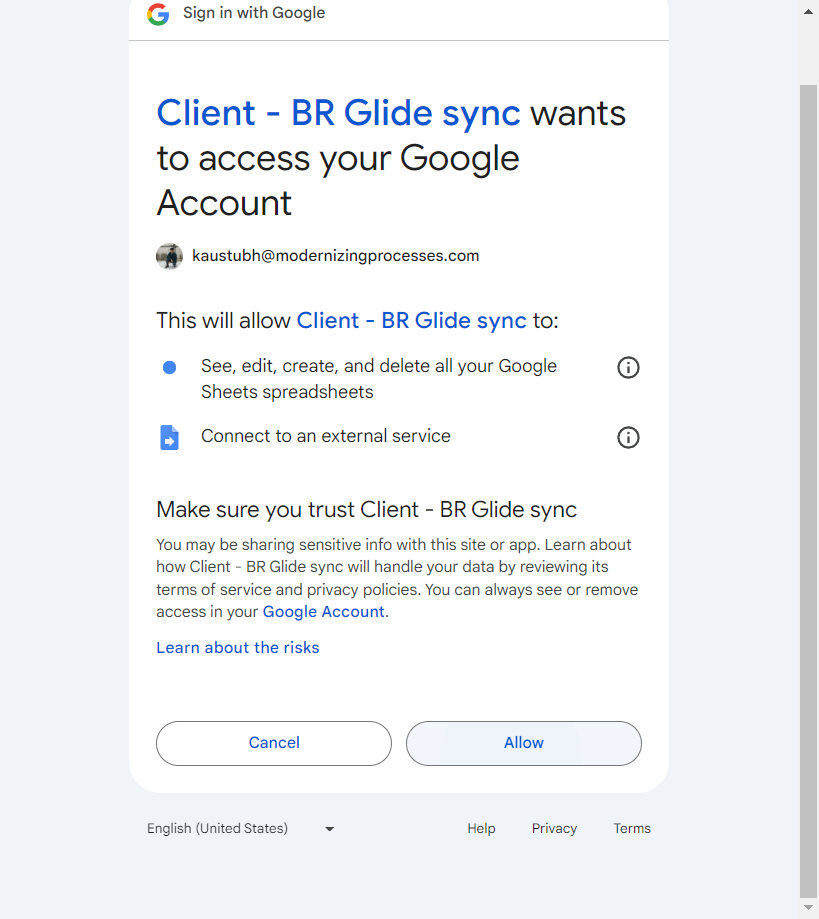
Then, when you deploy, it will ask for several authorizations. You will need to authorize everything.
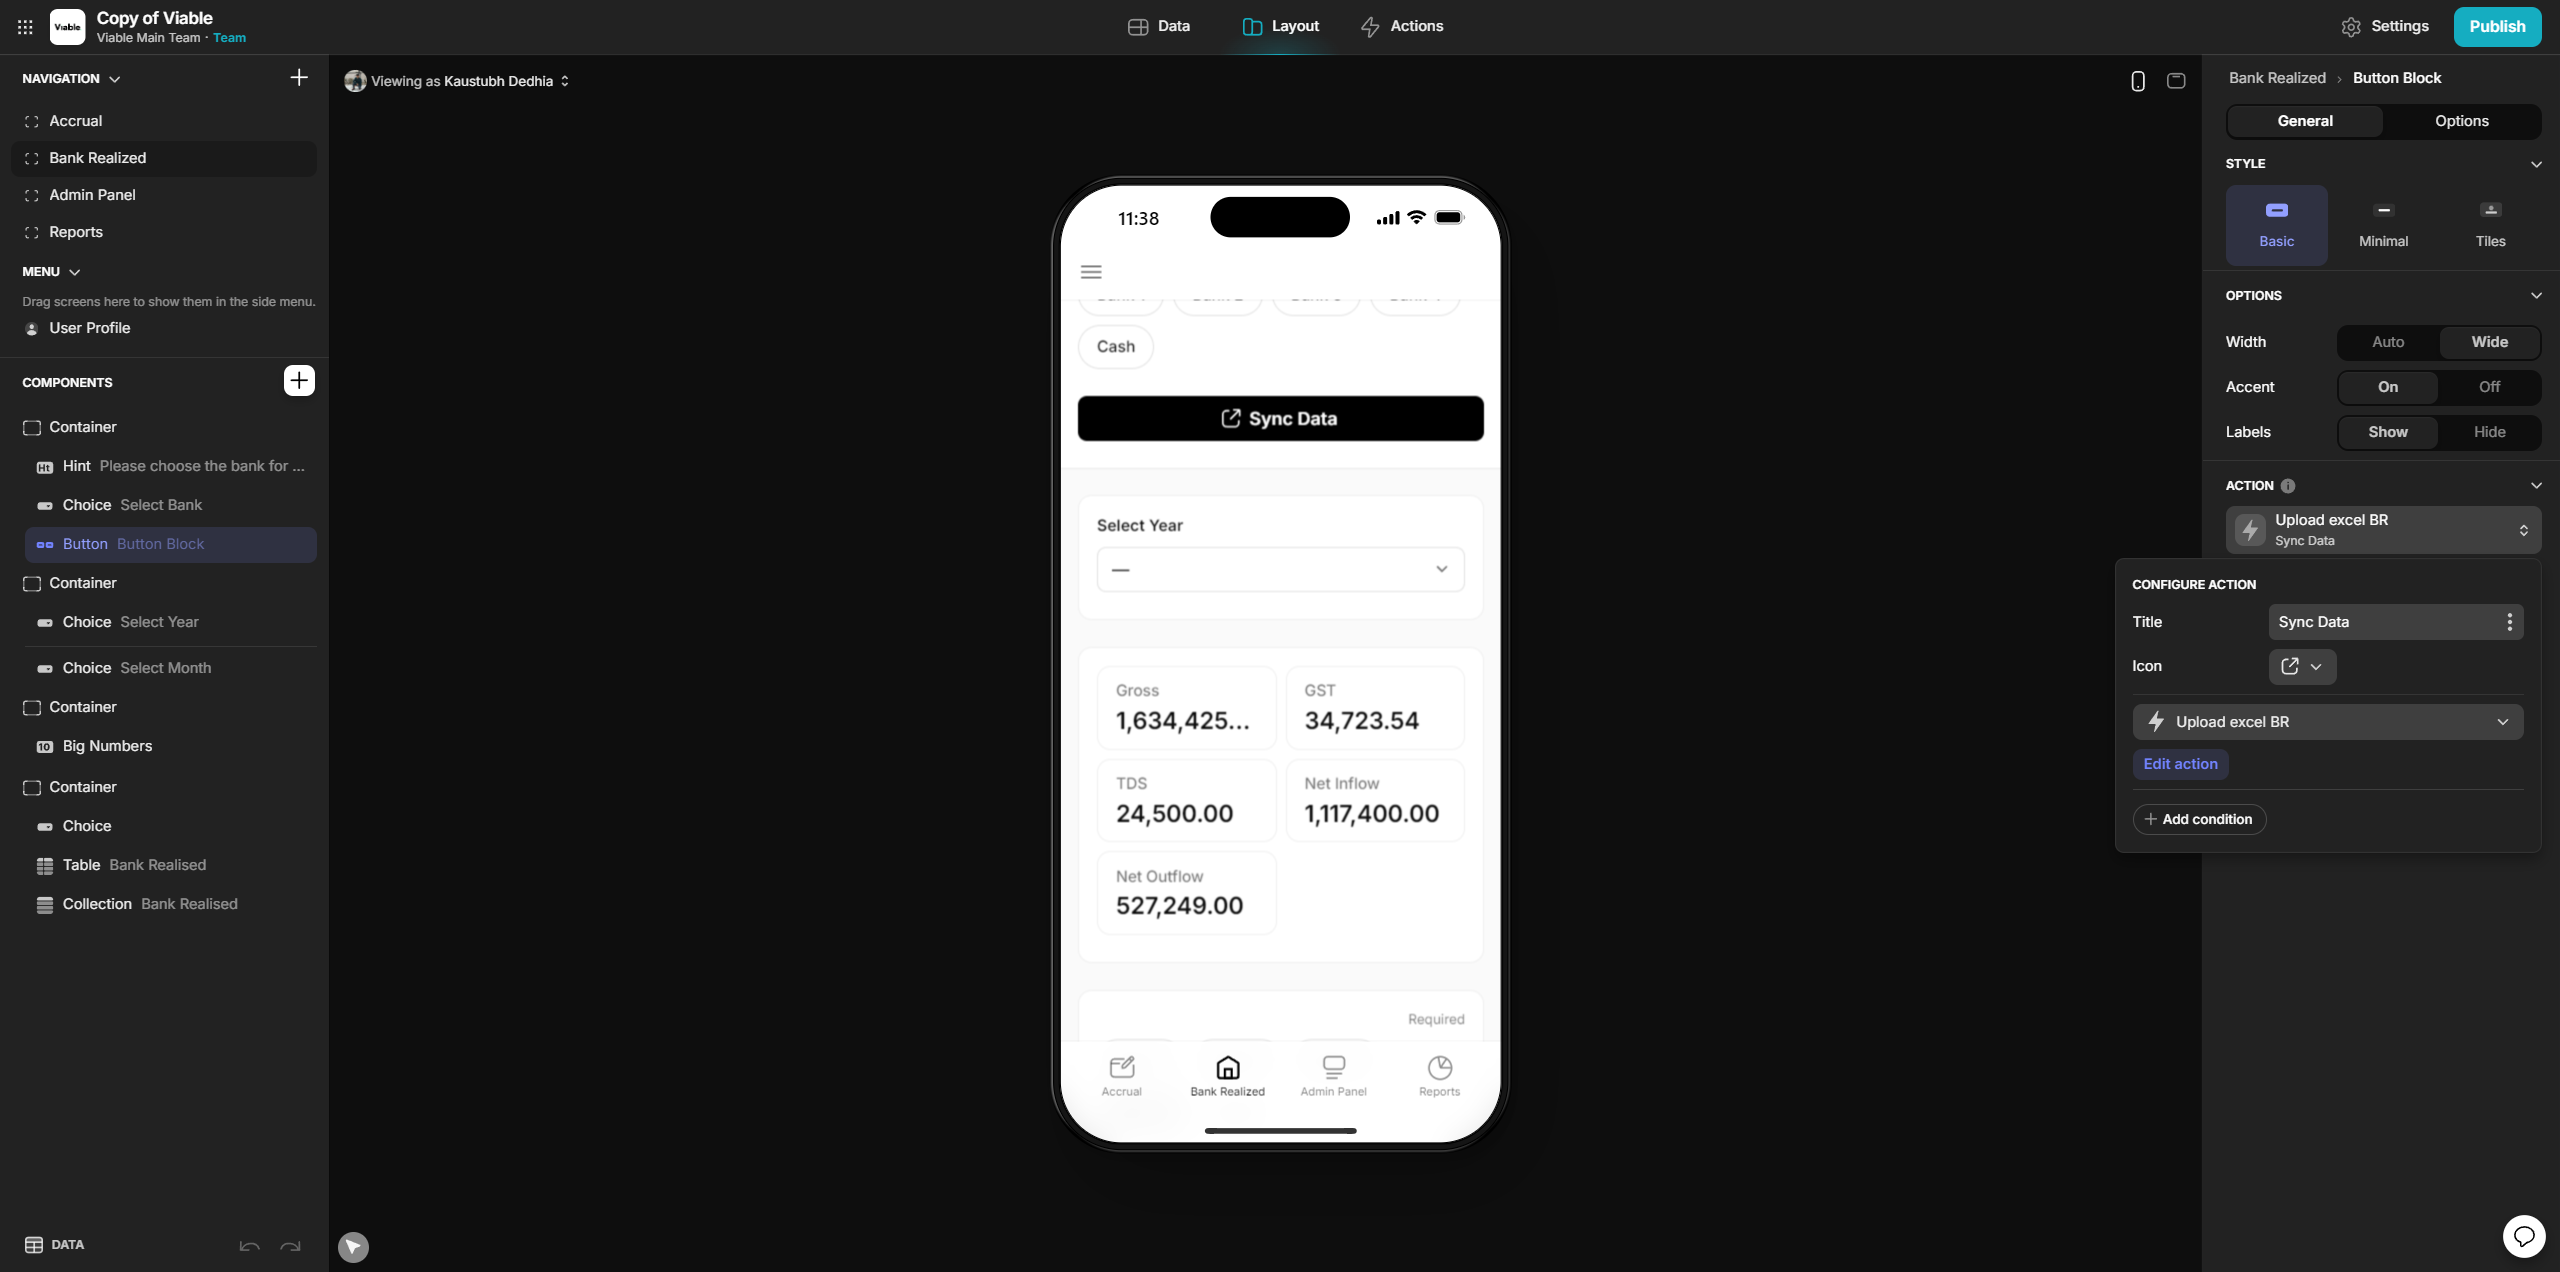
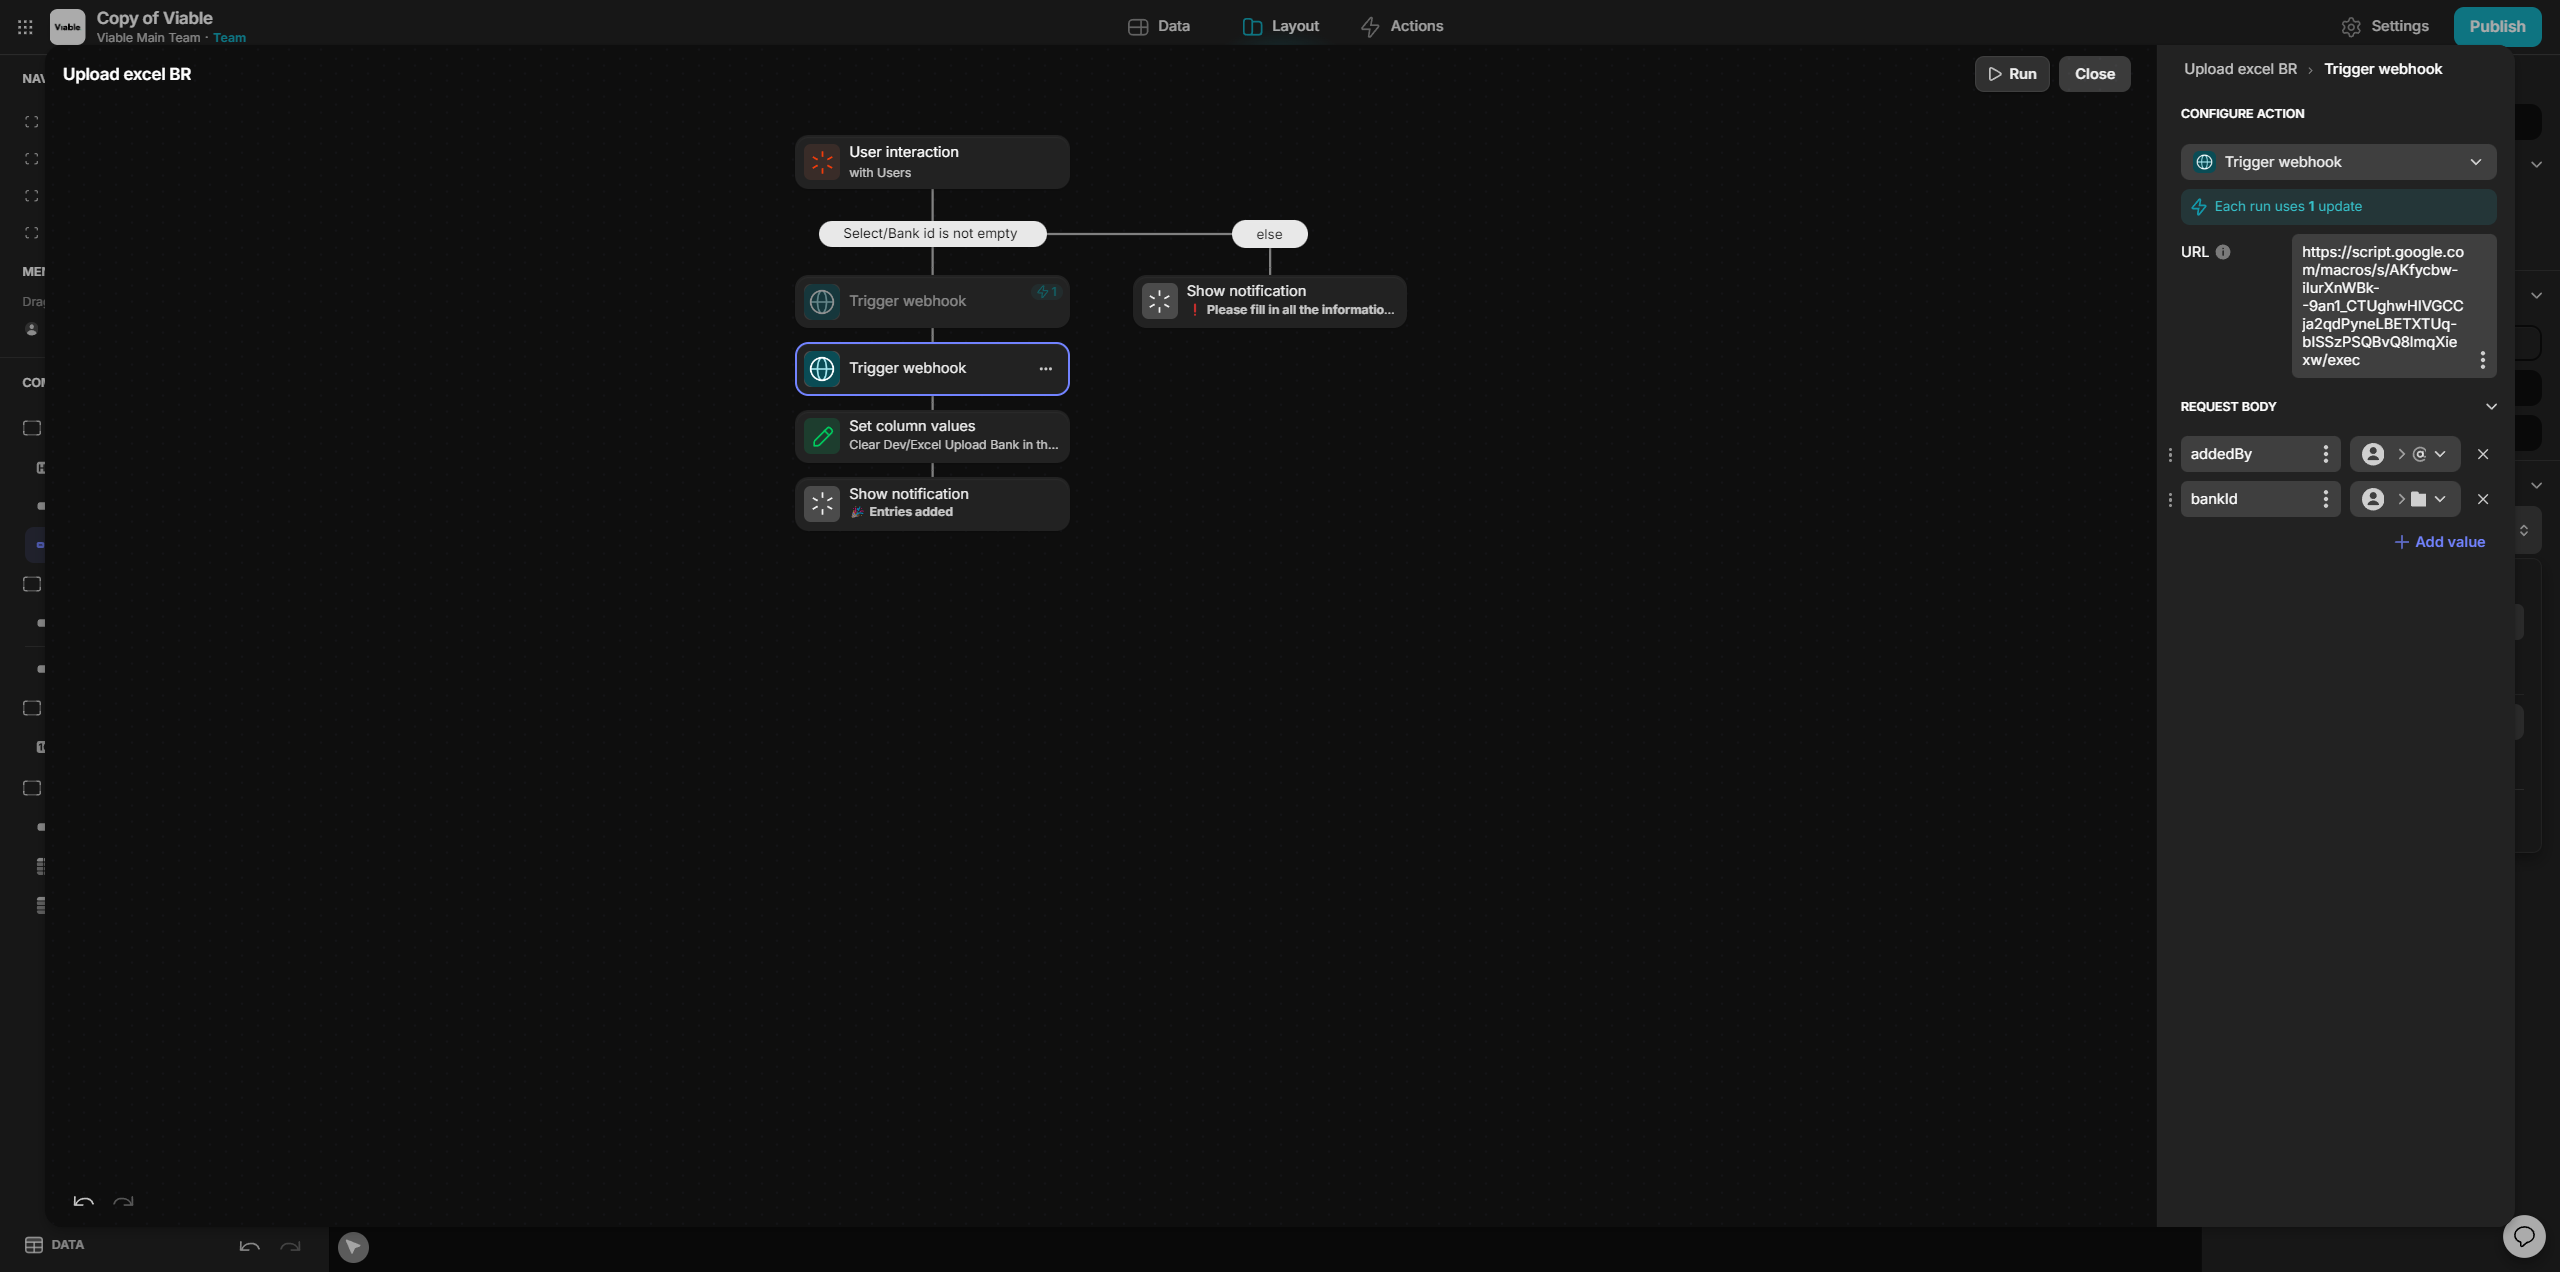
Copy the URL, then return to Glide.
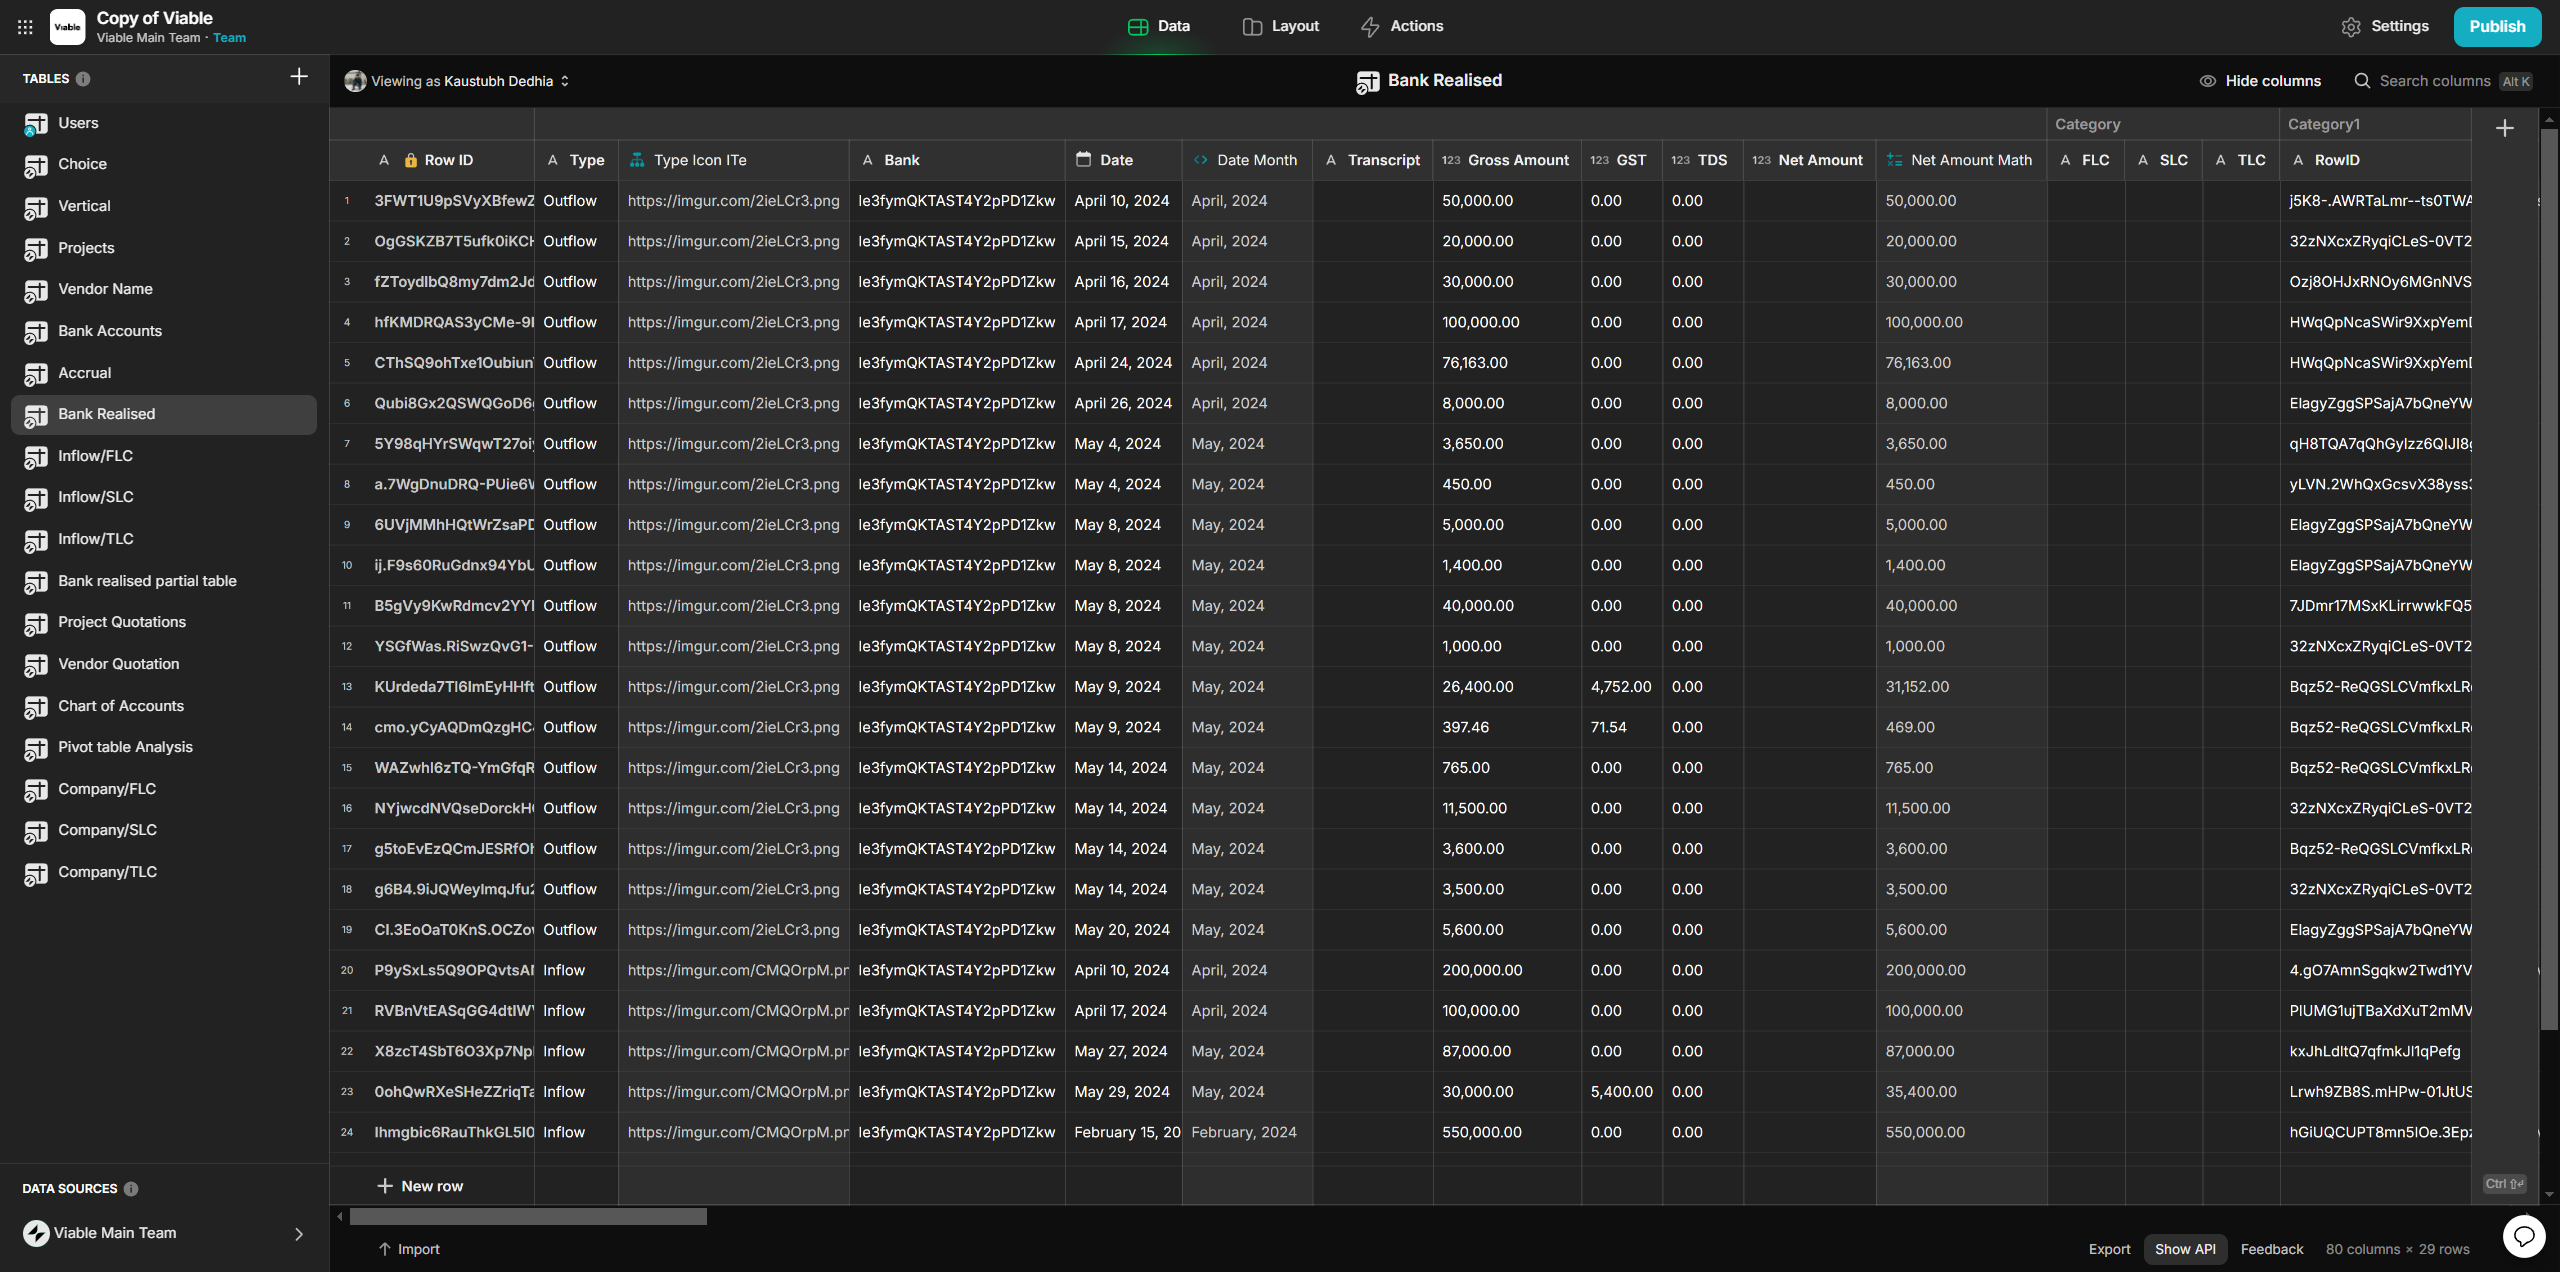
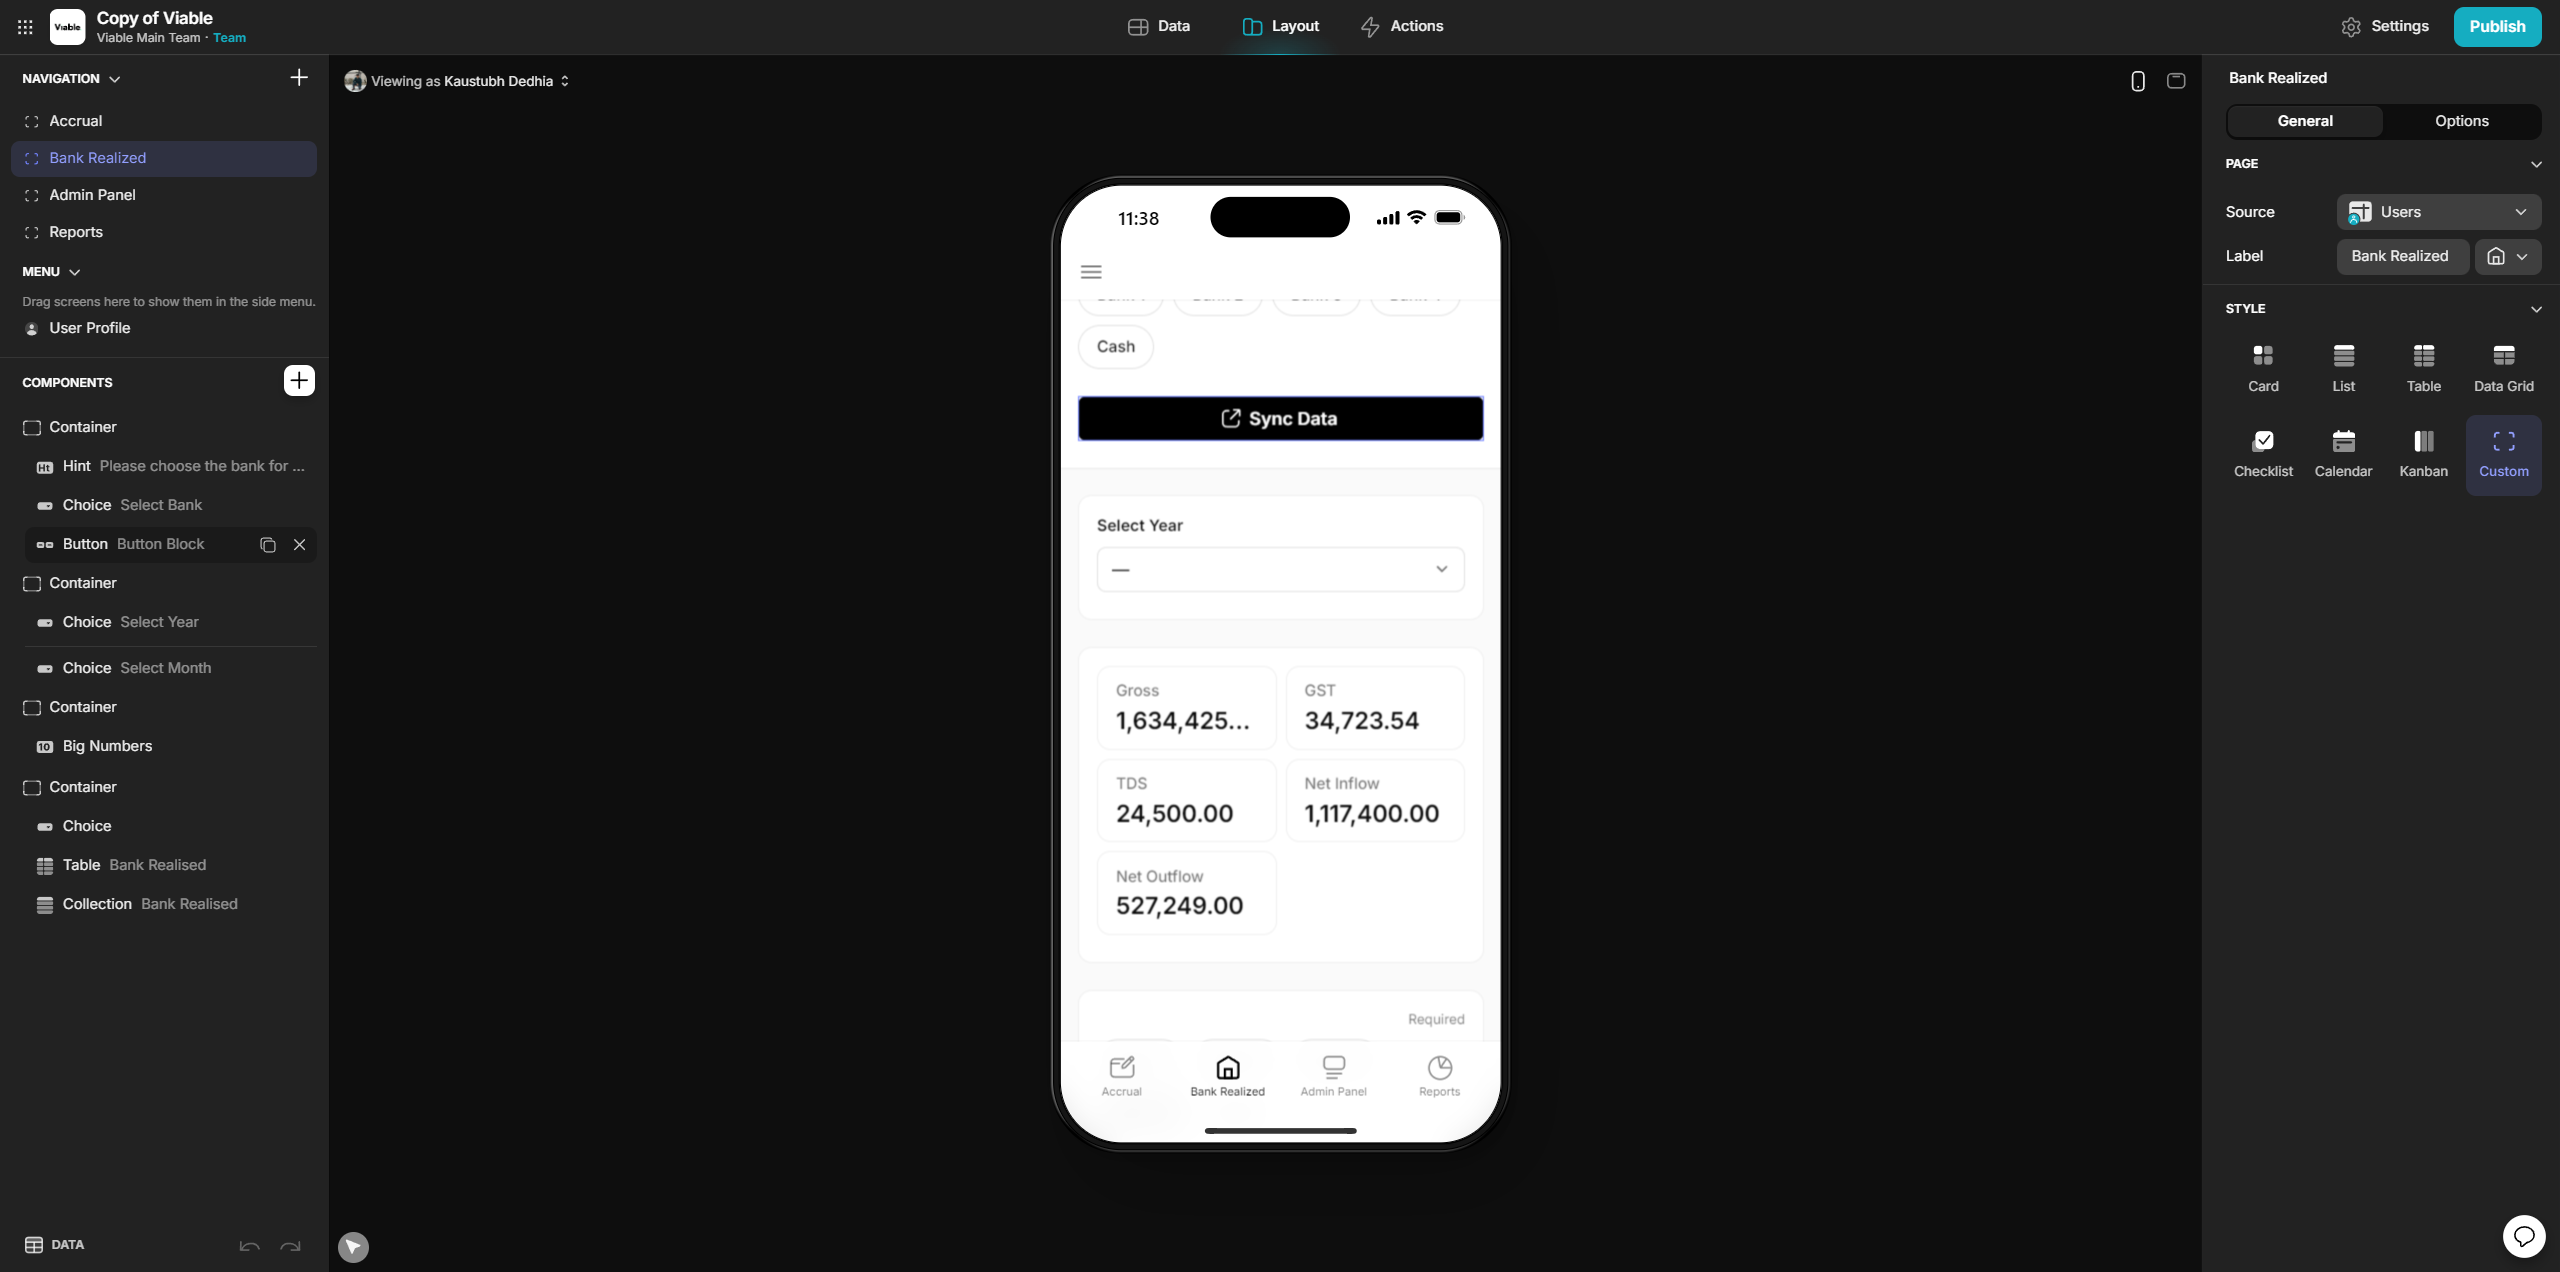
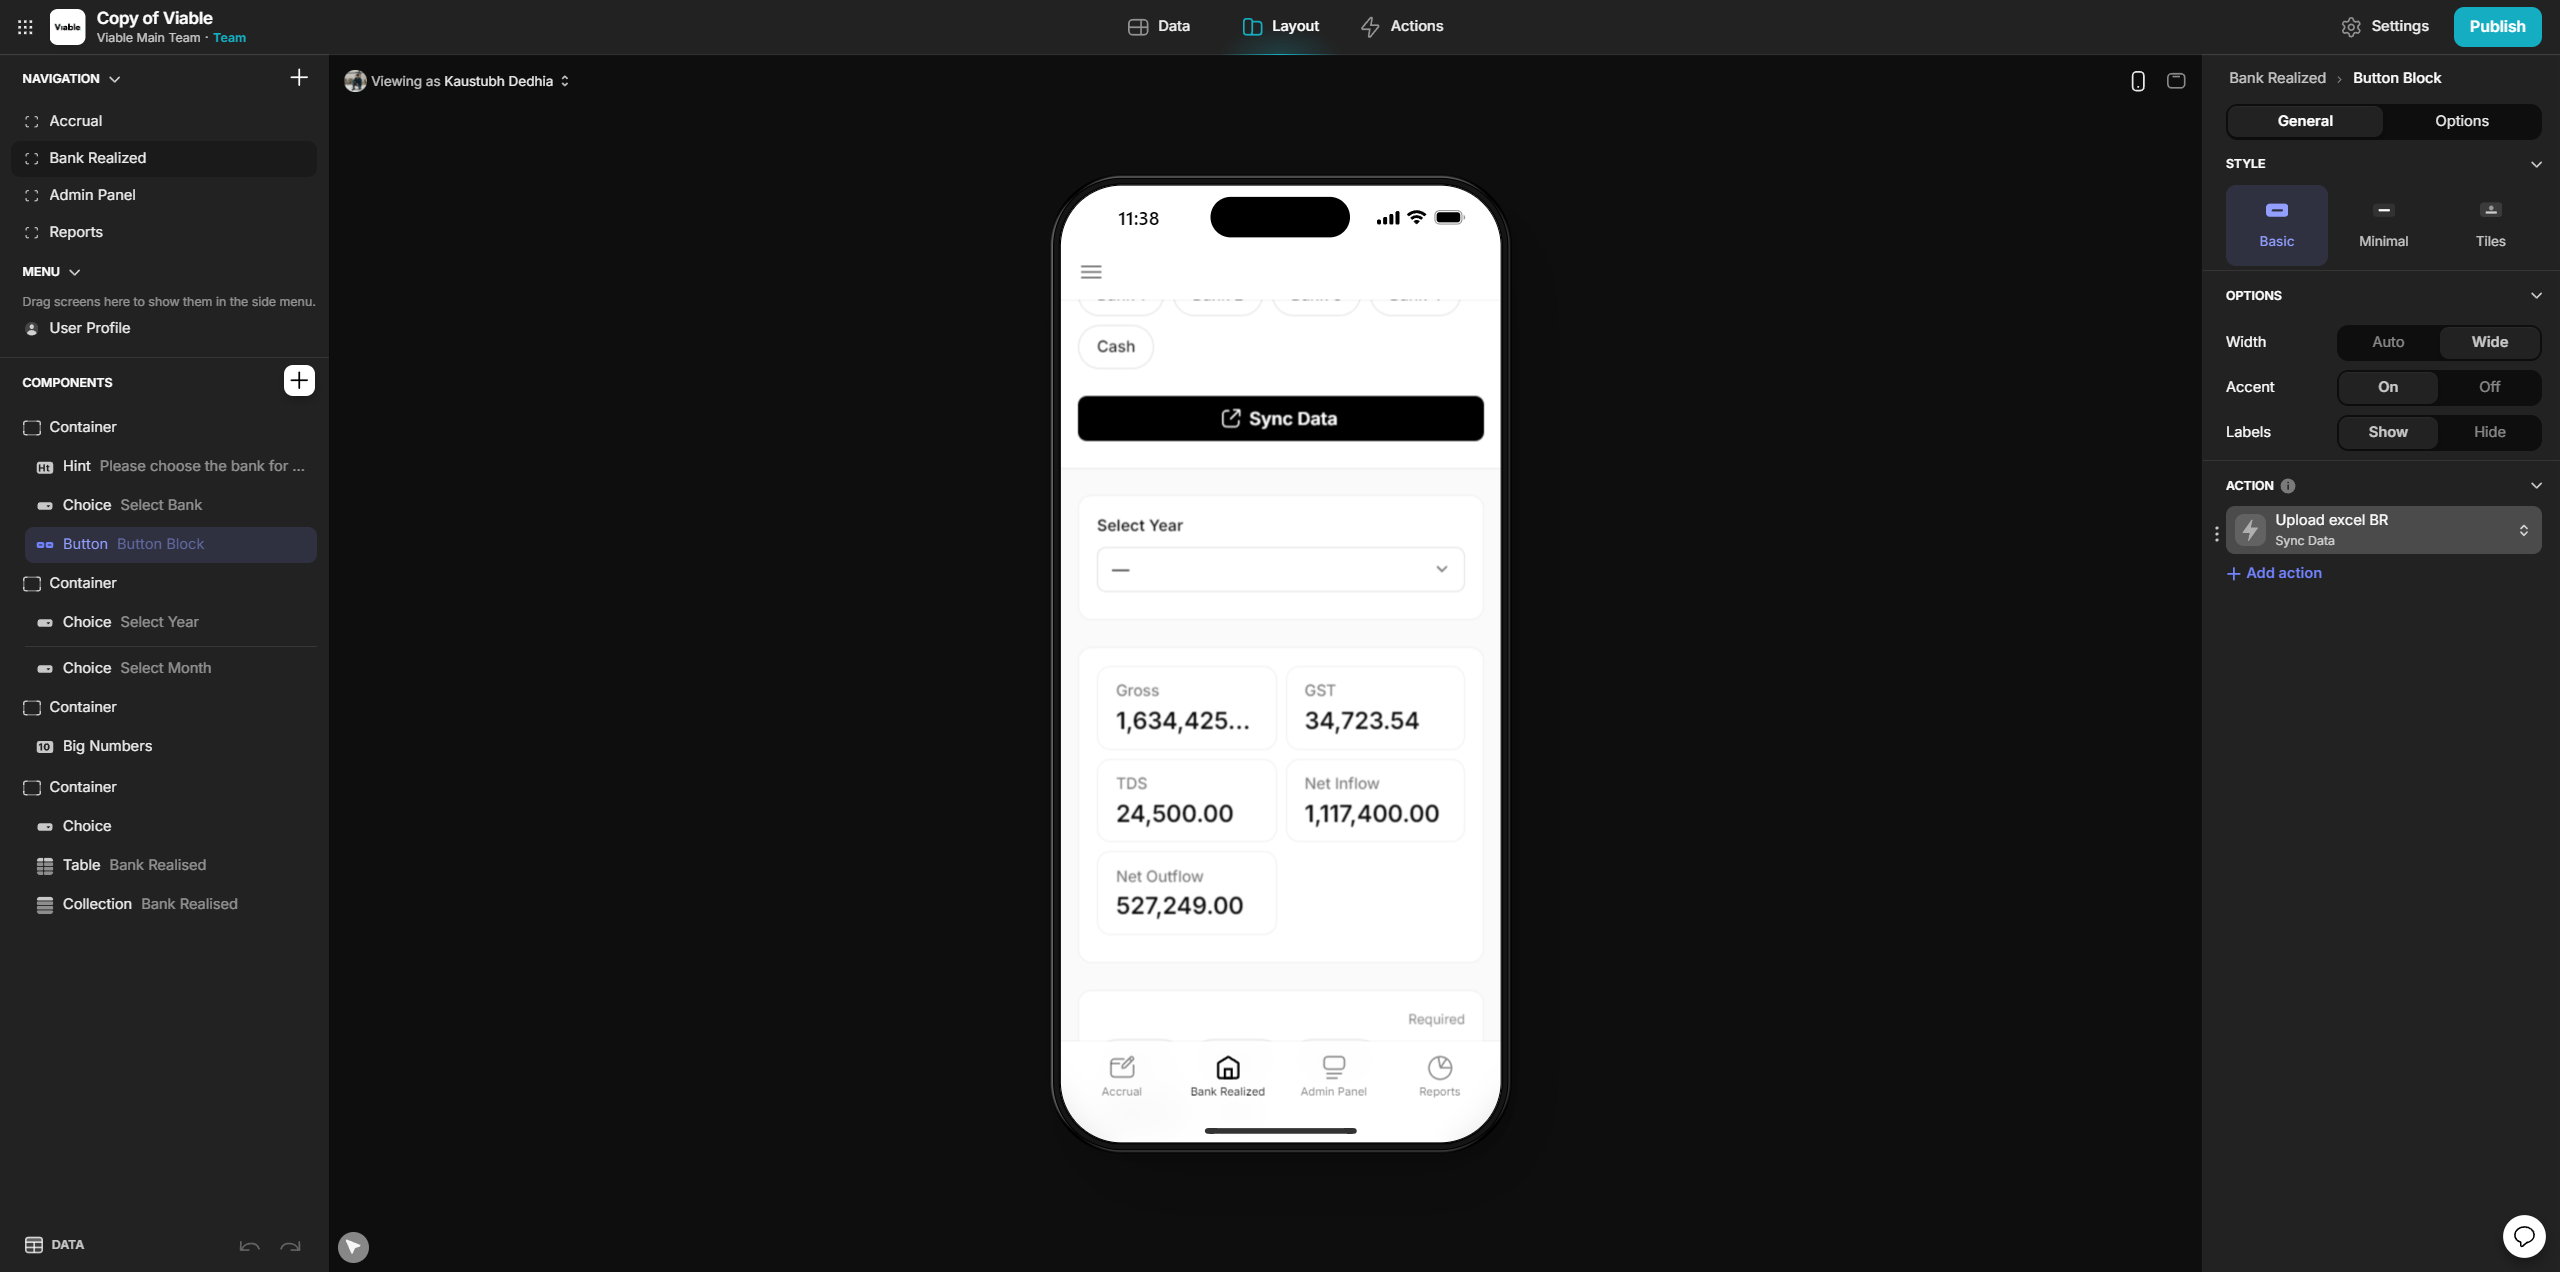
In the Bank Realized tab, you have the Sync Data option.
Click on "Sync Data." Then, click on "Edit Action." You will see a webhook function. Paste the new URL you just created into the webhook field. Close the window. You are now done with syncing the bank realization portion.