How to Sync Between Teams and File Explorer
Learn the step-by-step process of syncing folders between Microsoft Teams and File Explorer for efficient file management.
In this guide, we'll learn how to sync folders between Microsoft Teams and File Explorer. Understanding this process is essential for managing files efficiently across platforms. We'll explore how folder structures in Teams can affect what you see in File Explorer and how to ensure the correct folders are synced. This knowledge will help you maintain consistency and access the necessary documents in both environments.
Let's get started
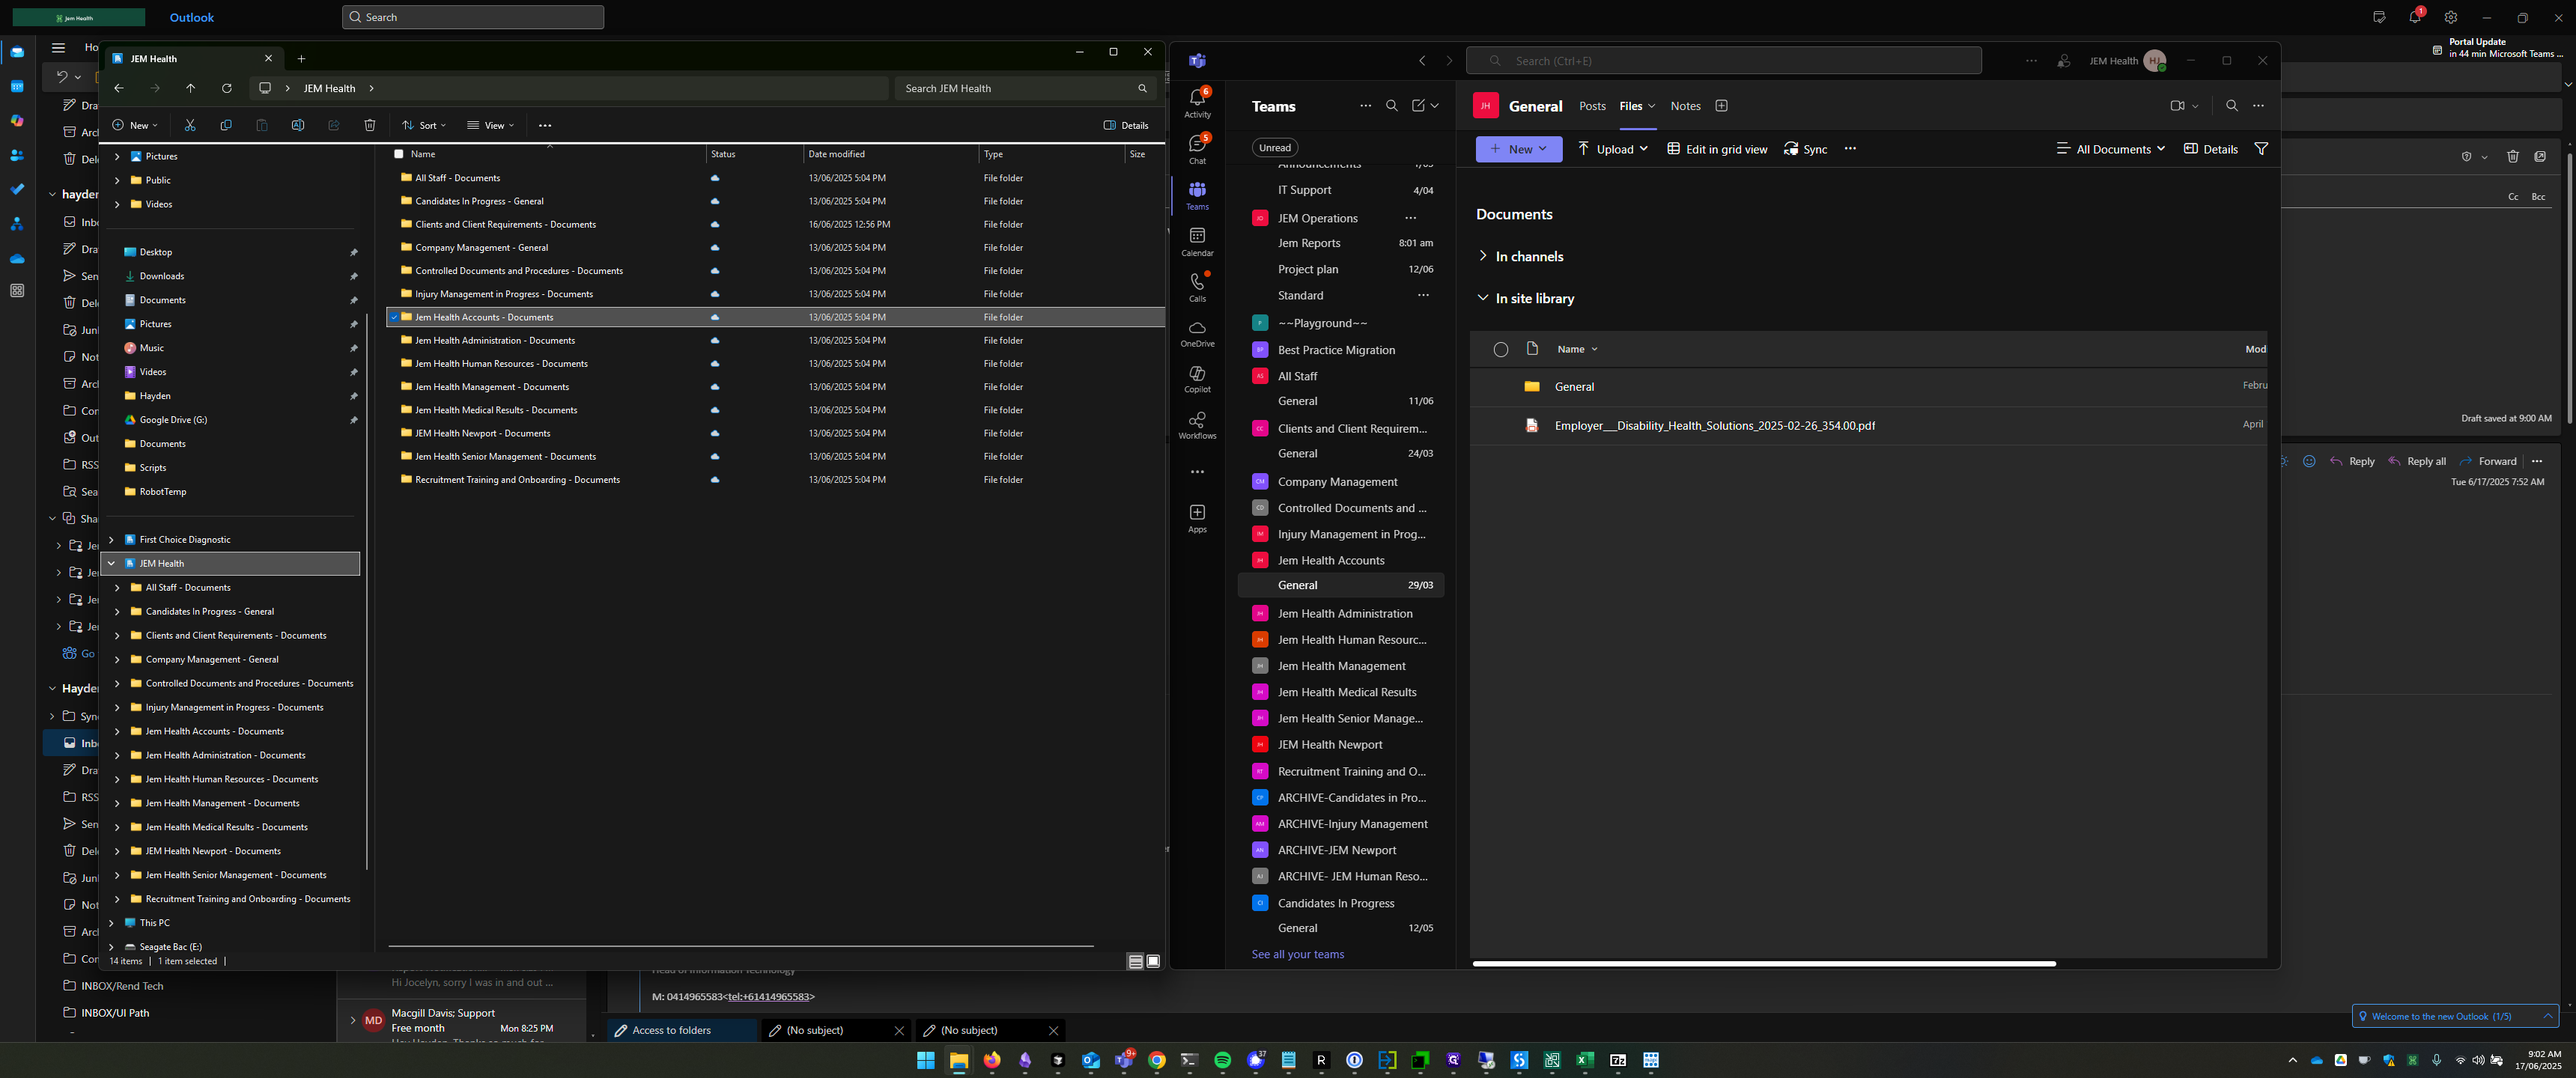
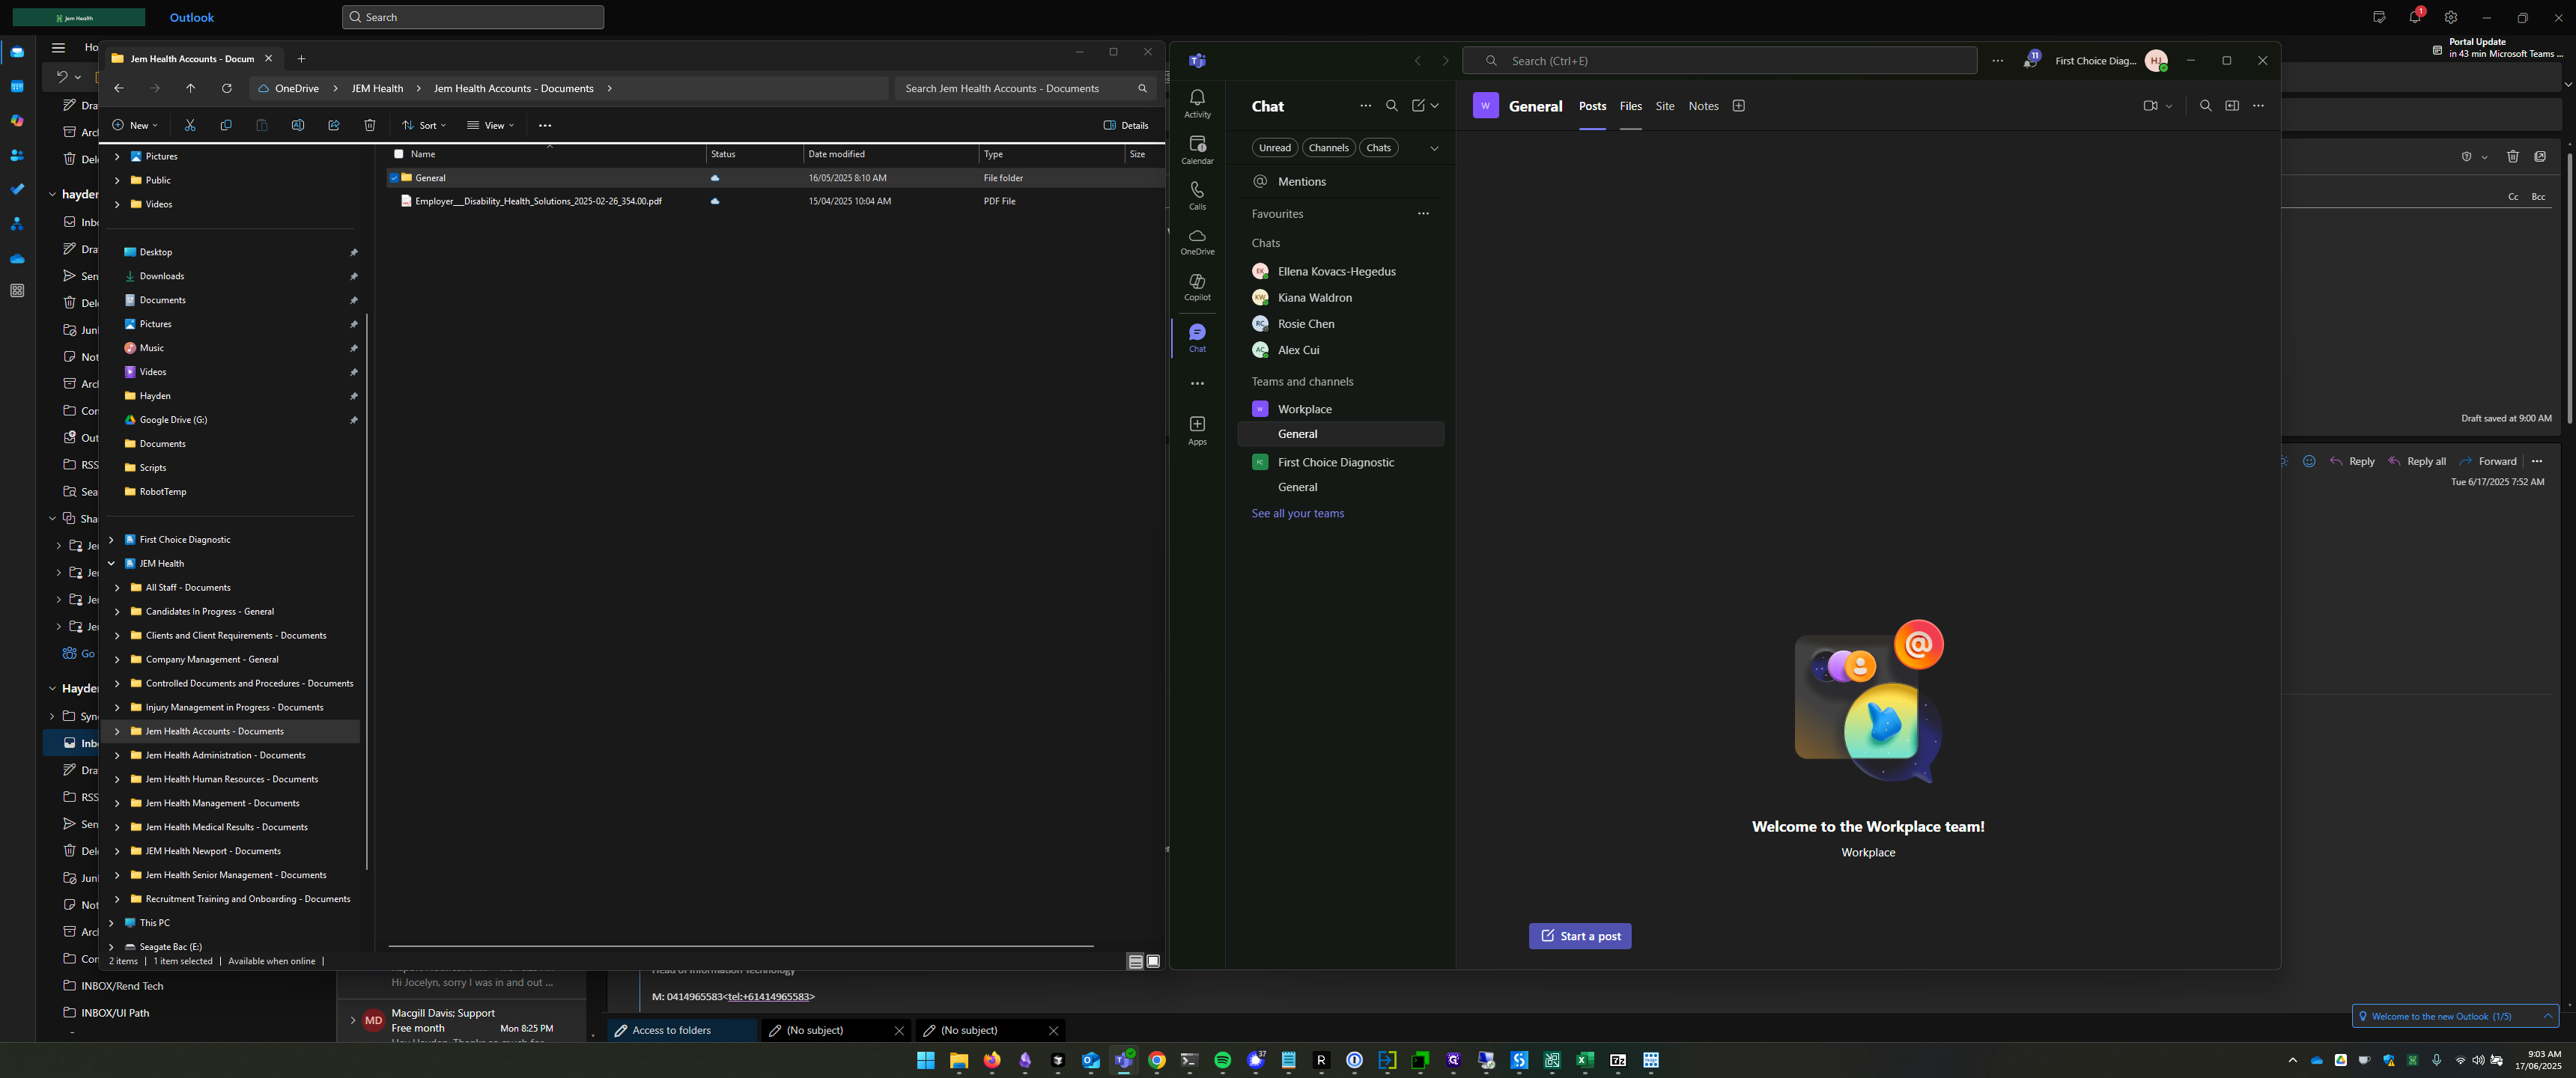
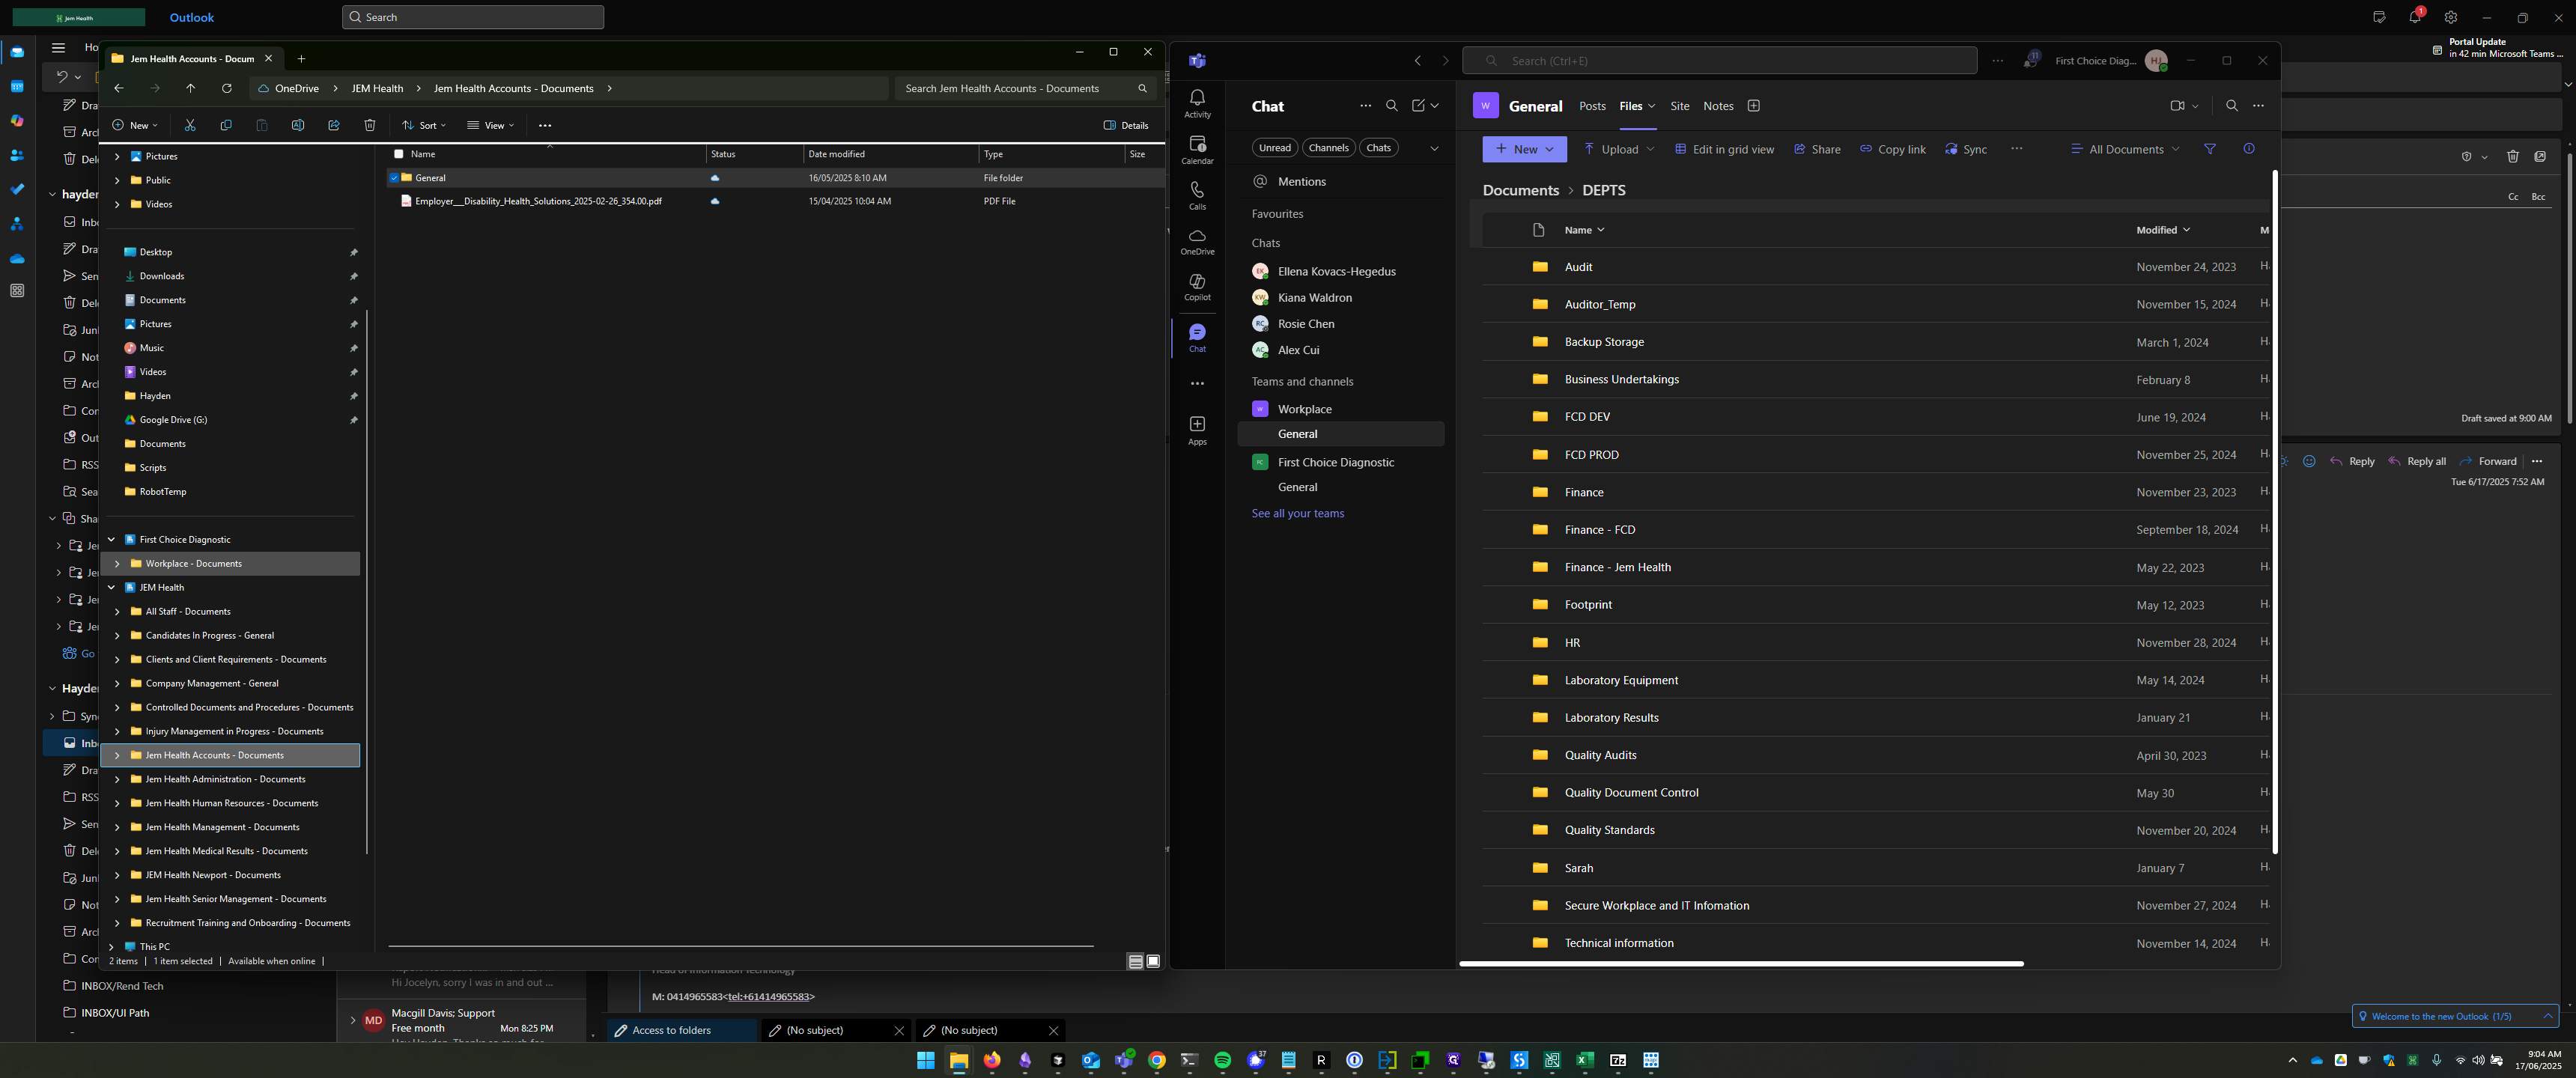
Alright. We will demonstrate how syncing between Teams and File Explorer works. What we're seeing here is... On my left screen, you can see all of my JEM folders displayed along the side.
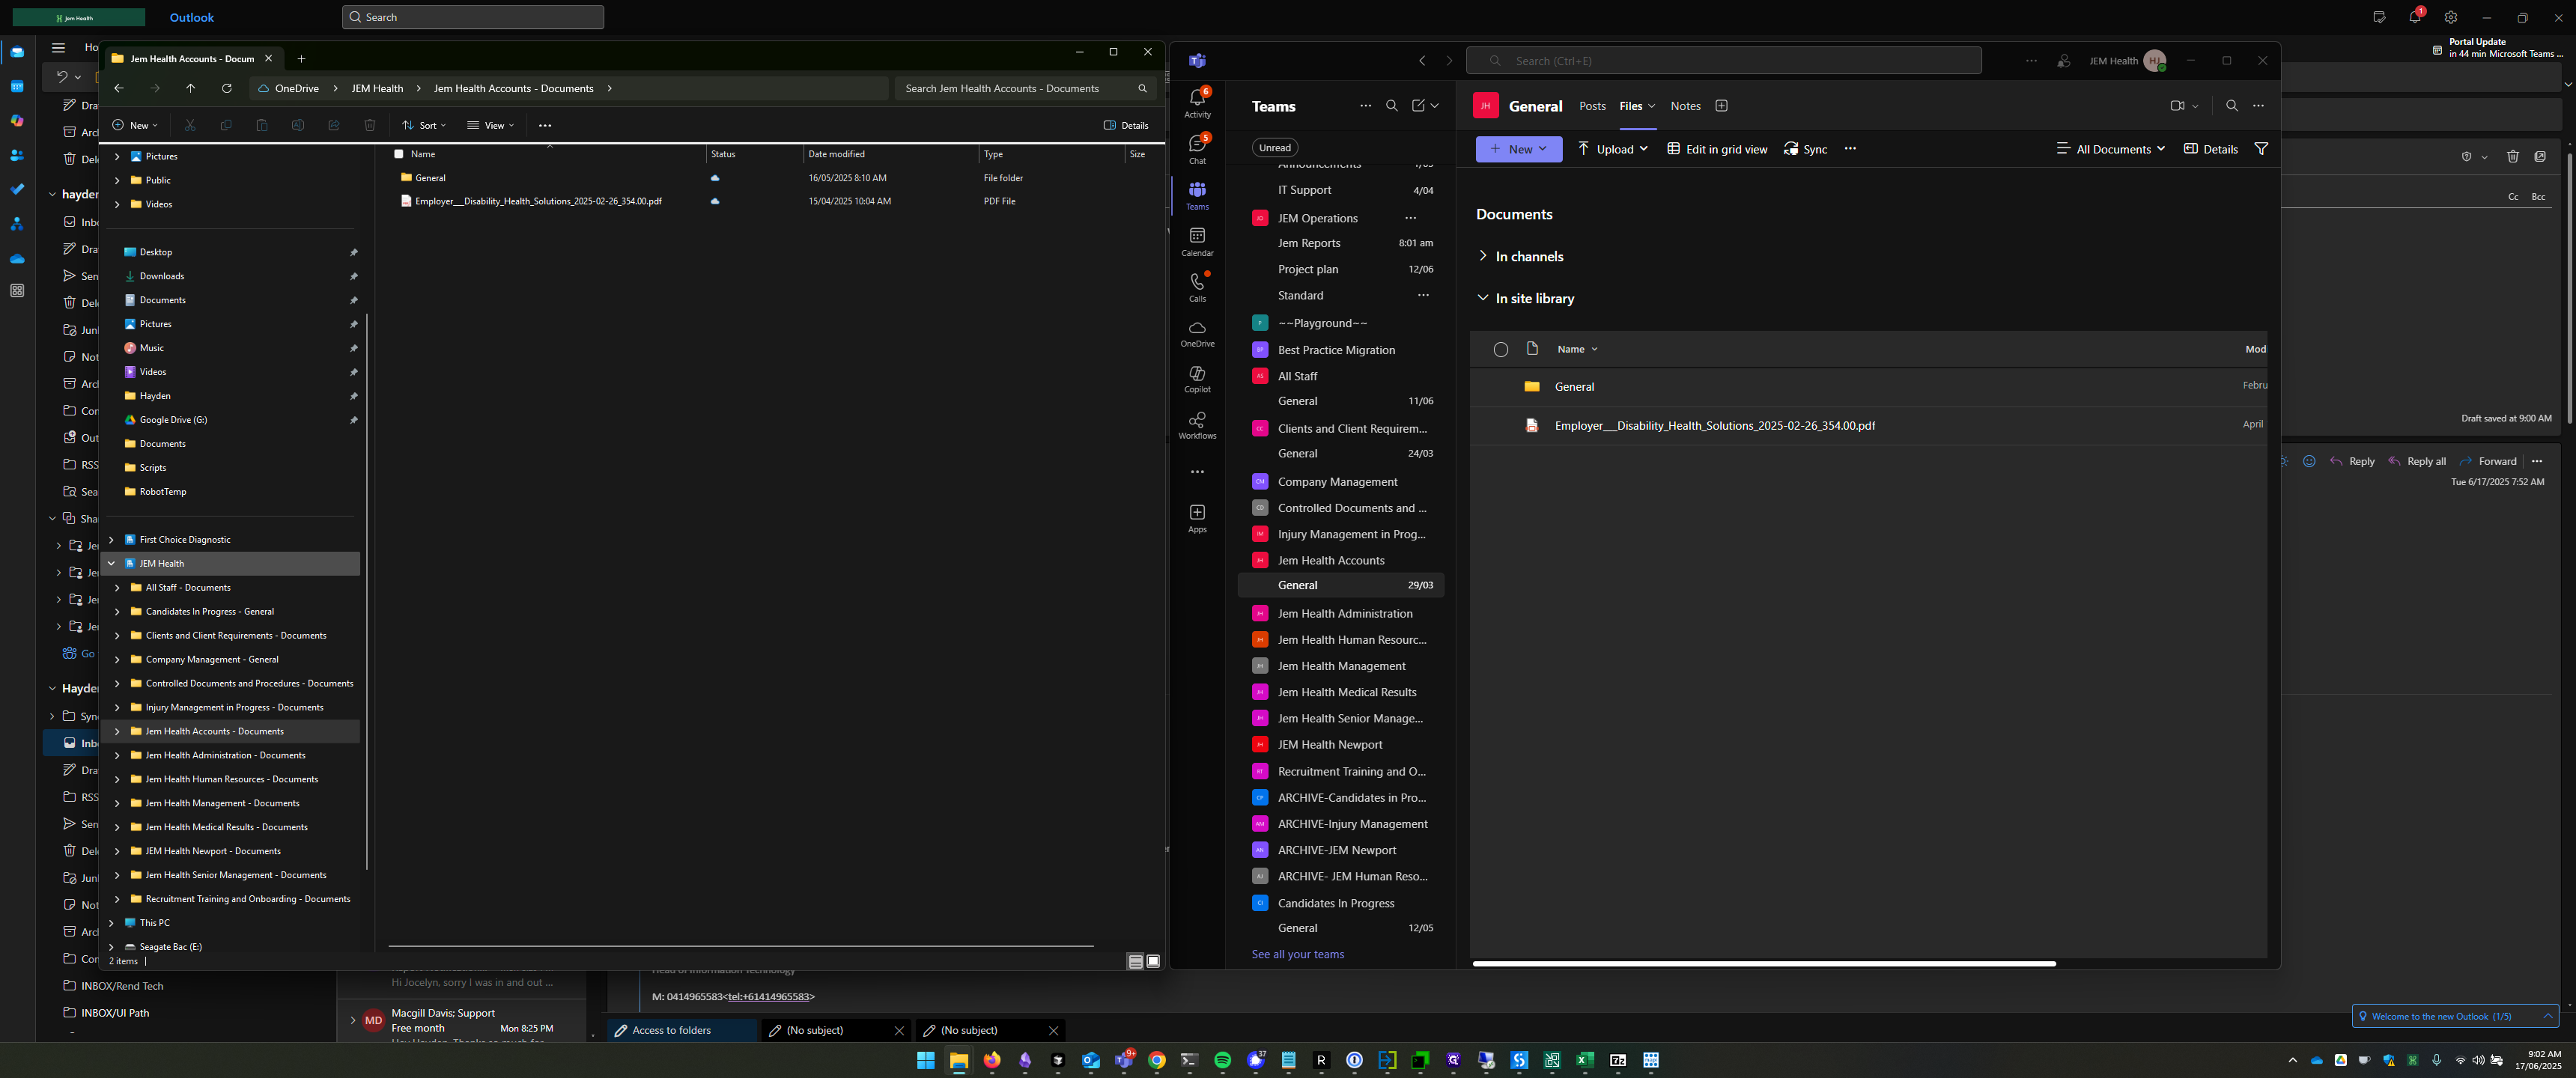
I have several folders synced. If we focus on the "JEM Health Accounts" folder and open it, we can see a General folder and a PDF document titled "Employee-Employer Disability Health Solutions."
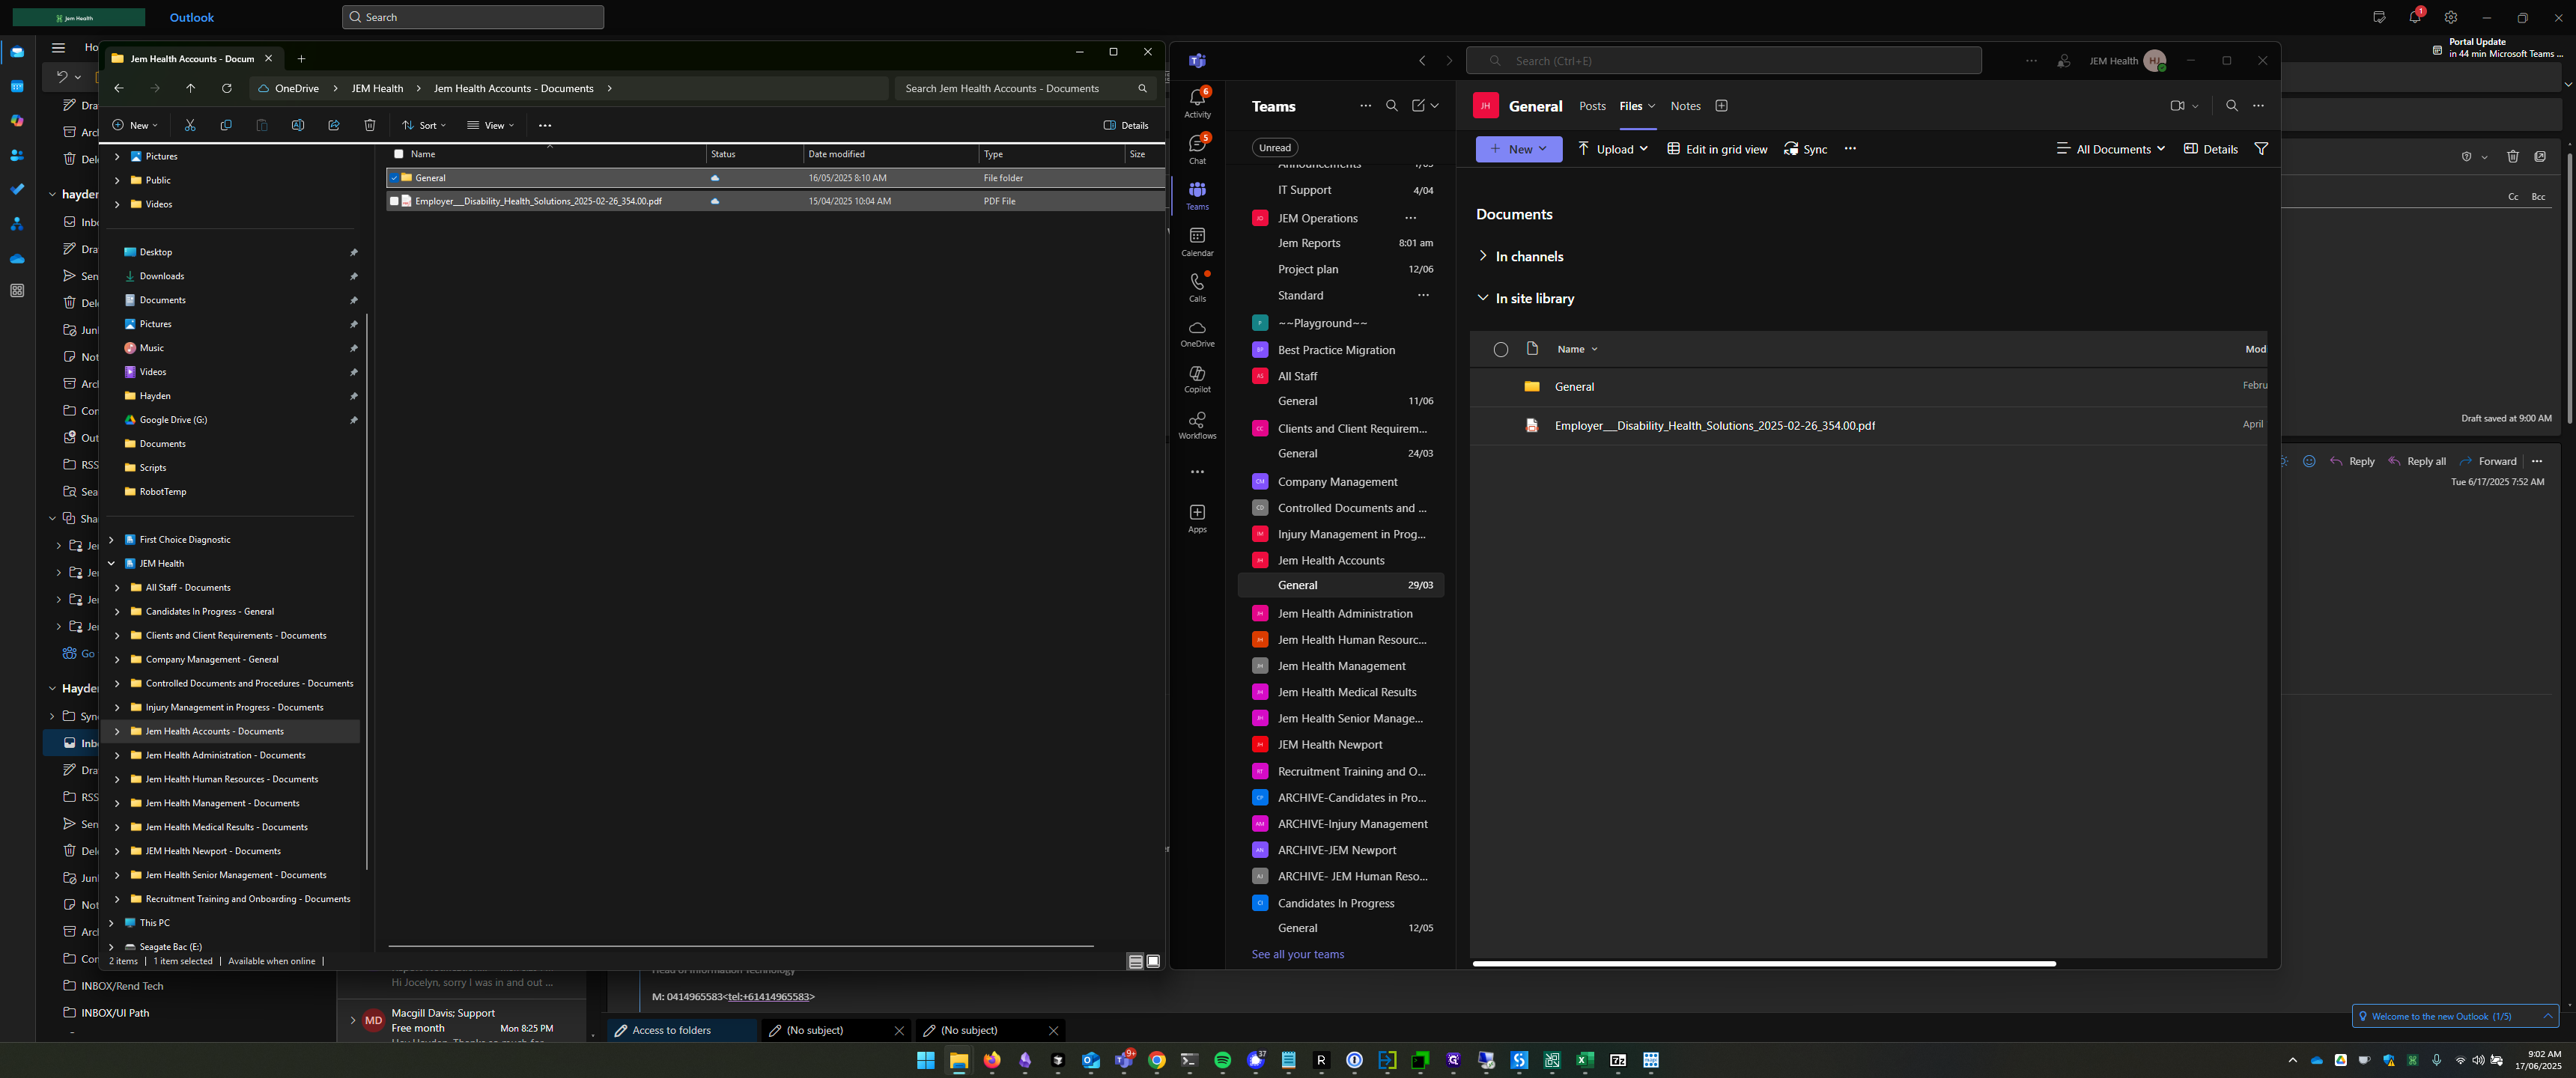
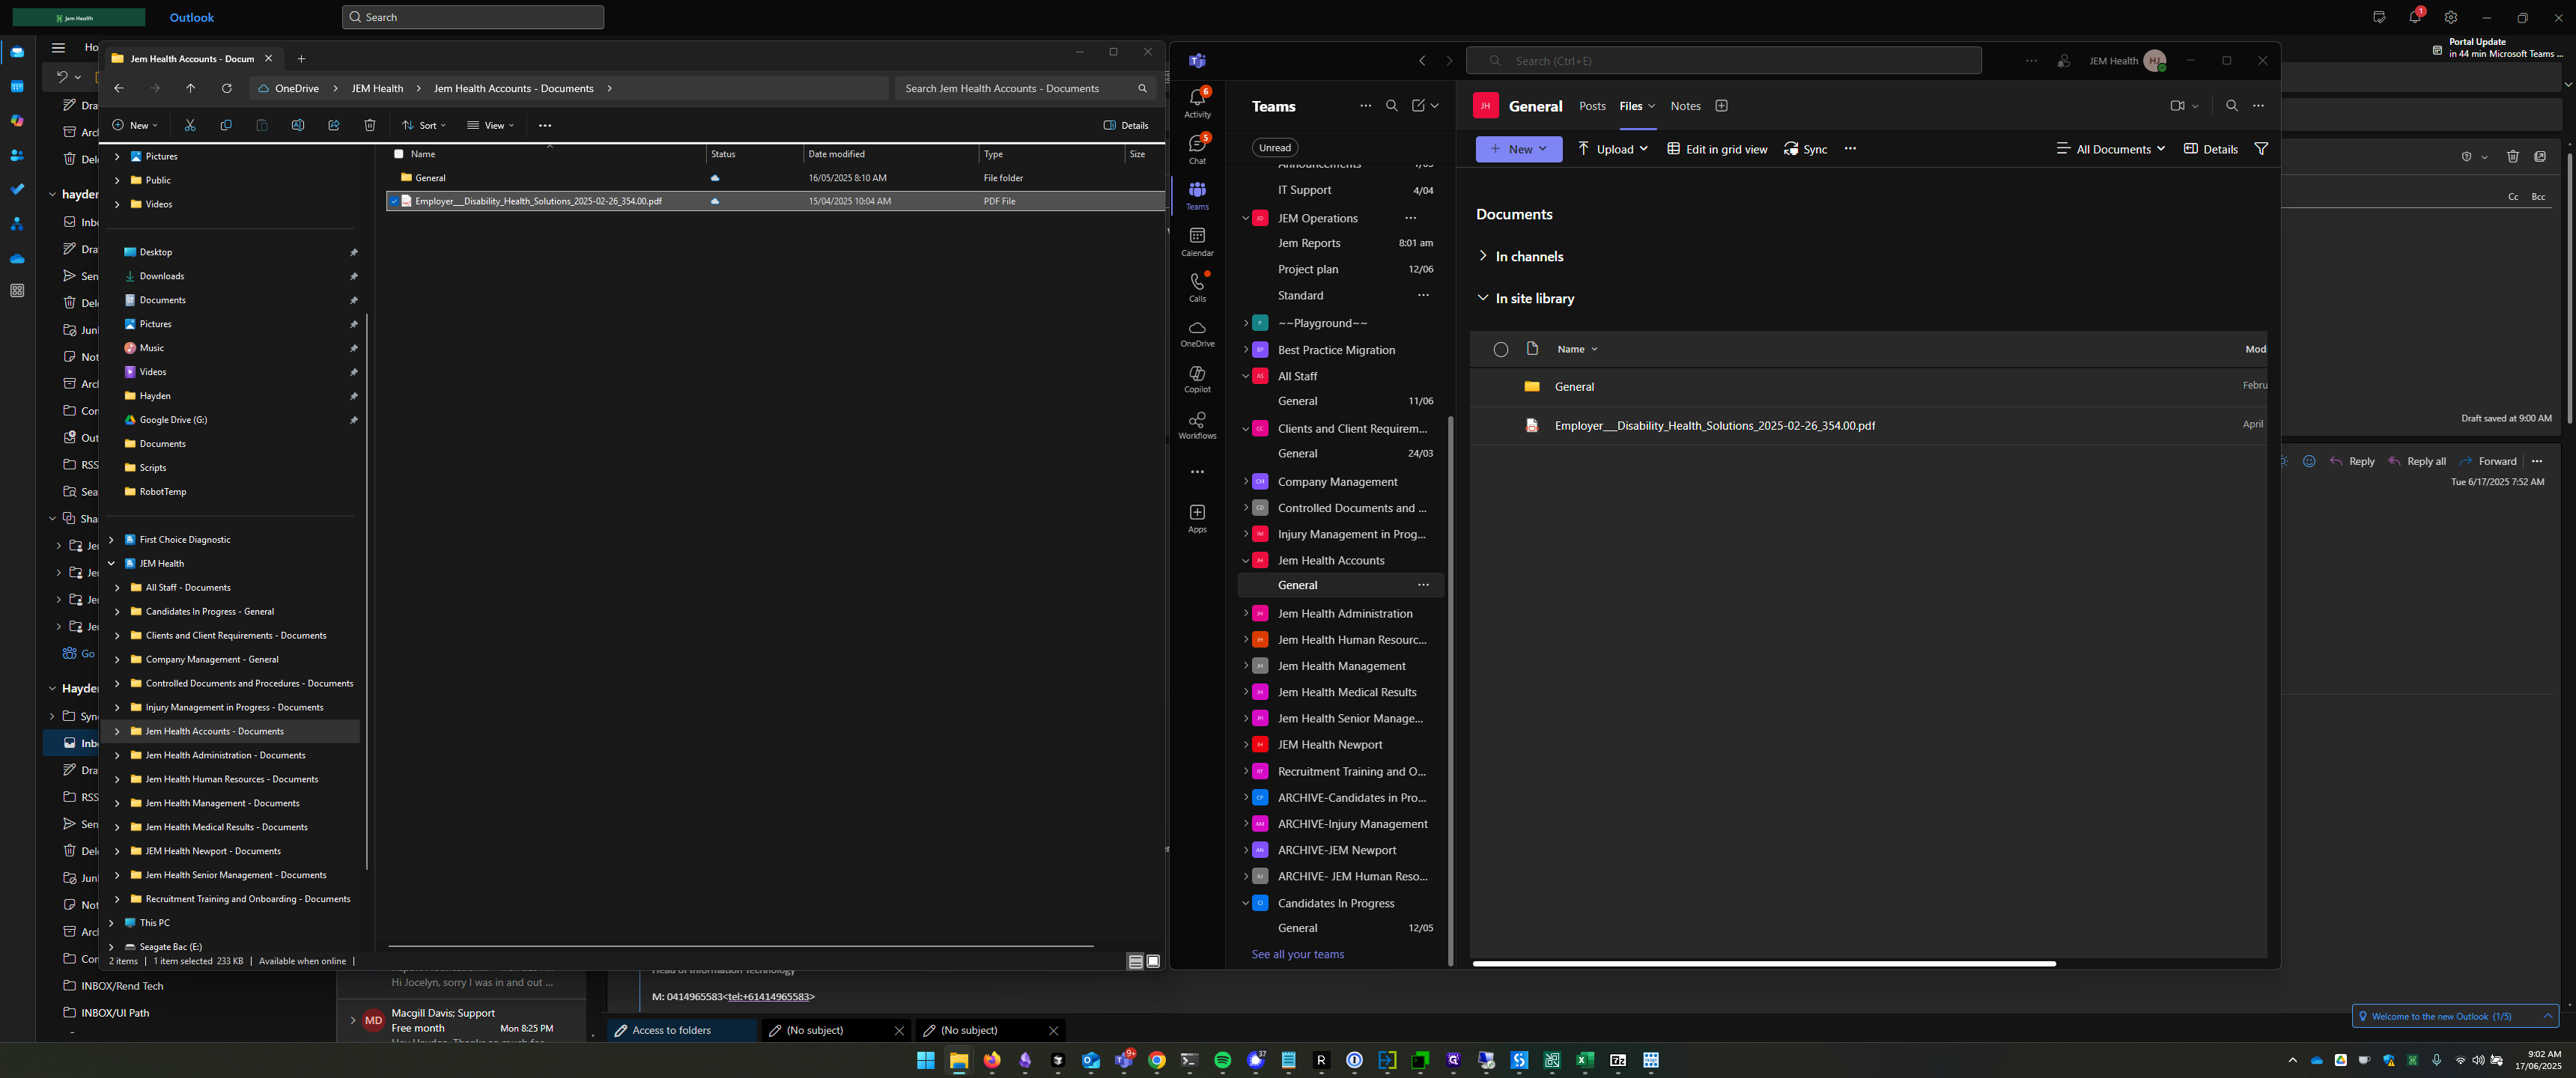
If I click on Files, at the top.
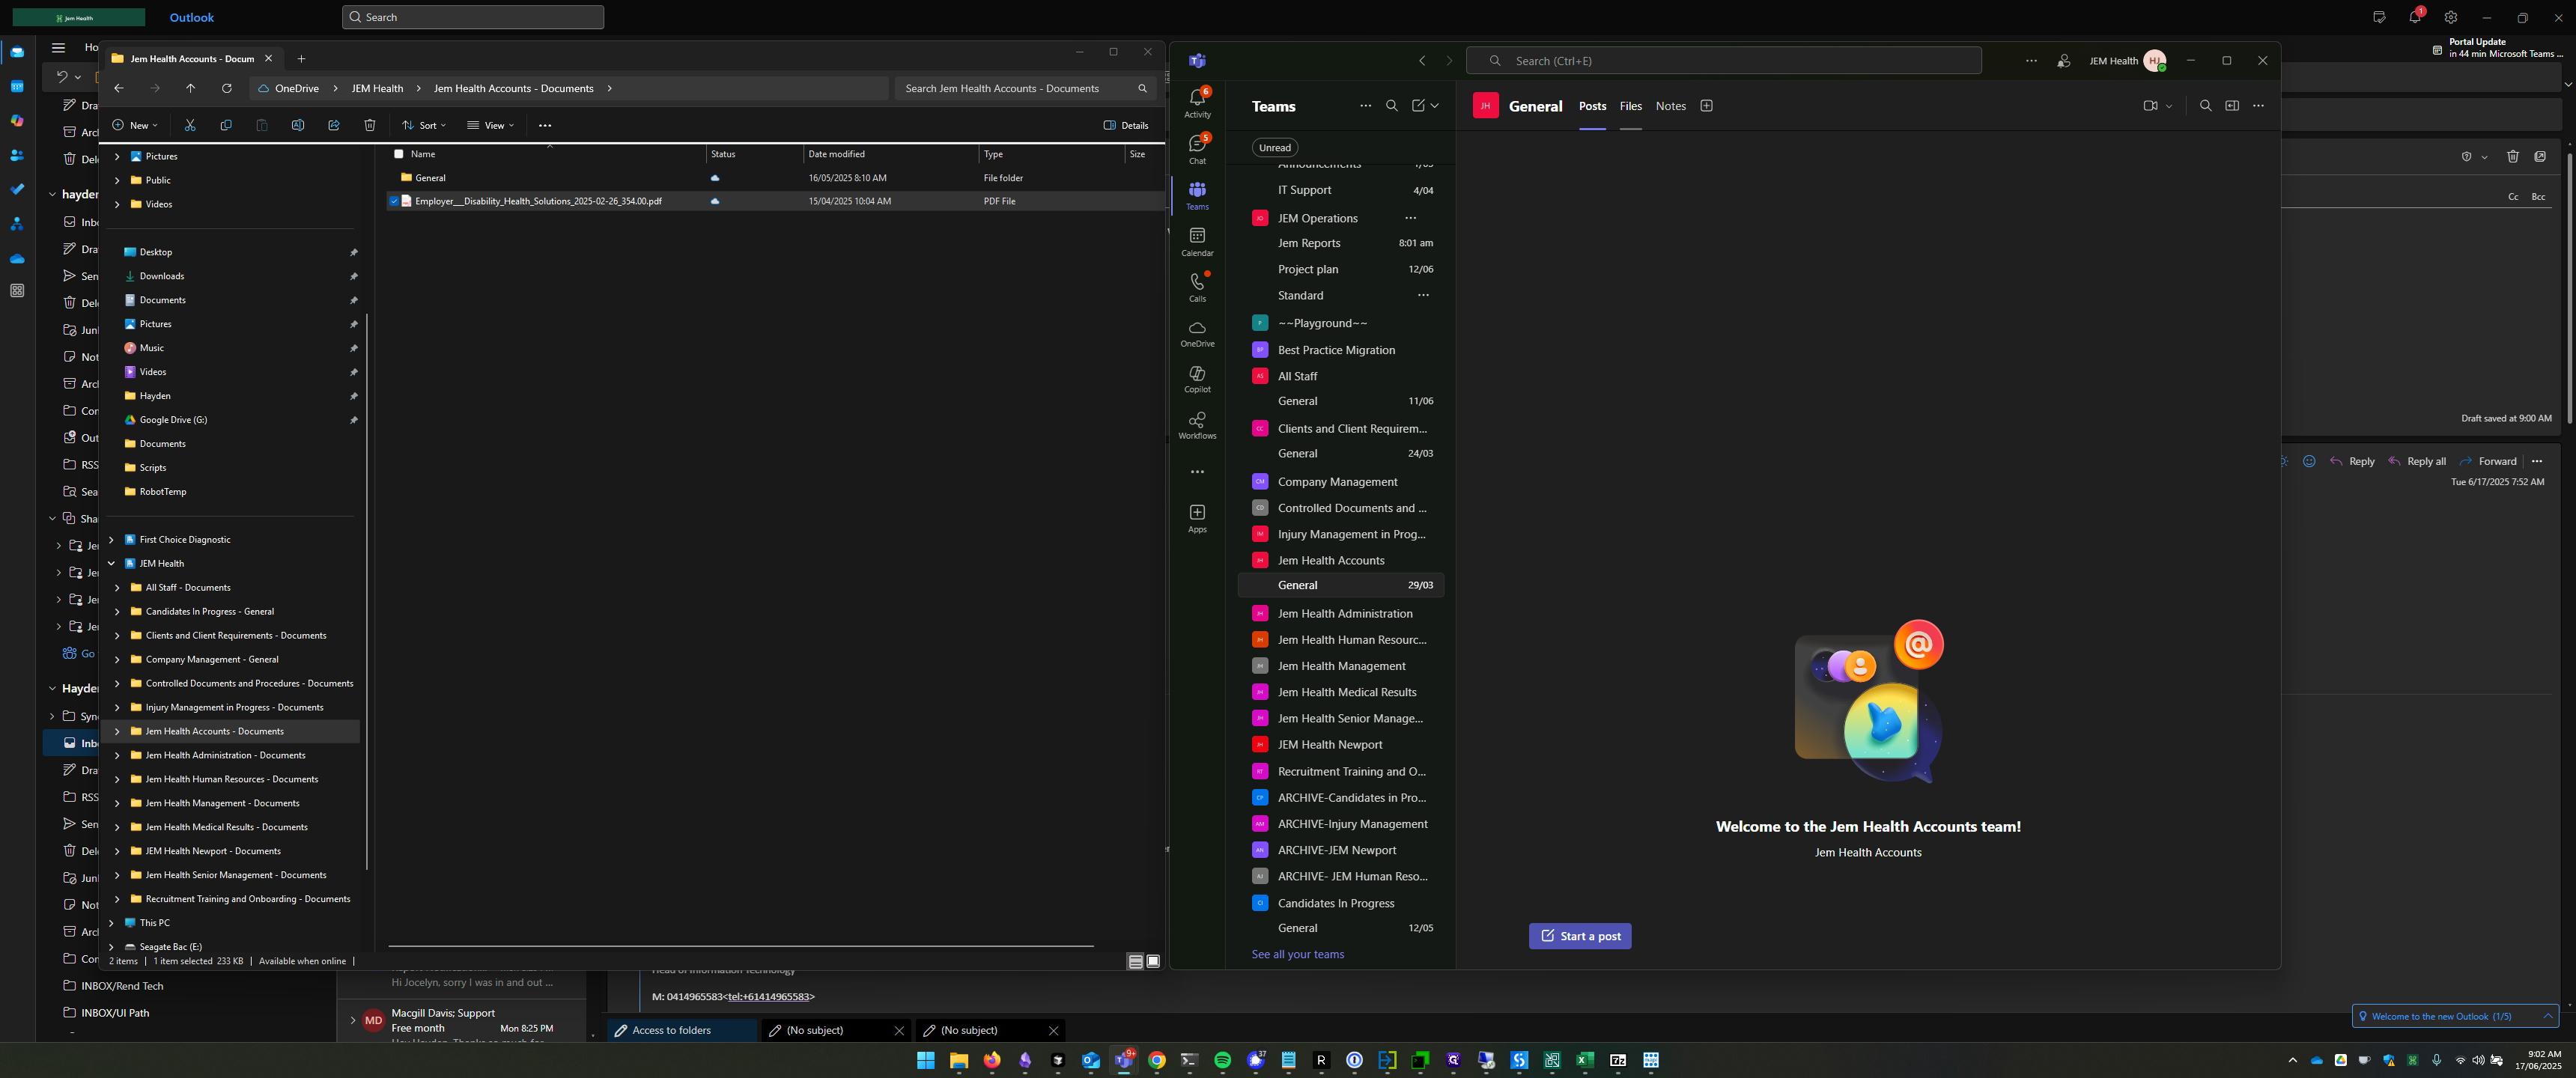
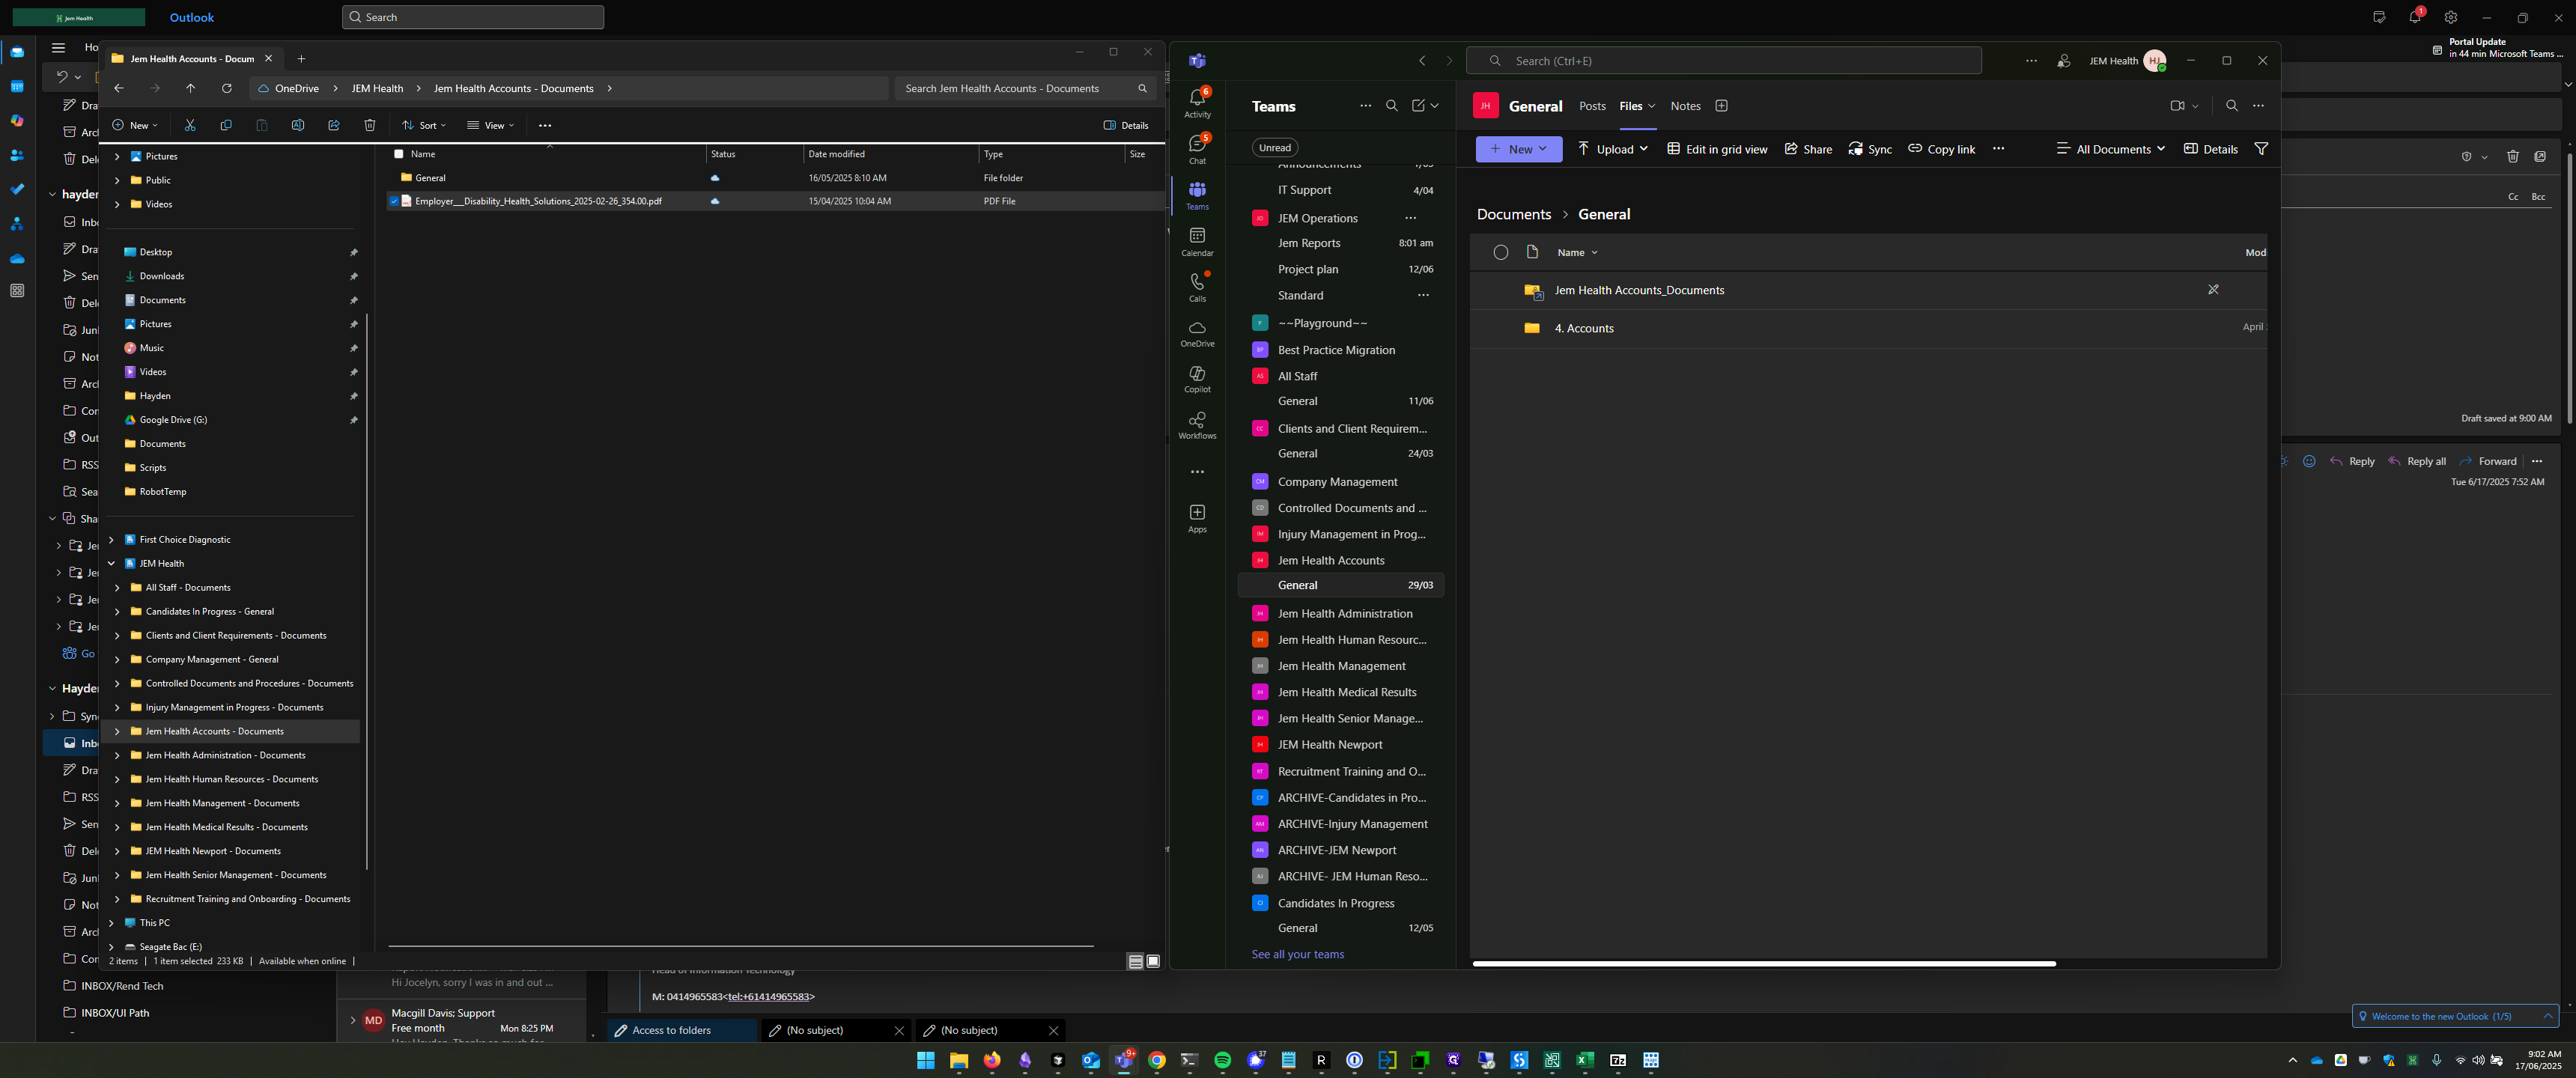
Now, moving back to the left-hand side, I see a folder named General.
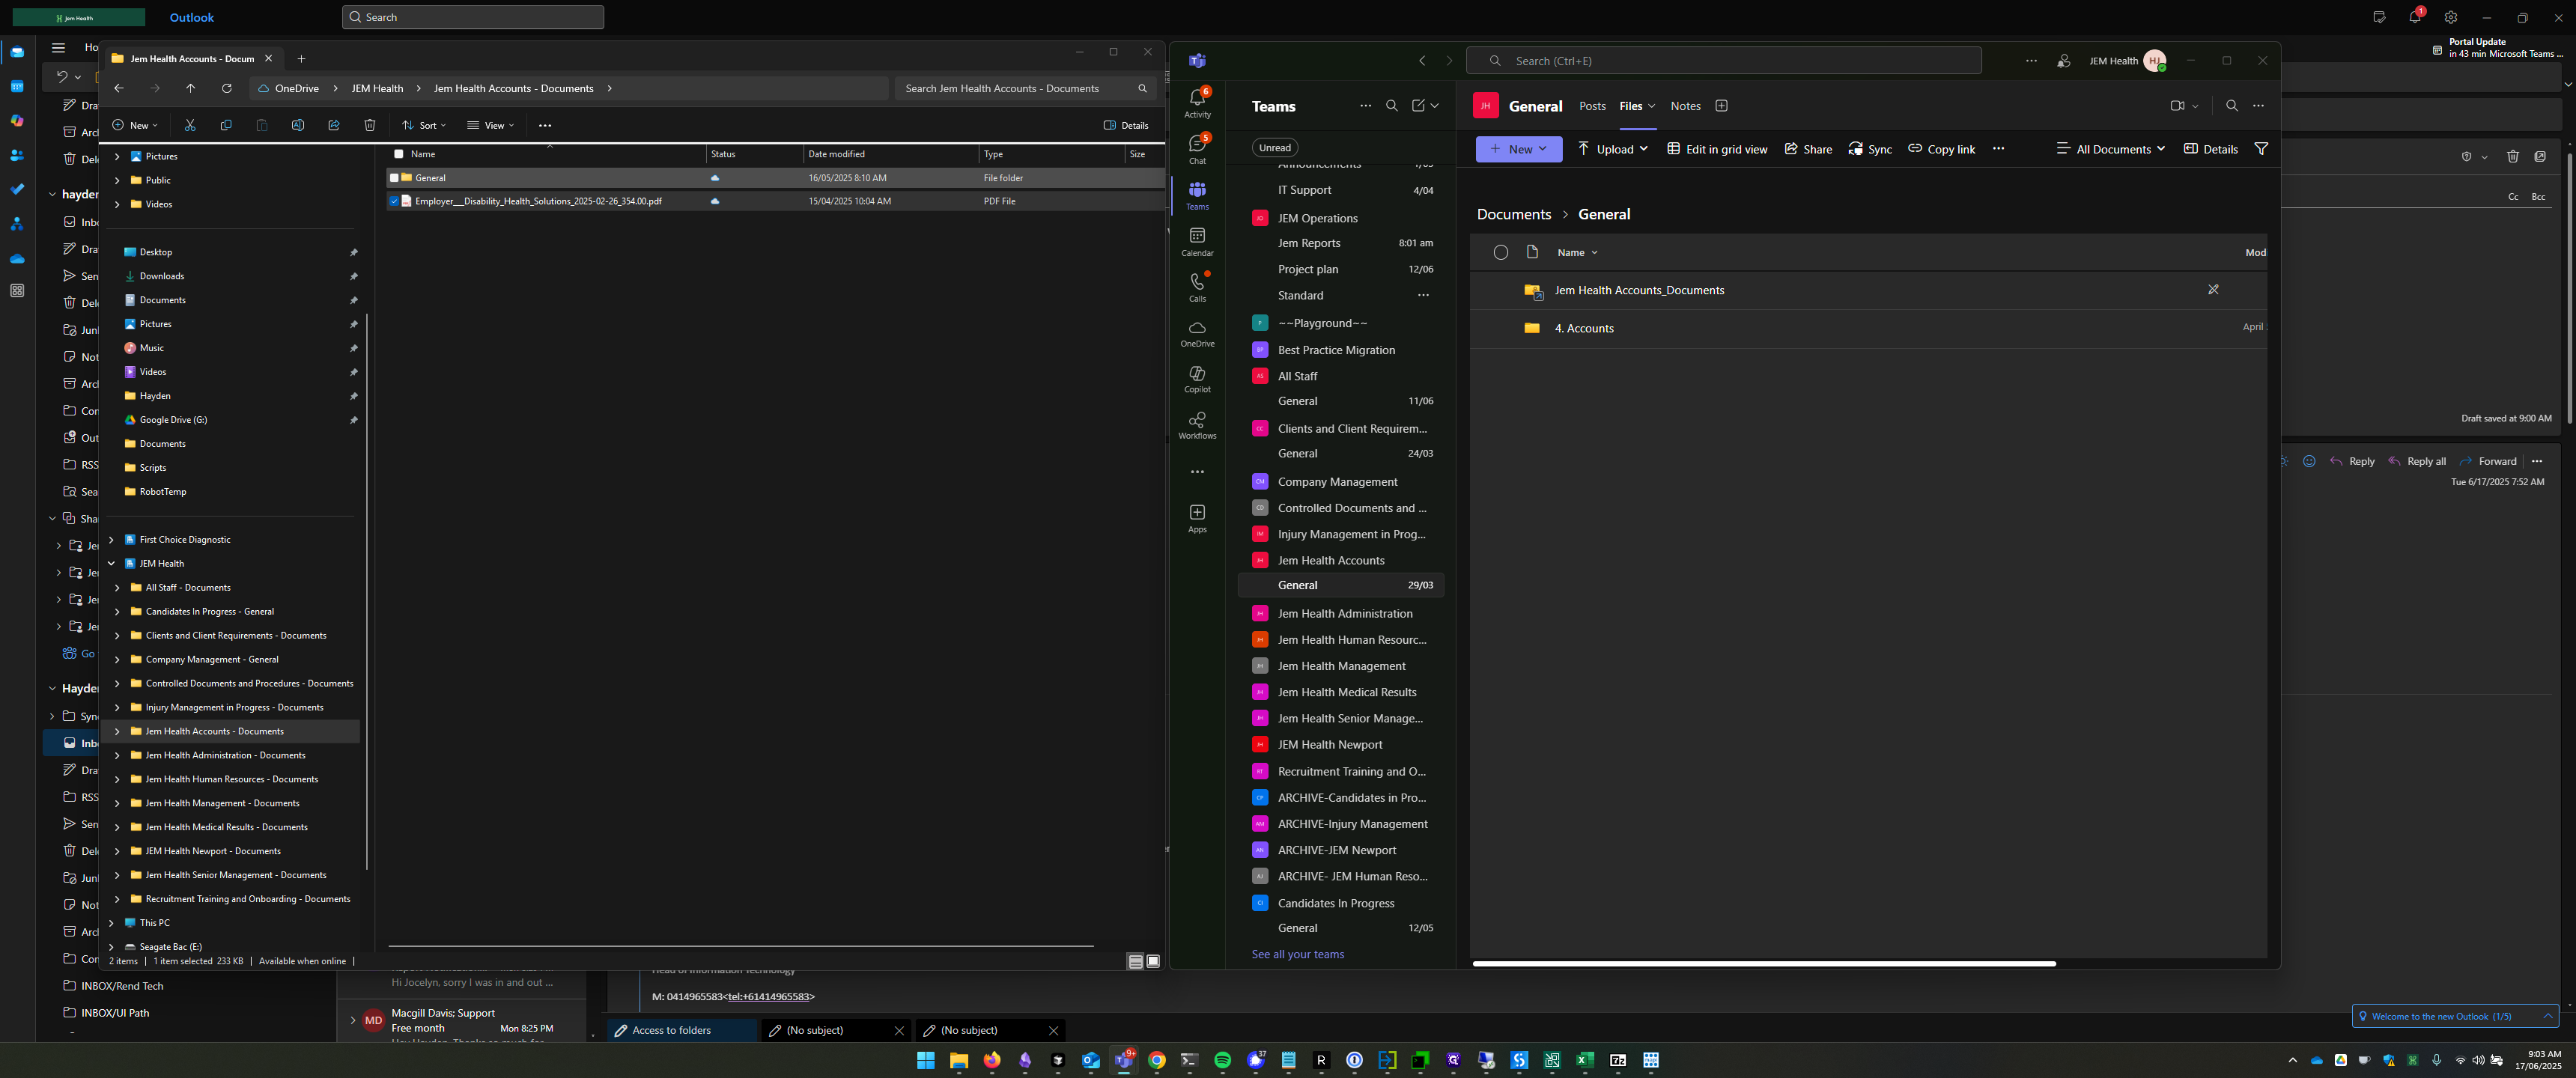
The document is not there. That's because I'm syncing a higher-level folder. If we look at my folder path, "JEM Health Accounts - Documents", we can see it references a Documents folder.
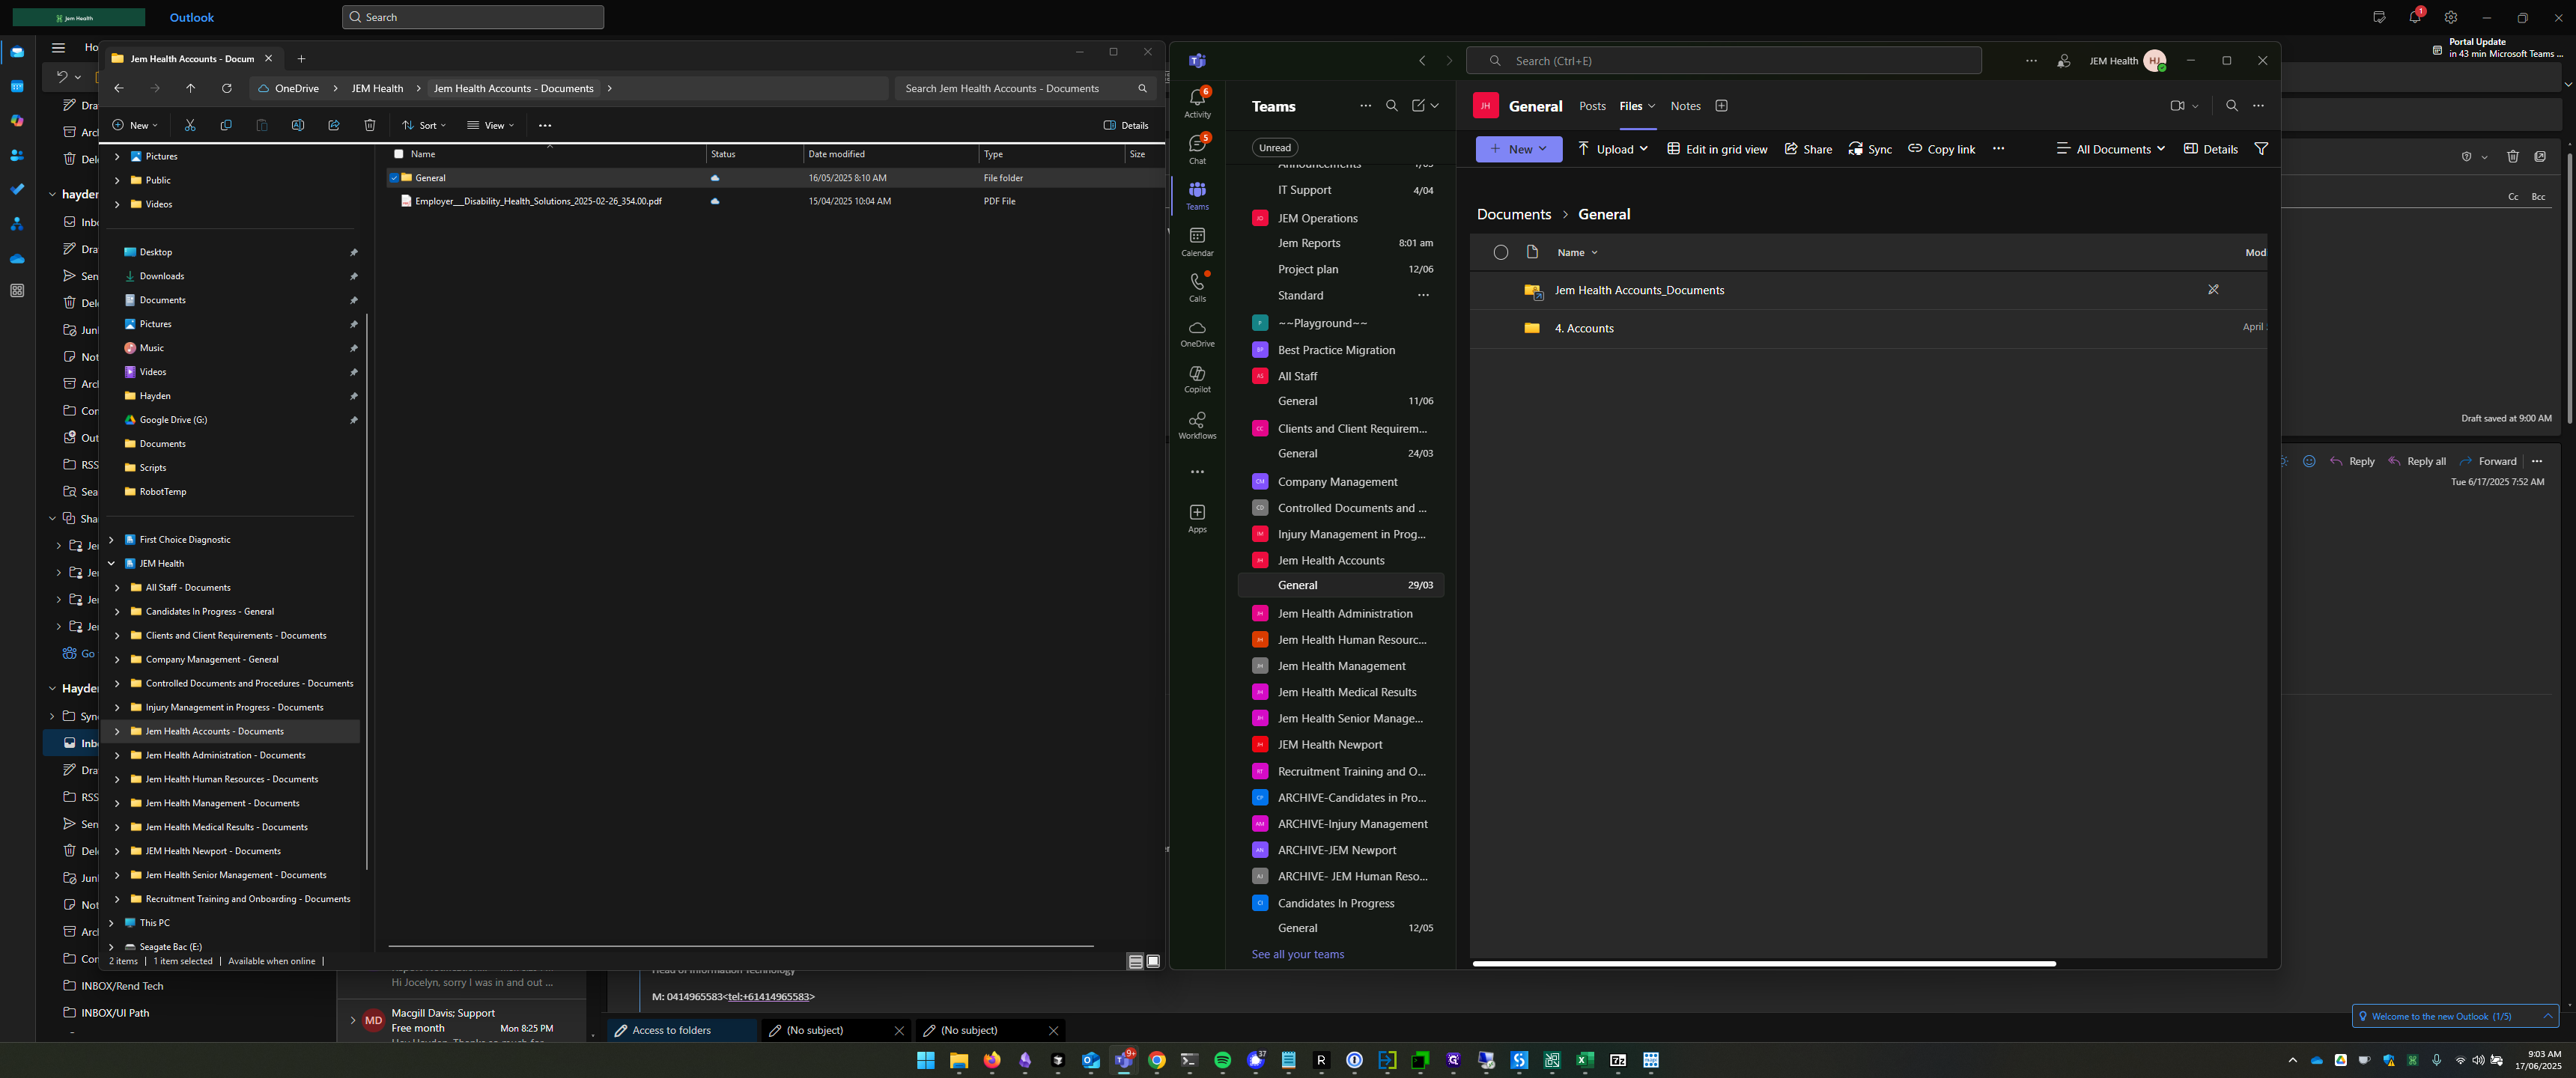
Back to Teams - If I click on Documents up the top, I can see the General and Employee Disability Health Solutions.
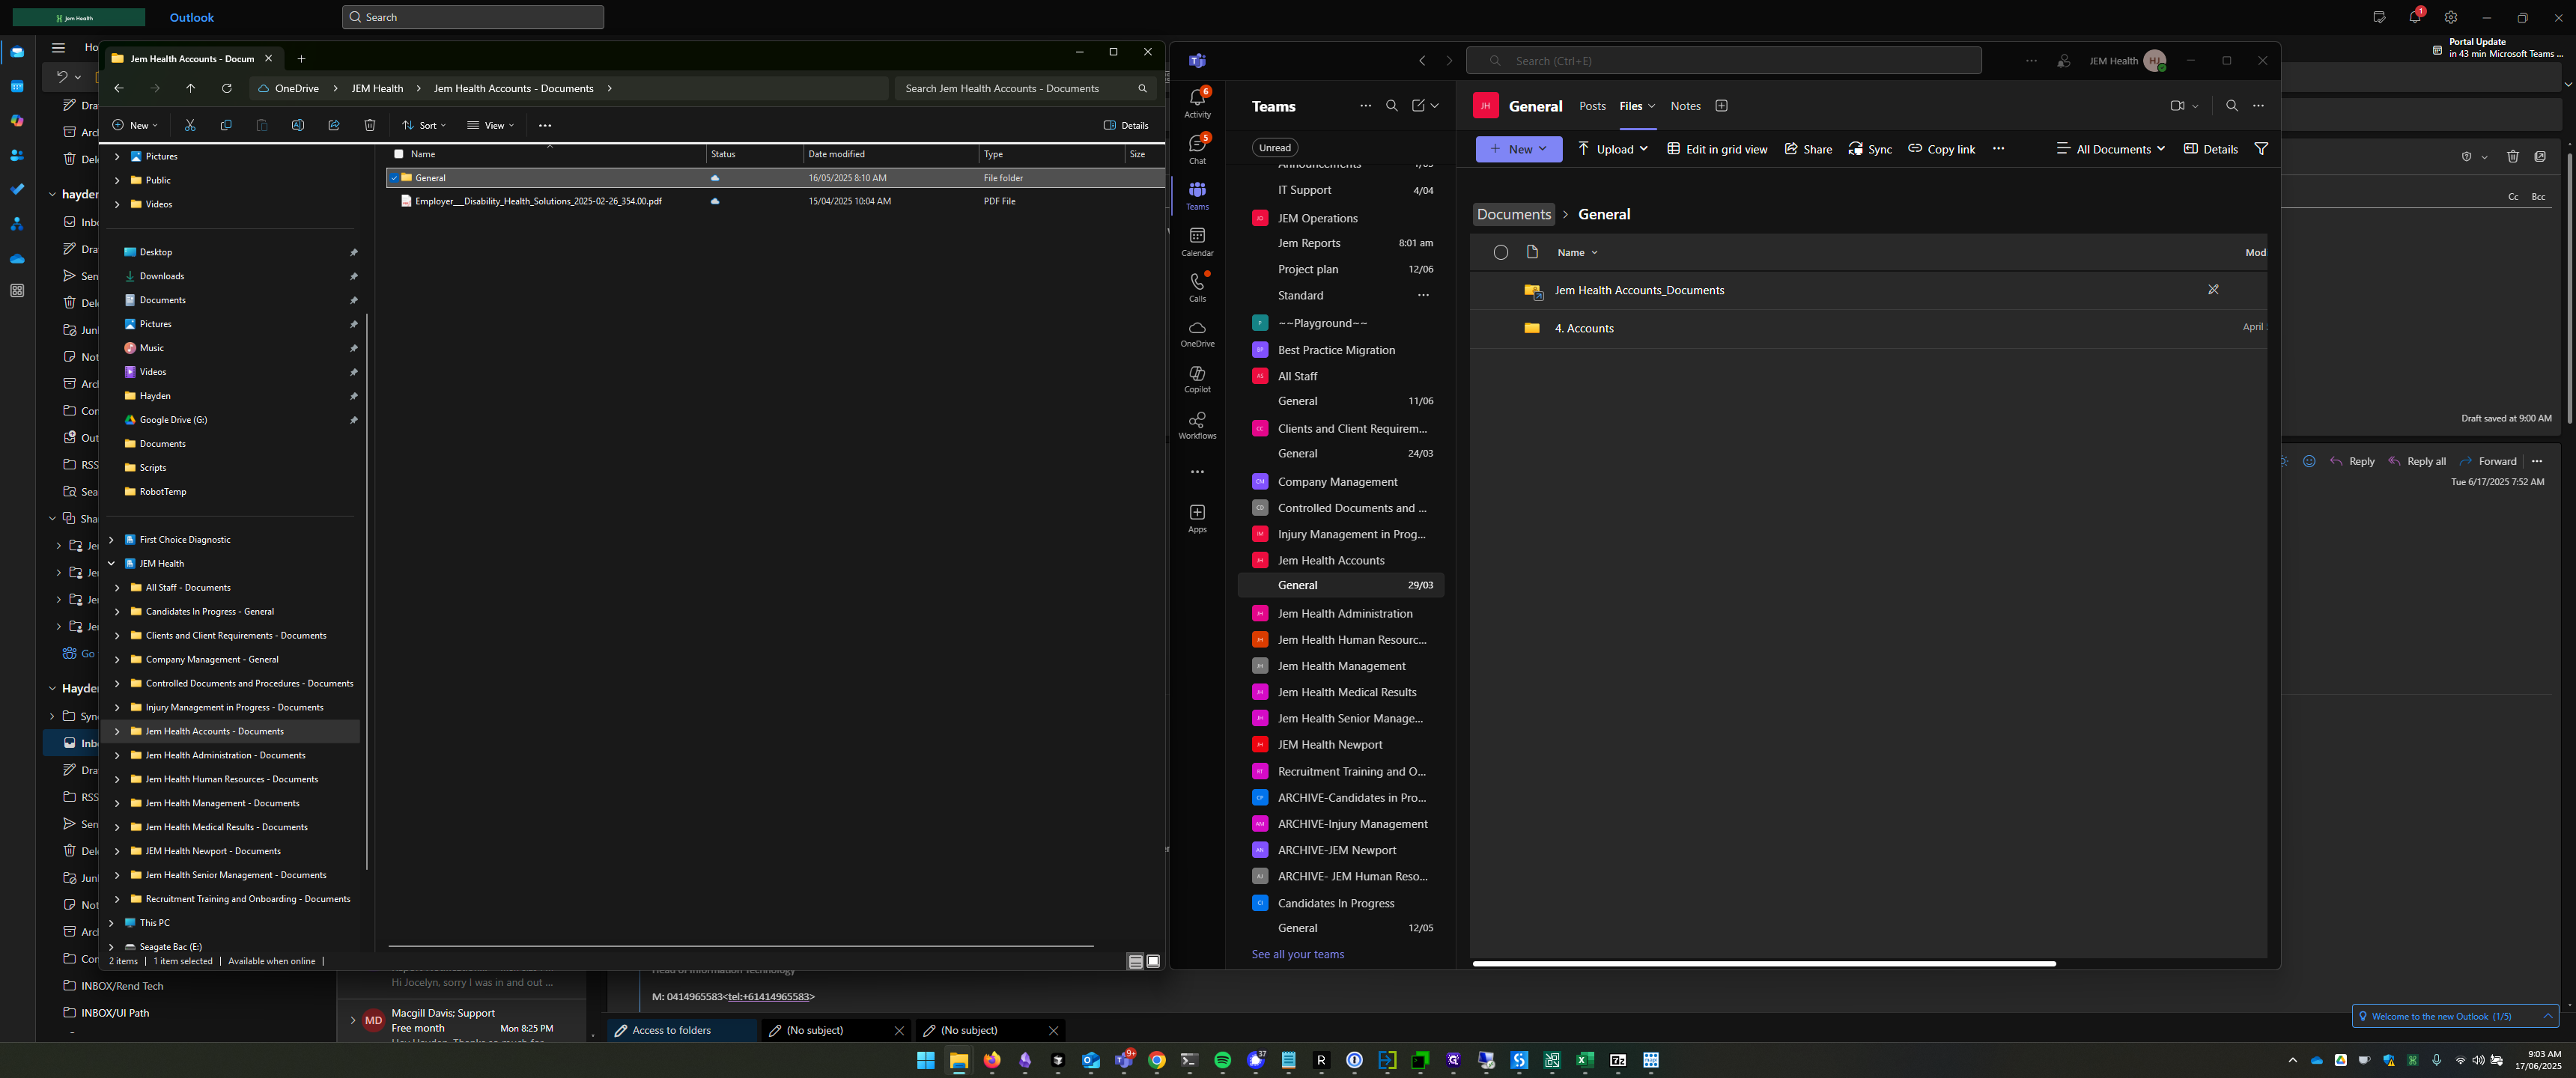
Now, those two folders look the same.
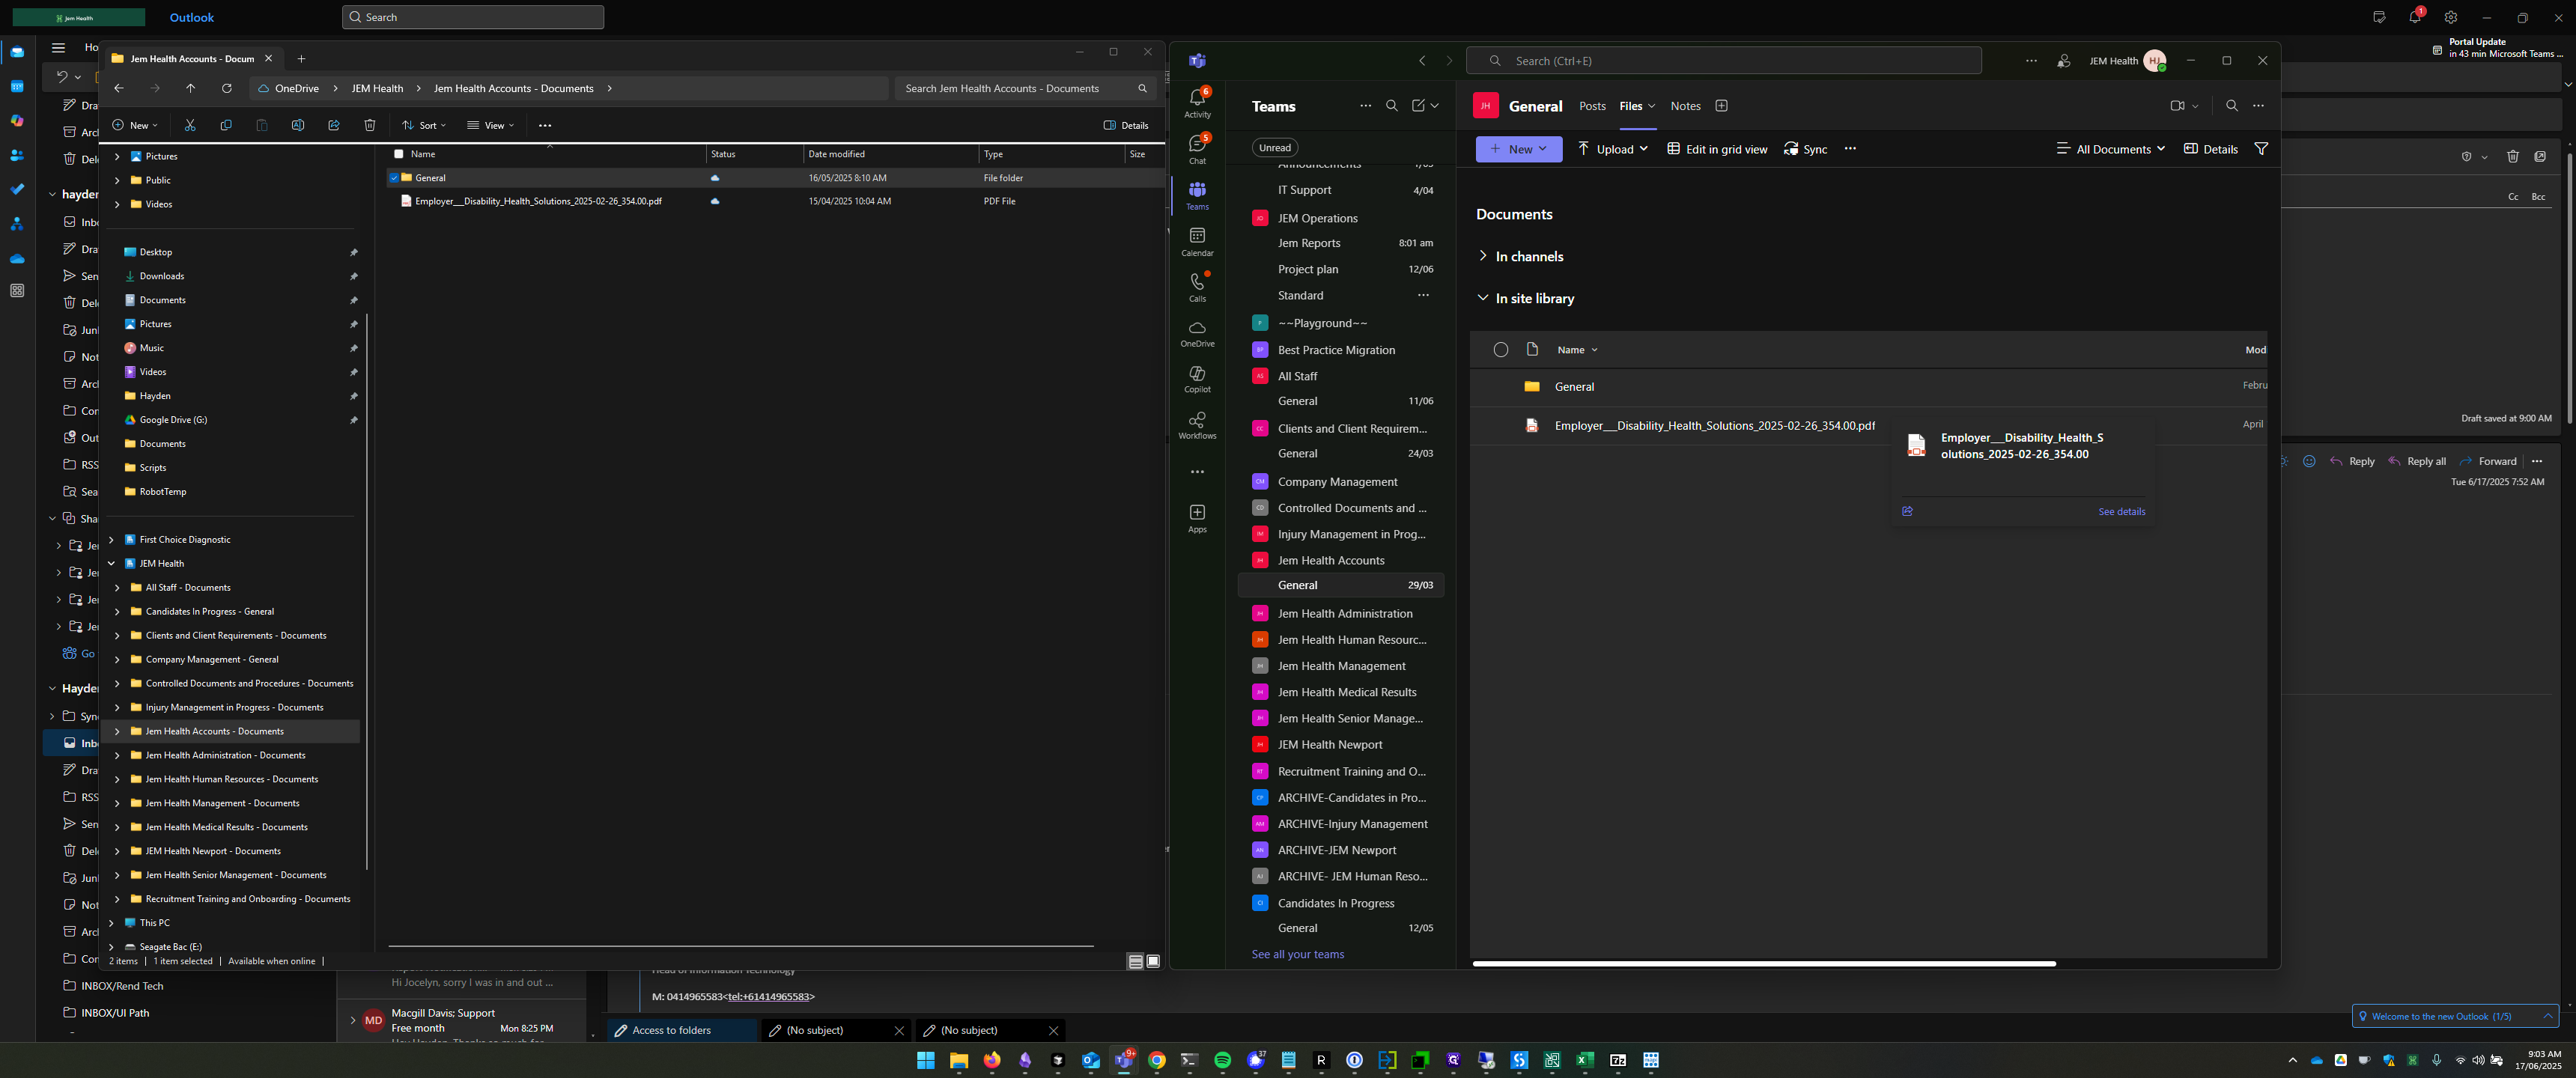
This can be a bit tricky.
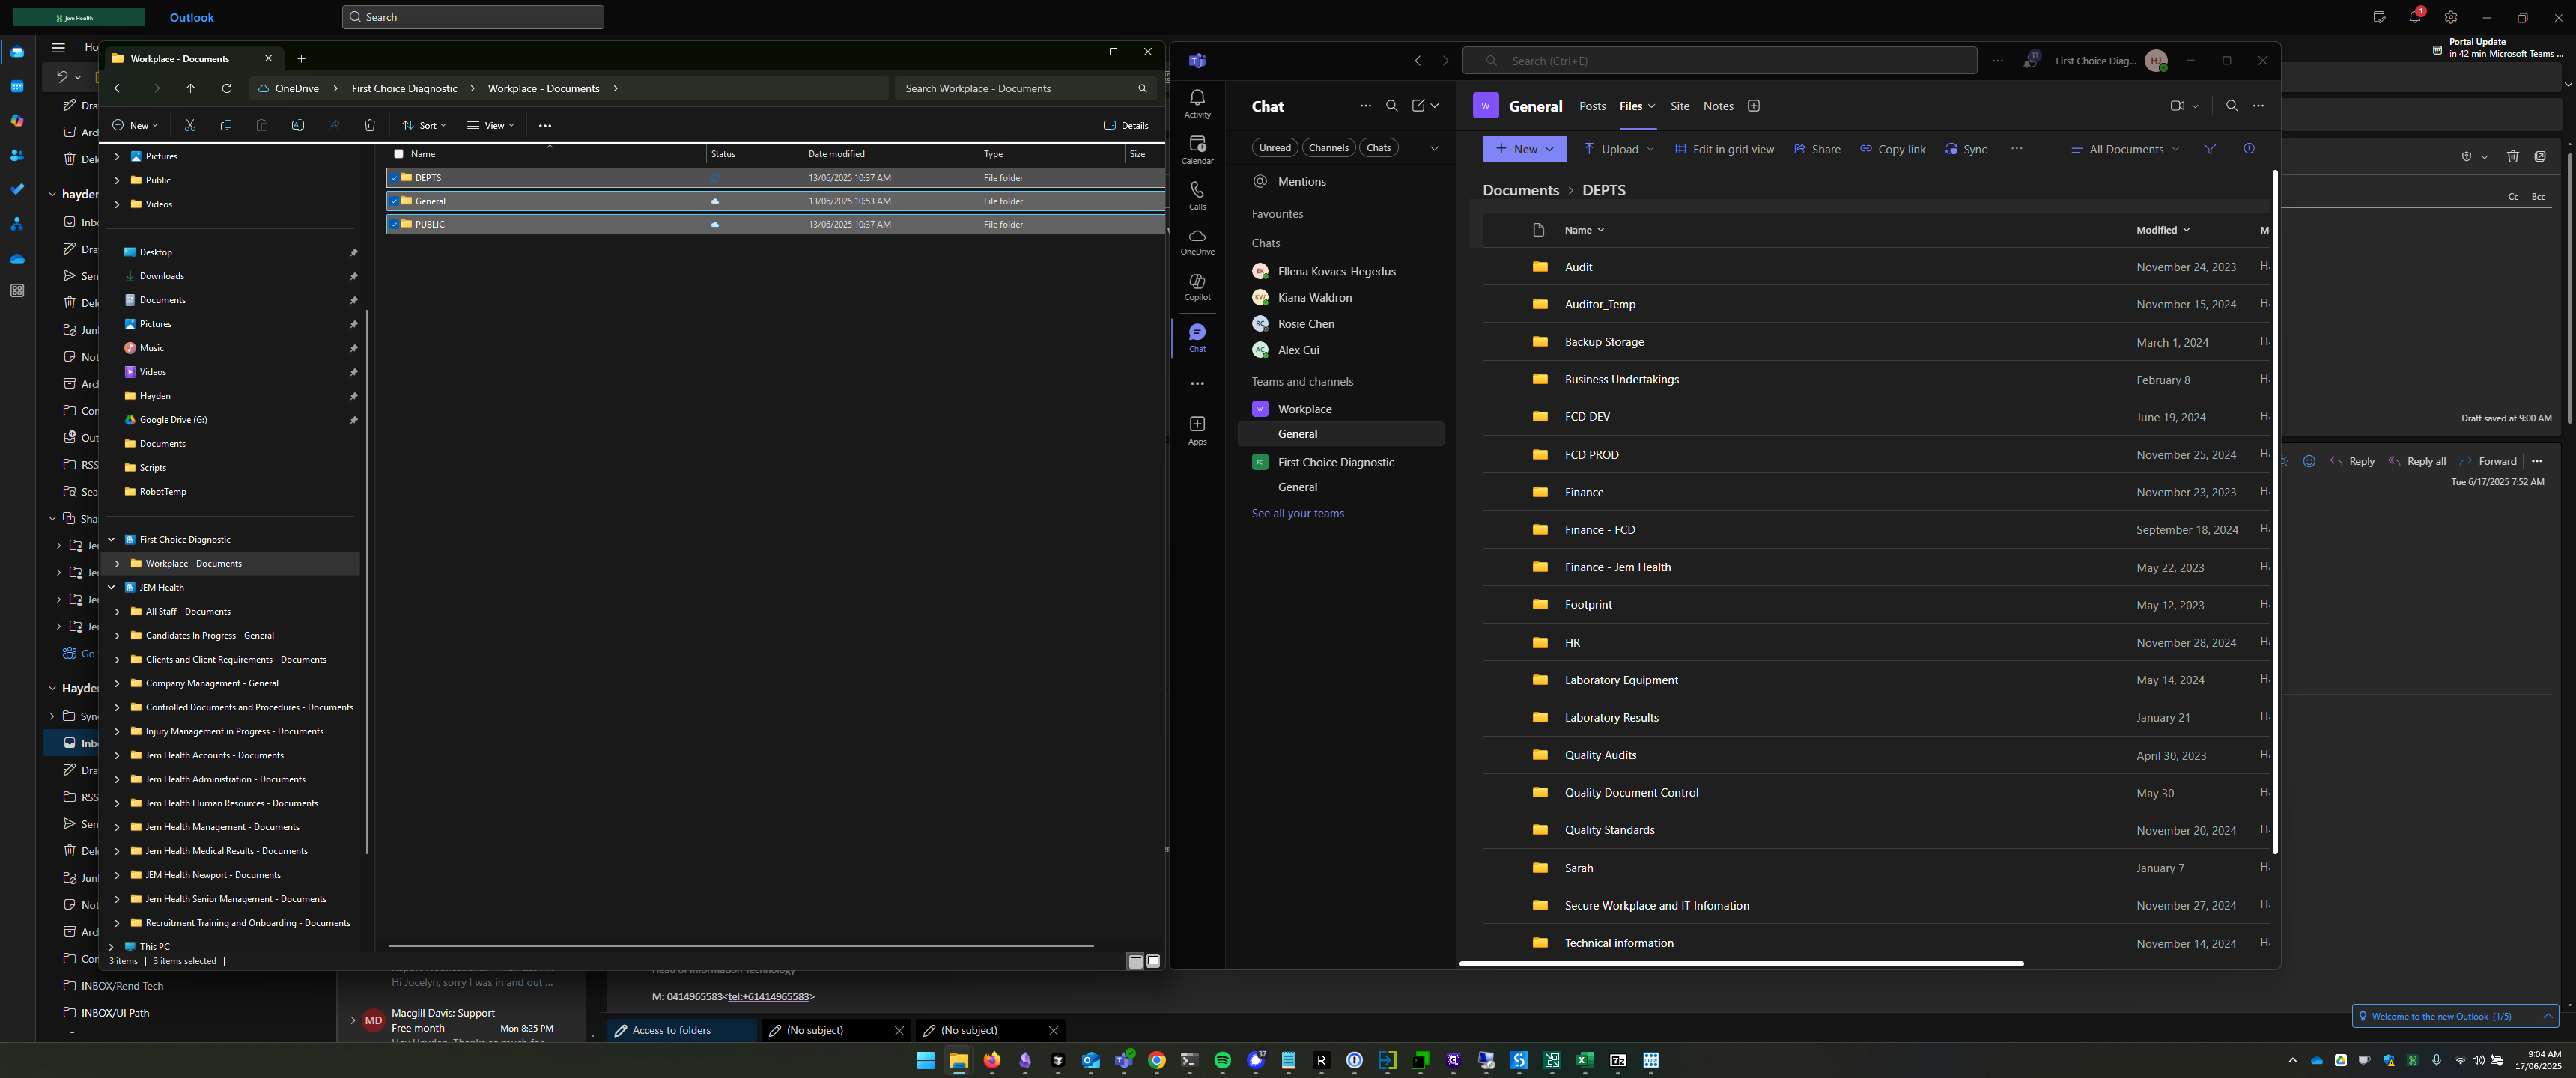
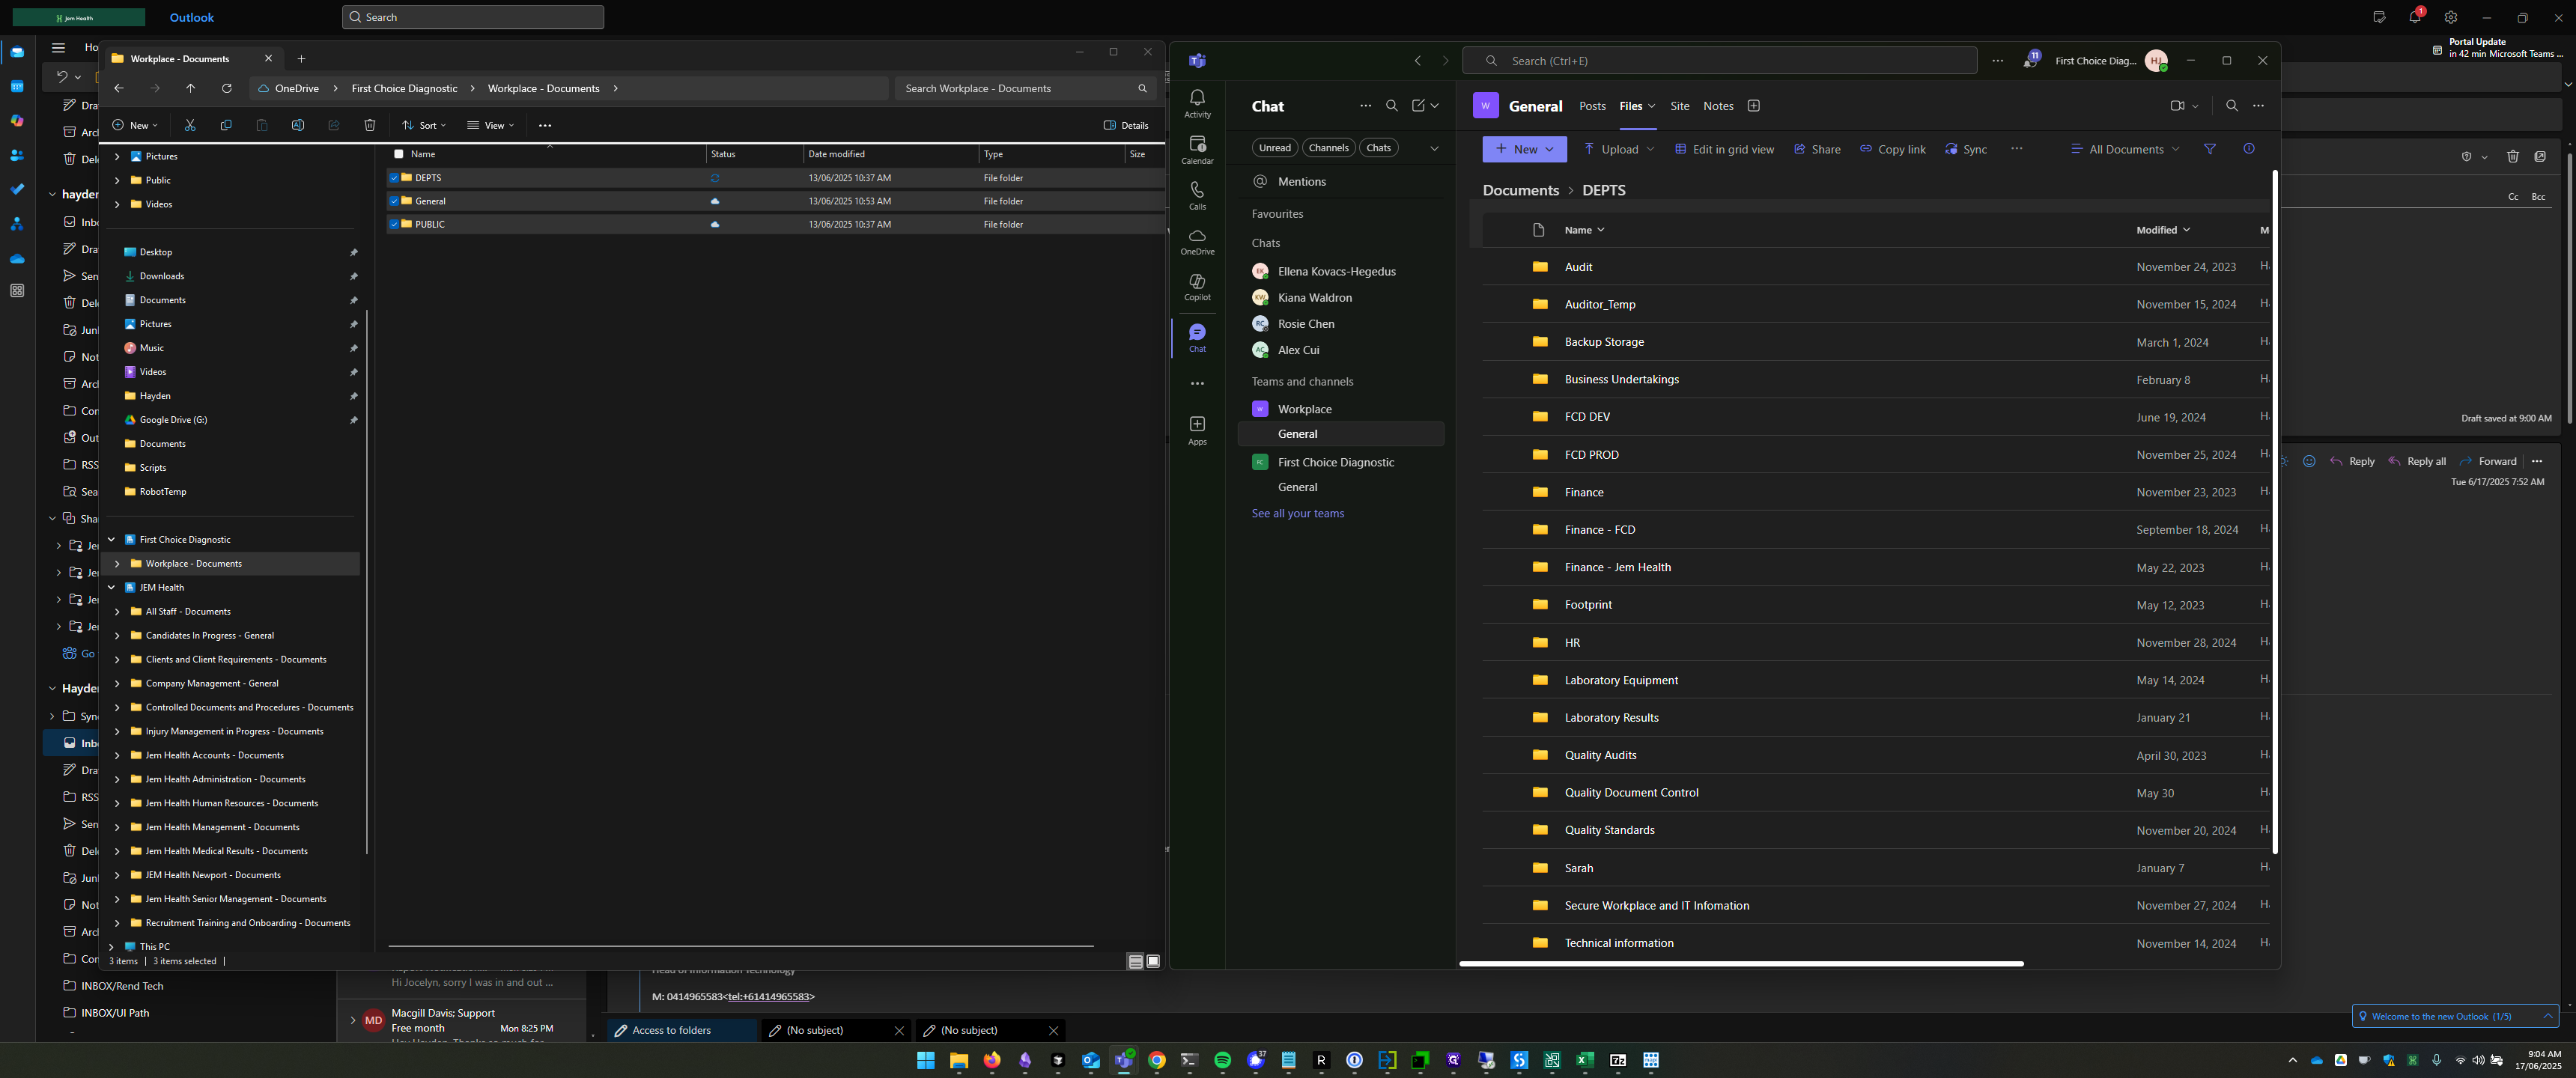
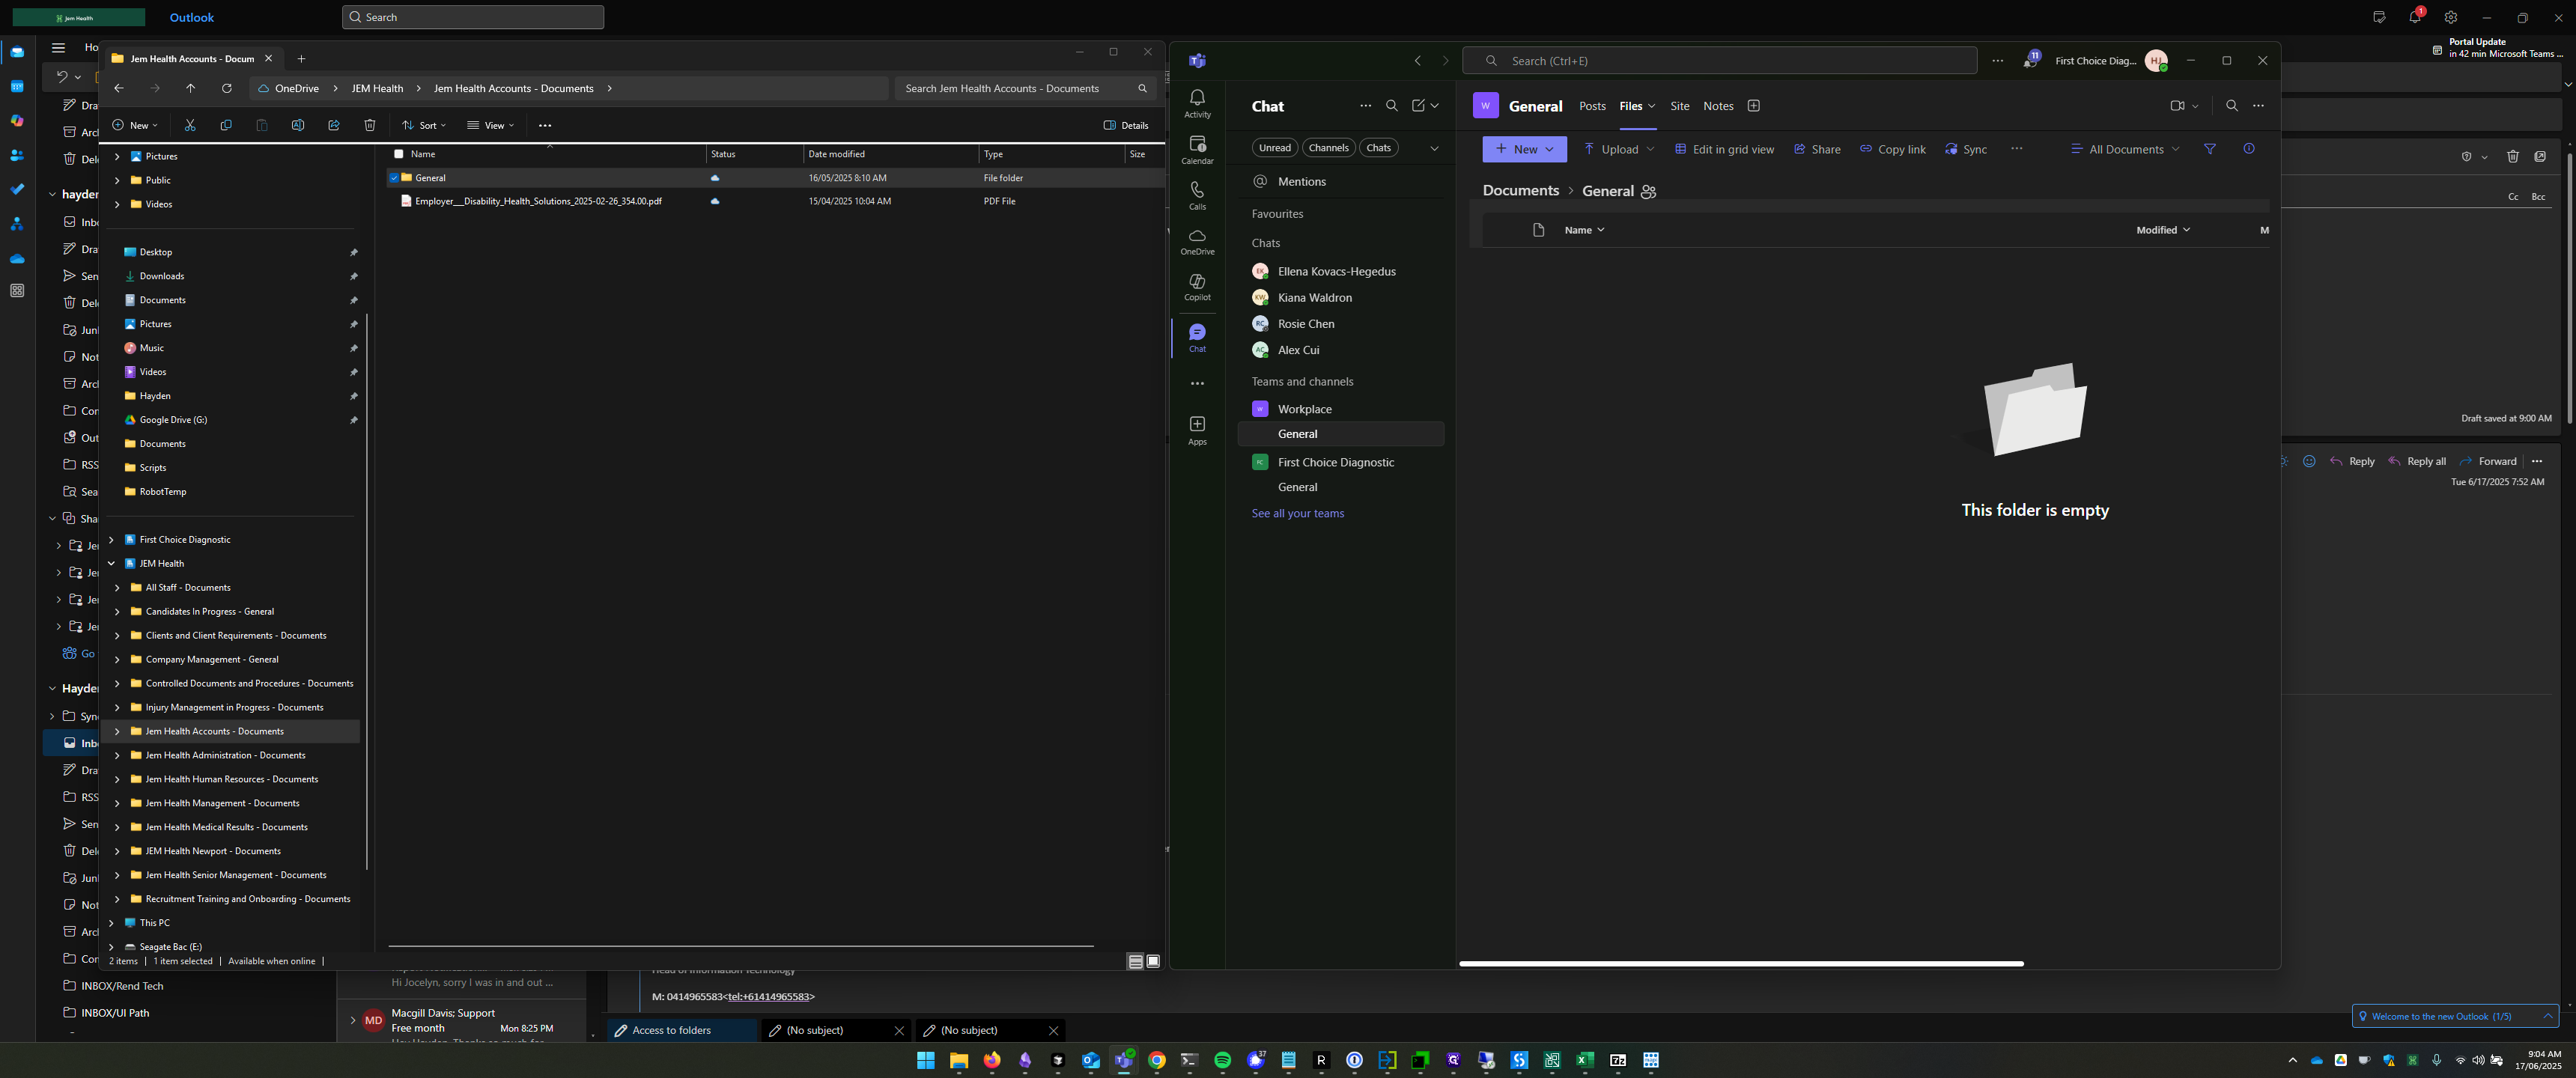
I'll quickly switch to First Choice. In the Workplace Team under Files.
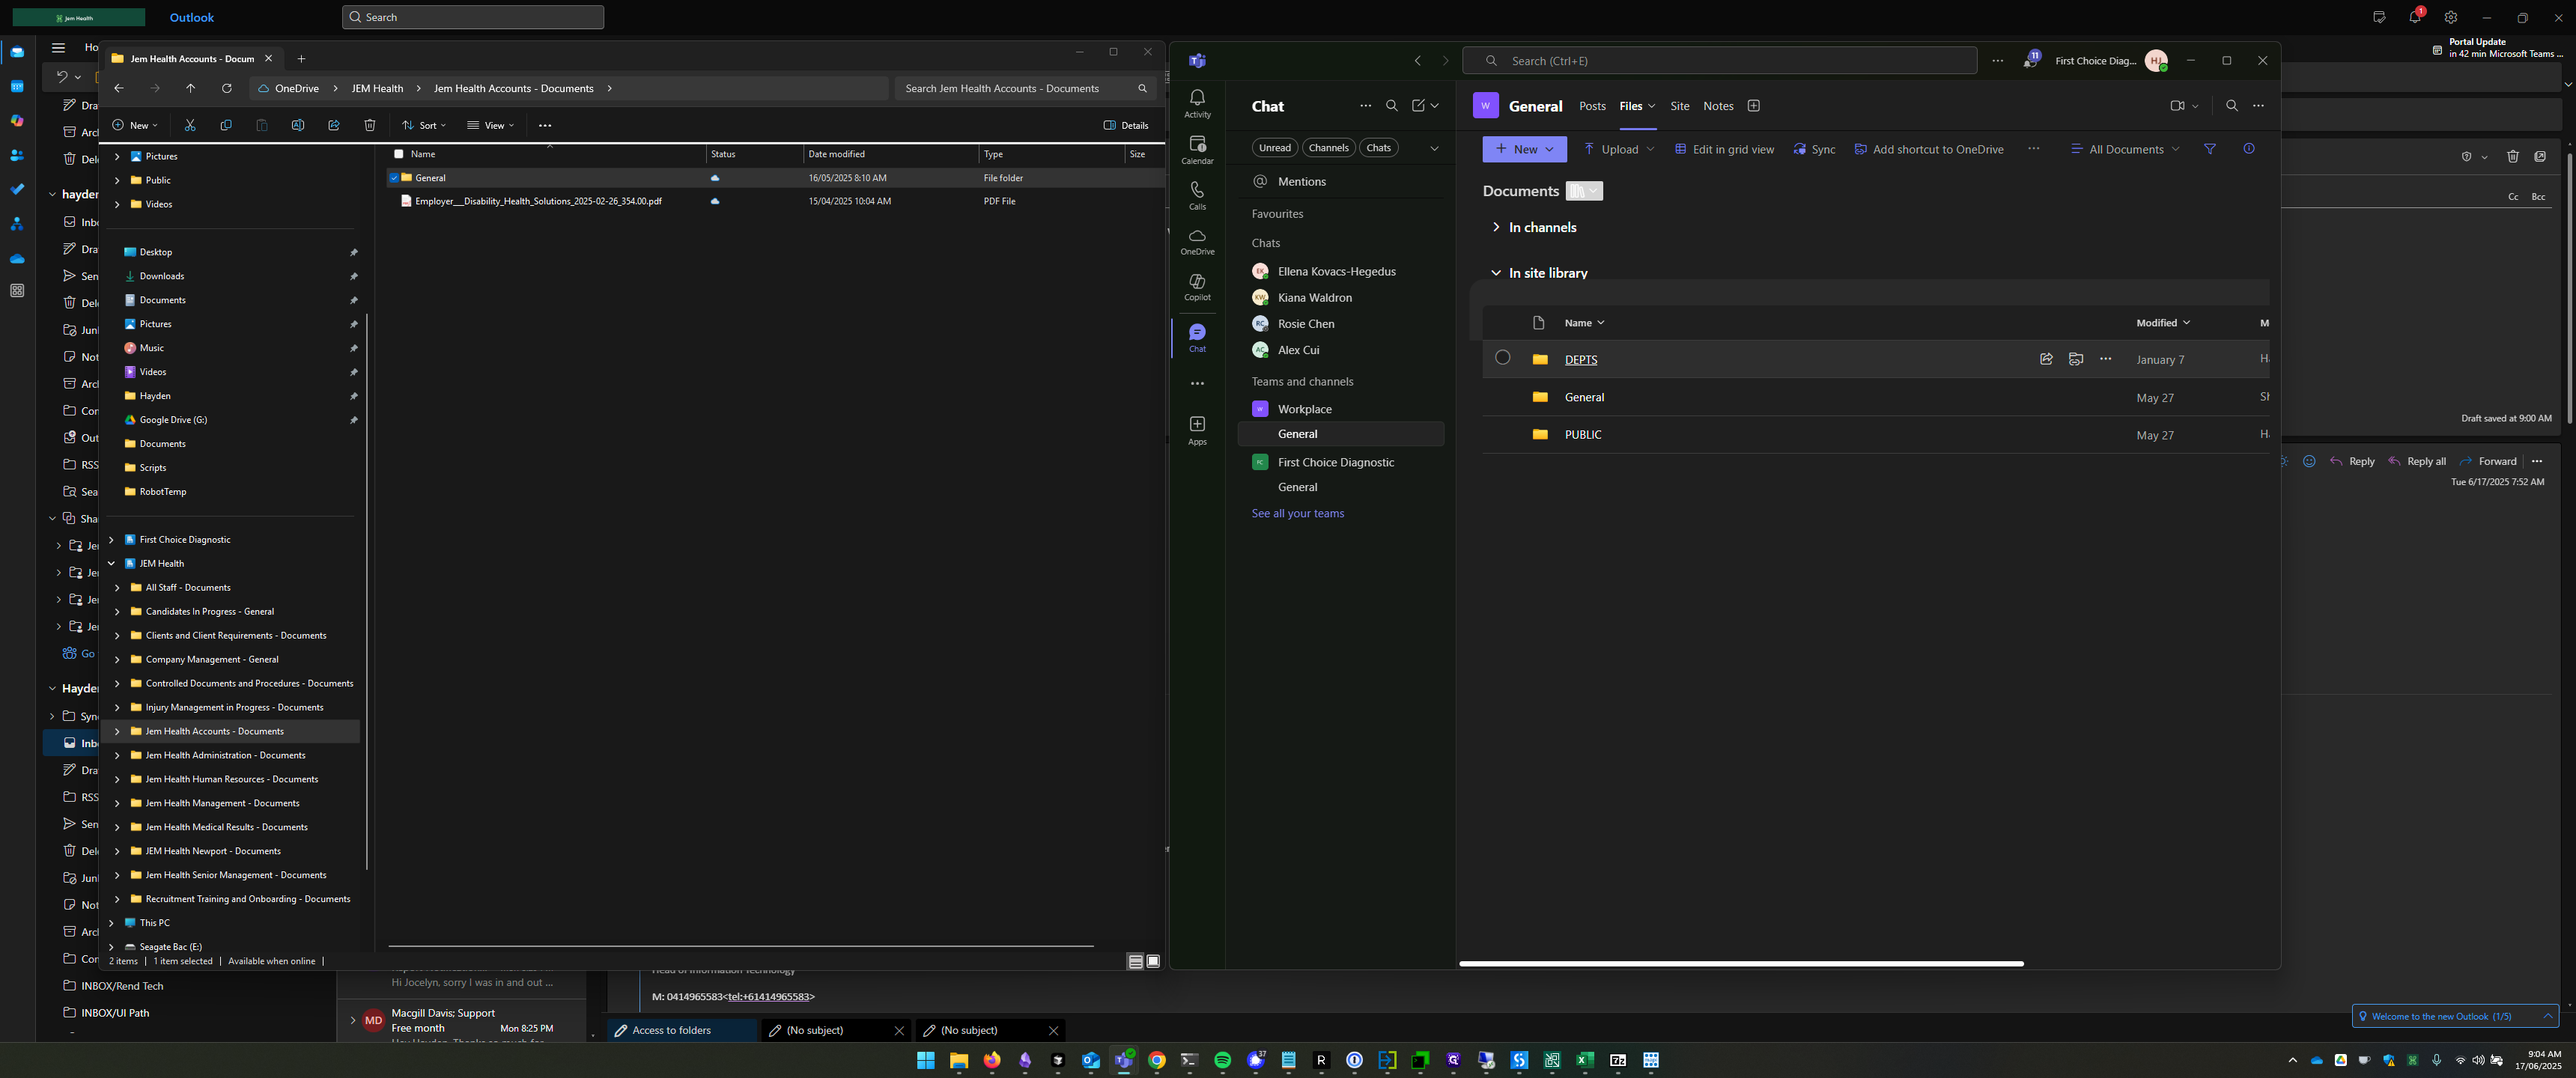
We can see that General has no folders. However, if I click on Documents, I can see all the departments.
If I go into Departments and press Sync on this folder, I will find a Workplace Departments directory at the top of my First Choice directory.
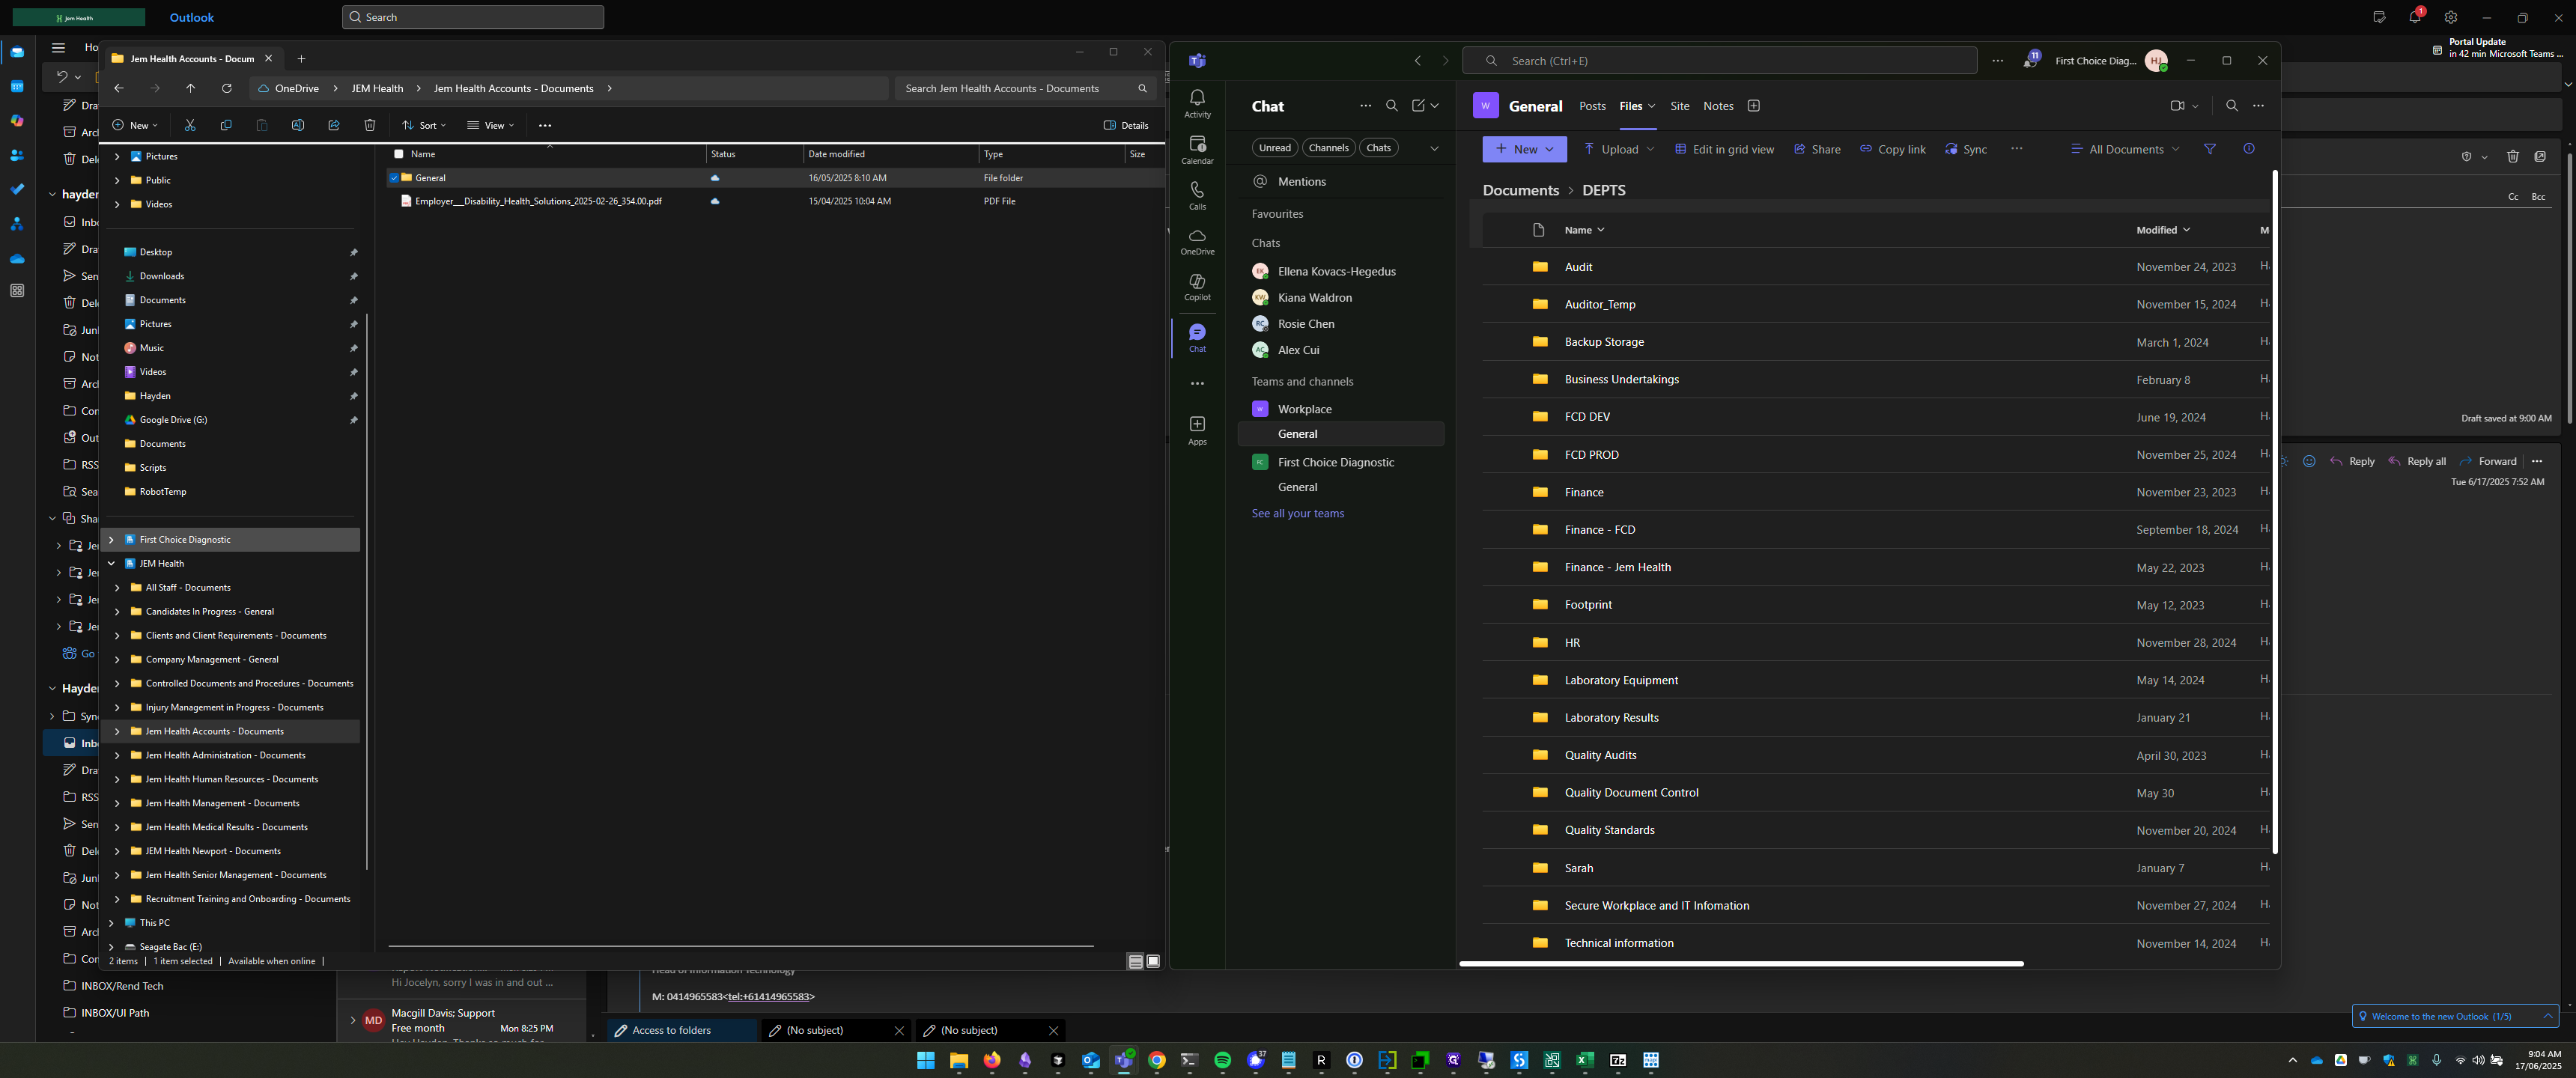
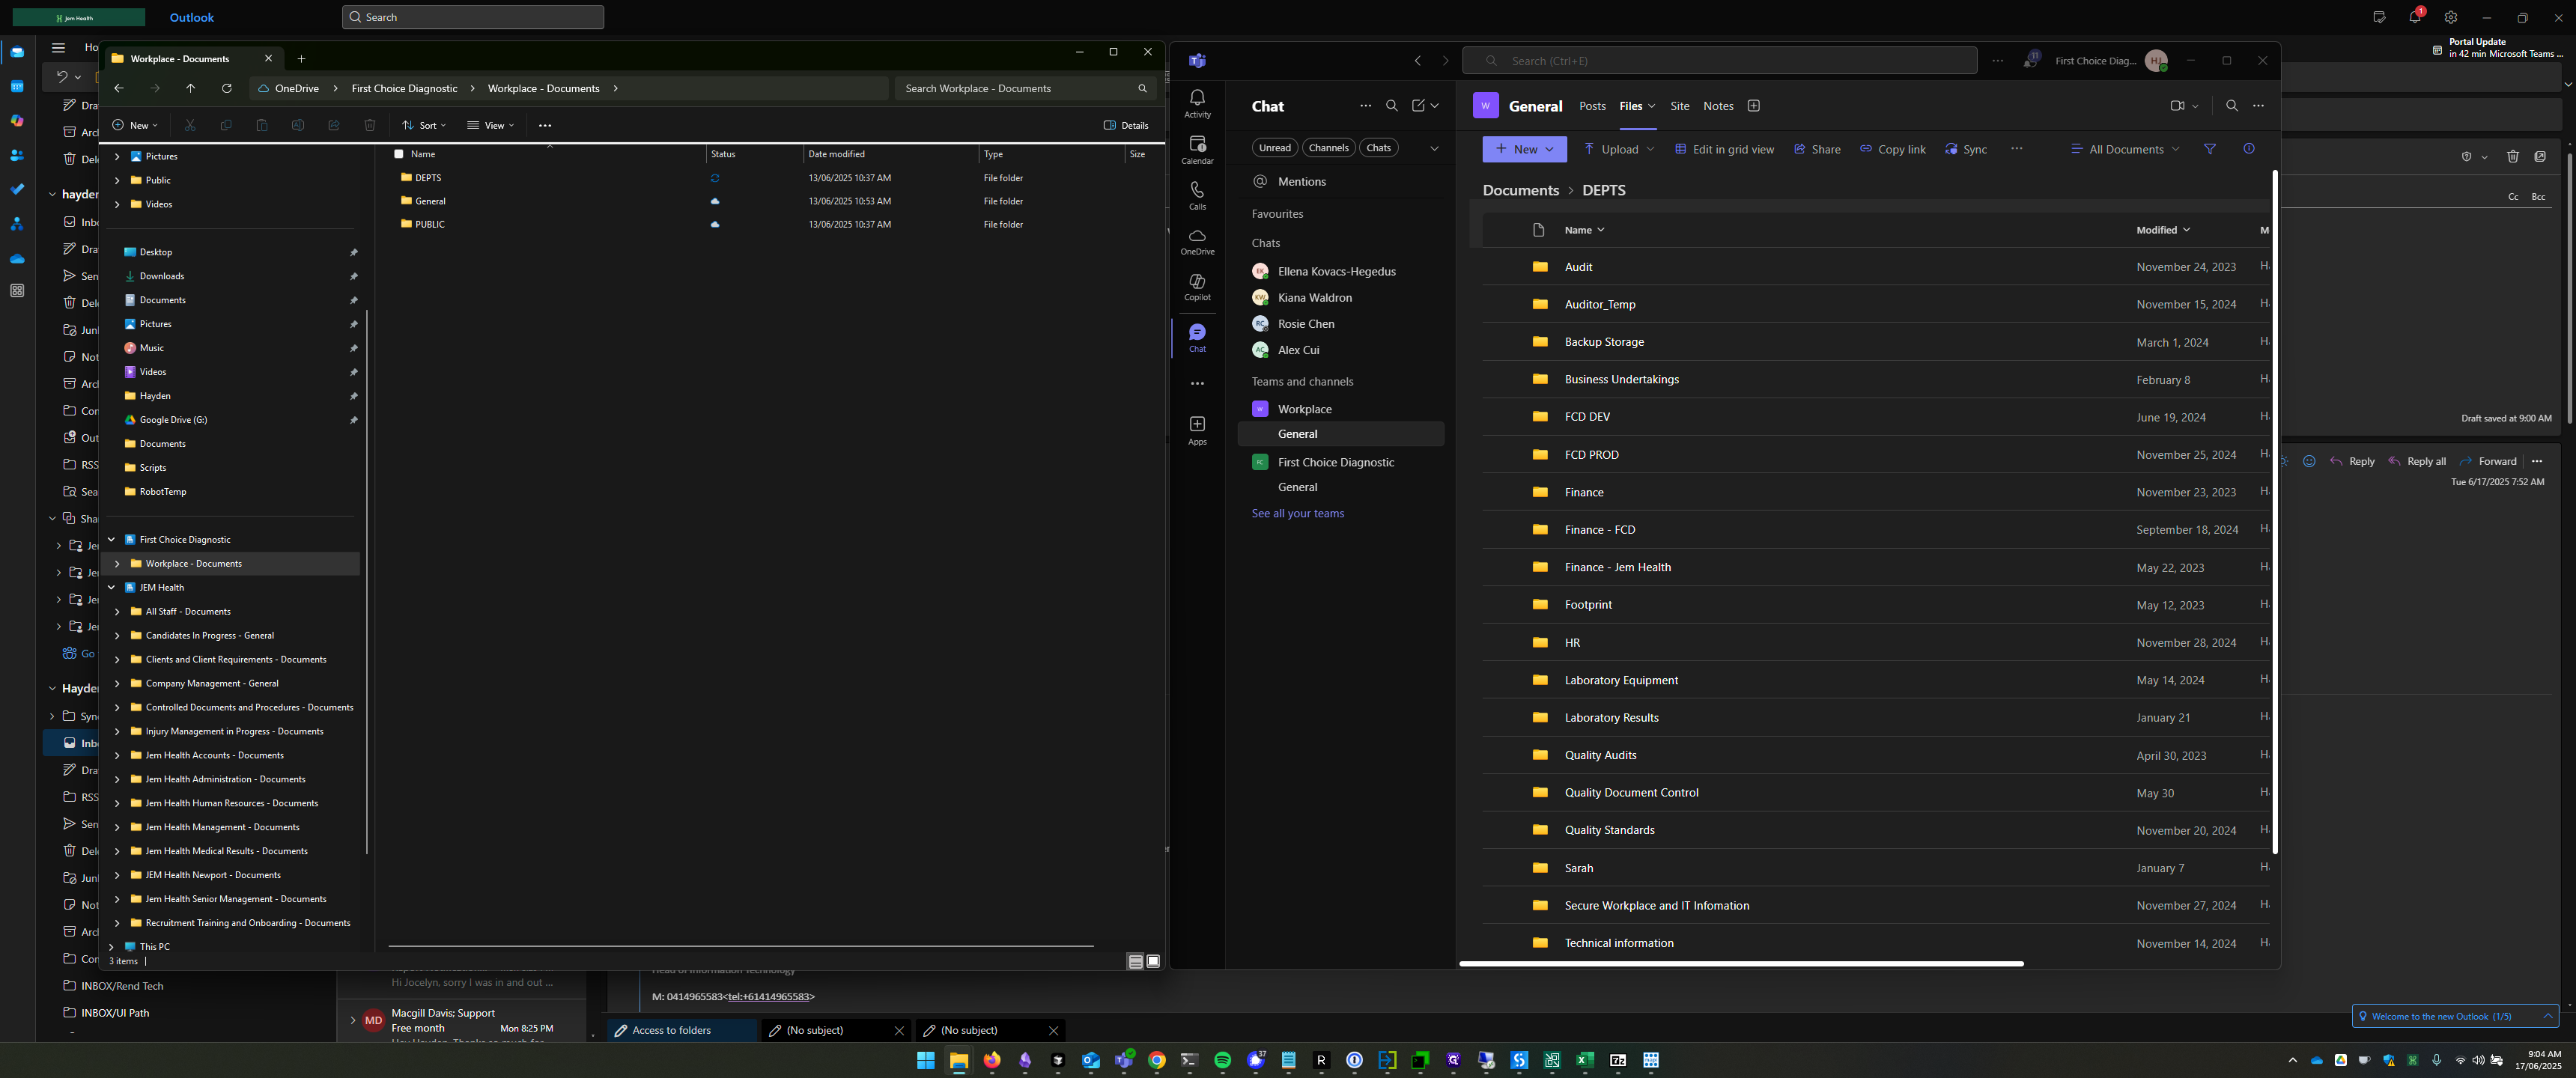
Depending on your location in Teams, pressing Sync will display a different folder structure in your File Explorer.
