How to Sync OneDrive to Your Local Machine: A Step-by-Step Guide
Learn how to sync your OneDrive to your local machine using the OneDrive application with this easy tutorial.
In this guide, we'll learn how to sync your OneDrive to your local machine using the OneDrive application. This process ensures that your organization's files, such as those from FirstChoice Diagnostic or Jem Health, are accessible directly from your computer. We'll begin by verifying that you are logged into OneDrive for your organization and proceed to configure the sync settings. This will allow you to manage and access your files efficiently.
Let's get started
A quick tutorial on syncing your OneDrive to your local machine using the OneDrive application. First, ensure that you are logged into OneDrive for your organization.

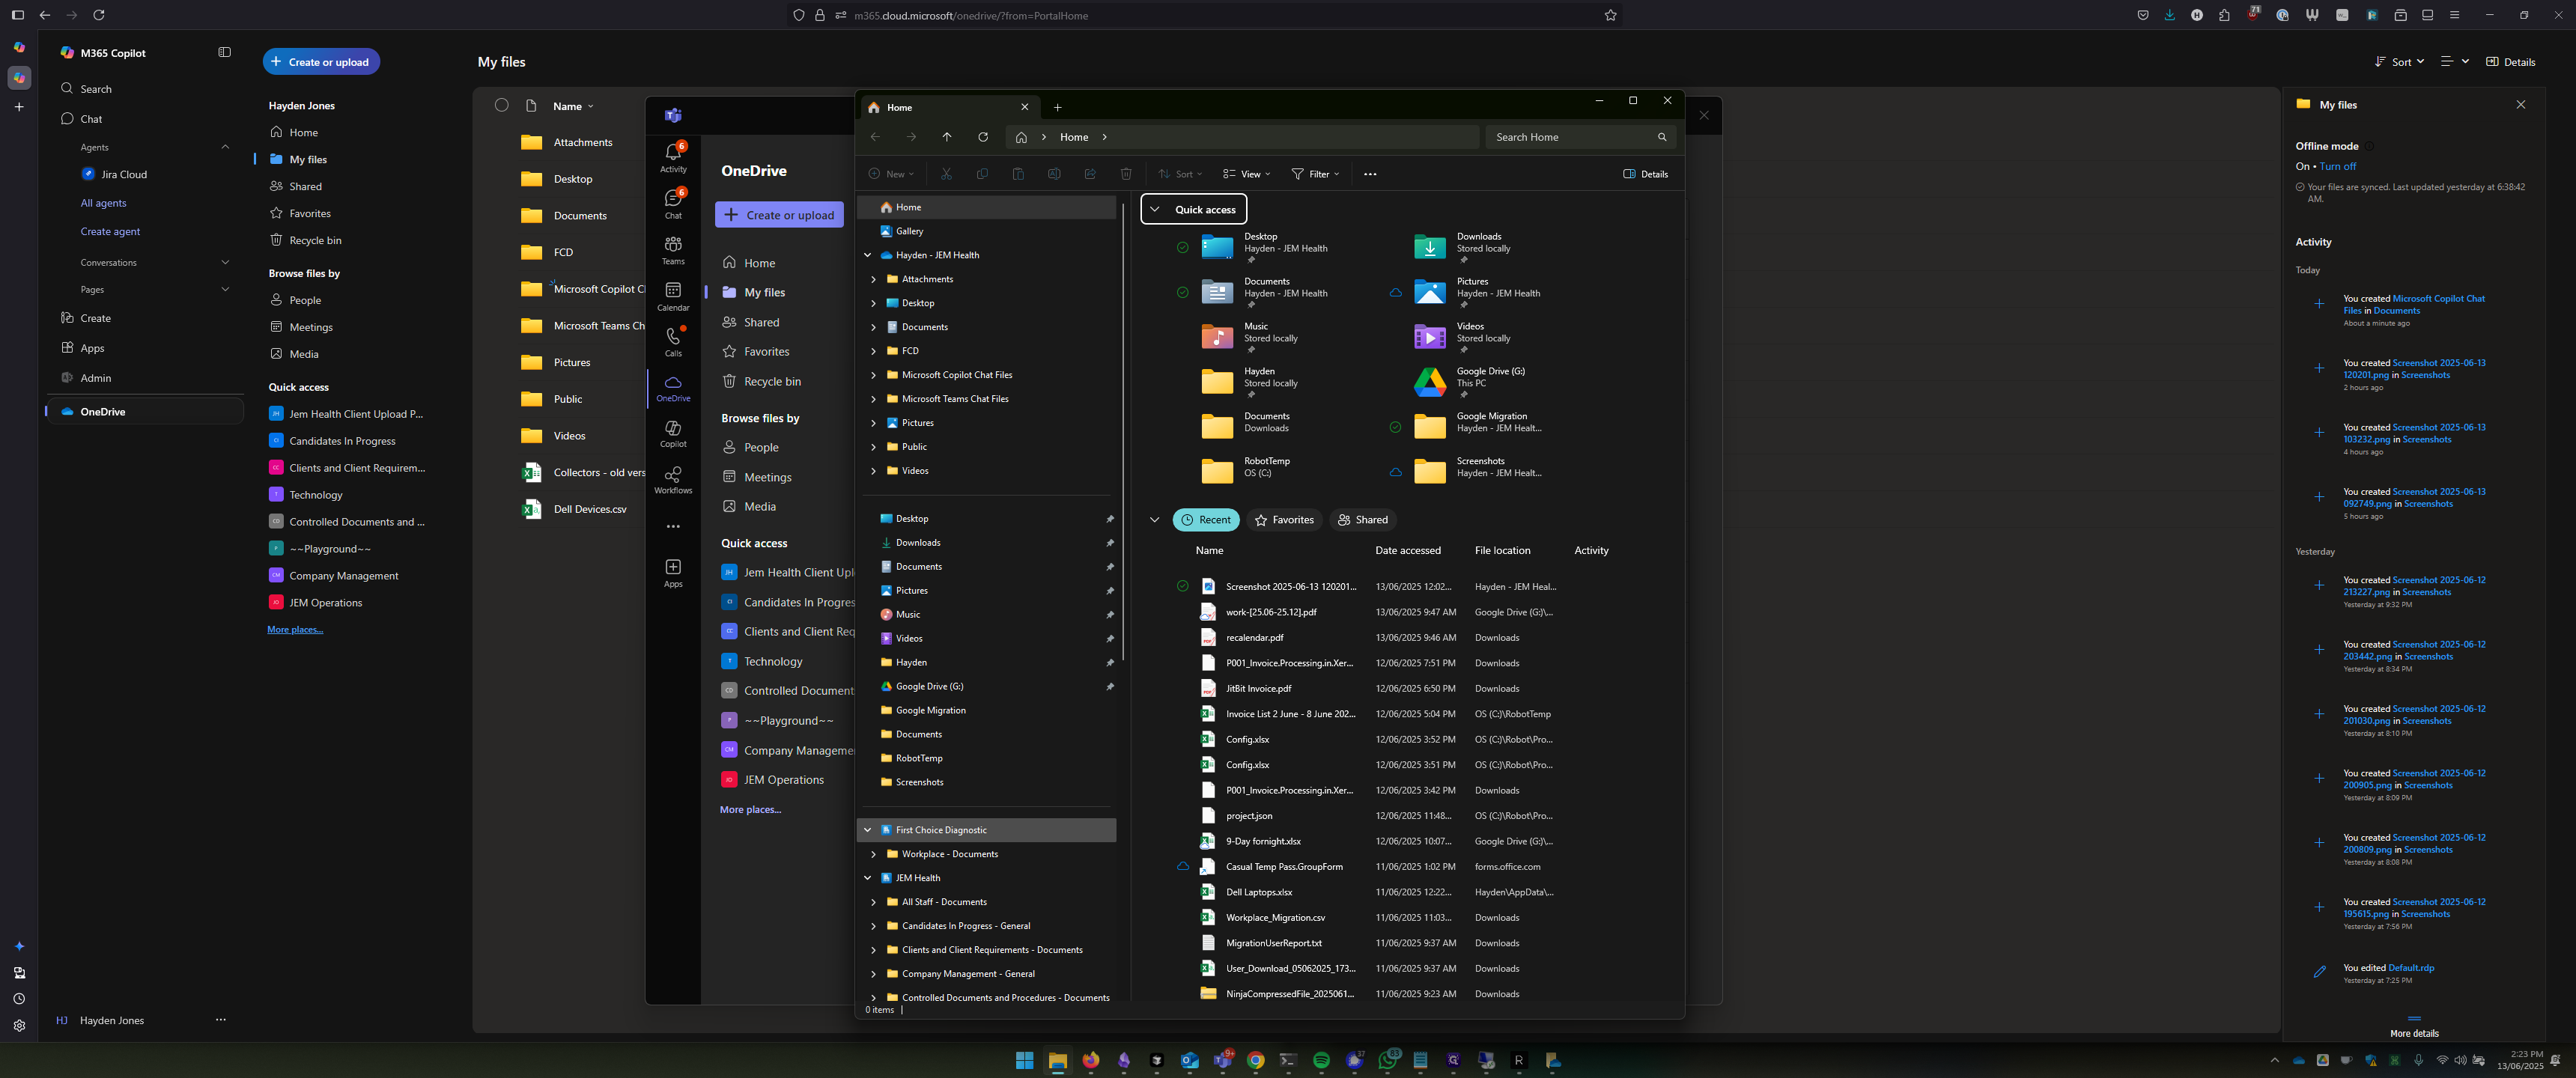
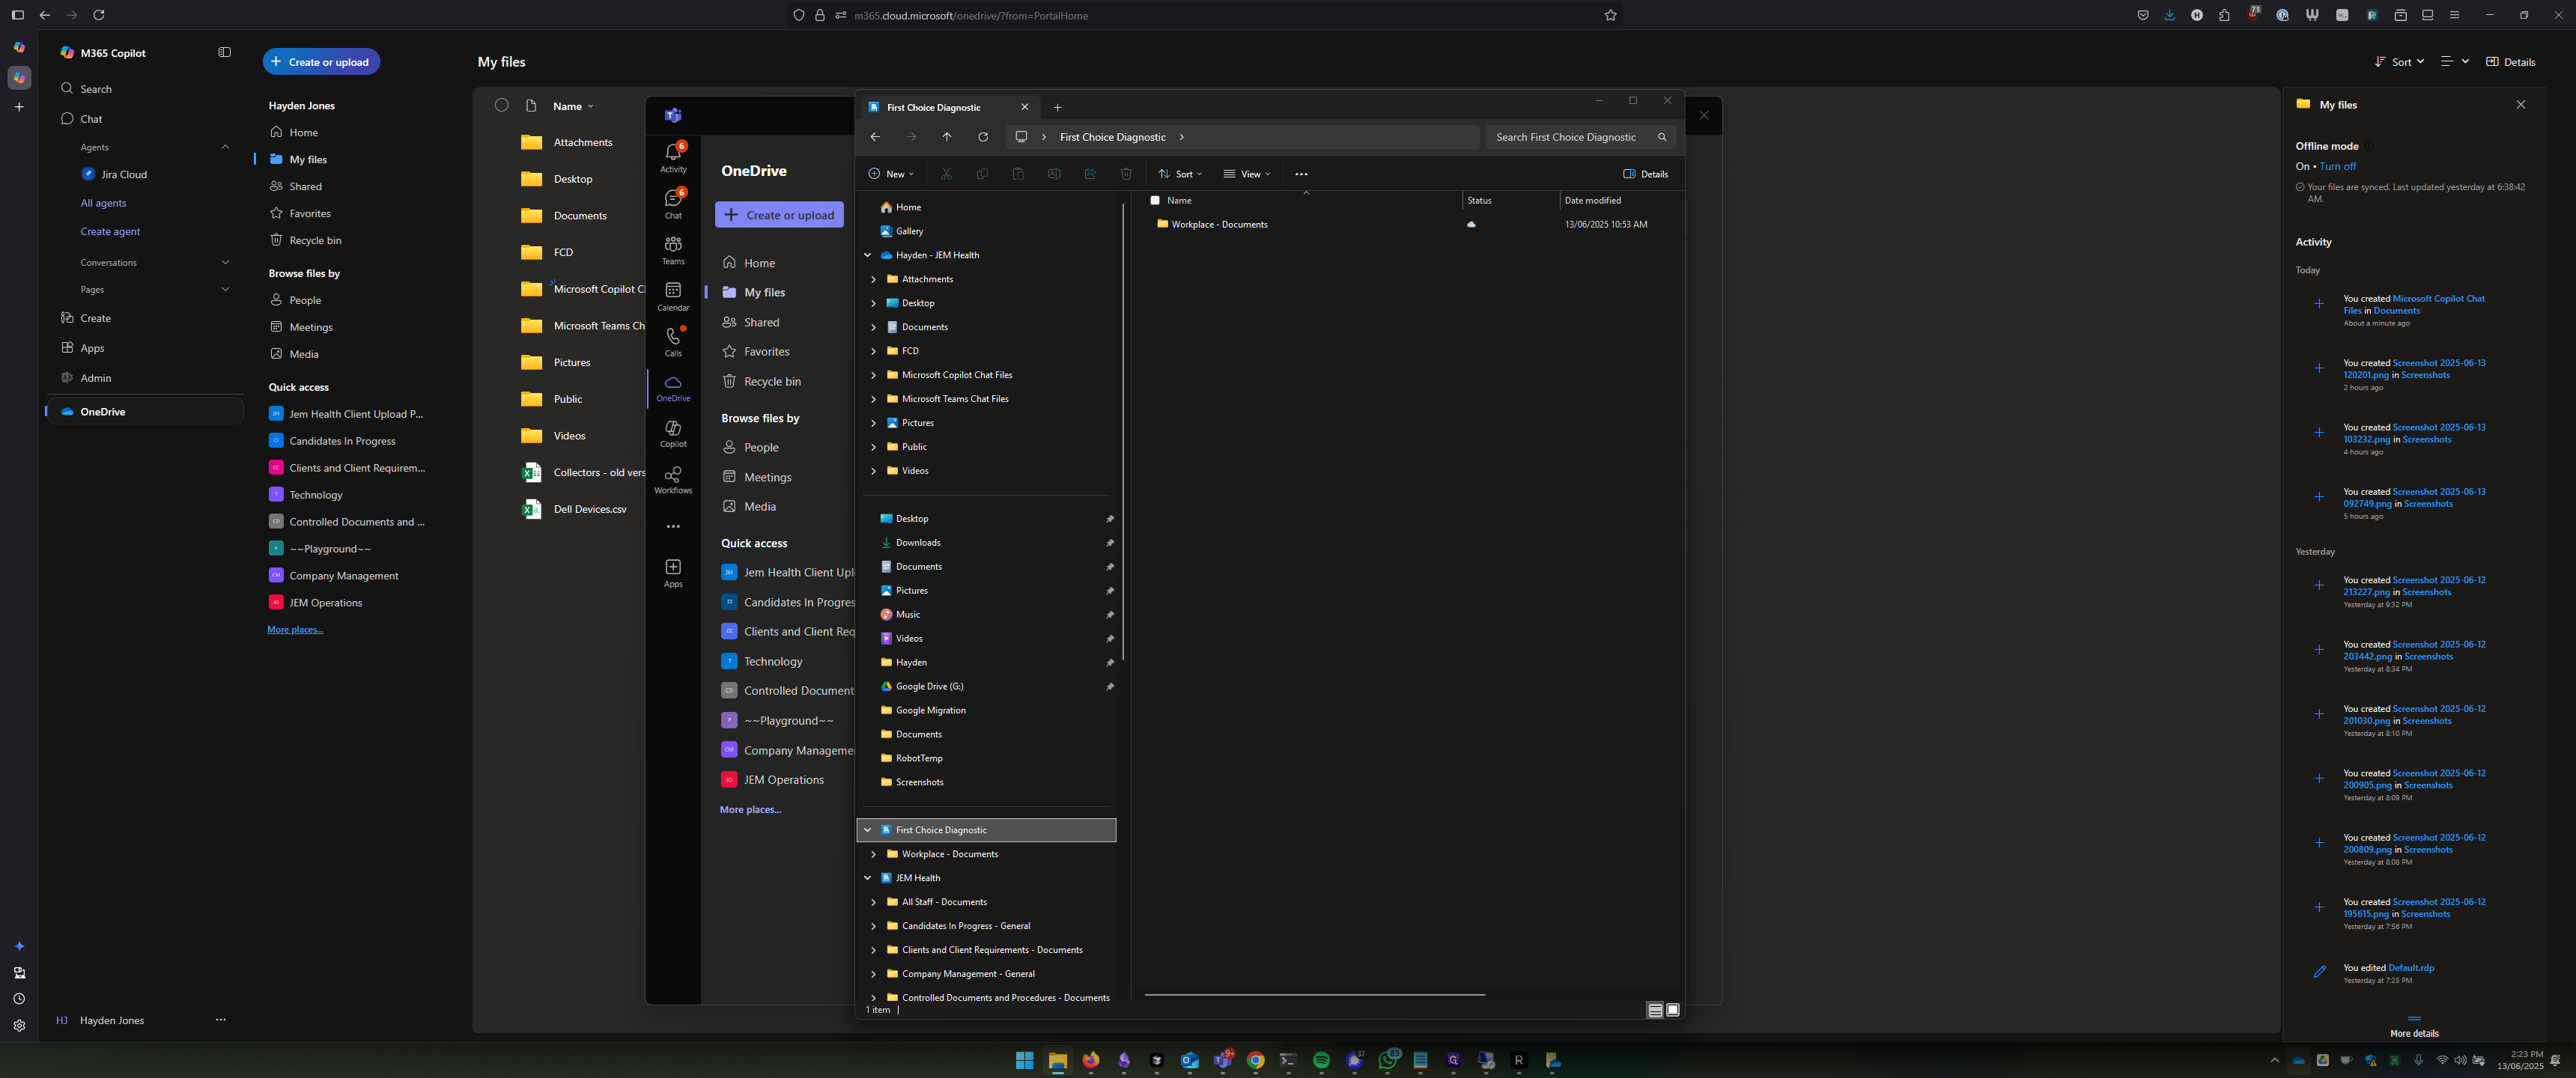
If you open File Explorer and see your organization's OneDrive folder, such as FirstChoice Diagnostic or Jem Health, synced.
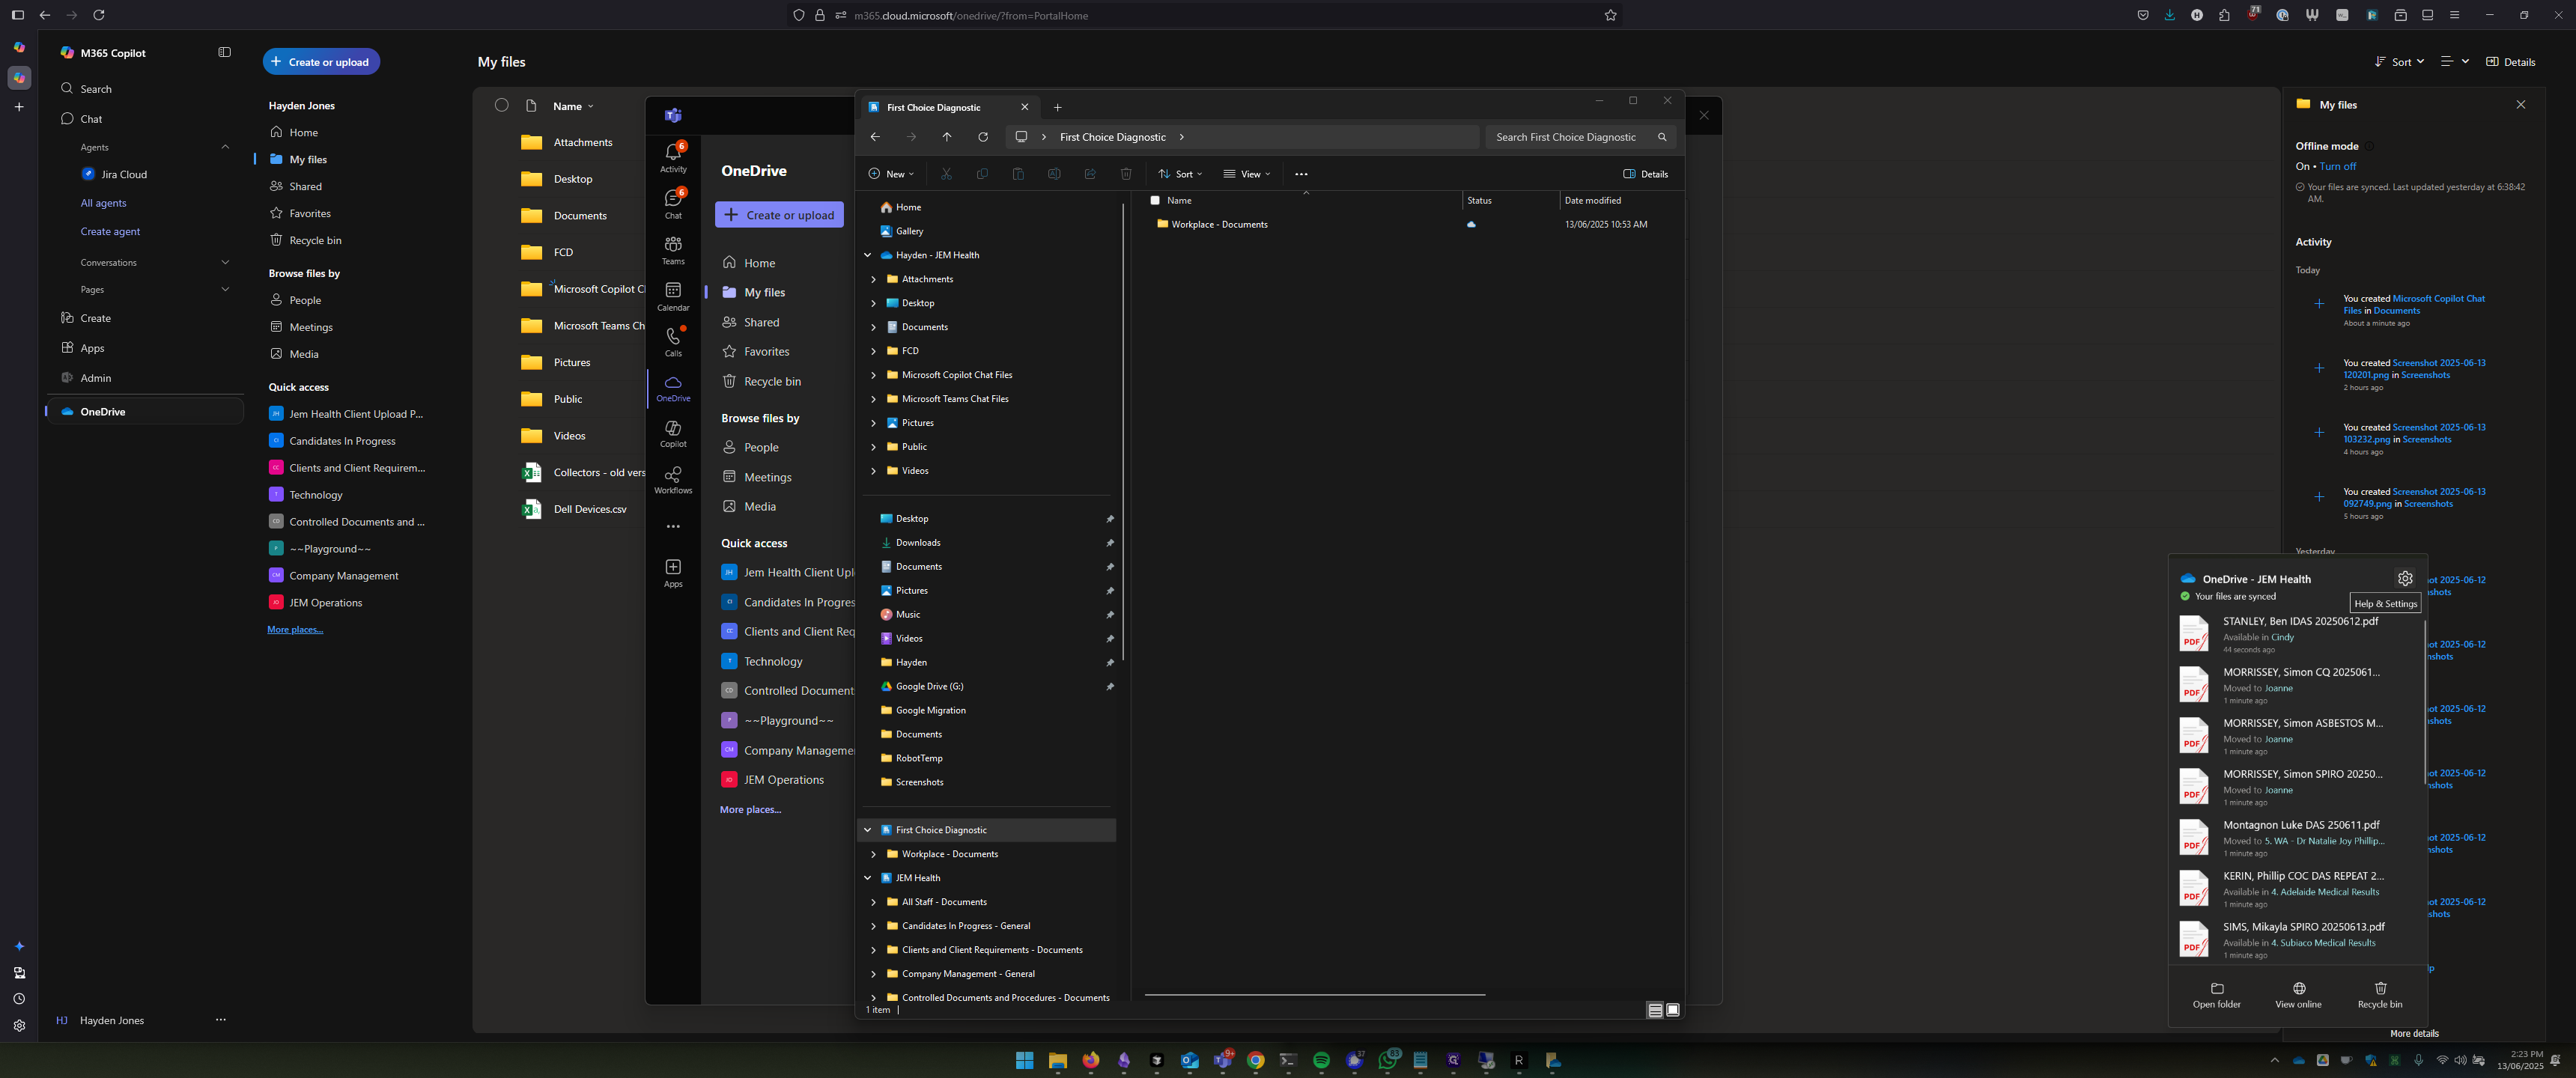
Click on the OneDrive icon in your system tray next to the clock.
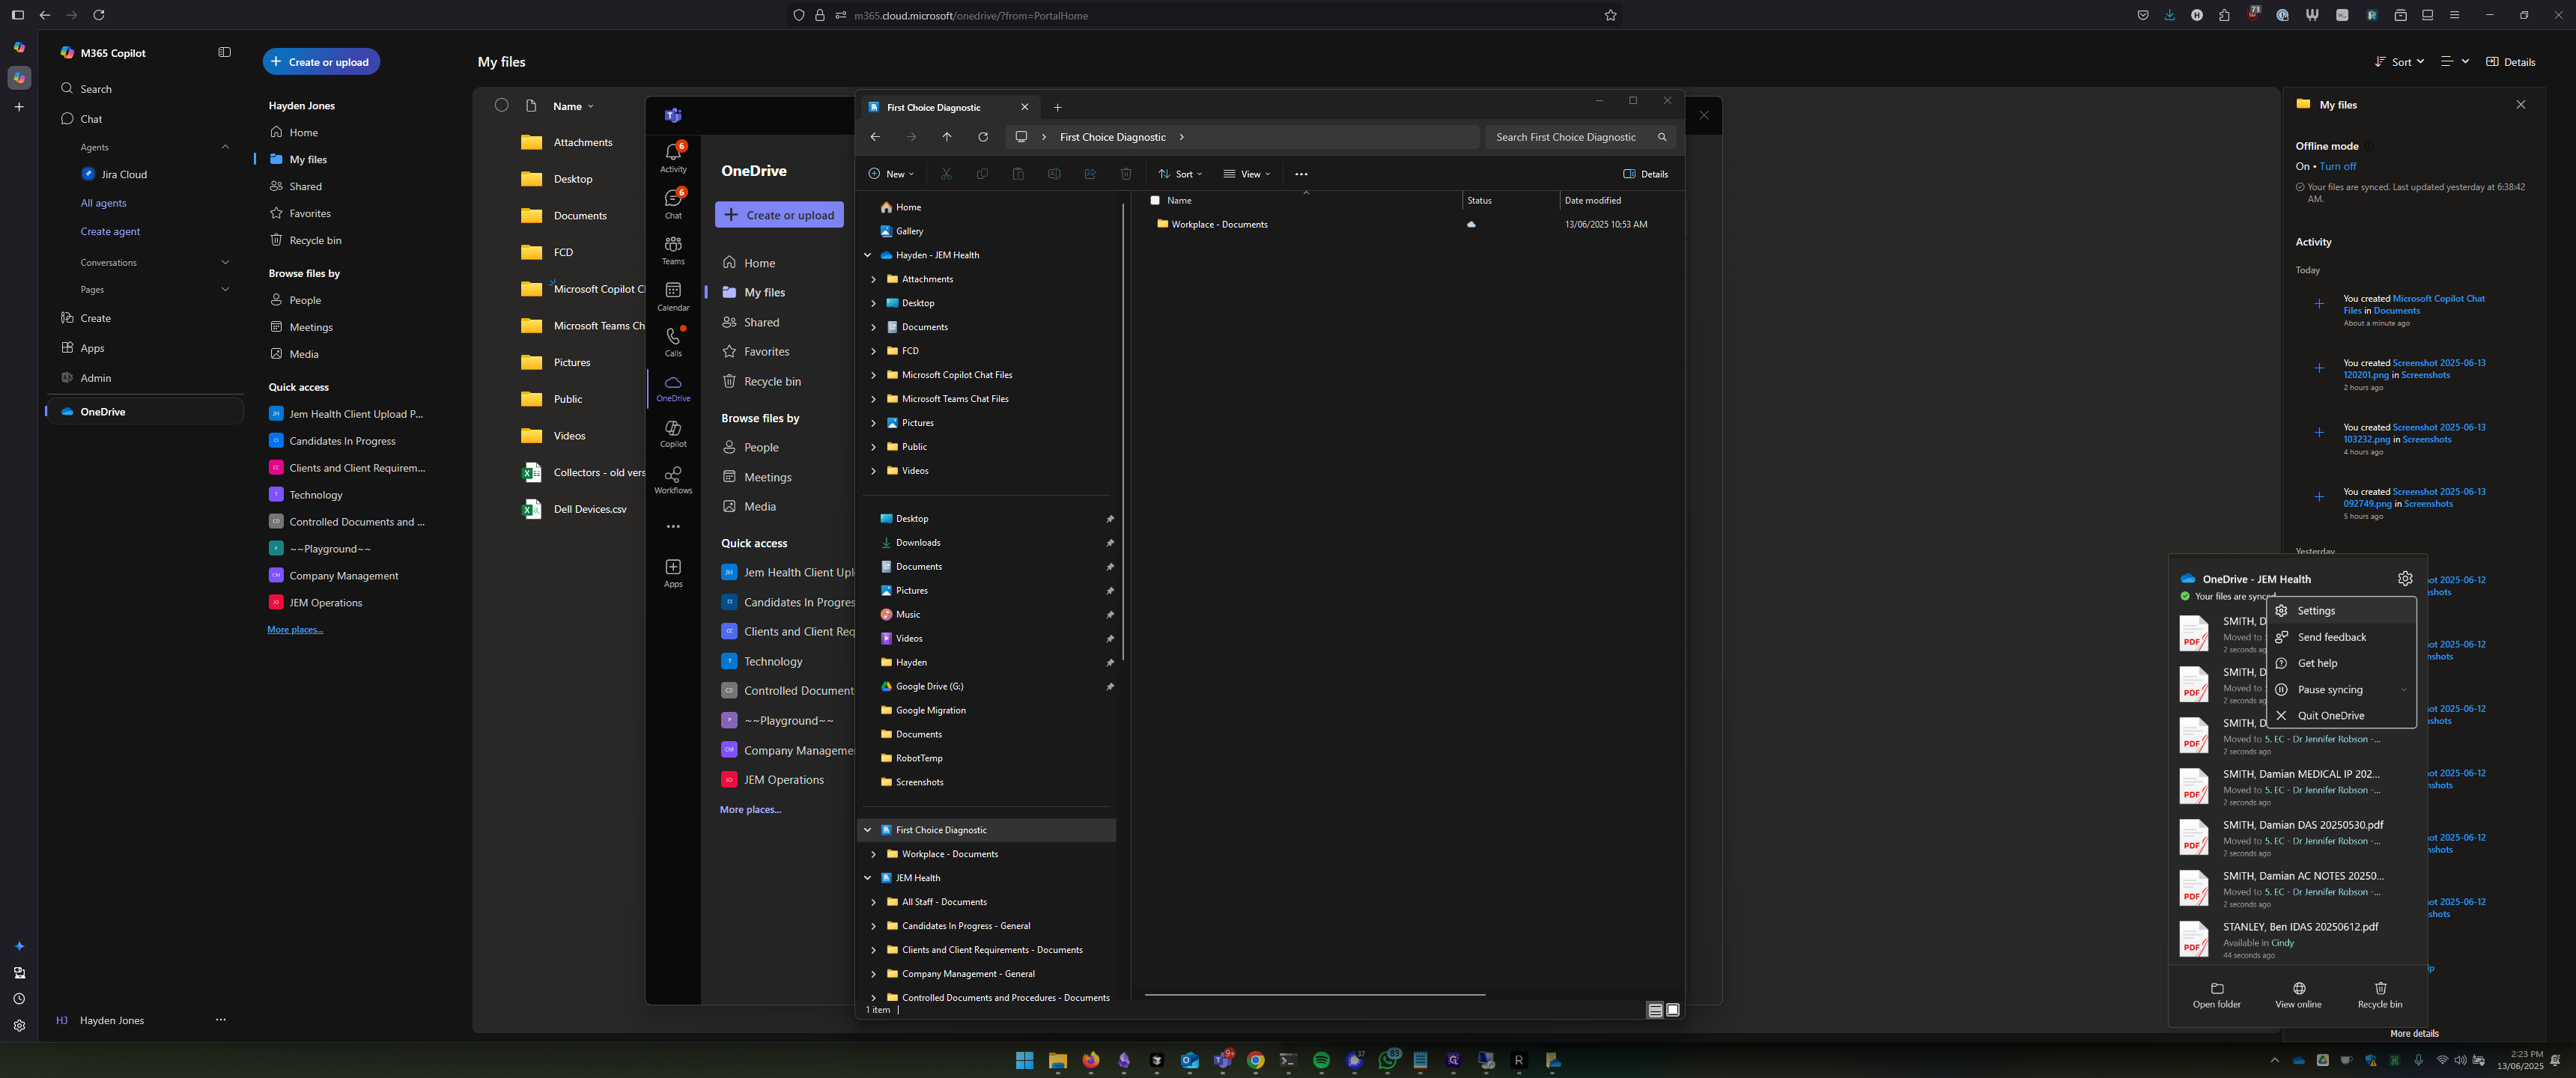
Then go to the settings cog.
Click on Settings, and a window will appear.
This list contains all the files and folders you are syncing to your local machine.
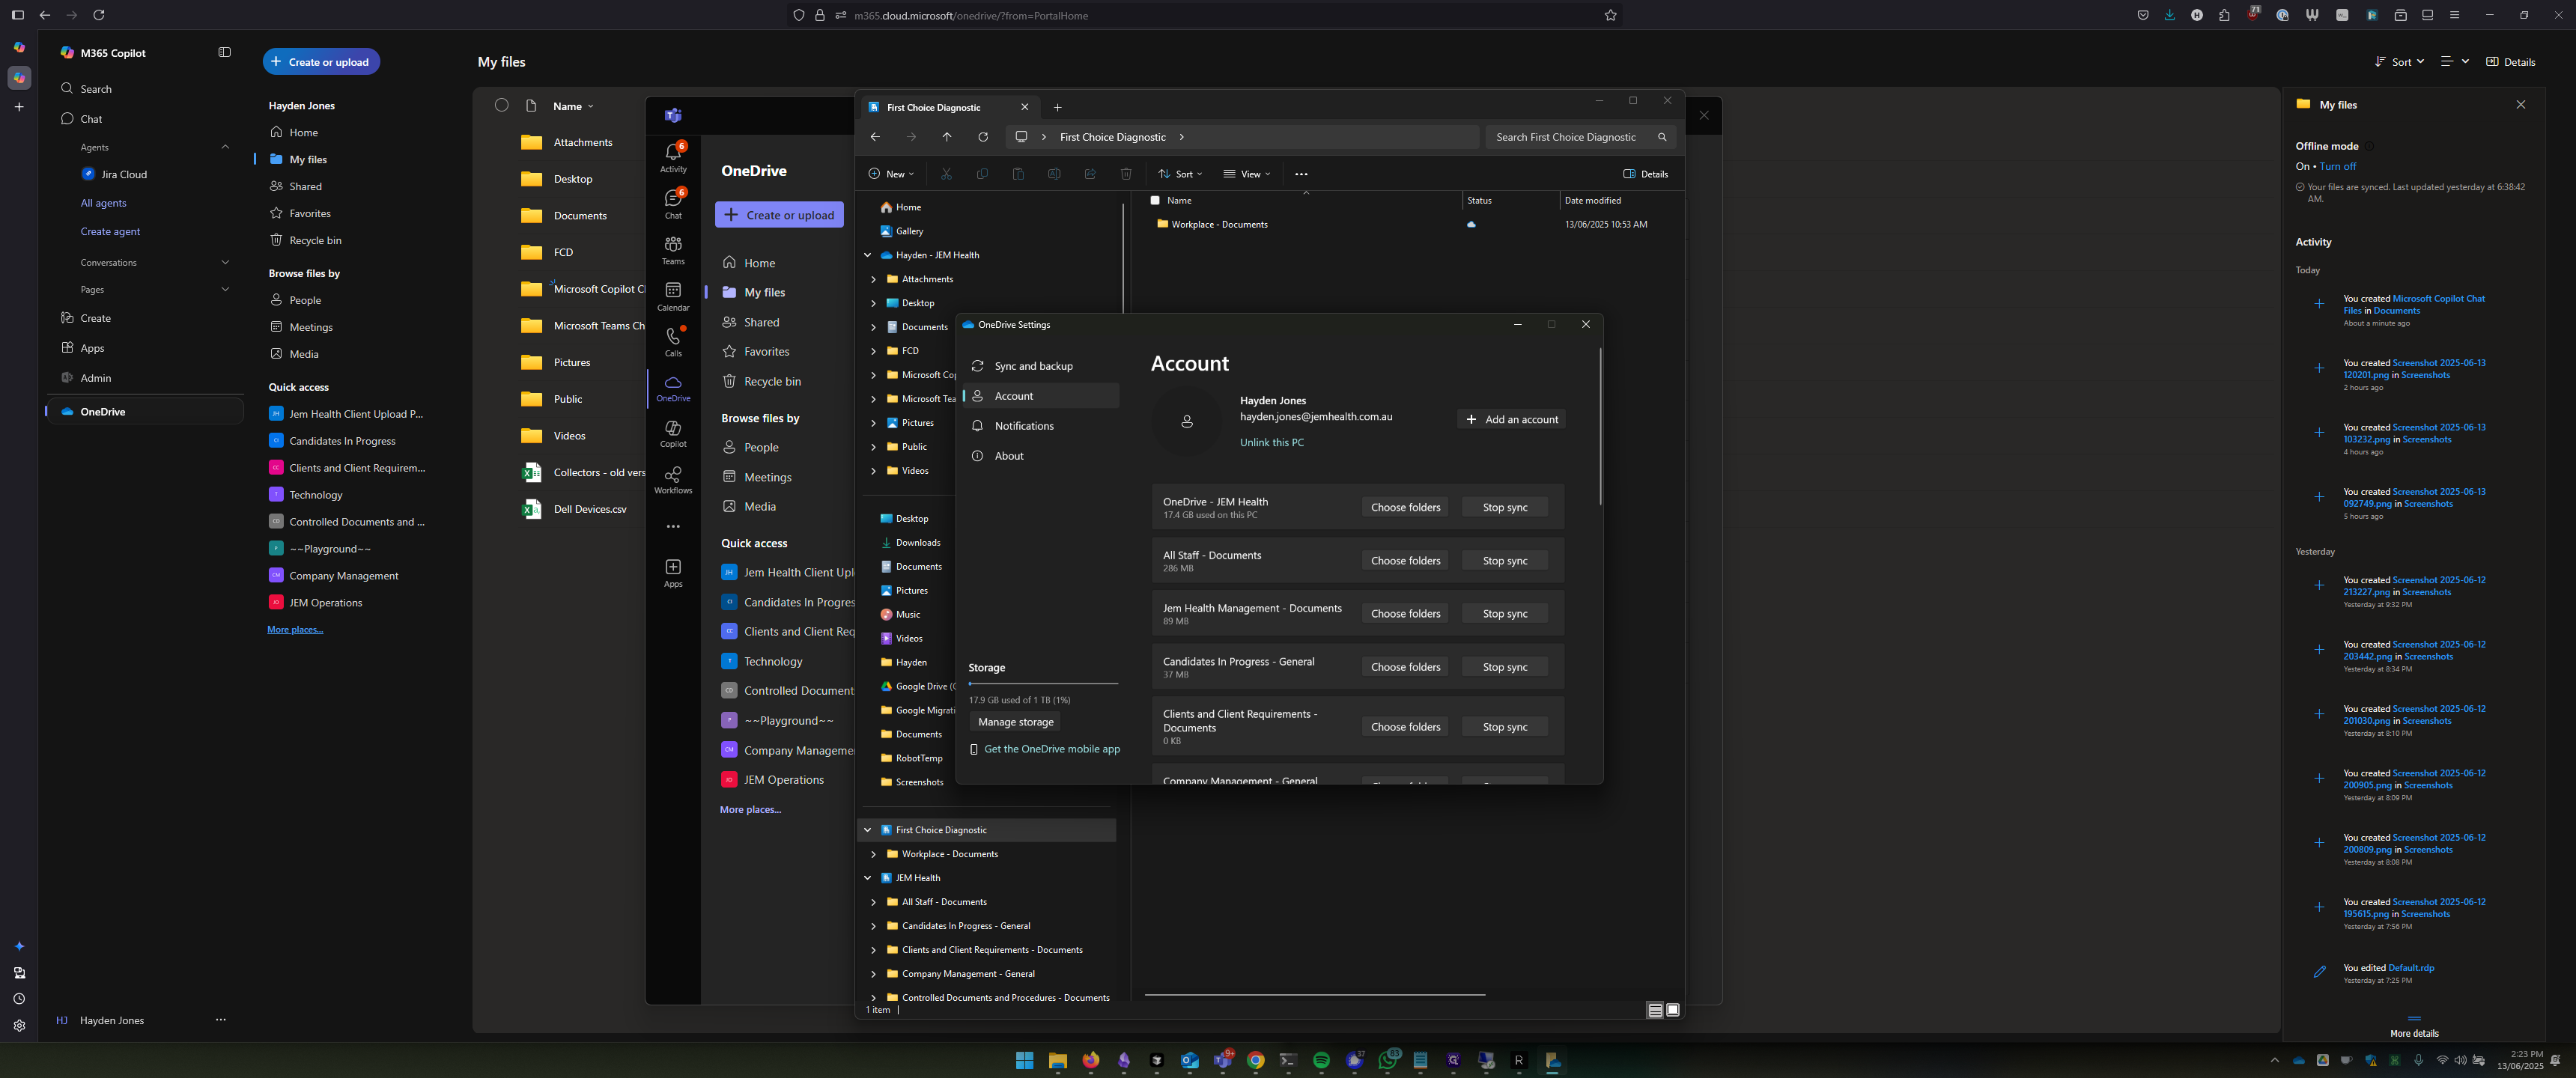
As you can see, I have quite a lot.
Look for the one at the top that says "OneDrive - [Your Organization]."
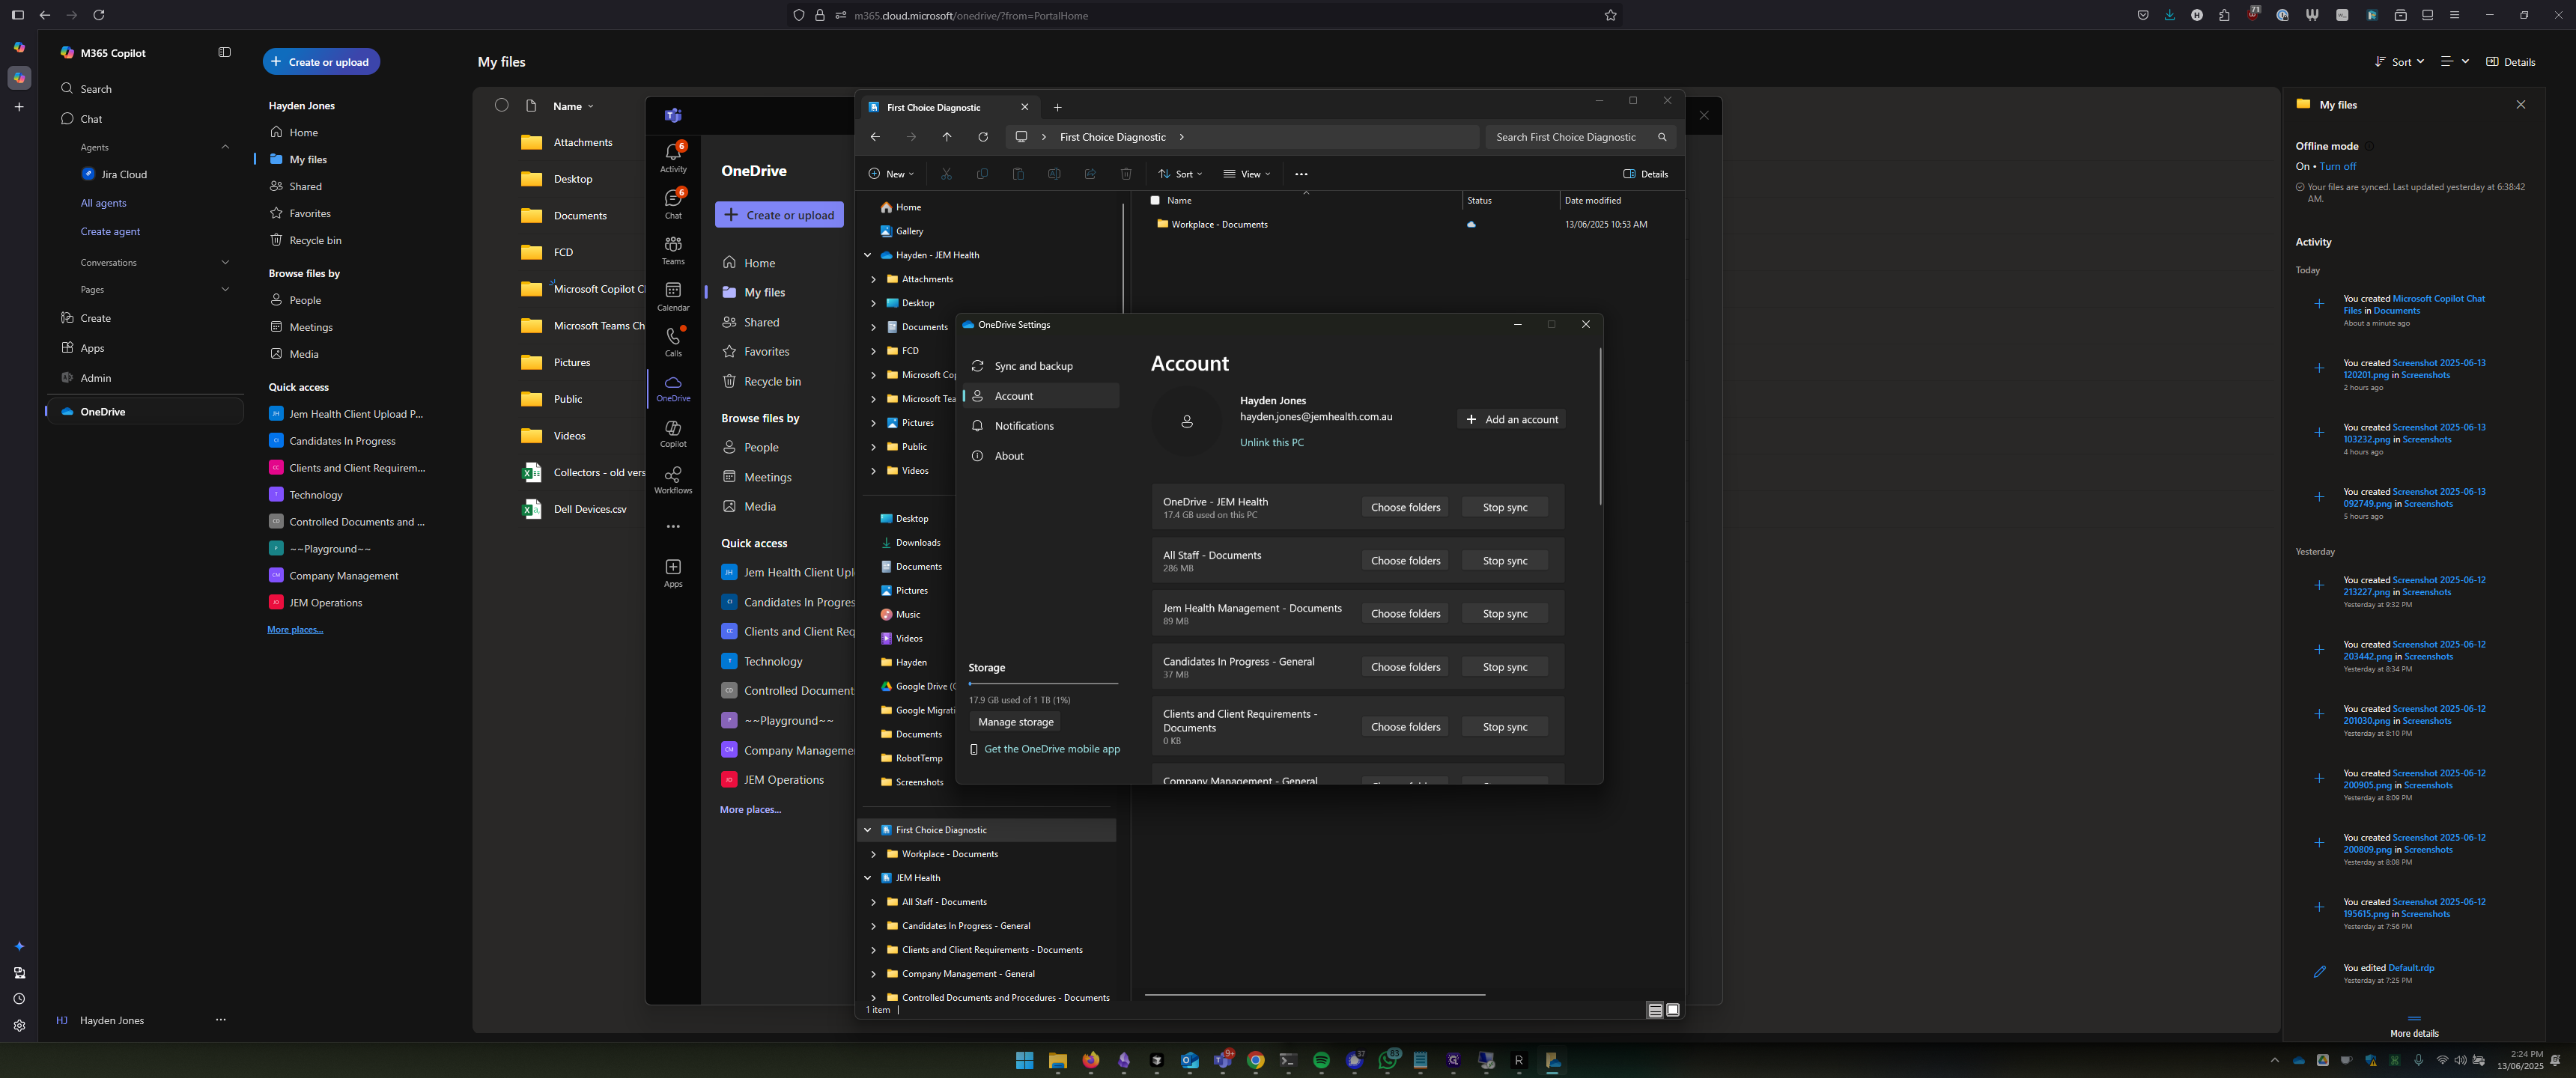
Mine says "Stop Sync" because I'm already synchronizing this to my machine. Just press "Start Sync," and it will begin syncing.