
How to Sync the Projects Team to your Desktop
Learn step-by-step how to sync the new Projects team in Microsoft Teams, manage files efficiently, and access synced files in File Explorer for better project management.
In this guide, we'll learn how to sync files from the new Projects team in Microsoft Teams to your computer. Syncing helps you keep track of all project files in one place and makes it easier to access them through File Explorer. This method is more effective than using shortcuts, especially when managing many files.
Let's get started
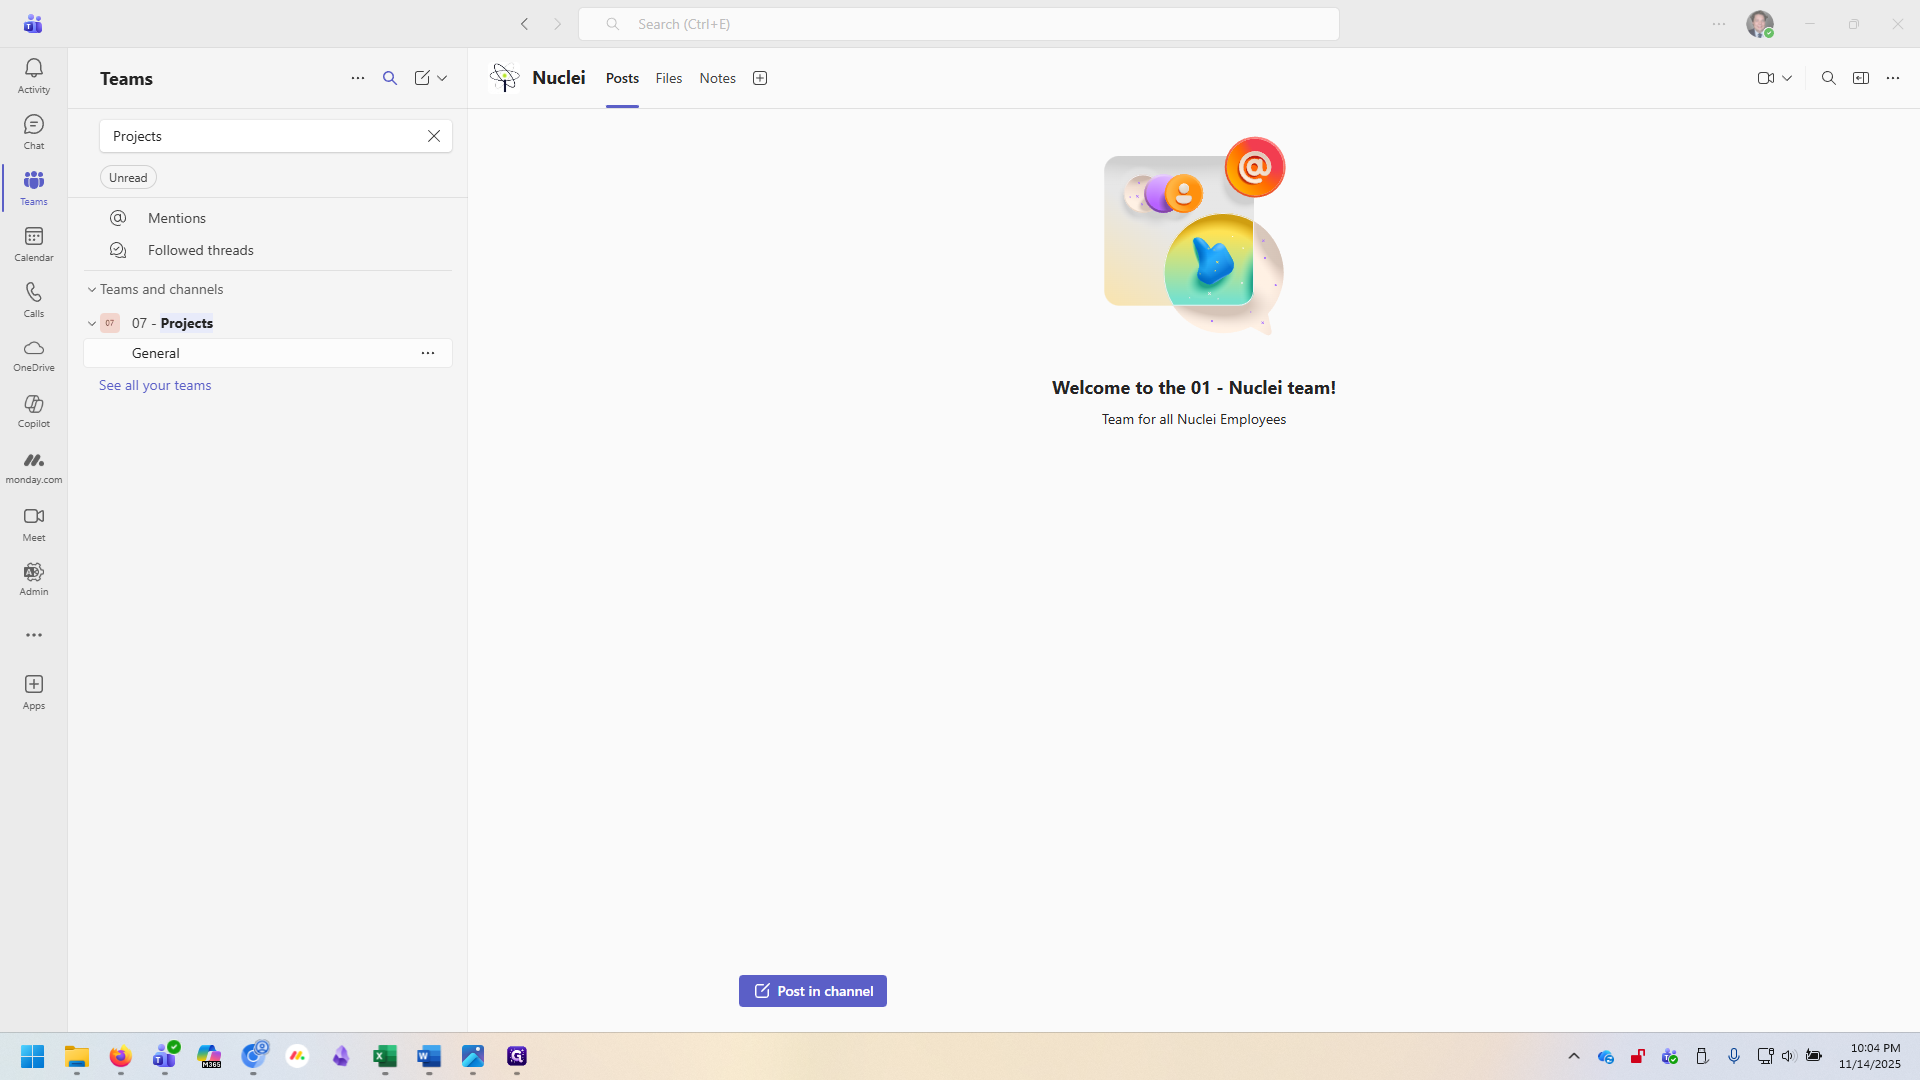
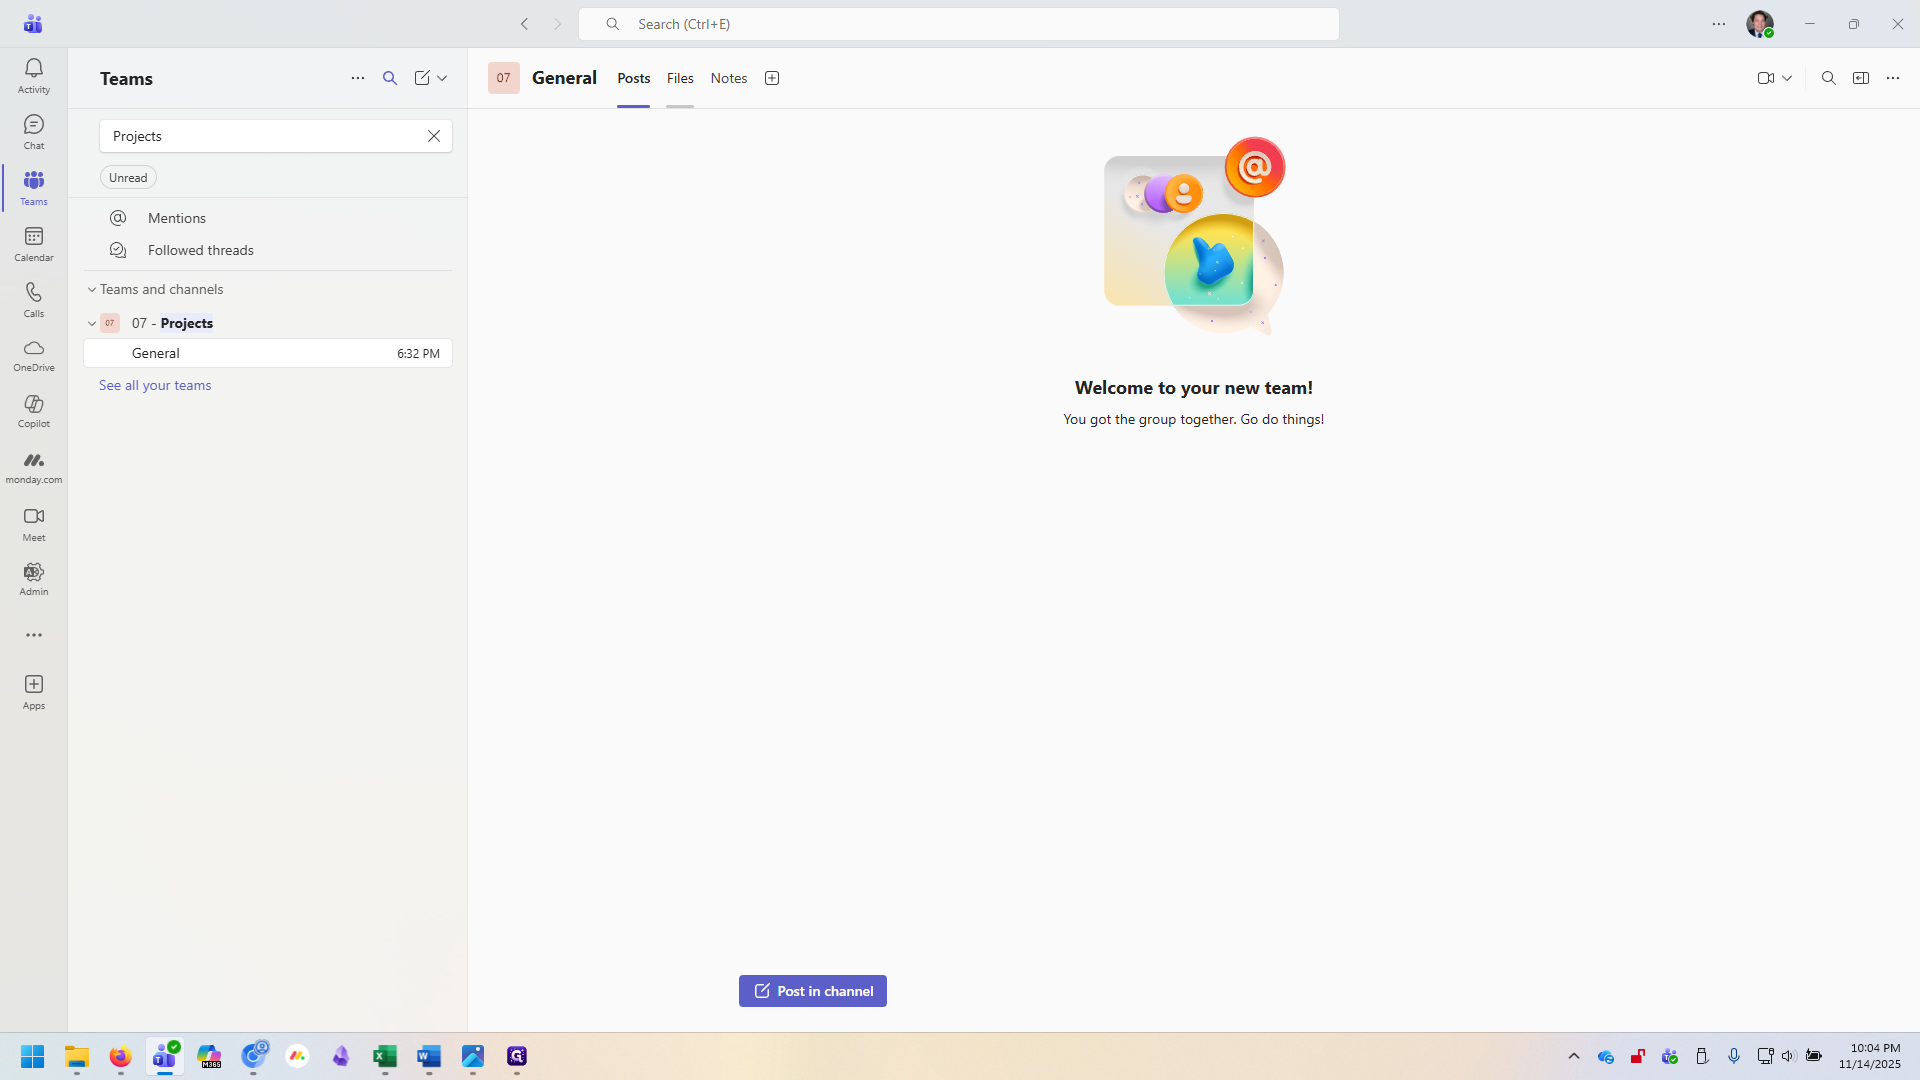
First, open Teams. Go to the Projects team and select General.
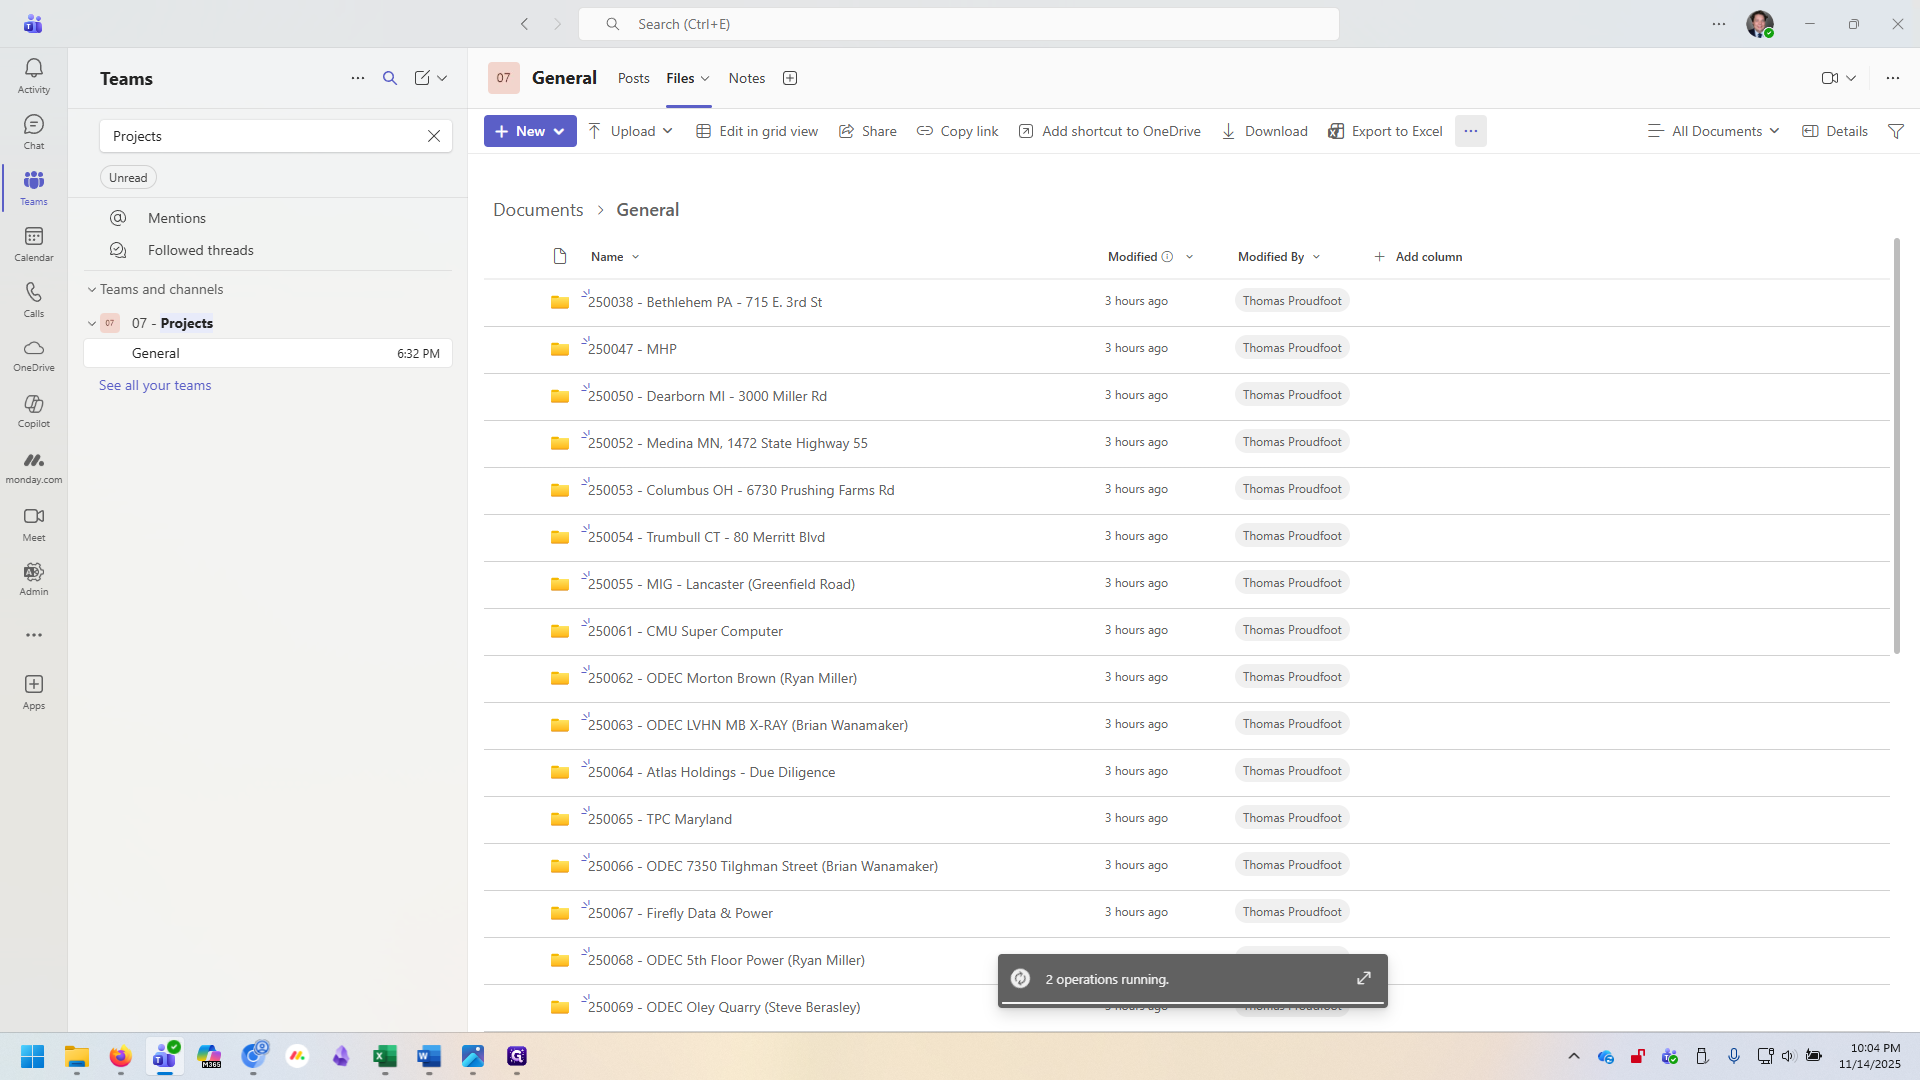
Once you are in the team, click on Files.
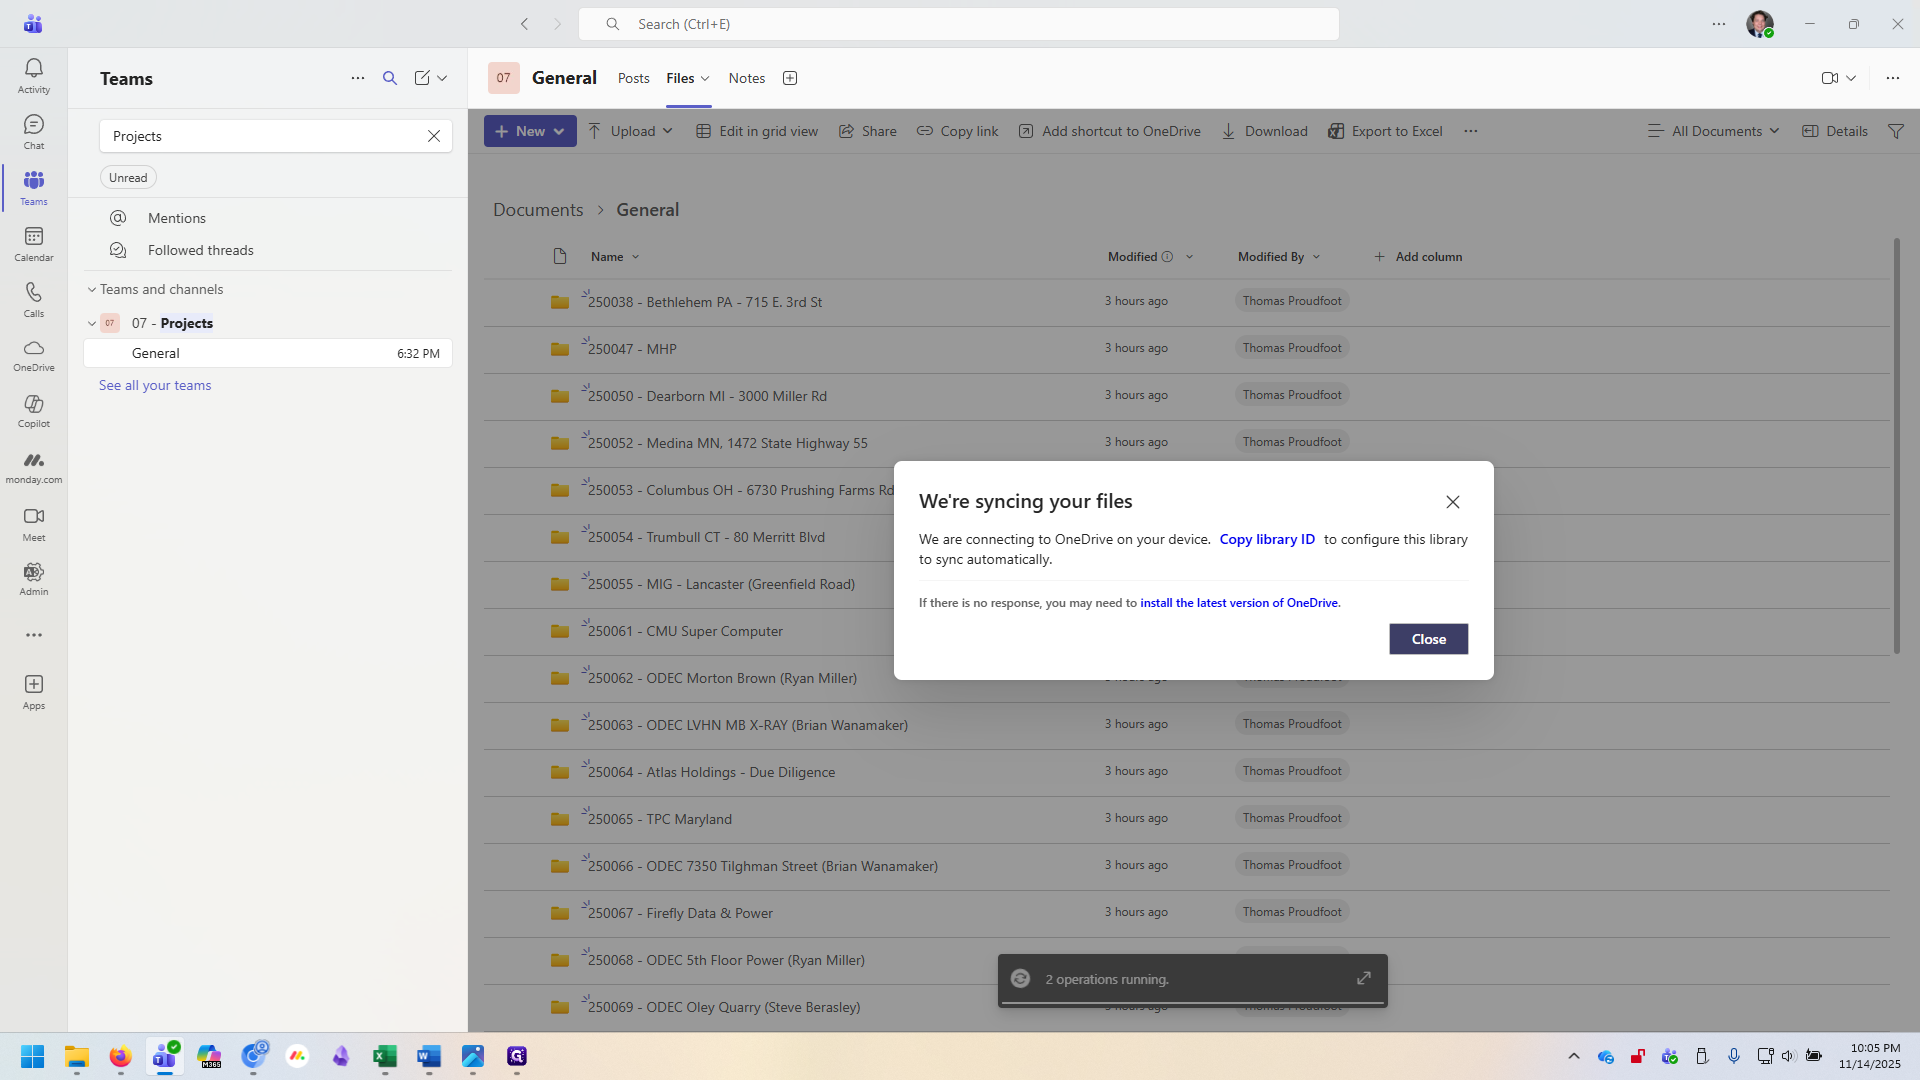
Here, you'll see the all of our active projects. To sync them to your computer, click the three dots and select Sync.
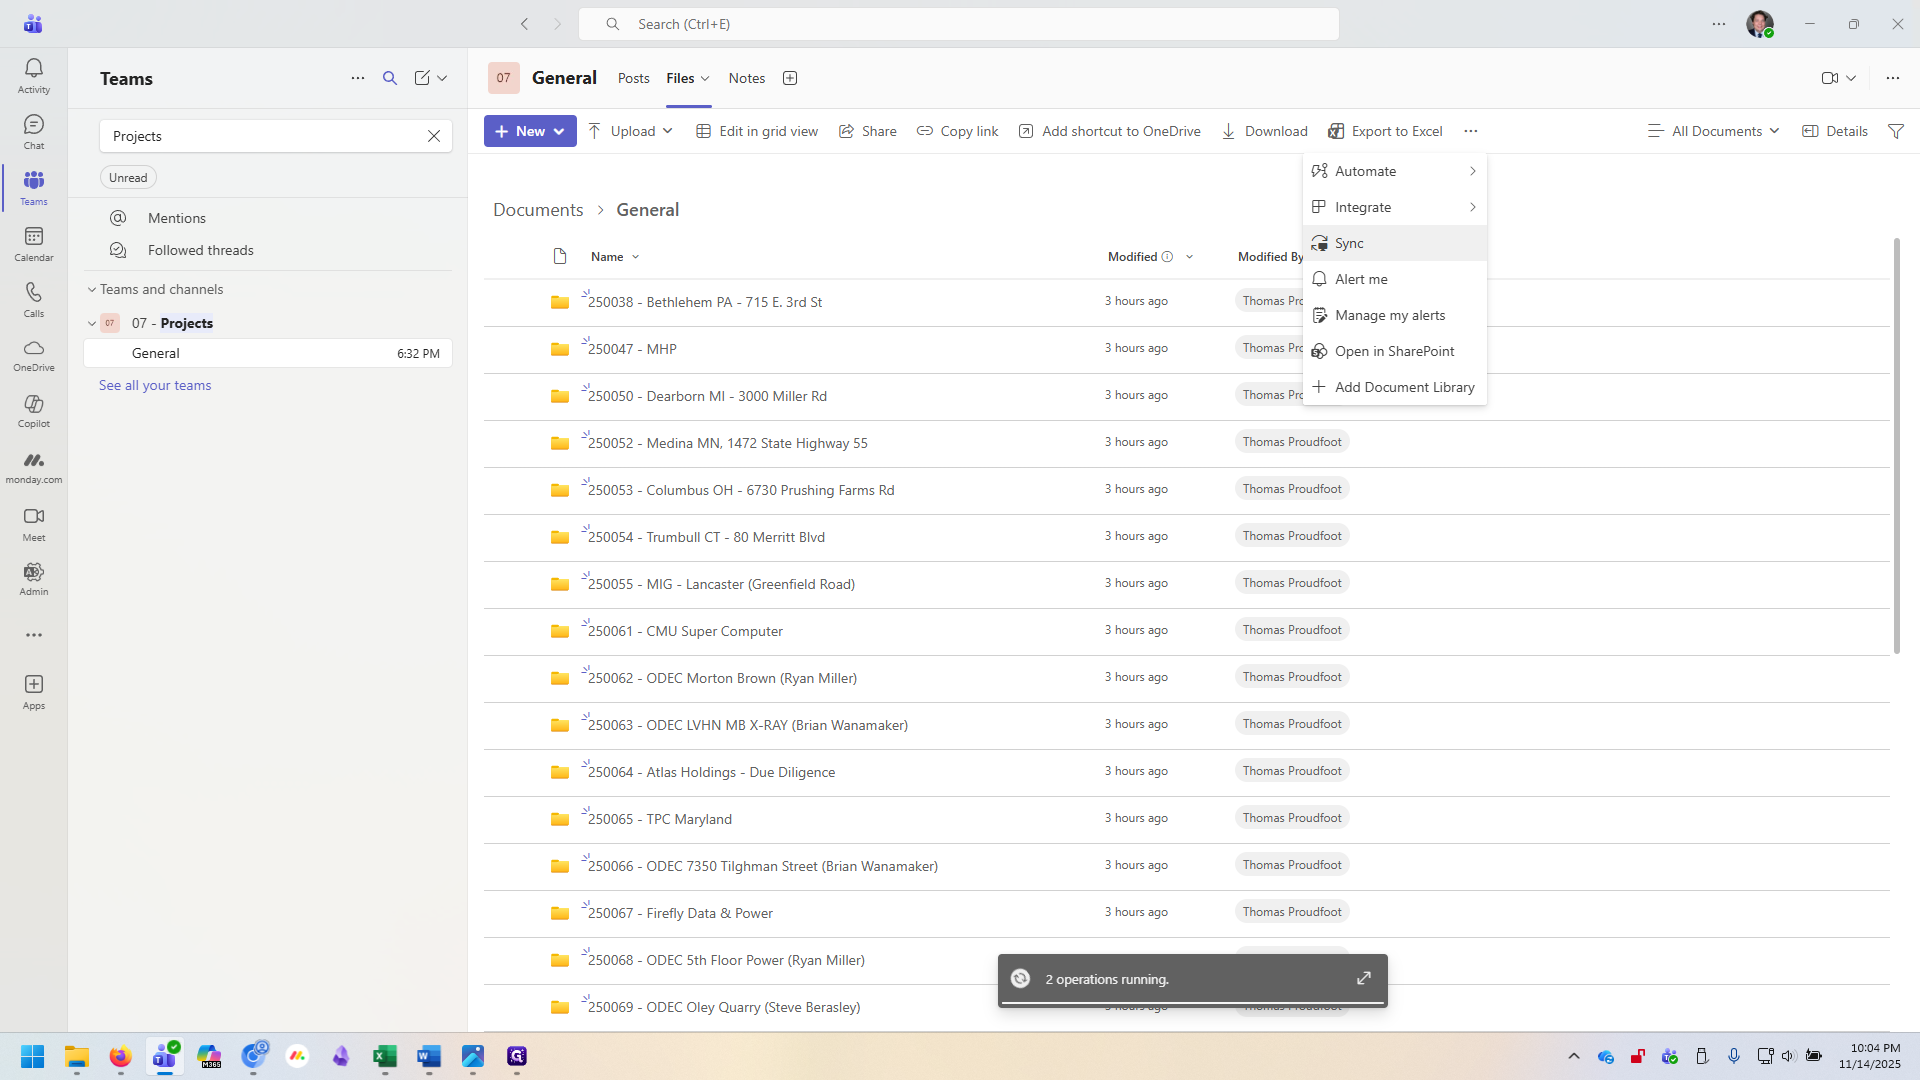
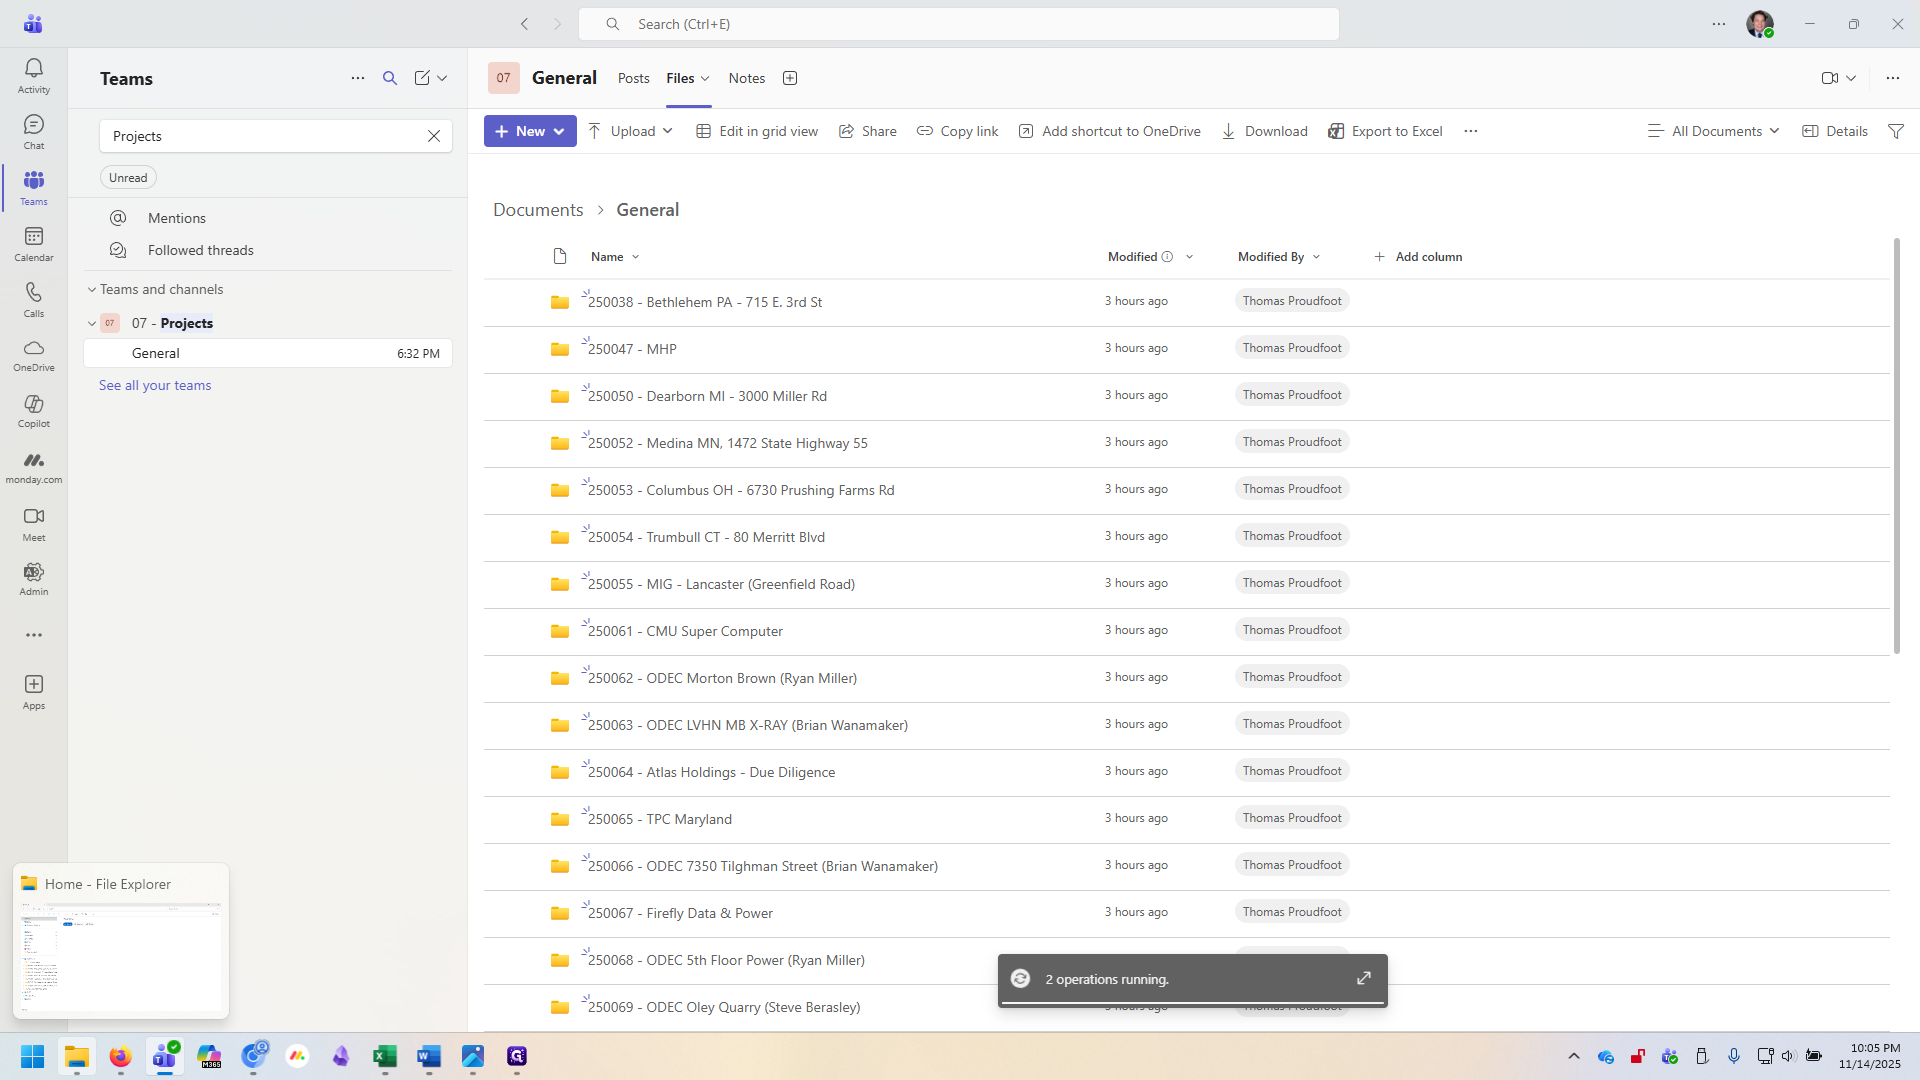
Syncing is a better way to manage high numbers of files than using shortcuts. I recommend using the sync function instead of the "Add shortcut to OneDrive" option. Now that the files are synced, click Close on the pop-up. Next, open your File Explorer.
In the File Explorer, you’ll see a section called Nucleidata.com. This is where all your synced files are stored.
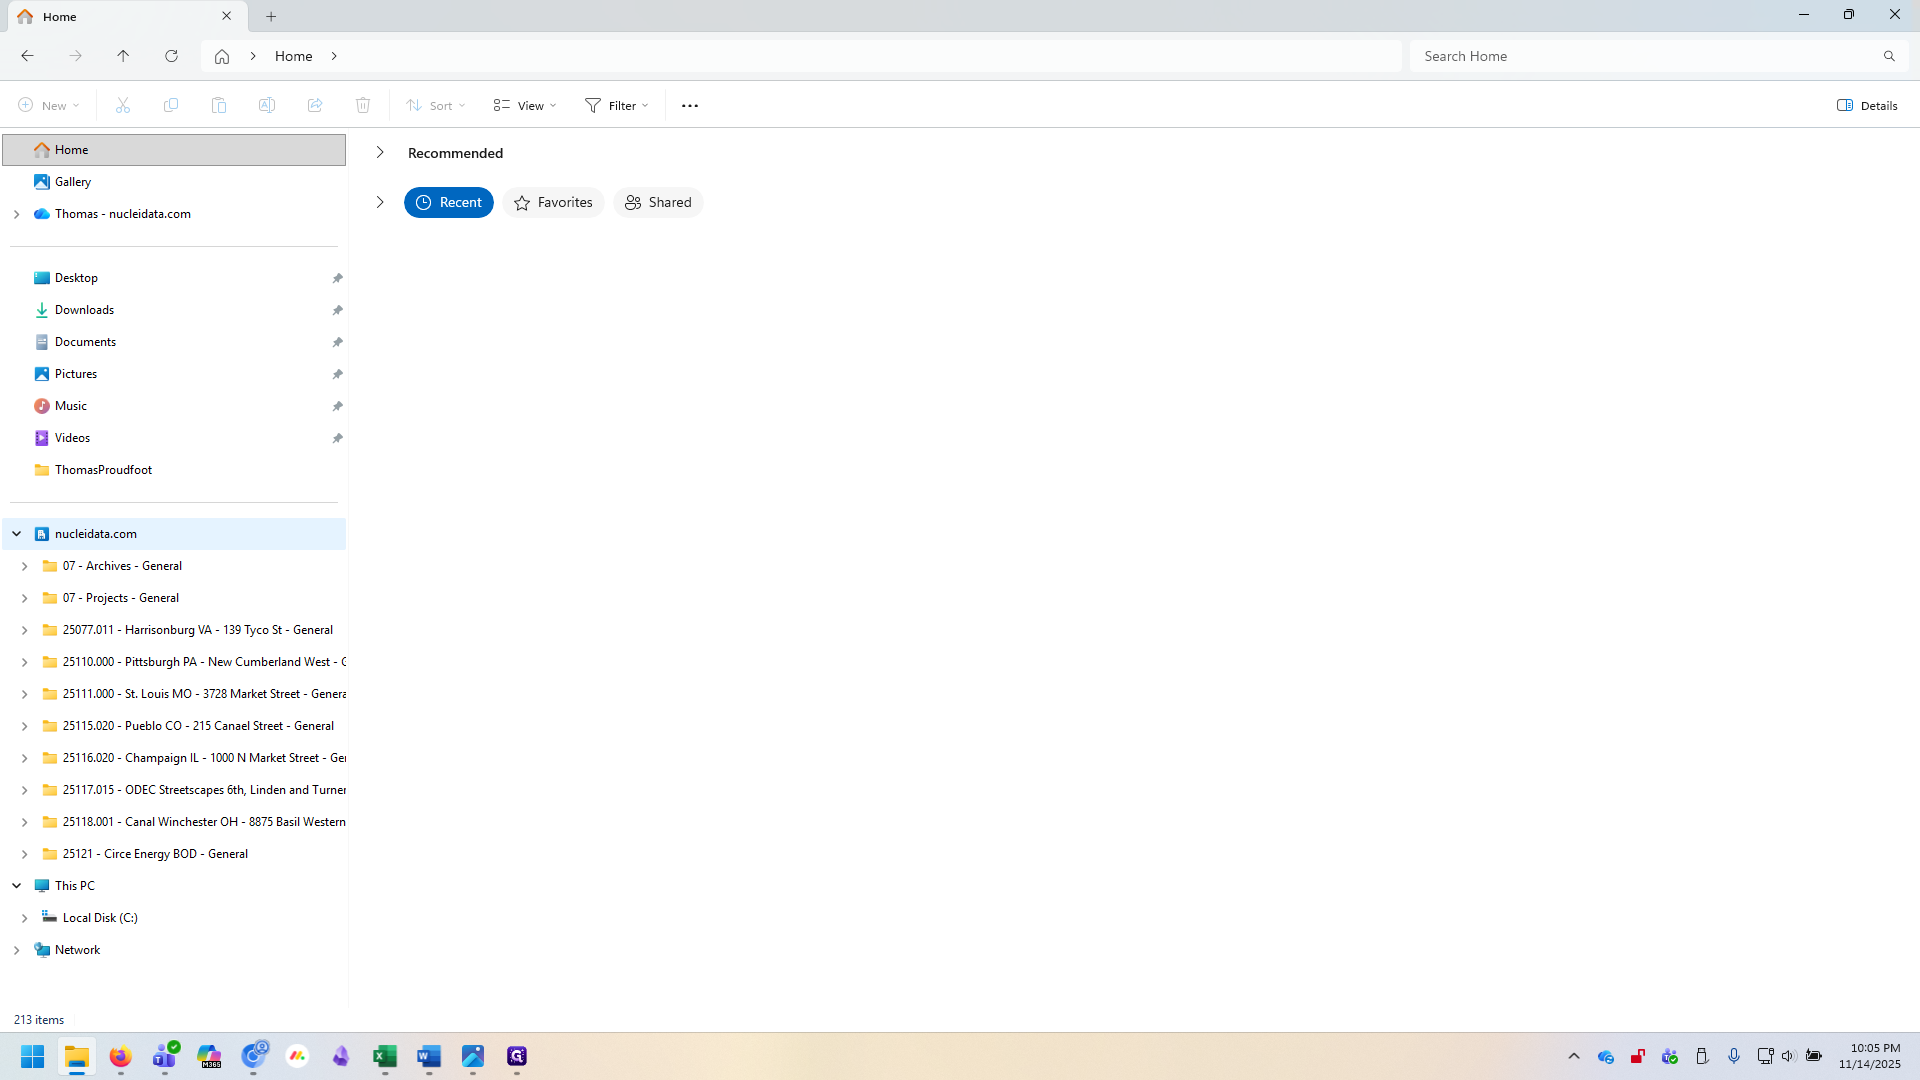
As you can see, the Projects folder is synced here, alongside any other folders you may have synced.
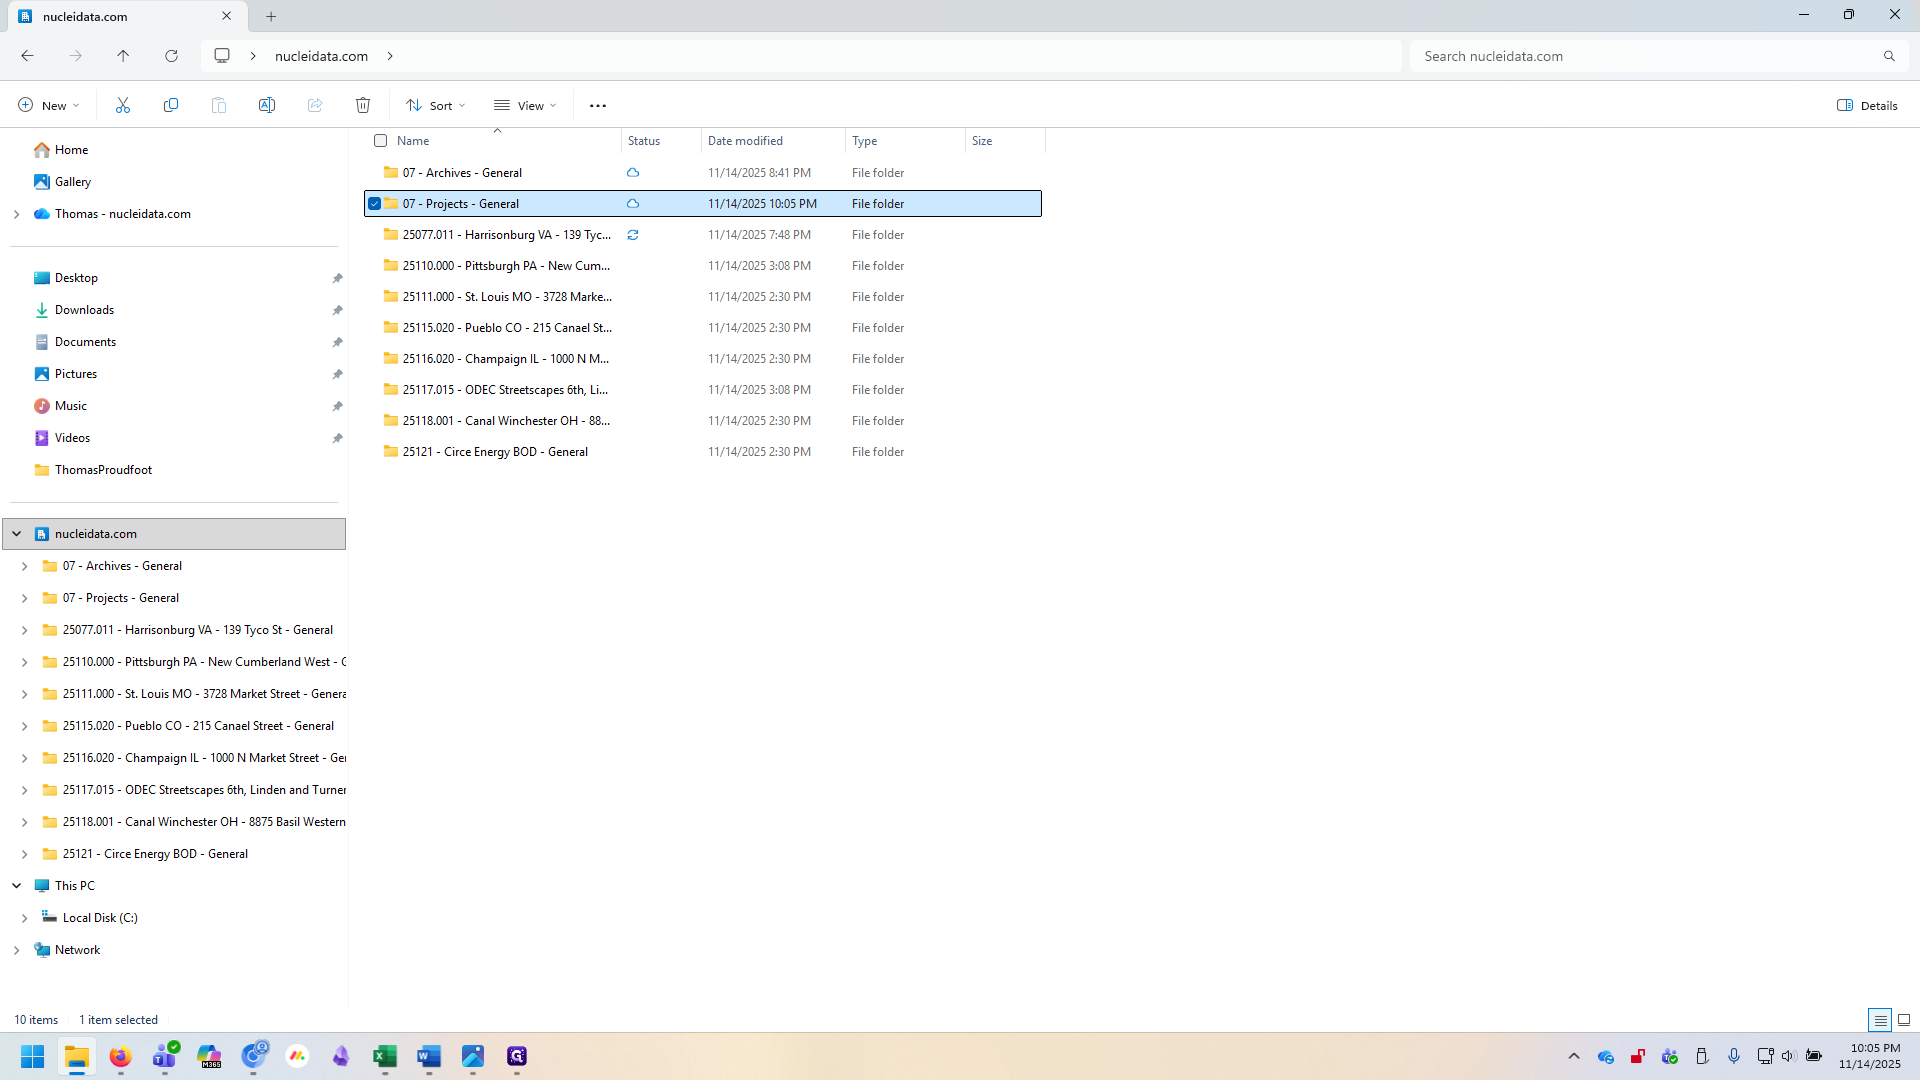
That's it! You can now browse, update and delete files freely. Please keep in mind that anything you delete in a synced folder will also delete in the cloud. If you wish to no longer see a synced folder on your computer but don't wish to permanently delete it, you must right click it and select 'Stop sync'.