
Tagging and Upload/Finish Shoot
Learn the step-by-step process for tagging, selecting, and uploading final images for each child in a nursery photo shoot. Includes tips for marking favorites, assigning image codes, and finalizing the shoot.
In this guide, we'll learn how to tag and organize final images from a photo shoot, focusing on selecting and marking four key images for each child. We will also cover how to handle group, panoramic, and sibling photos, as well as how to finalize and upload your shoot. This process ensures that each image is correctly categorized and ready for upload.
Let's get started
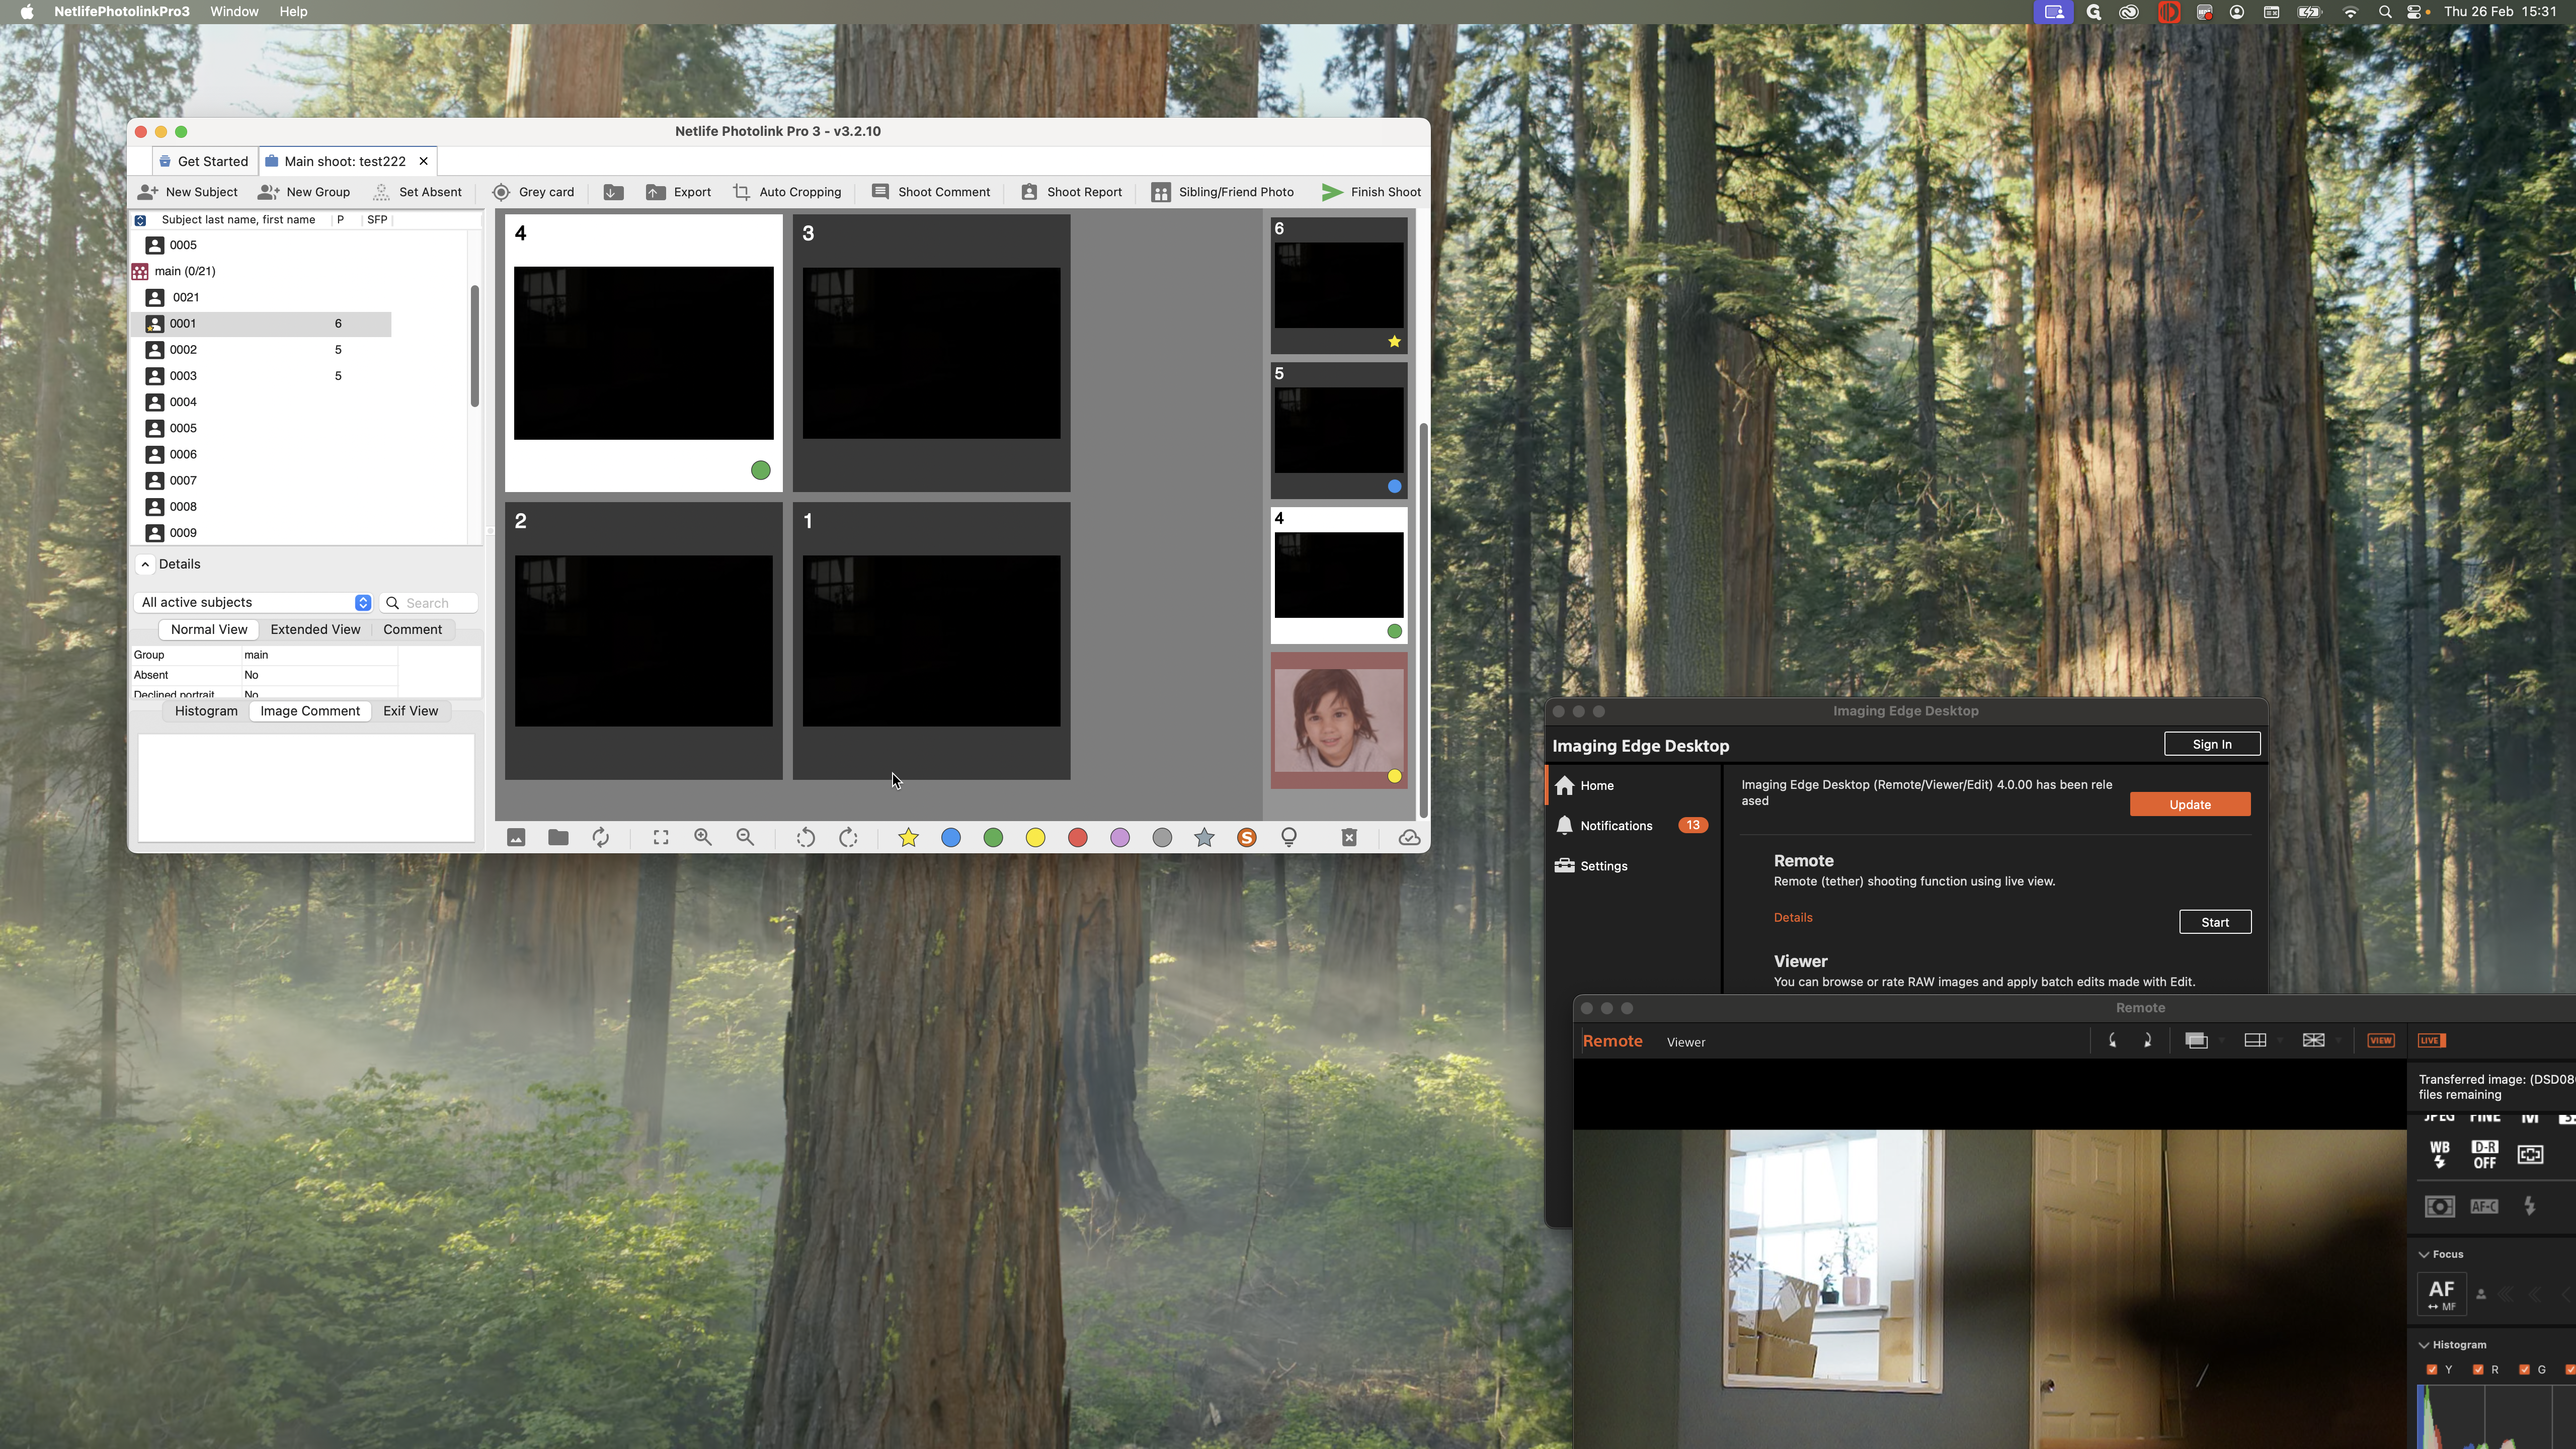
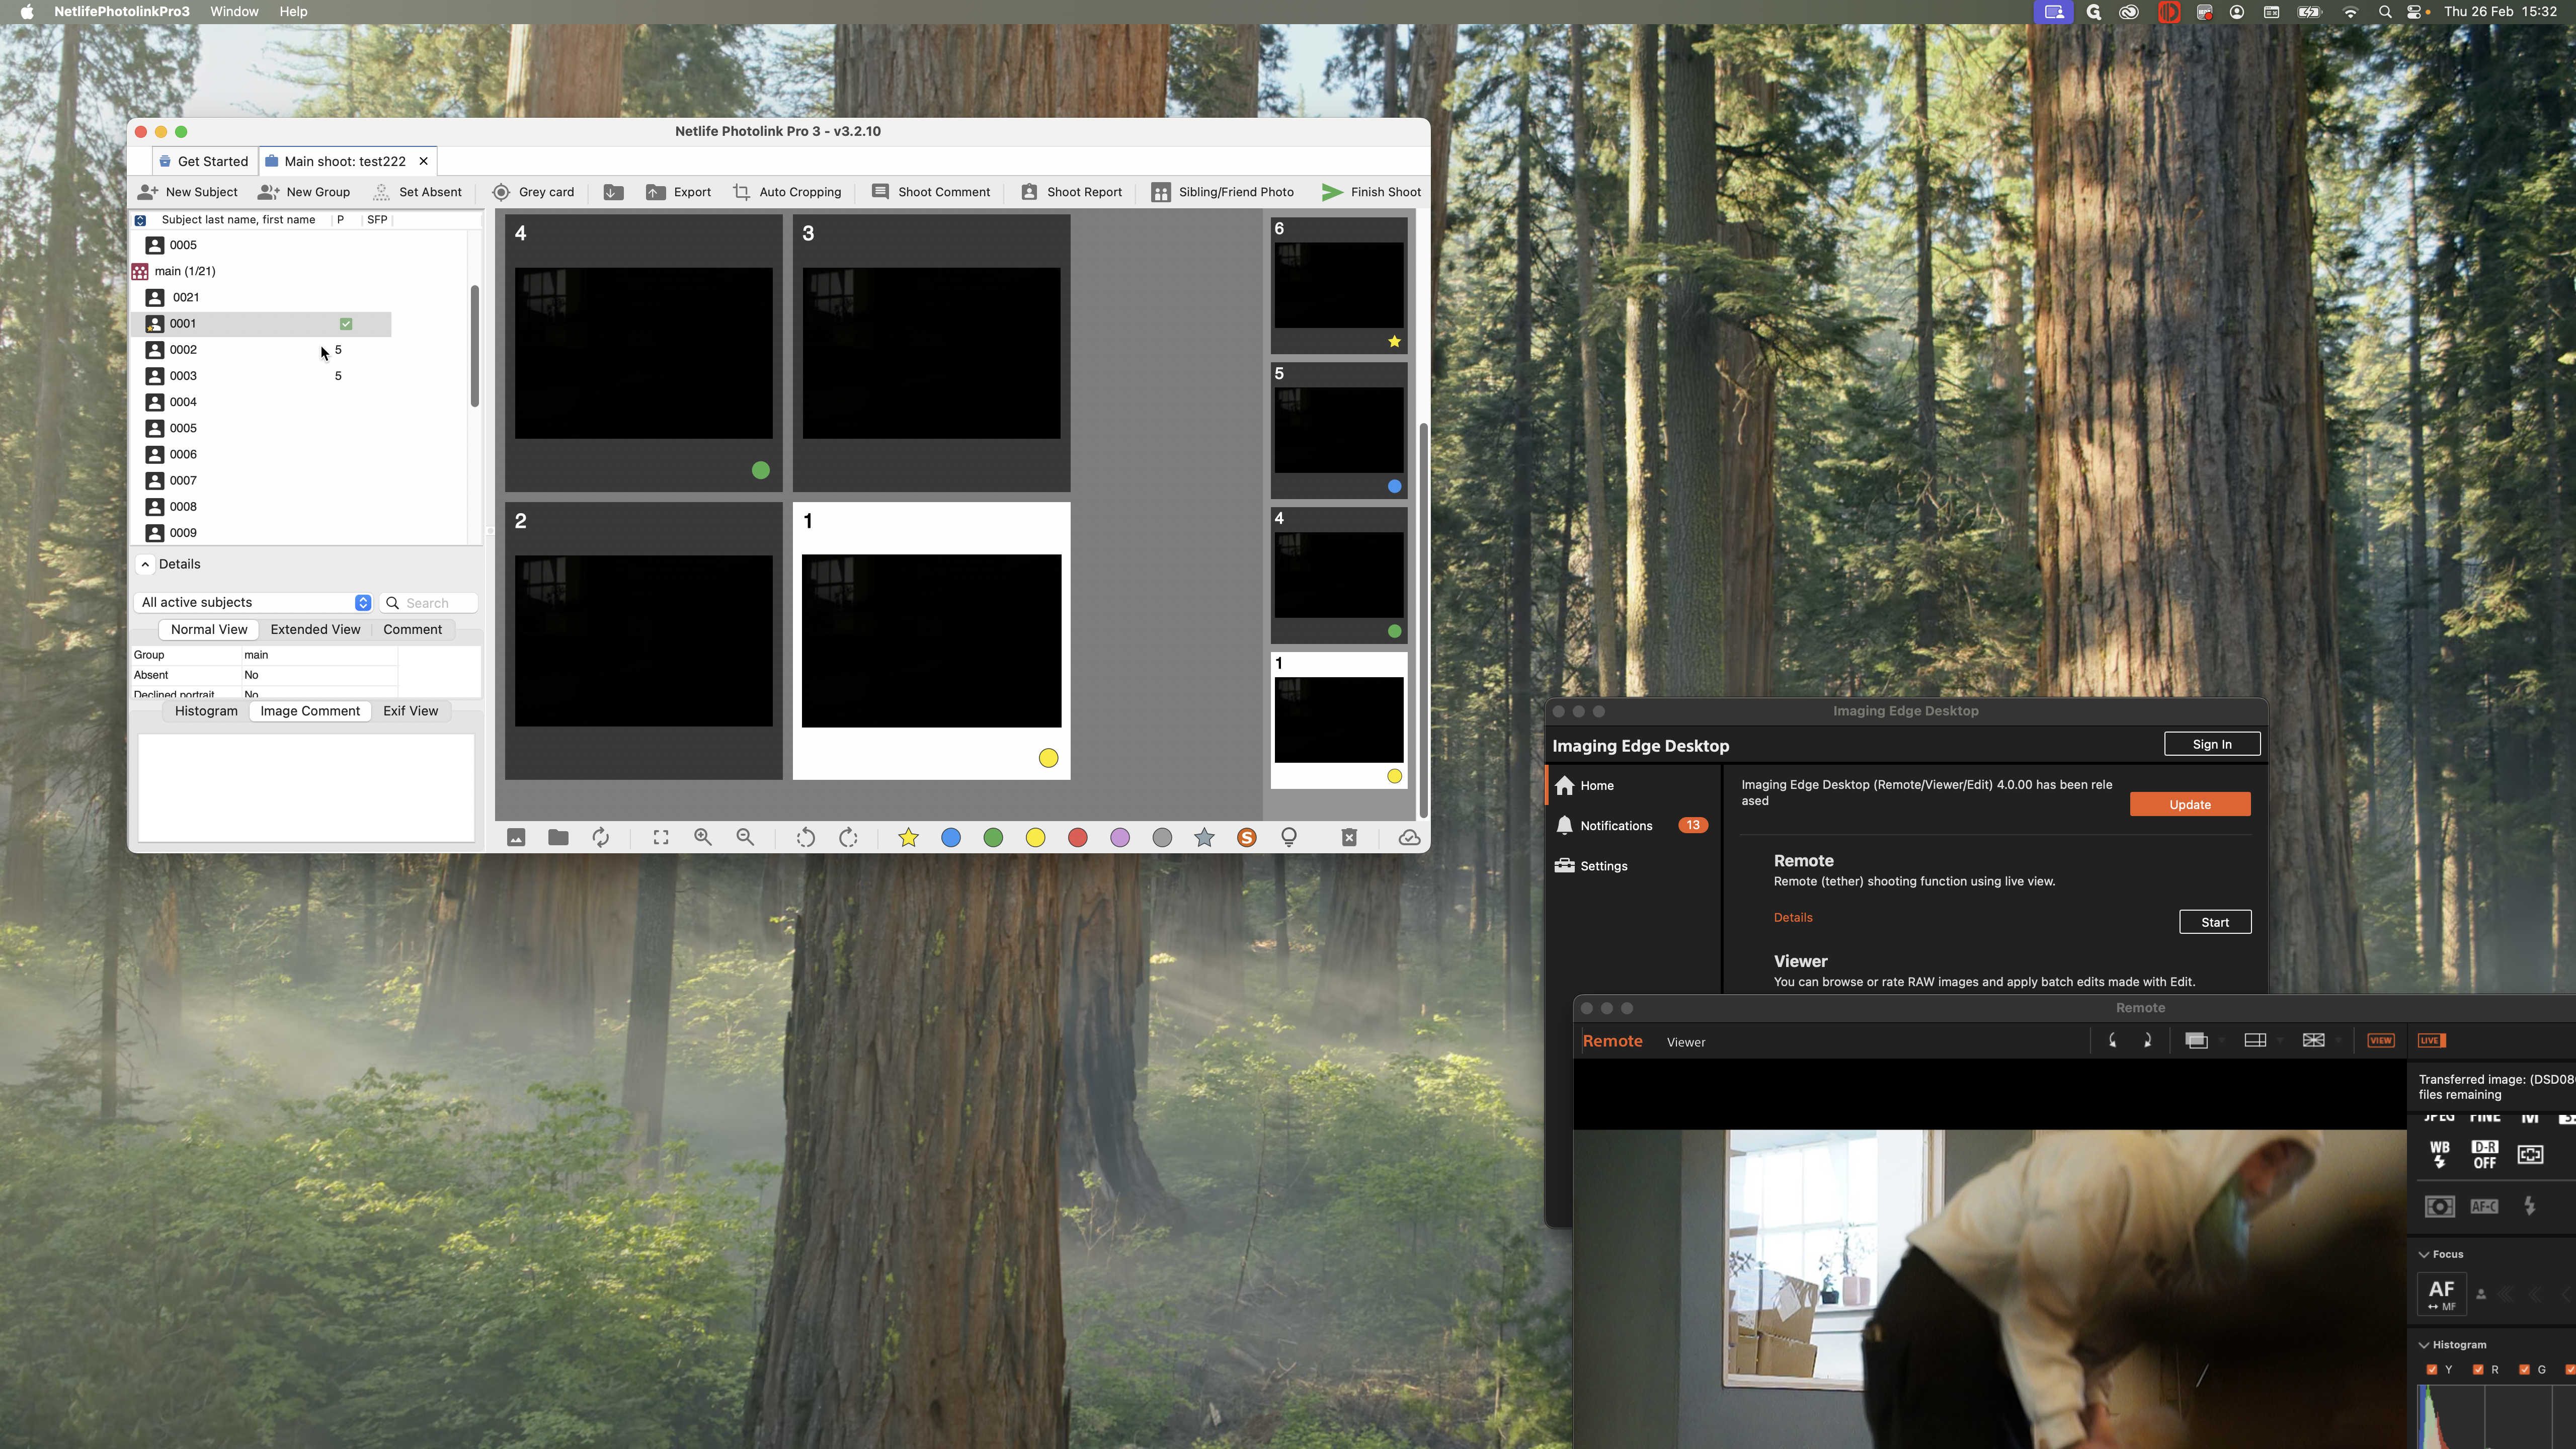
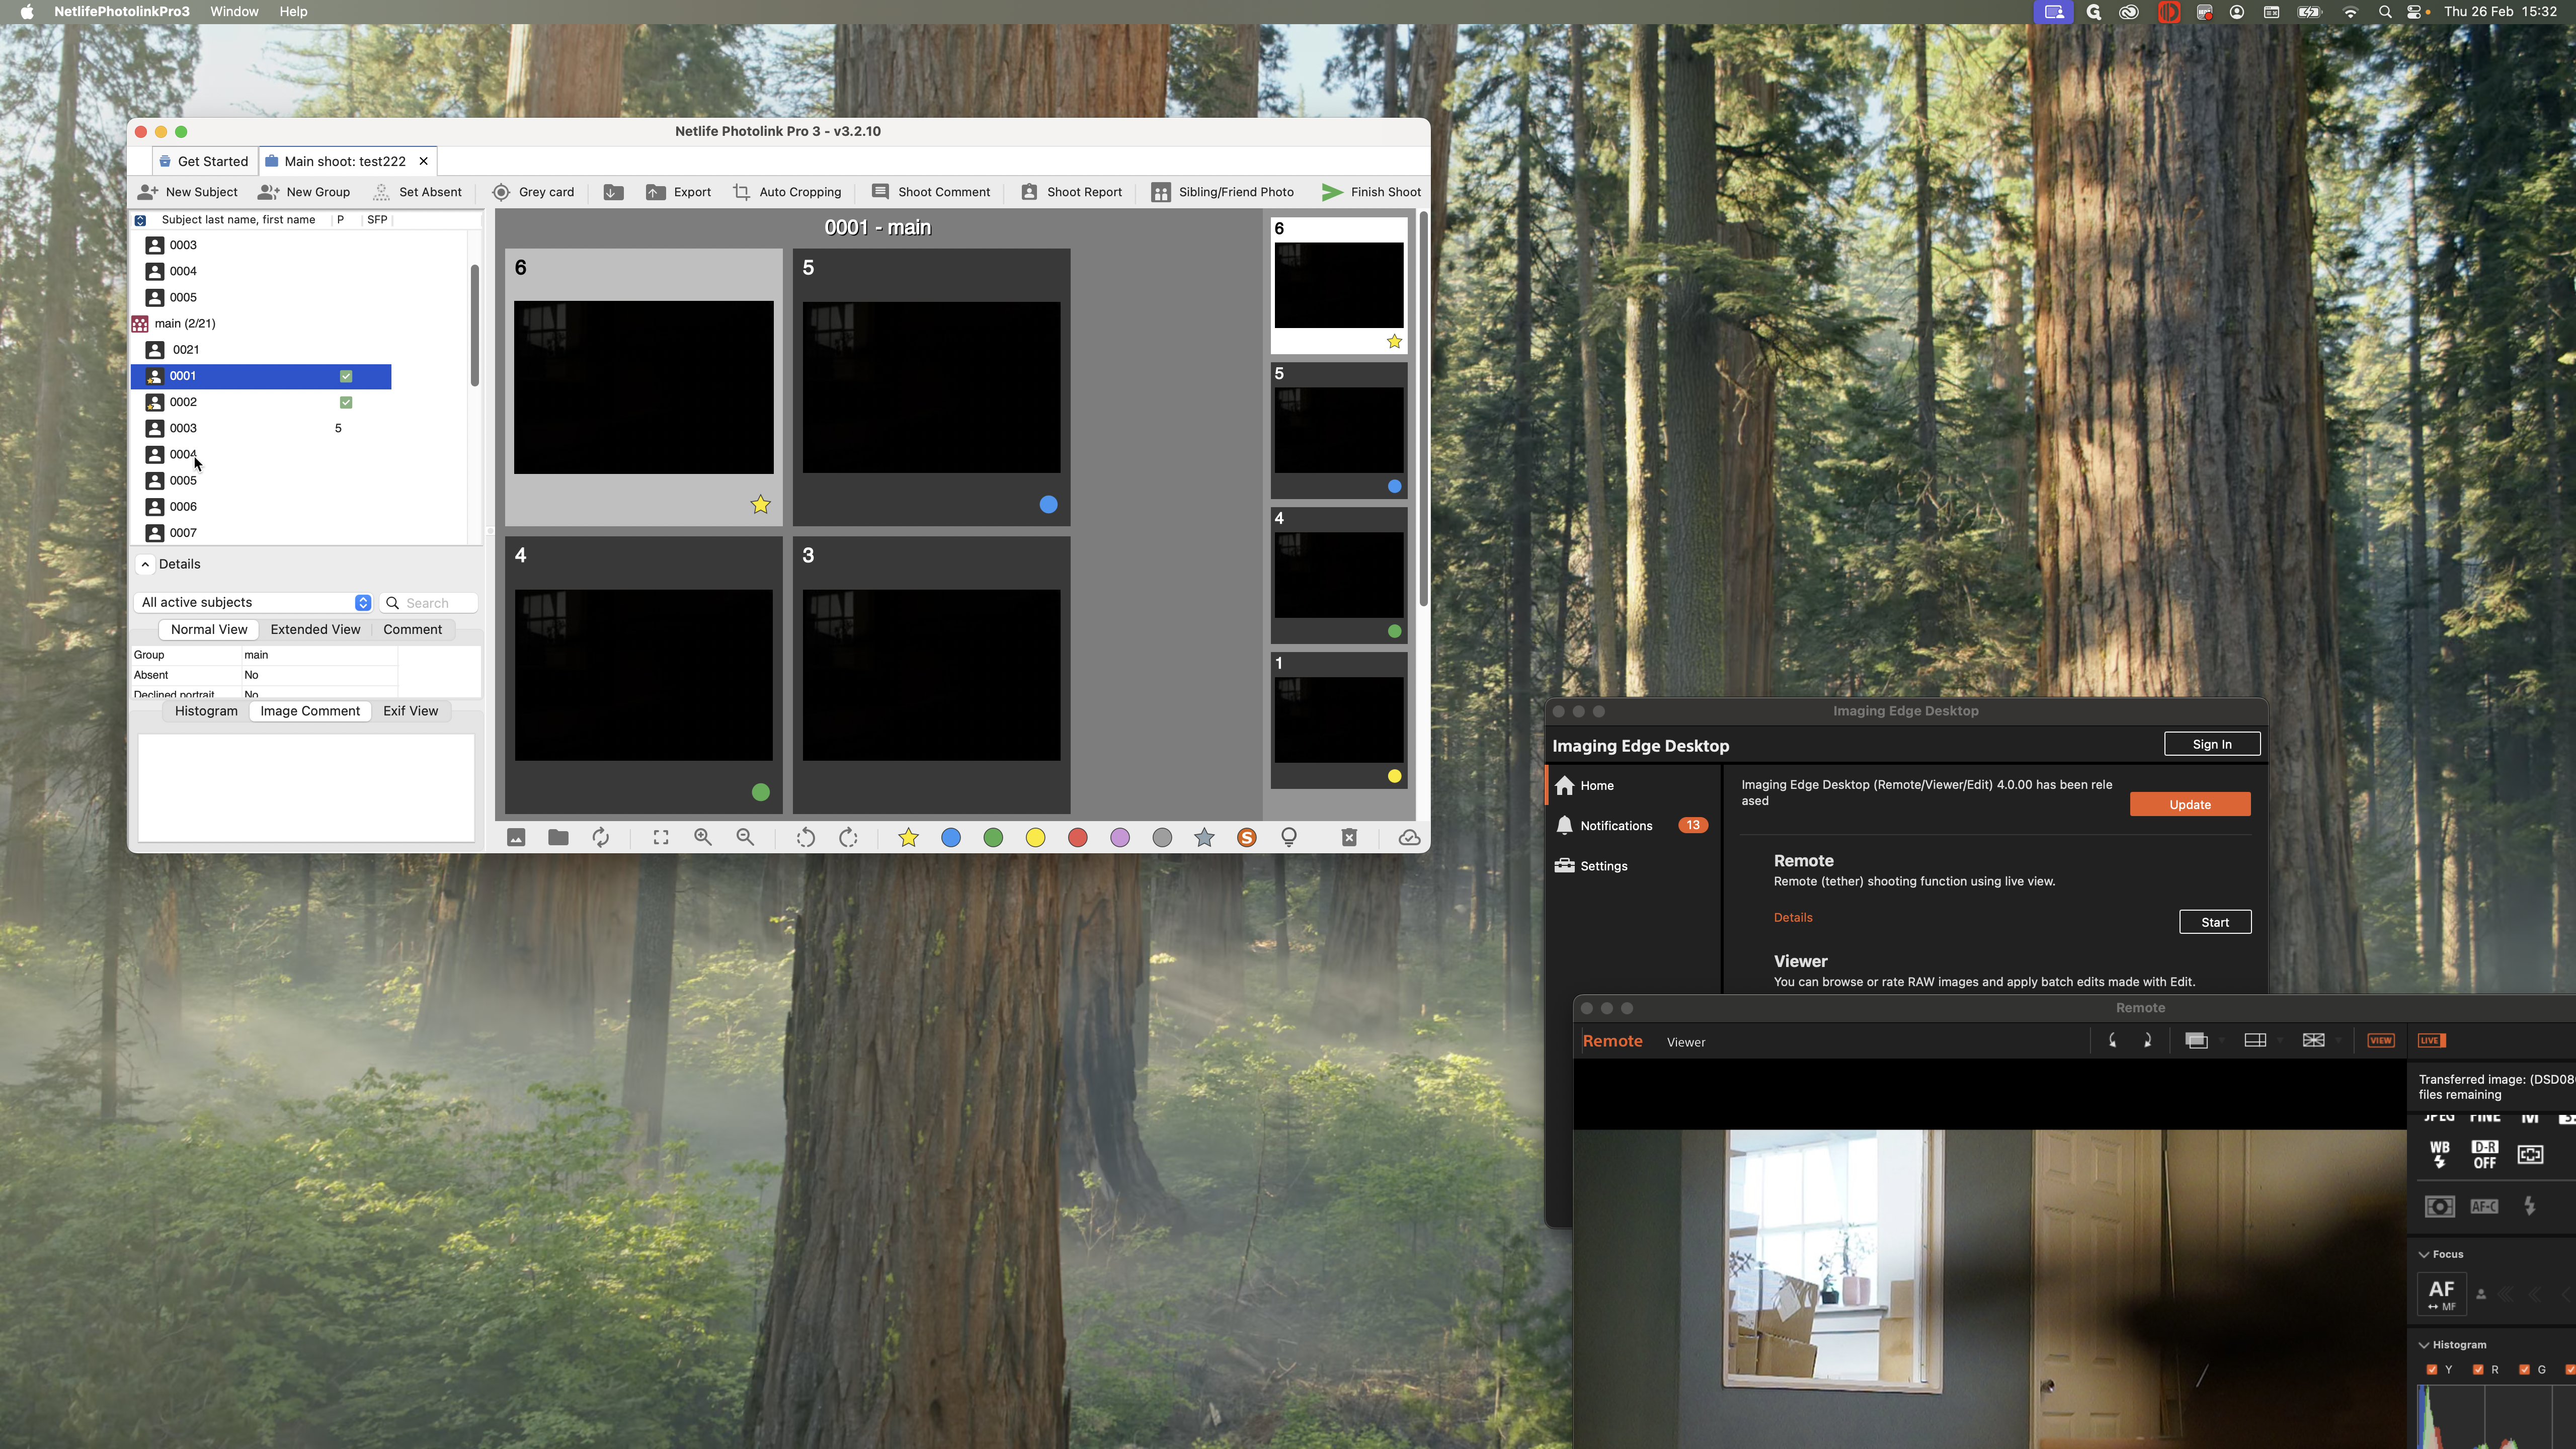
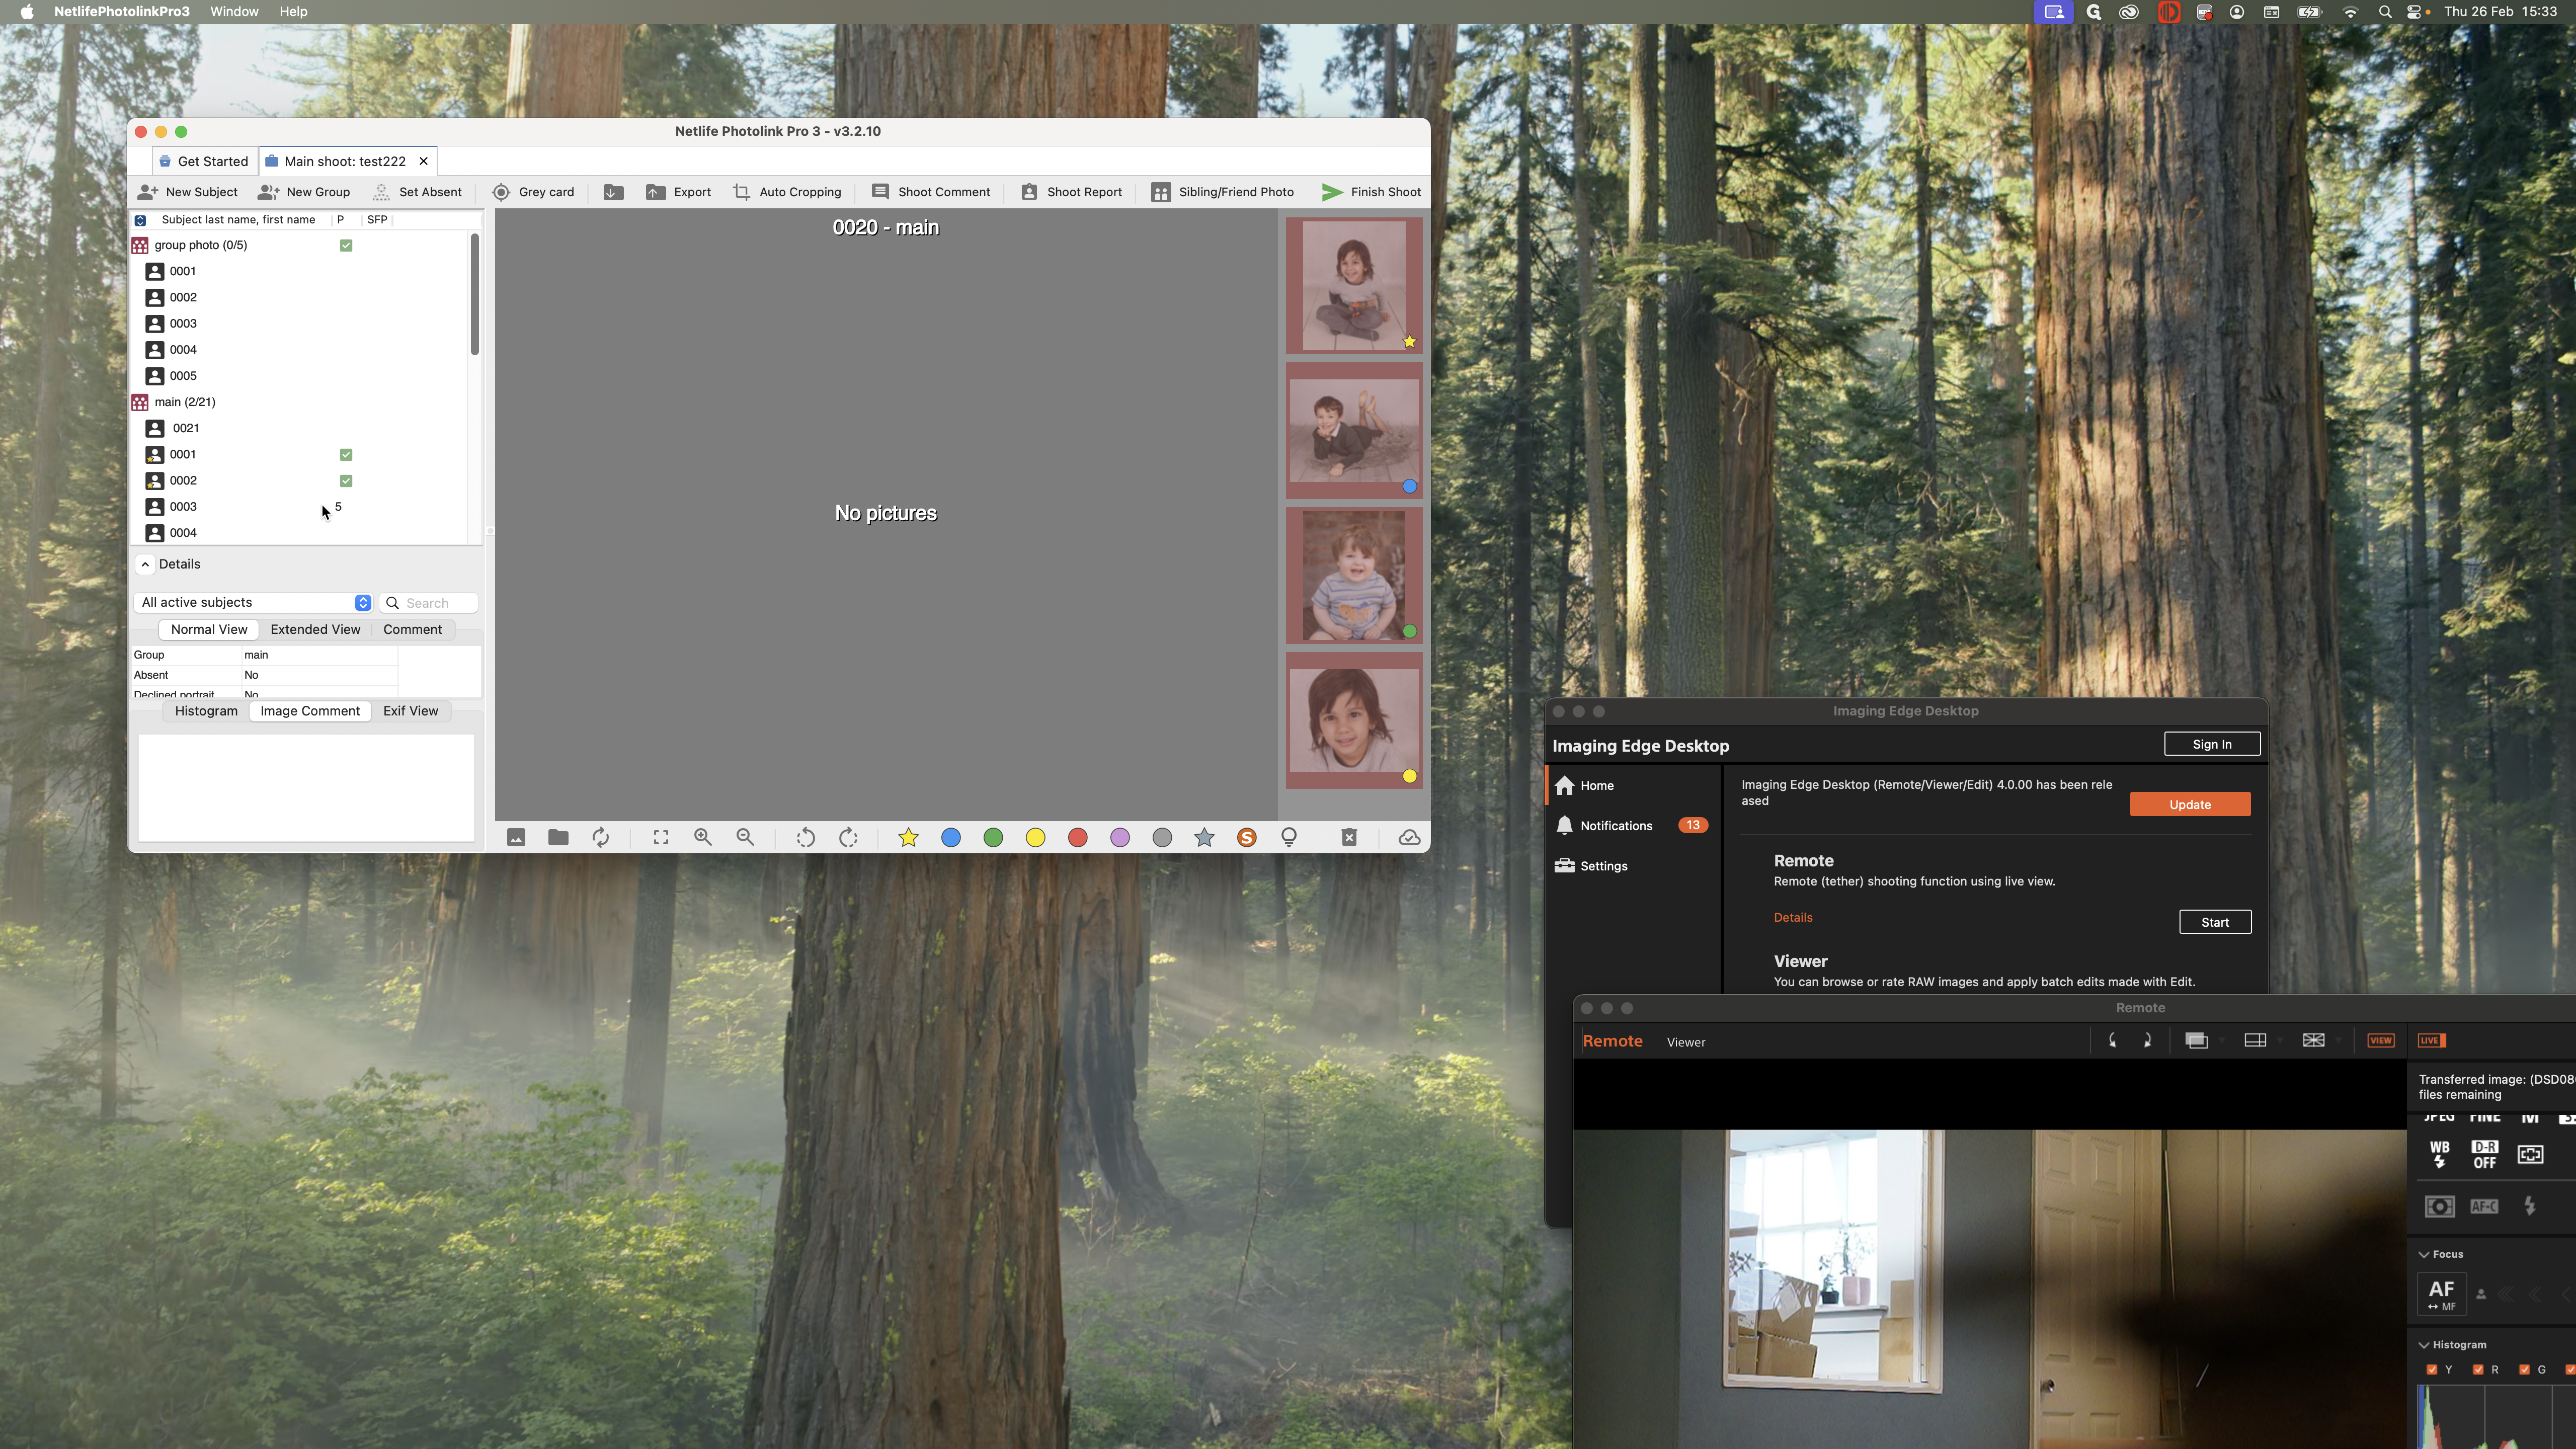
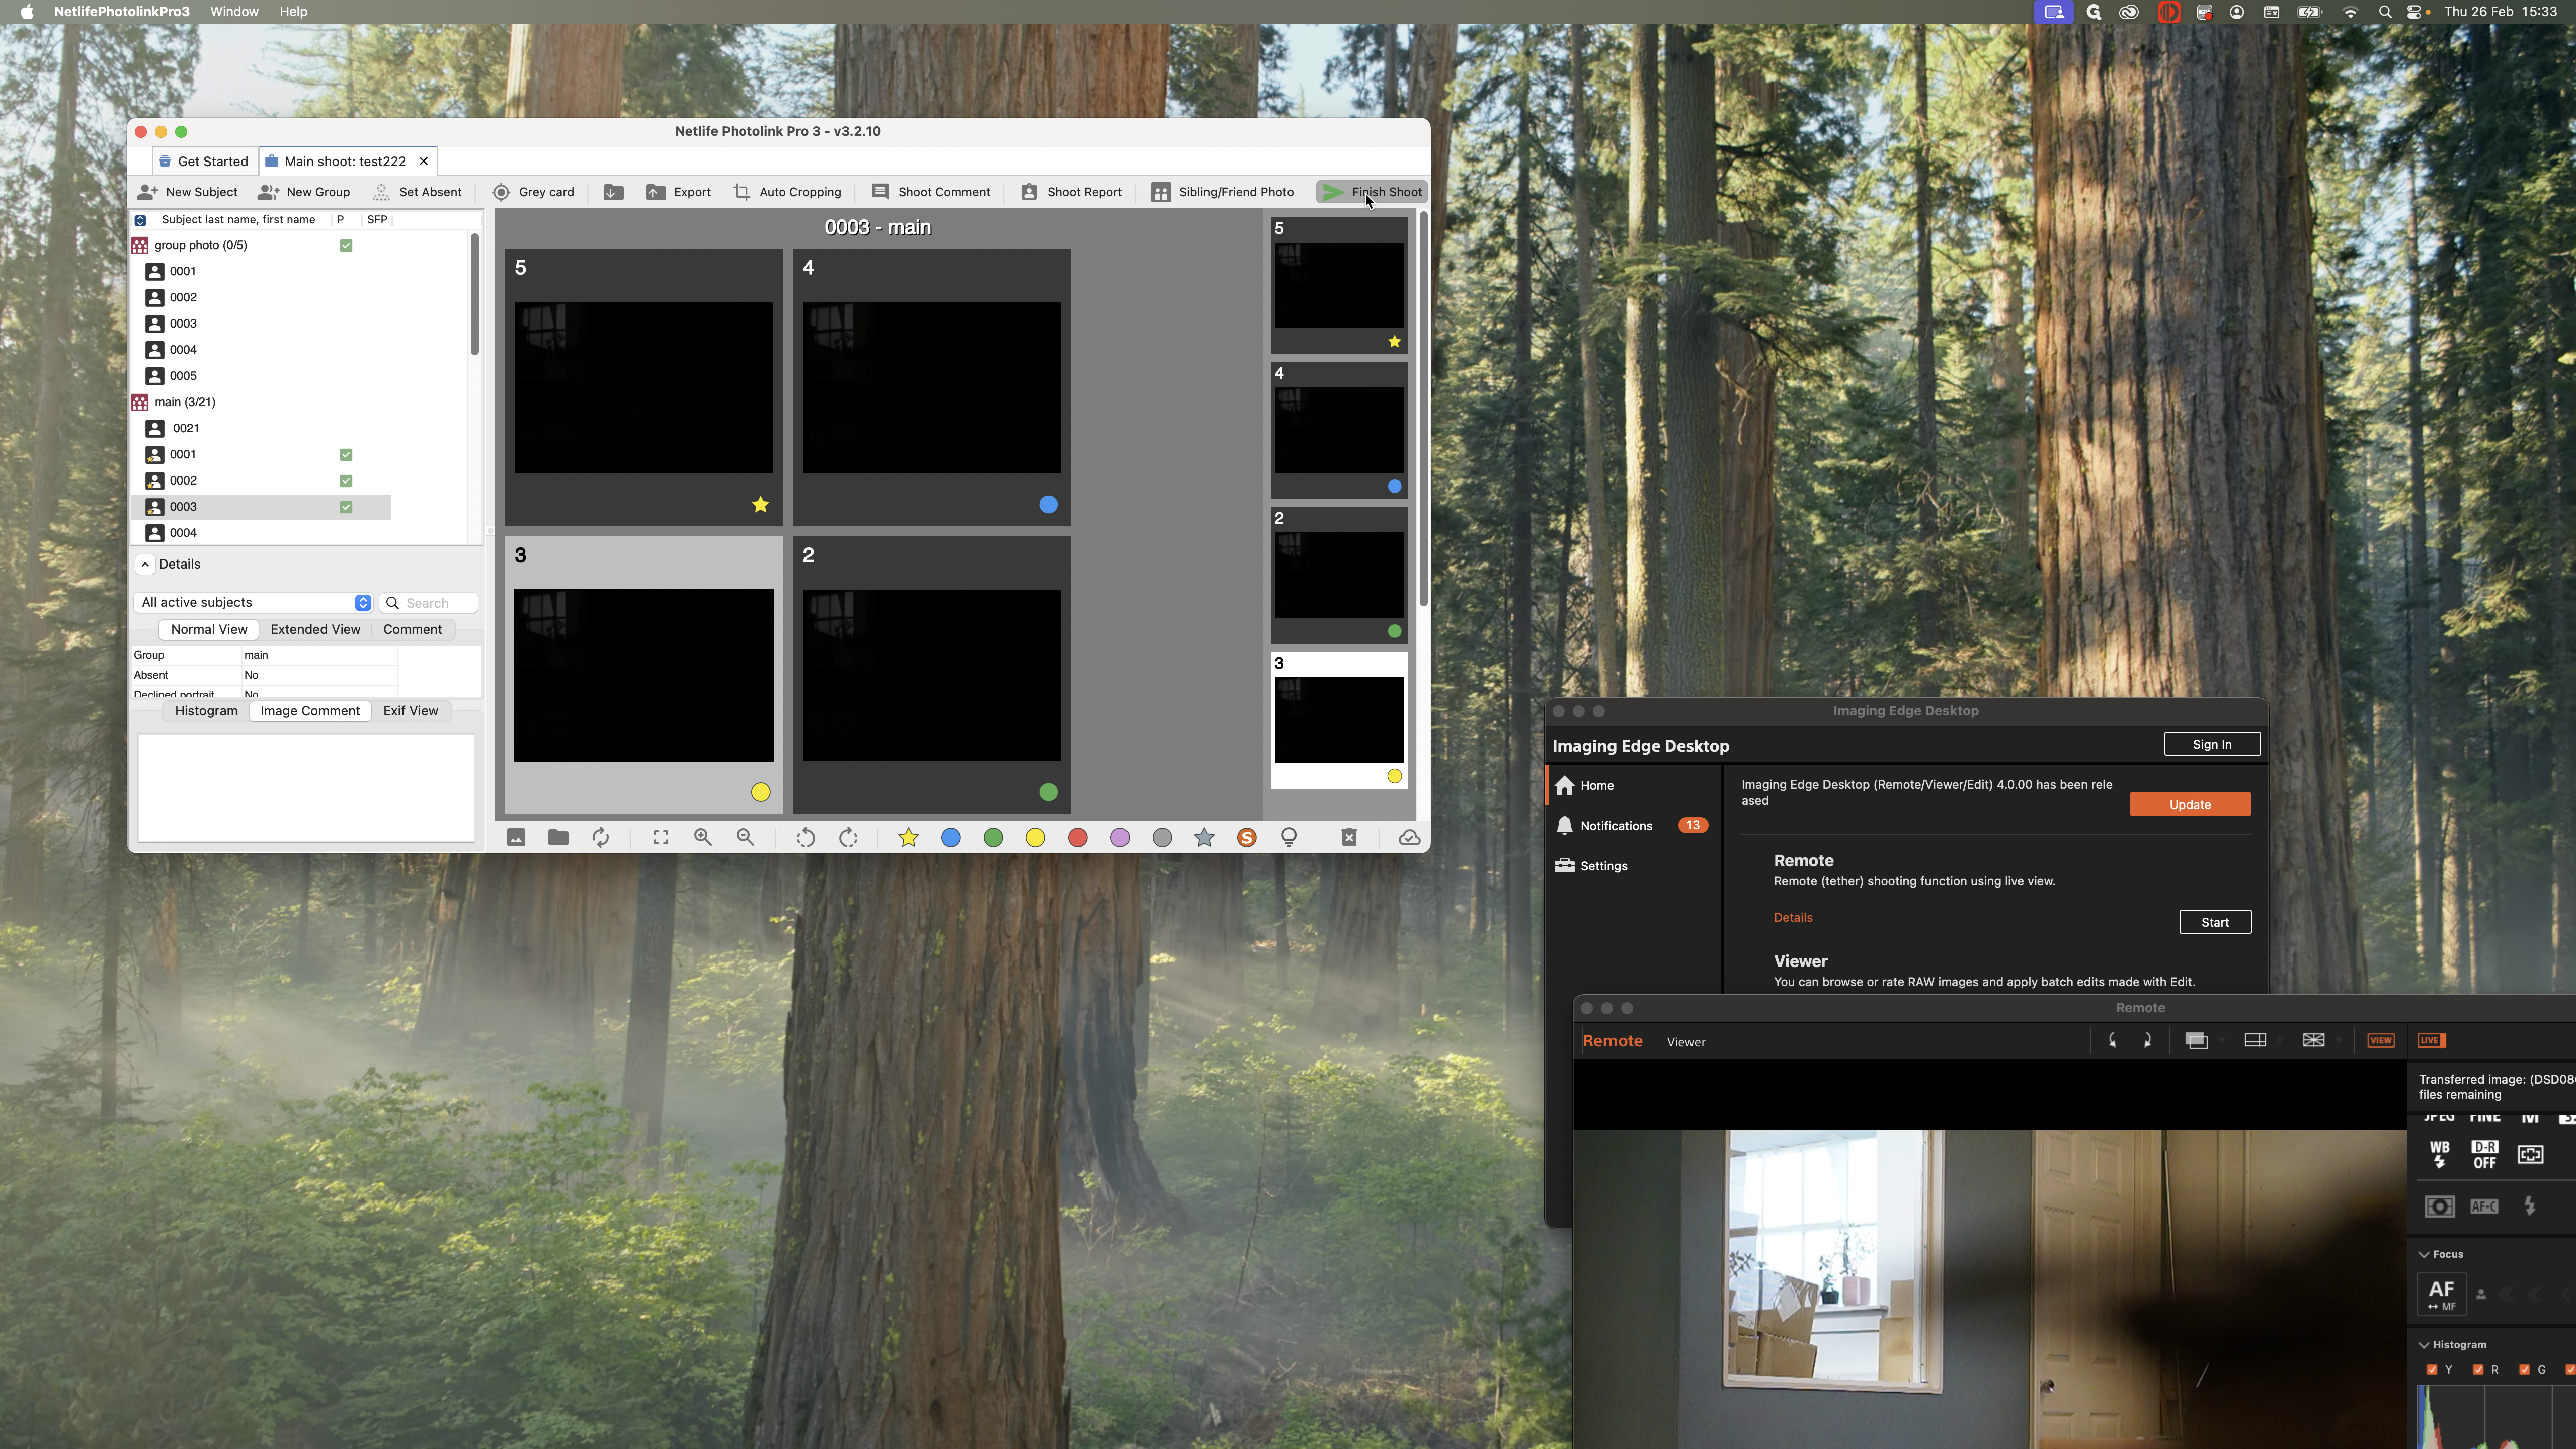
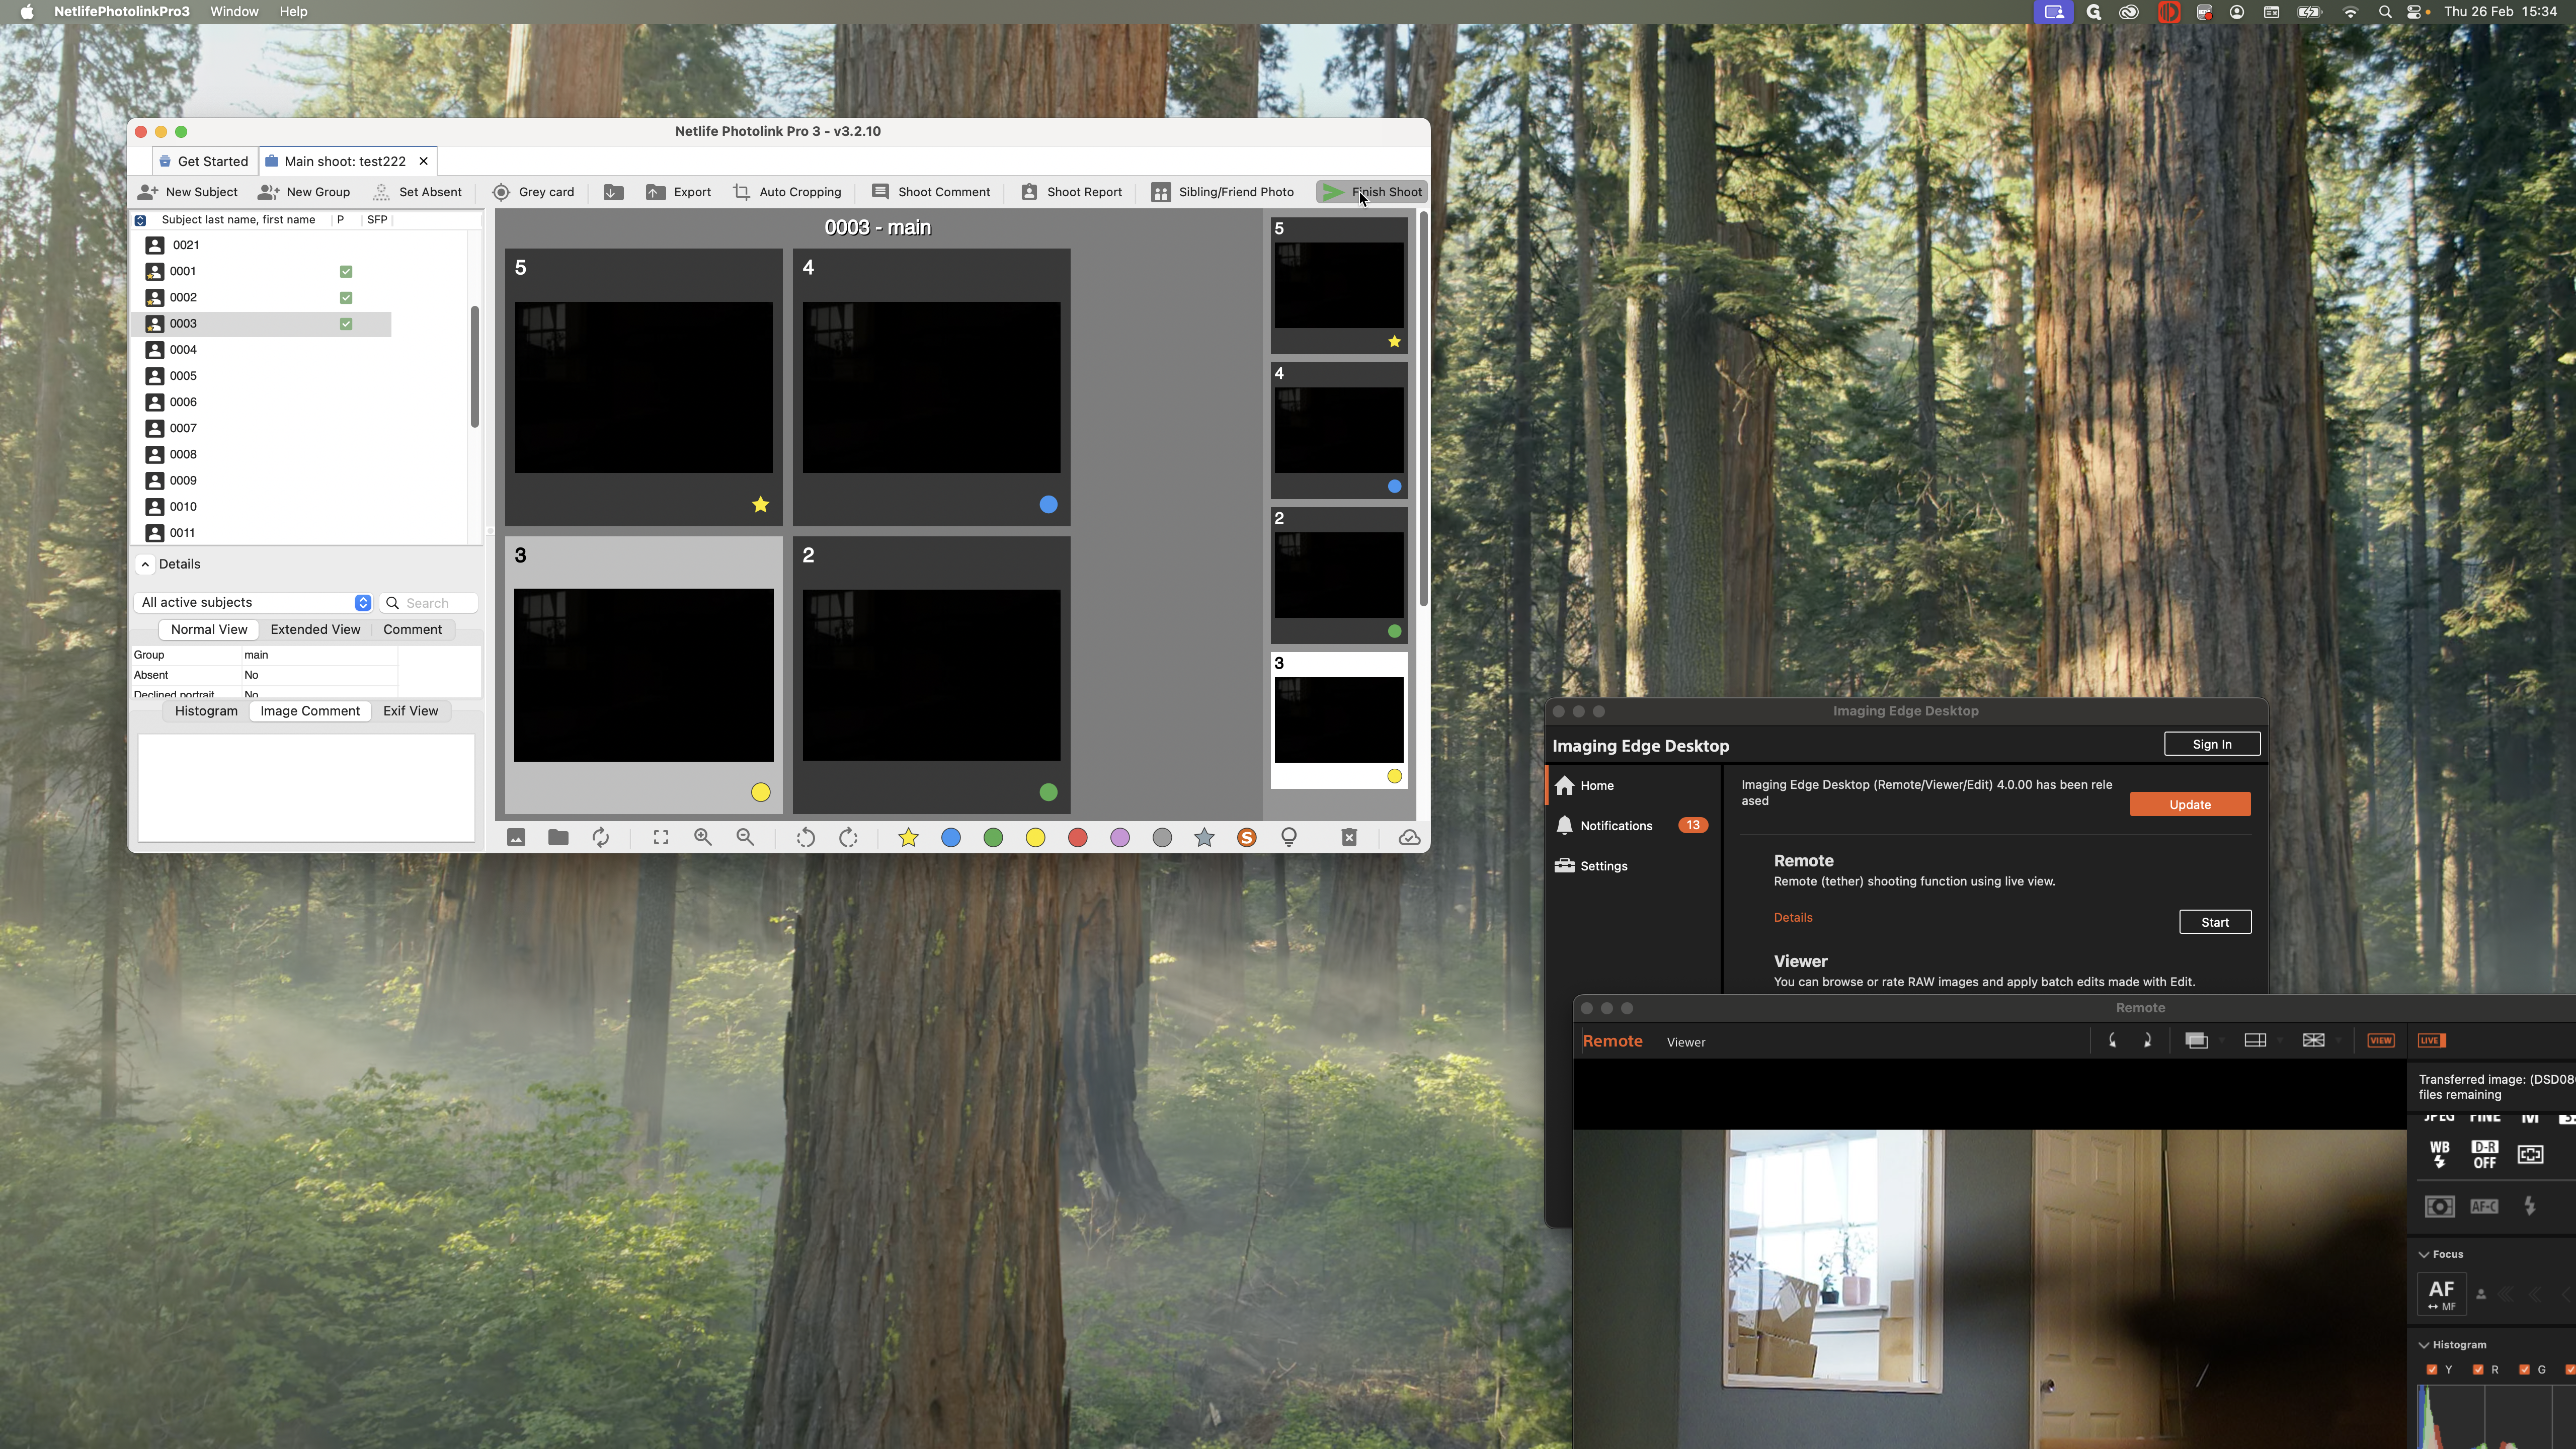
Okay. If most of the shoot is complete and these are the final images of the children, you also need to tag four images for each child. Remember, these are the four images we are looking for.
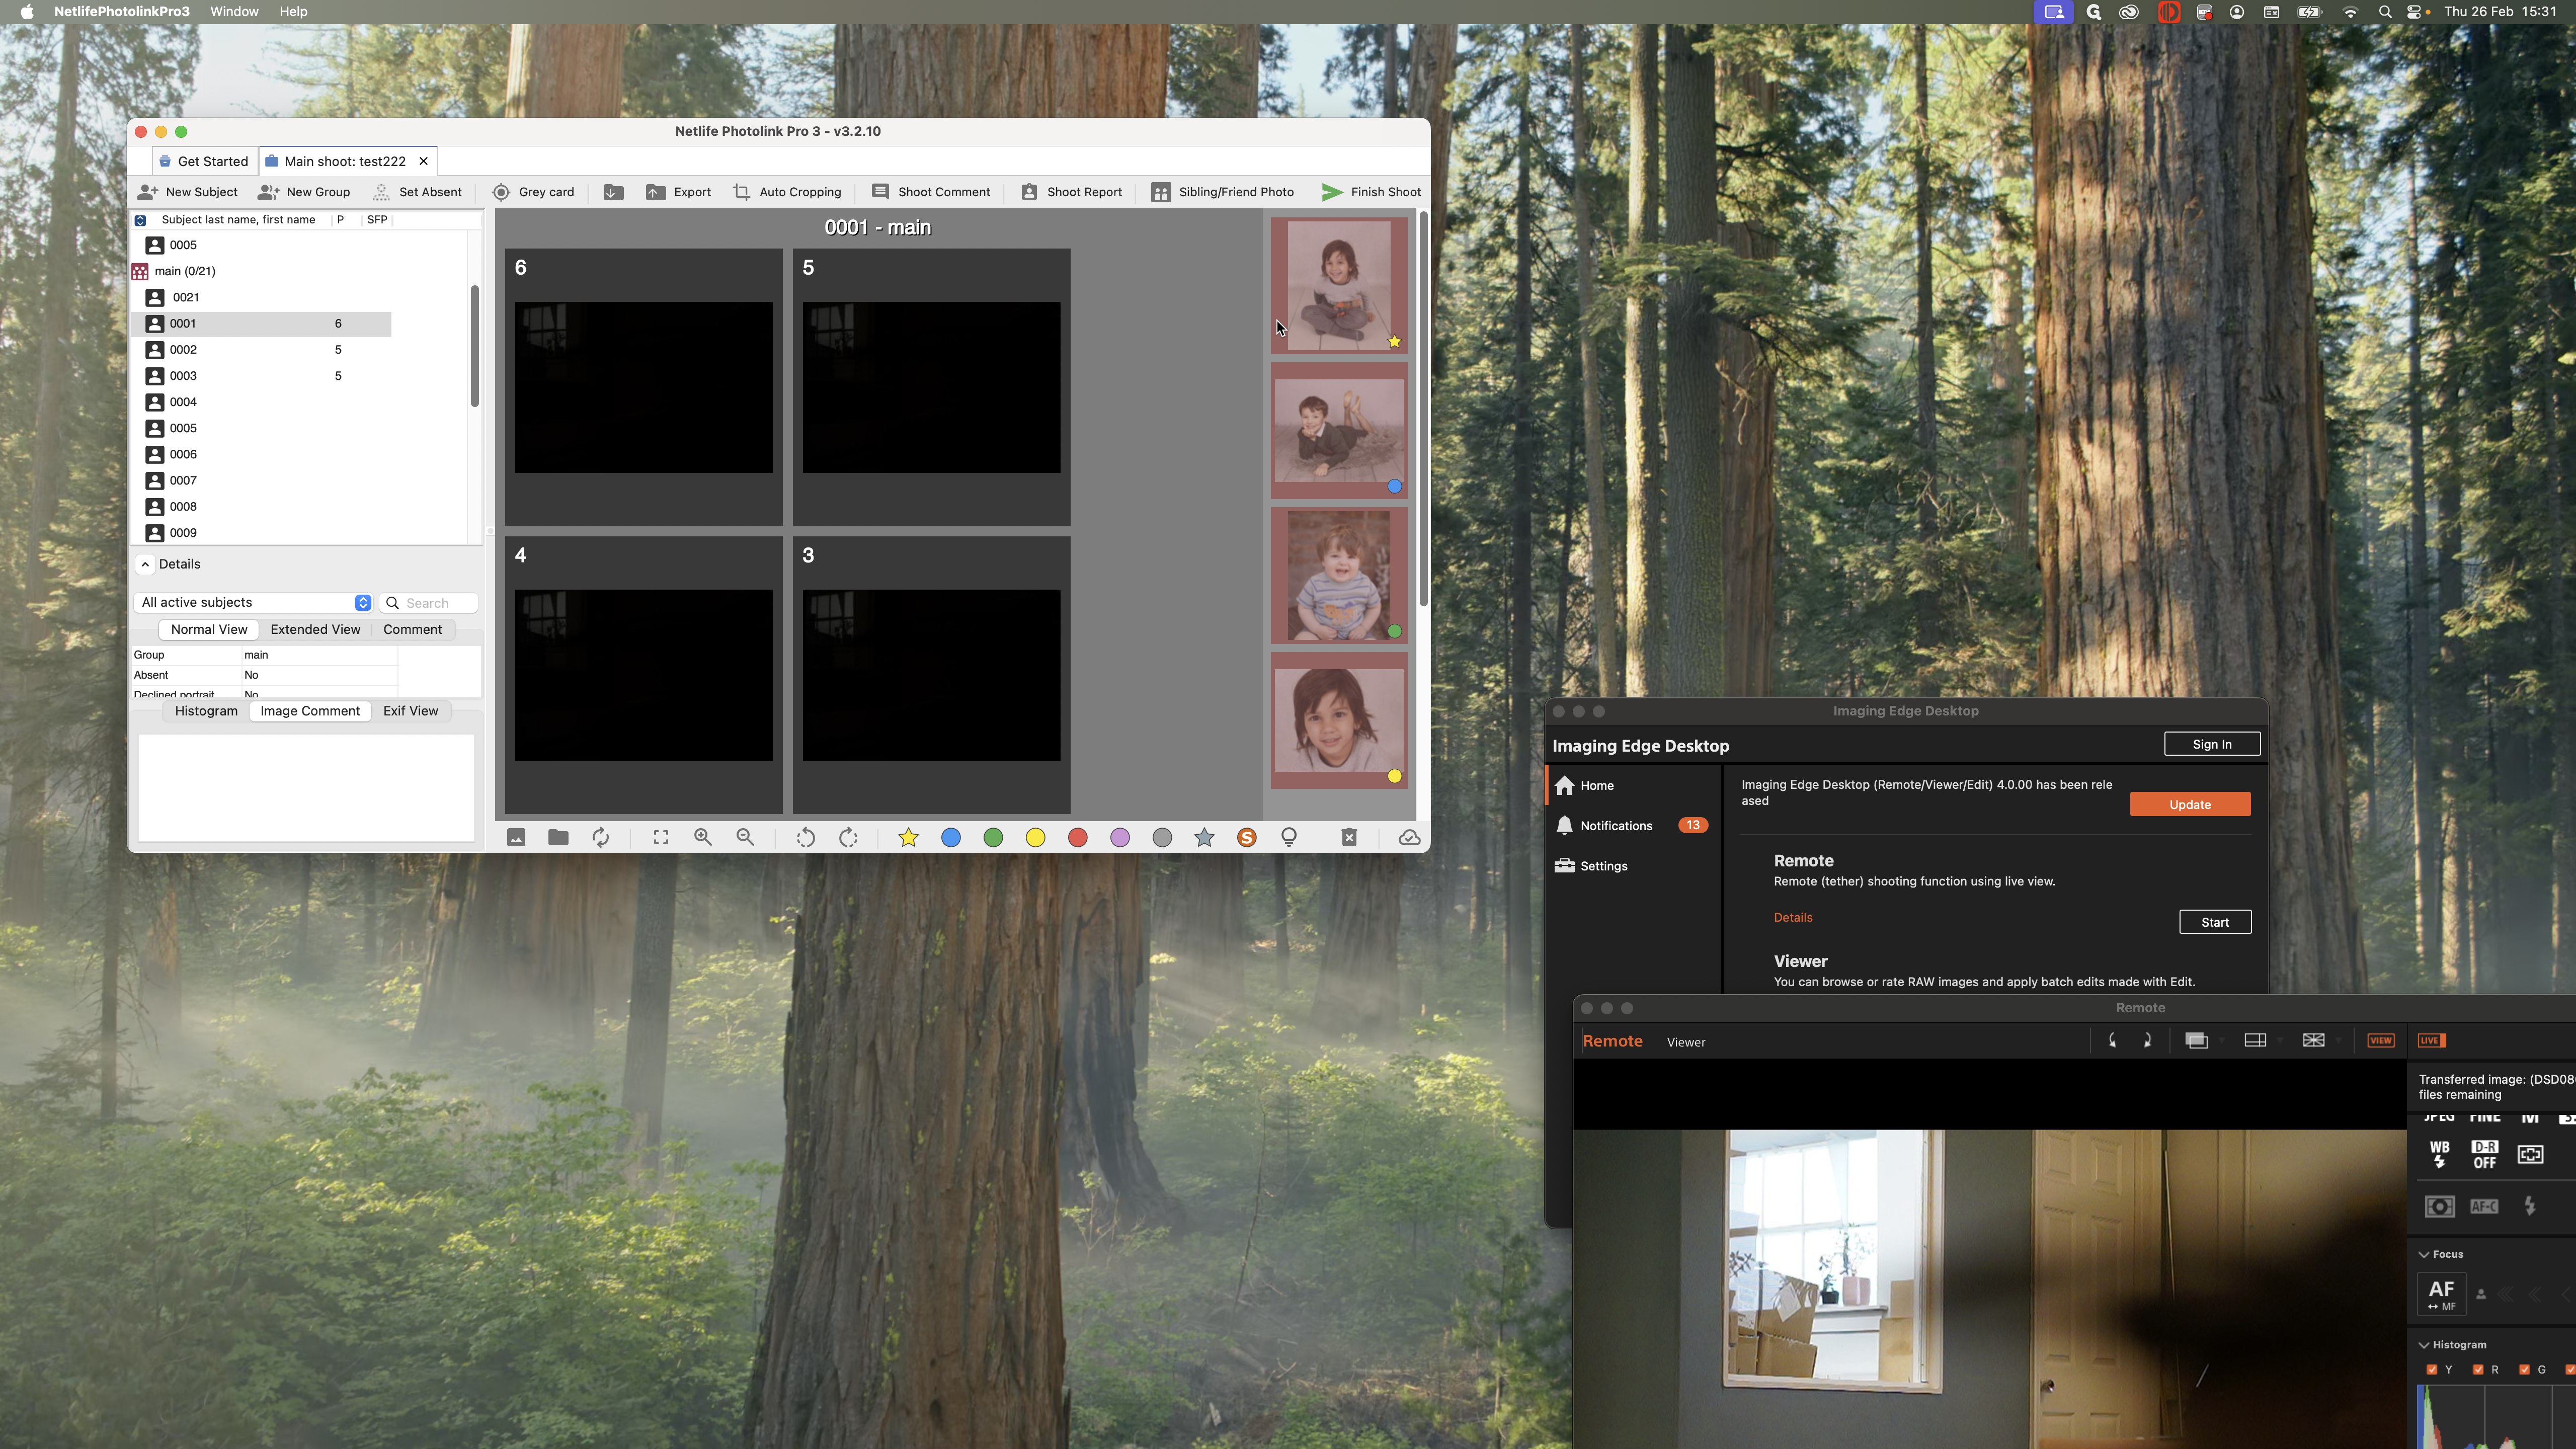

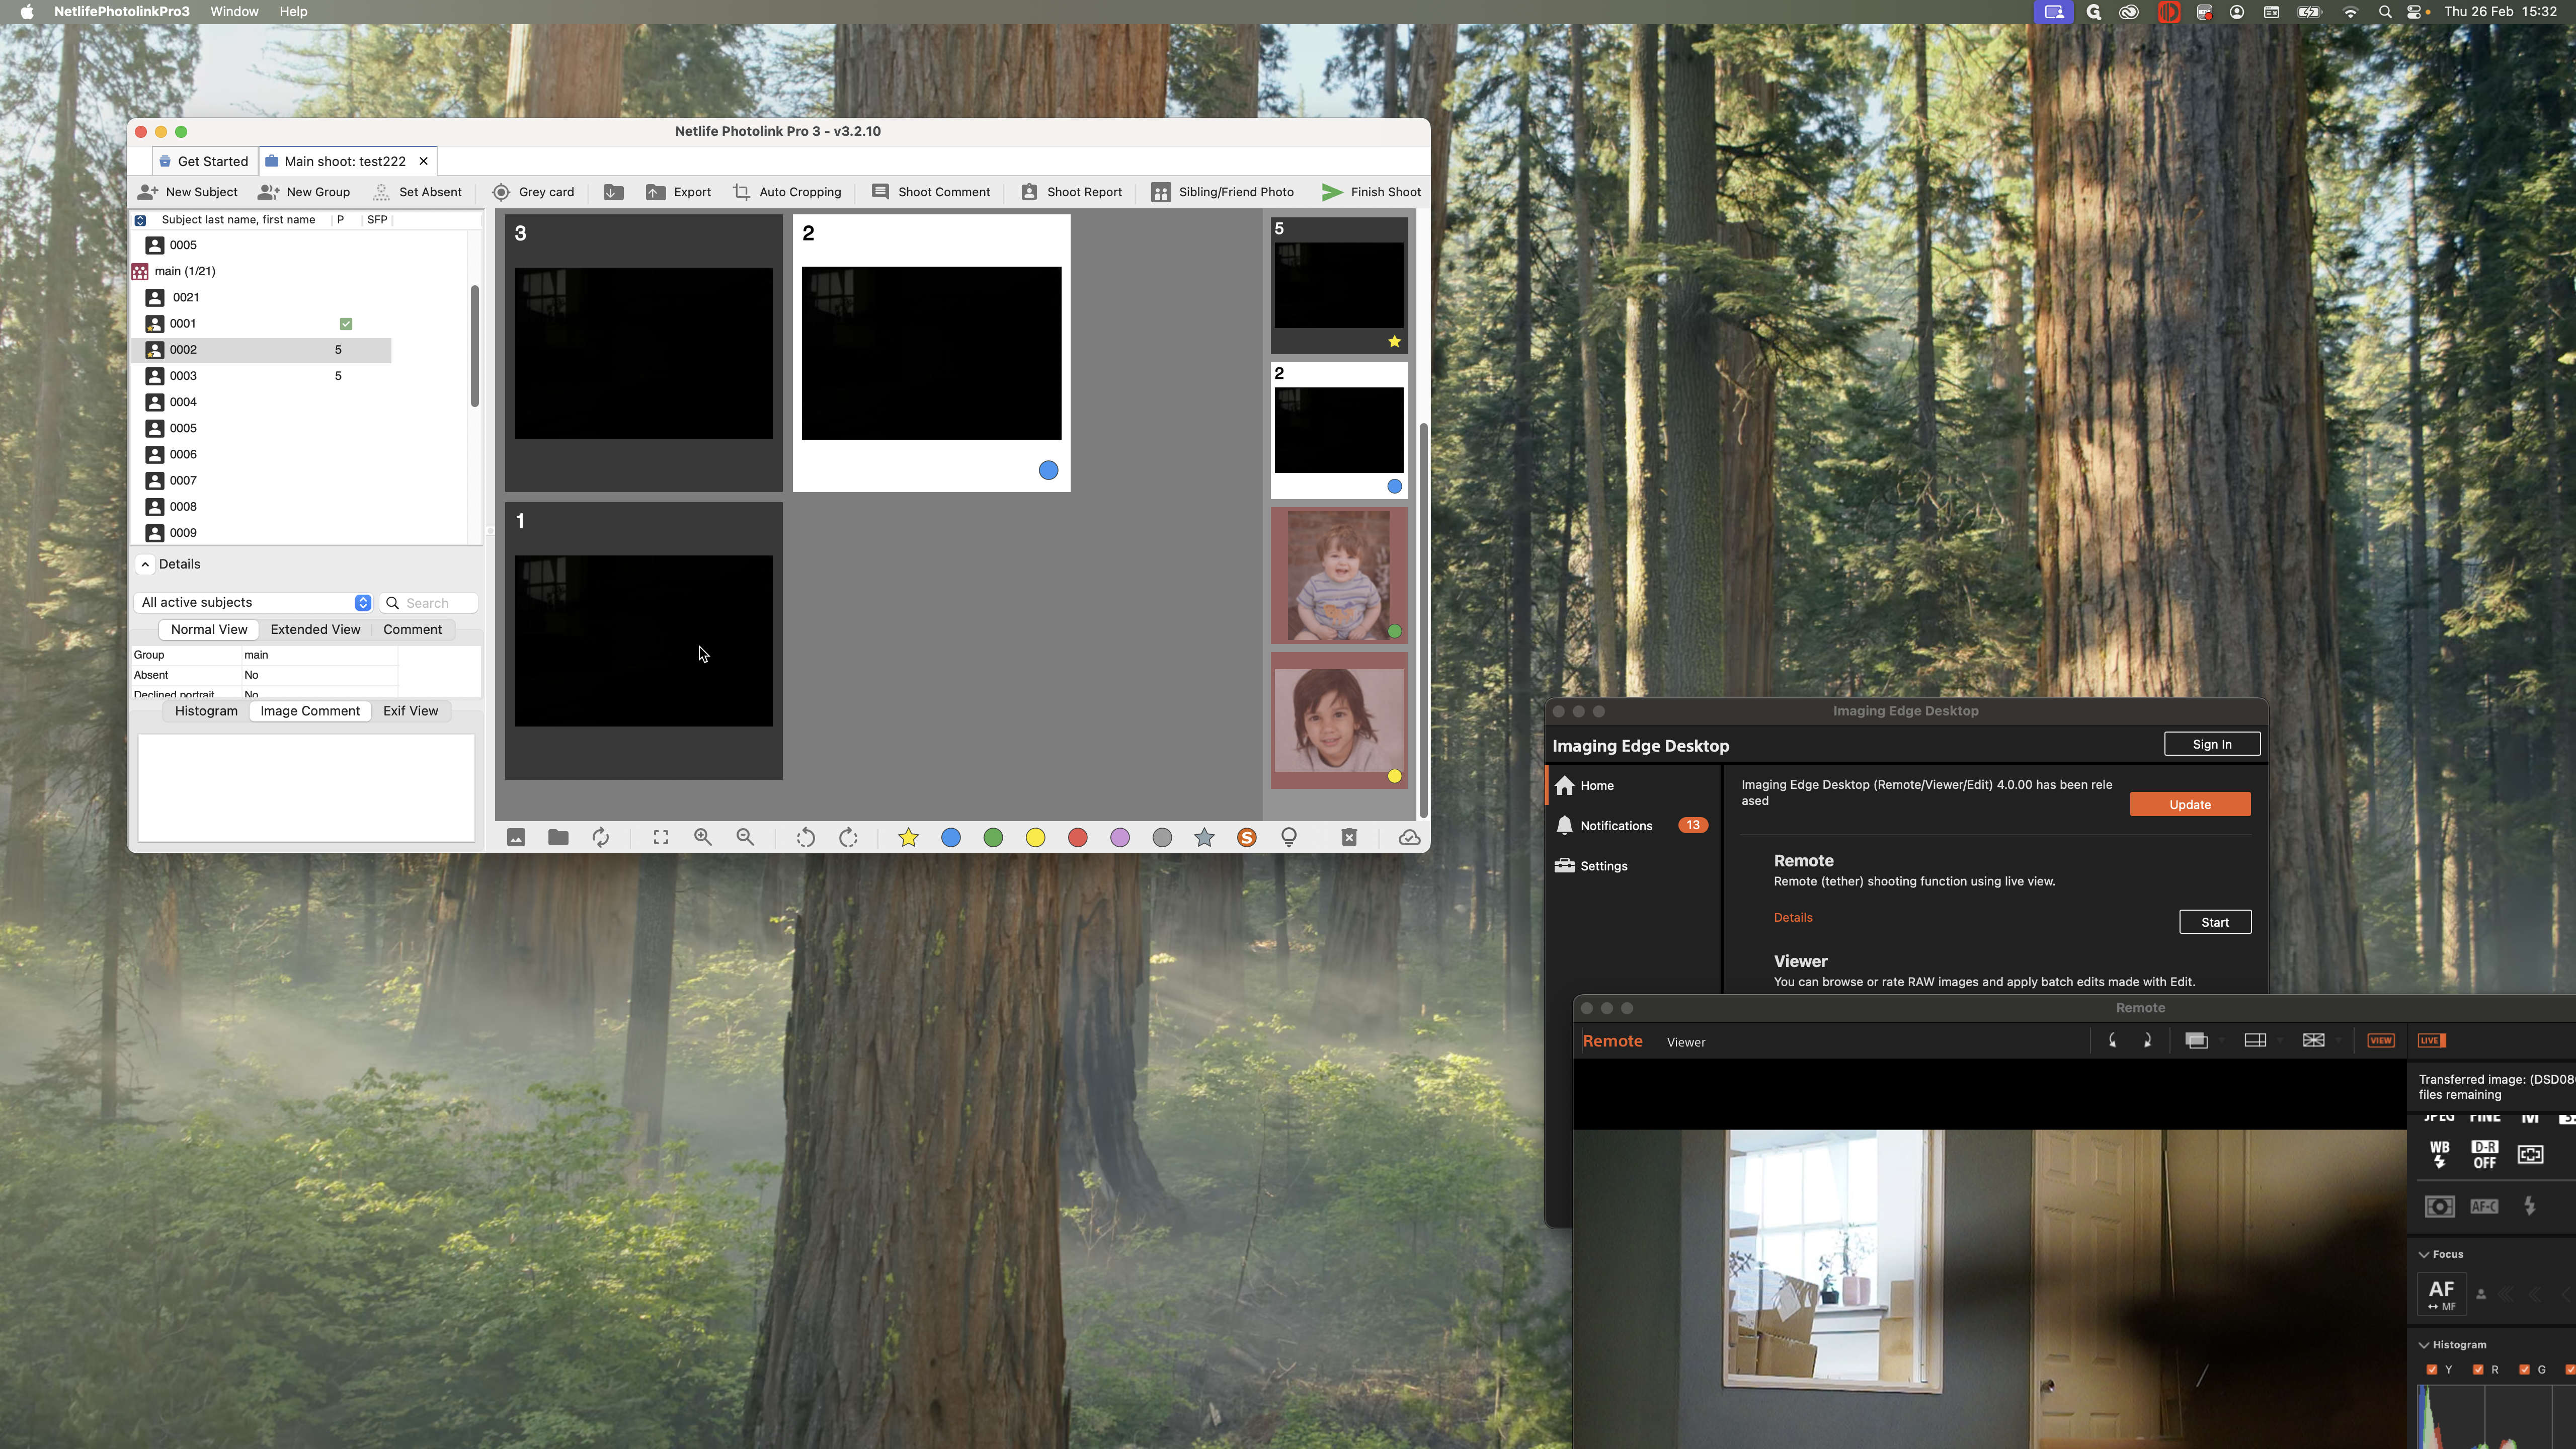
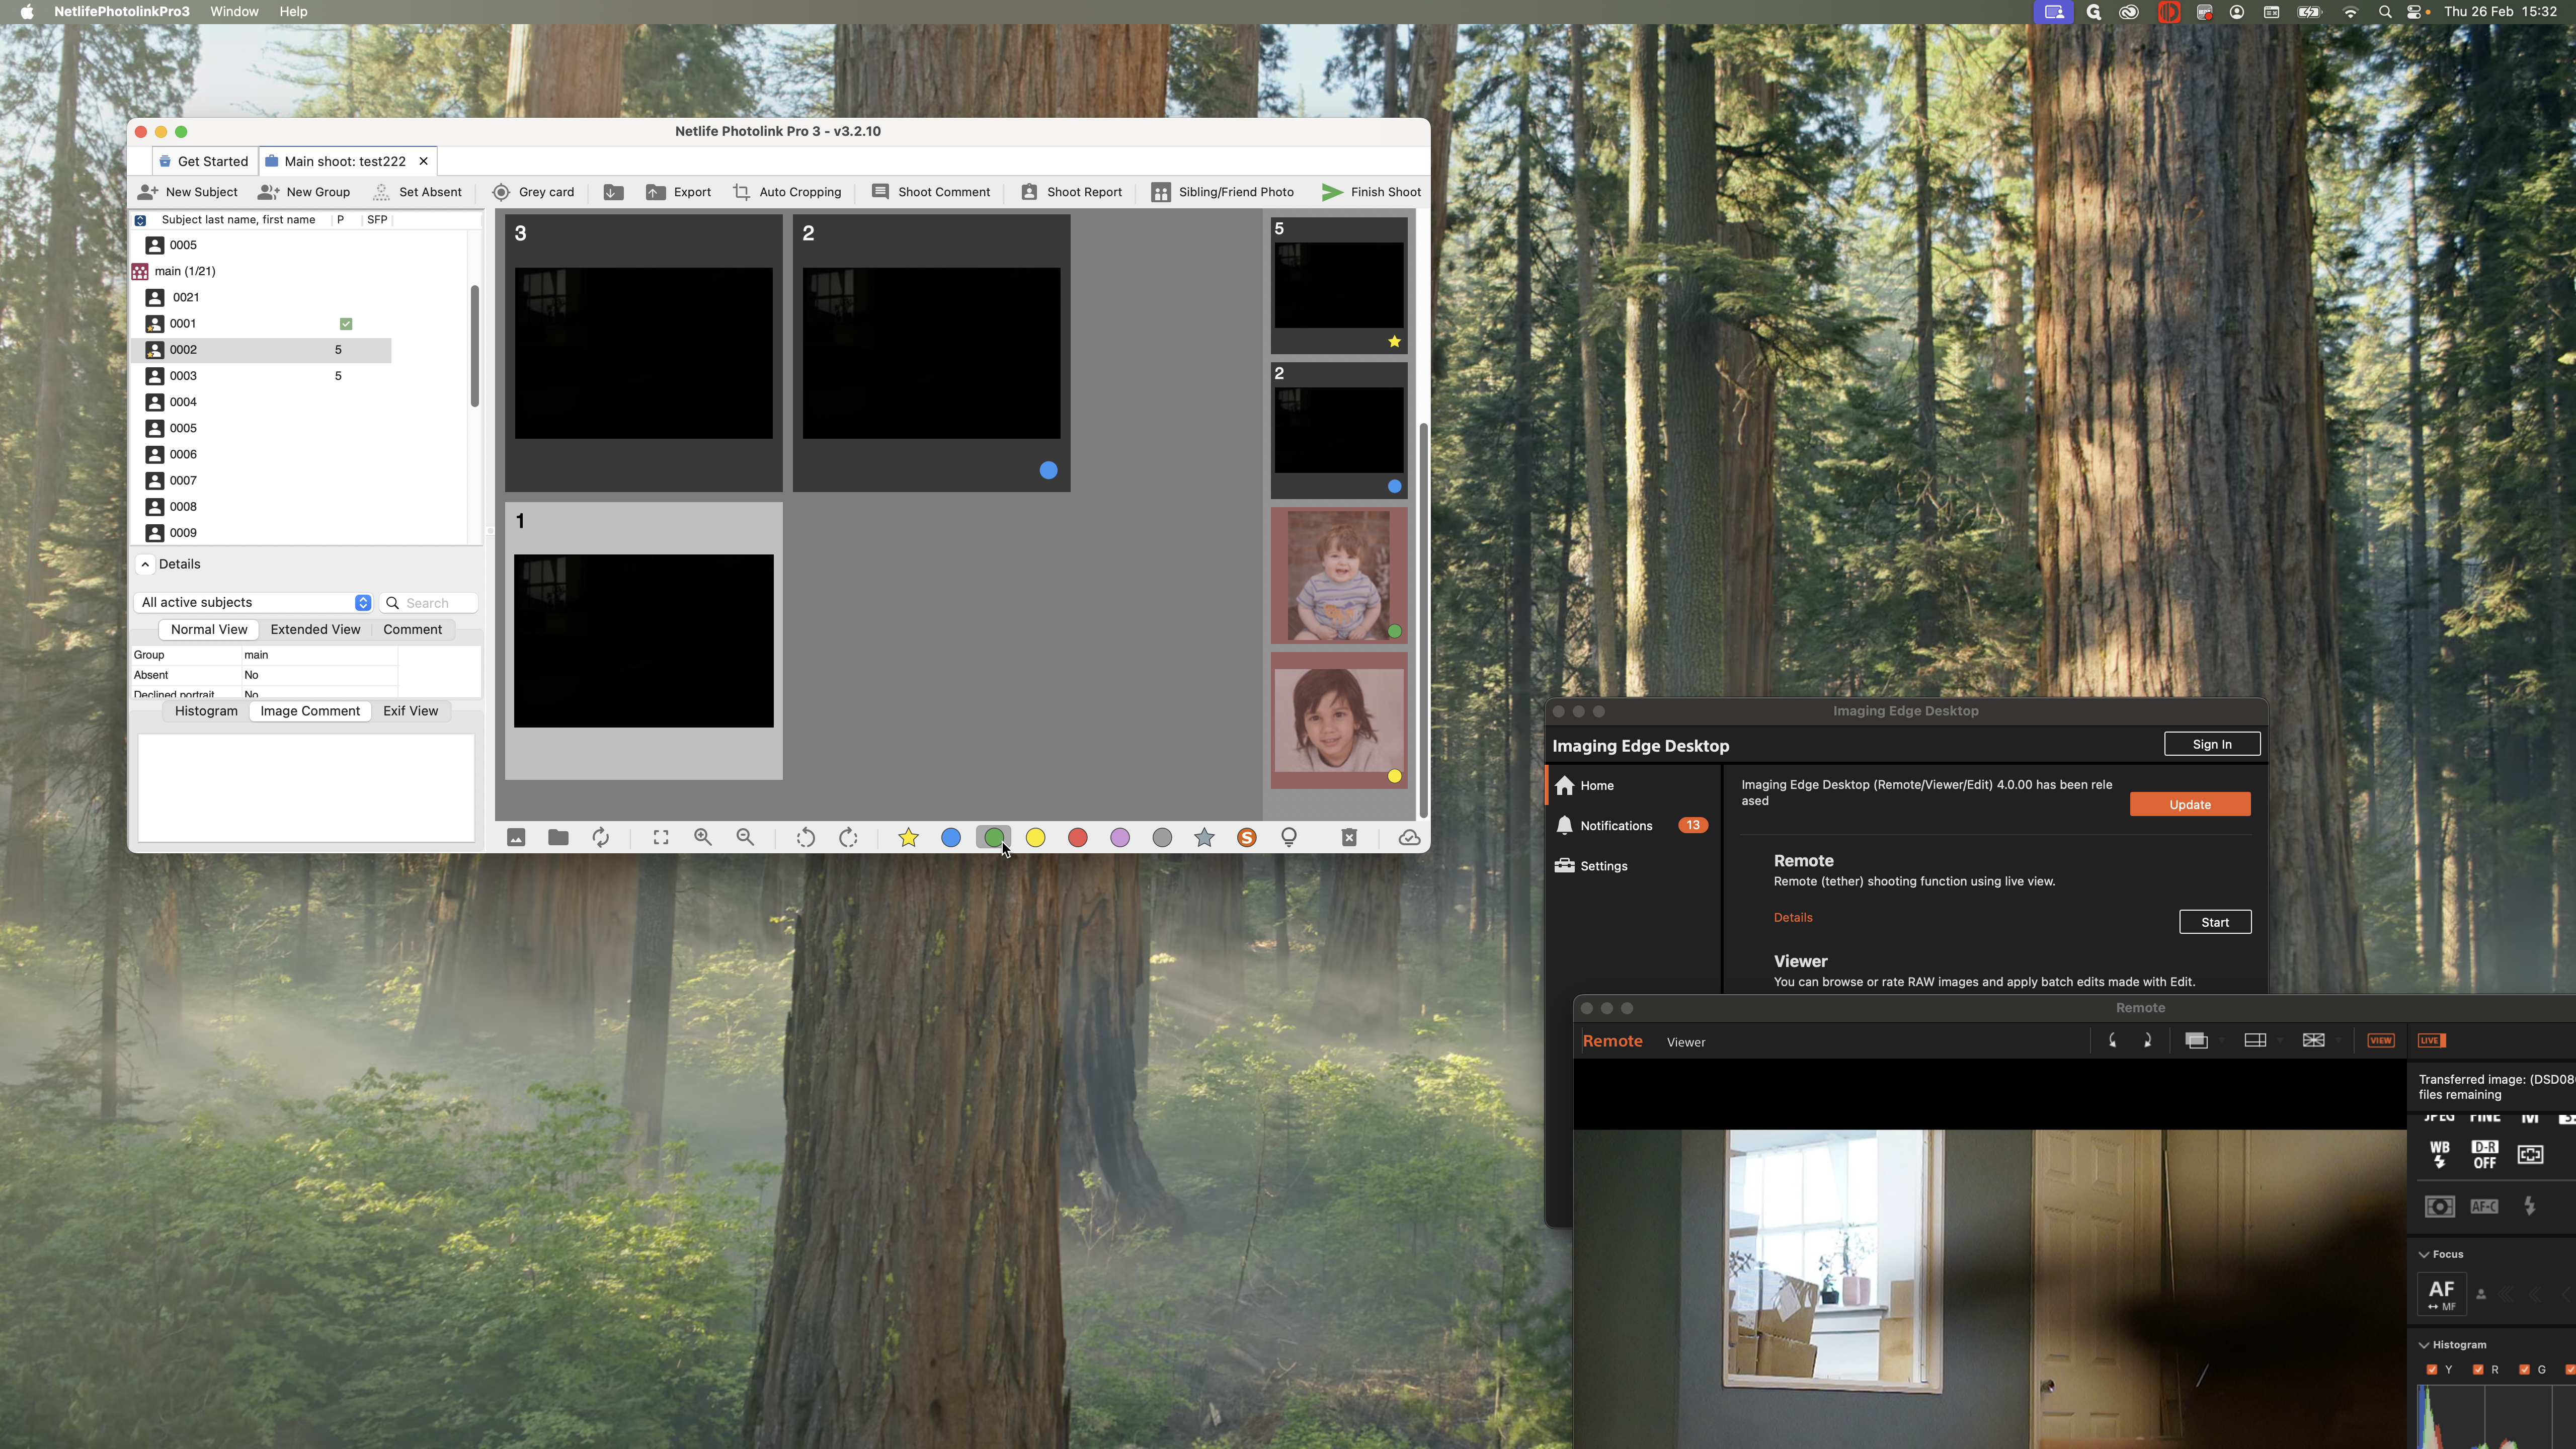
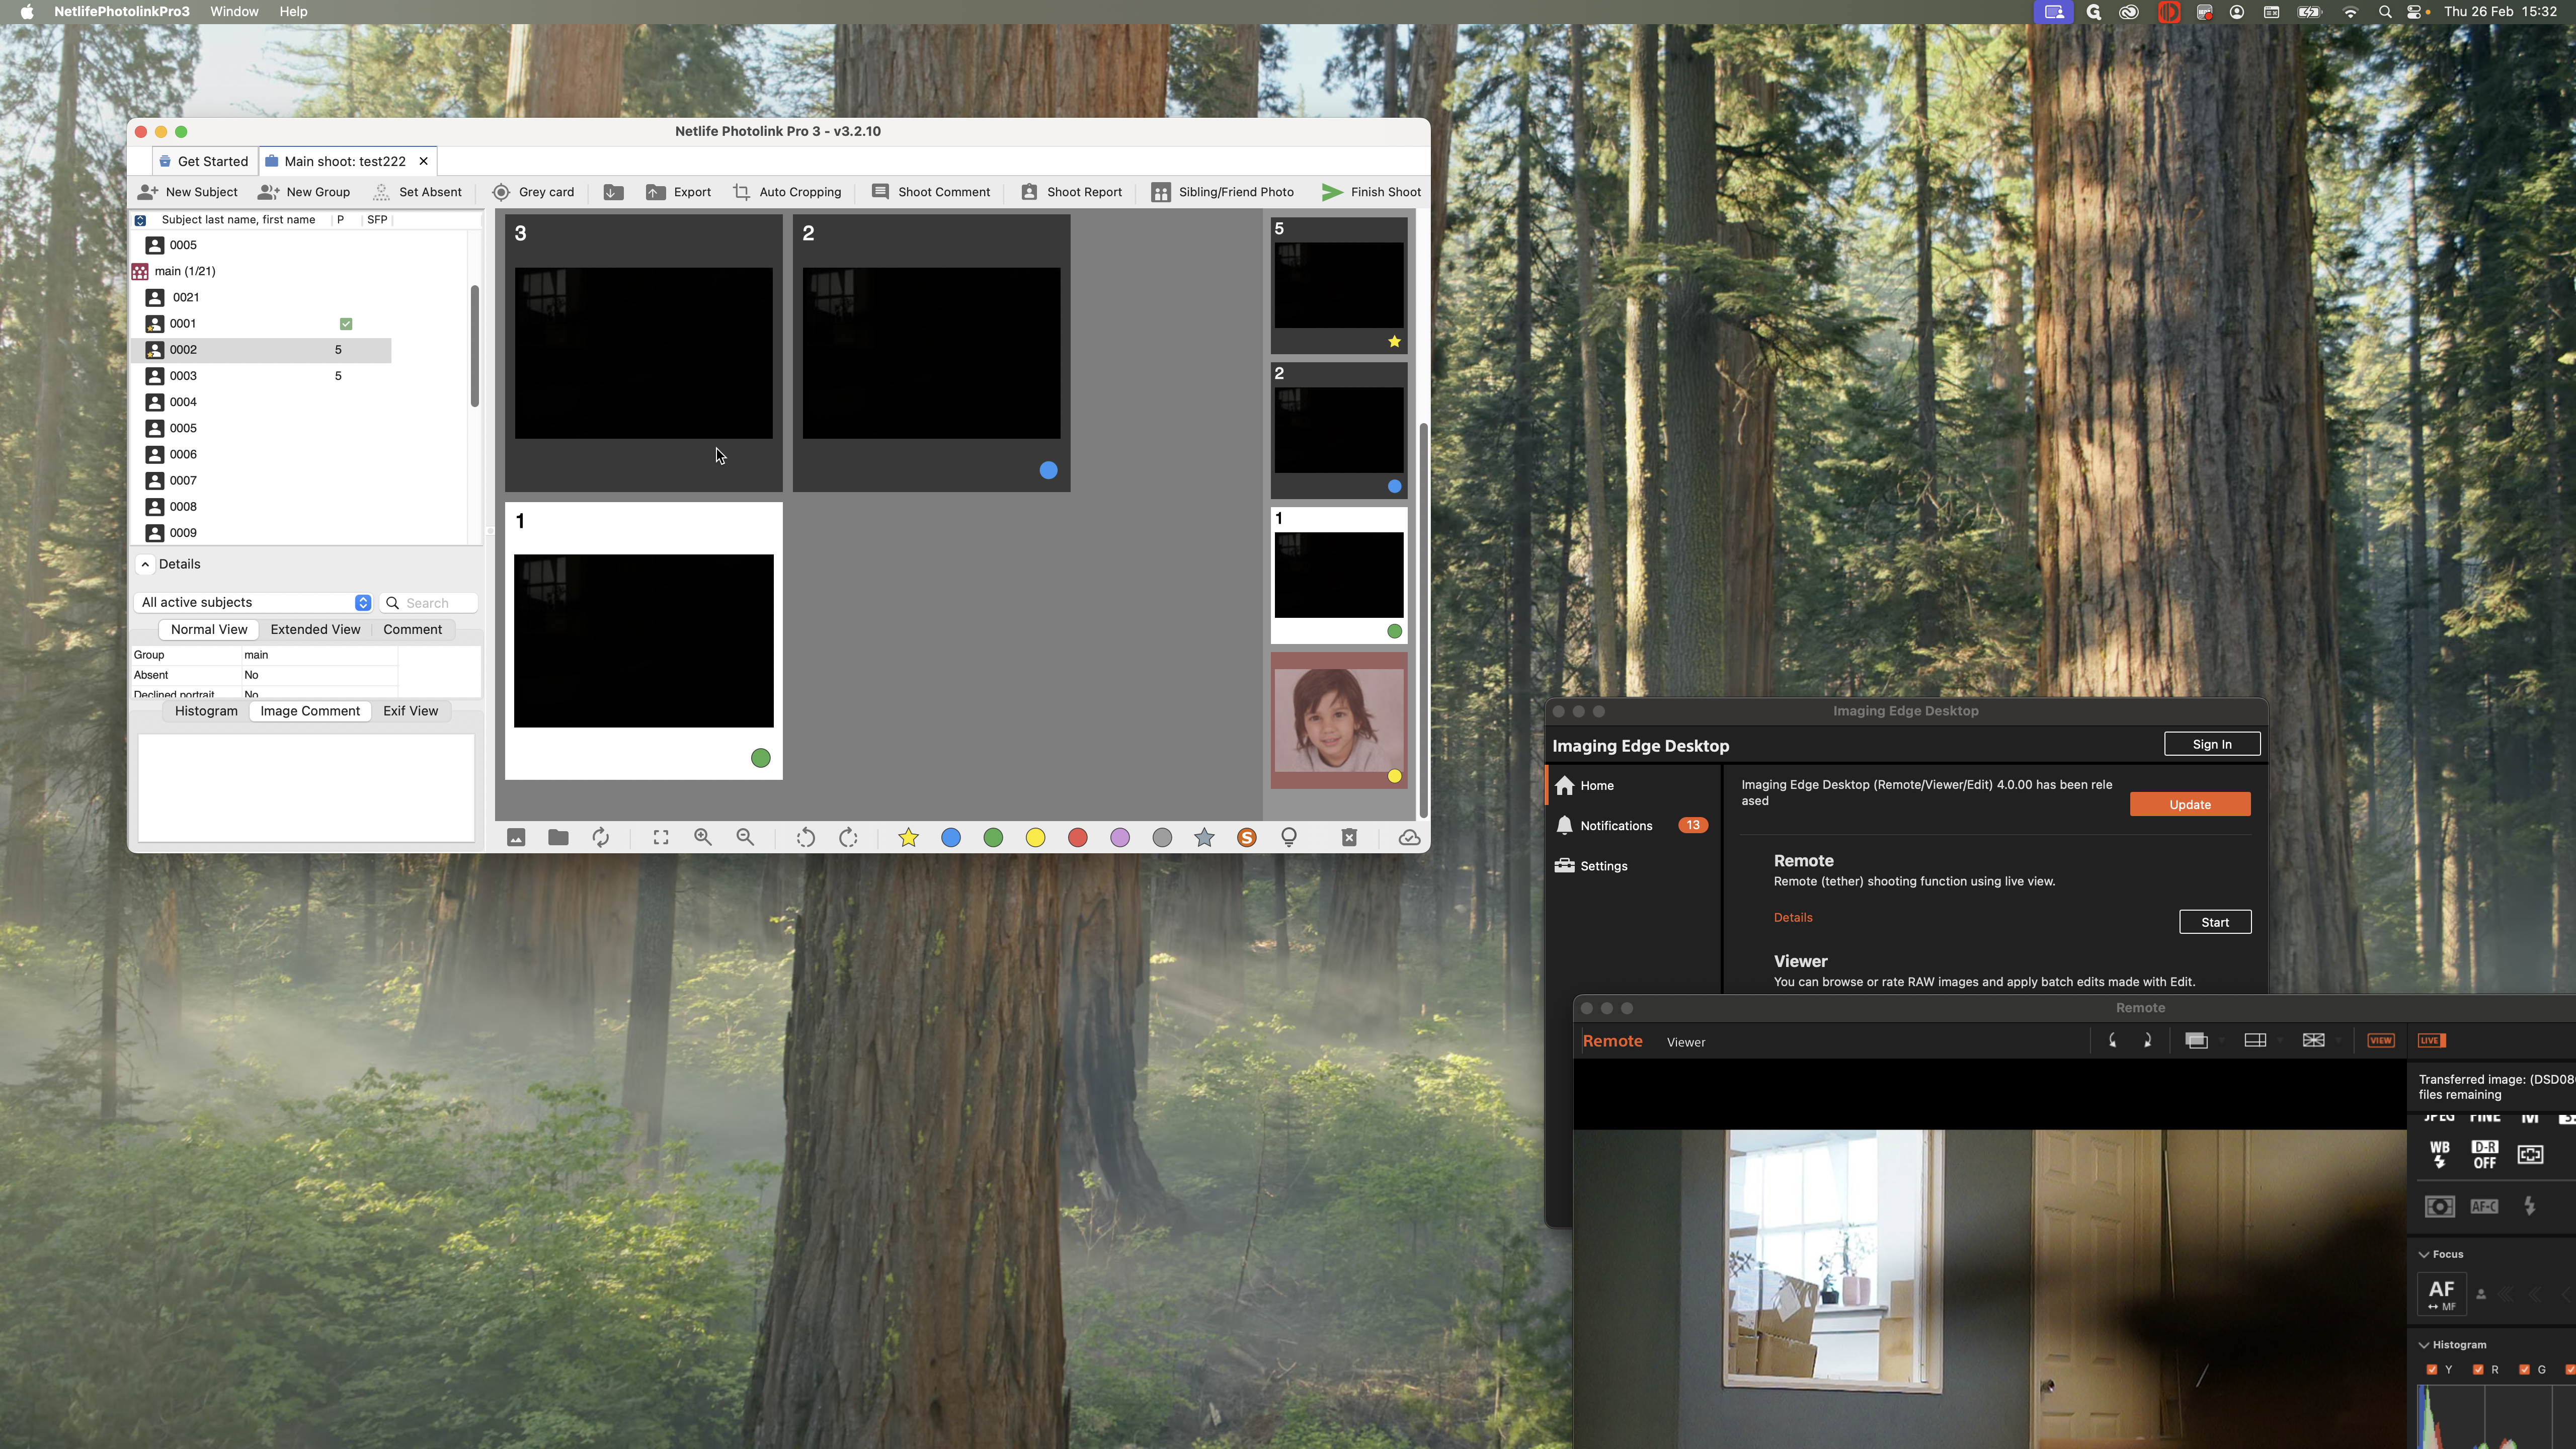
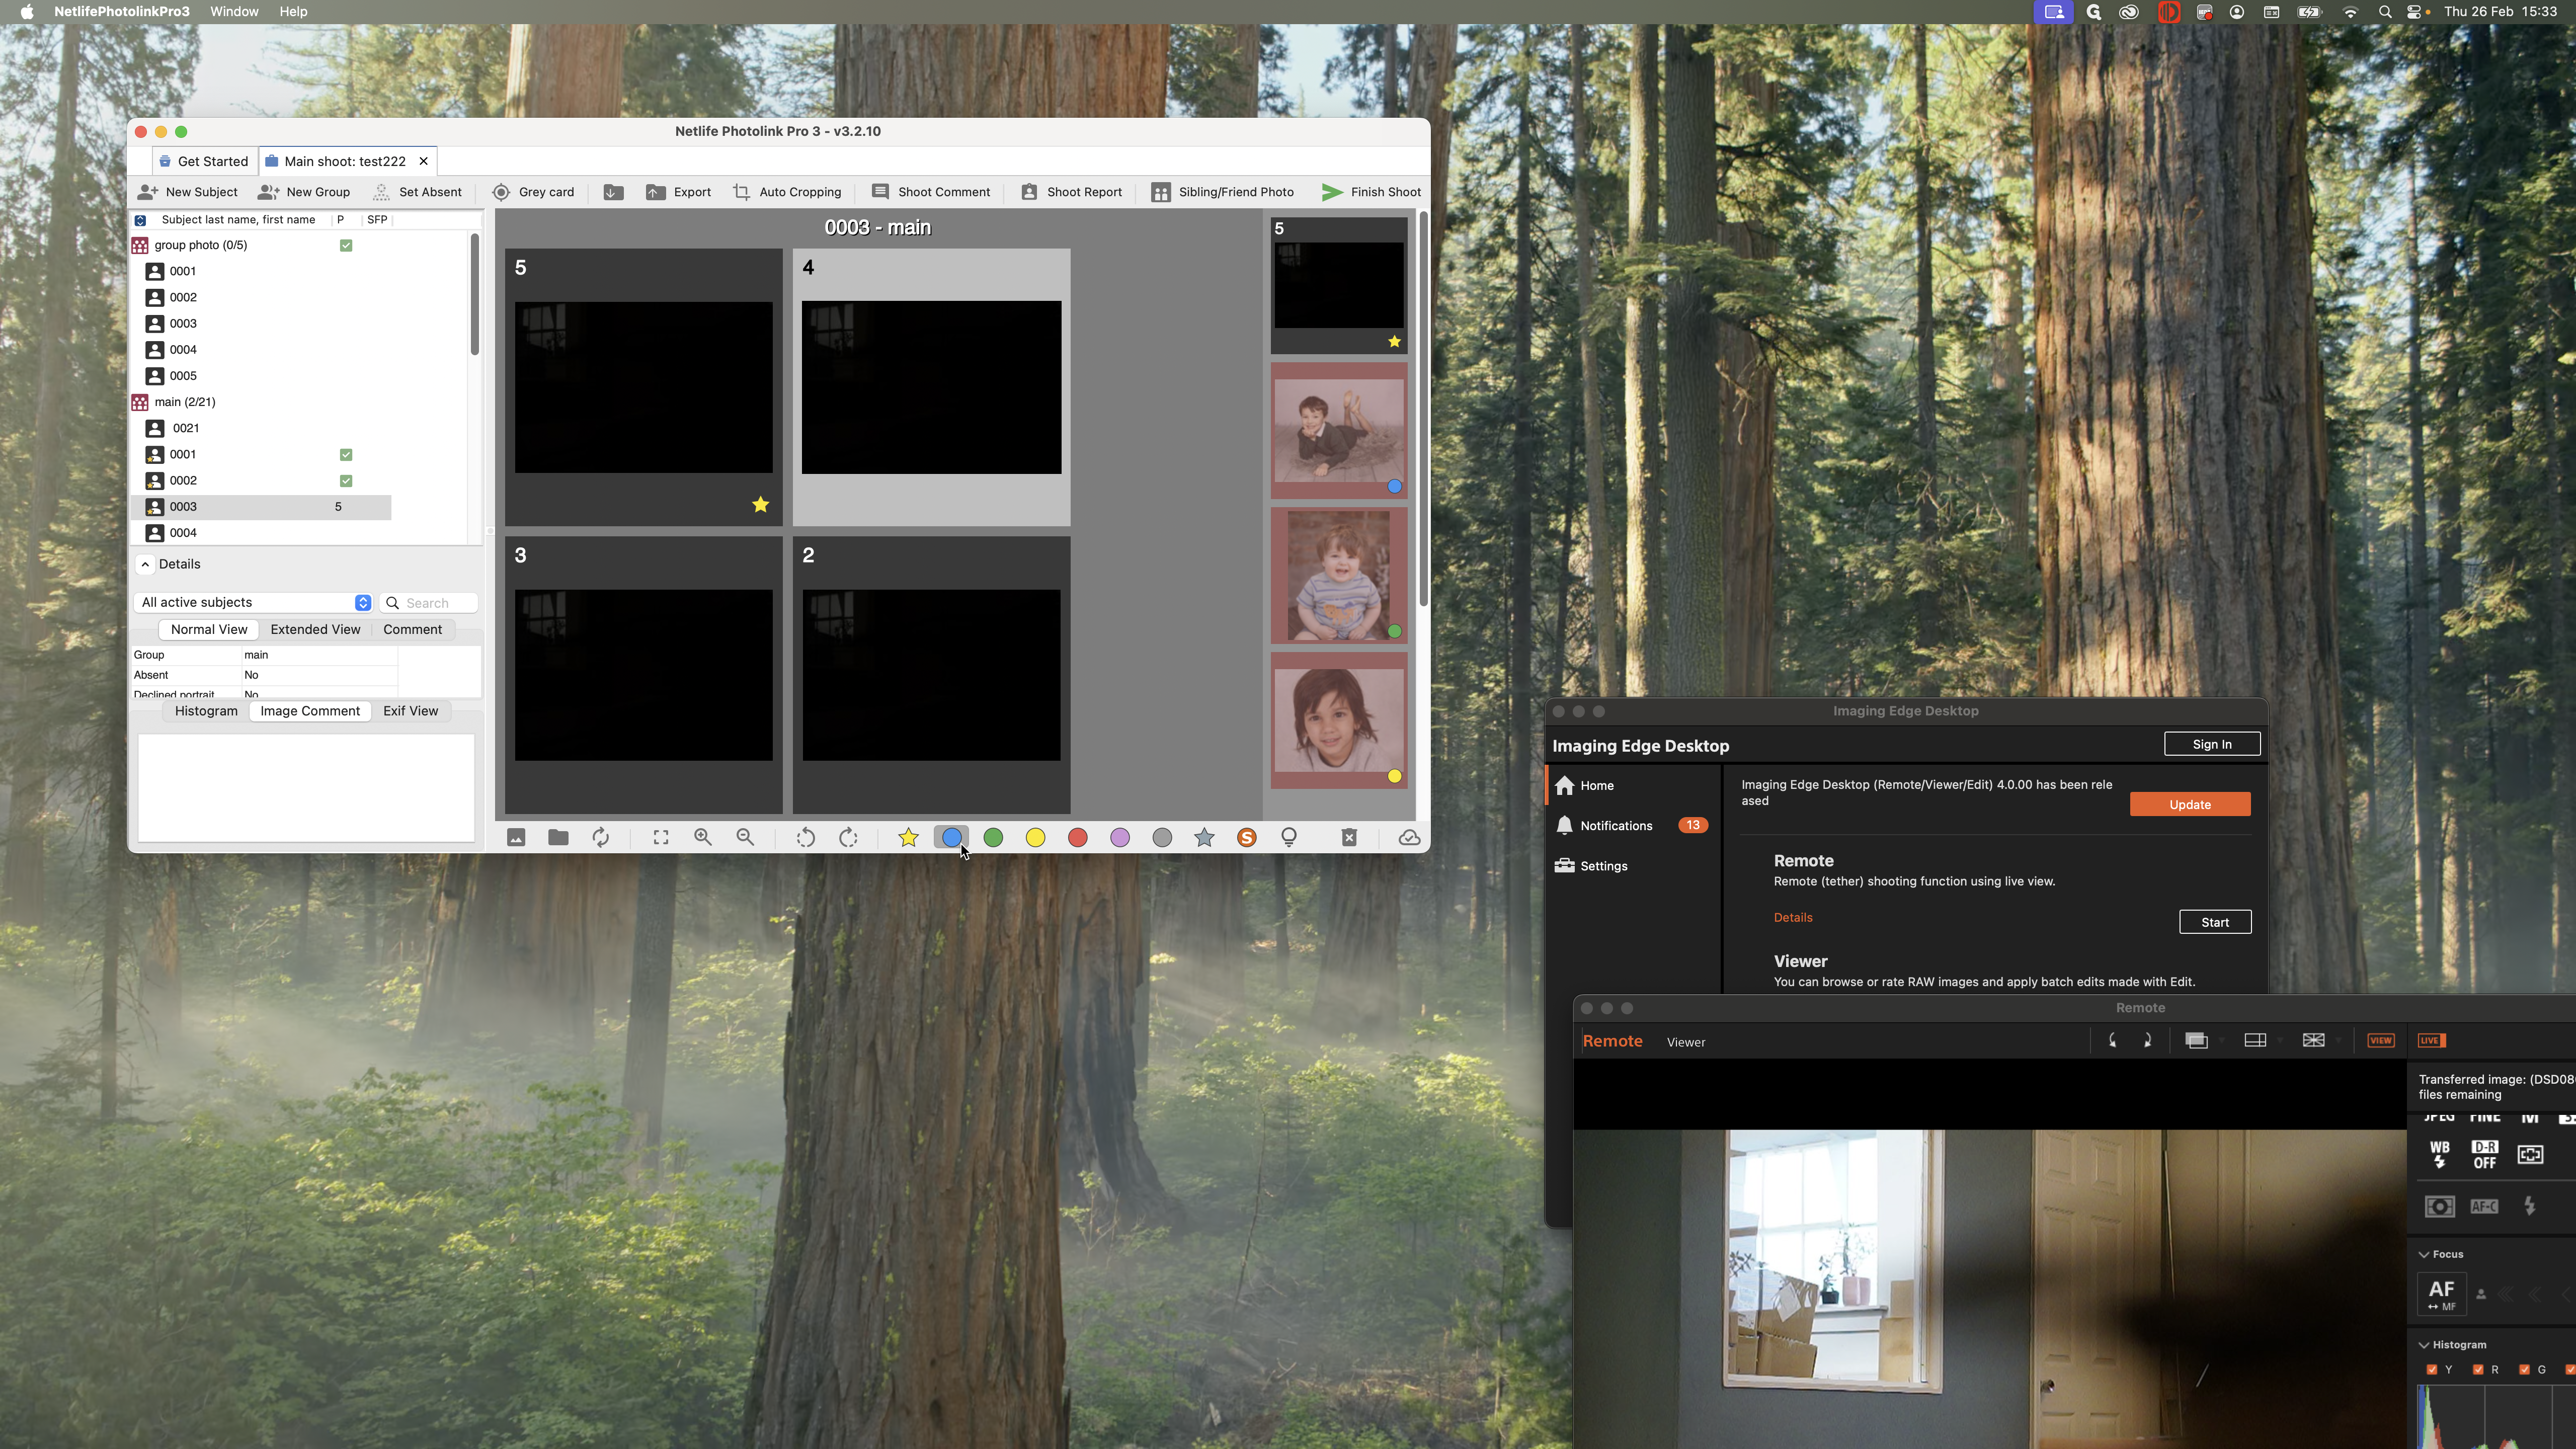
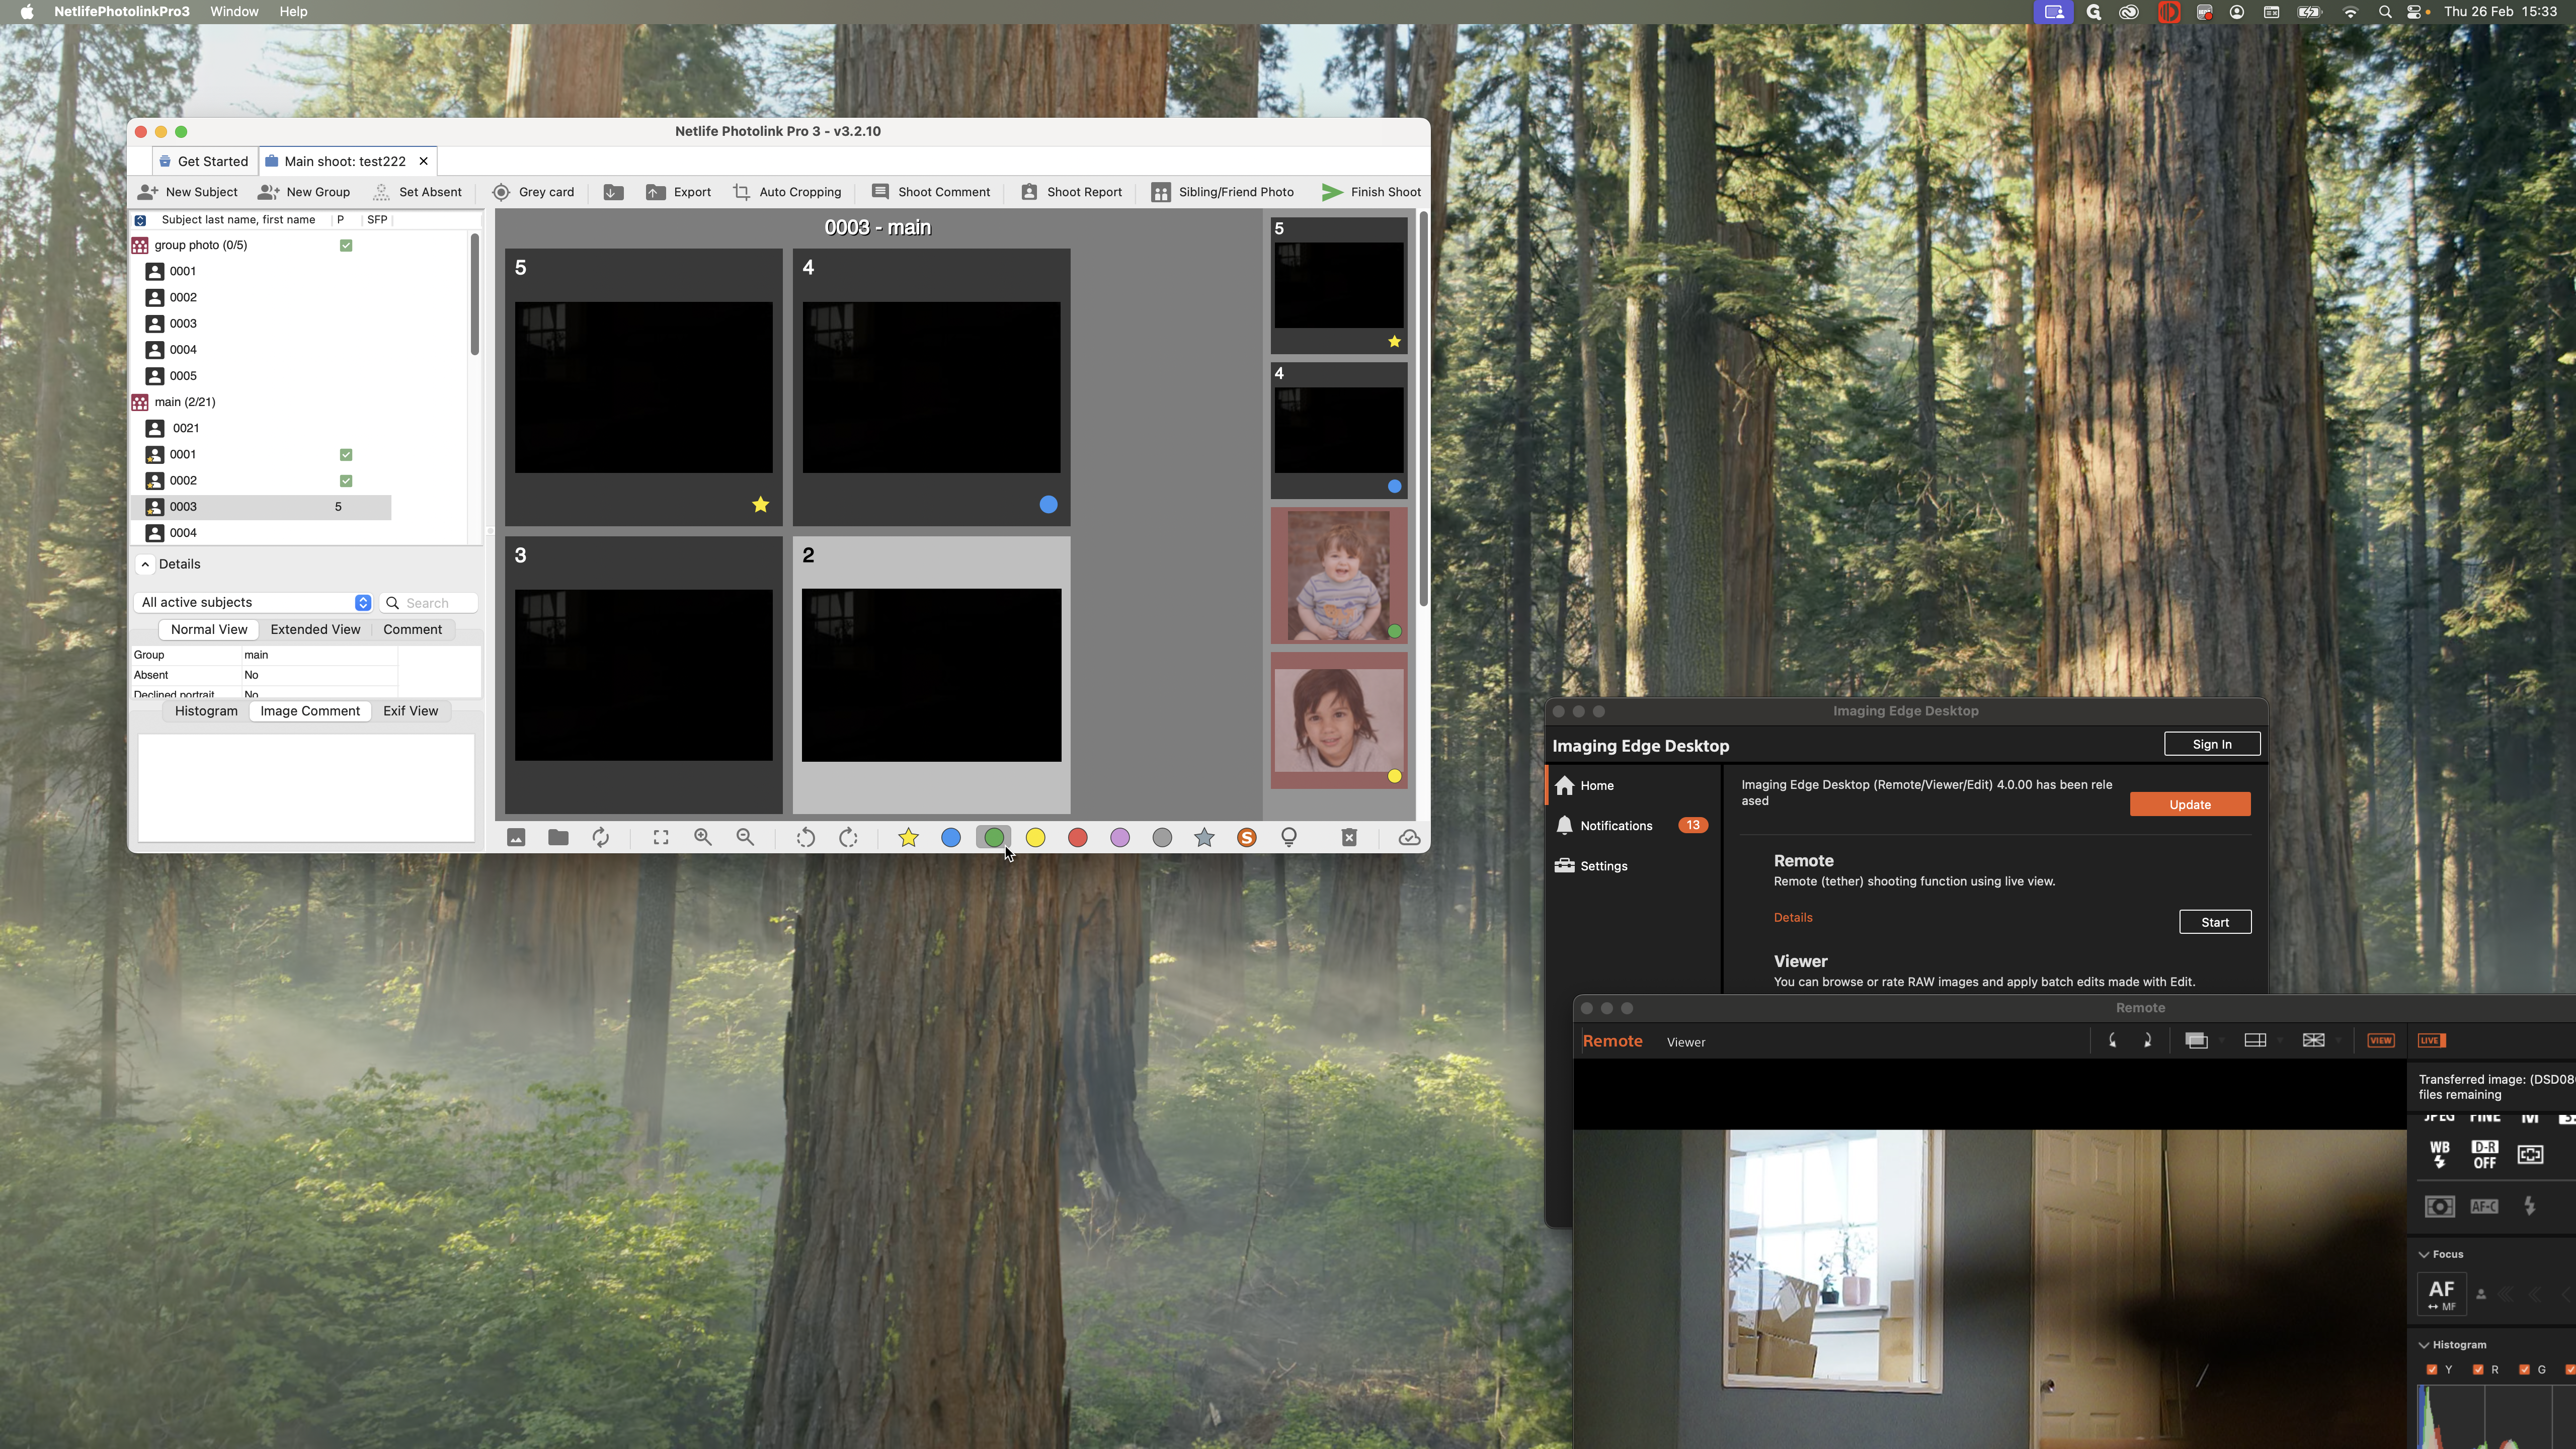
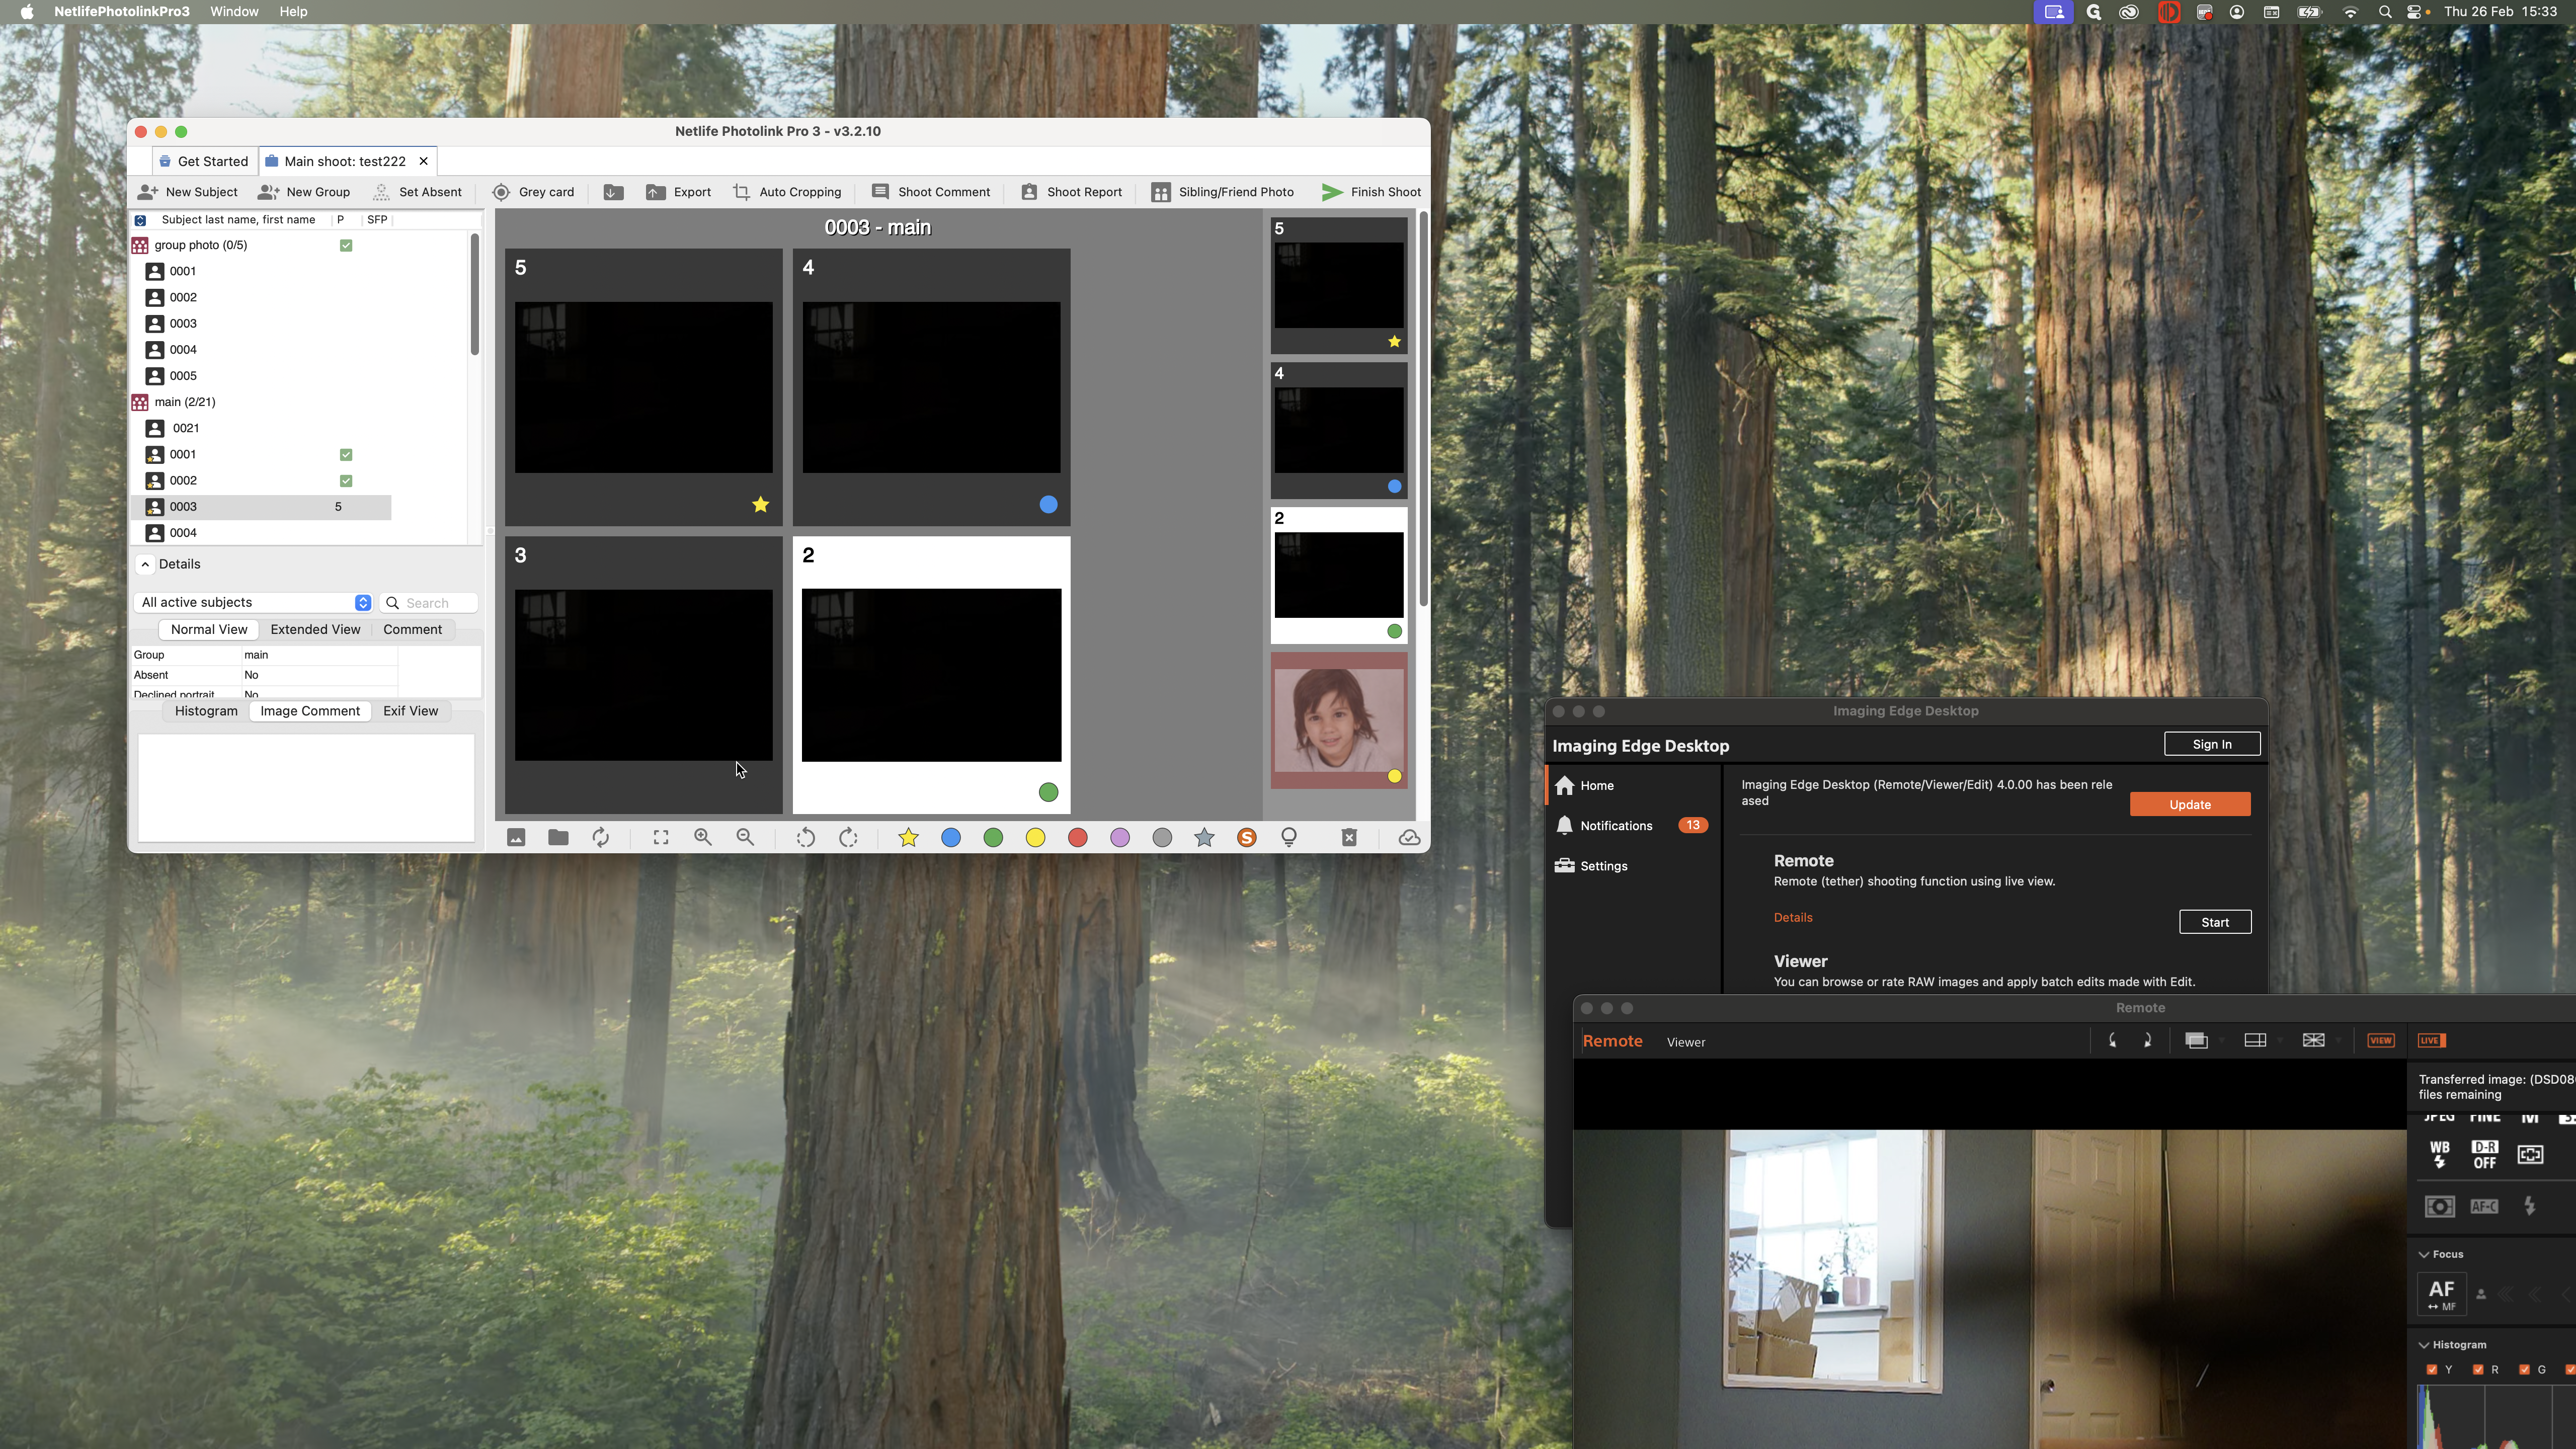
I have all my images here, and I will start with child number one. If this is my full length, I will press star.

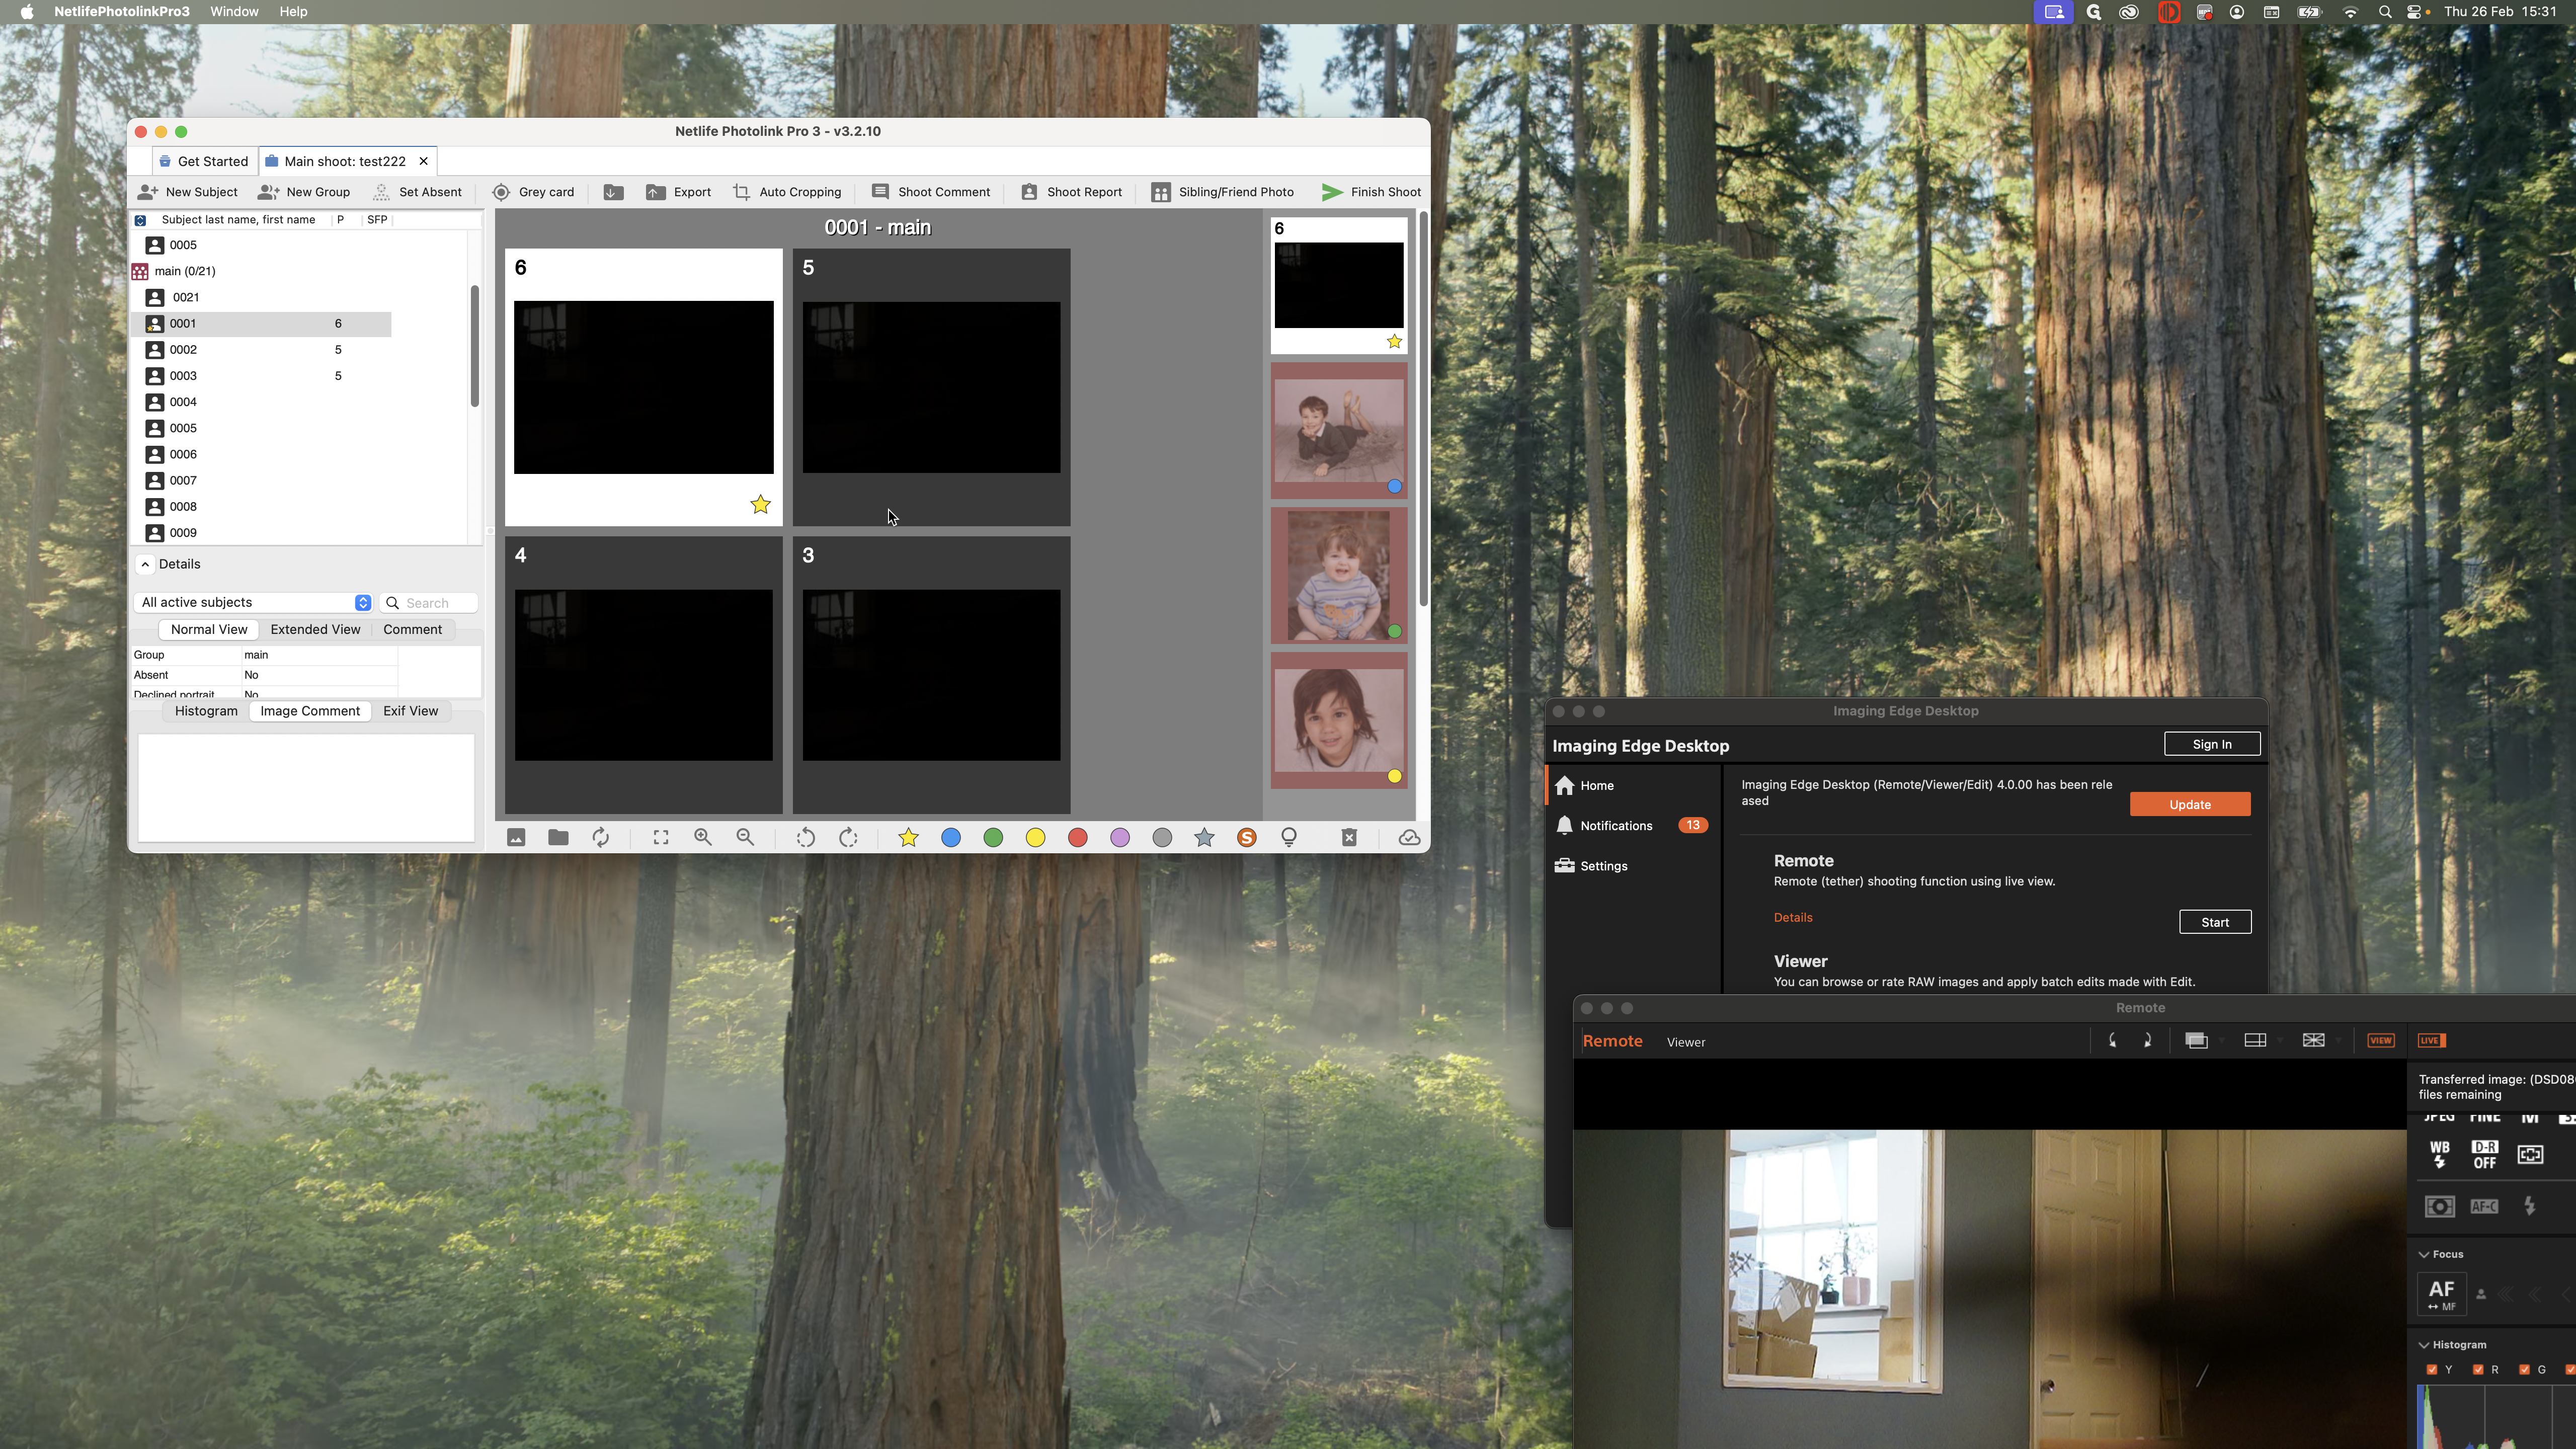
This is my fourth shot. I can do that.

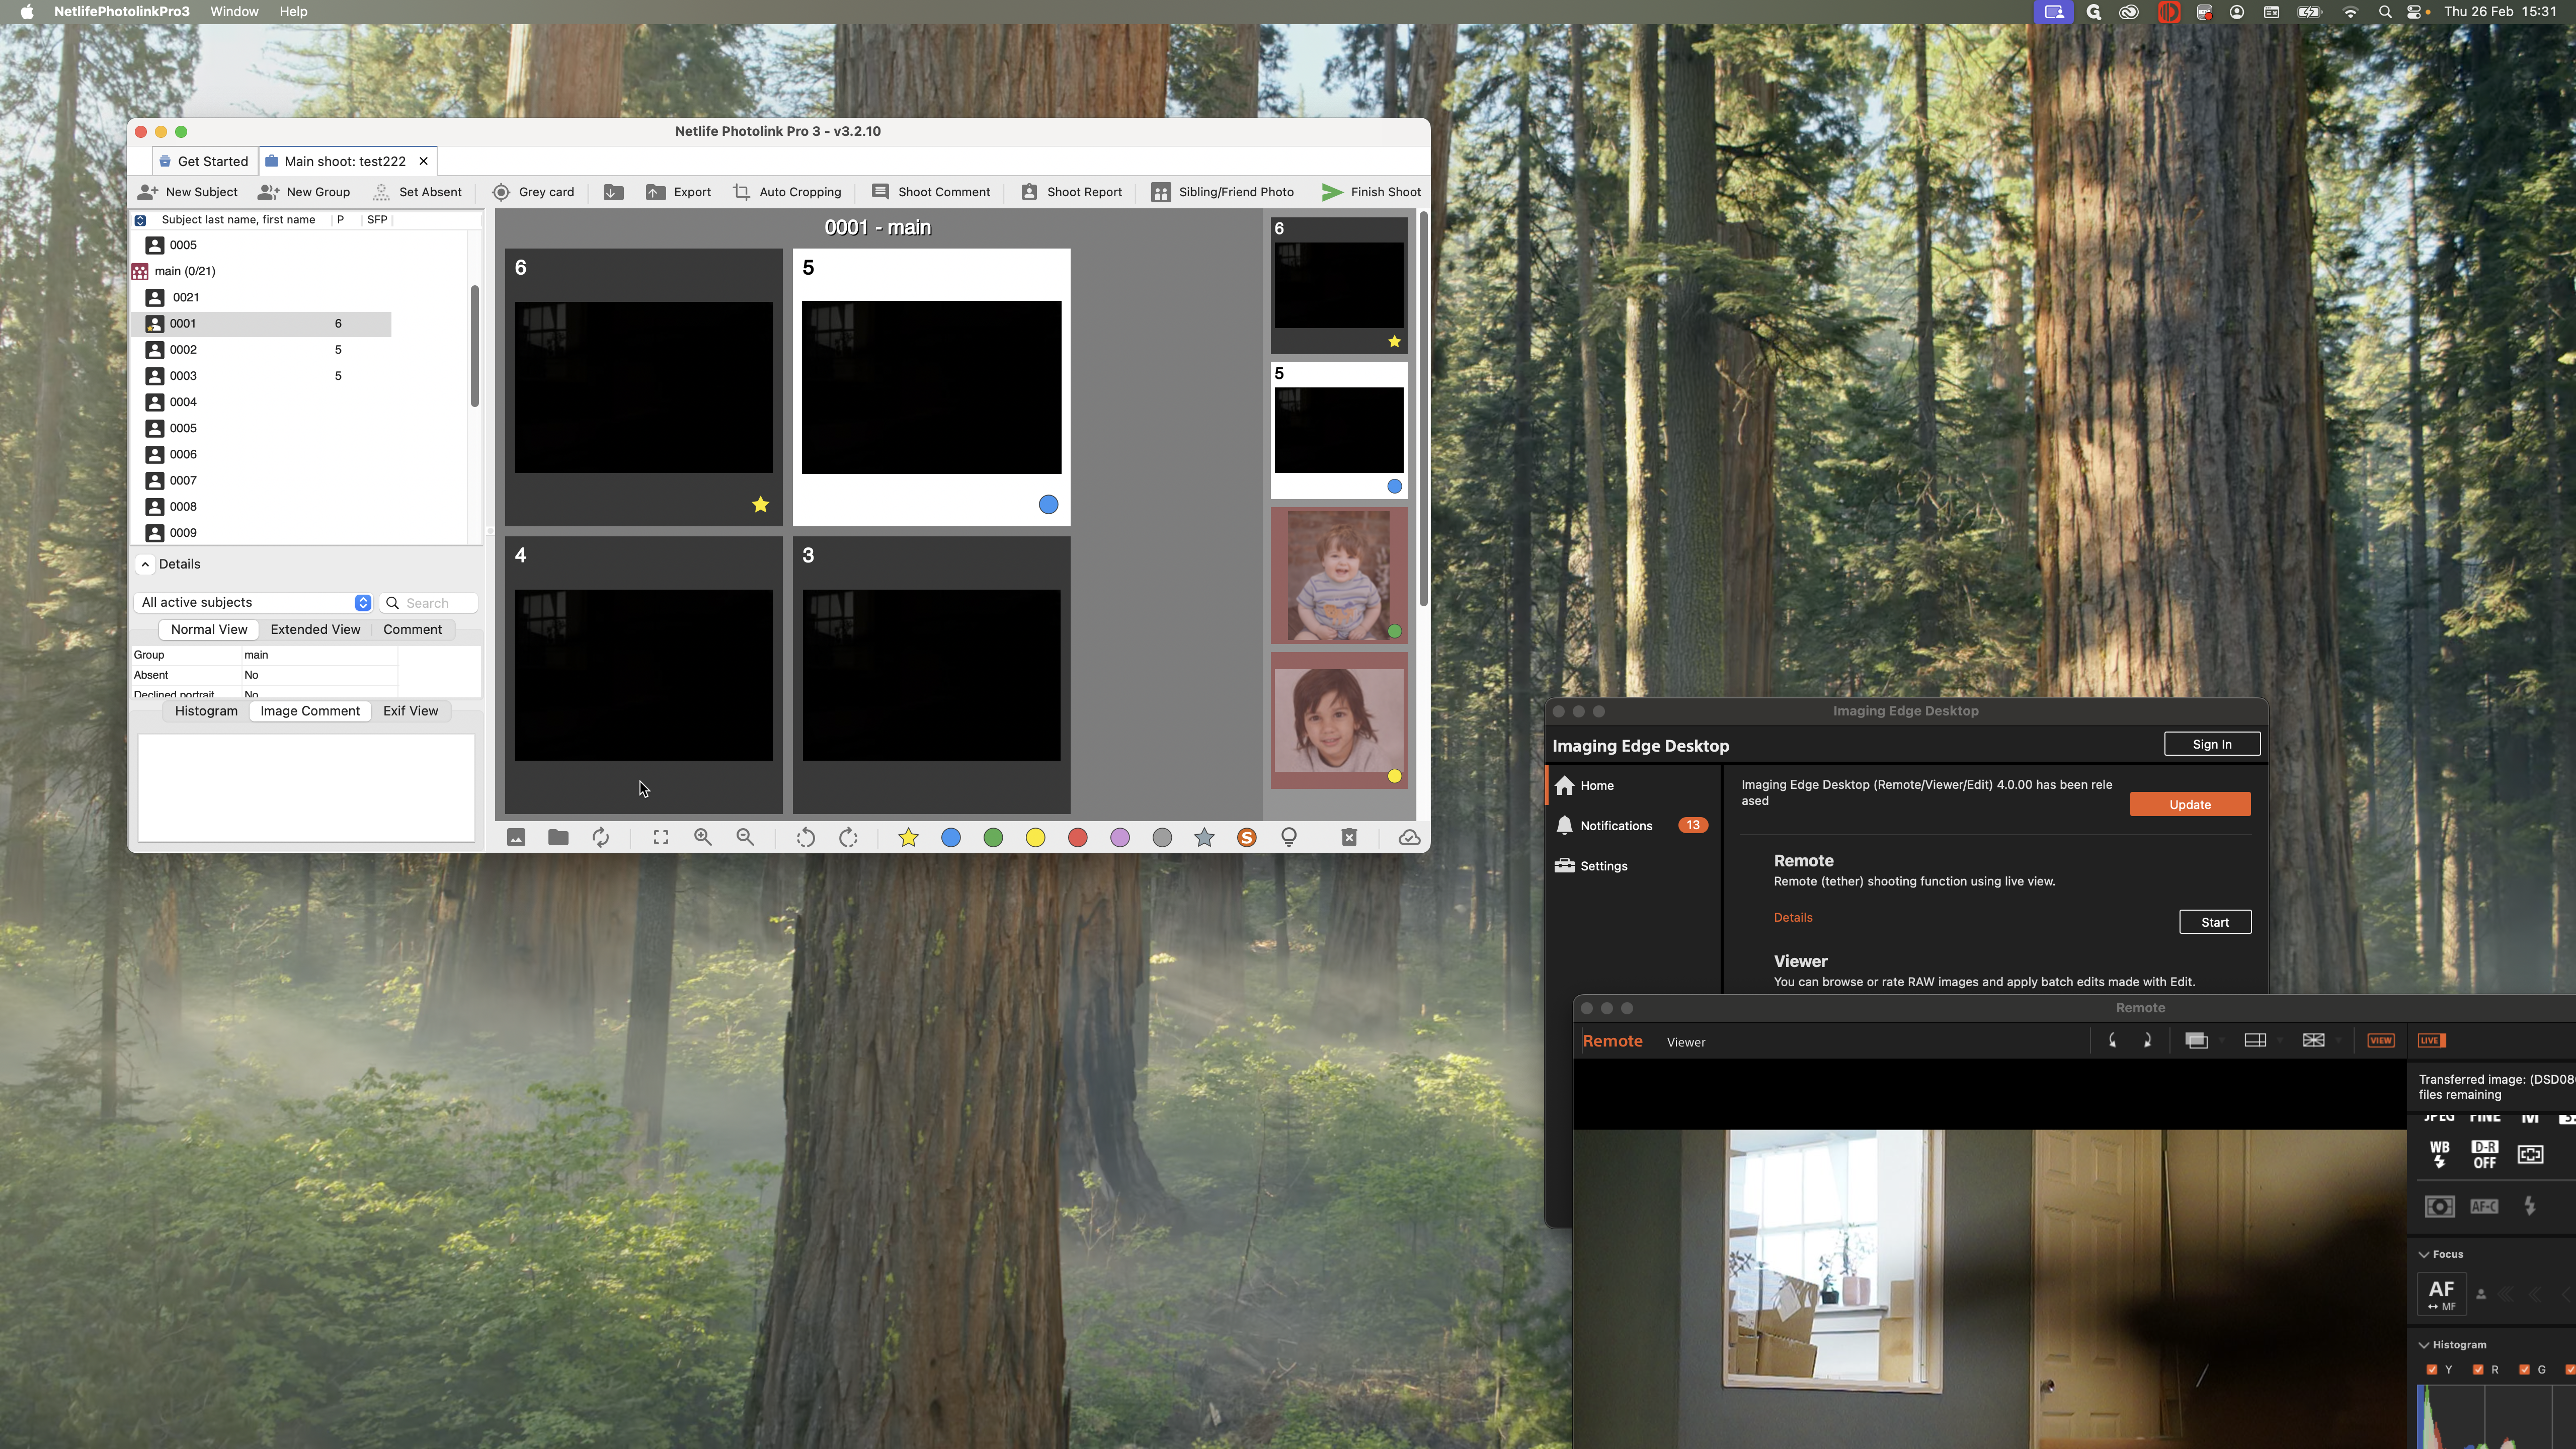
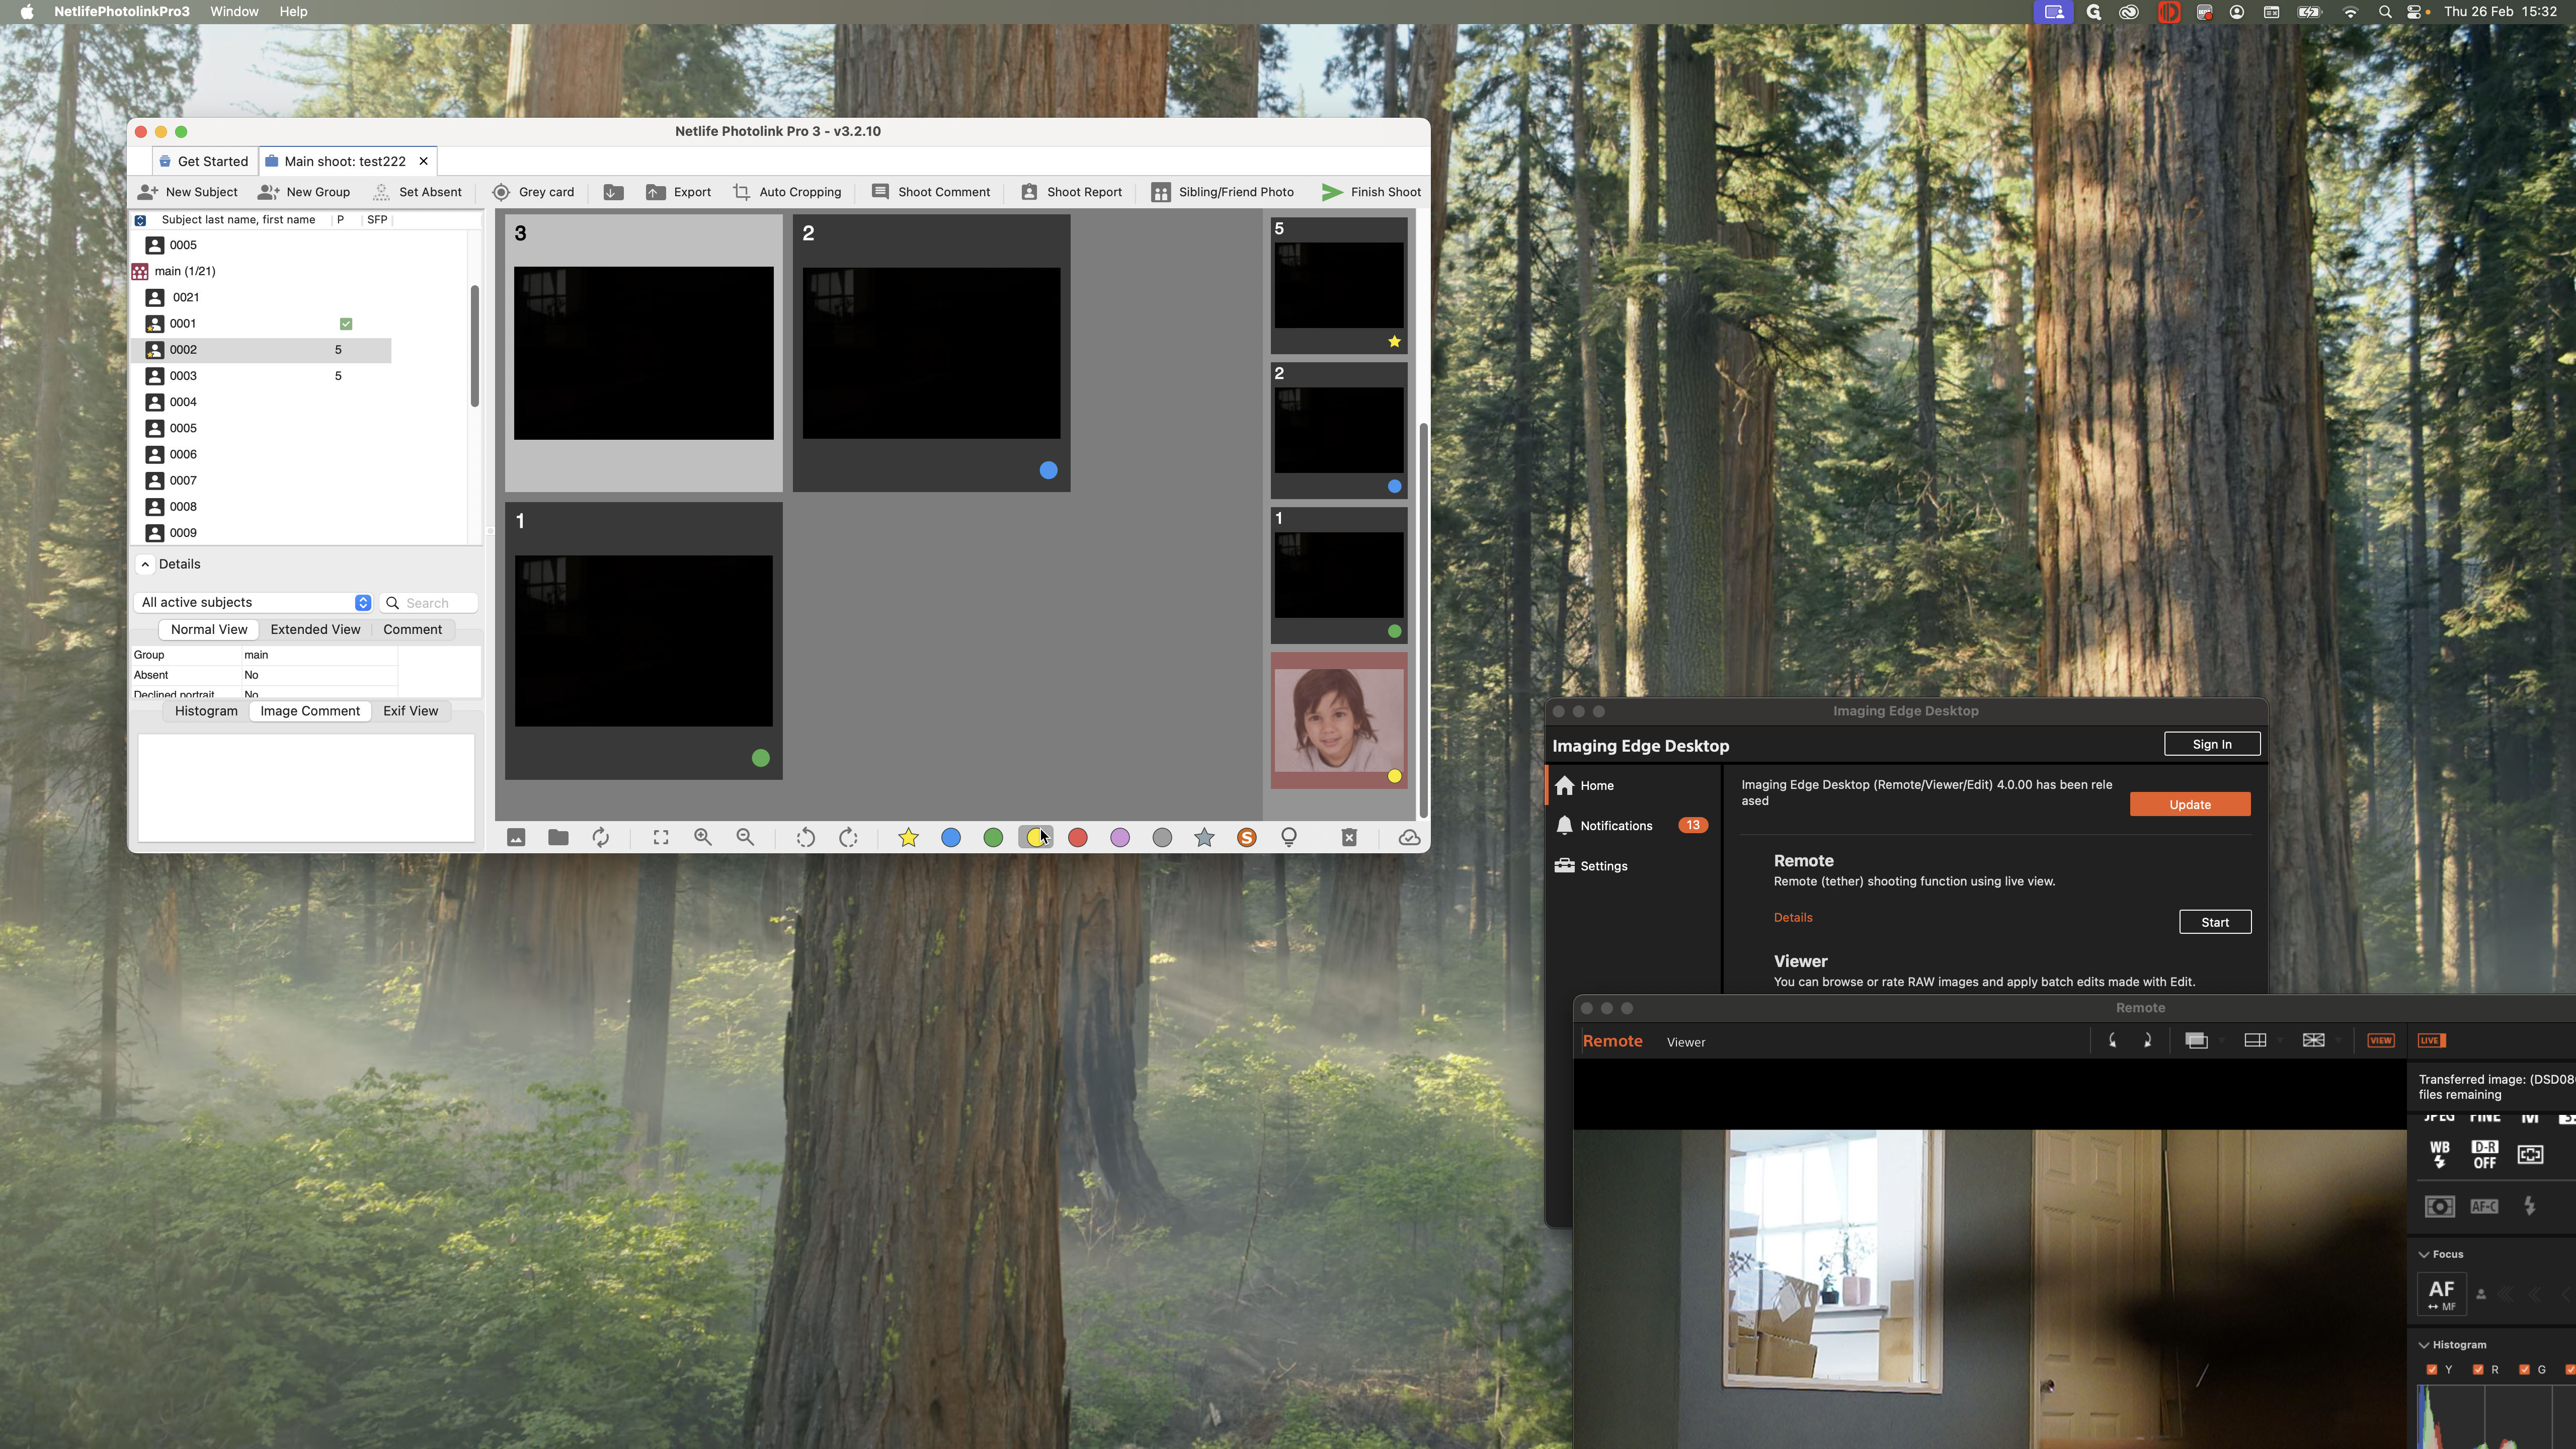
If I were choosing for my head and shoulders, I would pick green.
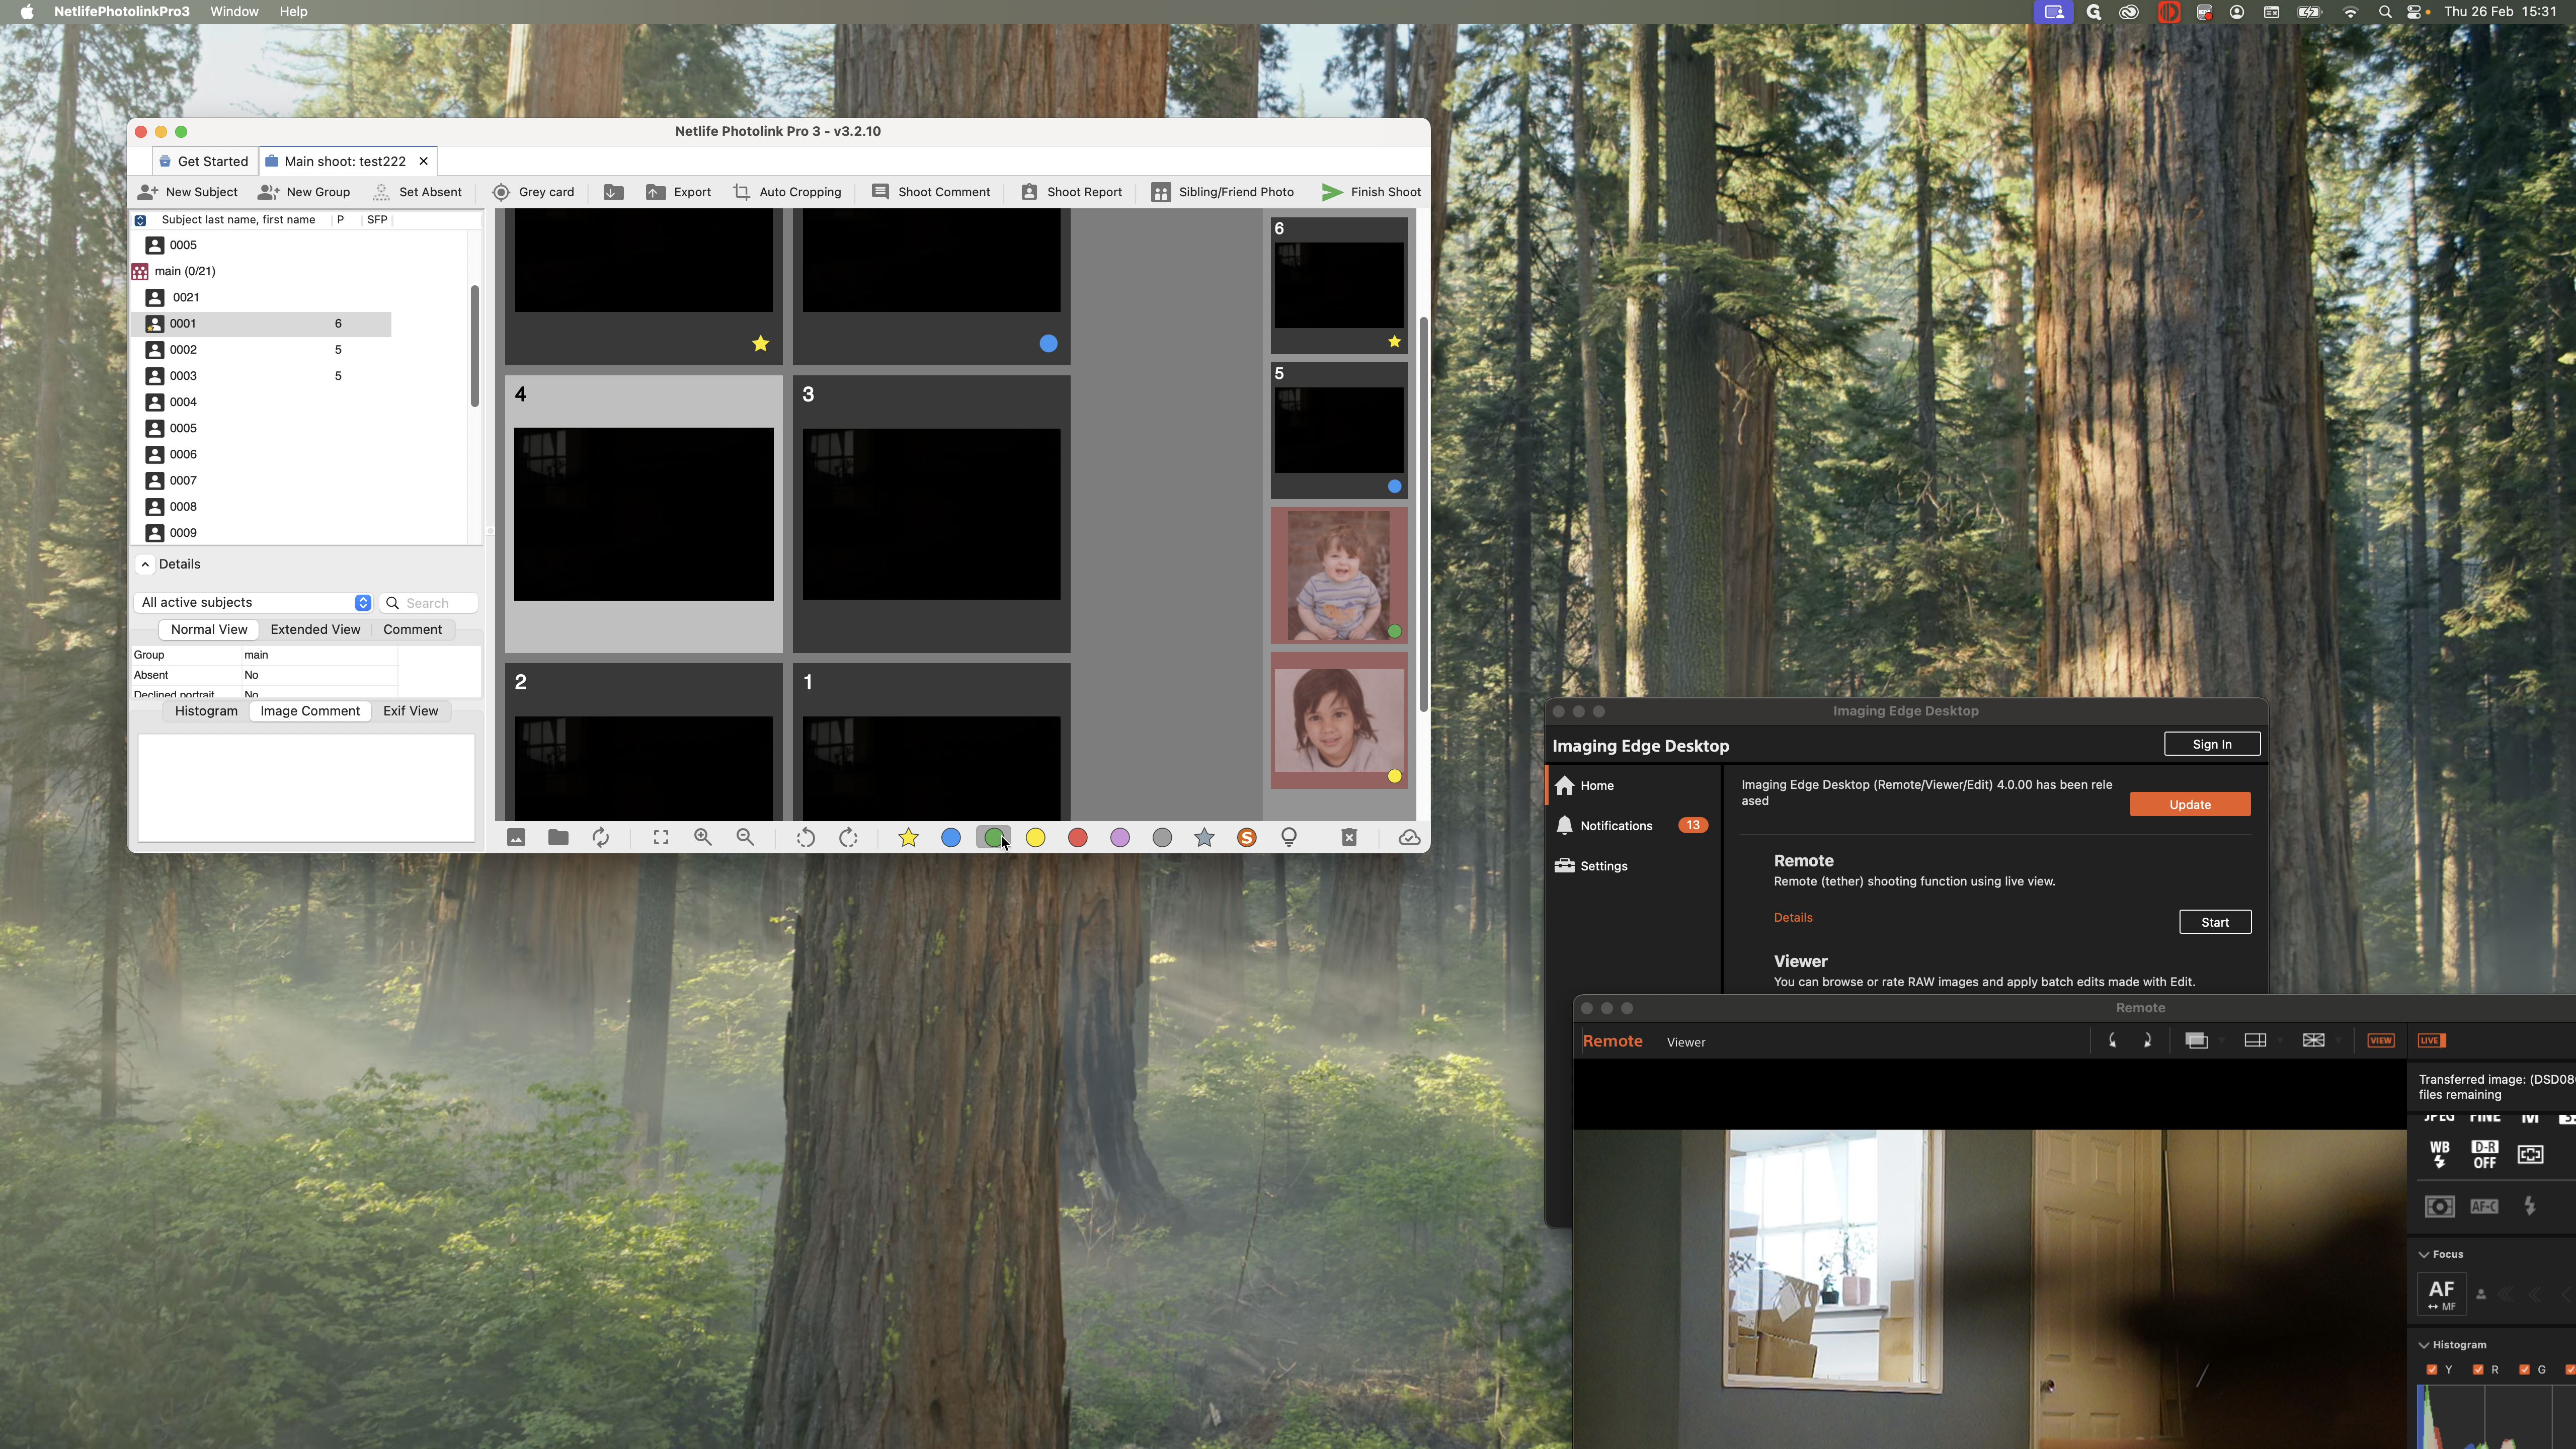
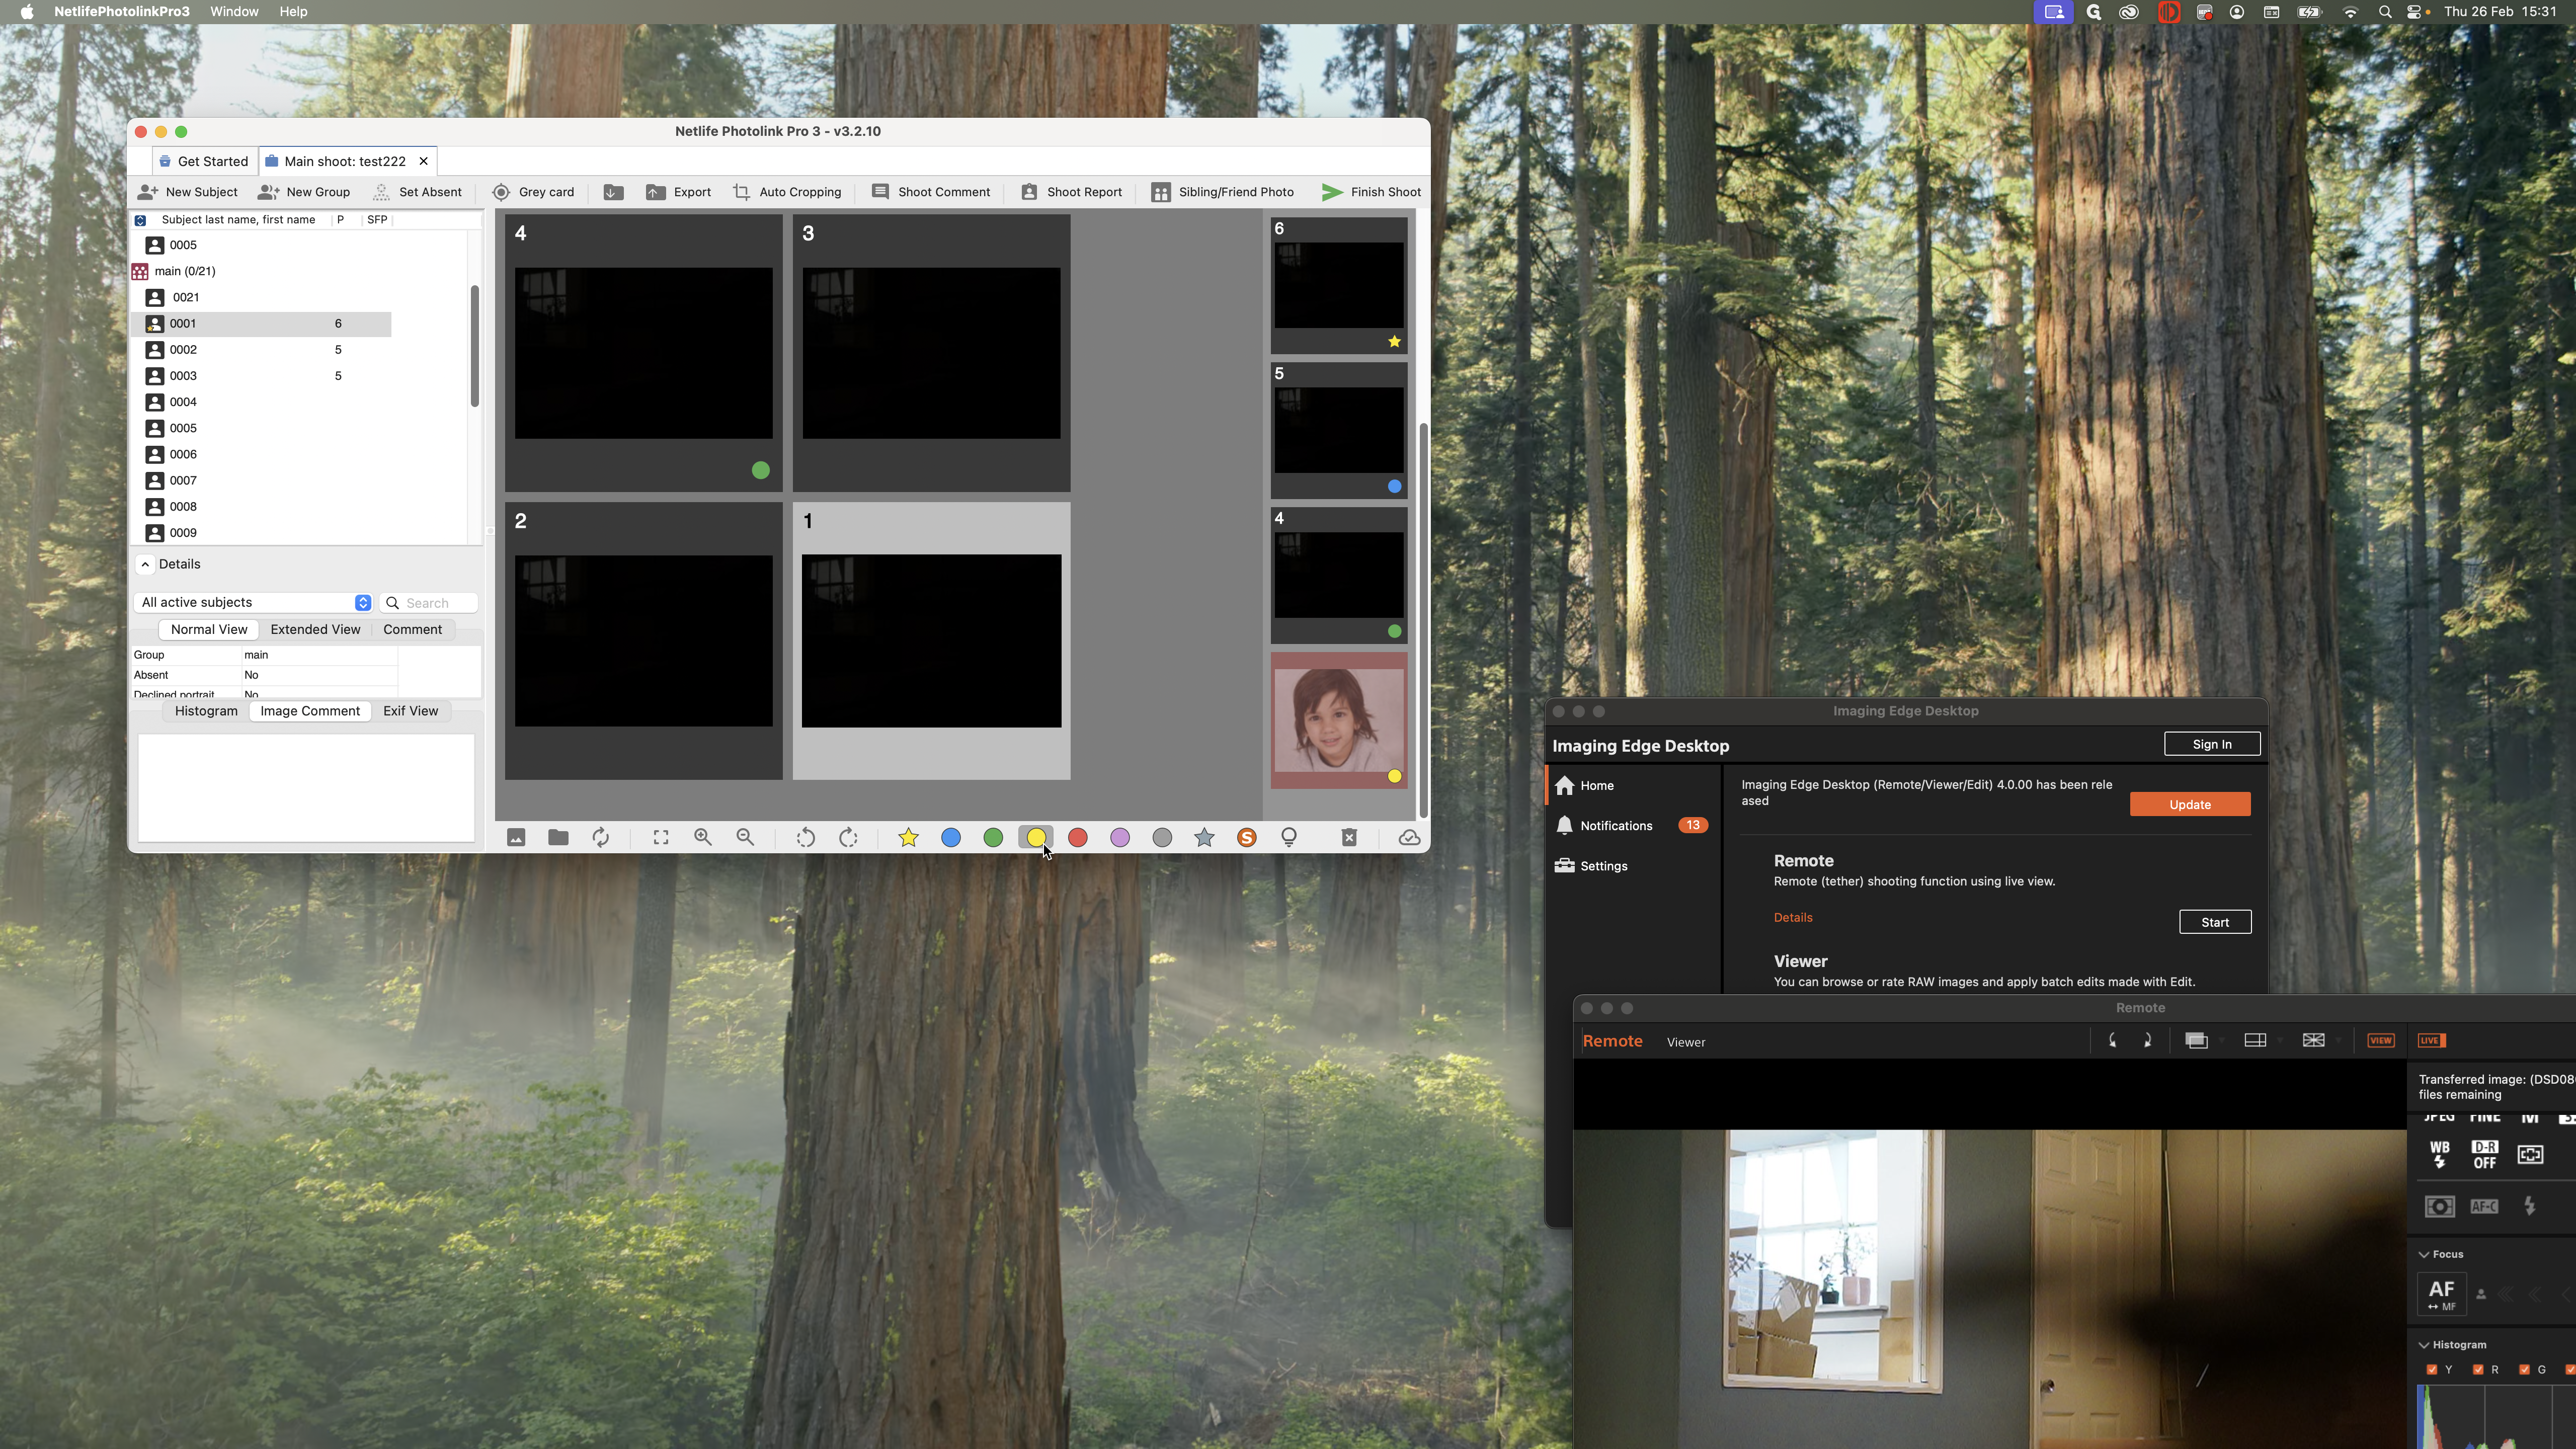
If this is my closeup, I would choose yellow.
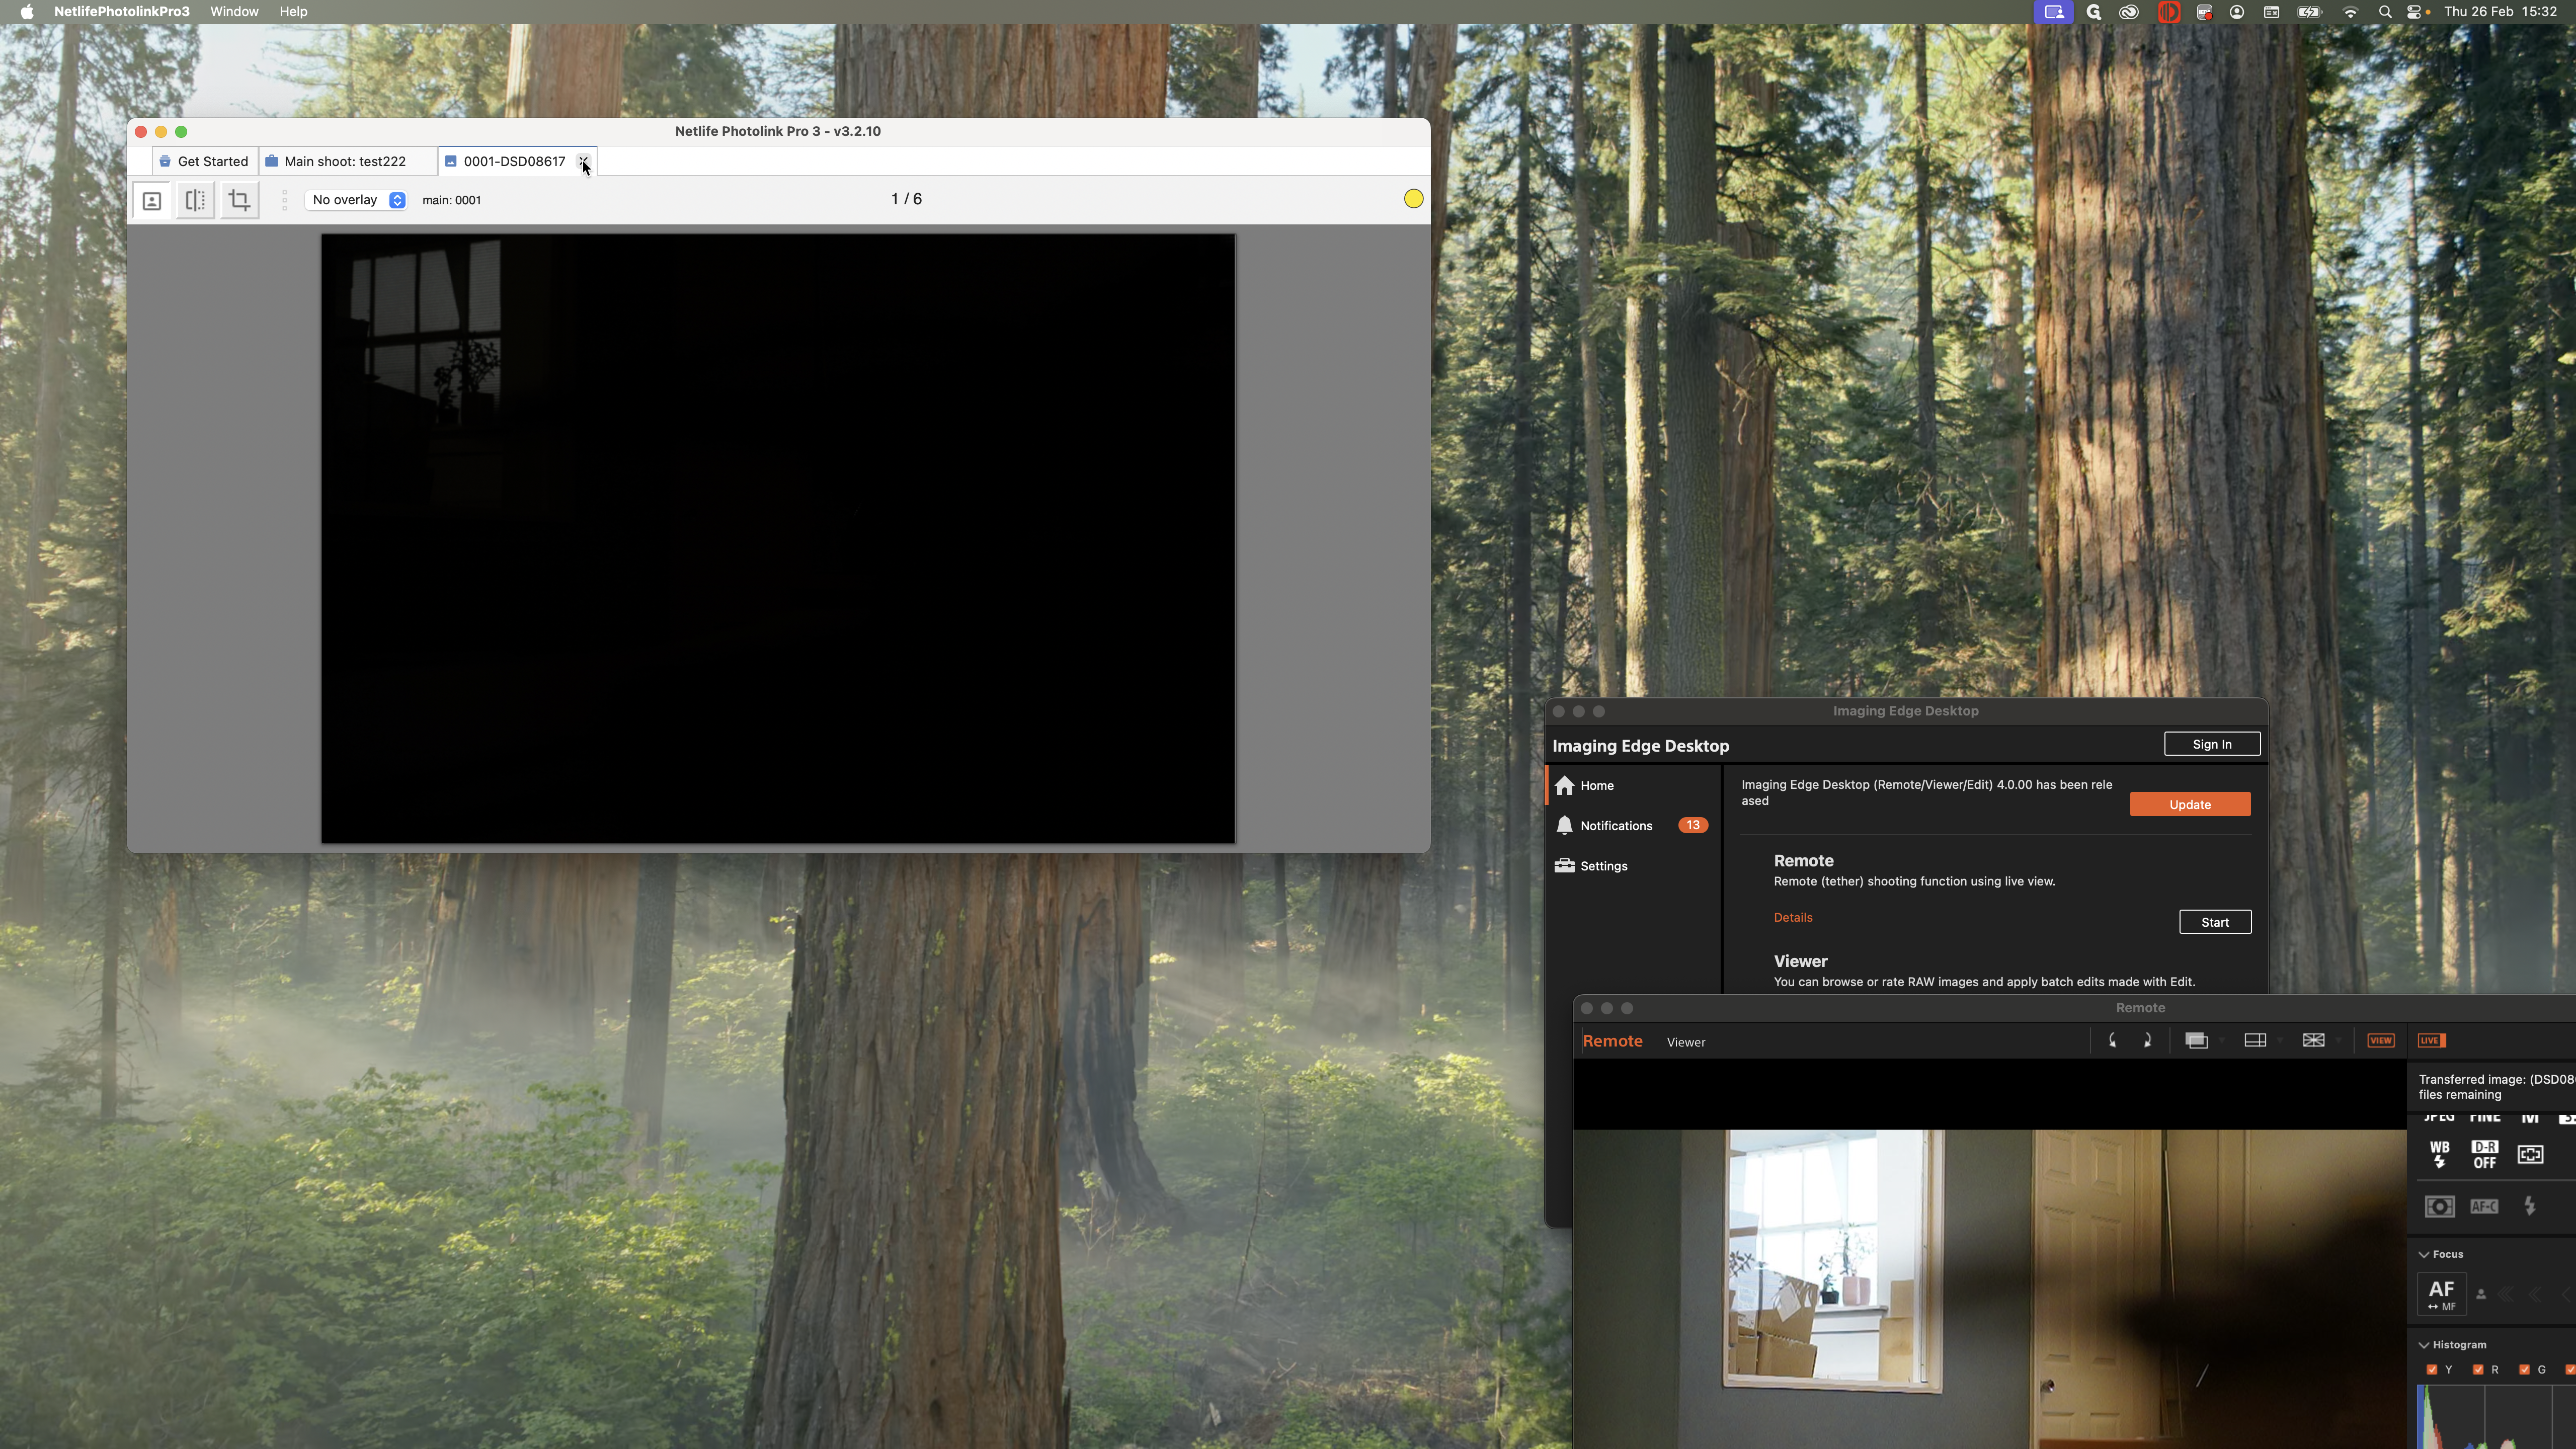
You can double-click on an image to see a larger preview if you need to check its quality.

You can close that one down like this.
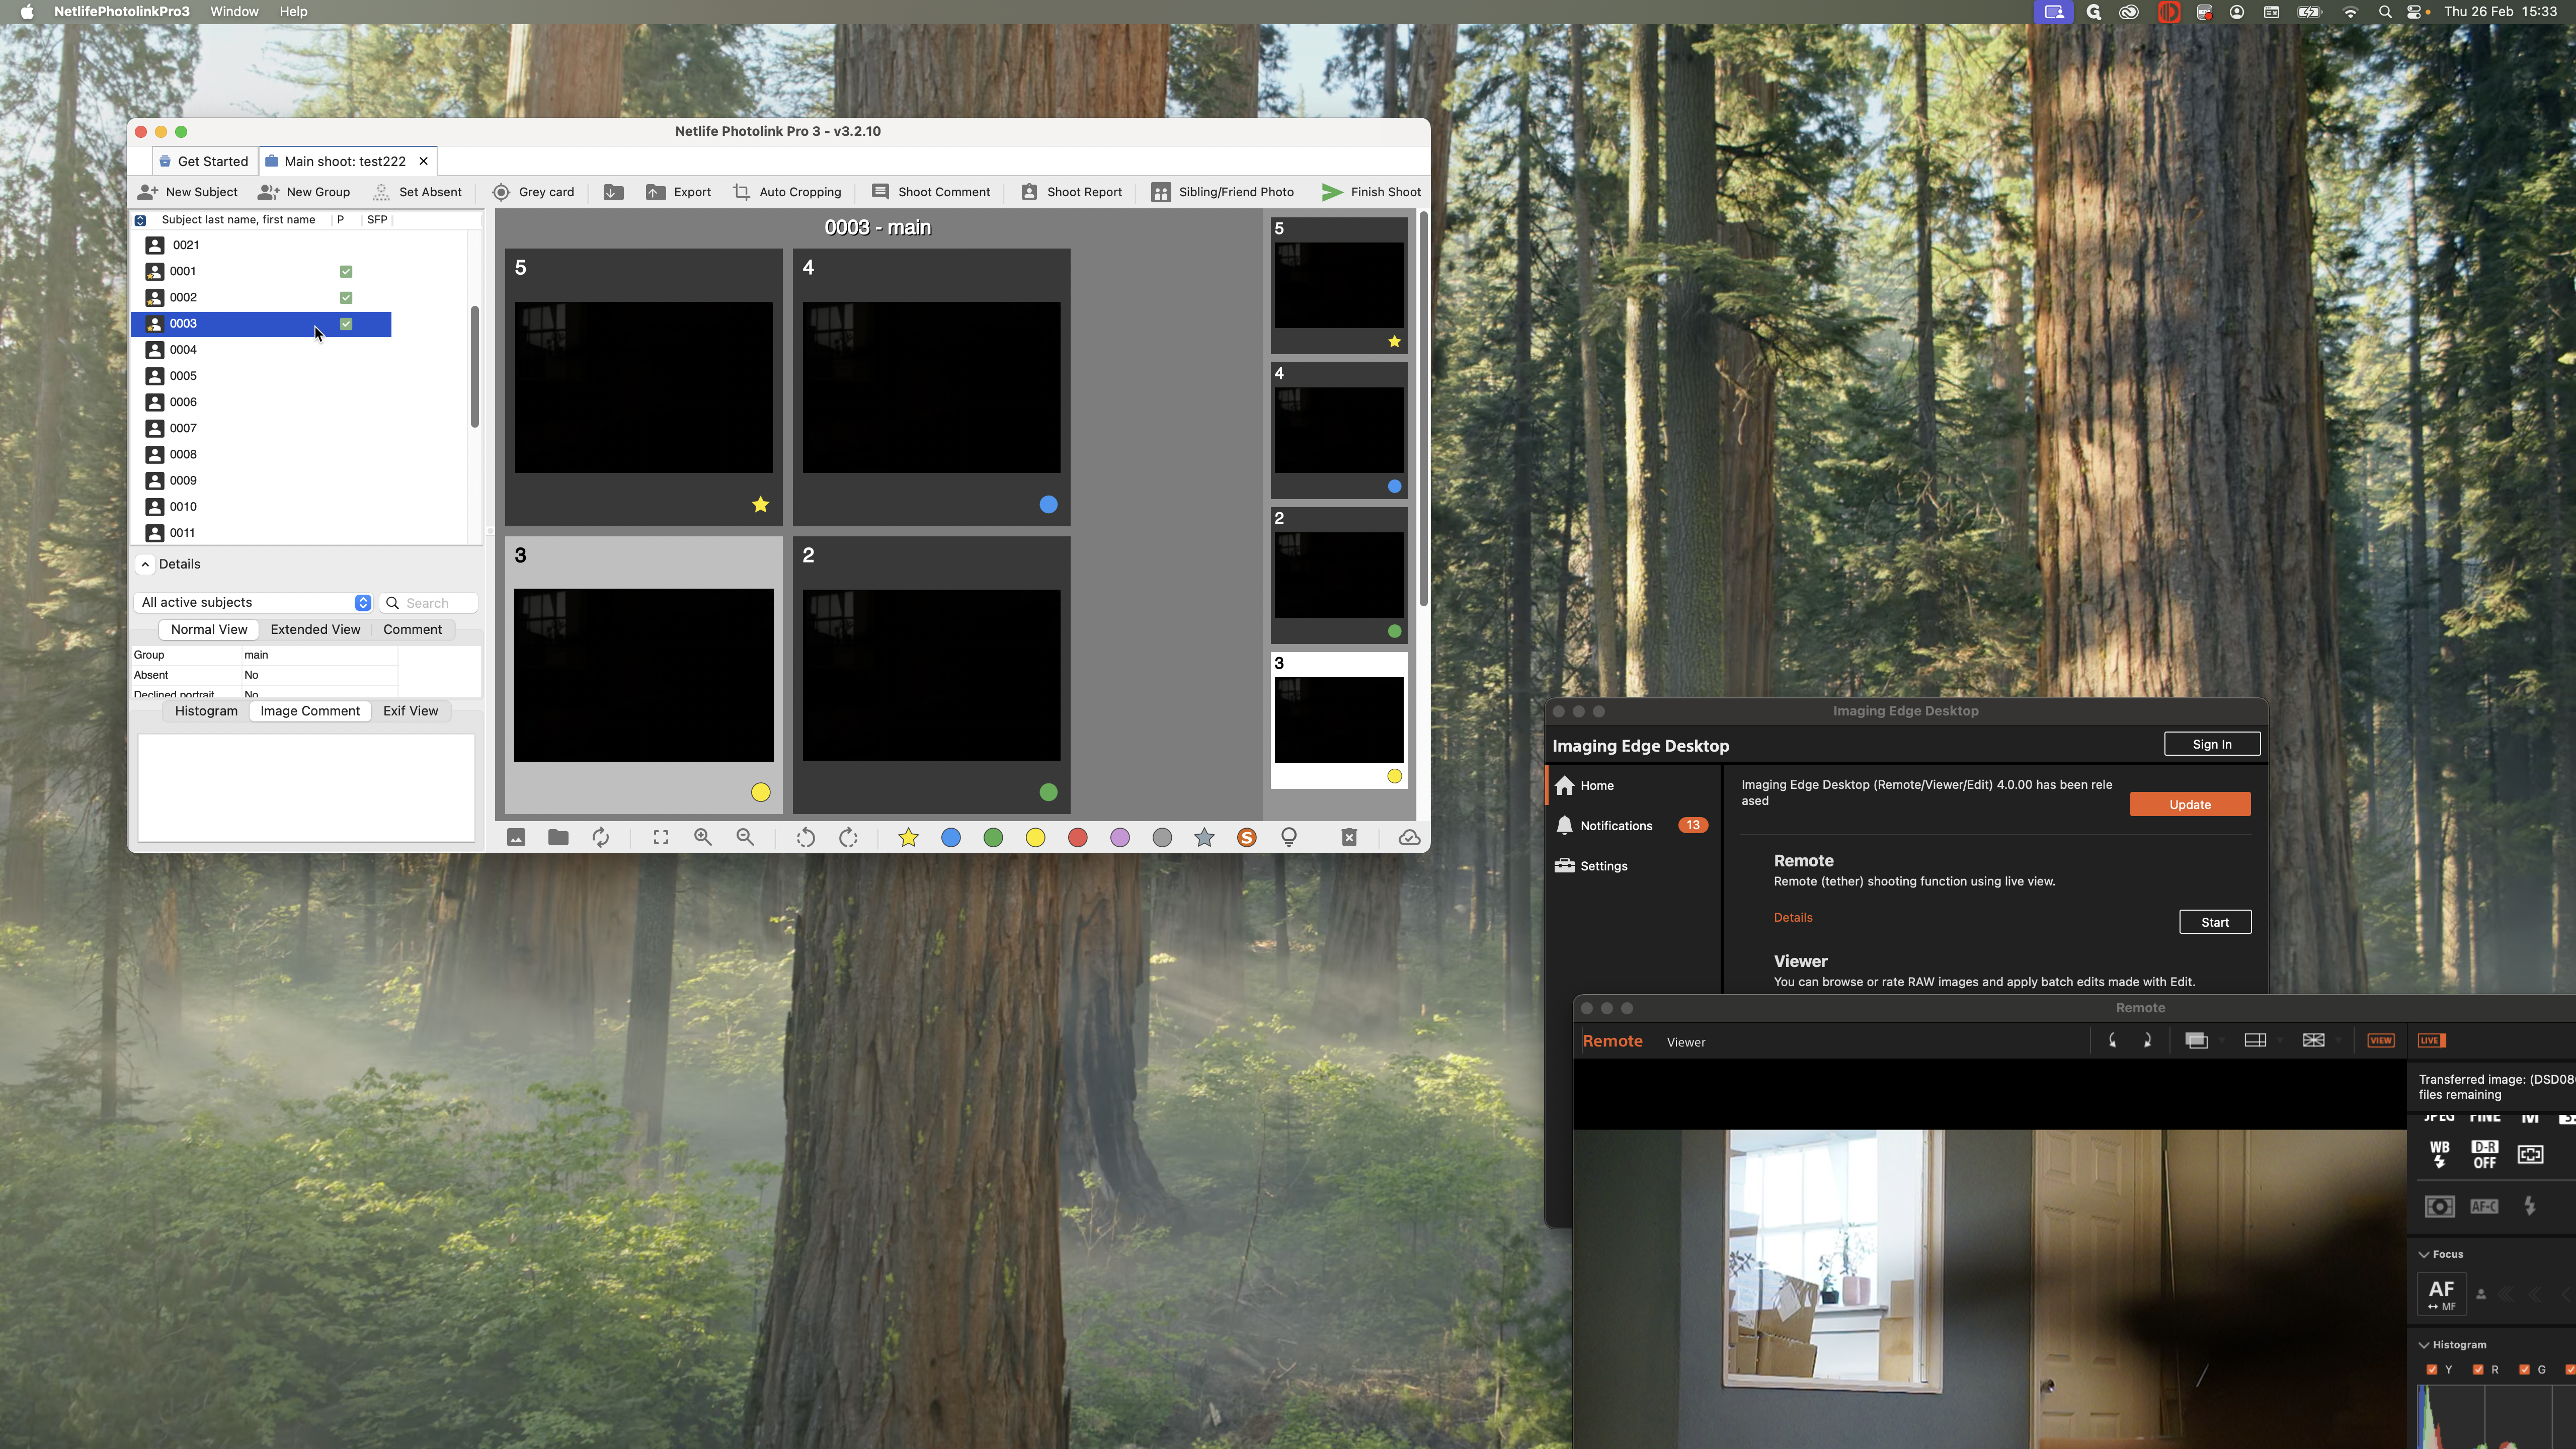
You would work through all the children you have photographed.
It may have done something like this.


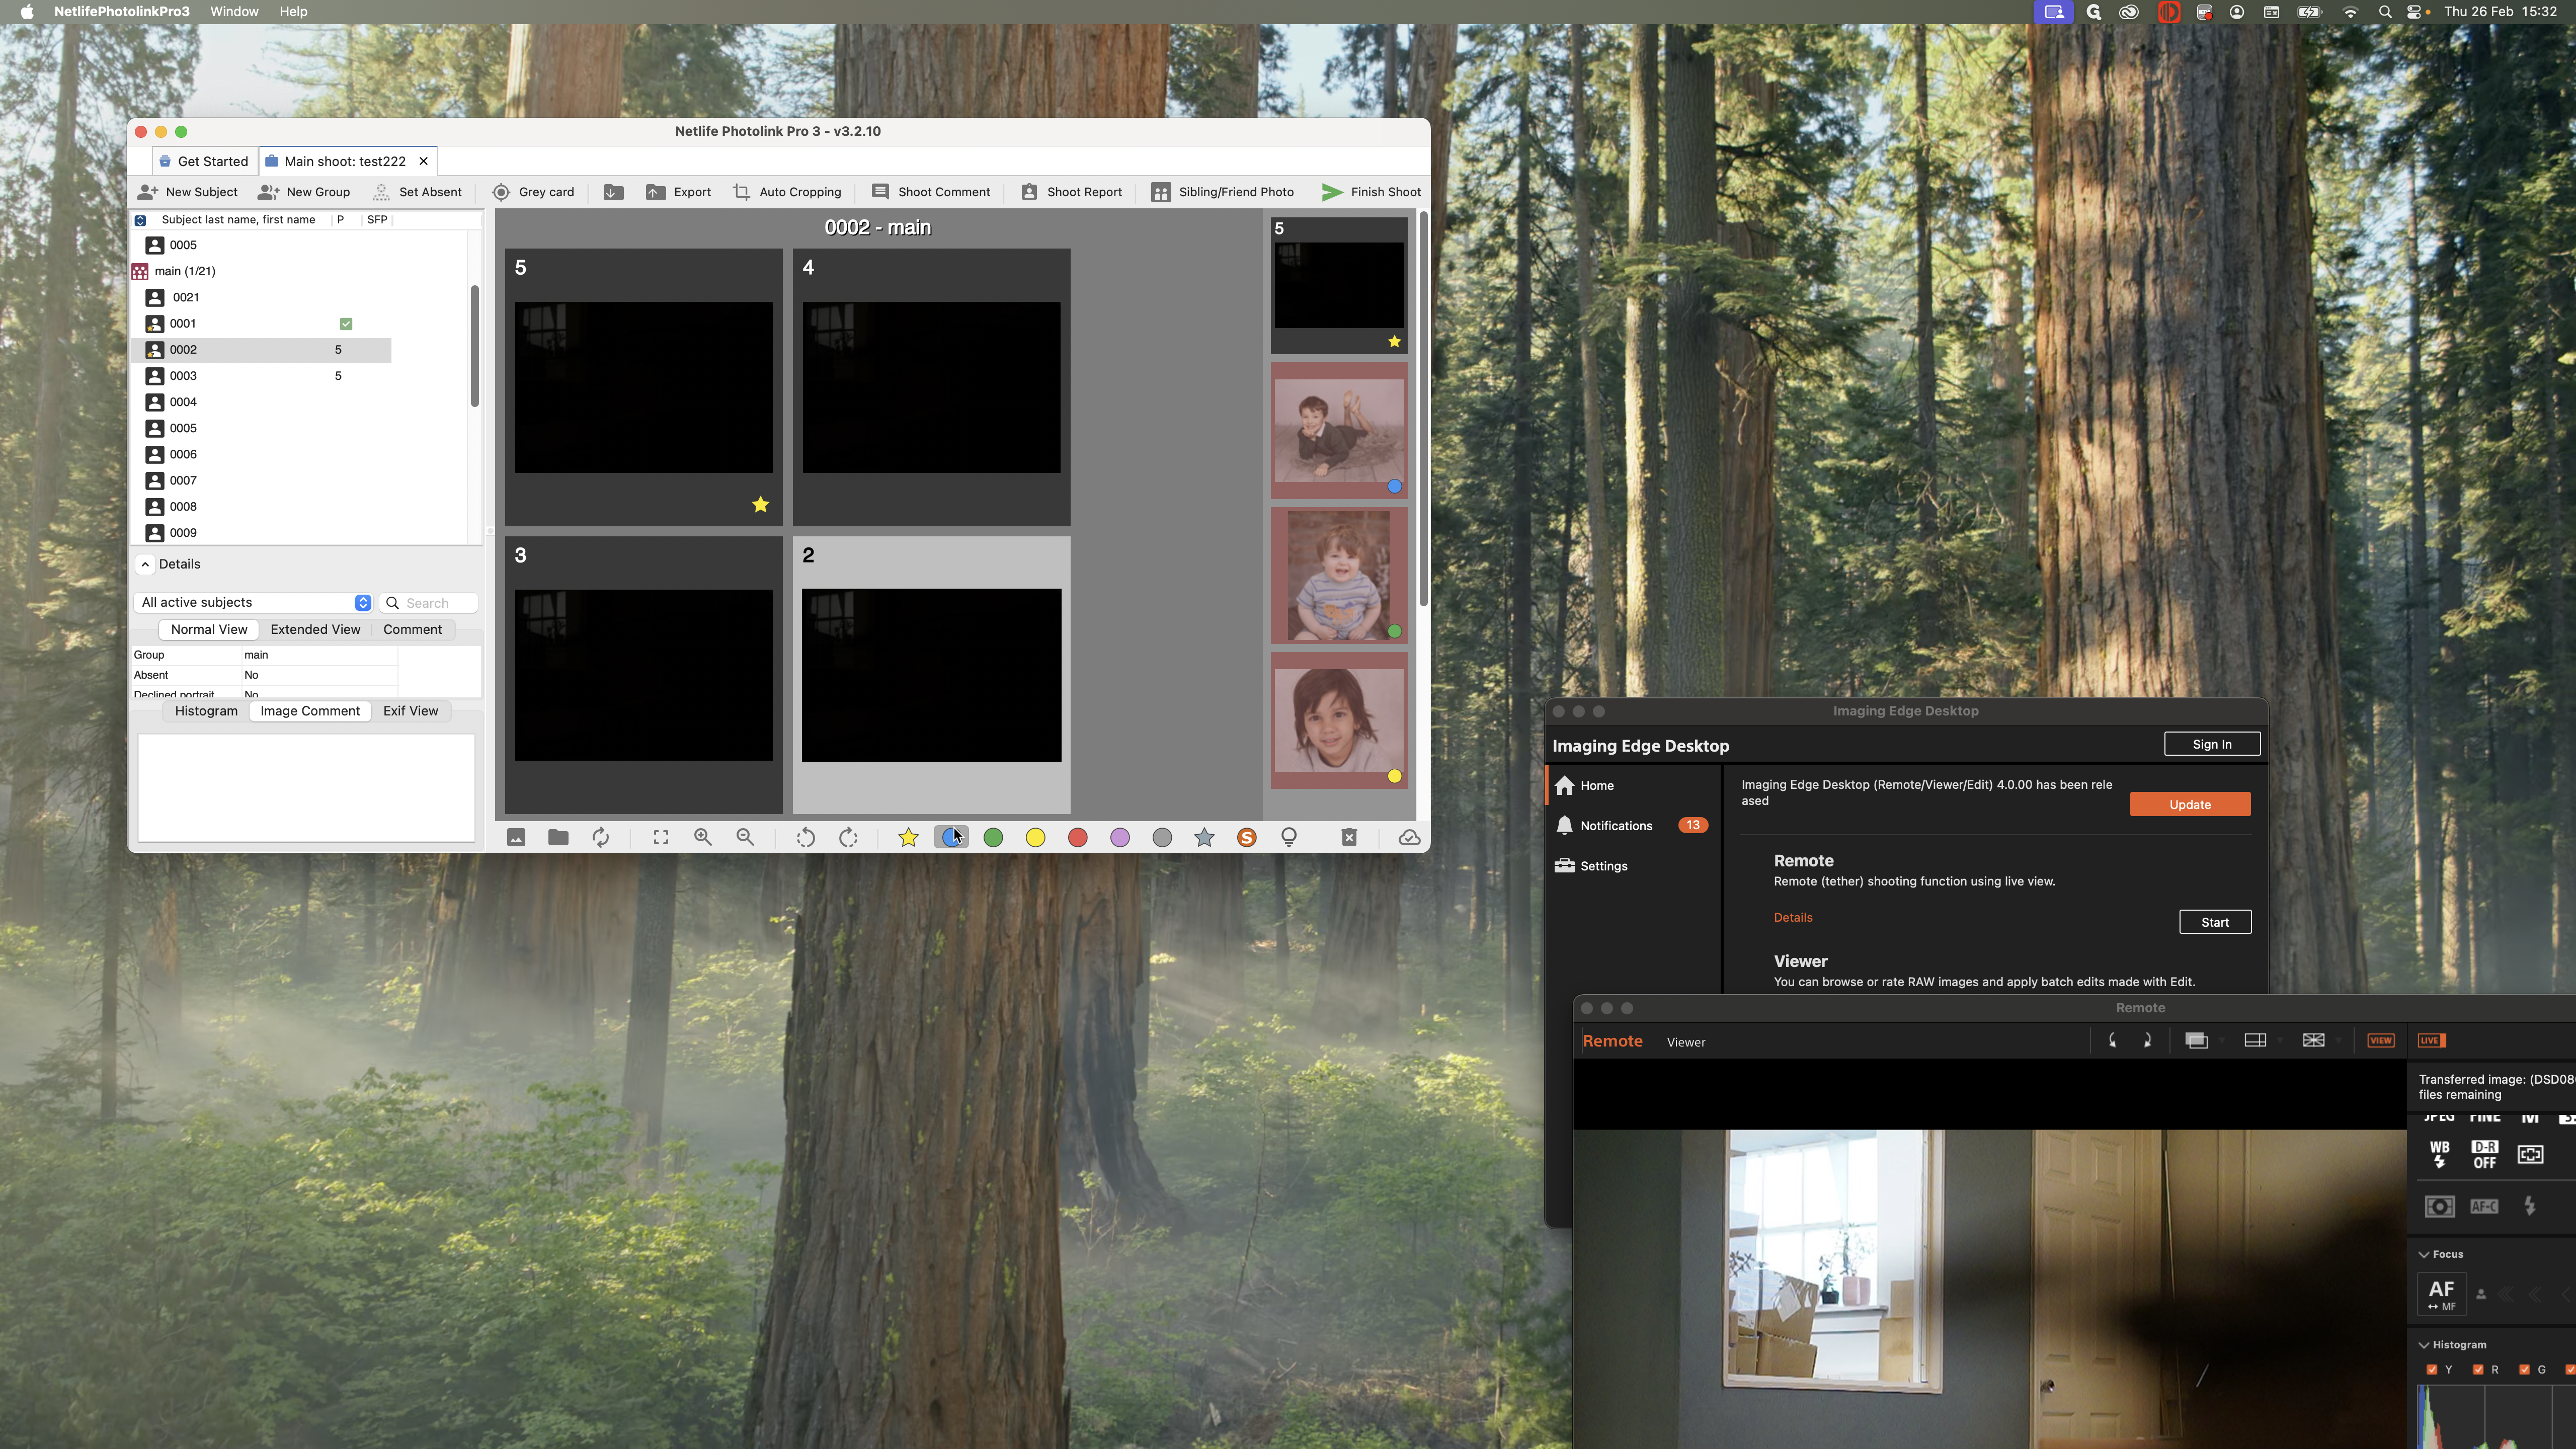
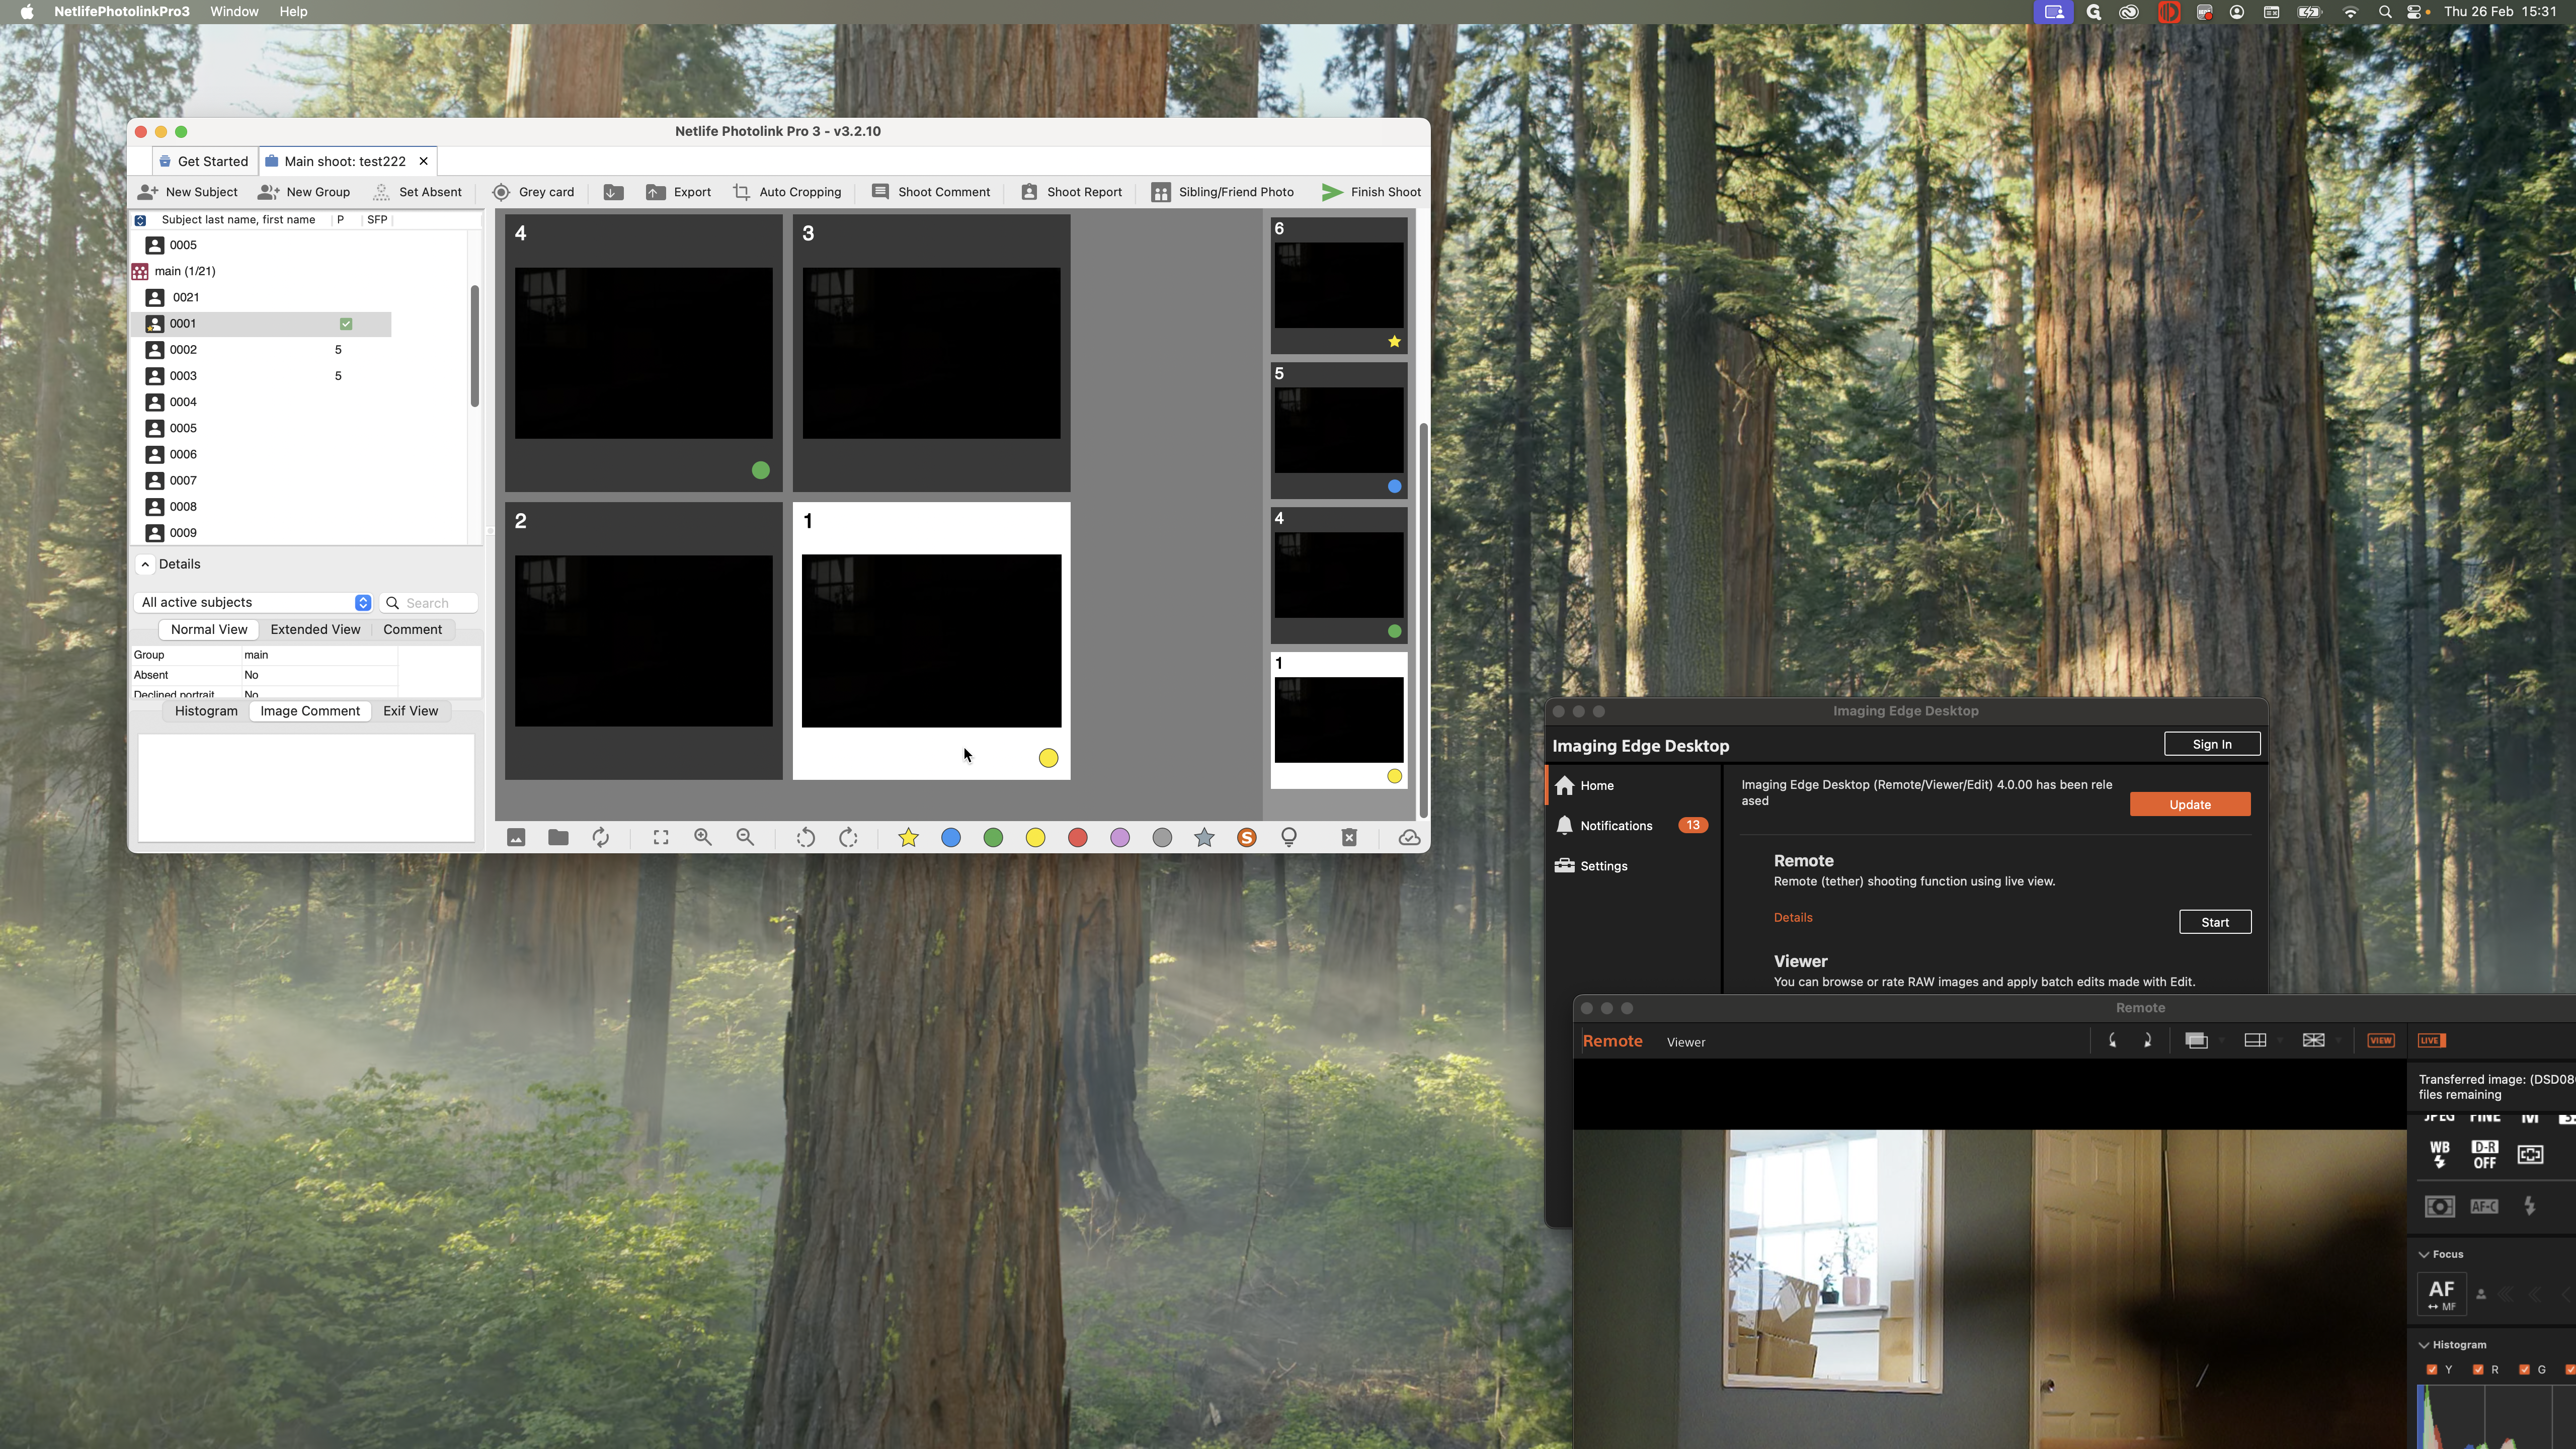
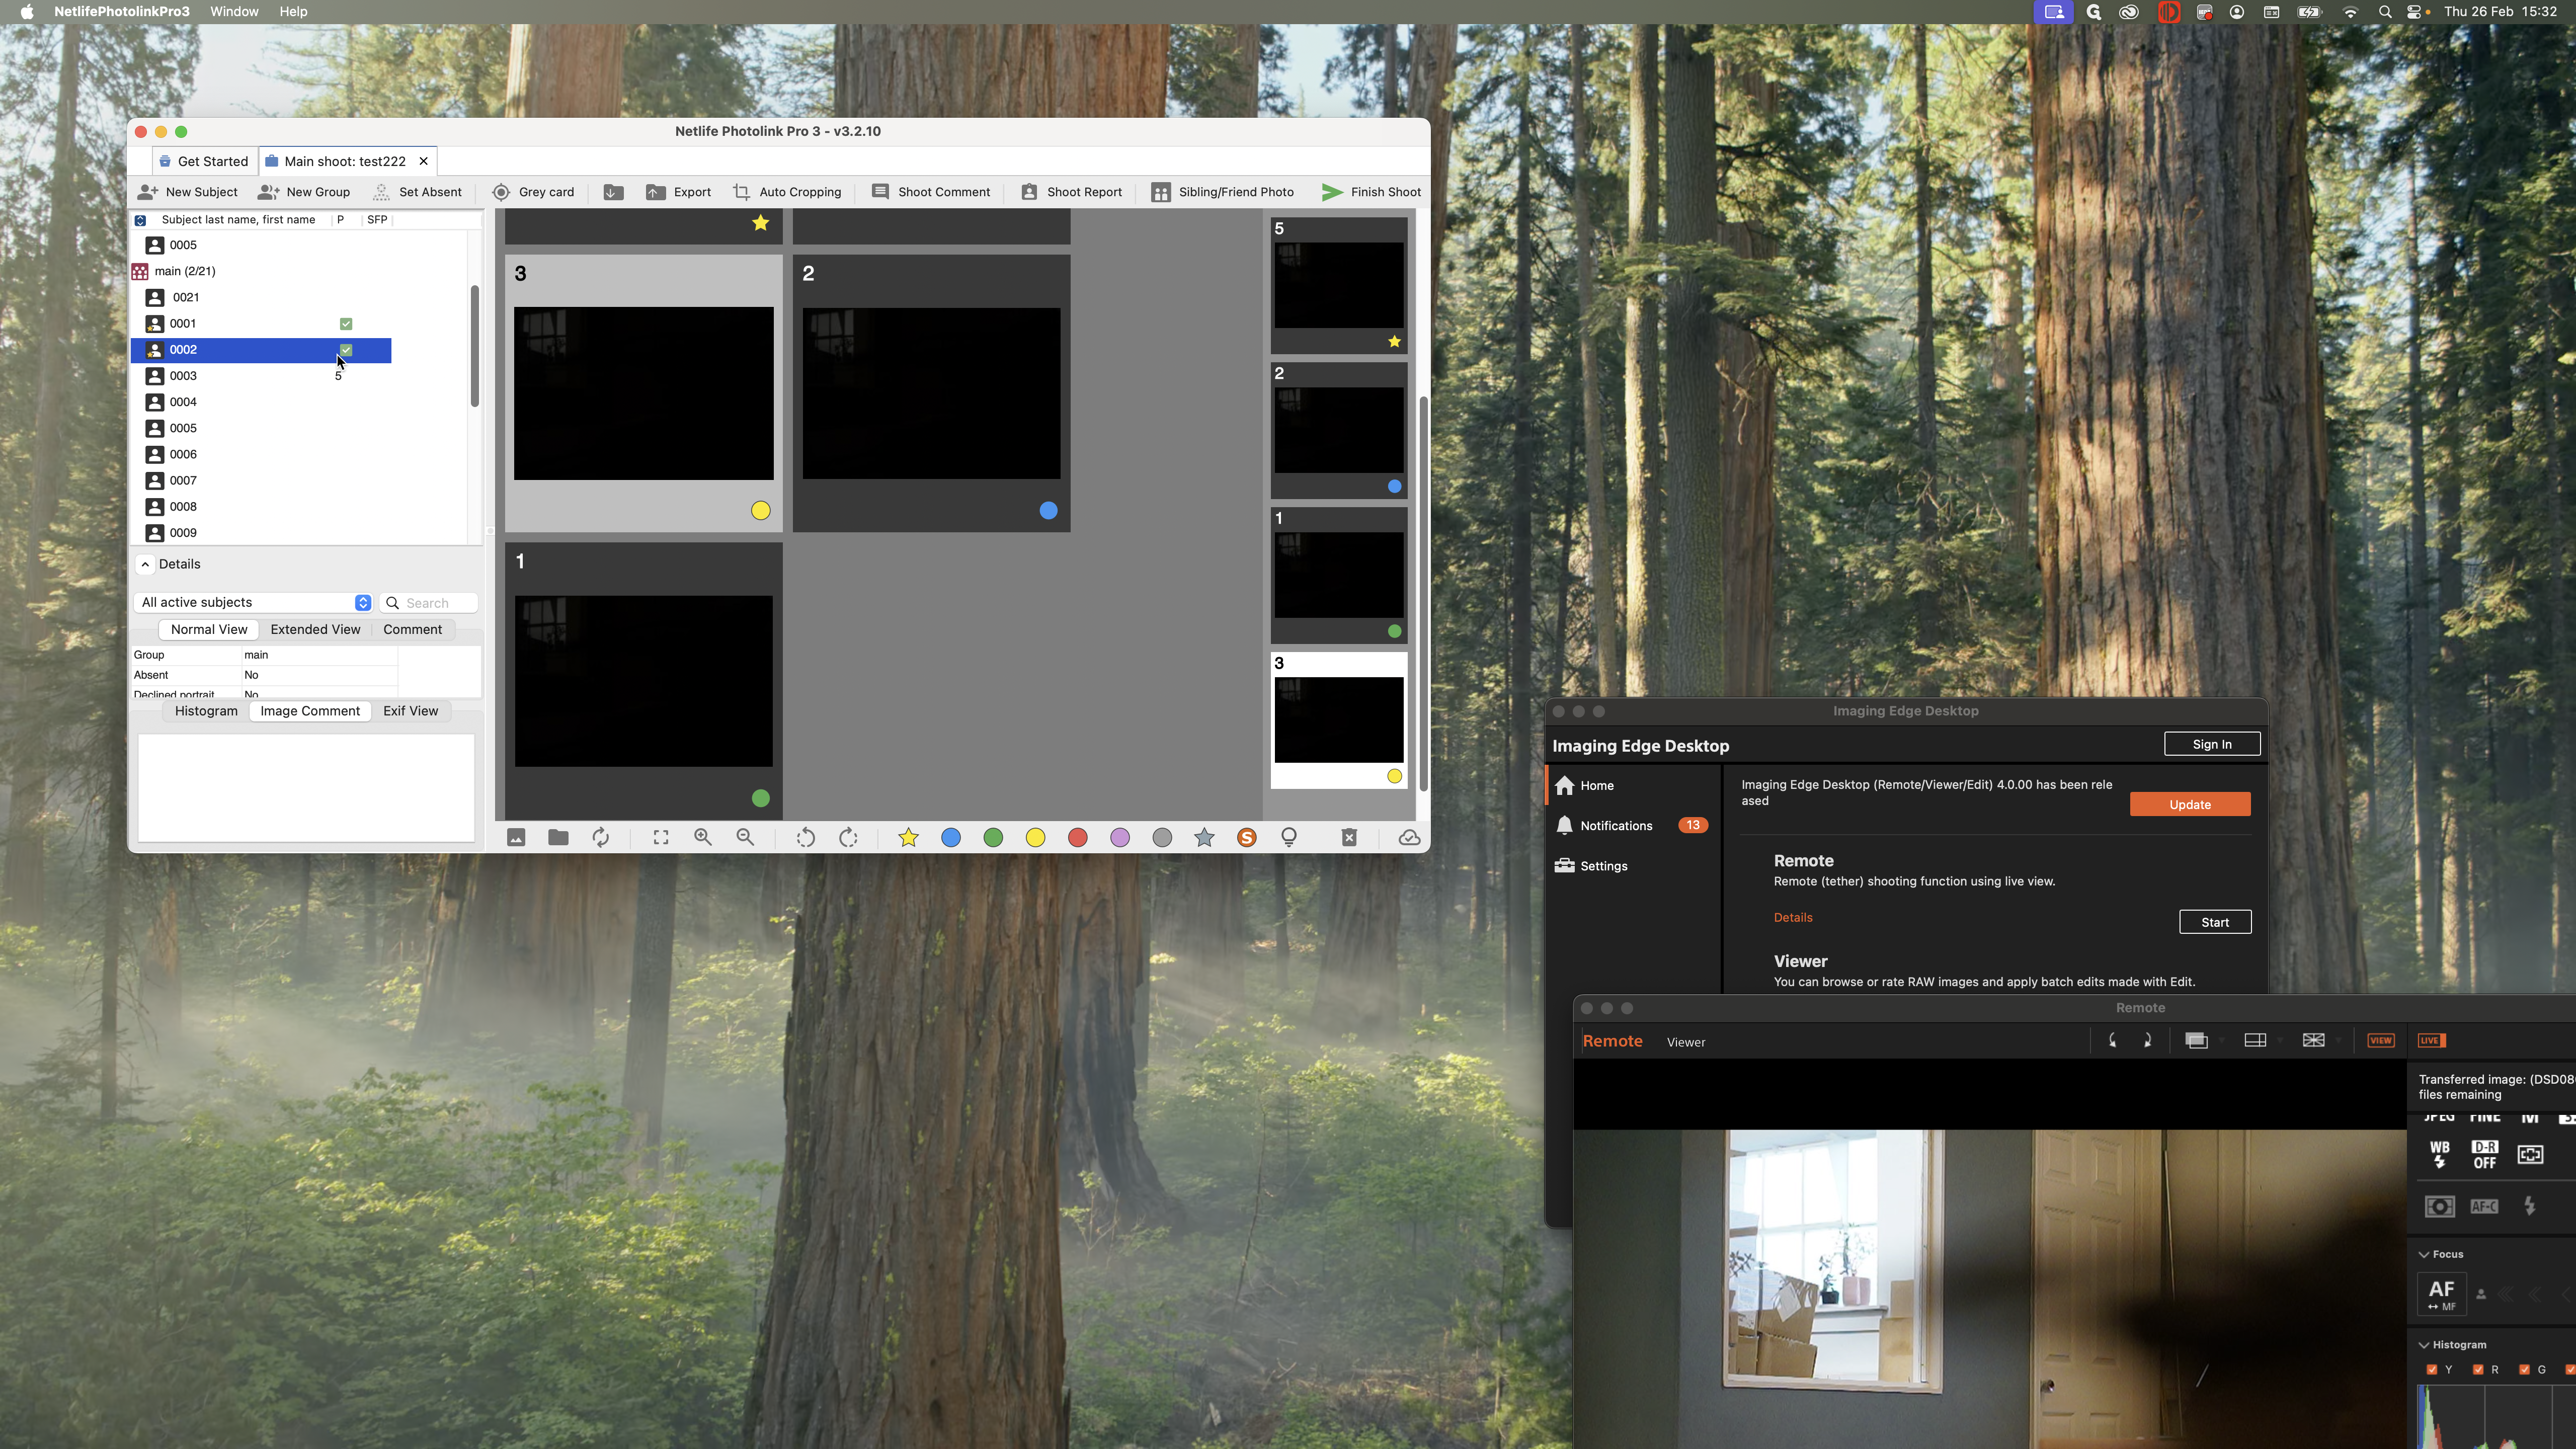
Once you have completed the four images for each child, a green check mark will appear next to it.
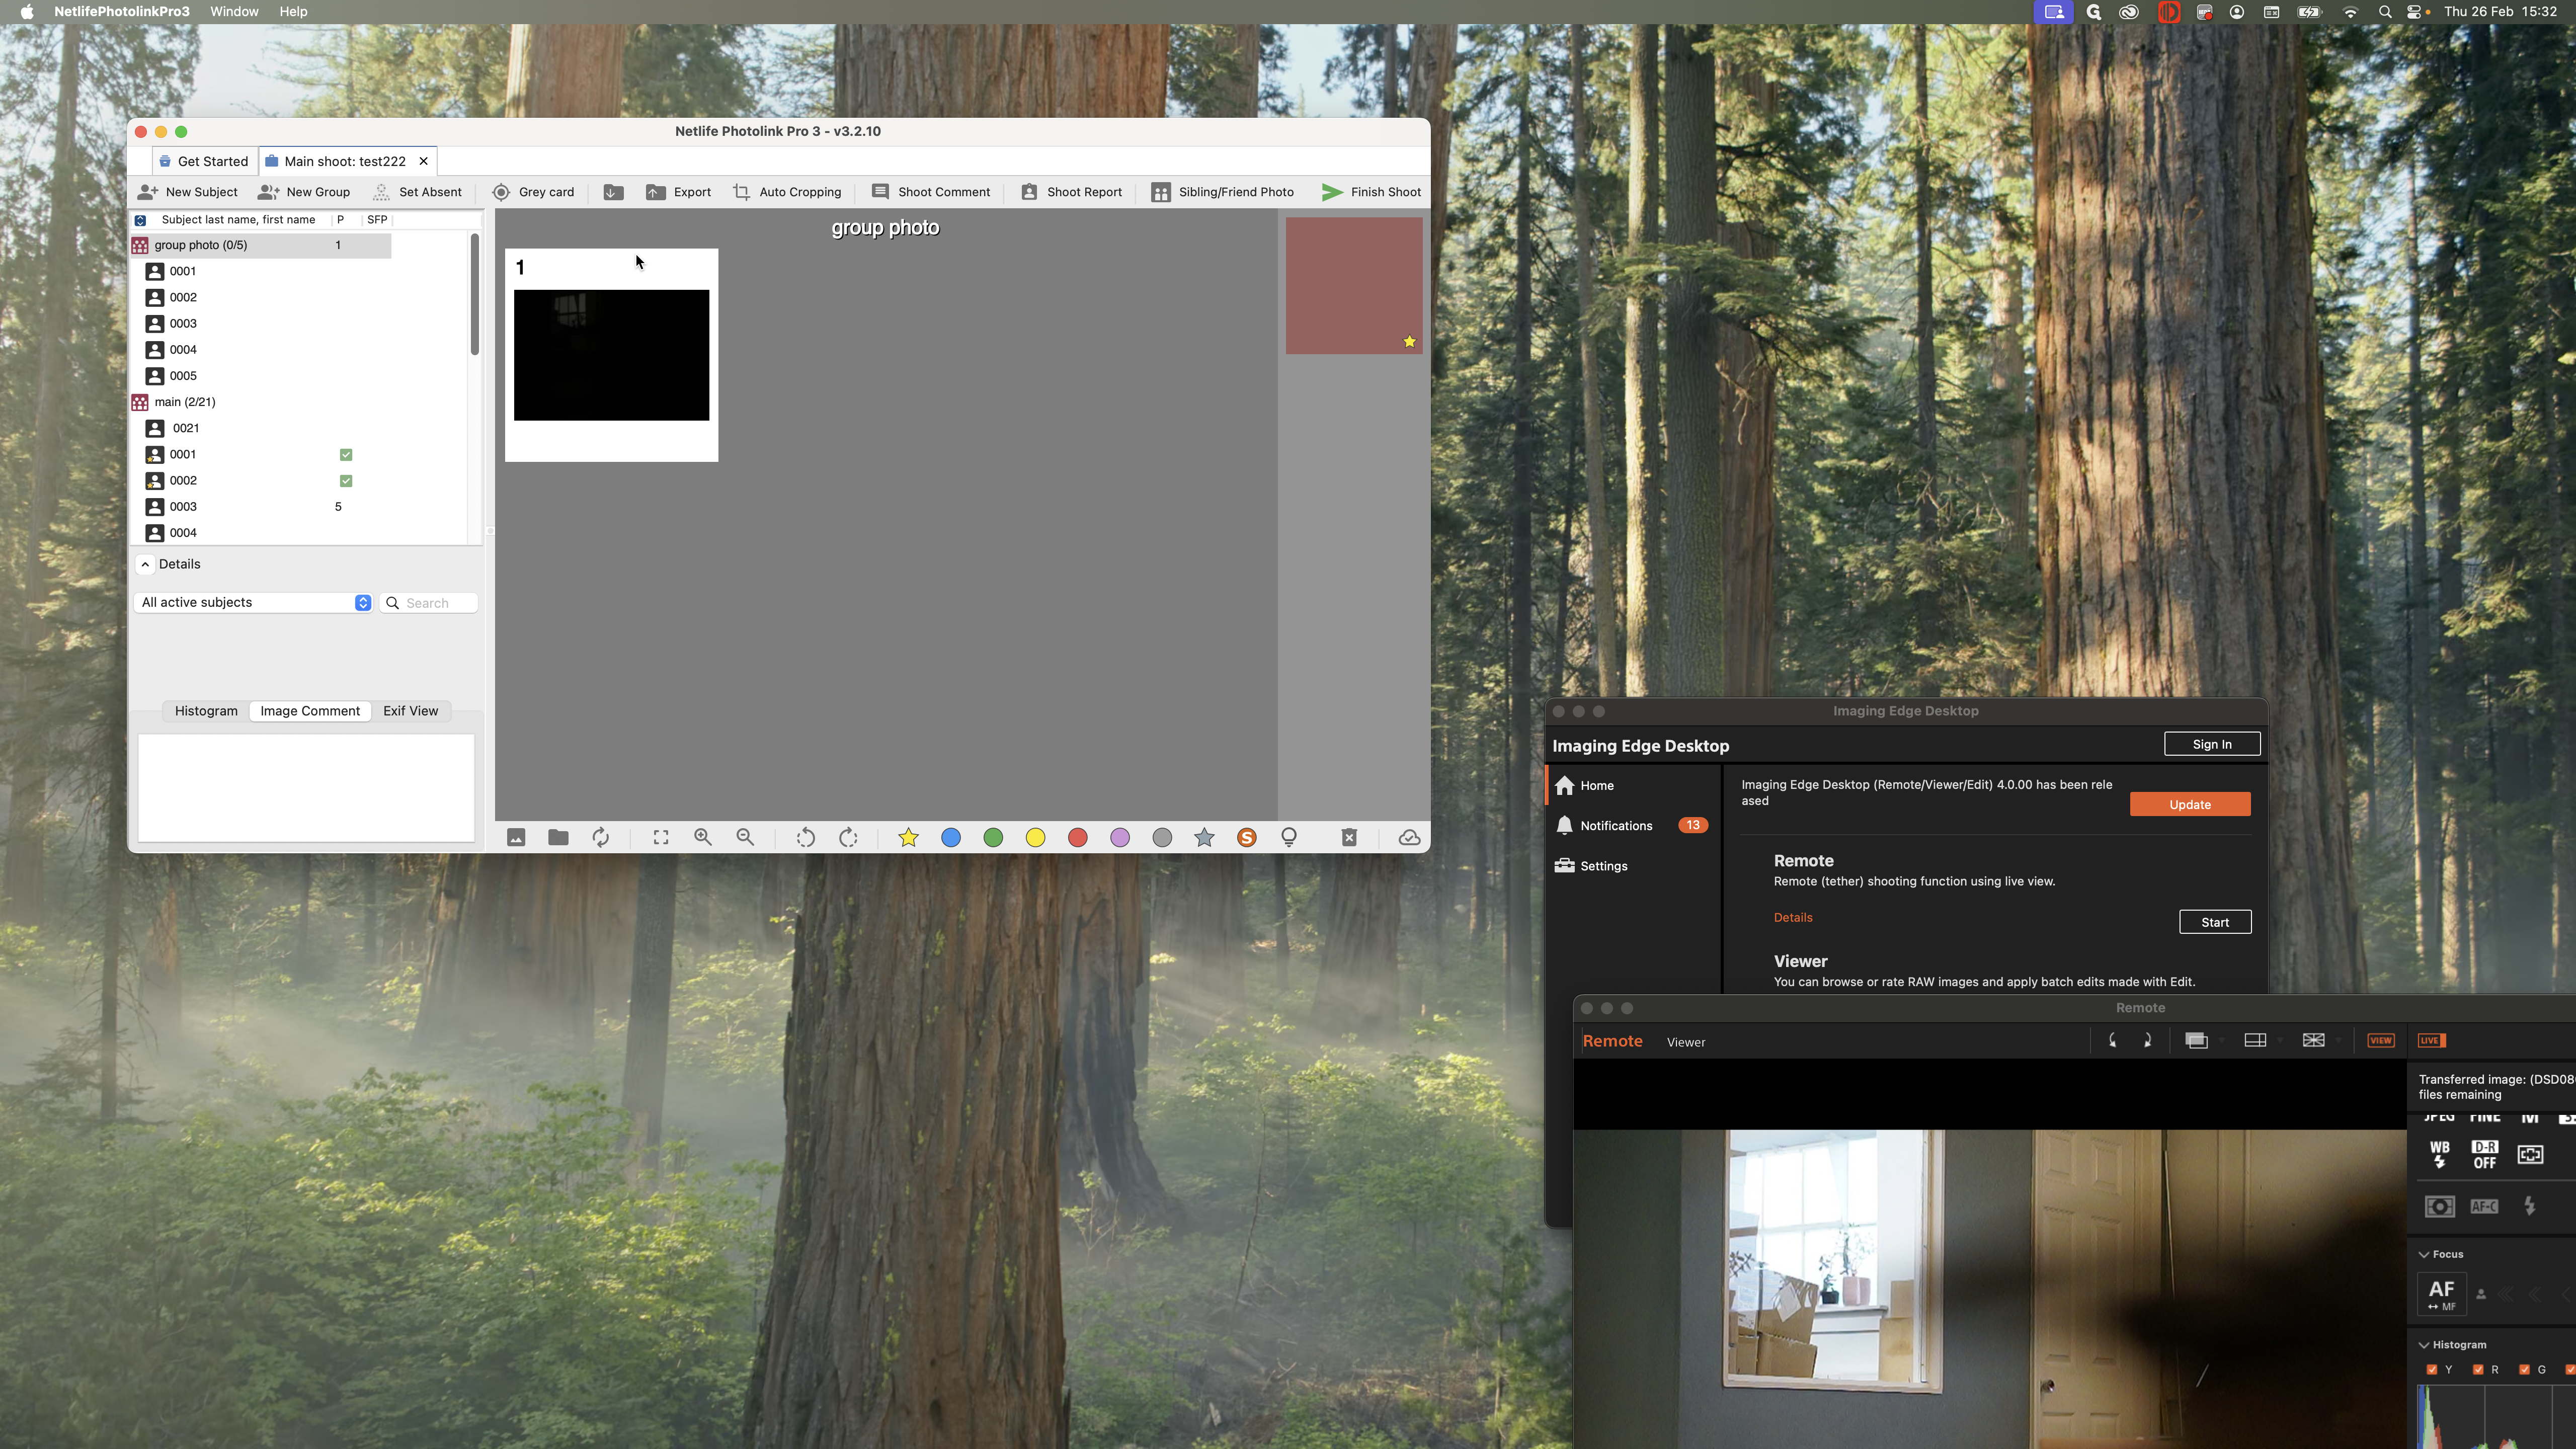
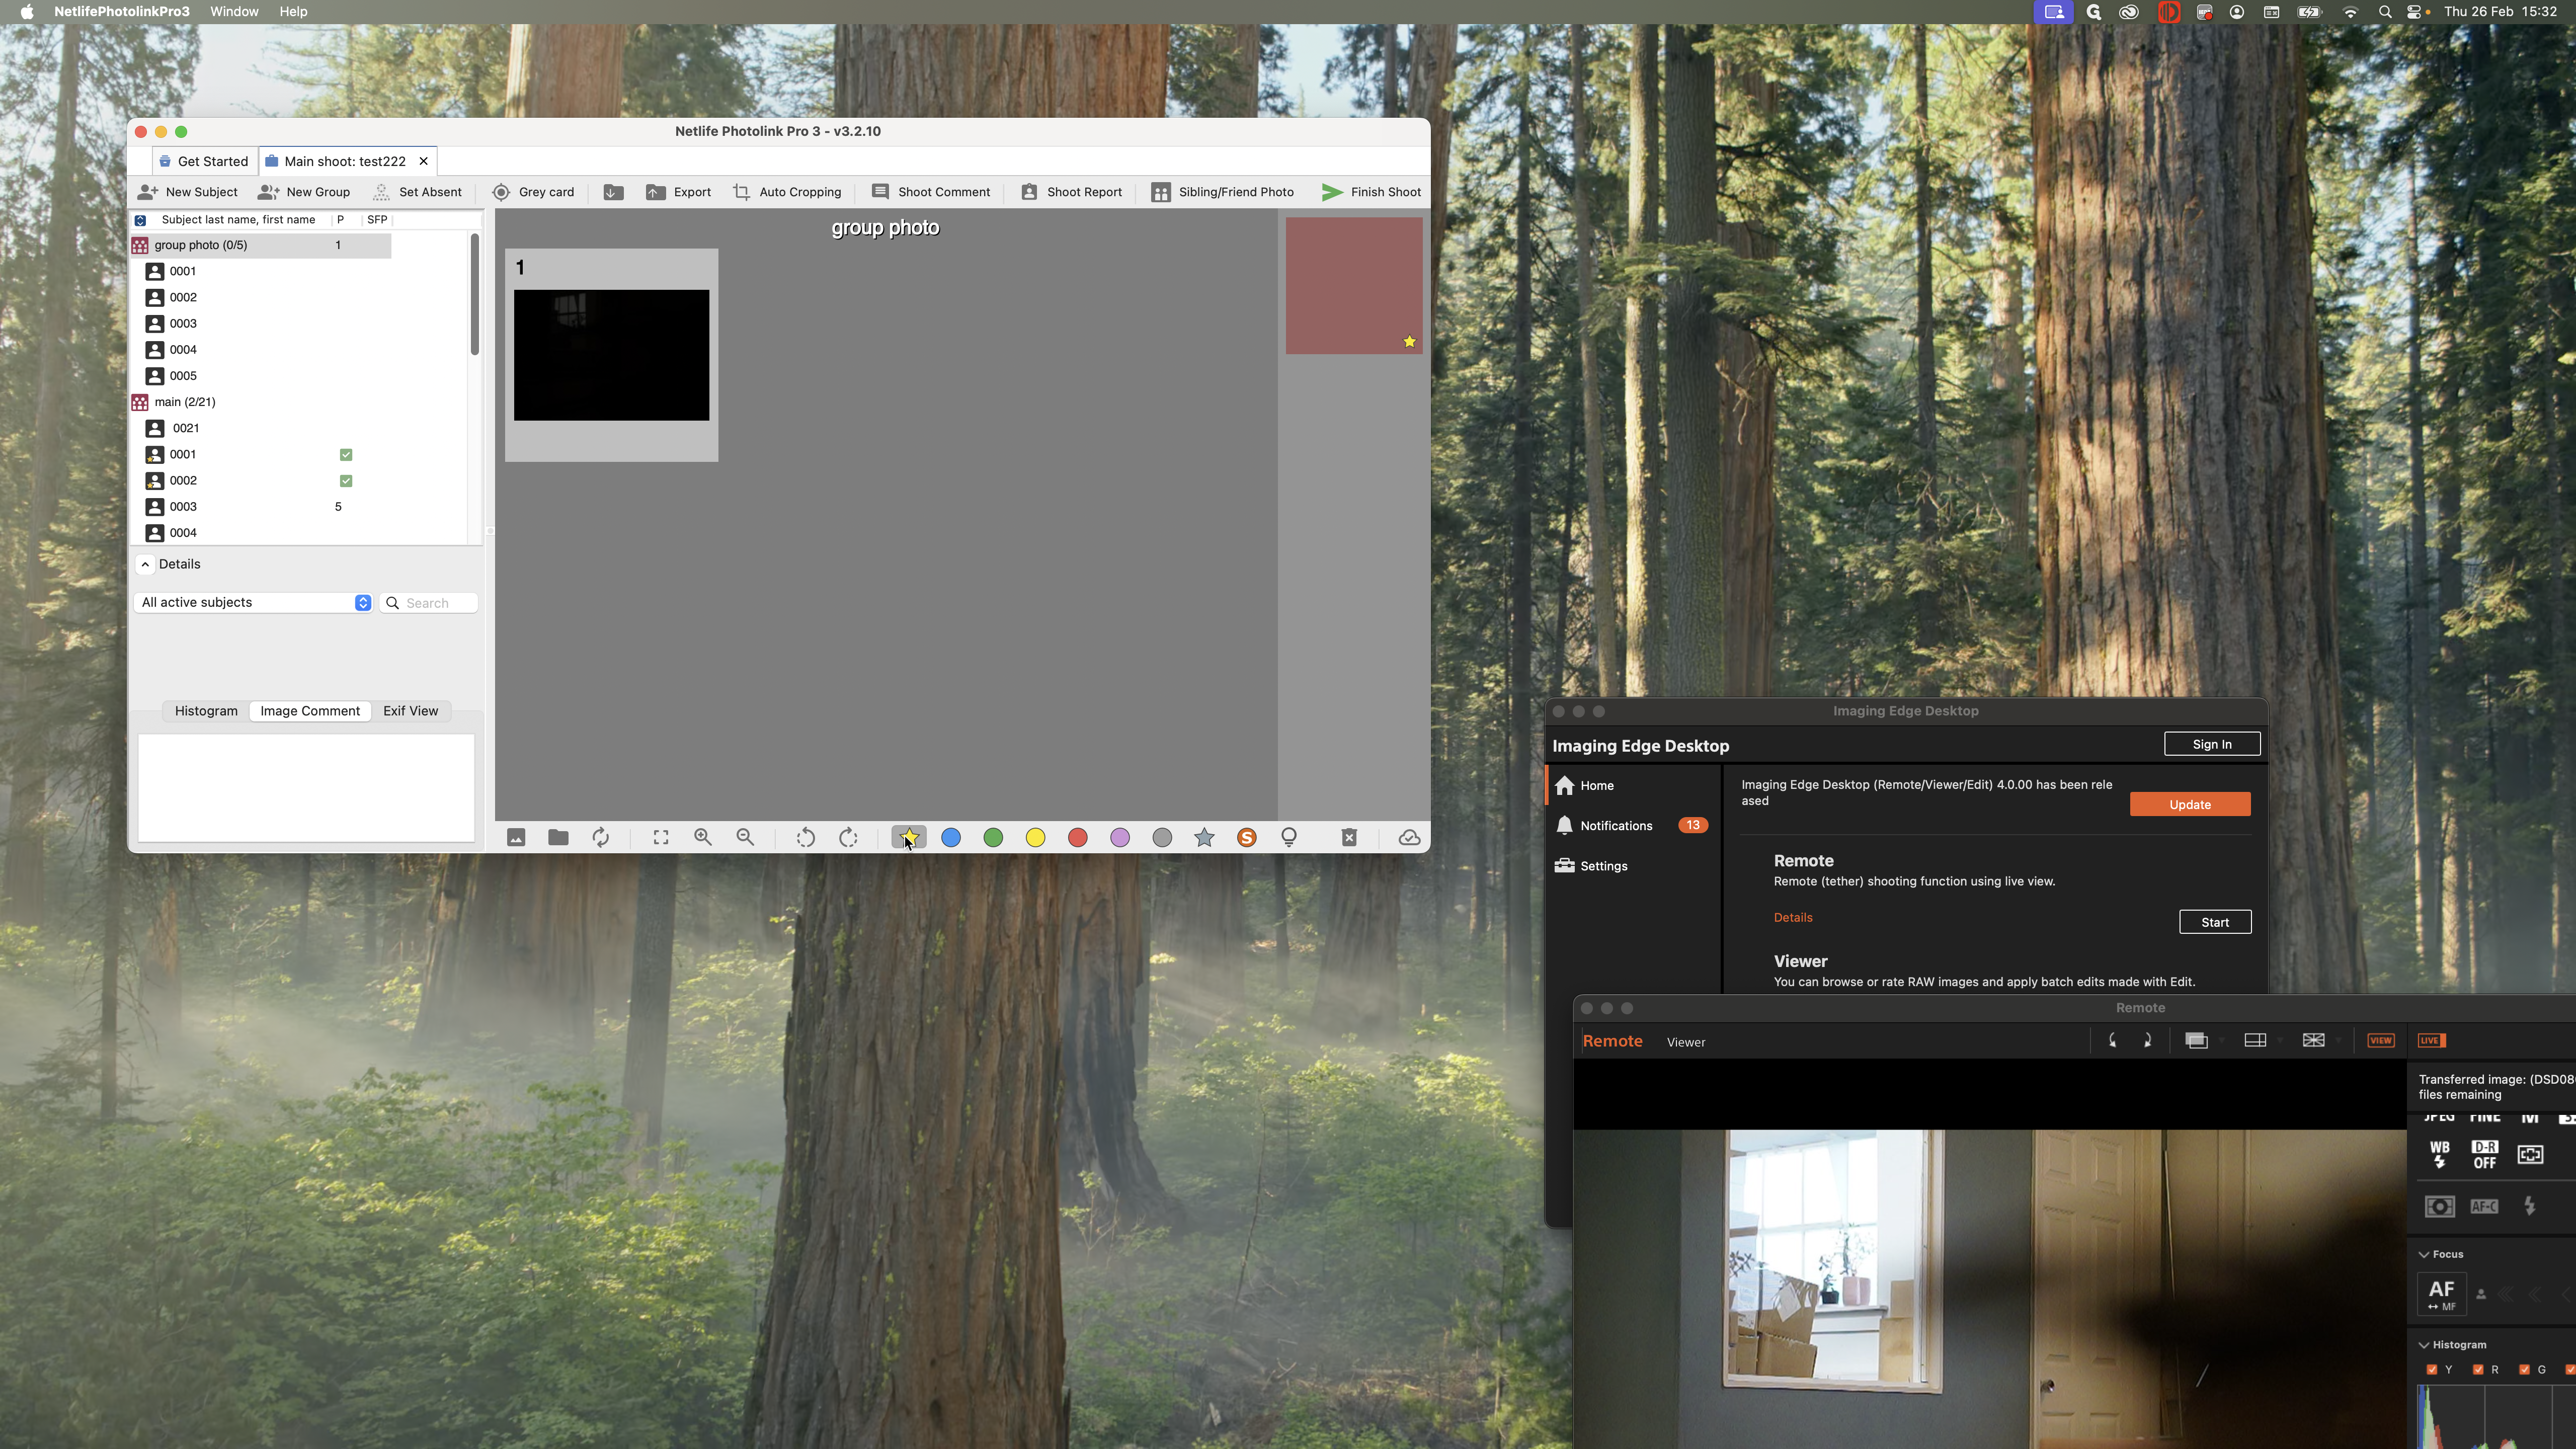
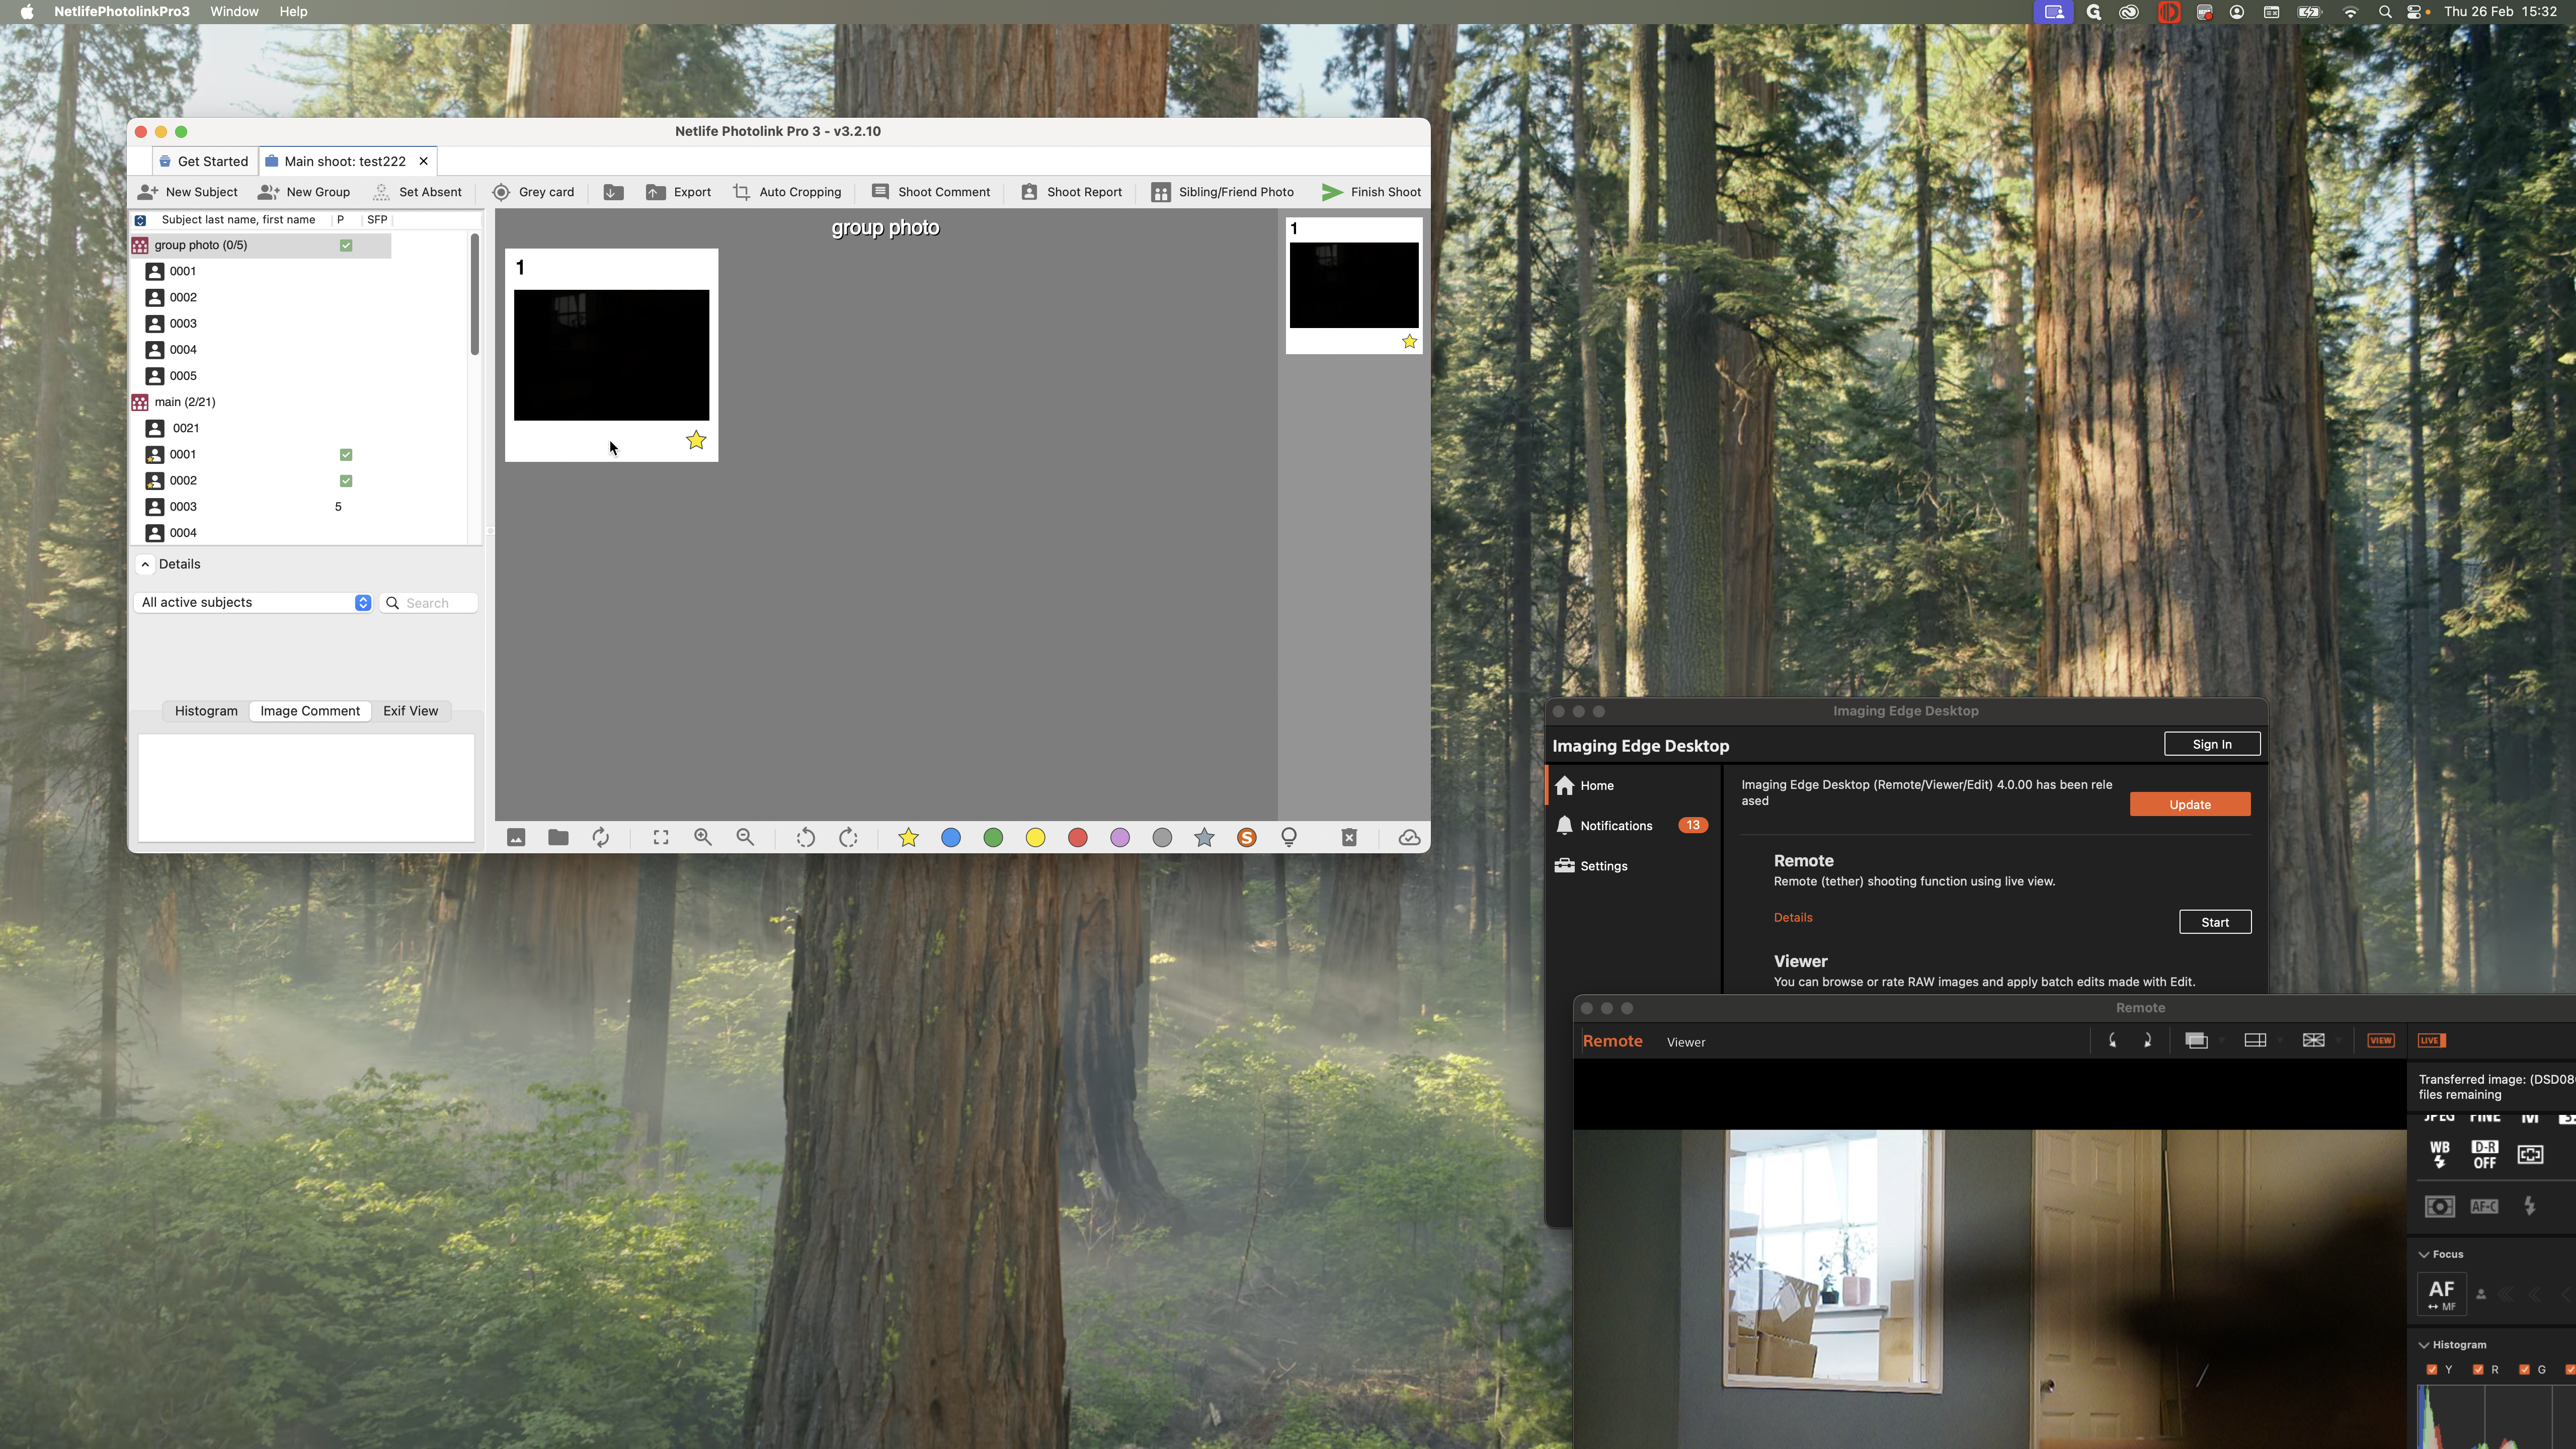
If you’ve taken a group photo, you should also mark the best one as a favorite.

If you have taken a panoramic photo made from several shots, you still need to favorite just one of them.

We will have access to all the other images.
Make sure each sibling's photo is assigned its own image number.

Each child should have their own image code. Siblings should also have separate codes. You can set the grade card here, or upload it as a separate image on a different number.

Once you've finished tagging all your images...
I will do this one; otherwise, it will give me an error.


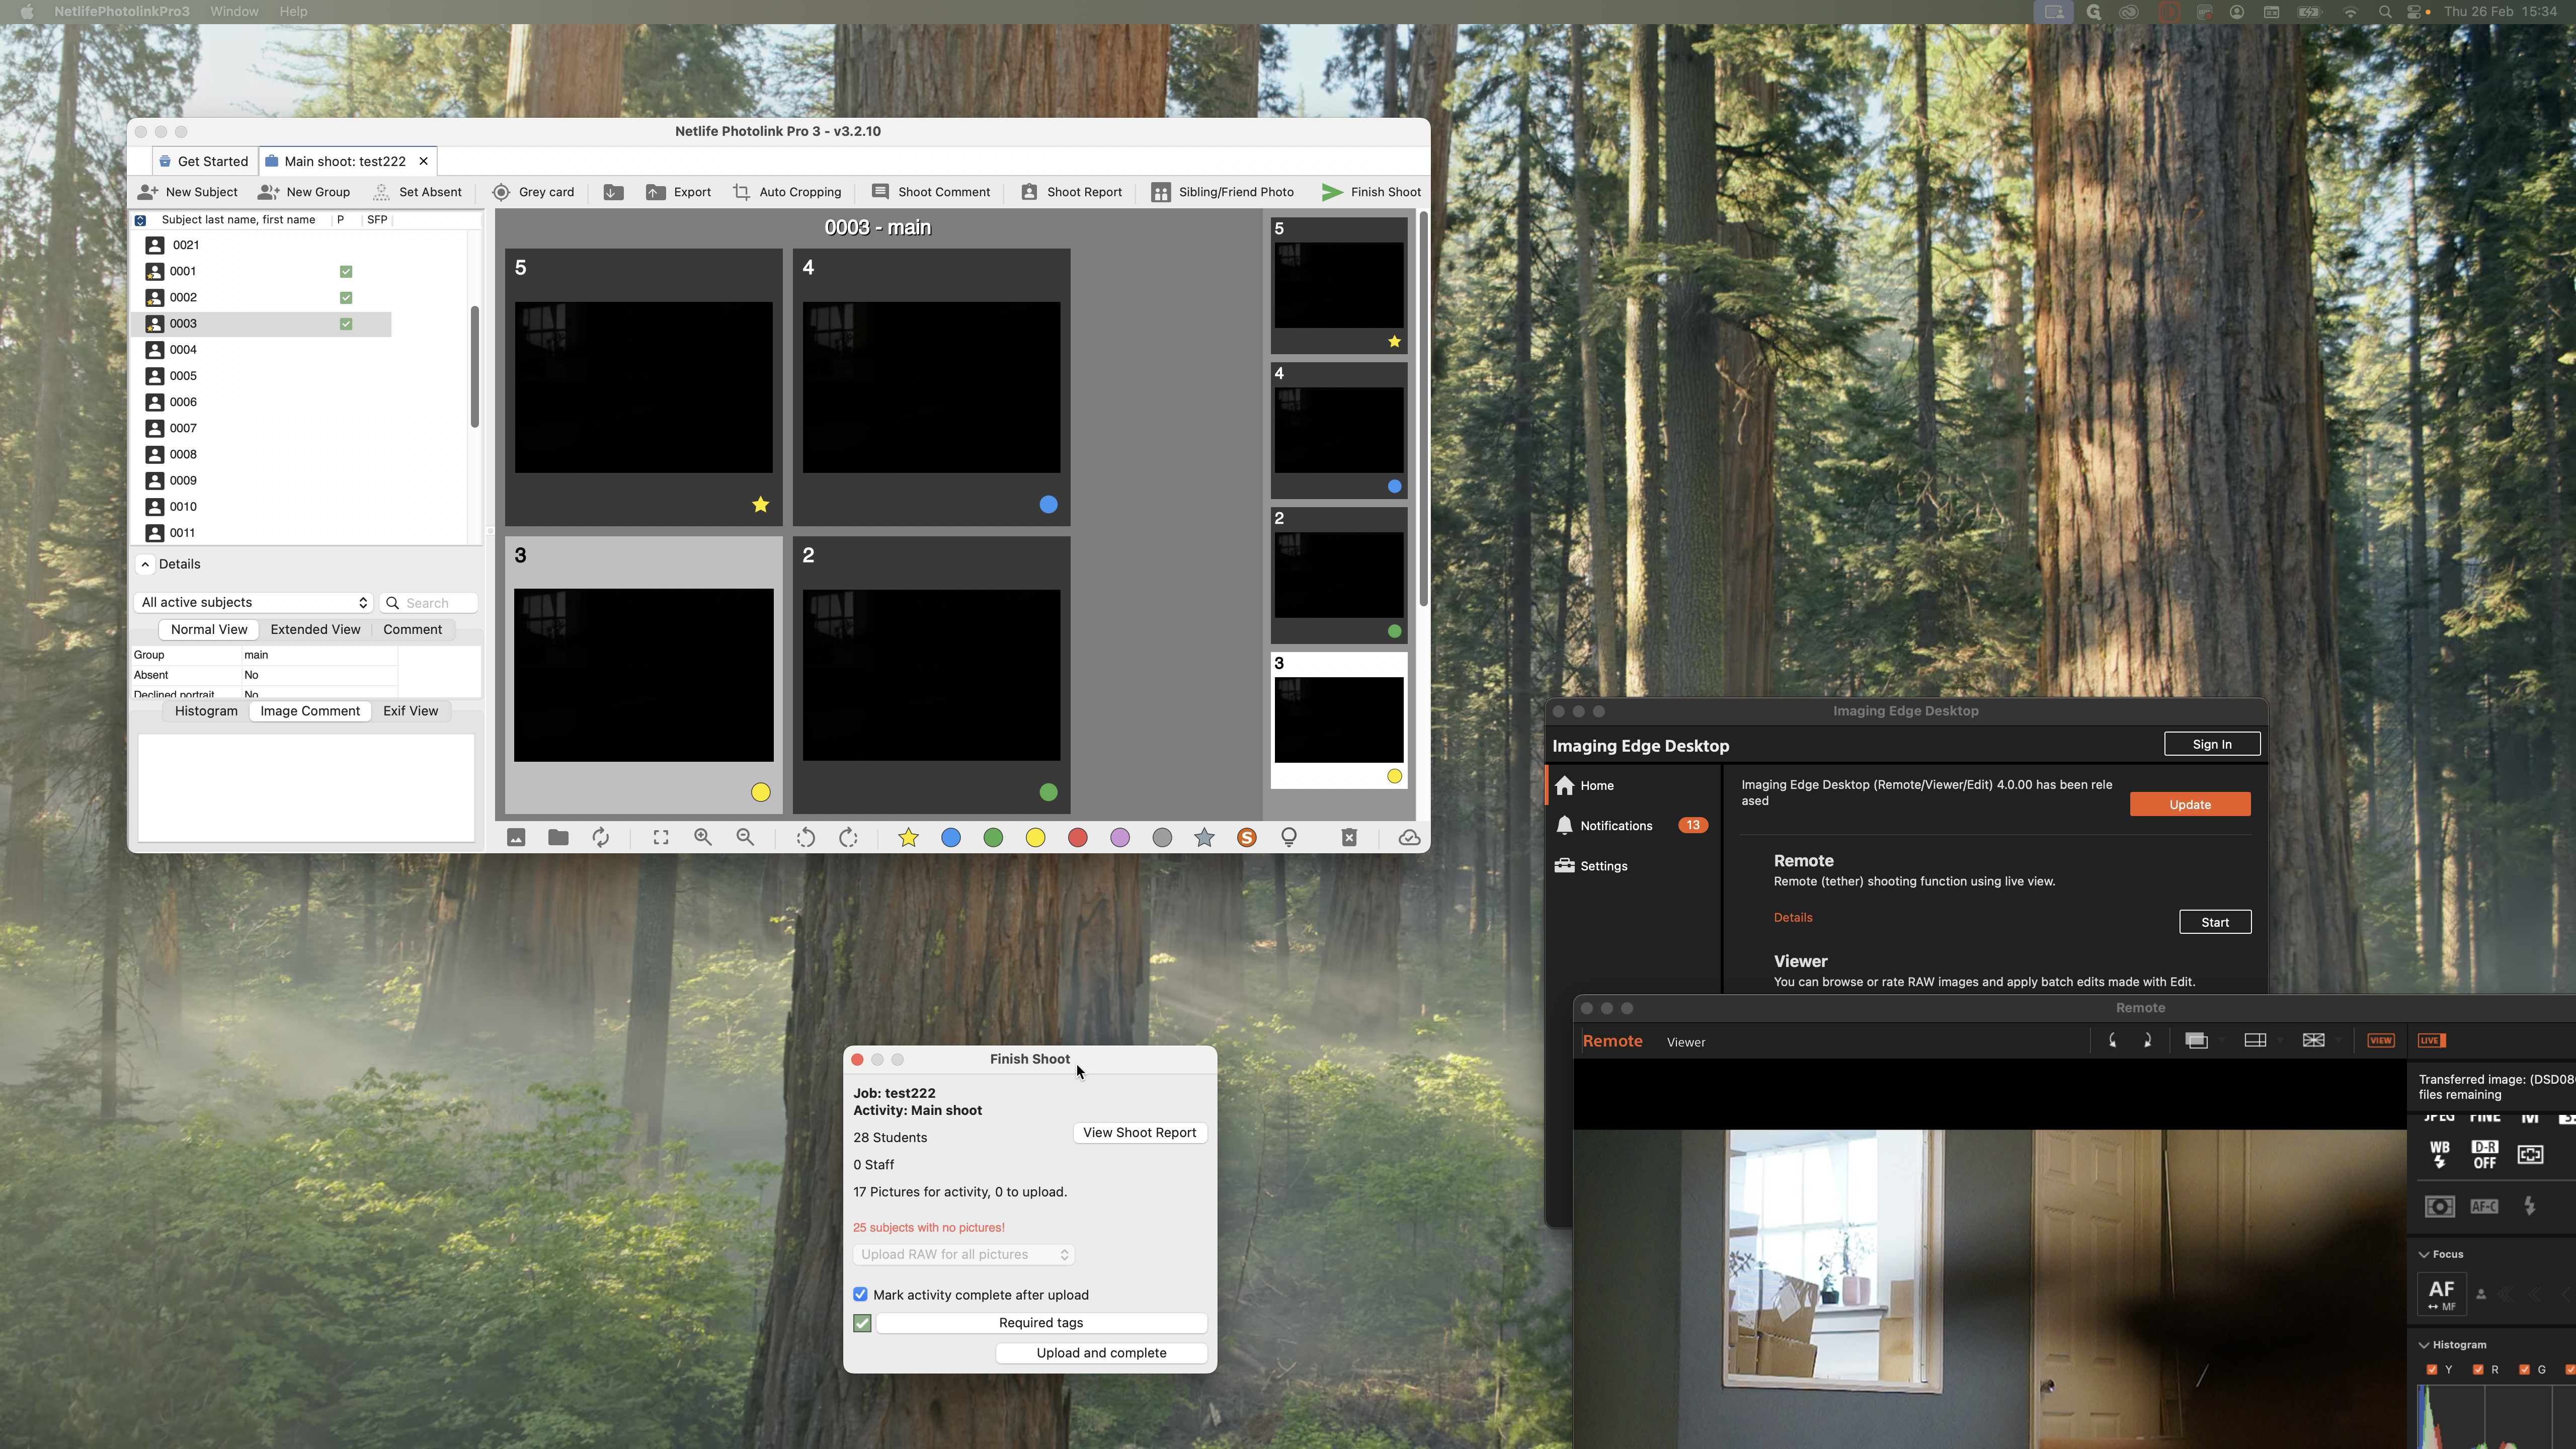
You can press Finish Shoot.


It will notify you if there are any issues, for example.
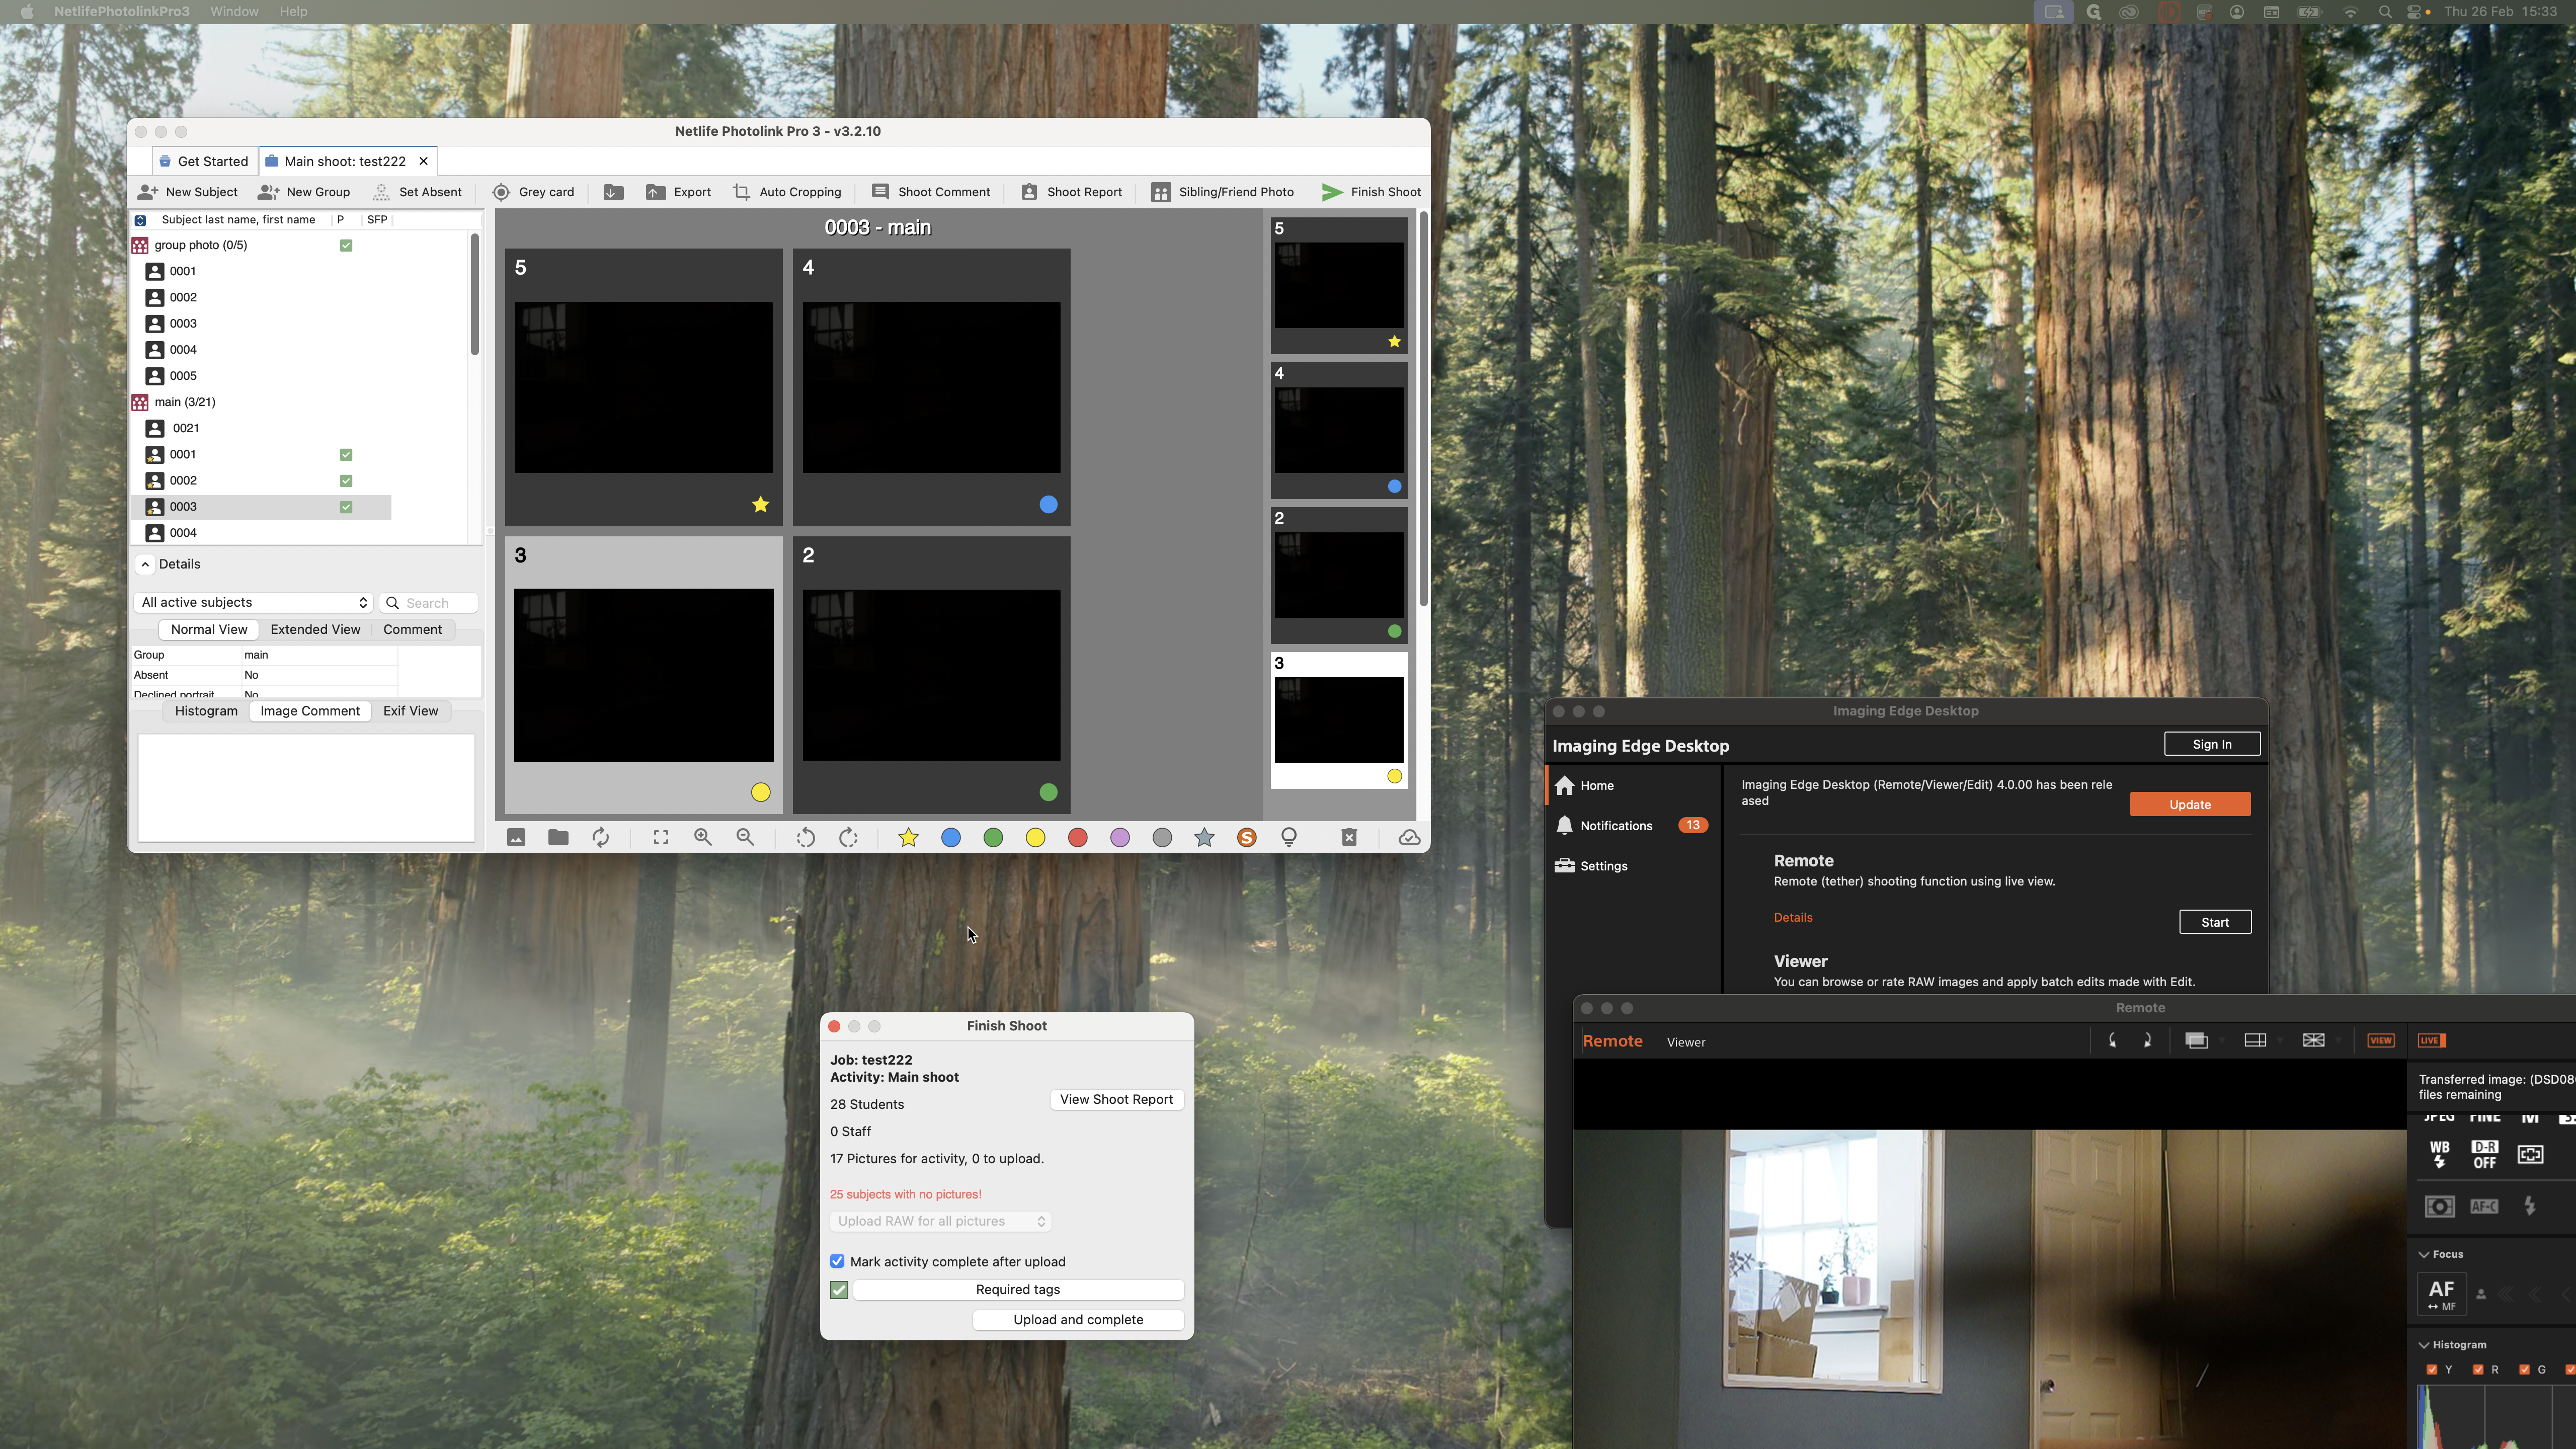
There are 28 students, but only 17 photos to upload. And, you can press... It will notify you if there are any issues. If you're taking a staff picture, you can right-click on "Set Subject Role" and select "Mark as Staff."
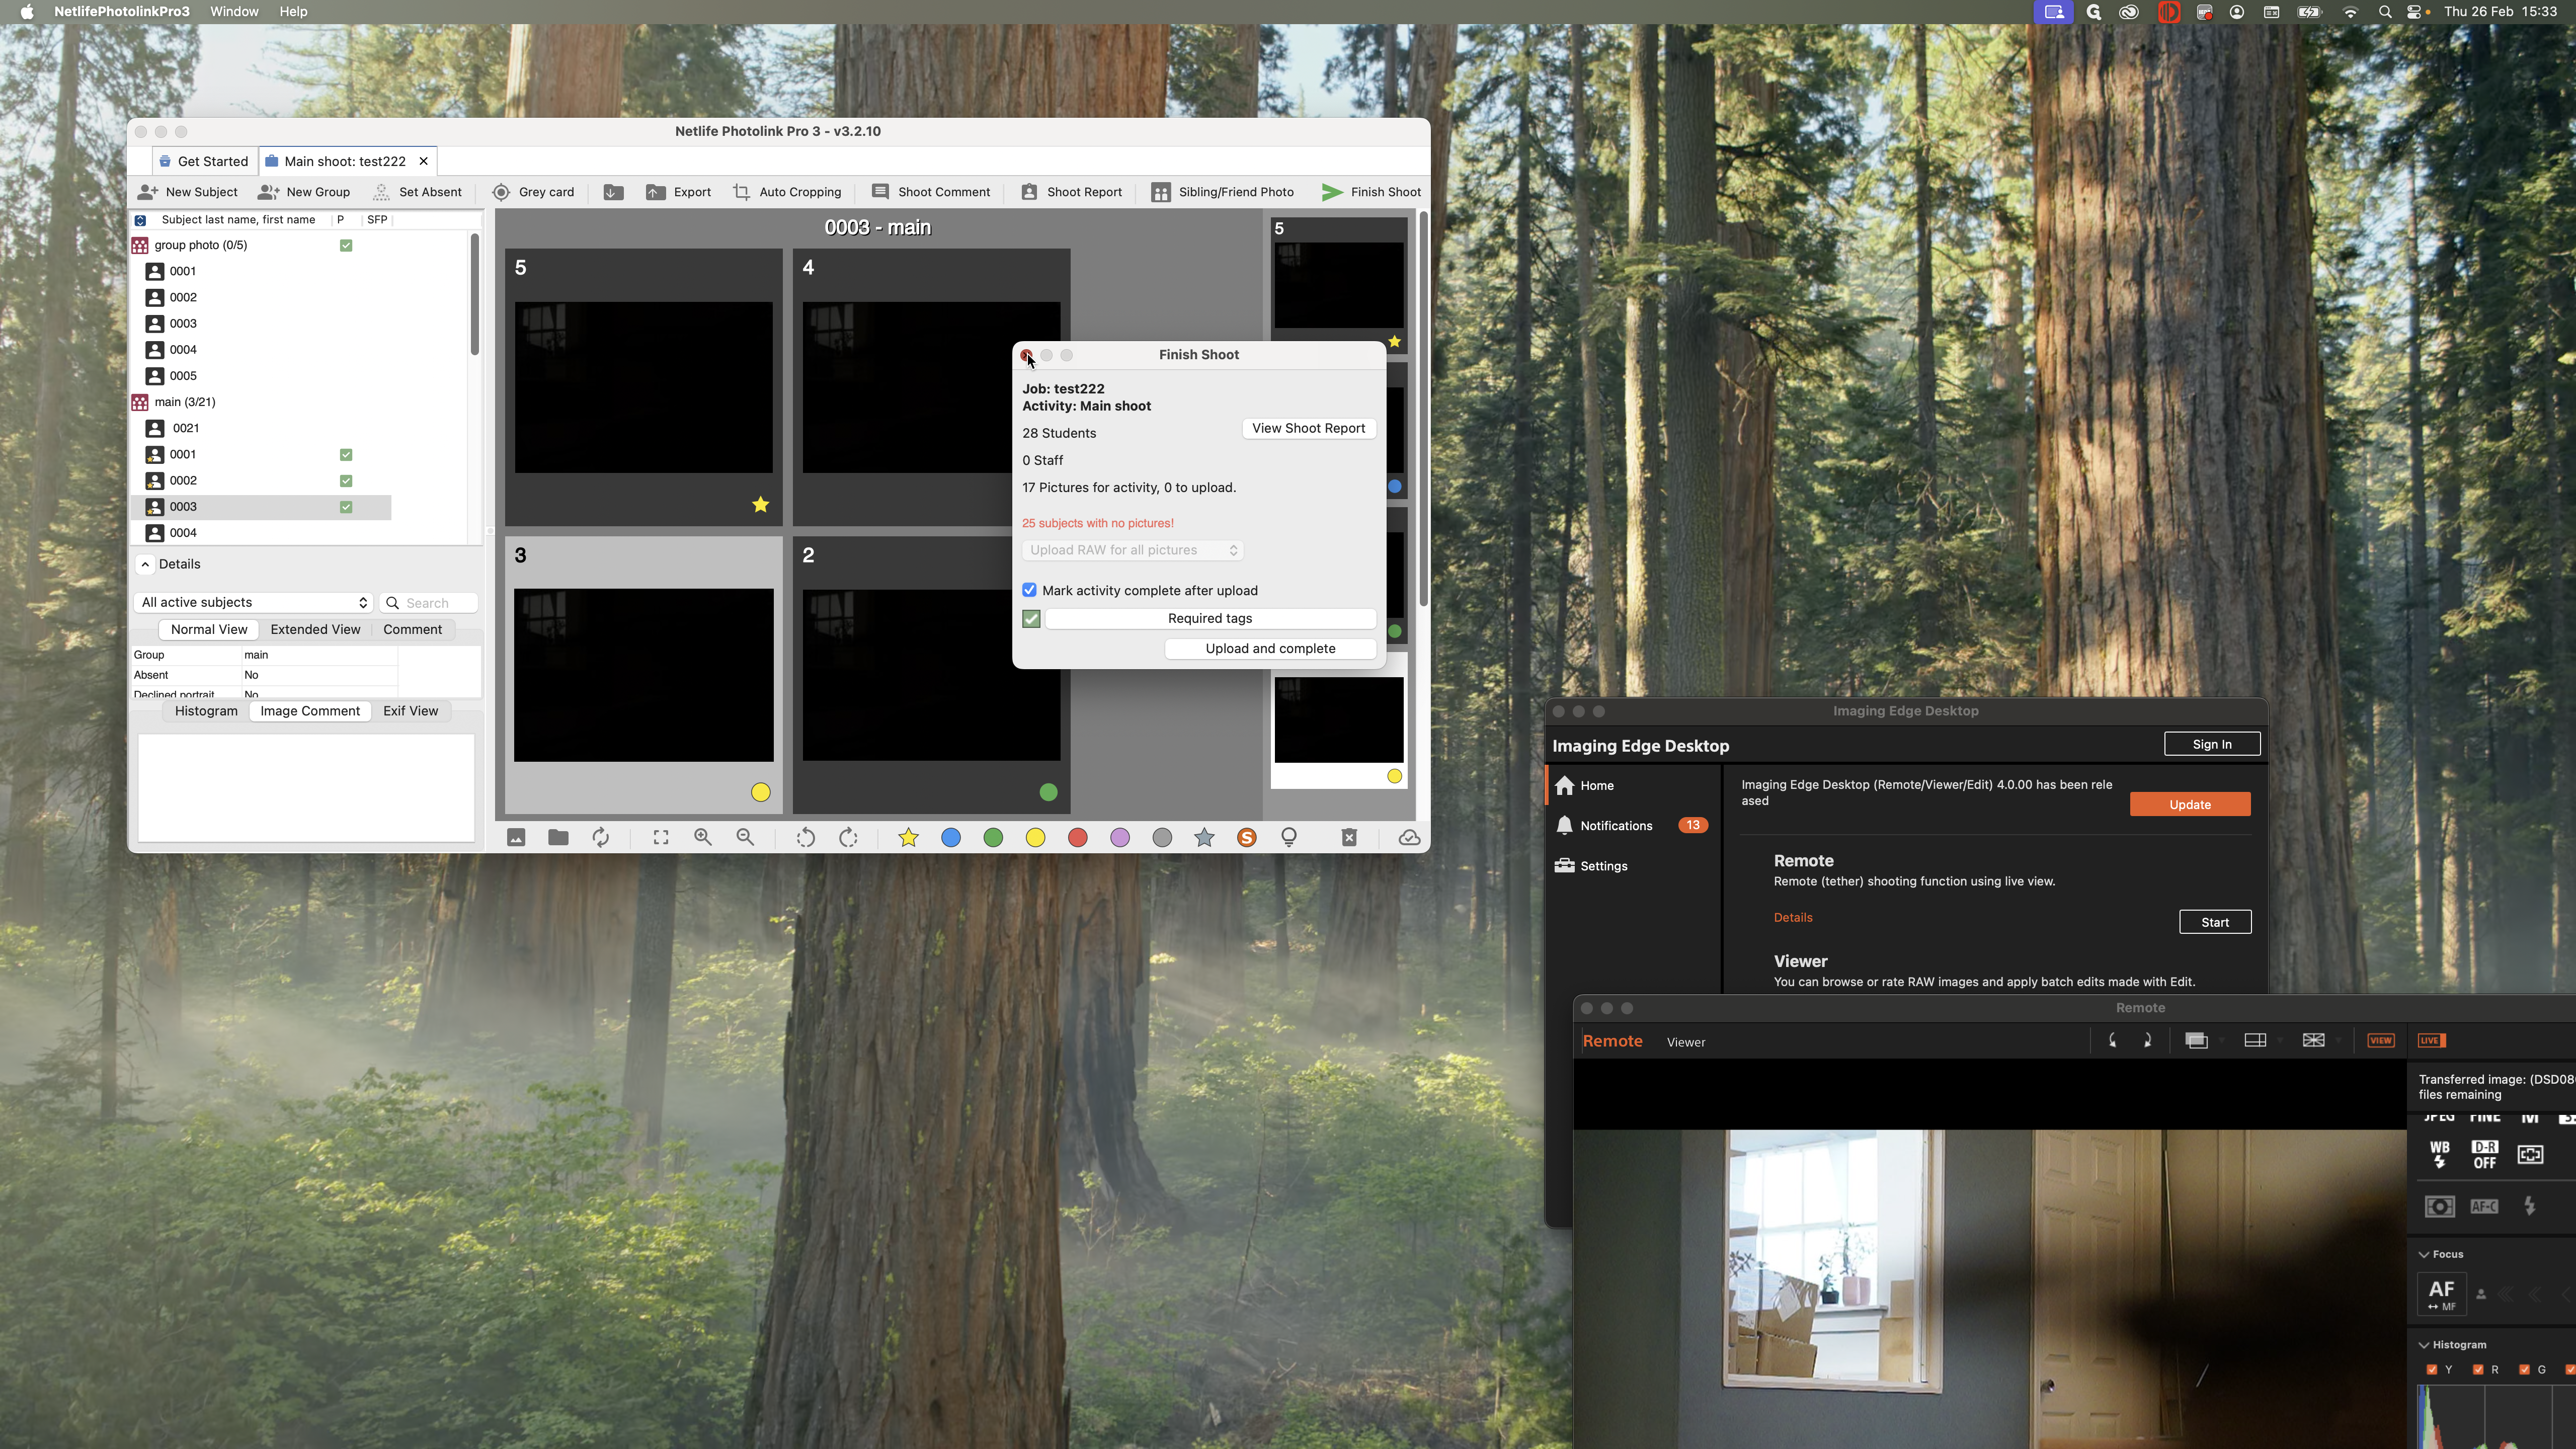

Since this shoot is complete, we can press "Finish Shoot," and it will upload.

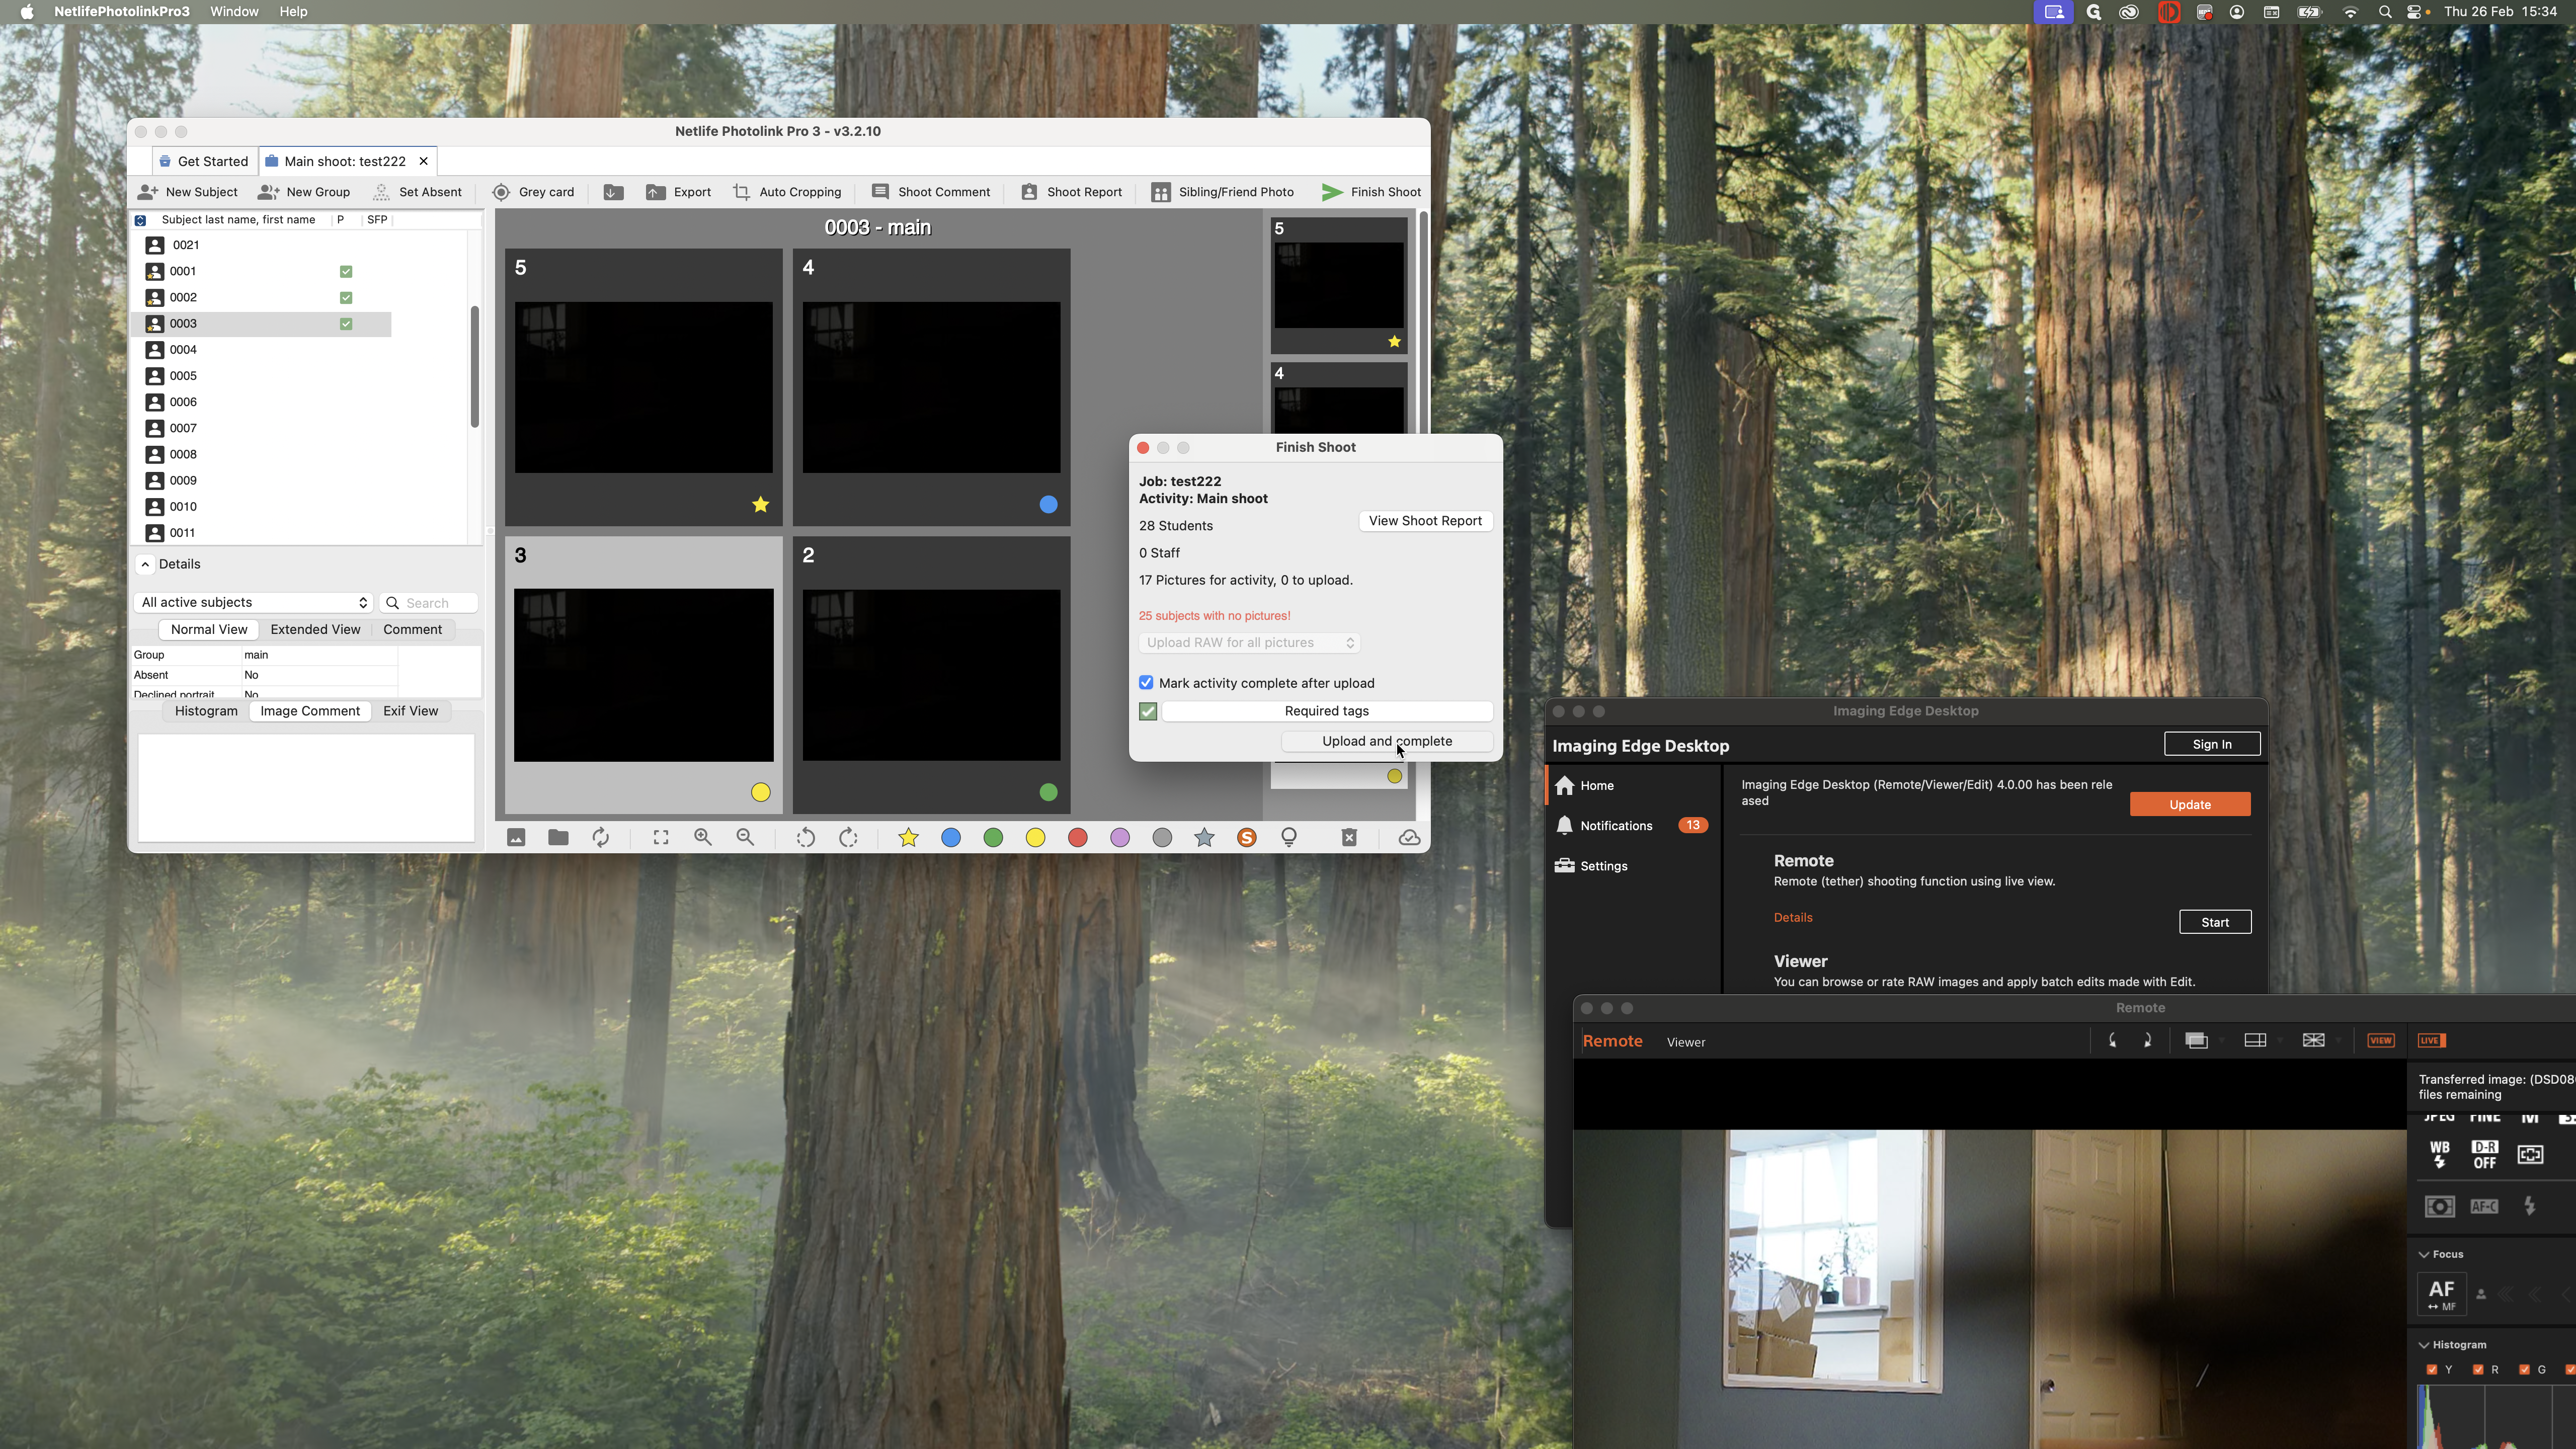
It will upload all the images to our servers, mark the shoot as complete, and lock it from your computer.
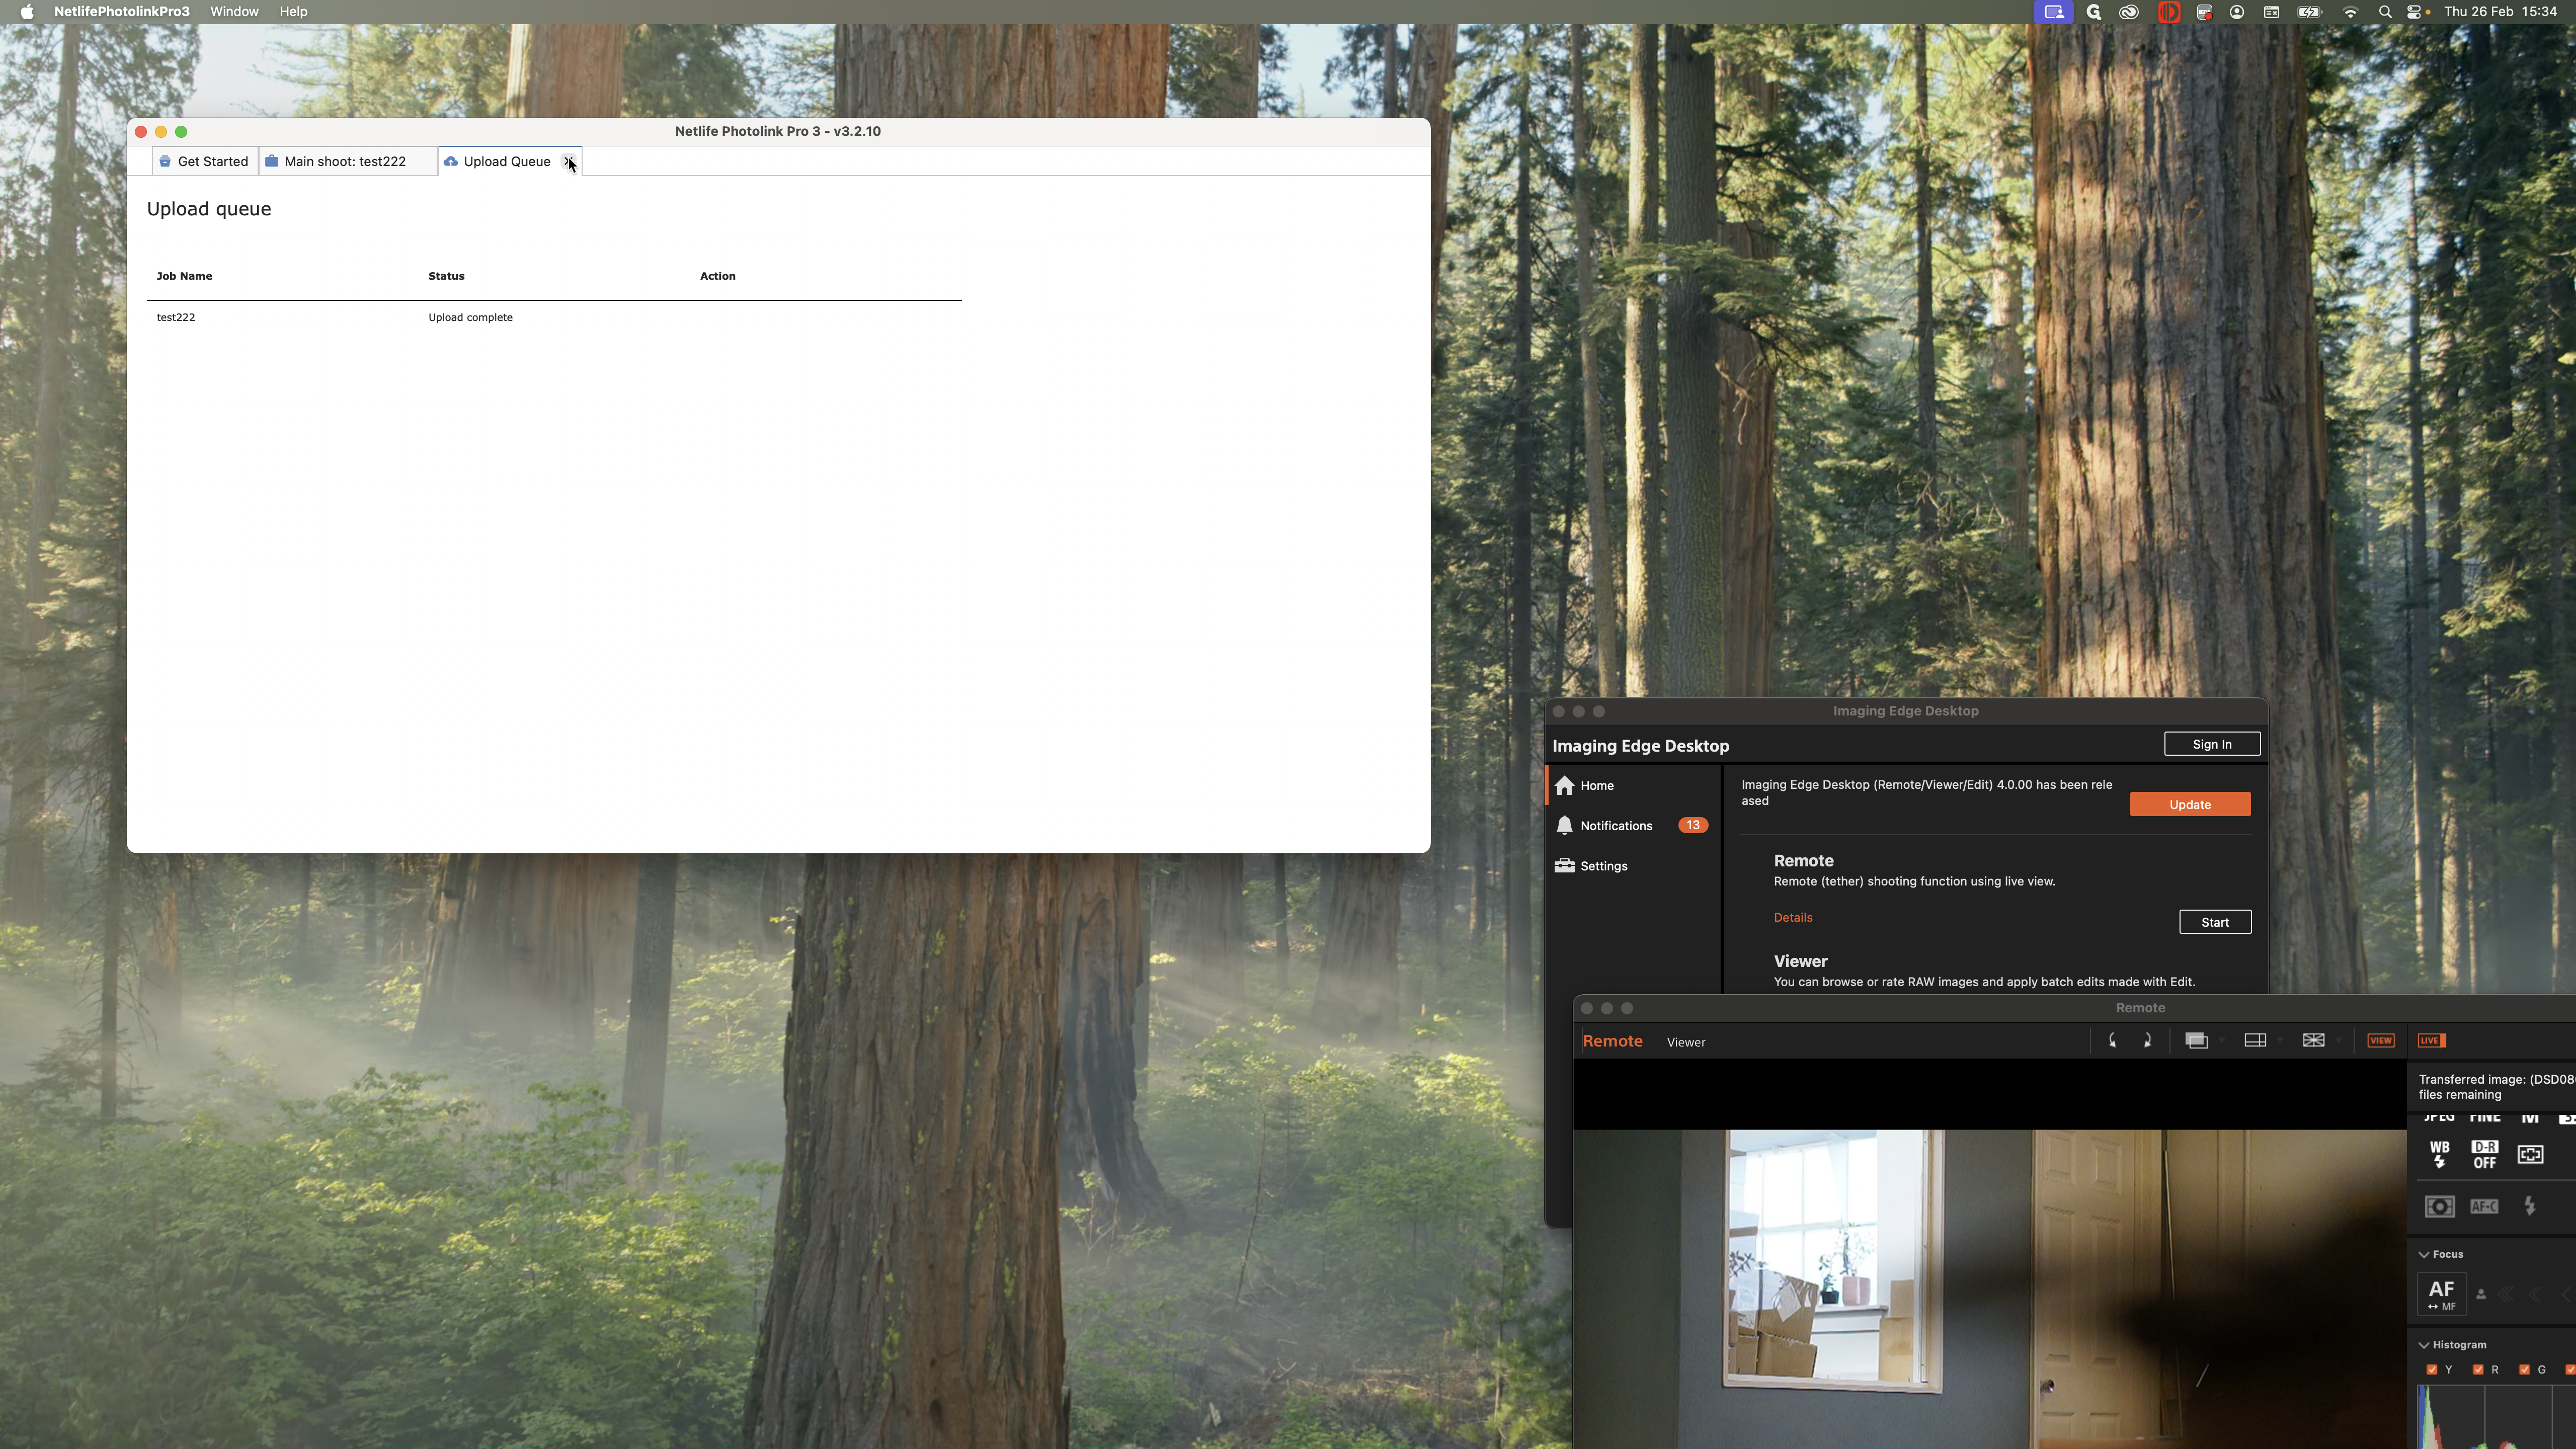
That is the entire process.