
PART ONE: Website Preview Video On After Effects
Learn step-by-step how to capture full-page screenshots of your website, save them correctly, and edit them into your project scenes. Tips include ensuring all animations load, saving images with clear names, and fitting screenshots to your composition.
In this guide, we'll learn how to capture full-page screenshots of different website sections and prepare them for use in a video project. This process includes making sure all website animations are loaded before taking screenshots, saving each image with a clear name, and then importing these images into your video editing software. We will also cover how to adjust the images so they fit properly in your project scenes.
Let's get started
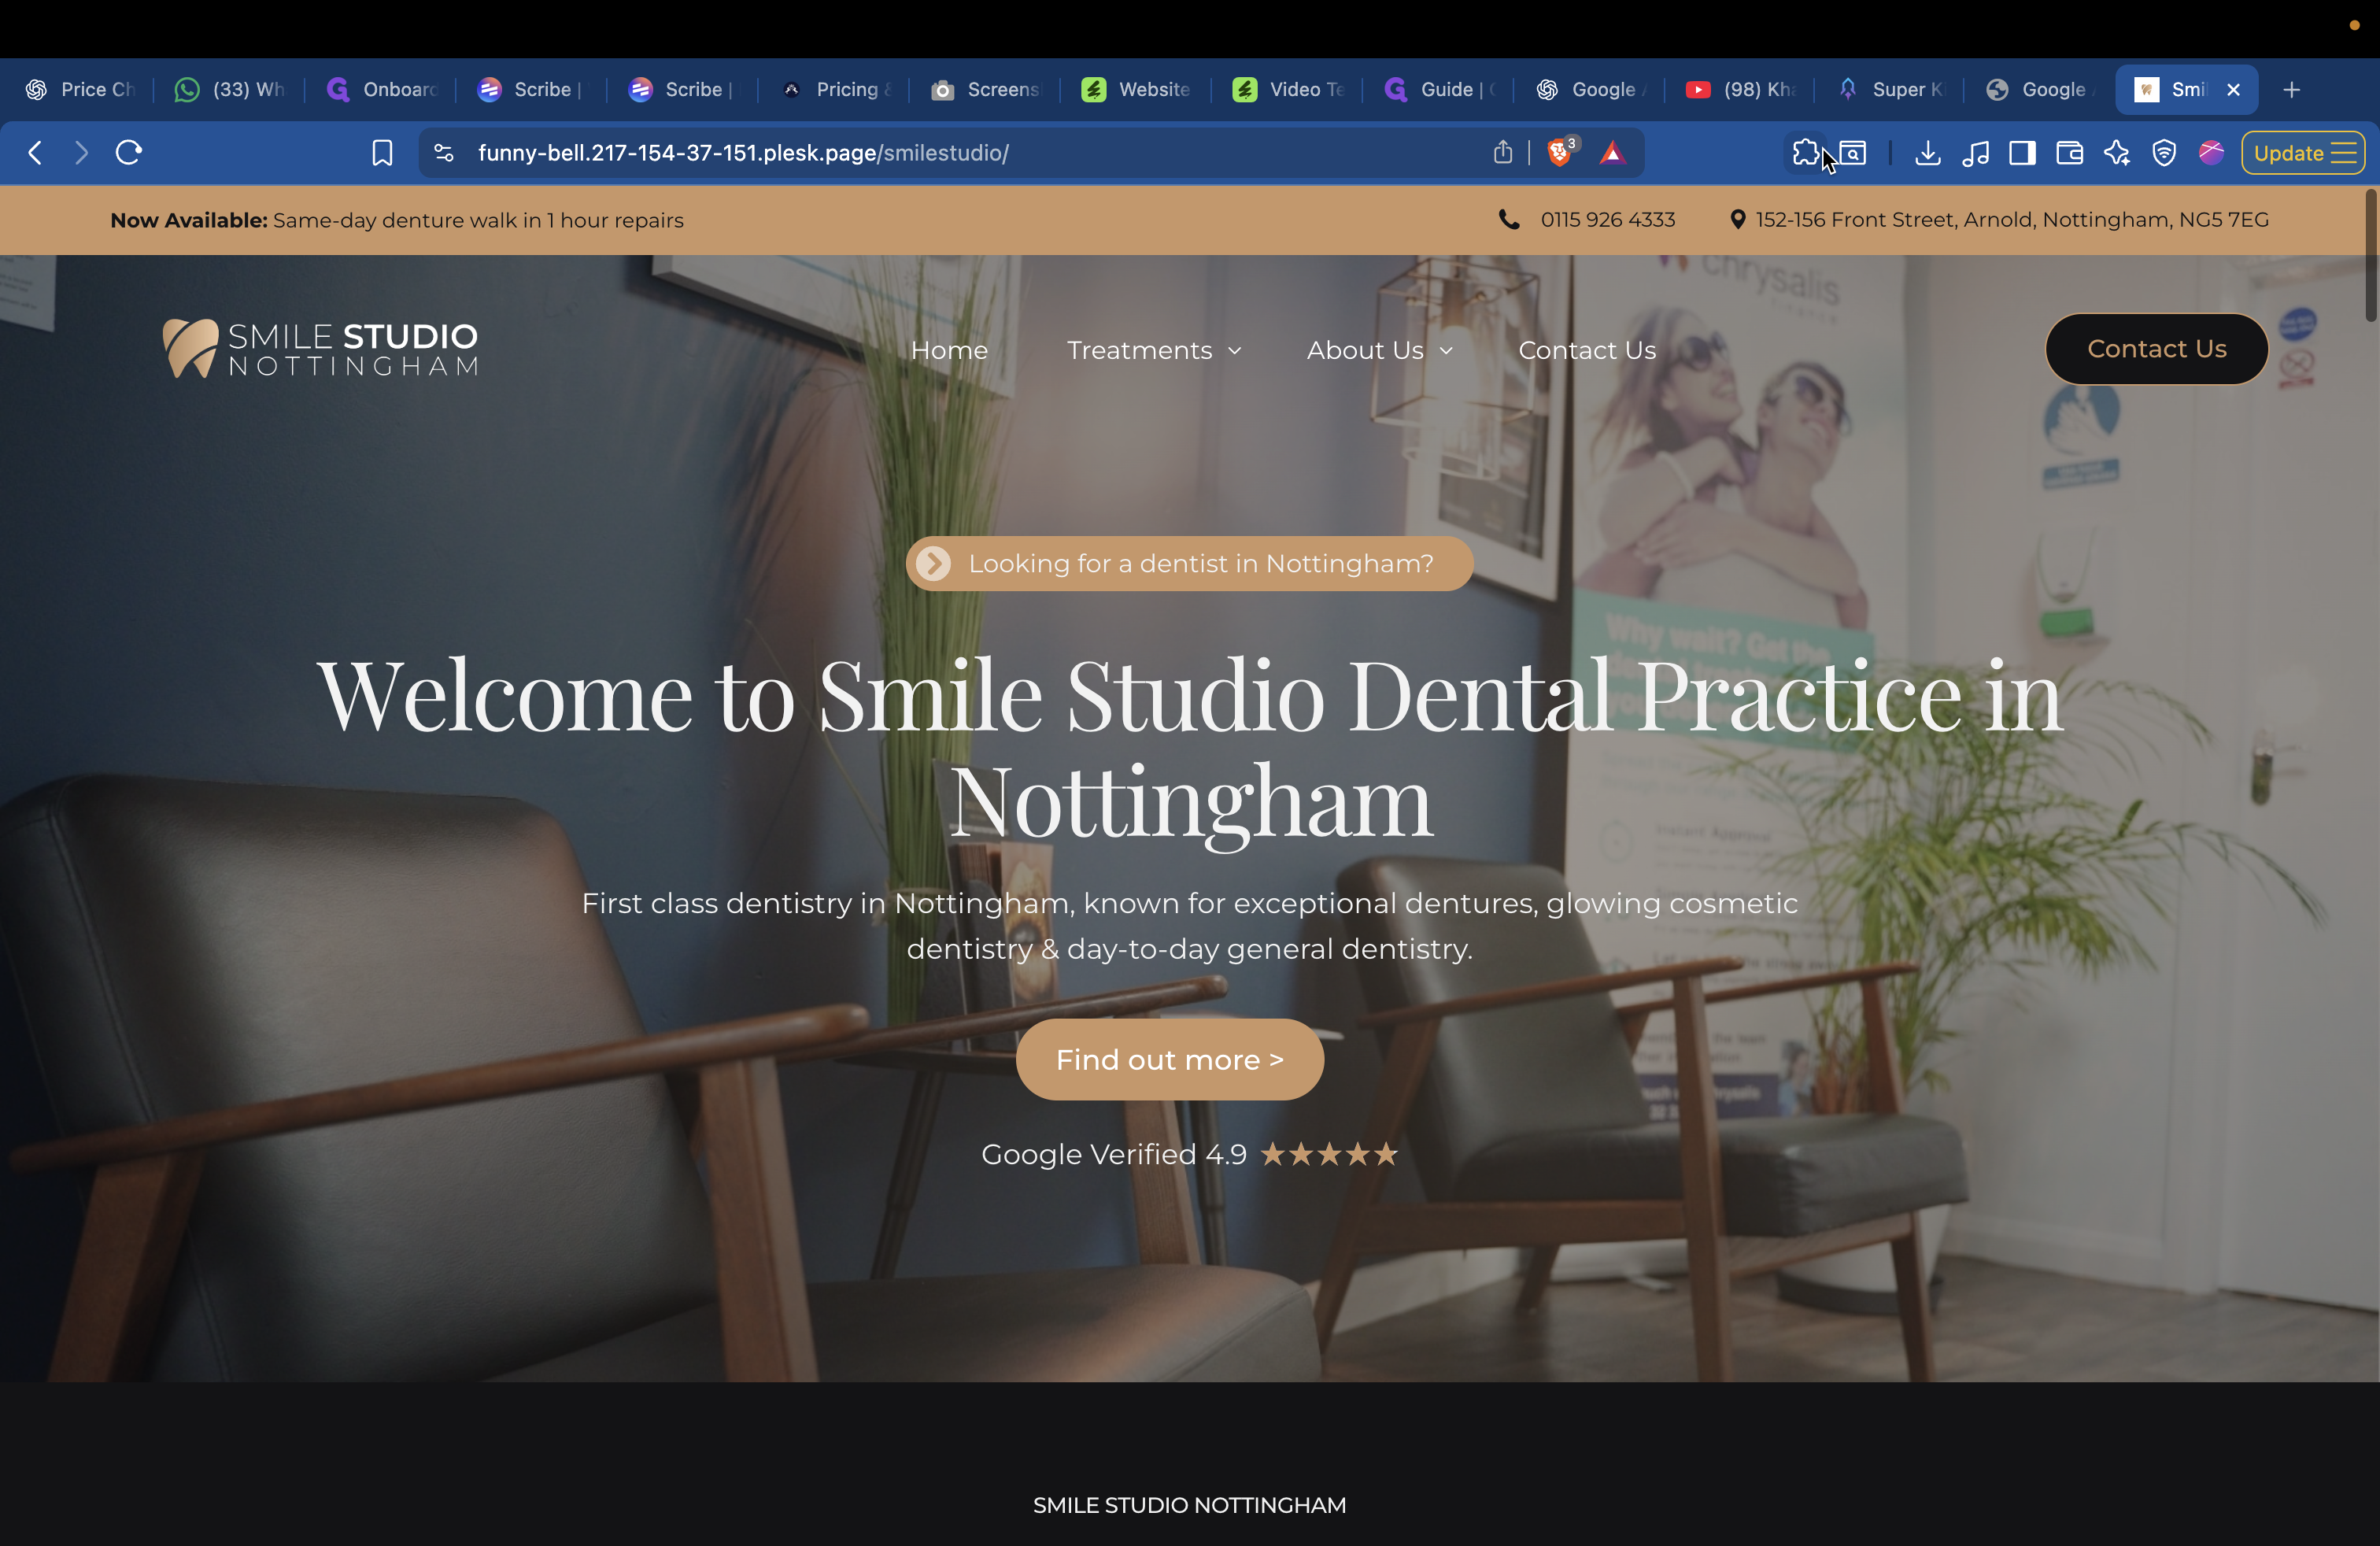
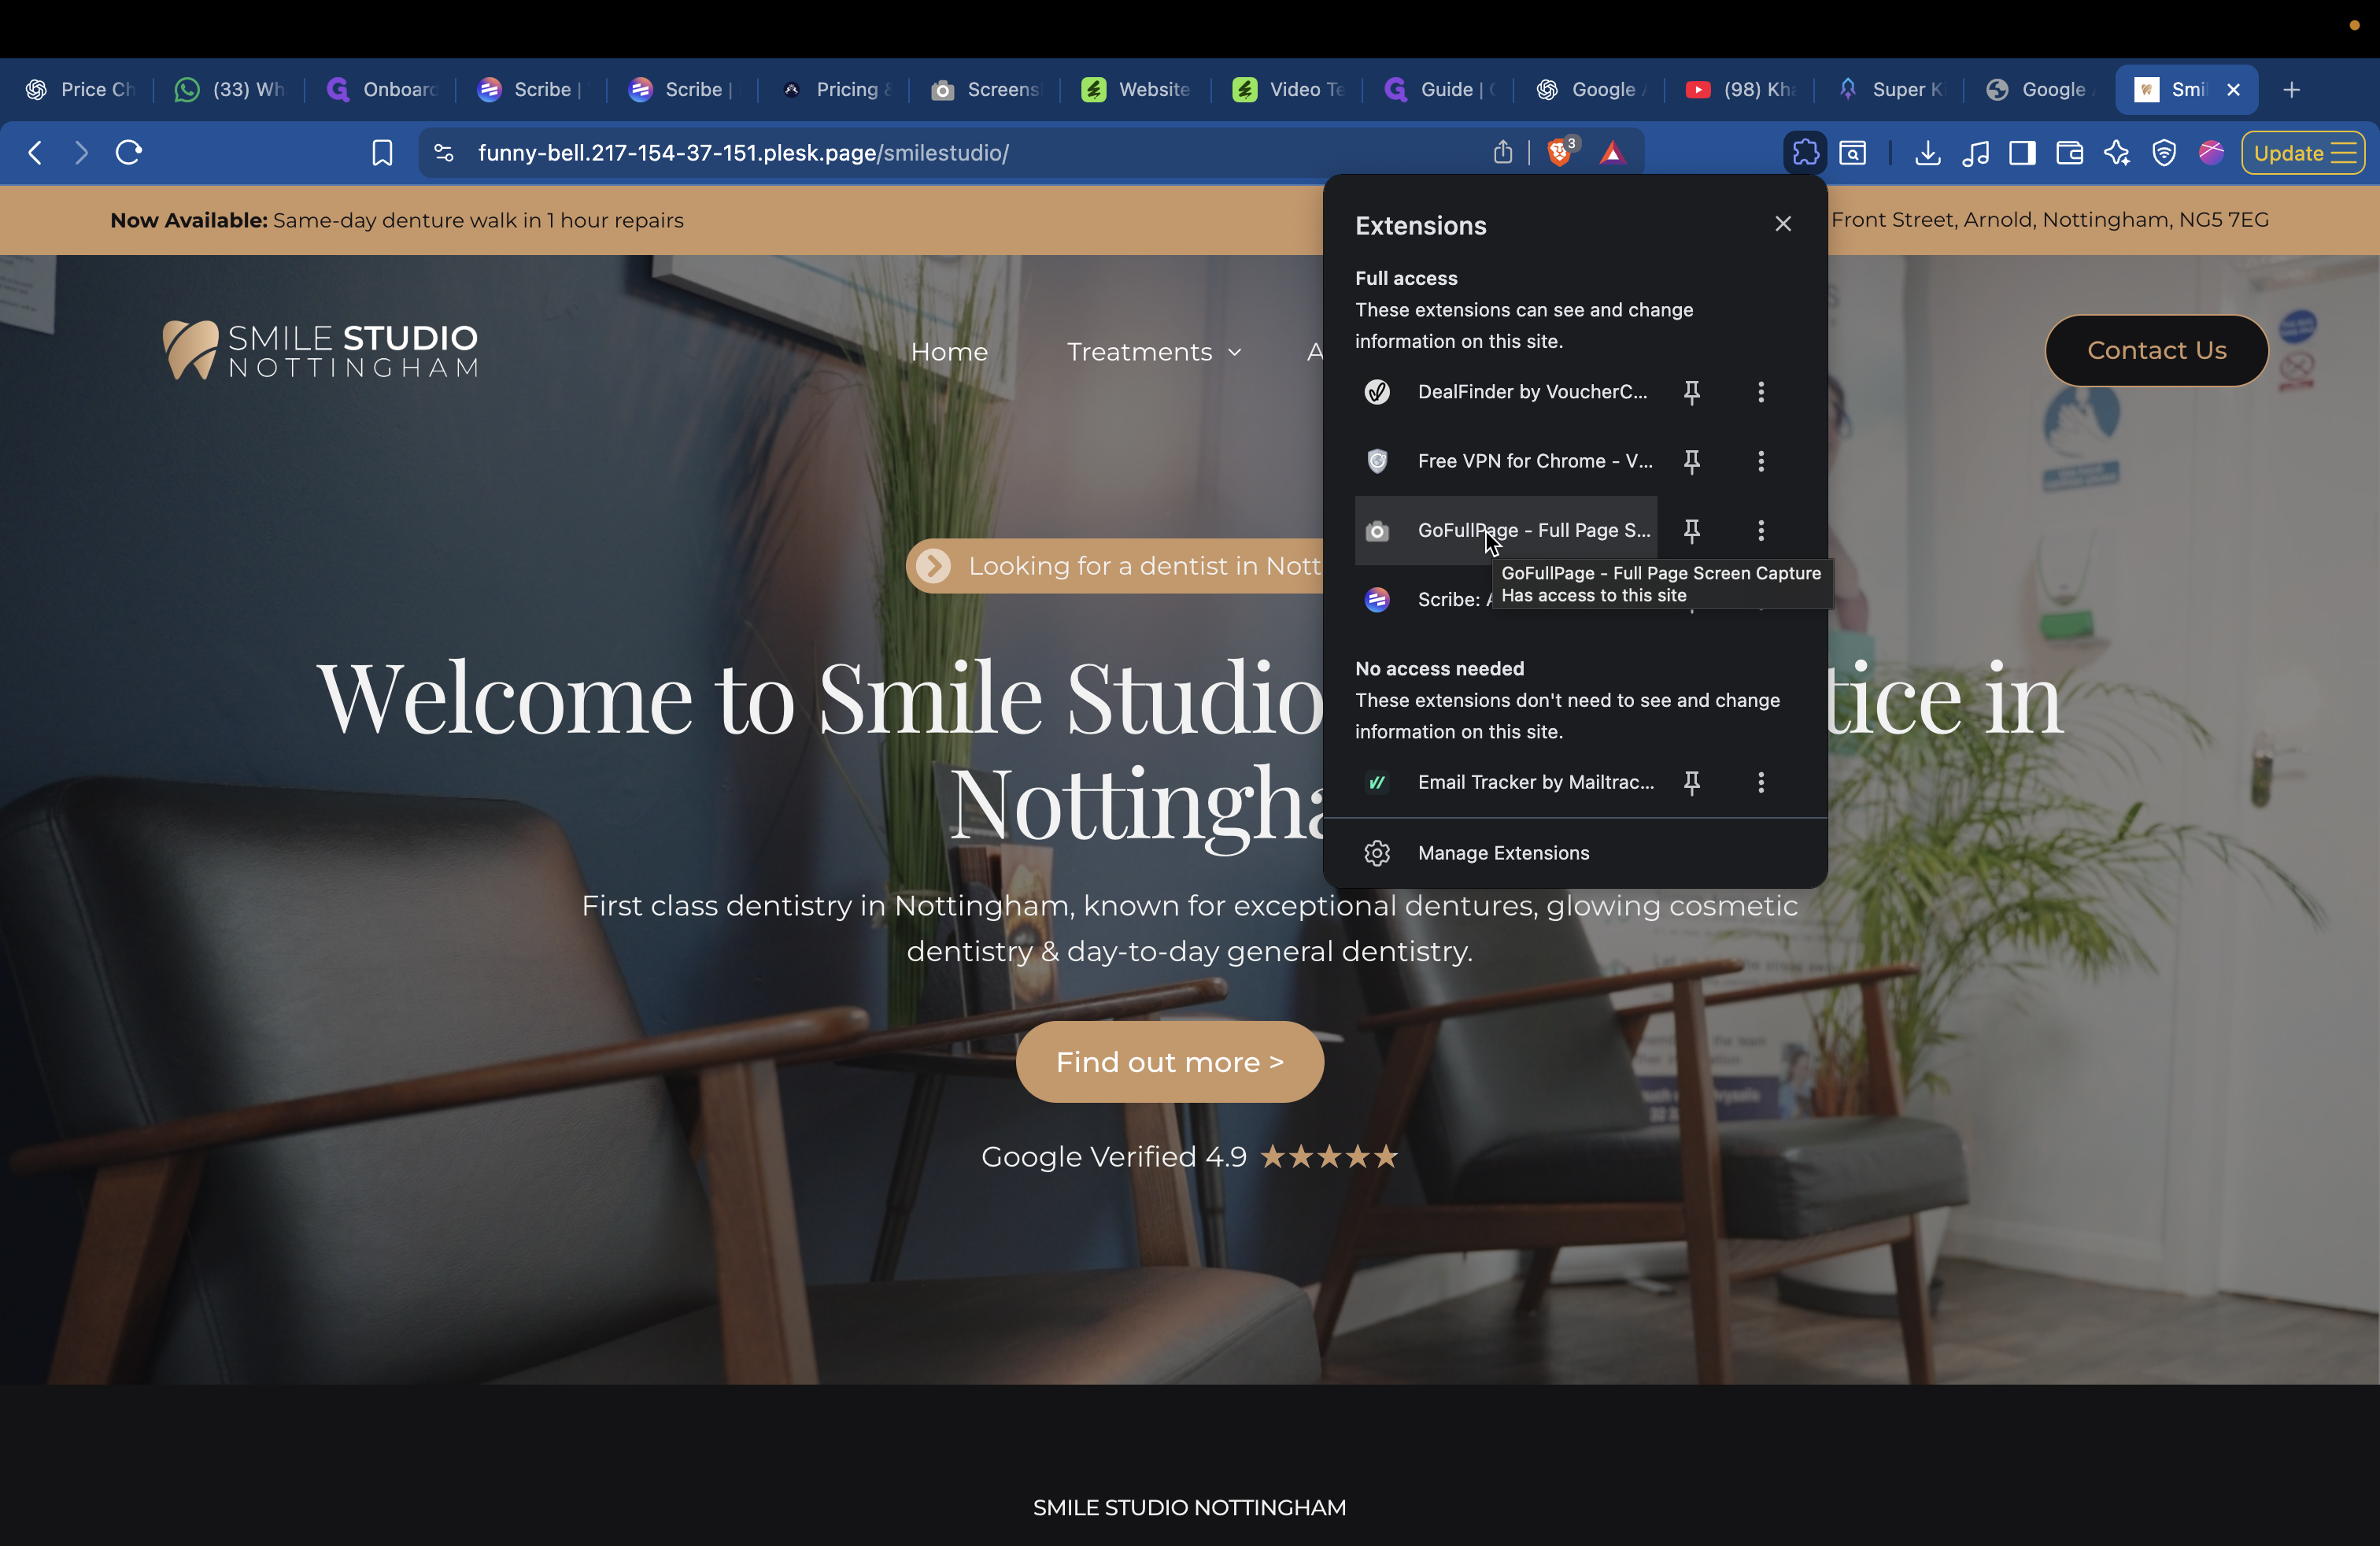
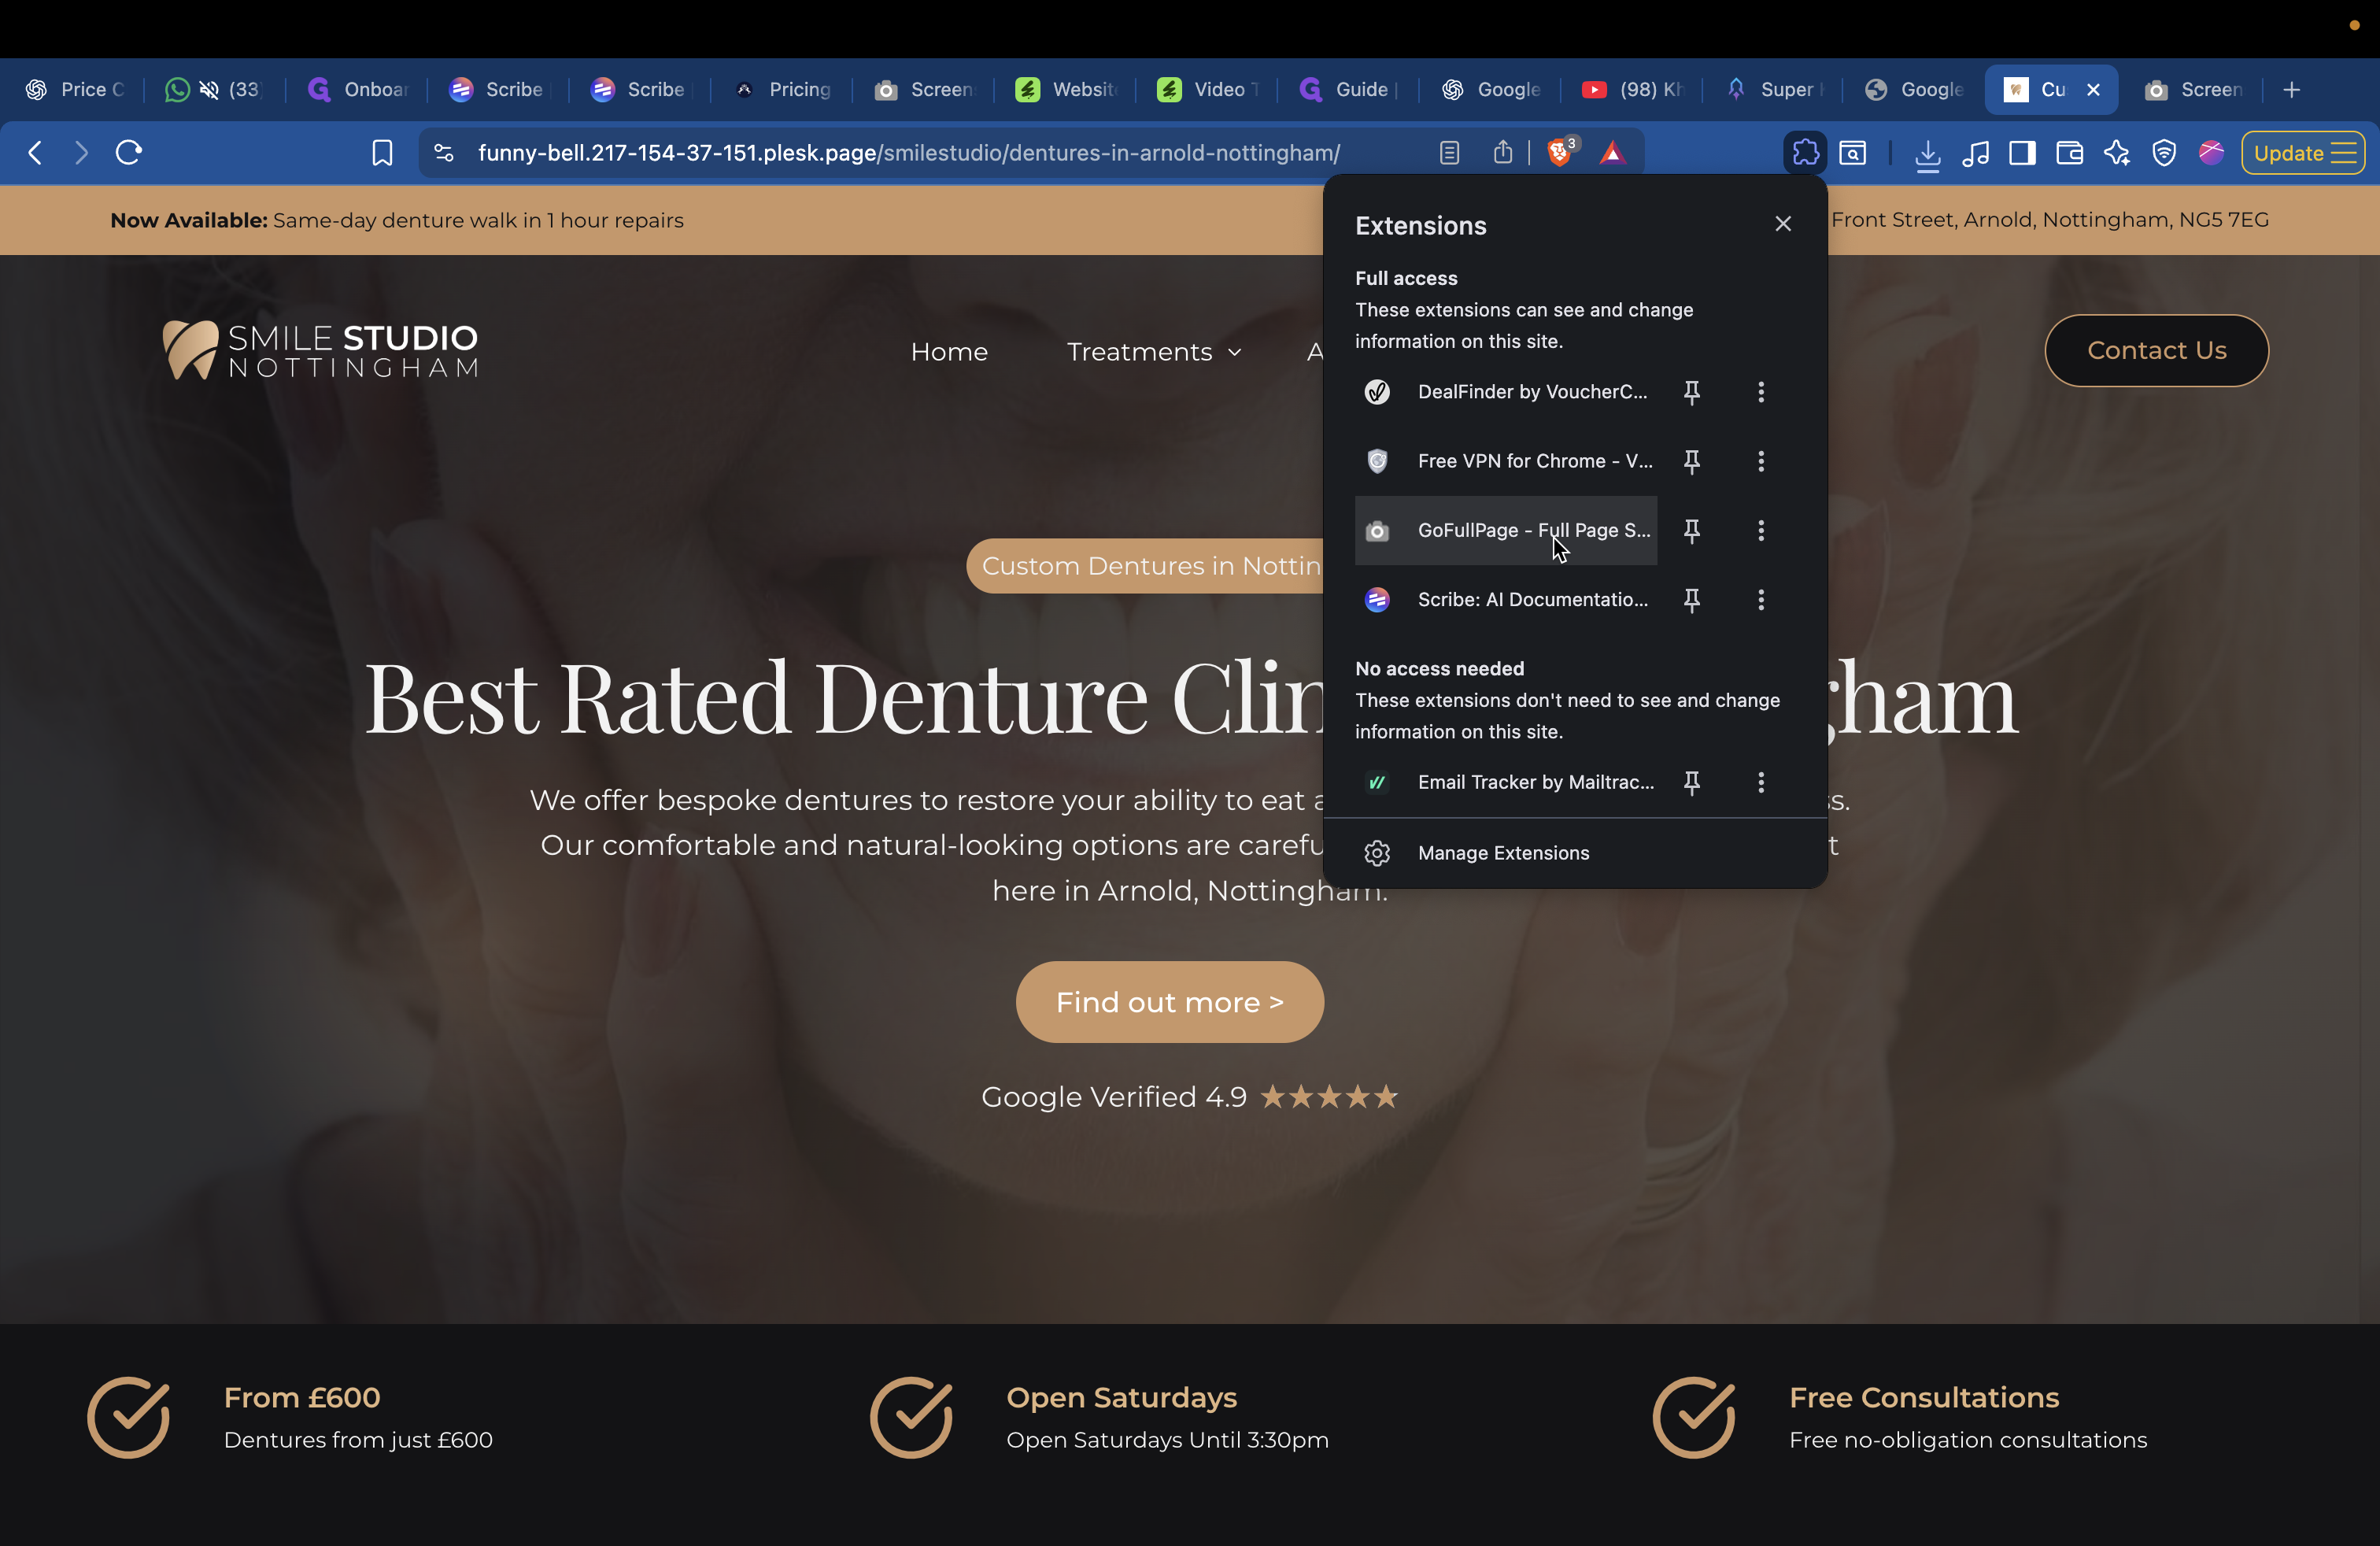
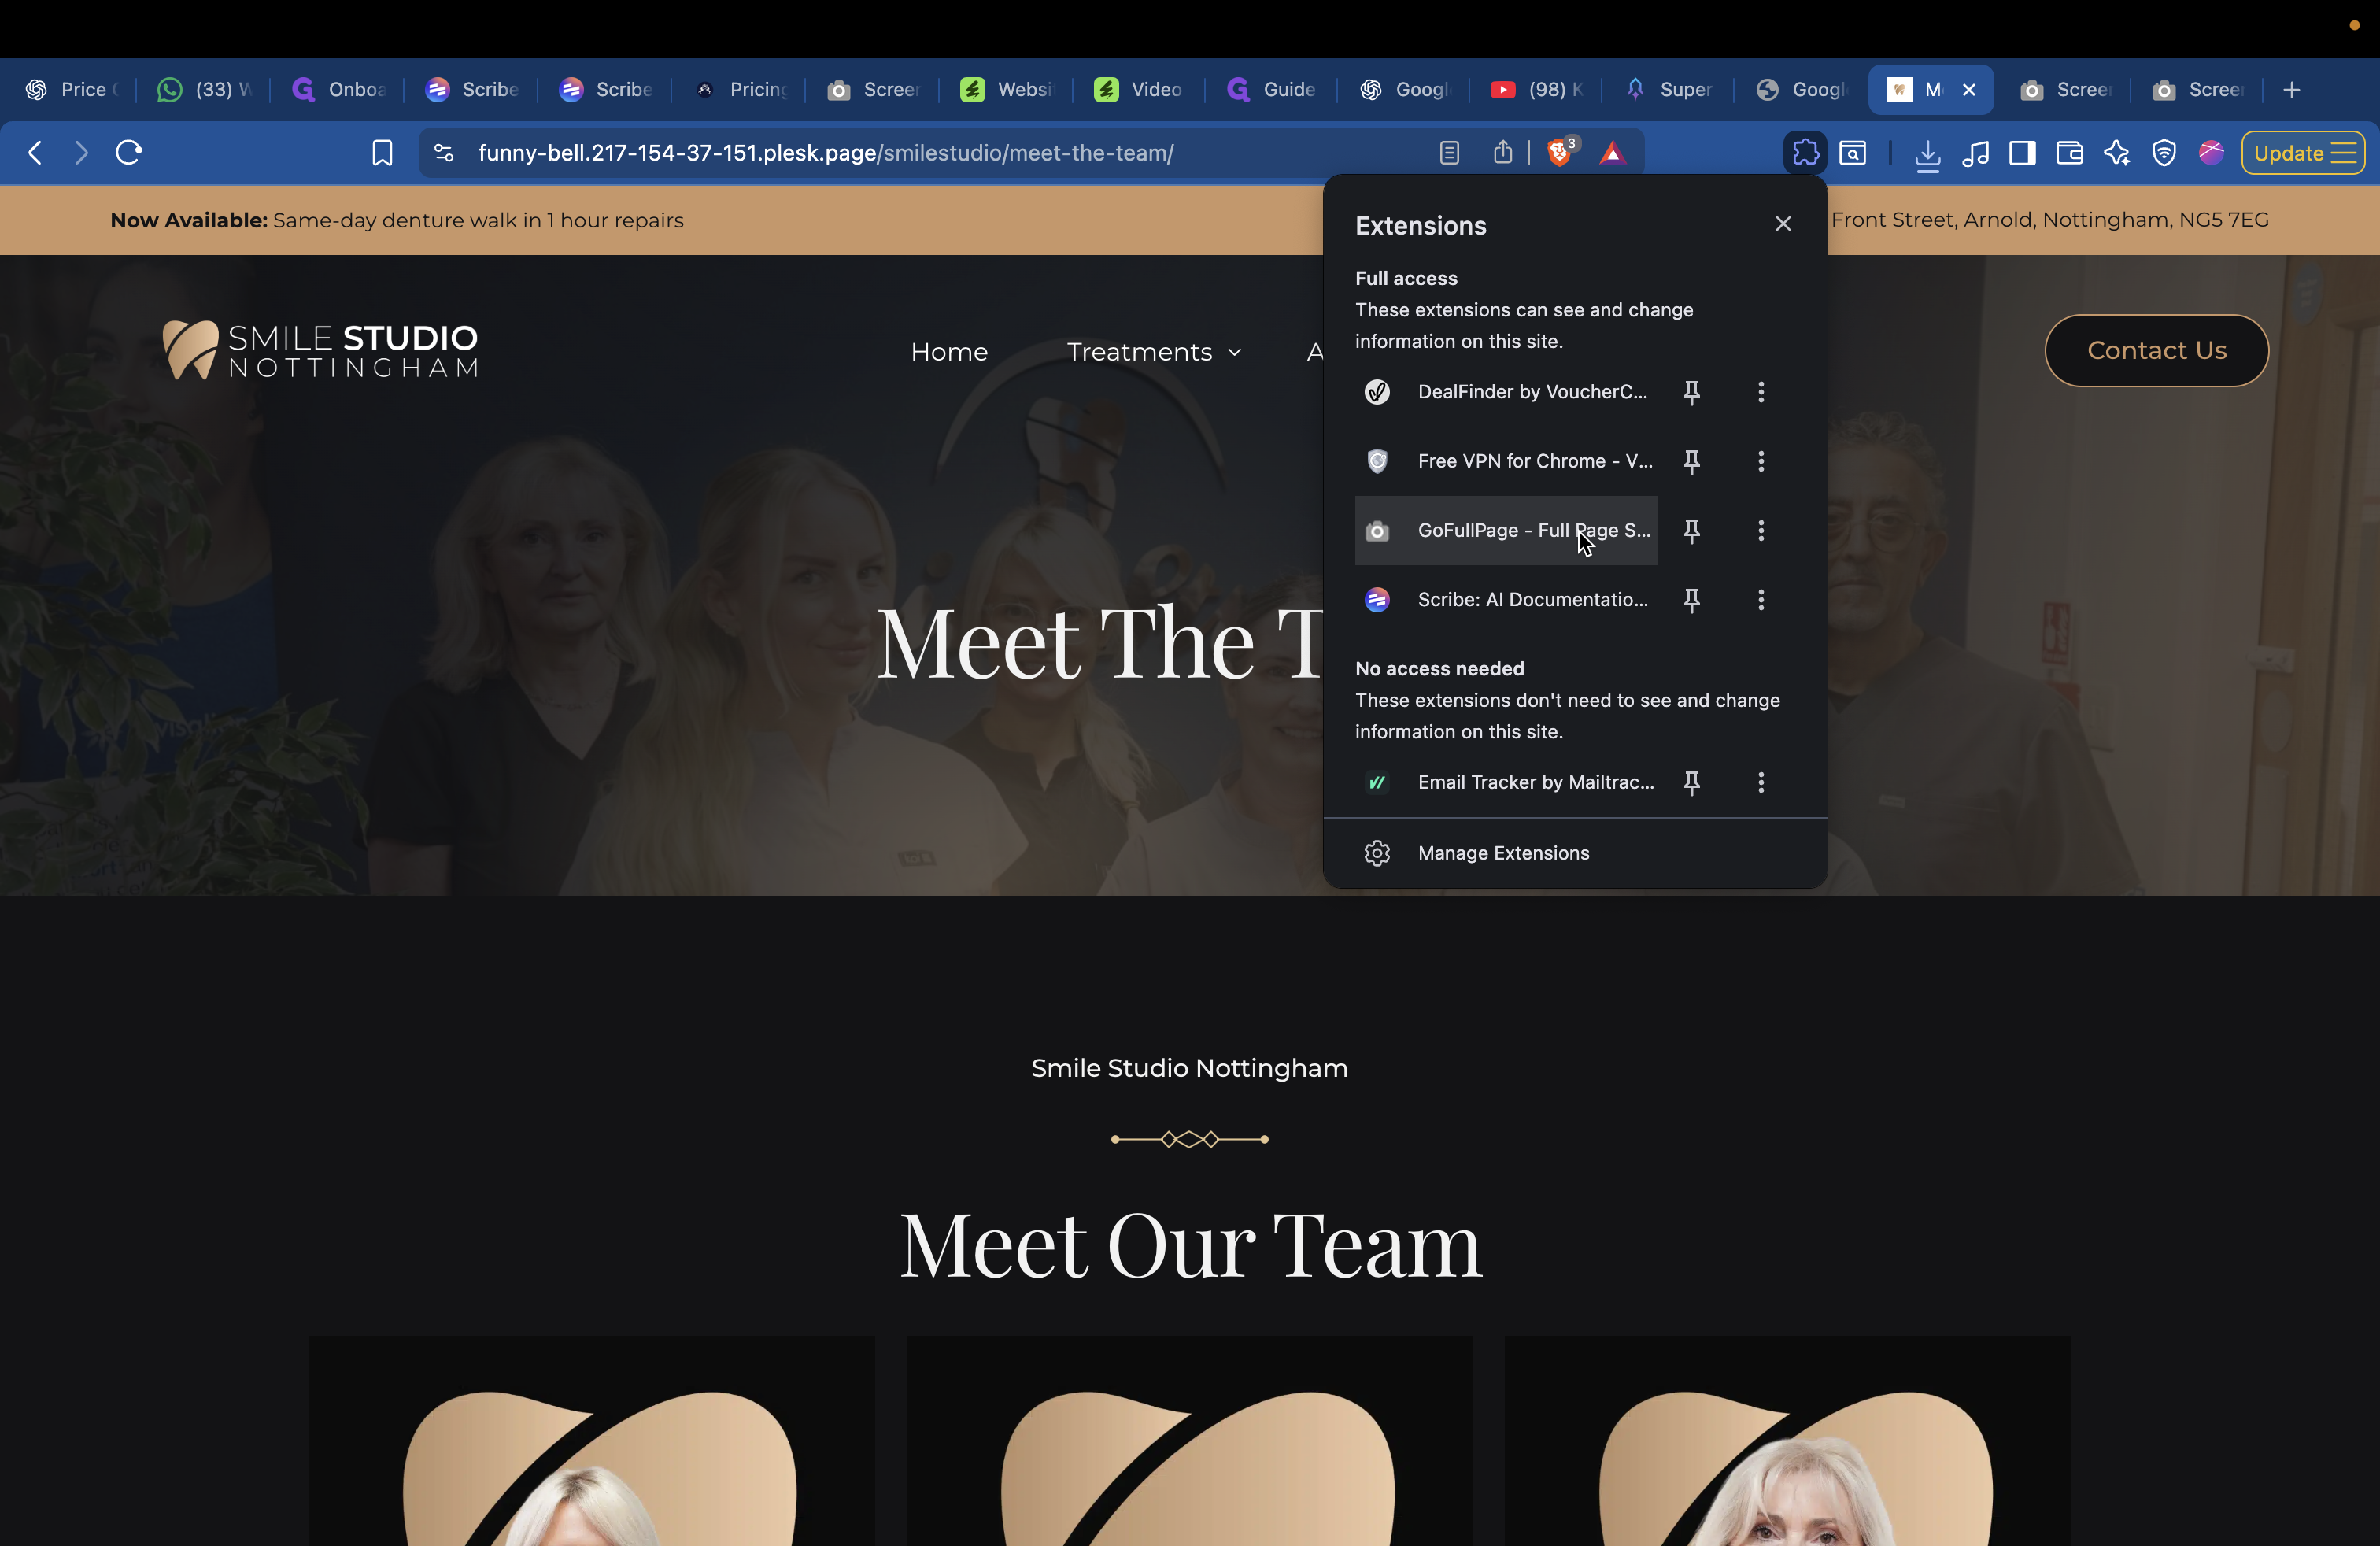
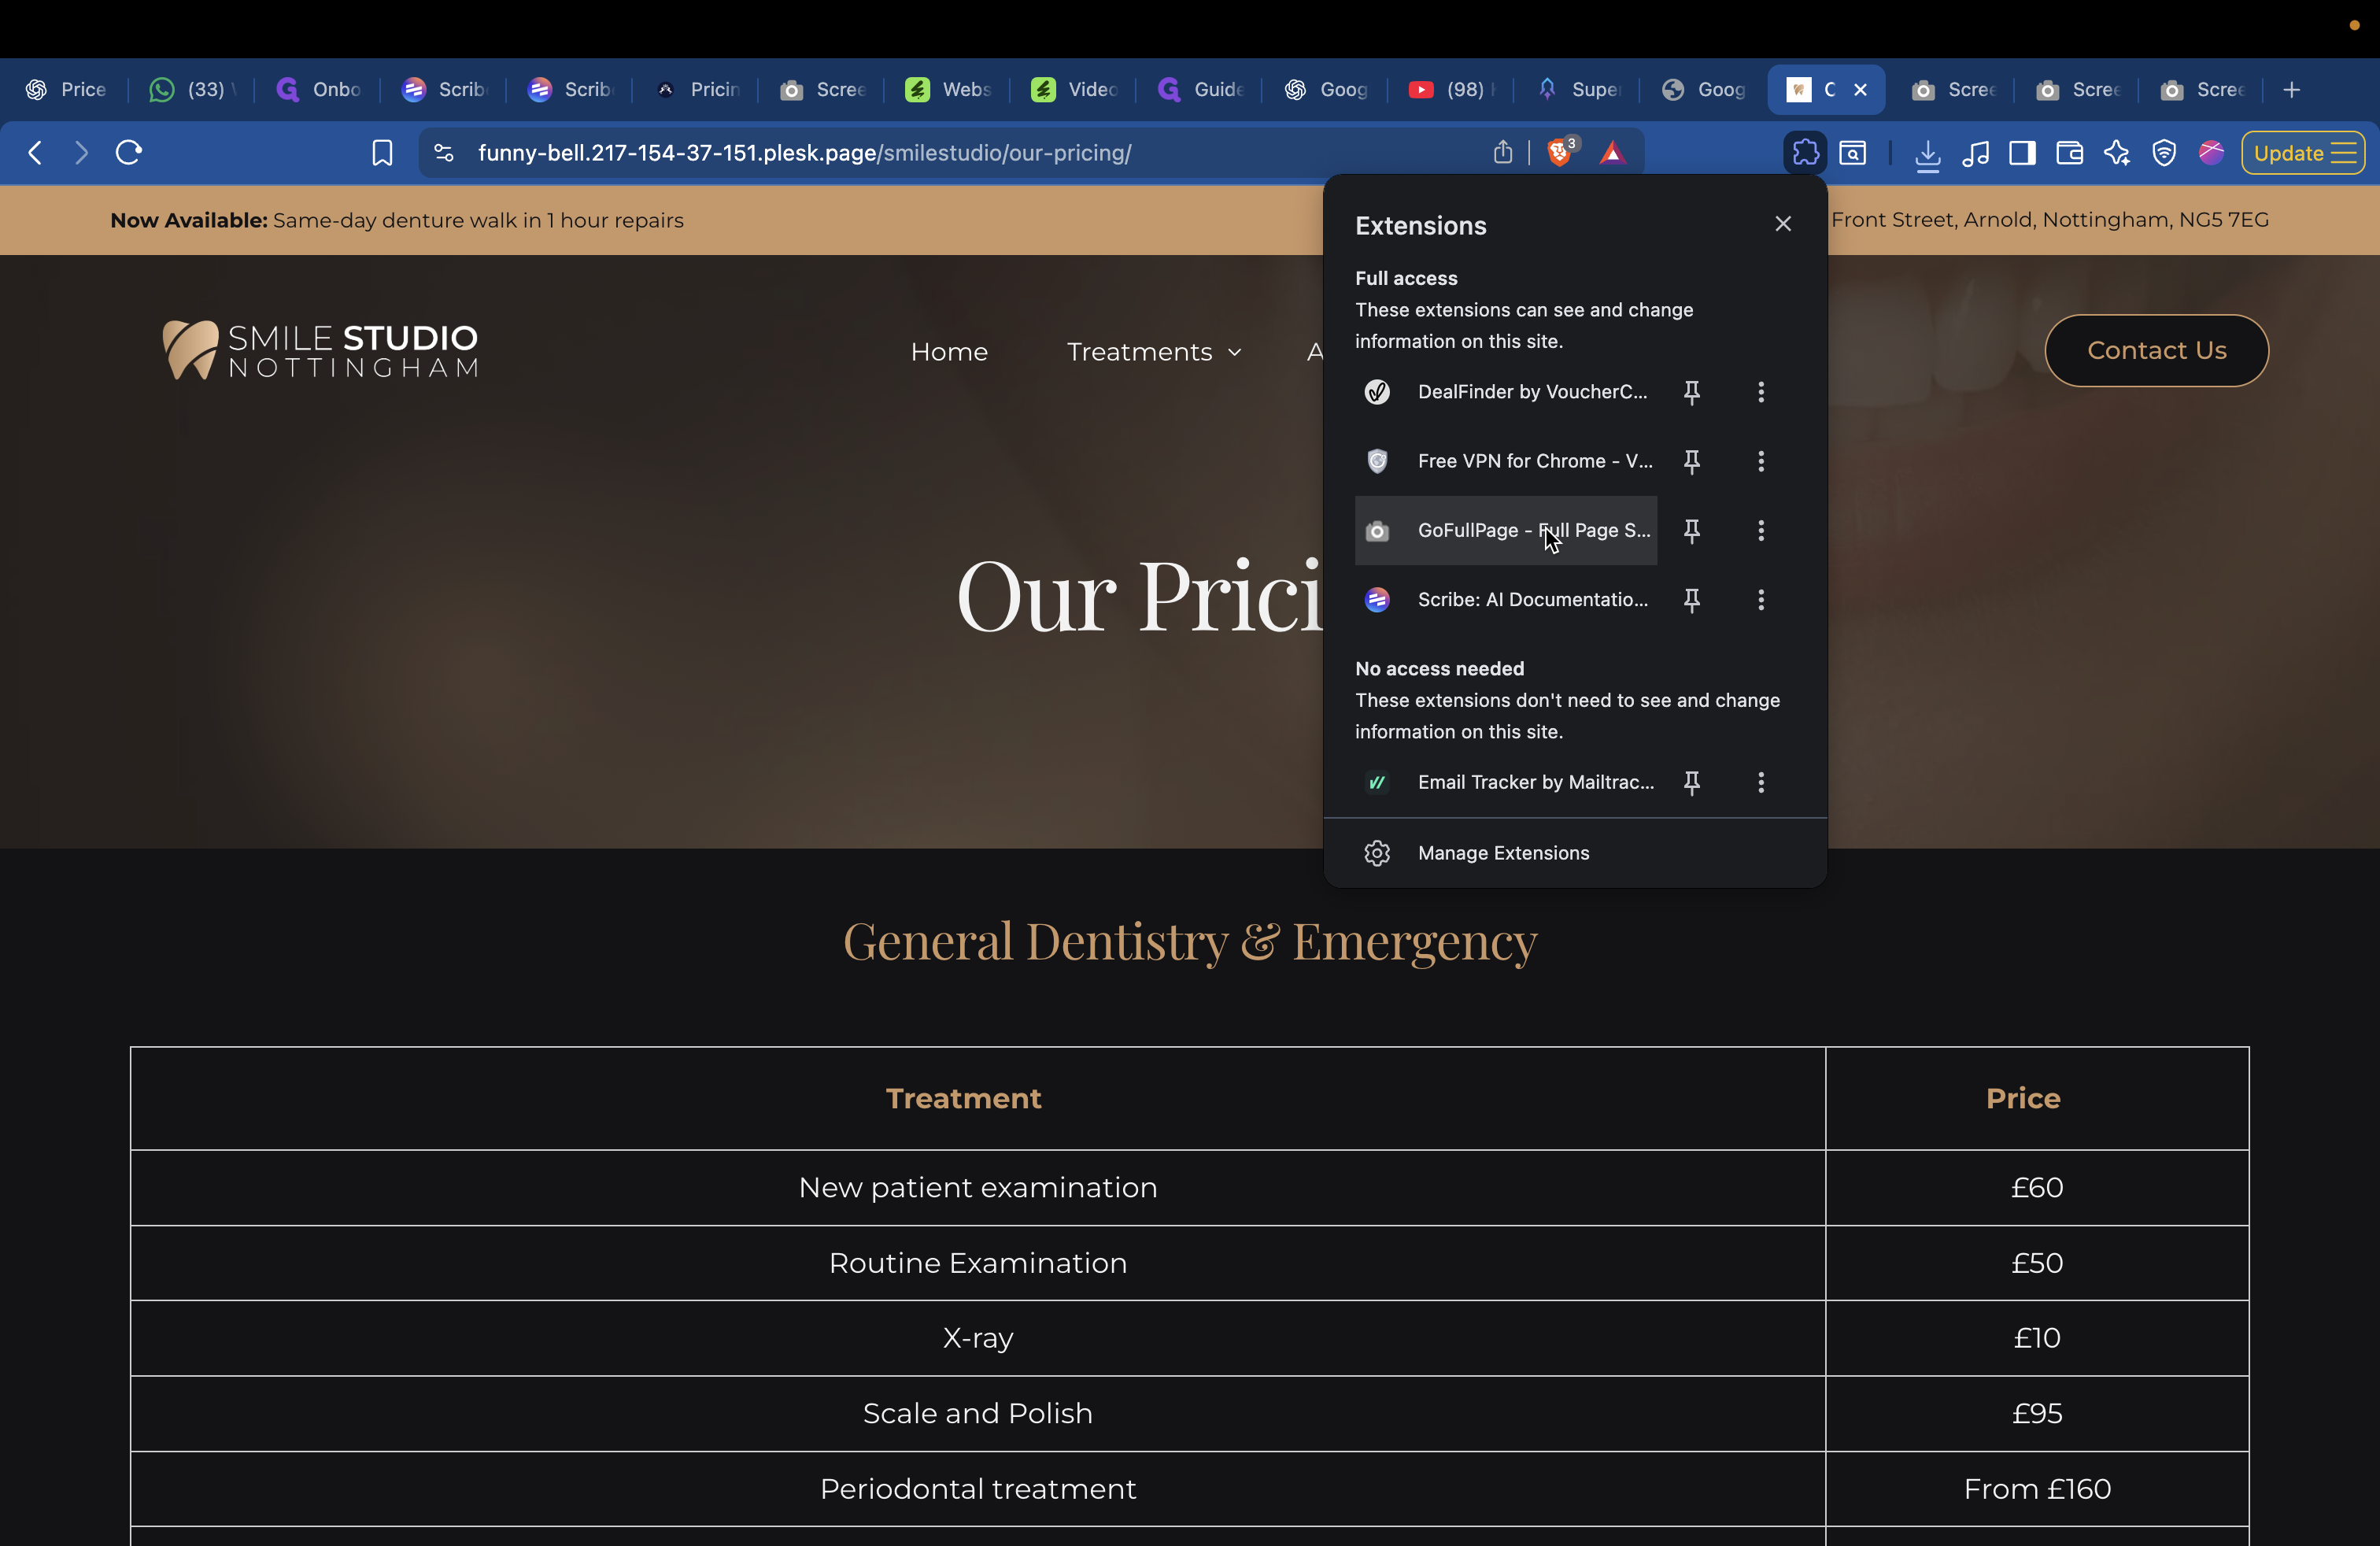
First, open the website. Before taking a full-page screenshot, scroll to the bottom to ensure all animations are loaded. If you capture the screenshot before everything loads, the result may look incorrect. Scroll to the bottom, open your extension, and click "Go Full Page." After clicking, move your mouse out of the way.
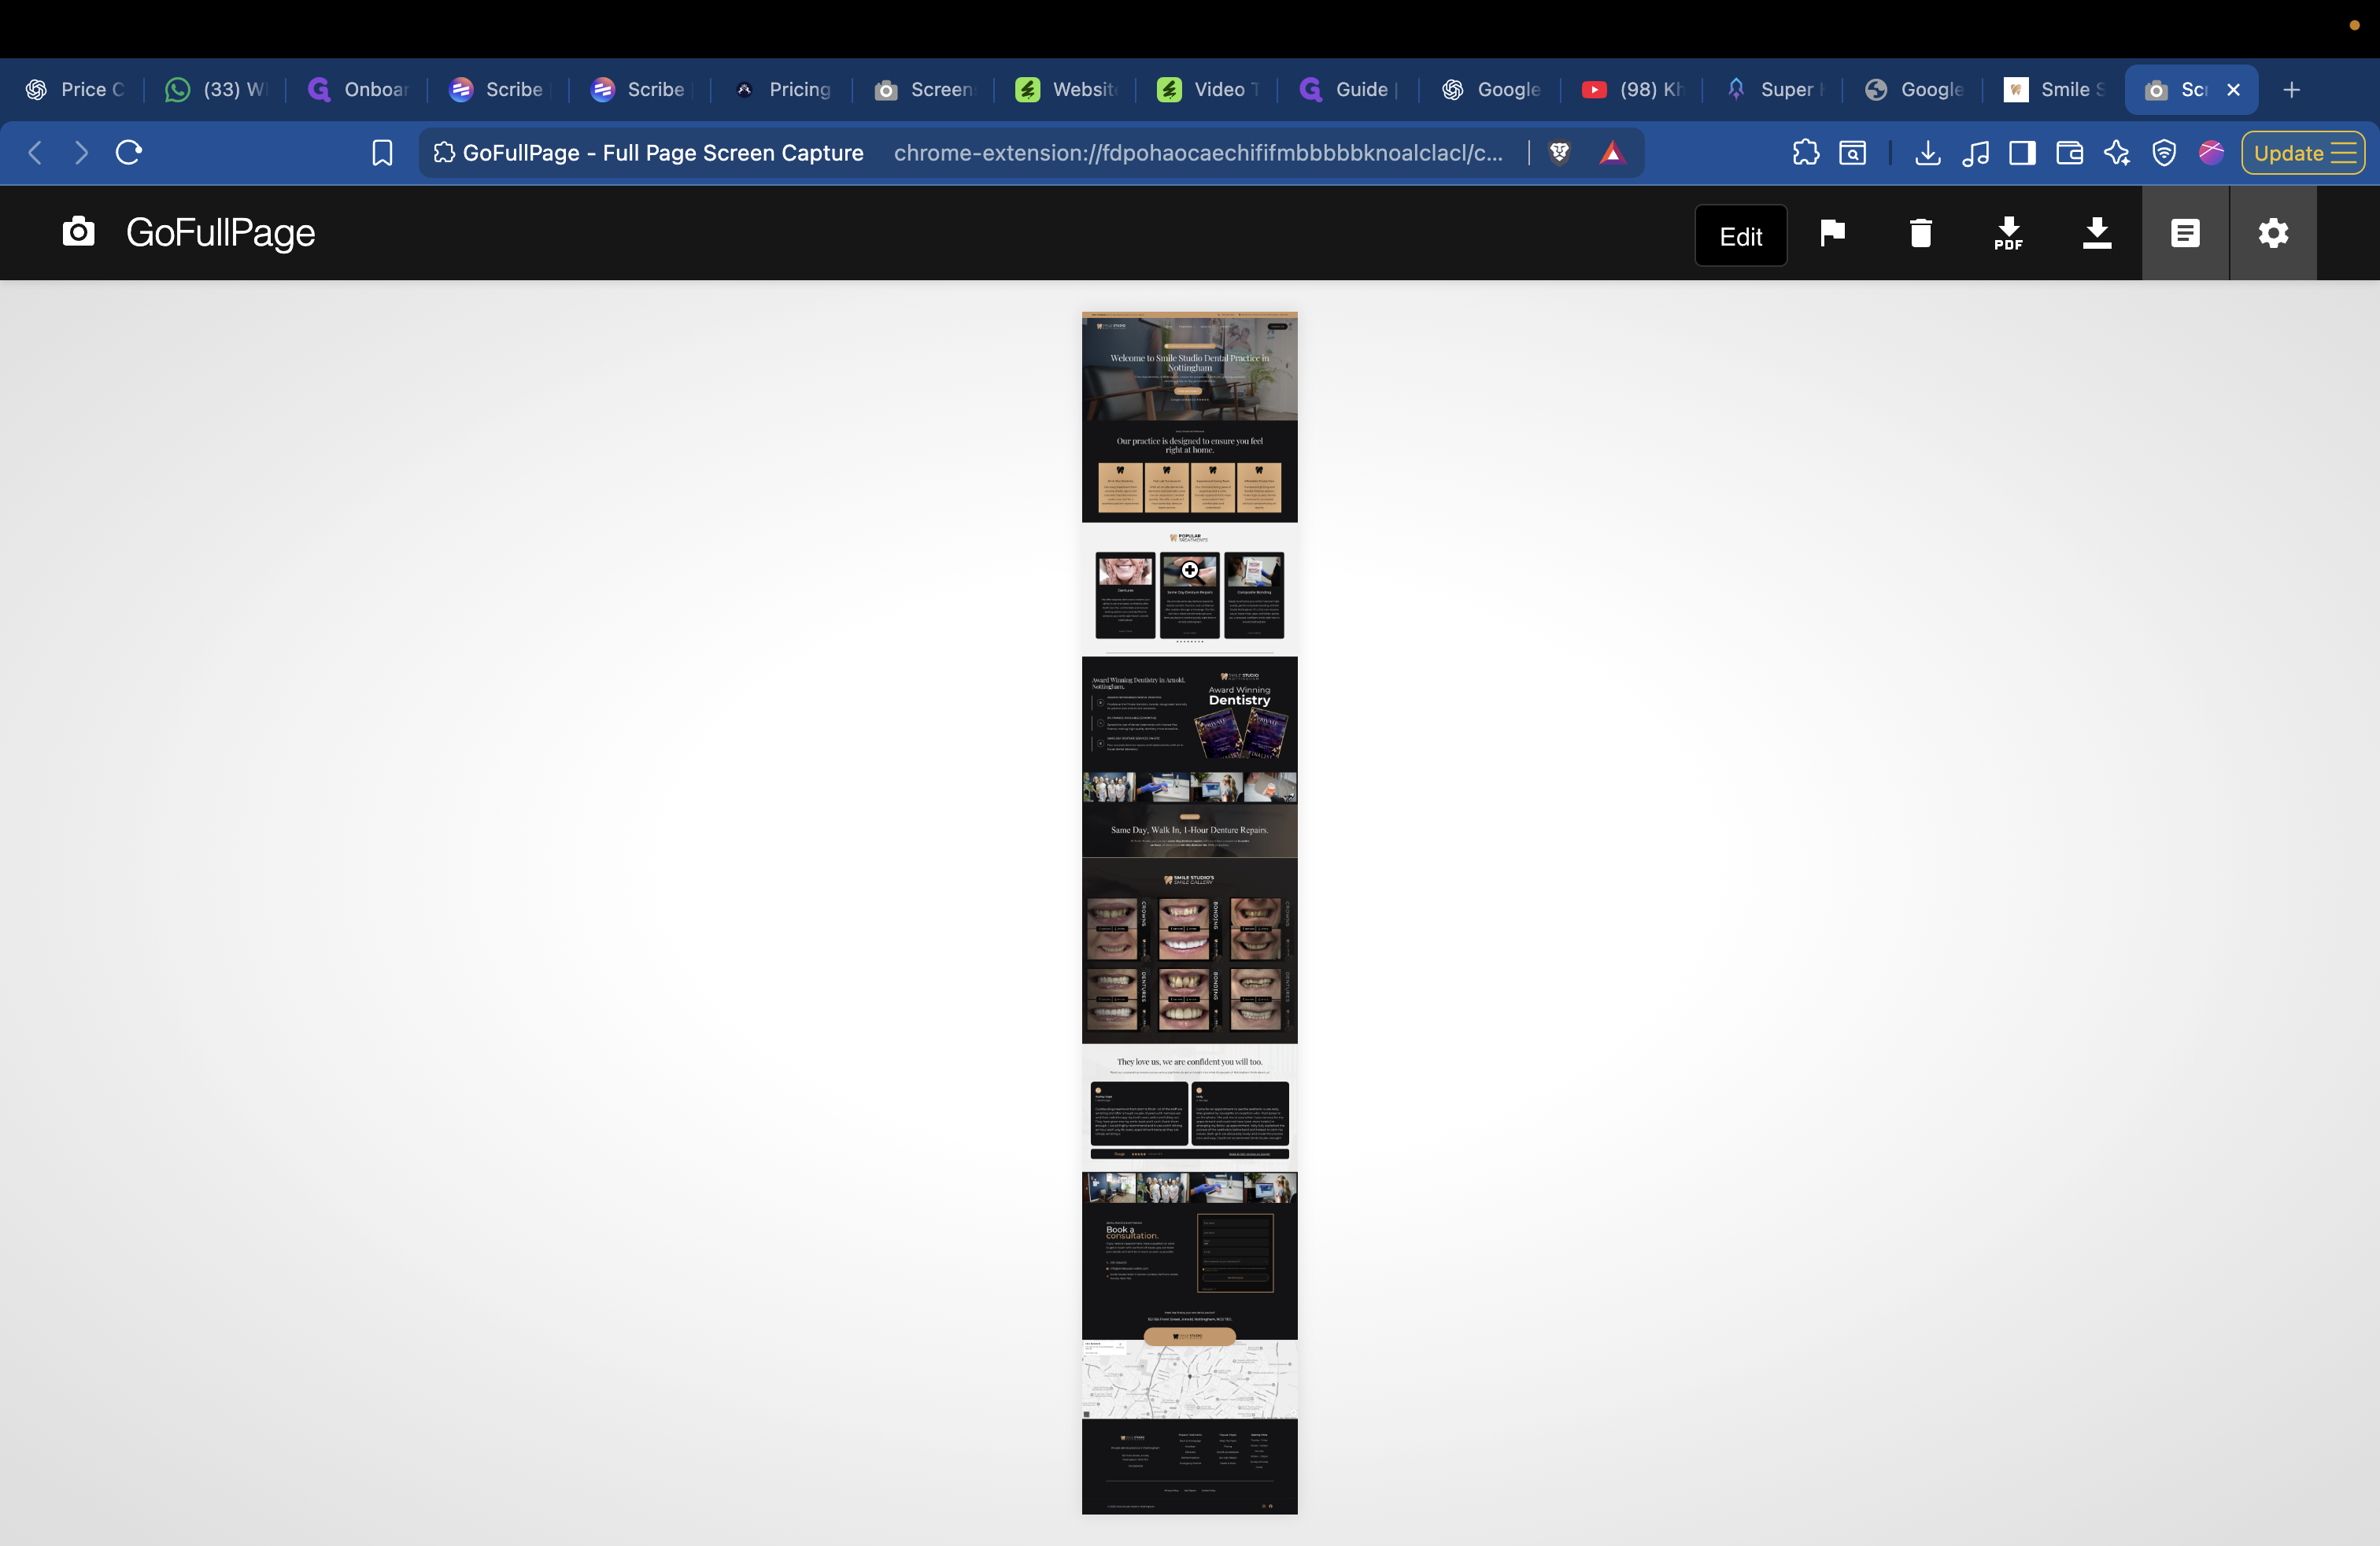
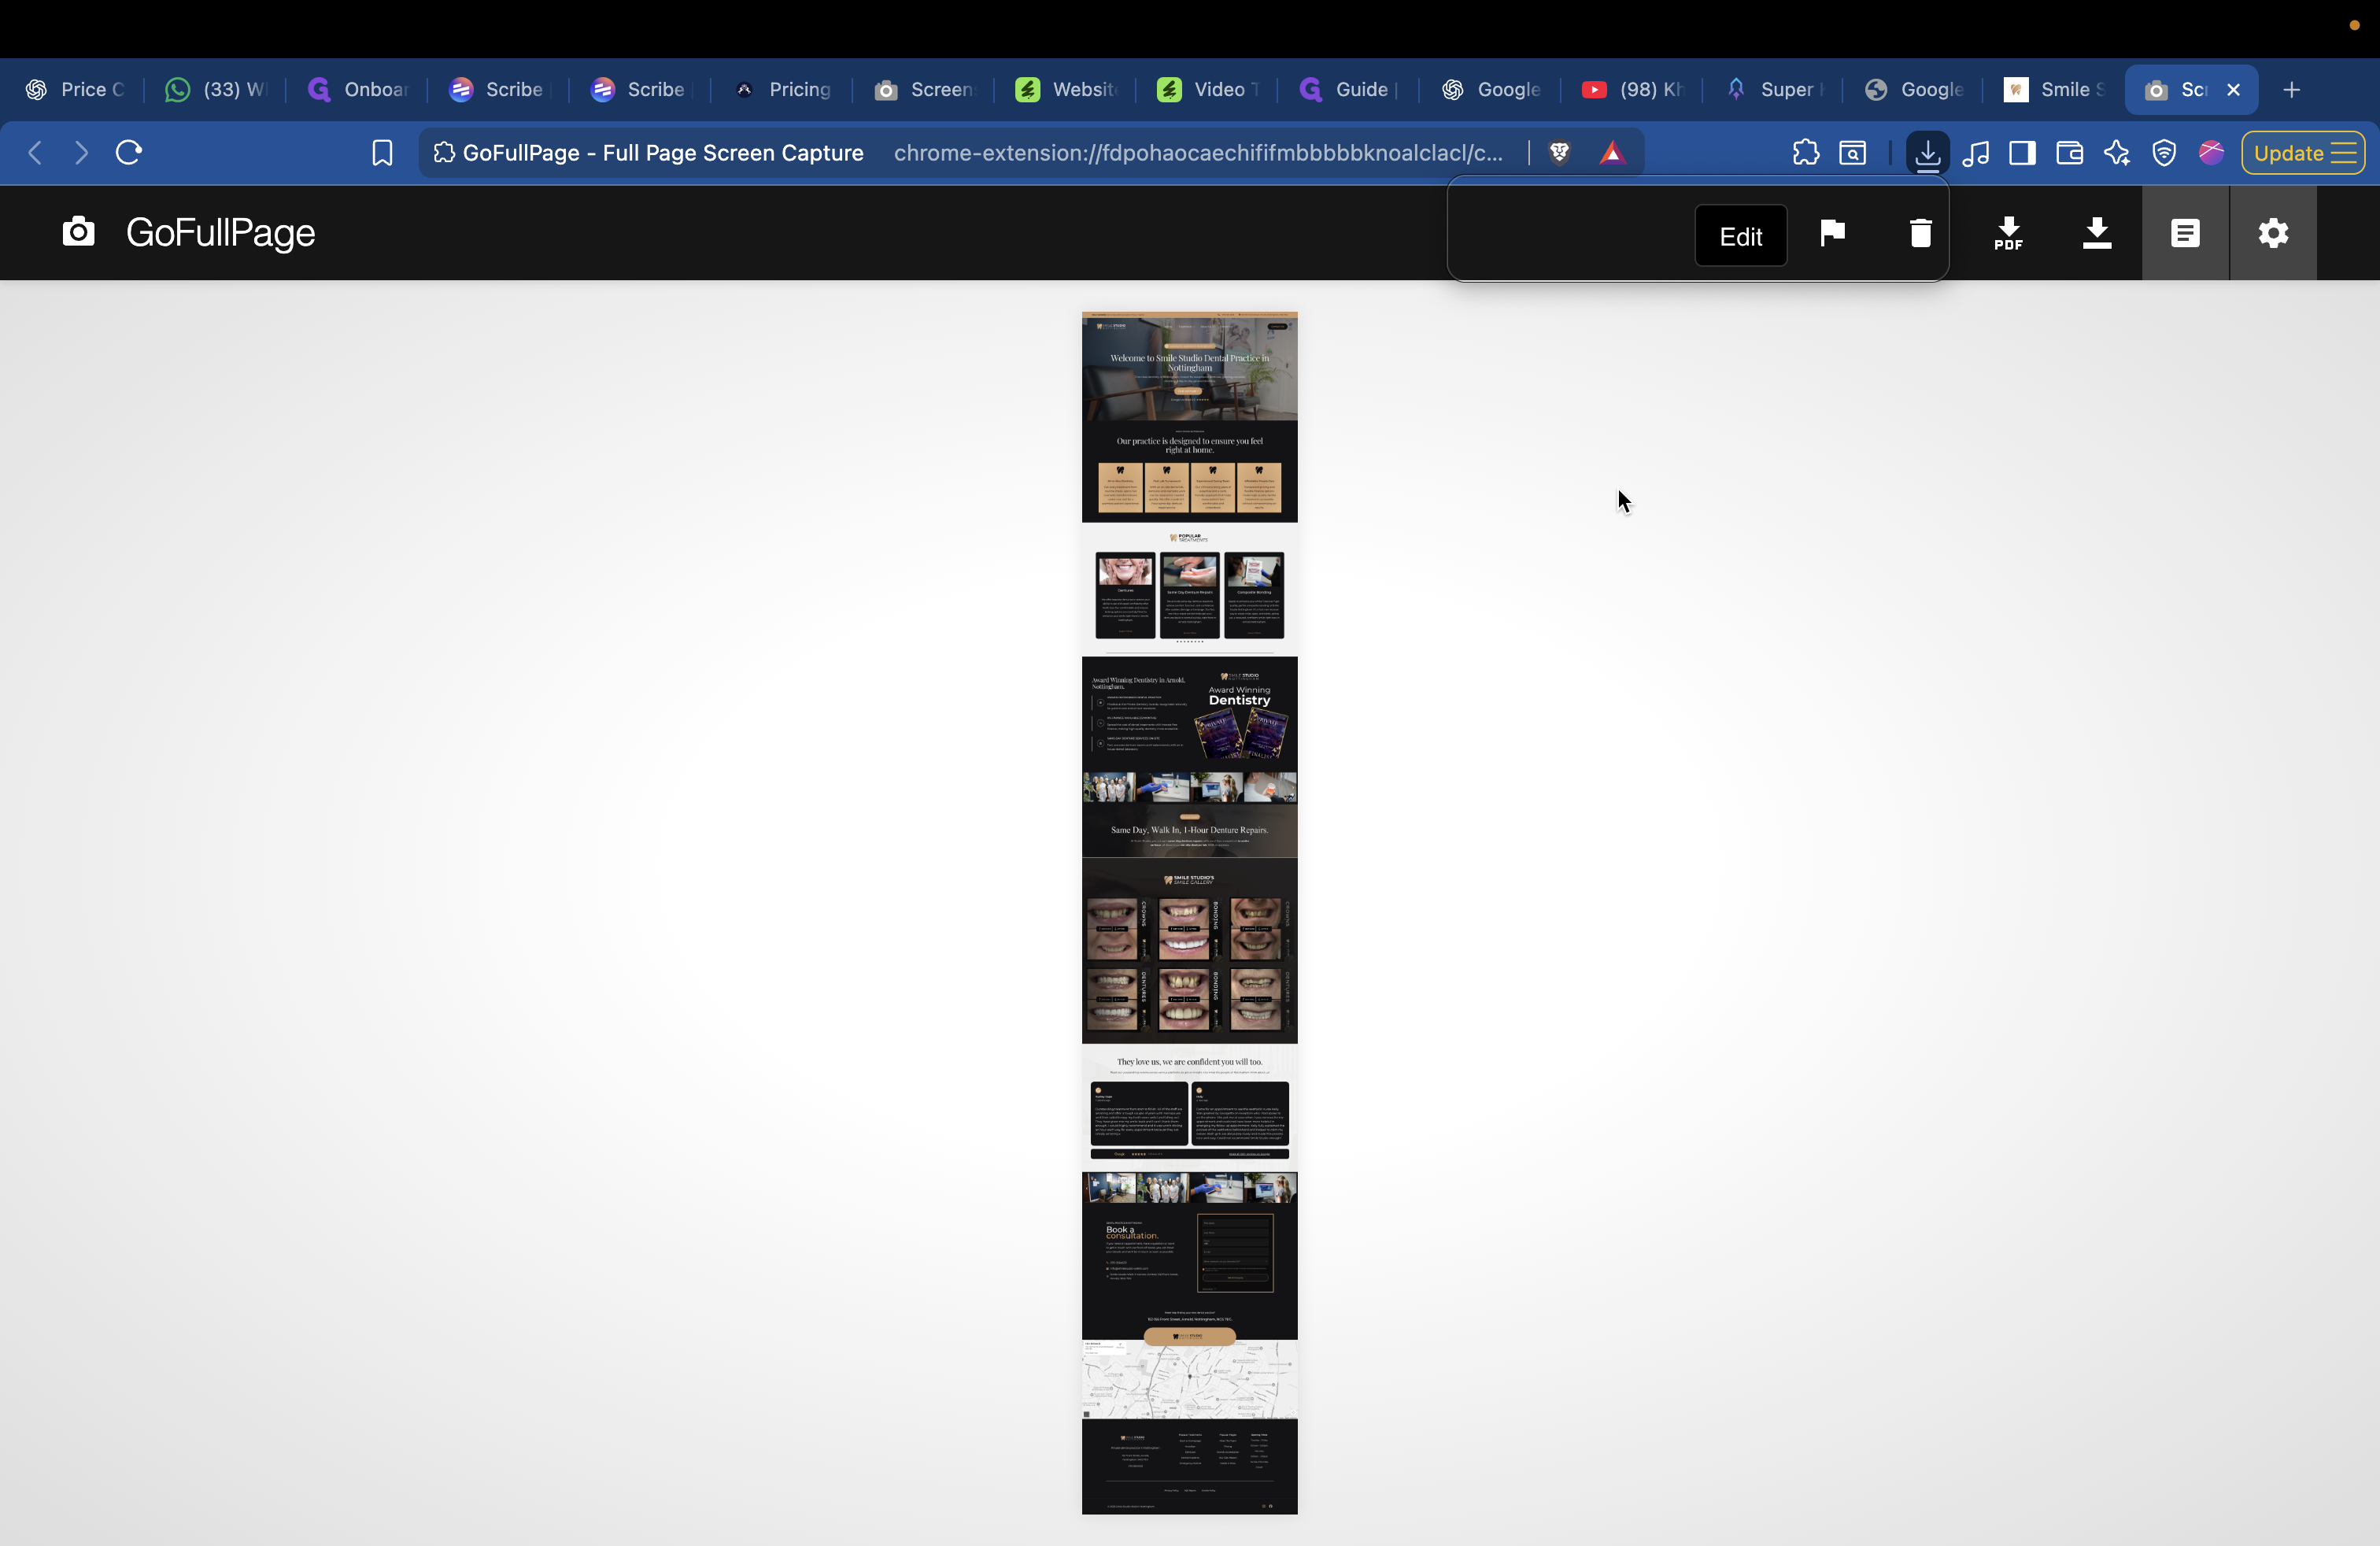
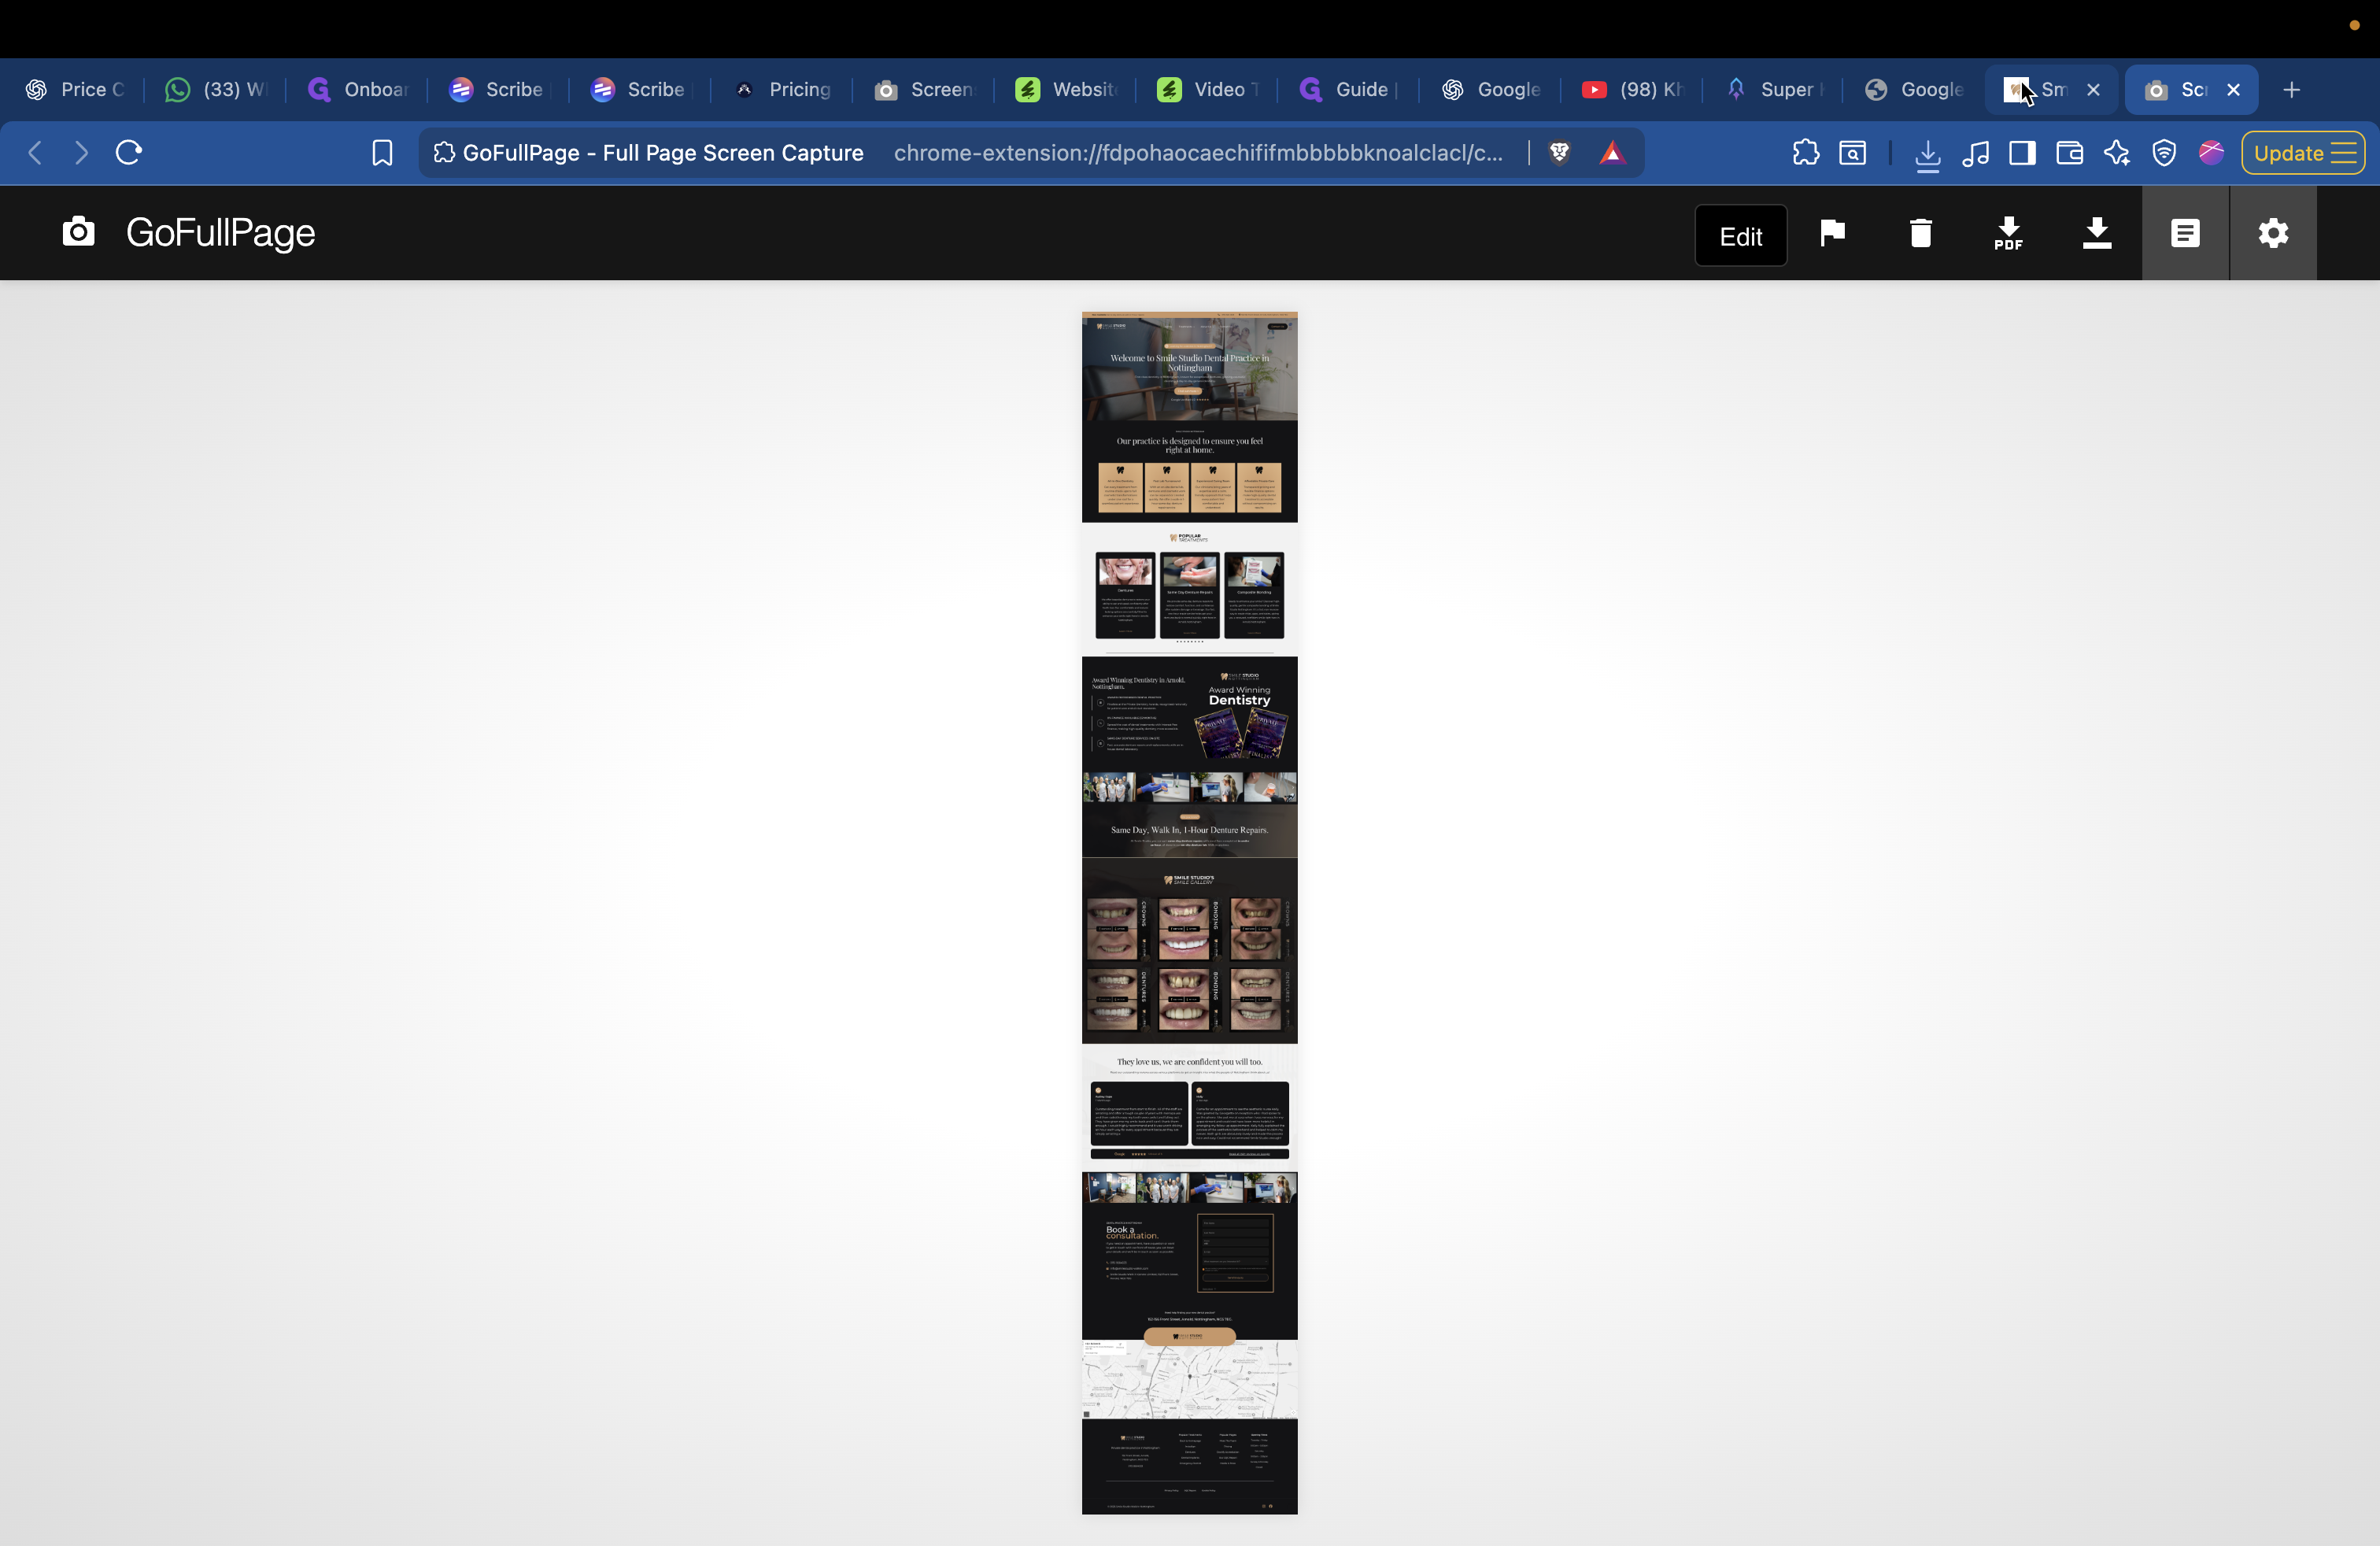
Go here, then move your mouse out of the way. This will capture the screenshot.
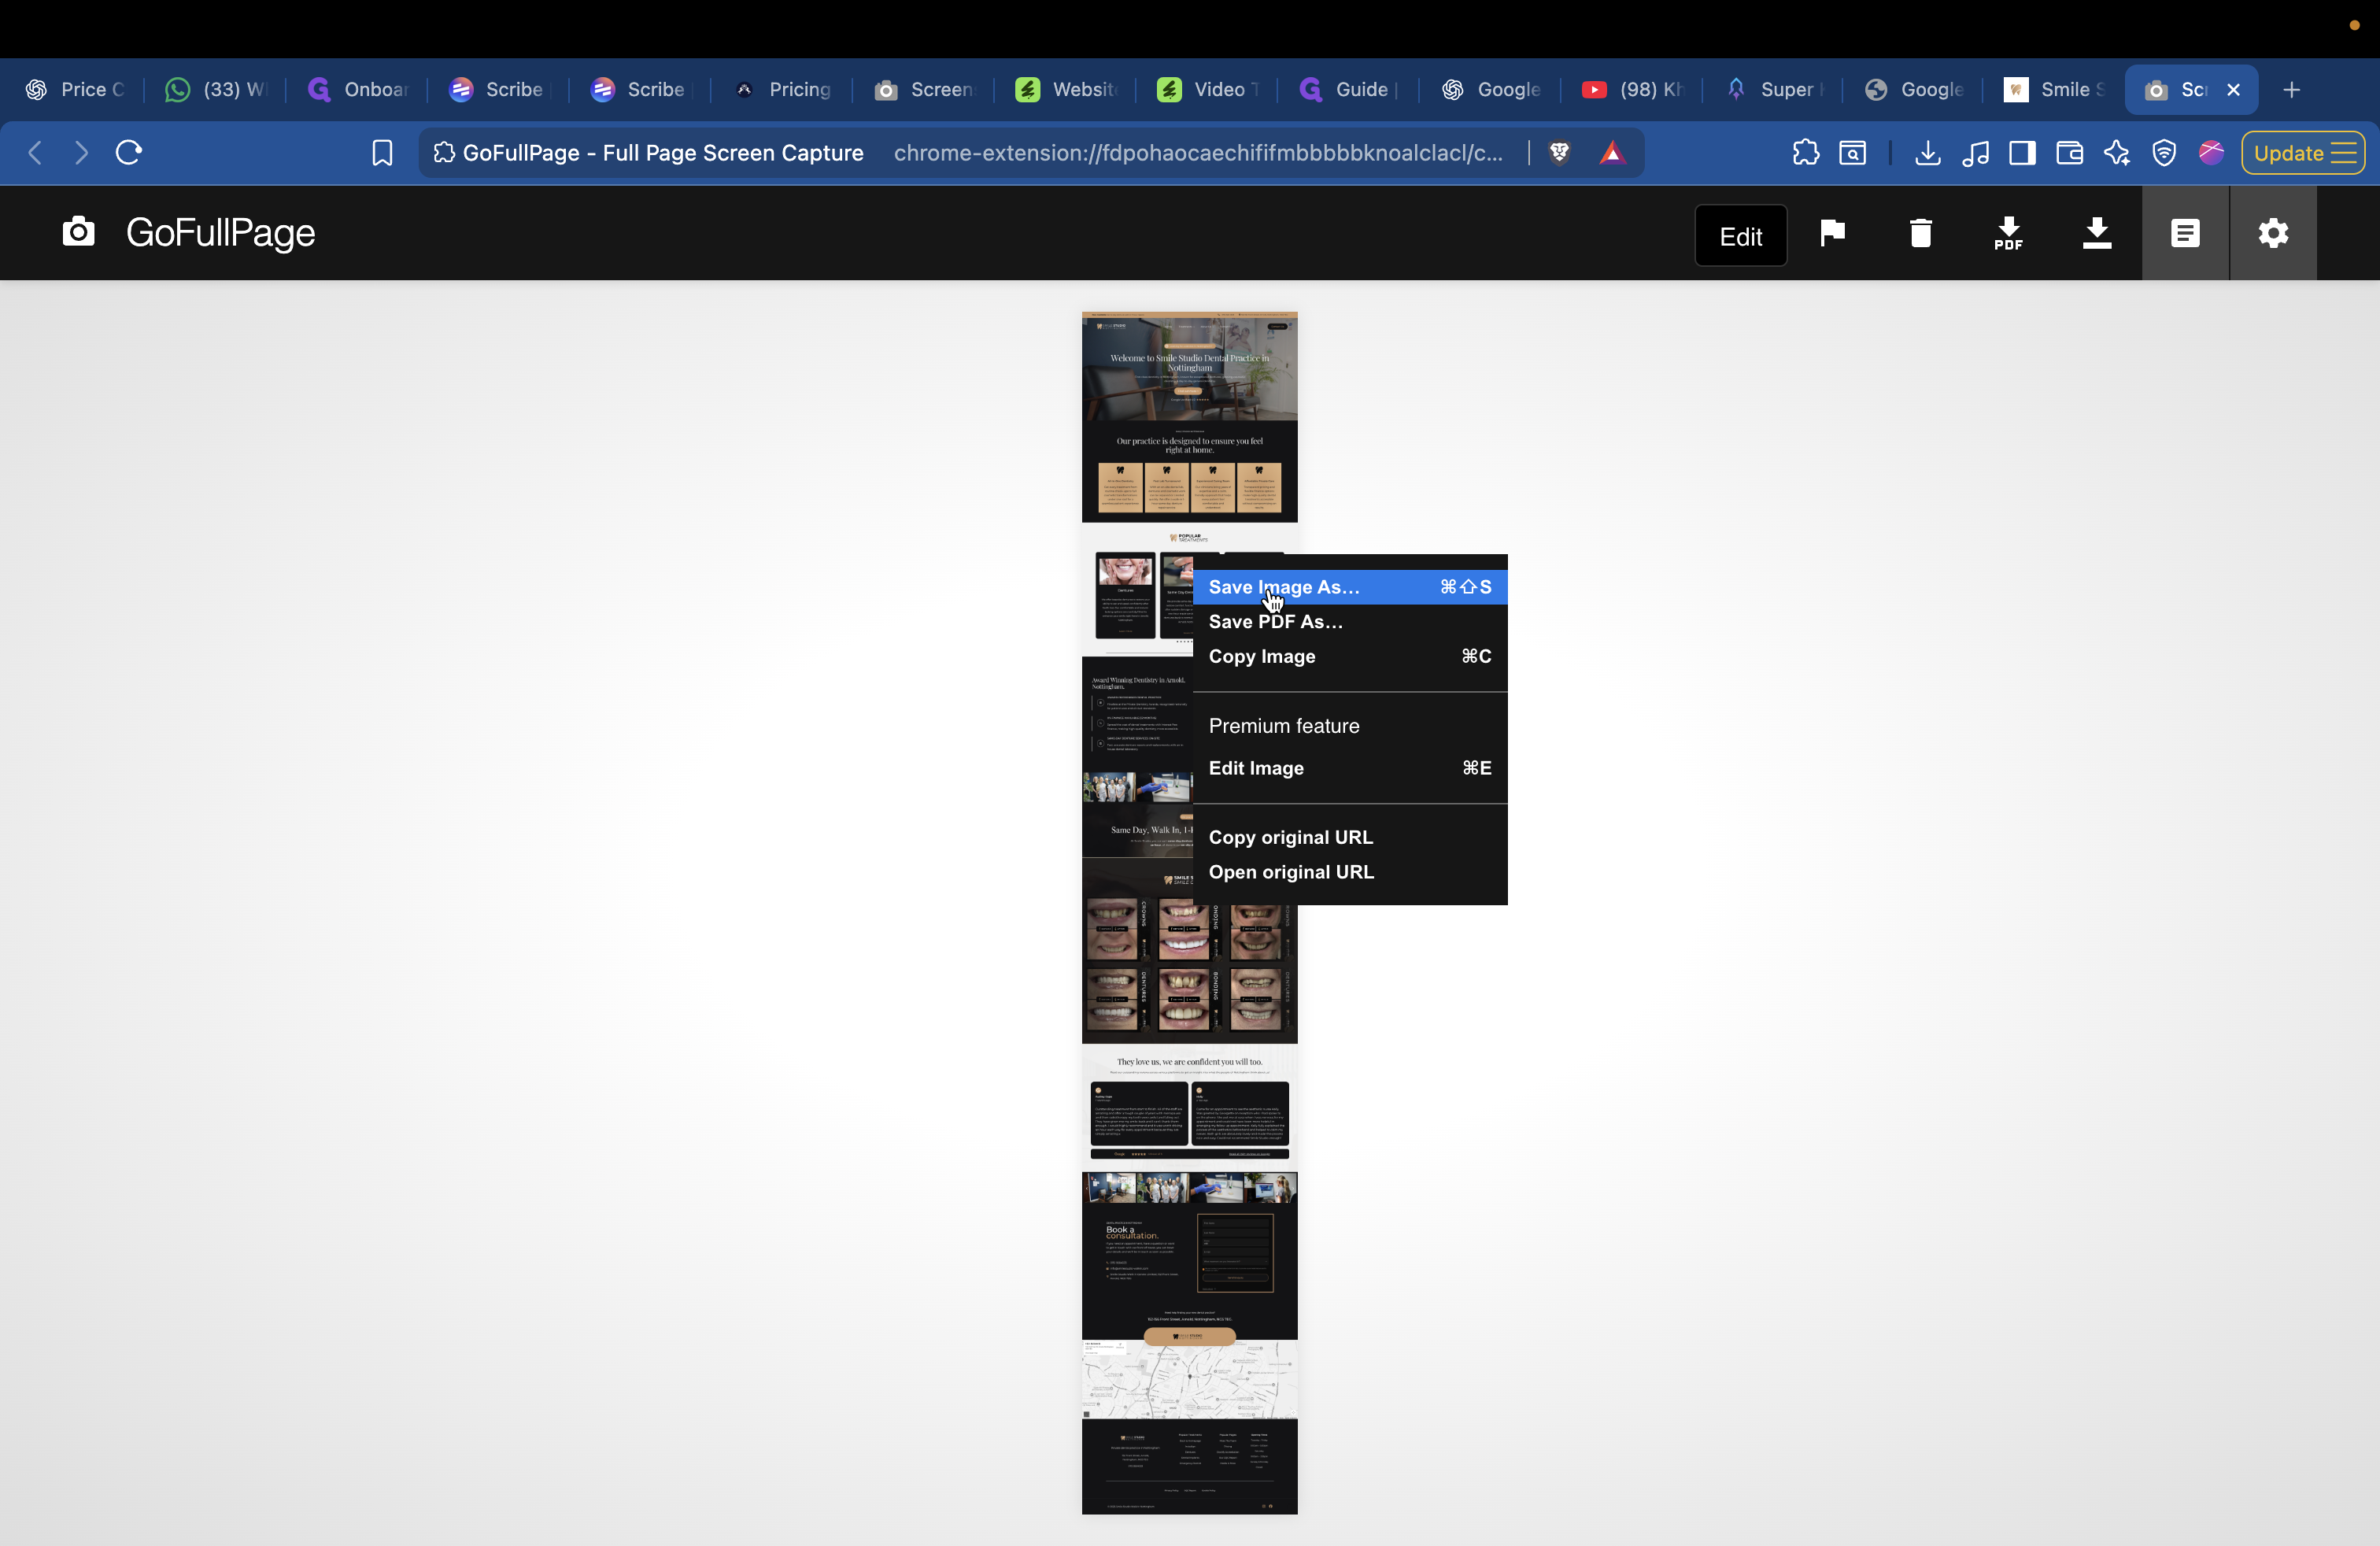
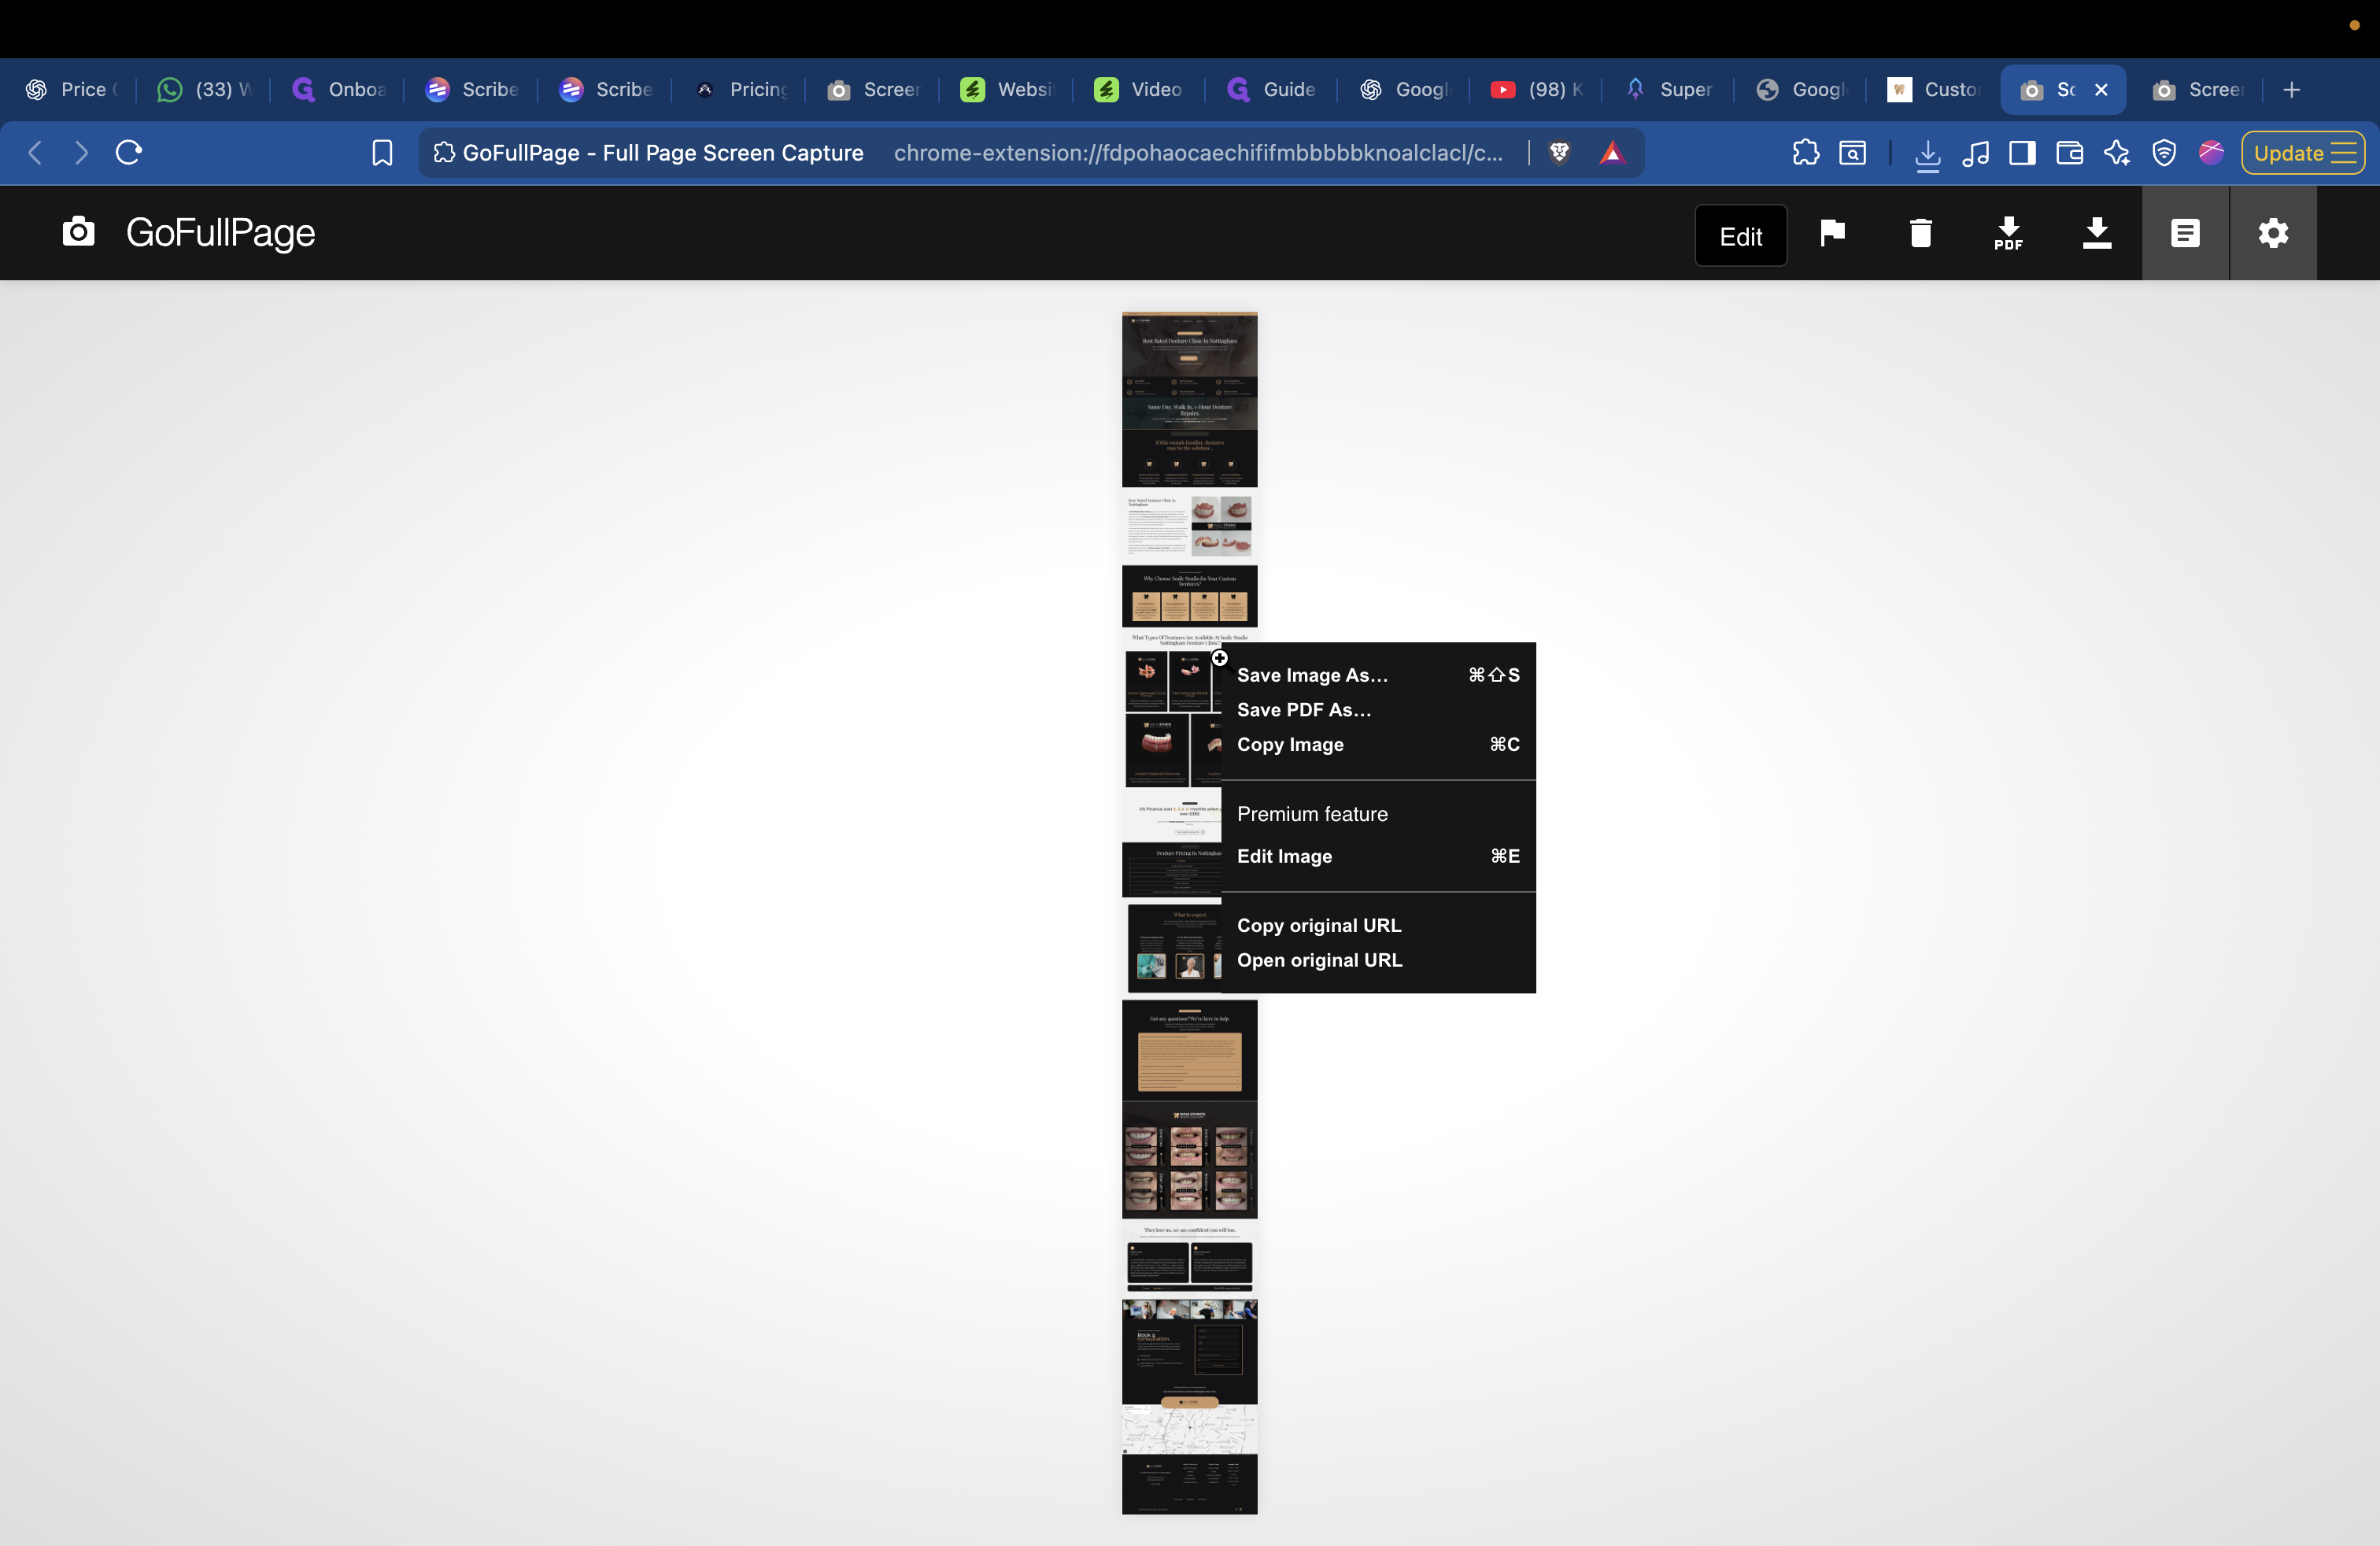
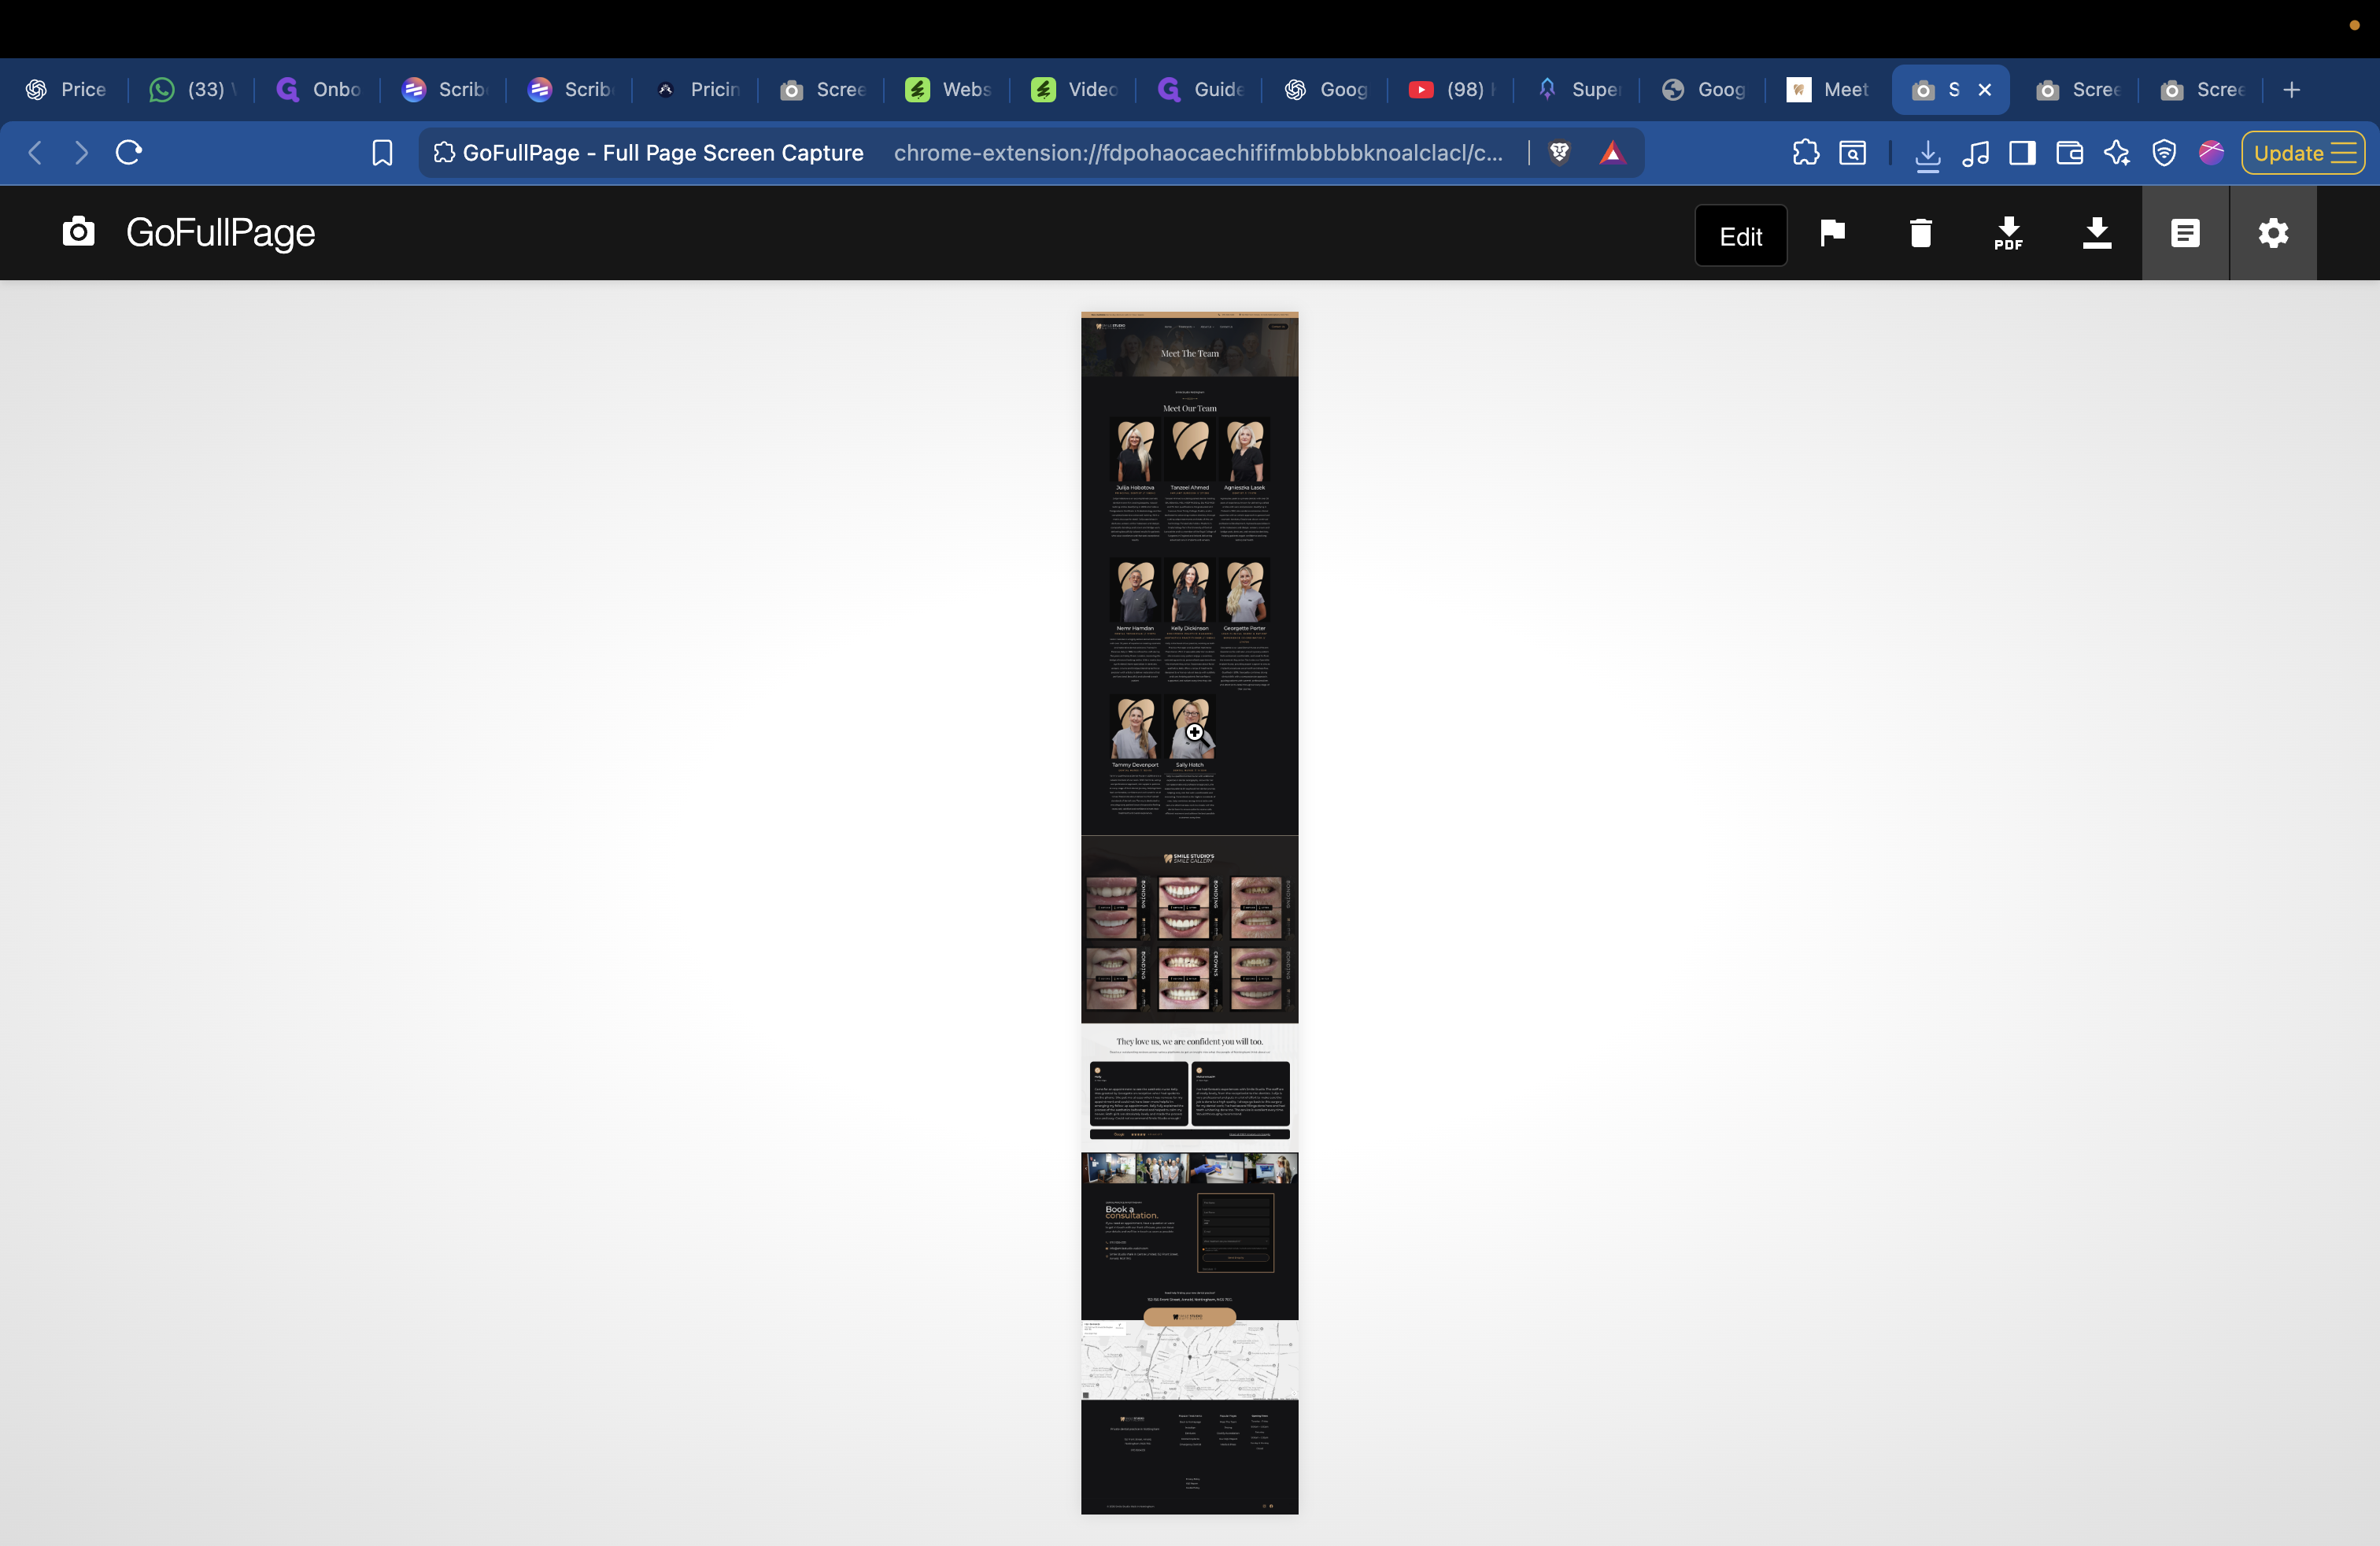
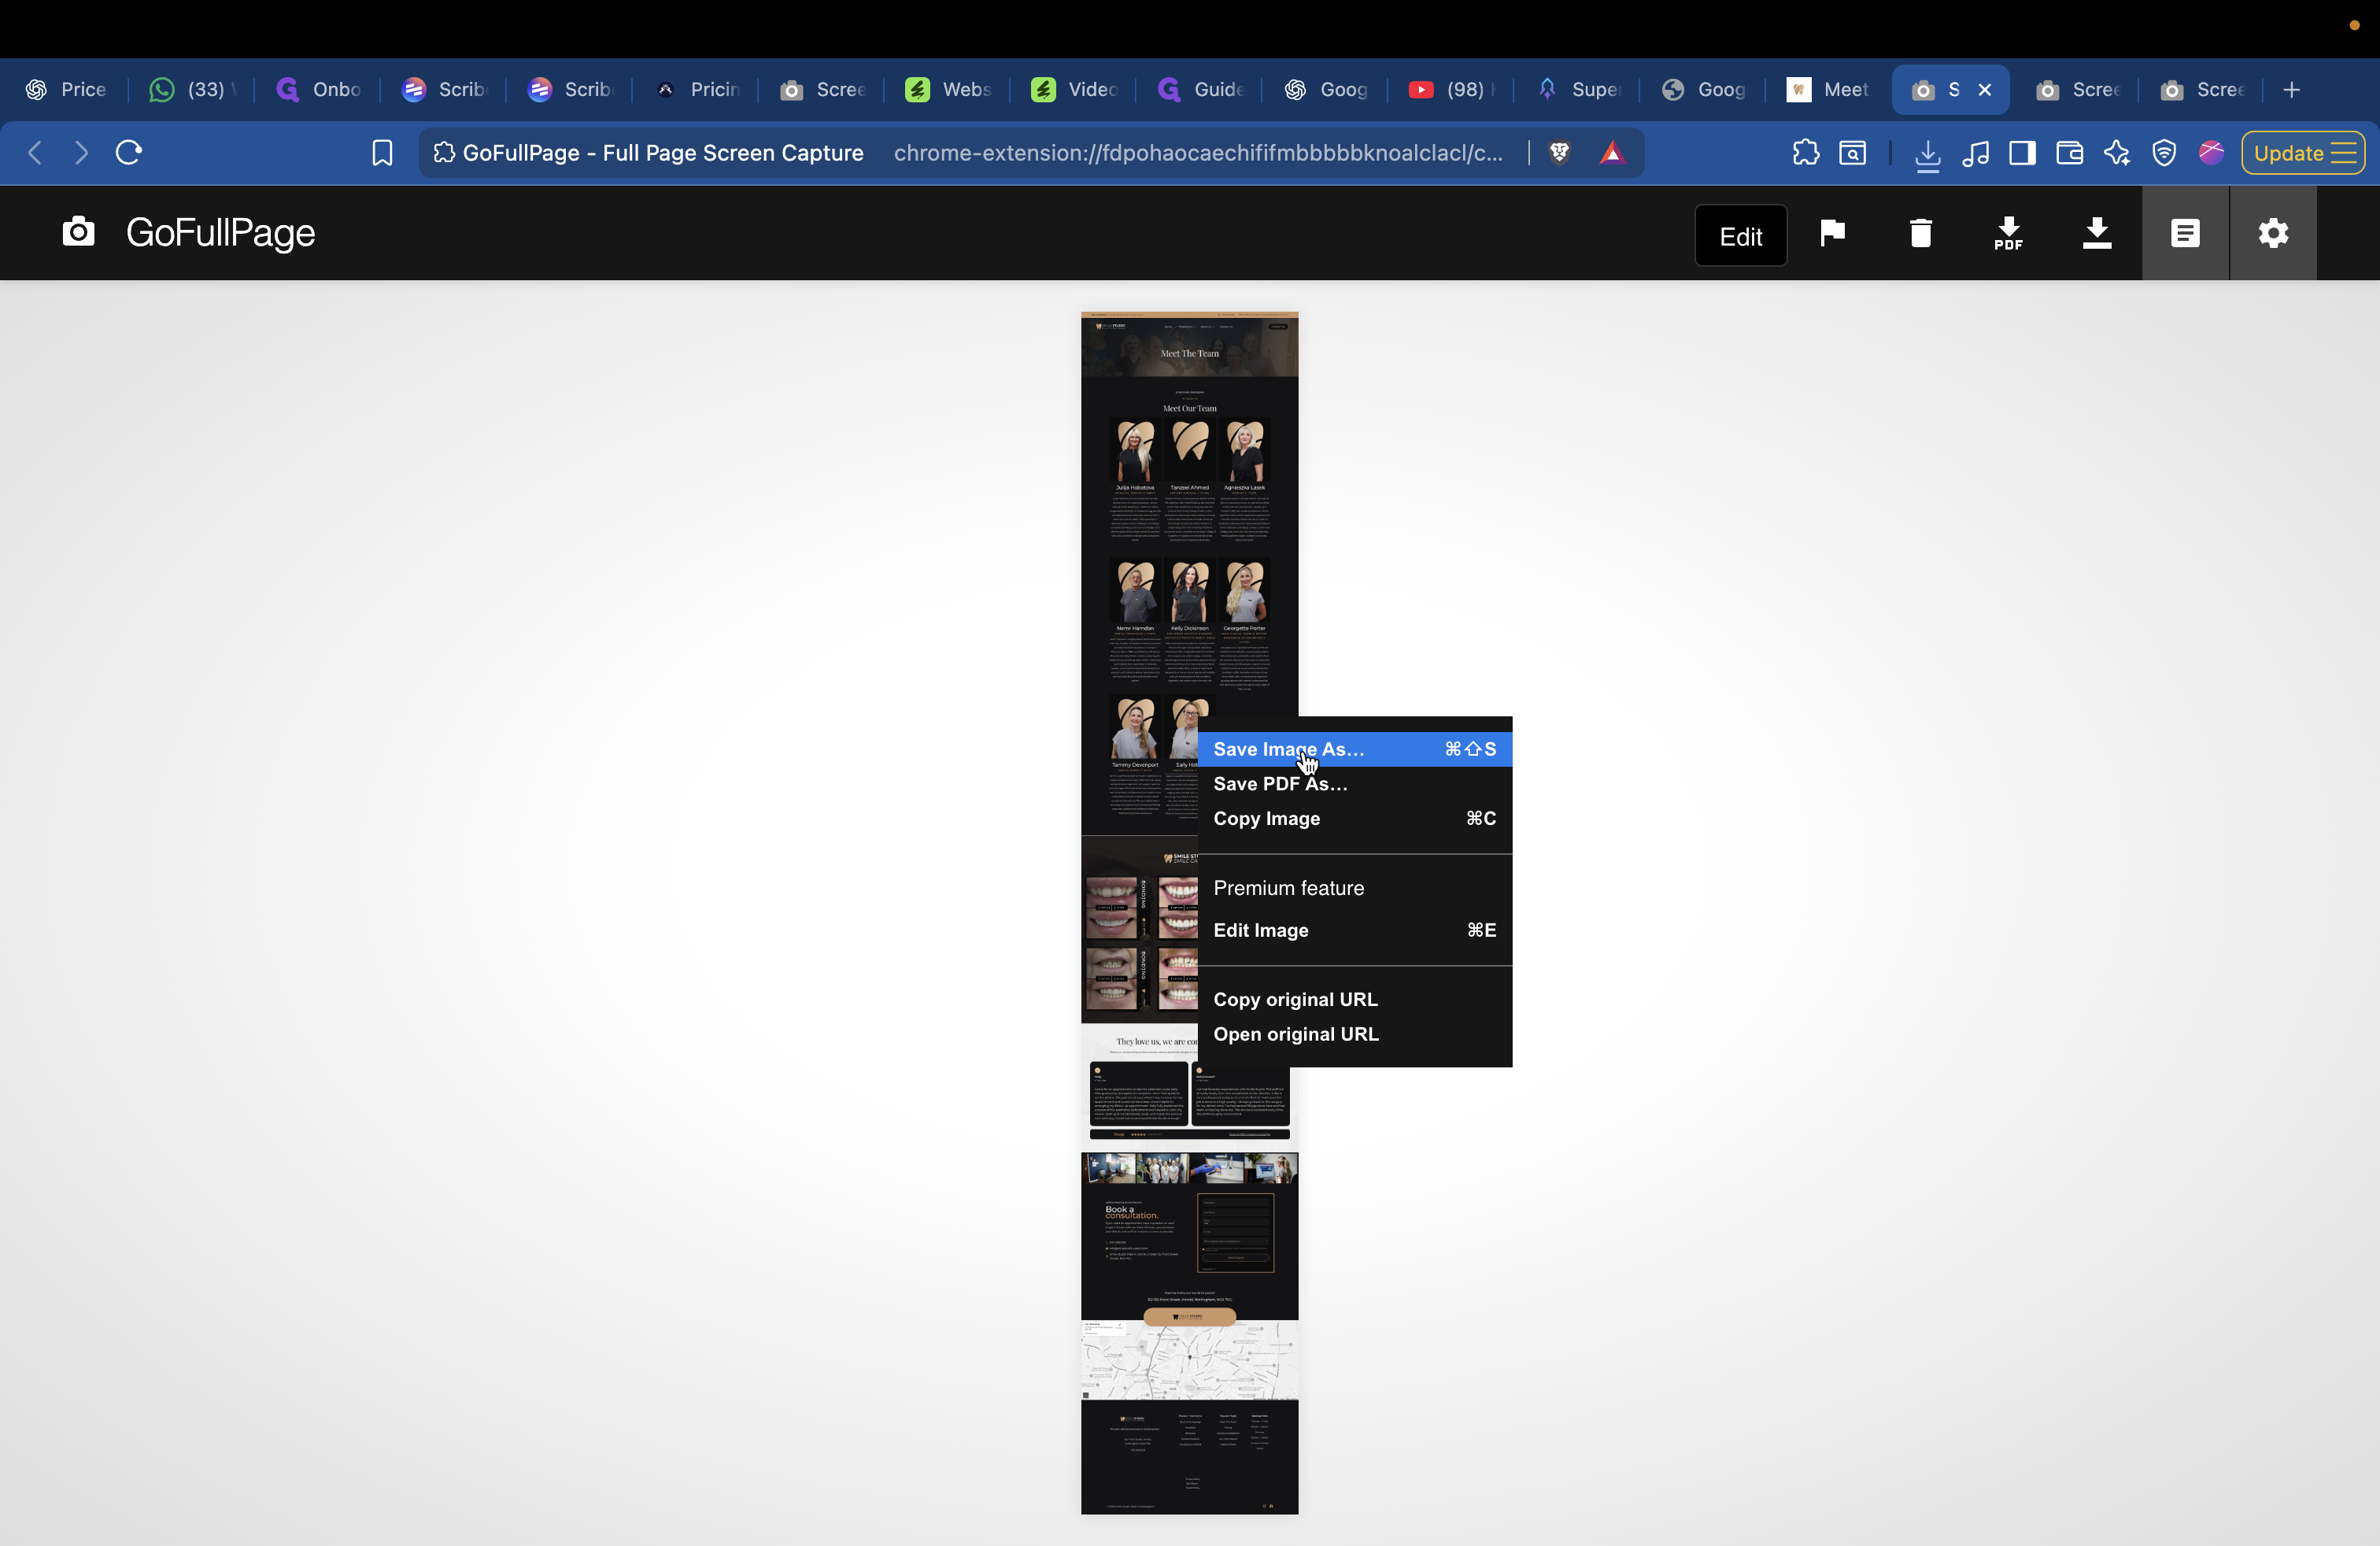
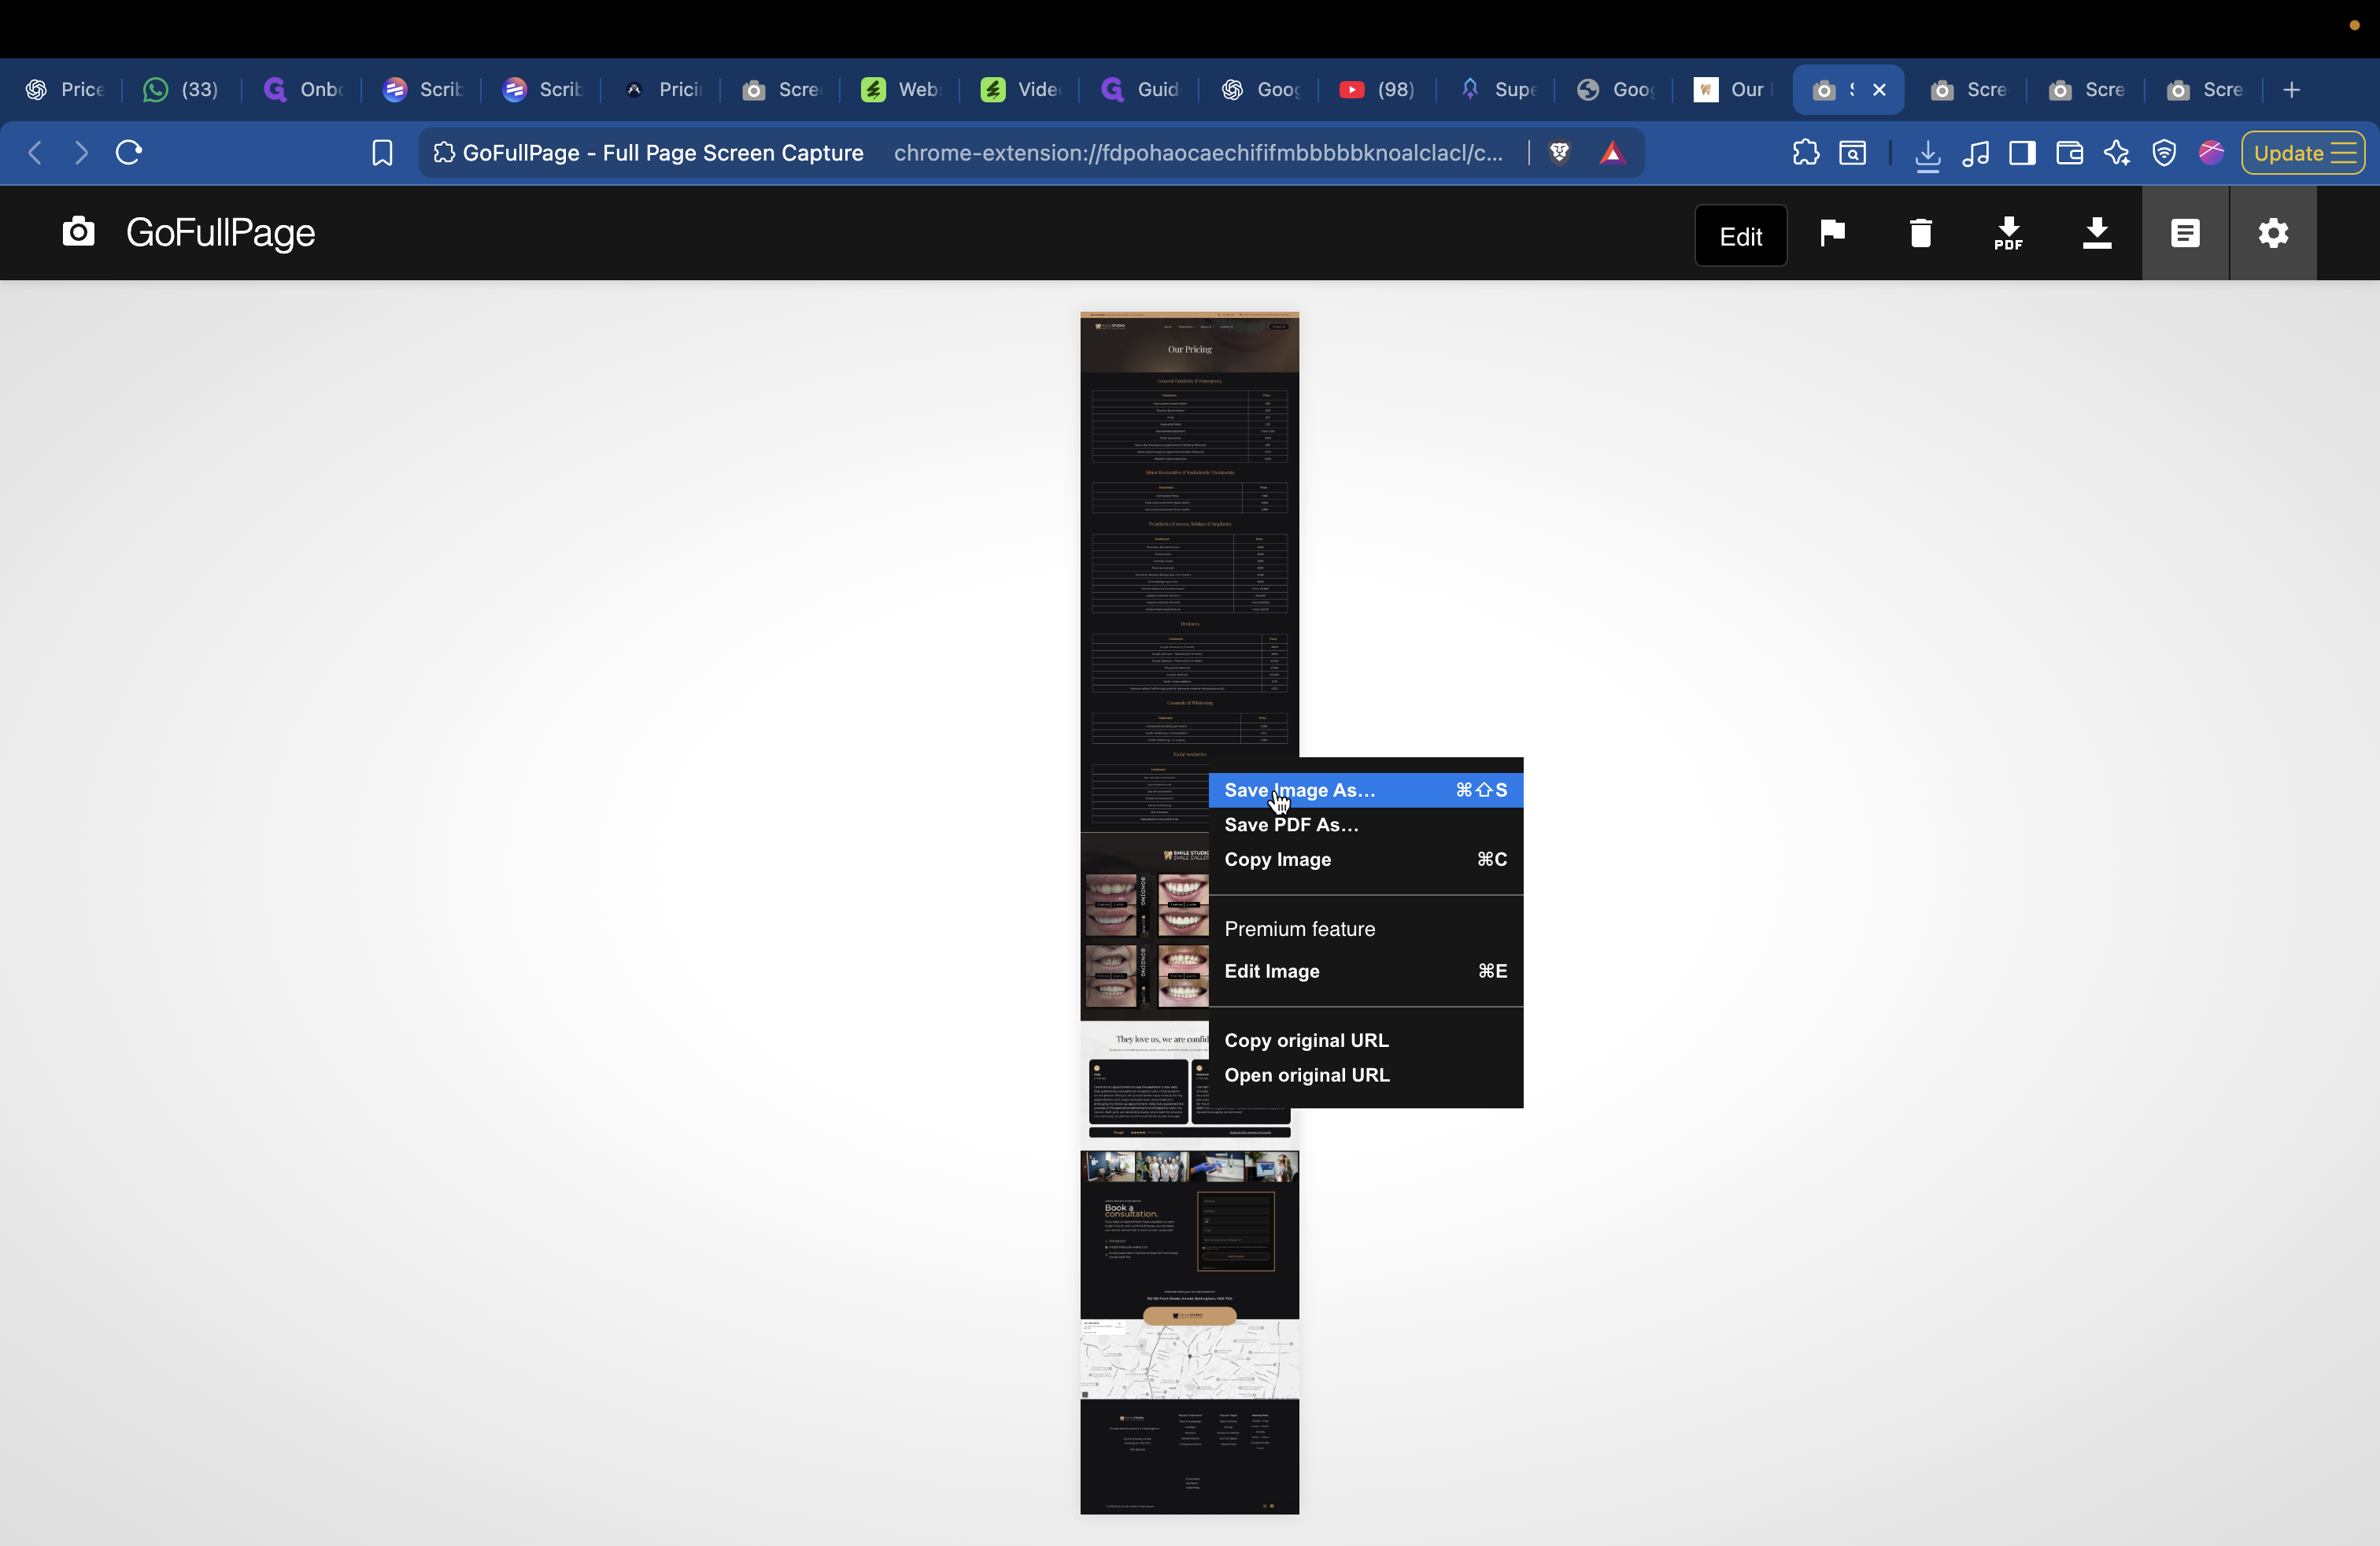
As you can see. You probably want to go to the homepage, right-click the image, select "Save image," and name it Homepage 1.
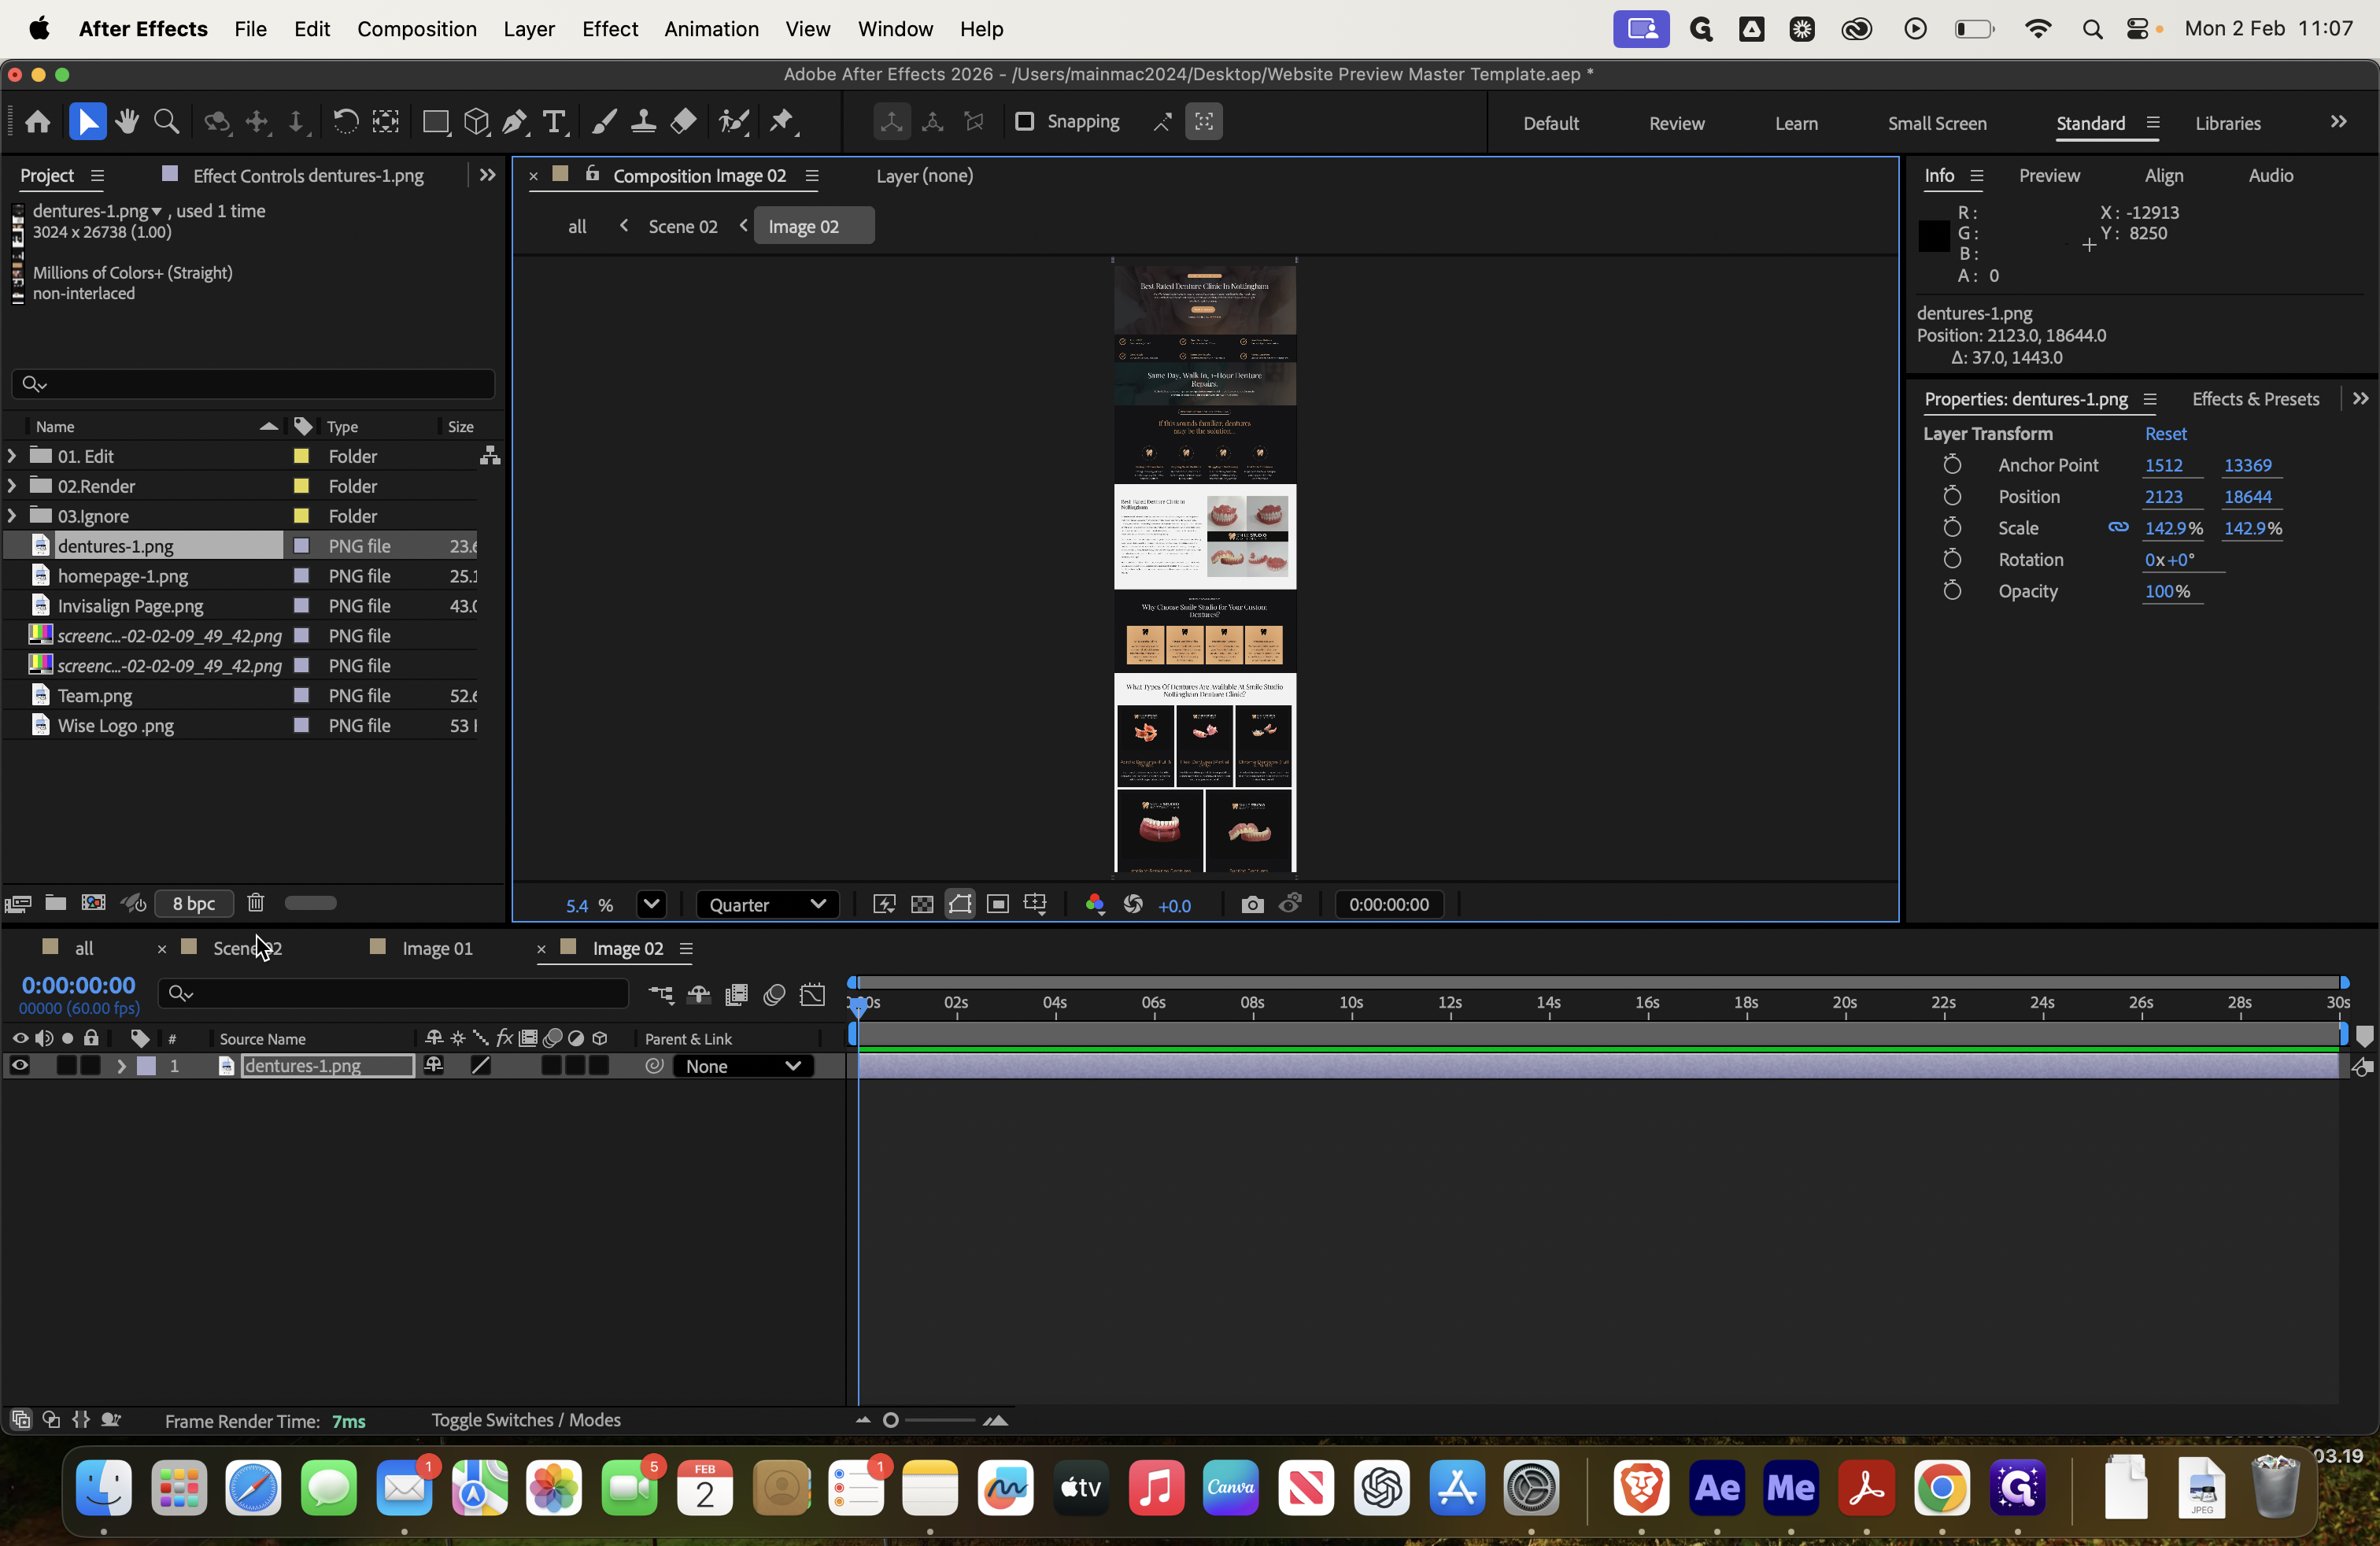
Next, go back to the website and select a treatment page. For example, choose Dentures.
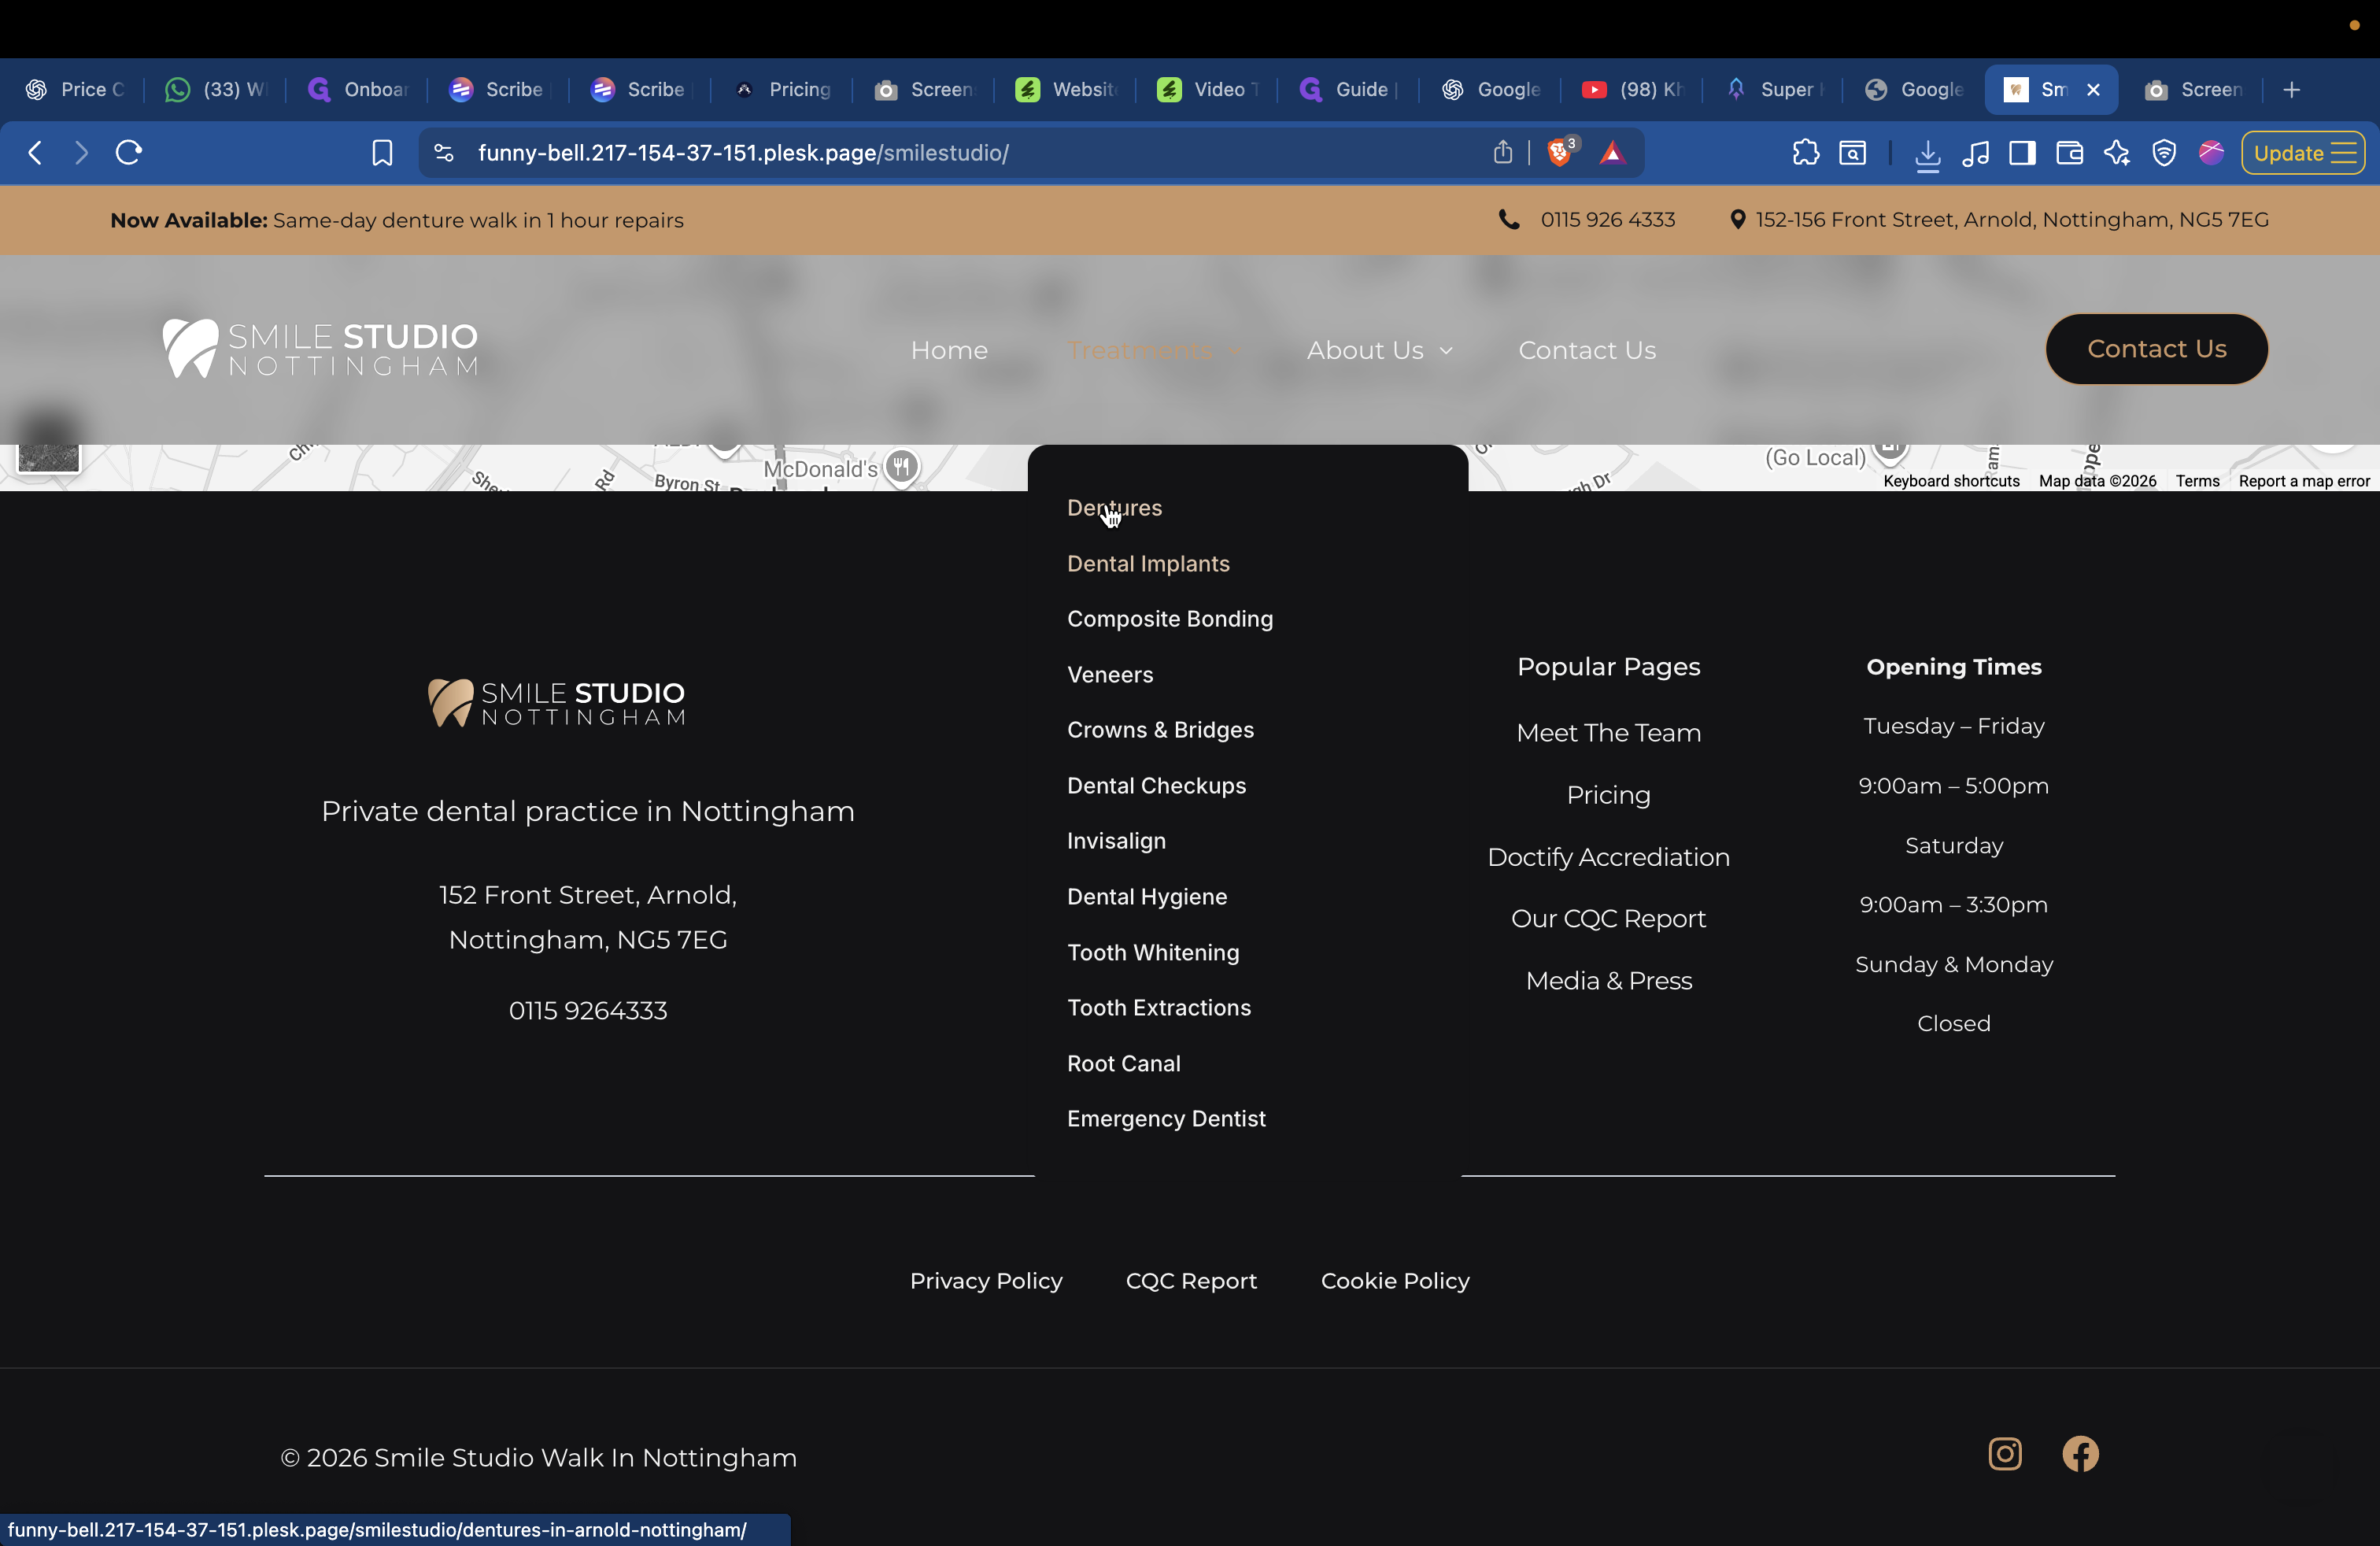
Do the same: scroll to the bottom, ensure everything is loaded, then scroll back up. Then, take a full-page screenshot. Move out of the way, and it will capture the screenshot.
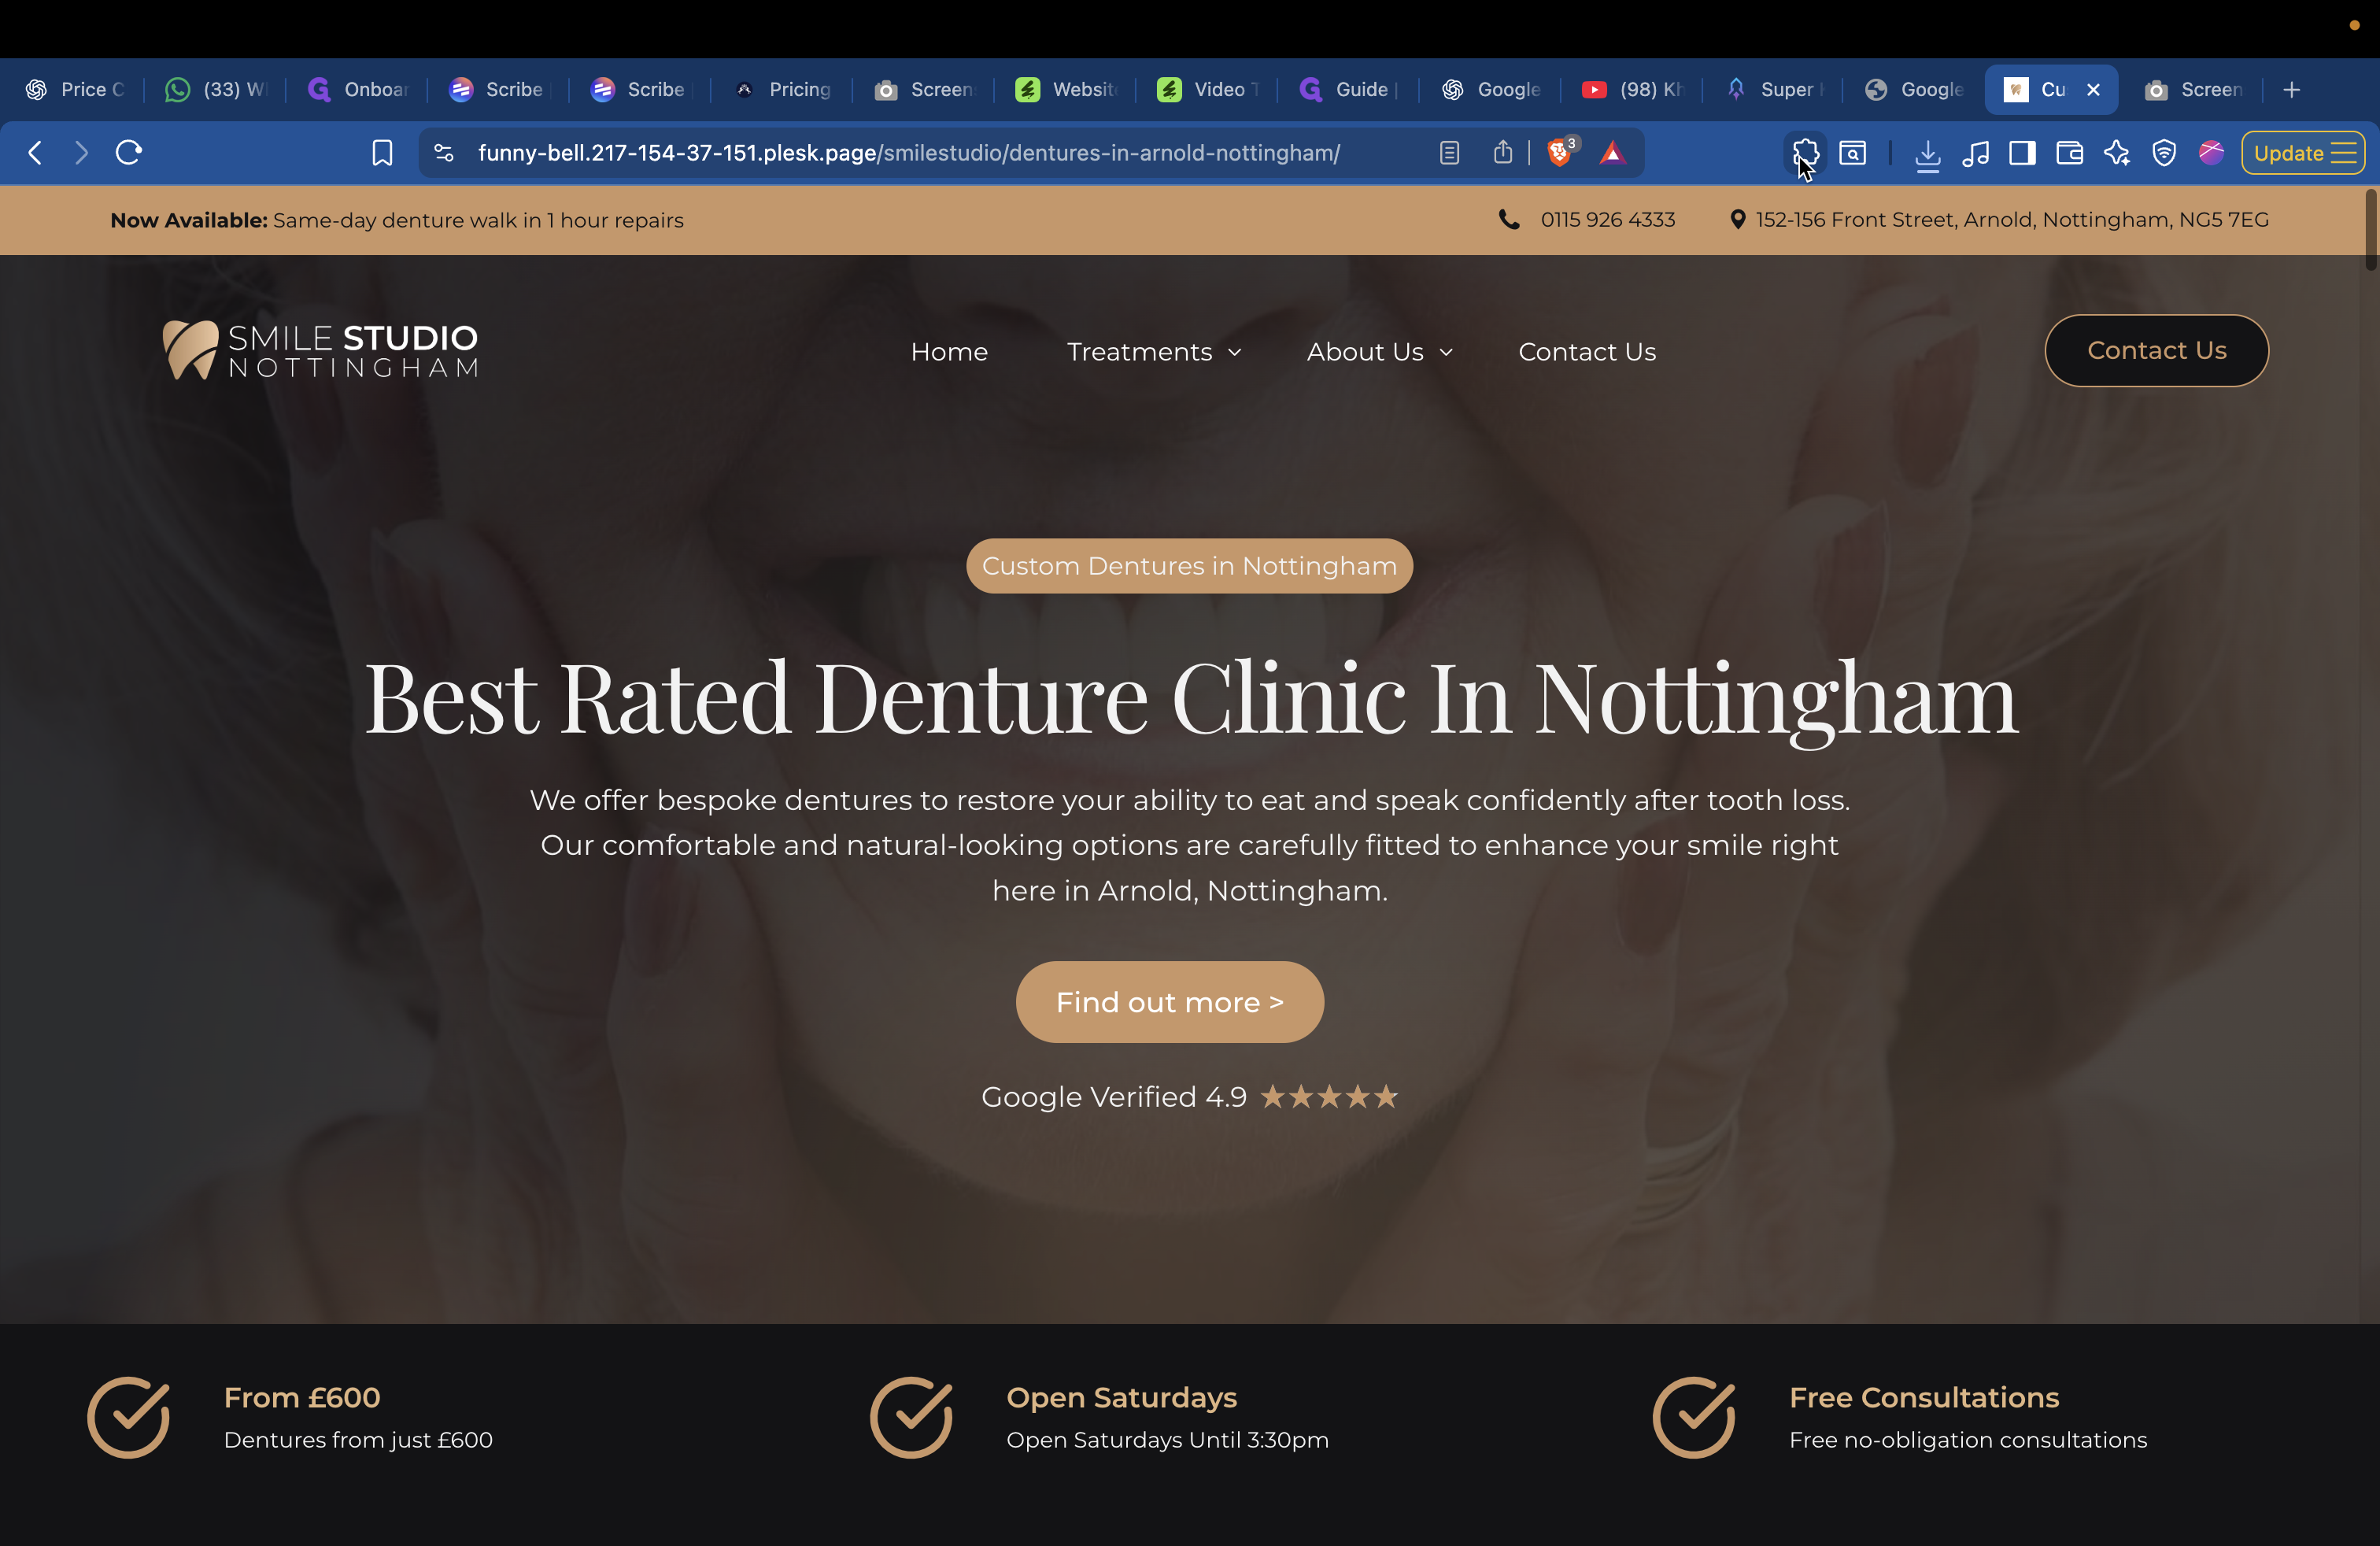
Click Save Image and name it Dentures 1.

If you go to Meet Team, choose the four best pages or four different variations.

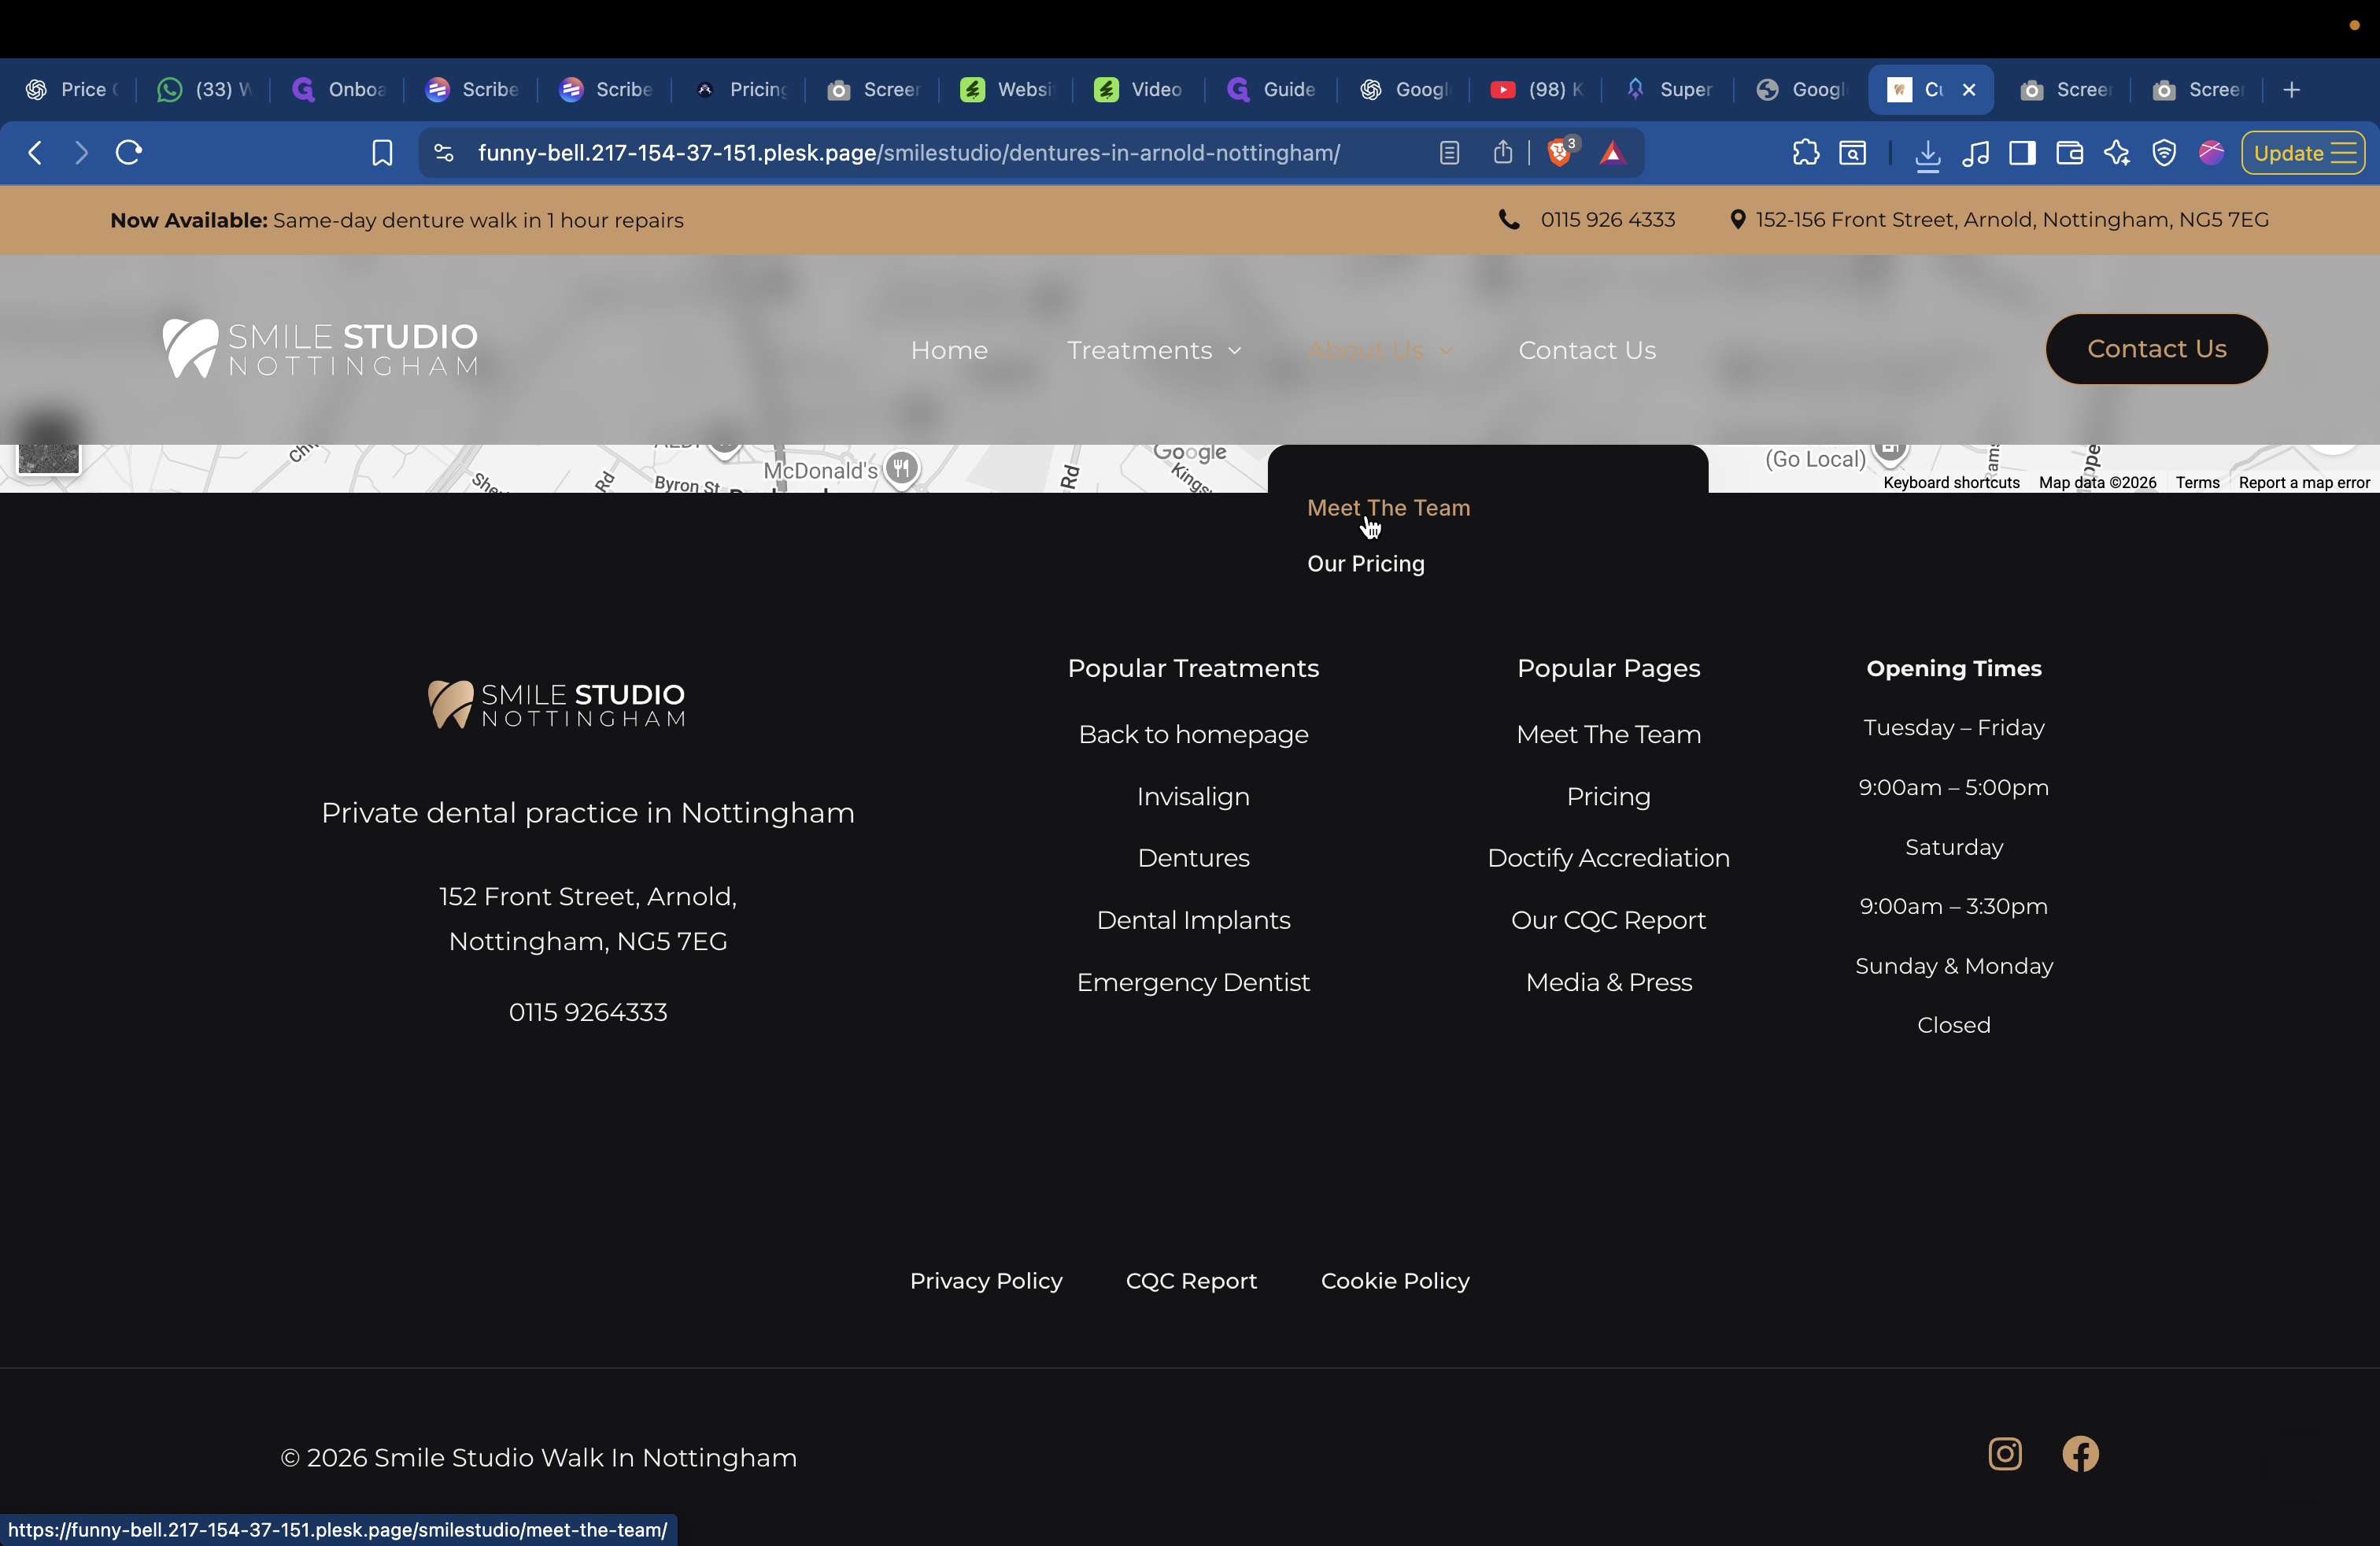
Go here, scroll down, and ensure everything is loaded. Then, repeat the process.
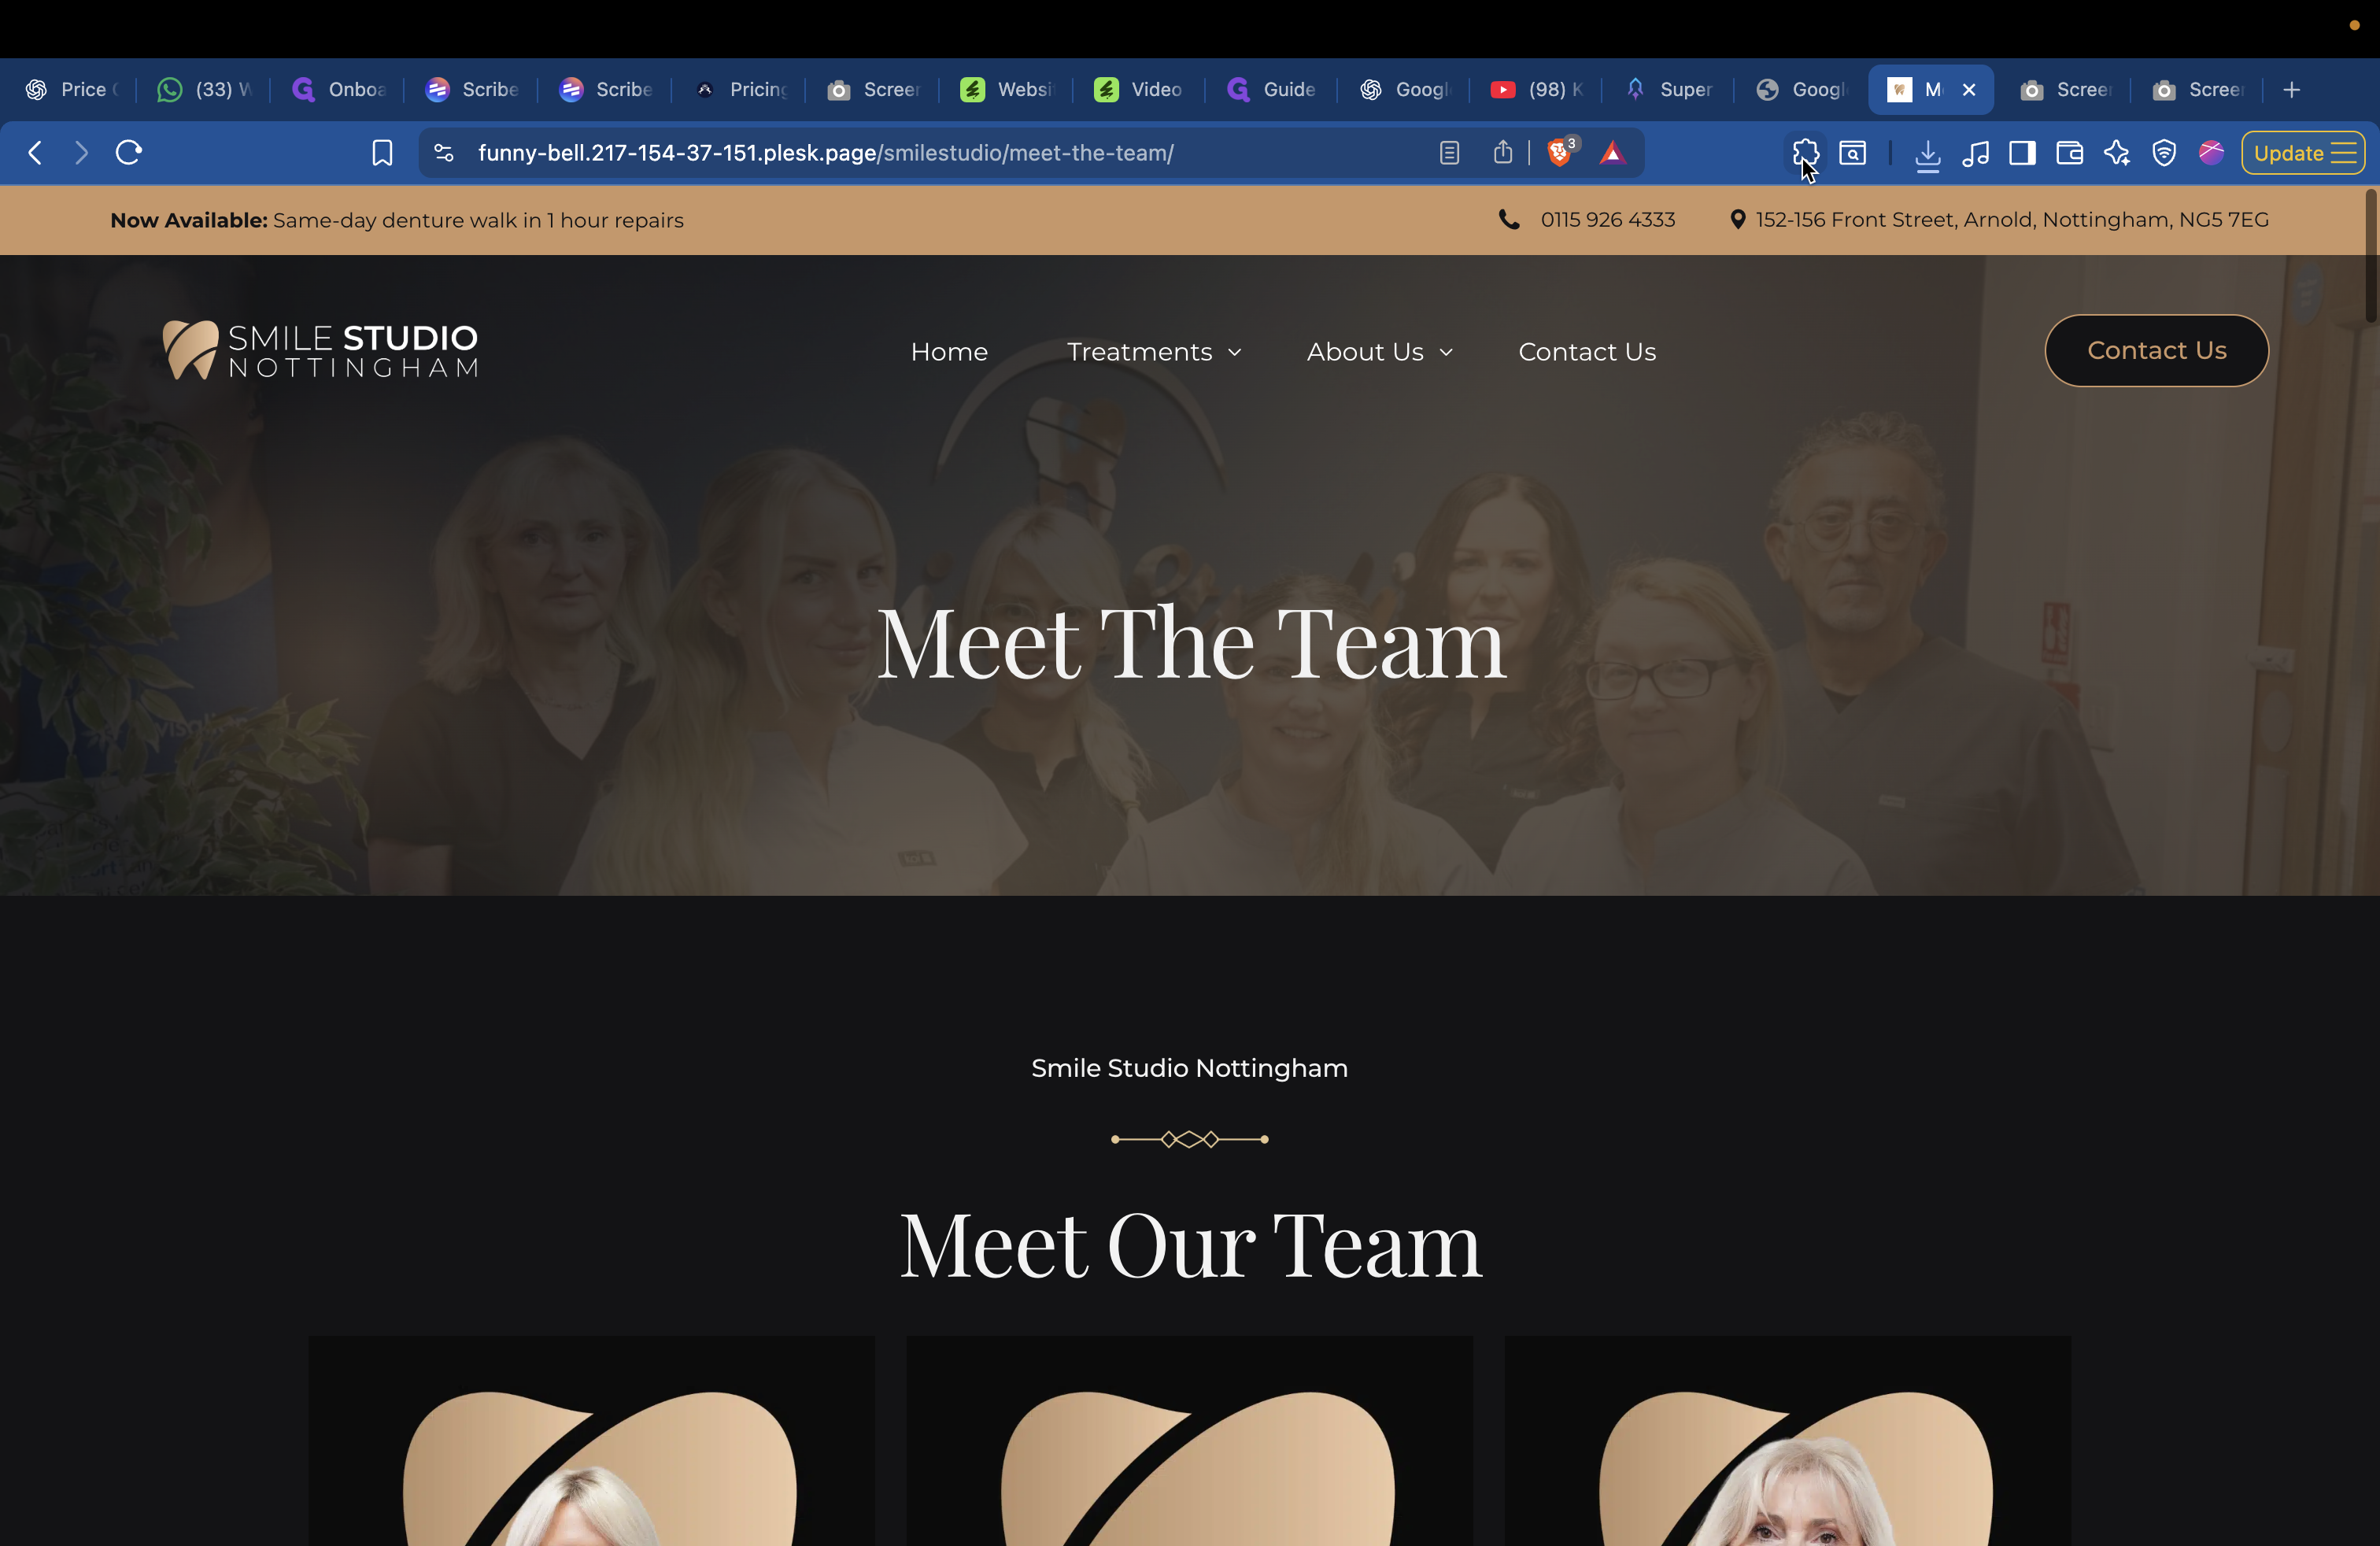
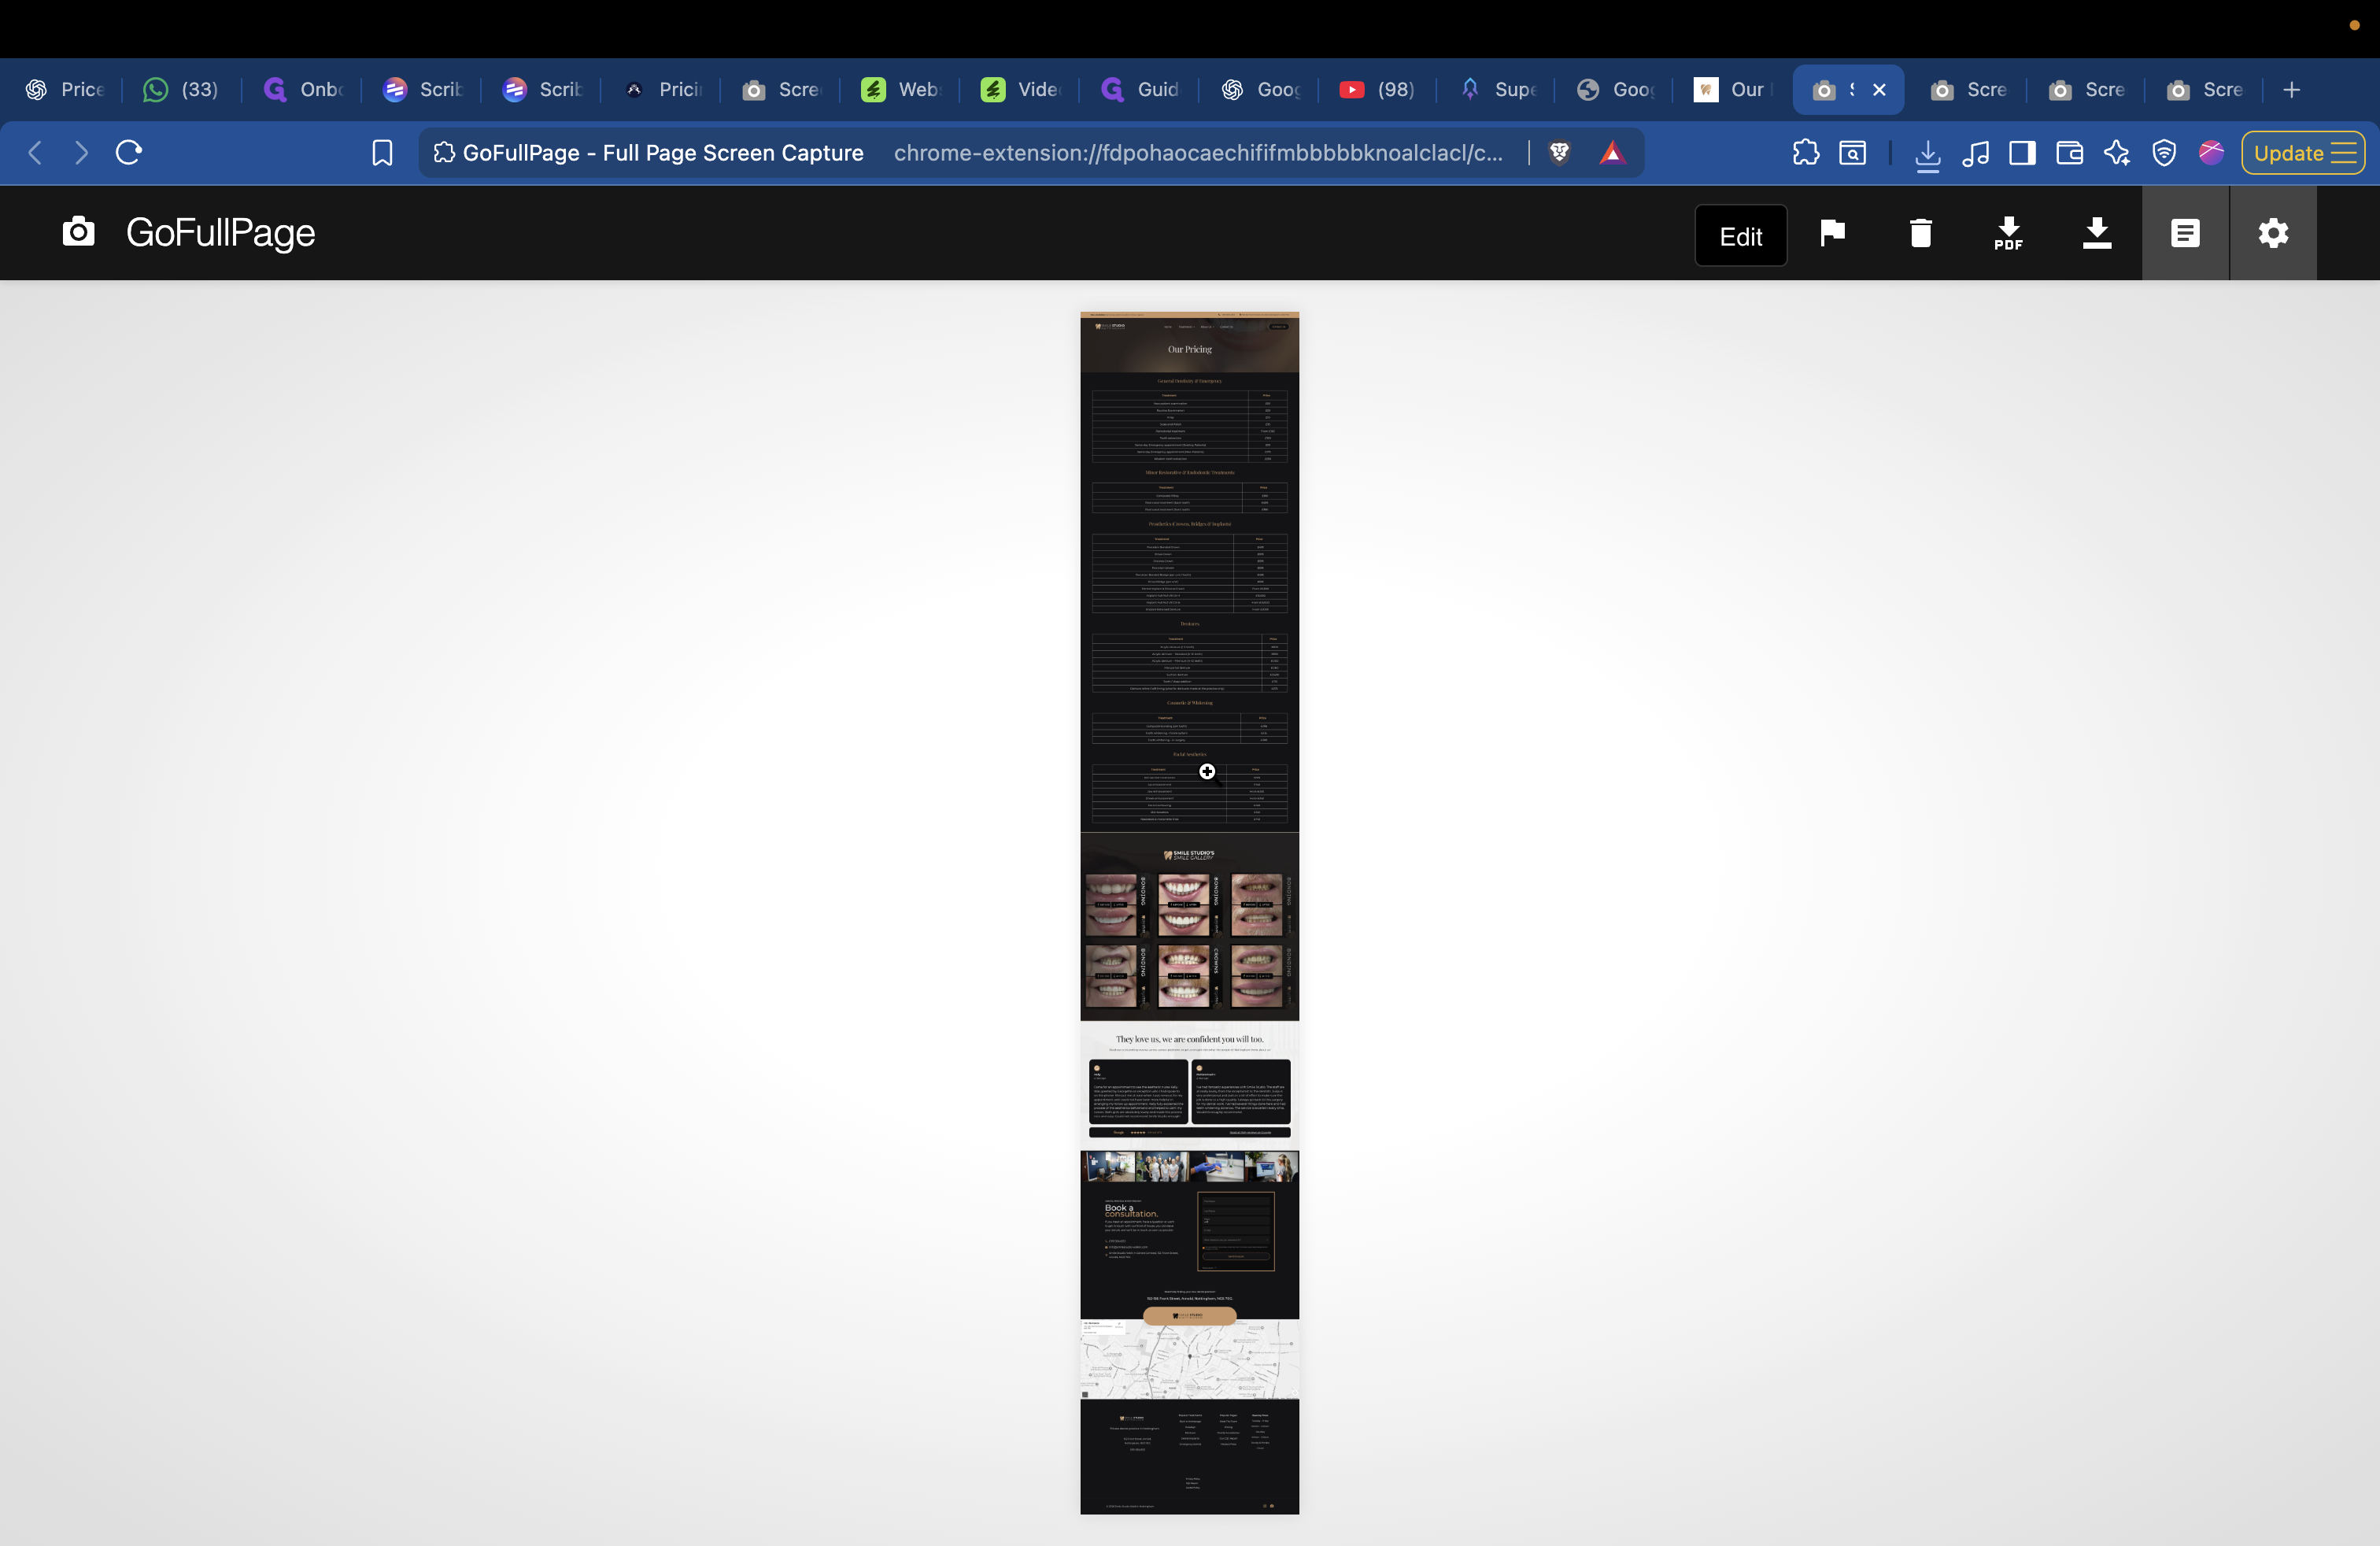
It will capture the screenshot.
Save it as Team 1.

Go back once more and open the pricing page. Scroll down to ensure everything loads. Then, take a full-page screenshot, making sure to move your mouse out of the way so it captures the entire page.
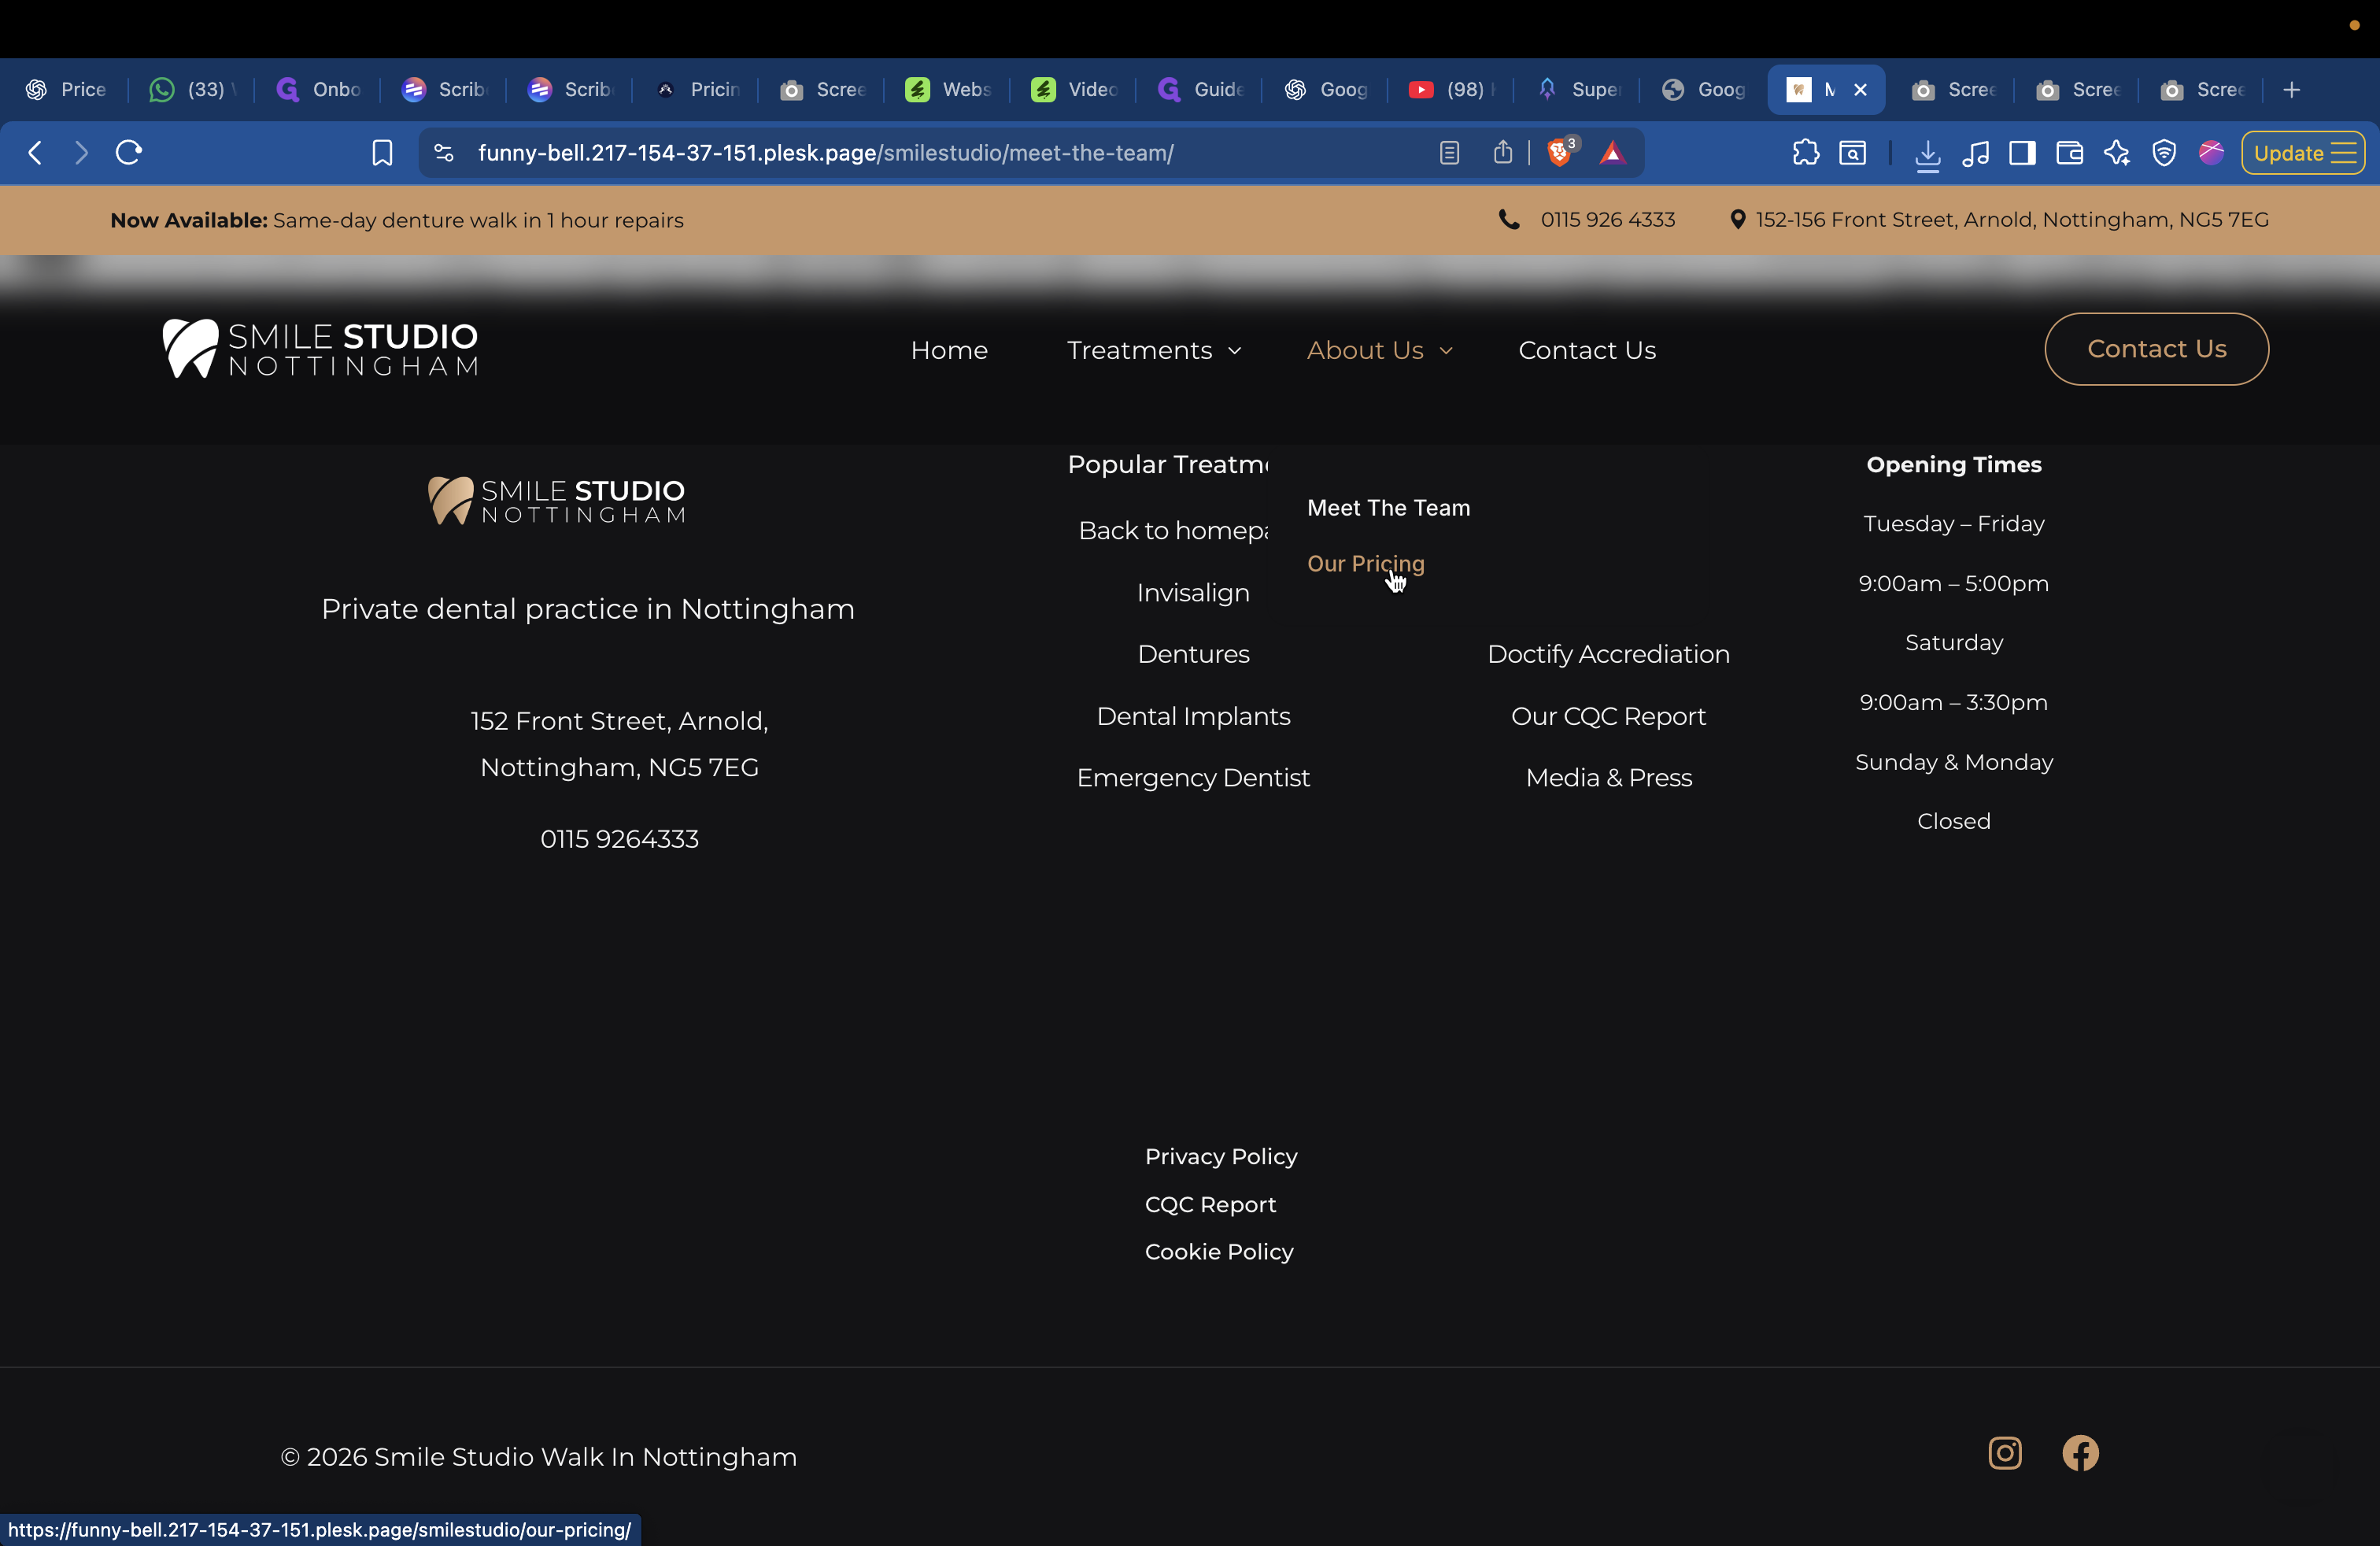
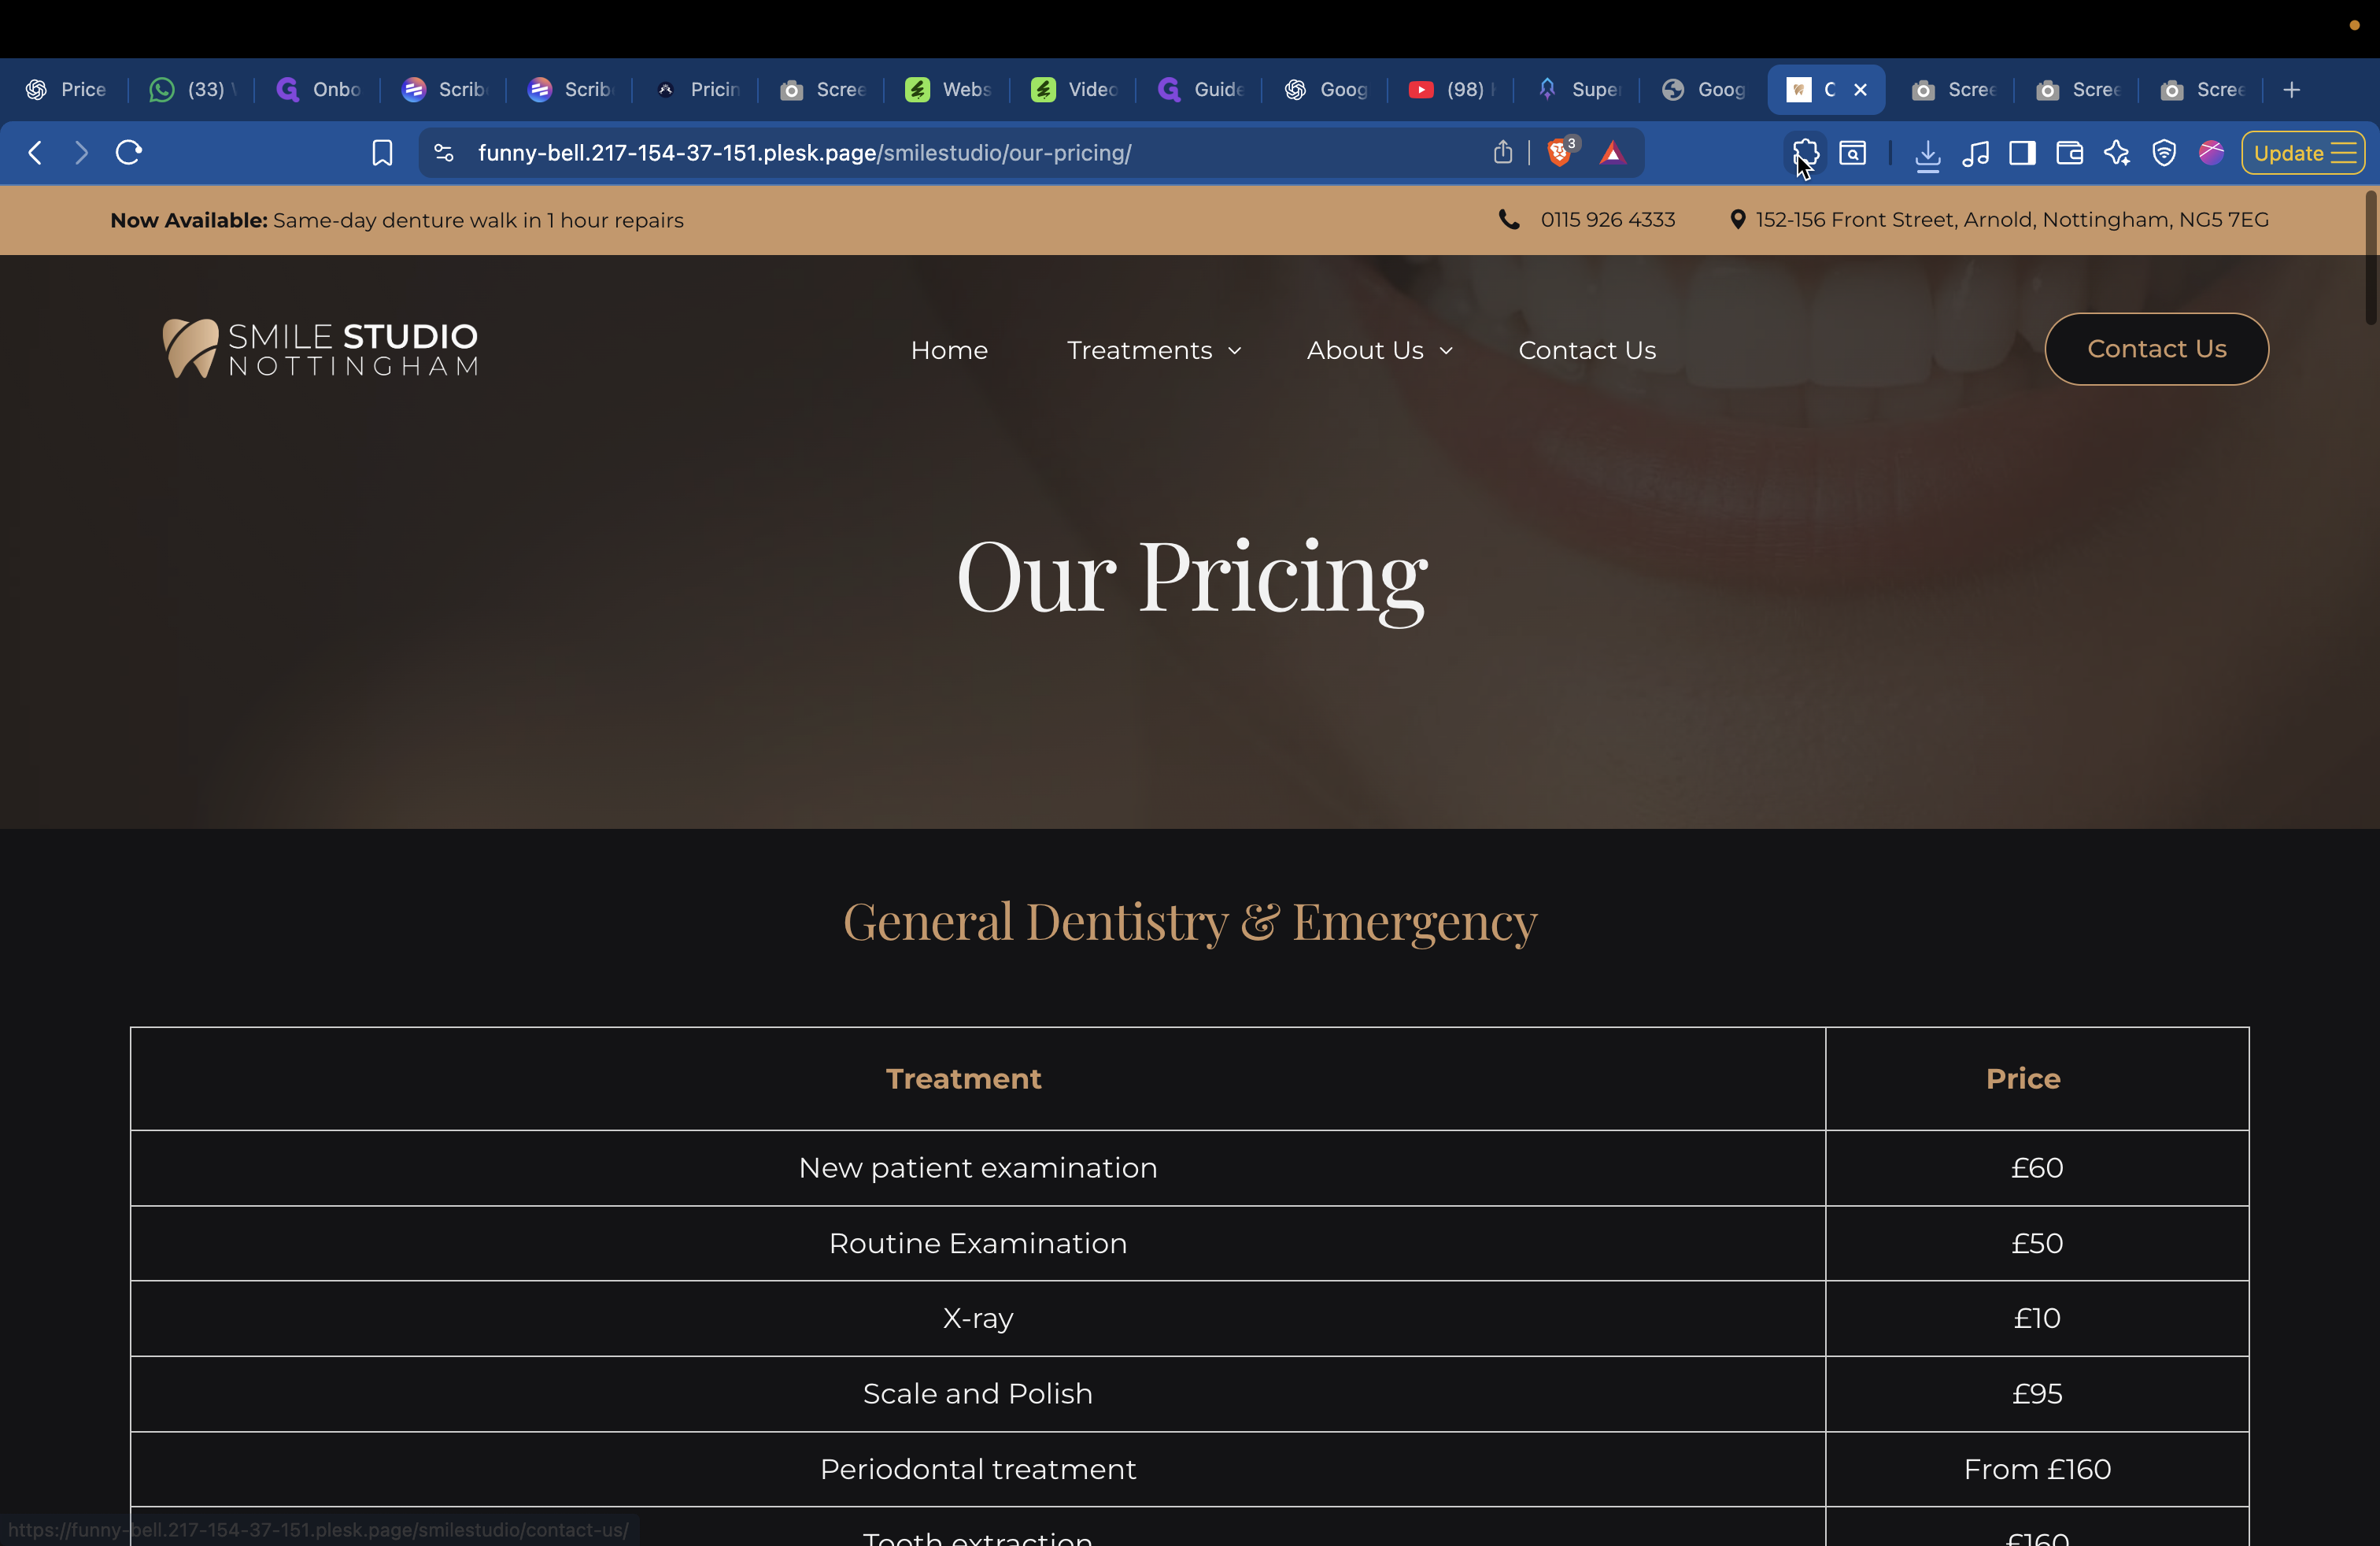
Save as Pricing 1.
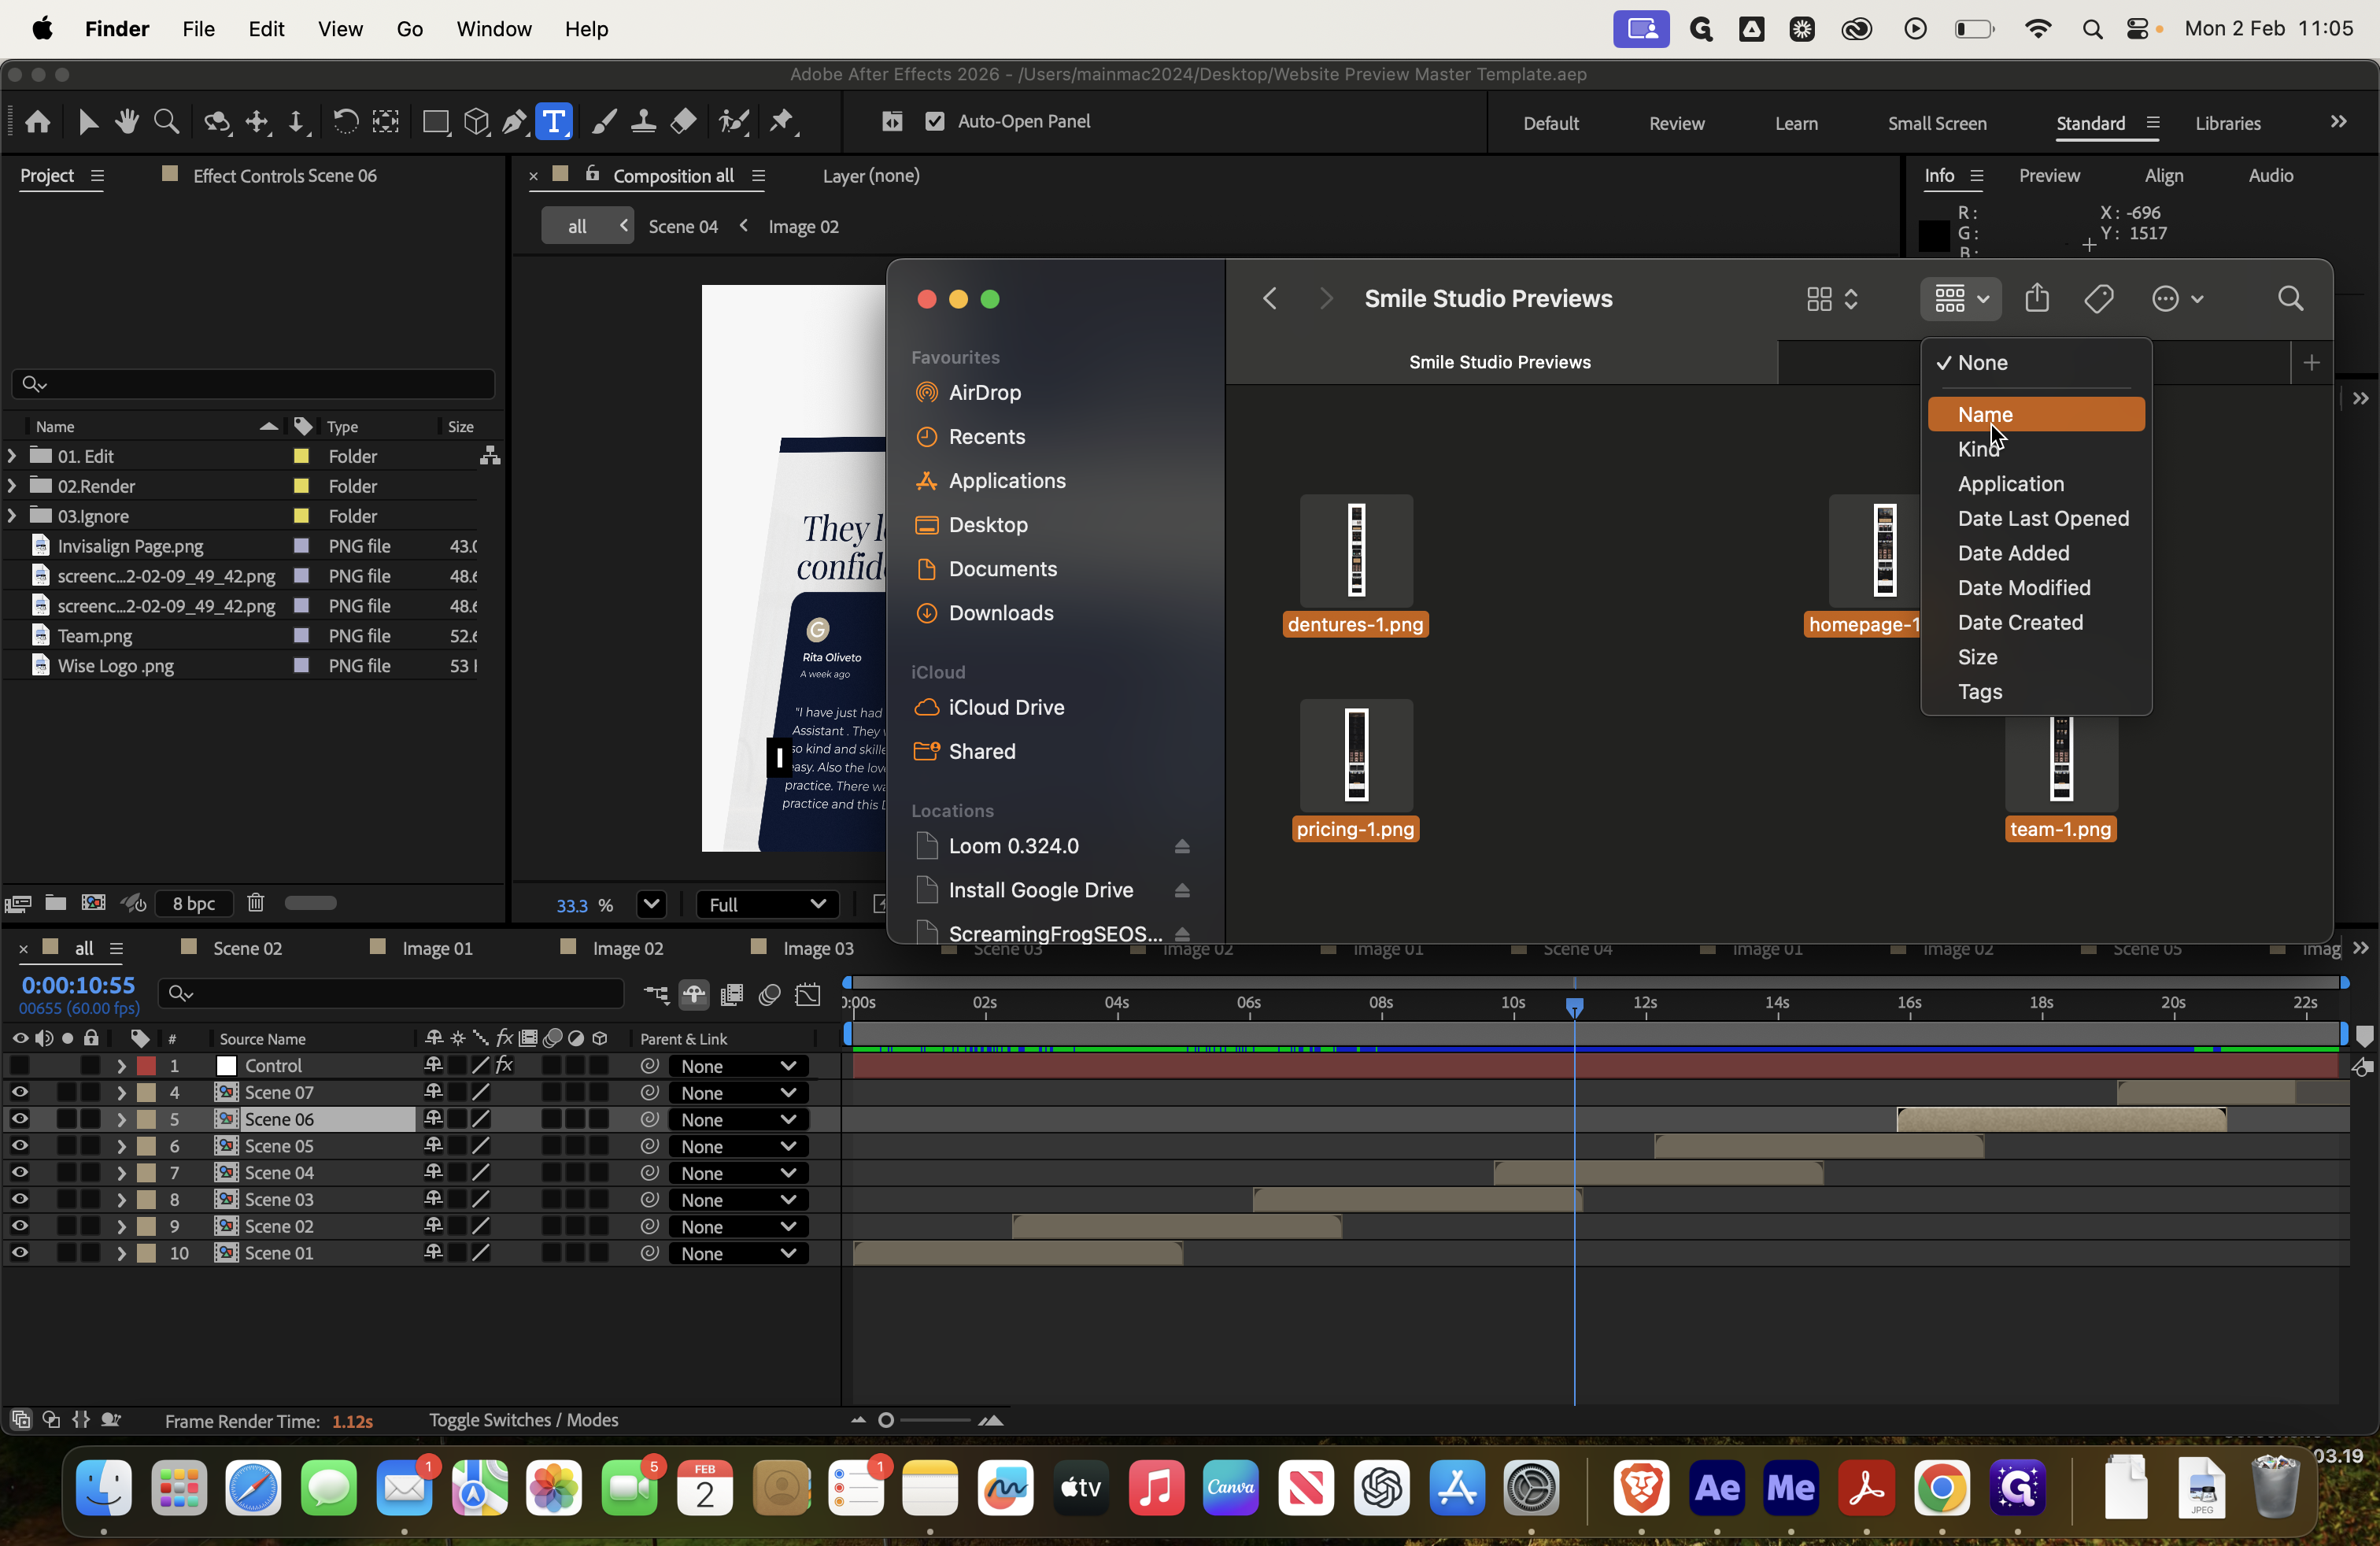
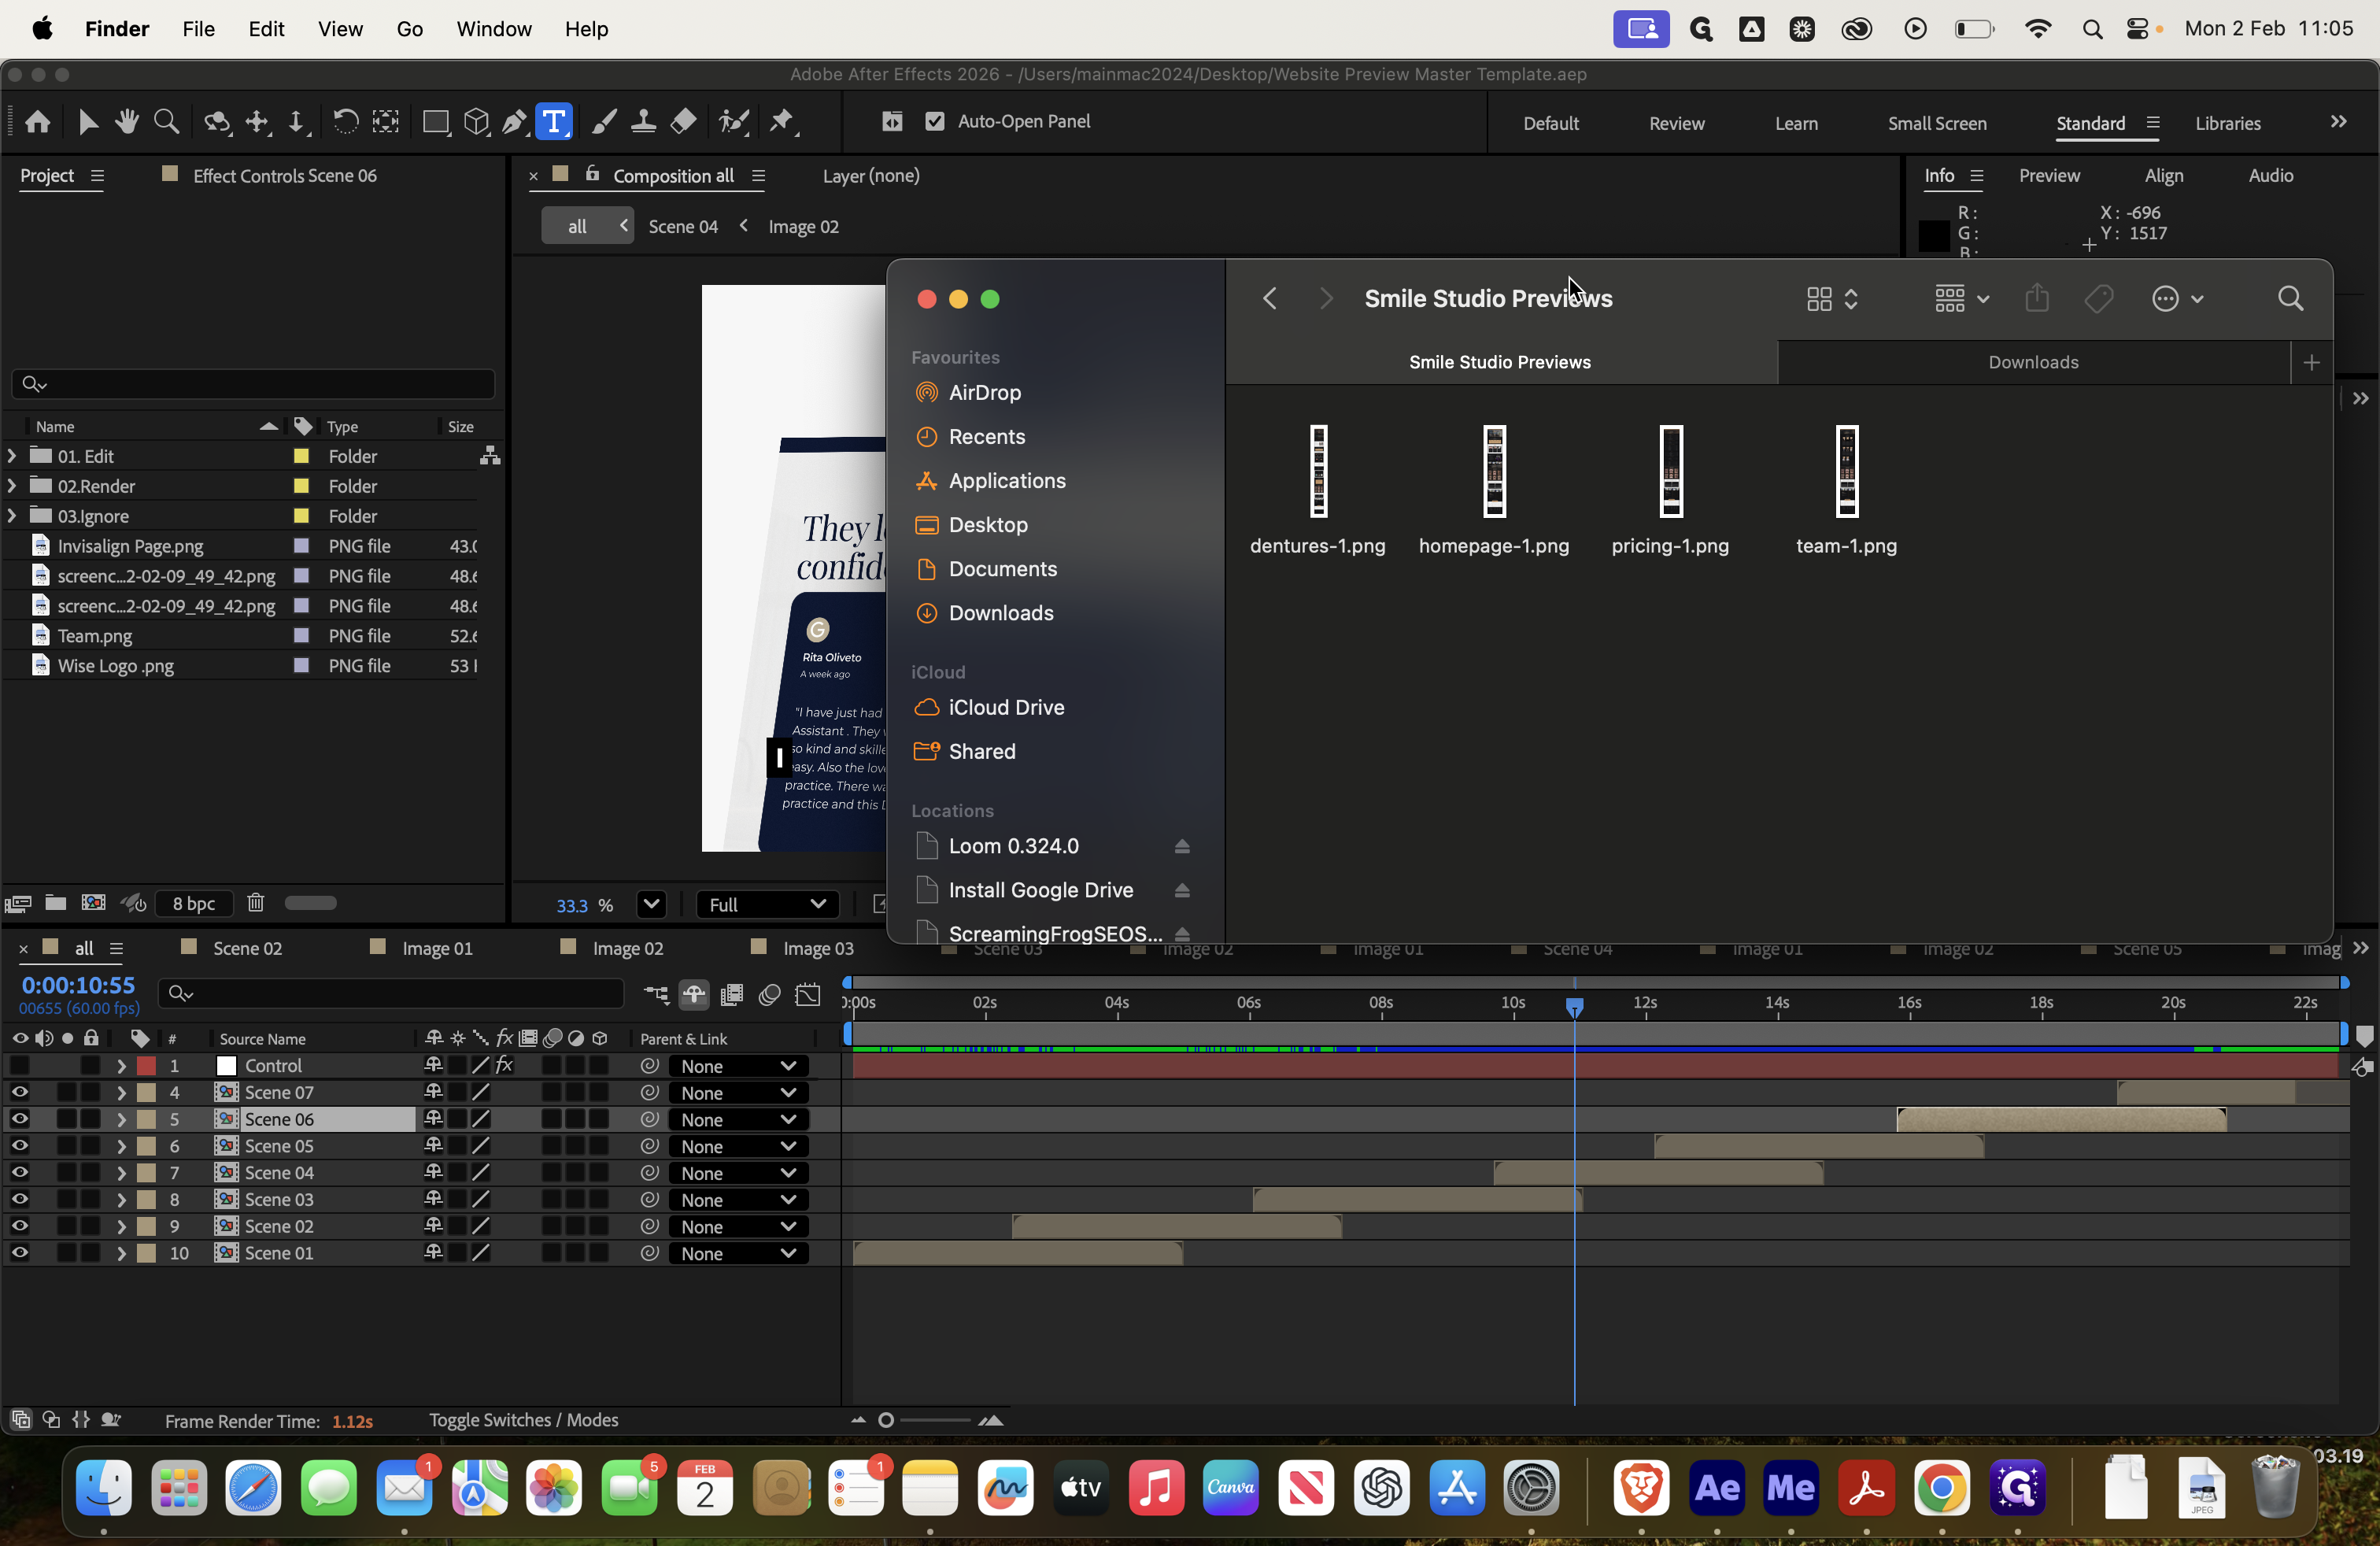
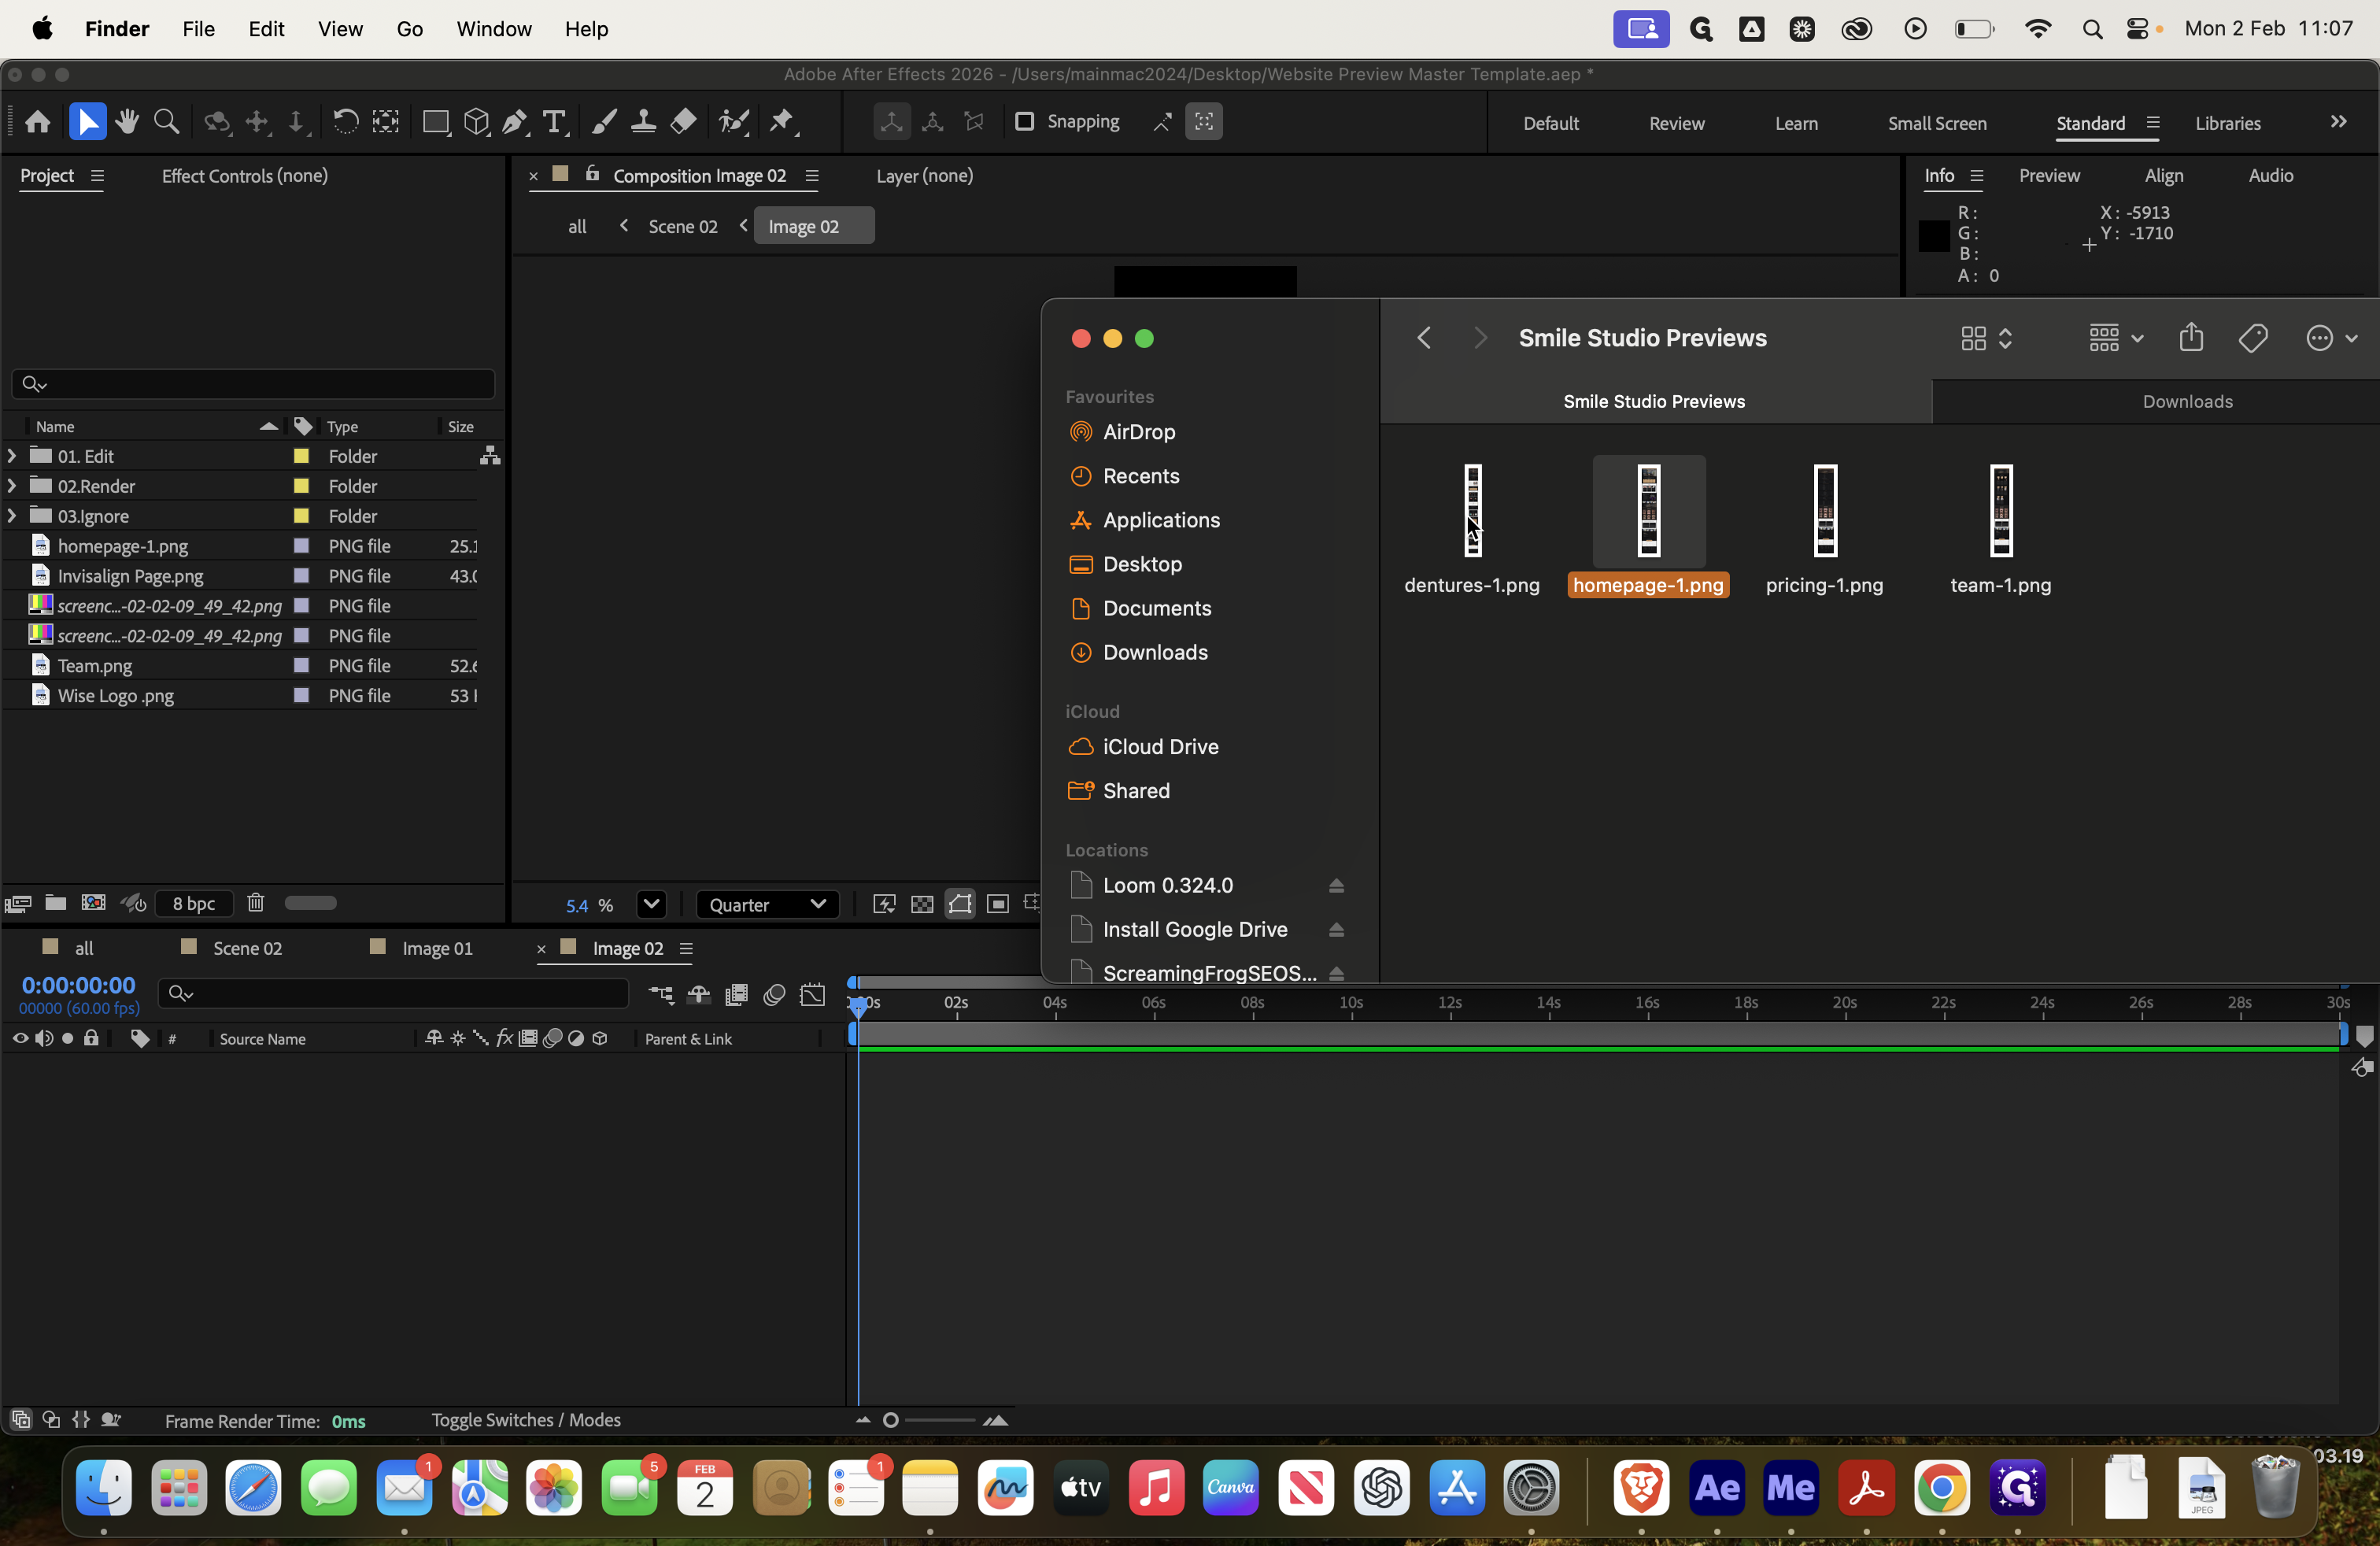
For this demonstration, I'll select the four screenshots—Dentures 1, Homepage 1, Pricing 1, and Team 1—and place them here.
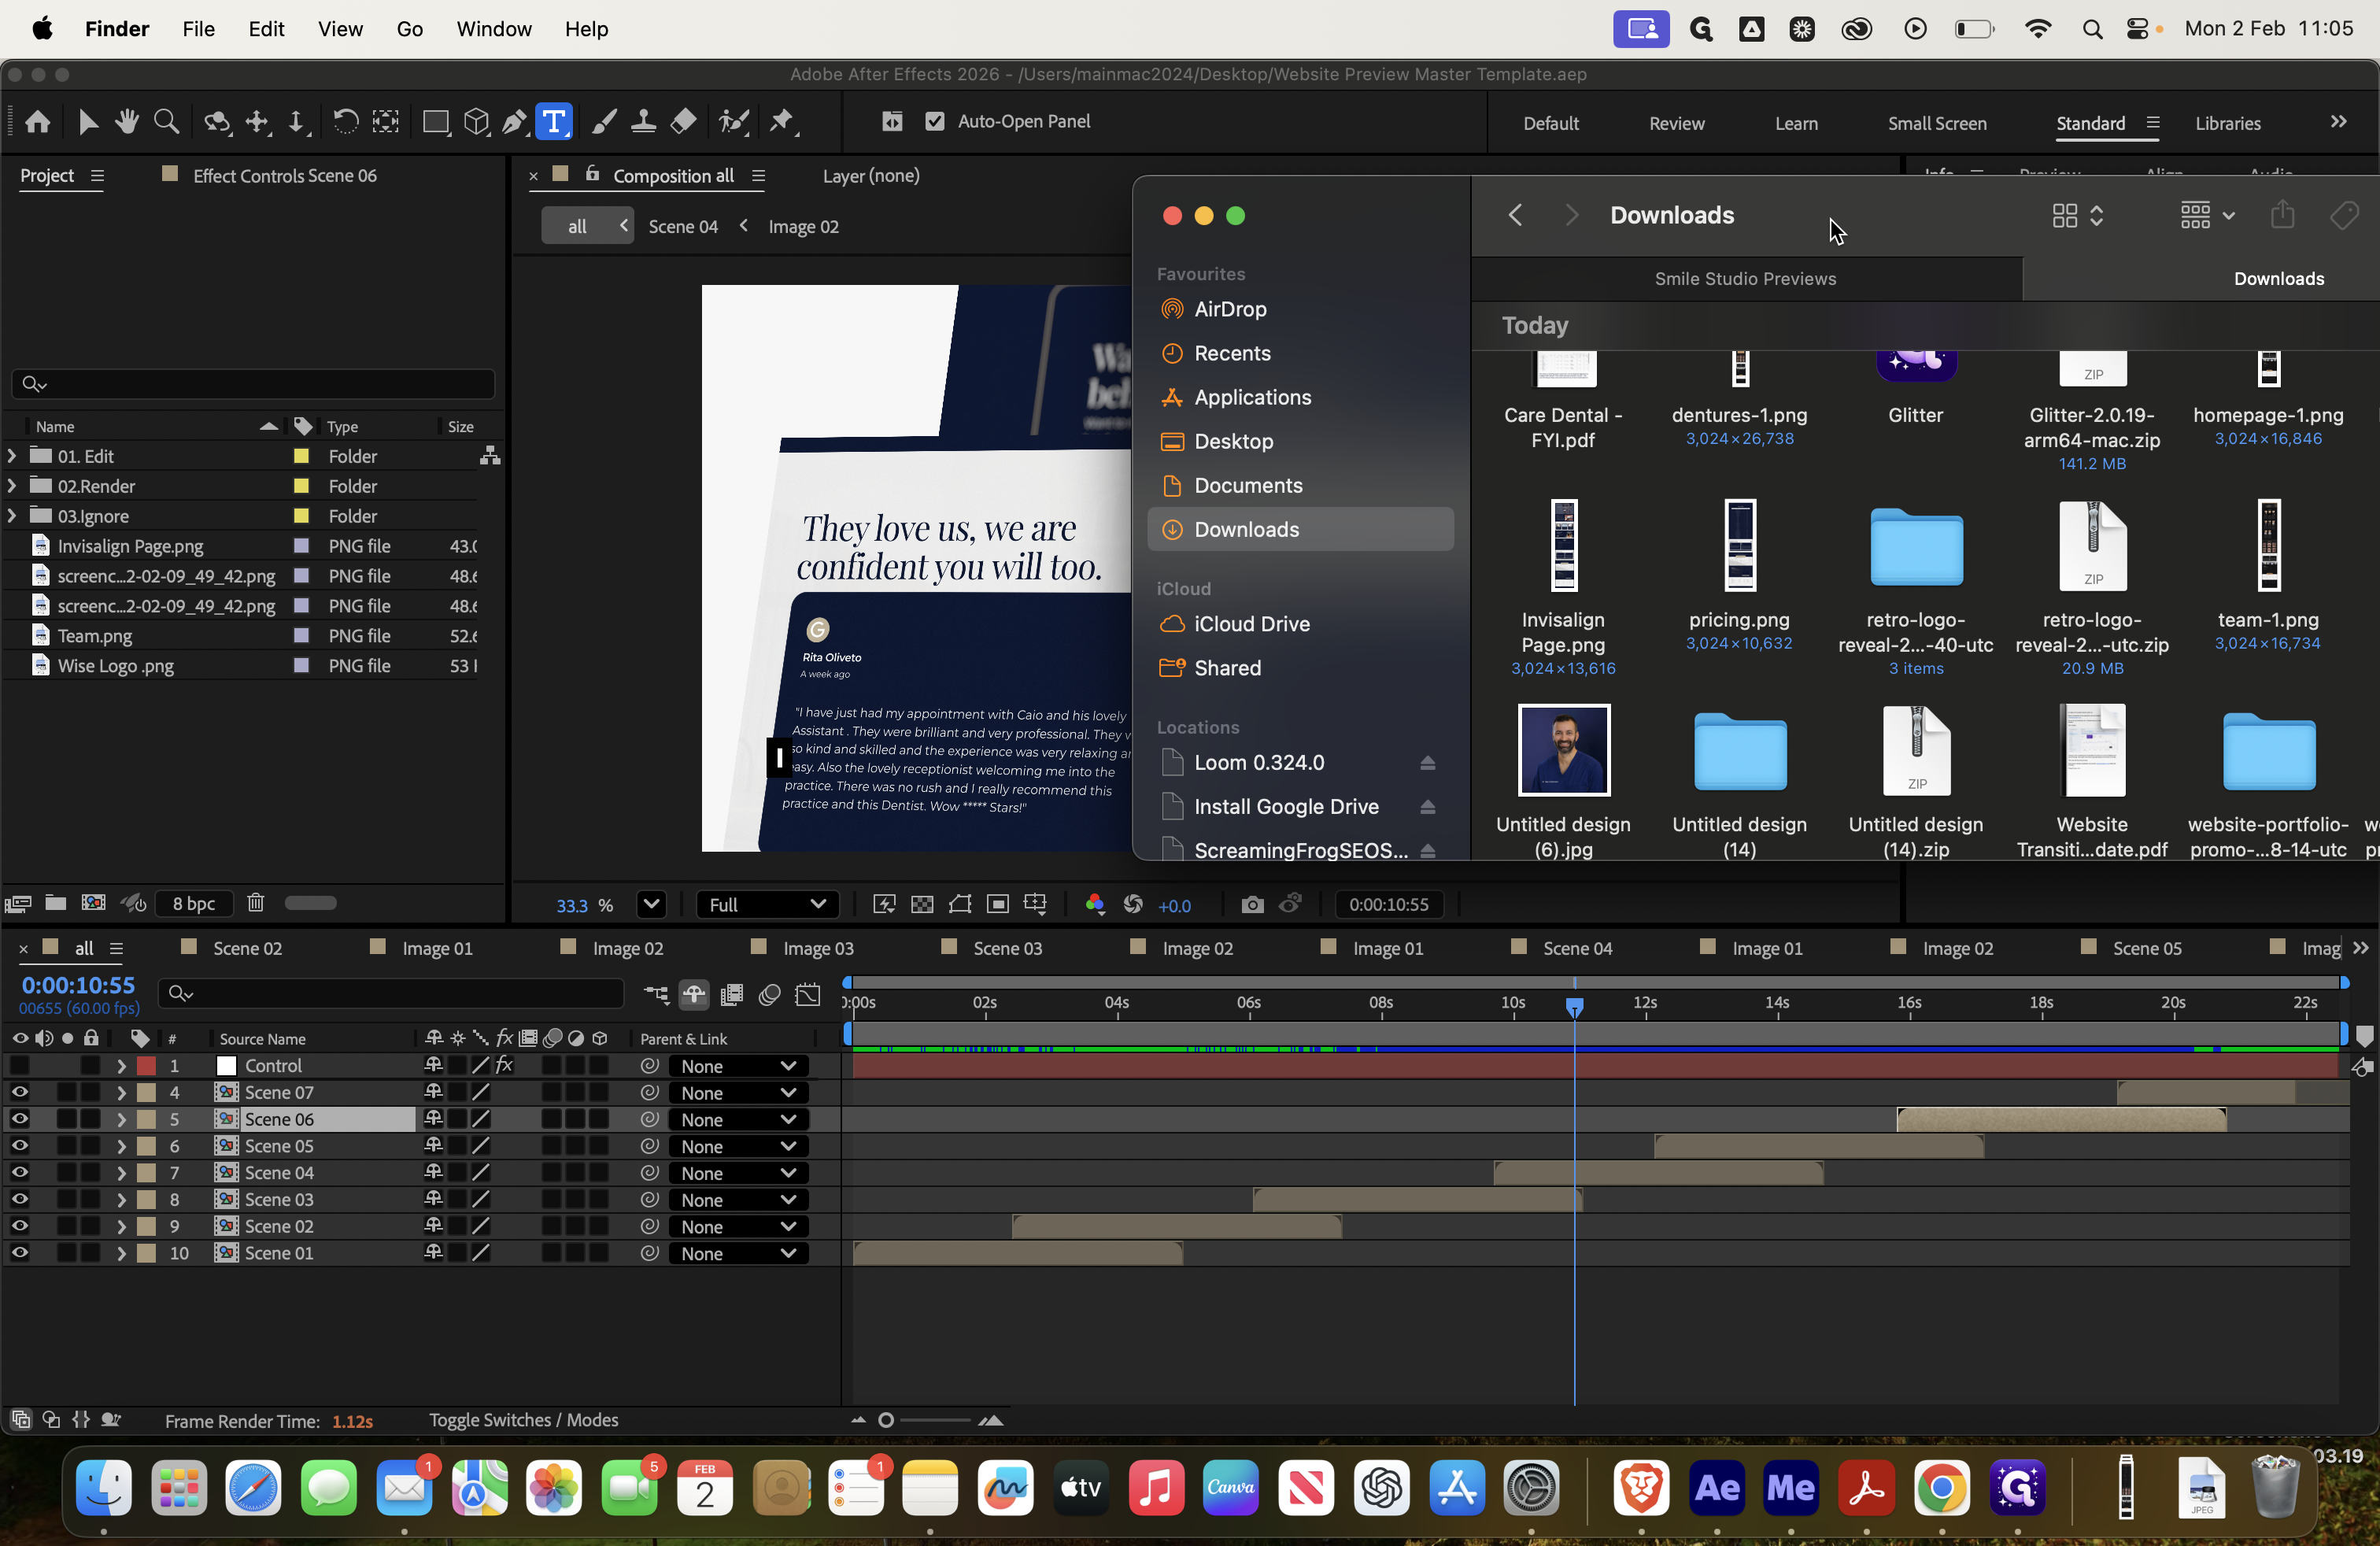


Cool.

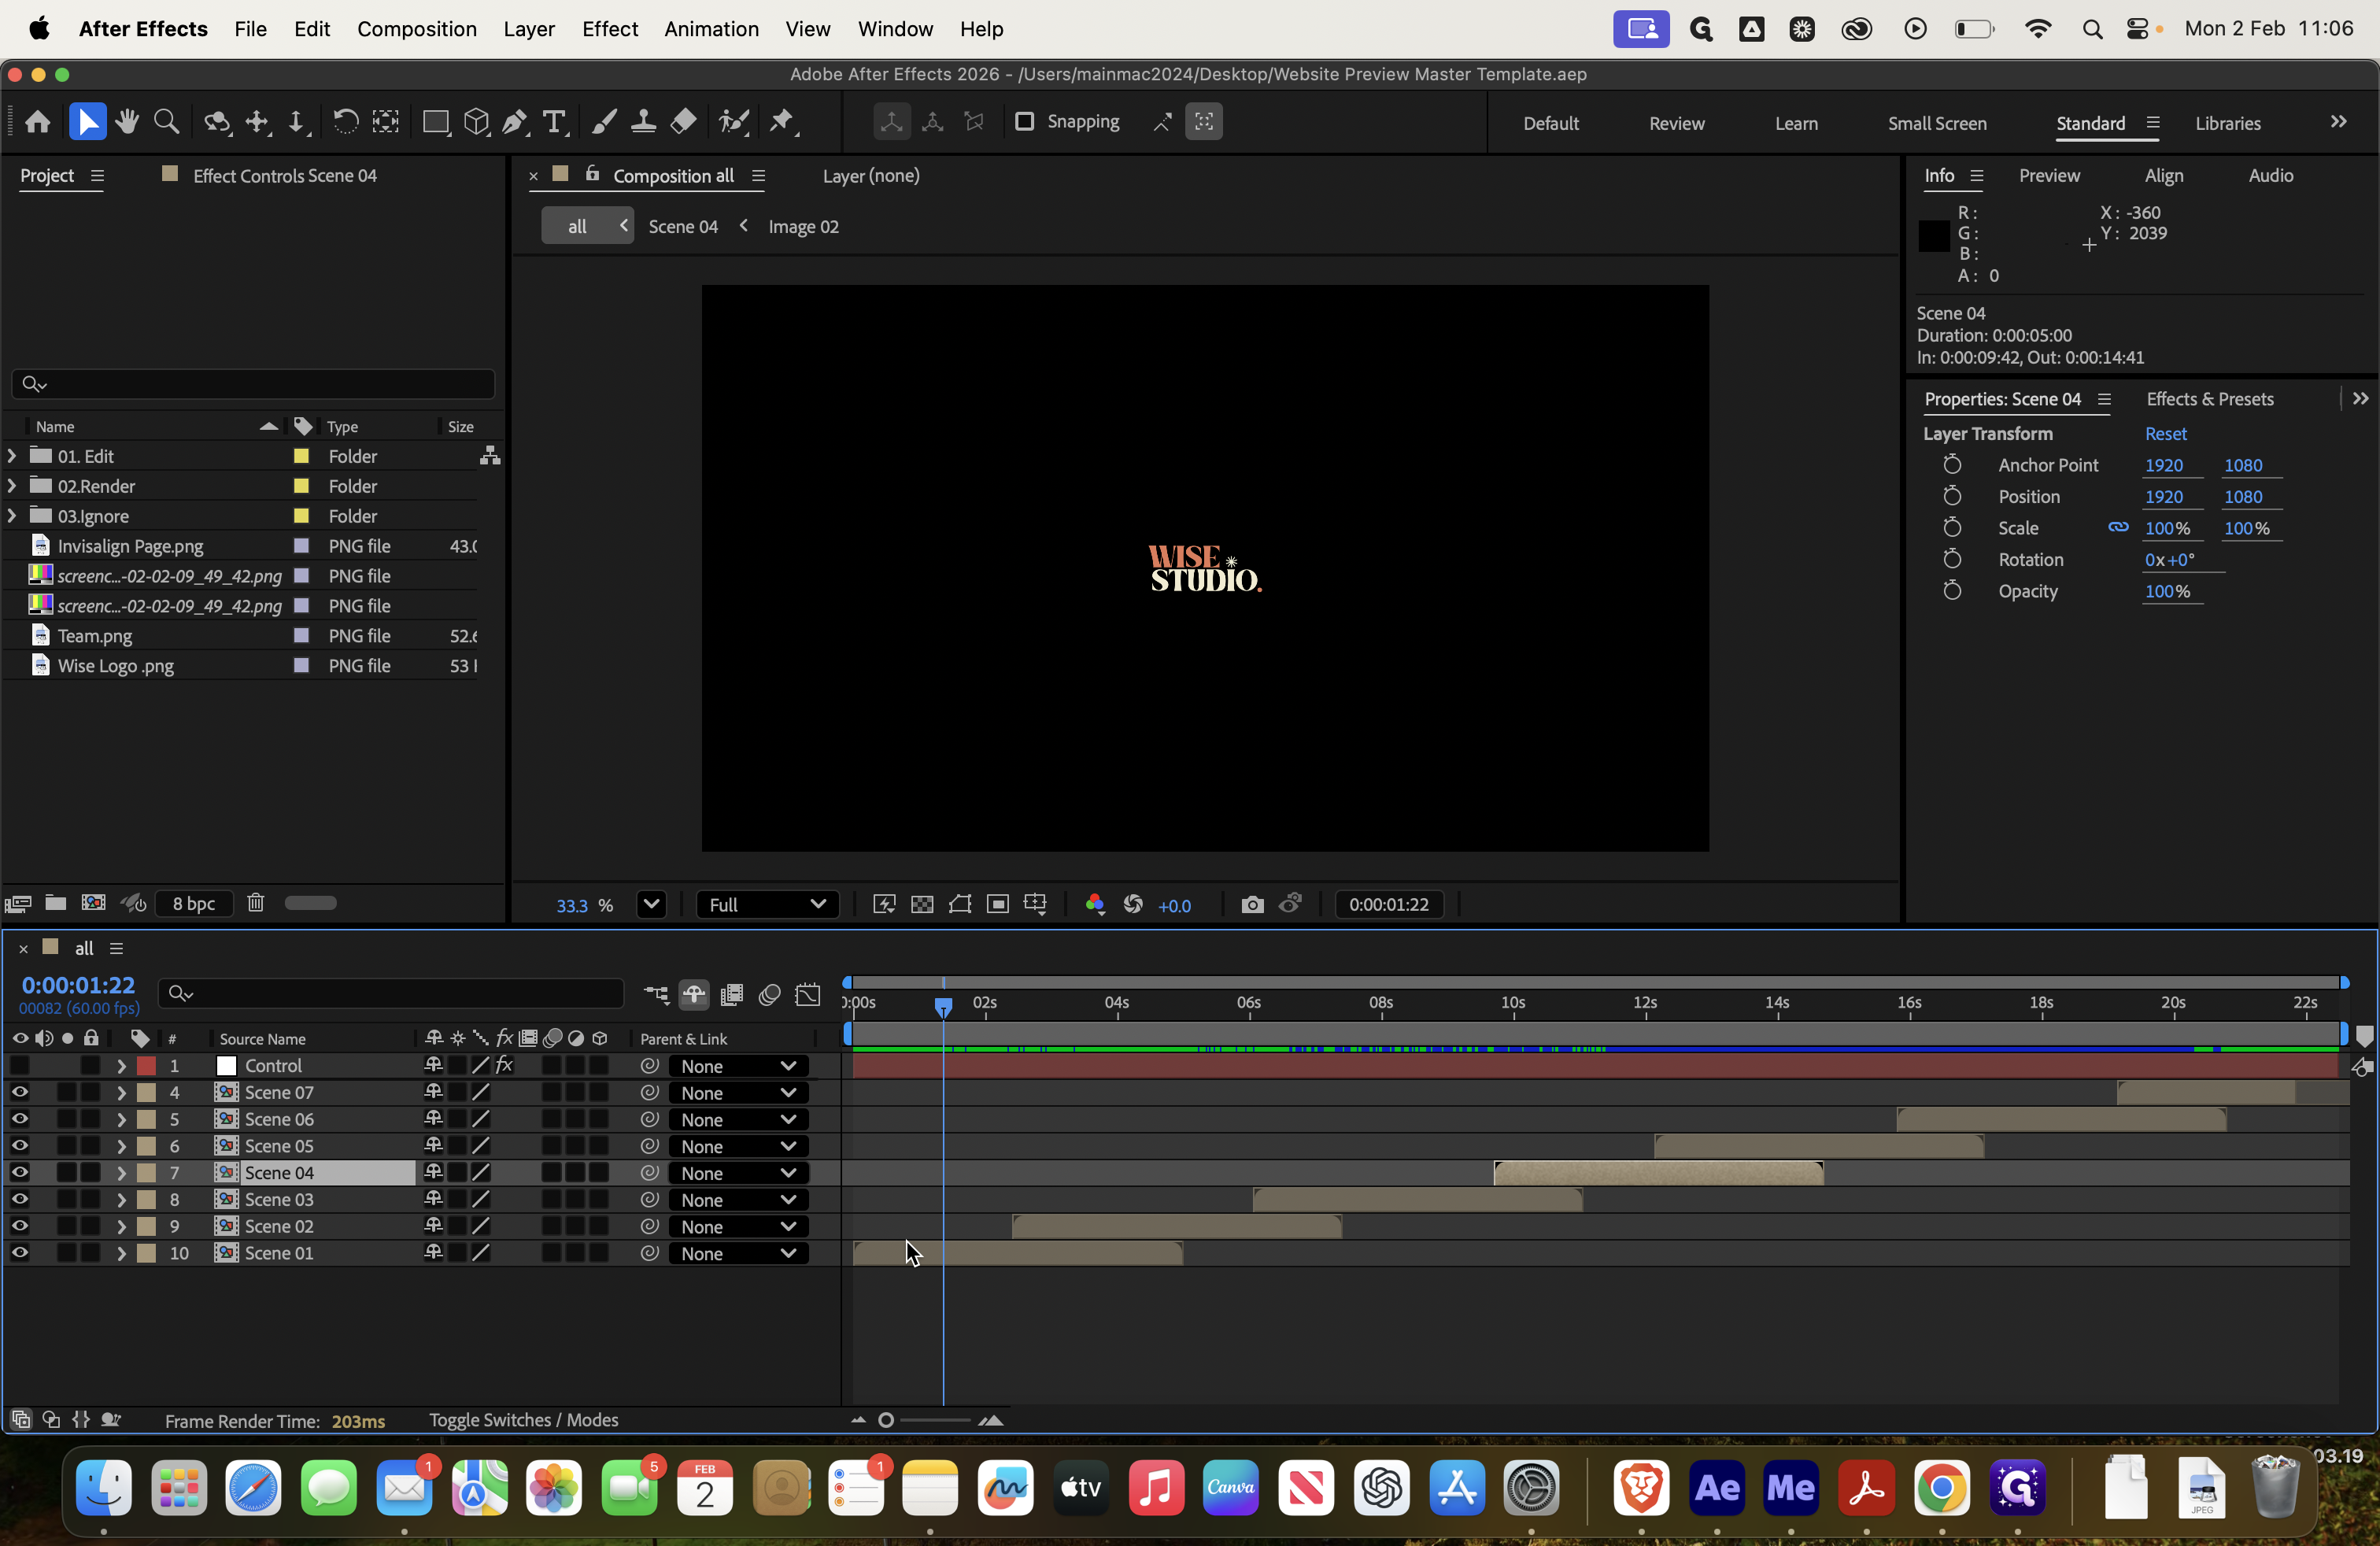
Load your project. Here, you will see your different scenes.
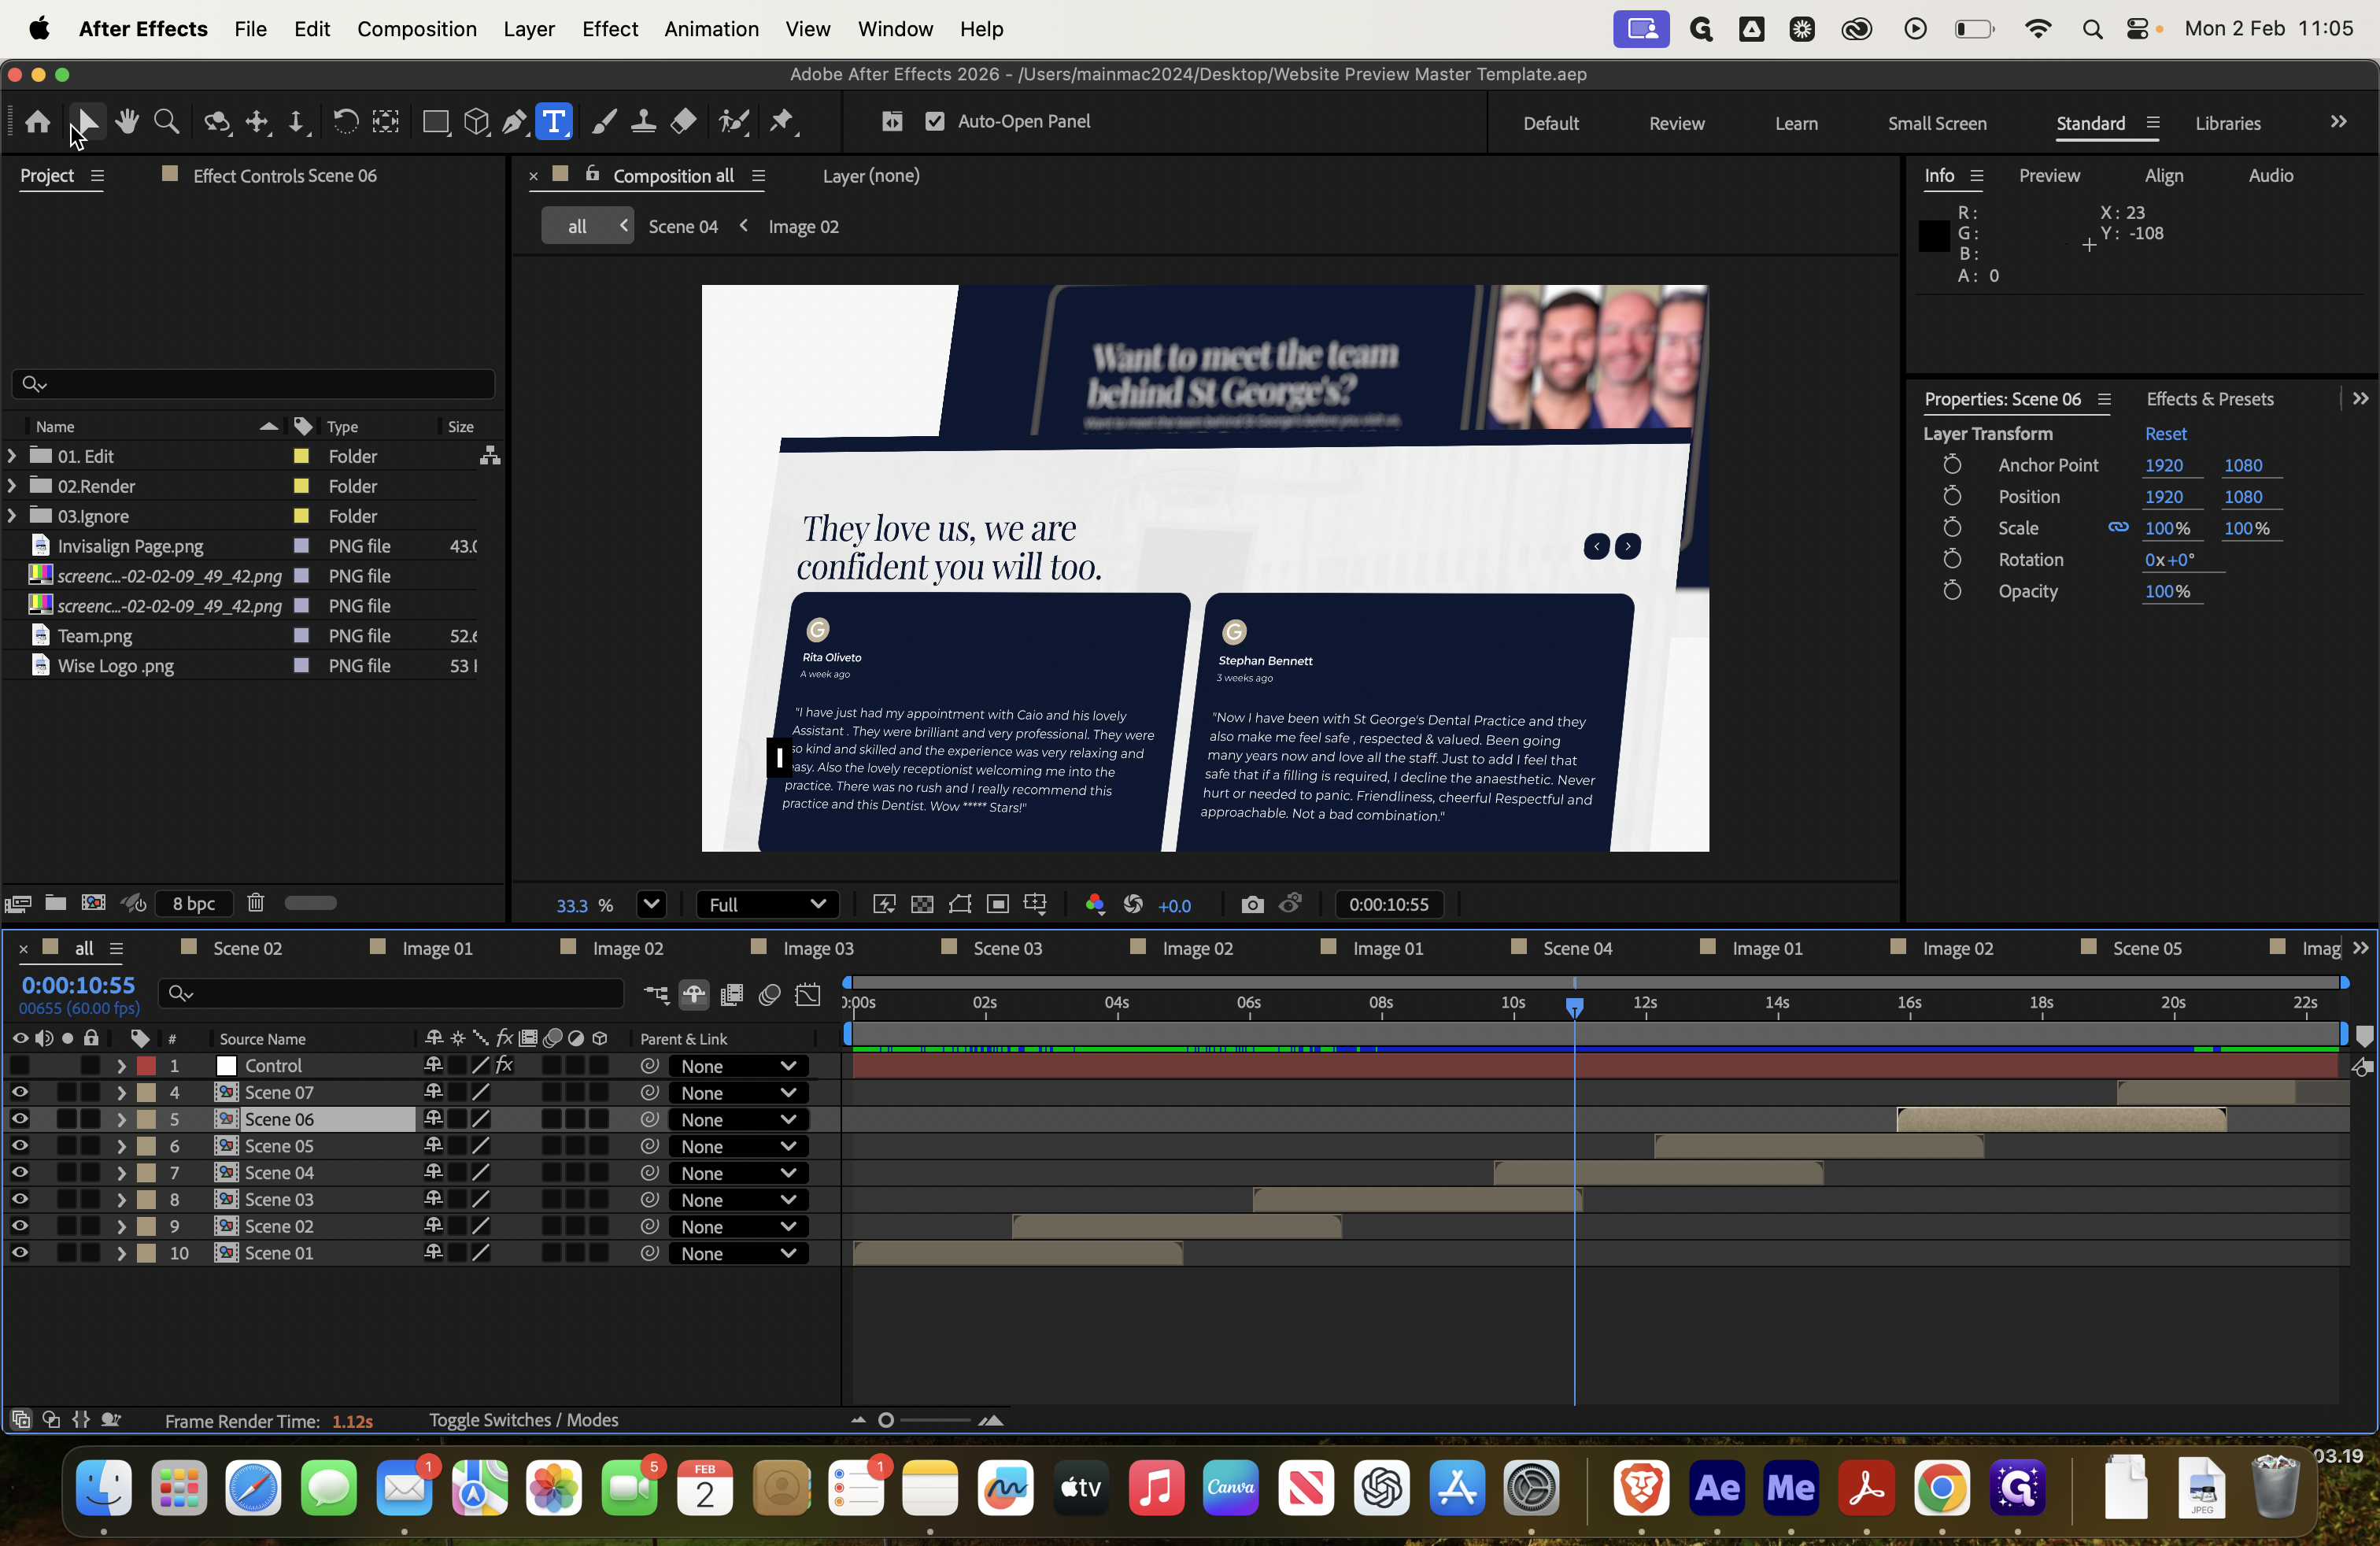

If I close these now.
This is your final main composition. Here, you have your different scenes.


As you drag the video, you can see Scene 1, Scene 2, Scene 3, Scene 4, and so on.

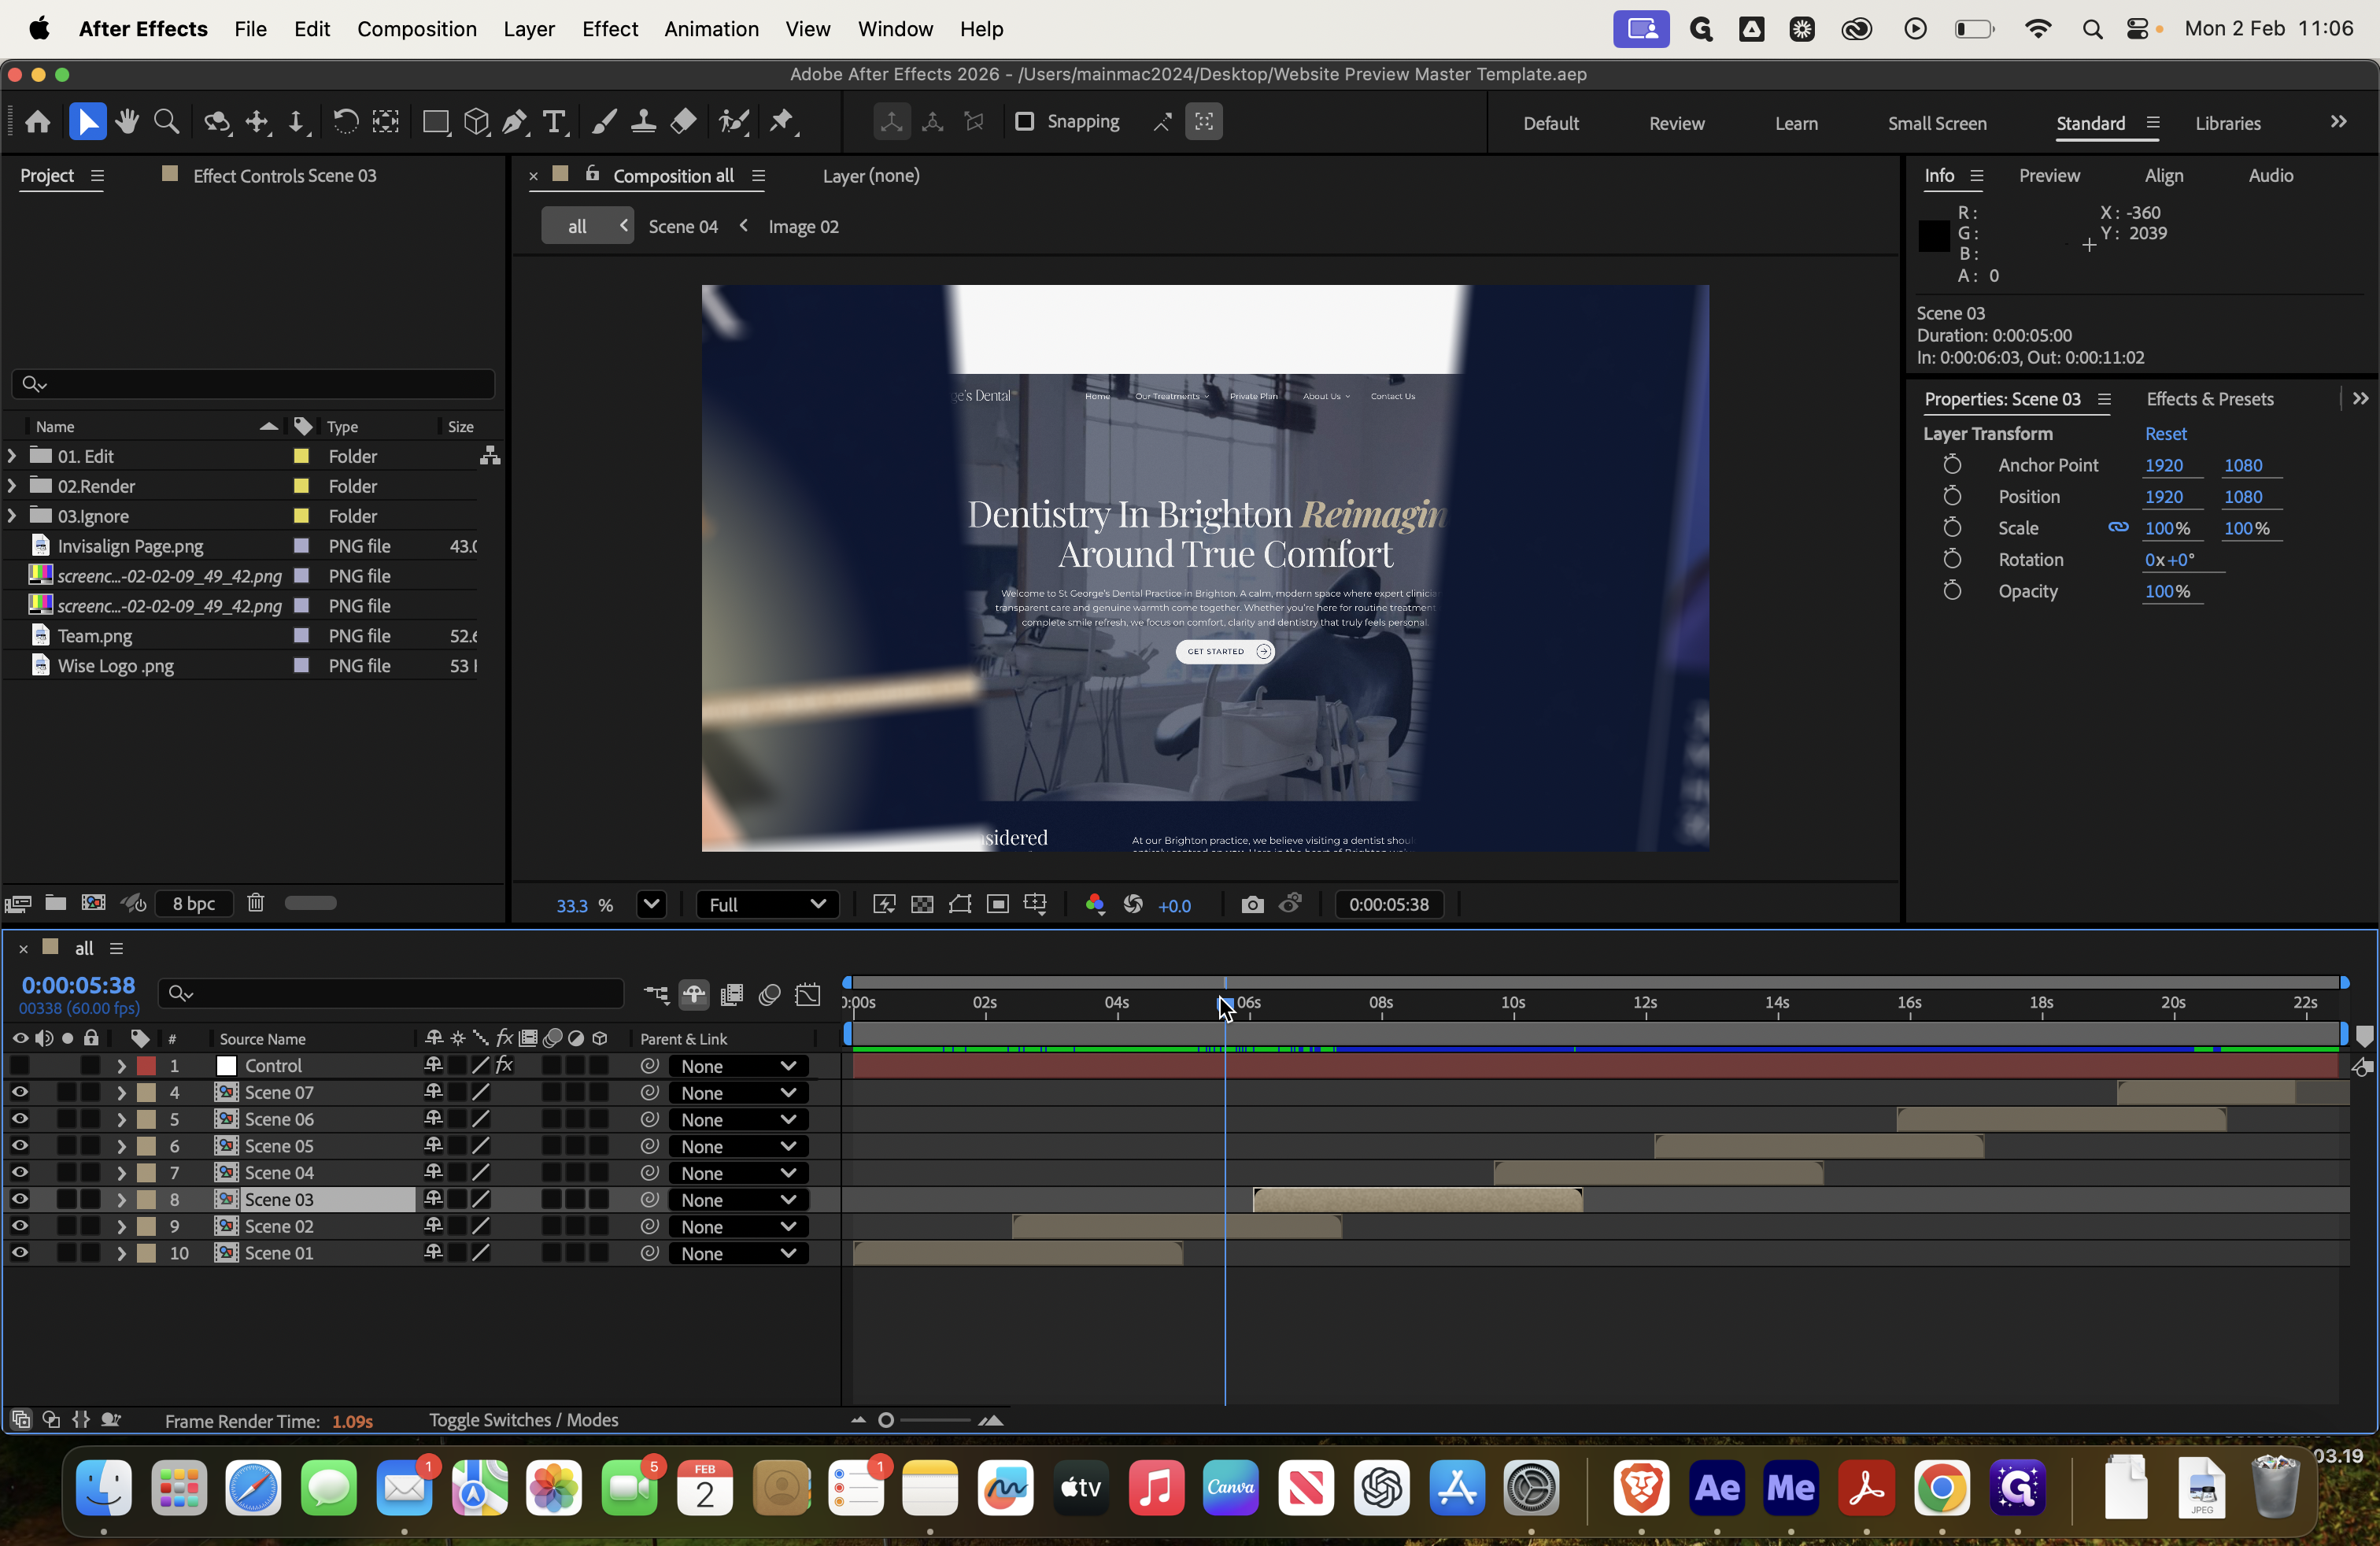


You can click on each of these.

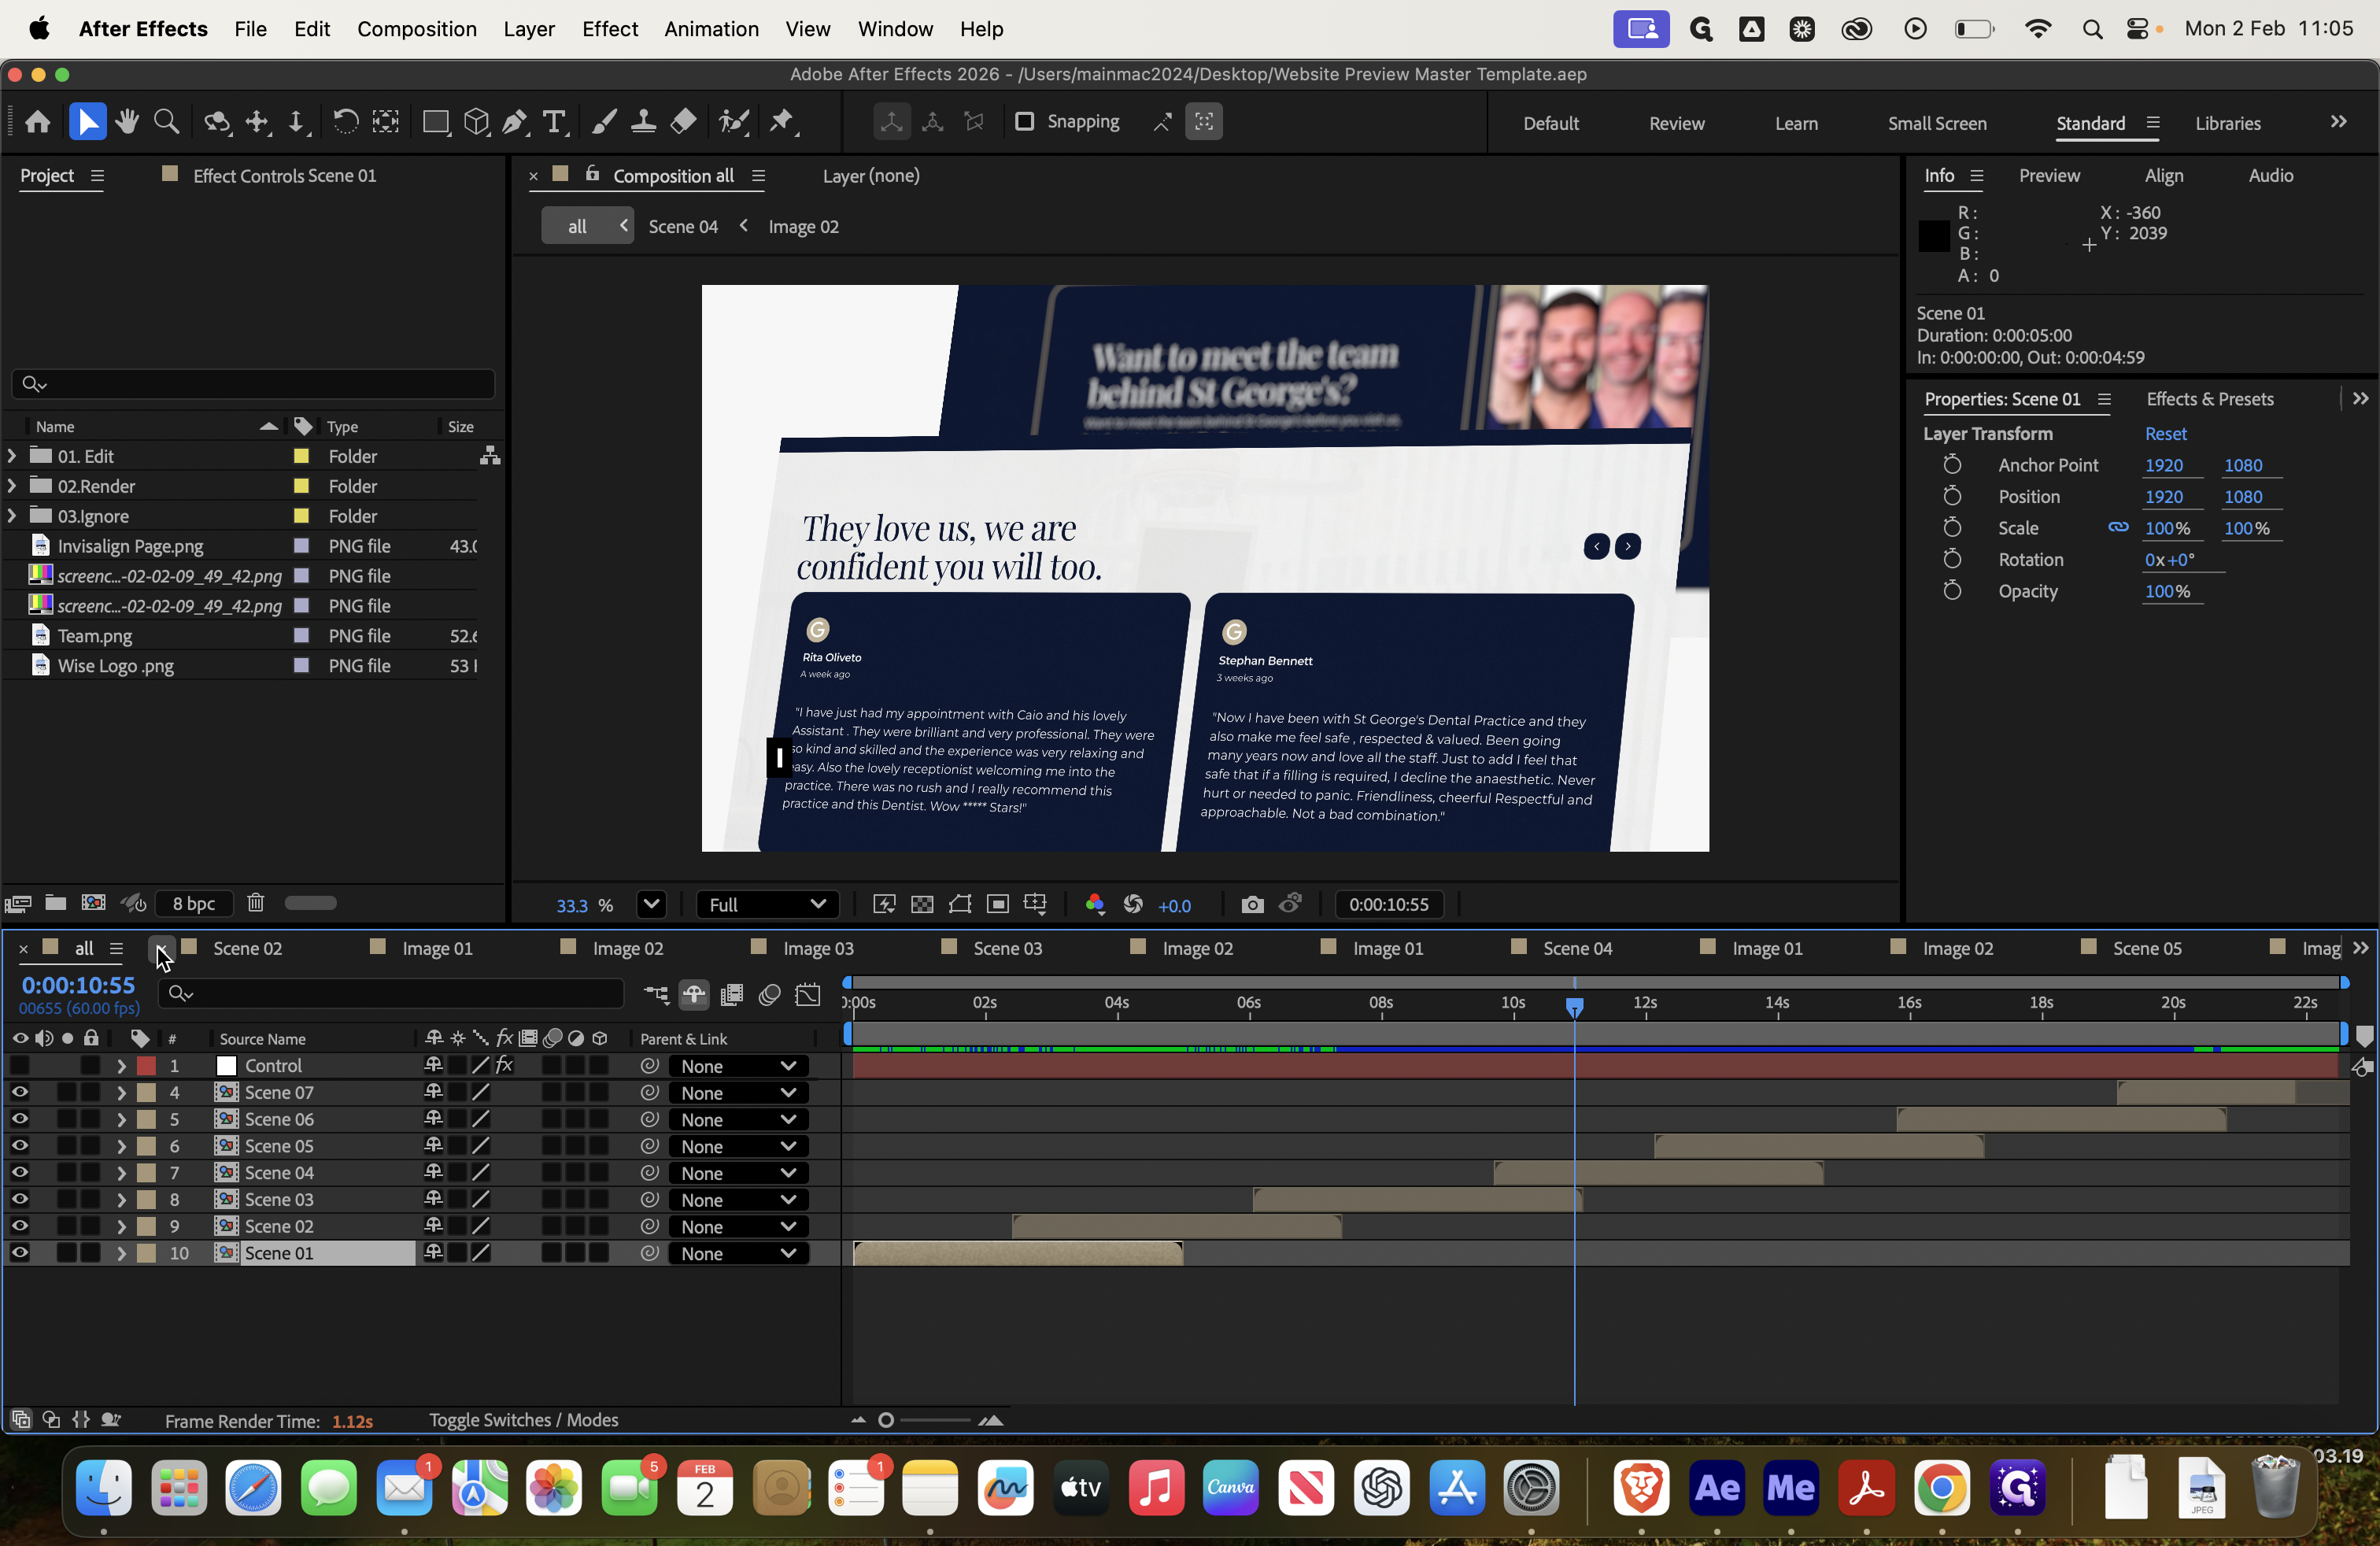
The first one we need to edit is this one, since the other is already complete. We want to update these screenshots from the St.


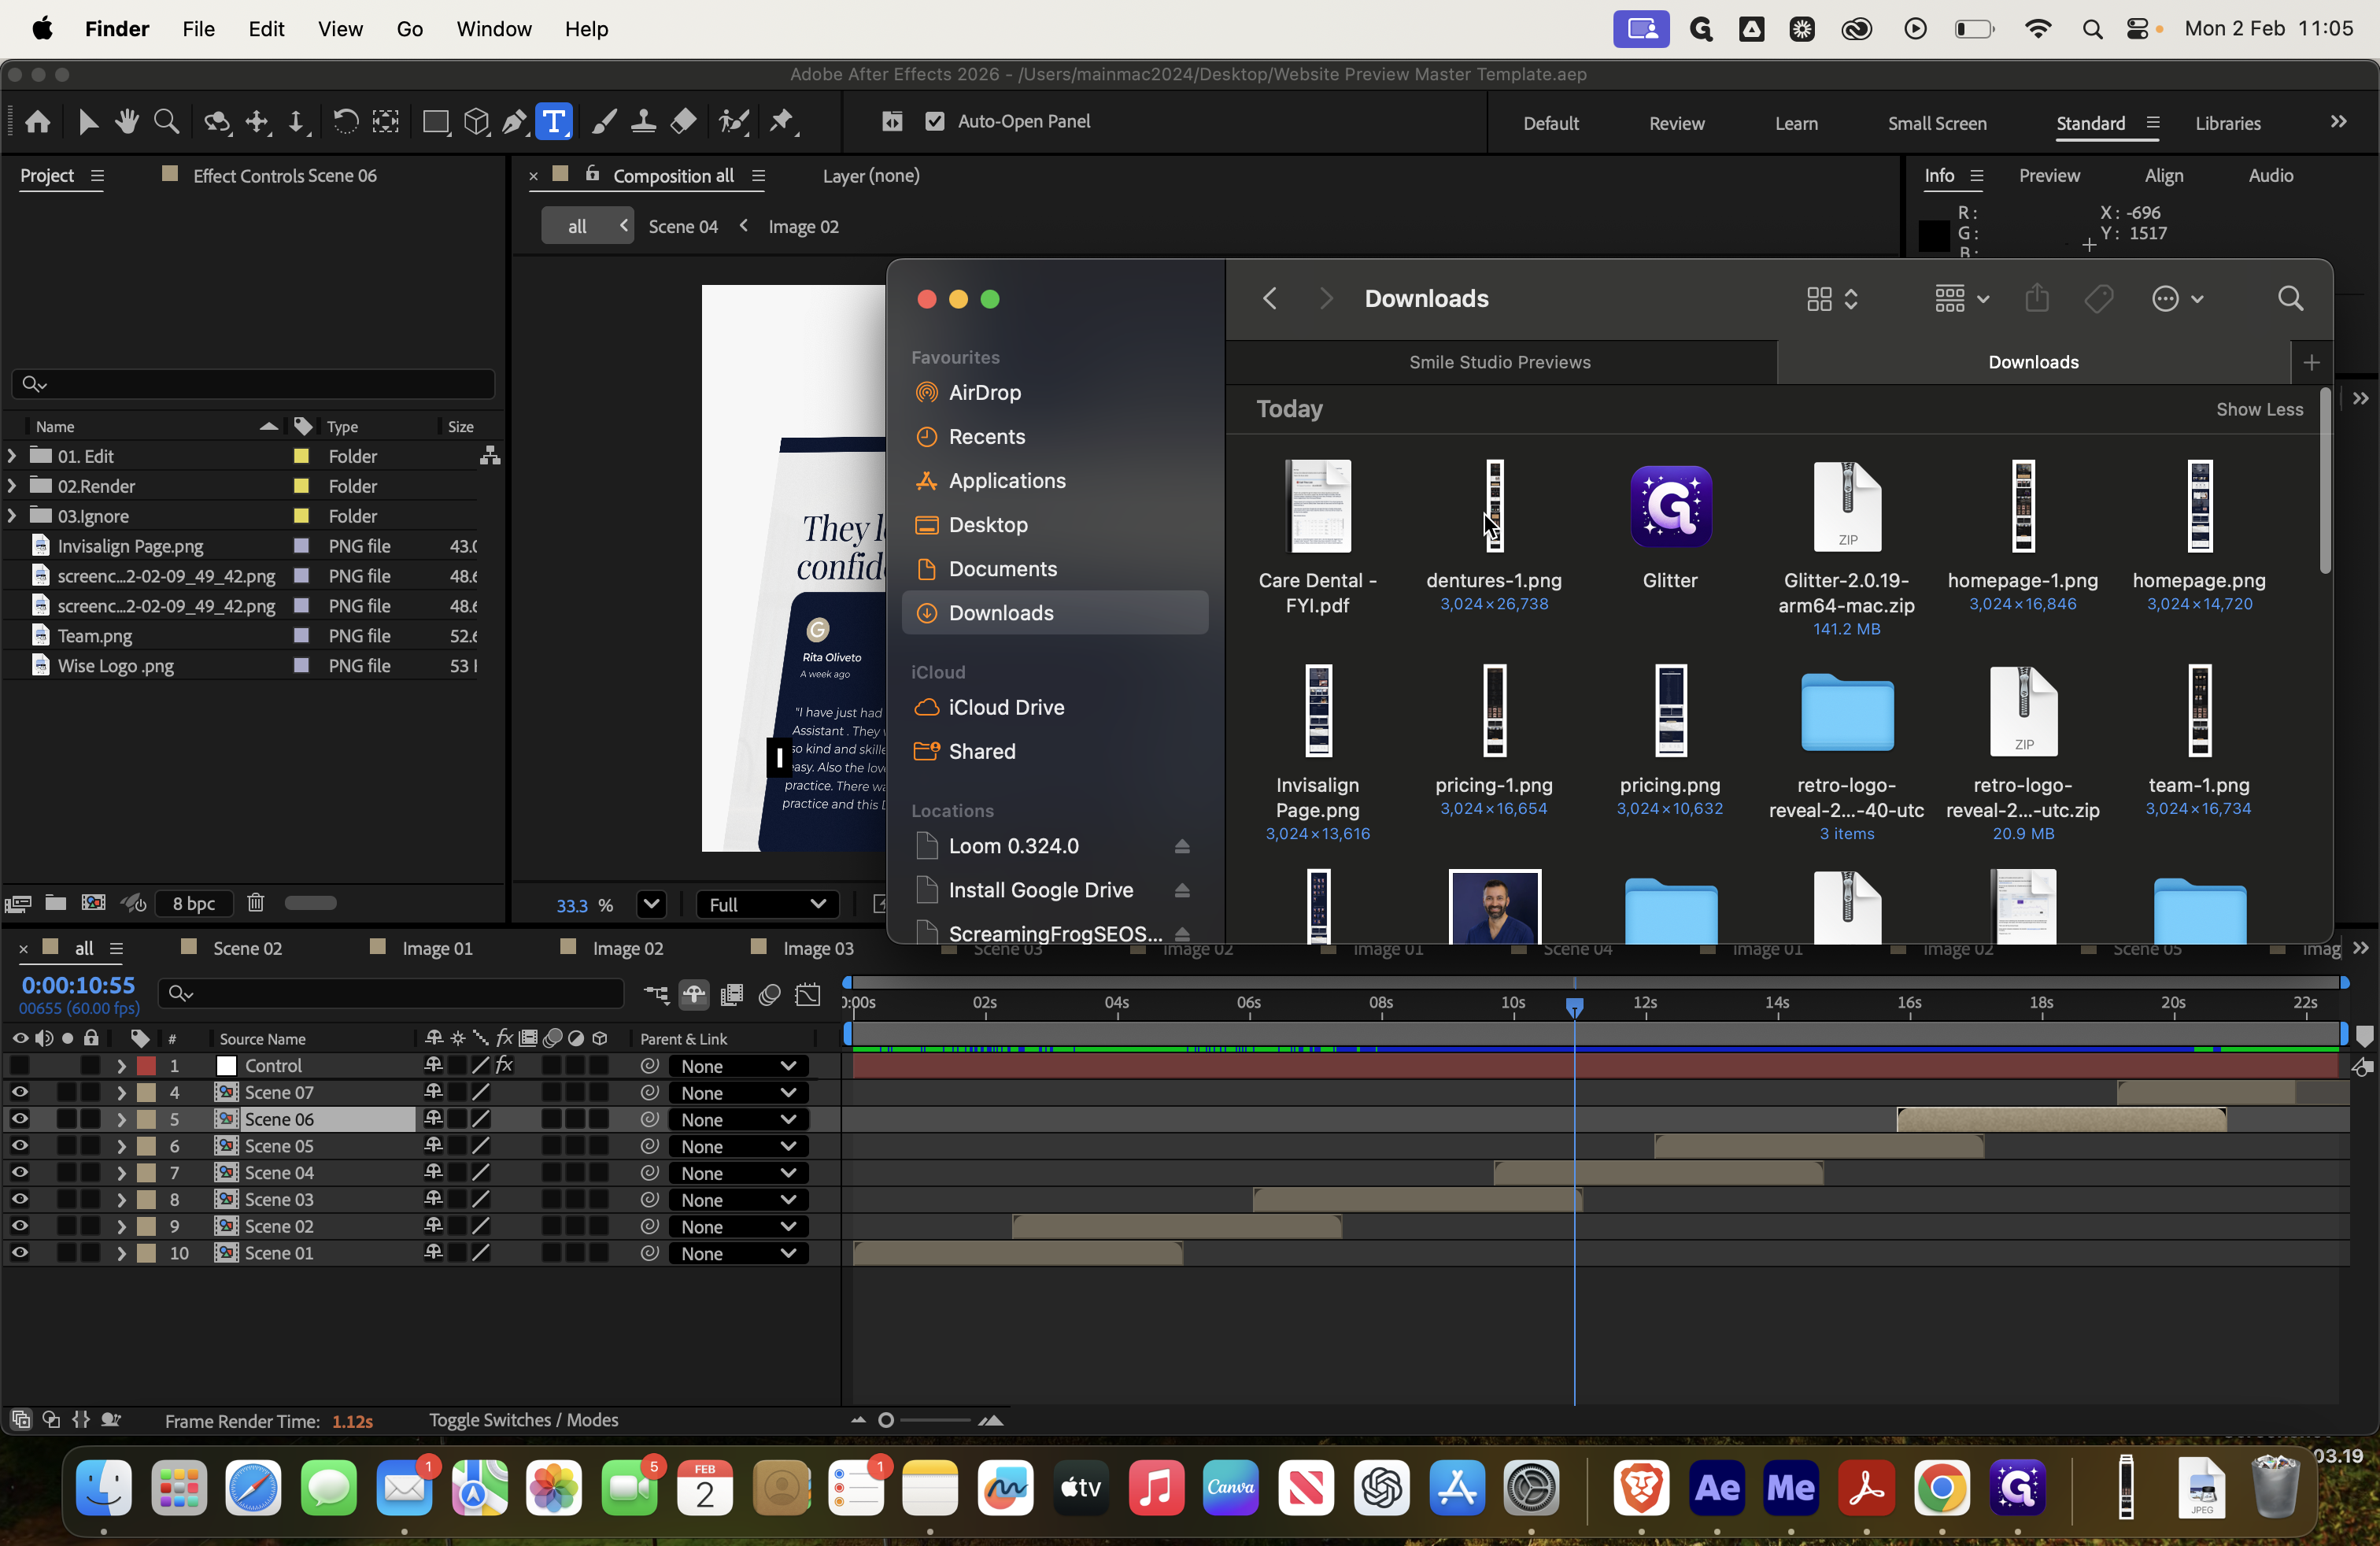
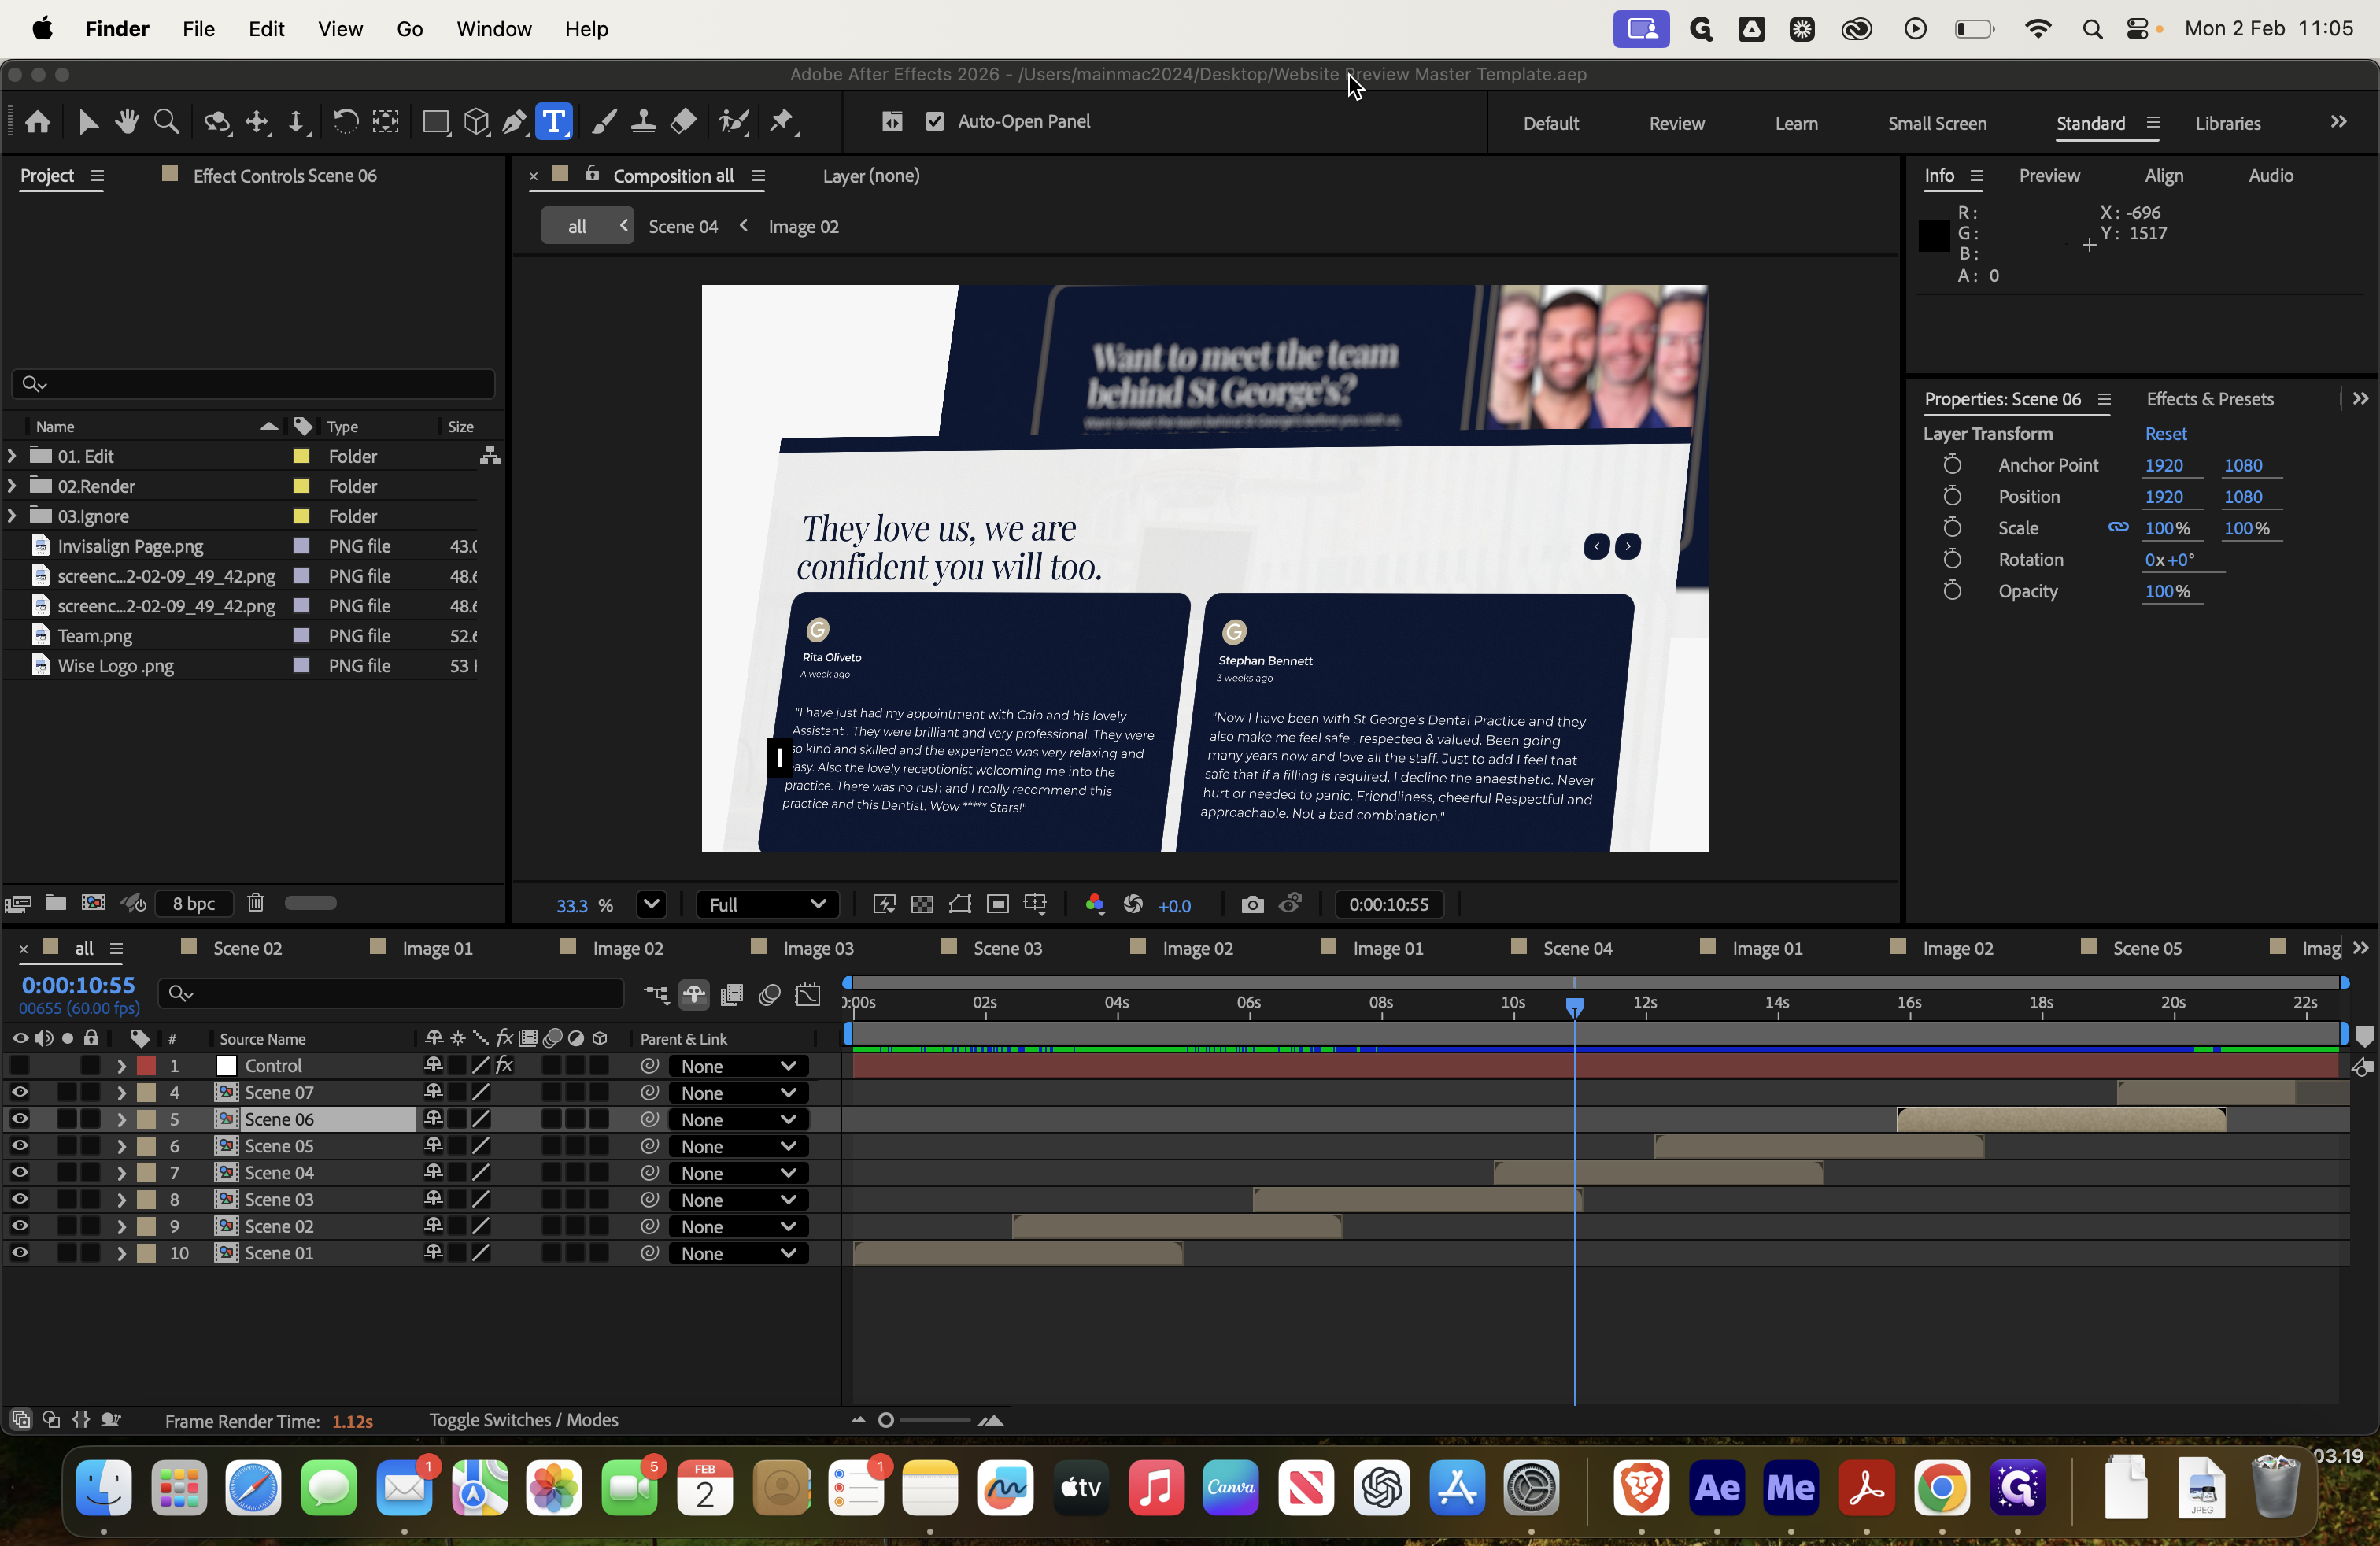
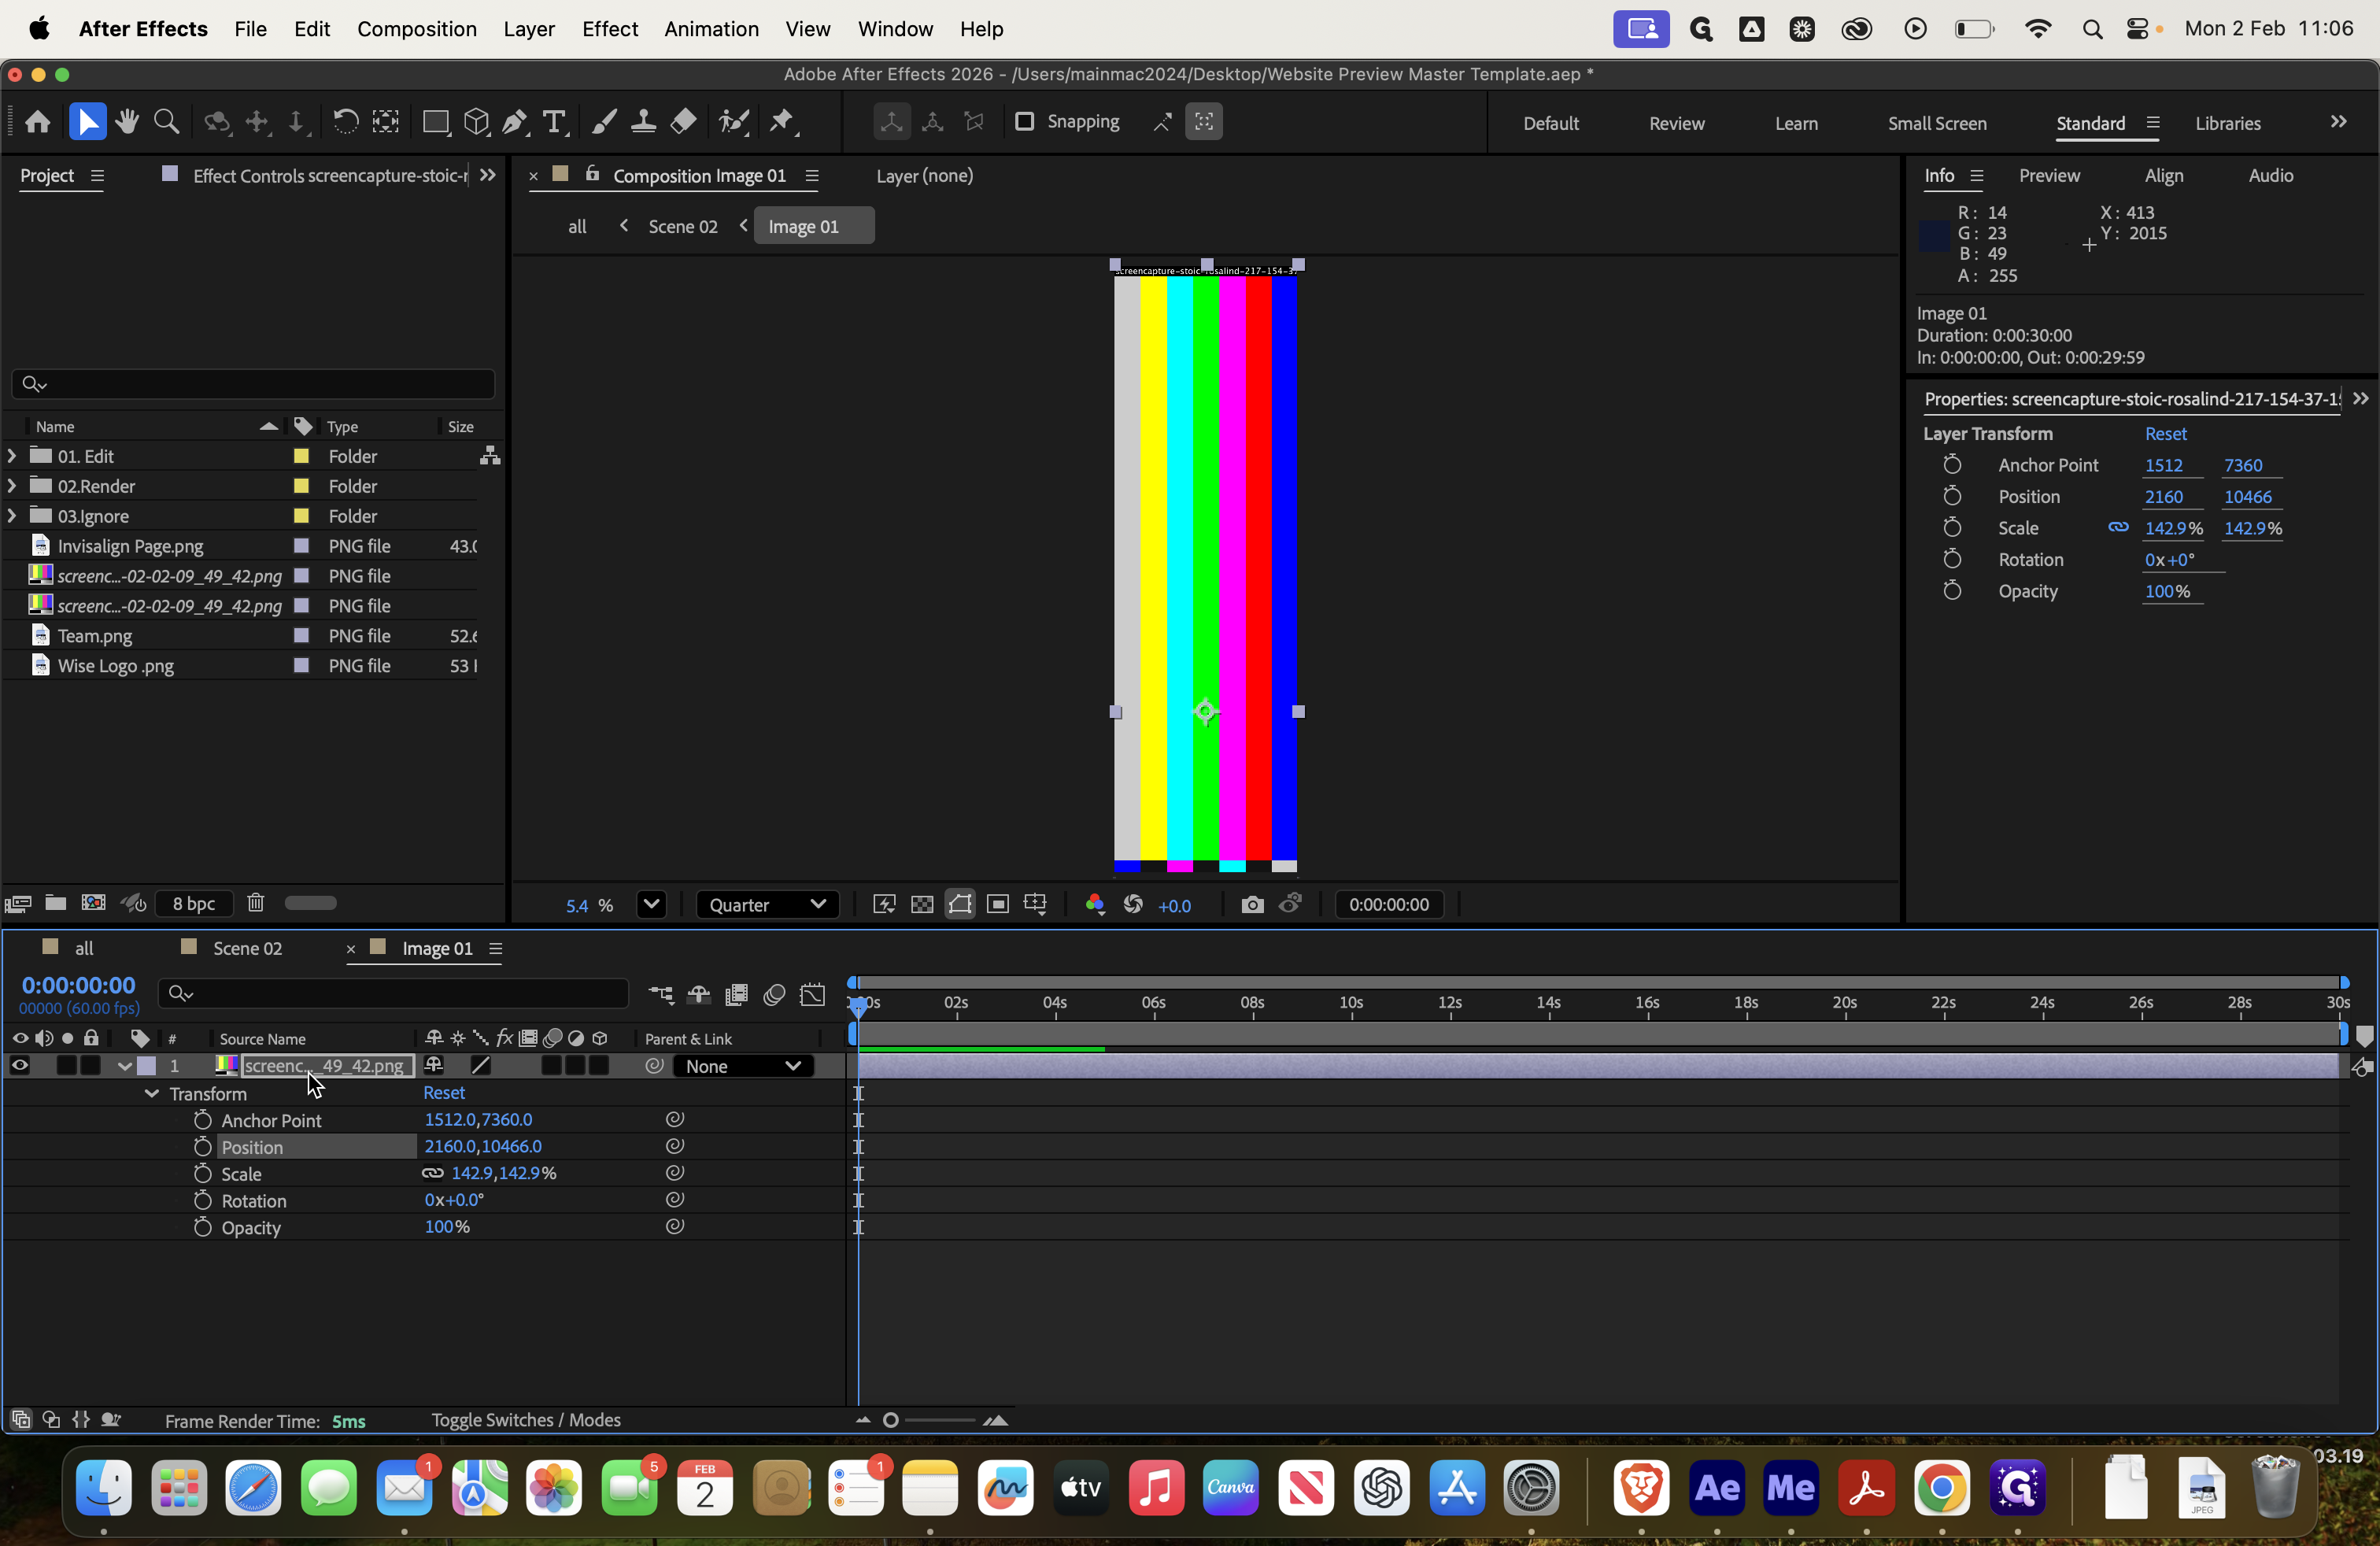
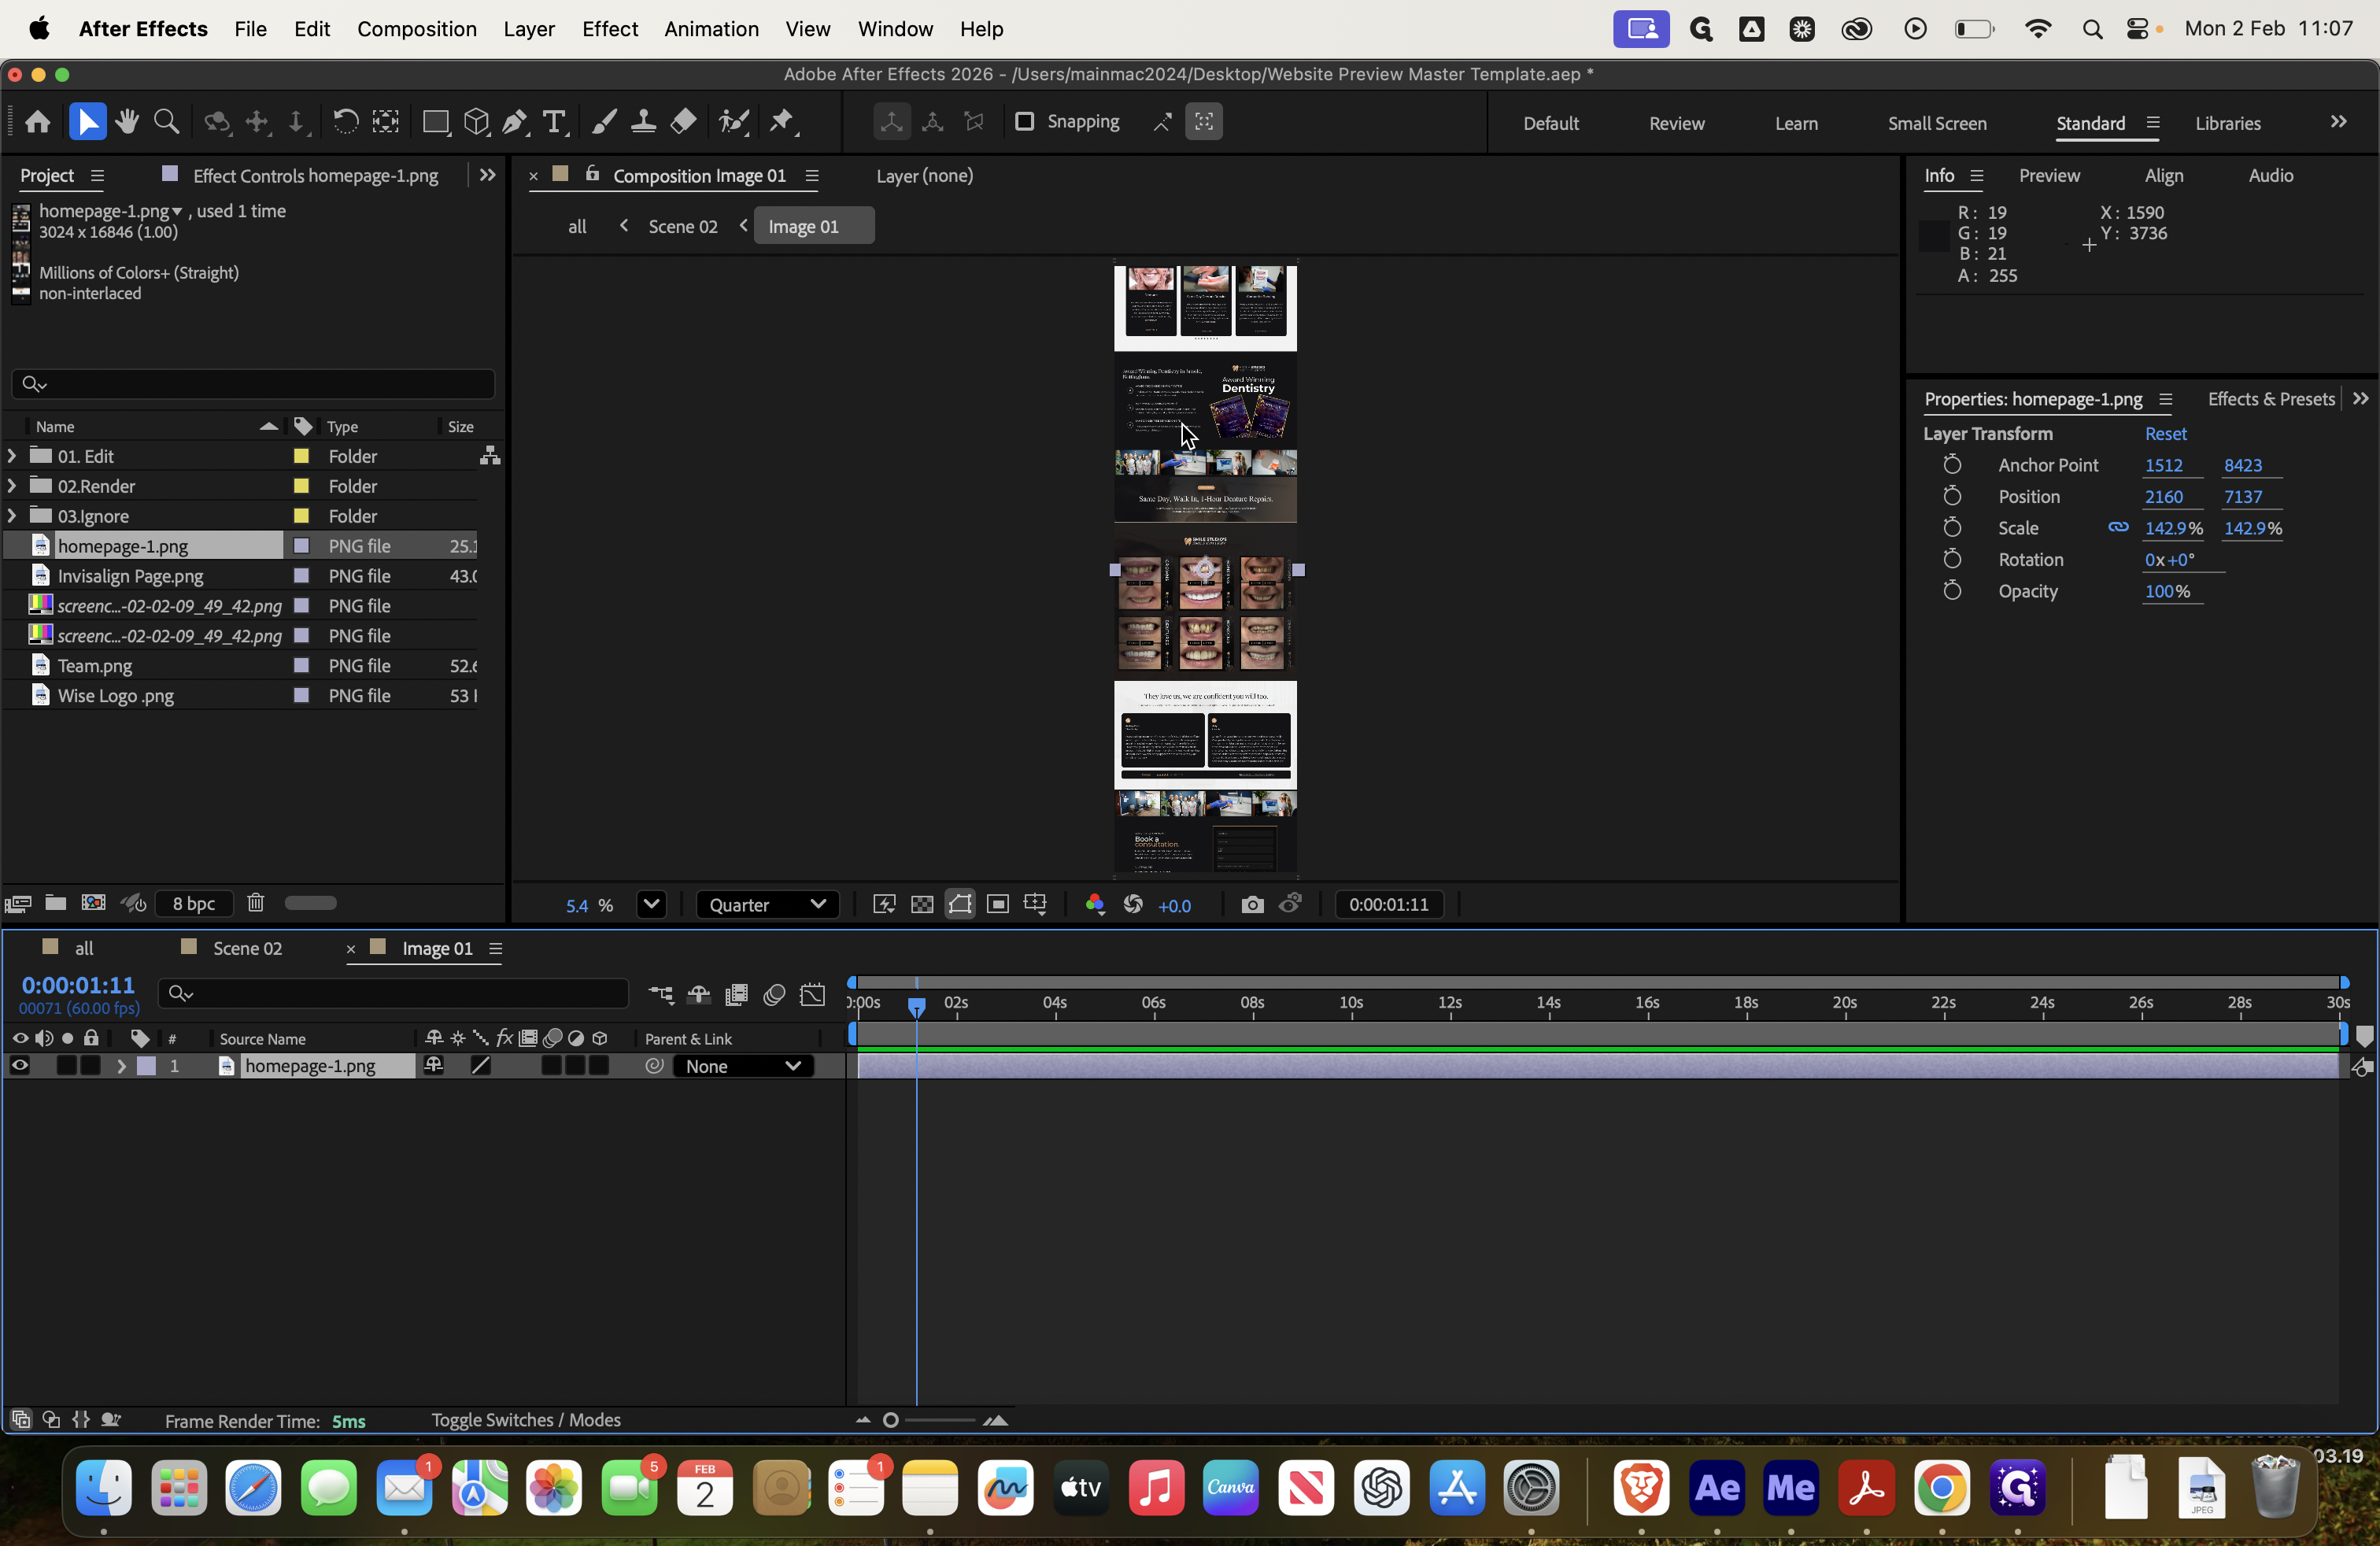
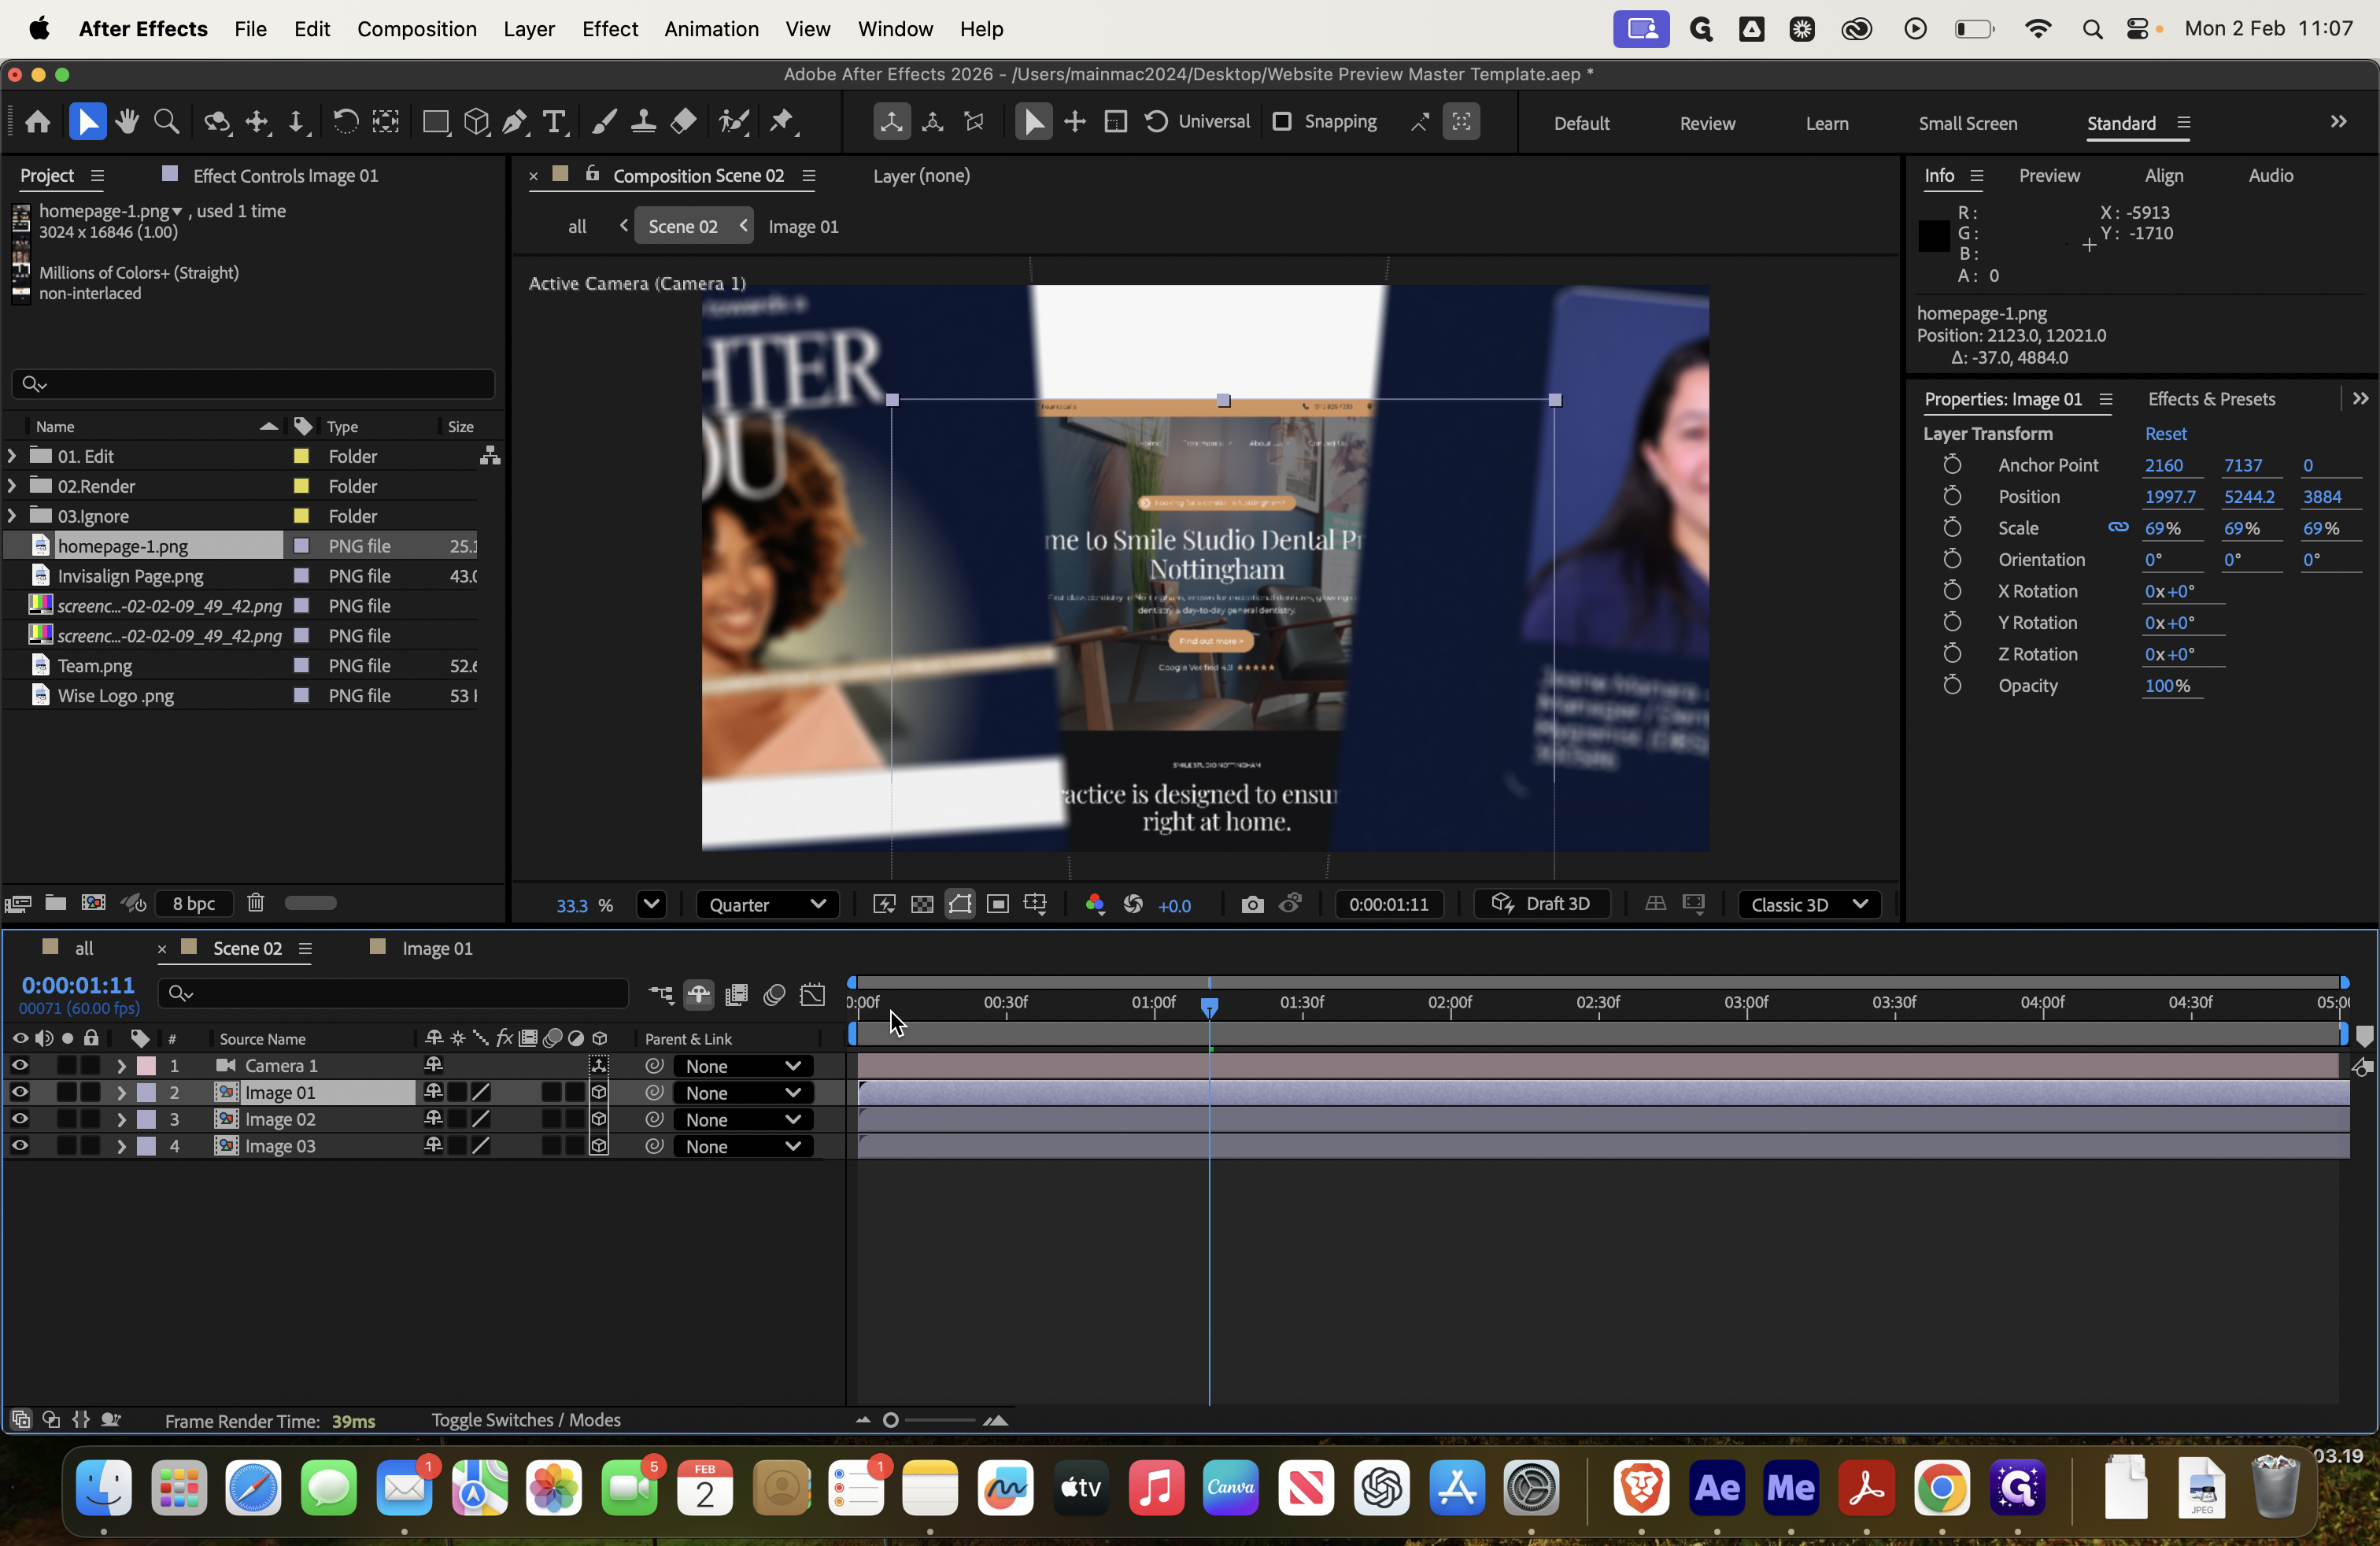
Go to Scene 2 on George's website, then select Image 1.
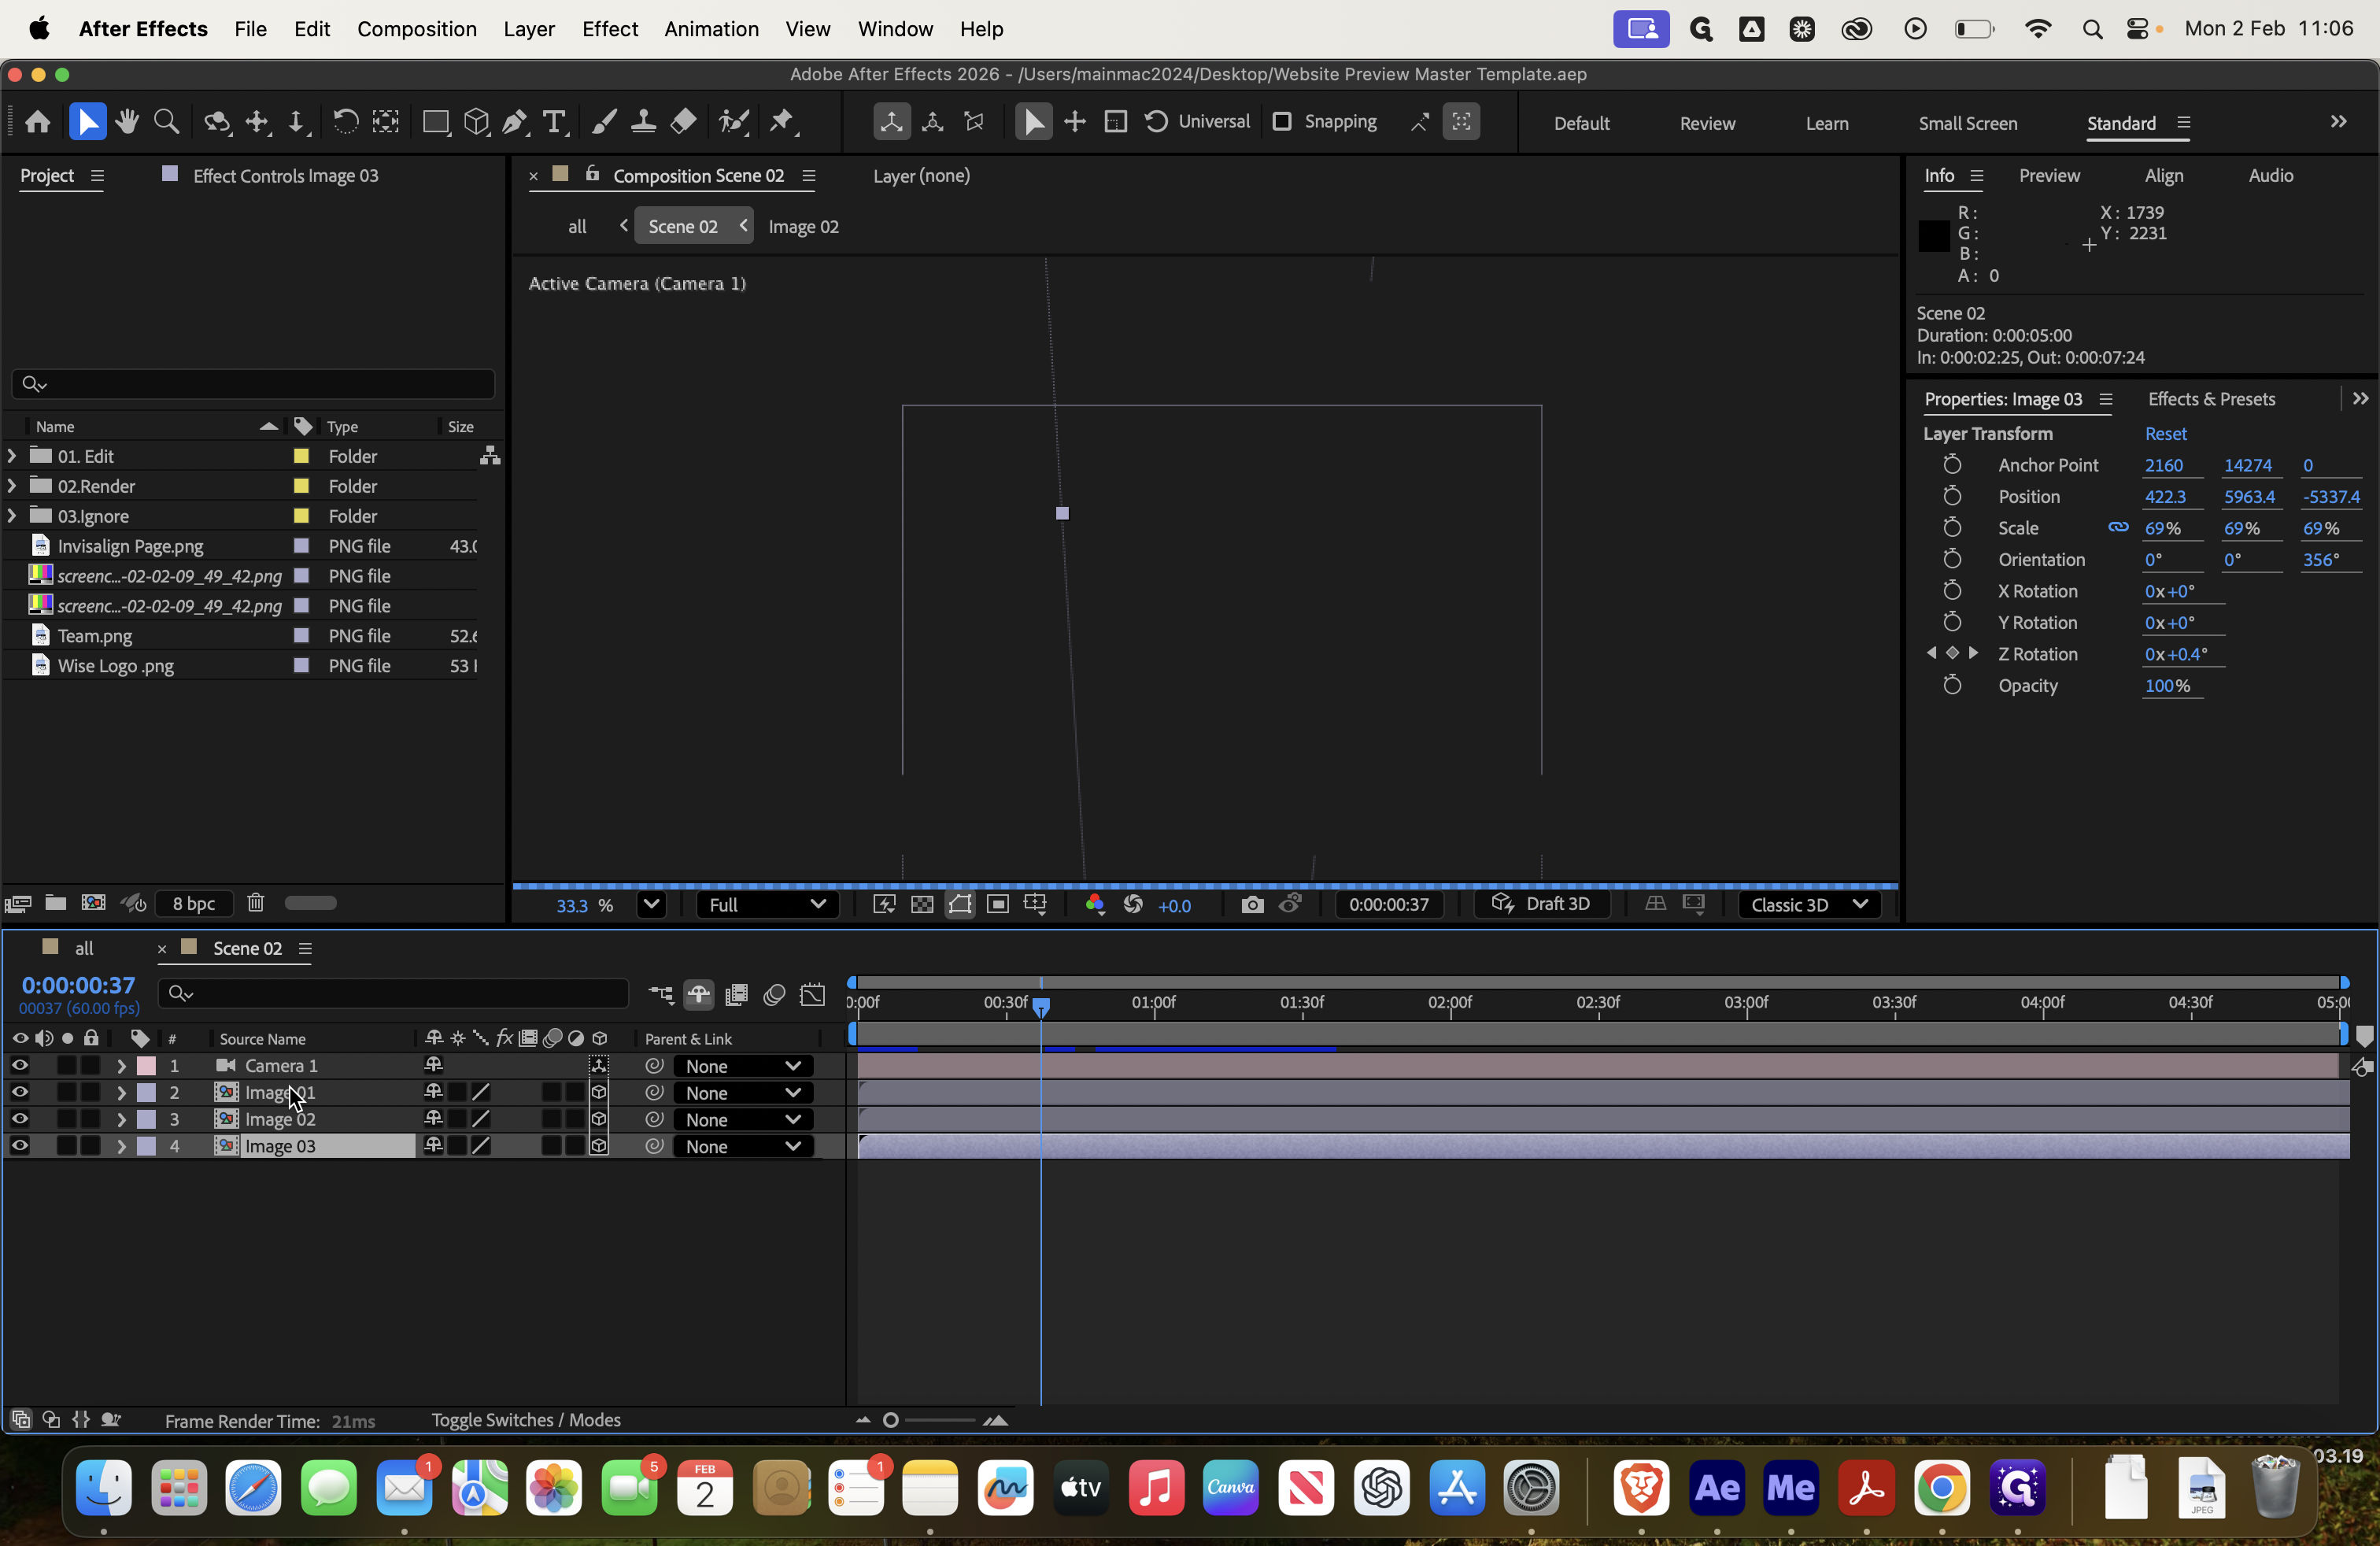


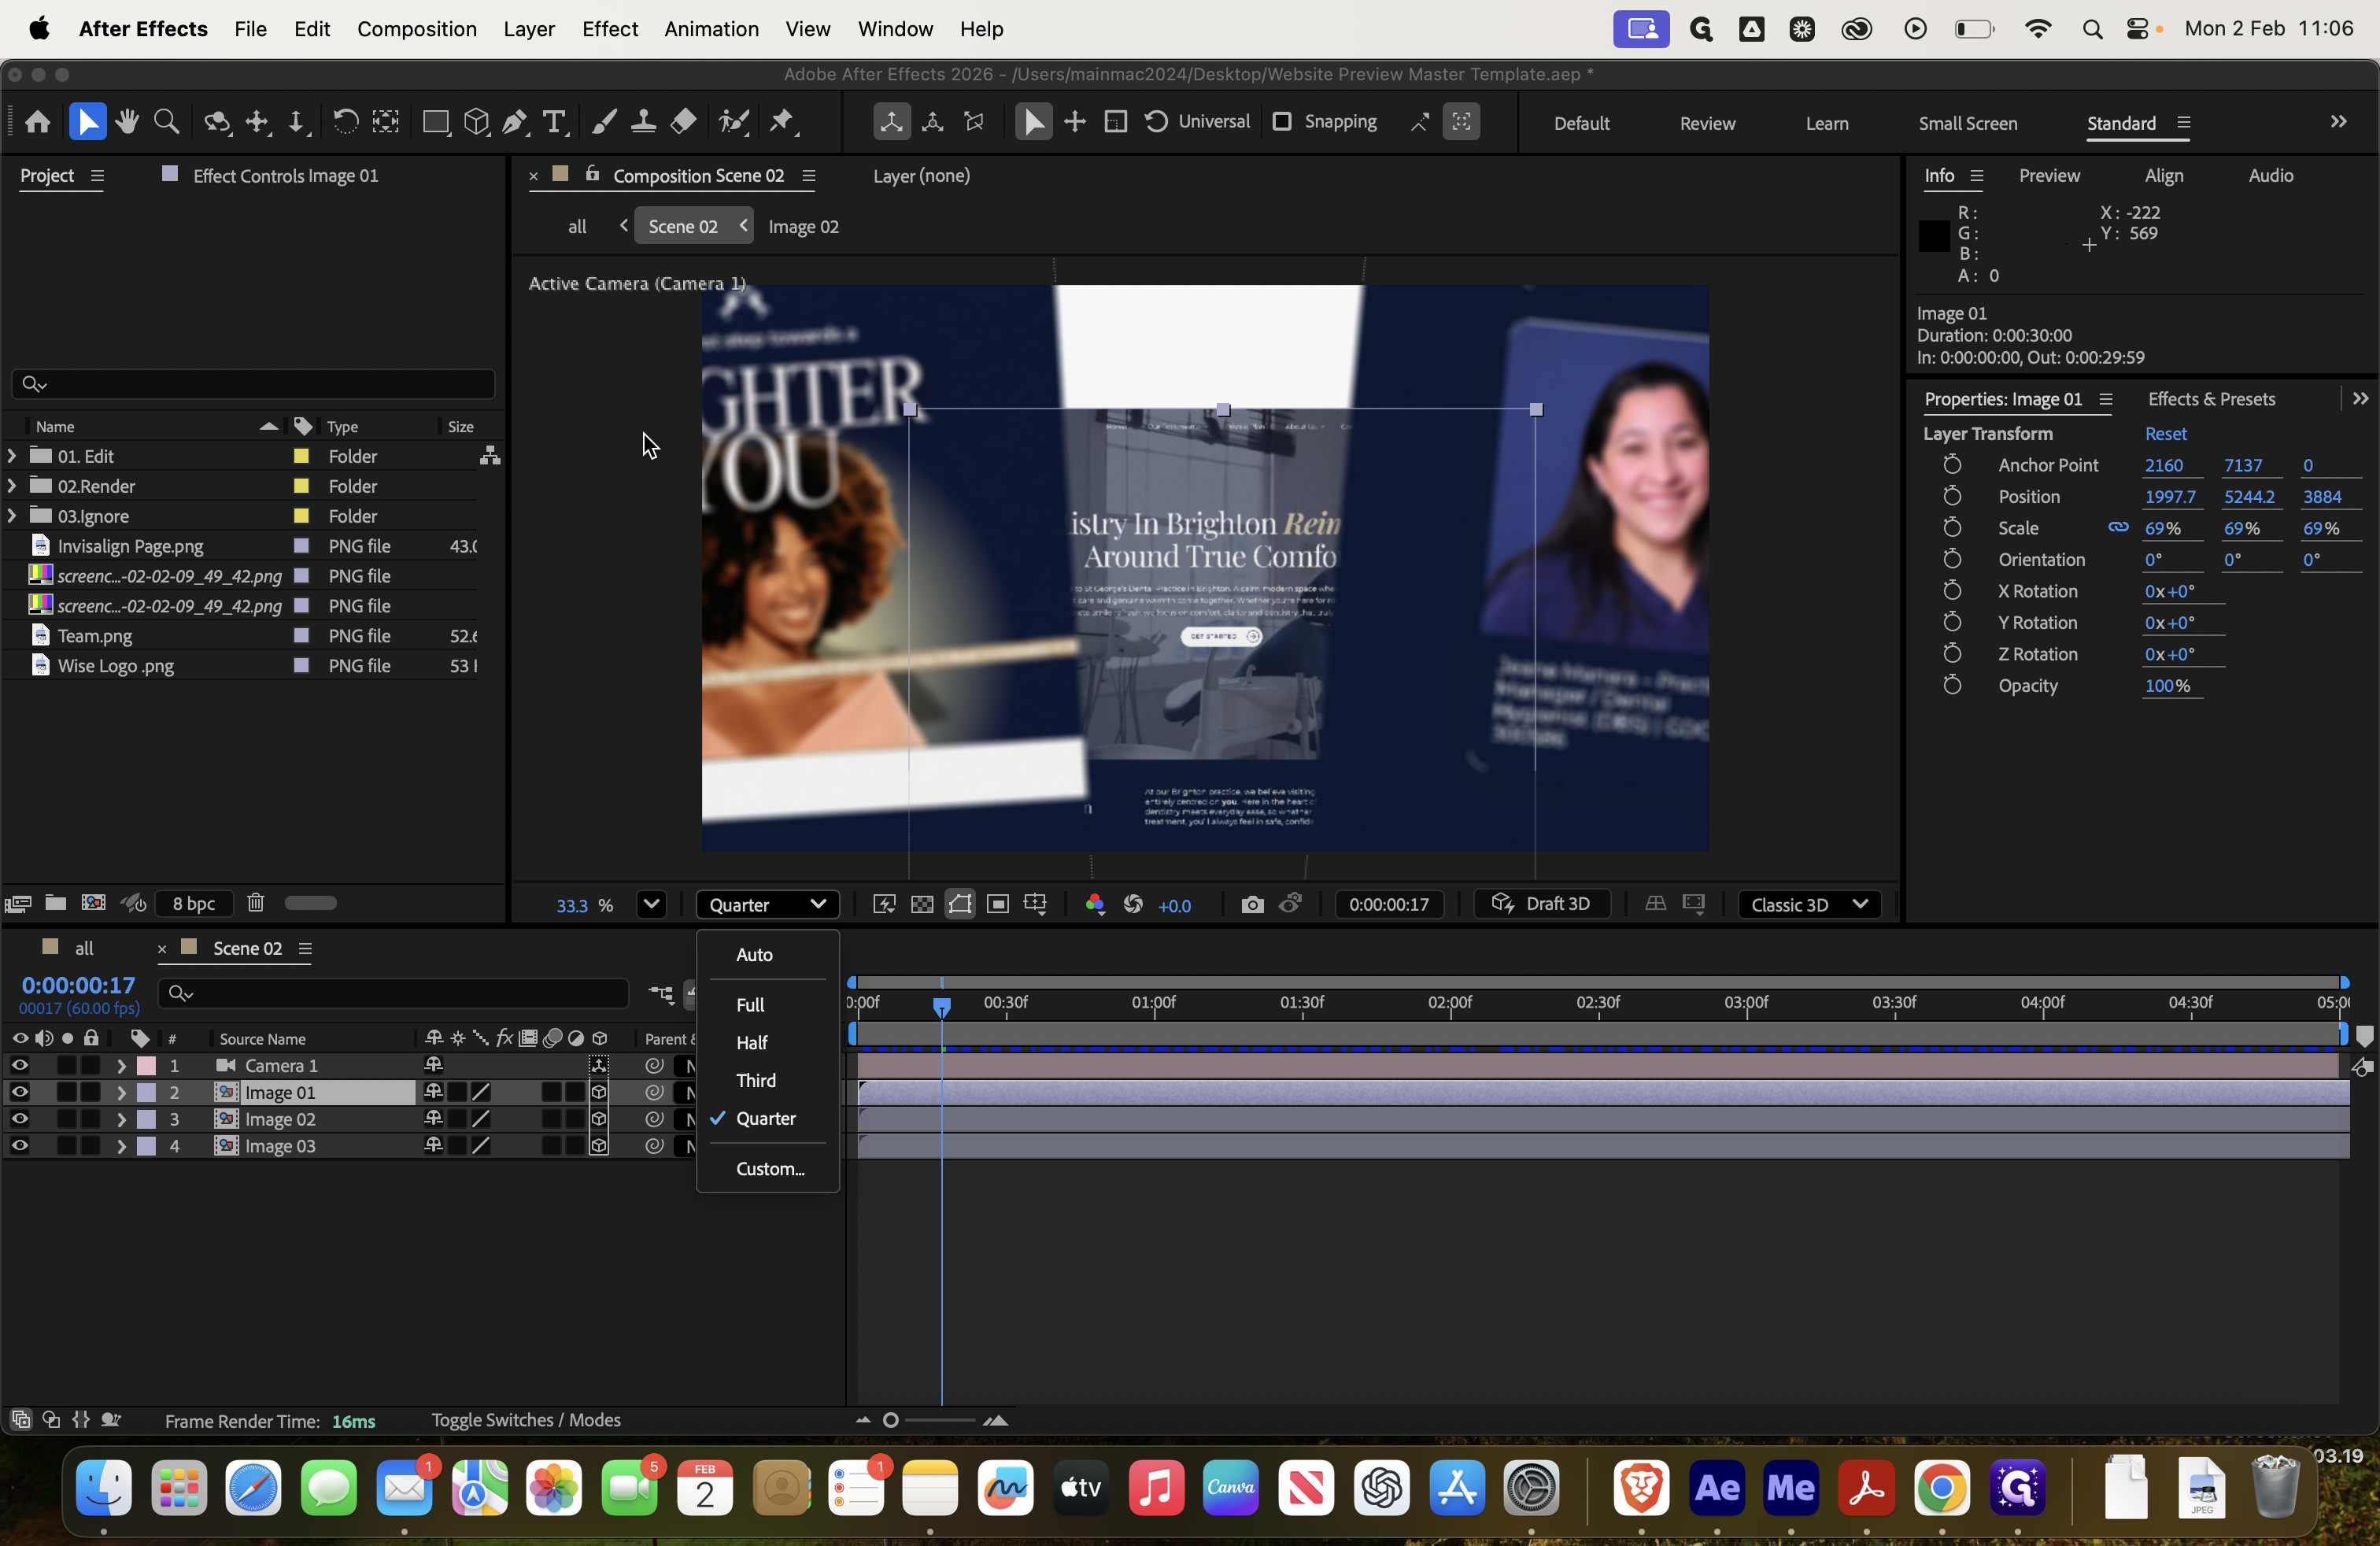
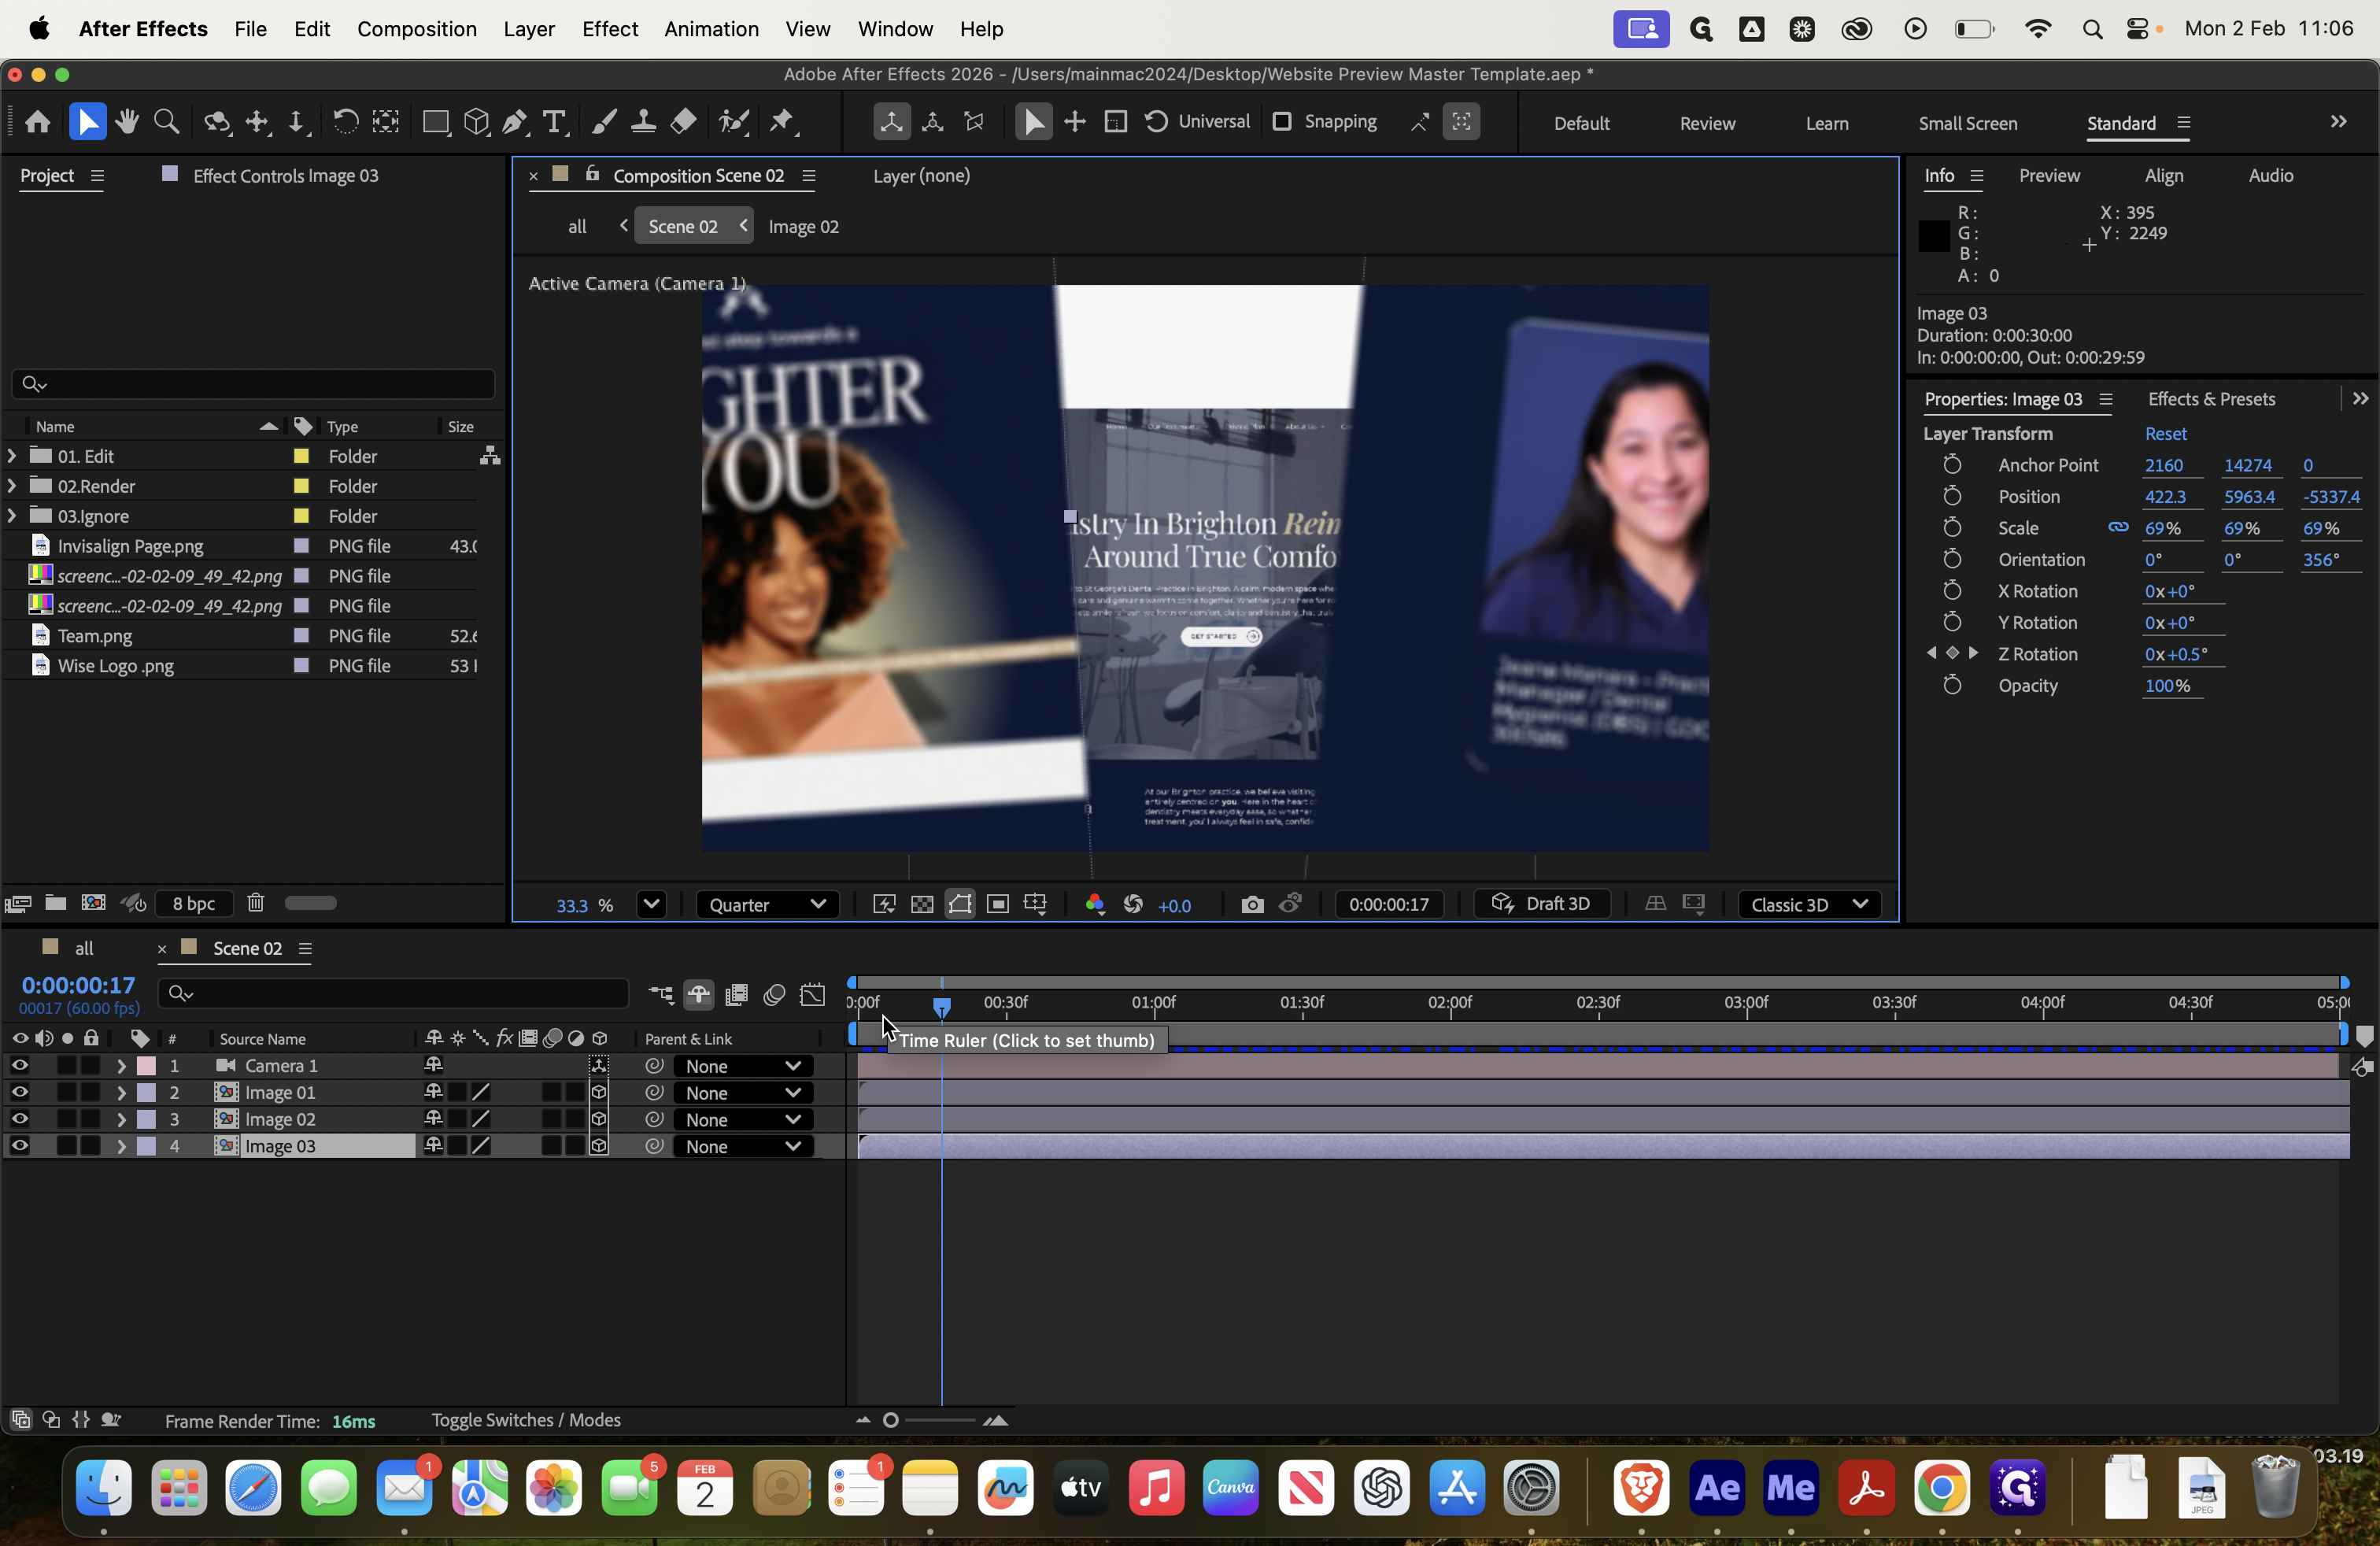
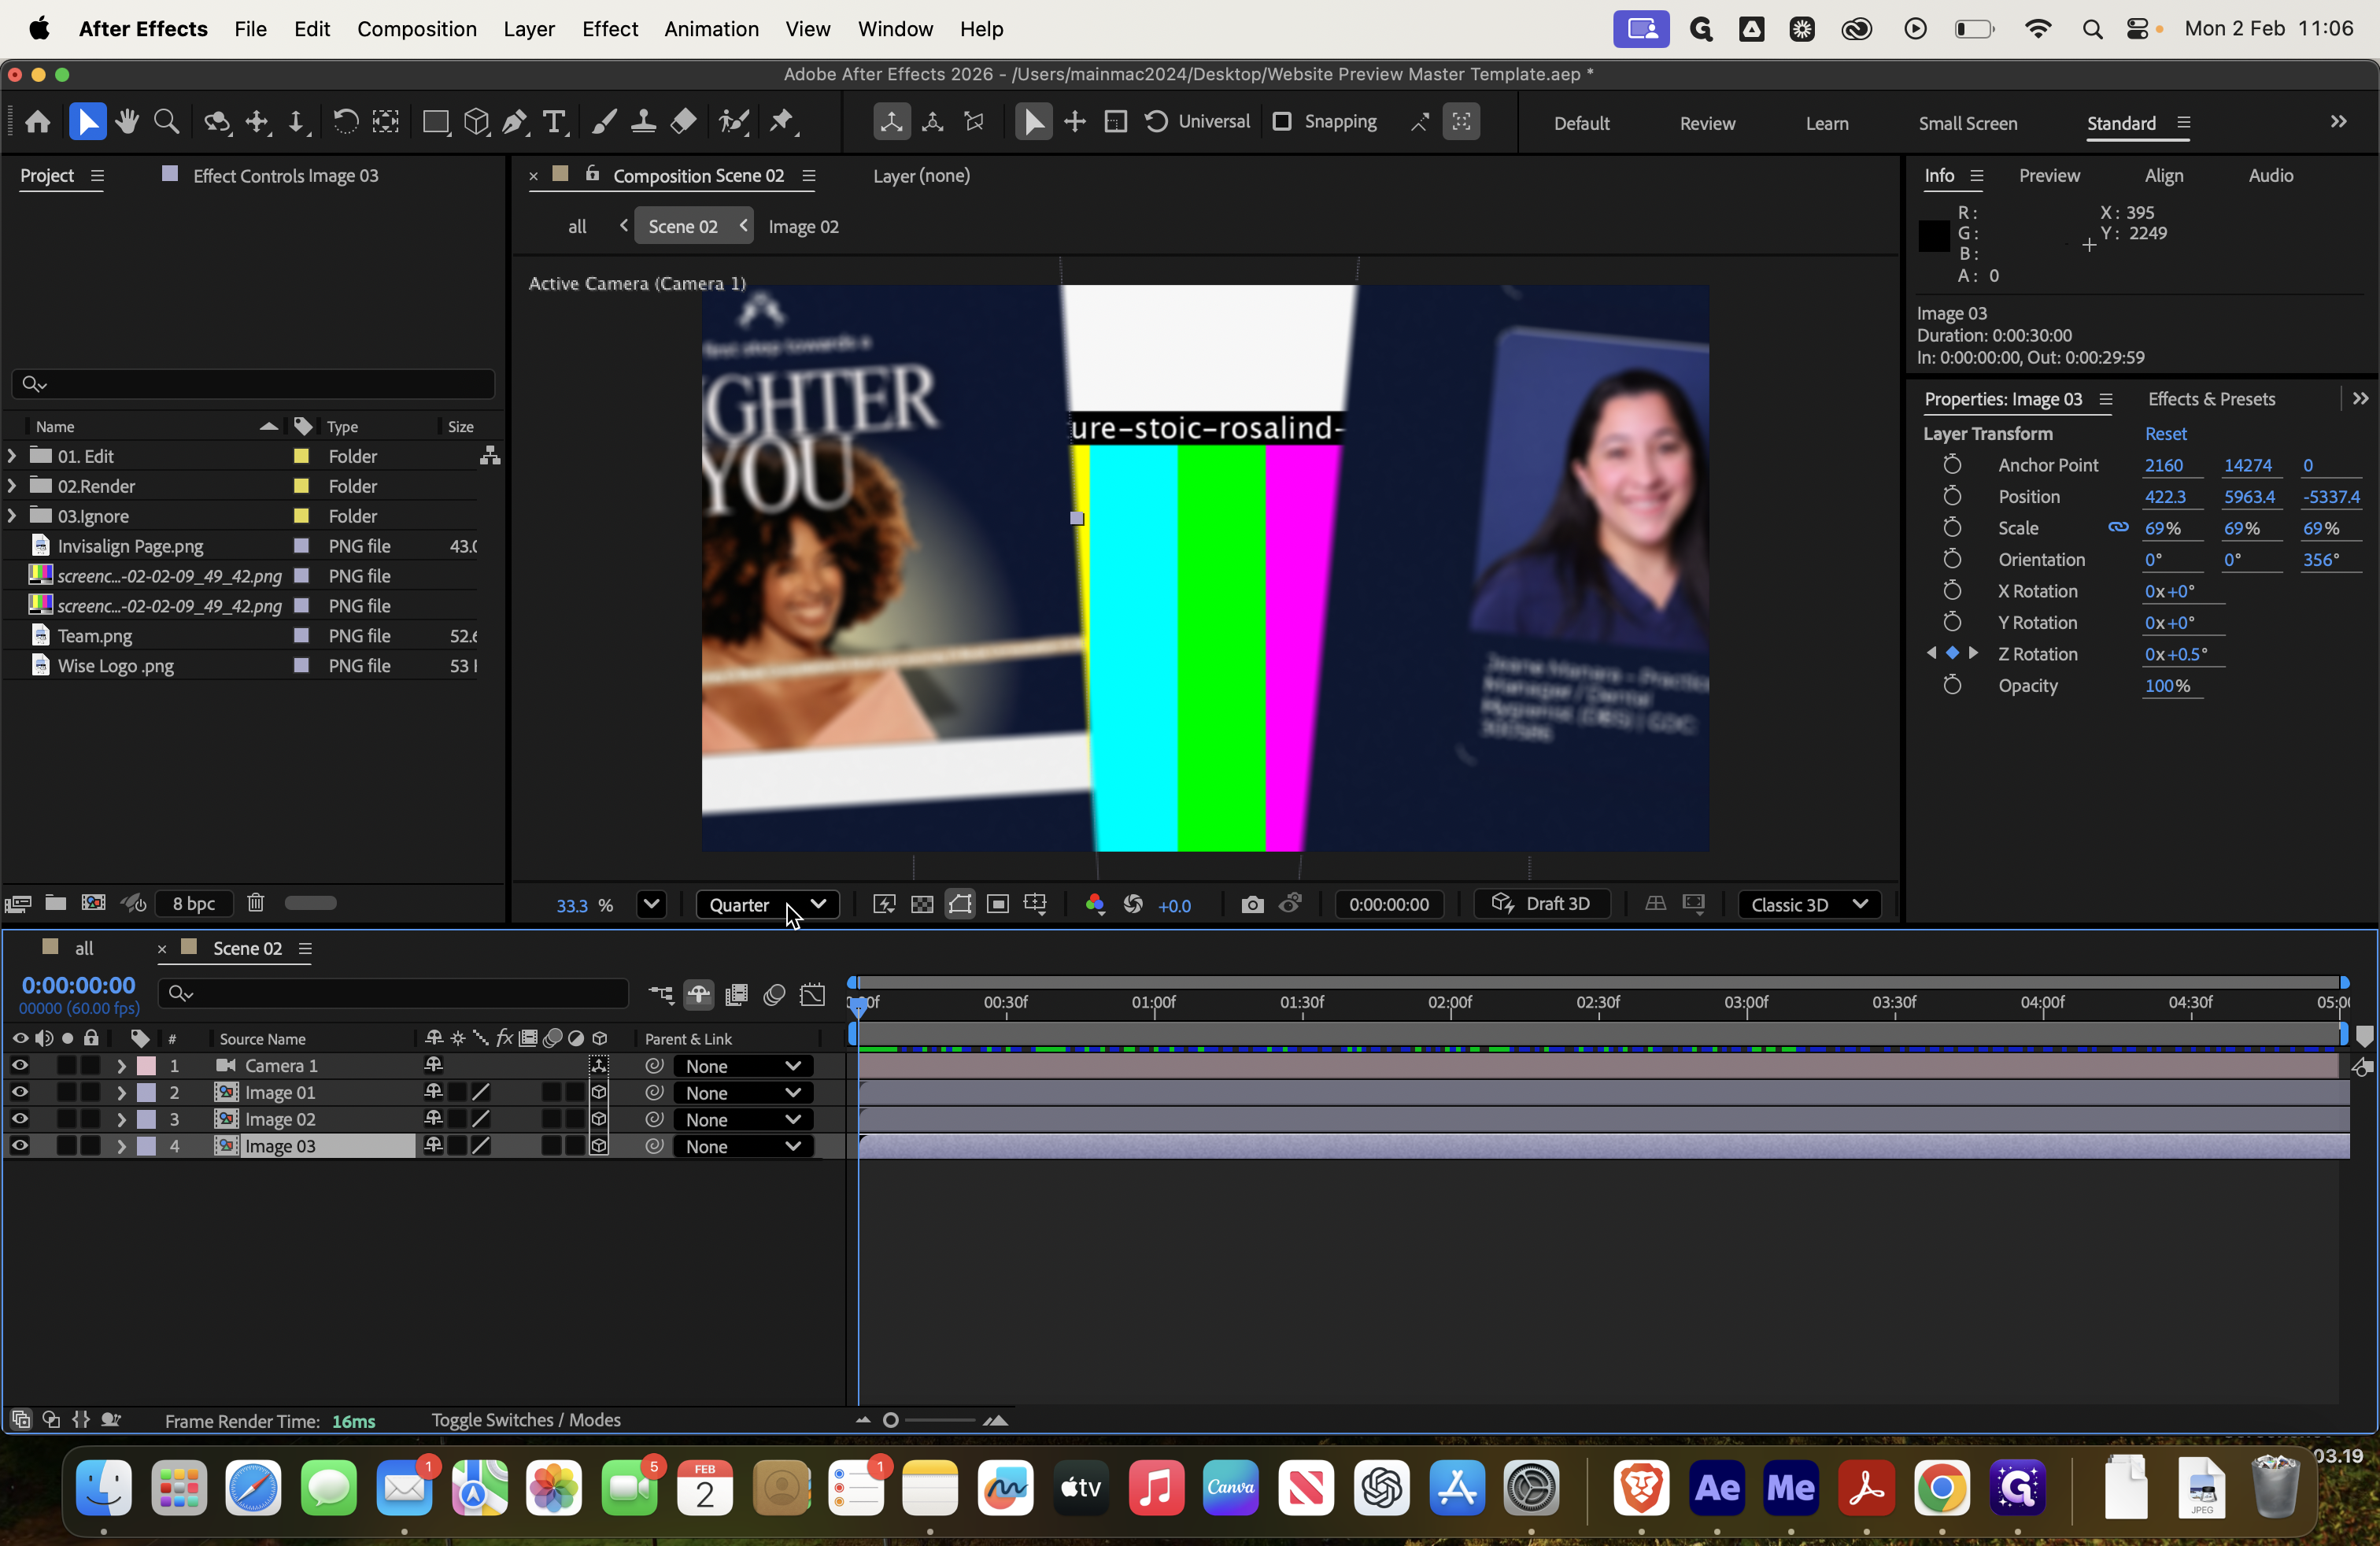
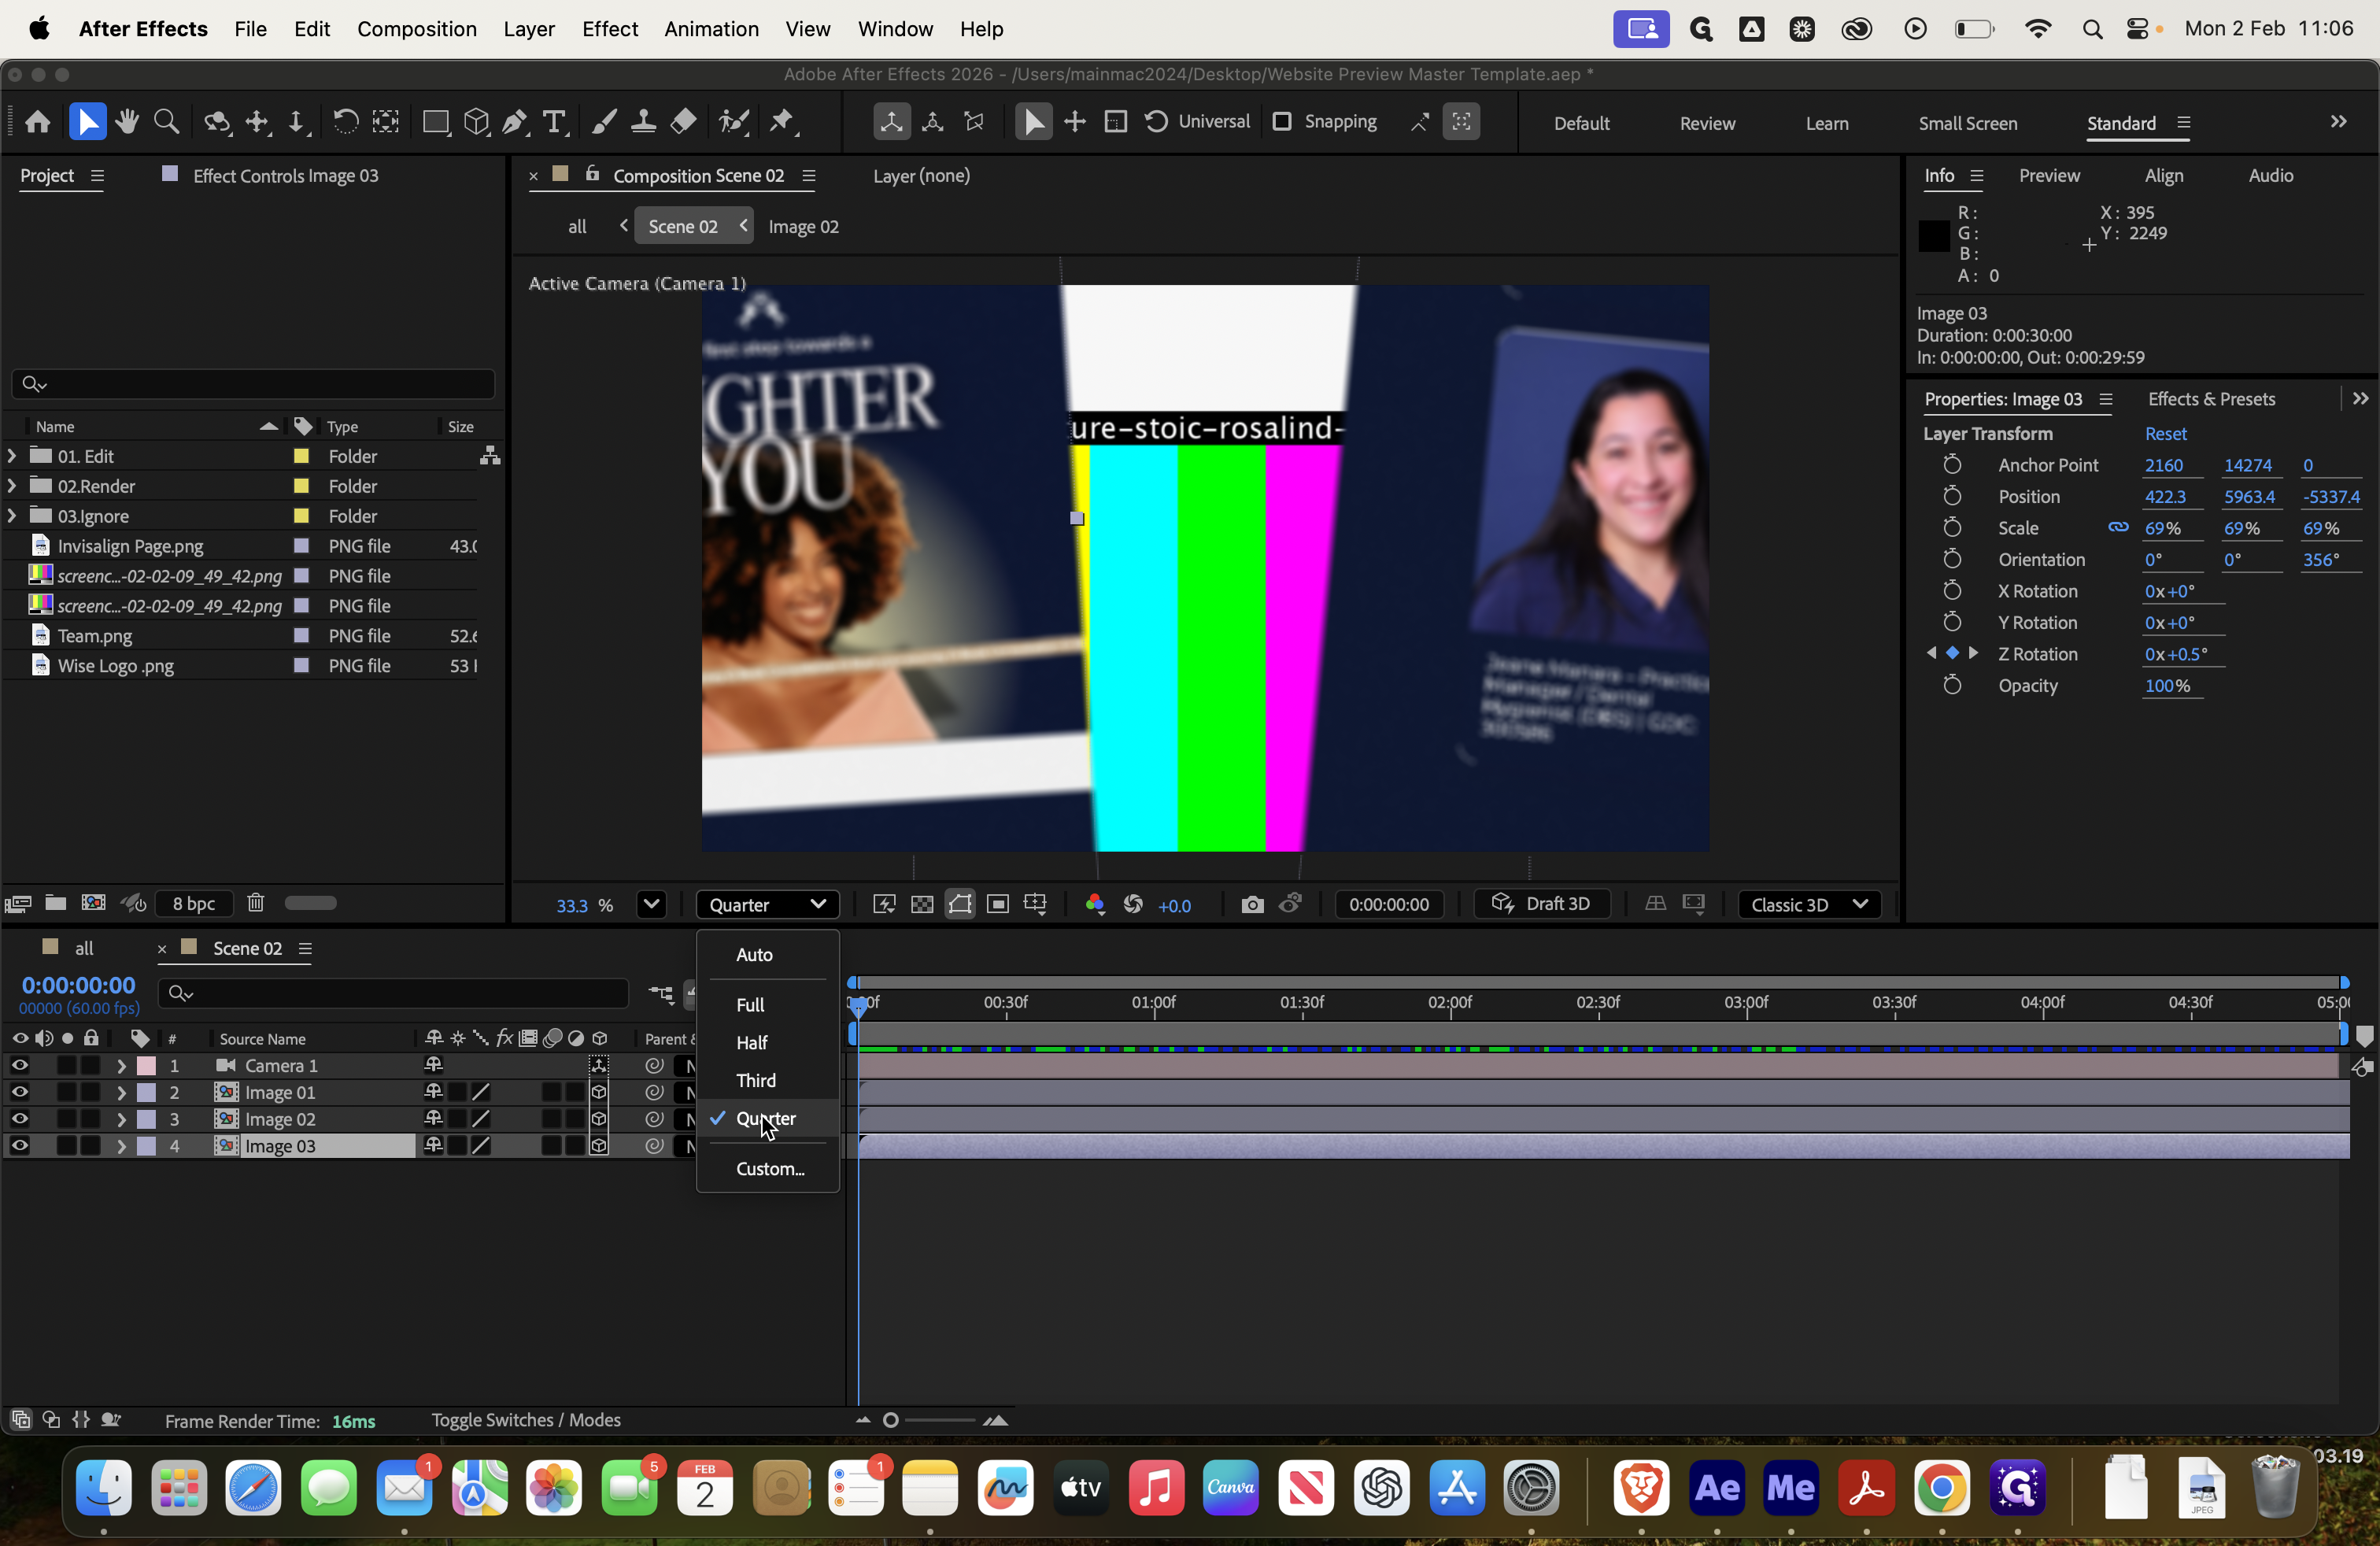
Here is your preview screen. If it's not loading quickly or seems glitchy, you can reduce the quality to a quarter. This way, it only displays in quarter quality instead of full, which requires more rendering.


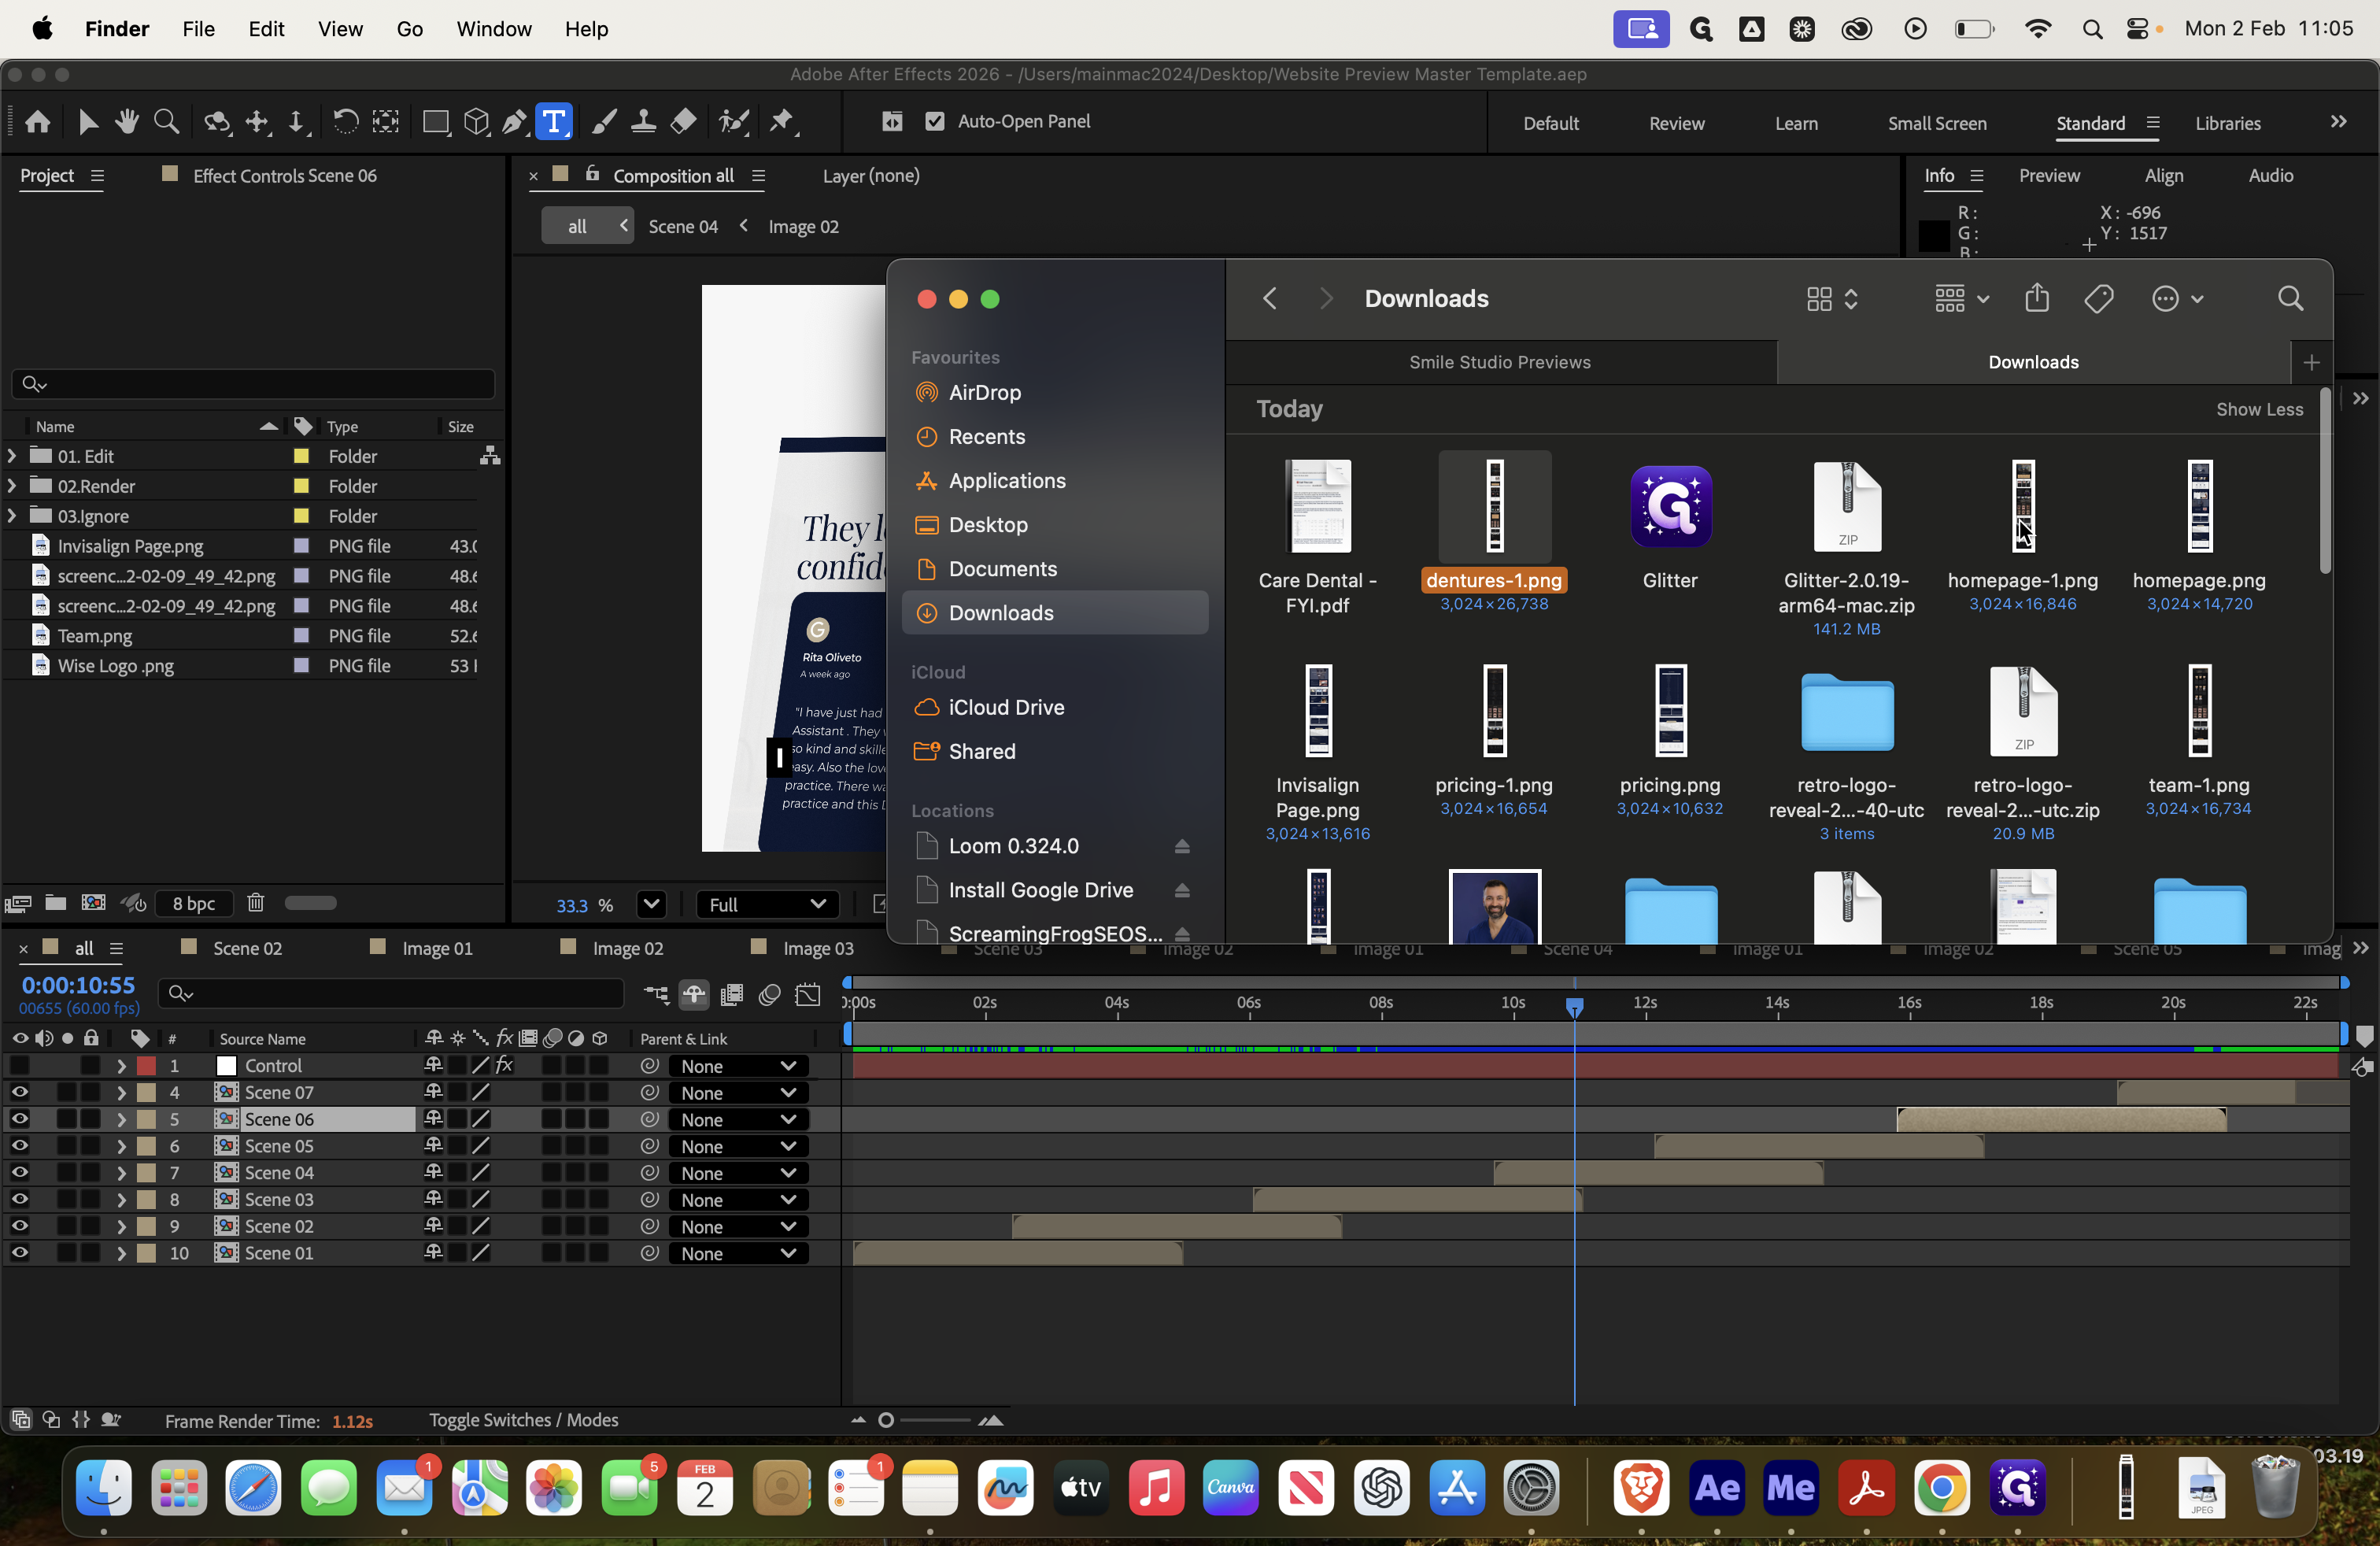
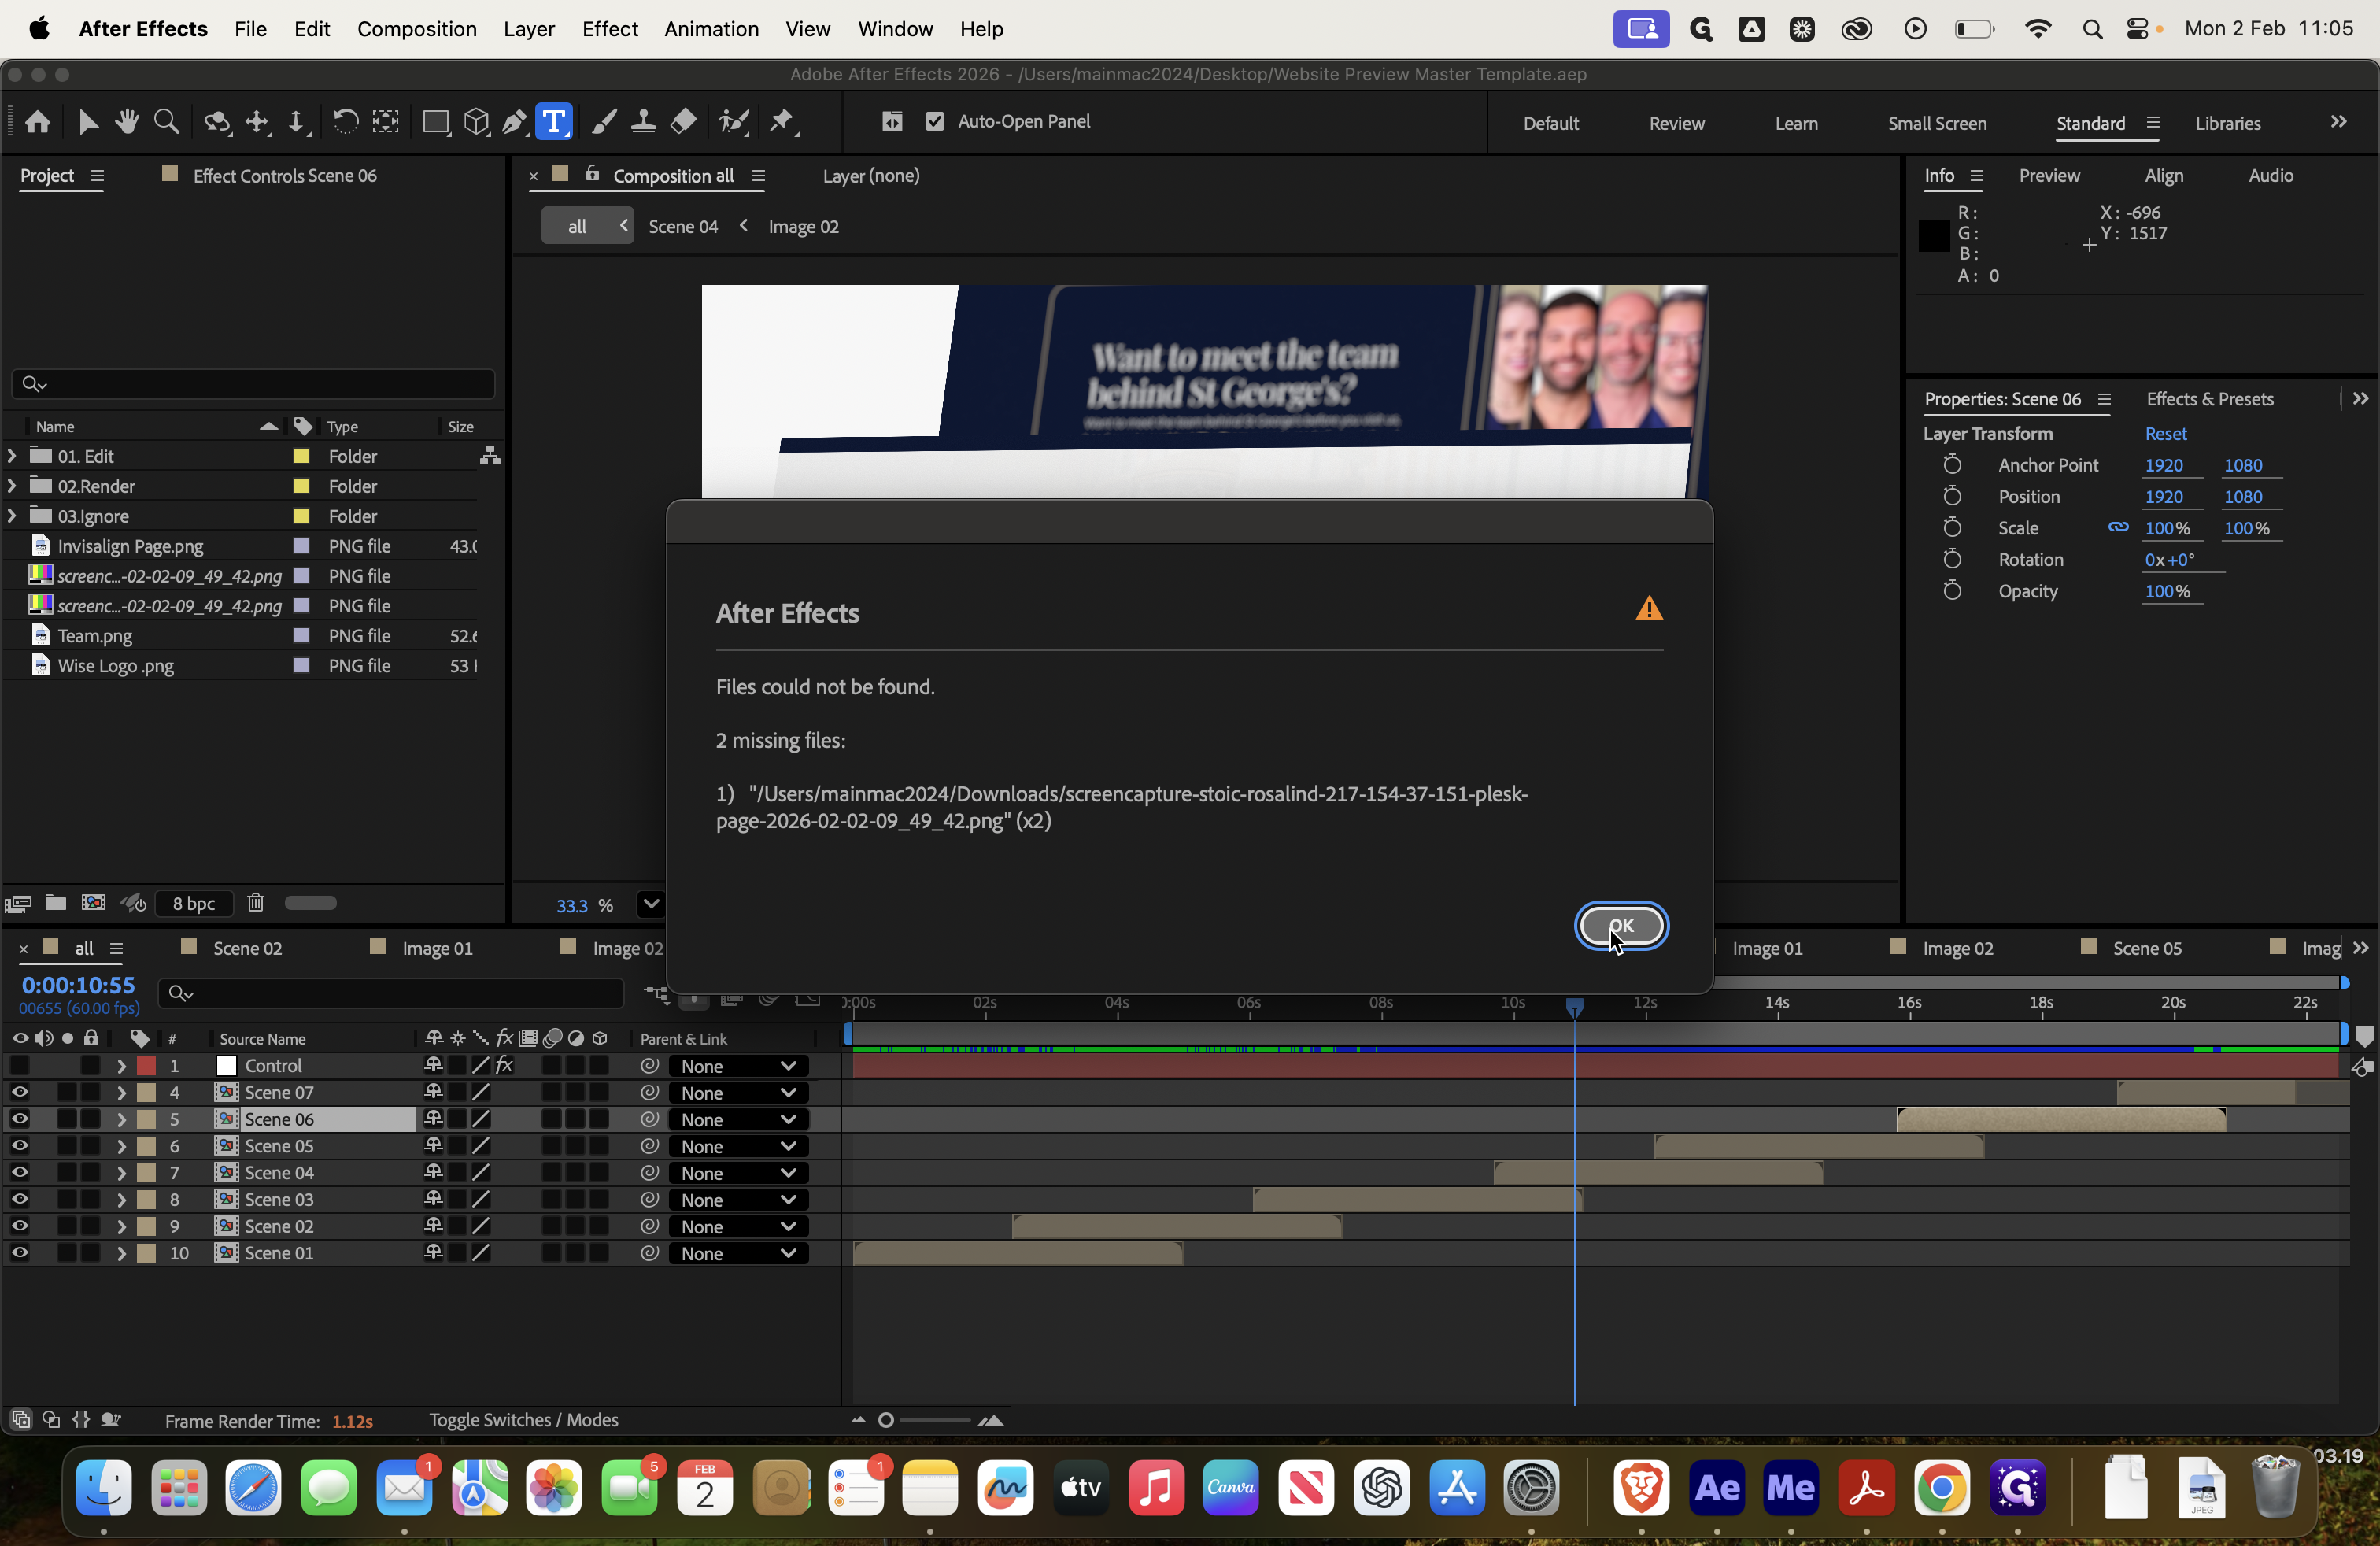
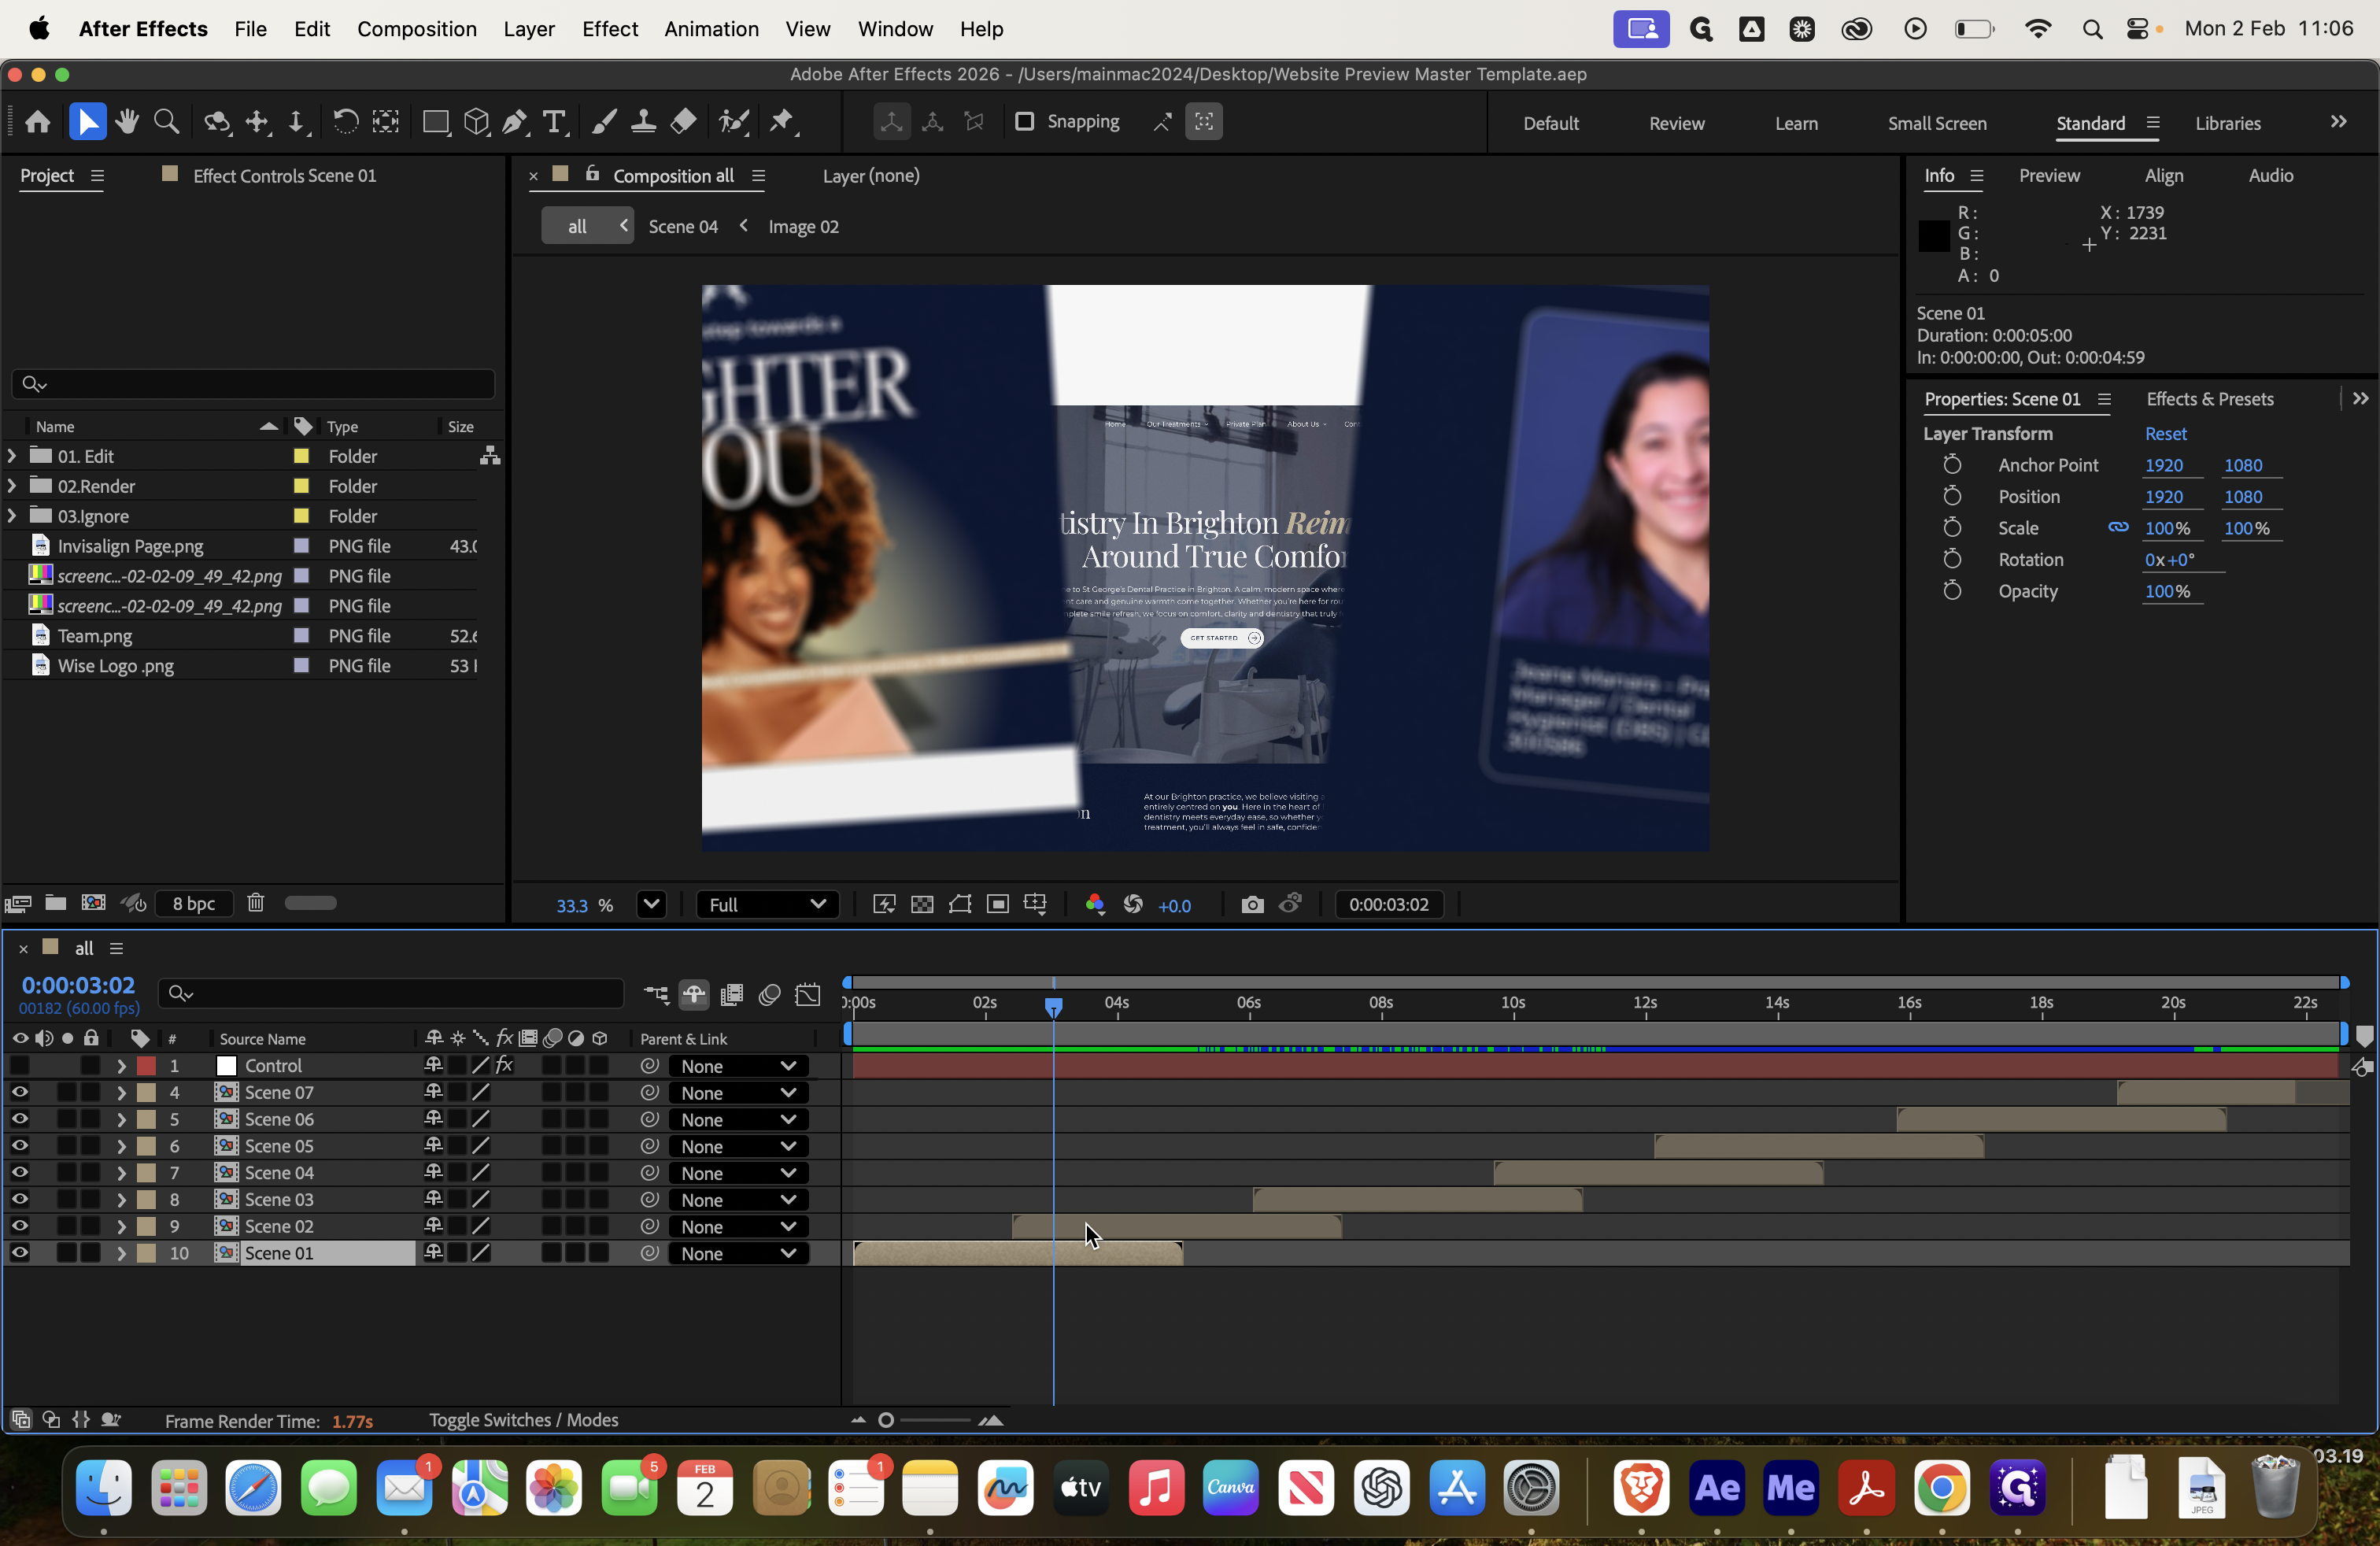
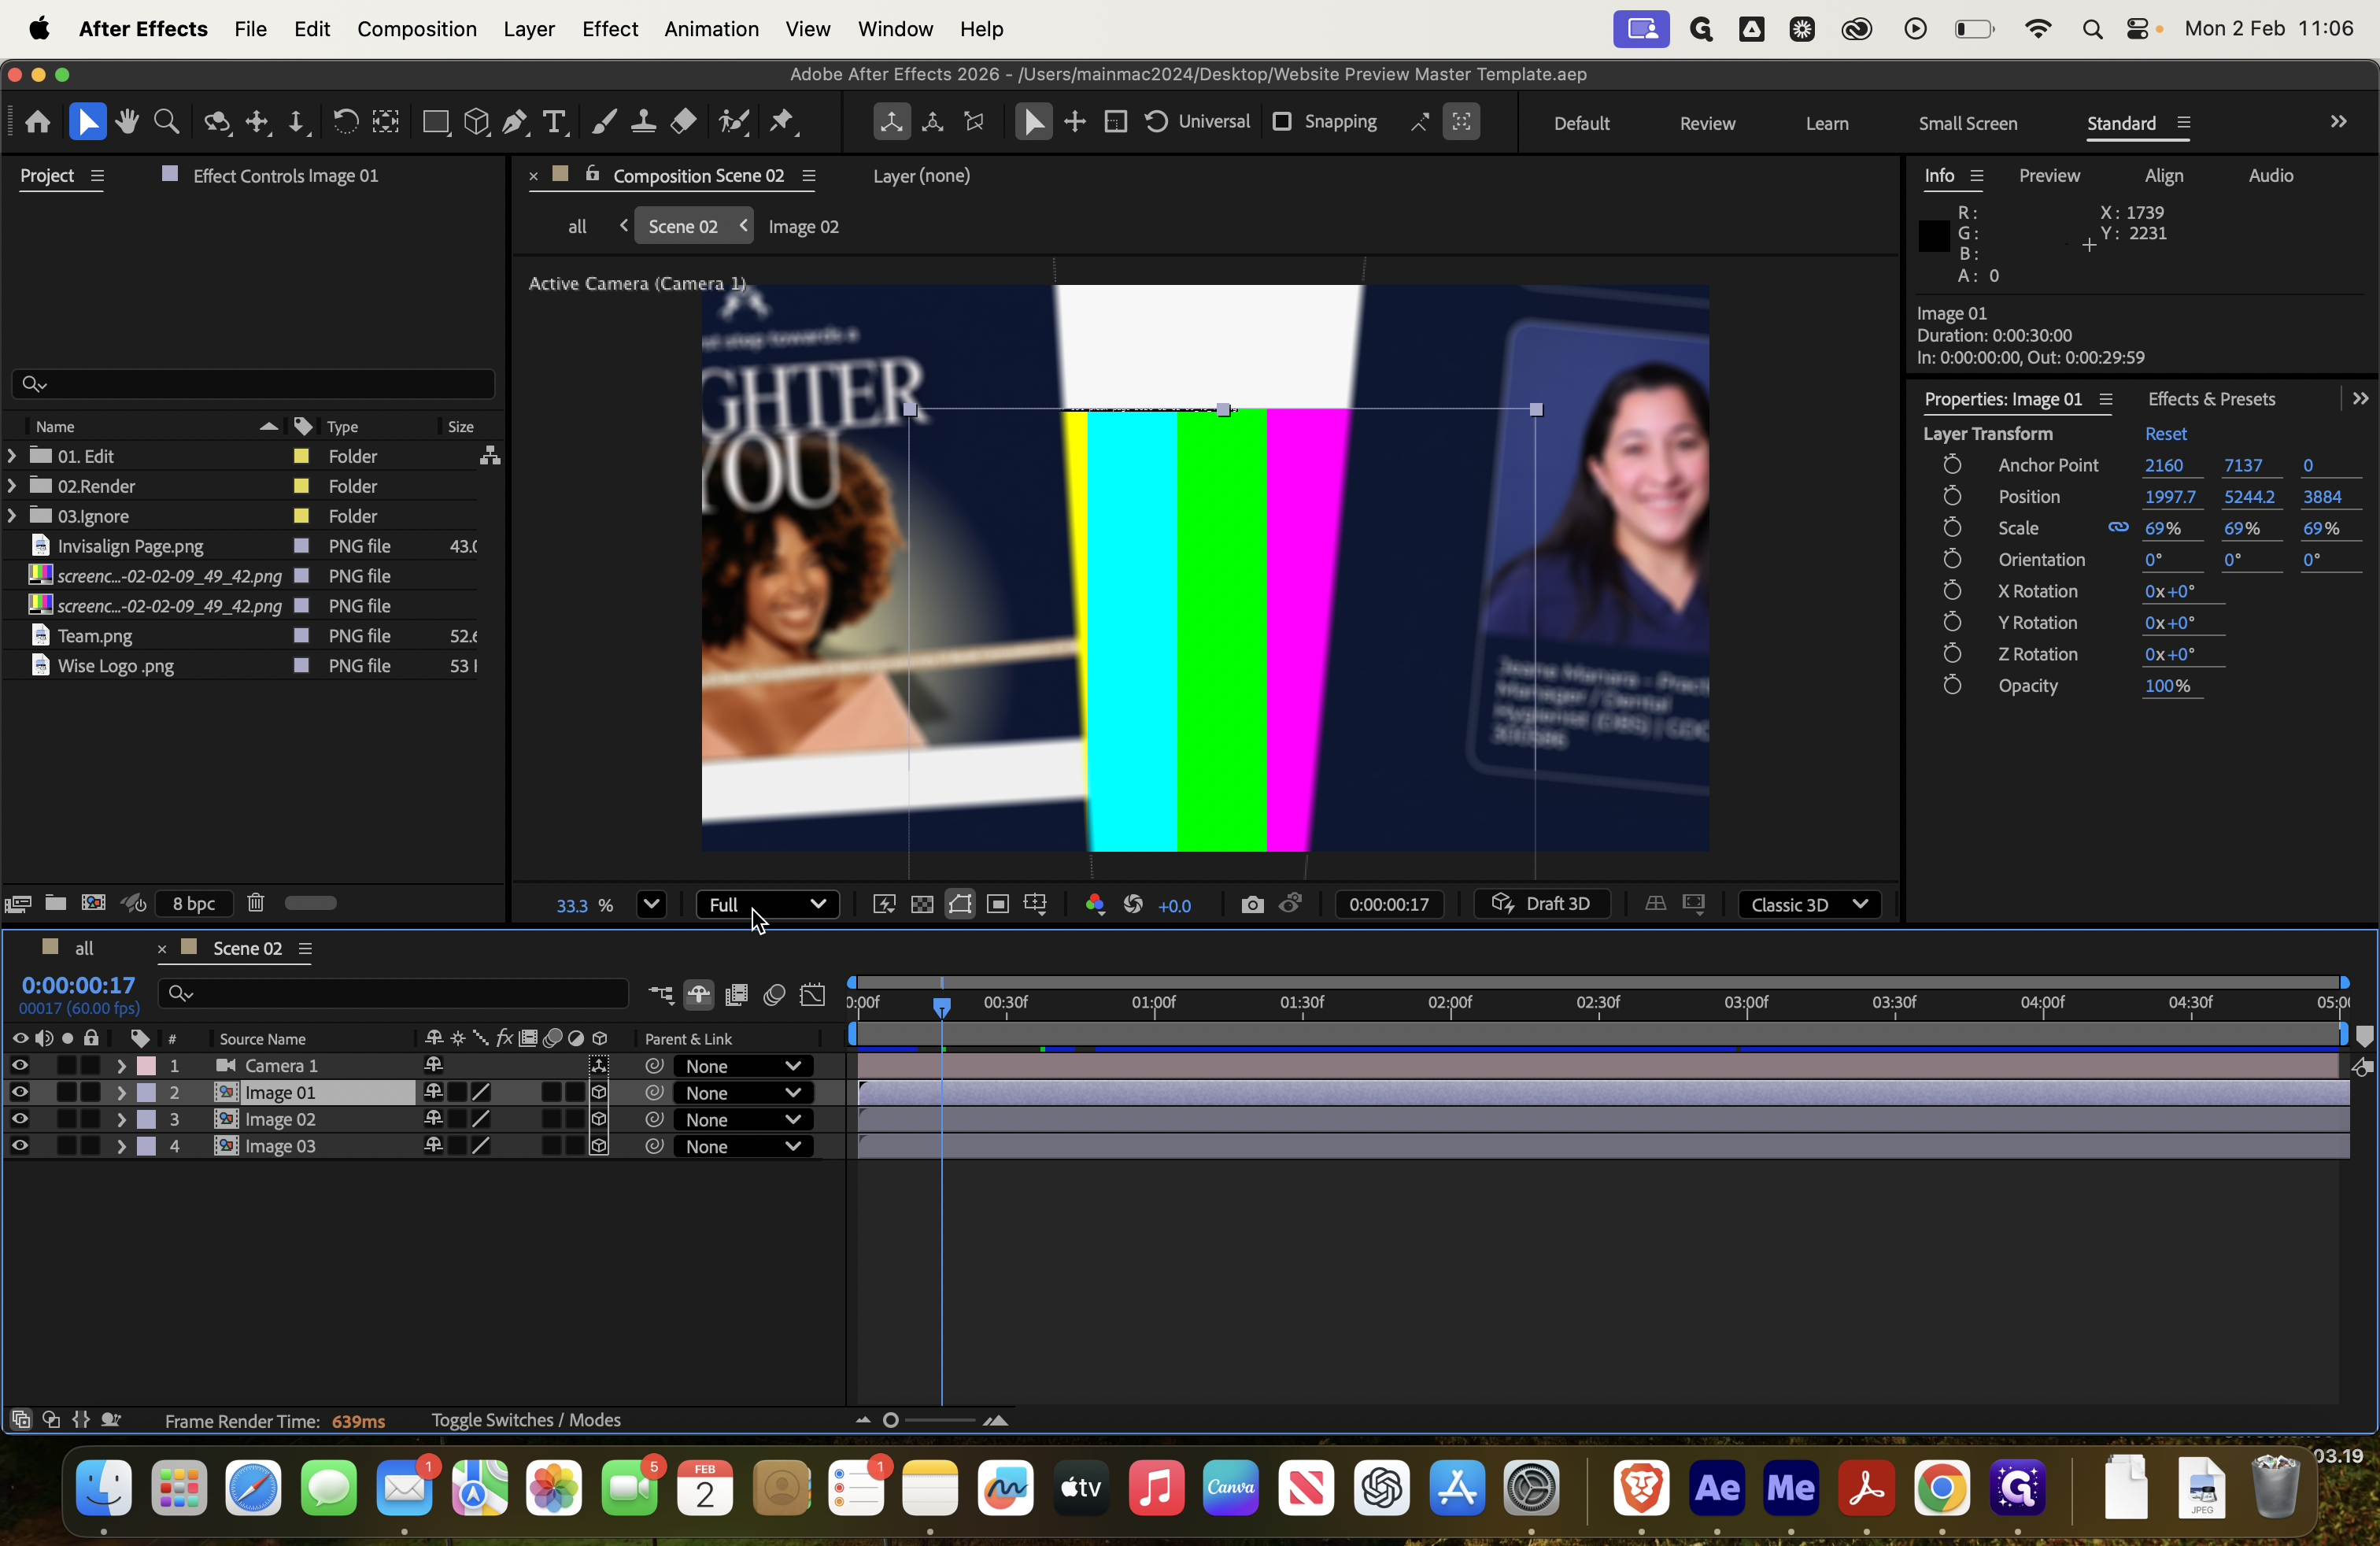
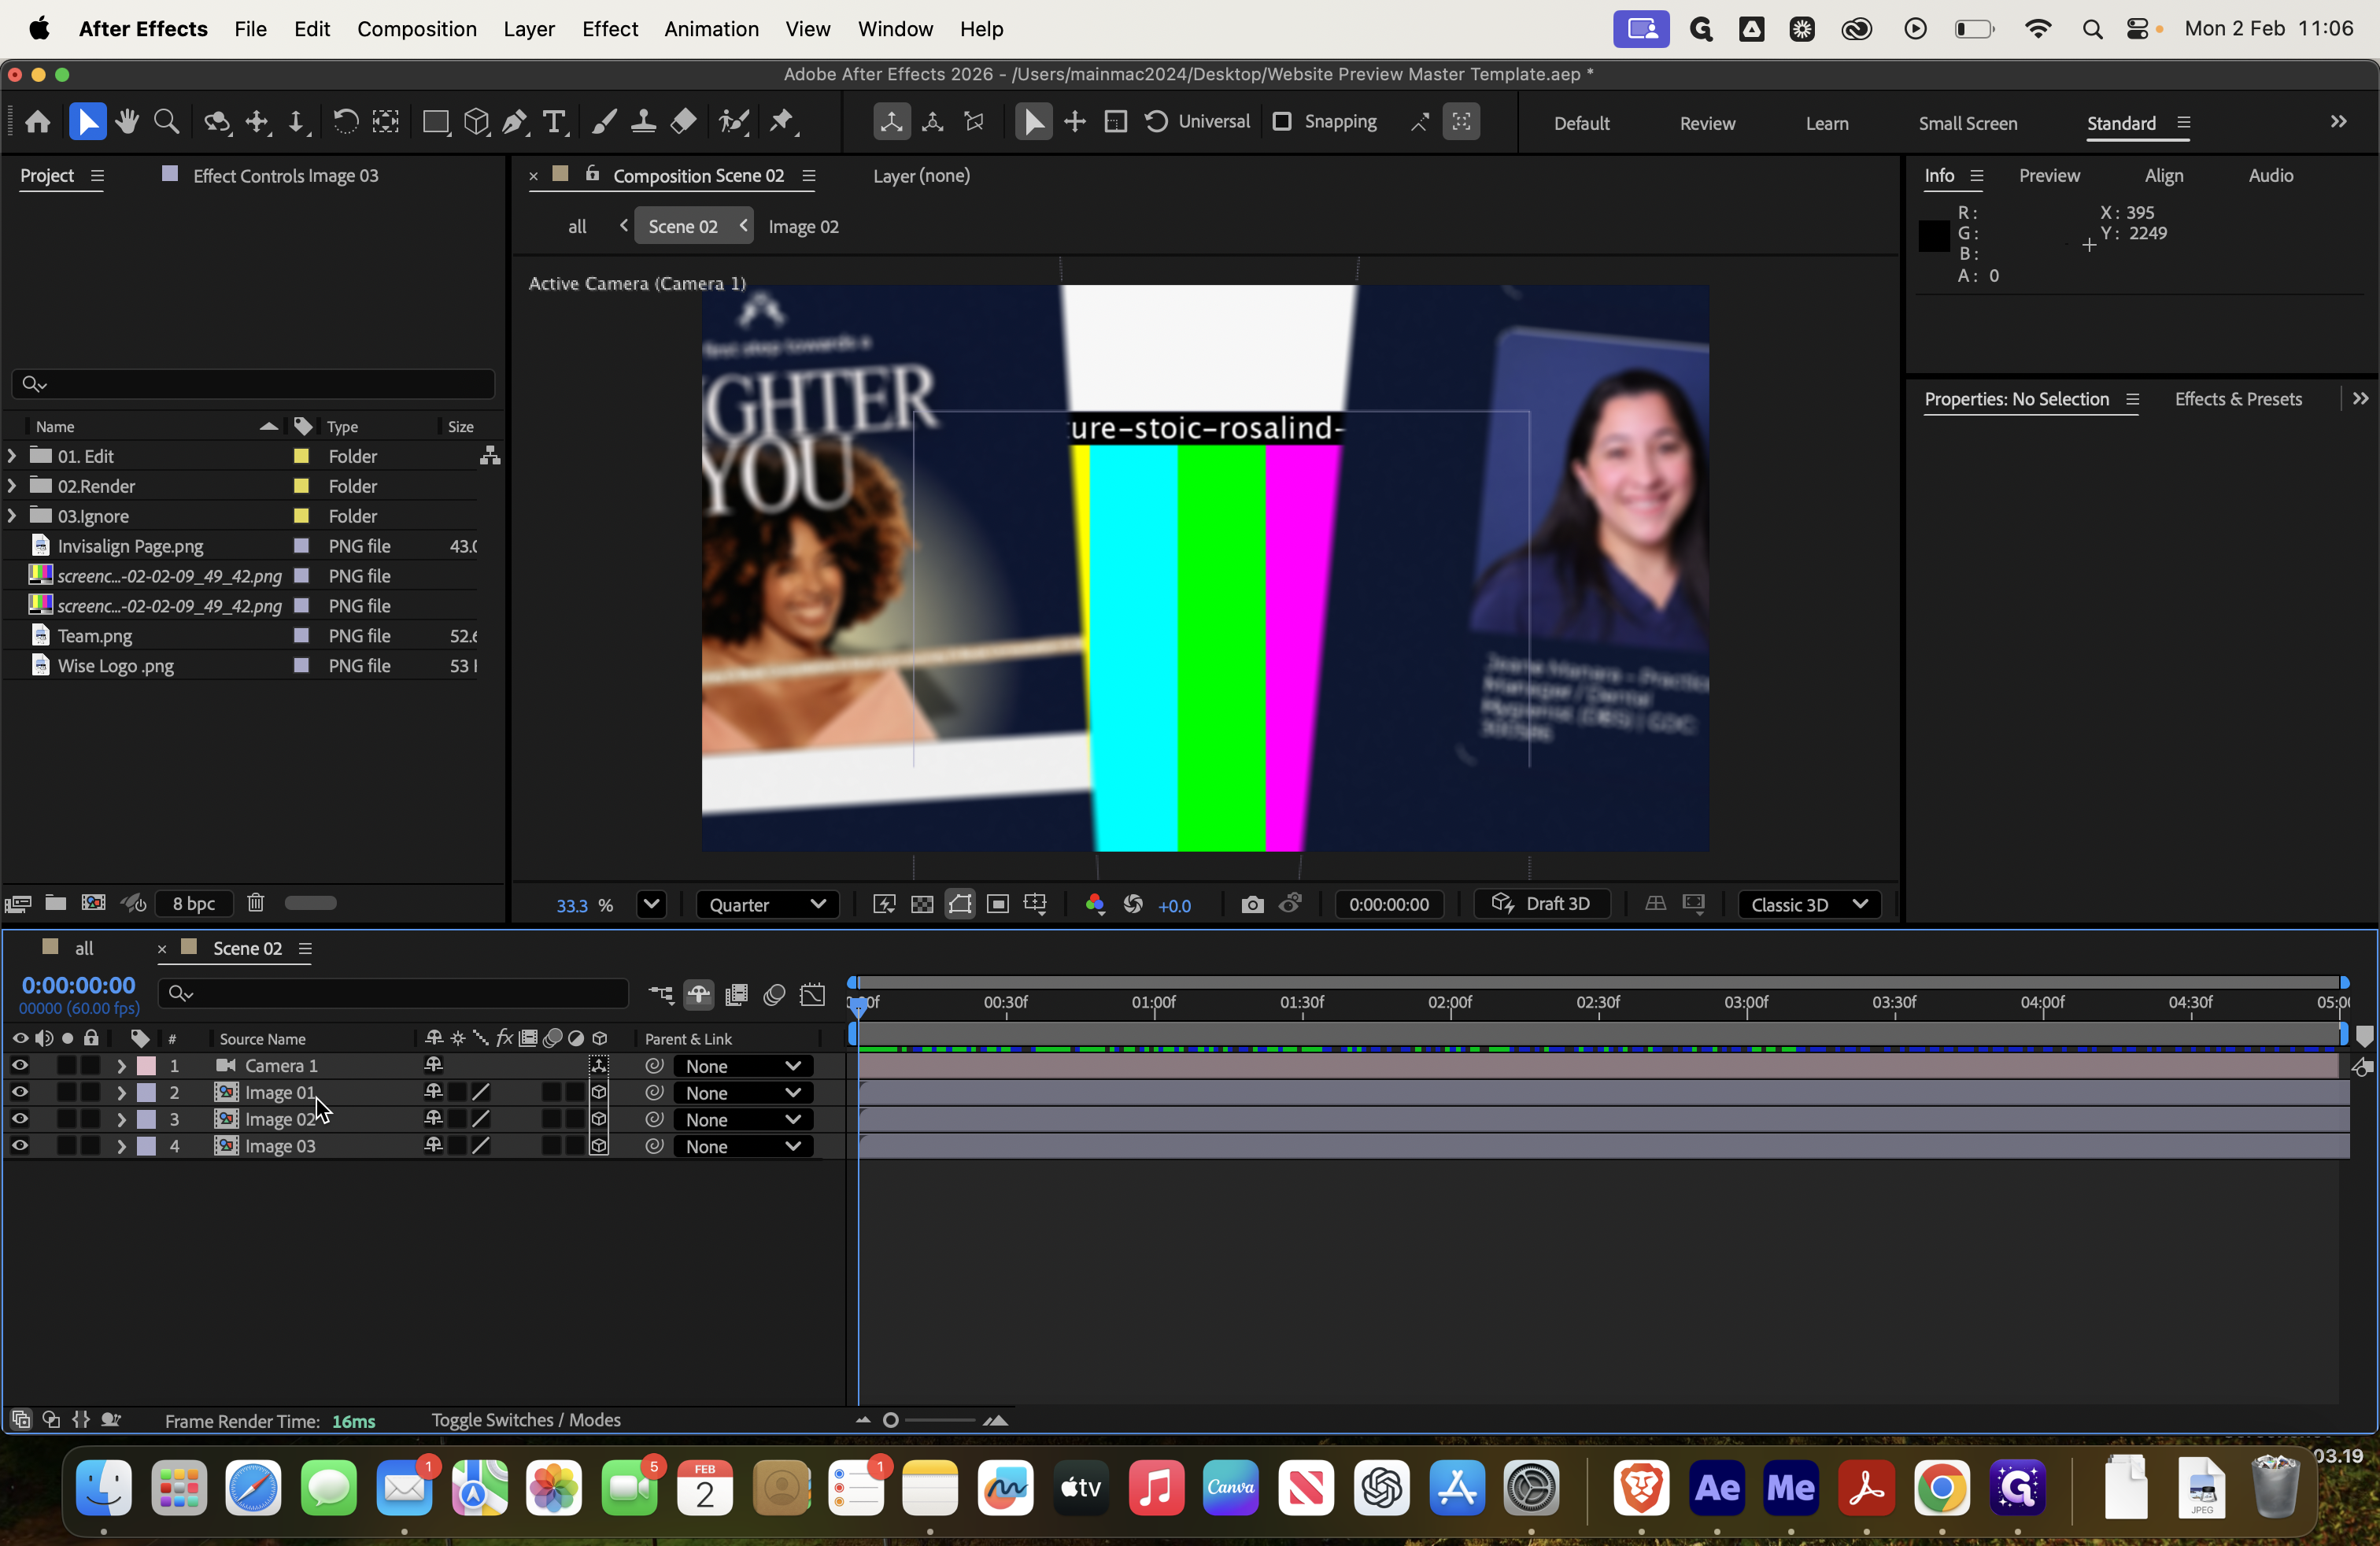
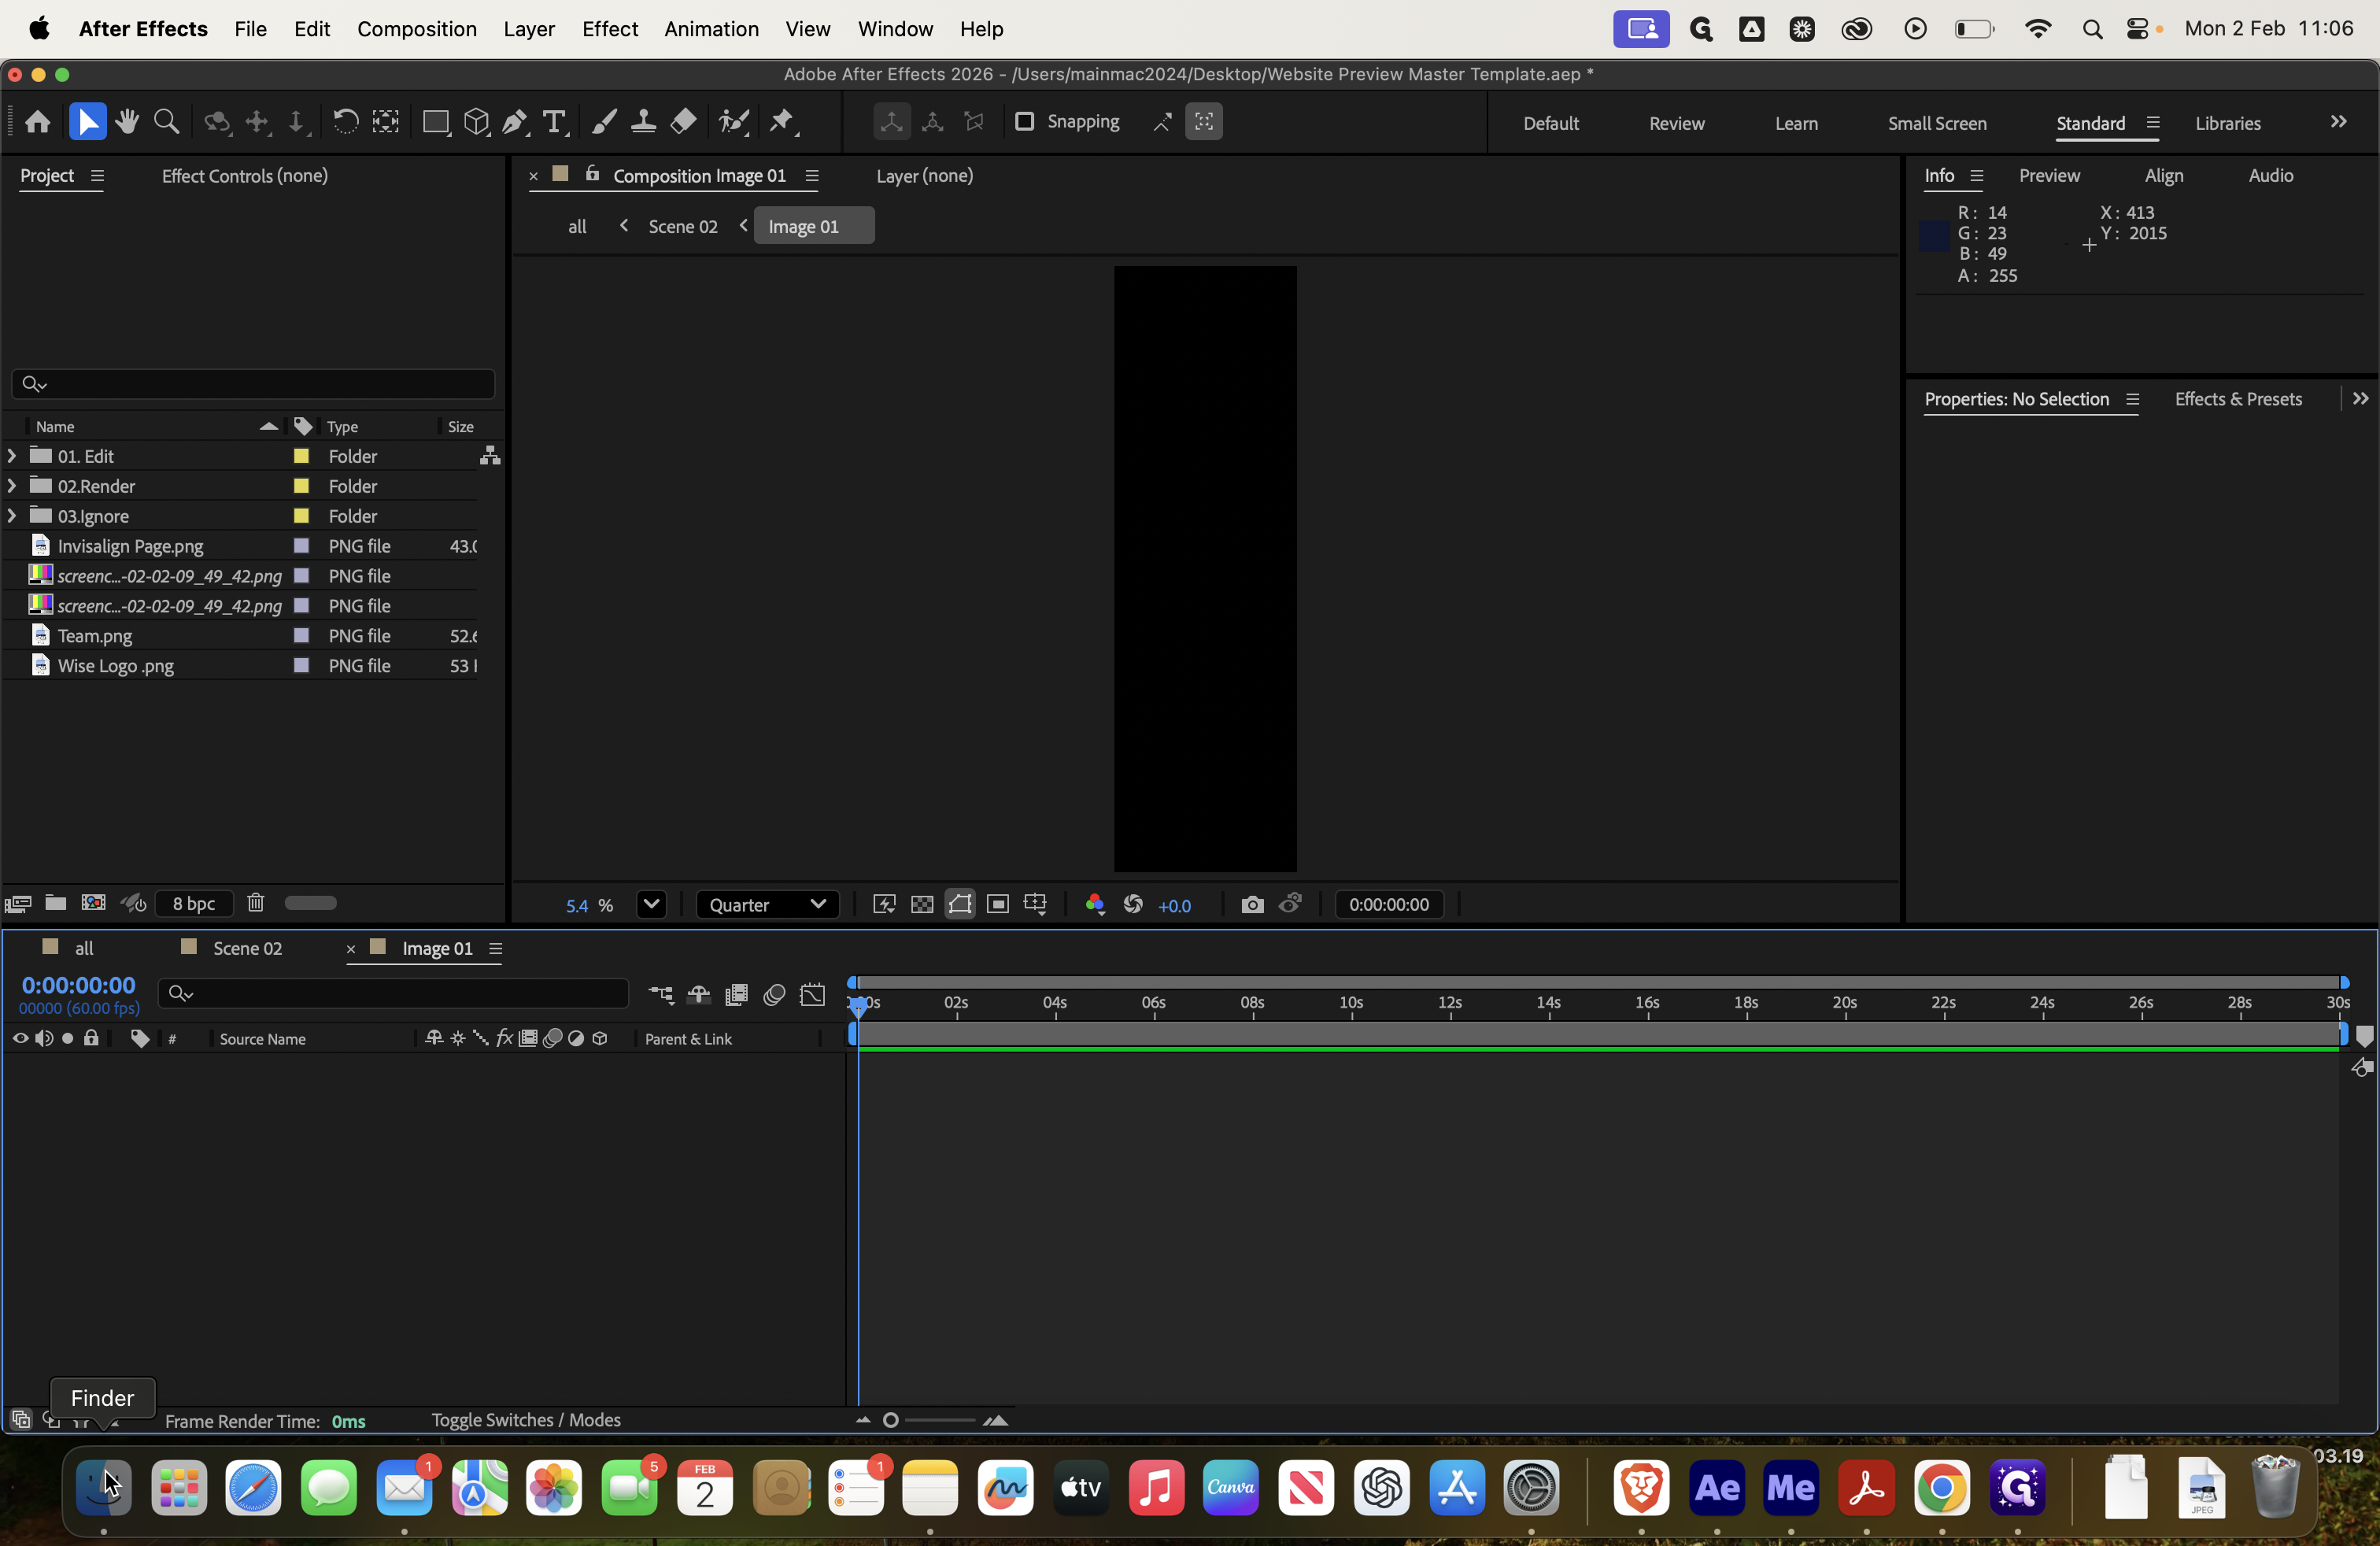
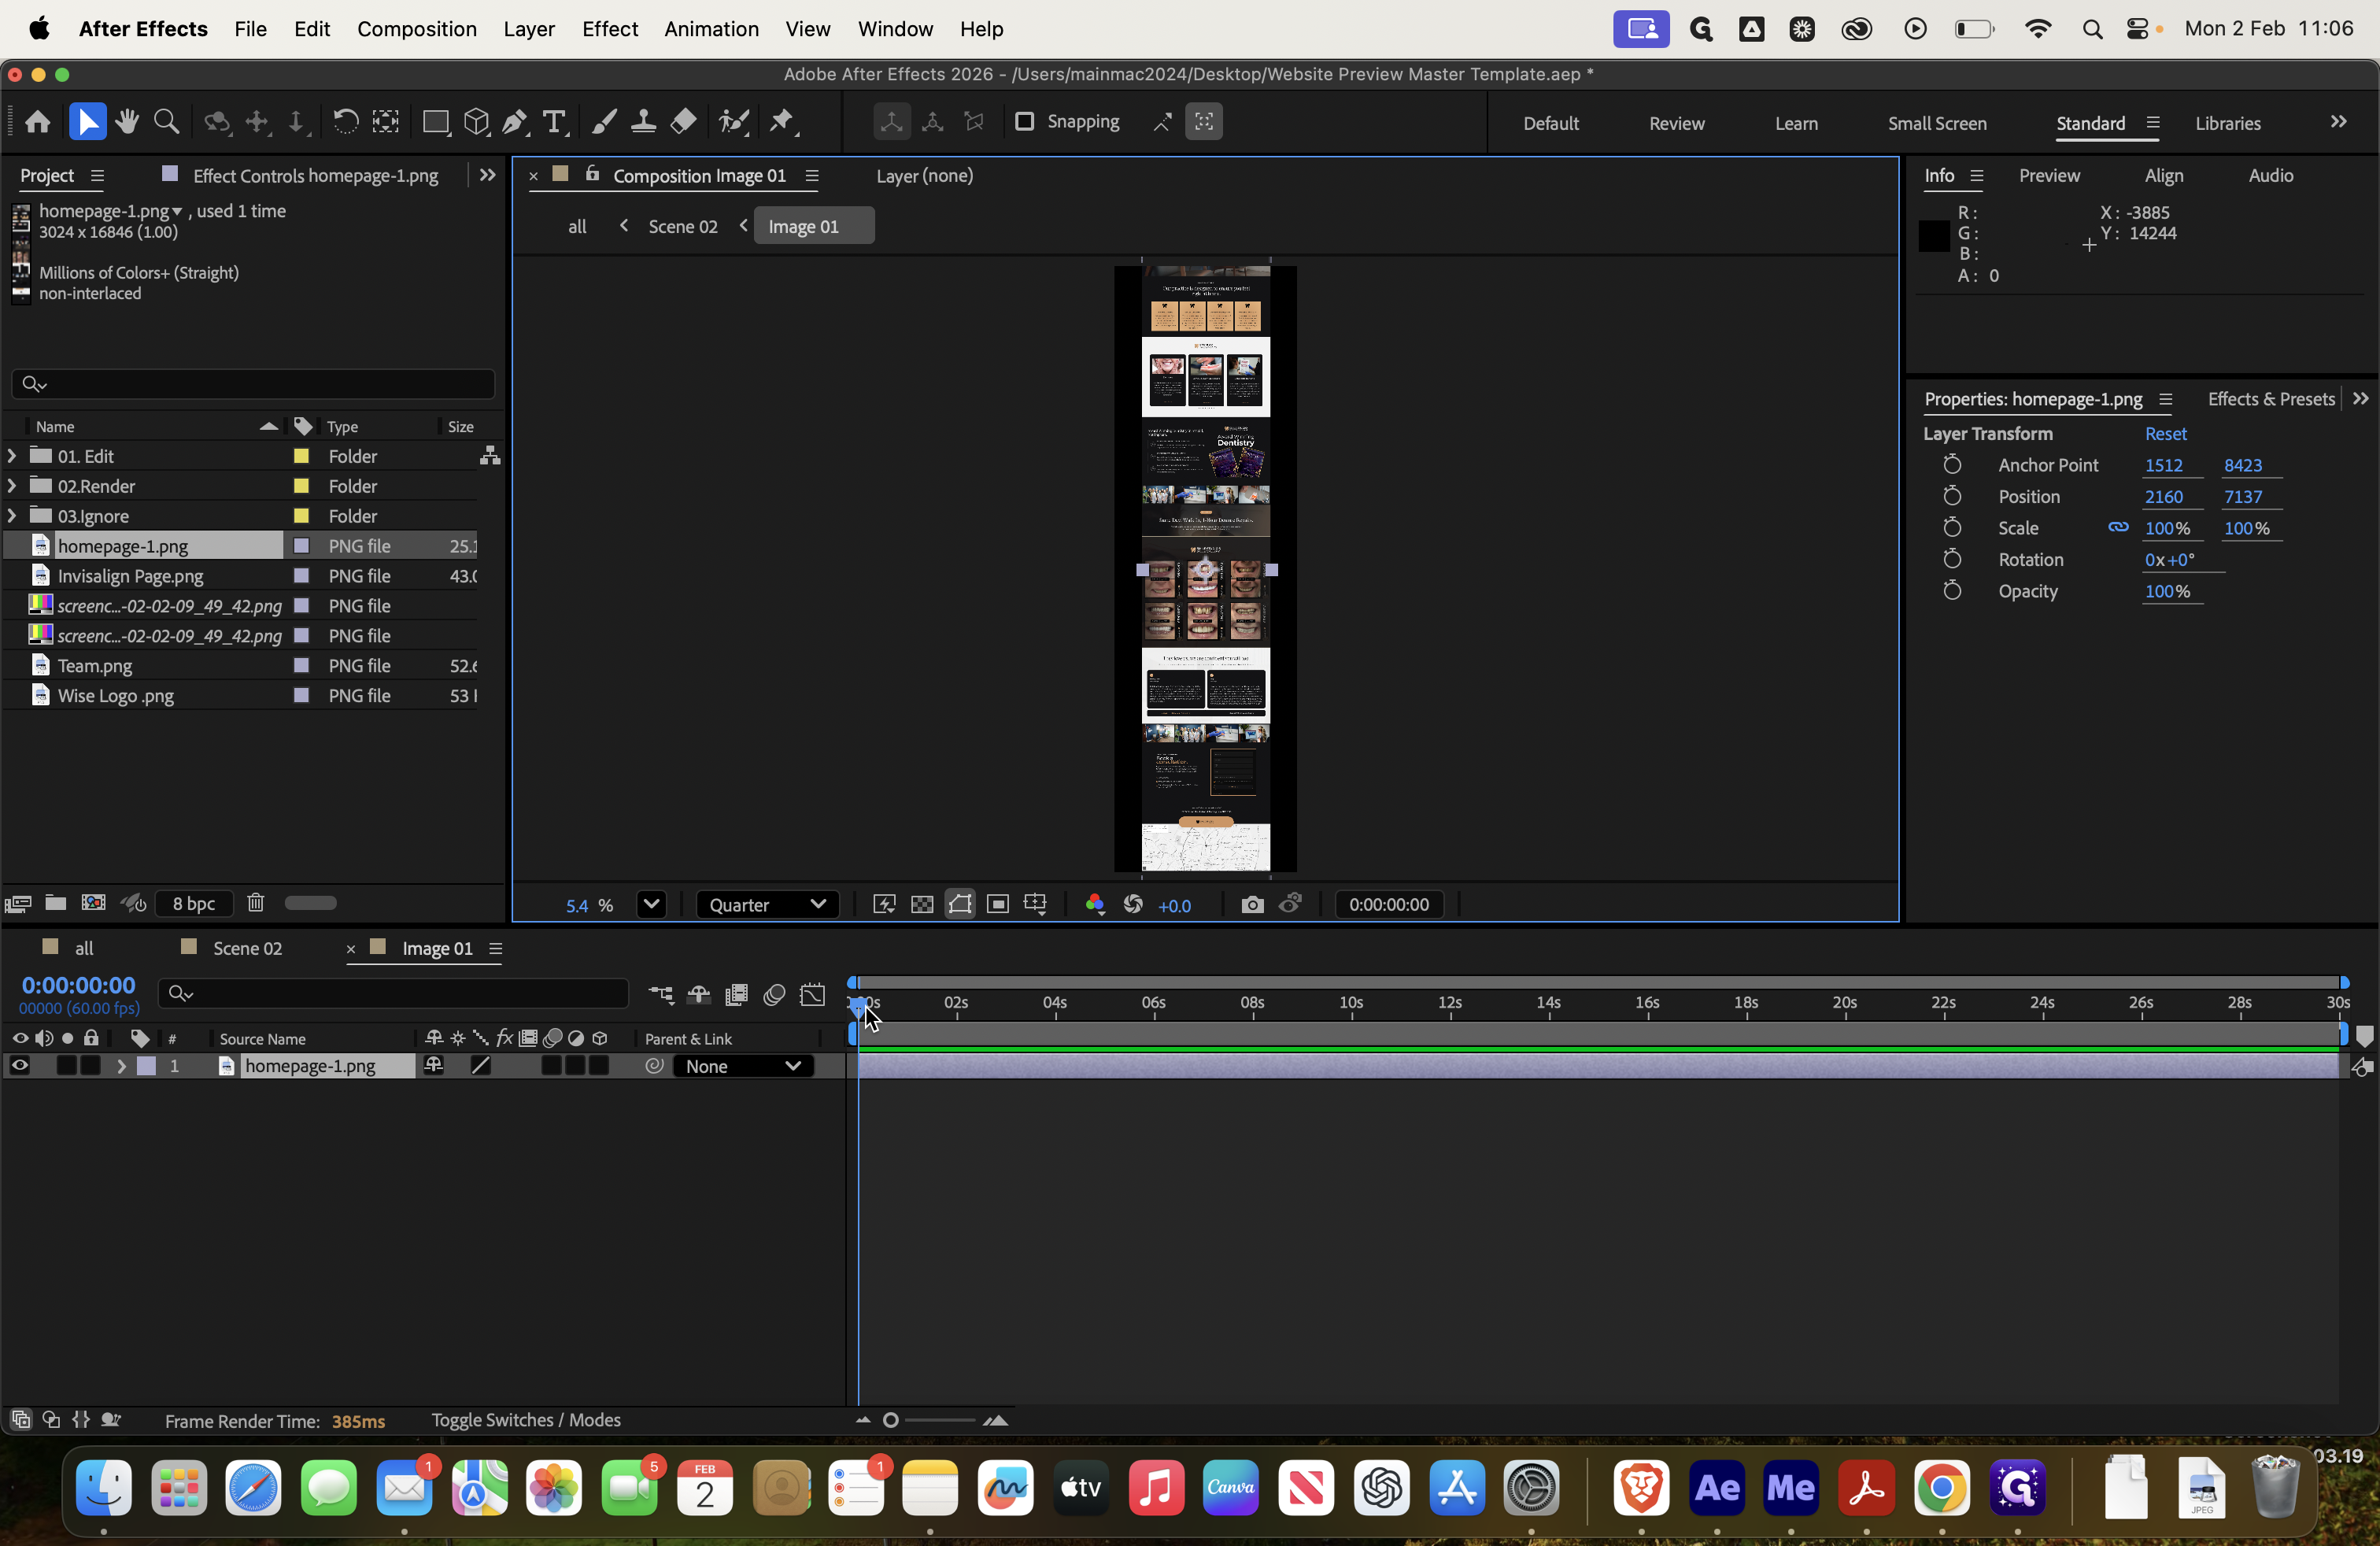
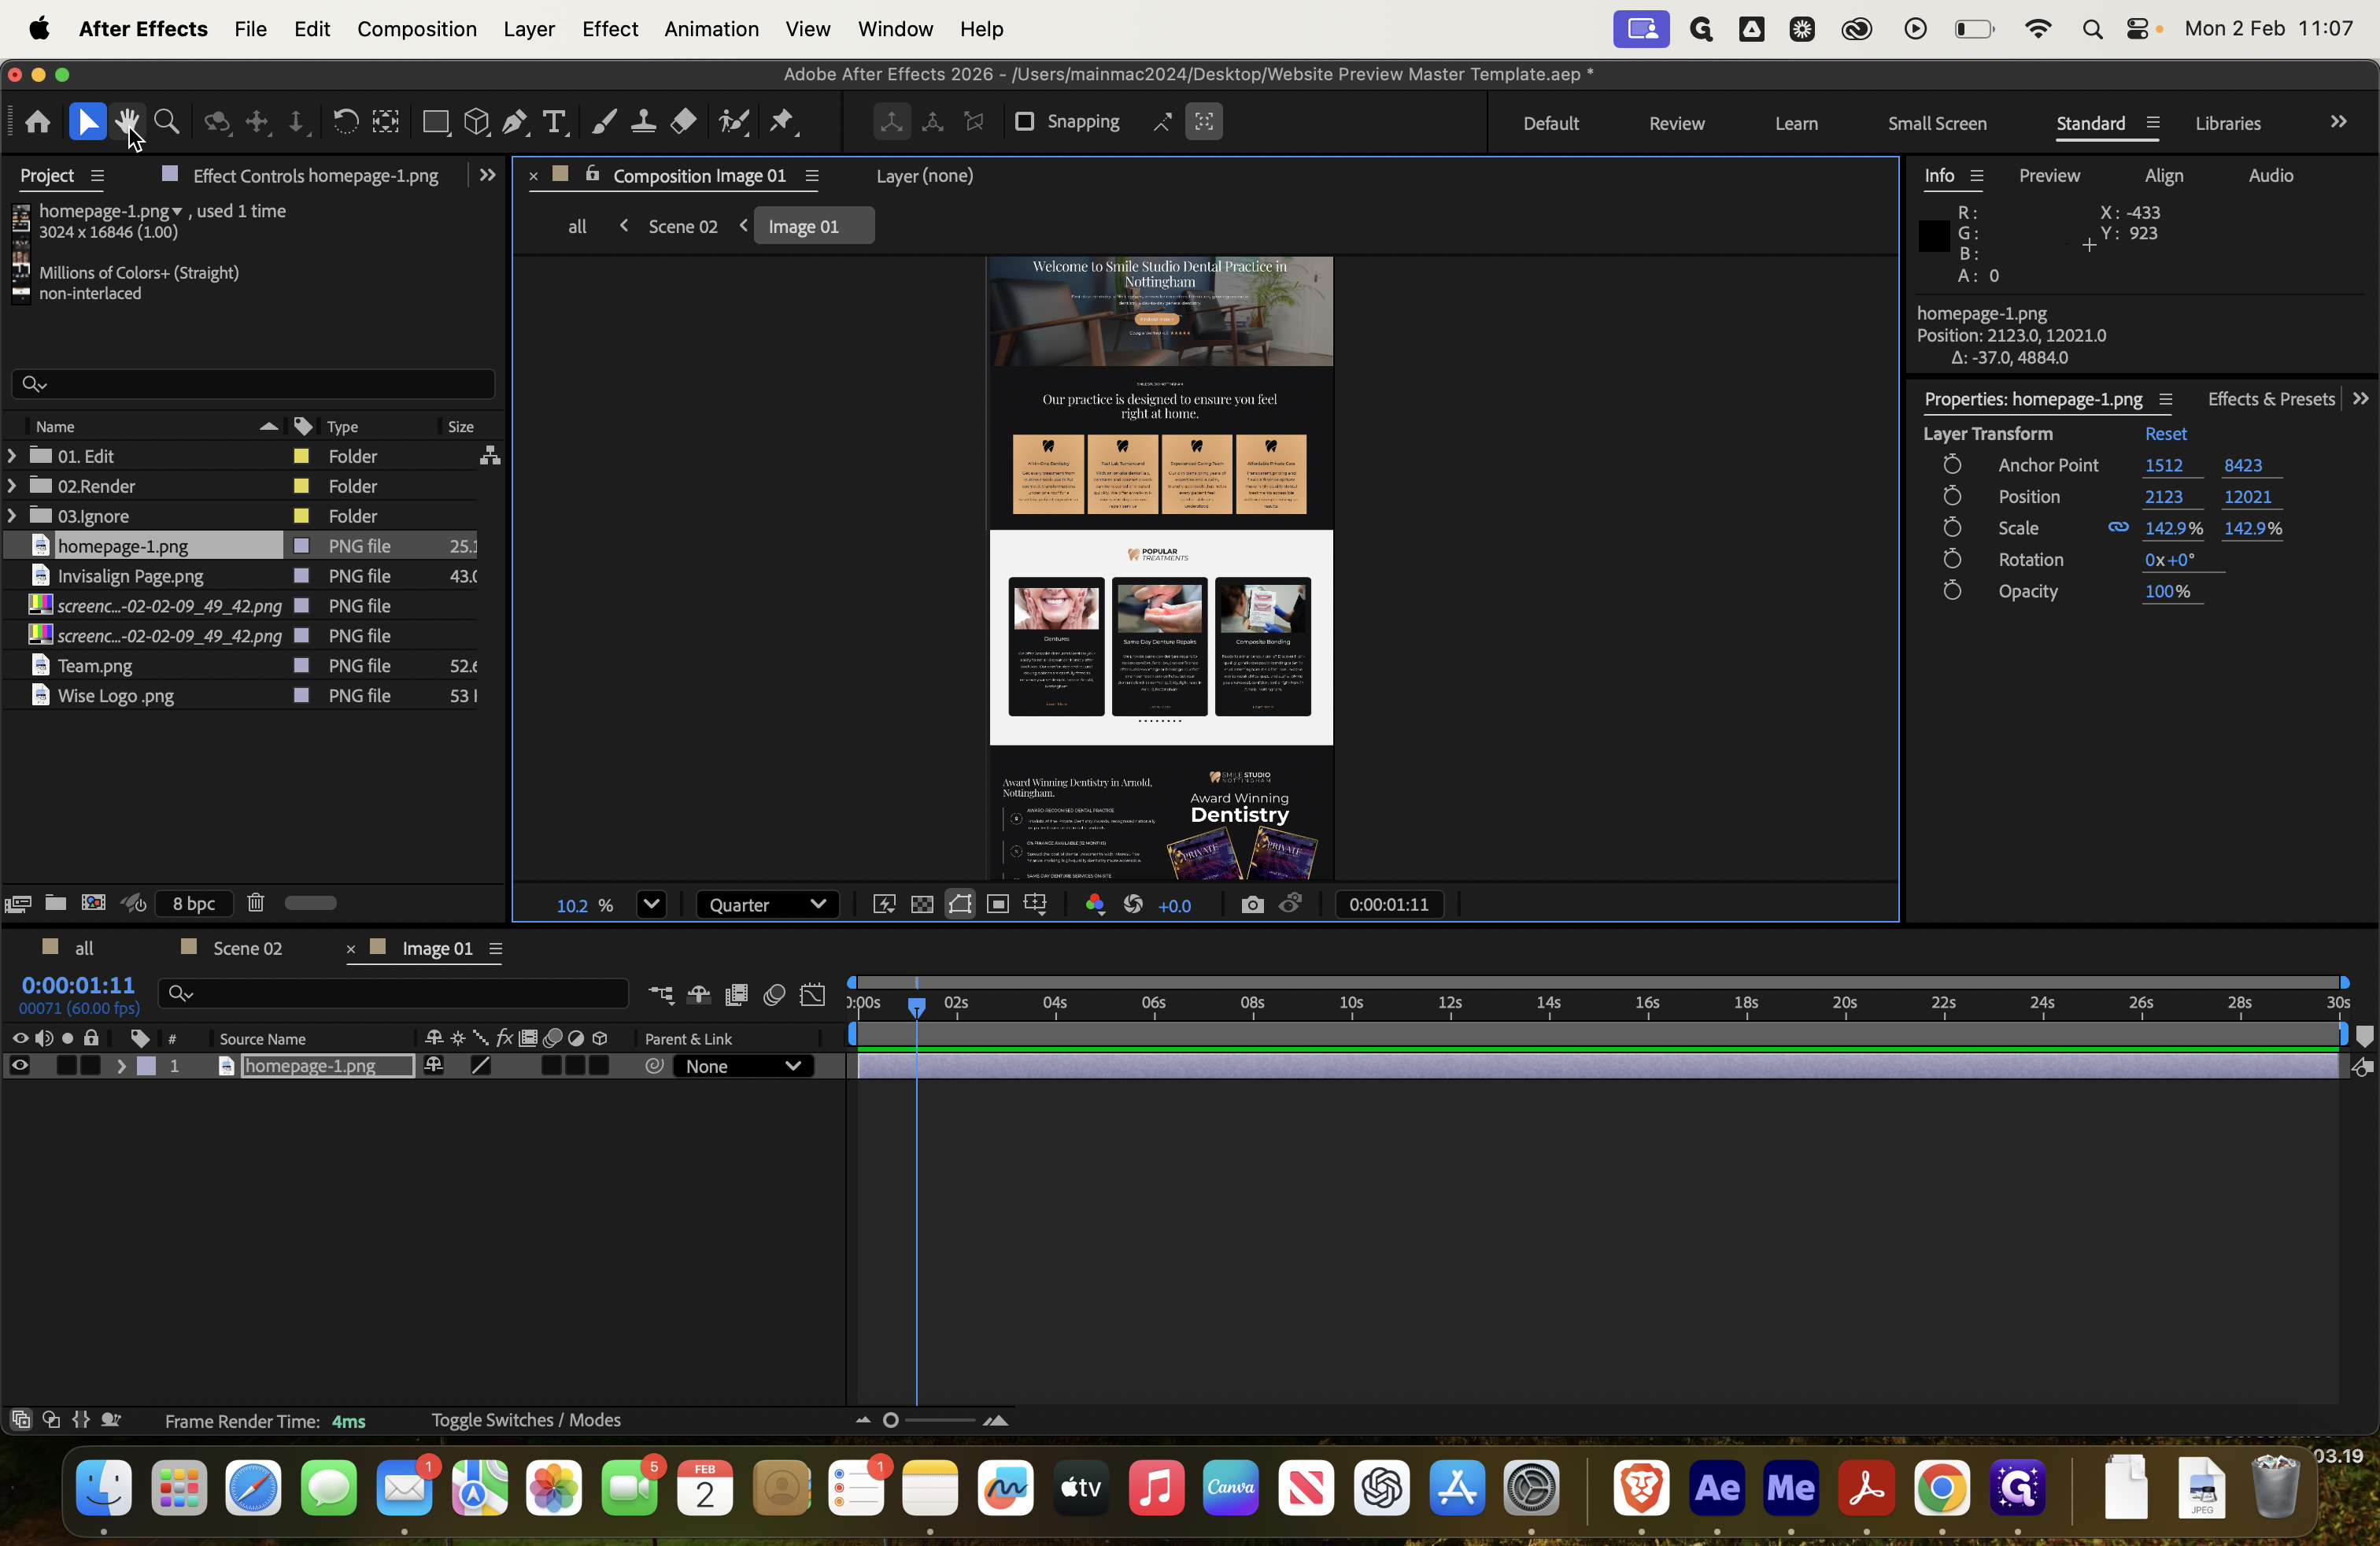
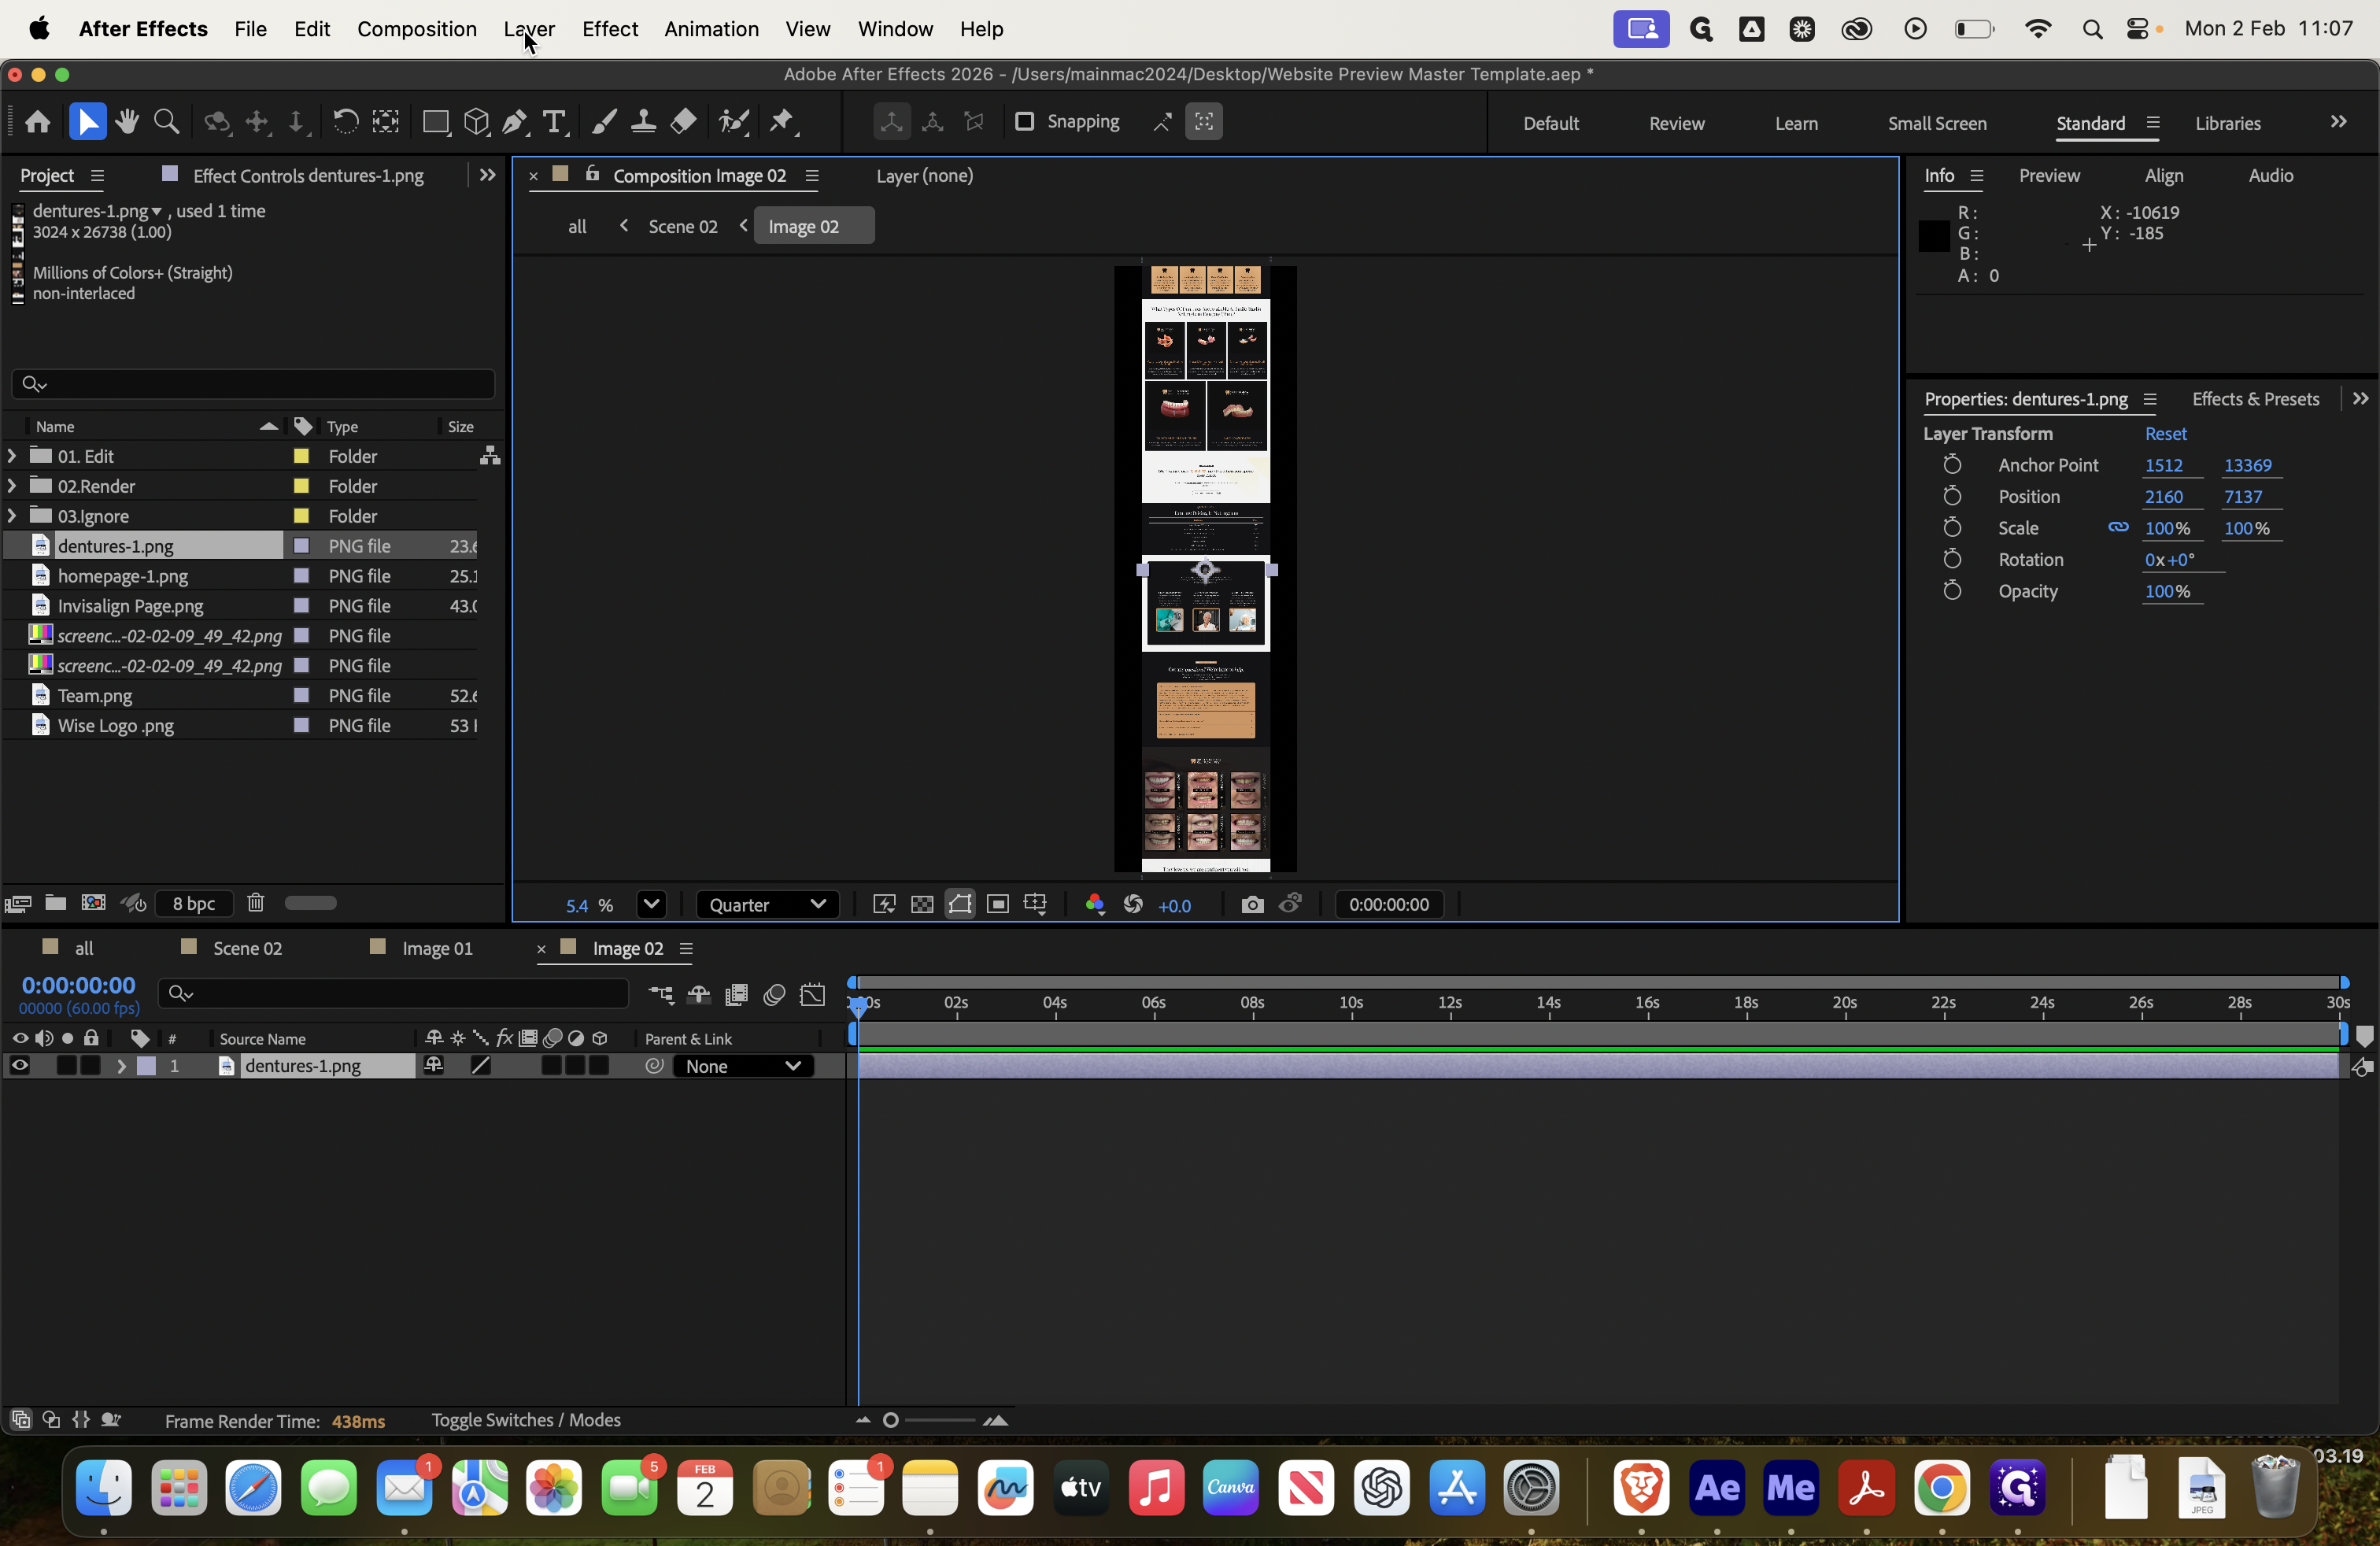
If we click on Image 1, we can see which image it is. To delete that screenshot, select Image 1, remove it, and then add the Homepage image.


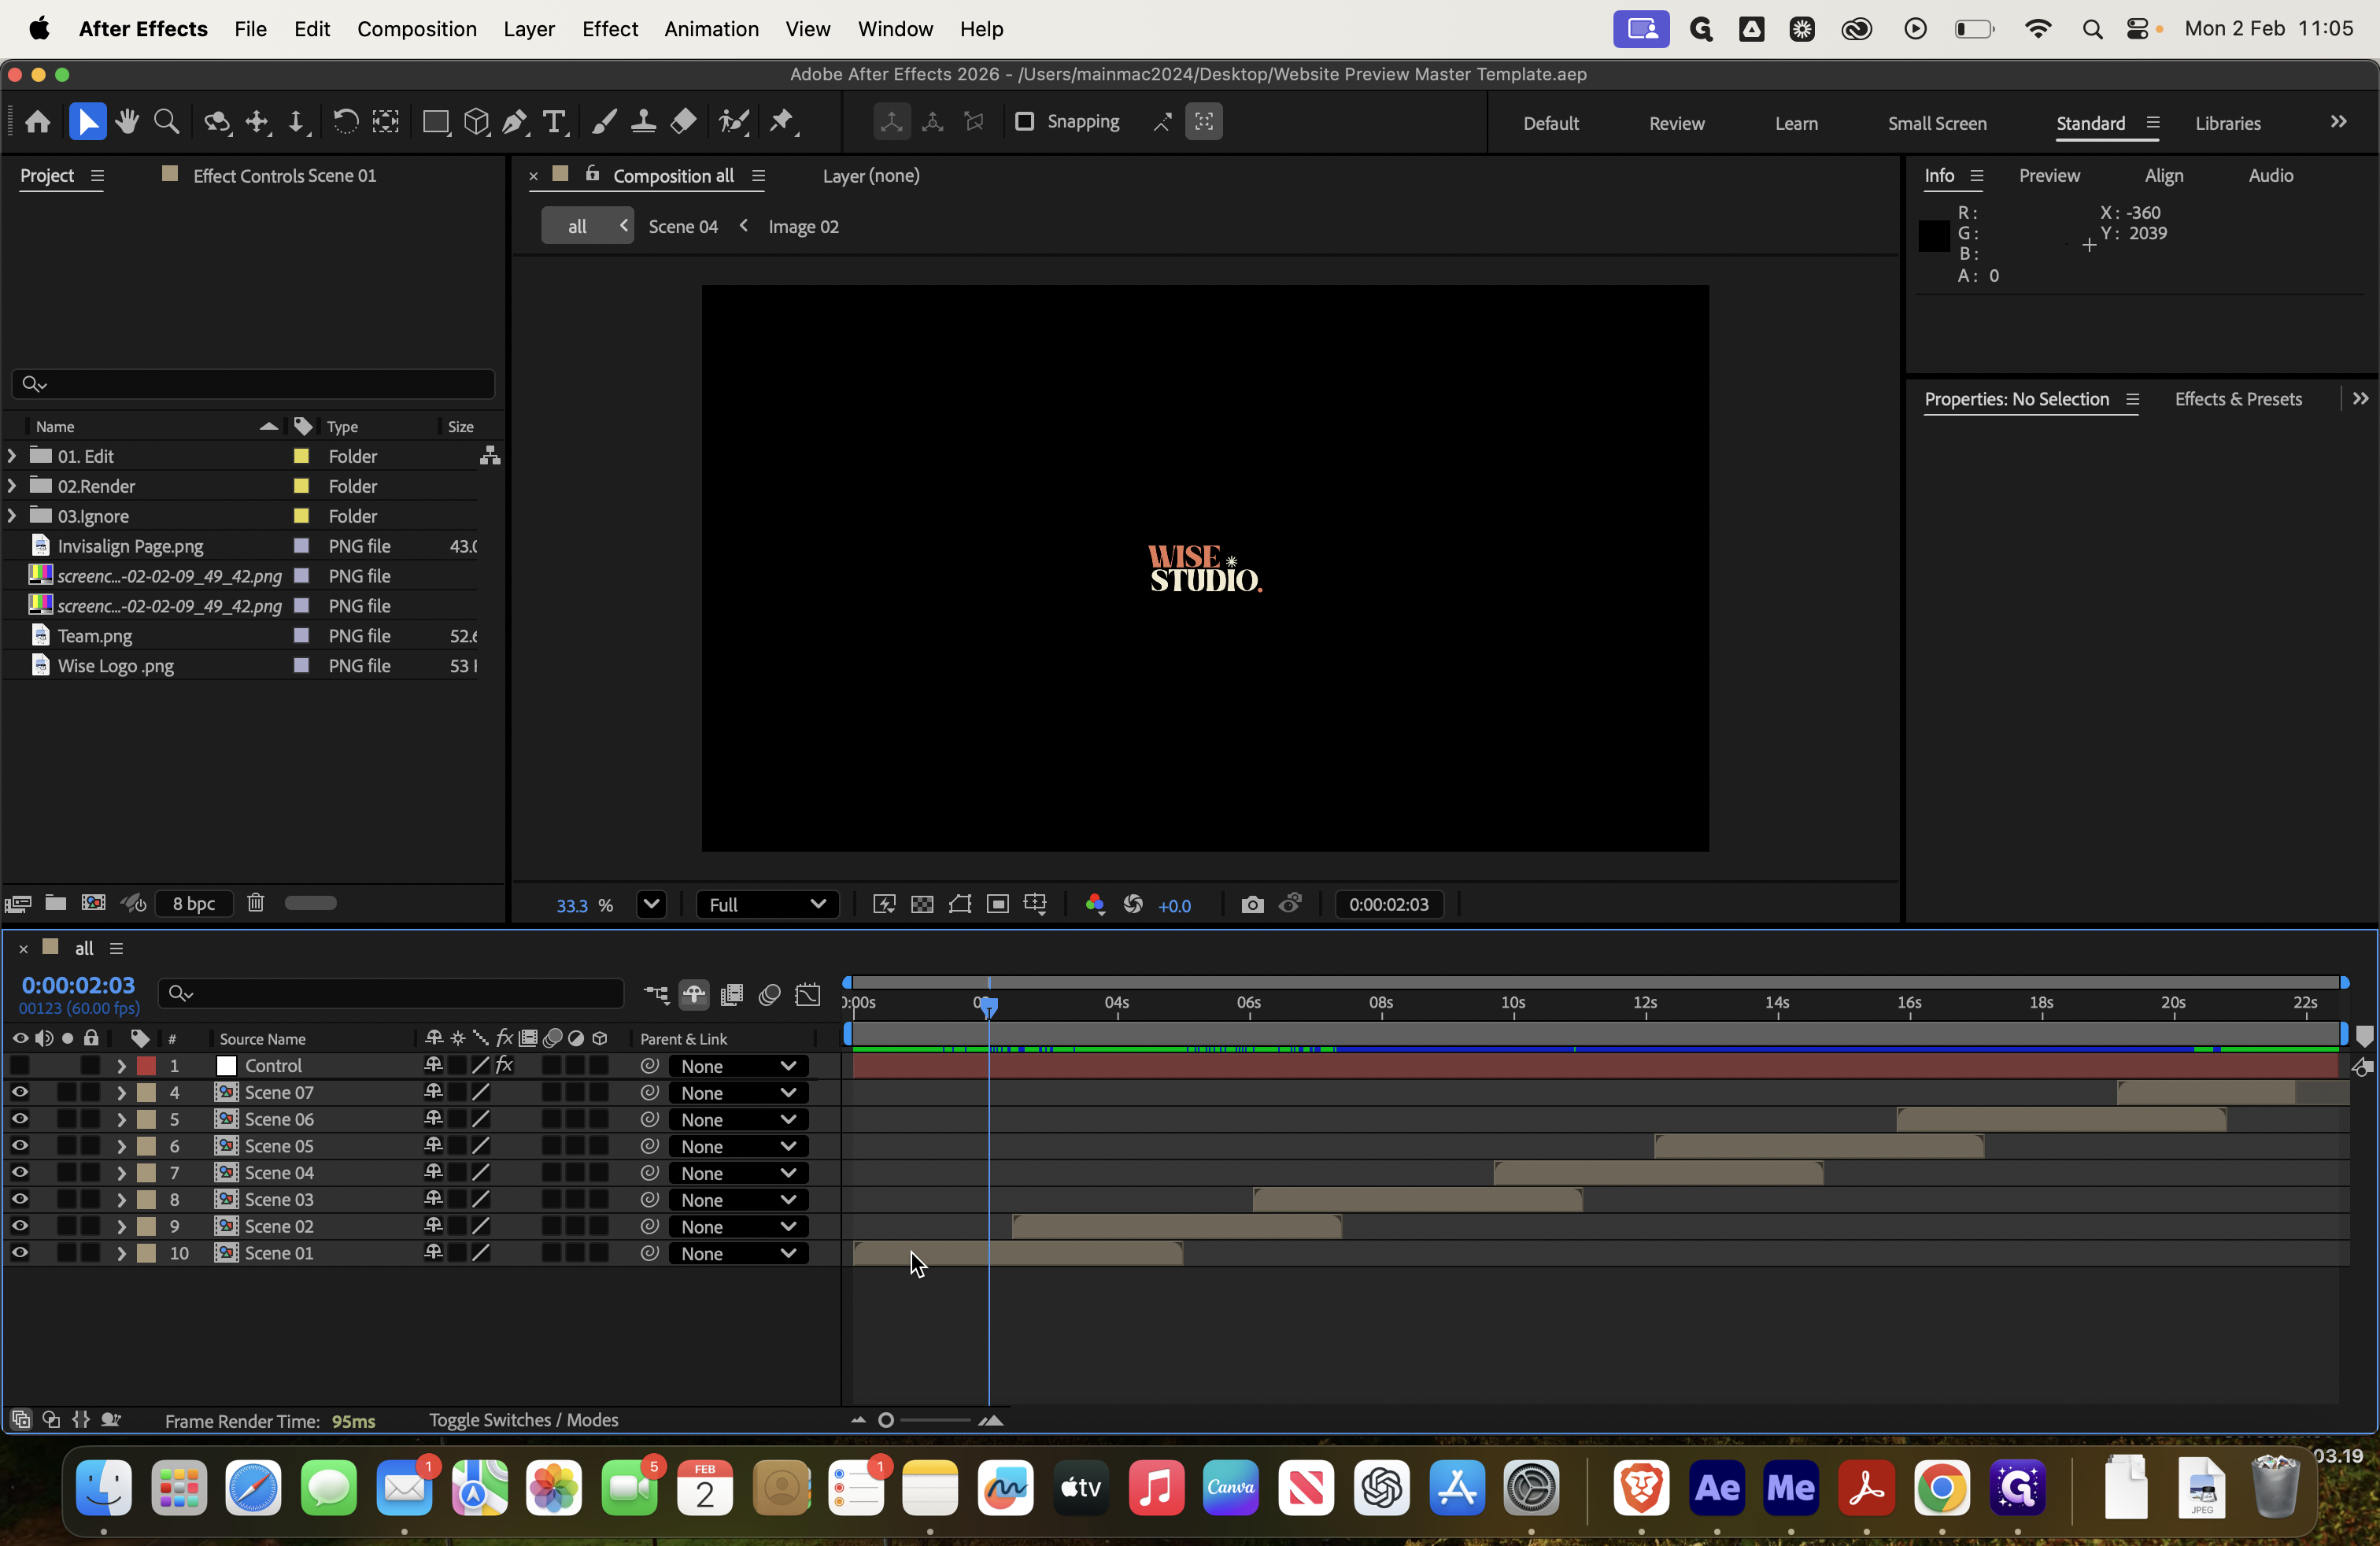
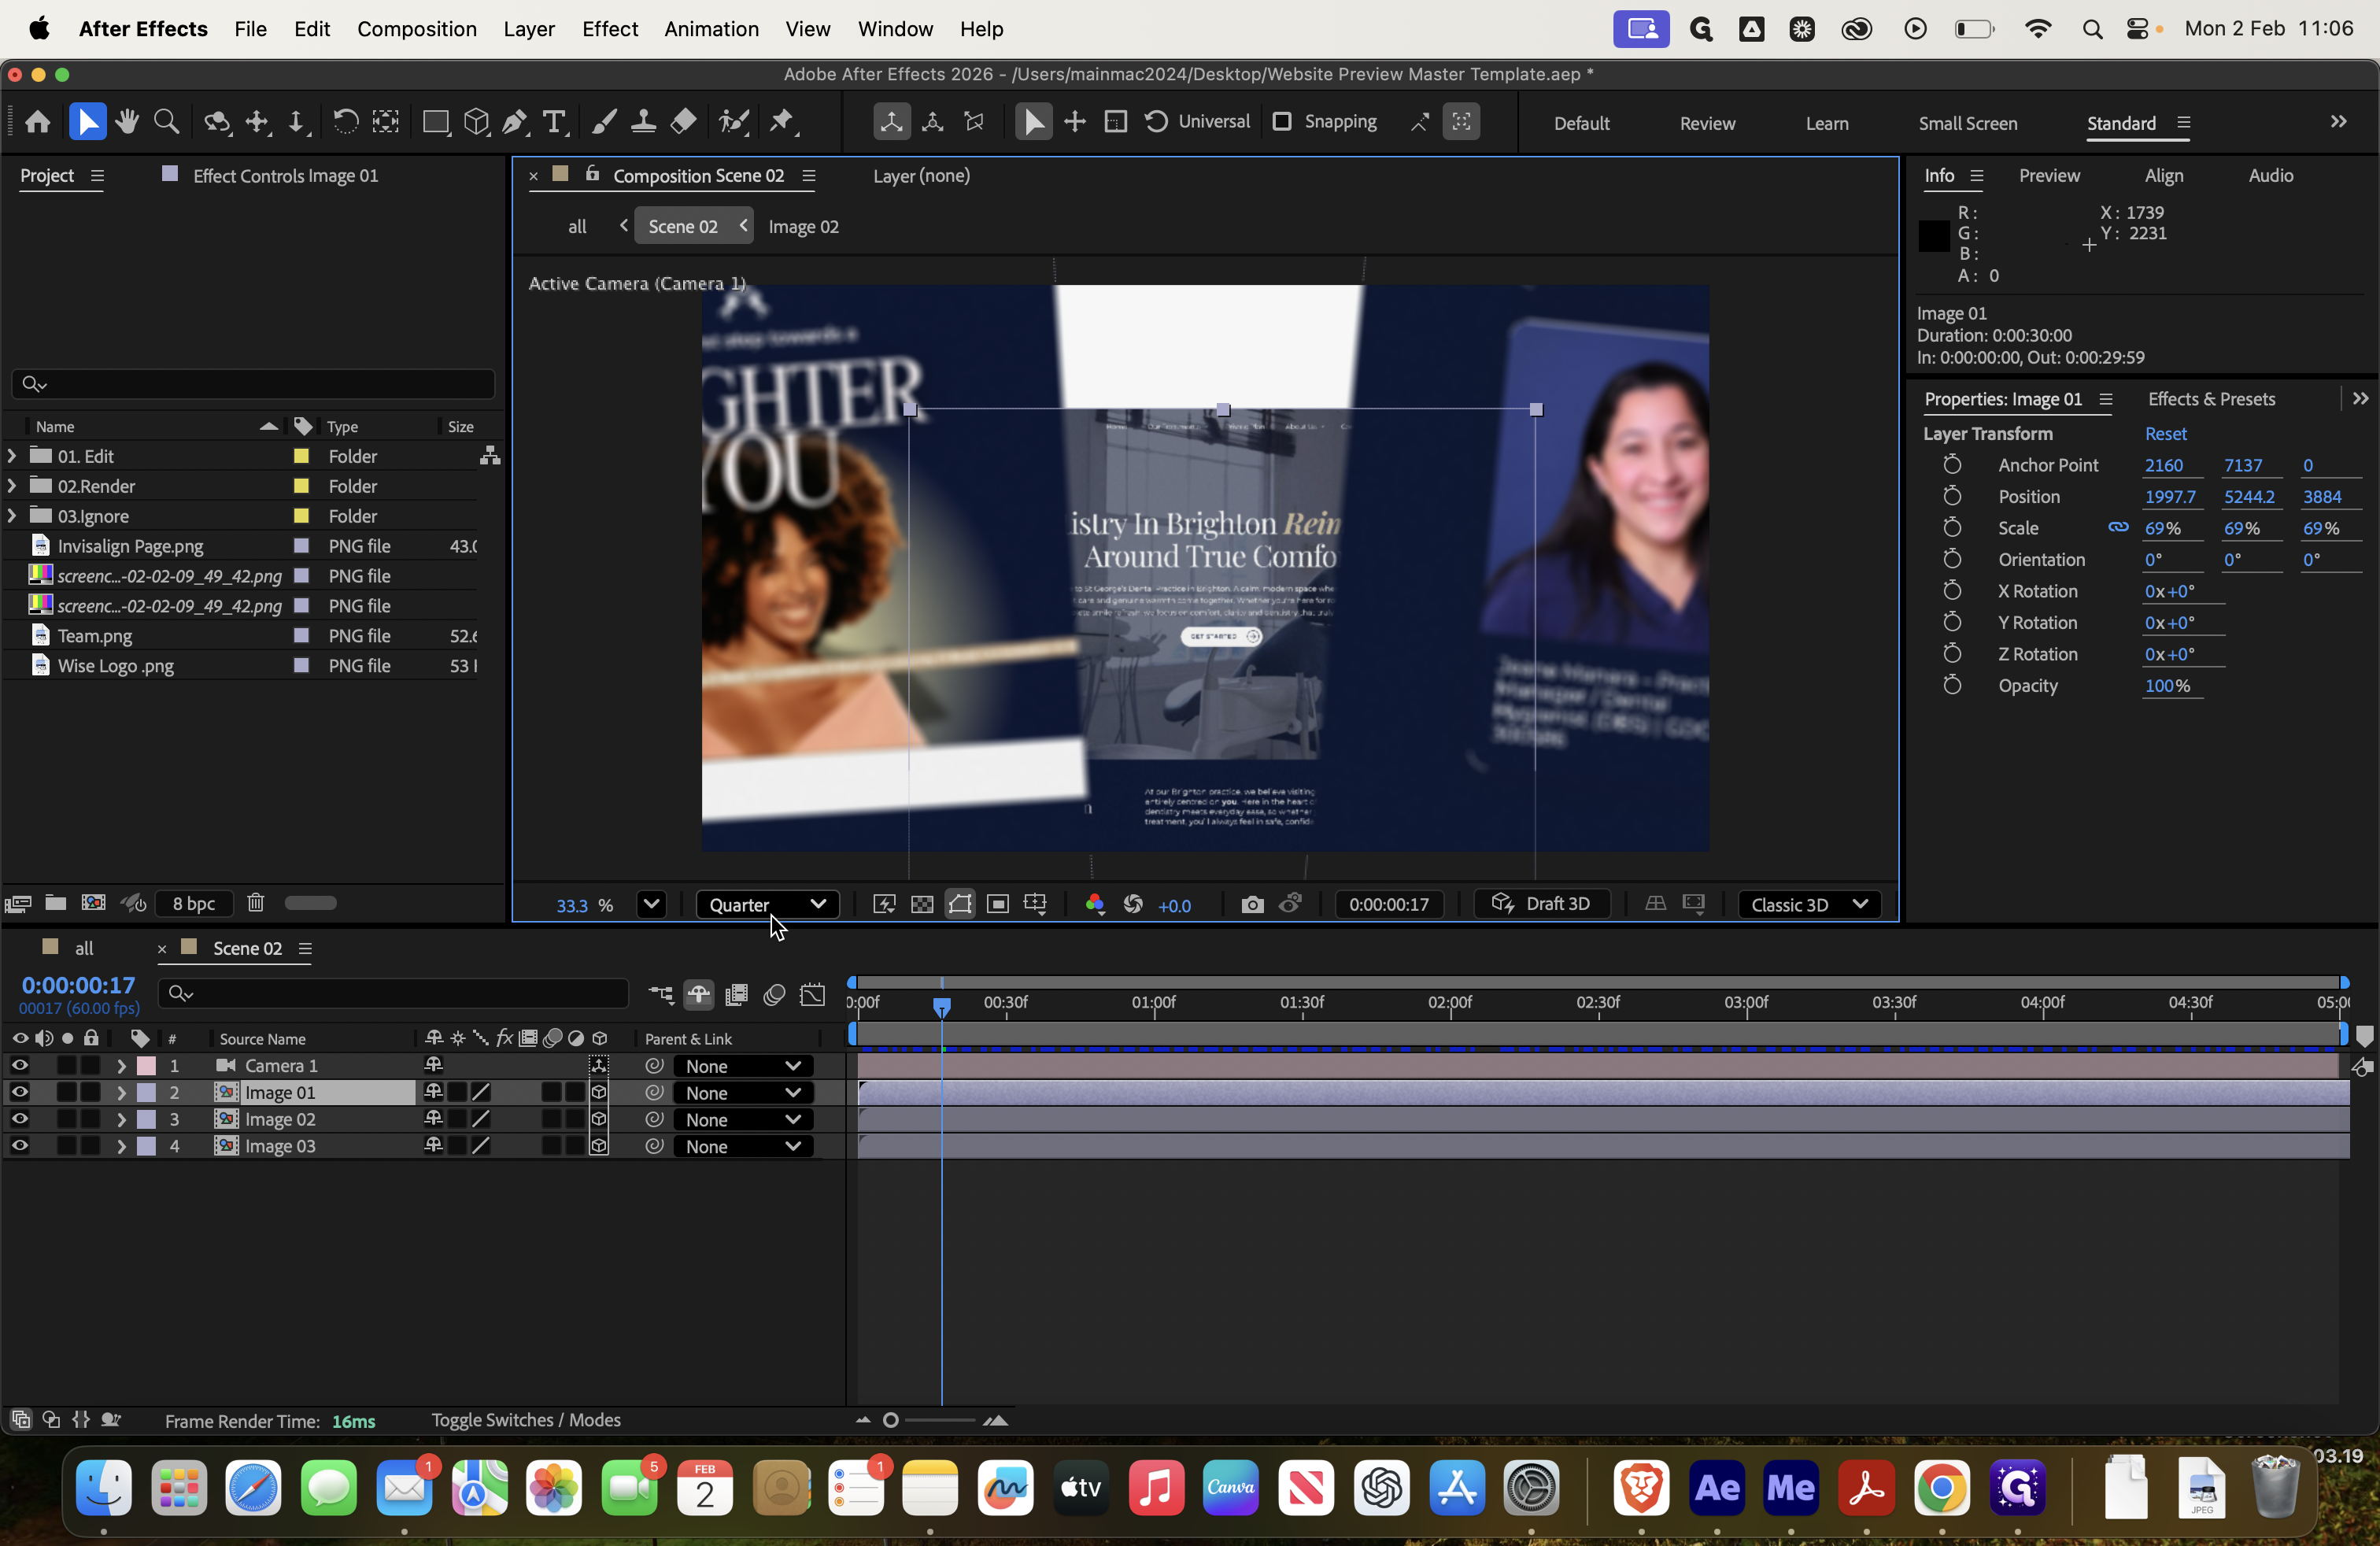
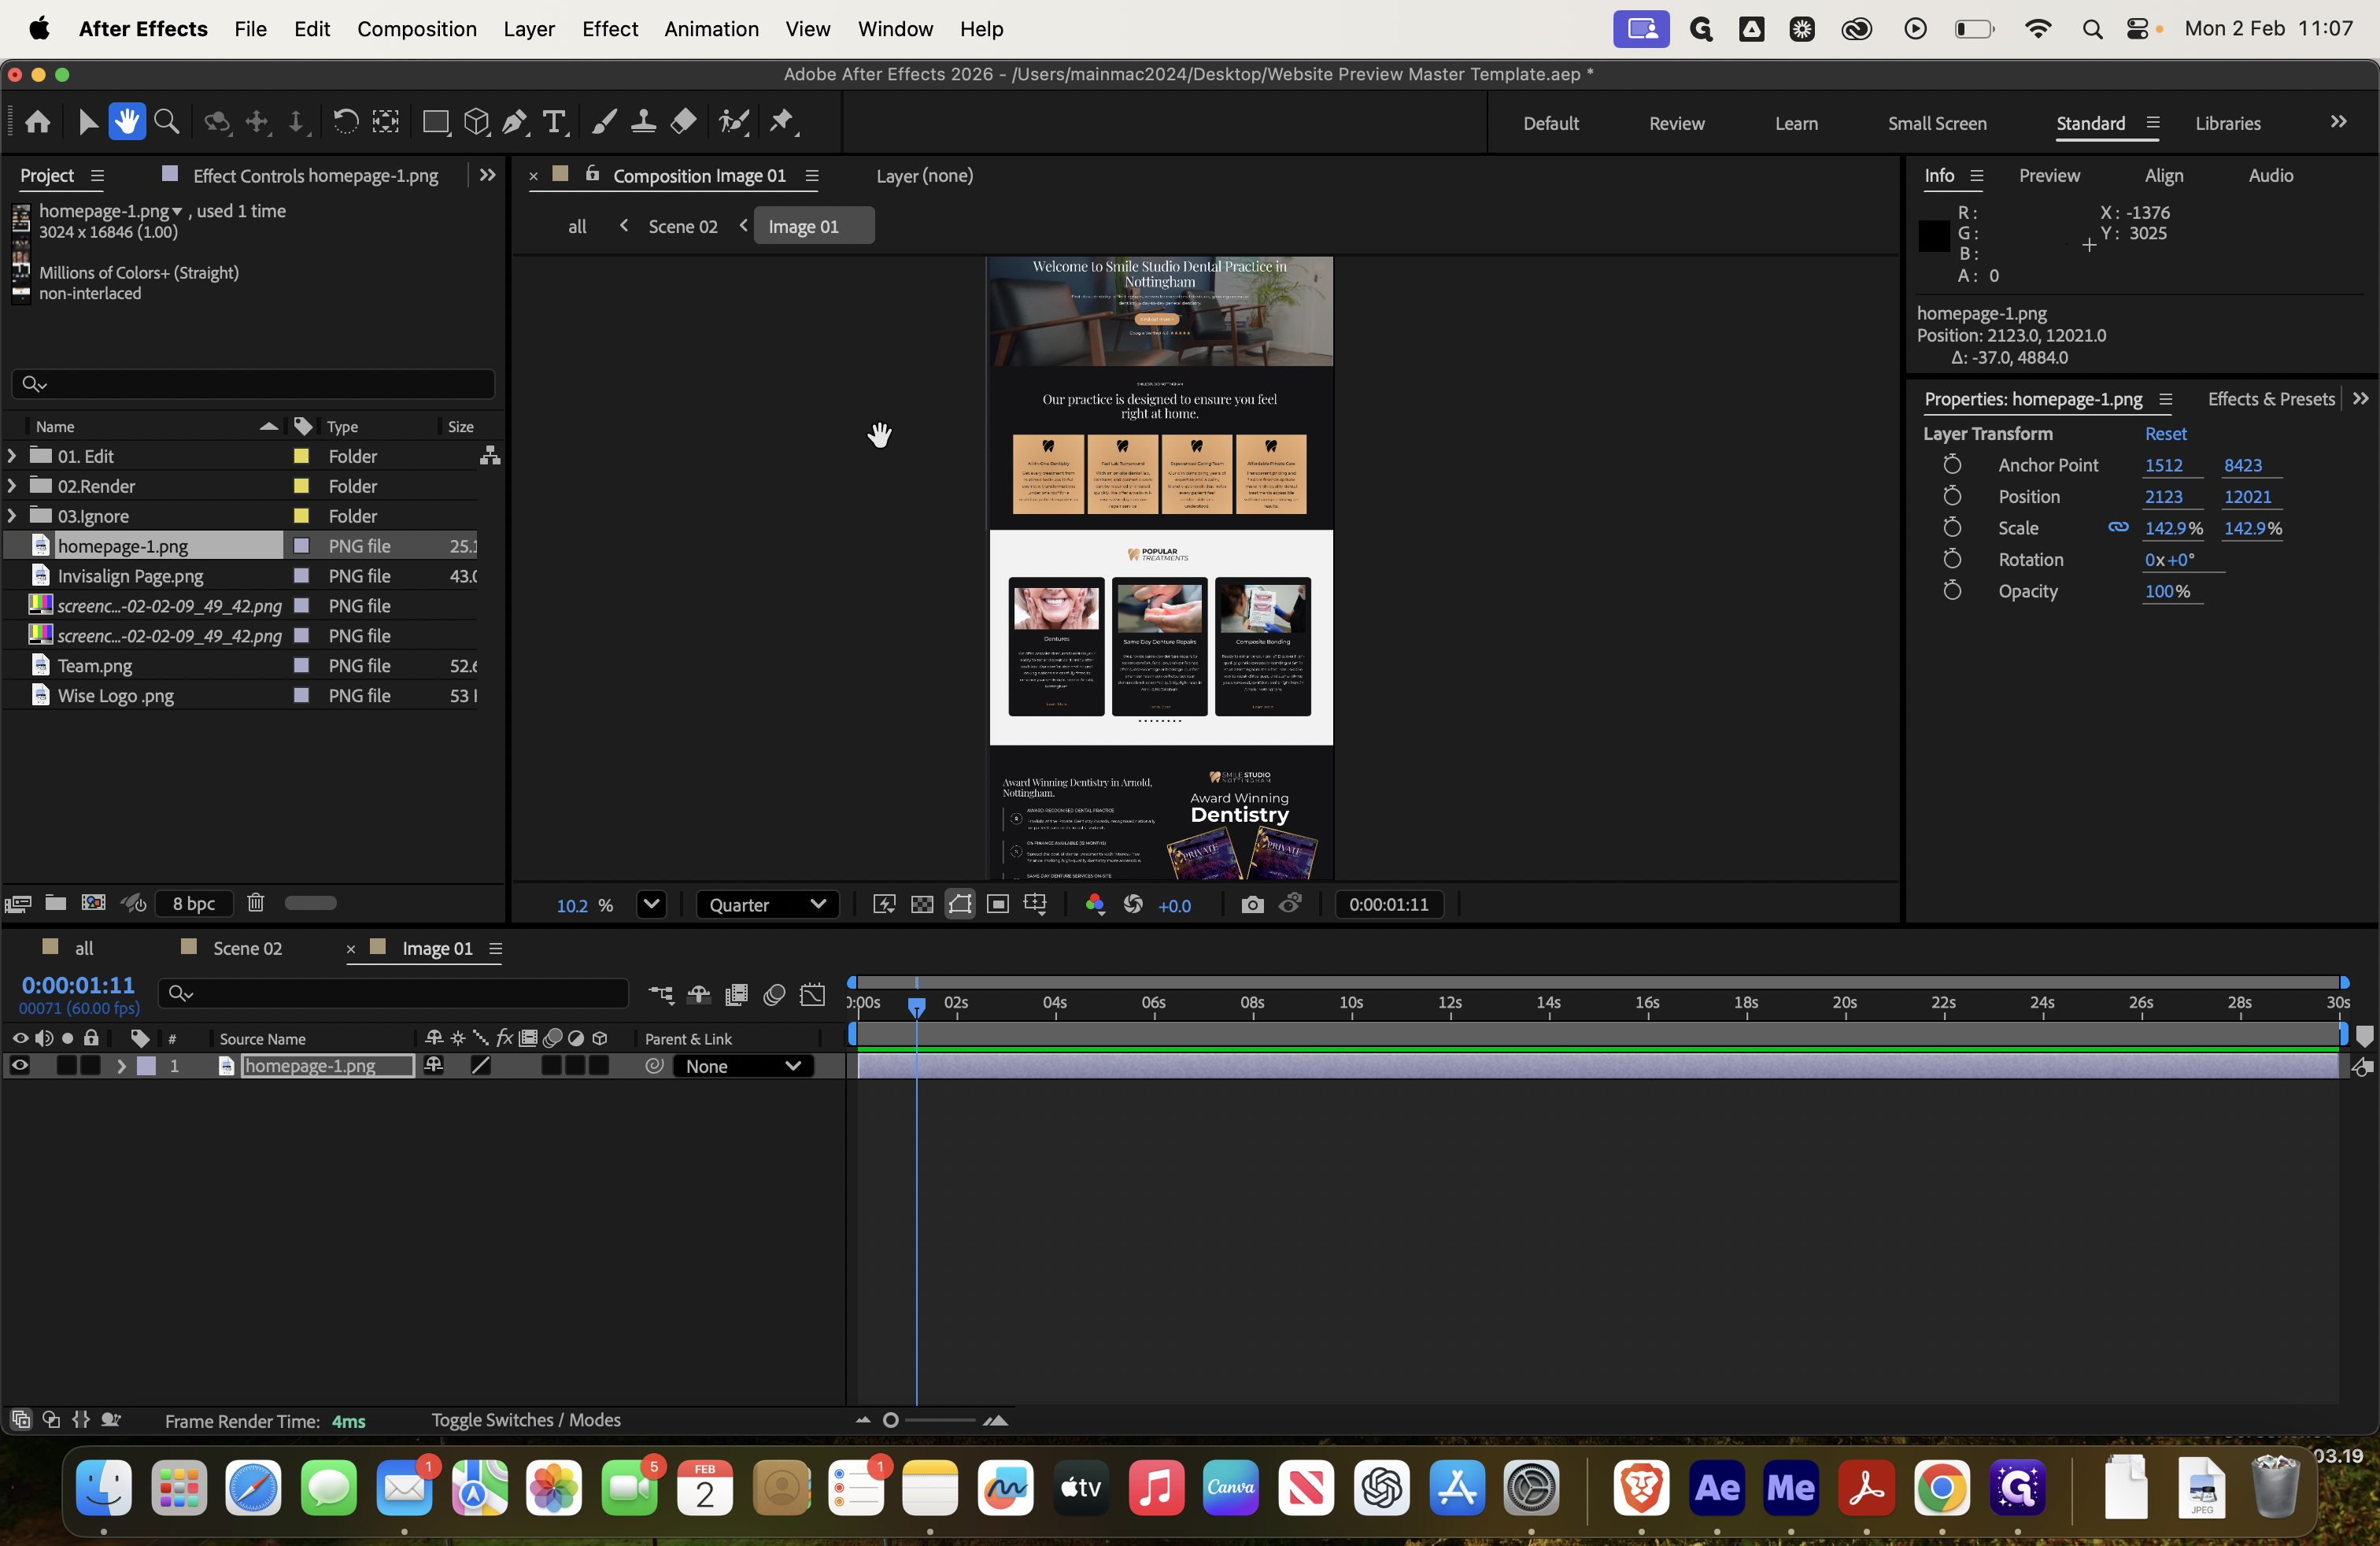
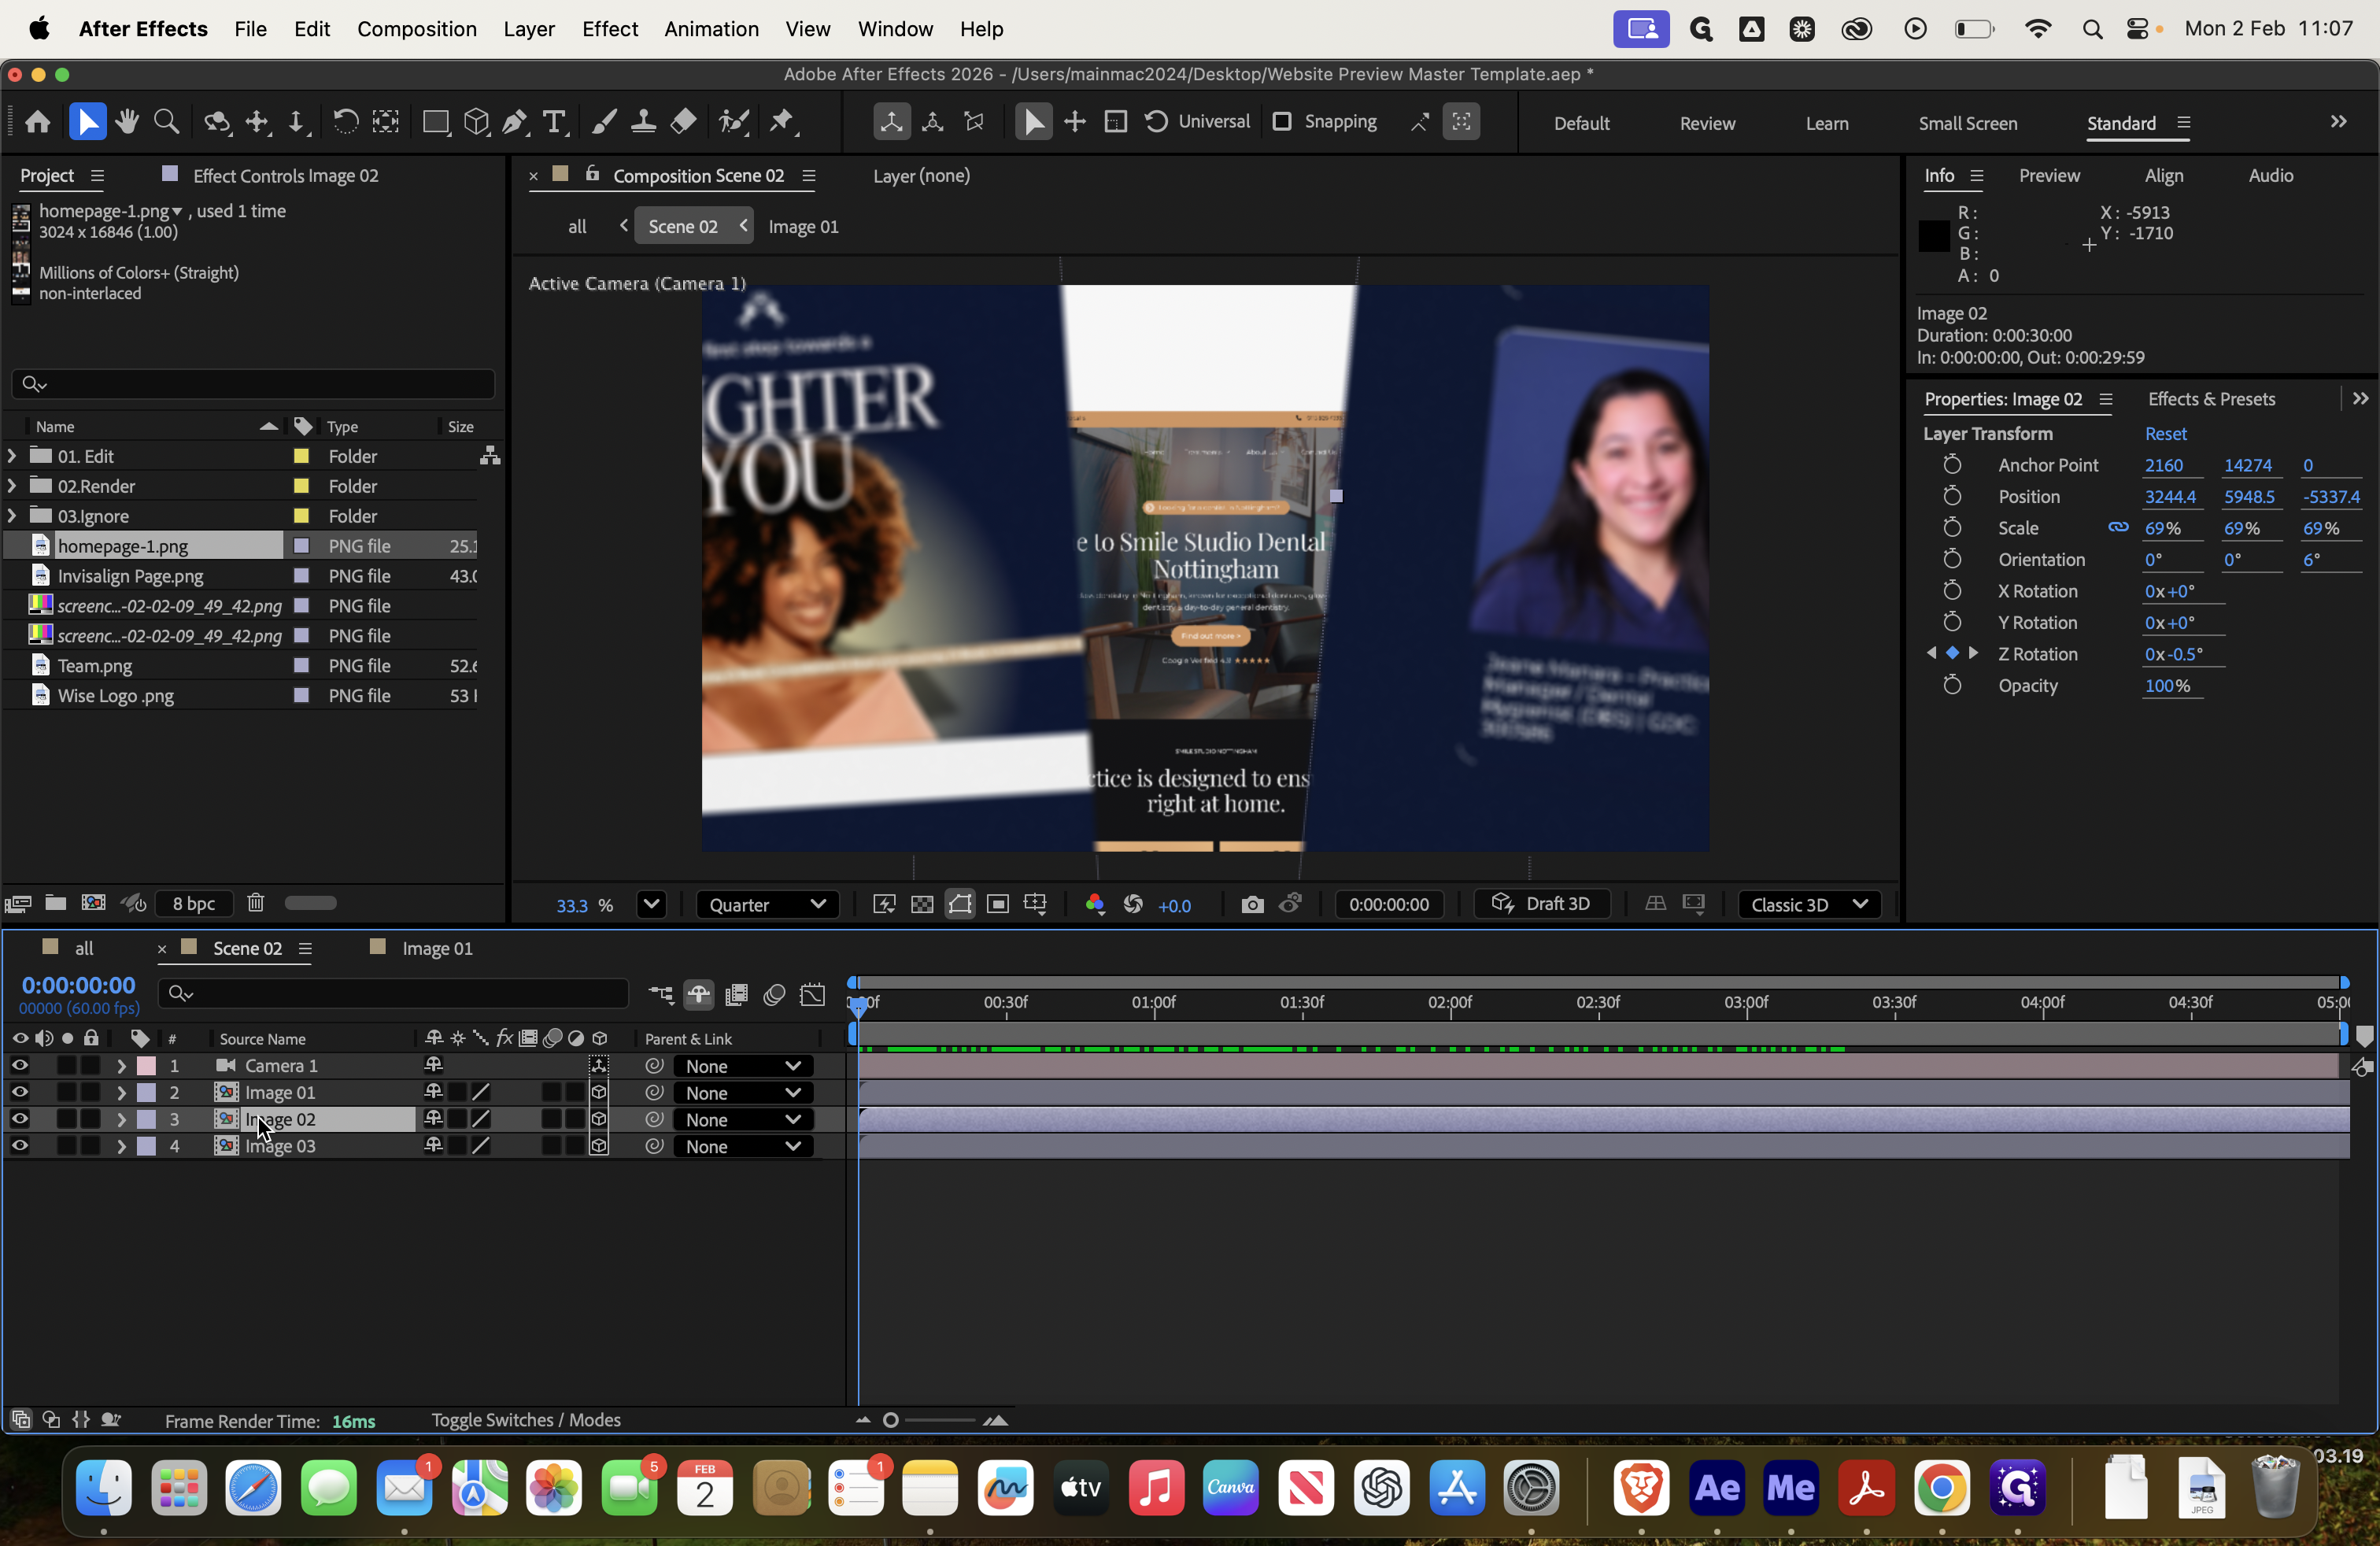
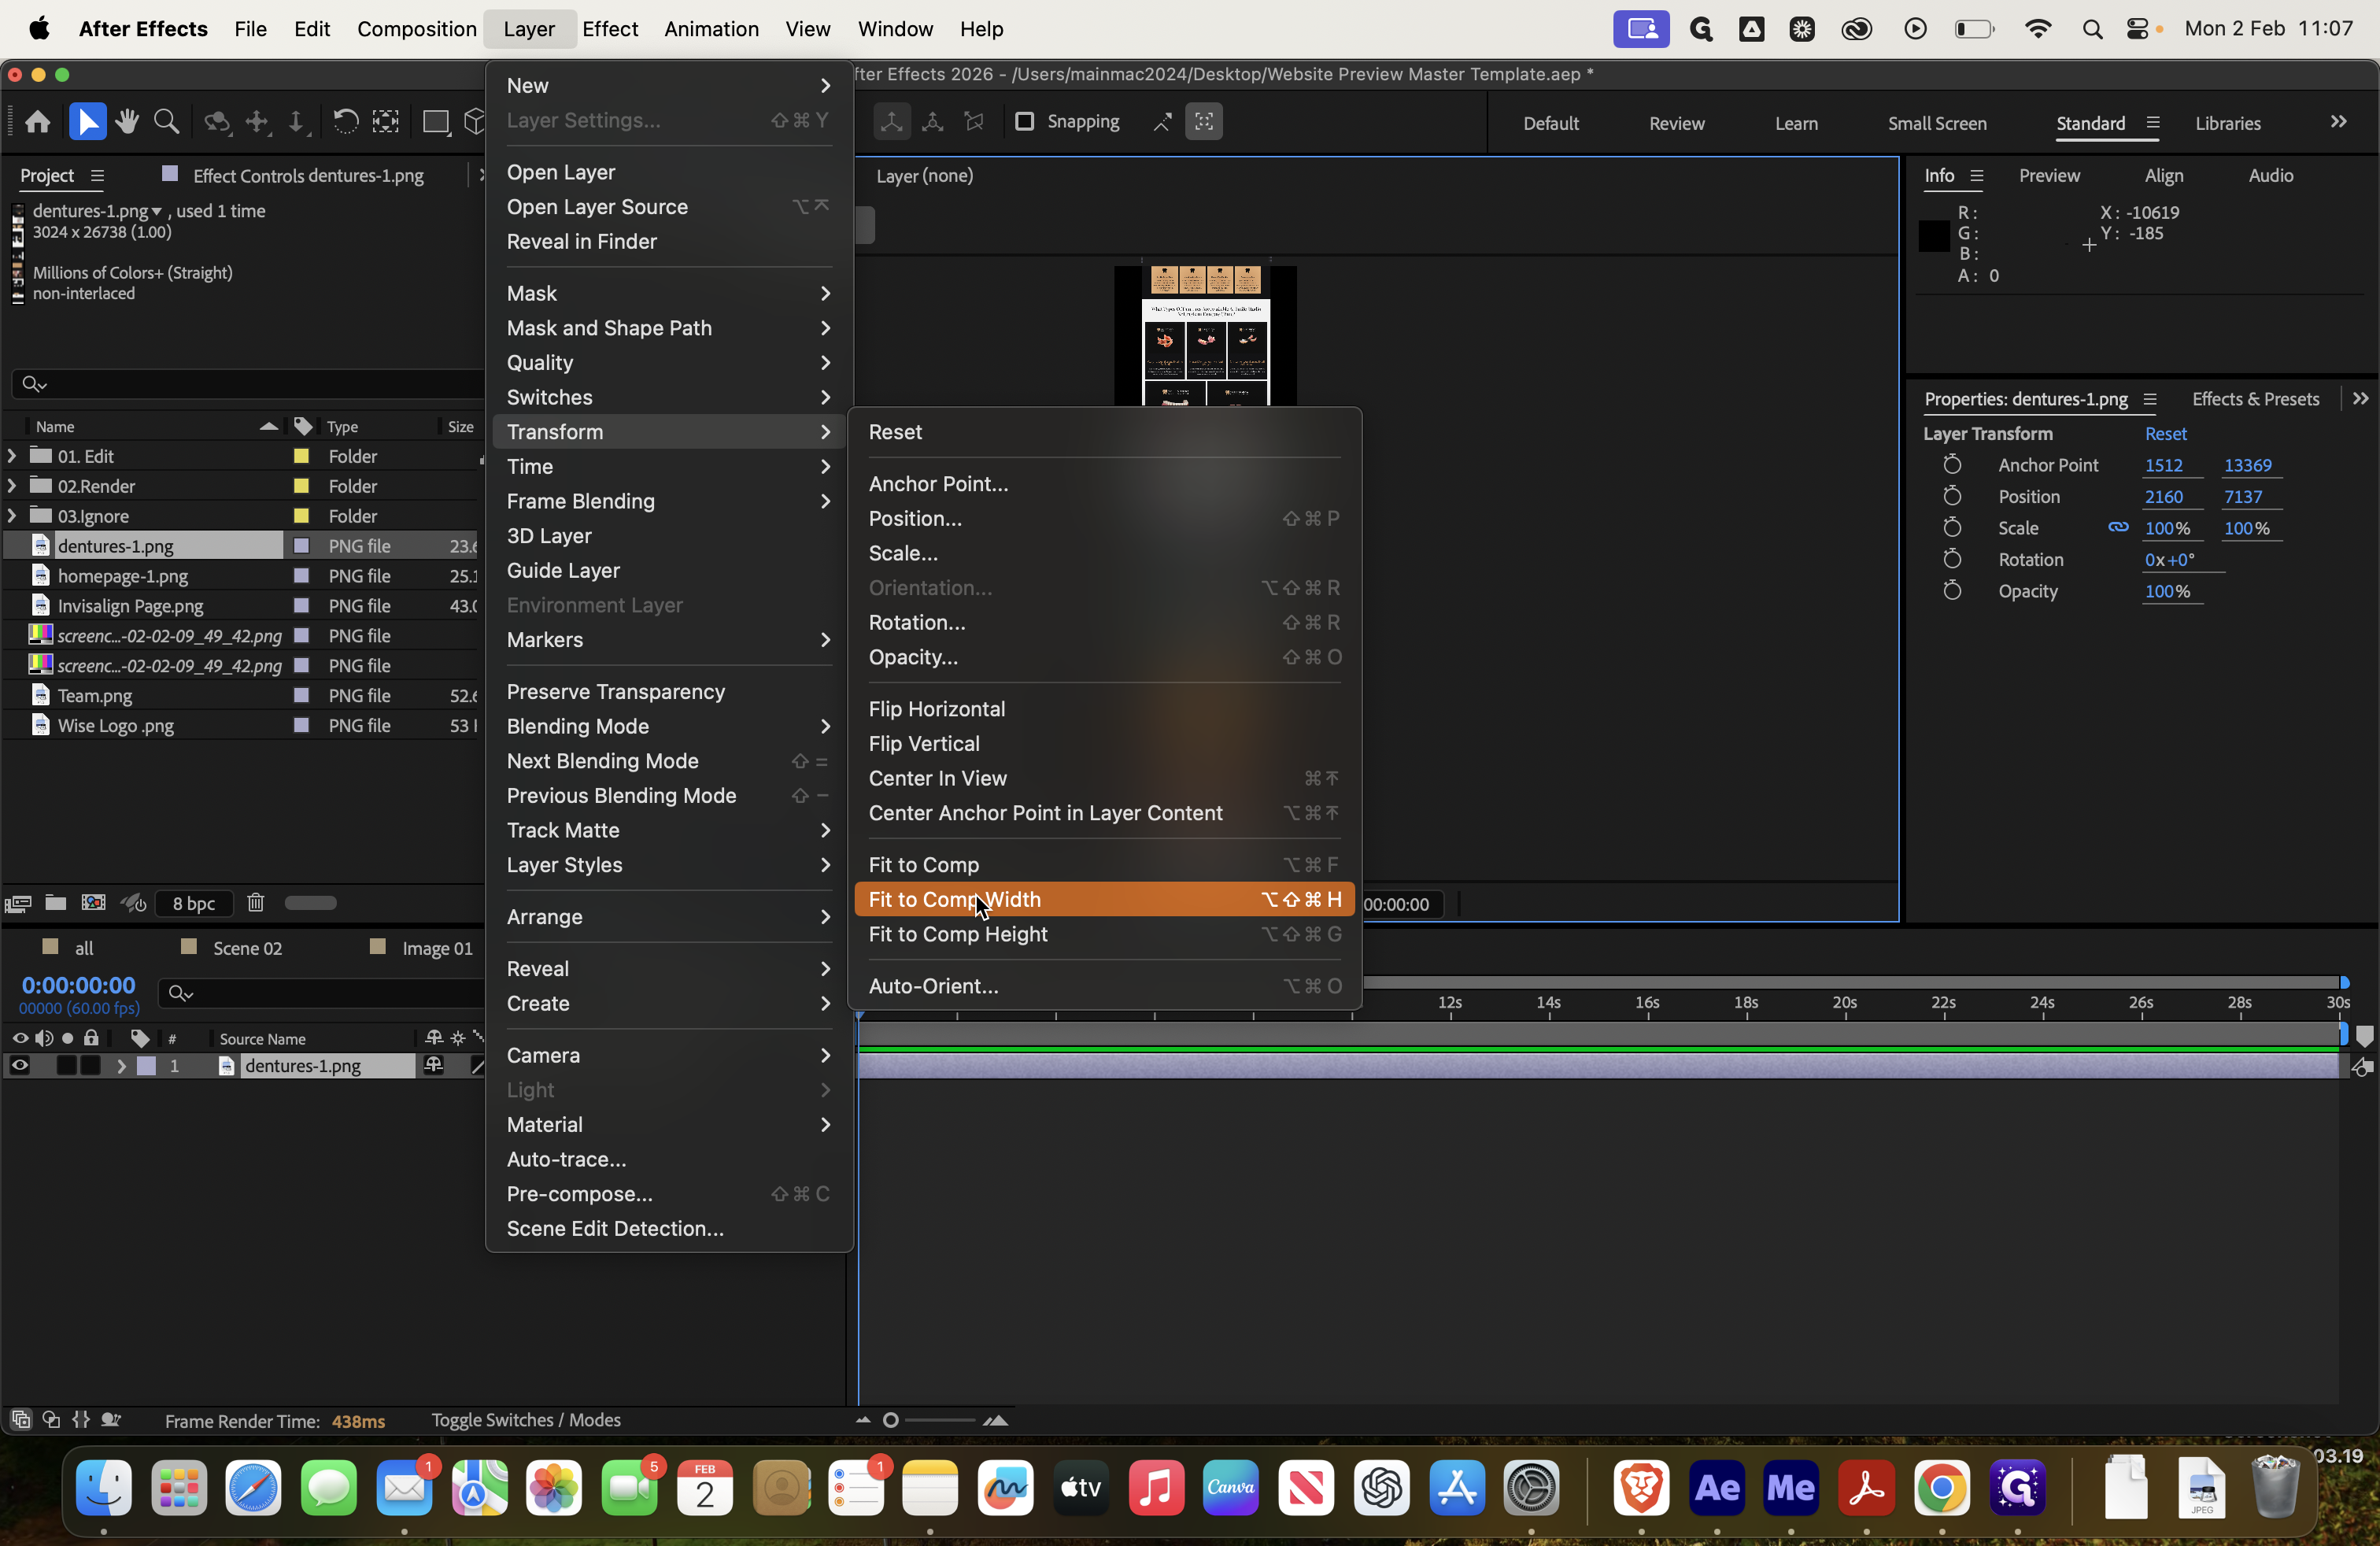
It's not fitting the borders. Go to Layer, then Transform, and select Fit to Comp Width so it fills the width. Then, drag it into place.

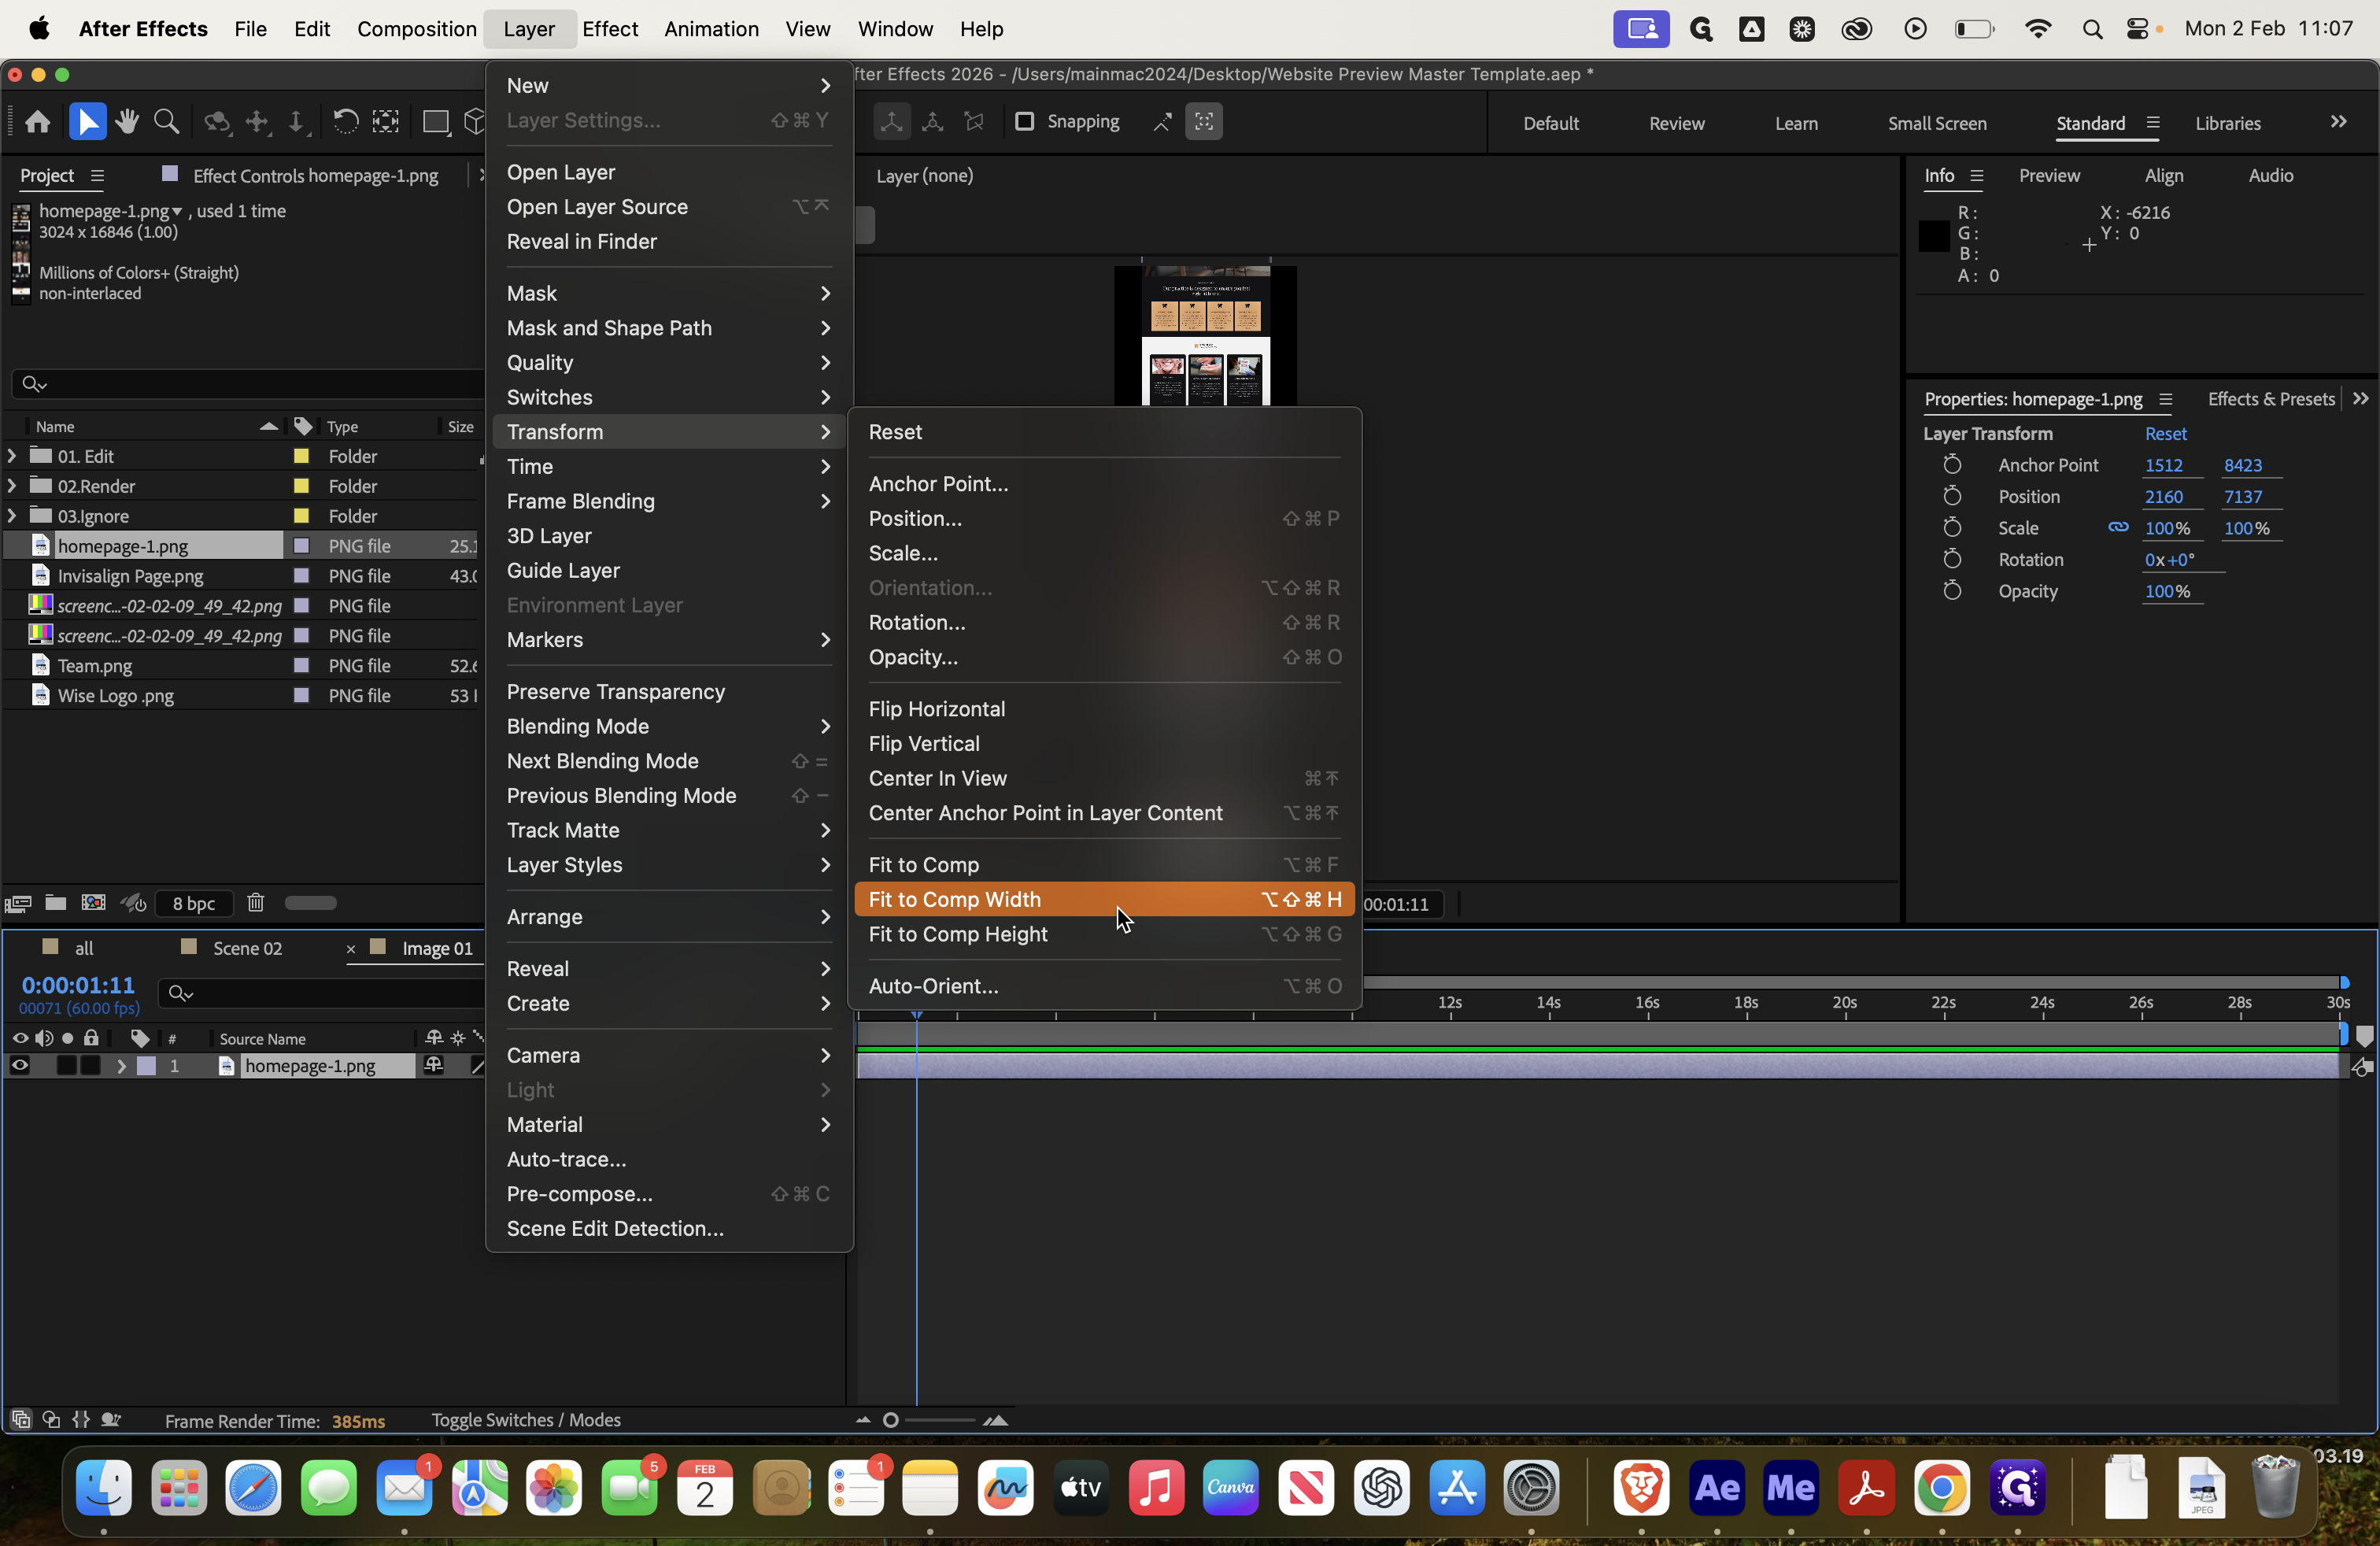
You can always zoom in if needed to ensure everything looks correct. If you need to move it, click the hand icon and drag it to adjust the fit.
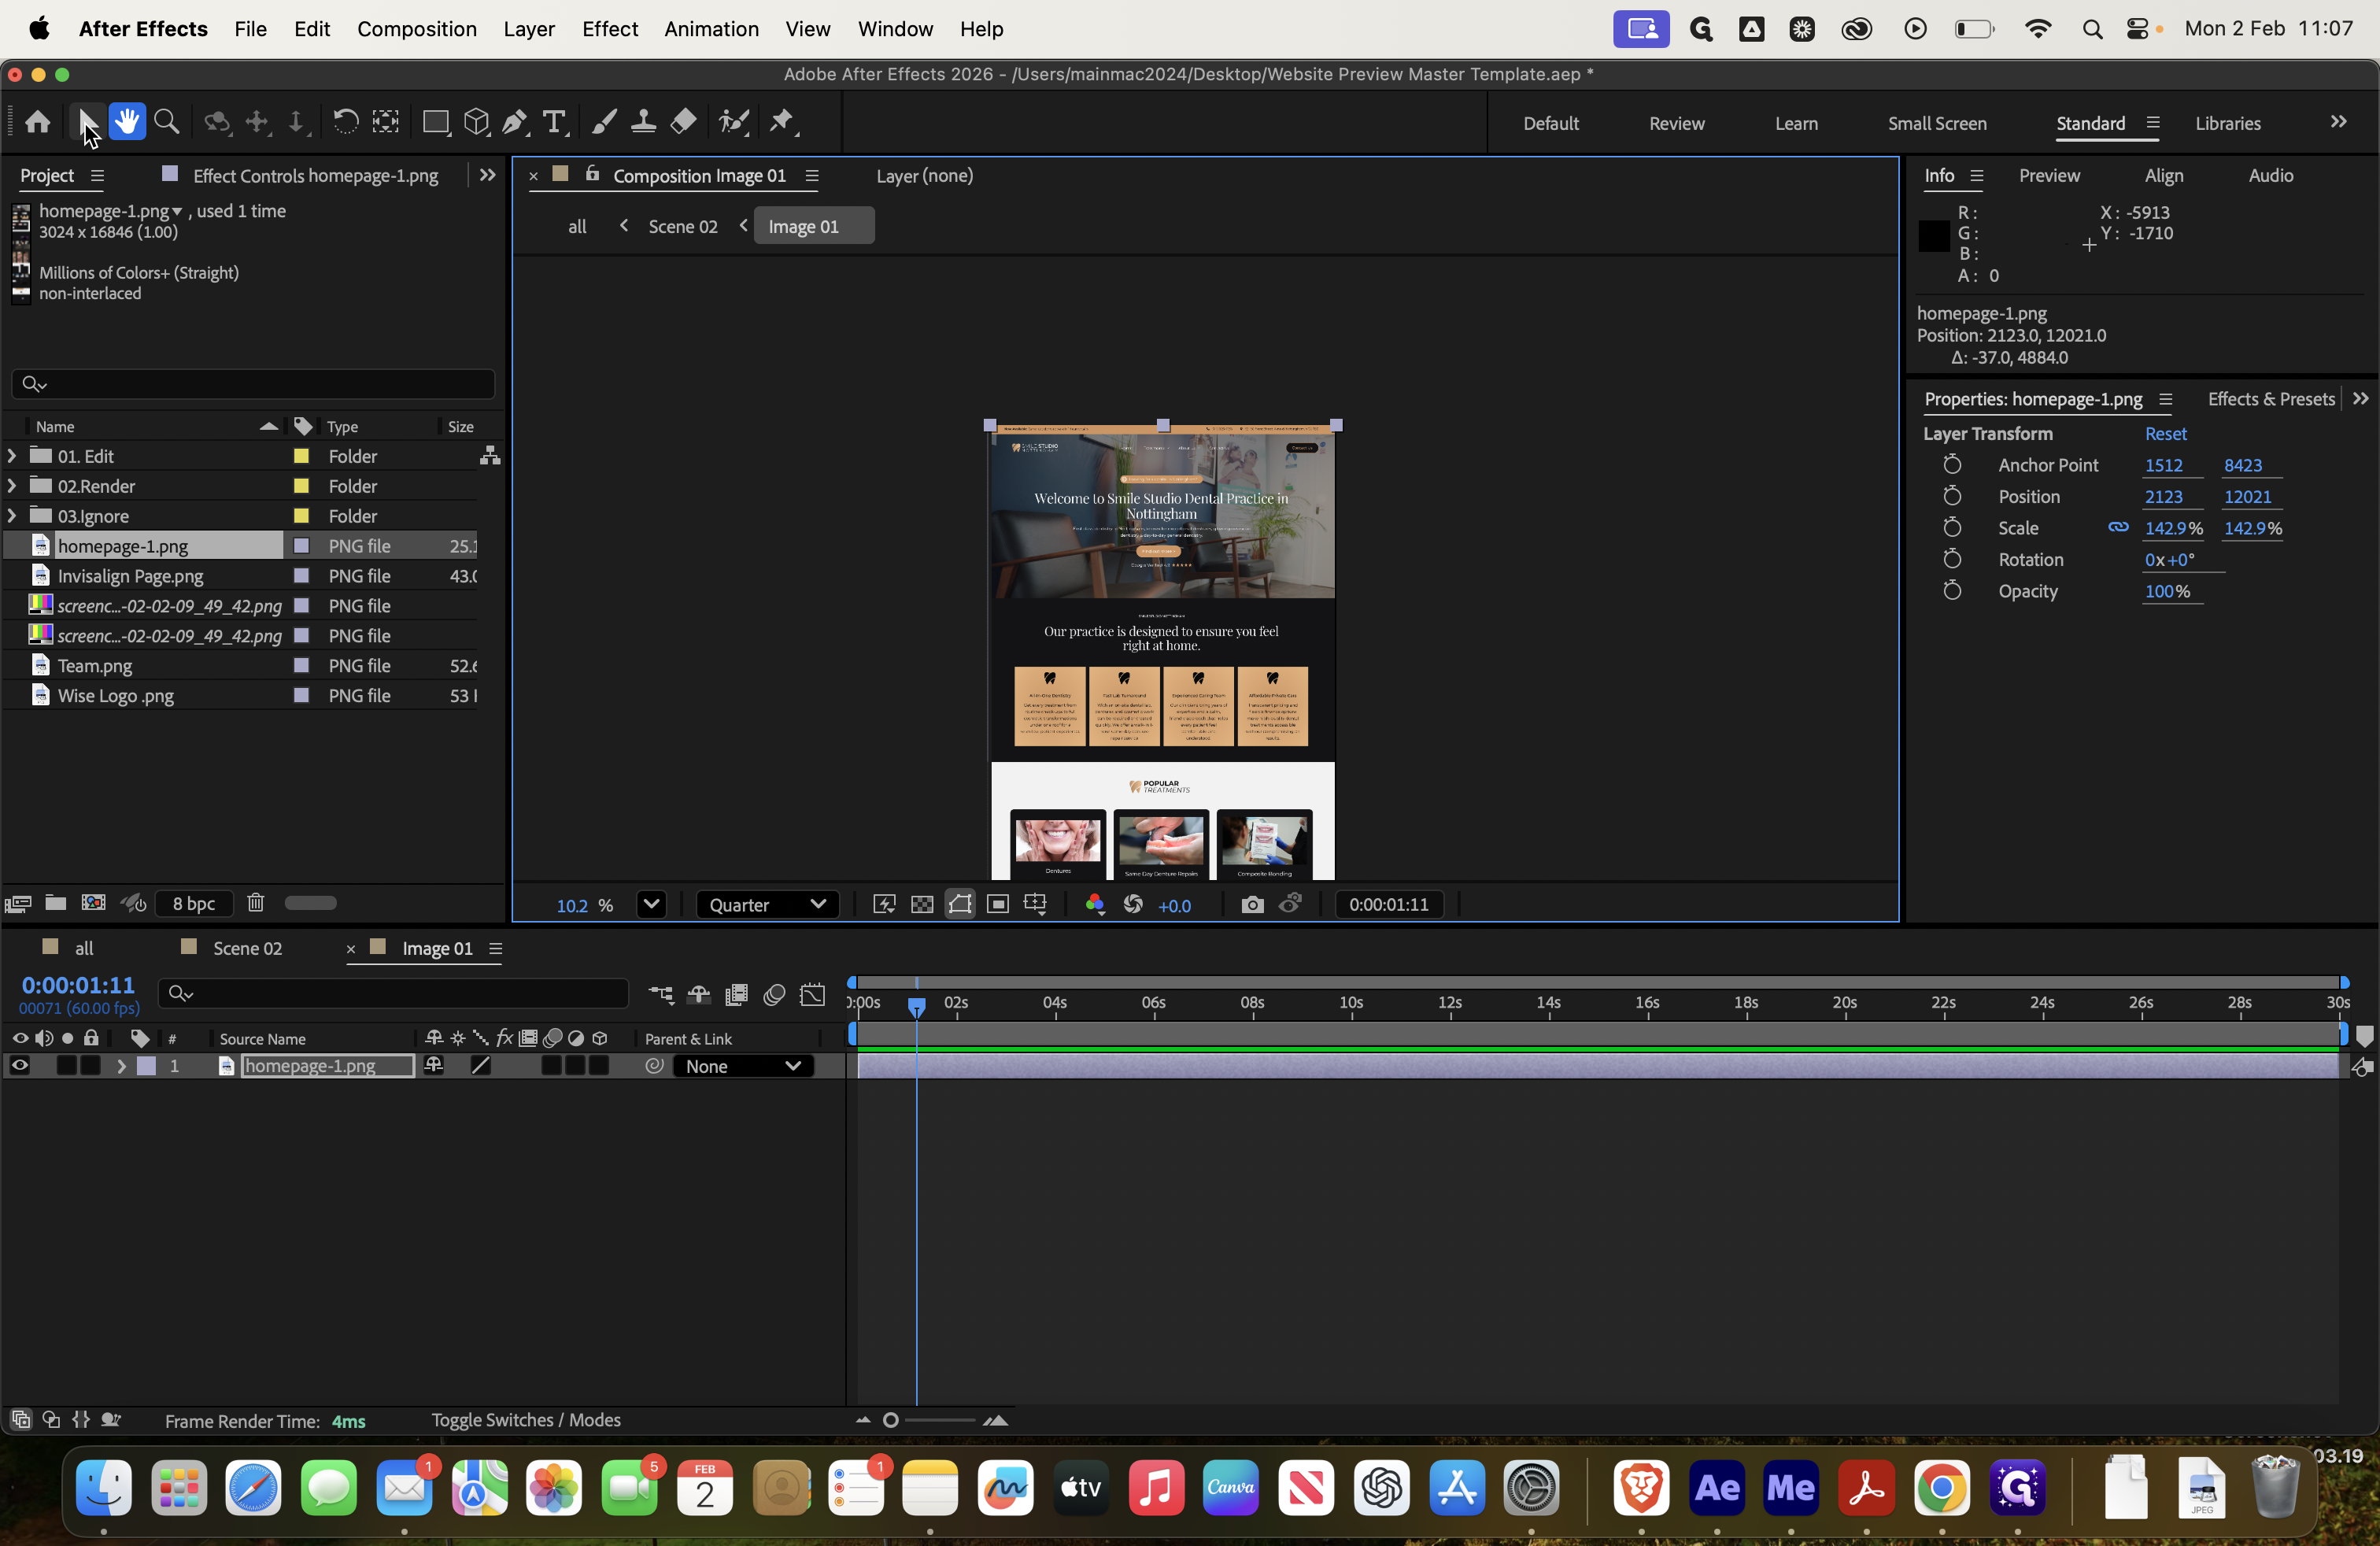
In Scene 2, you can now see that it is included.

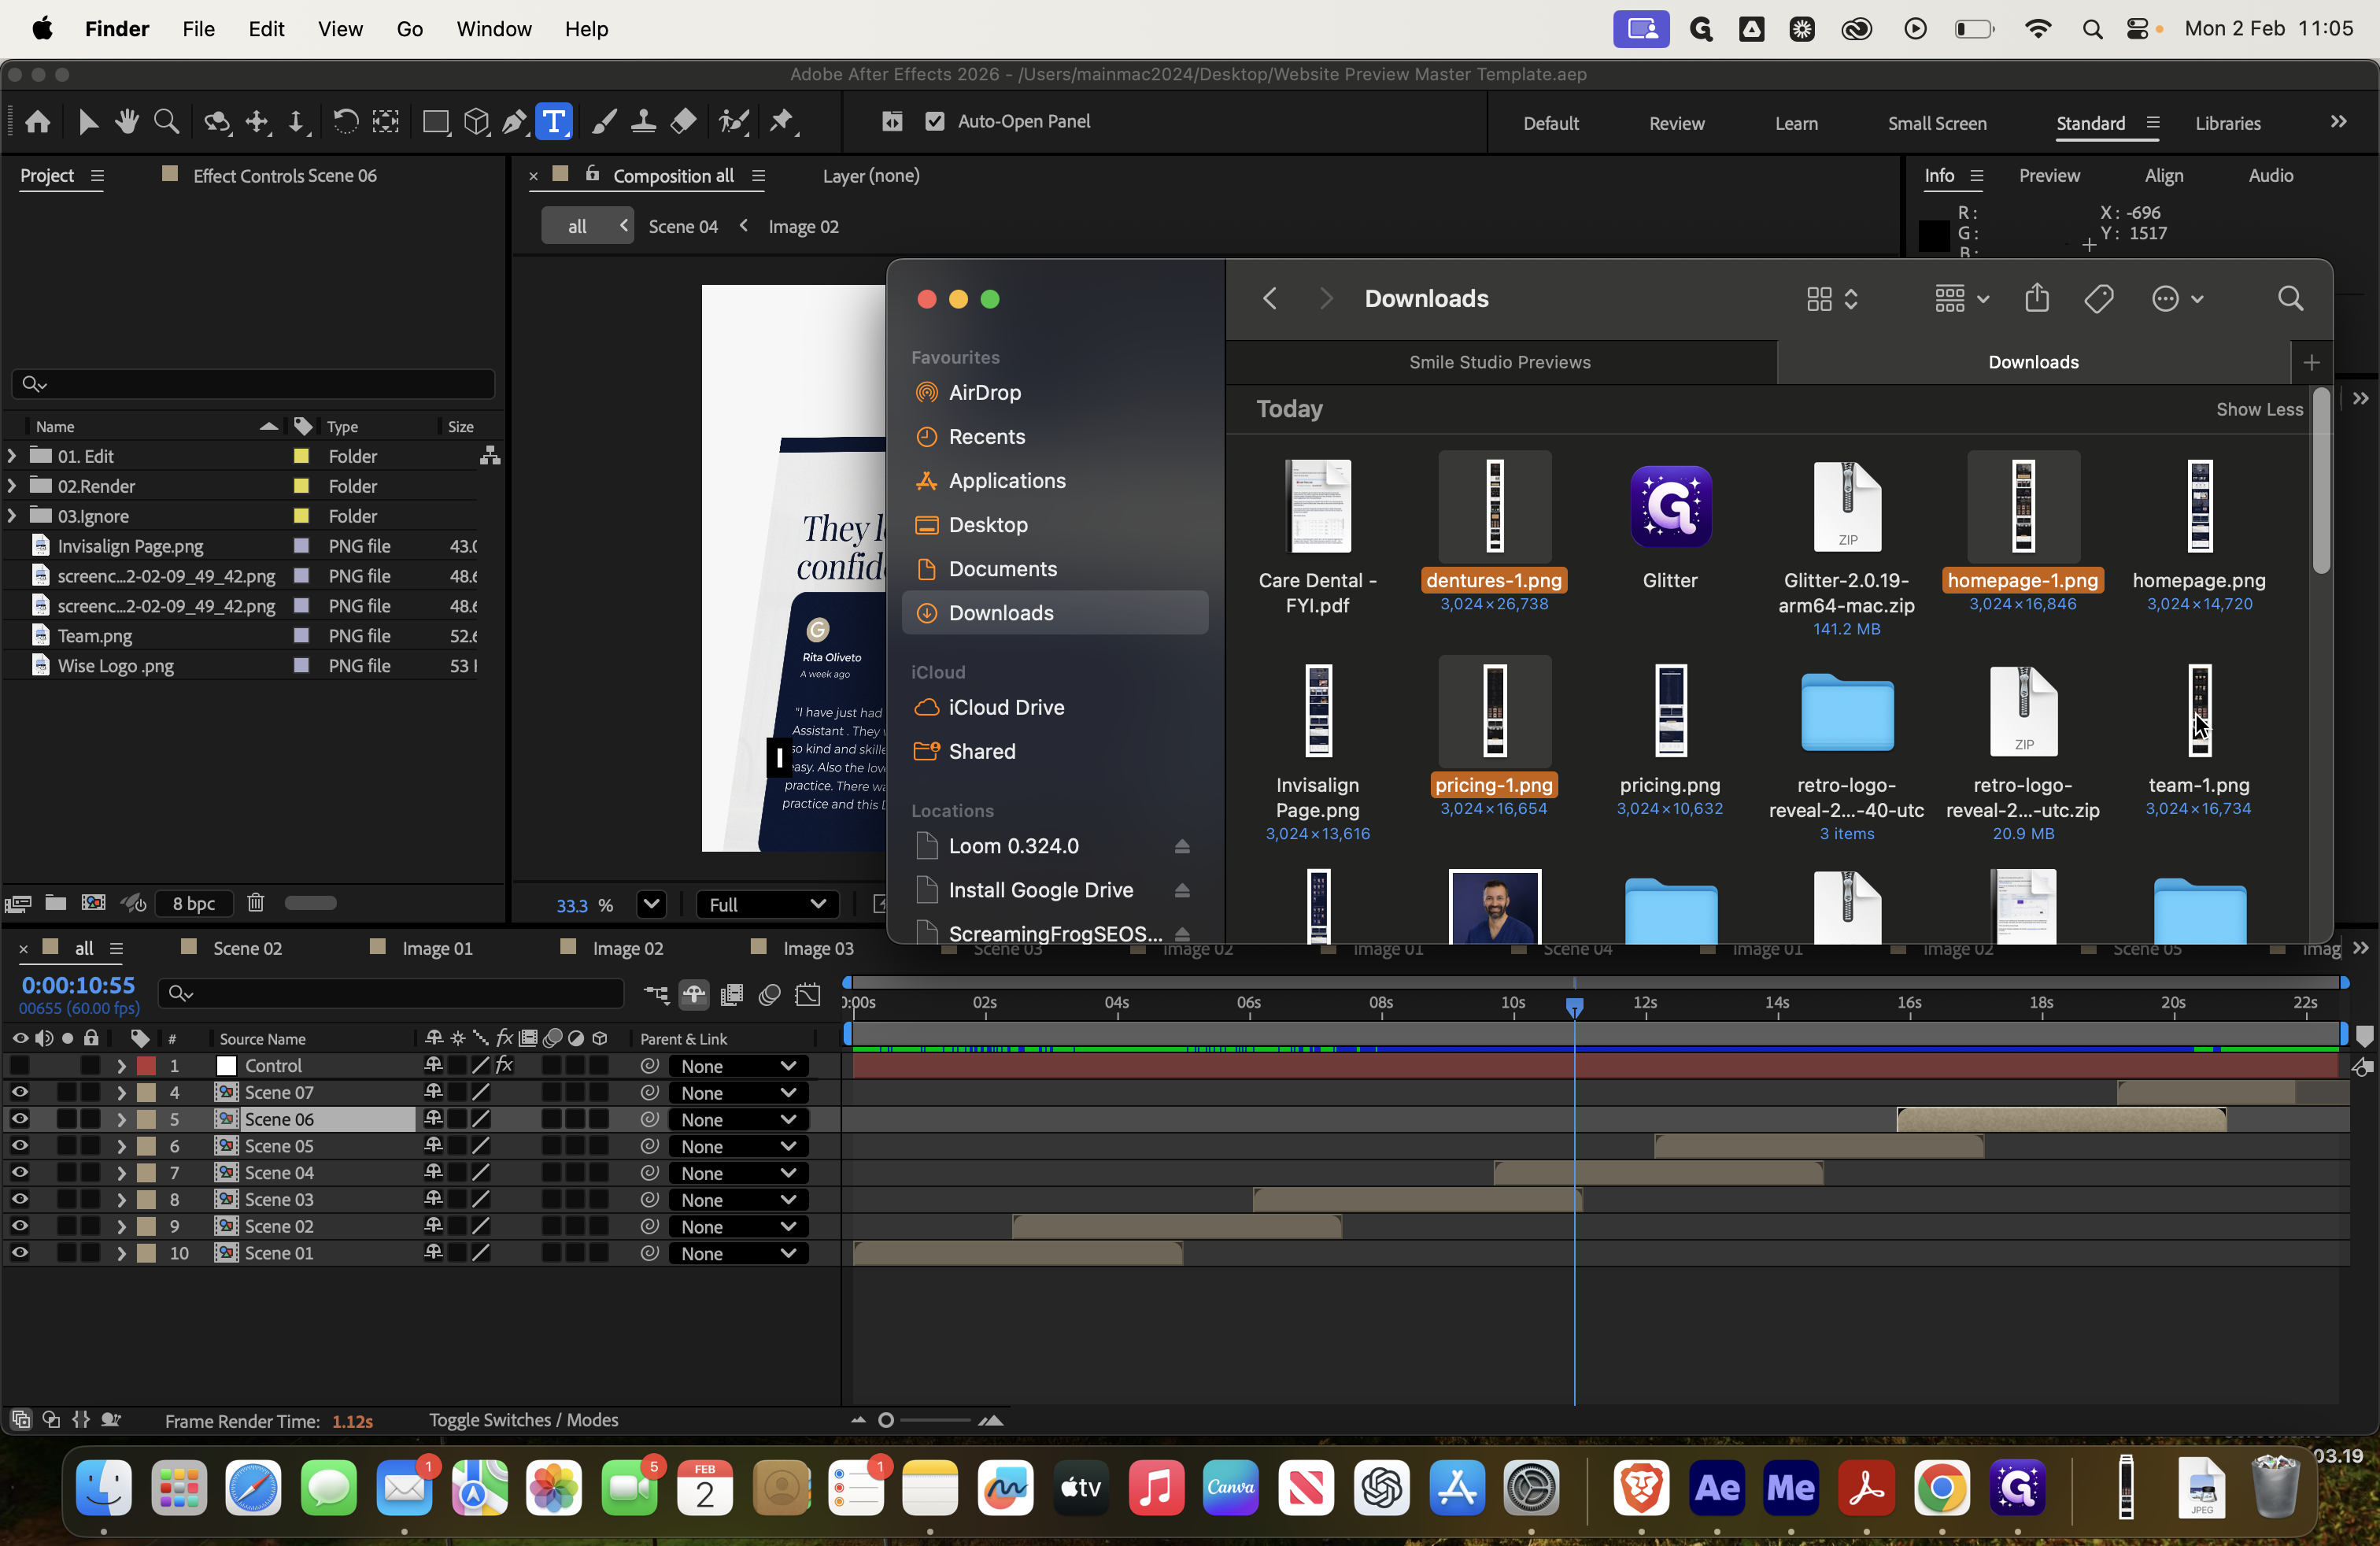
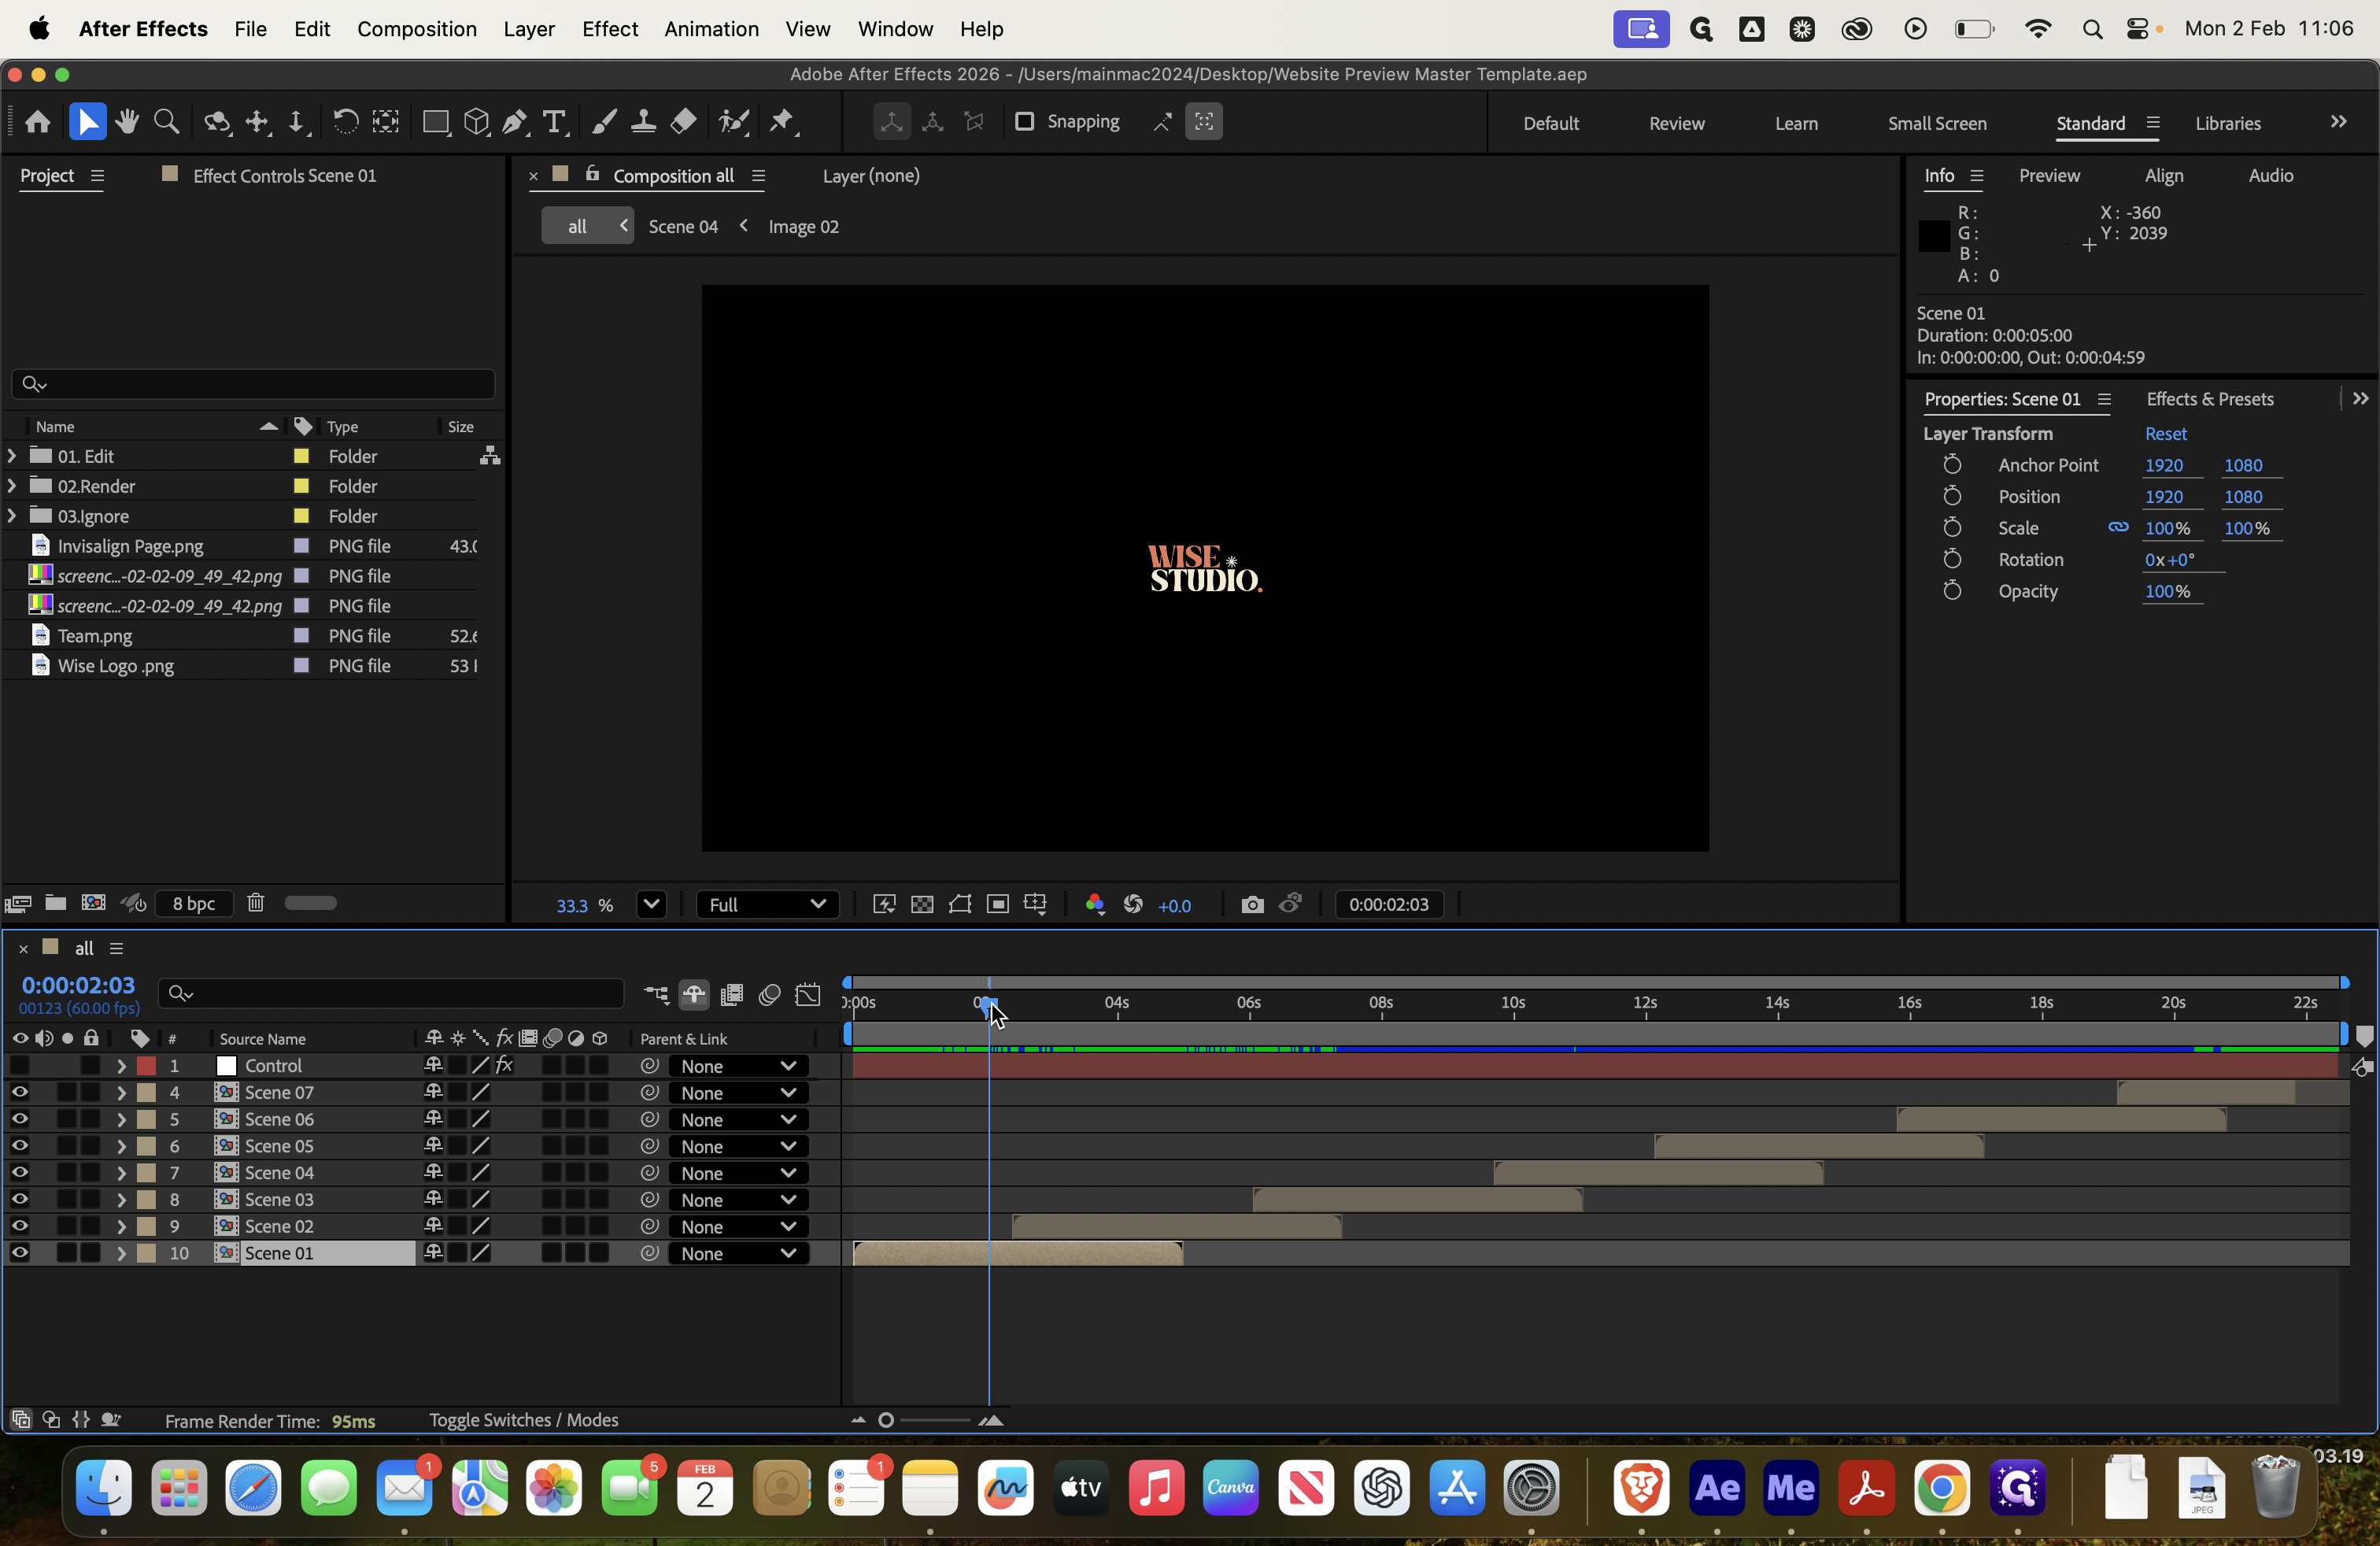
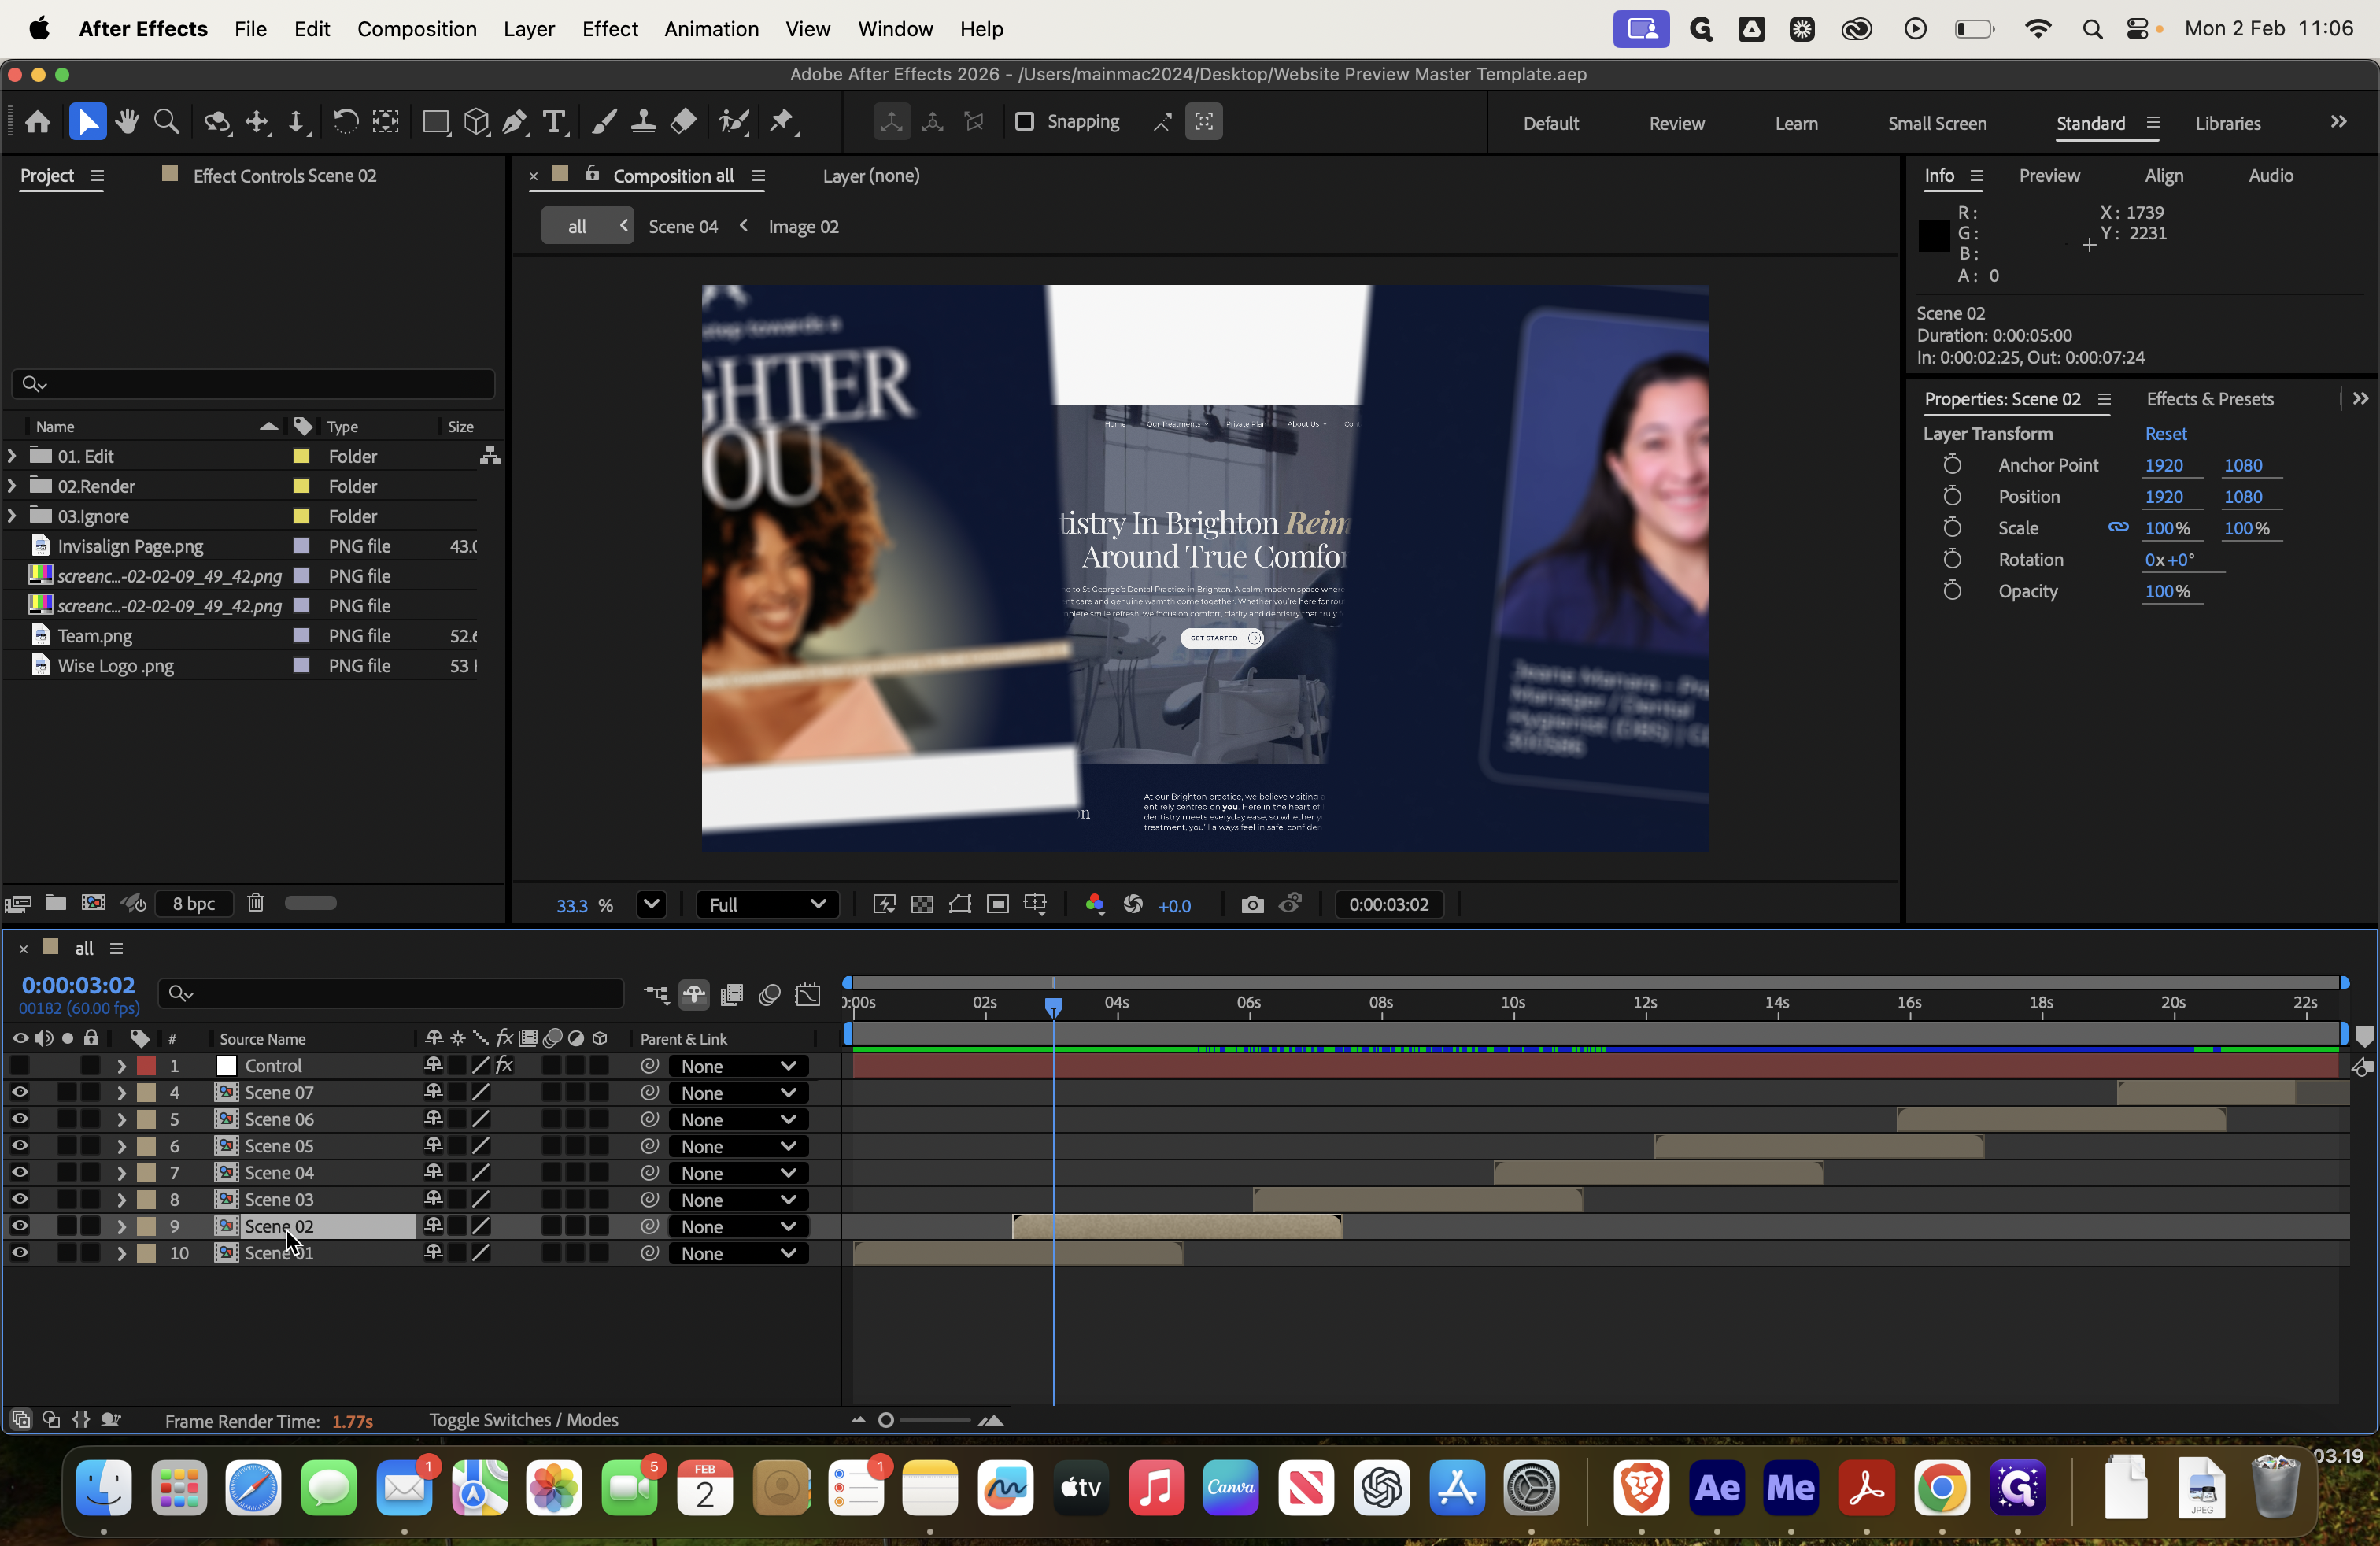
Next, we need to work on images 2 and 3.

Delete that, then add a Dentures layer. Select Layer, Transform, Fit to Comp Width. Drag it to the top, then return to Scene 2.
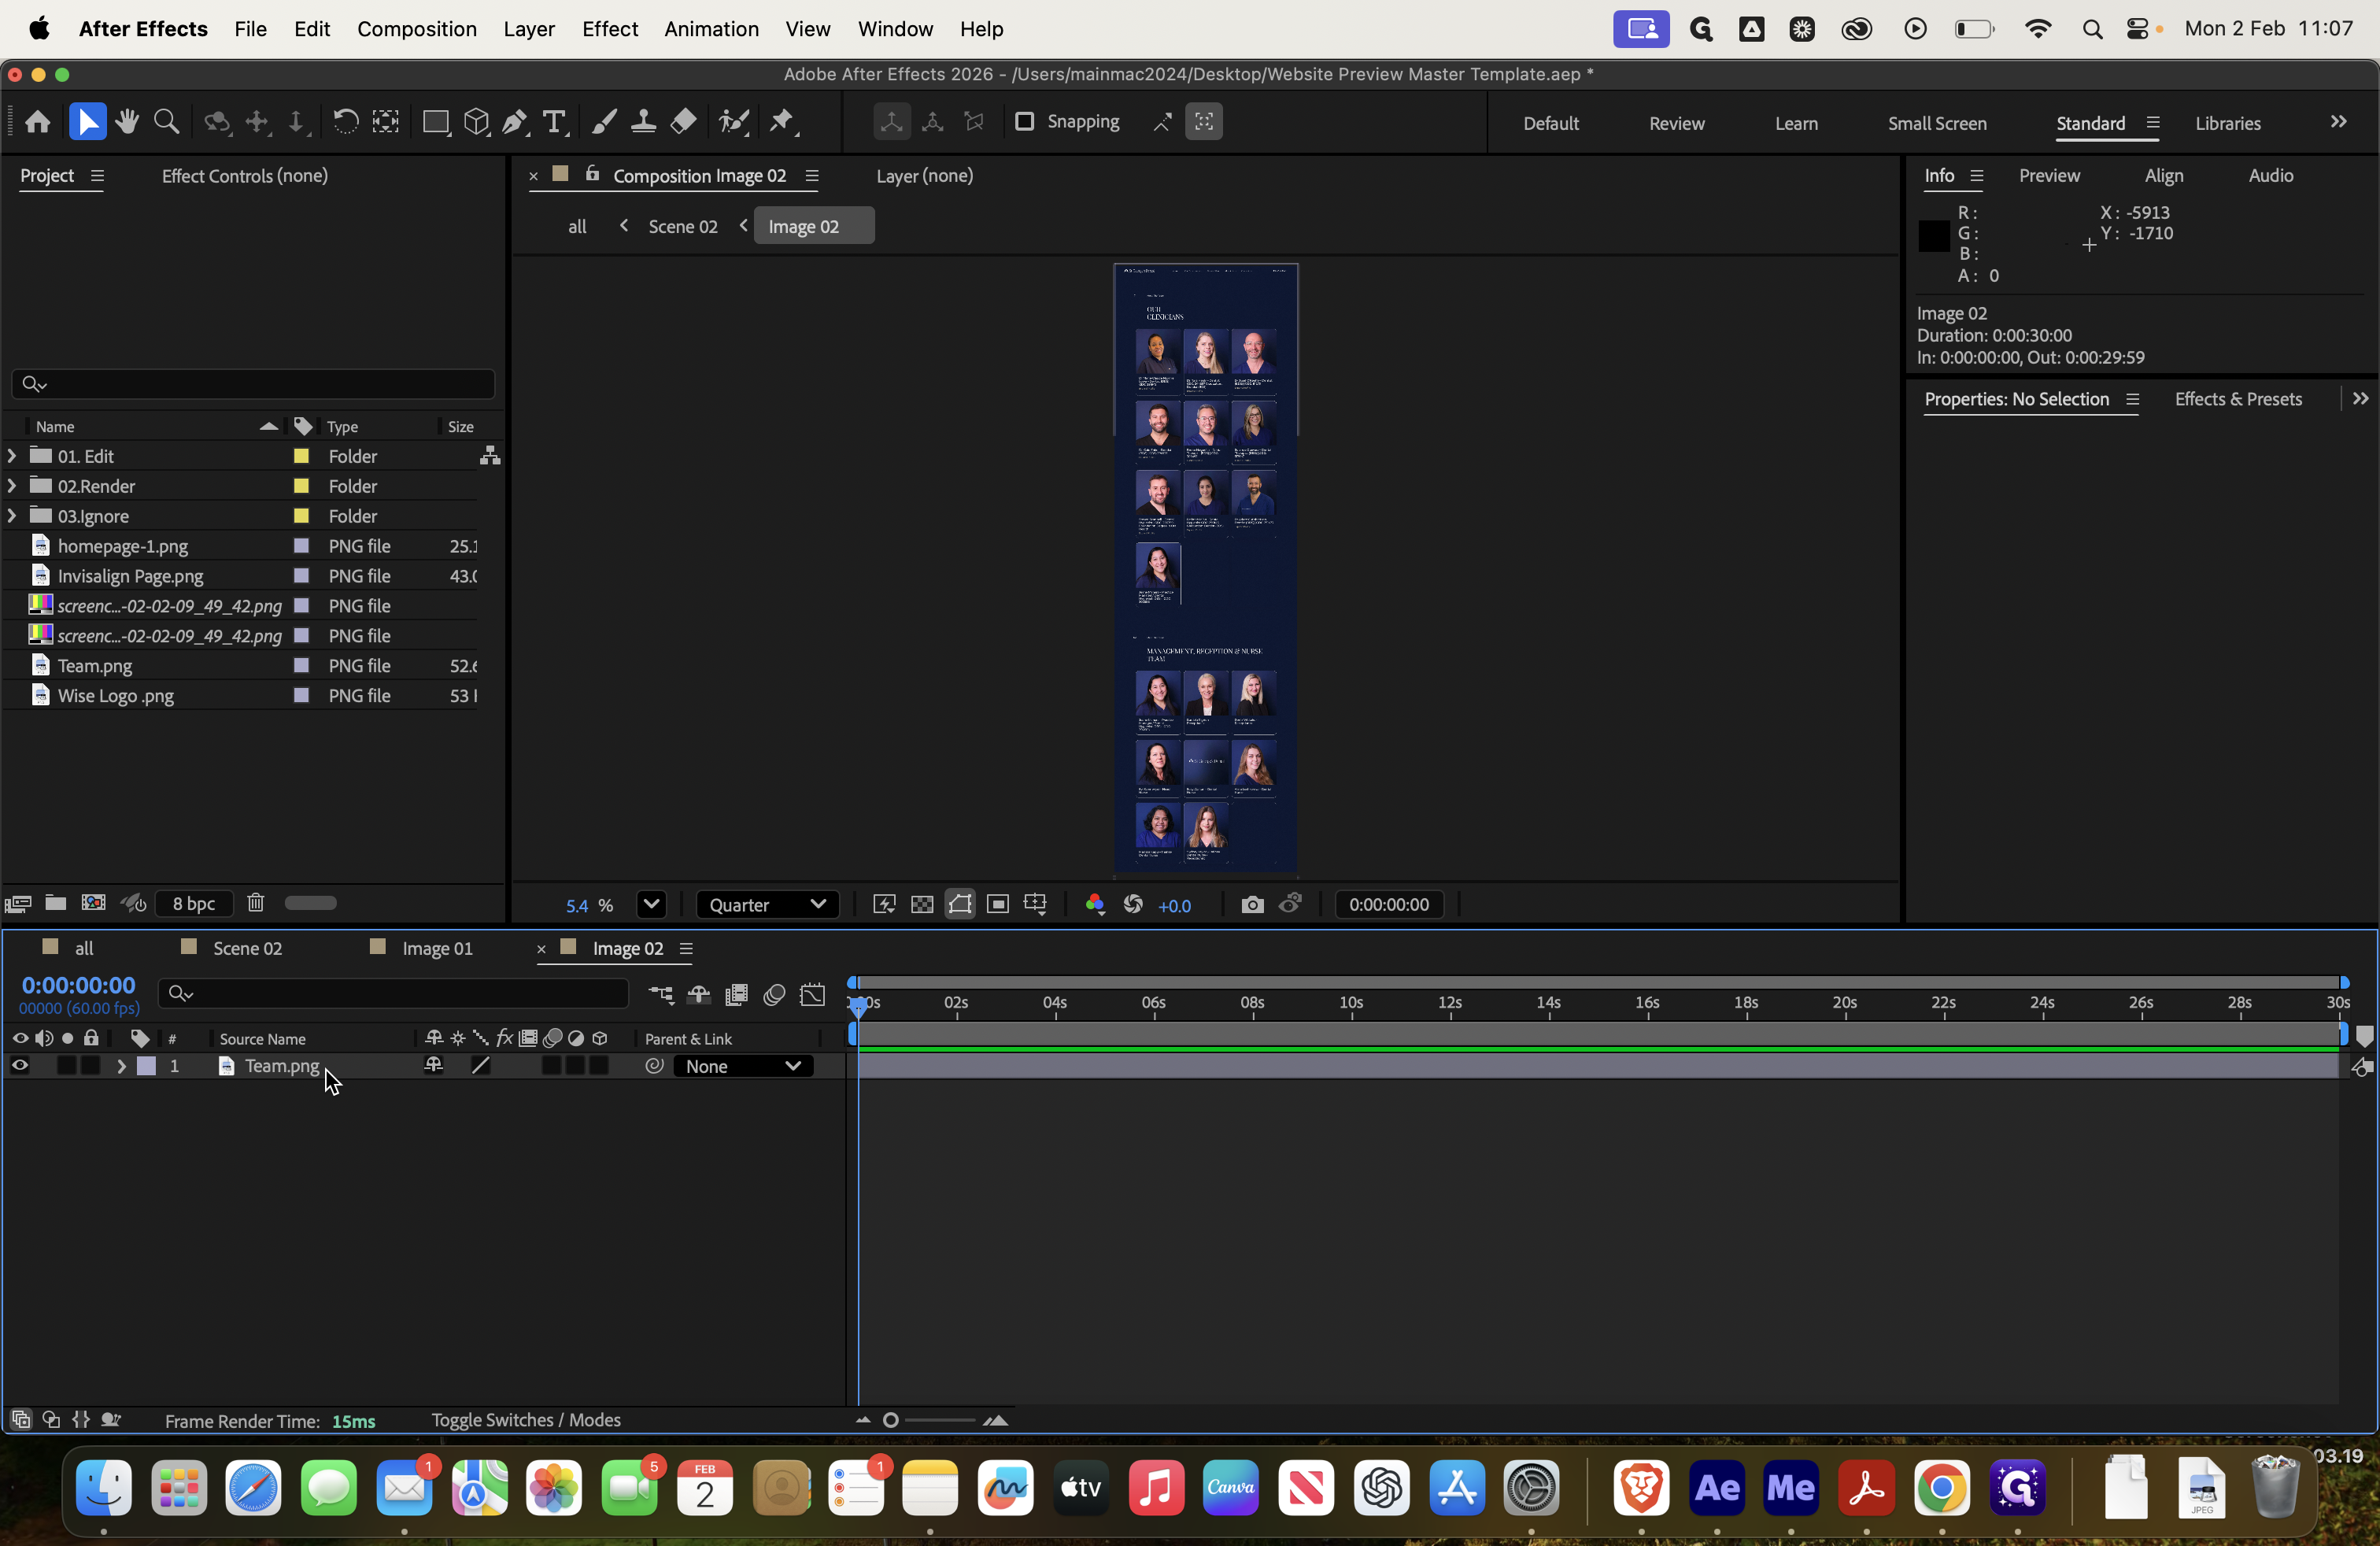

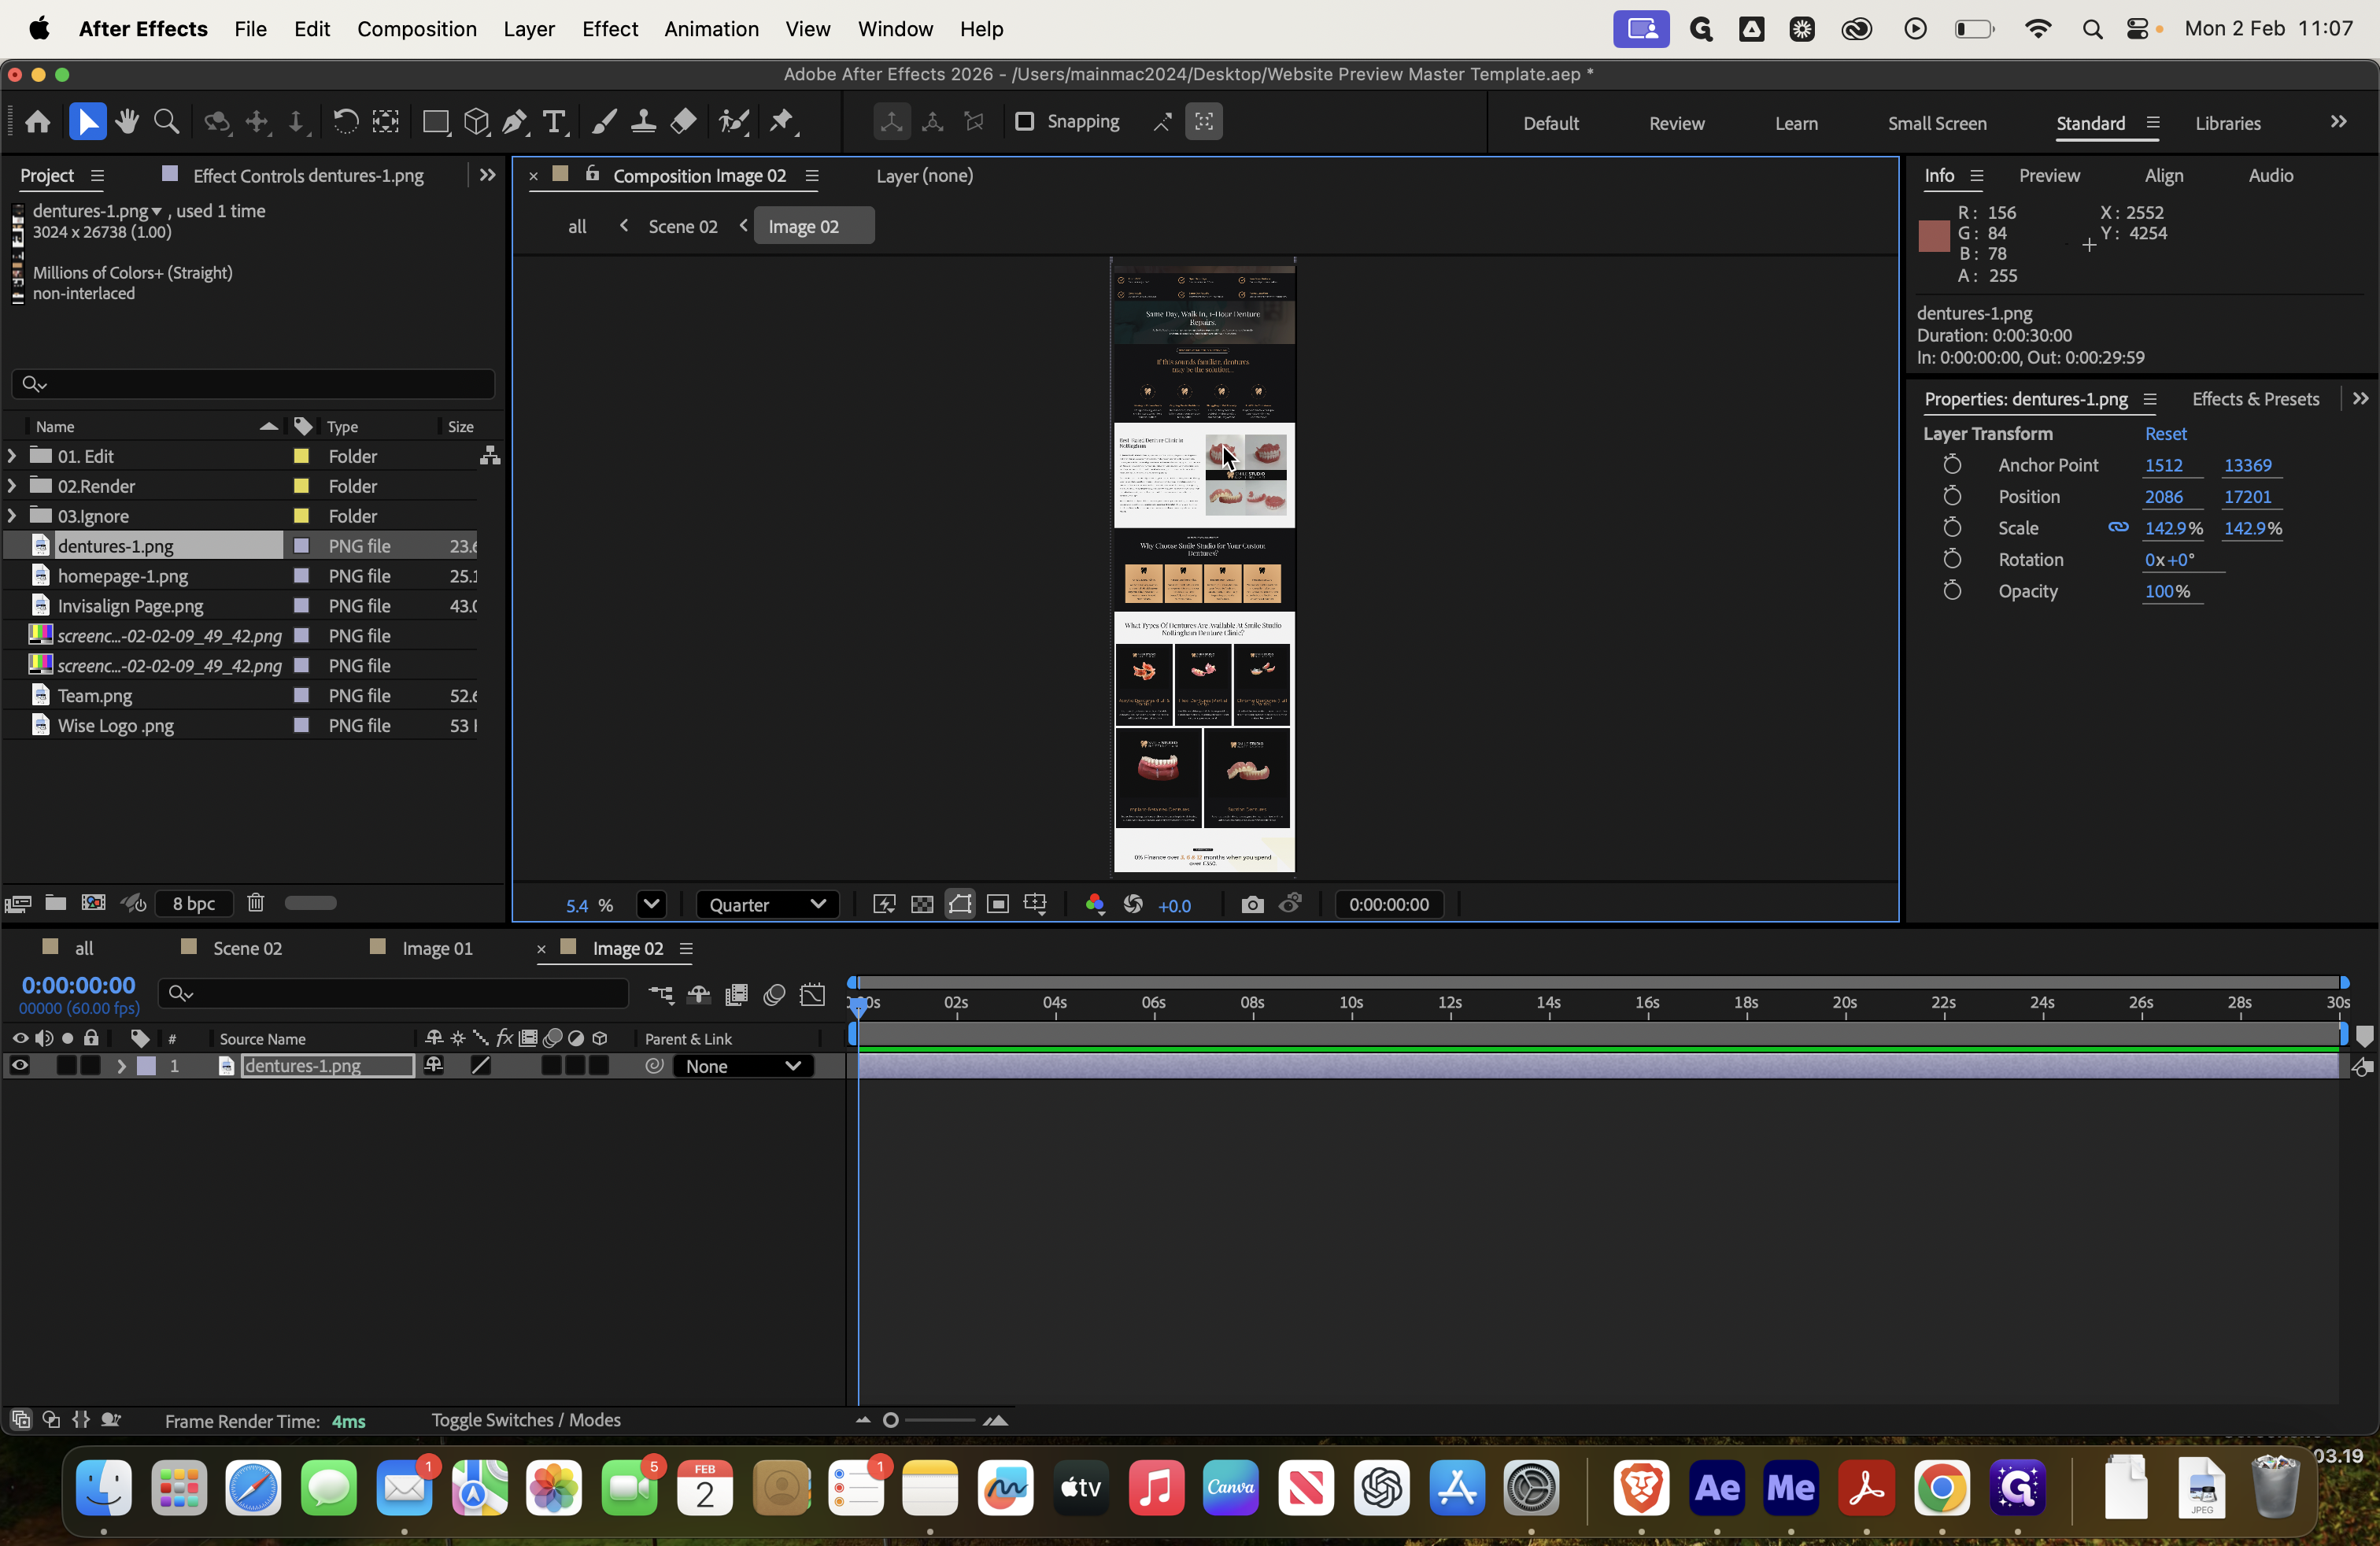

You can see it here on the right. Look. And then final o-
