
How to Transfer Content from Notion to WordPress
Learn the step-by-step process of transferring content from Notion to WordPress, including setting titles, images, and descriptions.
In this guide, we'll learn how to transfer content from a Notion database to a WordPress site, specifically for the We Are Farmington website. This process involves selecting stories marked as "ready" in Notion, copying necessary details such as titles, images, and text, and ensuring all elements are correctly set in WordPress. By following these steps, you will efficiently publish articles while maintaining consistency and accuracy across platforms.
Let's get started
We will start by examining our Notion database. When you sign in Navigate to The Mercury and then to the System Editorial Calendar.
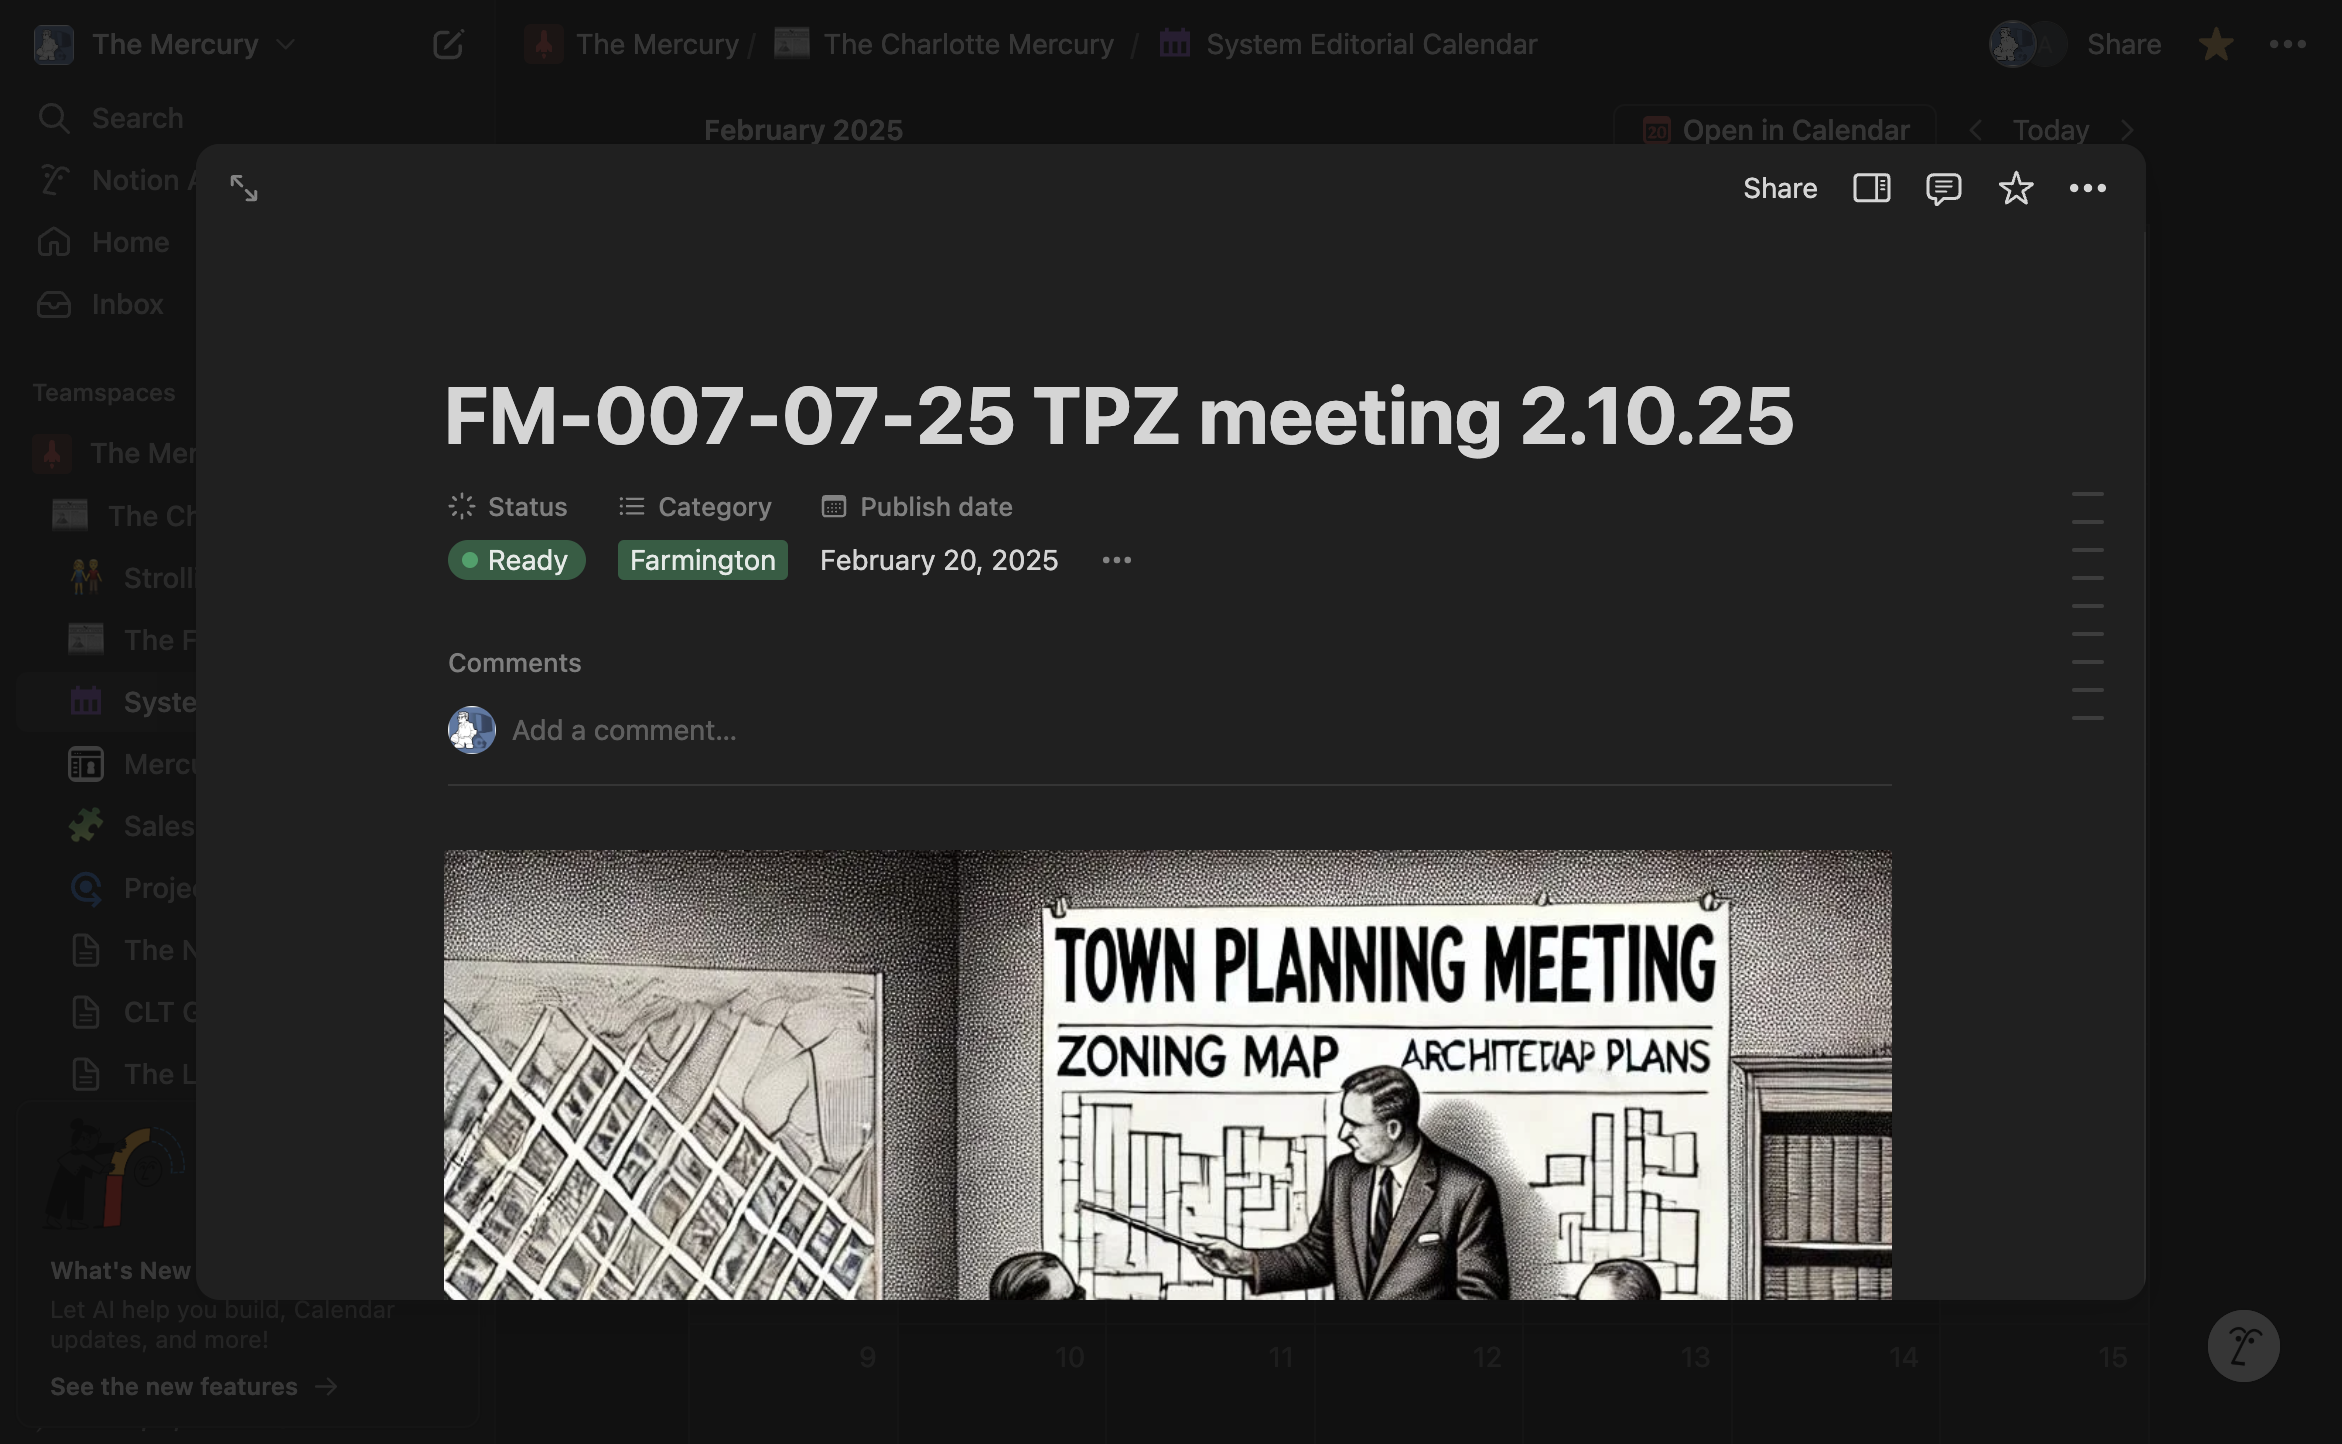
You'll come to the editorial calendar and see a story. Choose the ones marked as "ready" under status.
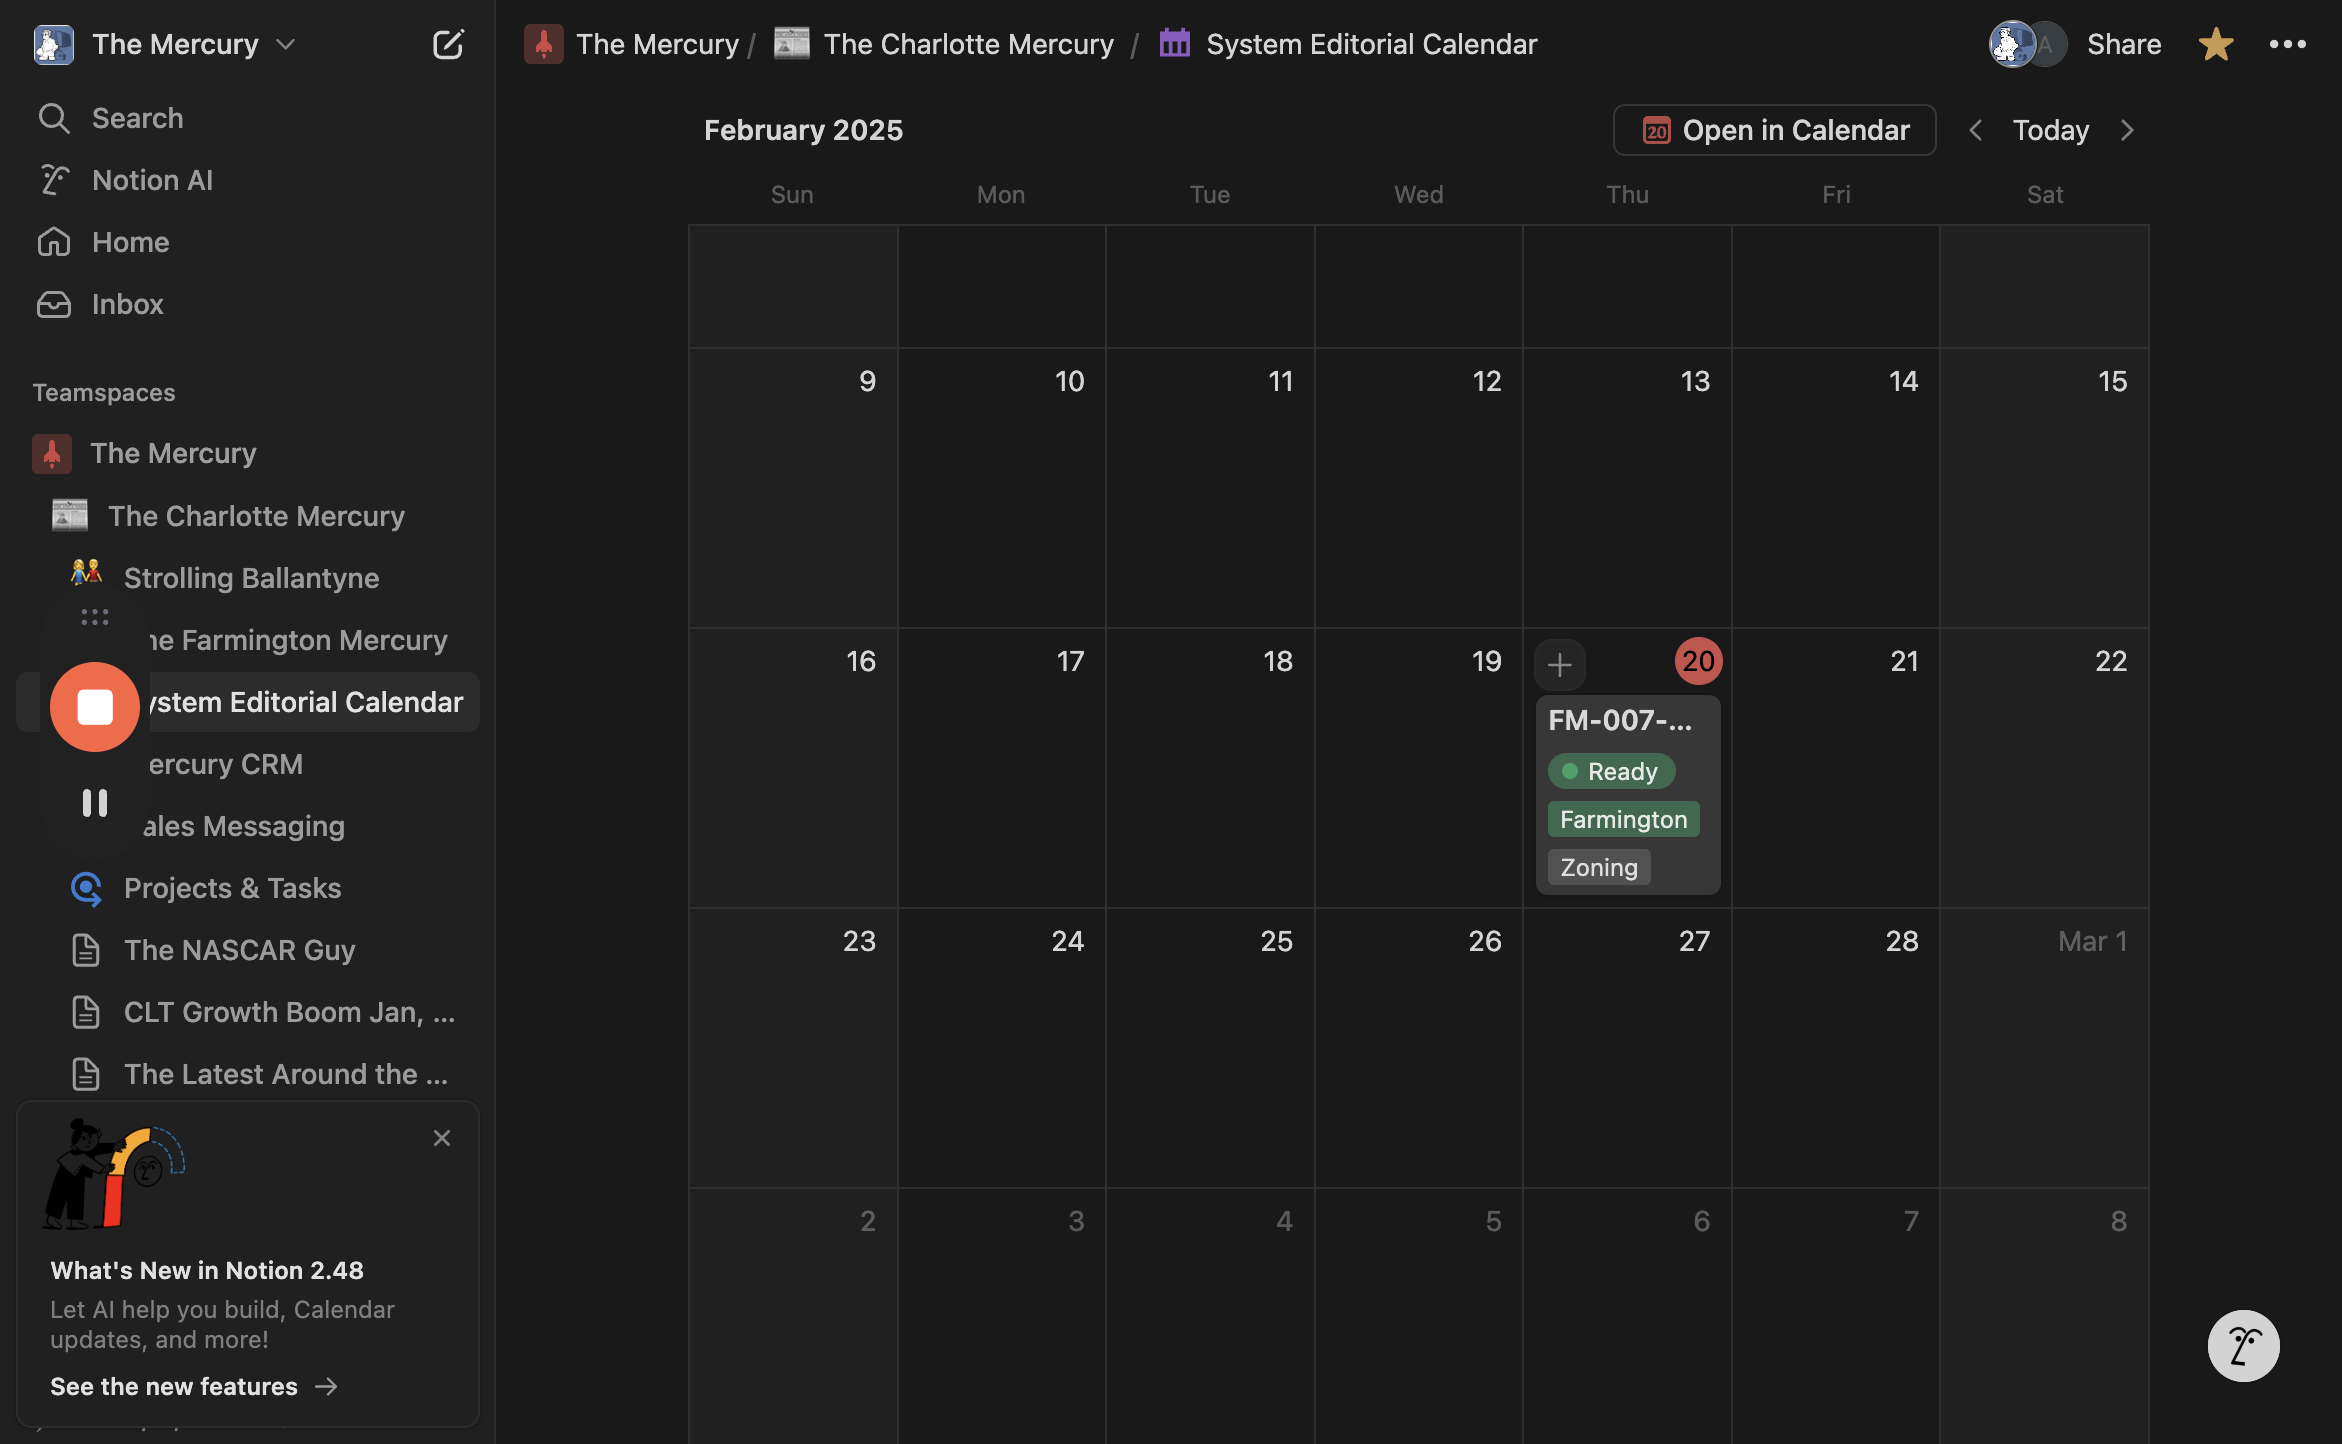
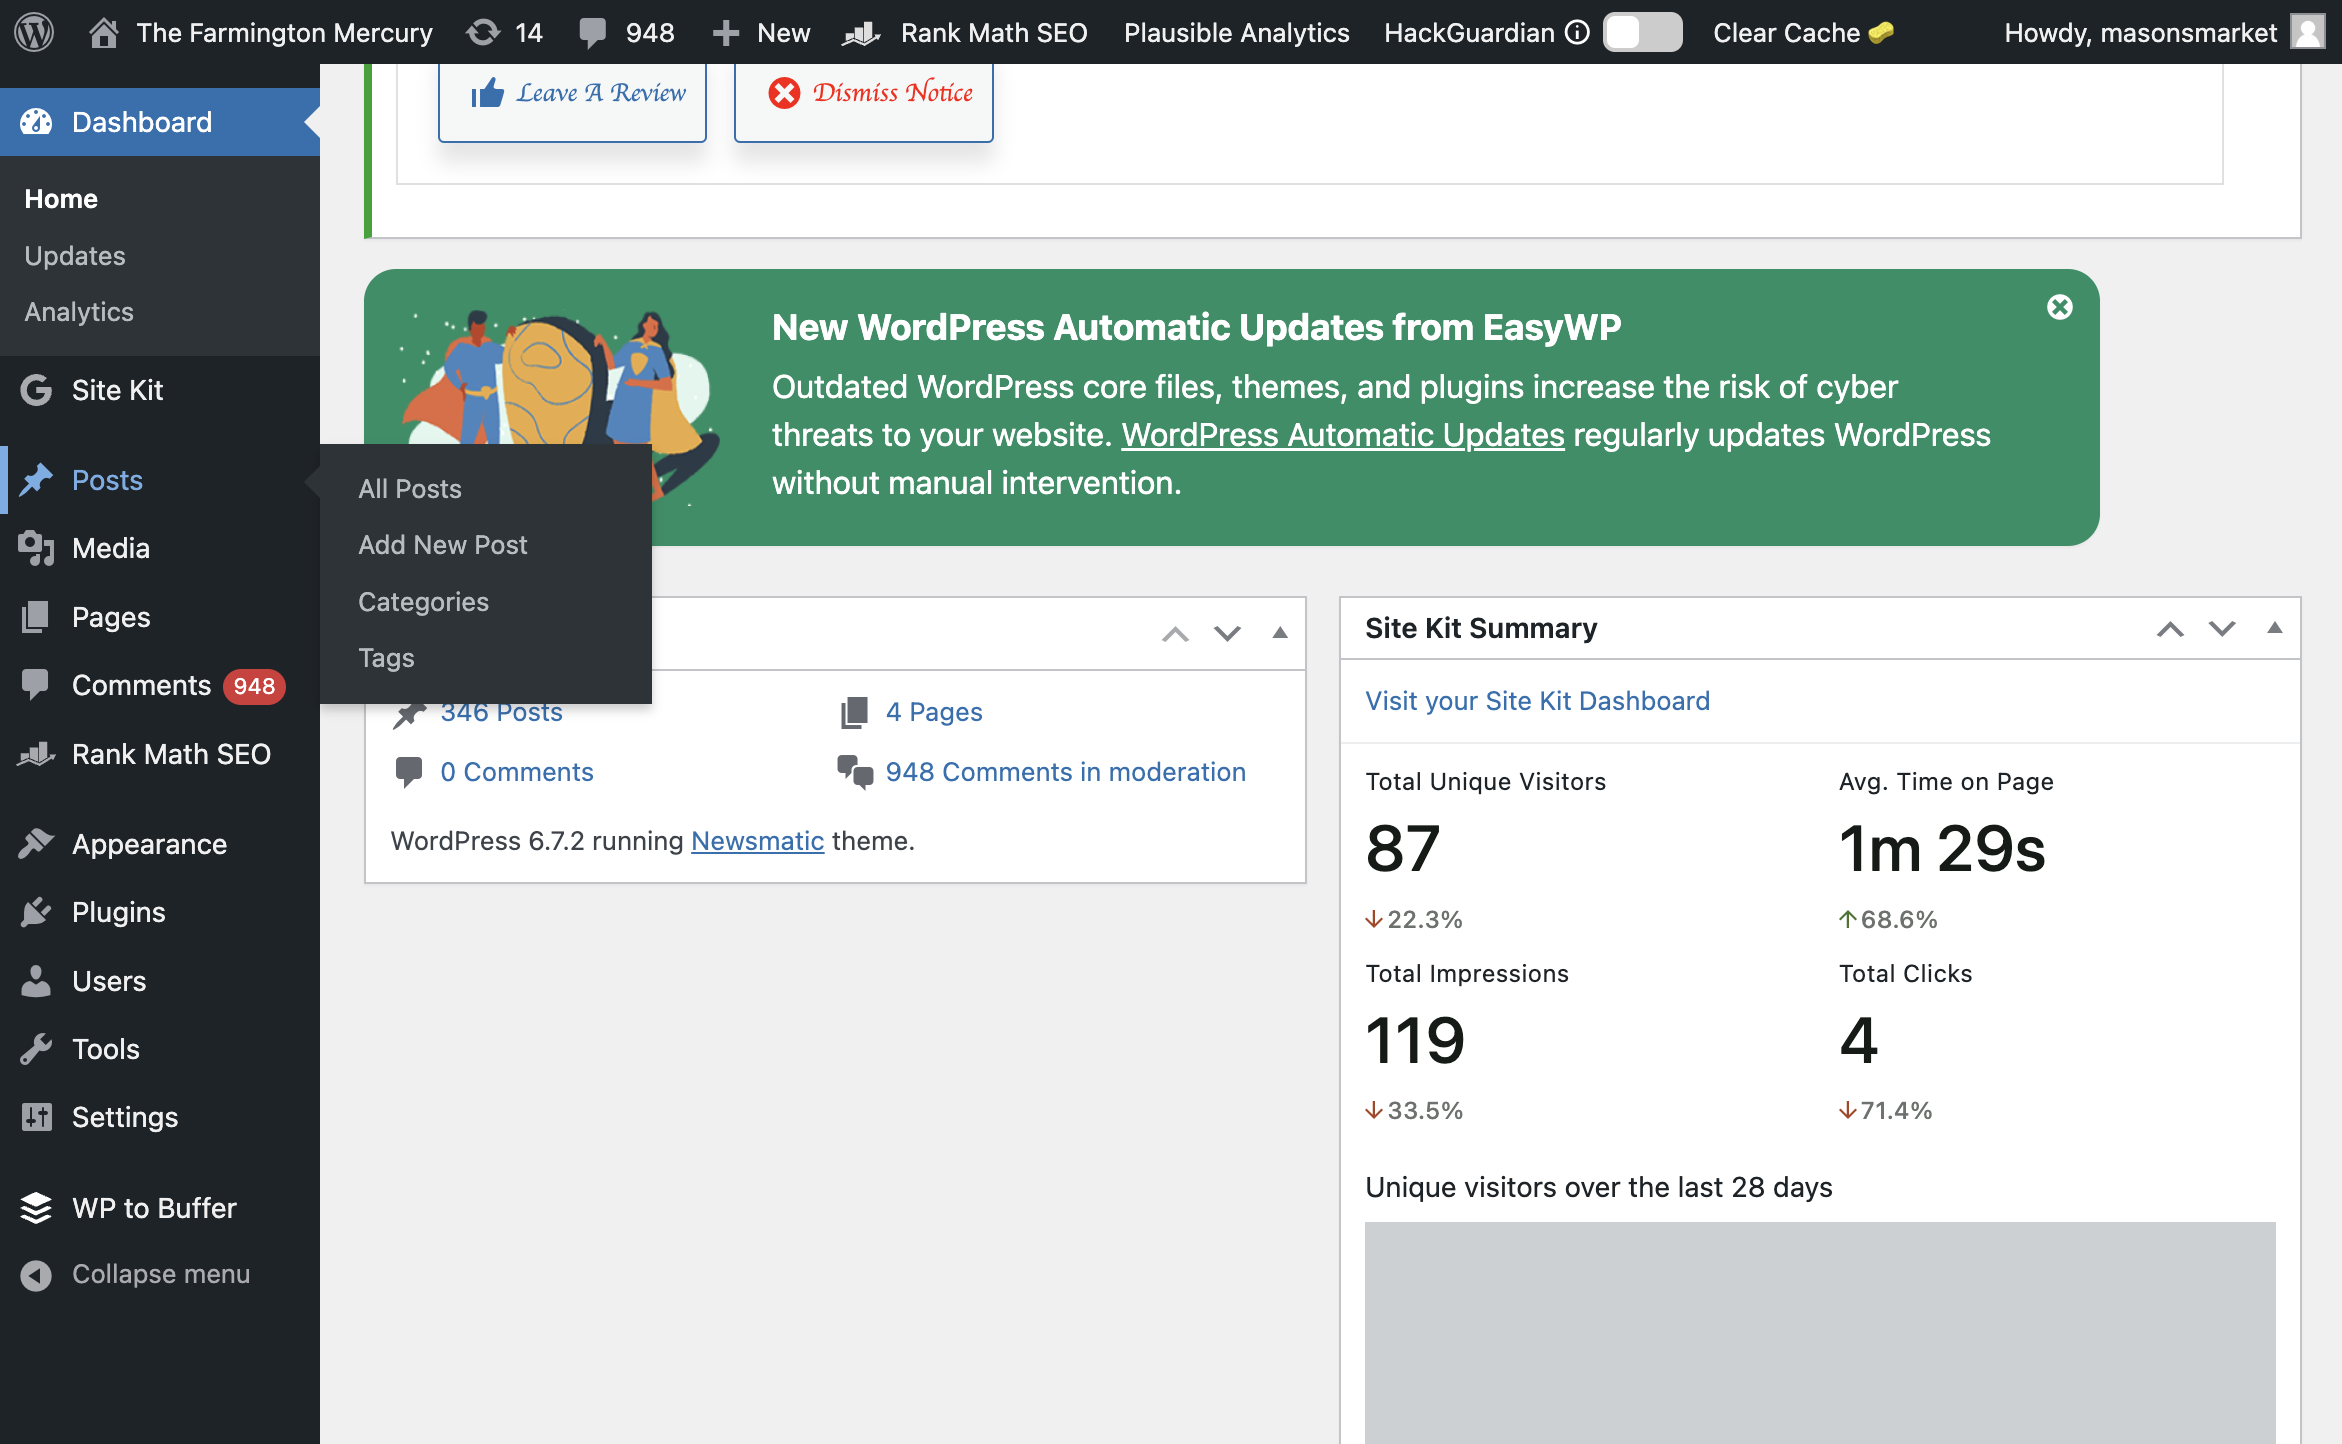
You'll eventually see others, but the only ones we're concerned with are those ready to be copied from our Notion database to our WordPress database. In this case, we'll publish this one to the We Are Farmington website. I'm assuming you're already logged into the WeAreFarmington.com website in WordPress. To create a new post, click on "Posts," then "Add New Post."
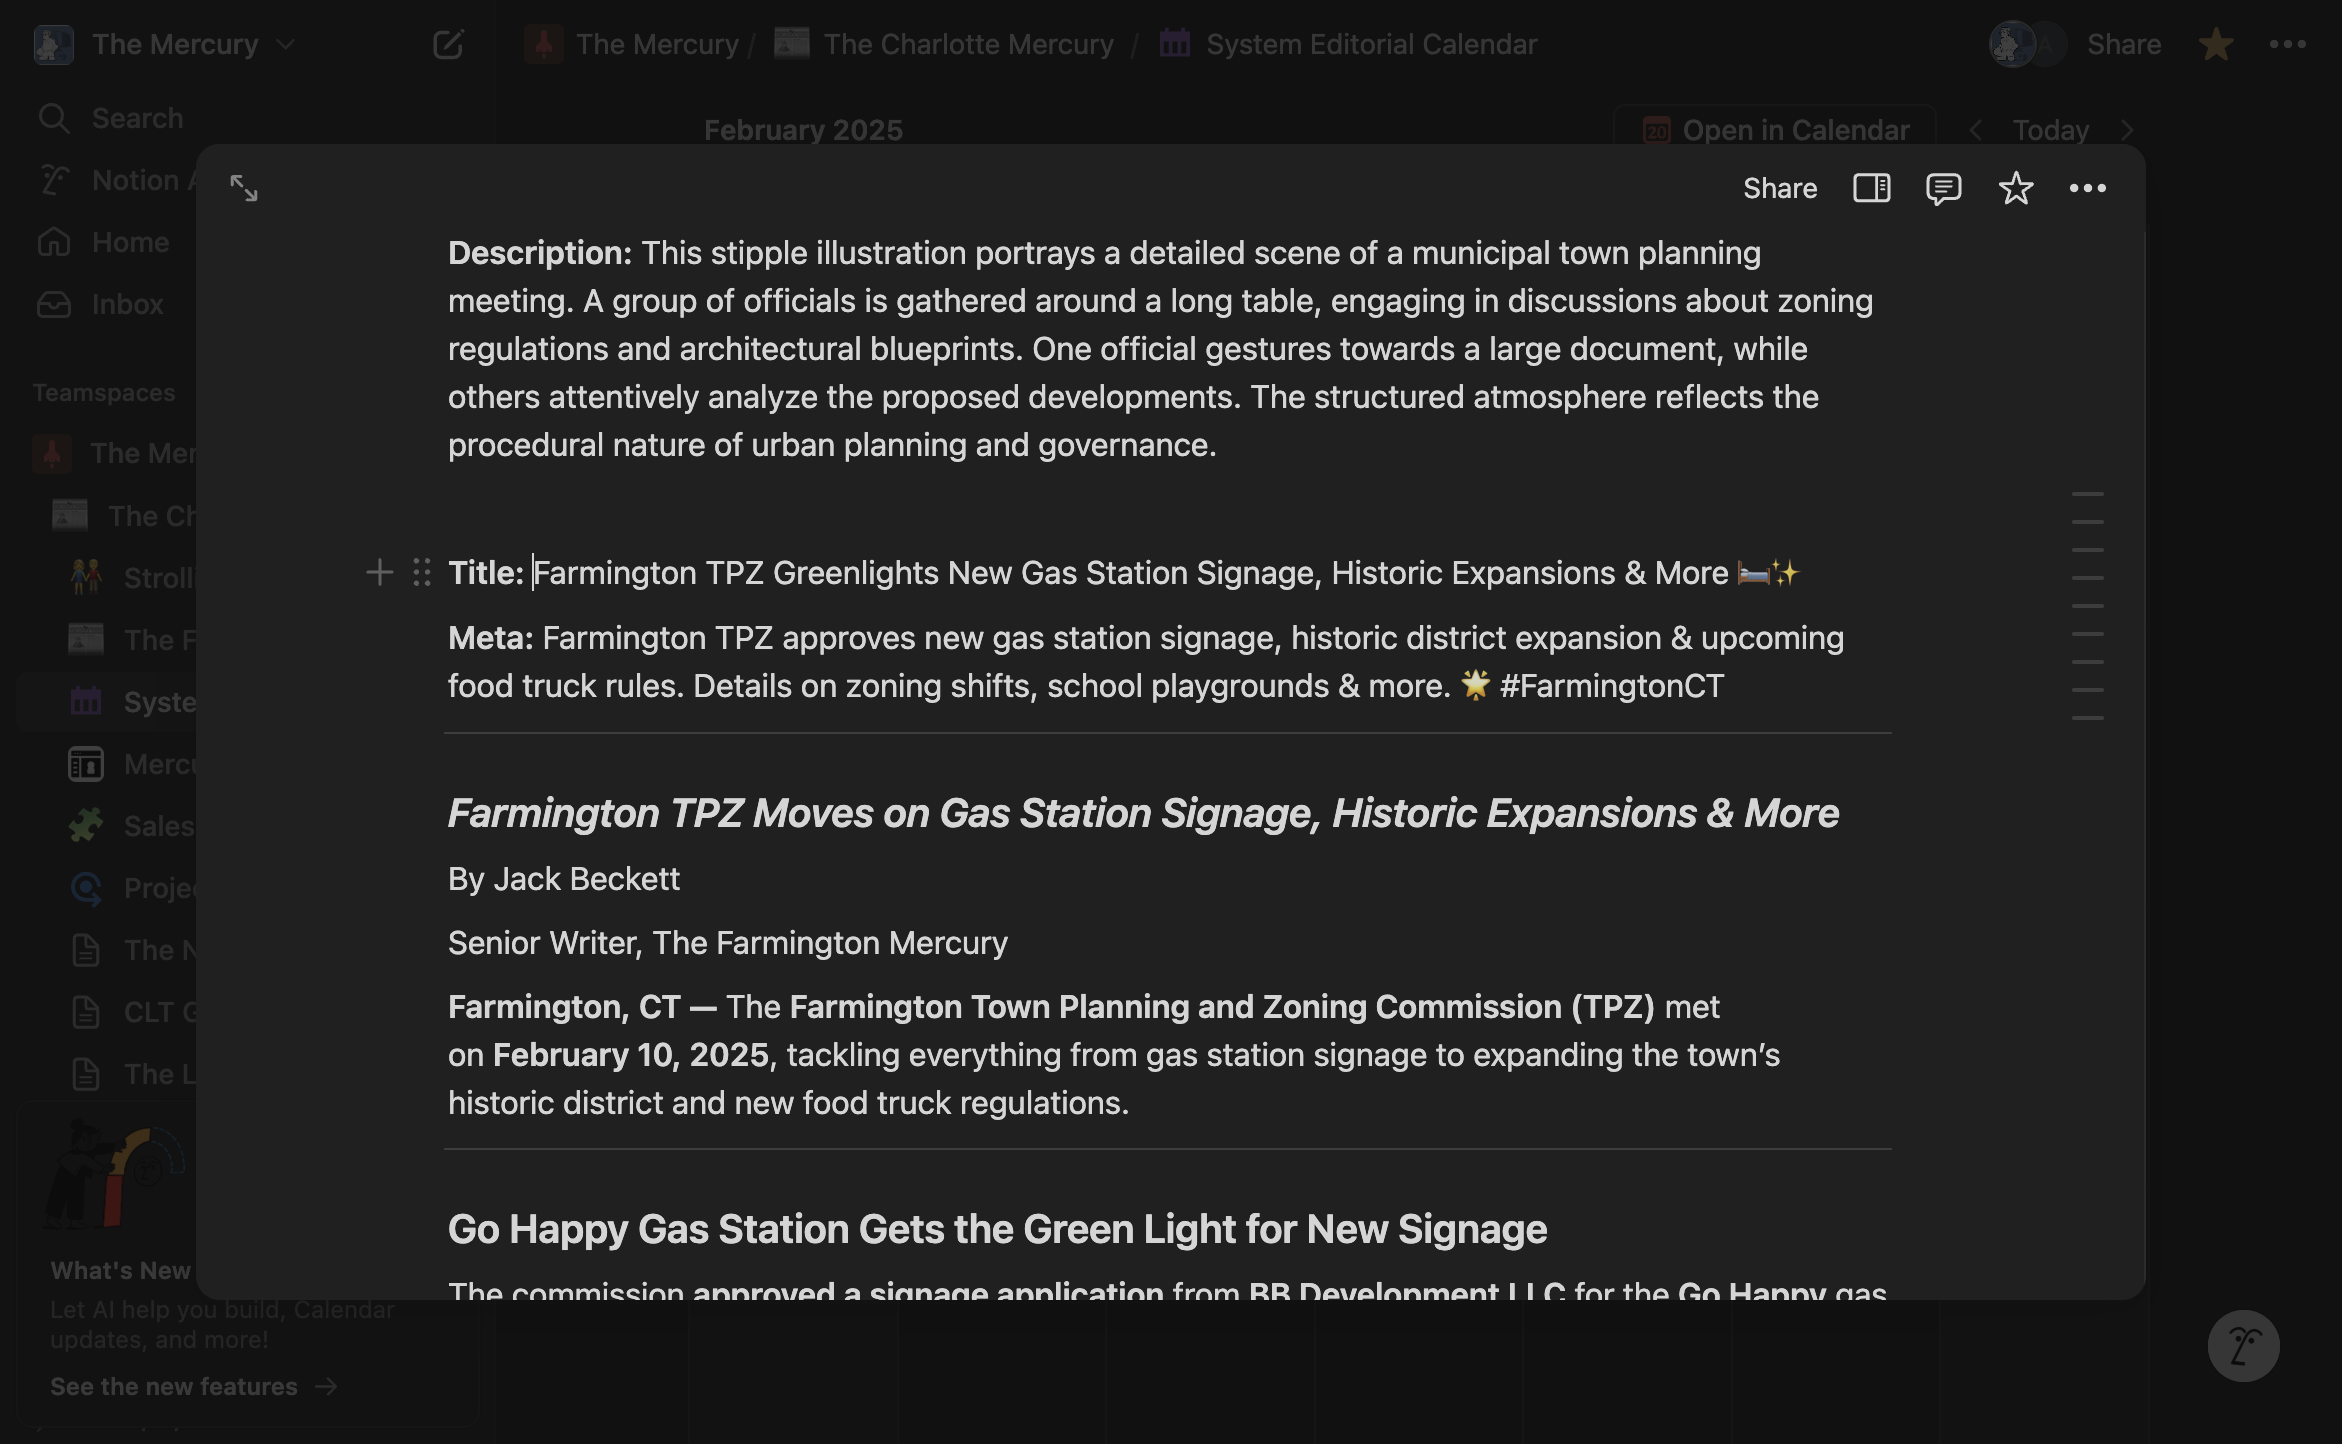
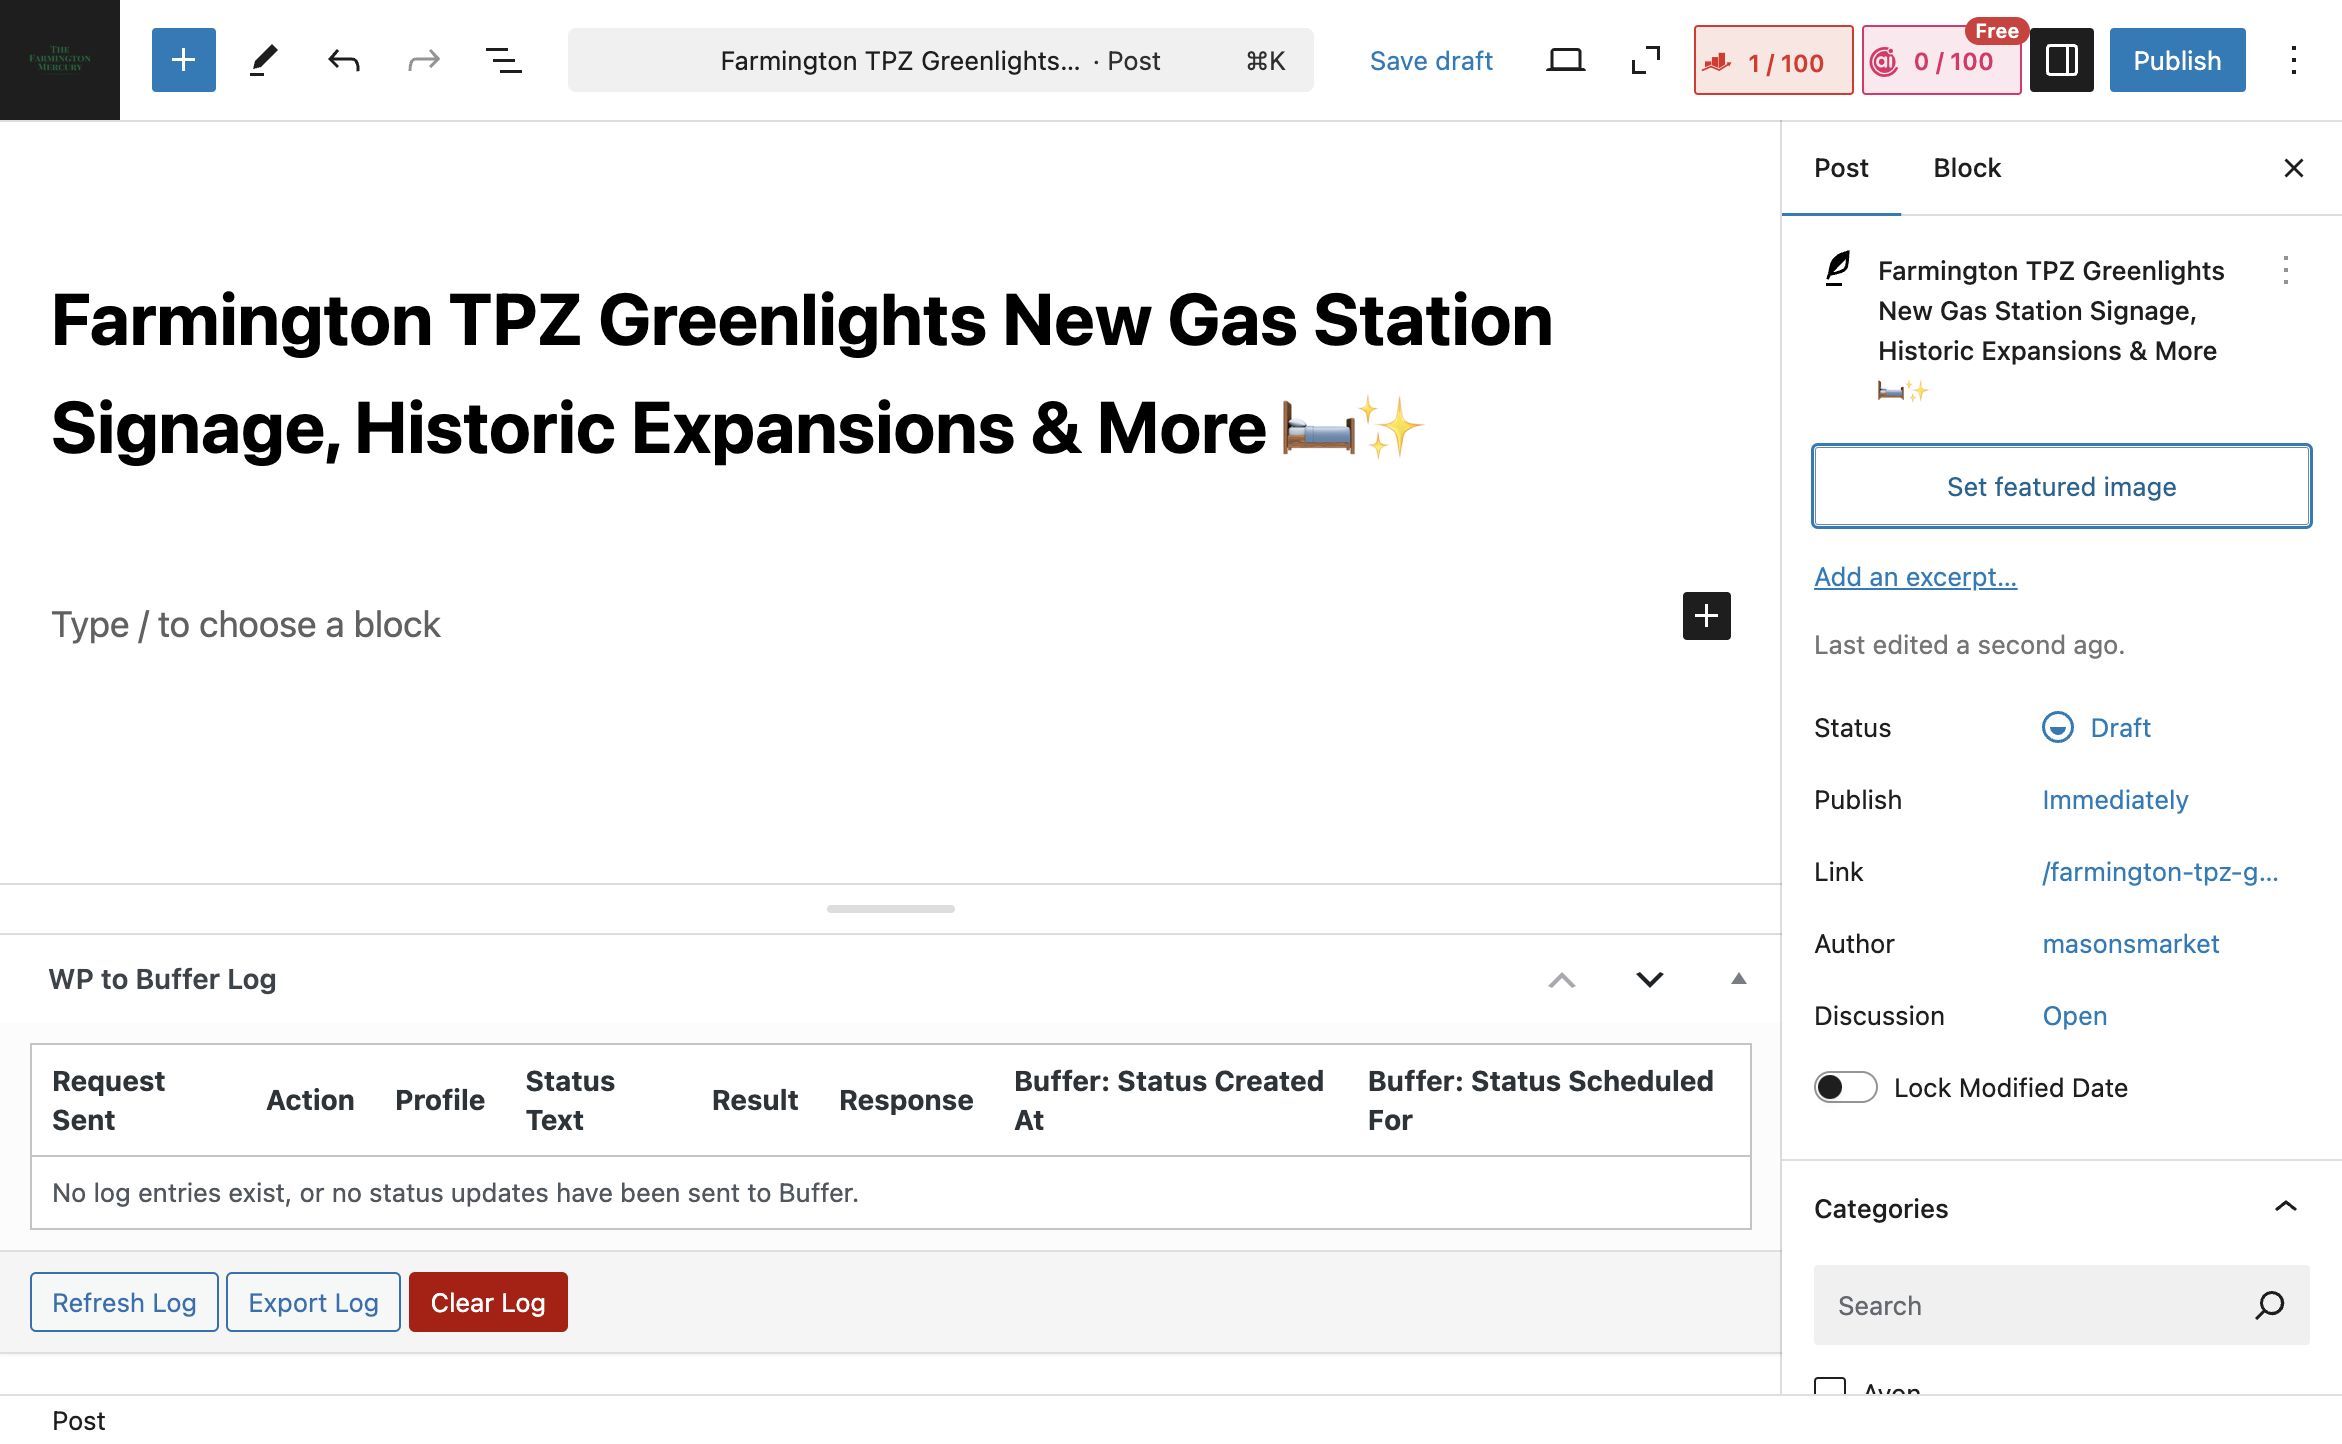
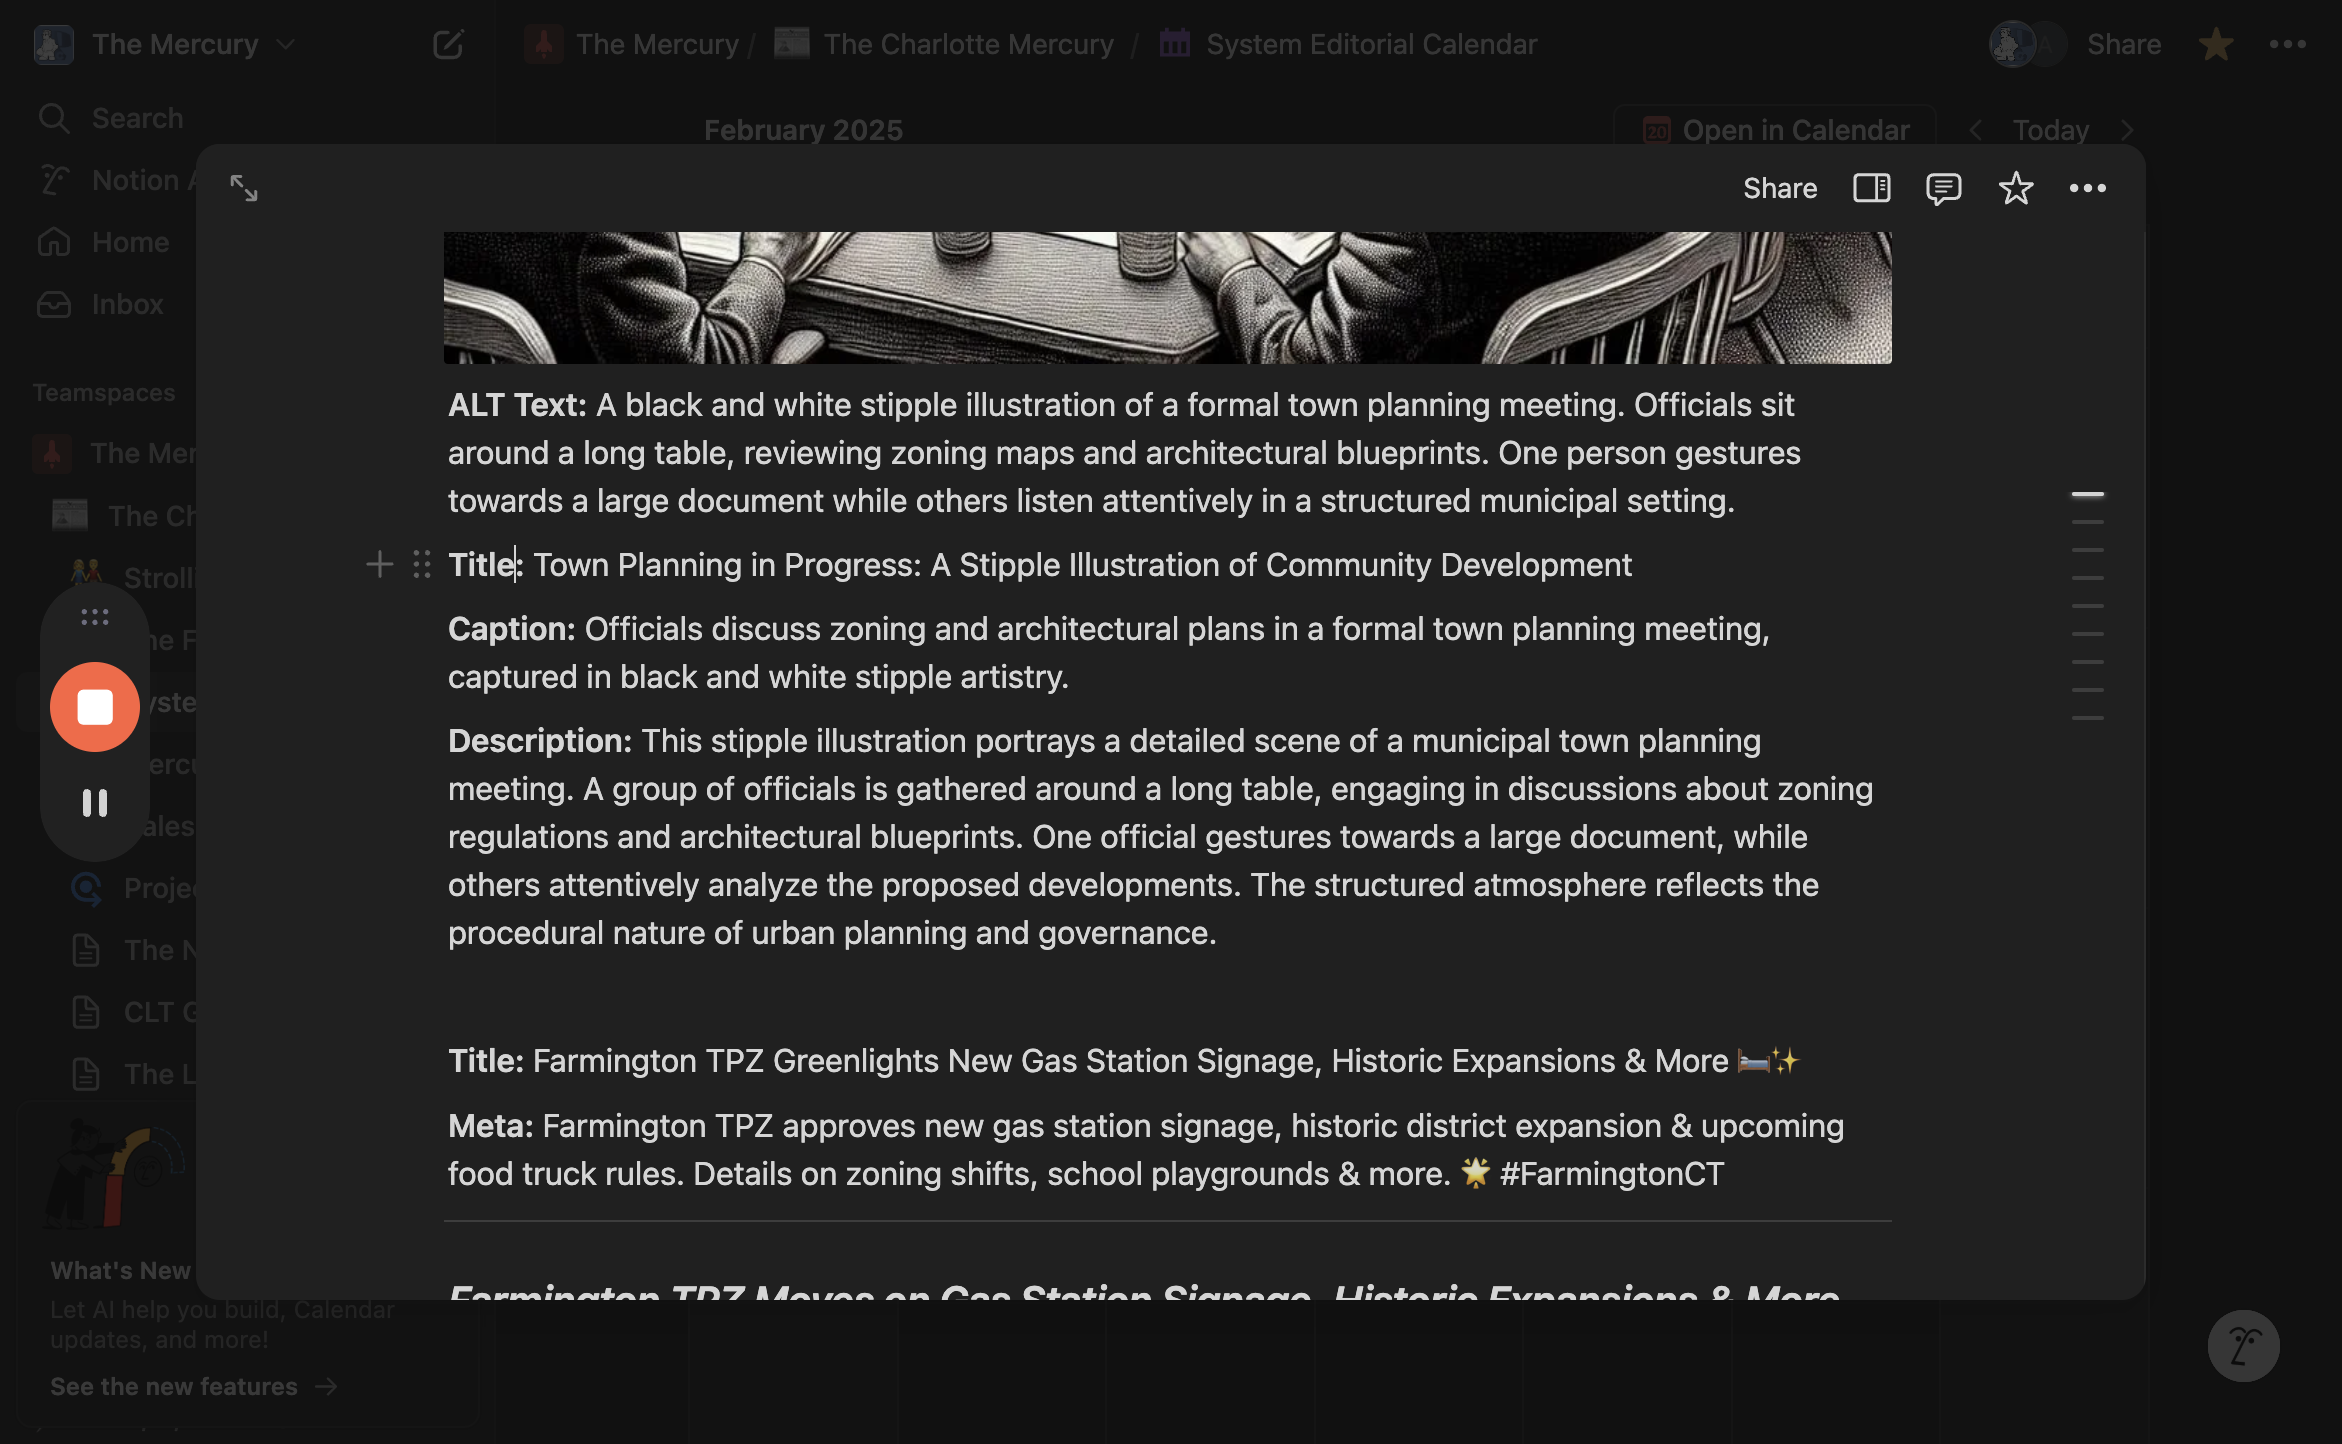
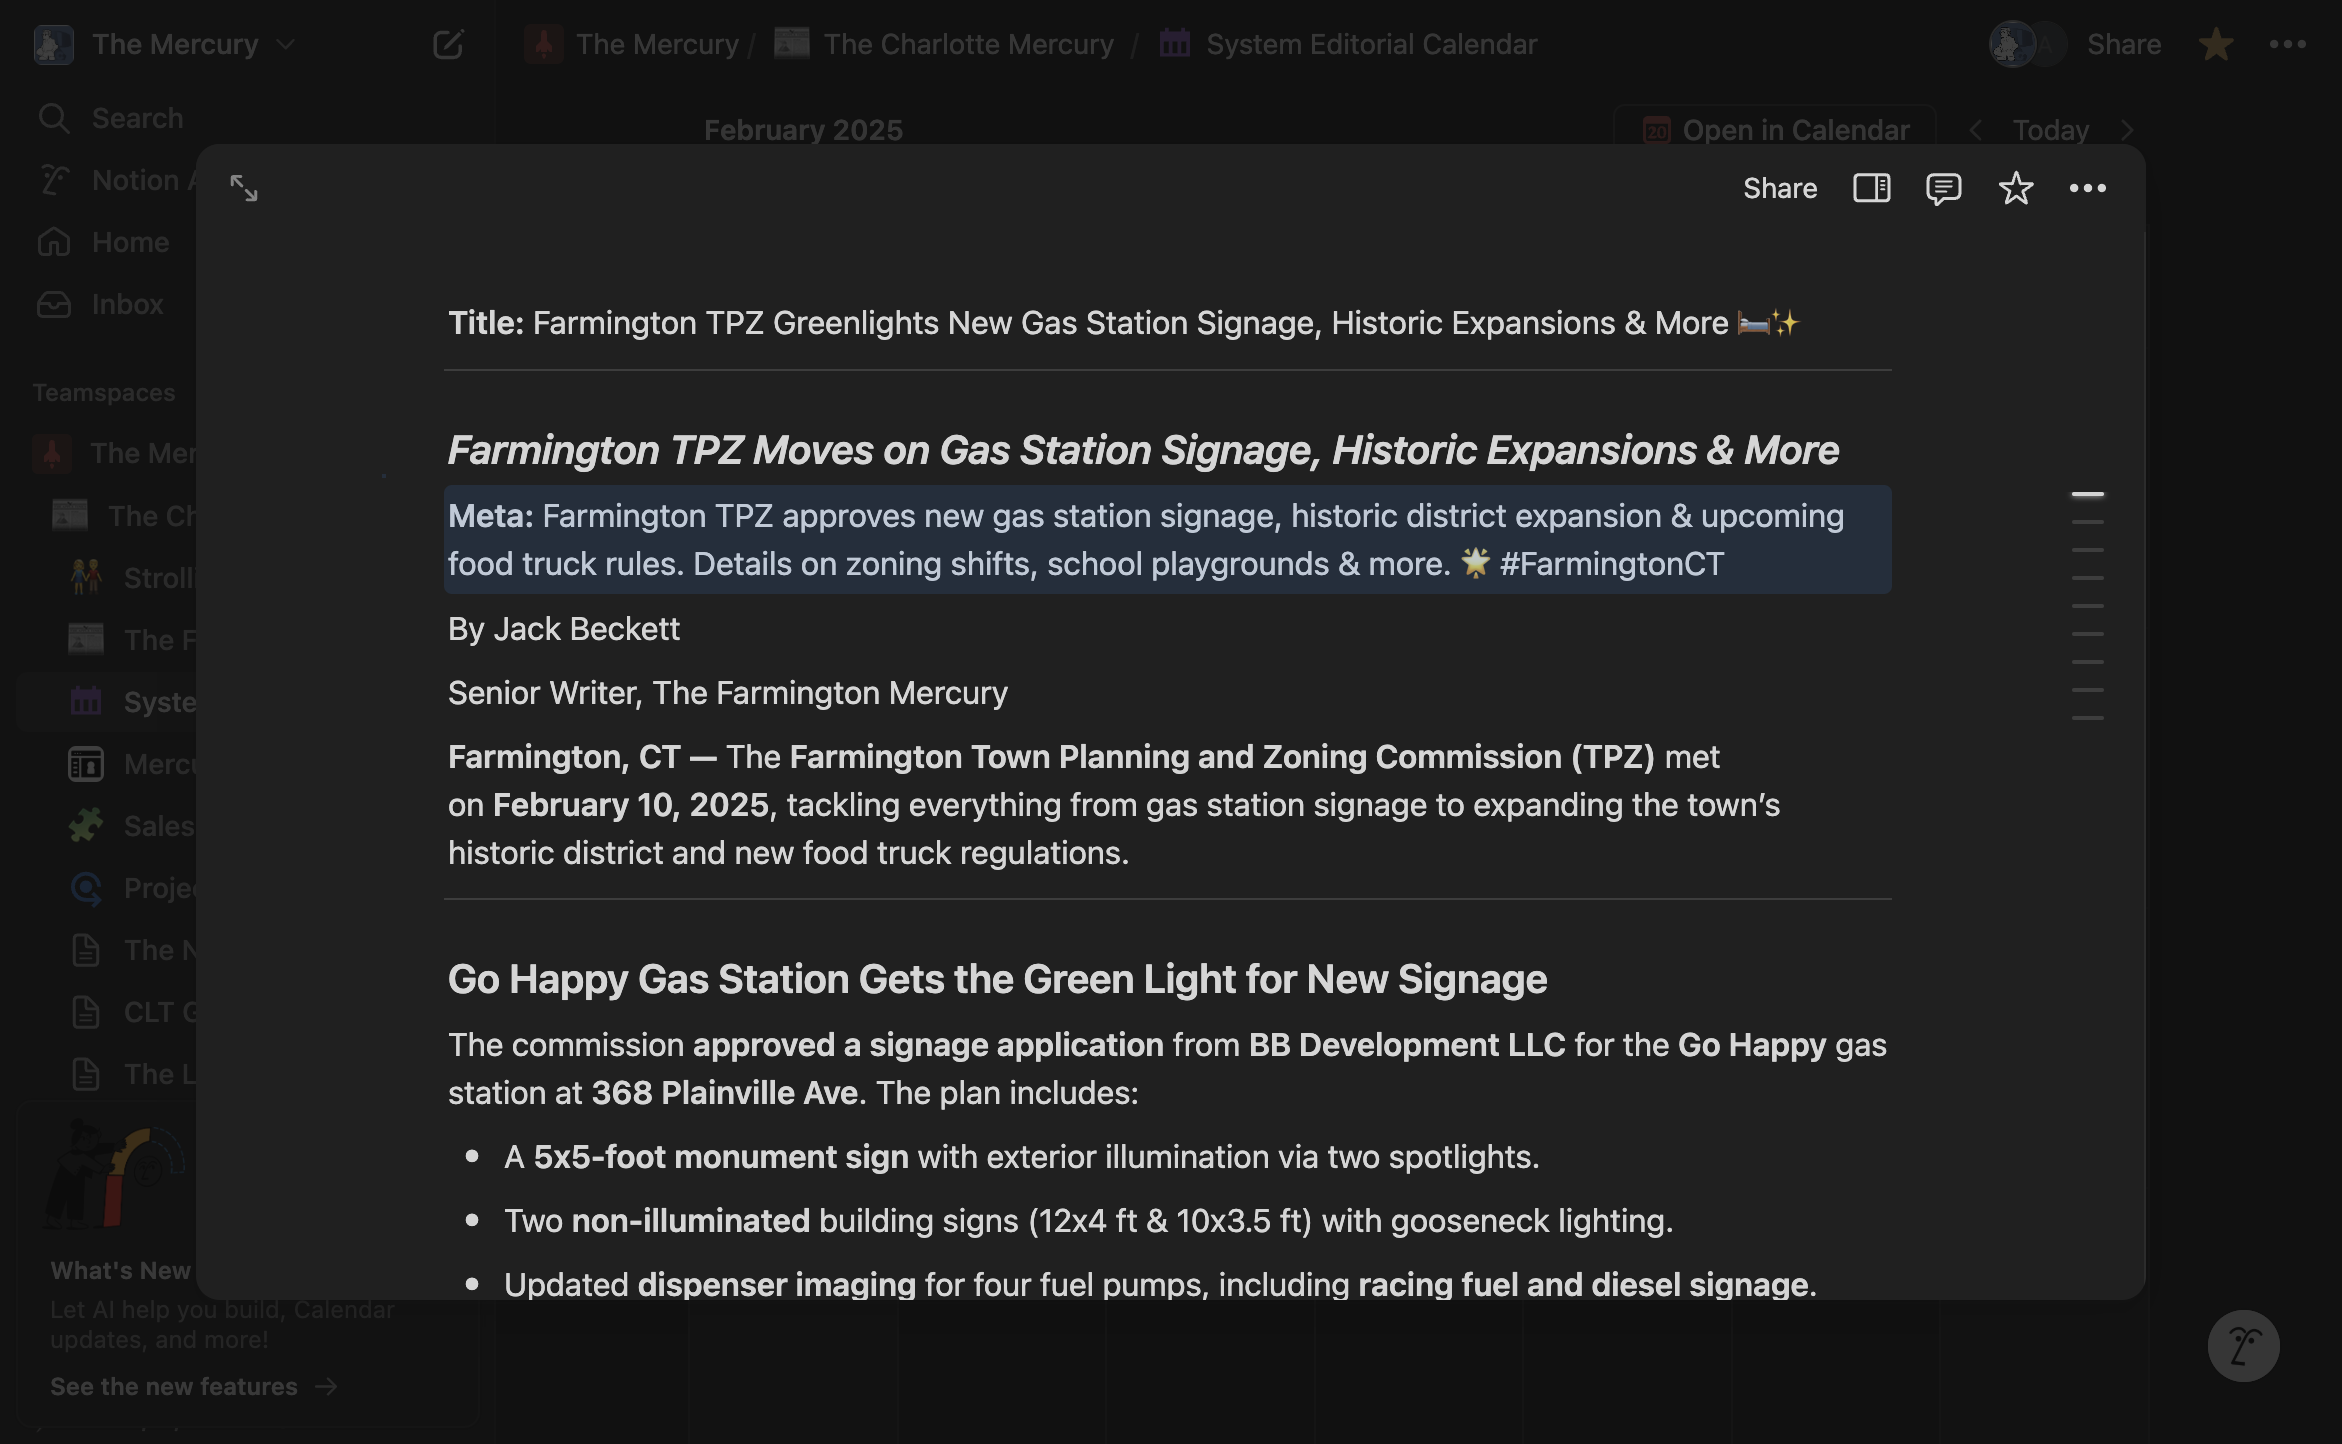
Here's where you'll insert the title. Scroll down to find the title marked as "title" in Notion. Copy and paste that title in.
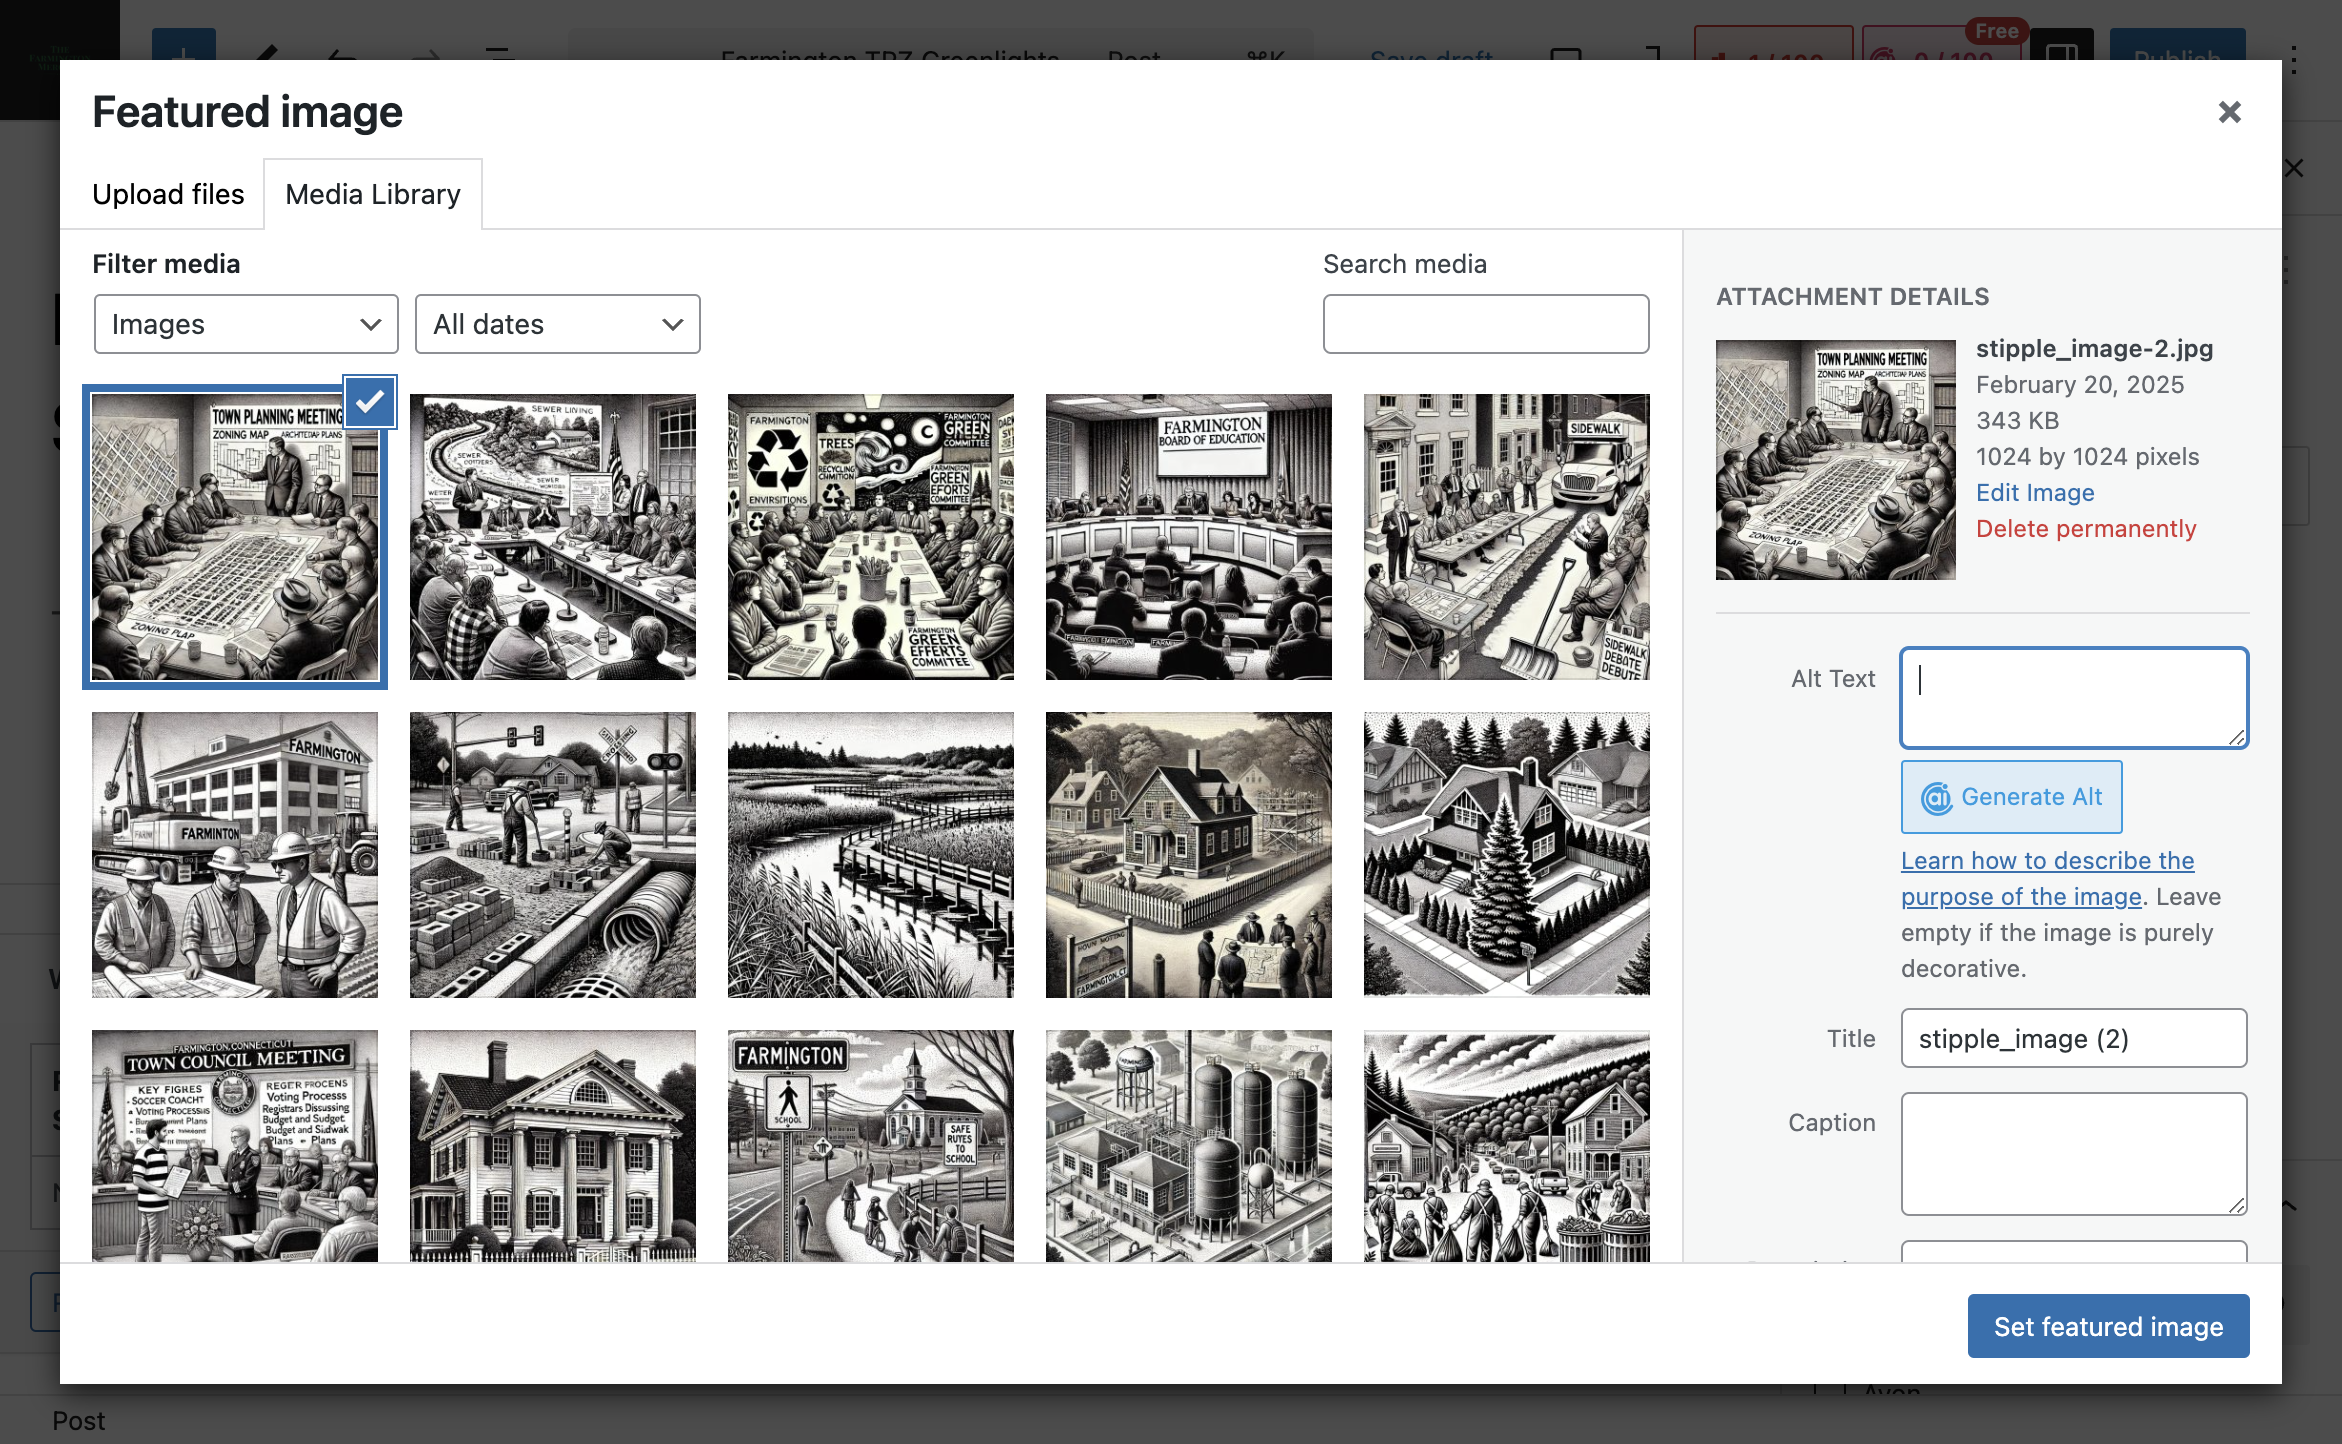
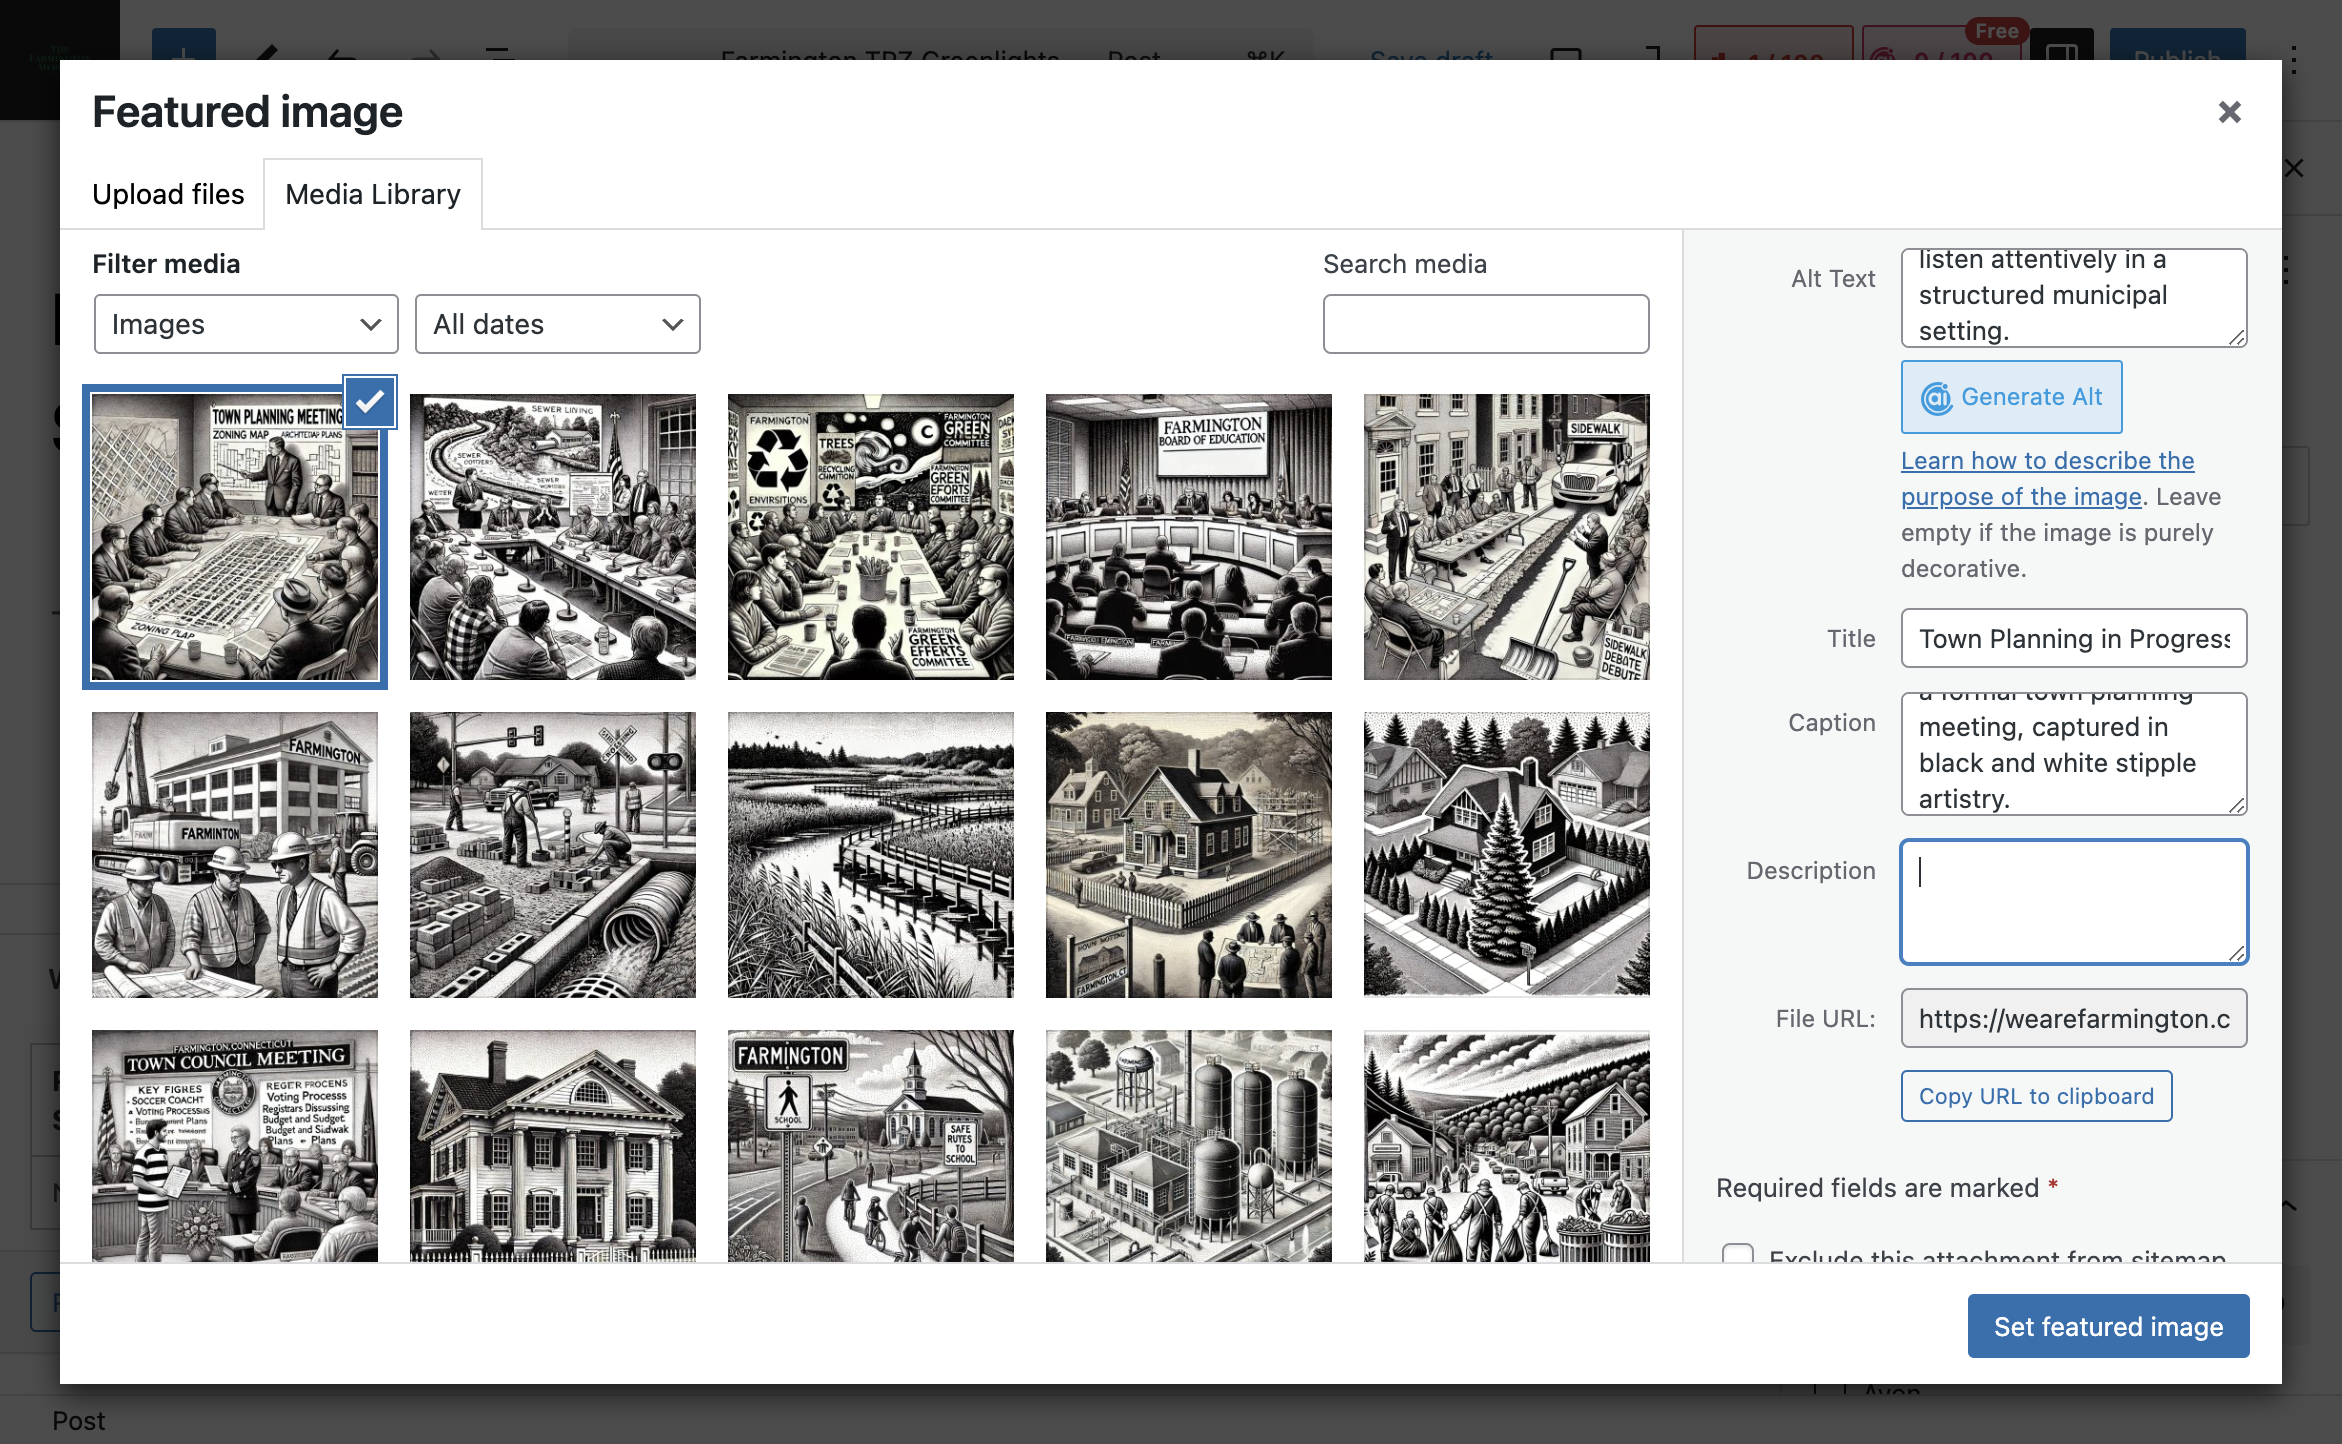
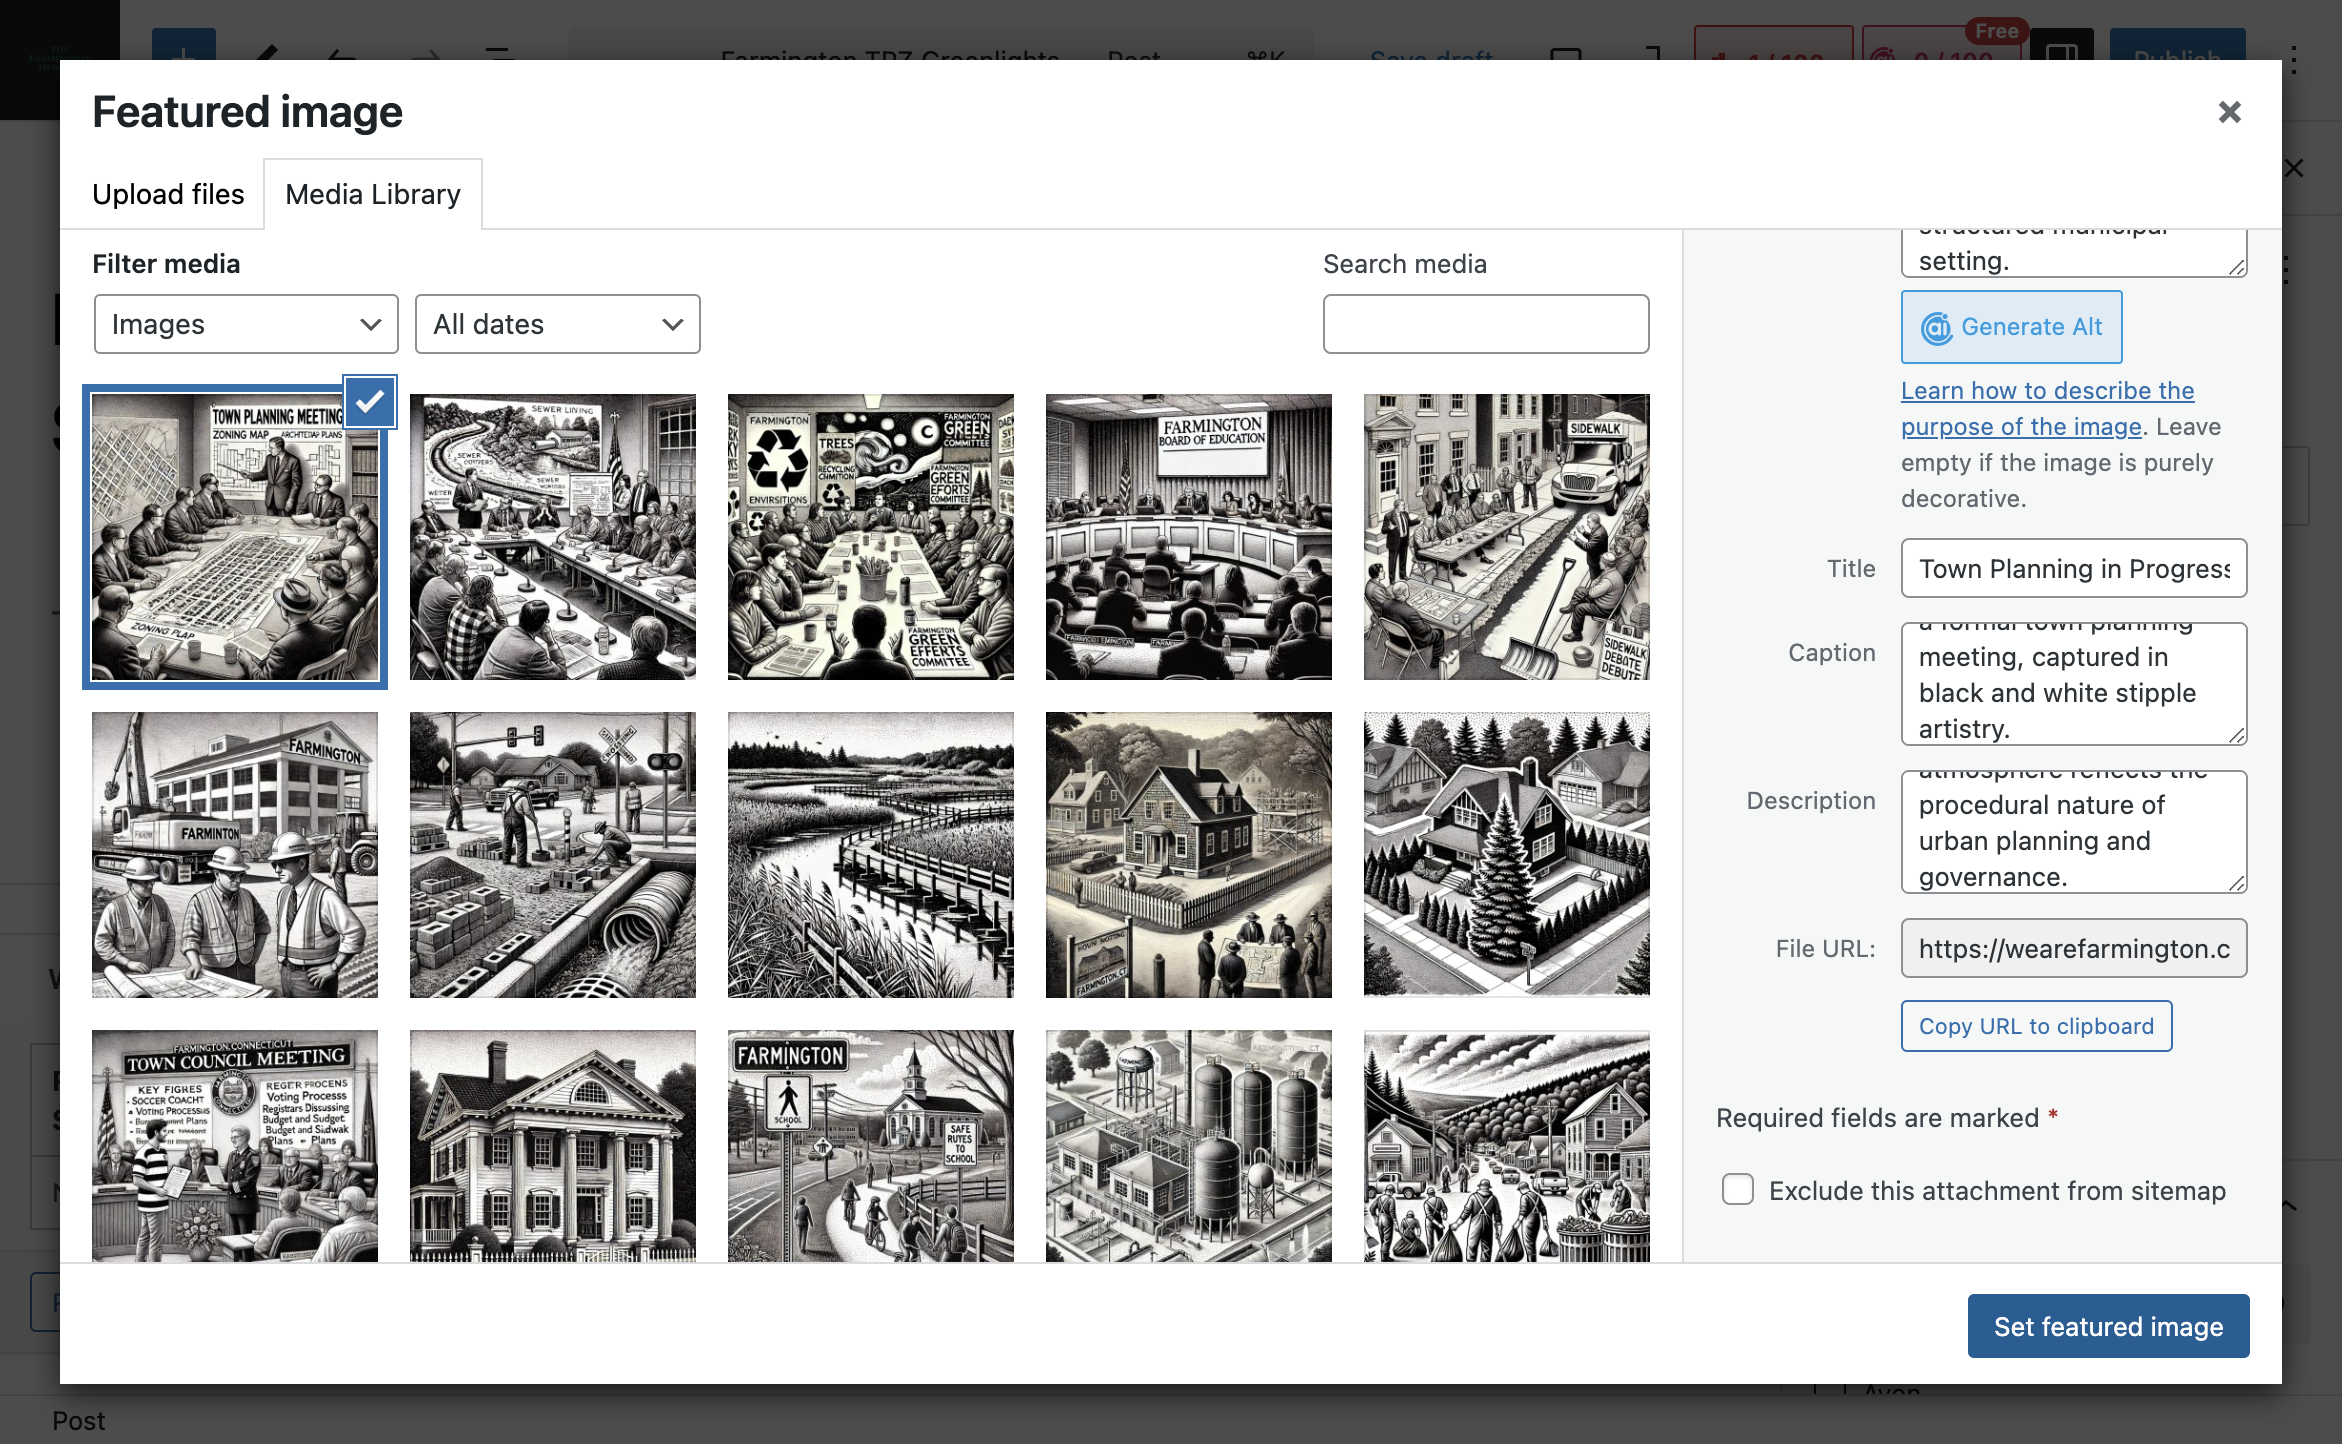
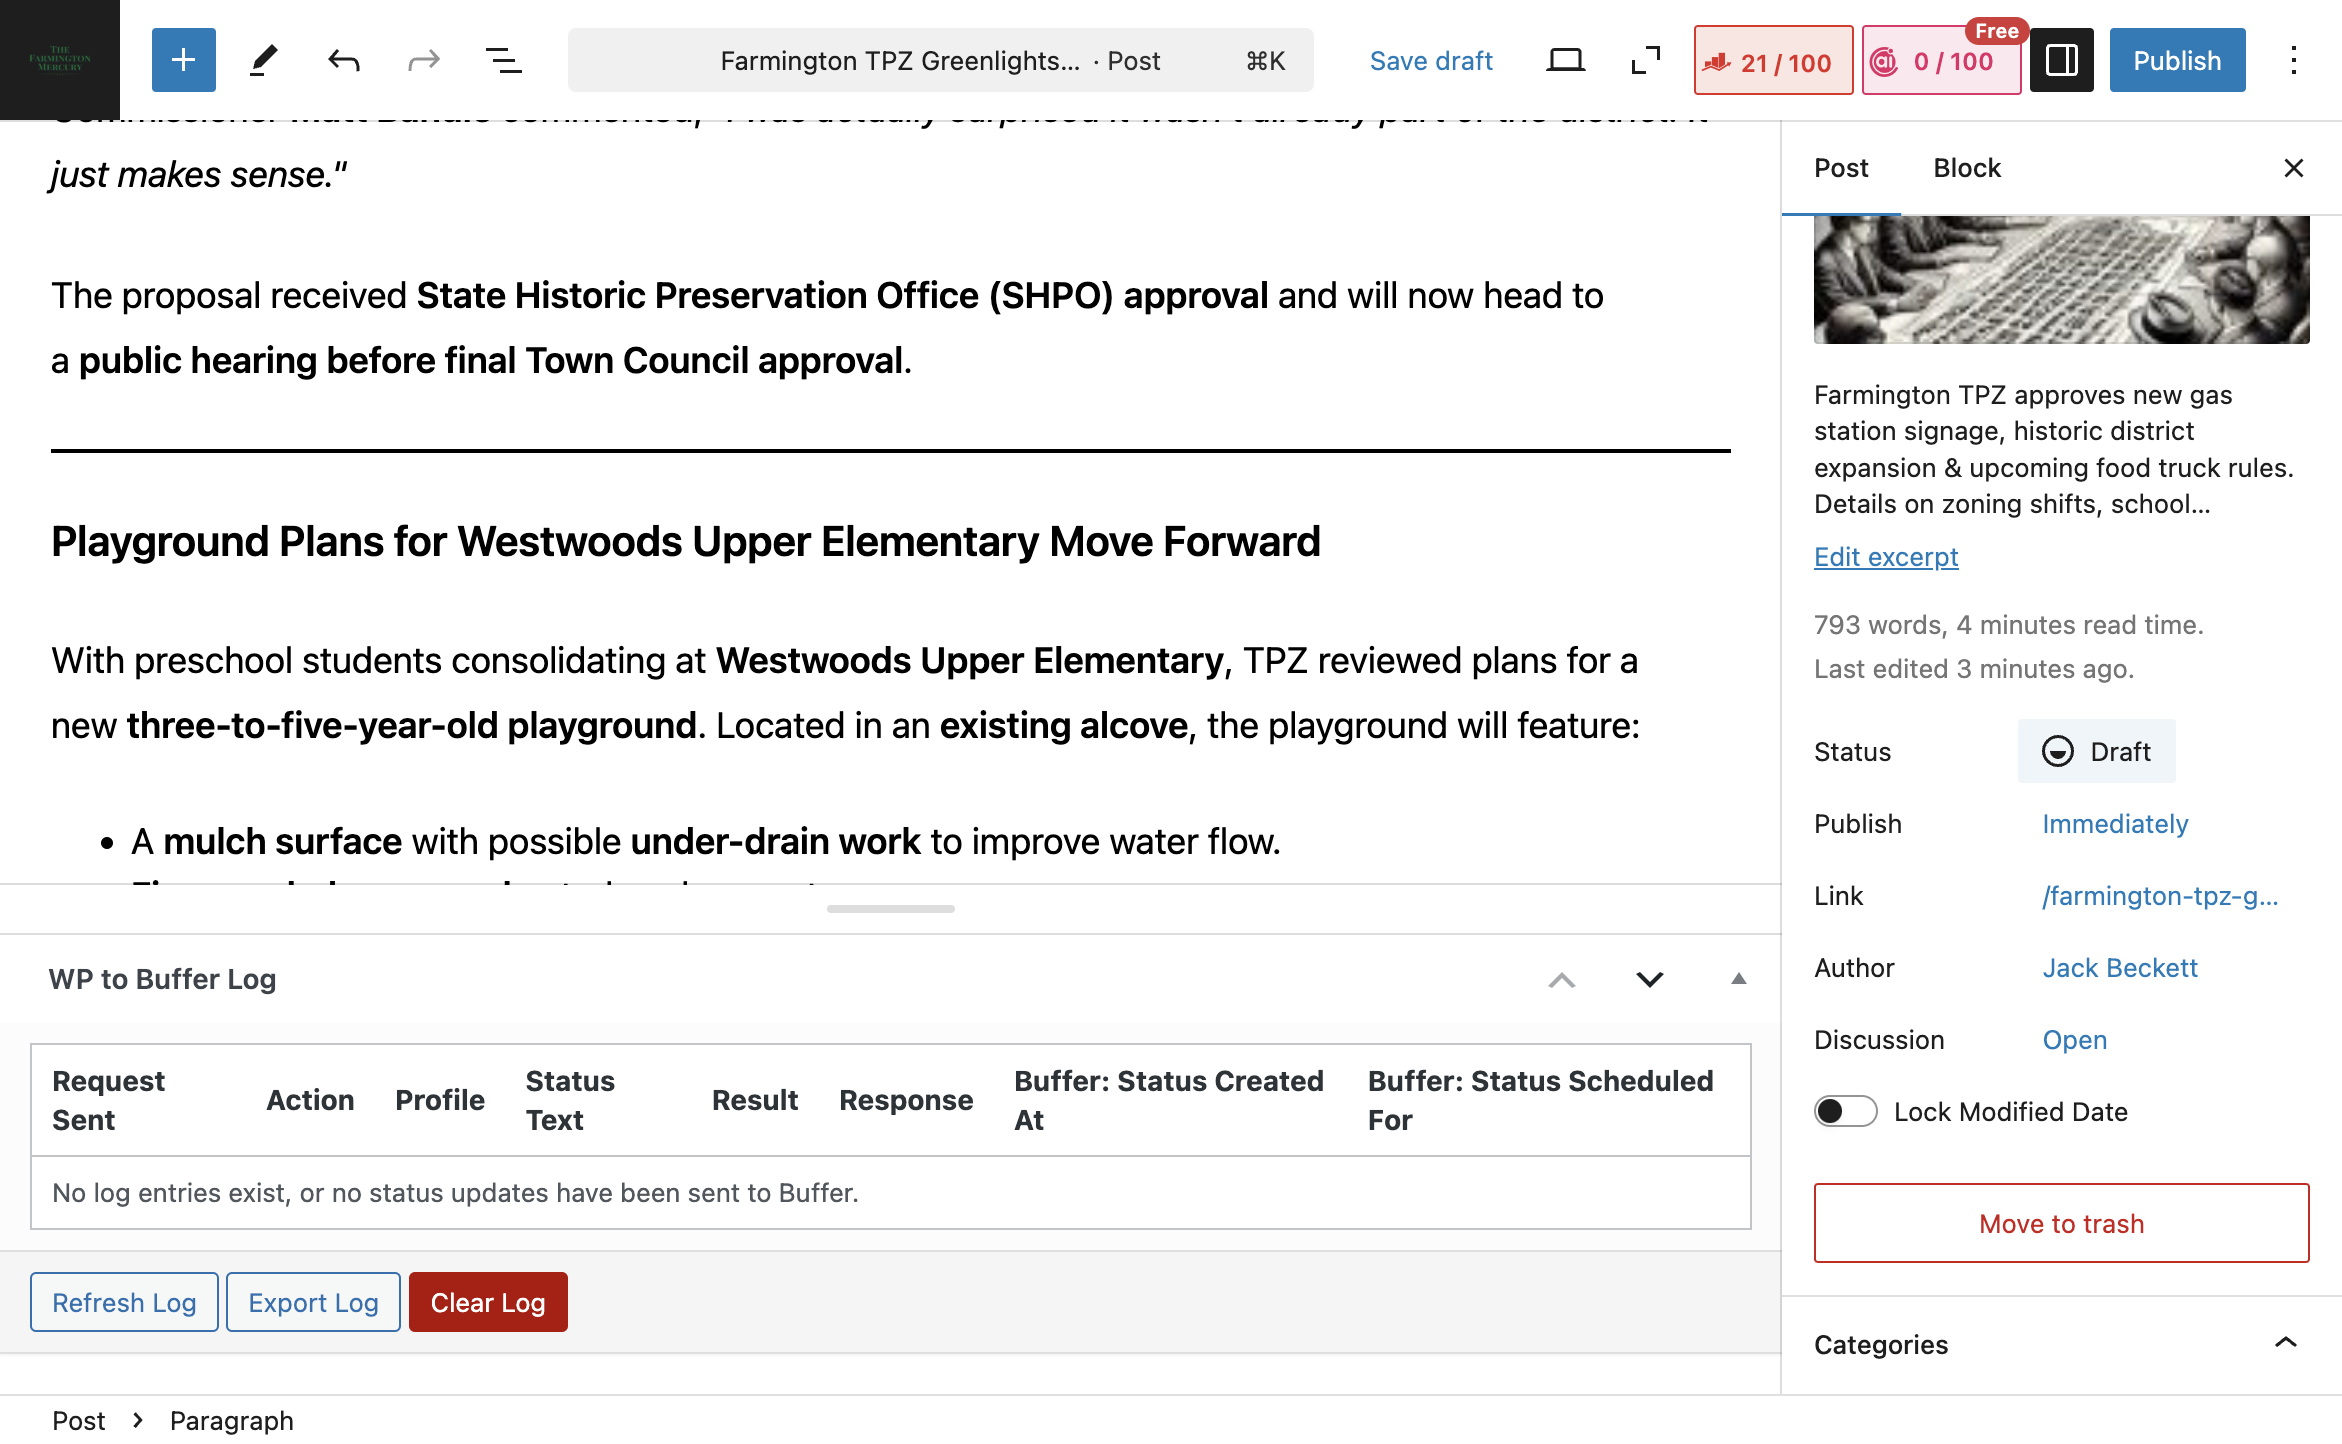
Next, we will set the feature logo.
Download the image provided in Notion.
Download here.
Once the image is saved on your desktop or preferred location, return to the featured image. Upload the file by dragging and dropping it. Then, go back to Notion and copy the alt text for the featured image. Paste the alt text back into Notion.
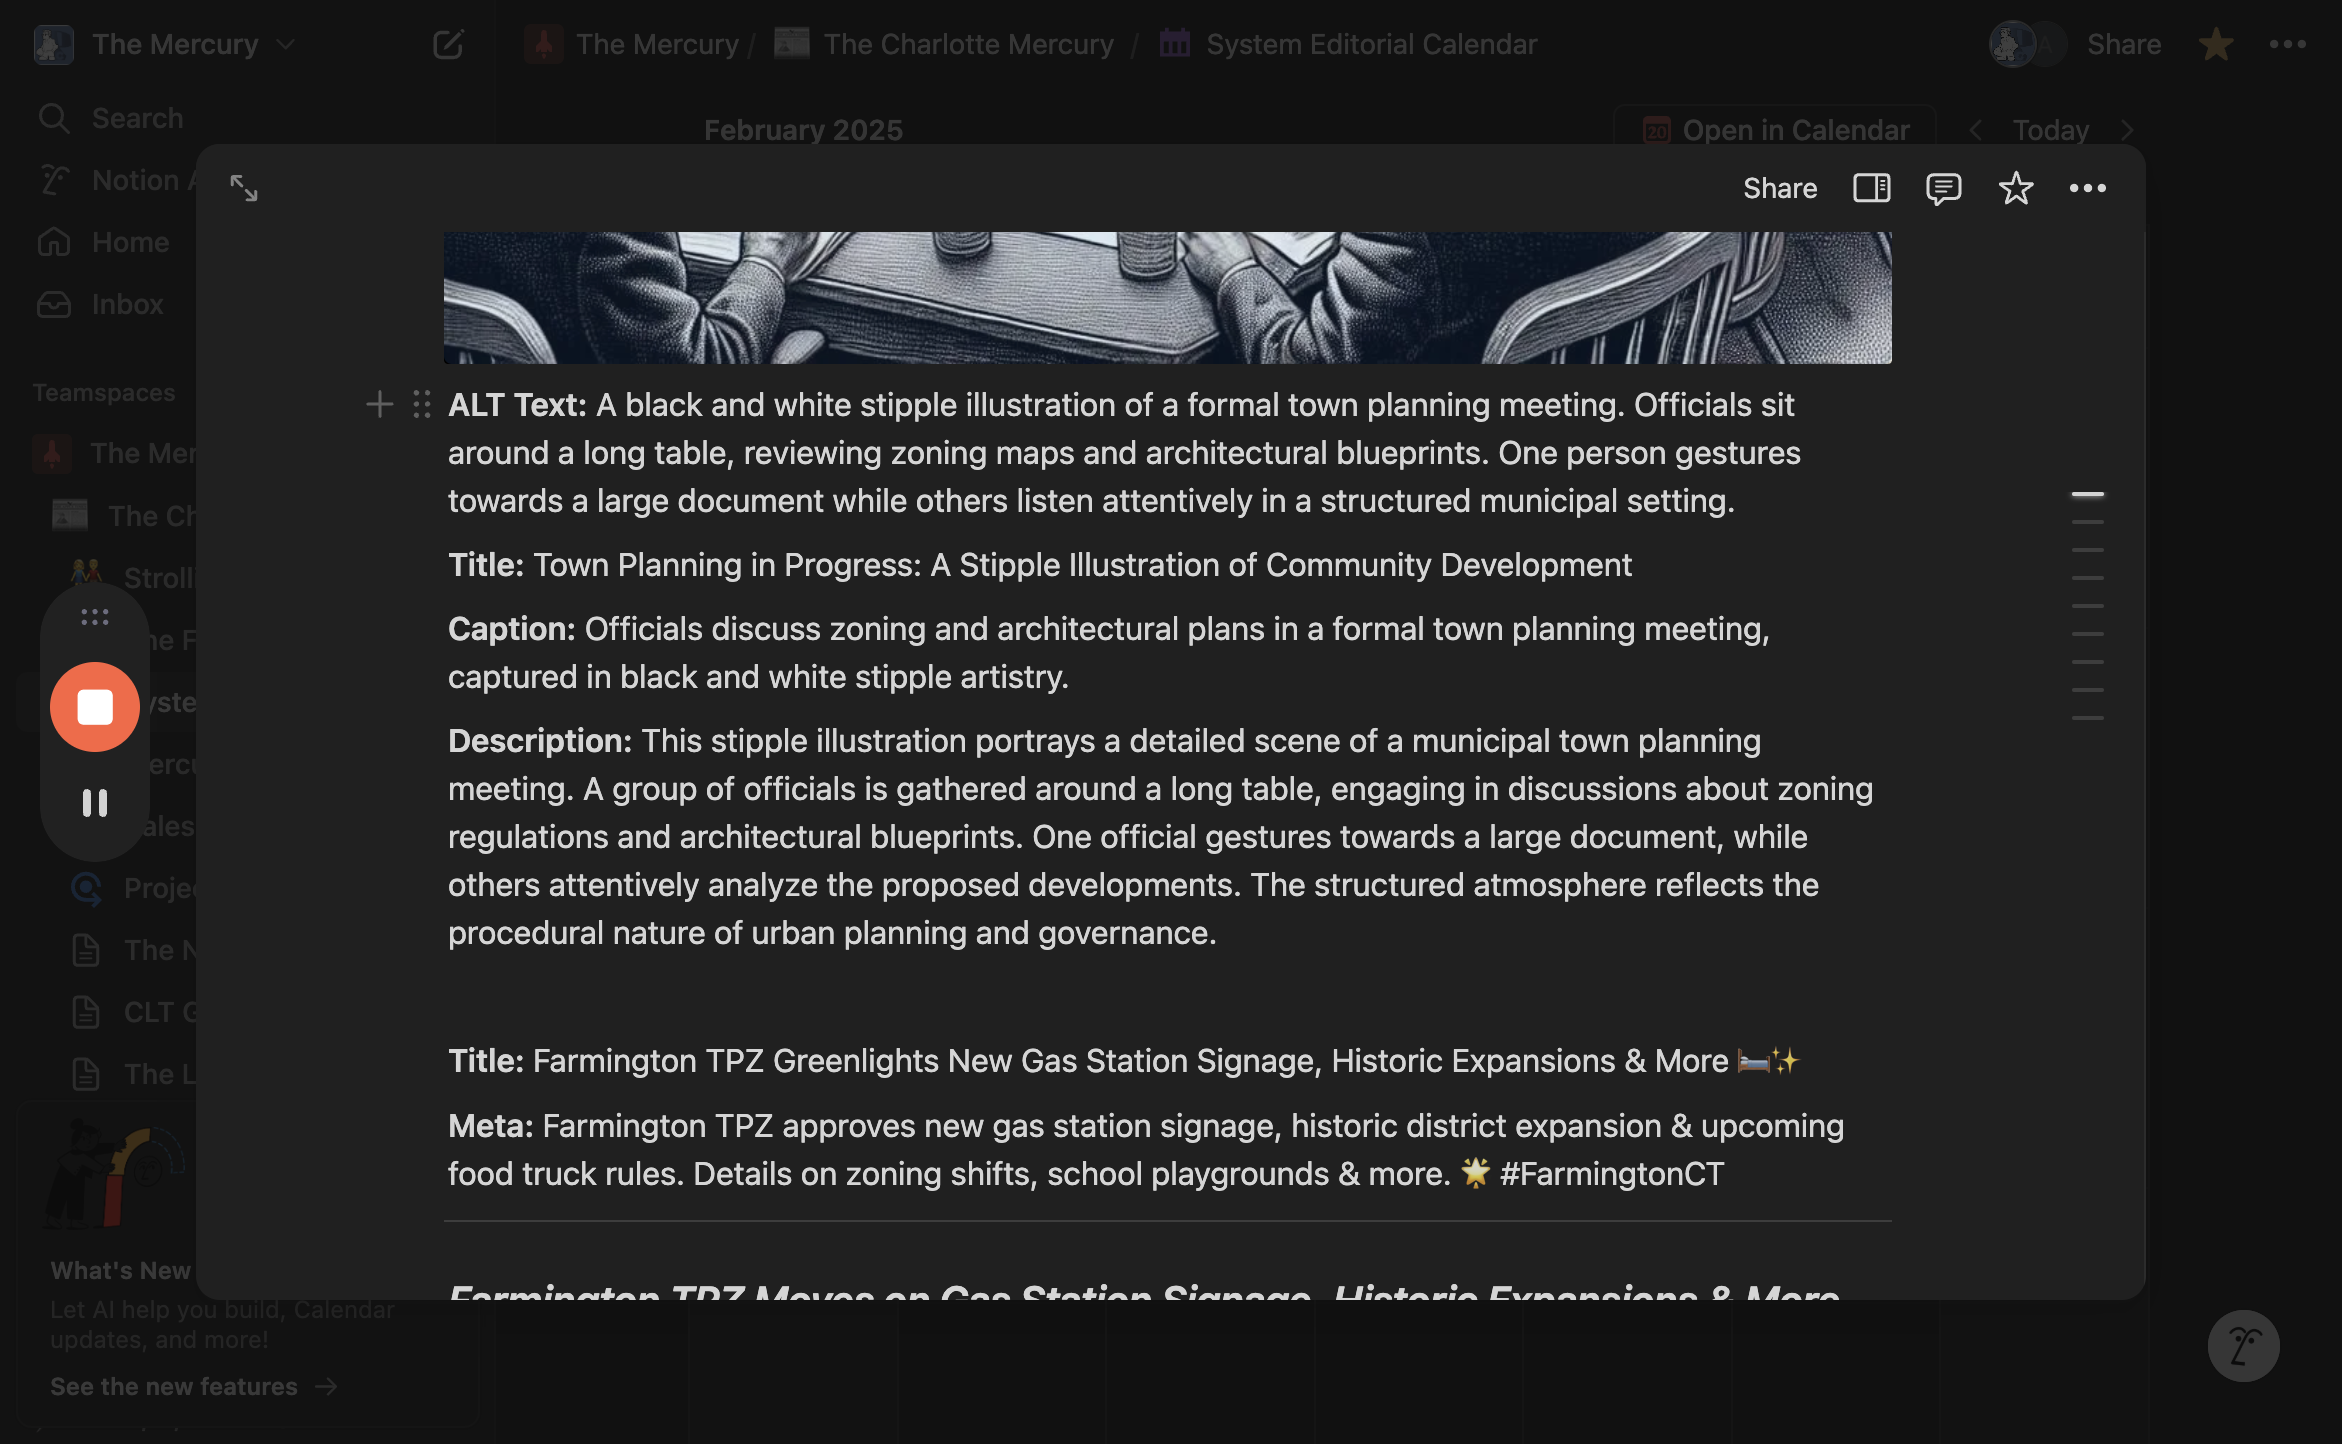
We will do the same for the title, caption, and description. Return to Notion, copy the title, then the back title. Go back for the caption and paste it into the caption box.
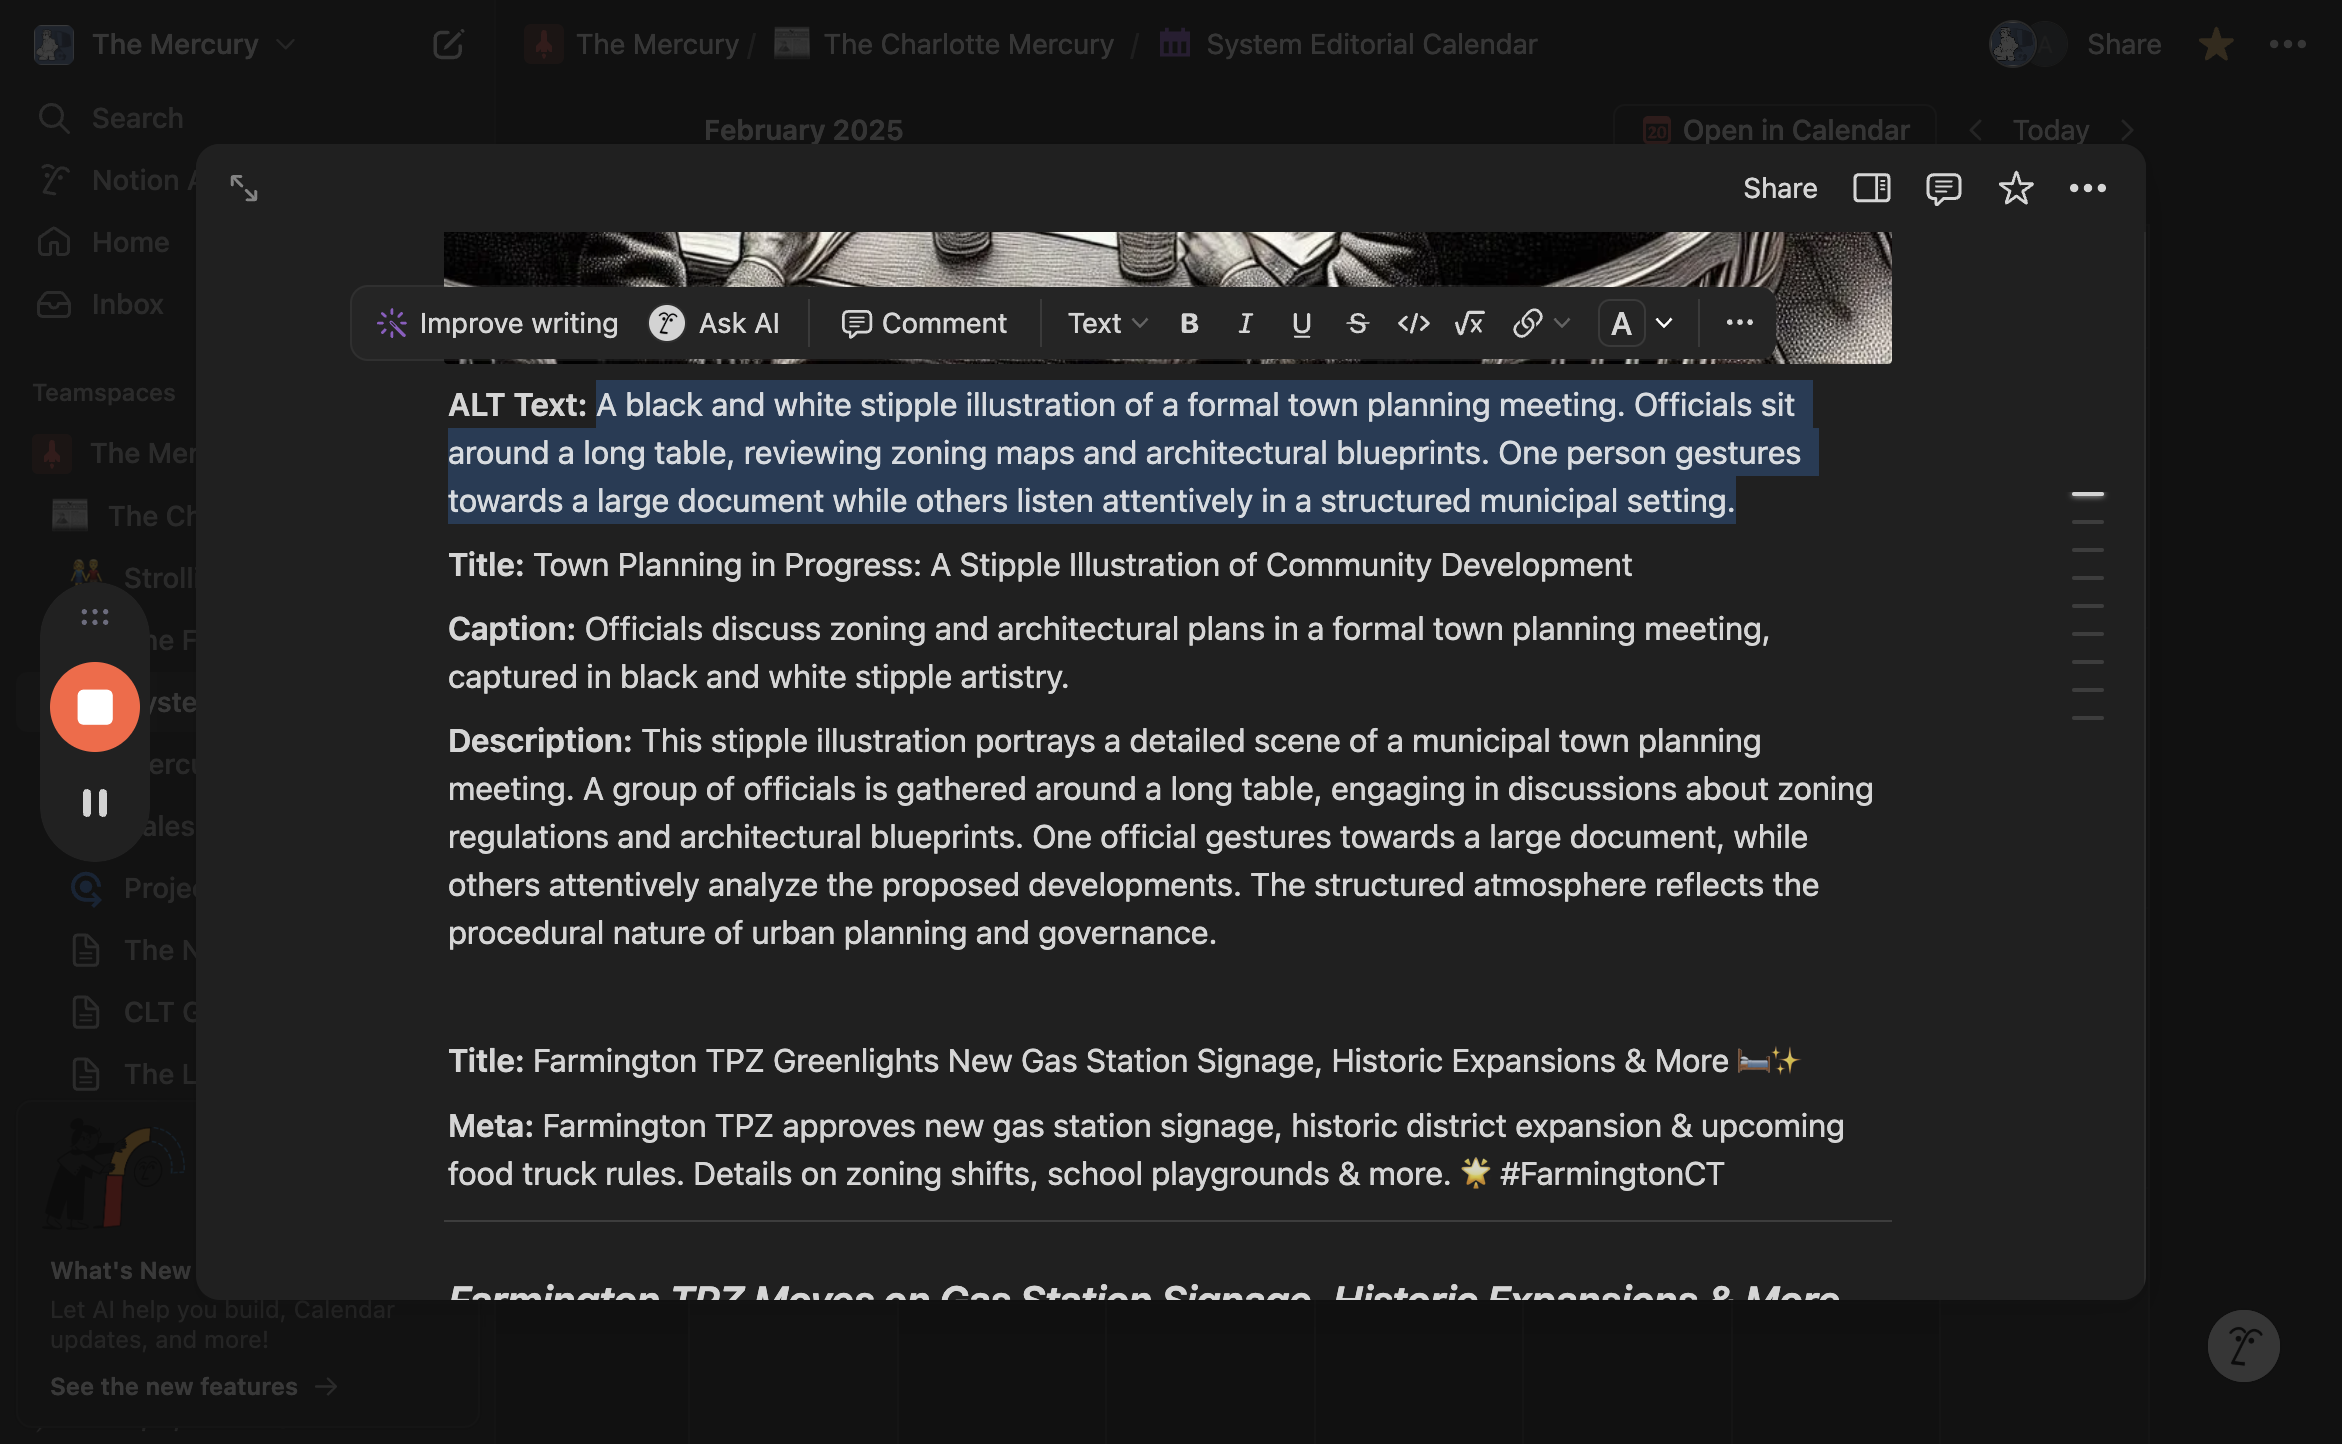

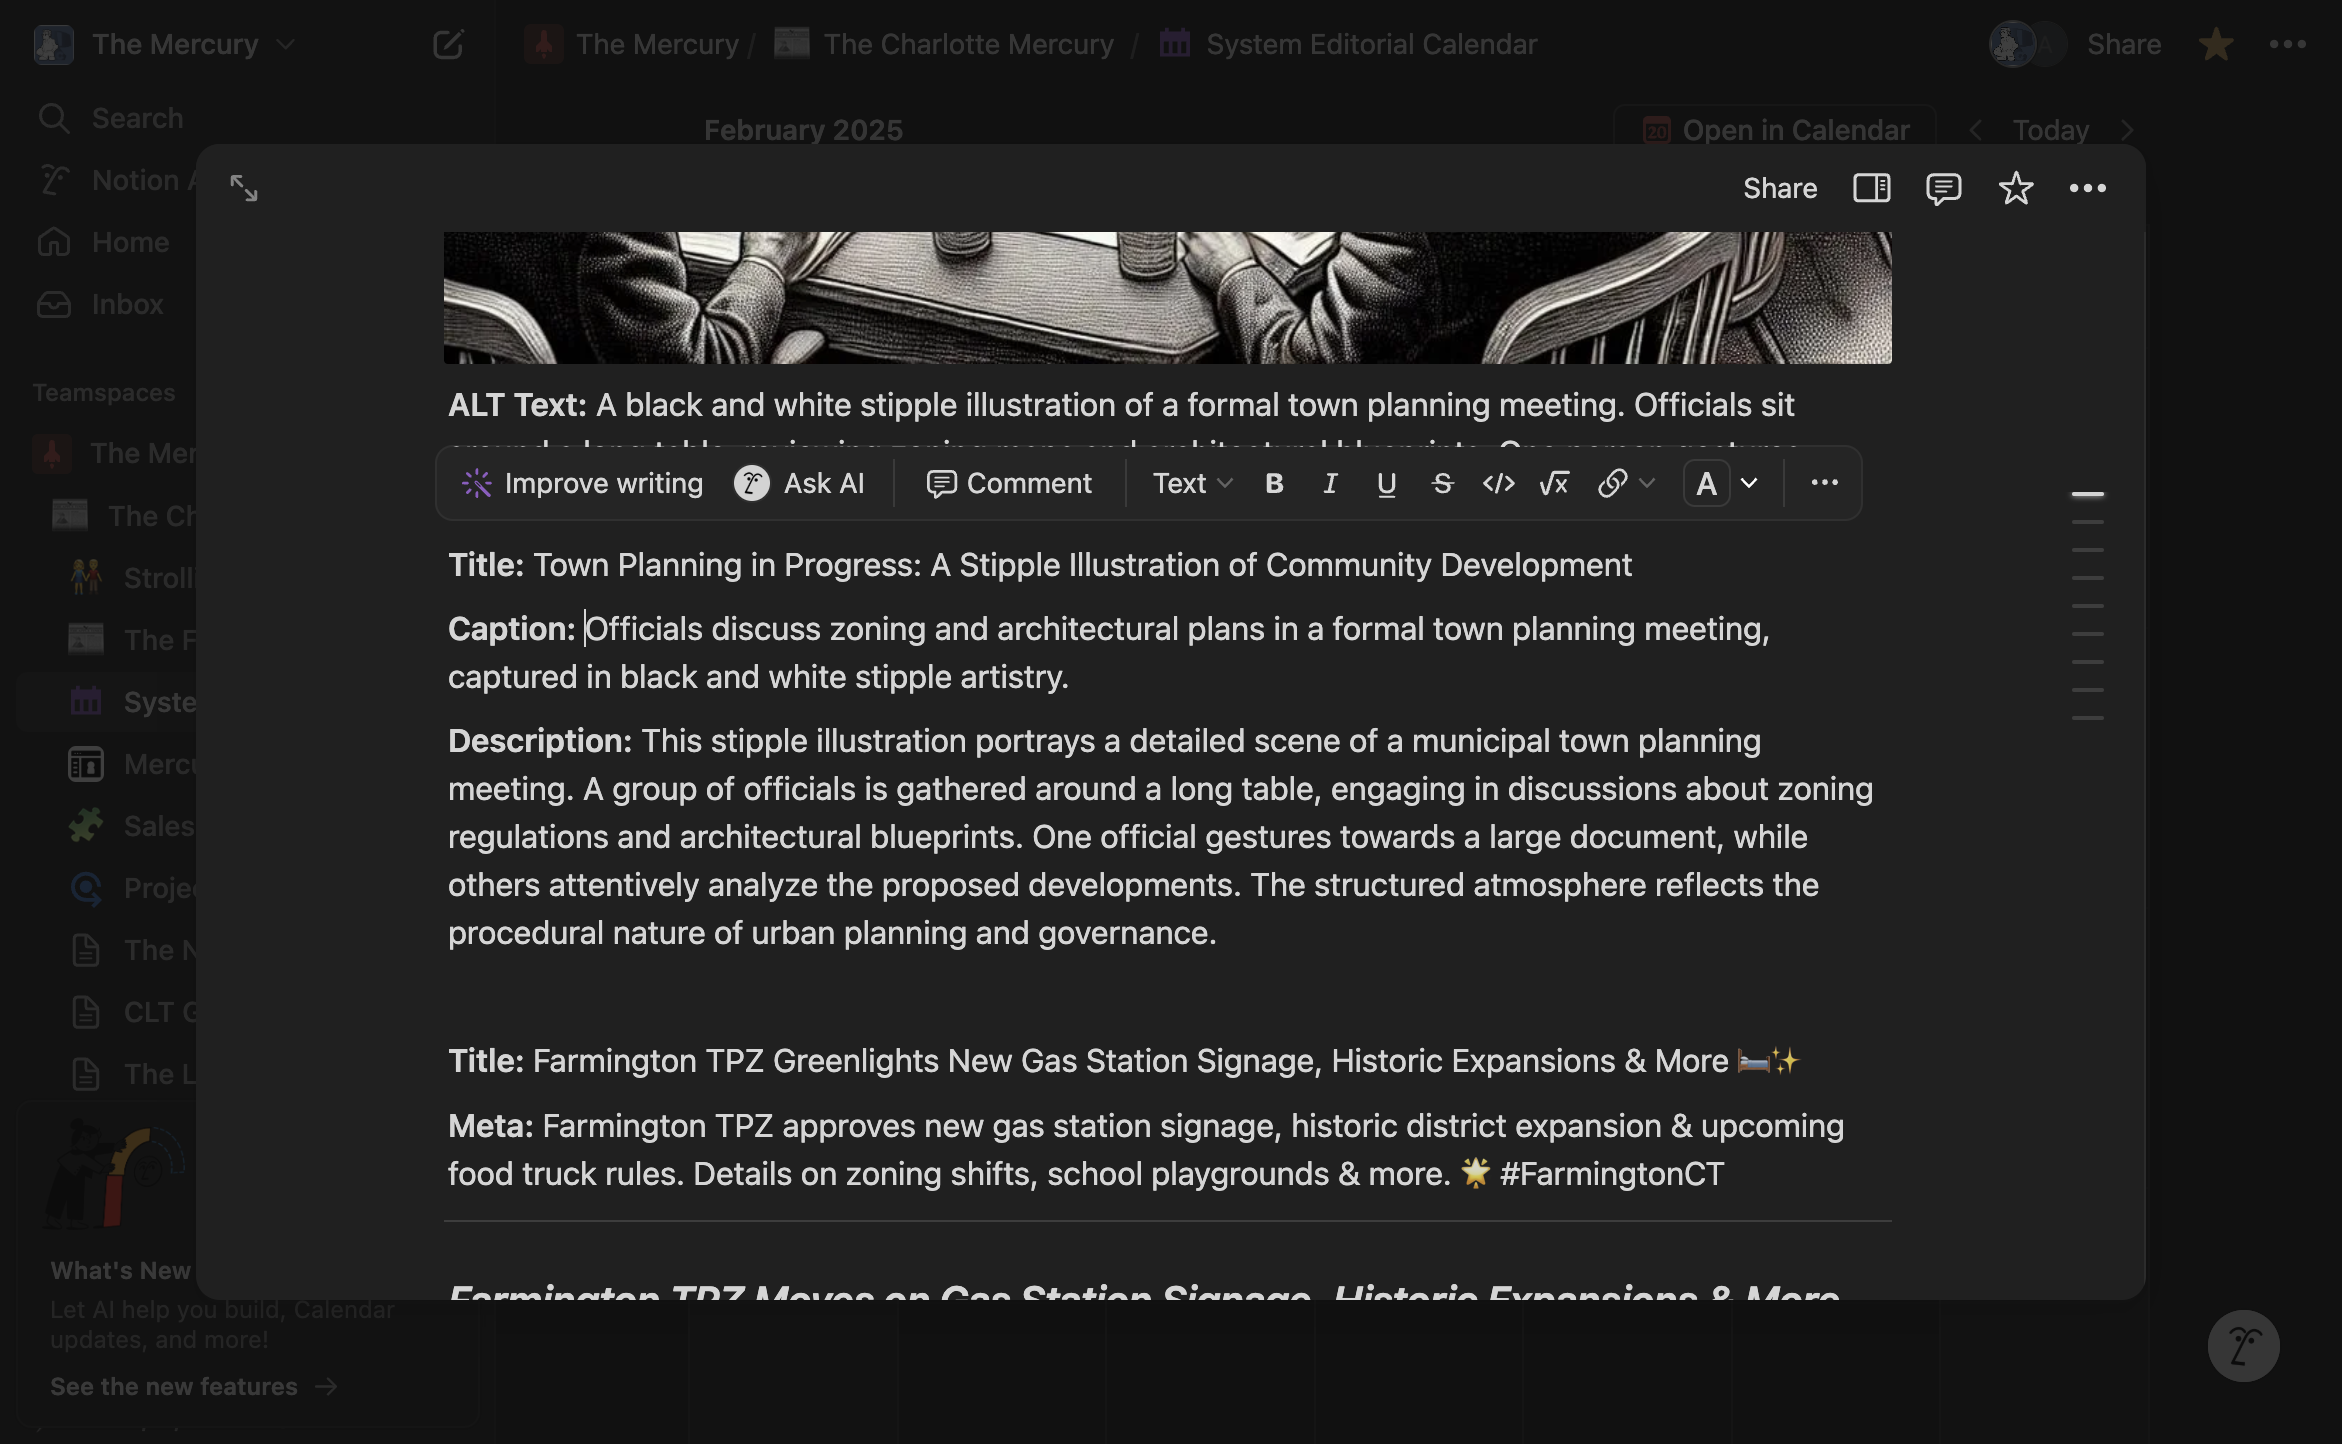
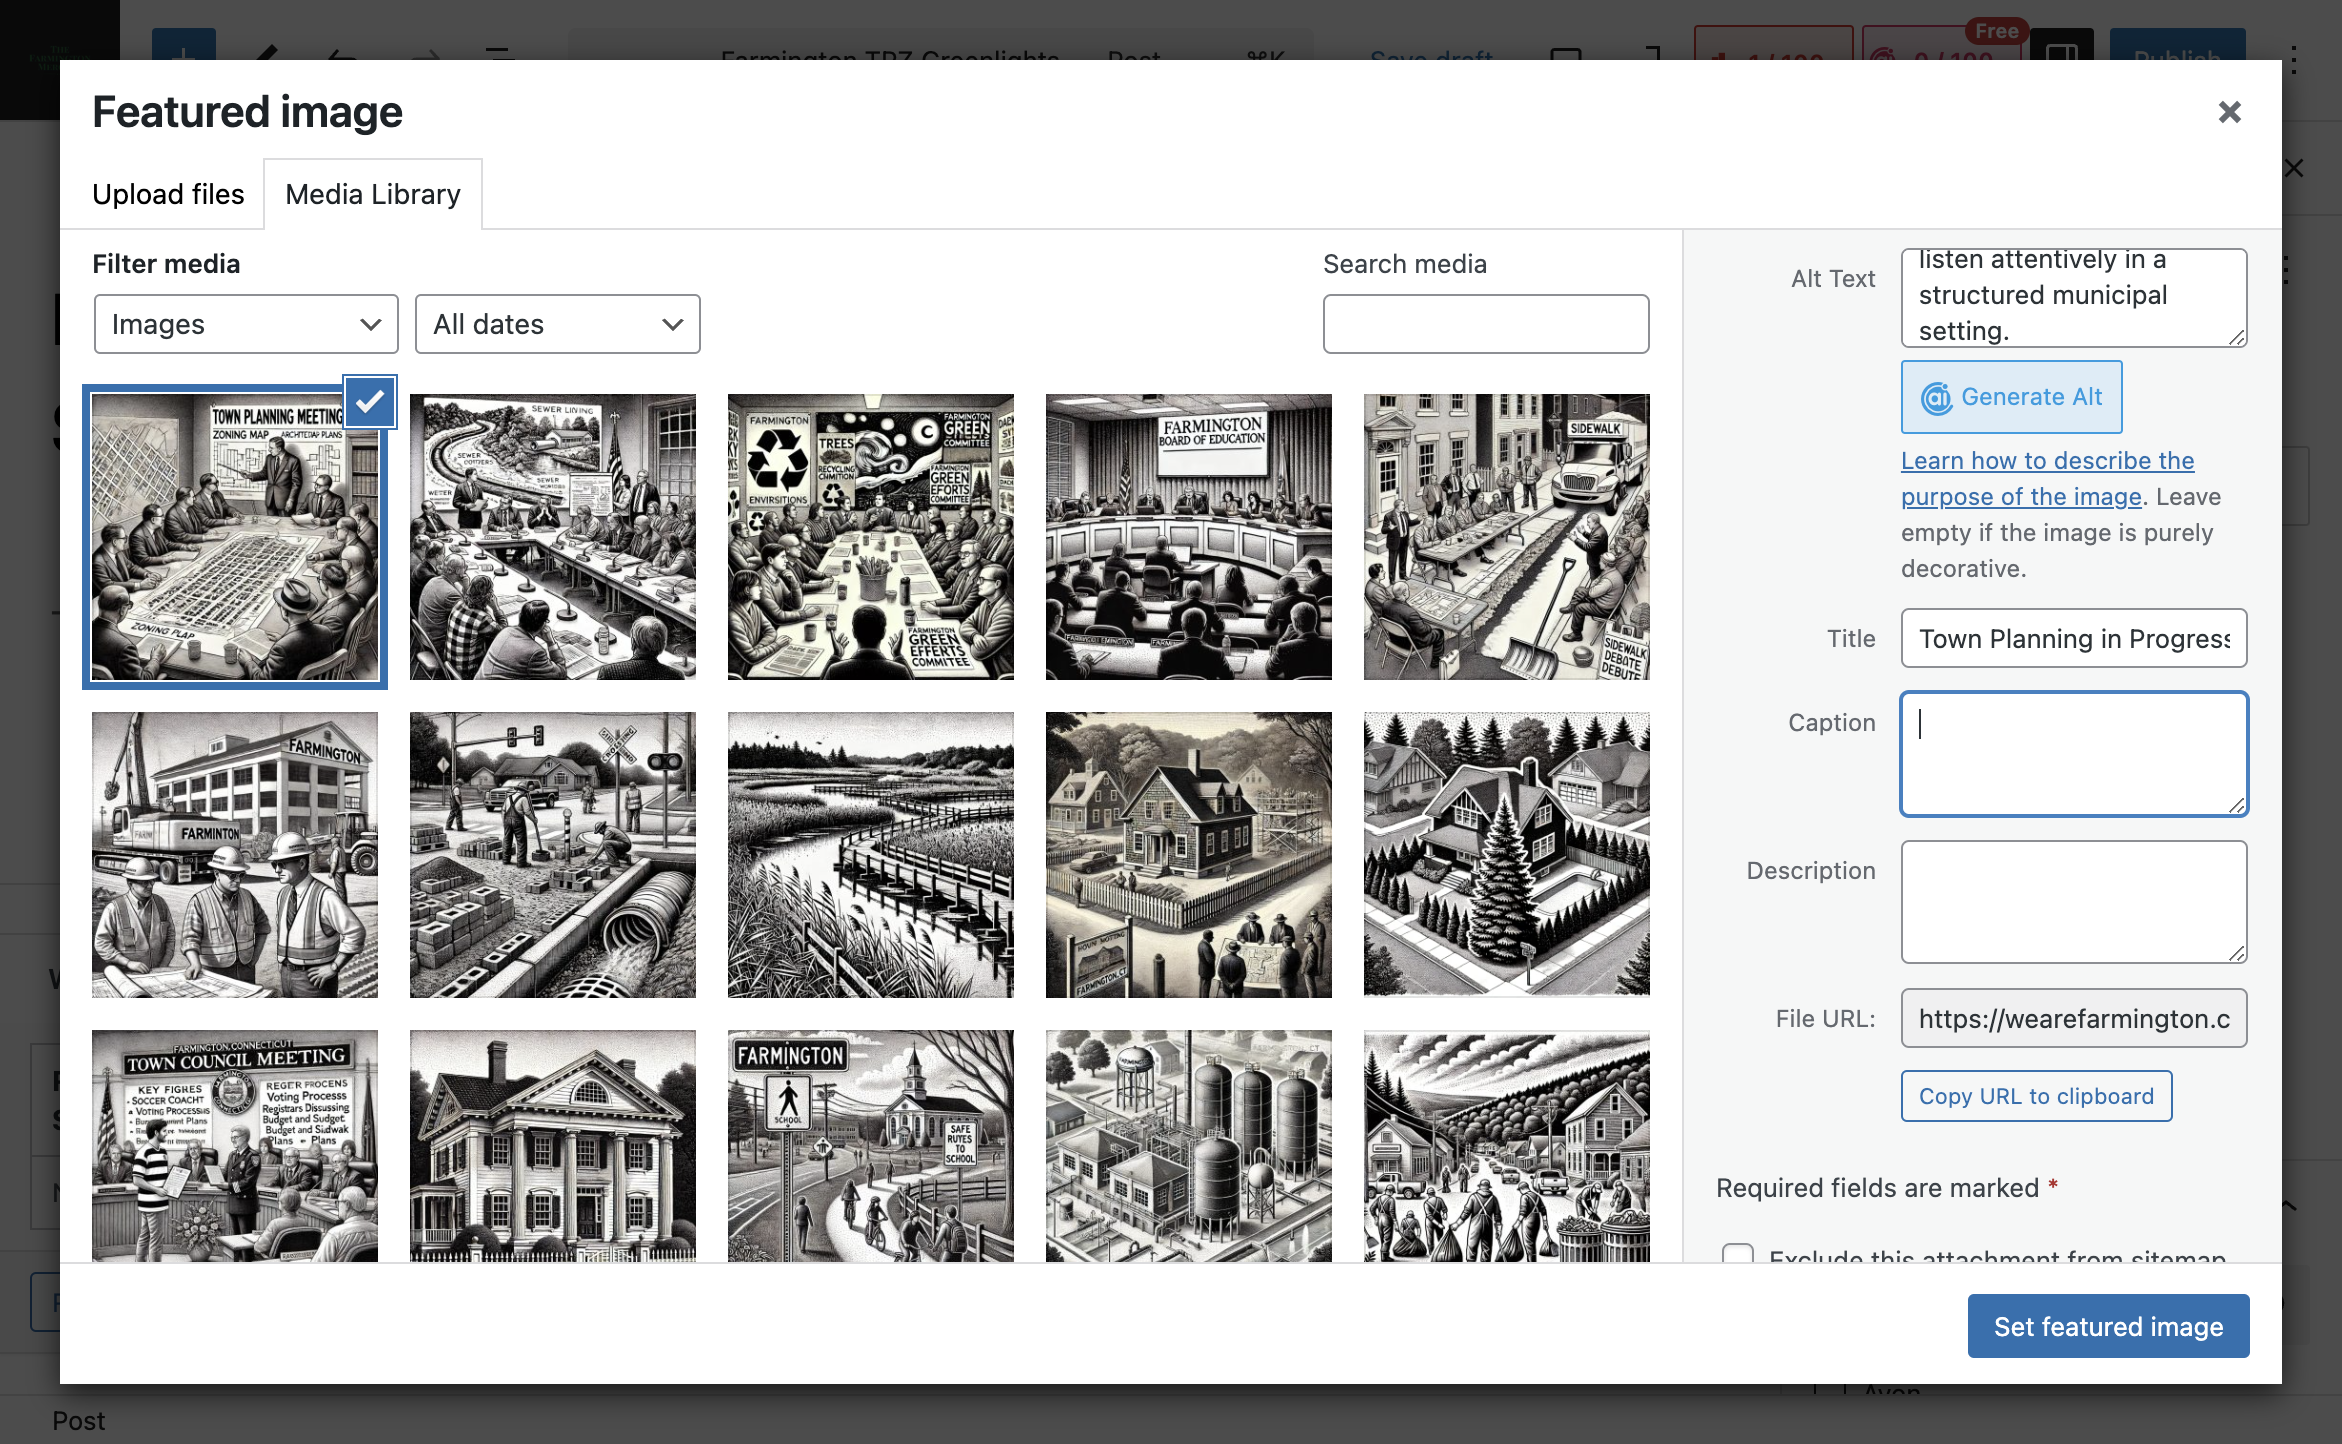
Description, copy, and description.
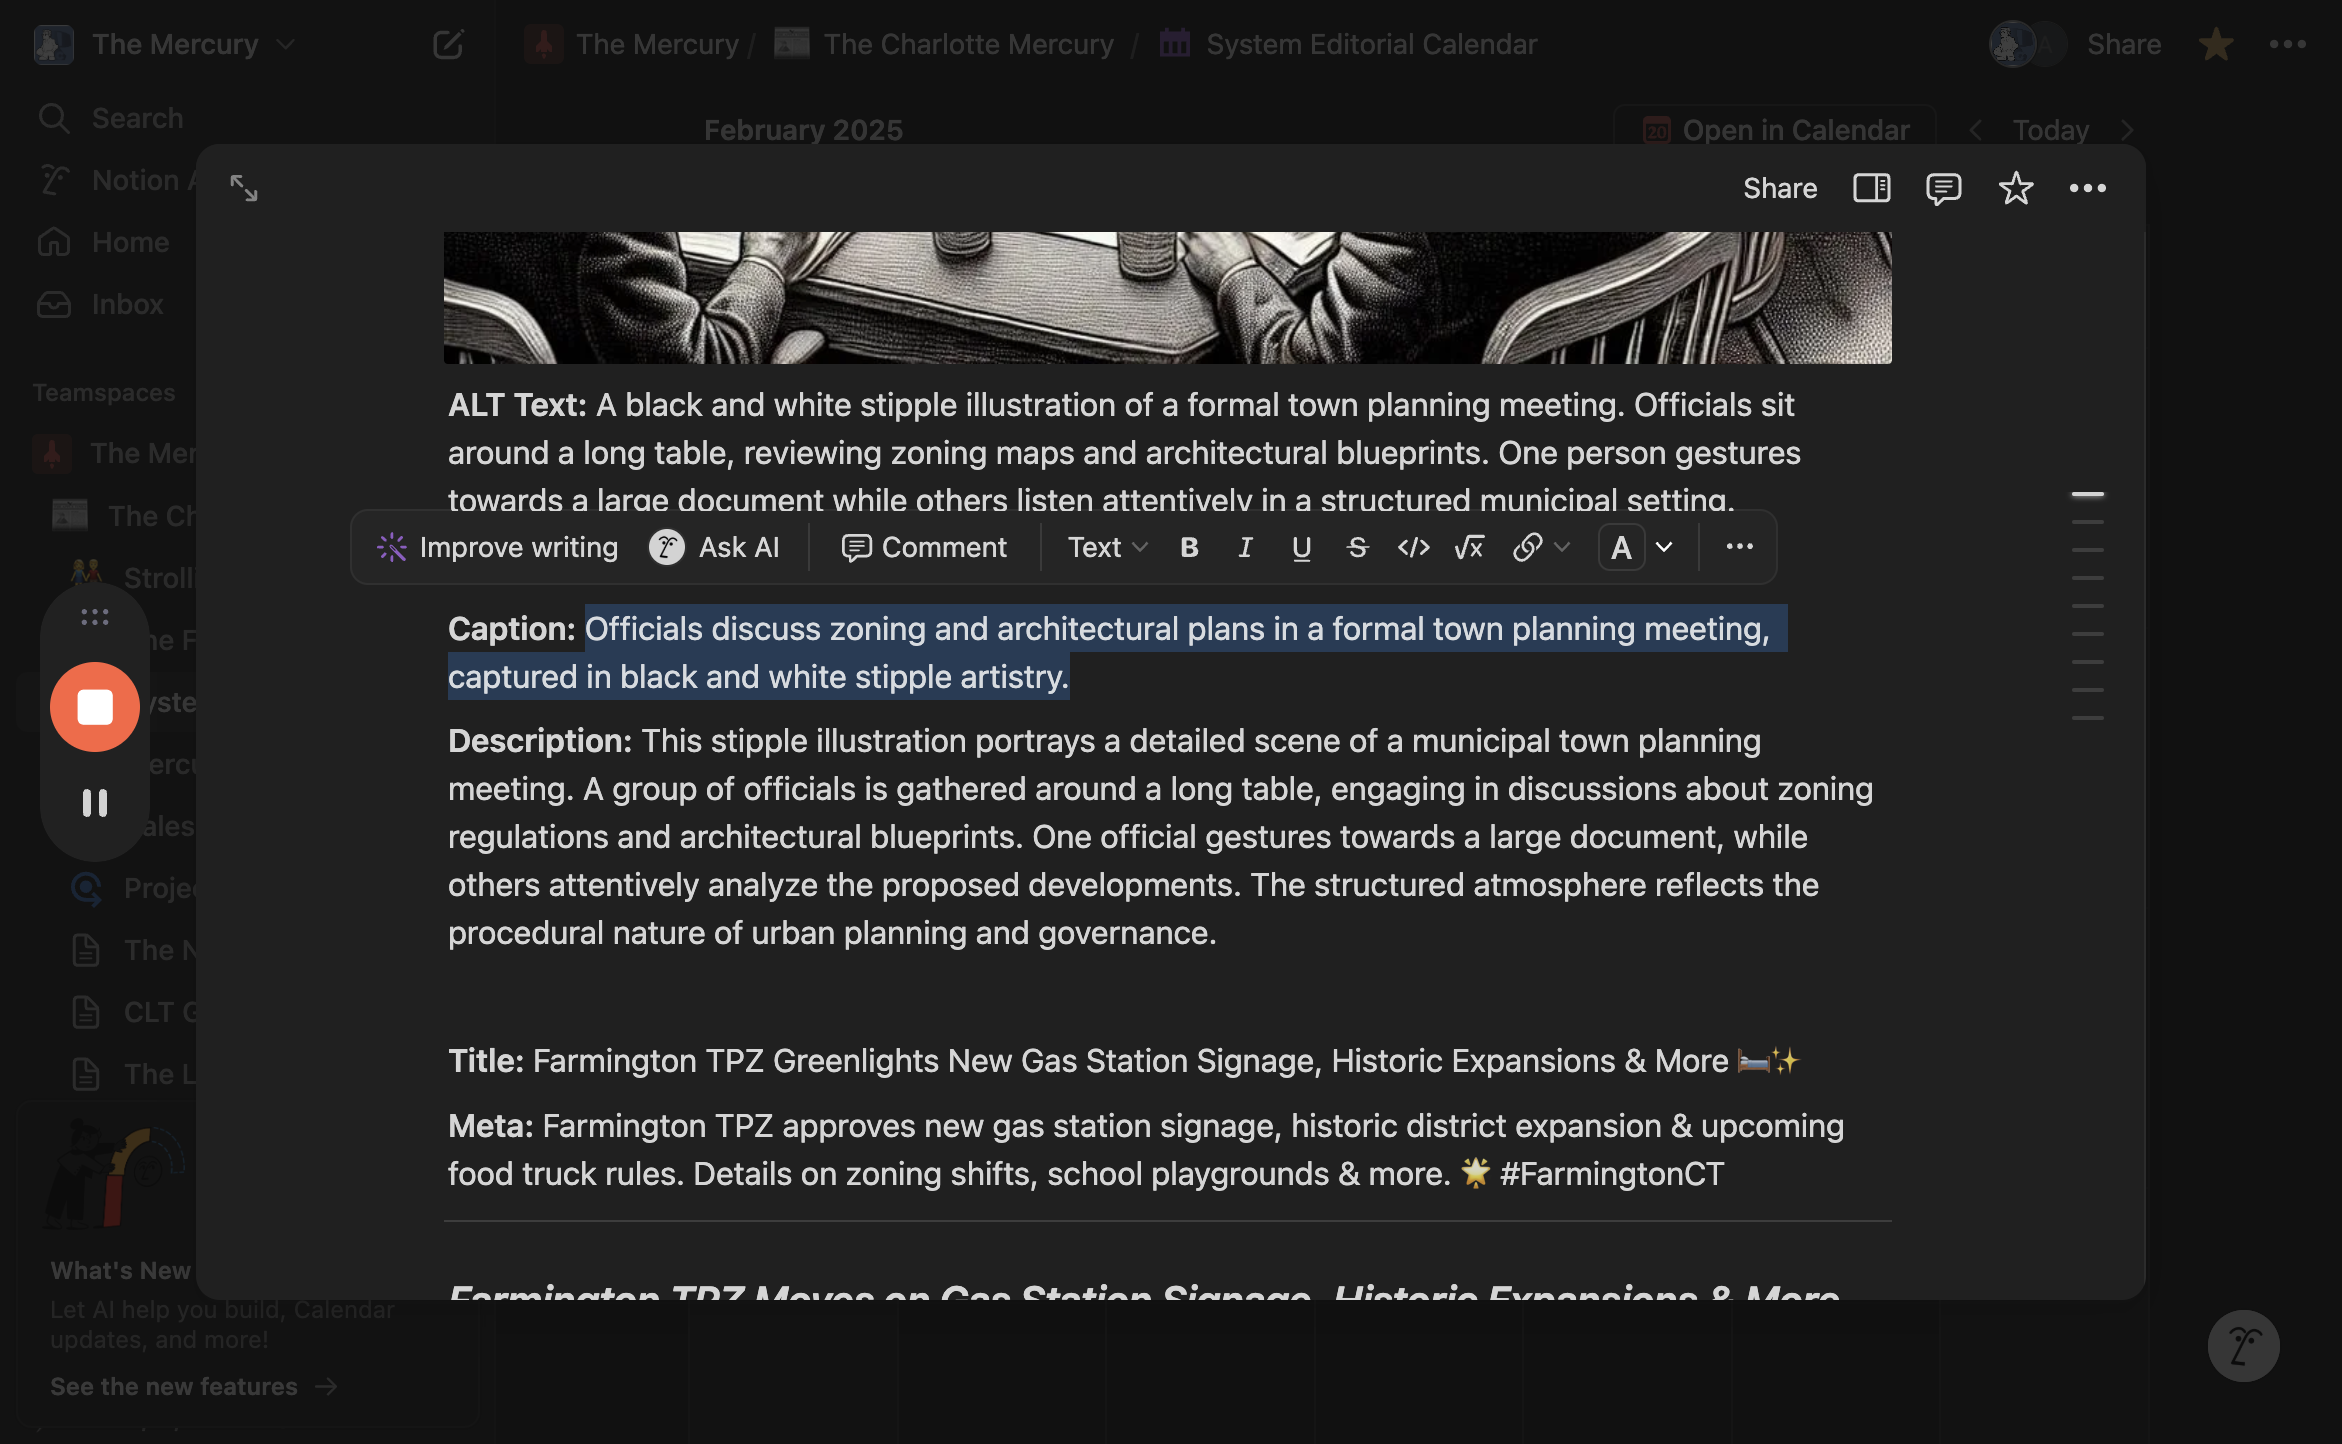
Once the alt text, title, caption, and description are filled in, click "Set Featured Image."
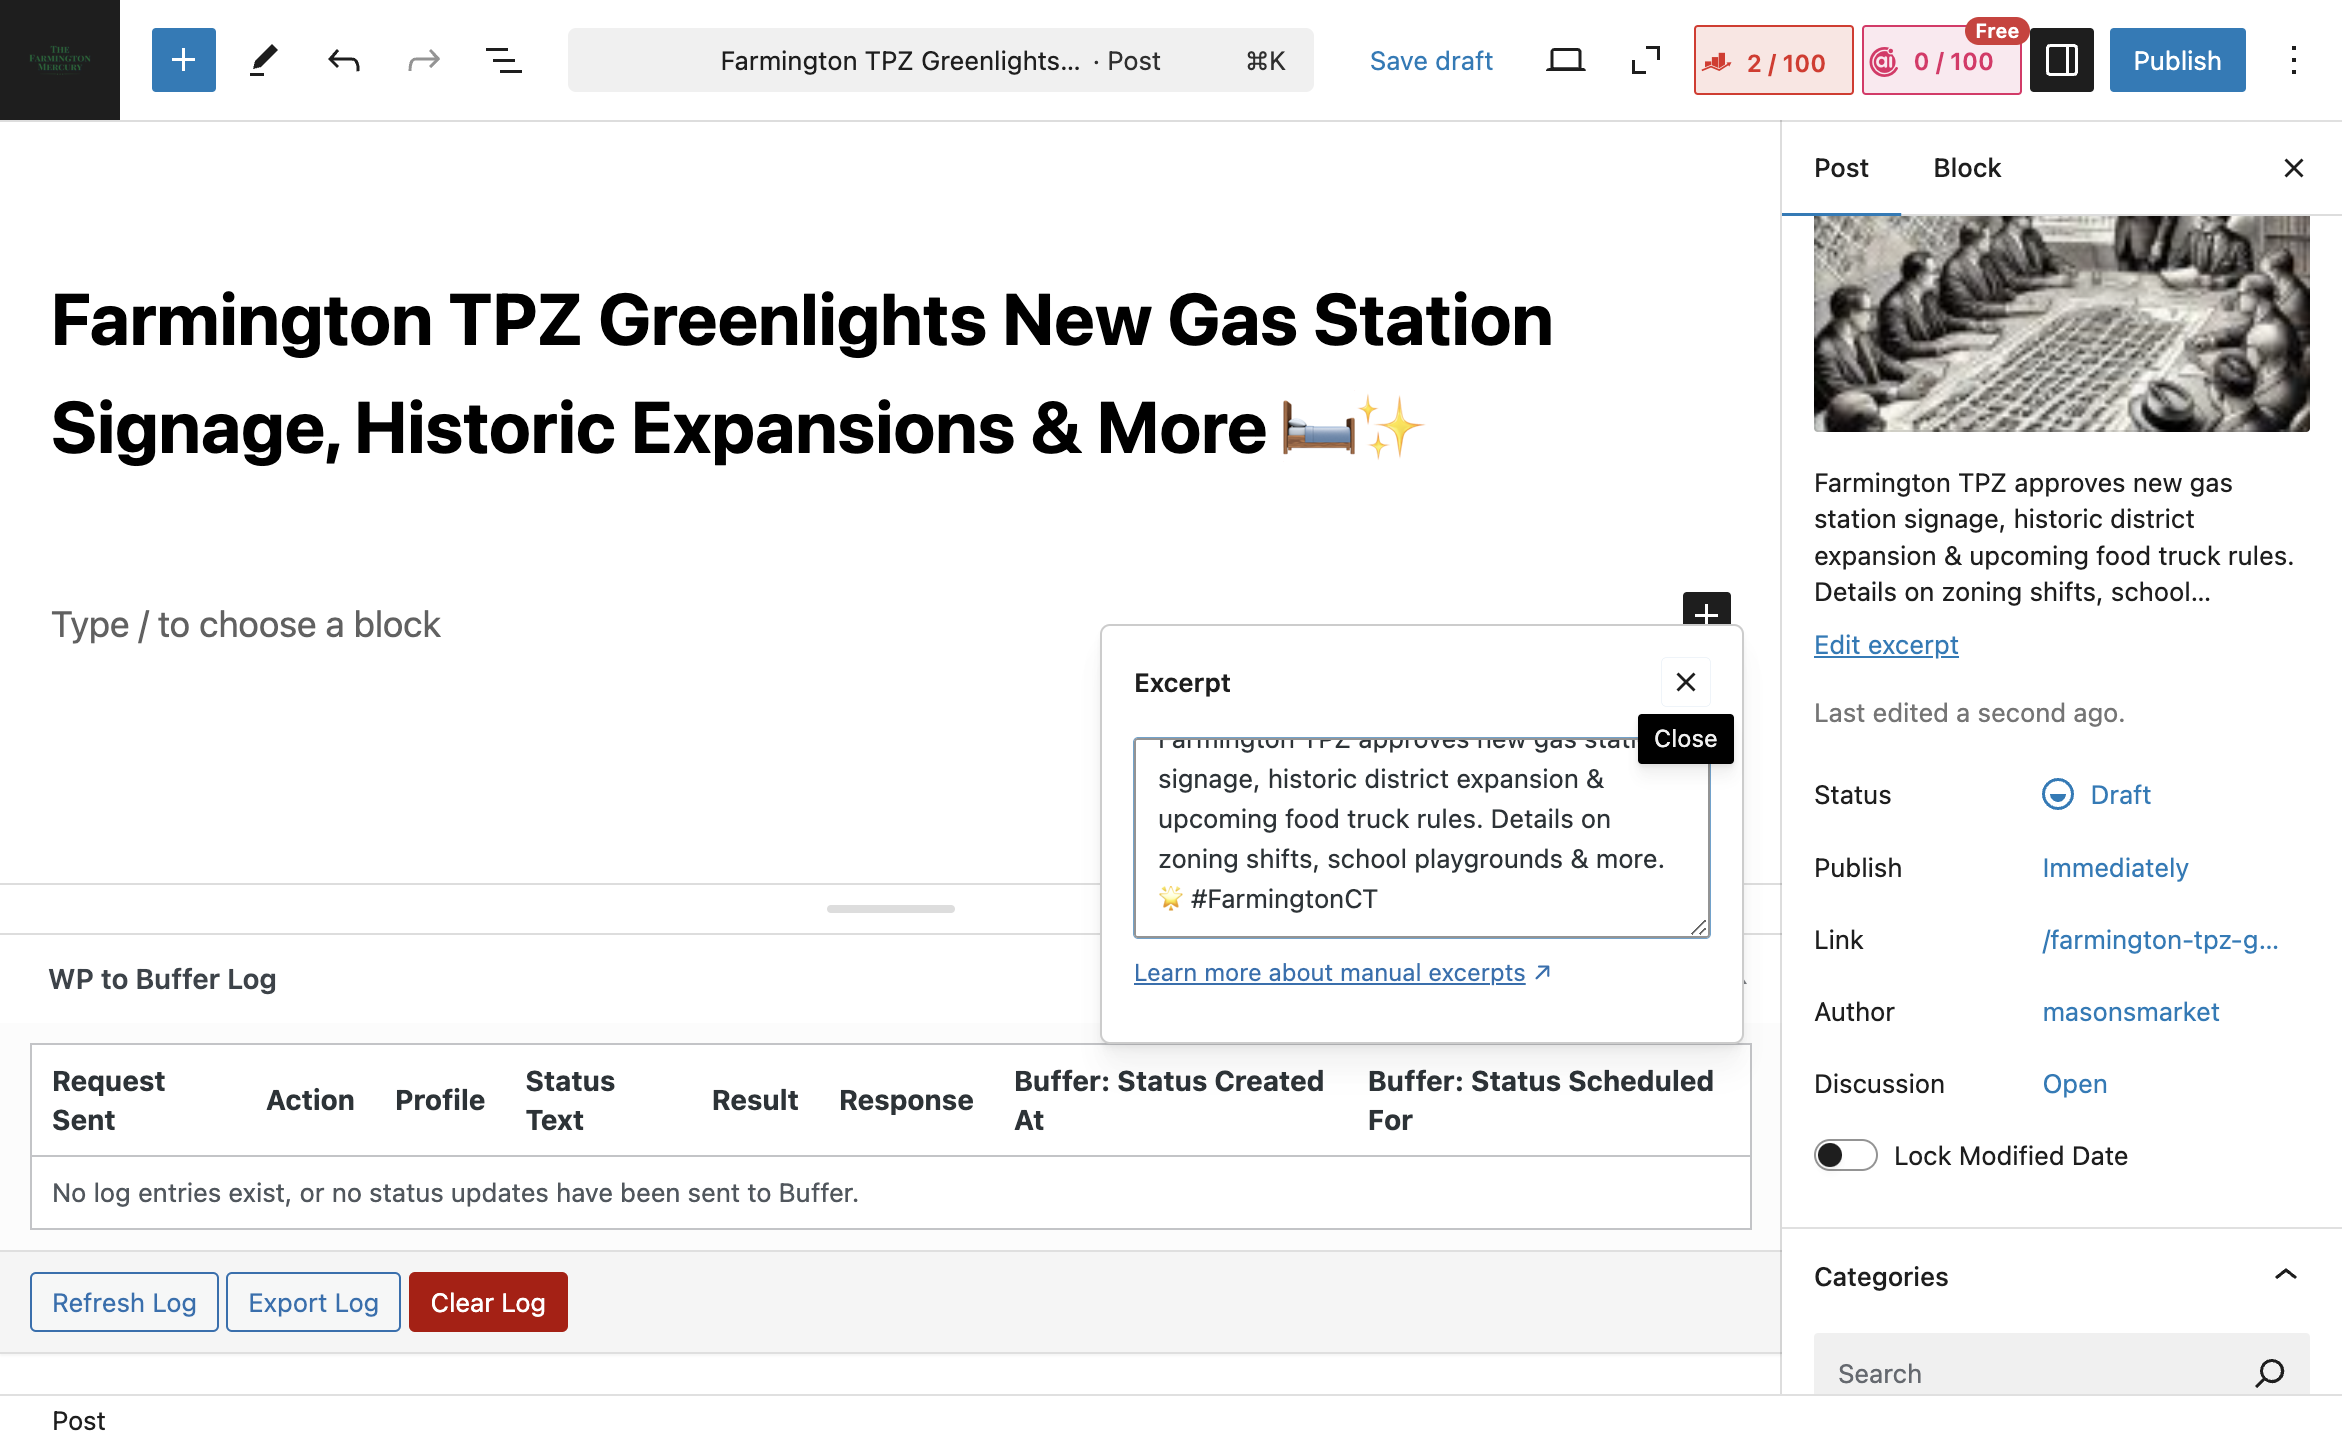
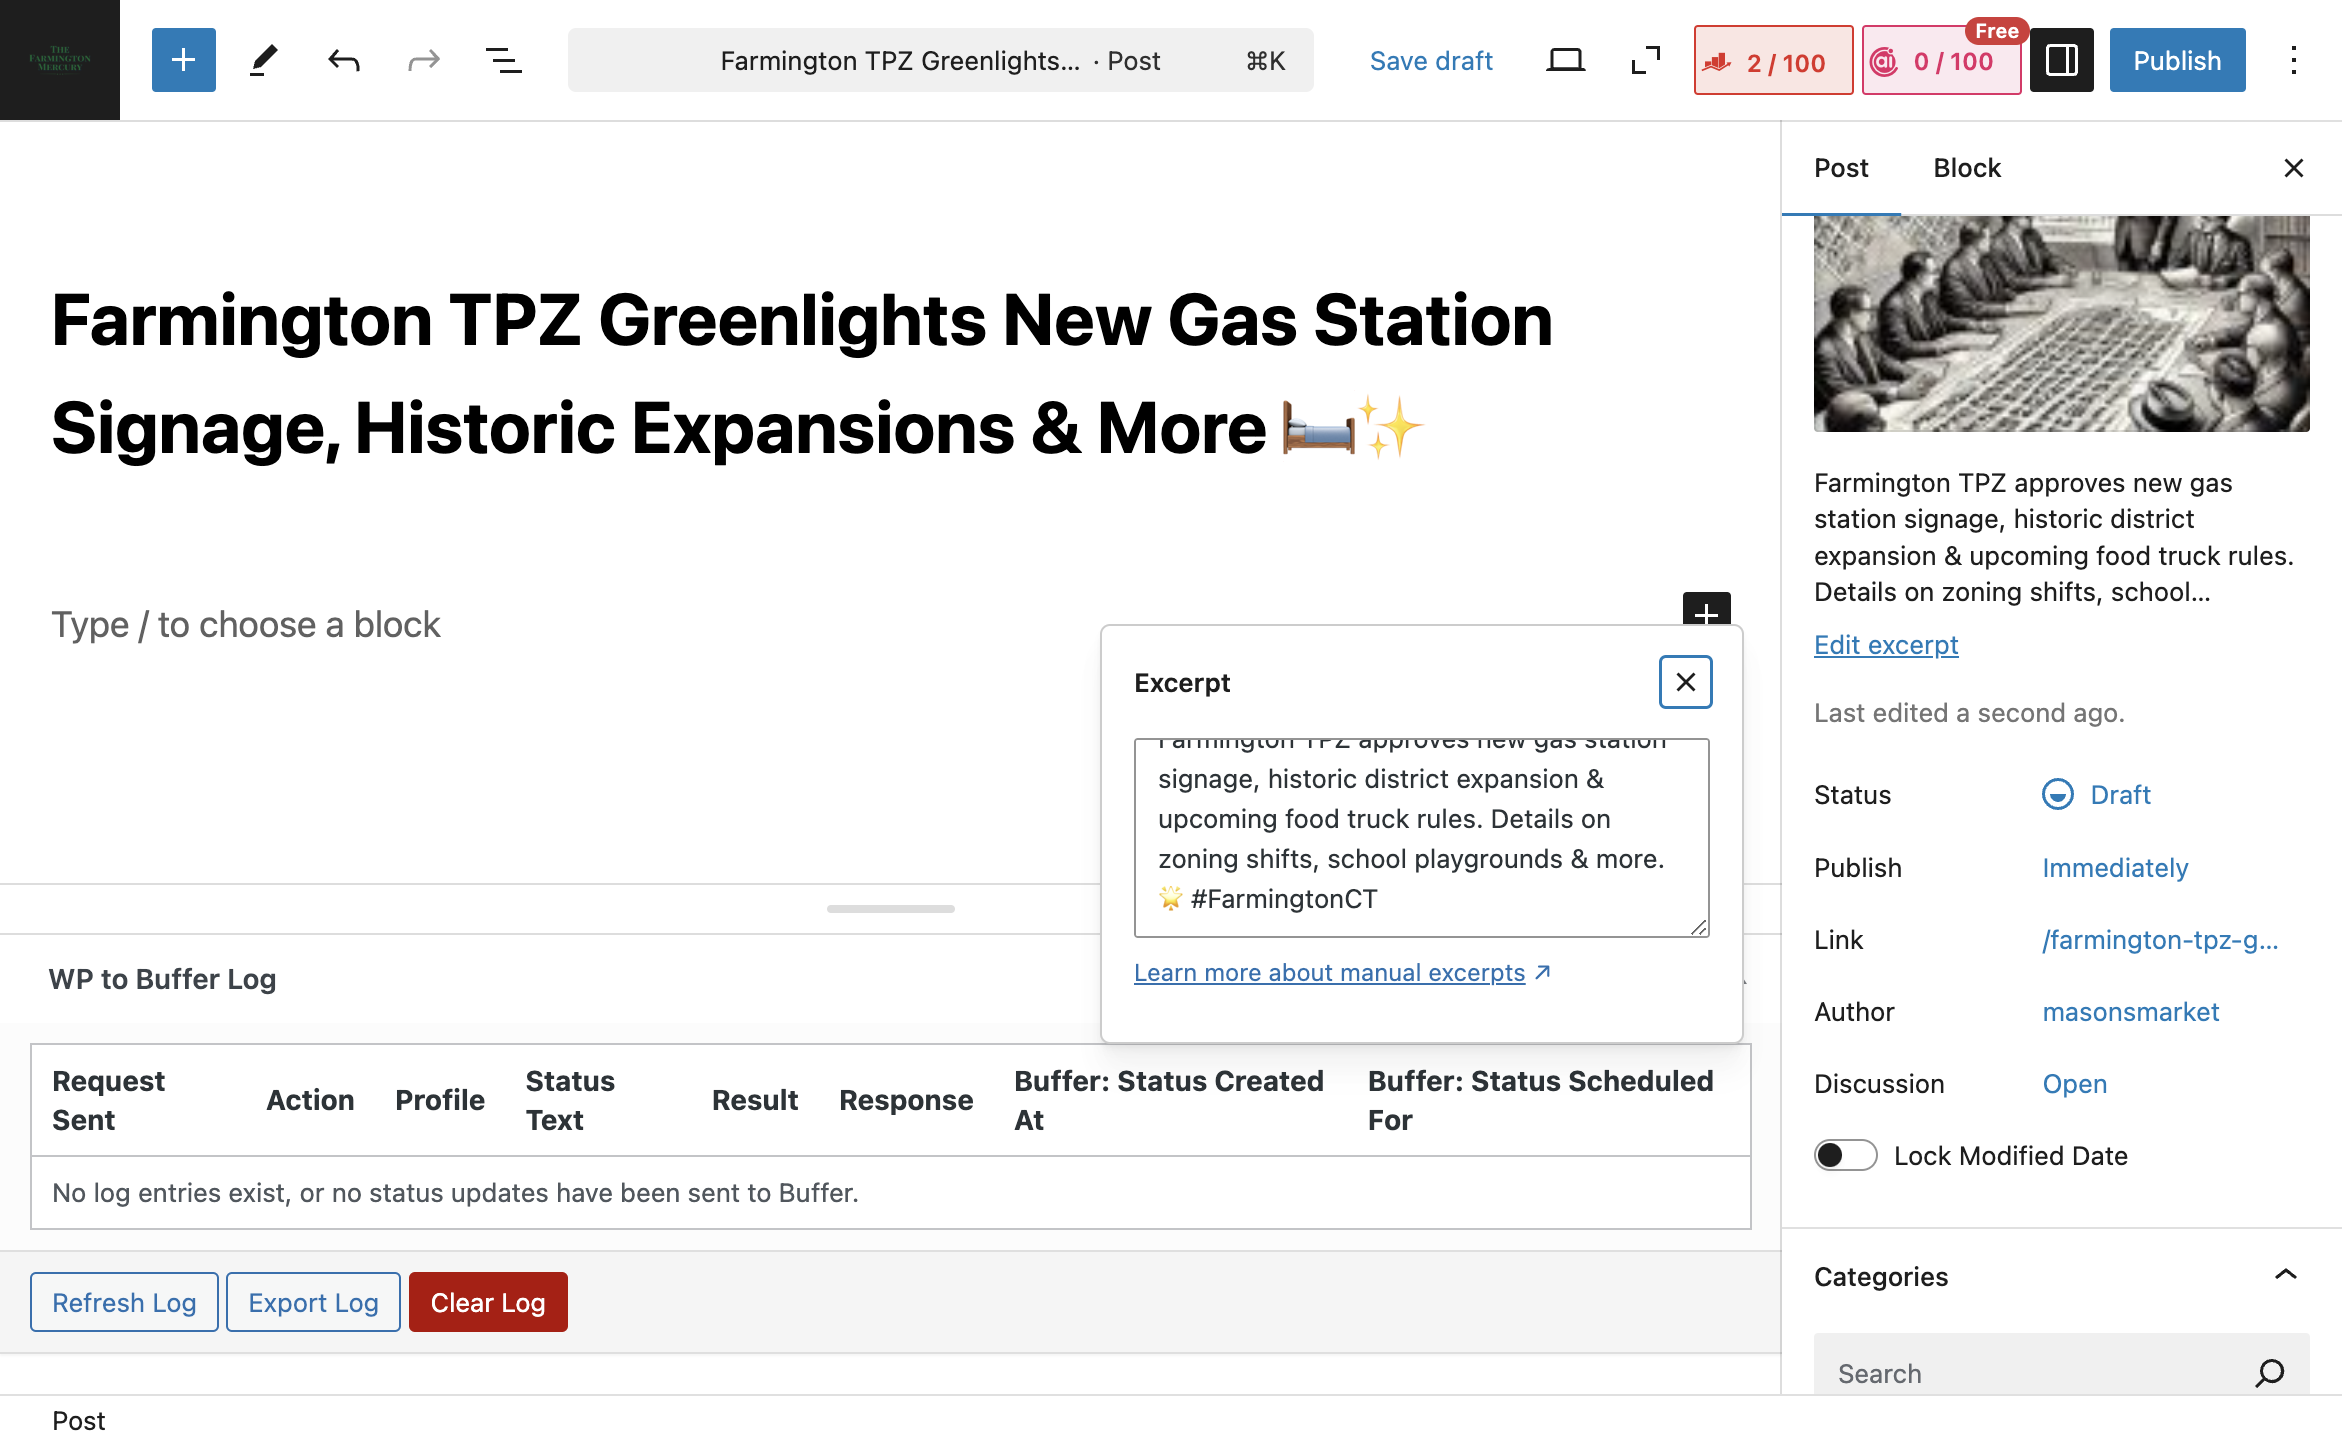
Okay, your image and title are set. Next, go just below where you added the image to include an excerpt.

That's your meta description. Go back to Notion and look for the heading meta: and copy and paste to WP.
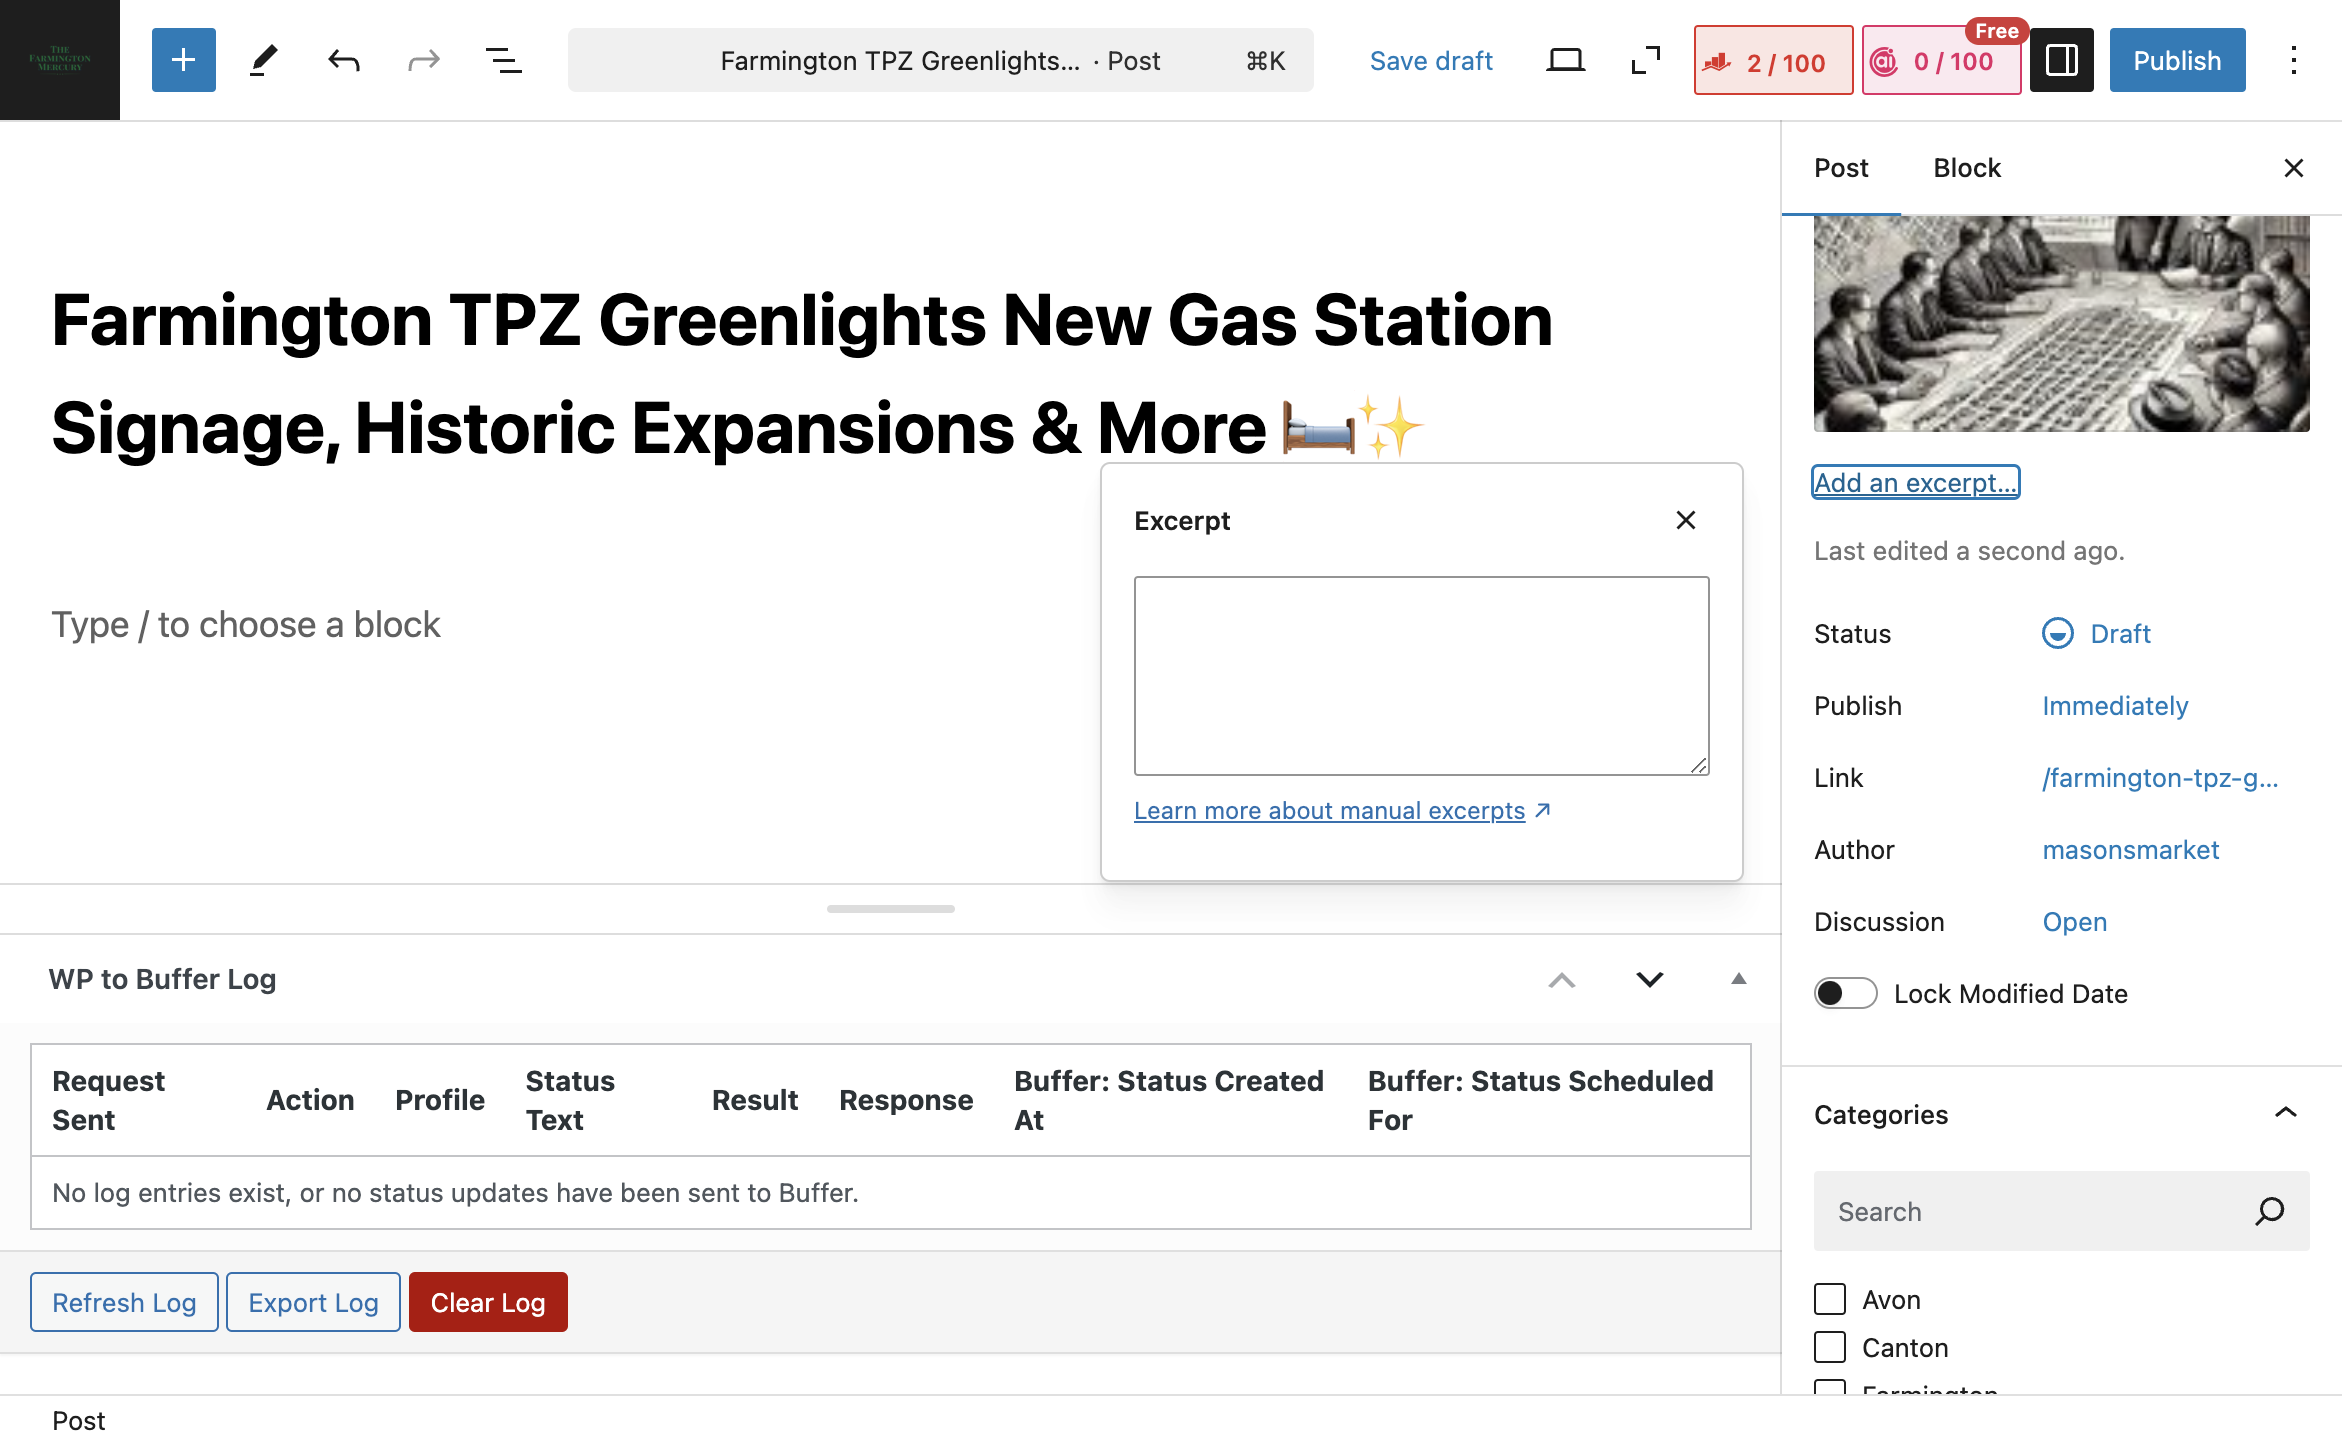
Copy, add an excerpt, and paste it in.

Once it's there, paste it in.
Click "Close," and it will appear on the right side.
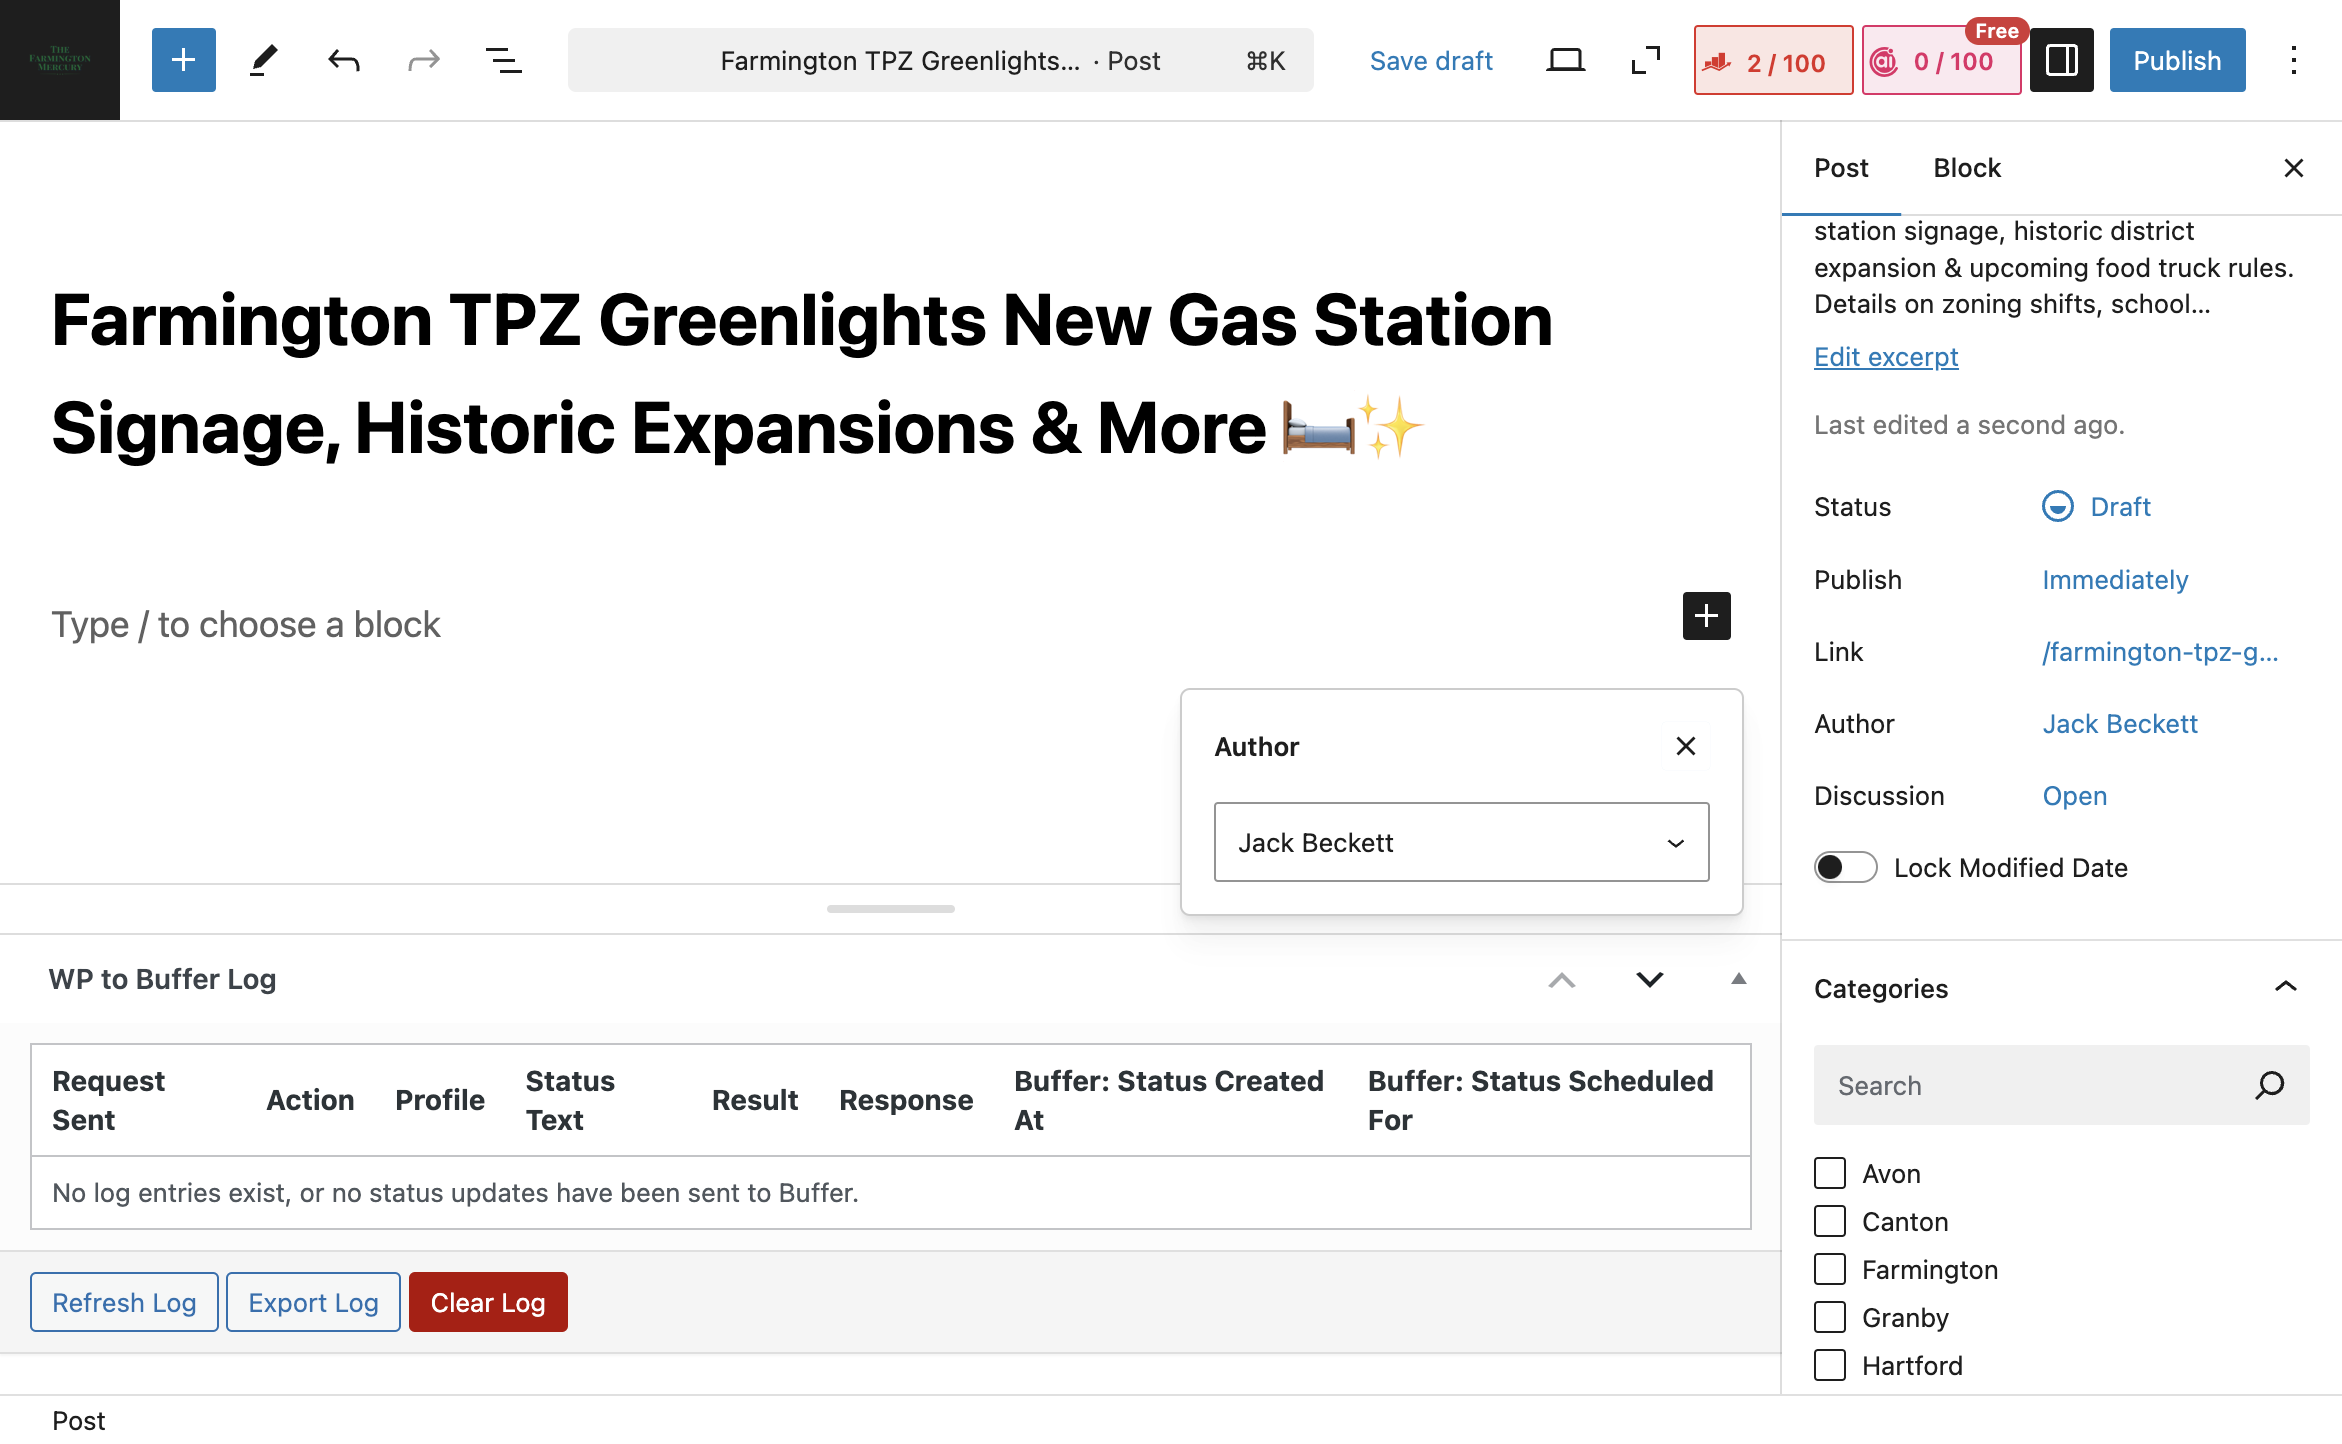
Next, scroll down to the author section.

Always check the bottom in Notion.
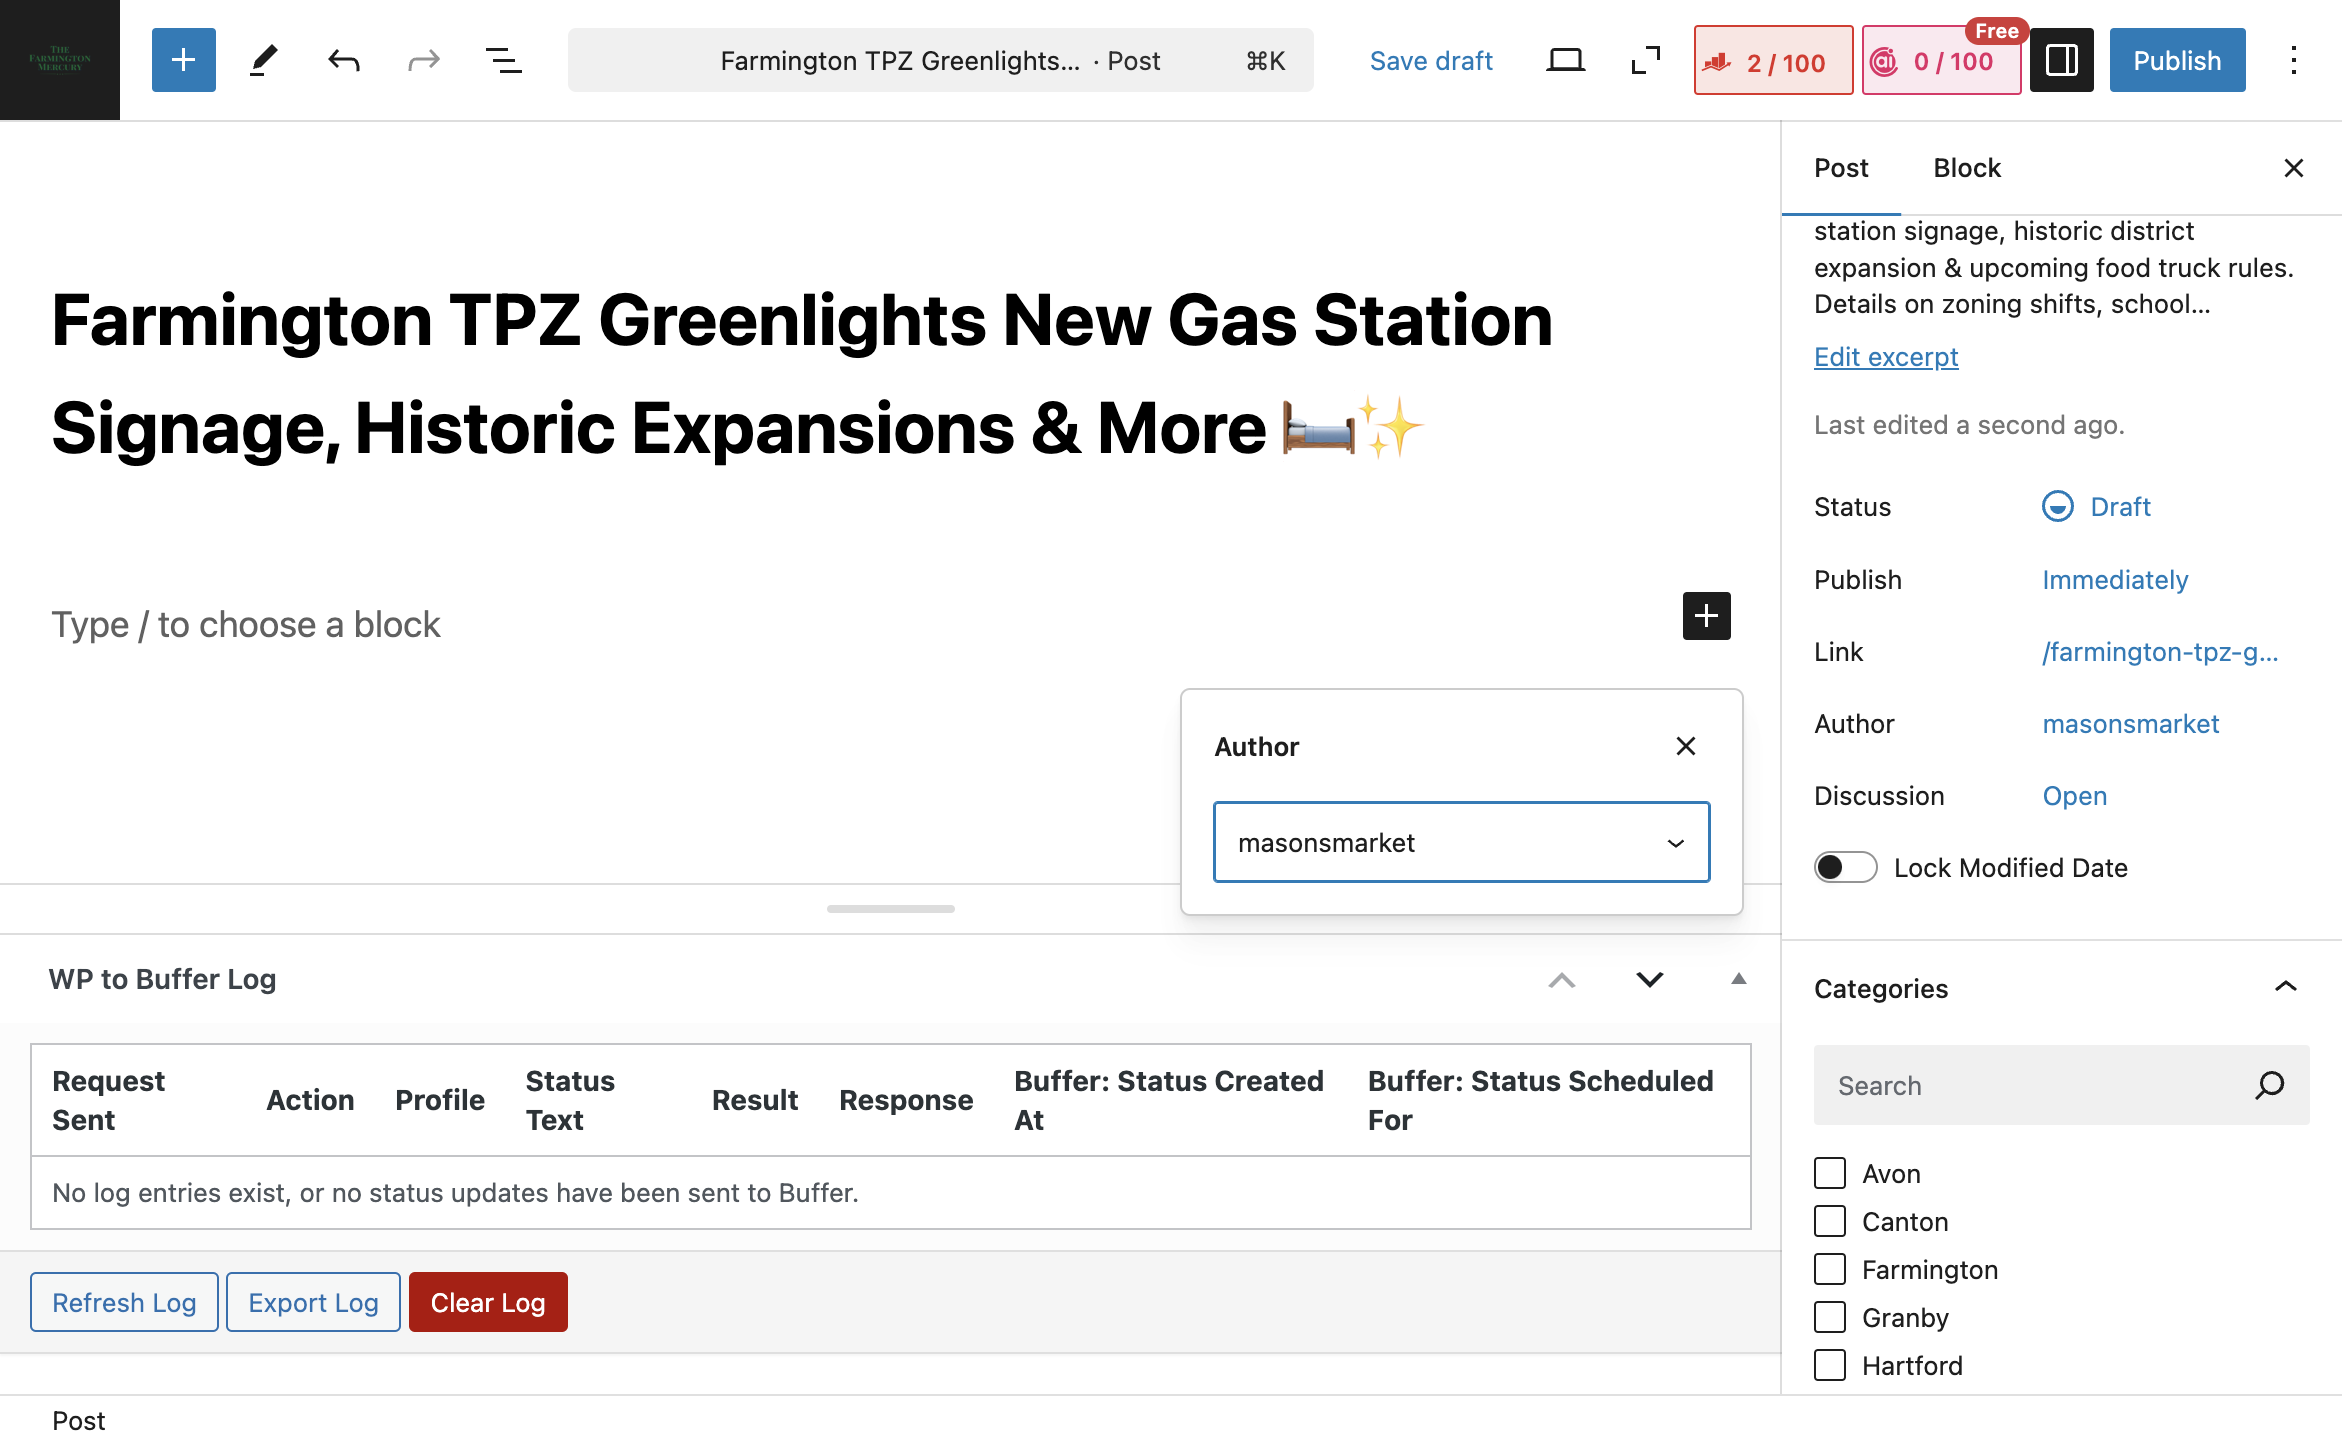
We're posting an article by Jack Beckett, so ensure it's set correctly.
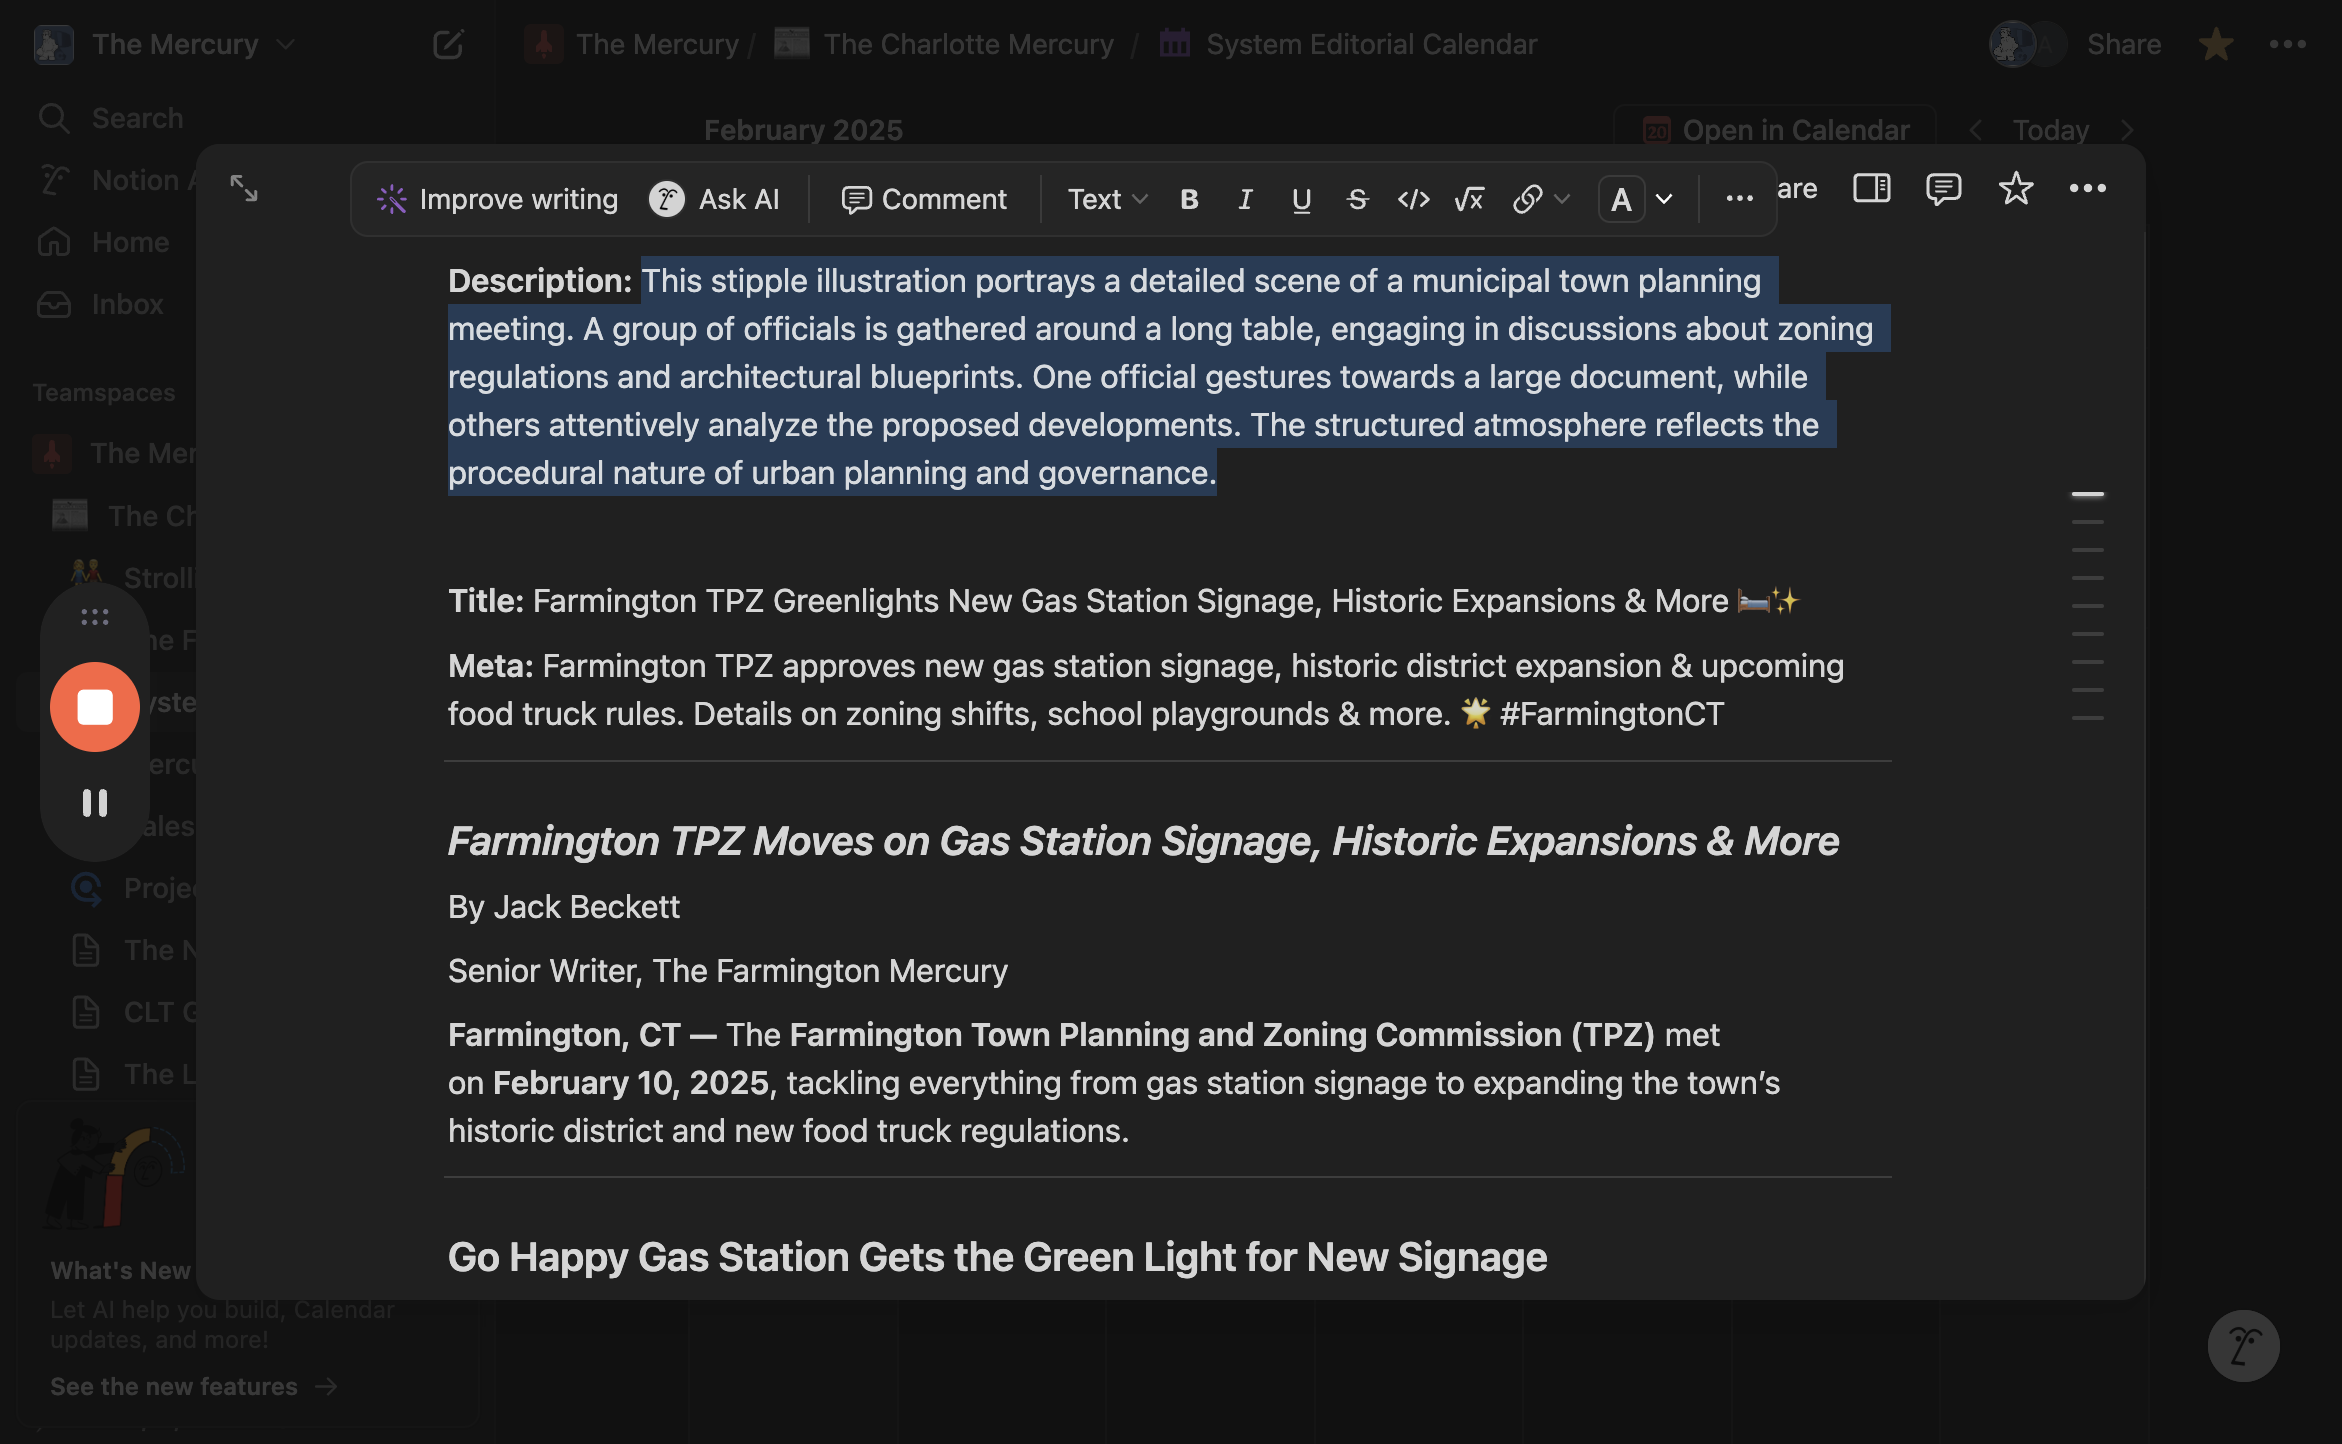
Next, go back into Notion and copy and paste the entire story, including the Farmington TPZ, which is the H2.

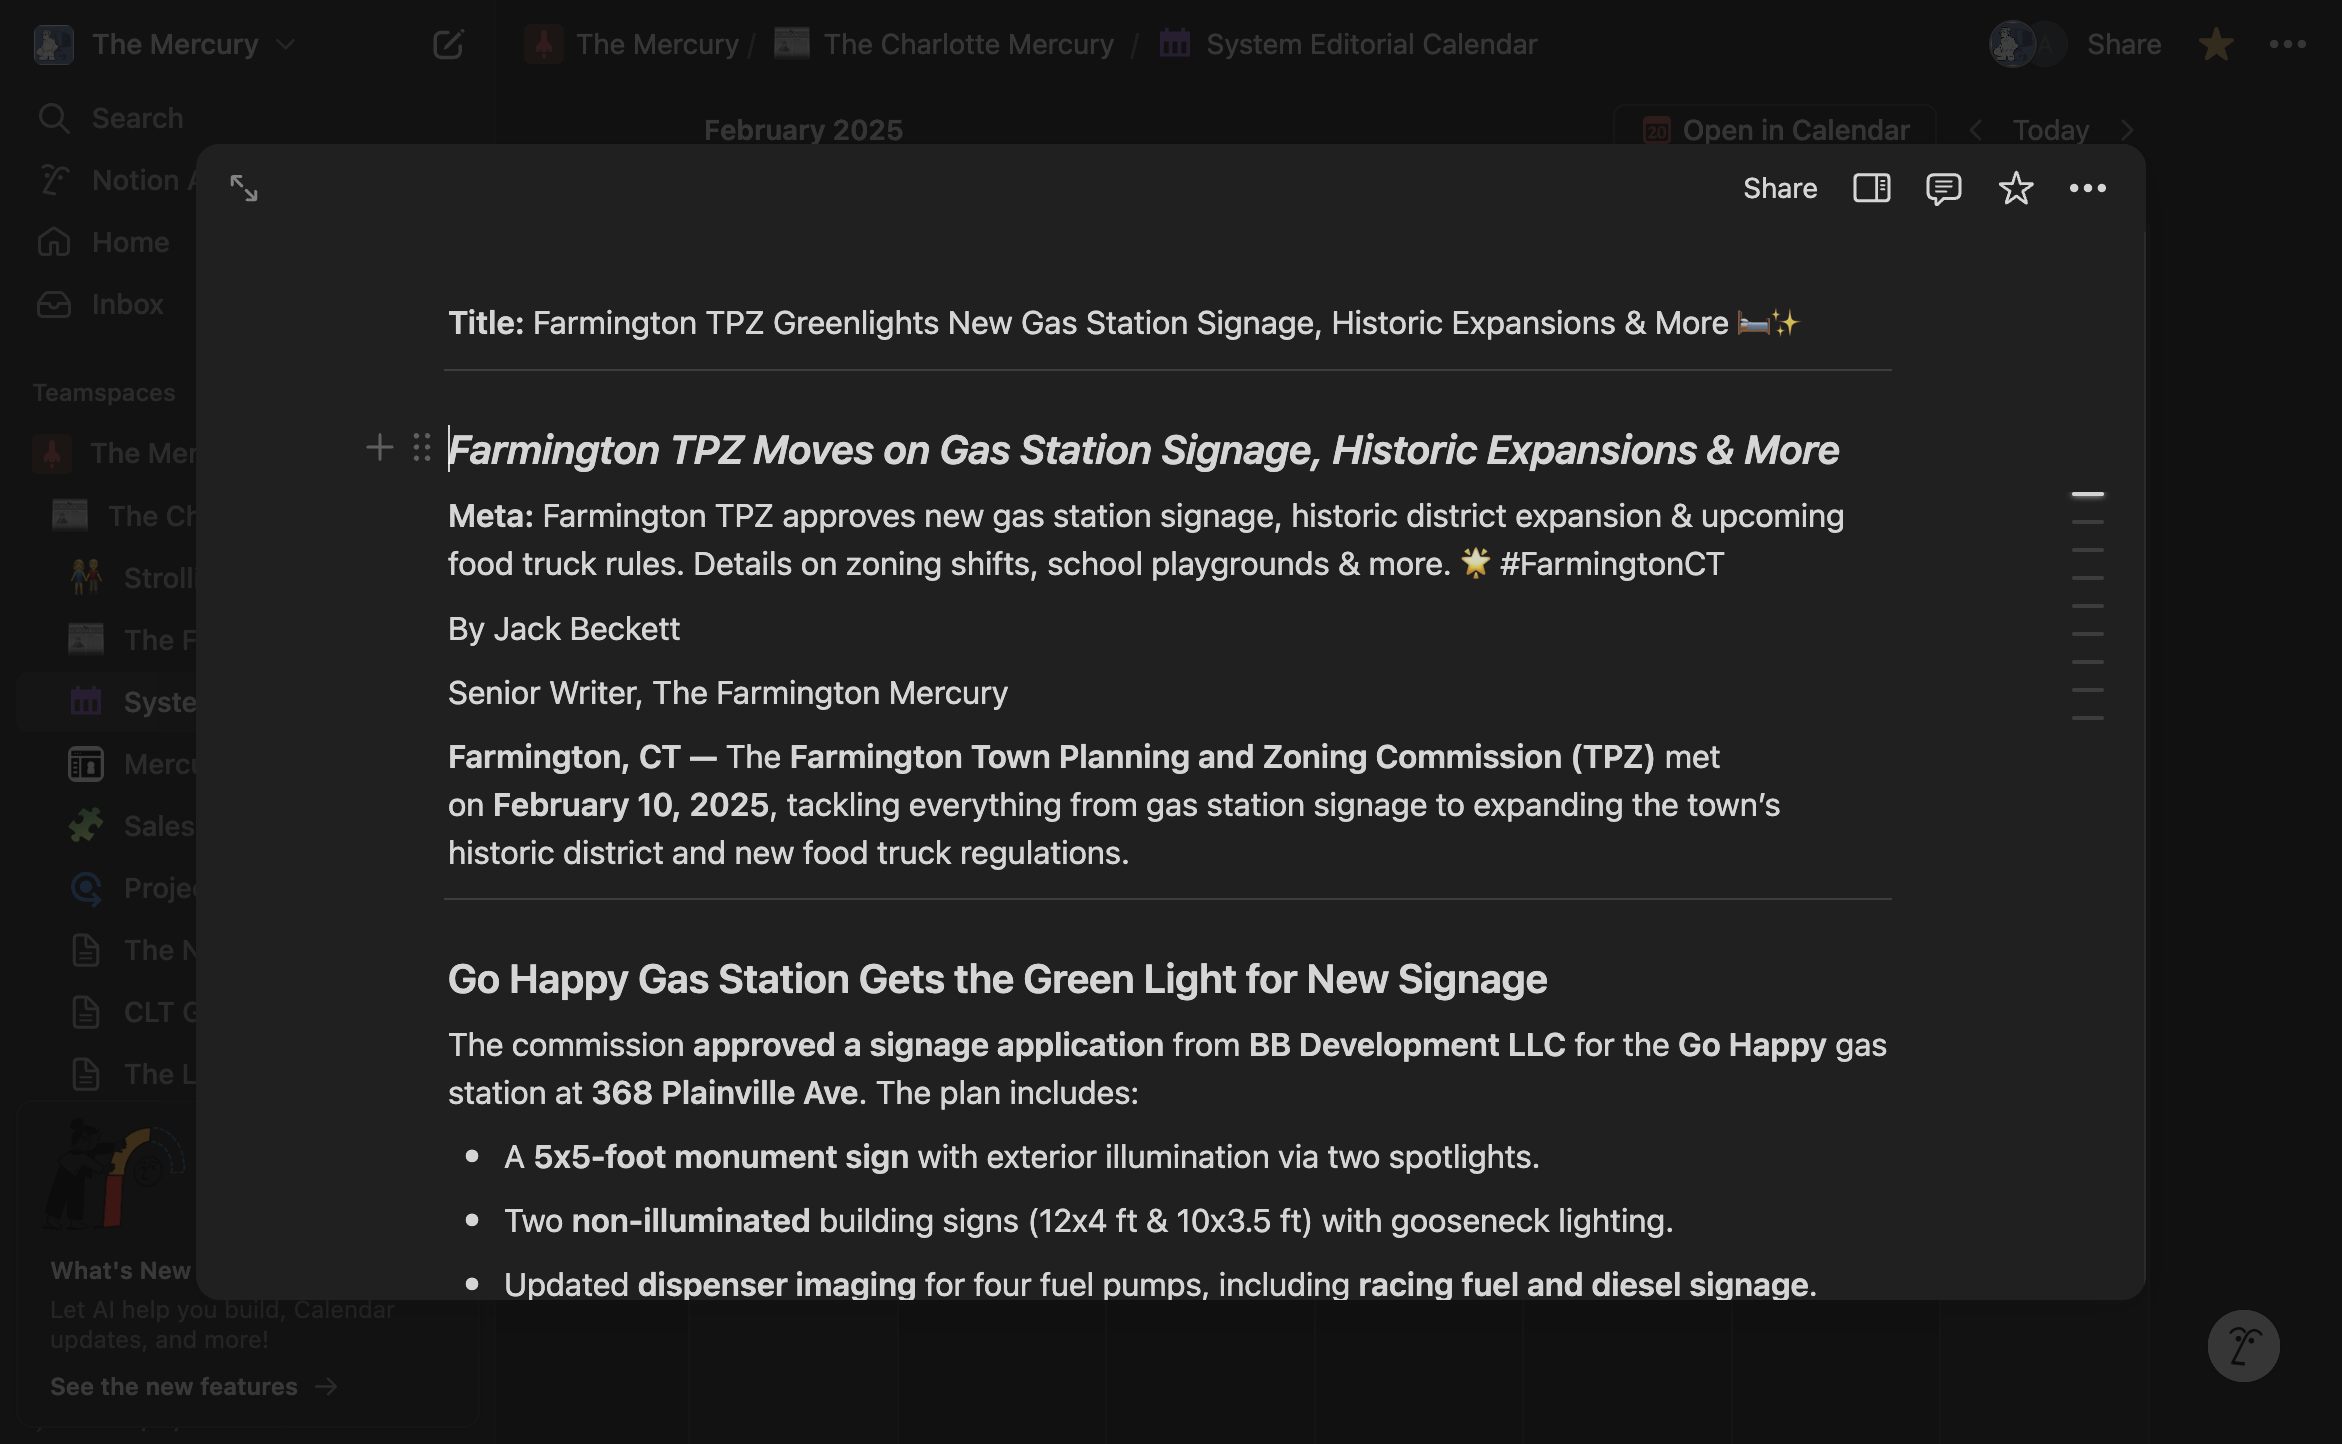
Copy everything from the top to the bottom, ensuring you include the signature, any sponsors, updates, and other relevant details.
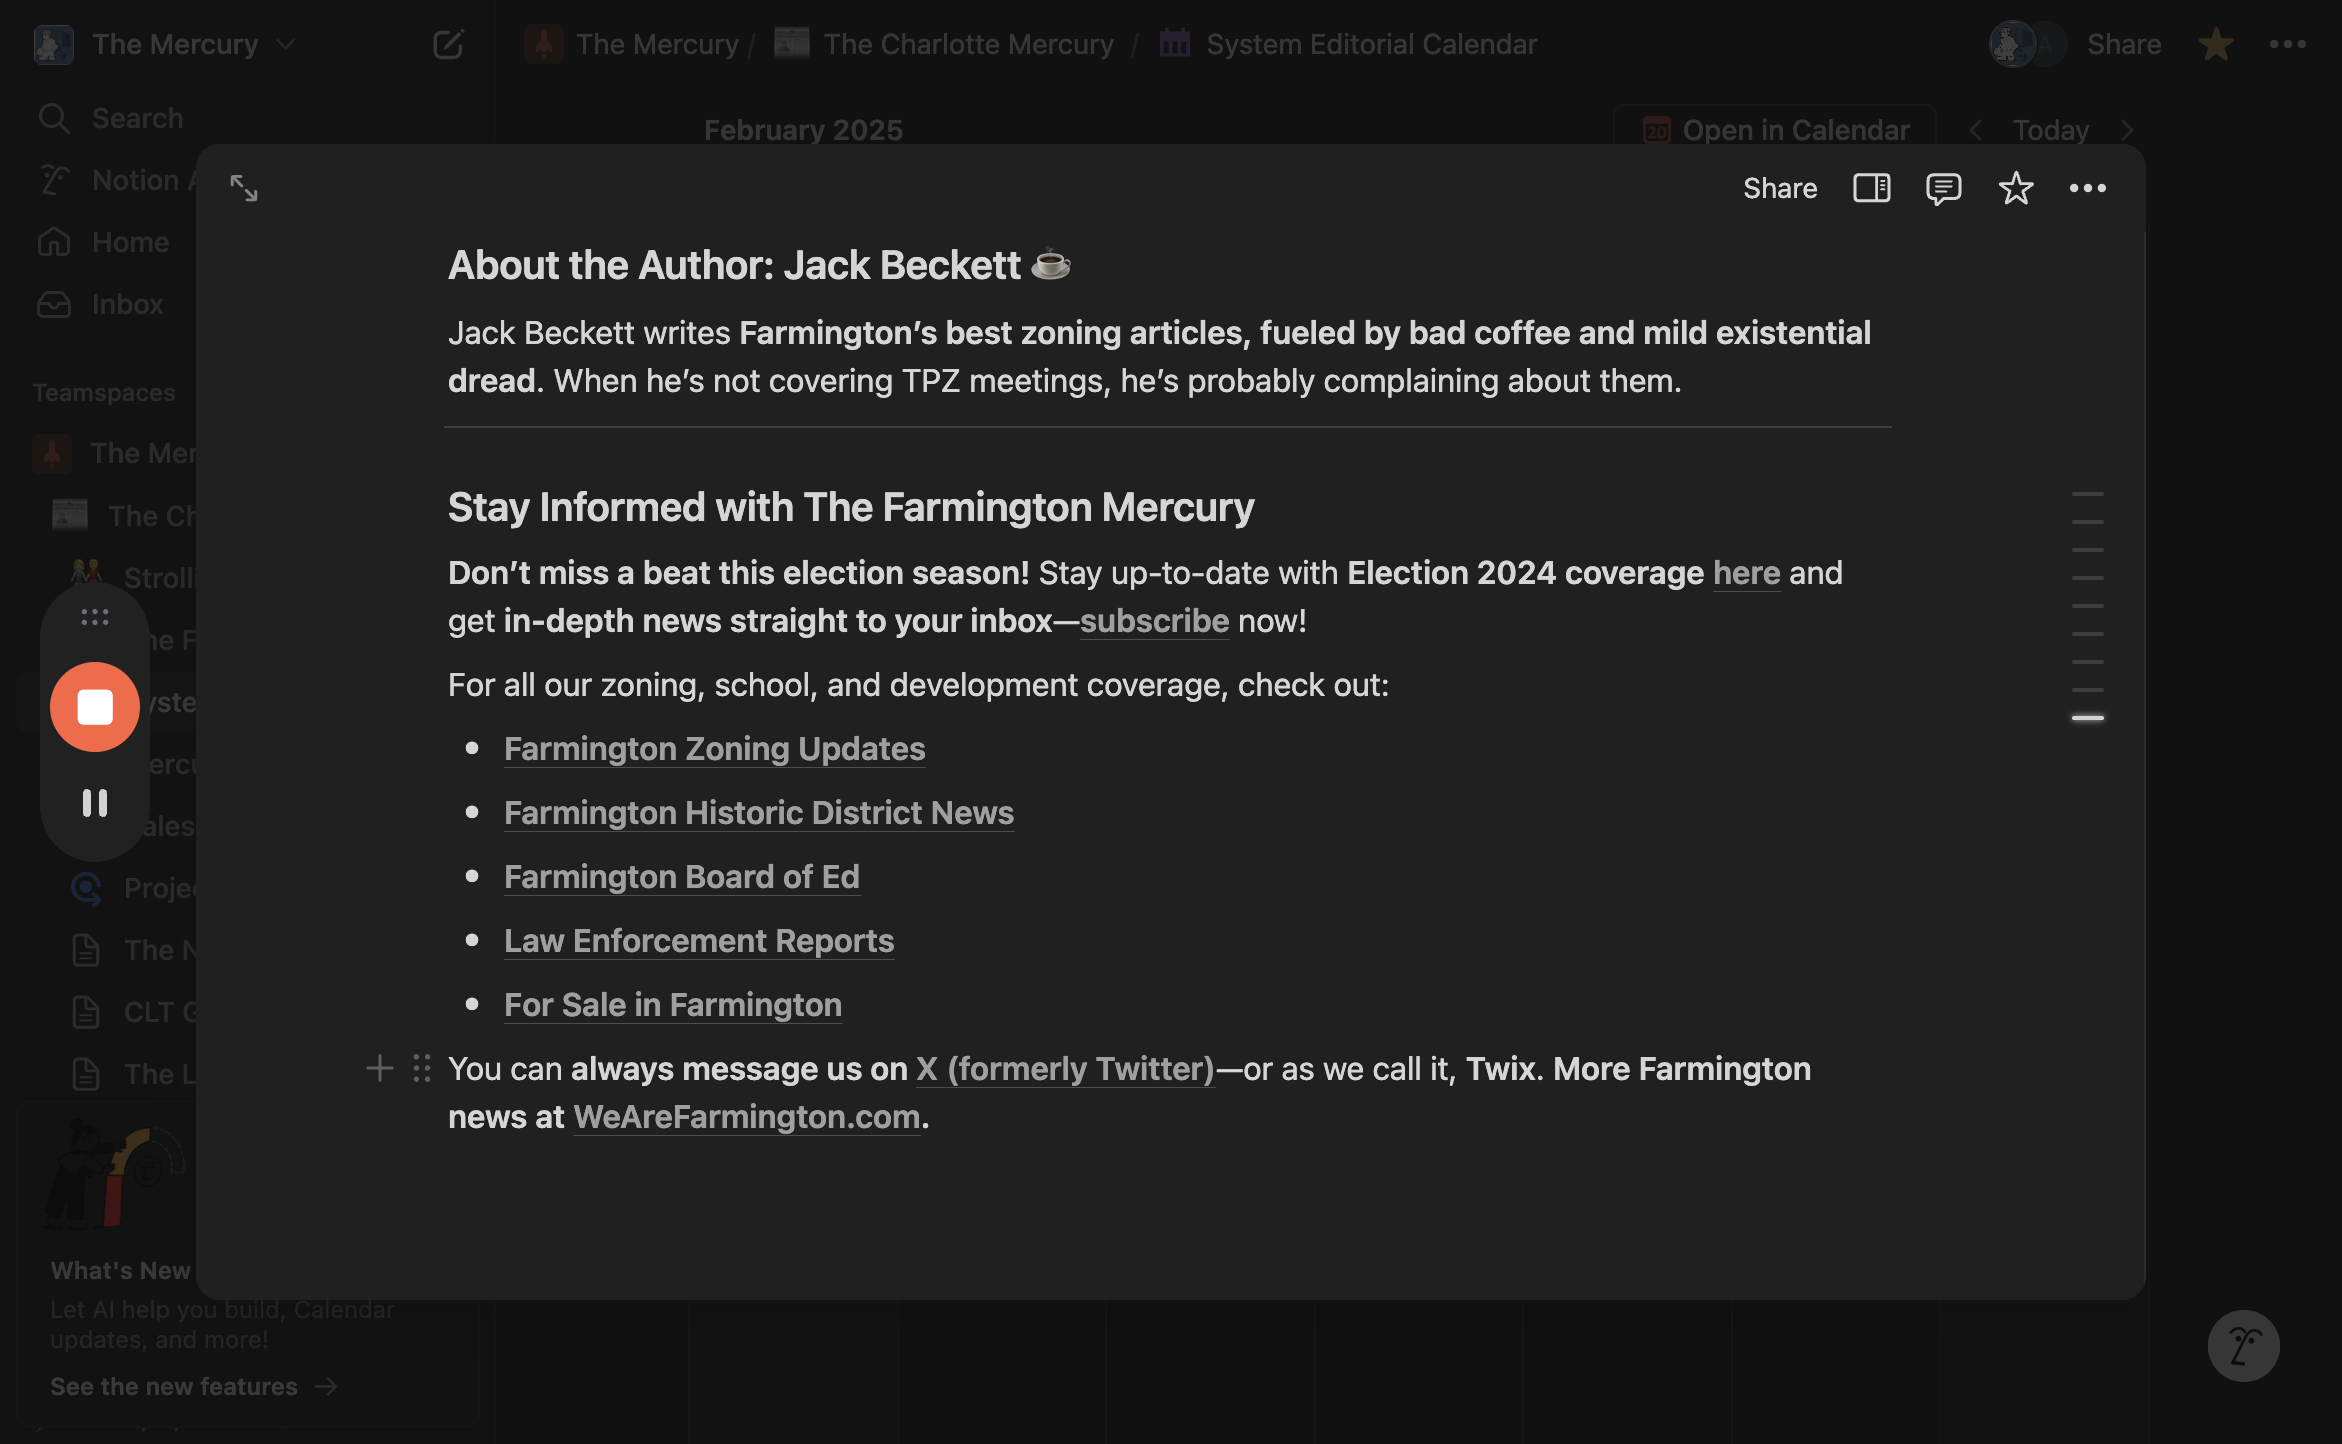
Copy everything, return, and then paste.
Once you paste, ensure you check all the URL links.
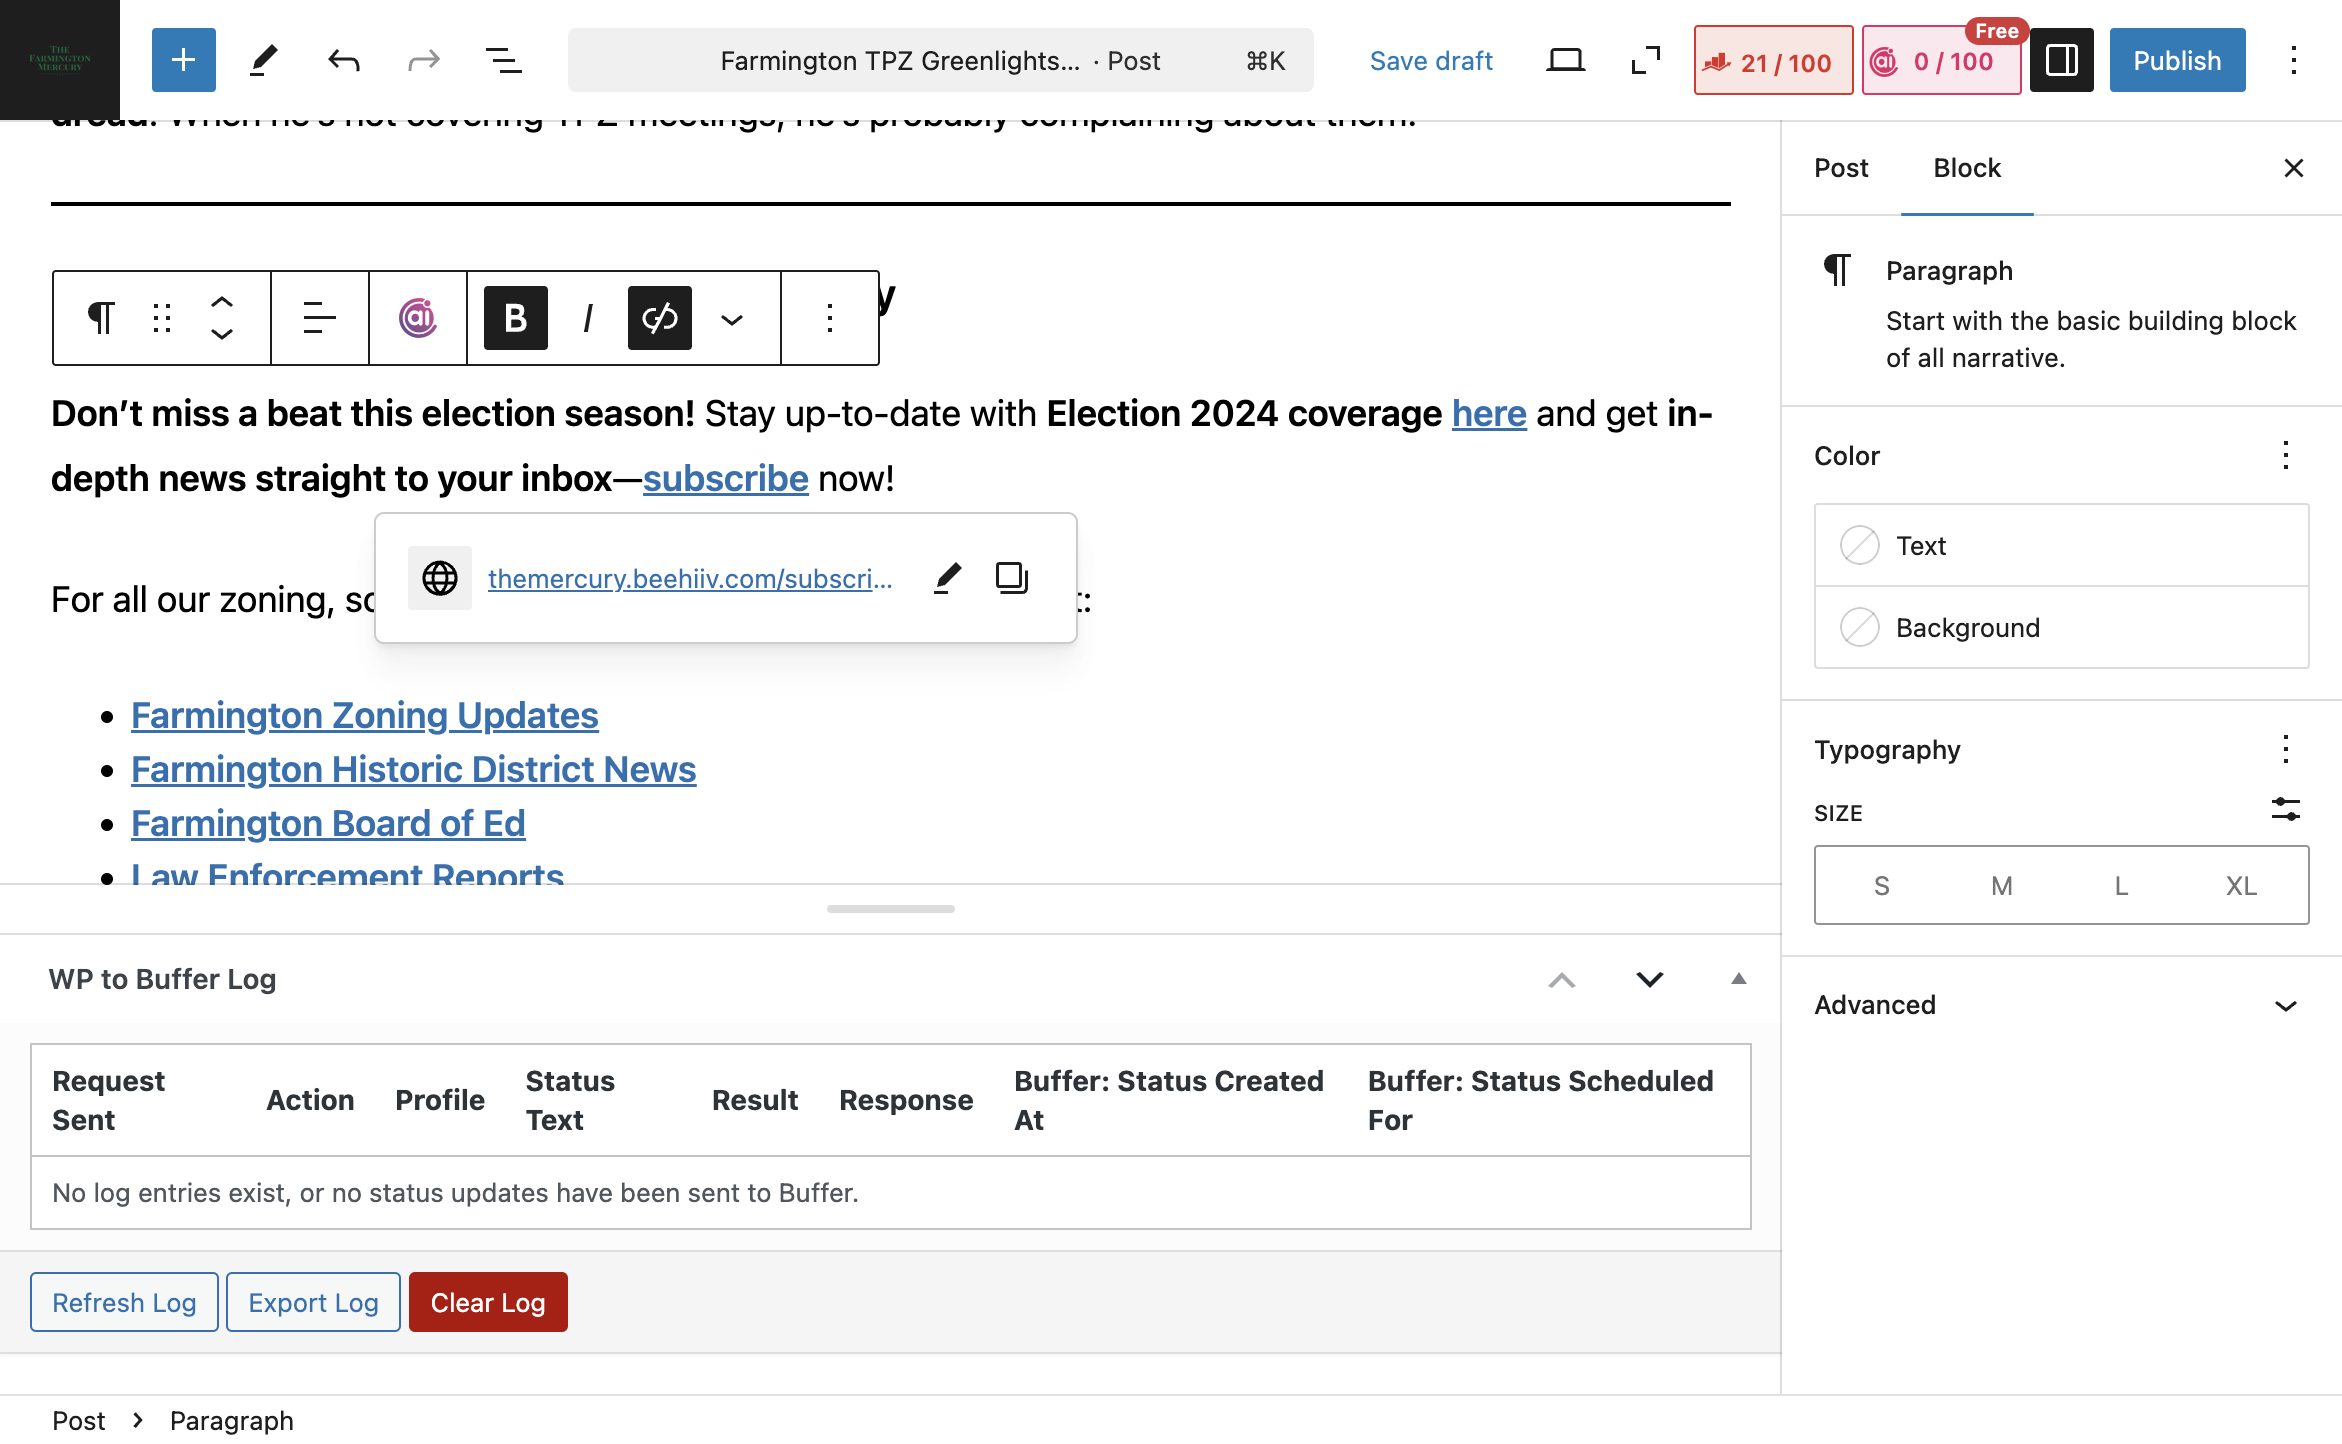
You'll notice they are highlighted in blue. Ensure everything is correct and in the right place. Review it thoroughly. Once you've confirmed everything matches what's in Notion, return here. Make sure to click "post" instead of "block" at the top right.
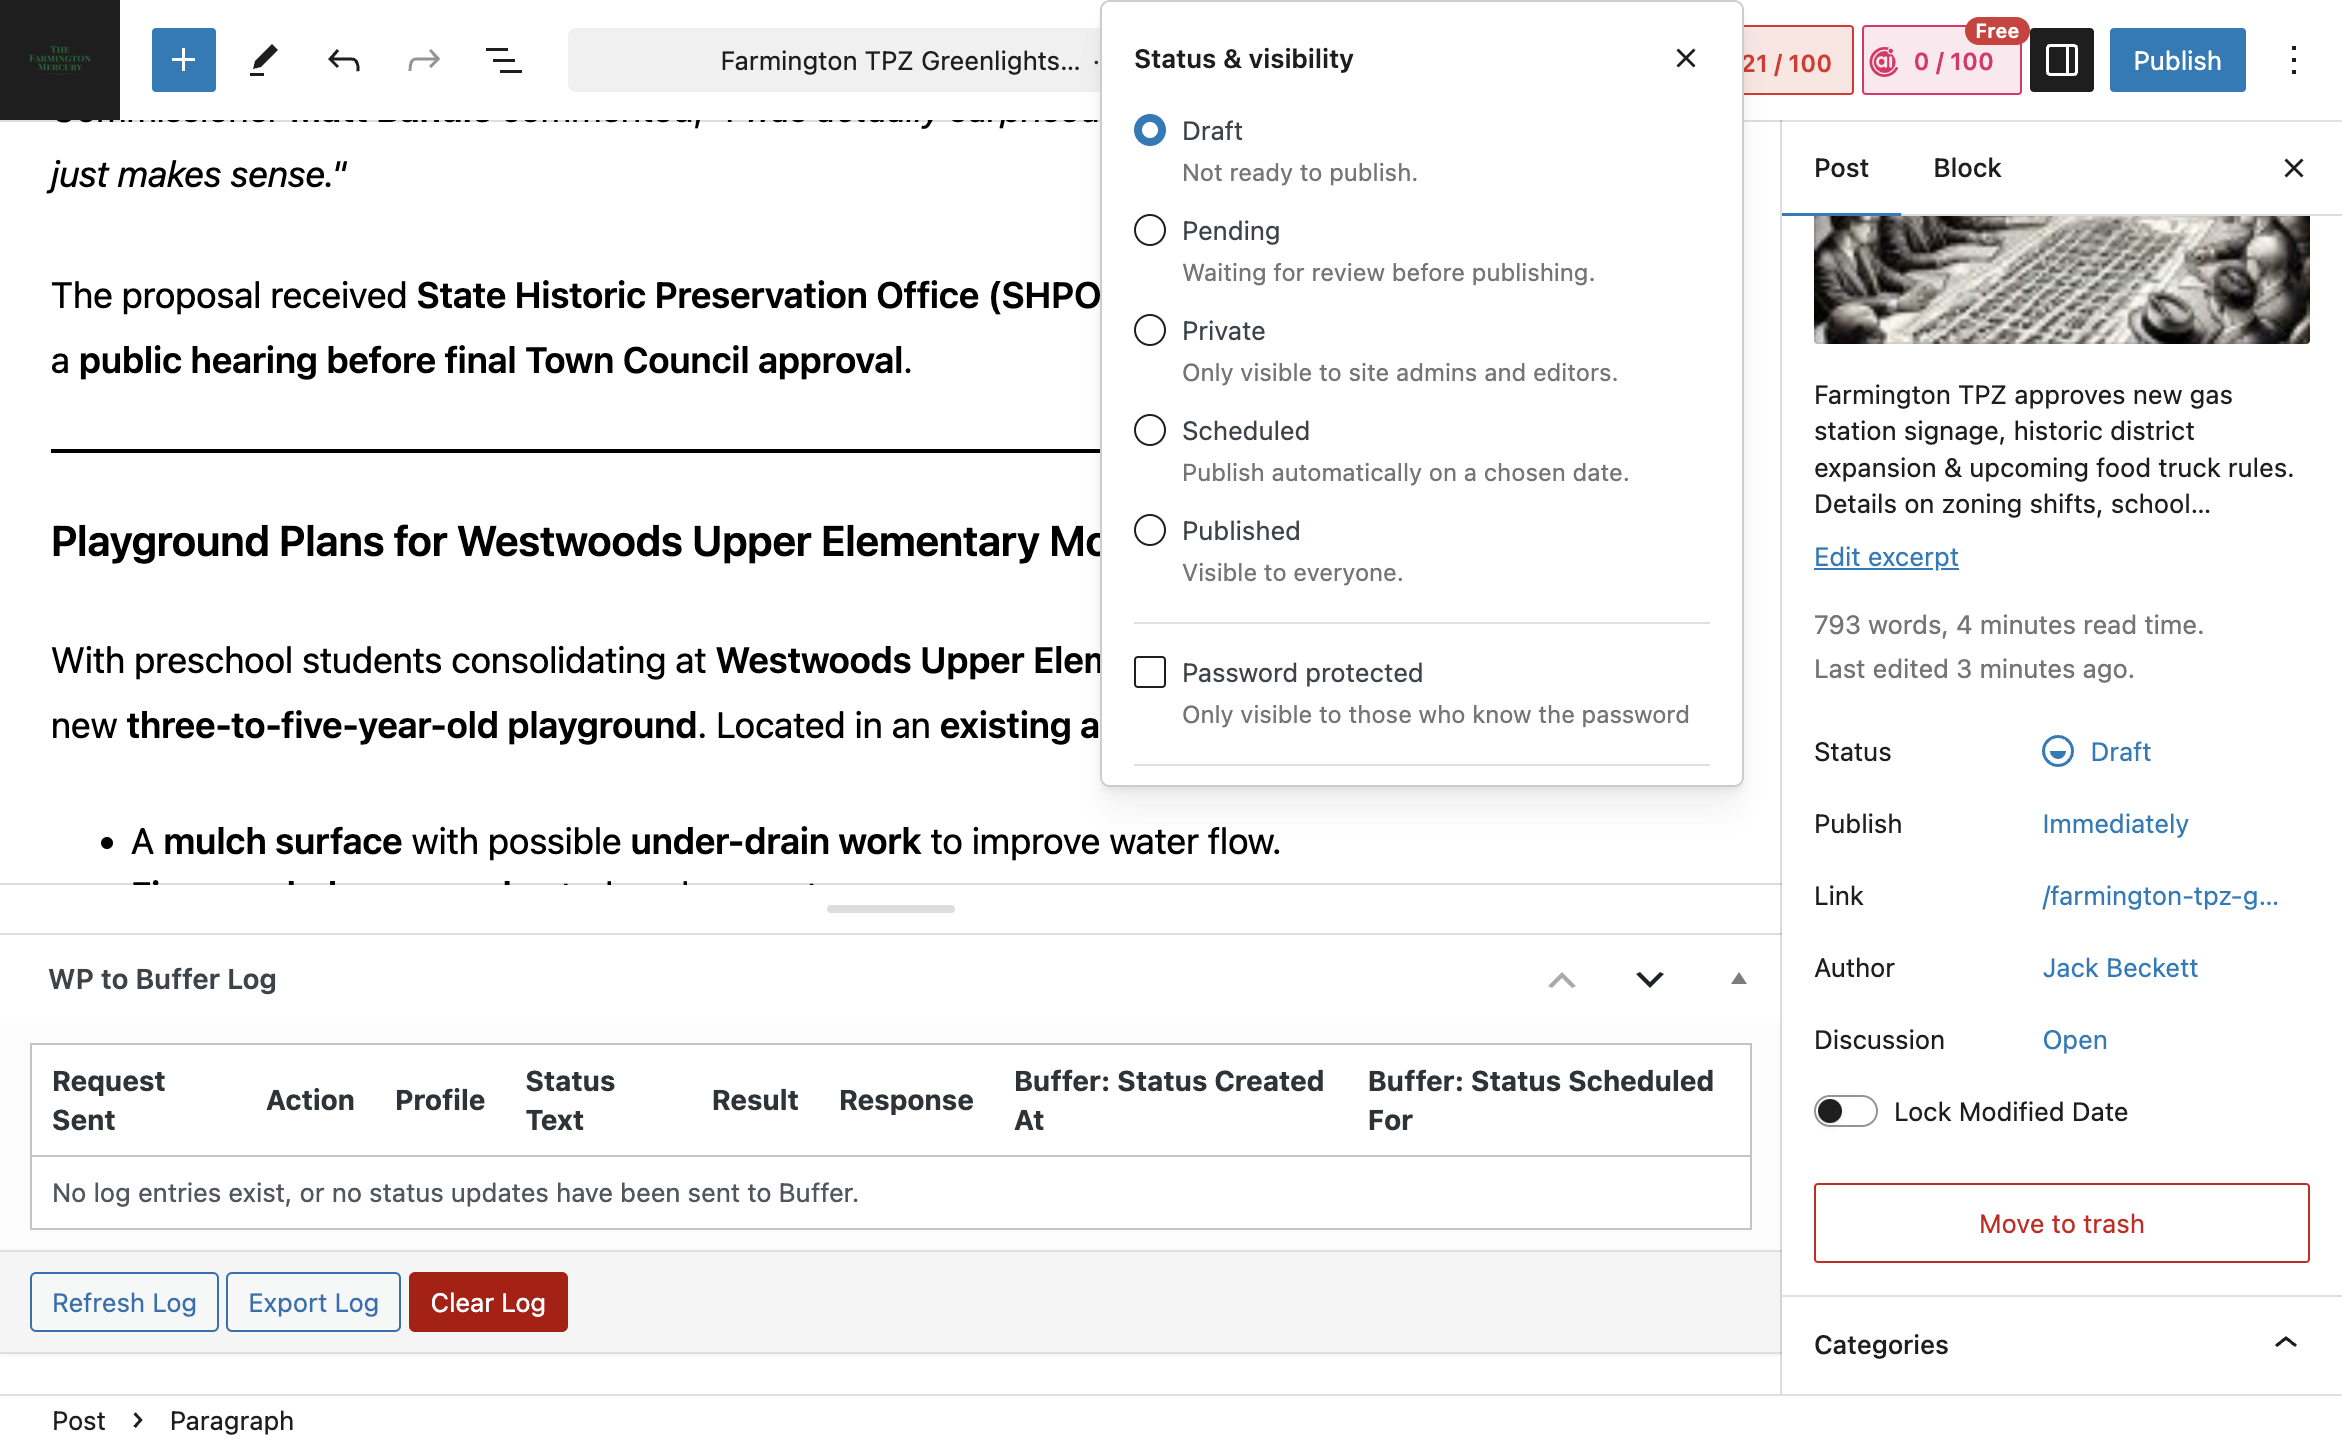
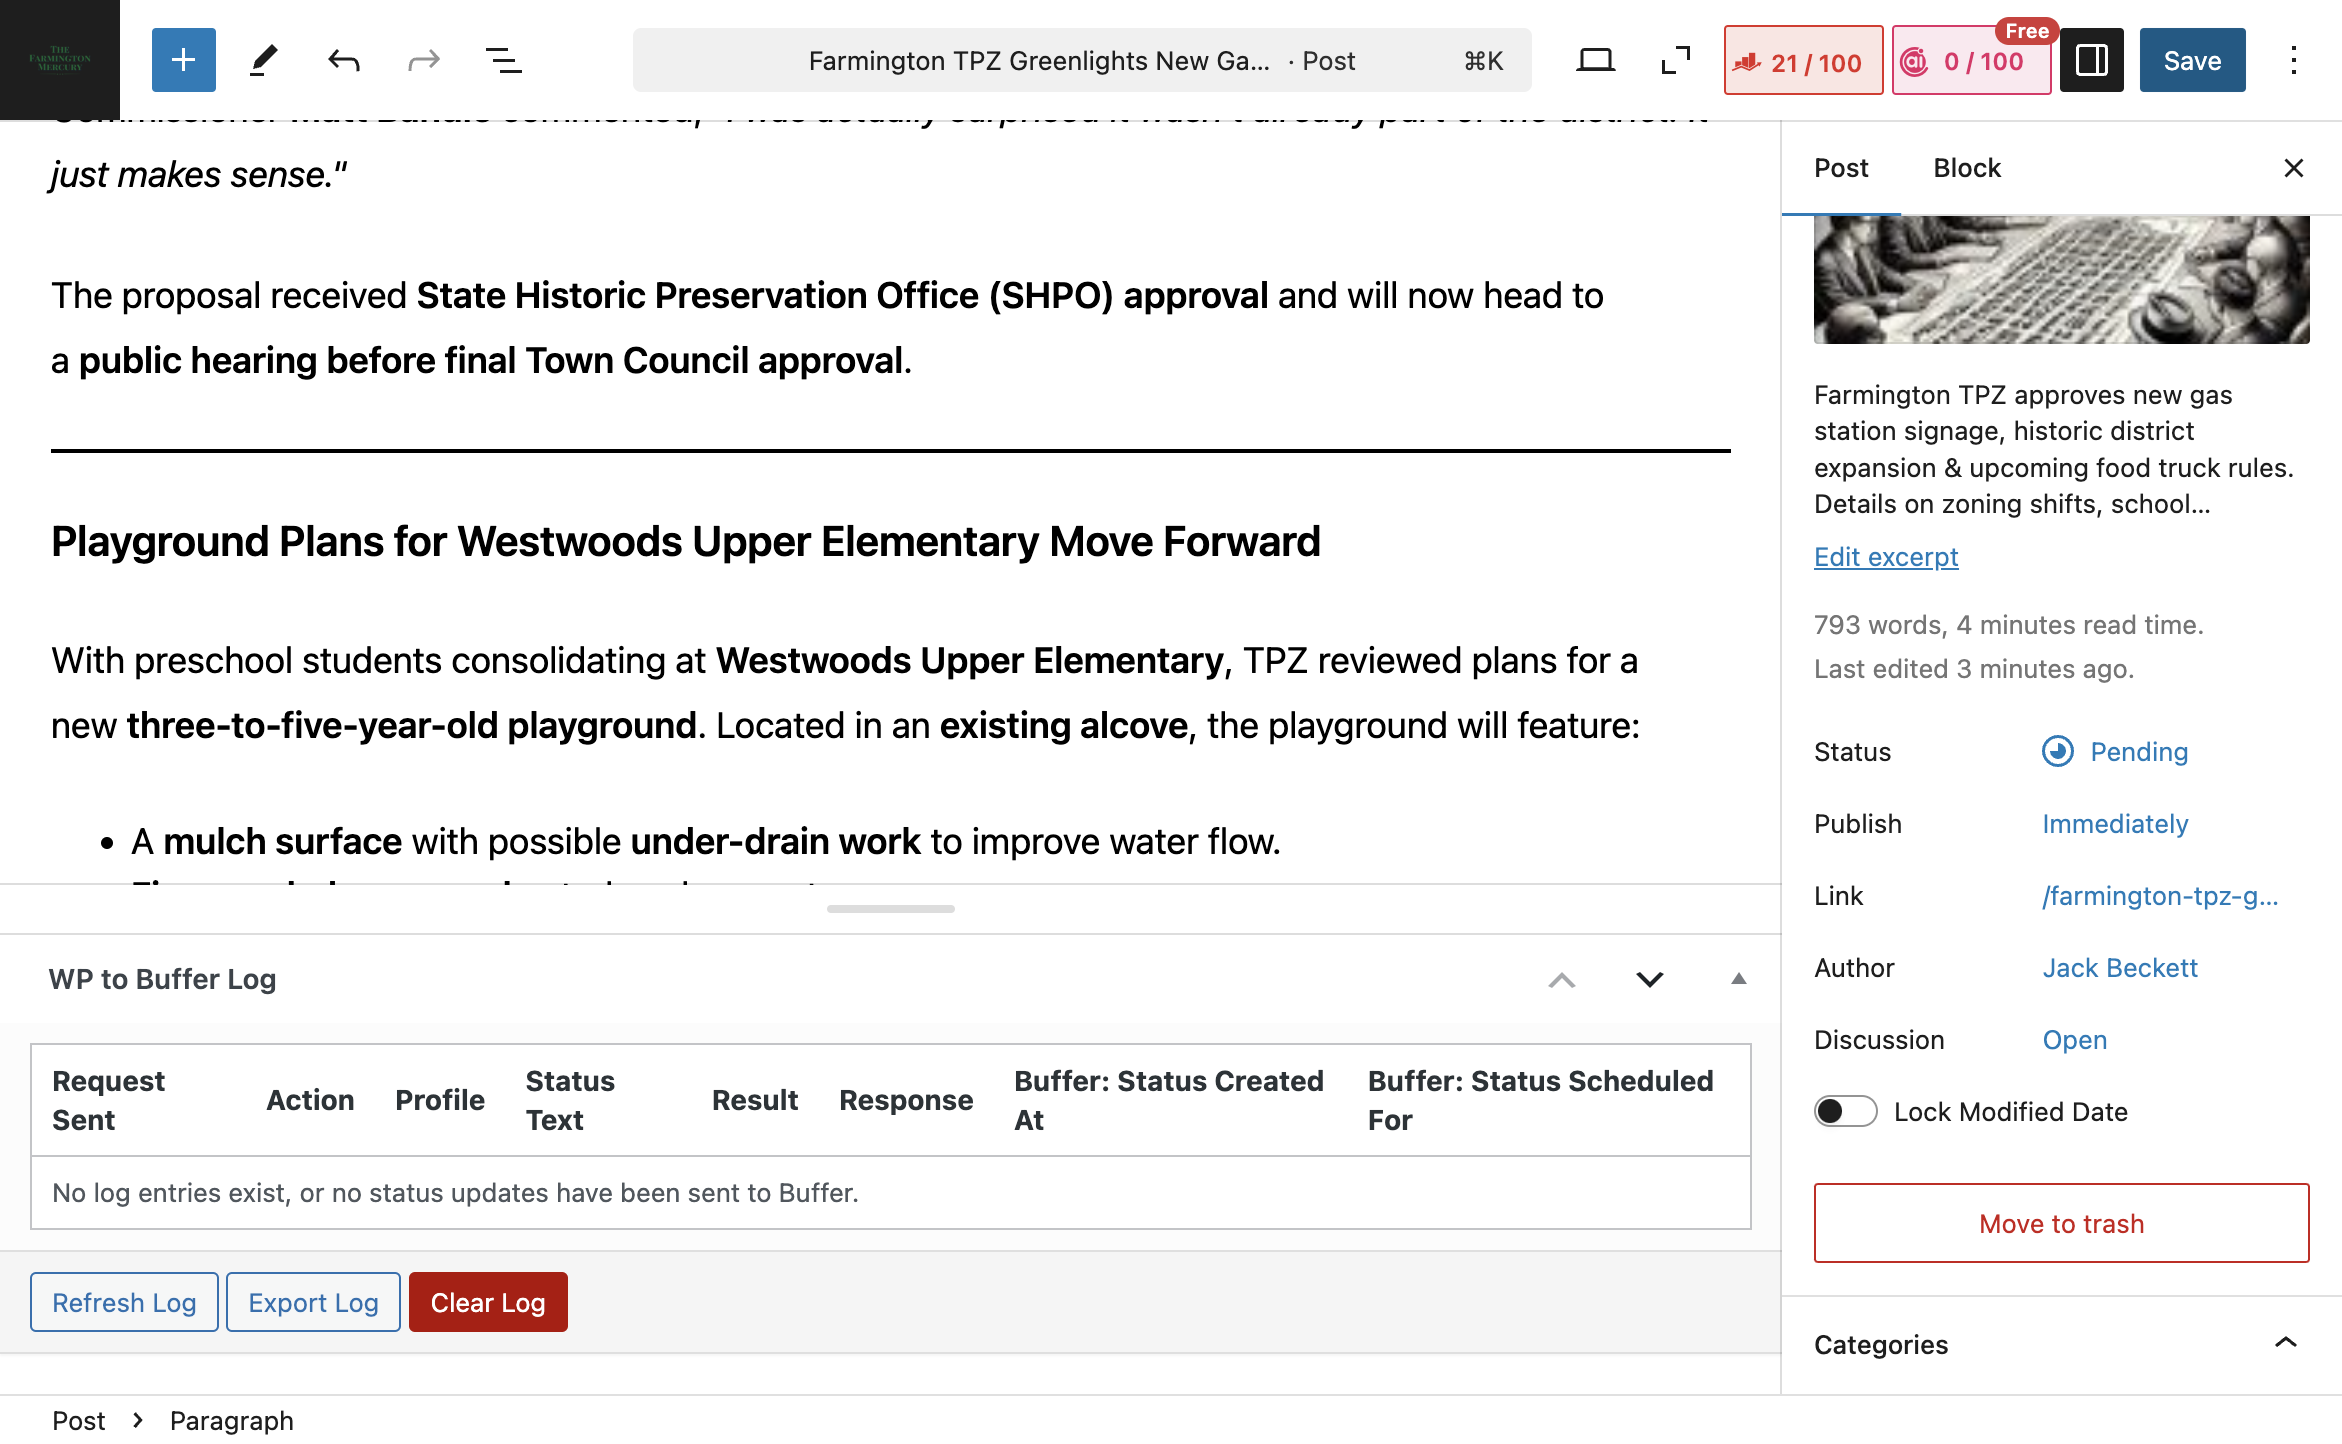
Scroll down, ensure it is set to pending, and then save.
Then, we know to double-check it and prepare the social posts. That is what you need to do to copy from Notion to WordPress.